Knitting for Children's Garments
Course final project
A course by Marta Porcel Vilchez , Knitwear and Crochet Designer

Joined April 2018


Joined April 2018
About the final project for: Knitting for Children's Garments
Knitted fabric for children's garments
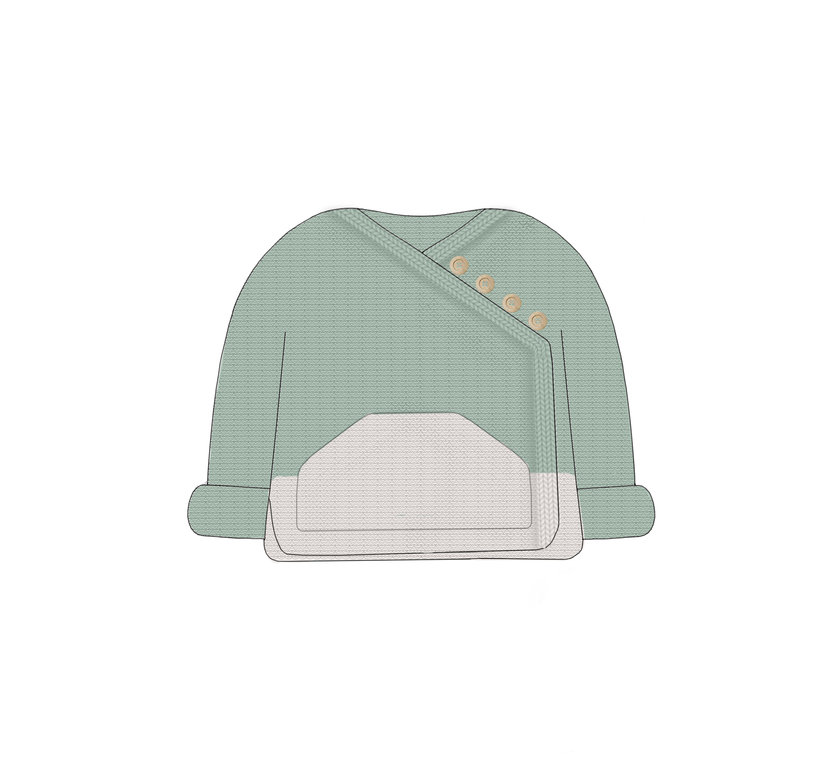
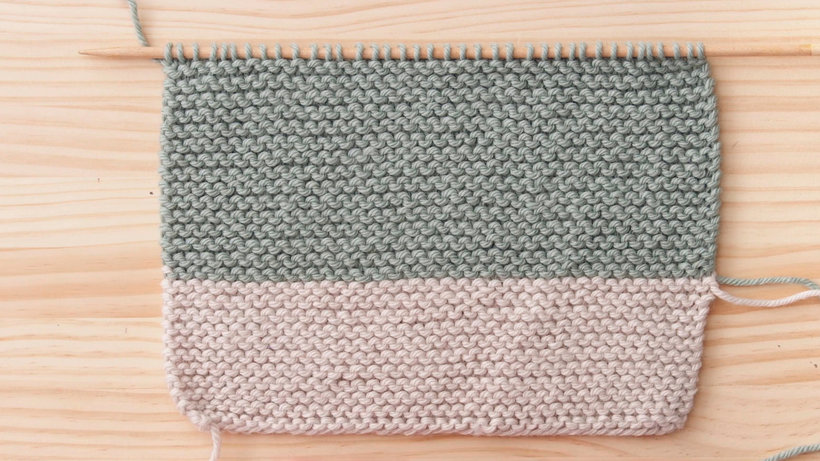
“Congratulations!! If you are reading these lines, it means that we have advanced to the end of the course. Thank you so much for joining me, I hope you enjoyed it as much as I did! Now share your final project with all of us by clicking on "Create your project". Remember to share both the final result of your garment and the steps that have led you to it. It would be great if you showed a picture of each step and added a brief explanation about what you have done in each one. Before we say goodbye, I would like to make a brief summary of the phases and steps that you have to follow to carry out your final project (and that I want you to teach me) and show you everything you have learned. Preparation If you choose to follow the same pattern that I propose in the downloadable resource of Unit 4, you must bear in mind that the thickness of your yarn and your needles is decisive for the size of your garment. I have chosen Katia Merino Arán. If you do not find this quality or you want to use another composition, for example, you must make sure that the density of your tension swatch is 16 stitches x 31 rows to garter stitch. If you want to make your garment for a size larger than the ones I offer, you are going to create your own design from the beginning or you want to make a radical change of thread (thickness, composition, etc.), follow all the steps of the lesson "From the measurements of the swatch to the real measurements "from Unit 3. Take the measurements from the measurement table as a reference, transfer these measurements to paper (if it is a real size, better) and do the calculations to translate the horizontal measurements into stitches and vertical measurements into rows. In both cases, remember at all times, when choosing your fiber, the three questions we asked in Unit 2, who are you going to knit for? When is this garment going to be used? is your level? The answers to these questions will lead you to the proper fiber and shape. Inspiration and creation of your design Make a sketch and capture everything you want to see in your garment, structure, color changes, different stitches, pockets, buttons, ornaments, embroidery... The more detail you add to the sketch, the better. This will help you get the image you've created out of your head and see if the composition works or you need to change anything to balance it. Erase and draw as many times as necessary until you are satisfied with the final result. As I mentioned in the lesson, Pinterest can be a great source of inspiration in this part of the process. The extra time you spend planning will ensure the best result. Share the mood board or the board you have created on Pinterest to organize and structure the inspiration for your garment.

Partial transcription of the video
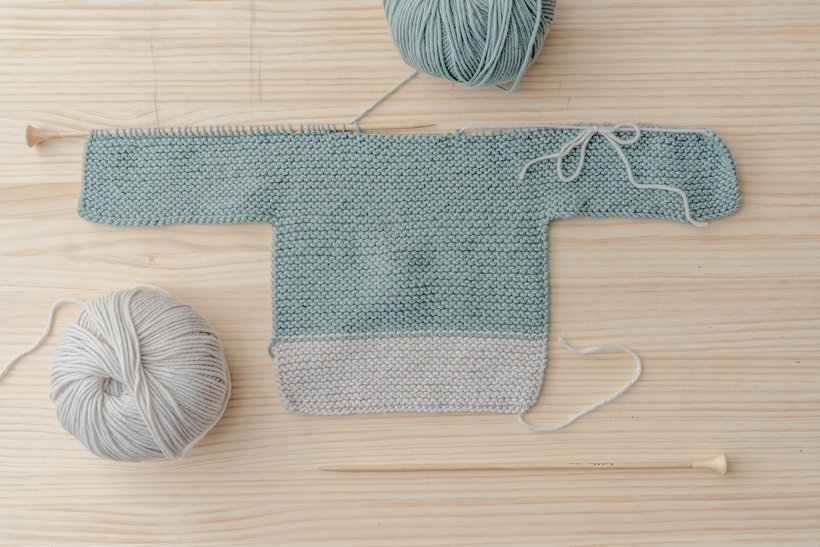
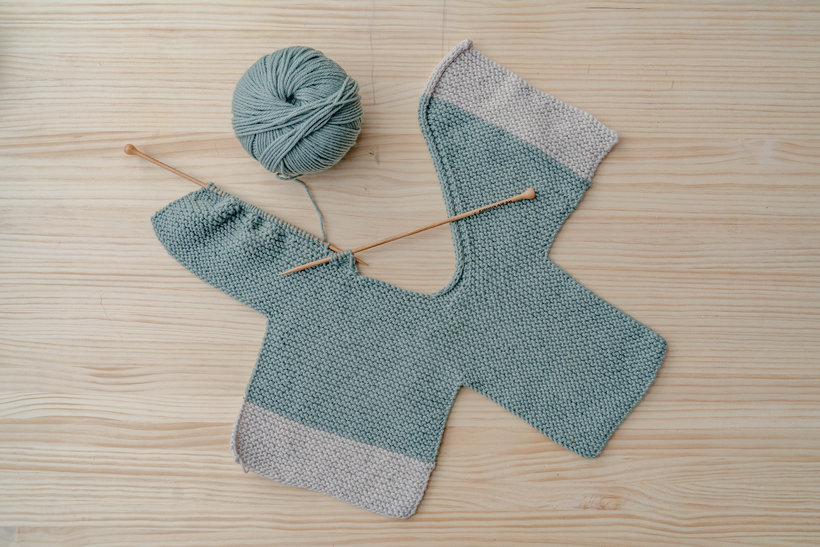
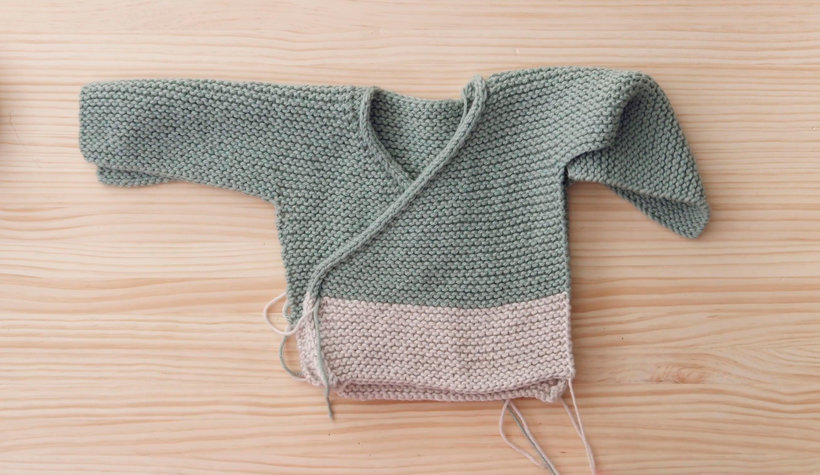
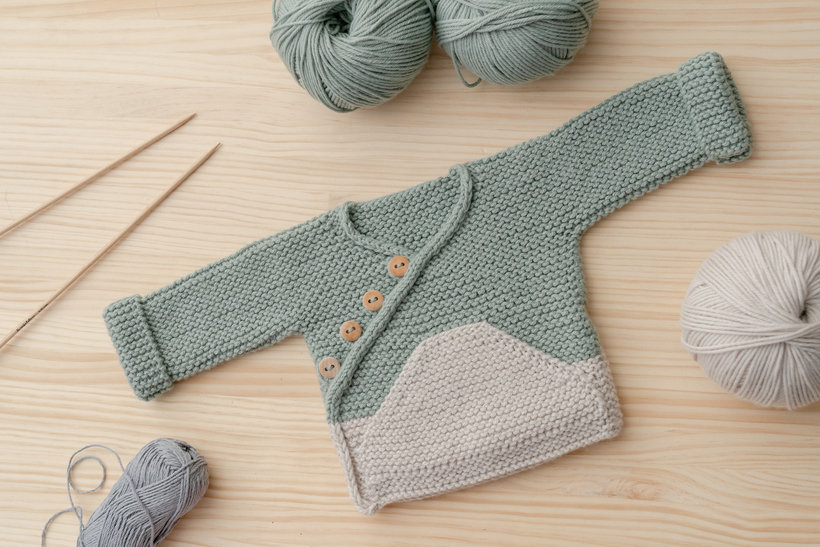
“Final project Now we have reached the end of this Domestika course, but before saying goodbye we will review what we saw in the course. First I showed you the materials we would use and we learned to cast on the stitches on our needle. Then I taught you the basic stitches to knit and I showed you how to bind off stitches to shape your garment. Later I showed you my inspiration process. We create our sketch. We did the stress sample and we calculate the actual measurements of our jacket. Then we create our garment. We start at the back, we go up to the sleeves and we finish with the front. F...”
This transcript is automatically generated, so it may contain mistakes.
Course summary for: Knitting for Children's Garments
-
Category
Craft -
Areas
DIY, Fashion Design, Fiber Arts, Knitting, Textile Design

Marta Porcel Vilchez
A course by Marta Porcel Vilchez
Yarn, thread, buttons, and ribbons were Marta Porcel's passion as a little girl. Although she is a trained psychologist and professional marketing expert, in 2016, she decided to devote herself to what she loves full time: teaching knitting and showing the world what you can create with your own hands.
To further fuel her passion, Marta launched Creativa Atelier, her own website and online pattern store where she provides step-by-step instructions on how to knit and make clothing and accessories. Her work has caught the attention of well-known industry brands and has allowed her to collaborate with big names like Katia Yarns and Fabrics, Anchor Crafts, We Are Knitters, DMC, and Knitive. Her work has also been featured in magazines and publications such as The Sewing Box Magazine, Labores del Hogar, Molly Makes, Fair Cotton Crochet, Ser Padres.
- 99% positive reviews (641)
- 13,686 students
- 17 lessons (2h 38m)
- 29 additional resources (10 files)
- Online and at your own pace
- Available on the app
- Audio: Spanish, English
- Spanish · English · Portuguese · German · French · Italian · Polish · Dutch
- Level: Beginner
- Unlimited access forever

