Efficient Design: Optimize Your Photoshop & Illustrator Workflow
Course final project
A course by Valeria Dubin , Visual Communication Expert


About the final project for: Efficient Design: Optimize Your Photoshop & Illustrator Workflow
Efficient Design: Optimize Your Photoshop & Illustrator Workflow
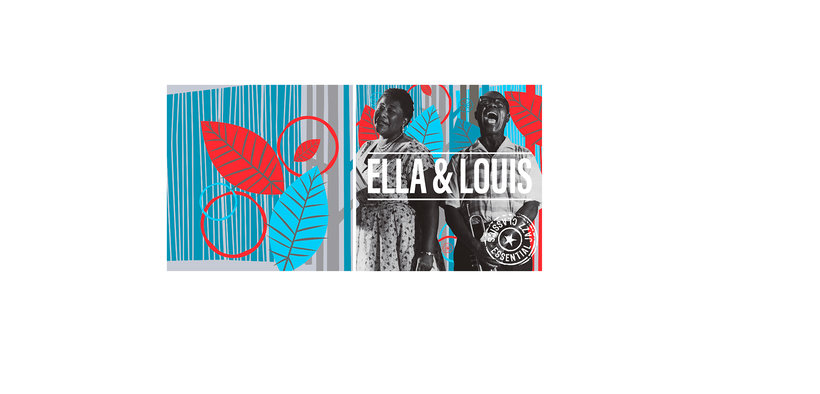
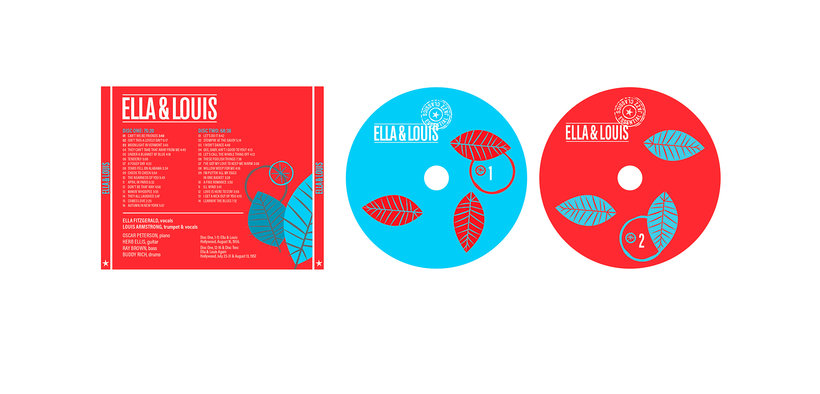
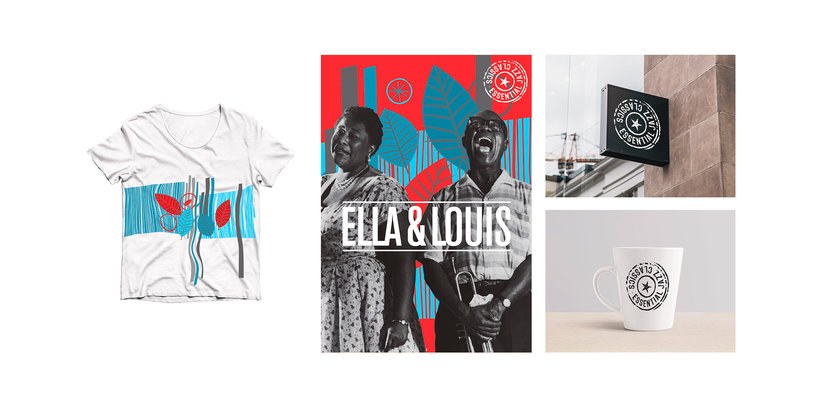
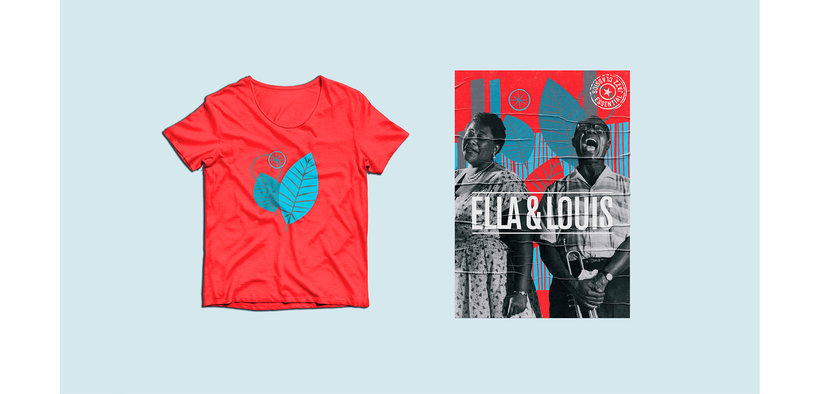
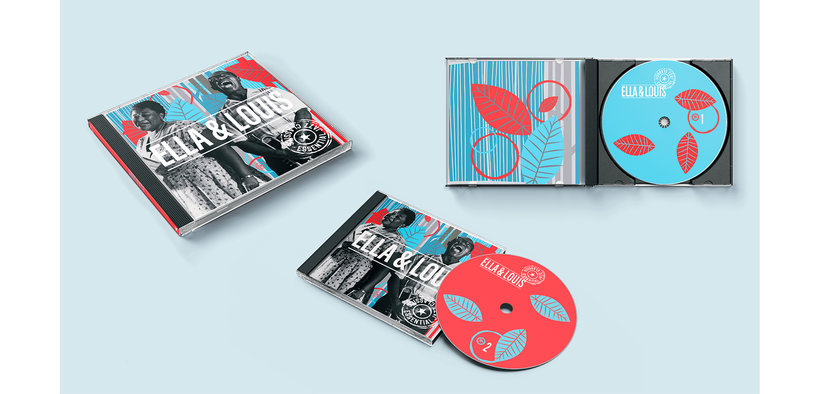
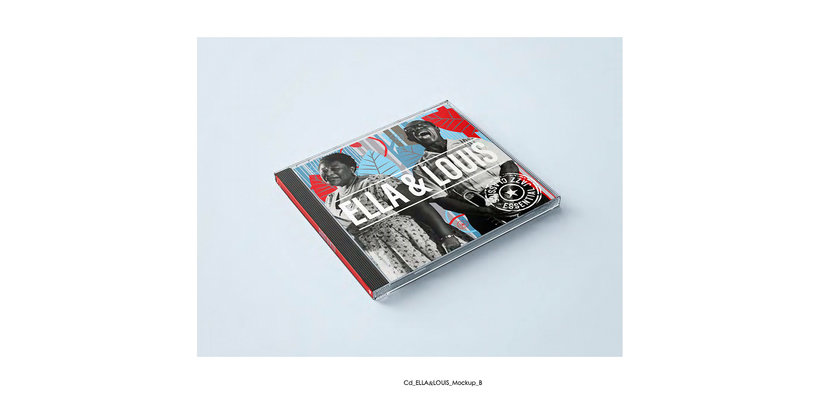
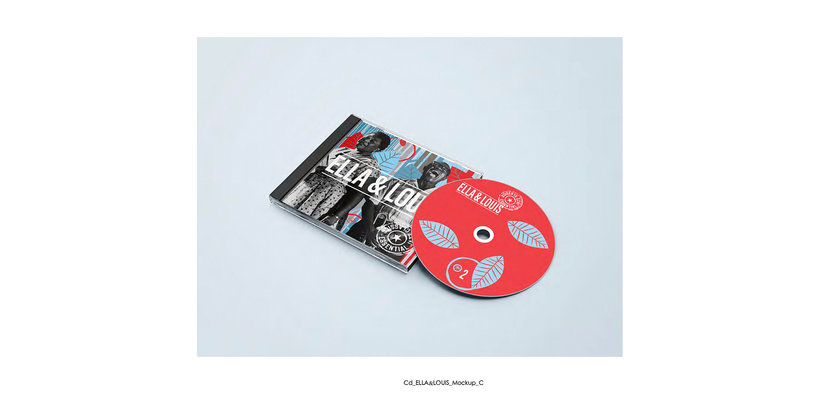
“Now I am going to make a brief review of all the steps I followed to make my final project: the design of all the parts of a jazz record and its assembly in mock-ups to elaborate a presentation. Remember that you can make a project with the same theme or also choose a different one, as long as they are coordinated elements and assembled in mock-ups, whatever you have more fun with! Get ready to start working After customizing the Illustrator and Photoshop workspace, and mastering the use of shortcuts, decide on the theme of your project, download images and illustrations to carry it out and sketch your first ideas. Design the pieces in Illustrator It's time to start designing. Choose the chromatic range you are going to work with, in the additional documents of Unit 3 you will find resources that can help you. Design all the parts of your project in Illustrator using the shortcuts and workflow tools to optimize your time. Then, download images of different media (mug, t-shirt, poster, etc.) and adapt your designs to them in Illustrator. Booklet: cover and back cover


Partial transcription of the video
“Final project Hello, we have reached the end of the course. I hope the content was easy for you to understand, above all, that you have fully absorbed the concepts and that the things we talked about have seemed useful and interesting to you. I have tried to share with you my way of working step by step and some tips when designing. I trust that you can take advantage of it in your final project and in your future professional or personal projects. Now we are going to do a brief review of the main tips that you cannot forget when making your final project. Before you start, personalize your...”
This transcript is automatically generated, so it may contain mistakes.
Course summary for: Efficient Design: Optimize Your Photoshop & Illustrator Workflow
-
Category
Design -
Software
Adobe Illustrator, Adobe Photoshop -
Areas
Design, Design Management, Digital Design, Graphic Design

Valeria Dubin
A course by Valeria Dubin
Valeria Dubin is a visual communication expert originally from São Paulo. She has more than 20 years of experience designing signs for graphic spaces, creating campaigns, and building communication identities. She spent 15 of those years as a partner and the art director at Estudi Canó de Barcelona, which designed the graphics and exhibits for PIXAR: 25 Years of Animation.
Valeria currently works as a freelance designer collaborating on graphic design projects geared towards spaces, like signage for the old Estrella Damm factory, or strategy and brand building projects for clients like the El Miracle cheese factory and The Family Language English school.
- 97% positive reviews (79)
- 3,590 students
- 20 lessons (5h 6m)
- 19 additional resources (9 files)
- Online and at your own pace
- Available on the app
- Audio: Spanish
- Spanish · English · Portuguese · German · French · Italian · Polish · Dutch · Turkish · Romanian · Indonesian
- Level: Beginner
- Unlimited access forever
Recommended software & tools for this course
Category
Areas