Introduction to Portrait Drawing

Course final project

A course by Alonso Palomino , Illustrator and Graphic Designer

Illustrator and Graphic Designer. Lima, Peru.
Joined November 2020
97% positive reviews (118)
3,472 students
Audio: Spanish, English
Spanish · English · Portuguese · German · French · Italian · Polish · Dutch

About the final project for: Introduction to Portrait Drawing

Introduction to Portrait Drawing

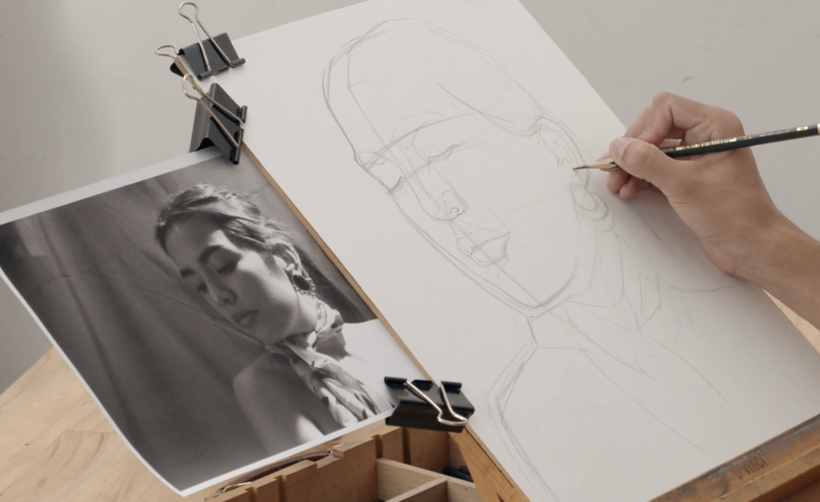
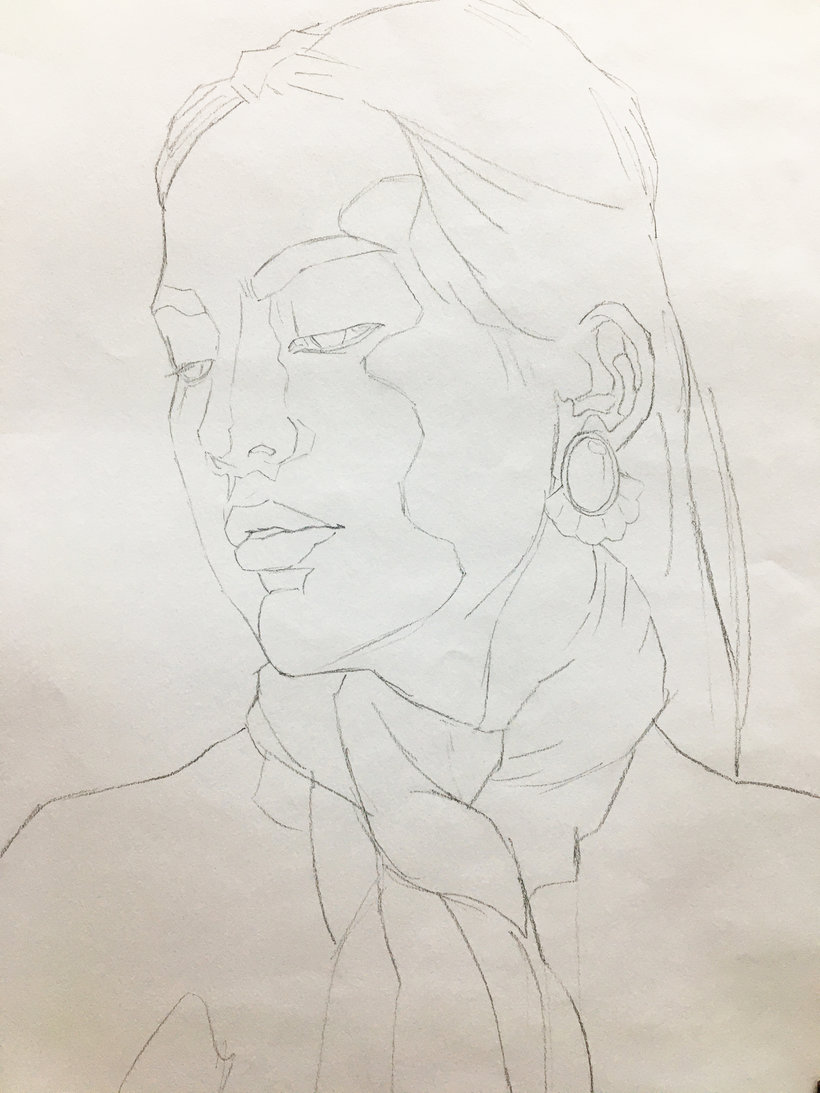
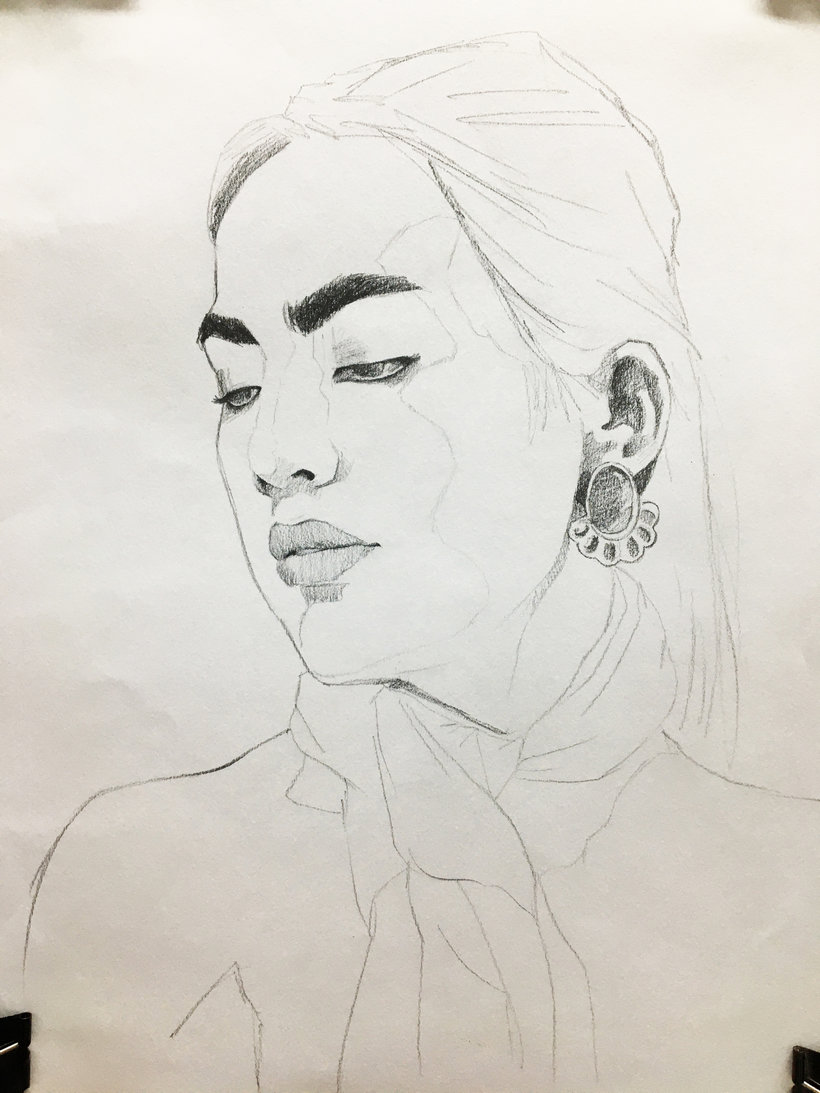
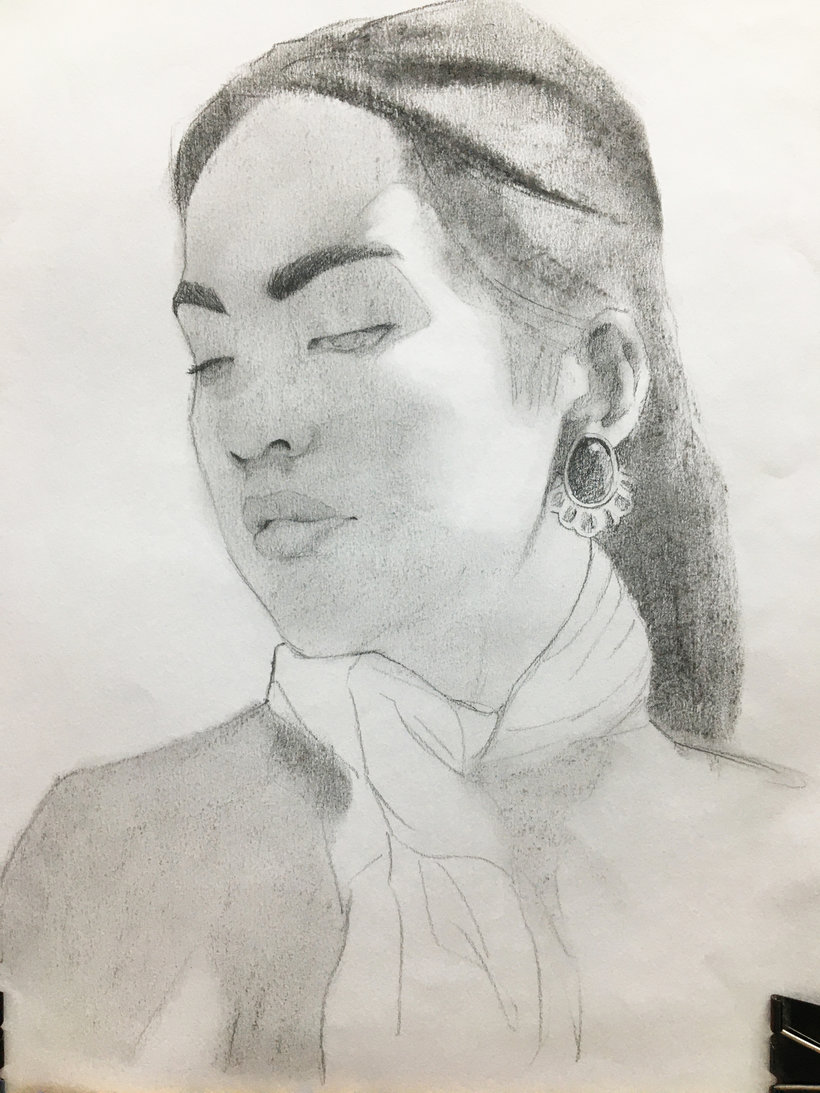
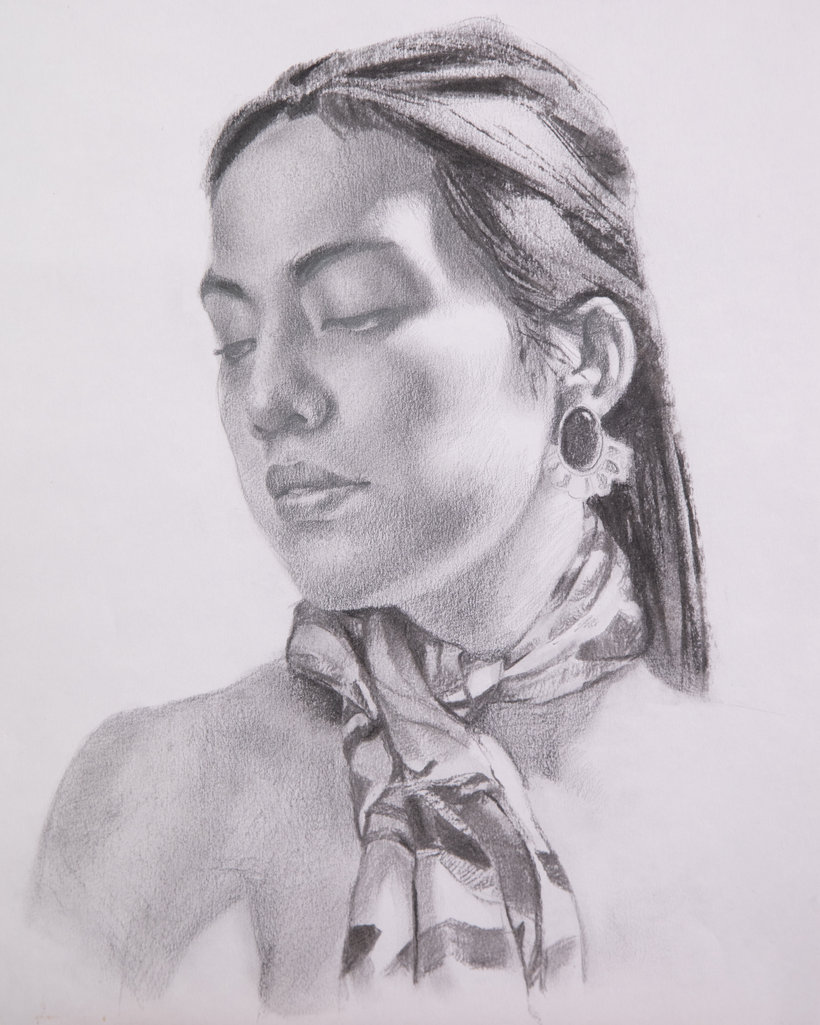
“You have reached the end of the course, thank you for joining me on this adventure. Before saying goodbye, I would like to ask you not to miss the opportunity to share your final project. I invite you to make one completely yours, that is 100% of your authorship, use another reference that you like. Carrying out this project requires time and effort, so do not let it get lost or remain in the air, do not forget to share it here, so we can all see what and how you did it. I share an example of how I would like to see your final project: First final project The photo and the sketch Find a portrait that you love, inspire you and make you feel. Remember that, in addition, you must pay close attention to the lighting in the photograph so that you can later work better on your portrait. If you already have it ready, then you can start with the sketch make sure you fit your portrait as much as you can.

Facial features The features of the face are difficult to carry out, if you do not feel extremely comfortable doing them, I recommend that you practice doing some exercises like the ones I left you in the Construction of the human head and face unit. Once you feel comfortable, then get to work, start working on the facial features of your portrait, above all, I recommend paying more attention to the characteristic features such as eyebrows, eyes, nose and mouth.
Finalizing the portrait Once the facial features are finished; which is already a breakthrough, then it's time to start working on the highlights, shadows, and midtones. Don't be afraid to use charcoal, although it can be a bit volatile, it is also a very noble material. Use the eraser and a cloth carefully to take care of the neatness of your portrait. Do not forget to apply the fixative throughout this process to make it easier for you, keep in mind that this process will take time, because you will work it in layers. Be patient, give the fixer time to kick in so you can continue working on your portrait.
Second final project Do you accept the challenge? If you decided to carry out the bonus lesson with the watercolor technique, here is also an example of how I would like to see your project. The sketch and the face (the first layer) You do not need to look for a new photograph, you can work with the one you chose for the previous technique, so you can see the difference between one and the other. Make the sketch of your portrait, as you did before. With the sketch ready, it is time to apply the first coat of watercolors, remember it is a soft and light coat, as it is only the base. Keep in mind that, in addition, you must soften the contours
The face (the second layer) Wait a few seconds between the previous step and this one, because you should not touch the portrait until it is 100% dry, so ... patience and calm that it will be worth it. Apply the second coat of watercolors, wait a while again and when it is ready you will apply a third coat this time, but only in the areas where your portrait has the greatest shadow. Don't forget to smooth out the contours you applied.
Finalizing the portrait Work the rest of the portrait like hair, clothes, and details. This process is also done in layers. Up to this point you should work everything with the same tone. But once everything is ready then you can use a stronger tone so that the effect of the shadow is greater. Let your portrait dry, once dry apply the pure ink with the pen to add textures, necessary details and to highlight those areas that you consider necessary. The latter will help your portrait come to life and look much better.
Ready now you have your portraits! Do not forget to apply the correct care for each of the portraits. If during the process you become frustrated and do not want to finish the piece, take a break, take a moment for yourself and then resume, continue creating and working. Remember that you are not the only one who goes through this, believe it or not it happens to all of us, so calm down. The important thing is that you don't stop doing what you like and that you give yourself the opportunity to enjoy each of the pieces you make. I greatly appreciate that you have chosen this course to learn more, please, do not forget to upload your final project, I already want to see your portrait. I invite you to participate in the forum and if you have any questions you can ask me by that means, I will answer you as soon as possible. See you on the forum! ”

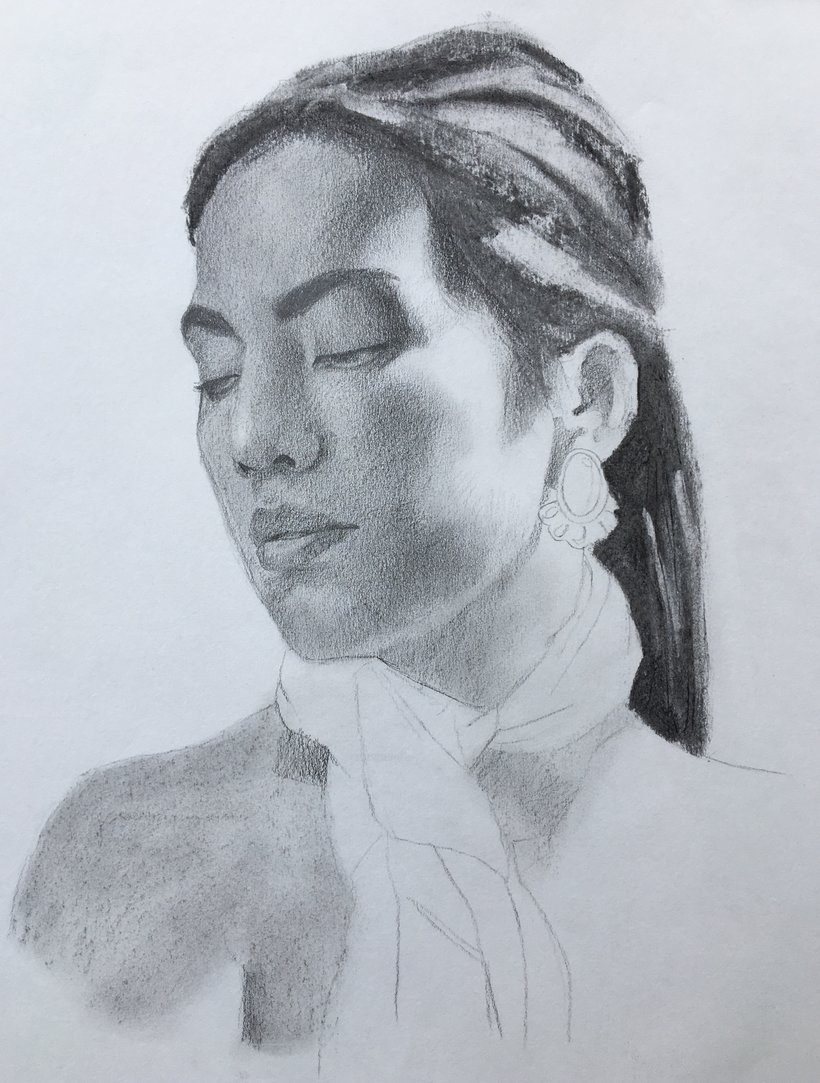
Partial transcription of the video
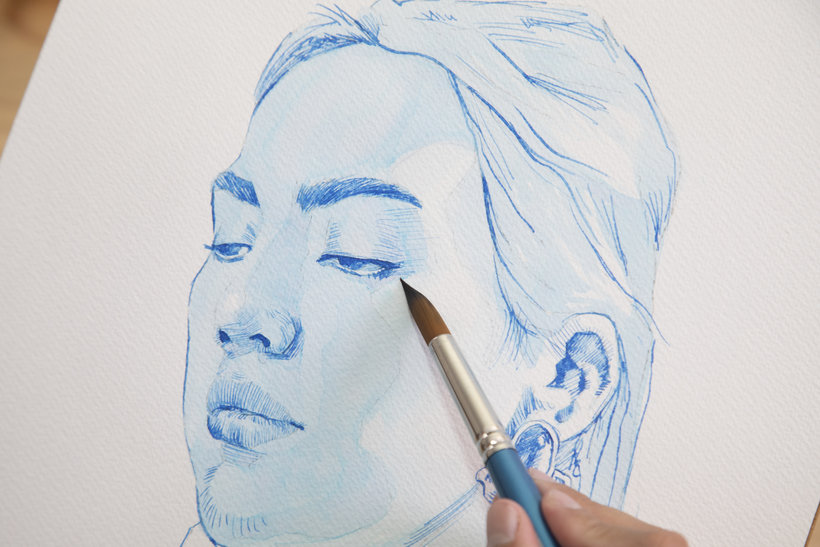
“Final project You have reached the end of the course, But before I say goodbye, I want to give you some final advice. Remember to select a photo with the correct lighting and that is to your liking, as it will keep you motivated throughout the process. When you start to draw, try to do it on a base with an inclination perpendicular to your vision, as this will allow you to correctly provide no perspective distortions. Then you must fit the general shapes of the photograph into your drawing based on the basic shapes studied. Then define the features and elements of the face separating the li...”

This transcript is automatically generated, so it may contain mistakes.


Course summary for: Introduction to Portrait Drawing

  • Level: Beginner
  • 97% positive reviews (118)
  • 3472 students
  • 5 units
  • 20 lessons (2h 30m)
  • 3 downloads
  • Category

    Illustration
  • Areas

    Artistic Drawing, Drawing, Figure Drawing, Fine Arts, Pencil Drawing, Portrait Drawing, Traditional illustration

Alonso Palomino

Alonso Palomino
A course by Alonso Palomino

Teacher Plus
Illustrator and Graphic Designer

Alonso Palomino is a graphic designer by trade, but an artist at heart. His first contact with art was the small woman who watched him from the frame on his great grandfather's bedside table; he felt so entranced by her gaze that the image stuck with him. Years later, he found out that it had been Leonardo da Vinci's Mona Lisa who had been watching him.

Alonso's passion for portraying life through faces is reflected in his art, which focuses on portraits and the human figure. He currently works as an illustrator, designer, and independent artist.


  • 97% positive reviews (118)
  • 3,472 students
  • 20 lessons (2h 30m)
  • 11 additional resources (3 files)
  • Online and at your own pace
  • Available on the app
  • Audio: Spanish, English
  • Spanish · English · Portuguese · German · French · Italian · Polish · Dutch
  • Level: Beginner
  • Unlimited access forever

Category
Areas
Introduction to Portrait Drawing. Illustration course by Alonso Palomino

Introduction to Portrait Drawing

A course by Alonso Palomino
Illustrator and Graphic Designer. Lima, Peru.
Joined November 2020
  • 97% positive reviews (118)
  • 3,472 students