Rendering and Digital Collage for Architectural Displays
Course final project
A course by Architecture On Paper , Architectural Visualization Studio

Joined October 2020


Joined October 2020


About the final project for: Rendering and Digital Collage for Architectural Displays
Rendering and Digital Collage for Architectural Displays
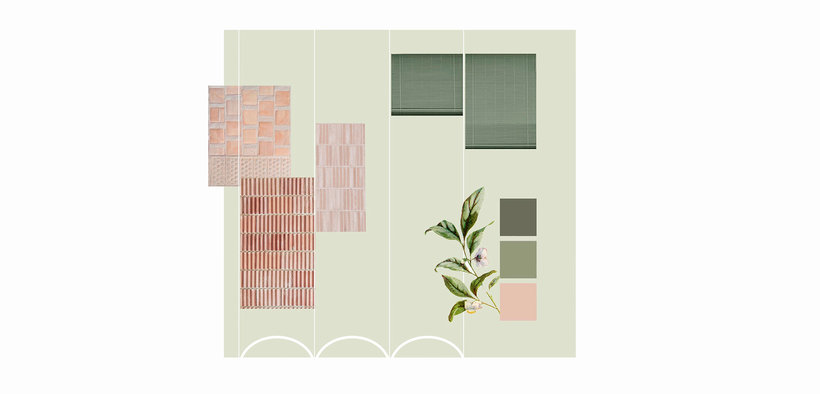
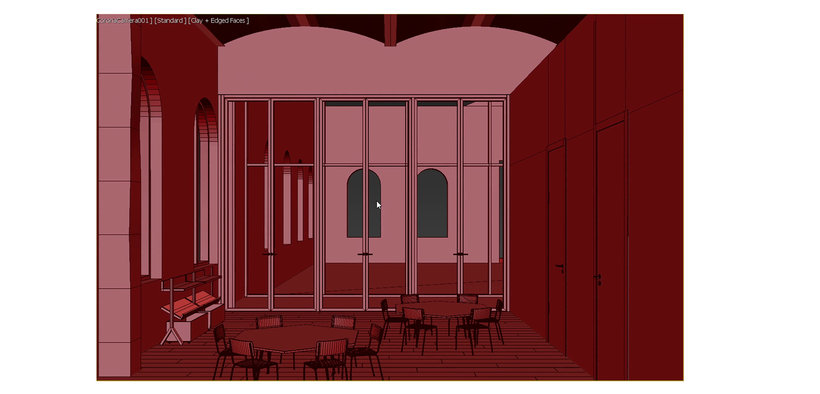
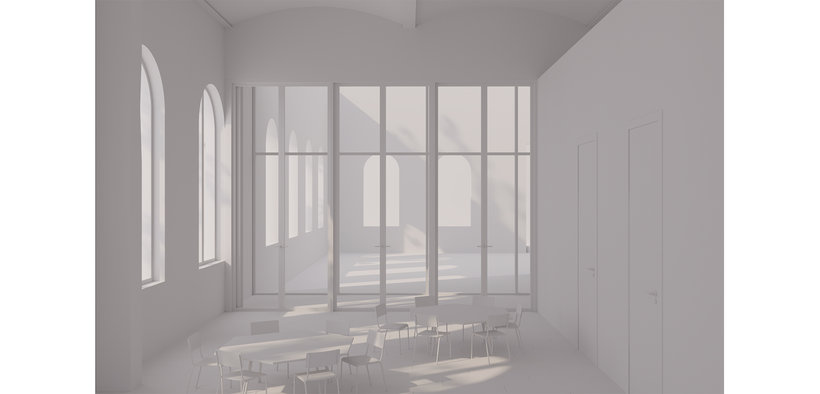
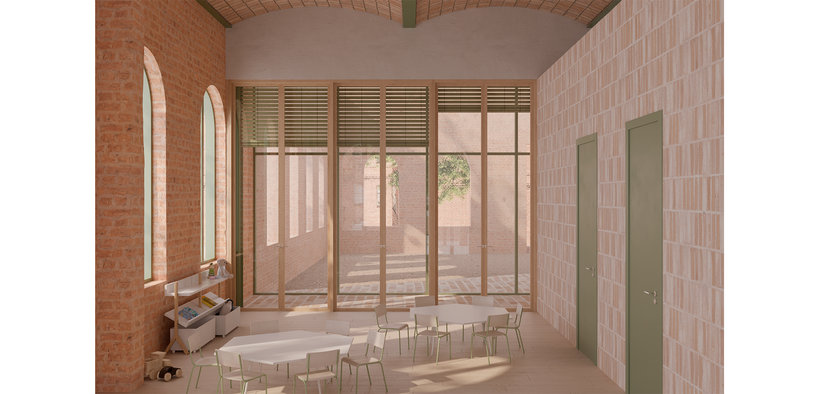
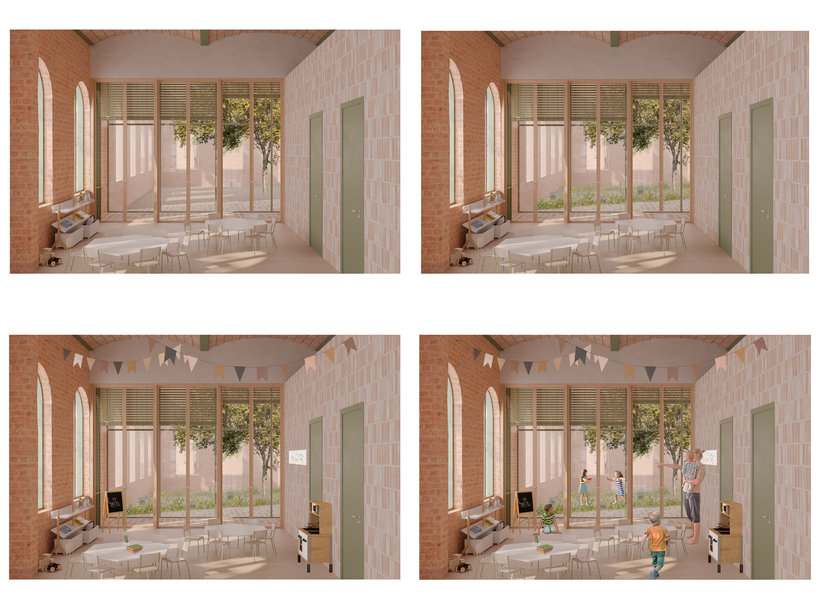
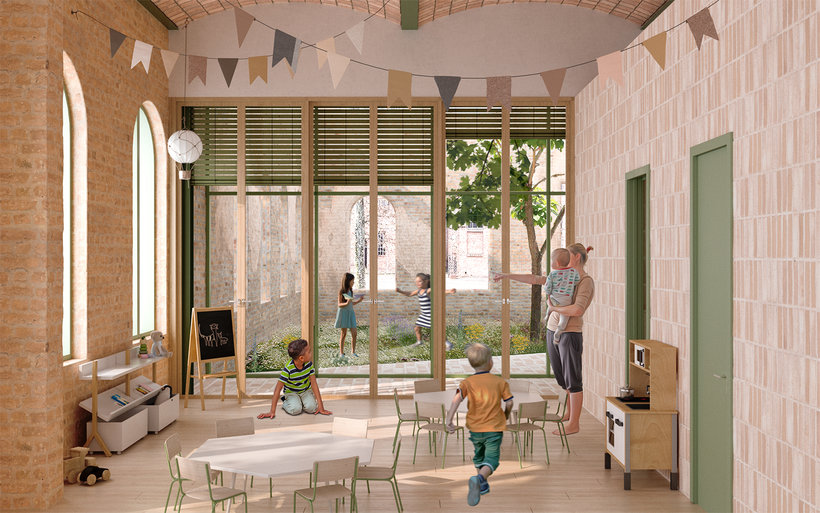
“Throughout the course we have been learning to create an image with which to project and imagine the final result of a project before it is built (hence the name “Architecture On Paper”). To think, imagine, create, project, materialize and build architecture, it is necessary to represent it in a visual and palpable image. We have given you the bases to explain your own story and unleash your imagination. However, the key to architectural rendering is practice. The more you practice, the faster you will evolve and the more sensitive your eye will be. It is also very important that you observe. We advise you to reproduce details of images from other authors or studies that you like and create your own style with images that they convey. You can also get inspired through our Instagram account . Now we are going to review the development phases of the project. In this case, it is an interior view of a nursery with which you can put into practice all the skills and secrets that we have been teaching you during the course. Concept and References: Start by creating a "mood board" to help you visualize and develop your ideas throughout the project. Collect ideas for materials, color palettes, and elements that you would like to add to your scene.

Partial transcription of the video
“Final project Thank you for sharing this time with us. In this last video we will review all the skills that you learned in this course, and we'll give you the last tips so that you can complete your projects optimally. The process we followed during this course is very similar to the one we use every day with the client. We usually have a meeting with the client to discuss project type, style and references. Then we showed you how to create a mood board of ideas, with materials, with the elements that make up your image or with colors. In our case, we start from a material, but you can sta...”
This transcript is automatically generated, so it may contain mistakes.
Course summary for: Rendering and Digital Collage for Architectural Displays
-
Category
Architecture & Spaces -
Software
3ds Max, Adobe Photoshop, Corona Renderer -
Areas
3D, 3D Design, Architecture, ArchVIZ, Digital Architecture

Architecture On Paper
A course by Architecture On Paper
Brenda Roqueta is an architect and Alba Estevez is a visual artist specializing in 3ds Max. They started out working together on personal projects which eventually evolved into collaborations with national and international studios.
Together, they are Architecture on Paper, an architectural visualization studio where they work on everything from 3D models to final images. Whether it's architecture, interior design, or landscapes, if you want to make your projects a reality, you have to know how to visually represent your ideas with a tangible image.
- 100% positive reviews (102)
- 3,379 students
- 19 lessons (3h 9m)
- 25 additional resources (13 files)
- Online and at your own pace
- Available on the app
- Audio: Spanish
- Spanish · English · Portuguese · German · French · Italian · Polish · Dutch · Turkish · Romanian · Indonesian
- Level: Beginner
- Unlimited access forever
Recommended software & tools for this course
Category
Areas