Creating Ceramics with Character

Course final project

A course by Sandra Apperloo , Ceramic Artist

Ceramic Artist. Utrecht, Netherlands.
Joined June 2020
99% positive reviews (264)
6,606 students
Audio: English
English · Spanish · Portuguese · German · French · Italian · Polish · Dutch

About the final project for: Creating Ceramics with Character

Creating Ceramics with Character

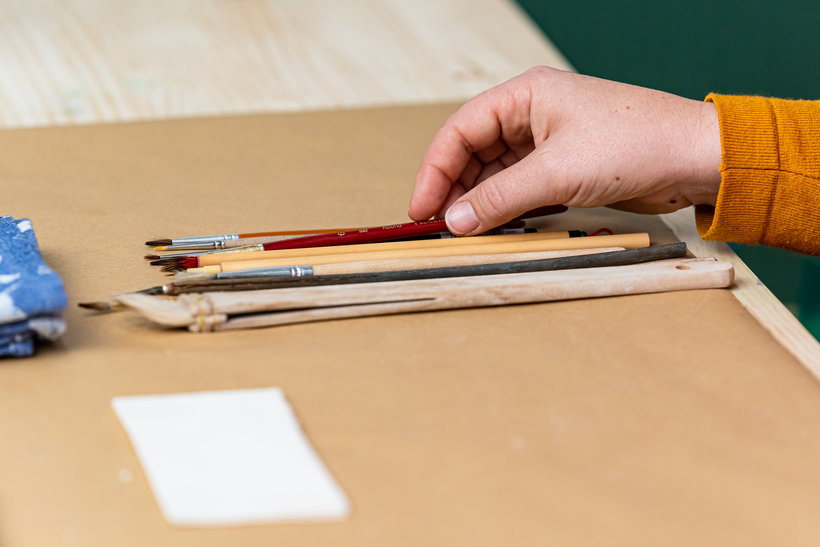
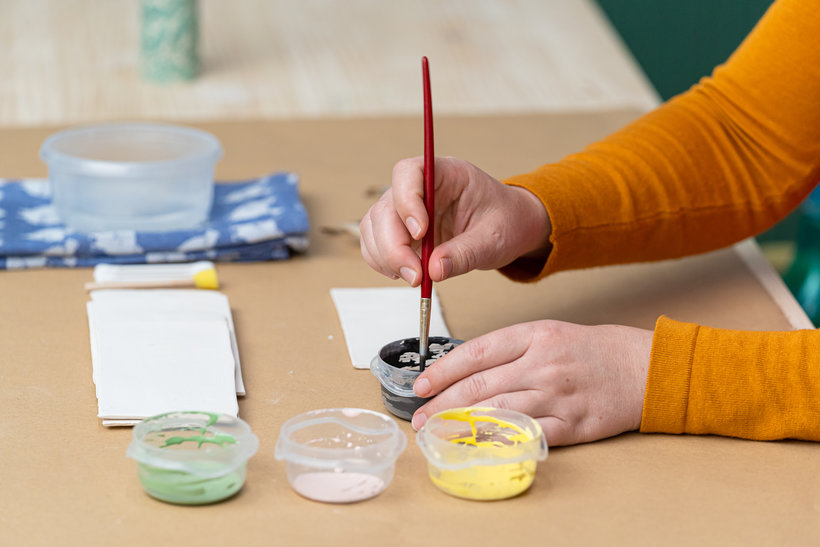
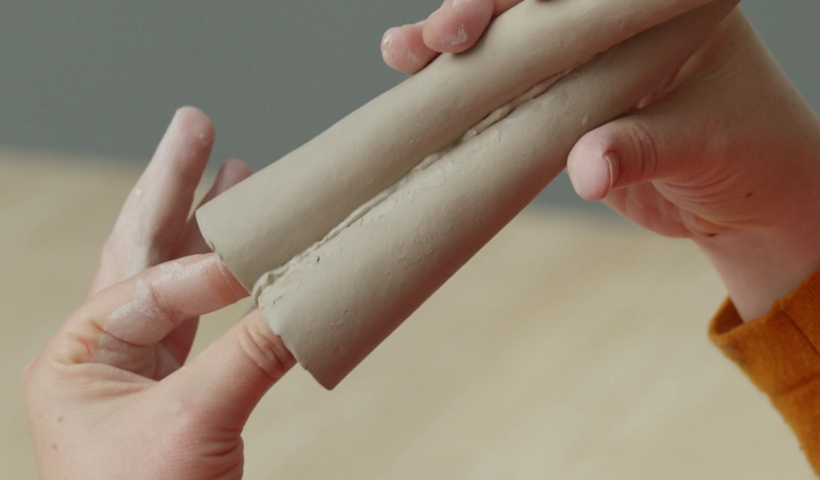
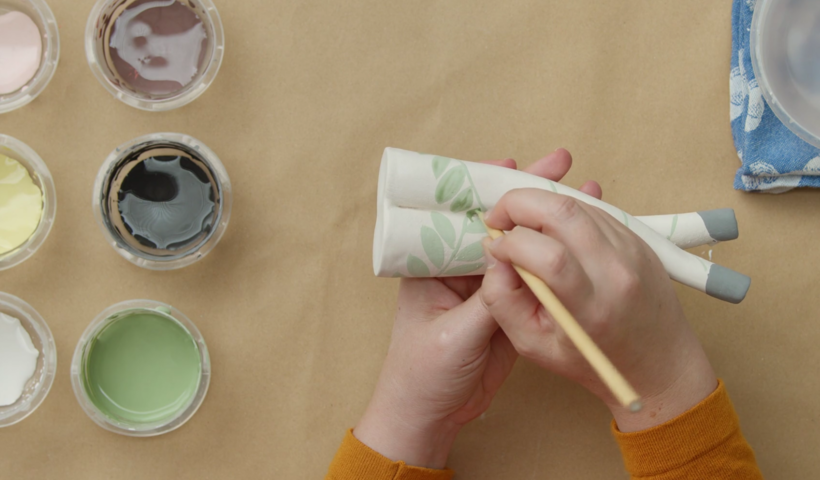
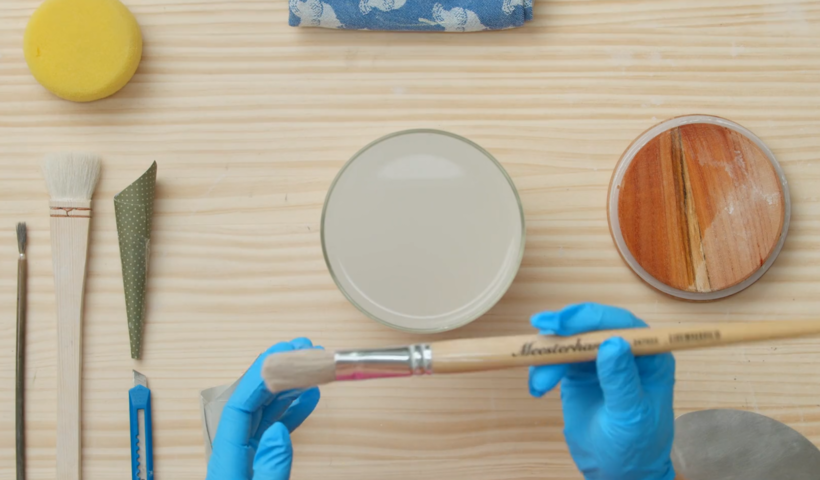
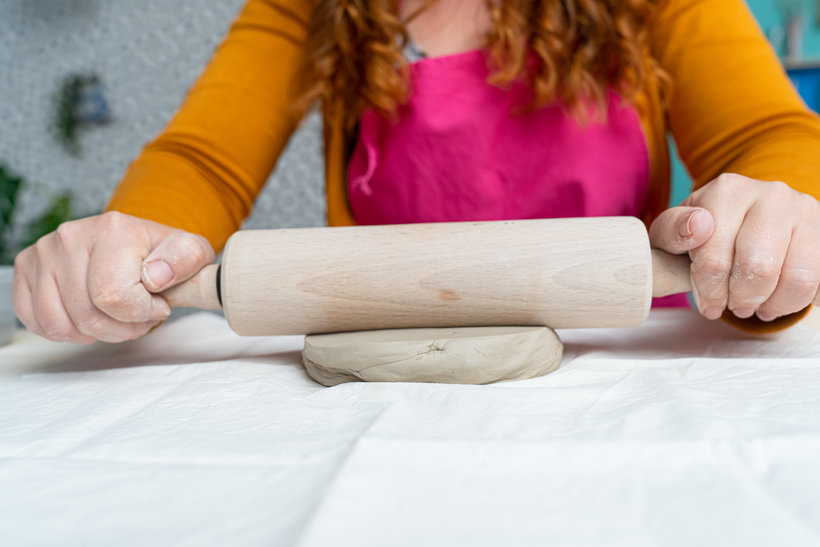
“We’ve reached the end of this Domestika course. I hope you’ve learned the necessary skills to create your own unique cuddling vase. Before saying goodbye, I’d like to give you a few pointers to help you achieve your final project. First, we learned about the different brushes and underglazes and I taught you how to mix your own shades before moving on to painting patterns and creating characters. Remember to use soft-haired brushes to paint with underglazes, brushes with pointy tops for lines and details, and brushes with a flat top for dots. Also, remember to check the label of your underglaze for any specific instructions that may be on there, for instance, the firing temperatures.

Then we created our clay slab and cut out our vase design using a template. Make sure to take a look at the measurements of the templates I’ve left you in attachments and either use the exact measurements or design a similar sized one.
Once we had our design cut out, we rolled and built the vase, gave it a shape, and learned how to properly pack it for transportation. Keep in mind that rolling the vase takes practice and to use a newspaper to cover your paintbrush.
After we got our piece back from the kiln, we painted it using the techniques we saw before. I chose a detailed botanical pattern with a greenish shade and light yellow dots. You can use any design or pattern you like. Two things to keep in mind are: you can use the scraper for small corrections and you can paint one to three layers depending on how intense you want your color to be.
Then we learned how to make a transparent glaze and use it on the vase. Remember that after dipping it in the glaze, you should leave it upside down until it’s dry and scrape off any excess glaze such as drips or paintbrush marks. Also, there should not be any glaze on the bottom of your vase, so make sure it's absolutely clean.
Then it was time to wrap it up again and take it to the second firing. Make sure that you first cover your vase carefully with a layer of plastic because the glaze will be powder once it’s dry. Then there was the magical moment of getting your piece back from the second firing! If it comes back with imperfections remember that these make the charm and create an opening for learning, so don’t let it discourage you from feeling proud of your first cuddling vase! In fact, I hope you will enjoy your piece and share it with the world! That’s why we also saw how to photograph your vase and share it on social media. I like to use a white background with natural light but feel free to create your own style. I also gave you some suggestions on where to place it. Make sure that wherever you end up placing it there’s no draft and there’s no risk of knocking it over. I also taught you how to make it completely waterproof. It might not be necessary, but in case you find that it leaks, you can always go back to that lesson. I really hope you’ve enjoyed the whole process of creating your cuddling vase as much as I do when I work on my ceramics. It is now time for me to say goodbye. Thank you for taking my course and I look forward to seeing all the steps you took to create your final project! If you have any questions, I’ll be happy to answer them in the forum. Enjoy your vase, and I wish you the best in your creative adventure! ”

Partial transcription of the video

“Final Project We've reached the end of this Domestika course. I hope you've learned the necessary skills to create your own unique cuddling vase. Before saying goodbye, I'd like to give you a few pointers to help you on your way with your final project. First we've learned about the different brushes and underglazes, and I taught you how to create your own shades before moving on to patterns and characters. Remember to use soft hairbrushes to paint with the underglazes, brushes with pointy tops for lines and details, and brushes with a flat top for dots. Also remember to check the label of ...”

This transcript is automatically generated, so it may contain mistakes.


Course summary for: Creating Ceramics with Character

  • Level: Beginner
  • 99% positive reviews (264)
  • 6606 students
  • 5 units
  • 20 lessons (3h 42m)
  • 10 downloads
  • Category

    Craft
  • Areas

    Accessory Design, Arts & Crafts, Ceramics

Sandra Apperloo

Sandra Apperloo
A course by Sandra Apperloo

Teacher Plus
Ceramic Artist

Sandra Apperloo is a ceramist from Utrecht, Netherlands, who has always had a passion for art. She started sharing her interest for art, craft, and illustration with the world through her blog ArtisticMoods in 2012, which led her to explore different materials on her own. It was love at first sight for Sandra when it came to pottery, and she’s been sculpting and shaping clay ever since.

Sandra is now a full-time ceramic artist, putting love, thought, and effort into every piece she creates. Her brand, The Pottery Parade, includes a wide variety of decorative objects in pastel hues, with each piece carefully adorned with fun little faces.


  • 99% positive reviews (264)
  • 6,606 students
  • 20 lessons (3h 42m)
  • 28 additional resources (10 files)
  • Online and at your own pace
  • Available on the app
  • Audio: English
  • English · Spanish · Portuguese · German · French · Italian · Polish · Dutch
  • Level: Beginner
  • Unlimited access forever

Category
Areas
Creating Ceramics with Character. Craft course by Sandra Apperloo

Creating Ceramics with Character

A course by Sandra Apperloo
Ceramic Artist. Utrecht, Netherlands.
Joined June 2020
  • 99% positive reviews (264)
  • 6,606 students