Best seller

Introduction to Film Direction

Course final project

A course by César Pesquera , Director and Visual Artist

Director and Visual Artist. Barcelona, Spain.
Joined February 2016
Best seller
100% positive reviews (202)
7,840 students
Audio: Spanish, English
Spanish · English · Portuguese · German · French · Italian · Polish · Dutch

About the final project for: Introduction to Film Direction

Introduction to film directing

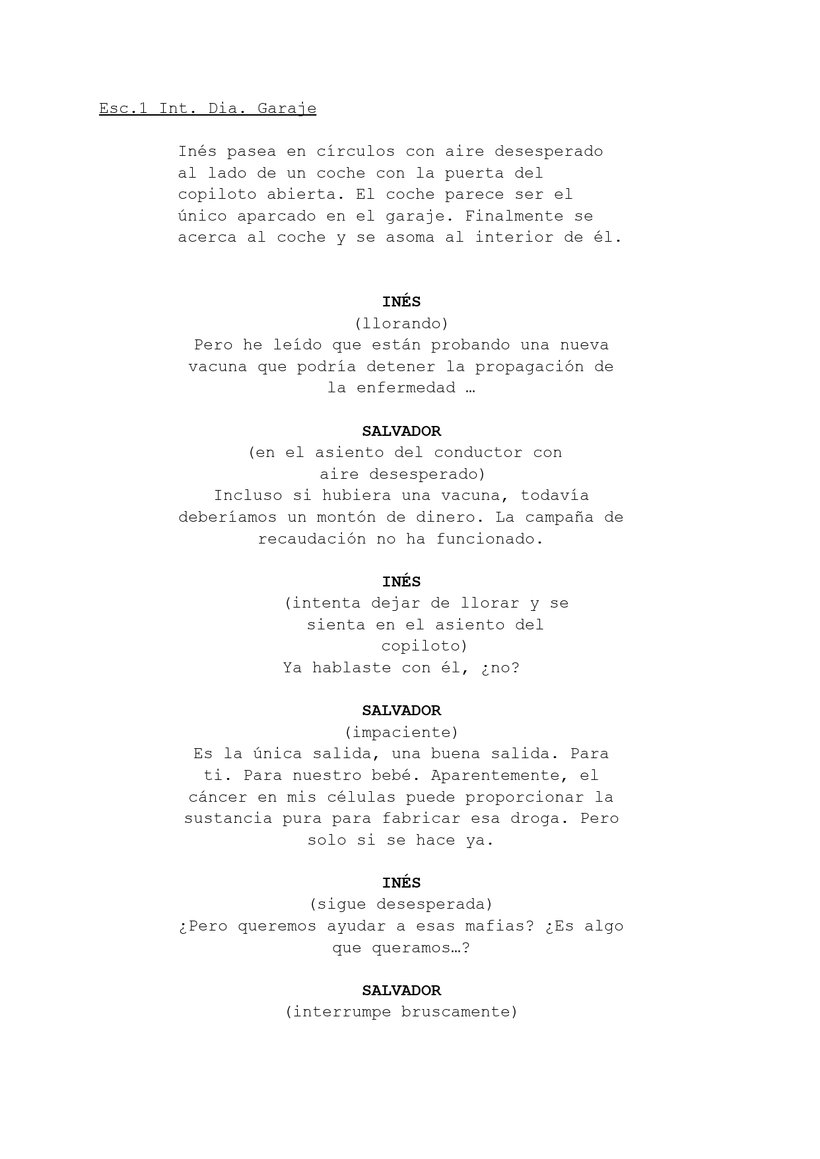
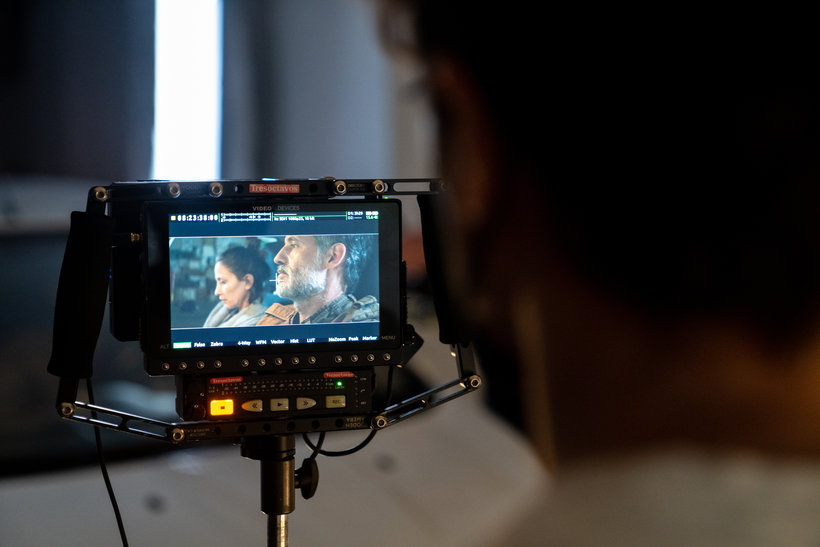
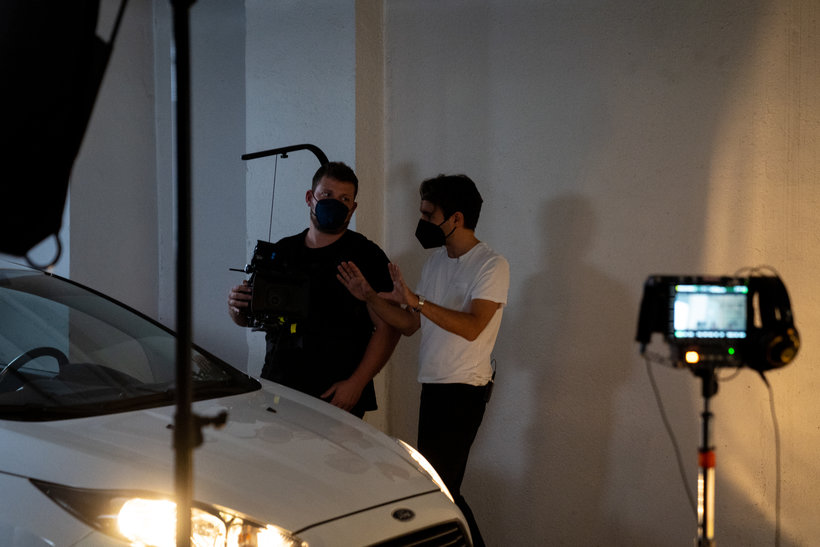
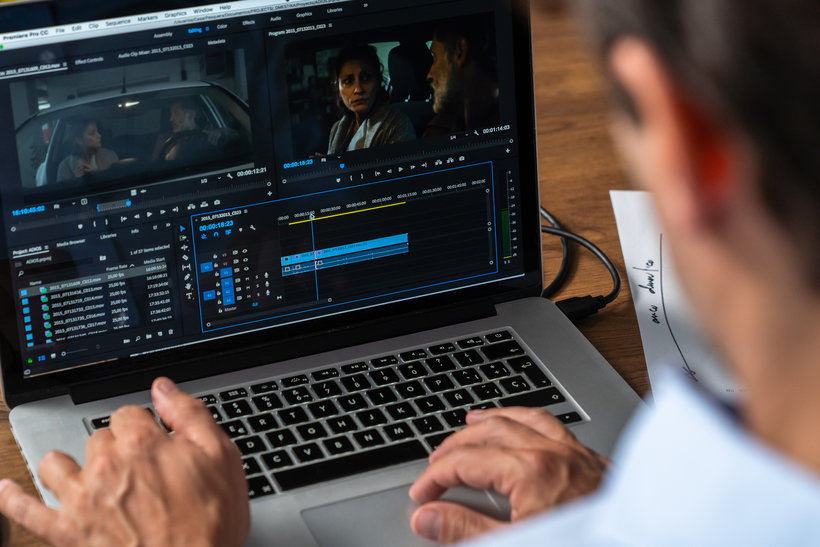
“We have reached the end of the course and I hope I have been able to transmit everything I have learned throughout my career and that it will be useful to you when shooting your pieces and telling your stories. In any case, remember that the path is made on foot and that then each one finds their ways, their ways and the methods that work best for them, so take this course as a guide and not as a manual that must be followed at the foot of the letter. As you have seen, telling a story in pictures —be it from your own text or someone else's text— requires perseverance and the ability to renounce in equal measure. It is a long, arduous and full of ups and downs, but when you see how your story comes to life, how each of the elements, each of the phases of the process, breathes life into that story, I can assure you that satisfaction is enormous. I encourage you to write your little stories and with the help of this course translate them into images and give them that life. Remember that your project can be a scene written by you or by someone else, you can base yourself on a pre-existing text and adapt it or simply start from a script from a movie already shot and rethink a scene from that movie based on the script. But remember that it is important that there is always a conflict, that there is a narrative arc and that the action described changes the value of the life of at least one of the characters. Next, we are going to review the key phases of the project. It would be great if you showed me a picture of each phase and added a brief explanation about what you have done in each one. Script The first step is to choose the text on which we are going to work. When facing your project, remember: analyze well the text you are starting from and begin to visualize.

Treatment With the script ready, I have compiled references and images from films and directors. This can be very useful as a reference when planning and carrying out the project. Then, I have ordered the mood boards of references and I have been defining my vision so that it is well reflected in a treatment that helps me to communicate with other members of your team.
Production decisions During production we have to make the right decisions to make our vision come true. In this step I have formed my team and I have chosen the locations and the casting of actors for my scene.
Storyboard or technical script Next, I have planned my scene through a storyboard with descriptions of each shot. When you do it, if you do not include drawings or photos, include more detailed descriptions that help to understand what happens in the frame. Here I show you my storyboard. In Unit 3 I left it as an attachment, as well as the technical script of my project and templates to be able to do them yourself.
Pre-production dossier This step is key to the proper functioning of the project. I have compiled all the production elements in a dossier to verify that the decisions I have made fit my initial vision. I do not share it here so as not to take up much space and not repeat information with the previous steps, but I have left it for you in the additional resources of Unit 3 so that you can have it as an example or reference when preparing your own, if you do. you need. Shooting Before taking action, I designed a shooting plan to organize everything based on the shots I had to shoot. In this way, we manage to optimize time and energy to the maximum on the shooting day. Then comes the moment of truth, filming on set. Remember to treat your actors with affection, but find everything you need from them. Also lean on your cinematographer, if you have one.
Assembly and editing The last step of the way. Finally we have to simmer the filmed material in the montage, selecting, mounting and editing the shots, music and color until we are sure that our scene has the best possible shape. We did it! Remember that you can see my finished project in the last lesson of Unit 4 and I have also left it as an attachment in the same unit.
Now share your final project with all of us by clicking on "Create your project". Remember to share both the final result of your scene and the steps that have led you to it. In addition to sharing images and texts explaining the steps of your process, to show your final scene, for example, you can upload it to a platform like YouTube or Vimeo and share the link. I am looking forward to seeing your work! I really encourage you to start rolling your pieces and telling your stories. As I have already told you, I never went to a film school and I found my way while I was going through it, you will find yours. Don't be afraid and be bold. I will be accompanying you and I will give you feedback in the forum to the extent that my professional commitments allow me. I also advise you to always seek the opinion of other students in the course and support each other, create a community, take advantage of Domestika's structure in that sense; the director's job is sometimes lonely and it is always positive to have other opinions, angles and points of view. I thank you very much for choosing this course. Now to produce and shoot! ”

Partial transcription of the video

“Final project First, thank you very much for getting here. It has been a pleasure to guide you on this journey through audiovisual stories. It's time for you to take action and you begin to narrate through images. So that you have everything fresh, we are going to review everything we have learned here. I explained to you the basic tools of a director in terms of cinematic language. After seeing the fundamental elements of a story, I wrote the script for my scene and I started to build my vision from references, images and works of other directors. You also learned what a treatment is, a ke...”

This transcript is automatically generated, so it may contain mistakes.


Course summary for: Introduction to Film Direction

  • Level: Beginner
  • 100% positive reviews (202)
  • 7840 students
  • 5 units
  • 21 lessons (4h 34m)
  • 14 downloads
  • Category

    Photography & Video
  • Areas

    Film, Film, Video & TV, Lighting Design

César Pesquera

César Pesquera
A course by César Pesquera

Teacher Plus
Director and Visual Artist

César Pesquera lives to tell exciting stories with a solid conceptual framework and room for visual experimentation. As a visual artist and director, he currently dedicates himself to filmmaking, directing music videos, developing advertising campaigns, and writing.

In his most recent personal projects Tramuntana and Santa Ana, he explores the crossover between visual experimentation and documentary. Both pieces were selected at festivals such as Cíclope, SXSW, Sitges, Cannes, Slamdance, and BFI London Film Festival, among others. In addition, his work has been recognized with several Laus awards, a Gold at ADC*E, and second prize at YDA Cannes. In 2018, Santa Ana received an Honorable Mention for Best Documentary at Salute Your Shorts festival in Los Angeles.


  • 100% positive reviews (202)
  • 7,840 students
  • 21 lessons (4h 34m)
  • 58 additional resources (14 files)
  • Online and at your own pace
  • Available on the app
  • Audio: Spanish, English
  • Spanish · English · Portuguese · German · French · Italian · Polish · Dutch
  • Level: Beginner
  • Unlimited access forever

Areas
Introduction to Film Direction. Photography, and Video course by César Pesquera Best seller

Introduction to Film Direction

A course by César Pesquera
Director and Visual Artist. Barcelona, Spain.
Joined February 2016
  • 100% positive reviews (202)
  • 7,840 students