Decoration Techniques with Acrylic Resin
Course final project
A course by Flo Corretti (Tarareo) , Founder of Tarareo
")


About the final project for: Decoration Techniques with Acrylic Resin
Decoration Techniques with Acrylic Resin
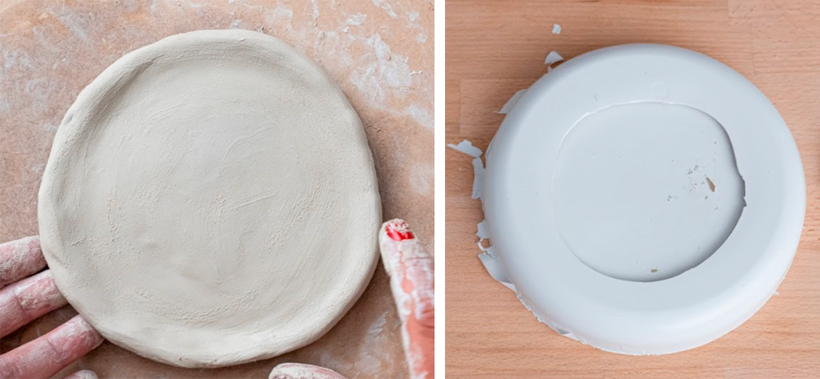
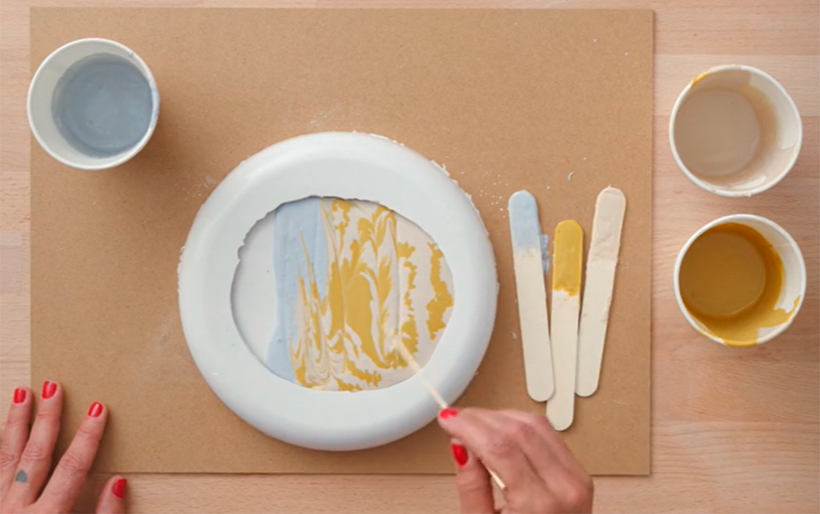
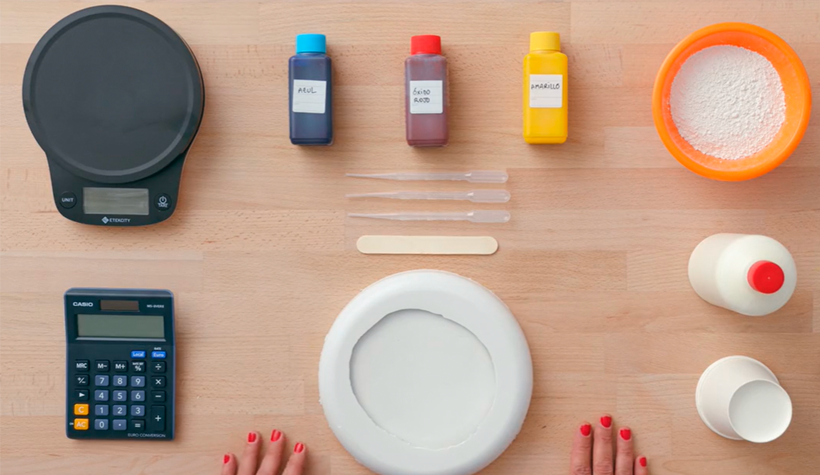
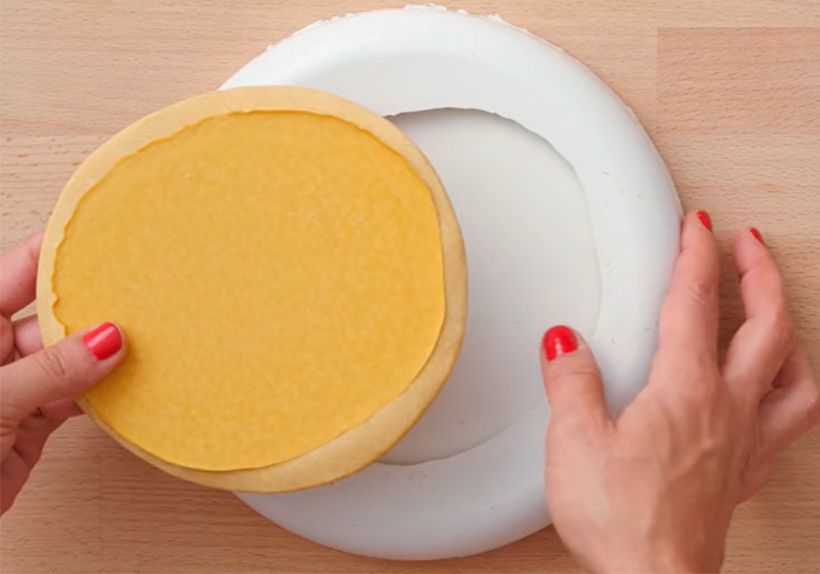
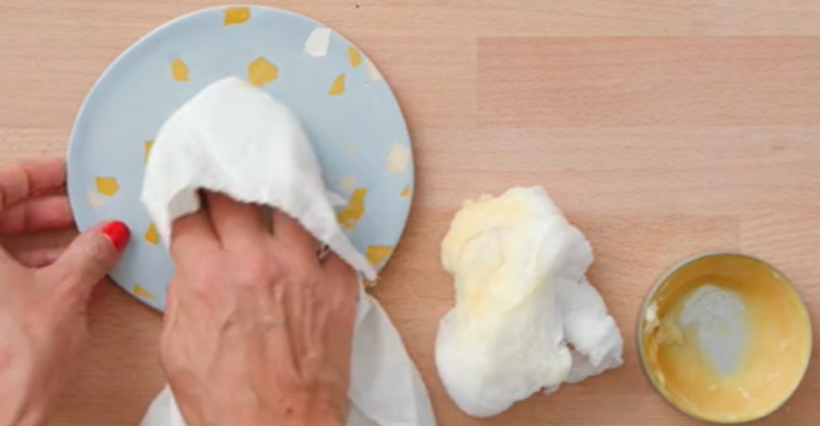
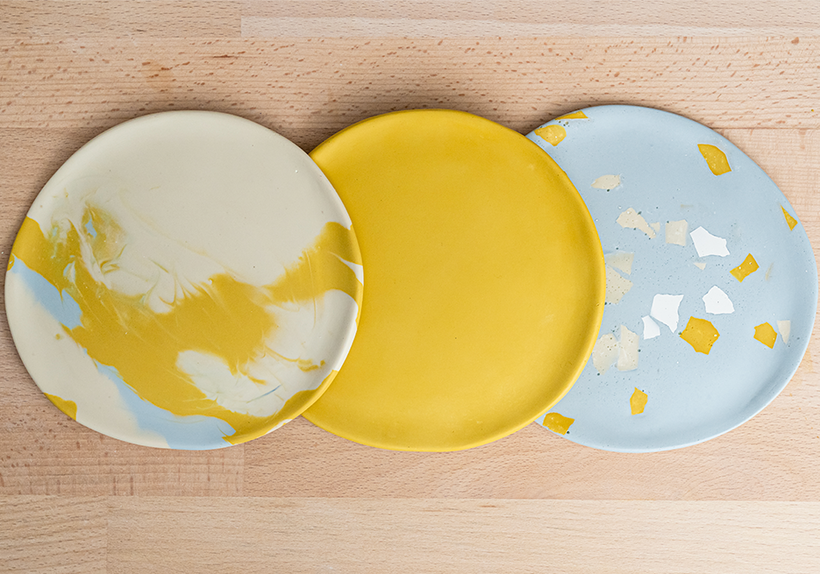
“Congratulations!! You have completed all the lessons and it is time to tackle your final project. I hope that you arrive at this part of the course with great enthusiasm and your head about to explode with ideas and the desire to lock yourself up to work. That will mean that you have fallen in love (and very much) with acrylic resins and their creative possibilities, and that throughout the lessons you have gained enough knowledge and confidence to start experimenting without limits. For my part, it will be a tremendous joy to have passed on that passion and everything that I know and have learned about this material and how to work with it. Although the lessons of the course come to an end, I want to tell you that in the forum you will find me to comment on all the doubts and impressions you have, whenever you need it. For me it is also a very useful tool, in which I will share information, updates and all those discoveries that can help you. I recommend you not lose sight of it and continue sharing your work. And now, let's fly! As you already know, your final project consists of making two trays with your mold: one in a "terrazzo" print and the other, marbled. Remember to prepare your materials and your workspace well, and follow this short guide of steps: 1. Define your project by creating your mood board and your color palette. Model your matrix piece and make the mold in silicone. Do not be overwhelmed if you do not know how to start: a good option is to find a photo that you like (on the networks, in magazines, among your files, etc.) and take it as a starting point. Then ask yourself why you like it, what it transmits to you, how it transmits it to you and look for elements and colors that connect you with those feelings. When defining the measurements of your matrix piece, remember the loss that the clay will have when it dries and the reduction that polishing the resin implies. Do not forget to define and model it thicker and larger than the result you want to obtain.
Partial transcription of the video
“Congratulations. If you've gotten here. it means you've completed all the lessons. Let's review everything you've learned. Have you seen how to create your mood board? define your color palette and sketch your pieces. These tools help you approach the creation process with greater confidence. I suggest not skipping this part of the creative process. Not skipping this crucial phase of the creative process will help you better organize and refine your ideas. Afterward. you were taught techniques for modeling your masterpiece and casting a precise silicone mold. Both the clay and silicone mate...”
This transcript is automatically generated, so it may contain mistakes.
Course summary for: Decoration Techniques with Acrylic Resin
-
Category
Craft -
Areas
Accessory Design, Arts & Crafts, DIY

Flo Corretti (Tarareo)
A course by Flo Corretti (Tarareo)
Flo Corretti’s passion is creating objects with her hands. Although she graduated with a degree in art history and was creating content for university editorials professionally, creativity was always present in her life in some way. She has created photography projects, patented and licensed products, and collaborated with small brands on different embroidery projects.
In 2019, she discovered the possibilities of creating with acrylic resin and began exploring the material on her own. That same year, she founded Tarareo, a brand composed of decorative objects. She was also selected to participate in Festivalet, the most popular handicrafts creative market in Barcelona, Spain. Since then, her work has featured in magazines like Arquitectura y Diseño, La Vanguardia, and El Periódico, as well as in Fundación Mapfre, in Madrid.
- 97% positive reviews (424)
- 16,510 students
- 15 lessons (2h 3m)
- 23 additional resources (10 files)
- Online and at your own pace
- Available on the app
- Audio: Spanish, German, English, French, Italian, Polish, Portuguese, Turkish
- Spanish · English · Portuguese · German · French · Italian · Polish · Dutch · Turkish · Romanian · Indonesian
- Level: Beginner
- Unlimited access forever
Category
Areas

