Creation of Interior Design Projects on SketchUp
Course final project
A course by Alexandra Proaño Gonzales , Architect

Joined May 2012


About the final project for: Creation of Interior Design Projects on SketchUp
Creation of Interior Design Projects on SketchUp
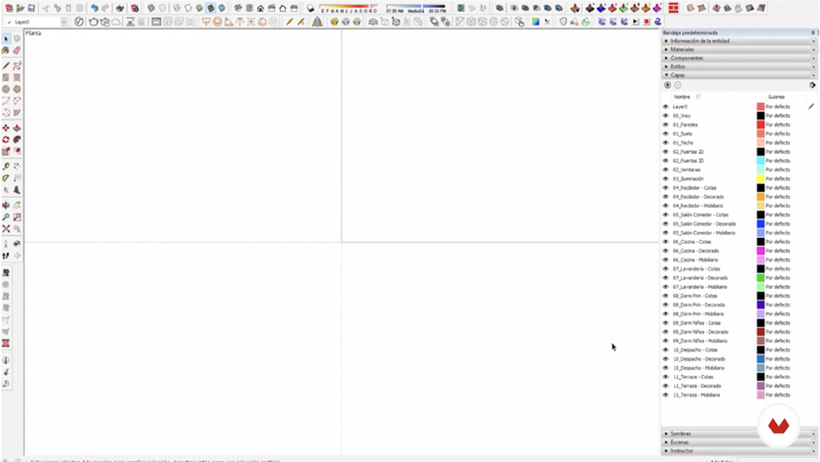
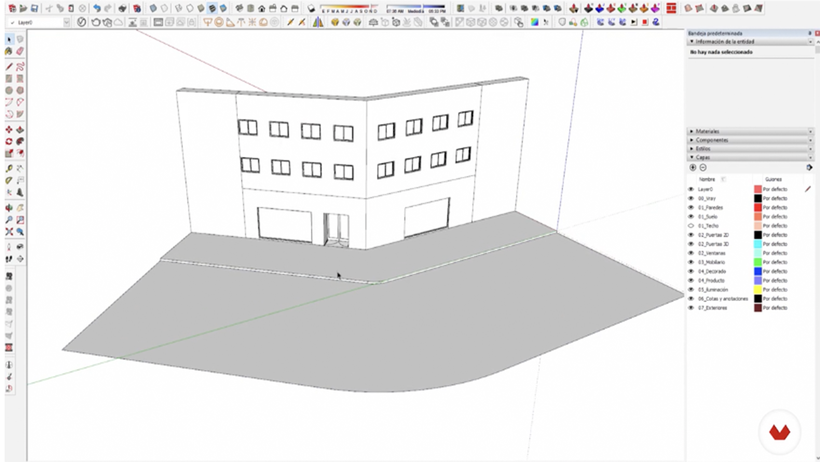
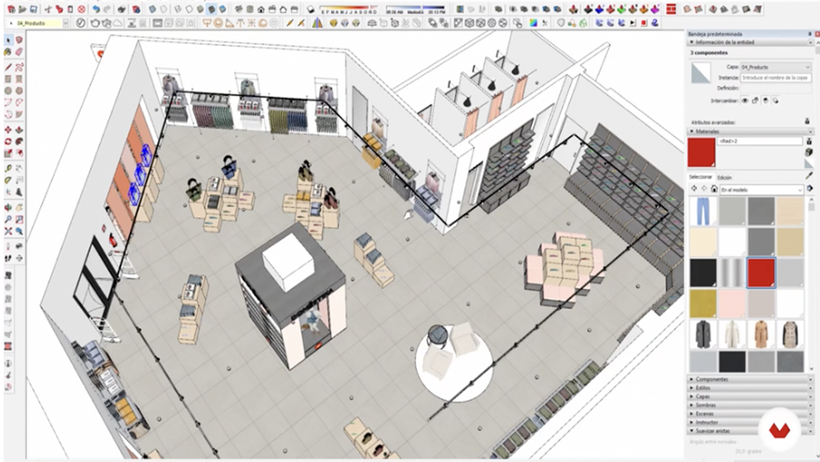
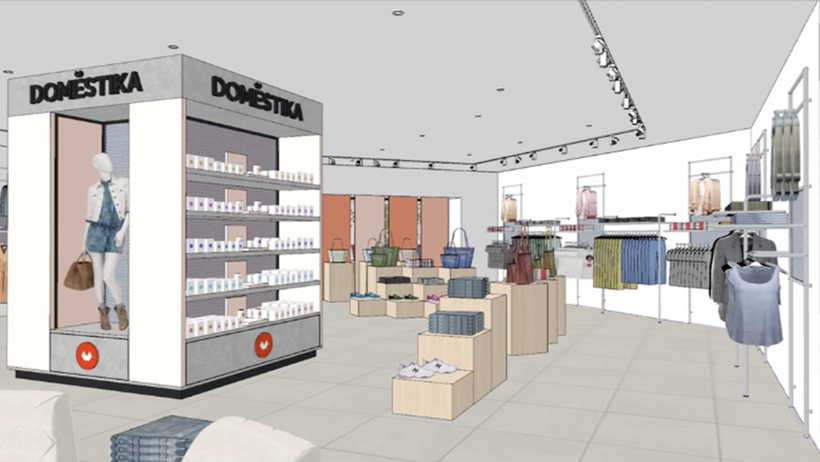
“Hello! I am very glad that you have reached the end of this adventure :) I hope the content of the course has been easy for you to understand. Above all, that you have absorbed the concepts to the fullest and that the things that we have talked about throughout all the lessons have seemed useful and interesting. I have tried to share with you, step by step, my workflow and some of my secrets when developing 3D modeling projects with SketchUp. I trust that you can take advantage of them in your final project of the course and, in the future, in your personal and professional projects. Now we are going to do a brief review of what we have learned in the course and all the steps that I have followed to make my final project, a fashion and accessories store for women. Remember that you can make a store with the same theme, or also choose a different one, whatever you like best! Create your design template Customize the SketchUp interface: edit system preferences, model information, and styles too. Create your list of layers that can be used for all the projects you do from now on and save the document as a working template. Then, install the extensions that are most interesting for you to improve and speed up your workflow.

Partial transcription of the video
“Final project Hello, we have reached the end of the course. Next, we will do a recap of everything we have seen during the five units. At the beginning of the course, I began by telling you about my professional career. Also, I introduced you to some of my influences and sources of inspiration when working, those sources of inspiration that accompany me every day, that motivate me to try new techniques and methods to work and that have undoubtedly helped me improve the quality and detail of my renderings. SketchUp is a very intuitive program and relatively easy to use. In addition, it gives...”
This transcript is automatically generated, so it may contain mistakes.
Course summary for: Creation of Interior Design Projects on SketchUp
-
Category
Architecture & Spaces -
Software
SketchUp -
Areas
3D Design, 3D Modeling, Interior Architecture, Interior Decoration, Interior Design

Alexandra Proaño Gonzales
A course by Alexandra Proaño Gonzales
Alexandra Proaño is a renowned architect and trainer specialized in 3D architectural visualization projects. With an outstanding track record in developing high-quality renders, Alexandra has collaborated with renowned clients and has left her mark on various architecture and interior design projects.
Her passion for design and her mastery of tools like SketchUp and V-Ray have made her an expert at creating photorealistic images that captivate her clients. With her extensive experience and pedagogical skills, Alexandra shares her knowledge in this course, giving you the tools necessary to excel in the world of 3D architectural visualization.
- 99% positive reviews (427)
- 22,180 students
- 29 lessons (6h 49m)
- 23 additional resources (14 files)
- Online and at your own pace
- Available on the app
- Audio: Spanish, English, French, Italian, Portuguese, Turkish
- Spanish · English · Portuguese · German · French · Italian · Polish · Dutch · Turkish
- Level: Intermediate
- Unlimited access forever
Recommended software & tools for this course
Category
Areas

