


Crochet Tutorial: How to Take Body Measurements For Pattern Making
Learn to take your own body measurements with Alimaravillas, and create a crochet pattern
Before you start to crochet a piece of clothing, there’s an essential step: taking your body measurements. In order to get the right results–and to avoid ending up with a sweater that is too short or your head not fitting through the hole for your neck–it is essential to learn how to take measurements correctly.
Alicia Recio Rodríguez, known as @alimaravillas, is an expert in crochet. In this tutorial, she talks us through how to take our own measurements without needing anyone else’s help so that we can create a pattern. You can watch the video below:

7 tips for taking your own body measurements
1. Get a tape measure and prepare
Get a tape measure and get ready to start measuring each body part. There are three measurement types: horizontal, vertical, and circumferential. Alicia recommends wearing as little clothing as possible when you take measurements.

2. Start with your neck
The first body part that you are going to measure is the circumference of your neck. To do this, measure around the bottom of your neck, placing a finger on the inside of the tape measure so that it isn't too tight.

3. Measure your chest circumference
Wrap the tape measure around your chest, passing it behind your back, keeping the end that begins with the number one facing outwards.

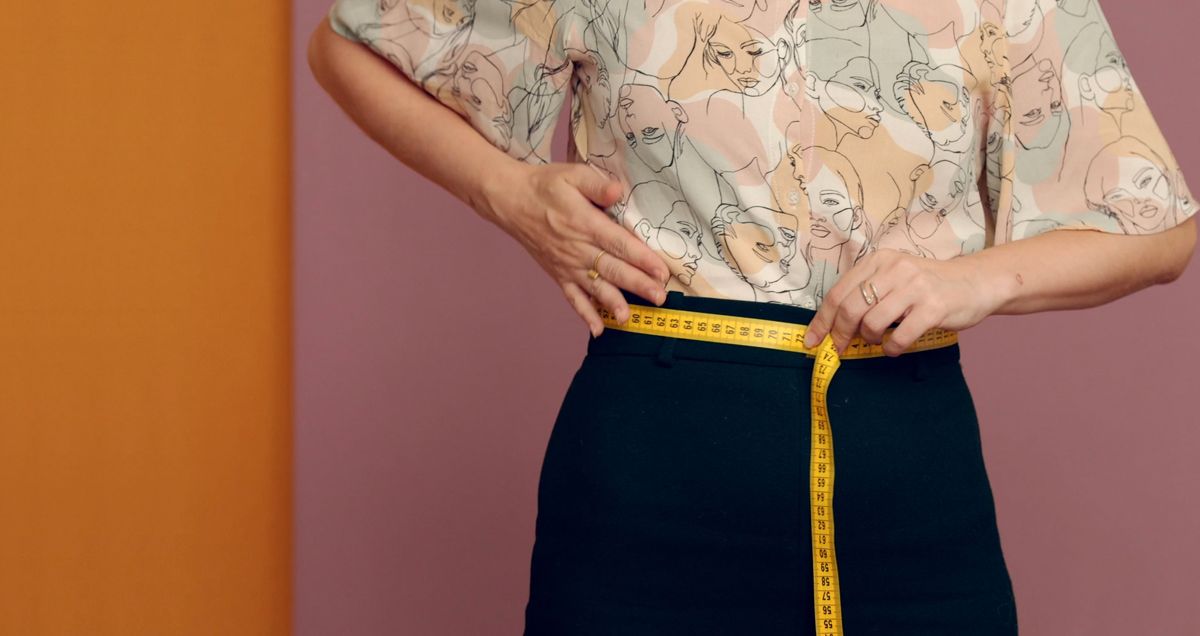
4. Next, the waist and hips
You’re probably wondering how high up you should measure your waist? The answer is simple: use the lowest part of your ribs as a guide. To measure your hips, place the tape measure around the fullest part of your buttocks. And place a finger on the inside of the tape to loosen it.


5. Next, horizontal measurements: shoulder width
Don’t measure your shoulder width across the front of your body, measure across your back. To do this correctly, measure up to where your shoulders end, not all the way to the top of your arm. Pass the tape across your back from one shoulder to the other. To make a sweatshirt, you only need to measure the width of your shoulders. As it is a loose garment, you needn’t take any other measurements.

6. It's time to measure the length of your garment
To calculate the length, measure from your shoulder down to where you want your piece to end.

7. Measure the circumference of your head
This step is crucial to ensure that you’ll be able to put your garment on comfortably. The circumference of the neck of your garment should be eight to 10 centimeters smaller than the circumference of our head, as the extra eight to 10 centimeters will stretch.
Here’s an example: Measure around your head, above the ears. Say it measures 55 centimeters, the circumference of the neck for your garment should be about 45 centimeters.

If you enjoyed this tutorial, remember that you can learn to crochet your own garments with Alimaravillas by signing up to her course, Single Crochet: Creating Garments Using Only One Hook.
You may also like:
–Dressmaking: Design your own dress shirt, a course by Lantoki
–Upcycling: Creating a Fashion Collection, a course by Krizia Robustella
–Designing Handicraft Garments from Scratch, a course by Ofelia & Antelmo


0 comments