


Materials: Botanical Illustration with Watercolors
Find out which materials you’ll need to start creating botanical illustrations with watercolors
Designer and illustrator Paulina Maciel (@pau_maciel) has made a career of botanical illustration with watercolors. She has worked on projects for brands such as Palacio de Hierro, Desigual, and various creative agencies.
To capture a flower’s beauty or the intricacy of its filaments, not only will you need an understanding of color and botany, but also the right materials. In the following video and the guide below, Paulina shares which materials she uses every day and explains how she works with them.

1. Paints
Your paints will be the key material for creating your botanical illustration. There are different types of paints you can use depending on the result you are after. First, we’ll talk about paints that come in tubes, which are the ones Paulina Maciel most often uses. She recommends the brand Winsor&Newton, which have two types of watercolor paints: 'Cotman' and 'Professional'. The main difference between the two is how much they cost, however, both offer good results.

Your tubes of paint will need to be decanted into a palette that you can cover to keep them fresh. If you choose to use a palette, you can decide which colors to include, something that isn’t possible with pre-designed boxes of paints. This is what Paulina Maciel does.

Other paints that we can use are liquid watercolors and water-soluble pencils.
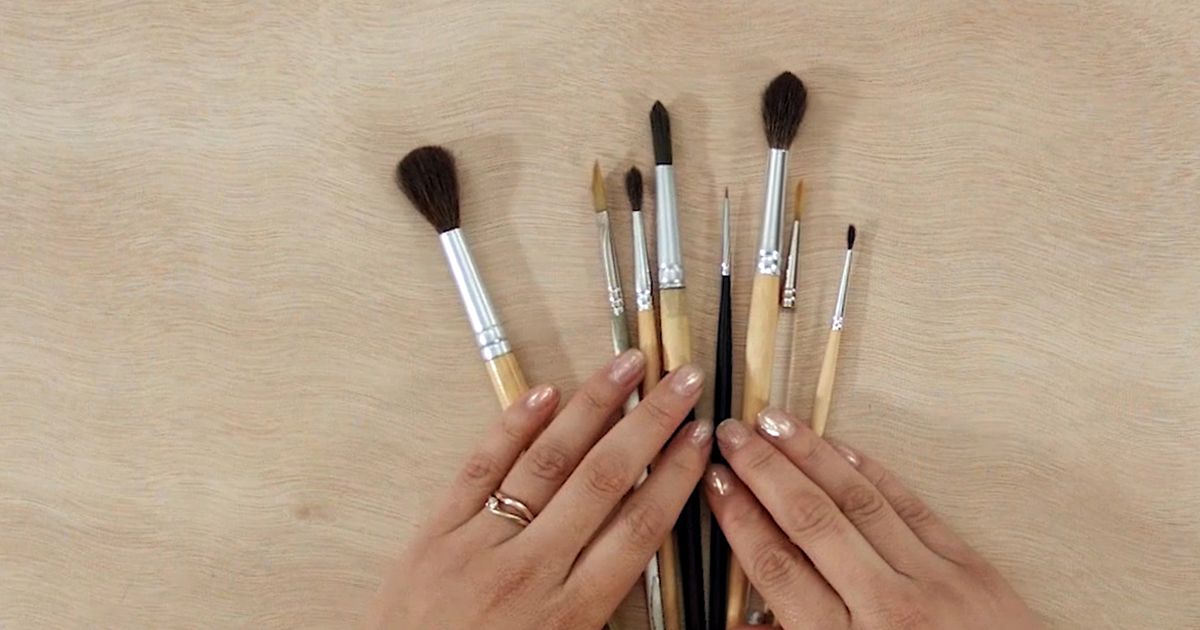
2. Brushes
Once you’ve decided on paints, the next essential tool is a paintbrush. We will use it to work on our illustration and paint each part. Paula recommends soft, natural, and synthetic bristles. If you’re just starting out, get a fine brush (nº 1), a medium (nº4) brush, and a thick (nº6) brush. These will help you to familiarize yourself with the different strokes. Tip: better if they have an acrylic or aluminum handle, as they will last longer.

3. Paper
Next, paper. This will be your canvas for your creations. Paulina Maciel recommends working with a watercolor block, as the paper is already prepared. It’s also advisable that the paper has a grammage of under 250 grams.

Regarding the different types of paper available, there are two that are worth mentioning: cold-pressed paper has more of a texture and makes colors appear brighter. Then, there’s hot-pressed paper, which has a smooth surface and a glossy finish. The latter is better for drawing very fine lines. For botanical illustration, Maciel recommends hot-pressed glossy paper.
4. Mixing palette or ceramic surface
Use a mixing palette or a ceramic surface to mix colors. Using the latter, along with a drop of water, will help to conserve the paints better.

5. Graphite pencils
You will need a selection of graphite pencils of varying degrees of hardness. Paulina specifically recommends using an H (hard) graphite pencil for sketching. These pencils leave few marks on the paper, therefore they are perfect for your draft sketches and watercolor guidelines.

6. Two water containers and paper napkins
You’ll need either a jar, a glass, or another recipient. It doesn’t matter which you use. You will need two water containers: one for clean water and another for cleaning your brush. You’ll also want to have several absorbent paper napkins handy to help clean your brush.
7. Other materials
As well as the materials that we’ve already mentioned, don’t forget sheets of paper, oven paper, a white pencil and a white gel pen to create different textures, a pencil sharpener, a rubber, a pencil with a rubber on the end, and a masking liquid.

Have you liked this guide? To learn more about working with watercolors and how to use them to create illustrations of plants and flowers, sign up to Paulina Maciel’s course, Botanical Illustration with Watercolors.
You may also like:
–Modern Watercolor Techniques, a course by Ana Victoria Calderón
–Experimental Watercolor Techniques for Beginners, a course by Ana Santos
–Naturalist Bird Illustration with Watercolors, a course by Antonia Reyes


0 comments