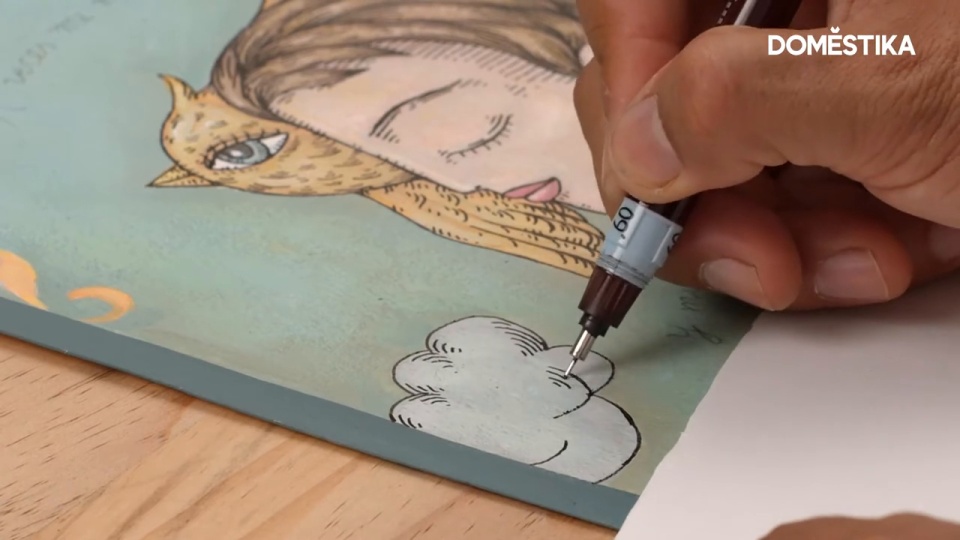
Illustration Tutorial: Shading Techniques with Ink

Discover Fito Espinosa’s tips for shading your illustrations with ink to give them a professional edge
When it comes to inking your drawings, shading is one of the most complicated techniques to get right. With acrylics, watercolors, or other painting and drawing materials, we use different tones to capture the shadows created when light hits an object. However, when using ink, we’re only working with one tone and we can't make it lighter or darker.
In this blogpost, painter, illustrator, and visual artist Fito Espinosa (@fitoespinosa) teaches us different shading techniques using either black or color ink. You can watch the tutorial below:
Materials
For this type of inking, we’re going to use a black or color felt-tip or fineliner pen. This is the easiest option, as the ink is ready to use and so all we need to do is remove the pen lid and get to work.
However, if we prefer, we also have the option to use a fountain pen and fill it with India ink. What’s interesting about this method is that even though we refill the pen over and over again, the ink is always the same black shade.
To practice shading, we will draw some cylindrical shapes. Then, we will choose a point where the light will come from, and based on its position, we will work out where to add shadows to our shape.
Once we have everything ready, we can start experimenting.

1. Superimposing lines
The first way to create the shadows cast by our object is to draw small lines that cross over each other. The more lines we superimpose on top of each other, the shadow we create gets darker and more intense.

2. Small lines and dots that don’t overlap each other
Another way to add shadow effects to our illustrations using ink is to add small dots and lines; however, this time they won’t overlap each other. Depending on the distance between the points and lines, we can create a gradient effect or make the shadows appear more or less intense. The closer together they are, the more intense your shadow will be.
This method is much more laborious than the previous one. It’s an option to consider if we want to create a more subtle shadow or if we’re interested in the texture created by the dots, which adds a stone-like effect.

3. Parallel lines
A different way to create shadows with ink is by drawing parallel lines that follow the shape of the object that we’re inking. In other words, if we’re adding shadows to a cylindrical object, the parallel lines will be curved, adhering to its shape. However, were we to add shading to a flat surface, the lines would be straight.
To create different tones using this method, we can add additional smaller lines that are more separated, which also respect the curve of the object. If, on the other hand, we want to make the shadows darker, we can add more perpendicular lines to those that we’ve already drawn.

4. Other options to consider
Although these three techniques that we have looked at are the most common, there are many other ways to add light to our drawings. For example, we can draw random doodles, scribbling more in the zones that we want to make darker while leaving more space in the areas that we want to appear lighter.
If, on the other hand, we would rather be more experimental, we can also use, instead of dots and lines, a determined pattern to shade our shape, such as a letter repeated lots of times.

Beyond these techniques, there are many other ways to create shadows using a felt-tip or fountain pen. We can start with these methods and then, bit by bit, find and create new ones and adapt them to our drawing style.
If you have enjoyed this tutorial, remember that you can learn to connect with your emotions and capture them in symbolic and personal images in Fito's course, Artistic Illustration: Draw from Your Imagination.
You may also like:
–Illustration for Patterns with Soul, a course by Catalina Estrada Uribe
–Narrative Illustration with Mixed Media, a course by Estelí Meza
–Illustration Gym: Find Your Style, a course by Santiago Solís Montes de Oca
–Expressive Line Work in Illustration, a course by Carlos Arrojo


0 comments