


Weaving Tutorial: How to Mount a Circular Loom
Learn these basic tips from Ancestral to keep in mind before starting to weave on a circular loom
Weaving with a round base opens up a world of possibilities of unique tapestries and textile pieces, but to begin with it is important to create a solid base: the warp, a set of longitudinal threads placed in tension on a loom, will be the foundation of your work.
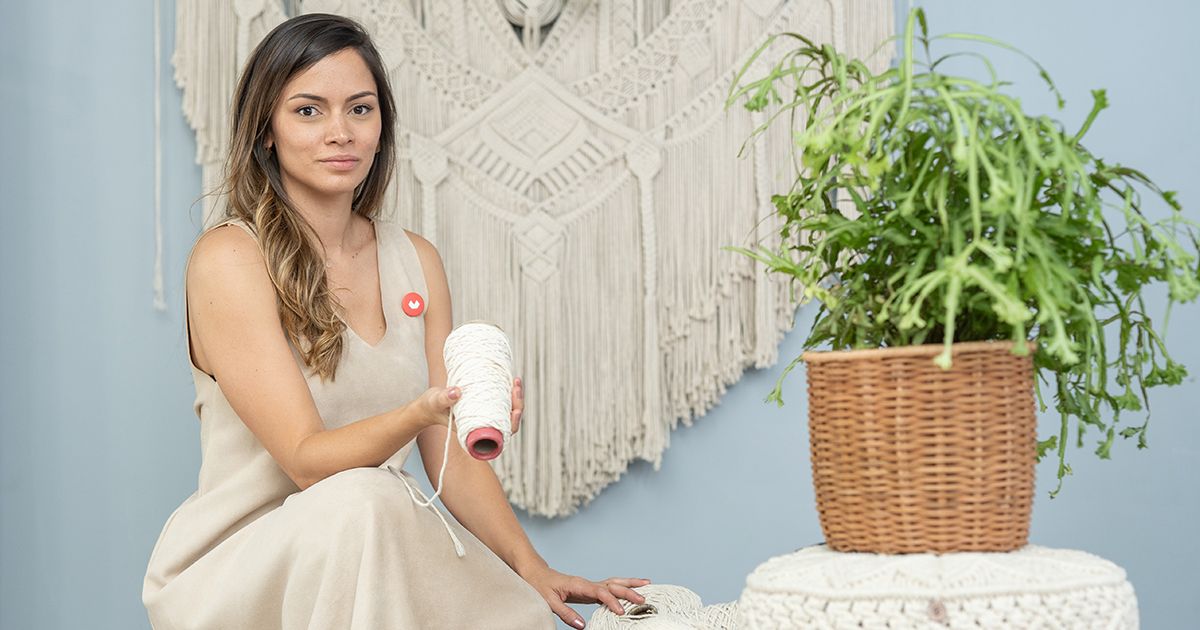
In this tutorial, Erika Pineda, textile artist and founder of Ancestral (@ancestral_co), a brand dedicated to the production of hand-woven decorative pieces, shows us how to assemble a warp in two different ways: with and without a central binding. You can watch the video here.

How to mount a warp in 2 different ways
1. Materials
To set up the warp, we'll need:

2. Prepare the necessary thread for your warp
To mount a warp with a central binding, we will first determine the amount of thread we will need. We will start by measuring the perimeter of the ring we are going to use; it is good to place a warp every 3 cm of the perimeter of the ring, so, after measuring it, we will divide the result by 3 to obtain the number of passes that the warp will need.
Once the number is determined, we will calculate the amount of thread needed by winding it diametrically around the ring as many times as our calculation indicates. Once we have gone round the ring enough times, we will remove the thread and wind it round the stick that we have prepared so that it does not get tangled.

If, on the other hand, we want to mount a warp without a central binding, we will use two rings of different sizes, instead of just one, placing the smaller one inside the larger one. We will measure the perimeter of the larger one, repeating the process of dividing the result by 3, and we will estimate the amount of thread we will need in the same way.
However, we will take into account that, since the warp threads will go through the small arch and will not need to cross the whole arch, we will need less thread than for a warp with a central binding. When we are finished, we will wind the thread round our stick.

3. Begin laying the threads
The next step will be to tie the end of the thread to the ring and, once we have secured it, cross it diametrically to the opposite end, passing it underneath. Then we will take the thread back to the other end, but we will place it diagonally at 3 cm from the original point, and we will repeat the process in the opposite direction when we cross the ring with the thread again. We will repeat the process until our warp has gone all the way around the circumference.

For the warp without a central binding , we will start by fixing the small loop in the center of the large loop, tying two wires that connect them in a straight diametrical line. Once the central arc is fixed so that it does not move, we will repeat the process we have used for the other warp but passing each thread through the small arc, instead of through the opposite end of the large arc.

4. Set the warp
When we have completed the perimeter of the circumference of the centrally bound warp, we will pass the stick with the remaining thread through the center of the warp. After a few passes, we will tie it to the loose end of the thread of the initial knot to fix the warp. To finish, carefully cut off the excess thread.

To fix the warp without a central binding, when we have finished covering the whole perimeter of the circumference, we will cut one of the threads that we use to fix the small hoop in the centre and tie one of the ends to the thread that is still on the pole.
The only thing missing is to cut the remaining thread and, if necessary, distribute the warp better around the perimeter so that each thread is at the same distance from each other.

Once you have the warp mounted and placed your first threads, you'll be able to design your piece around the foundation you've created.
If you liked this tutorial, you can learn more from Ancestral about creating decorative contemporary pieces without any previous experience on her online course Weaving with a Circular Loom.
You may also like:
- Macramé Using the Fiber Emballage Technique, a course by Pluumbago
- Introduction to Textile Weaving, a course by TRAMARTE
- Introduction to Latch Hooking and Locker Hooking, a course by Mariana Baertl


0 comments