


Illustrator Tutorial: 3 Ways to Vectorize an Image
Learn the key steps to vectorize an image in Adobe Illustrator with Juan Villamil
In the world of graphic design, and, more specifically, illustration, lettering, branding and corporate and institutional design, mastering the creation of vector images is key. Vectors are highly manipulable, offer different advantages over pixels, and learning to create with them in Adobe Illustrator is not particularly difficult.
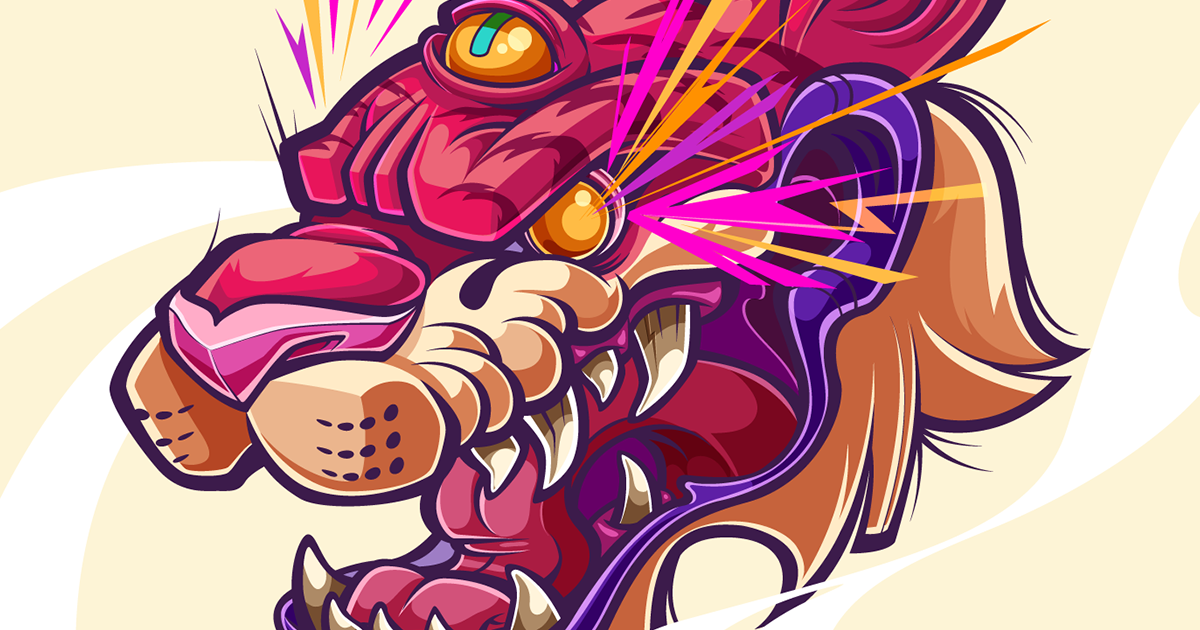
In this tutorial, illustrator and graphic designer Juan Villamil, better known as Juan Sin Miedo (@juansinmiedo), explains three different ways to vectorize an image in Adobe Illustrator, and reviews the fundamental difference between images created with vectors and images created with pixels
What is a vector?
First of all, we must explain the difference between an image created with vectors and another created with pixels. Vectors are graphic elements based on mathematical formulas, their main advantage is that they can be scaled without losing quality (we can expand them all we want and they will not be pixelated) and the ease with which all their features can be edited.
Although the majority of digital images that we see in our day to day are composed of pixels, the truth is that images created with vectors, as we have mentioned, are very useful for graphic design. The pixels, although they allow us to faithfully reproduce photographs, for example, do not maintain the same quality when enlarged.


Vectorizing with the pen tool
The use of the pen tool is very simple: once we have imported the image we want to vectorize into Adobe Illustrator , we just have to go over its contours with it to see how the vector lines appear. Each stroke of the pen generates a line at the end of which we find a node, the point from which the next line will depart.
Using the Shift key, we can create nodes in order to have more control over our stroke. The idea is to create shapes with the pen based on the contours of our image, building its form through vectors.

Vectorizing with strokes
Another similar, but faster, way to vectorize is to press Shift + X once we have created our stroke with the pen so that it automatically becomes a path that we can make thicker or thinner, in order to fit within the contours of our image. The values of this stroke can be adjusted with Shift + W, moving the nodes...


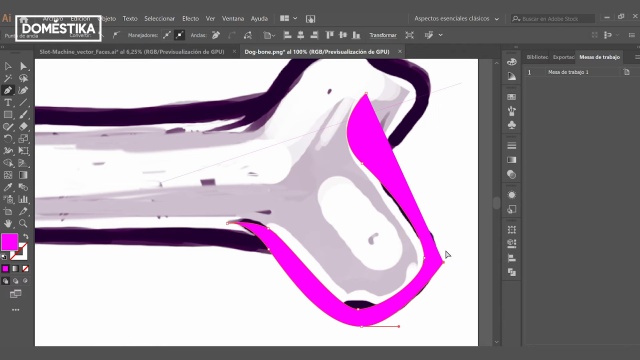
Vectorizing with the fill brush
Finally, another intuitive way to vectorize is to use the fill brush. In this way, we will only need to paint over the contours of the image we want vectorized, as if we were painting over it, and our path will become a vectorized shape automatically.

If you liked this tutorial by Juan Villamil, his course 'Vectorial Illustration: More Volume and Rock and Roll' will teach you how to create powerful illustrations with gradient effects using flat colors.
You might also find interesting:
- Vector Illustration for Amateurs, a course by Aaron Martinez.
- Vectorial Illustration with Style, a course by Ely Ely.
- Domestika Basics: Introduction to Adobe Illustrator, 6 courses by Aaron Martinez.


0 comments