


Crochet Tutorial: Boost Your Skills
Take your crochet projects to the next level with these easy-to-follow techniques for adding texture, switching colors, and joining pieces seamlessly
Crochet is an art that blends creativity with skill, and mastering key techniques can elevate your handmade pieces. Whether you're working on cozy blankets, stylish garments, or intricate amigurumi, knowing how to create ribbing, change colors, and join pieces together is essential. In this tutorial, crochet expert Grace—also known as Amazing is Grace—walks us through these fundamental techniques.

1. Creating Ribbed Texture in Crochet
Ribbing adds depth and elasticity to crochet projects, making it perfect for cuffs, edges, and decorative details. This technique is achieved by working into the back loop only of each stitch. By doing this, the front loops remain unworked, creating a raised texture.
Steps to crochet ribbing:
1. Yarn over and insert your hook into the back loop only of the next stitch.
2. Yarn over and pull through, then yarn over again and pull through all three loops on the hook.
3. Repeat for each stitch in the row.
4. Continue this process for multiple rows to see the ribbed effect take shape.
This method creates a stretchy, textured fabric that adds a professional touch to hats, scarves, and sweaters.
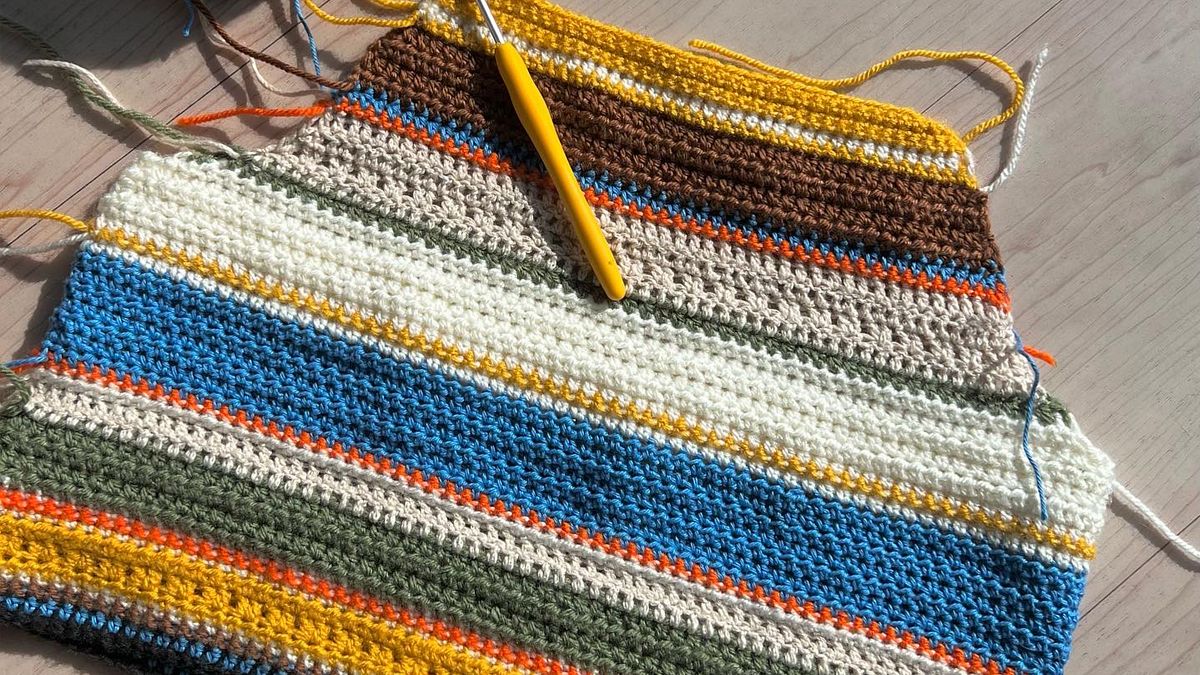
2. How to Change Colors in Crochet
Switching colors seamlessly is an essential skill for making multi-colored patterns and striped designs. The trick is to change colors before completing the final yarn-over of the last stitch in the current color.
Steps to change colors smoothly:
1. Start a half-double crochet as usual (yarn over, insert the hook, yarn over, and pull through).
2. Before completing the stitch, pause before the final yarn over.
3. Take the new color and place the tail end at the back of your work.
4. Yarn over with the new color and pull through all loops on the hook.
5. Continue crocheting with the new color as normal.
This technique ensures a clean color transition, making your project look polished and professional.
3. Seaming Crochet Pieces Together
When assembling crochet projects, using the slip stitch seam method helps keep joins strong and invisible. This method creates a smooth, flexible seam while maintaining the integrity of your work.
Steps to seam crochet pieces together:
1. Place the two crochet pieces together with their edges aligned.
2. Insert the hook upwards into the front loop of the first piece and downwards into the back loop of the second piece.
3. Yarn over and pull through both loops.
4. Slip stitch by pulling the first loop through the second loop.
5. Repeat across the row until all stitches are joined.
This method creates a neat, durable seam that blends seamlessly into the project, perfect for blankets, garments, and accessories.
Start Creating Like a Pro!
Mastering these crochet techniques will take your projects to a new level, adding texture, seamless transitions, and professional-quality finishes. If you want to dive deeper into the world of crochet and refine your skills, be sure to check out Grace’s Beginner Crochet Course on Domestika!


0 comments