


Macramé Tutorial: basic knots to create fringes and braids
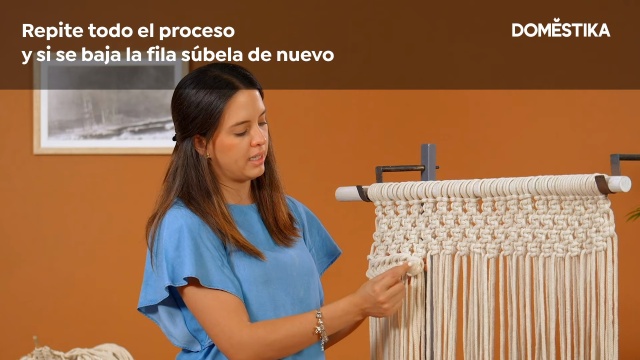
Learn step by step the basic macramé techniques to shape the top of your loom, with Mariella Motilla
Textile art is not only intended to be applied to clothing, but can also be a great decorative motif to give a different touch to your home. Mariella Motilla (@mariellamotilla), a textile designer whose pieces are responsible for filling the interiors of important hotels, residences and various public places in Mexico with life.
But to create these textile designs you need to assemble your macramé loom and once you have it, start weaving. In this tutorial we show you how to make stripes and a braid to decorate the top of the loom. You can watch the video below:
Basic knots to create fringes and braids
1. Make the first fringe with full knot and half knot
The flat knot works great for filling in and the first thing you need to do is to take four strands of yarn from your loom. The two in the center will be our base and the two at the ends will help us weave. We will pass the first thread through the front and the last one we pass it through the front, through the back and pull. Now we will do the same but in reverse, starting with the last one. This way we will have our first flat knot. Next, we will make half of another one. Repeat the stitch four times. It should look something like this:

2. Start the braid
Once you have the flat knots finished, it's time to make the braid. For this you will need another strand. It is advisable to do a test to see how much you will spend on each strand. Mariella used 8 meters. The first thing to do is to fold the strip in half and take two of the first strips from the end of the loom. Pass the center strip in front of you, turn it over and pull out the thread from behind, but not all of it, just a part of it.
And with that part that is still behind you go back to embrace the next two strips of your loom to get another piece. You pass it through the back, open and take two threads again. Reposition each of the petals of the braid if they are lowered and make sure that the distance between each one of them is similar.

3. Finish off your braid.
Once we get to the end of the braid, we will finish it off by tucking the two ends in the back and sewing them together with needle and thread. If there is any yarn left over, simply trim a little with scissors for a cleaner finish.

Did you like these tips? If you want to learn with Mariella Motilla to combine different techniques to create decorative textile pieces, do not miss her online course 'Macramé: basic and complex knots'.
You may also be interested in:
-'Macramé knots sampler', with Belén Senra.
-'Introduction to macramé: creating a decorative tapestry', with Belén Senra.
-'Circular macramé techniques', with Ancestral.


0 comments