


Tutorial Cianotipia: prints with leaves and flowers
Learn how to create cyanotype prints without using digital or manual photolithographs with Texture Factory
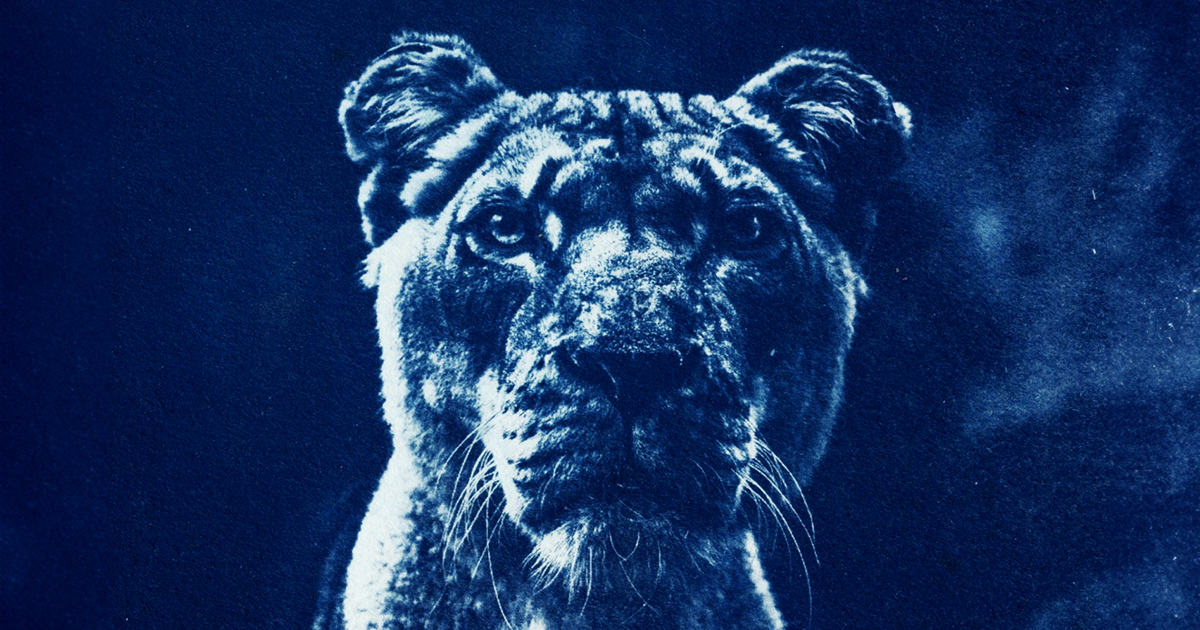
Cyanotype is a monochromatic handmade technique of printing negatives; in essence, it requires a support treated with a series of chemical materials and an object to be placed on the support (it can be a photographic negative or anything else that blocks the light). When the sun shines on it, the support darkens, while in those areas covered by the object this process does not occur, thus leaving a mark with the shape of the object on the support.
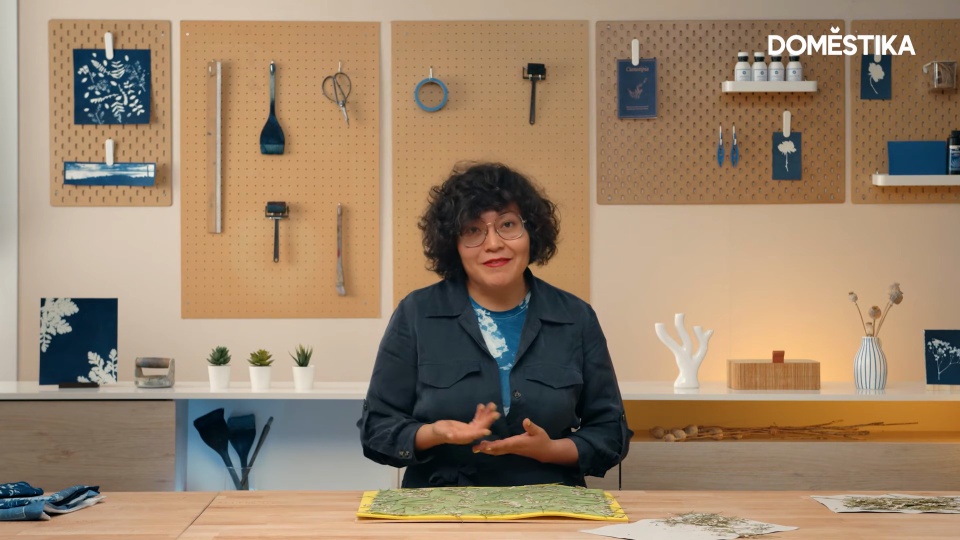
This is a simple technique that does not require, as we have seen, too many elements. Properly applied, it will allow us to create original prints on pieces of paper, cardboard, fabric... In the following video tutorial, Gabriela Rodríguez, from the DIY design workshop Fábrica de Texturas (@fabricadetexturas), shows us how to get started in cyanotype using some simple elements such as leaves and flowers. Discover it below:
Choose what you are going to use for the print
In Gabriela's case, she has decided to choose some dried plants, both leaves and flowers. You just have to take them, place them between two sheets of newspaper or blotting paper, and leave them a little under a weight that allows them to be well pressed.
You can get these plants directly in nature, or buy them in any store where they are sold.

Prepare the support for printing
You will need a piece of cloth soaked in cyanotype liquids, which must be left to dry in the air until there is no moisture left on it. Place under the cloth a piece of foam and a piece of thin wood, which will serve to insolate it on them.
Place your plants on the support
What is the best way to arrange the plants on the fabric? Gabriela recommends starting by marking the center with a slightly tilted plant, and working from there, making sure that the branches are not straight and trying to play with different placement directions. She also suggests placing plants on the edges of the fabric to give the impression that the pattern continues beyond its limits.


Insolve the support
Once you have your plants in place, put a glass on top of them and hook it to the wood at the bottom of the fabric. Now, you only have to leave the fabric in the sun for a while, until the insolation takes place.
Remember that you can repeat the process with the same plants or other photoliths many other times, to obtain other printed fabrics.
Give the exposed fabric a bath
Once the canvas is insolated, remove it from the glass and remove the plants. Now you must immerse it in a bucket of water so that the printed parts lose the greenish tone, and continue to insist a little more until the yellow tones are also gone.


Add a little hydrogen peroxide to the water to make the intense blue of the fabric look stronger. Don't be afraid to wrinkle and stretch the fabric, and give it at least a couple of baths until it has the tone you are most interested in. Let the fabric air dry and finally, if you feel like it, you can iron it.

Did you like this tutorial? Remember that you can learn with Texture Factory to print from scratch any type of image using light in their online course 'Cianotipia: printing technique with light'.
You may be interested in
- Manual stamping with photopolymer stamps, a Texture Factory course.
- DIY binding techniques, a Texture Factory course.


0 comments