


Amigurumi Tutorial: How to make amigurumi eyes with Lhylaraña

Learn a simple technique to make eyes for your amigurumi dolls with Lhylaraña
Amigurumi has transcended Japanese borders thanks to its kawaii designs and has become an art that has captivated people around the world. Thanks to the crochet technique, amigurumis allow the creation of an infinite variety of characters, universes and shapes, providing a unique opportunity to give free rein to our imagination.
If you create amigurumi, you will know that one of the most important features is their eyes. The eyes give life to the amigurumi, and it is what can elevate your designs and give them personality. In this tutorial, amigurumi designer and weaver Lhylaraña (@lhylaranha), known in the world of knitting as "the spider", will show us how to make expressive eyes for our dolls in a simple and accessible way.
What exactly are amigurumis?
Its name comes from the union of two Japanese words: "ami" which means knitting or crochet, and "nuigurumi" which means stuffed animal. This 3D weaving technique has been around in Japan for over 200 years and has been used to make toys and stuffed animals for many generations. In the 80s and 90s, amigurumis became even more popular in Japan, thanks to the appearance of knitting magazines that included patterns to create these creatures at home.
Currently, amigurumis have transcended Japanese borders and have become a global trend. They have been created communities that share patterns, techniques and tutorials to create a wide variety of creatures, from animals to characters from movies and television series.
In short, amigurumis are a fun and creative knitting technique that allows knitters to create unique characters. Whether as a hobby or a business, amigurumi offers an opportunity for creativity and artistic expression in an increasingly digital and automated world.
Materials:
To make the eyes of your amigurumis, you will need:
- Cloth or felt of the color you want
- Felting needle
- An embroidery needle.
1. Position the eyes
The first step is to position the eyes on the amigurumi and make sure they are exactly how we want before we start filtering. The size of the eyes will depend on the size of the doll's head and personal preference.
Lhylaraña, for example, recommends that the eyes be large to give the amigurumi more personality. Once you have decided, the eyes are secured with a pin and fixed with a filter needle.
2. Filter the eyes
Once the eyes are secured with a pin, they are threaded with a needle to secure them to the fabric, poking it perpendicularly. It is important to pay special attention to the area around the eye so that it is well fixed.


3. Border the color of the eye
The next step is to color the eye. Choose the thread of the color you want and with the help of a thin, pointed needle, border the contour of the eye. This will give it the final shape and size.

4. Border the eye contour
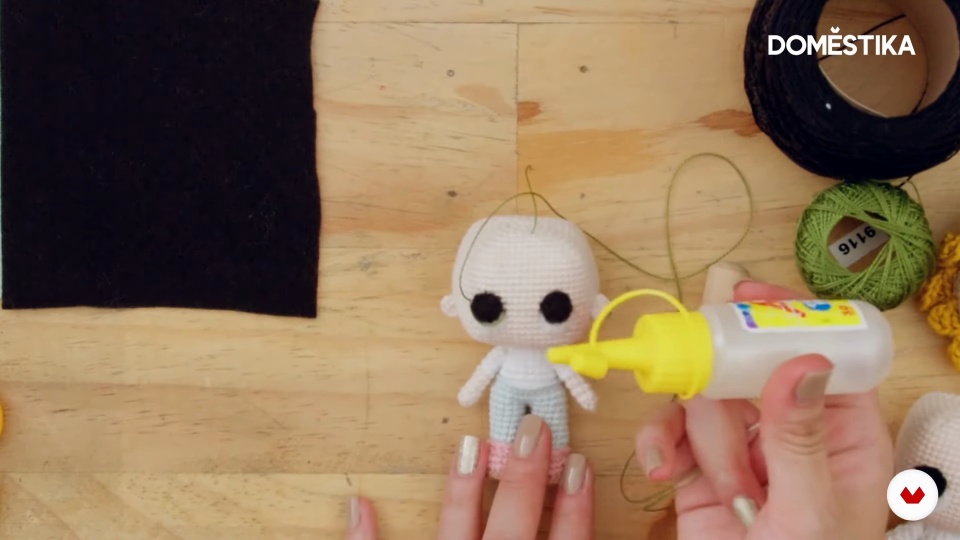
Finally, border the eye contour with black thread and with the same needle that you used for the colored border. This will give it a more defined and professional look, helping you with a little glue in strategic places.
Once the eye is finished edging, the strand is removed and the process is repeated on the other eye, always guided by the points so that it is symmetrical.

If you want to learn how to knit human-shaped amigurumis from the same base body and portray whoever you want with thread and needle, we recommend taking the Domestika course by Lhylaraña Amigurumis: crocheted people.
More resources to learn about the art of amigurumi
1. What is amigurumi and what Do I need to start from scratch?
2. Essential materials to get started in amigurumi
3. Get inspired to create with the Príncipe del amigurumis Crochet


0 comments