


Knitting Tutorial: How to Knit a Wool Hat
Learn how to make, step by step, a knitted wool hat and download the designer's pattern for free
The arrival of low temperatures is the perfect excuse to fill our closet with accessories and very warm clothes, and crochet is the best technique to make each piece with a unique and customizable result.
Marta Porcel (@creativaatelier) is a knit and crochet designer and managed to turn her passion into her own business when she founded her website and pattern store Creativa Atelier in 2013. Since then, she has dedicated herself to sharing her love for fabrics and to train other knitting lovers.
In this video tutorial, Marta teaches you how to knit a customizable wool hat with knitting techniques , perfect to wear on the coldest days. And she keeps reading because at the end of the article you can download the free pattern of this wool hat or Dottie hat from the artist.
Materials needed to knit your hat
To get the same wool hat as Marta you need these materials, but remember that you can modify the colors and type of wool according to your style:
- Thick wool of any color
- Knitting needles
- Scissors
- Wool needle
- Needle and thread
- Pencil
- Pompom

How to knit a wool hat: step by step
If you want to have the information from the video tutorial, don't miss the detailed step-by-step process that we tell you below.
1. Cast on the stitches on your needle
Take your ball of wool and take out approximately the length equivalent to the base of the hat times three, in this case it would be one and a half meters. Make a slip knot in the middle of the thread and pass your needle through the center, this is your first stitch.
You are going to cast 66 stitches on your needle, to do this you must place both strands between your thumb and your index finger respectively, hold the excess of both strands with the rest of your fingers . Next, insert the needle through the thread under the thumb and immediately after, insert it again this time through the thread above the index finger. Close the point and repeat the same process until you reach 66 points.

2. Start knitting the body of the hat
With the base of your hat ready, it is time to knit the body of your hat.
Start knitting 2x2 rib stitches, that is, two knit stitches and two purl stitches consecutively, until the end of your base stitches. Repeat this process for 11 more passes, always starting in the same direction as the first point of the previous pass.

3. Wrapped points
On the next pass, you are going to introduce the wrapped stitches.
To begin, knit four edge stitchesfollowing the previous scheme, two knitted and two purled. Now you are going to wrap the next two points, to do this take the pencil and pass the first two points to said pencil, take your strand and roll it over the space between your hand and the pencil three times. Place the two stitches back on the working needle and knit them normally.
Repeat the same process throughout the row alternating the columns, that is, knit a column with a wrapped stitch, skip the next one and so on consecutively until the end.

4. Continue knitting rows
Next, you are going to knit 5 rows of 1x1 rib stitch. Once finished, you are going to knit wrapped stitches alternating columns again, but this time, you will knit them in those columns that you previously avoided.
Once this pass is finished, carry out the same scheme for 5 more passes, interspersing the points surrounded by columns.

5. Finish knitting the body of the hat
With the entire body knitted, you must close the stitches to create the structure.
You are going to knit two stitches together, knit two and purl two, along all the previous stitches. With all these rows finished, it is time to knit the last one. The objective is that these last stitches do not look too bulky therefore, you are going to make this last pass with purl stitches together.

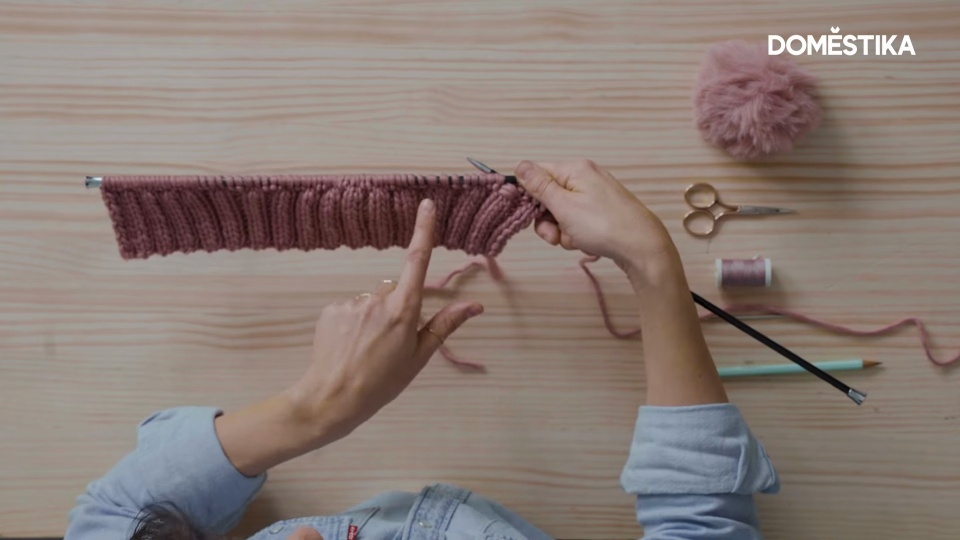
6. Join the fabric with an invisible seam
In these last steps, you must use wool needle.
Thread the loose end of the yarn and pass it through each of the stitches, letting them fall from the working needle. With all the stitches passed, pull the thread and you will see that the entire fabric contracts, thus achieving the desired shape.
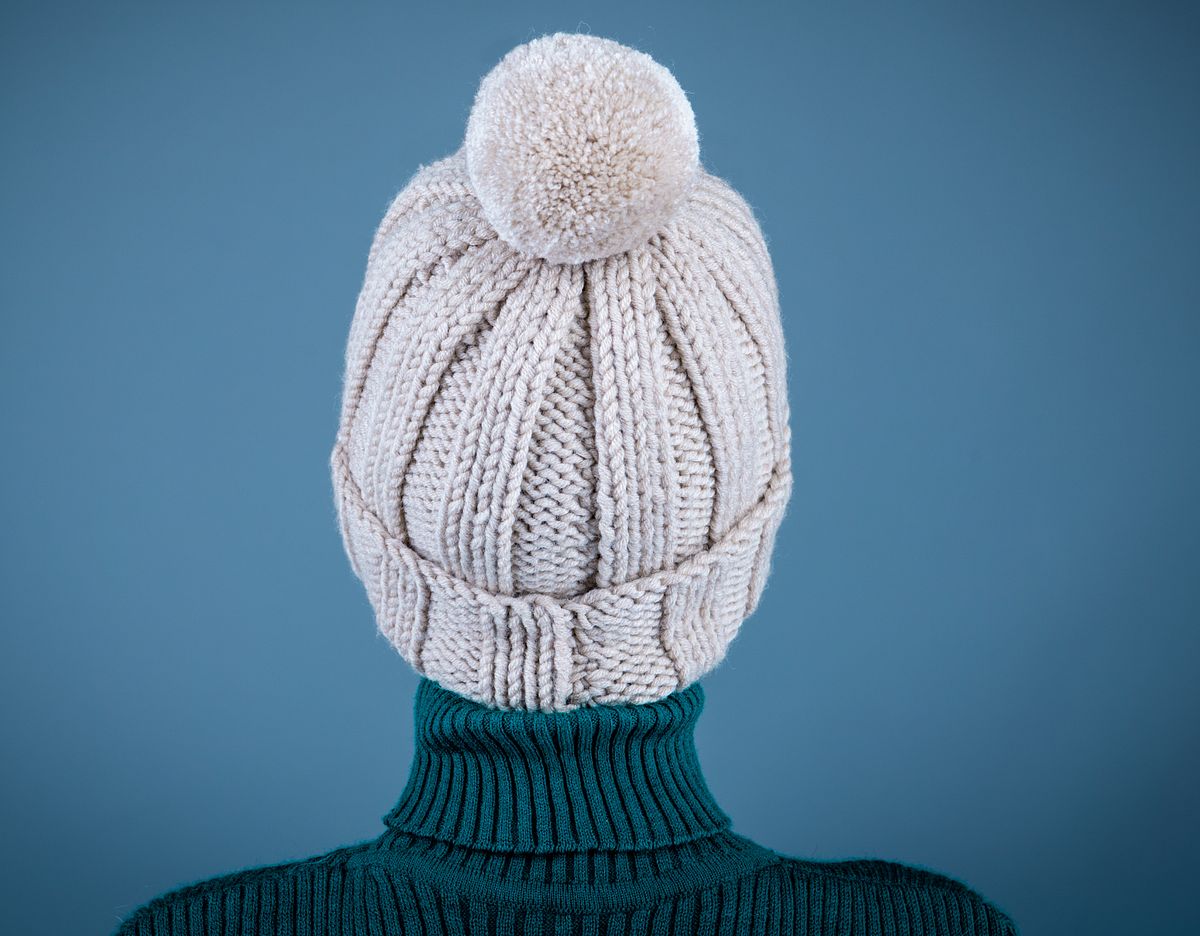
As you can see, the side of your hat is completely open, which means that you must sew, with an invisible seam, both parts to close the fabric and thus obtain the piece final. Finish off your hat by sewing a pompom on the tip and enjoy a very practical and personalized garment.

Download the wool hat pattern
With this downloadable pattern you can knit an accessory that adapts to your measurements and style.
The download is a 4-page PDF in which you will find a tension sample and a visual map with the corresponding points in each pass.

Click on the box below to download the PDF Dottie Hat Pattern file to knit your own wool hat. The file will appear in the Downloads folder on your computer.
Download the file below:
Join for Free and download
Patrón Gorro Dottie - Marta Porcel.pdf
The download will be available until October 3, 2022. If you want to continue knitting knitwear, don't miss her online course Knitting for garments children, where you will learn new techniques and patterns for the little ones.
And if you are passionate about crafts and want to continue exploring new ways to create and give a second life to clothes and objects, take a look at this one pack of 3 courses and reuse, repair, renew.
To continue knitting:
1. Start making your first stitches with these 15 online courses crochet to learn from scratch.
2. Are you still a little green in this crochet thing? We answer all your questions in how to knit crochet: 12 FAQs answered.
3. Find the best points of sale with 9 stores crochet online to buy knitting materials.


0 comments