


Tutorial: How to make clothes for fabric dolls the easy way
Design and sew clothes for your dolls with this tutorial by Elena Sánchez, creator of the LeleLerele brand
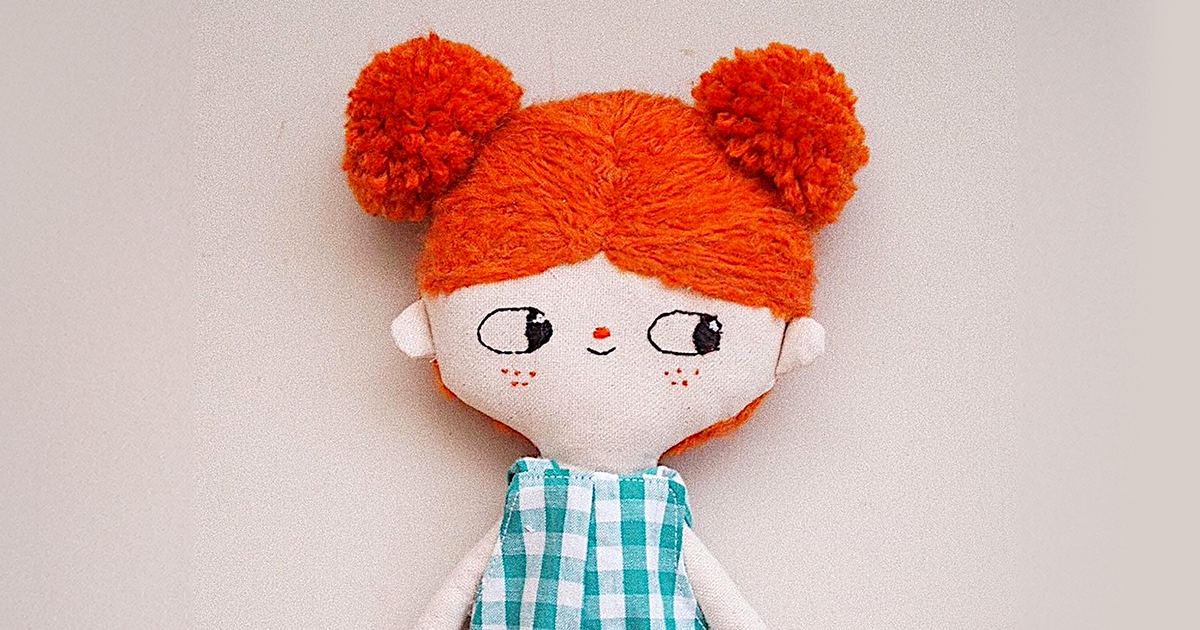
Do you have a cloth doll that desperately needs a new set of clothes? Elena Sánchez (@lelelerele), the creator of the LeleLerele doll and stuffed animal brand, has been making dolls for more than 11 years. In this tutorial, Elena shares her knowledge on how to sew clothes for dolls in a simple way.
With these simple steps, you will learn how to make a garment for dolls, whether it is a complete set or just an individual piece. Elena assures that, no matter how many years go by, a good stuffed animal to hug and play with will never go out of style. Are you up to designing part of yours?
Materials needed:
-Cotton fabric
-Scissors
-Sewing machine
-Thread
-Pins
-The pattern you want to use (Elena Sánchez)
1. Pattern
To begin, the first step is to mark the patterns you have chosen on the fabric you are going to use. In this case, no margin will be left, so the cutting pattern will be used as is.
After marking the patterns on the fabric, the corresponding pieces will be cut. In the case of the bib, you need two parts for the body, one piece for the lining and two straps.


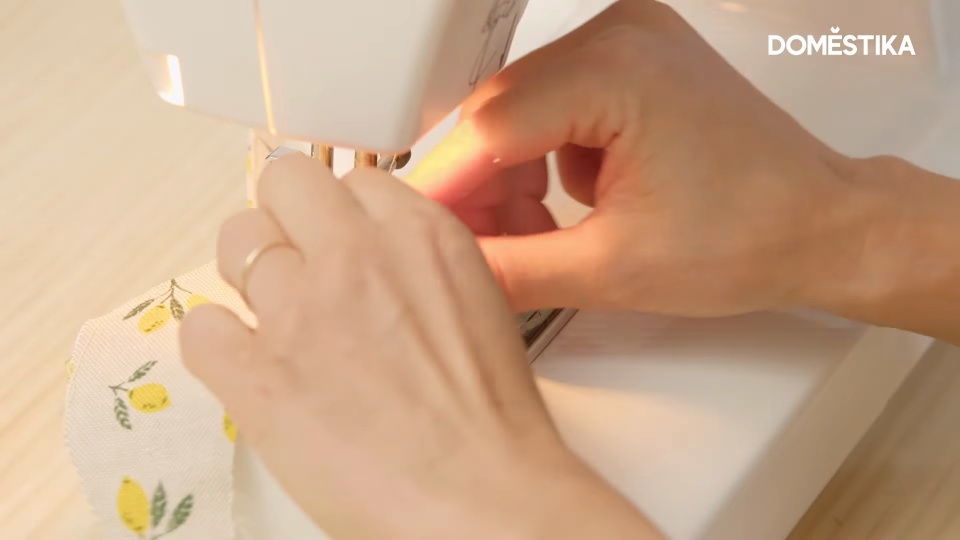
2. Sewing
Once you have the pieces cut out, Elena suggests pinning the two main parts together. You can do a simple seam in that area and then a zigzag seam to secure.
Repeat the process with the other pieces. To reinforce the straps, Elena folds the fabric twice before sewing.
Careful! During this step, be sure to make a safety stitch before doing the zigzag seam.

3. Join the parts
After sewing the main pieces and the straps, it is time to attach the straps to the front of the bib. Place the straps with the seam facing outward and flush with the top of the bib.
Make a simple seam a few millimeters further forward, and sew one strap and then the other, to make sure they are symmetrical. Take your time and don't rush, to avoid repeating the work several times.

4. Final touches
Once you've put all the parts together, it's time to sew the lining. Place the lining facing each other, and then sew to turn it inside out later. And the overalls for your cloth doll are ready!

Now that you have learned how to sew overalls for your dolls, you can create different outfits and give each doll its own unique style. If you want to continue learning to create your own dolls and discover how to generate photographs and videos for social networks that help you give them personality, don't miss the online course by Elena Sánchez Santos, Cloth dolls: design, sewing and content creation.
Practice and knit with these resources
1. Do you lack inspiration? Don't miss these 5 free websites with hundreds of crochet and knitting patterns.
2. Keep learning how to personalize your dolls (amigurumi, in this case) by weaving original beards or mustaches and download the free pattern. Don't miss this Crochet tutorial: how to knit beards and mustaches from amigurumis from Ameskeria.
3. Start knitting with these online amigurumi courses to learn from scratch.


0 comments