


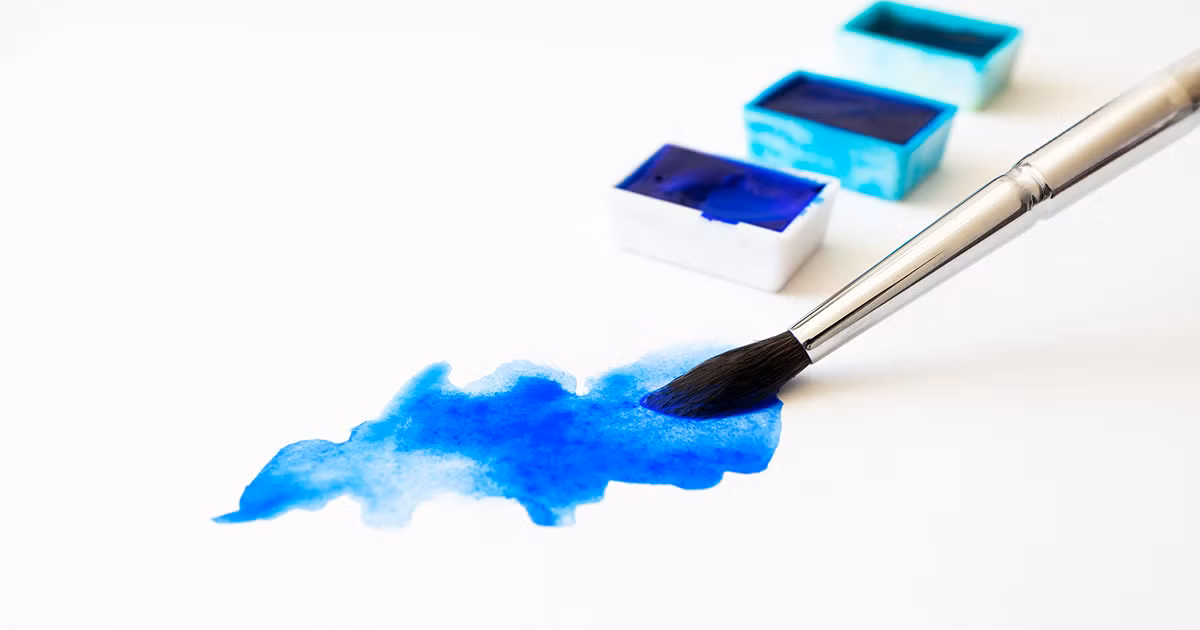
Watercolor Tutorial: Wet-on-Wet Technique
Learn to blend wet watercolors with Ana Santos
Watercolor is a much more complex medium than one might suppose: one has to understand the drying times, when to use more opaque or watery colours, and how to mix the different shades well, avoiding undesired results–or taking advantage of them.
Artist and illustrator Ana Santos (@anasantos) teaches us in this tutorial how to use the wet-on-wet technique, in which the same layer of paint is used, before drying, to perfectly blend the colors.
Learn more in this video:
7 steps to painting with watercolor
1. Materials: pencil, paper, tape

Use a 2H pencil to draw on the paper. This type of pencil won’t spoil with the watercolor. It is recommended to stick the paper to the table or to a support using adhesive tape. This will prevent it from moving during painting and, most importantly, from wrinkling as the watercolor layers are applied.
2. A simple and efficient color palette

If you're starting out in the watercolor universe, it's best to choose a simple color palette so that you can try out the mixes and the result you get on paper. For her chameleon, Ana has chosen shades of blue, red and brown. The watercolor blocks produce brighter, more vibrant colours. To dull them, she uses complementary colors: for red, a little green; for blue, some yellow, and so on.
3. Wax pencil to repel water

If you don't want the paint to settle in any specific part of the paper, use an oily wax pencil. This way, the watercolor water is repelled, keeping the area clean. For a light reflection effect, for example, white wax can be used. However, care must be taken so that the wax and the 2H pencil do not mix and soil the sketch.
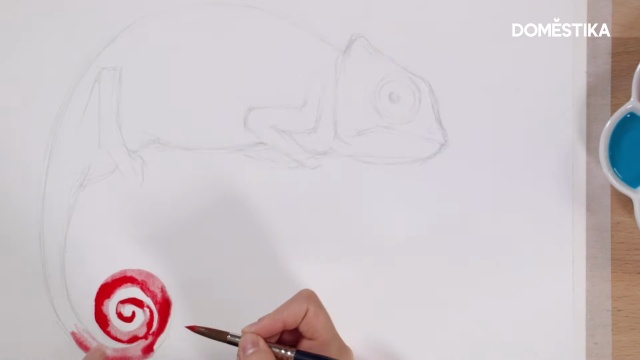
4. Starting to paint

With a medium brush, start applying a fairly wet watercolor layer, avoiding opacity. Starting with the lighter colors will give you more control over the effect the watercolor have on the paper.
To highlight a part of the drawing, you can apply the ink directly from the watercolor tablet. Another option is to use liquid watercolor with a dropper.
5. Wet transitions

The areas that will require different shades must be especially wet. The idea is to mix the colours harmoniously, and in the same layer, without the paper drying out beforehand.
Before applying a second colour, try to leave a blank 'transition zone' between them. Then, use the brush to distribute the watercolor in the area where the colors will mix.
6. Applying the dark tones

The darker colors come at the end. They'll be the ones that outline the details.
7. Keep drying times in mind
If you are looking for a more condensed effect - that is, not too much watercolor spread - it is better to paint over the areas that are already starting to dry. If the idea, however, is to let the ink flow more freely and benefit from the unexpected effect that watercolor can provide, paint over the wetter areas.

If you liked this tutorial, remember that you can learn with Ana Santos on the Domestika course
Experimental Watercolor Techniques for Beginners.
You might also be interested:
- Illustrated Portrait in Watercolor, a course by Ana Santos
- Modern Watercolor Techniques, a course by Ana Victoria Calderón
- Watercolor Portrait Sketchbook, a course by Carlos Rodríguez Casado


1 comentario
Like to get a course for watercolour beginners,how to start and study the art of painting with watercolour.All your courses are for more advanced people.Is there accursed who teach wet on wet washes,illuminatie painting more with depts .Thank you