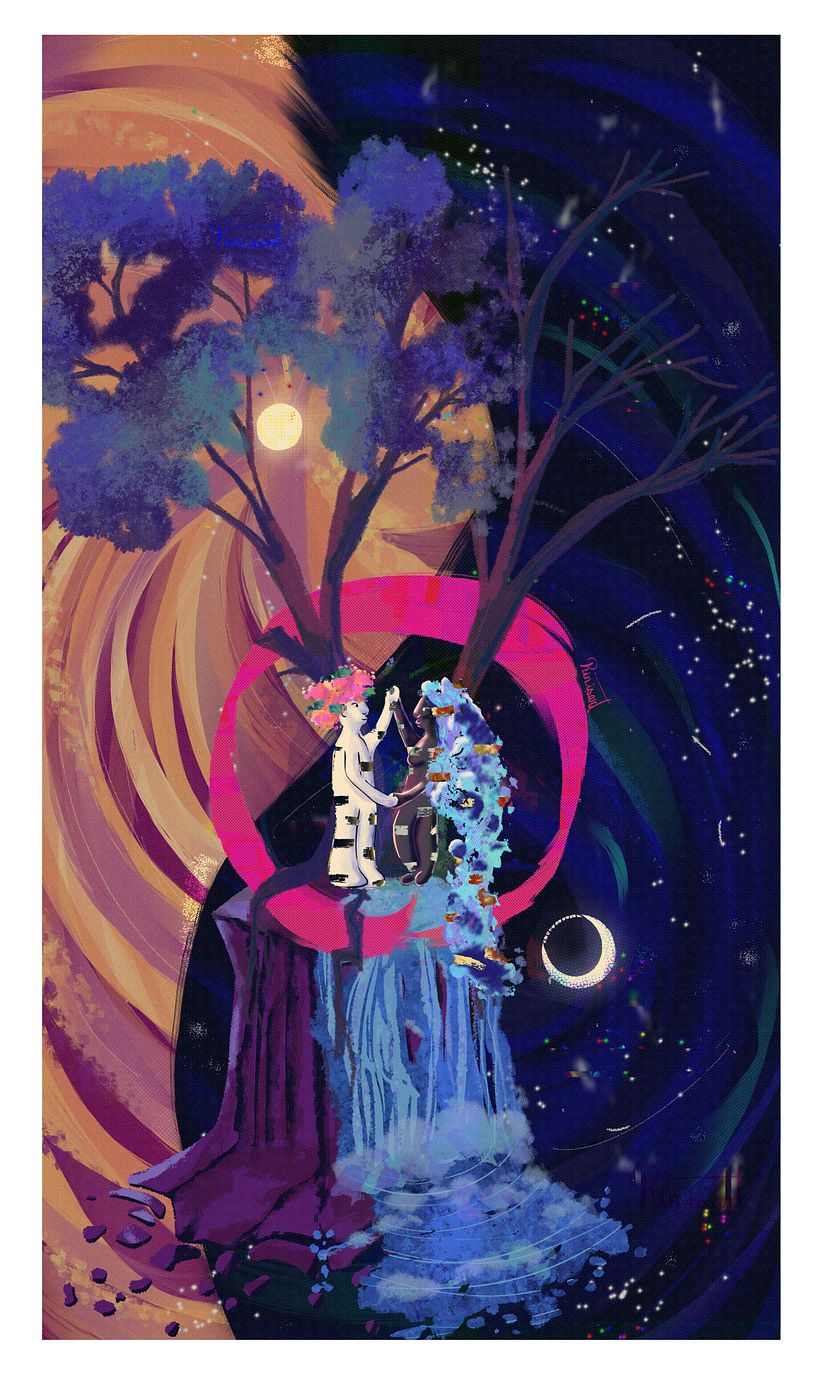
We are one - Illustration by Rinisart
by Rina De Vuono @rinisart
- 46
- 8
- 1
Introduction
Hi! I am happy to share my inspiration and creative process for my 'We are one' illustration. I tried to share as much as I could in my step by step process. Be sure to check out the end to see details of the canvas information, layers and the blend modes.
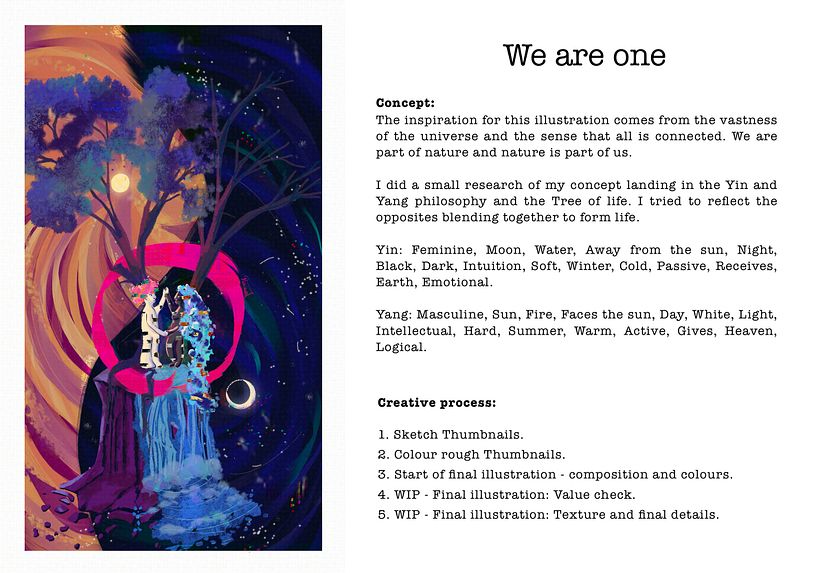
Supplies
Software: Procreate. Using digital brushes and adjustments settings to create texture.
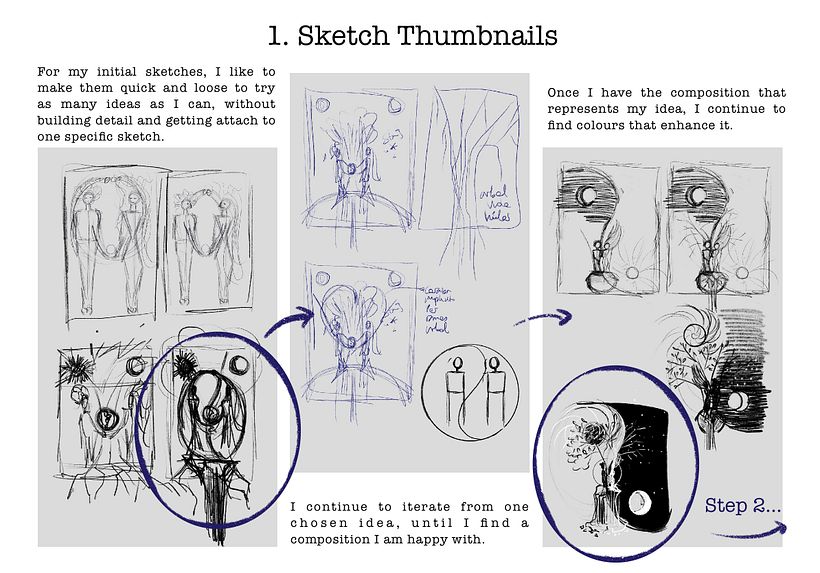
Step 1: Sketch Thumbnails.
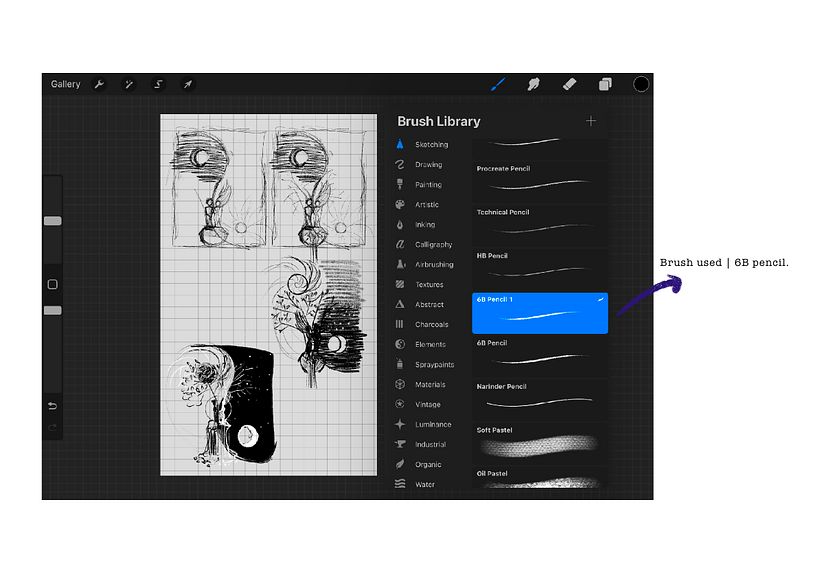
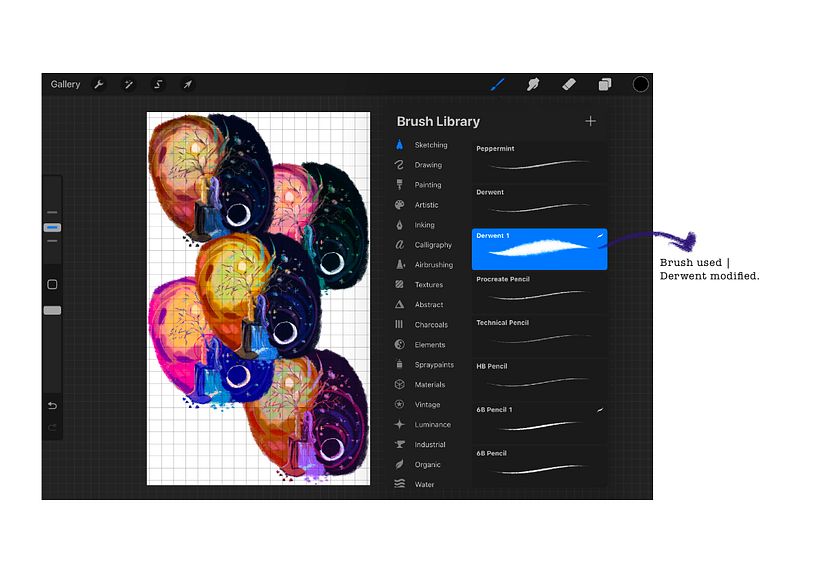
Tip: Keep your initial sketches loose and do it as fast as you can. At this stage the goal is not to have a pretty drawing, but to put your idea to paper and try as many compositions as you can or want to explore. For this stage, I like to draw traditionally in my sketchbook and then transfer the sketches to Procreate or as I did here, use the 6B pencil or the Derwent to create my sketches.
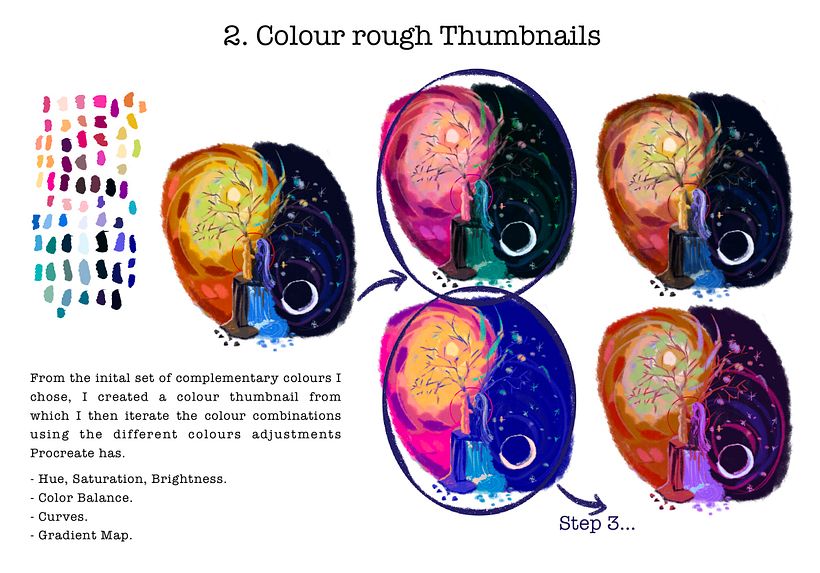
Step 2: Colour rough thumbnails
Tip: once you have your sketch selected, choose your colour palette and try several combinations. I like to create small colour thumbnails using just want brush, with low details to keep the focus on the colours. To try different combinations, I use the colour adjustments in Procreate to quickly have multiple colour options.
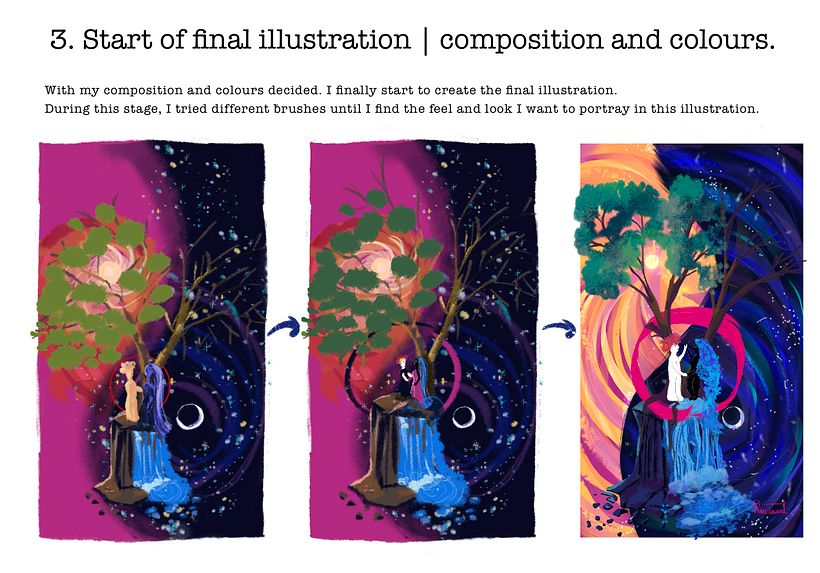
Step 3: Start of final illustration | Composition & colours
Tip: Even if you have your composition and colours selected, remember to always be opened to experiment and do small changes, if needed, to the composition or colours, but keep them small. Remember to create your elements on different layers so you can make changes quickly.
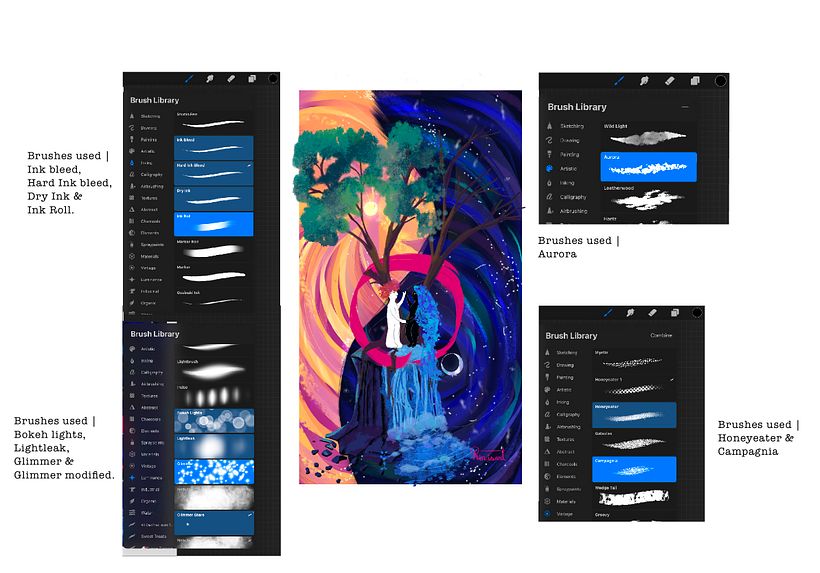
Step 4: WIP | Final illustration: Value check
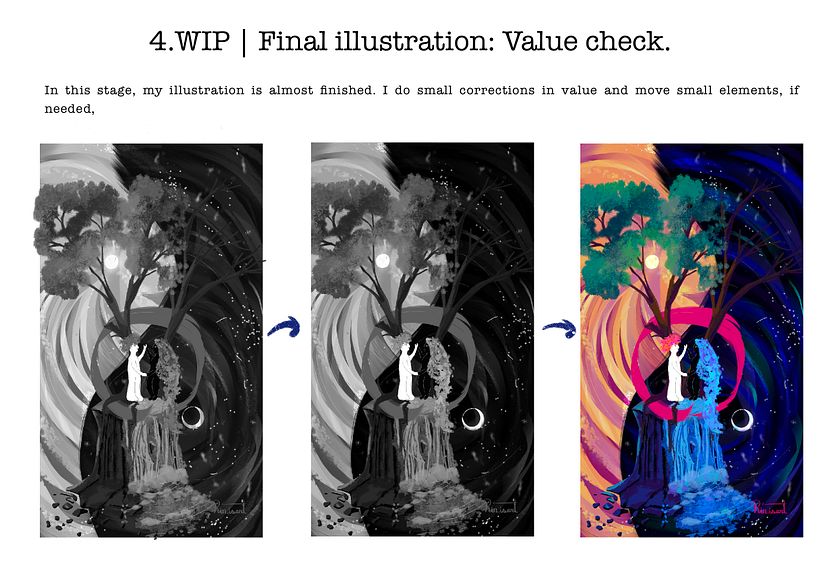
Tip: always check and double check your values :). Using a top layer filled with light/medium grey and using the 'Color' blend mode, it is easy to check if you are missing contrast.
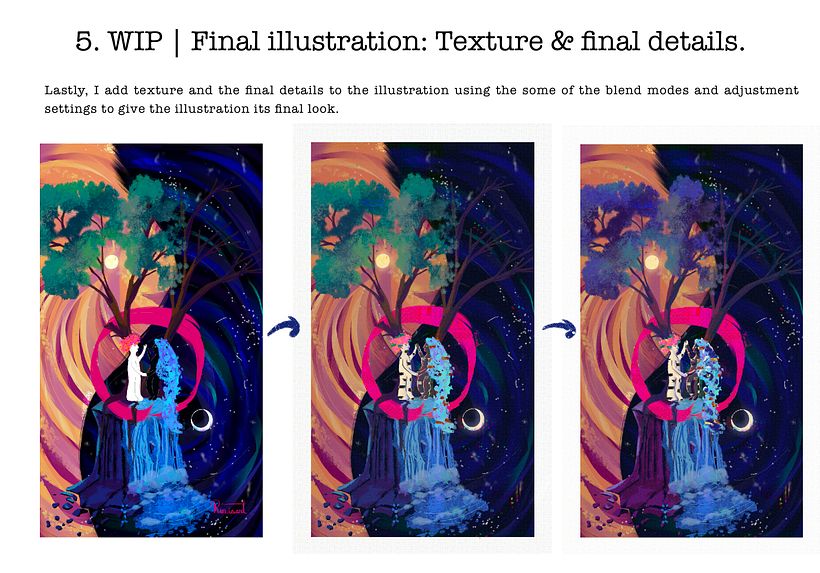
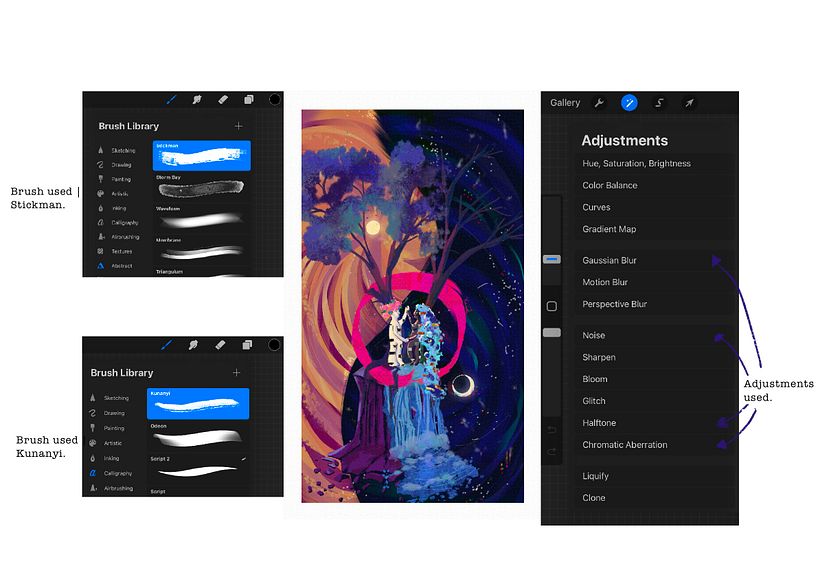
Step 5: WIP | Final illustration: texture & final details
Tip: I love the textures traditional art has and I look to emulate it as much as I can with my digital illustration. Using texture brushes, textures and/or the adjustments settings, you can create wonderful details and feel to your illustrations.
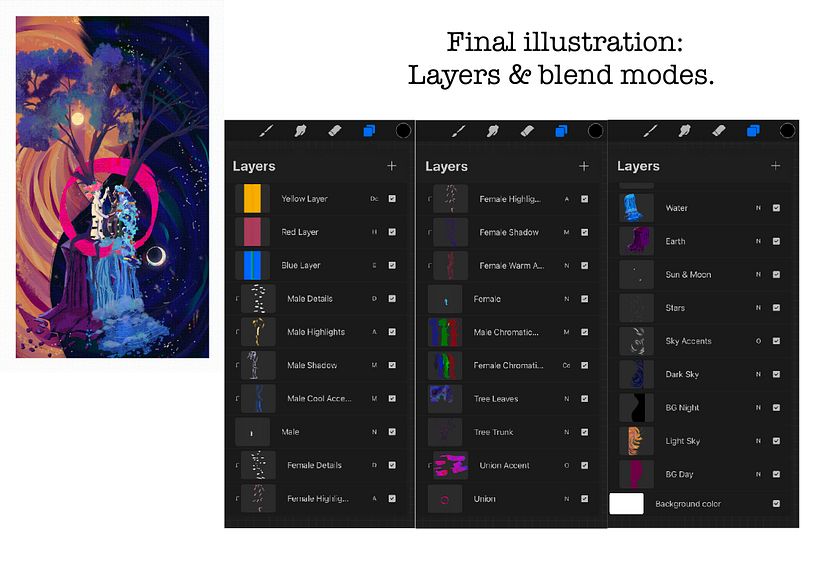
Final illustration: Layers & blend modes
Tip: As mentioned above, try to keep things on different layers and don't be afraid to experiment using the different blend modes to find the appearance you are looking for.
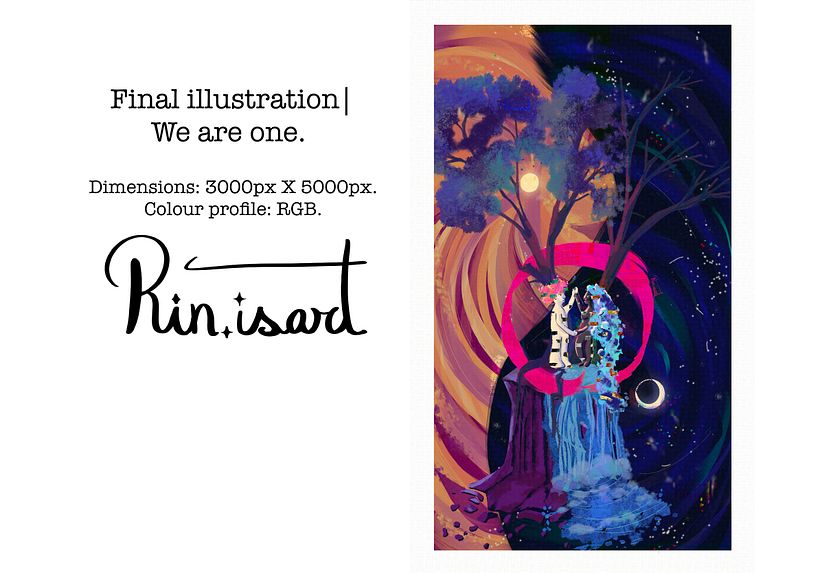
Final illustration
I hope you enjoyed following my creative process and learned from it! IG: @rin.isart


1 comment
ydayala
Absolutely beautiful!
Log in or join for Free to comment