Specialization in Stop Motion
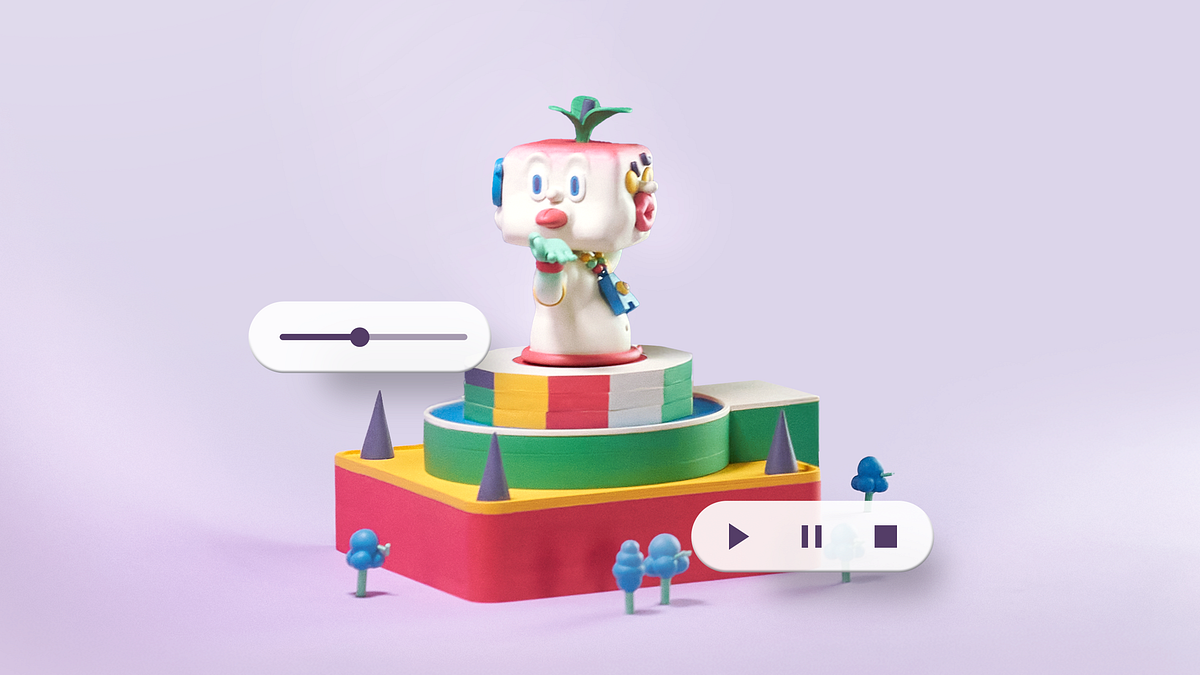

Master stop-motion animation techniques using clay, smartphones, and mixed media to create unique visual projects
Discover the fascinating world of stop-motion animation through a comprehensive specialization that will take you from the technical fundamentals to creating professional-quality animations. Learn to master the art of frame-by-frame animation, exploring timing, movement, and the essential principles that bring your creations to life. Transform your photographs into captivating visual stories using composition and storytelling techniques, and discover how to create stunning animations with accessible tools like your smartphone.
Explore creative versatility by integrating multiple animation techniques, combining stop motion with other methodologies to enrich your projects. Complete your learning by mastering clay animation, one of the most expressive and in-demand techniques. This course will allow you to develop narrative skills, modeling techniques, and the ability to create three-dimensional characters with personality. By the end, you'll be prepared to create an original short film that reflects your ability to tell captivating visual stories. Learn from Coke Riobóo, Lourdes Villagómez, Wasaisa, Estudio Agite, Becho, and MAB_Can Can Club.
What will you learn in this specialization?
 1
1Introduction
With patience and creativity, stop motion transforms the everyday into something magical. This first lesson introduces you to the essence of this timeless technique—from its tangible charm to its deep cinematic roots. Prepare to explore a world where every frame tells a story and your hands bring imagination to life.
1m
 1
1Influences | Coke Riobóo
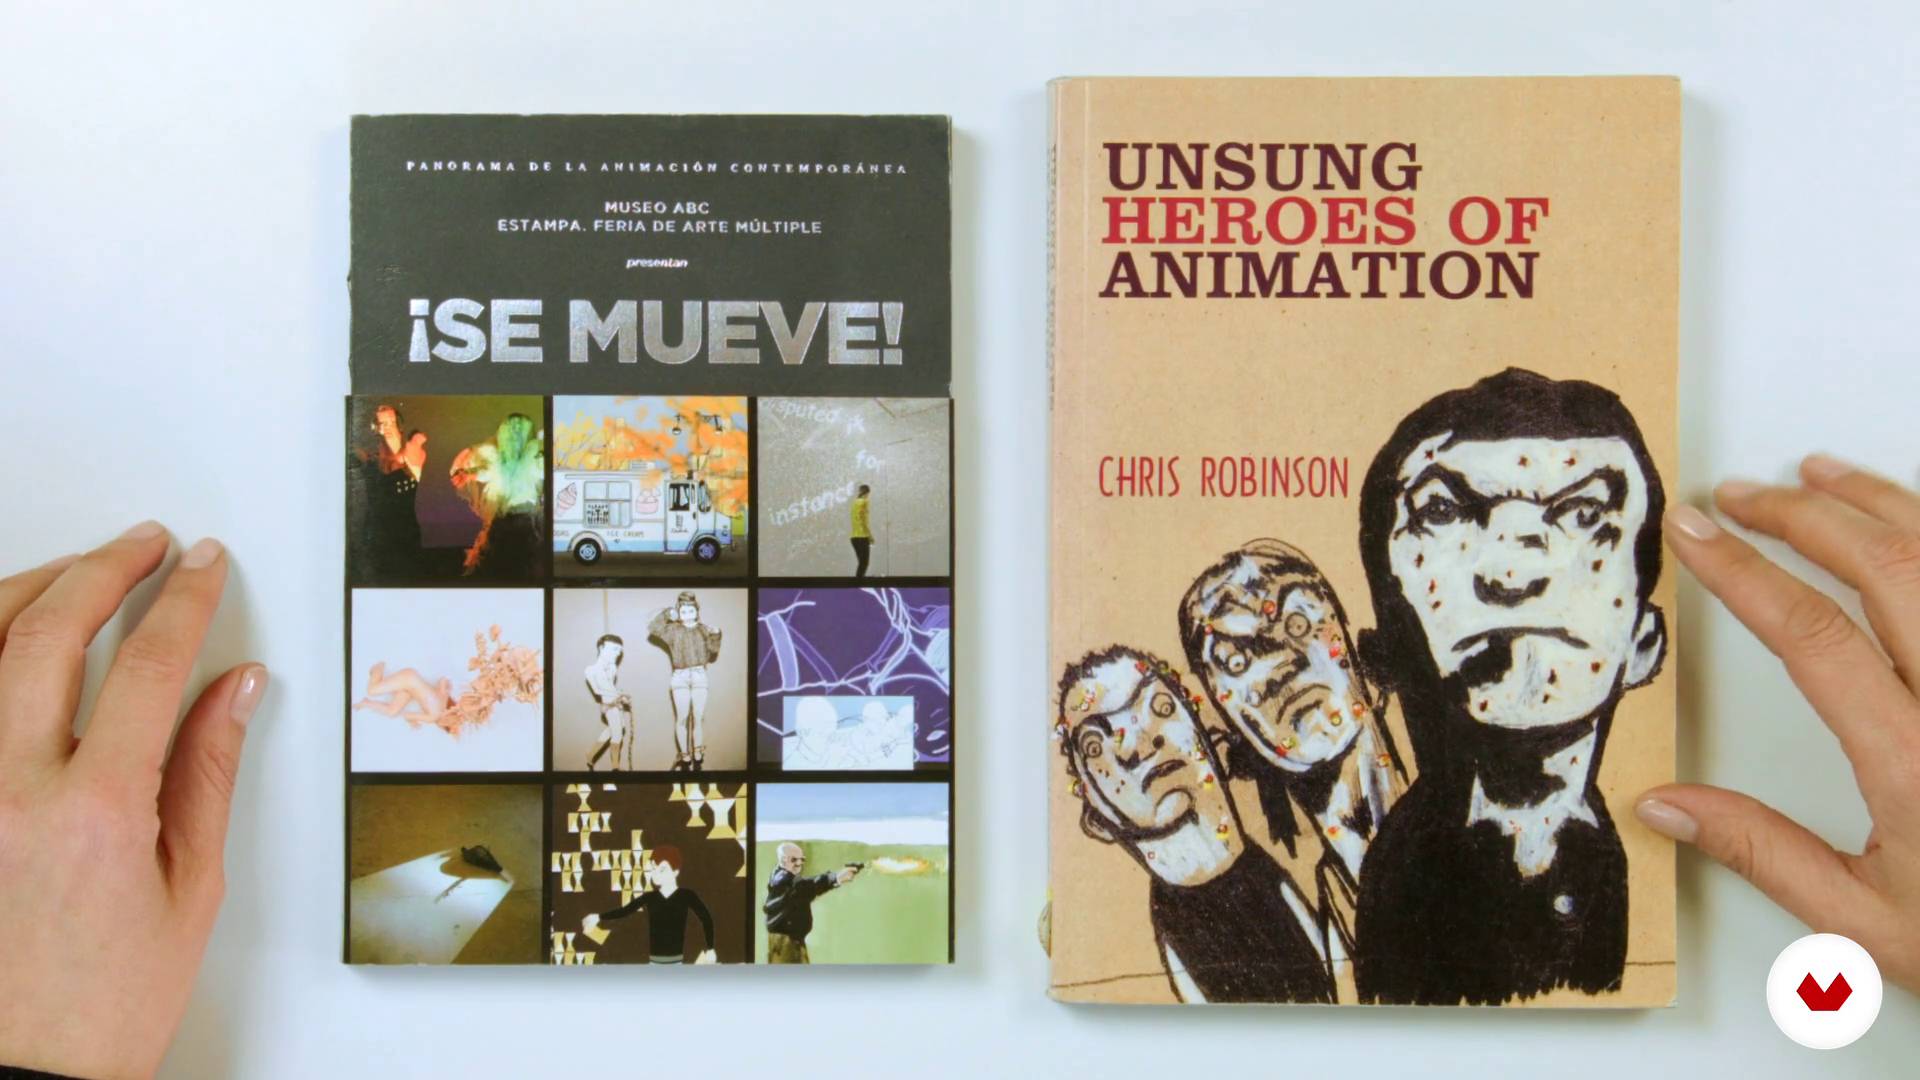
Here, Coke tells us how he came to the world of stop motion and shows us some of his influences.
11m
 2
2Influences | Lourdes Villagómez
In this lesson Lourdes tells us a little about her life in the world of animation and some of its references.
8m
 2
2Influences | Estudio Agite
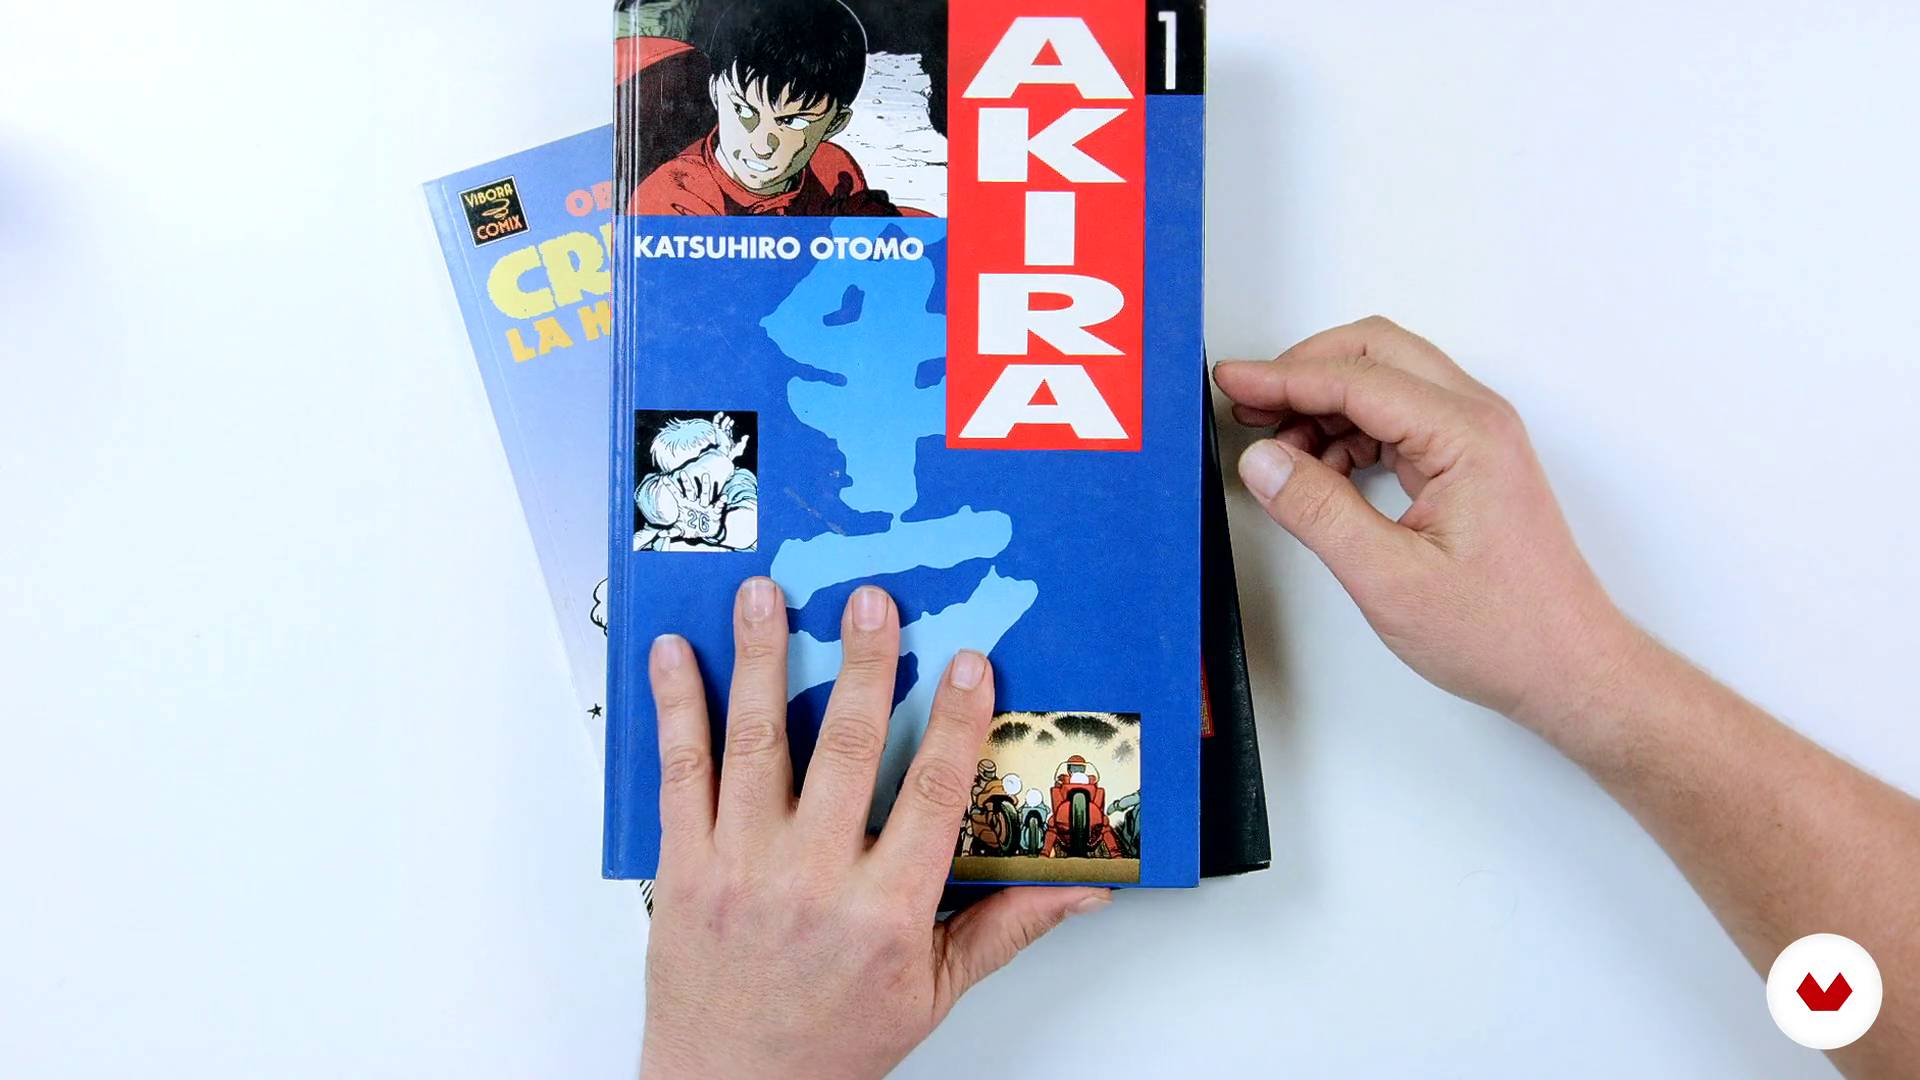
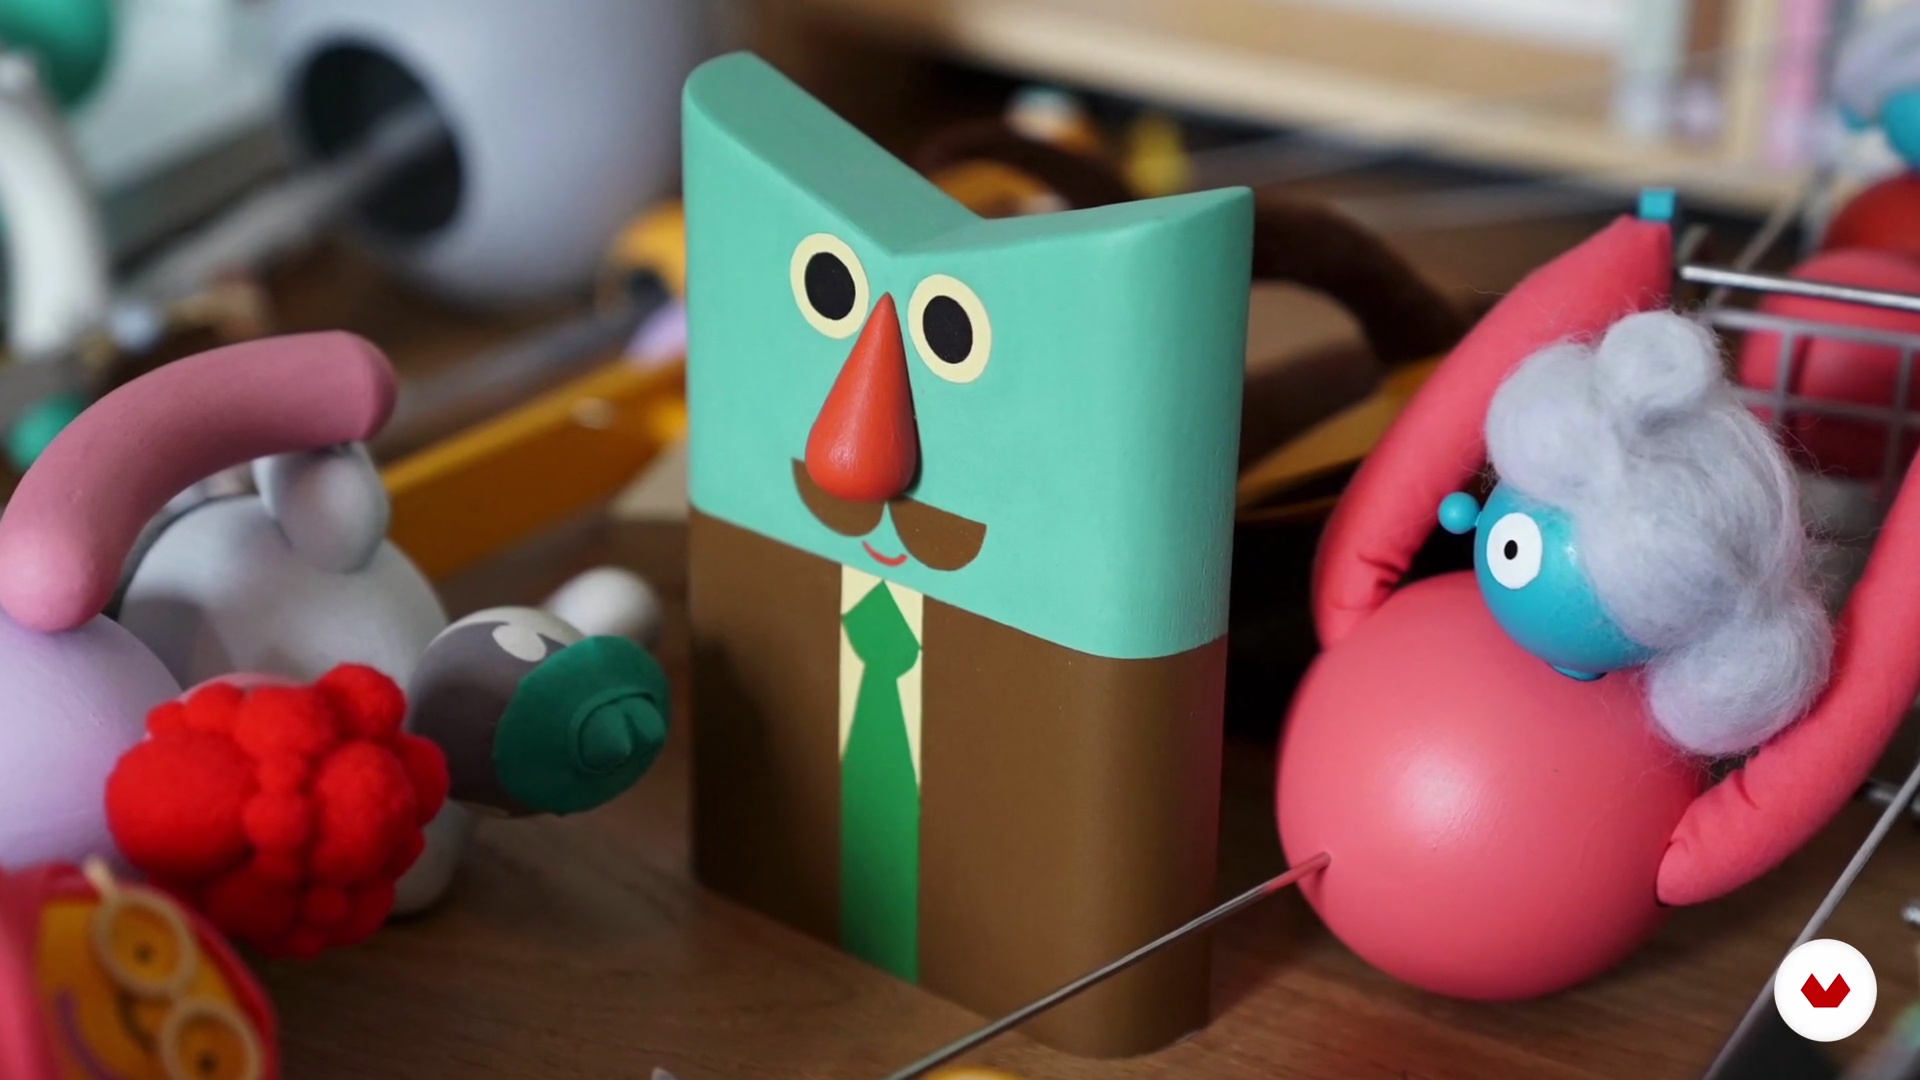
Katsuhiro Otomo, Moebius, Hayao Miyazaki, Weta Workshop, John Kelly, and many more are our most precious sources of inspiration. Traditional animation, scale scenarios, dioramas, puppets, stop-motion, art toys, manual modeling, 3D modeling, video mapping, we are fans of all how we can express emotions and represent content in a close, entertaining and easy way to understand.
5m
 2
2Influences | Mab & Becho (Can Can Club)
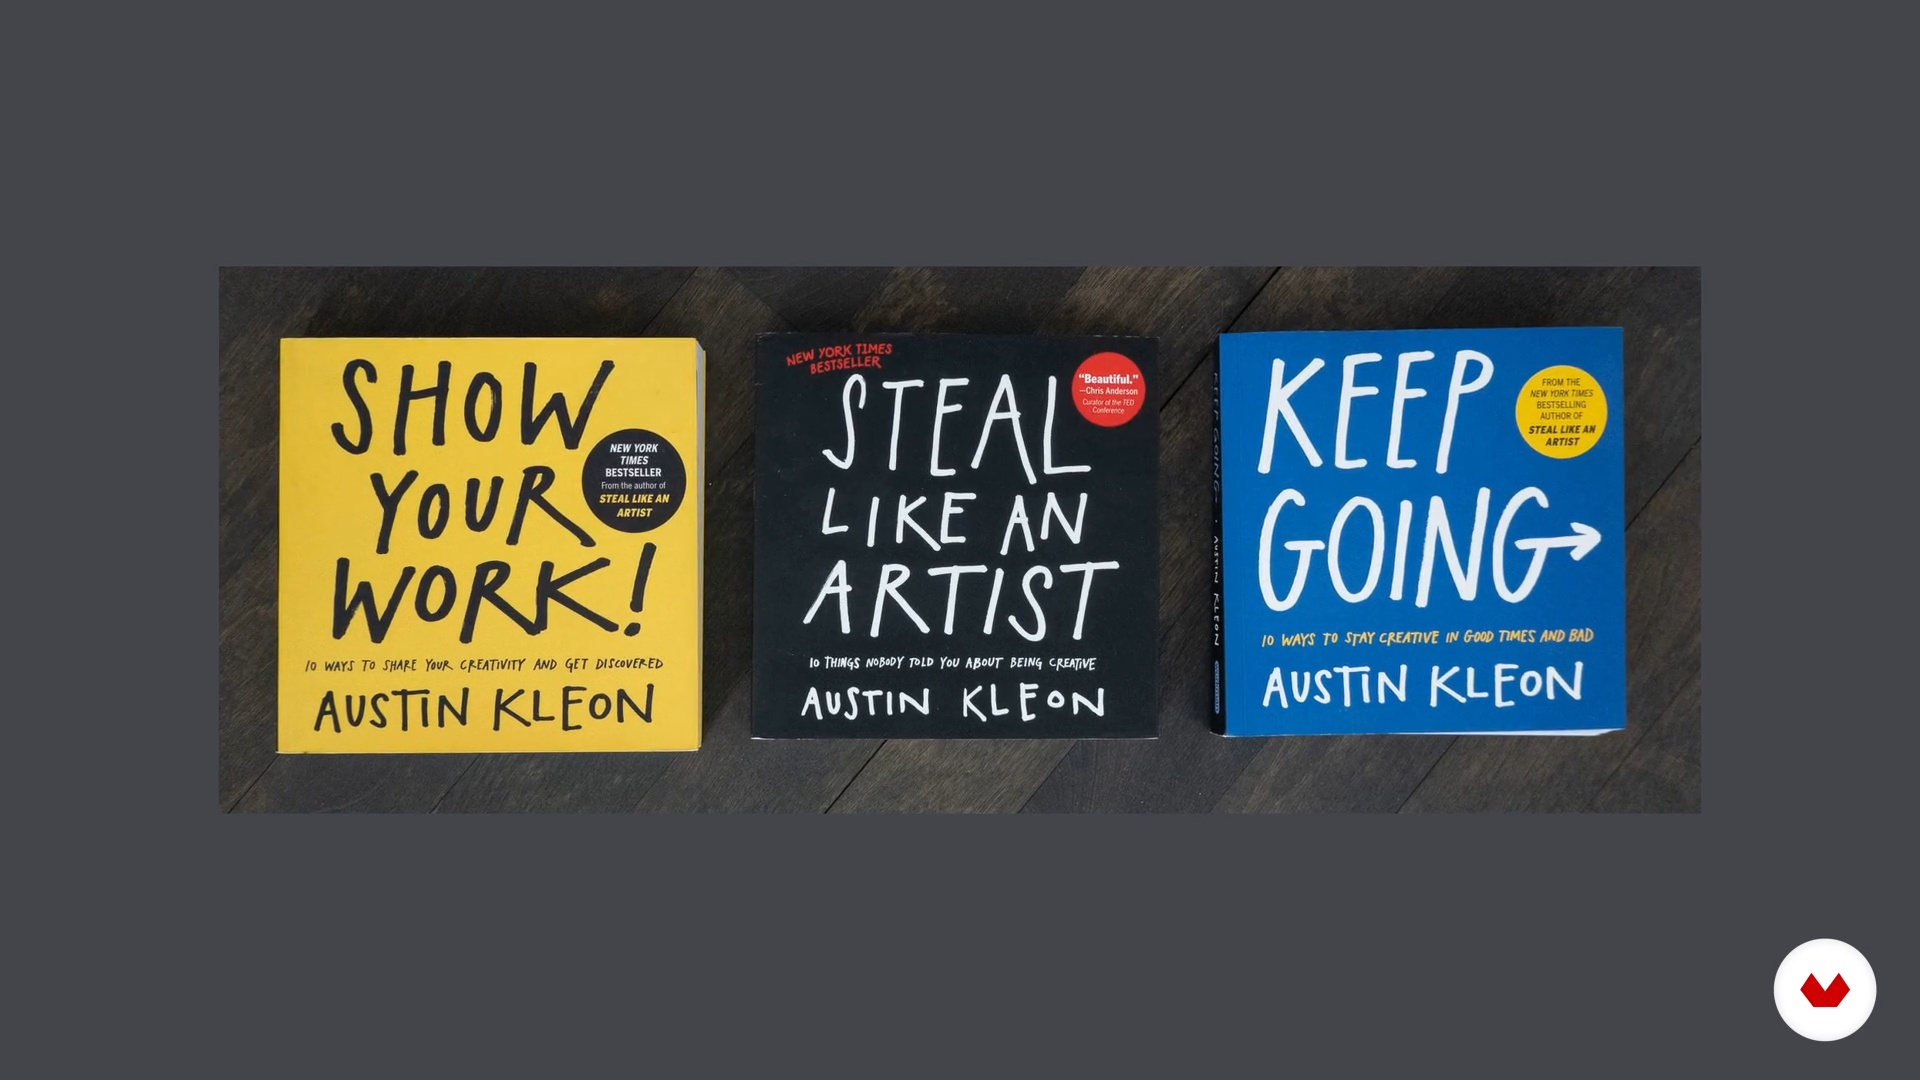
In this lesson we will show you who inspired us to do animation, our teachers and the works we admire. You will also see examples of exercises and animations that will be references for our final exercise. References to other works can be very good allies and generate value in your animations, they can trigger other ideas, give us the possibility of knowing new resources and / or forms of animation, and also serve to be updated. When you have an idea, we recommend you always look for references that can inspire you and open your horizons so that this idea grows.
4m
 3
3Influences | Jorge Isaac (Wasaisa)
My love for art, fashion and music have led me to be inspired in many ways and have led me to constantly reinvent the way I see the world and what surrounds me. In this lesson, I am going to share some of them with you.
7m
 4
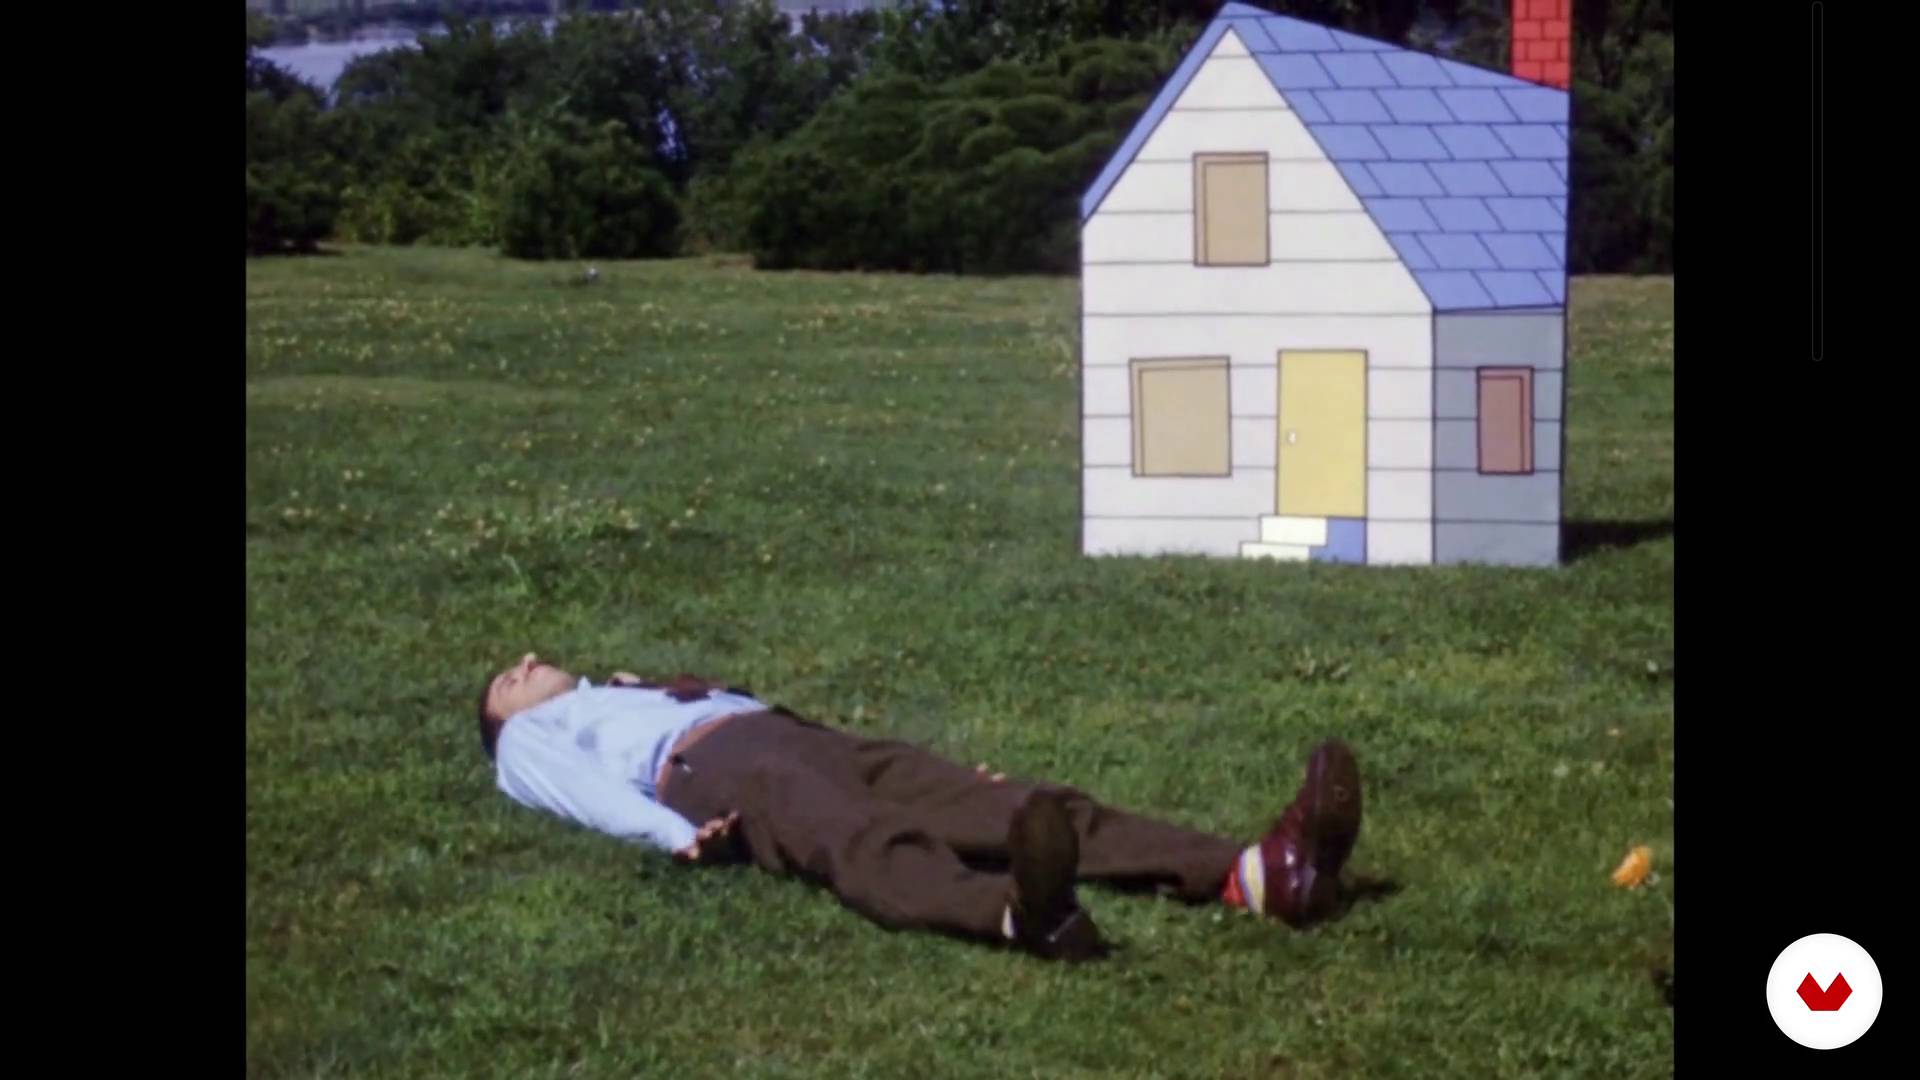
4Brief personal history of stop motion
Here we make a quick introduction to some films that we consider indispensable, you will find the links to see them complete in the additional material.
11m
 5
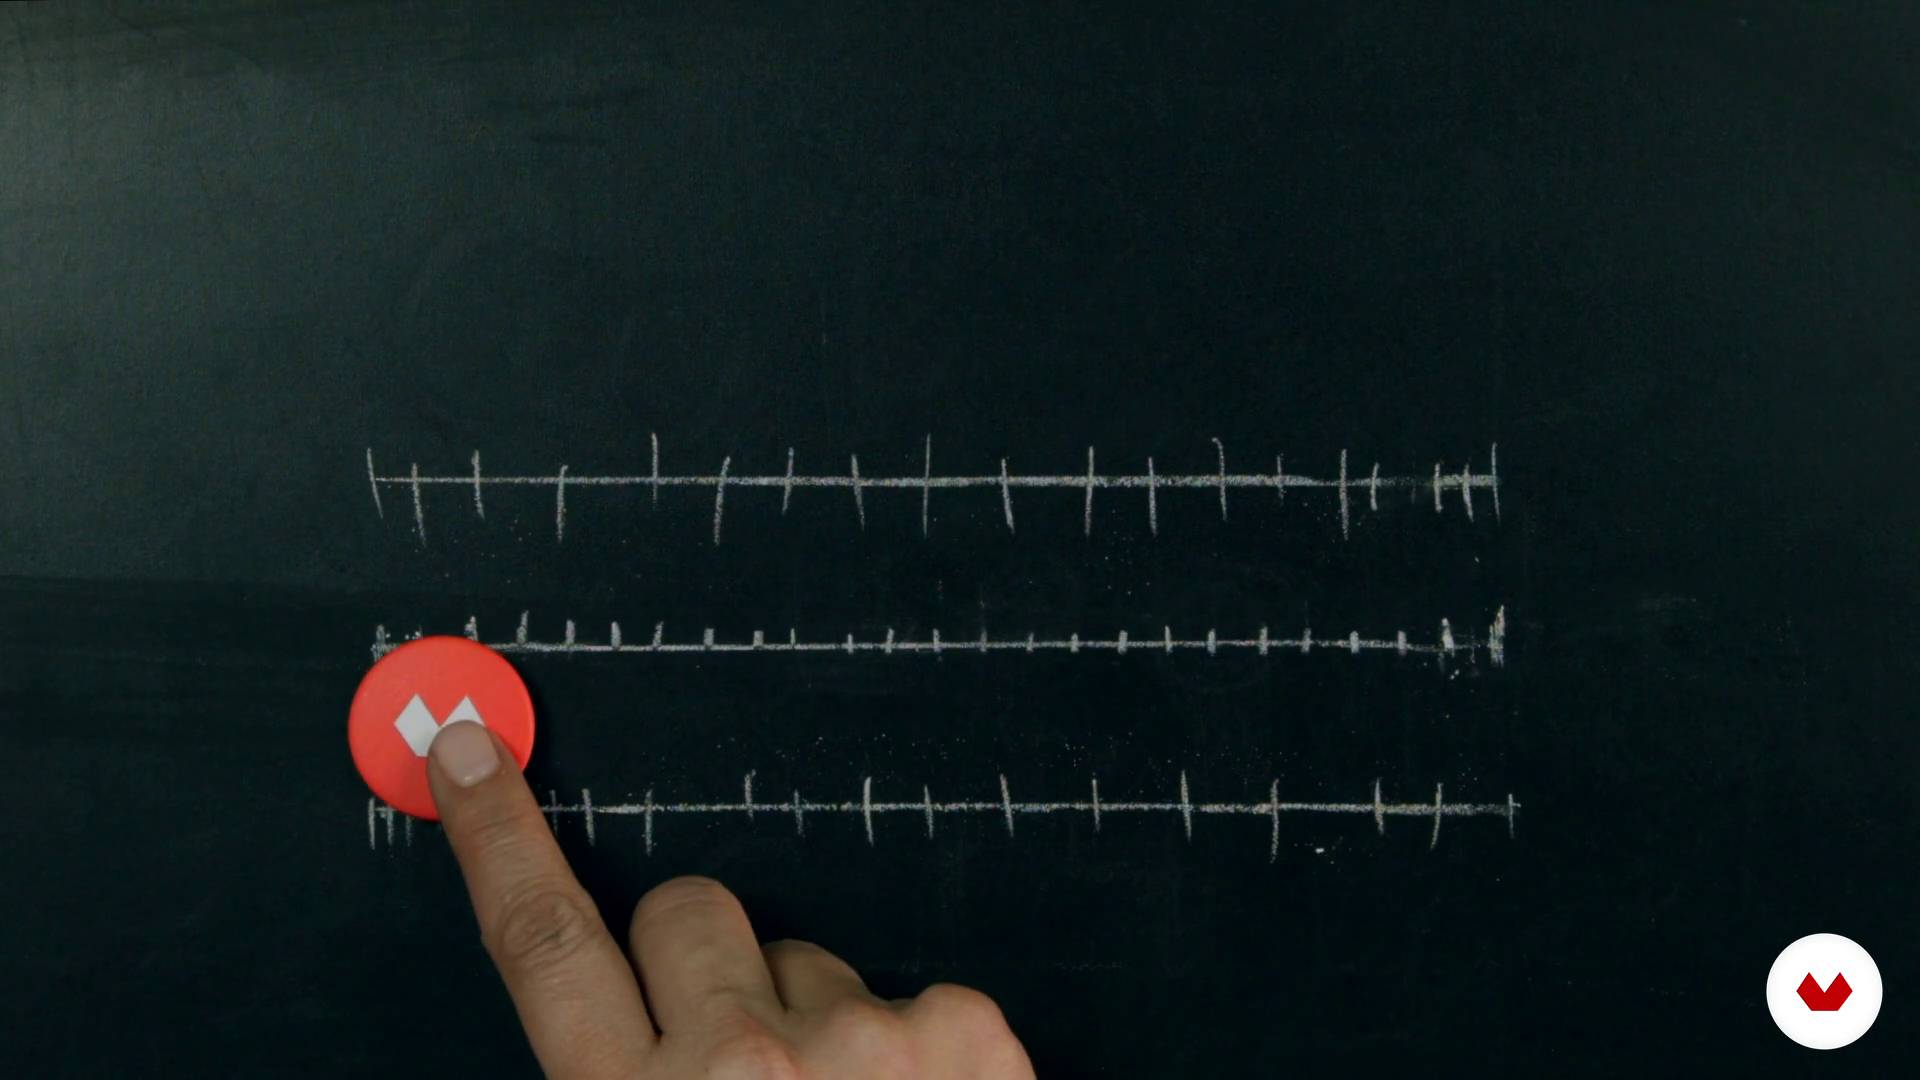
5Basic concepts of animation
Here we will give a brief explanation of how the animation works. we will tell you the different ways to animate frame by frame.
7m
 6
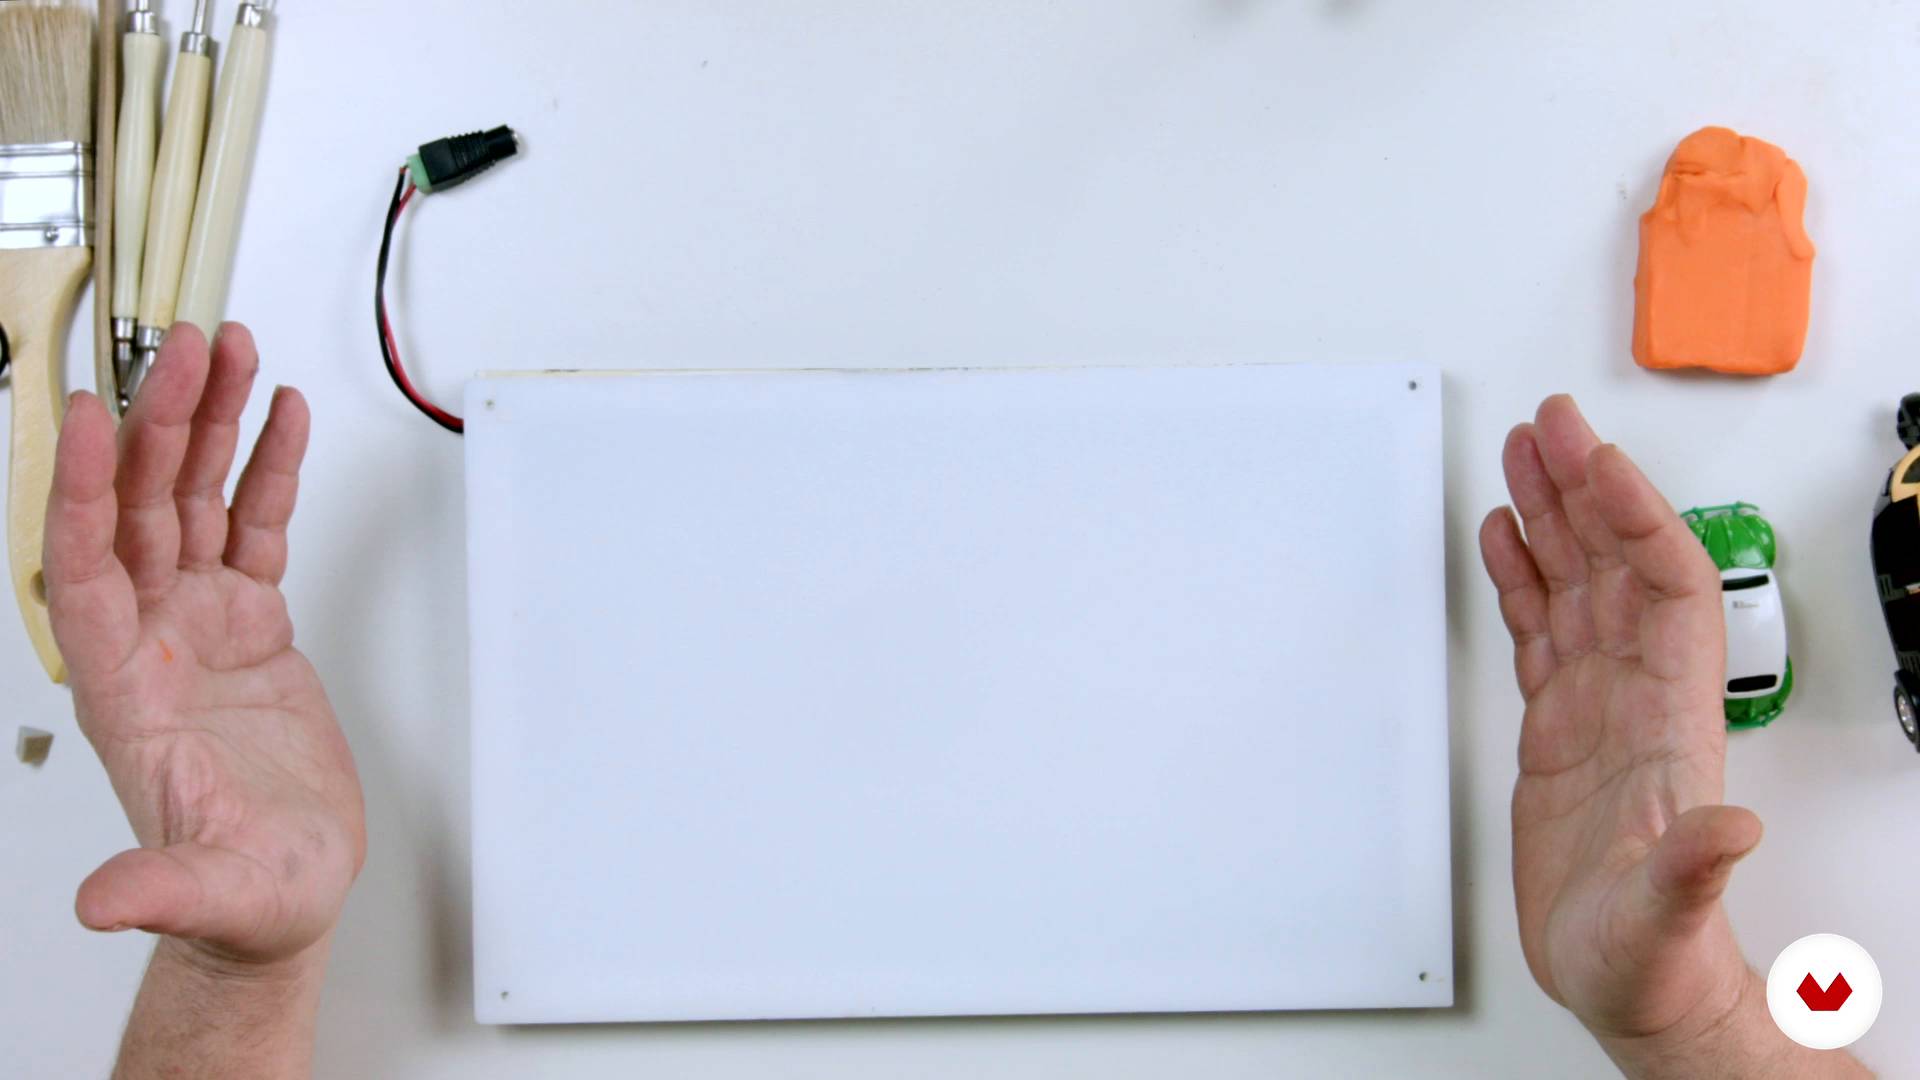
6Materials and tools
We will make a recount of the materials and tools that we can use to stop motion.
9m
 7
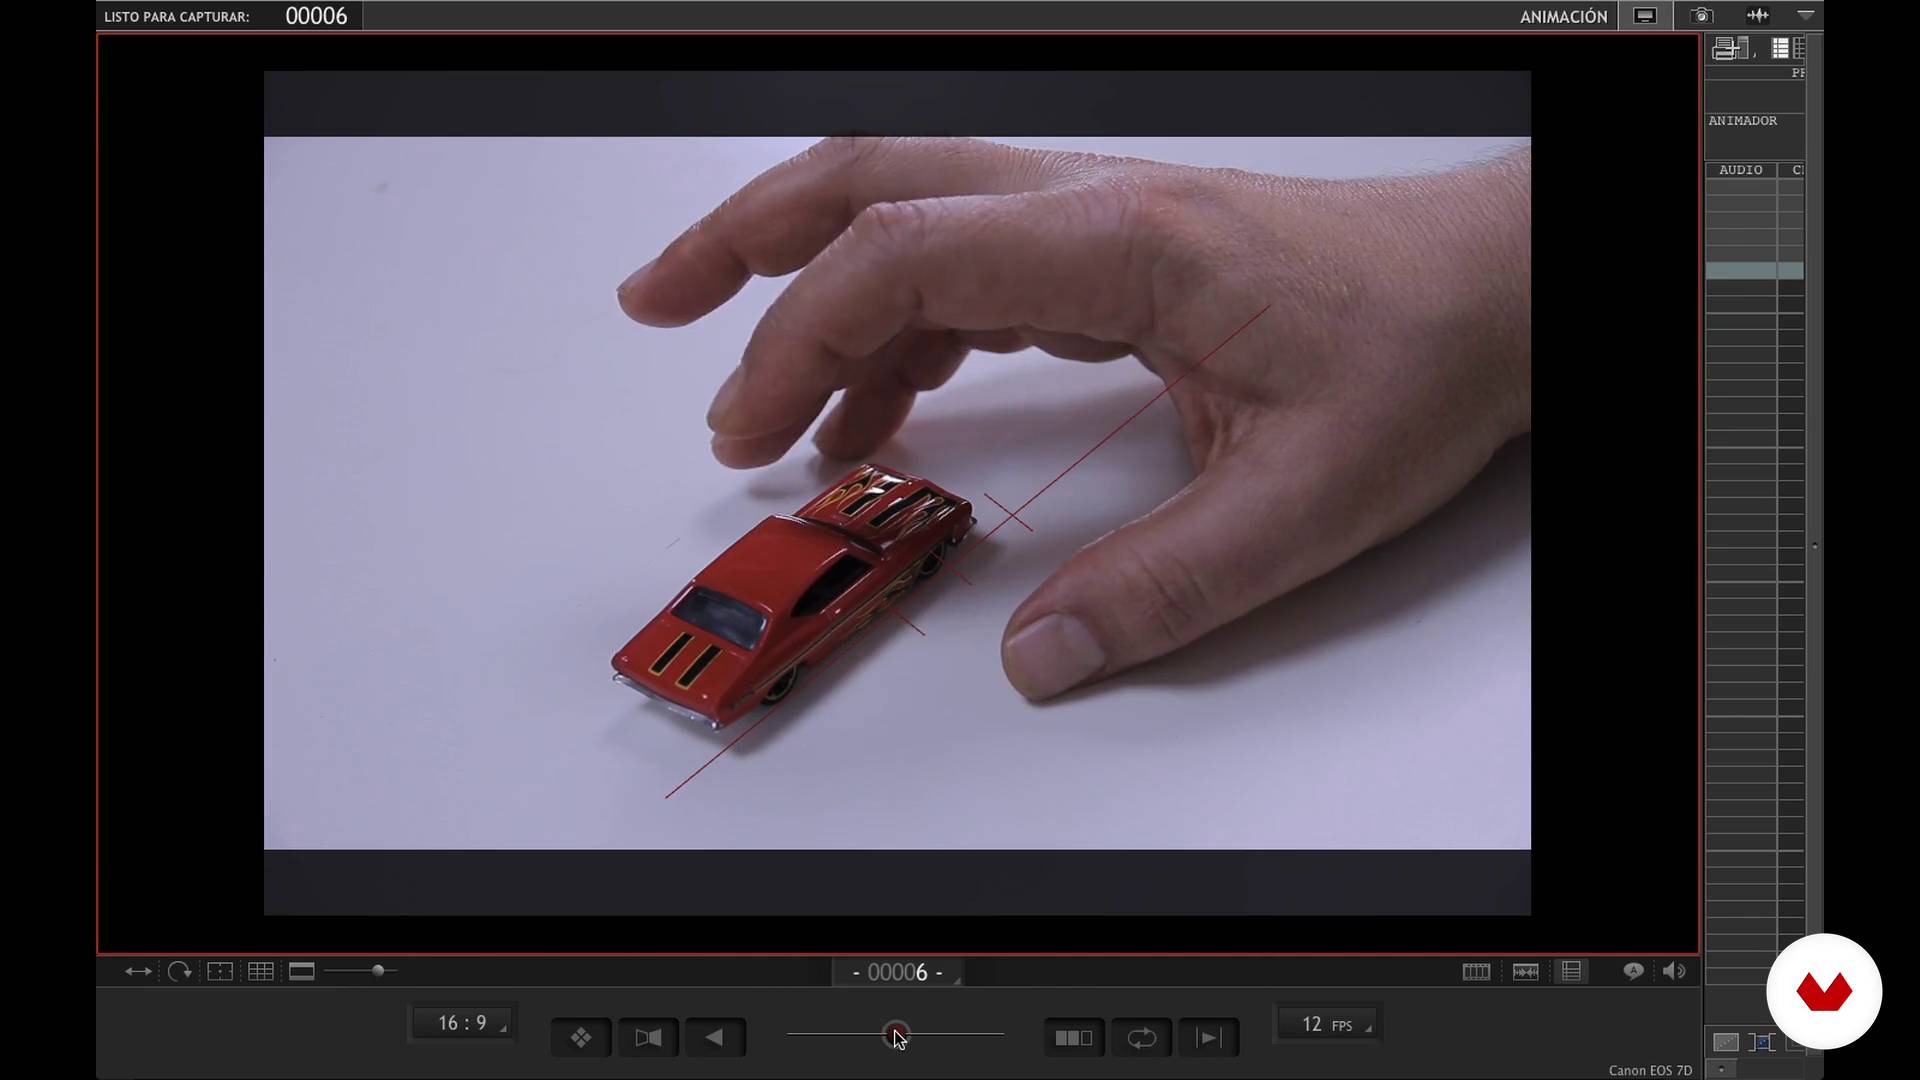
7Animation software
We will talk about how Dragonframe works, the software that we will use to animate and export our animations to video.
18m
 8
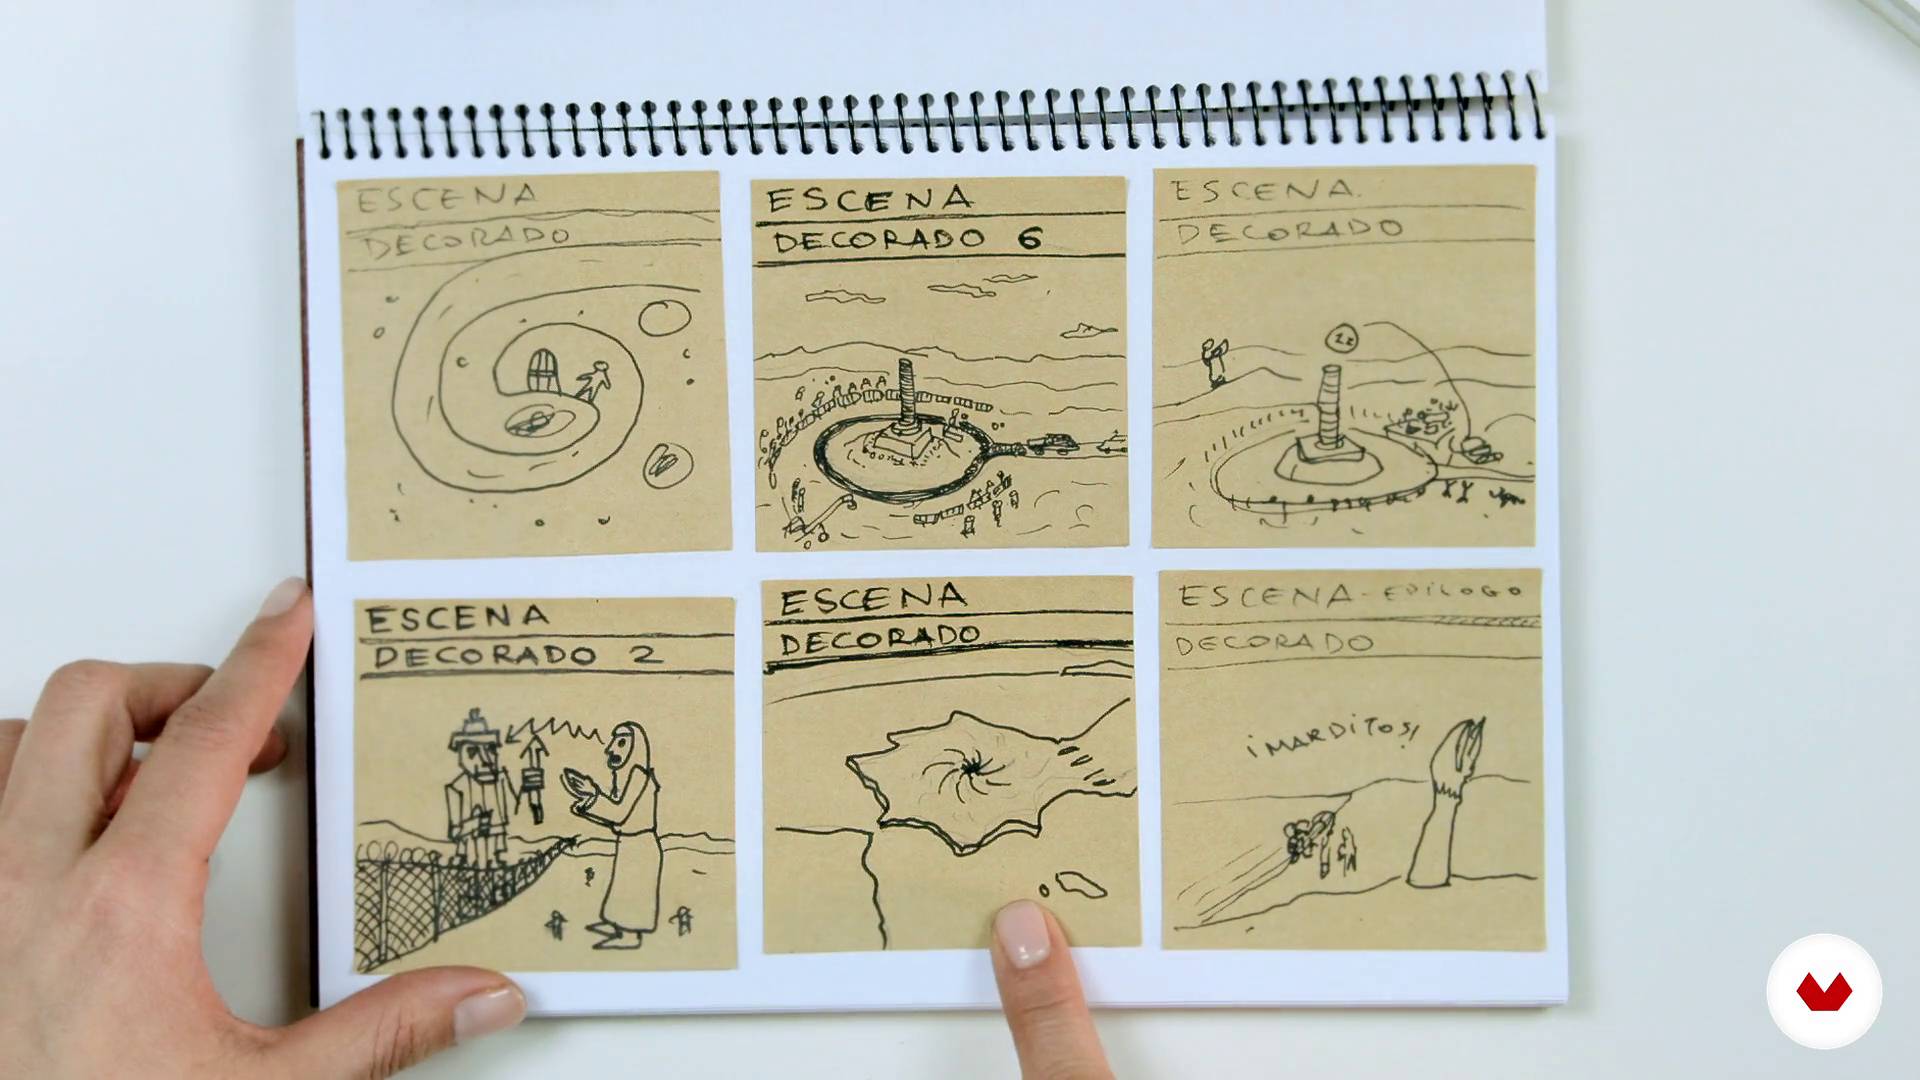
8Create a story concept and storyboard
In this lesson we will talk about some ways to develop an idea.
5m
 9
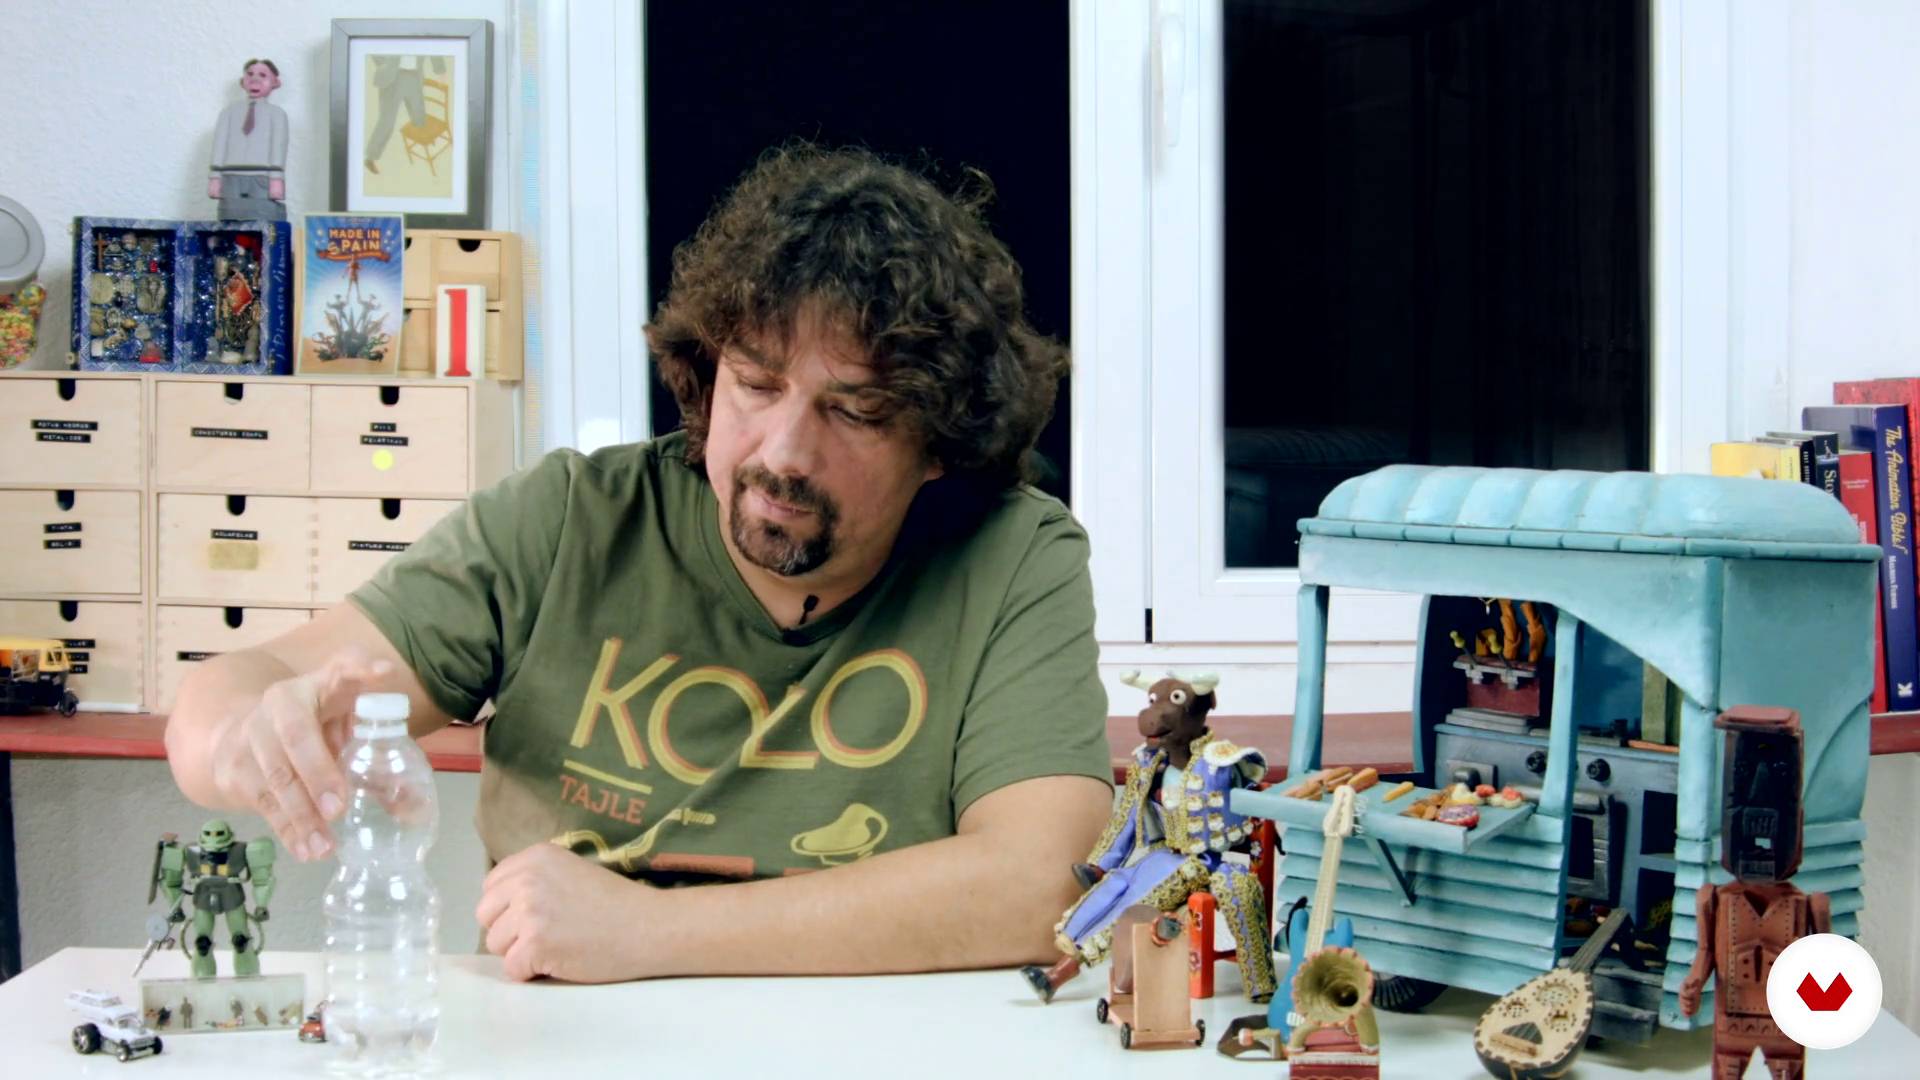
9Characters and sets
We will learn about characters and sets and what we should take into account when building them.
11m
 10
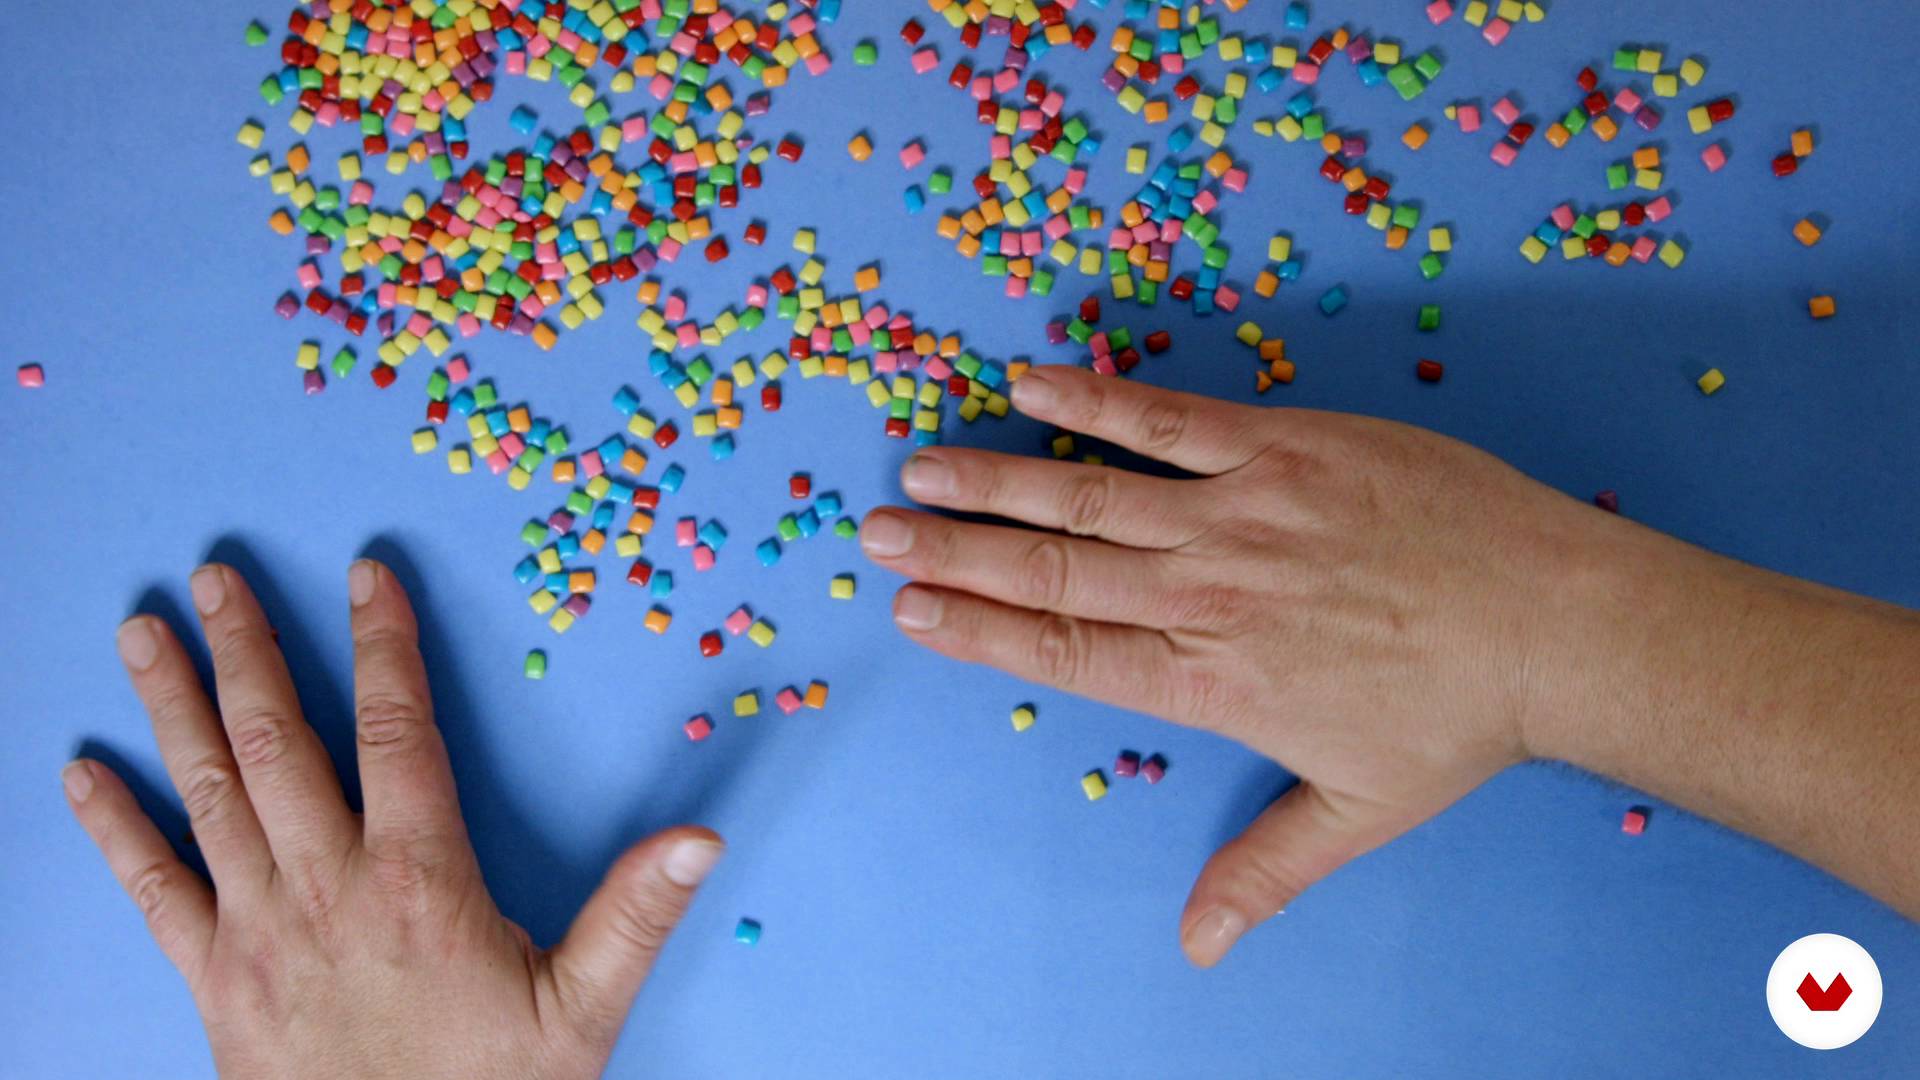
10Animation of objects I
Almost anything is animatable, in this lesson we will see some examples.
5m
 11
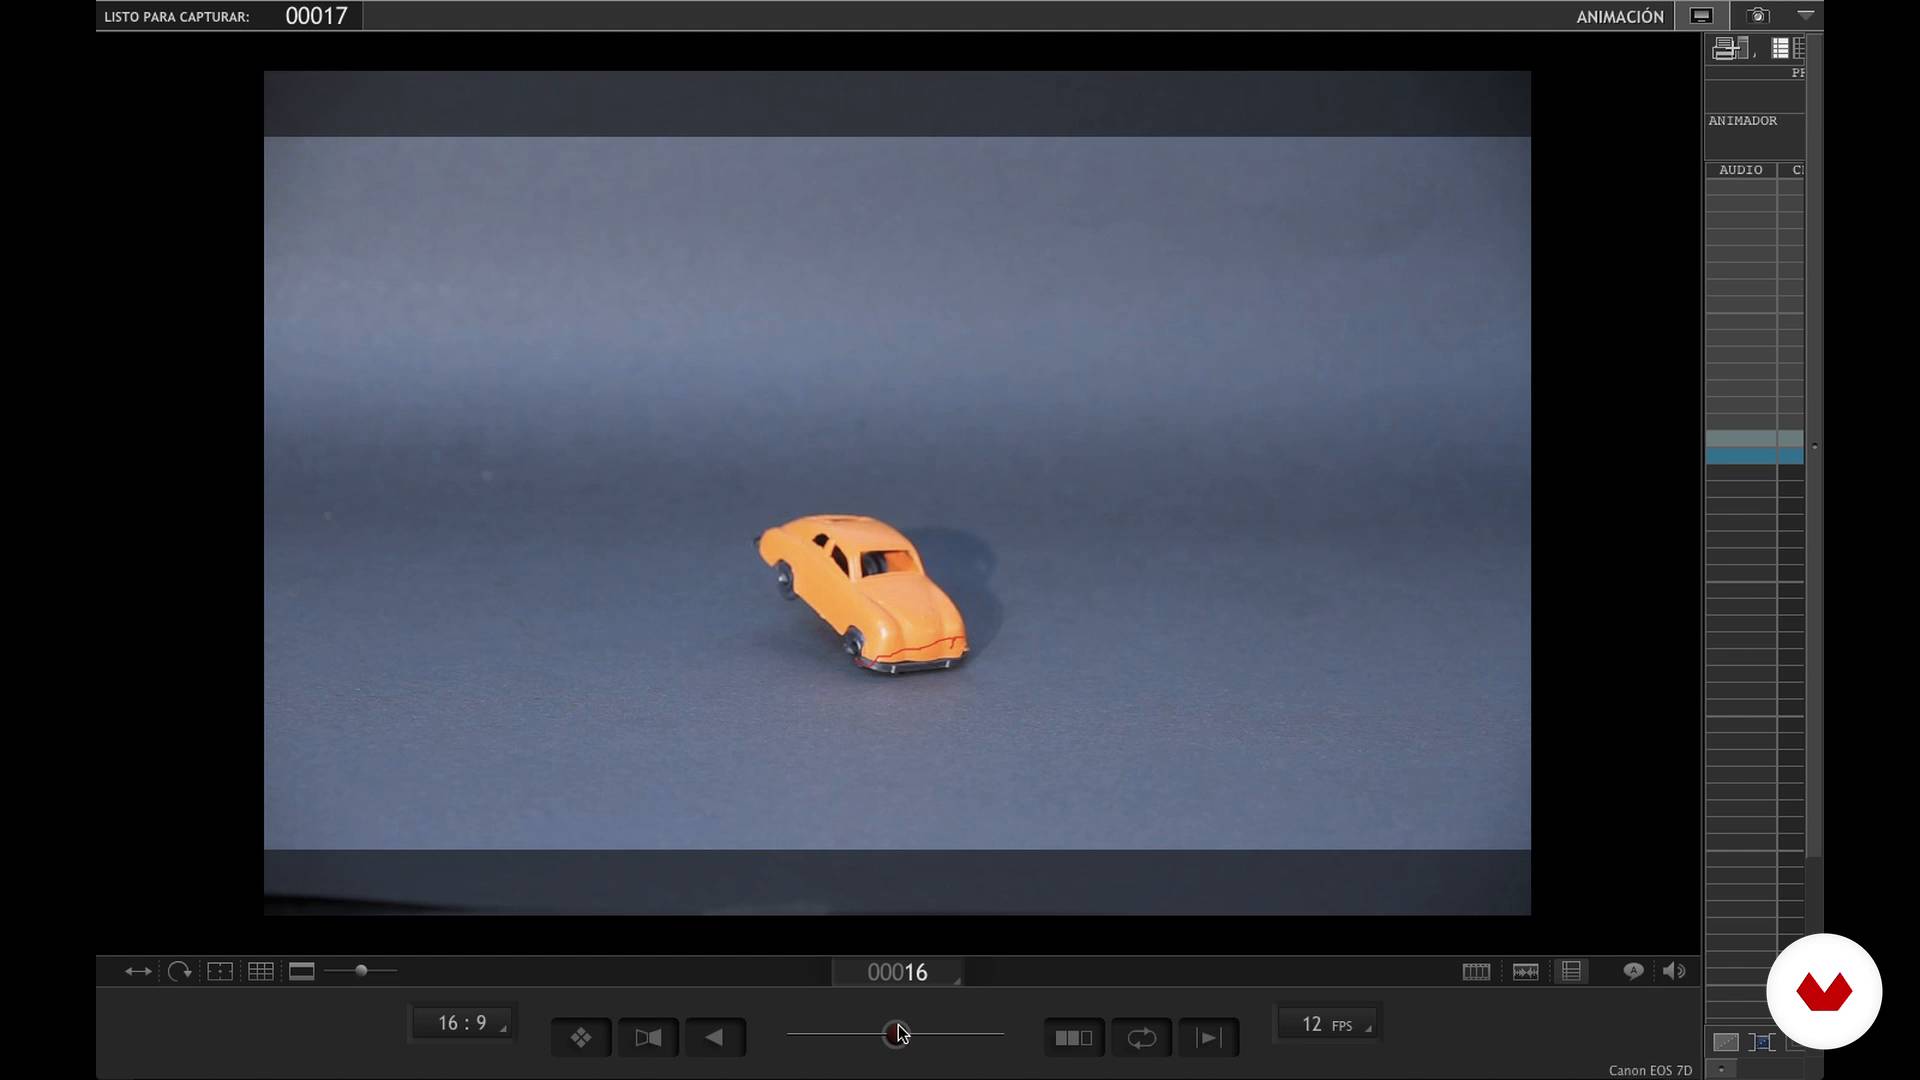
11Animation of objects II
In this video we will see another way to animate objects
17m
 12
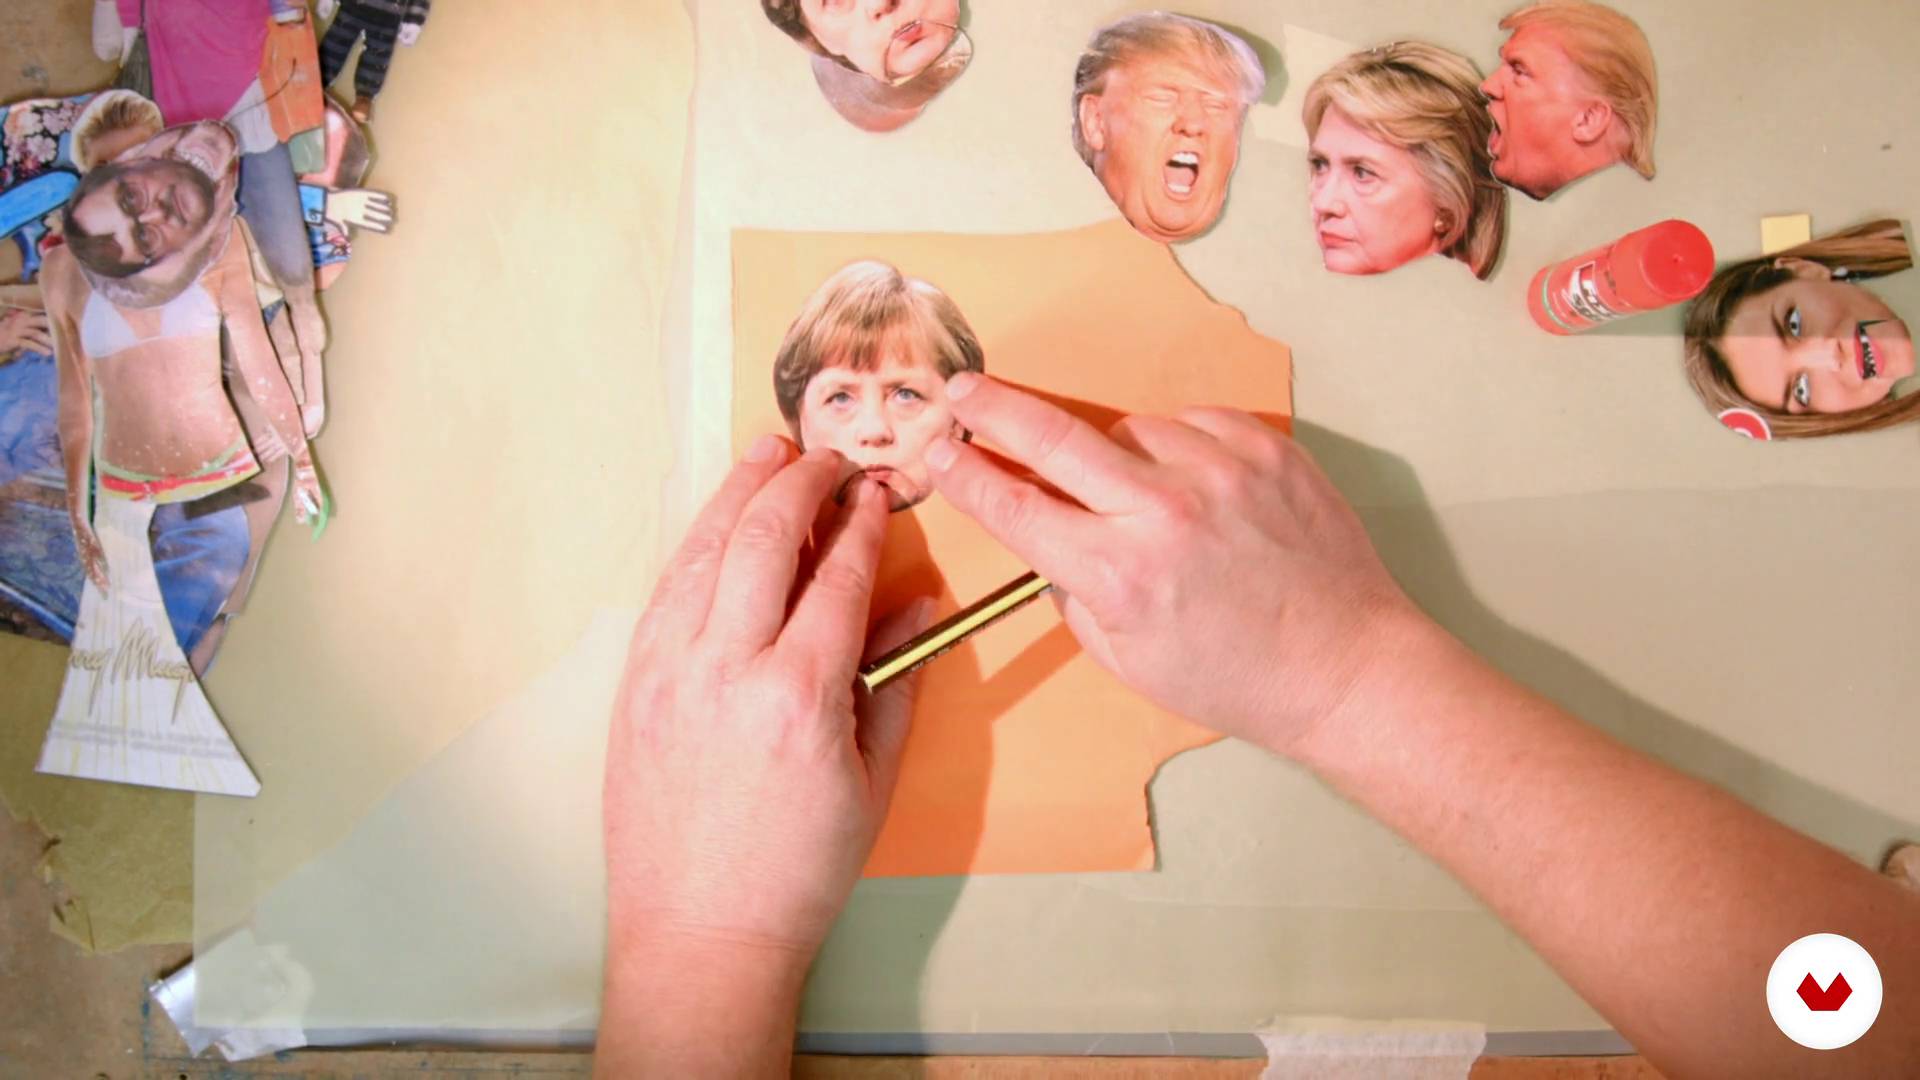
12Animation of cut-outs I
In this lesson we will see another way of animation, the cutouts (collage and silhouettes). you will discover a very fun and easy to carry out method.
17m
 13
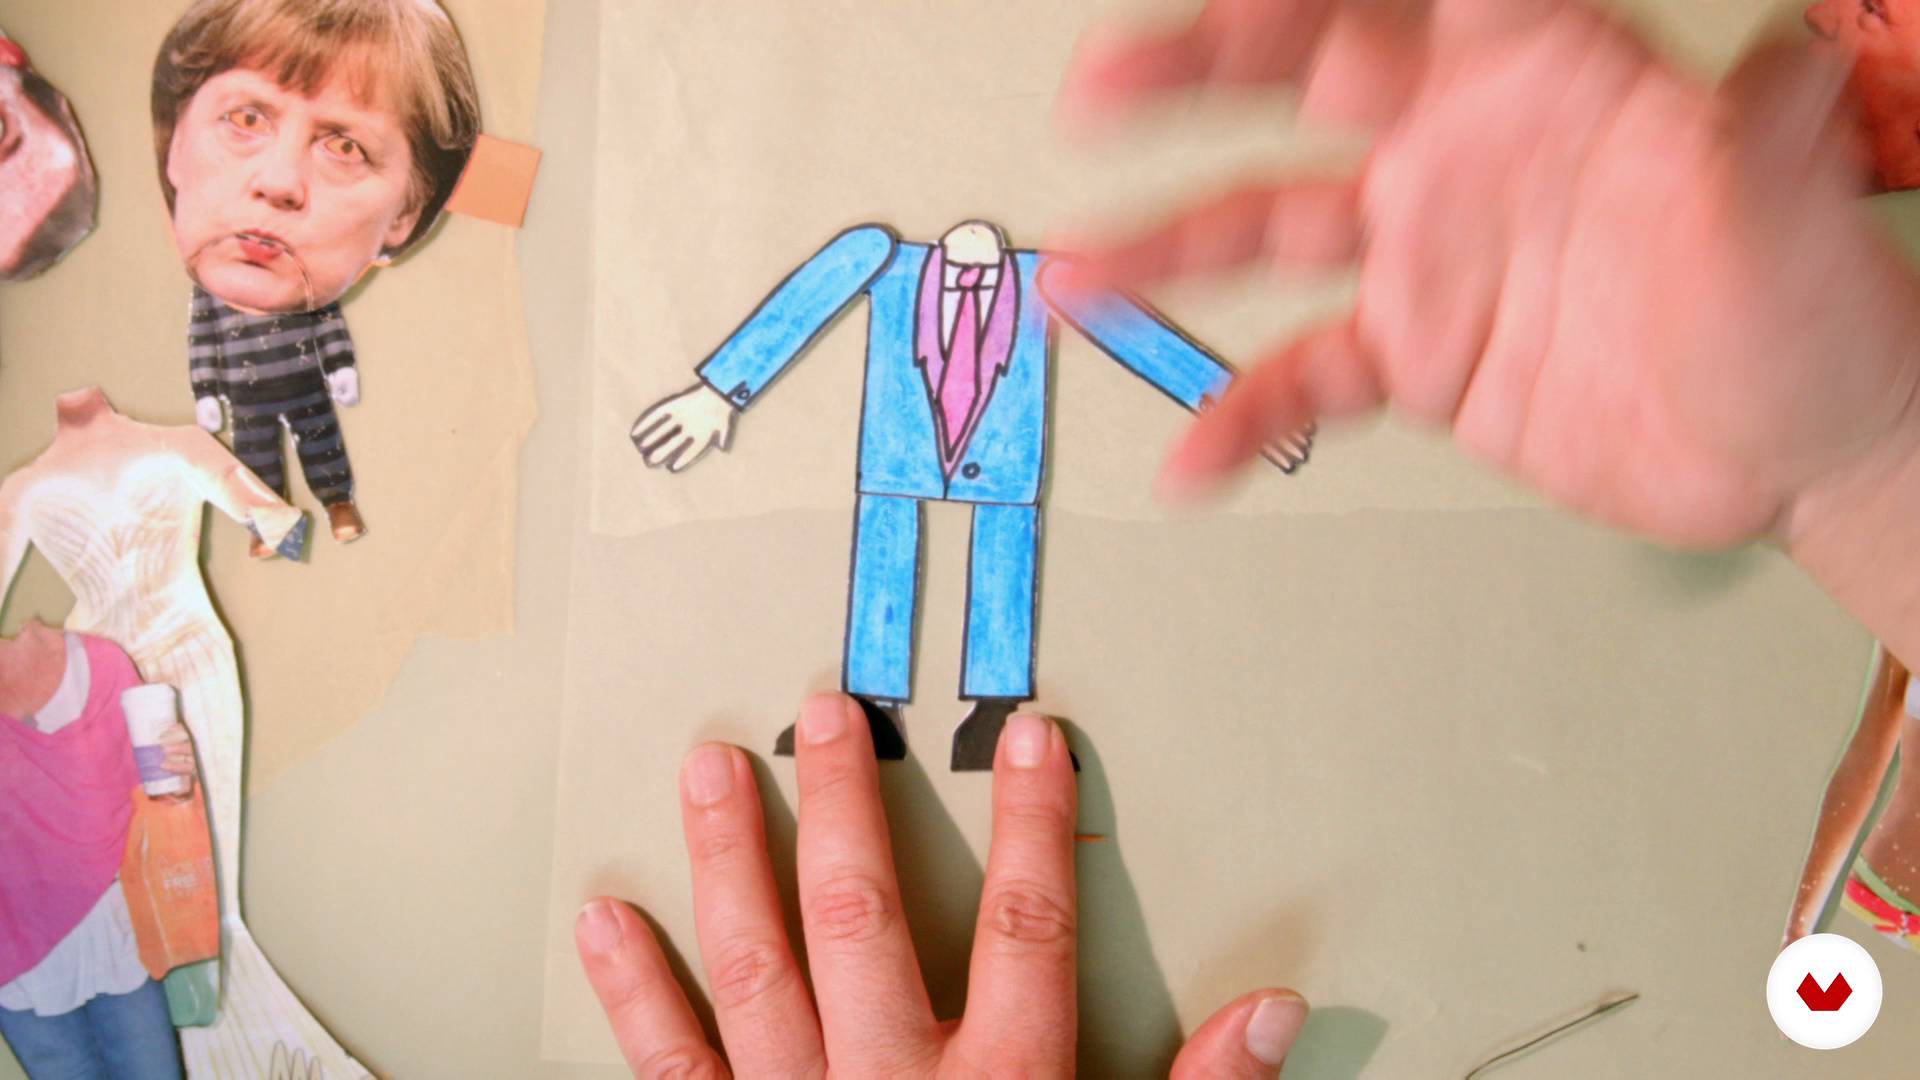
13Animation of cutouts II
This is the second part
5m
 14
14Animation with cutouts III
Now let's see how to work with multiplayer reminders on glass
11m
 15
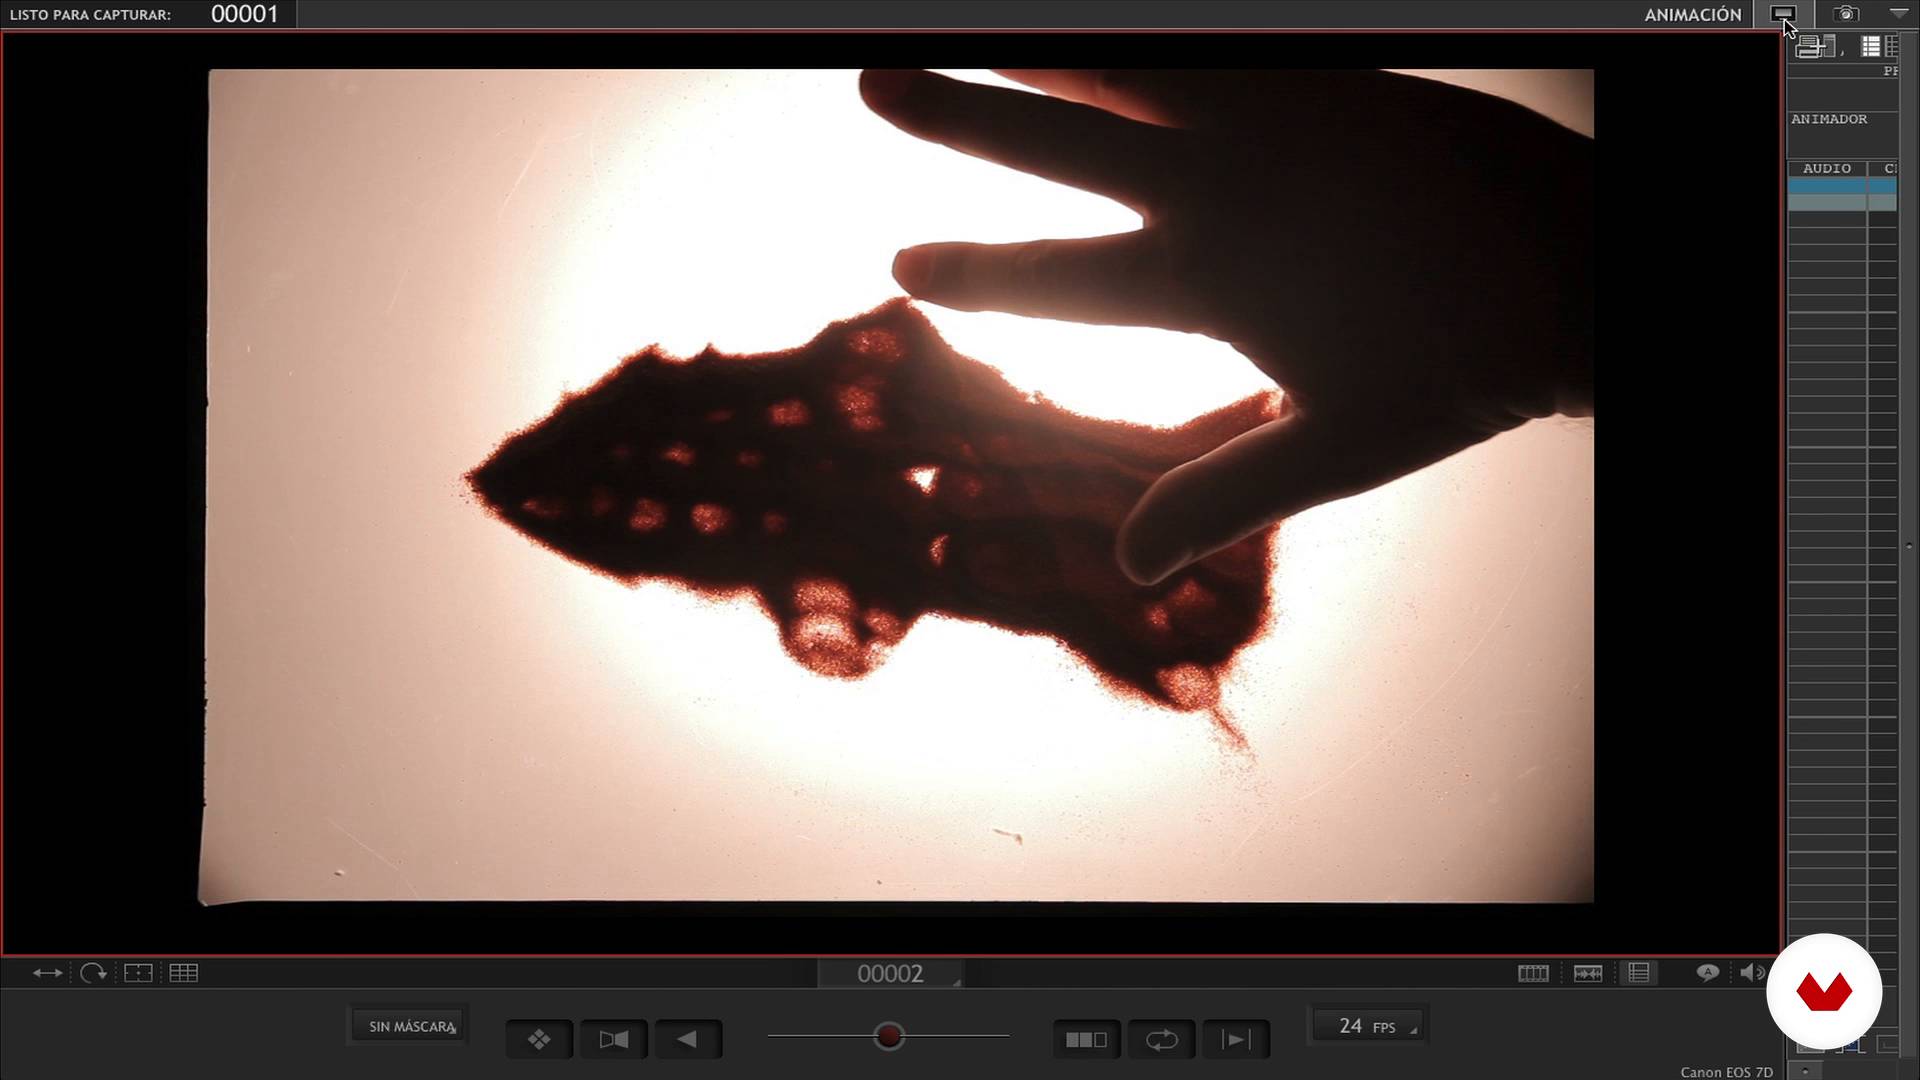
15Animation of sand and plasticine on glass I / I
Here we will learn how to animate with materials such as sand and plasticine on backlit glass. For this technique you have to arm yourself with a lot of patience. We start with the sand.
13m
 16
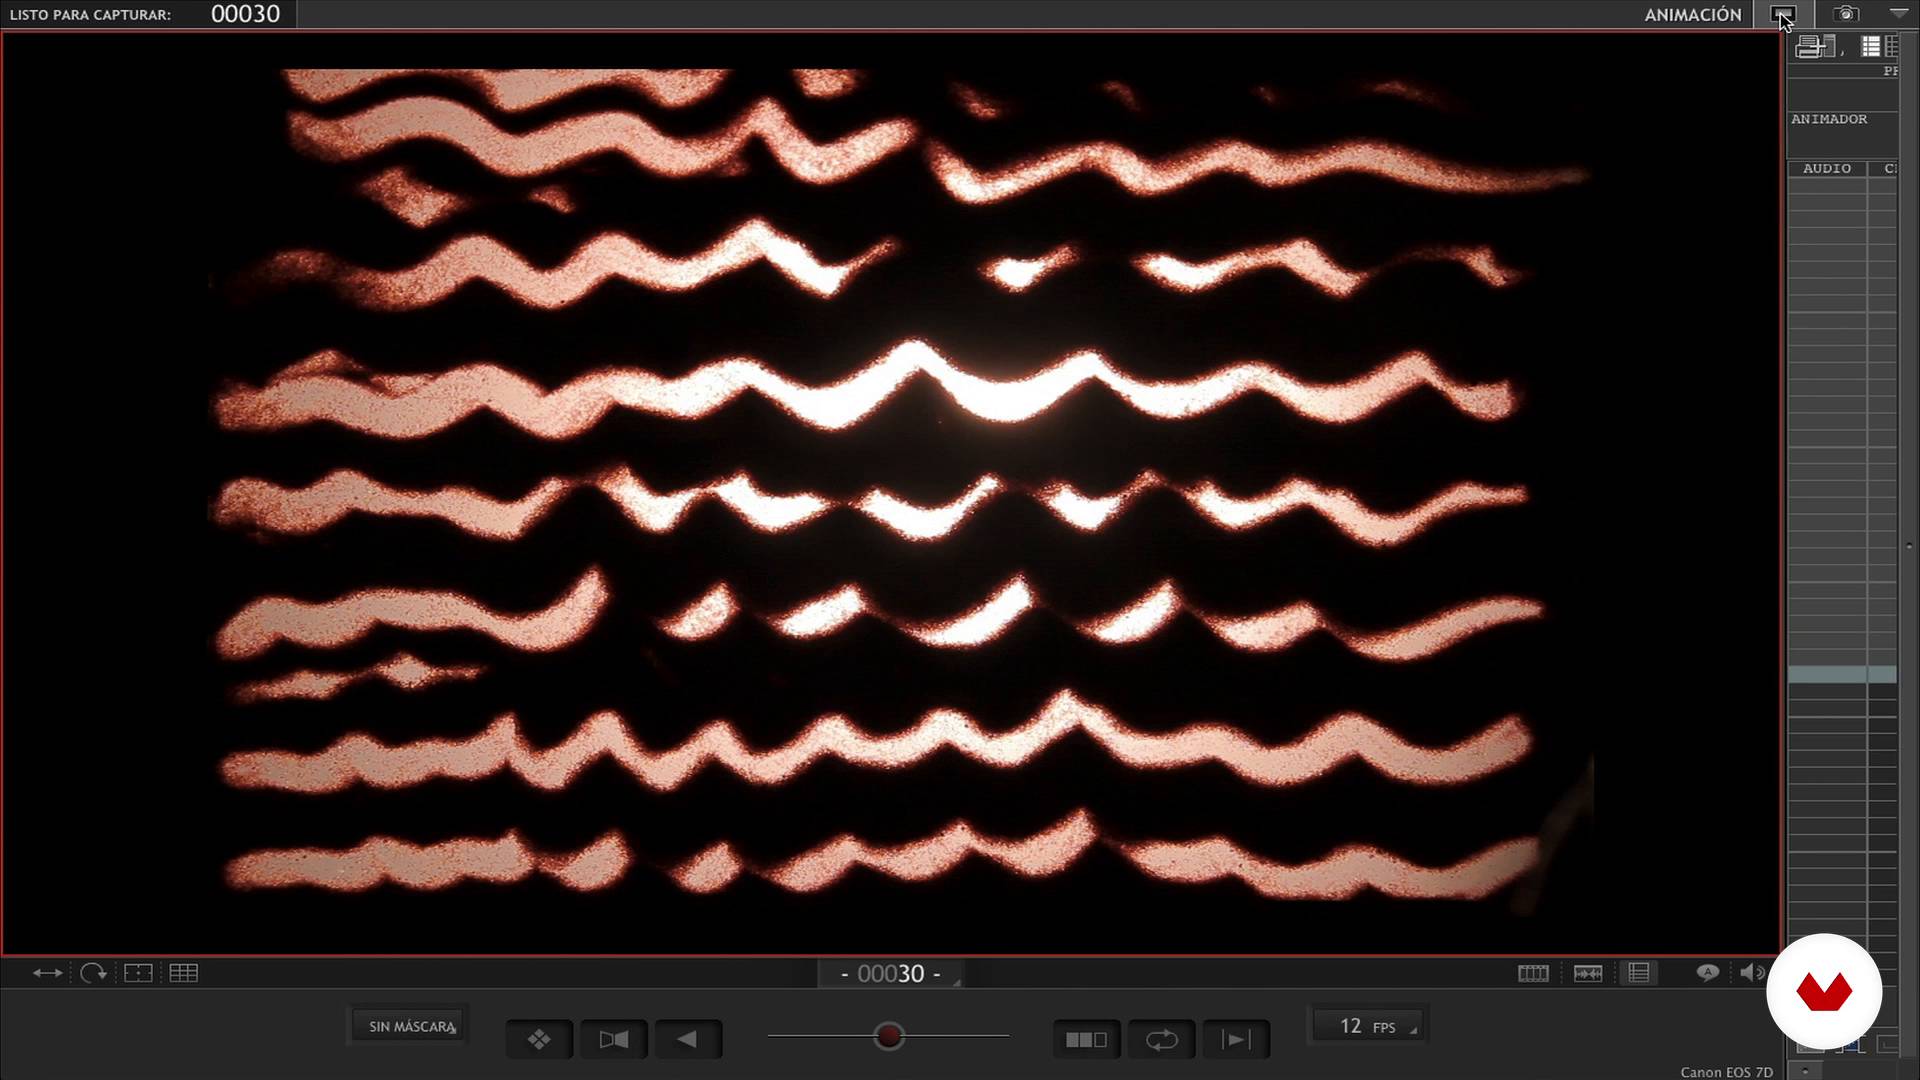
16Animation of sand and plasticine on glass I / II
The second part
16m
 17
17Animation of sand and plasticine on glass II / I
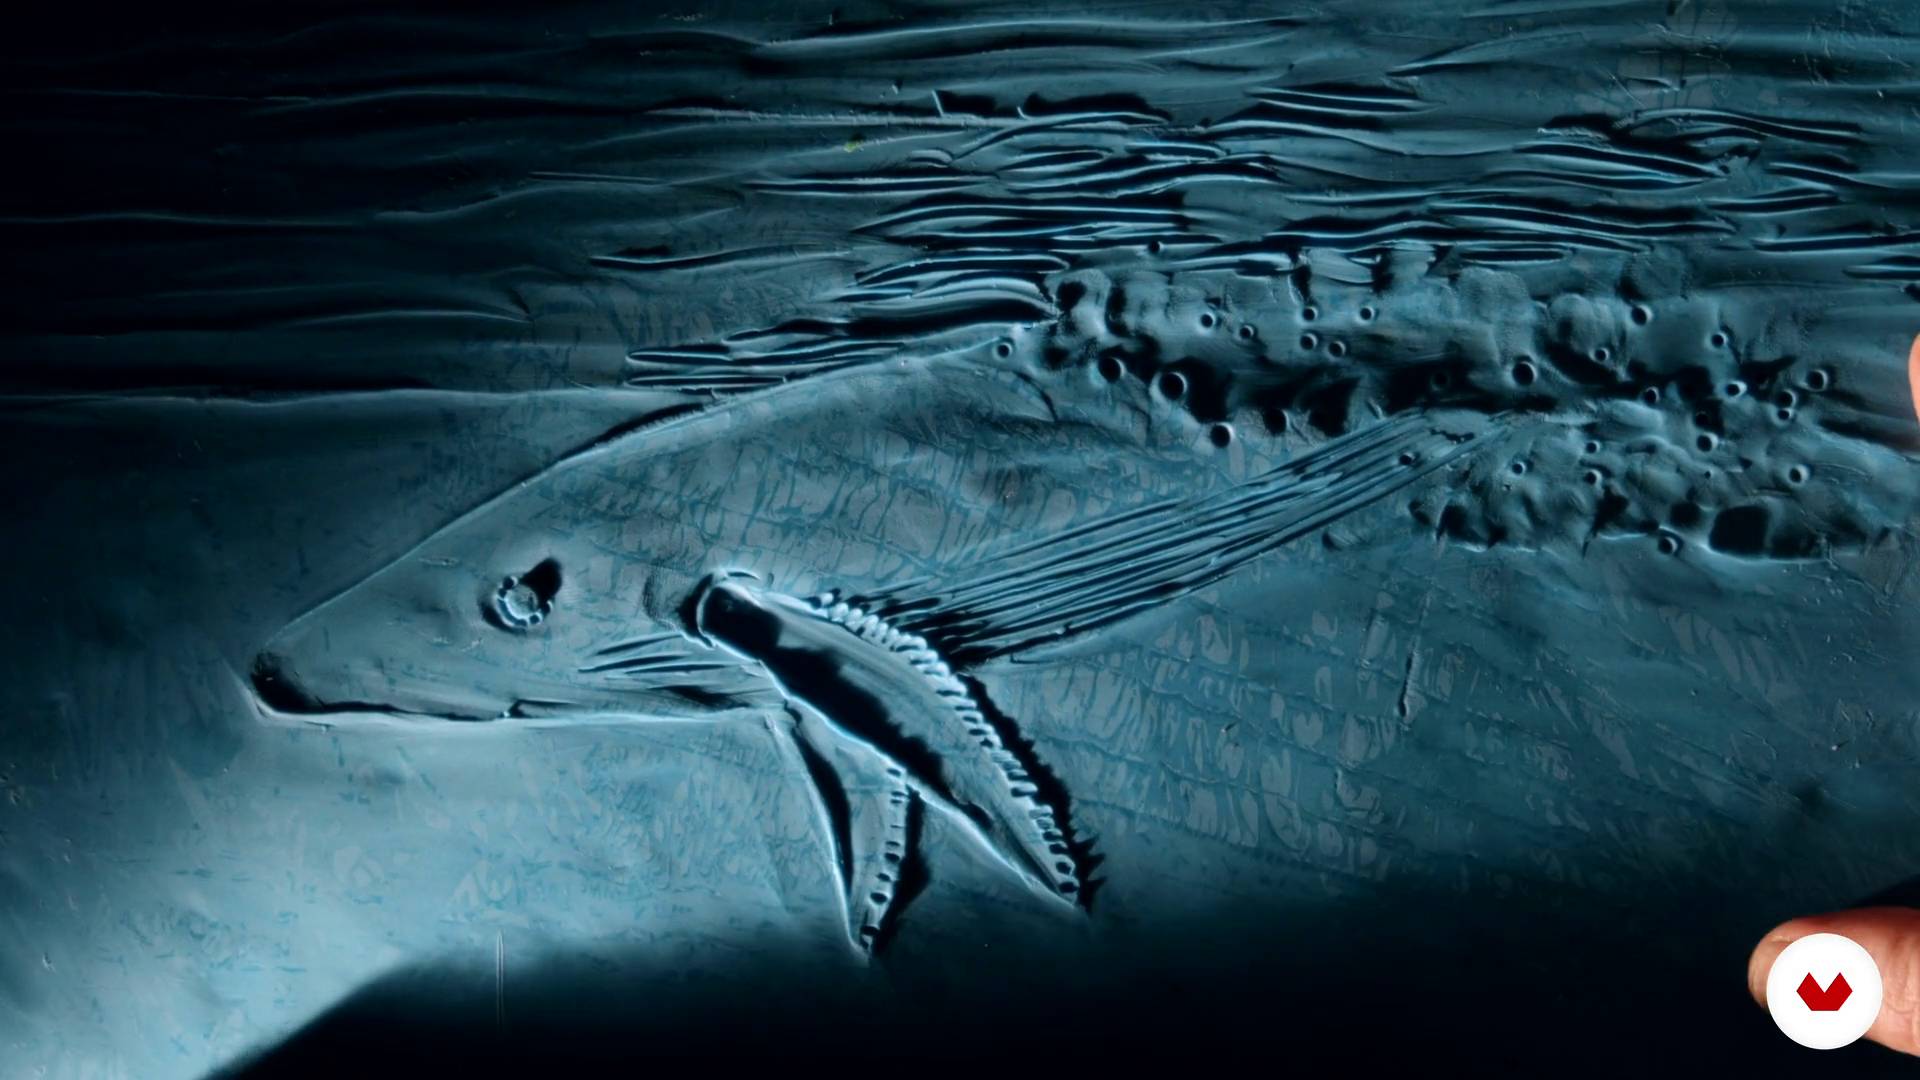
We begin to see how to treat plasticine
14m
 18
18Animation of sand and plasticine on glass II / II
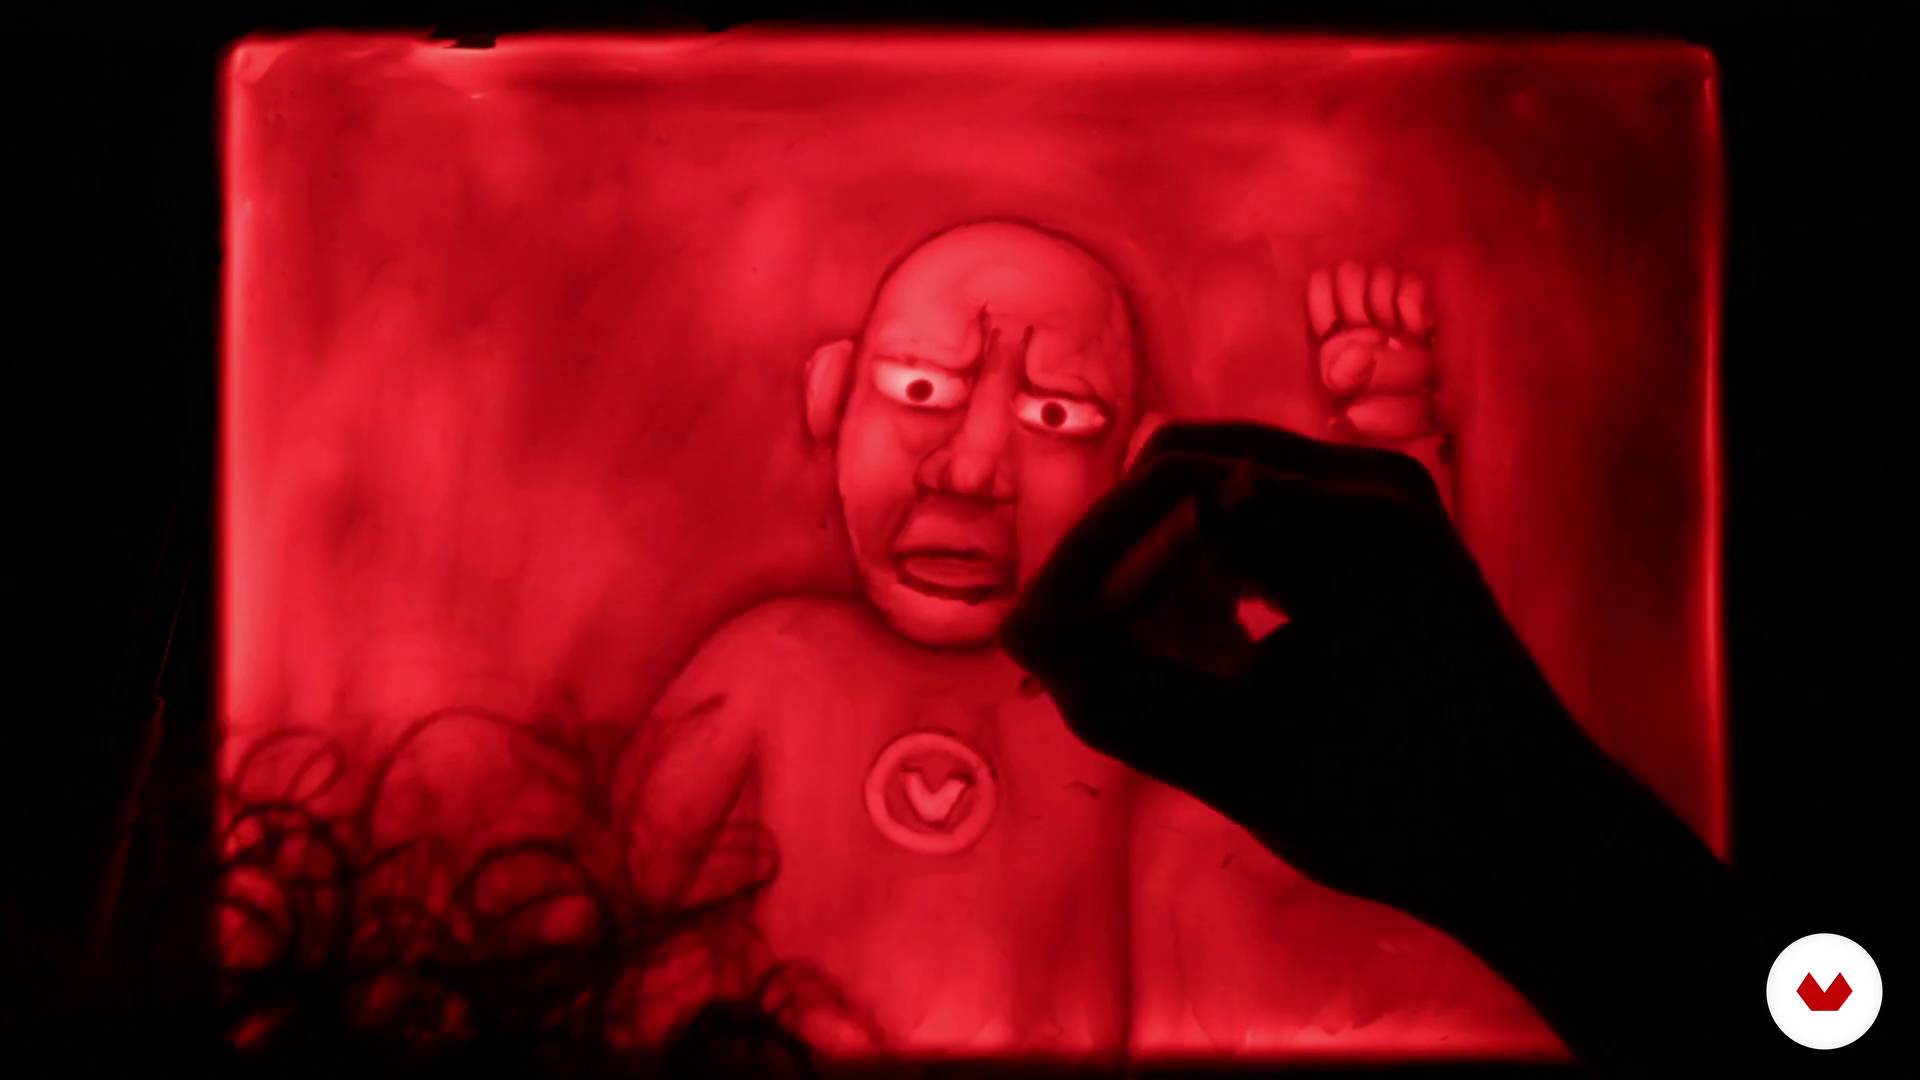
This is the second part
19m
 19
19How to look for grants and festivals
In this lesson we explain some considerations that you have to take into account to look for grants and participate in festivals.
11m
 3
3What is a photomotion?
Before starting, it is important to be clear about some concepts. I will give you an introduction to the world of photomotion and I will tell you how to produce them and for whom to produce this type of content.
5m
 4
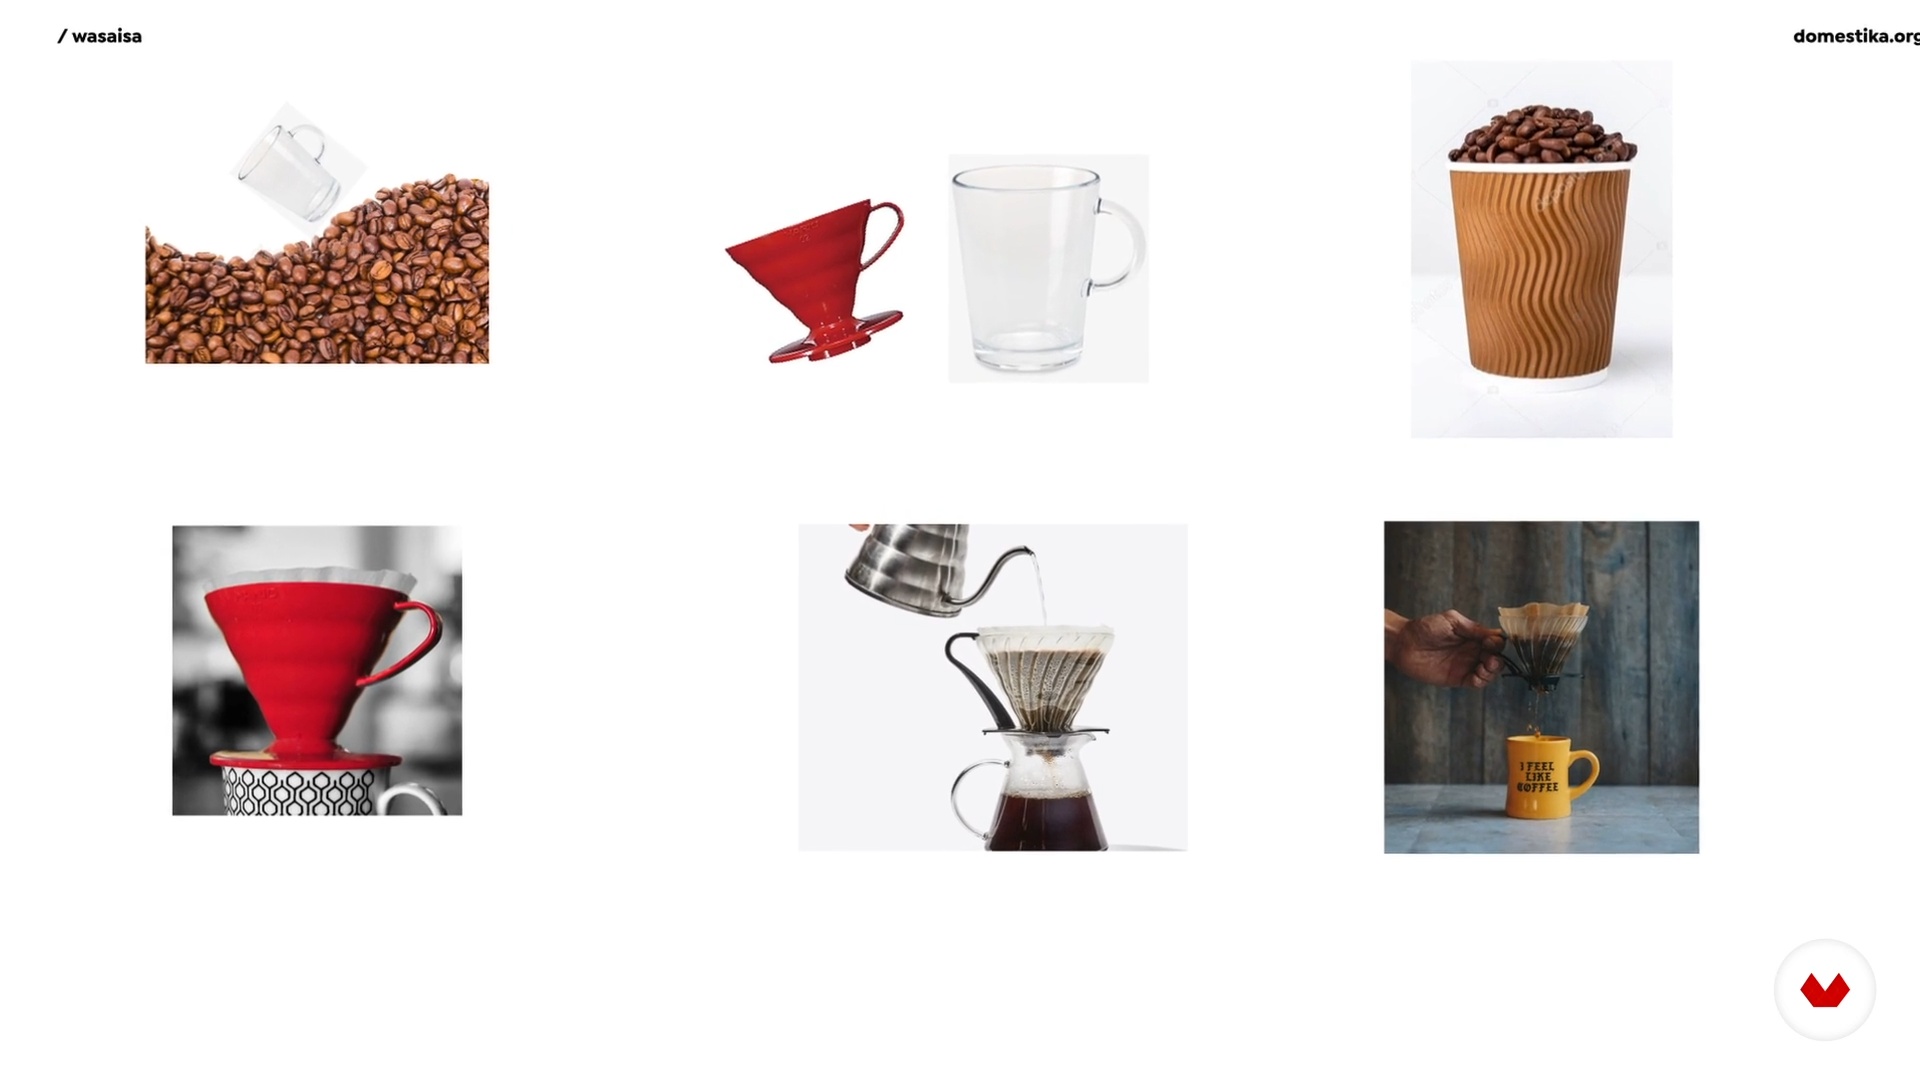
4Get inspired!
When you get inspired, the possibilities become endless! I will teach you how to prepare to carry out a photomotion project. You will learn different techniques that will help you better visualize your projects.
6m
 5
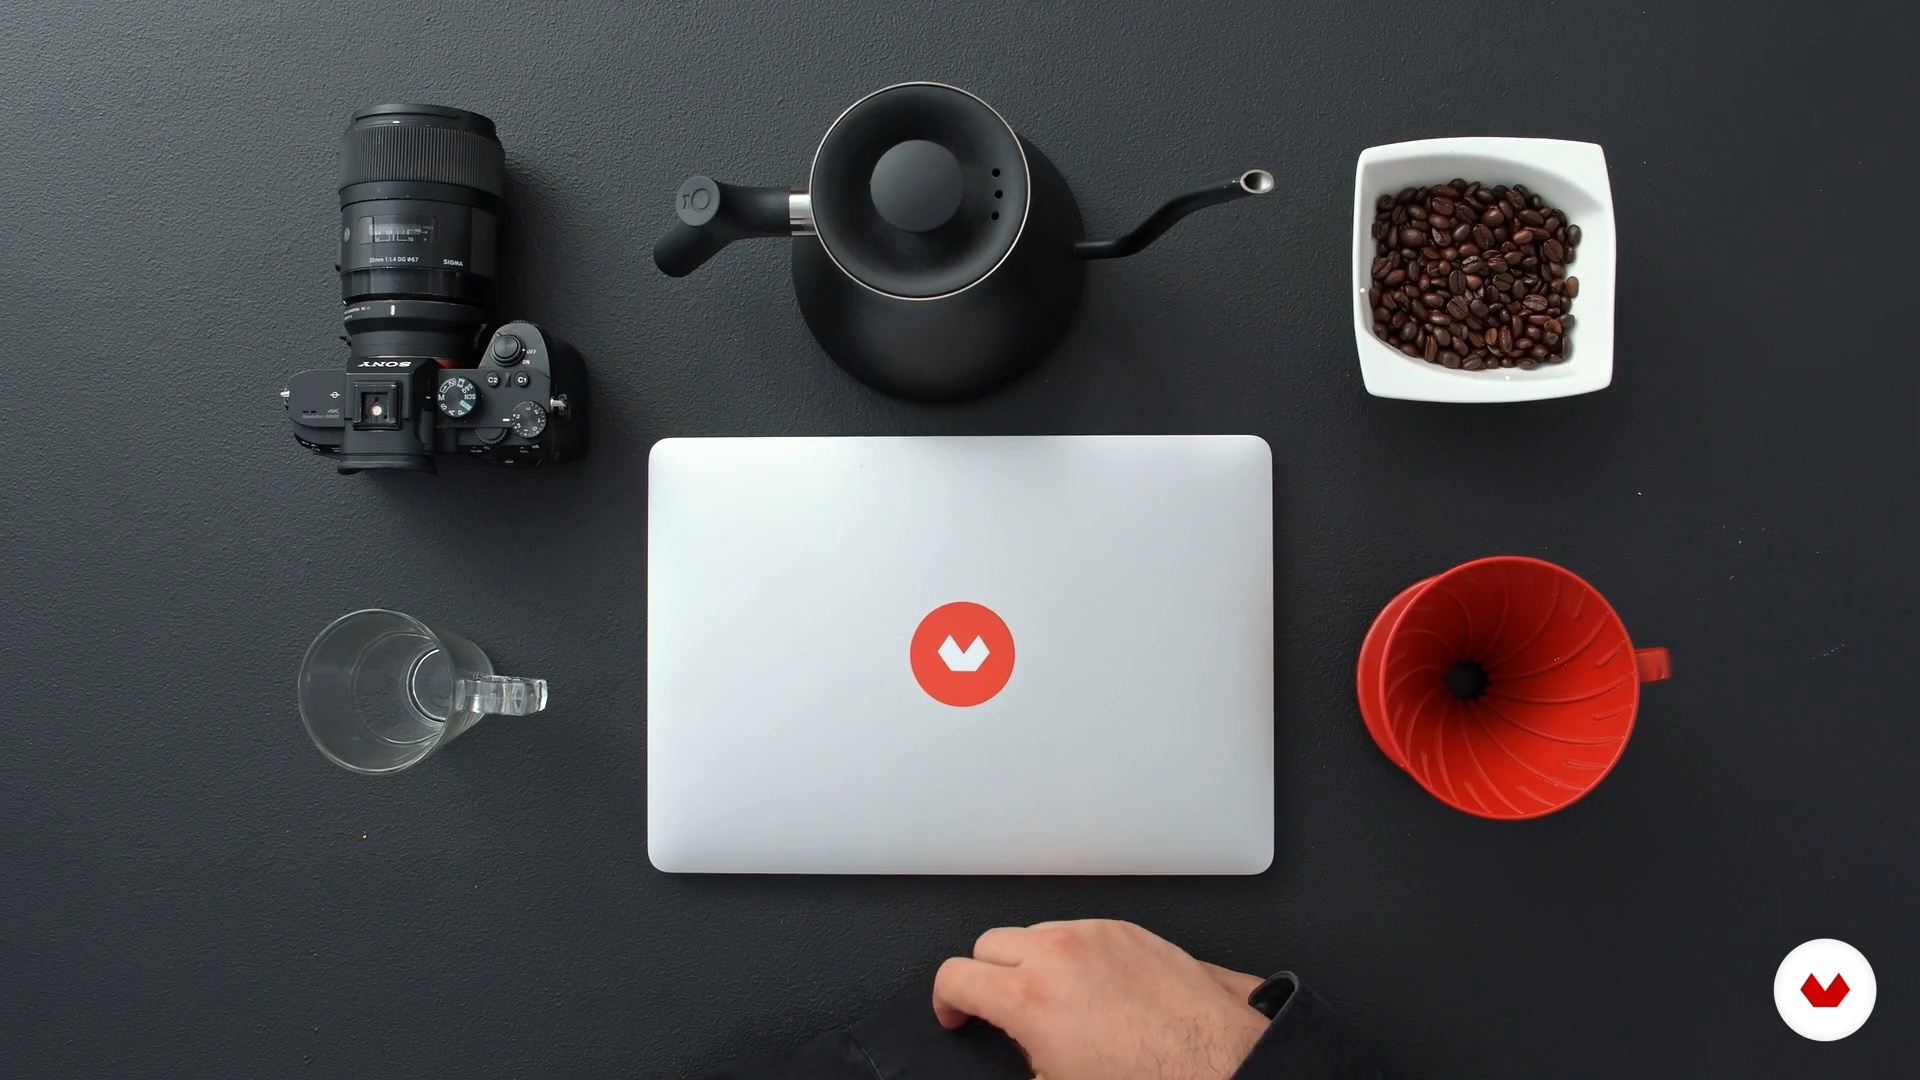
5What are you going to use and what are you going to do?
The most fun and cool thing about making art is not limiting your creativity. In this lesson, I will show you the working method I use to create a photomotion.
3m
 6
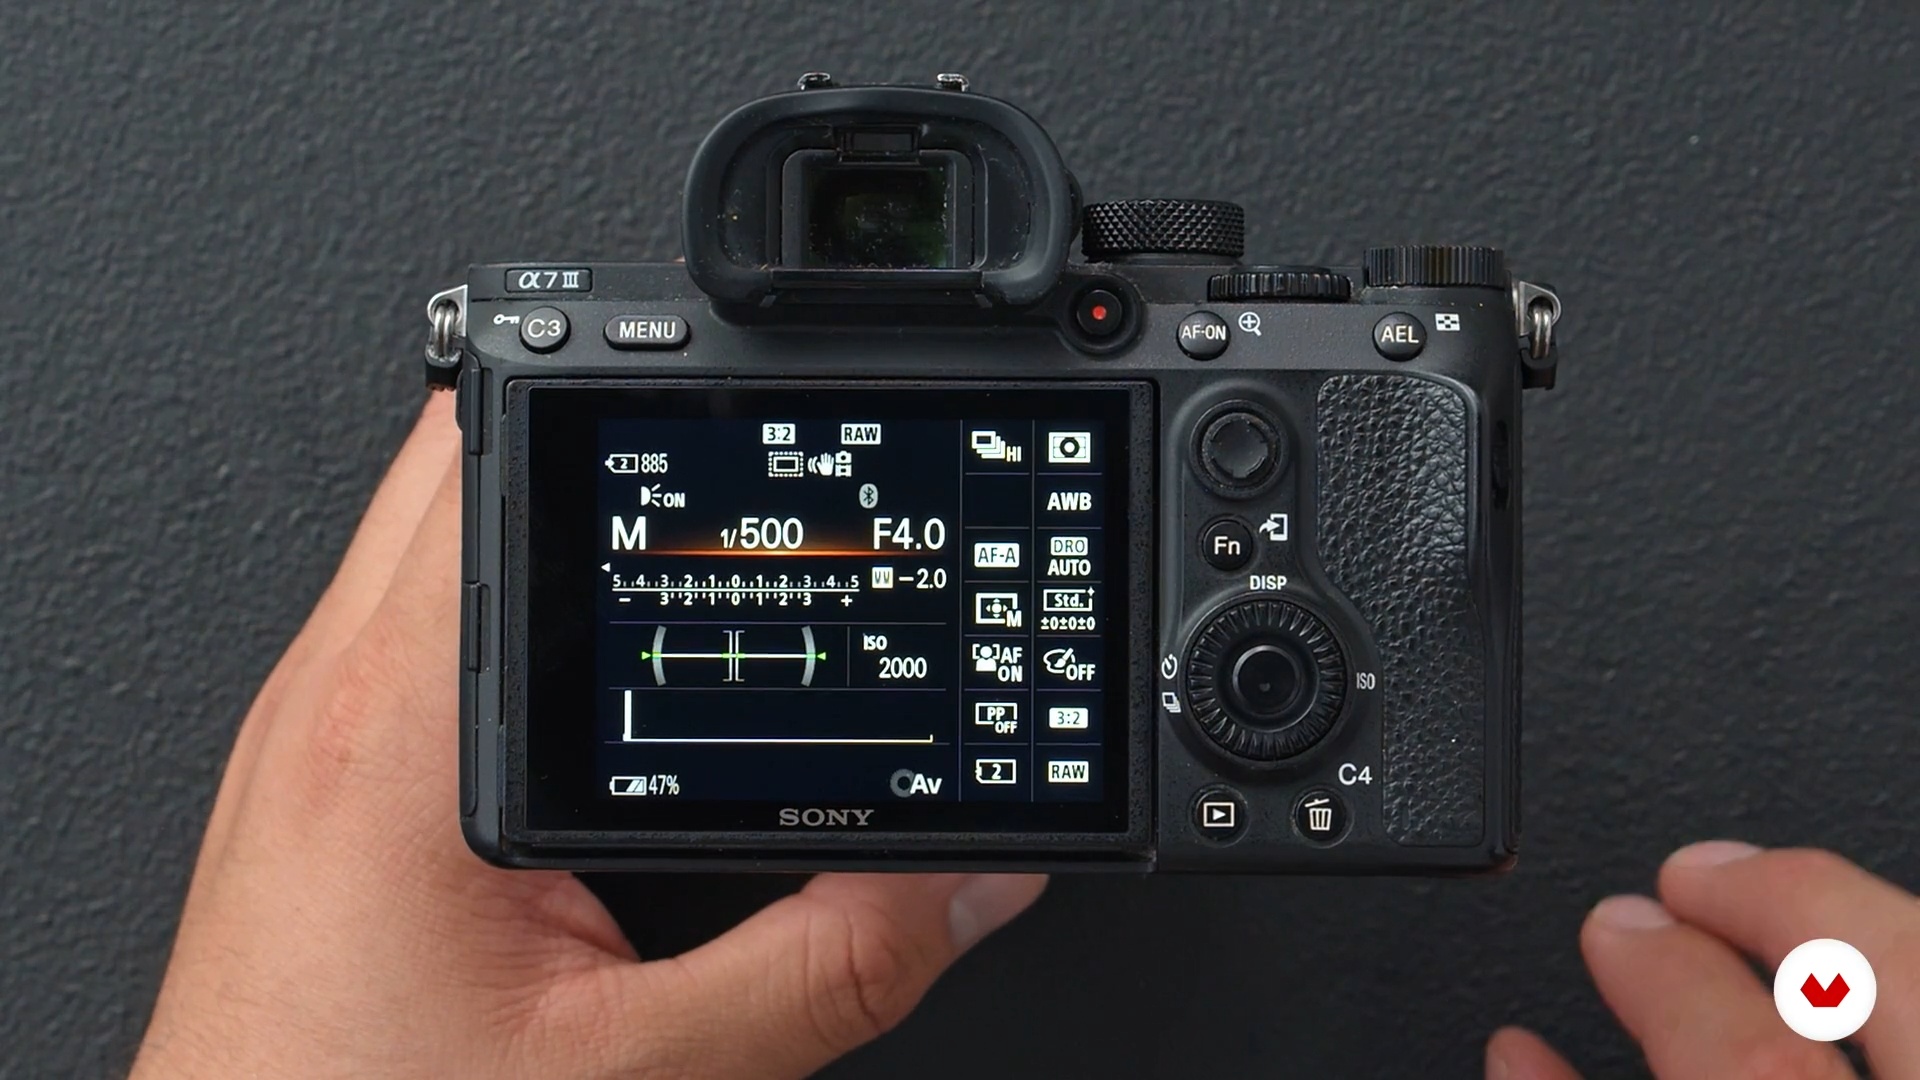
6Prepare your camera
To begin with, you will learn what the best settings are for your camera to capture the best possible photomotion sequence.
2m
 7
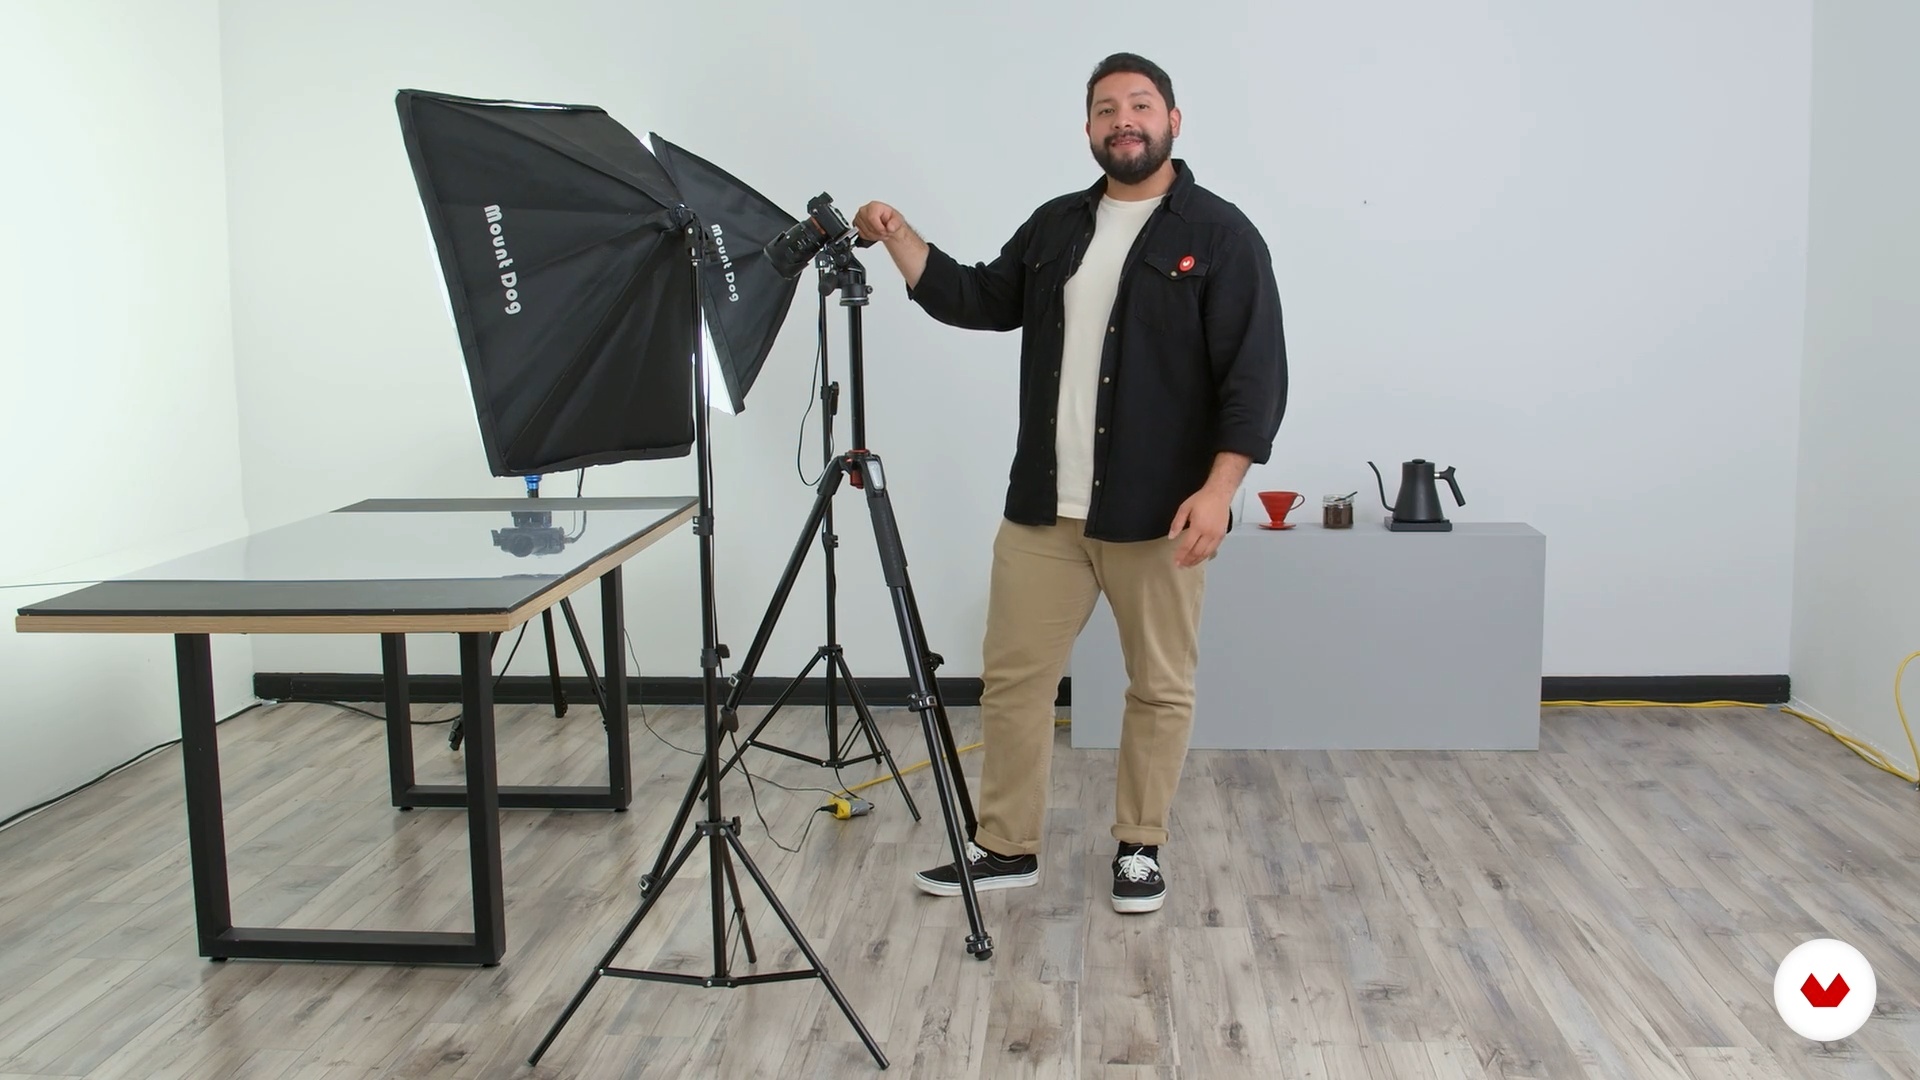
7Prepare your set!
Before you start preparing your set you need to think about what you are looking for. Once you are clear about your goal, then you can start preparing it. In this lesson I will share some tips so you can create the set in the best possible way.
5m
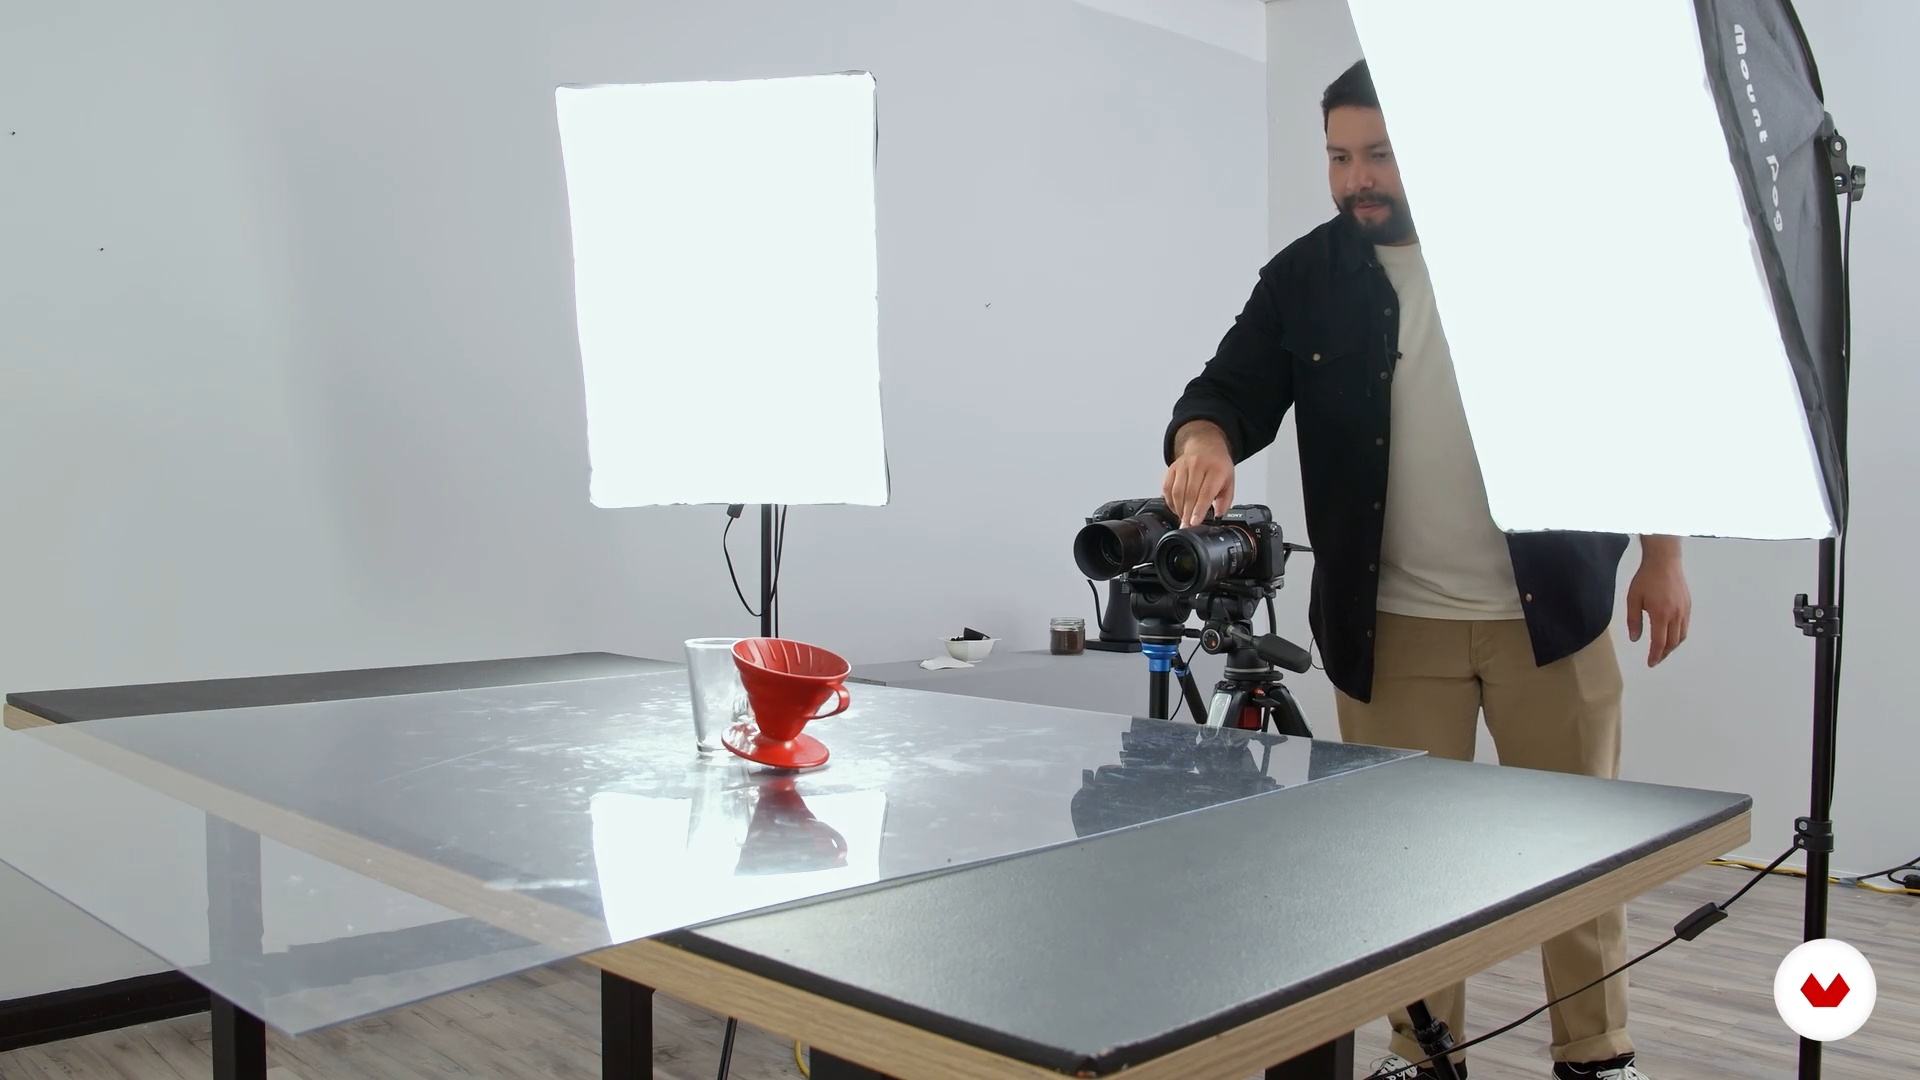 8
8Start the action
Here's how to take the best shots. I will also share some tips to make your lighting look amazing.
12m
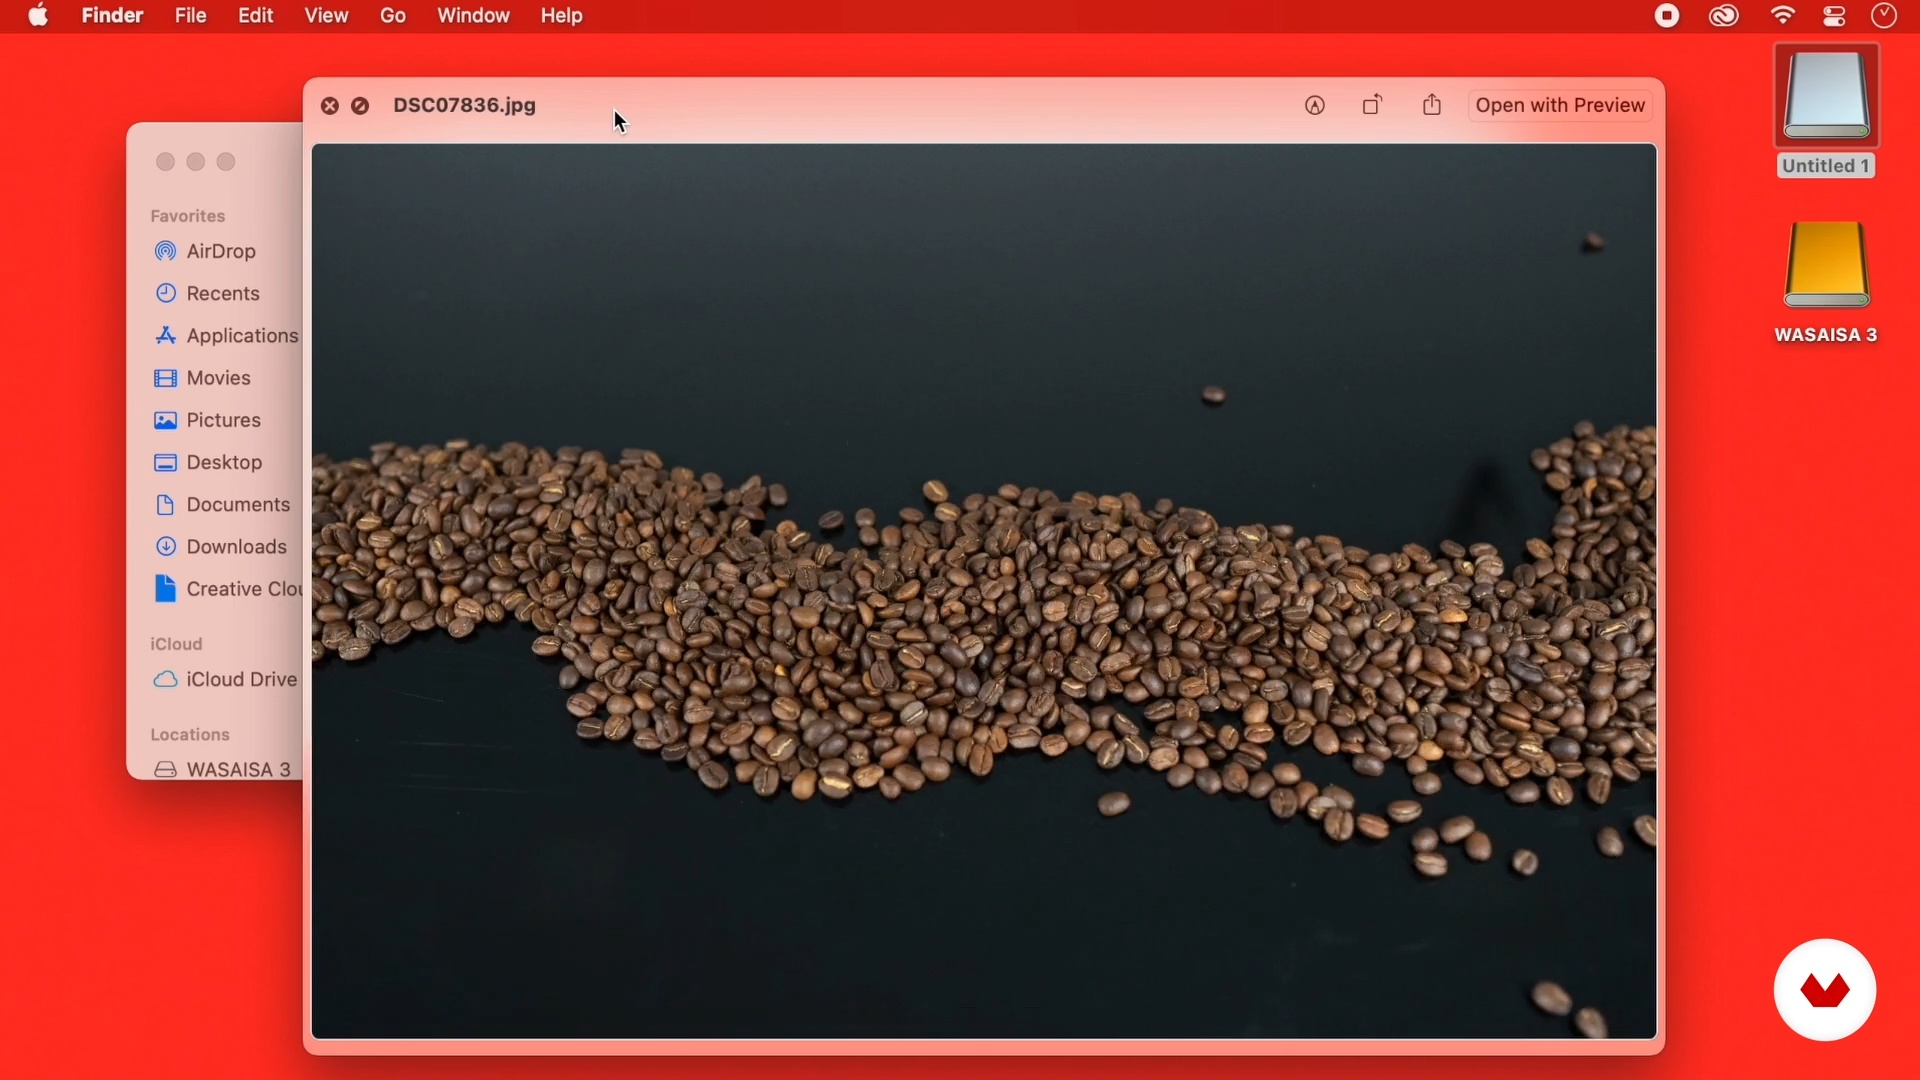 9
9The pictures
I'm done taking the photos! So now I will show you how to define the direction of the project, in other words, you will learn how to curate and select the photos.
2m
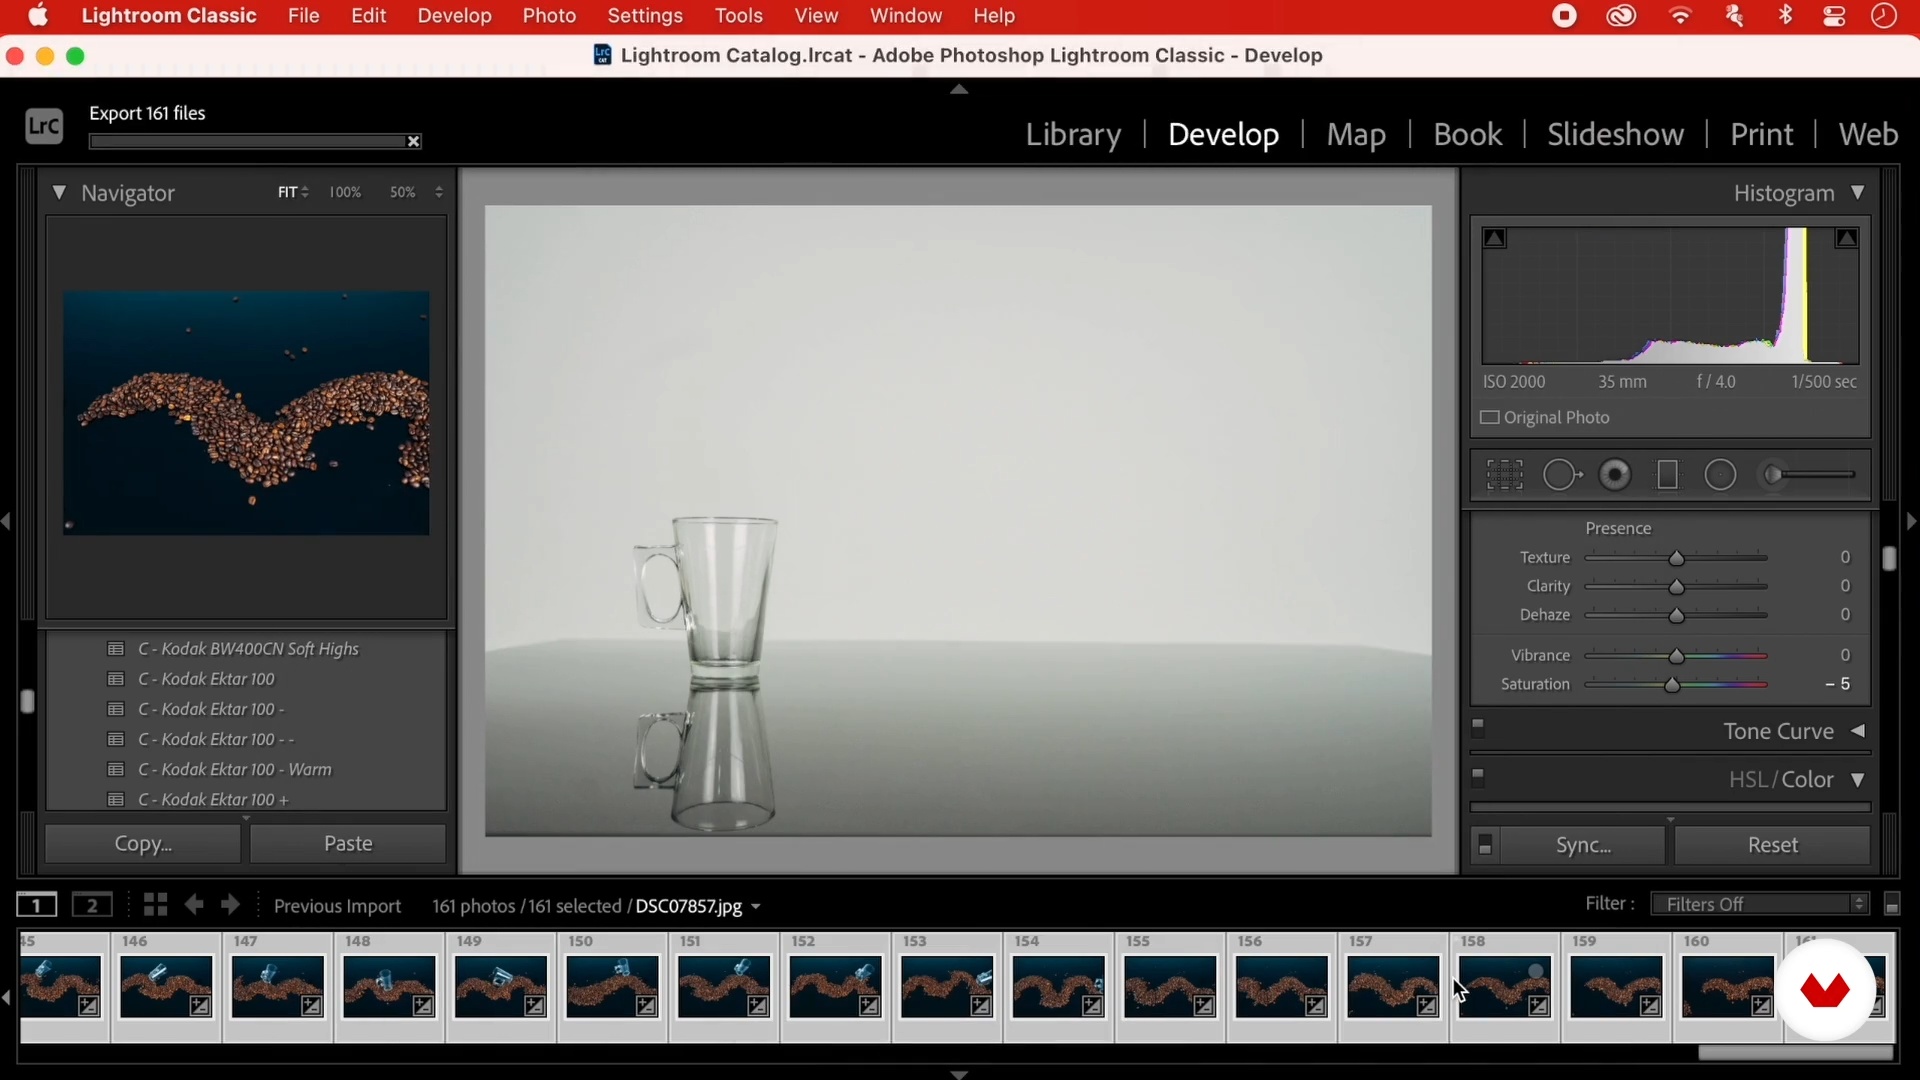 10
10Lightroom
In this lesson, I'll show you how to retouch and colorize the photos I'm going to use for the project using Lightroom.
8m
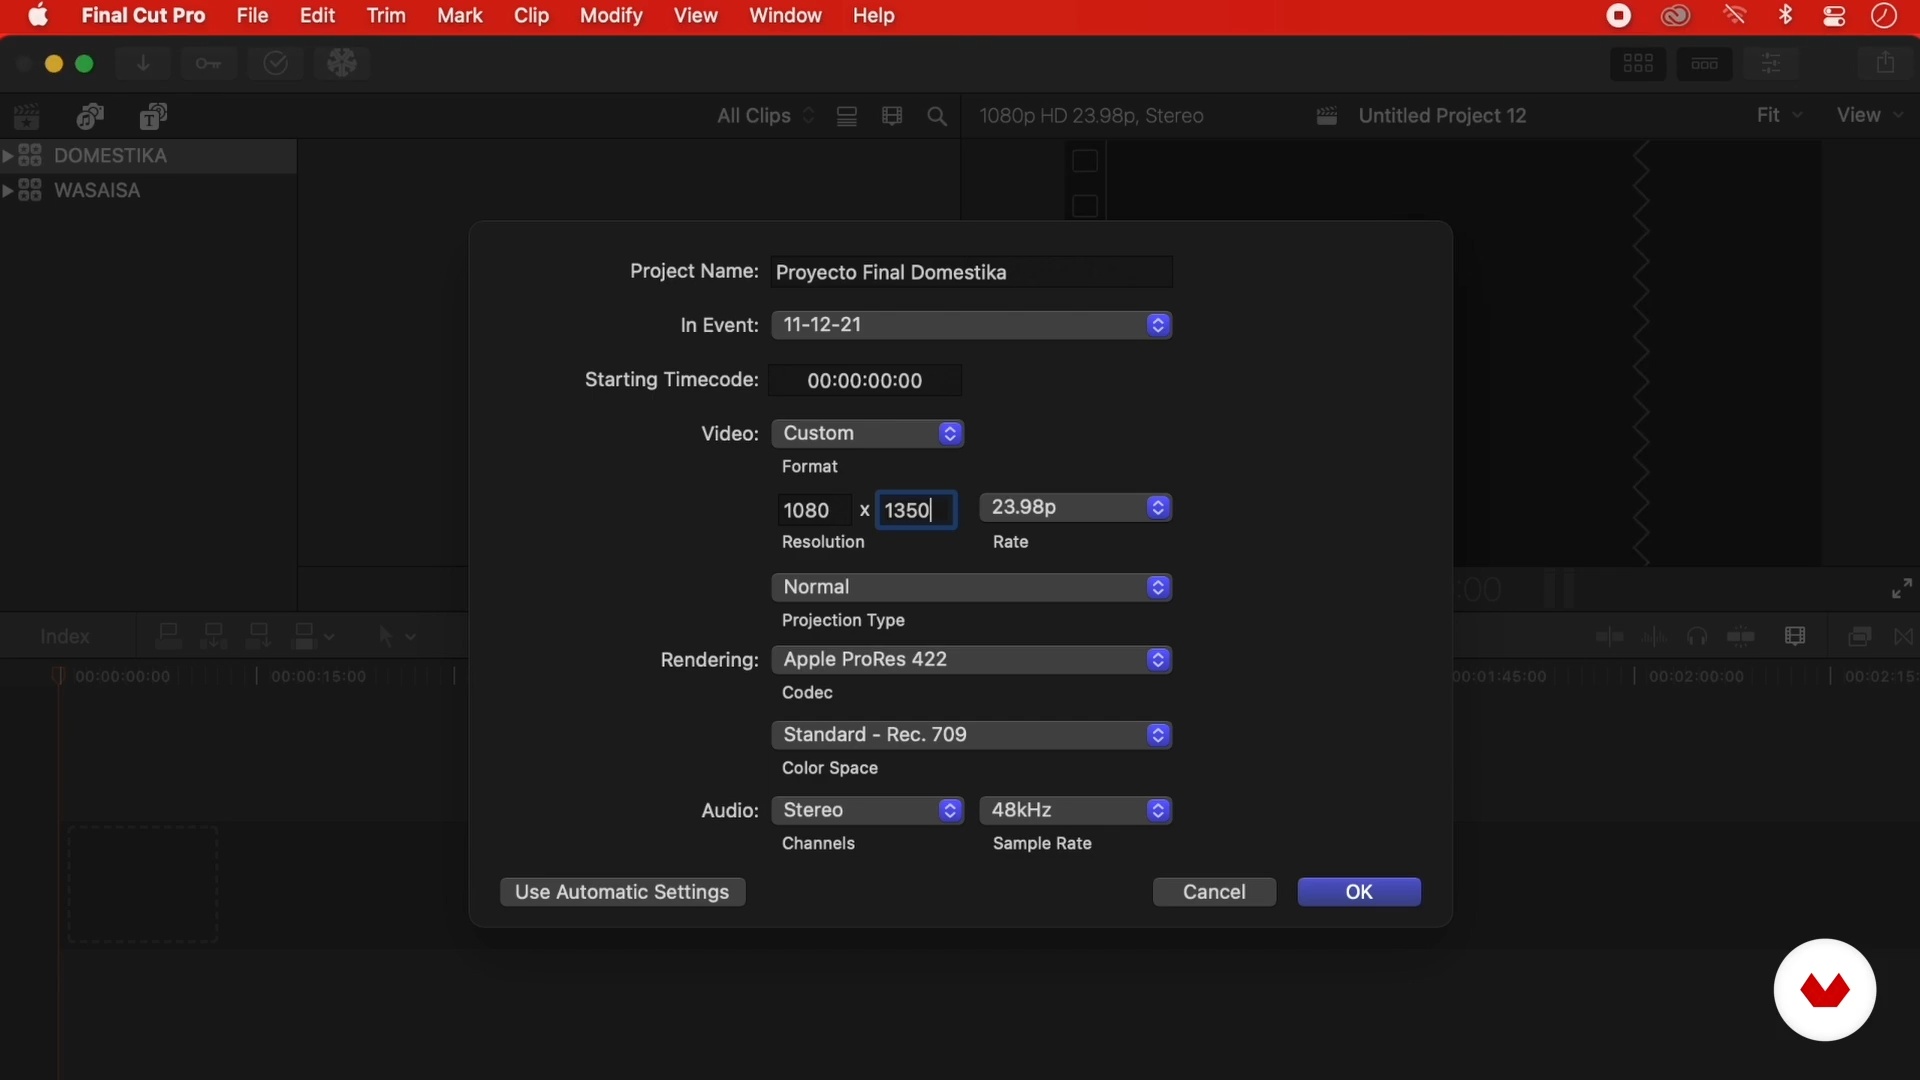 11
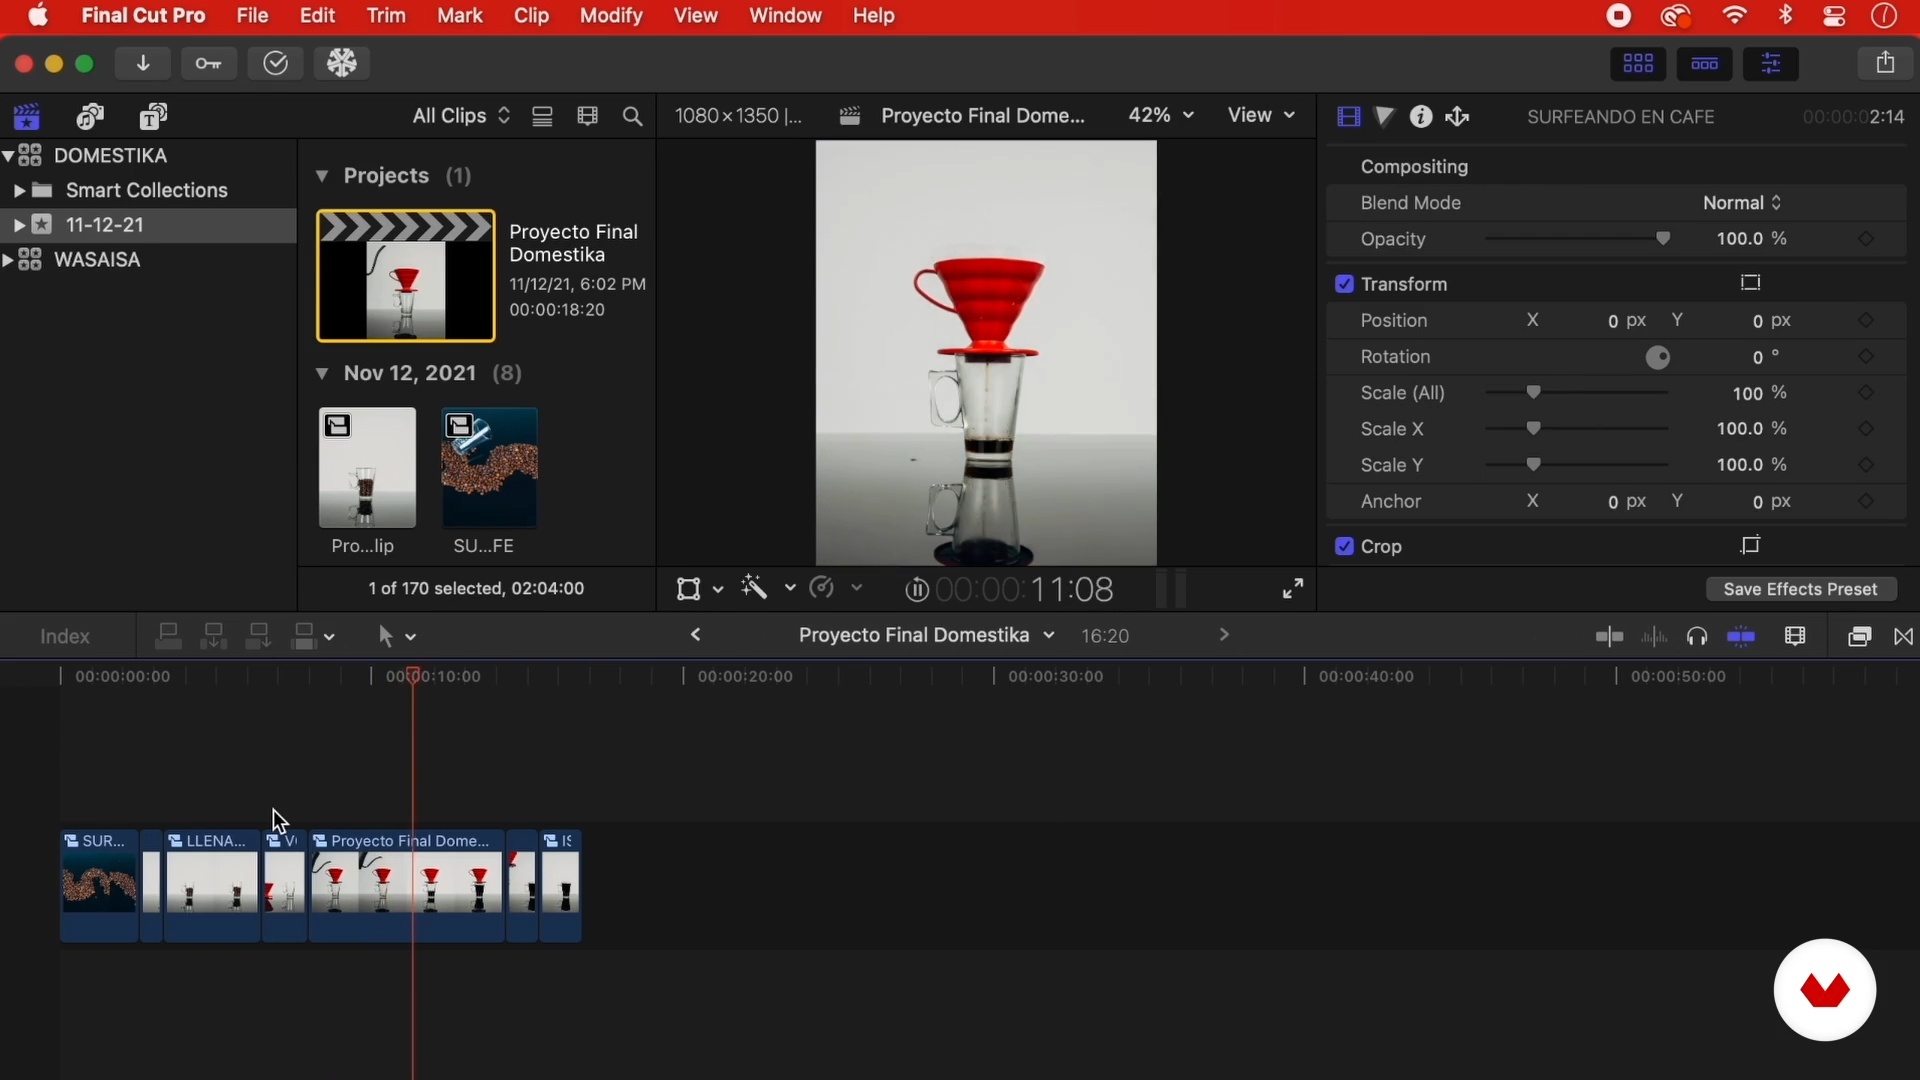
11Import into Final Cut Pro and organize the project
We are already reaching the final stretch. Now you will see how to prepare the edited content in Lightroom to start creating the photomotion pieces.
4m
 12
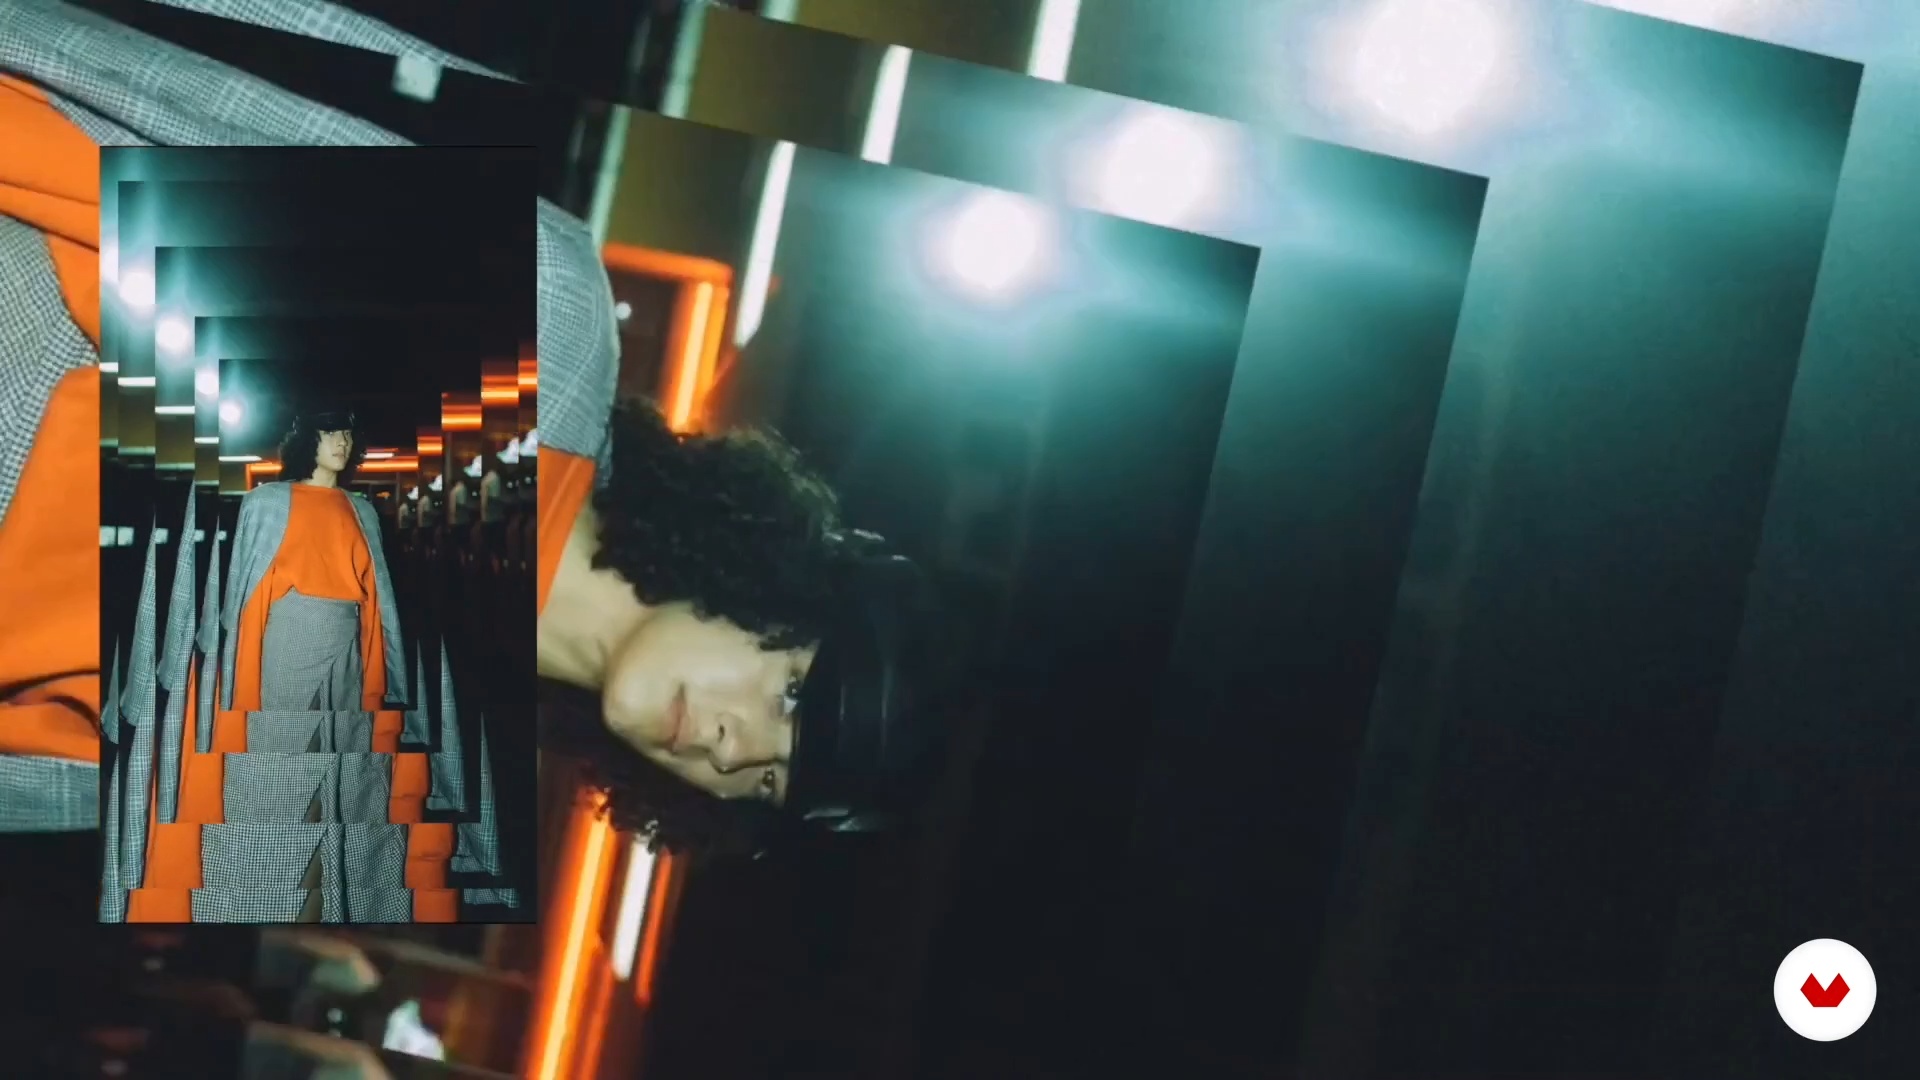
12The end piece
I'll explain how to edit the photos and start shaping the sequence. I will share some tricks and shortcuts to achieve an exceptional project.
11m
 13
13How to sell your project to a potential client
One of the challenges we have as artists or content creators is to sell our projects. In this last lesson I am going to teach you how to sell a project to a potential client.
3m
 3
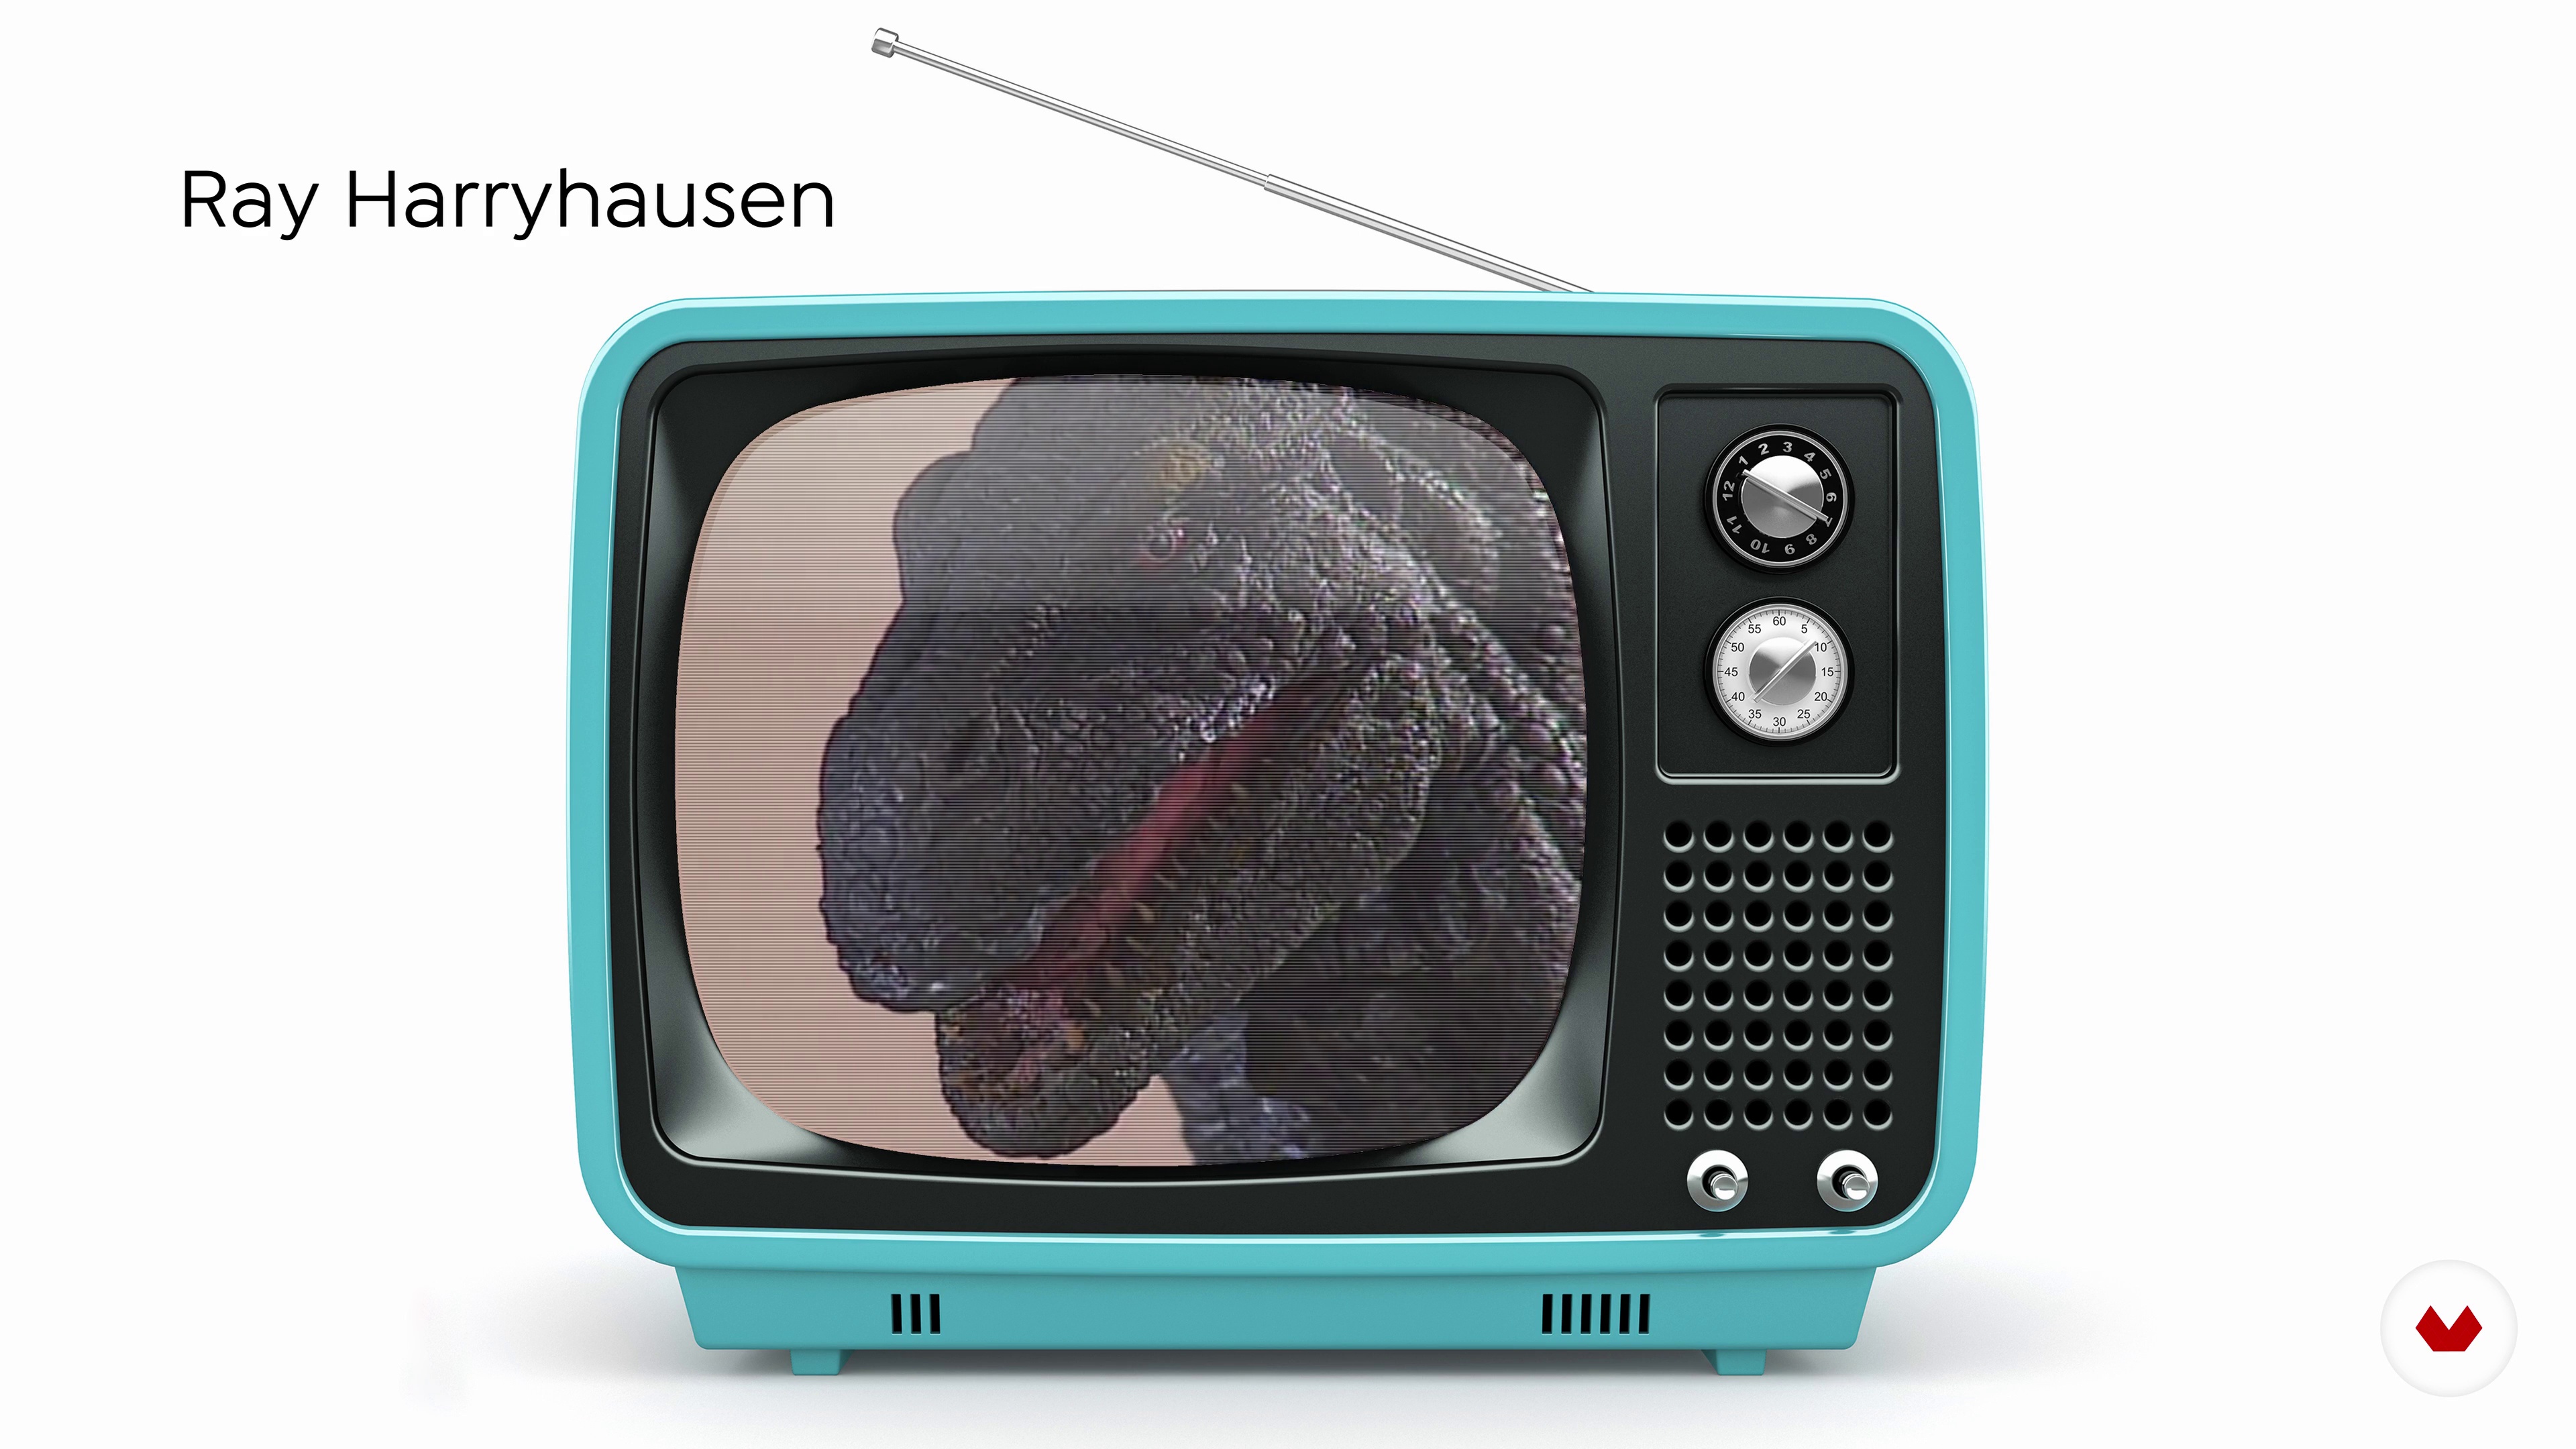
3History of stop motion
In this lesson we will take a brief journey through the history of stop motion animation and we will show you the work of some of our favorite authors.
3m
 4
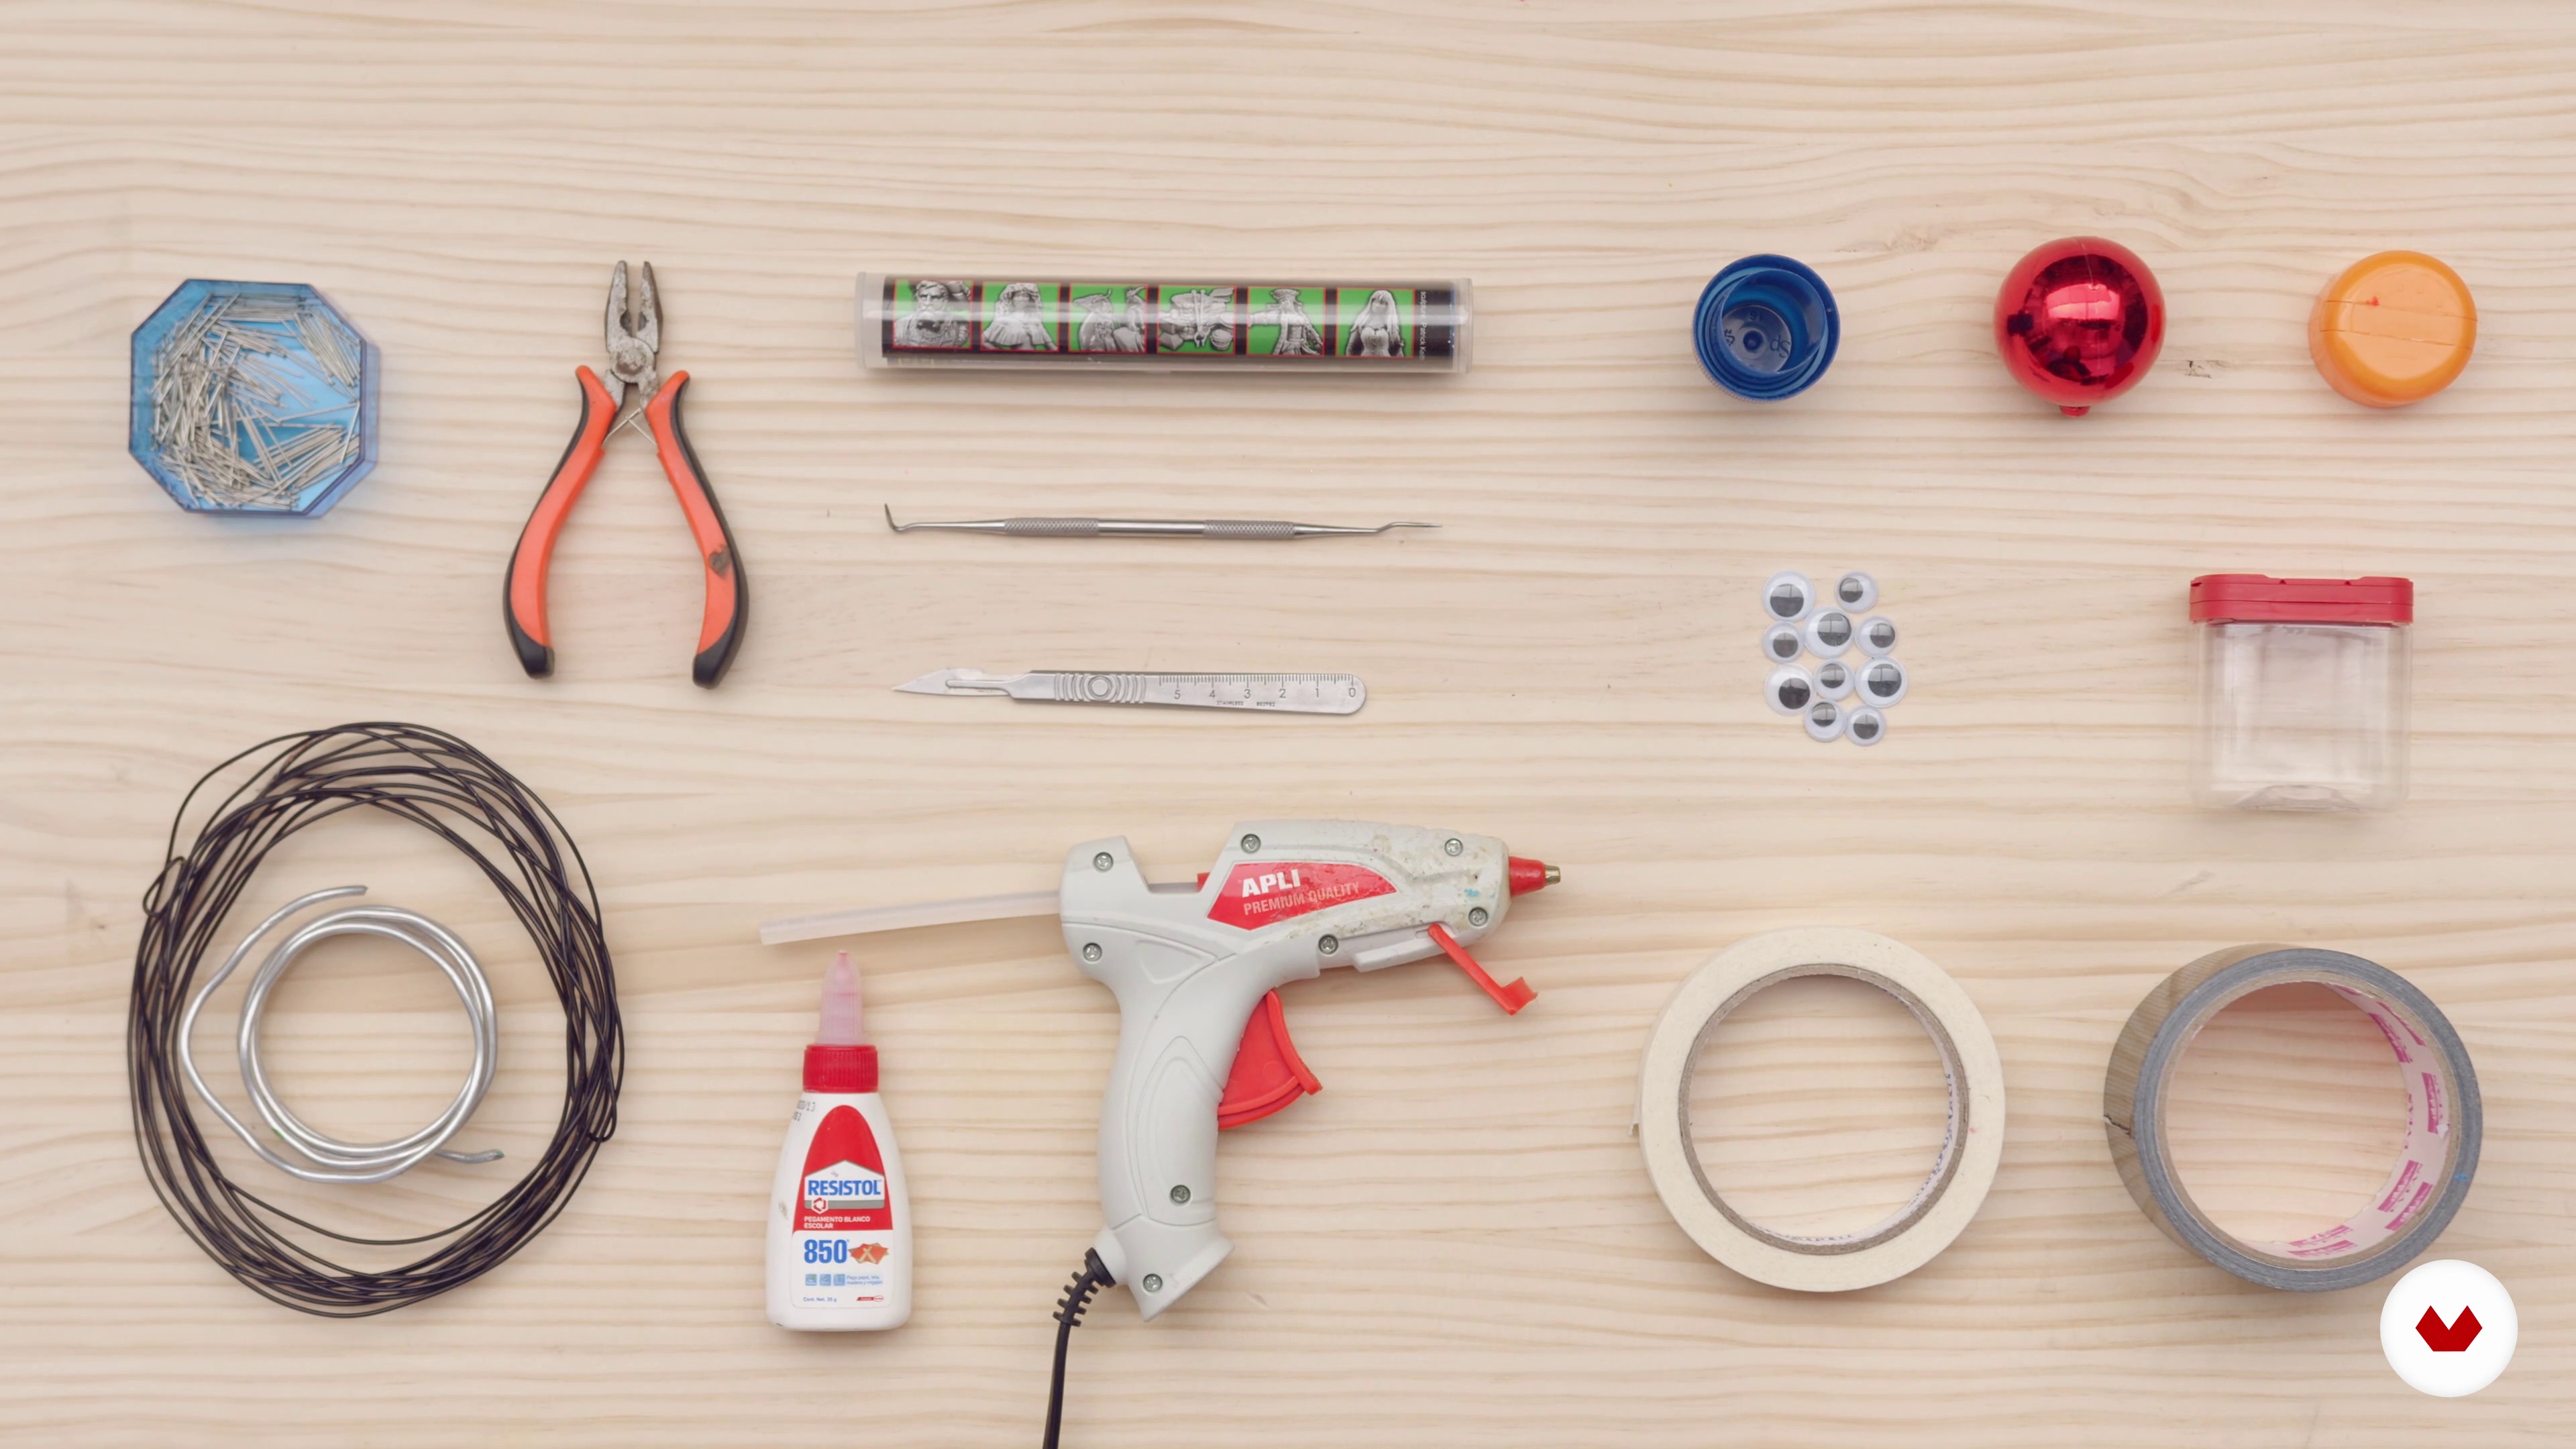
4Materials
Next, we will talk about the tools and materials you need to get started. From everyday objects to recycled materials, you will see that you can easily find materials and everything you need to make your animation.
5m
 5
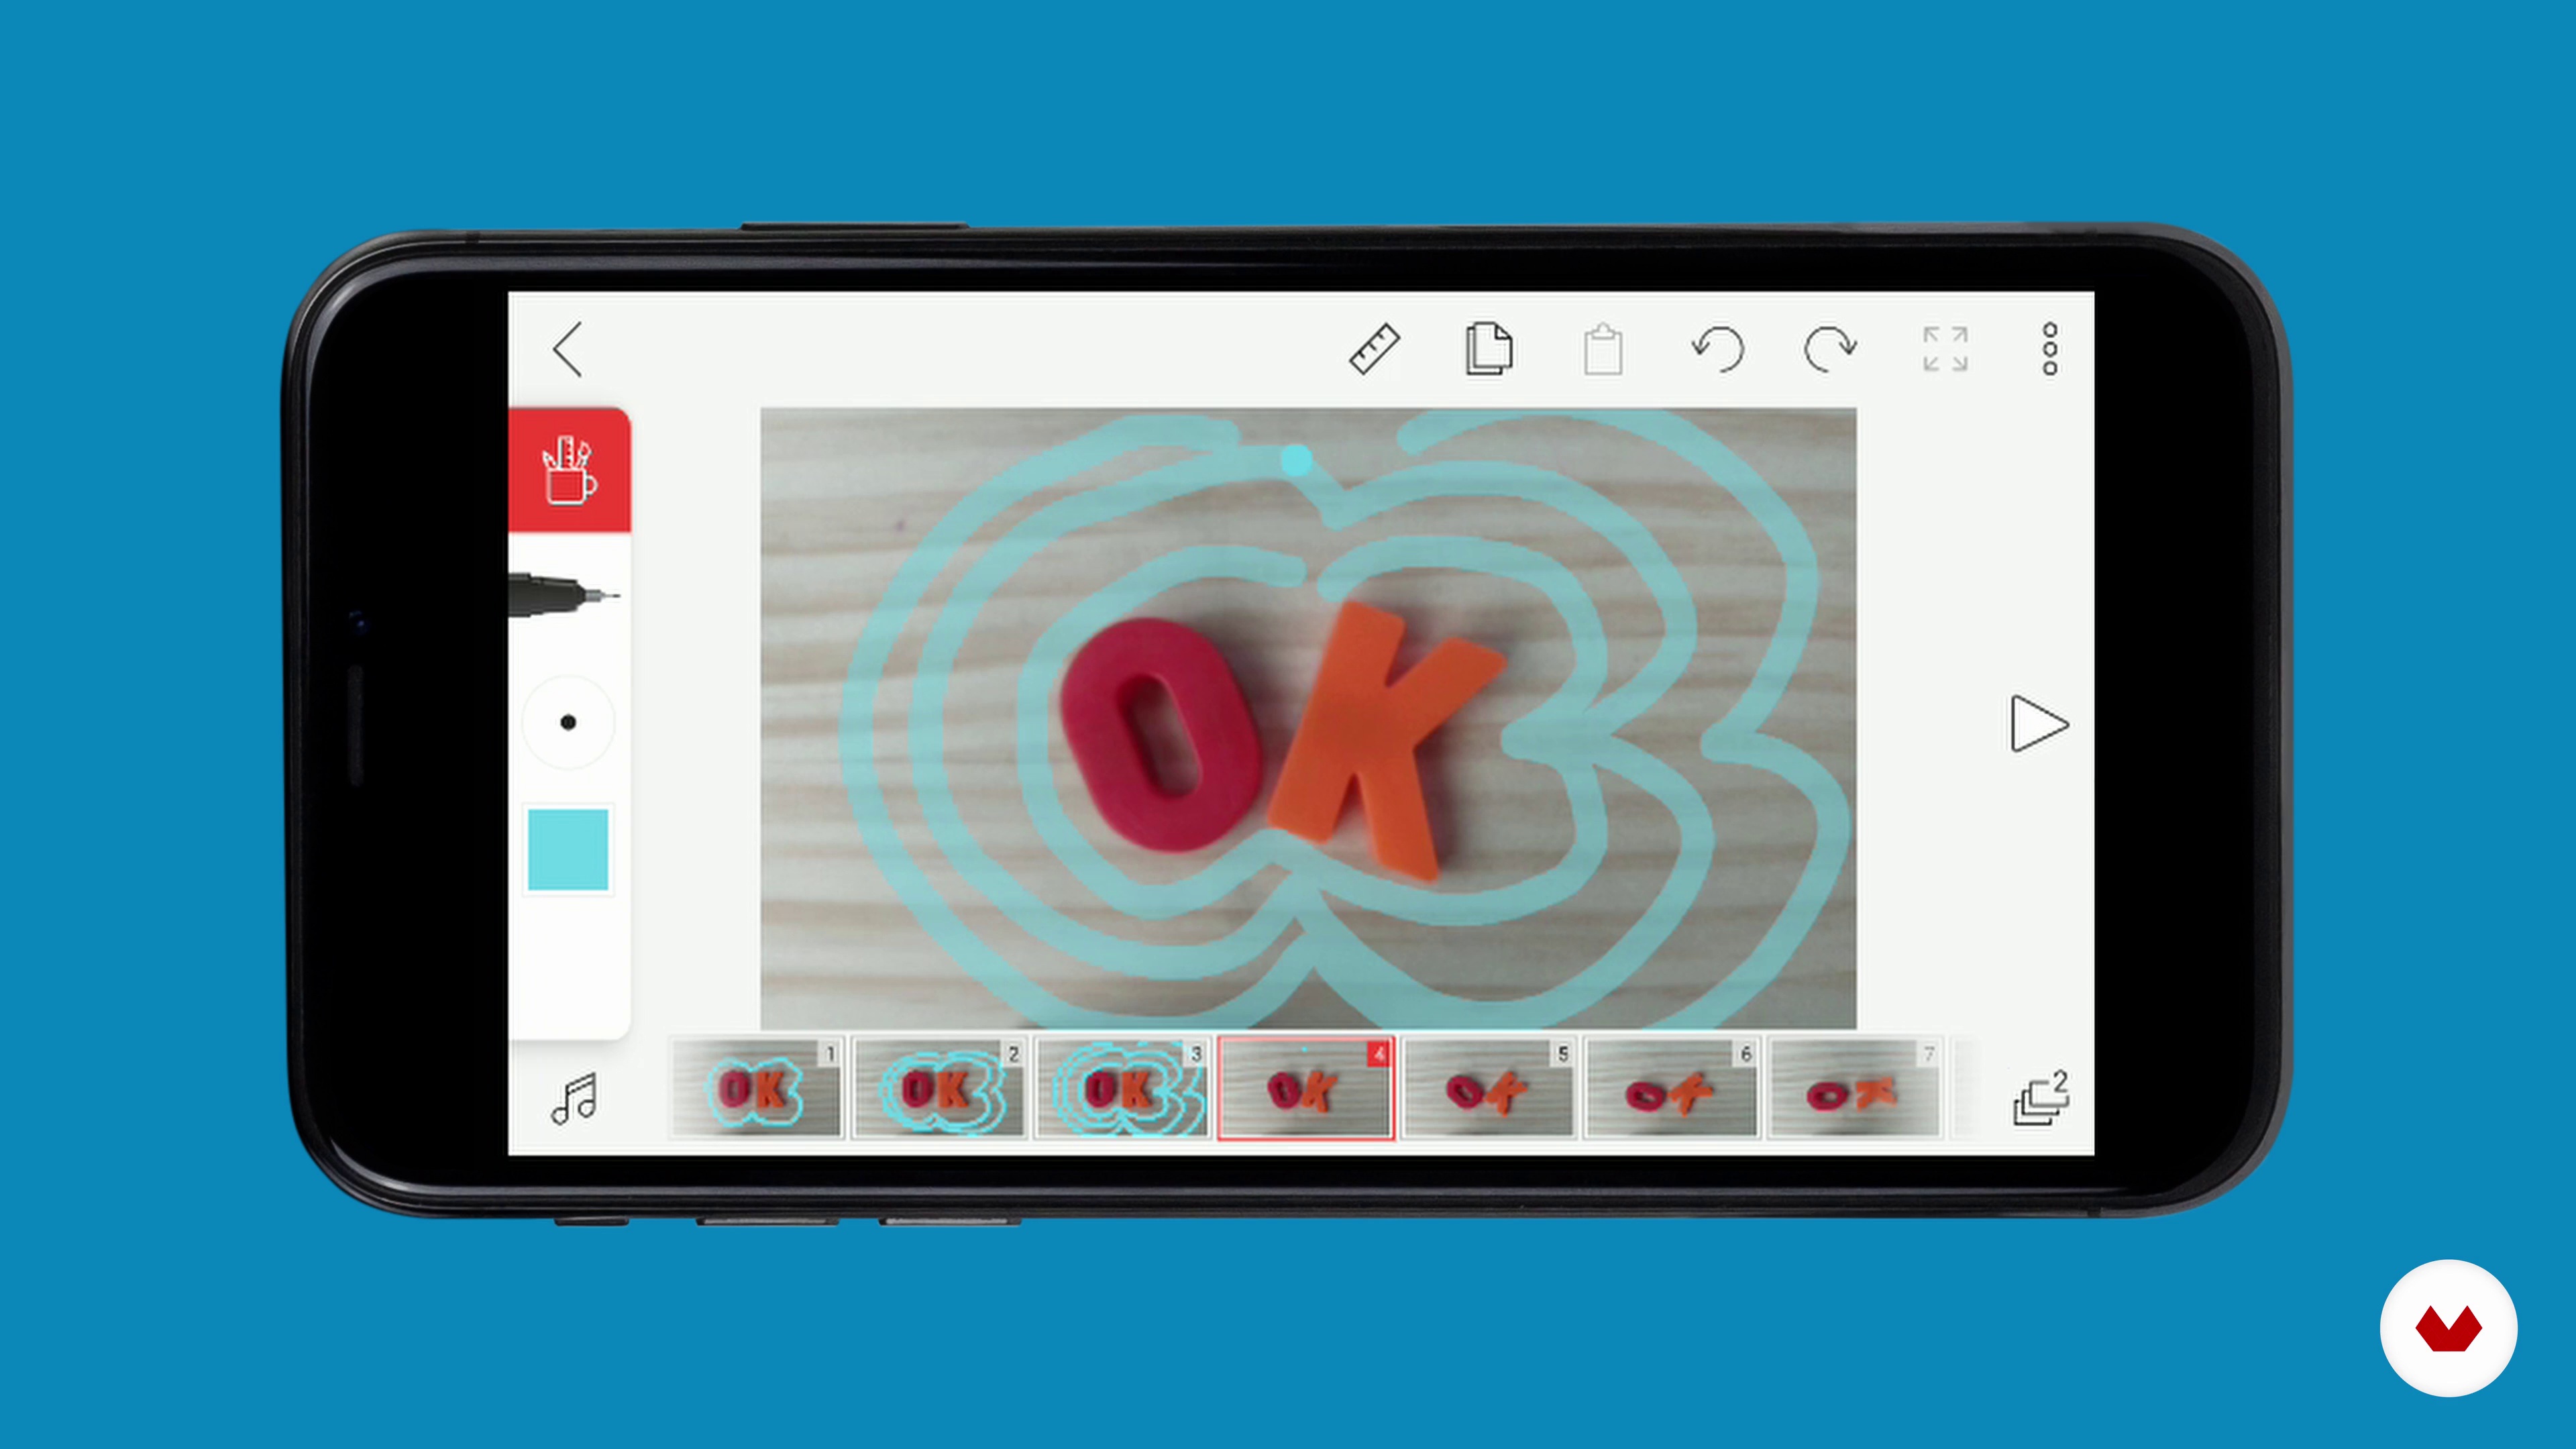
5Configuration and software
Technology that was once only used by professional animators is now available to everyone. In this lesson we will explain how applications to make animation on your smartphone or tablet work.
18m
 6
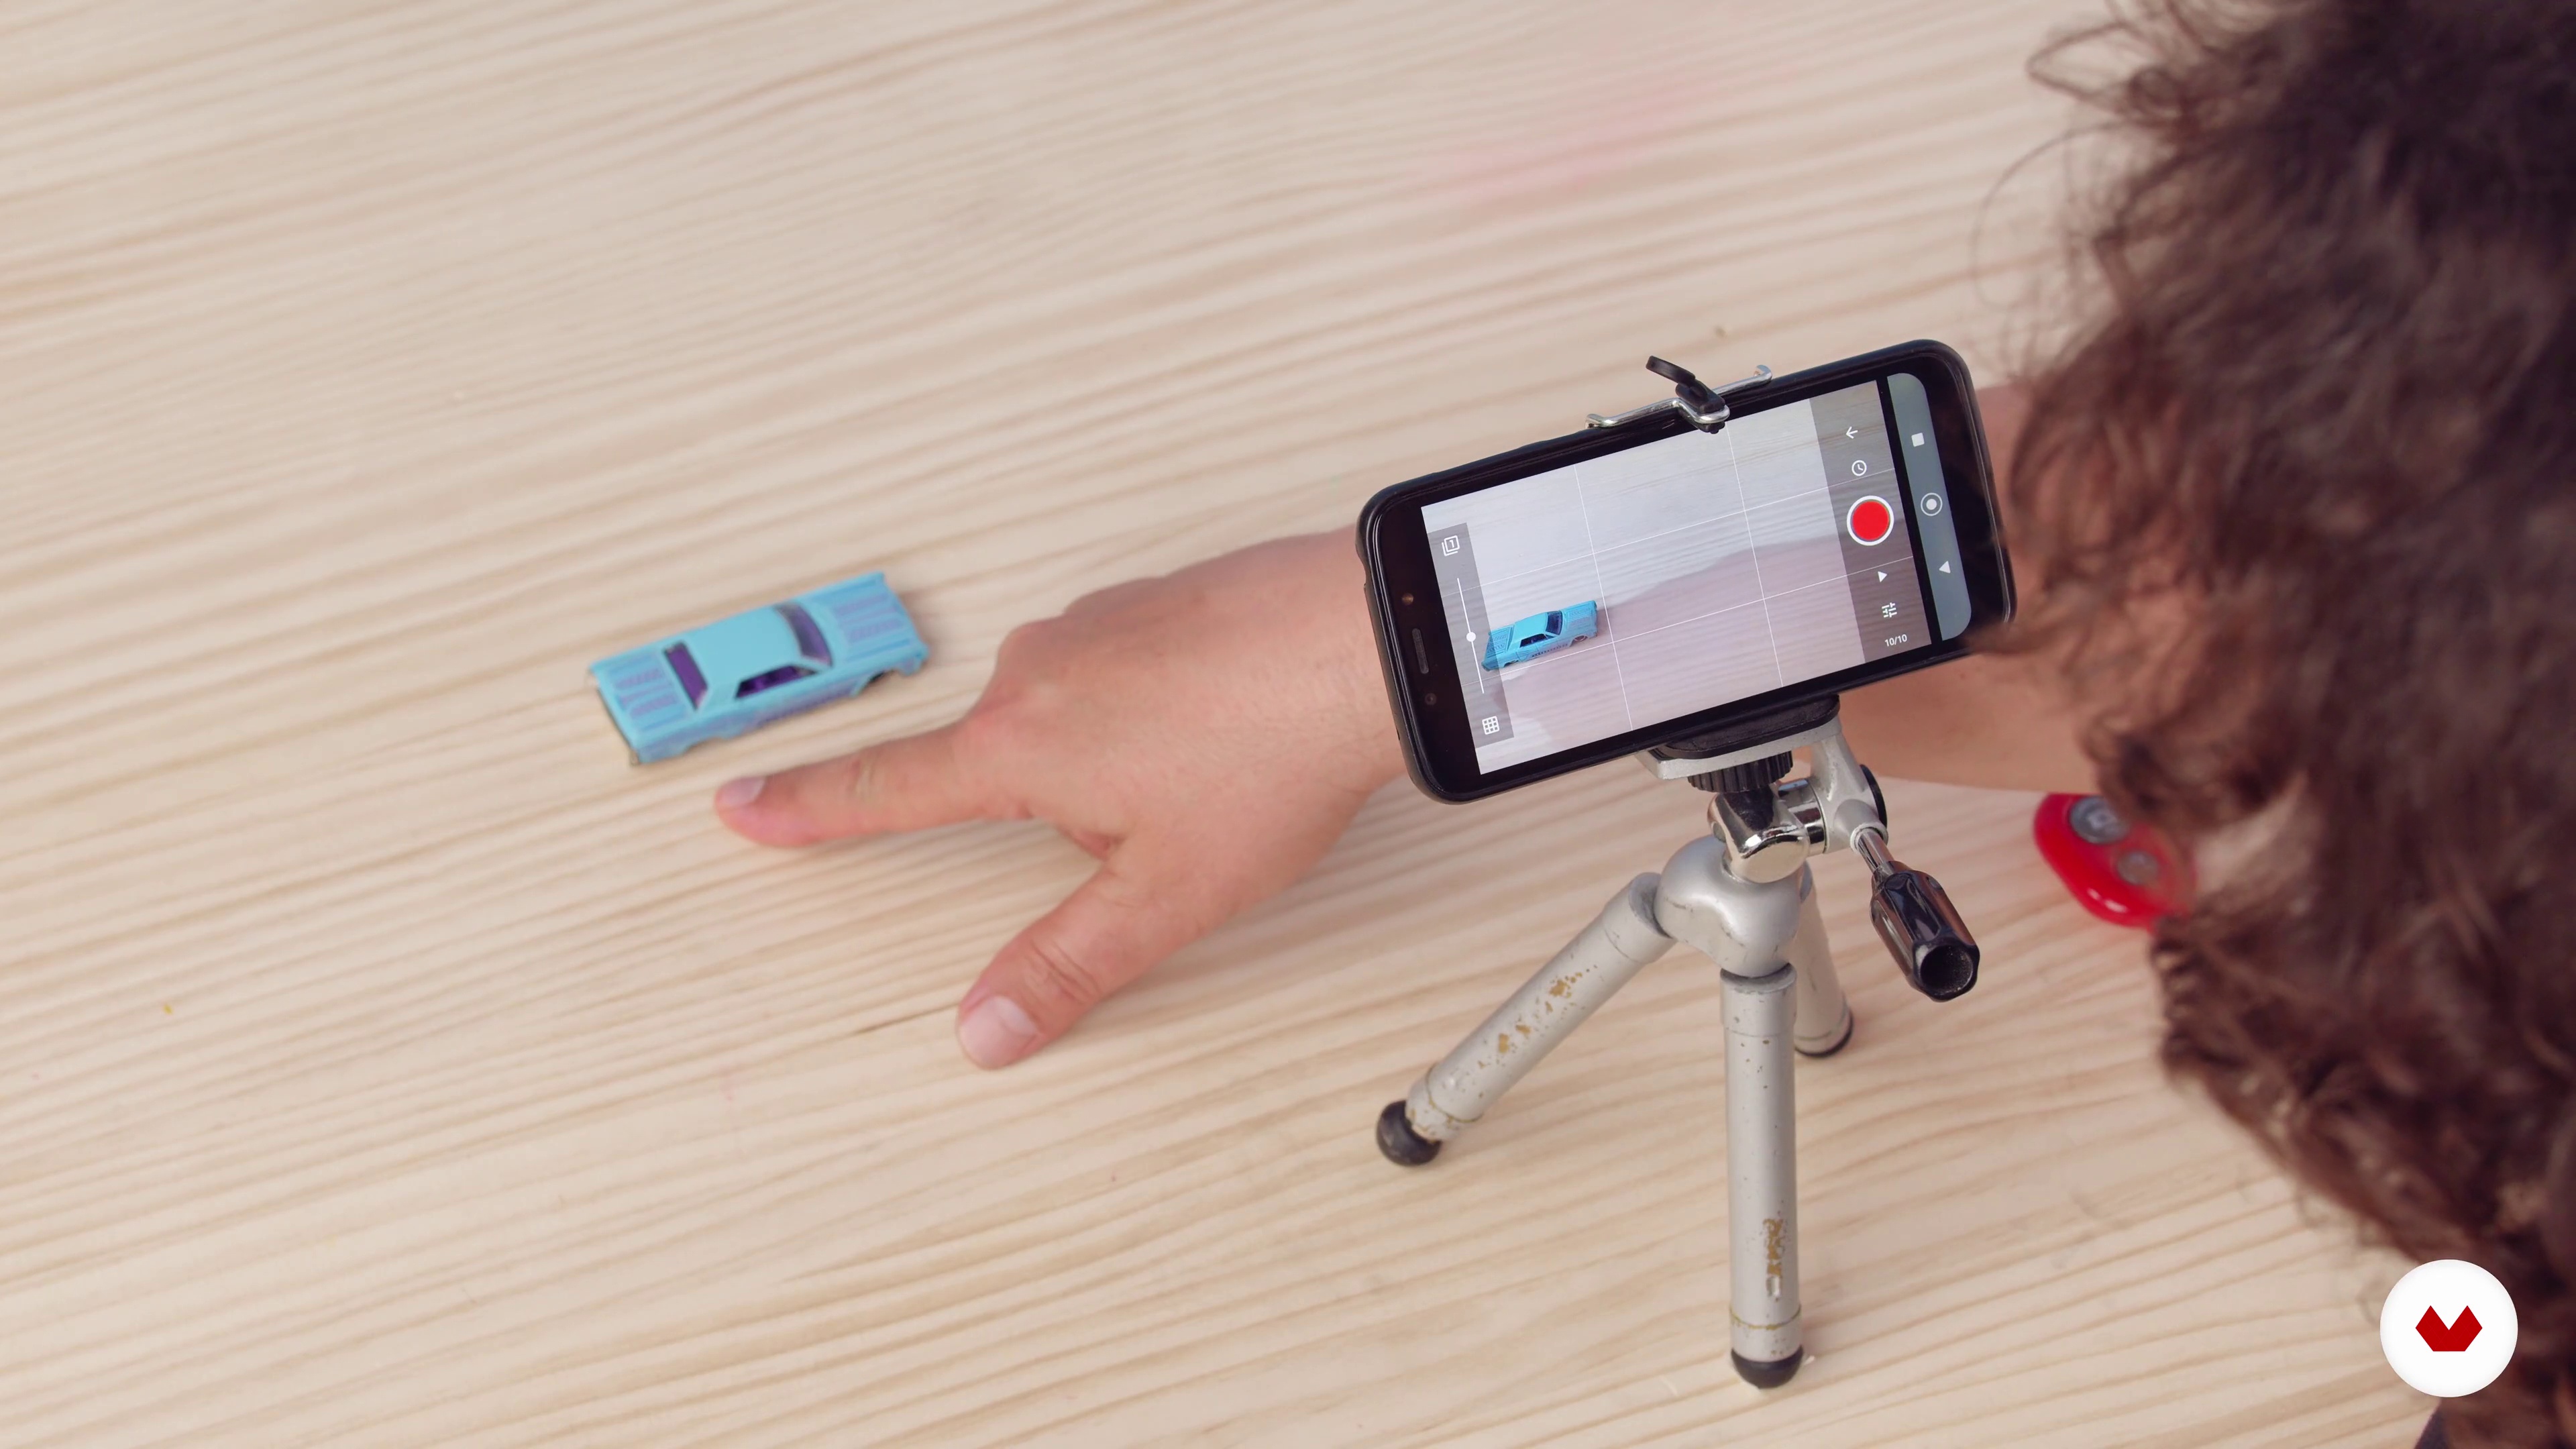
6Stop motion basics 1
Here we will talk about how to bring your animations to life in a correct way, applying some basic concepts.
19m
 7
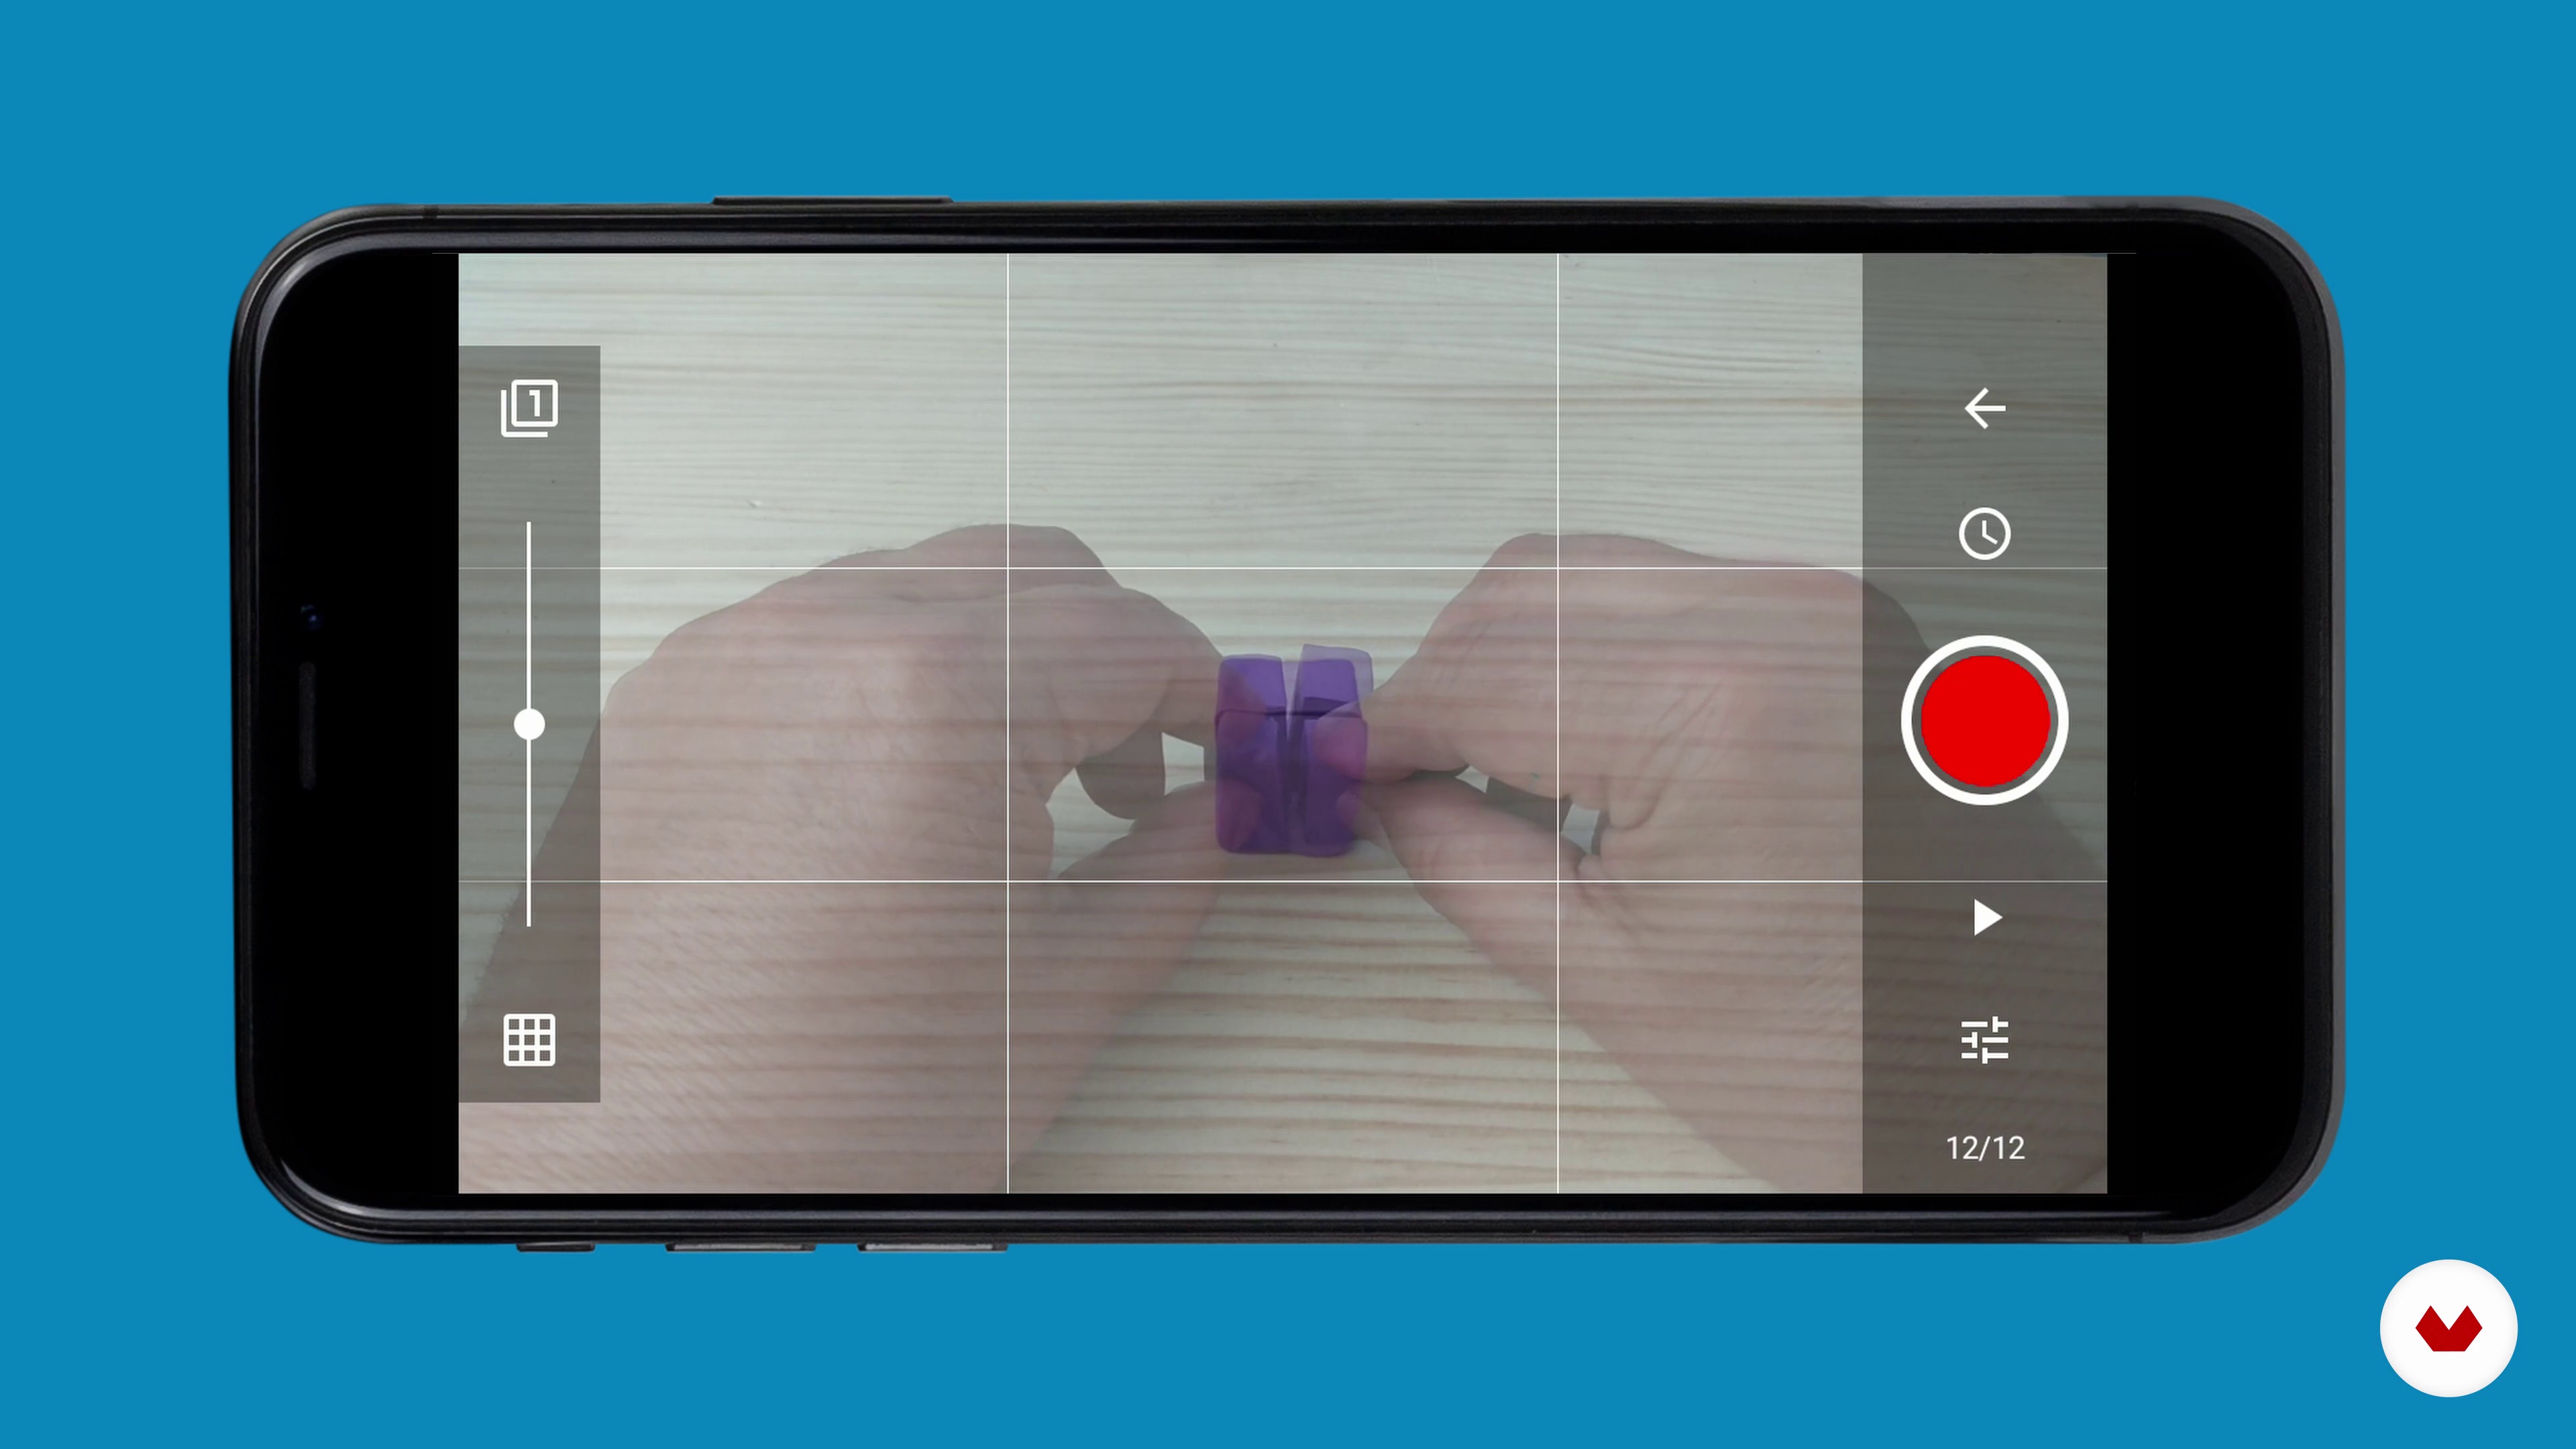
7Stop motion basics 2
We continue to review the key concepts of the technique that we are learning in the course.
8m
 8
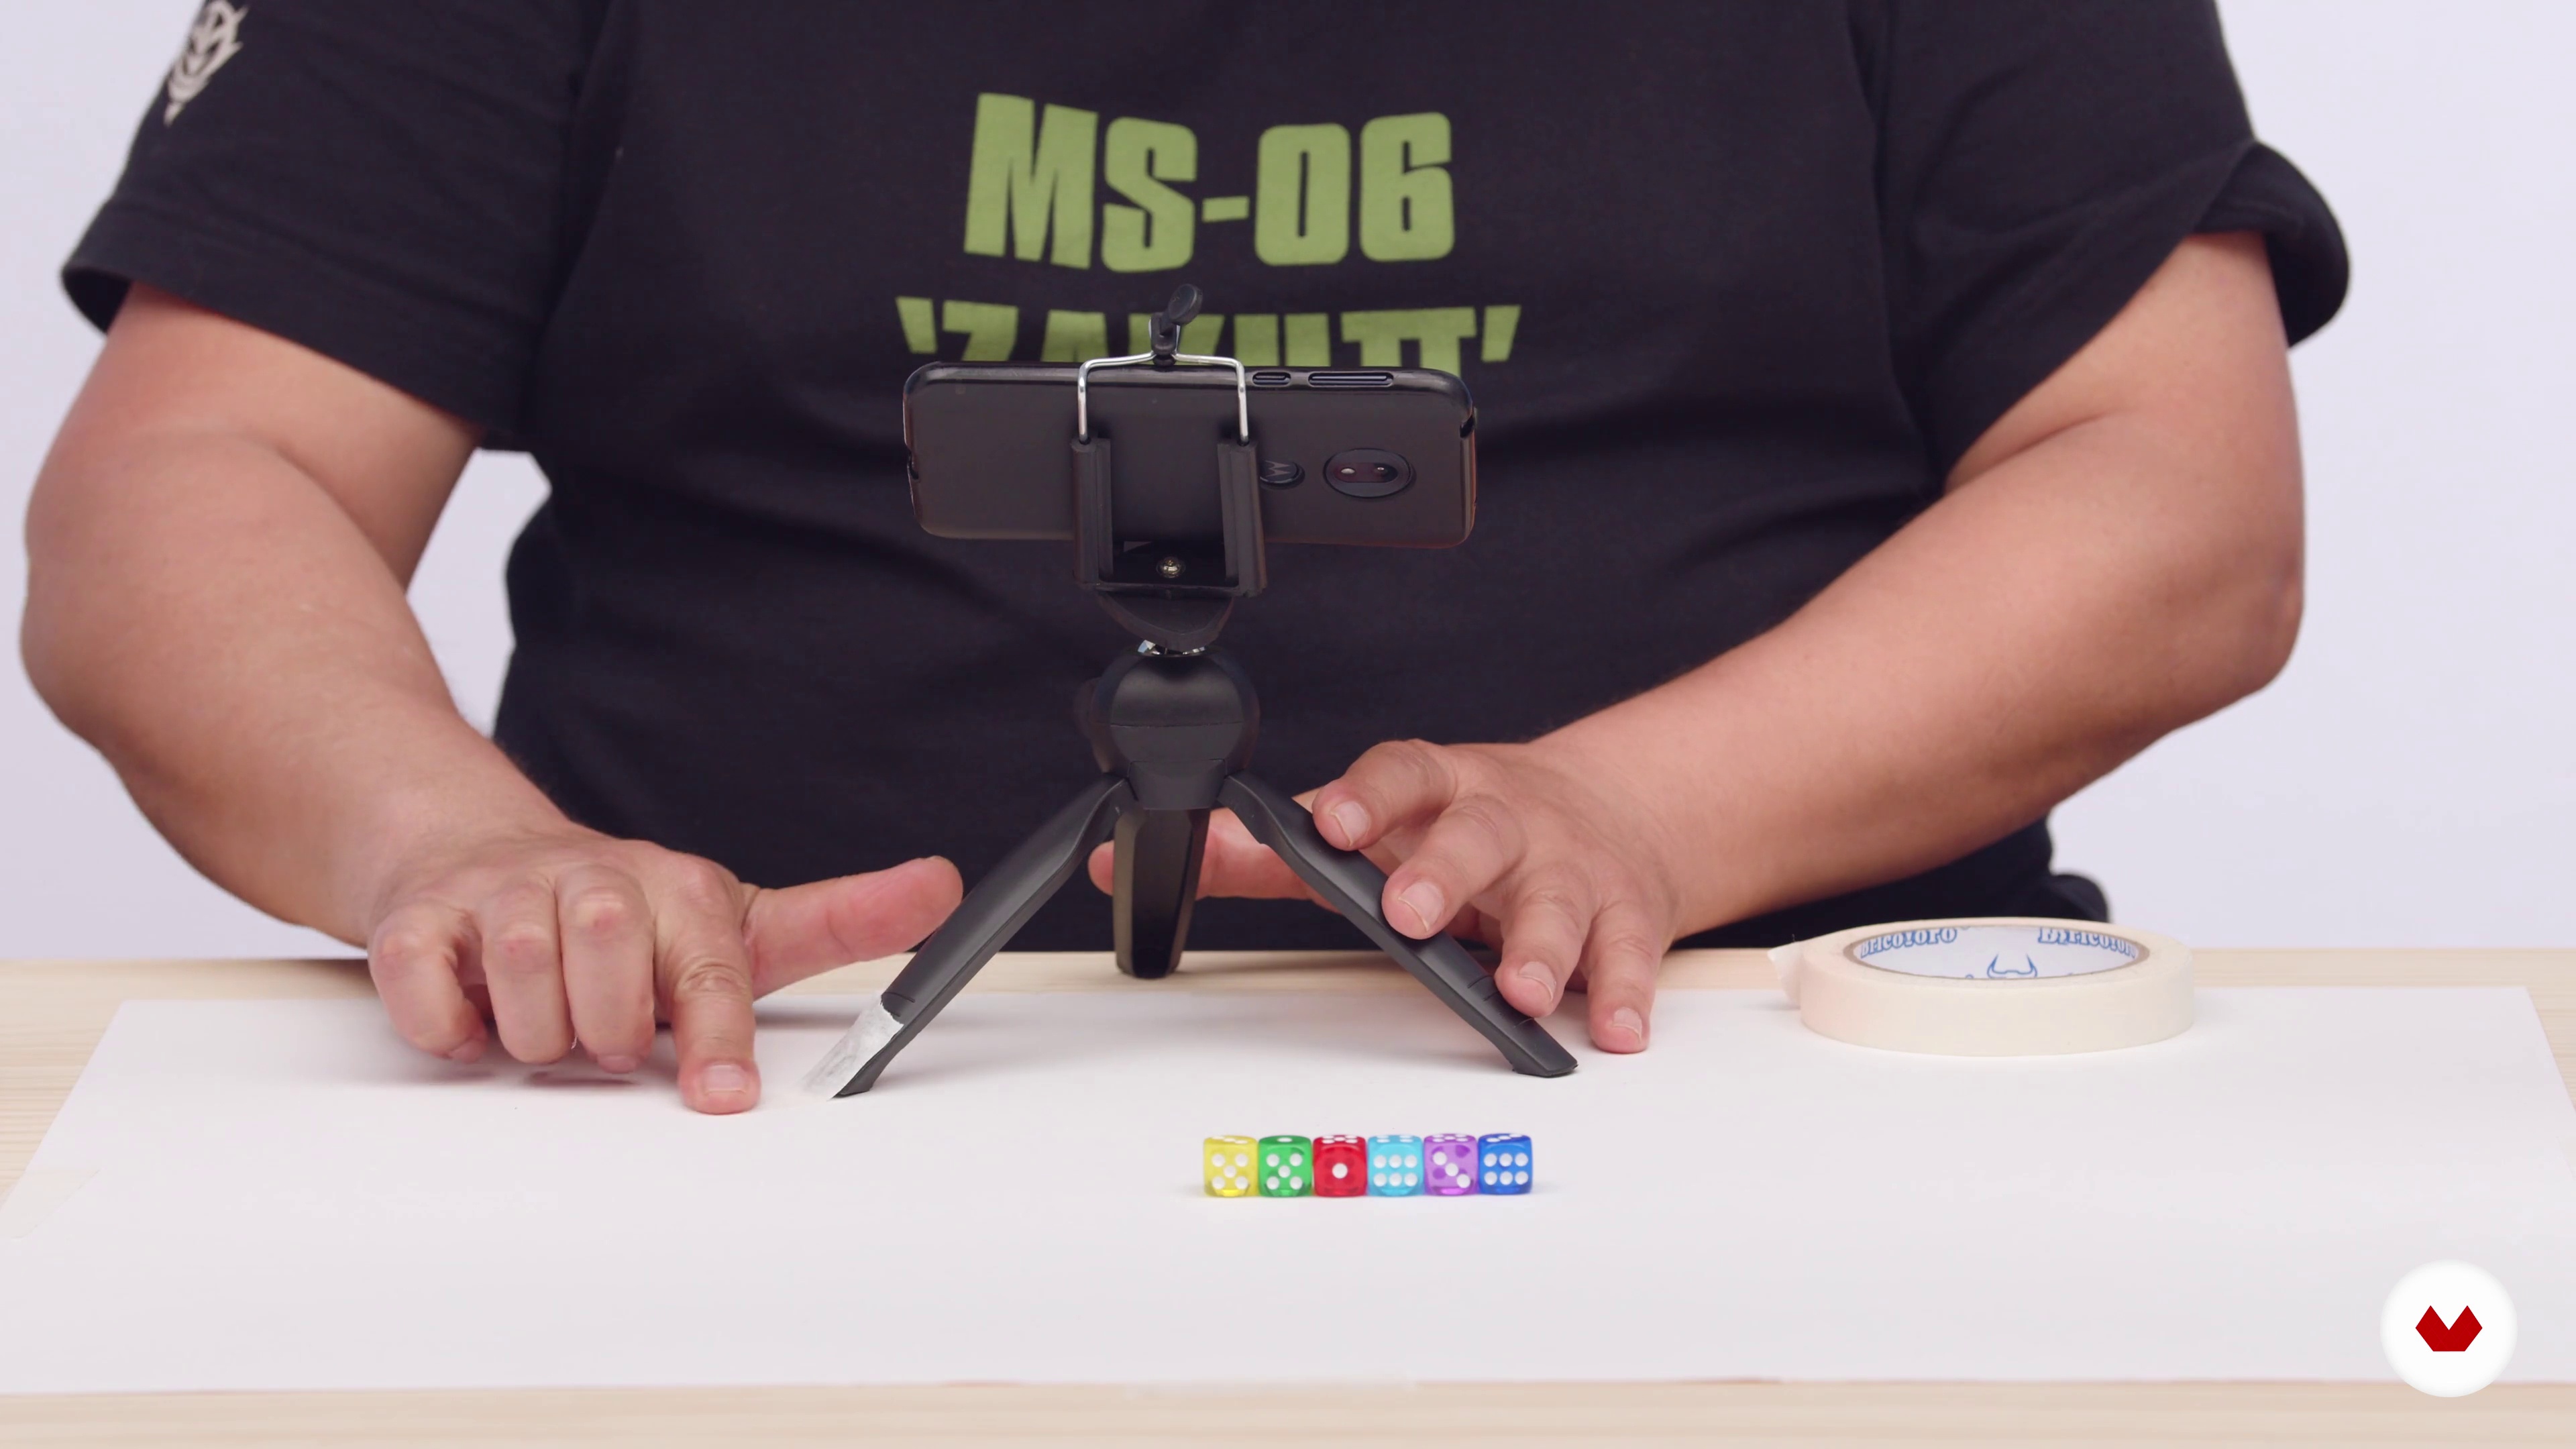
8Preparing our set
In this lesson we are going to see how to prepare the work environment at home. We will review the necessary materials and see the importance of light and the environment.
7m
 9
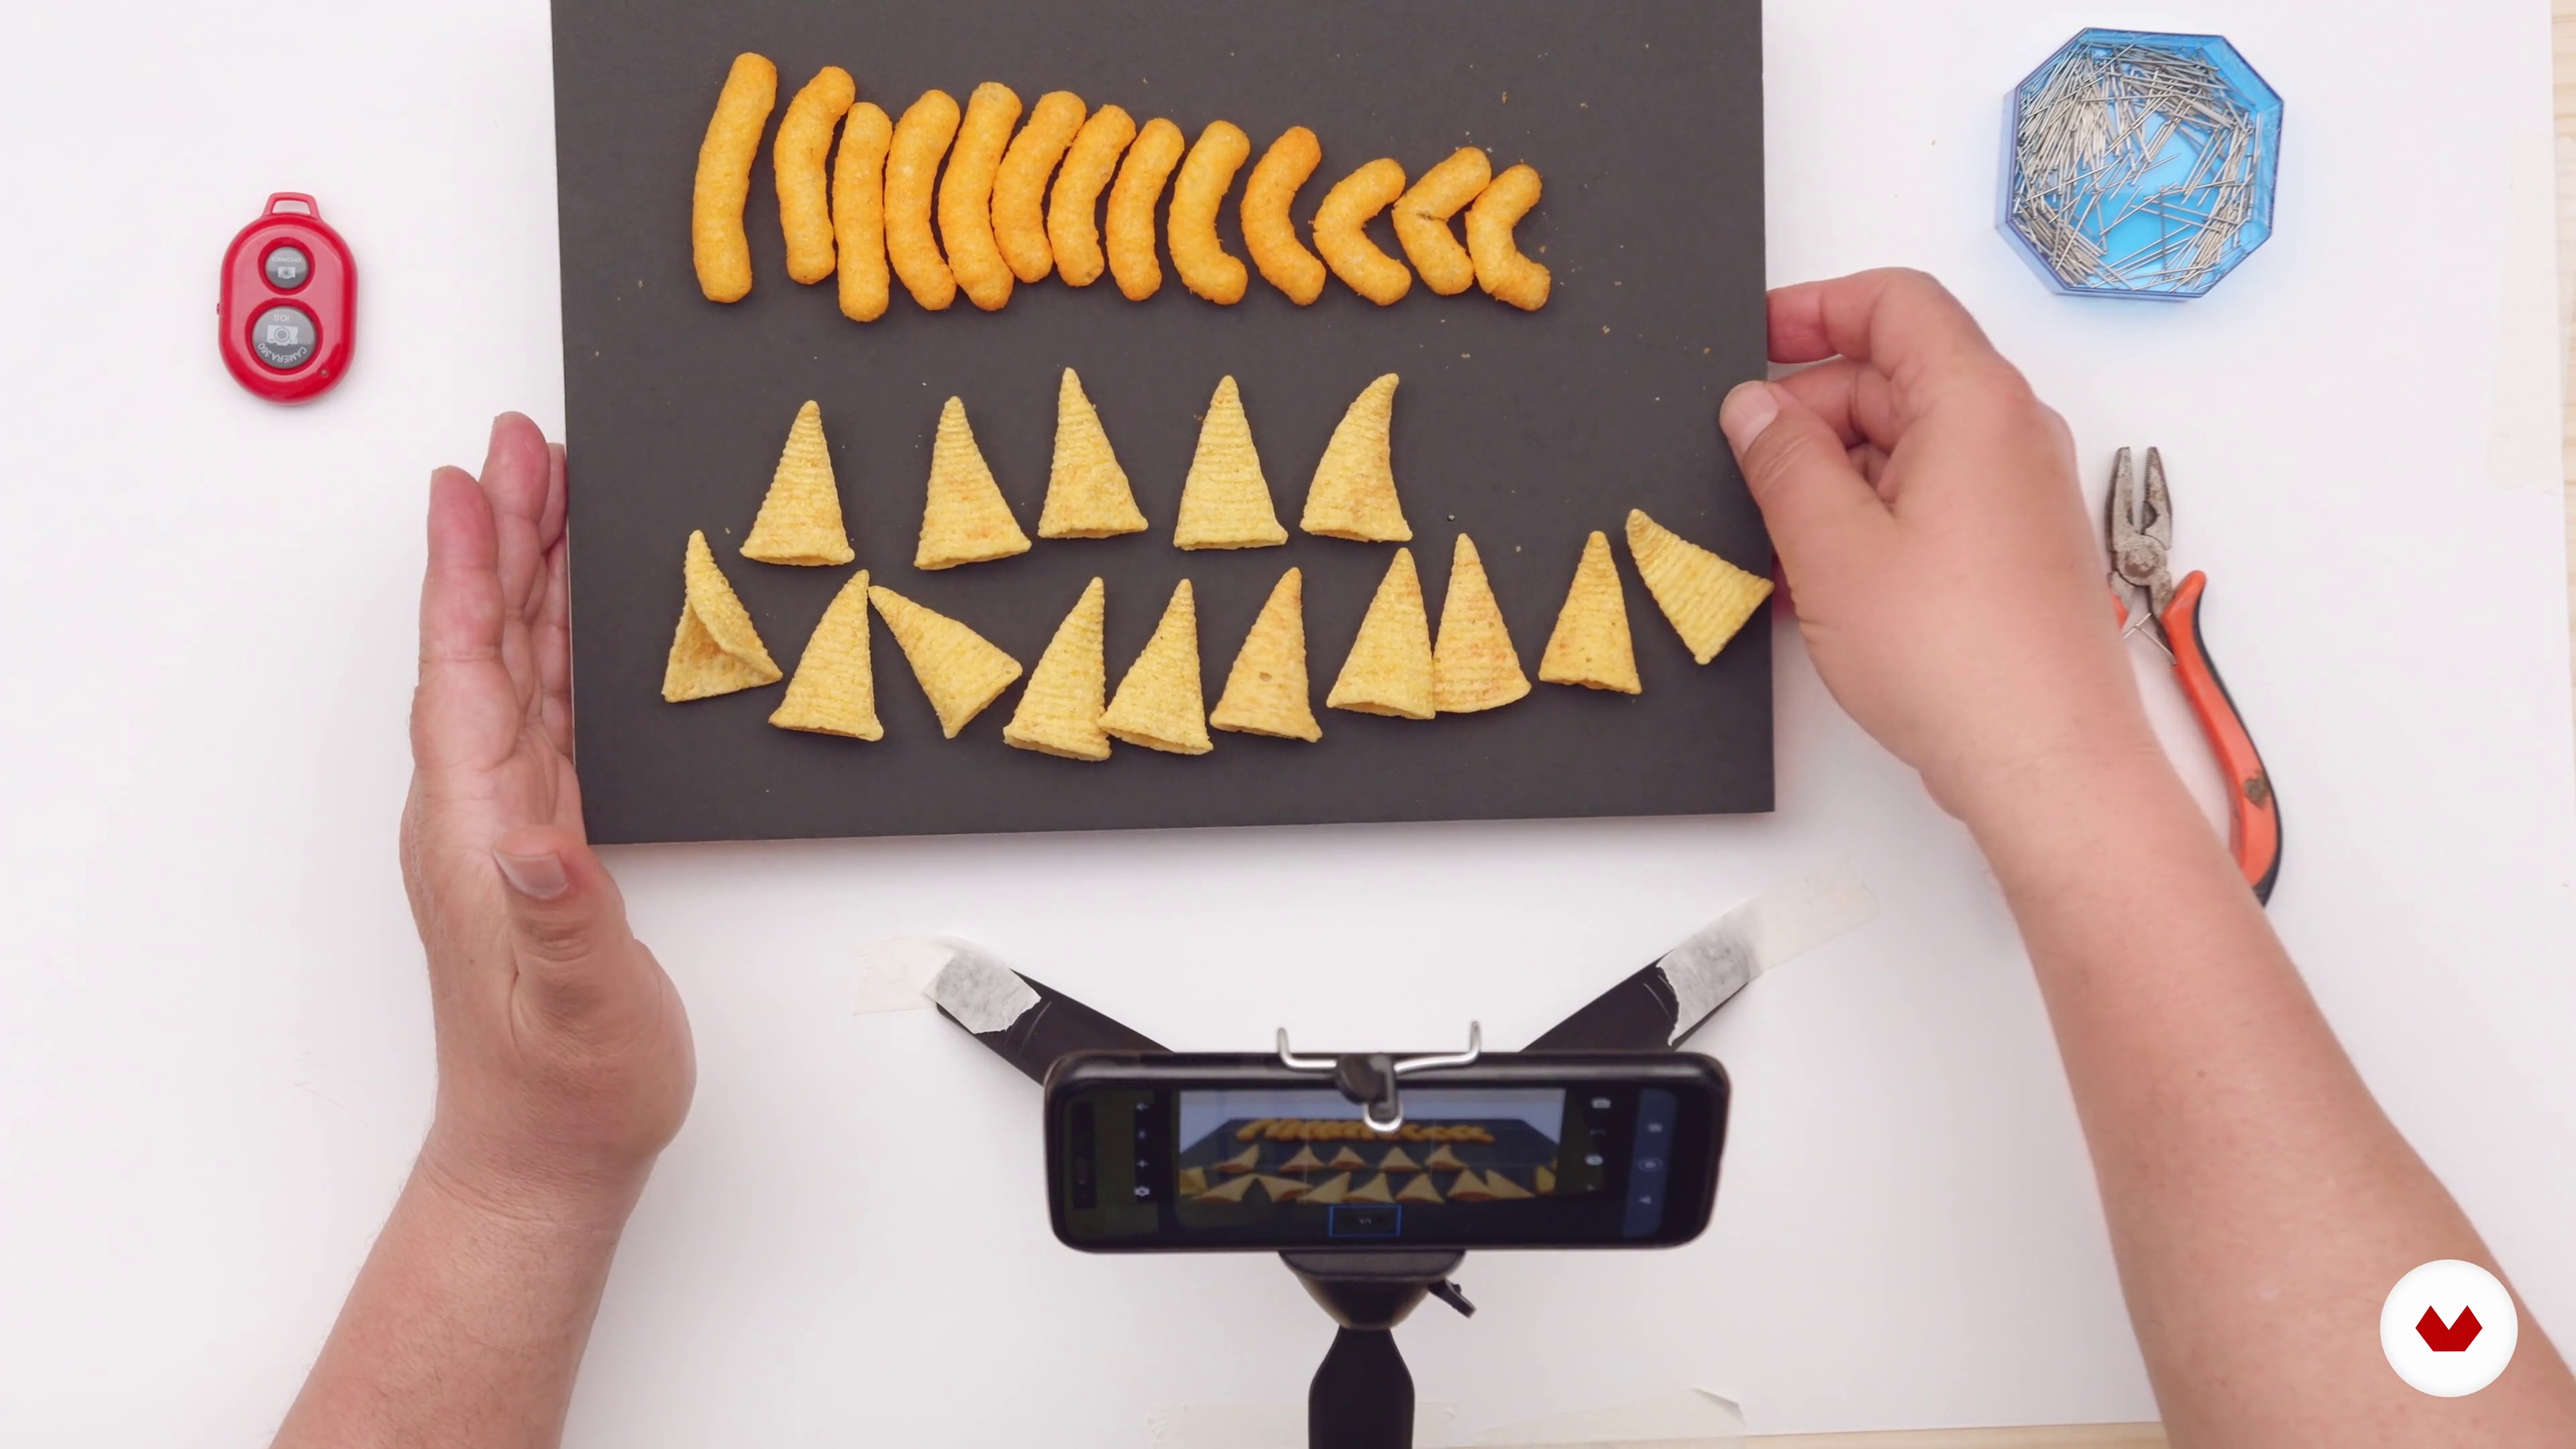
9Animate with objects
Any object can become a character! In this lesson we are going to see how to give life to the most unsuspected objects.
19m
 10
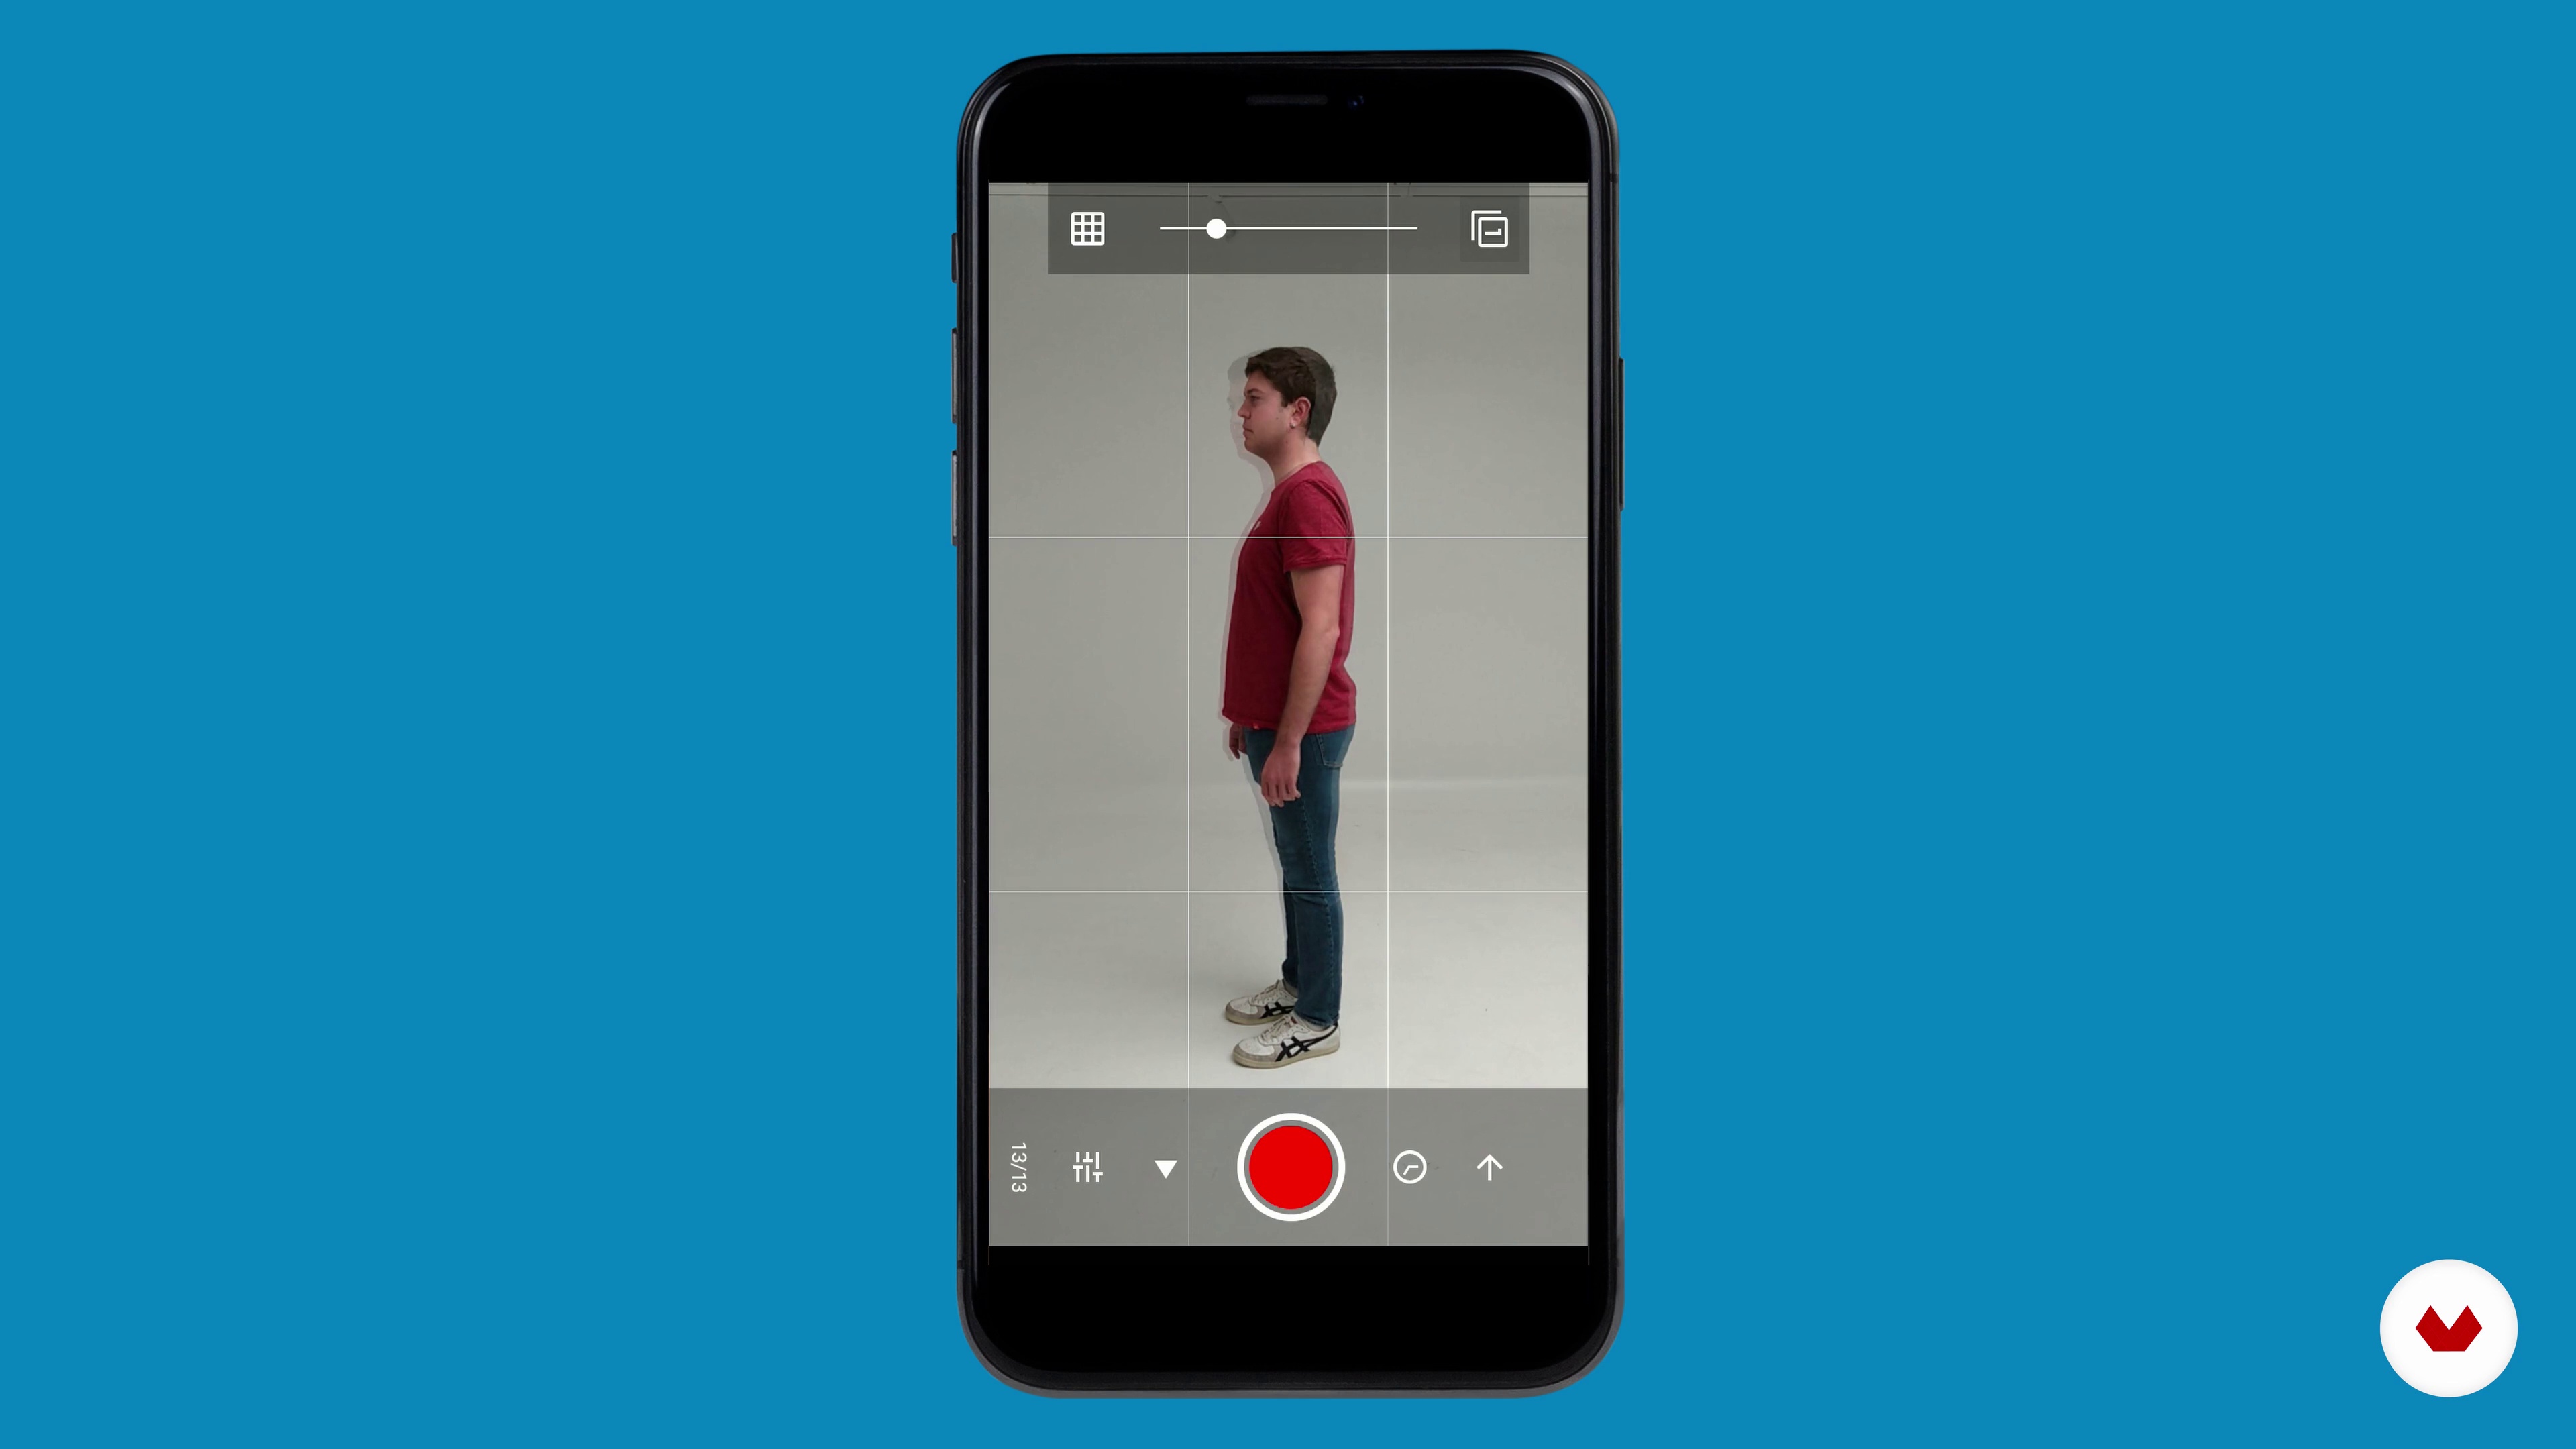
10Animate people
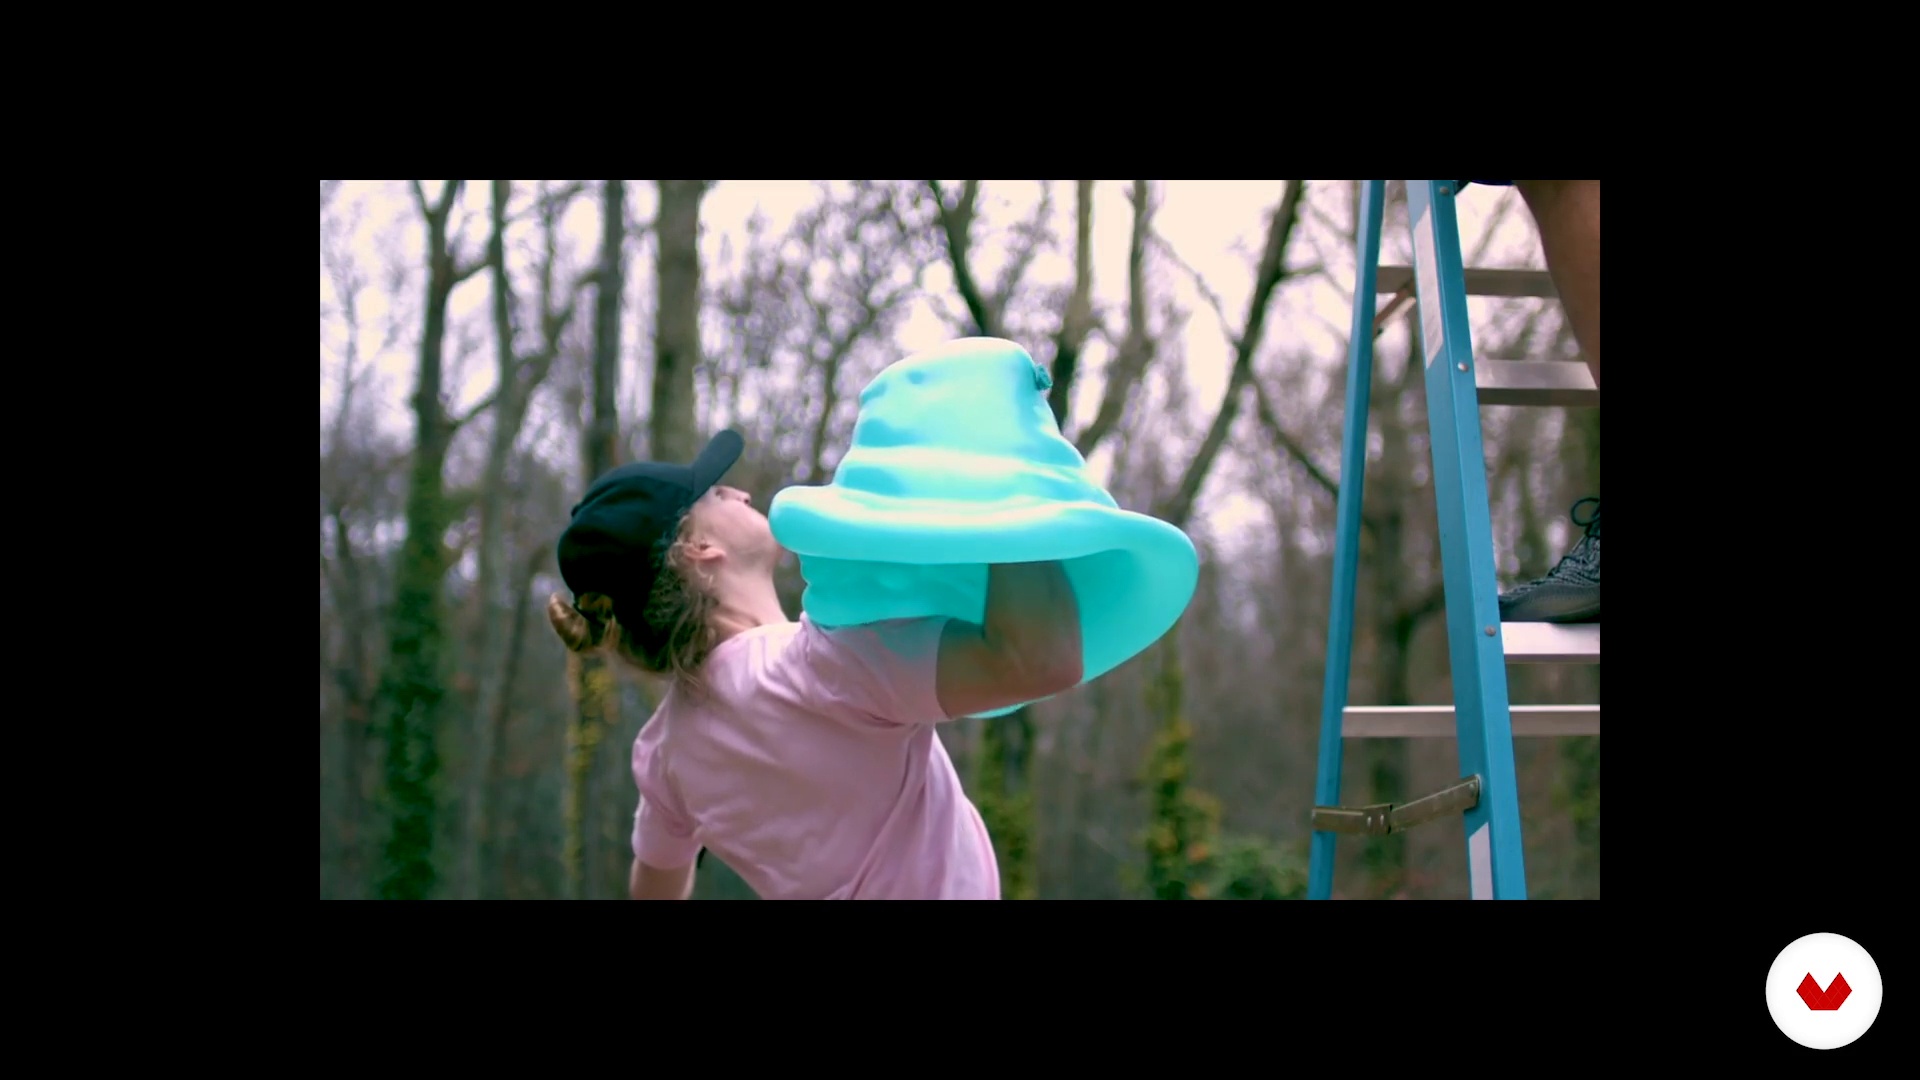
Now we are going to see what pixilation consists of: the animation of people. We will achieve fantastic movements that we cannot perform when recording in real time.
9m
 11
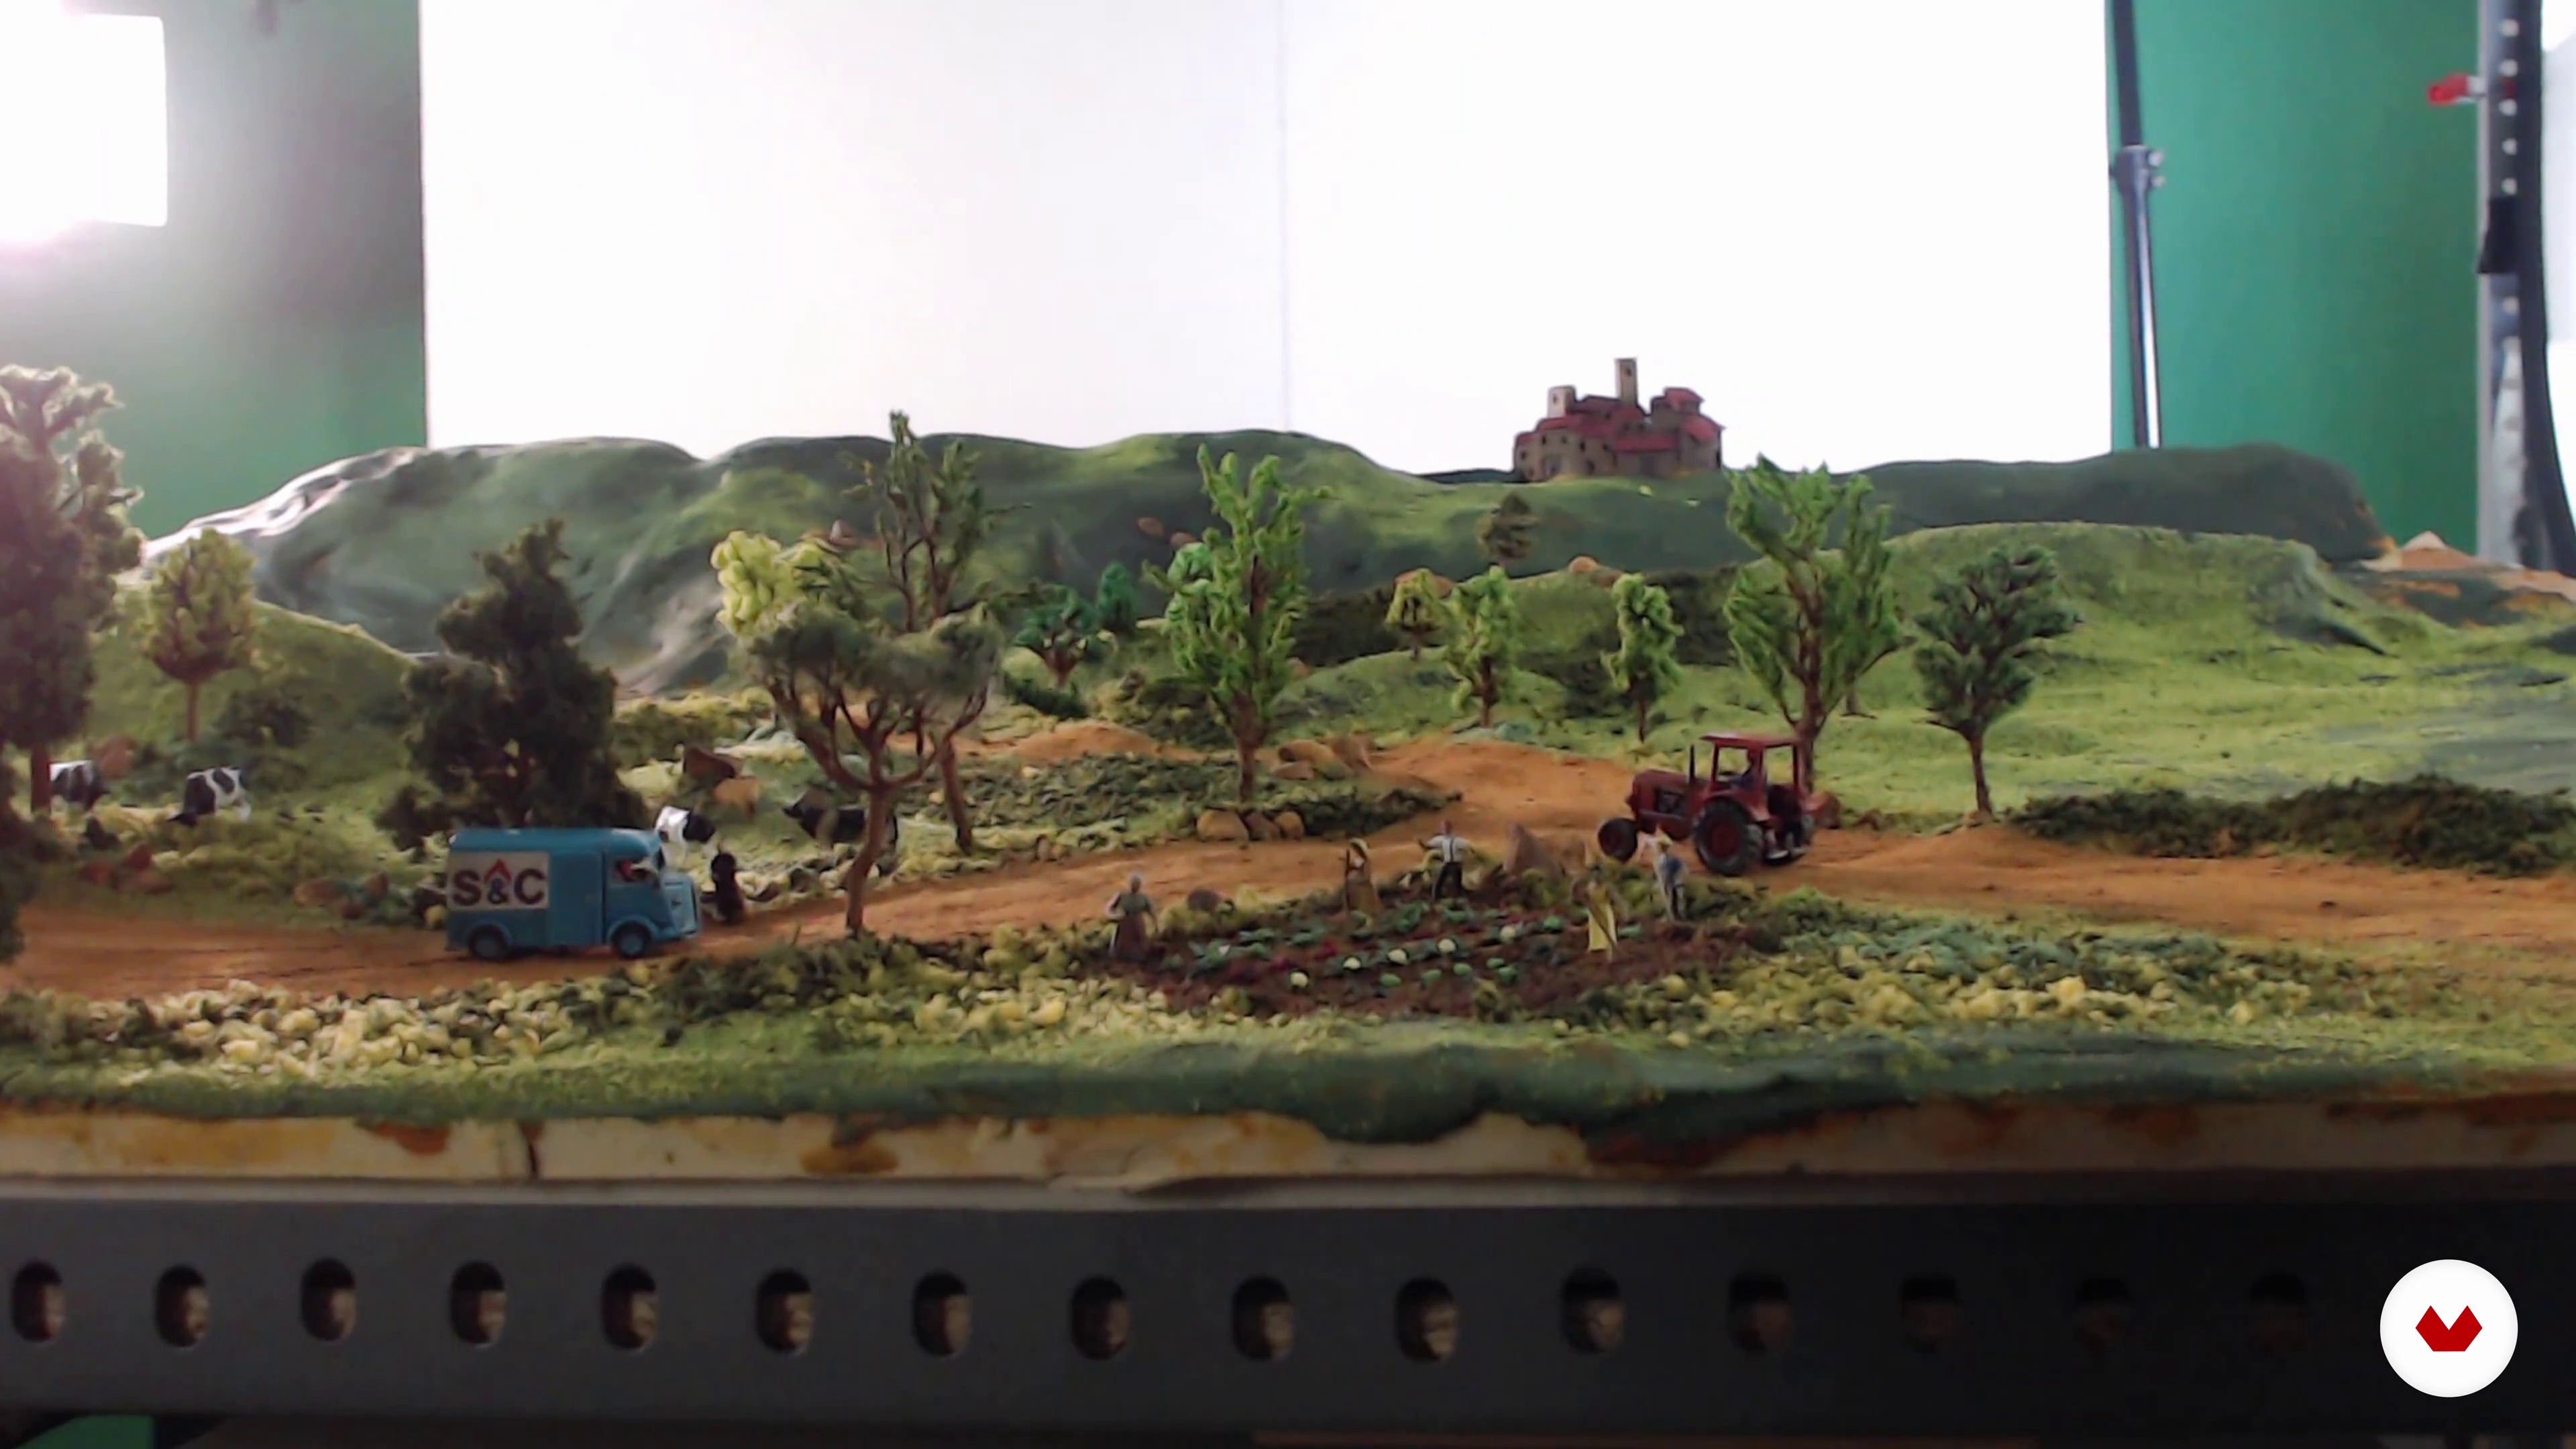
11Timelapse
In this lesson we are going to see what timelapse or timed photography consists of: quickly visualize processes that last much longer; the movement of clouds, the growth of a plant ... It is a very interesting resource!
5m
 12
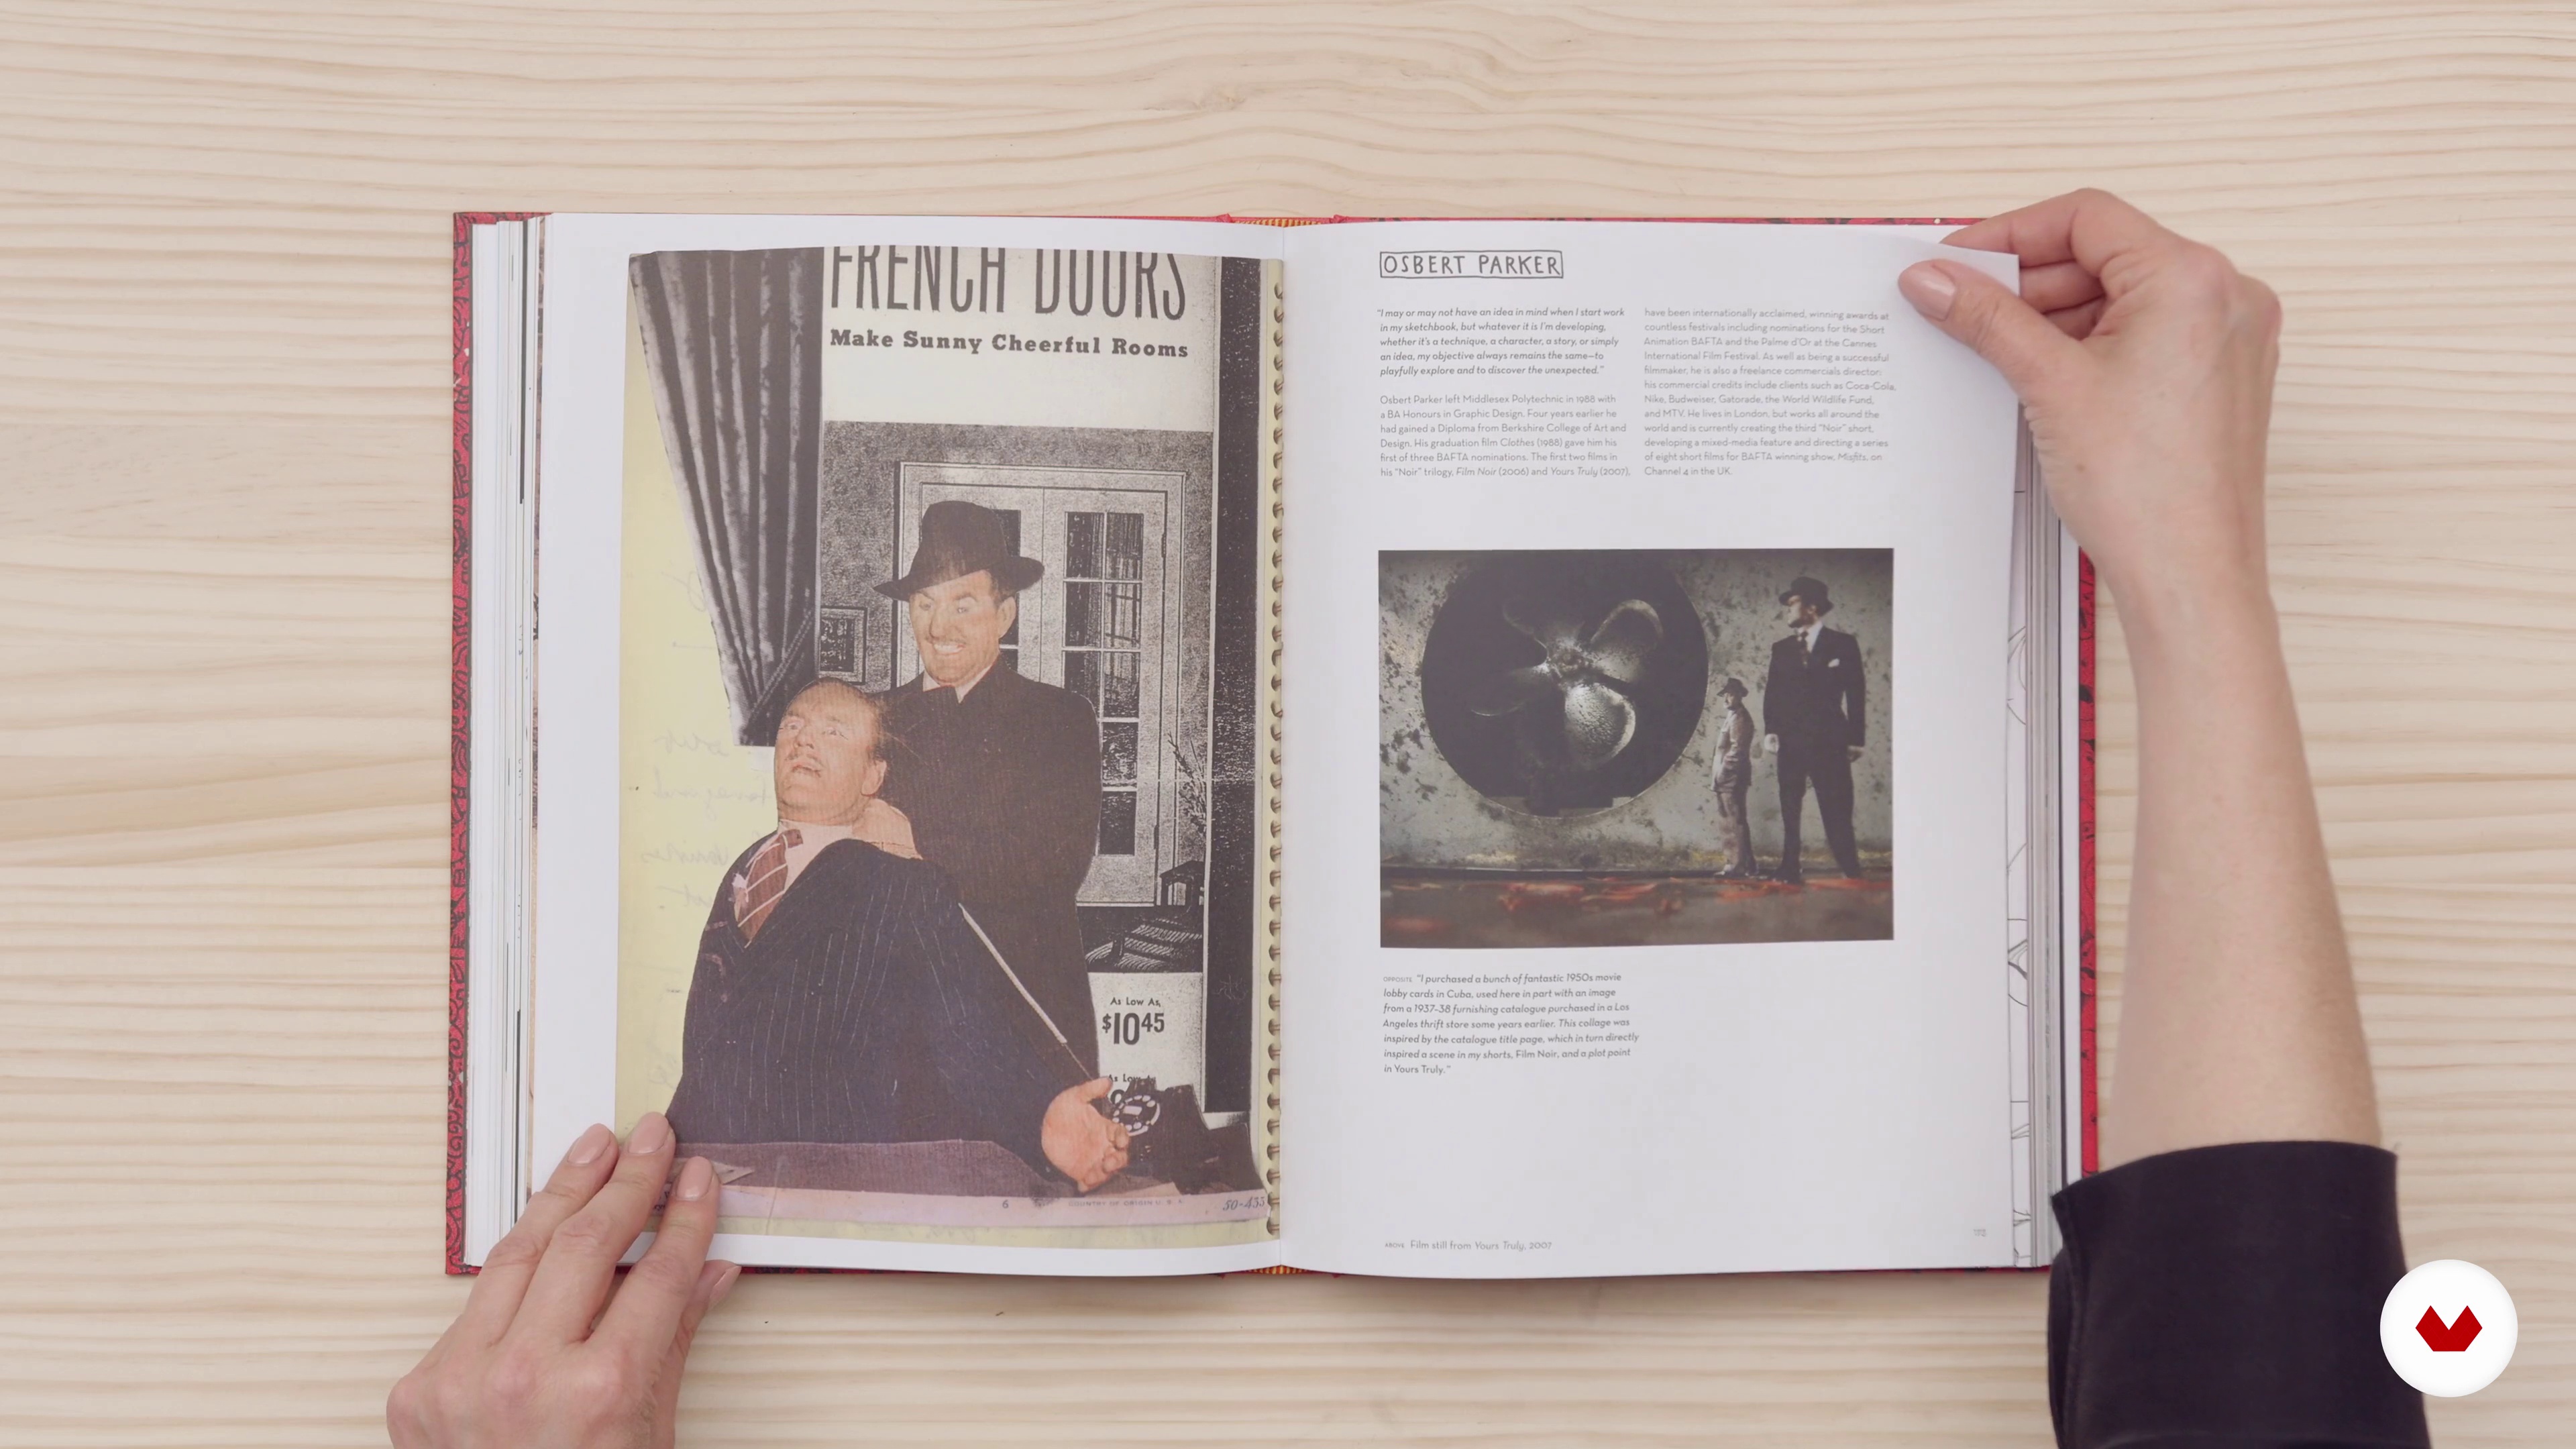
12Search for inspiration
In this lesson we are going to explain how to find inspiration. You have to look at the world with a curious look and write down or take photos with all the ideas you come across.
8m
 13
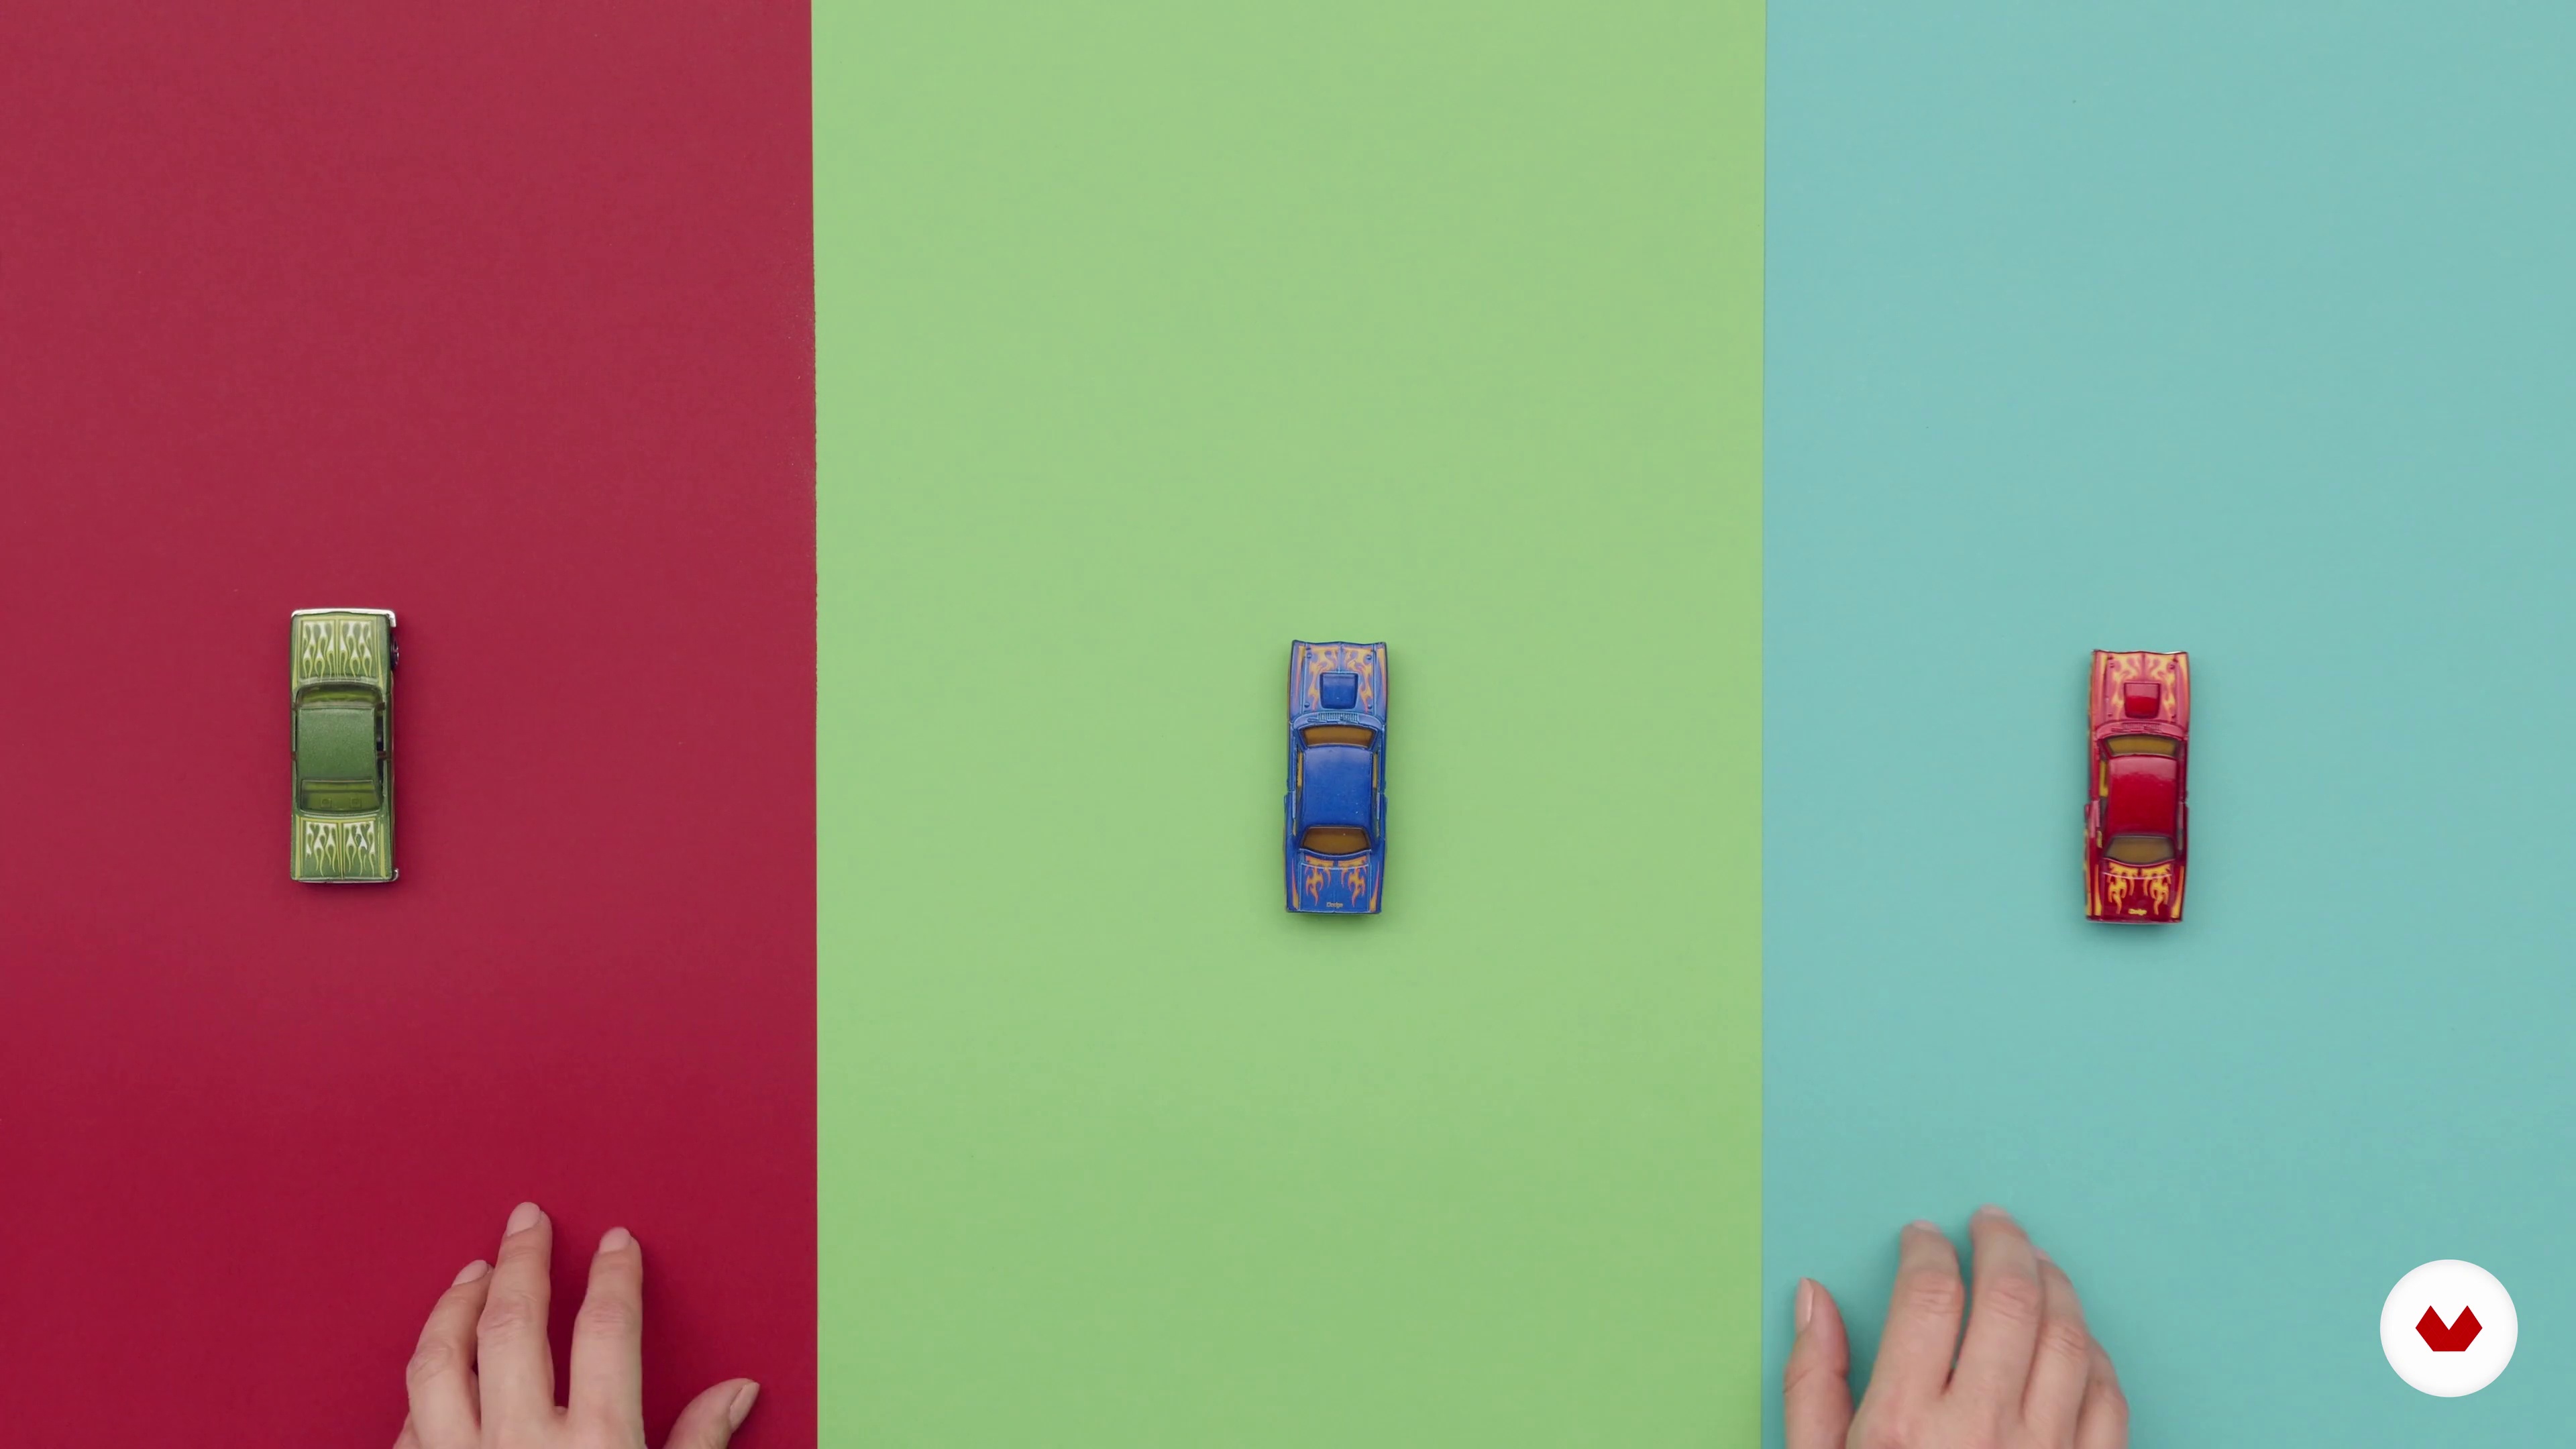
13Scene planning
We have to be very clear about what we are going to animate, what action is going to take place and where we are going to do the animation. A good organization is a sure success. Let's see how to do it!
3m
 14
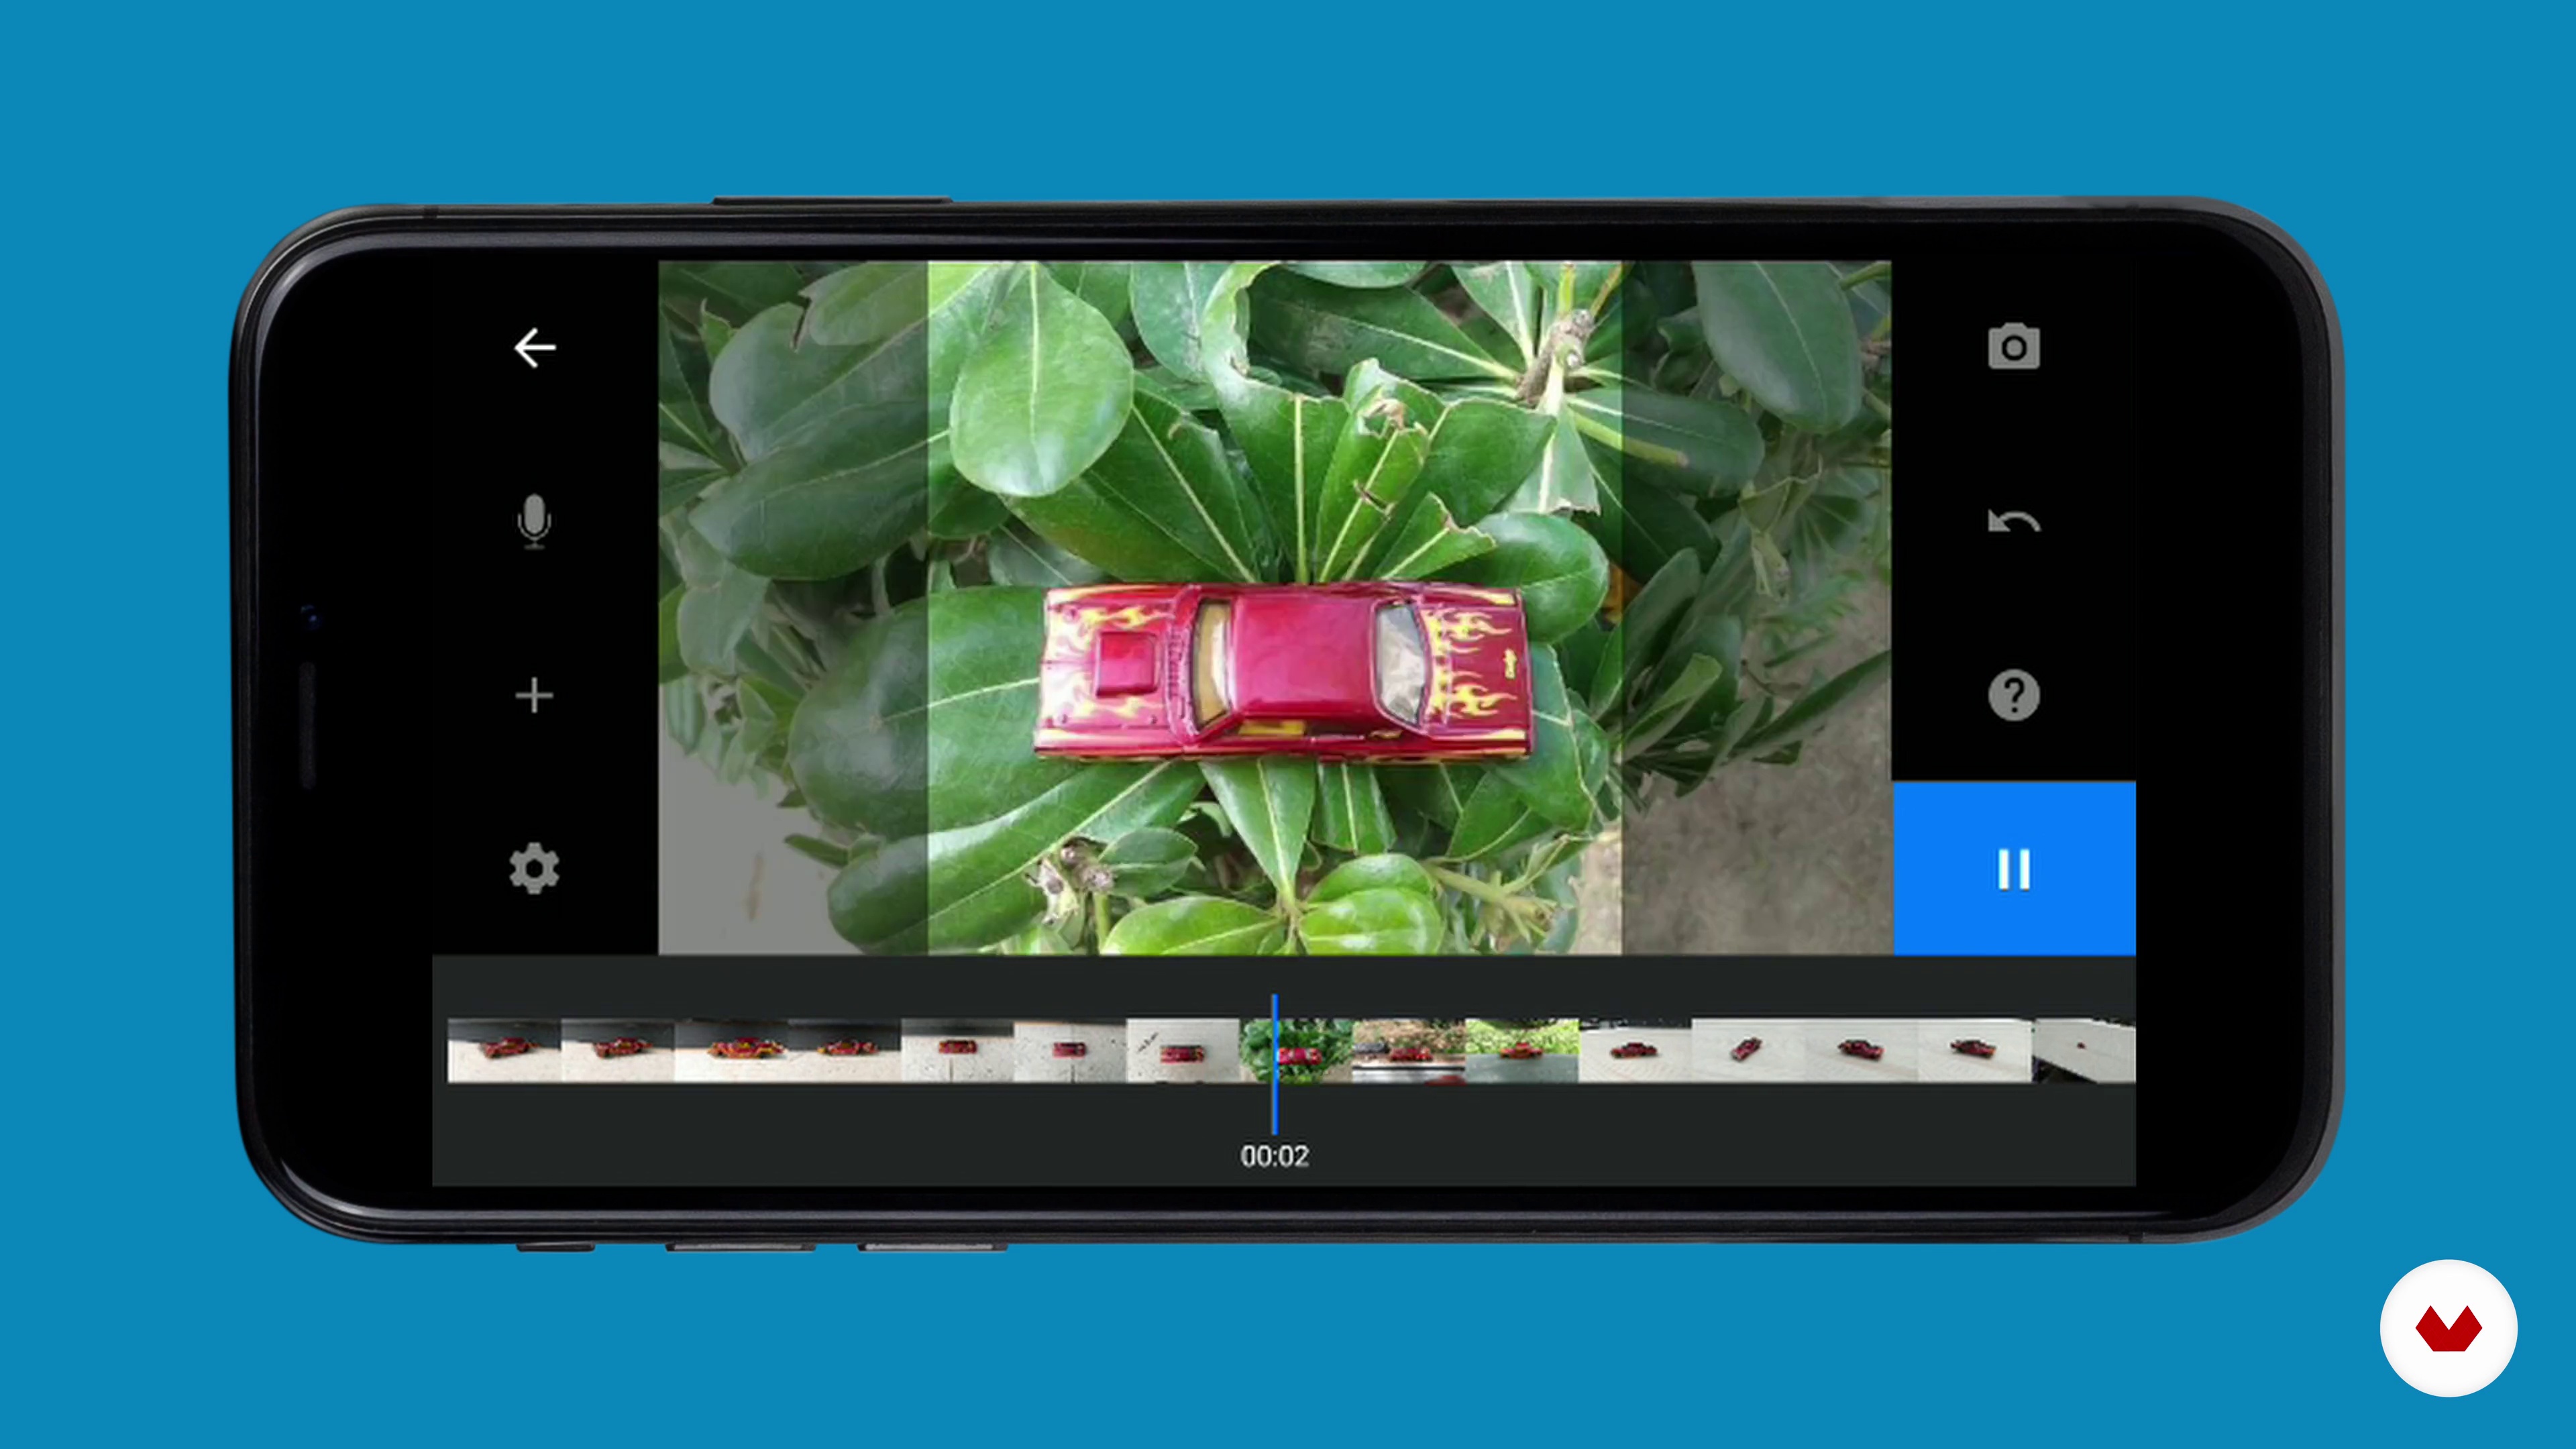
14Scene animation
In this lesson we are going to start working on the animation that we will do as a final project. In our case we are going to animate a stroller, animating it in such a way that it goes through different places.
4m
 15
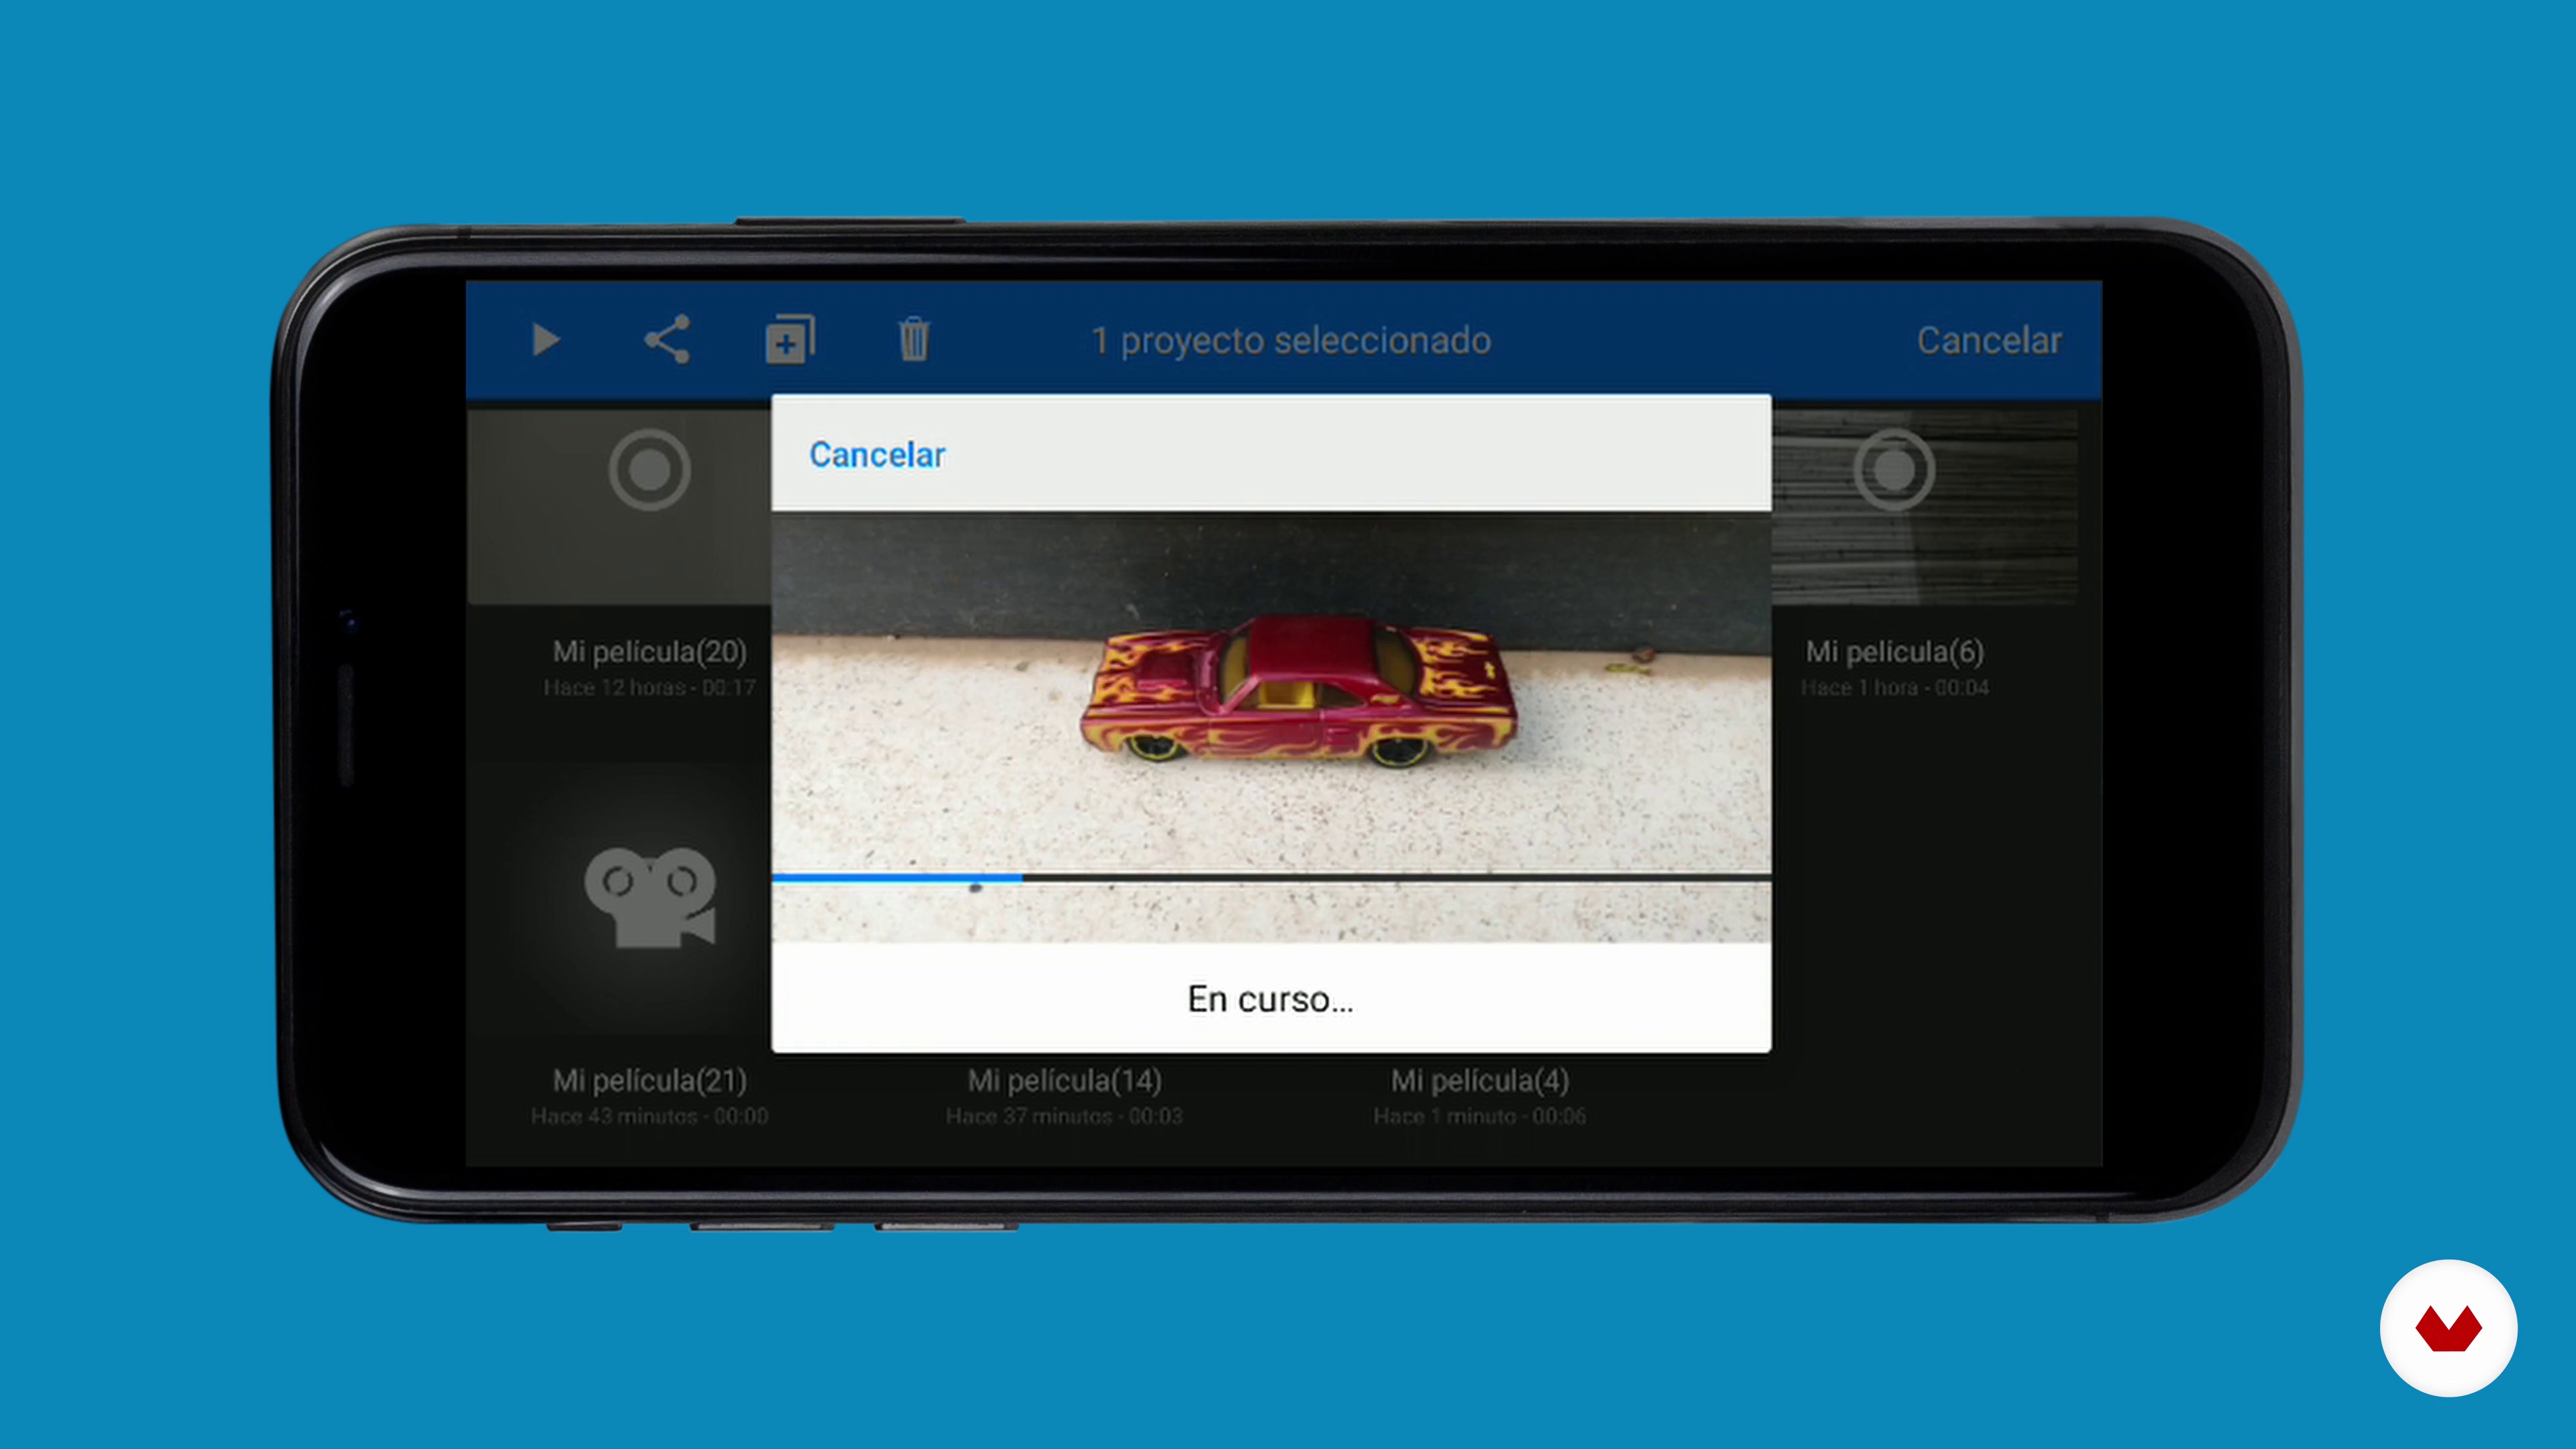
15Editing and audio
Once the animation is finished, it is time to edit it and add both sound and some graphic elements.
12m
 16
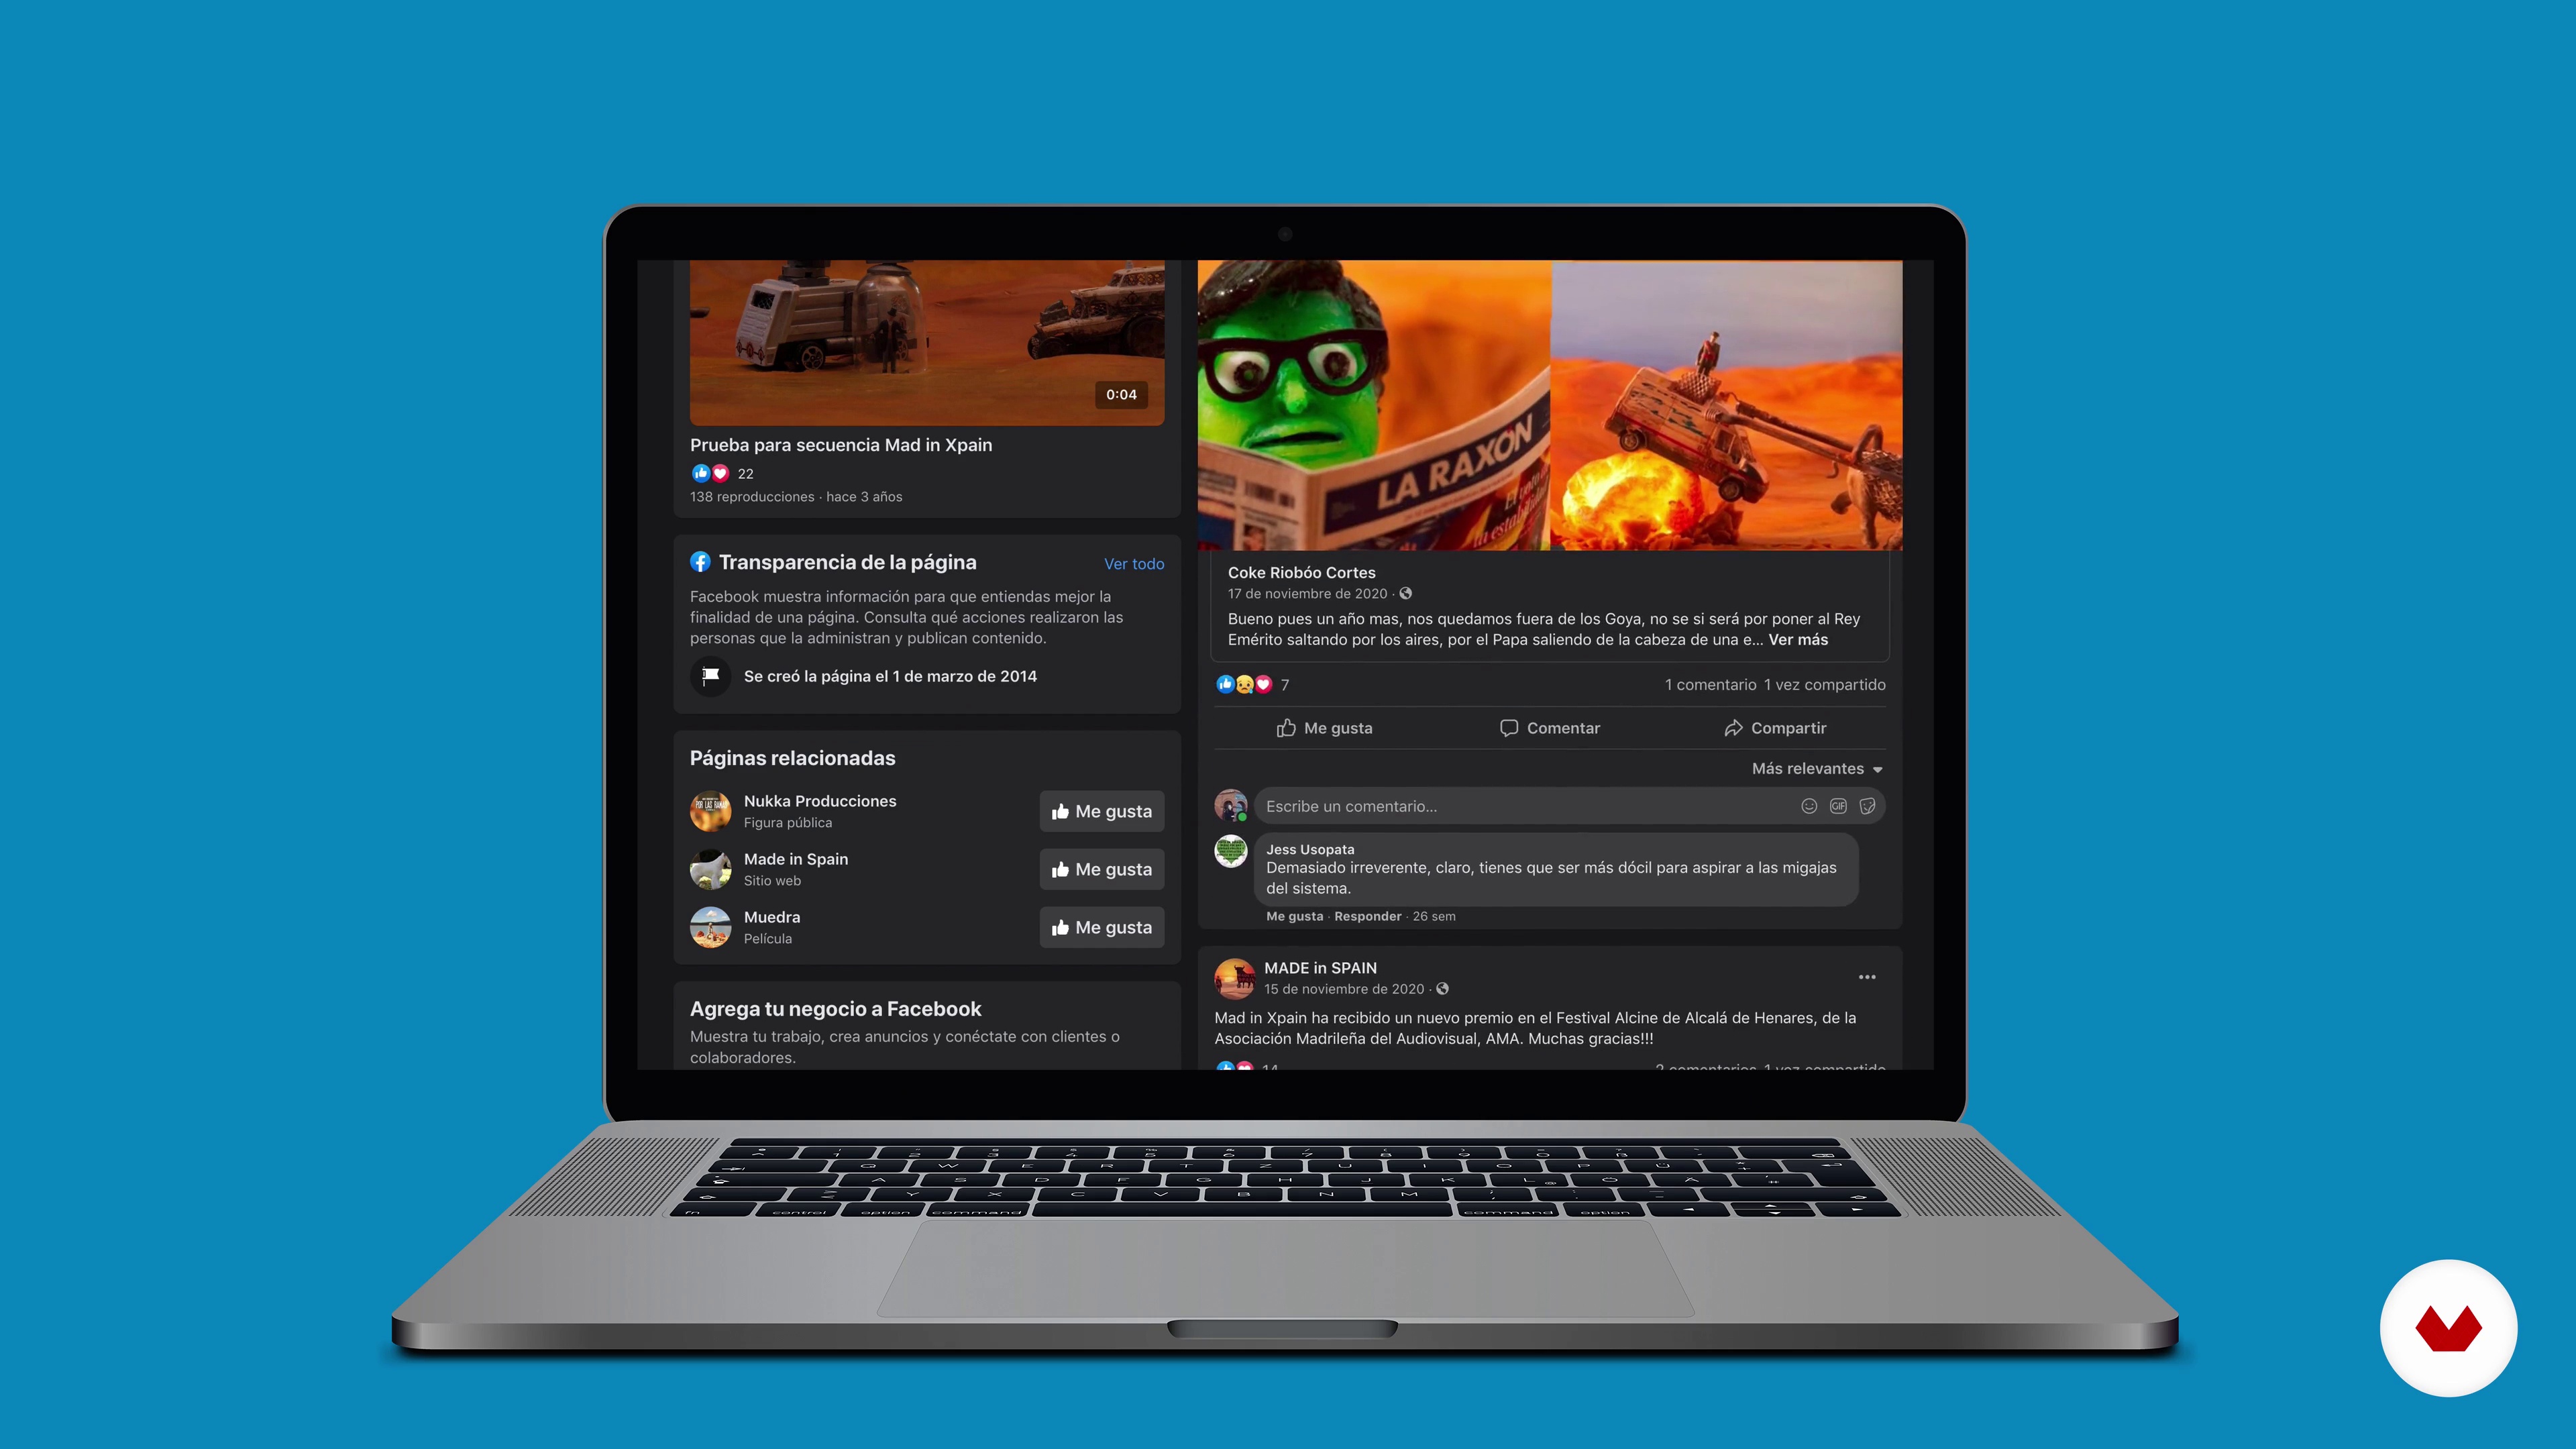
16Share our work
In this lesson we are going to give you tips to share your work. We will tell you about our experience promoting and spreading our projects on different social networks.
4m
 4
4Animate In Multiple Dimensions
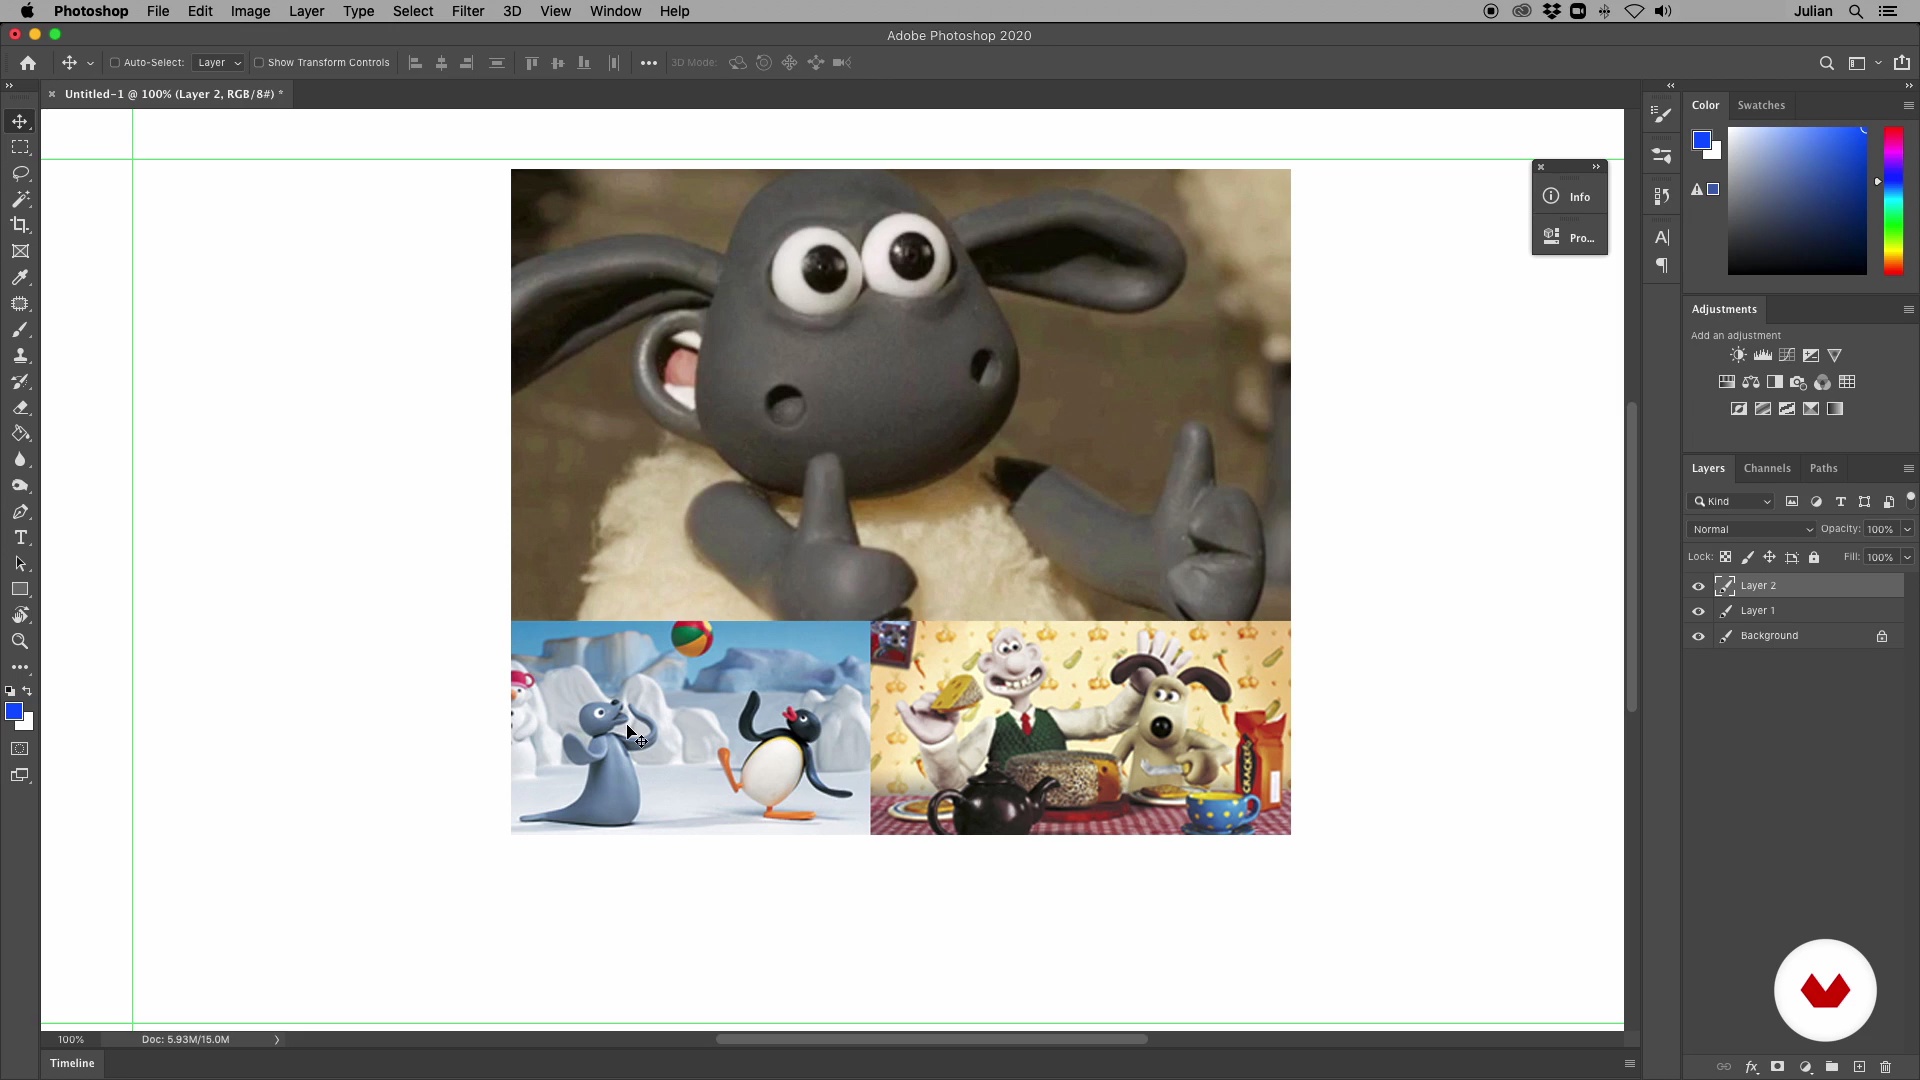
For our animated project, we will use three types of animation: 2D animation, also called "traditional animation", stop motion animation (our manual "3D" using built objects, toys, and things), and real video recording. Each requires a different preparation so that, when put together, we achieve a consistent and credible composition and sequence.
18m
 5
5Diorama: From Idea to Reality
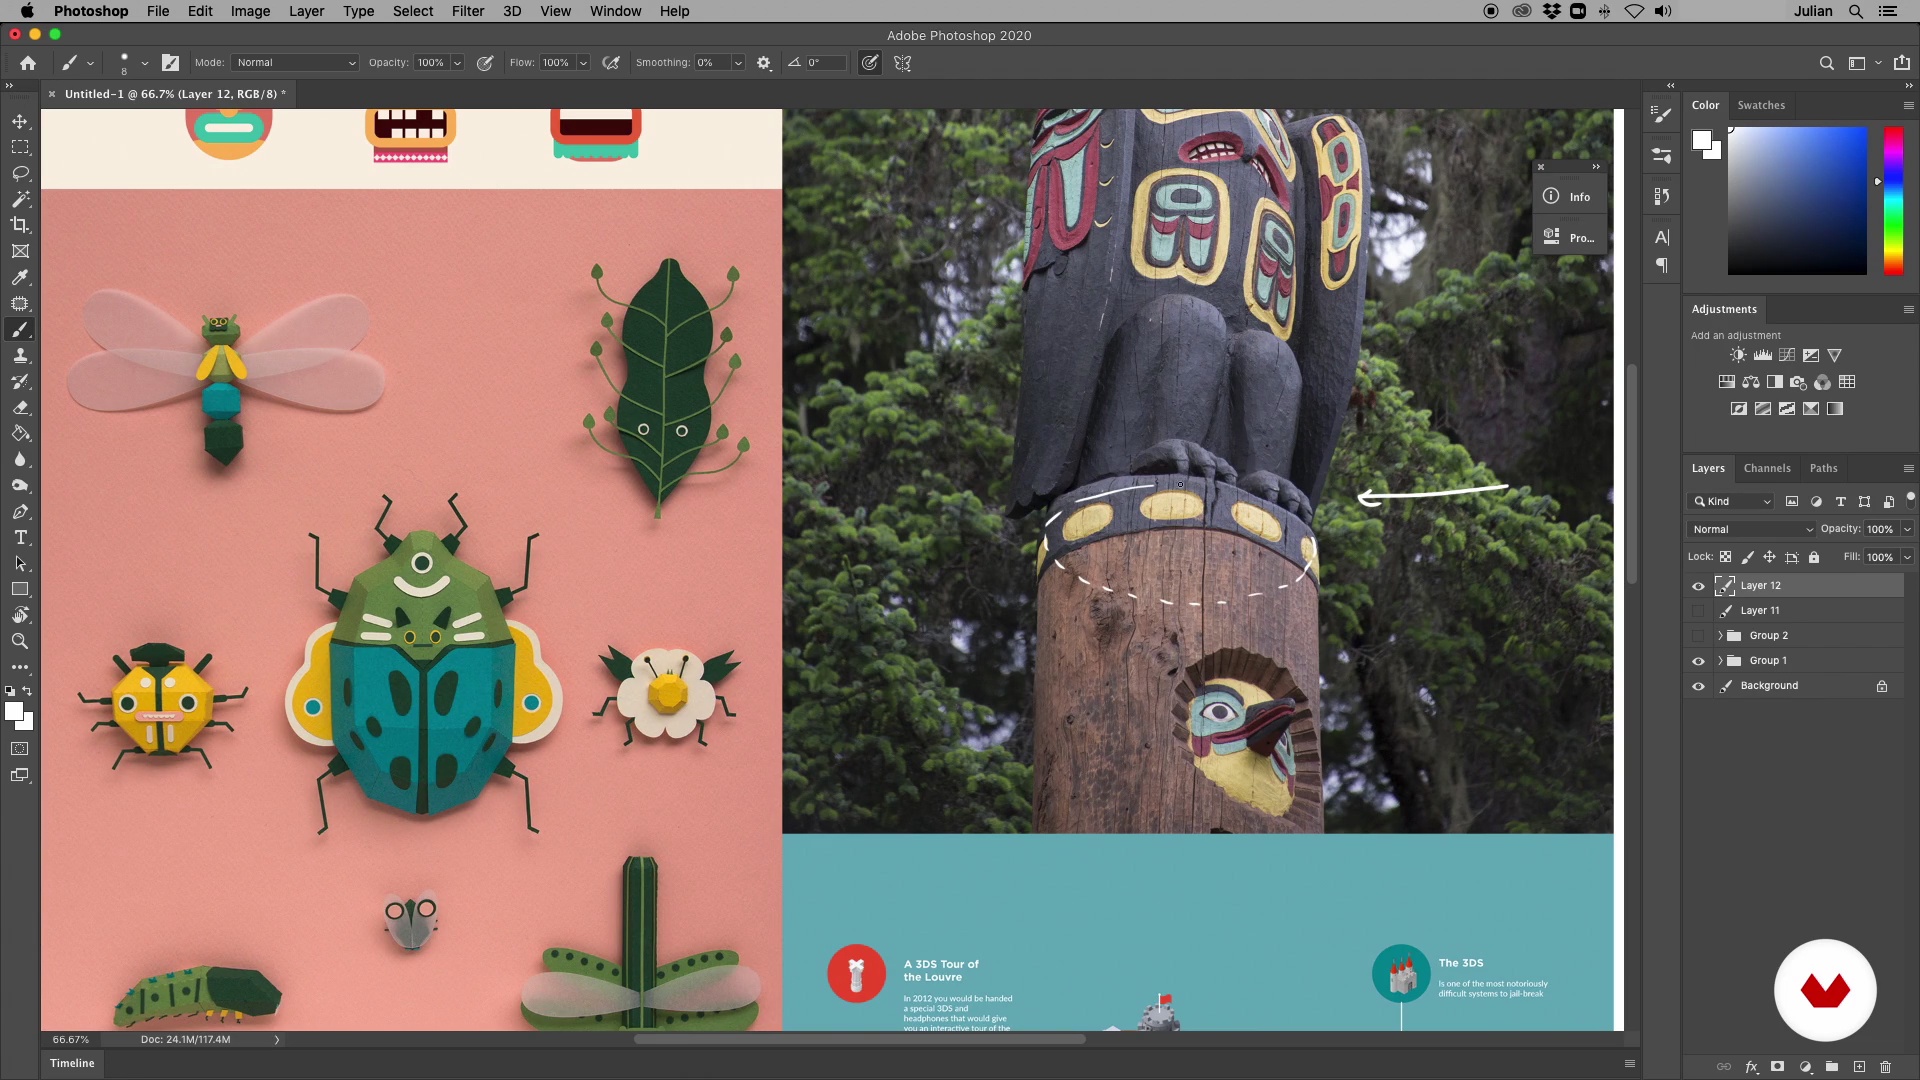
We will do a brainstorming session where every idea, no matter how crazy it may seem, is valid. This is where we will get the raw materials to create our diorama What did you eat yesterday at 7 at night? What color did it have? What did you see while walking your dog? What do you see through your window right now? Everything around us is potential material for our scene and to spark our imagination.
20m
 6
6Sketch, Color, and Storyboard 1
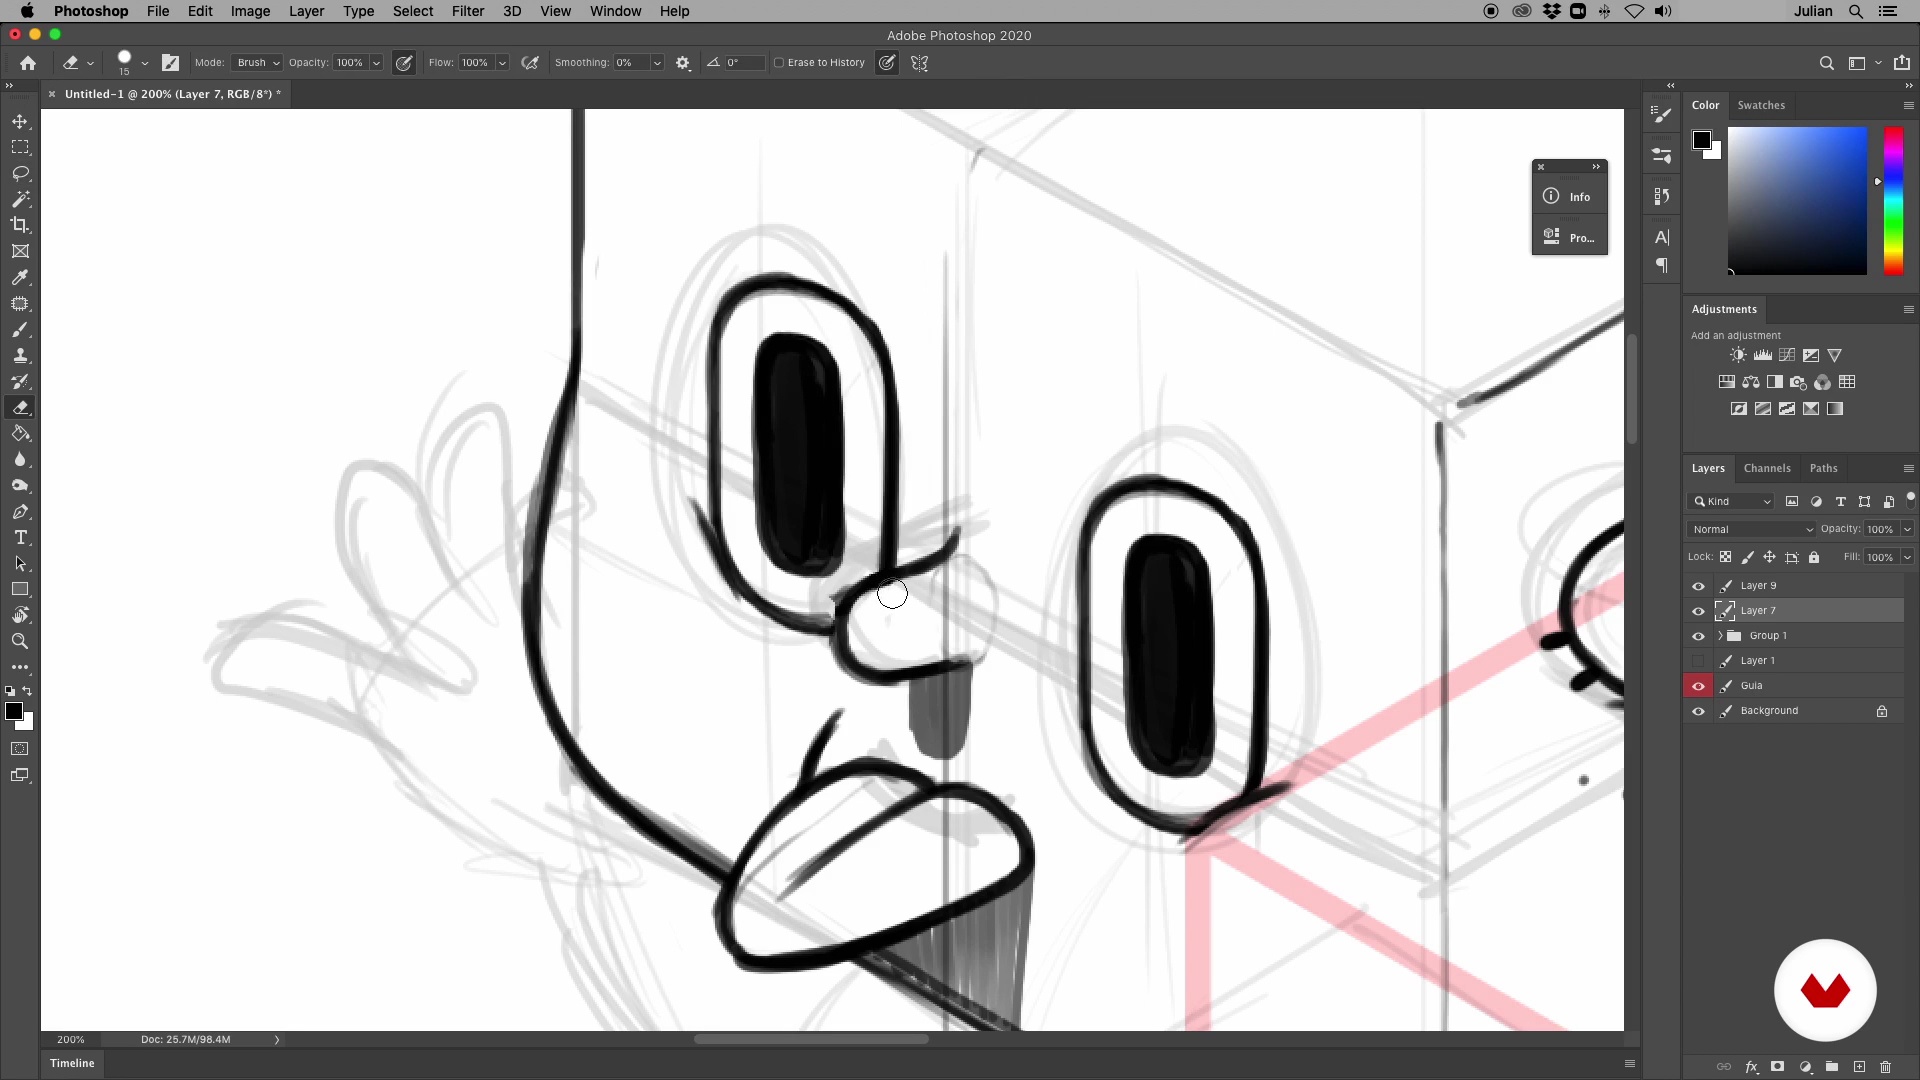
Here you will learn to make a sketch full of details and color that will serve as a guide throughout the assembly and construction process of the diorama. This sketch will help us collect all the props that we will use in our scene.
18m
 7
7Sketch, Color and Storyboard 2
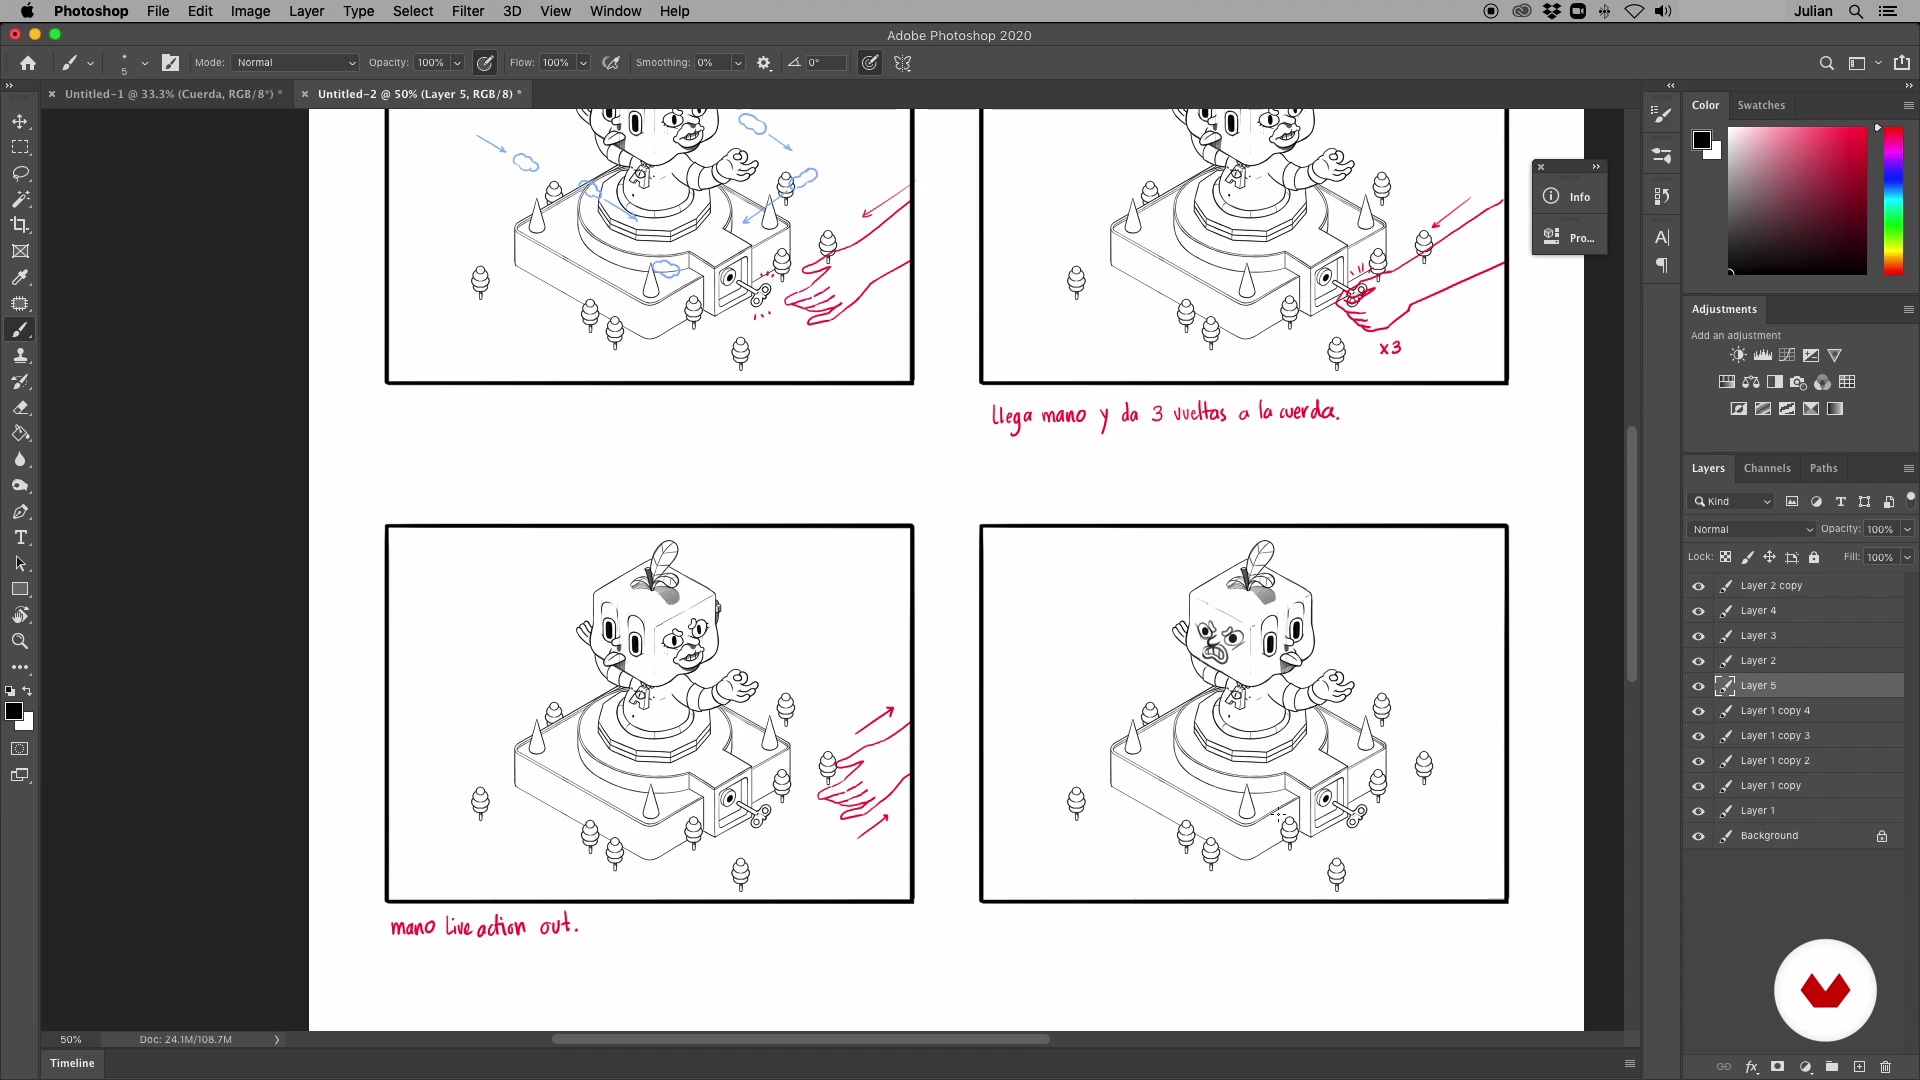
Here, we will develop a storyboard that will guide all the animated moments and animation techniques that each element of our diorama will require.
13m
 8
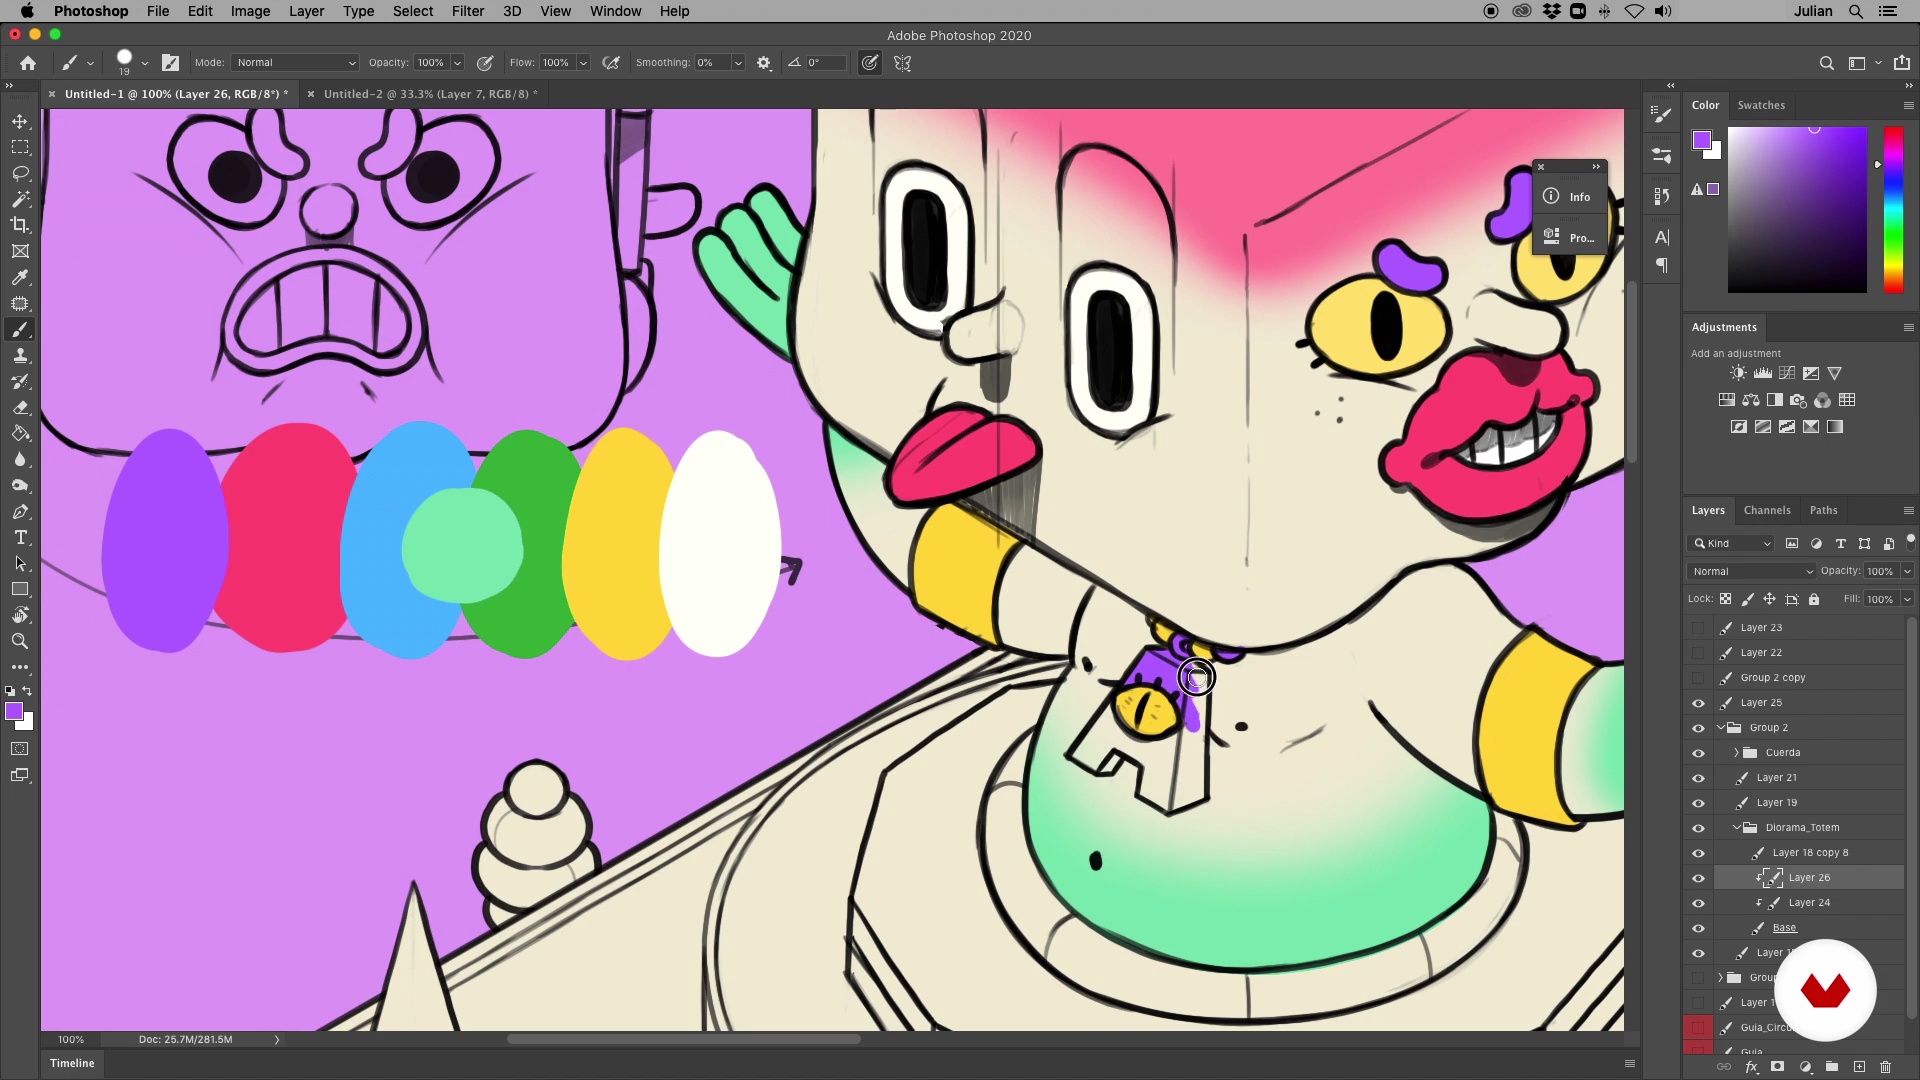
8Sketch, Color and Storyboard 3
The last step in our sketching is to colorize it: we are going to apply the color palette that we selected, experiment with it in the sketch, and color the inhabitant of our diorama.
13m
 9
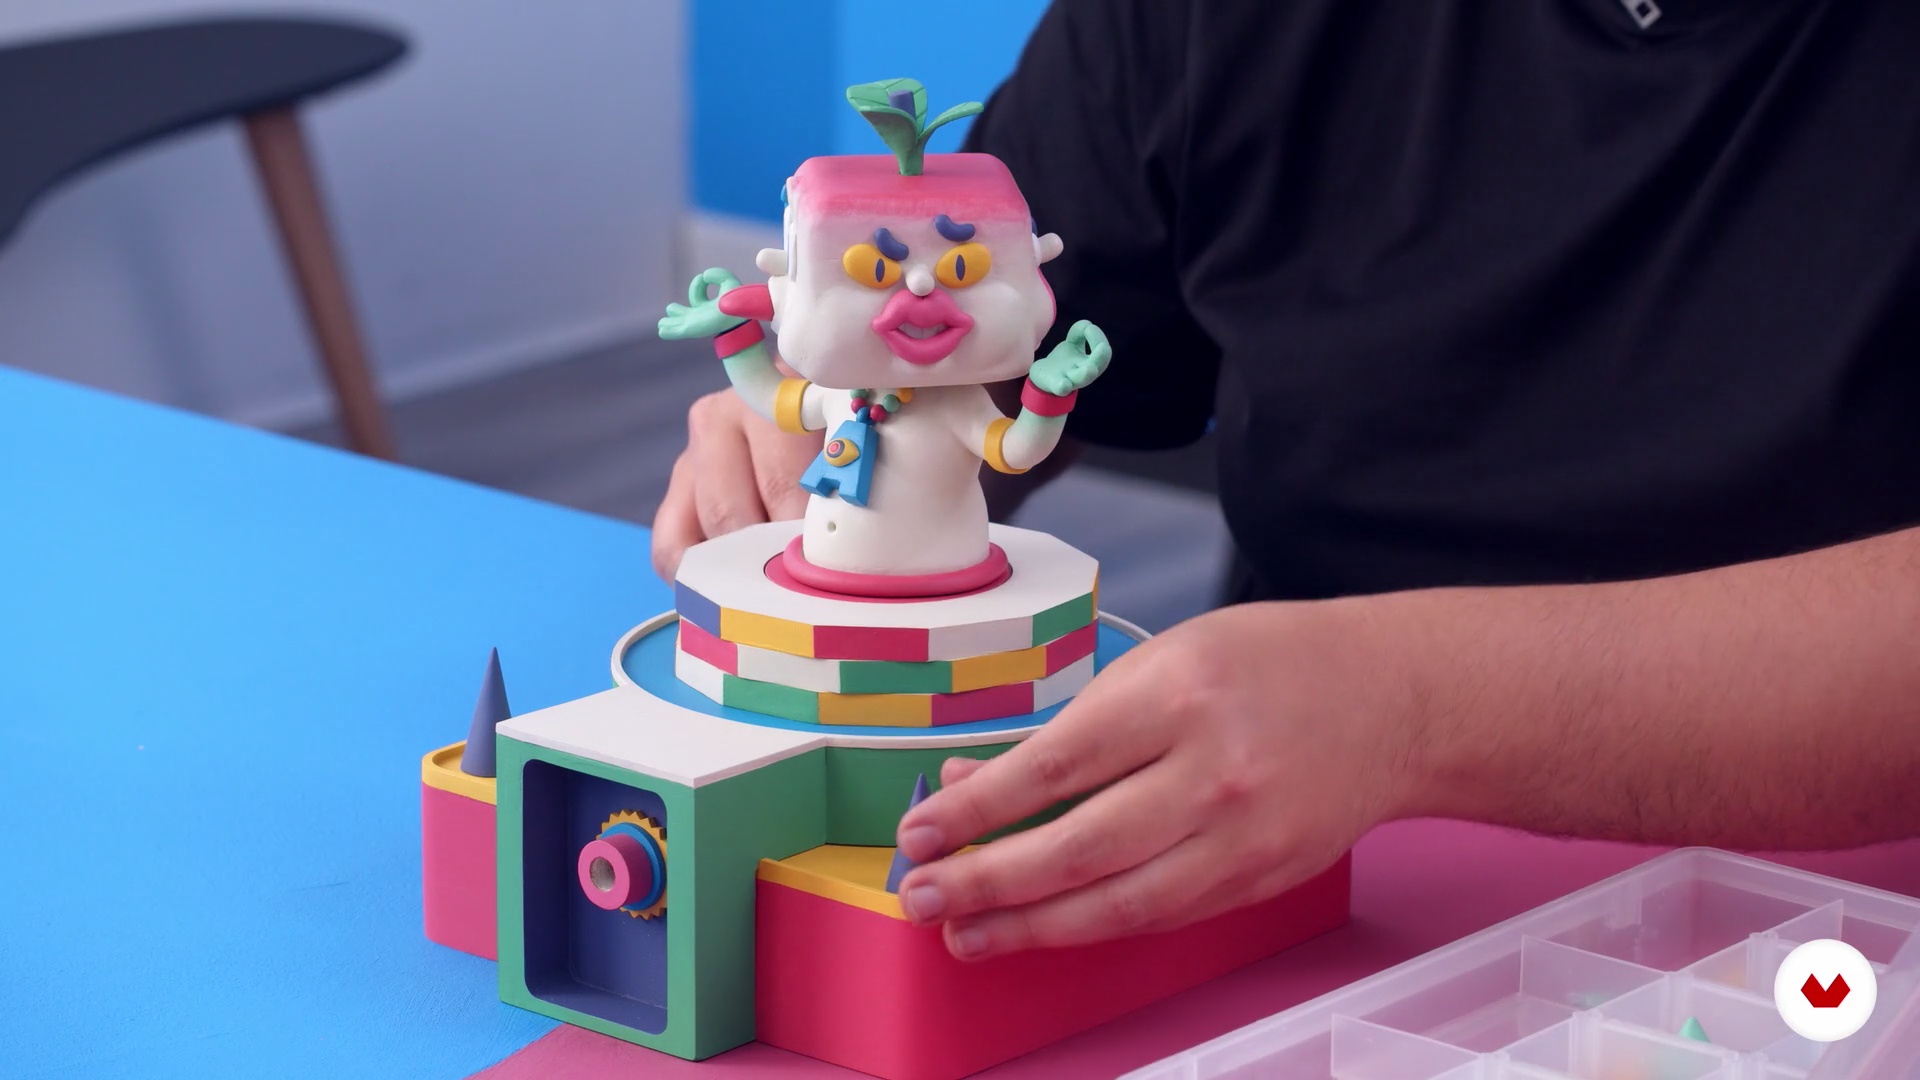
9Building Our Diorama
In this lesson, we will put together all the pieces that make up our diorama: the MDF parts of our platform, the main character, animated elements in plasticine scene, and general scenery (floor and general background). We will teach you to achieve that all the parts of your composition have unity, proportion, and consistency so that each of its elements vibrates in the recording.
8m
 10
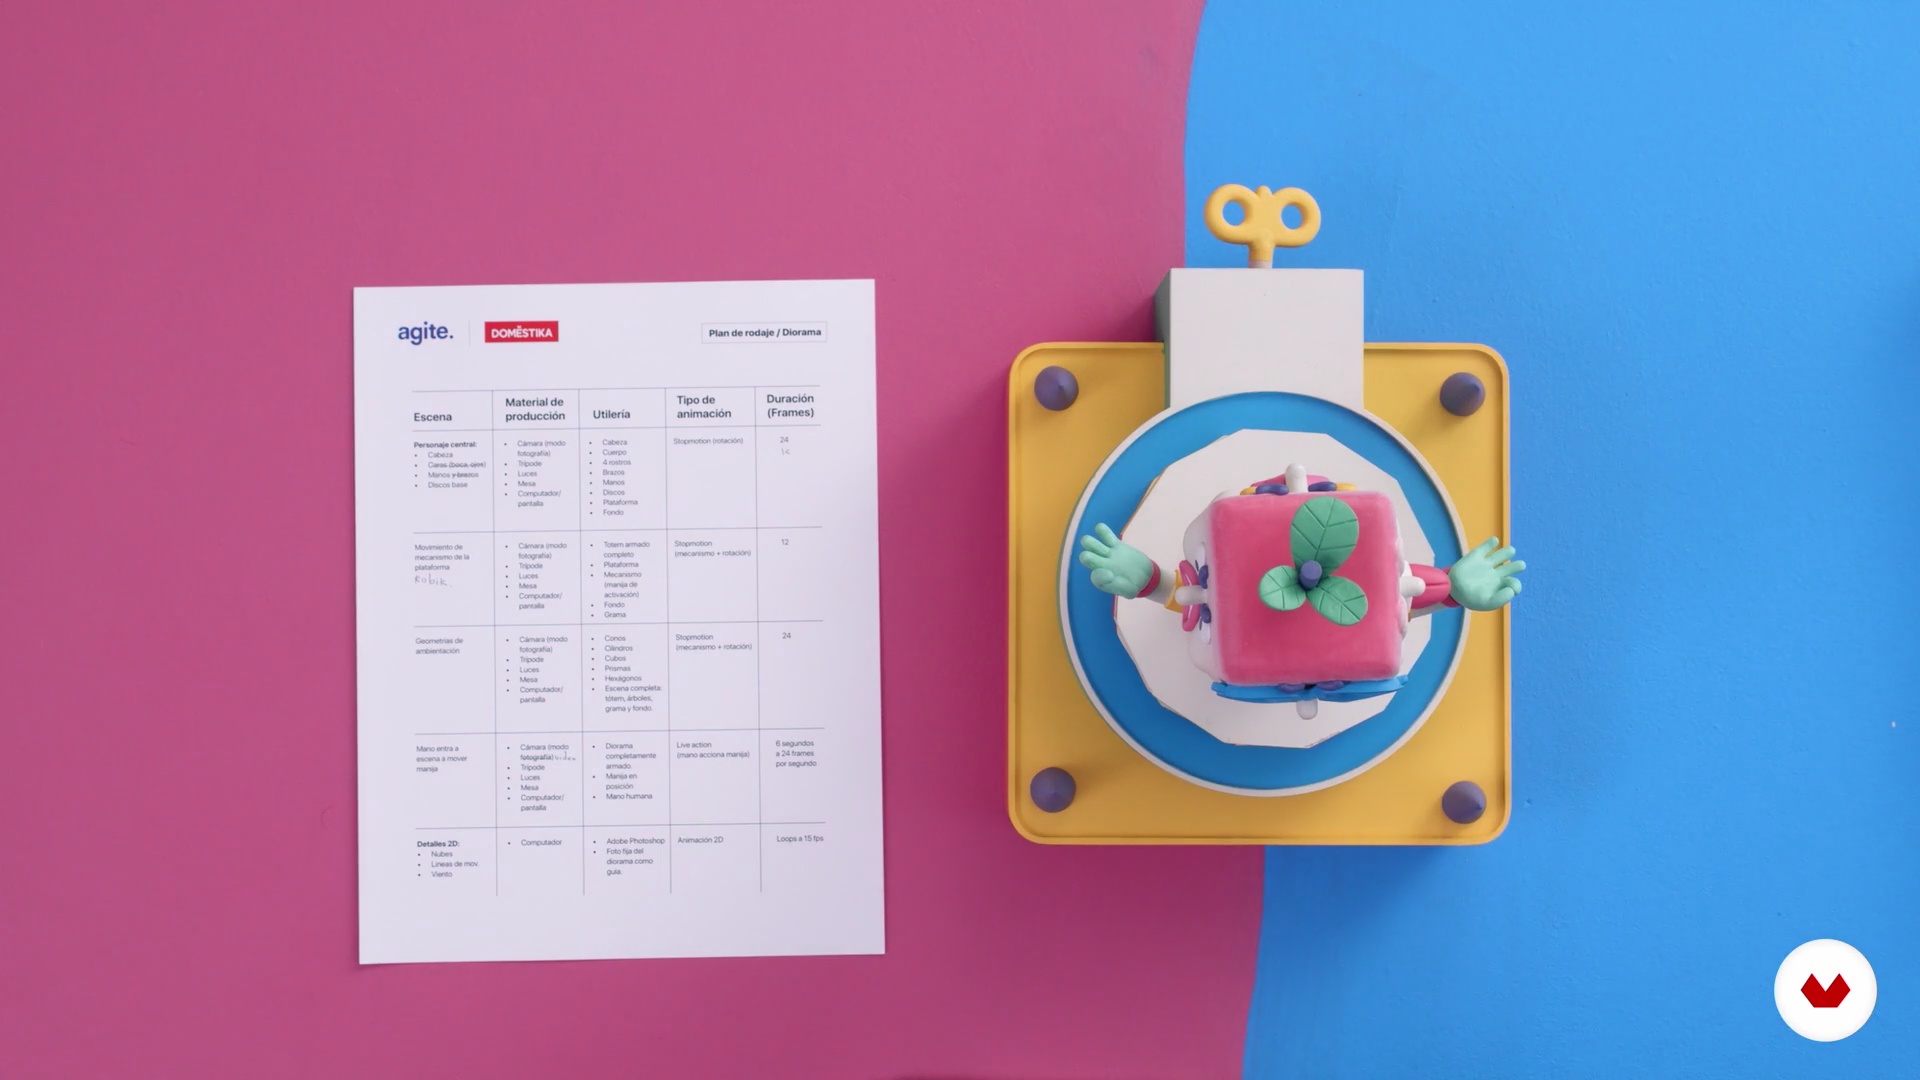
10Shooting Plan: Lights, Camera, Animation!
Our diorama is a surreal mini-world where a hand activates the mechanism of a square head totem with four faces. Our character is standing on a platform full of colors, located on an island of grass, which, in turn, stands on a plain with geometric shapes around it. The faces of our totem change in size and shape as time passes. It sounds crazy, but, it will look great! We already want to see your dioramas. Will they be as crazy as this?
5m
 11
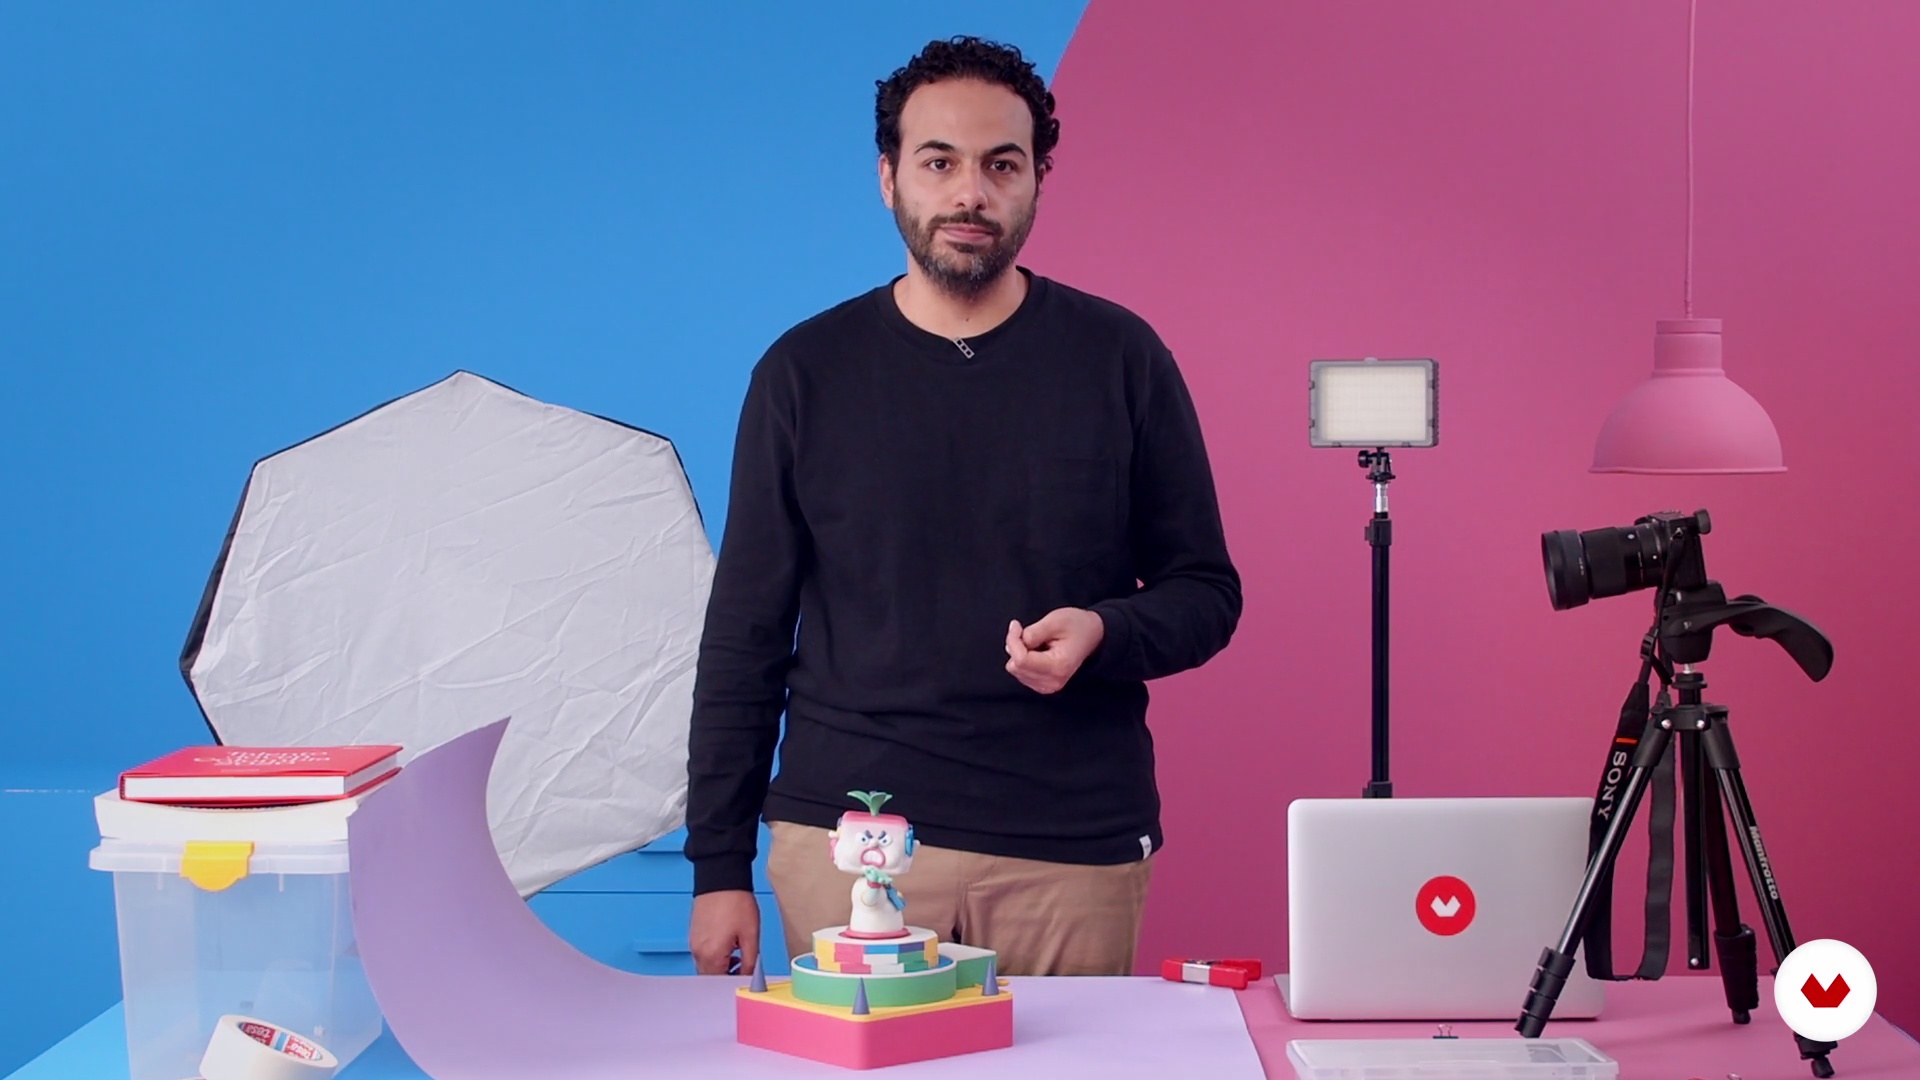
11Setting Up Our Workspace
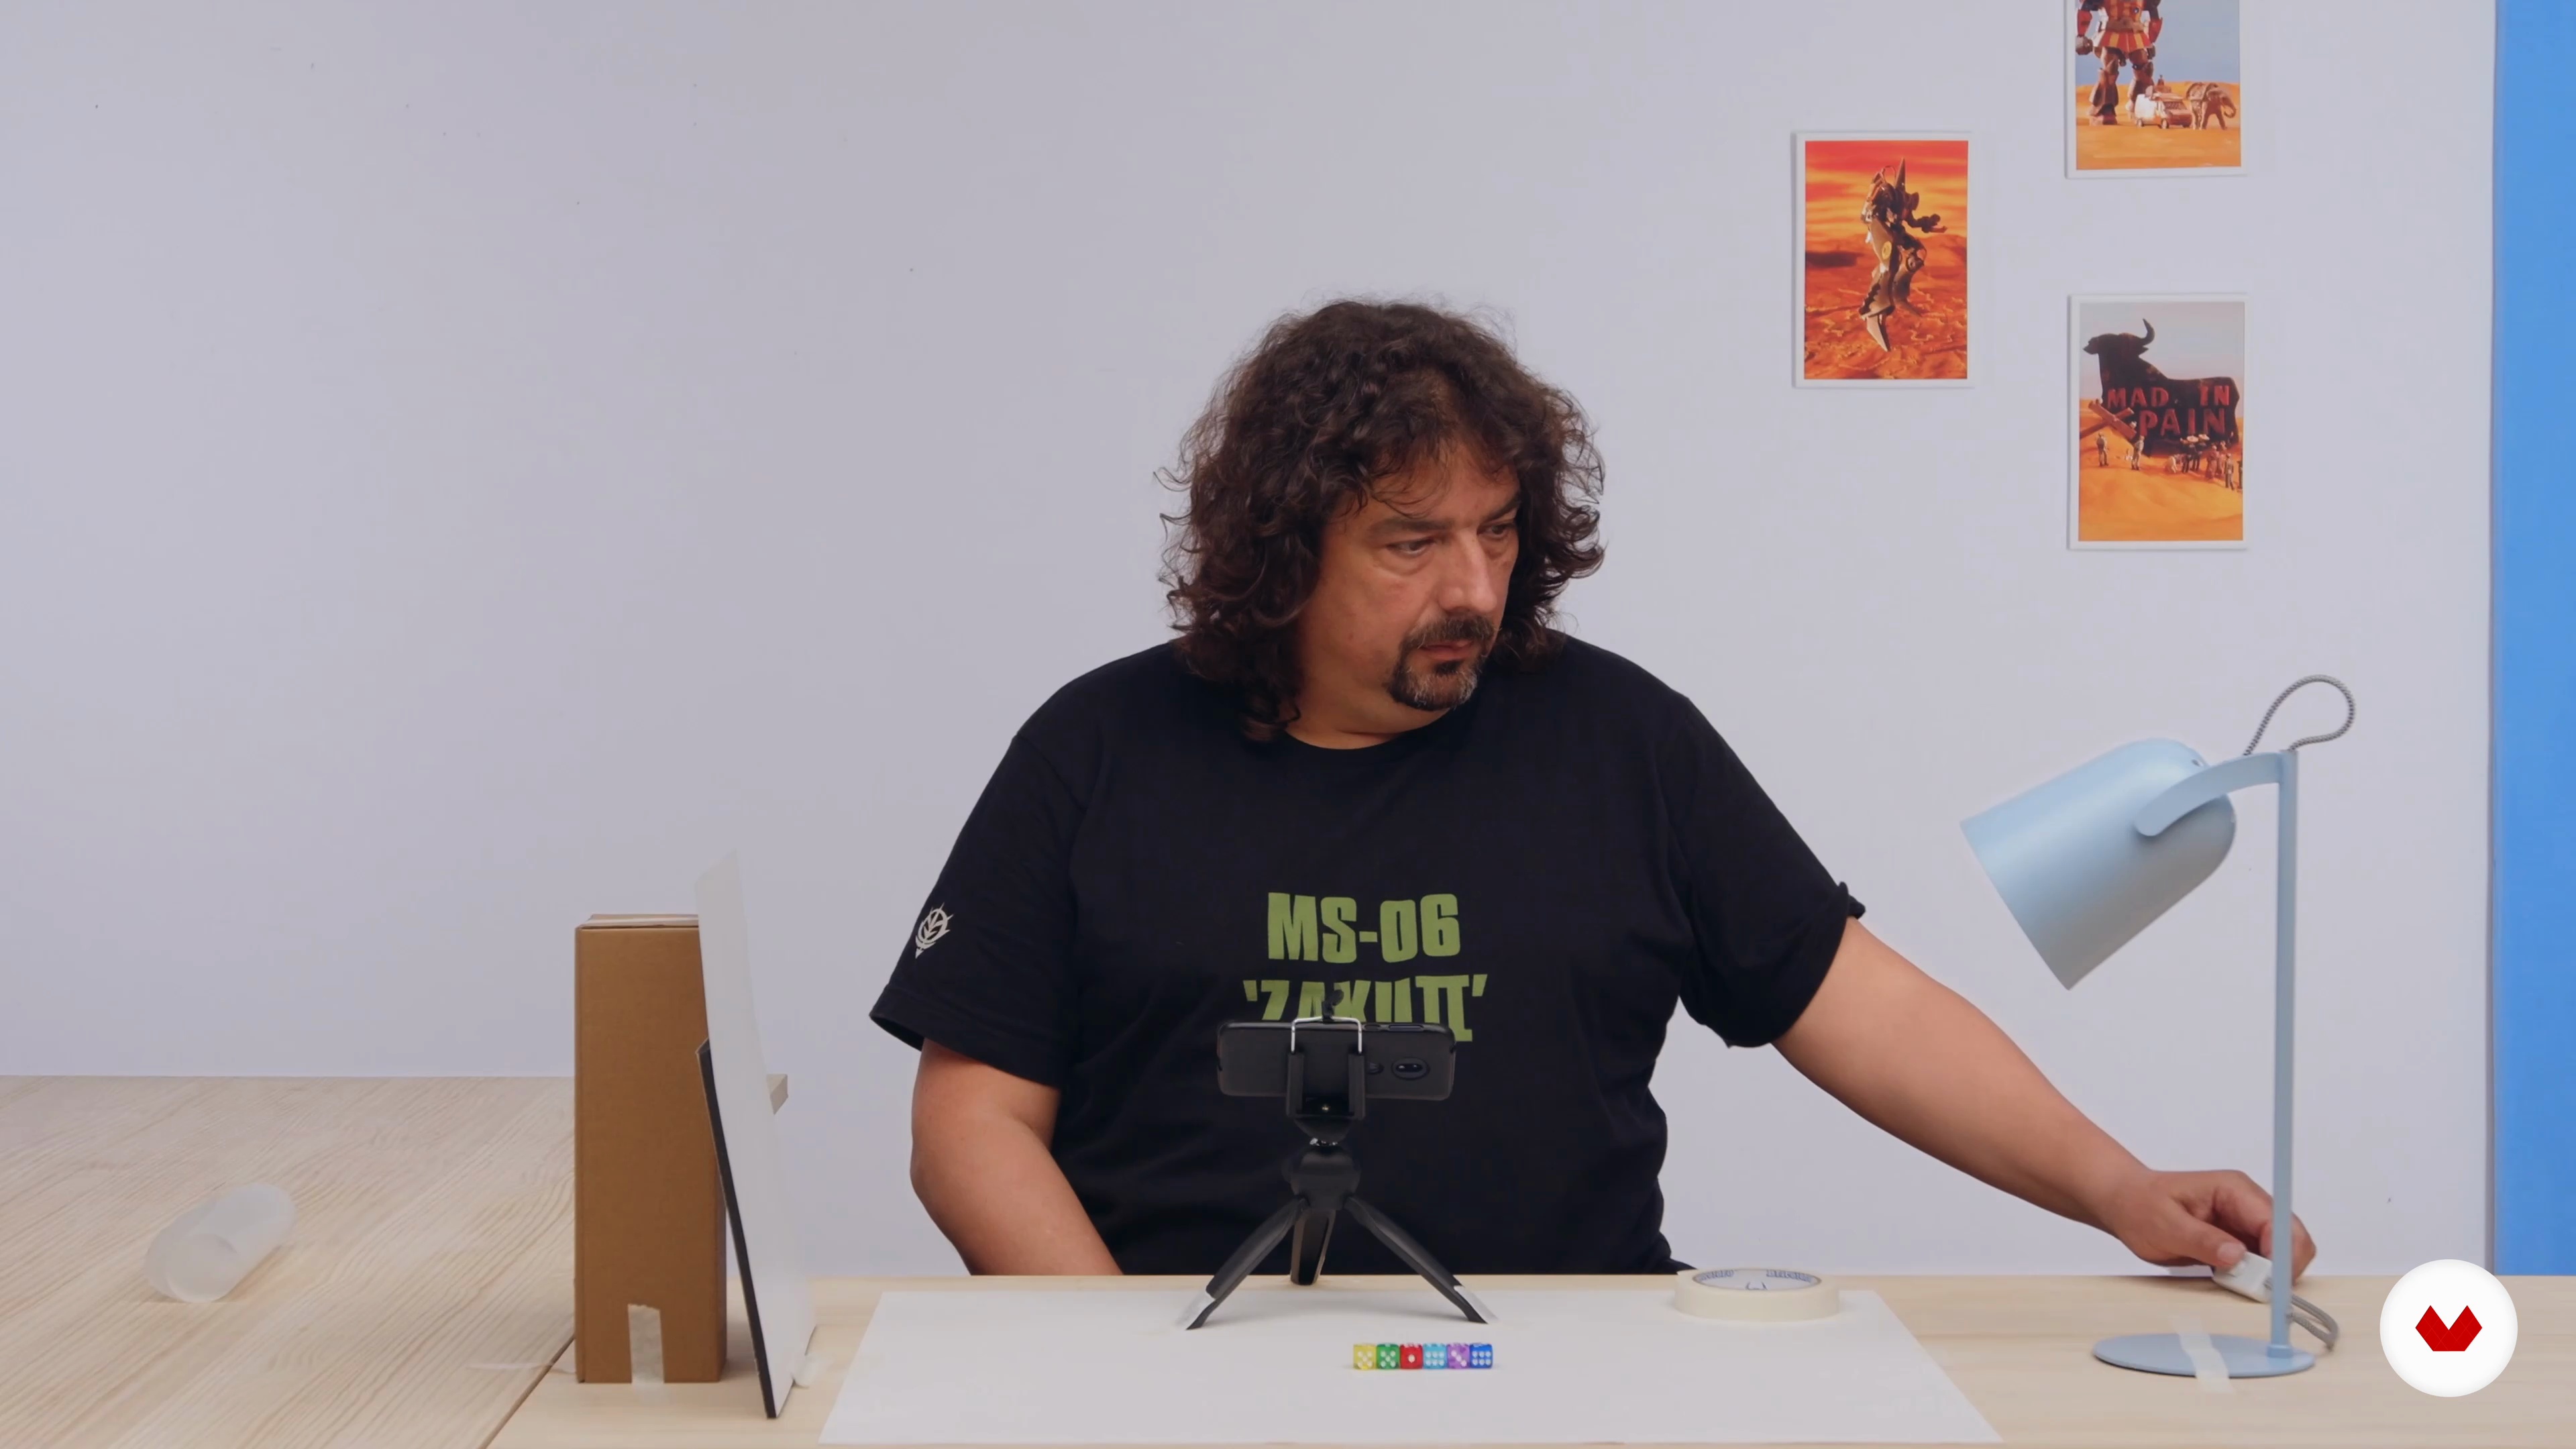
We are going to prepare our recording set. Using easy-to-find elements, you will learn how to compose a homemade endless out of paper. You will learn how to light a scene using homemade desk lamps and a work table. We are also going to share essential tips to keep in mind when recording and save you hours of computer retouching.
7m
 12
12Stop-Motion Animation
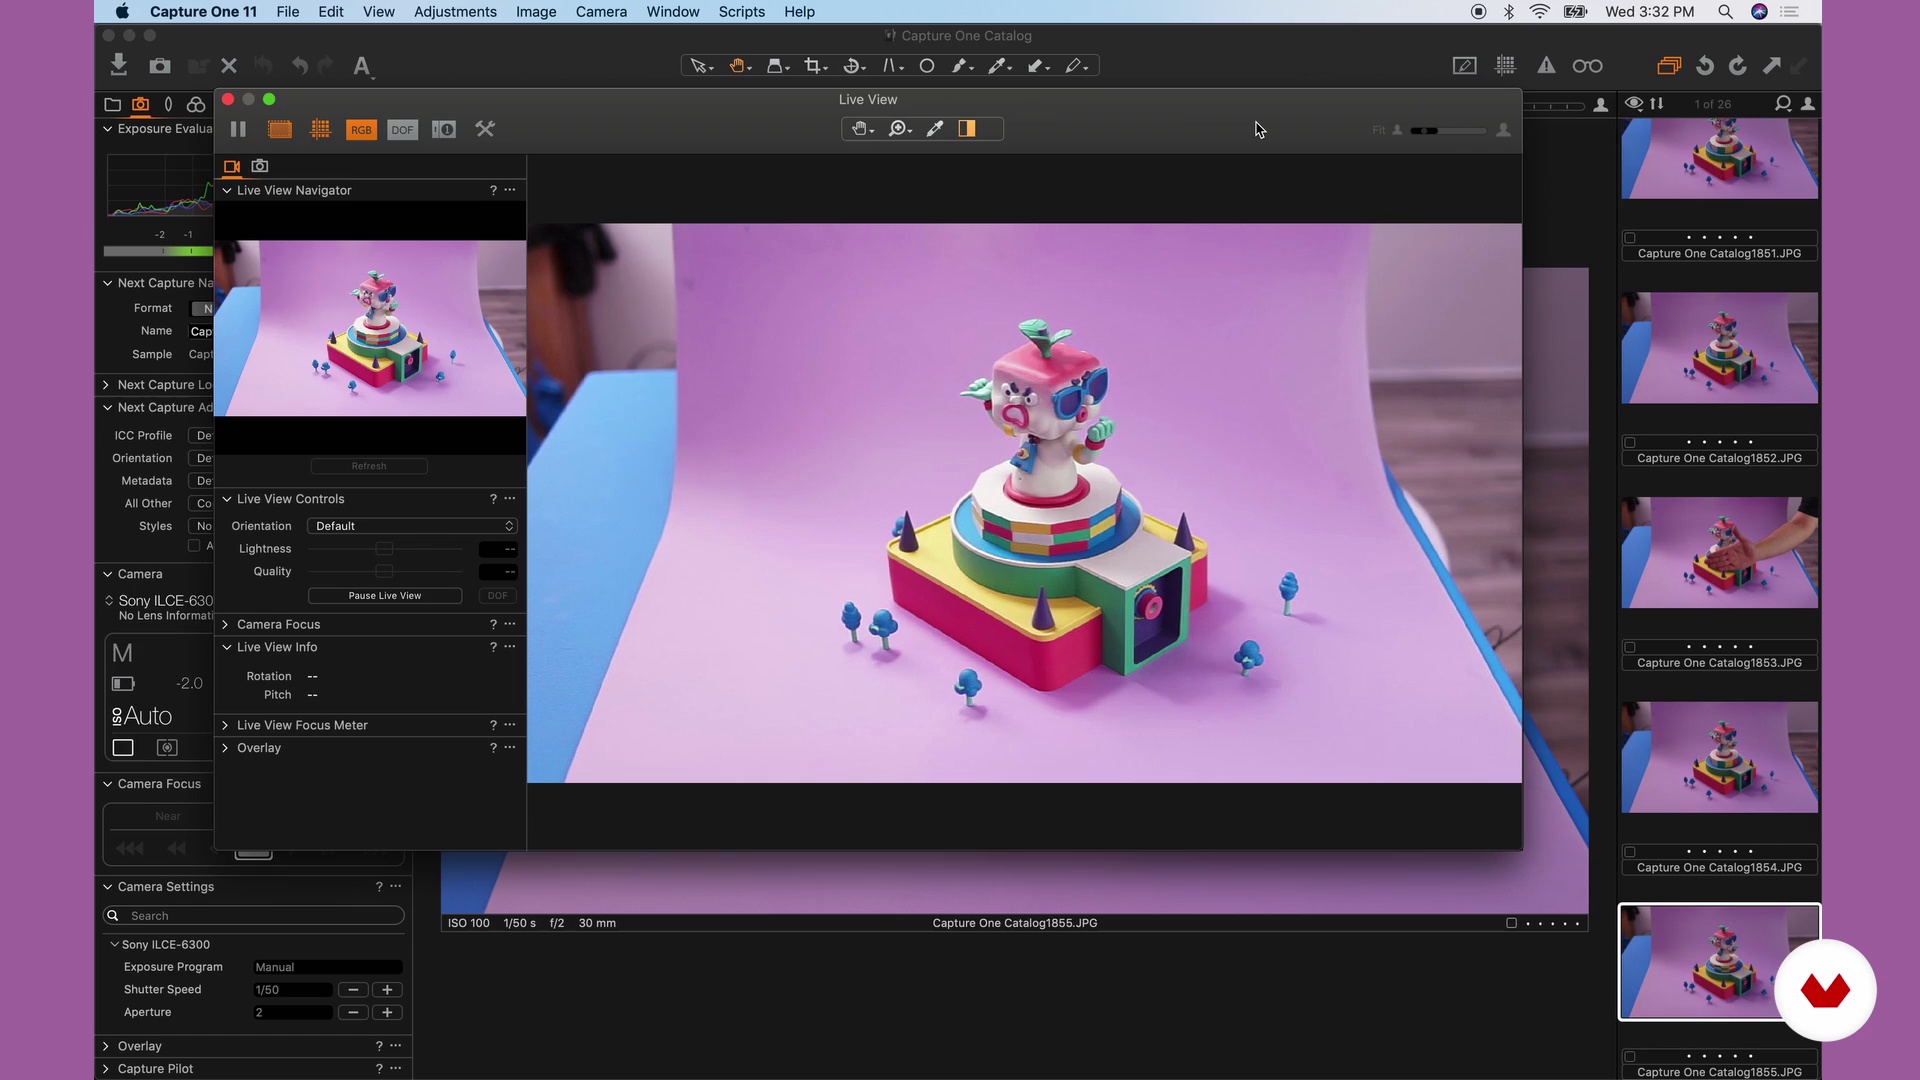
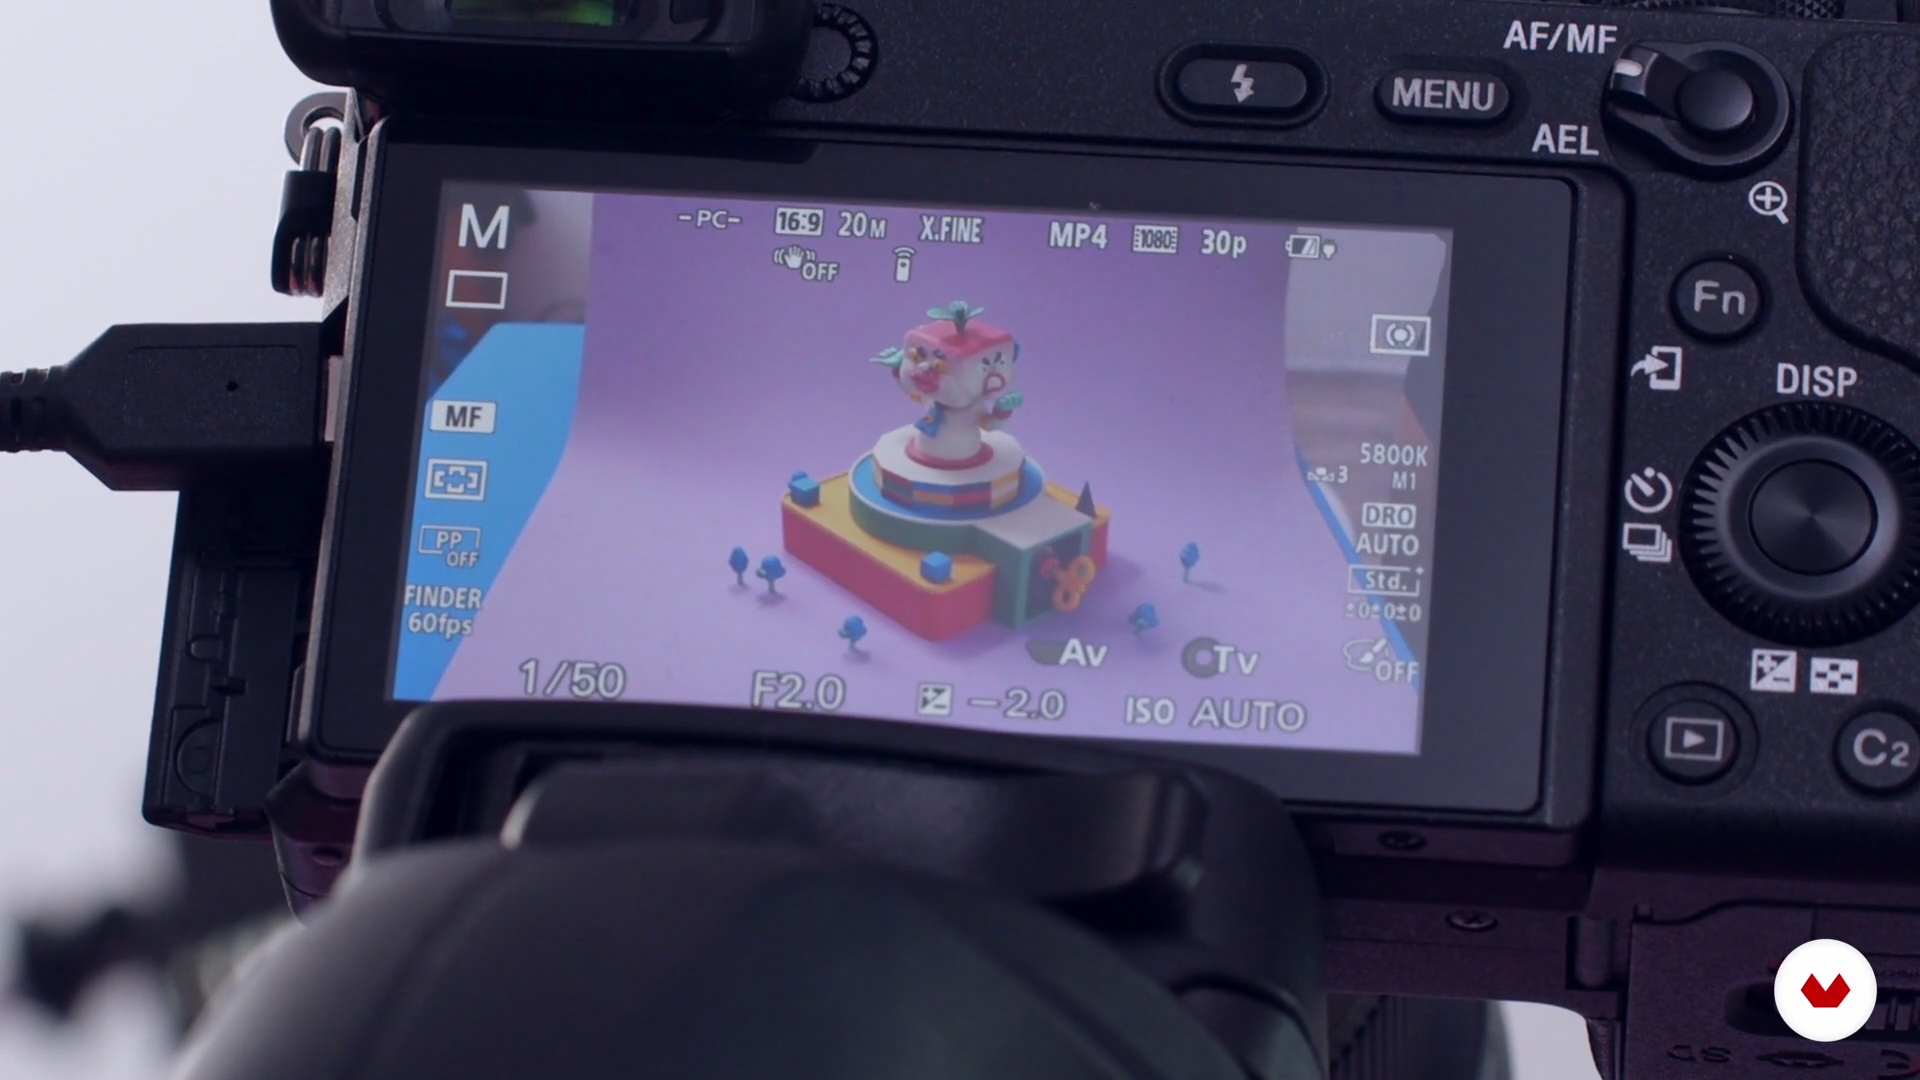
In this lesson, we will learn the basics that make up a stop motion animation. We will define the number of frames necessary to achieve a fluid movement and in a loop sequence and the most used settings in the camera that you have on hand. Do not worry if you have never animated stop motion, here you will learn the basic pillars of all animation in sequence of images.
16m
 13
13Live Action Animation
Now we will record the hand entering the scene and interacting with the diorama. We will teach you a couple of tricks to make the hand, and its interaction with the diorama, feel real. Also, we will see the difference between using our camera to take photos and recording video. Do not worry if you have never recorded for production, we will teach you the basic pillars.
4m
 14
14Digital Preparation (Footage)
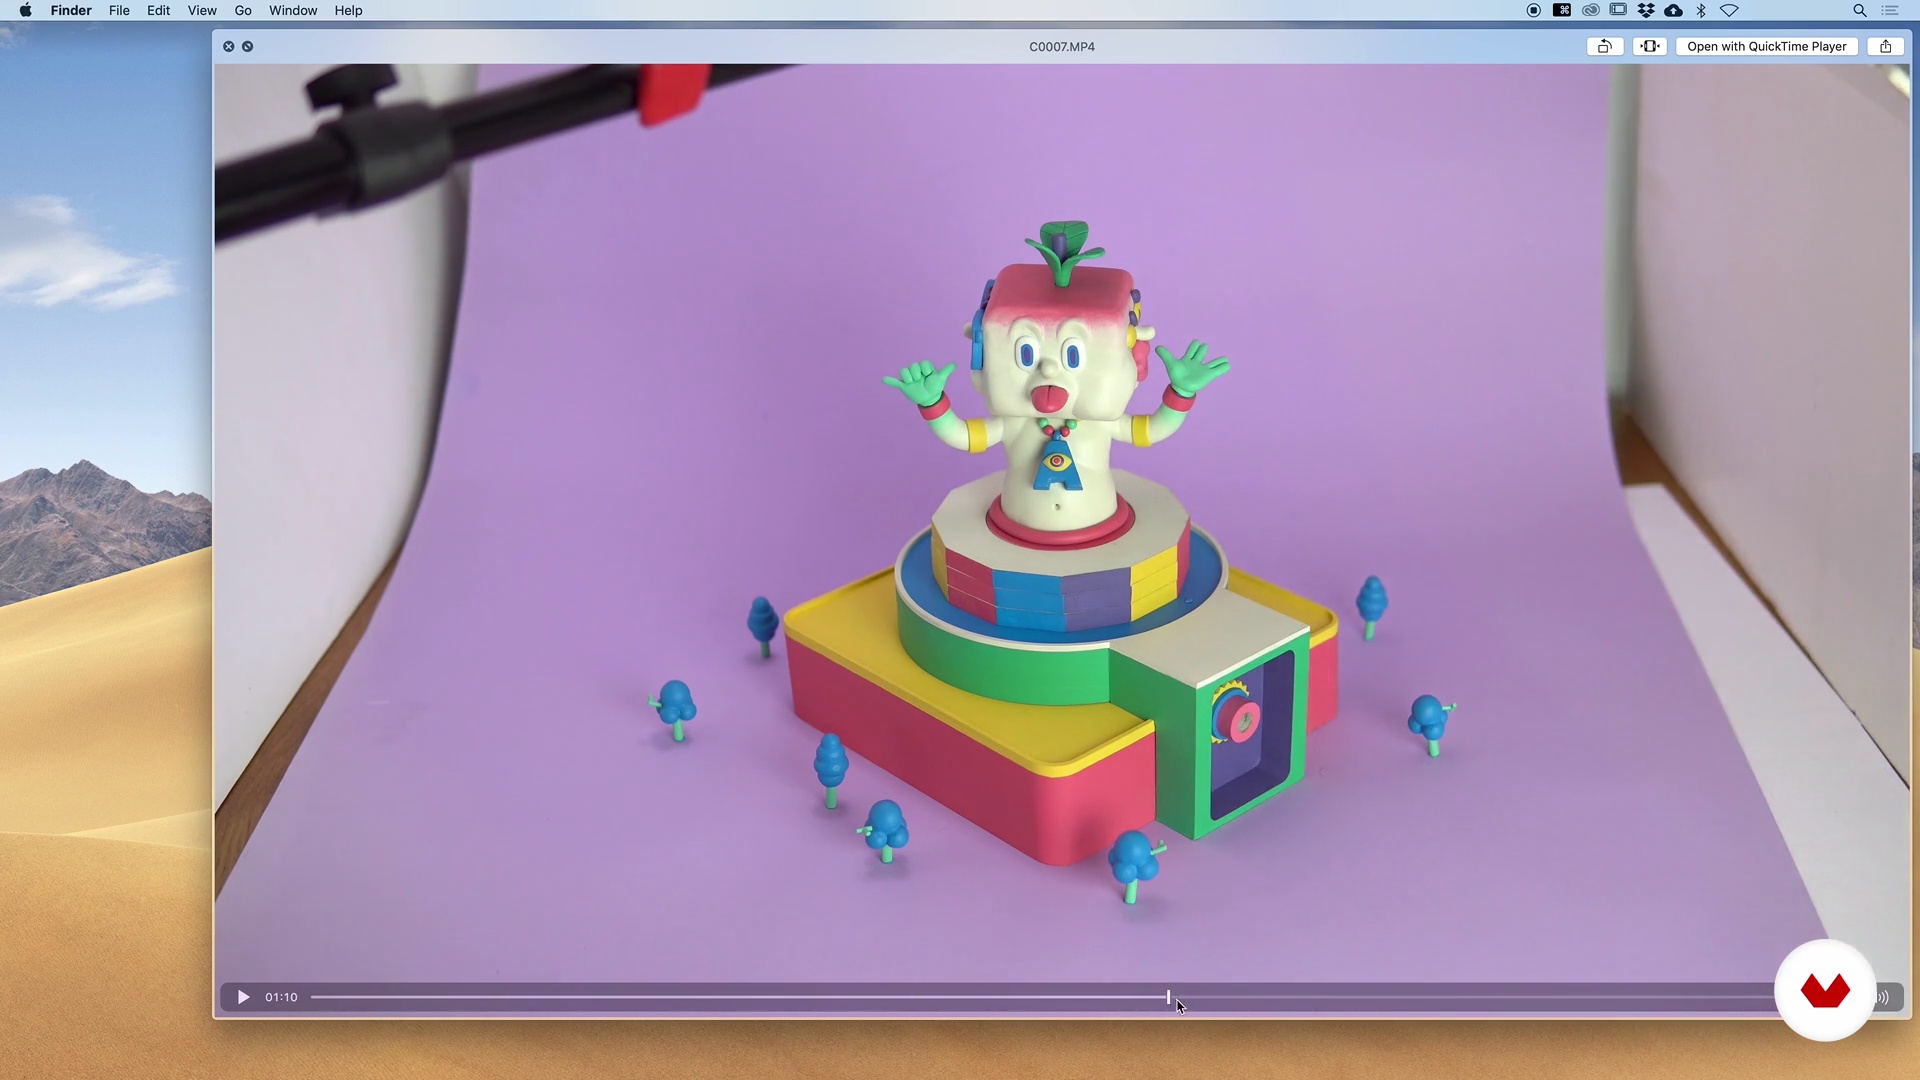
Our production marathon left us with a ton of photo and video files that need to be carefully cataloged and selected before jumping into the timeline in After Effects. Not everything we record we are going to use. In this lesson, we will learn the essential characteristics that our material must fulfill so that it can be part of our “Master Timeline” in After Effects.
16m
 15
15Timeline Montage and Composition 1
In this series of lessons, we will do magic. Using Adobe After Effects, we will join in a very simple way all the stop-motion shots and, as if by magic, we will make our hand enter the scene and activate the entire diorama.
15m
 16
16Montage and Composition of Timeline 2
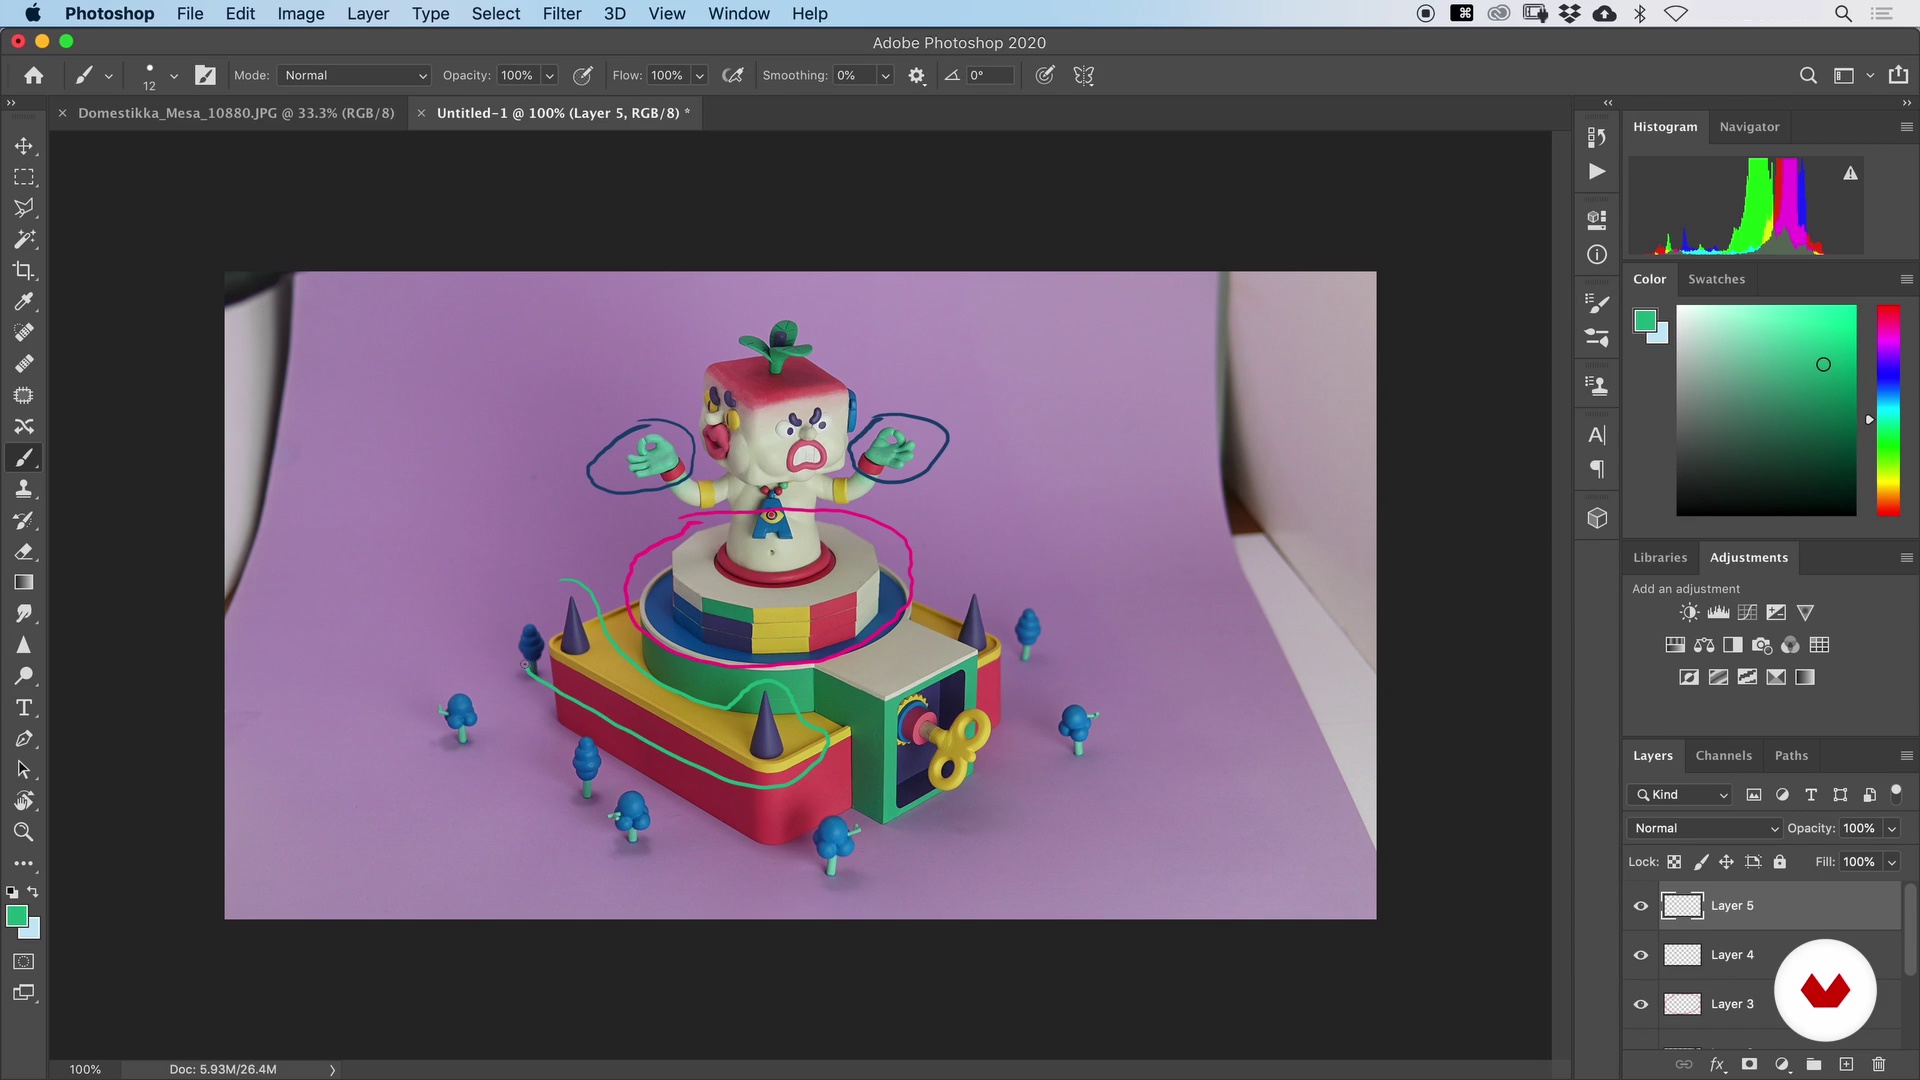
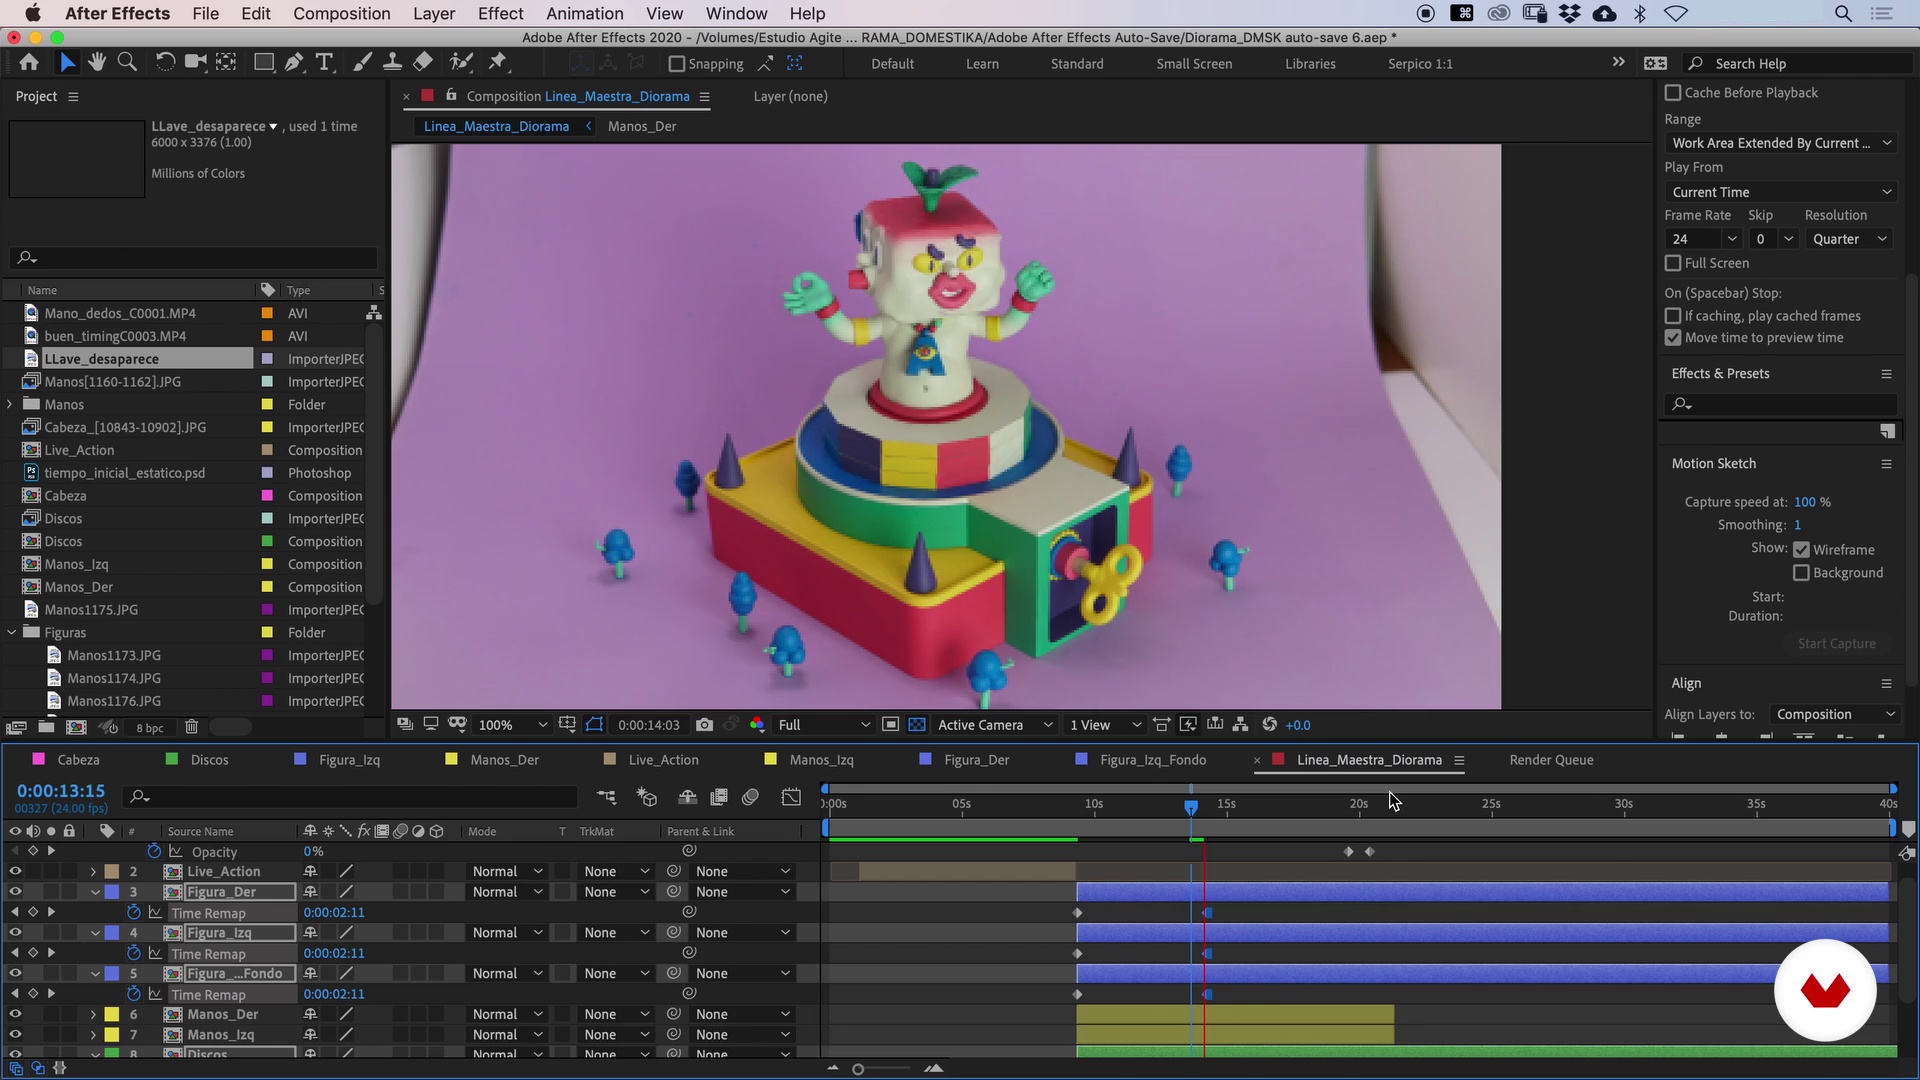
Now, we are going to show you the best way to incorporate all the recorded material through masks and software tricks. We'll be working on the layers in our project in After Effects and doing some frame-by-frame testing.
17m
 17
17Timeline Montage and Composition 3
Following our storyboard, we will finish incorporating the sequences to make it seem that everything happens at the same time and in one shot.
20m
 18
182D Animation 1
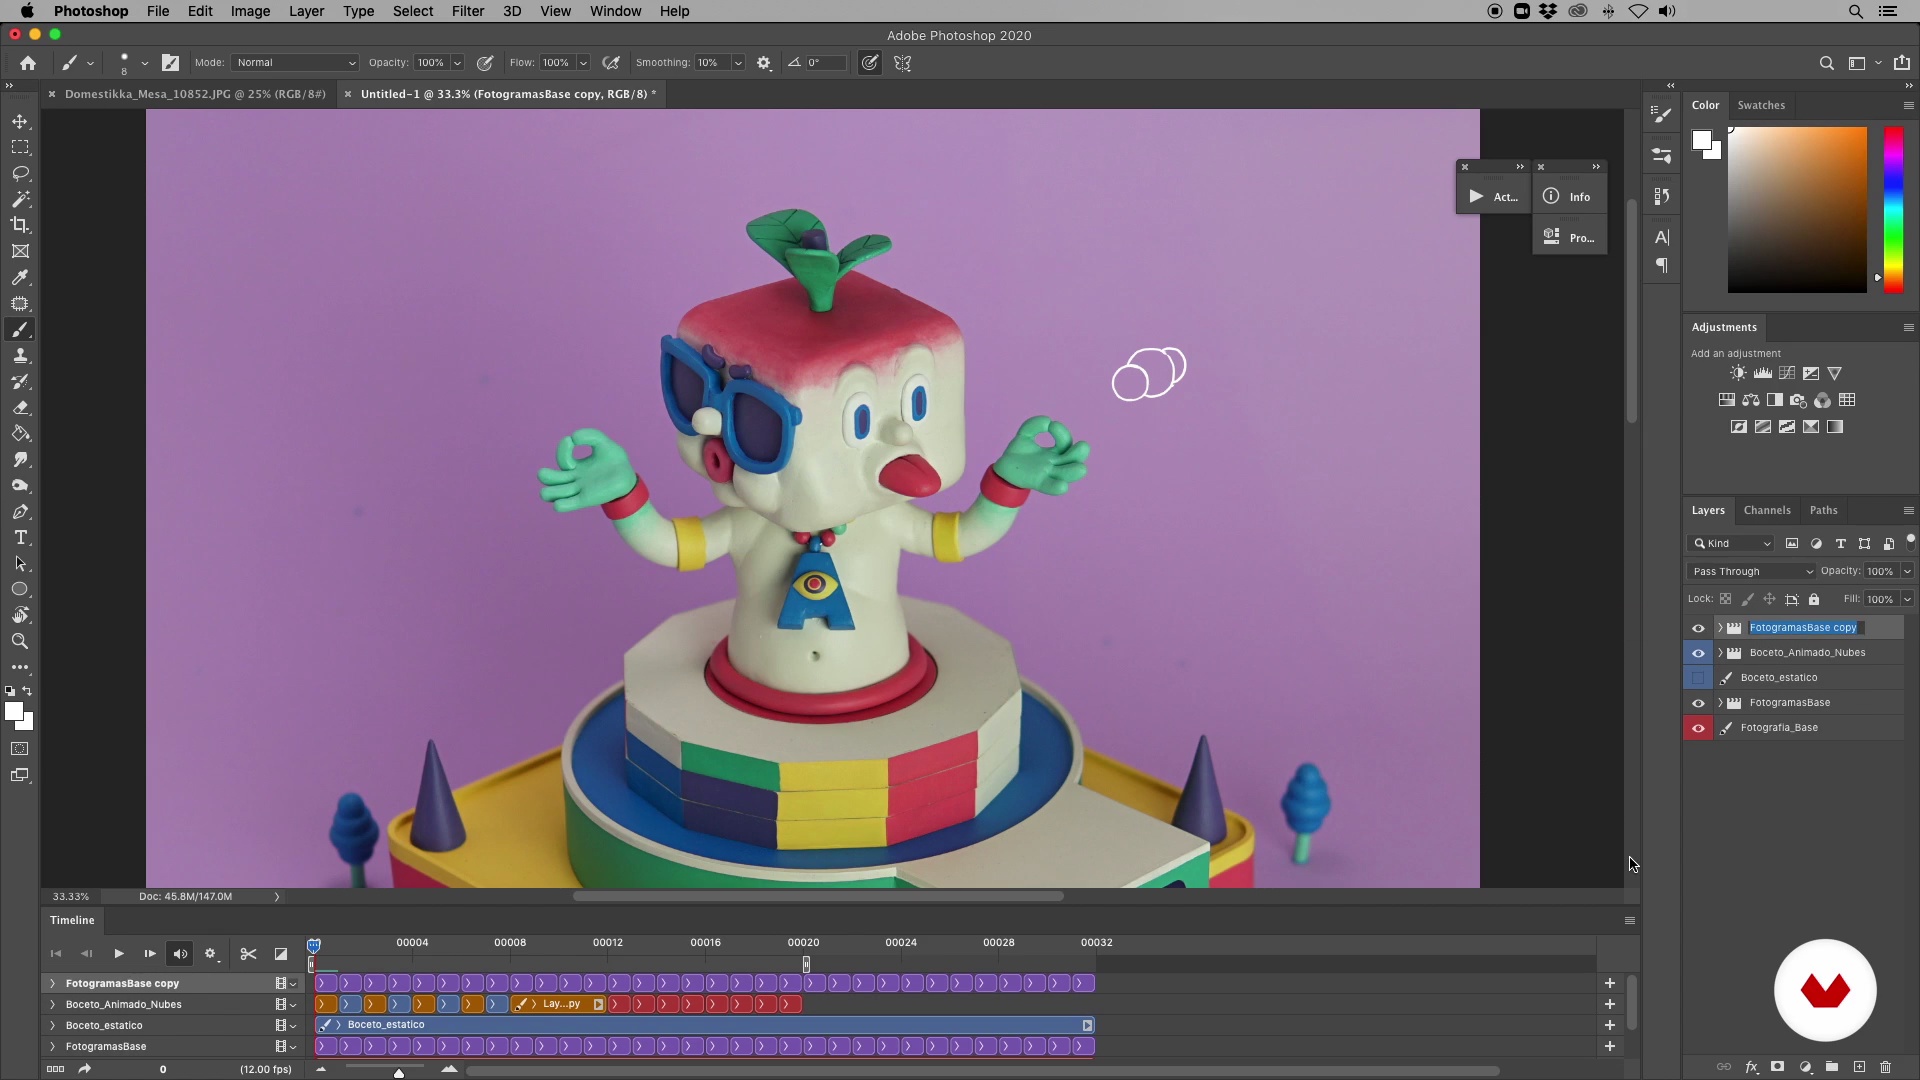
In the following lessons, we will see how 2D elements can add visual richness to our diorama.
19m
 19
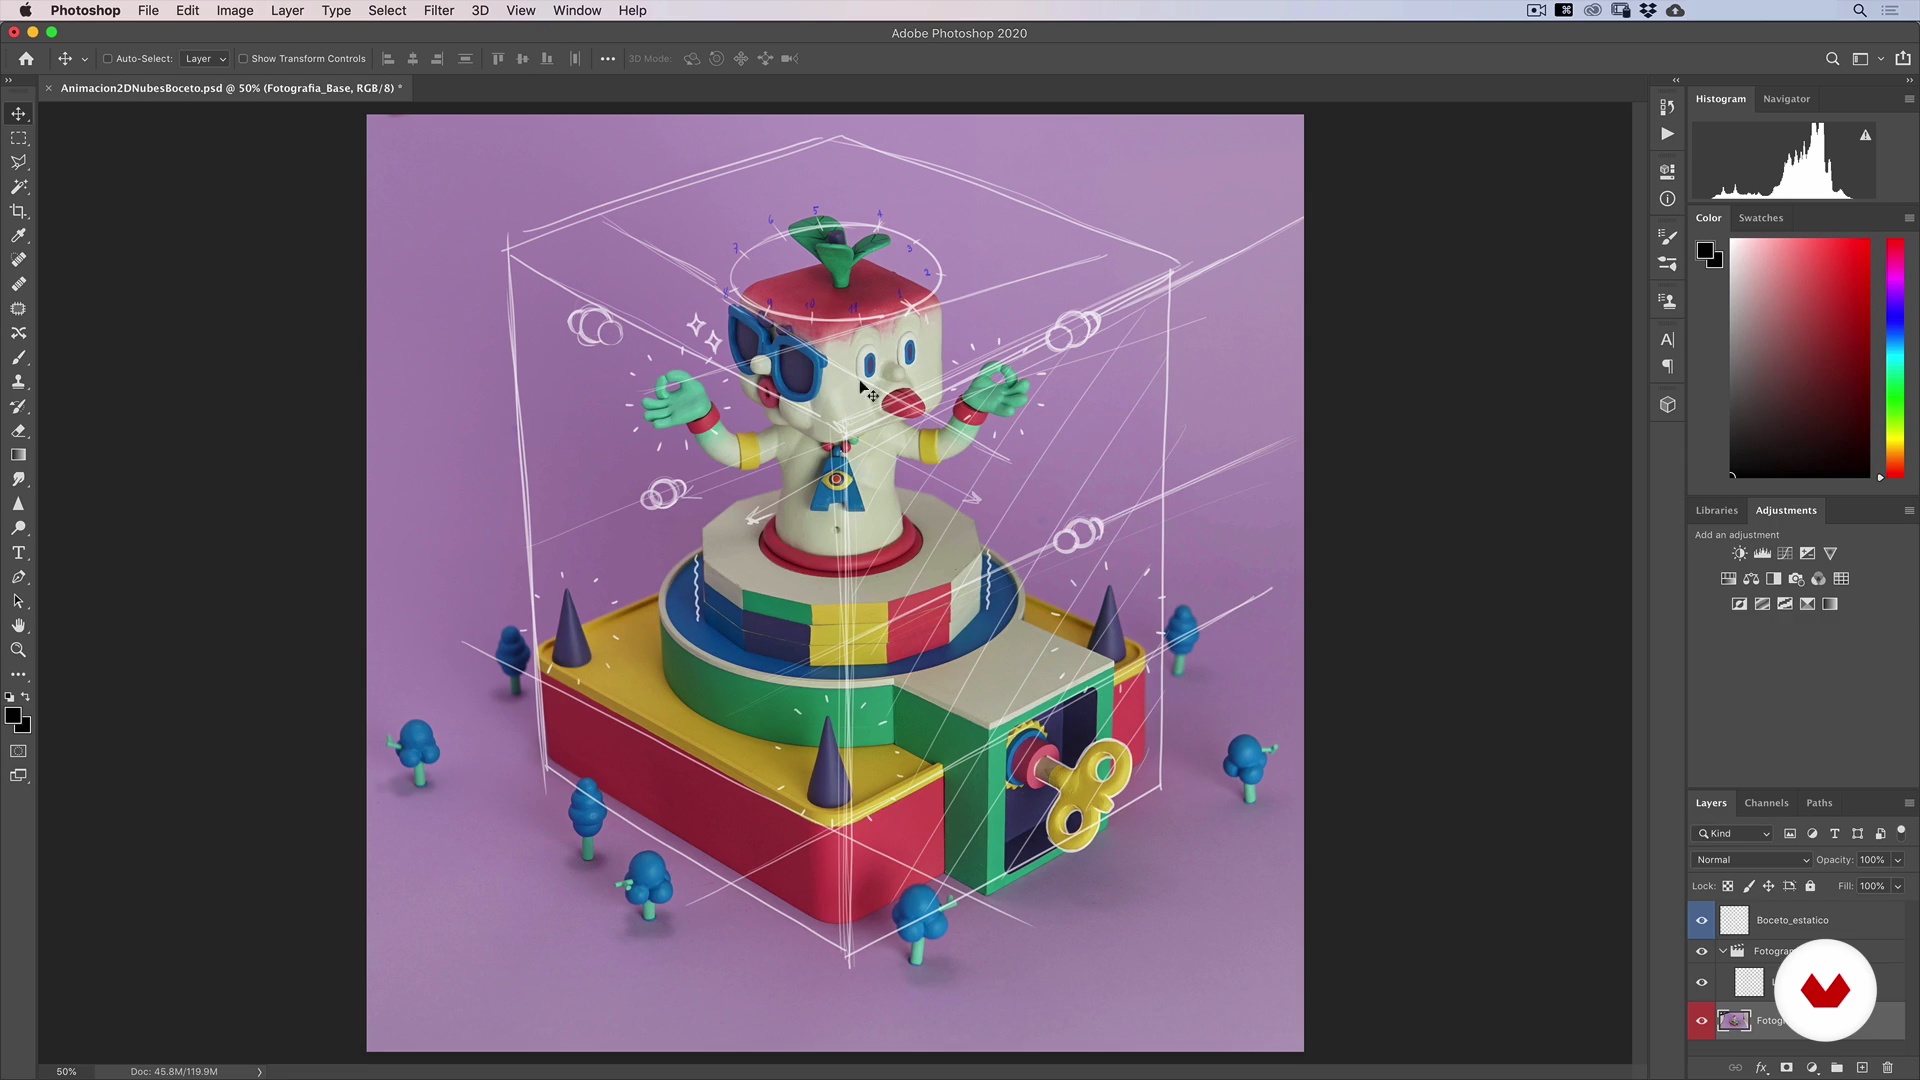
192D Animation 2
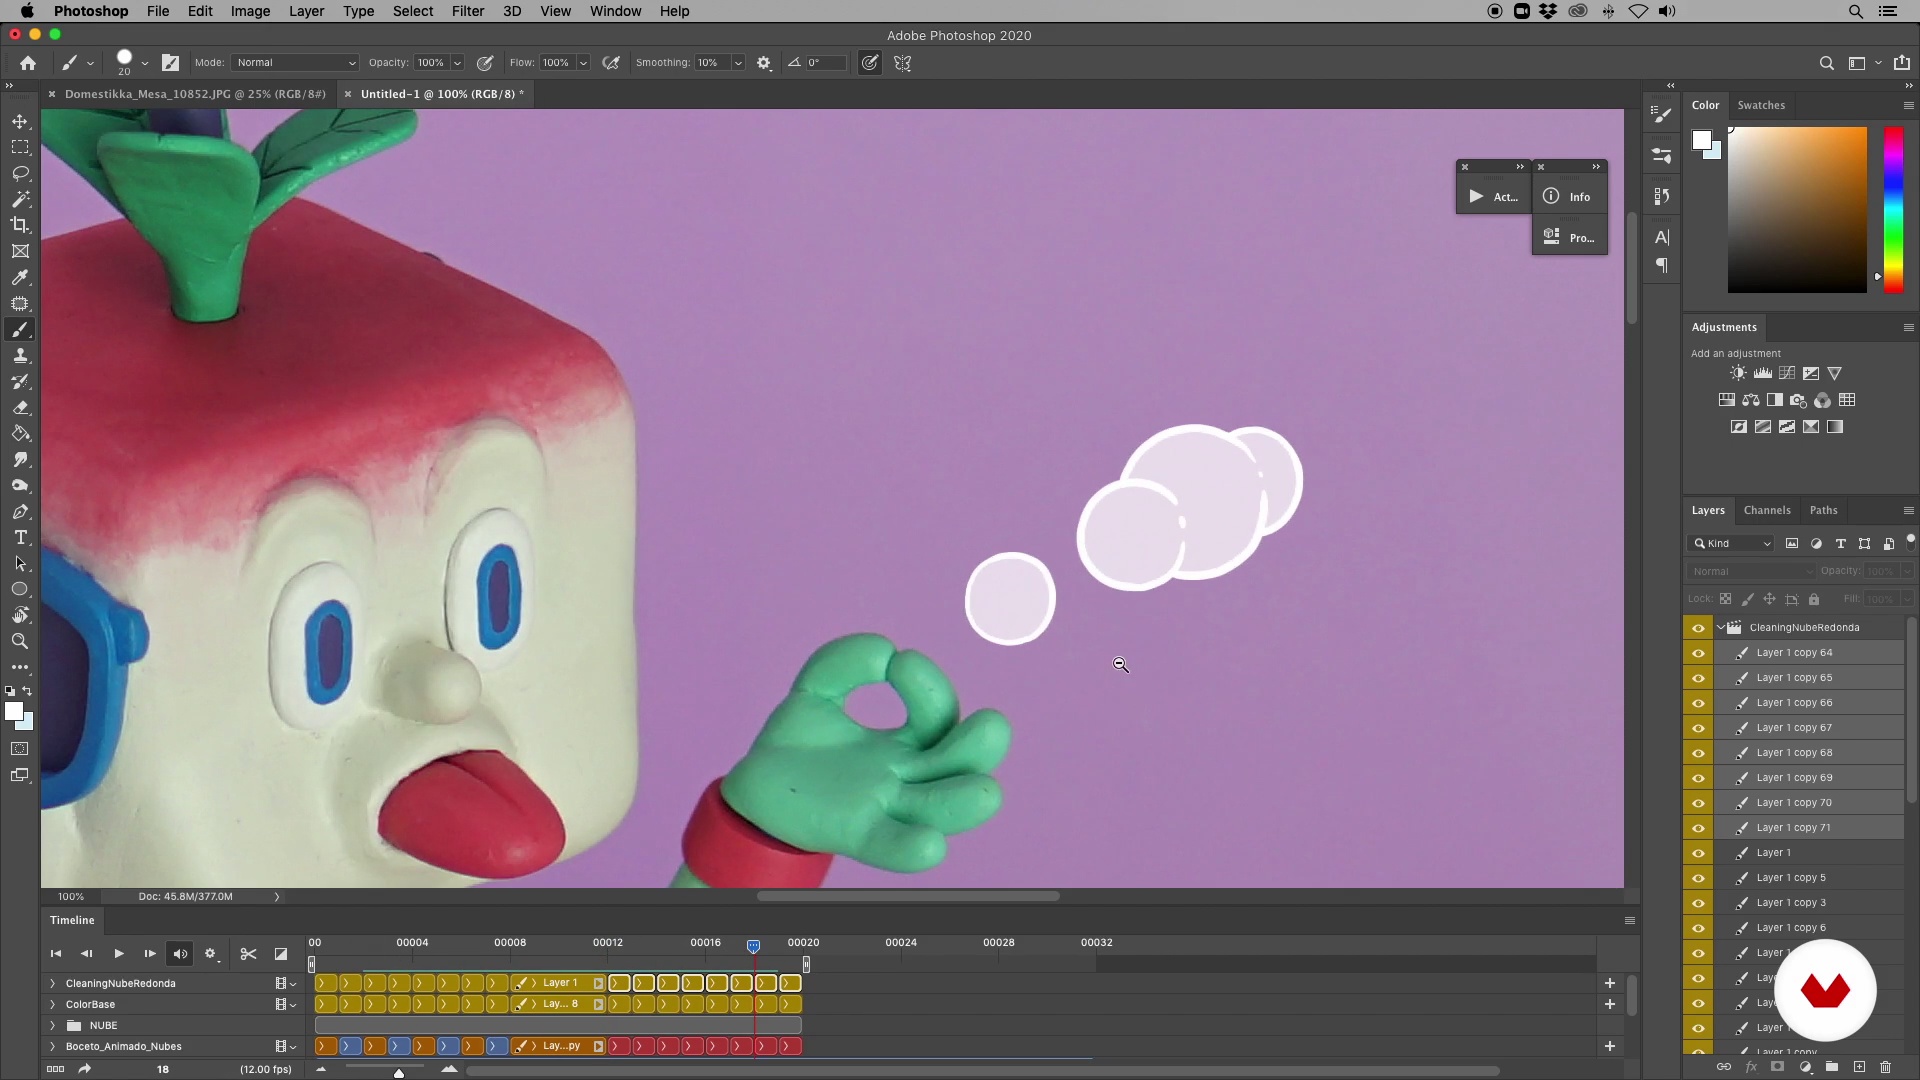
We are going to highlight, by means of simple animated strokes in Photoshop and After Effects, the vibration that comes out when activating our mechanism, as well as the flashes left by the head of the totem every turn and the slow movement of the clouds moving through the imaginary skies of our scene.
19m
 20
202D Animation 3
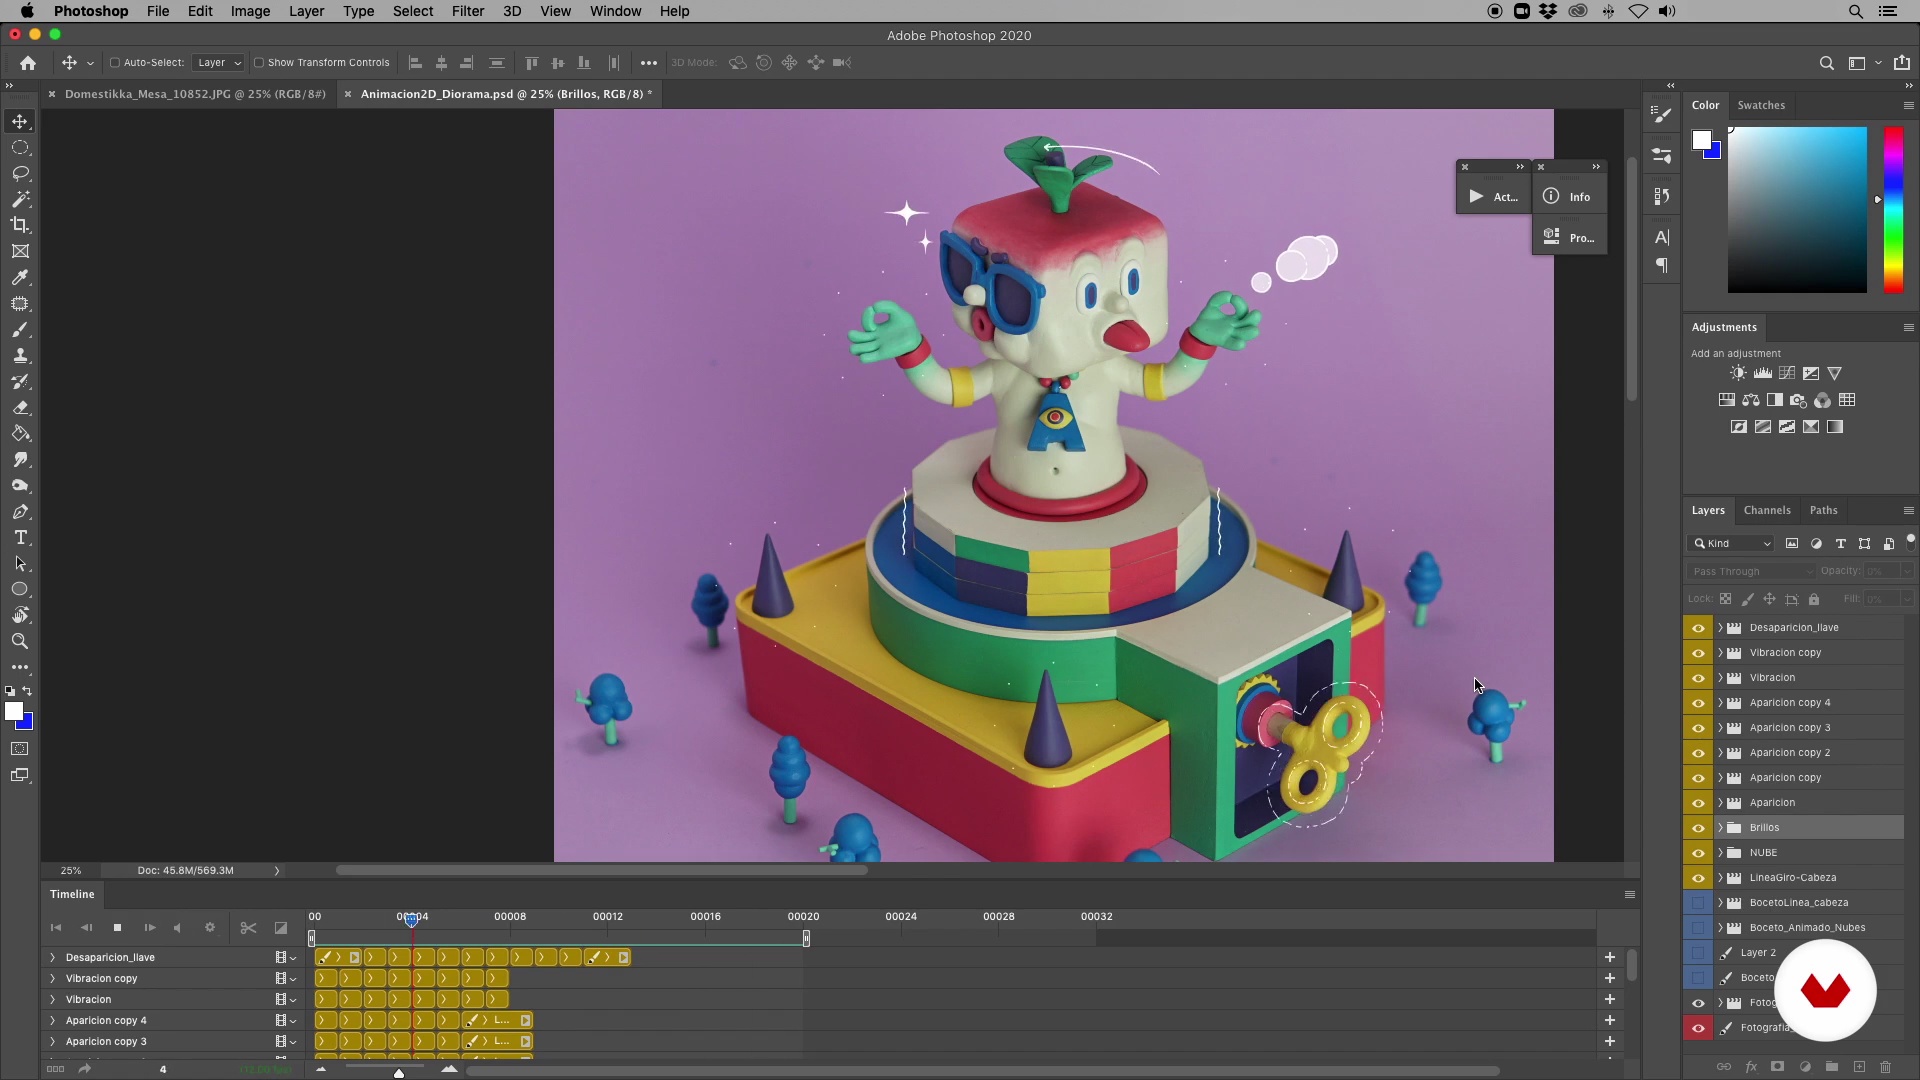
Lastly, we are going to animate the headlines that appear when you turn your head. The result of these sequences will be a PSD file that we will then import into After Effects.
13m
 21
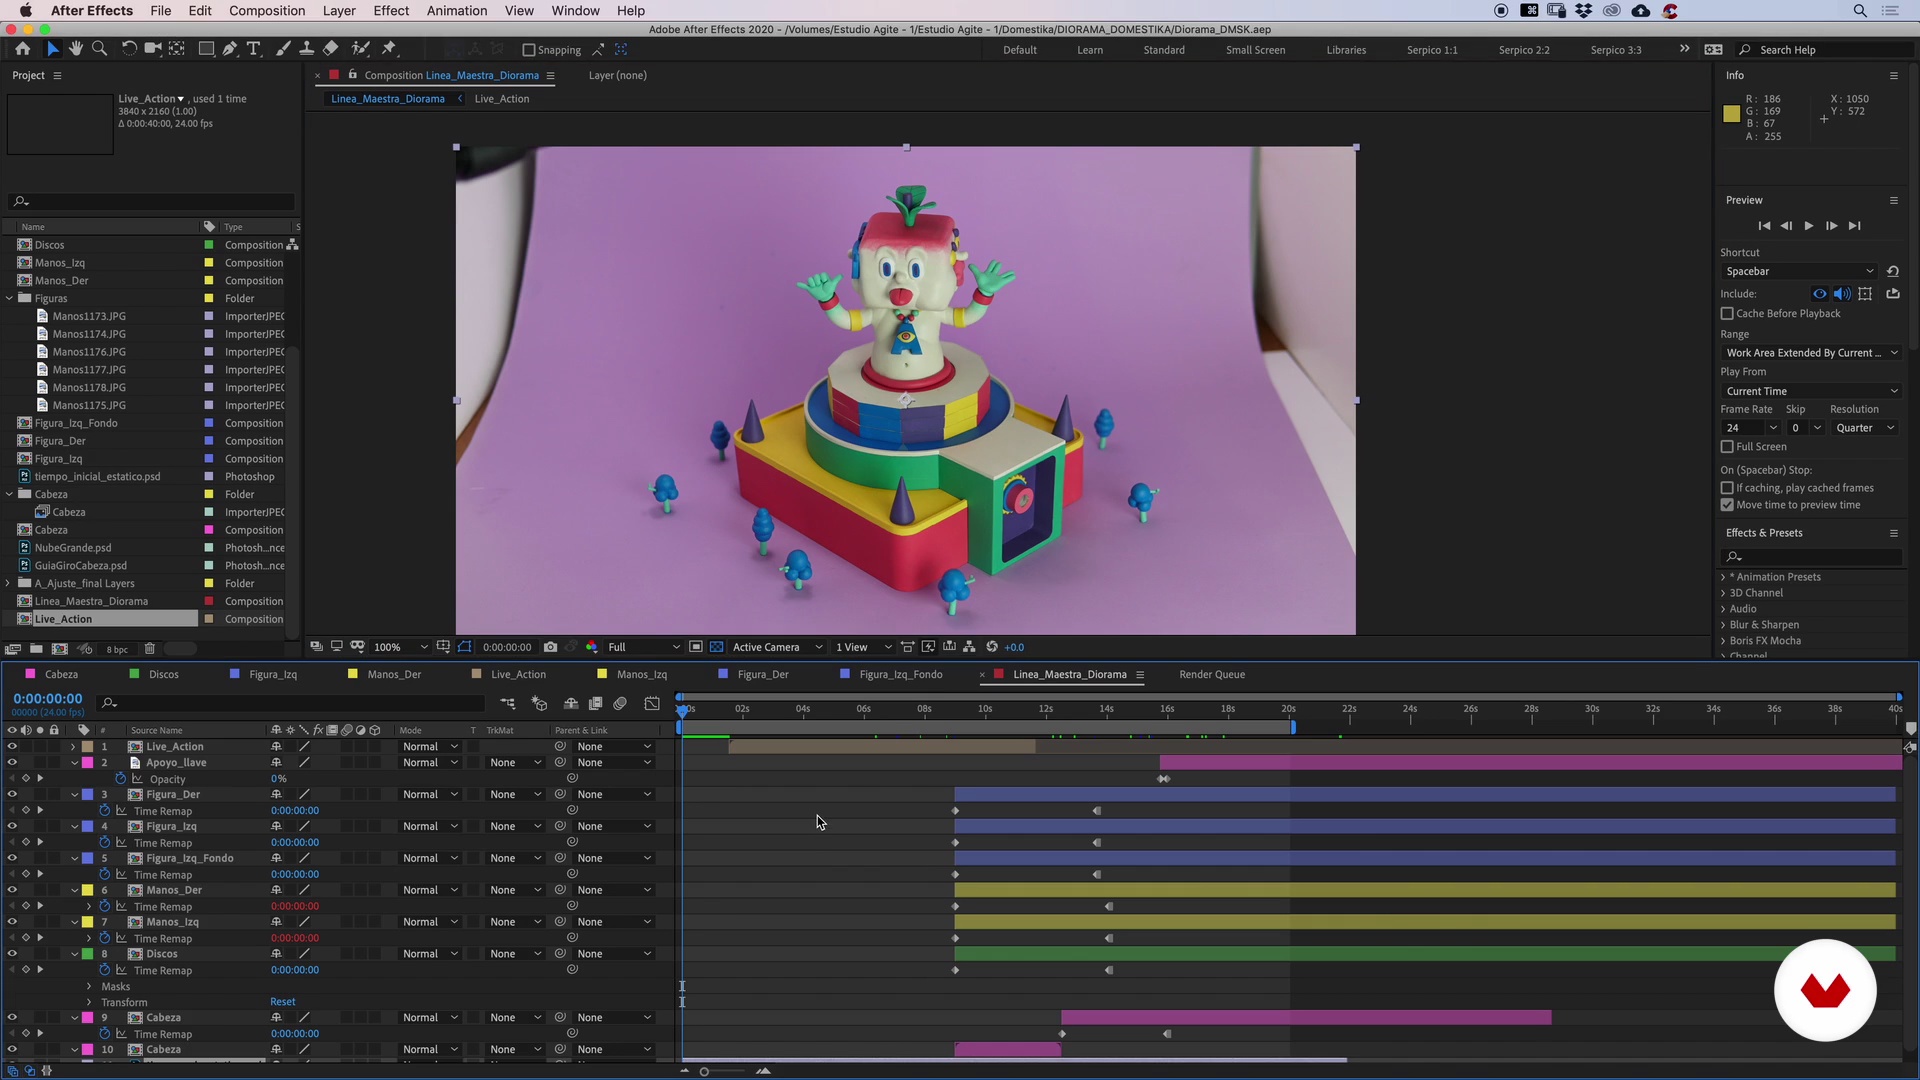
21Color Editing and Final Render 1
Finally, we will give the final touch to our animated diorama: unifying the color and effects so that everything looks uniform during the entire sequence. We will start by creating a zero-point to generate a still image that we can return to during the process.
17m
 22
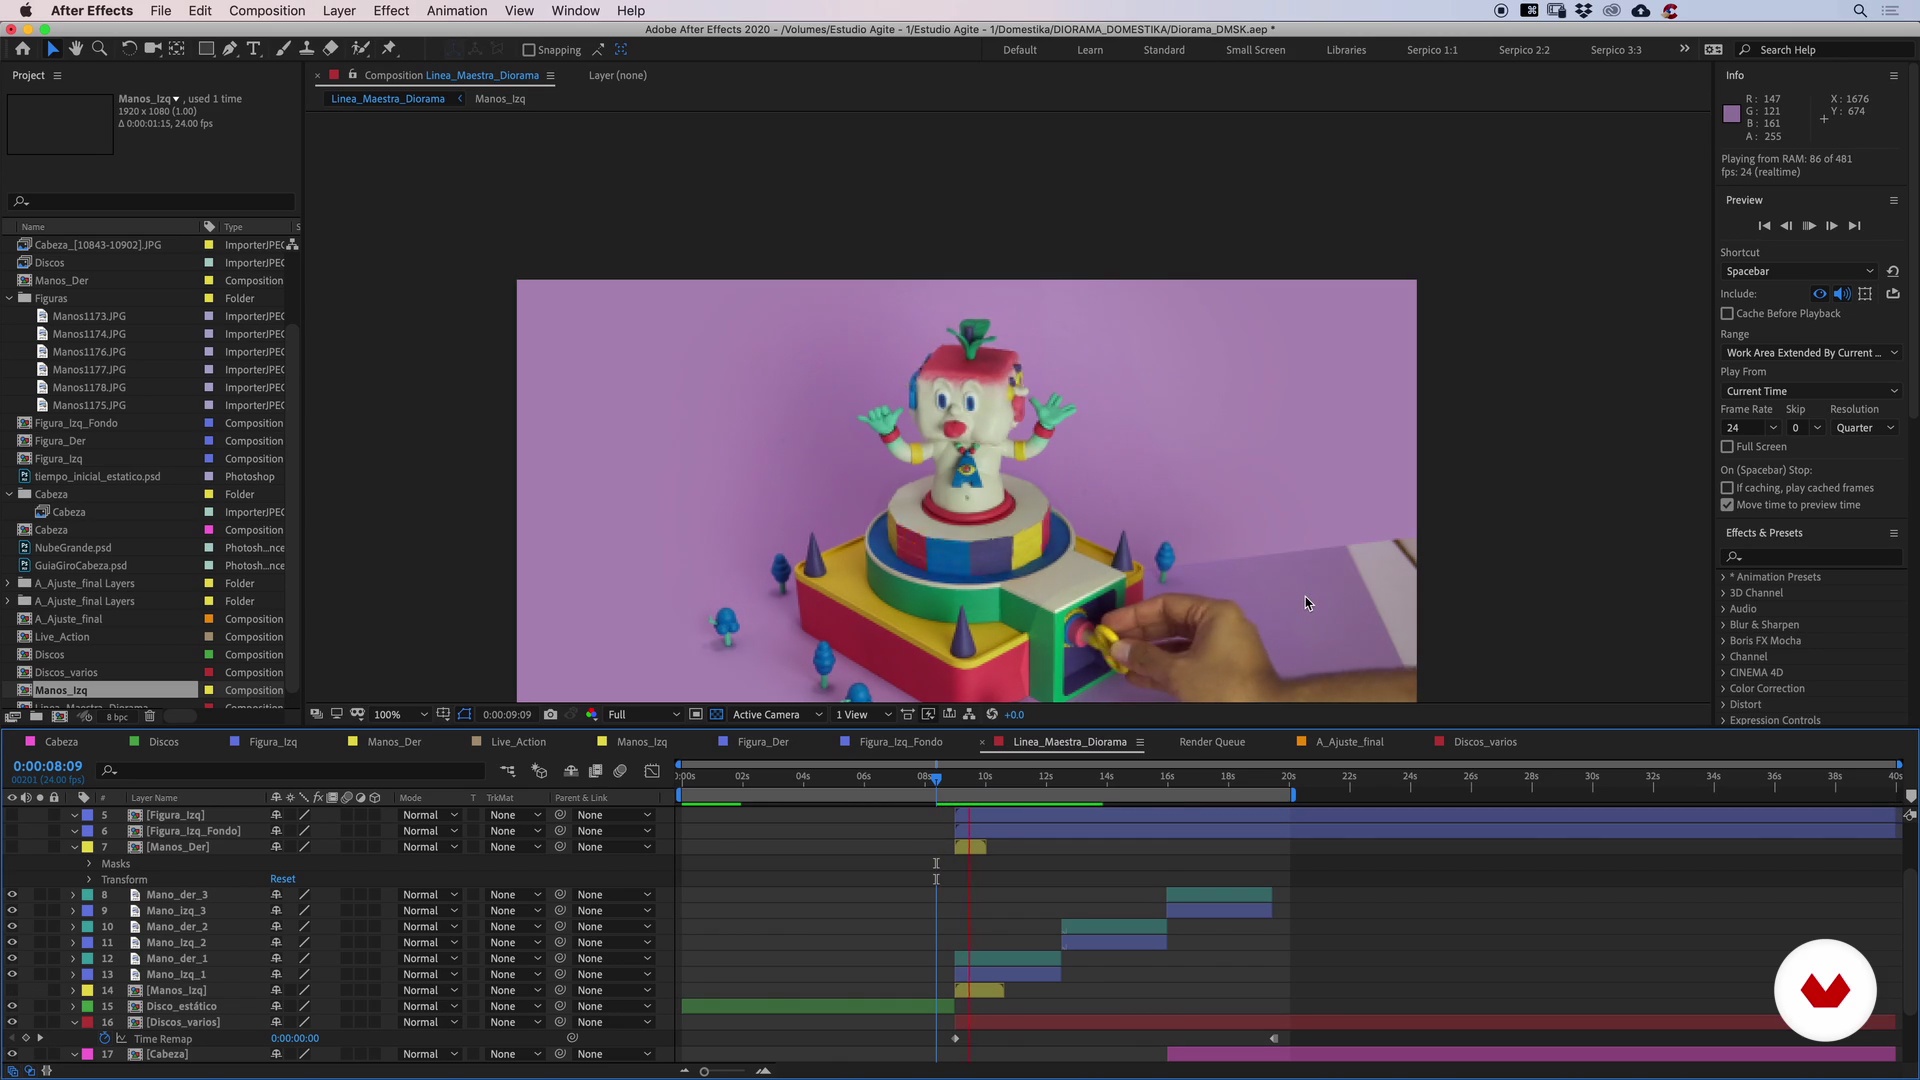
22Color Editing and Final Render 2
Now we will review the issue of "timing" for this process. We will work our layers sing both Photoshop and After Effects, and we will add a layer for each "phase" of color and retouch.
21m
 23
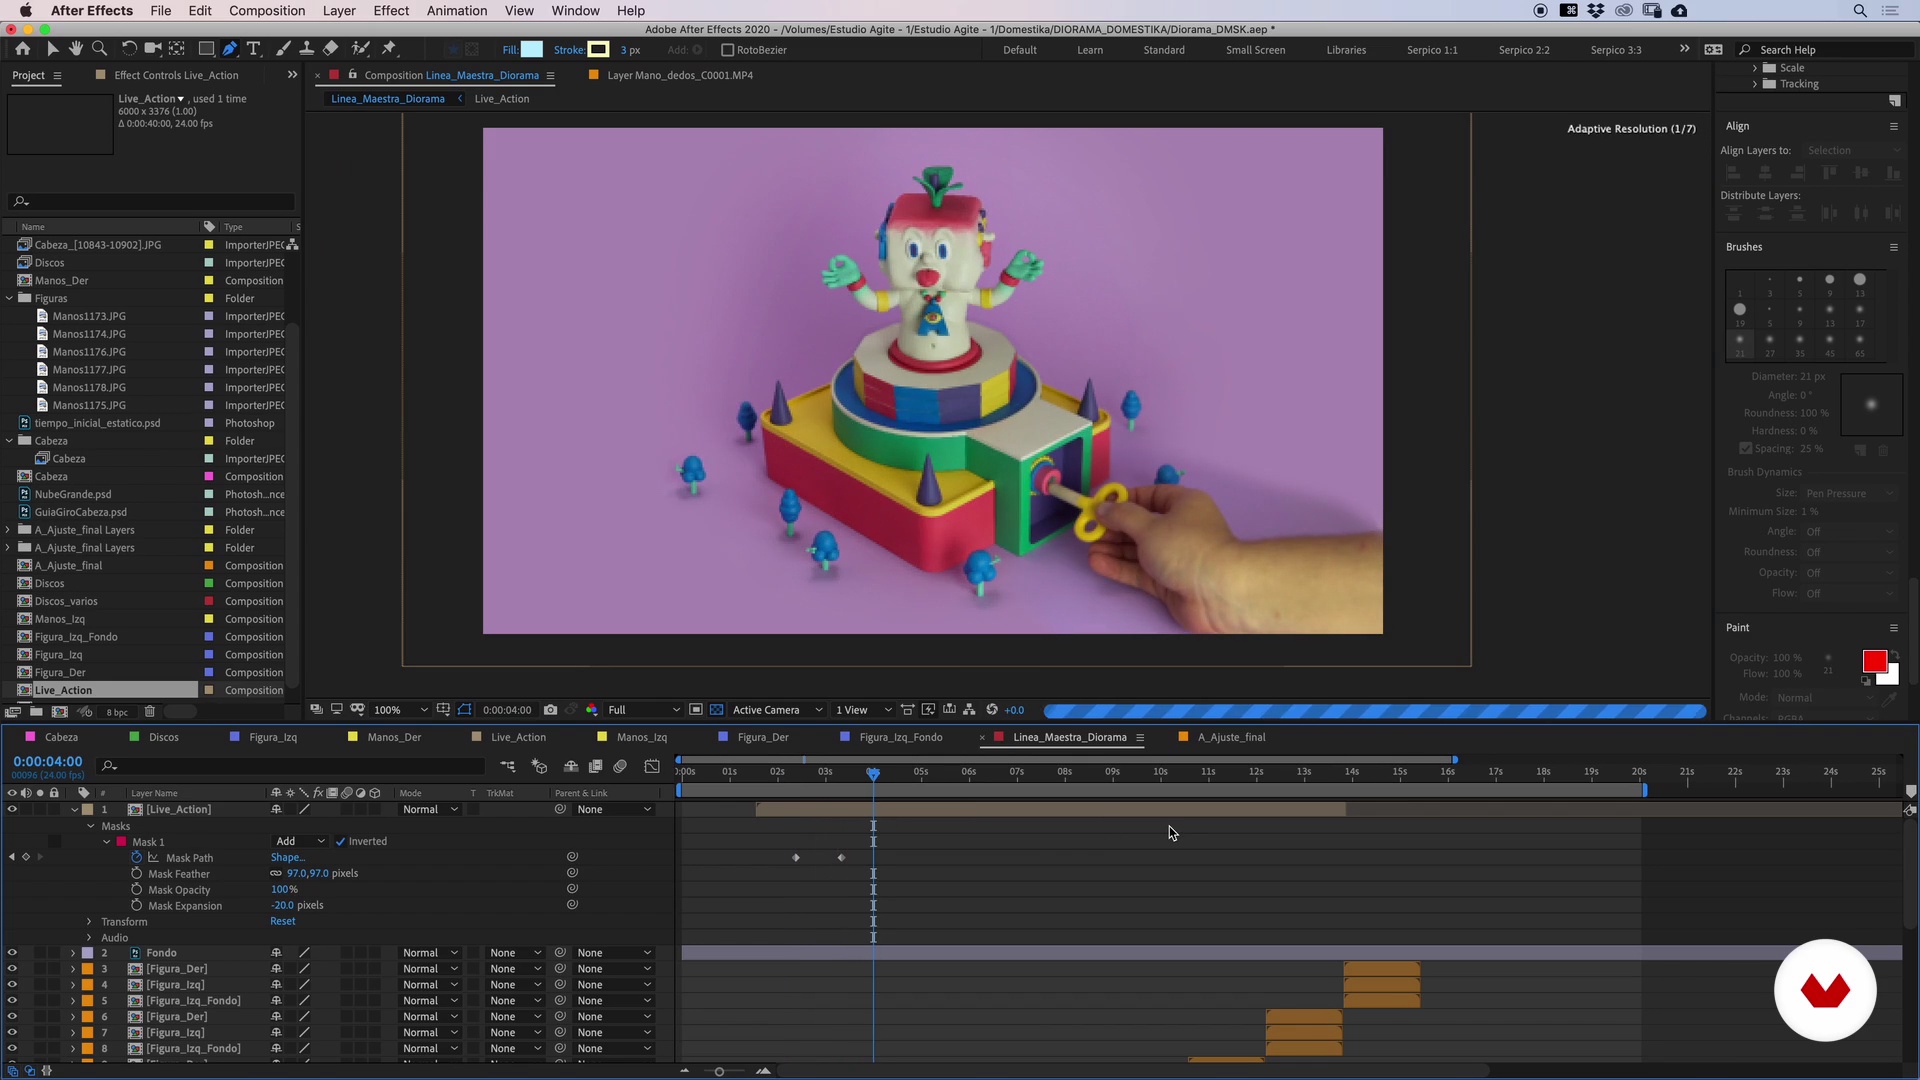
23Color Editing and Final Rendering 3
Here we will work with different masks to adjust the times, "clean" our scene, verify that the colors of the different shots are level, and make the changes we need to achieve the "one-shot effect."
19m
 24
24Color Editing and Final Render 4
We continue, on the fly, designing our scene. We continue to make speed adjustments on some elements and work on their coloring as well. Each process is different and will require our attention from start to finish: the key is to be patient and do as much experimenting as necessary.
14m
 25
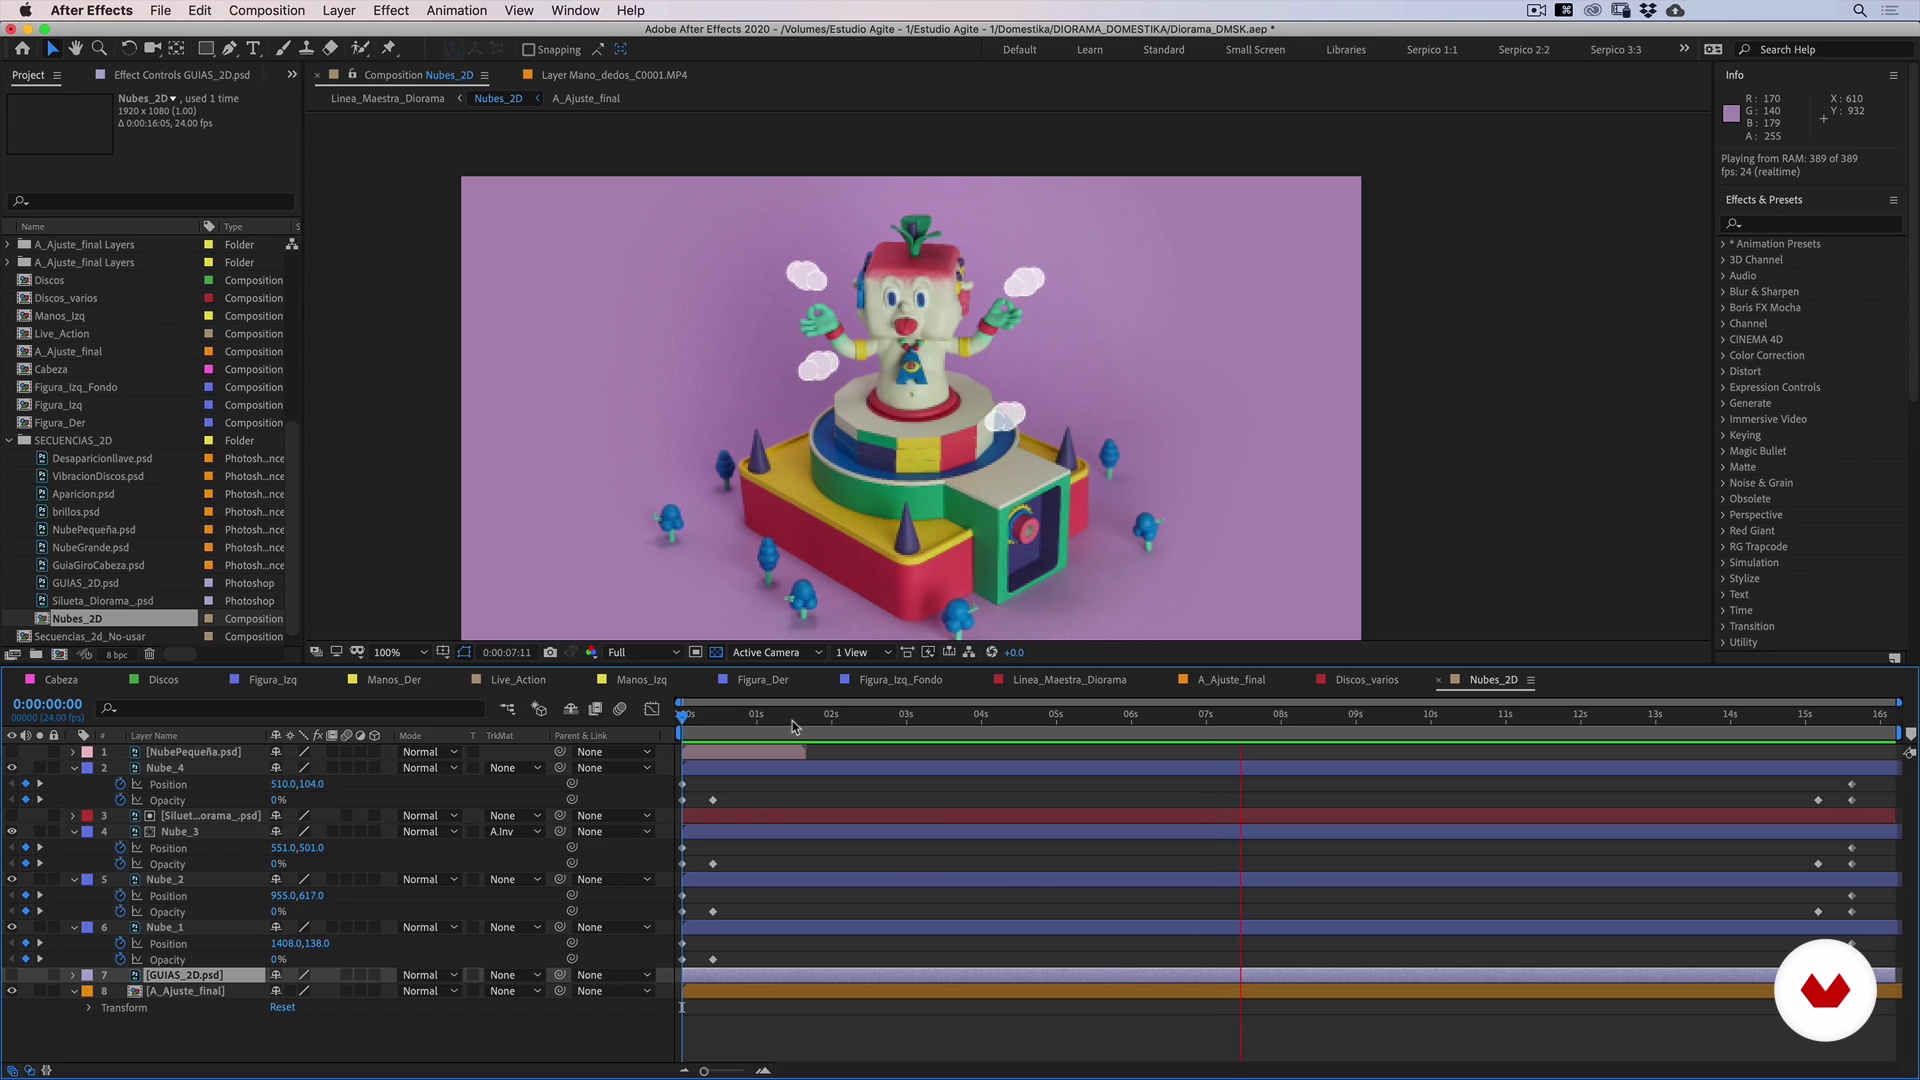
25Color Editing and Final Render 5
Now, we will work on the 2D elements: the clouds and flashes. We will organize their movements and define the color of each one. To achieve this, we will use a mask with the silhouette of our diorama that we will make in Photoshop.
18m
 26
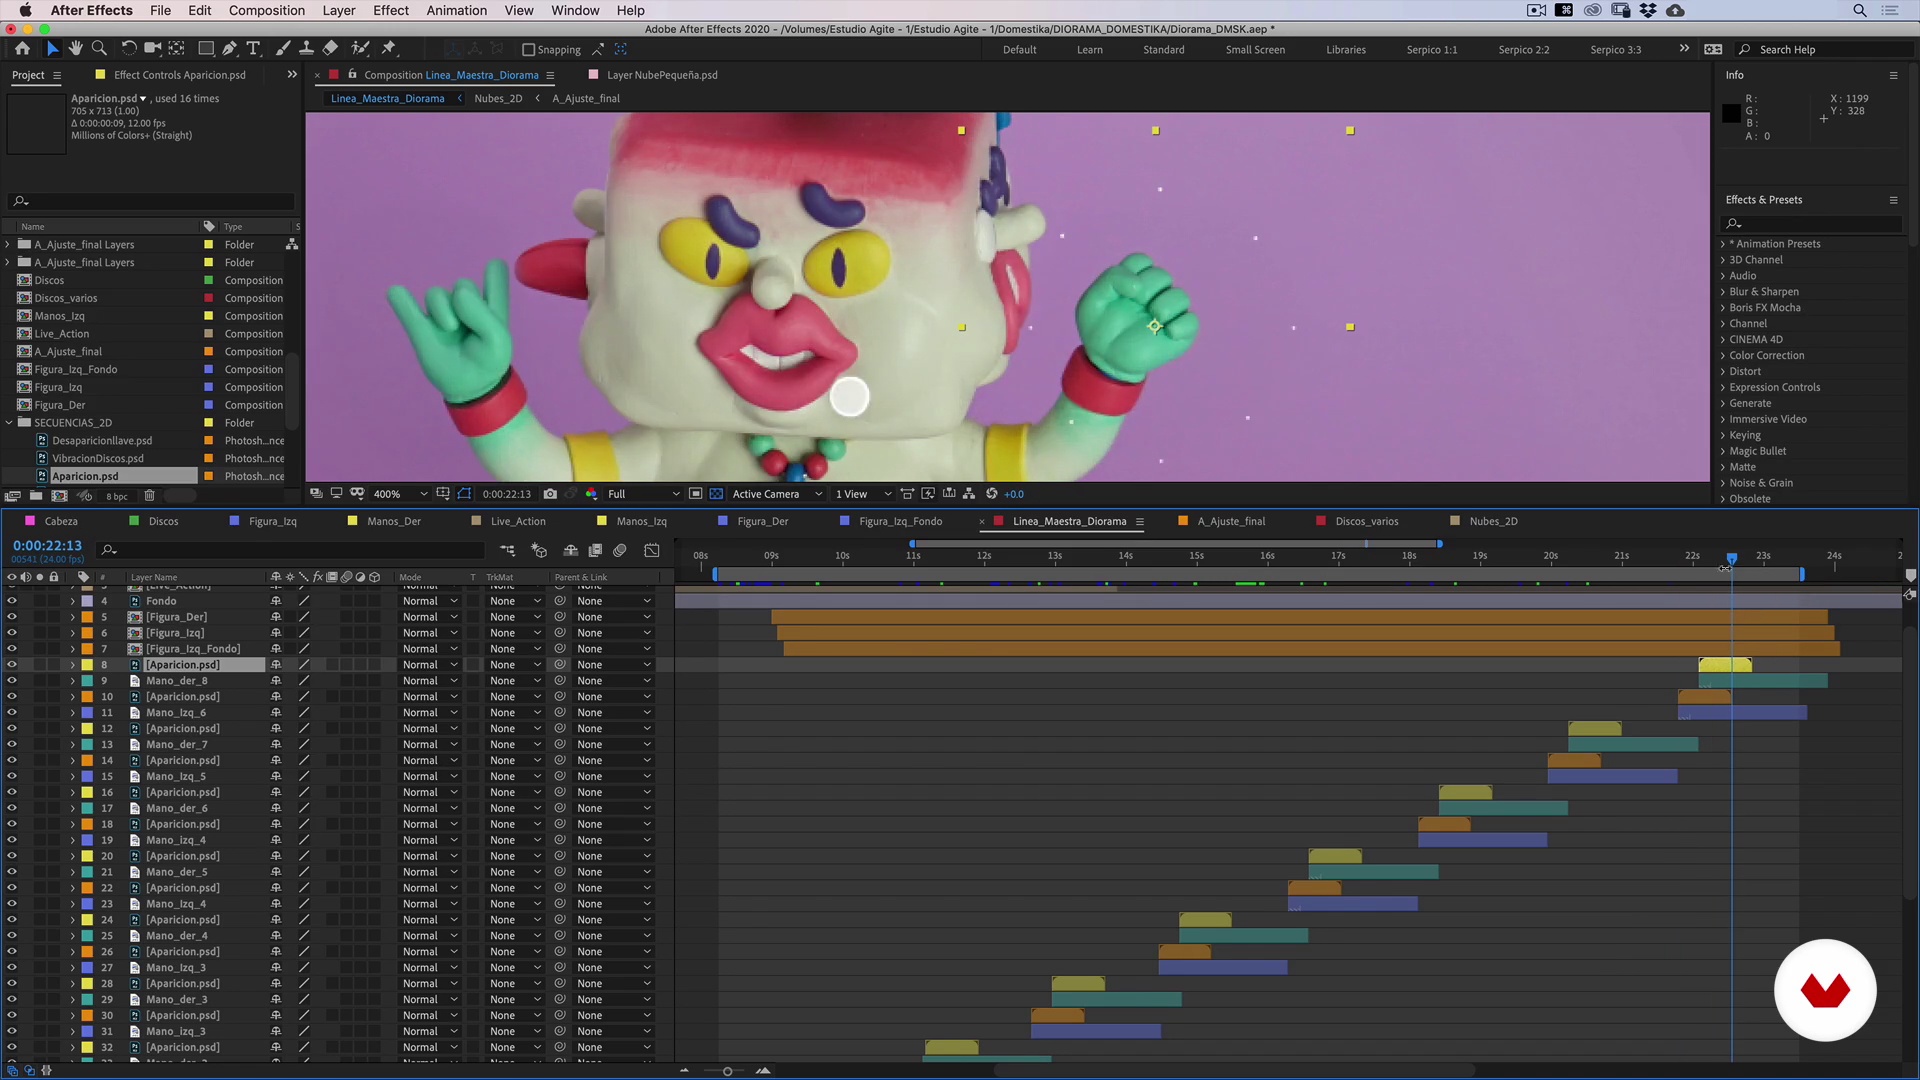
26Color Editing and Final Render 6
Now, we will work on the head-turning sequence of our totem.
11m
 27
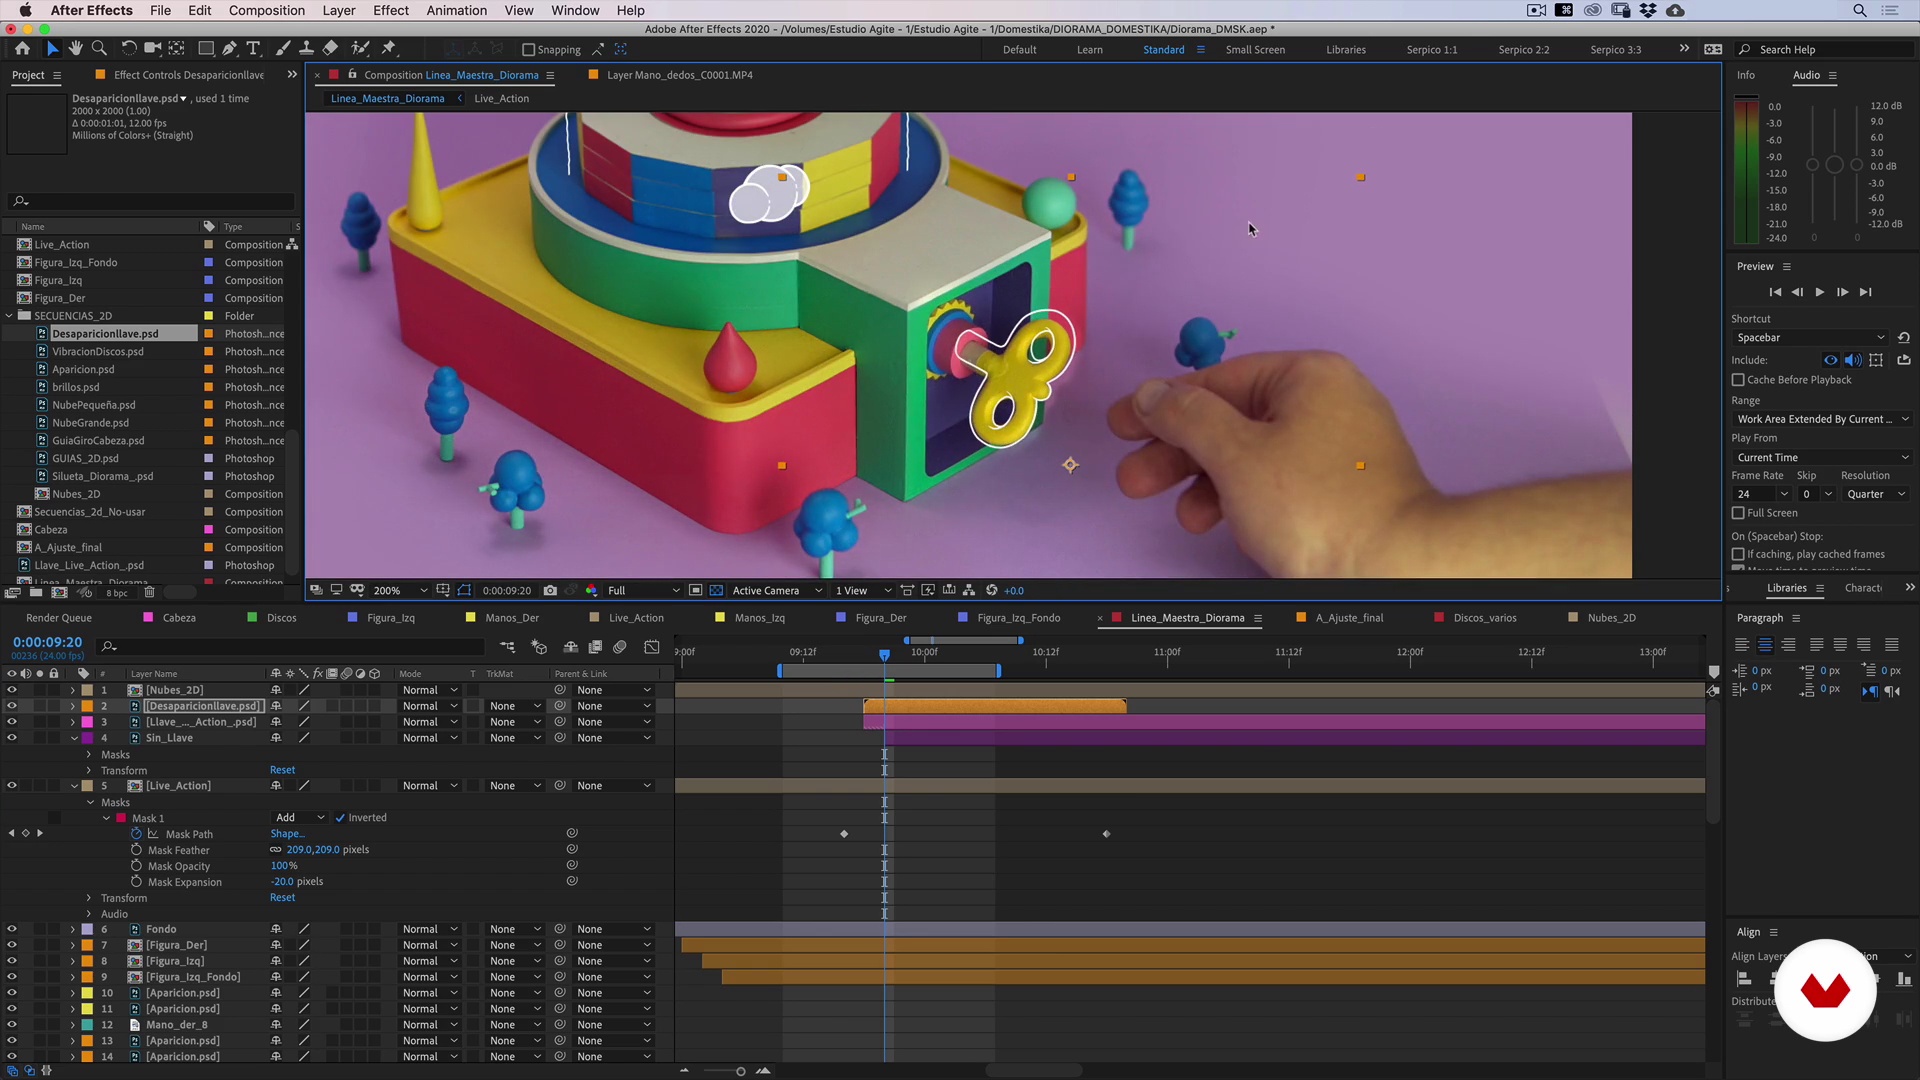
27Color Editing and Final Render 7
We are getting closer to the finishing touches: we will concentrate on the shots in our live-action sequence. We will work on unifying the color and resolution with the rest of the animation.
18m
 28
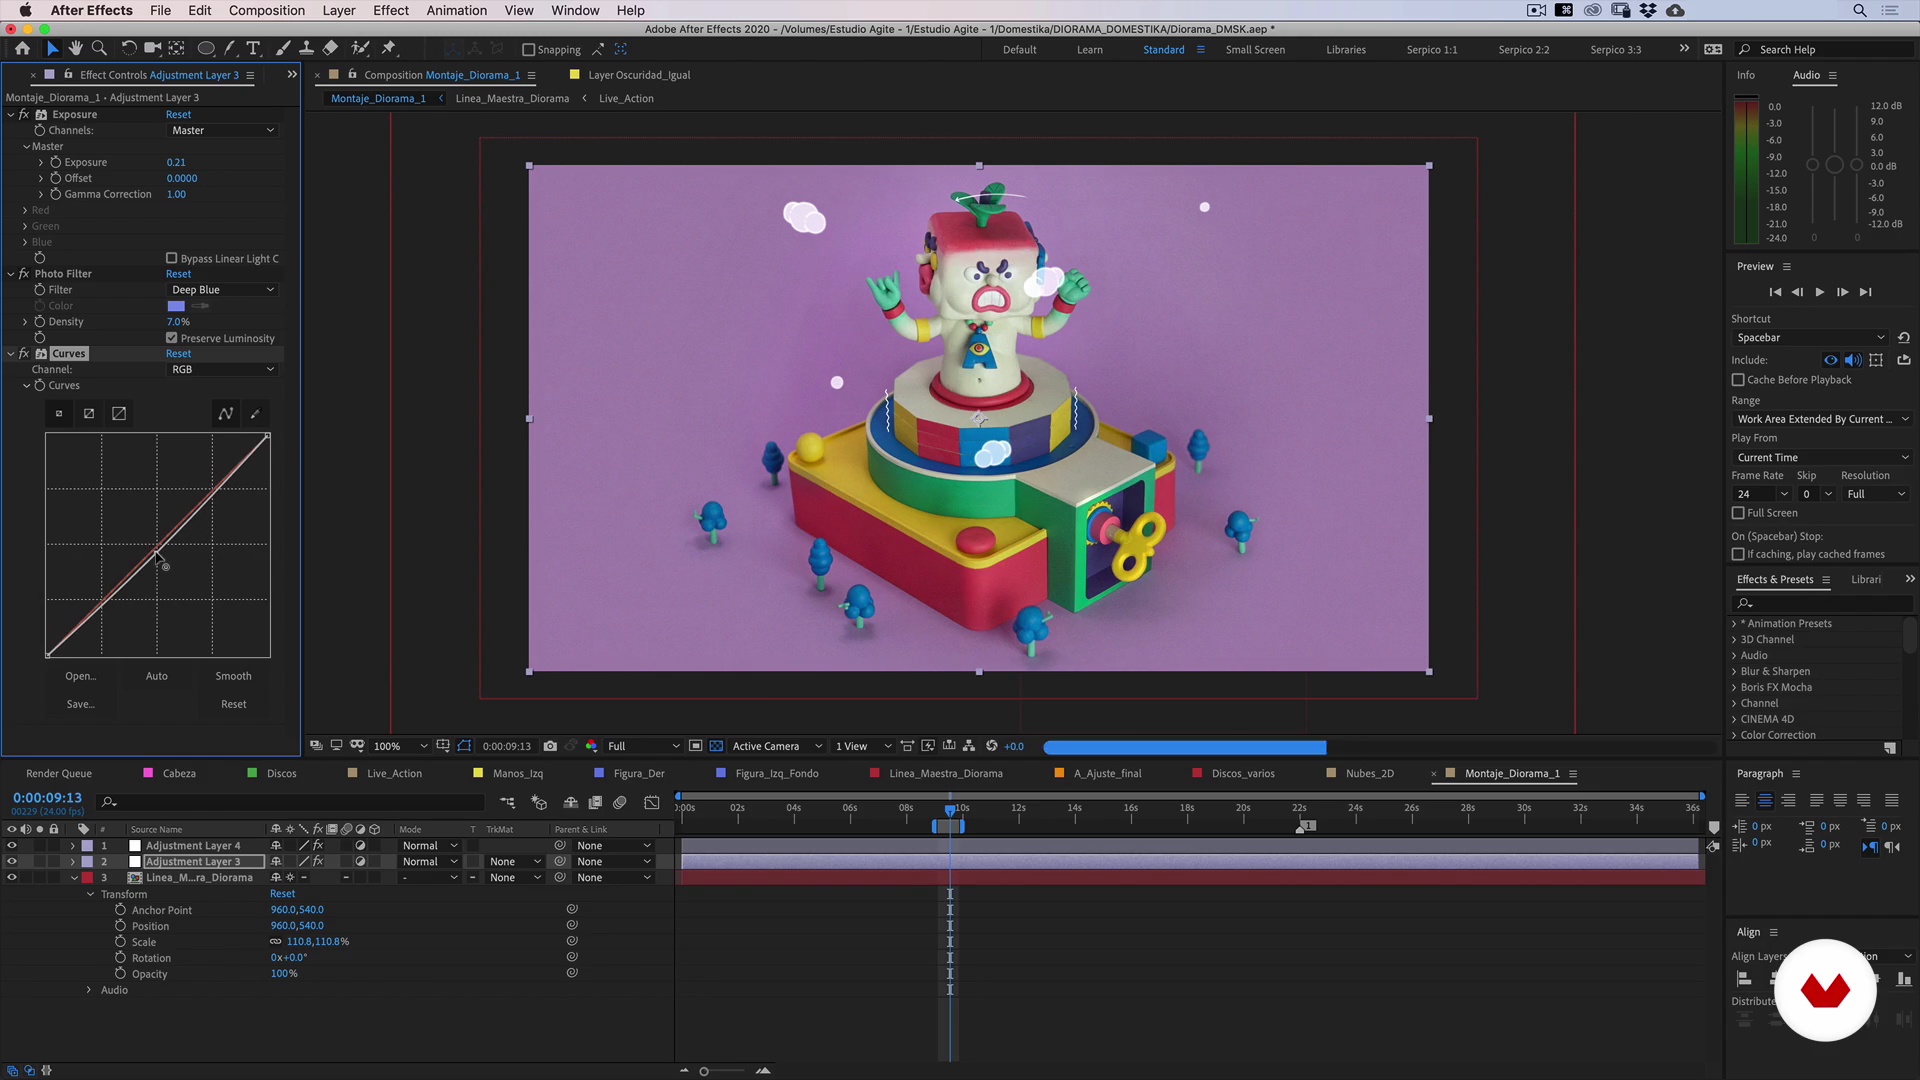
28Color Editing and Final Render 8
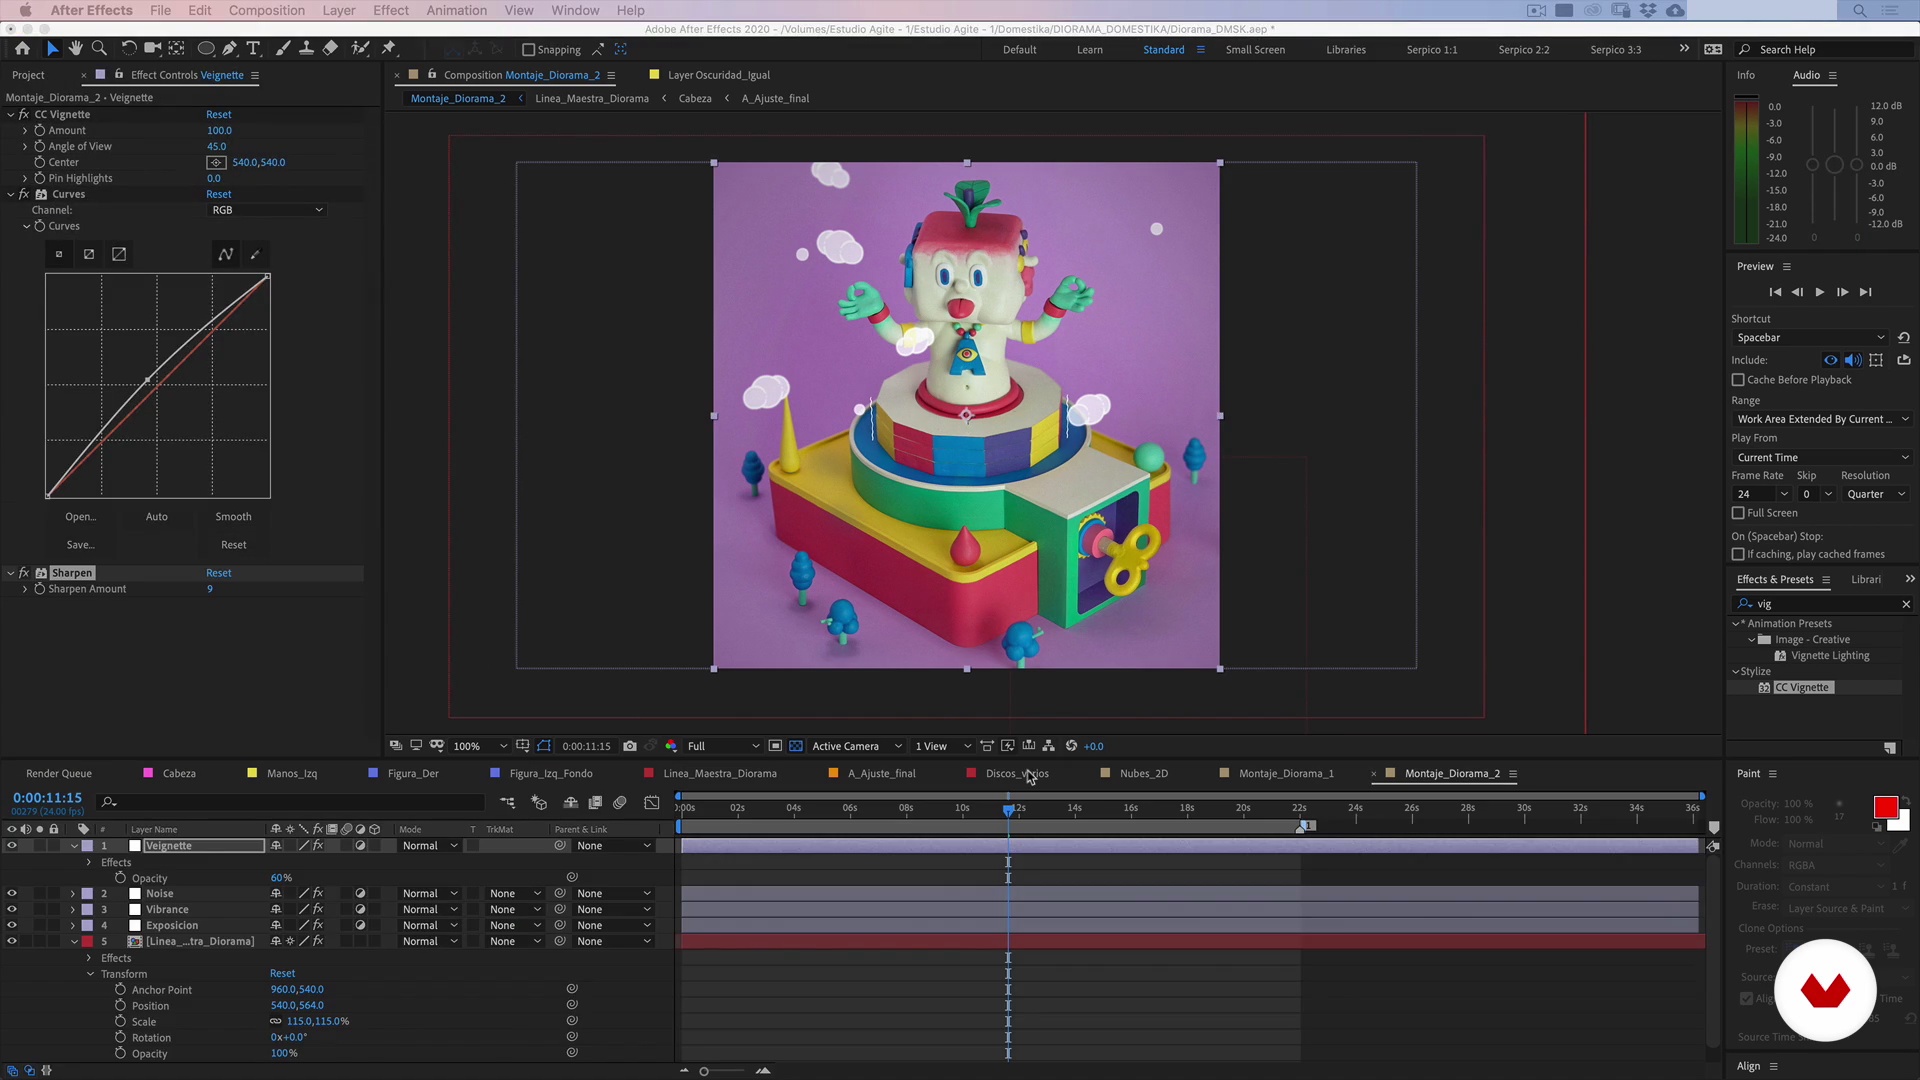
To give our animation more realism and depth, we will blur the background clouds and give more focus as they get closer to the front. After we are going to level our general color, we will use the "Photo Filter" and "Lumetri" options, this will allow us to level the color of our entire scene to our liking. Finally, we will add one more adjustment layer, this time to add "Vibrance", which will help us "explode" the colors and ranges of our composition, filling our scene with life.
17m
 29
29Color Editing and Final Render 9
Once our scene looks great on-screen, it's time to render! For our render, we can opt for the H.264 format in MOV or MP4. The first will give us less color loss, but a little more weight. The second will be lighter and more compatible, but the color may vary a little. For this, we will show you a couple of adjustments that you can apply before rendering so that the color change and weight are optimal in any format chosen.
9m
 3
3Basic installation
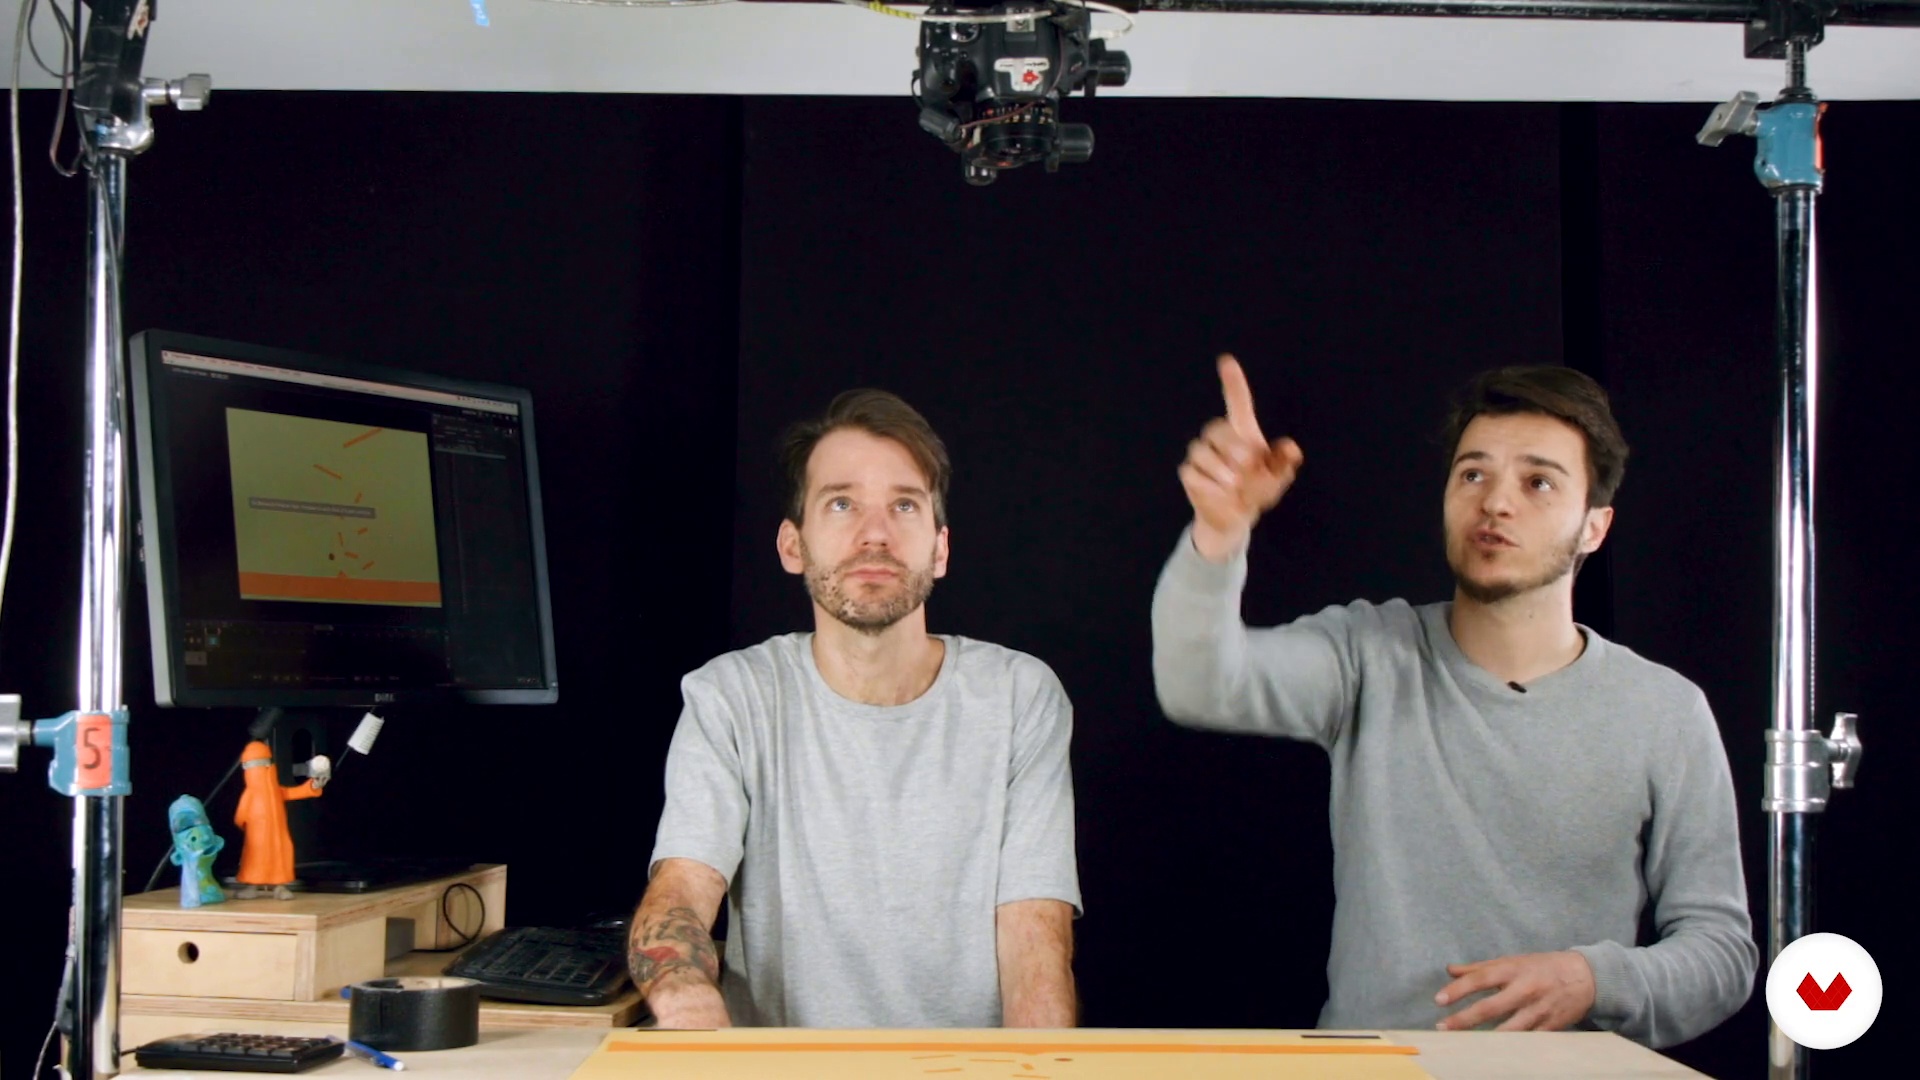
We are going to organize the workspace. Here we present tips and recommendations to have a firm, stable and comfortable set. Then we show you how to download the software, in our case we use the Dragonframe. If you do not have it yet, there is a free trial version that you can use during the course.
9m
 4
4Software operation I
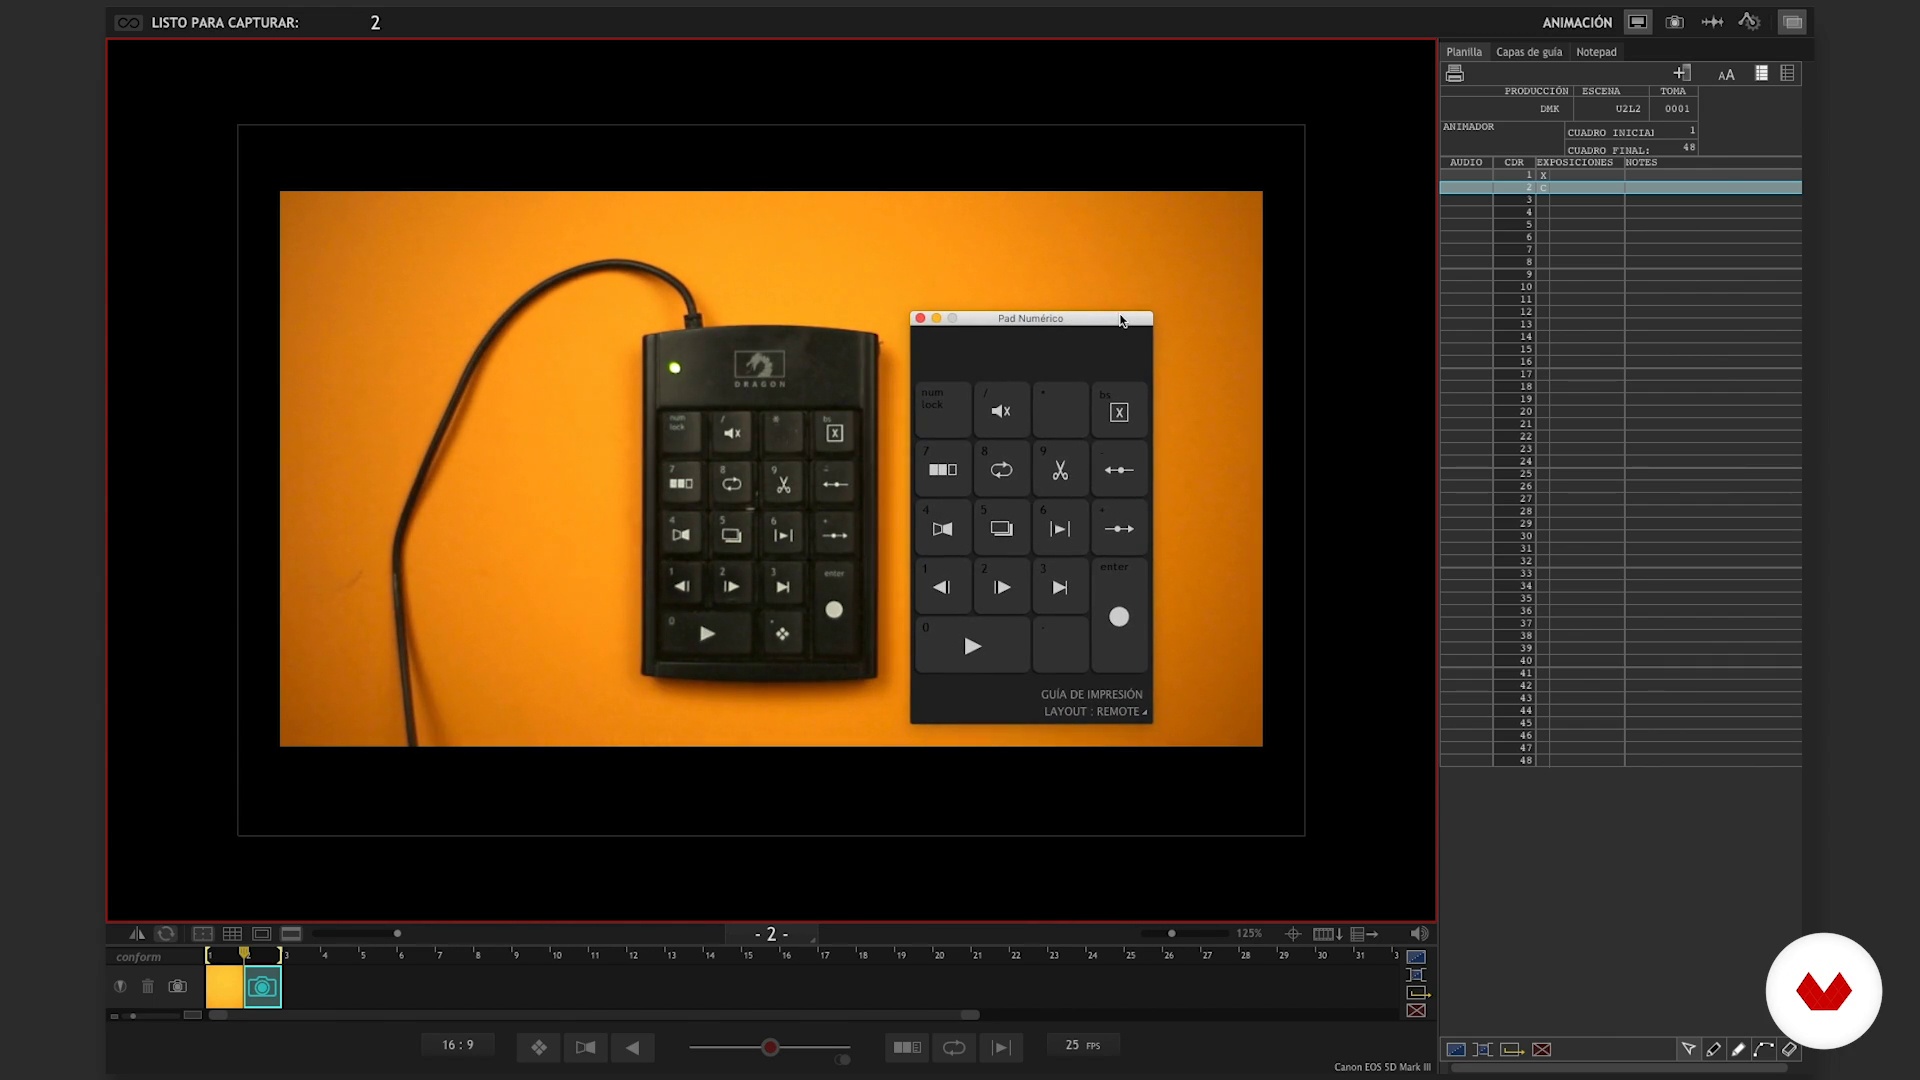
We will briefly review the operation of the software. You will see how to create a new project, set the camera and the main functions of the animation and photography window.
16m
 5
5Operation of software II
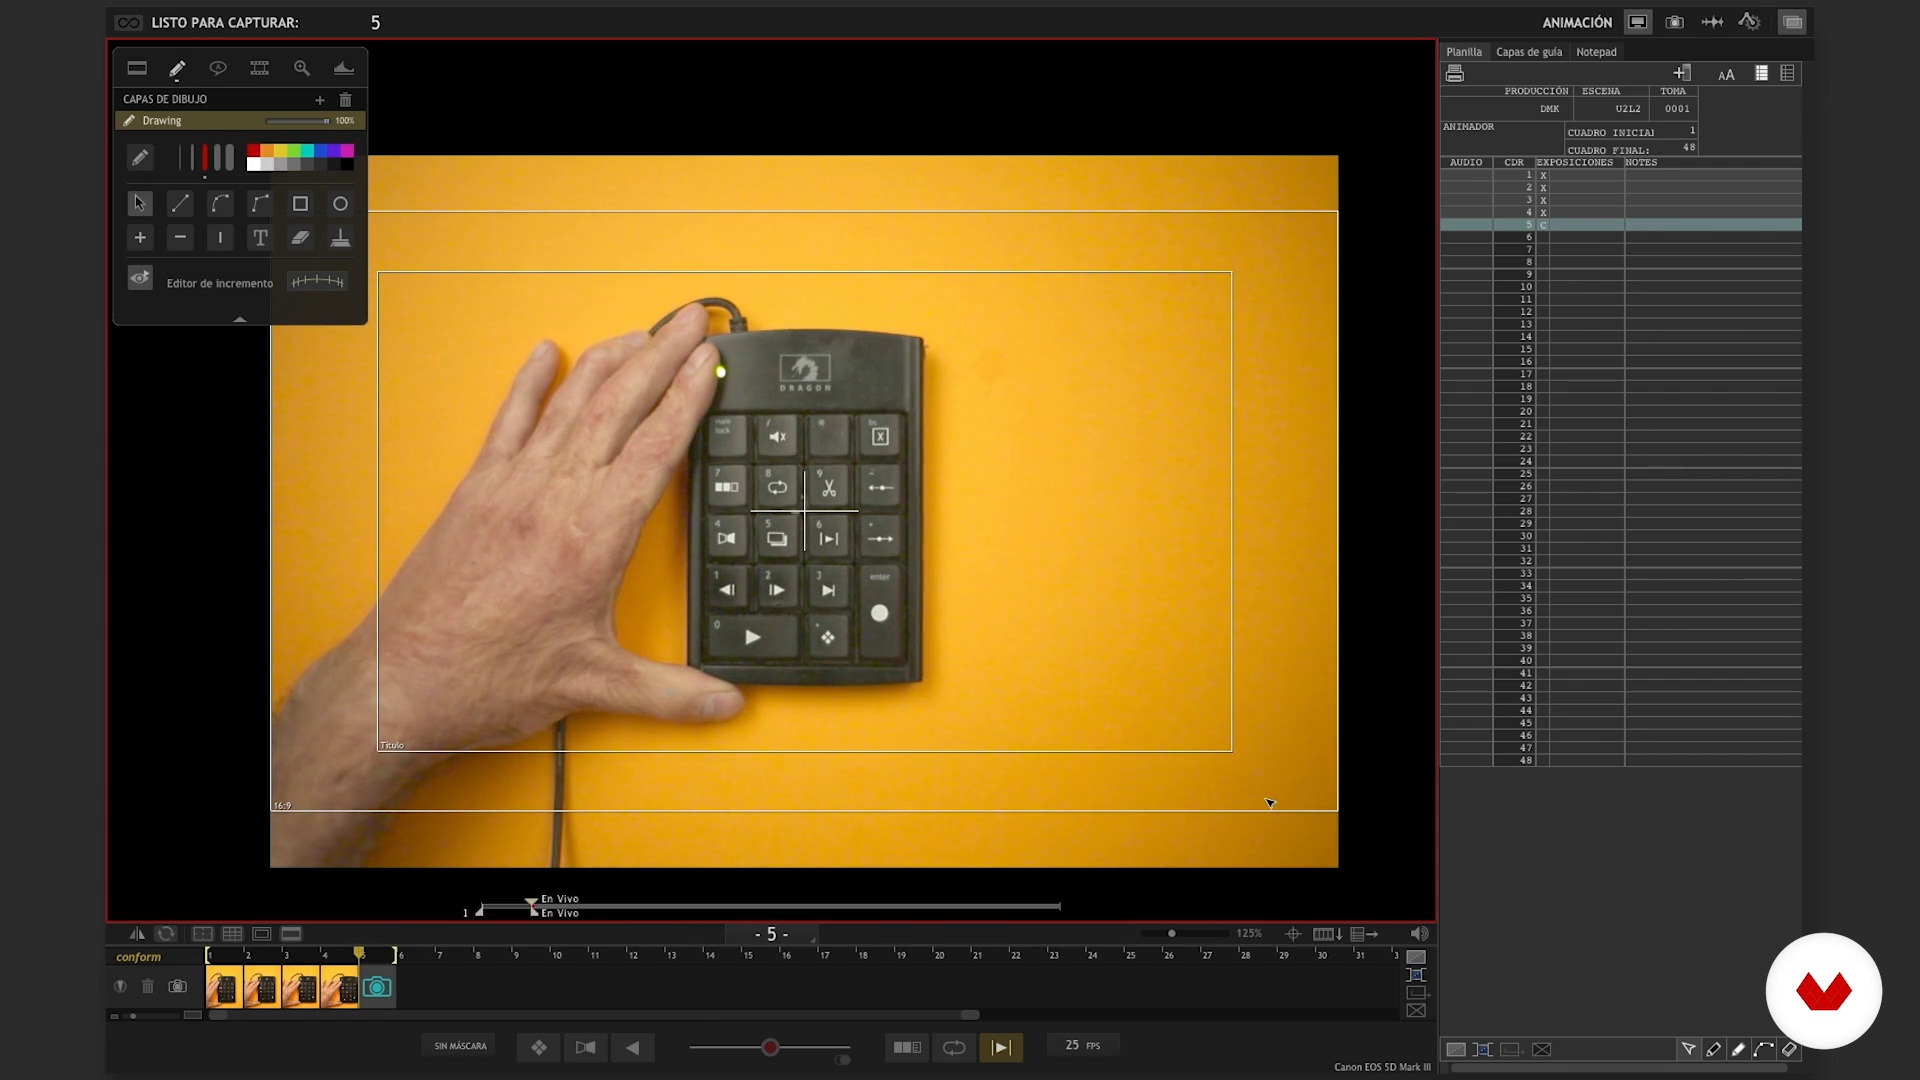
We continue explaining how the Dragonframe works.
15m
 6
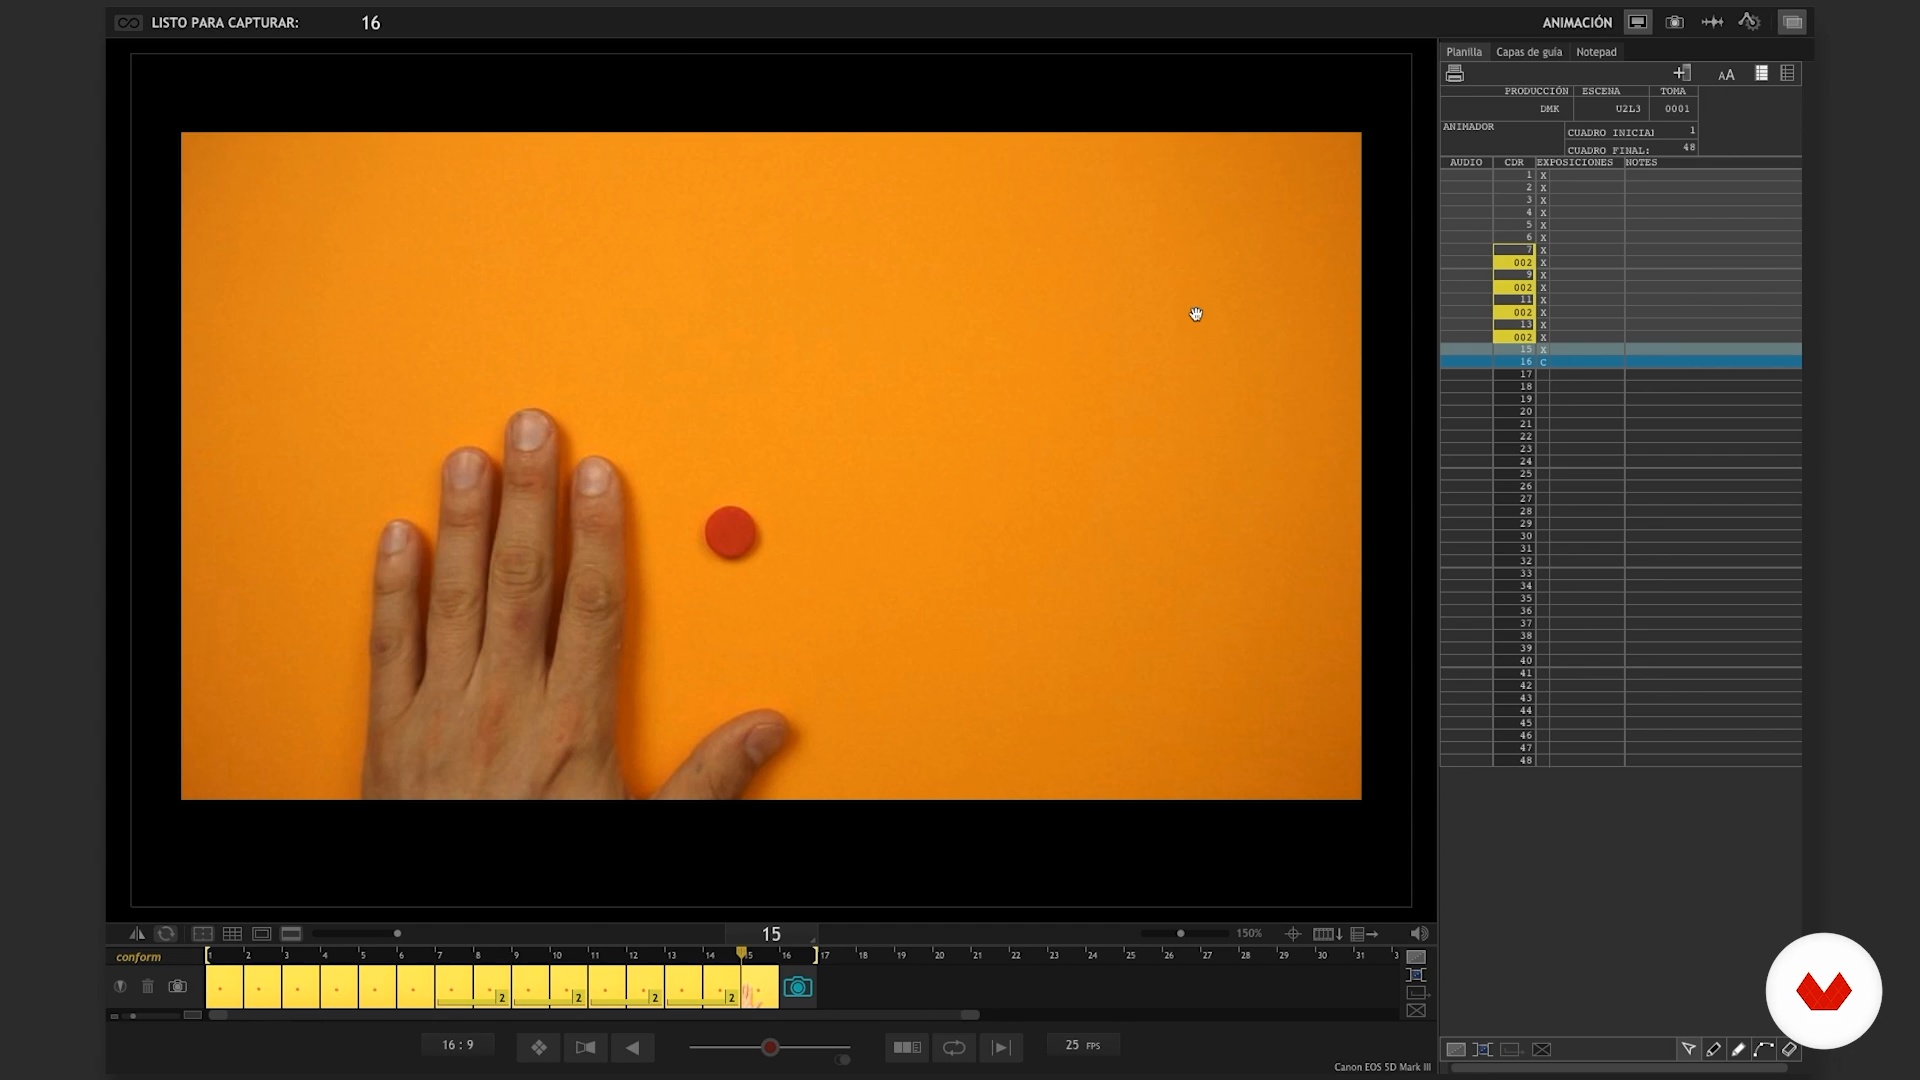
6Software Tips I
In this lesson we will review more advanced functions of the Dragonframe, we will share small tricks and helps so you can get the best out of the software. You will see the use of virtual holds, multiple exposures and exports among other things. Here it gets good.
10m
 7
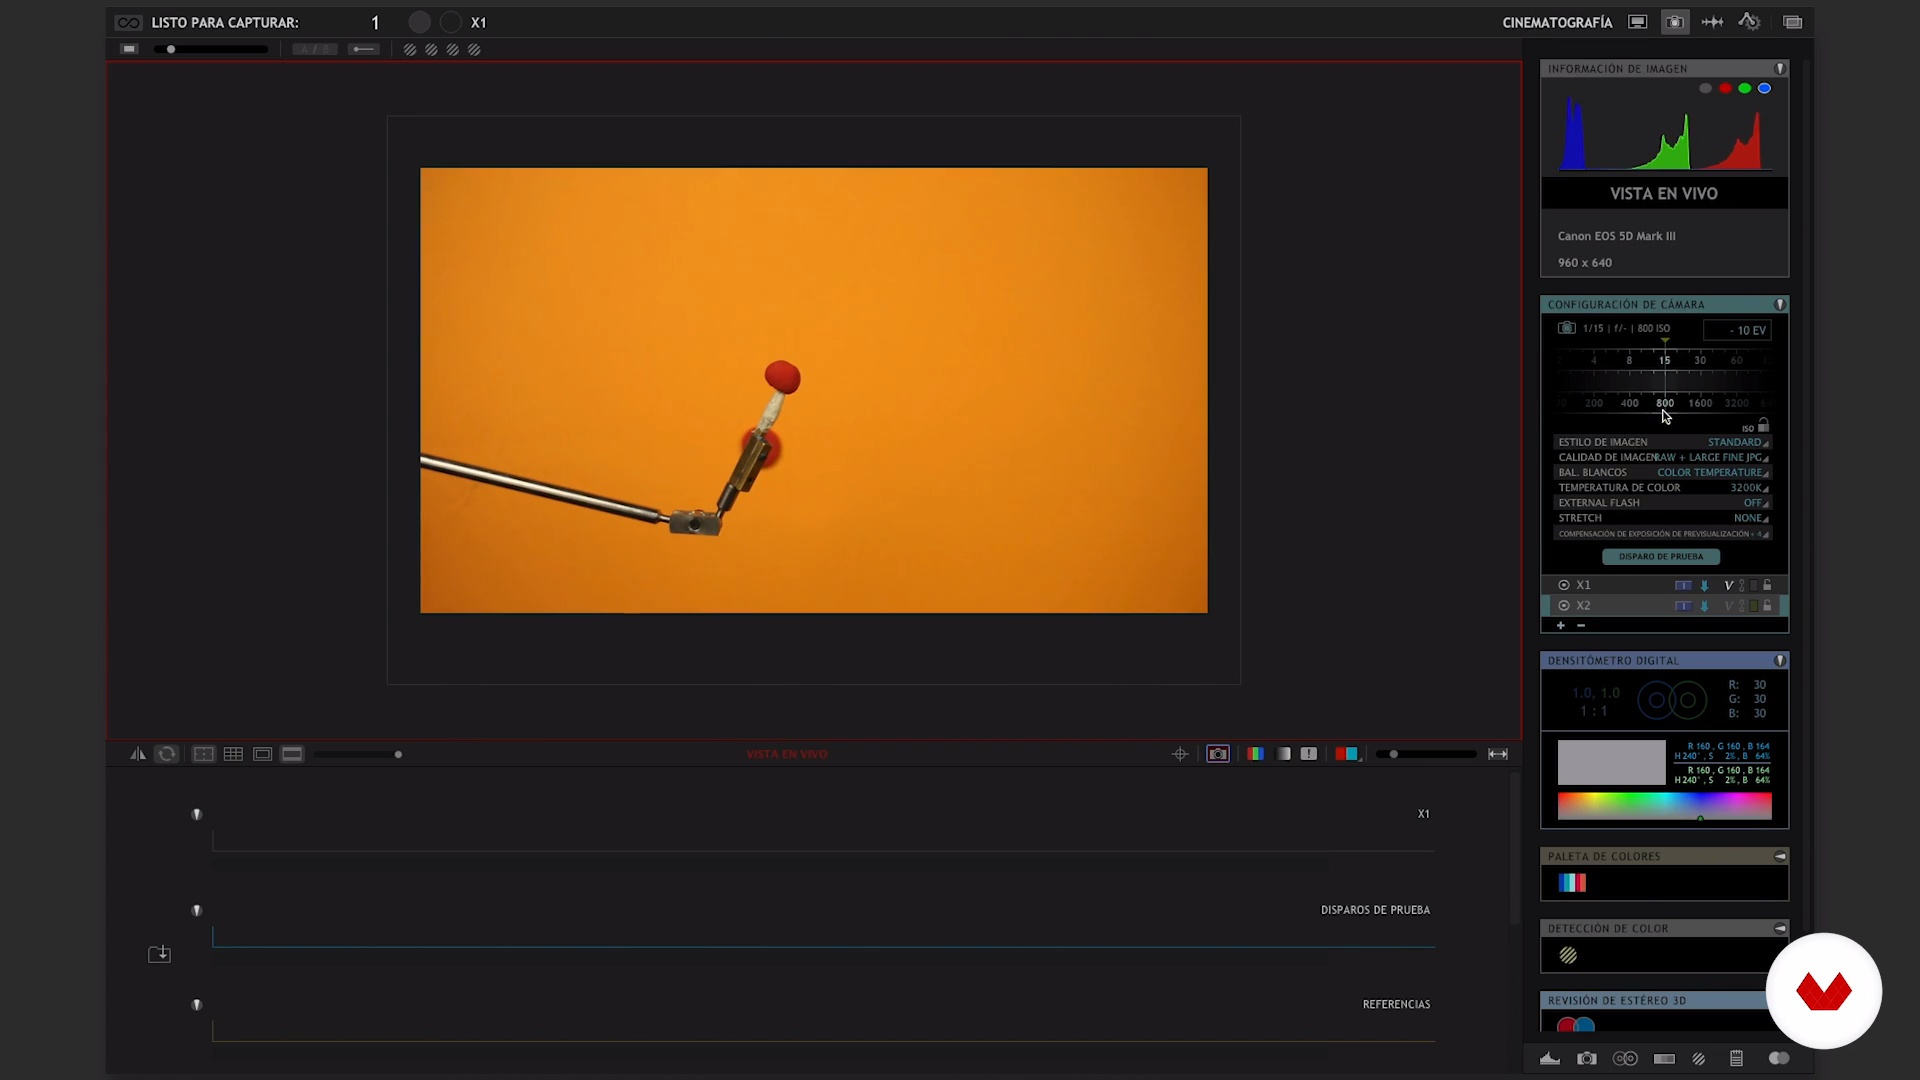
7Software Tips II
In this lesson we continue with the Dragonframe tips.
15m
 8
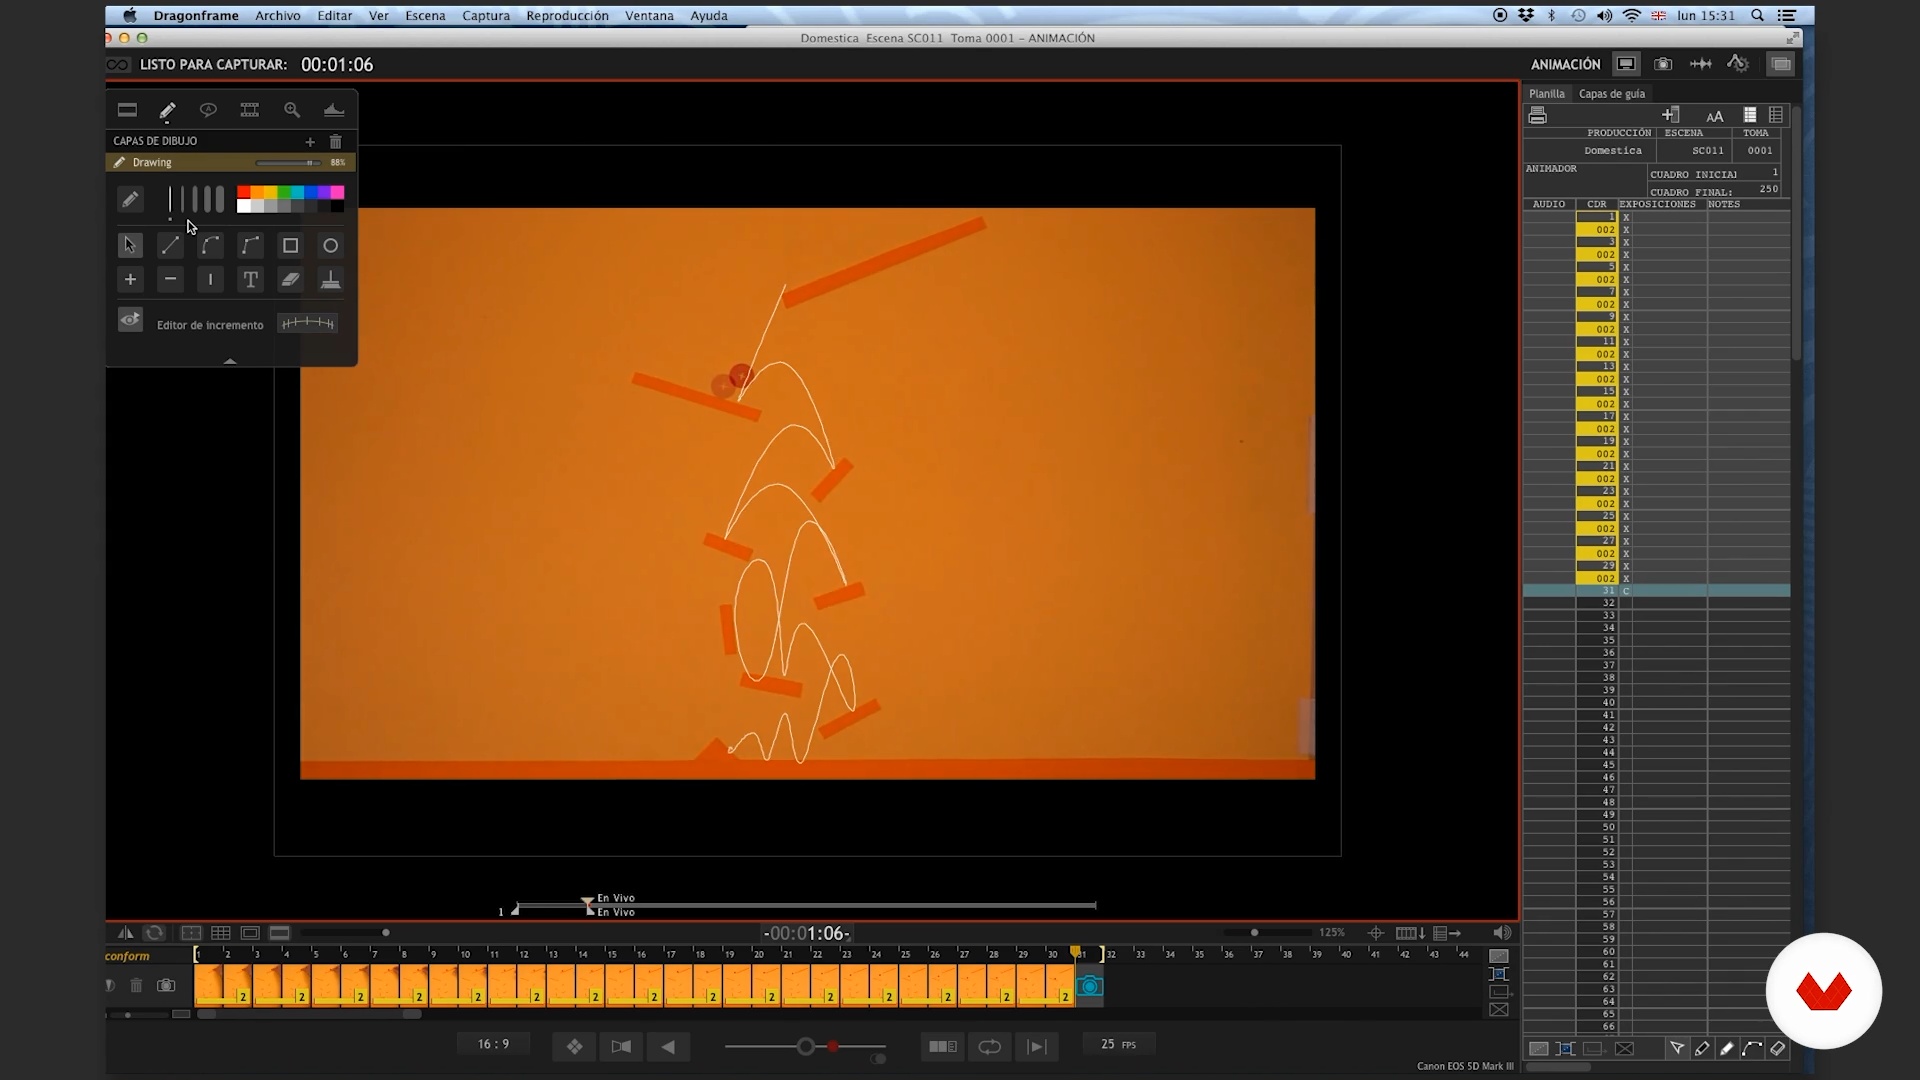
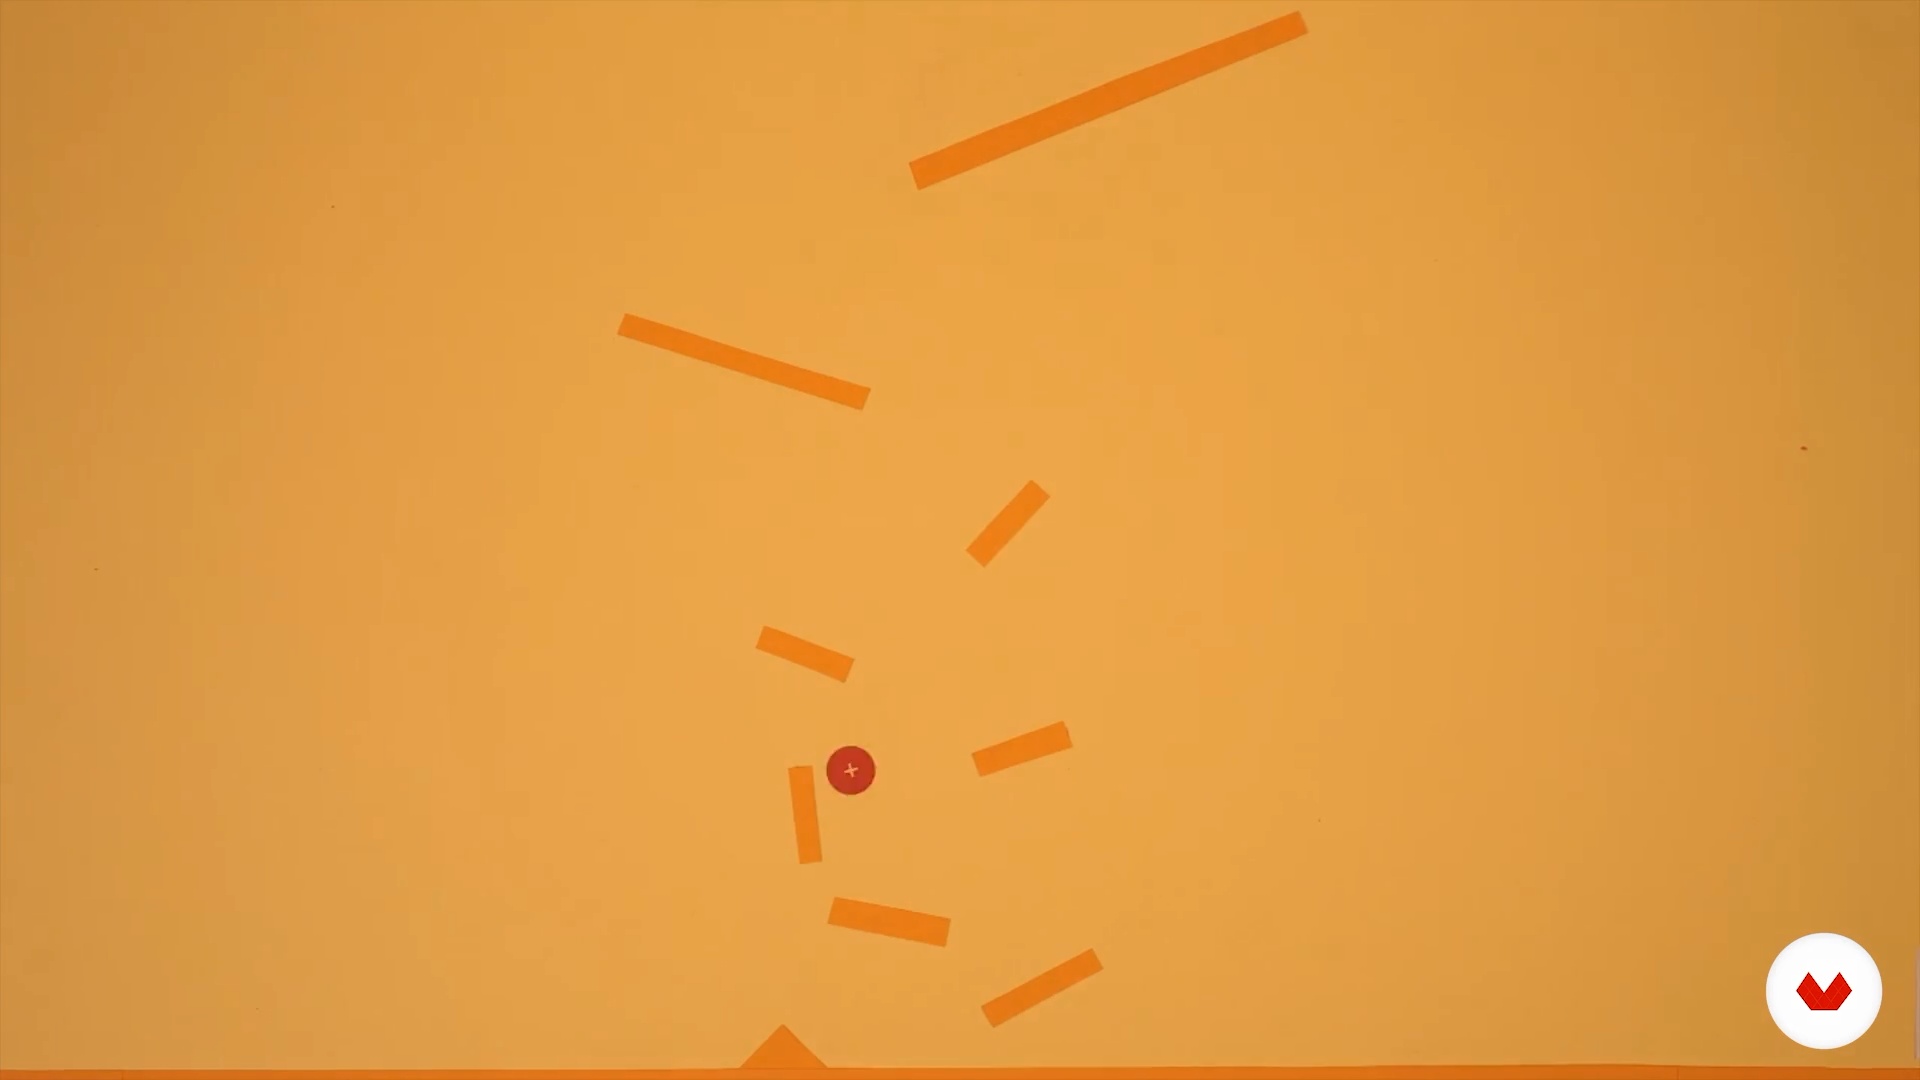
8Rebounds I
You are ready? In this first lesson we will bounce a plasticine ball in a labyrinth of steps taking into account the notions of gravity and inertia. Start playing!
24m
 9
9Rebound II
We continue with the bouncing exercise of our ball.
20m
 10
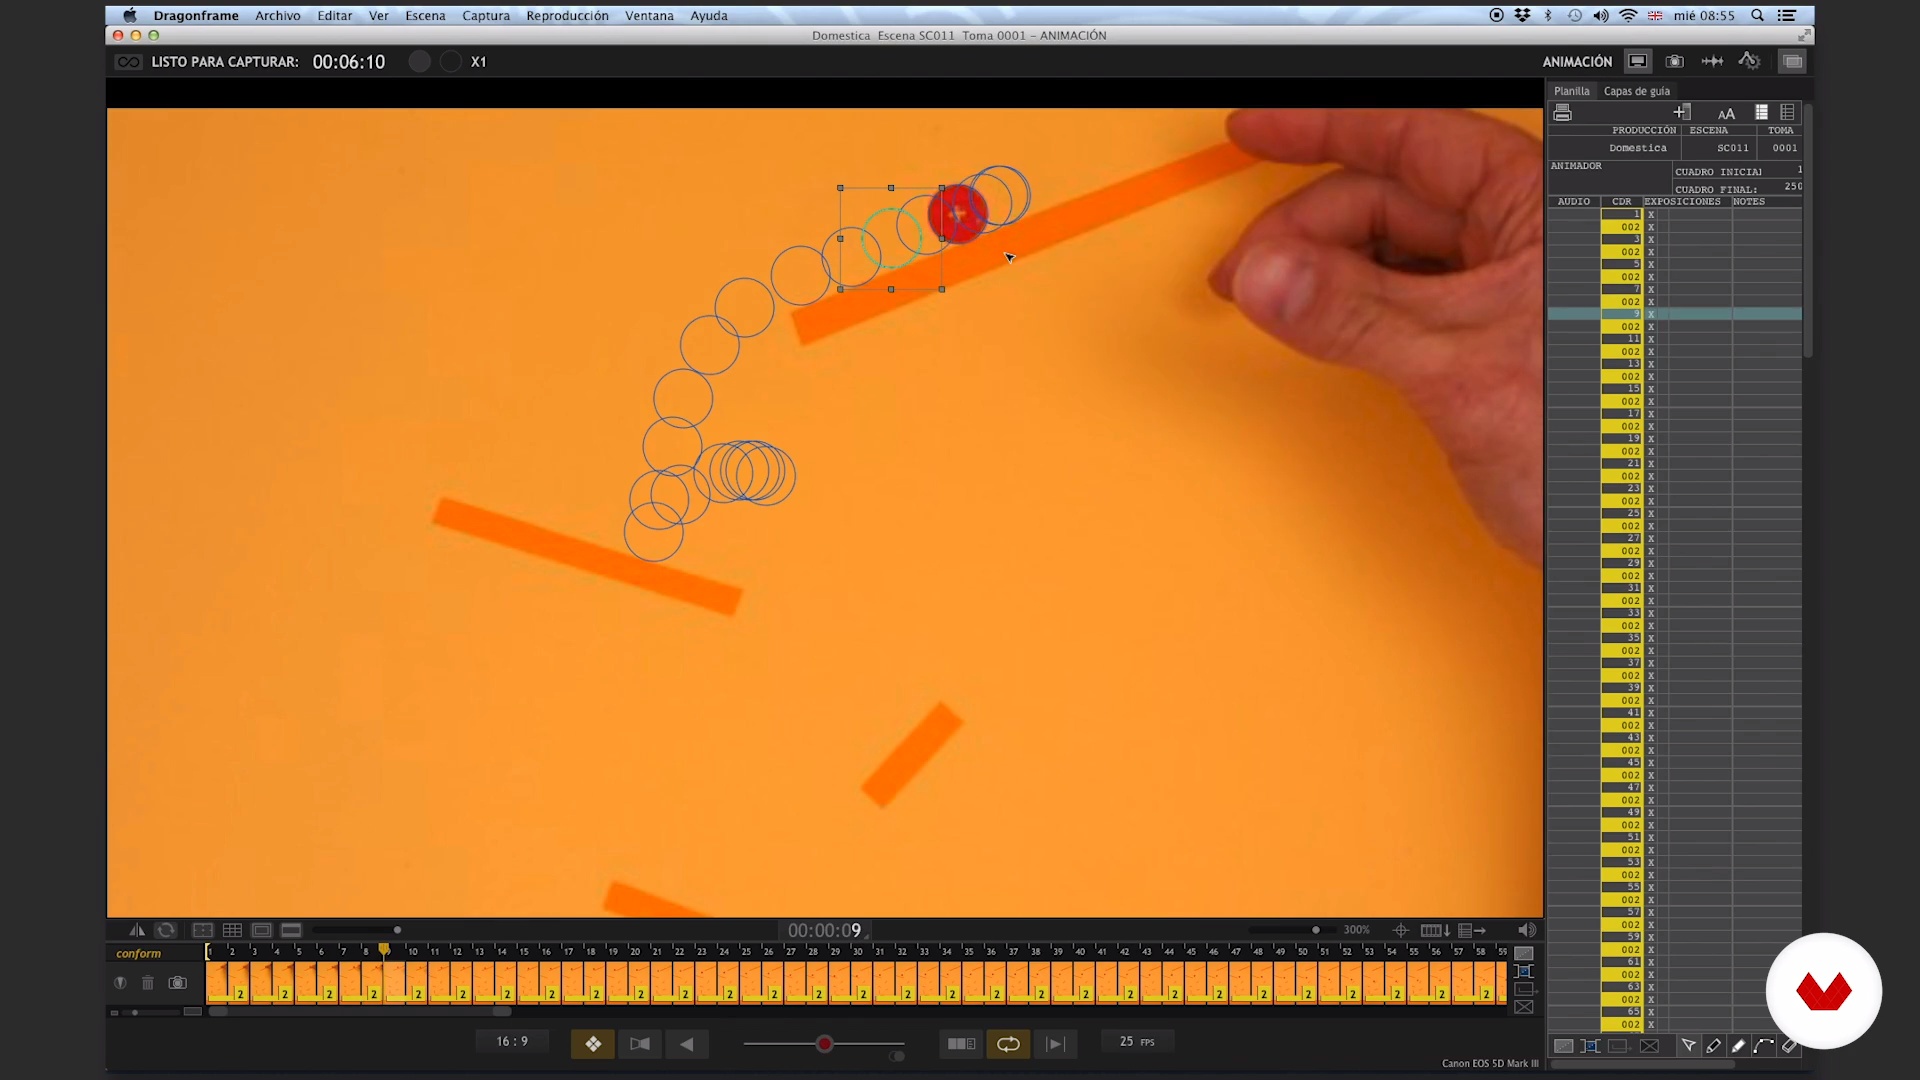
10Analysis
All good work takes its analysis. In this lesson we will analyze the curves of what we have just done. This is a very important part of learning because it is where we fix the knowledge. Therefore, we will make that analysis and propose to redo the exercise.
25m
 11
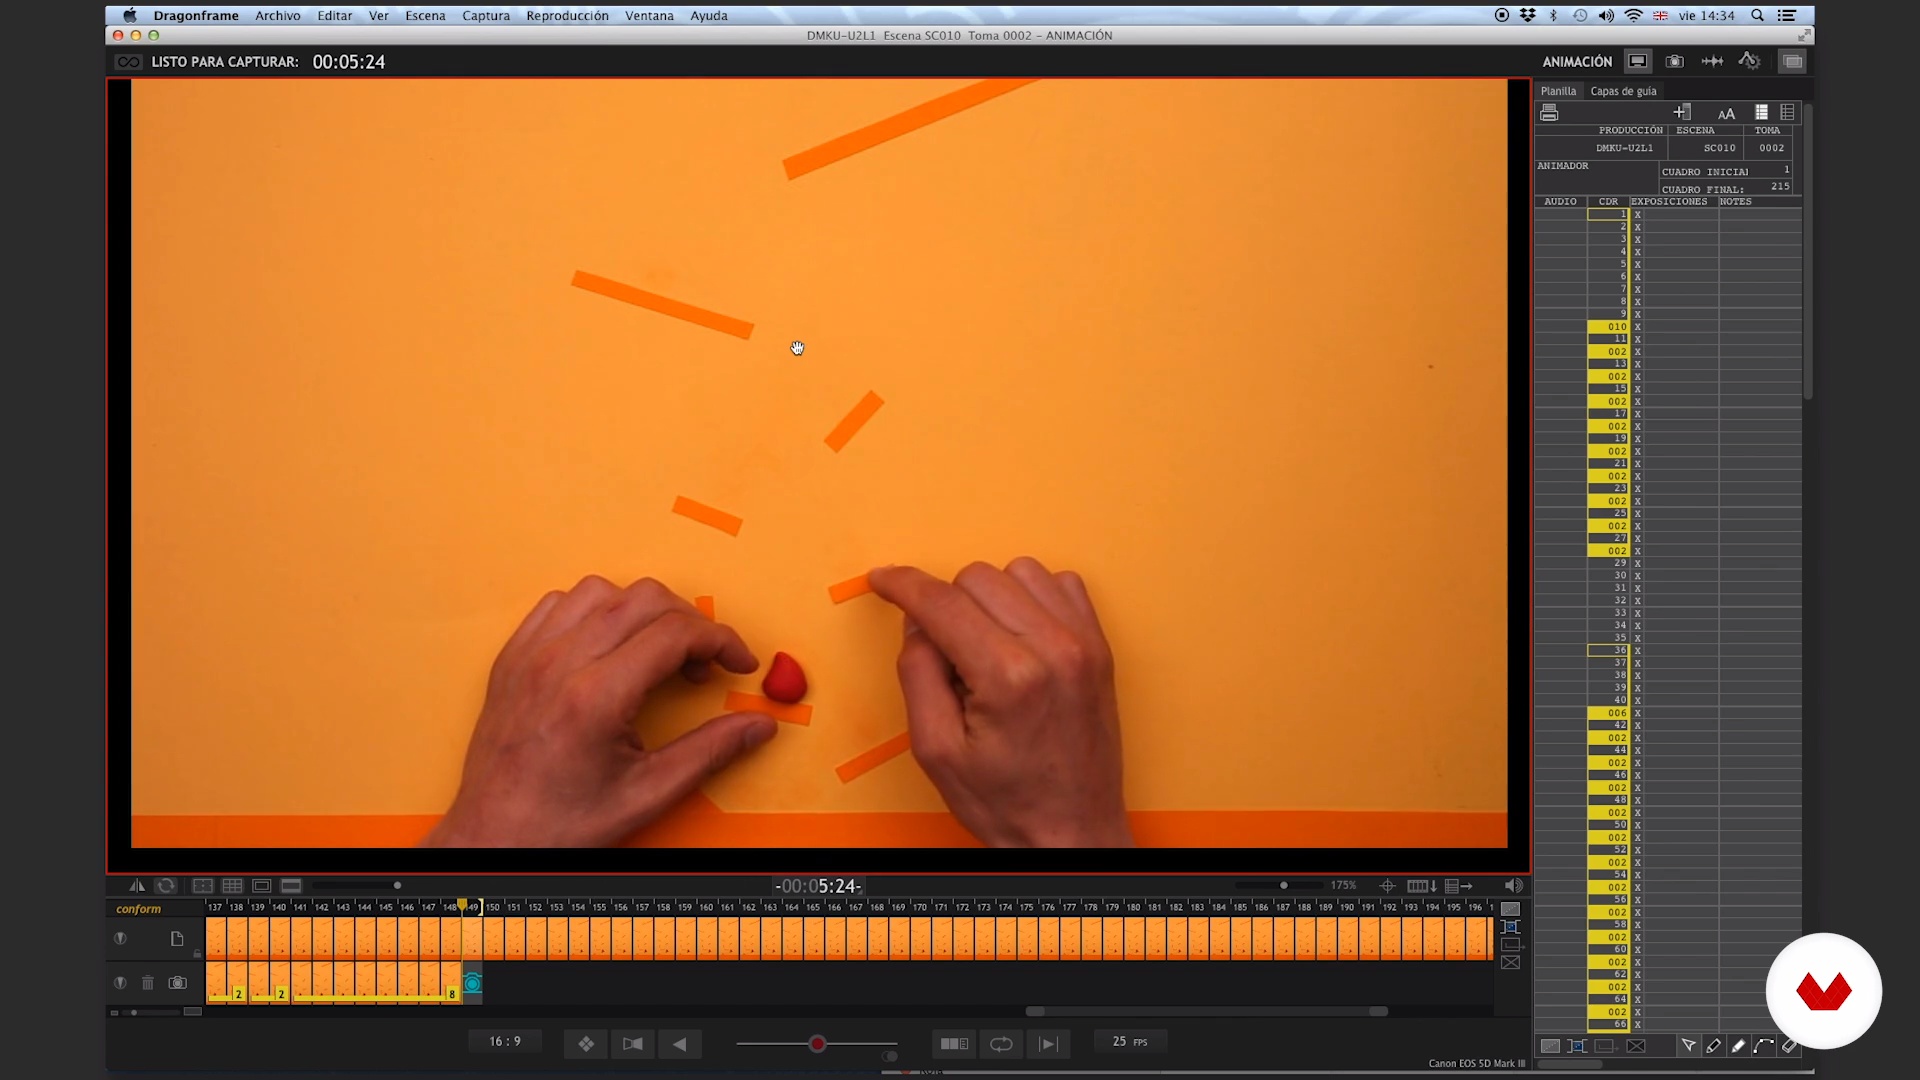
11Will
Here we redouble the bet and add another force to our animation, the will. This time, we will make our plasticine ball walk, jump and climb in a maze with a life of its own.
27m
 12
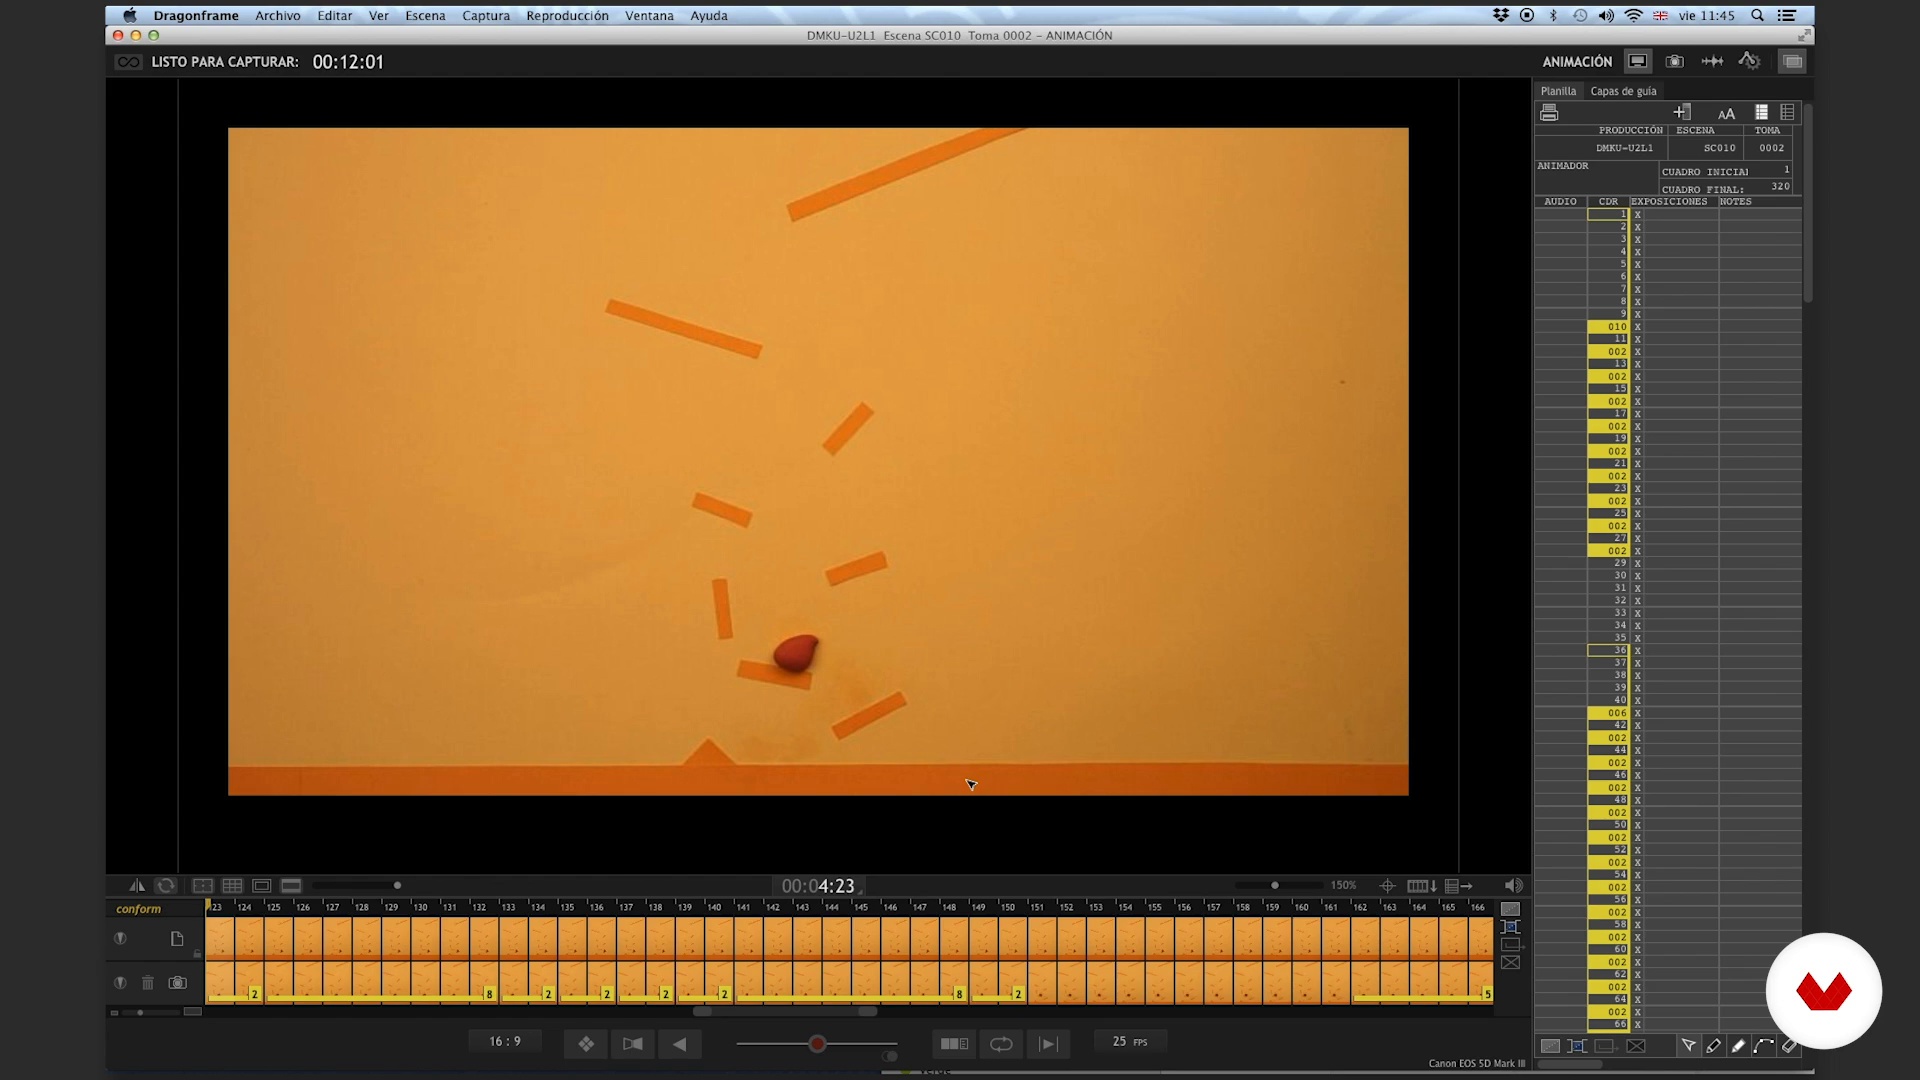
12Analysis
Again it is fundamental to see what we did and to apply all our attention to a thorough analysis. To do this we will see some key places of the exercise, frame by frame, and review some concepts.
11m
 13
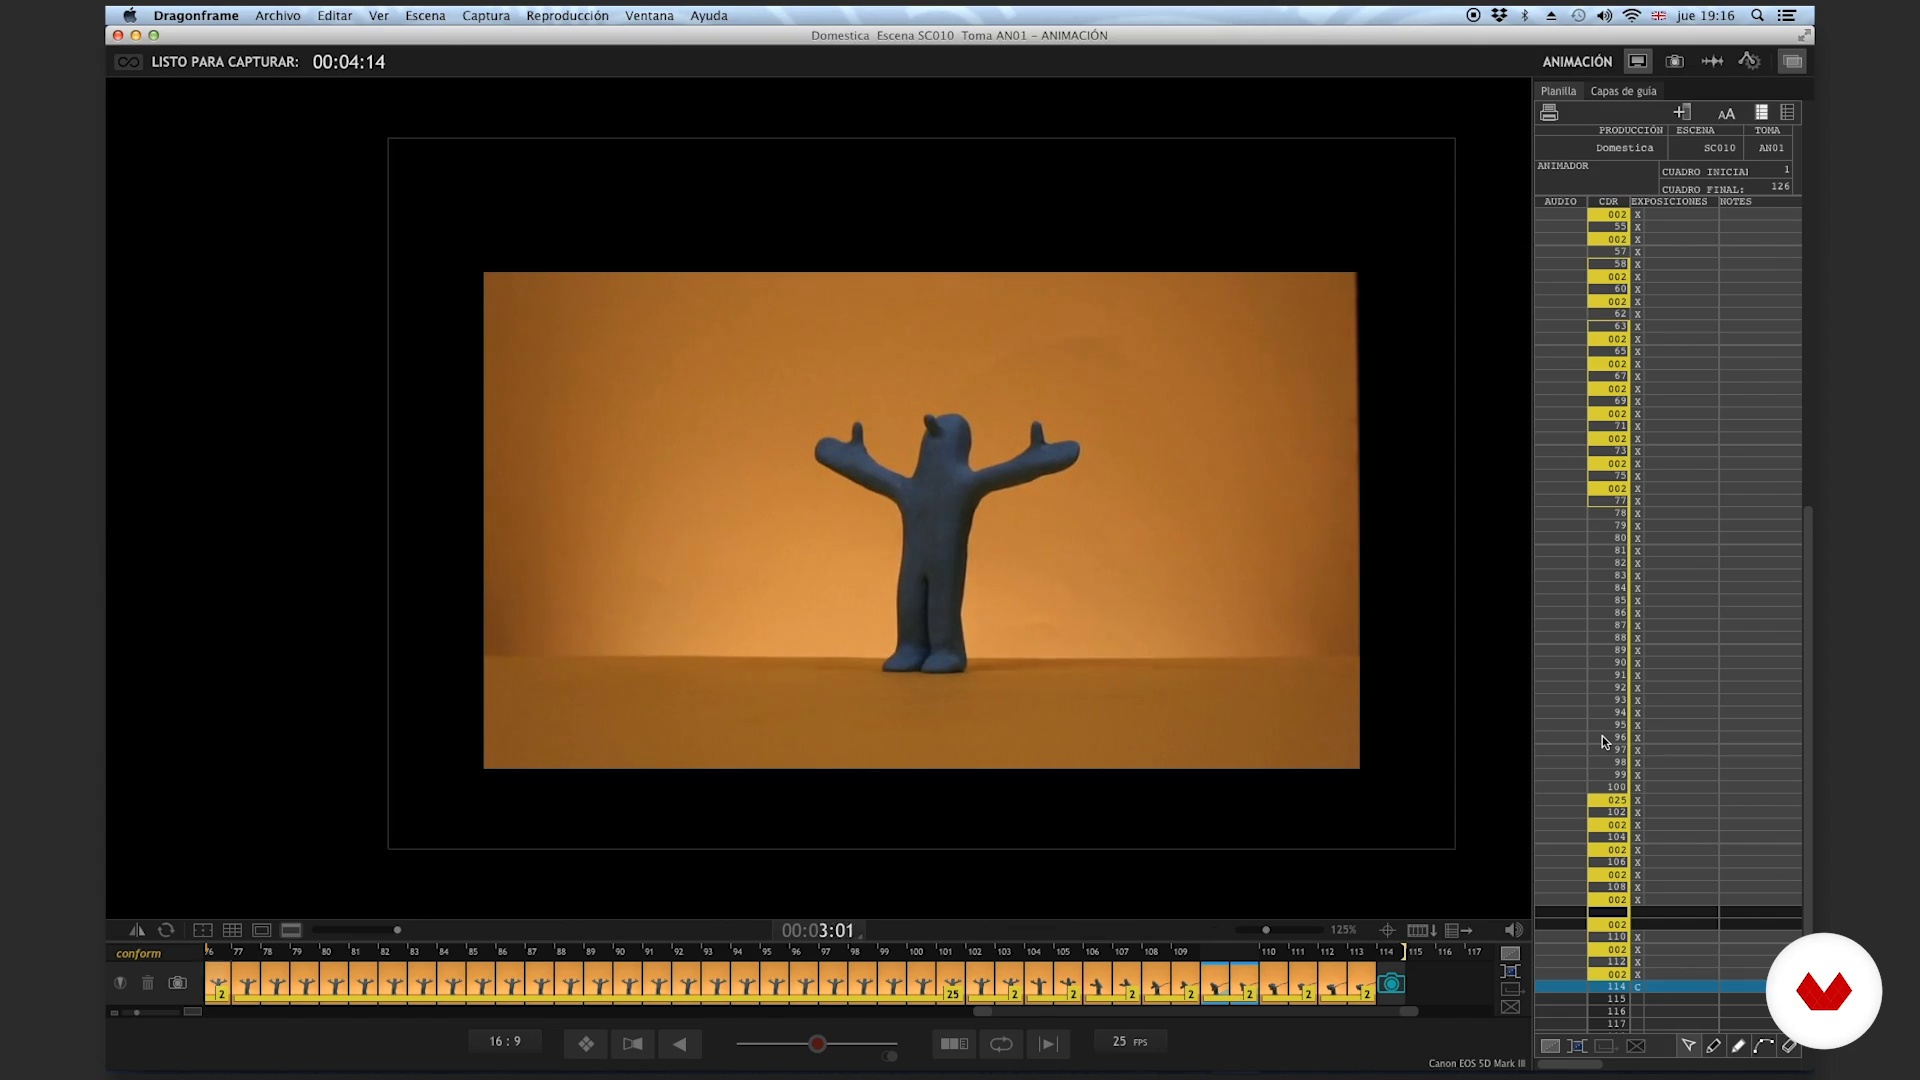
13Transformation
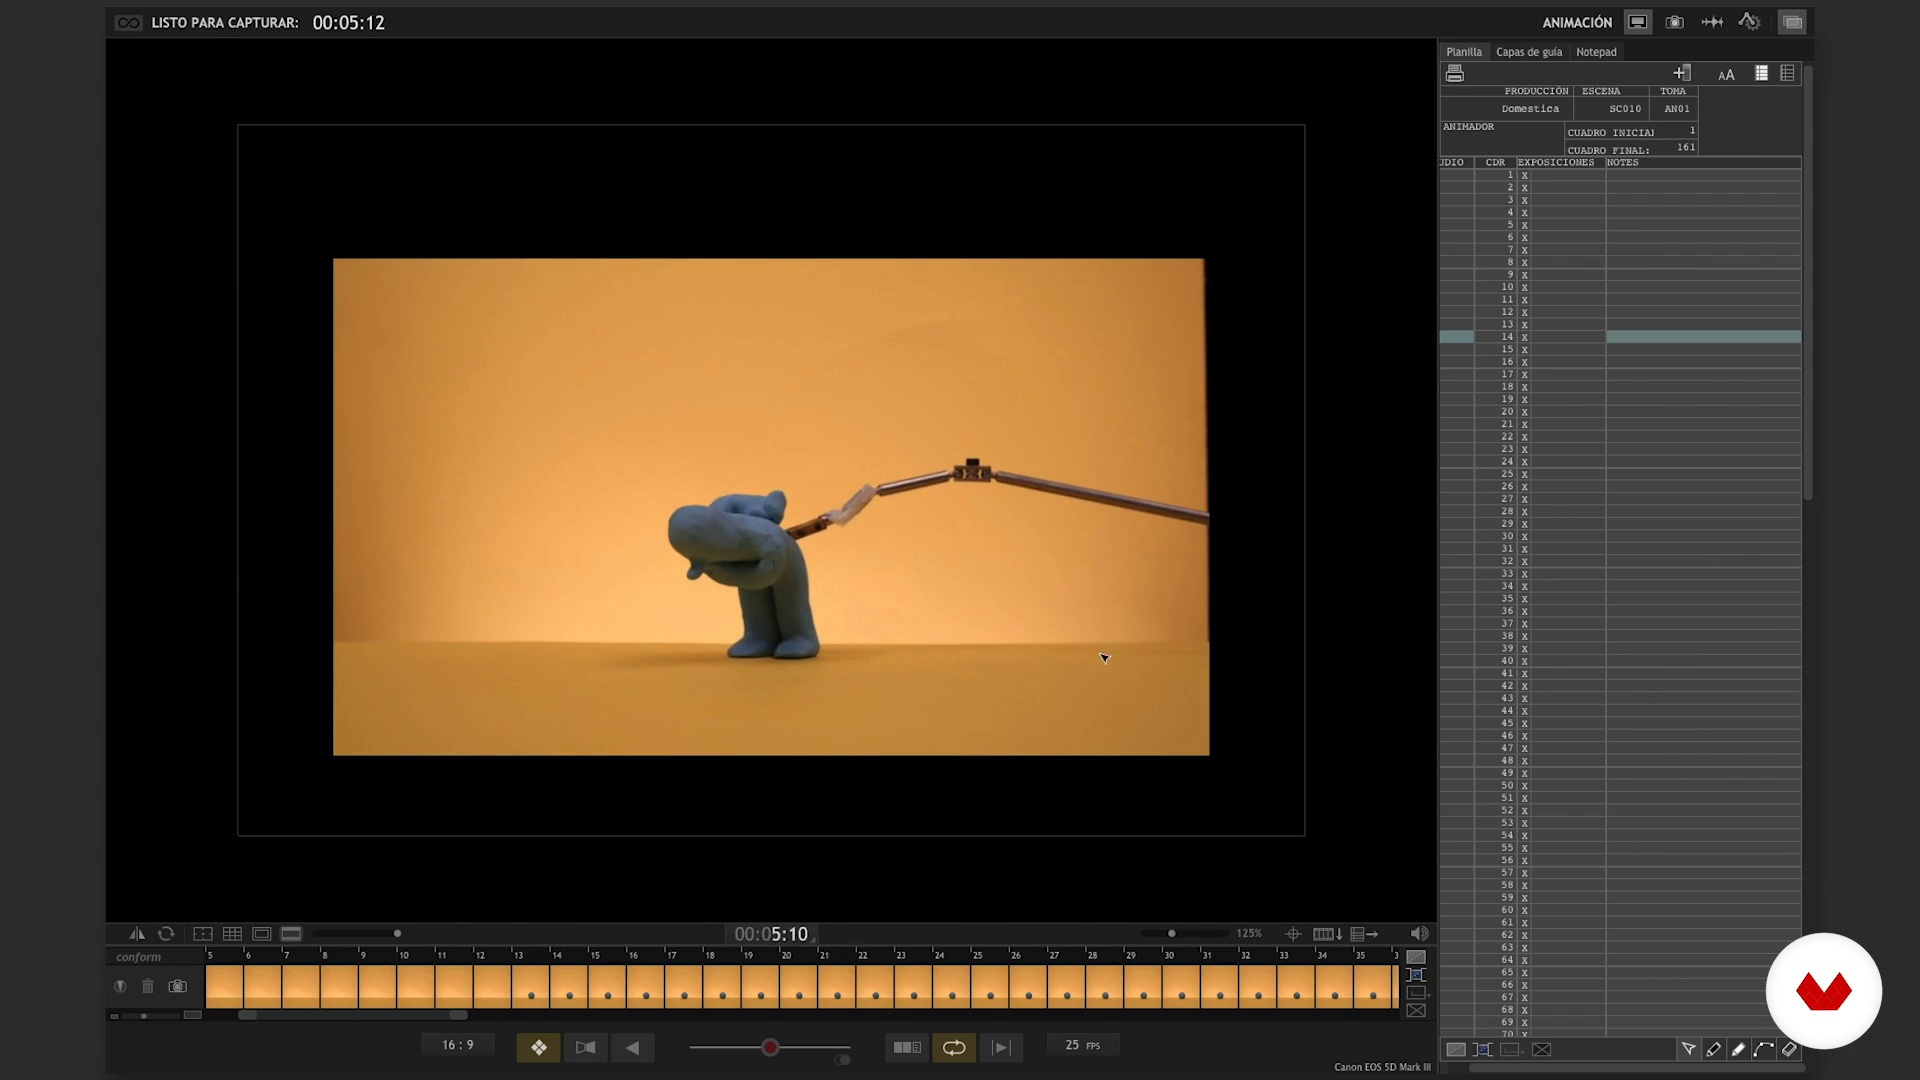
We arrive at the unit's last lesson and it gets more and more complex. For this instance we will do a couple of quick transformation exercises. We will use a ball of plasticine that allows us to change it frame by frame, but we will also incorporate replacements (pre-made modeling in the same way) and other resources. It's going to be fun and challenging because we get off the plane and deal with gravity.
26m
 14
14Analysis
We will repeat it until we are tired, we have to analyze what we did. Here is our analysis of what we encouraged in the previous lesson. In this instance, it is essential to recognize the strengths and the points to improve, so you can see what times it is necessary to repeat in order to reach the result we expect.
5m
 15
15Plan the animation
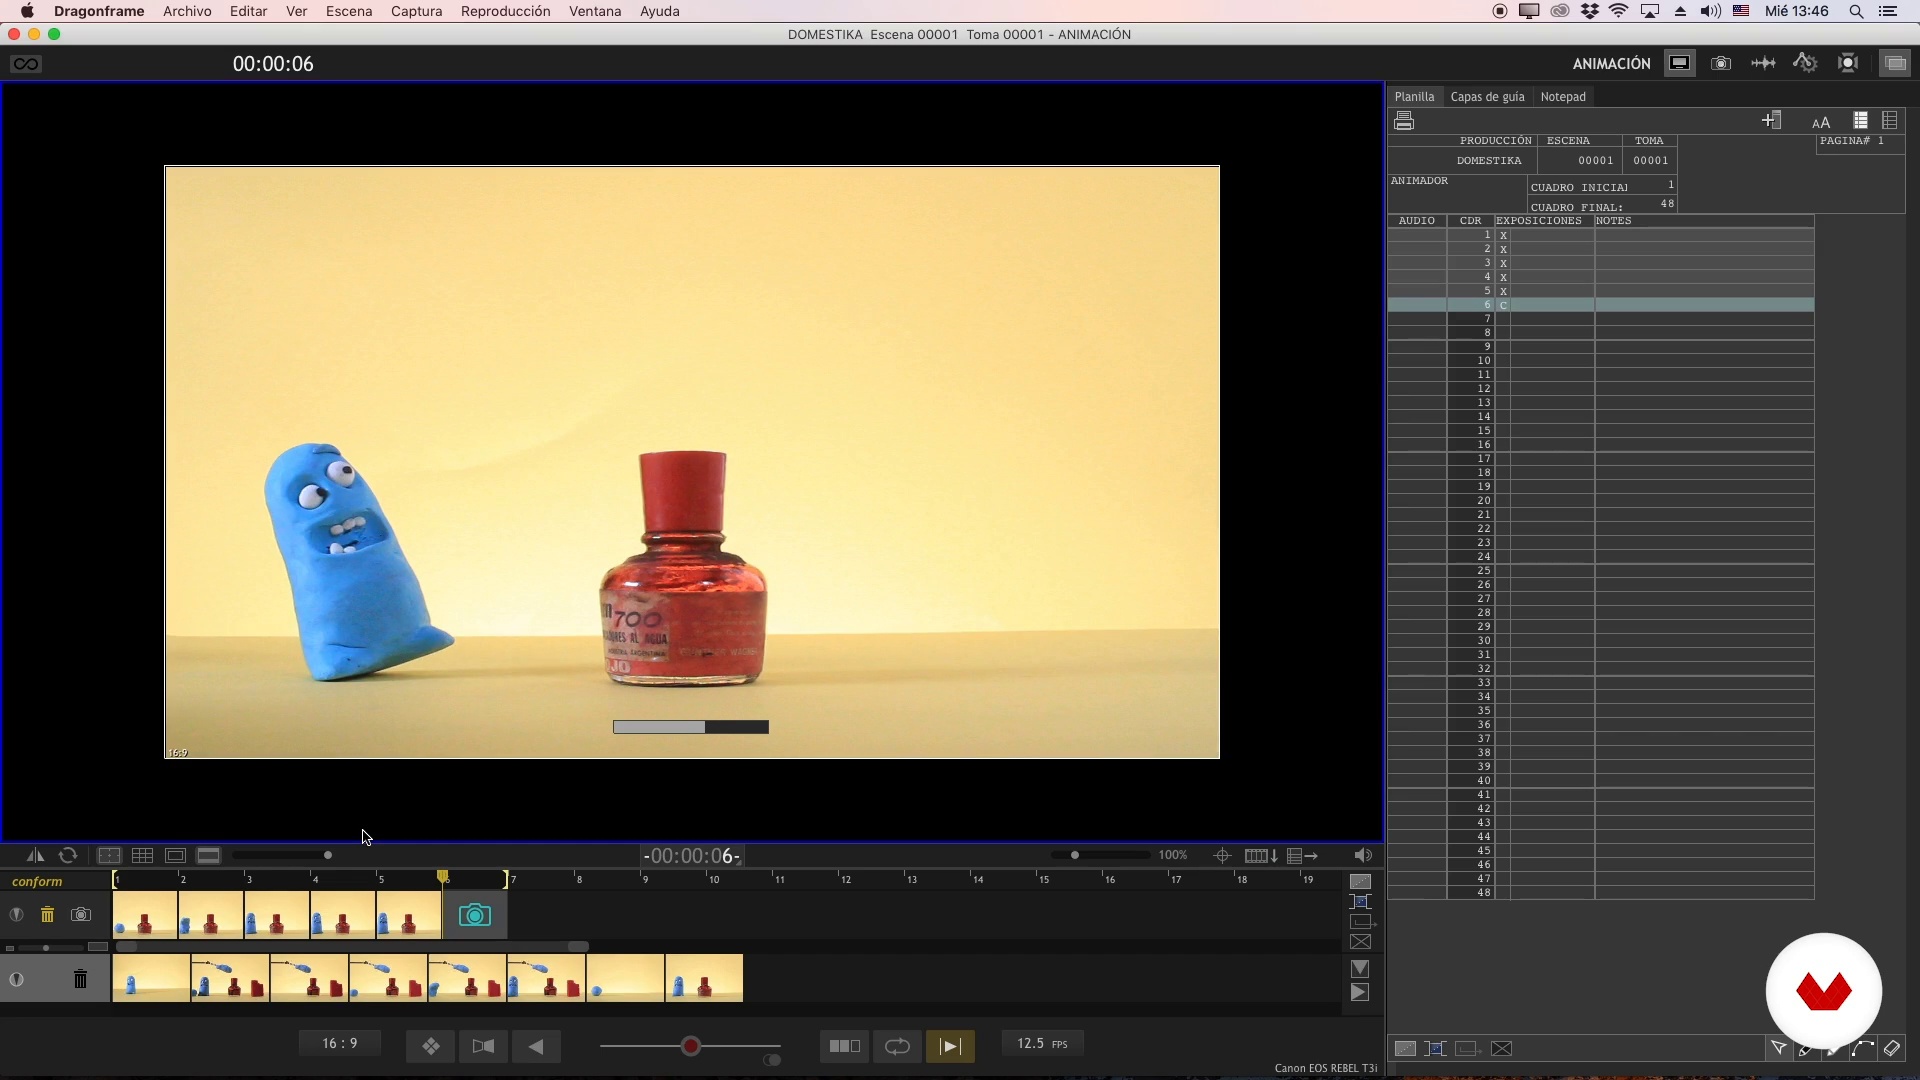
In this lesson we will see how to create the tips of an animation and how to set the timing to have a guide of where and when to arrive. Here the idea is already at stake to animate and its armed.
12m
 16
16The time of the final judgment I
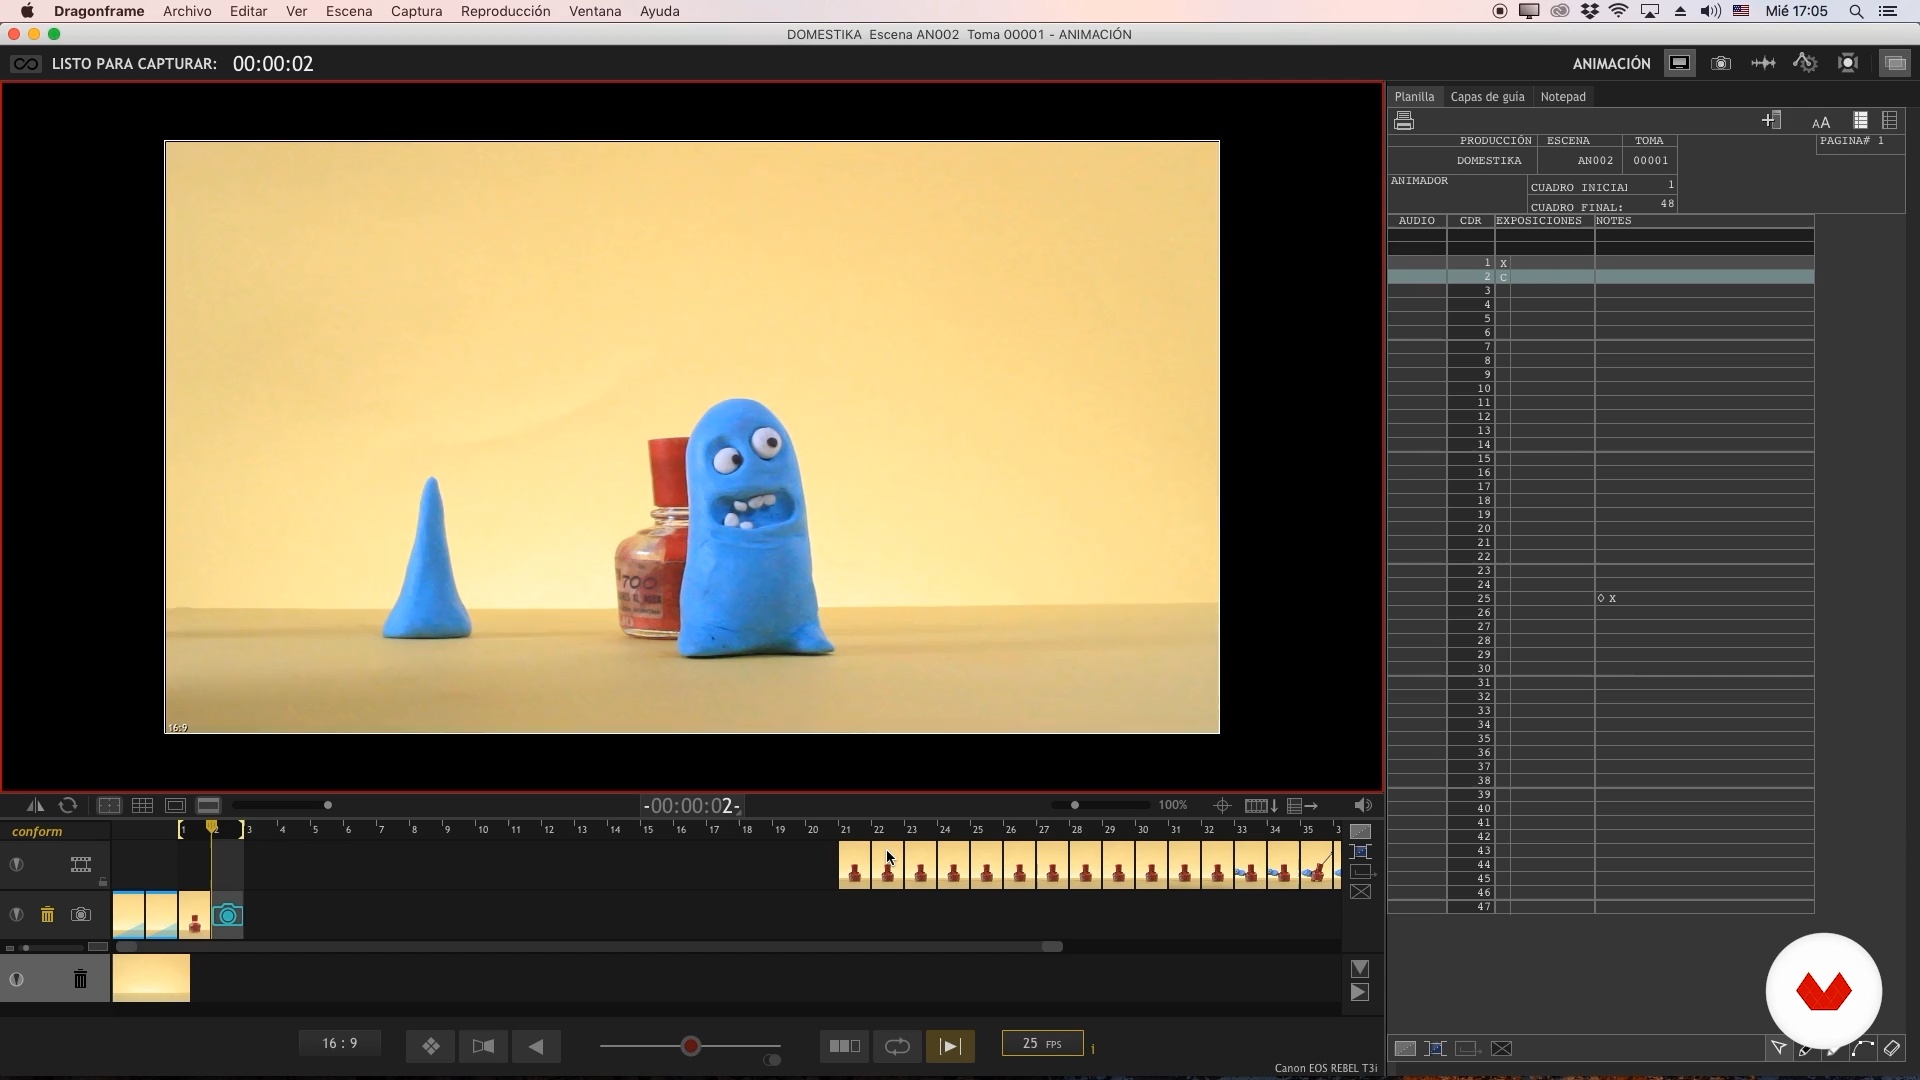
We are nearing the end of our course and we continue to encourage. As we told you at the beginning, this has a floor but not a roof. We share how to make and animate an 11-second curtain.
17m
 17
17The hour of final judgment II
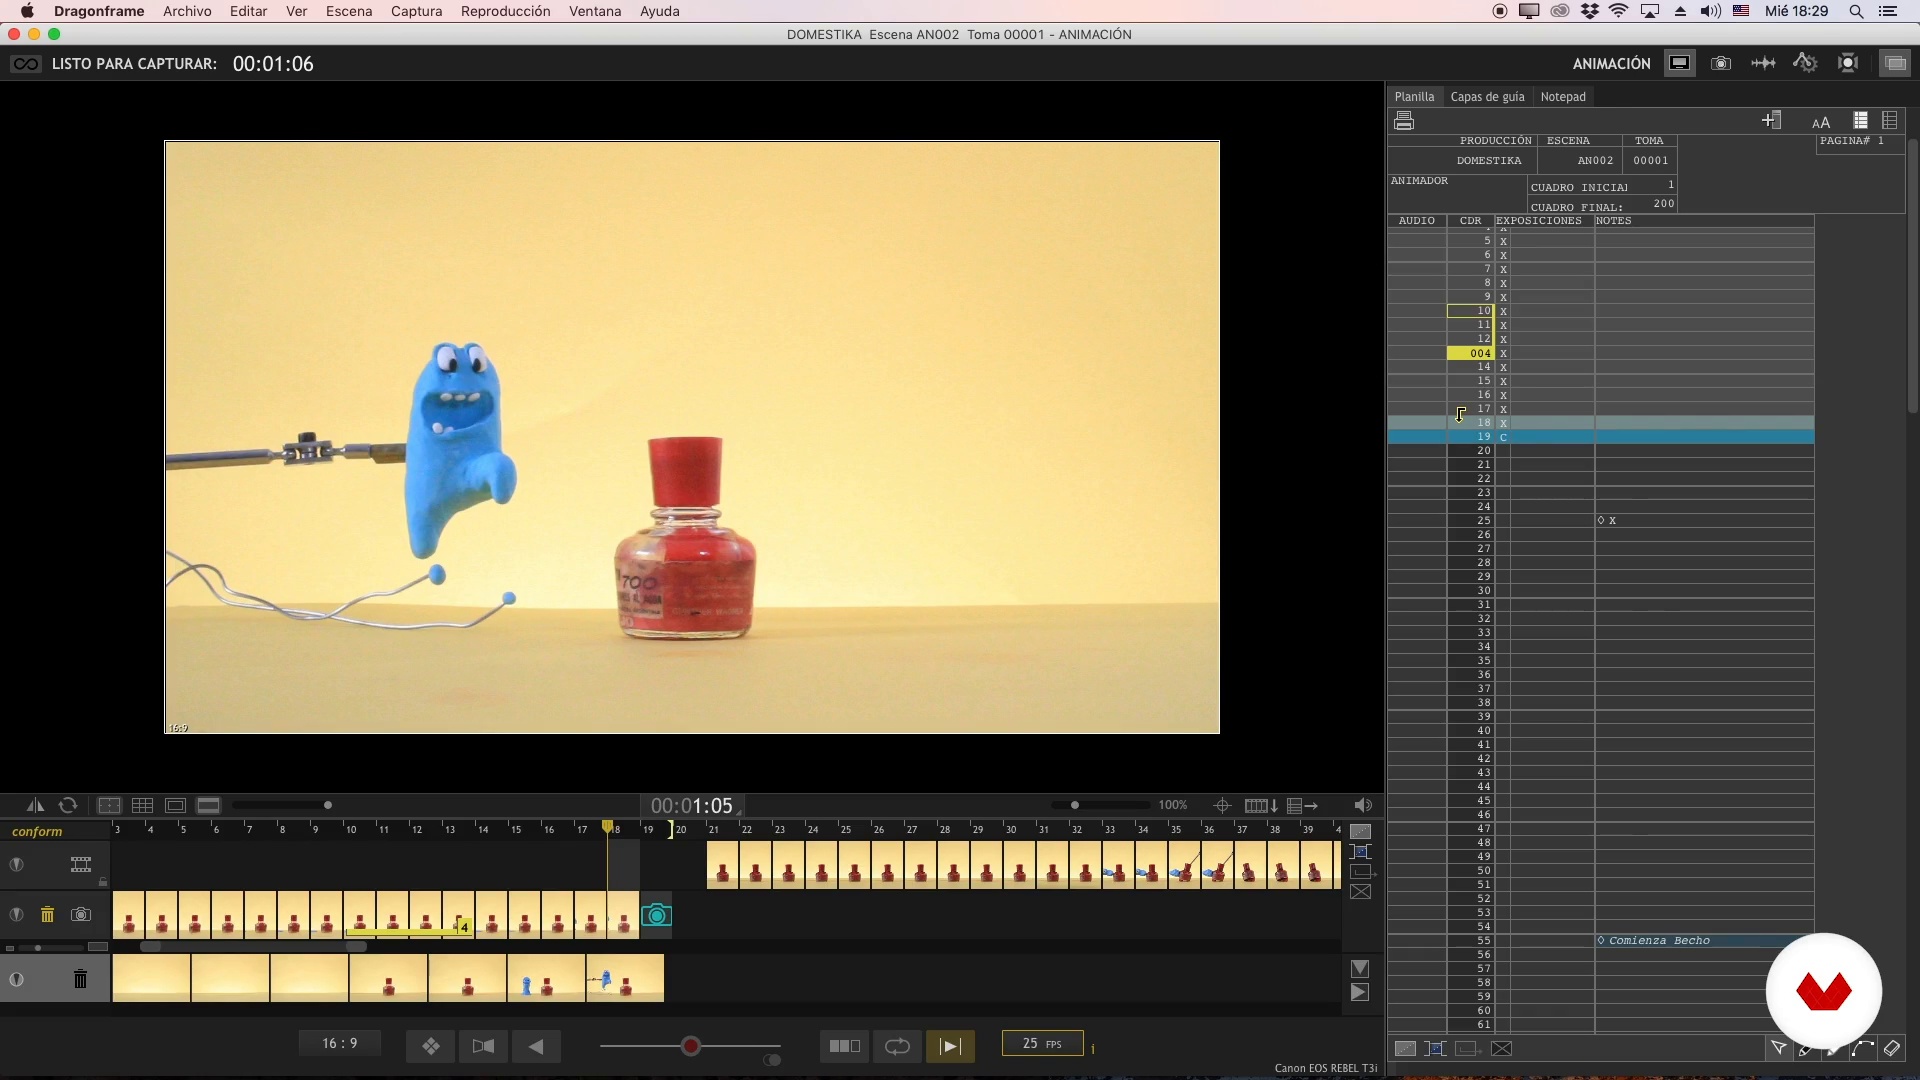
We continue with the curtain.
18m
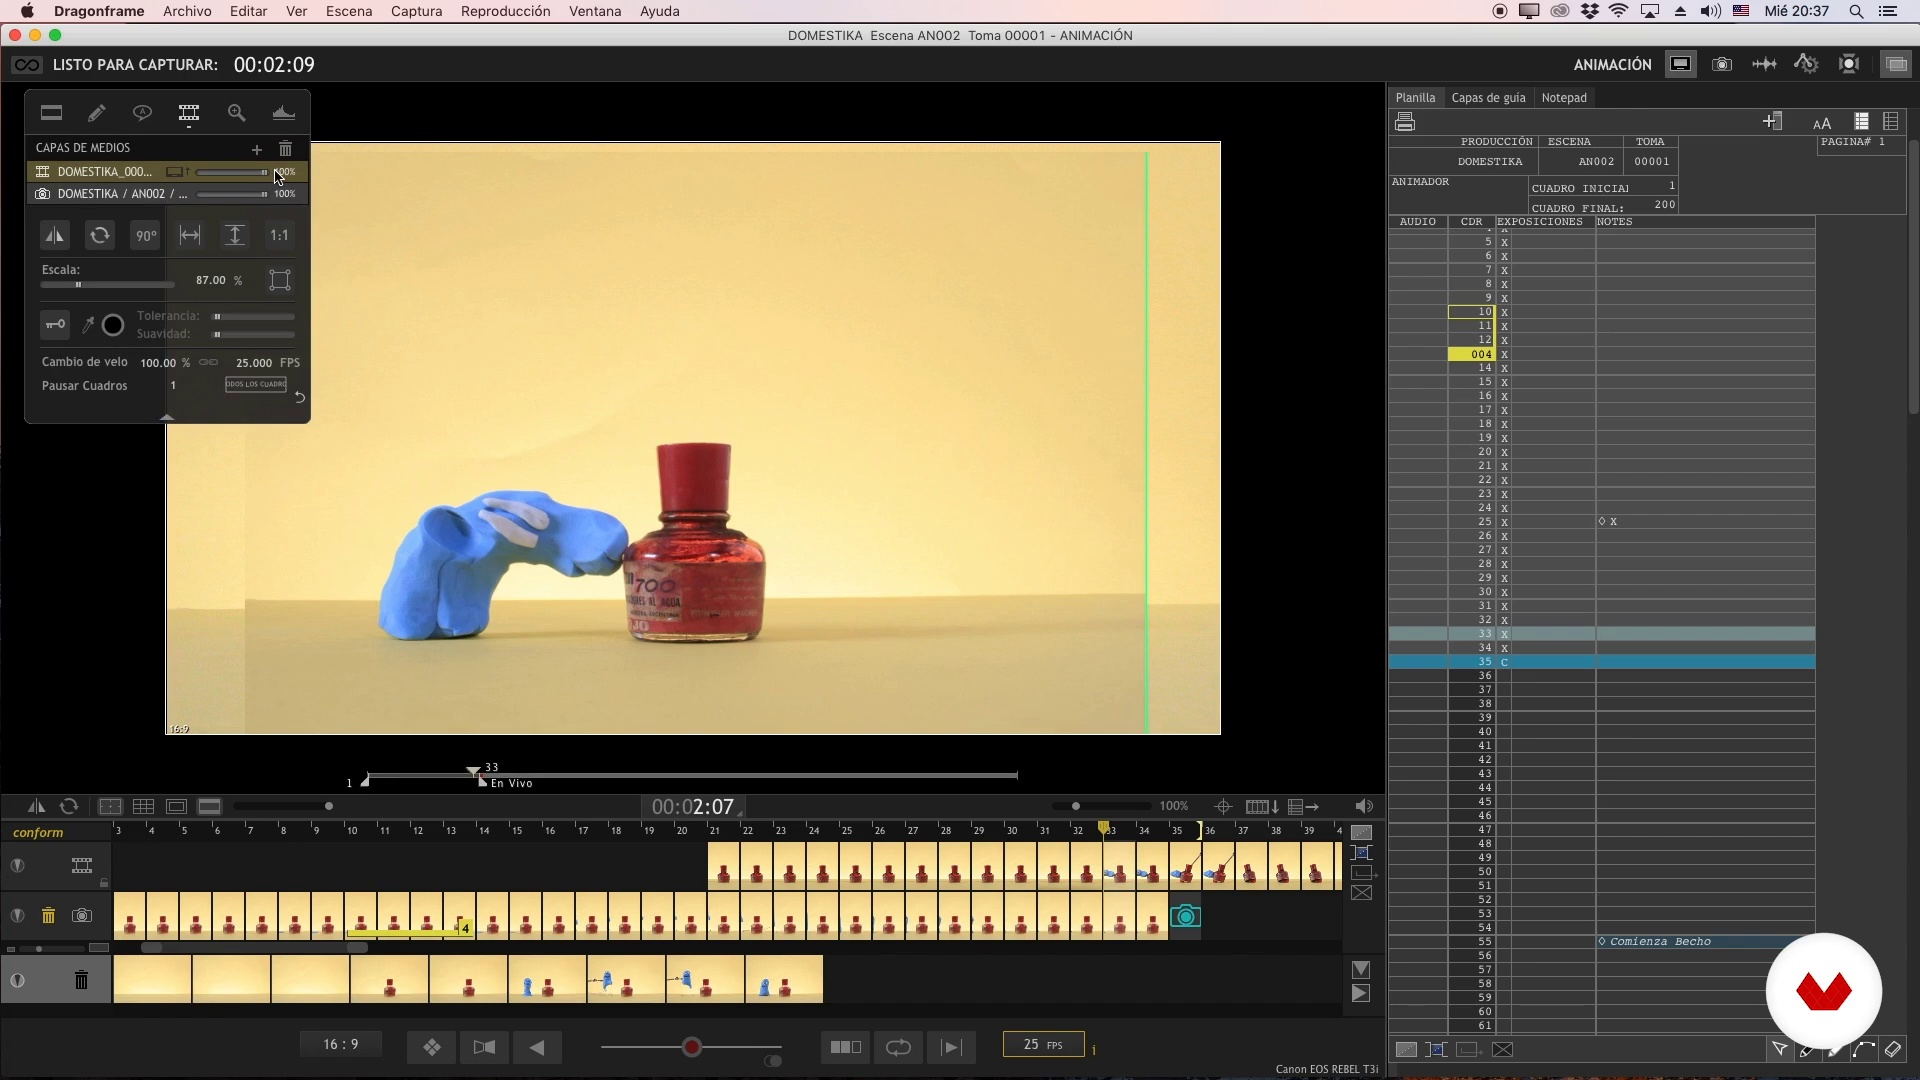 18
18The hour of final judgment III
We continue with the curtain.
16m
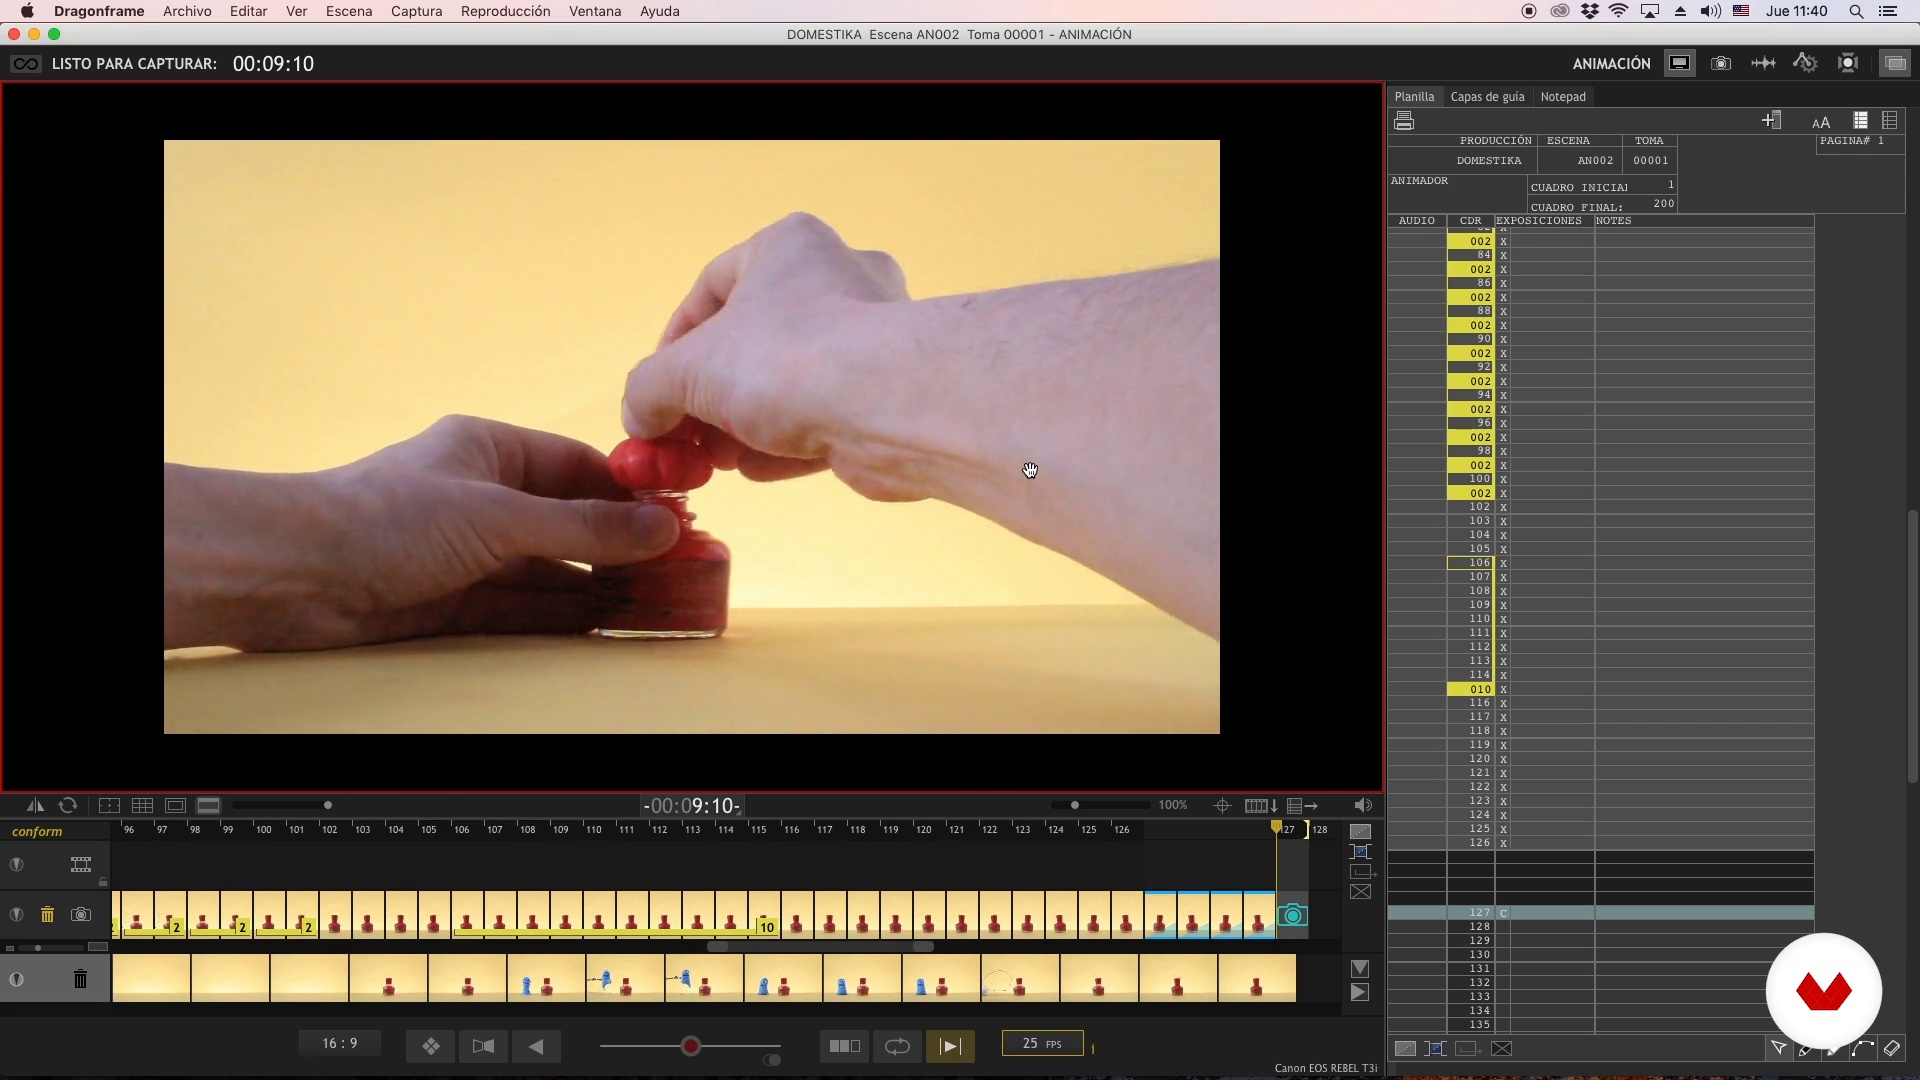 19
19The hour of final judgment IV
We continue with the curtain.
19m
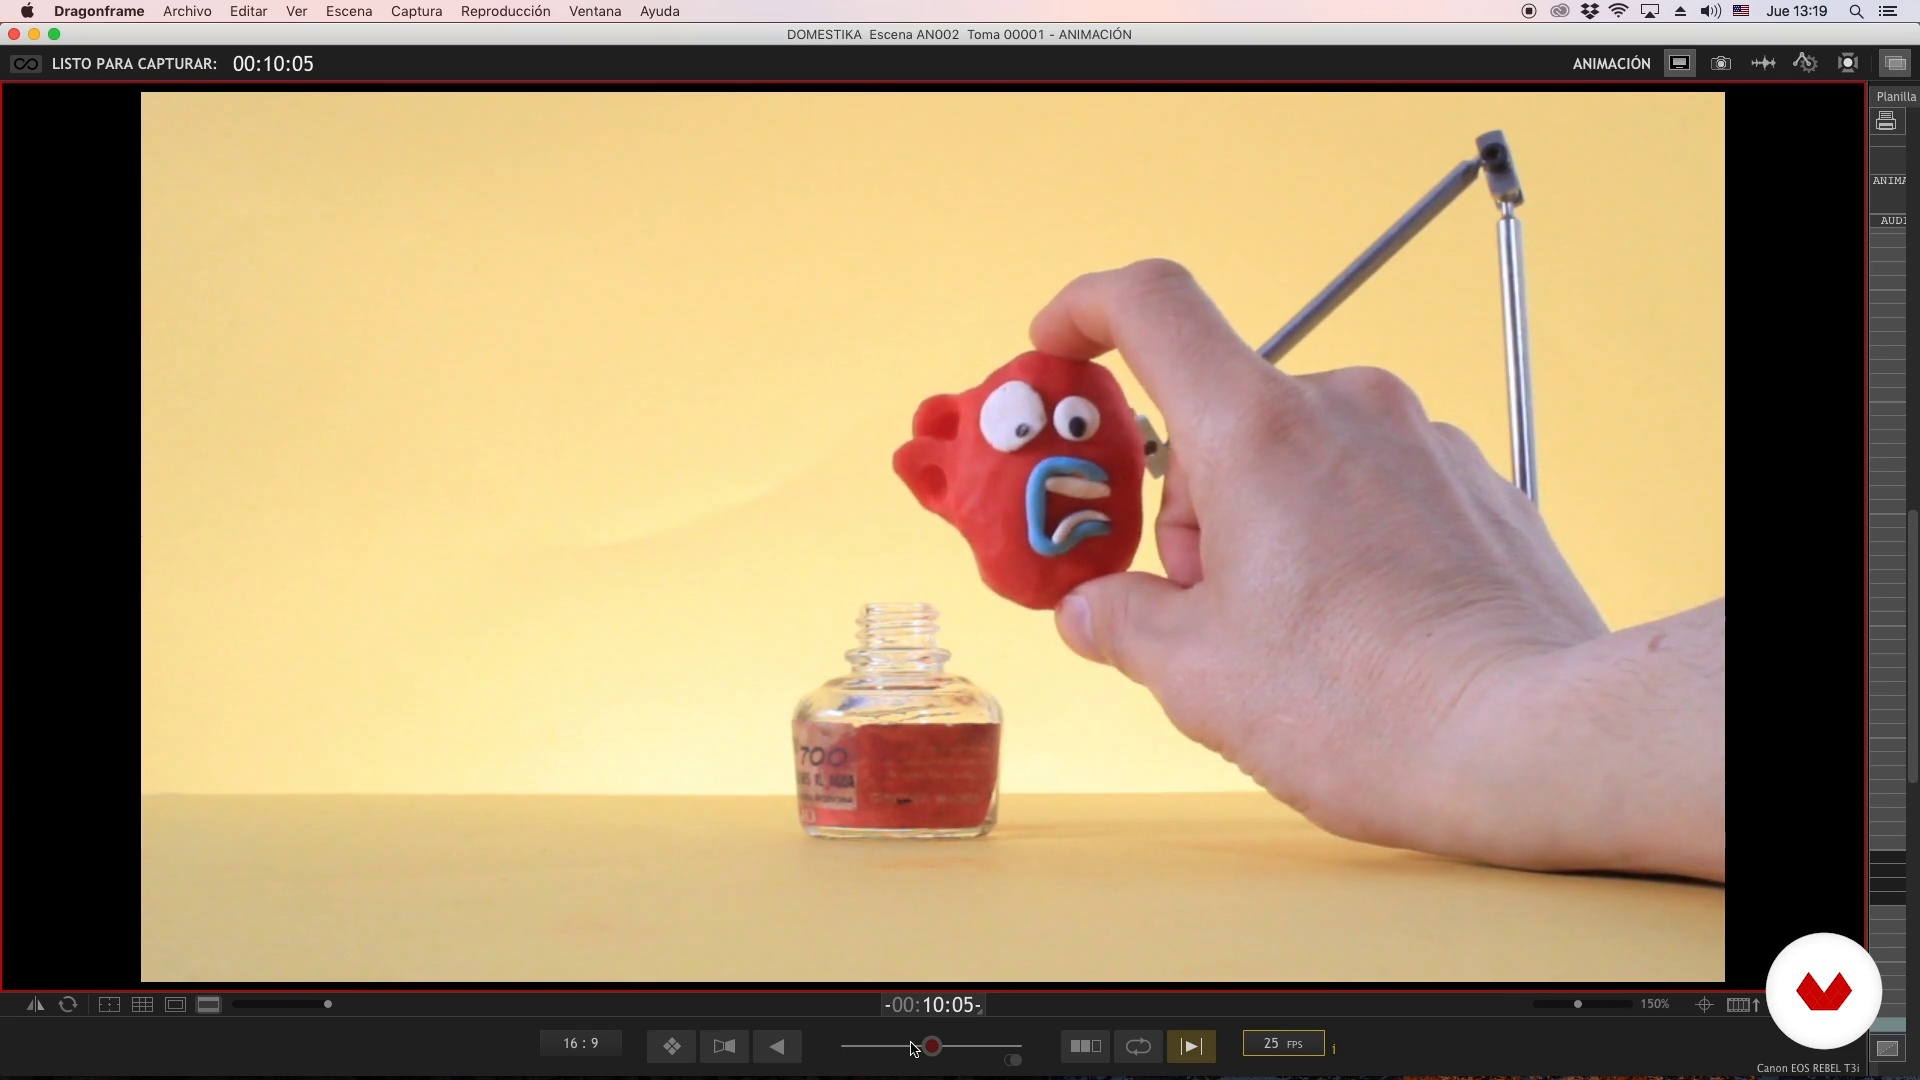 20
20The judgment hour V
We continue with our curtain.
20m
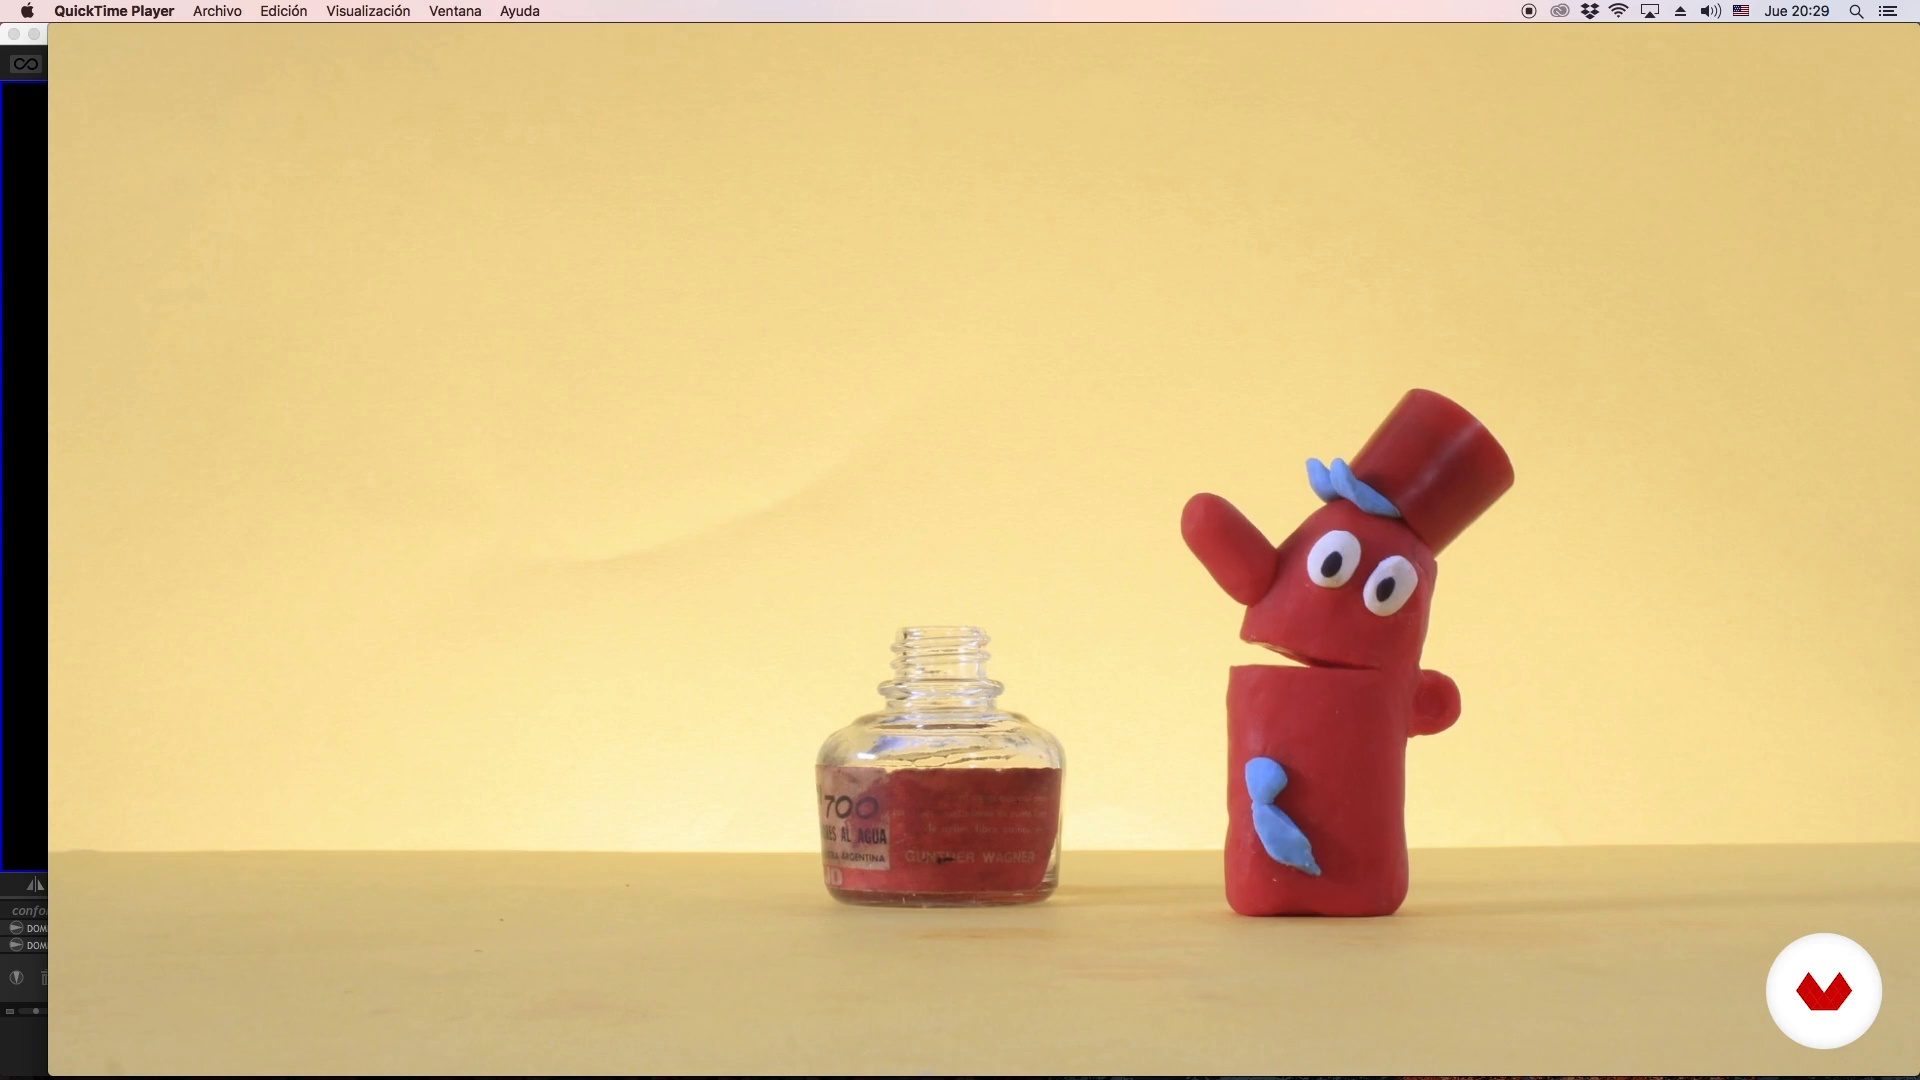 21
21The time of final judgment VI
Last part of the animation of our curtain.
20m
 22
22Another chance
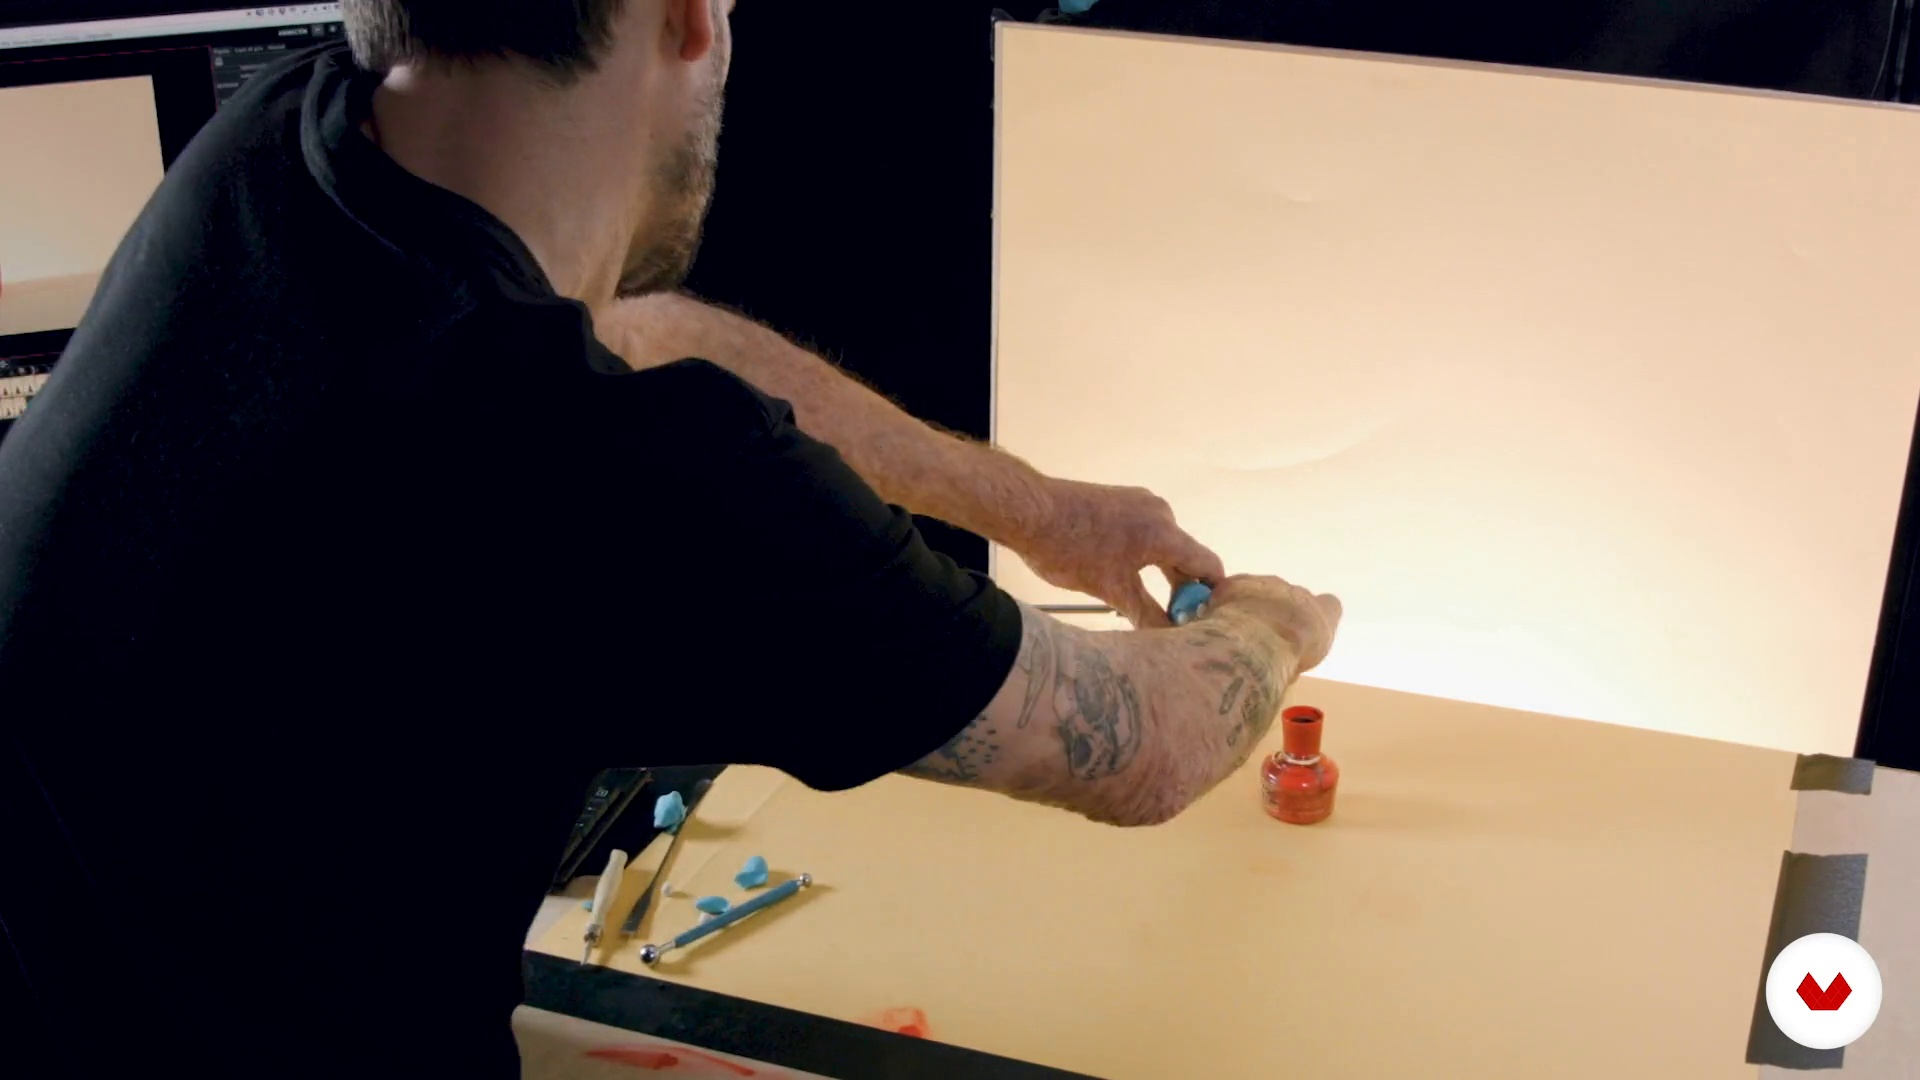
Is it necessary to remember that we need to repeat the same animation in order to learn and study it? Yes, this step is super important! A good analysis starts from a certain criterion that we have decided to use and when we face to evaluate an artistic work we sometimes put our personal taste and may interfere with our analysis. To analyze has been said!
2m
What is this course's project?
The final project consists of creating a frame-by-frame animation that demonstrates mastery of timing and movement, using Stop Motion techniques to tell a visual story in a creative way, integrating various methodologies and accessible materials.
Who is this specialization for?
This course is aimed at beginner animators, digital creators, graphic designers, educators, visual artists, animation students and creative enthusiasts who wish to explore Stop Motion as a means of expression, expand skills and tell visual stories with traditional and contemporary techniques.
Requirements and materials
You don't need extensive prior knowledge to delve into the world of stop motion. All you need is a smartphone, a lamp, common materials like paper or modeling clay, and plenty of creativity. Patience and a willingness to experiment are your best allies.
Reviews
- 2 months ago
EXCELENTE ESPECIALIDAD. COMPLETA.
- 3 months ago
Los profesores son claros con las explicaciones, me está gustando bastante
- 3 months ago
Contenido valioso a muy buen precio
Select to get to know your teachers in this specialization course


What to expect from this specialization course
Learn at your own pace
Enjoy learning from home without a set schedule and with an easy-to-follow method. You set your own pace.
Learn from the best professionals
Learn valuable methods and techniques explained by top experts in the creative sector.
Meet expert teachers
Each expert teaches what they do best, with clear guidelines, true passion, and professional insight in every lesson.
Certificates
PLUSIf you're a Plus member, get a custom certificate for every specialization course. Share it on your portfolio, social media, or wherever you like.
Get front-row seats
Videos of the highest quality, so you don't miss a single detail. With unlimited access, you can watch them as many times as you need to perfect your technique.
Share knowledge and ideas
Ask questions, request feedback, or offer solutions. Share your learning experience with other students in the community who are as passionate about creativity as you are.
Connect with a global creative community
The community is home to millions of people from around the world who are curious and passionate about exploring and expressing their creativity.
Watch professionally produced courses
Domestika curates its teacher roster and produces every course in-house to ensure a high-quality online learning experience.
FAQs
You’ll learn how to design and build 3D miniature worlds, animate models frame by frame, blend 2D and 3D animation techniques, and mix stop motion with live action to create immersive visual universes.
The course is intermediate level, perfect for those with basic knowledge of animation, design, or visual arts who want to deepen their skills in mixed techniques and animated diorama creation.
You’ll need modeling materials (clay, cardboard, paper), basic model-making tools, a camera or smartphone, software like Photoshop and After Effects, and ideally a graphics tablet for digital sketching.
Yes, the course teaches you how to combine stop motion animation, 2D techniques, and live action sequences, enabling you to create mixed audiovisual compositions and innovative visual worlds.
The course guides you through every creative stage—from gathering references and sketching to composing, building, frame-by-frame animating, and digitally post-producing the diorama.
Yes, you’ll learn to create frame-by-frame animations in Photoshop, organize timelines, export GIFs, and also assemble and animate dioramas in After Effects.
By the end, you’ll be able to create animated dioramas, visual stories using mixed techniques, stop motion animations with clay or toys, and audiovisual compositions combining 2D and 3D elements.