Creative Poster Design Specialization

Master creative poster design by exploring typography, illustration, and visual communication techniques to produce impactful art
Dive into the world of poster design with our Creative Poster Design Specialization. This program offers a comprehensive journey through design fundamentals and advanced illustration techniques, guiding you to craft visually striking and communicative posters. Explore a range of styles, from experimental typography to narrative illustration, and develop a holistic approach to professional poster design. Whether you are looking to create impactful event posters or delve into the art of theater and film poster illustration, you'll find the tools and insights you need.
Renowned design studios and artists, including 12caracteres, BlueTypo, Marte, David Plunkert, and Bruno Miranda, share their expertise, covering topics like balancing creativity with functionality, integrating analog and digital techniques, and mastering the use of color and typography. Each course within this specialization focuses on different aspects of poster design, culminating in a professional portfolio that showcases your ability to create powerful visual communications across various contexts. Unleash your creativity and develop the skills to make a lasting impact in the world of design.
What will you learn in this specialization?
 1
1Introduction
Poster design merges urgency with creativity, turning powerful ideas into striking visuals. From Bauhaus to street art, posters have long been a tool for persuasion, protest, and expression. This session dives into their visual language—color, shape, and concept—so you can start creating designs that are immediate, bold, and unforgettable.
1m
 2
2Influences | 12caracteres
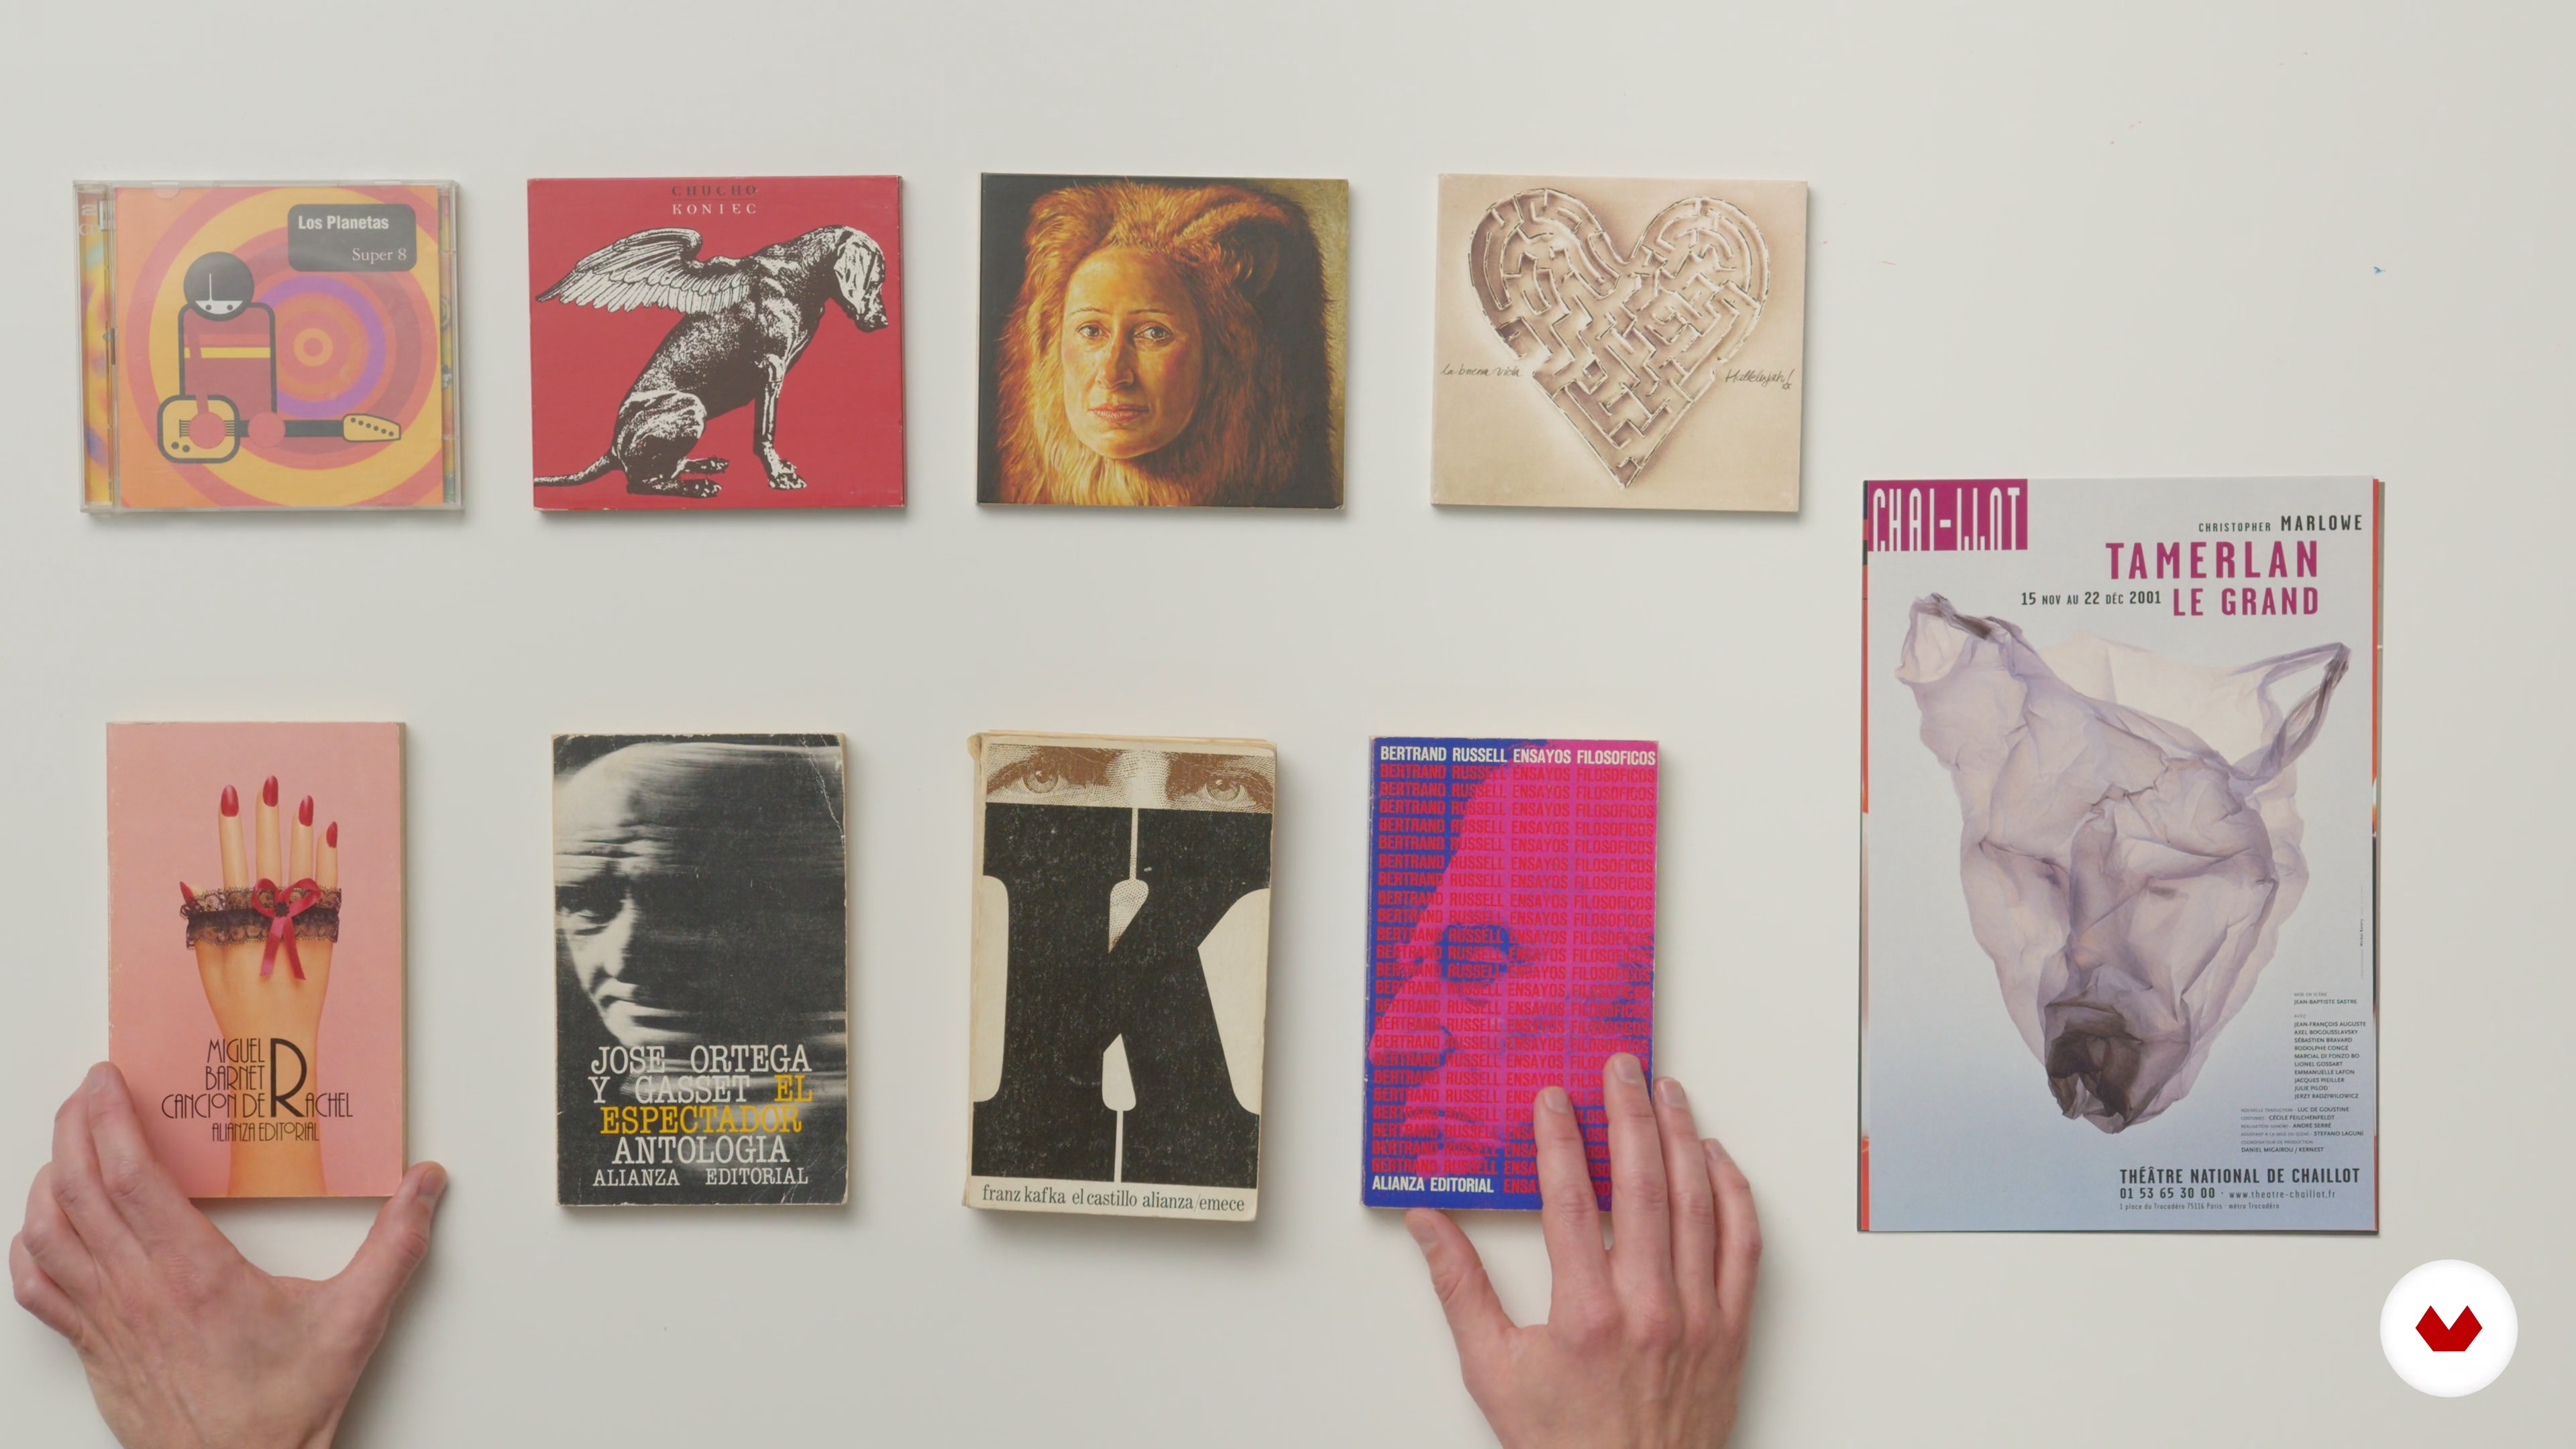
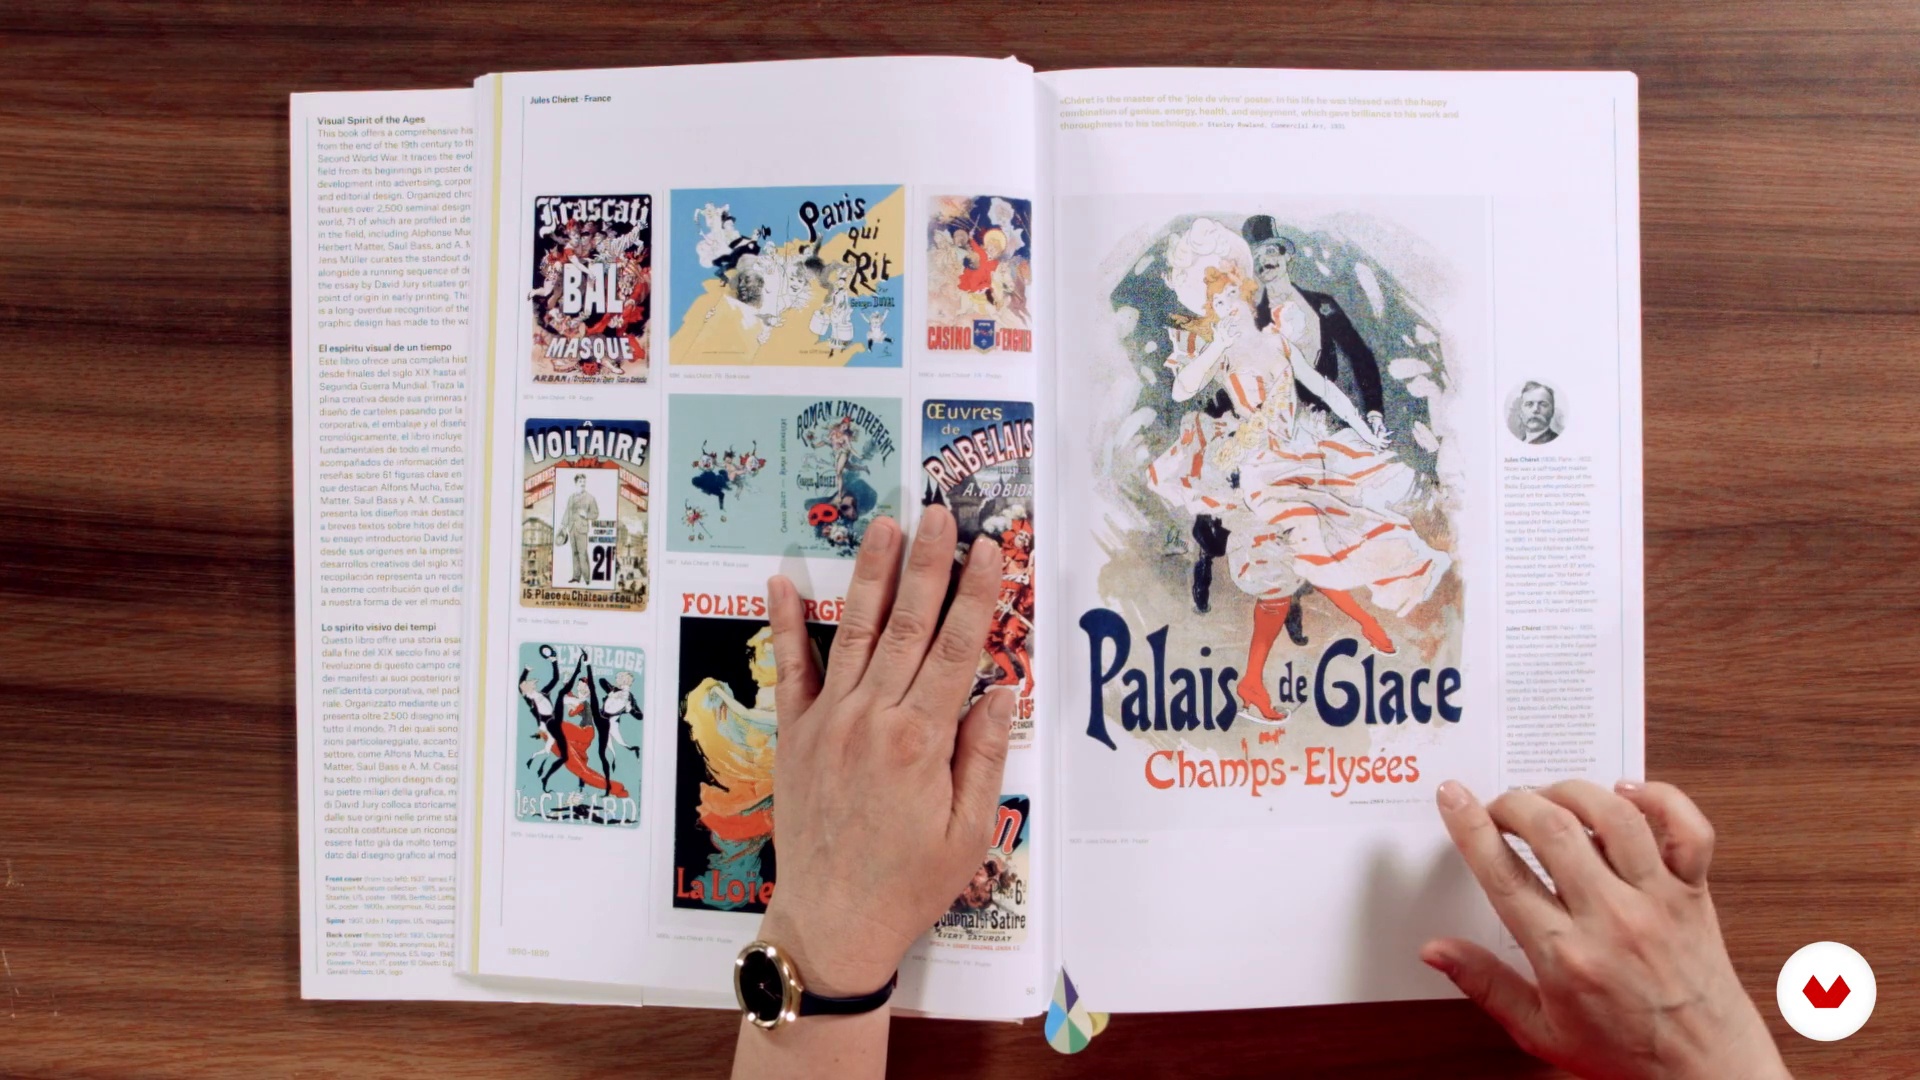
In this lesson I will show you the main influences of our studio, the designers who inspire us and with whom we share the way of looking, processing and communicating. Among them, you will see: Javier Aramburu, Daniel Gil, Michal Batory and Chema Madoz.
5m
 3
3Influences | BlueTypo
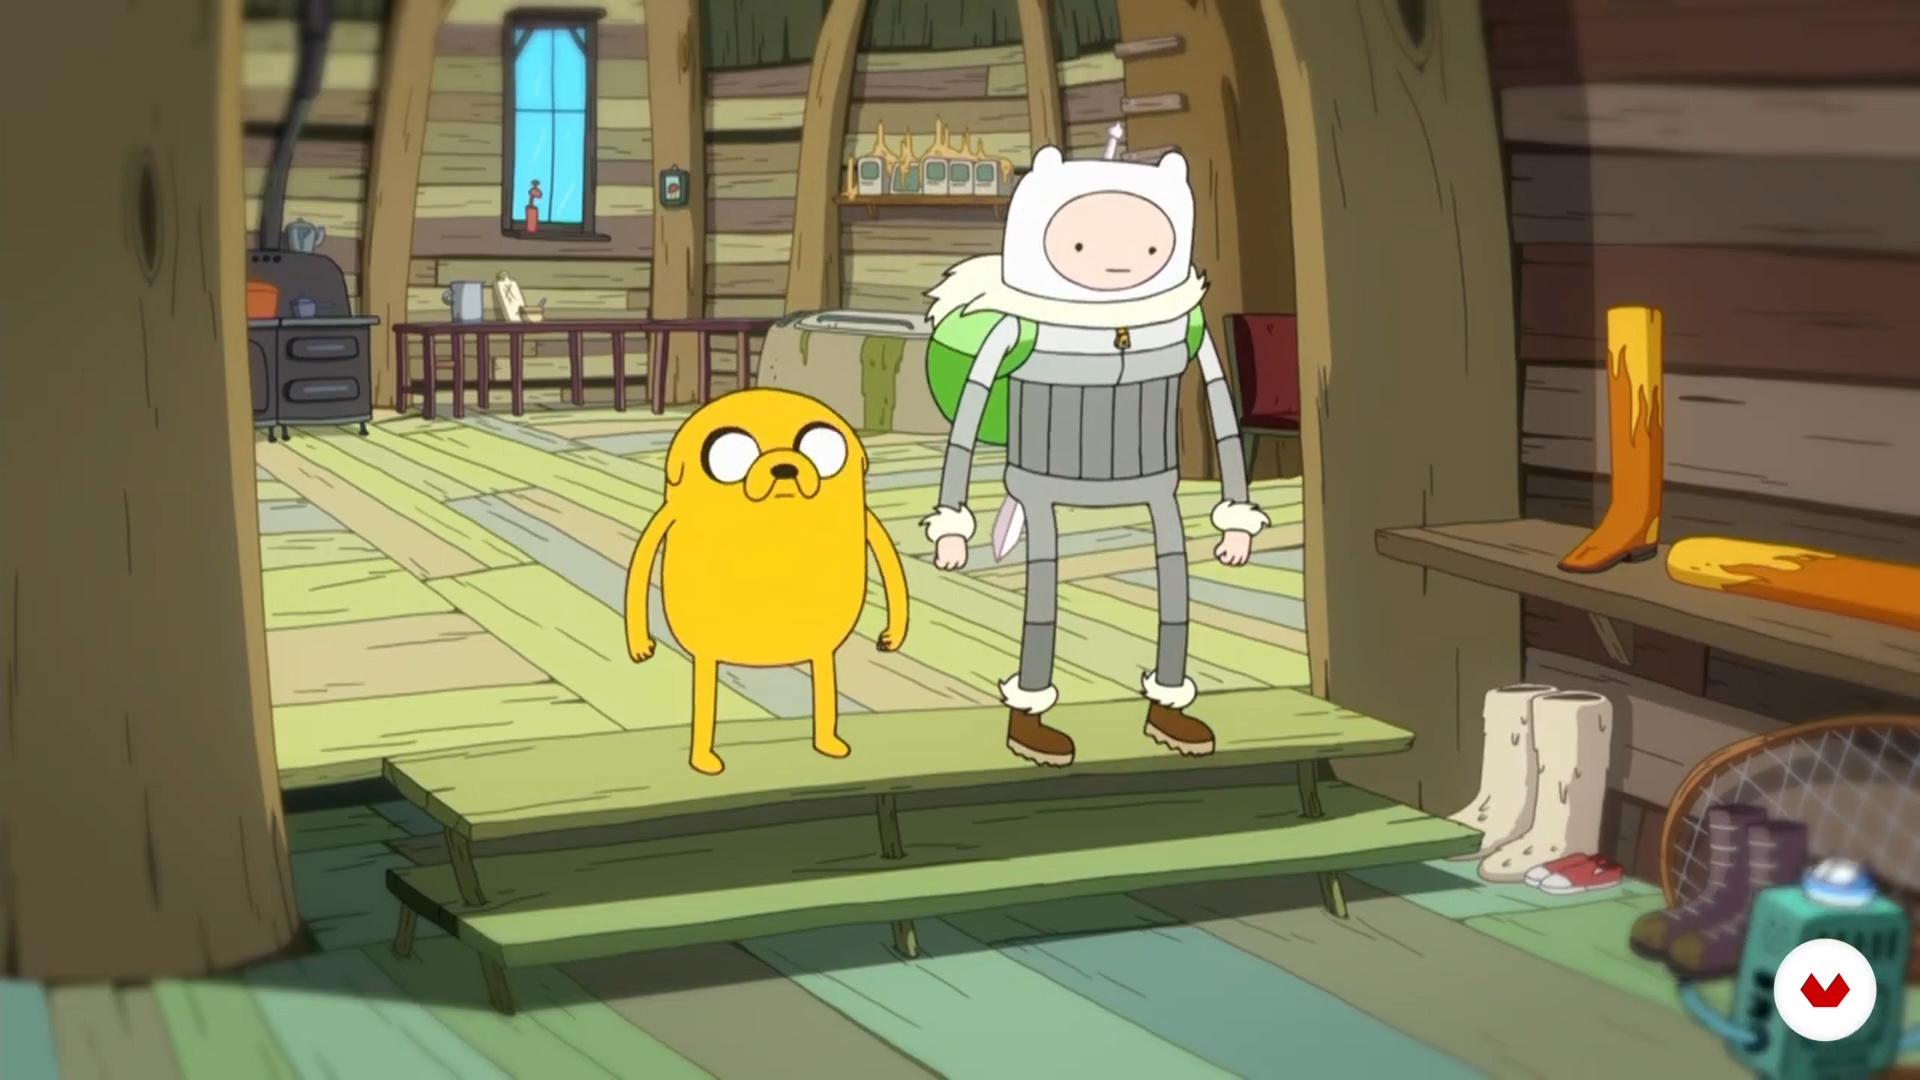
In this lesson we will share what have been the influences and references that have marked us in terms of art, typography and poster, which you can detect in some of the projects we have done.
5m
 4
4Influences | Marte
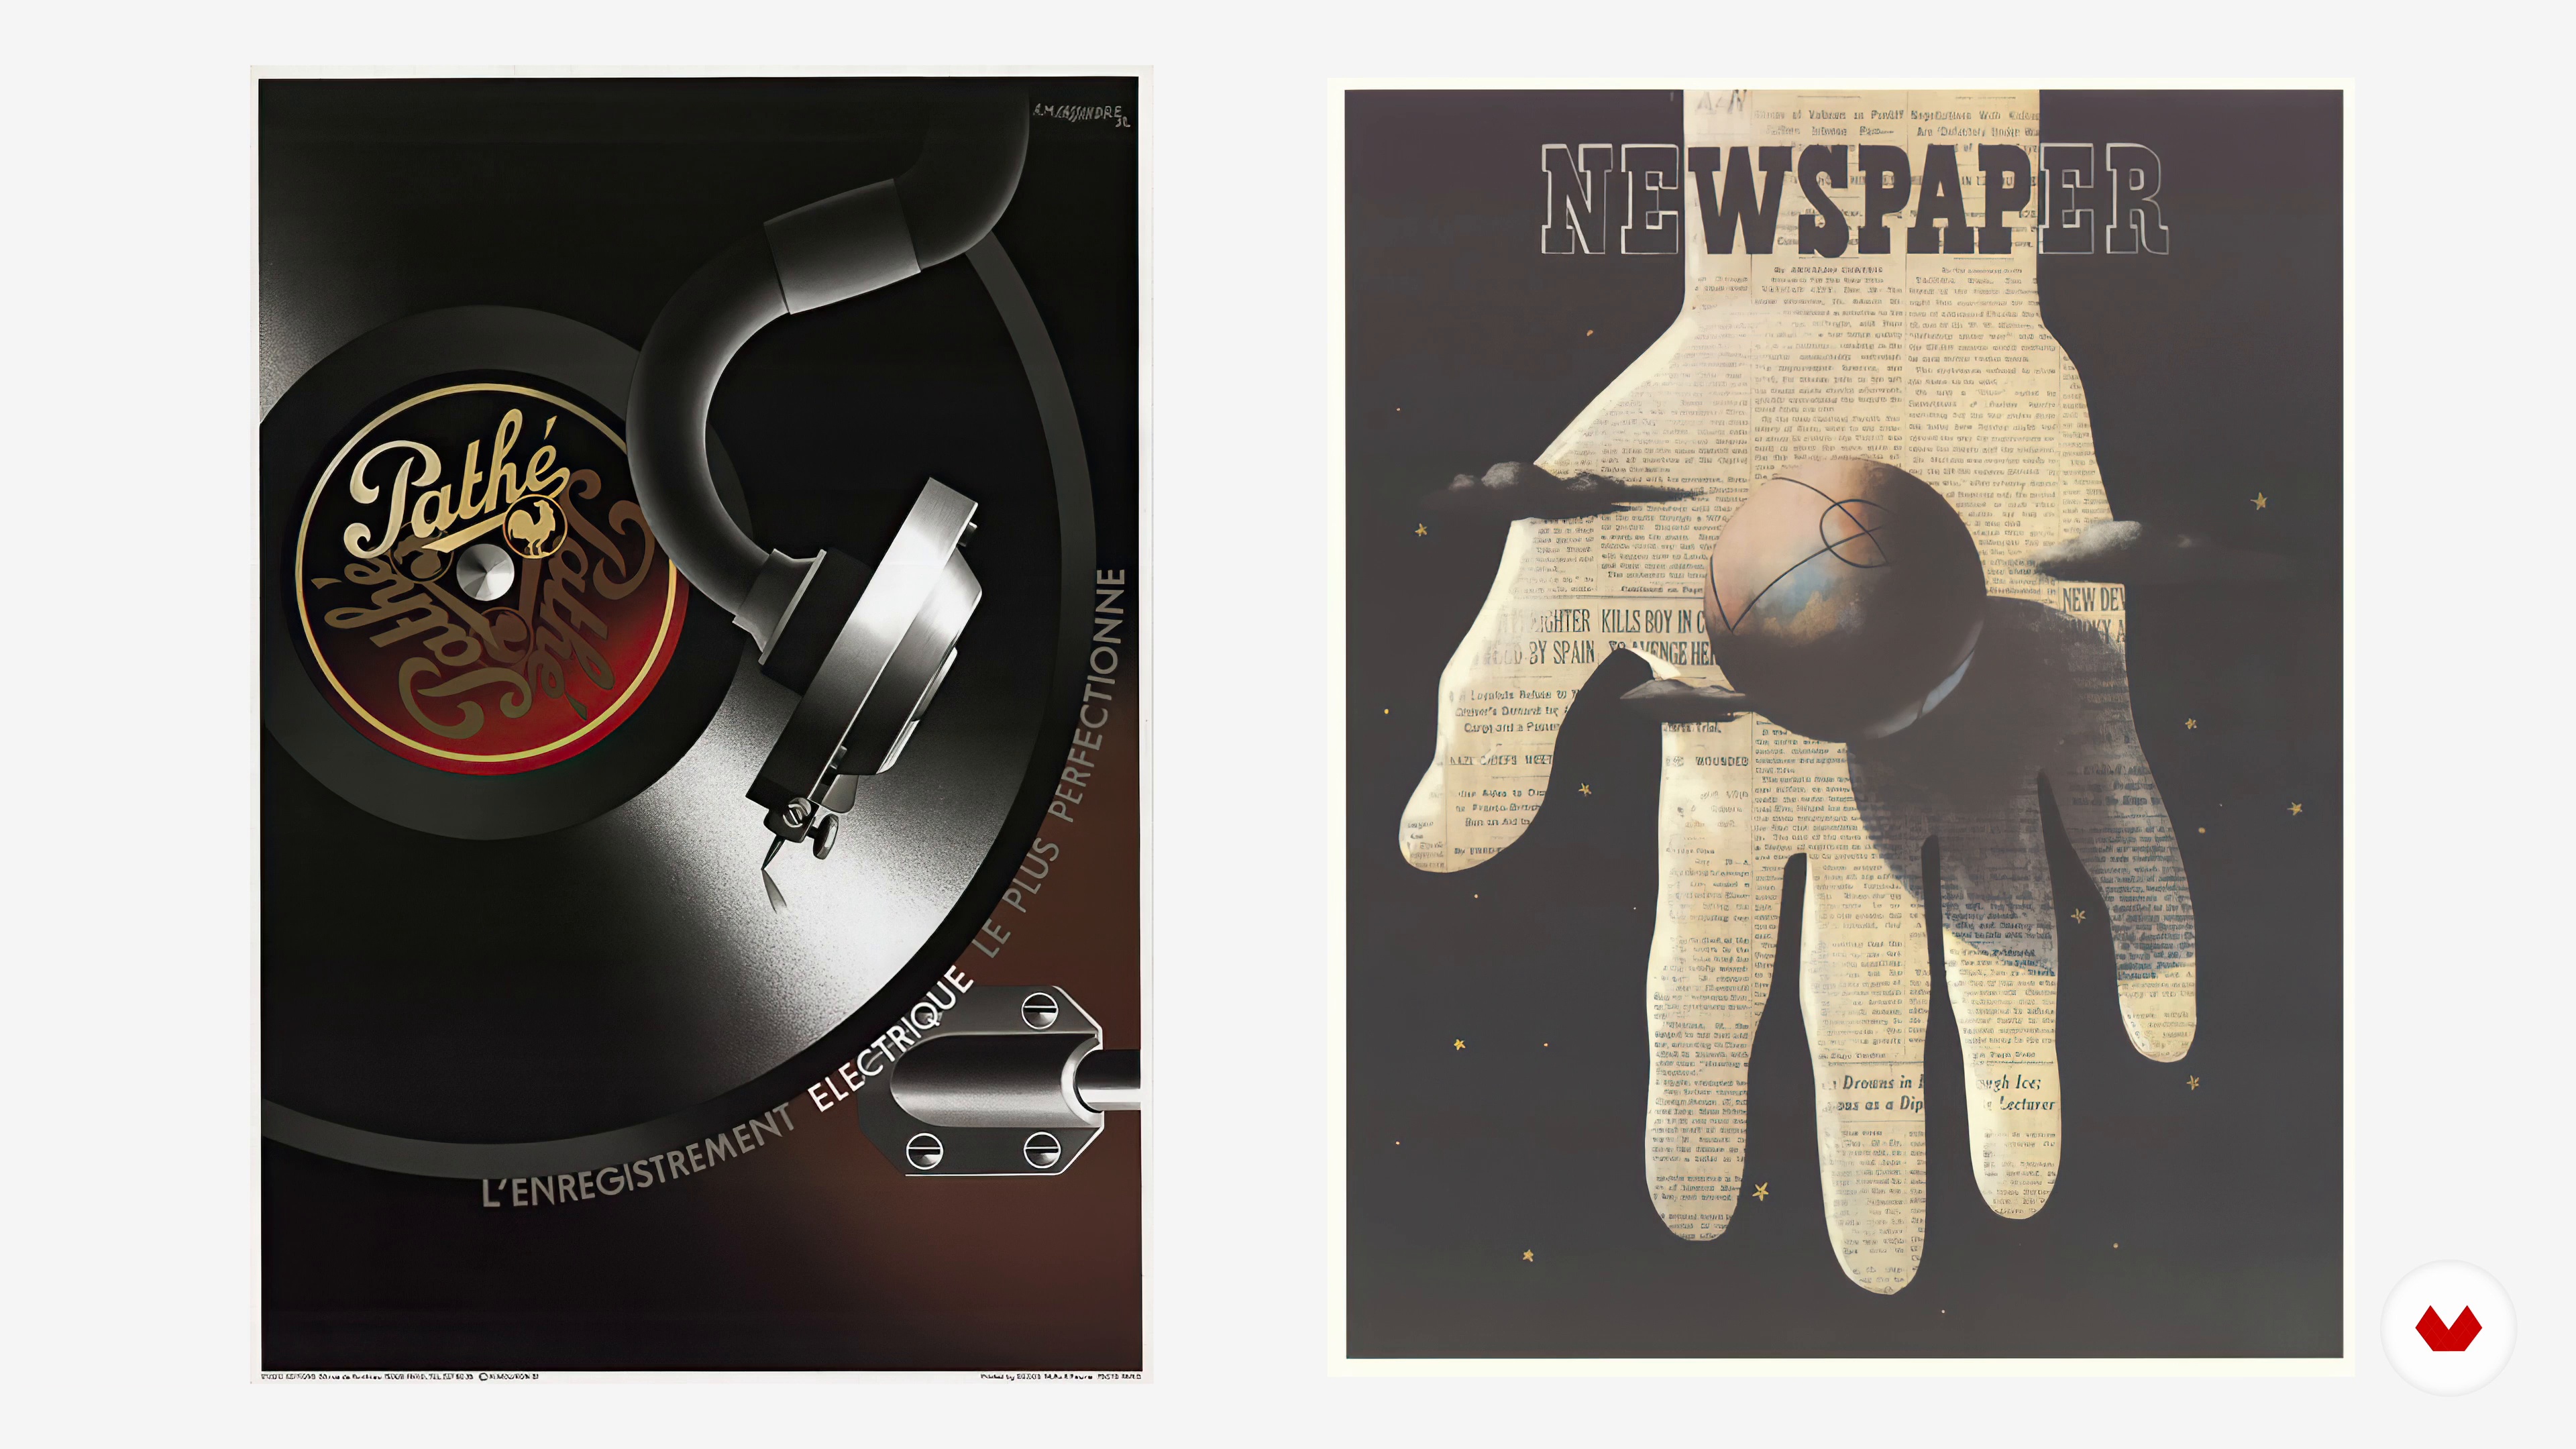
In this lesson, I’m going to introduce you to some of the things and people that inspired me and influenced me in doing what I do.
5m
 5
5Influences | David Plunkert
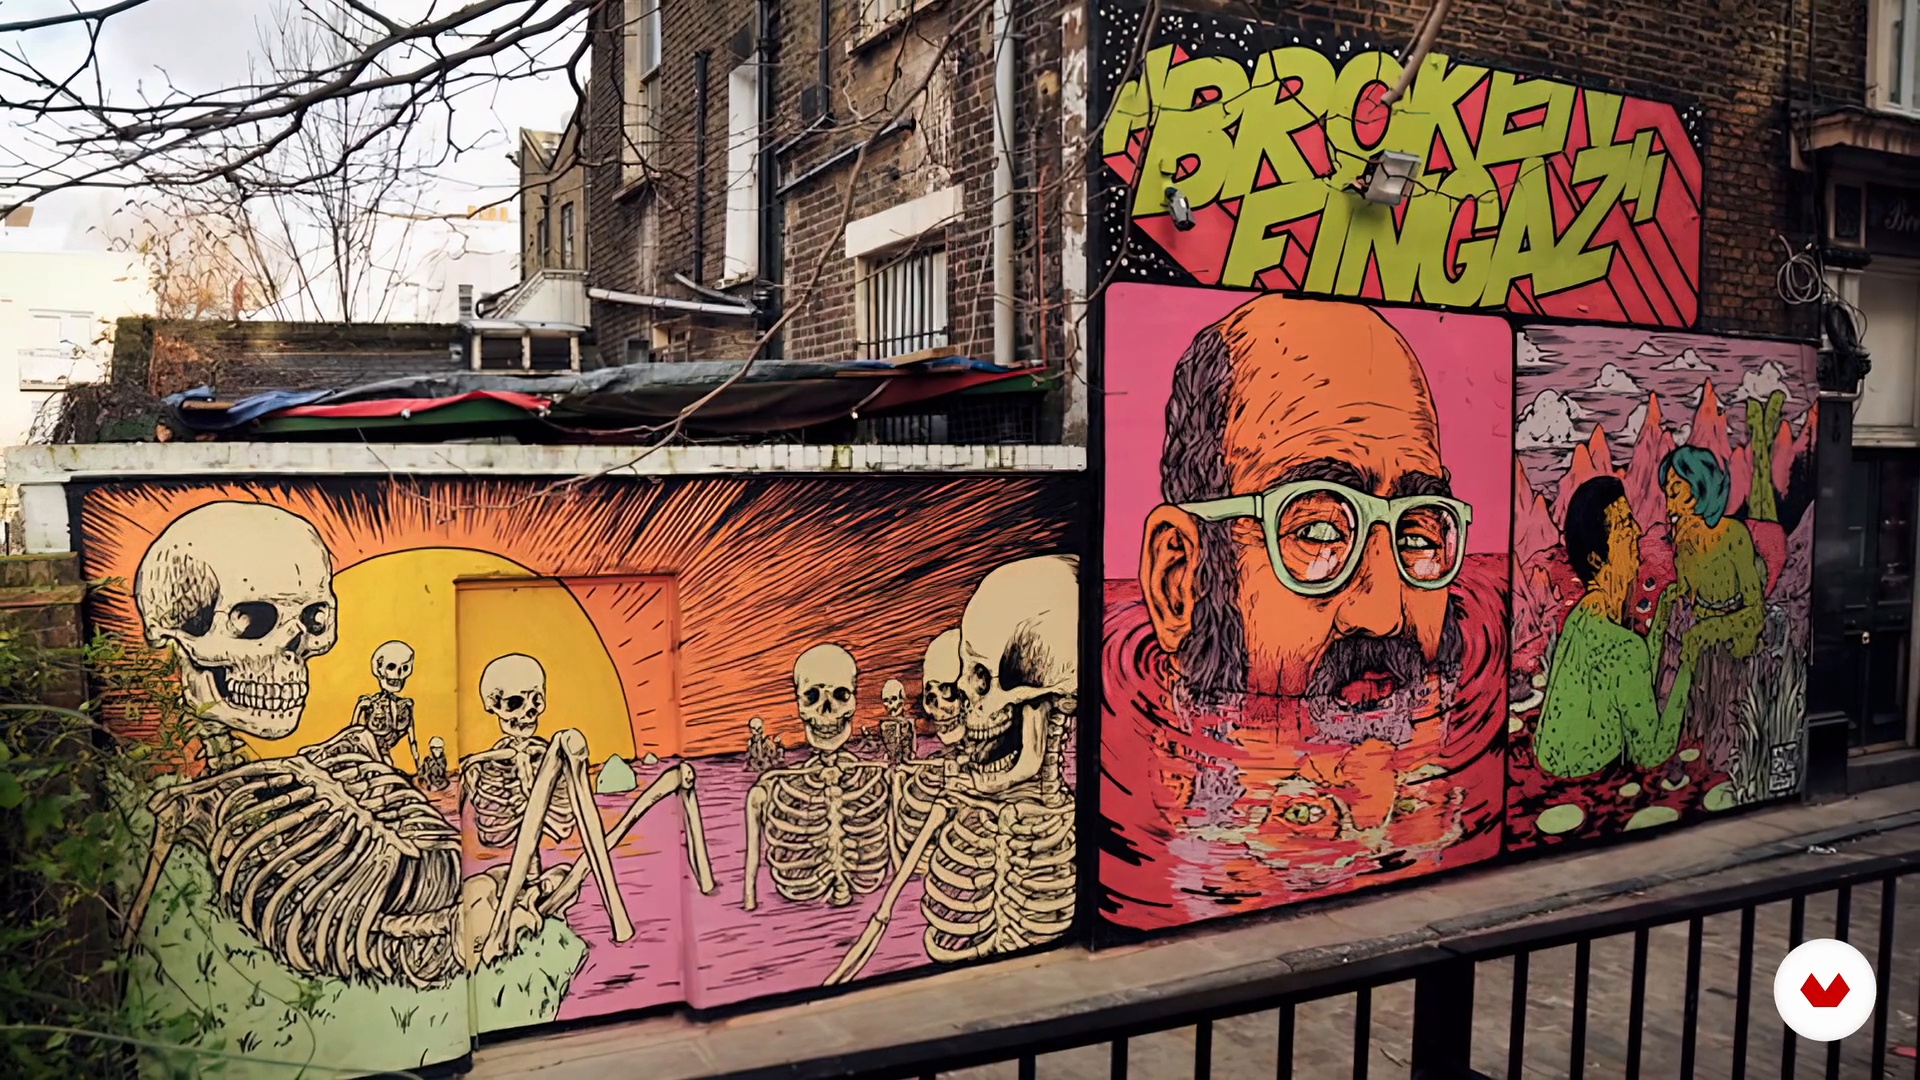
In this lesson, I will share four artists who shaped my approach to image-making and poster design from my early career to the present.
2m
 6
6Influences | Bruno Miranda
In this class, I will talk about some of my influences. They are favorite artists, films and bands that have inspired and guided me on my artistic journey.
2m
 4
4Poster history
In this lesson we will do a small review of the history of the poster, seeing the great masters who were defining the modern poster and the historical events that changed communication needs.
12m
 5
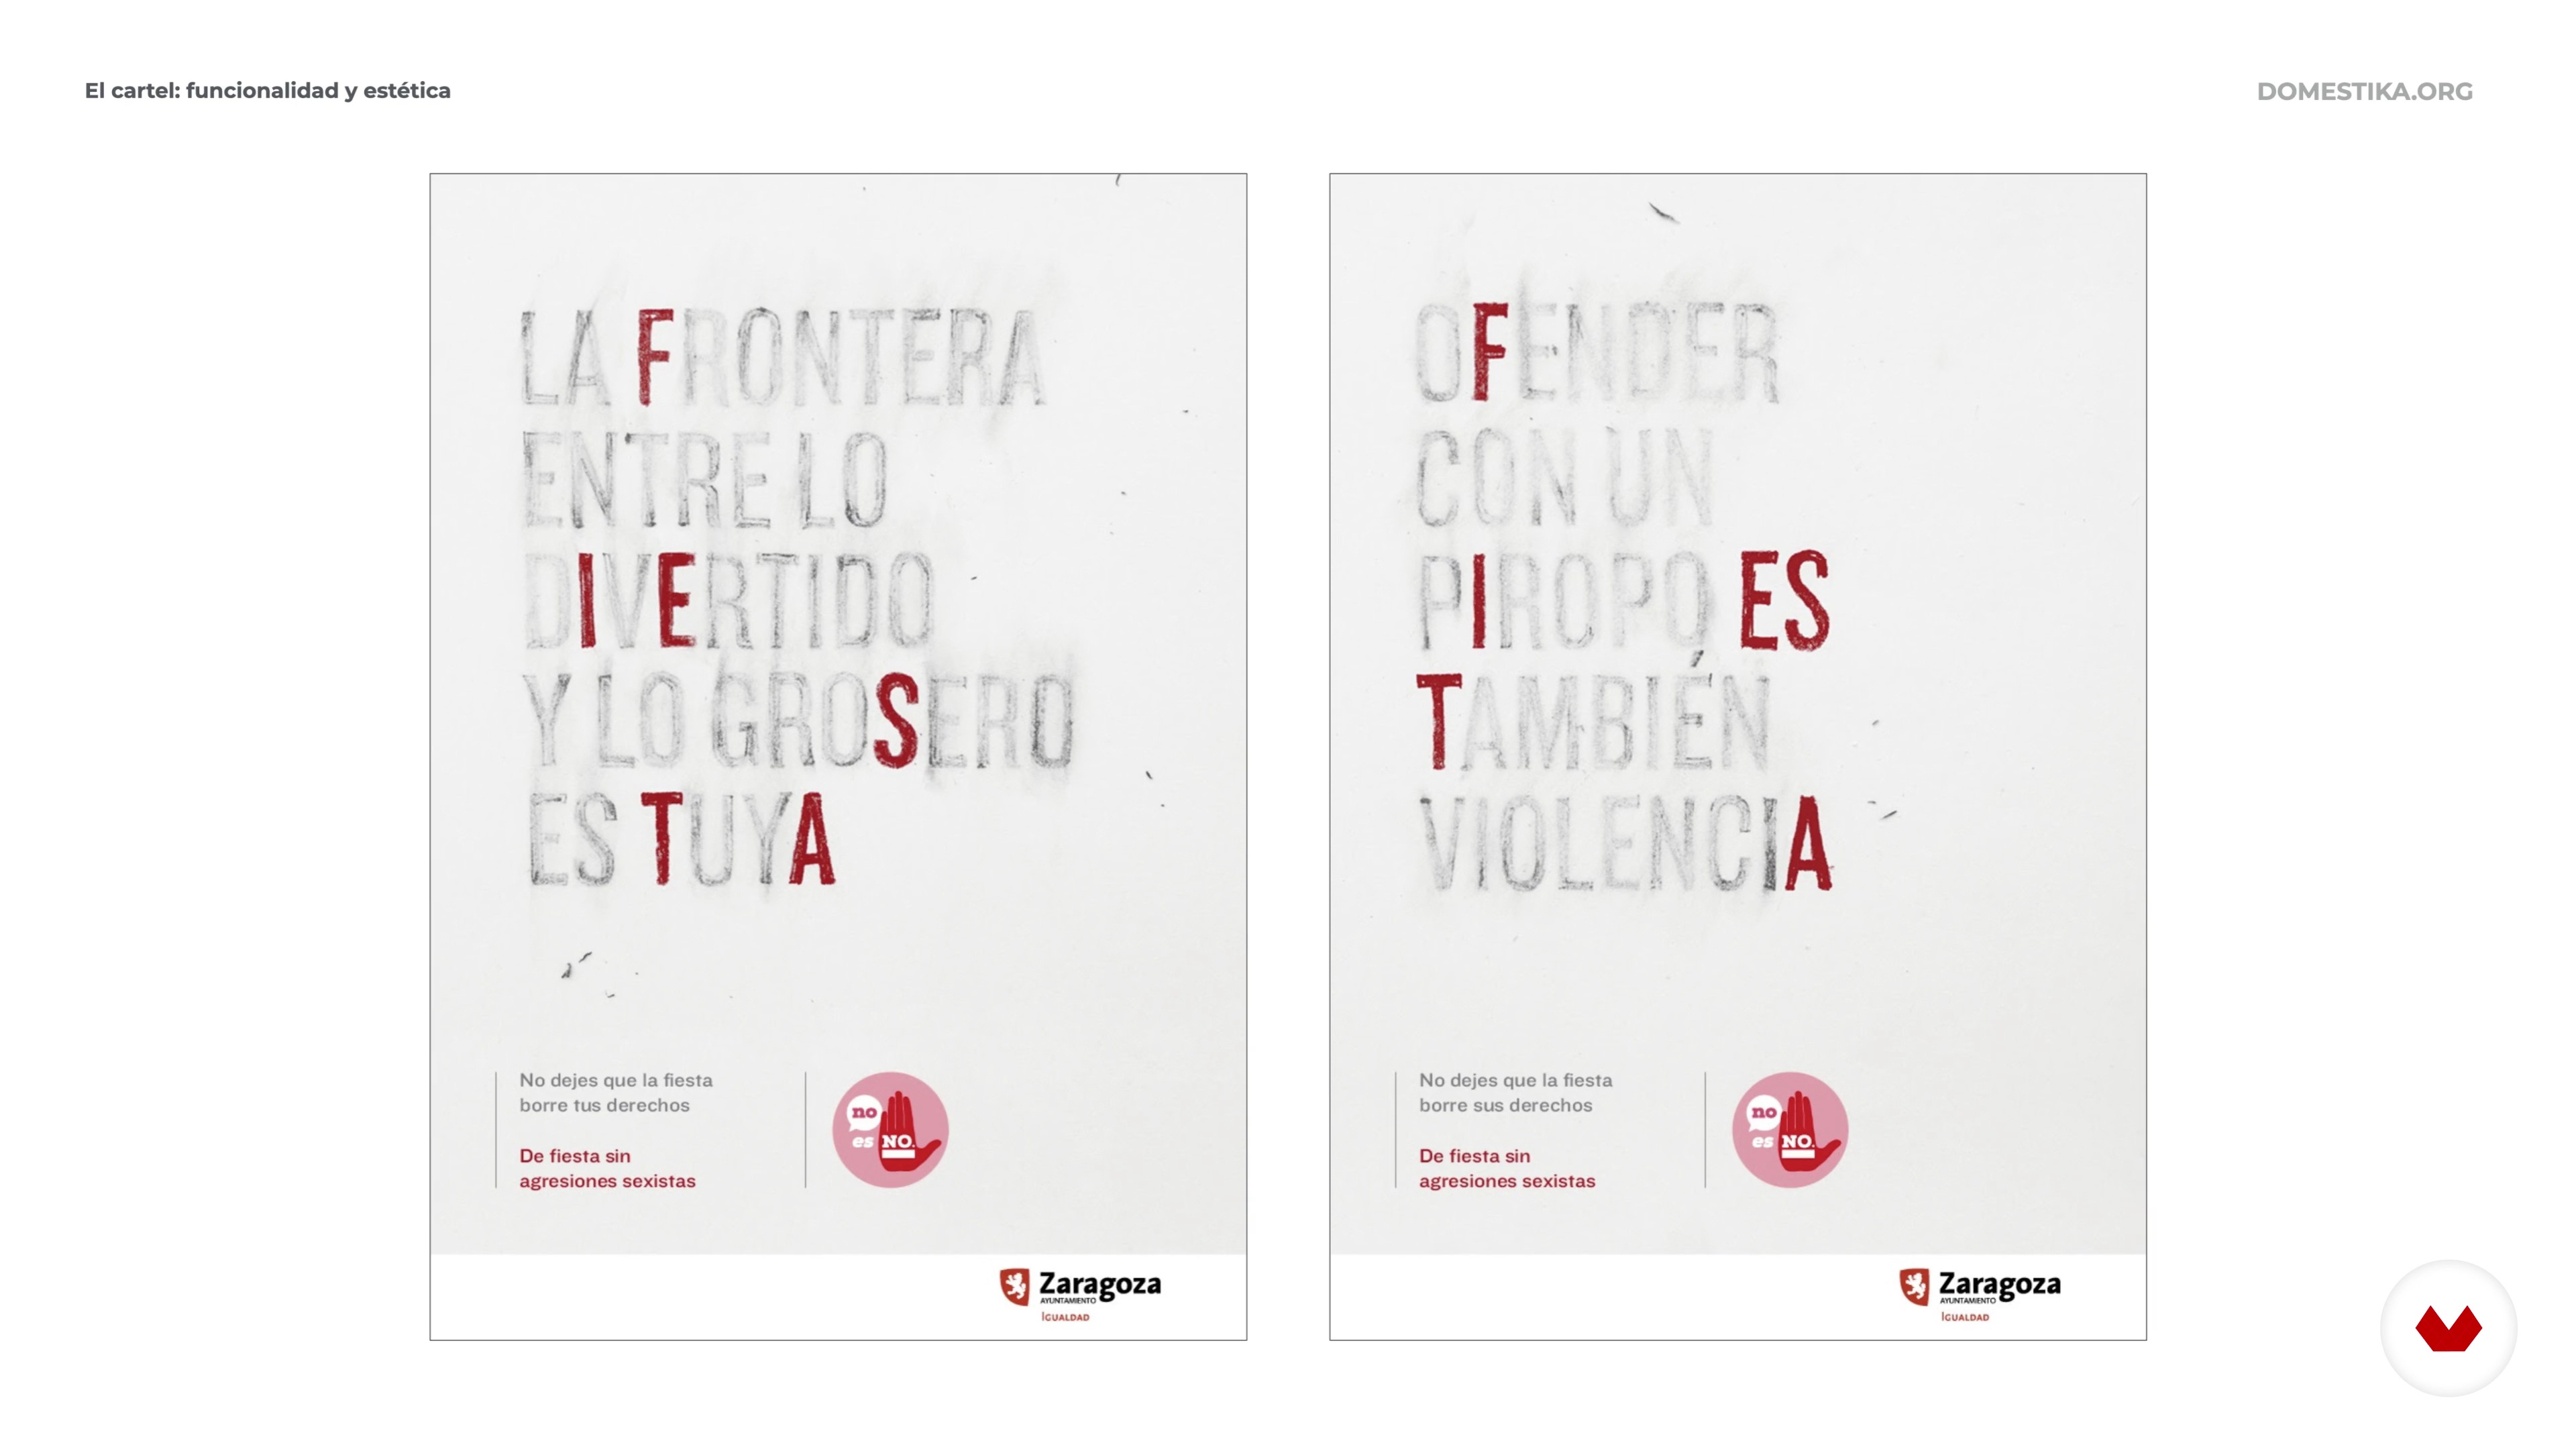
5The poster: functionality and aesthetics
A poster must clearly and directly communicate a message. To attract attention among all the visual noise that surrounds us, it must also be aesthetically attractive. In this lesson we are going to study what are the elements that make up a poster and what functional aspects each of them must fulfill.
9m
 6
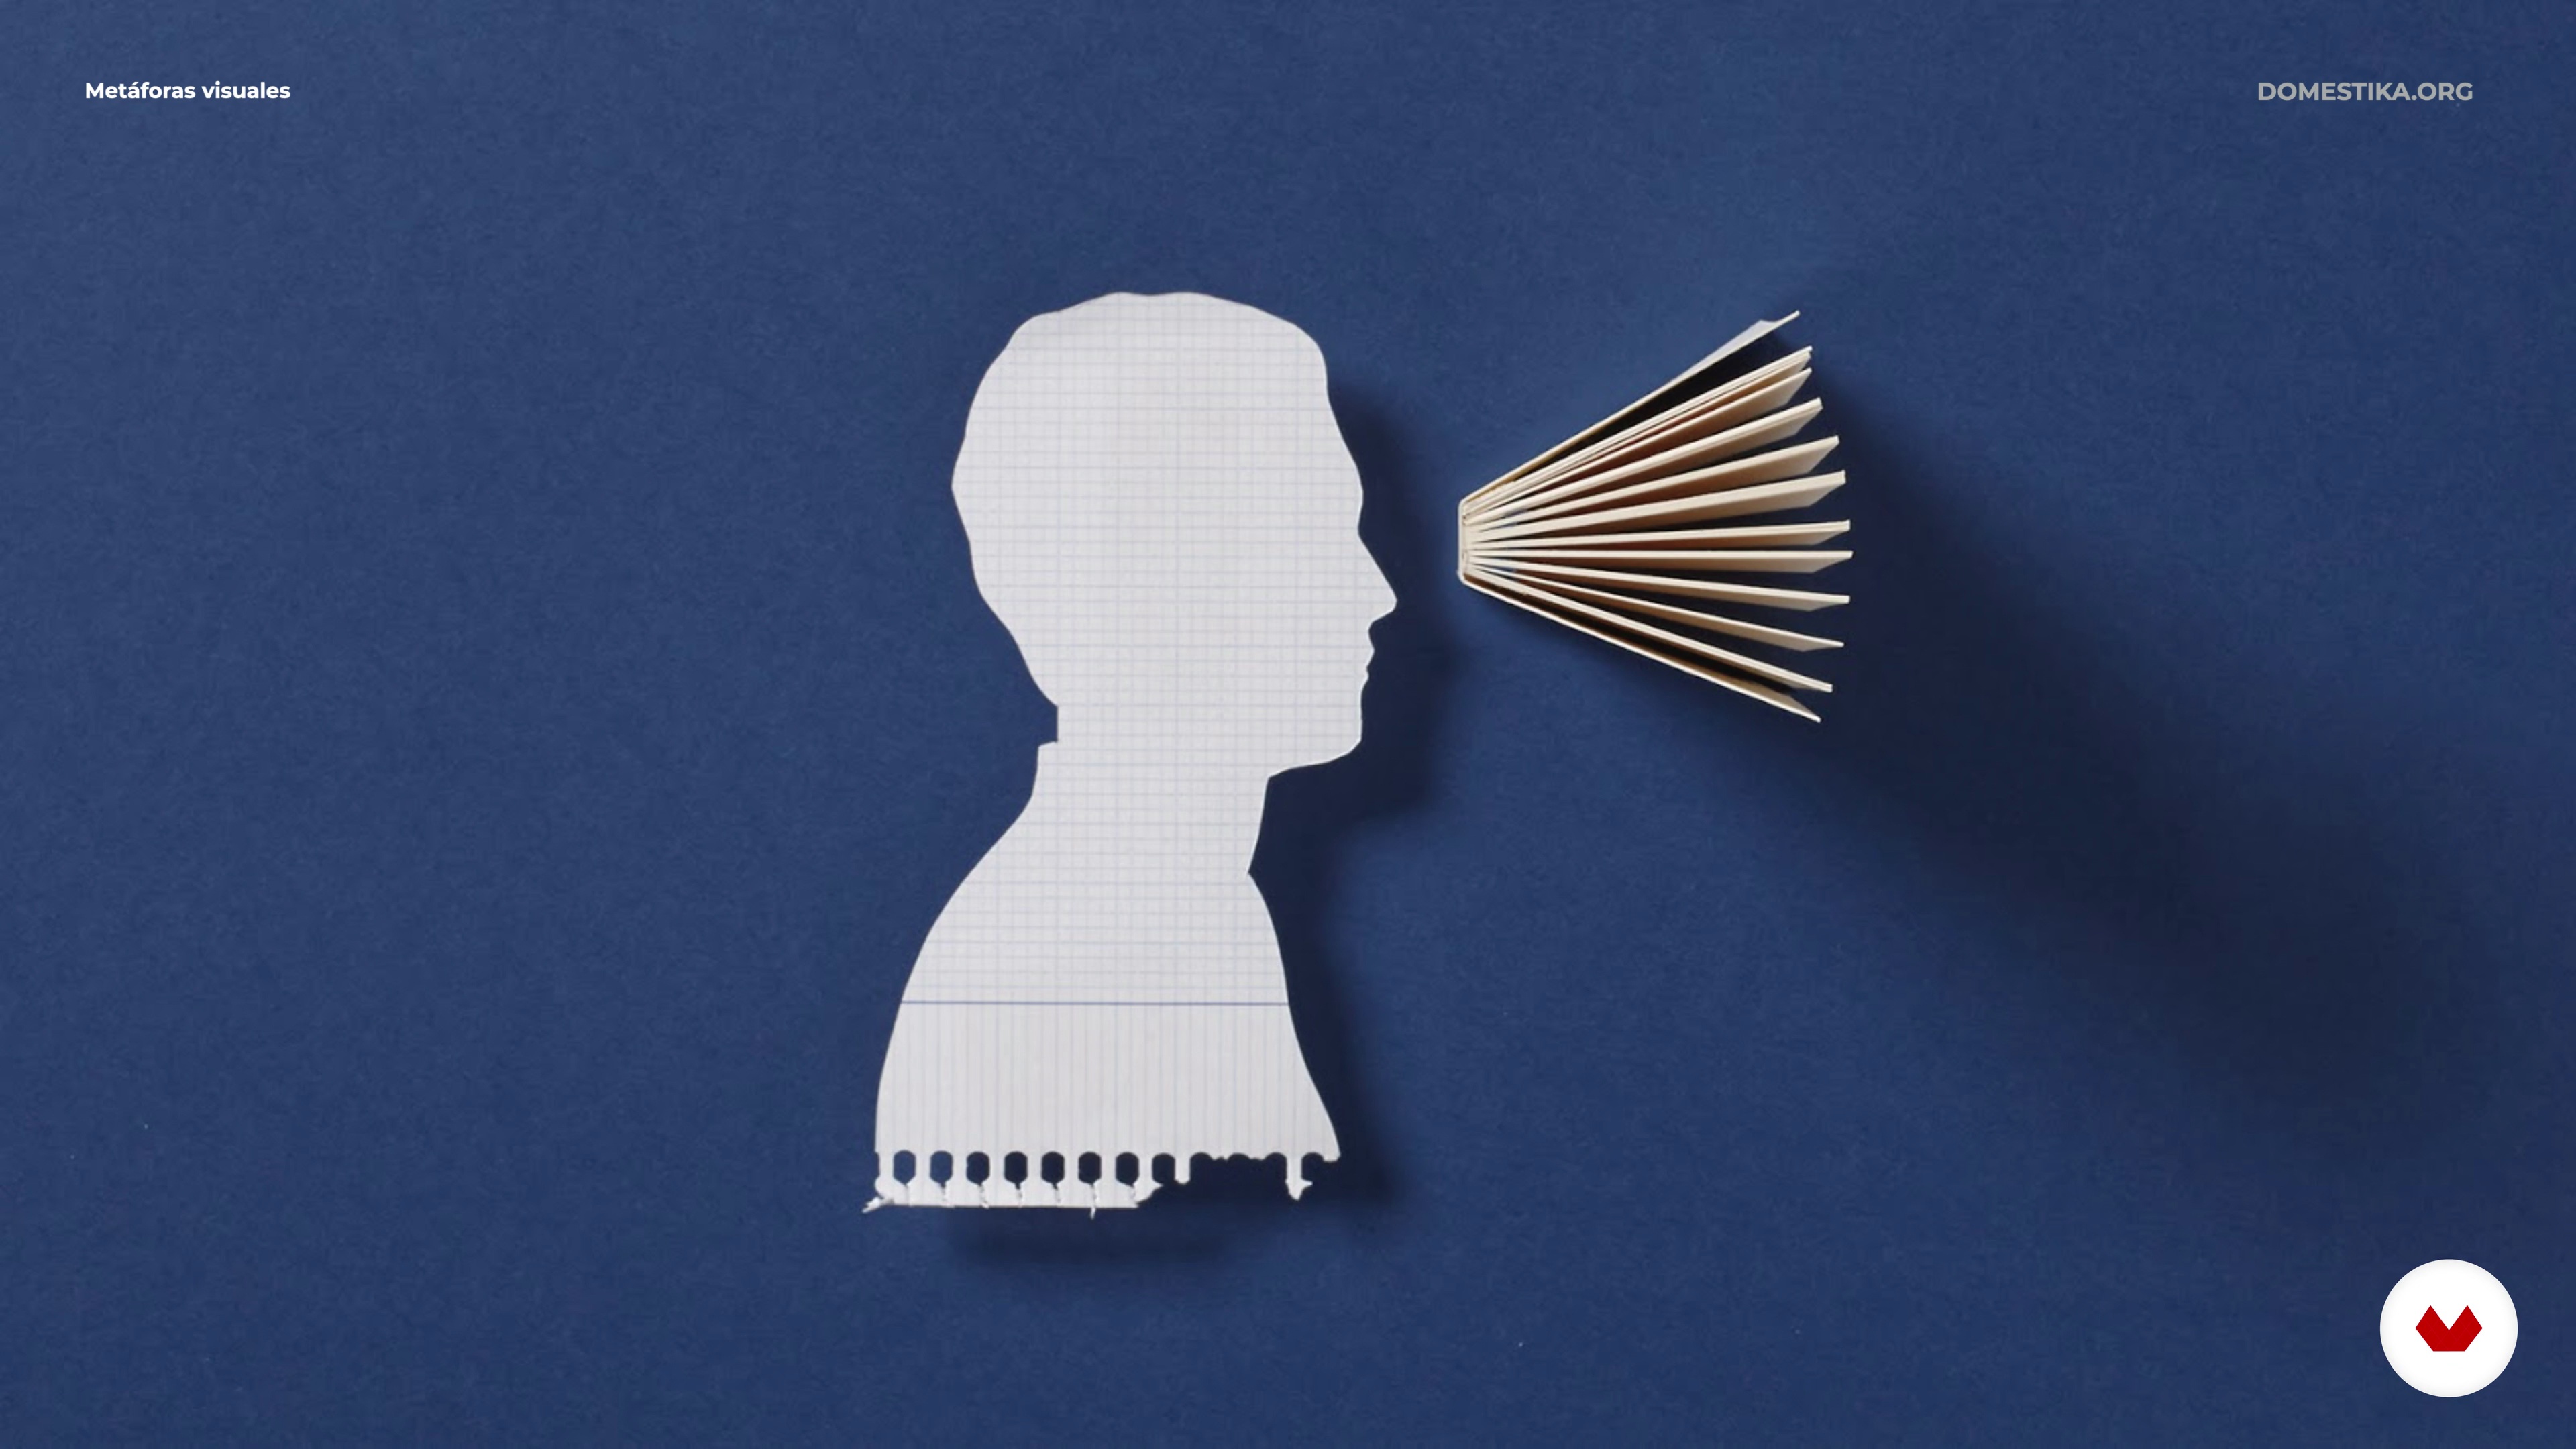
6The visual metaphor
The visual metaphor is the way through which an idea is transmitted quickly and easily, making it understandable to everyone. In this lesson you will see, through examples from our study, how this technique helps us to generate layers of meanings and concepts in our posters.
4m
 7
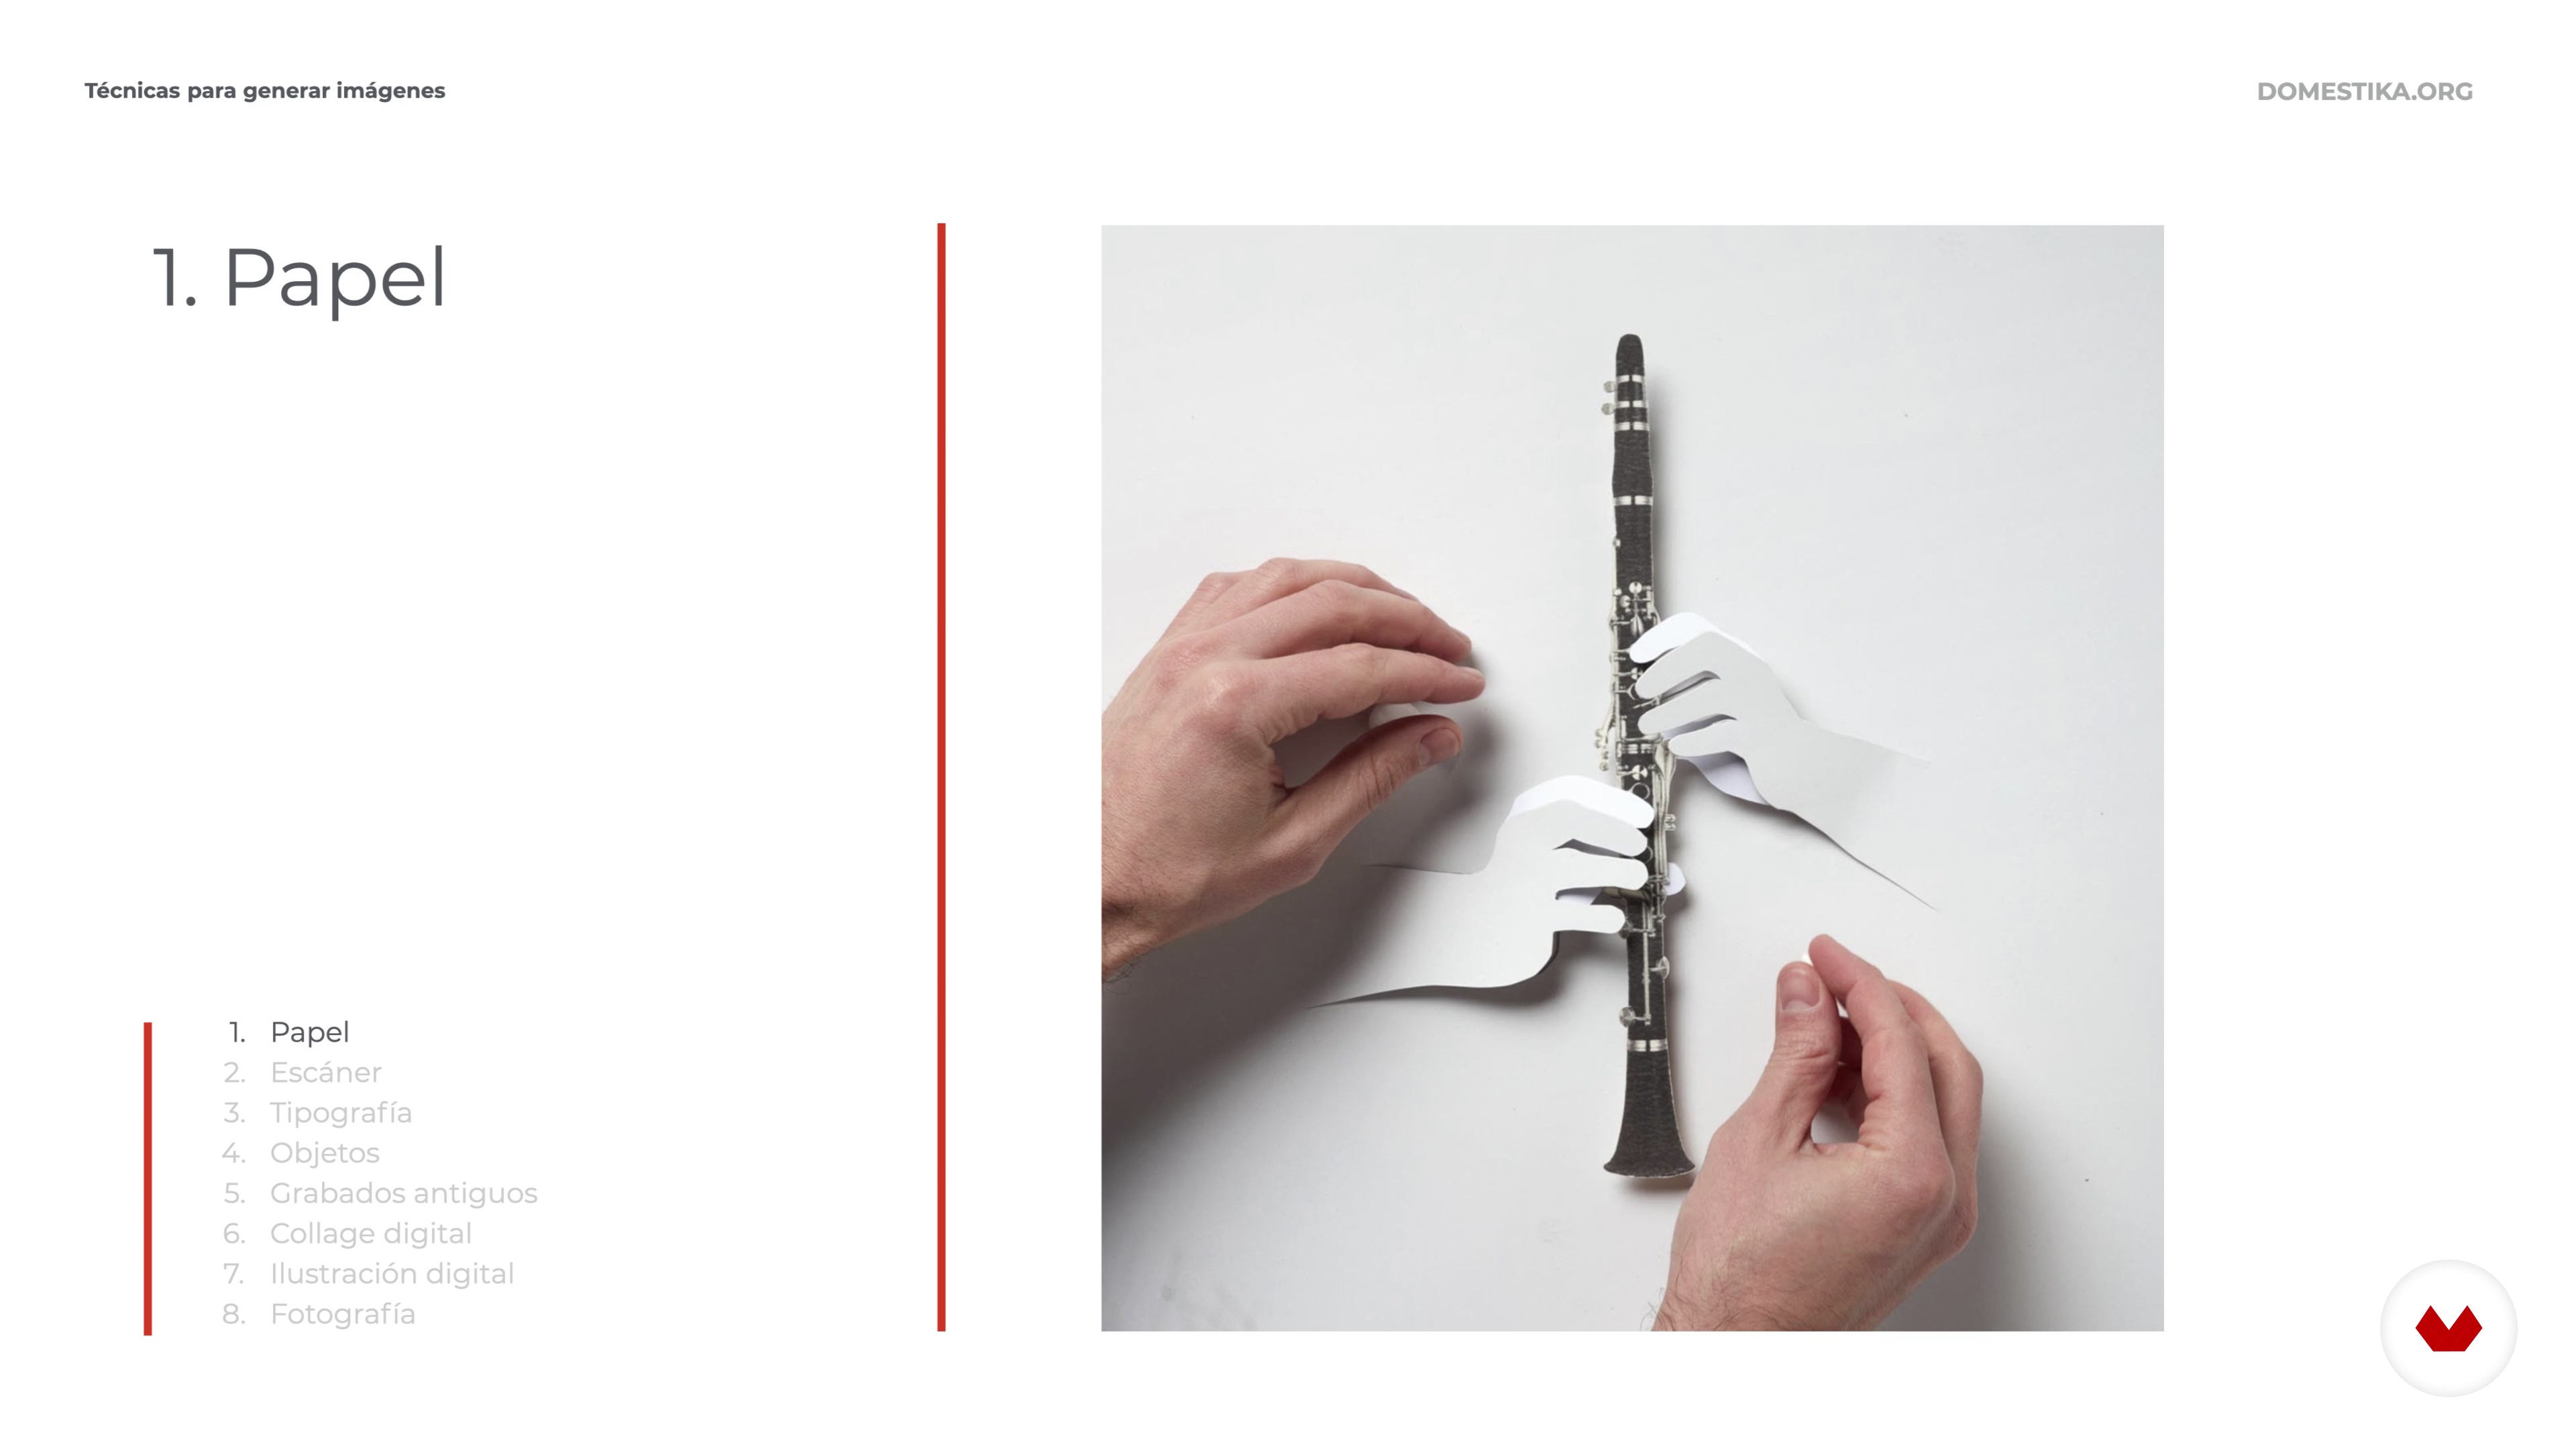
7Techniques for generating images
When it comes to shaping our poster we have multiple techniques with which to materialize our ideas. In this lesson we will review the main techniques that we use explaining the possibilities of each of them.
7m
 8
8Special production techniques
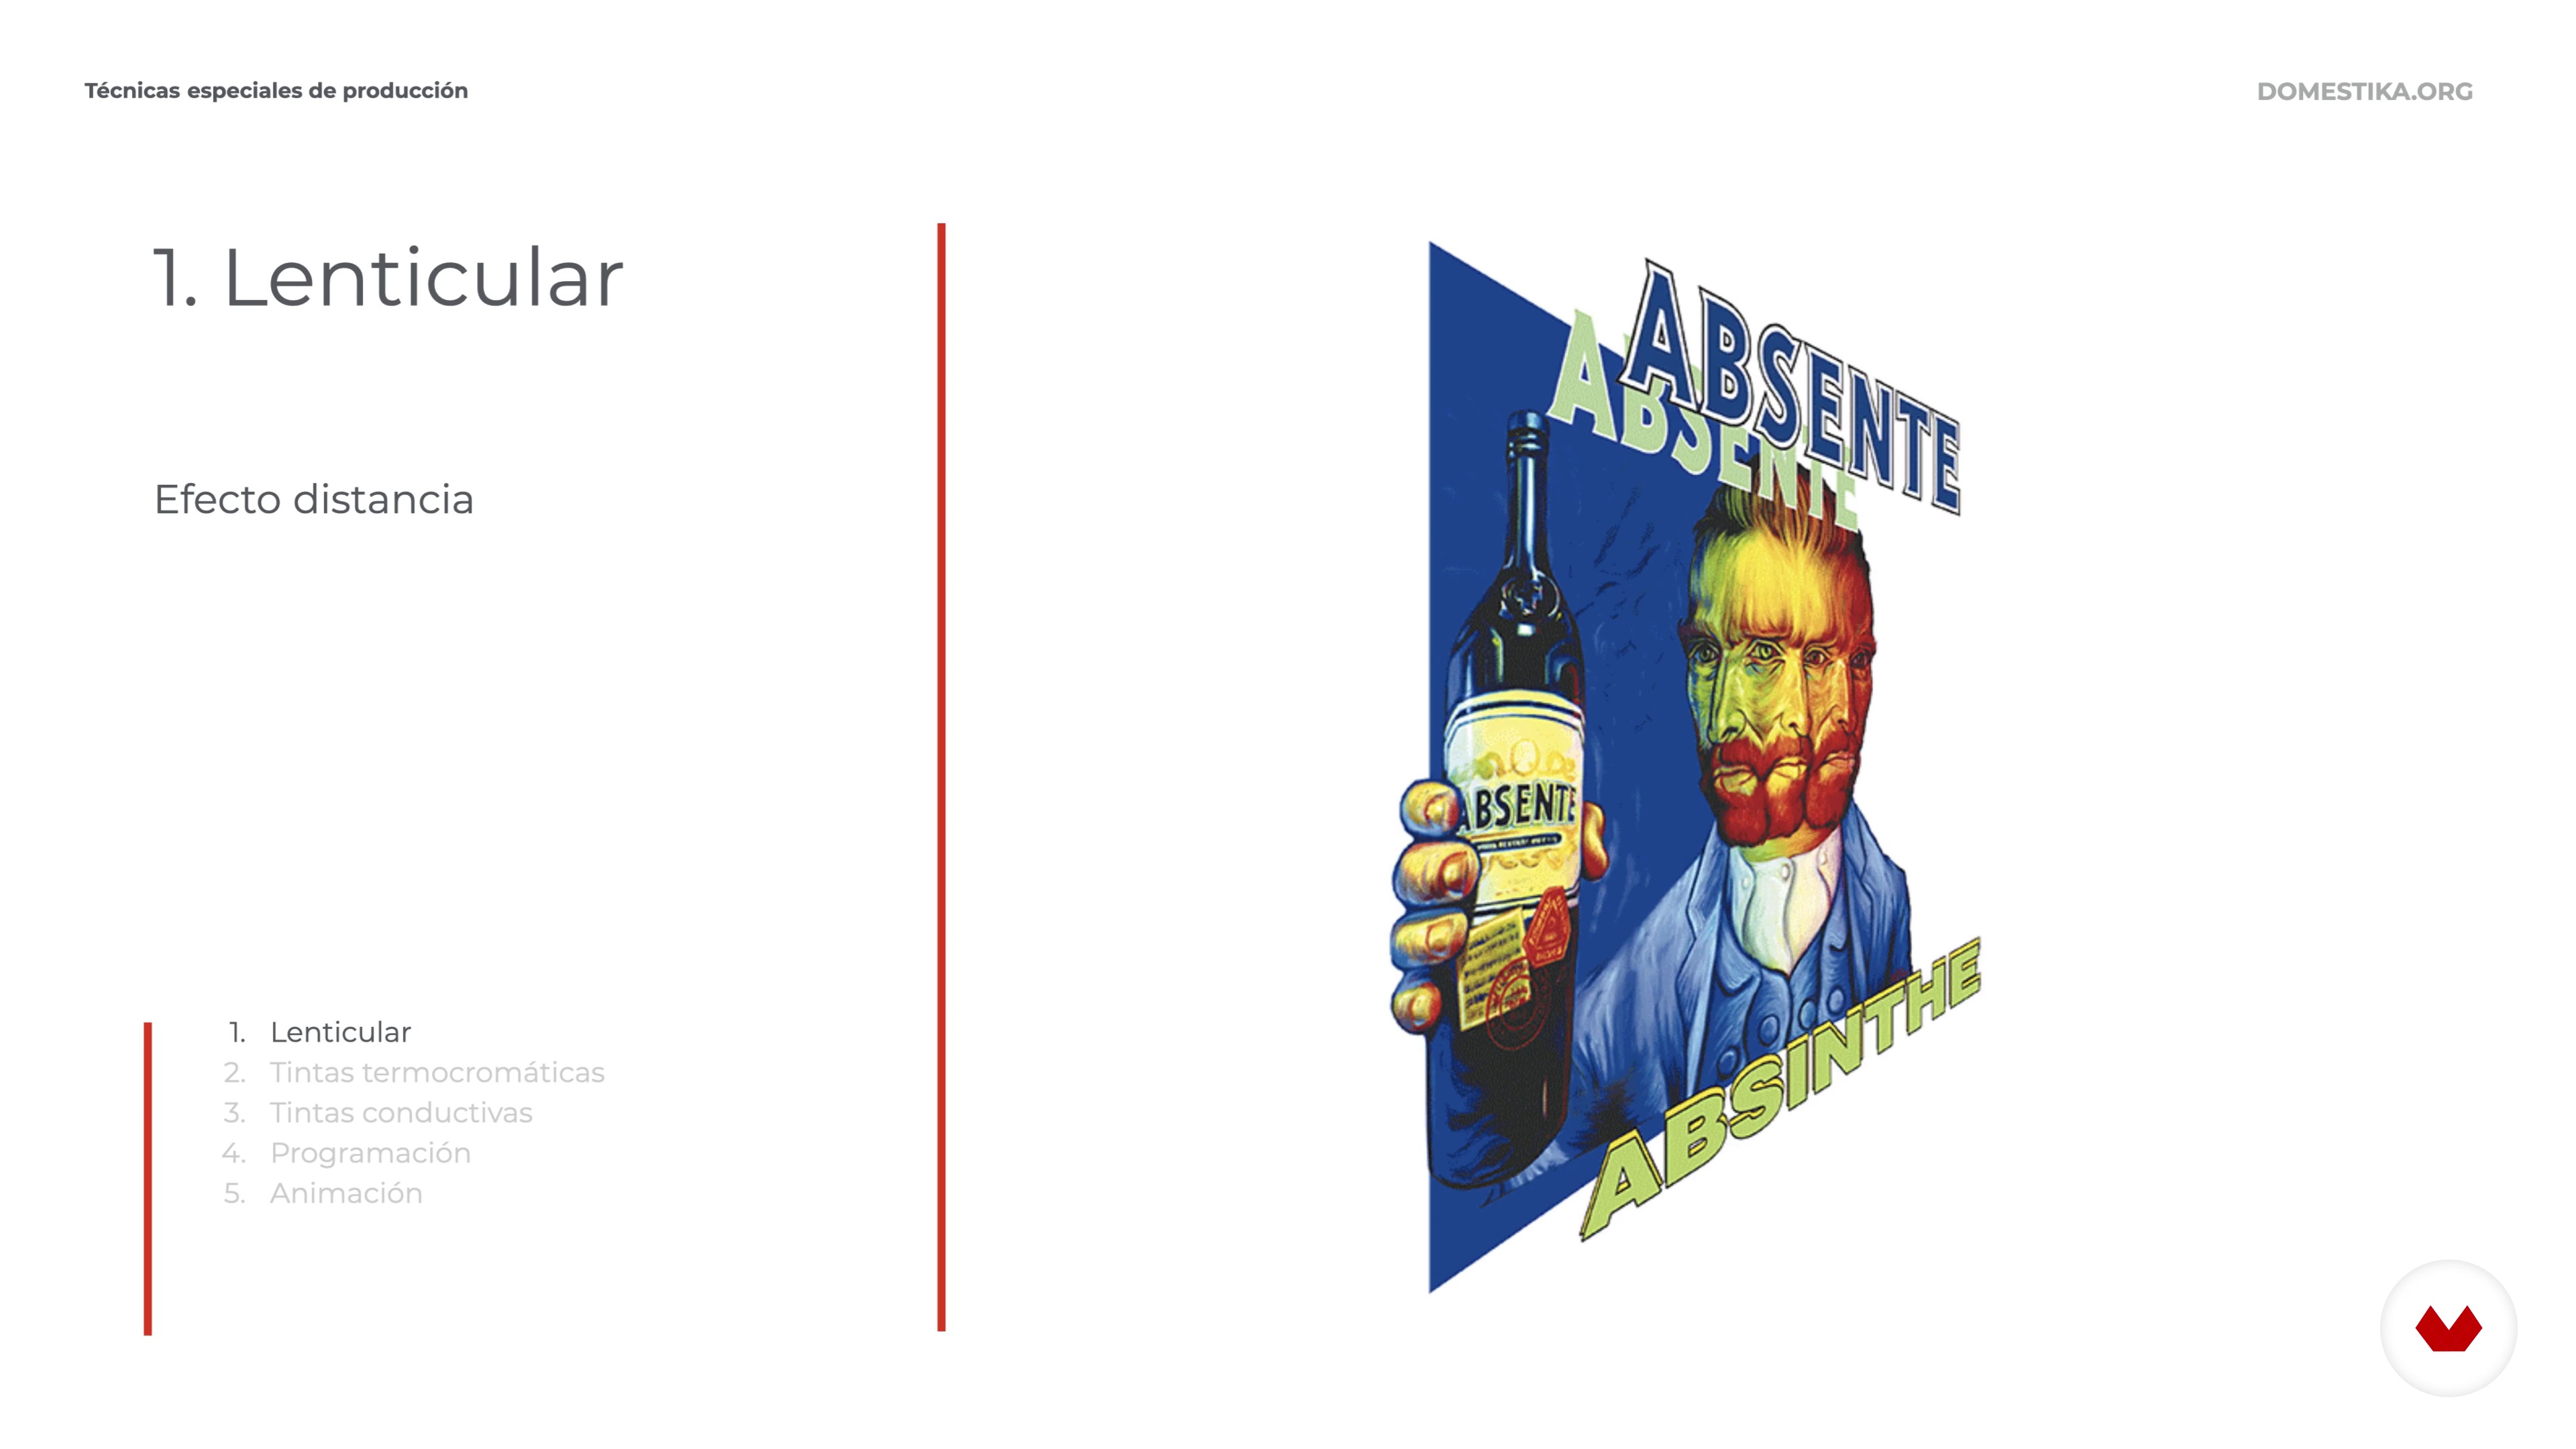
In this lesson I will introduce you to some special production techniques. Posters that change color with temperature, that vary according to the perspective from which they are viewed or images created with programming. The options on the market are multiple, they can help us to promote the idea of our poster, creating a more direct link with the viewer.
3m
 9
9The irruption of the digital world
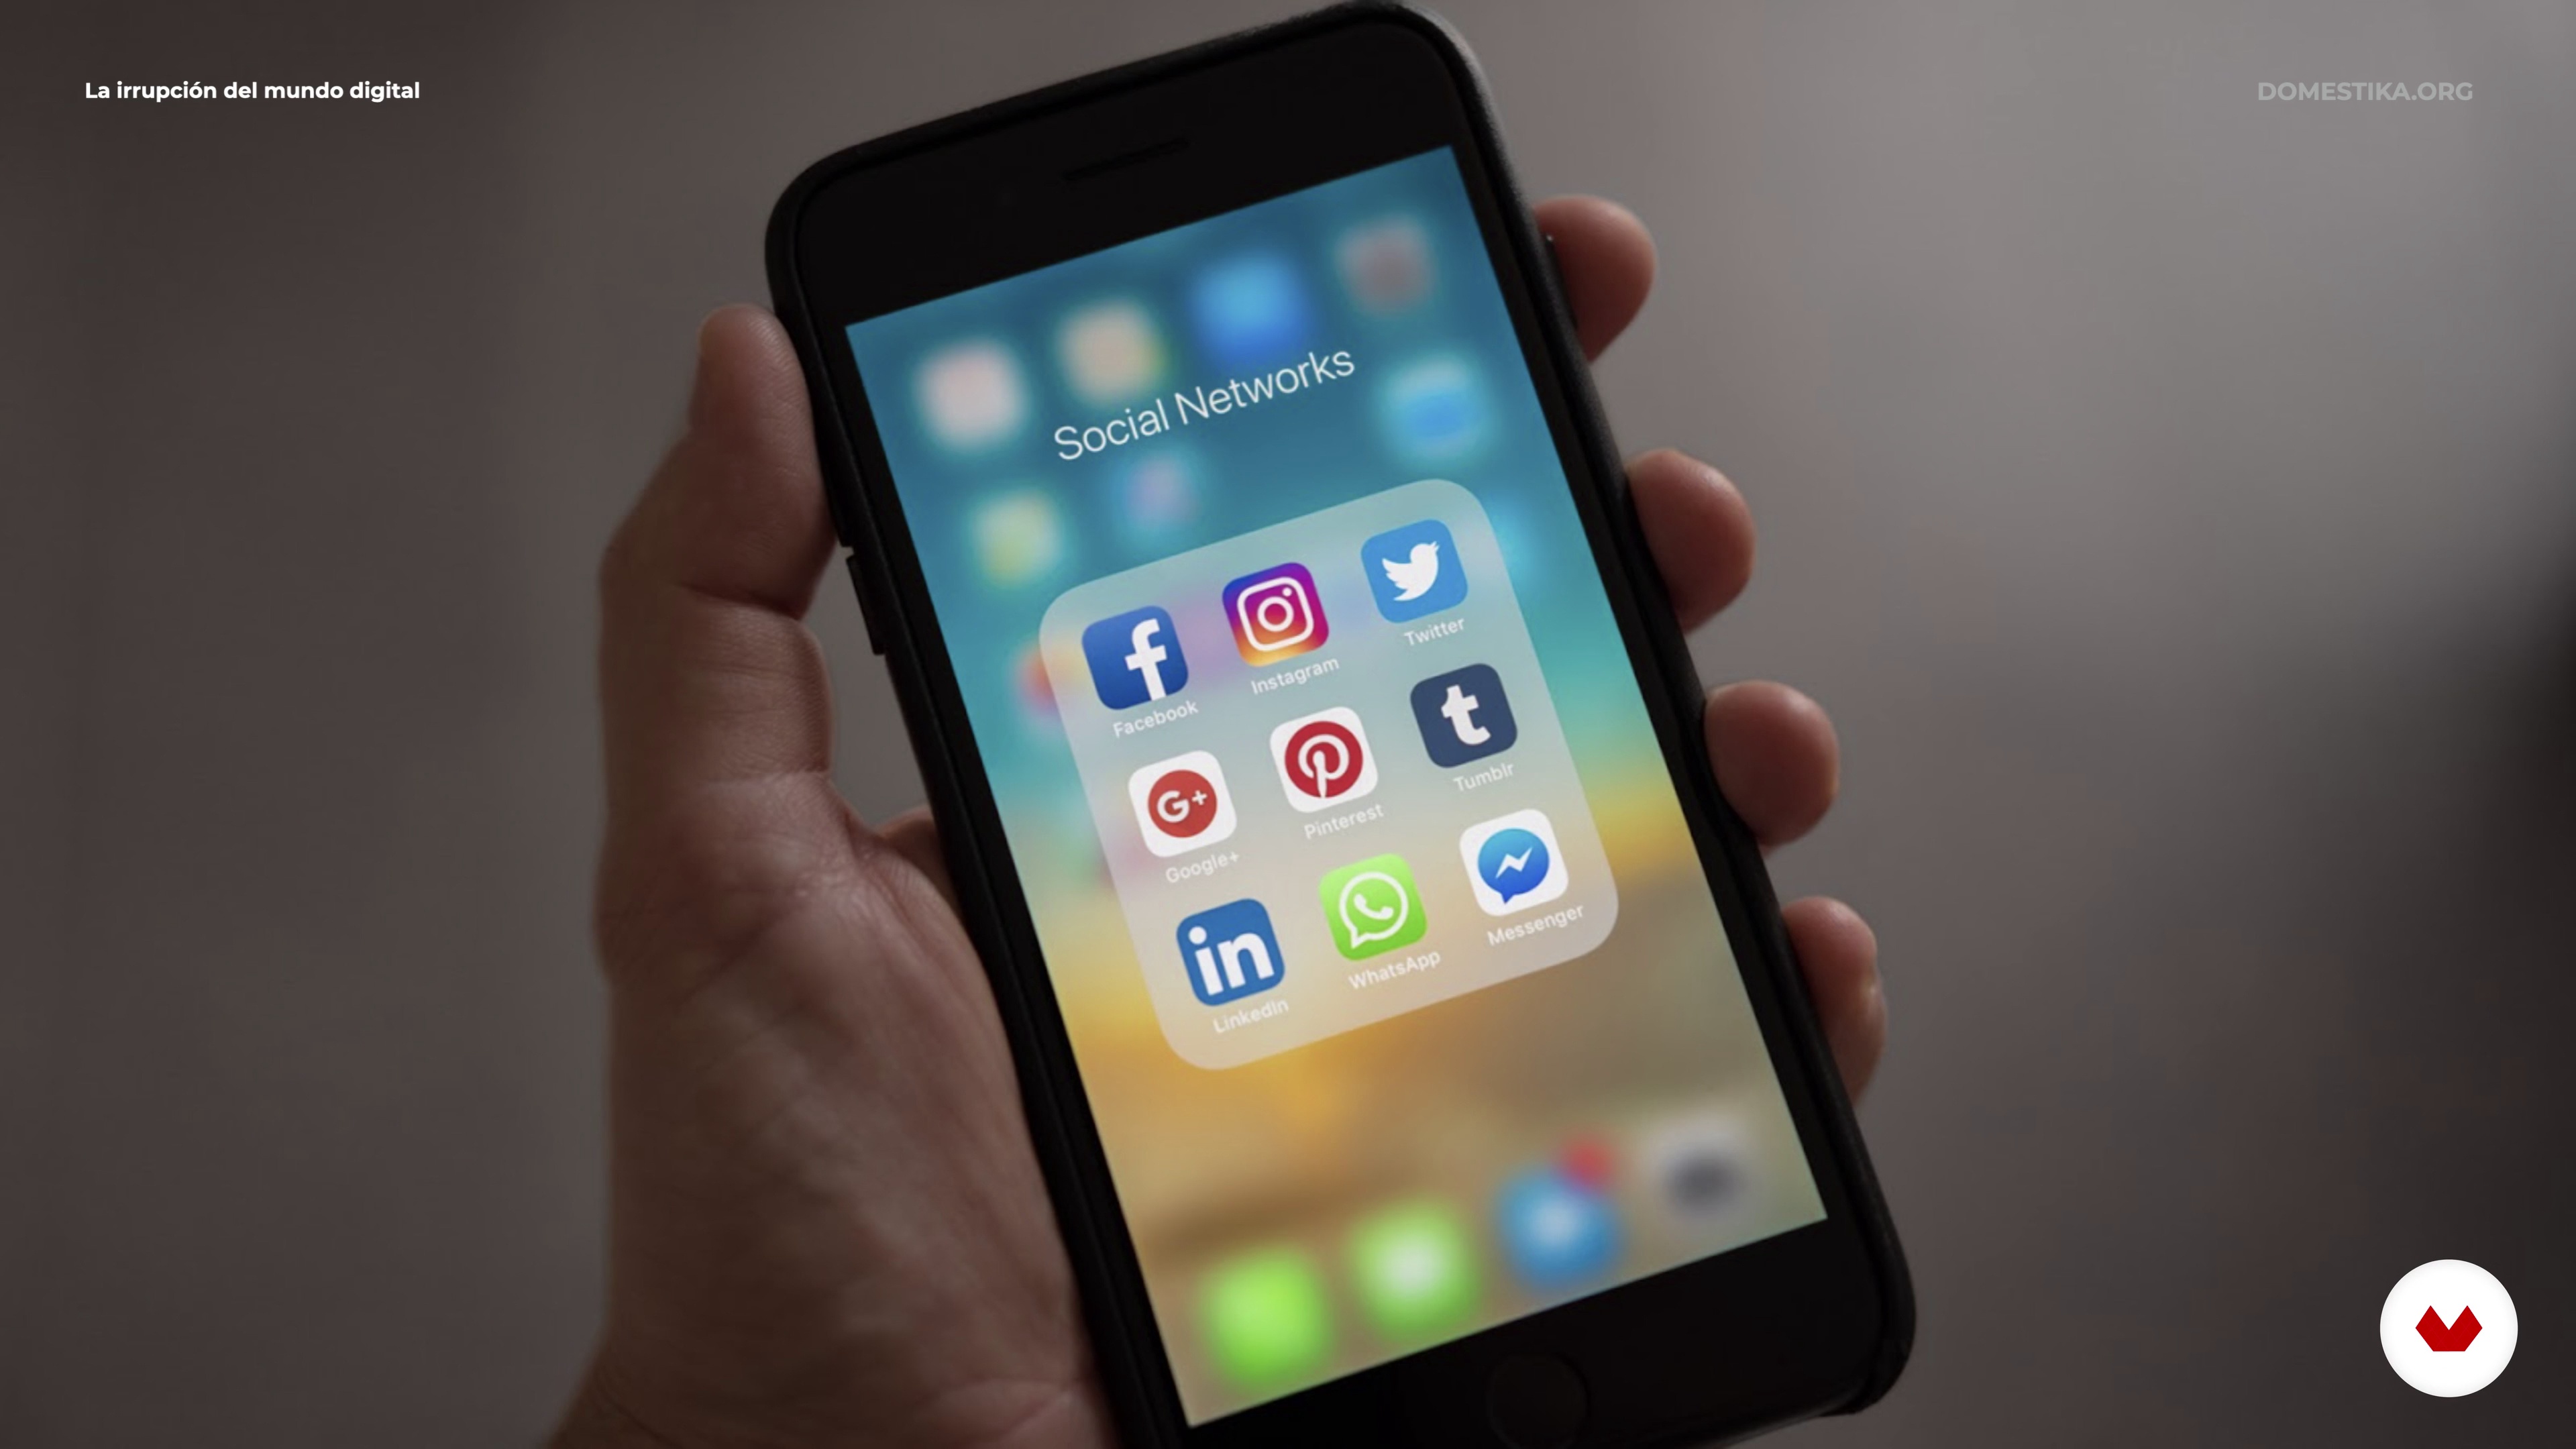
Social networks have changed the way we communicate and posters have had to adapt to these new environments. We will review the most common formats to which a poster is usually adapted and the aspects that we have to take into account before designing it.
2m
 10
10The assignment: development and analysis of the briefing
In this lesson we are going to define and analyze the order on which we are going to work a poster. We will do it through a briefing where we will mark what the communication objectives are, what audience we are targeting and what are the supports to which we have to apply our creativity.
2m
 11
11Create key concepts
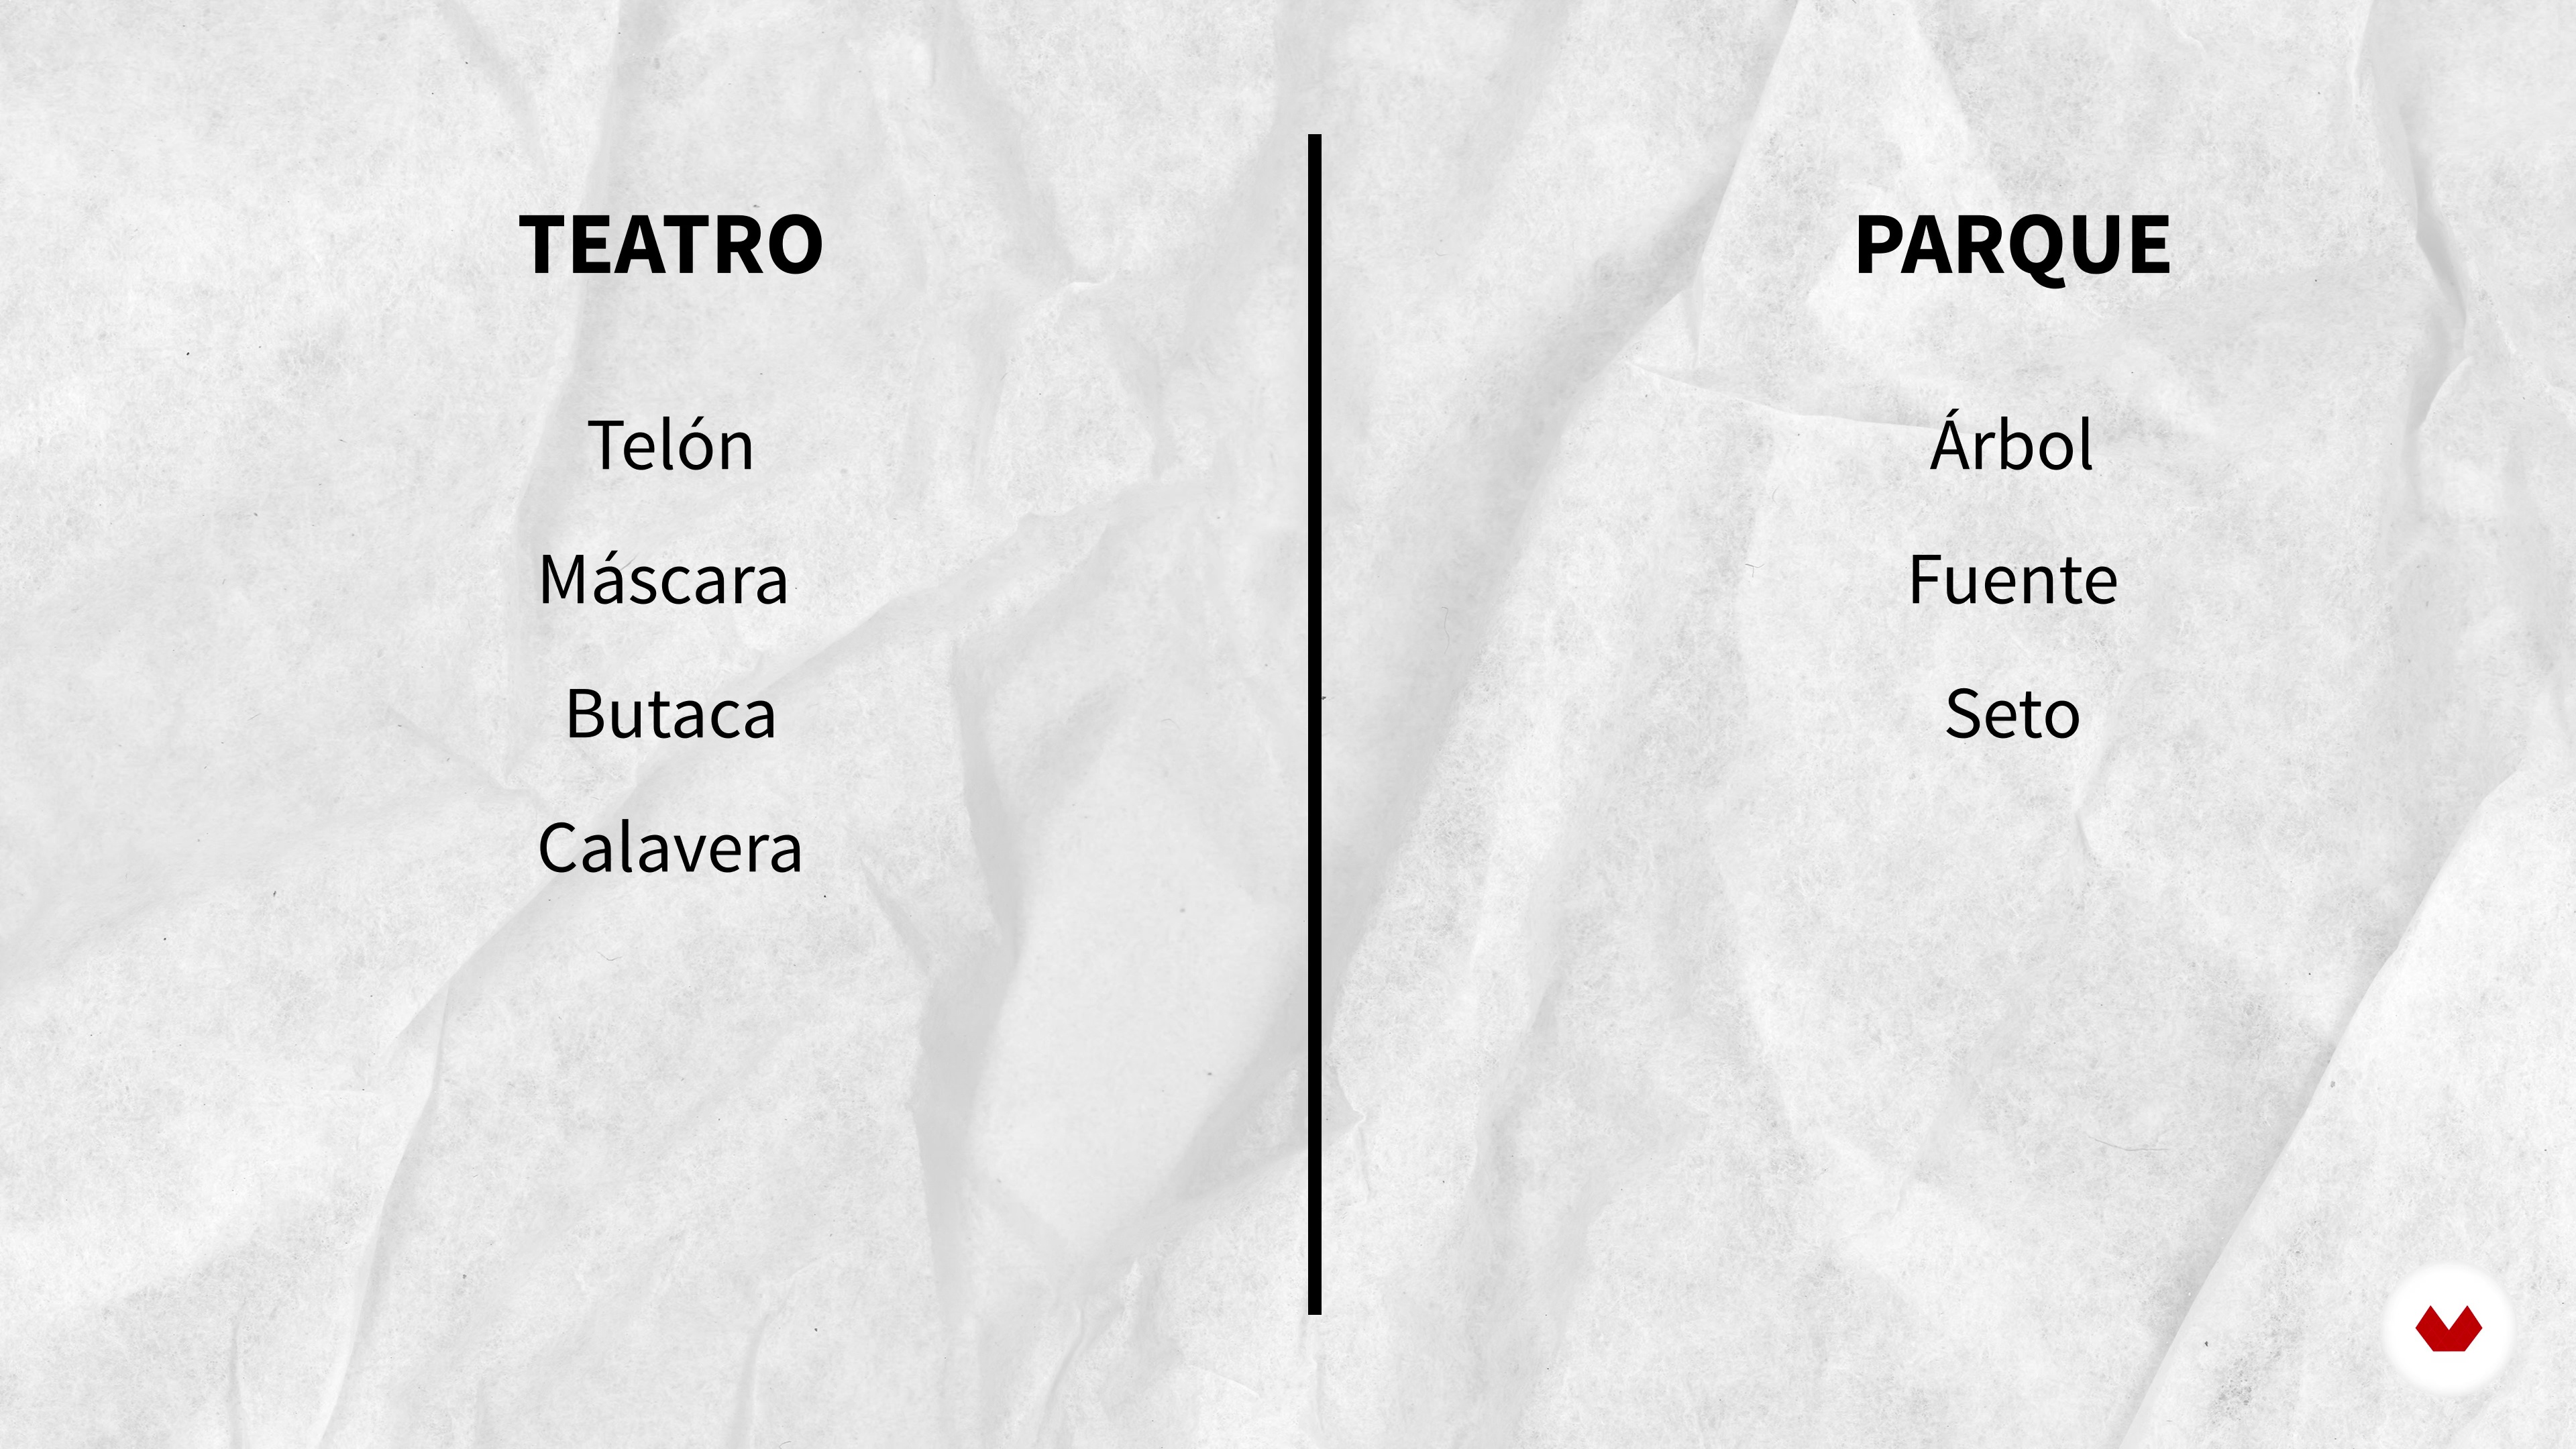
To make a poster that communicates and reaches the viewer in a clean and direct way, it has to be based on a powerful and solid idea. In this lesson we will learn how to generate them.
3m
 12
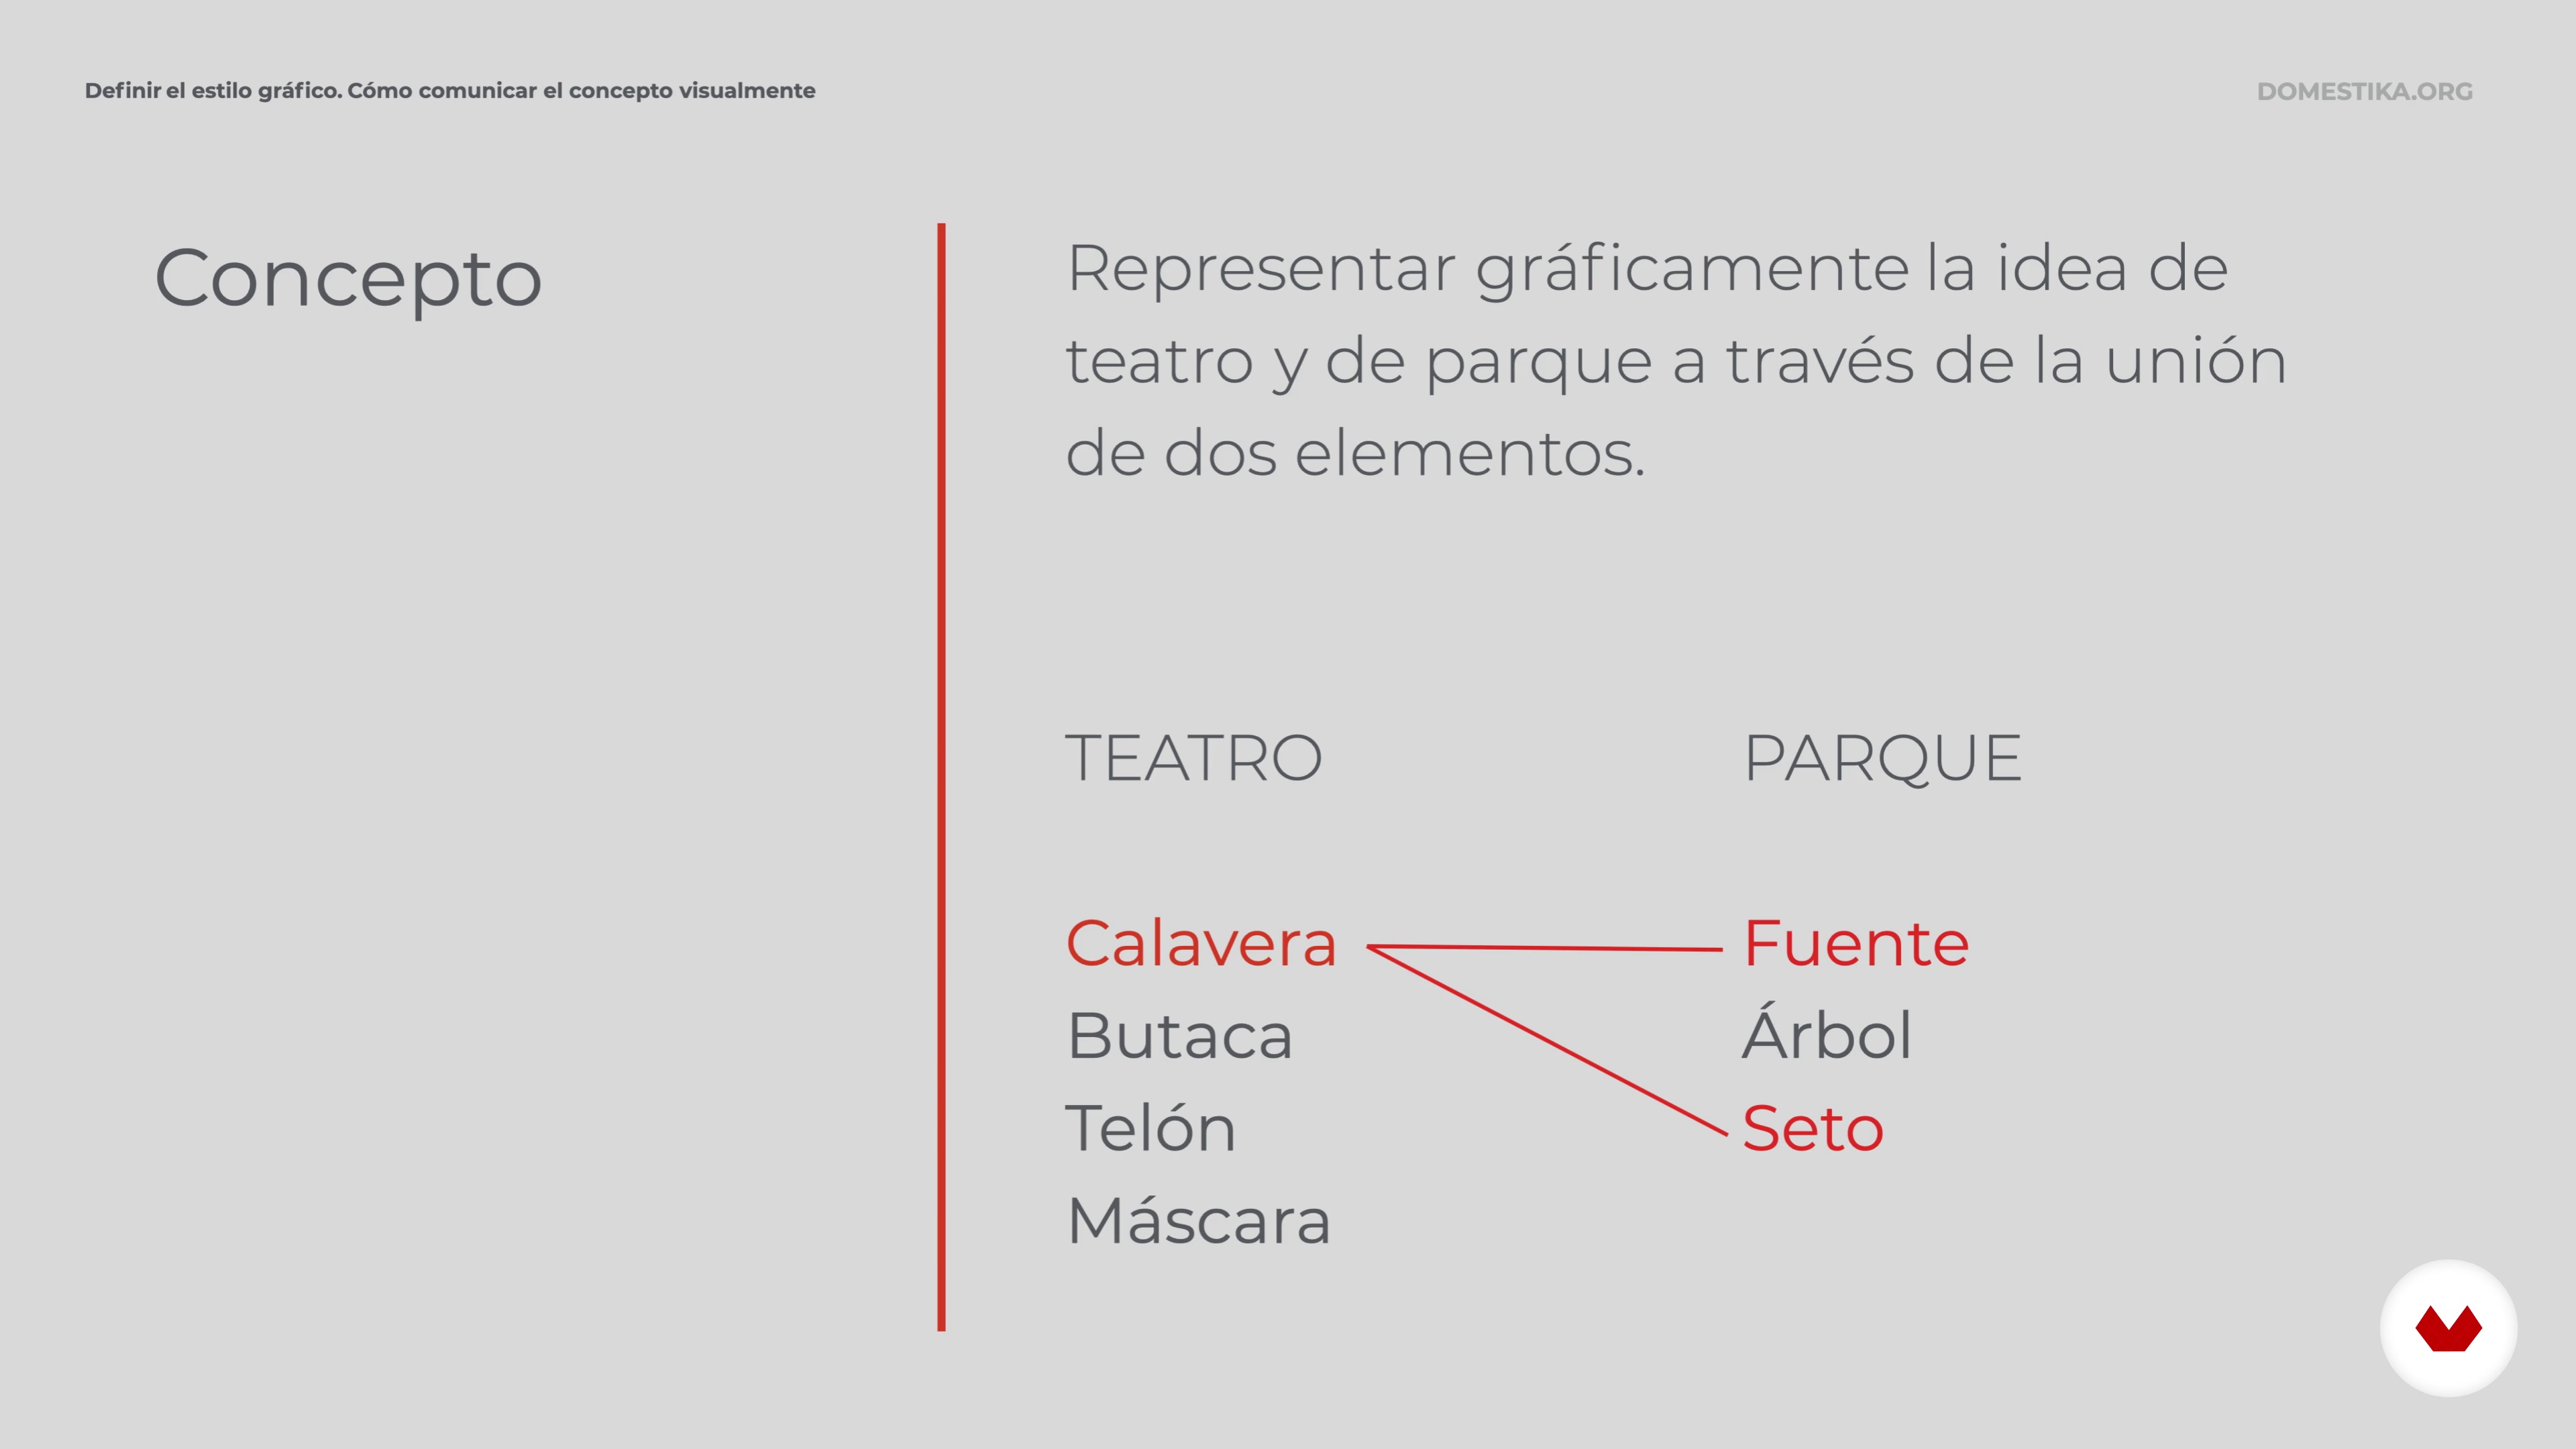
12How to communicate the concept visually. Define the graphic style
Defining the graphic style with which we are going to express ourselves is key to being aligned with the communication objectives of the poster. We will define the main elements of the poster, technique, typography, color and composition. Previous considerations before starting to sketch.
3m
 13
13Sketch and define the central motif
In this lesson, we will shape the ideas raised in the previous unit. With paper and pencil we will sketch the possible graphic solutions, we will select among all of them the one that we are going to develop for our poster.
5m
 14
14Production resources
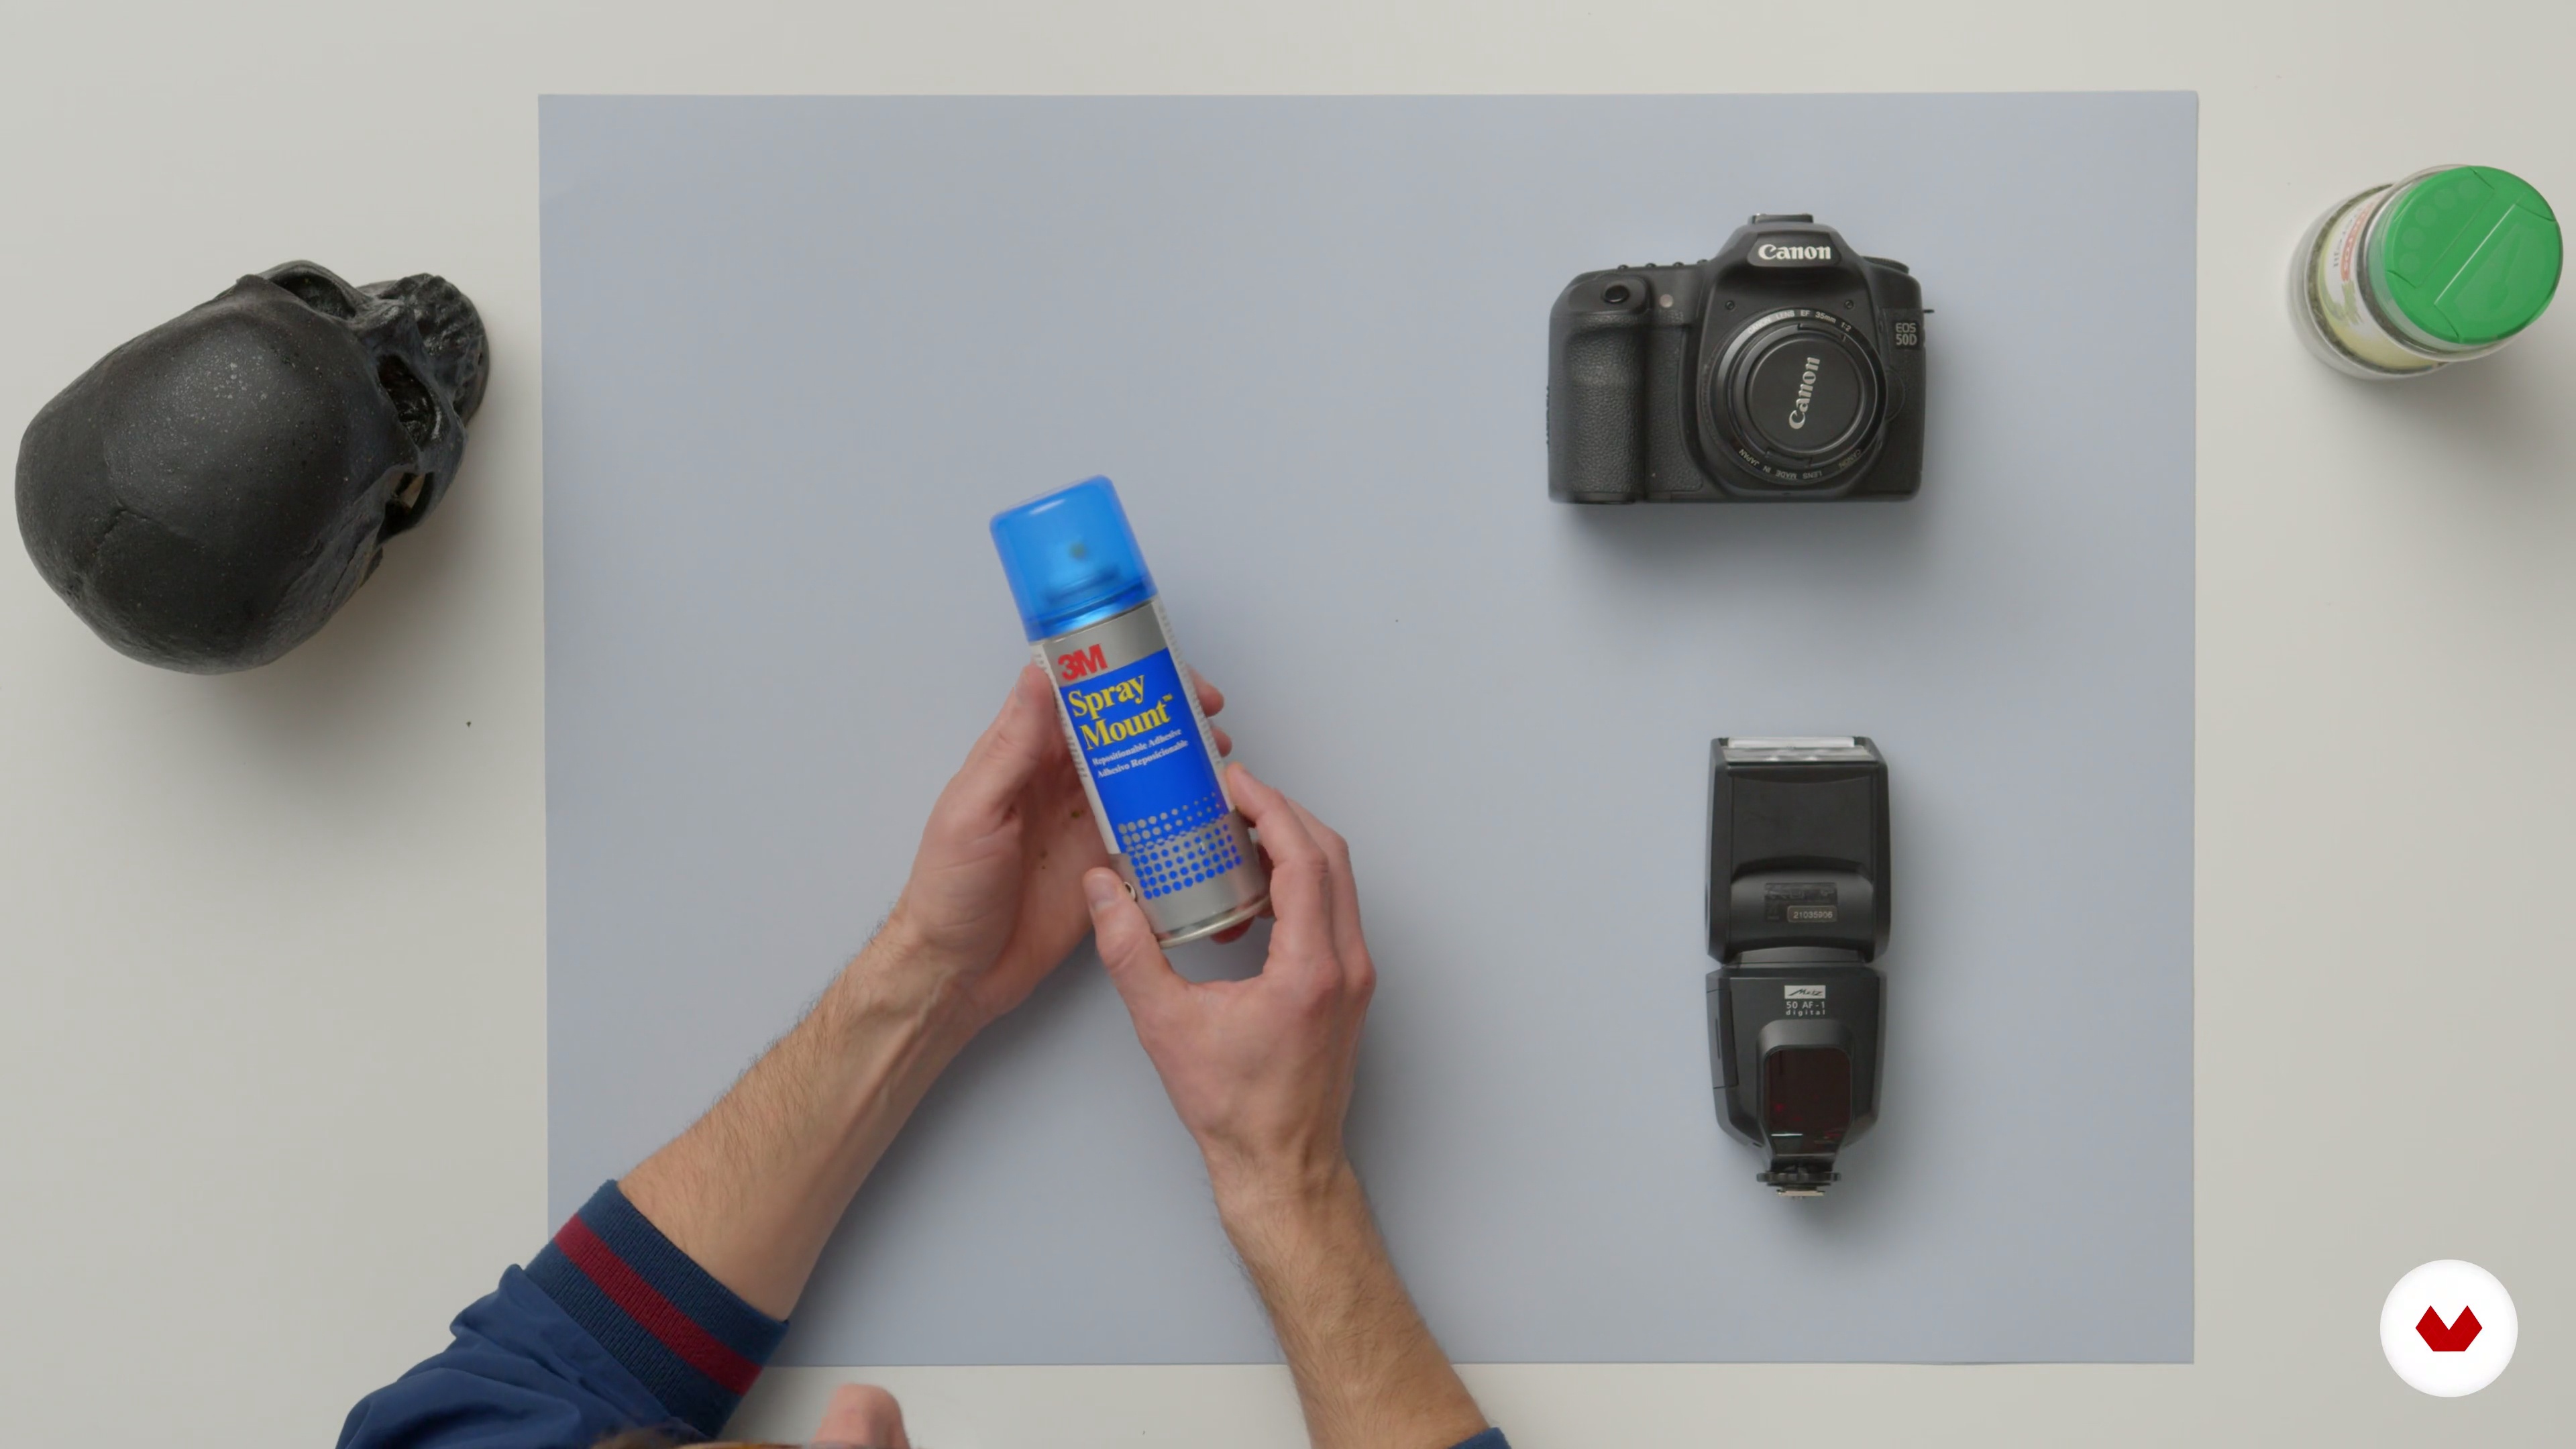
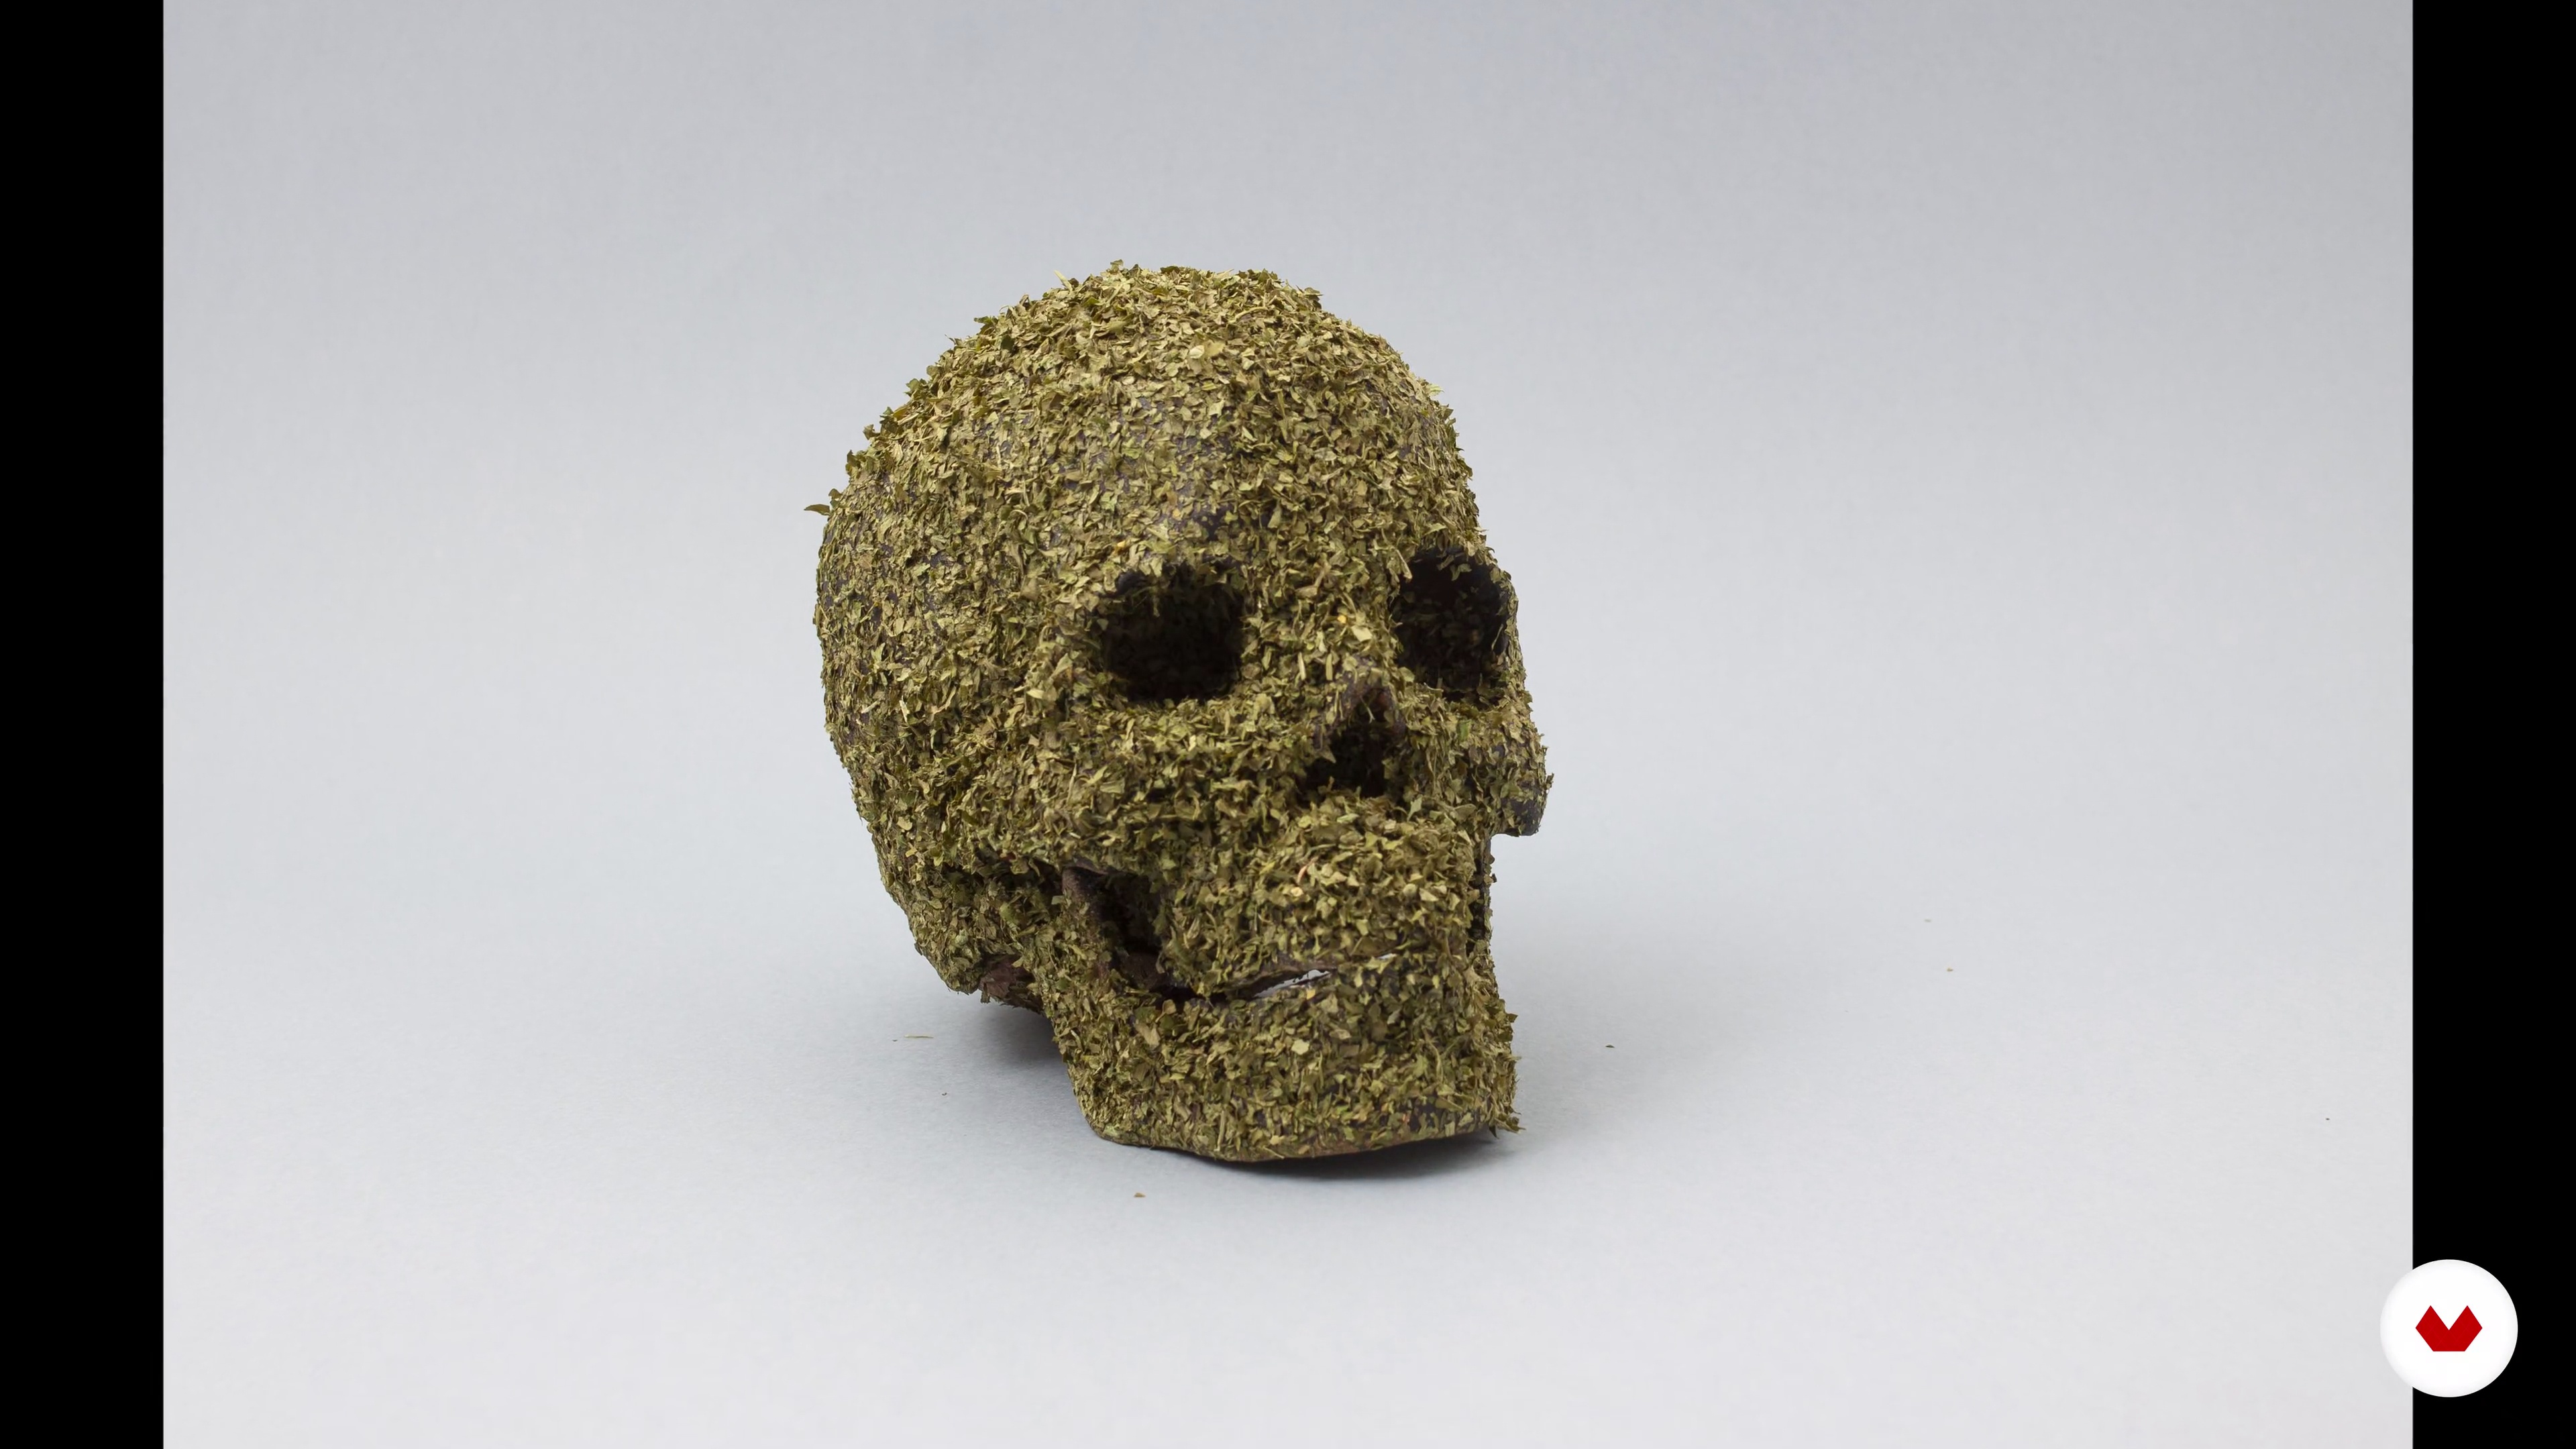
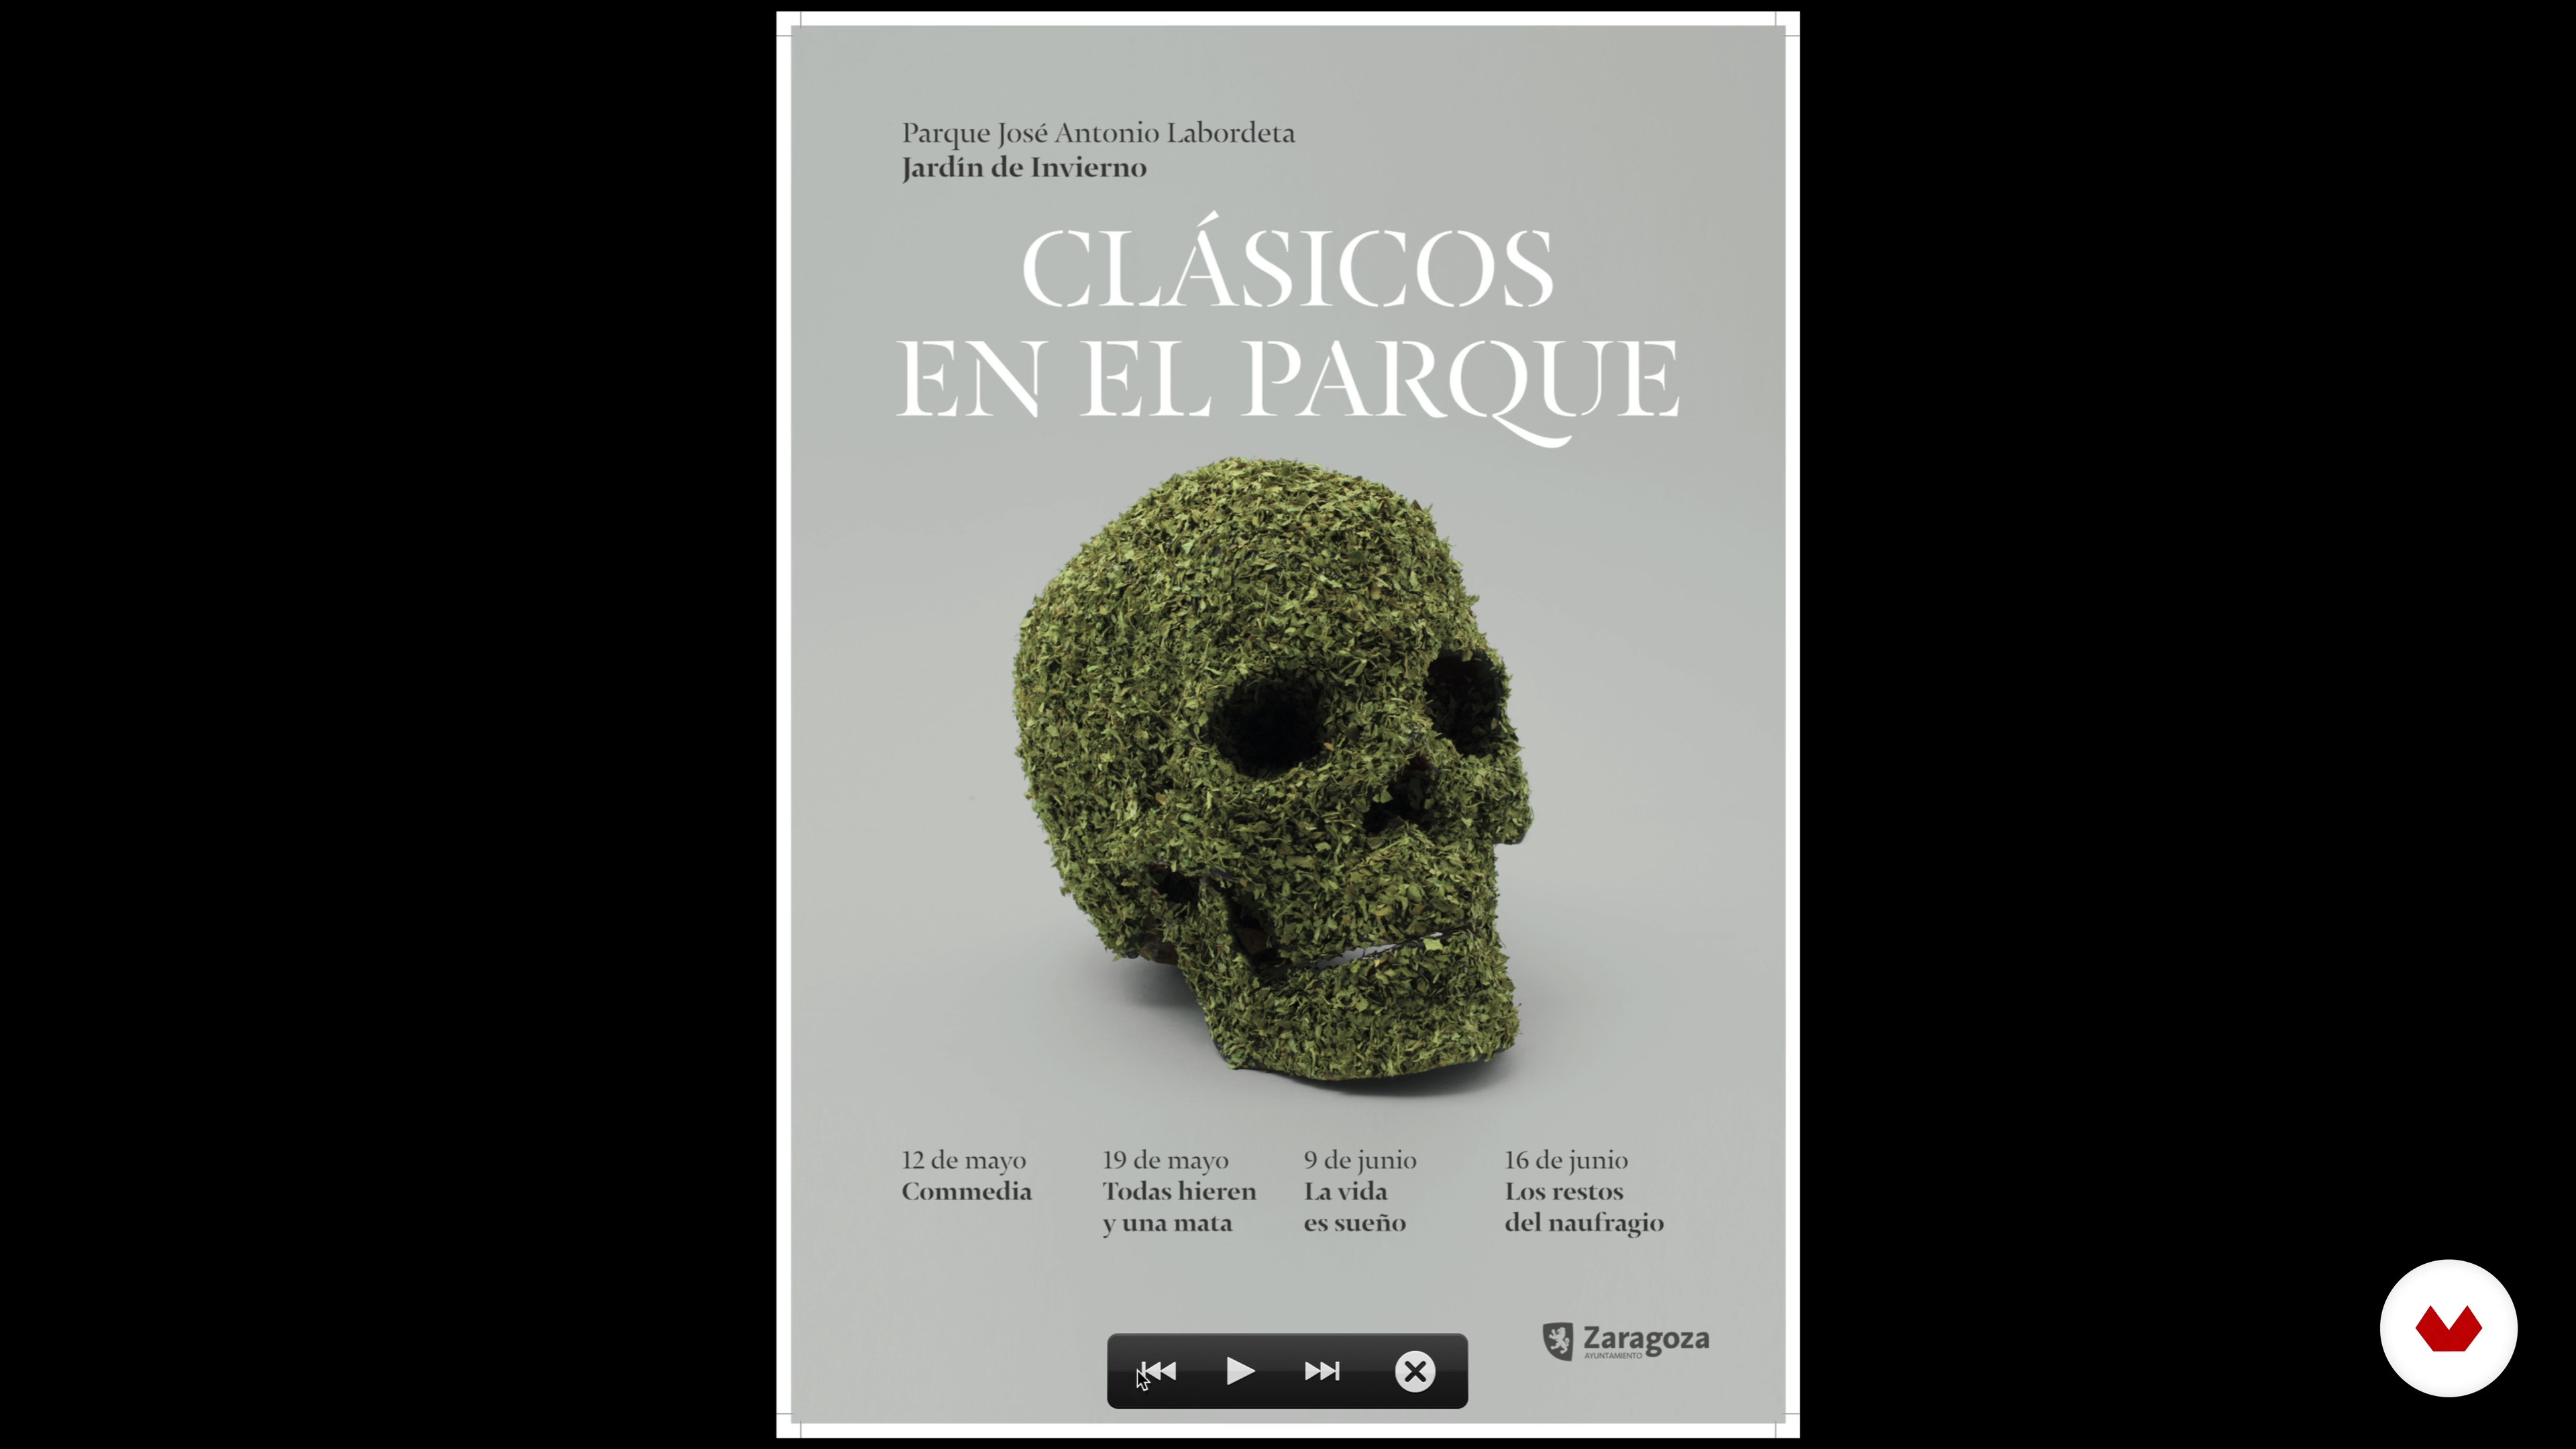
Once we have defined the final sketch, we face the execution phase, first we have to specify the production resources according to the technique with which we are going to work: • Background • Object (skull) • Glue in spray • Chopped parsley • Photographic material (camera + flash +)
2m
 15
15The creation of the central motif of the poster
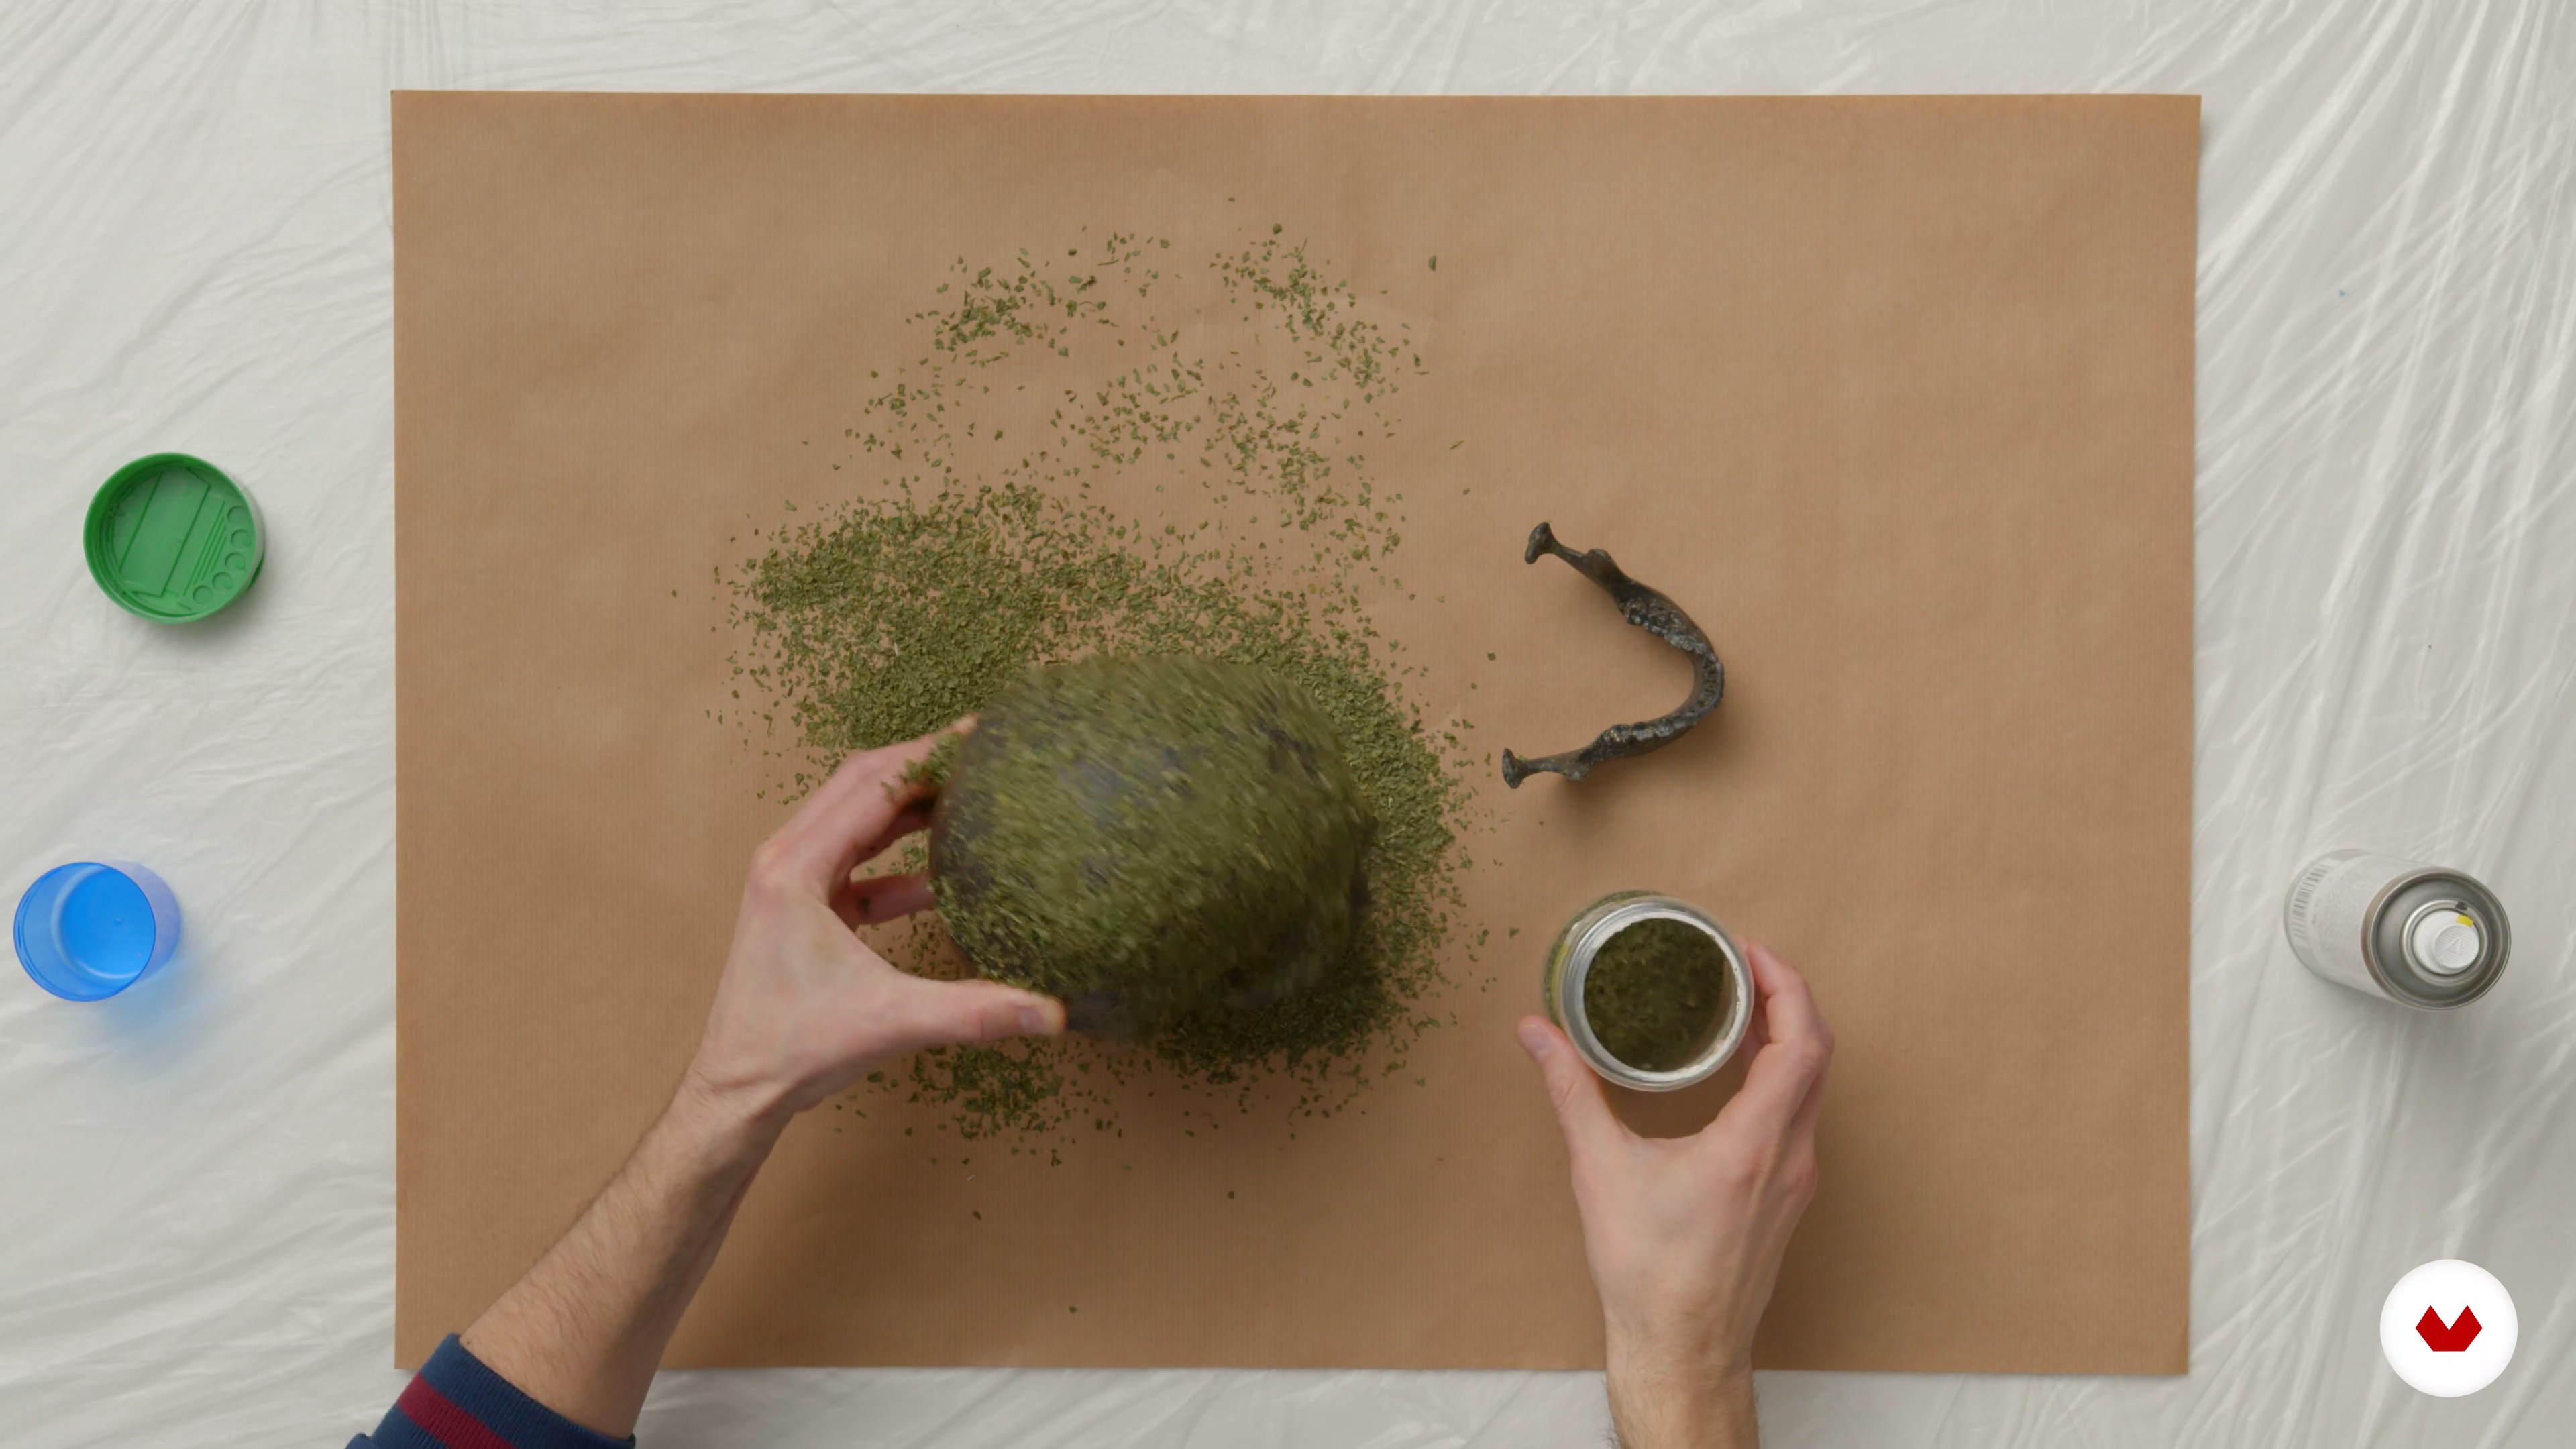
Now is the time to give shape to all the ideas and sketches. We created the central motif of the poster: see how the skull is made.
6m
 16
16Shooting
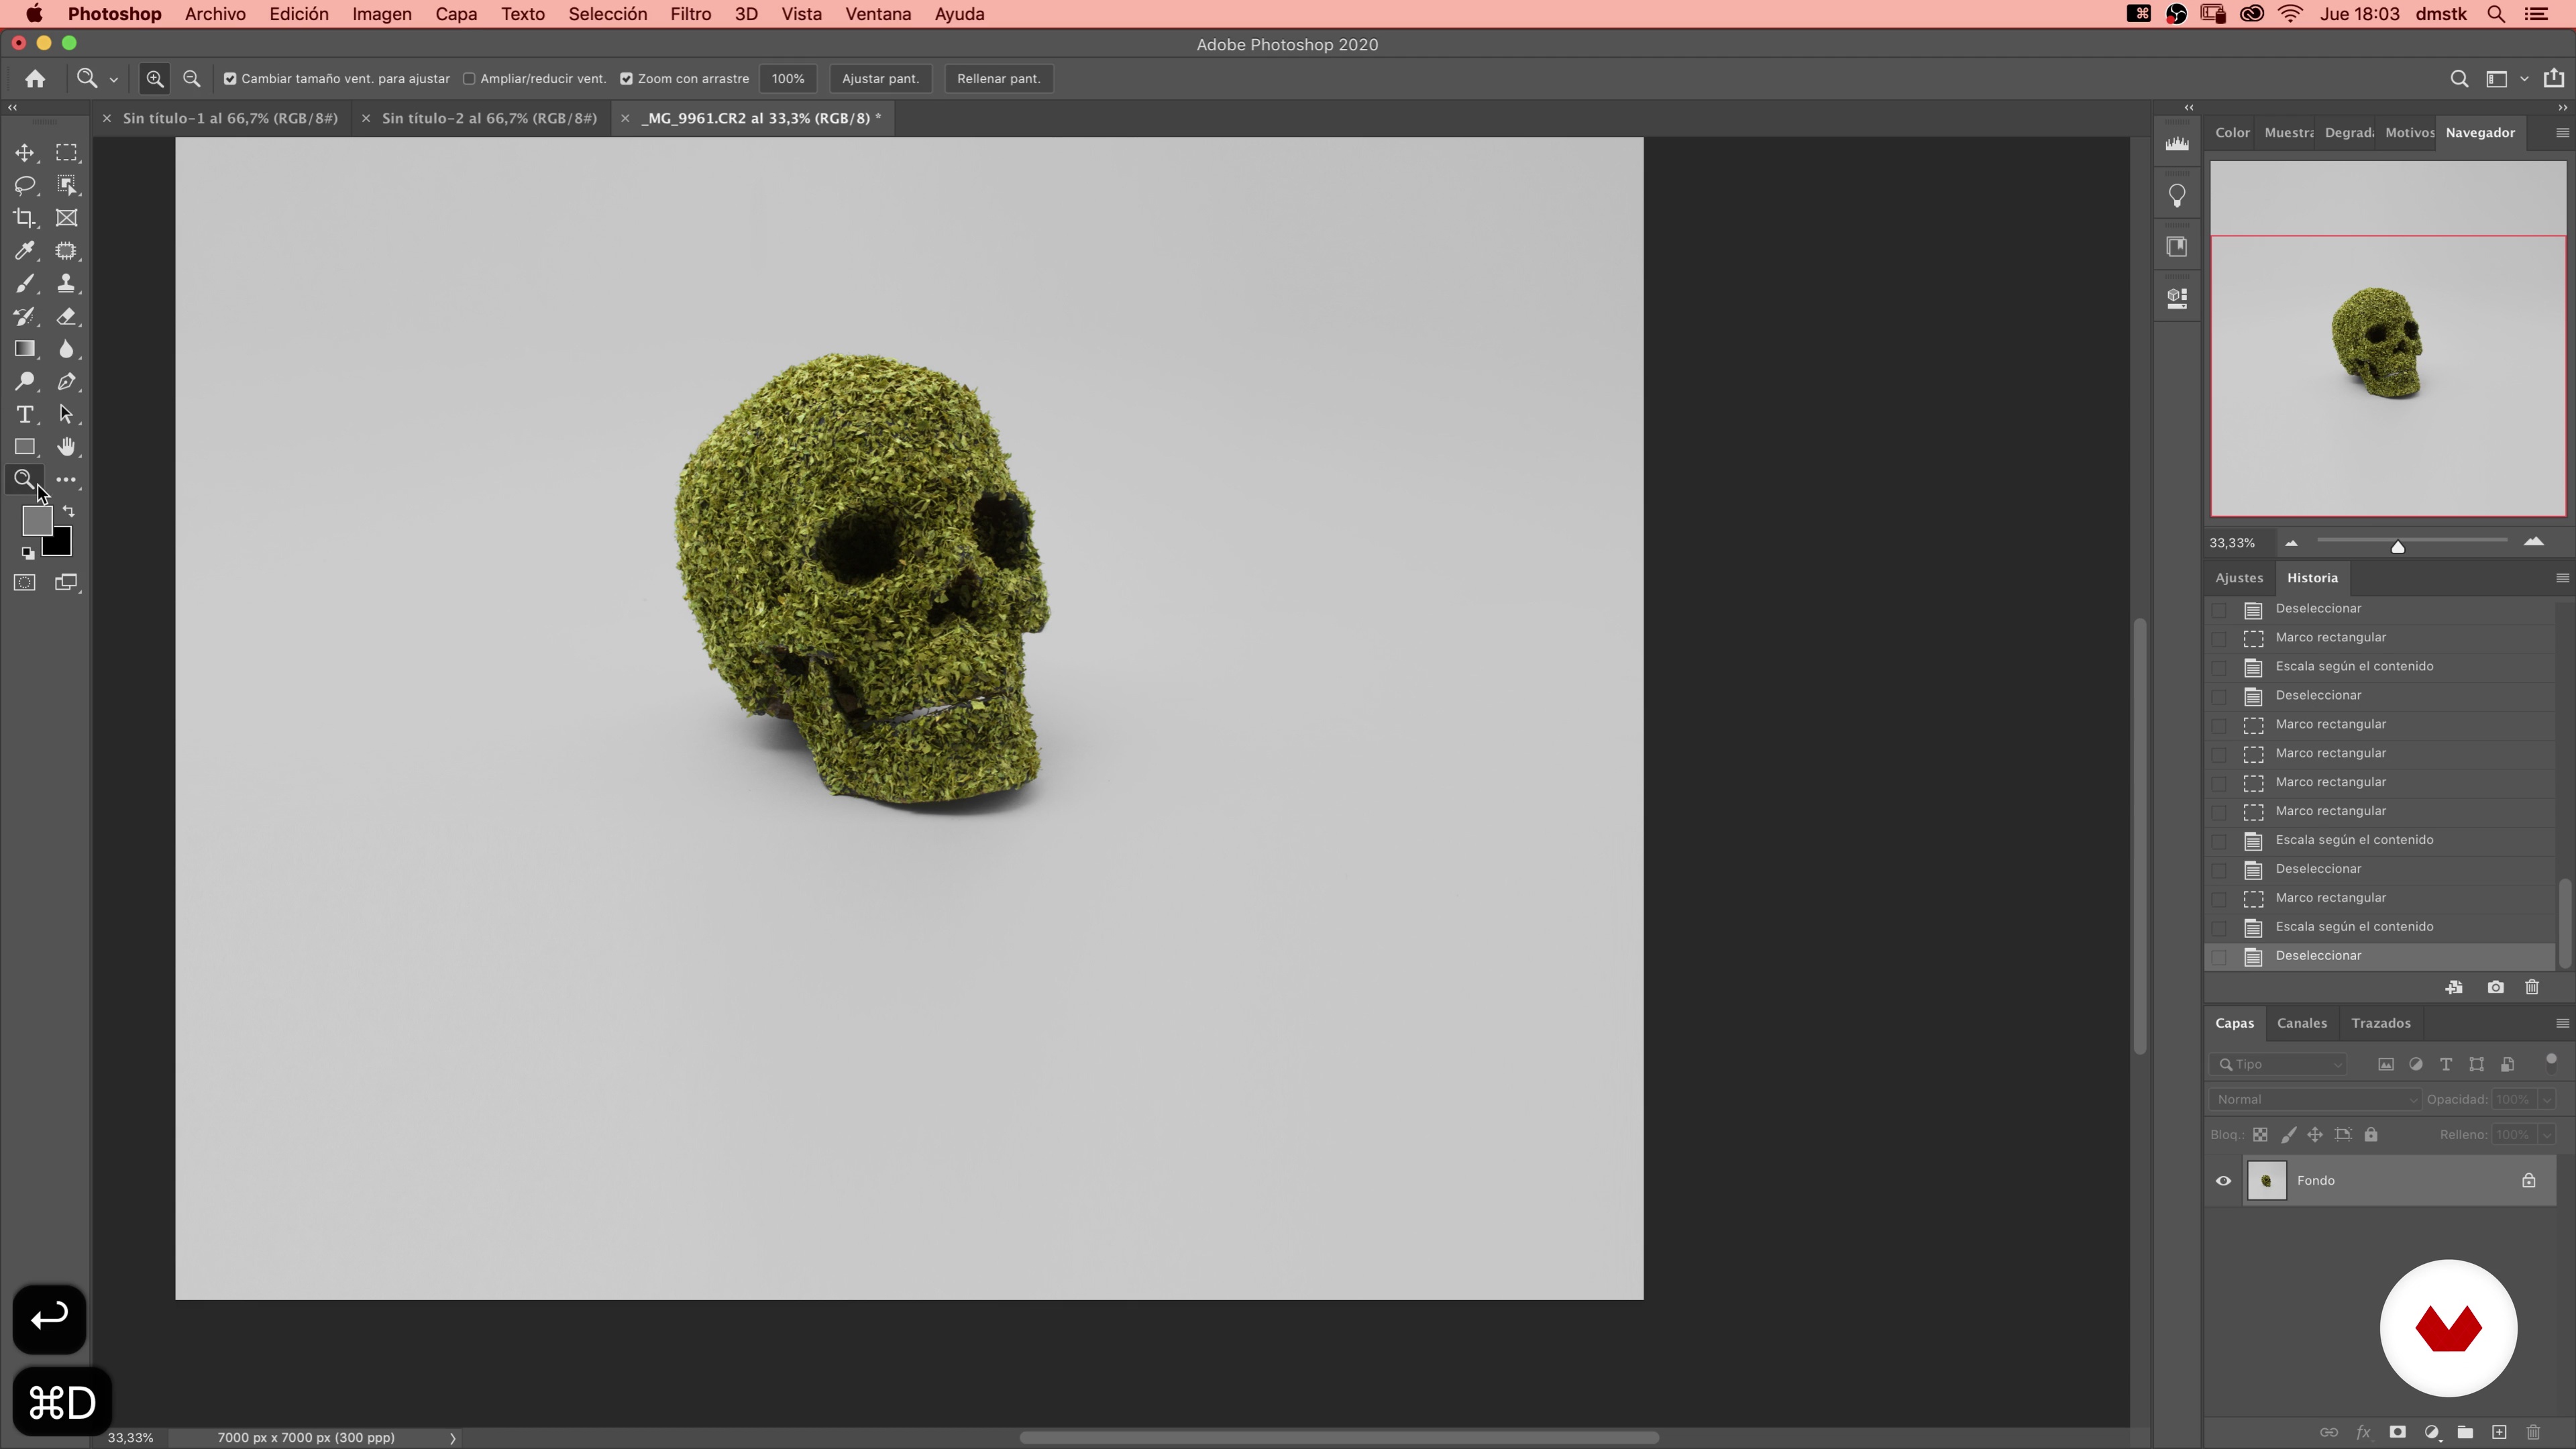
Once our object is prepared, we will see how to create a small photographic set that allows us to photograph it for its subsequent retouching and layout.
4m
 17
17The typographic selection and layout of the main piece 1
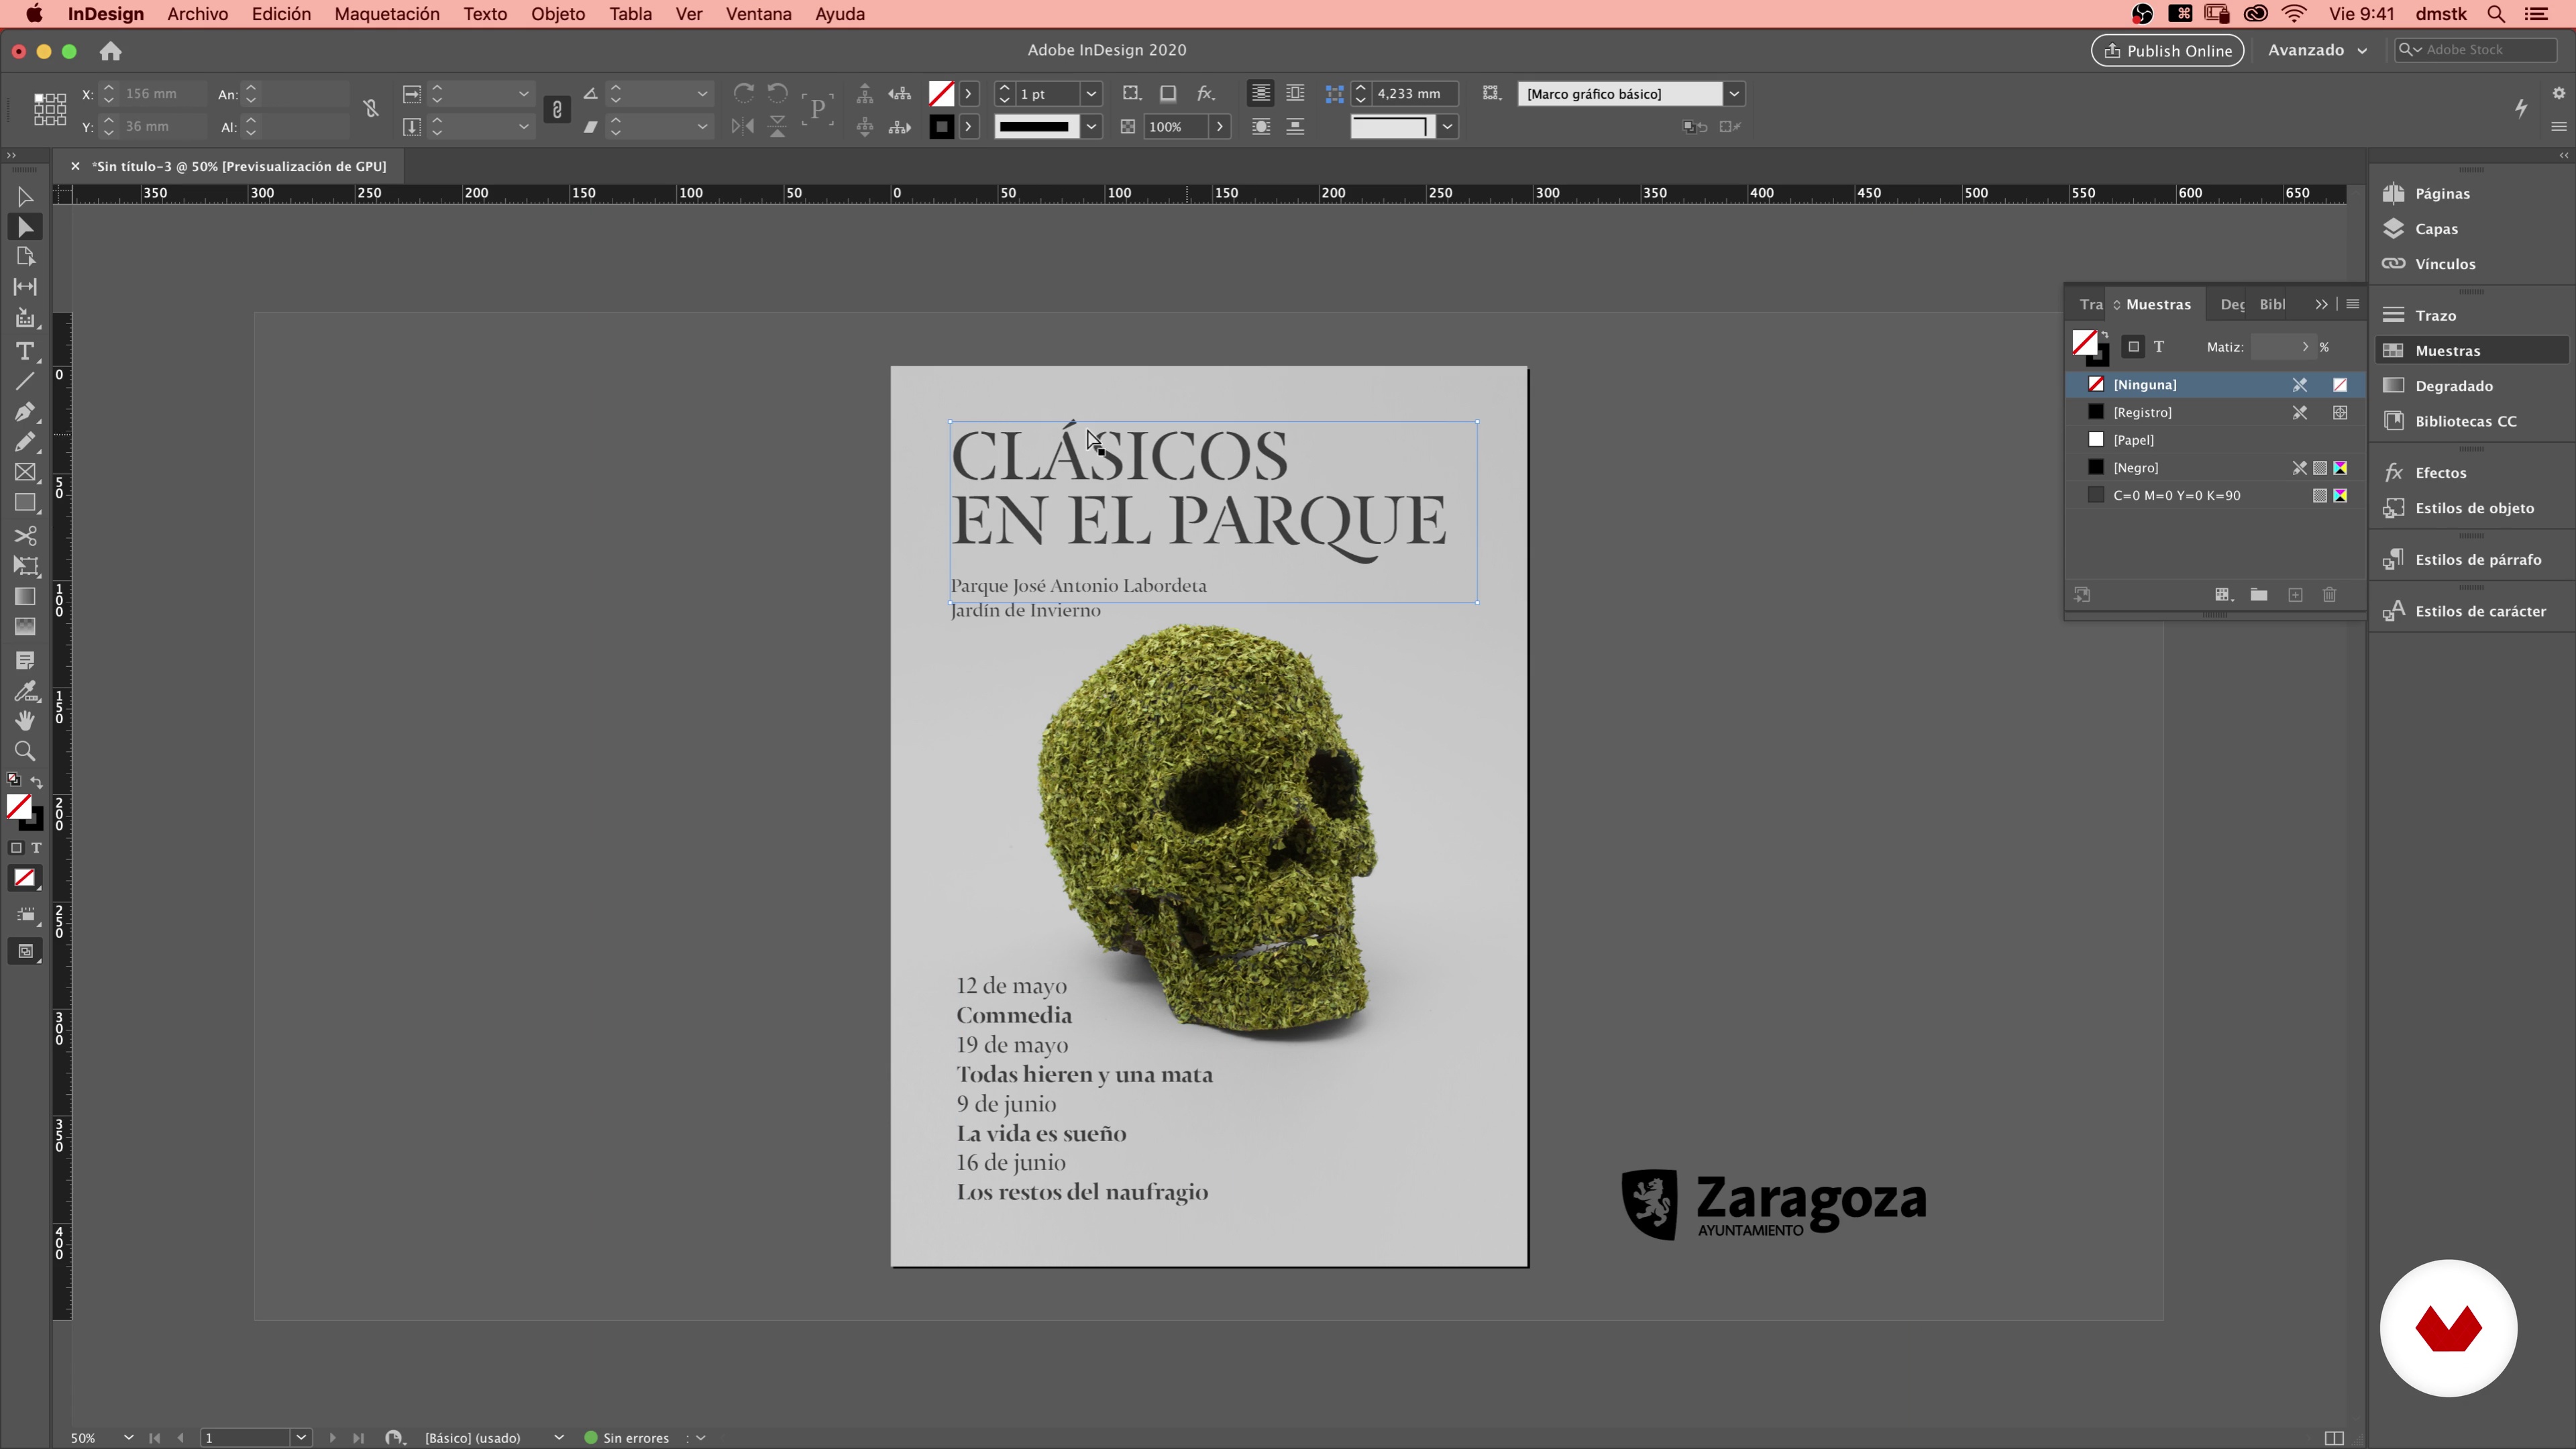
I will show you some tools that will help us choose the fonts that have just made up our poster. A good typographic selection and its subsequent layout are basic elements to generate a complete final piece.
11m
 18
18The typographic selection and layout of the main piece 2
In this lesson you will see the layout process of our poster and the aspects of its composition.
12m
 19
19Presentation of the proposal to the client
We will prepare a presentation document for the client where we will explain all the creative phases step by step. We will rely on the briefing to justify each of our decisions.
13m
 20
20Adaptation of the poster to different printed and digital formats
We will test the versatility of our creativity by applying it to different printed formats and we will create an animated version for its application in digital contexts.
20m
 21
21Final art
Finally, we will make the final art of our main piece, checking all the technical requirements before sending it to the printer.
8m
 3
3Mental maps
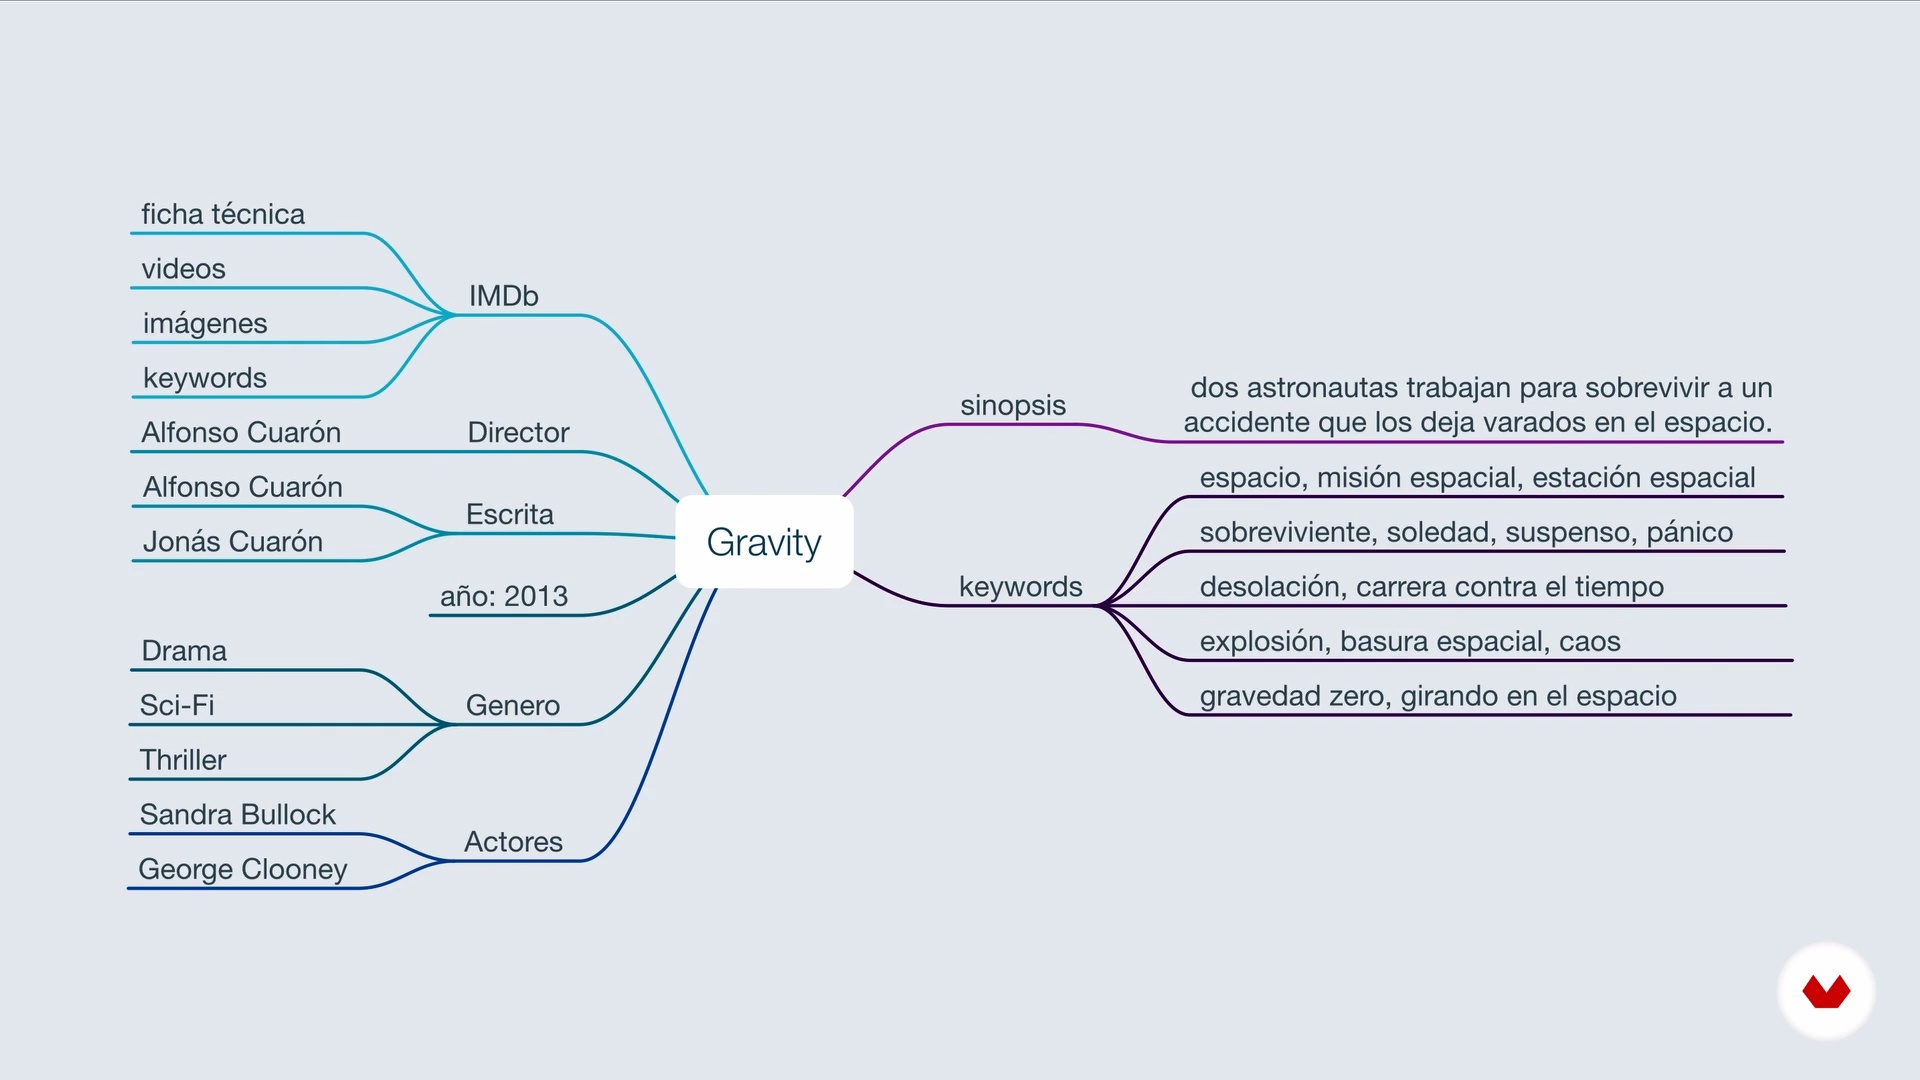
Now let's see what mind maps are, what they are for, and how we use them to define the idea that we are going to work on.
4m
 4
4Design requirements
In this lesson we will see how the design requirements will help us determine the expressive and formal characteristics of our project.
3m
 5
5Analogies
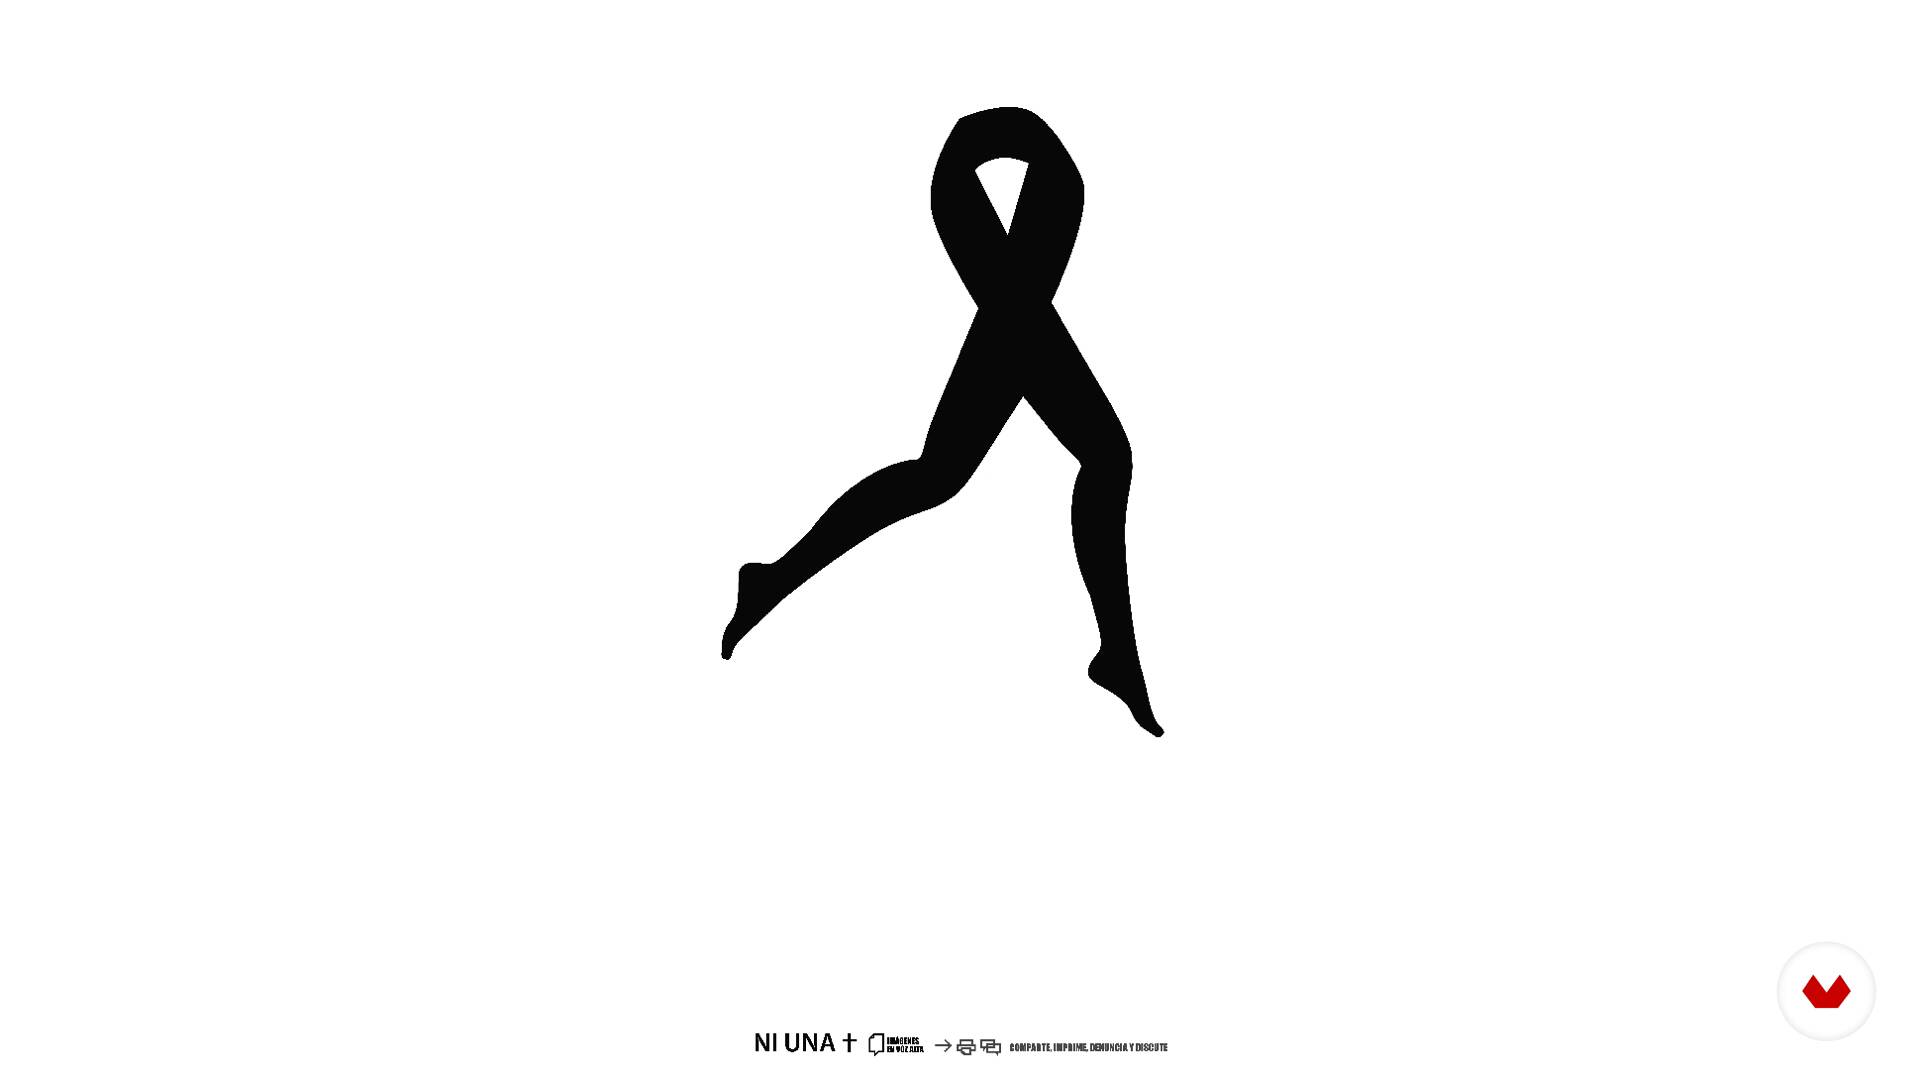
In this lesson, Eréndida will show you what the analogies consist of and how we can use them in typography to, in this way, apply them to your projects.
4m
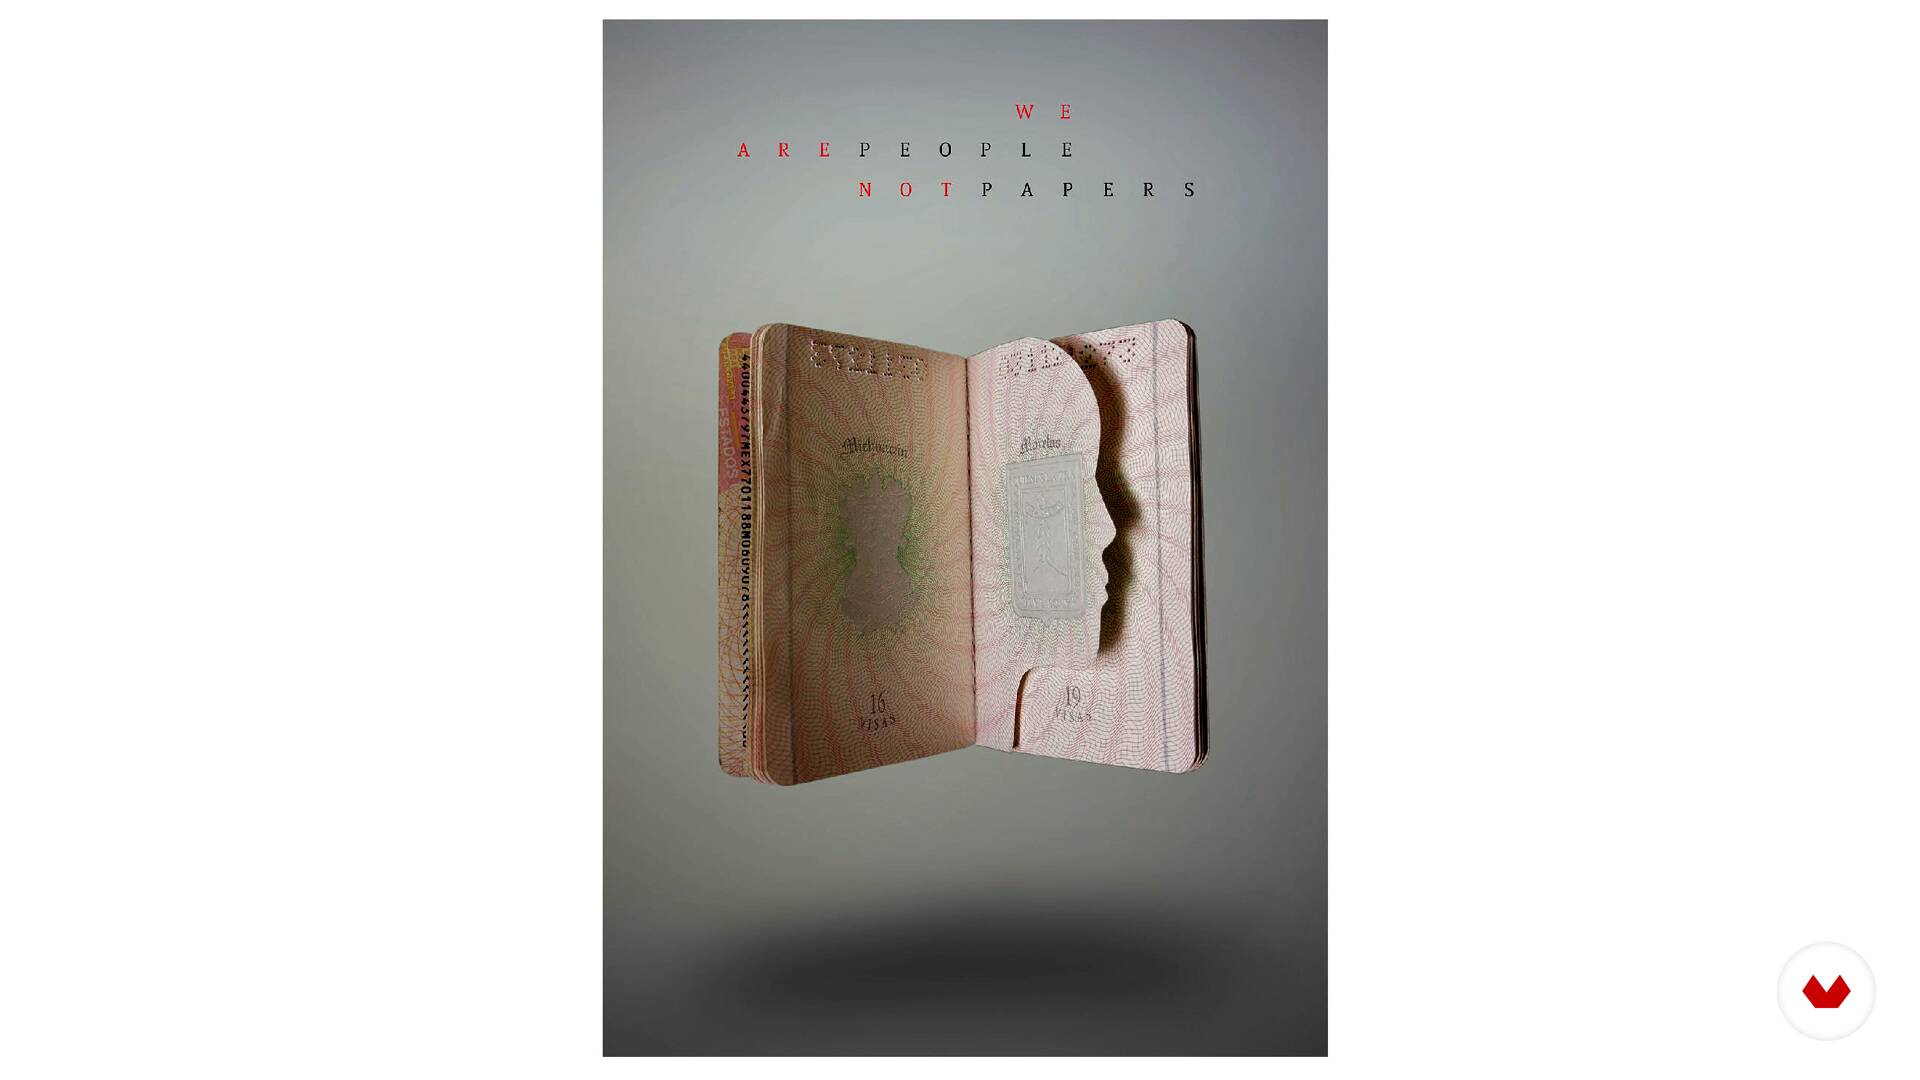 6
6Basic rules
In this lesson, Eréndida will show you some basic rules of composition and will give you some tips, which you can take into account, when making a typographic poster.
5m
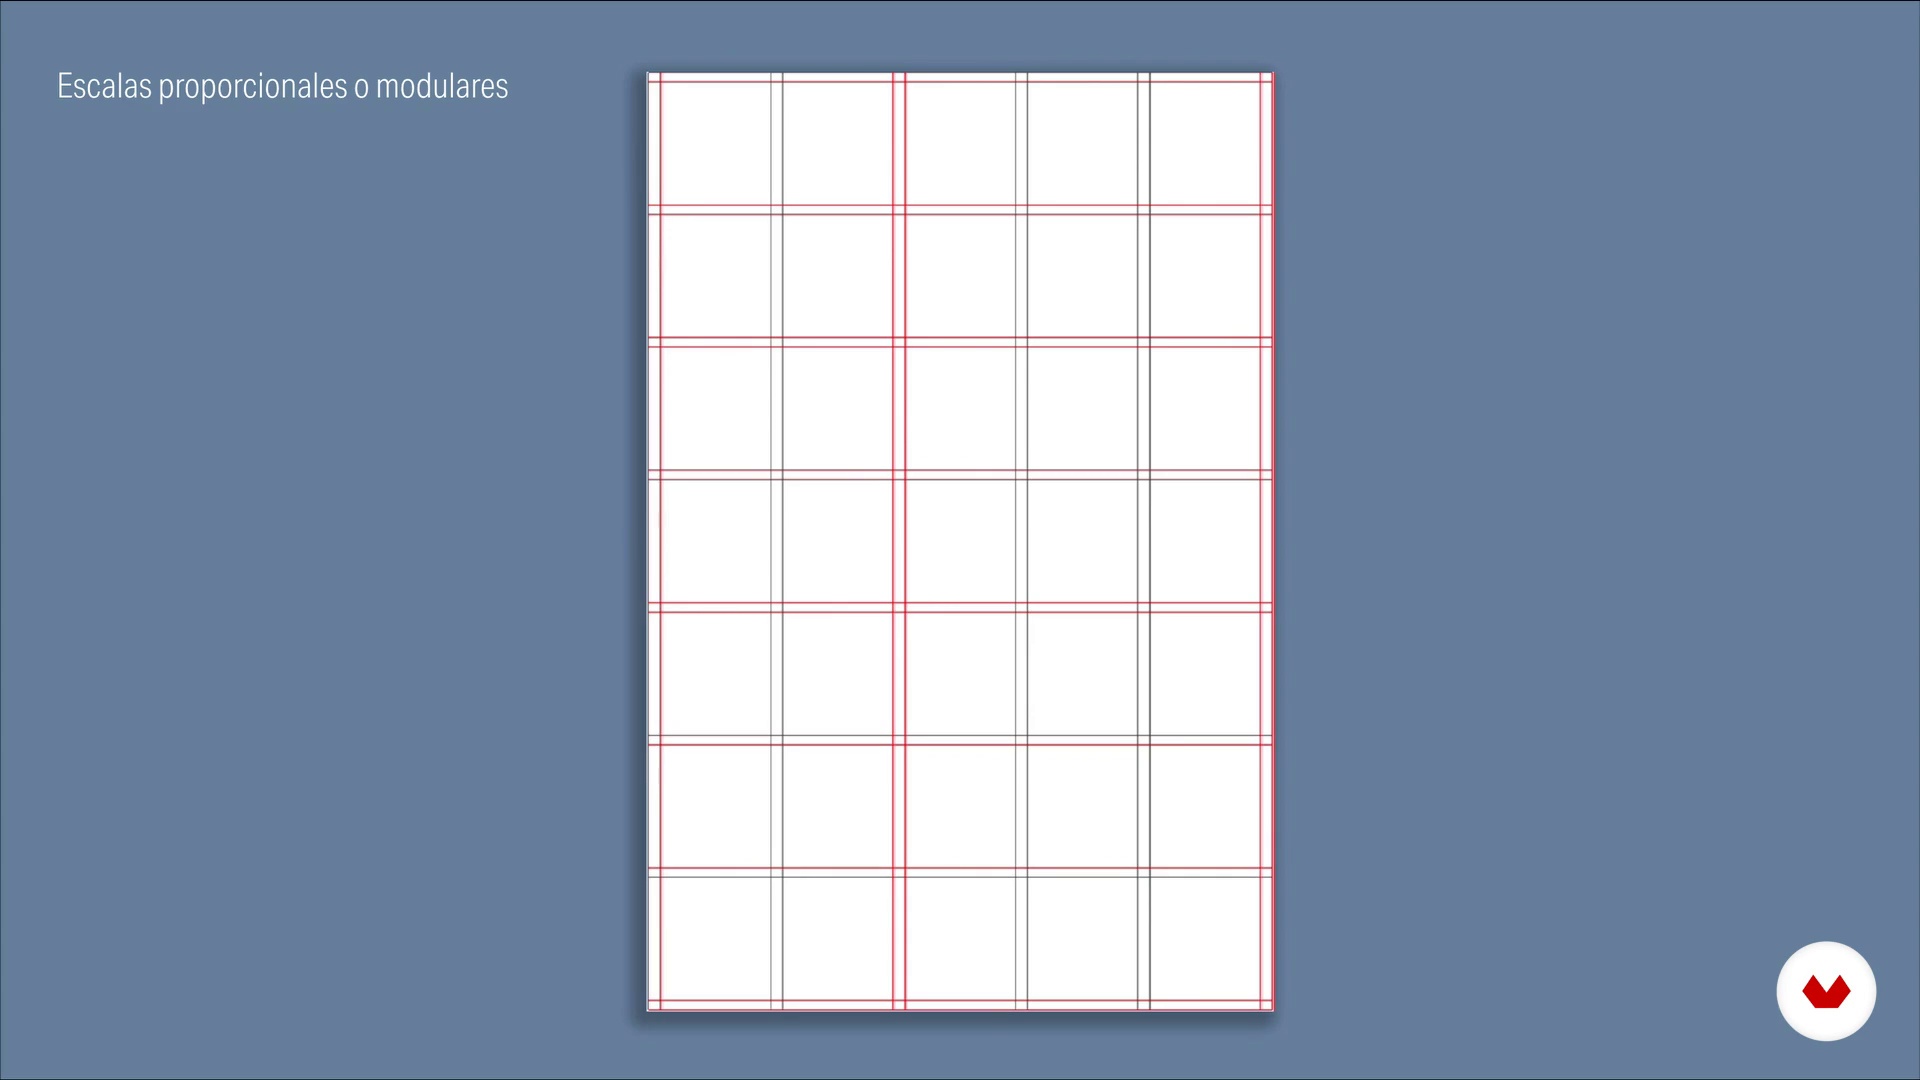 7
7Reticles
Now, Manolo will show you some techniques that we use to order items and keep them provided.
6m
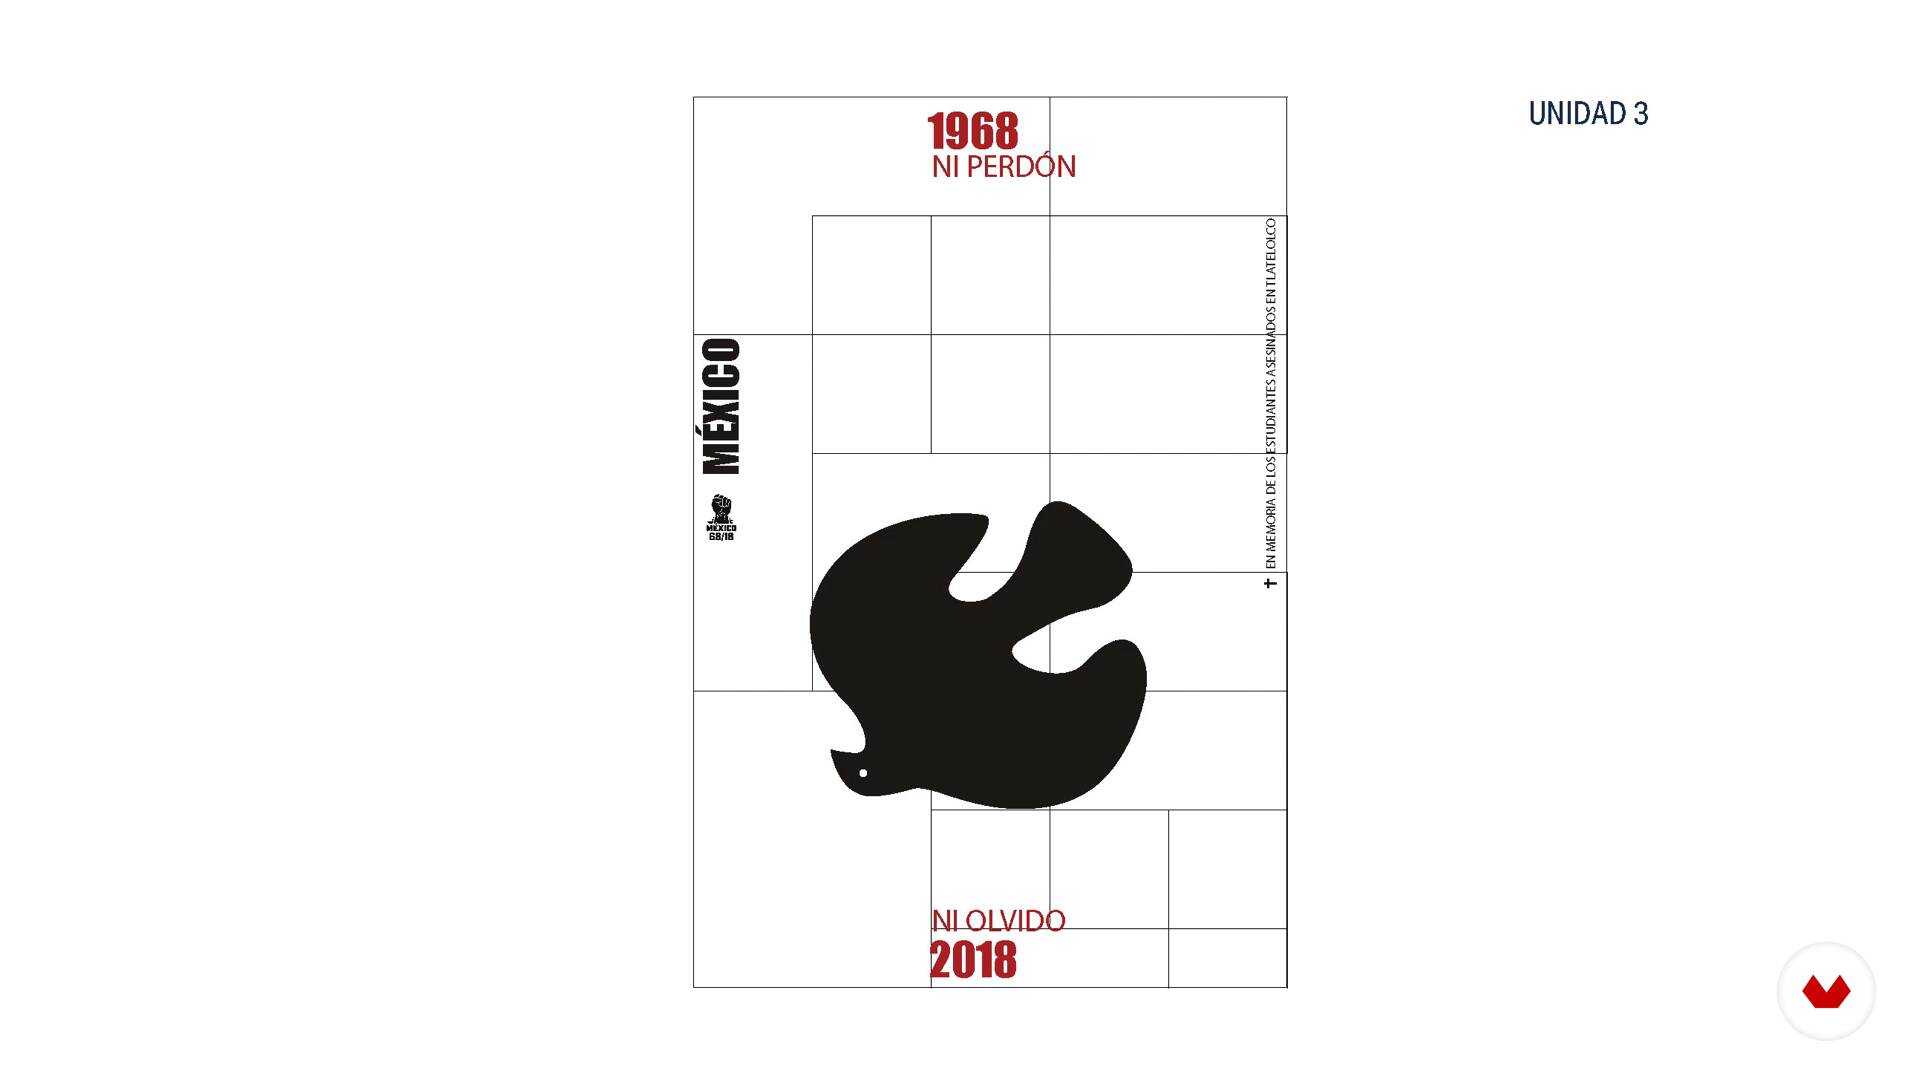 8
8Levels of attention
To finish this unit, Eréndida will explain to you how we order the typographic elements to establish levels of importance or hierarchy of elements.
4m
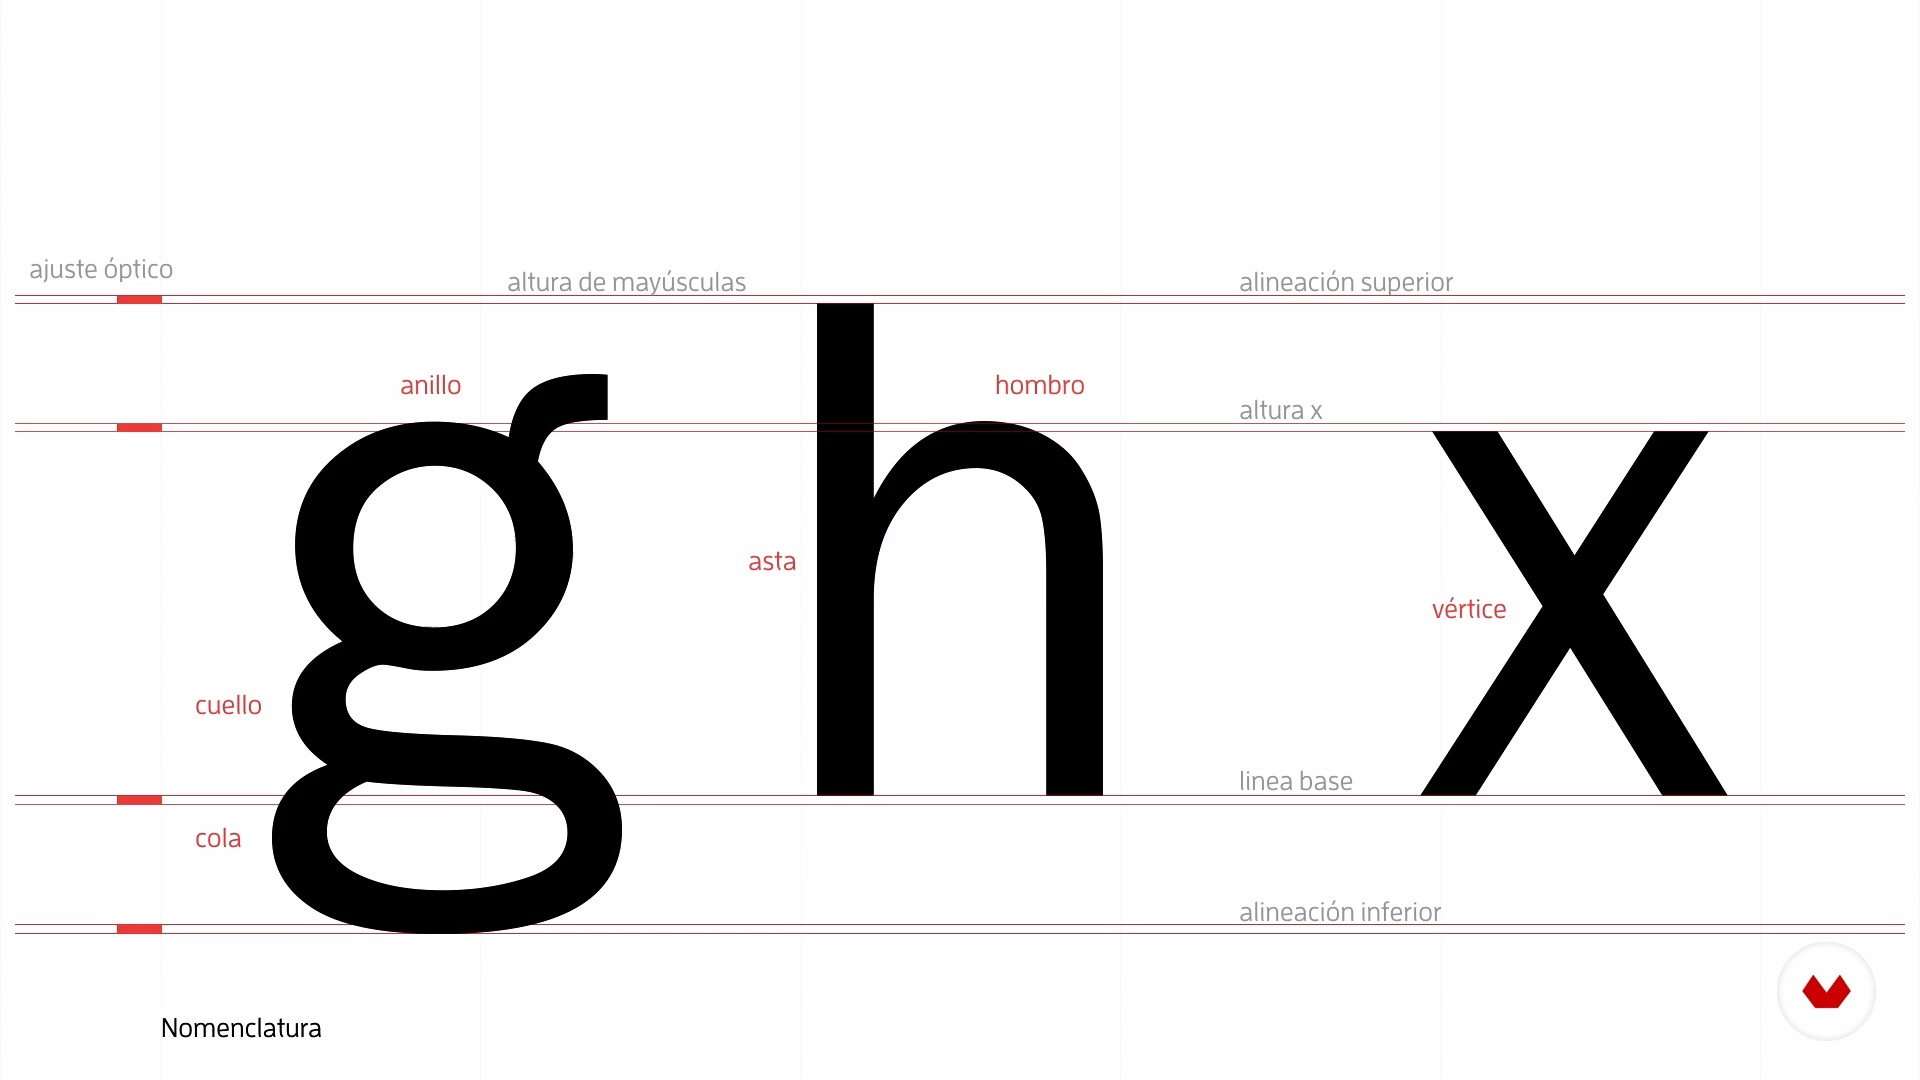 9
9Formal attributes of typography
In this lesson we will see some basic characteristics and attributes of typography for use in poster design, such as: nomenclature, form, structure and proportion.
7m
 10
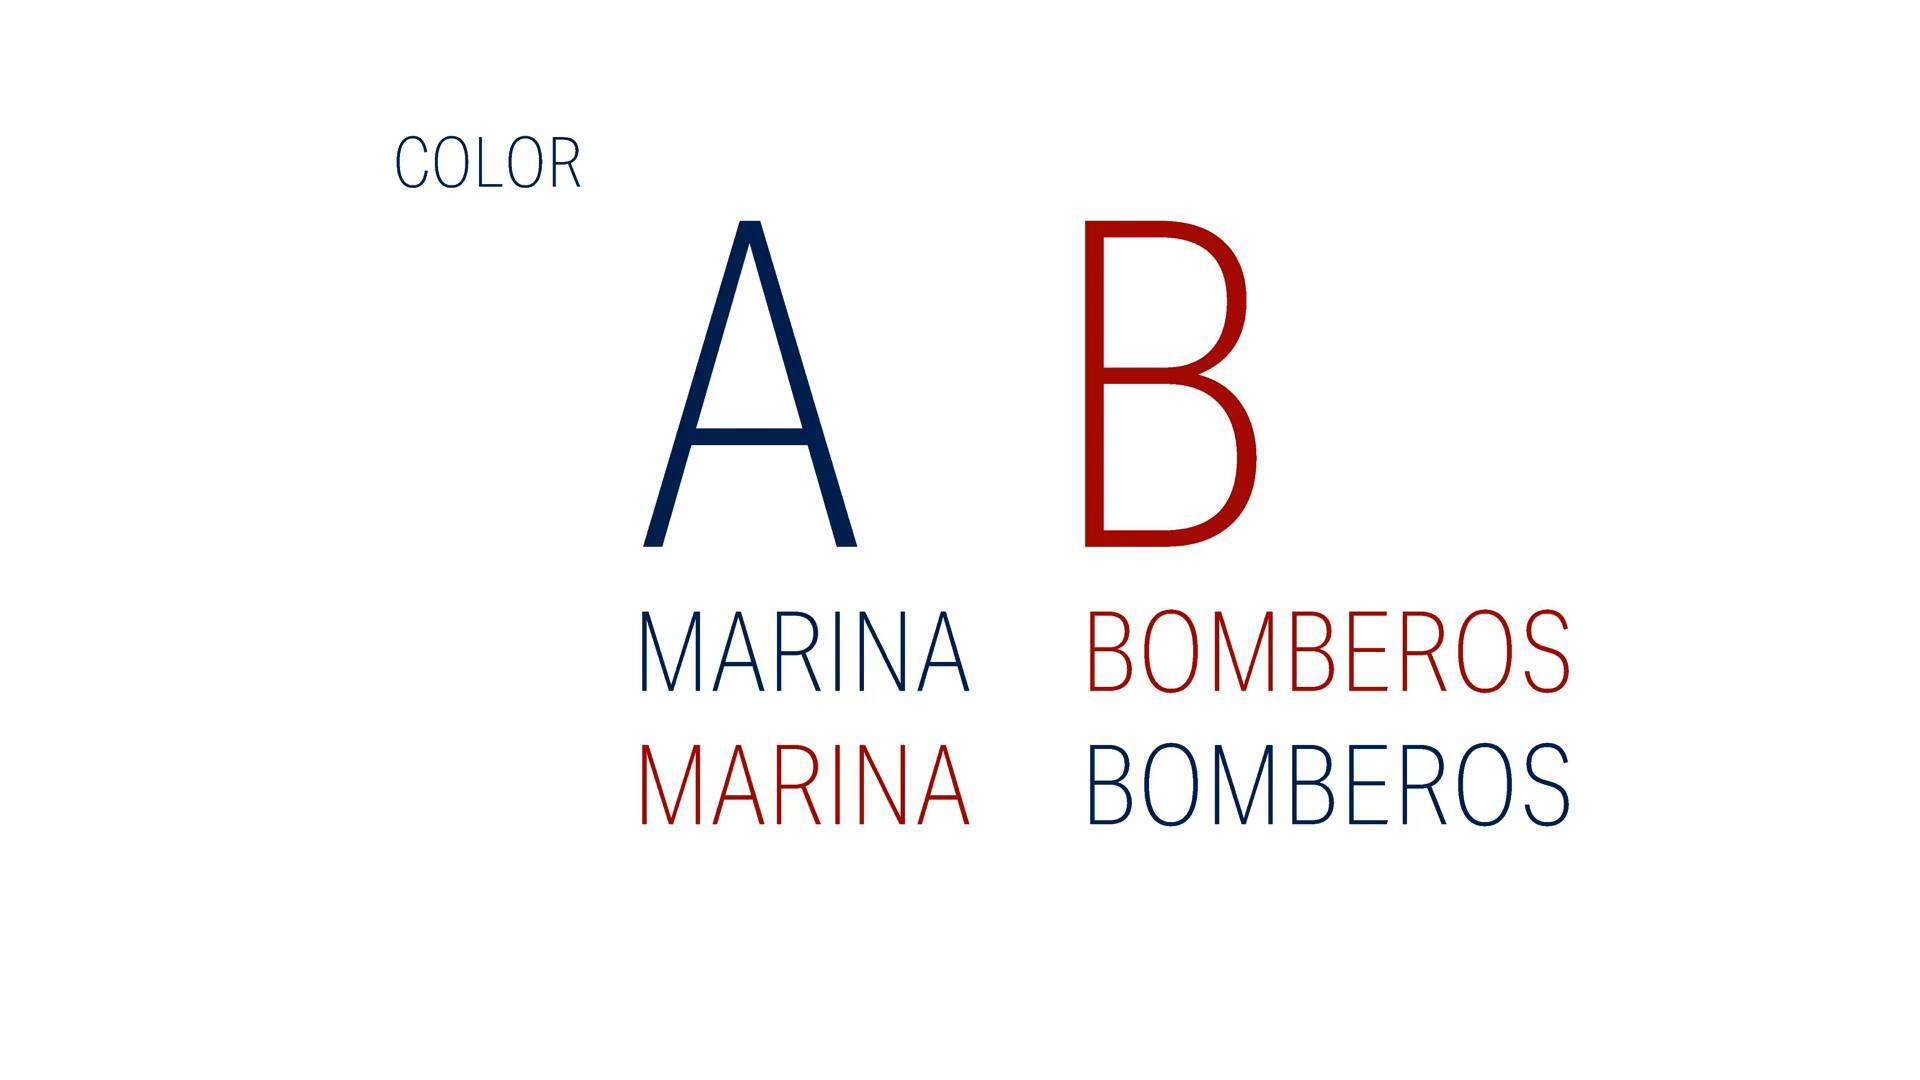
10Expressive attributes of typography
Here we will focus on knowing the expressive attributes of the letter, such as: shape, color, size, weight and position, among others.
7m
 11
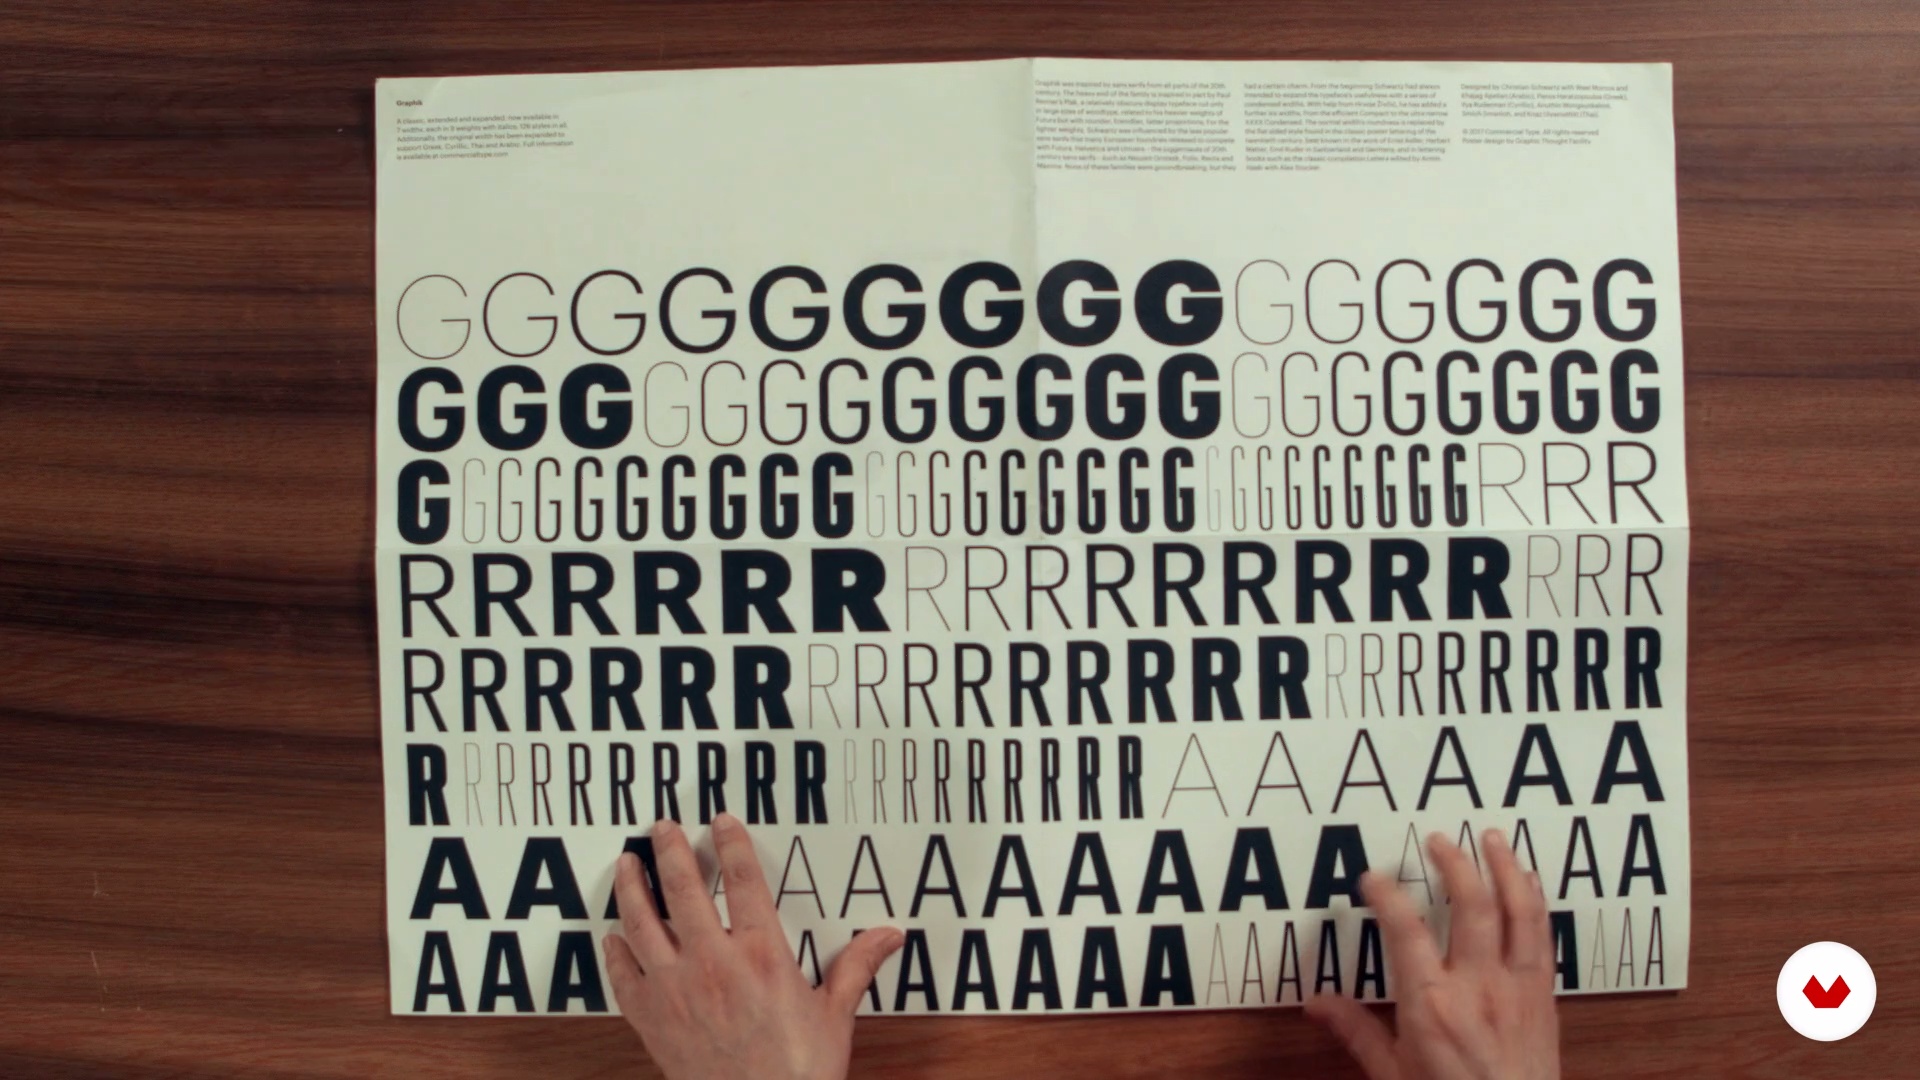
11Typographic selection
Here we will show you examples of how to correctly use typographic attributes in a given project, taking into account its nature.
7m
 12
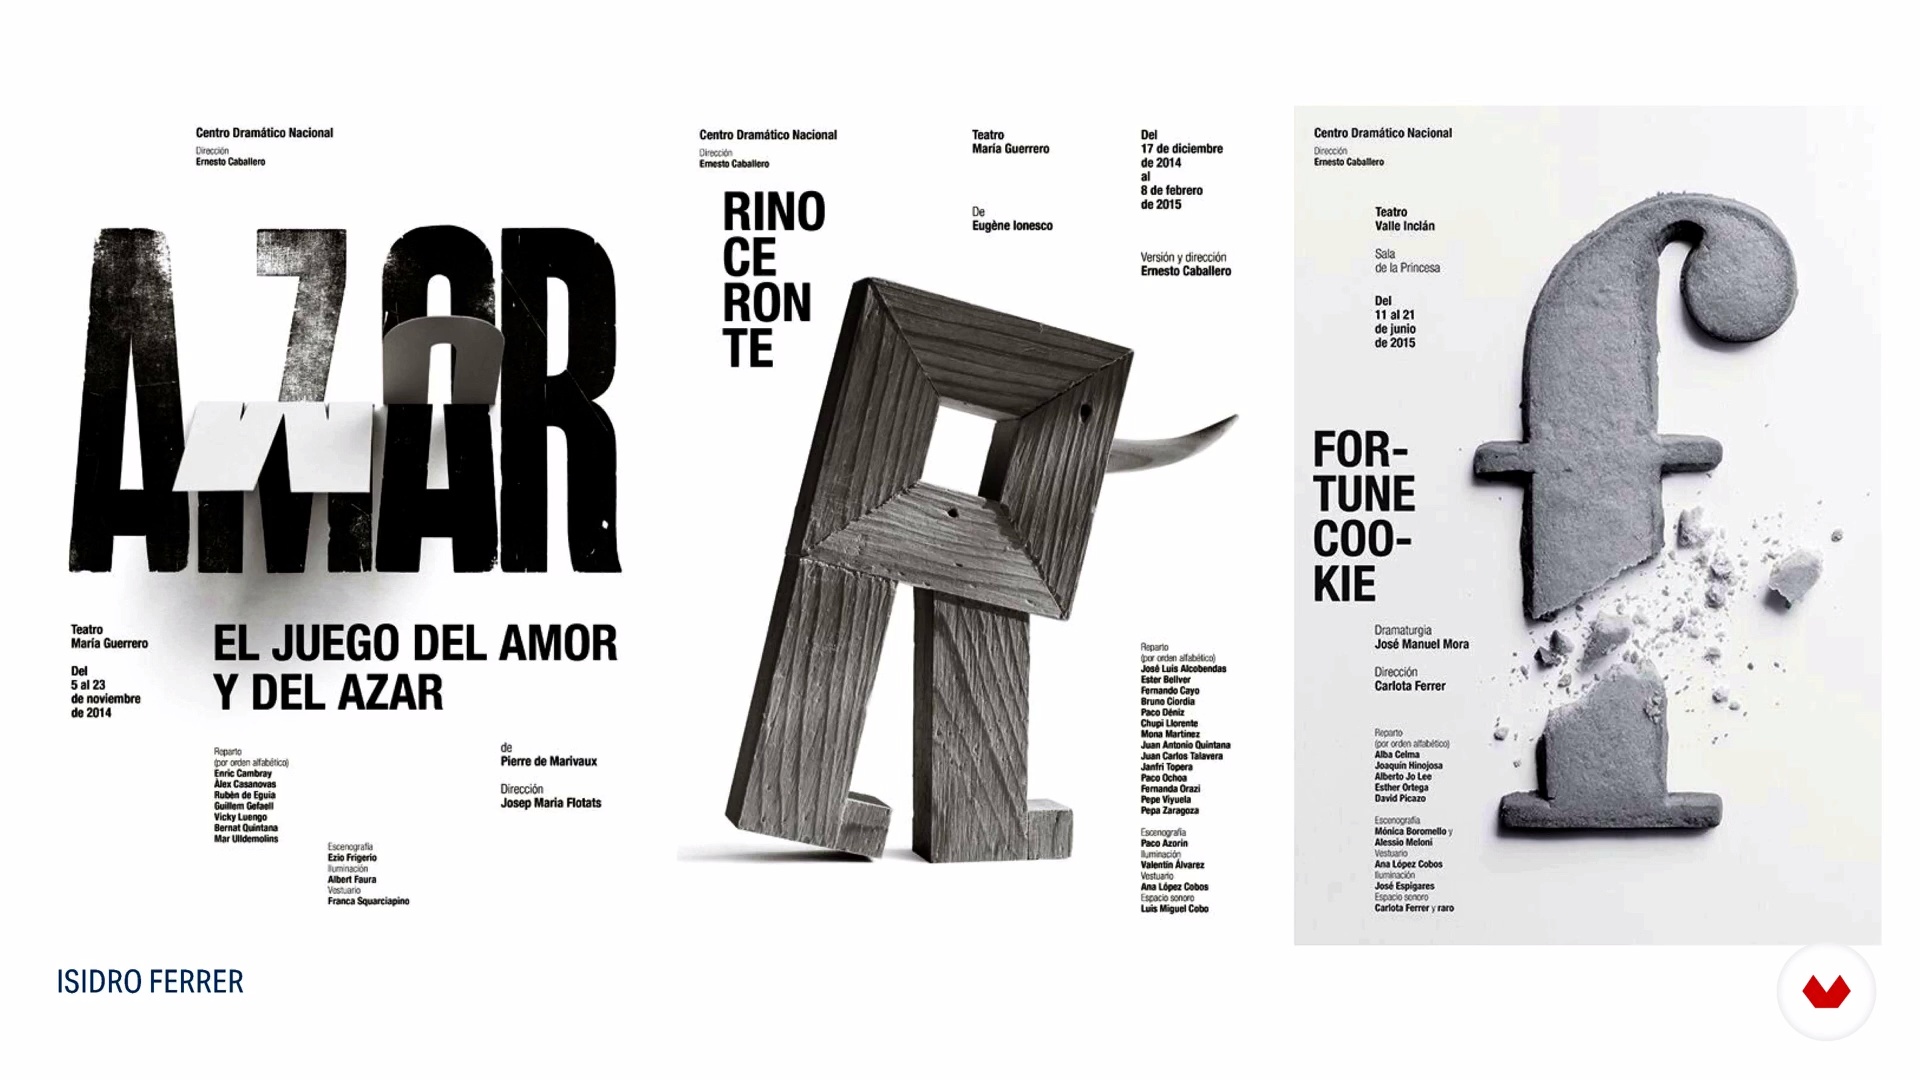
12Representation techniques
In this lesson, we will show you some techniques that you can use to create your poster.
4m
 13
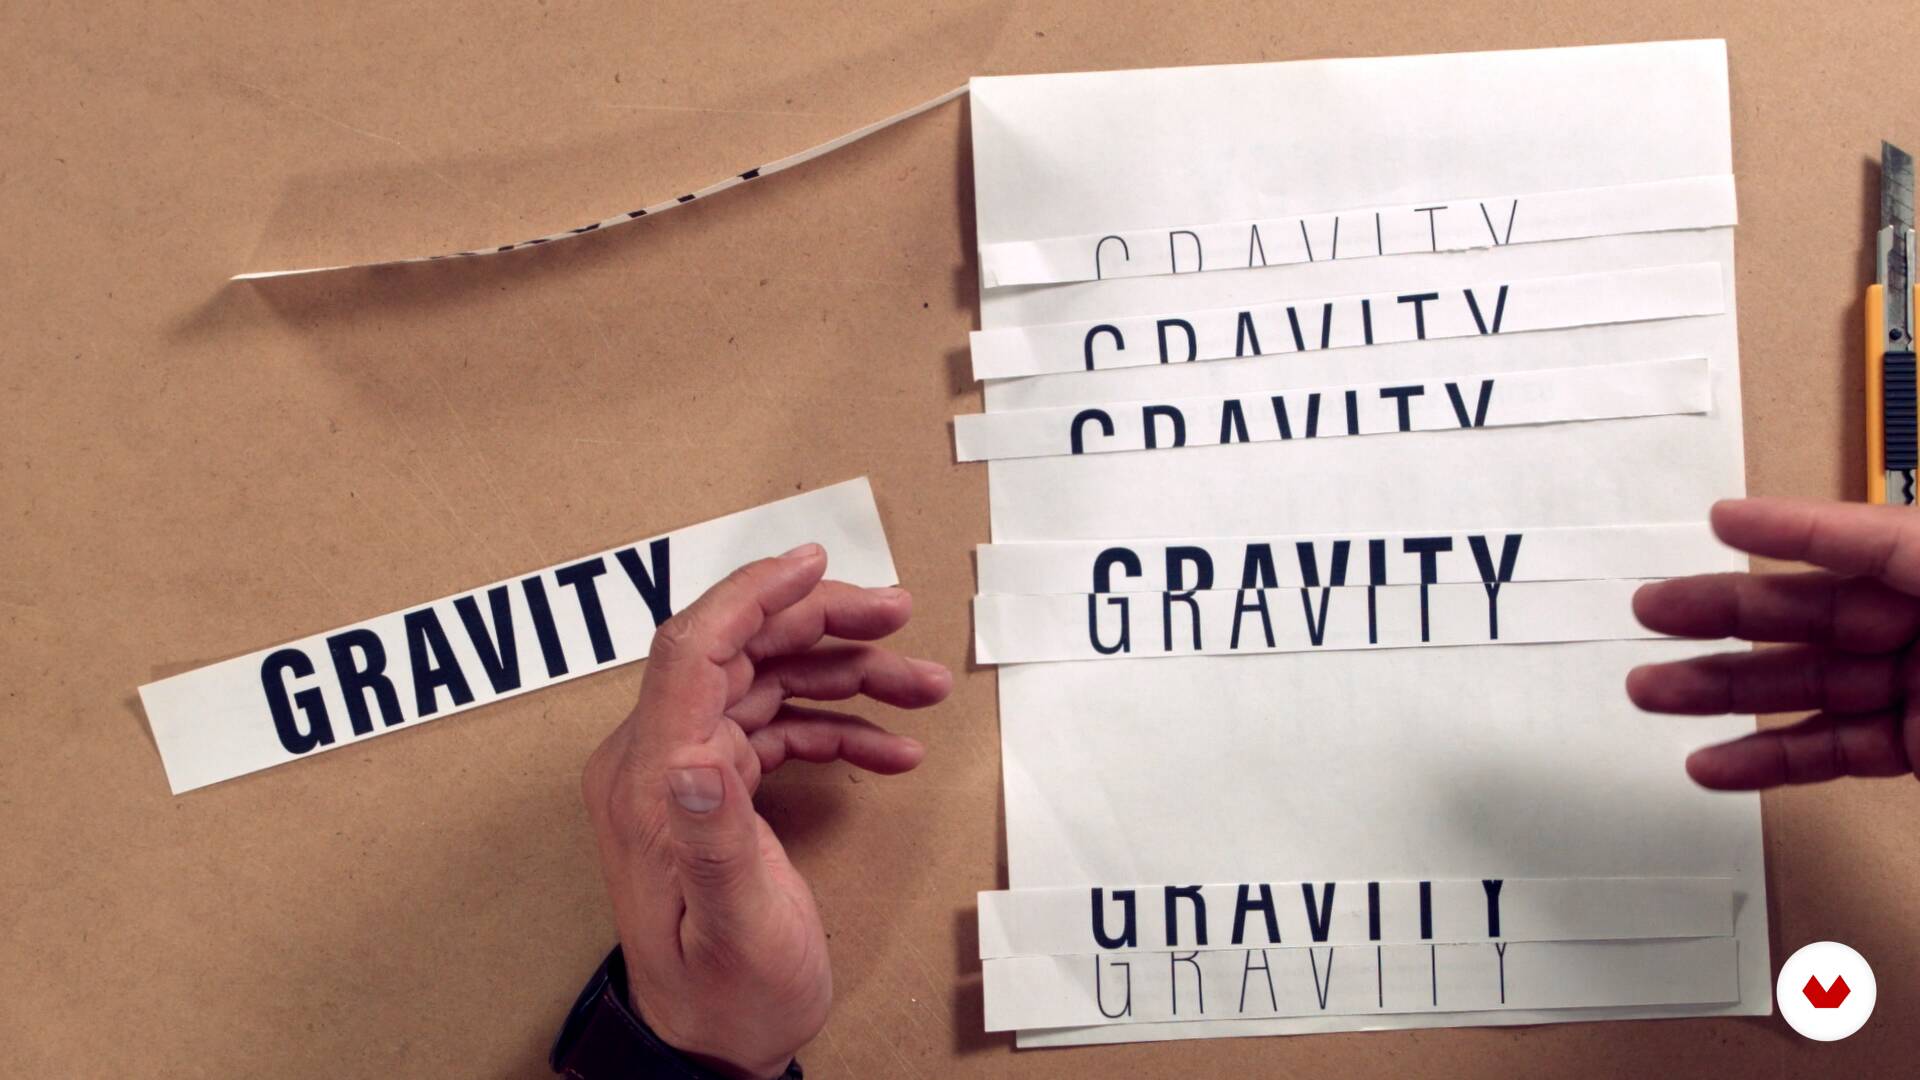
13Analogous collage
Now, we will focus on the graphic representation of the chosen concept, this by developing an analog collage.
10m
 14
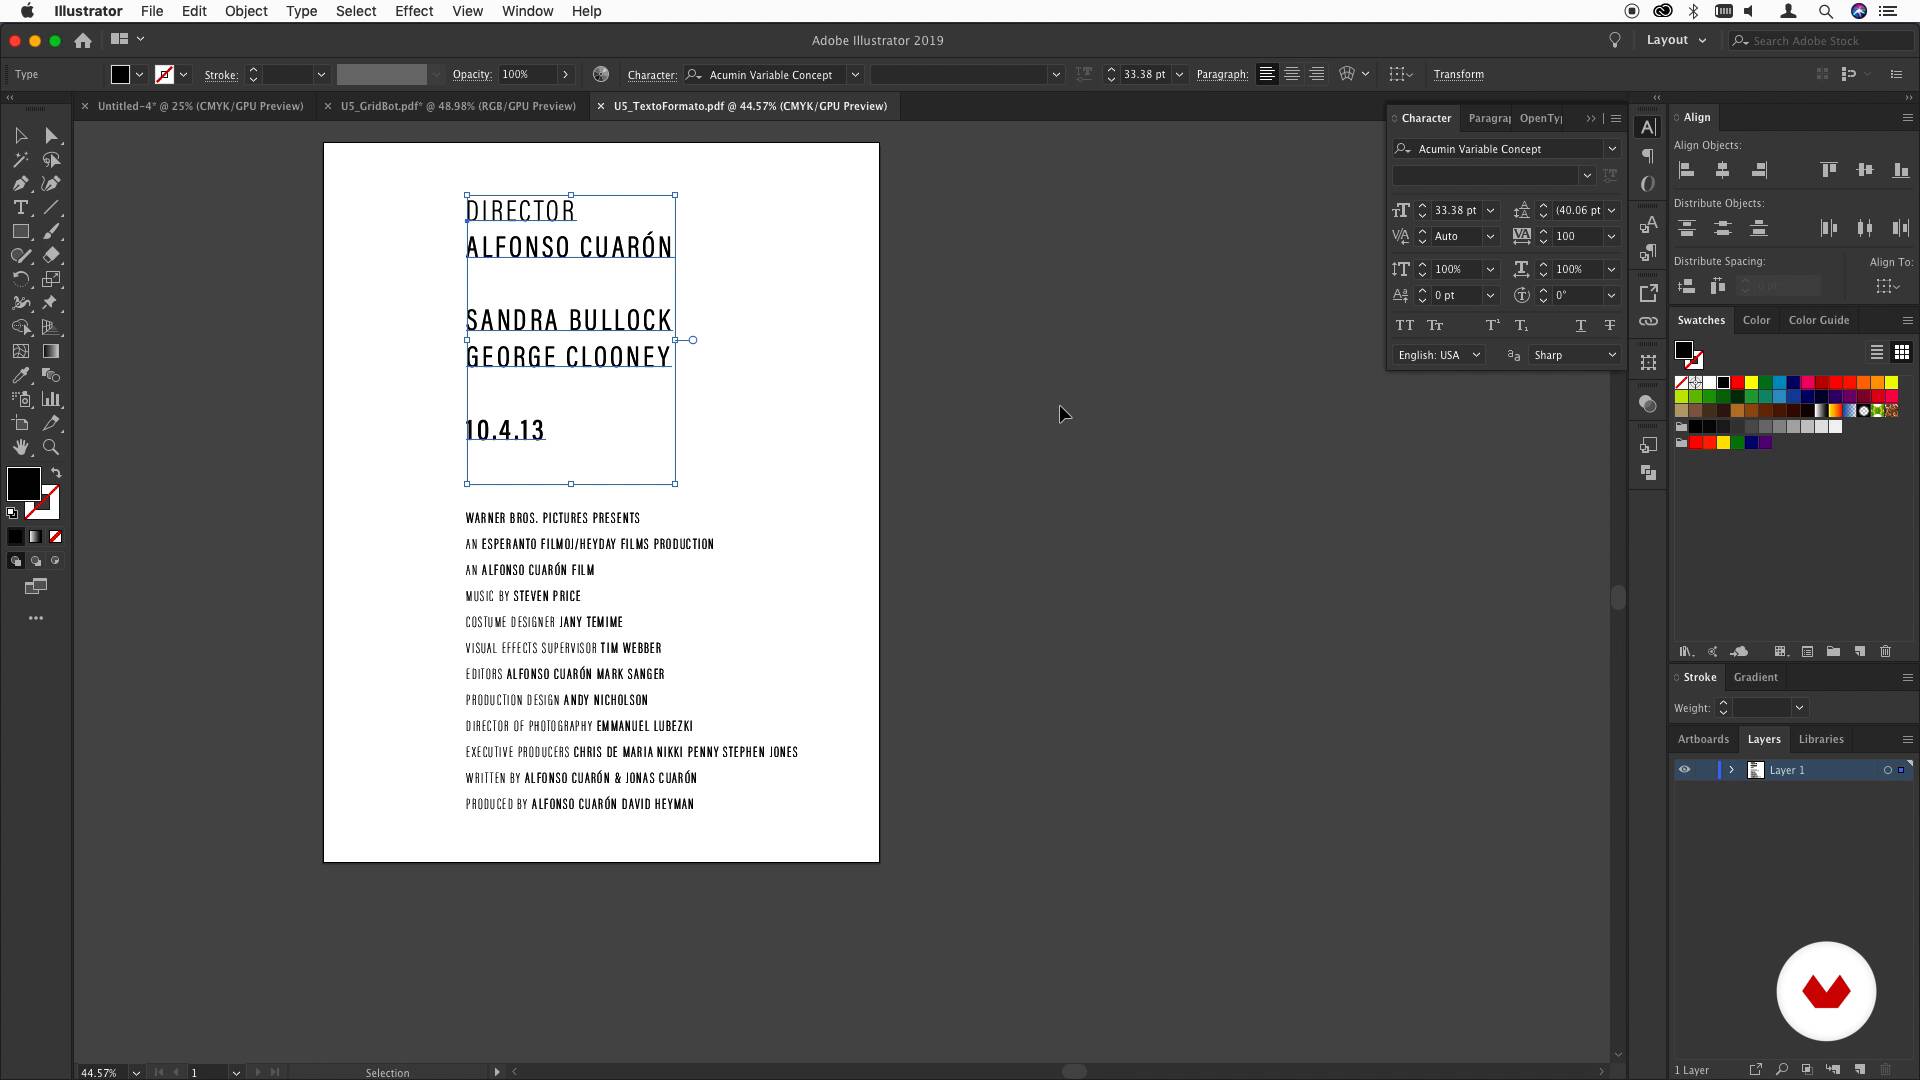
14Armed in Illustrator: typography
Once our elements have been digitized, we will start building the digital poster, putting into practice the knowledge acquired previously.
3m
 15
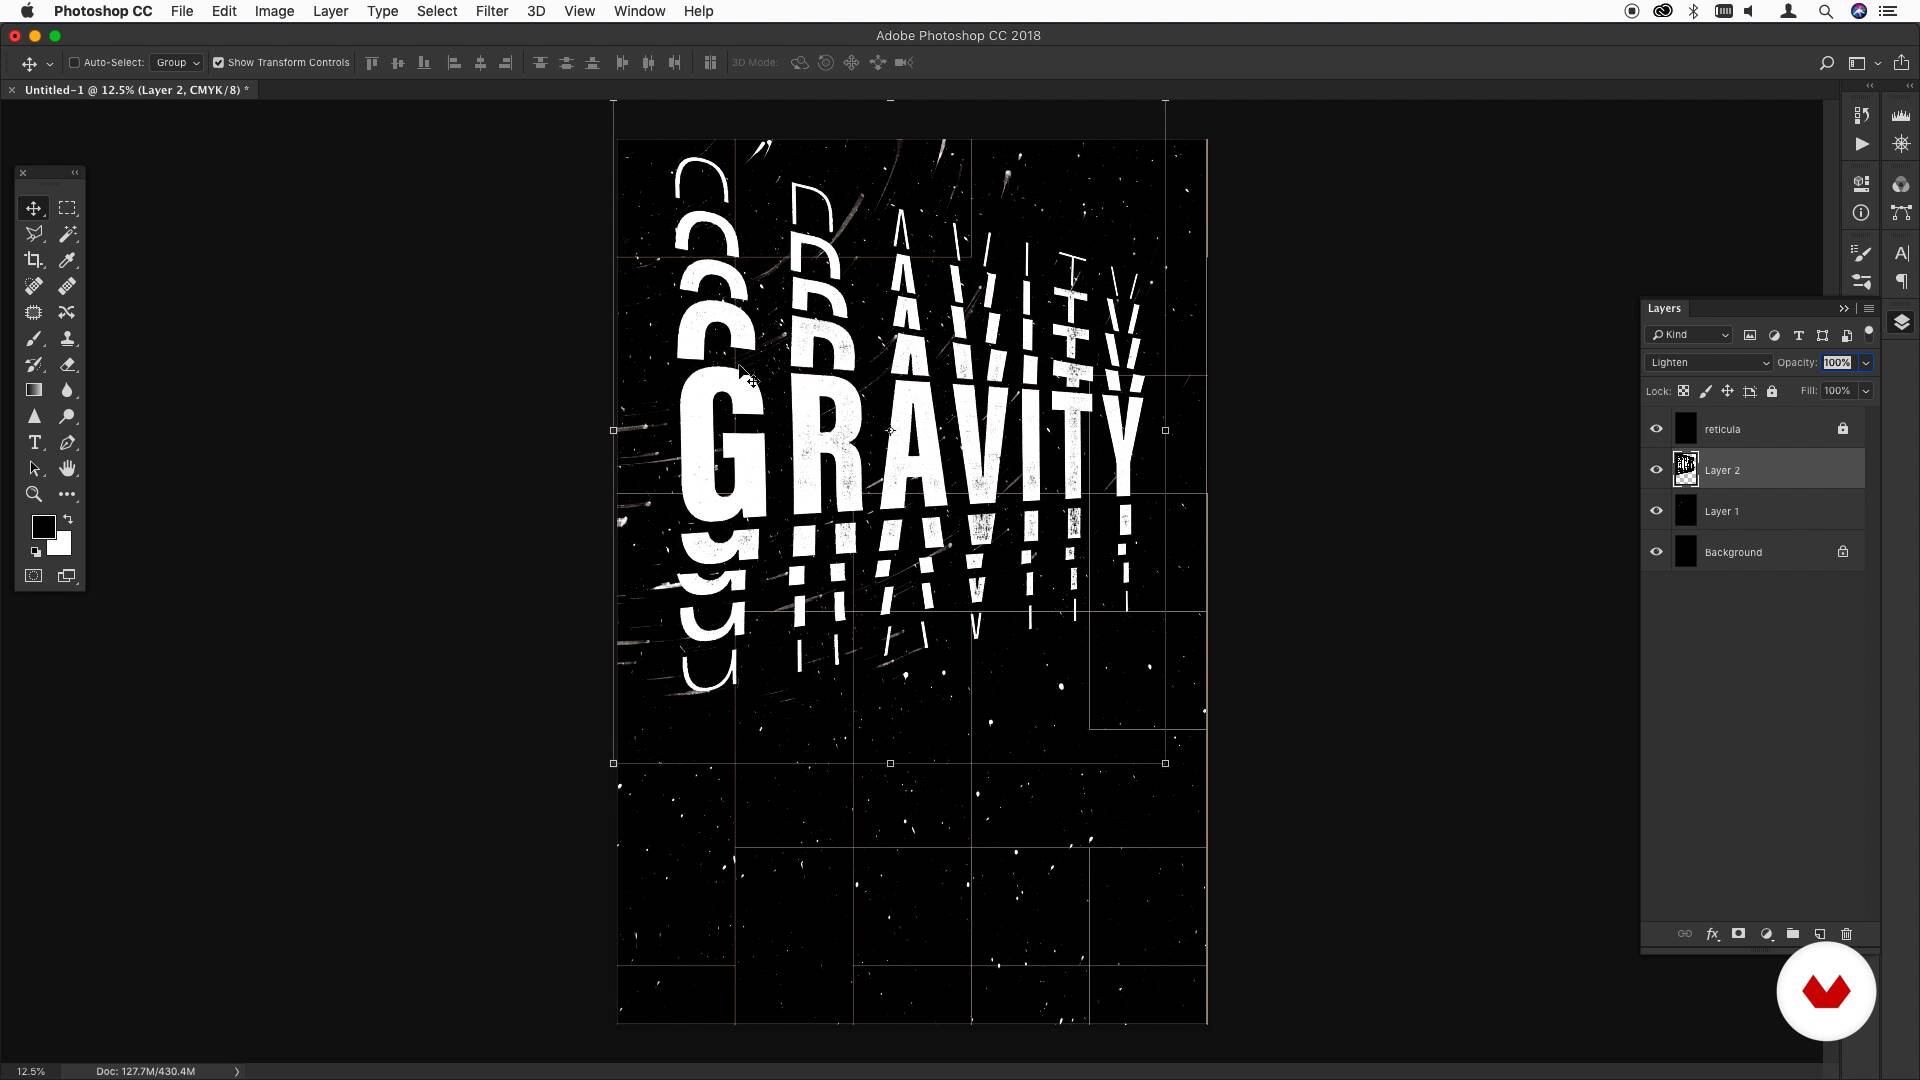
15Armed in Photoshop: final composition and color
Already with the typography accommodated, we will go to Photoshop, where we will finish composing the poster and add the background, color and textures.
12m
 16
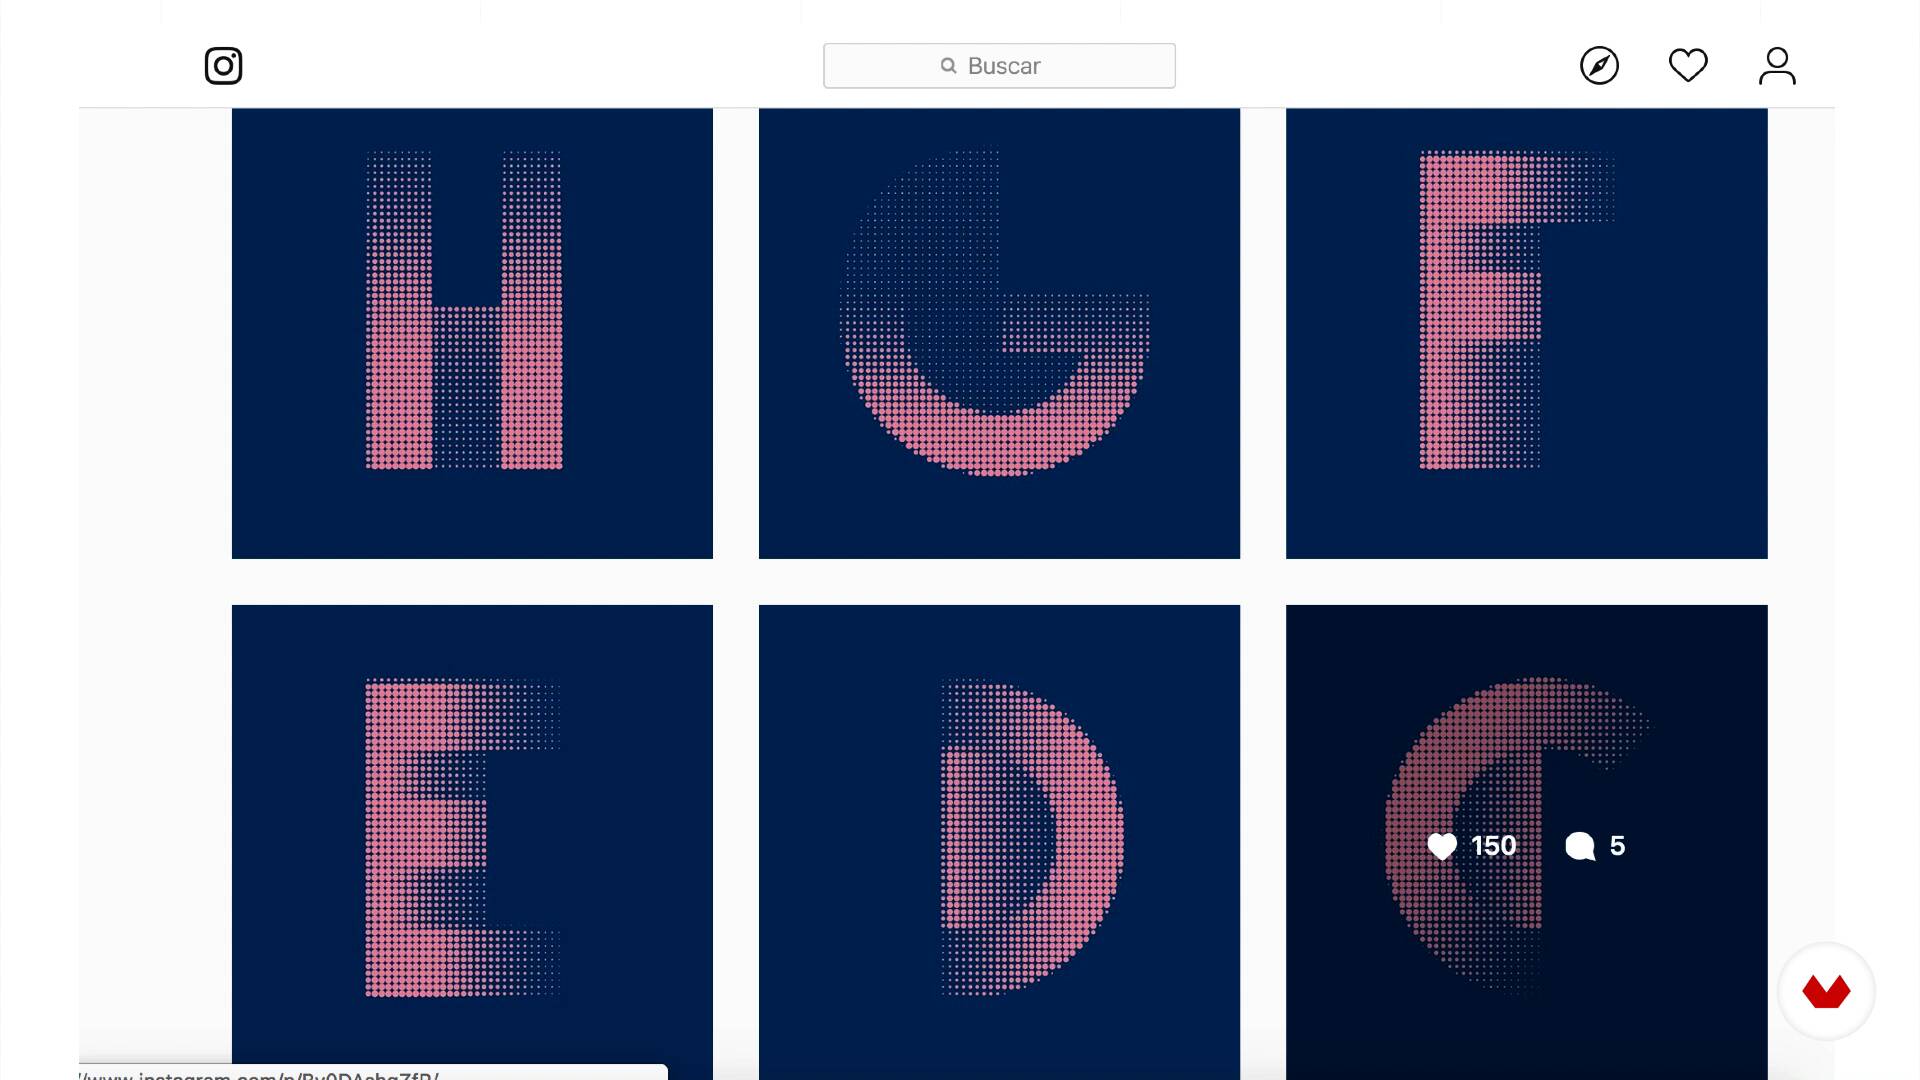
16Show your work
In this lesson we will give you some tips to present your projects through an online portfolio.
6m
 17
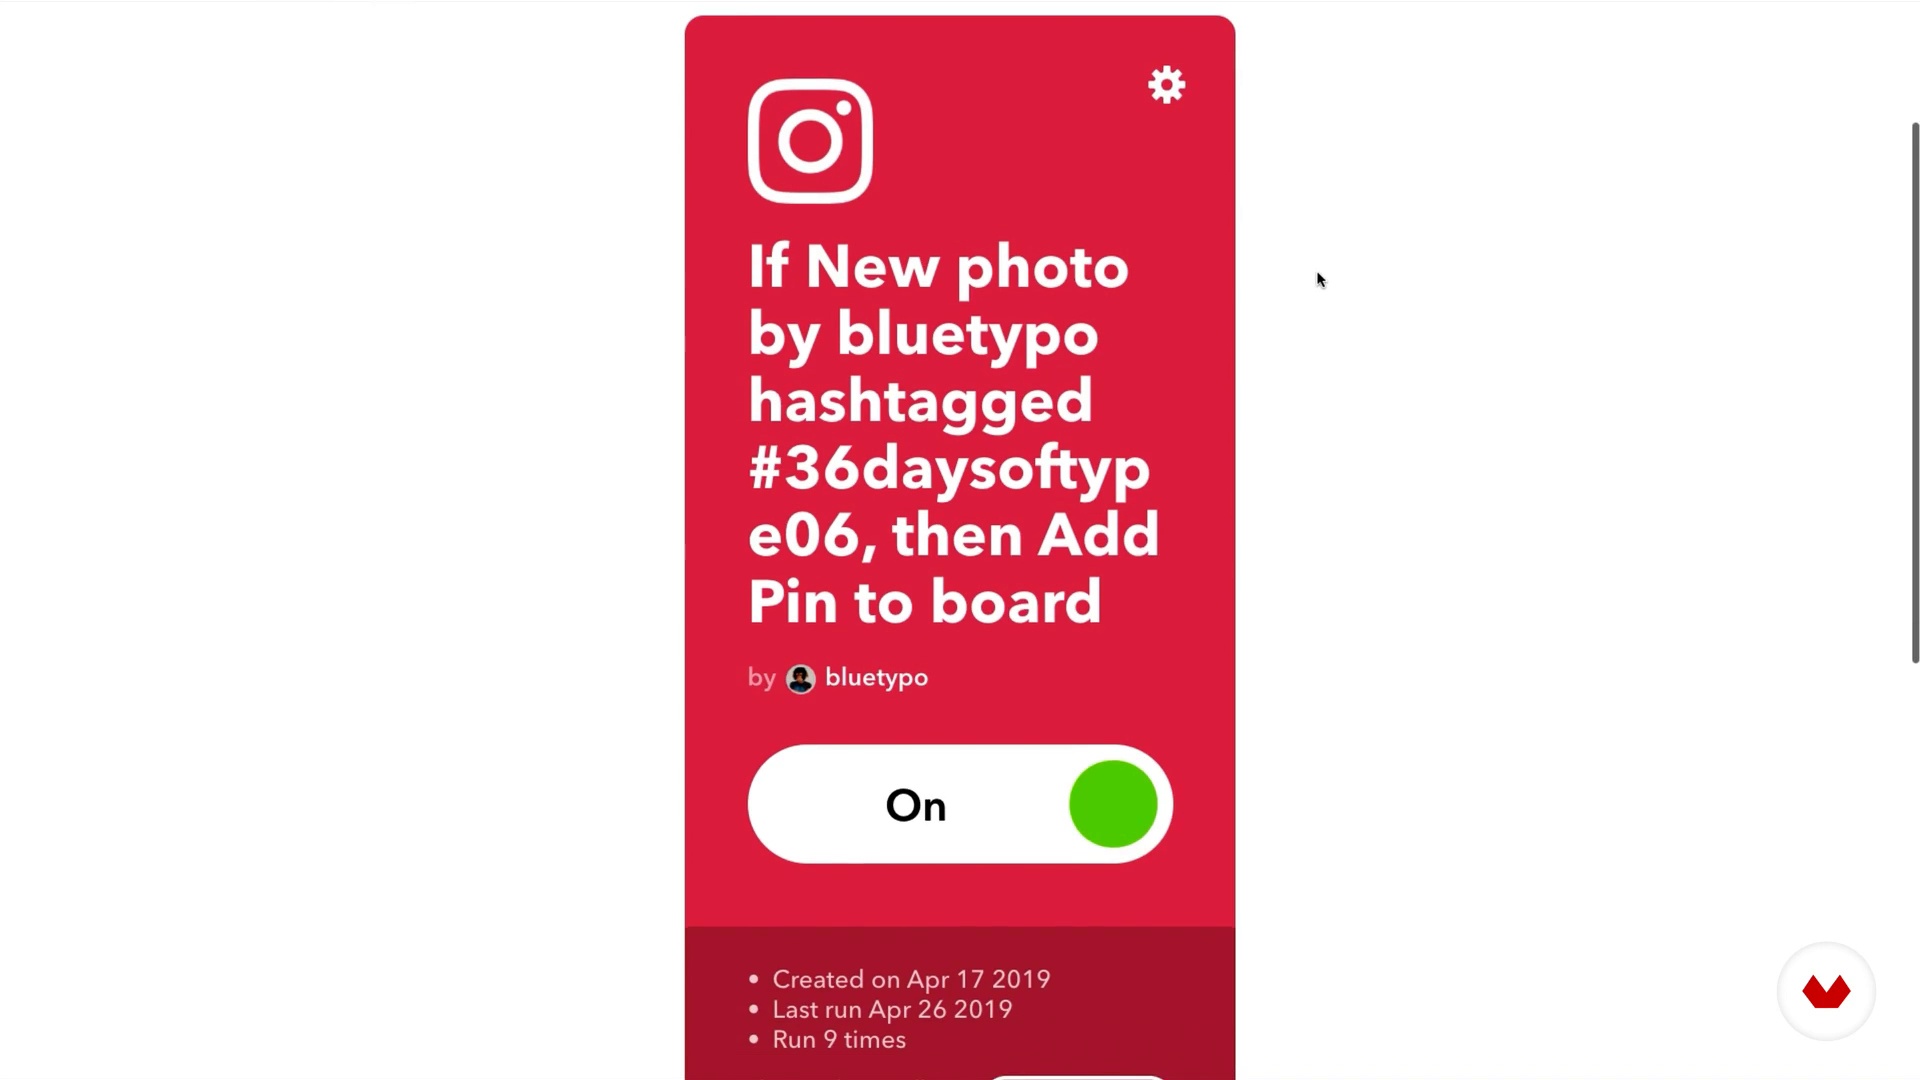
17Promote your work
Finally, Manolo will show you the way we publish our work automatically, and promote it to take advantage of our social networks.
7m
 3
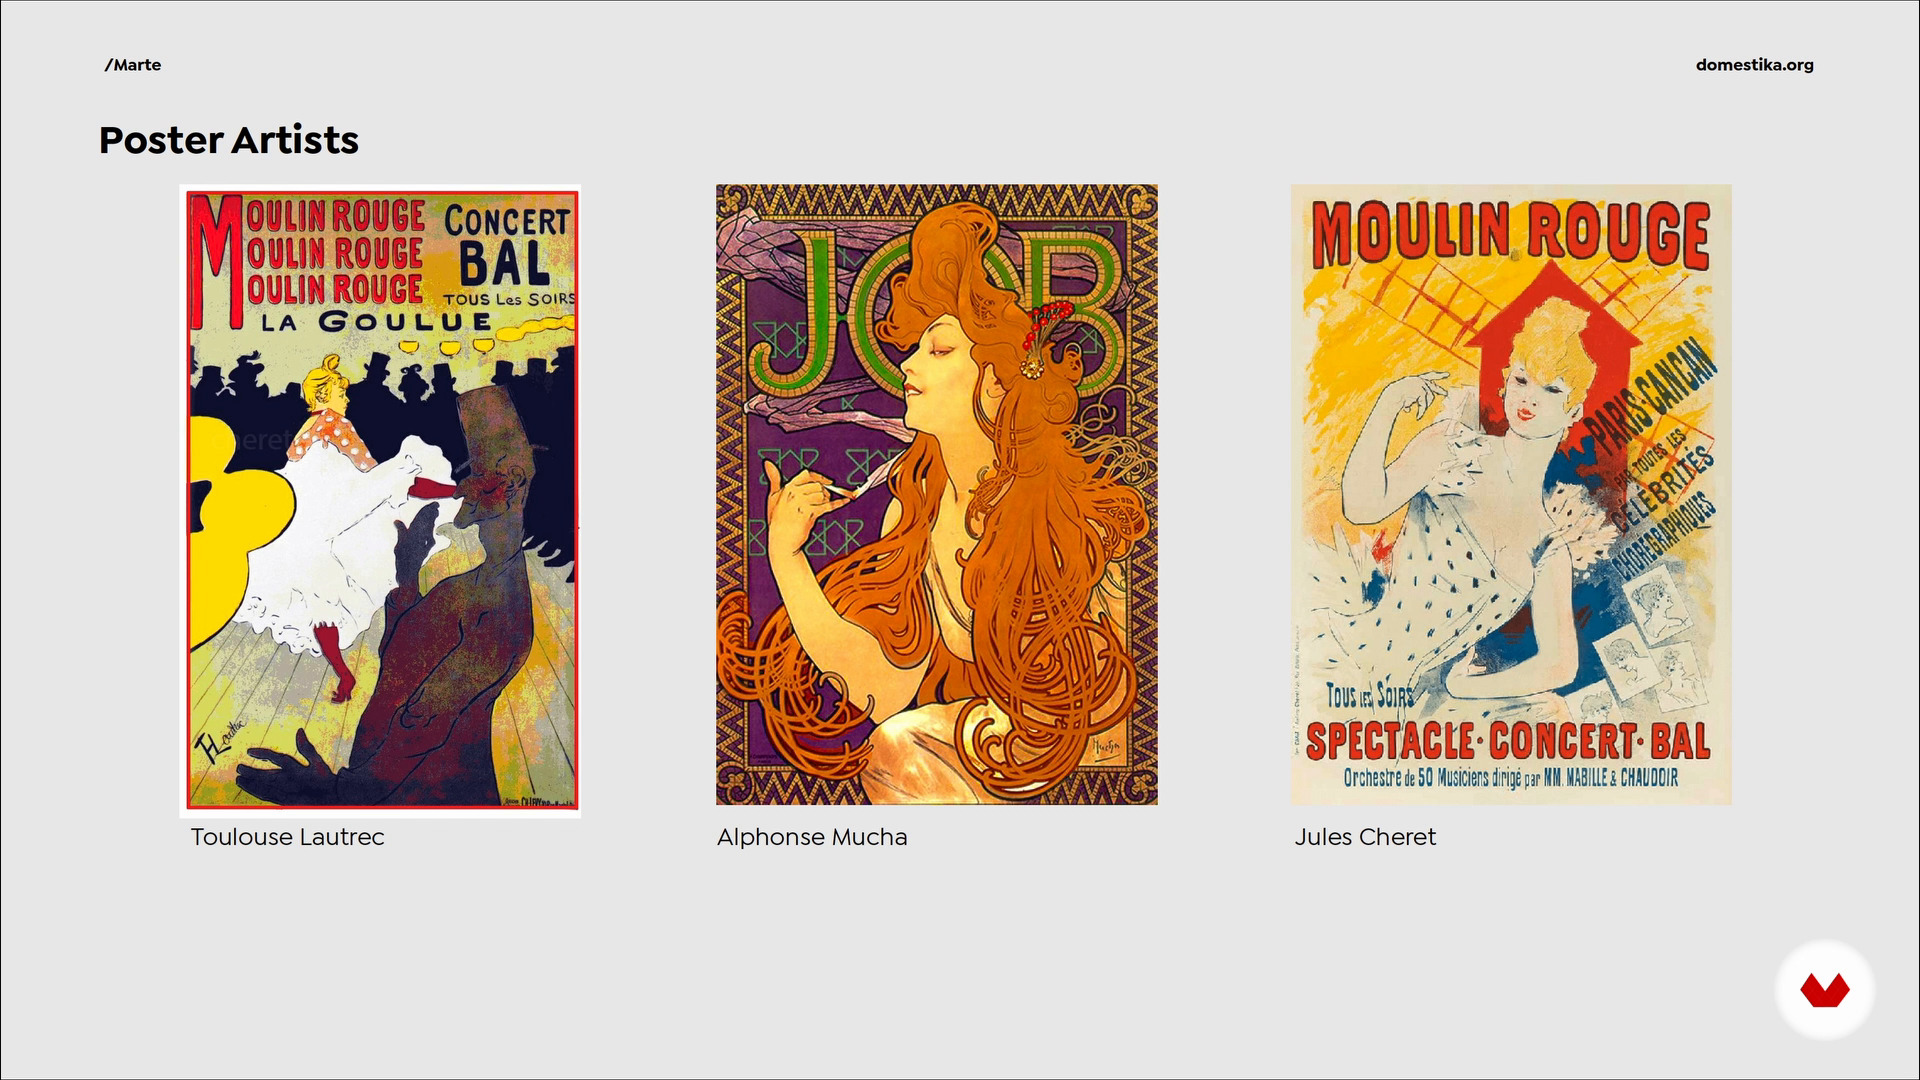
3What Is a Poster?
I’m going to introduce you to the origin of the posters in the late 1800s, and we’ll go over the basic features that are characteristic of them.
5m
 4
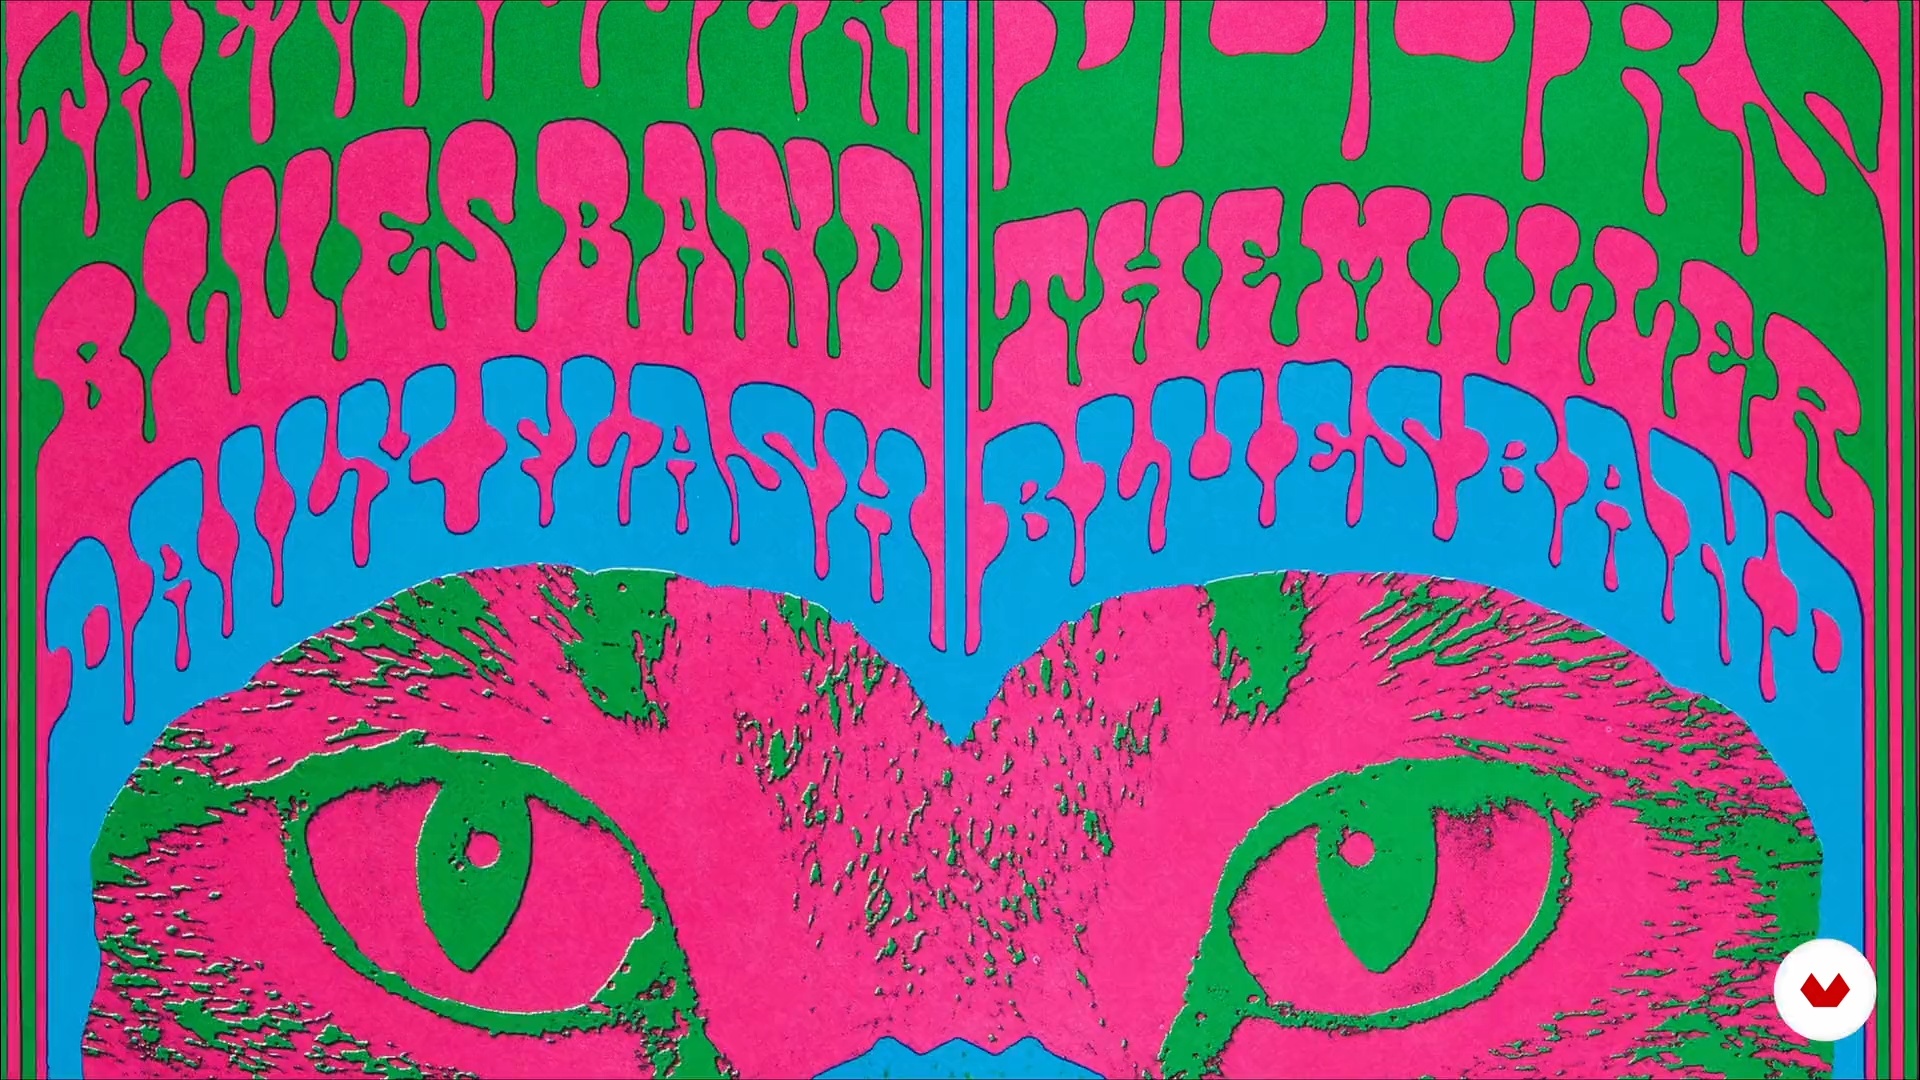
4Introduction to Graphic Styles
I will show you different artistic styles for you to understand how aesthetic decisions can communicate an idea or an emotion. Also, you will realize how the letters and illustrations combined with each other are going to be very important to make a poster look solid.
9m
 5
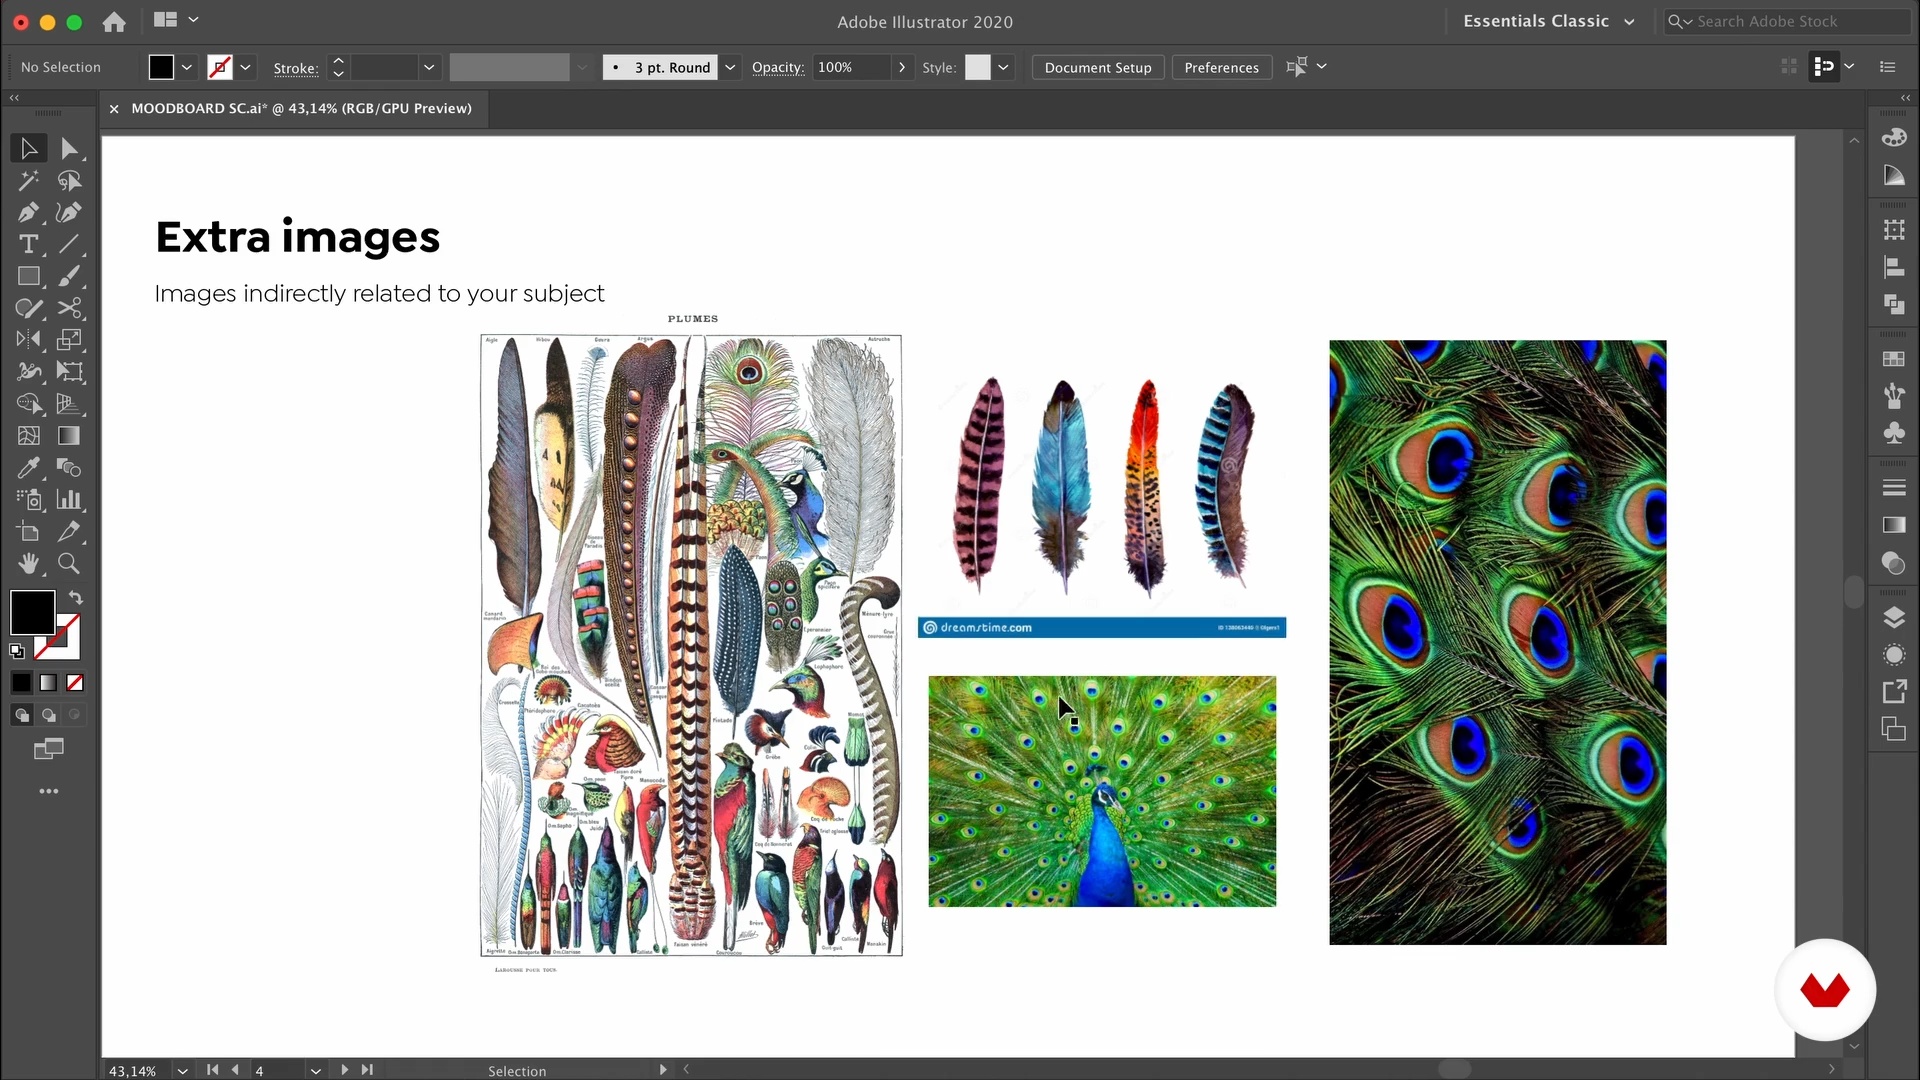
5Mood Board
I will show you how to go over the research of inspiration before starting your working process. You will know what I find interesting on a mood board and how does it help me with my designs.
11m
 6
6Layout
You will learn what a grid is, and how you can use it to organize the different elements of the poster to make an authentic composition.
7m
 7
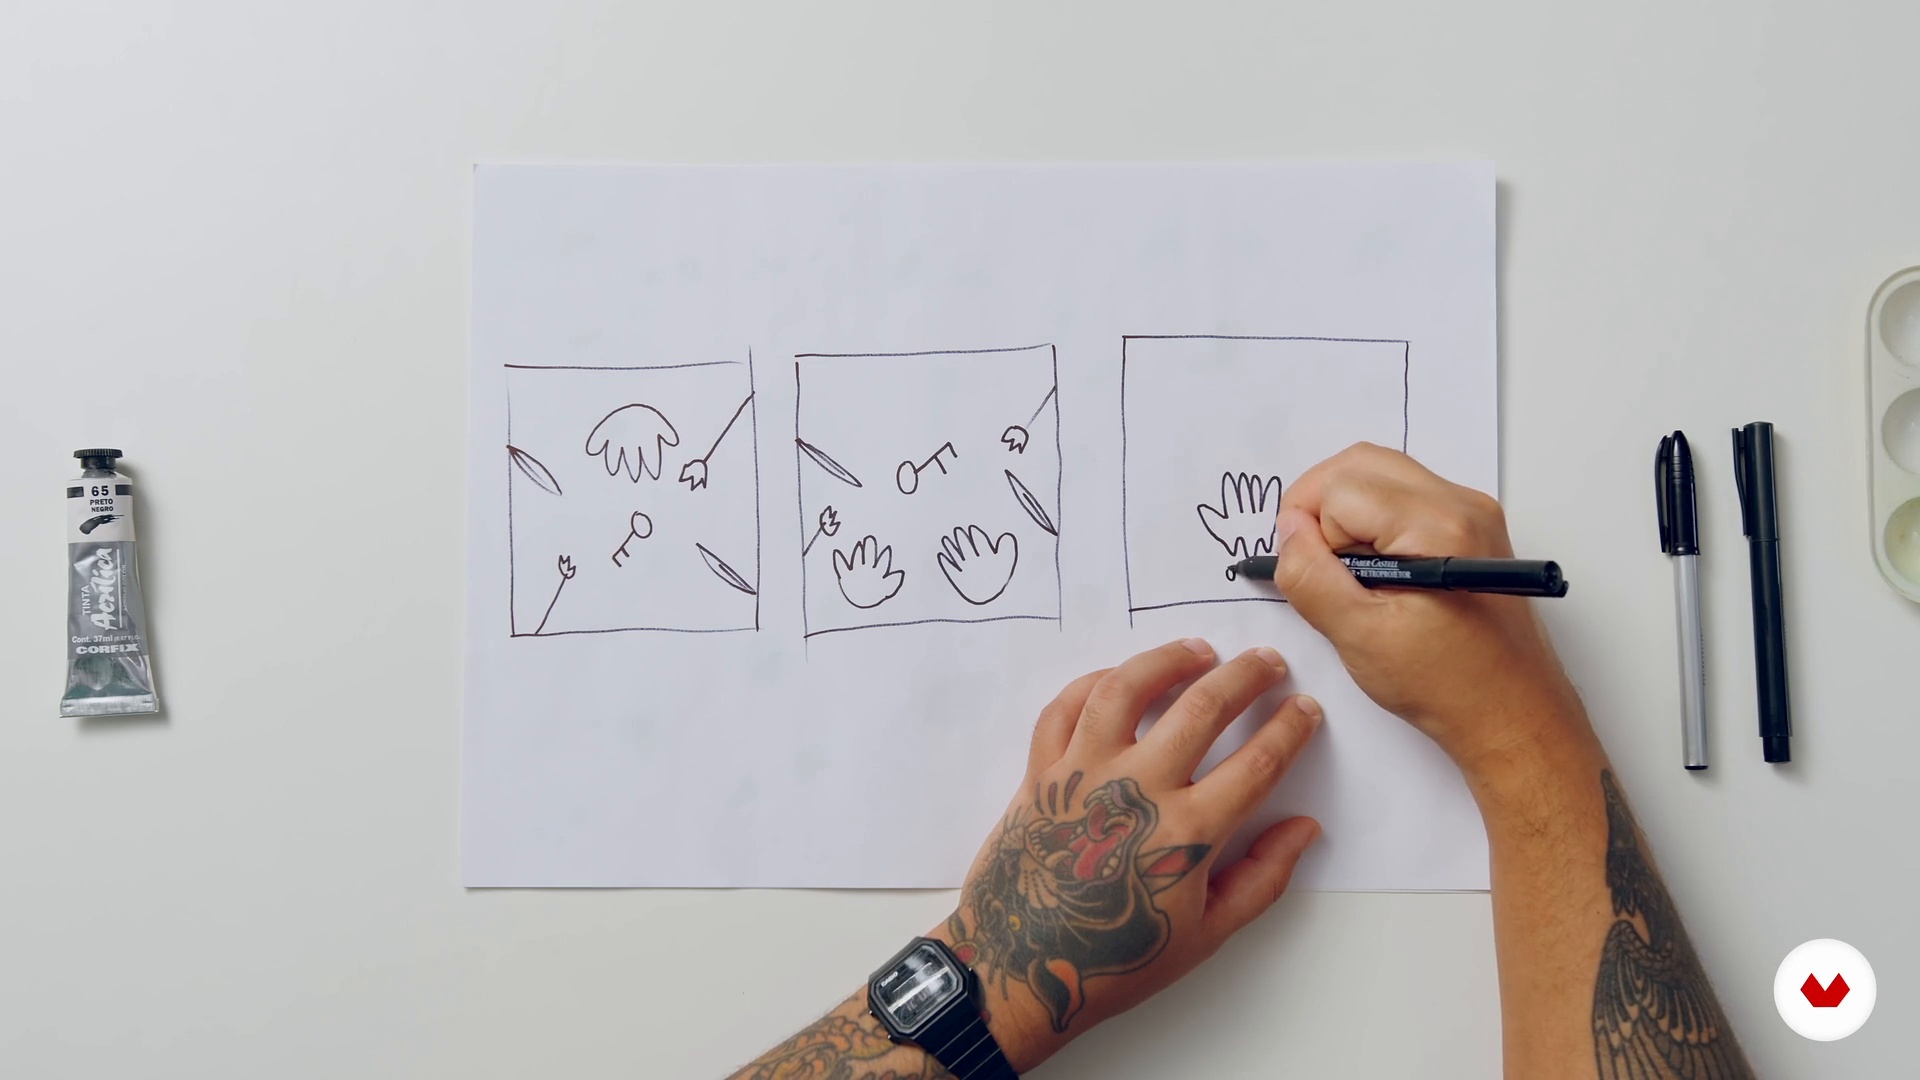
7Thumbnail Sketches
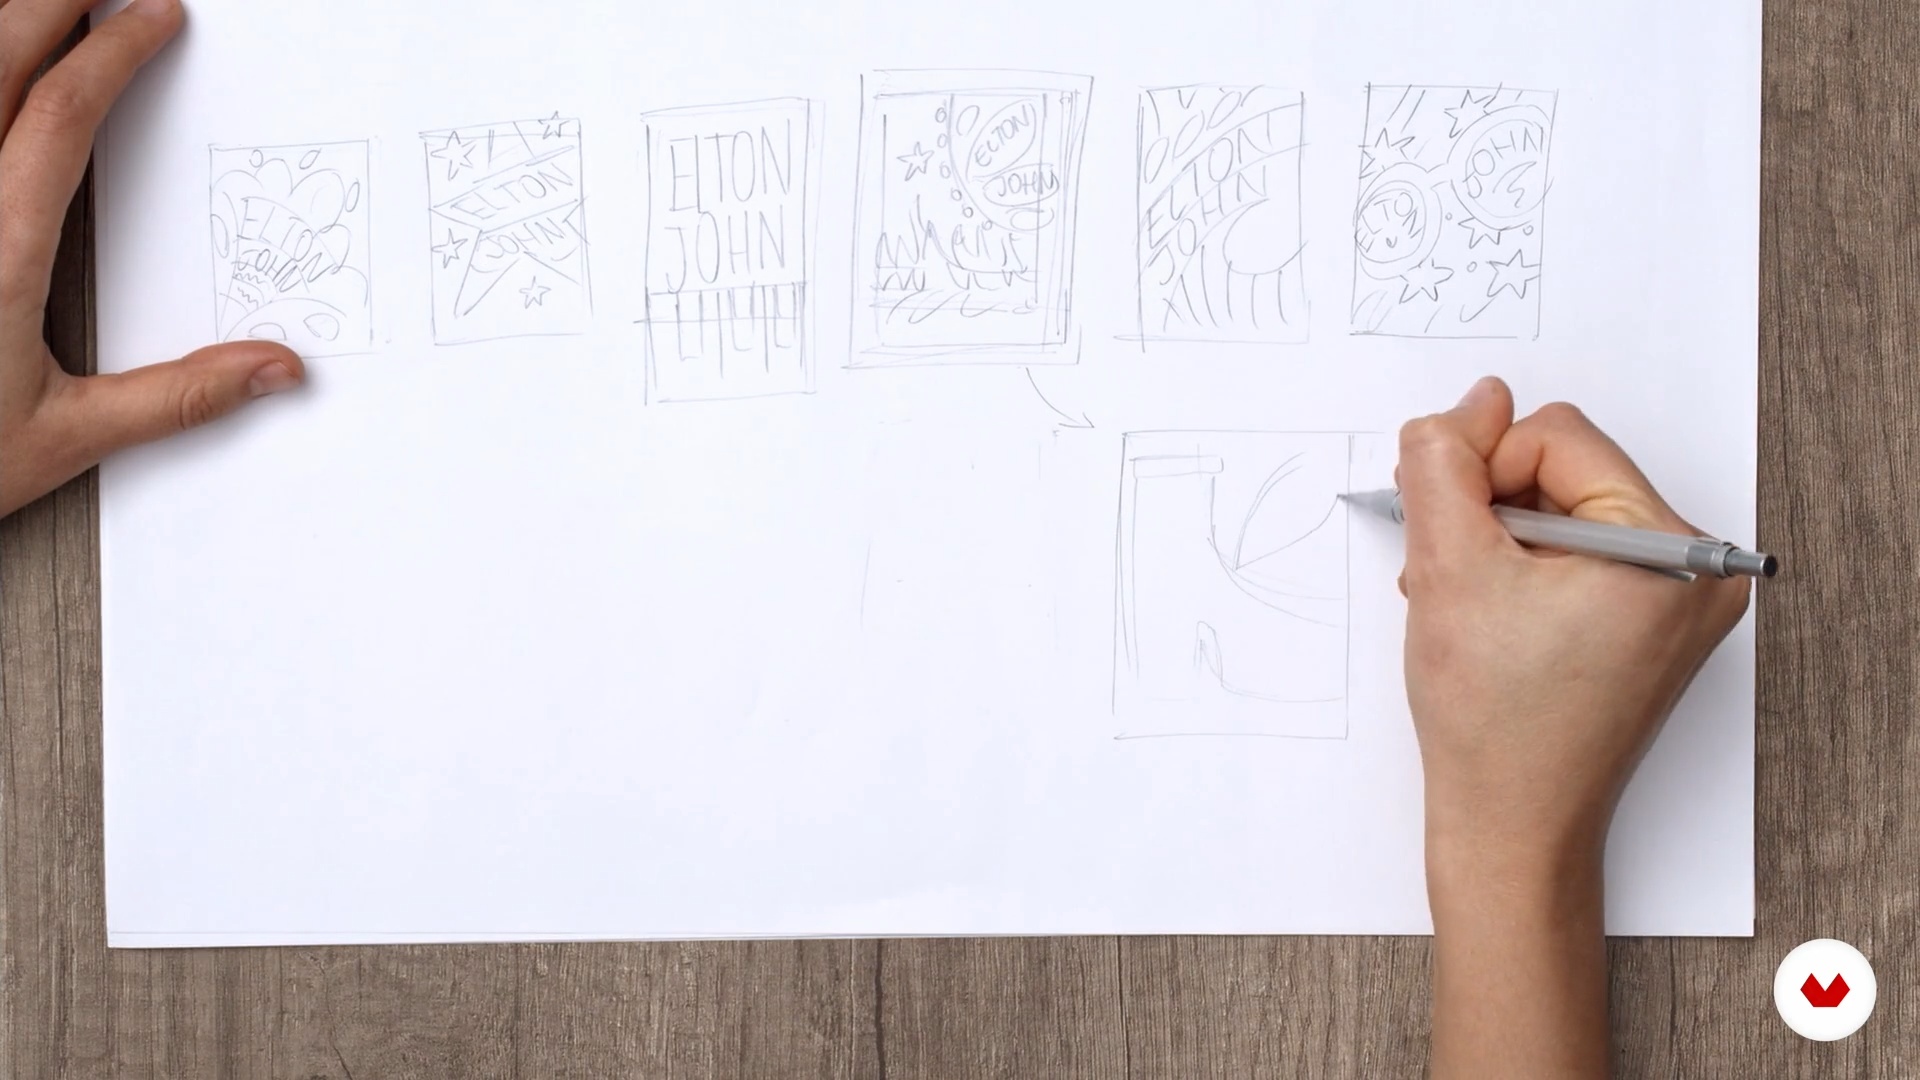
I will teach you how to start drafting ideas for your posters. I’m going to show you my method, which is doing a lot of thumbnail sketches, very quickly and very roughly, until I find one interesting enough to work on.
7m
 8
8Lettering
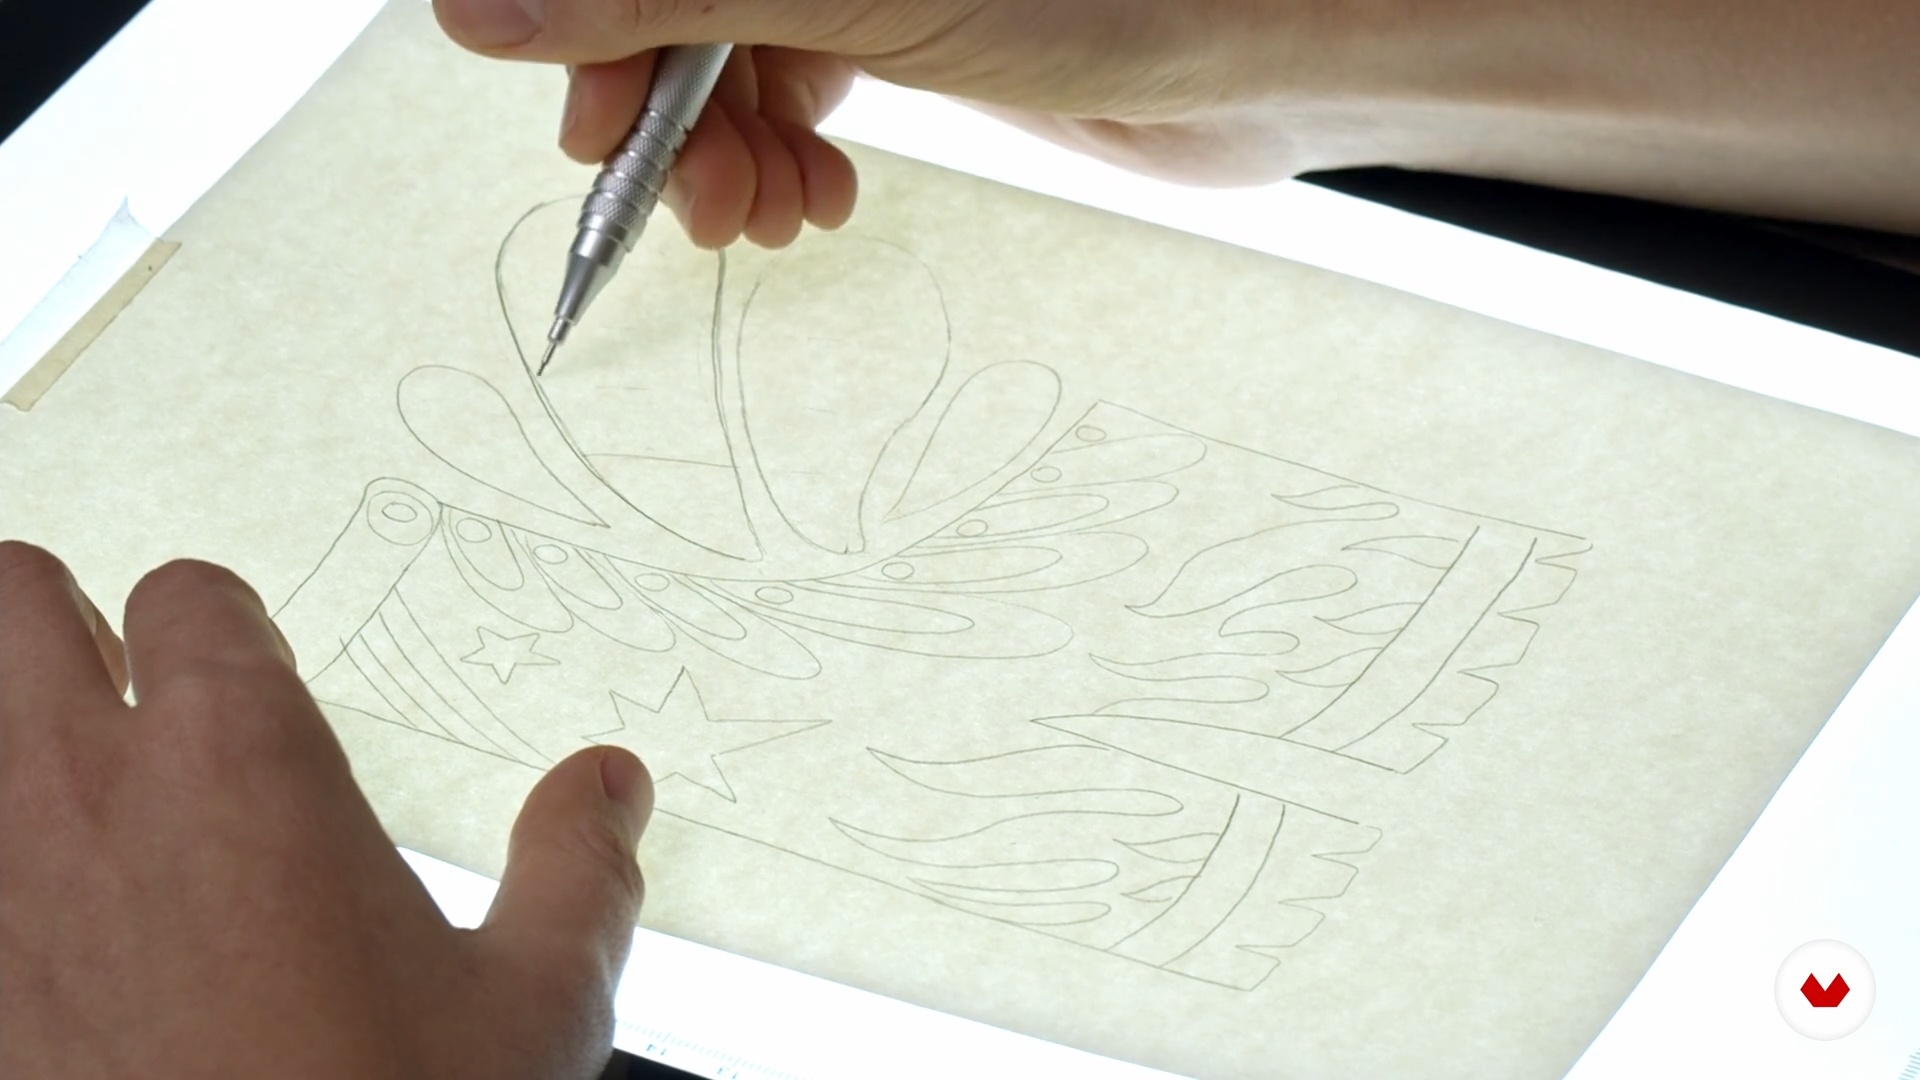
I will introduce you to the basics of lettering, that way you can use it to add personality to the letters of the title of your poster.
10m
 9
9Digitize 1
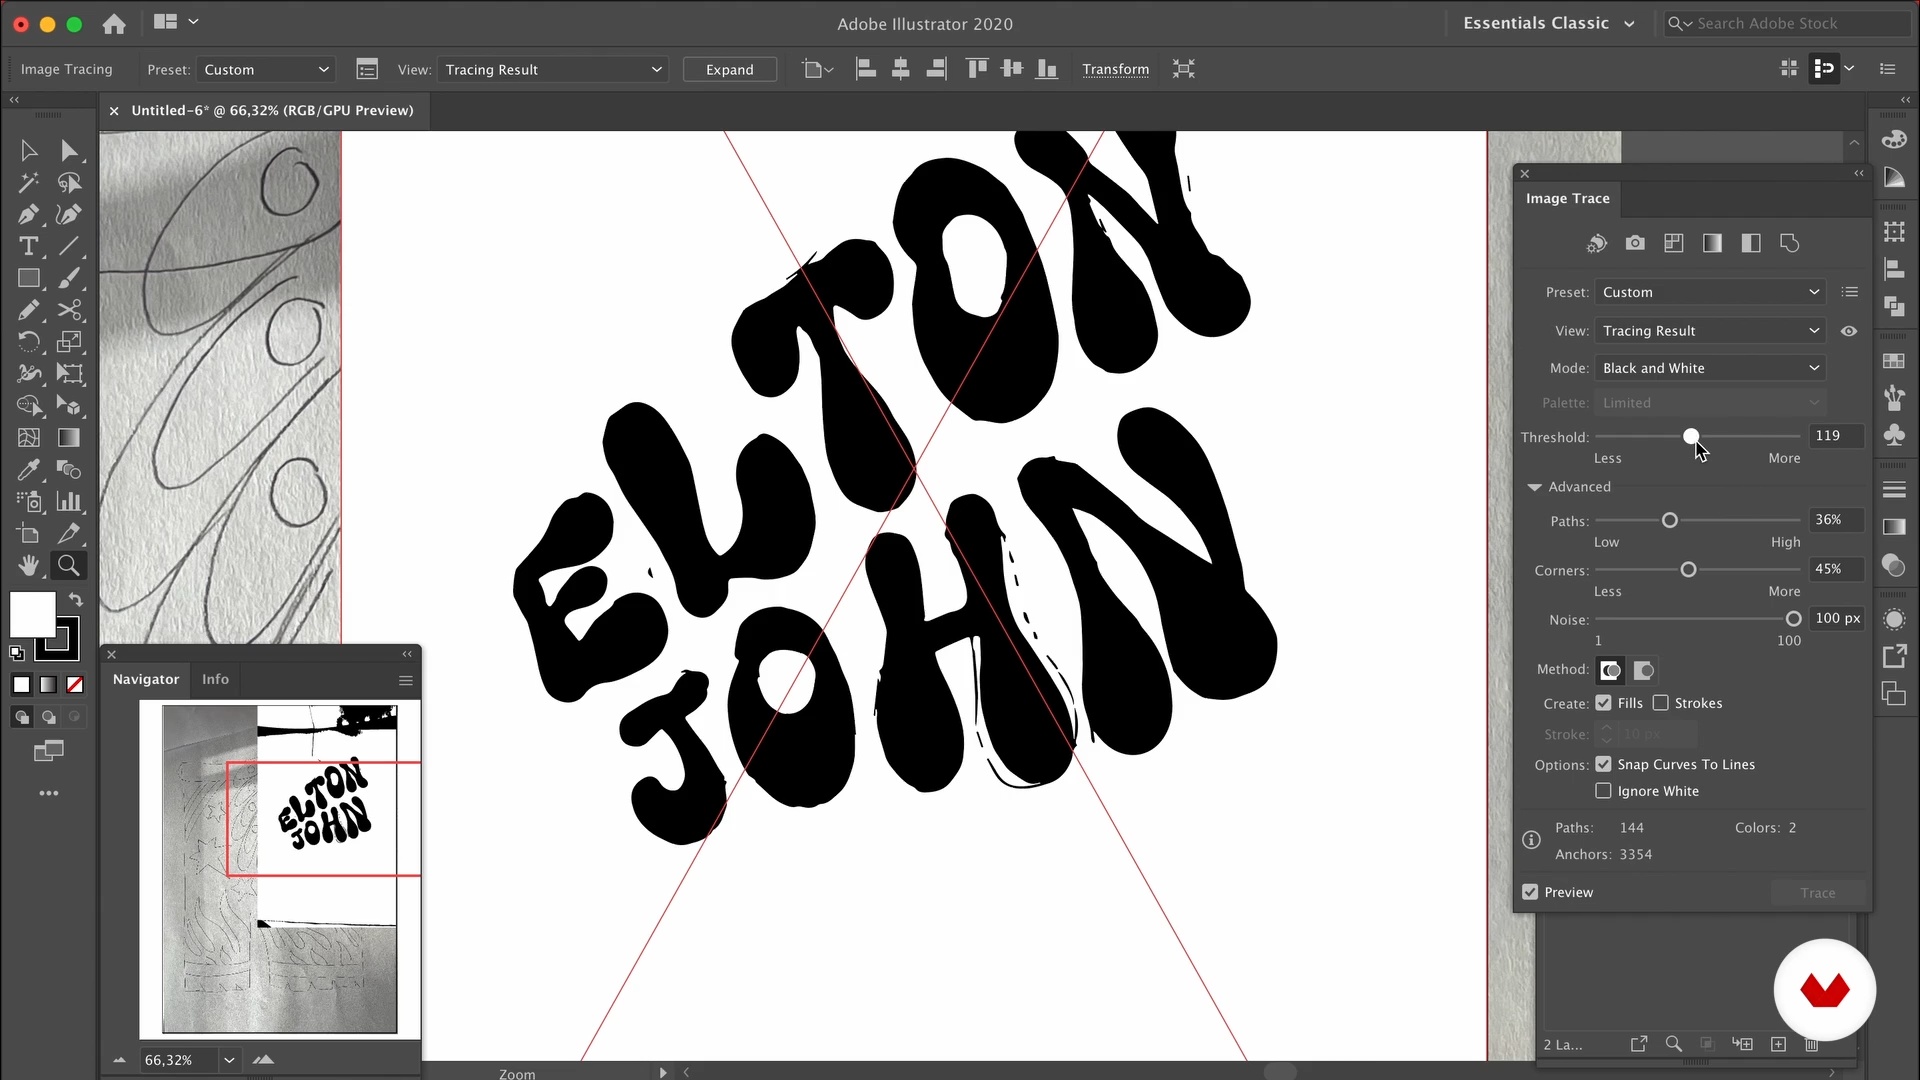
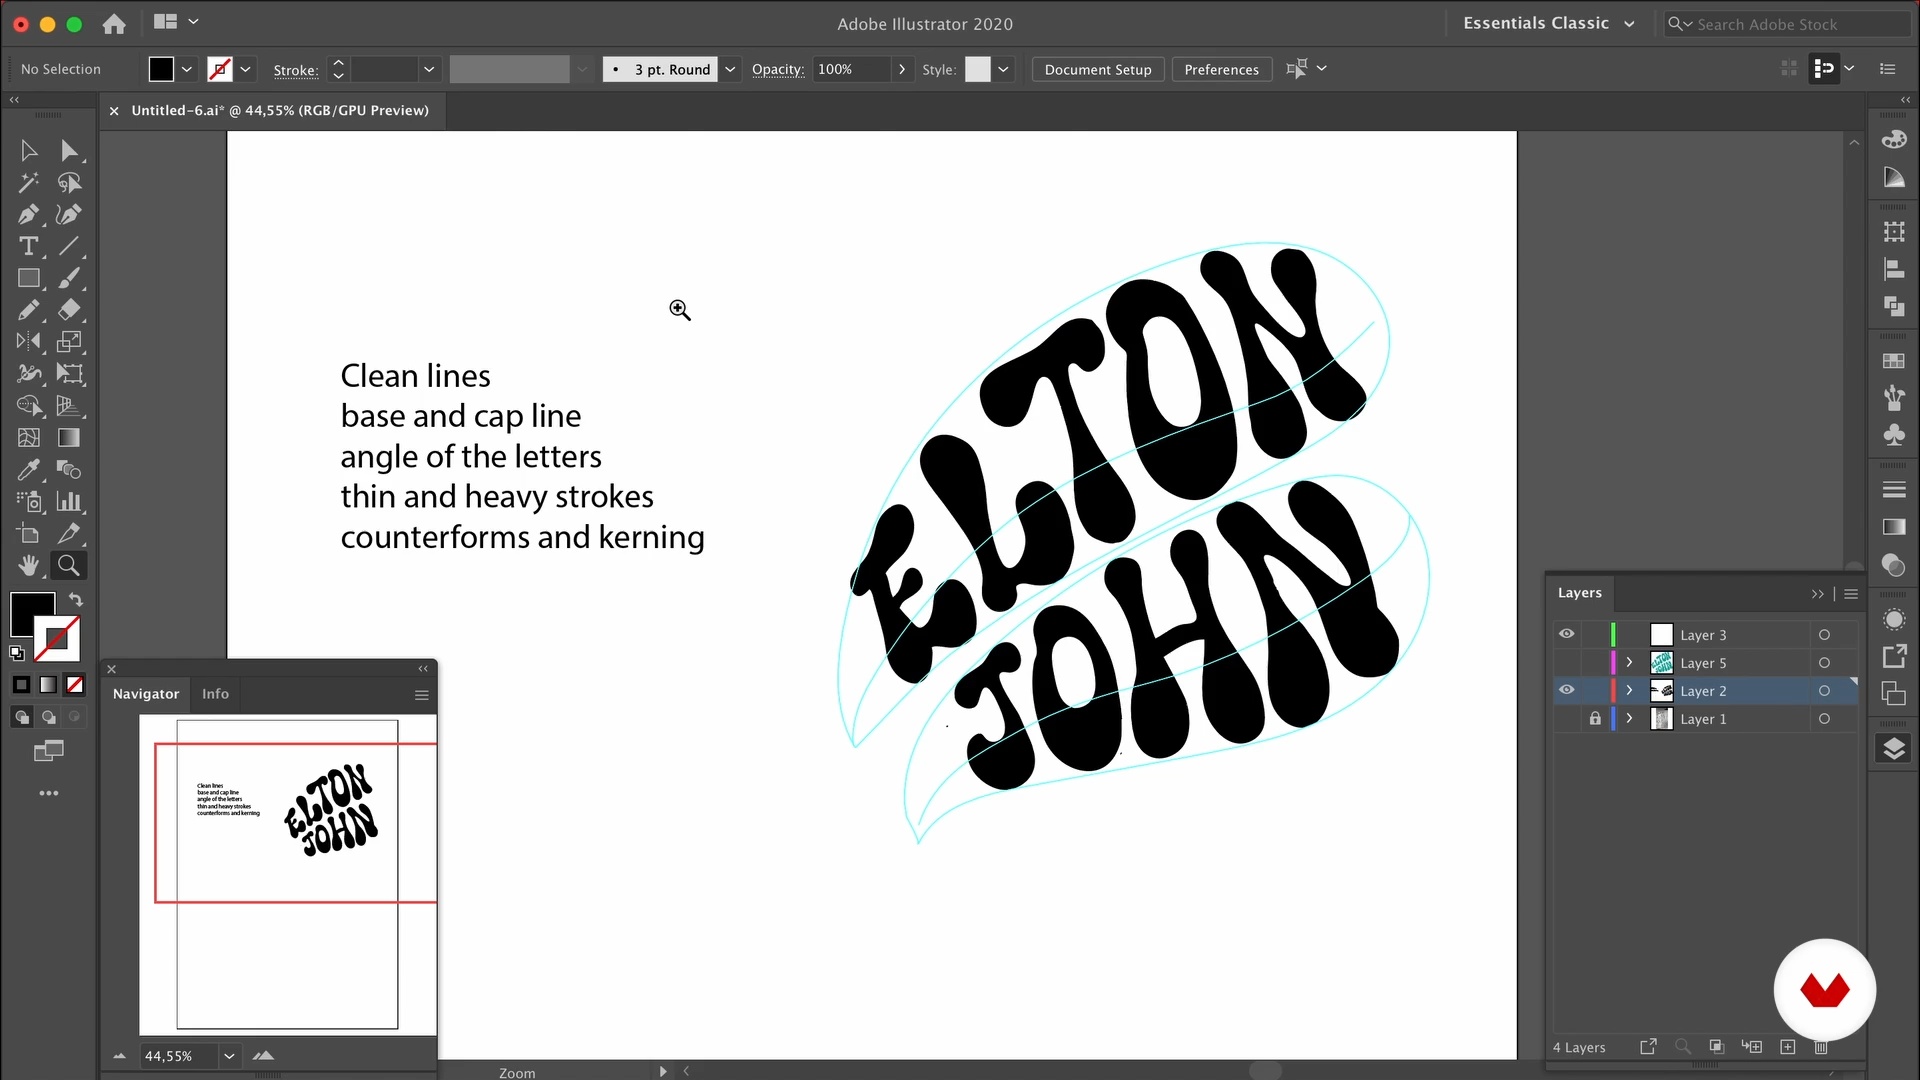
You will learn how to import a photo of your design into illustrator and convert it into a vector file on which you can work. To do this, I’ll teach you how to use the Image Trace tool and the Pencil tool. Are you ready?
10m
 10
10Digitize 2
I will keep showing you how to digitize your poster. I will share with you some tricks to make easier this process.
11m
 11
11Refining Illustration
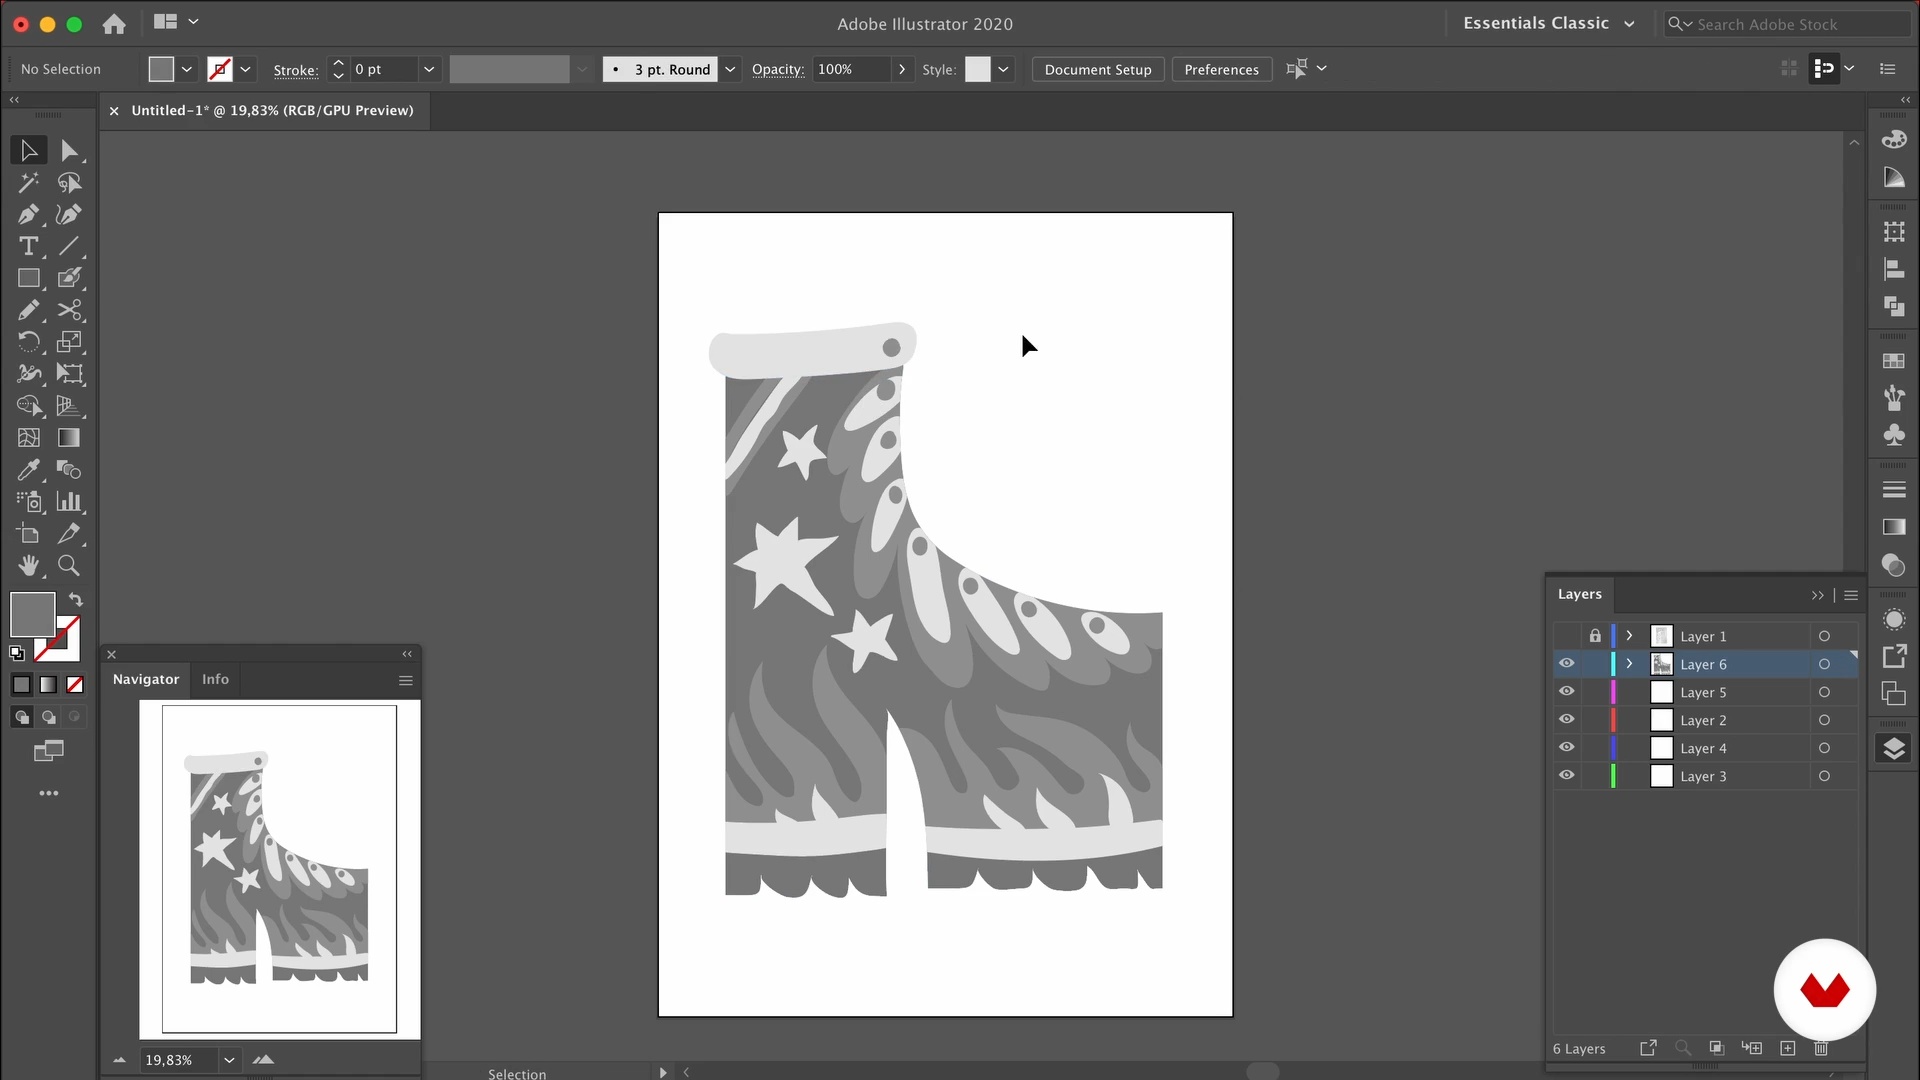
I’m going to show you how to use the Pencil tool to retrace your illustration. You will learn how to set up the tool to get different stroke results.
6m
 12
12Using Typography
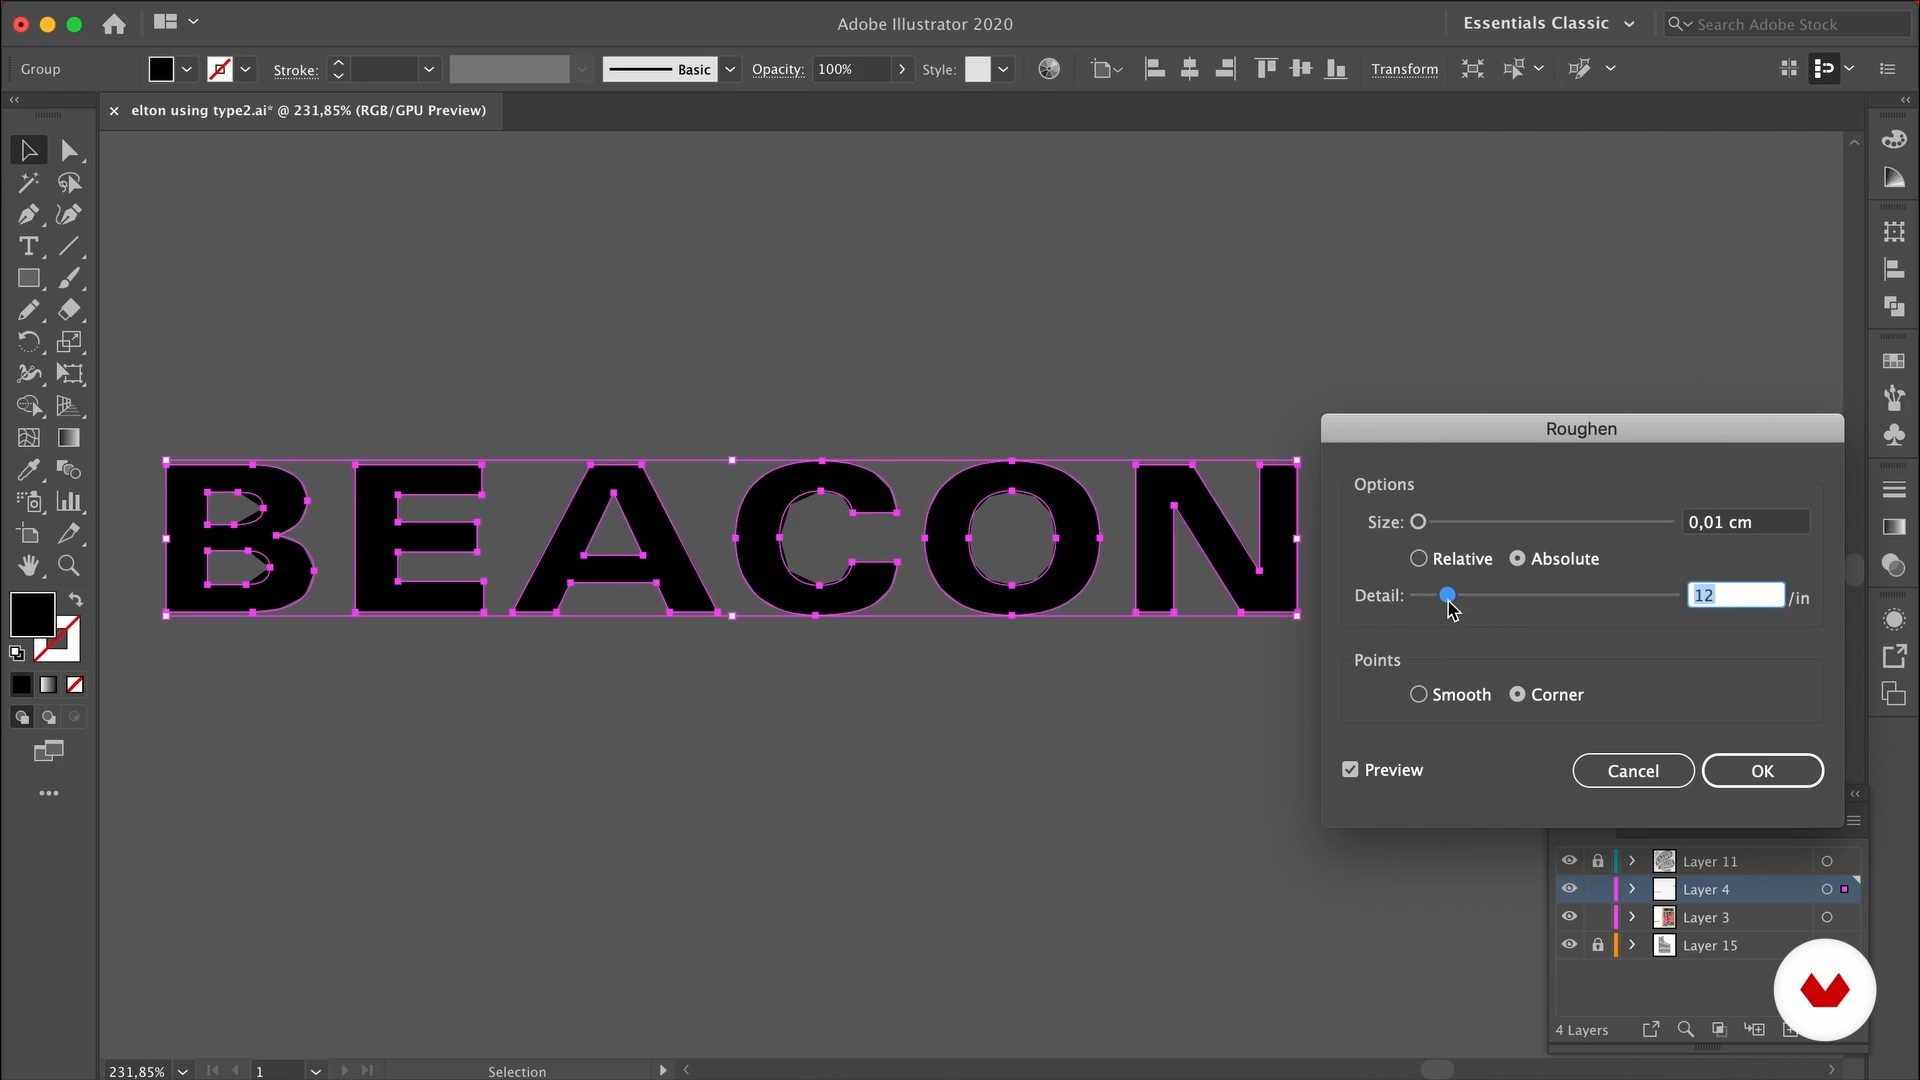
Lettering and illustration are going to be the main ingredients of your poster. But sometimes, you might still need to use typography. I’m gonna share with you some tricks to push the boundaries of what you can do with it. Also, I’ll show you how to tweak it to make it look less clean and vectorial, so it combines with the illustration and lettering.
12m
 13
13Color 1
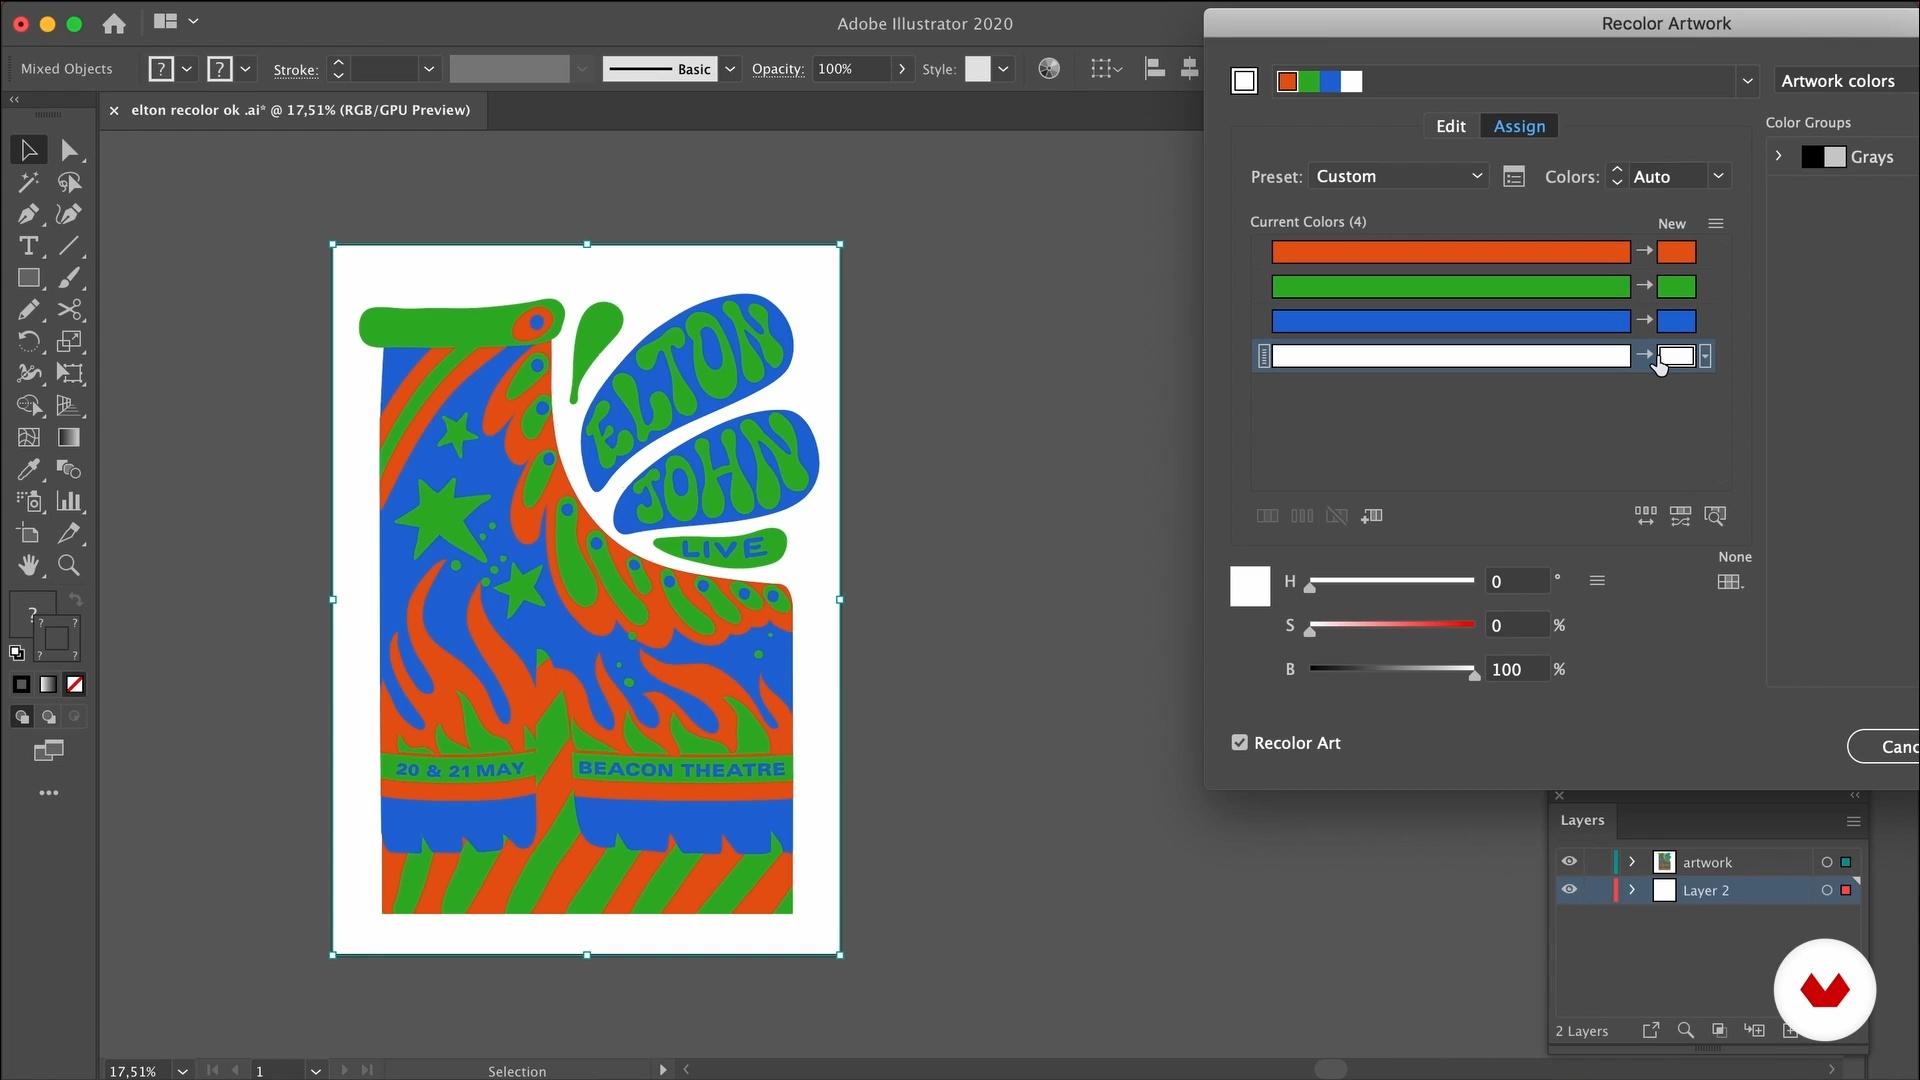
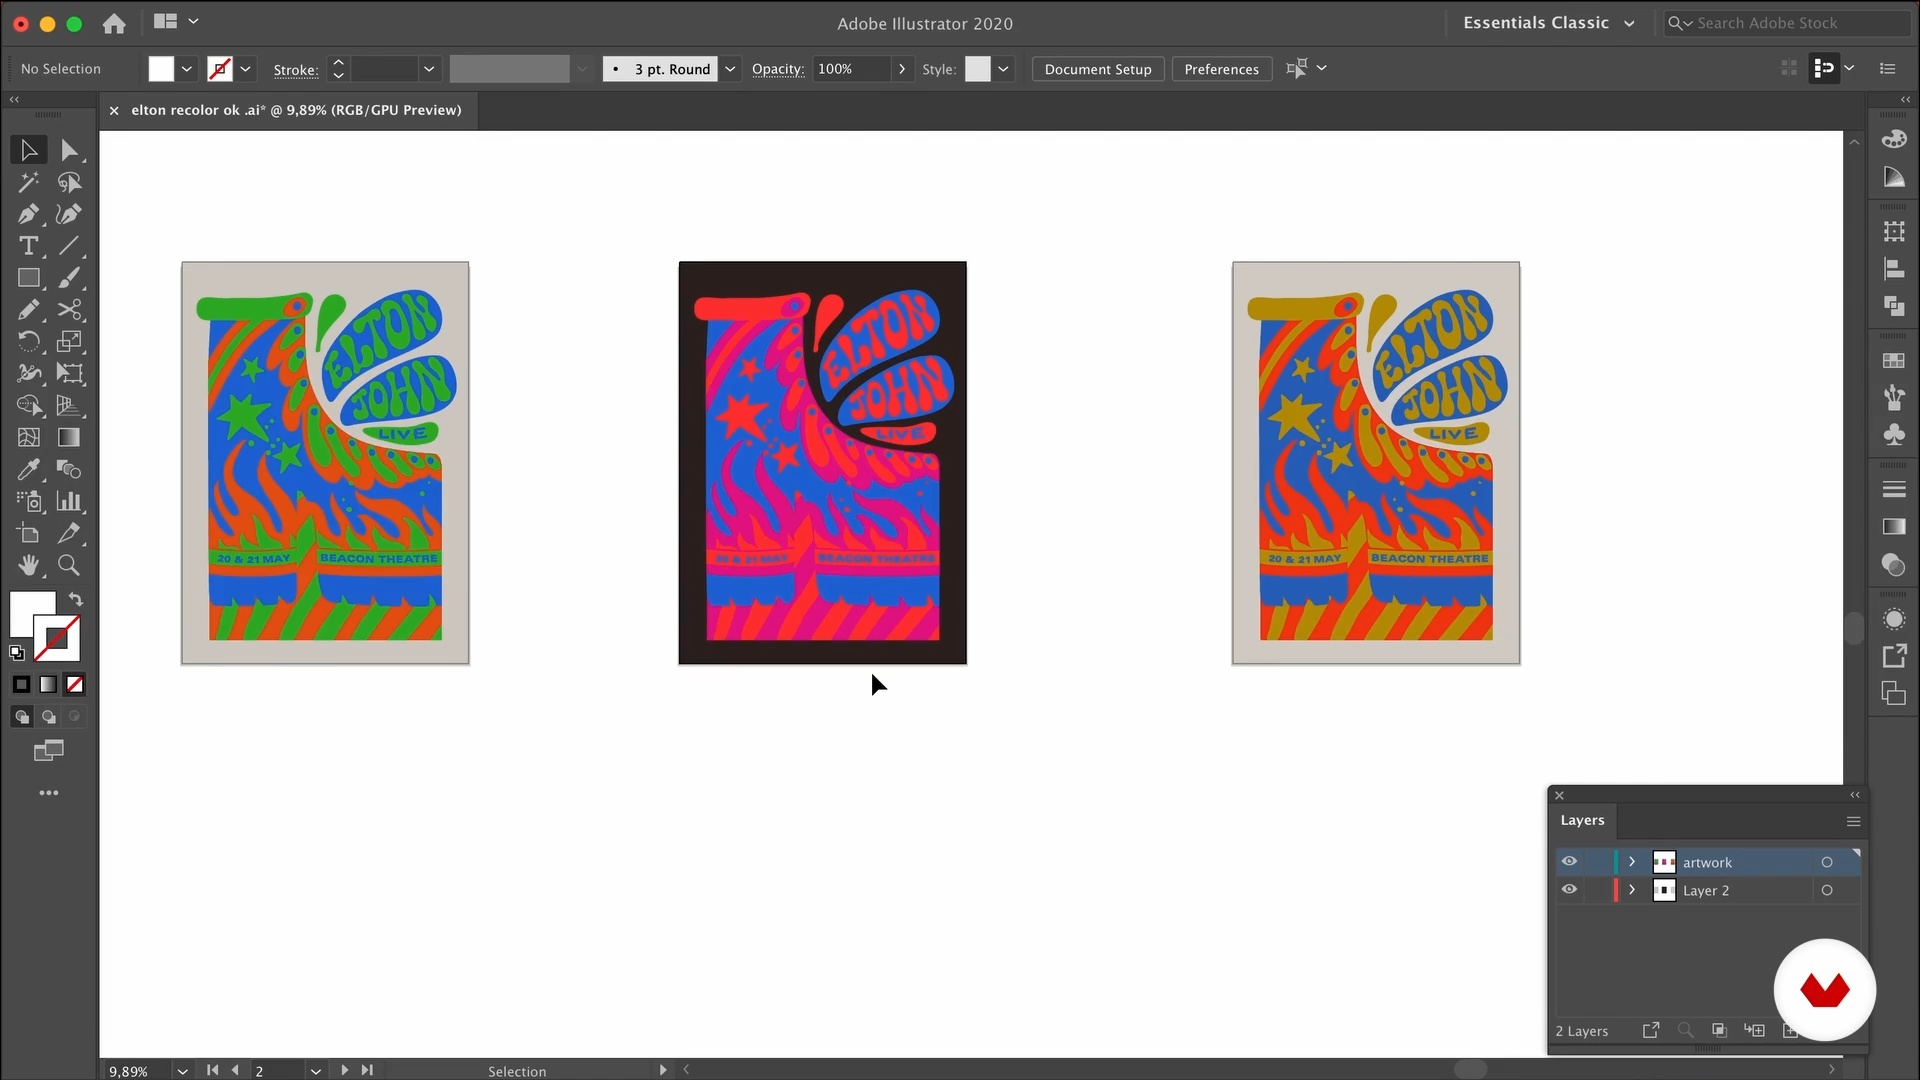
I want to share with you some tips on how to use the right color palette for your design. Besides, you will learn how to use the Recolor Artwork tool, so you can try different palettes quickly and easily!
13m
 14
14Color 2
During this second part of the lesson, I will share with you some questions I make to myself to decide which color palette I will use. In the end, you will see which is the poster I will keep using for my project.
8m
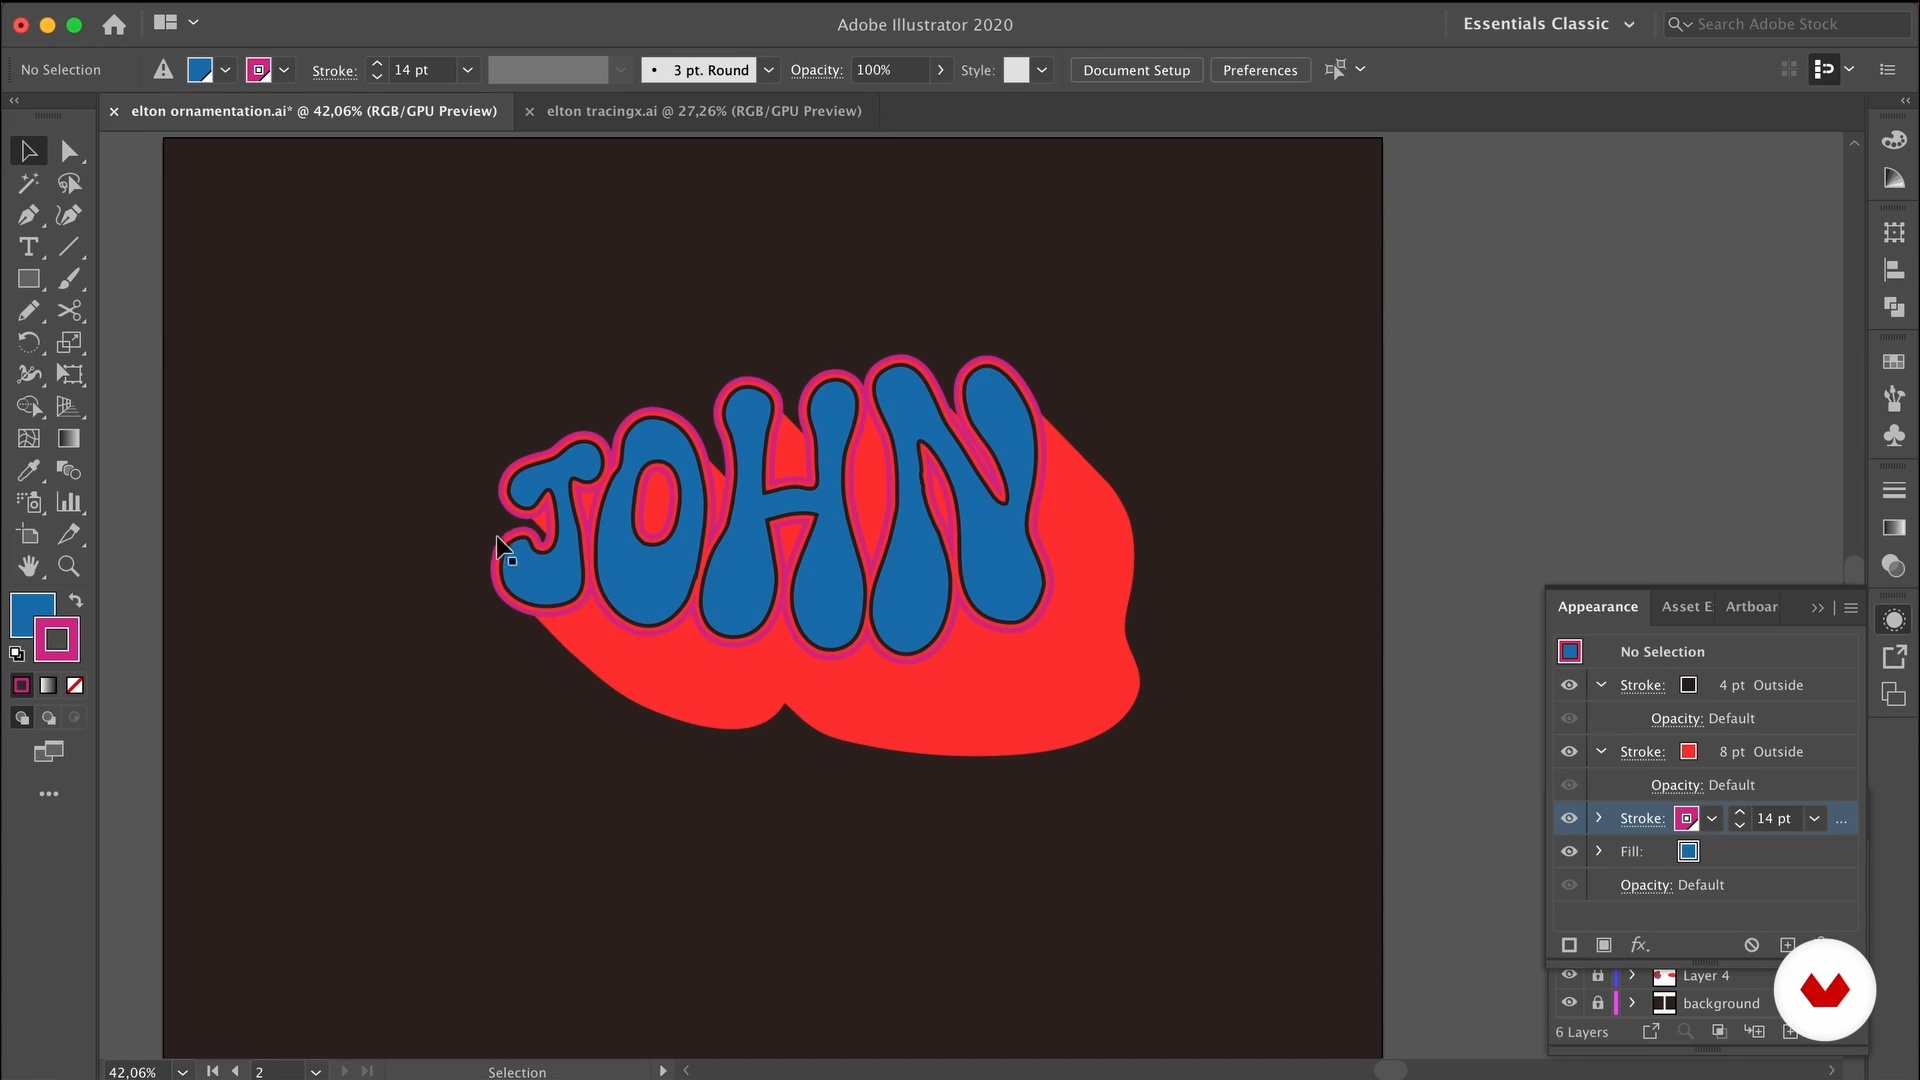 15
15Ornamentation
Sometimes our poster needs just a bit of decoration. I will show you techniques to create frames, outlines and add drop shadows to the lettering.
17m
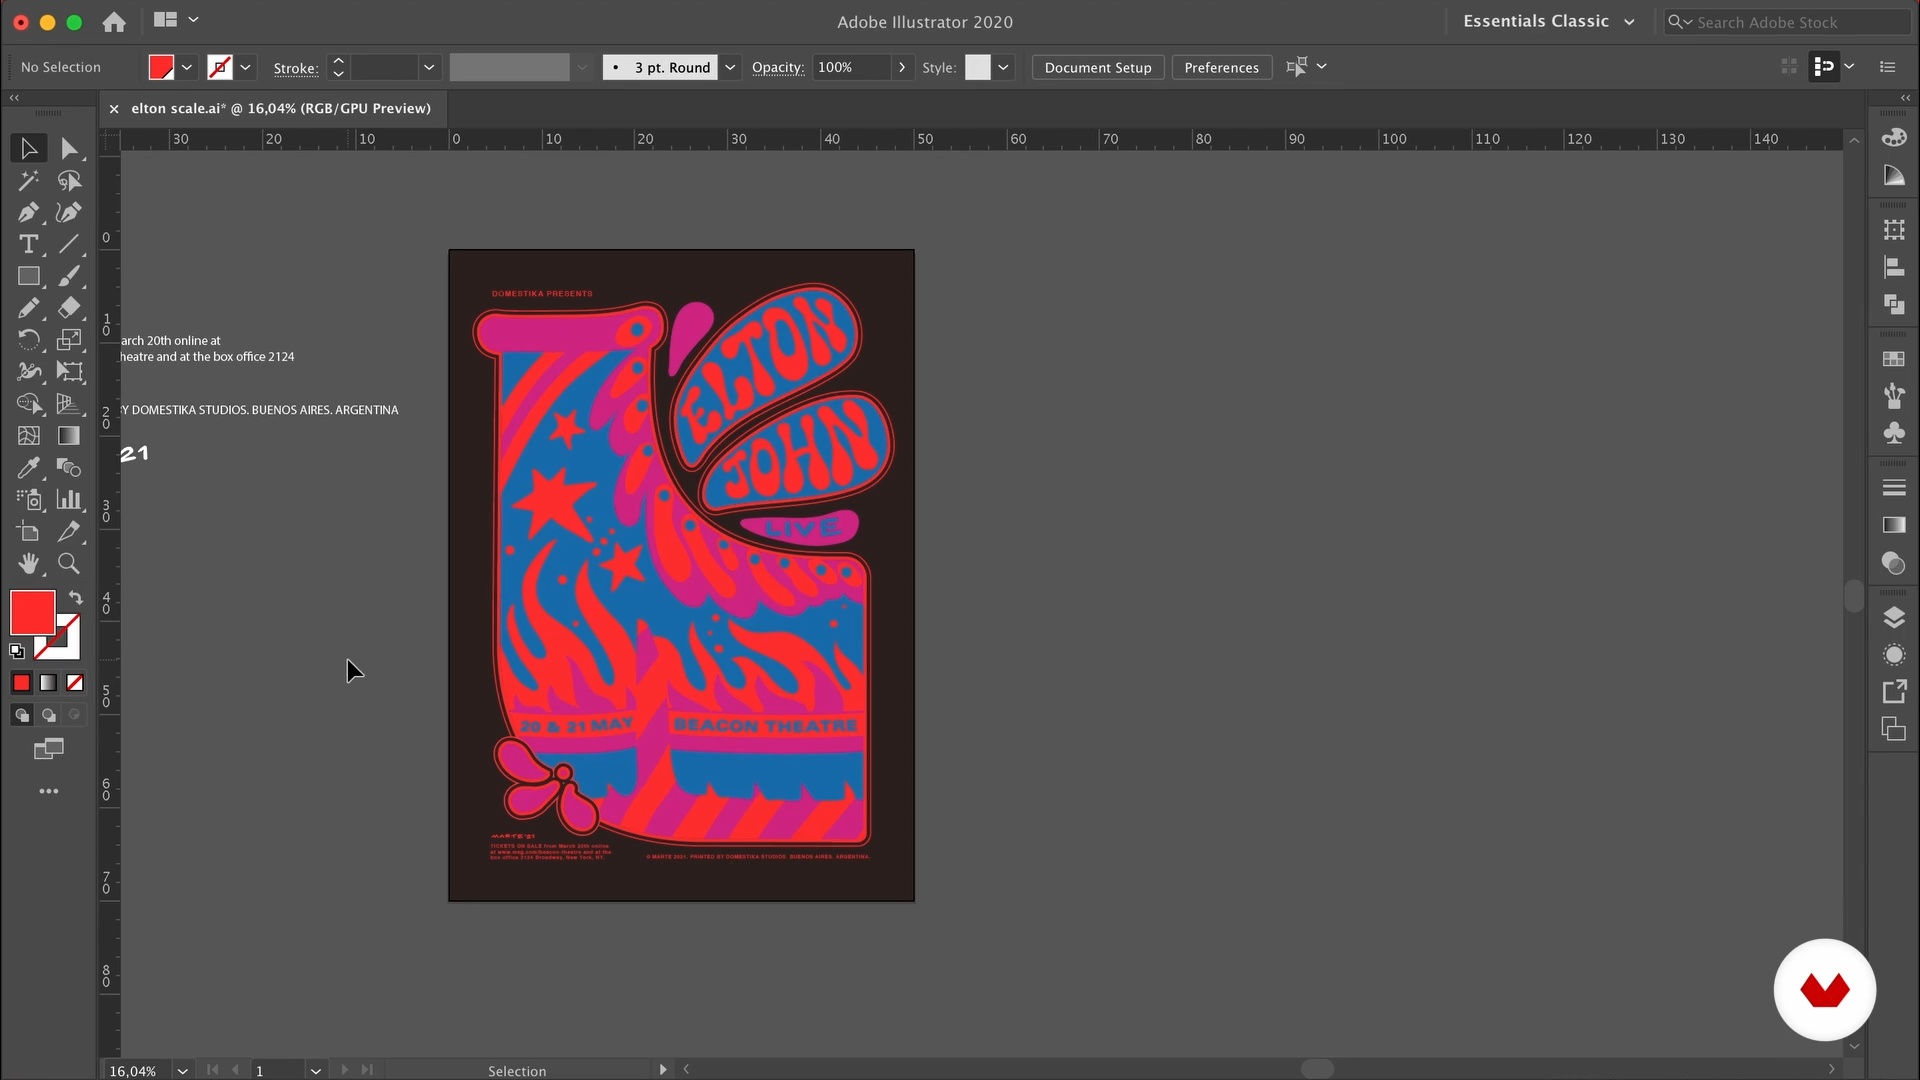 16
16Scale
On the streets, it's easy to recognize a poster as such, but what if you see it out of context or on a post on social media? In this lesson, you will learn how to add details that will give clues of the scale for your poster.
11m
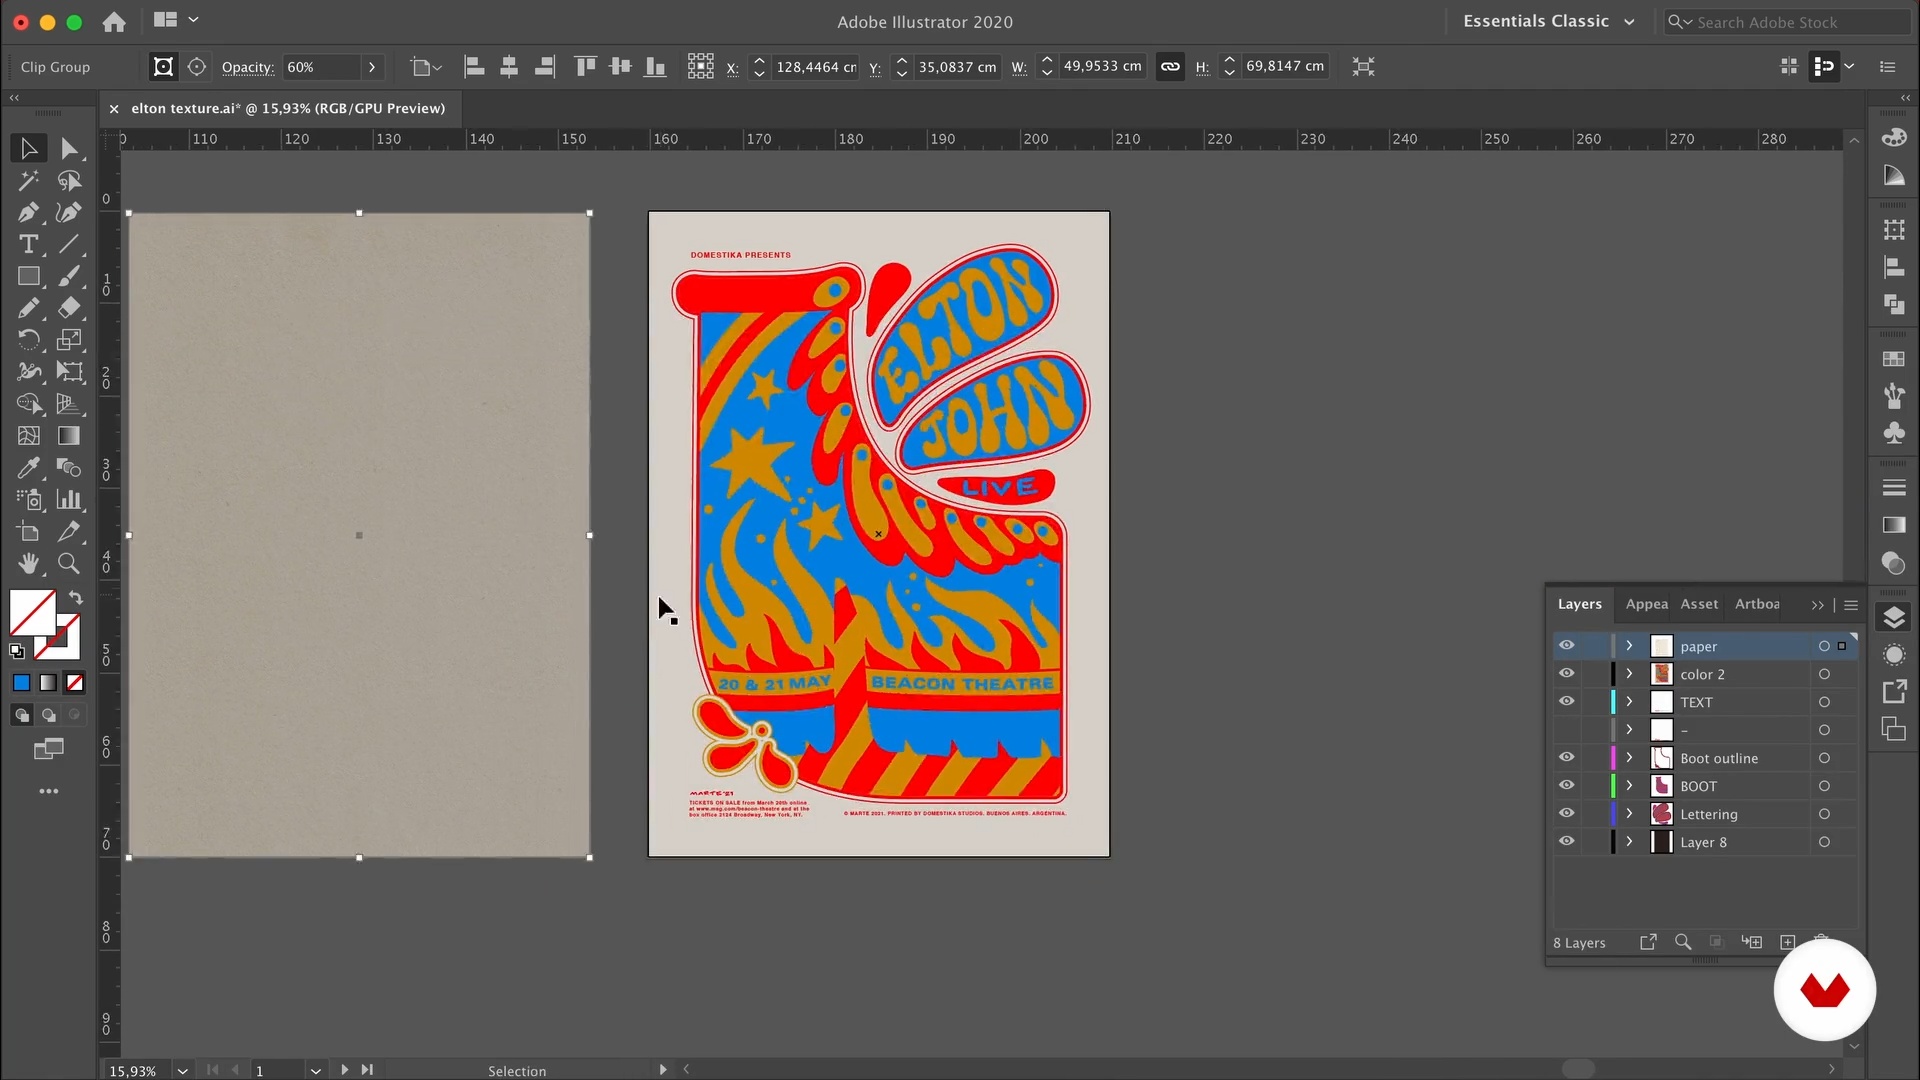 17
17Texture
Let's make your poster more interesting! You will learn how to add paper textures to your digital file.
5m
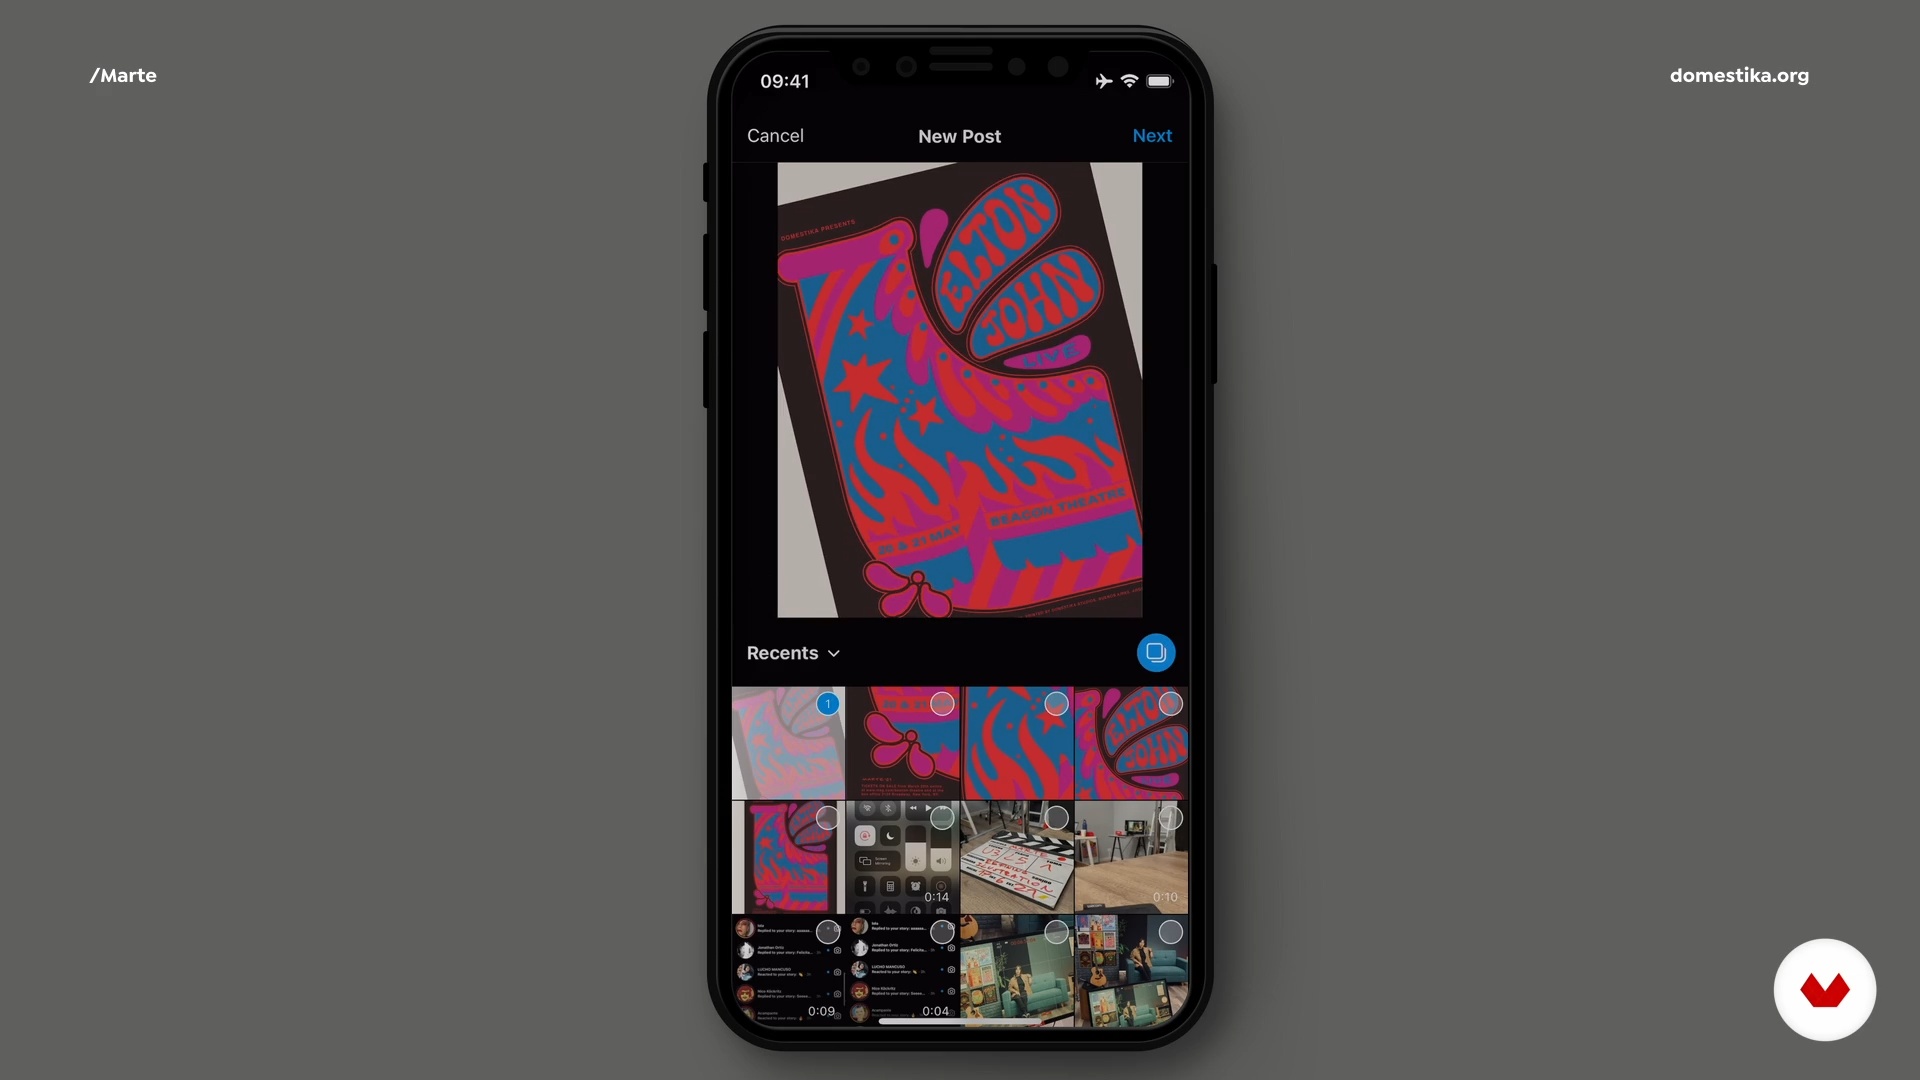 18
18Setting Up the File and Posting on Social Media
I will share with you tips on how to show your work online. In my case, I’m going to share it on Instagram to show you, but remember I will be waiting to see your own final project on the forum!
10m
 19
19Set Up the File for Screenprinting
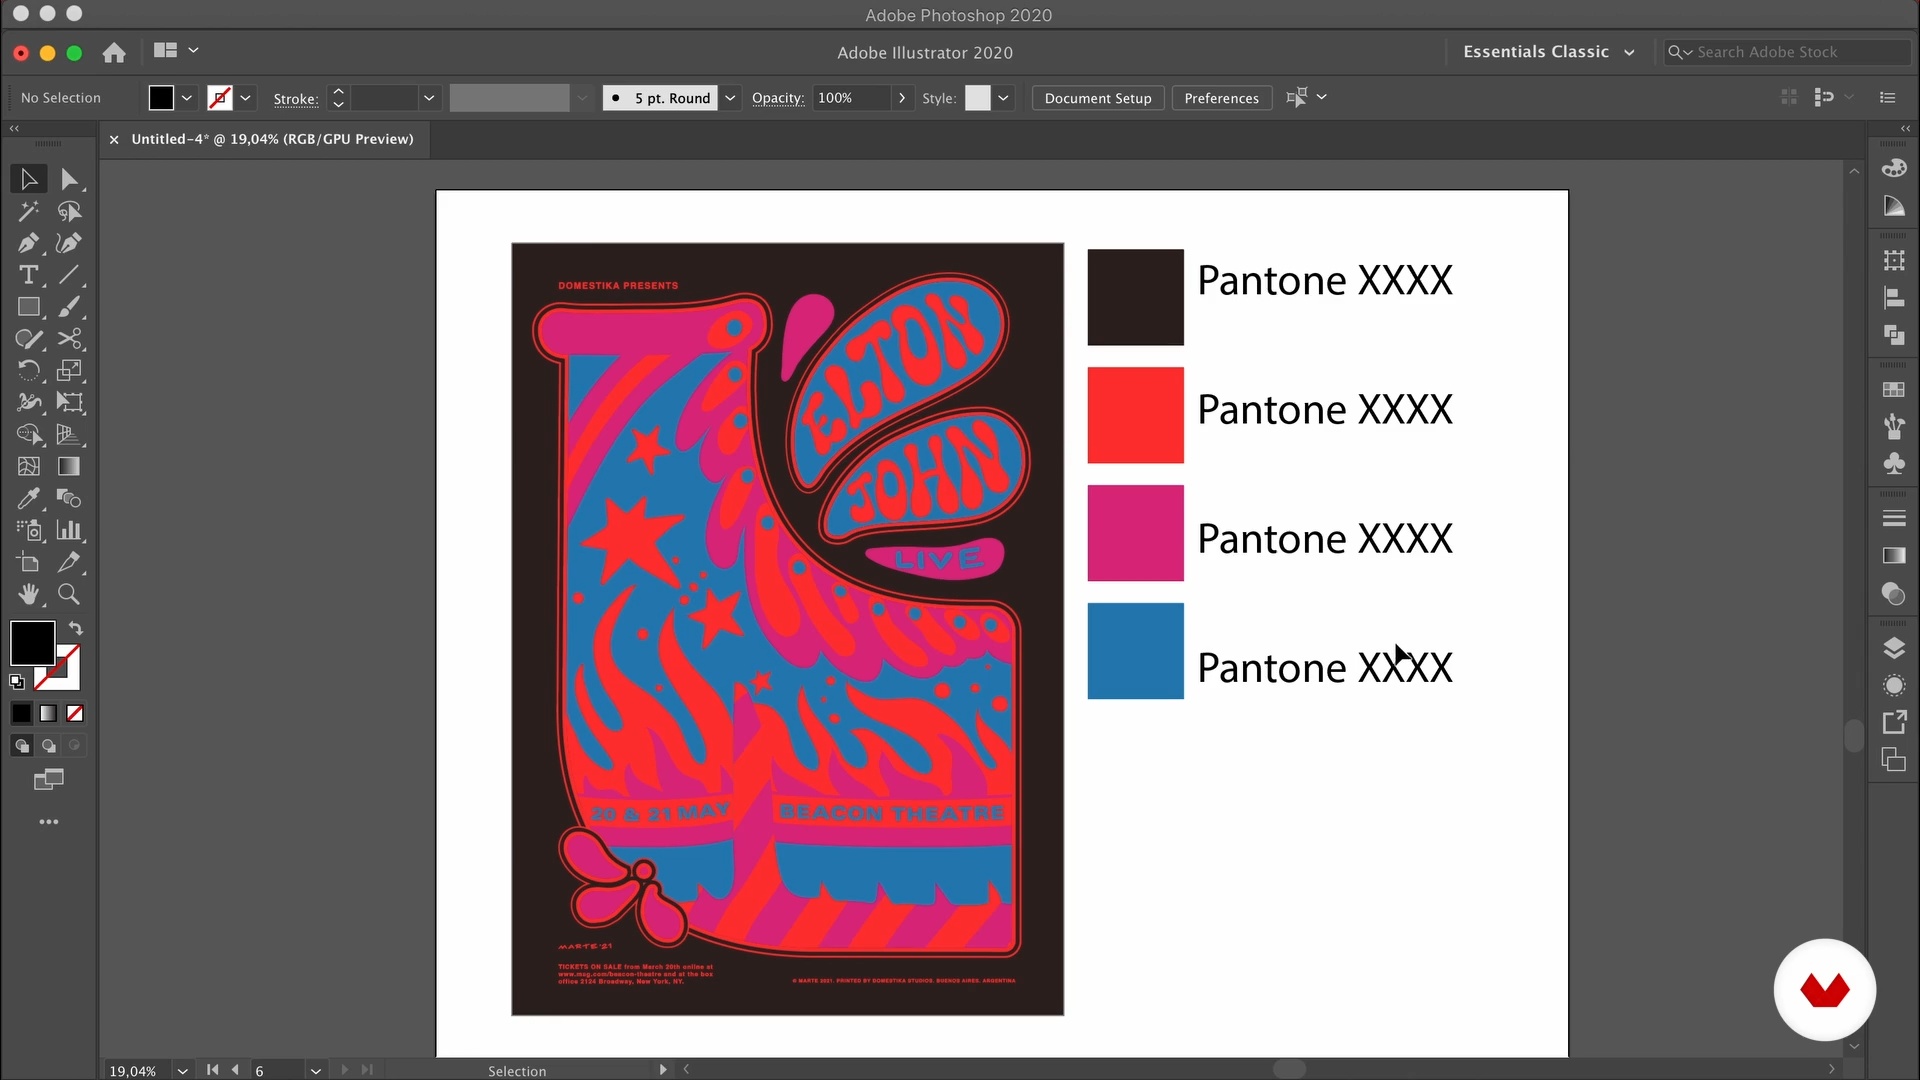
During this lesson, you will learn how to separate the colors of your design into different layers so you can set the file for screen printing.
13m
 3
3Presentation of the Materials
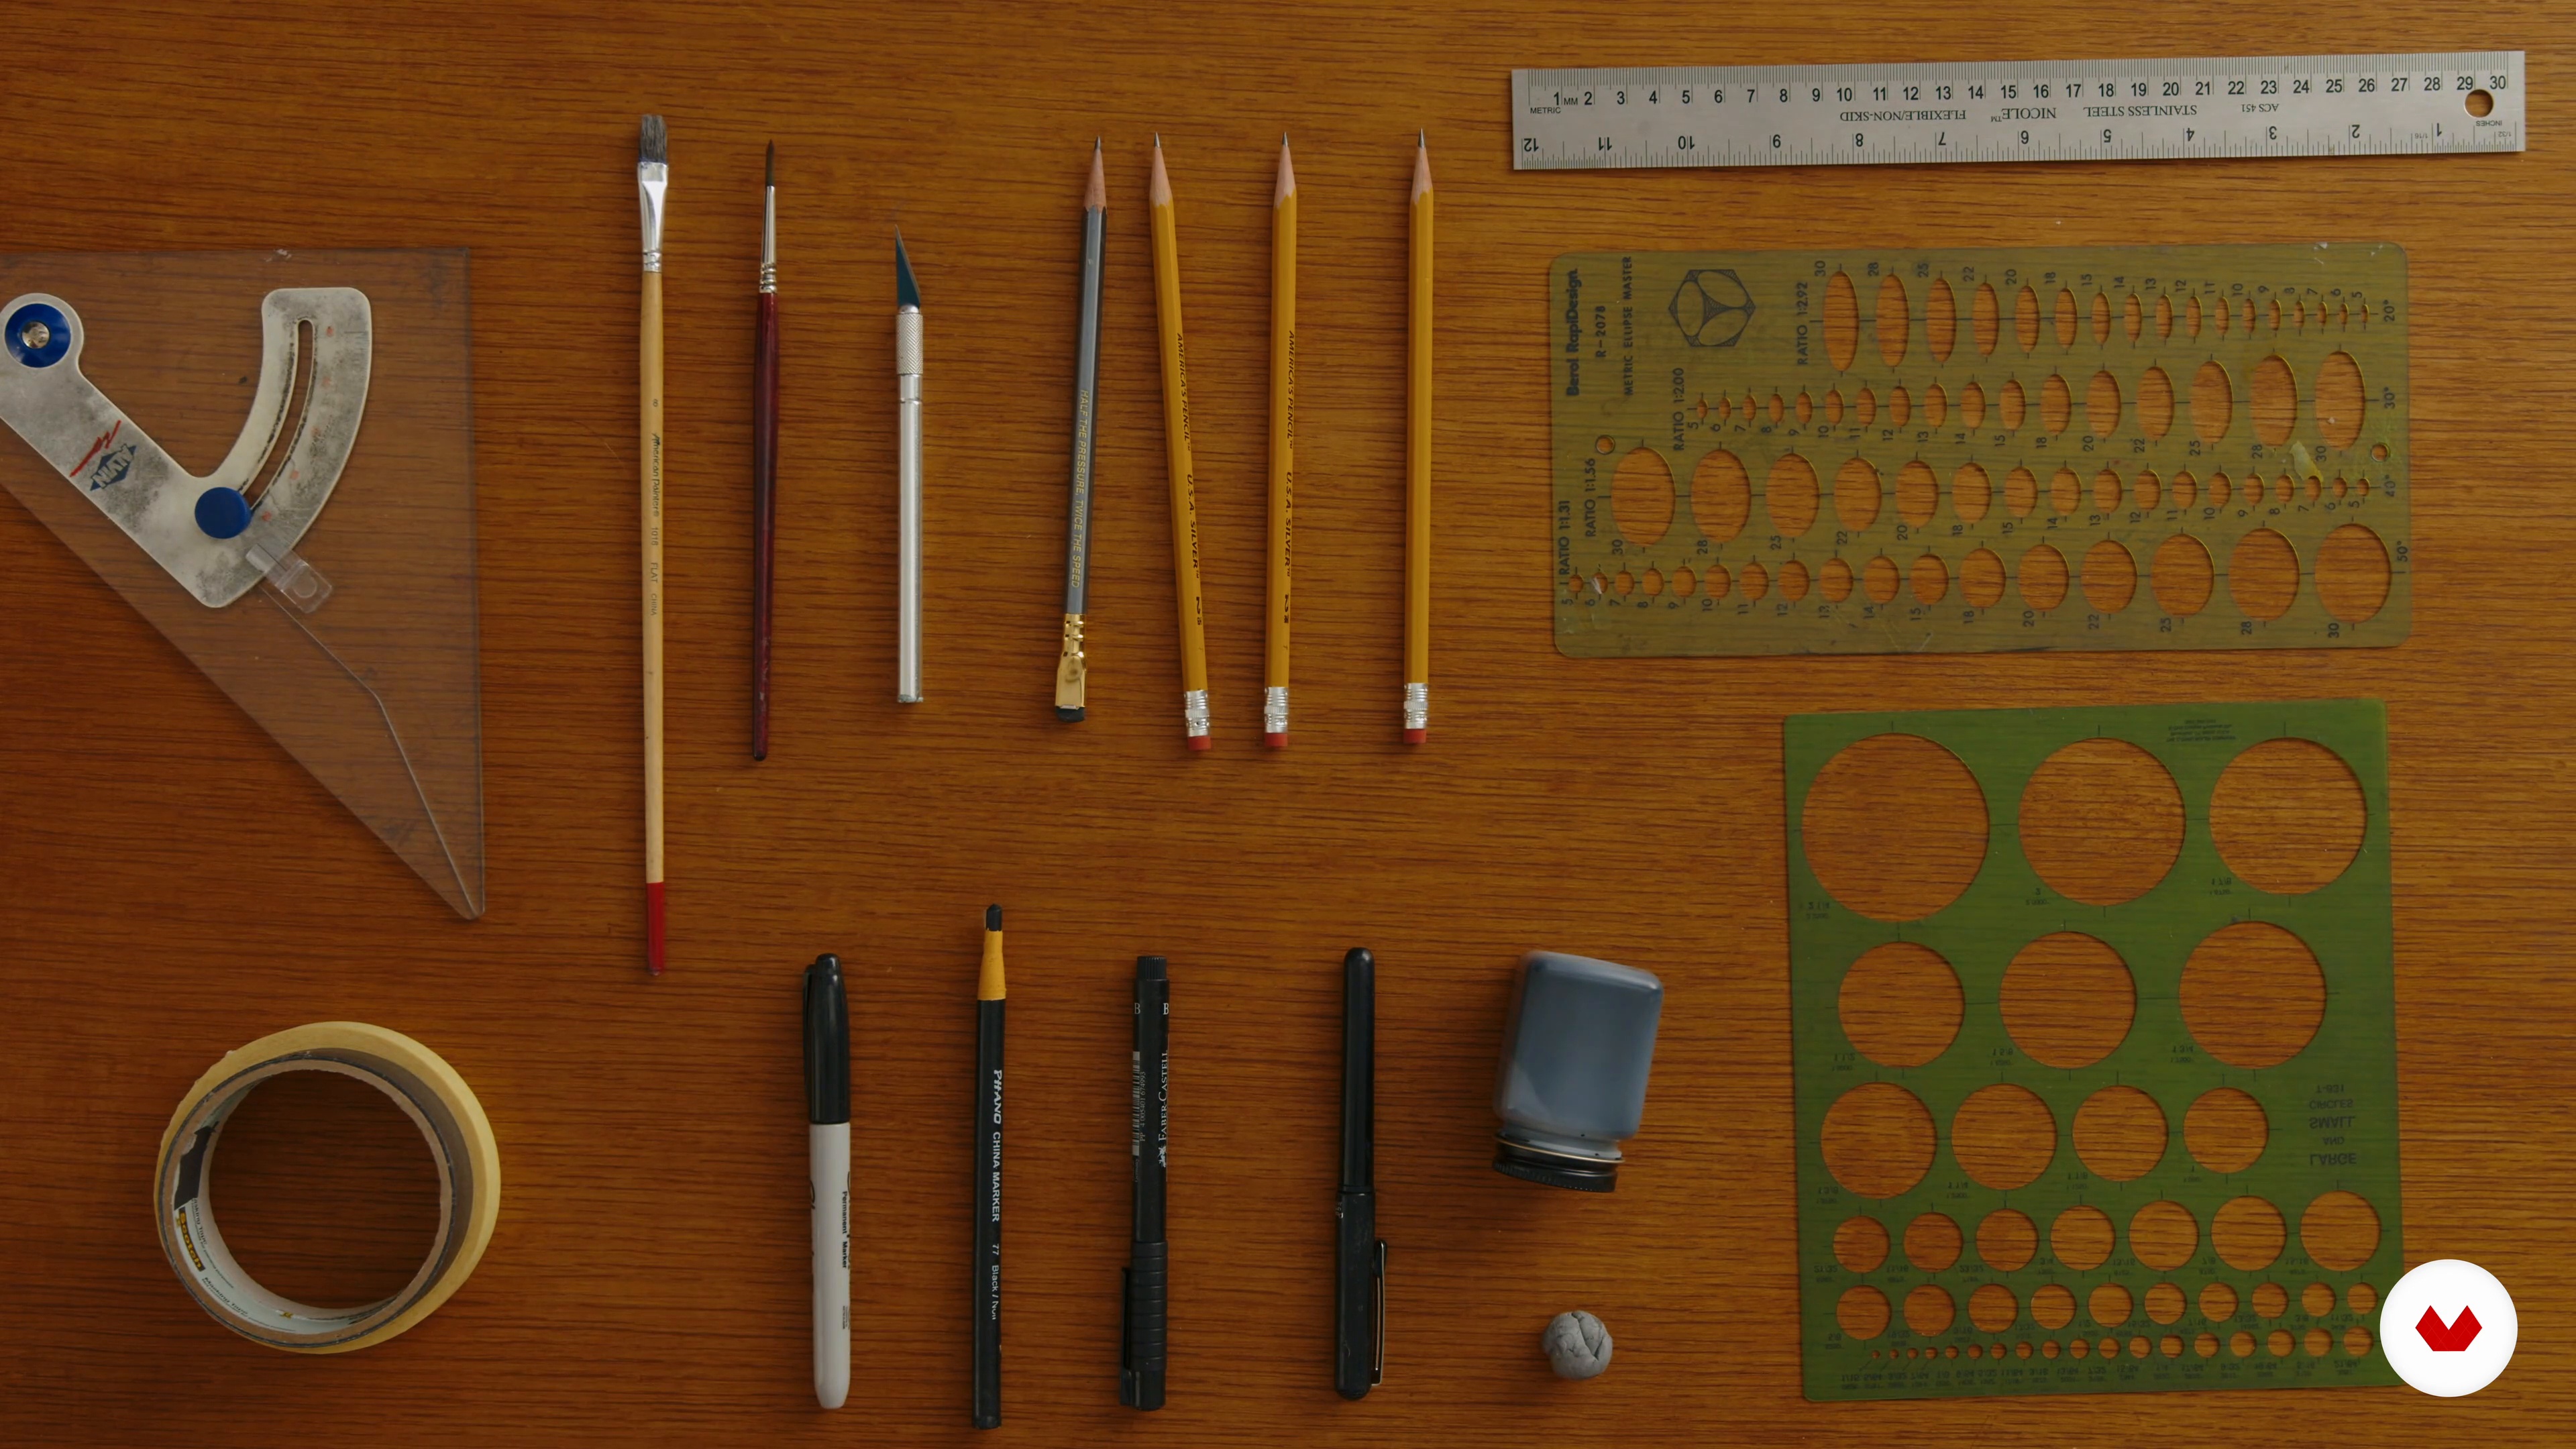
To begin with, I will show some of the materials I use to make posters and talk about how you will use them.
4m
 4
4Reading the Text to Generate Ideas and Thumbnail Sketches
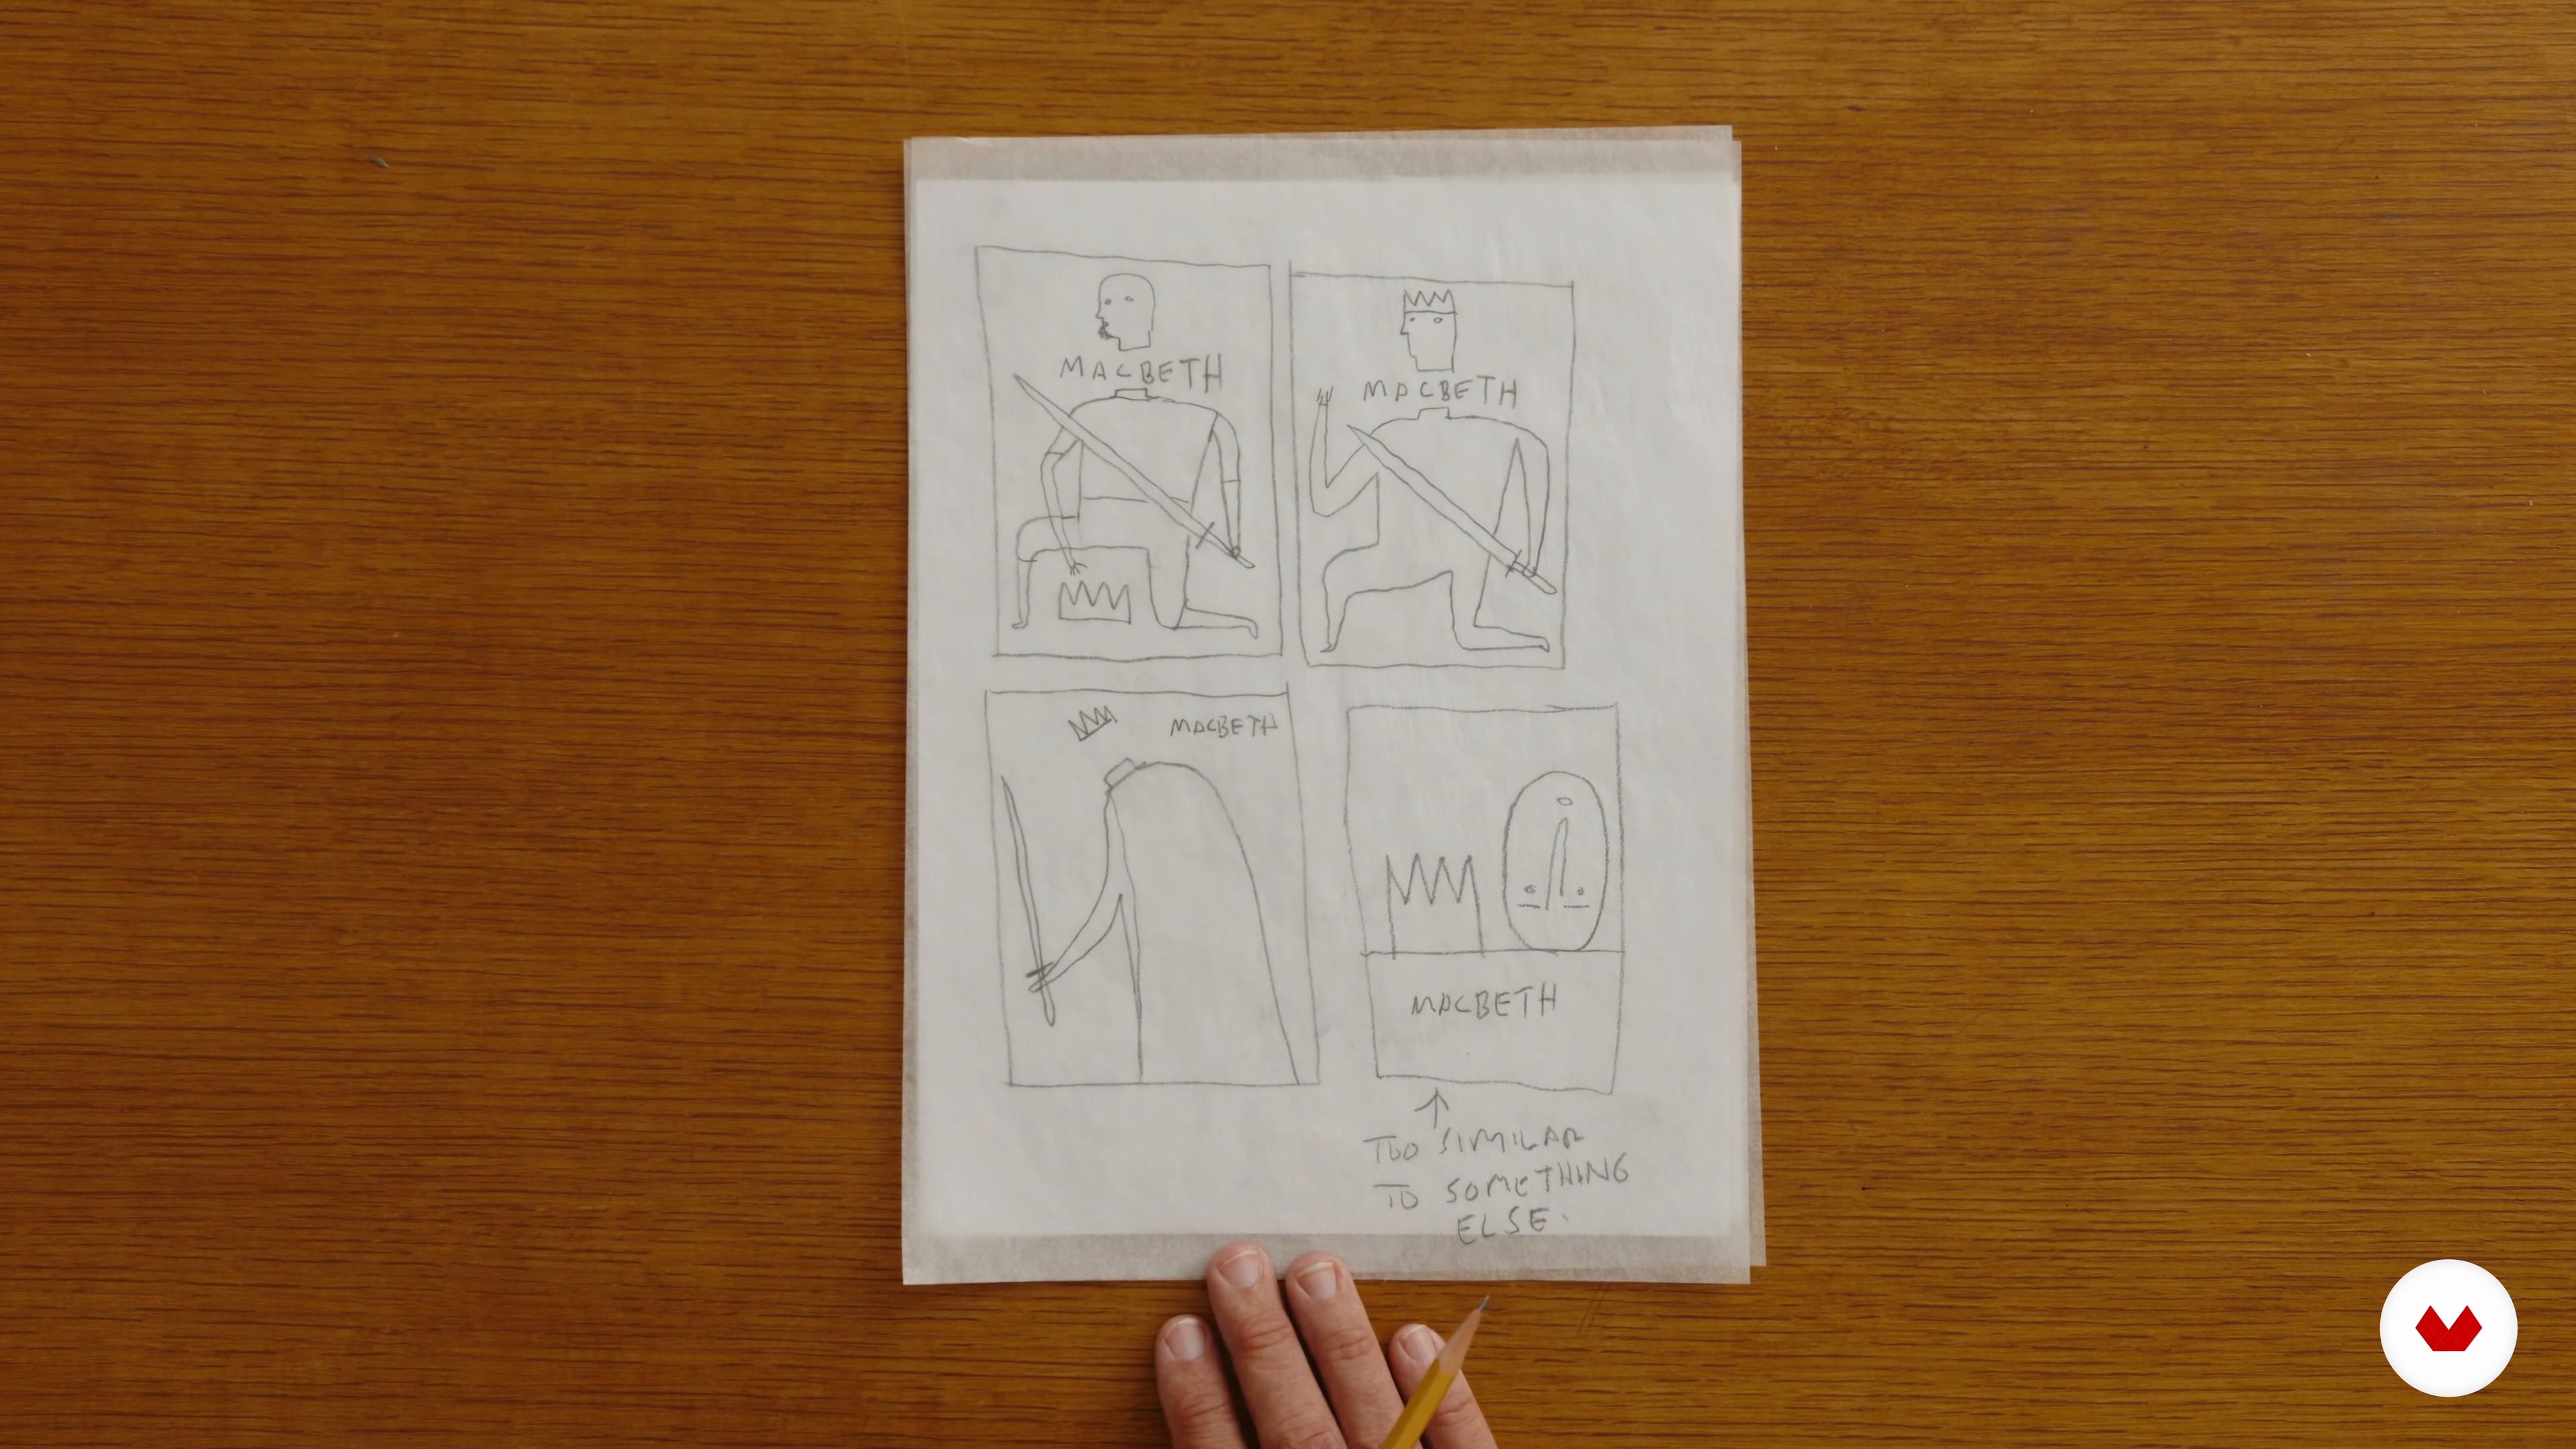
In this lesson, I will give you tips on reading a play's text to generate ideas effectively.
6m
 5
5Composing the Initial Poster Design
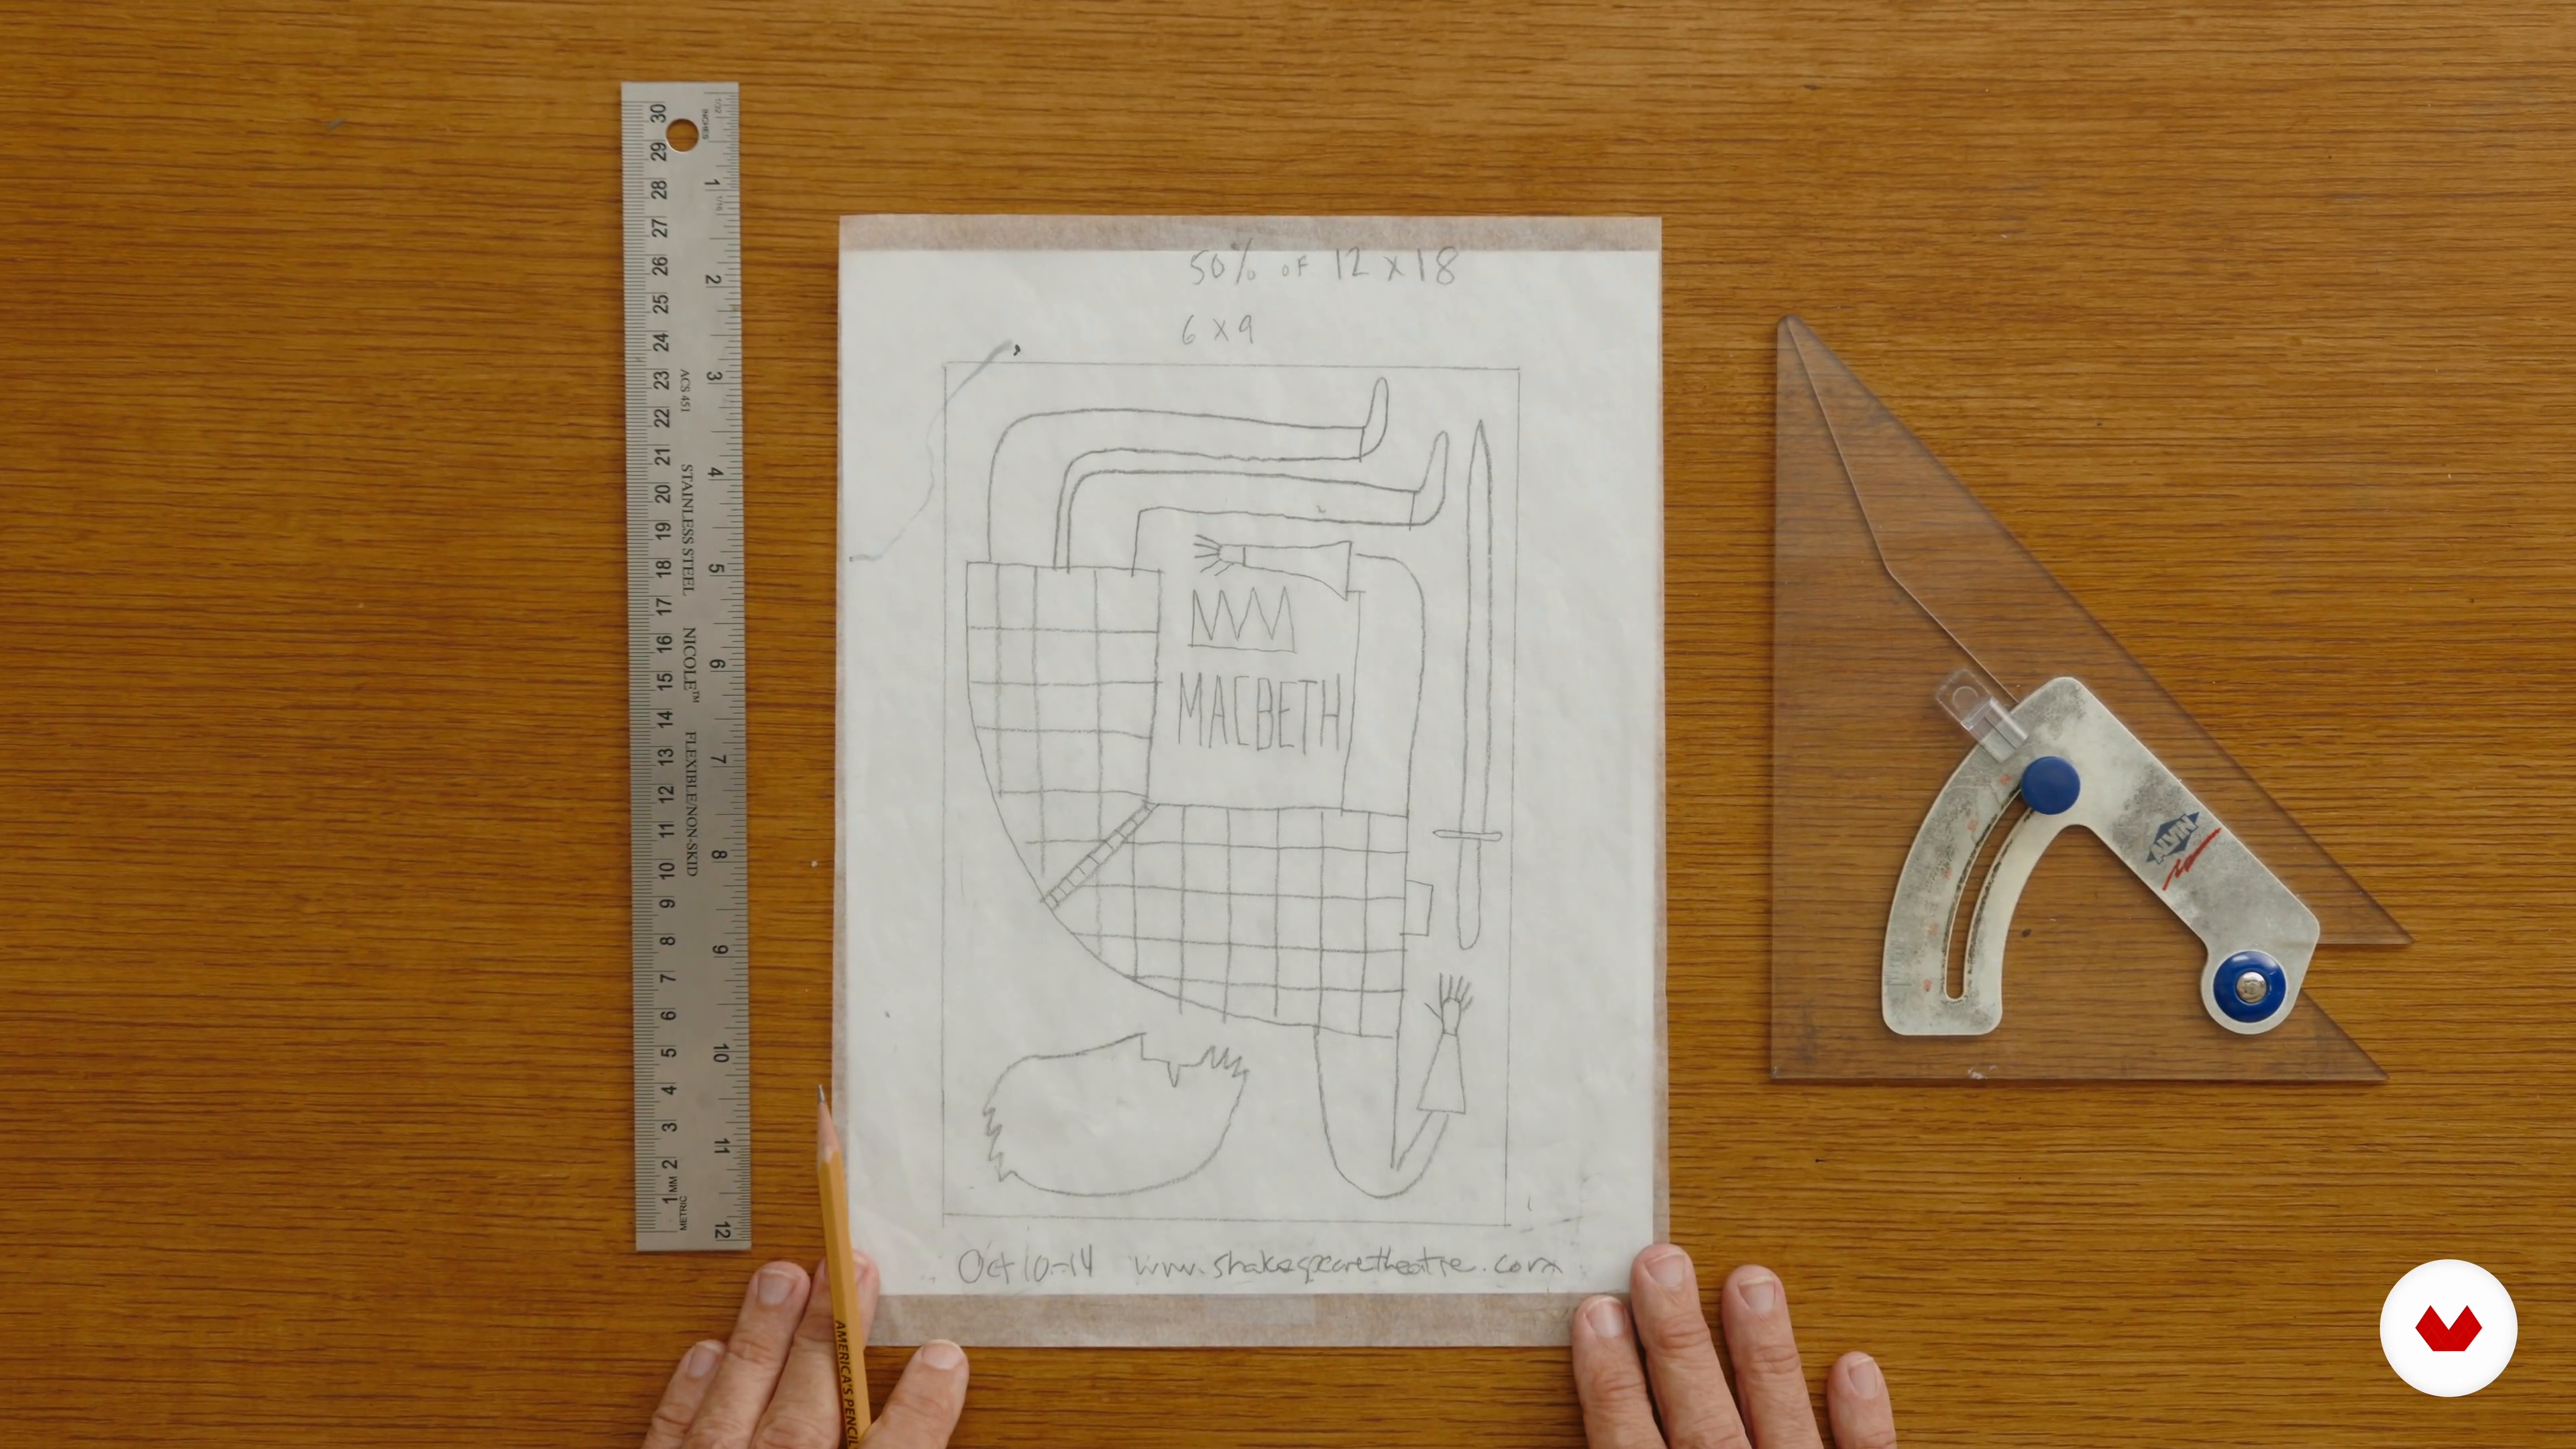
Lastly, I will show you how to refine a rough sketch and compose a poster design.
1m
 6
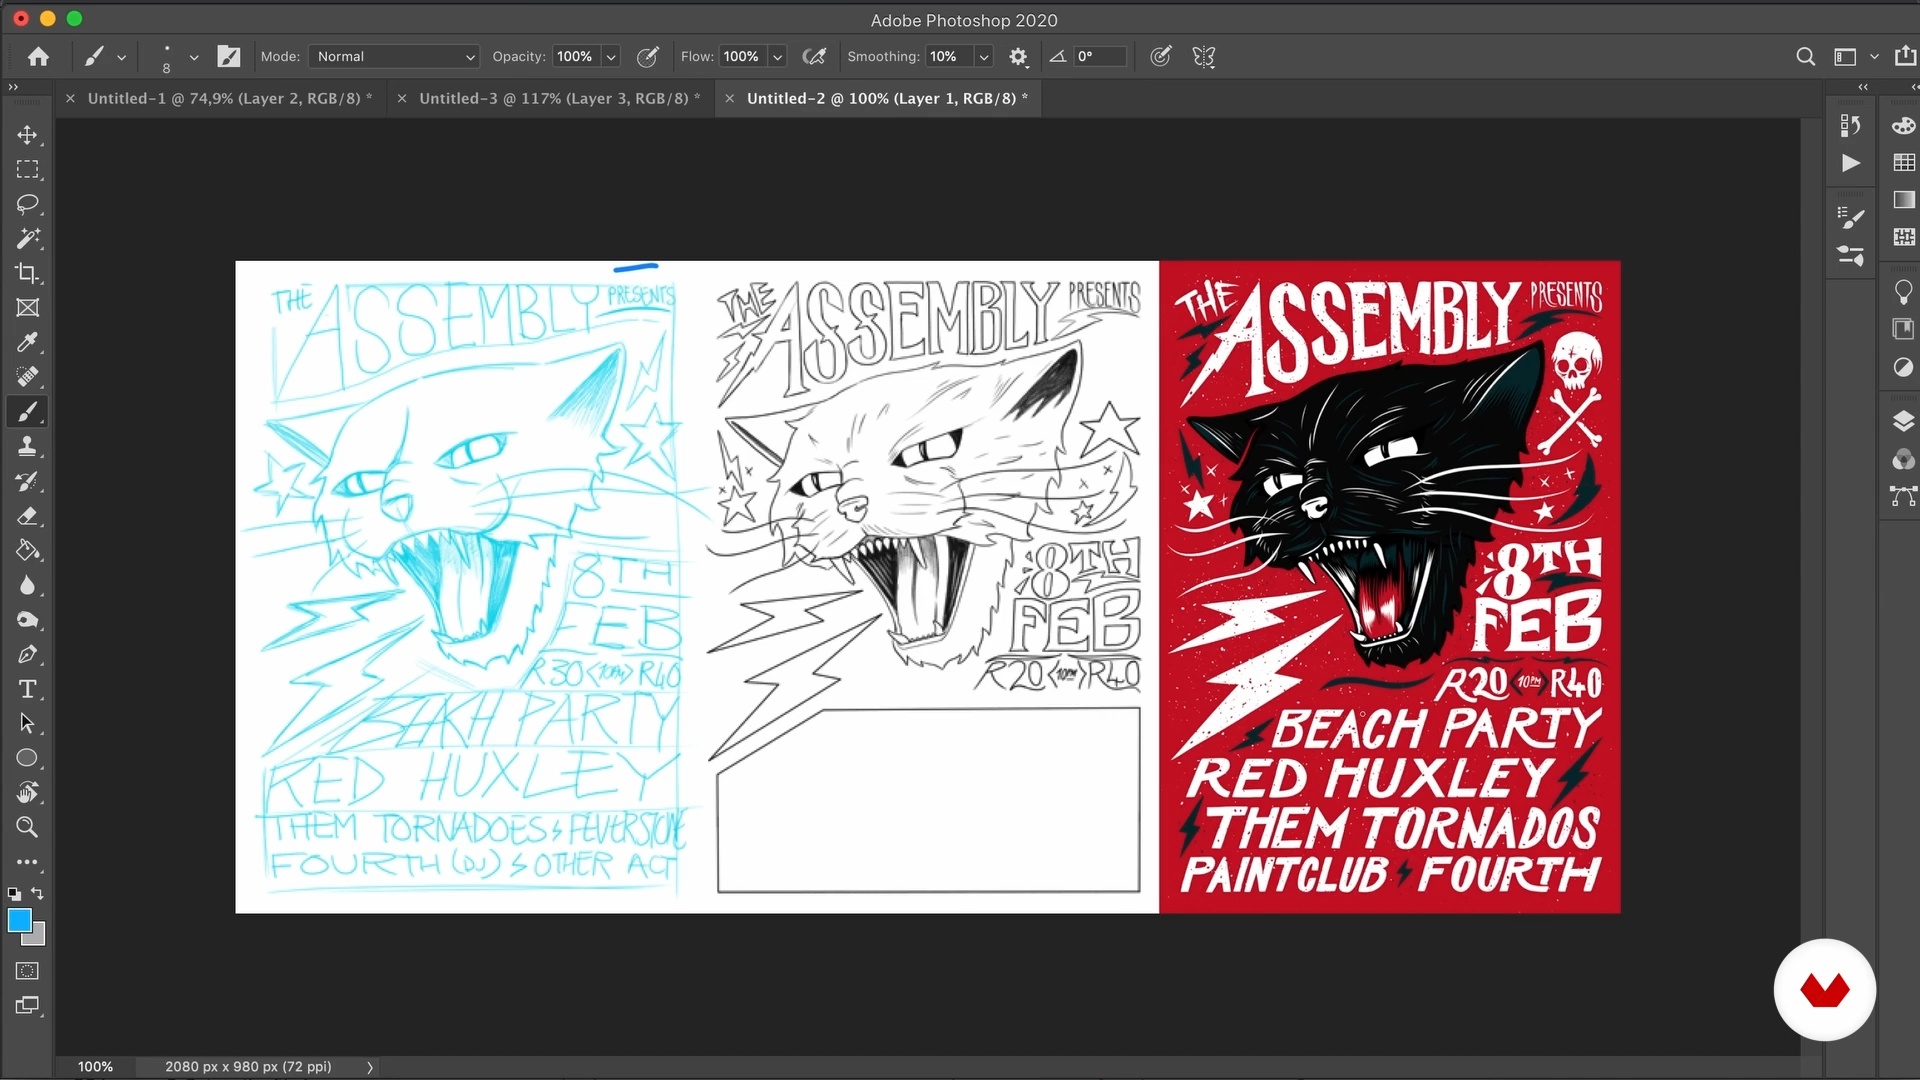
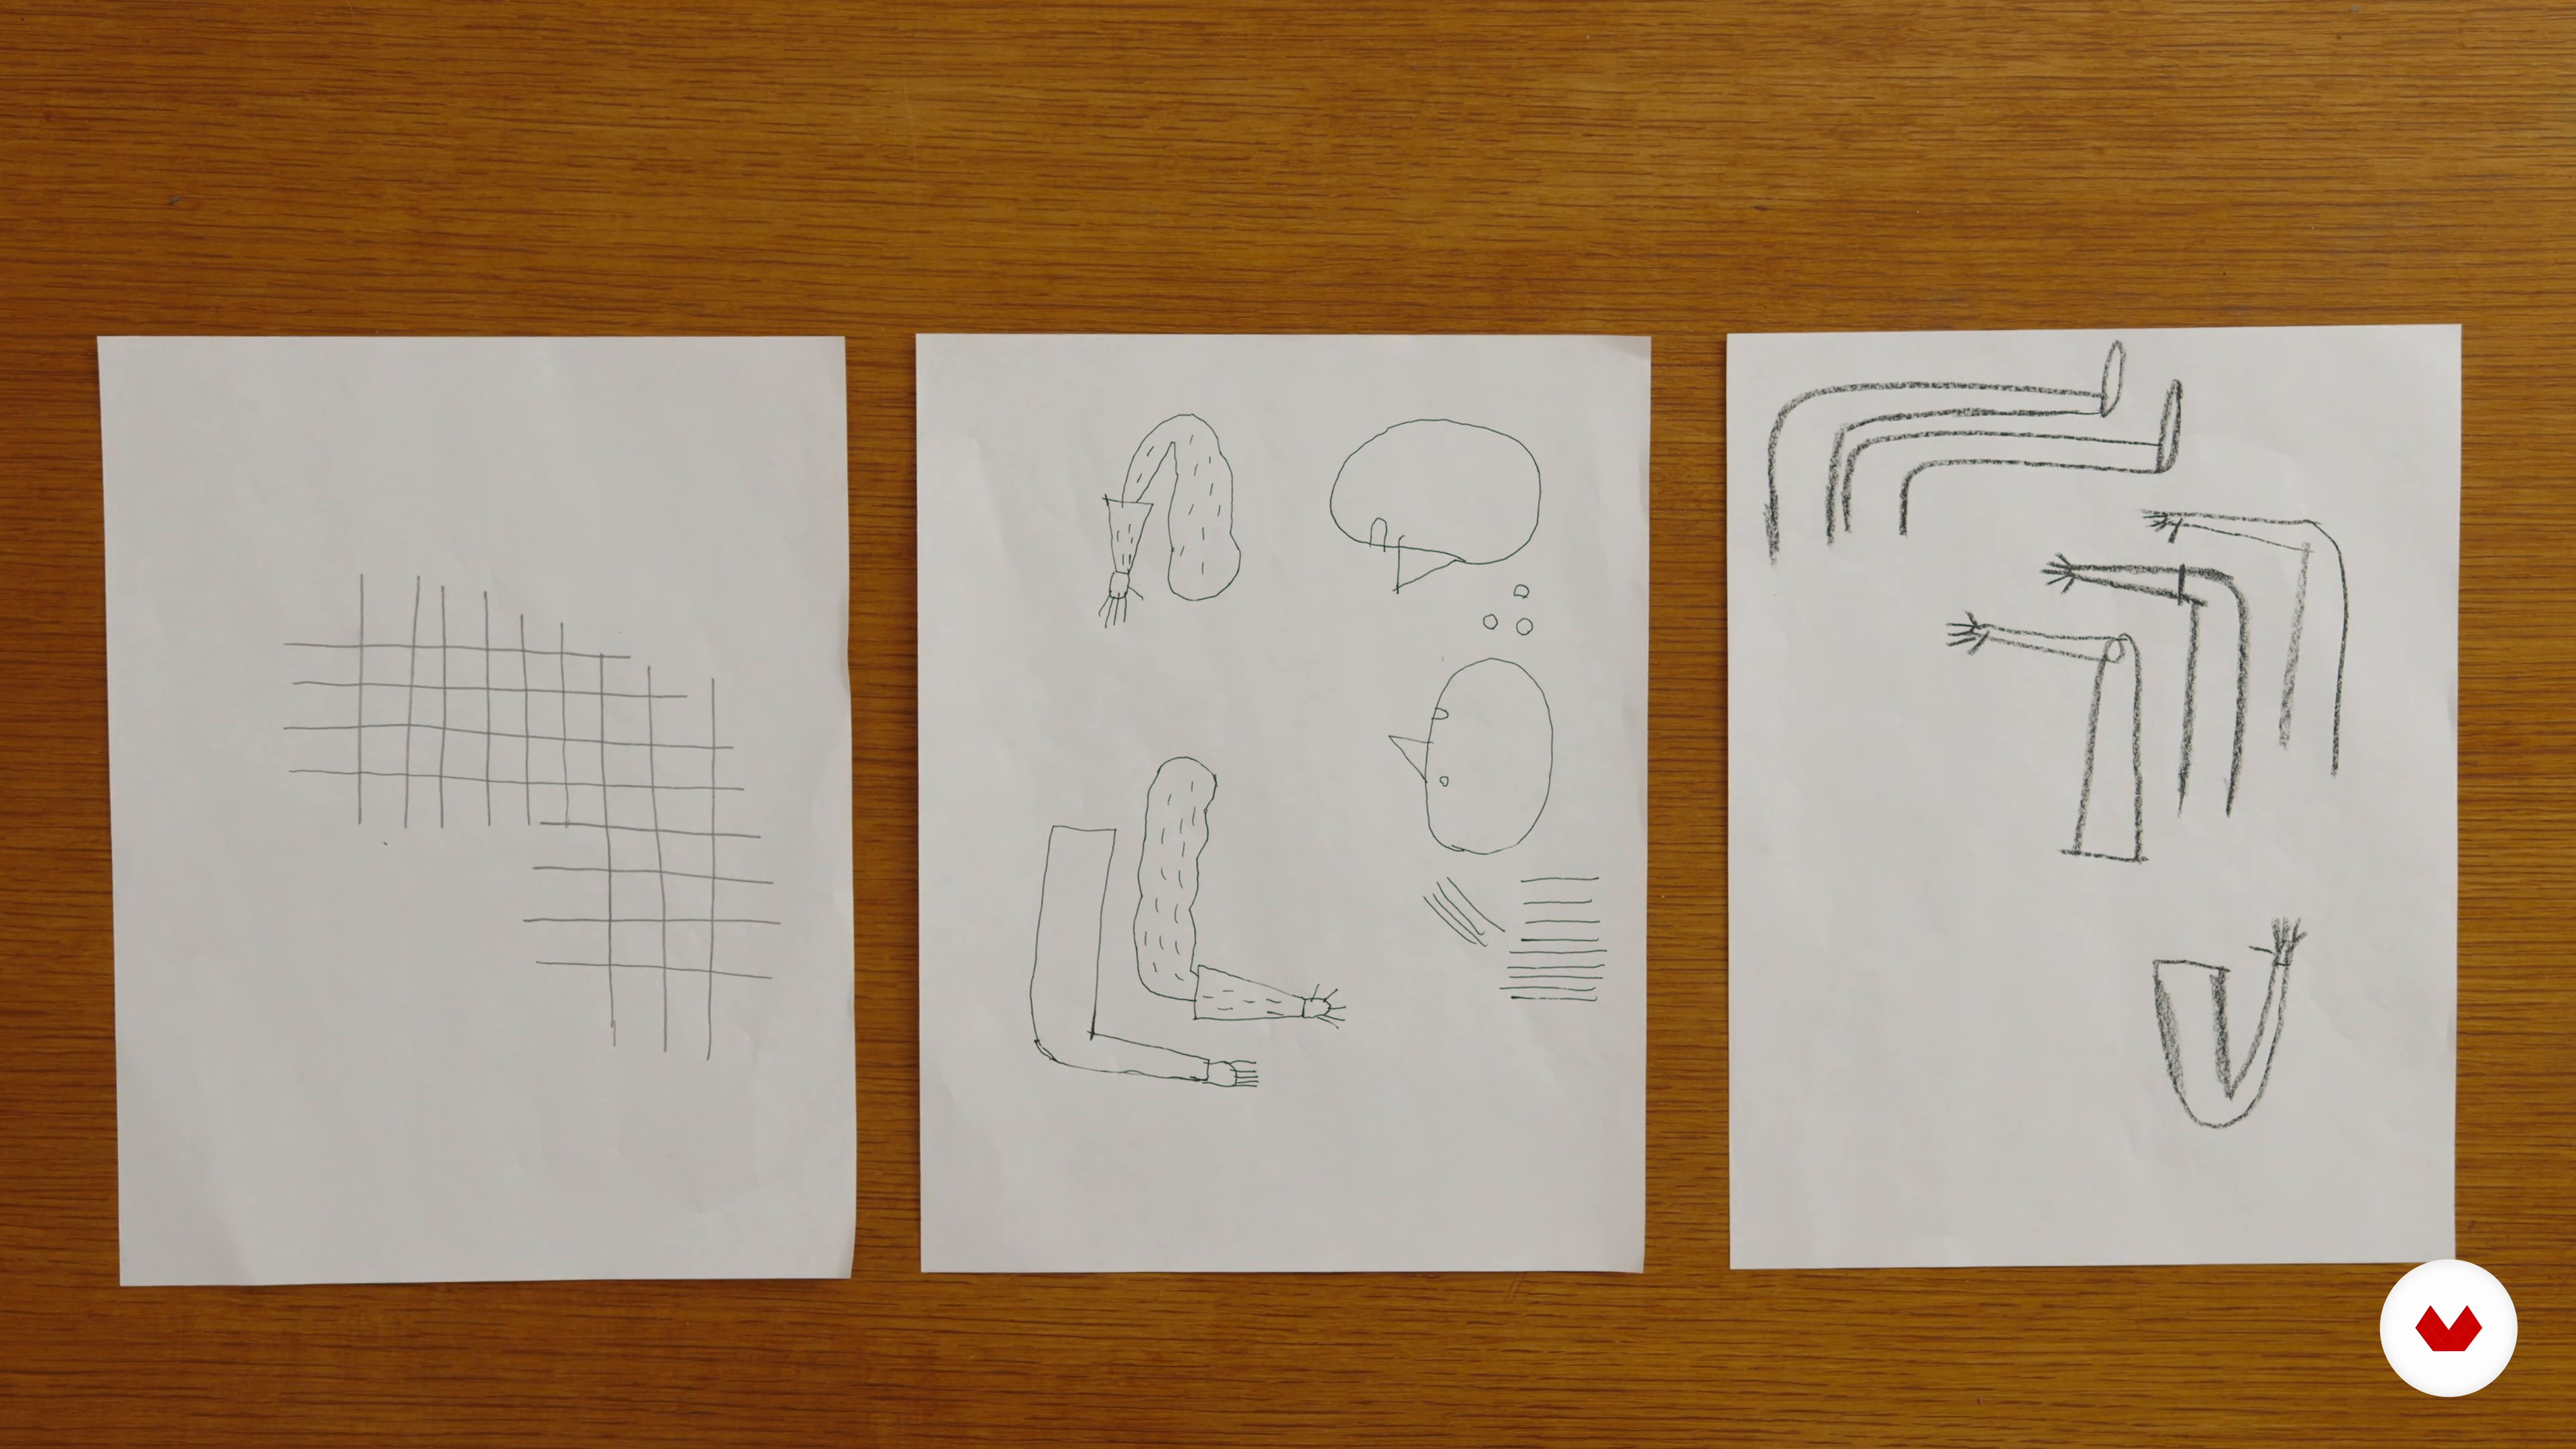
6Creating Poster Art Elements with Pencils, Pens, or China Markers
I will start by teaching you how to identify the various elements of your rough illustration and render them with pencil and china marker several times on bond paper. You will also learn to use different angles and poses.
4m
 7
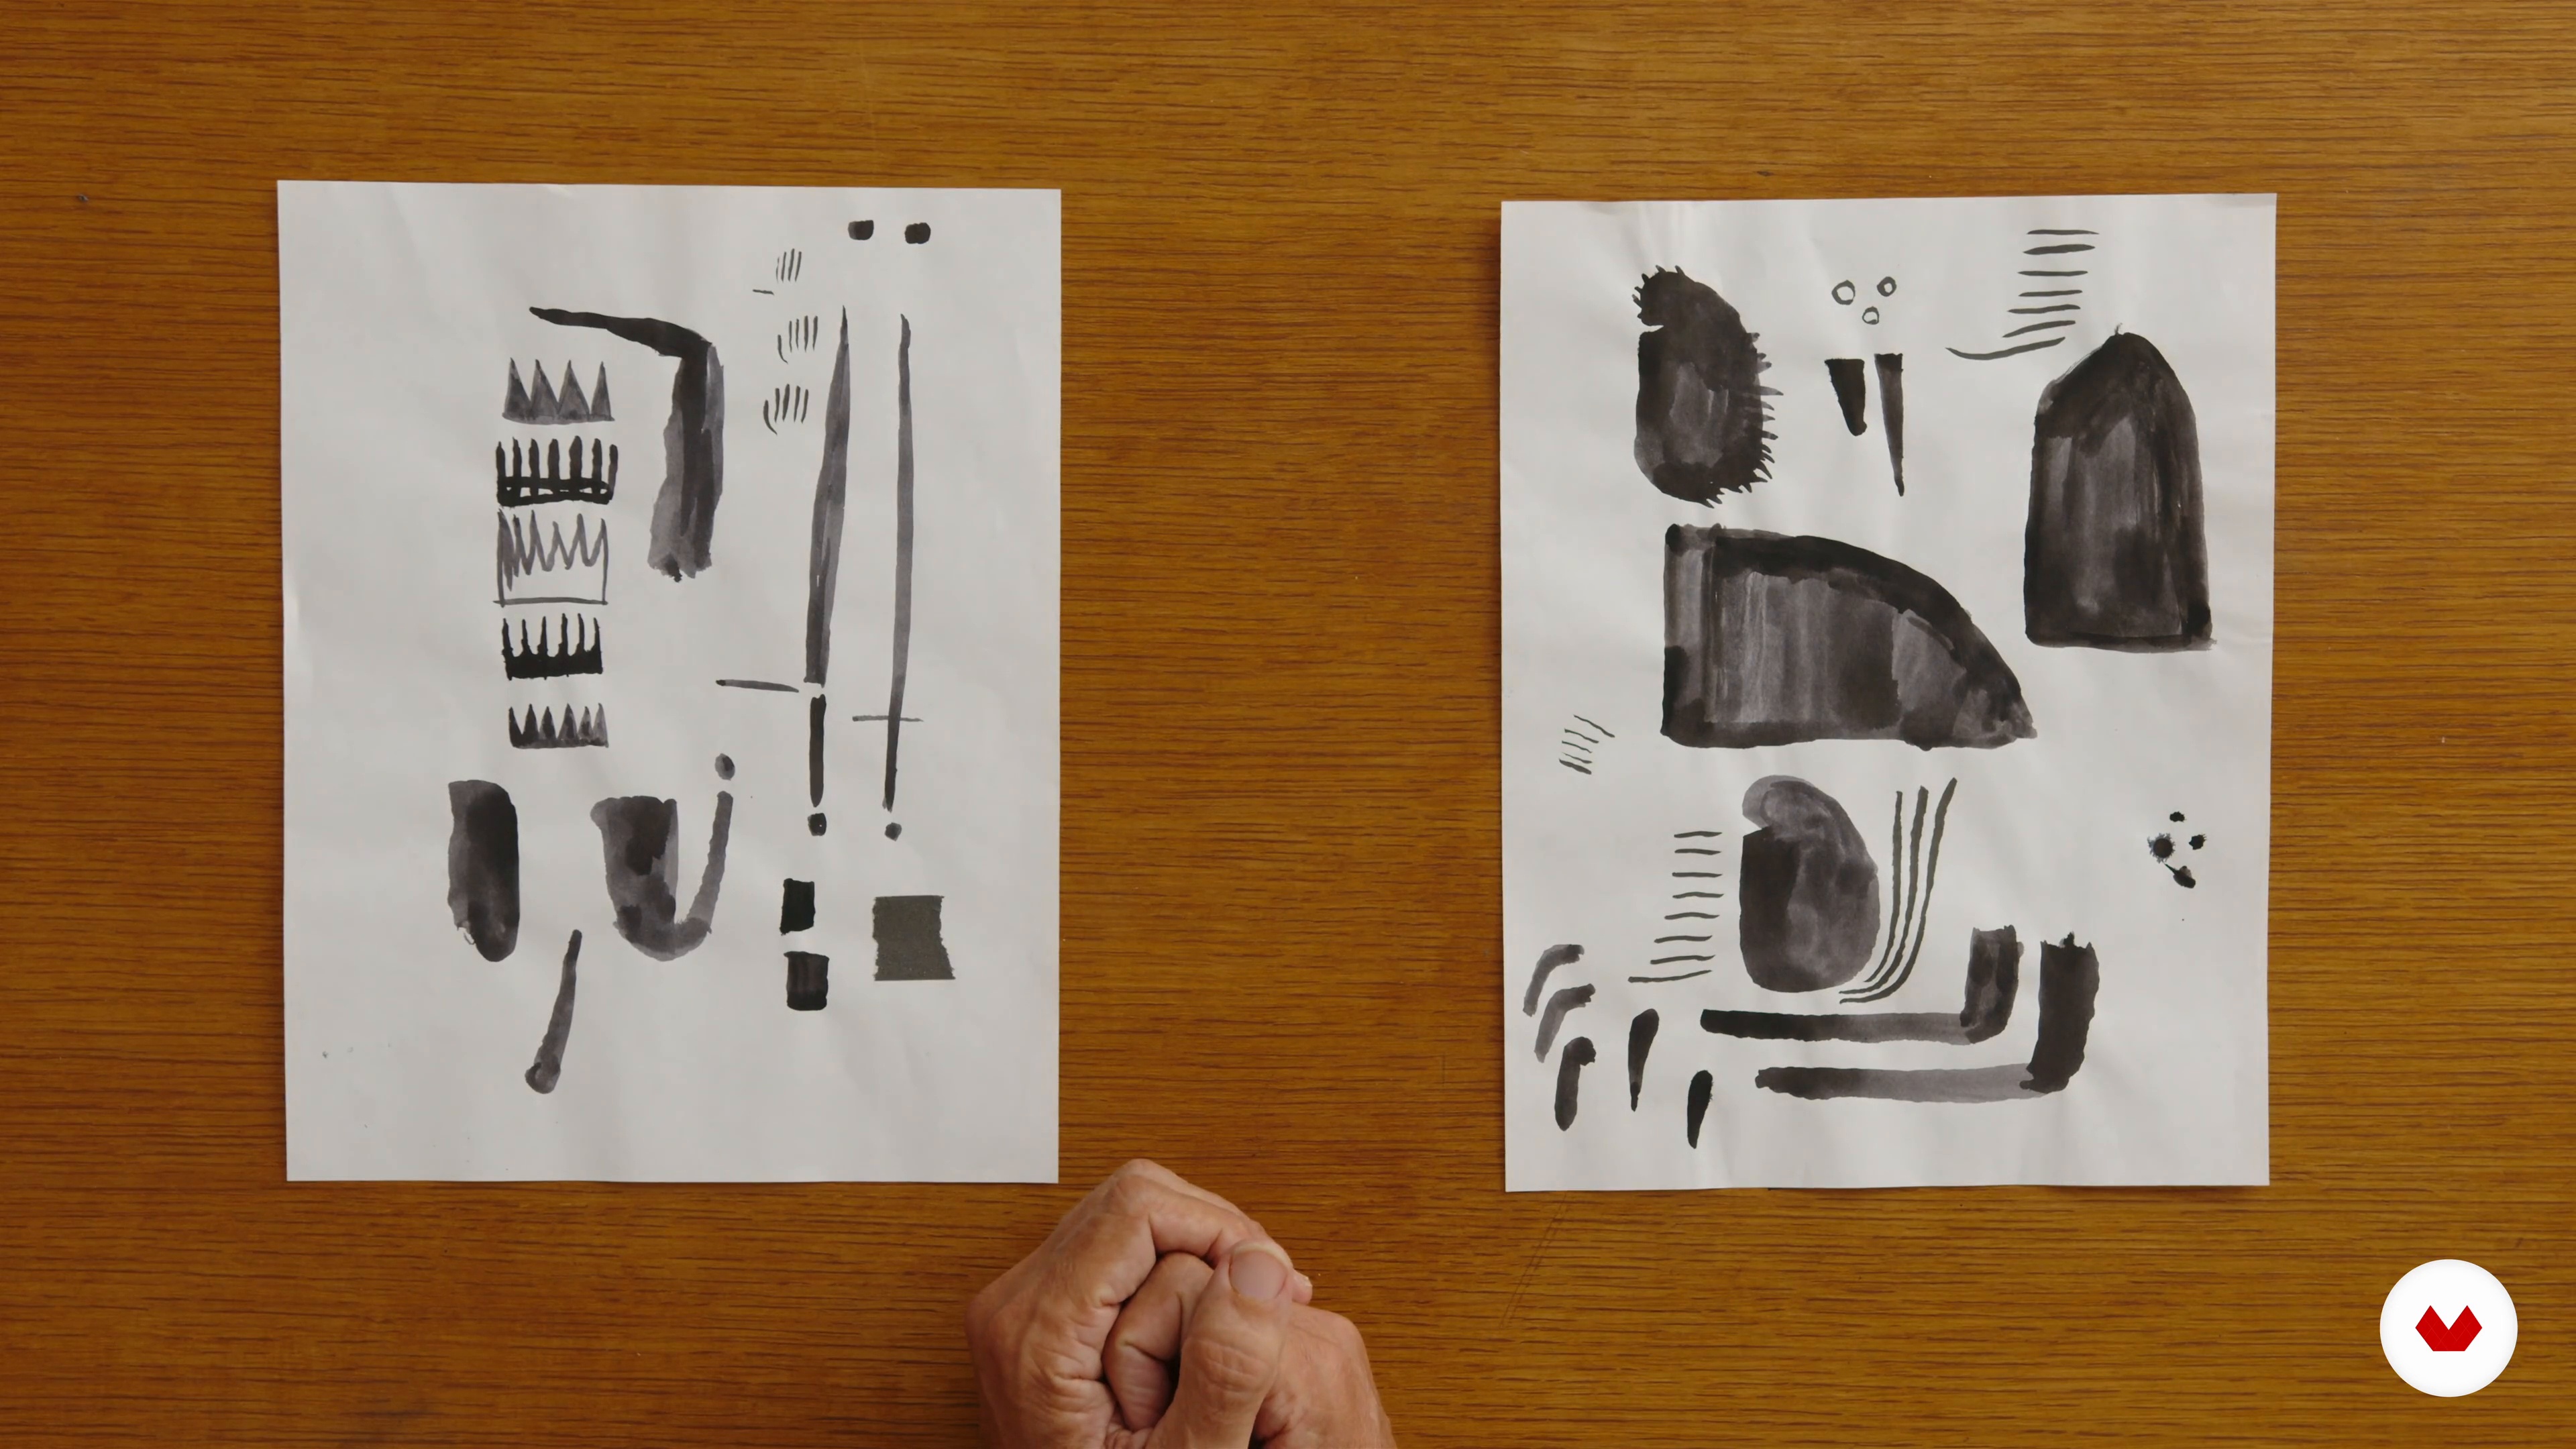
7Creating Poster Art Elements with Brushes and Ink
In this lesson, I will show you how to go from a rough pencil sketch to completed art using brushes and ink.
5m
 8
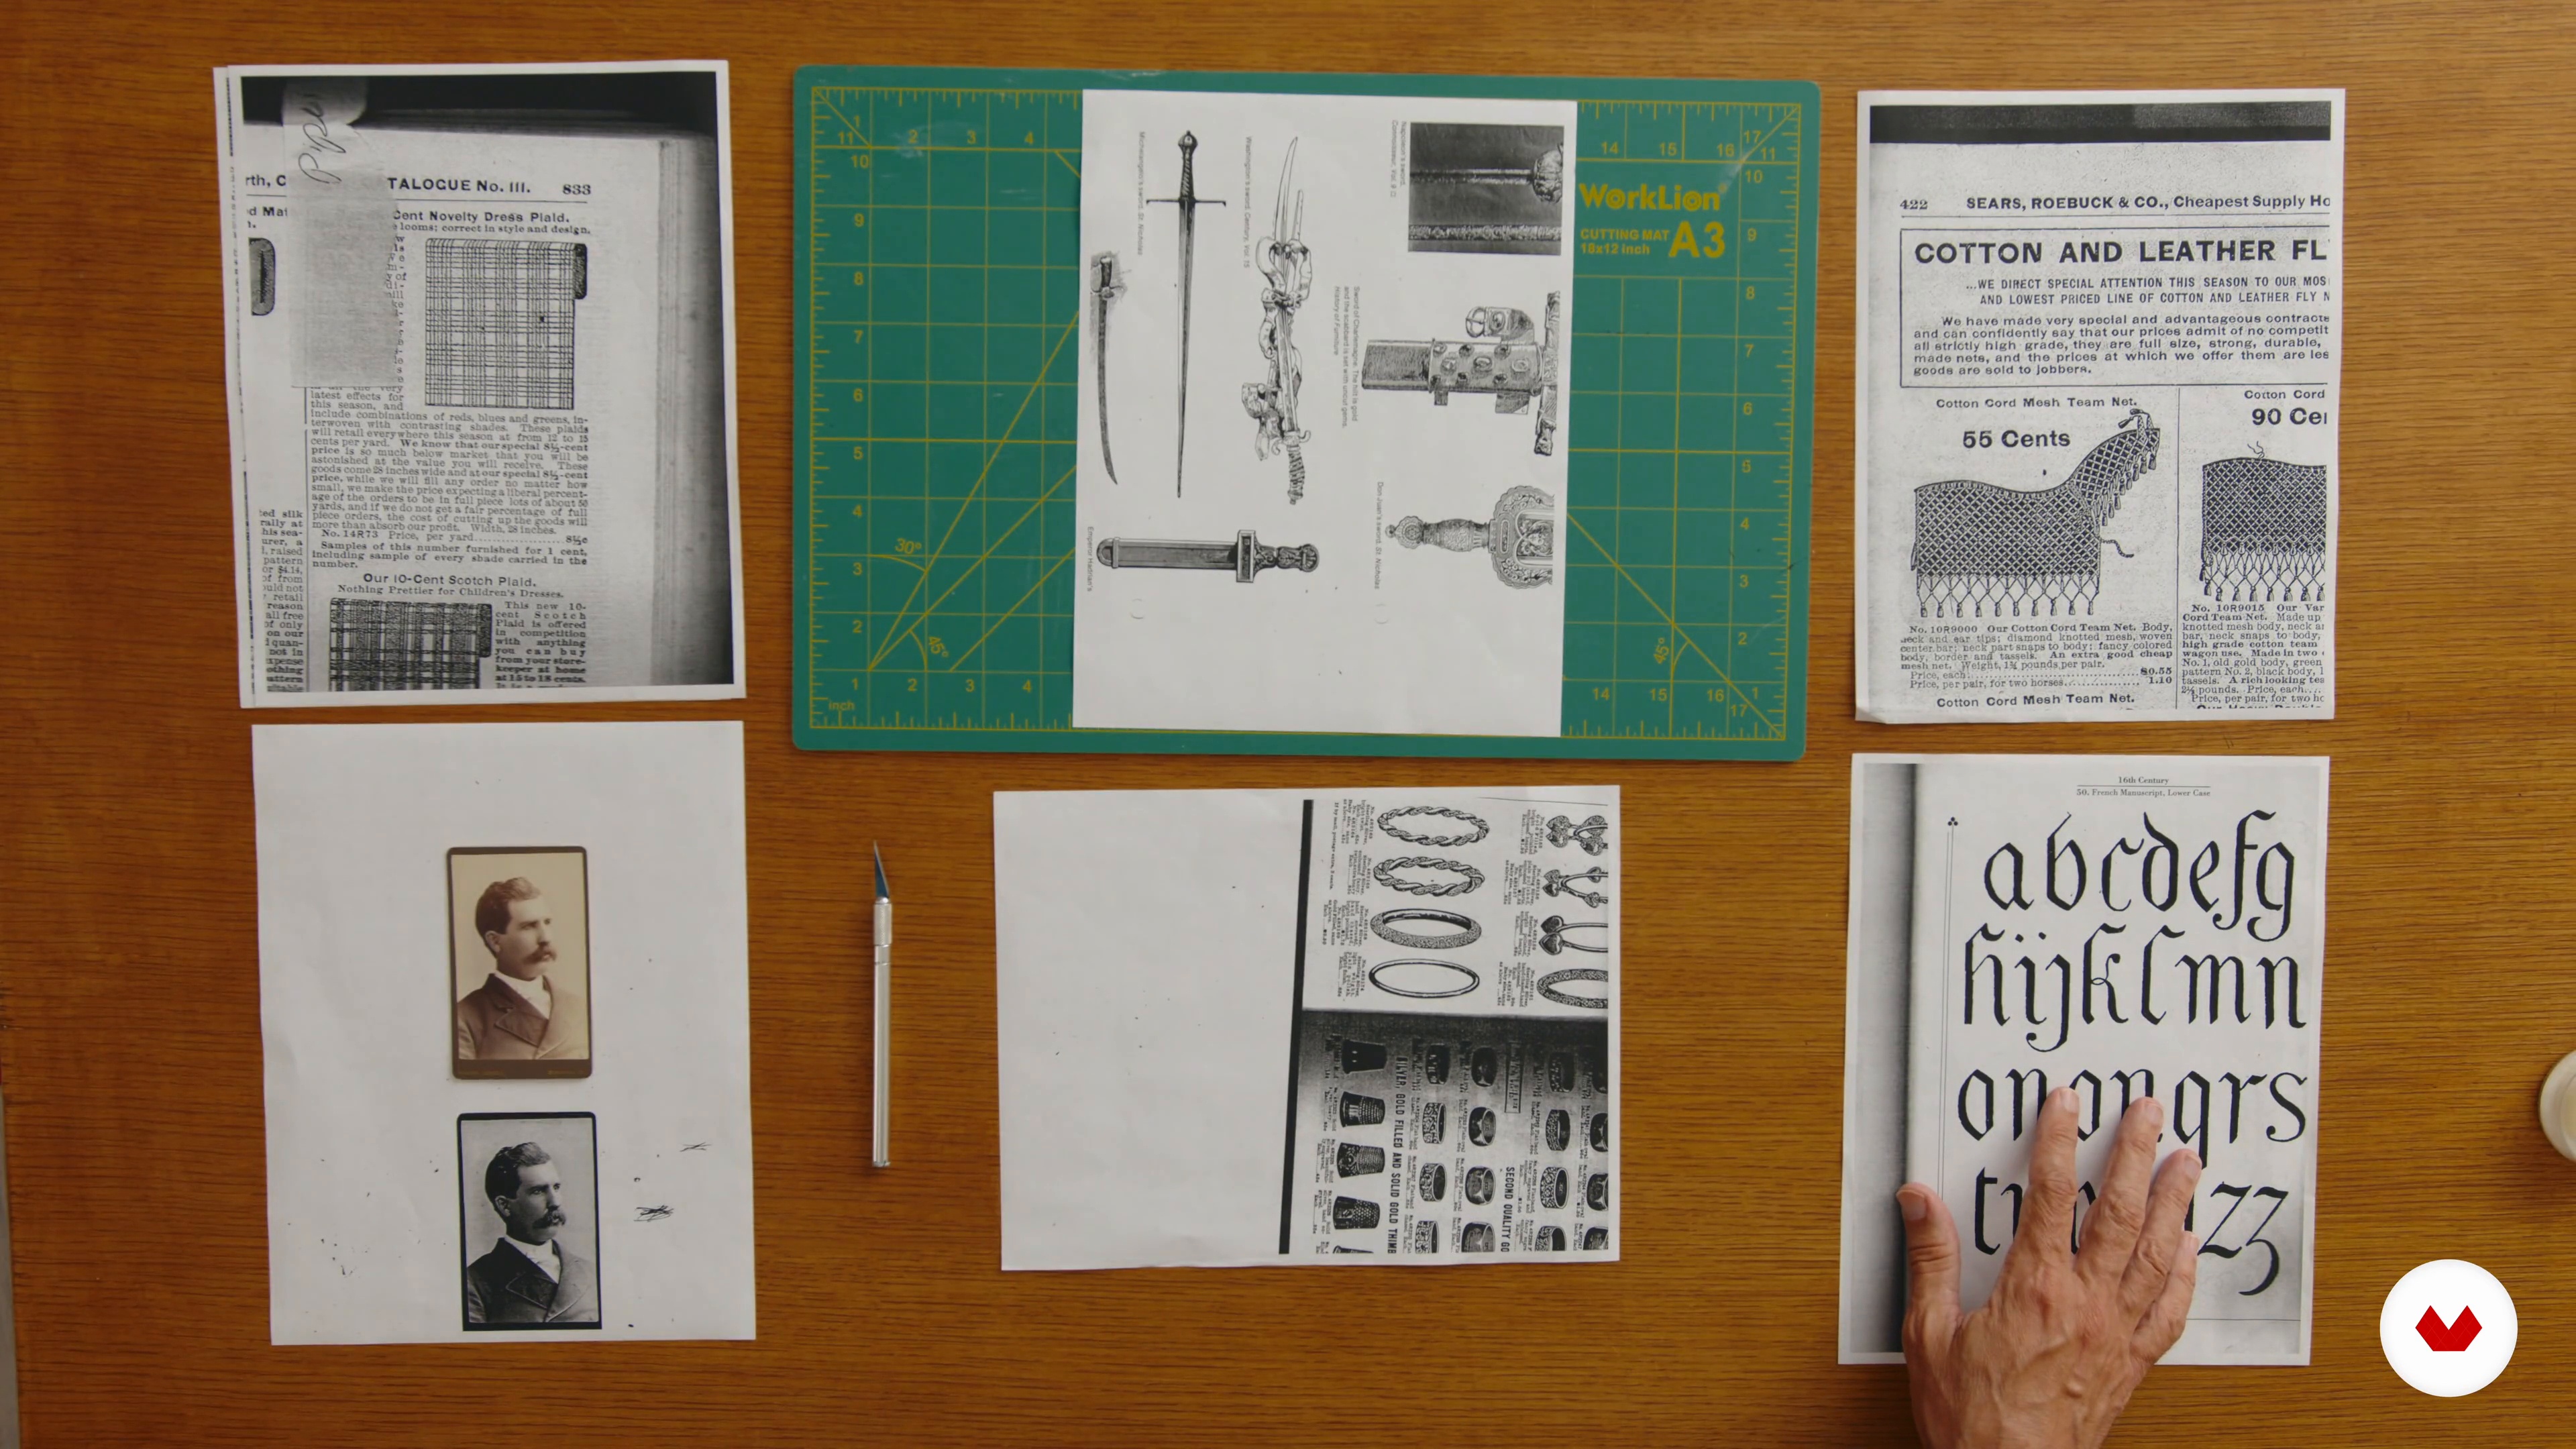
8Creating Poster Art Elements with Collage
Last, but not least, in this lesson, I will show you how to go from a rough pencil sketch to completed art using collage.
1m
 9
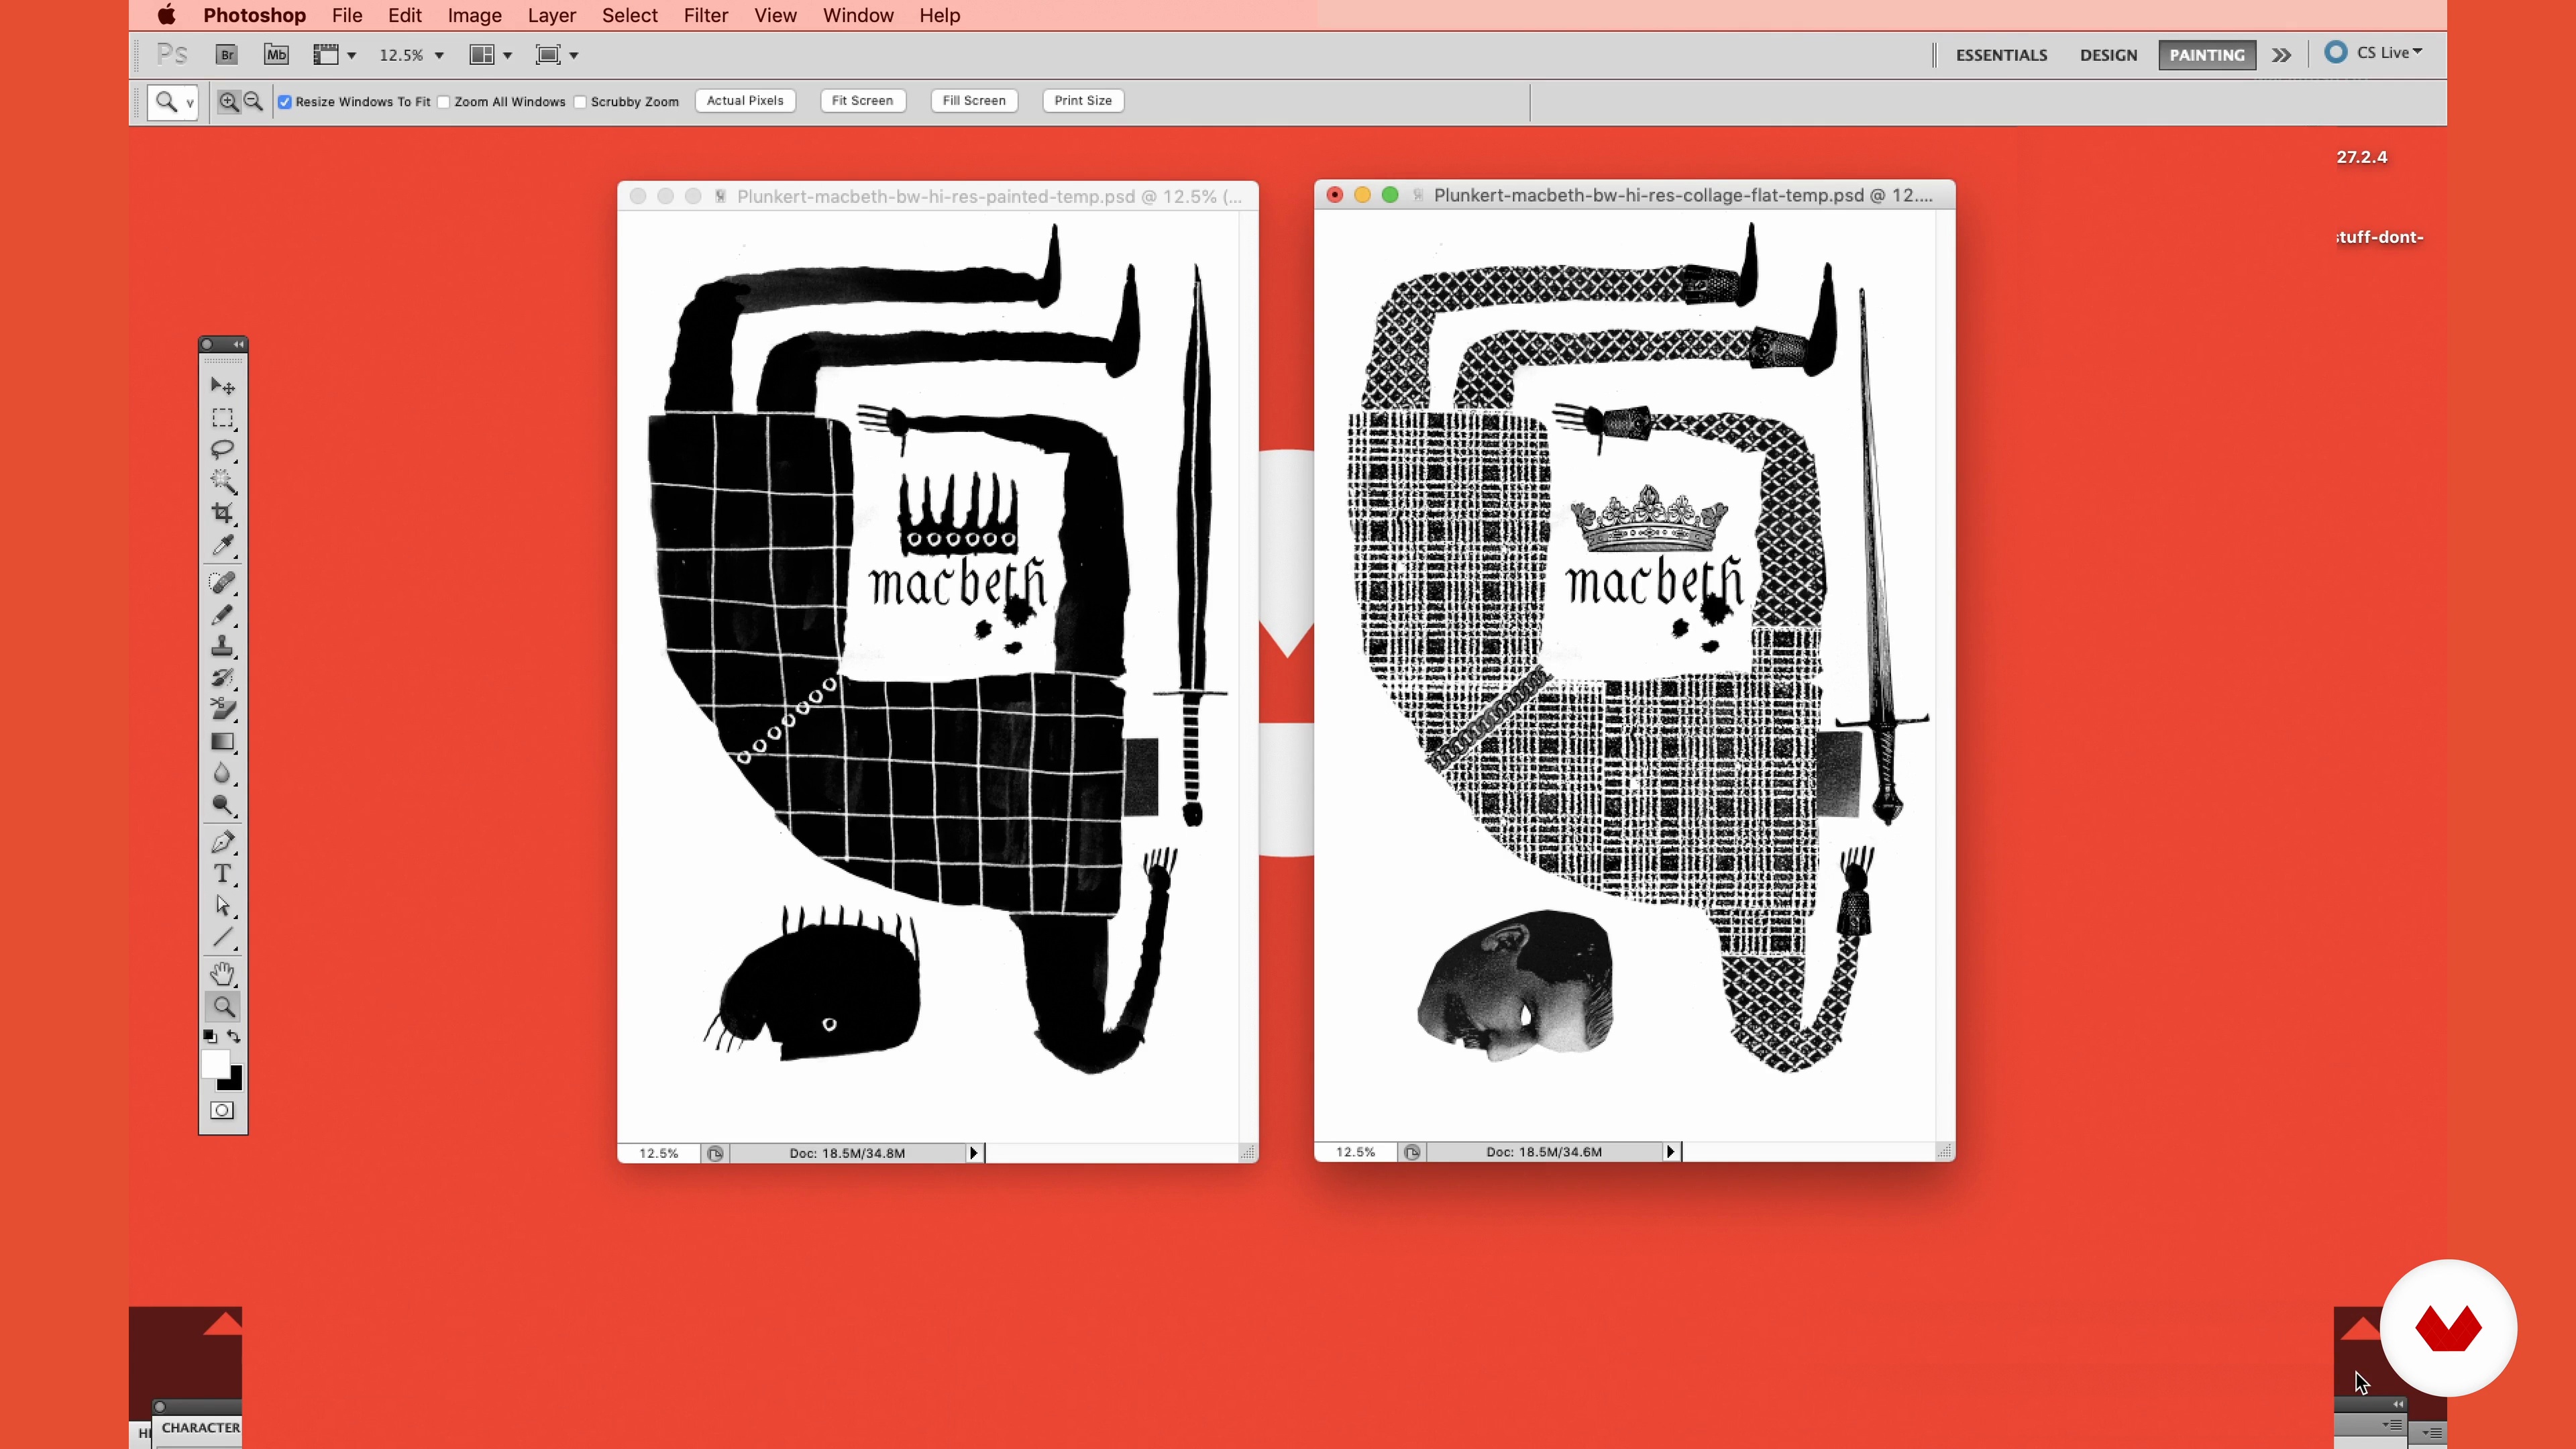
9Putting the Elements of the Poster Art Together in Adobe Photoshop
In this lesson, I will show you how to take your scanned images and make a final illustration using Adobe Photoshop.
4m
 10
10Finalizing the Layout, Adding Color, and Preparing the File for Printing
To finish, I will show you how to complete your final poster design in Adobe InDesign. You will learn how to add text and save your file for different printing methods: 2-color offset, screen printing, 4-color offset lithography, and 4-color digital.
3m
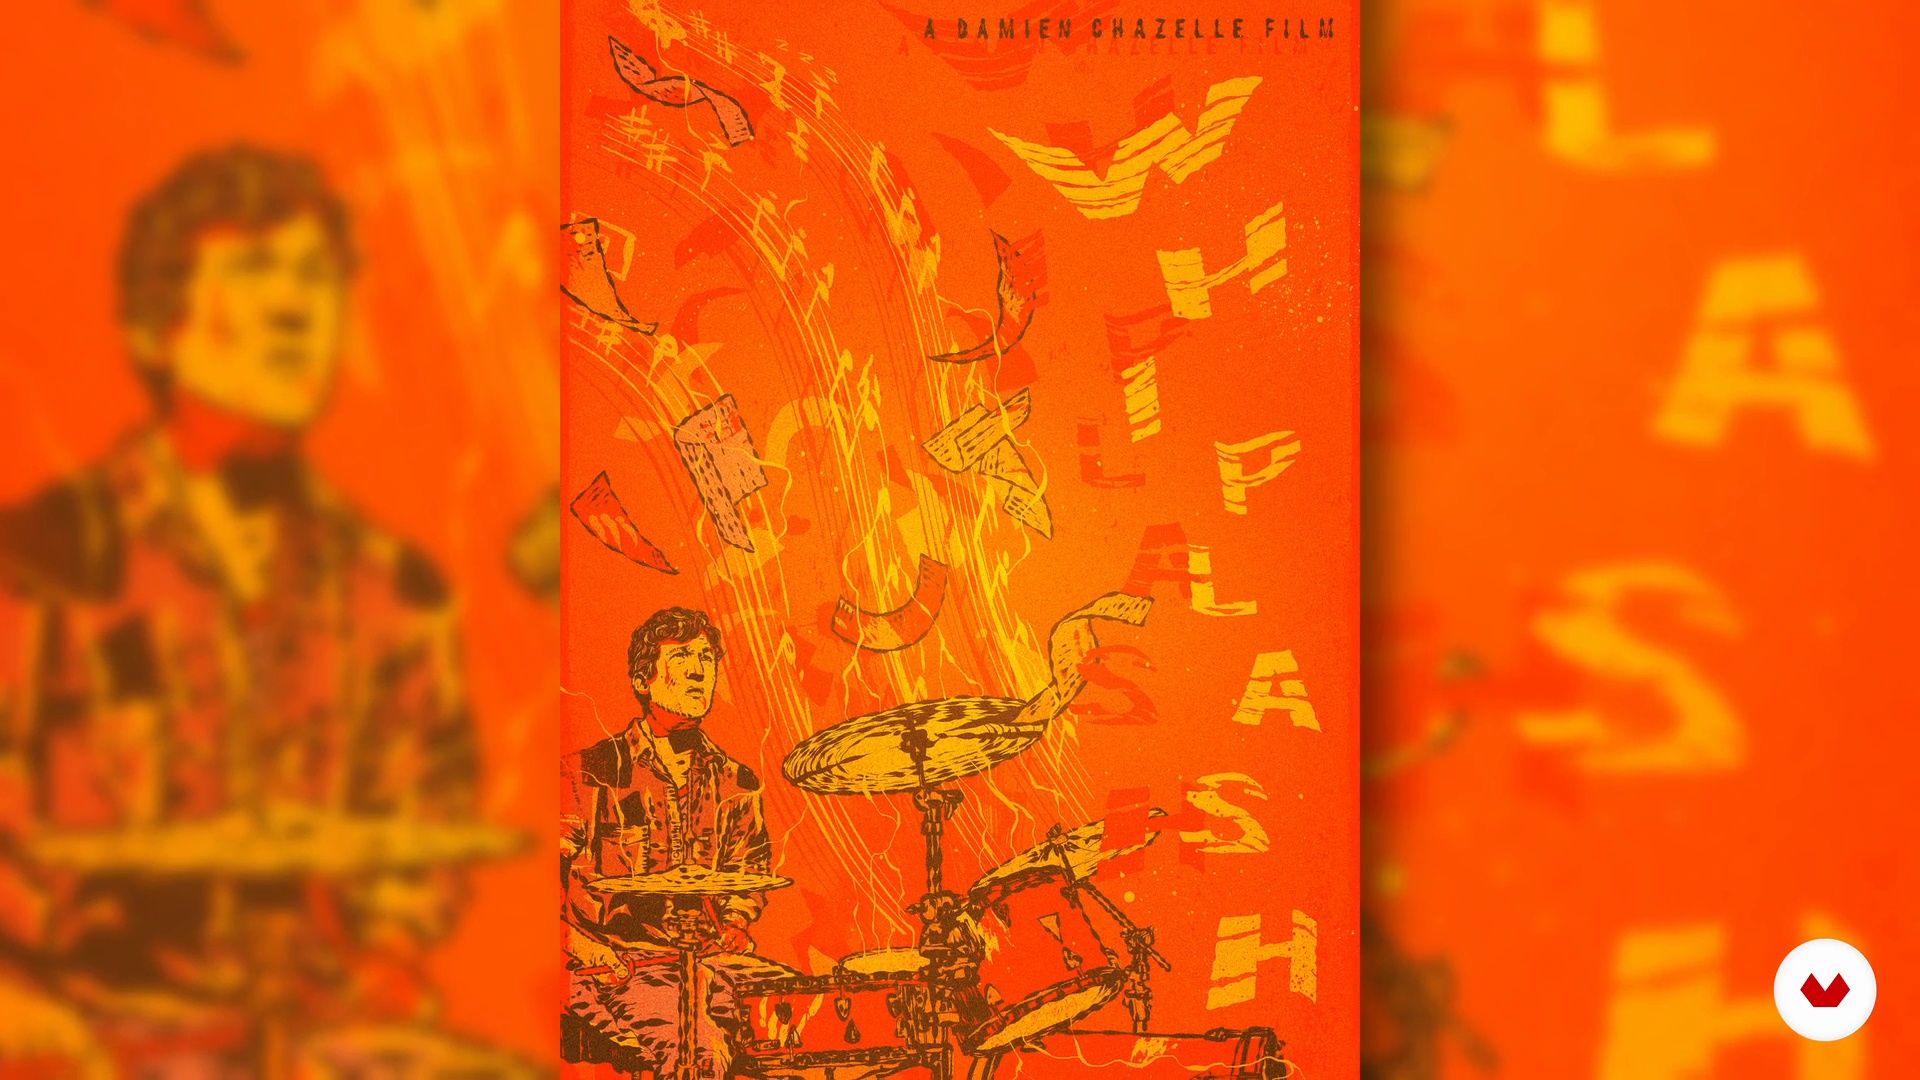 3
3The energy that drives
In this class, I will talk about my experience creating posters and music album covers.
2m
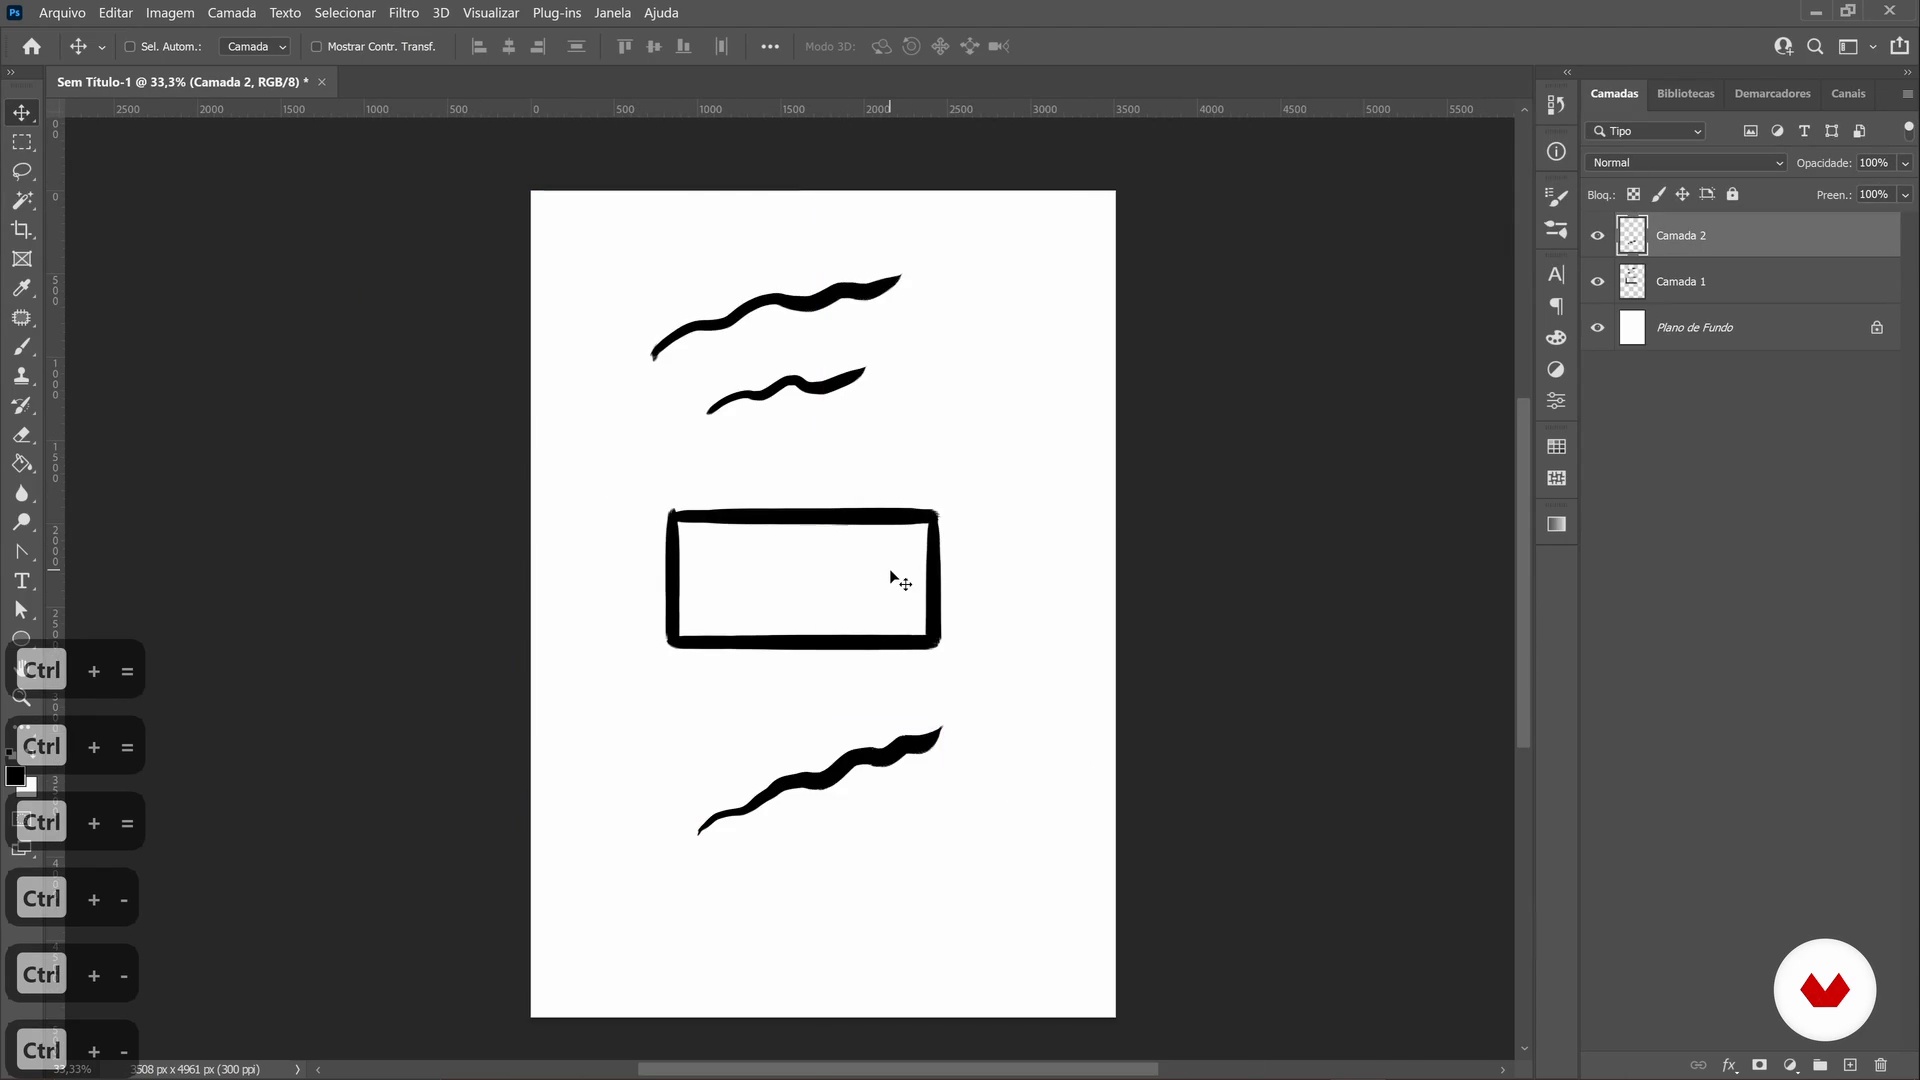 4
4Tools
Now, you will learn about and practice the Photoshop tools that we will use in the course.
6m
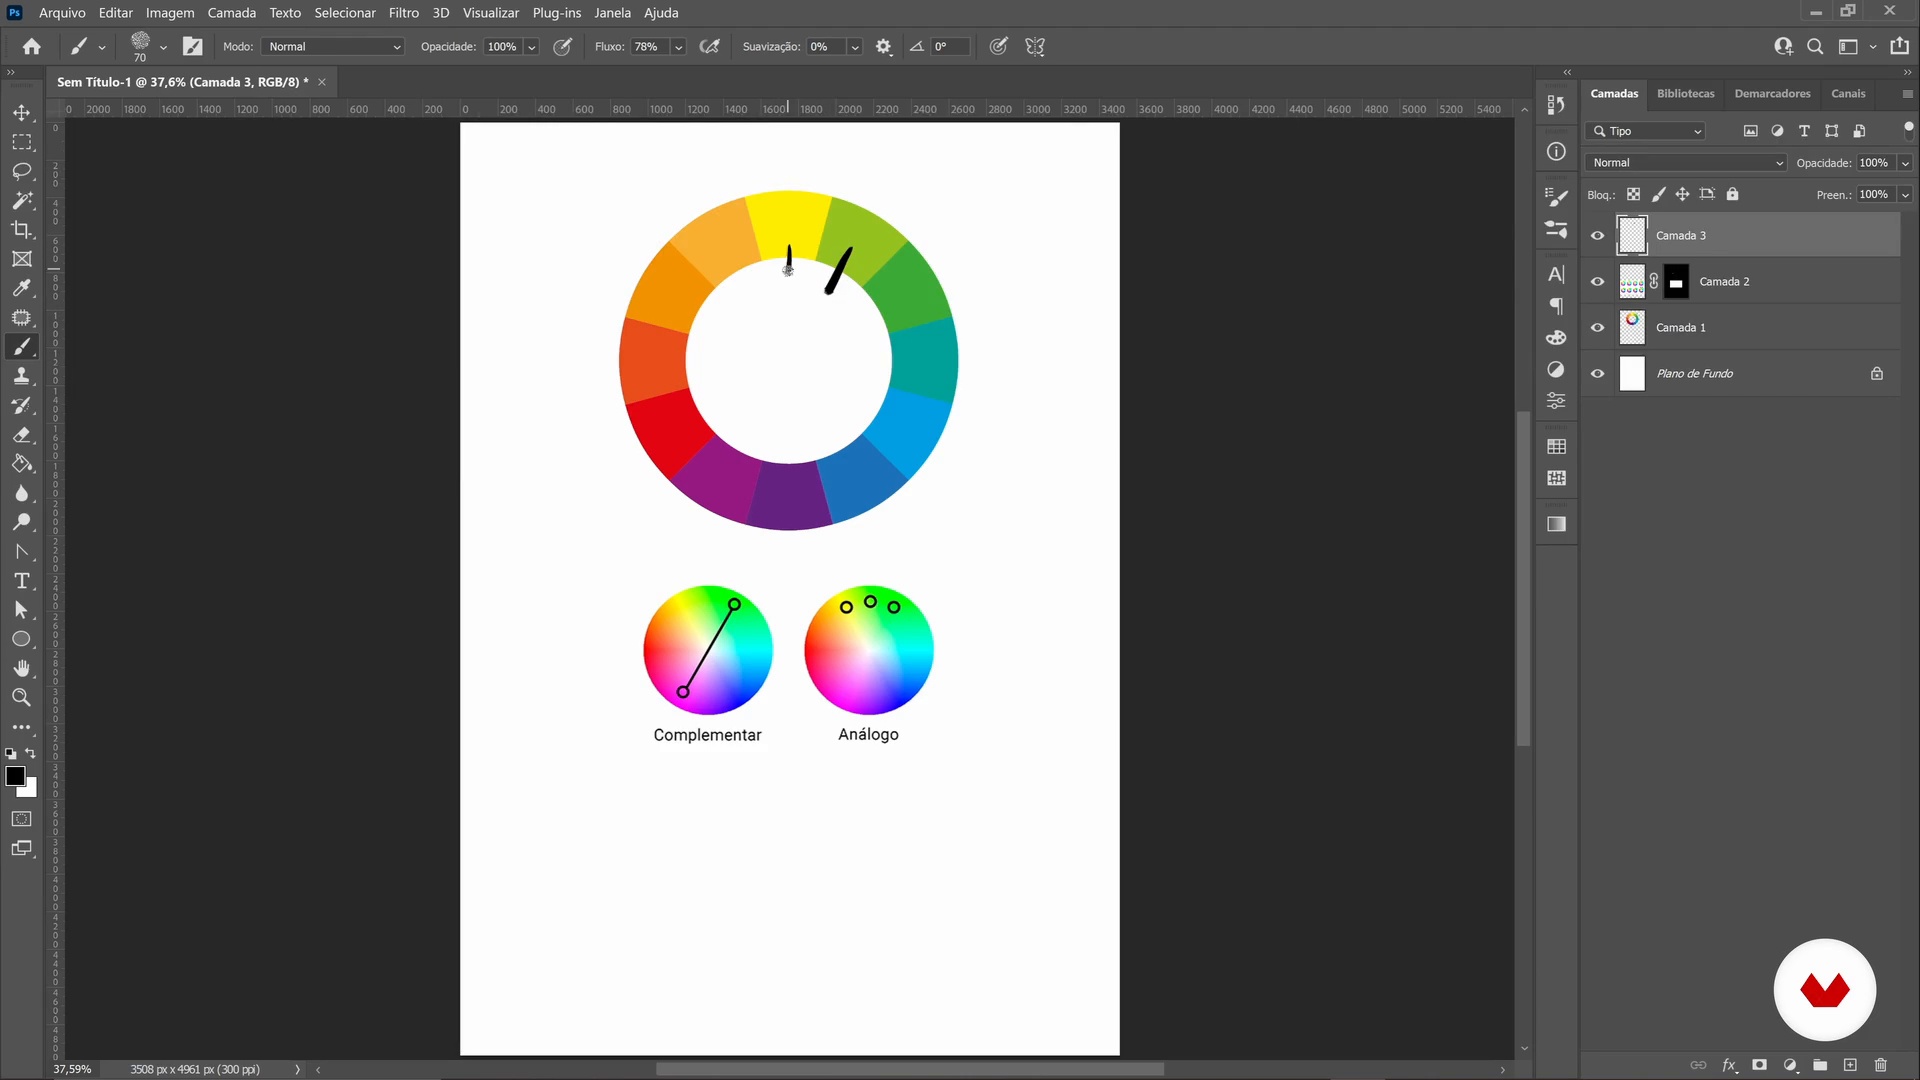 5
5Colors
In this class, we will study the color wheel and understand some concepts about colors.
5m
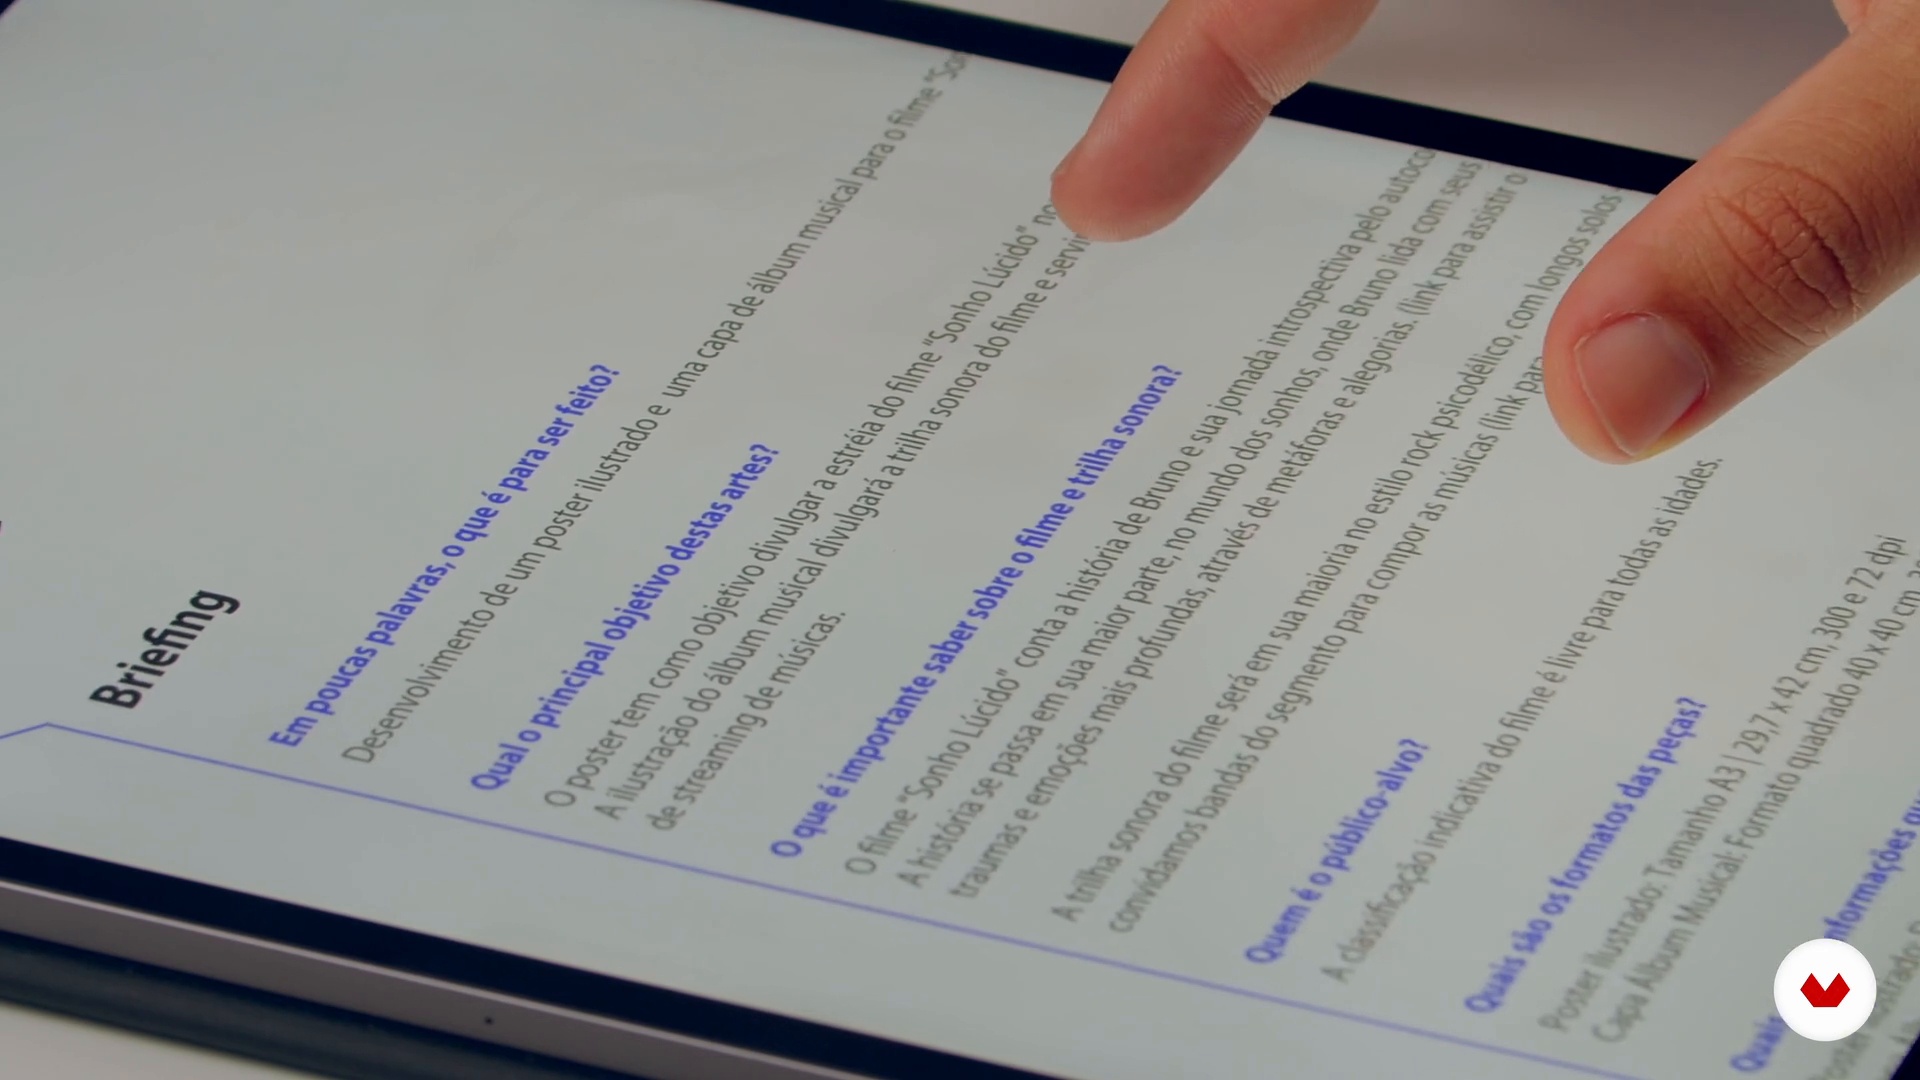 6
6Briefing
In this class, I will explain how to conceive initial ideas for the project based on the brief.
5m
 7
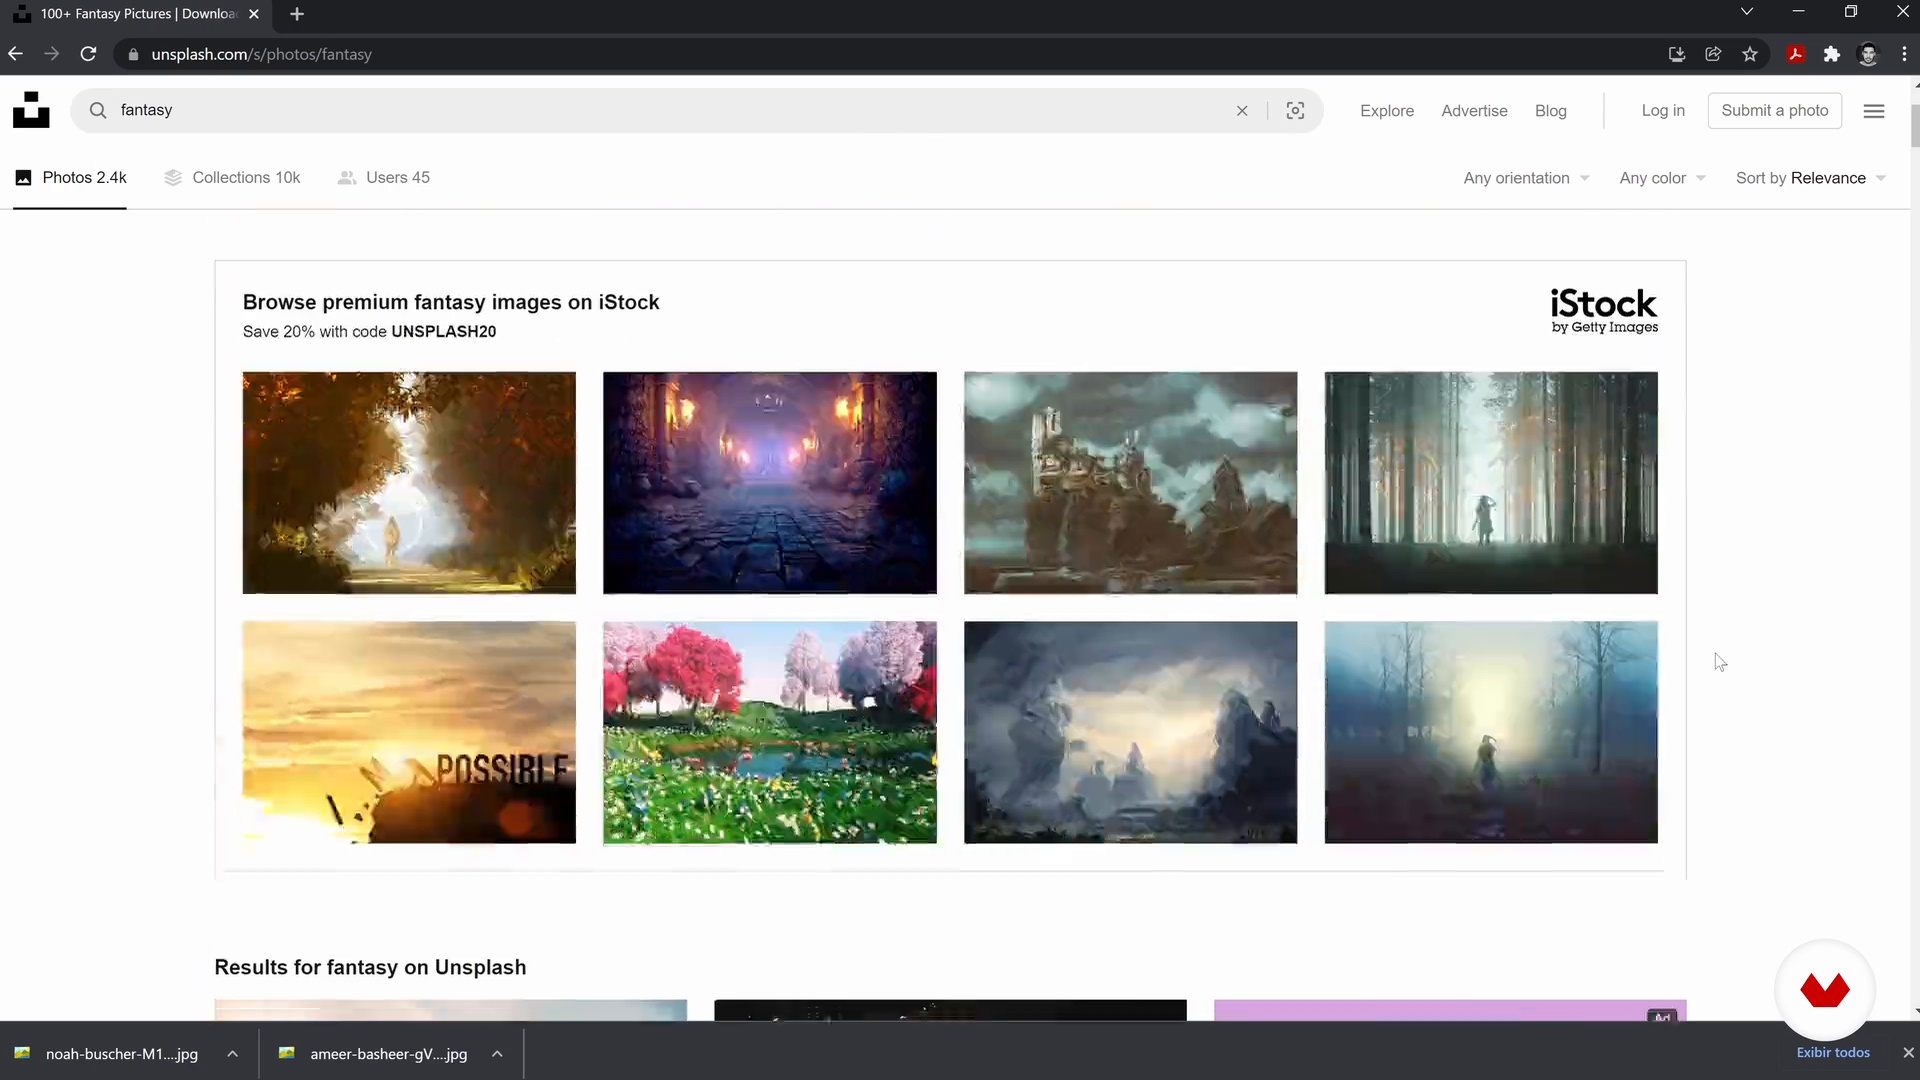
7mood board
With the main concepts studied, I will now show you how you can collect references and create a mood board, which will guide and inspire the creation of the course project.
4m
 8
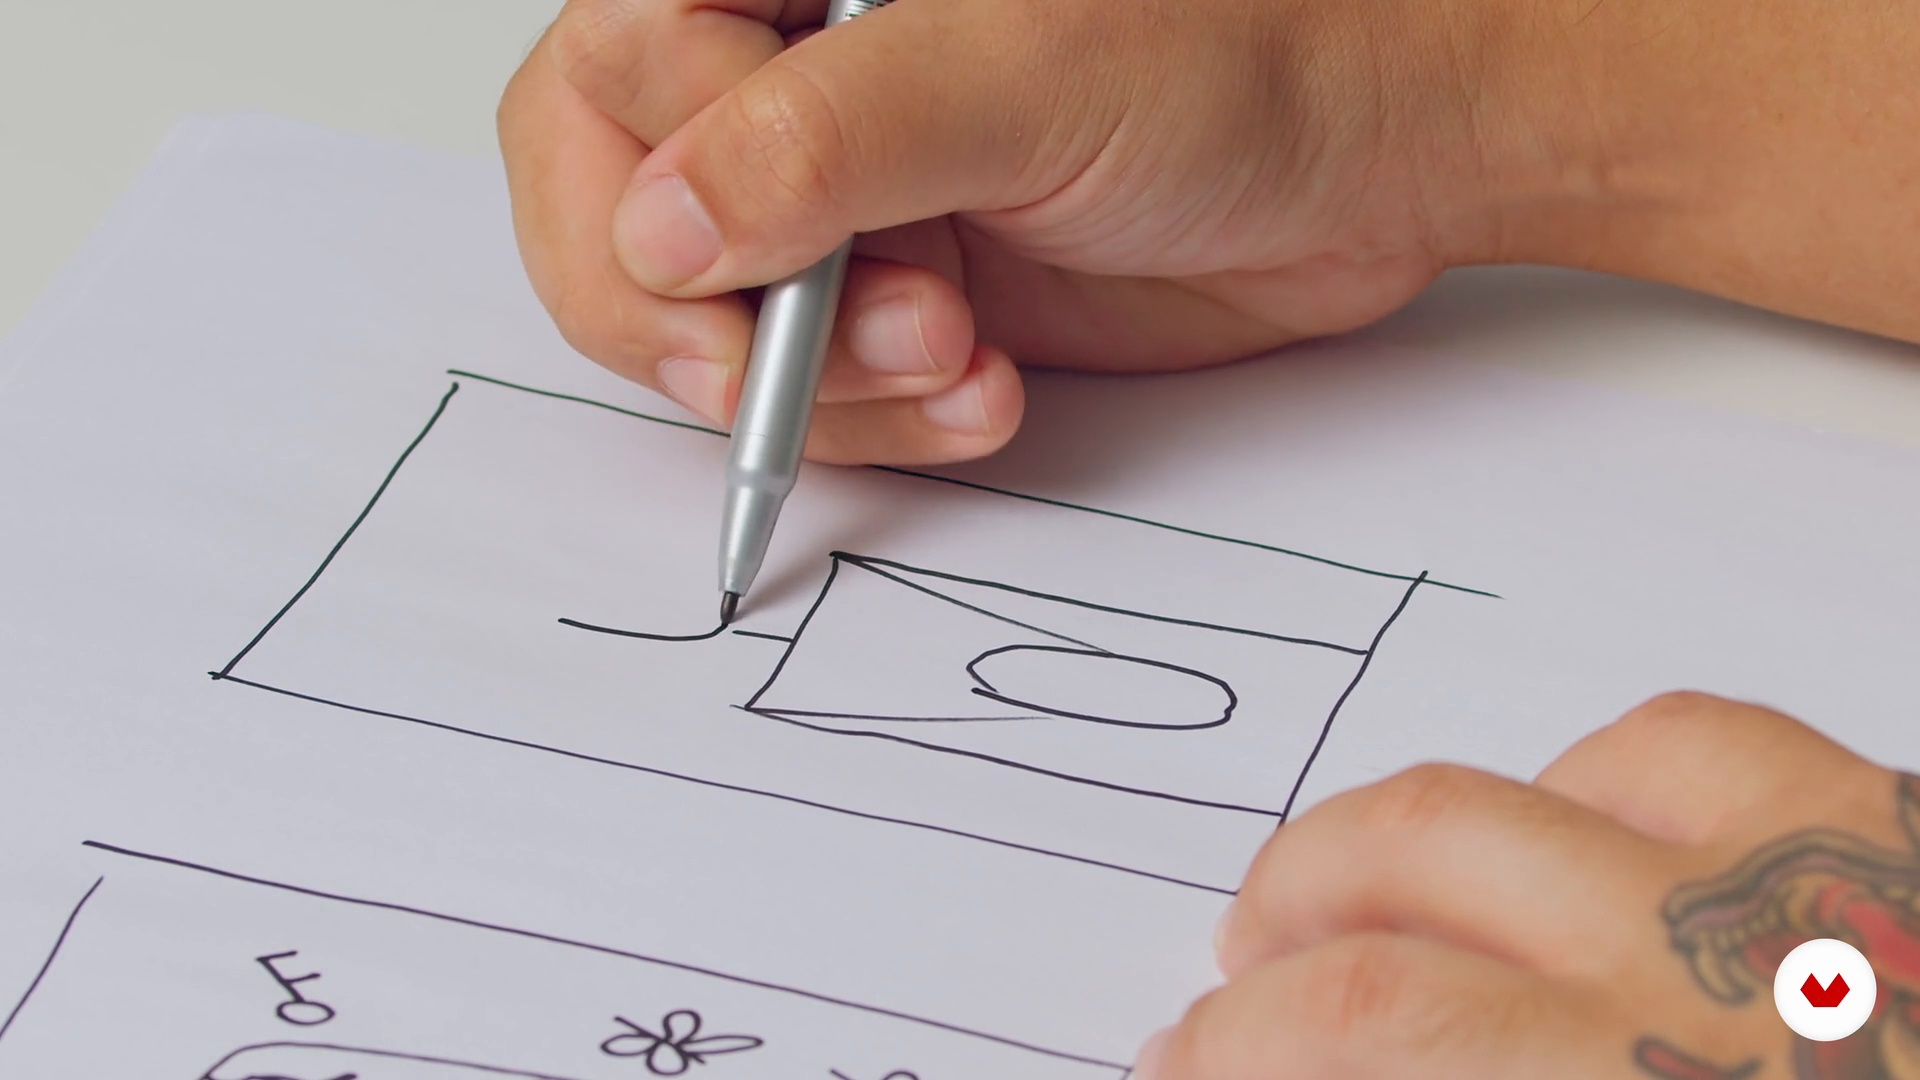
8Sketches and photographs
In this class, you will create the first sketches and, using your cell phone, capture some photographs that will serve as the basis for the art.
13m
 9
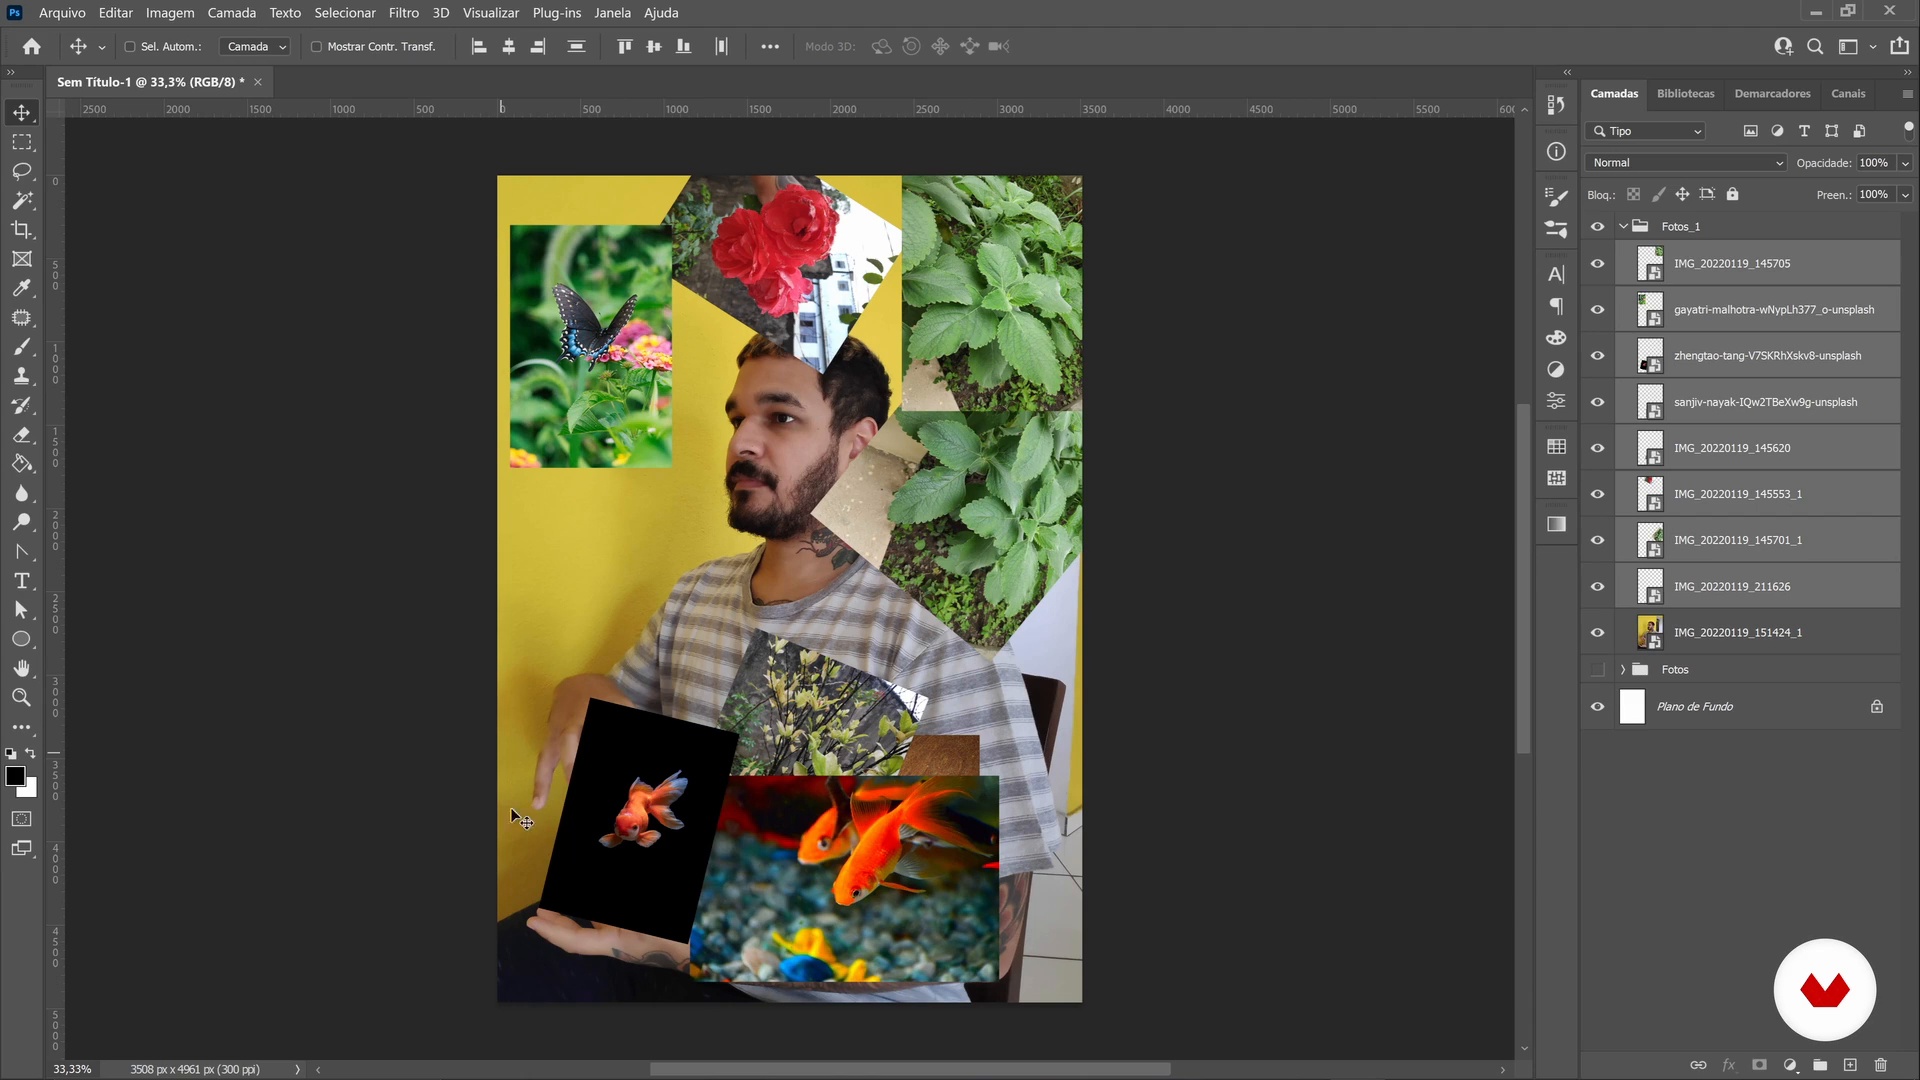
9Composition
In this class, I will show you how to compose the photographs you took and how to draw some elements by hand to include in the poster later.
3m
 10
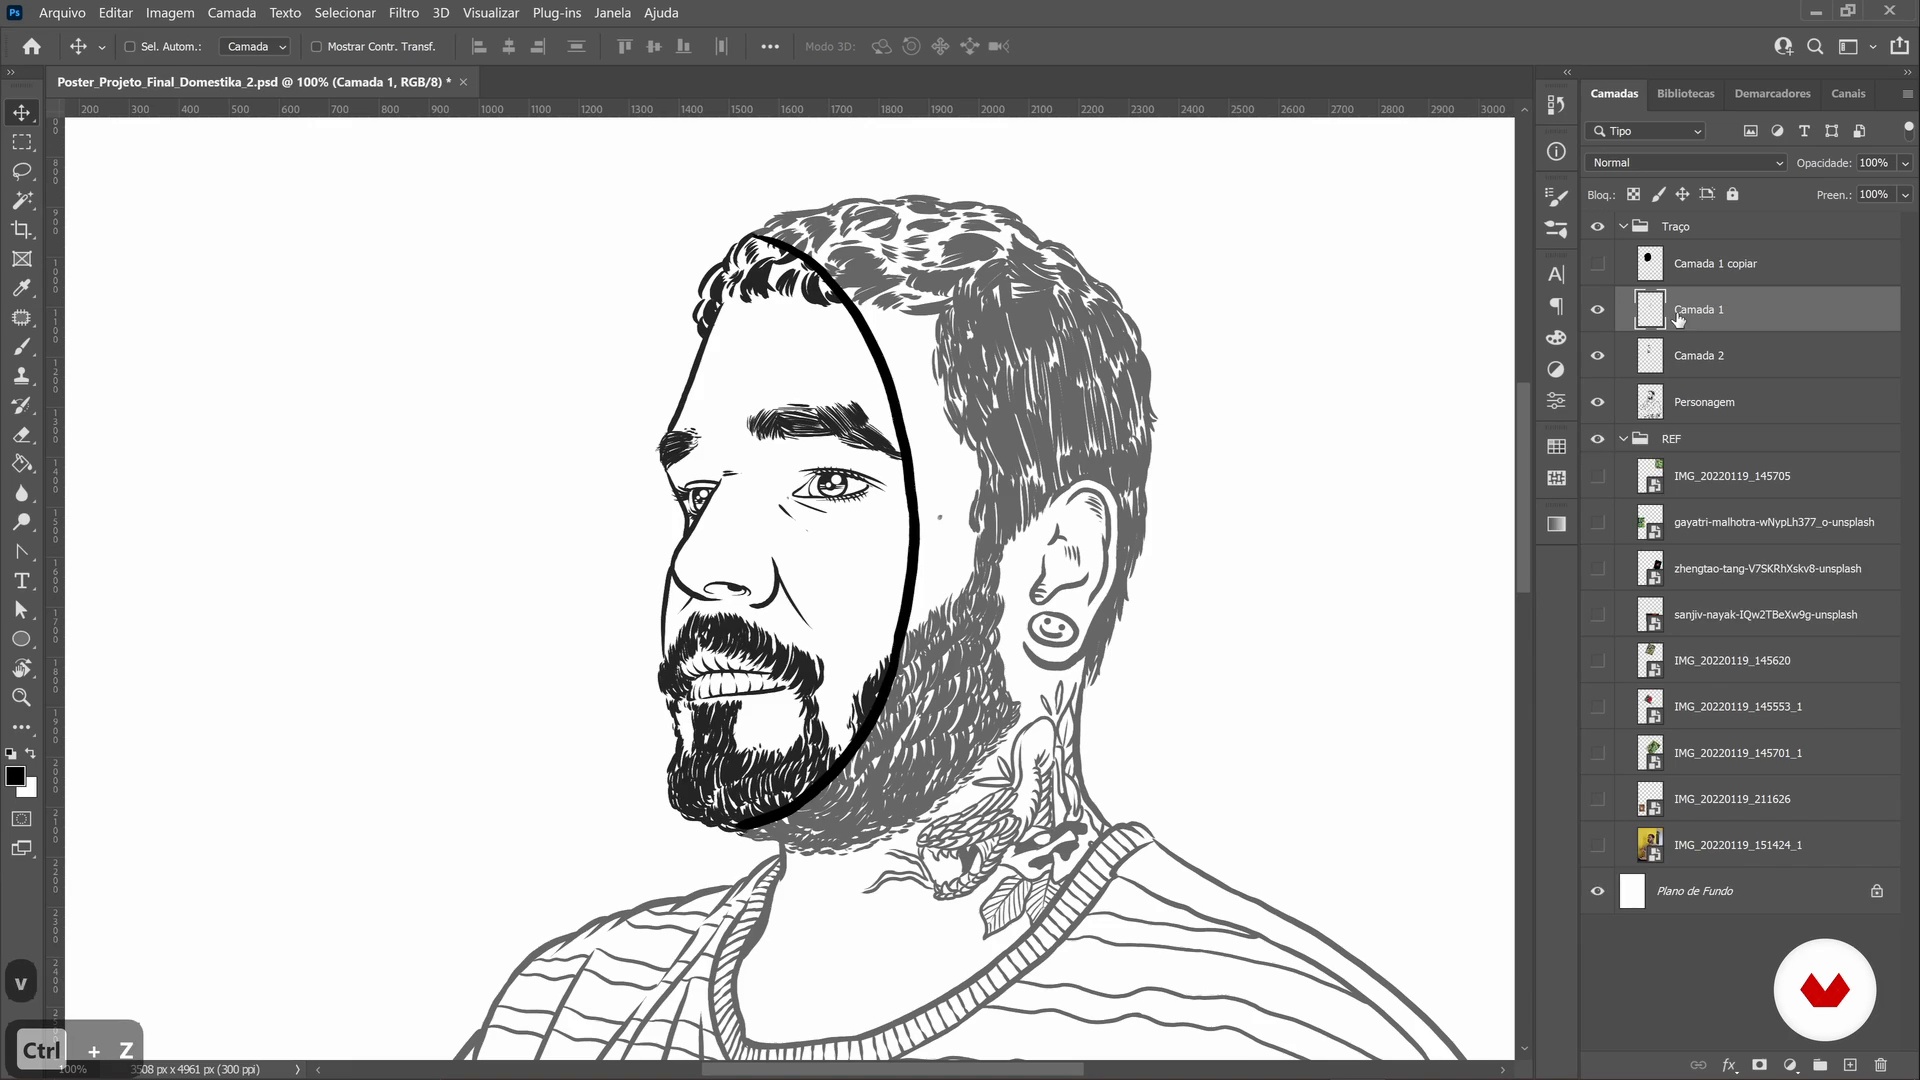
10Line art
In this class, you will draw, following the composition of photographs you created as a basis, in addition to adding the handmade drawing.
11m
 11
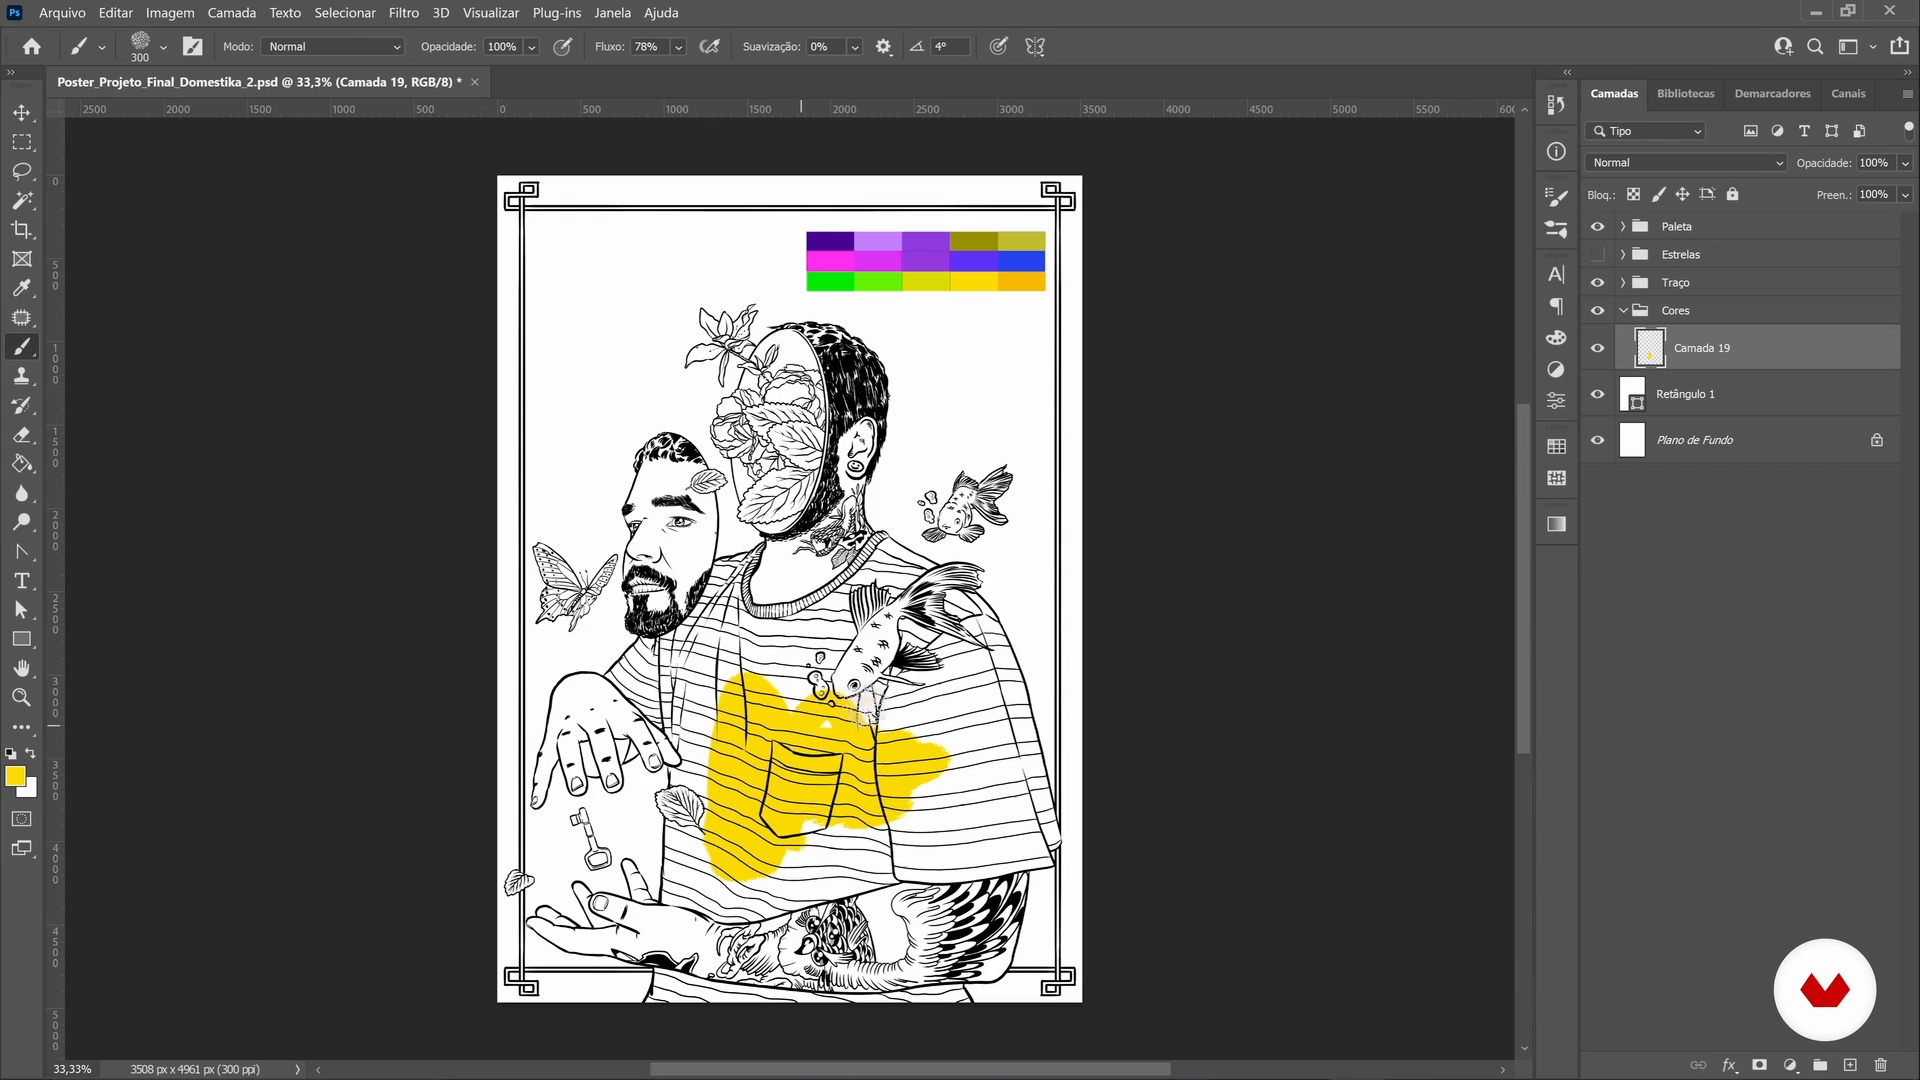
11Application of colors
Time to color! Grab your favorite brush and get to work
5m
 12
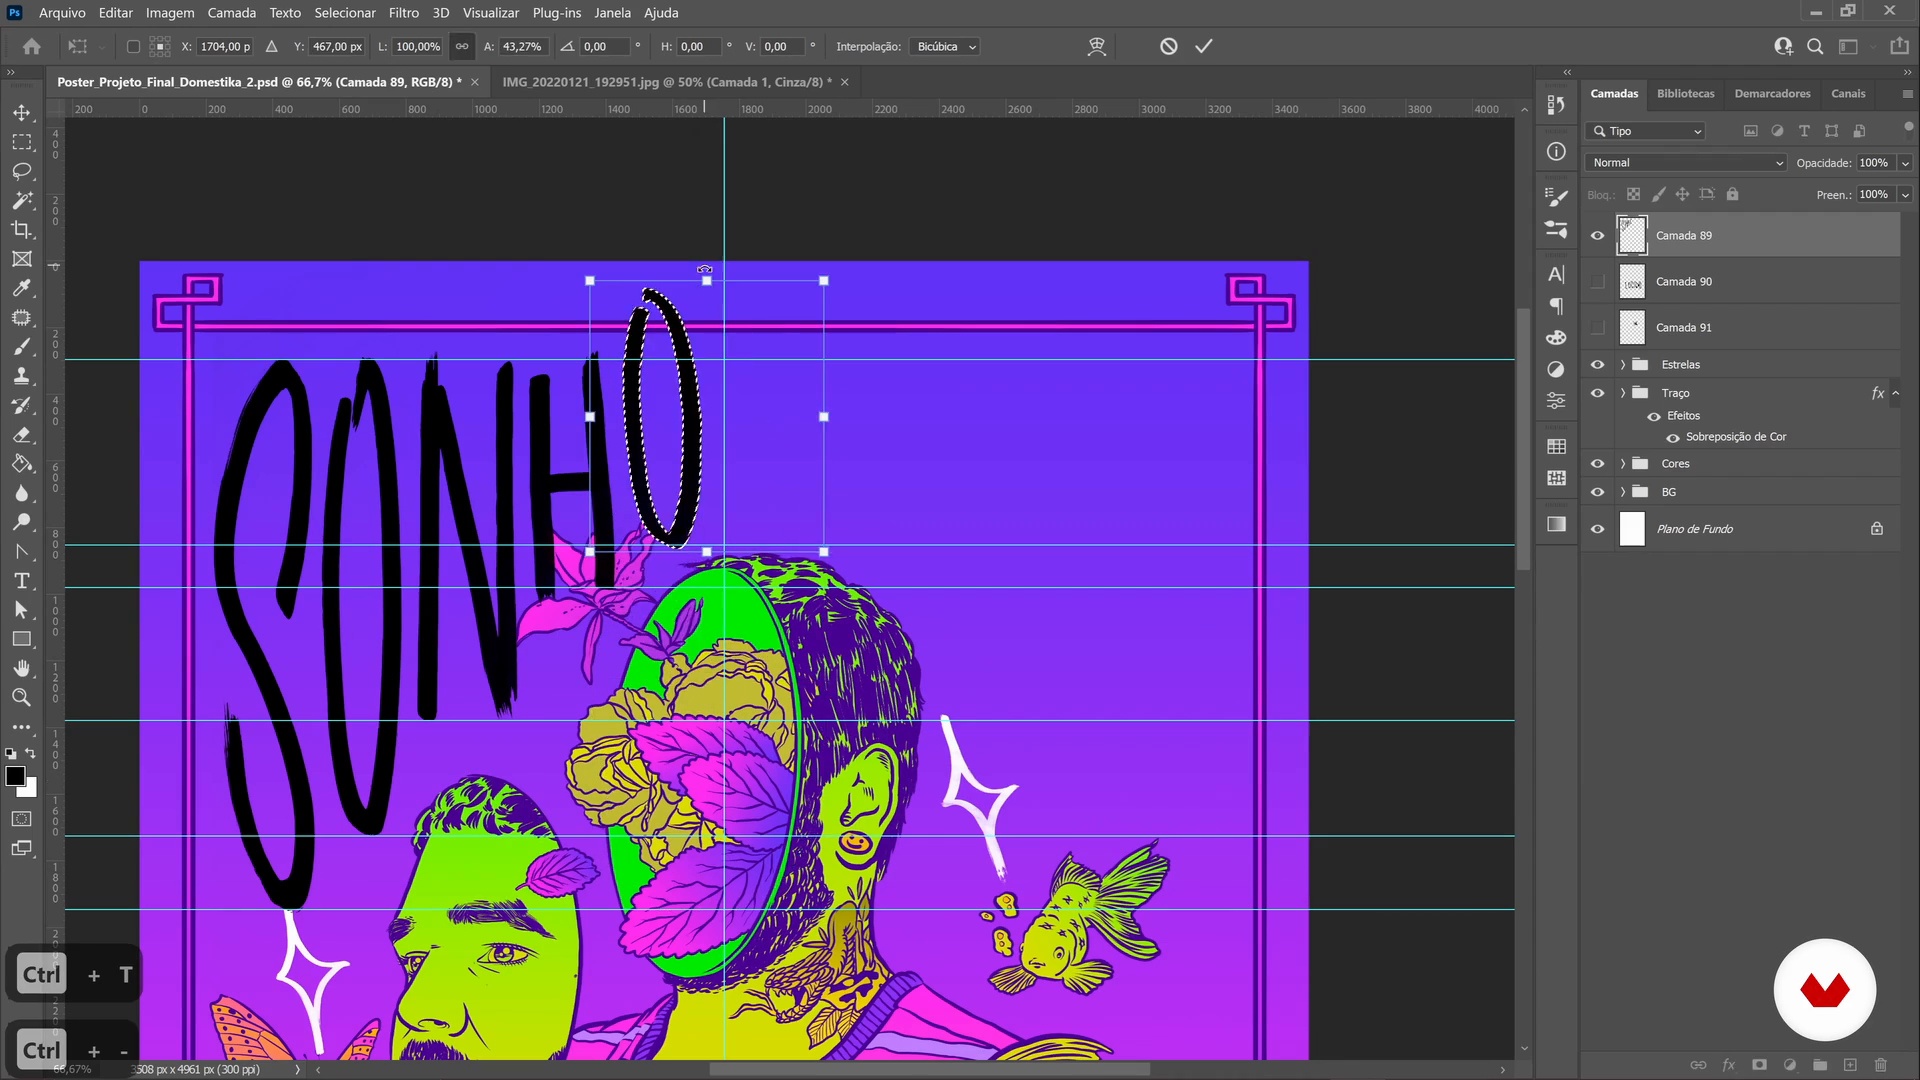
12Lettering
In this class, you will design your own lettering to use in the title of the poster.
7m
 13
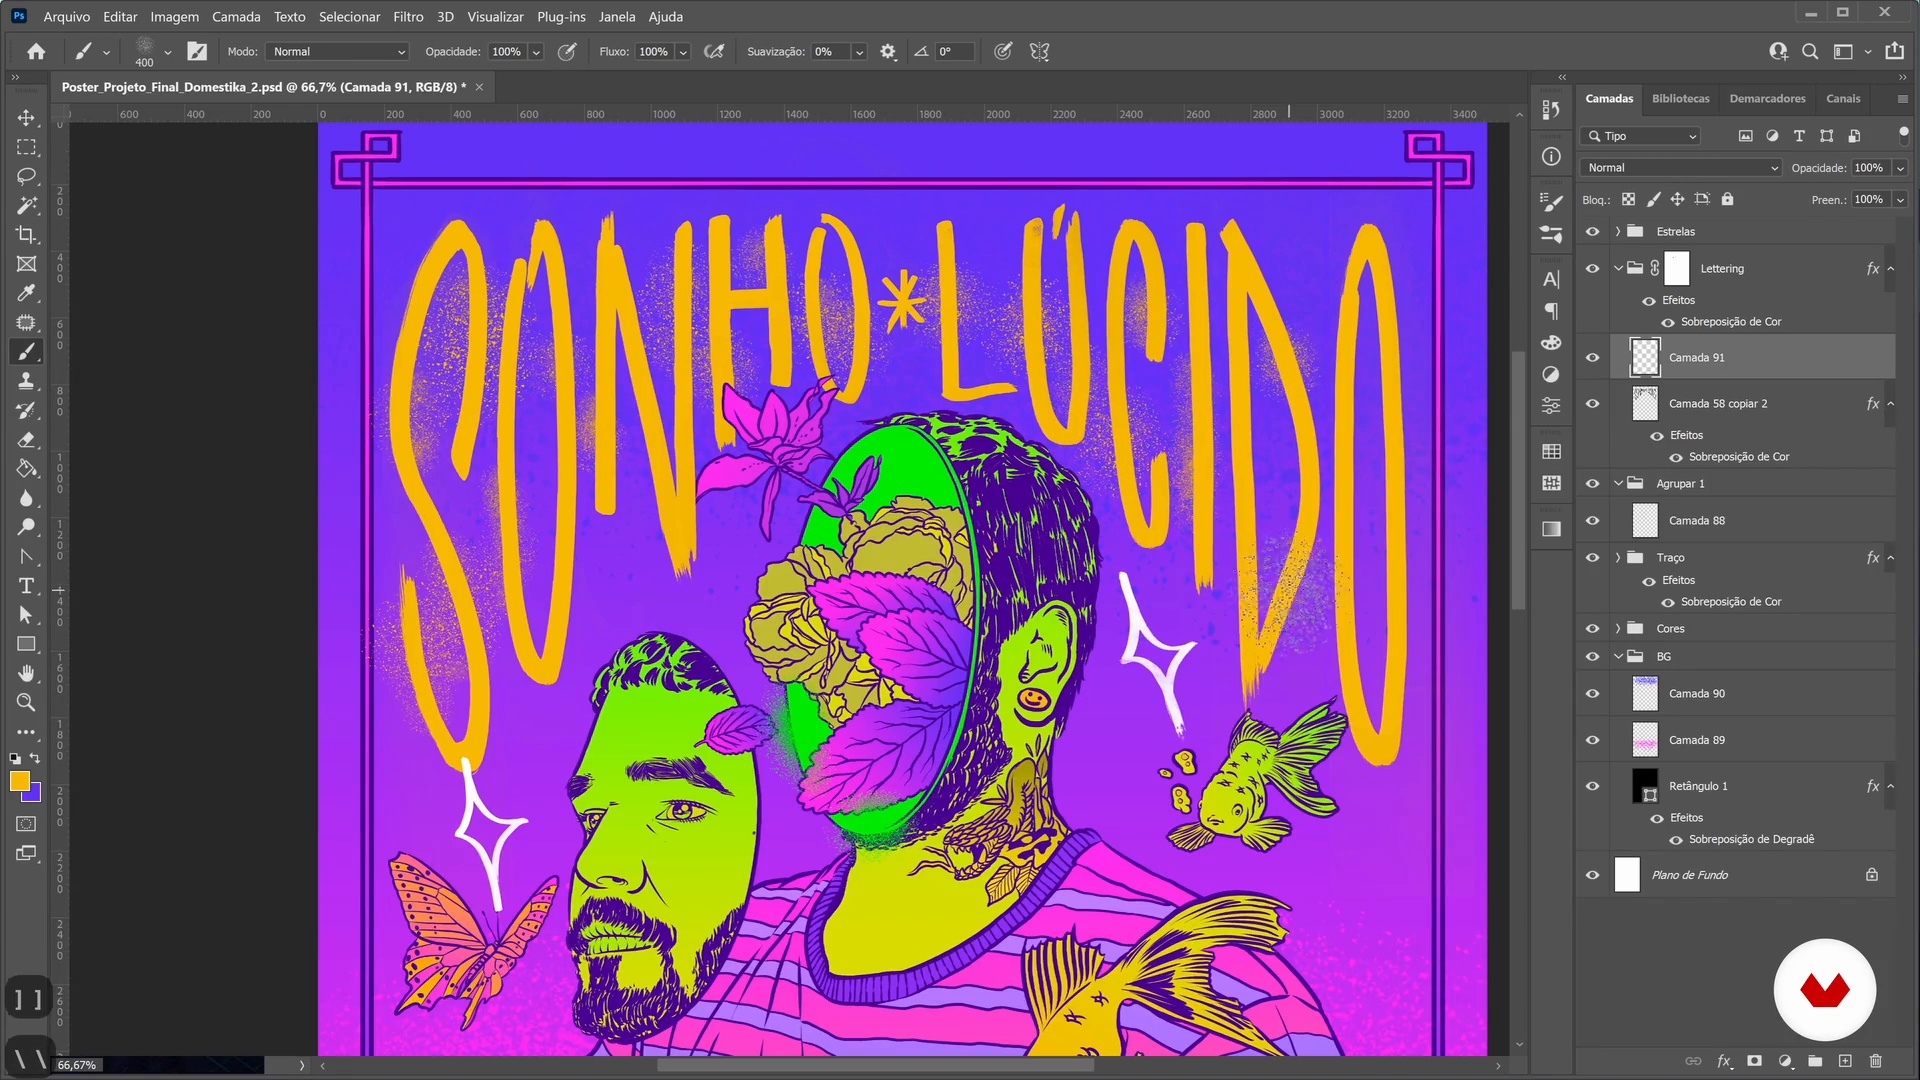
13Details and finishes
We are almost there! Now, let's finish the poster and include textures and particles.
3m
 14
14Start of production of the album cover
In this class, we will start producing the cover of the music album. Let's go back to the brief and create some textures too, using brush and paint to make the illustration even more original.
6m
 15
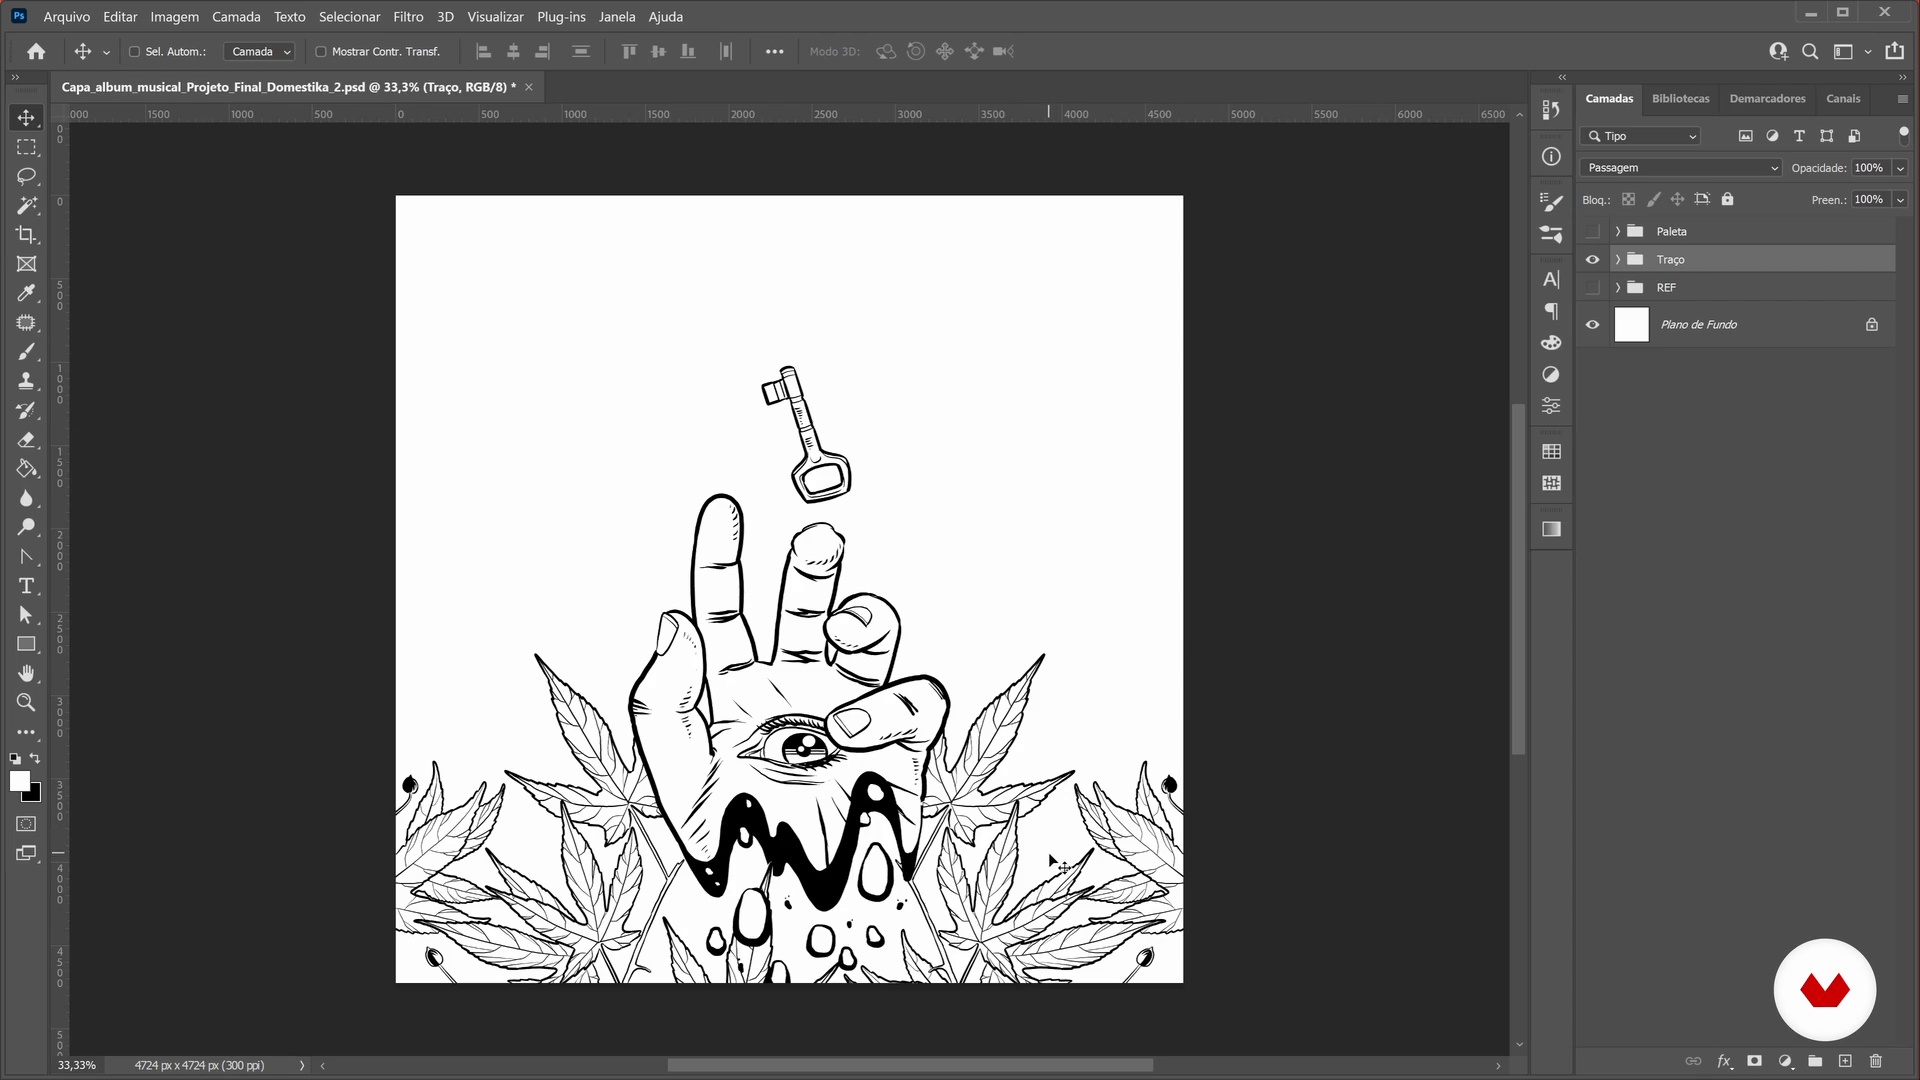
15The color of sound
Now, I'm going to show you how to transform the information, sketches and other materials that were collected into a beautiful music album cover.
6m
 16
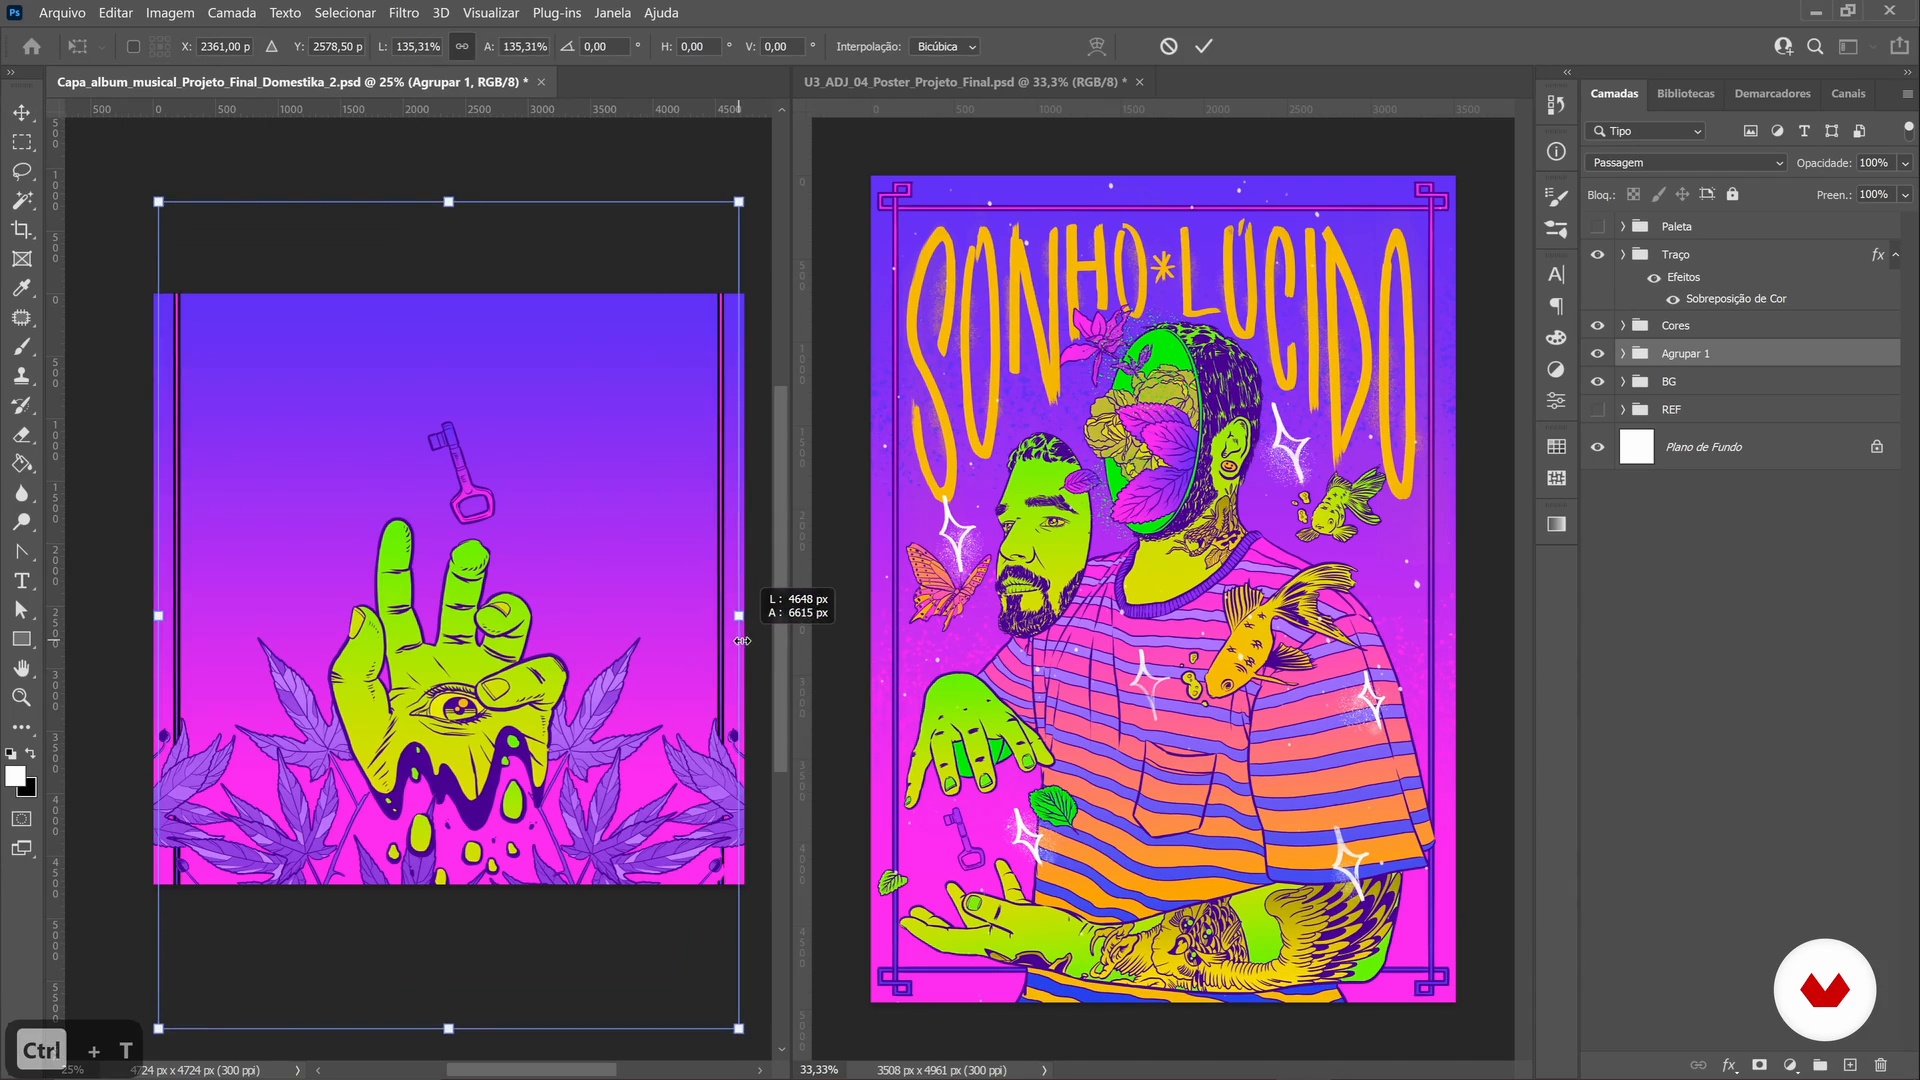
16Finalization of the album cover
In this class, we will finalize the music album cover and add details, textures and particles.
8m
 17
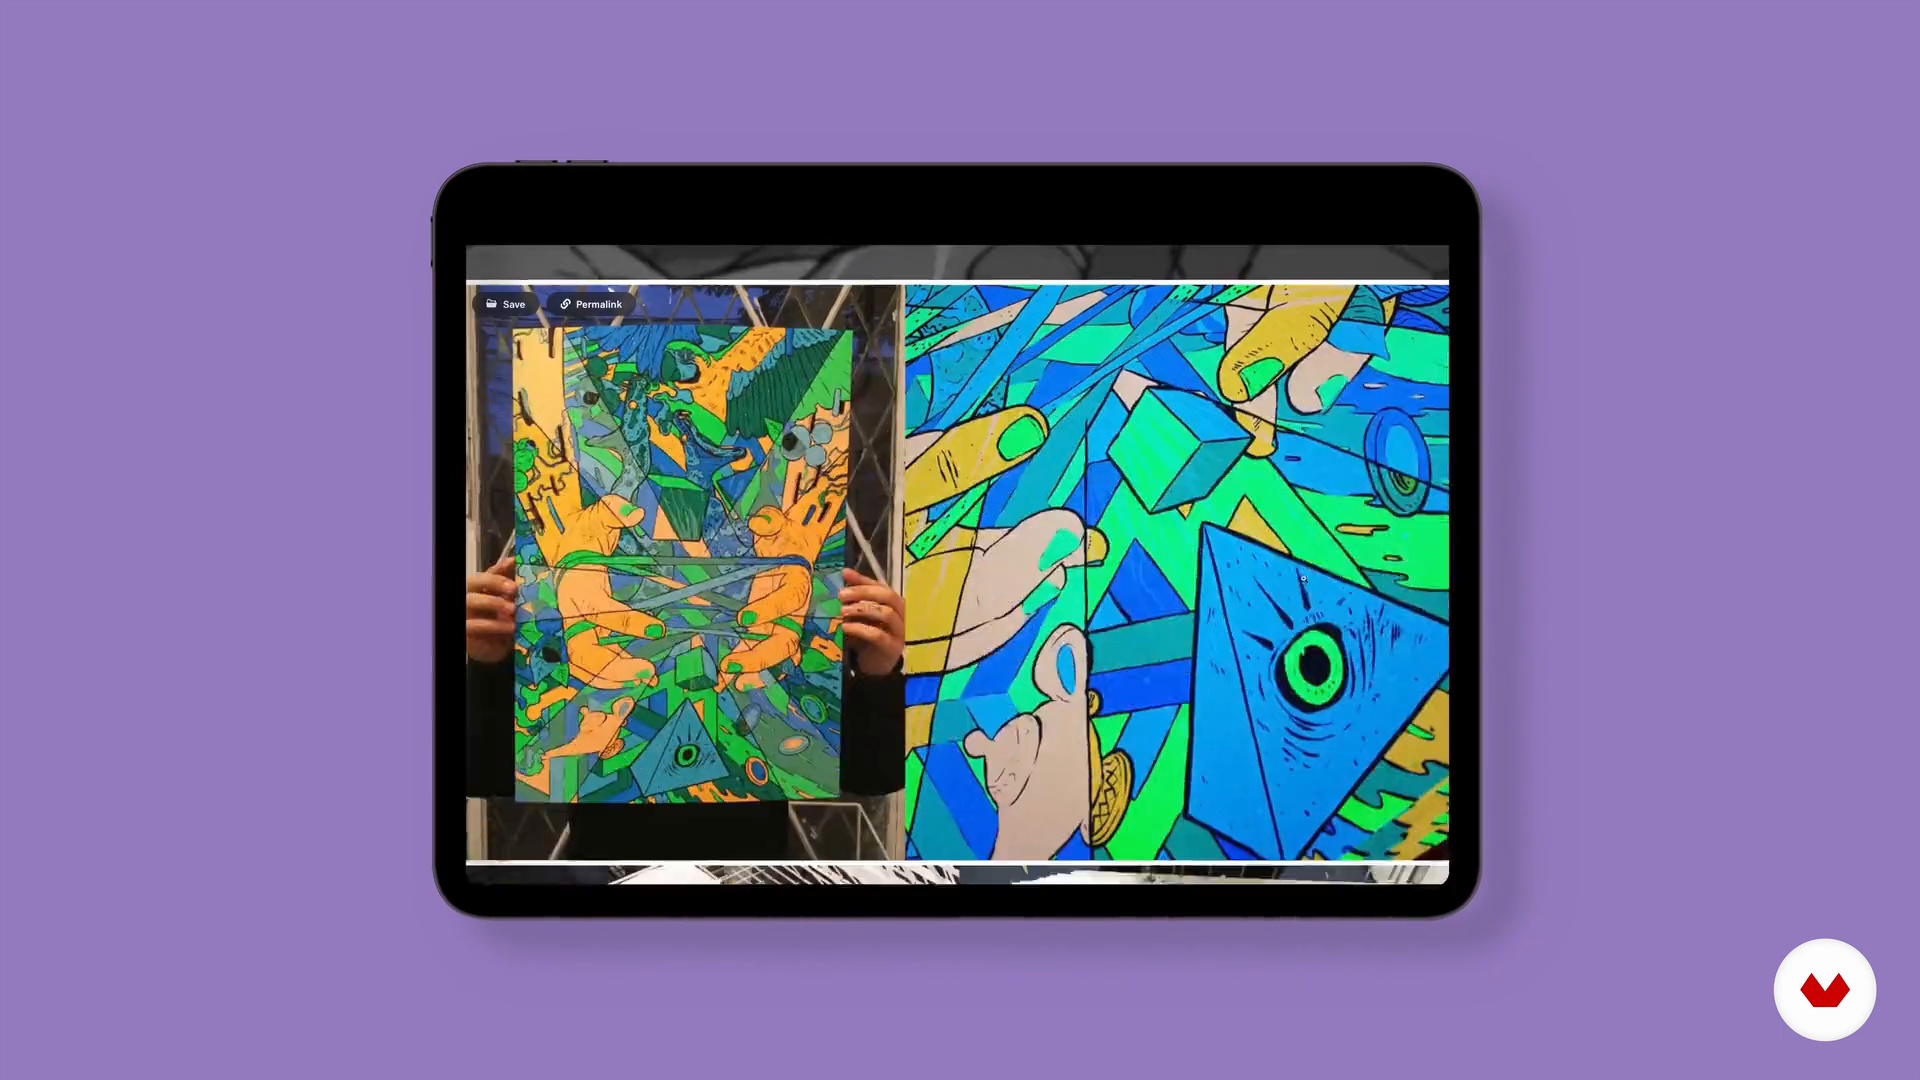
17Sharing your work
In this class, you will learn how to export and where to share your work, as well as tips on how to interact with the artistic community.
5m
 18
18Professionalization of your work
To conclude, in this class, I will present the types of freelance work, as well as teach you how to set up a budget and how to charge for work.
7m
Recommended software & tools for this course
What is this course's project?
Create a series of impactful posters, mastering design fundamentals from conceptualization to execution. Focus on composition, color, and typography while crafting visually striking and communicative pieces that showcase creativity and precision in poster design.
Who is this specialization for?
Aspiring designers and creative professionals eager to master poster design from concept to visual communication will thrive. Perfect for those seeking to explore diverse styles, enhance their skills in typography, illustration, and create impactful designs across various contexts.
Requirements and materials
Bring a computer with design software like Adobe Photoshop or Illustrator. Familiarity with basic design principles is helpful, but not mandatory. Gather materials like pencils, pens, and sketchbooks for hands-on projects. An open mind to creativity is essential.
Select to get to know your teachers in this specialization course


What to expect from this specialization course
Learn at your own pace
Enjoy learning from home without a set schedule and with an easy-to-follow method. You set your own pace.
Learn from the best professionals
Learn valuable methods and techniques explained by top experts in the creative sector.
Meet expert teachers
Each expert teaches what they do best, with clear guidelines, true passion, and professional insight in every lesson.
Certificates
PLUSIf you're a Plus member, get a custom certificate for every specialization course. Share it on your portfolio, social media, or wherever you like.
Get front-row seats
Videos of the highest quality, so you don't miss a single detail. With unlimited access, you can watch them as many times as you need to perfect your technique.
Share knowledge and ideas
Ask questions, request feedback, or offer solutions. Share your learning experience with other students in the community who are as passionate about creativity as you are.
Connect with a global creative community
The community is home to millions of people from around the world who are curious and passionate about exploring and expressing their creativity.
Watch professionally produced courses
Domestika curates its teacher roster and produces every course in-house to ensure a high-quality online learning experience.
FAQs
Yes, this course is ideal for intermediate designers who want to deepen their understanding of poster design techniques, historical styles, and advanced digital workflows.
You’ll need basic drawing materials, a scanner or camera for digitizing sketches, and access to Adobe Illustrator or similar vector software for digital workflows.
The course covers Victorian, Art Nouveau, Expressionism, Art Deco, Psychedelia, and modern poster movements, analyzing their visual traits and historical impact.
Yes, the course teaches techniques for hand-drawn sketching, custom lettering, and converting artwork into clean digital vectors using Illustrator.
You’ll be able to research visual styles, create expressive layouts, integrate illustration and typography, develop color palettes, and prepare posters for print and social media.
The course demonstrates how to interpret music themes and translate them into visual elements, creating unified and impactful event or concert posters.
Yes, you’ll learn to digitize sketches, use Illustrator’s Image Trace, refine anchor points, and clean up lines for professional-quality vector posters.