Specialization

Specialization in Creative Travel Journals

Document your travels using illustration and bookbinding techniques to create unique and emotional visual journals

Specialization · 6 modules

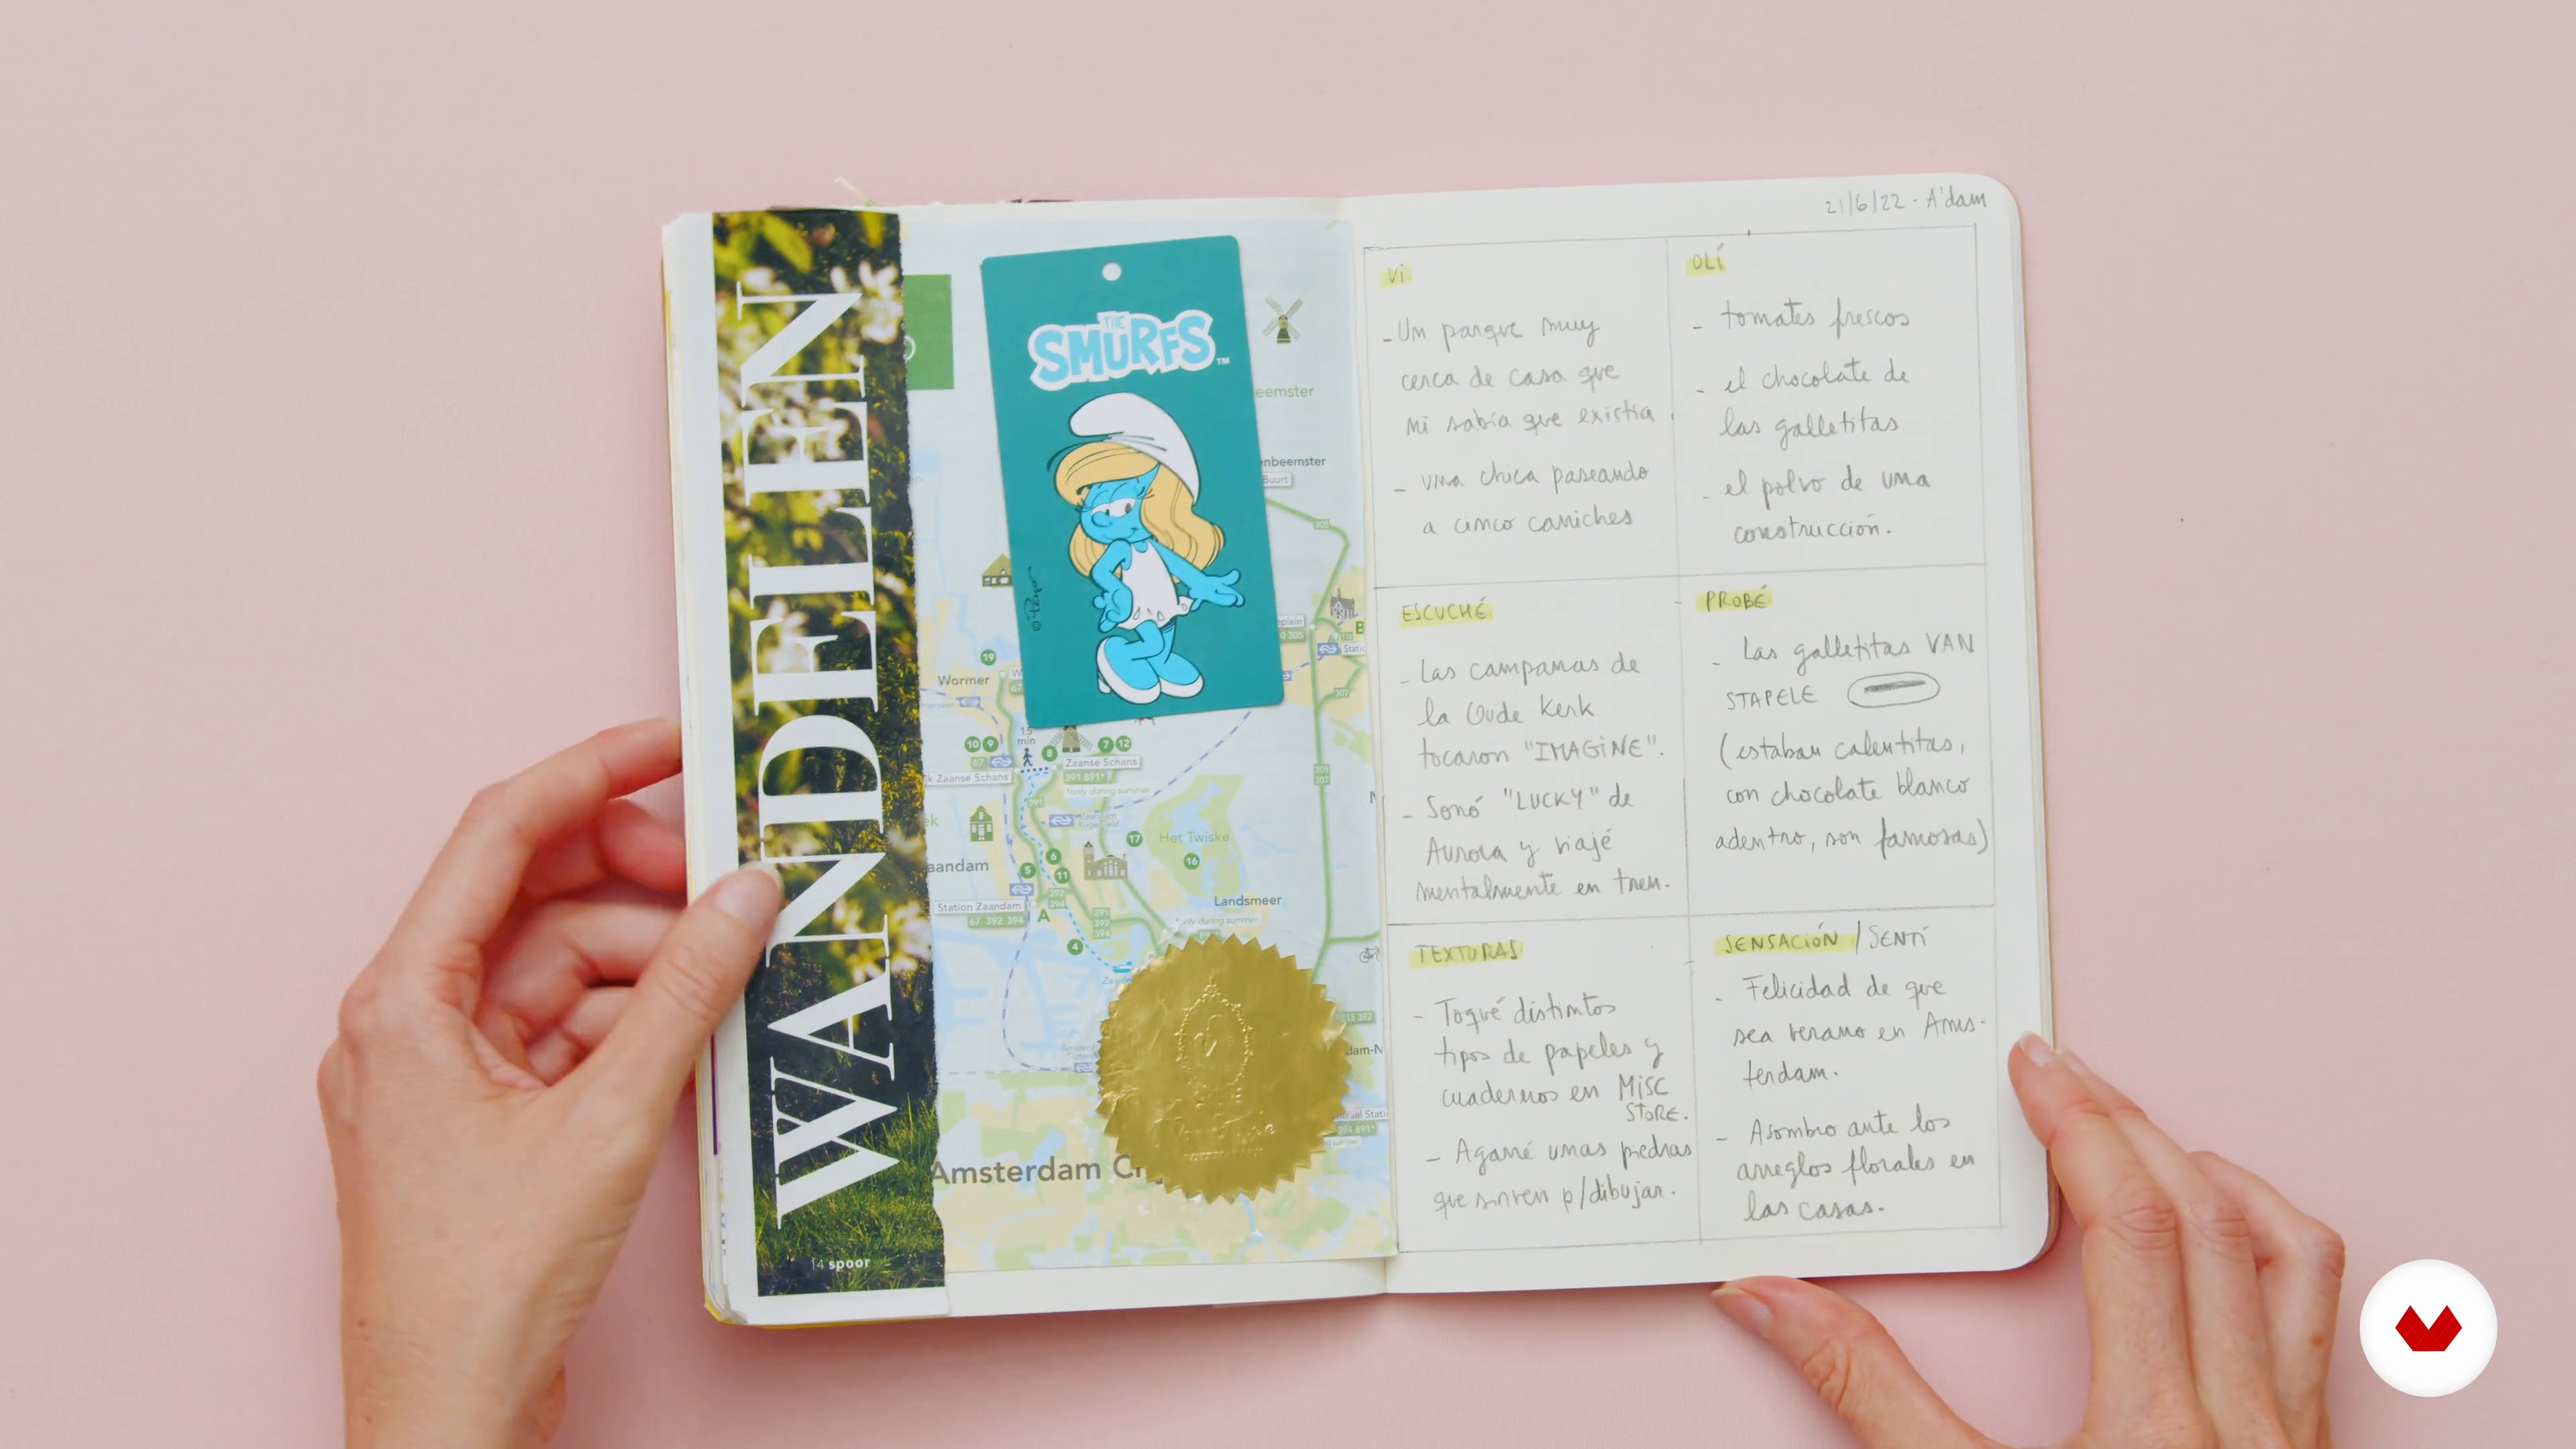
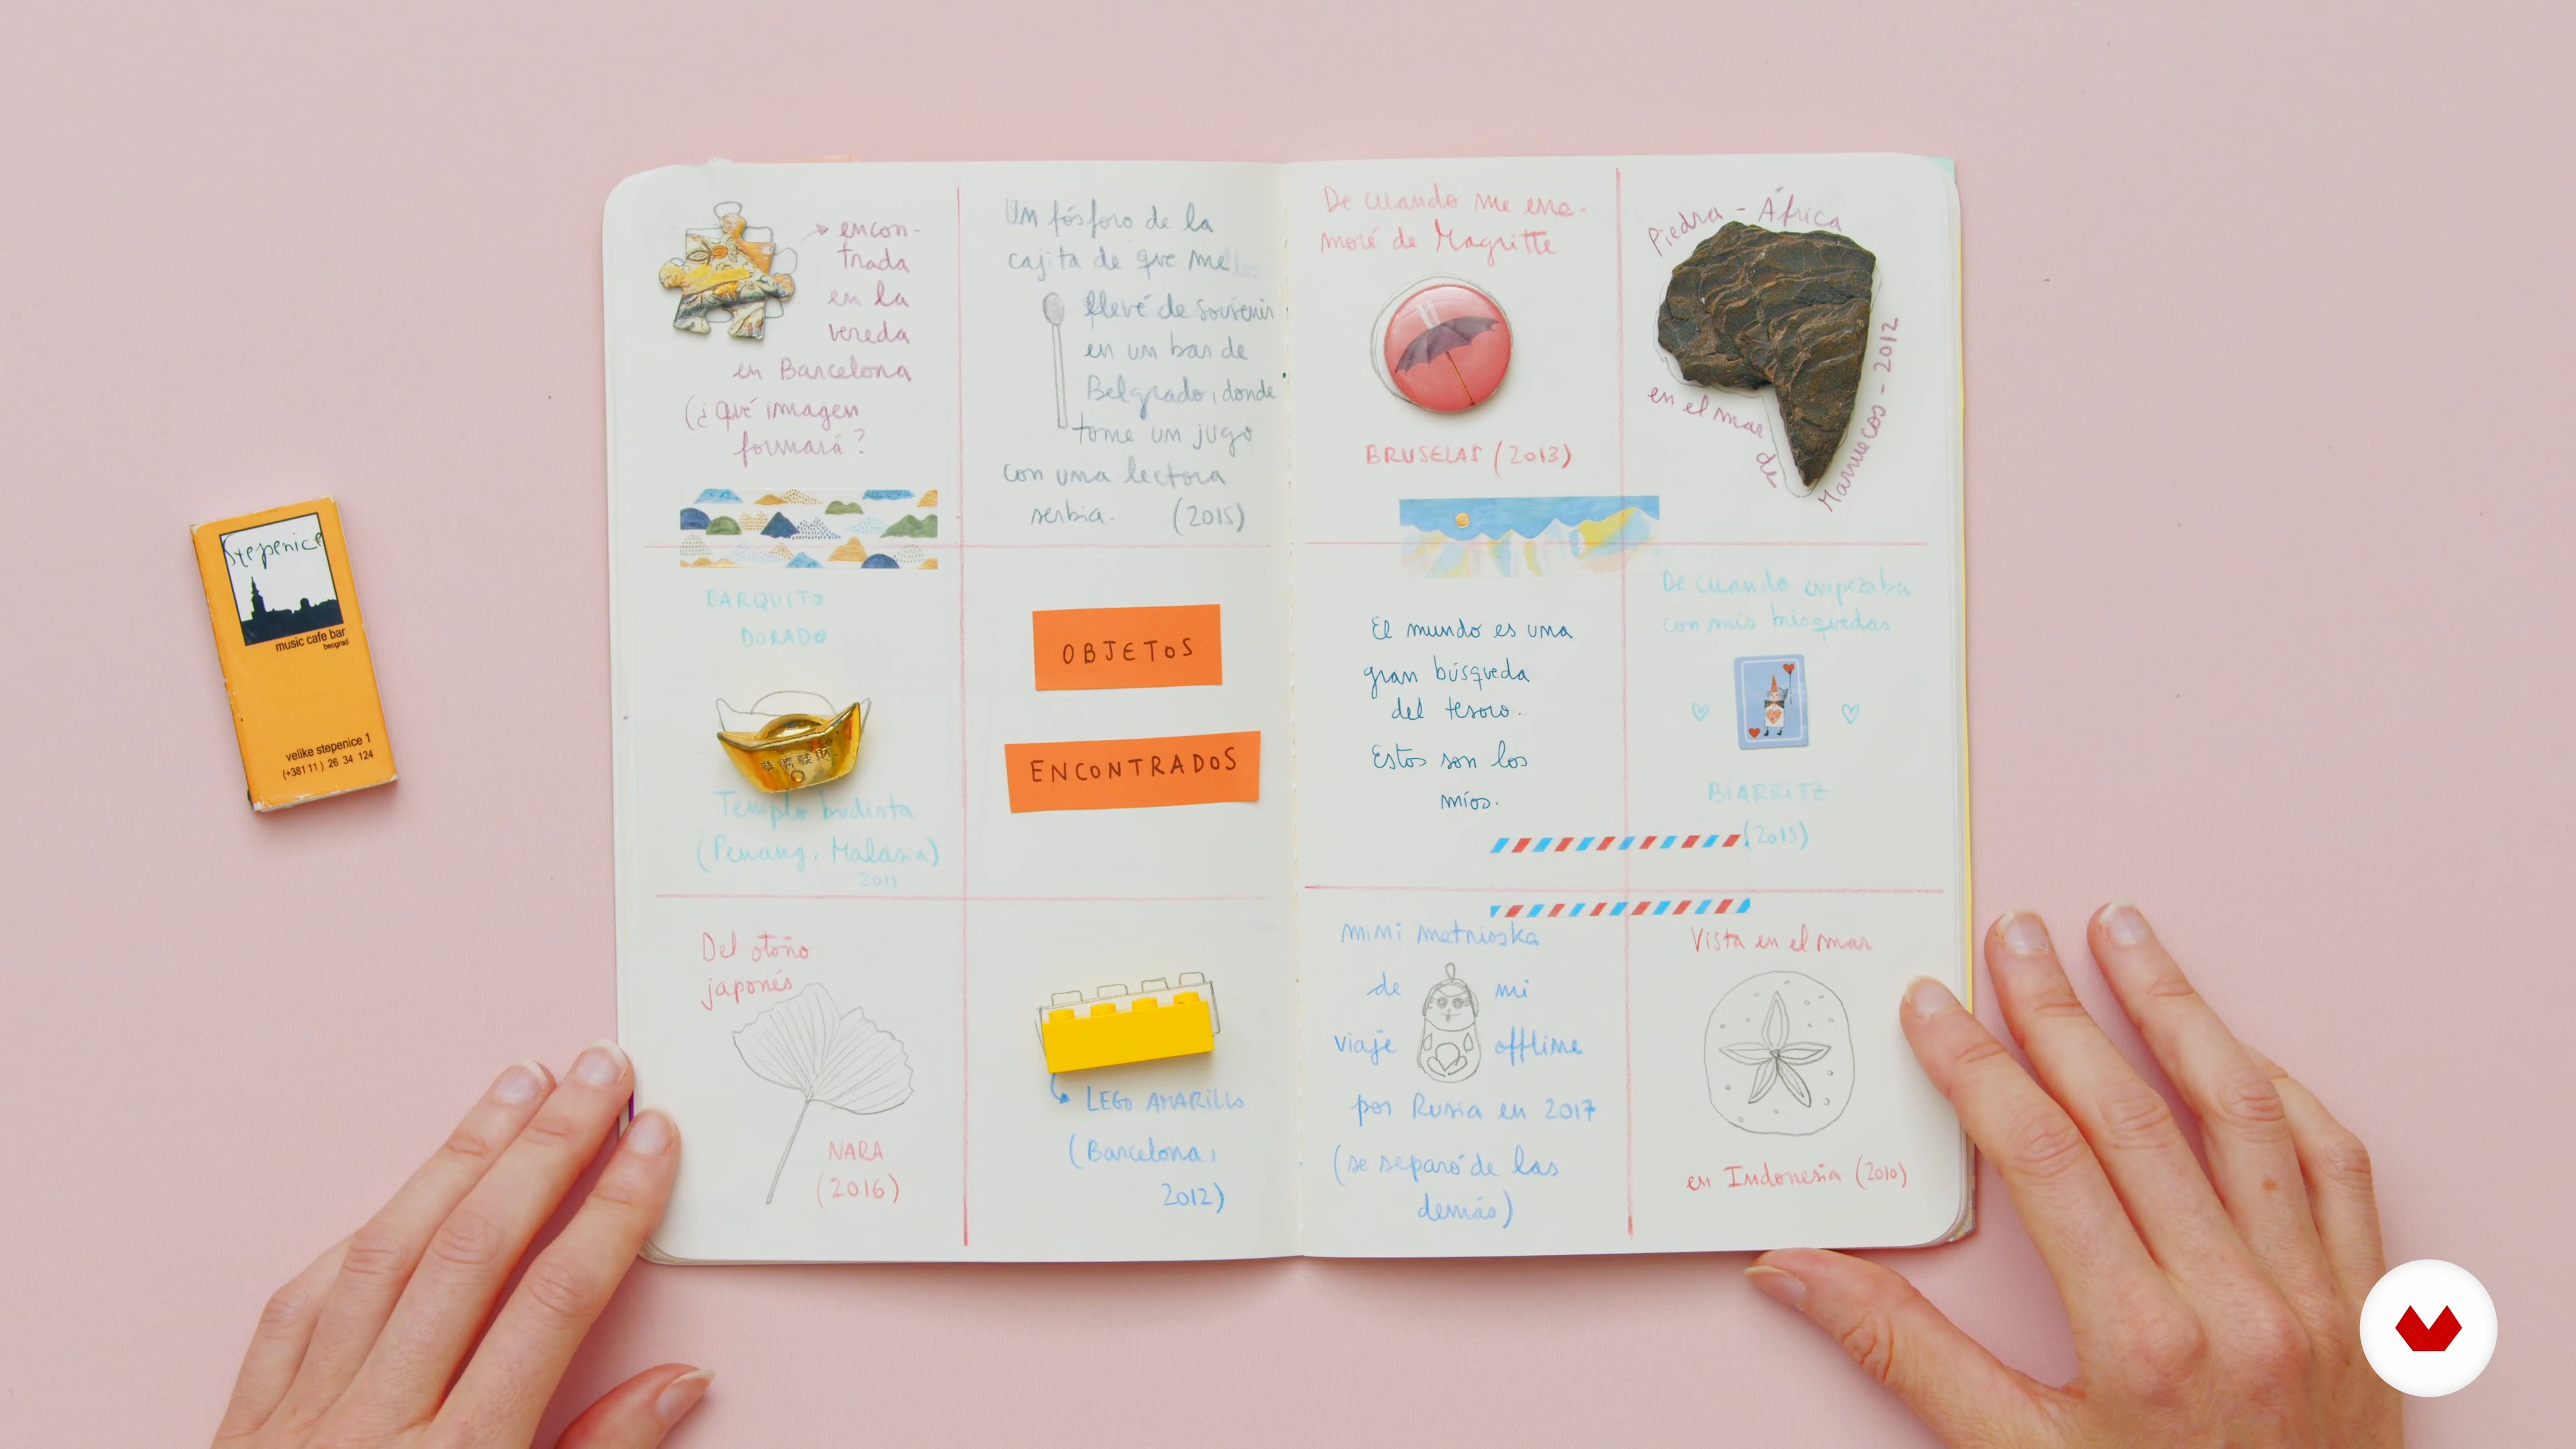
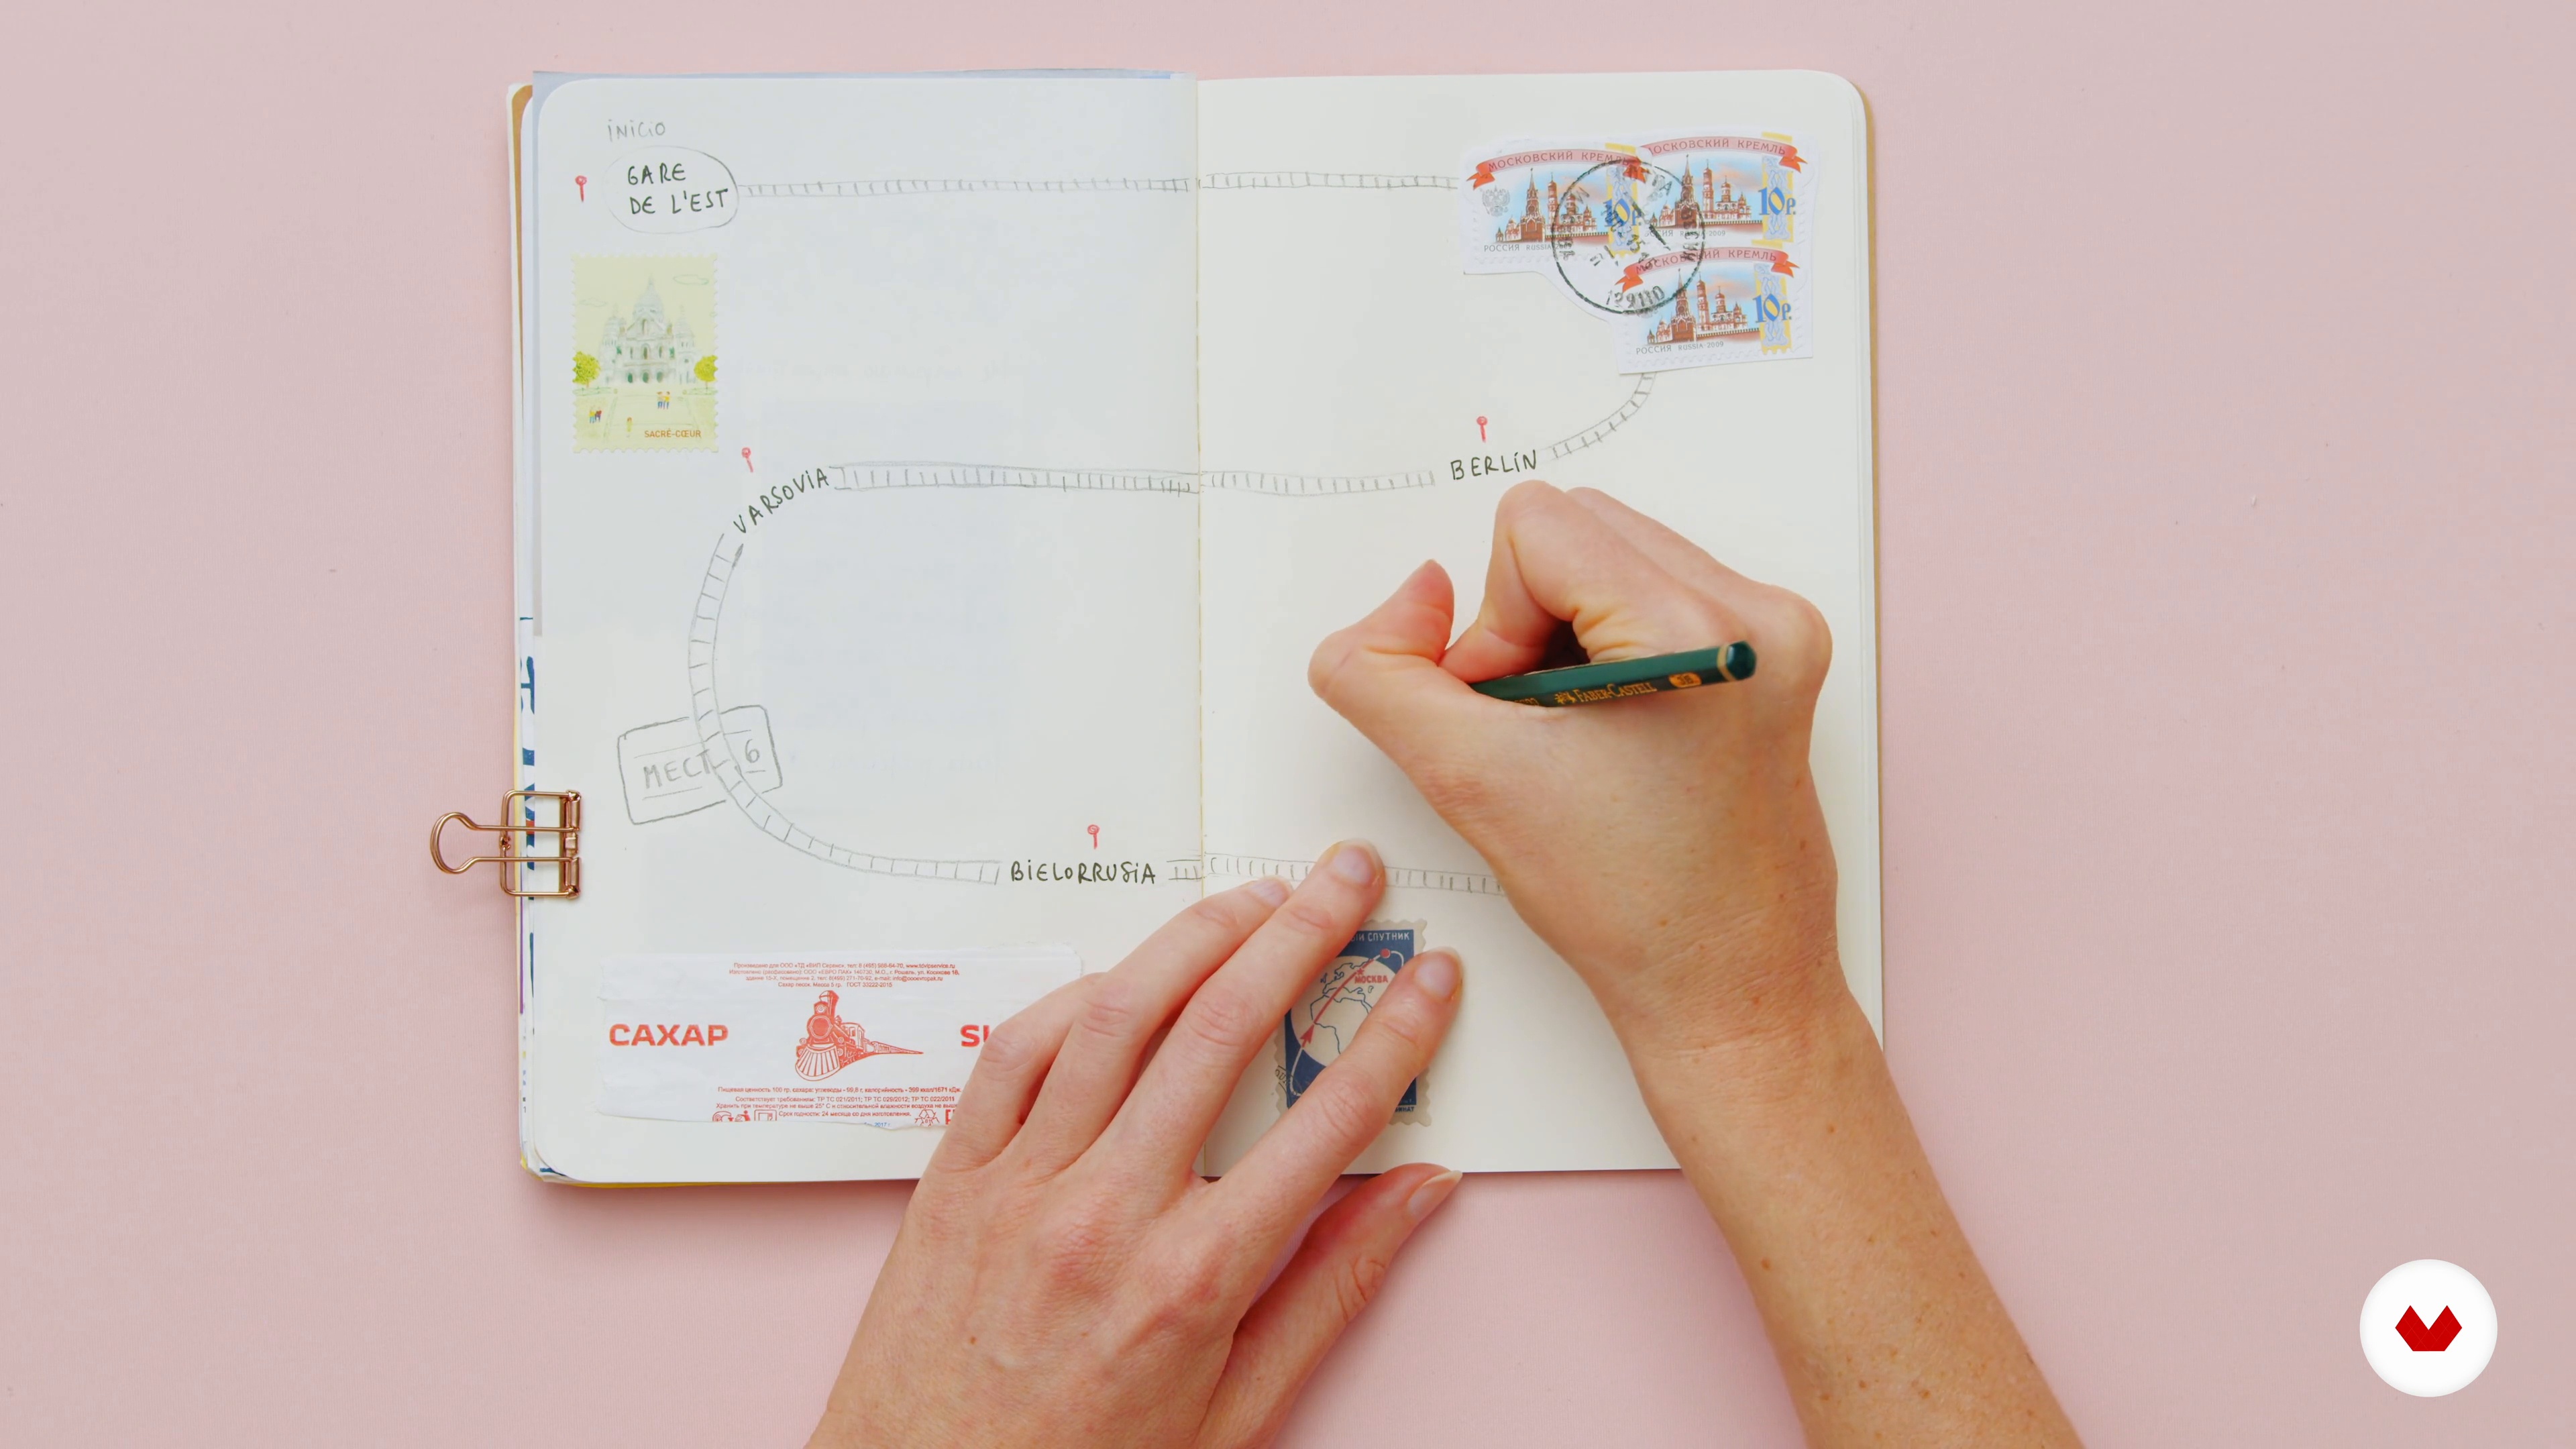
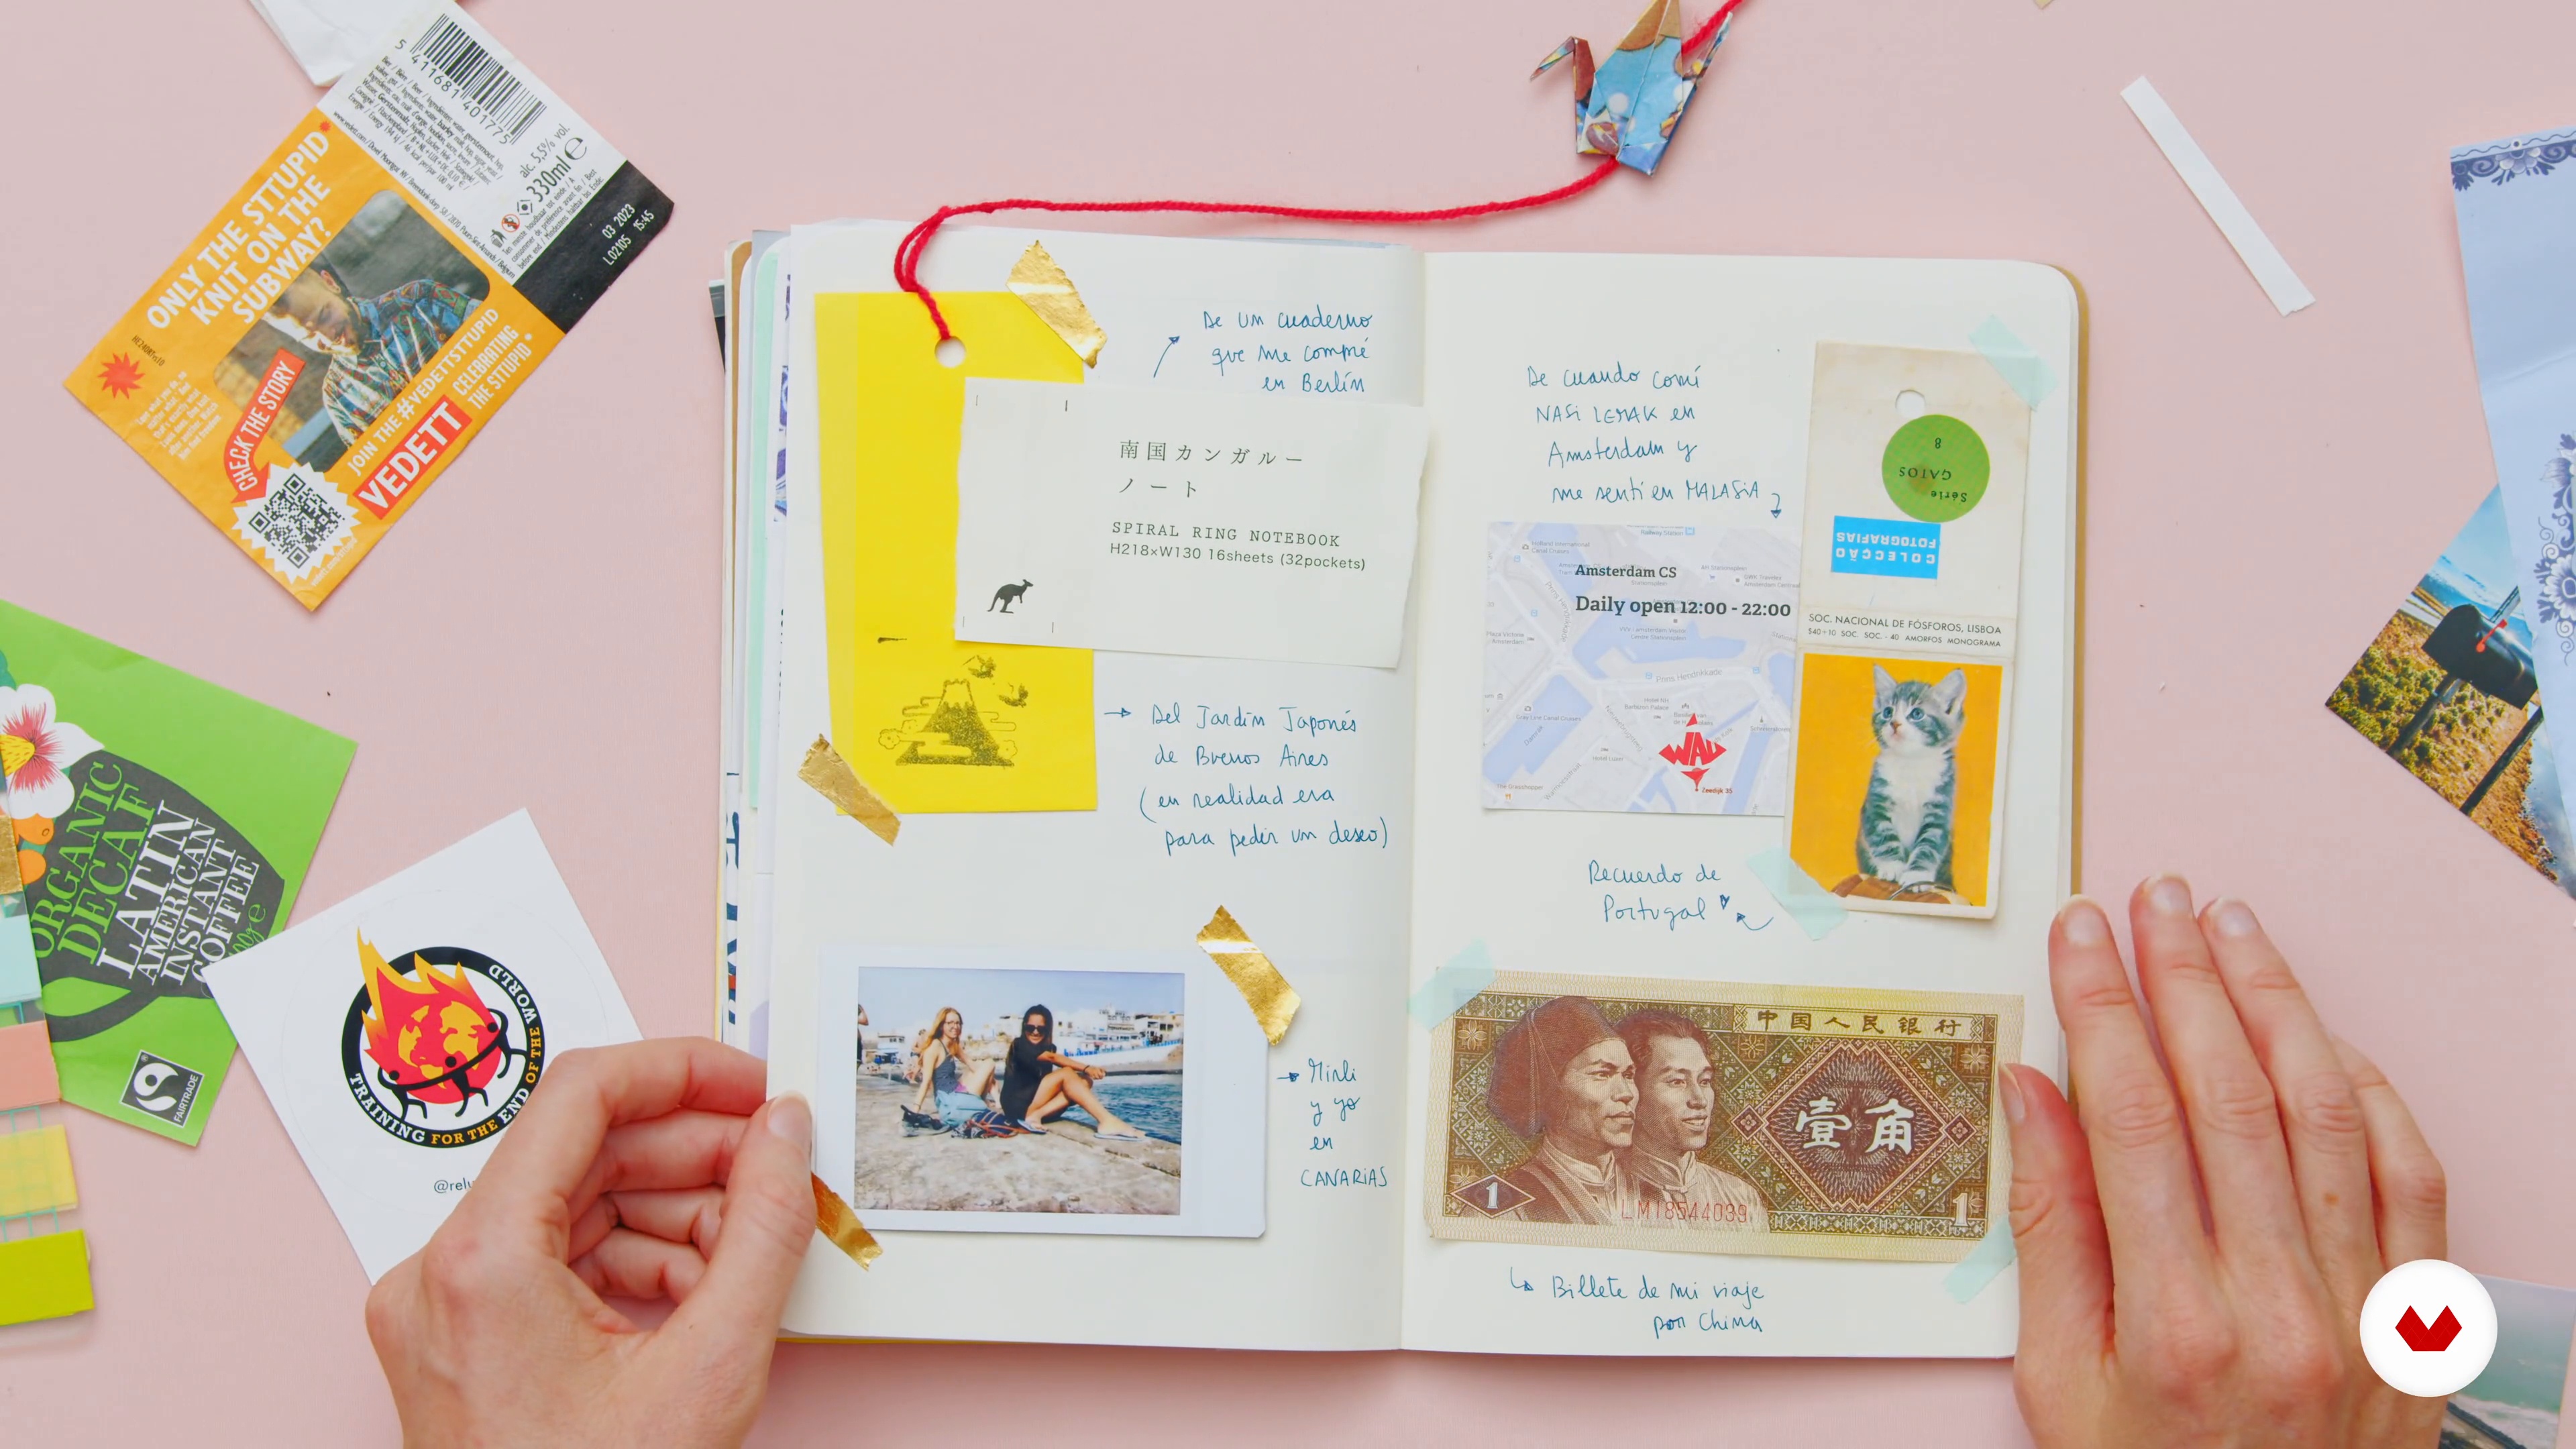
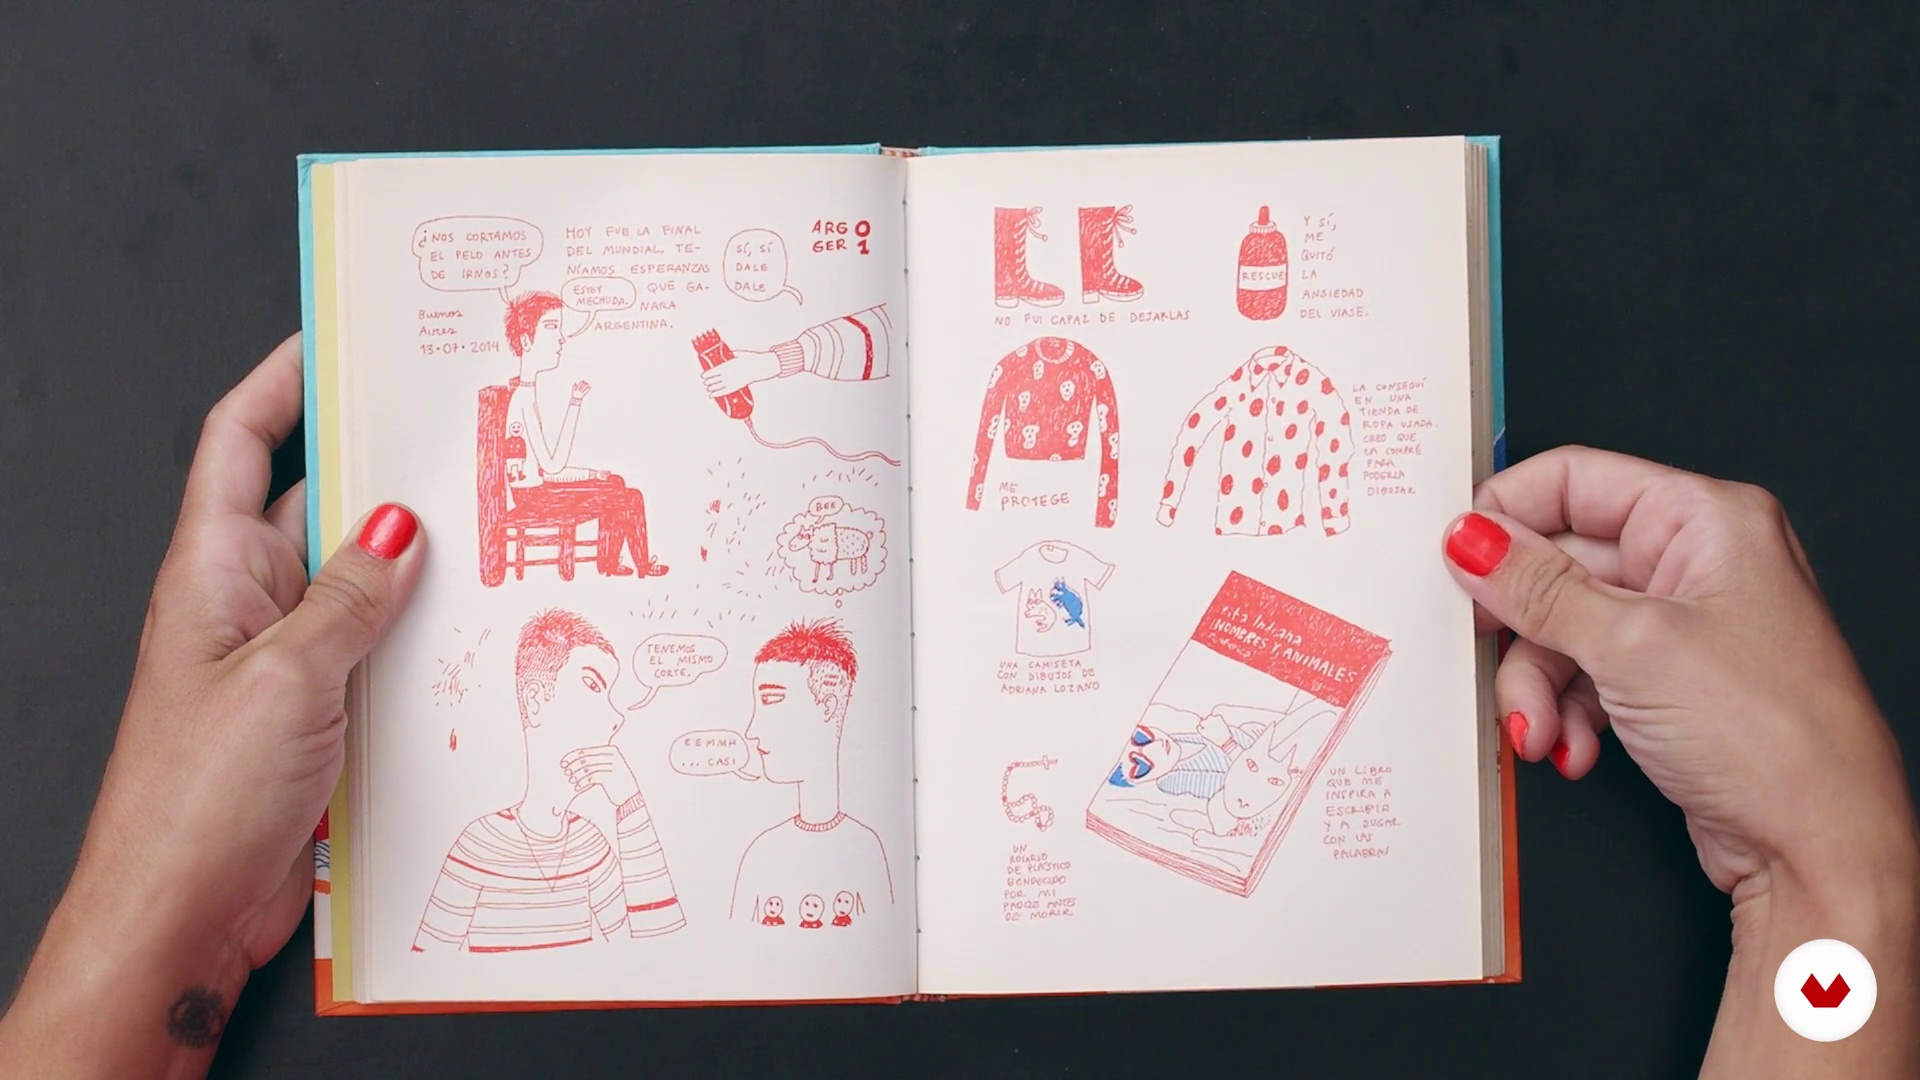
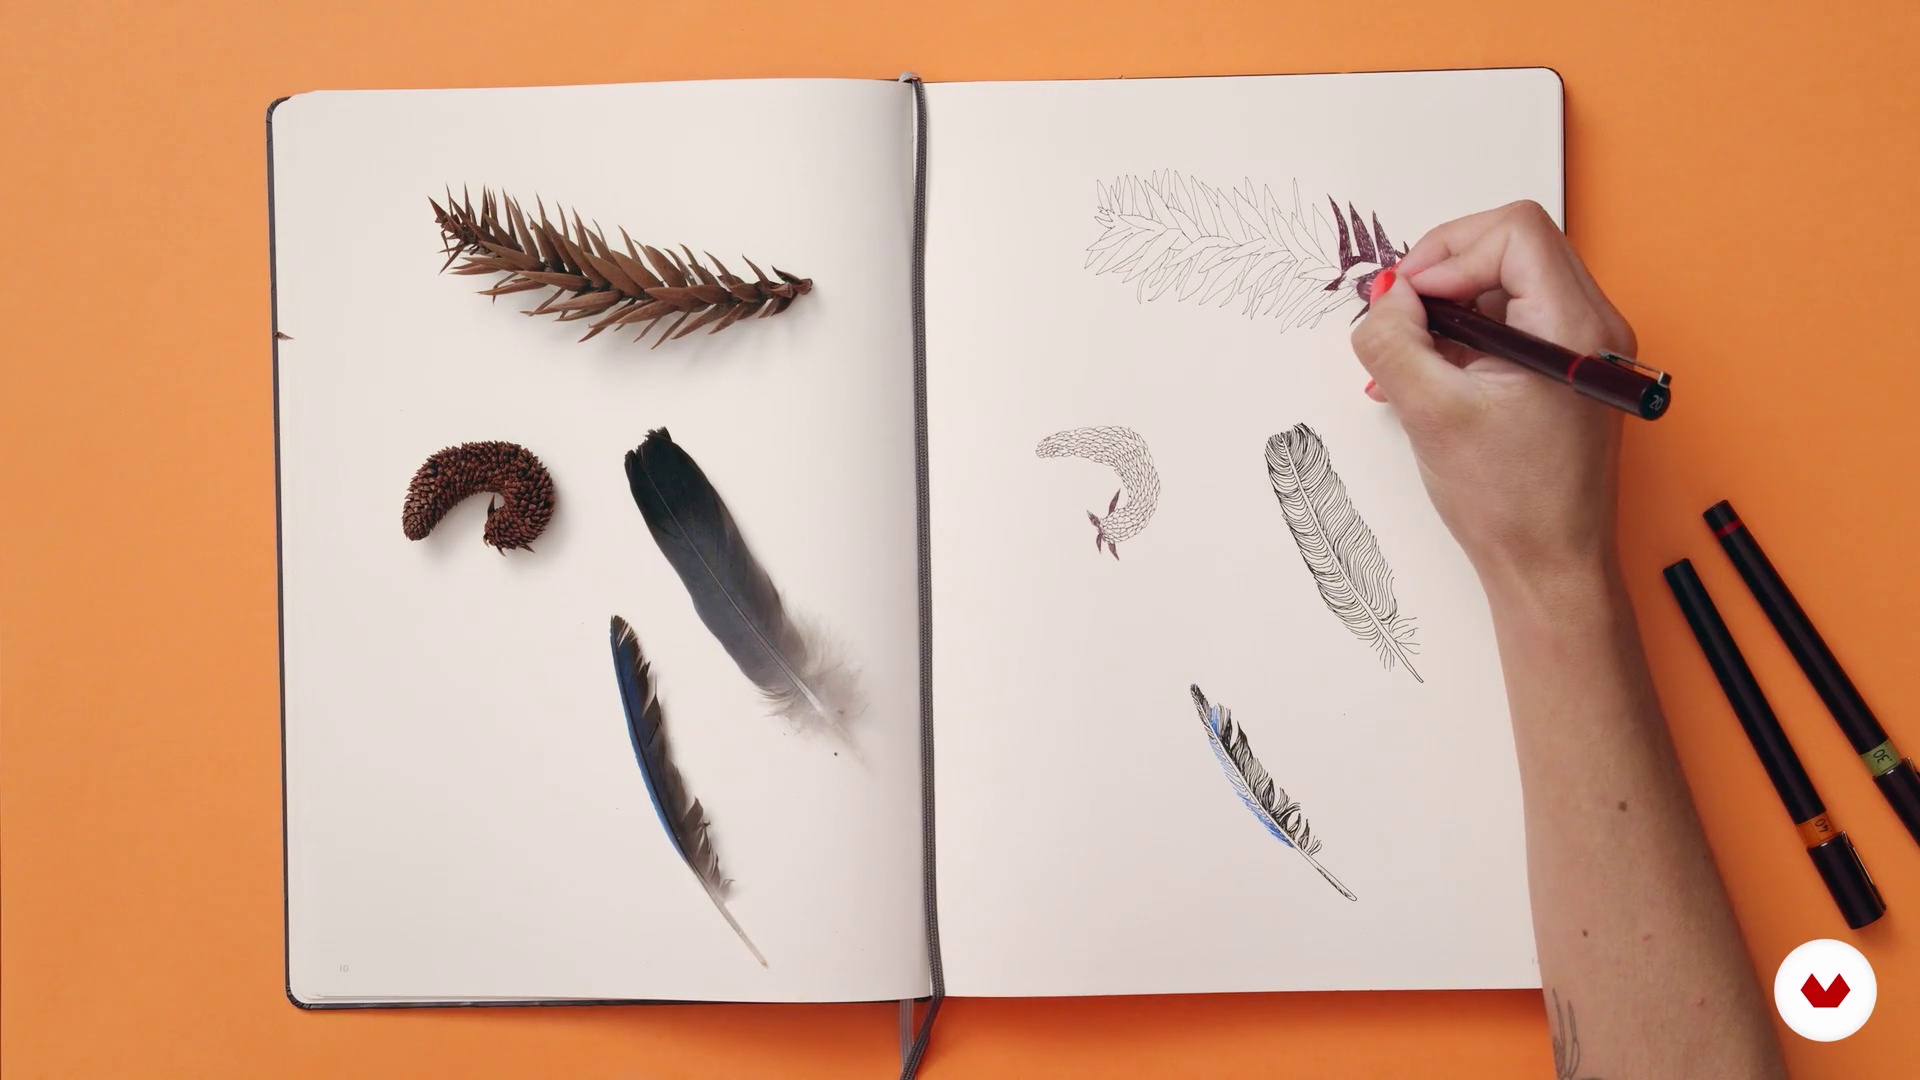
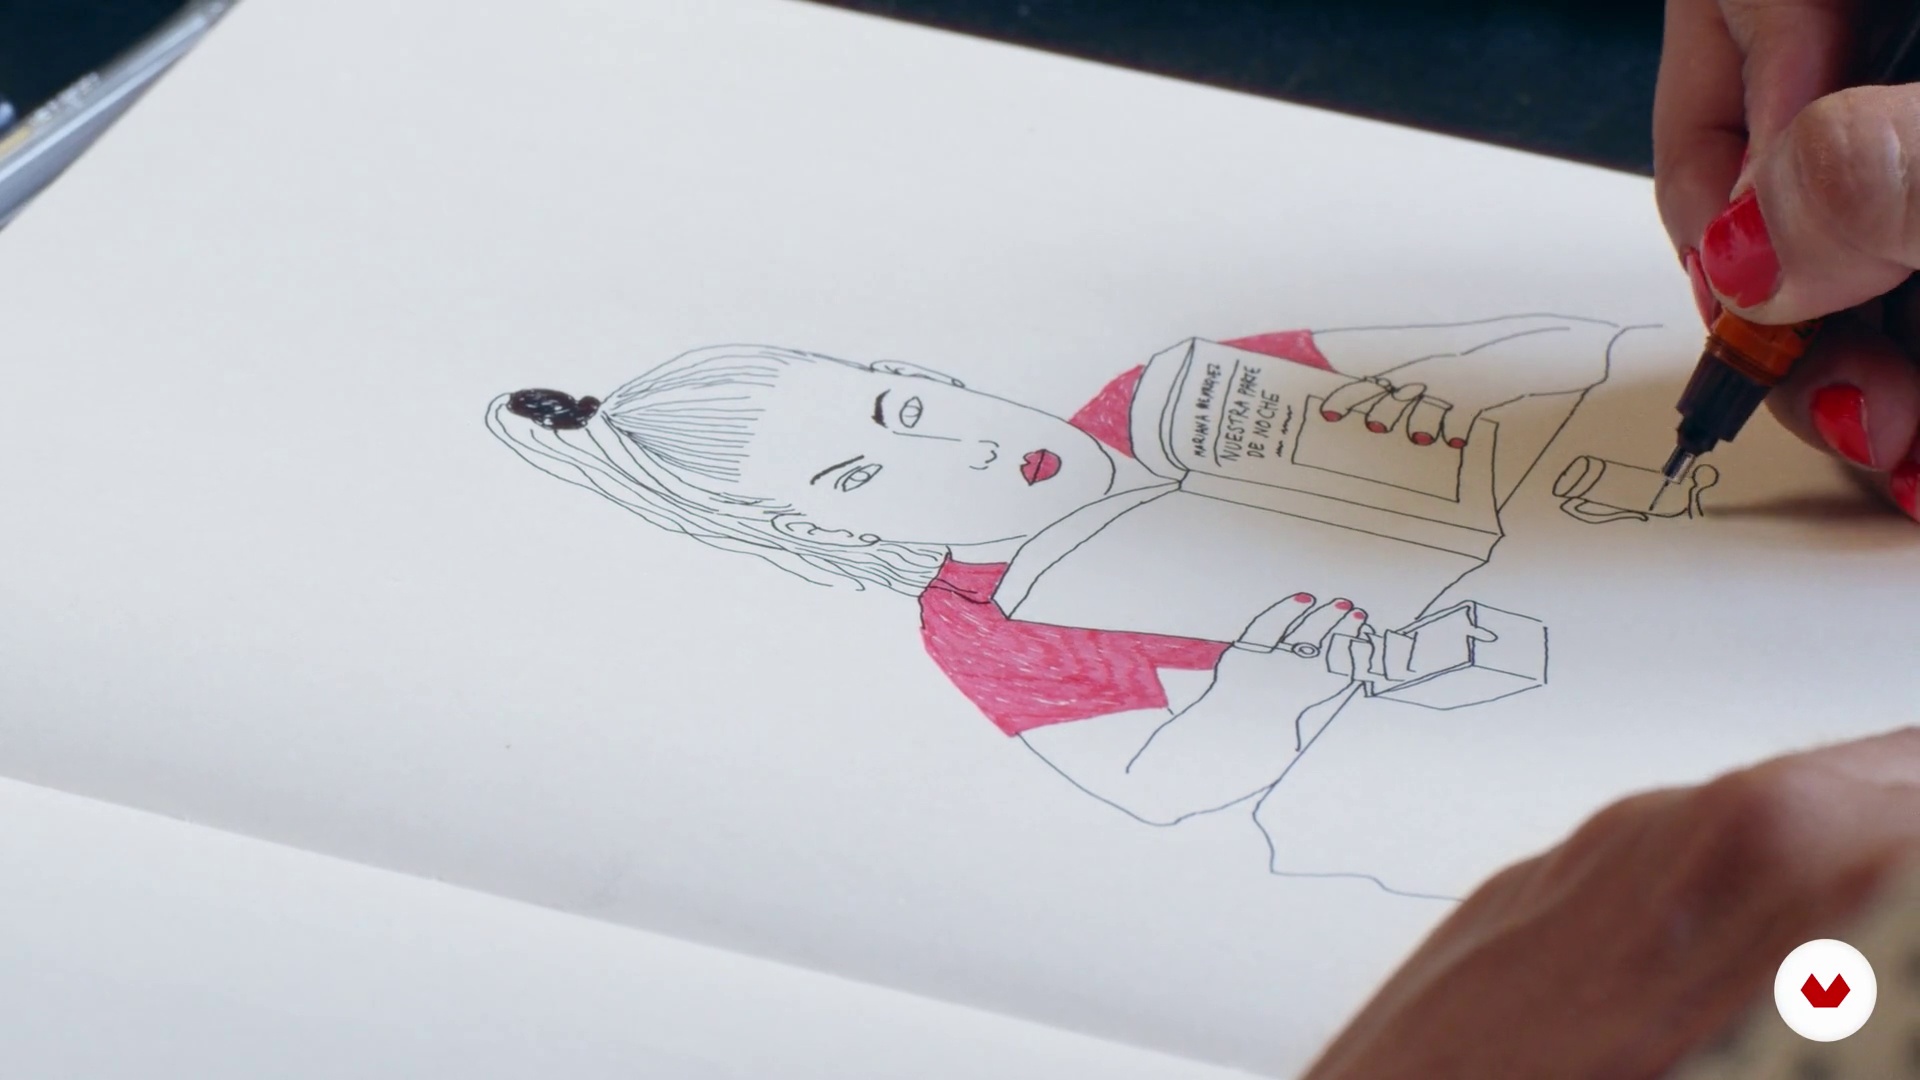
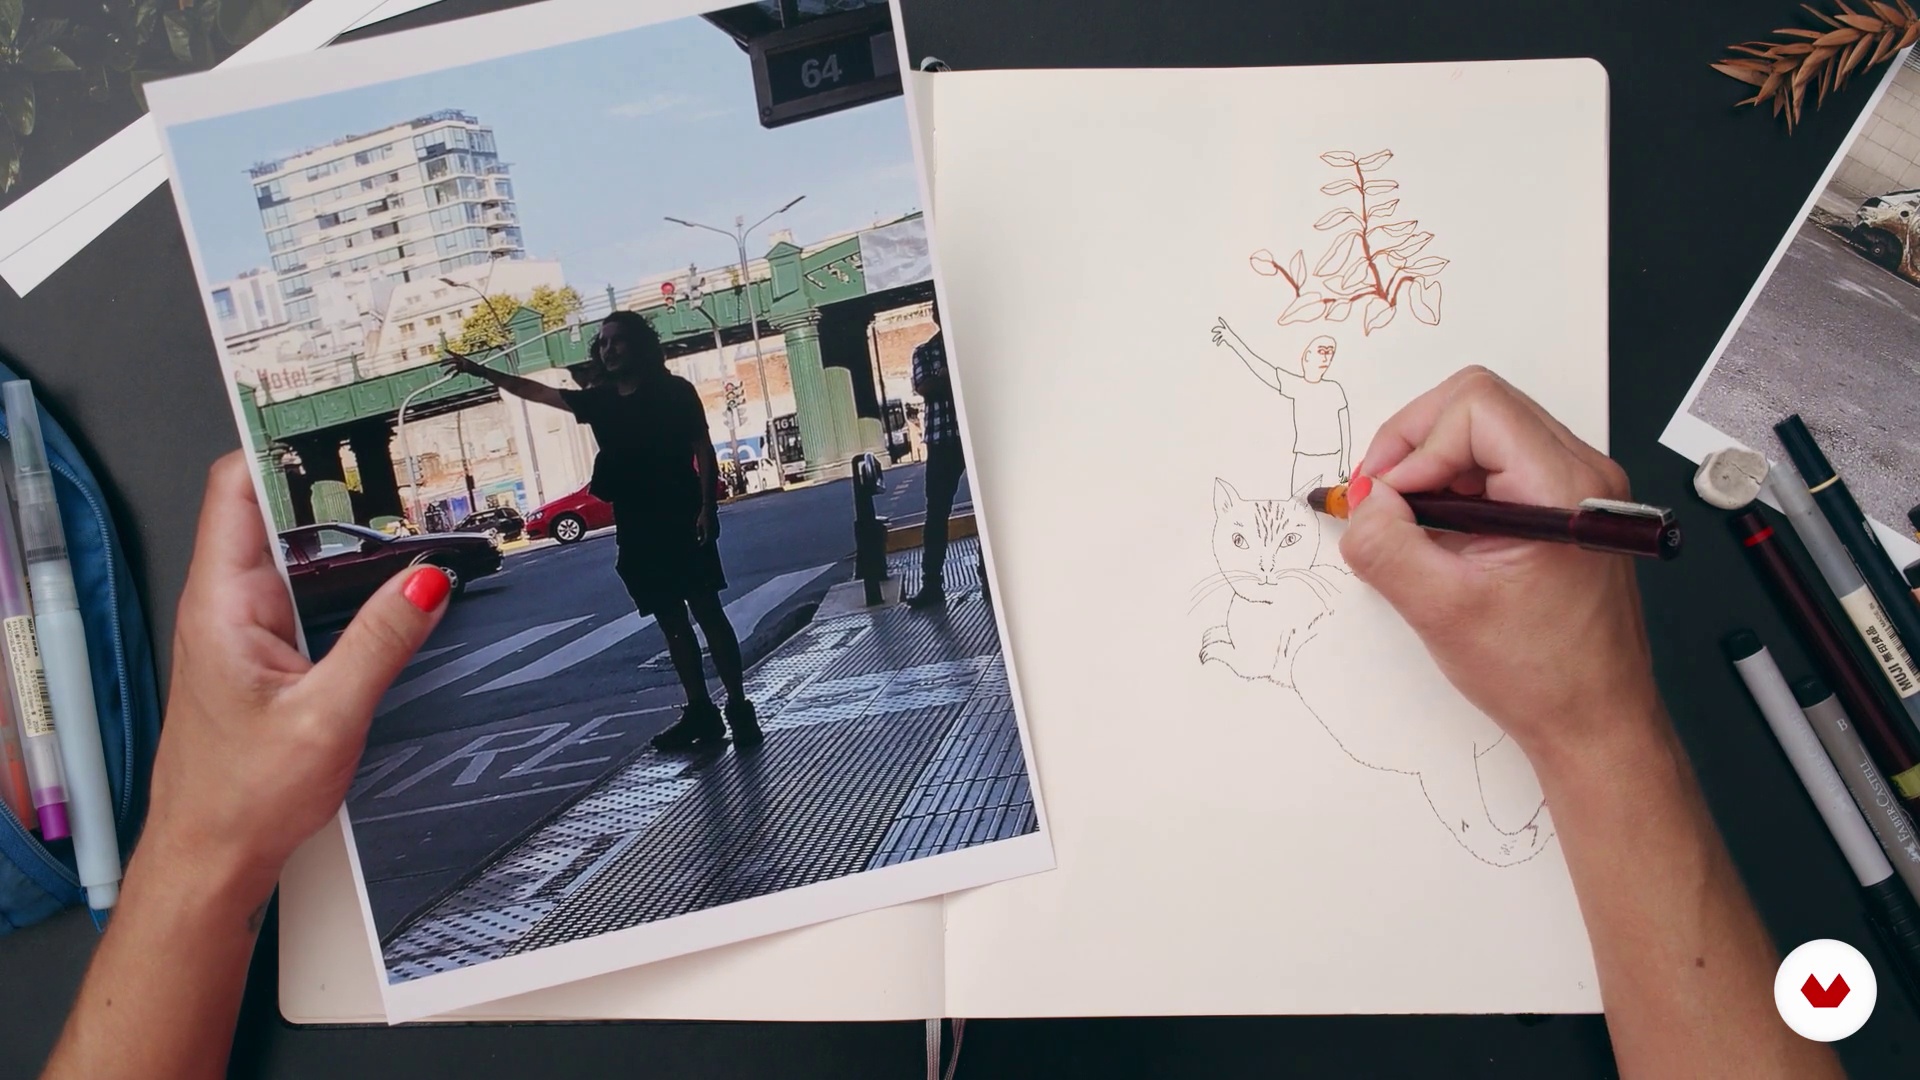
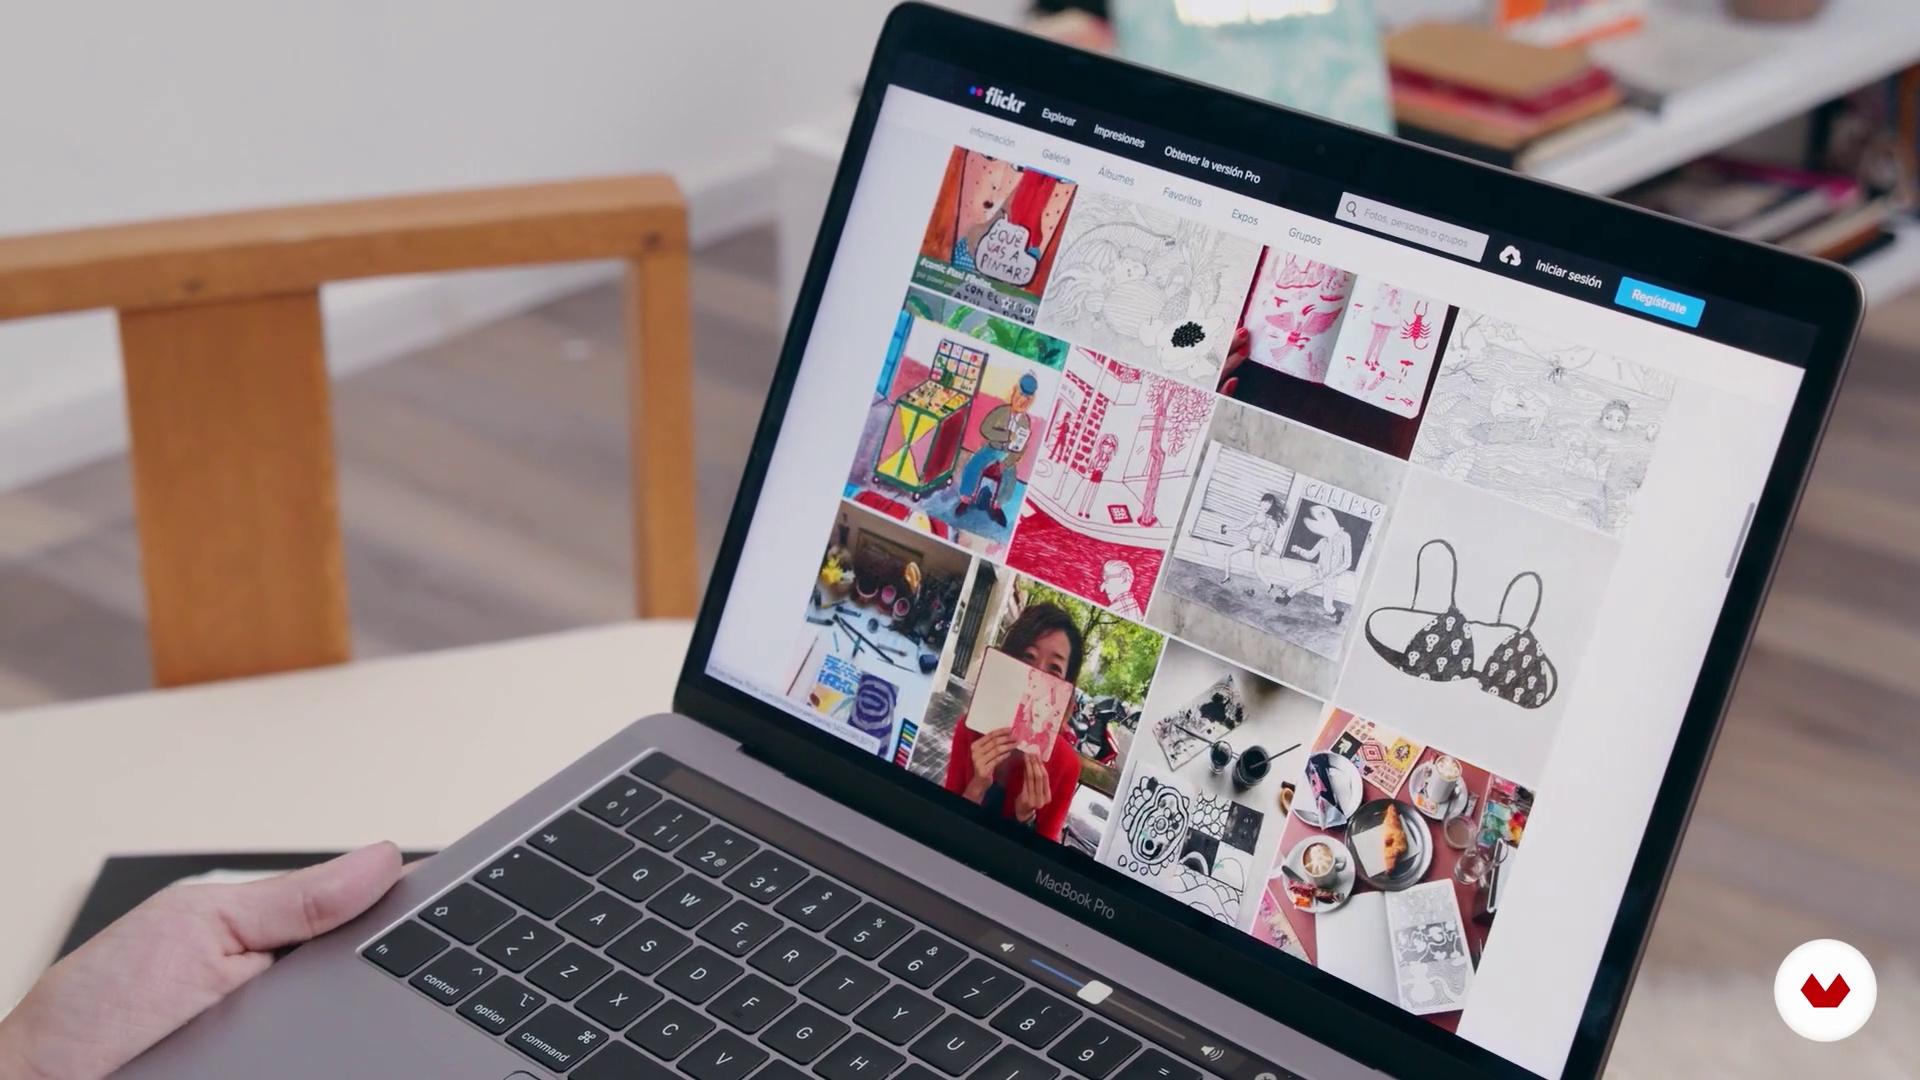
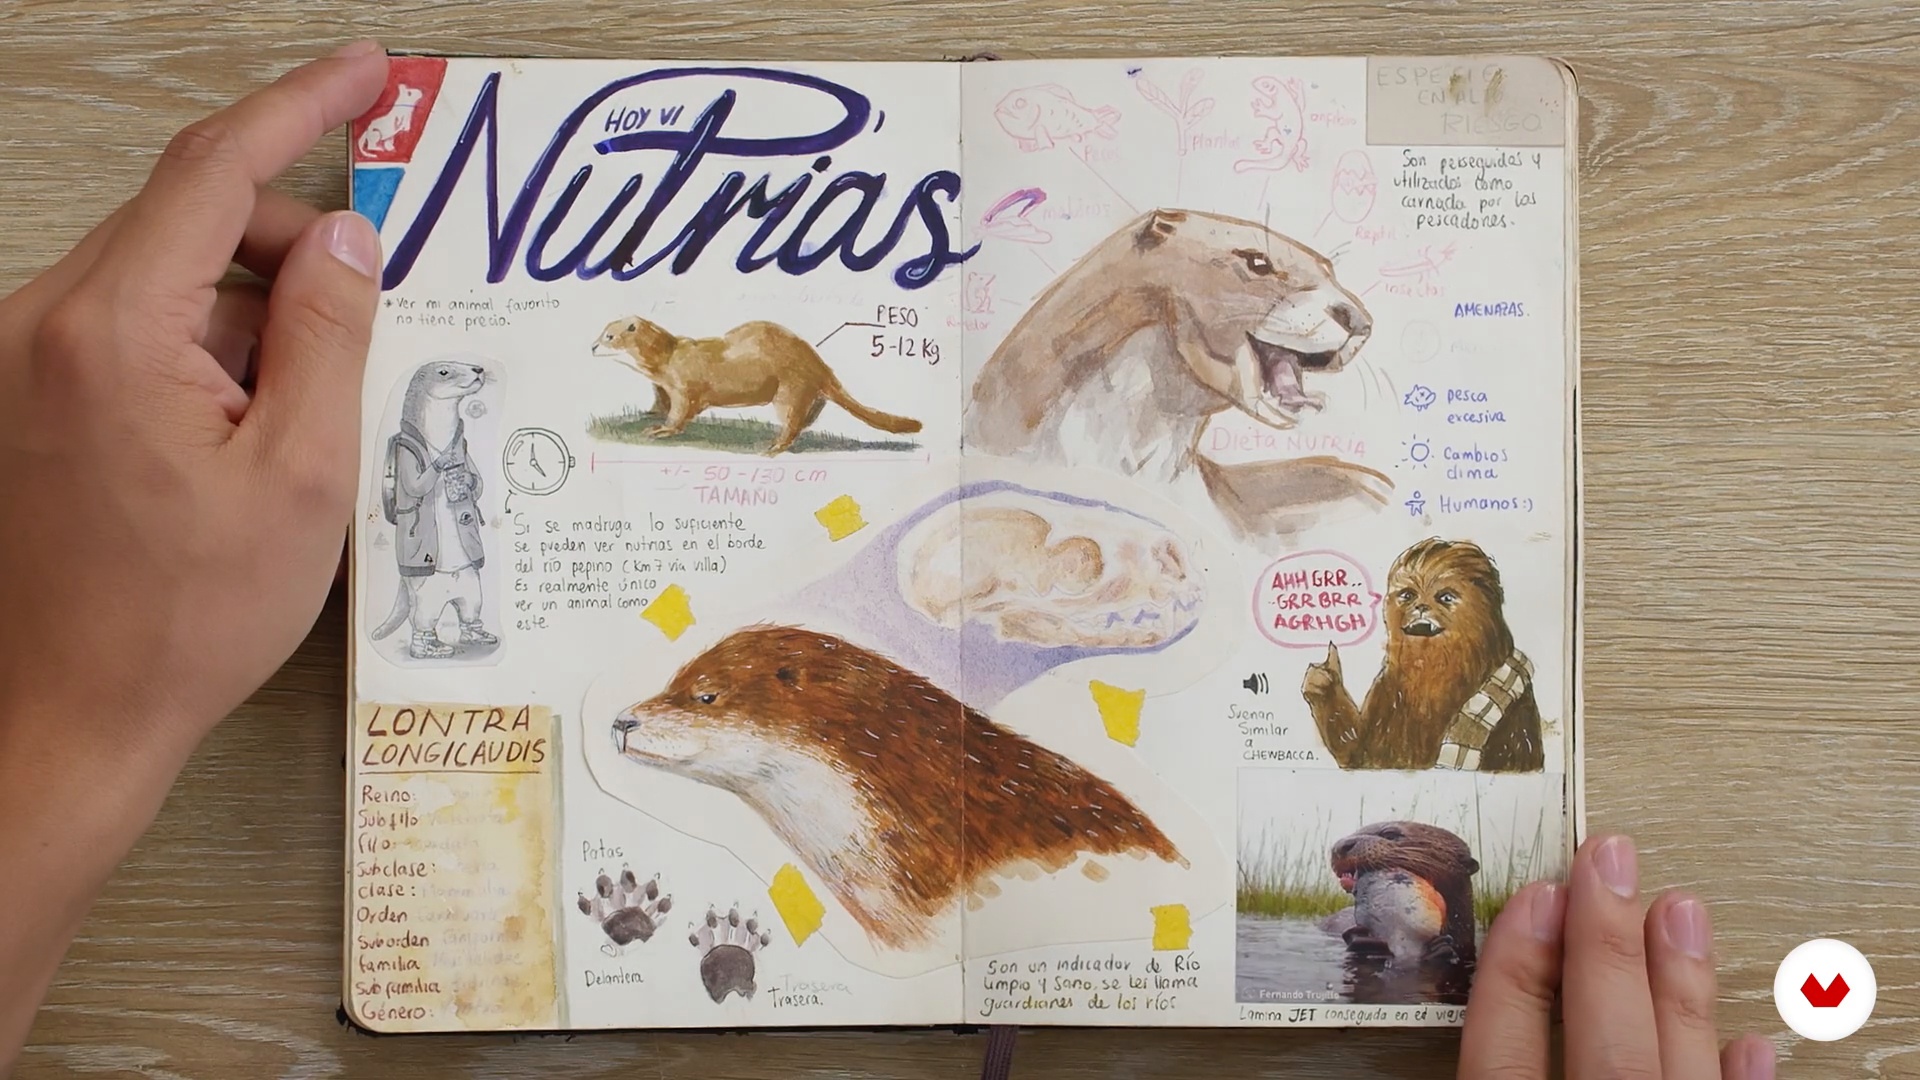
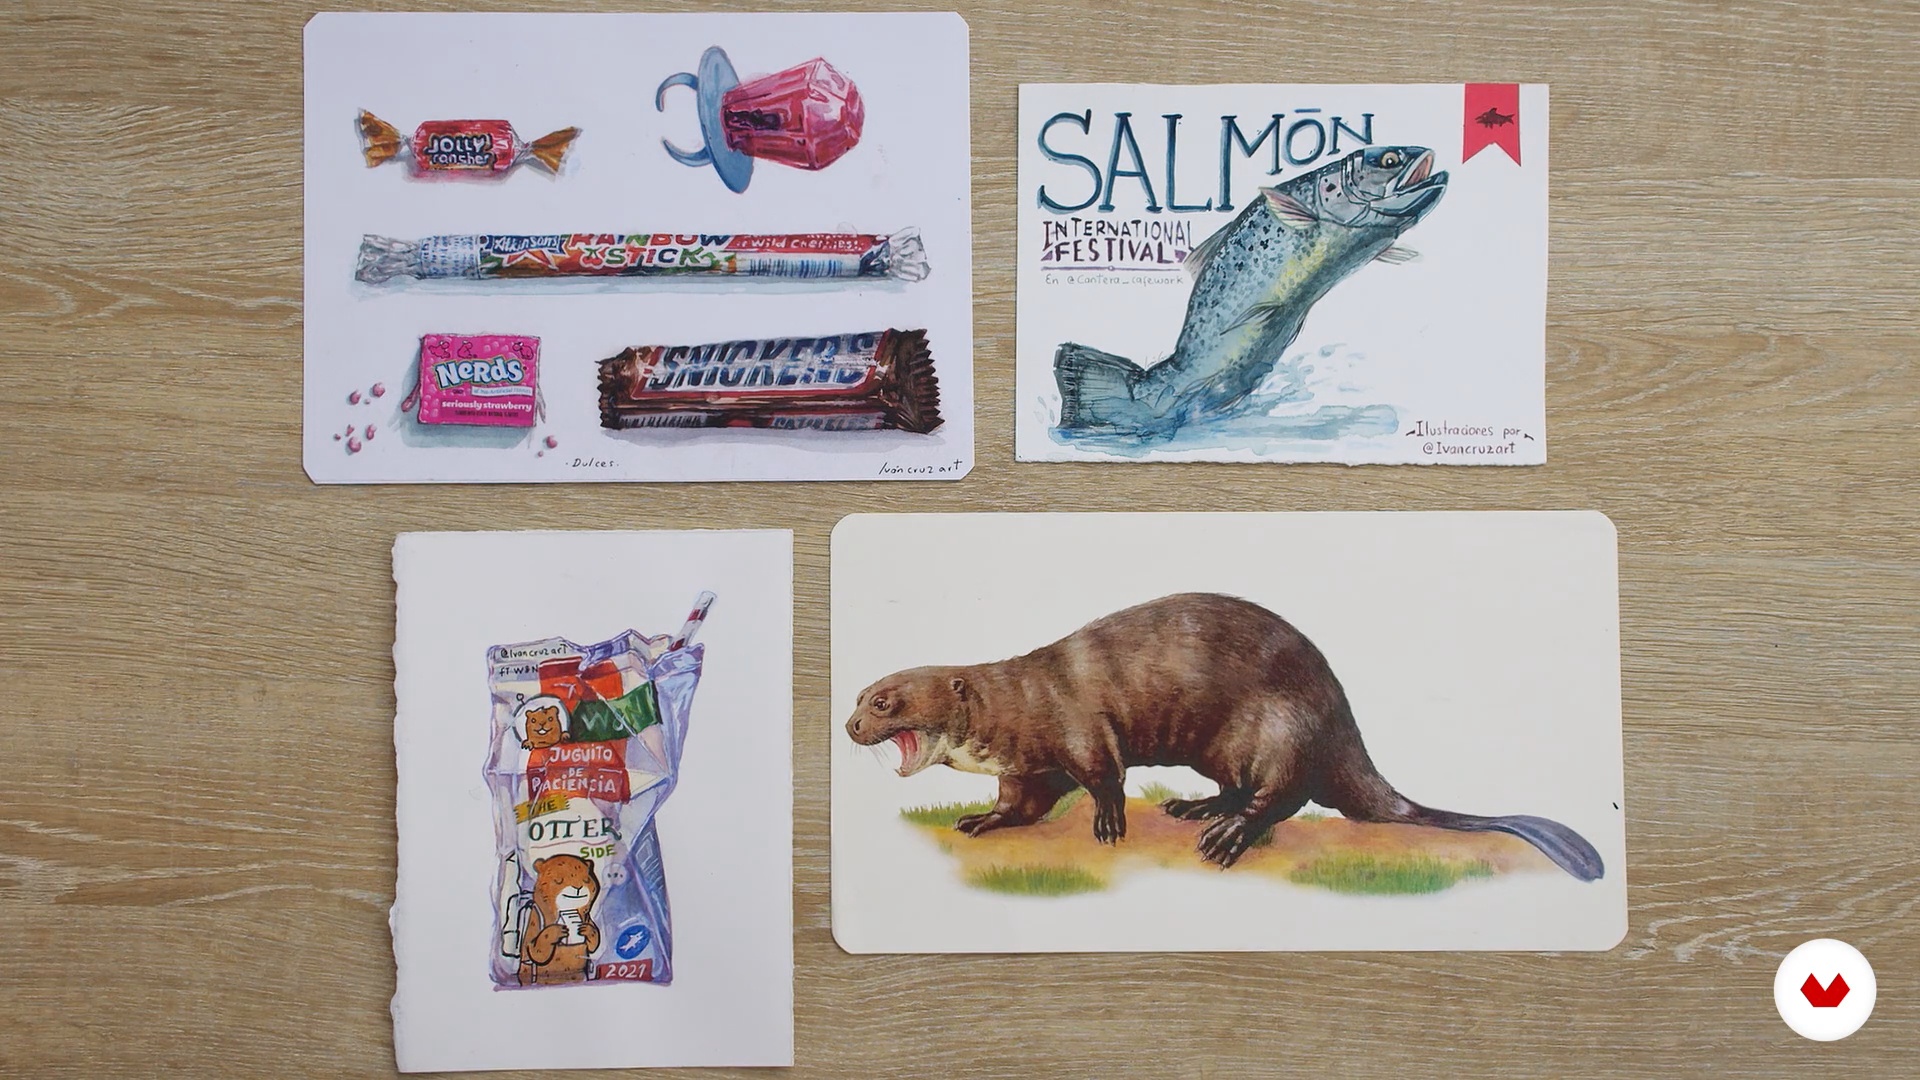
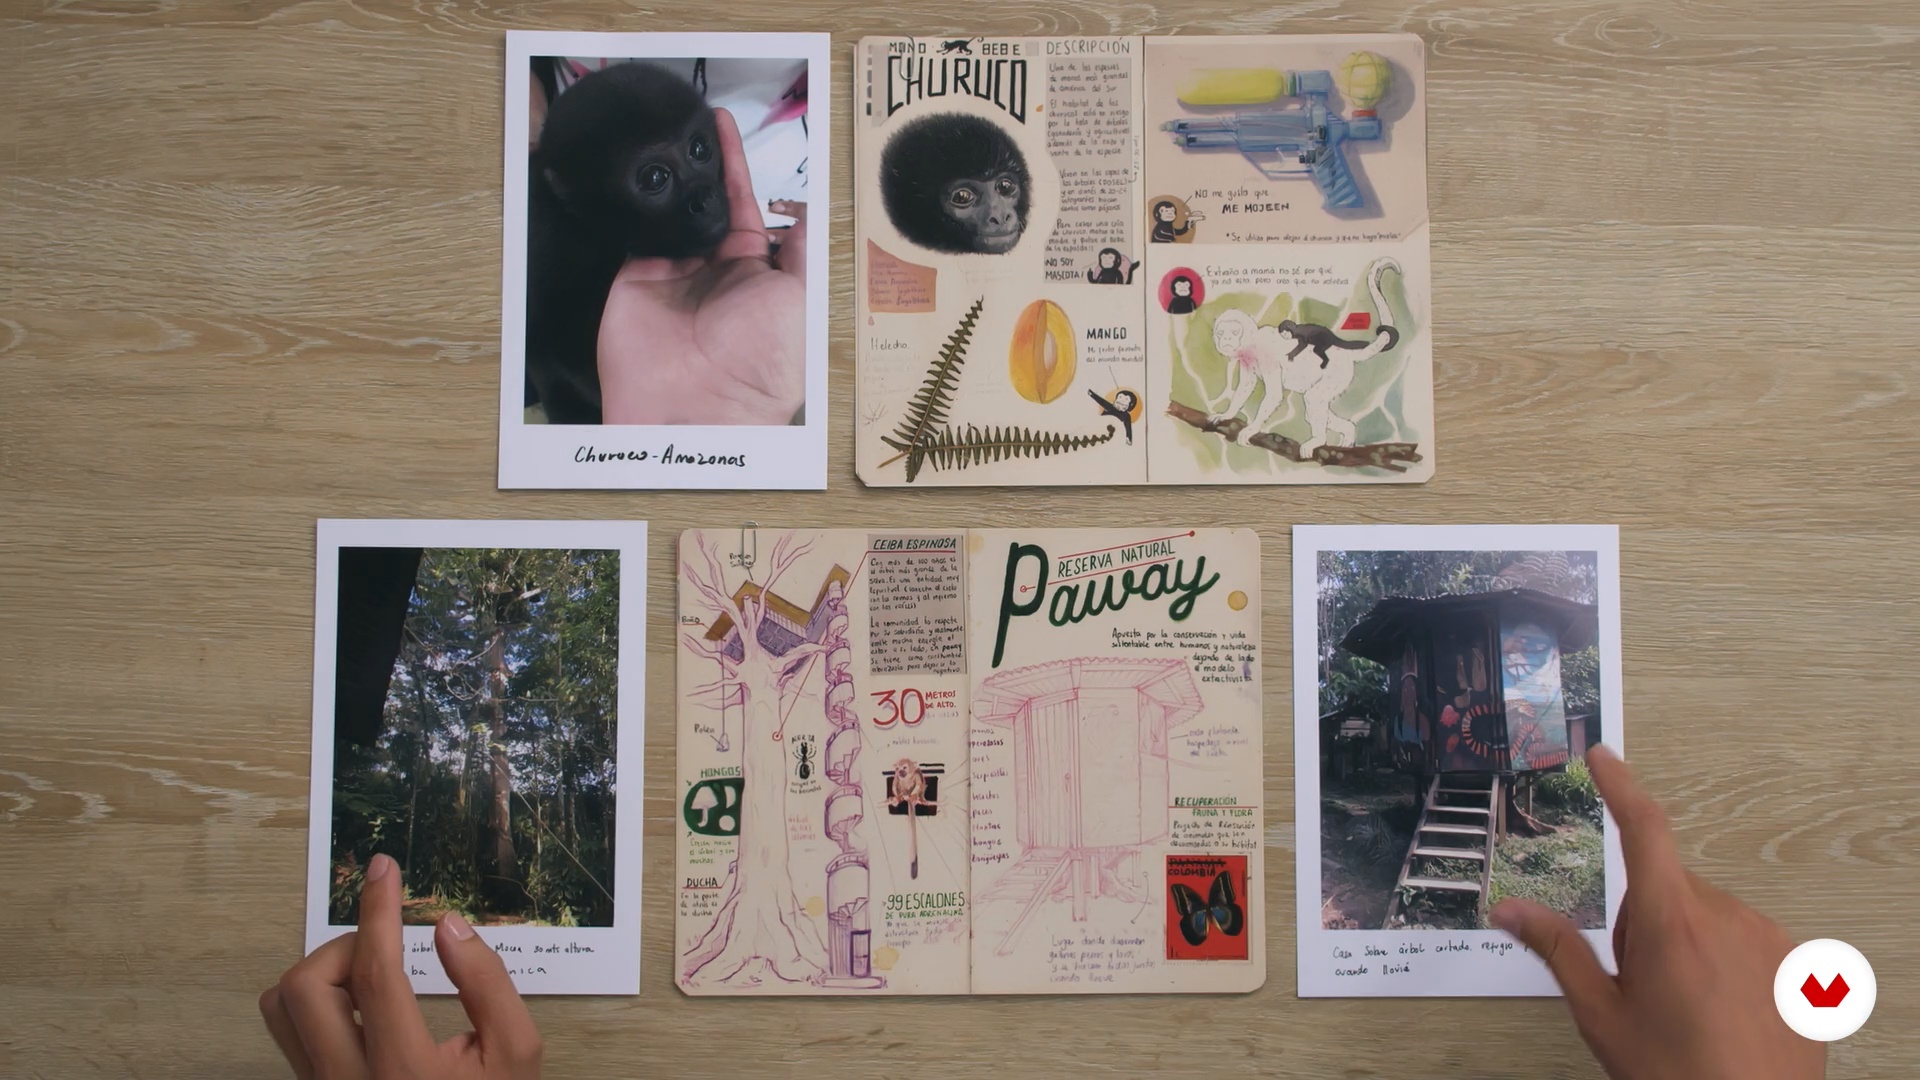
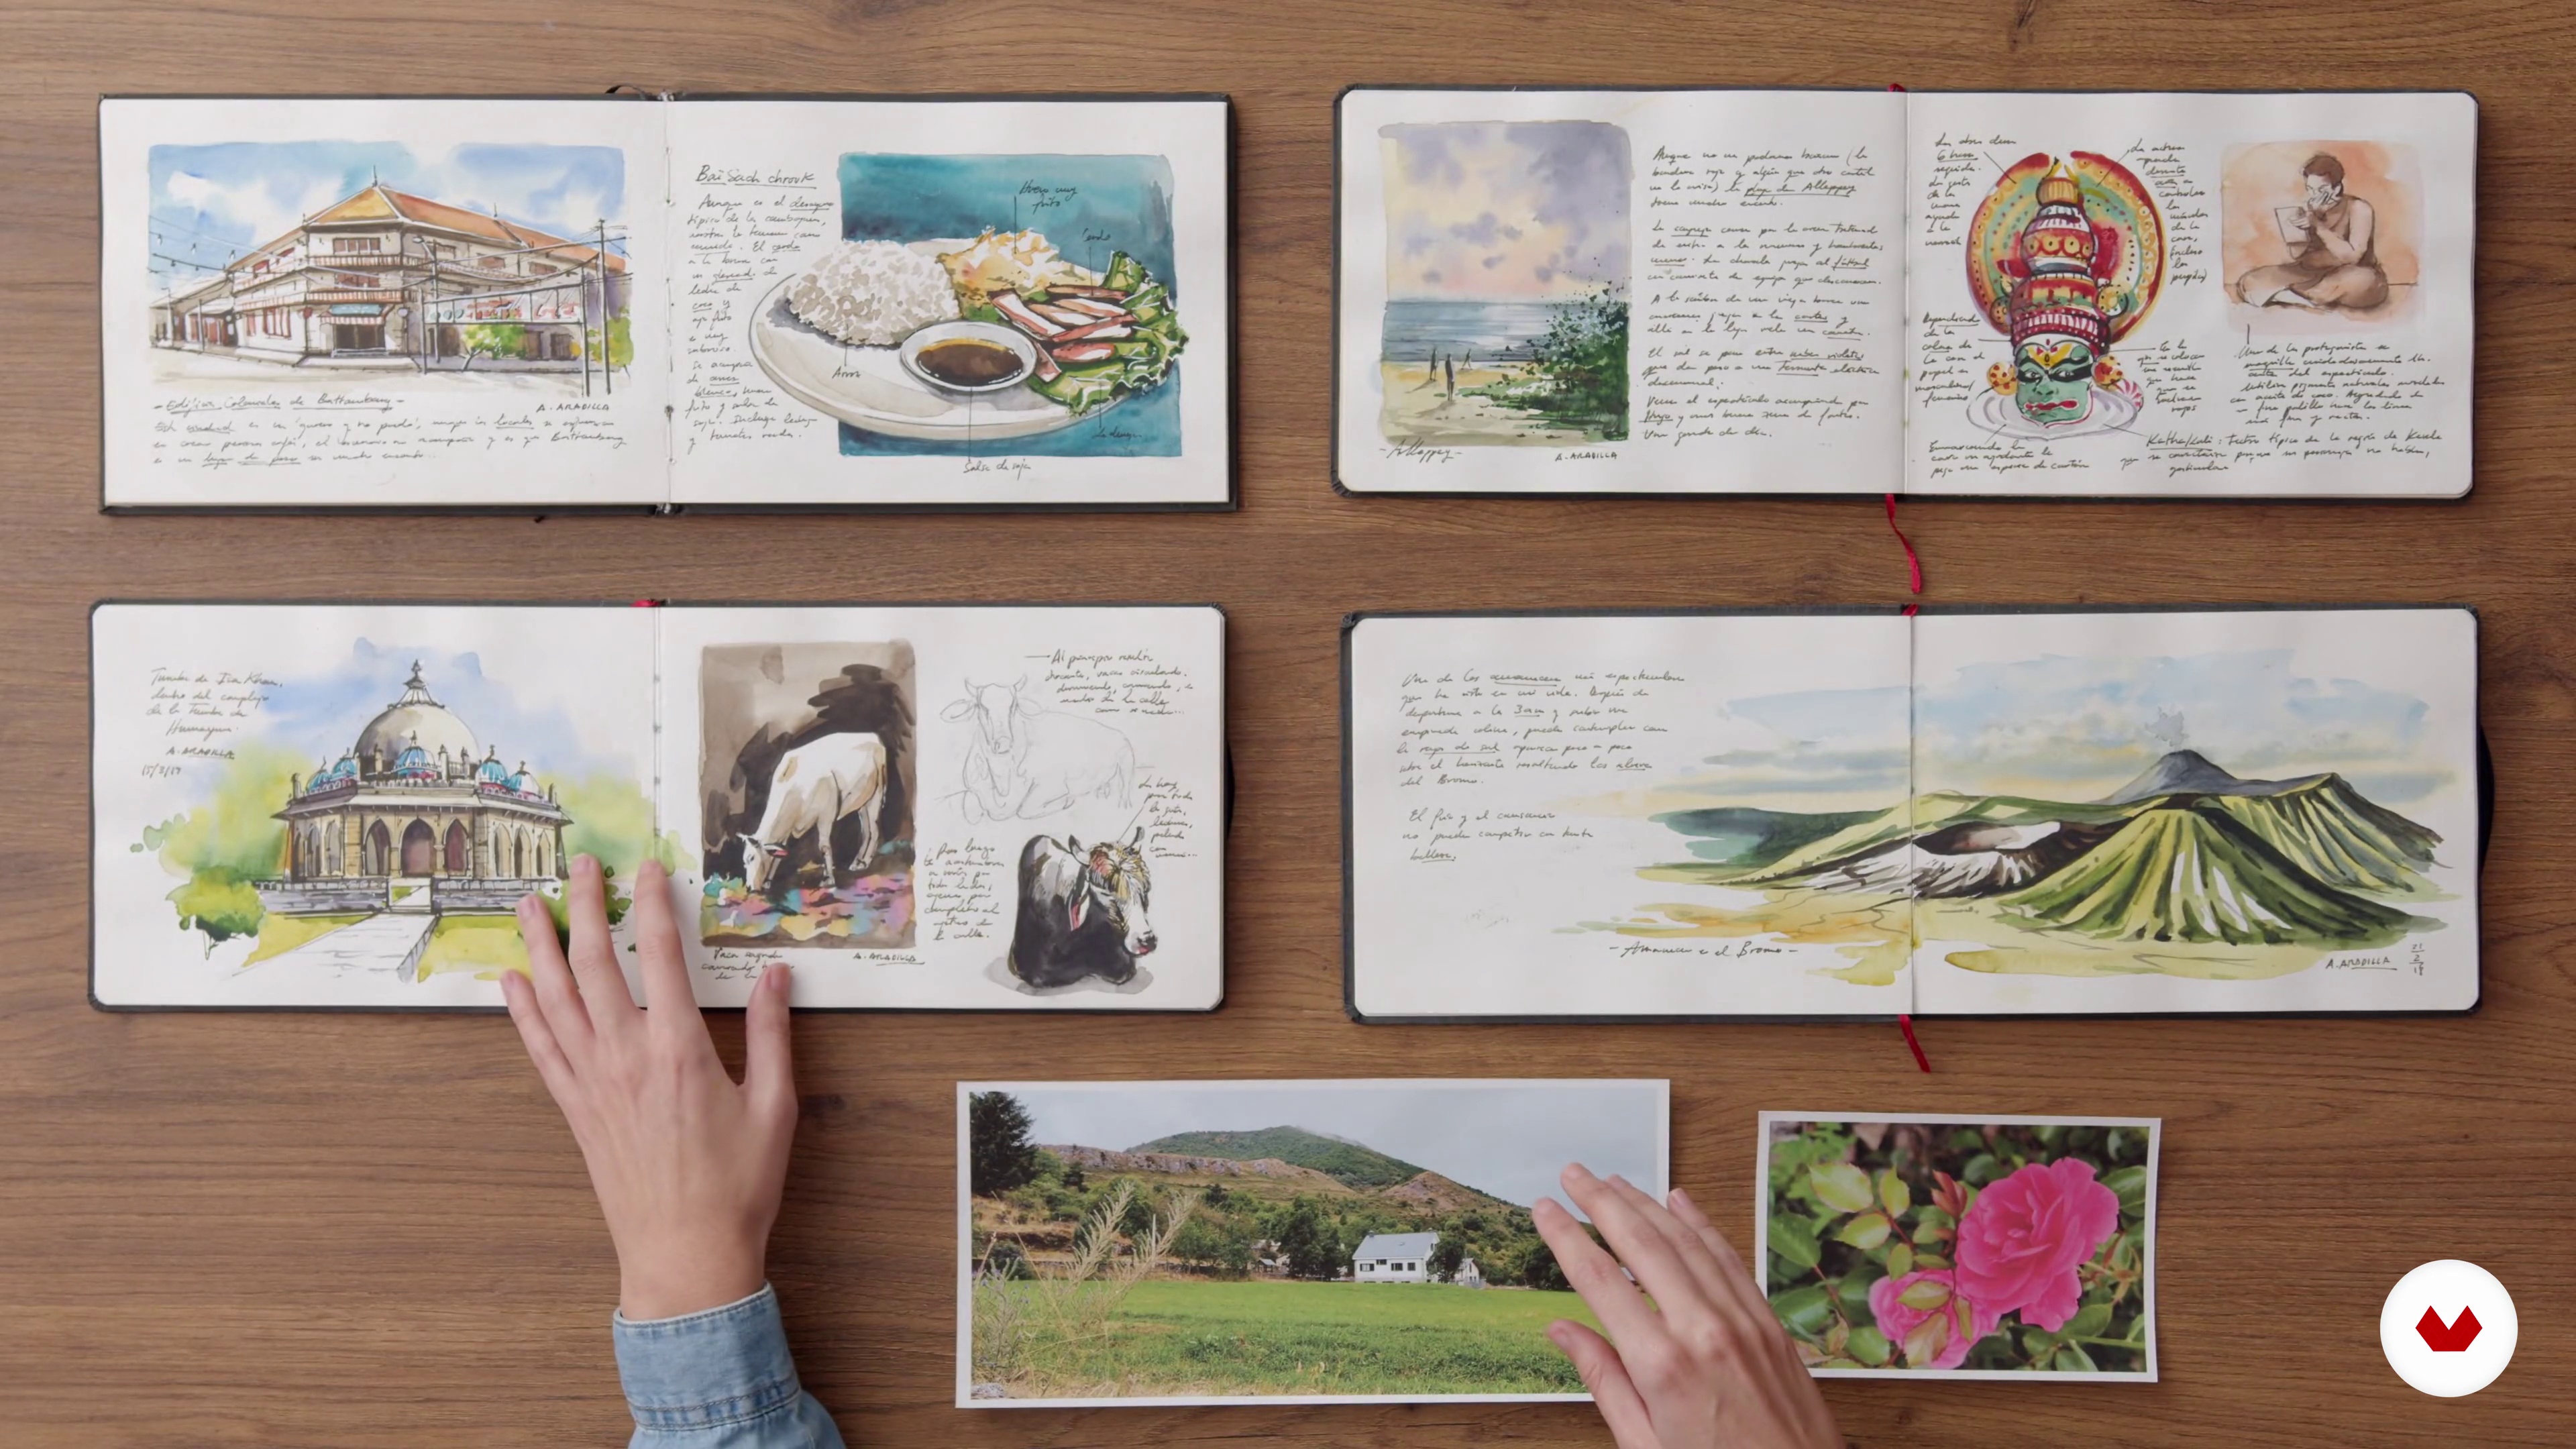
Discover the Creative Travel Journaling specialization, a unique approach to capturing your experiences through art. Learn to document your adventures with illustration, watercolor, and bookbinding techniques that will transform your memories into visual works of art. With guidance from Aniko Villalba, Powerpaola, Iván Cruz, Alicia Aradilla, and Infinitos Lugares, you'll develop skills from emotional conceptualization to the physical creation of the artwork, allowing you to build a body of work that reflects your personal perspective of the world.

Embark on a journey of self-discovery as you explore diverse artistic techniques. From writing and collage to watercolor and journal design, each course will provide you with tools to enrich your travel journals. With this holistic approach, you'll not only learn to narrate your experiences but also to create a visual portfolio that immortalizes your unique vision. Immerse yourself in this experience and become the creator of your own emotional atlas.

Read more ↓

What will you learn in this specialization?

A total of 6 modules and 70 lessons
A total of 12h 1m of vídeo lessons
Taught by 5 selected expert teachers
image
1
Introduction
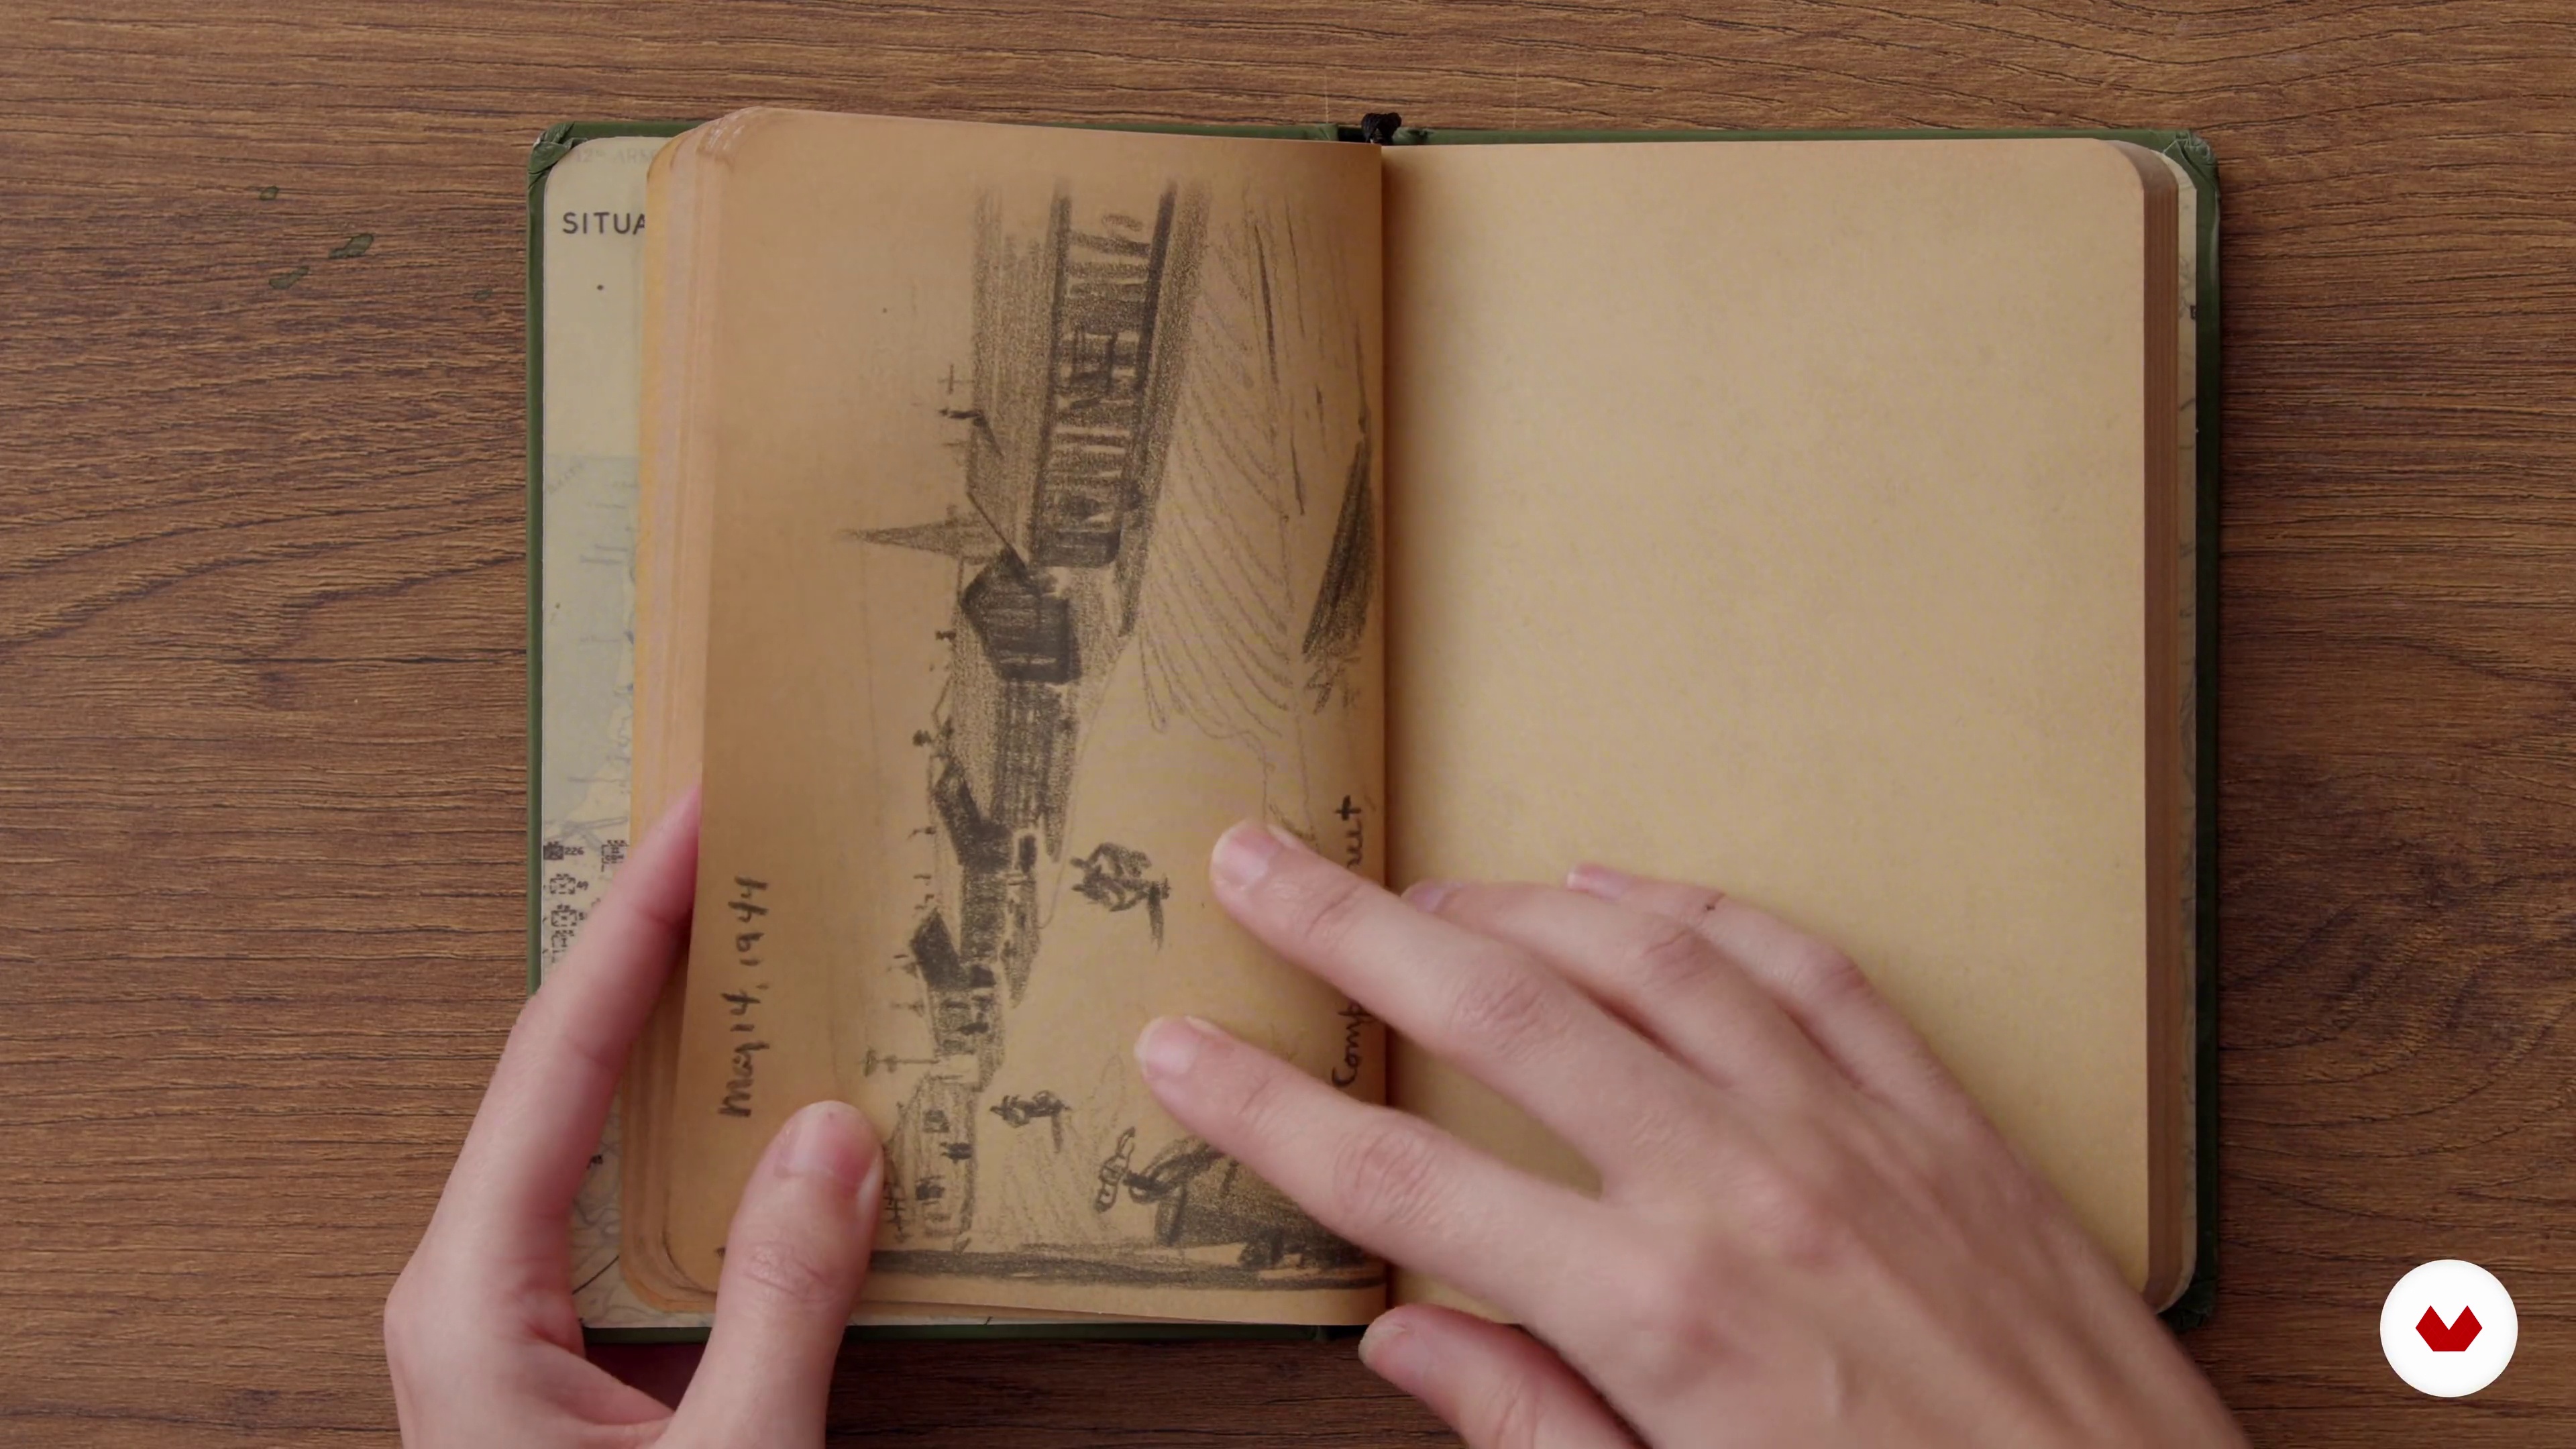
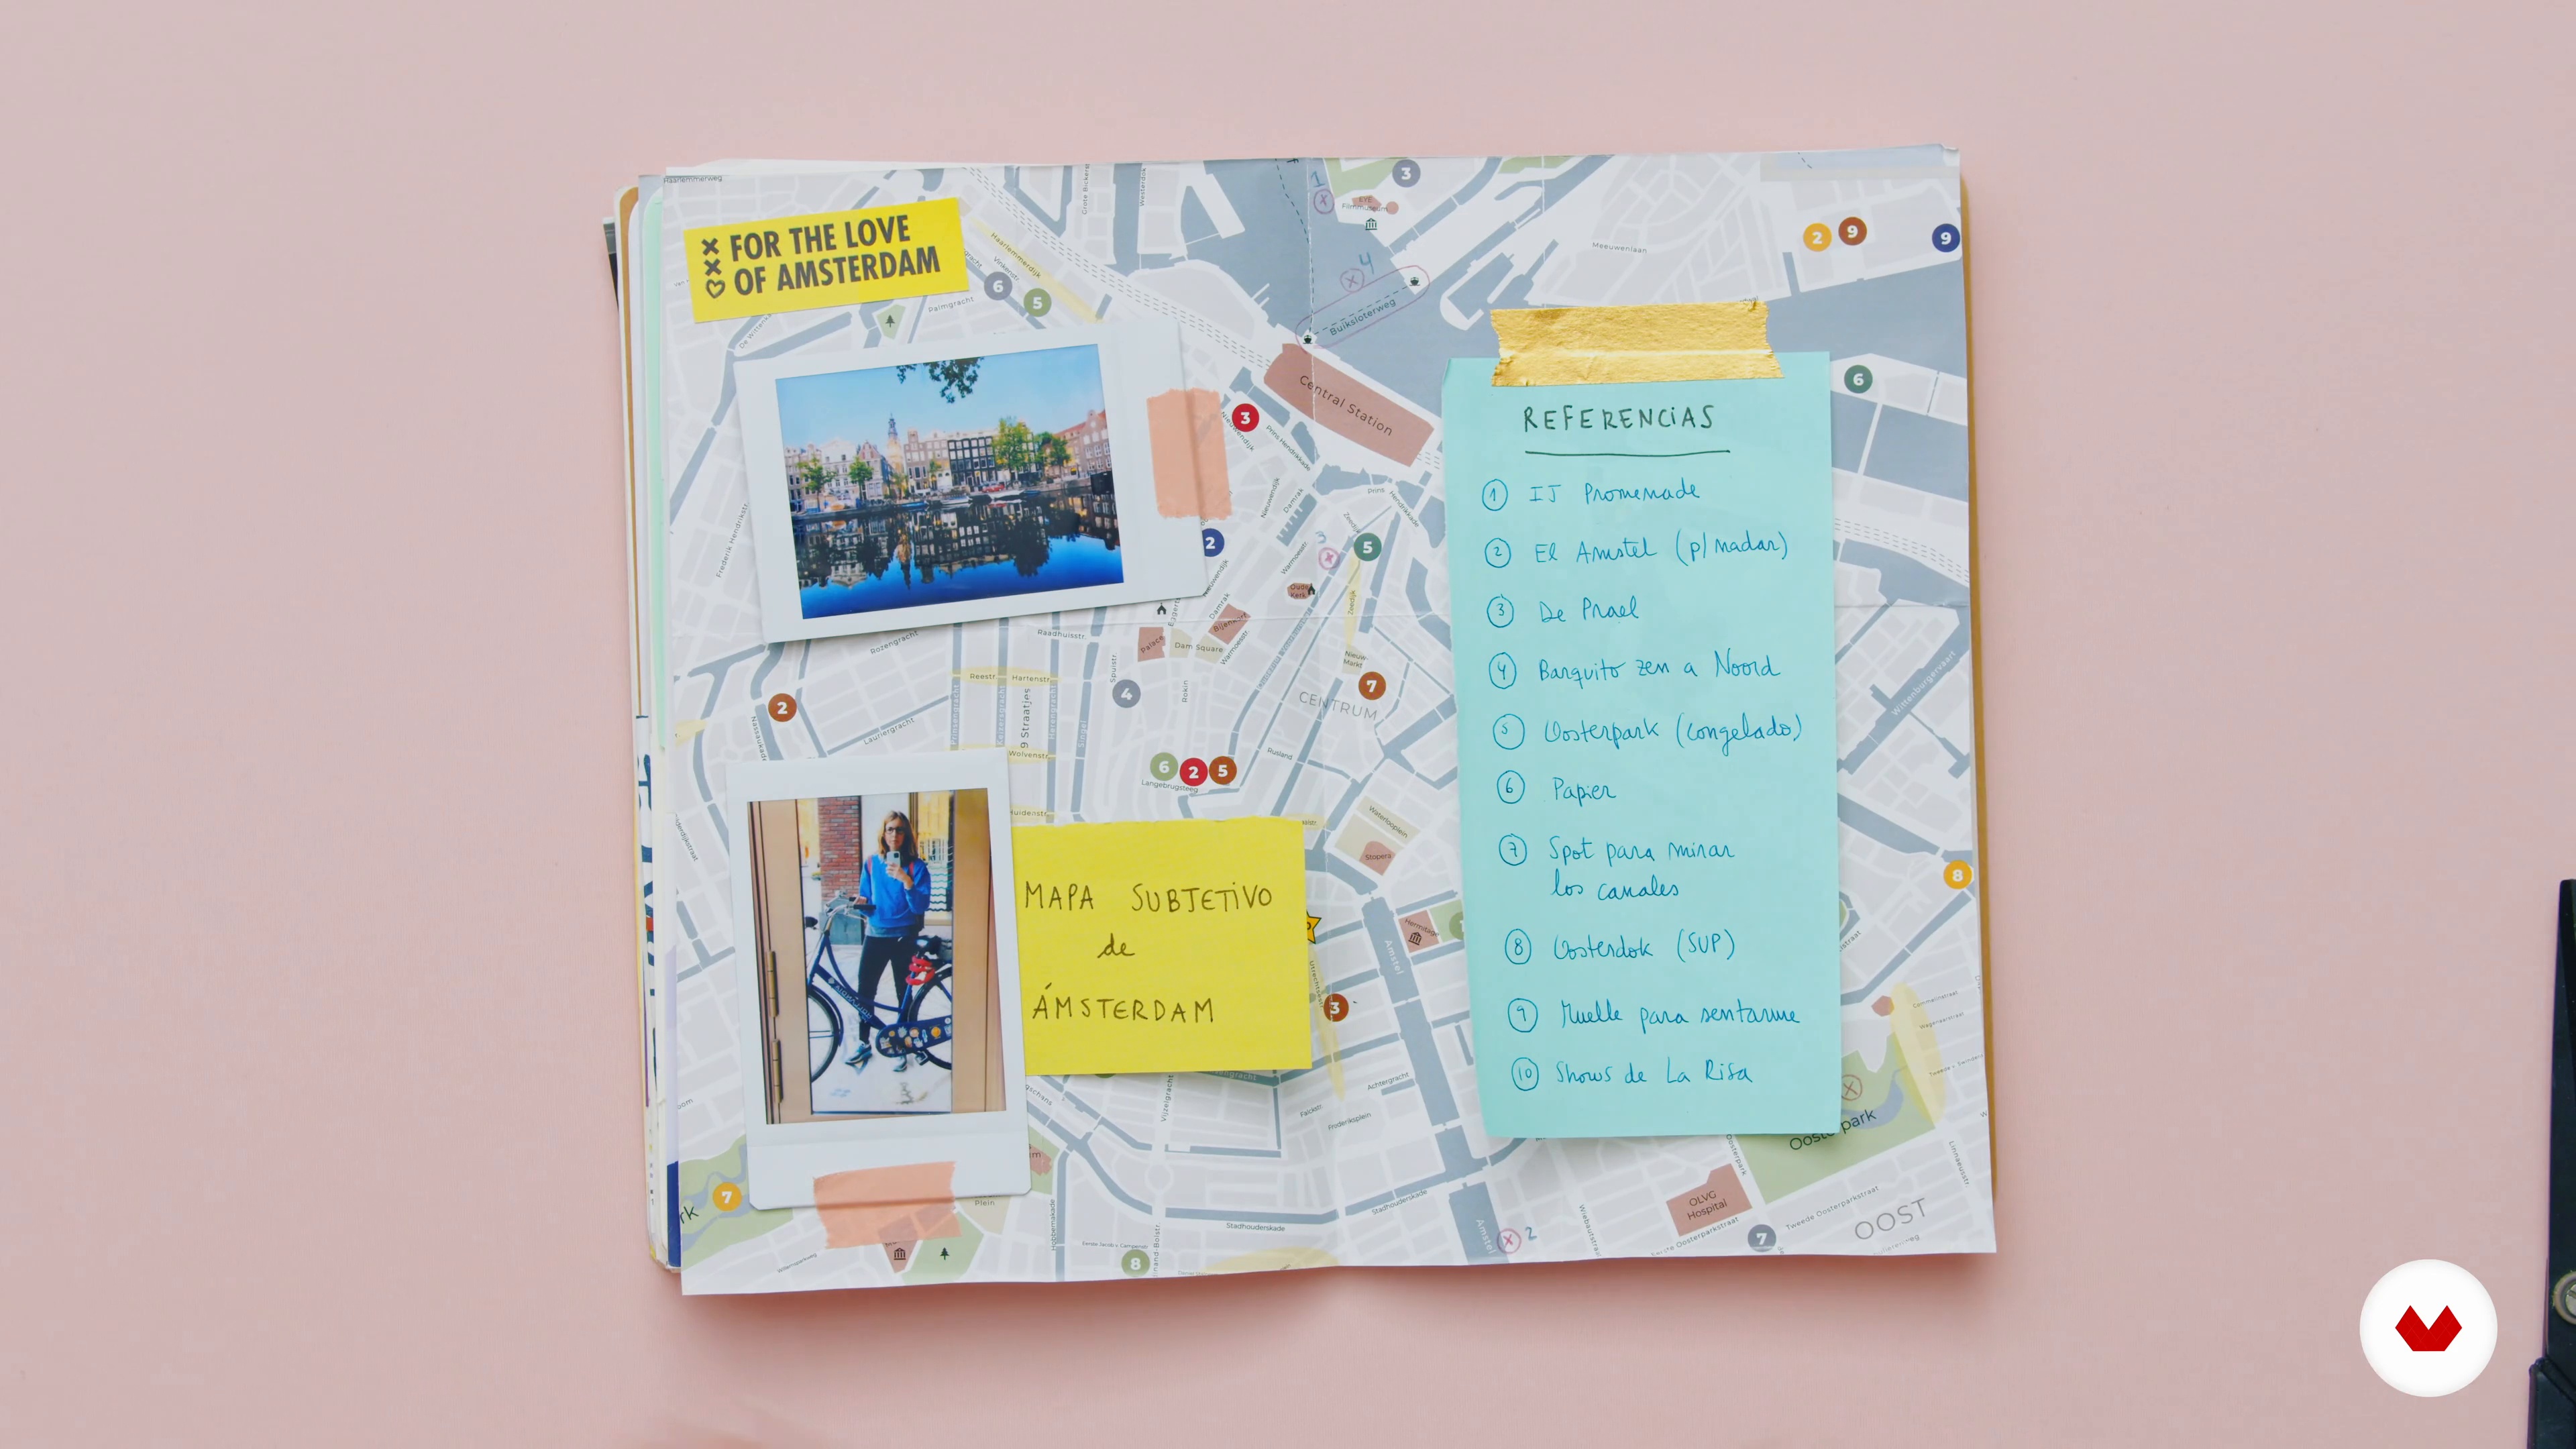
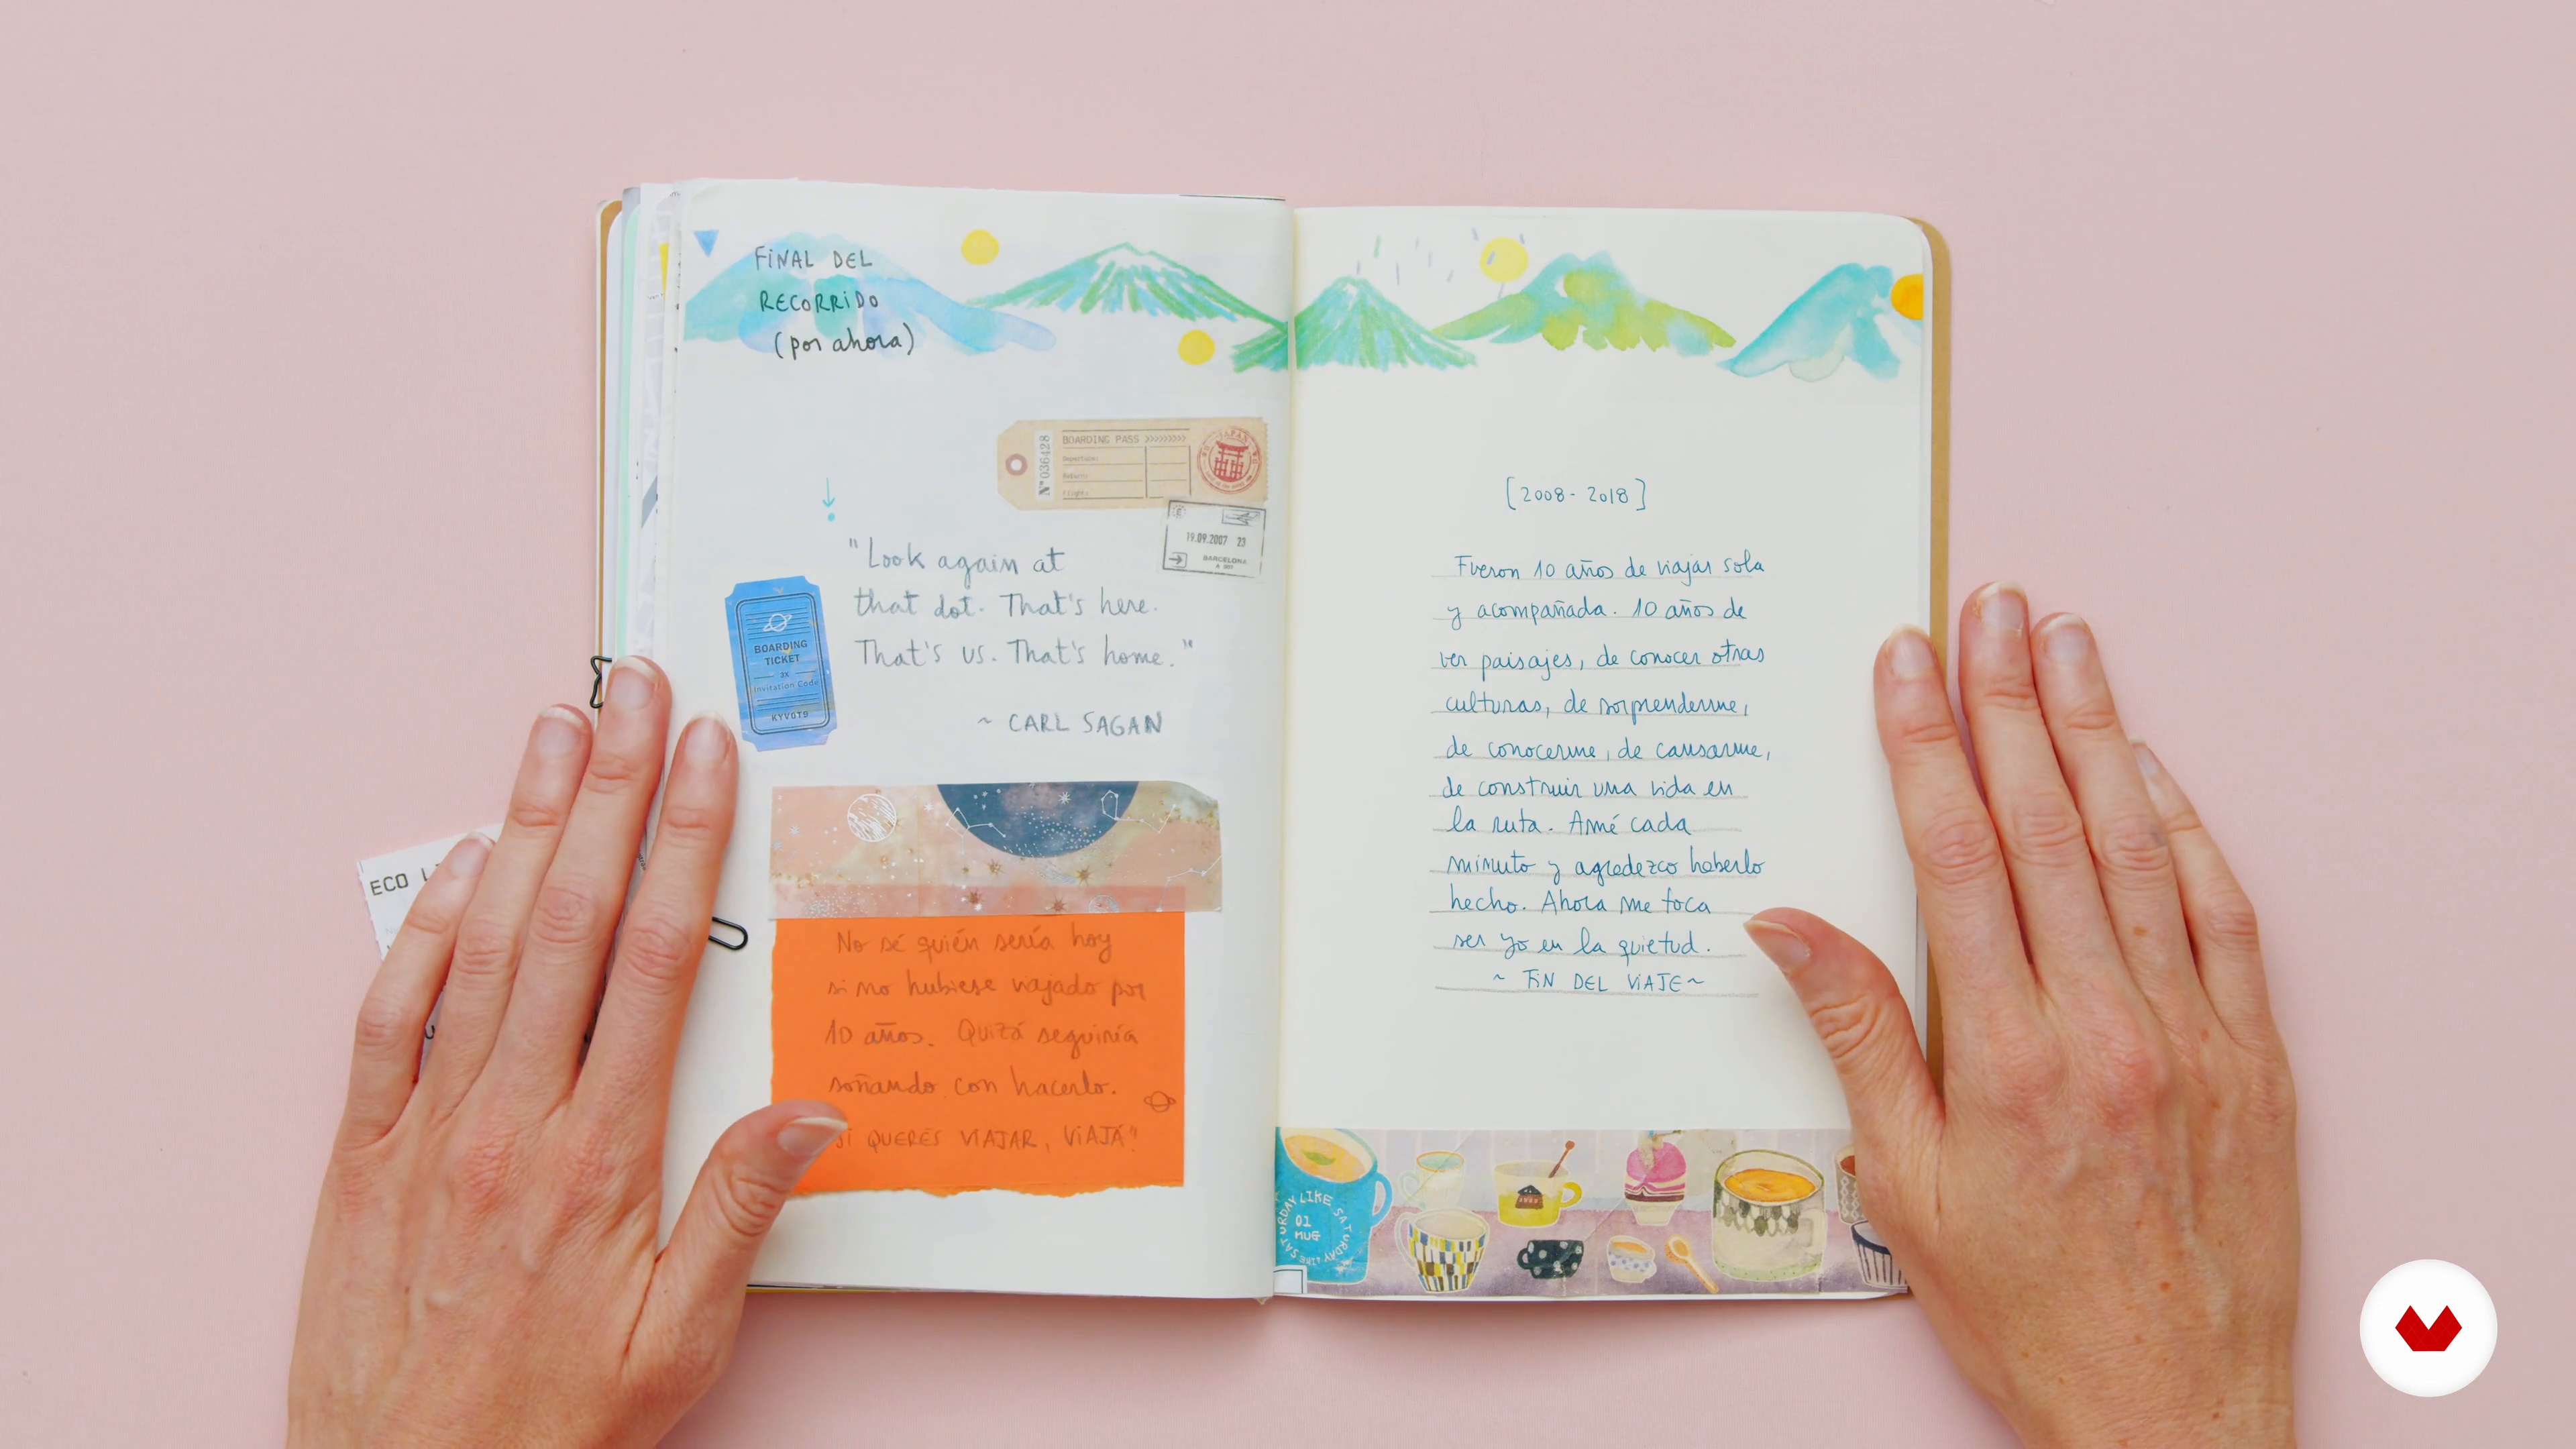
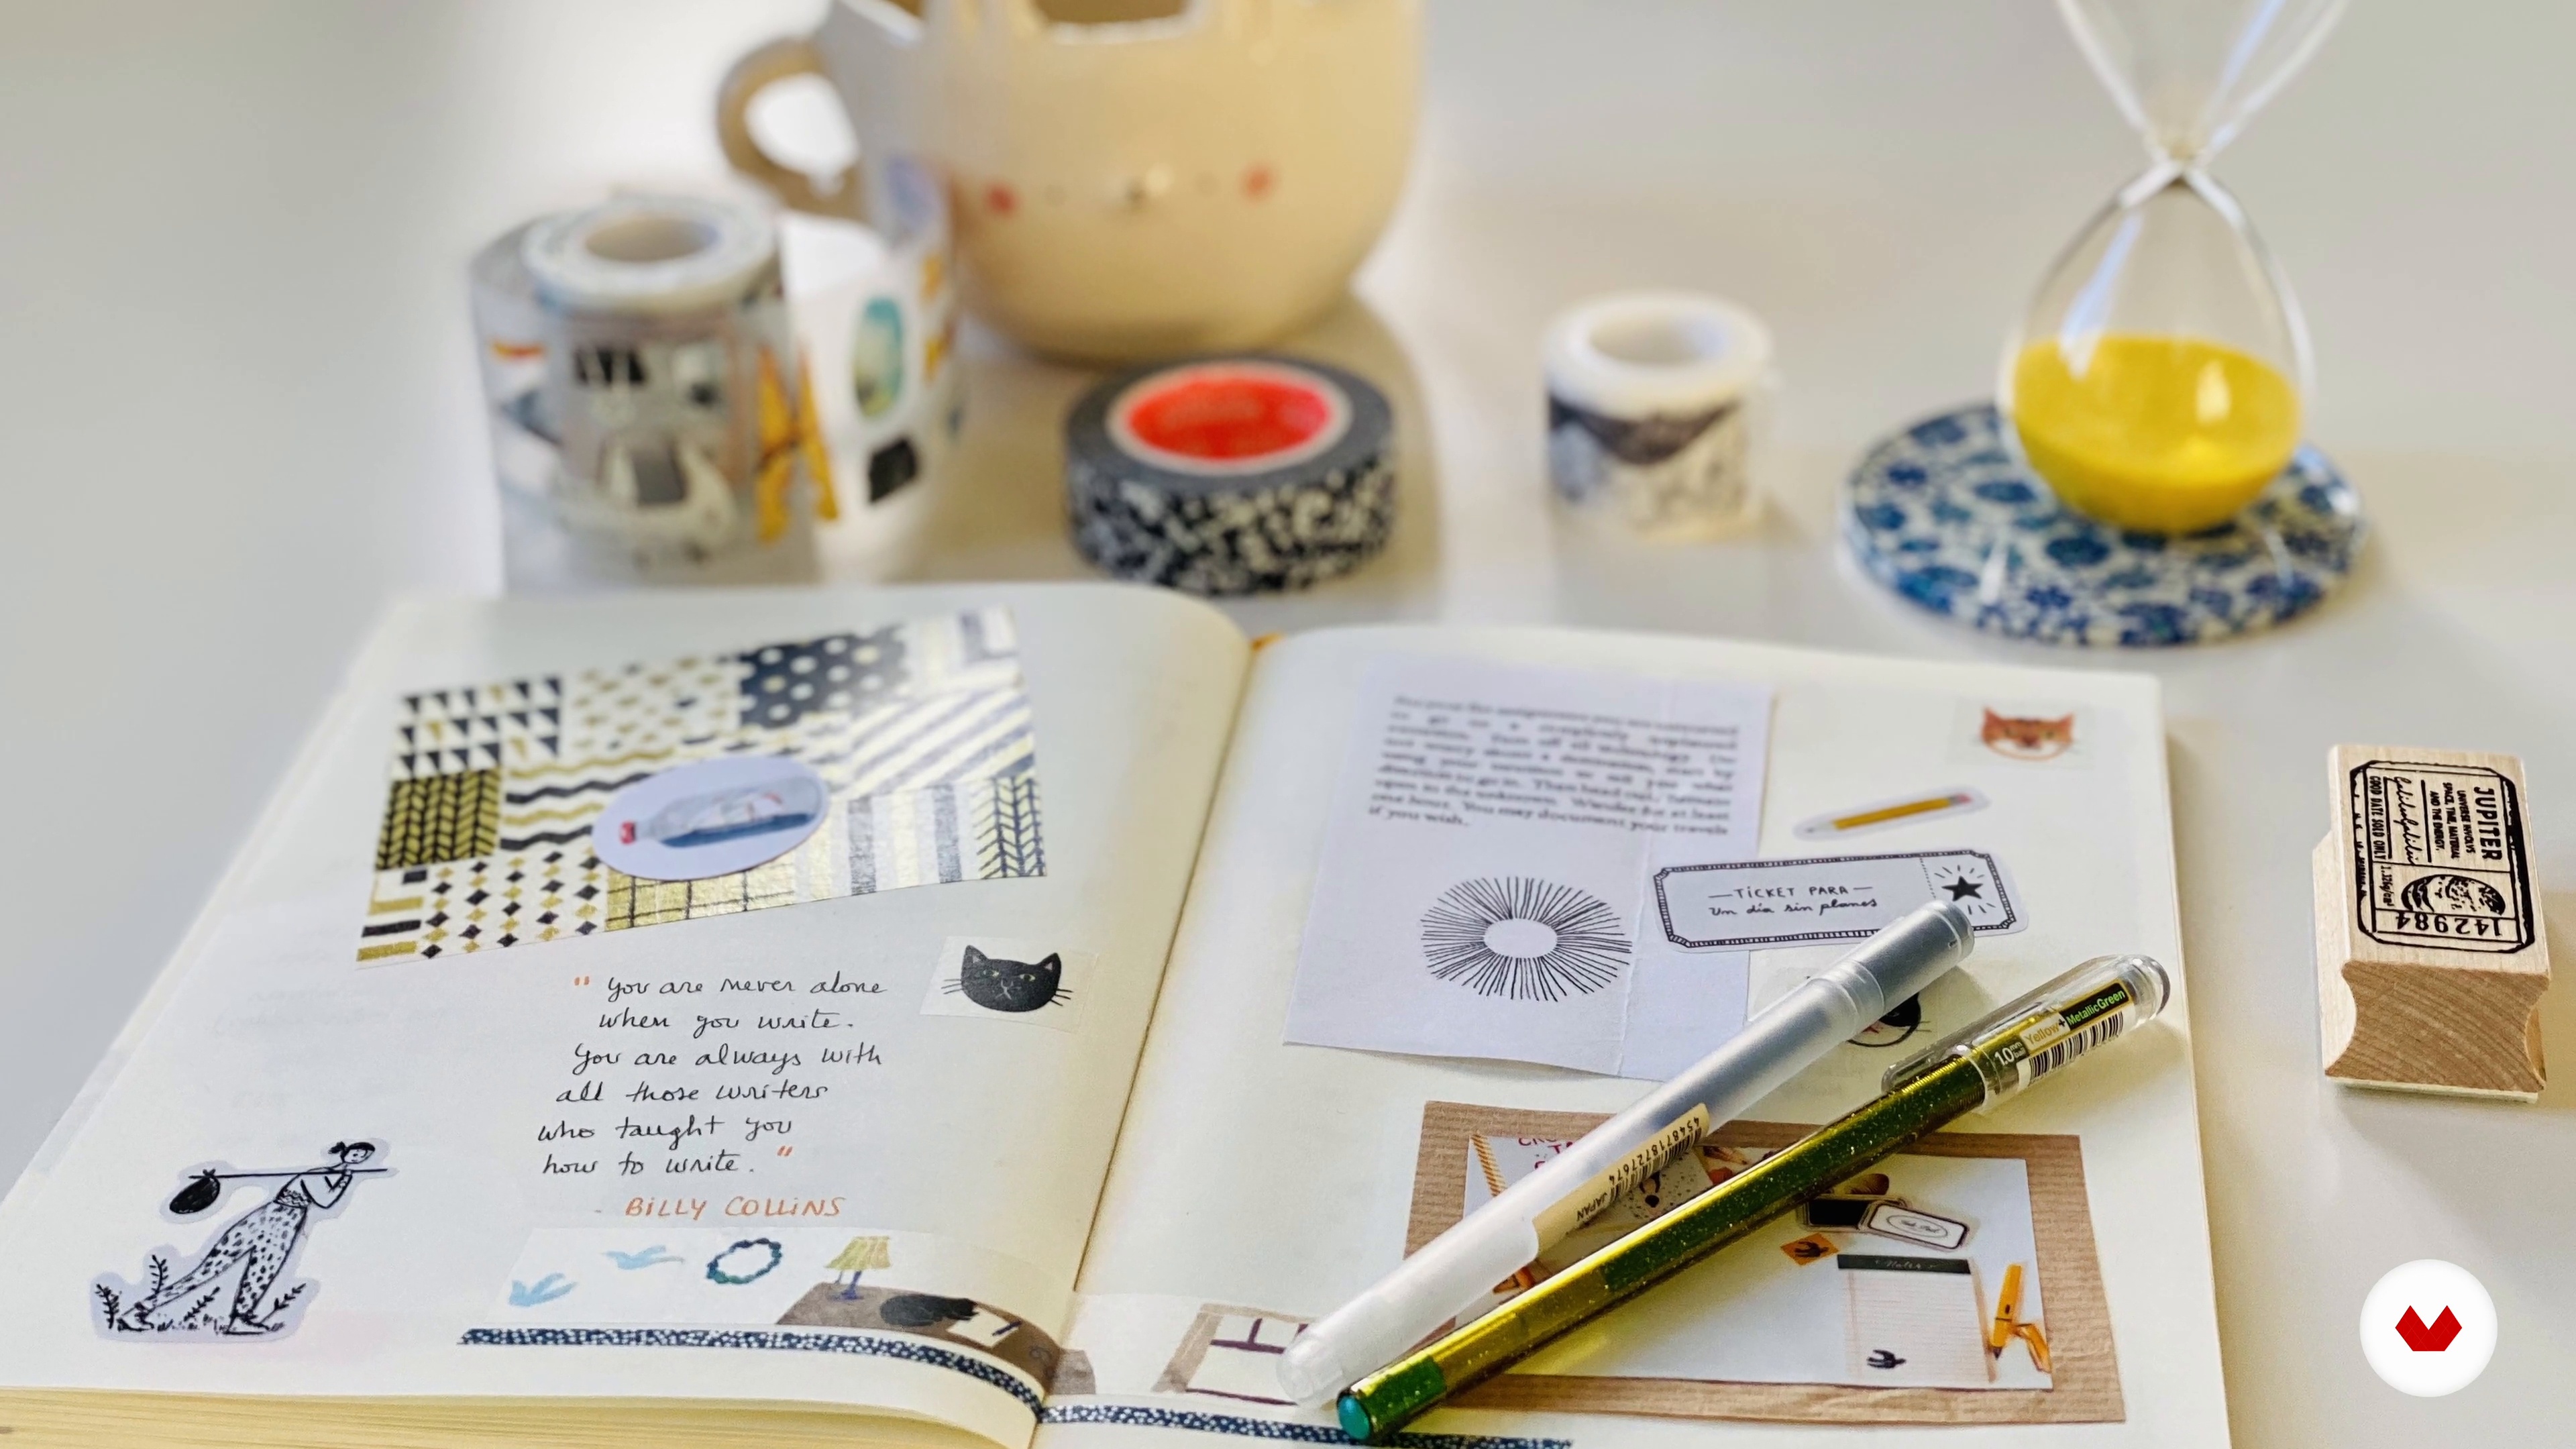
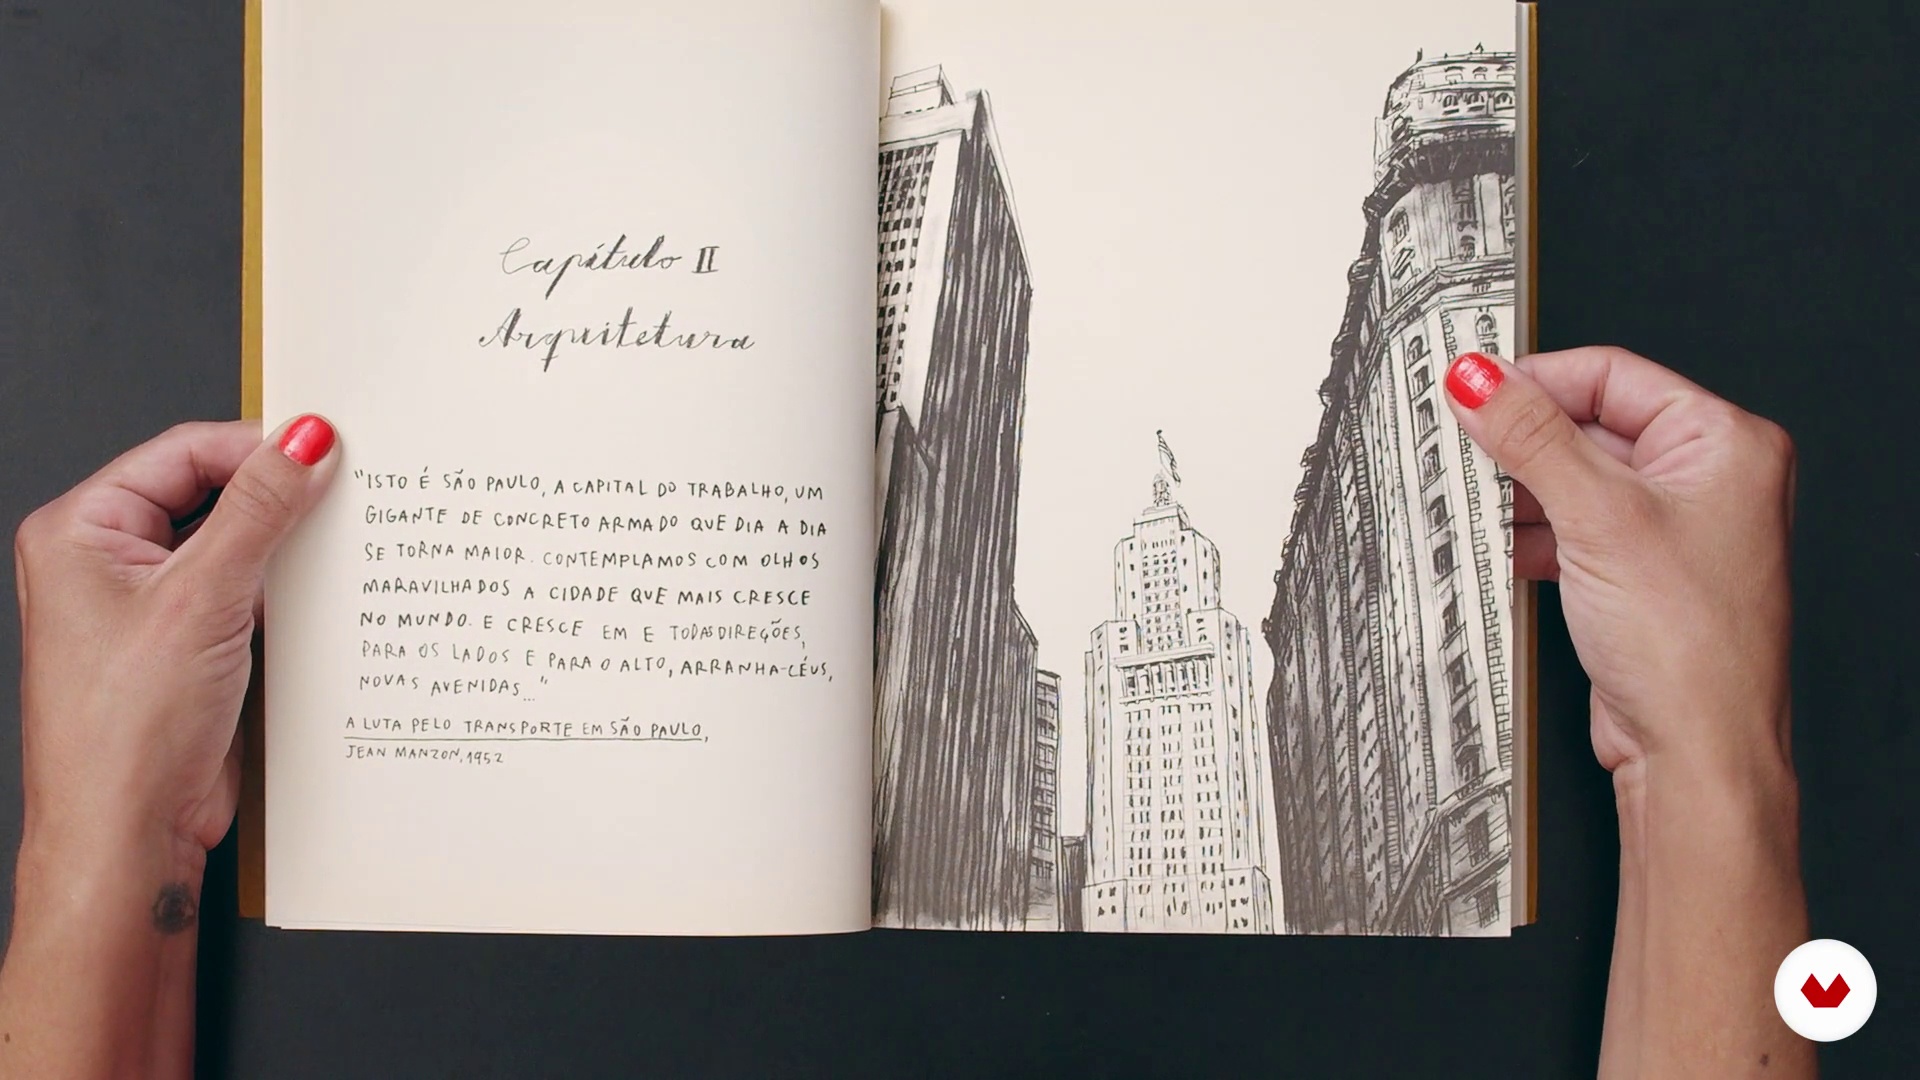
Explore the world of travel journaling, where art, memory, and emotion intertwine on every page. Throughout history, the notebooks of explorers and artists have brought to life unforgettable discoveries and landscapes. Today, you can do the same: illustrate, write, or create collages that capture your unique way of seeing and feeling the world.
2m
image
2
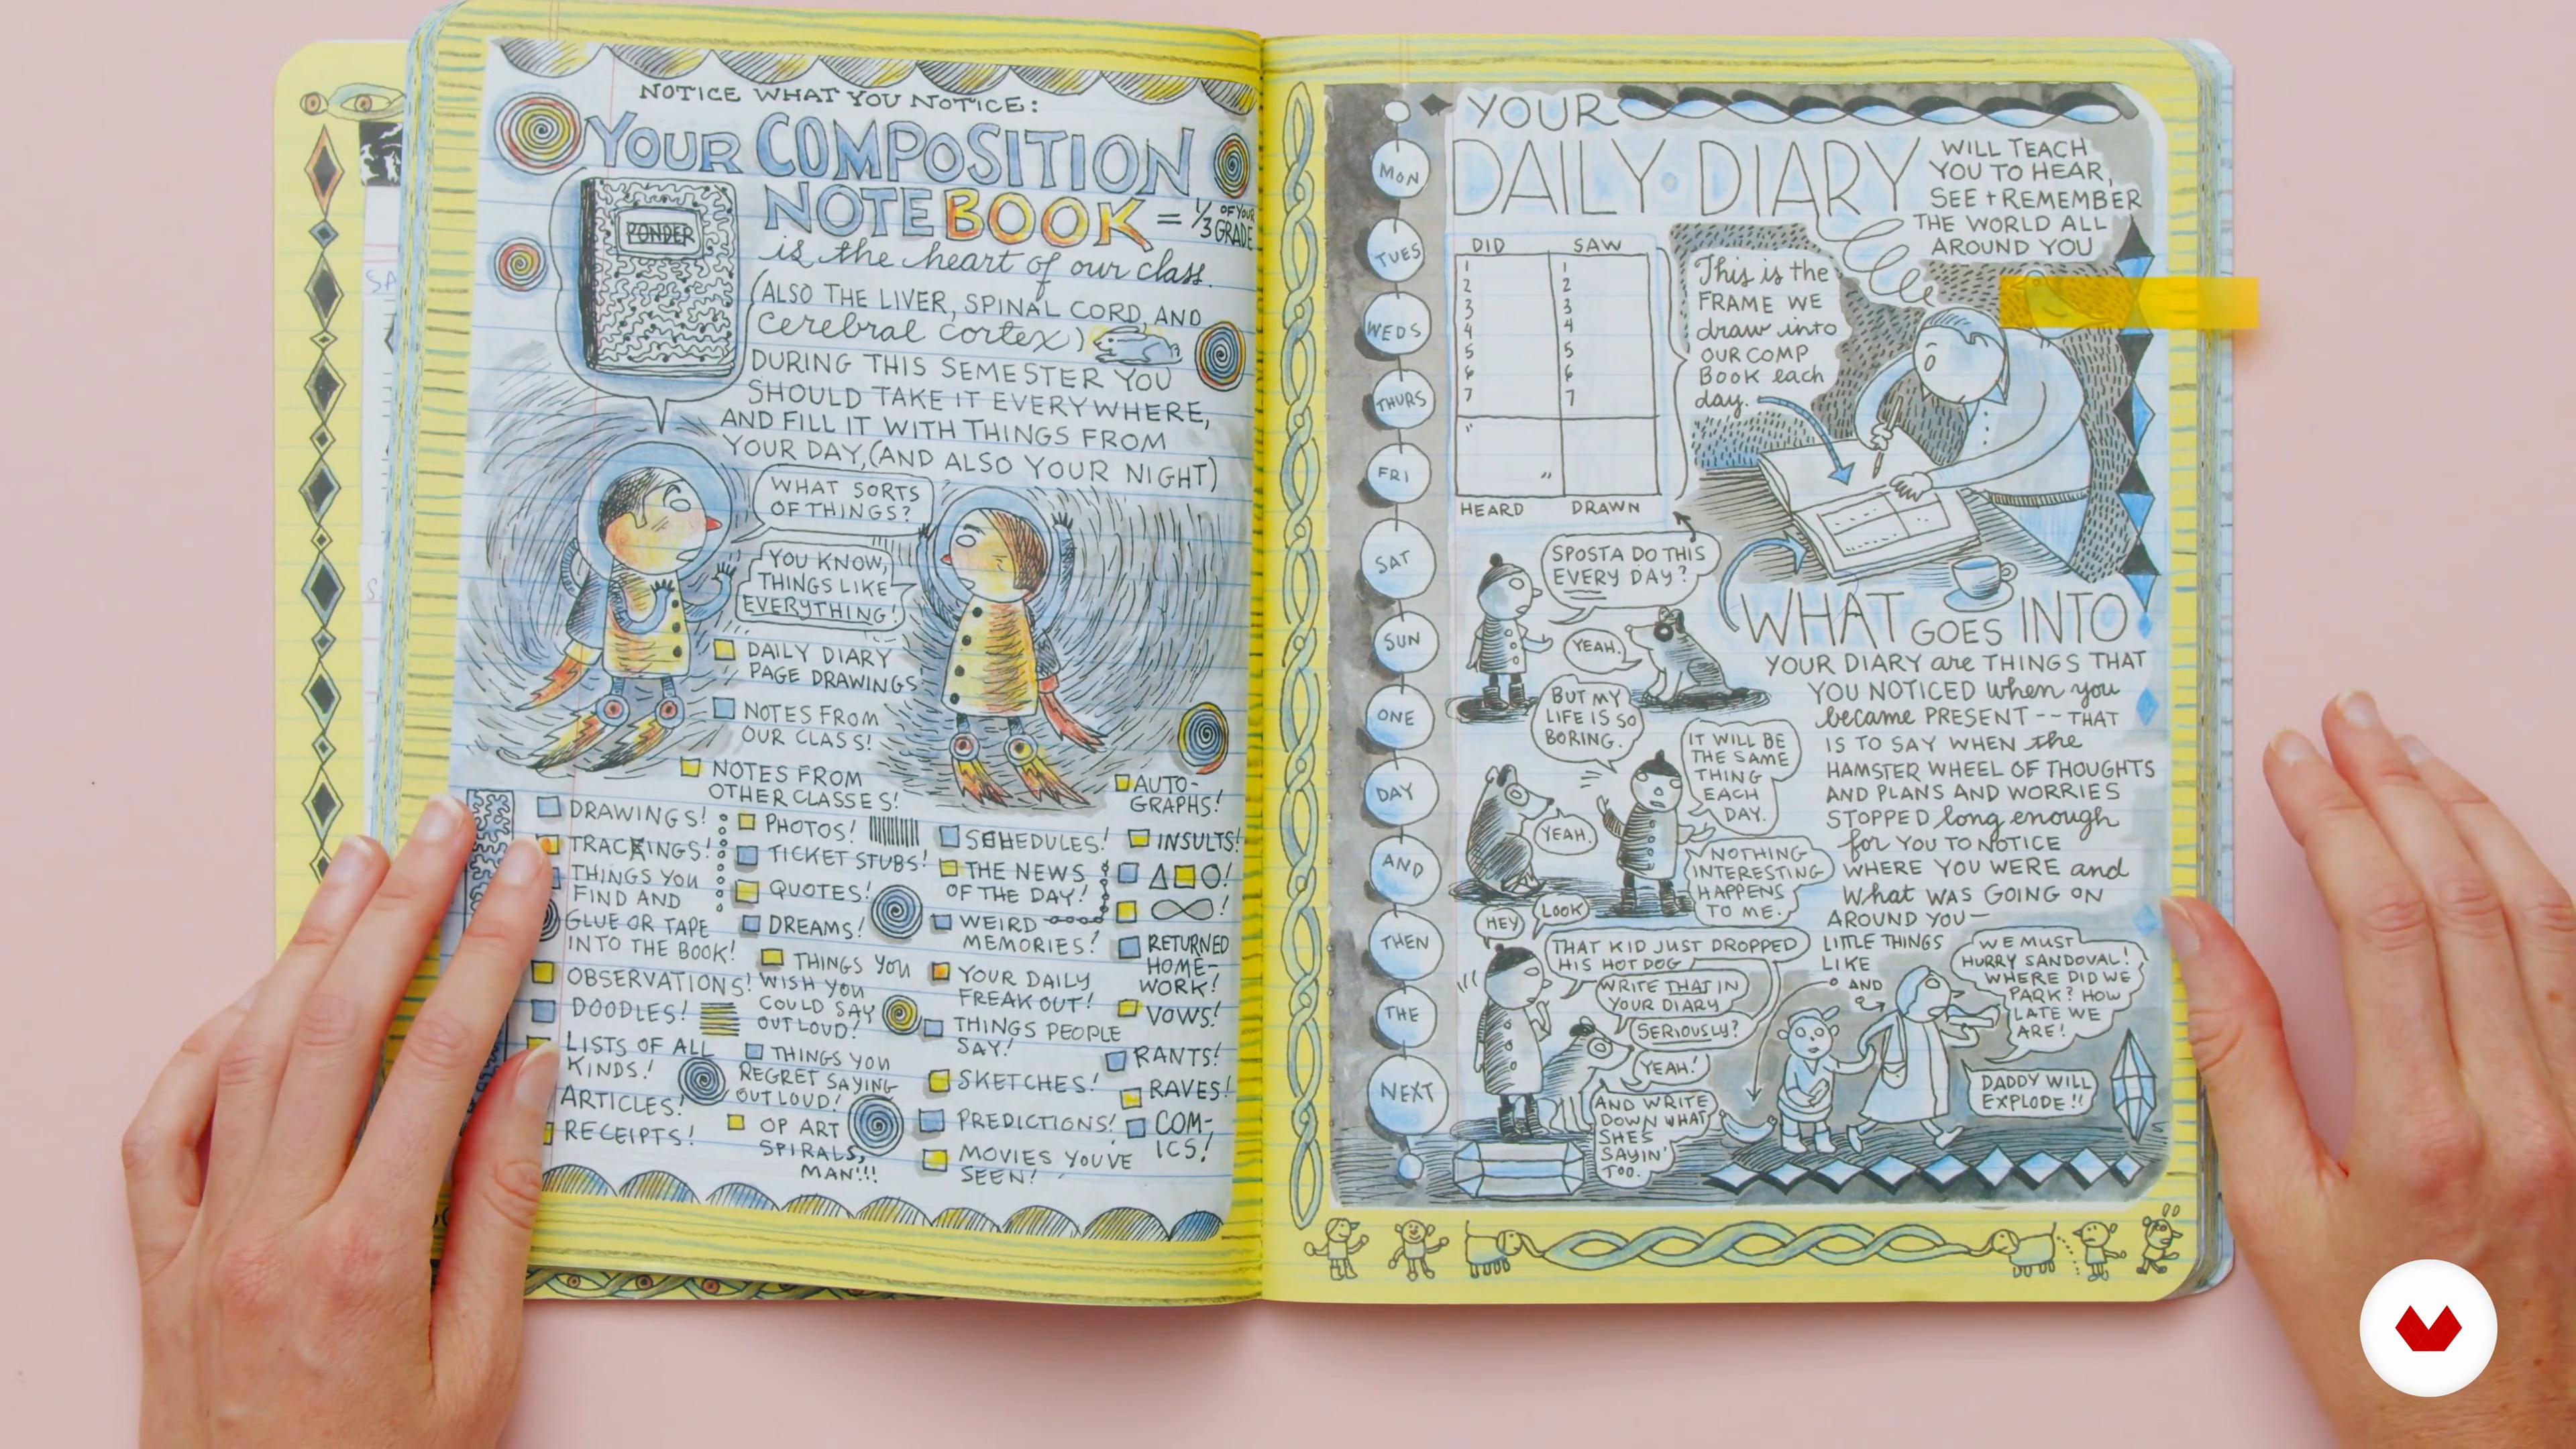
Influences | Aniko Villalba
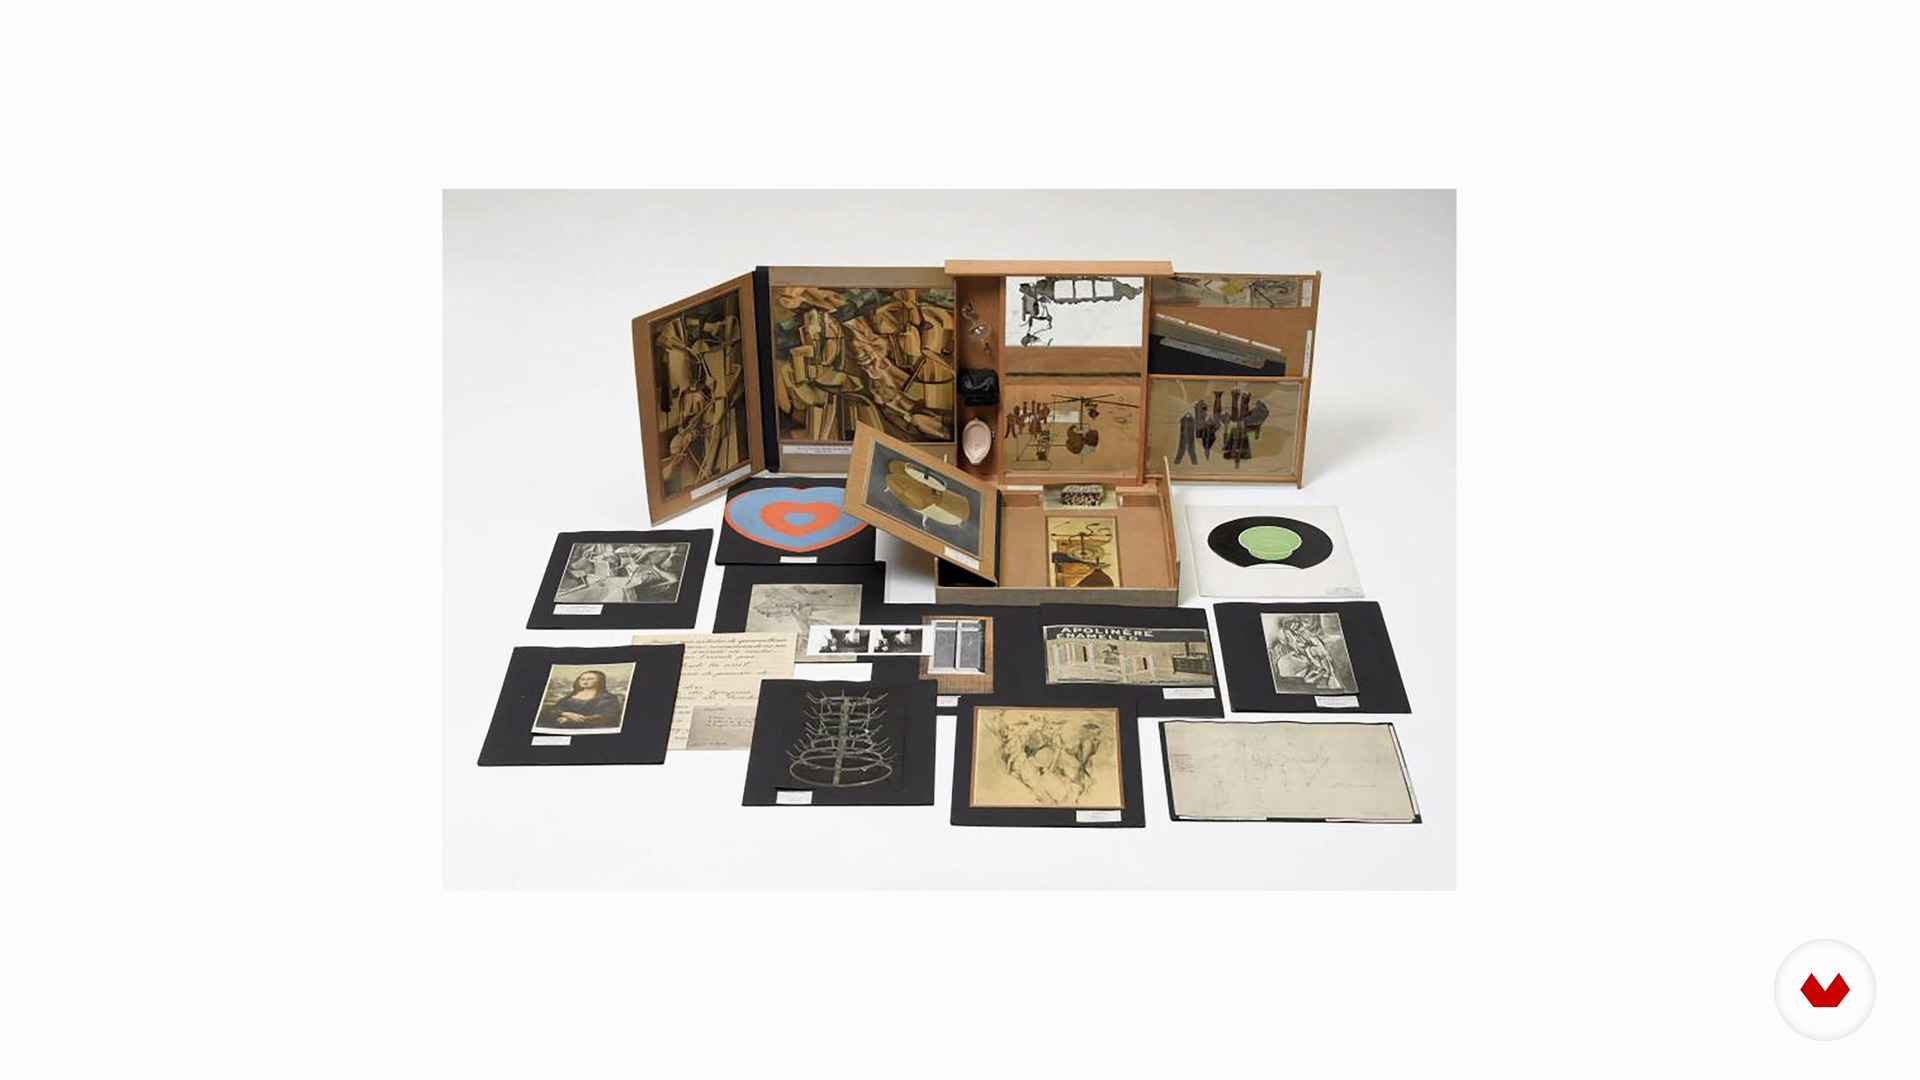
Our referents model our work and the way of approaching it. Now I am going to tell you which artists and authors inspire me and what I borrowed from each one for my travel notebooks.
7m
image
2
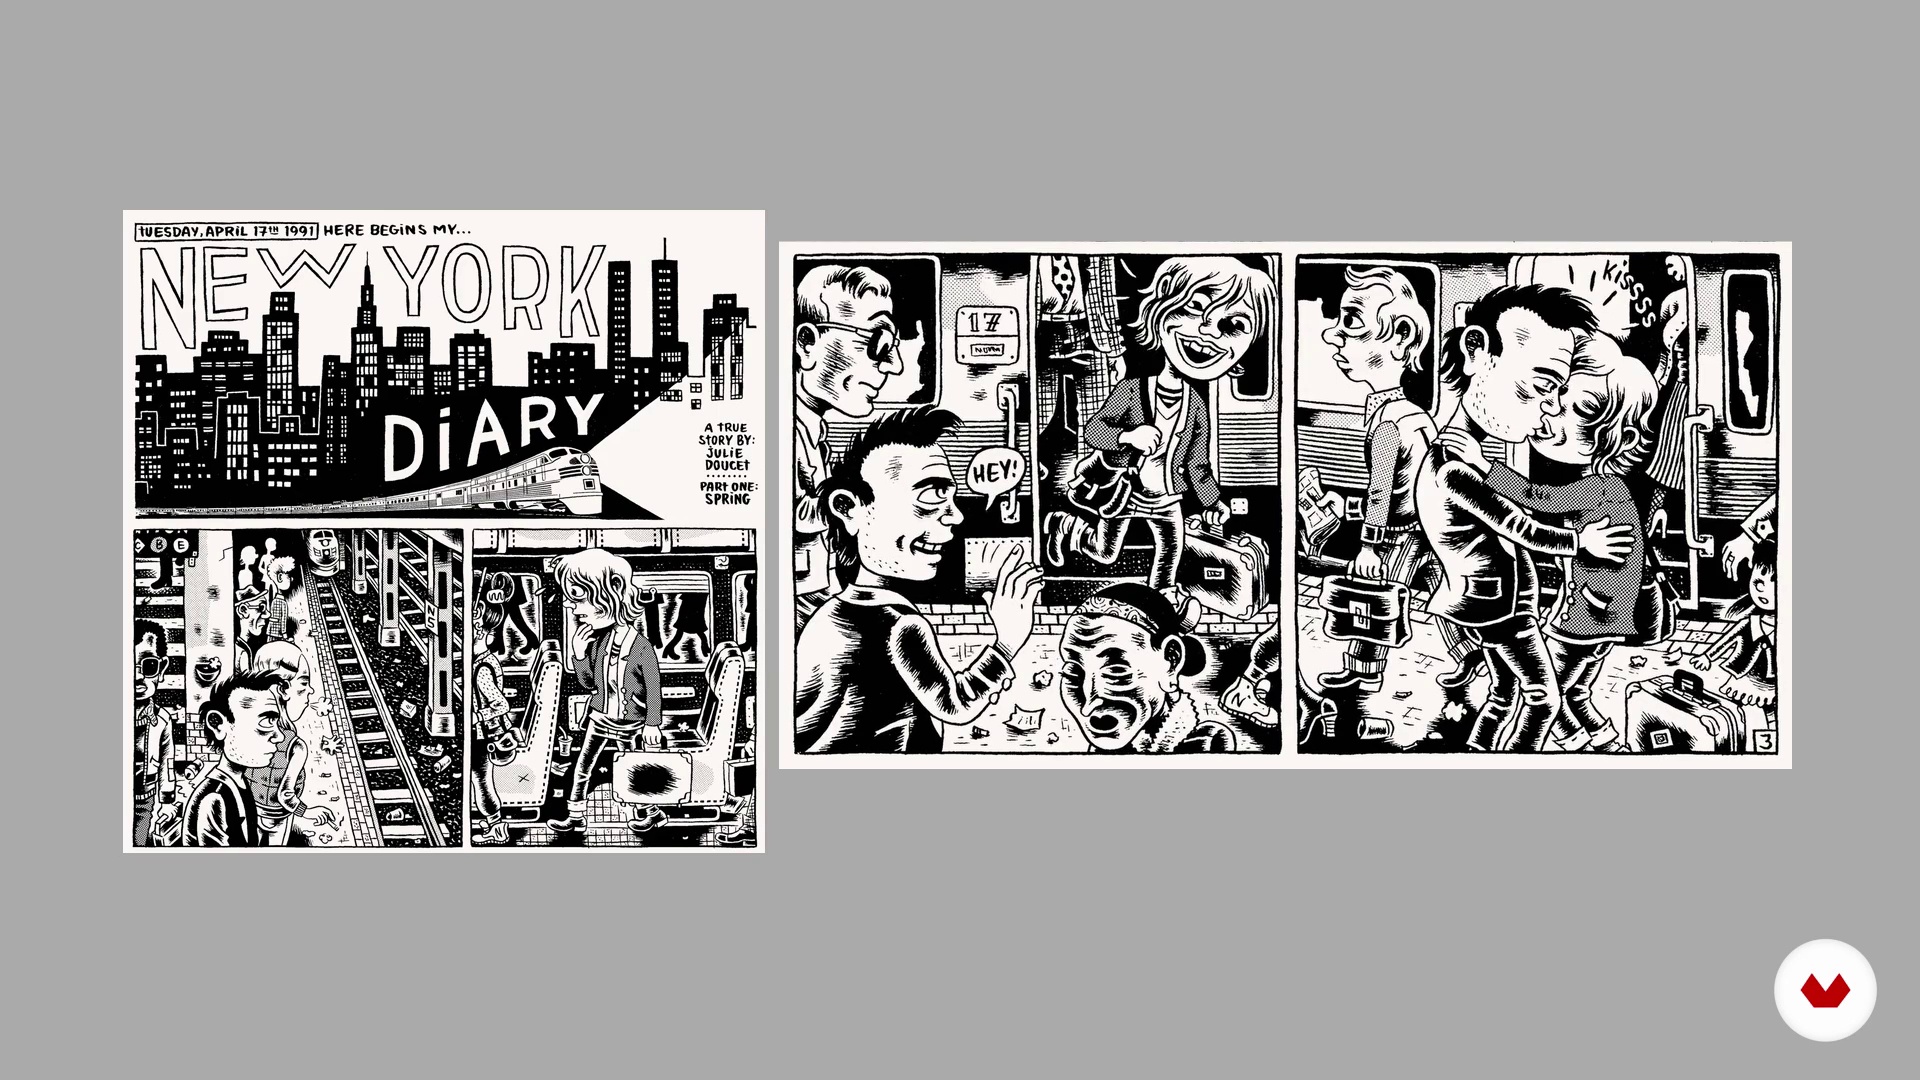
Influences | Powerpaola
Now I want to tell you about my influences and references on the travel diary.
5m
image
2
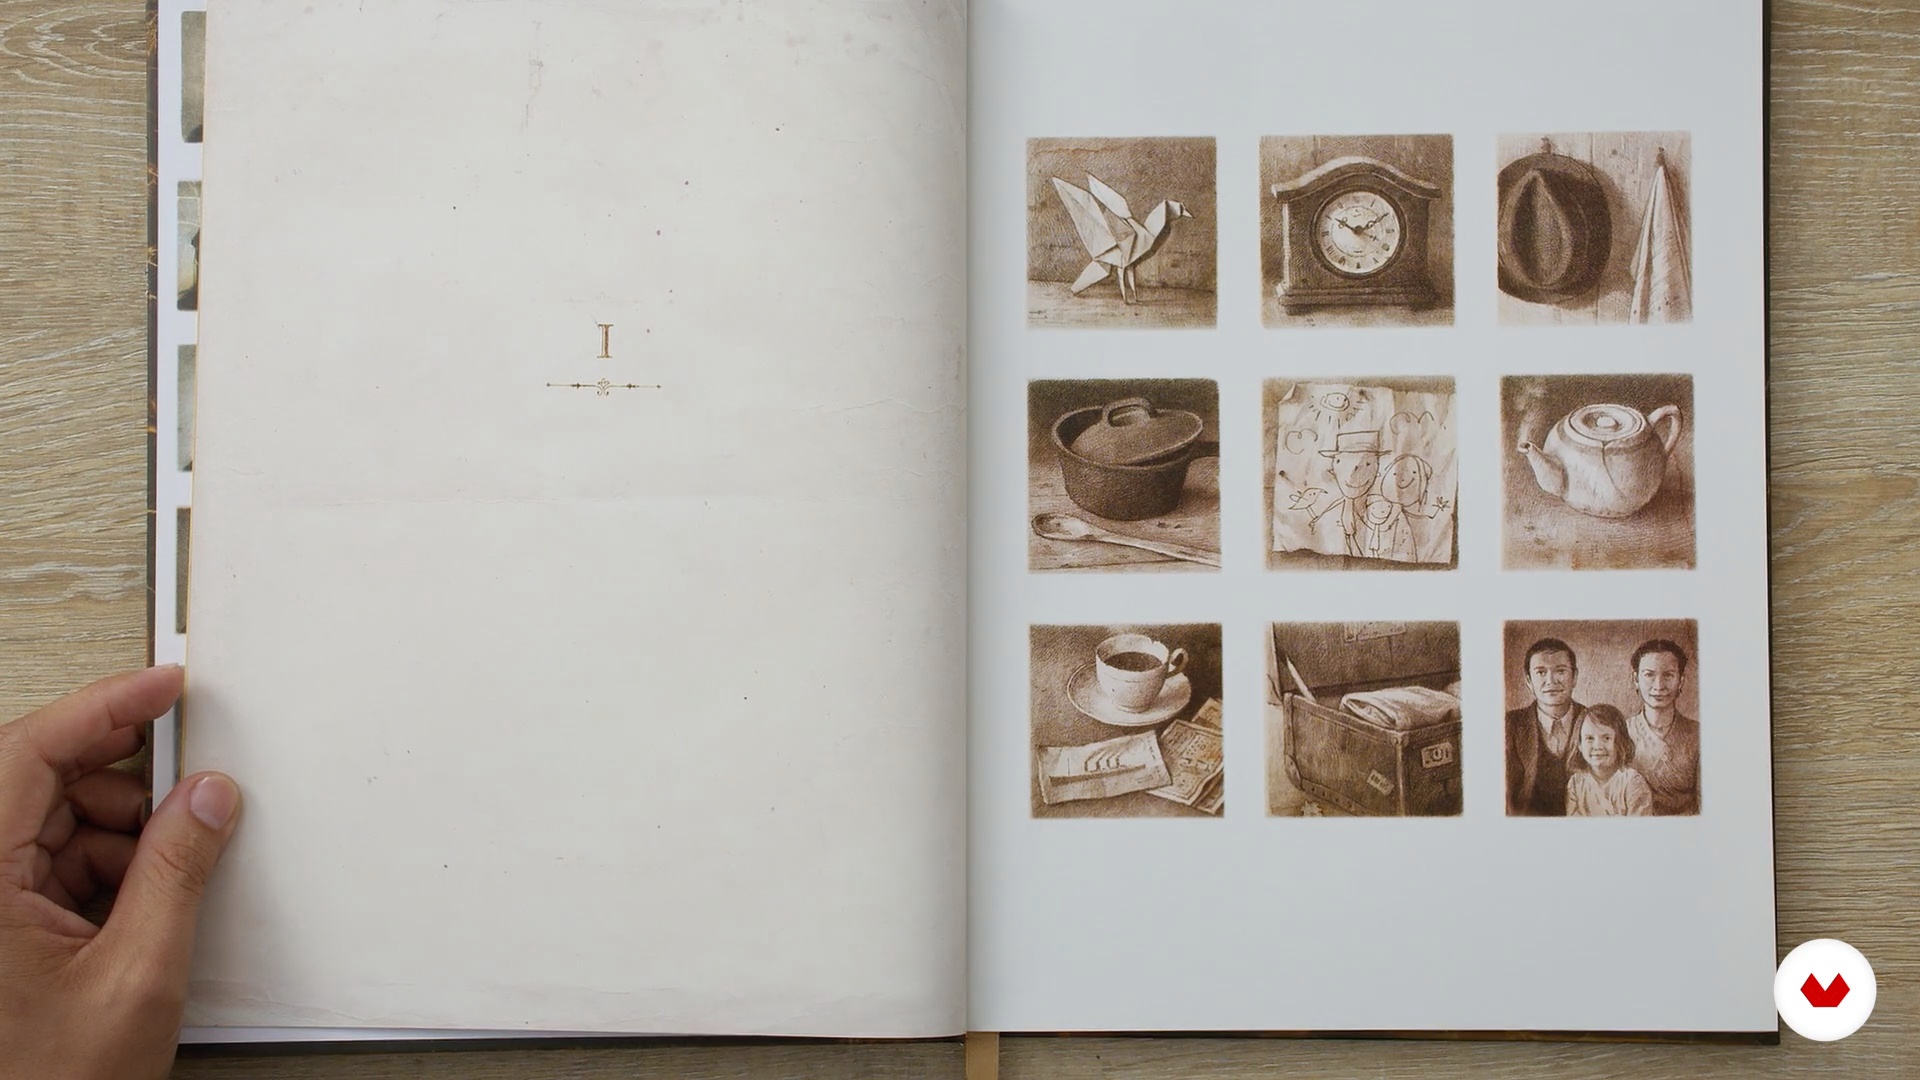
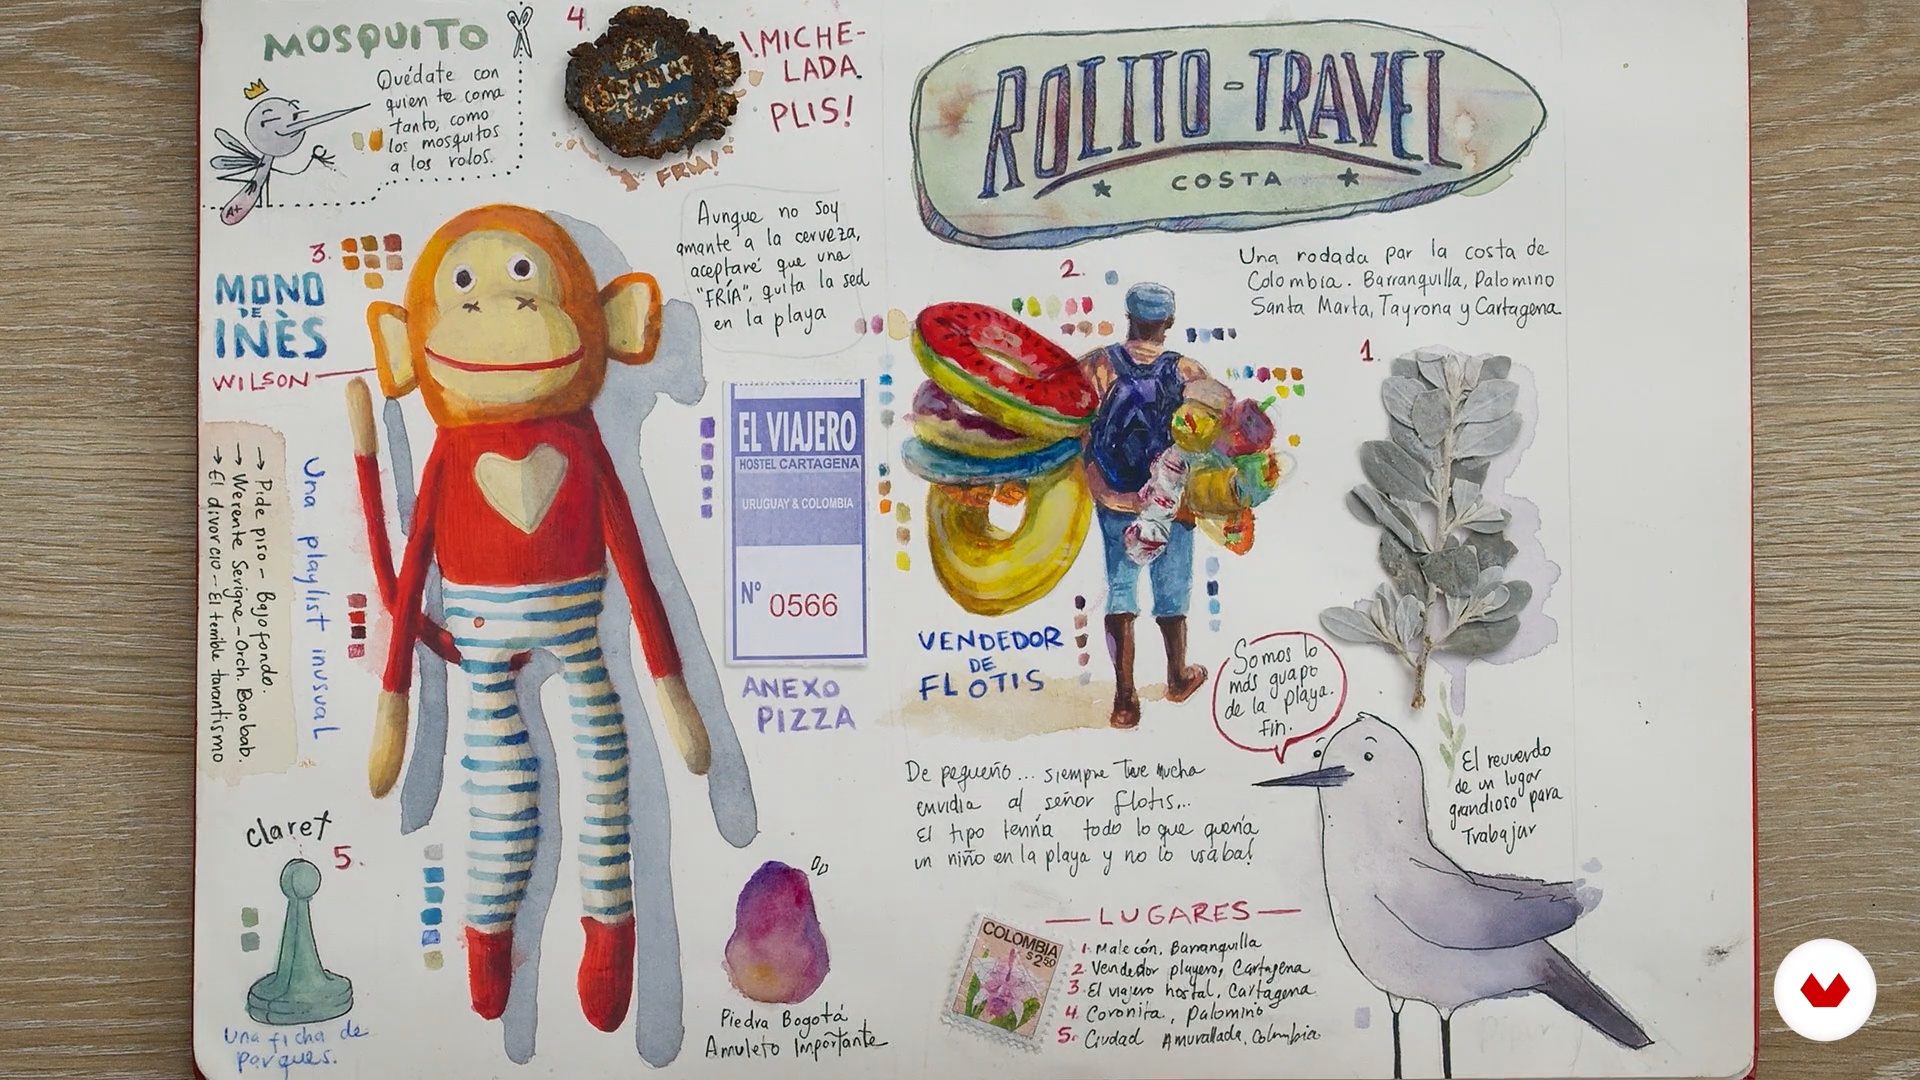
Influences | Iván Cruz
Now I will share some of my most important references. My own childhood, visual references and artists from different disciplines are some of the elements that permeate my work.
11m
image
2
Influences | Alicia Aradilla
Next, I am going to show you some of the artists and travelers who have influenced me the most when making my watercolor notebooks. You will see that they are very different, but that they have many things in common, such as the spontaneity of the technique or their passion for drawing in situ. I hope you like them too and they inspire you.
10m
image
2
Influences | Infinitos Lugares
In this lesson I will tell you about my favorite artists and my inspirations to create. Above all, I want to share some references that give a vision of the act of saving and containing stories and experiences in a notebook.
6m
image
3
Let's define "travel"
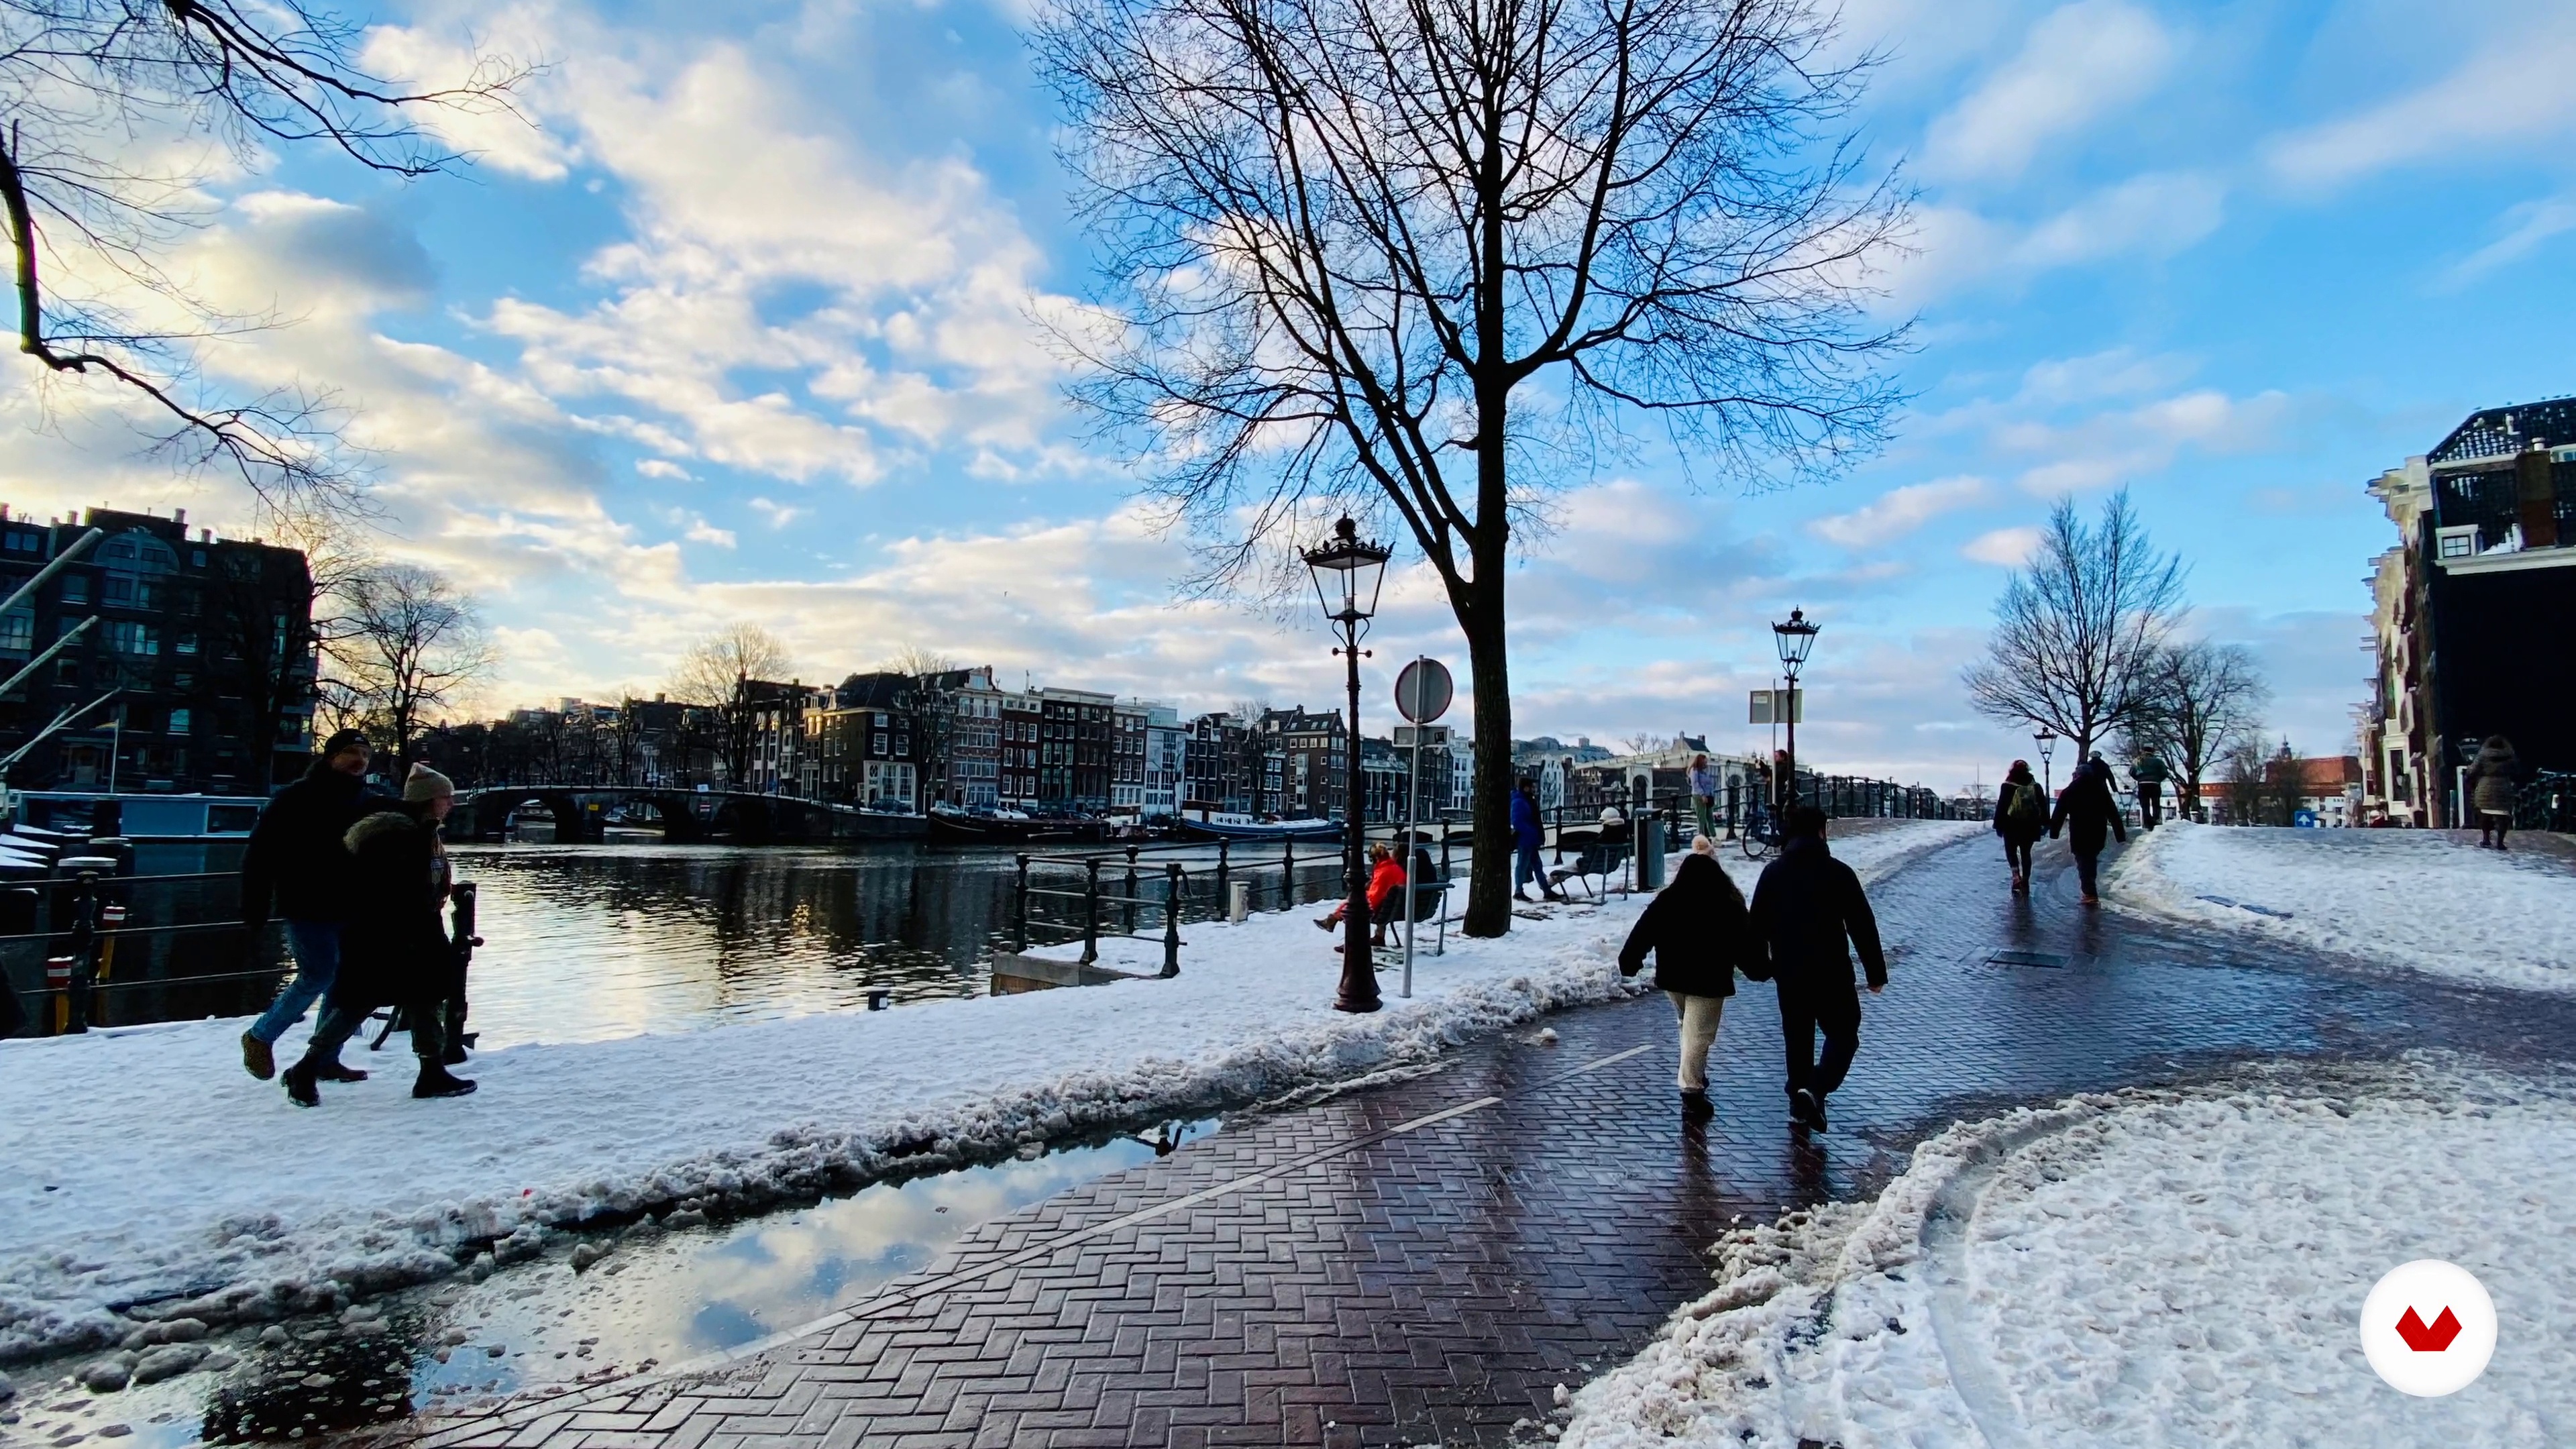
In this lesson we will give a broader meaning to the verb "travel" and we will see that it is not necessary to go to the other side of the world (or be an artist) to complete a travel notebook.
5m
image
4
The magic of journaling: the notebook as a treasure chest
Now let's reflect. We will see why it is valuable that you take the time to document your trips and how the philosophy of slow travel can help you.
5m
image
5
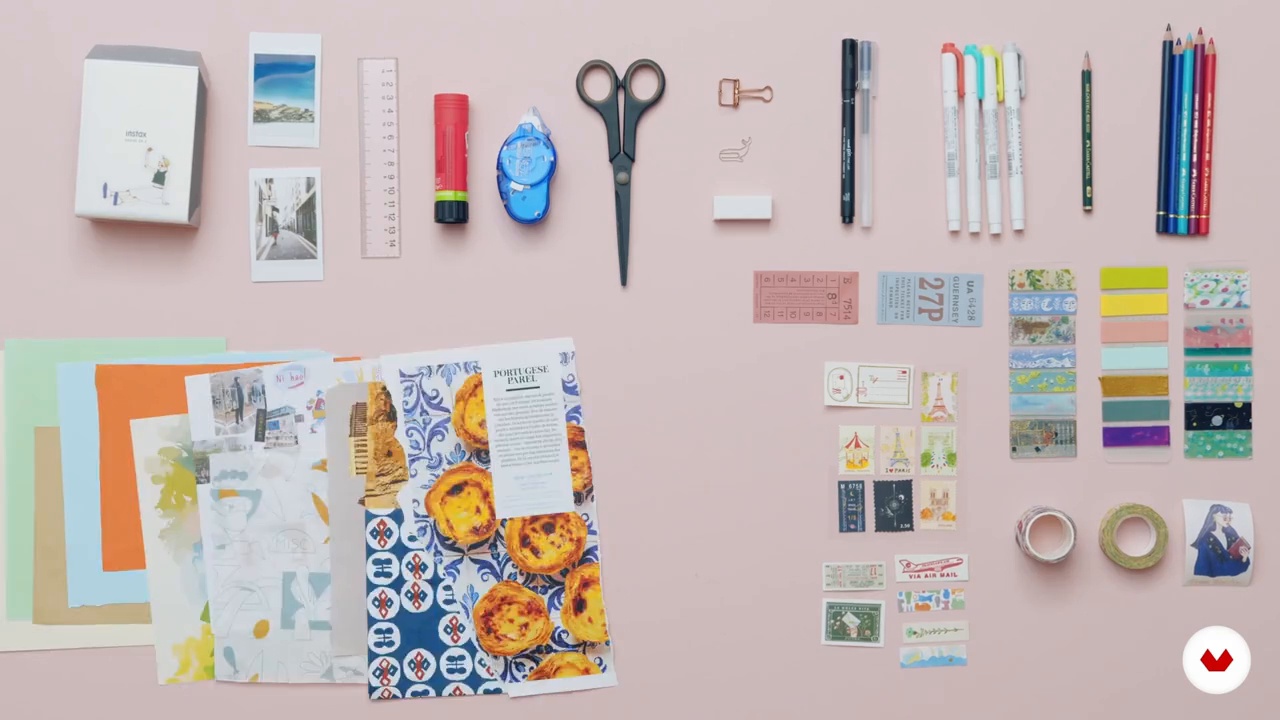
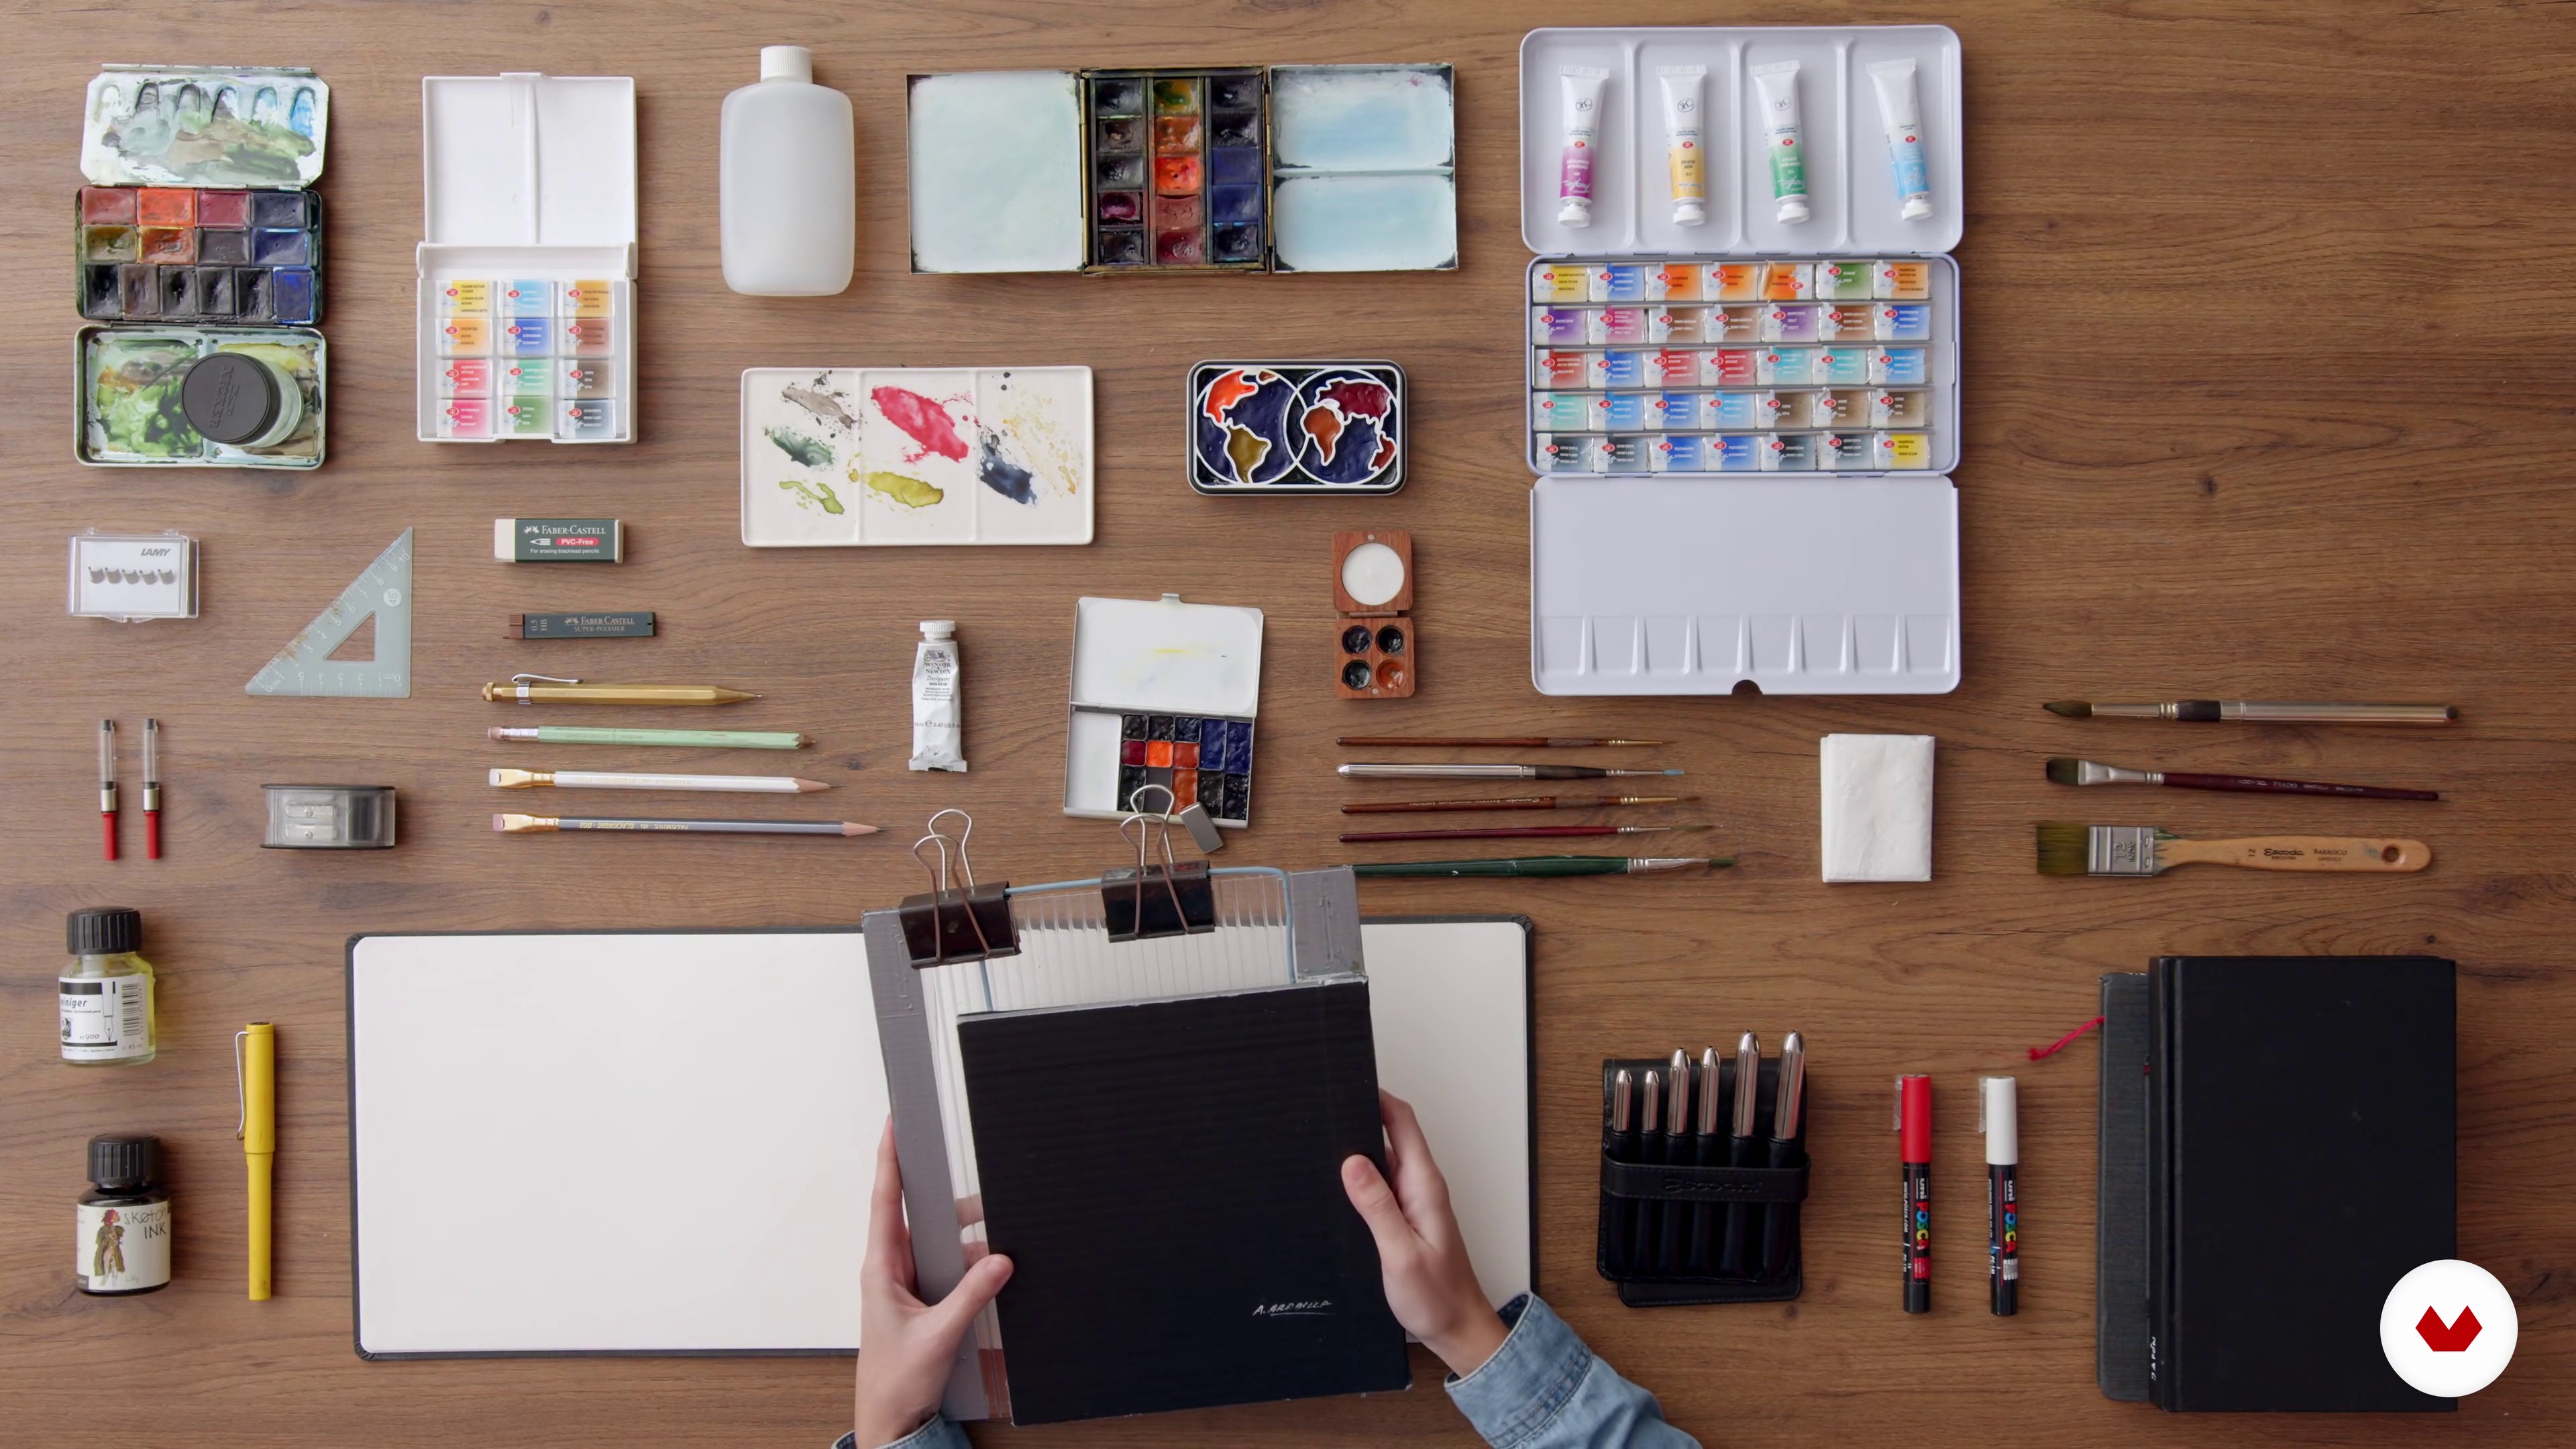
The materials
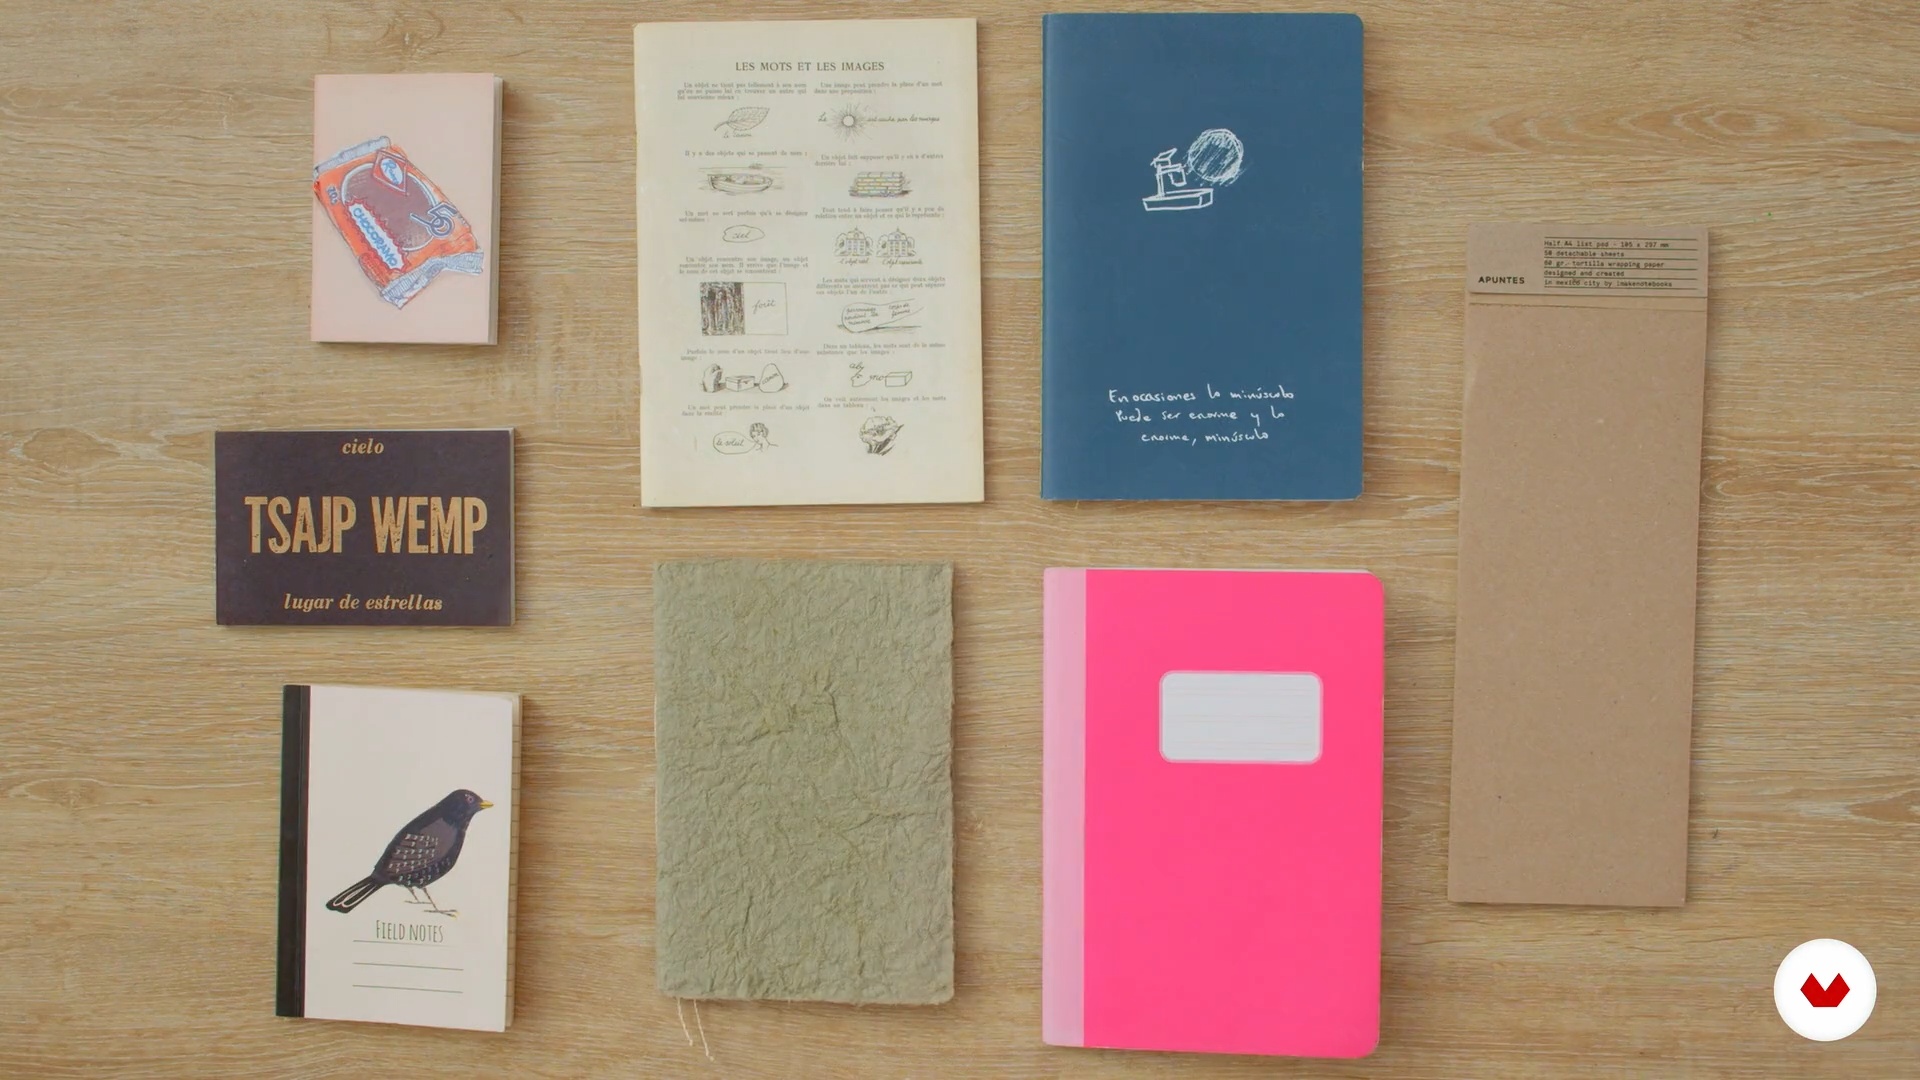
The notebook will be our most faithful companion on our trips. In this lesson I will explain how to choose a travel notebook adapted to your needs, what materials you can use to fill it out and where you can find them.
11m
image
6
Tips for not abandoning your notebook
I know that staying consistent while traveling can be difficult. Therefore, in this lesson I will give you some recommendations so that you do not abandon your notebook in the middle of the trip.
5m
image
7
Previous exercises: ideas to fill your notebook before leaving home 1
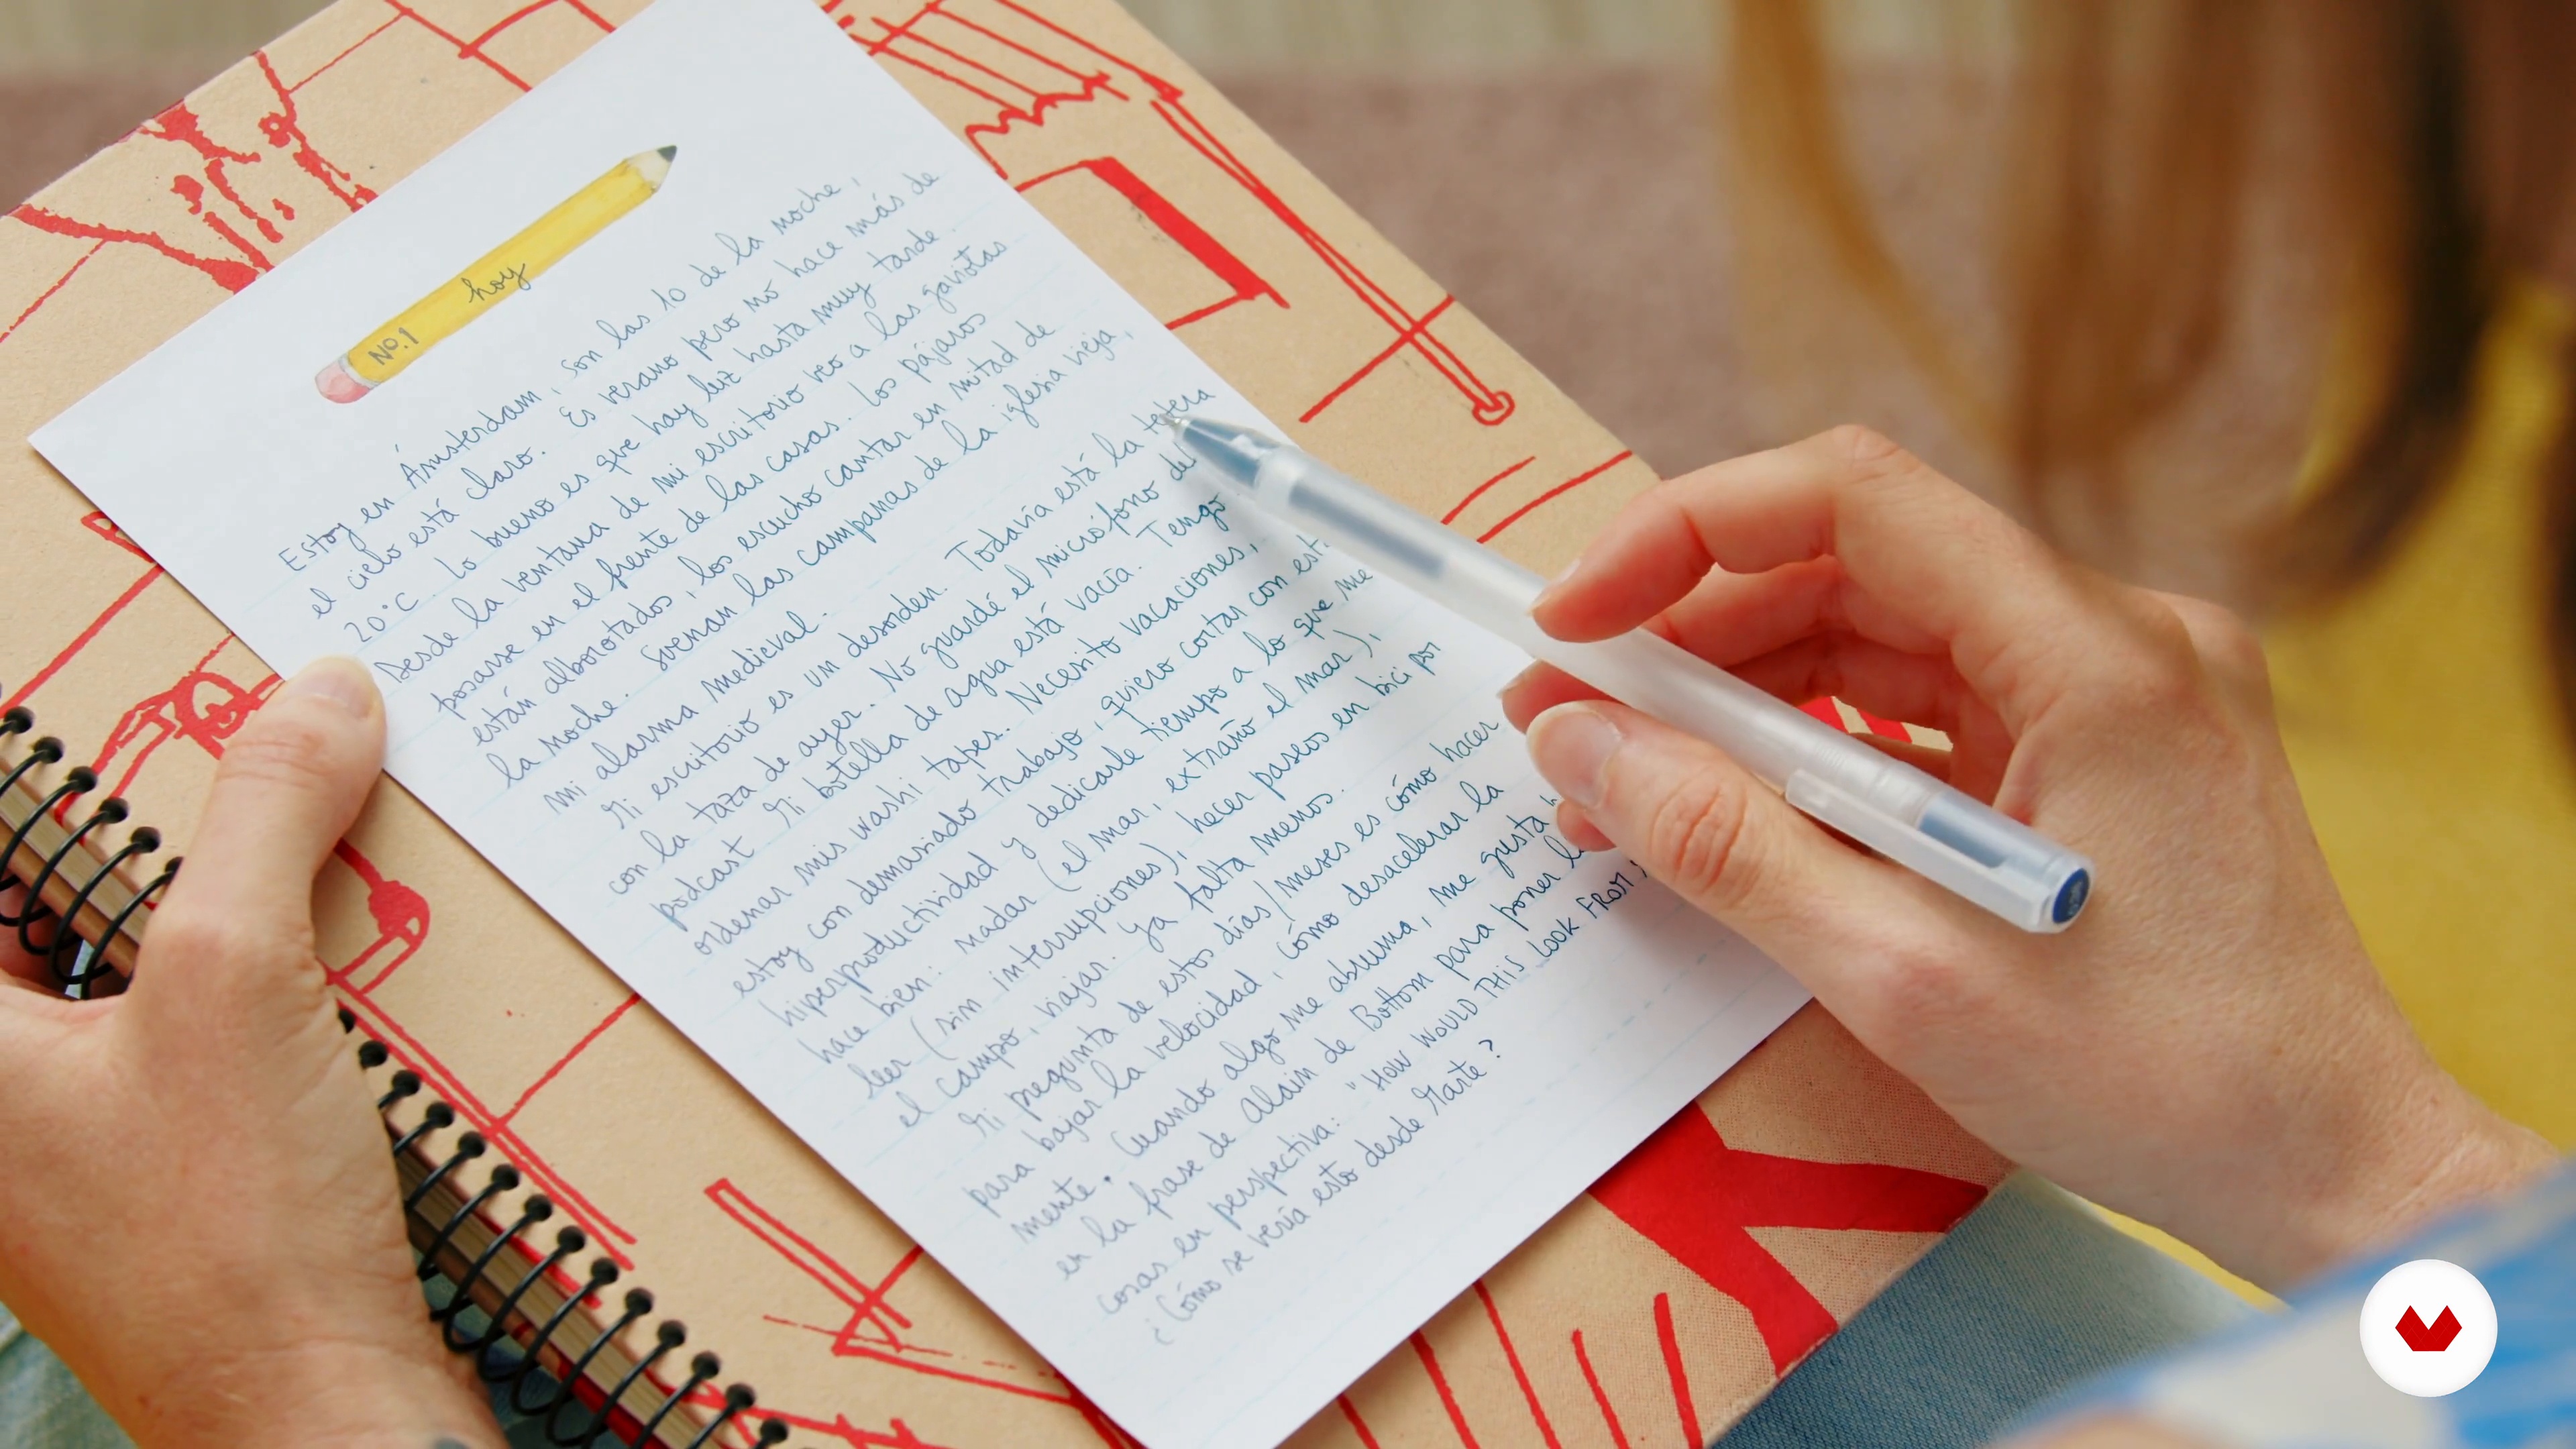
In this lesson I will give you some ideas so that you can start filling your notebook before you even leave your house. Remember, each trip and each person are different; I will propose exercises, but fill your notebook with your own style.
17m
image
8
Previous exercises: ideas to fill your notebook before leaving home 2
We continue to see ideas to carry out before the trip. We start by creating lists of what we would like to do and see on the future trip.
17m
image
9
In transit: ideas to record your days and your emotions 1
Now I will propose writing, observation, introspection and collecting exercises so that you fill your notebook while you travel.
15m
image
10
In transit: ideas to record your days and your emotions 2
We continue to see other exercises and formats to complete your notebook during the trip.
15m
image
11
In transit: ideas for documenting movement, the here and now, and the unexpected 1
Continue our way. In this lesson I will continue to give you creative ideas and exercises to fill your notebook while traveling. It's amazing to see how our notebook is taking shape!
17m
image
12
In transit: ideas for documenting movement, the here and now, and the unexpected 2
Finally, I am going to talk to you about some last exercises and formats that you can use in your notebook while you know amazing places.
15m
image
13
The return: ideas to finish your post-trip notebook 1
You've come home and you take the notebook out of the backpack... And now what? In this lesson I am going to give you ideas so that you can continue completing your notebook, even when you are back at home.
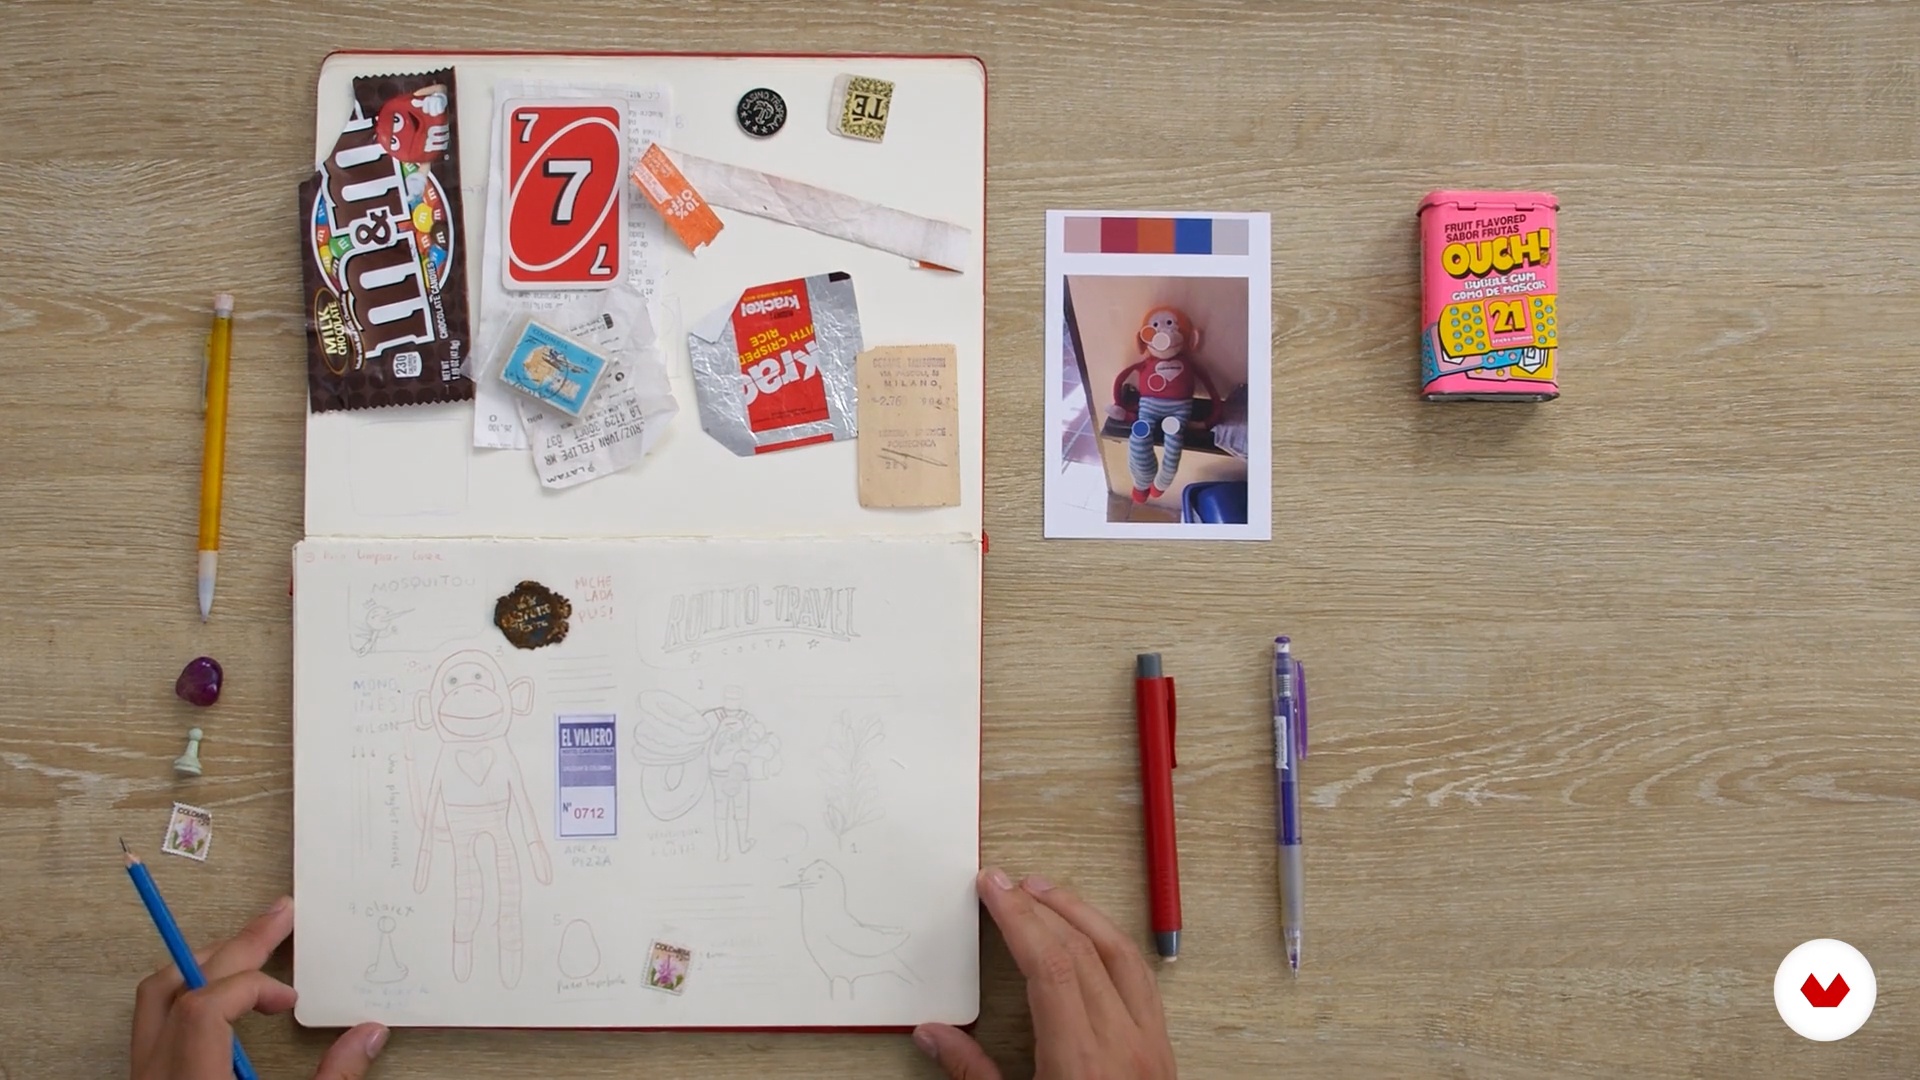
9m
image
14
The return: ideas to finish your post-trip notebook 2
We continue to see some ideas to carry out in your notebook and that this becomes a souvenir of the trip from which you have just returned.
12m
image
15
What to do with notebooks
Finally, we are going to see what you can do with your travel notebook once you have finished completing it. There are several options, I explain them to you in this lesson.
4m
image
3
What is a travel log?
I will start by explaining the origin of the word blog and how it was used. From the marina where the captain was the only one authorized to touch and manipulate that book of memories, to the journey in art, it is important to recognize its history to know where the travel sketch comes from and where it goes.
3m
image
4
Materials
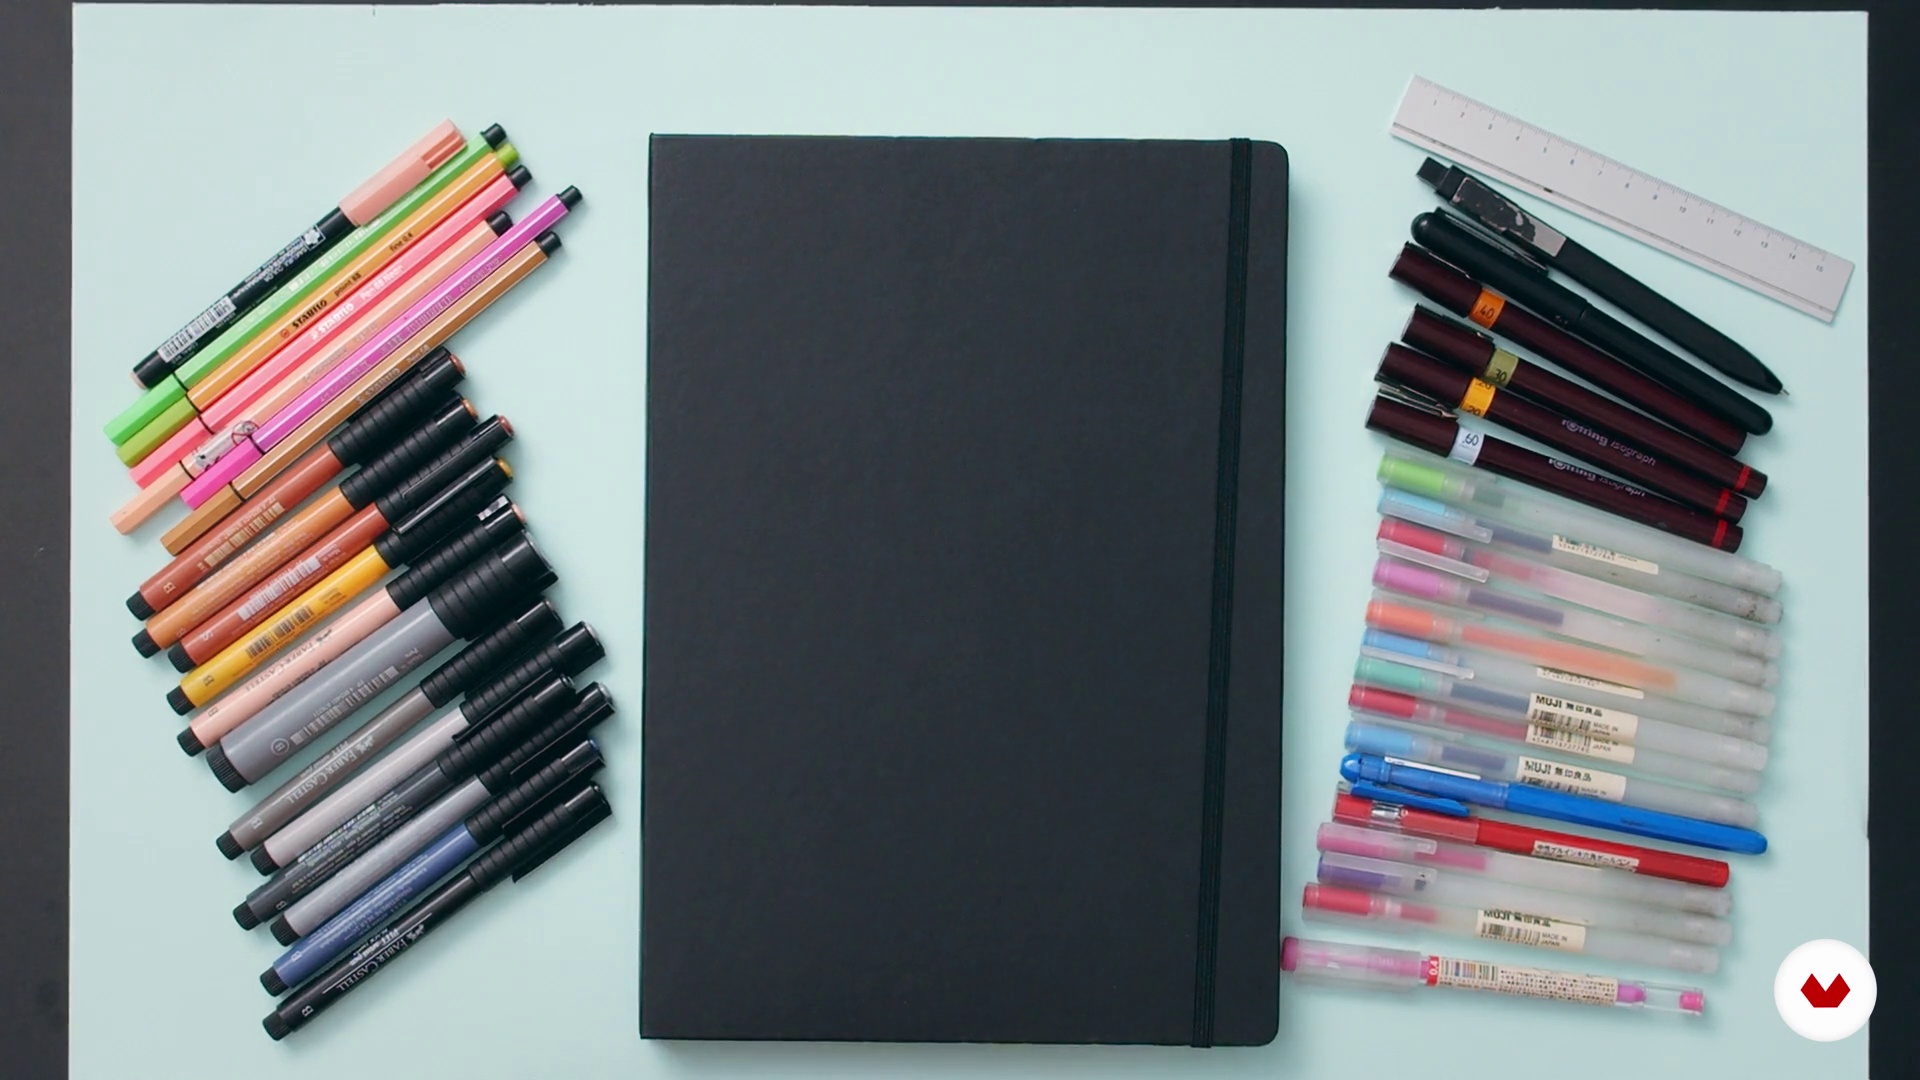
In this lesson I will show you the materials that I recommend as travel companions. Ideally, they should be so portable that they fit in your pocket.
2m
image
5
Basic exercises and mixed techniques 1
Almost everything is ready to start working on the blog, but first, I will show you some exercises to practice and I will give you some tips that will be useful when creating.
15m
image
6
Basic exercises and mixed techniques 2
Join me to continue exploring some examples that I have done in my blogs. I will show you works done with rapidographs and watercolors, as well as a little known technique in drawing, done with nail polish!
10m
image
7
How to approach the drawing?
We have all been afraid of the blank page, not knowing how to deal with it is a problem even for artists with more experience. In this lesson I will give you some tips to approach illustration from different starting points.
6m
image
8
Plan the page
In the planning is the success of the final result, so, in this lesson, you will start by raising the double page. As you gain confidence in diagramming, I'll walk you through some tips to improve your structure.
2m
image
9
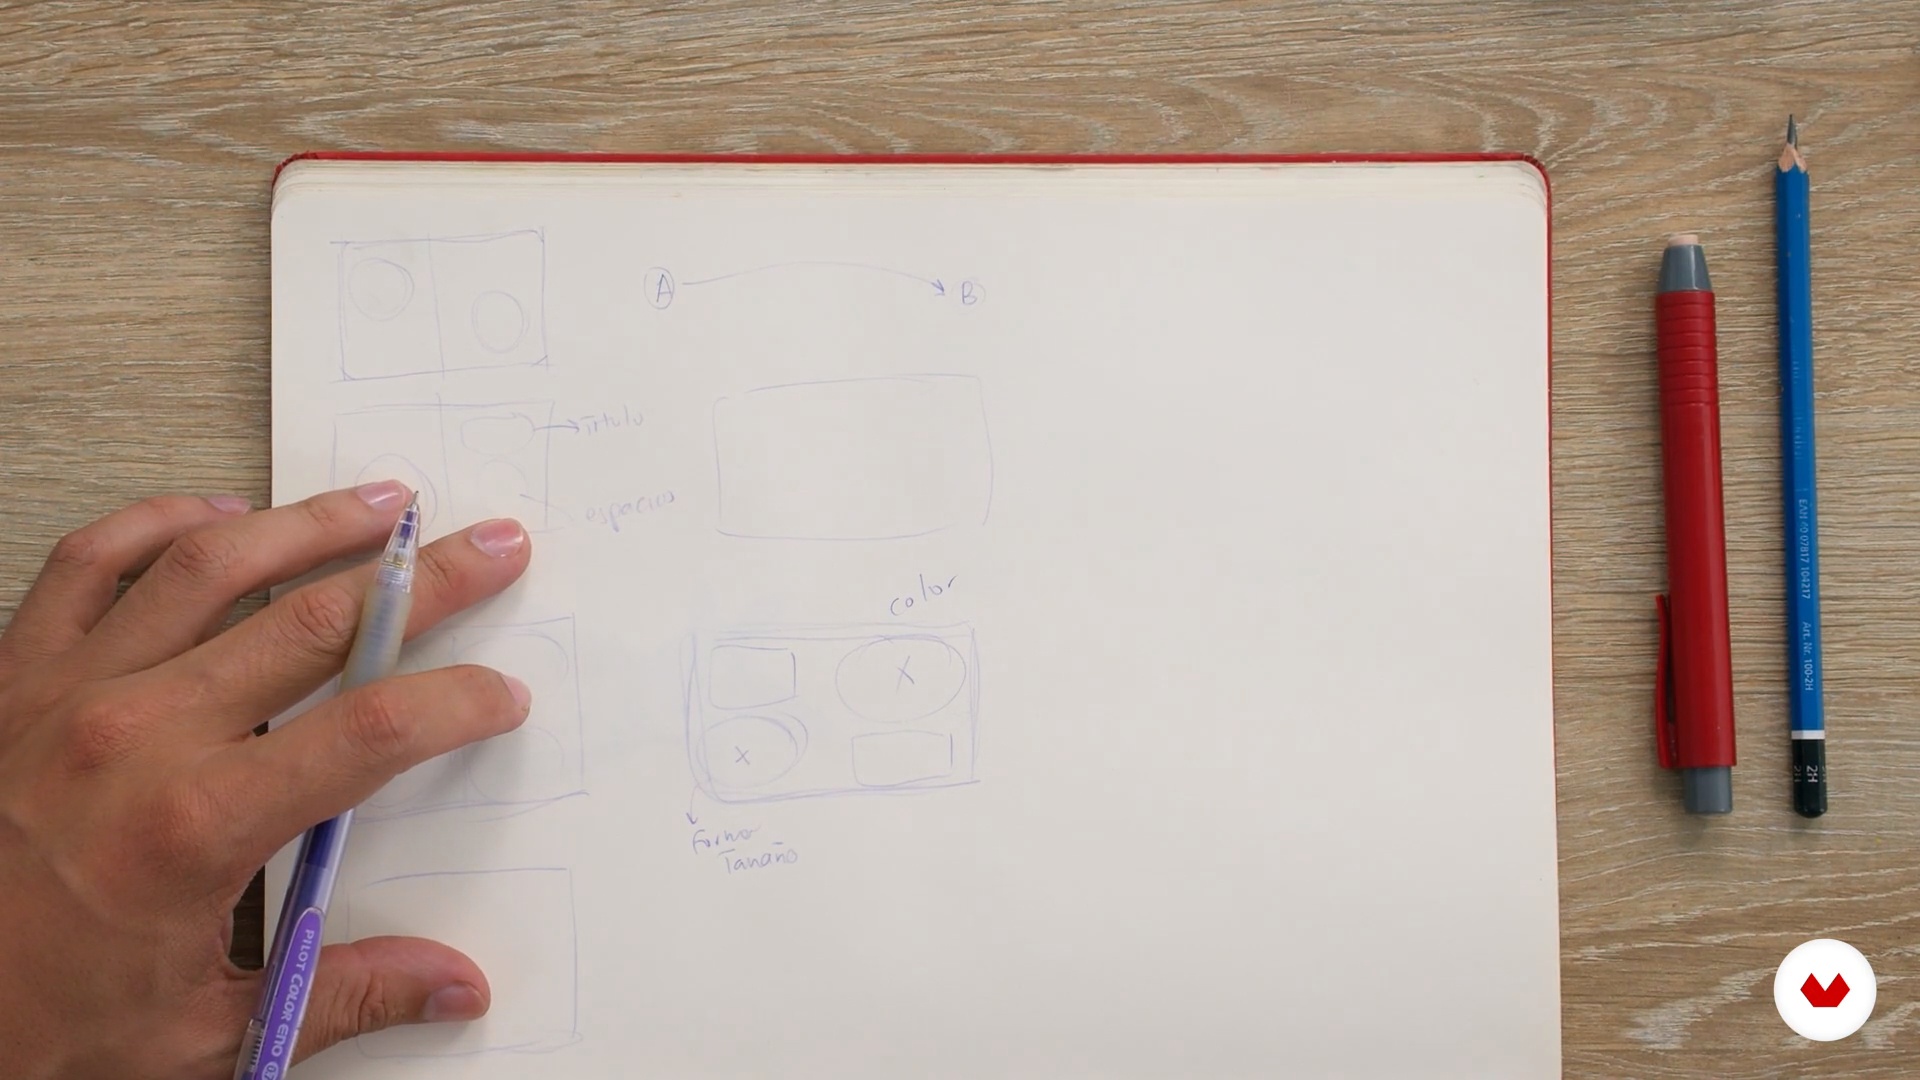
Sketch, layout and structure
In this lesson you will start by laying out the page, this is an essential step to determine the points of interest and tension within the composition.
17m
image
10
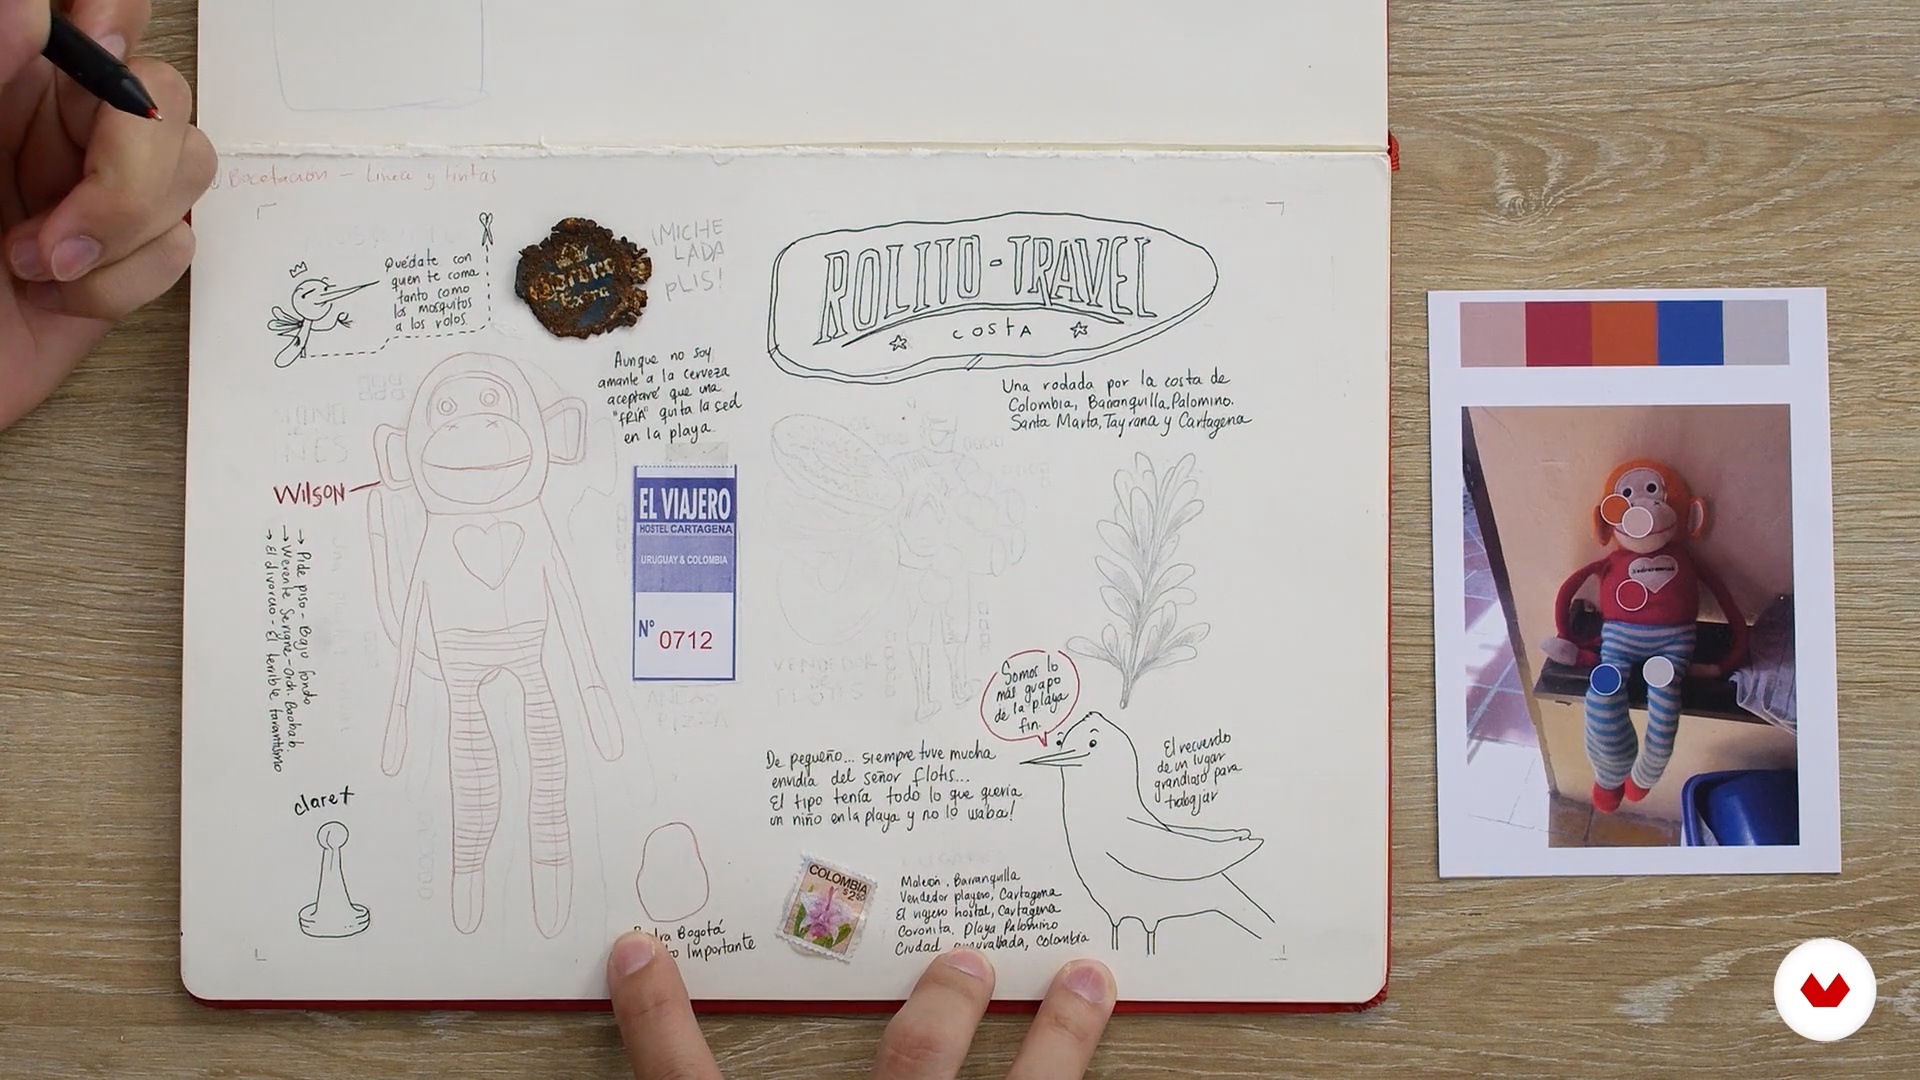
Conceptualization
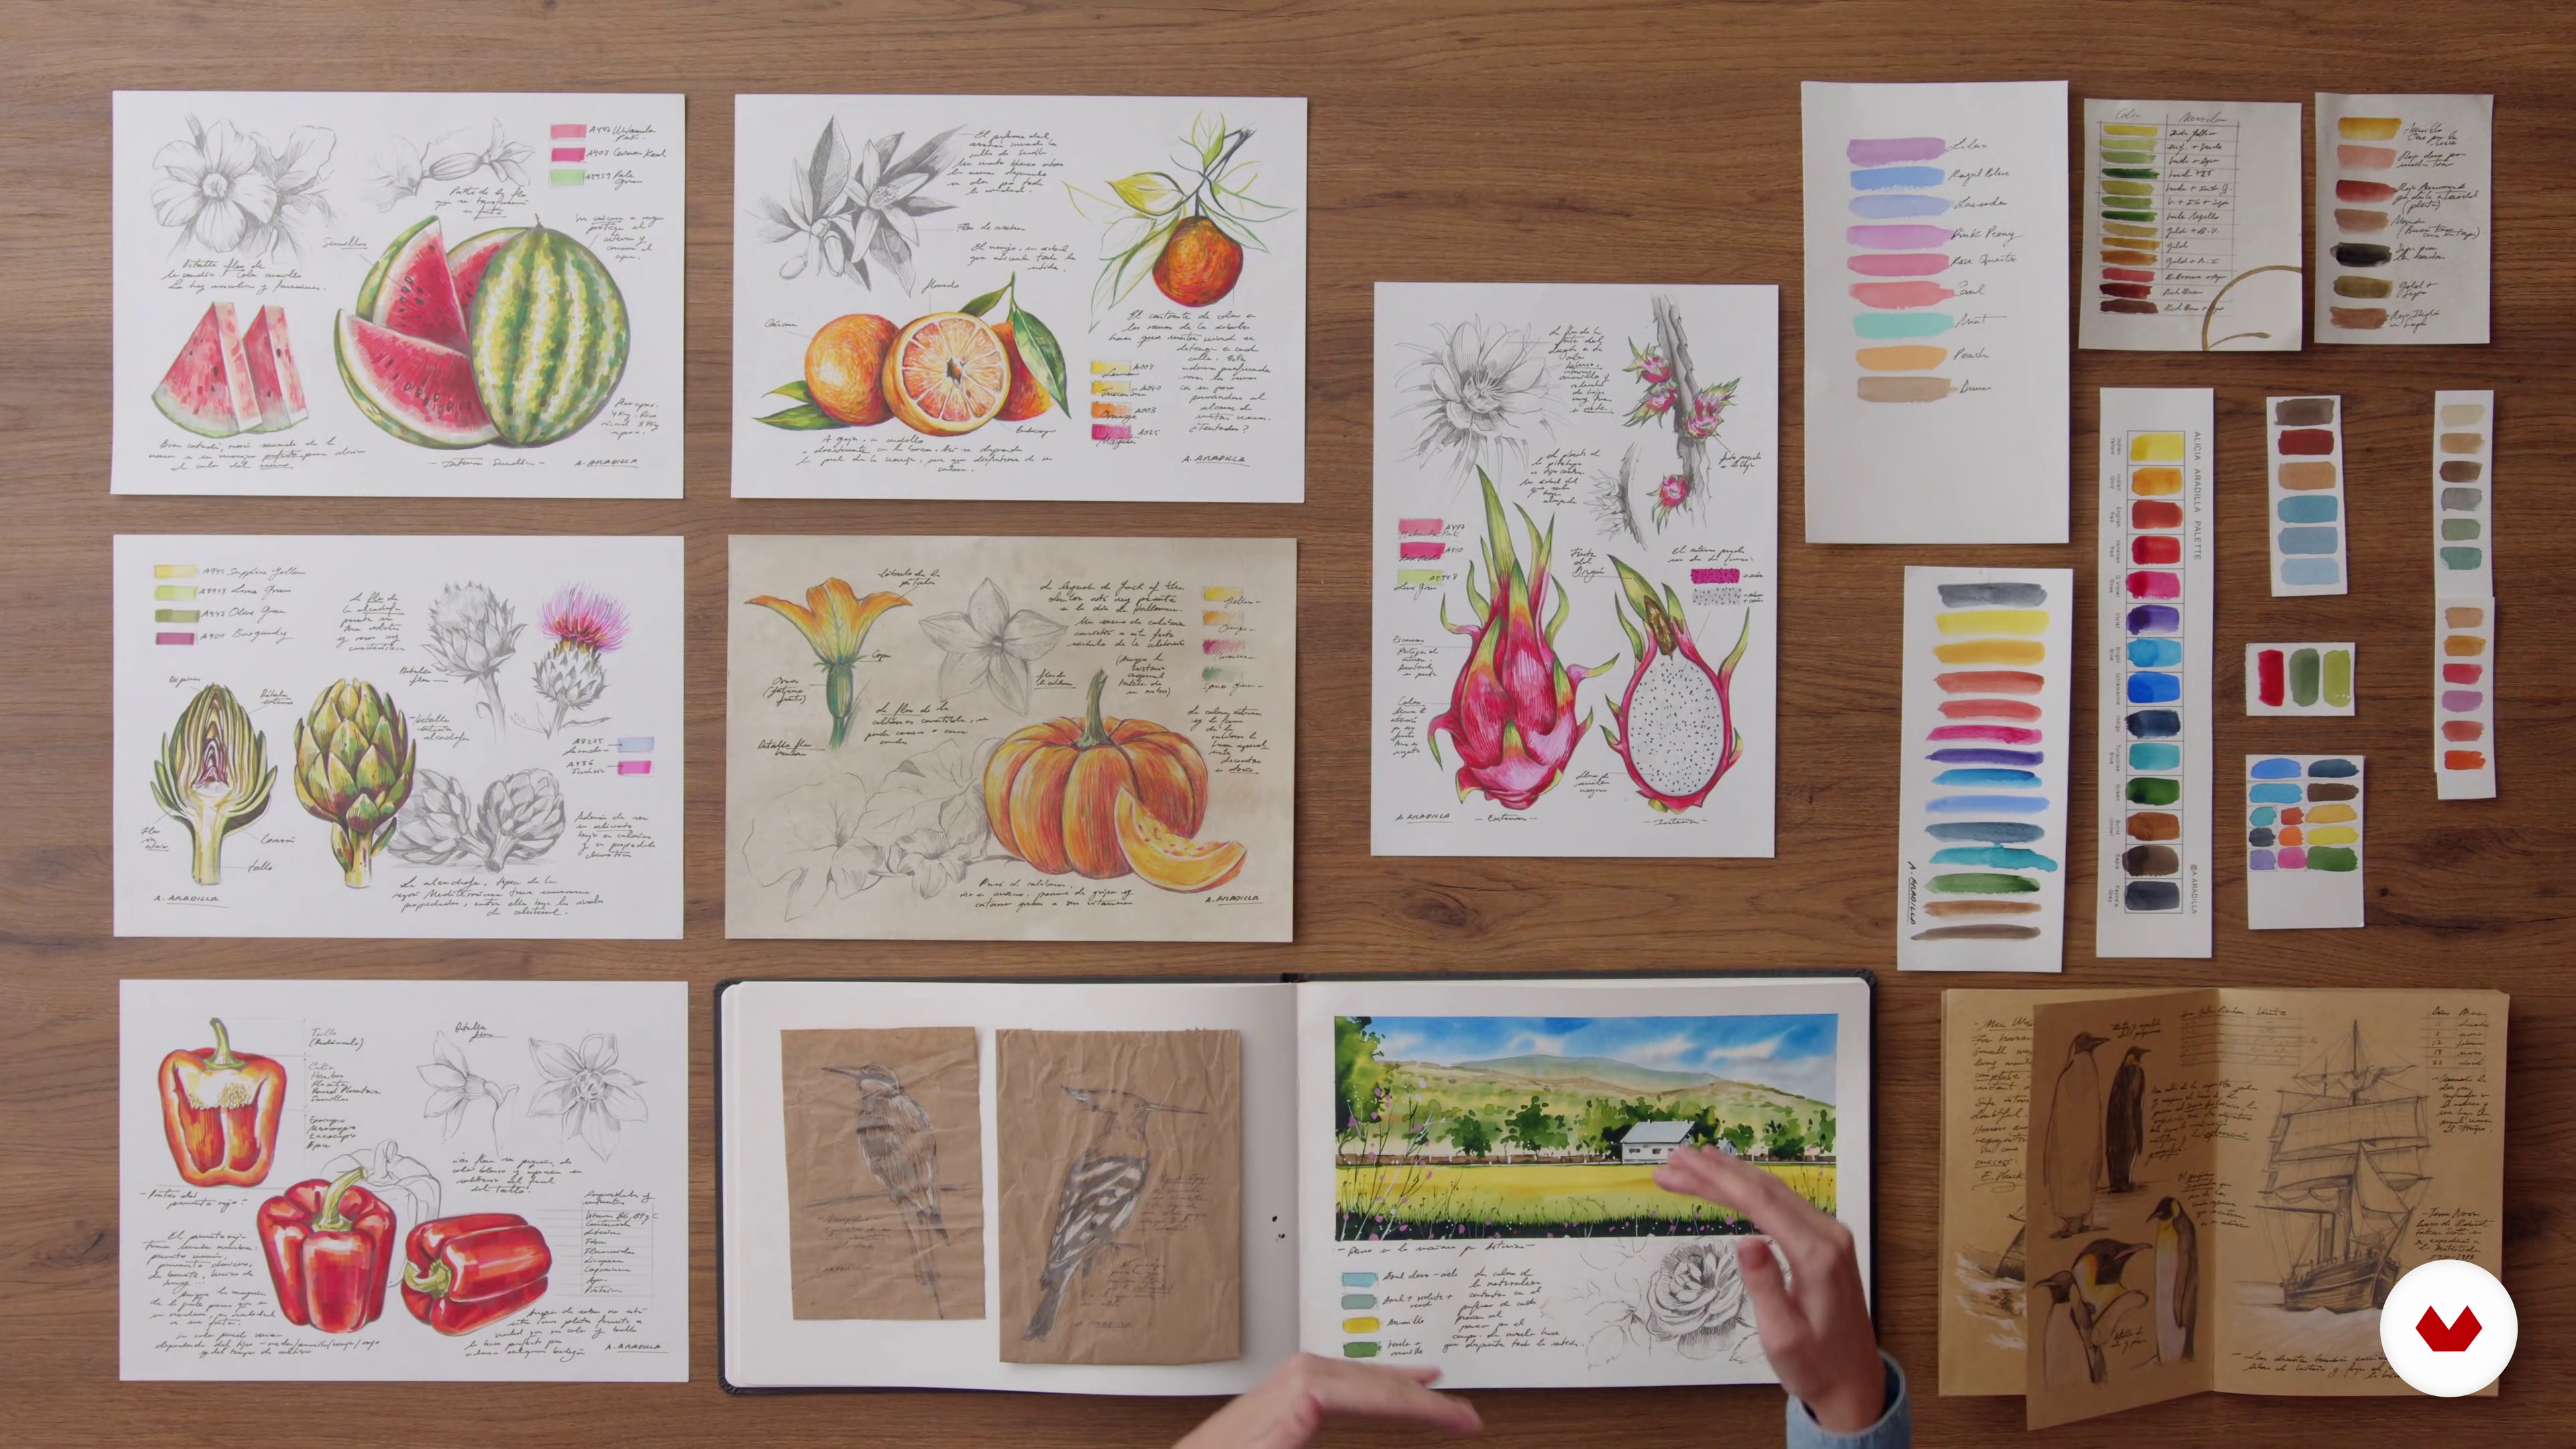
After defining the layout, I'll show you how I work the details in colored pencil or graphite. I will teach you to define the ideal color palette to maintain harmony in your work.
6m
image
11
Color palette, illustration, collage and techniques 1
We will begin to fix the graphic resources and I will teach you to apply mixed techniques to the original giving details, brightness and others.
14m
image
12
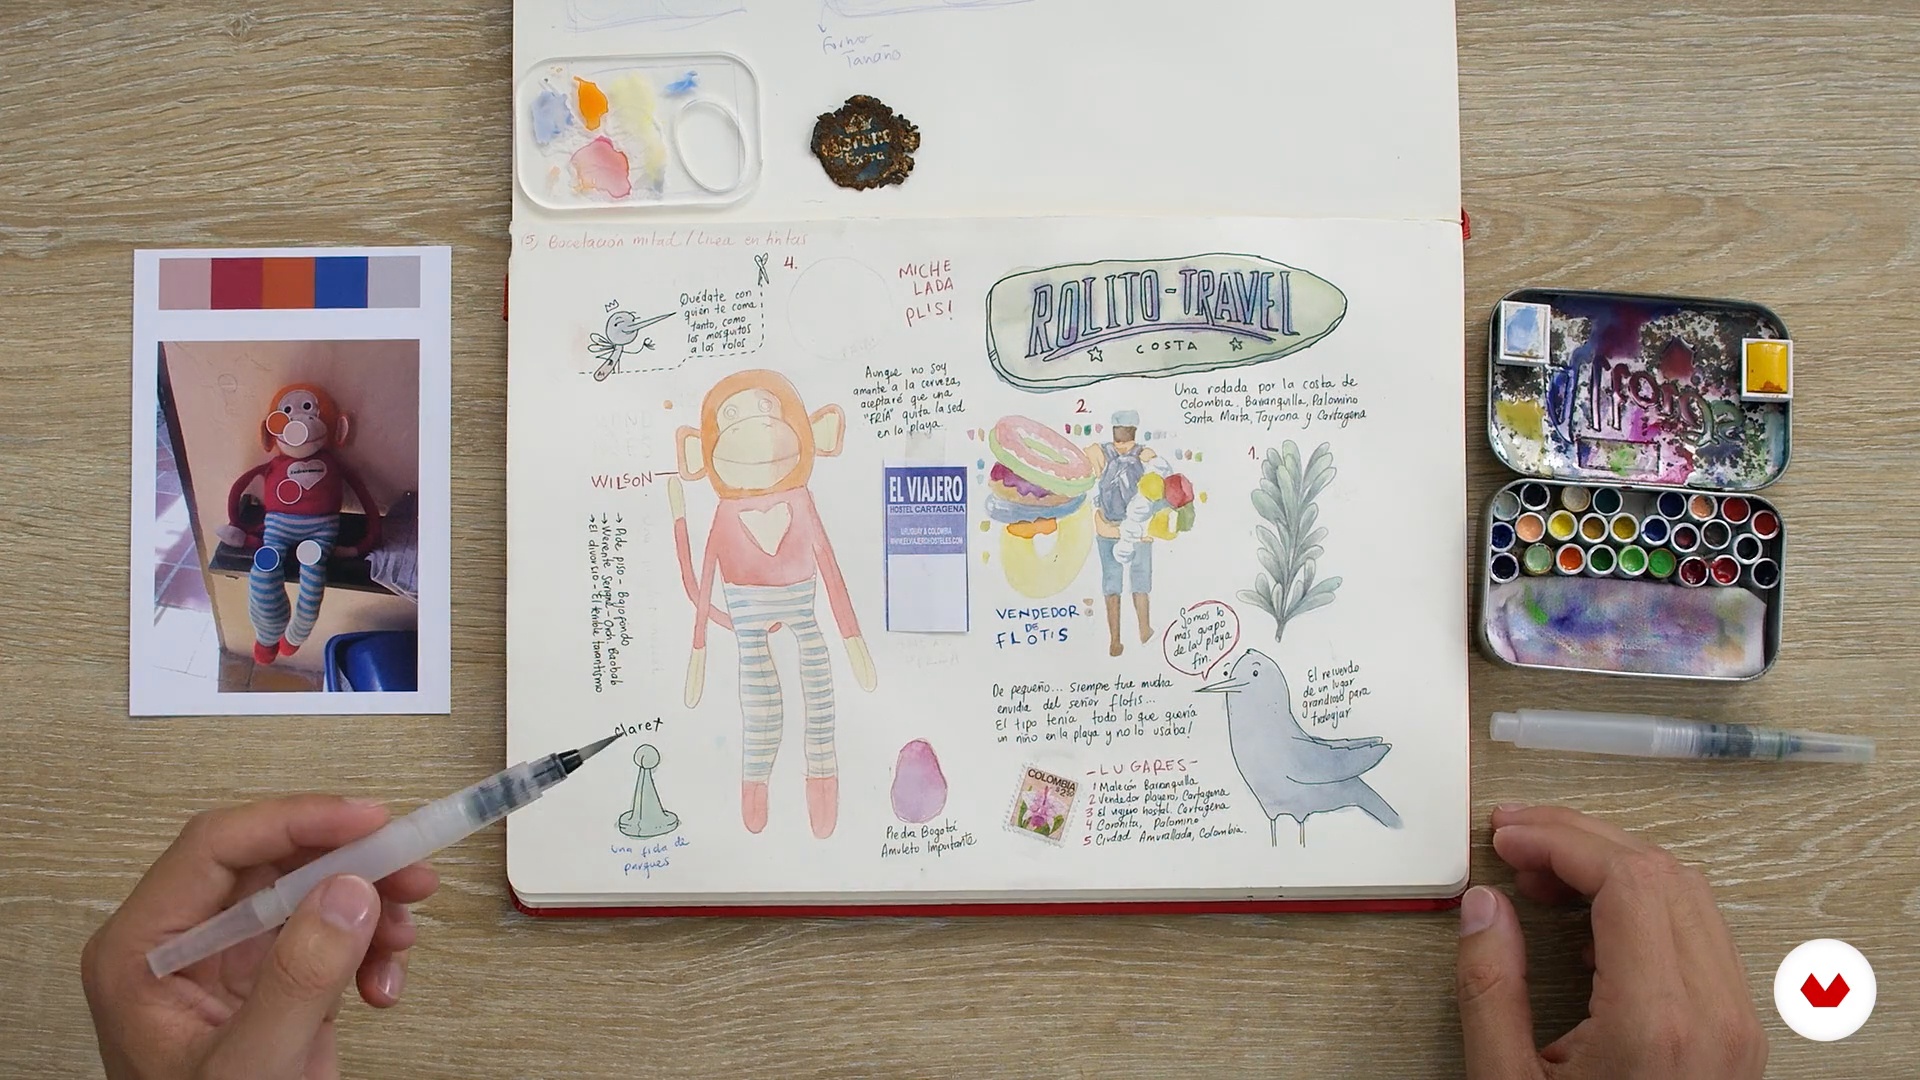
Color palette, illustration, collage and techniques 2
Here I will teach you how to develop your color palette with the chosen materials and I will give you my best tips to color your illustrations.
14m
image
13
Color palette, illustration, collage and techniques 3
I will finish by showing you the last steps in my illustrations, the techniques I use to deepen the details and how I make my blogs an exercise in self-knowledge as an artist.
15m
image
14
Final photograph
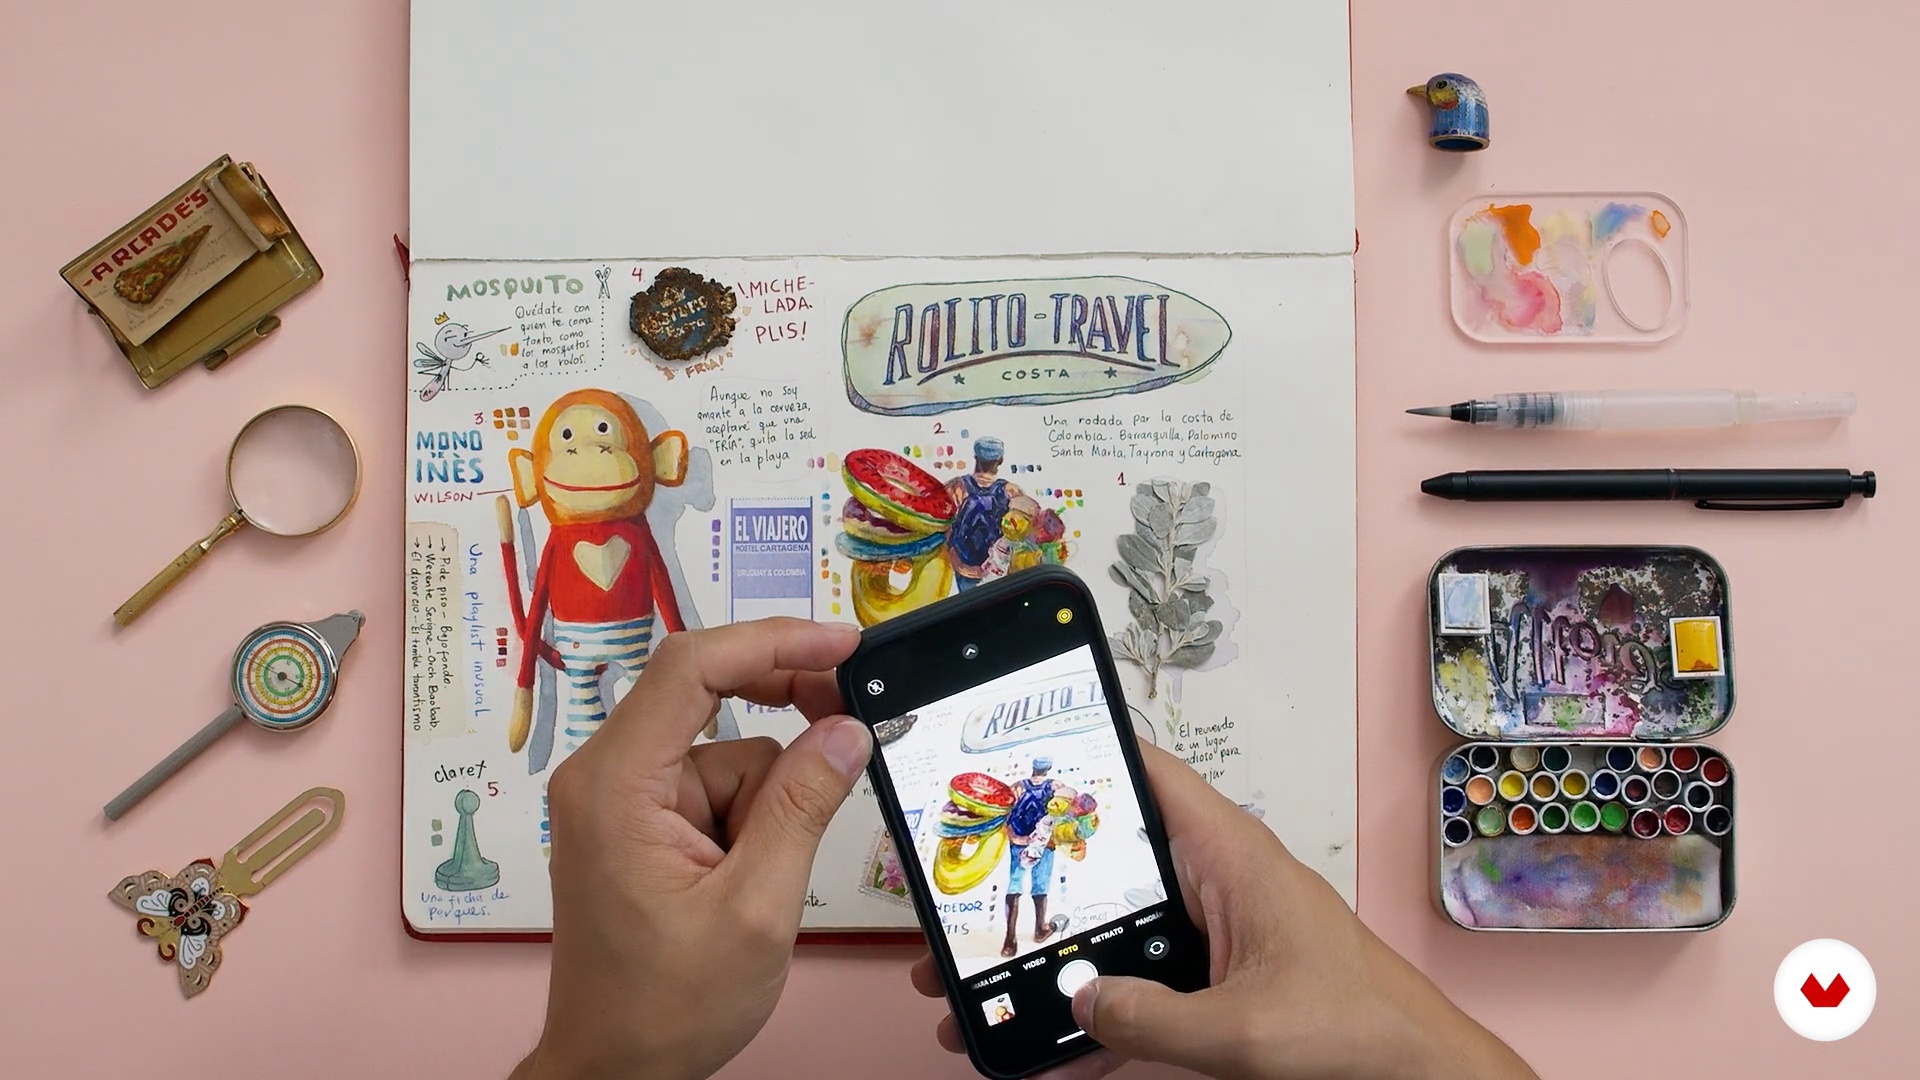
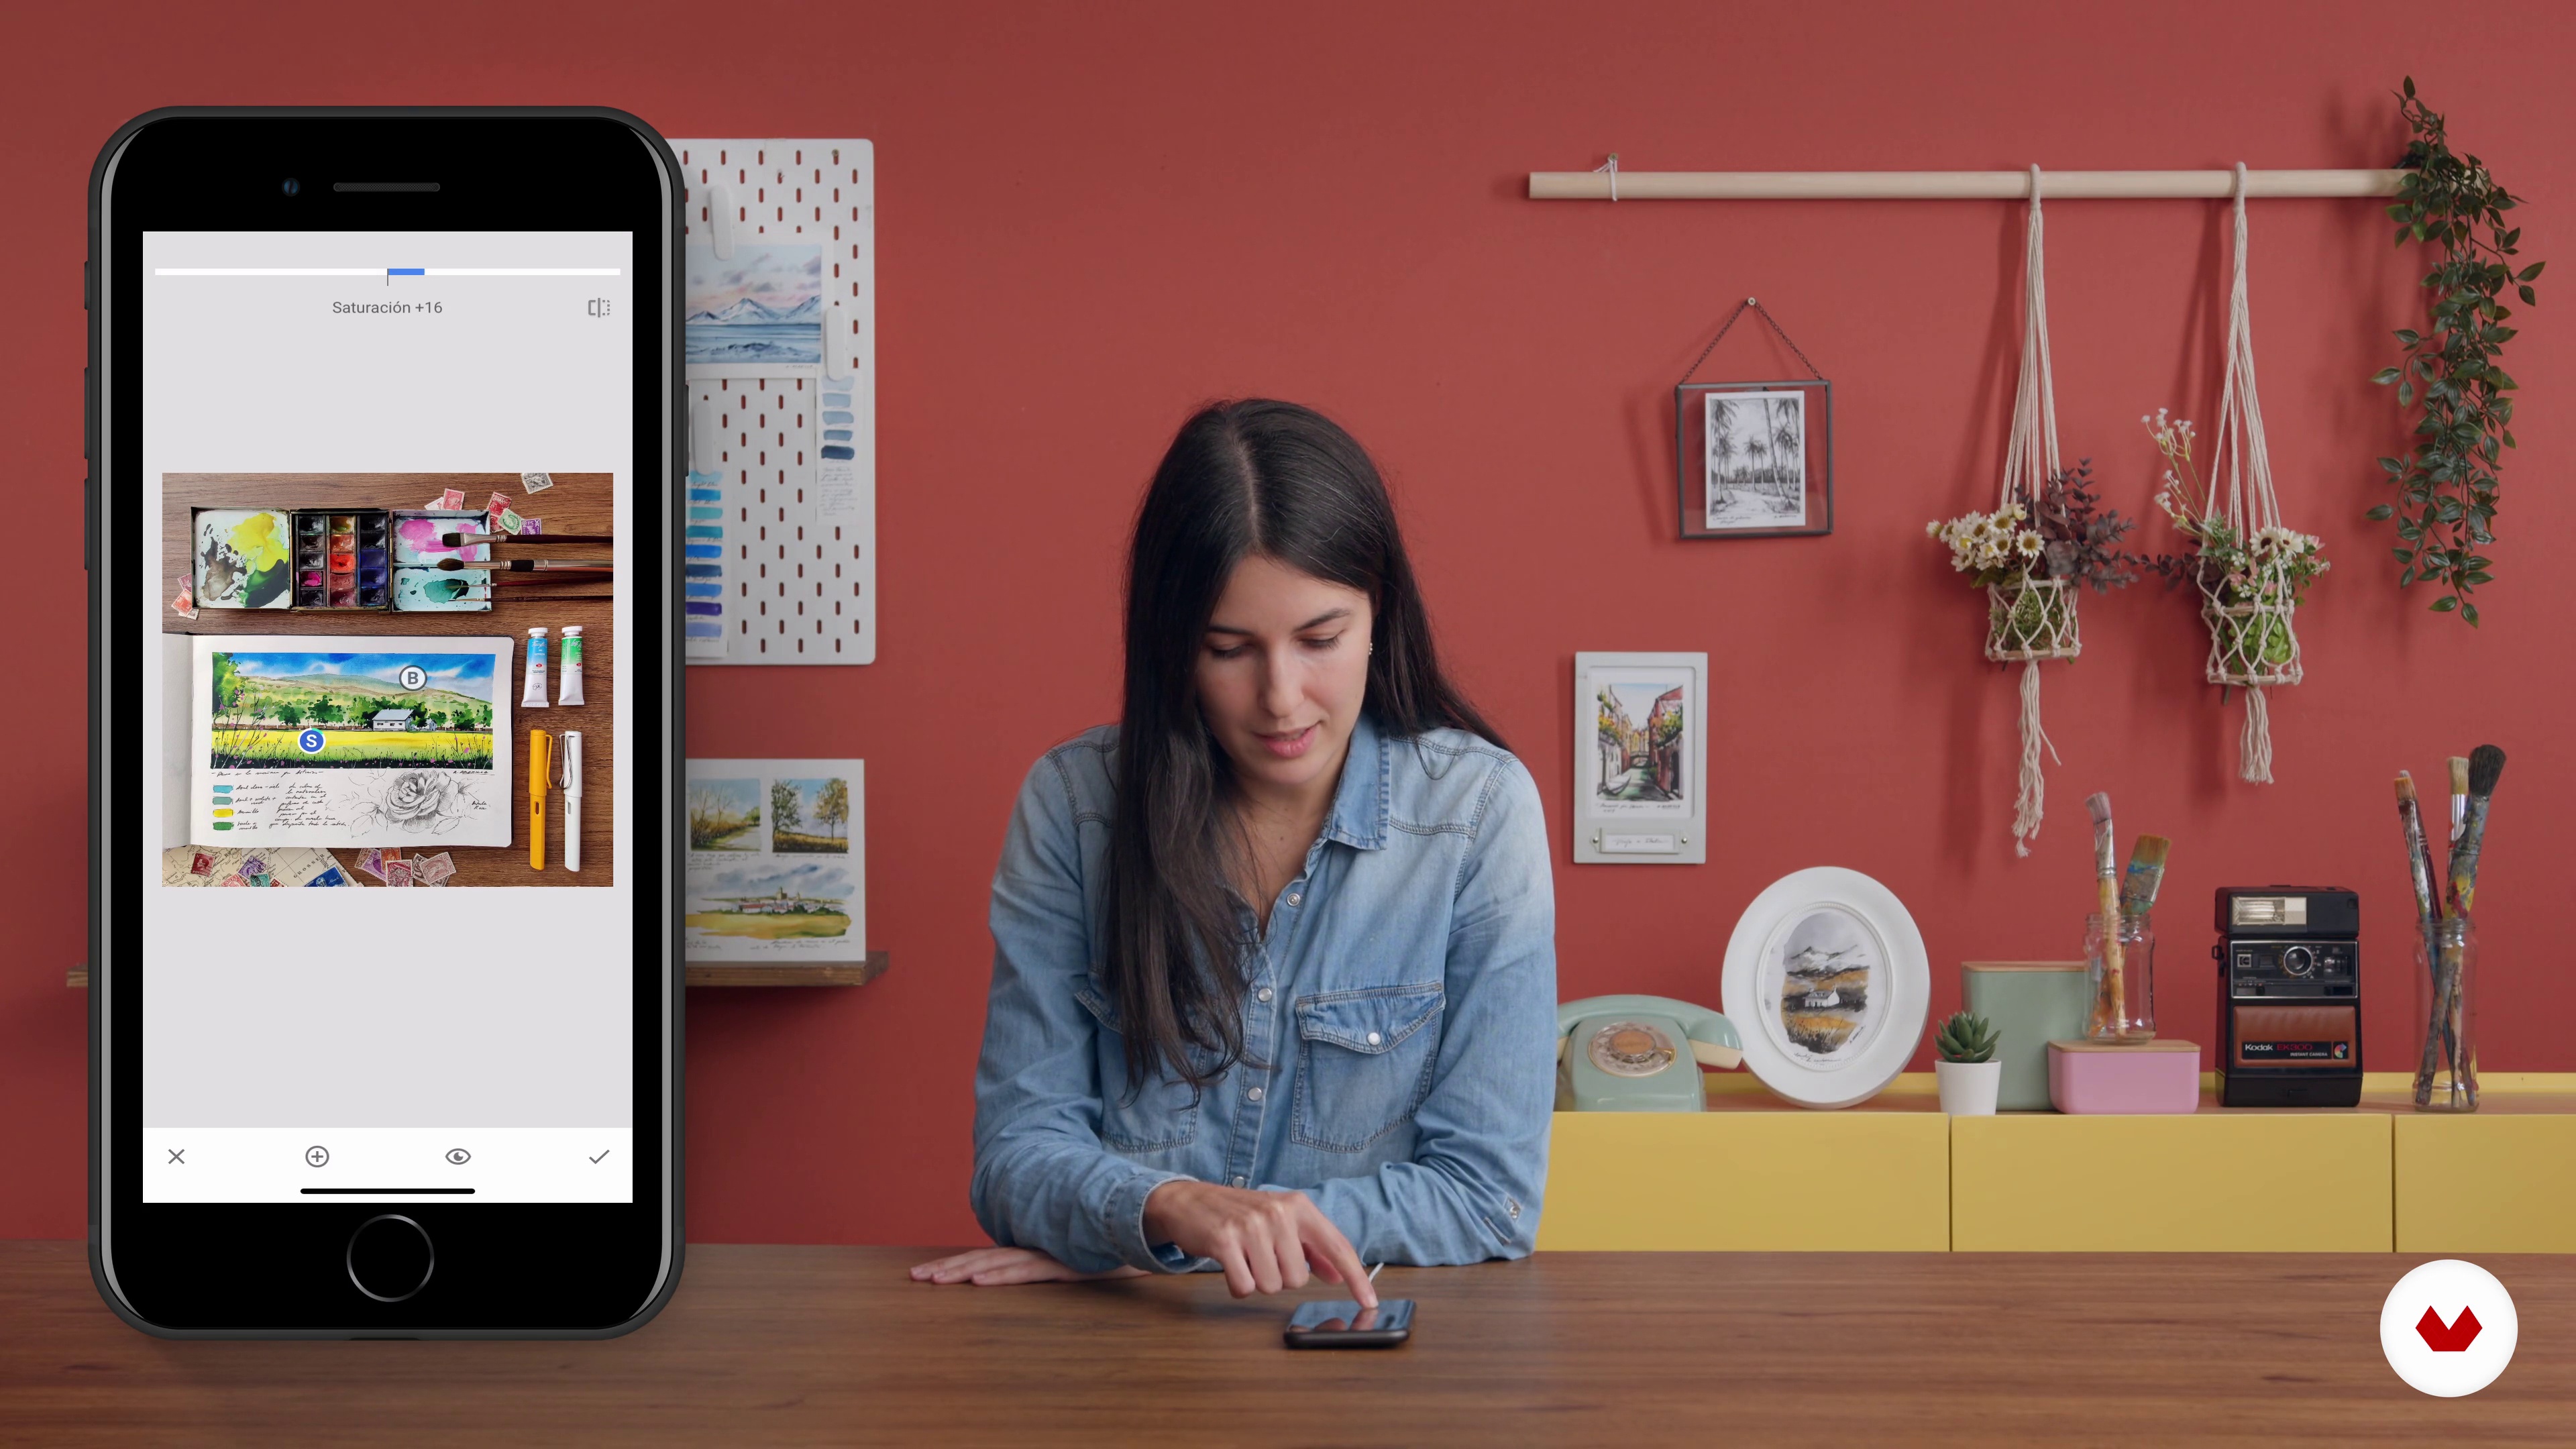
In this lesson I will take several photos of the blog to show you how to make your own digital portfolio. I will give you some tips to use the lighting in your favor and to capture the best angle of your illustrations.
4m
image
15
Publishing and Social Media
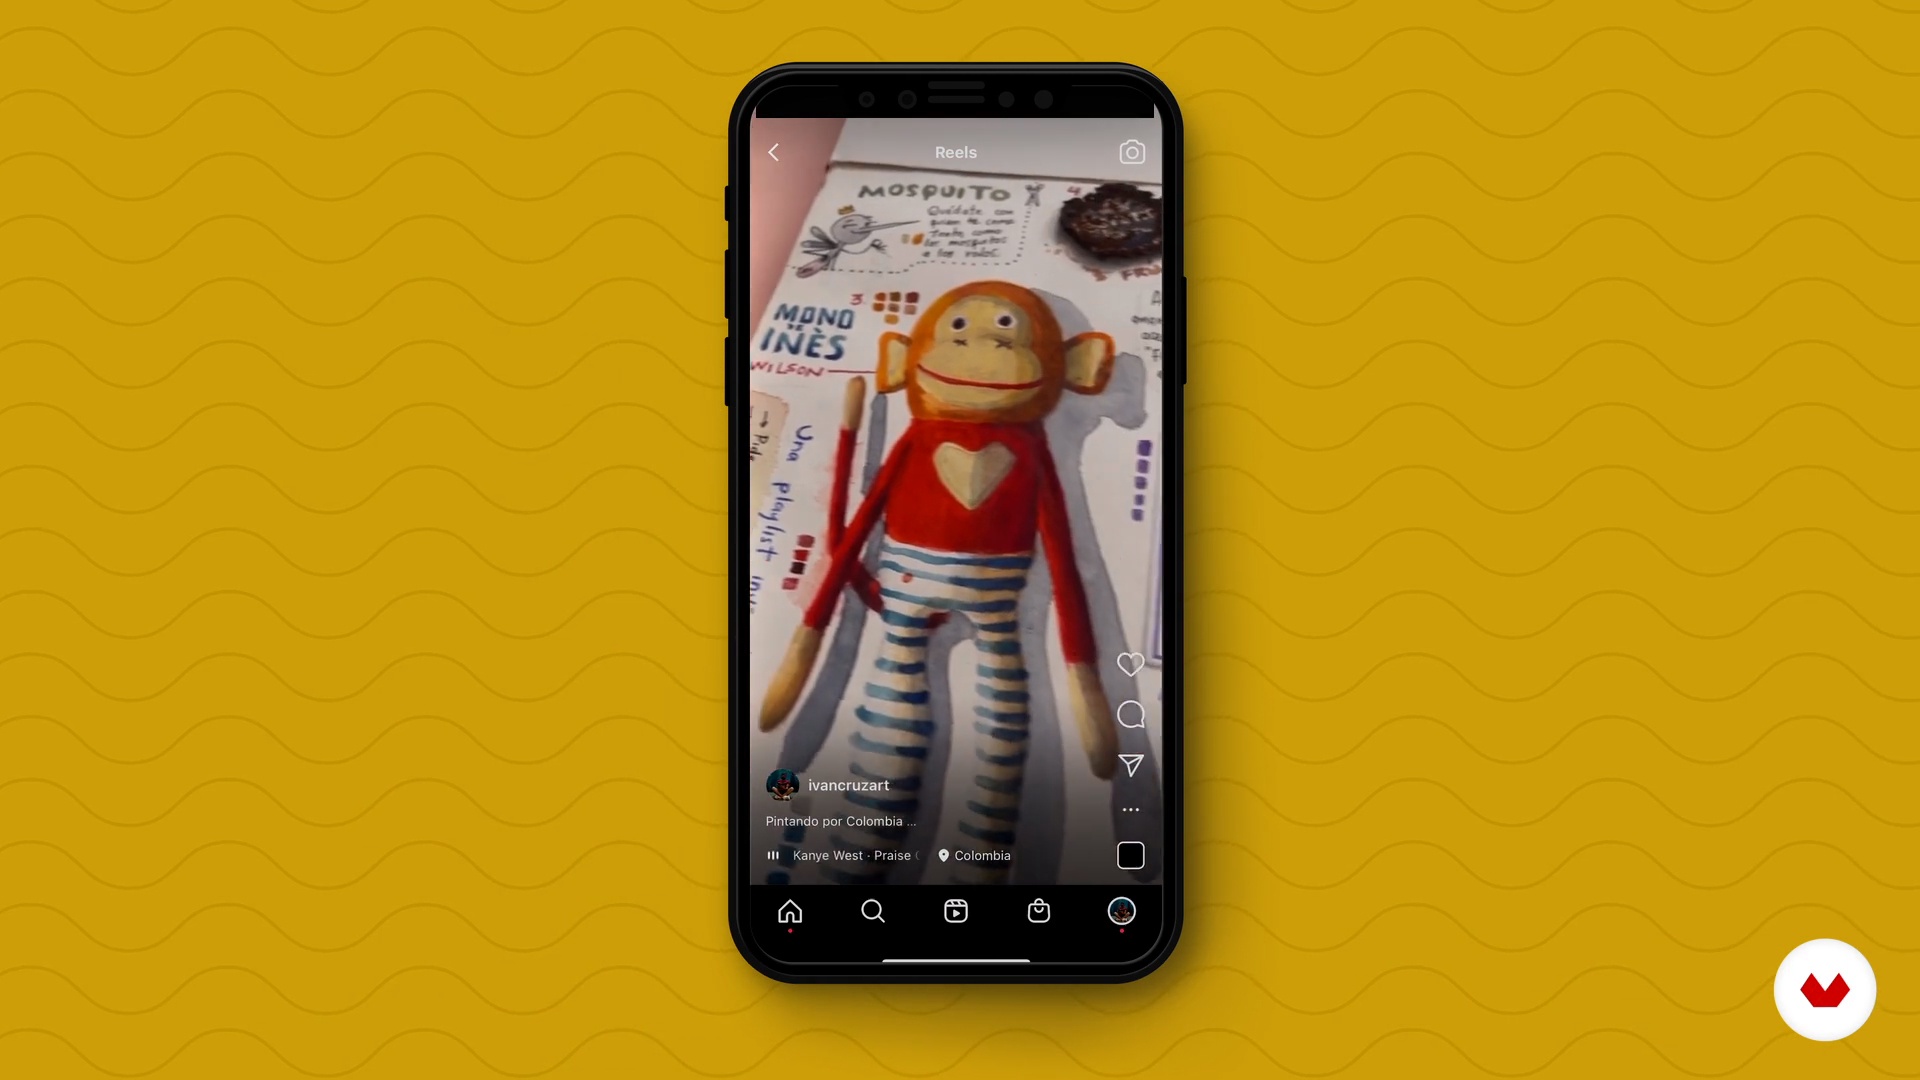
Finally, your project is finished and it's time to share it. In this lesson I want to share what has worked for me to publicize my work.
5m
image
4
About travel notebooks
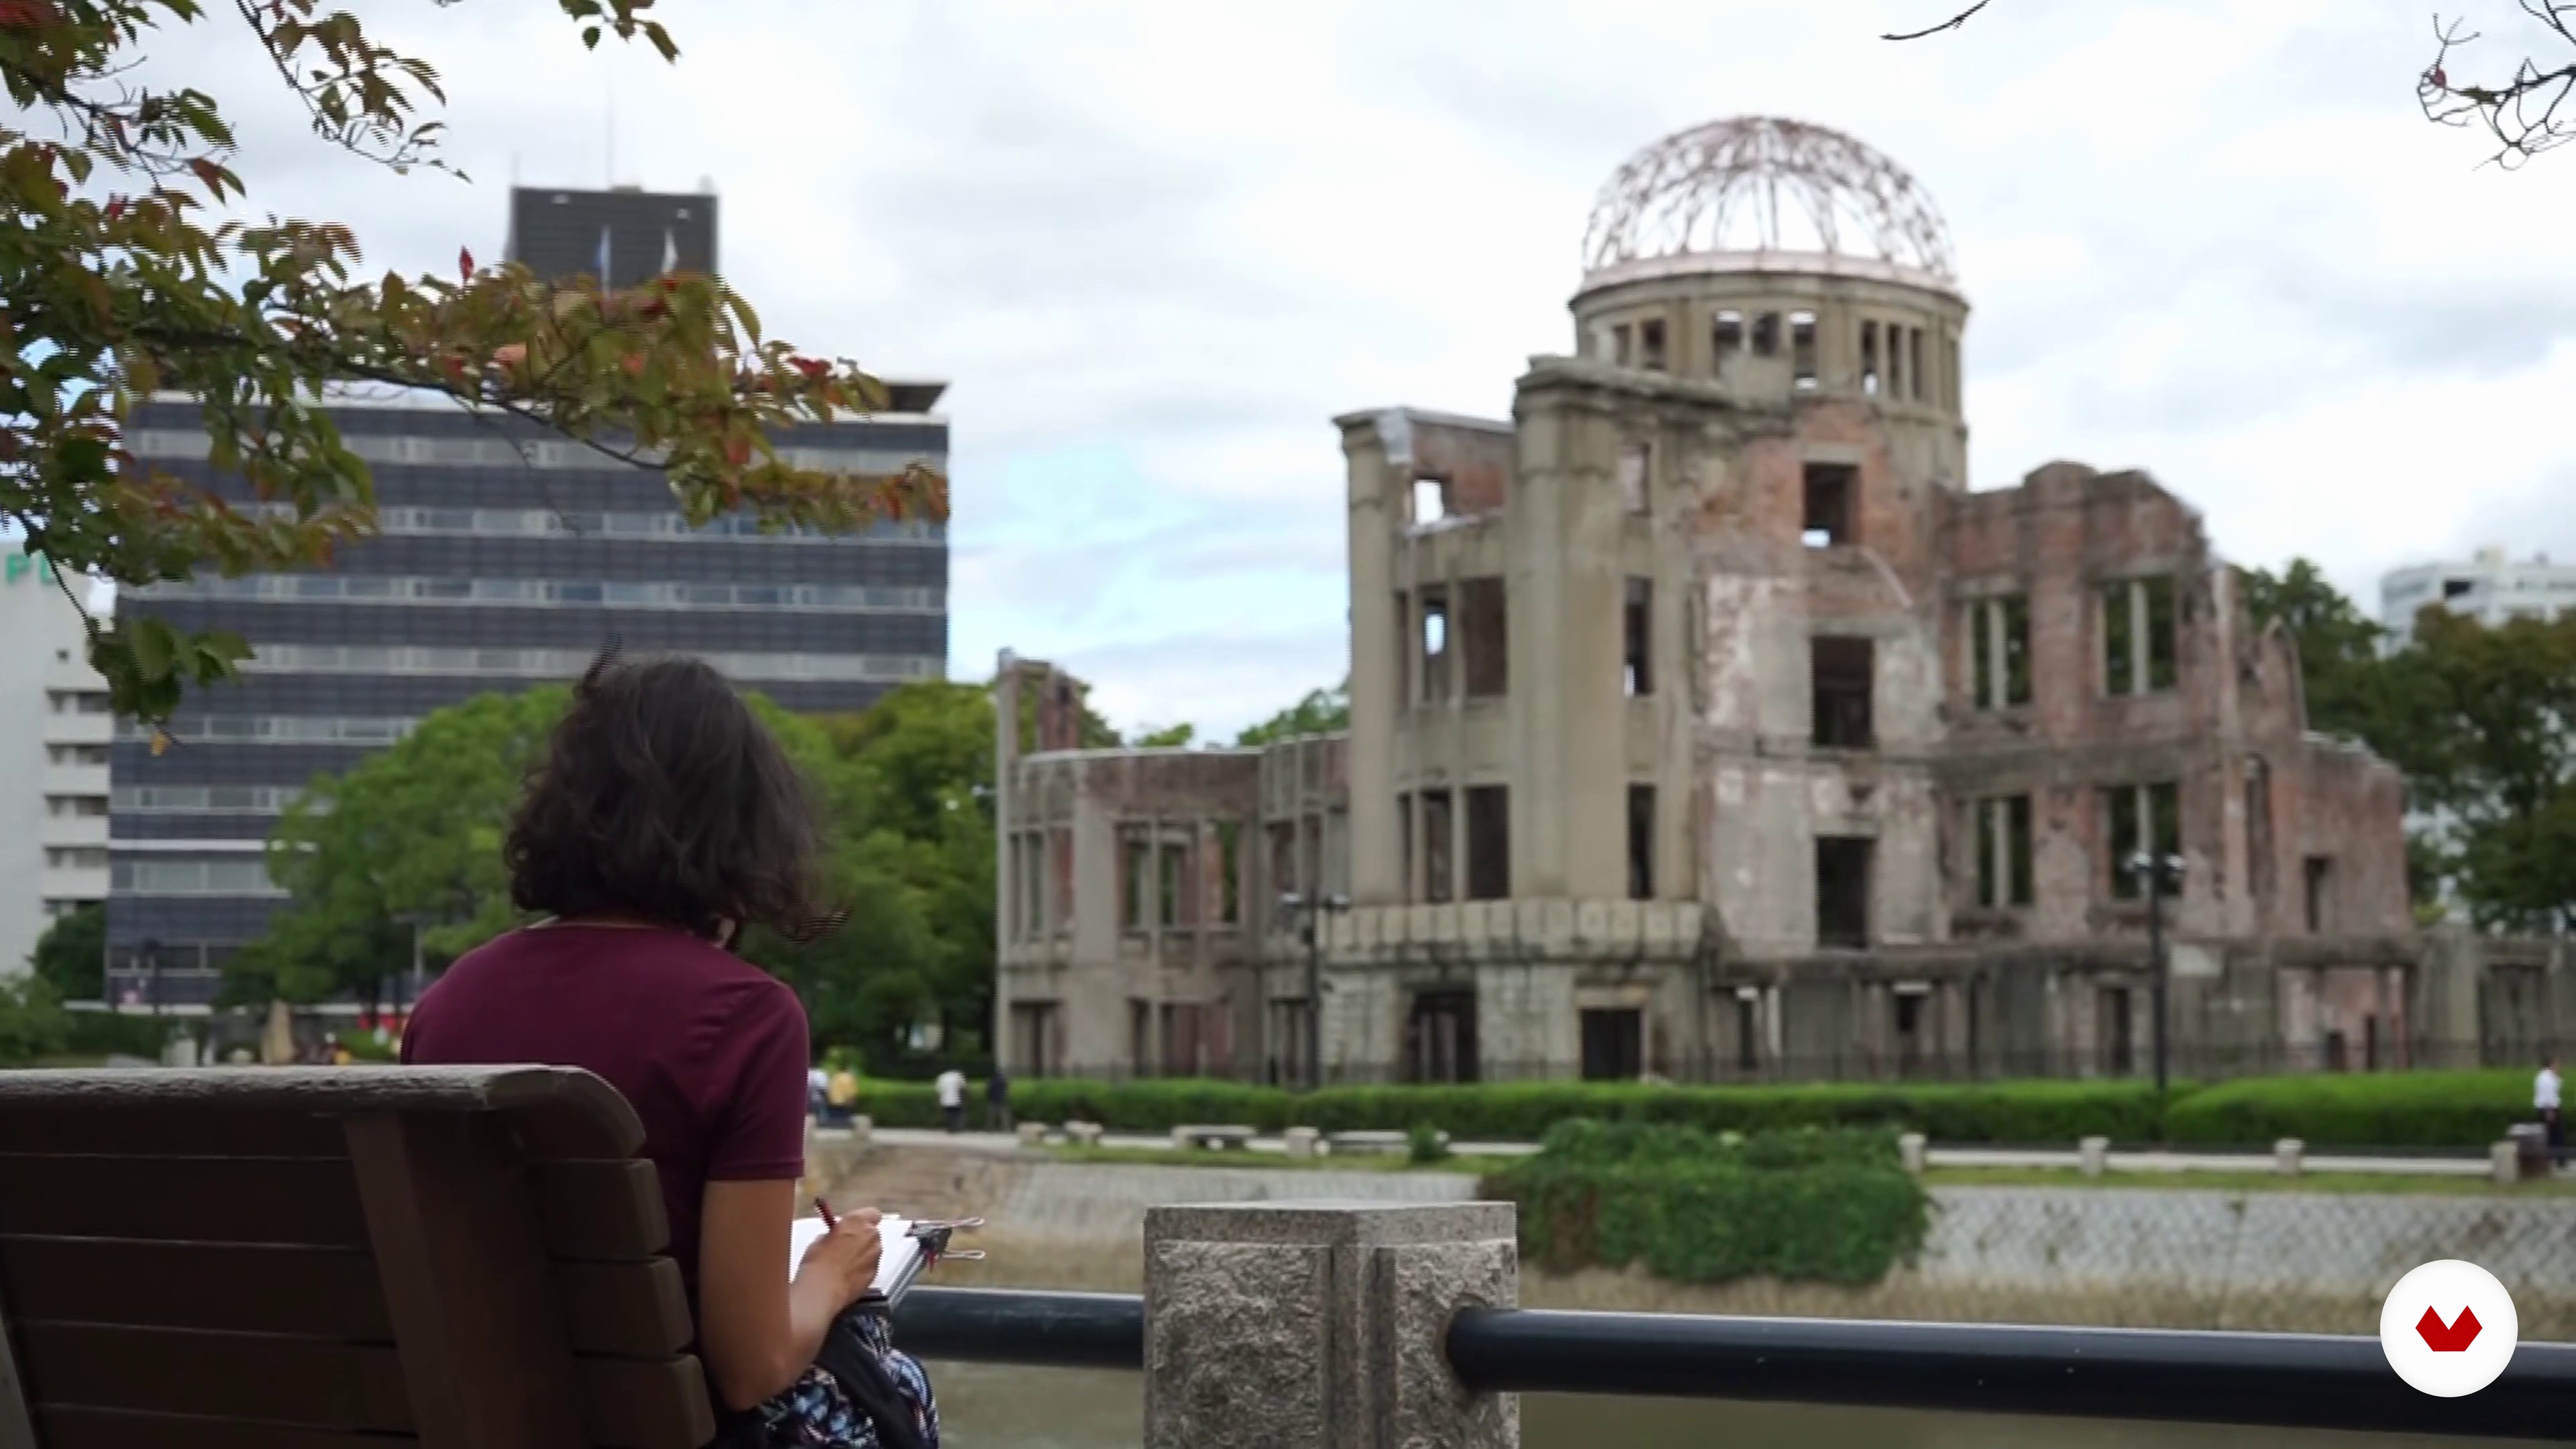
In this lesson I want to tell you about my first experience with travel notebooks and everything I have learned along this path. I will also give you a series of very useful tips that will be useful not only to improve your technique as an urban draftsman, but also to enjoy the moment and give a new dimension to your travels.
5m
image
5
Materials
What cannot be missing in my travel backpack when painting? Now I want to explain to you what are my basic tools for drawing in situ . In addition, I will show you several alternative materials so that you can choose the ones that best suit your way of illustrating and traveling.
8m
image
6
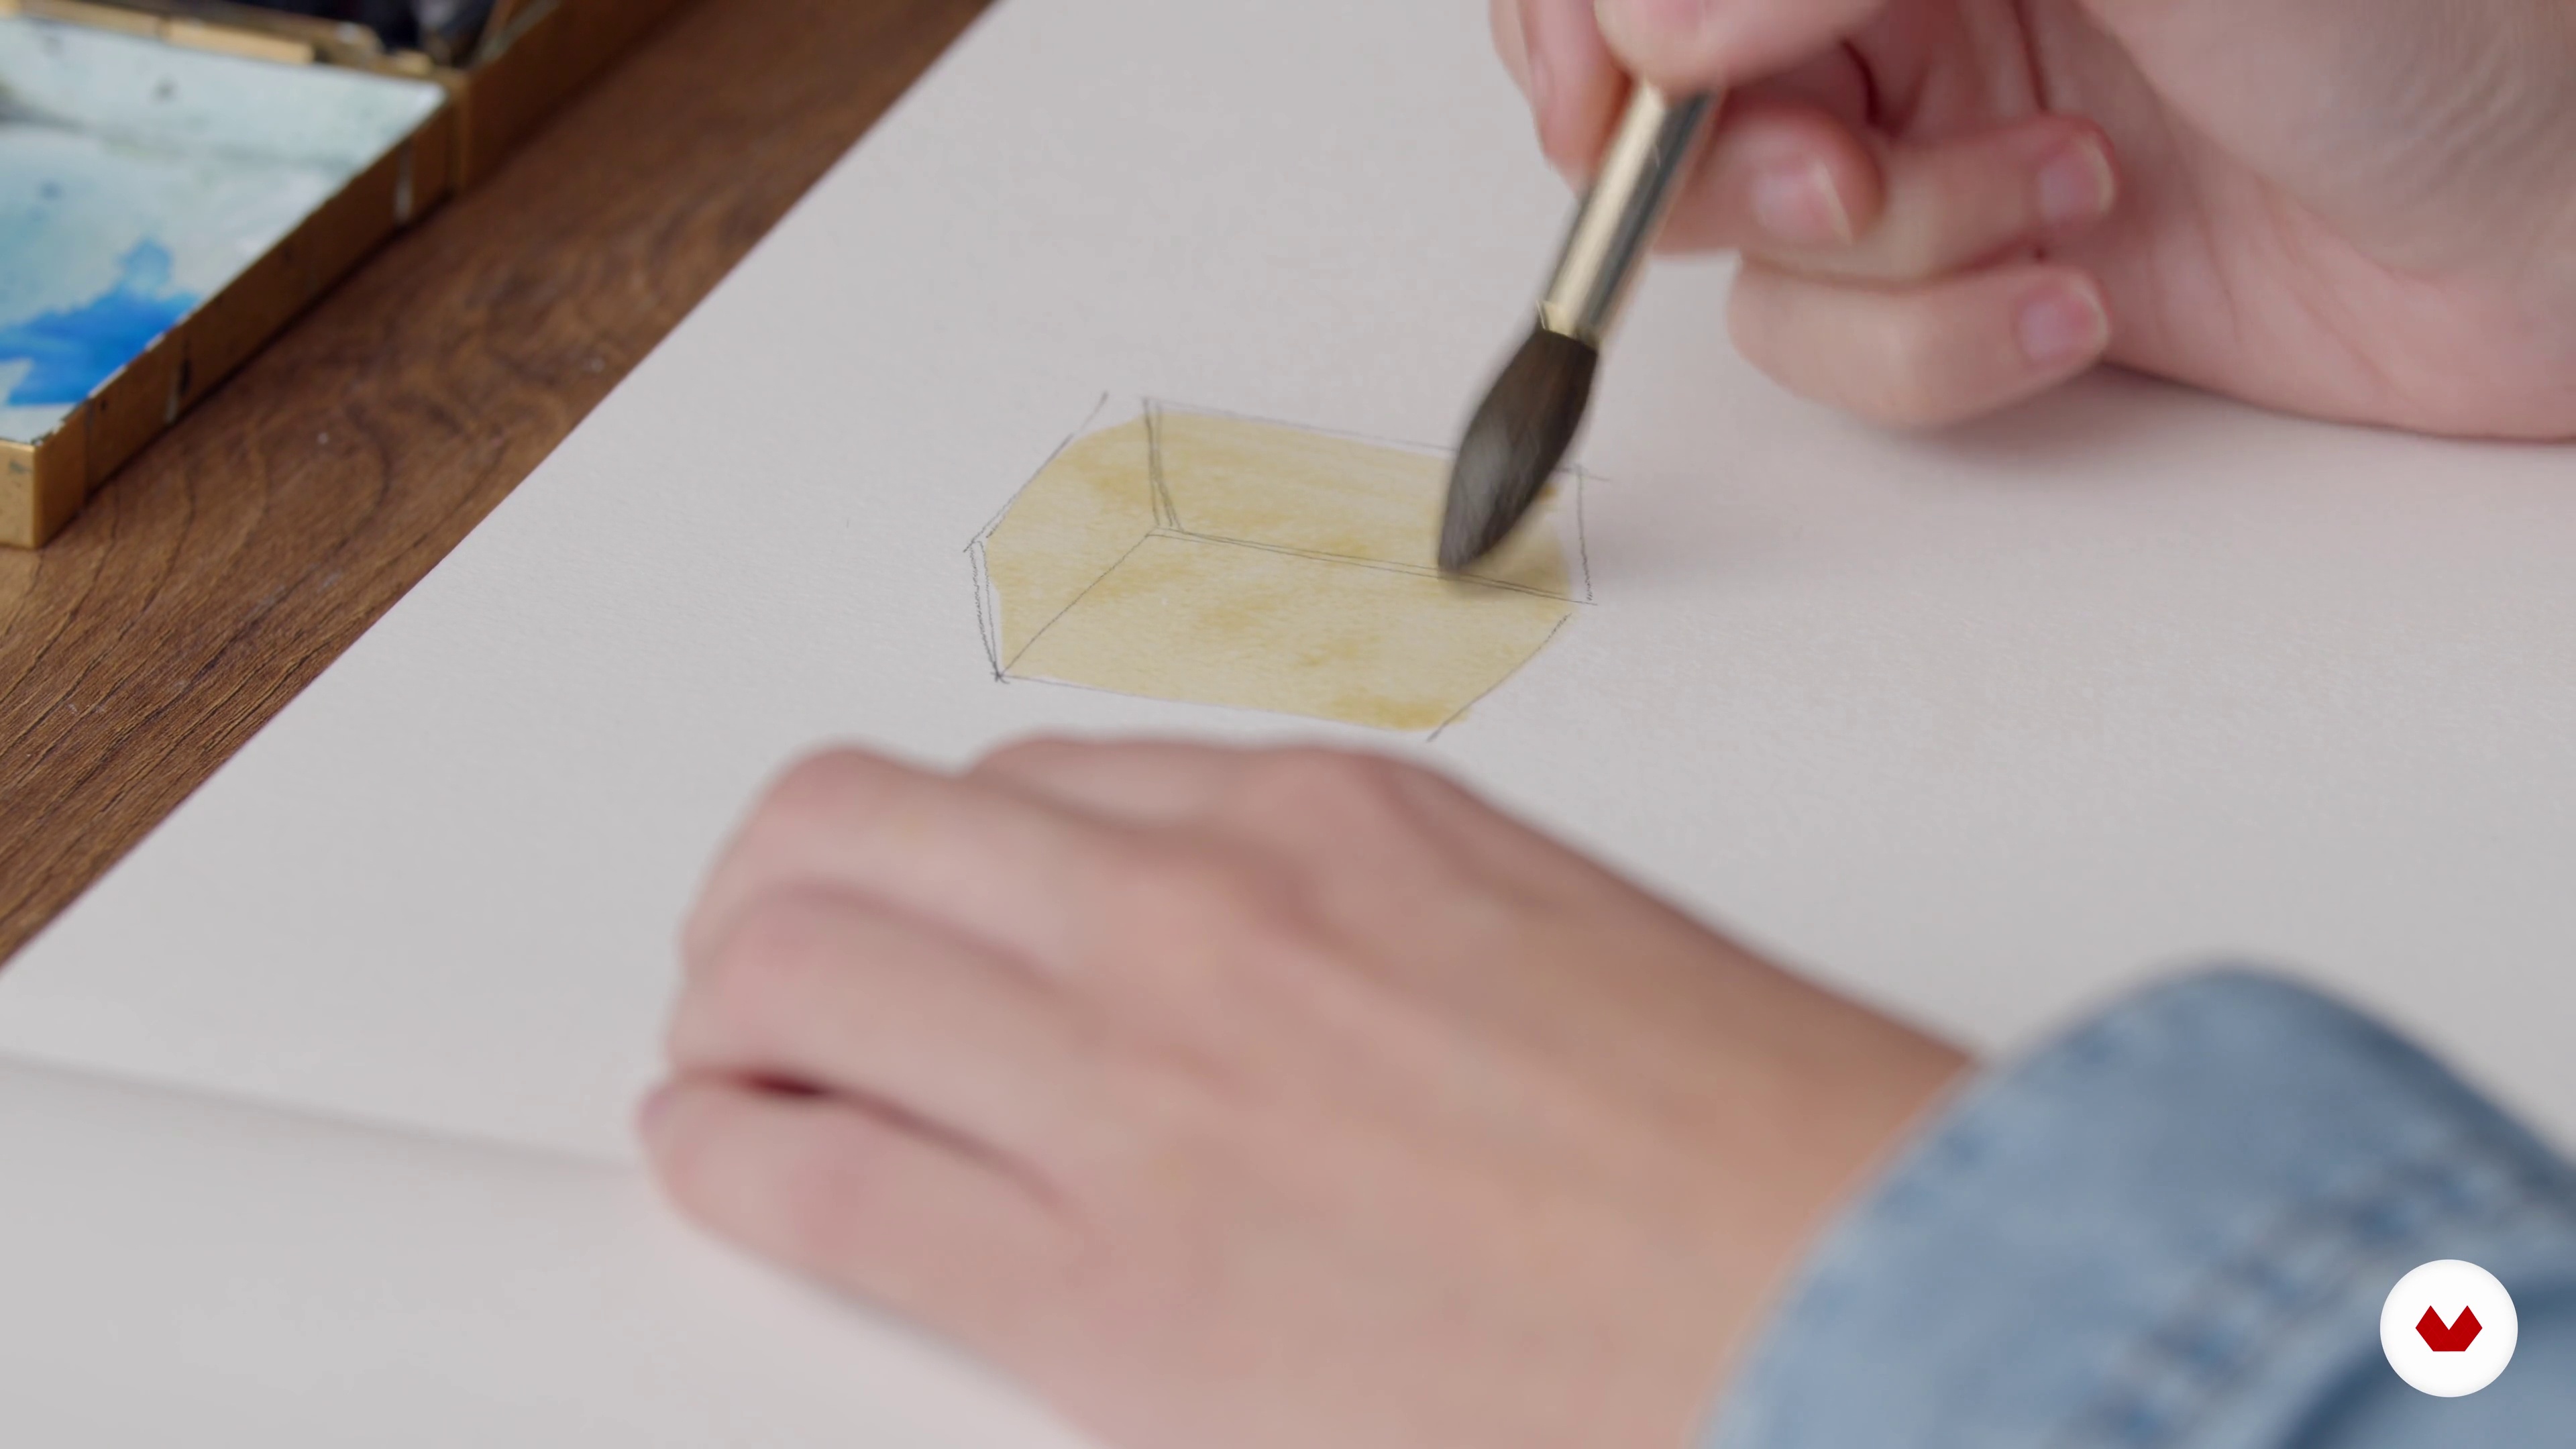
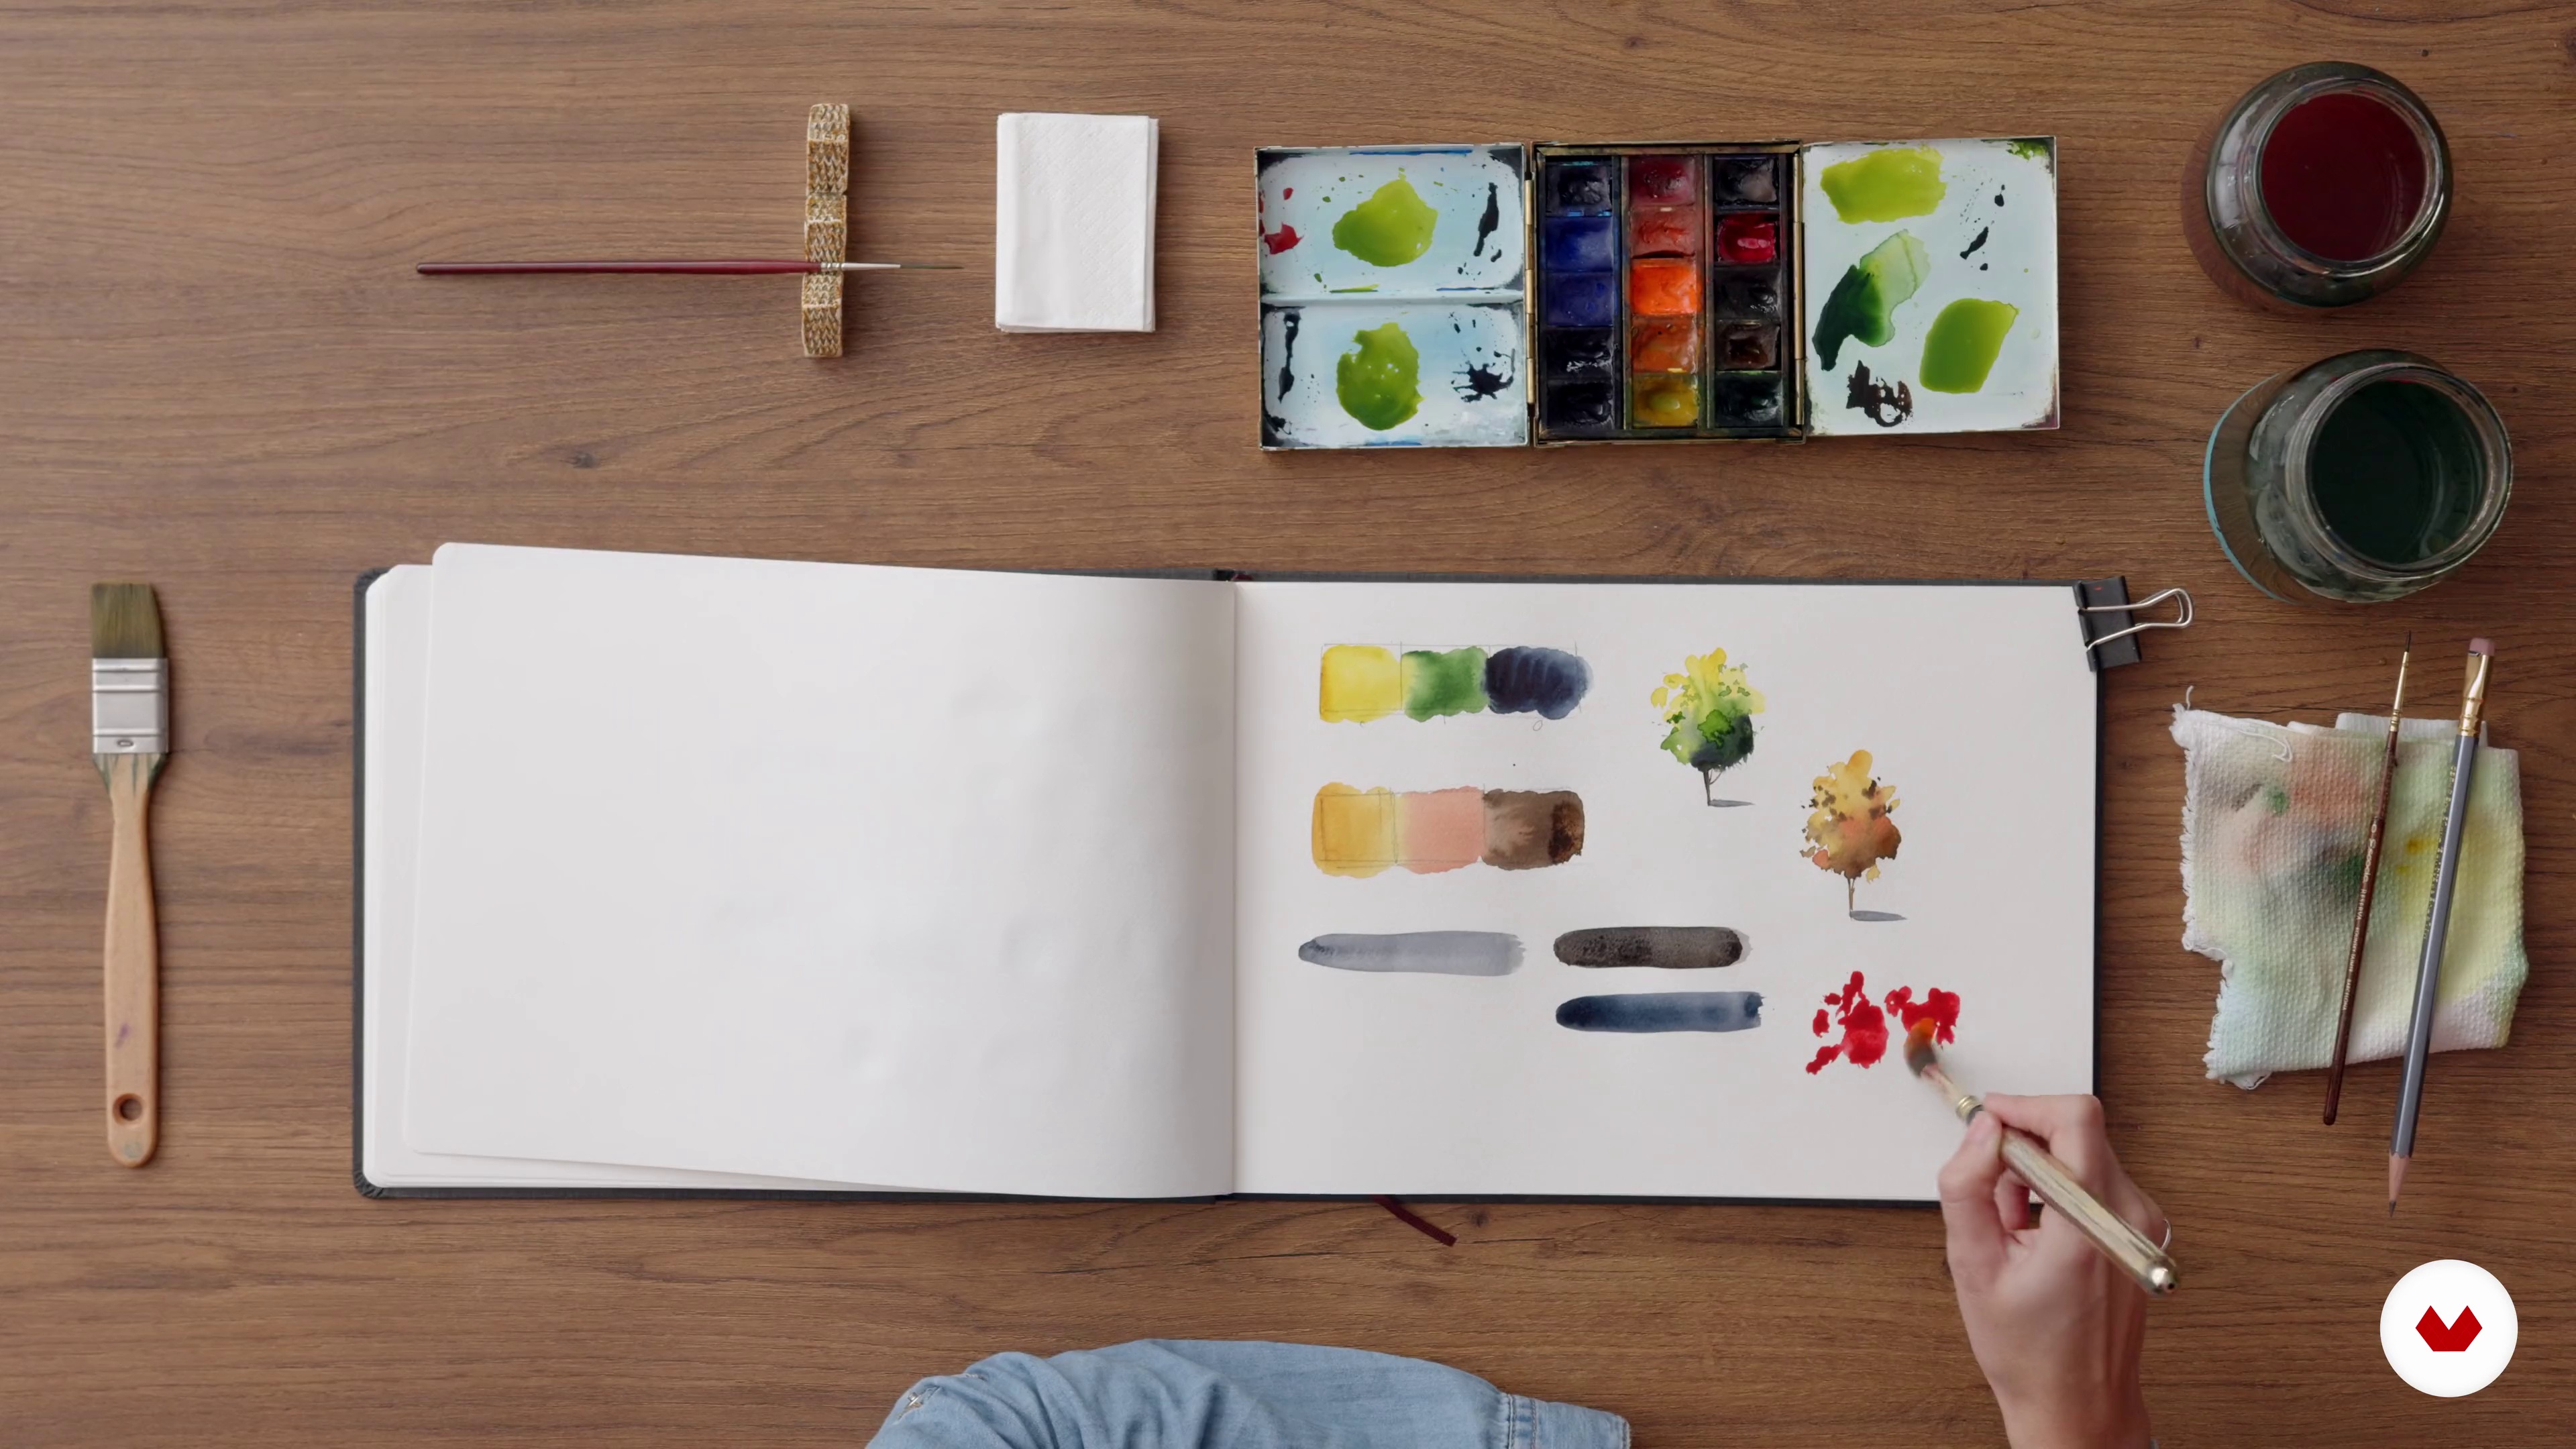
Basic watercolor techniques
In this lesson I want to teach you the basic watercolor techniques and how we will apply them when making our drawing in the travel notebook. You will see later that with this base we will be able to create great things. Don't be afraid to stain the blank, I promise you this is the beginning of a beautiful friendship.
17m
image
7
The color
After seeing the basic techniques, it is time to let your imagination fly, and nothing better to start creating than knowing how to prepare beautiful color mixtures to give life to our pages. I always say that the line puts an object in space and the color in time. Or are some mixtures of blues and oranges not the best representation of a perfect sunset?
10m
image
8
Framing and depth
What makes a drawing have a three-dimensional effect and appear to come out of paper? In this lesson we will see some very simple tricks that will make our illustration gain depth and, also, show what we see in an attractive and orderly way.
5m
image
9
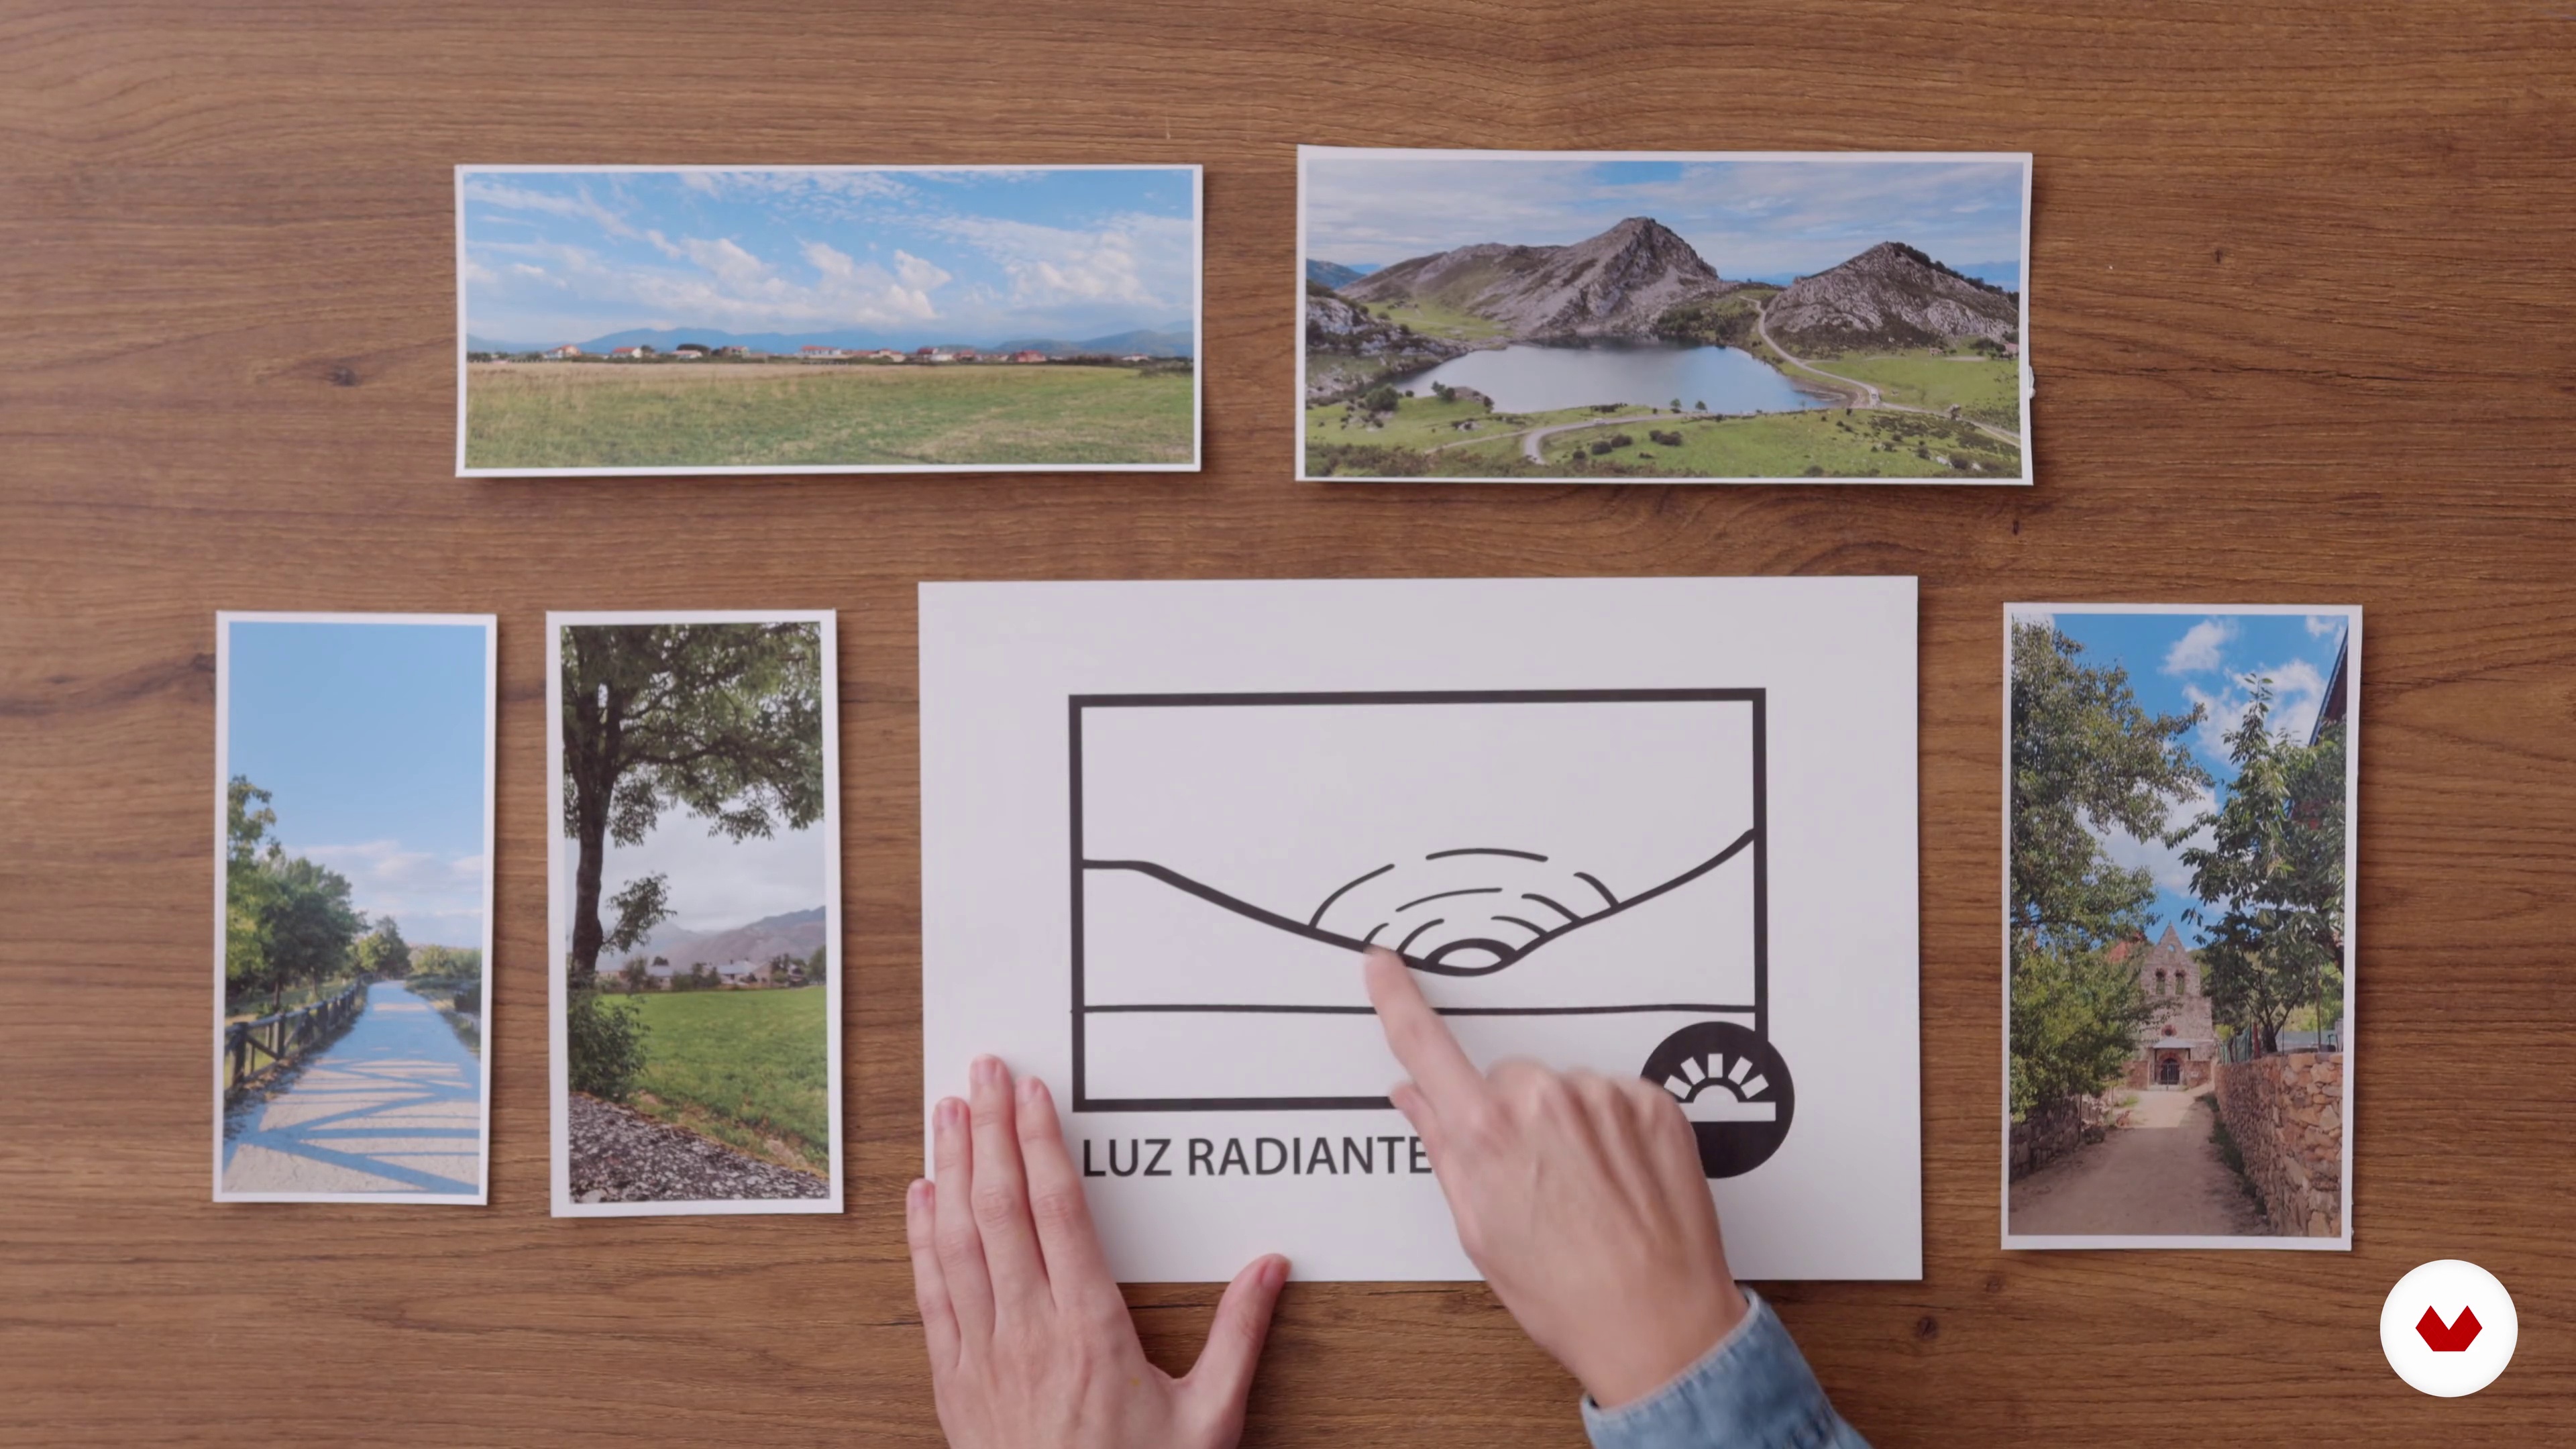
Choose the reference image
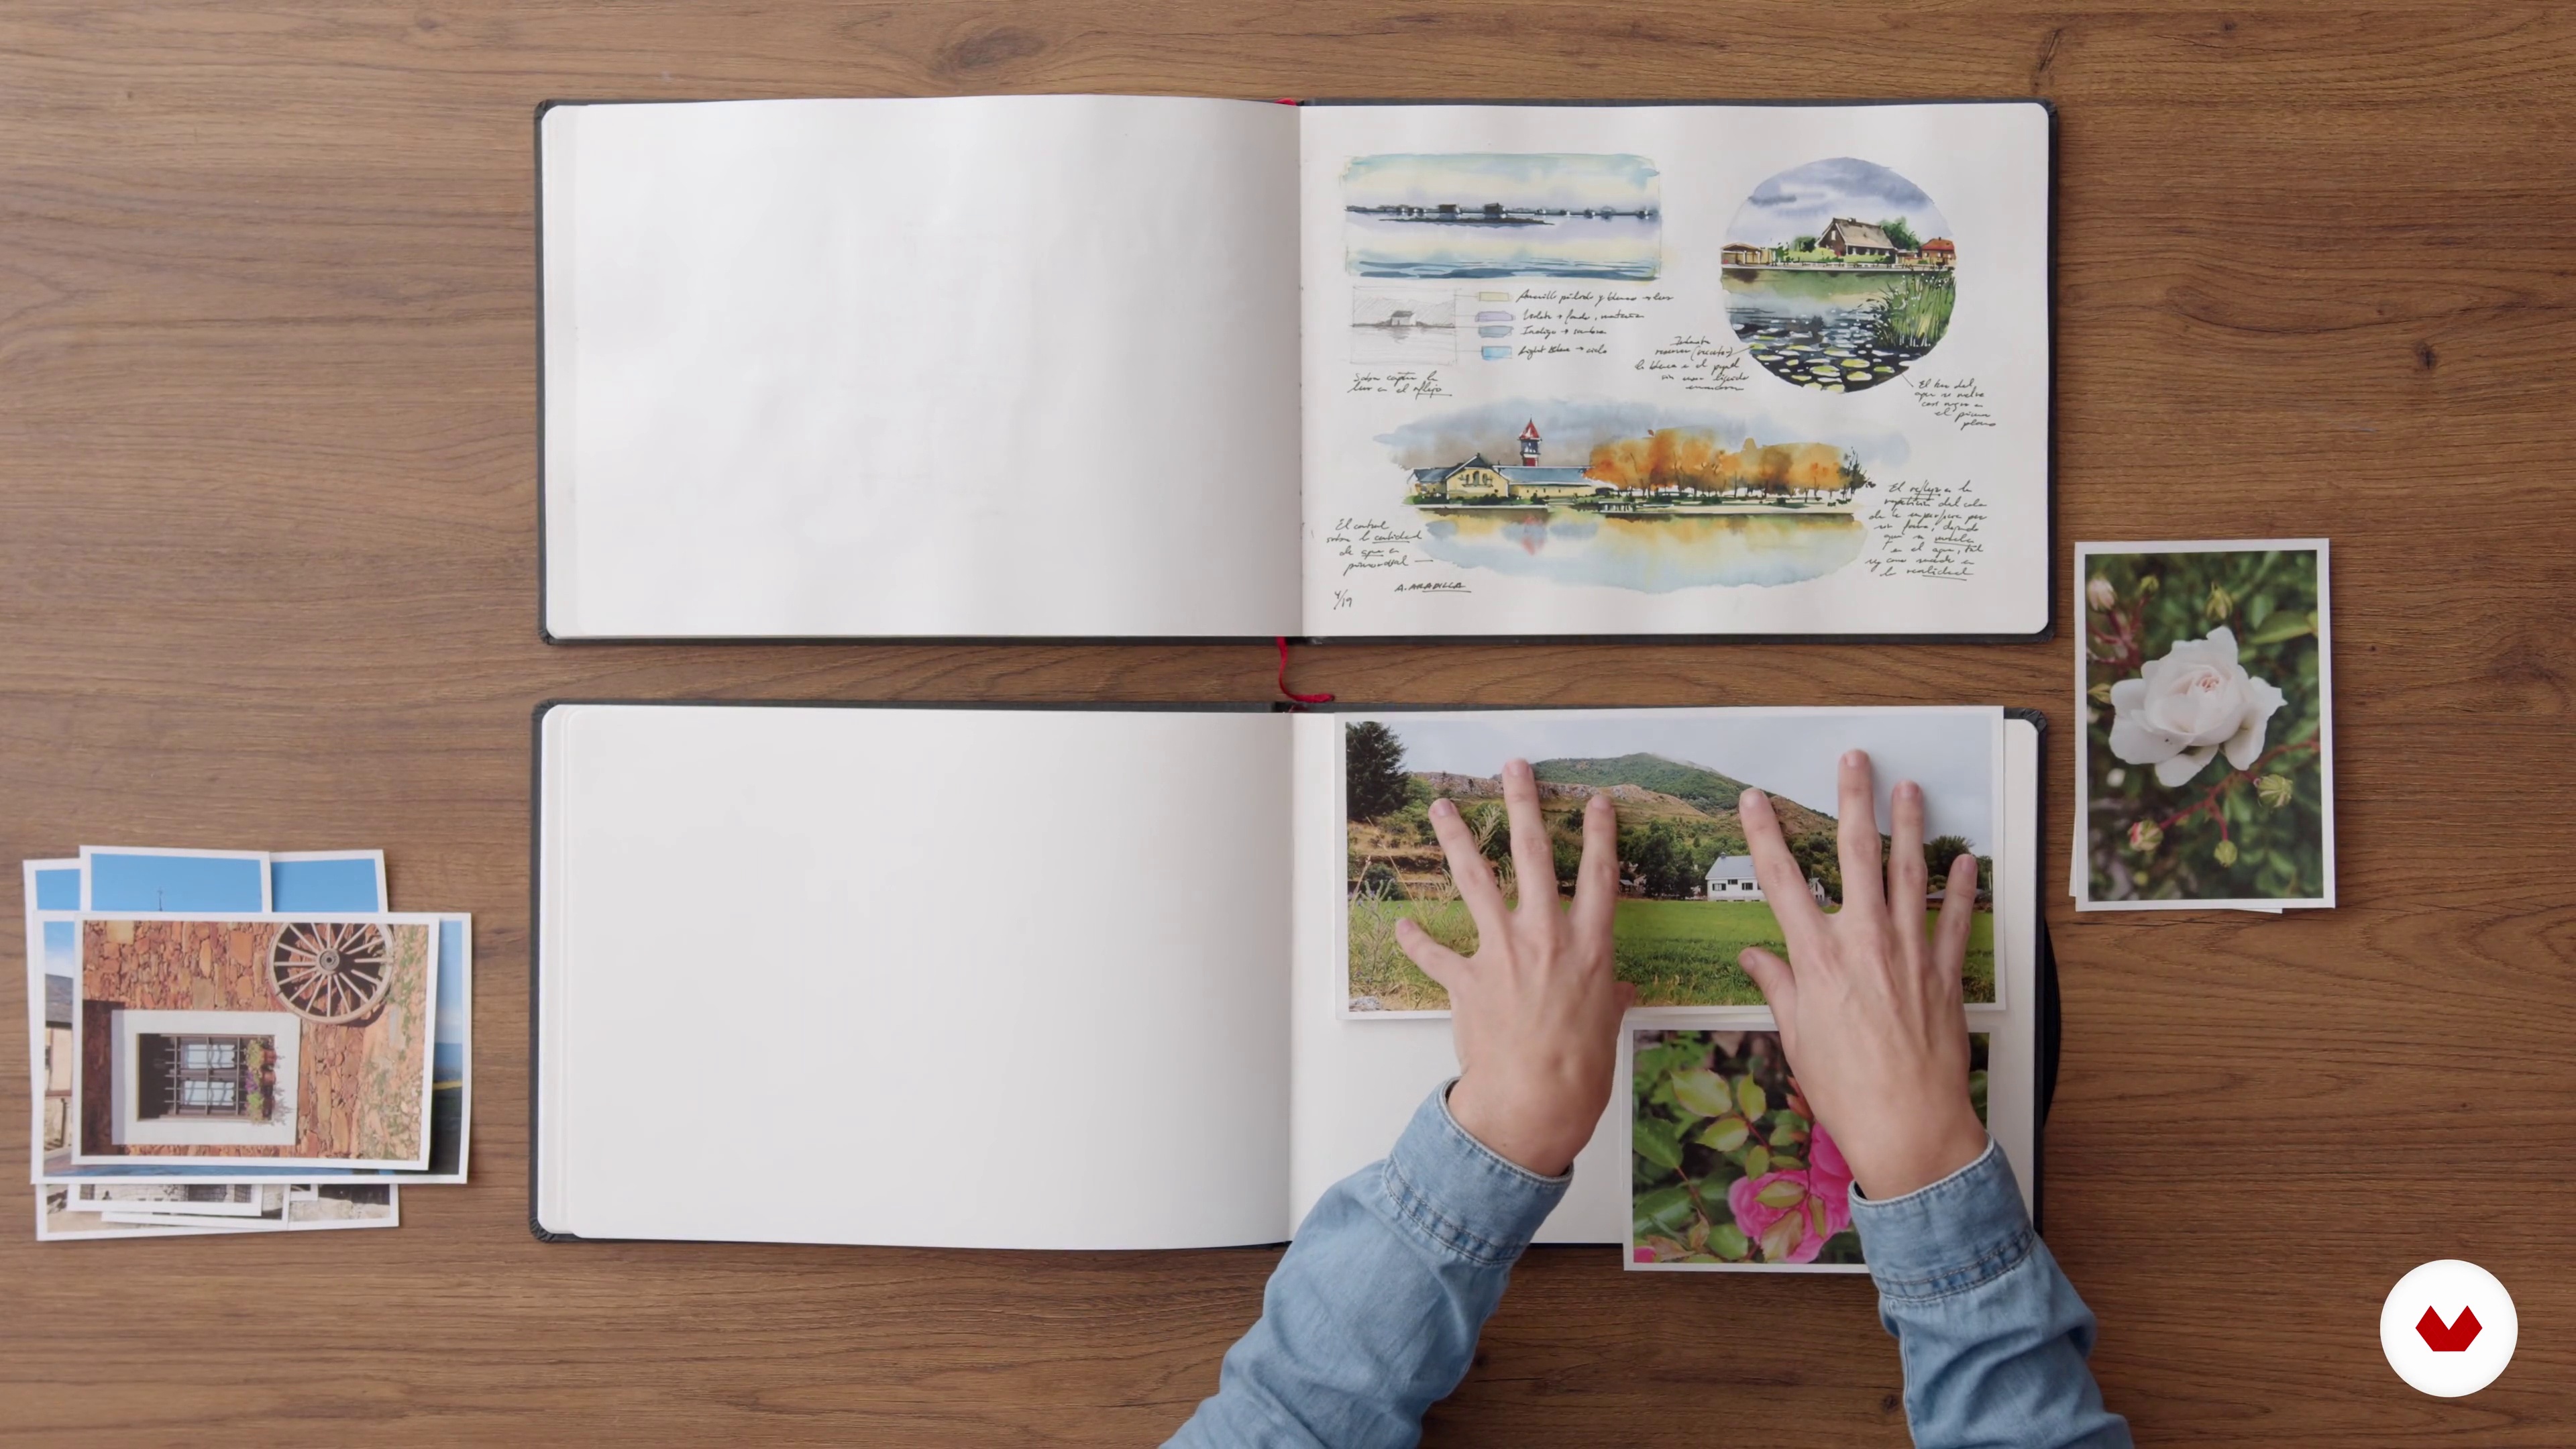
Have you already thought about the story you want to tell on the first pages of your notebook? In this lesson I will help you choose the images that will be part of your final project. Go preparing the photo album because your illustrated journey begins here.
2m
image
10
Page composition
Once the reference images have been chosen, we are going to see how we can organize them in our notebook so that we are able to tell a story. By now you will have realized that in a travel notebook the drawing technique is as important as knowing how to transmit a concept through it. Playing with the space we have on our sheet will help us achieve these goals.
4m
image
11
Pencil drawing
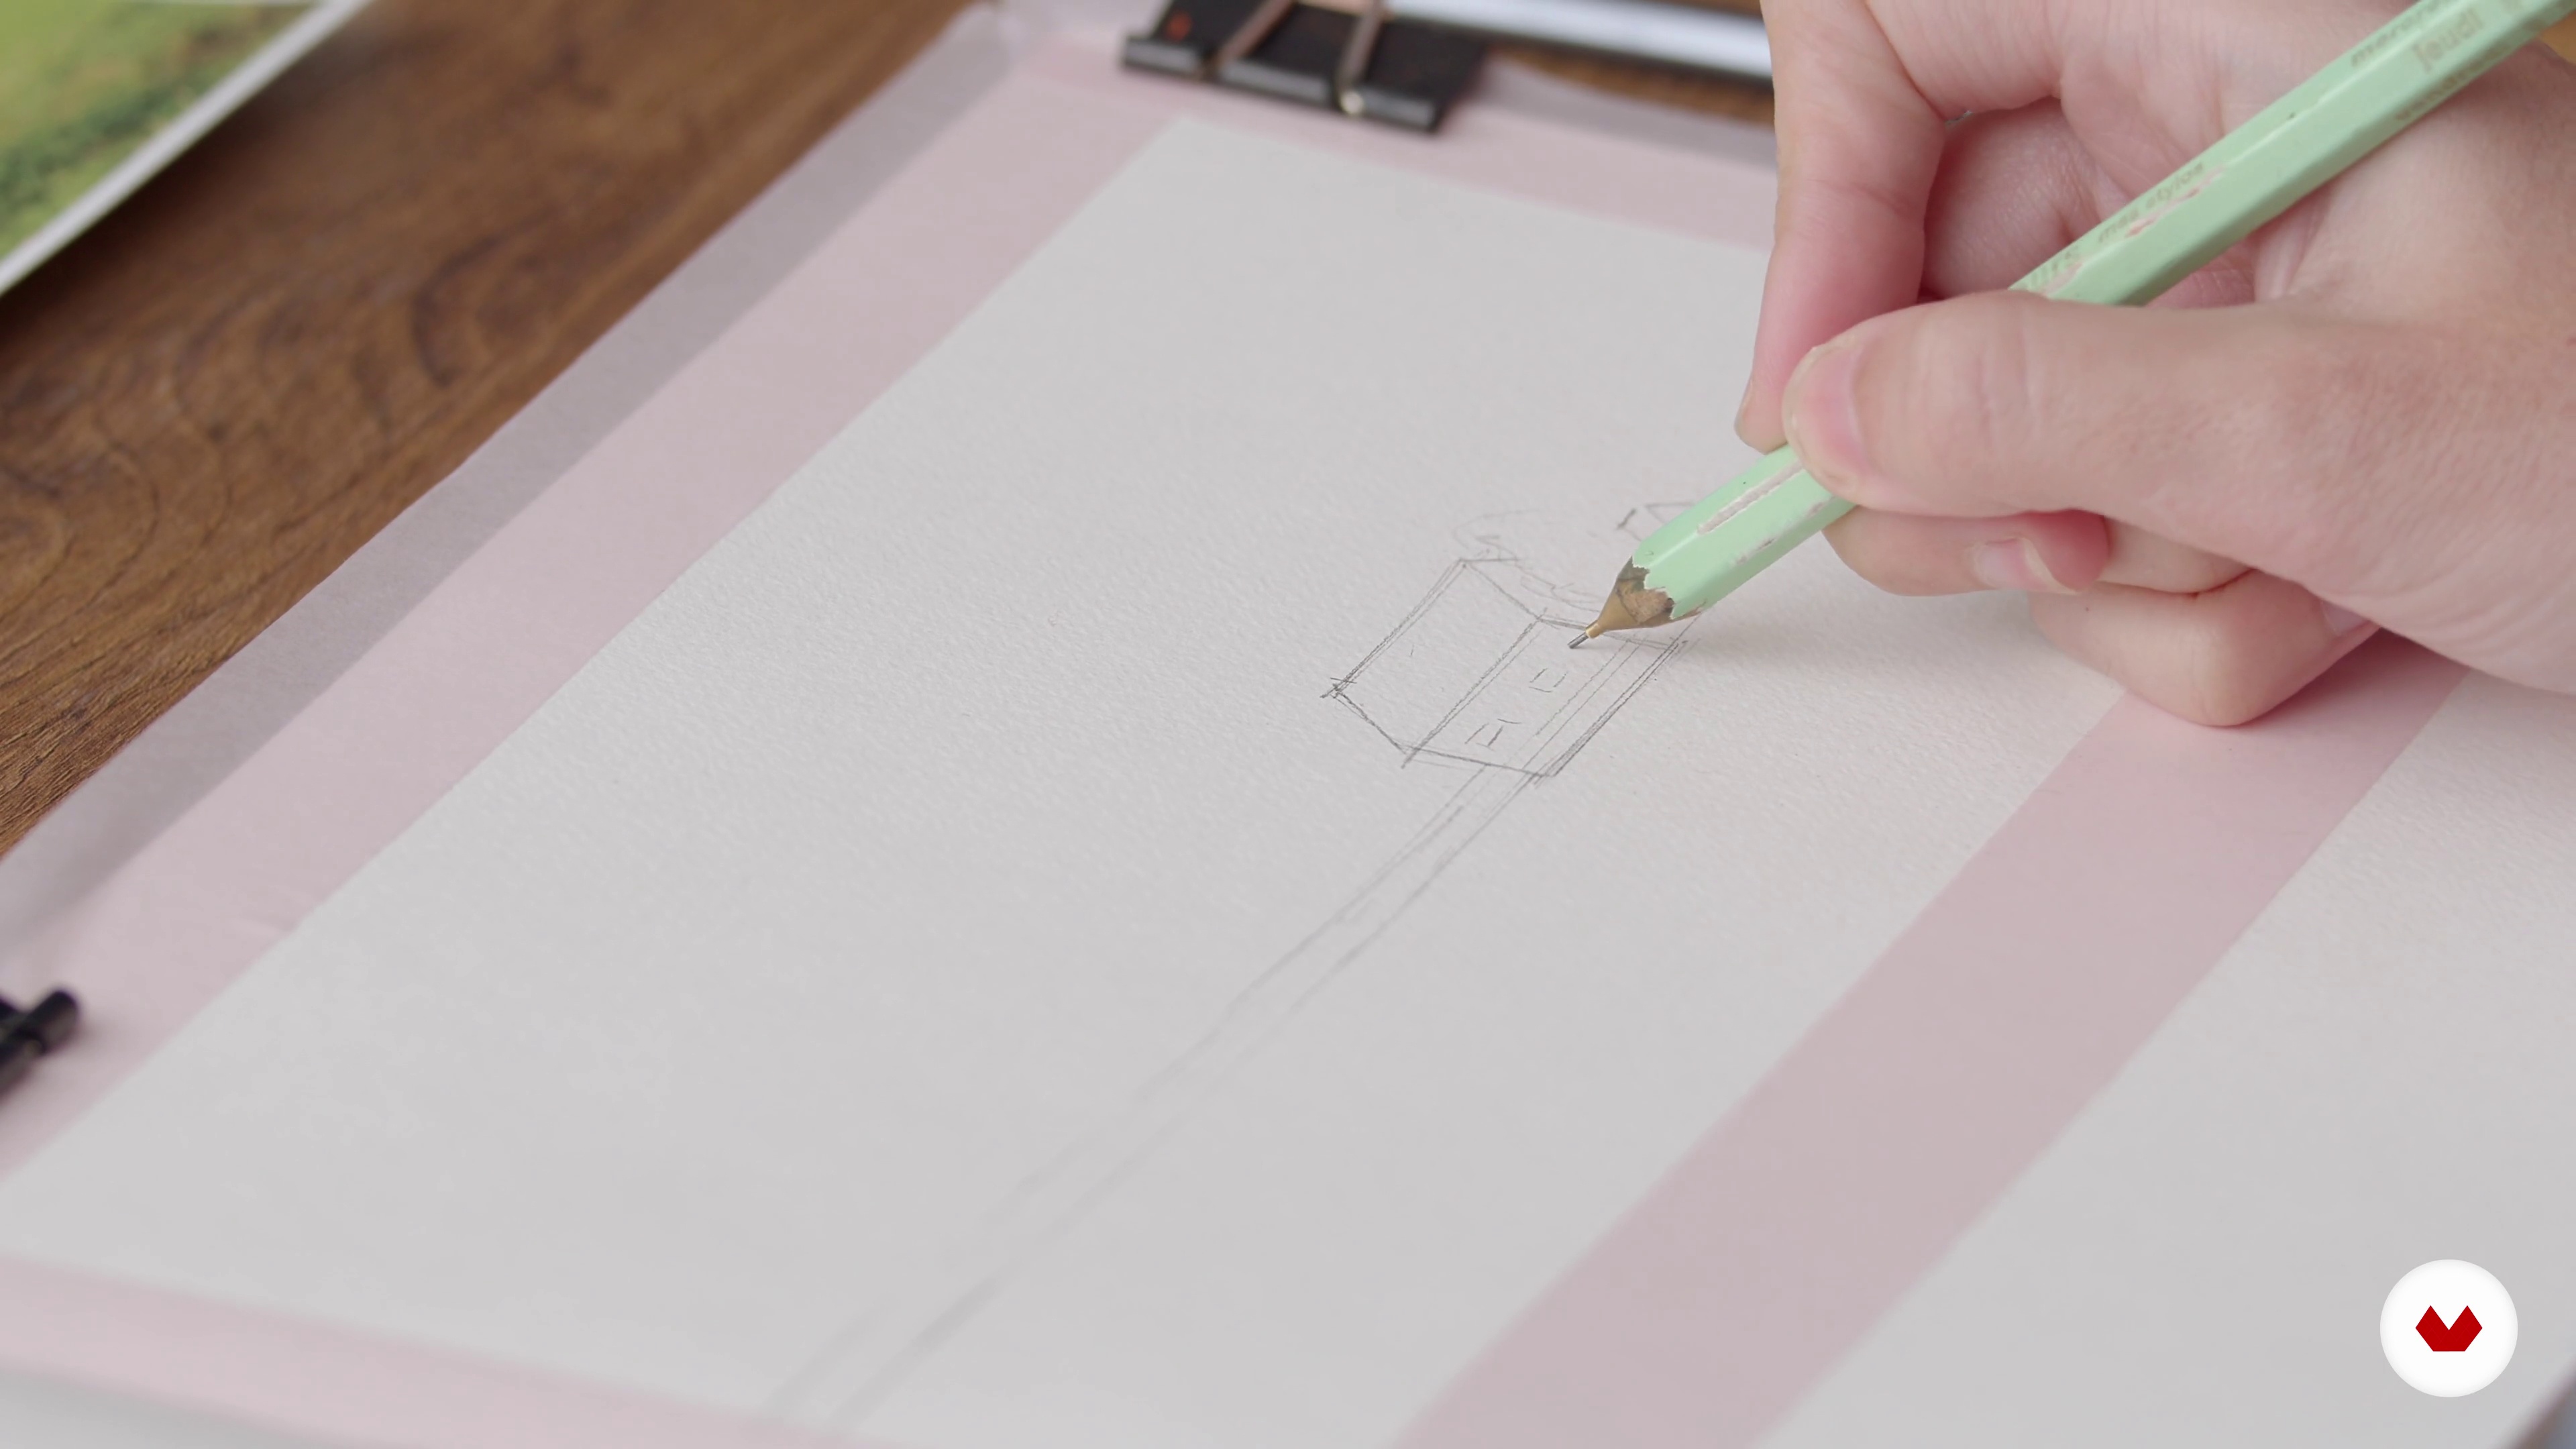
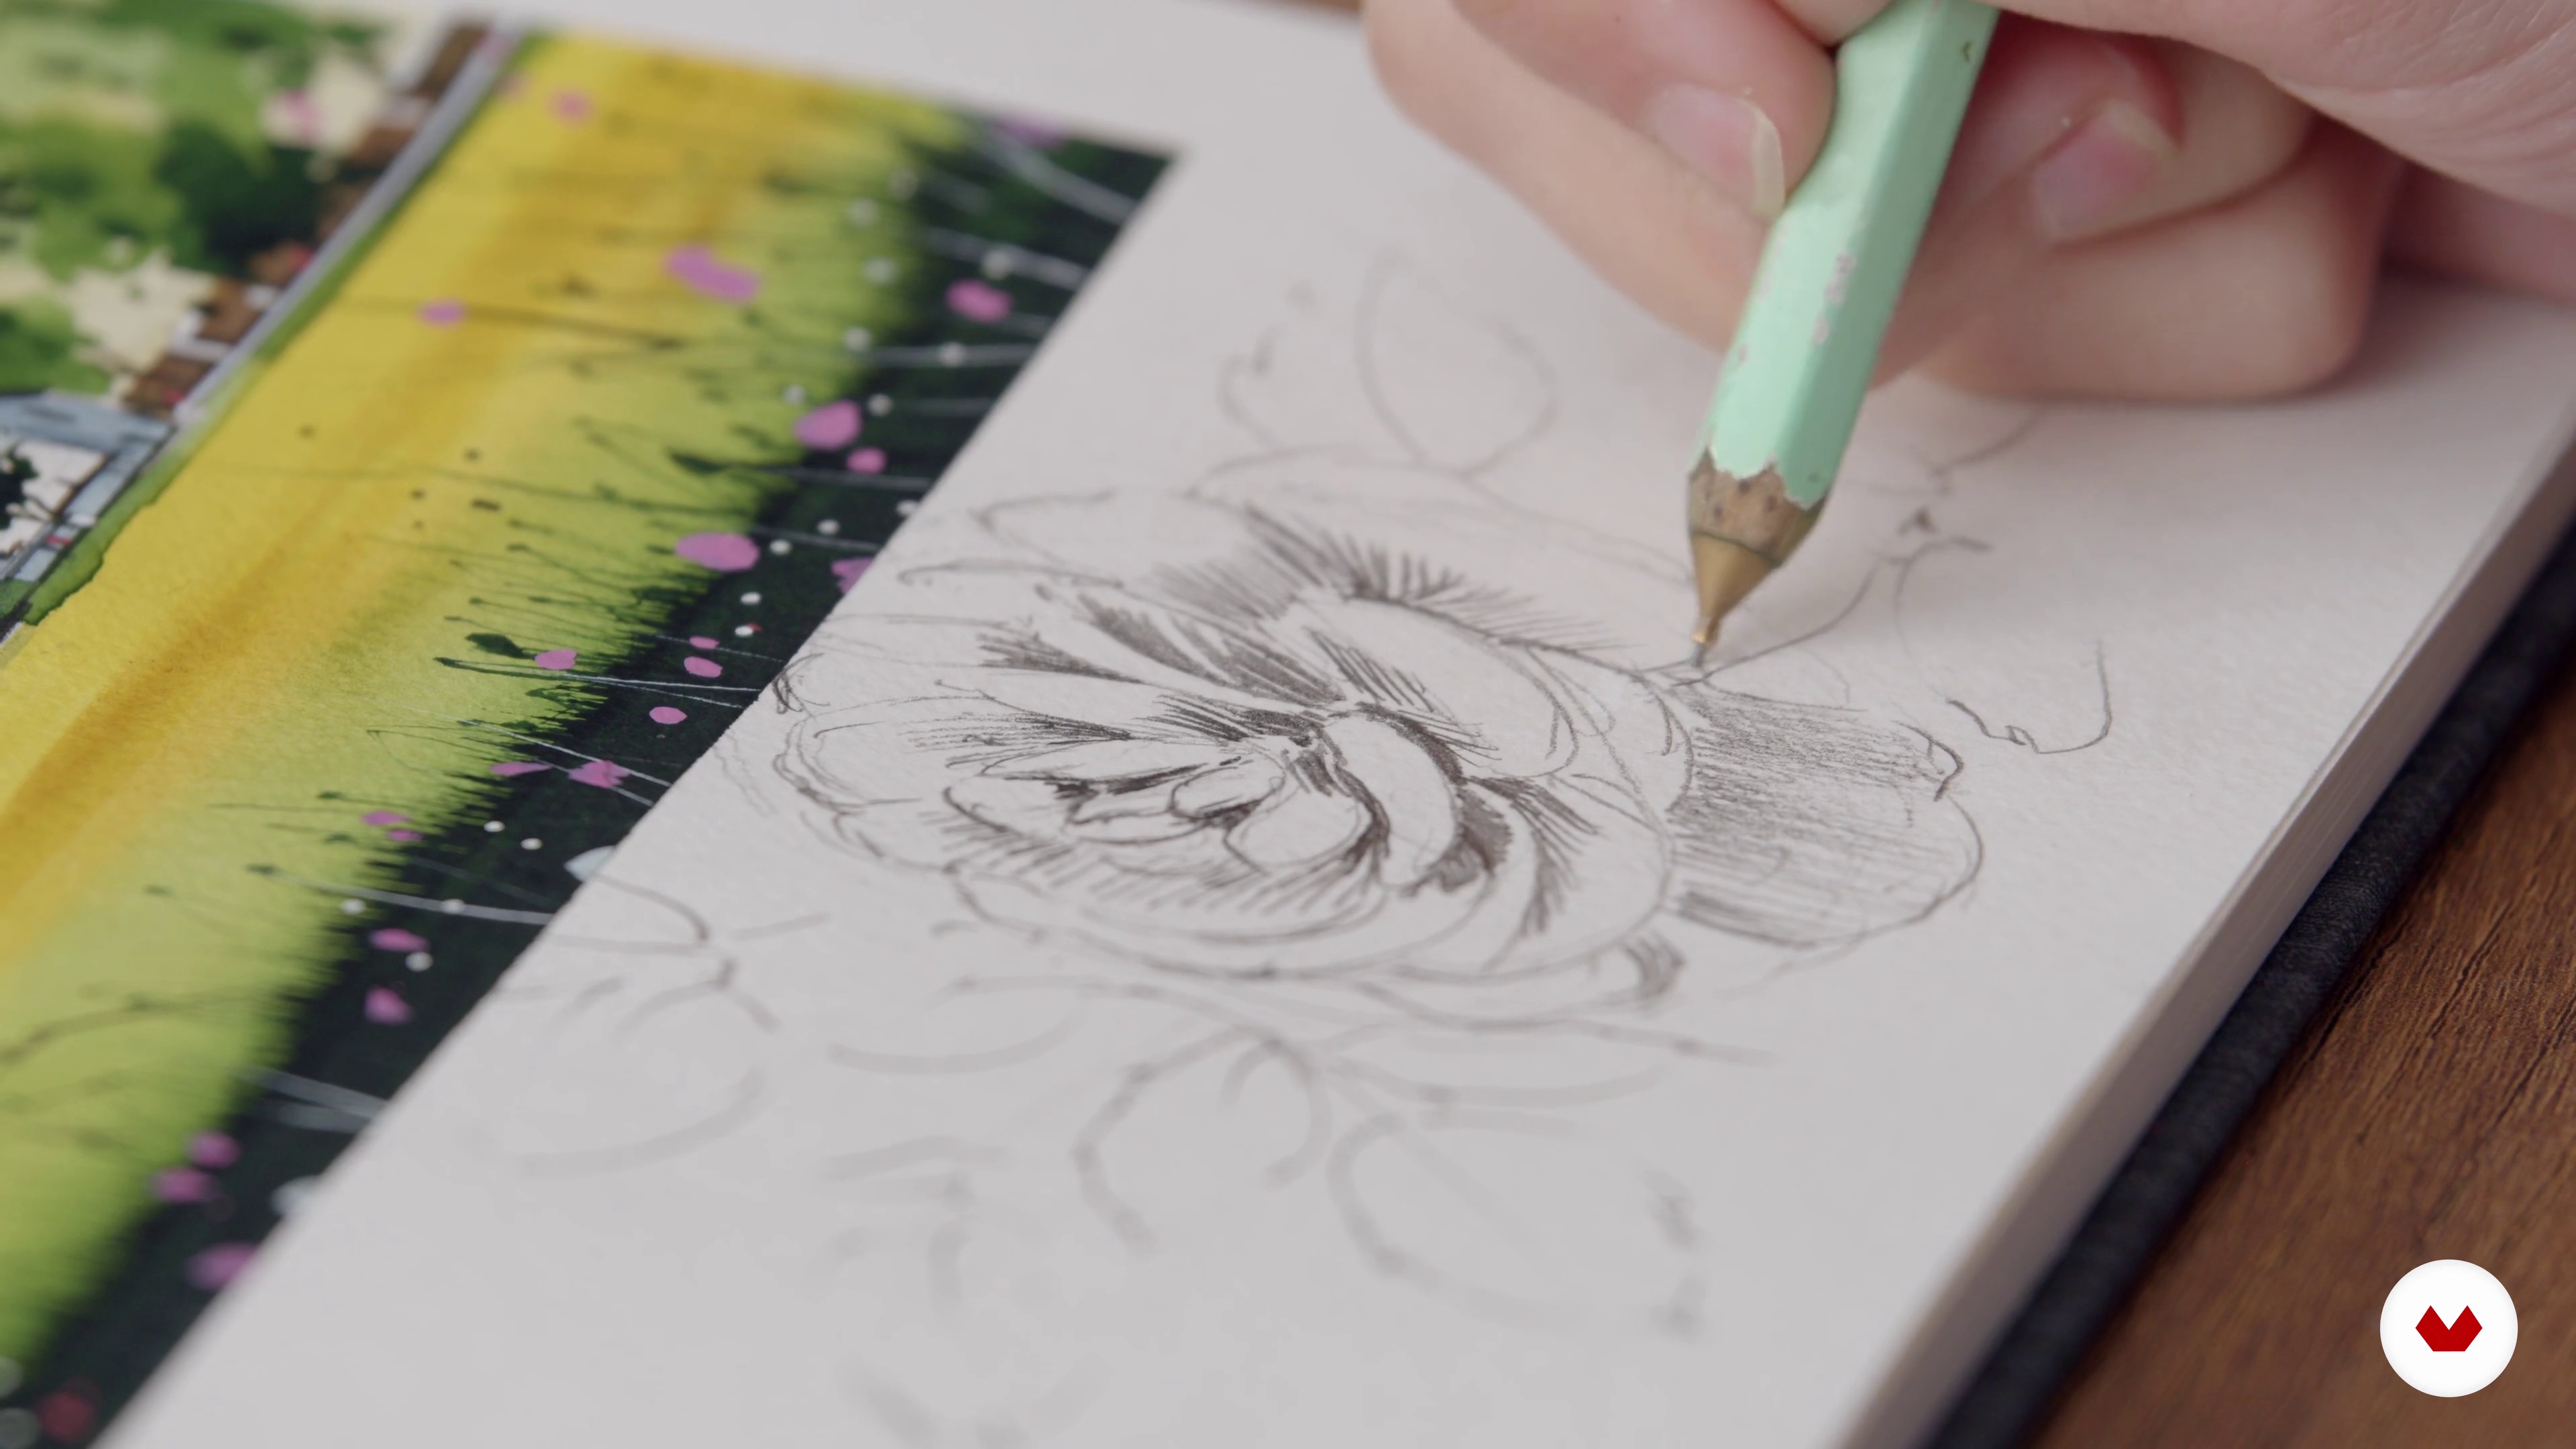
In this lesson we are going to make the pencil sketch of our final project. Those first lines are very important, so don't forget to take your time and enjoy this part of the process as well. It is time to make mistakes as many times as necessary, with our pencil and eraser we will shape the foundations of our illustration.
8m
image
12
First spots
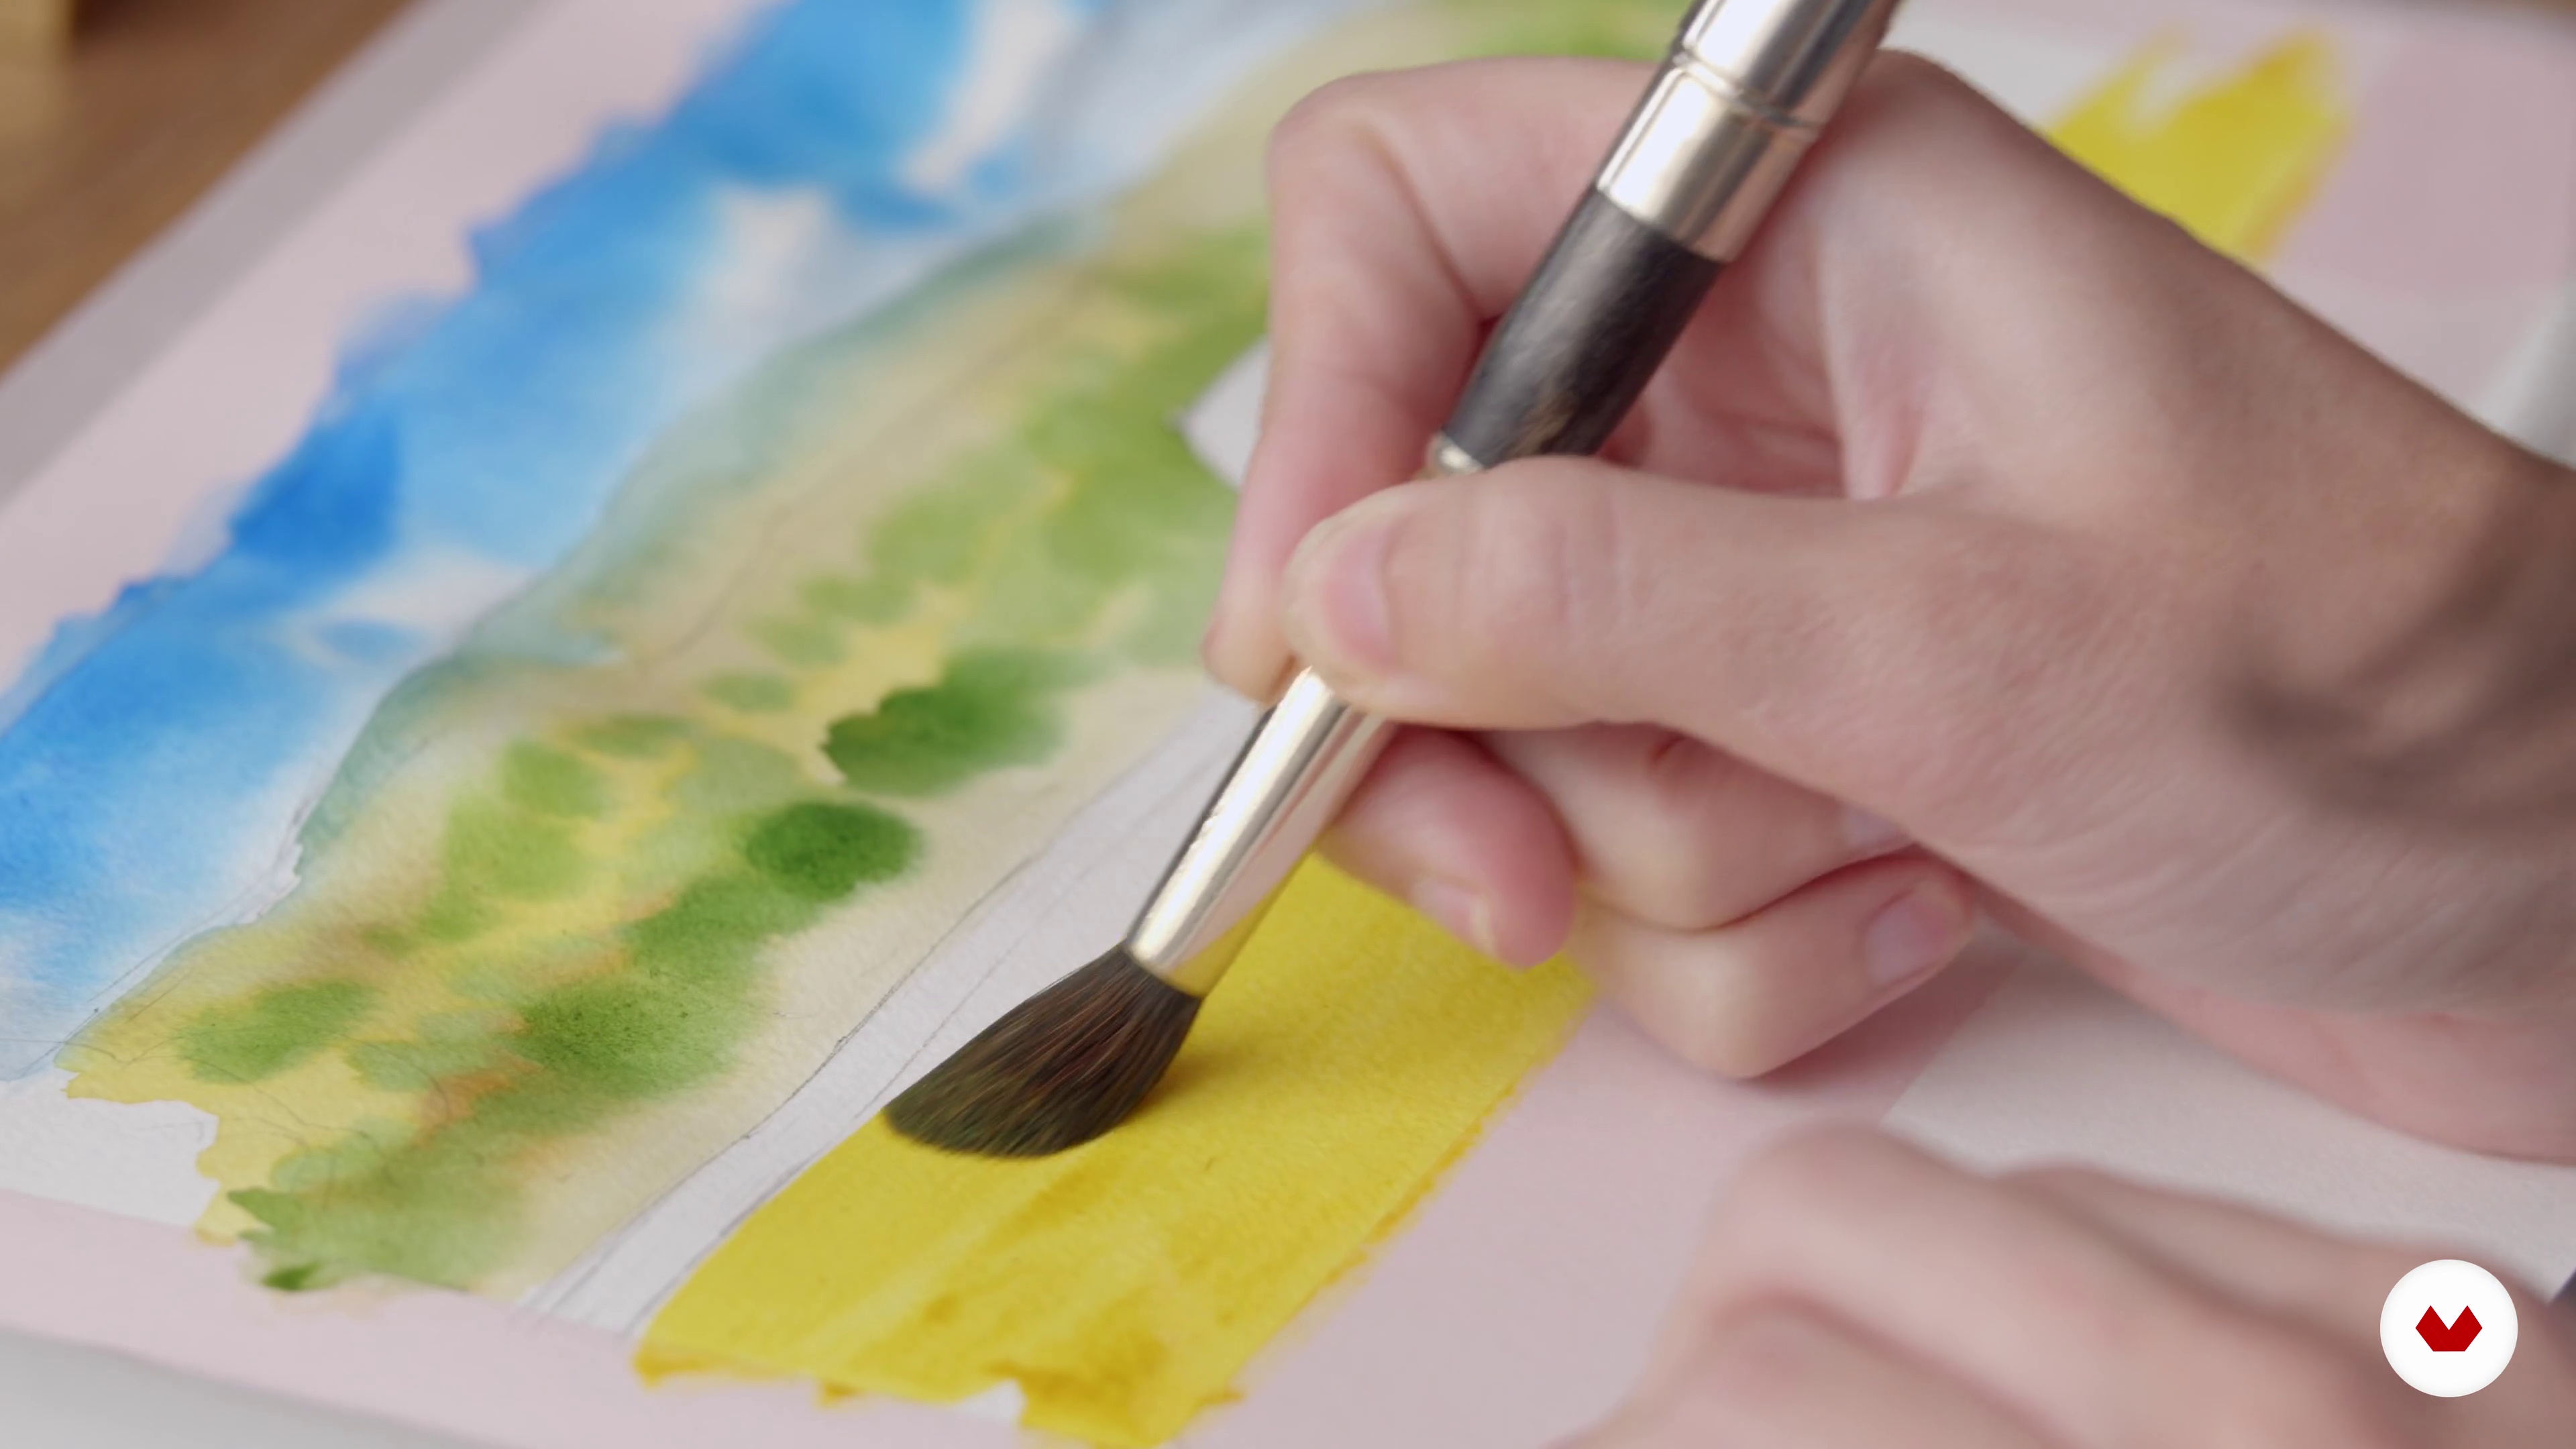
Once the sketch is done, we are going to start applying the color. We dreamed of this moment since we began to imagine the notebook page in our mind, however, now we are not clear about where to start taking that first brushstroke. Do not worry, in this lesson I will guide you step by step so that you can safely go through each of those strokes.
15m
image
13
Entering details
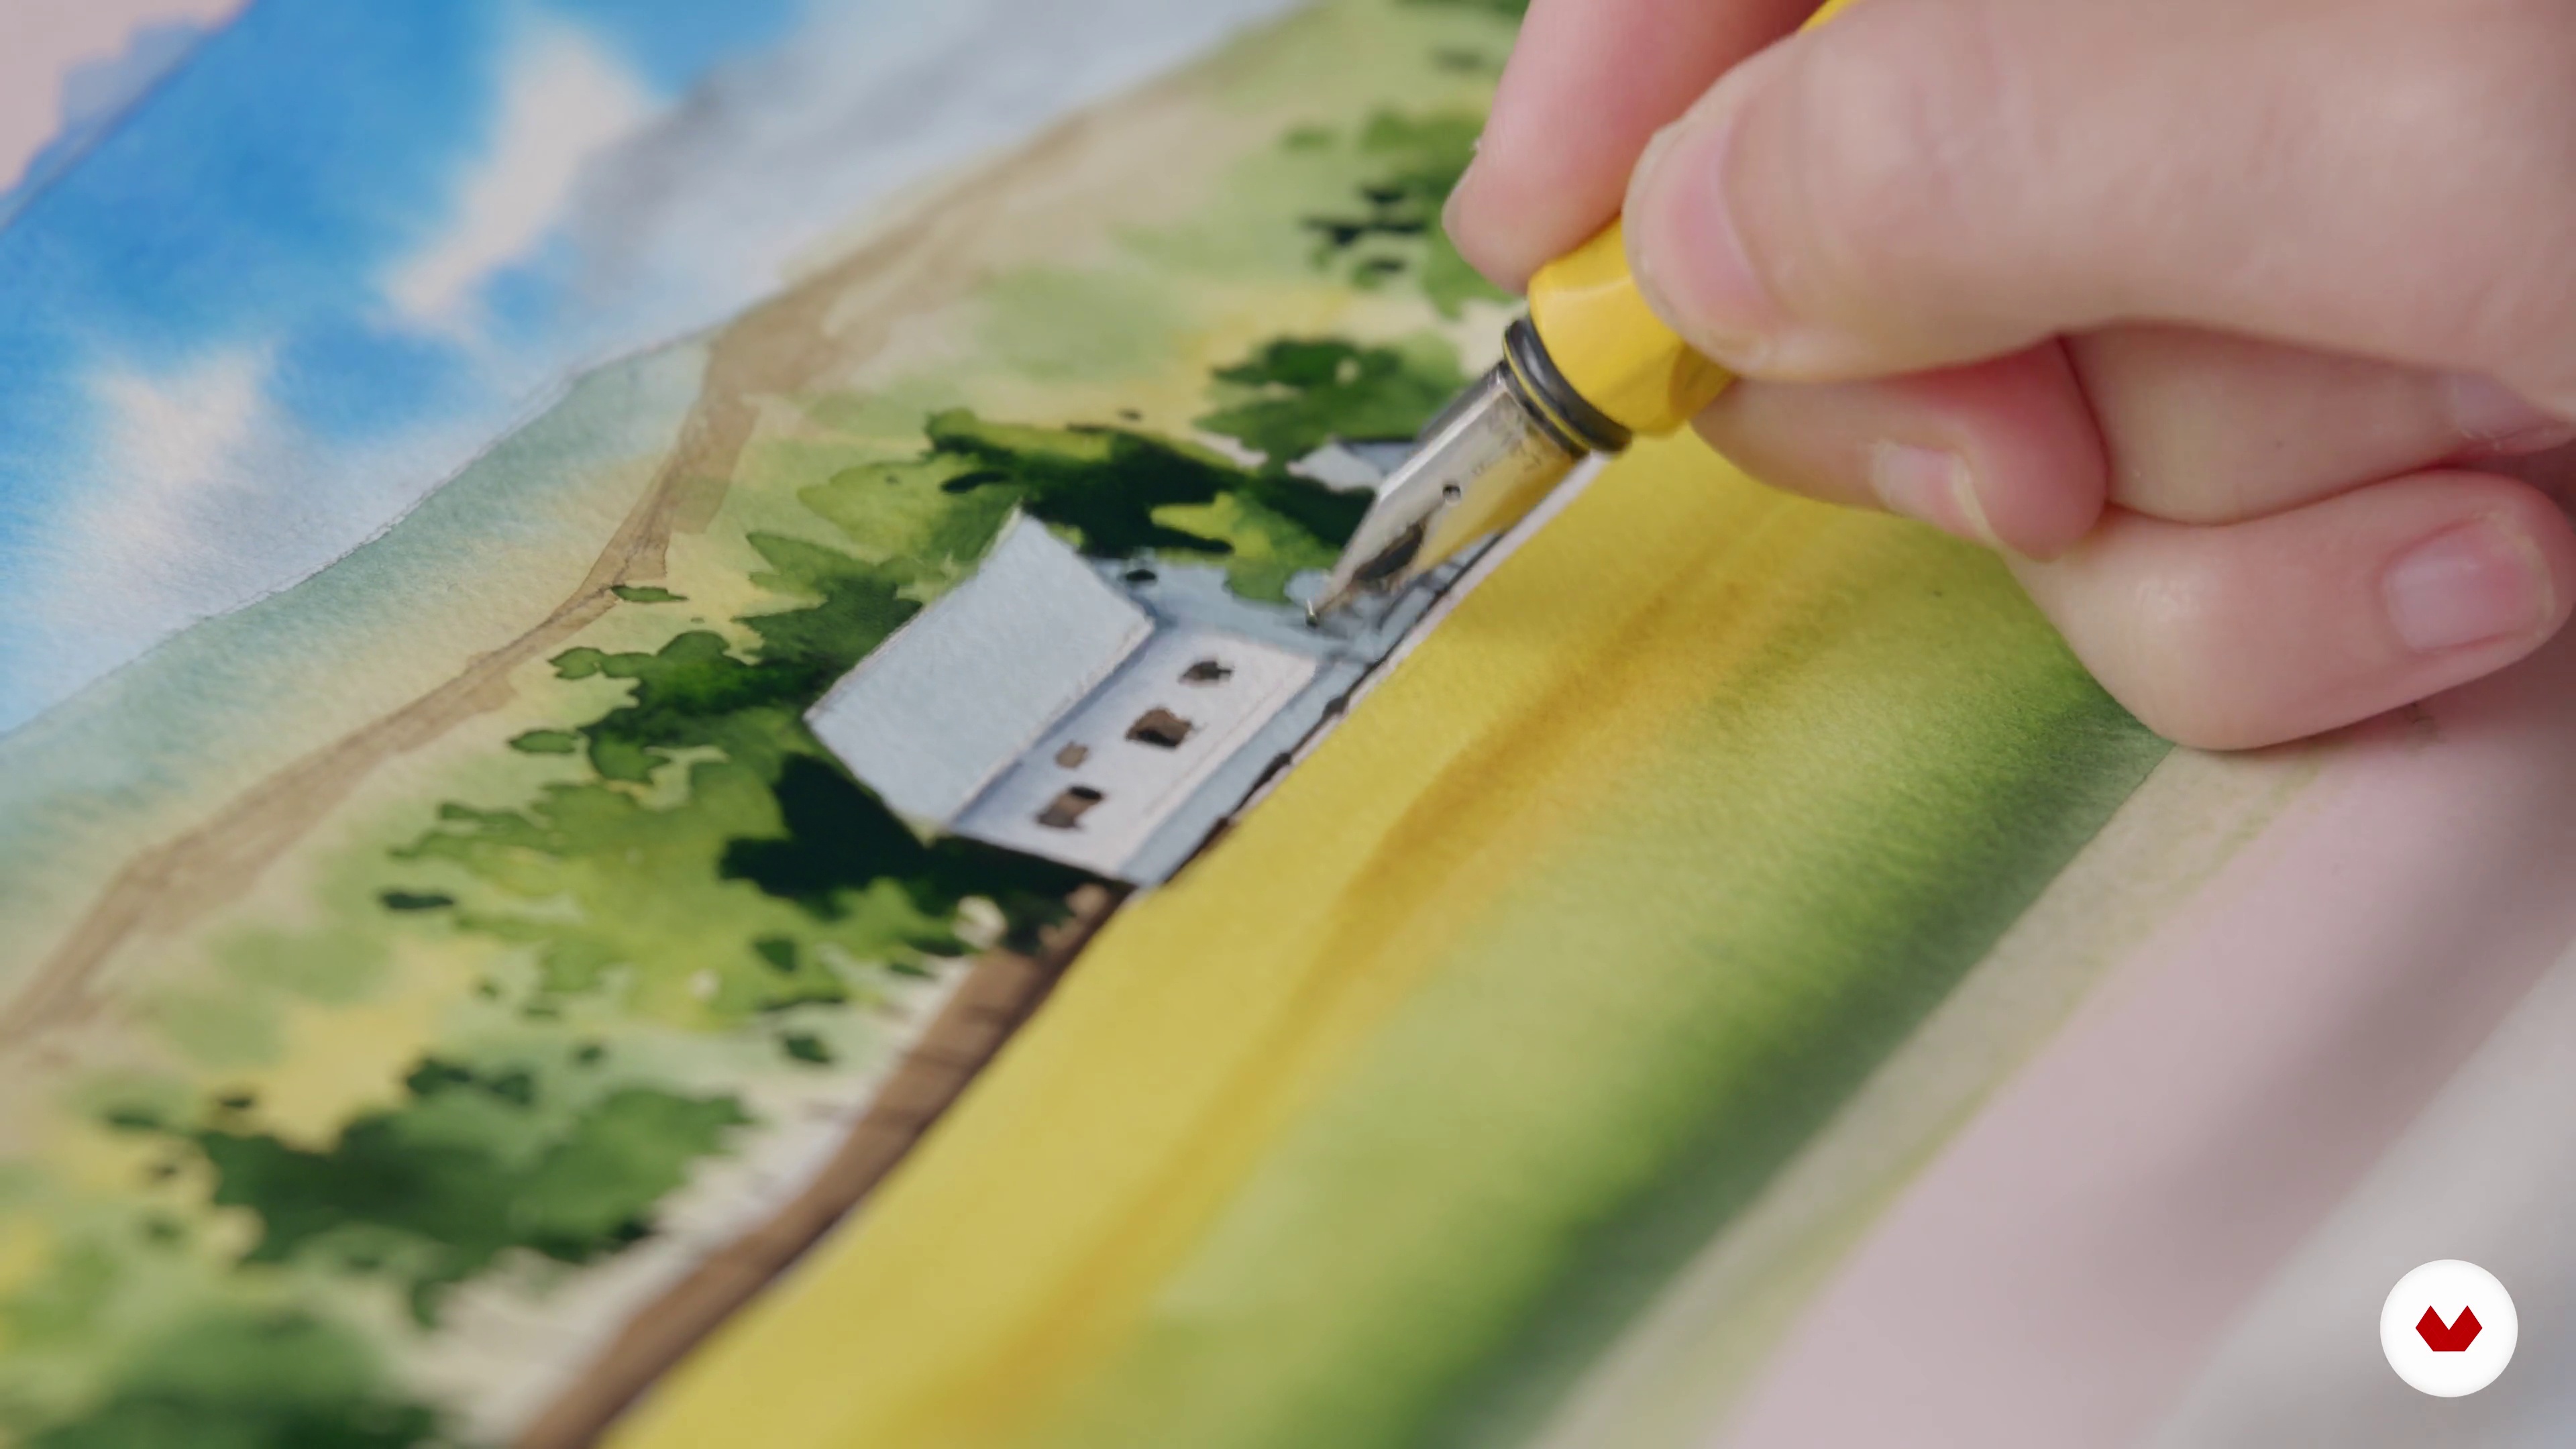
Once we have the main spots of color, it is time to shape them through the details. In this lesson, in addition to watercolor, I will teach you how to use pen and ink to add depth and volume to your drawing. Let the magic begin!
20m
image
14
Final touches
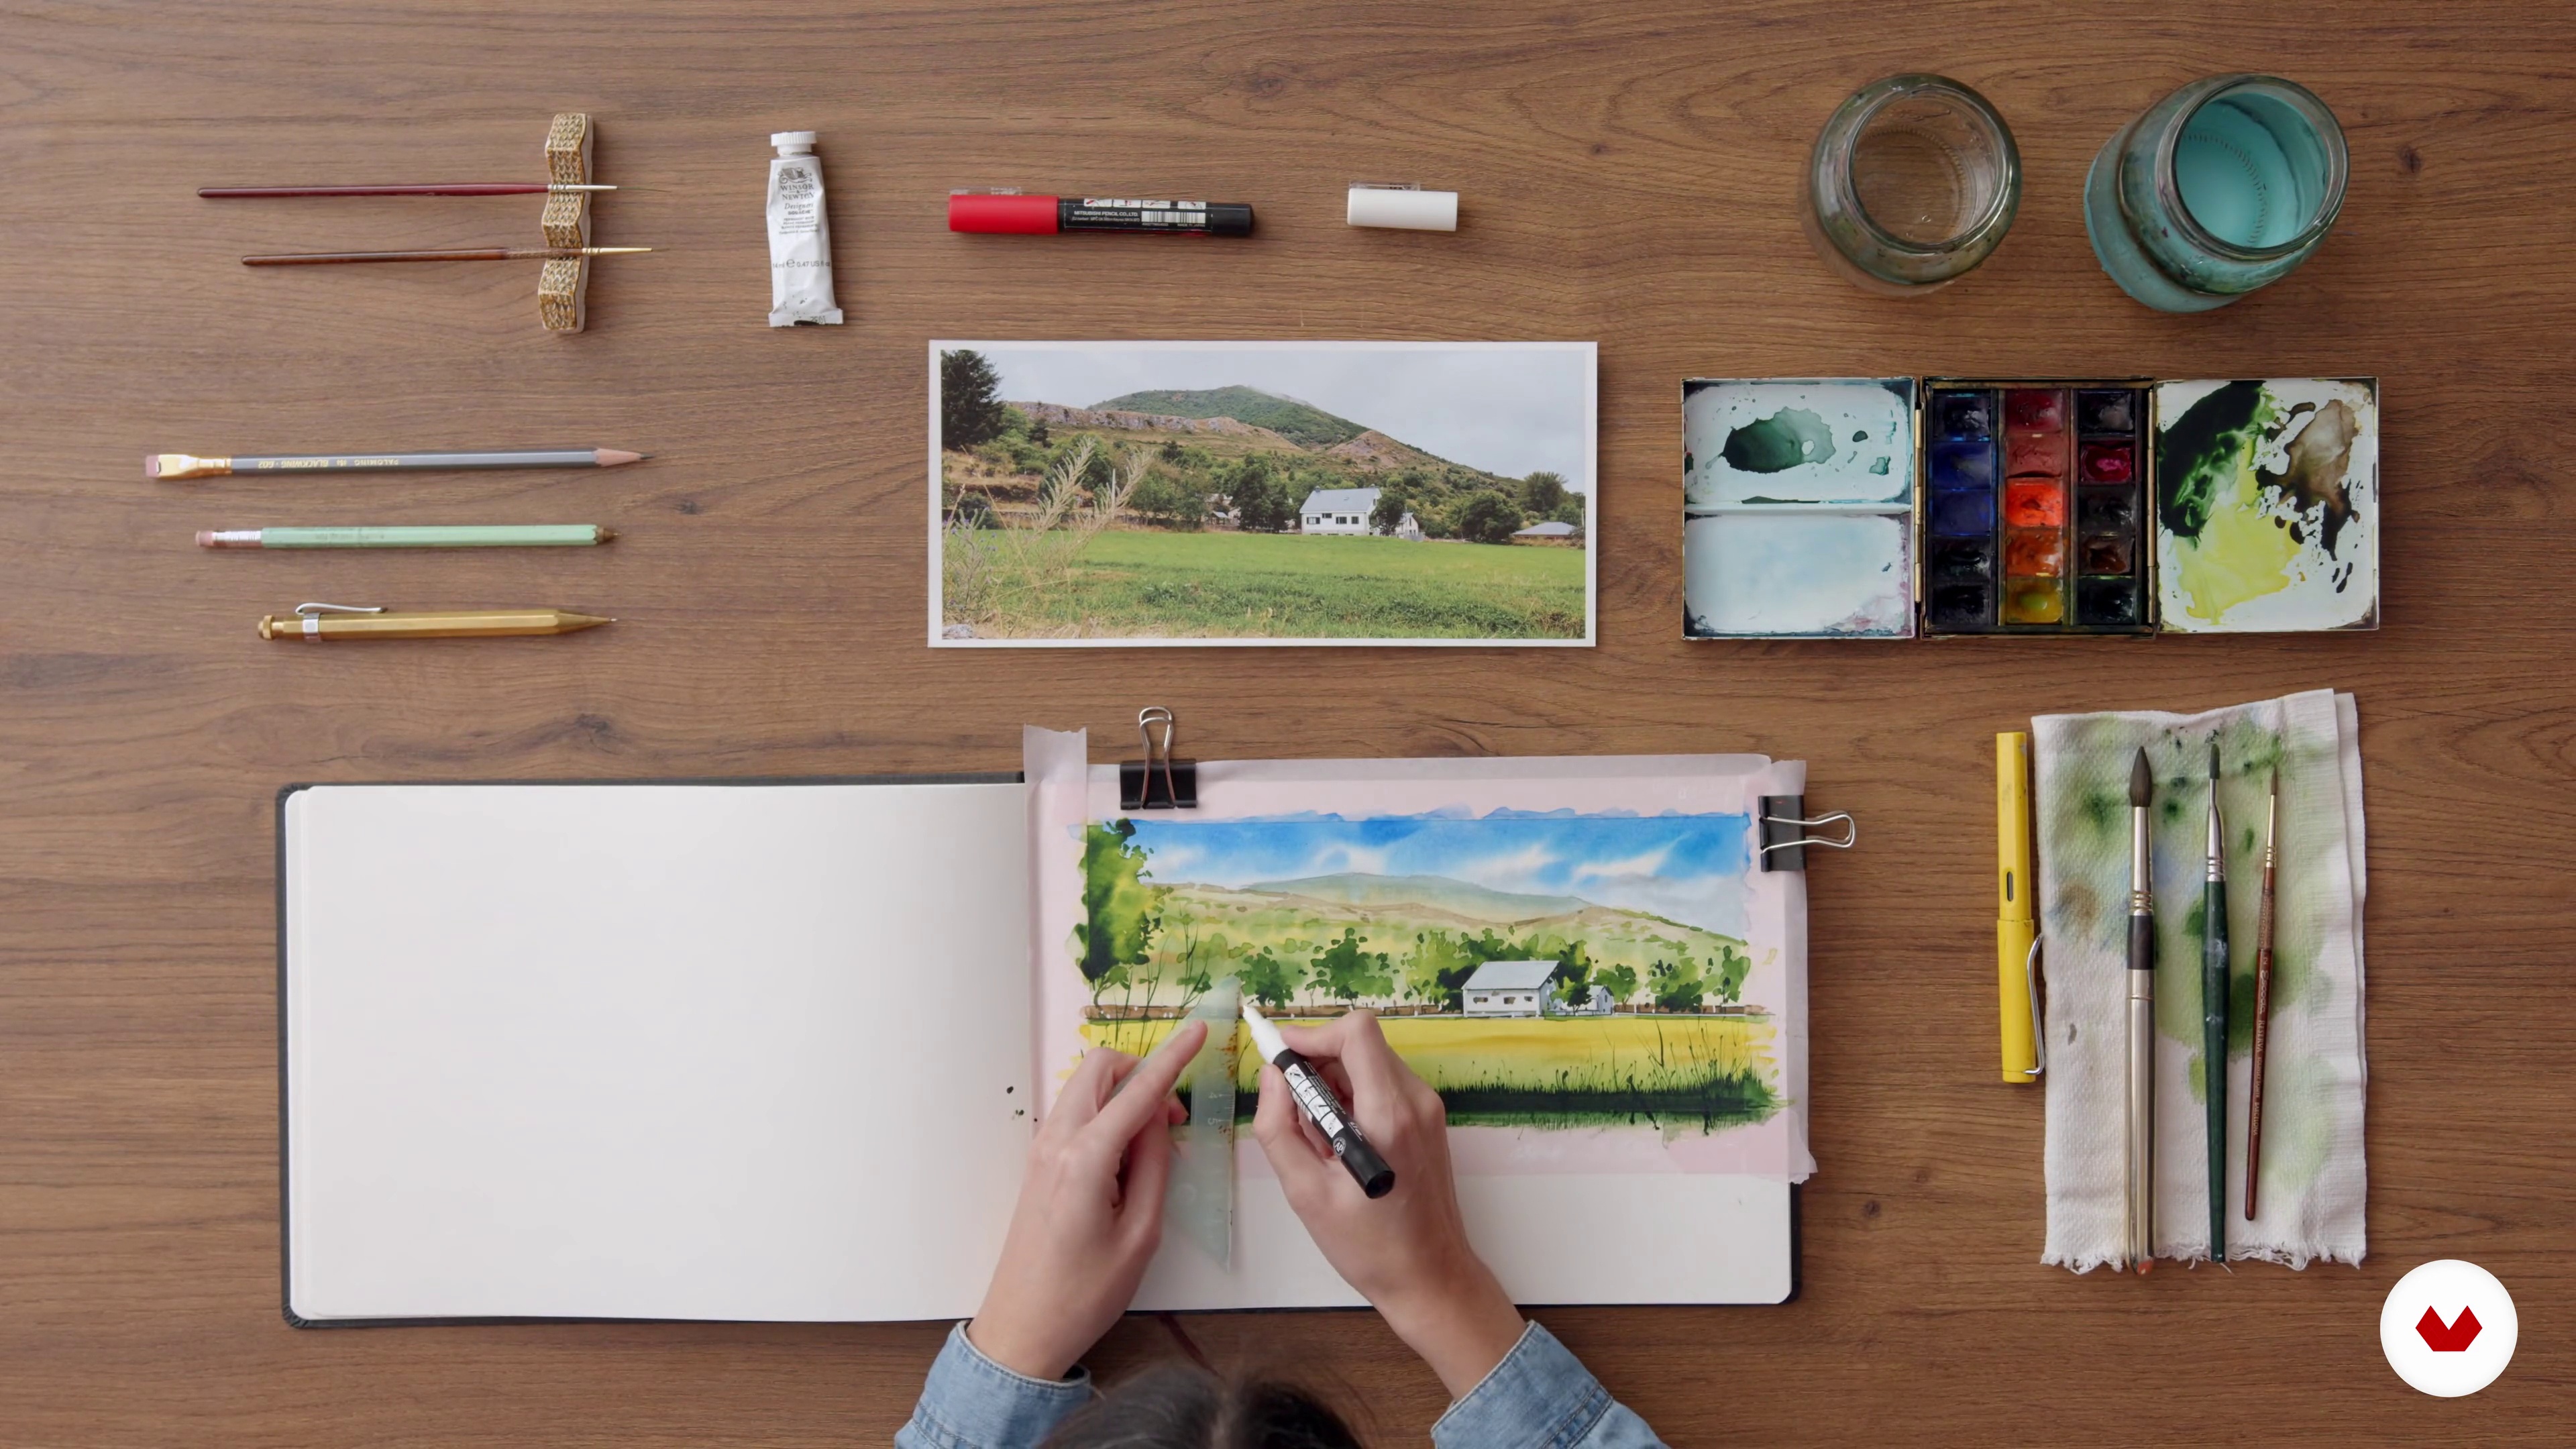
We are already at the final stretch. After the storm comes the calm and after the dark details come the highlights. With the white paint marker and gouache we are going to give this landscape a twist. I'm going to show you my best tricks so that your drawings make a difference.
8m
image
15
Ideas to complete your page
What do we do now with those blank holes that have been left on our page? We are going to use them to continue telling stories, this time through pencil notes, handwritten texts and some other resources that I do not want to reveal to you until you see this lesson. Travel inspiration arriving in three, two, one ...
14m
image
16
Your personal style
If there is something that stands out about a travel notebook, it is that it is a unique and personal piece. In this lesson I give you some ideas on how you can give it that different touch and gradually find your own style.
2m
image
17
The jump to social networks
Did you think this trip was over? We still have one more step to finish this adventure: the jump from paper to screen. In this lesson, I show you how to get the most out of the illustrations in your notebook through photography. Everything ready for the final photo?
10m
image
3
Travel logs
In this lesson you will learn about travel logs, their use and their possibilities, and you will see some examples that will serve to inspire you and give you ideas.
9m
image
4
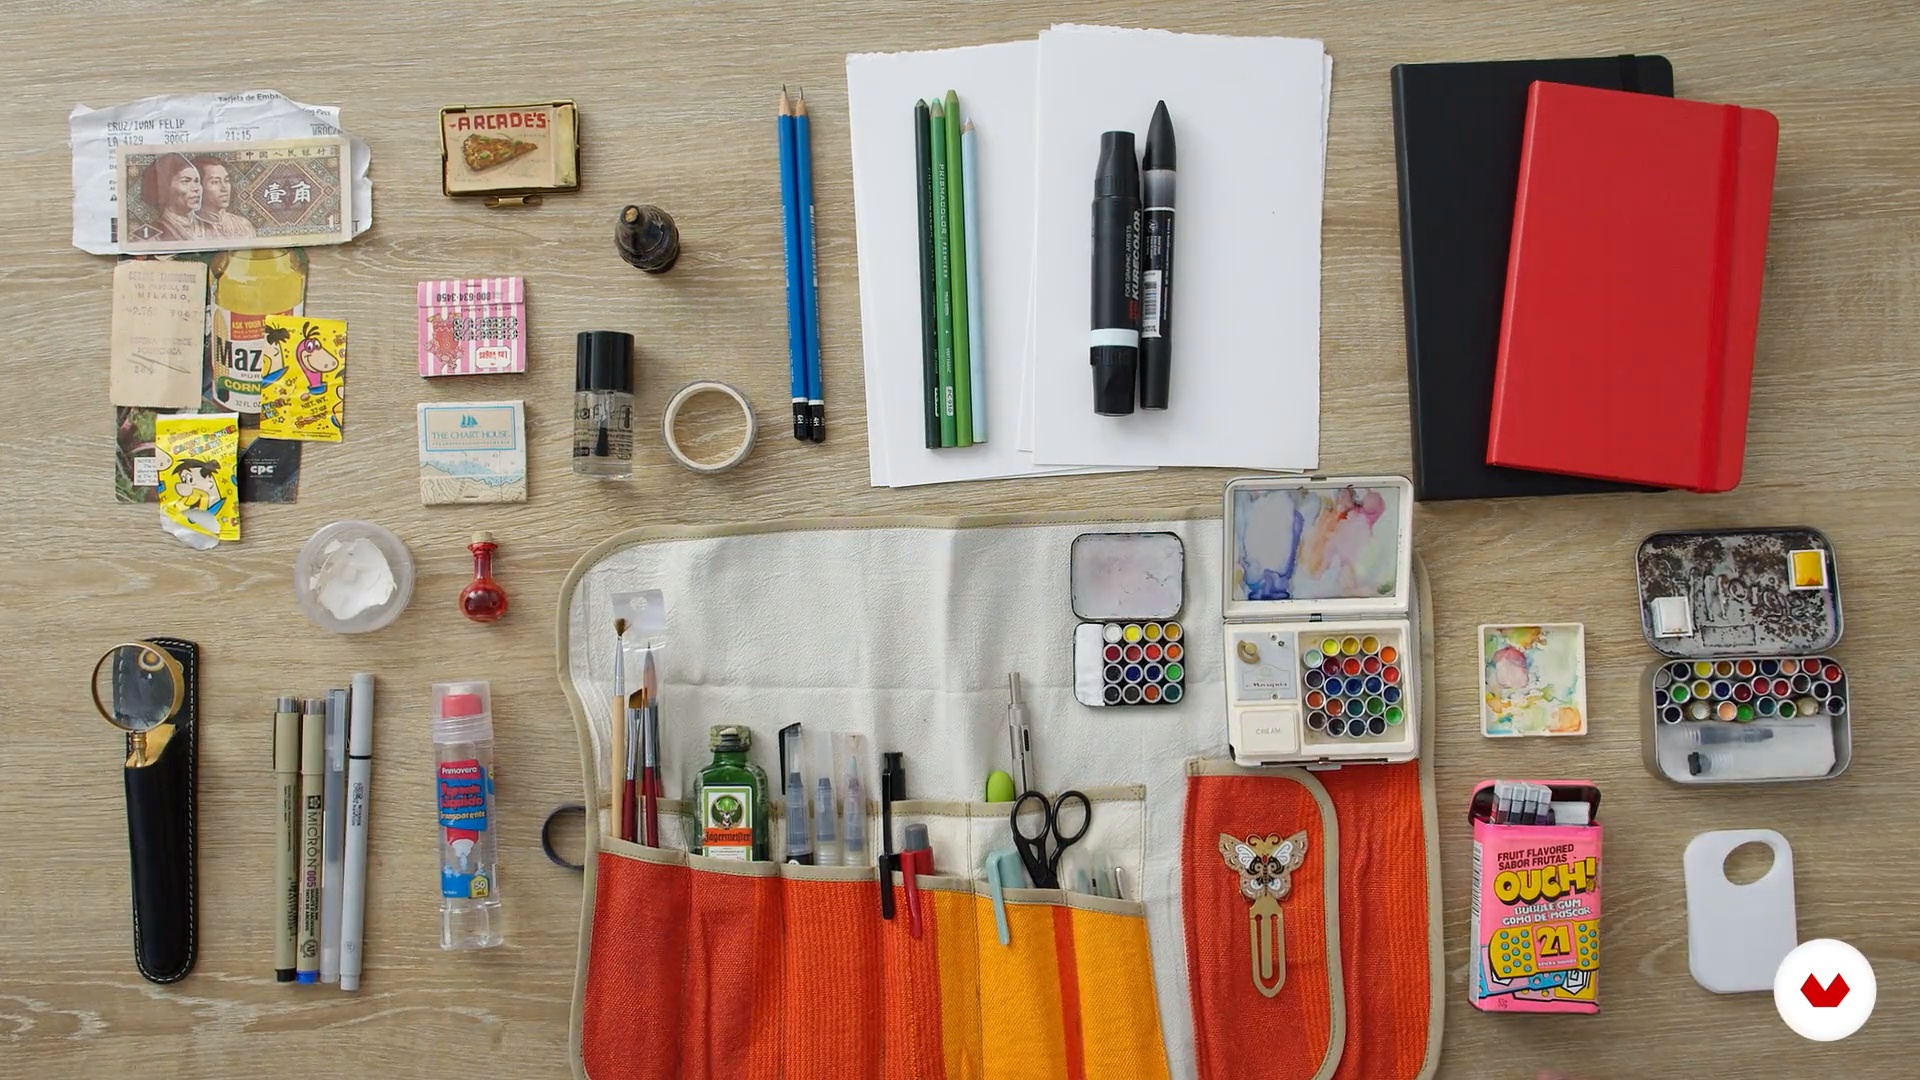
Tools and materials
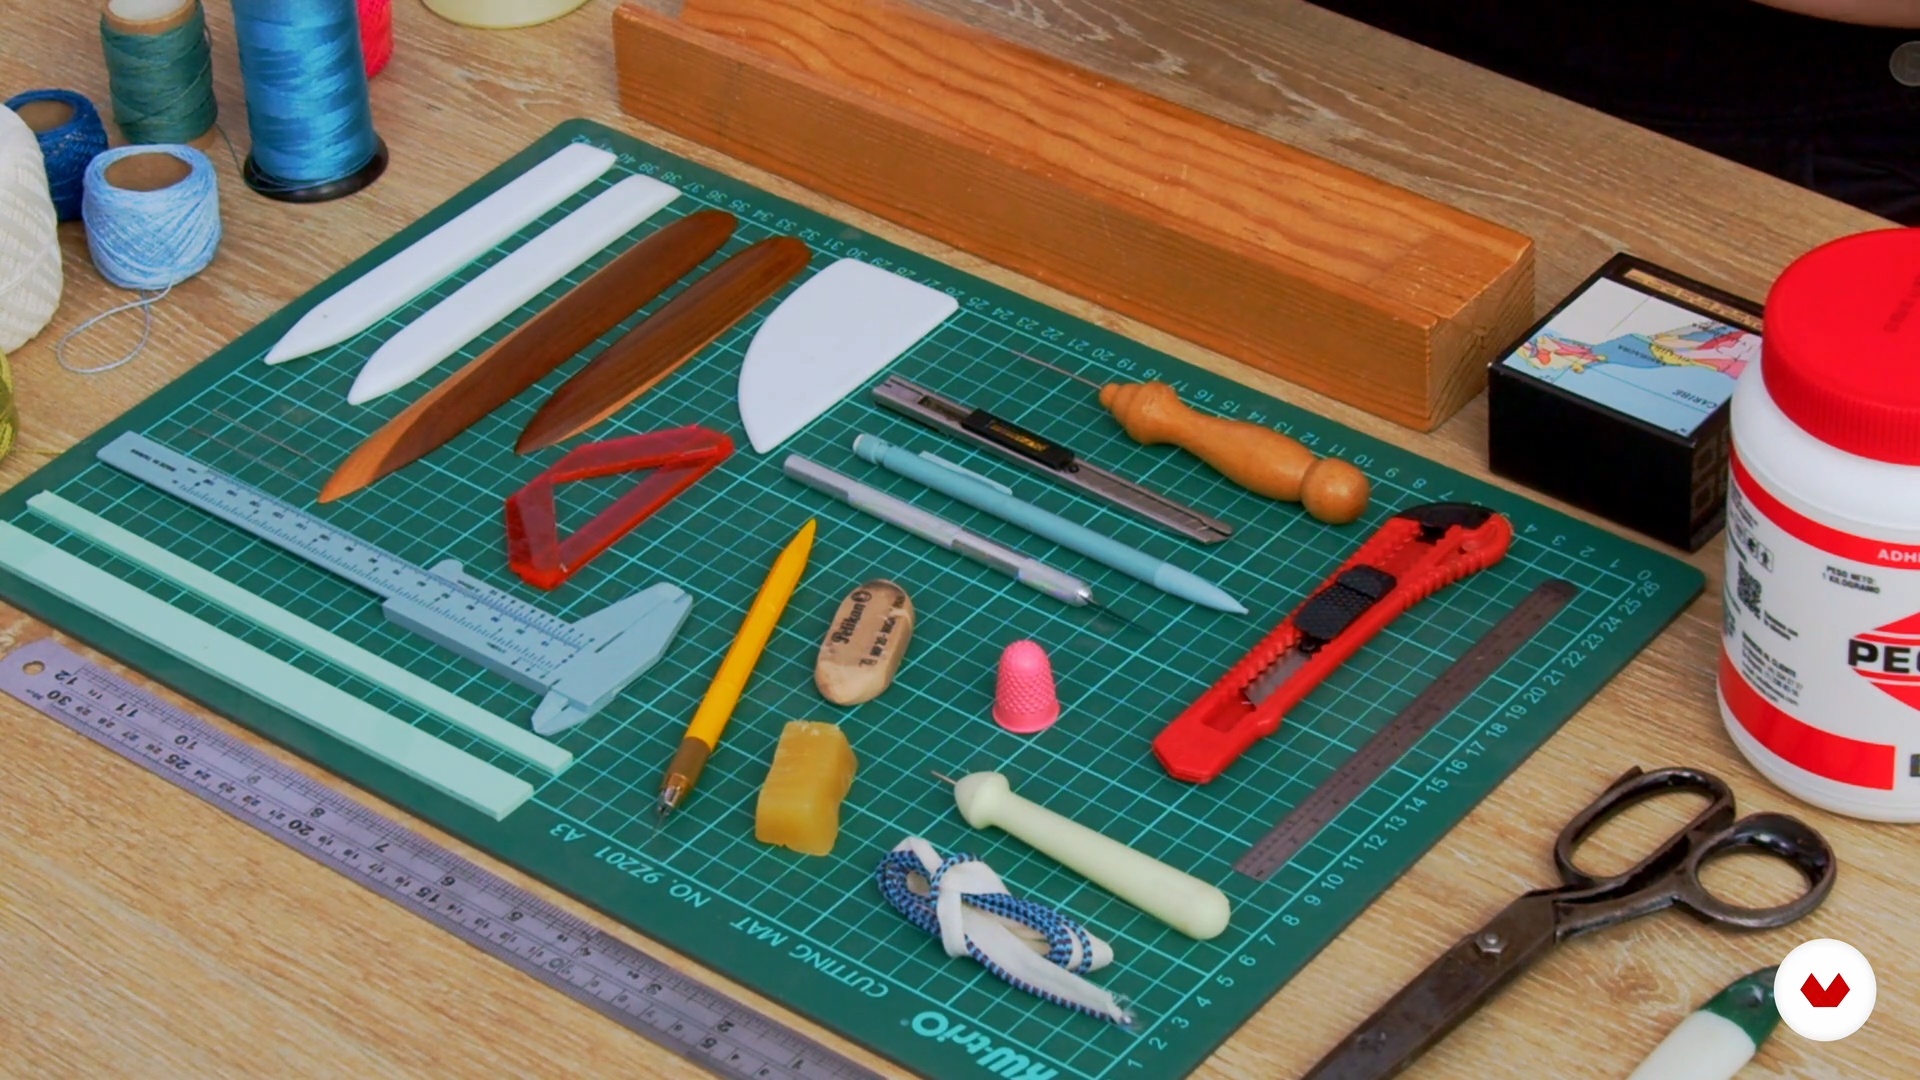
Next, I'll show you the tools and materials you'll need for this course. Also, I will give you ideas on how to replace them with everyday objects.
4m
image
5
Mood board and planning
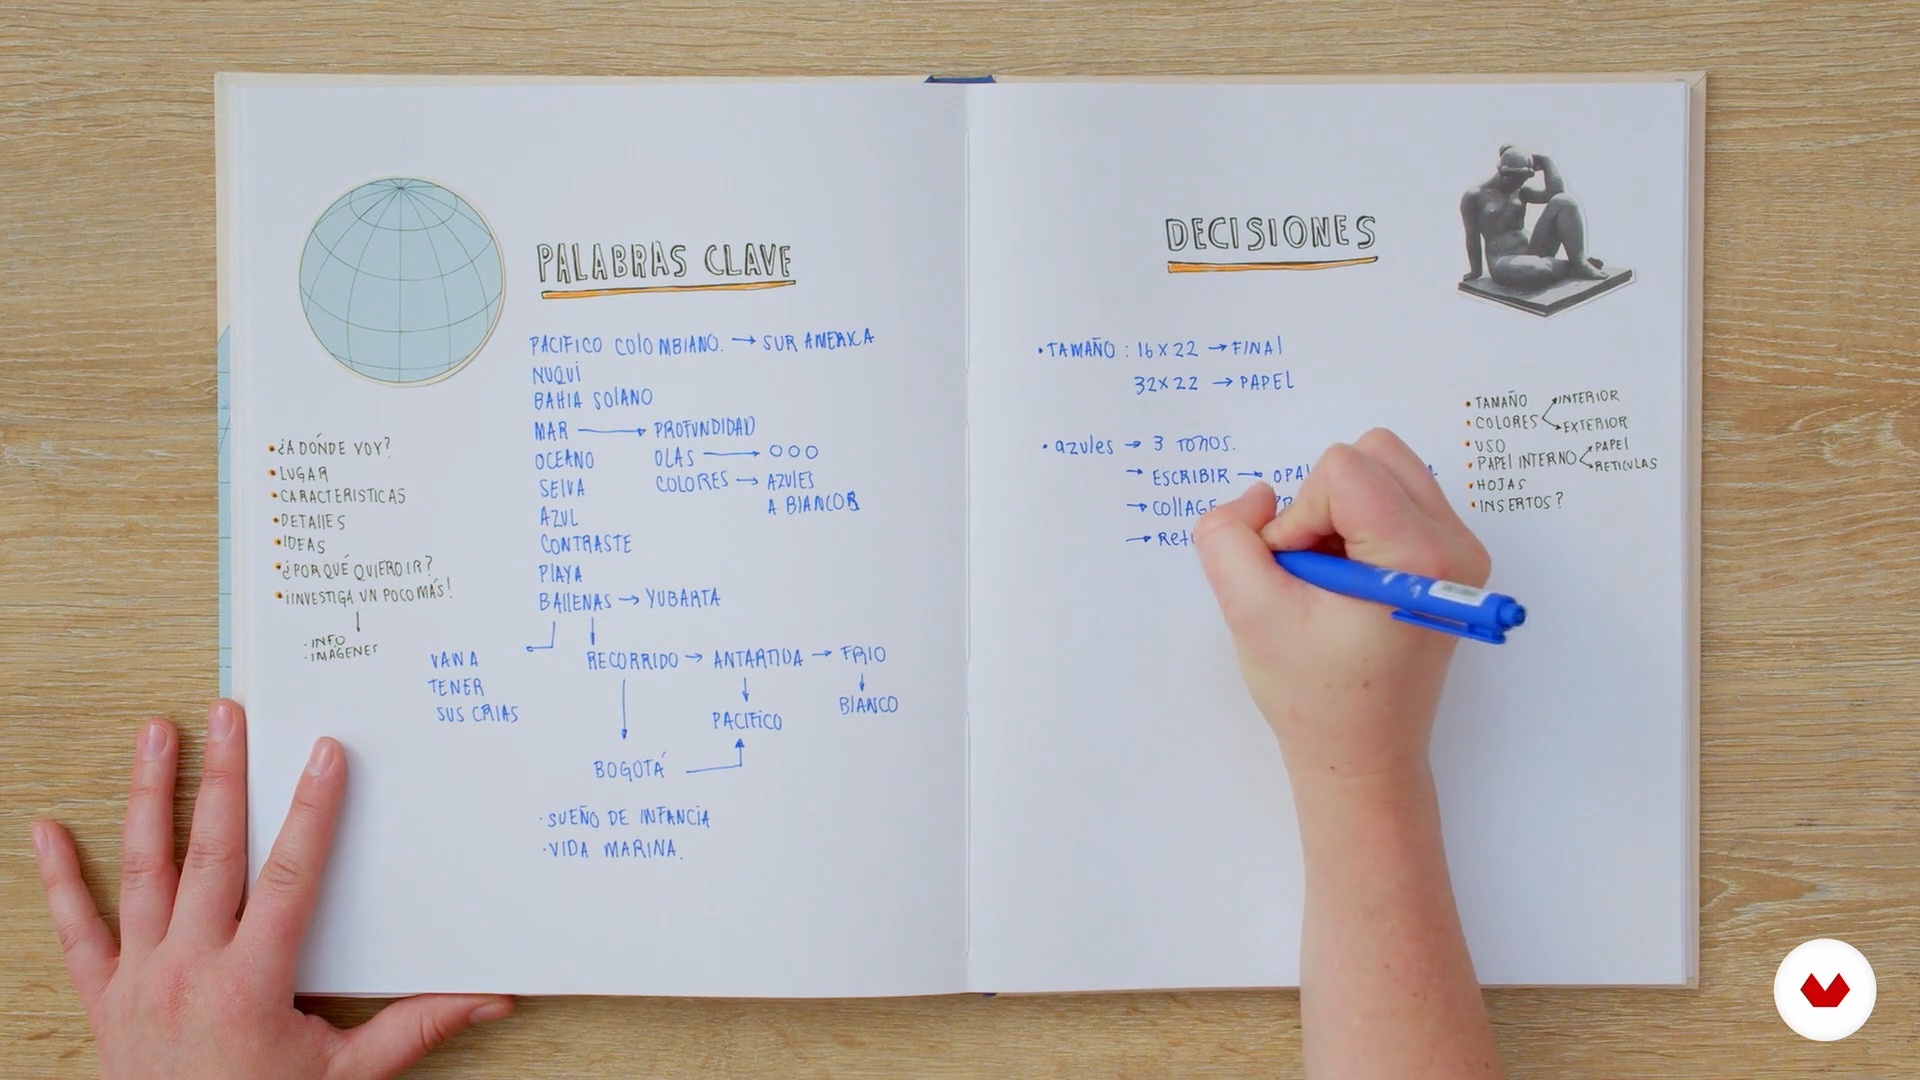
Now I will show you my process to create a mood board and plan the travel log. It is important to let yourself be carried away by creativity!
10m
image
6
Introduction to French bookbinding
In this lesson I will talk about French binding. I will briefly tell you its history and you will see some examples of the creative possibilities it offers.
4m
image
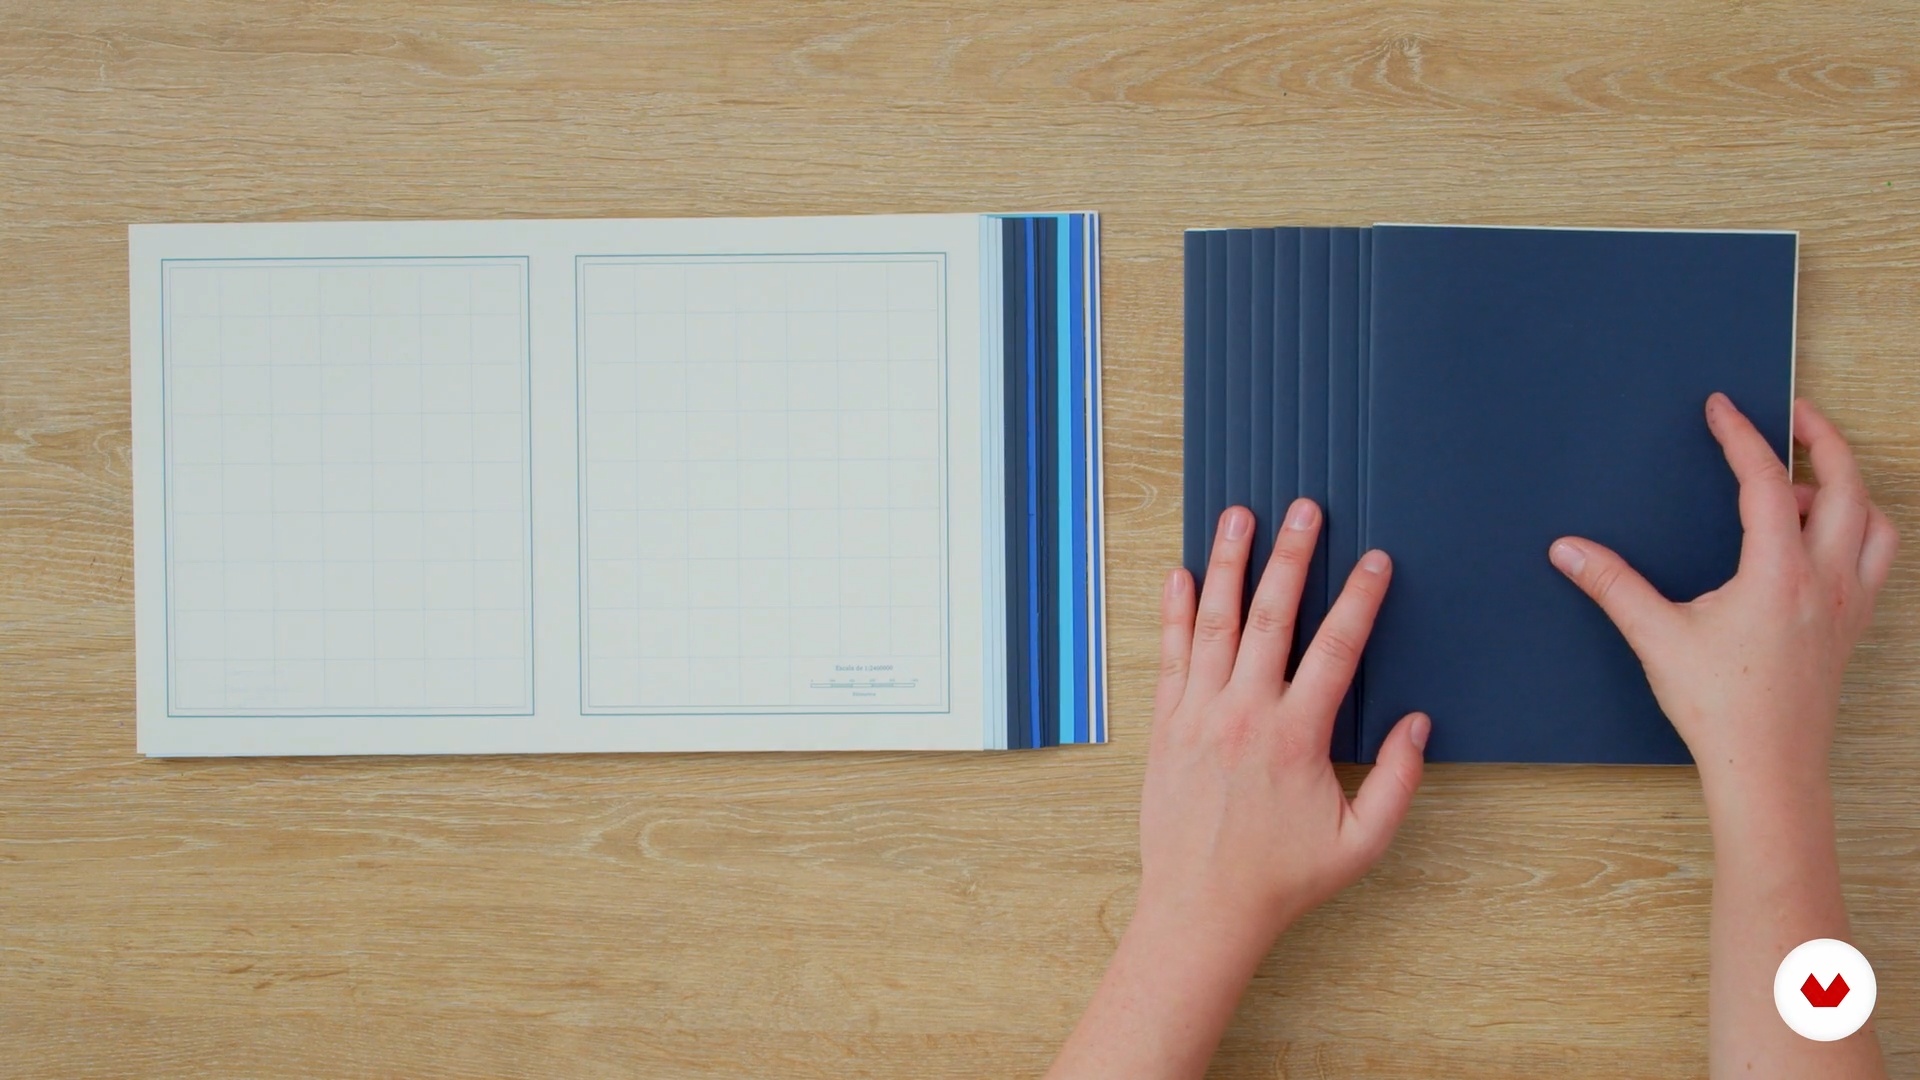
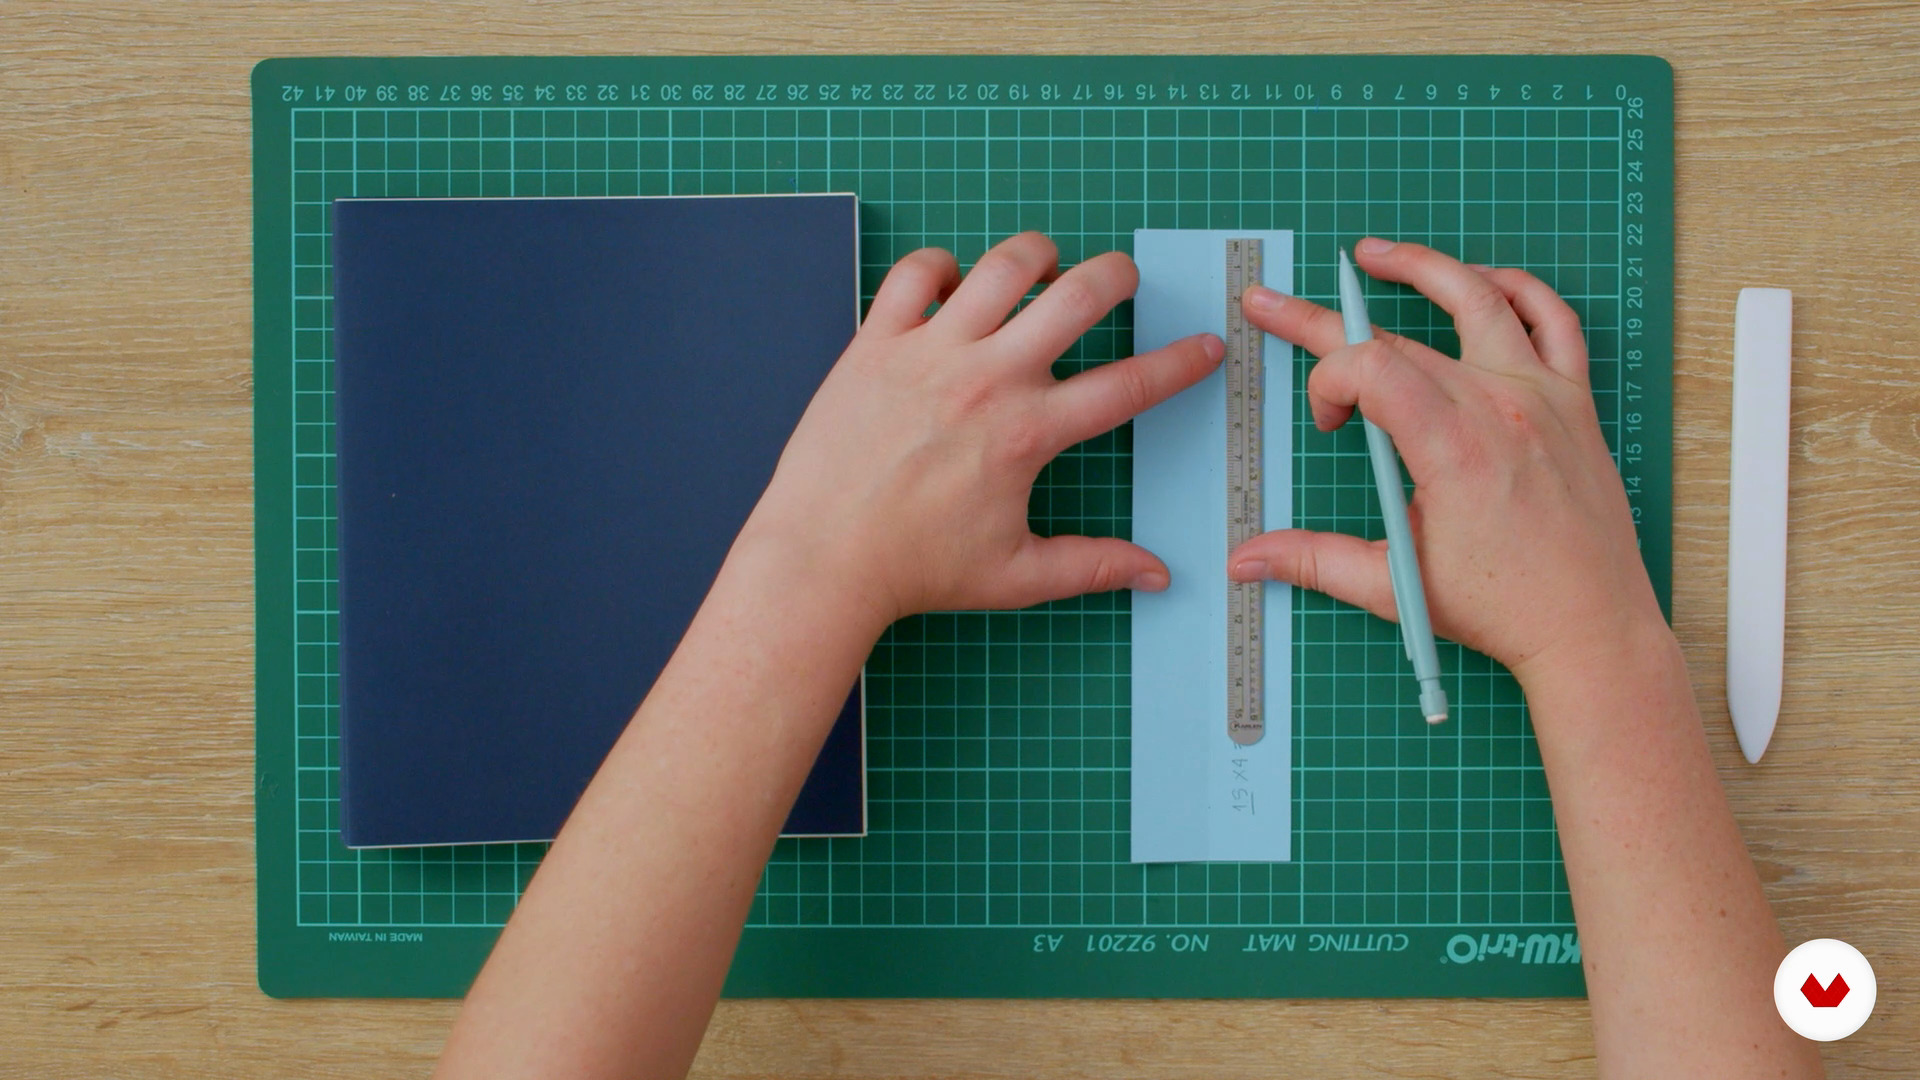
7
Bookbinding Lessons: Paper Preparation
The first step in the binding process is to prepare the paper: folding it and punching it for stitching. Here I will show you how to do it.
9m
image
8
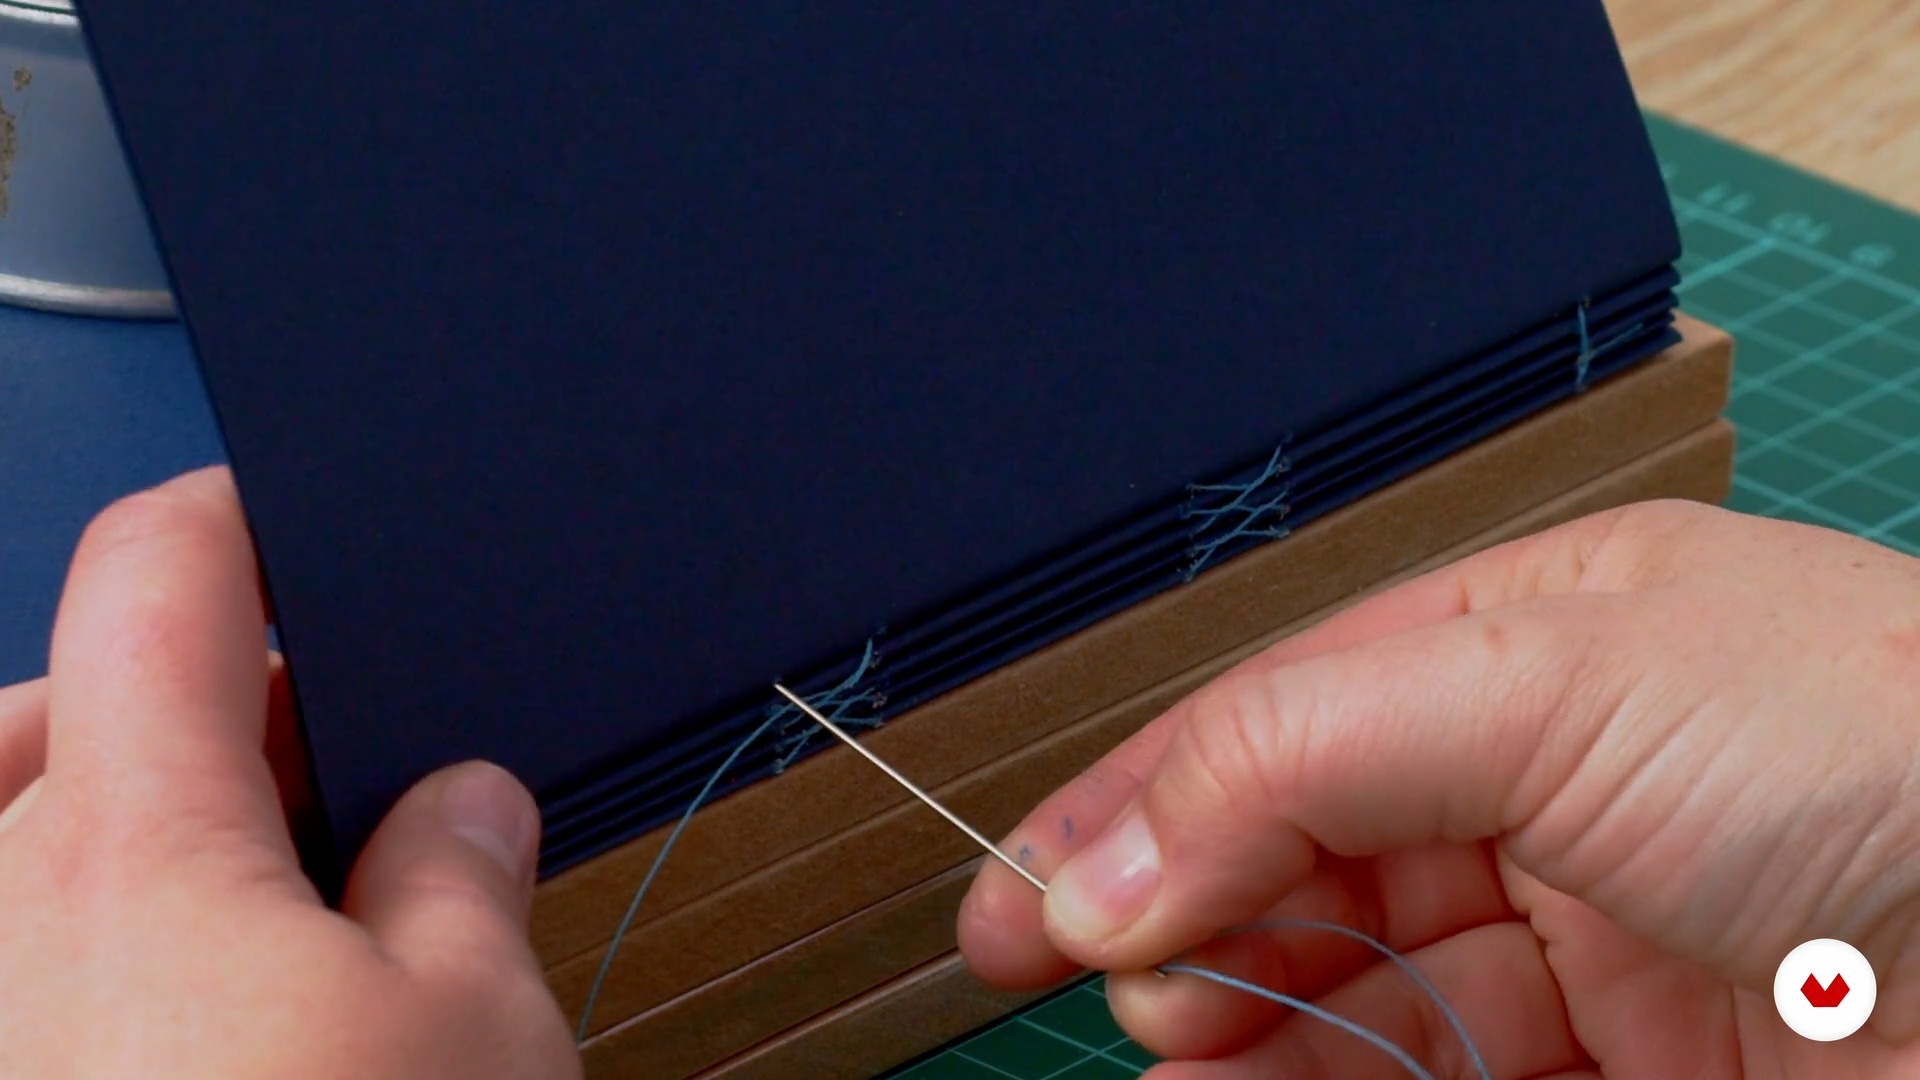
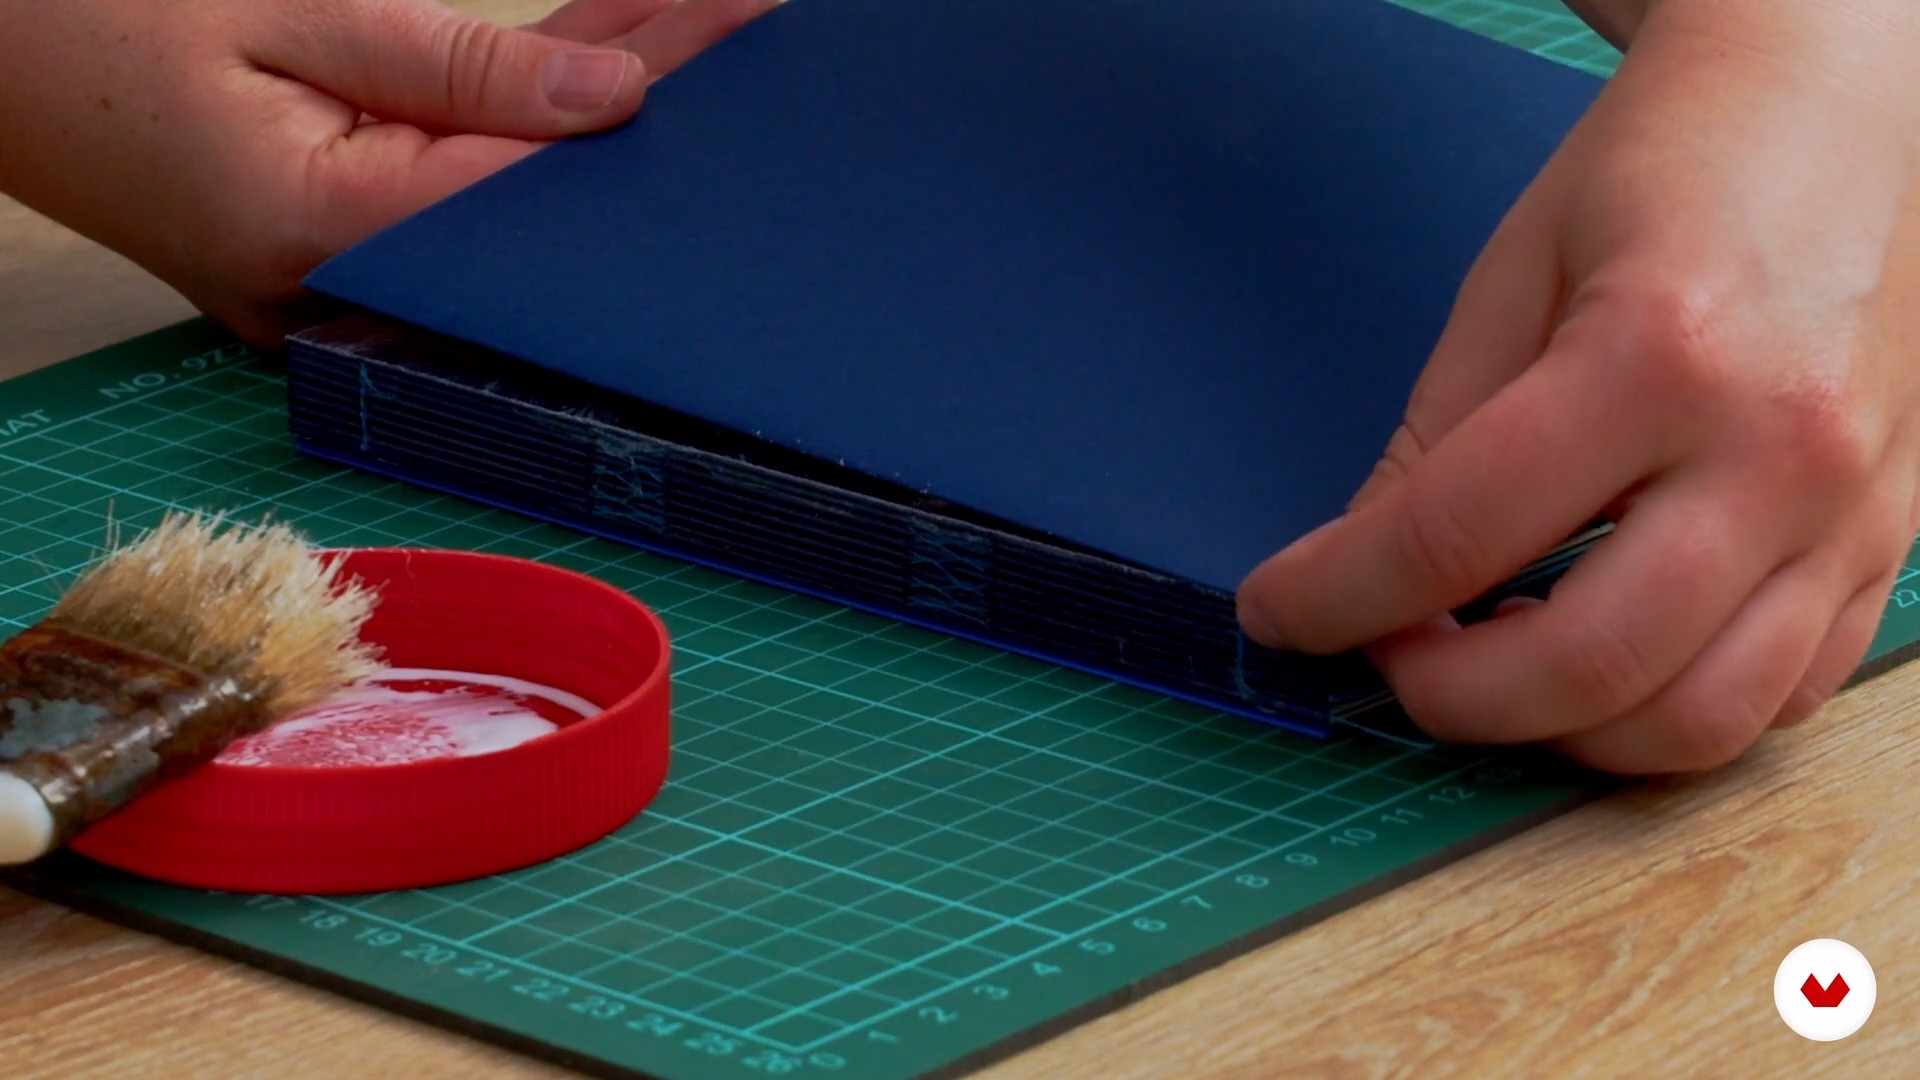
Bookbinding Lessons: Sewing 1
Now you will learn how to do the French seam. I will show you how to prepare the thread, arrange the booklets and sew the notebook. This part is very exciting! You will also see how to glue the spine to join all the booklets together and ensure the resistance of the structure.
16m
image
9
Bookbinding Lessons: Sewing 2
The next step is to glue the endpapers of the notebook, the sheets that connect the covers and the body of the notebook. It is usual to use only one guard, but here we will be a little creative and put two.
11m
image
10
Bookbinding Lessons: The Covers 1
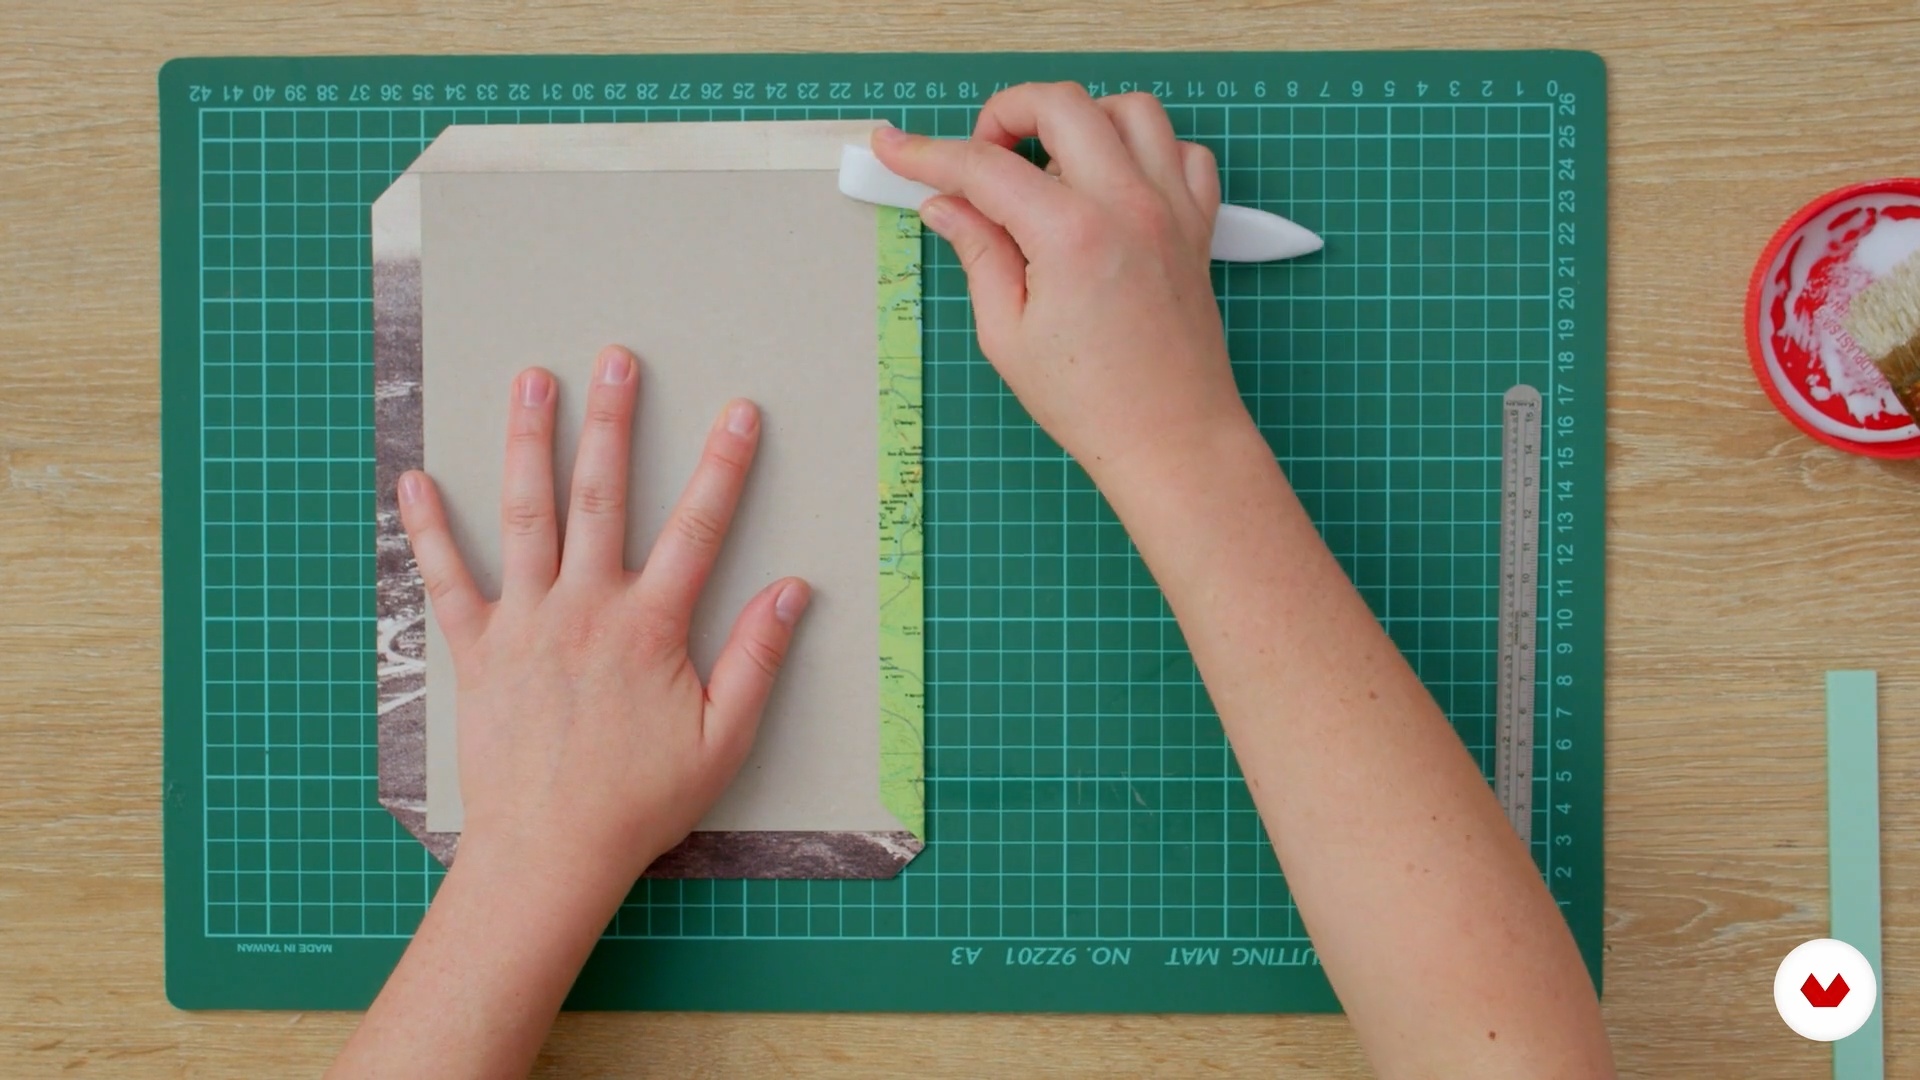
It's time to make the covers. I'll show you how to prepare the cartons and cover them. After applying the glue it is important to press the covers well and prevent the cardboard from deforming. I'll give you some tips!
18m
image
11
Bookbinding Lessons: The Covers 2
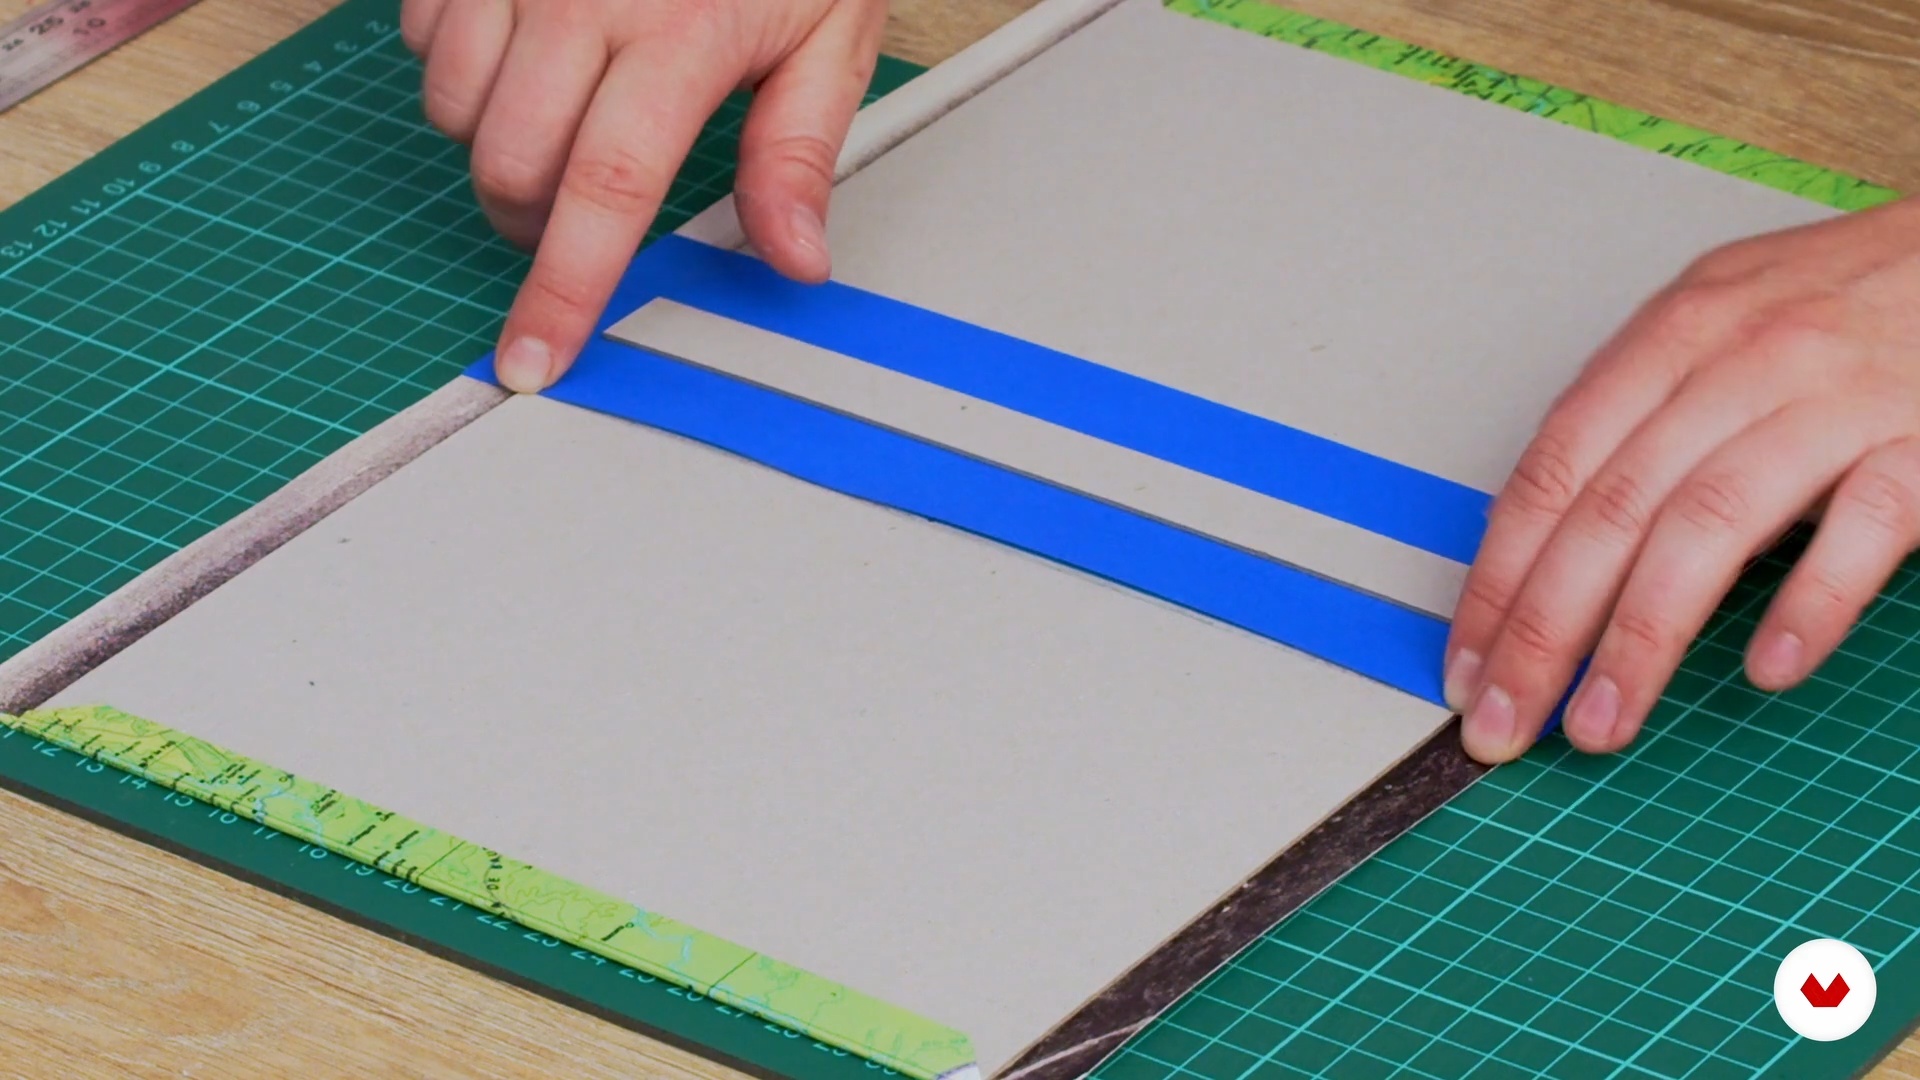
Next, I'll show you how to measure the spine of the notebook and how to attach it to the covers. Always remember to apply pressure after applying the glue to ensure a good pressing.
18m
image
12
Bookbinding Lessons: The Covers 3
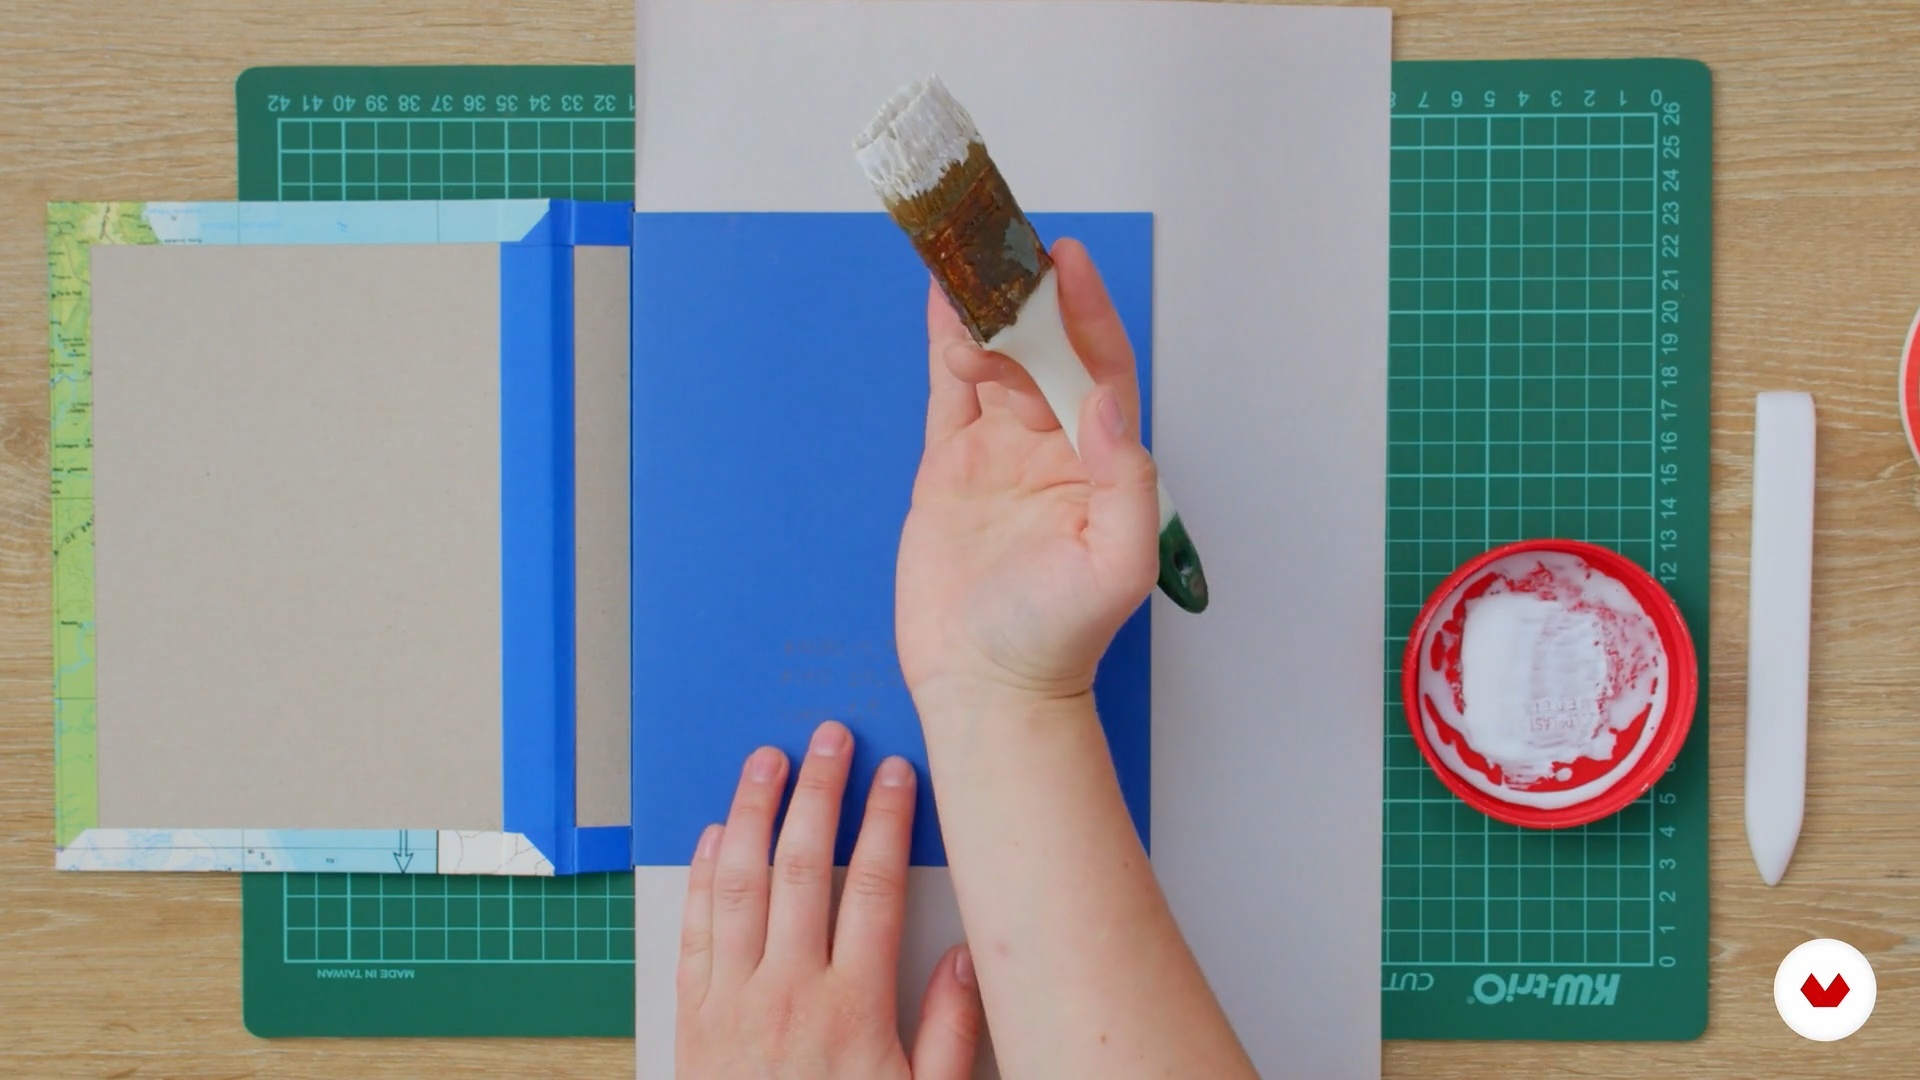
With all the parts ready, we can now join the body of the notebook and the covers. This step may seem a bit complicated, but I will give you tips to do it correctly and easily.
8m
image
13
Books to use for cutouts
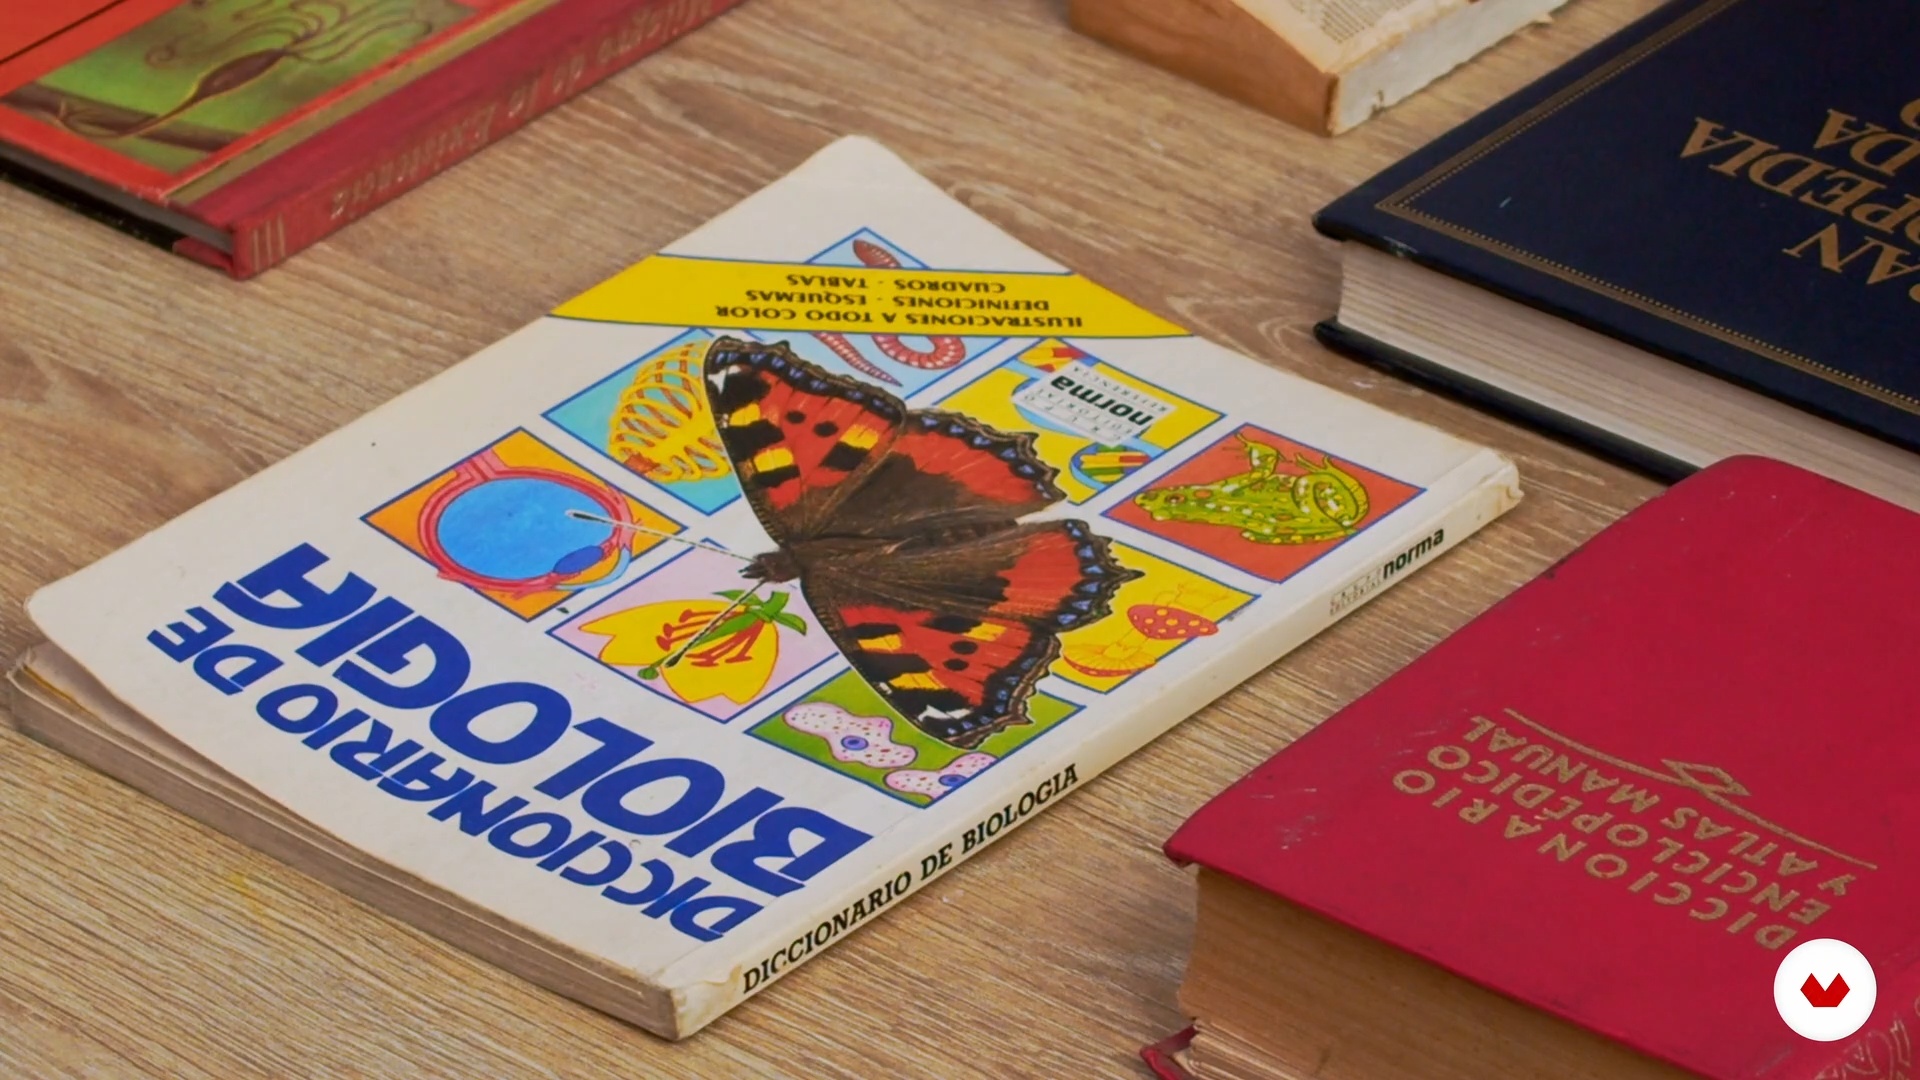
In this lesson I will show you the Lugares Infinitos collage book archive. I will talk about obsolete books and I will tell you what to take into account to make your own collection.
12m
image
14
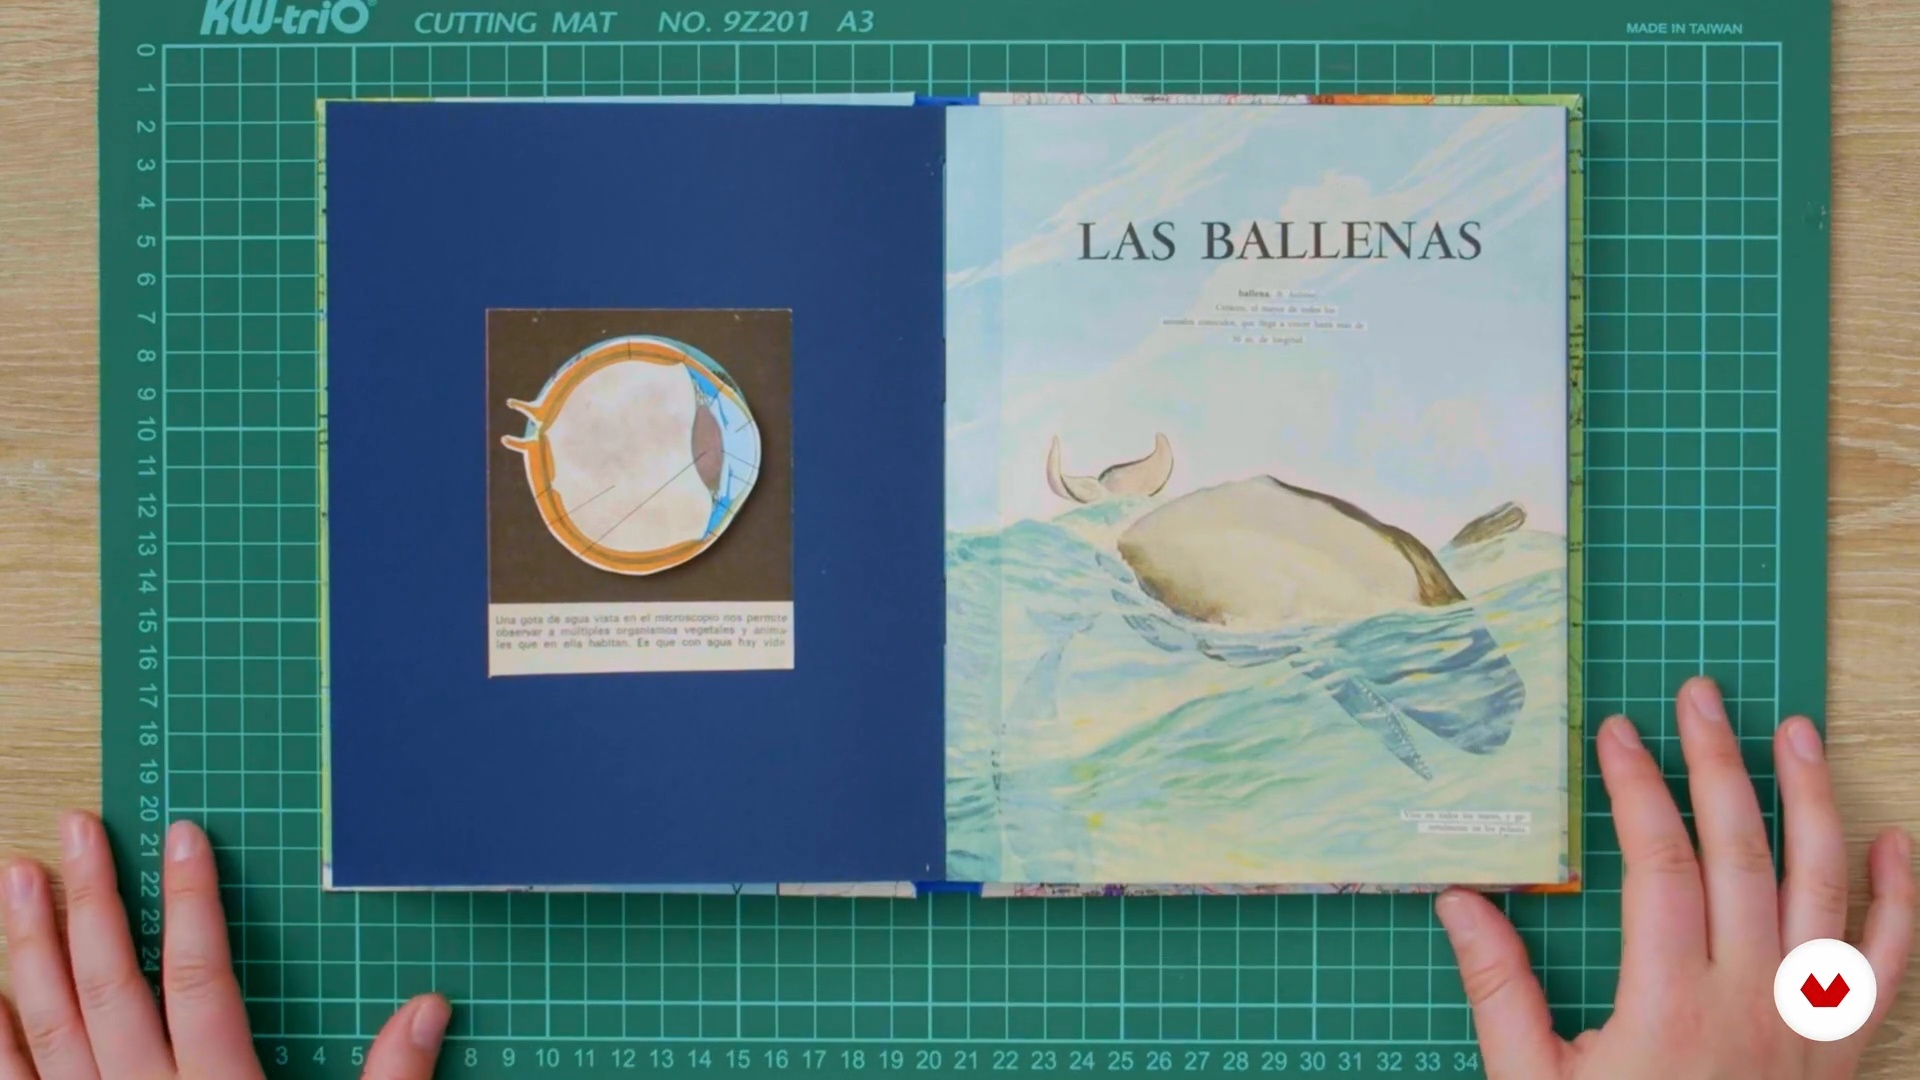
Working on your travel logbook 1
How to choose images from the collage file to update your logbook? I'll explain how to select the images to take advantage of the material in the best way. In addition, I will explain what to take into account to practice and lose the fear of working on your notebook.
18m
image
15
Working on your travel logbook 2
We will update our travel logbook using images and words, as well as collages. I'll show you how I apply the materials on the cover and endpages of my notebook. I hope it inspires you!
13m
image
16
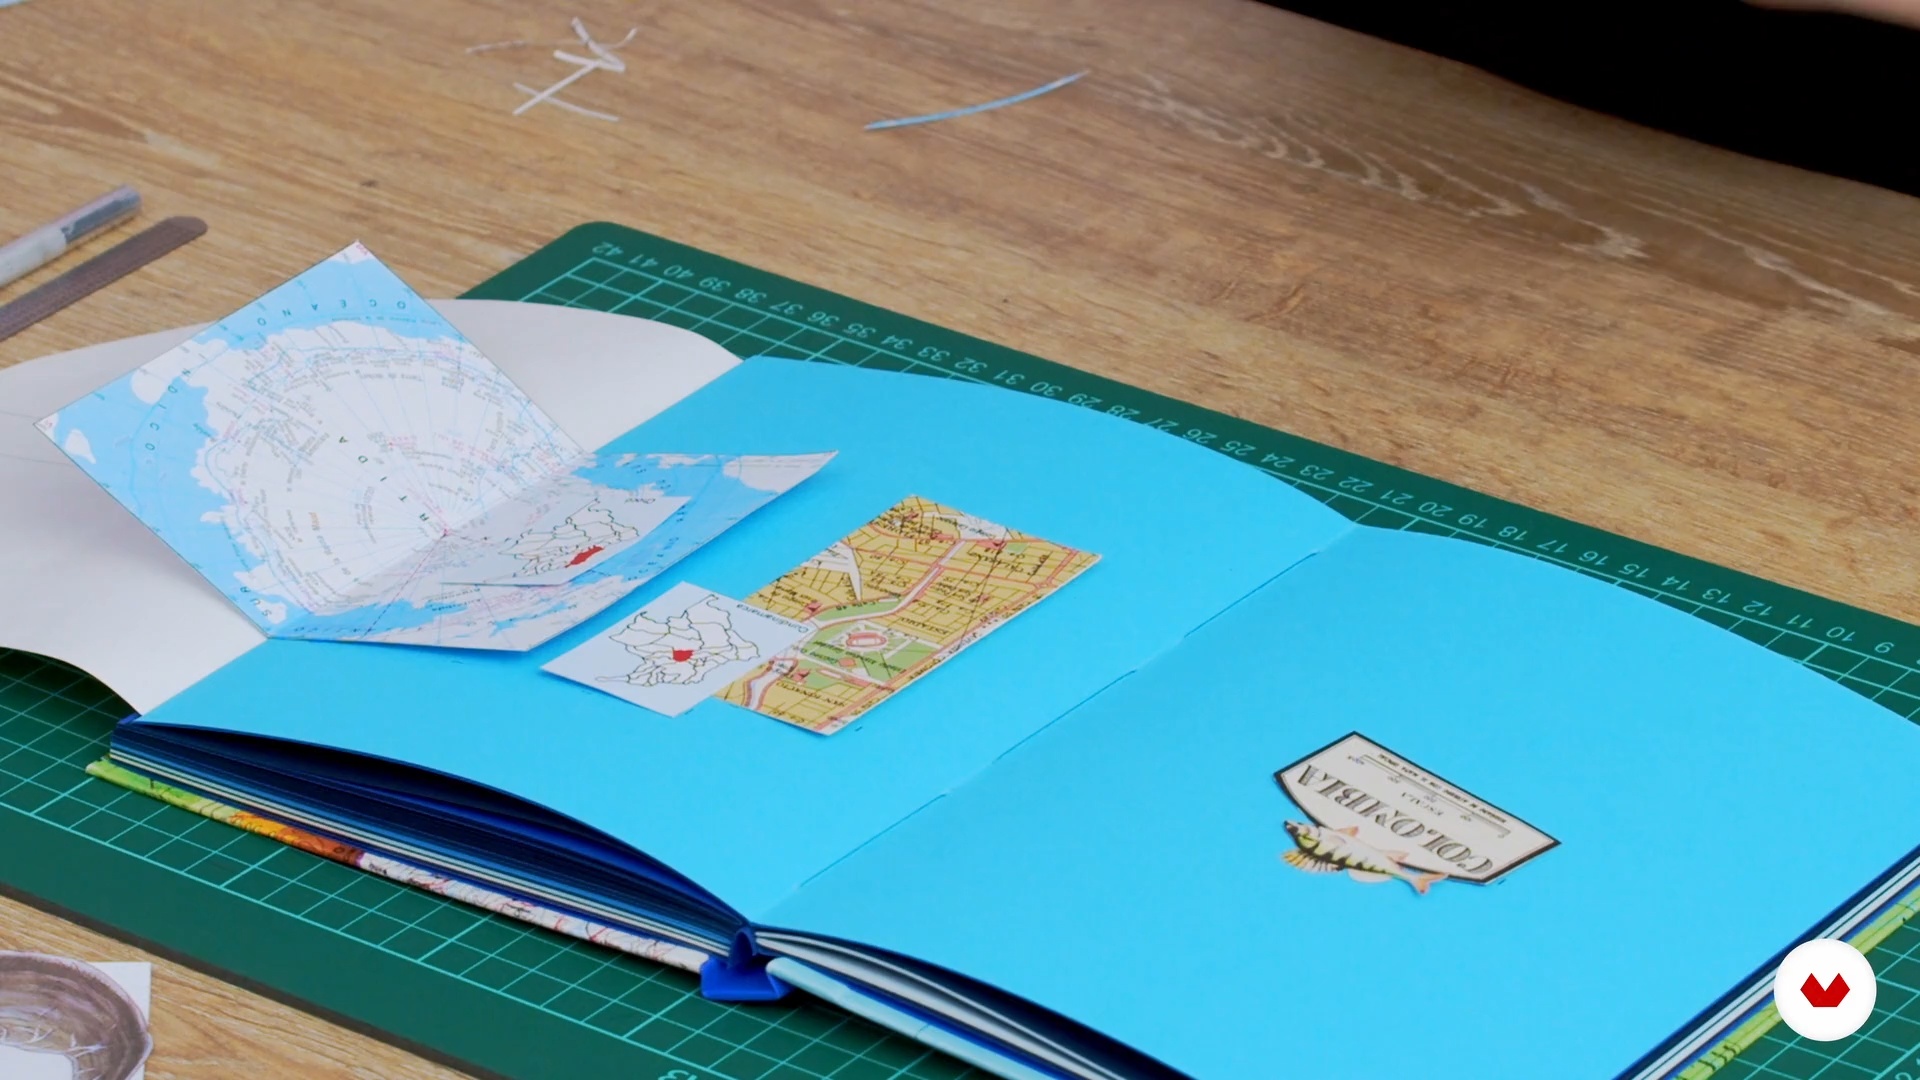
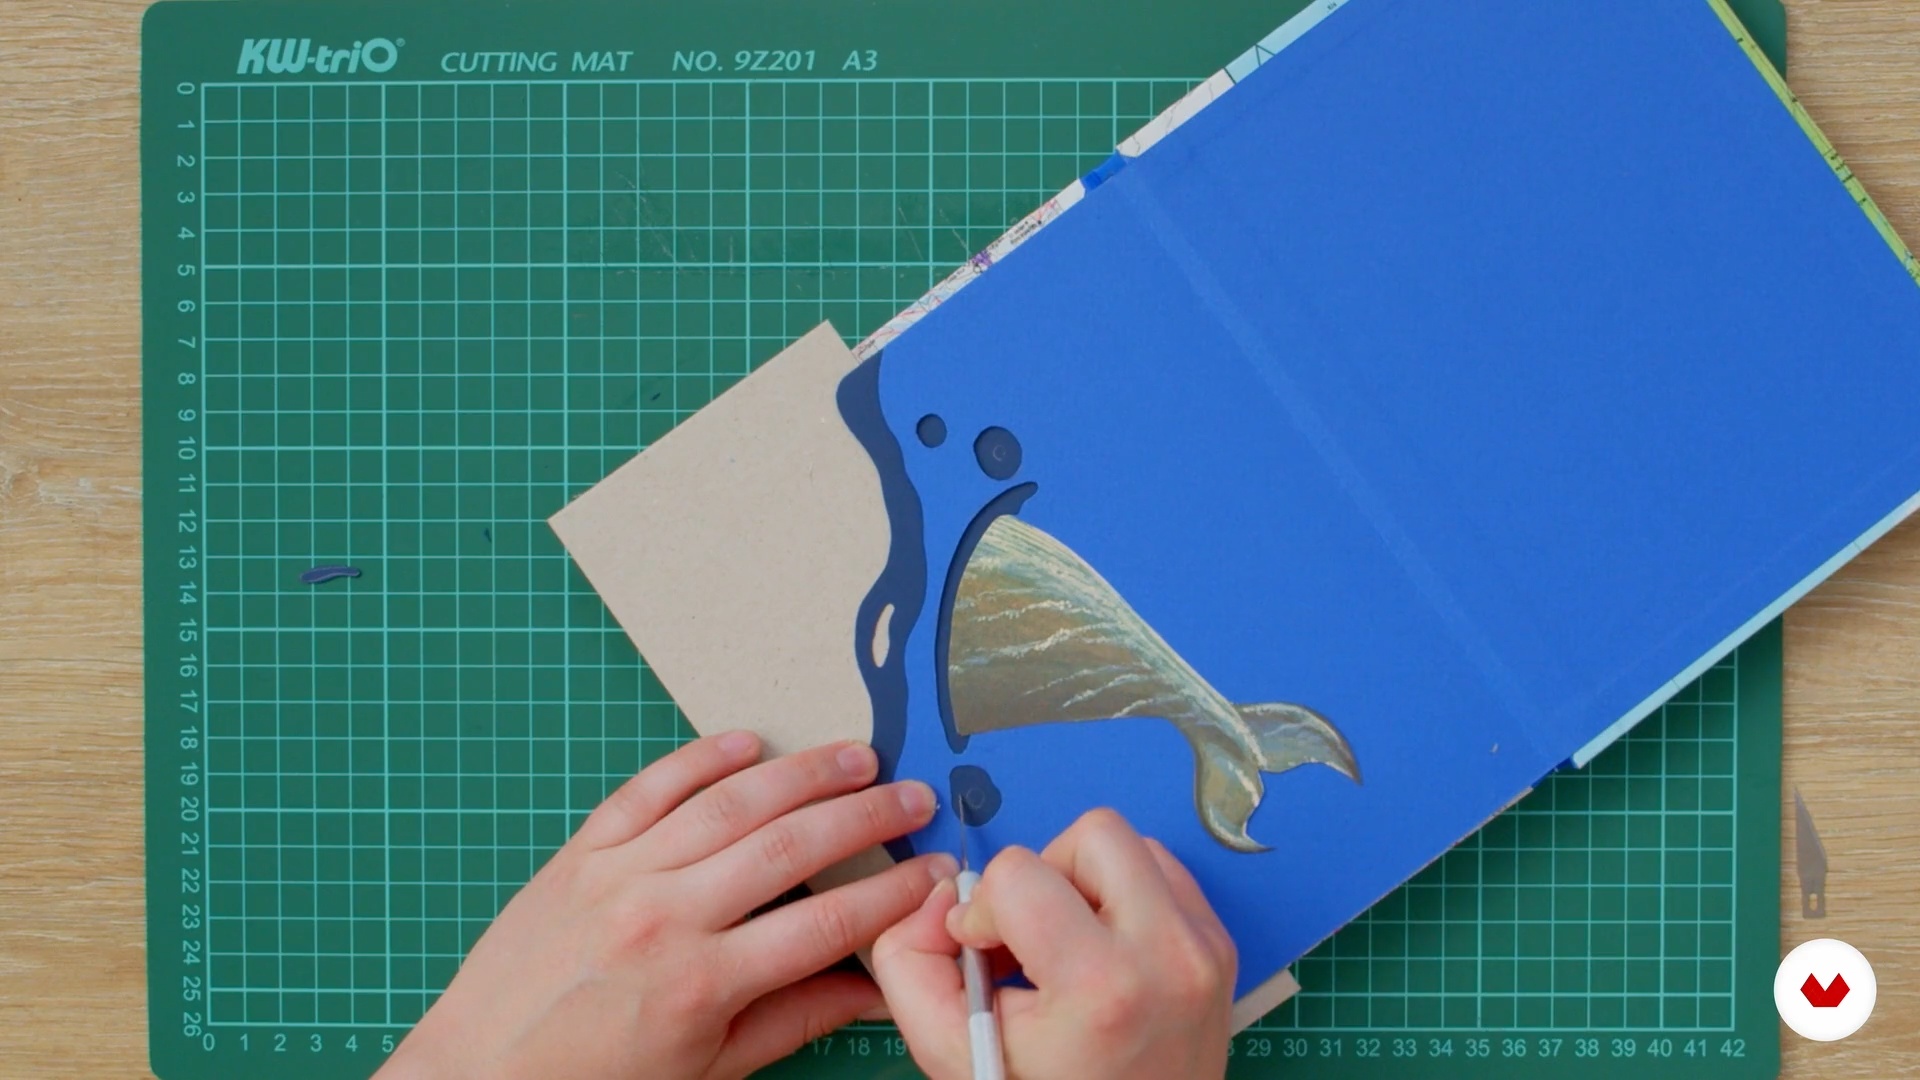
Dies and windows
I will show you how you can make a die or a window that will give depth to your blog. I will also show you other examples to give you ideas.
9m
image
17
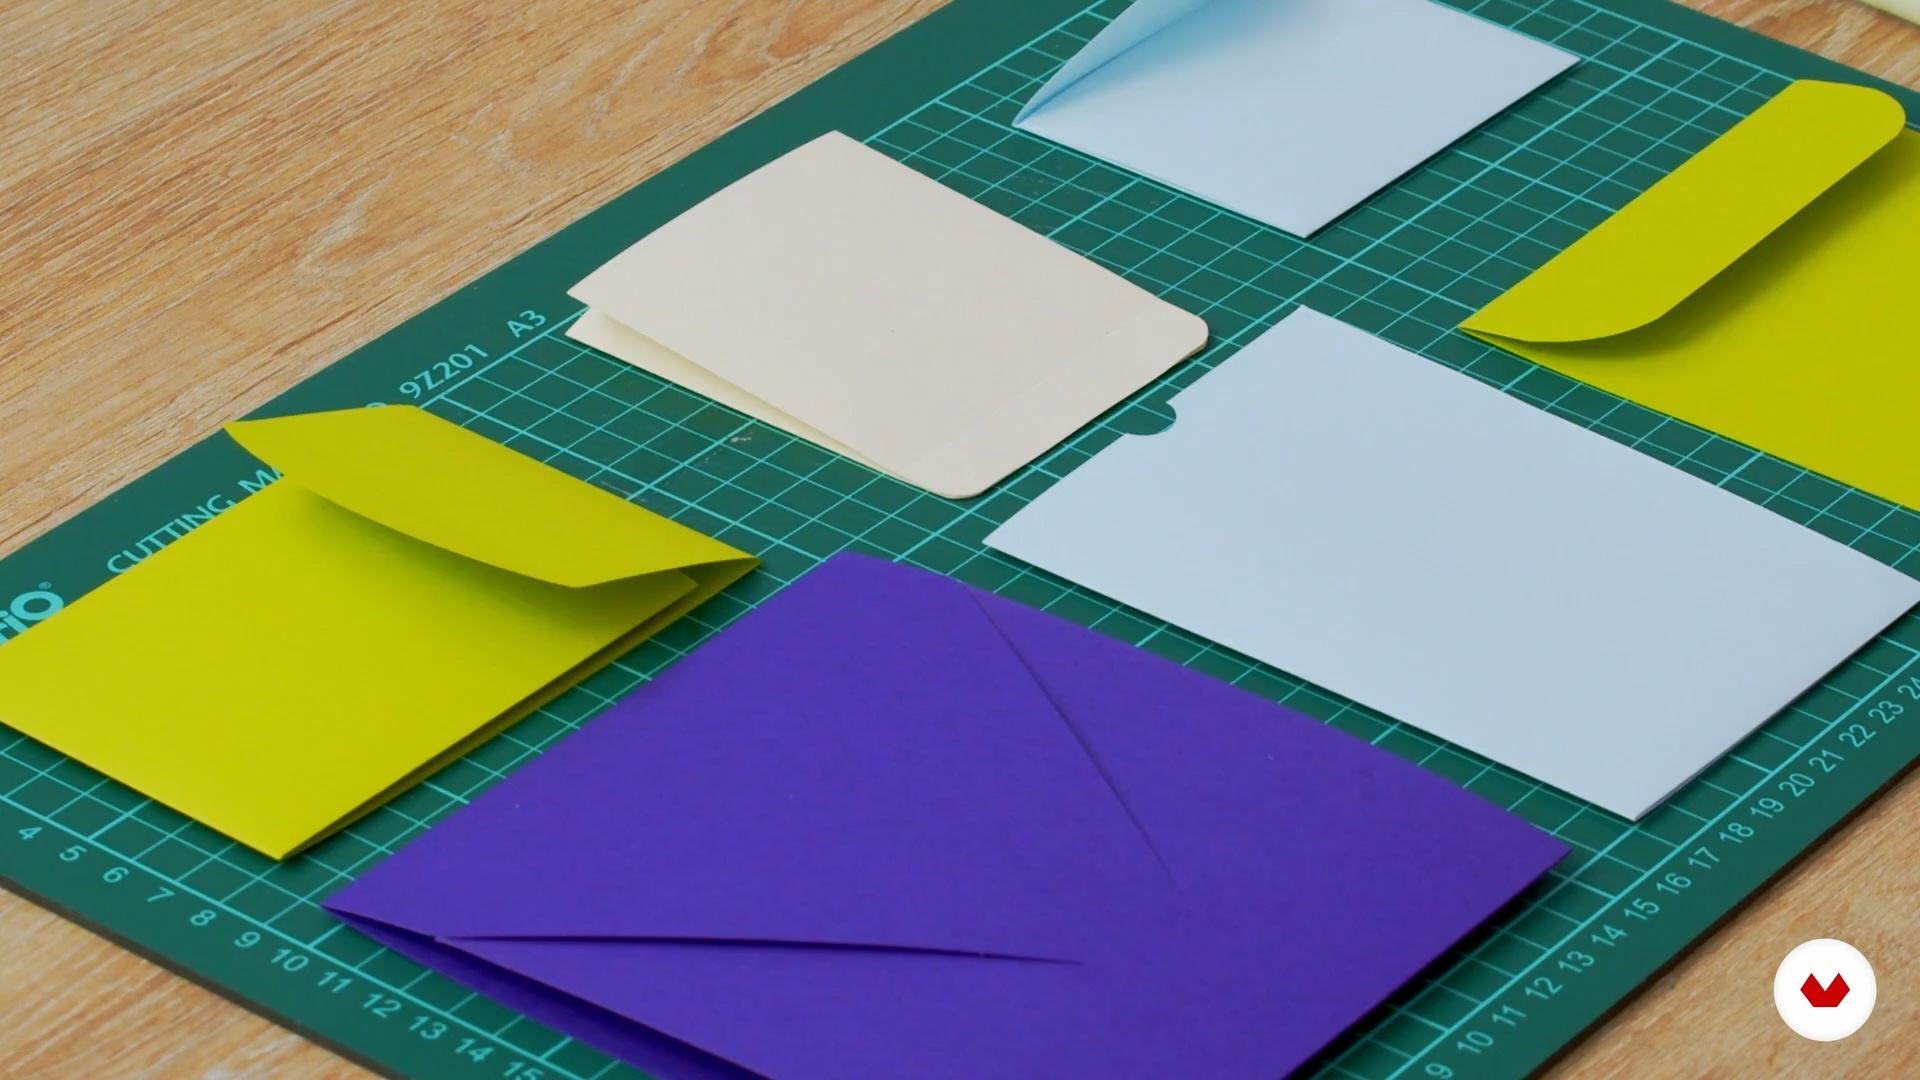
Pockets for storing travel souvenirs
To keep memories of your trip you can add pockets to your log. I will show you some types of pockets and their possibilities.
11m
  • 14 students
  • 70 lessons (12h 1m)
  • 87 additional resources (31 files)
  • Online and at your own pace
  • Audio: Spanish, German, English, Spanish (Latam), French, Indonesian, Italian, Dutch, Polish, Portuguese, Romanian, Turkish
  • Spanish · English · Portuguese · German · French · Italian · Polish · Dutch · Turkish · Romanian · Indonesian
  • Level: Beginner
  • Unlimited access forever

What is this course's project?

The student will create a travel journal that will document emotions, sensations, and memories in a creative and personal way, establishing their own visual language by capturing unique moments with illustration, watercolor, and French binding techniques.

Who is this specialization for?

Artists and creative travelers who want to document their experiences in a unique way, developing skills in illustration, visual storytelling, and bookbinding. Those who seek to capture the essence of the places they visit and express their personal vision of the world.

Requirements and materials

No extensive prior knowledge is required; you only need a notebook, pencils, watercolors, and basic materials like brushes and glue. Experiment with mixed media and bookbinding to document your travel experiences artistically.

Select to get to know your teachers in this specialization course
Read more ↓

What to expect from this specialization course

  • Learn at your own pace

    Enjoy learning from home without a set schedule and with an easy-to-follow method. You set your own pace.

  • Learn from the best professionals

    Learn valuable methods and techniques explained by top experts in the creative sector.

  • Meet expert teachers

    Each expert teaches what they do best, with clear guidelines, true passion, and professional insight in every lesson.

  • Certificates
    Plus

    If you're a Plus member, get a custom certificate for every specialization course. Share it on your portfolio, social media, or wherever you like.

  • Get front-row seats

    Videos of the highest quality, so you don't miss a single detail. With unlimited access, you can watch them as many times as you need to perfect your technique.

  • Share knowledge and ideas

    Ask questions, request feedback, or offer solutions. Share your learning experience with other students in the community who are as passionate about creativity as you are.

  • Connect with a global creative community

    The community is home to millions of people from around the world who are curious and passionate about exploring and expressing their creativity.

  • Watch professionally produced courses

    Domestika curates its teacher roster and produces every course in-house to ensure a high-quality online learning experience.


FAQs

Domestika courses are online classes that allow you to learn new skills and create incredible projects. All our courses include the opportunity to share your work with other students and/or teachers, creating an active learning community. We offer different formats:
Original Courses: Complete classes that combine videos, texts, and educational materials to complete a specific project from start to finish.
Basics Courses: Specialized training where you master specific software tools step by step.
Specialization Courses: Learning paths with various expert teachers on the same topic, perfect for becoming a specialist by learning from different approaches.
Guided Courses: Practical experiences ideal for directly acquiring specific skills.
Intensive Courses (Deep Dives): New creative processes based on artificial intelligence tools in an accessible format for in-depth and dynamic understanding.

All specialization courses are 100% online, so once they're published, specialization courses start and finish whenever you want. You set the pace of the class. You can go back to review what interests you most and skip what you already know, ask questions, answer questions, share your projects, and more.

The specialization courses are divided into different modules. Each one includes lessons, informational text, tasks, and practice exercises to help you carry out your project step by step, with additional complementary resources and downloads. You'll also have access to an exclusive forum where you can interact with other students, as well as share your work and your final project, creating a community around the specialization courses.

You can redeem the specialization courses you received by accessing the redeeming page and entering your gift code.

If you're a Plus member, when you complete a course you've purchased, you'll instantly get your personalized certificate. You can see all your certificates in the Certificates section of your profile. You can download your certificates as PDFs and share the link online. Learn more about certificates.
Specialization in Creative Travel Journals. Illustration, and Craft course by Domestika

Specialization in Creative Travel Journals

A specialization by multiple teachers
Berkeley, United States.
Joined April 2002
  • 14 students