
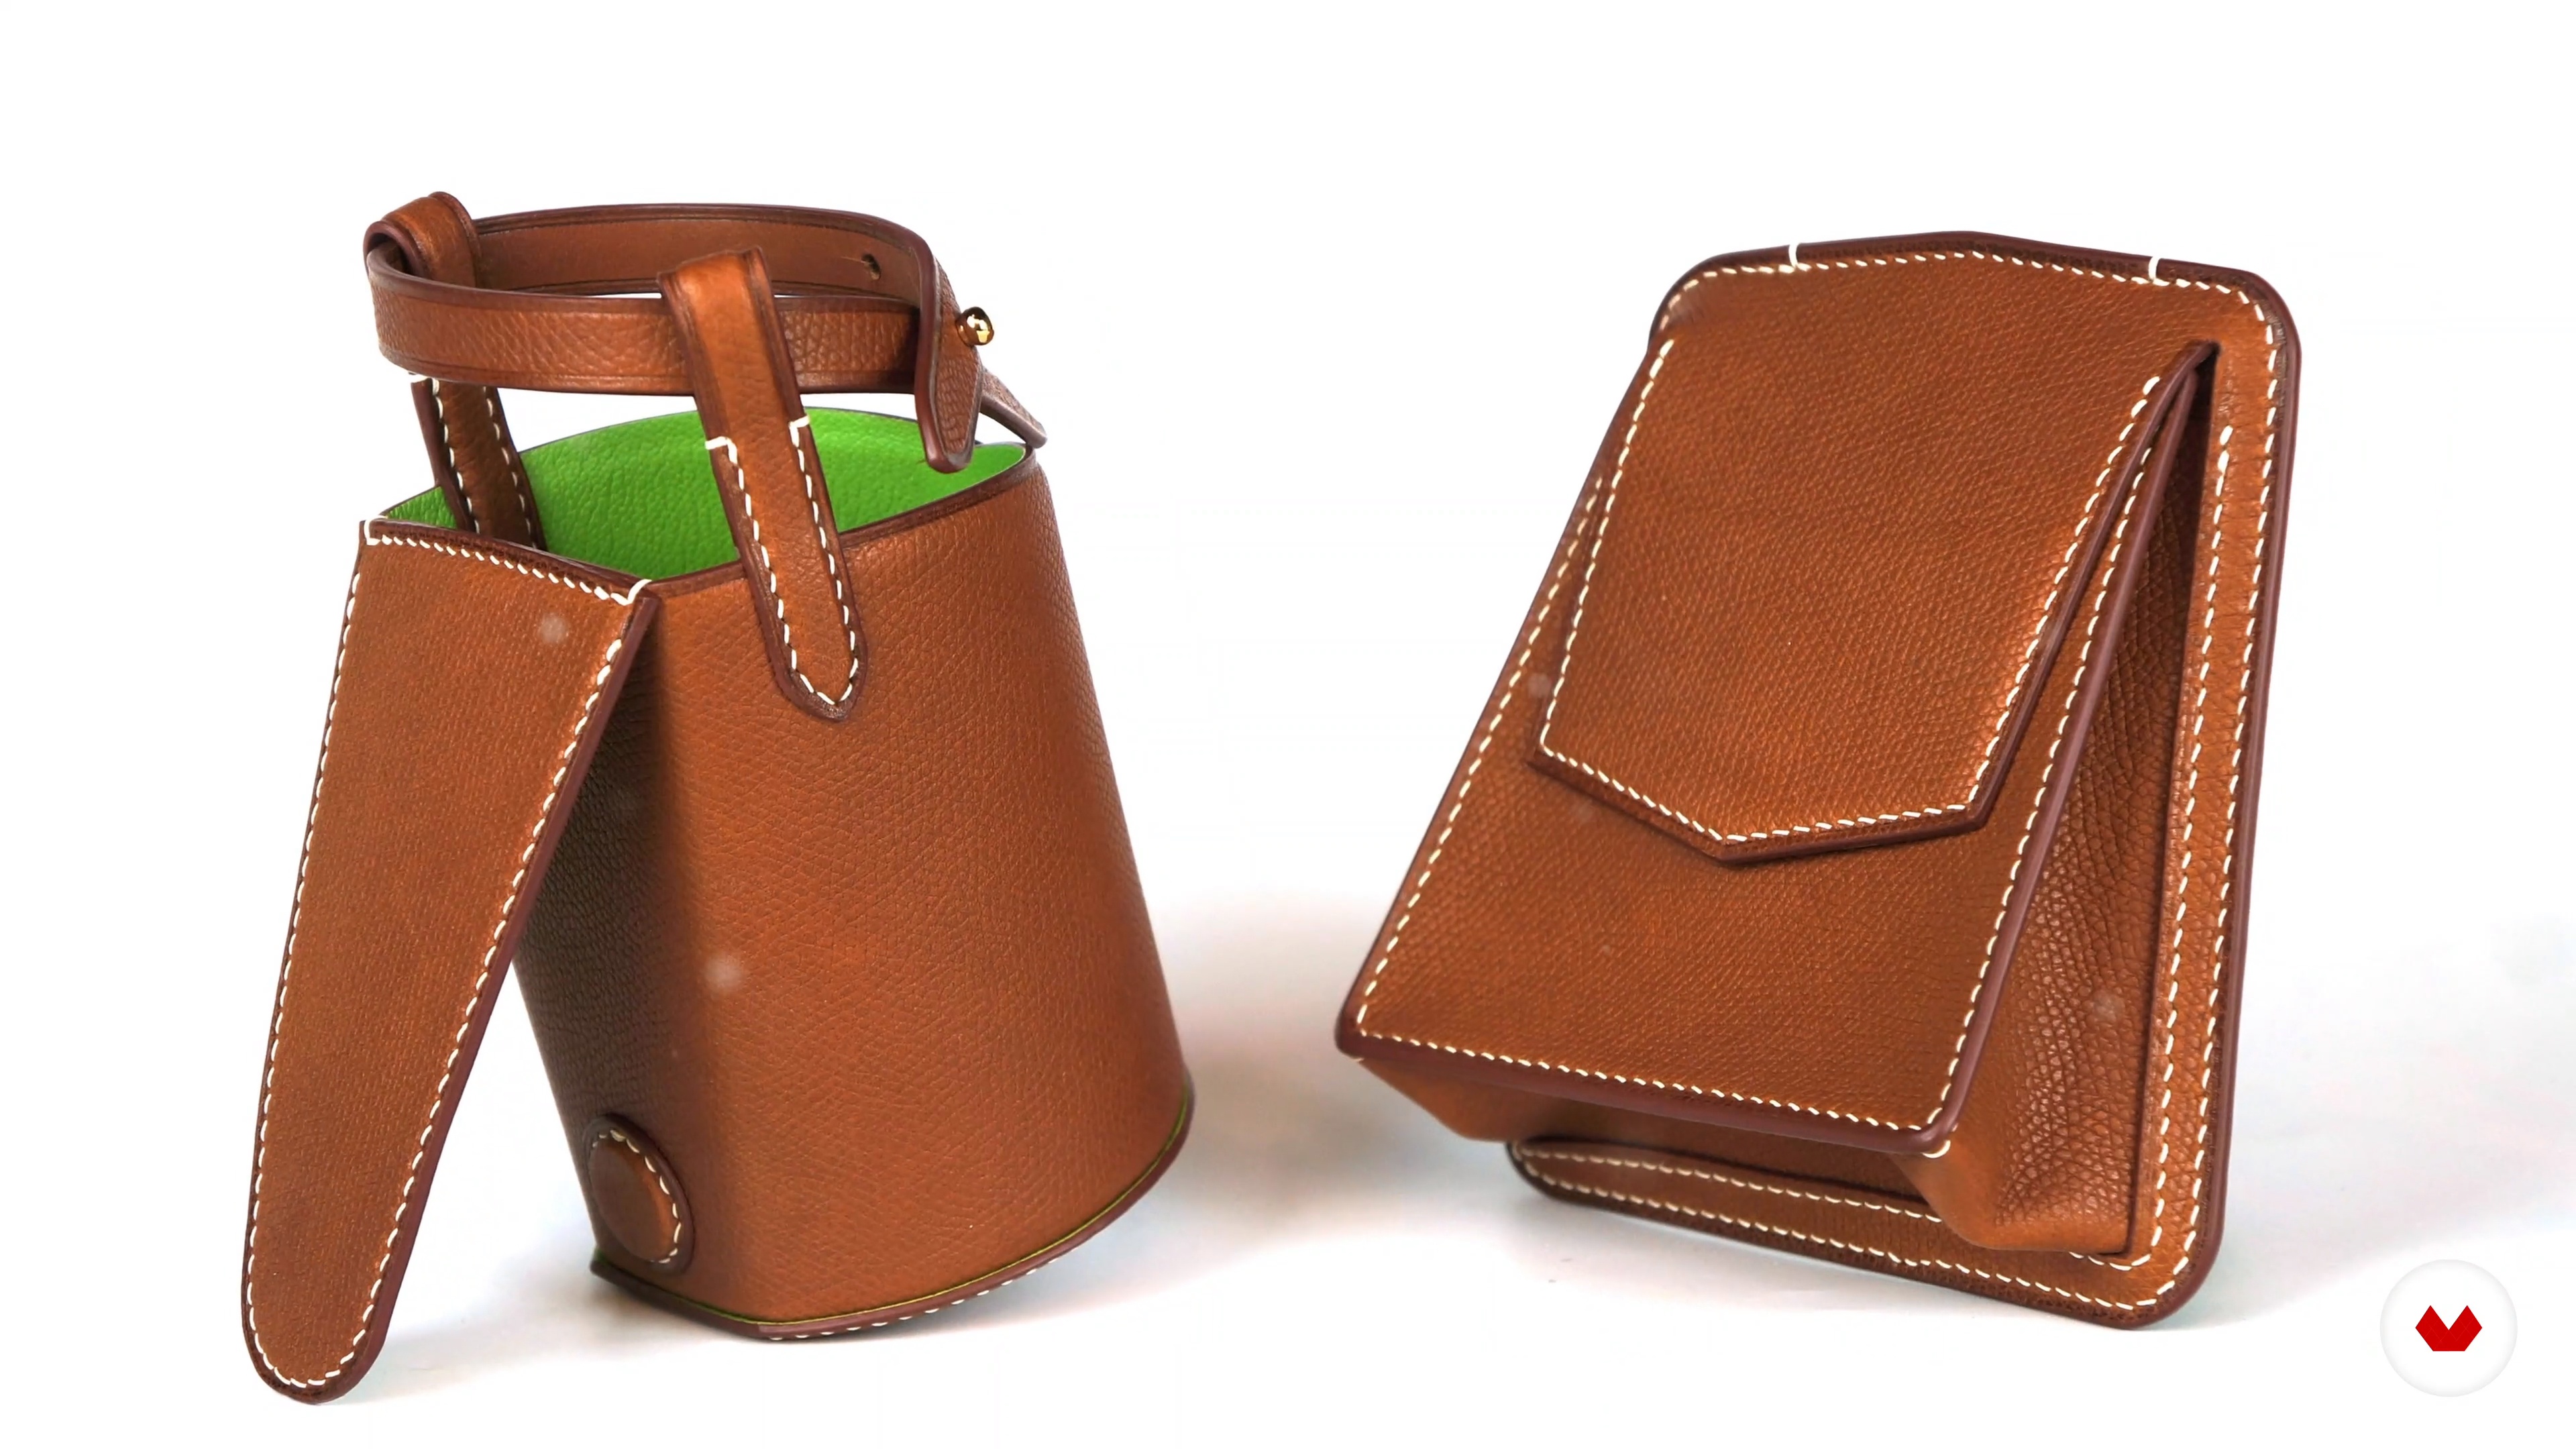
Master leather crafting techniques from basic to professional levels, creating unique, high-quality artisanal leather bags
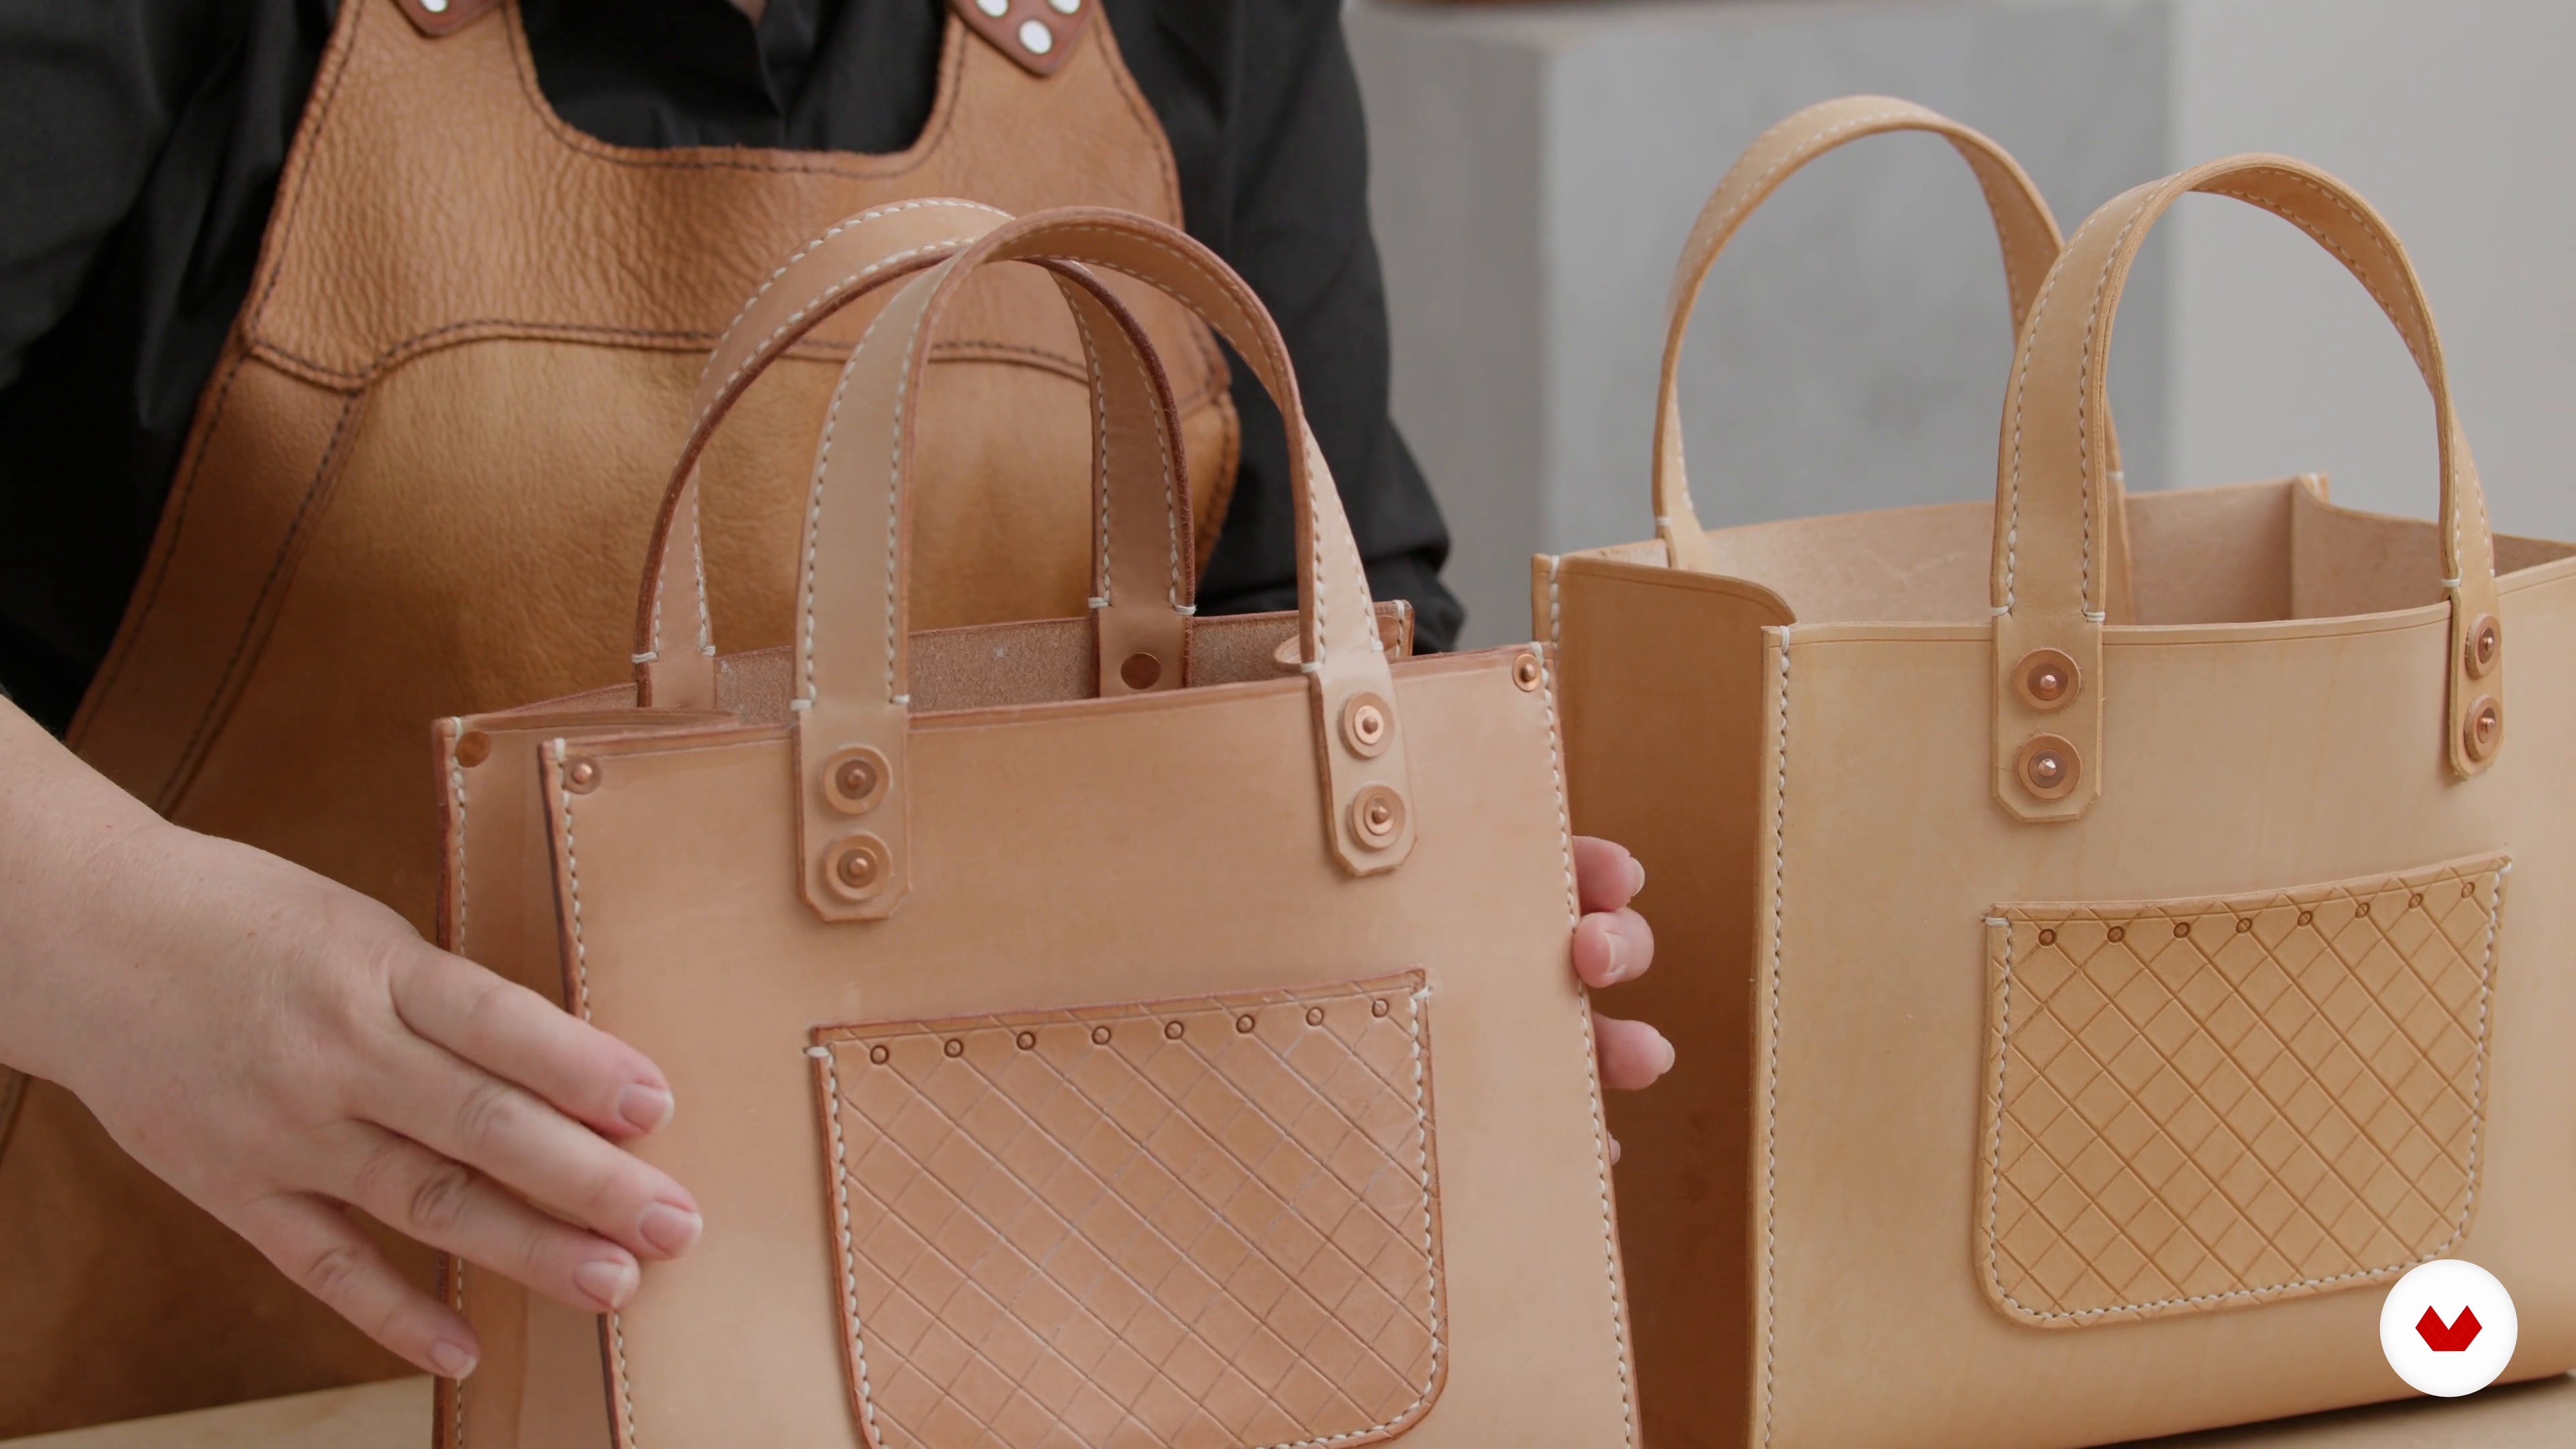
Embark on a journey into the world of artisanal leather crafting. This specialization offers a comprehensive guide from foundational techniques to creating professional-quality pieces. Experience the joy of transforming raw materials into timeless accessories using traditional leatherworking methods. Learn to select the best leather, master essential tools, and explore cutting and material preparation. This hands-on approach ensures that you gain confidence and skill in each step of the crafting process.
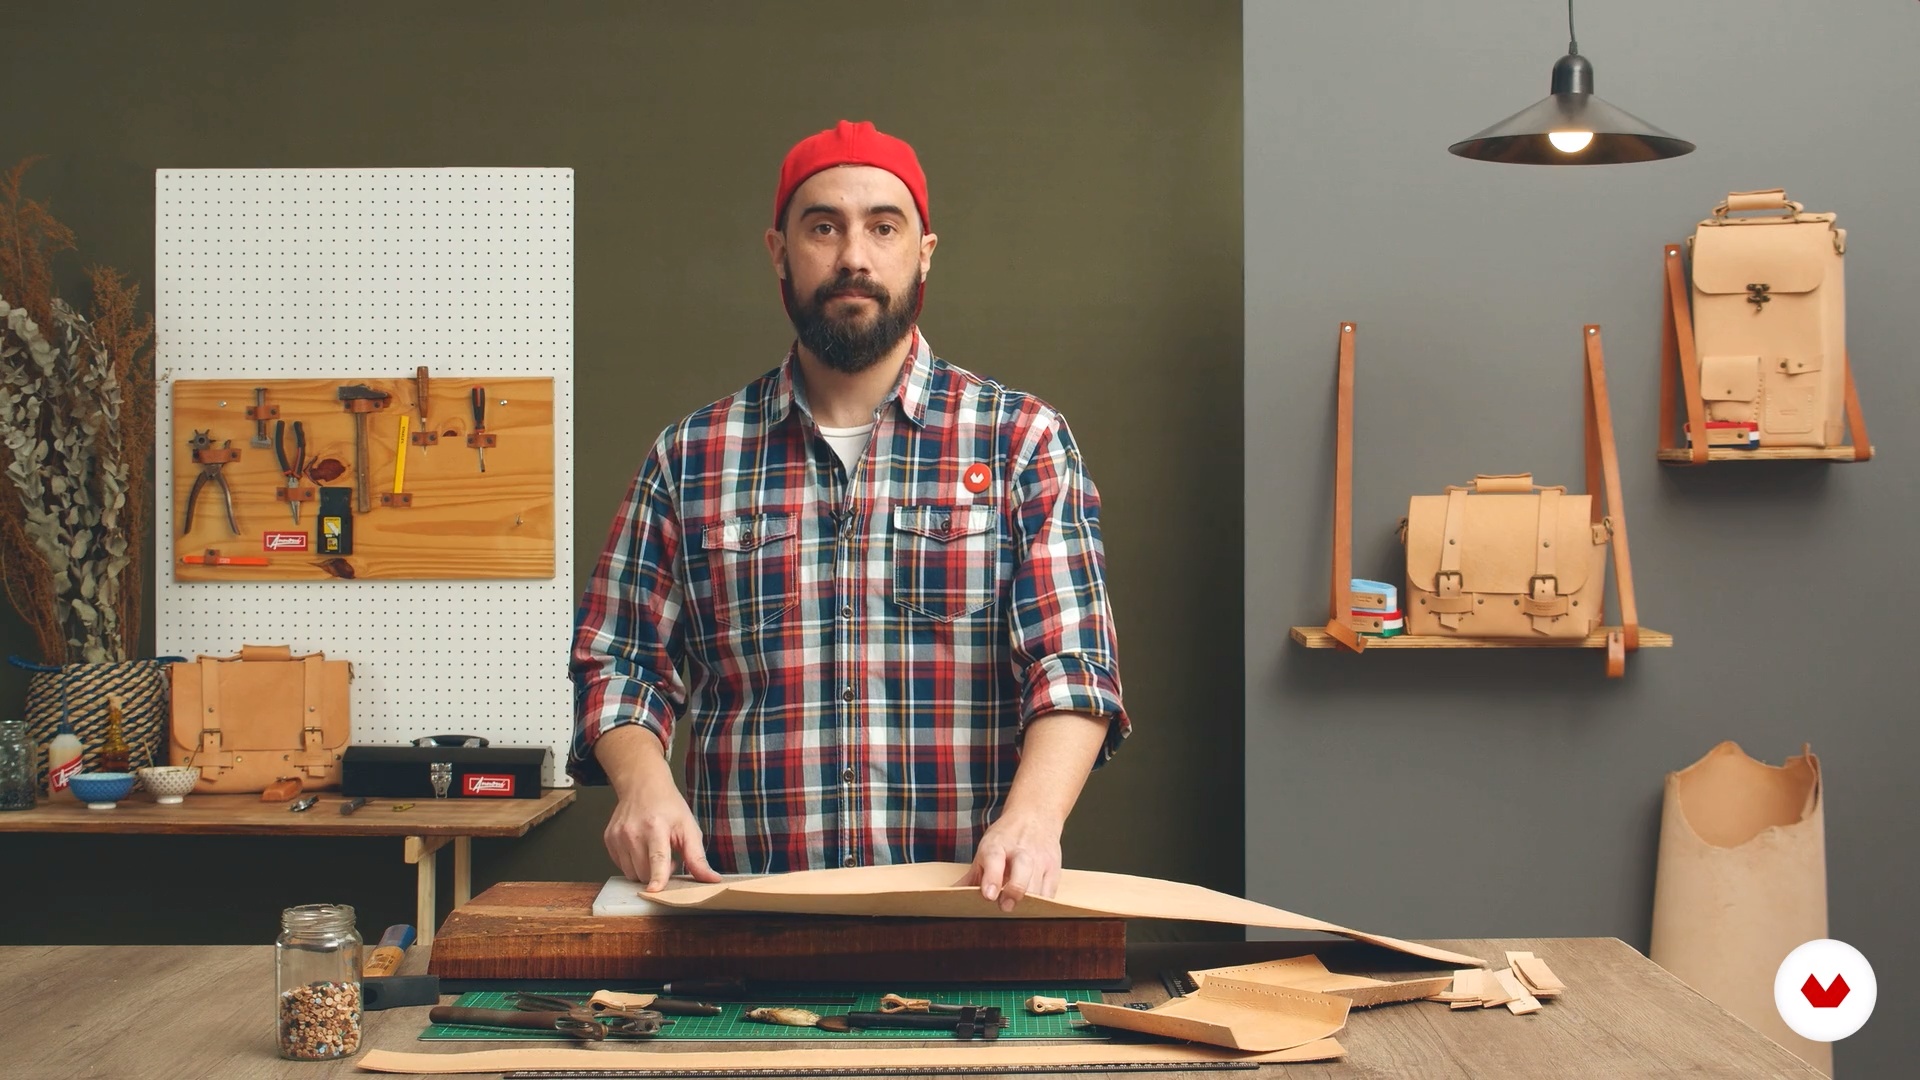
Guided by Cristina Roth, Gustavo Annoni, Lili Storella, Hemlock and Hyde, and Beth Dow, this program delves into diverse styles and methodologies. Whether designing a handmade bag, developing a professional collection, or crafting a personalized hand-sewn piece, each instructor shares unique insights and expertise. Embrace creativity and hone your craftsmanship as you develop a cohesive collection that reflects your artistic vision and technical mastery. This specialization not only equips you with practical skills but also inspires a deeper appreciation for the craft, encouraging you to create pieces that are both functional and expressive.
What will you learn in this specialization?


- 100% positive reviews (2)
- 488 students
- 98 lessons (18h 47m)
- 52 additional resources (14 files)
- Online and at your own pace
- Audio: English, German, Spanish, Spanish (Latam), French, Indonesian, Italian, Dutch, Polish, Portuguese, Romanian, Turkish
- Dutch · German · English · Spanish · Portuguese · French · Italian · Polish · Turkish · Romanian · Indonesian
- Level: Beginner
- Unlimited access forever
What is this course's project?
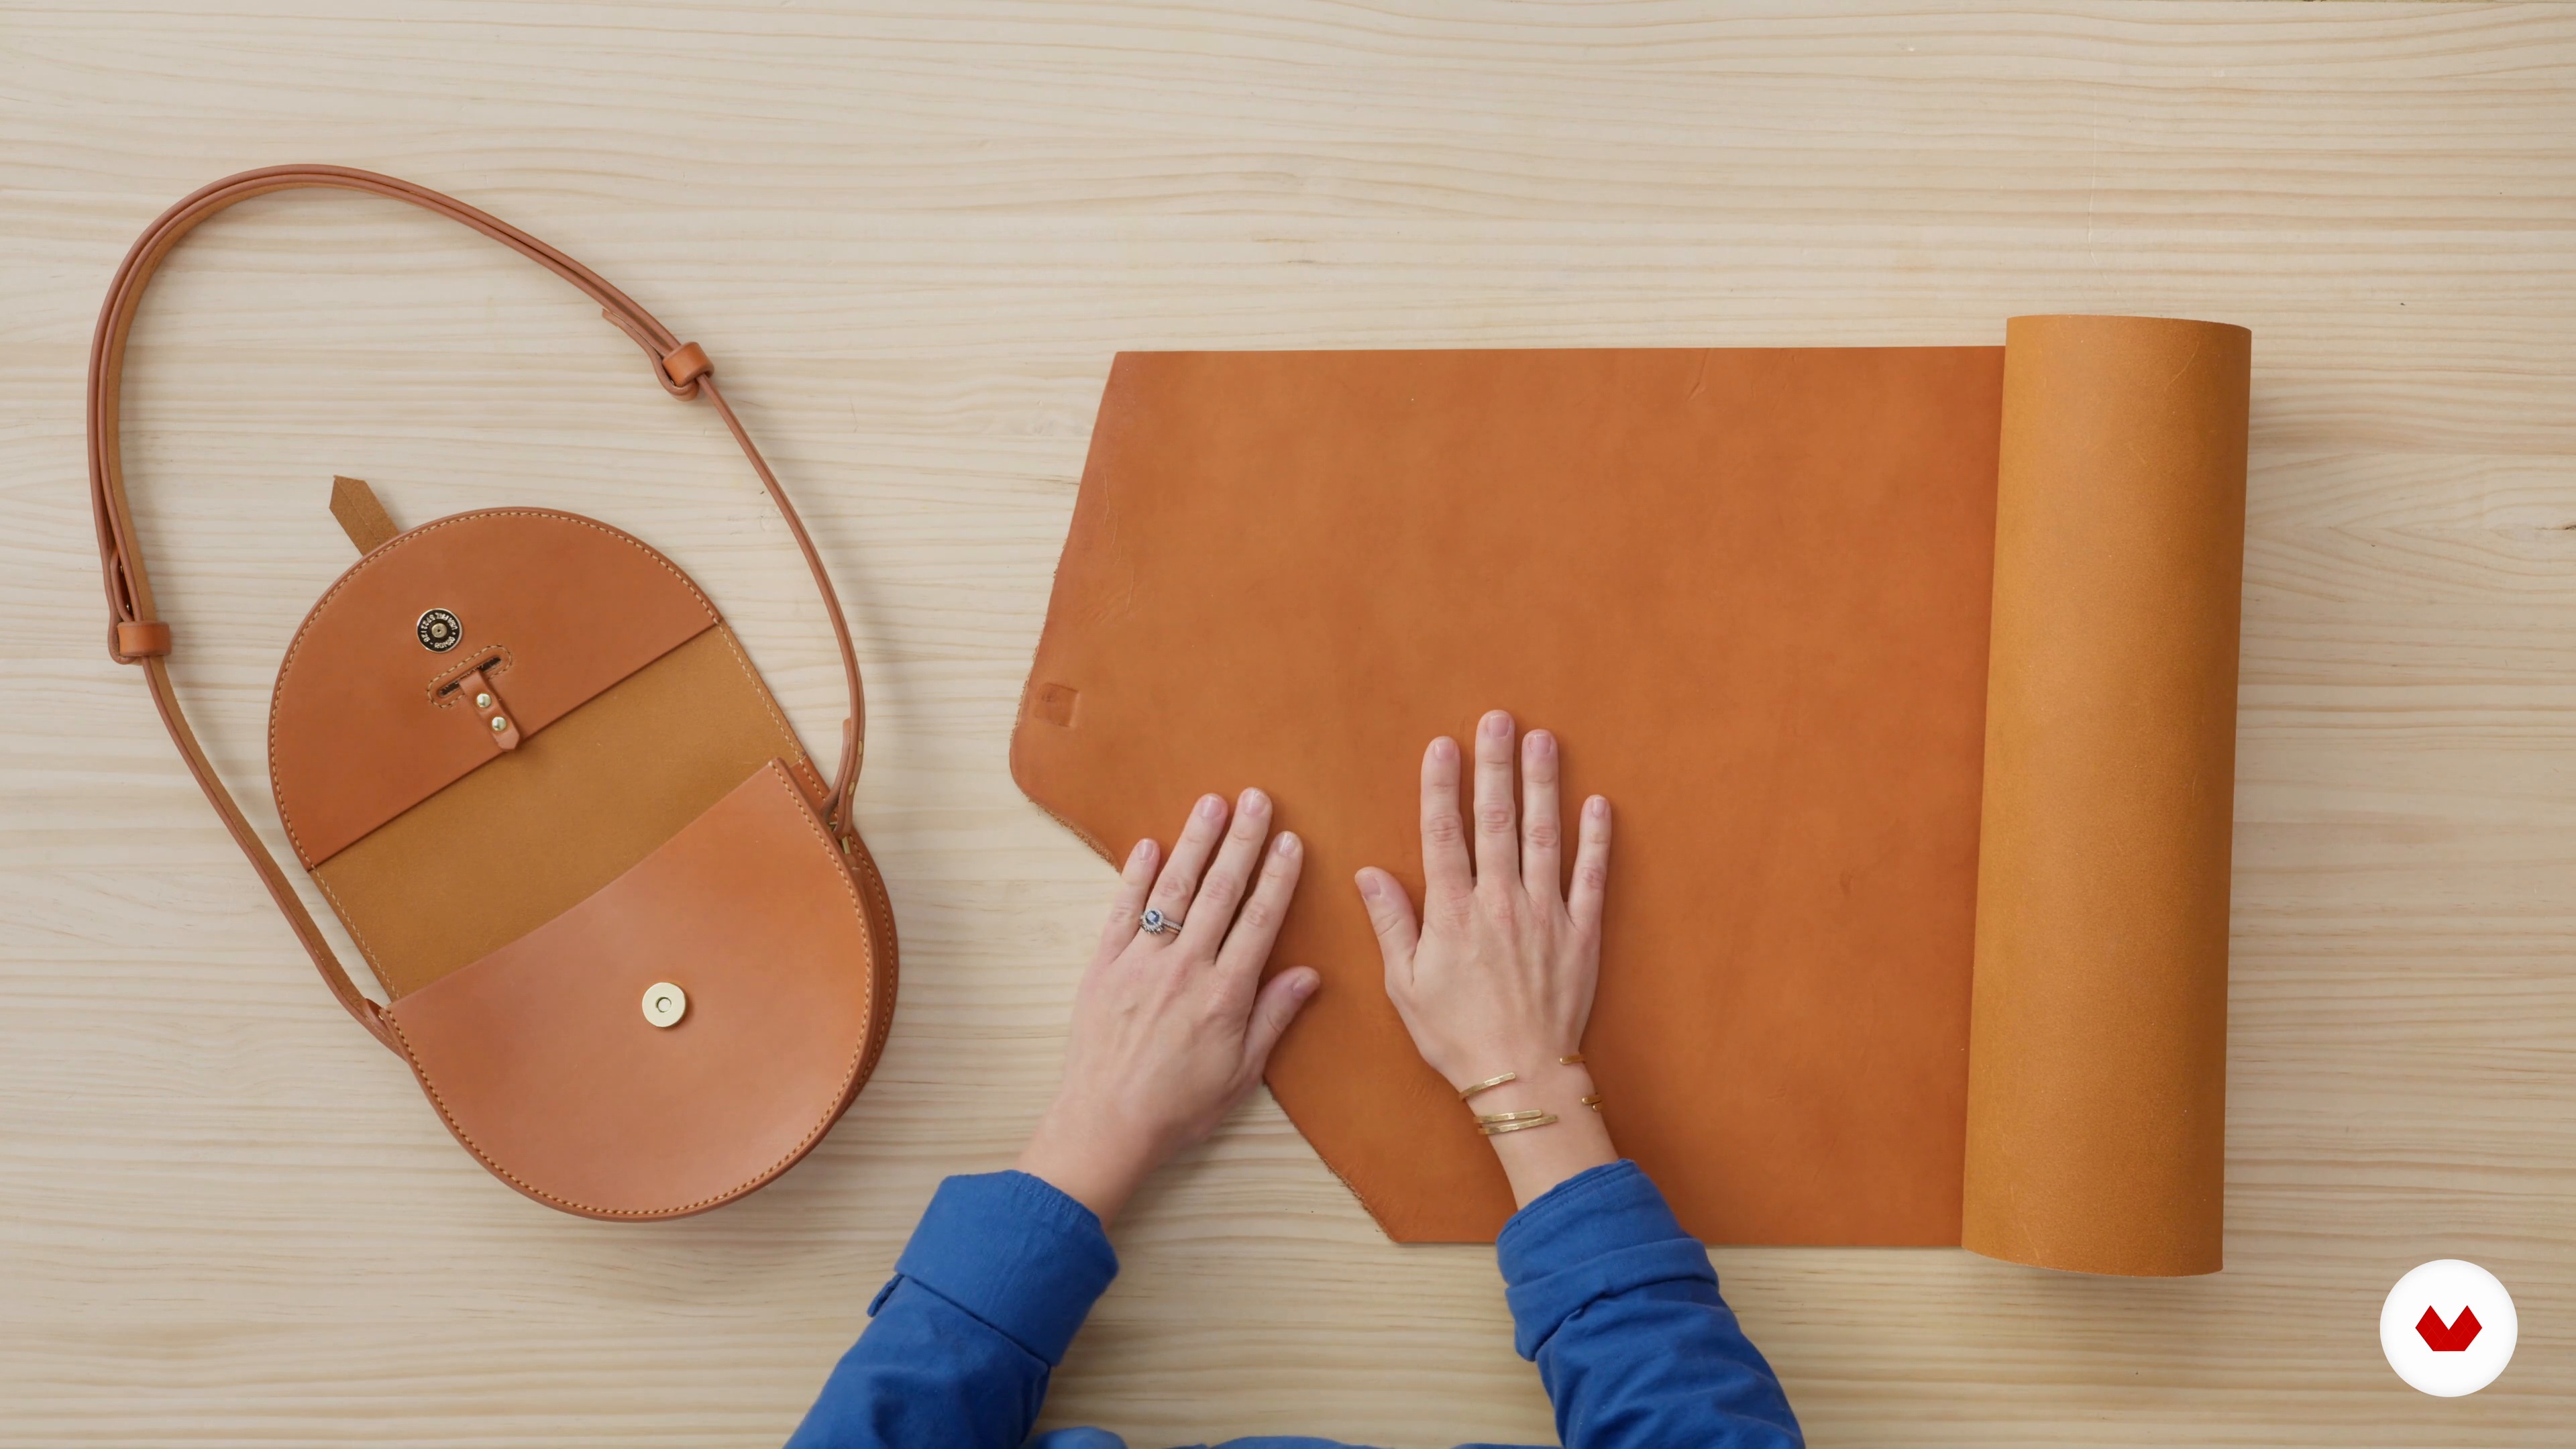
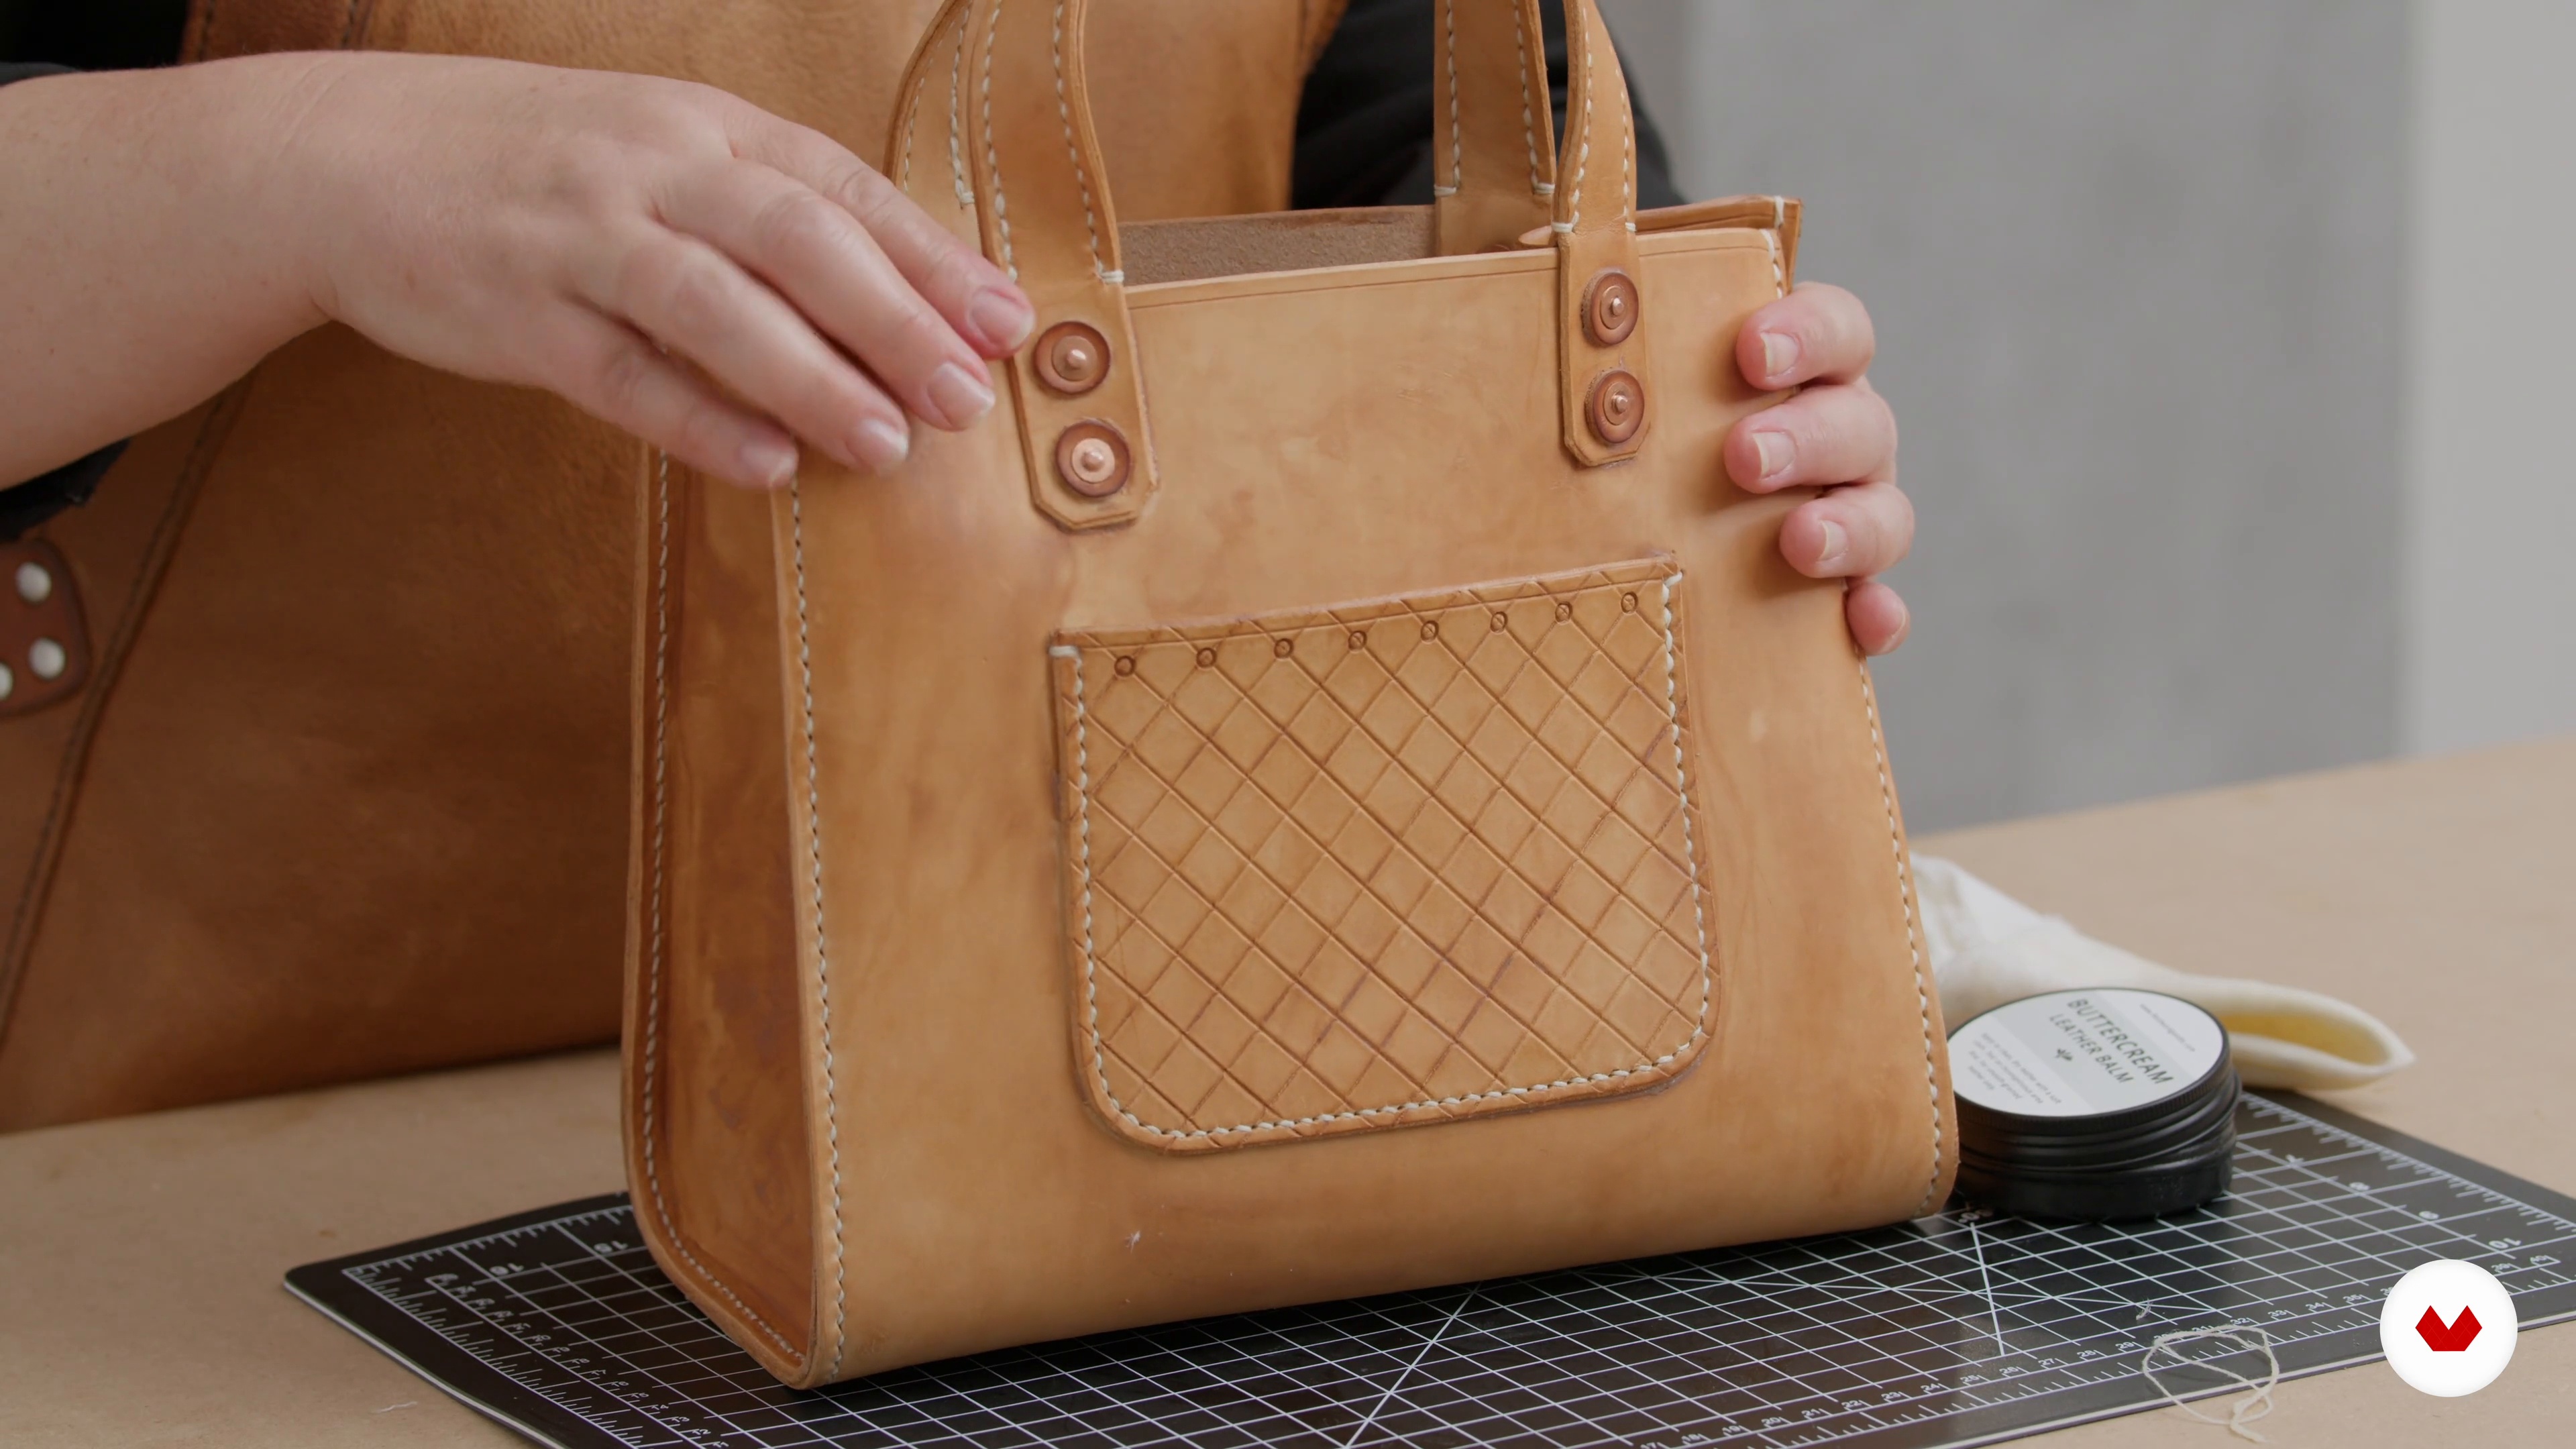
Create a cohesive artisanal leather collection with 3-4 pieces showcasing technical mastery and design vision. Deliver a main bag, a functional crossbody with innovative elements, and a complementary accessory, complete with technical documentation and professional brand presentation.
Who is this specialization for?
This online course is perfect for aspiring leather artisans, creative designers, and craft enthusiasts eager to explore leatherworking. It's tailored for those seeking to master leather crafting techniques from foundational skills to professional-level creations, focusing on unique, high-quality designs.
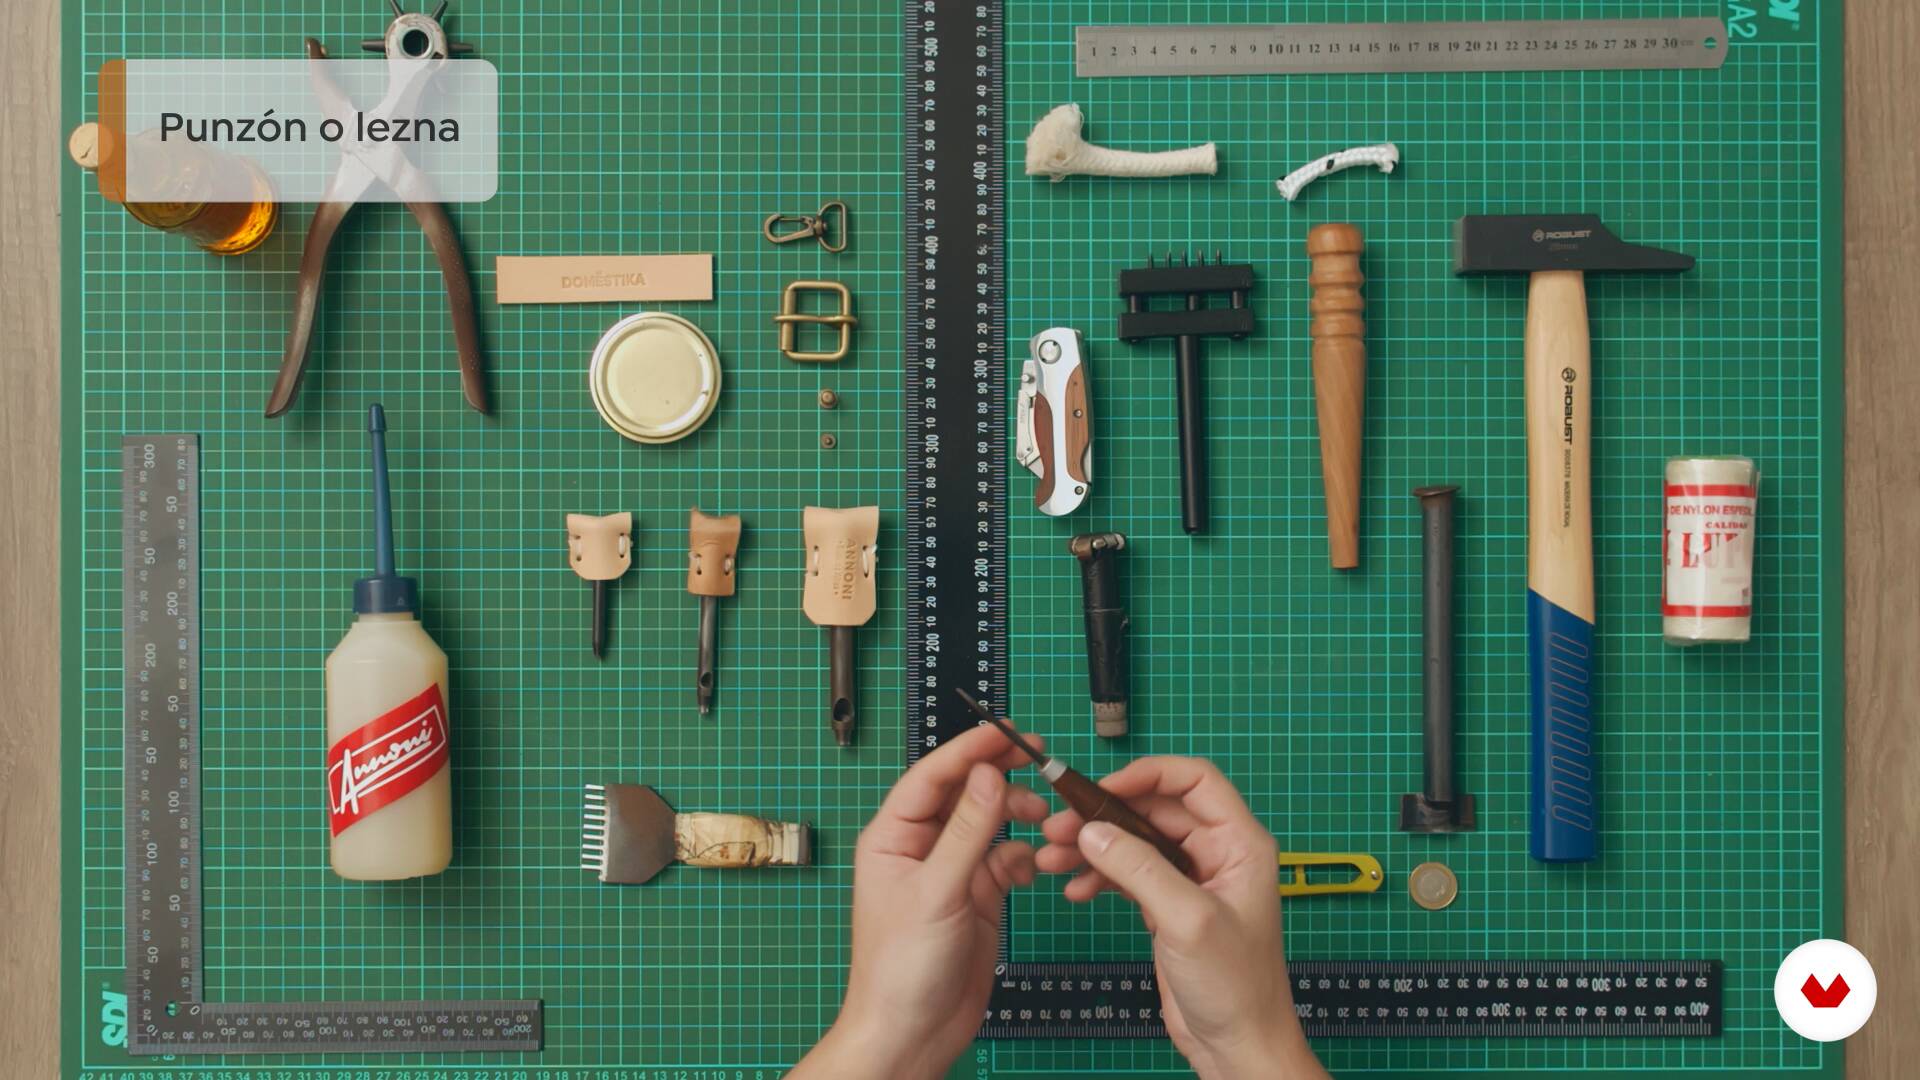
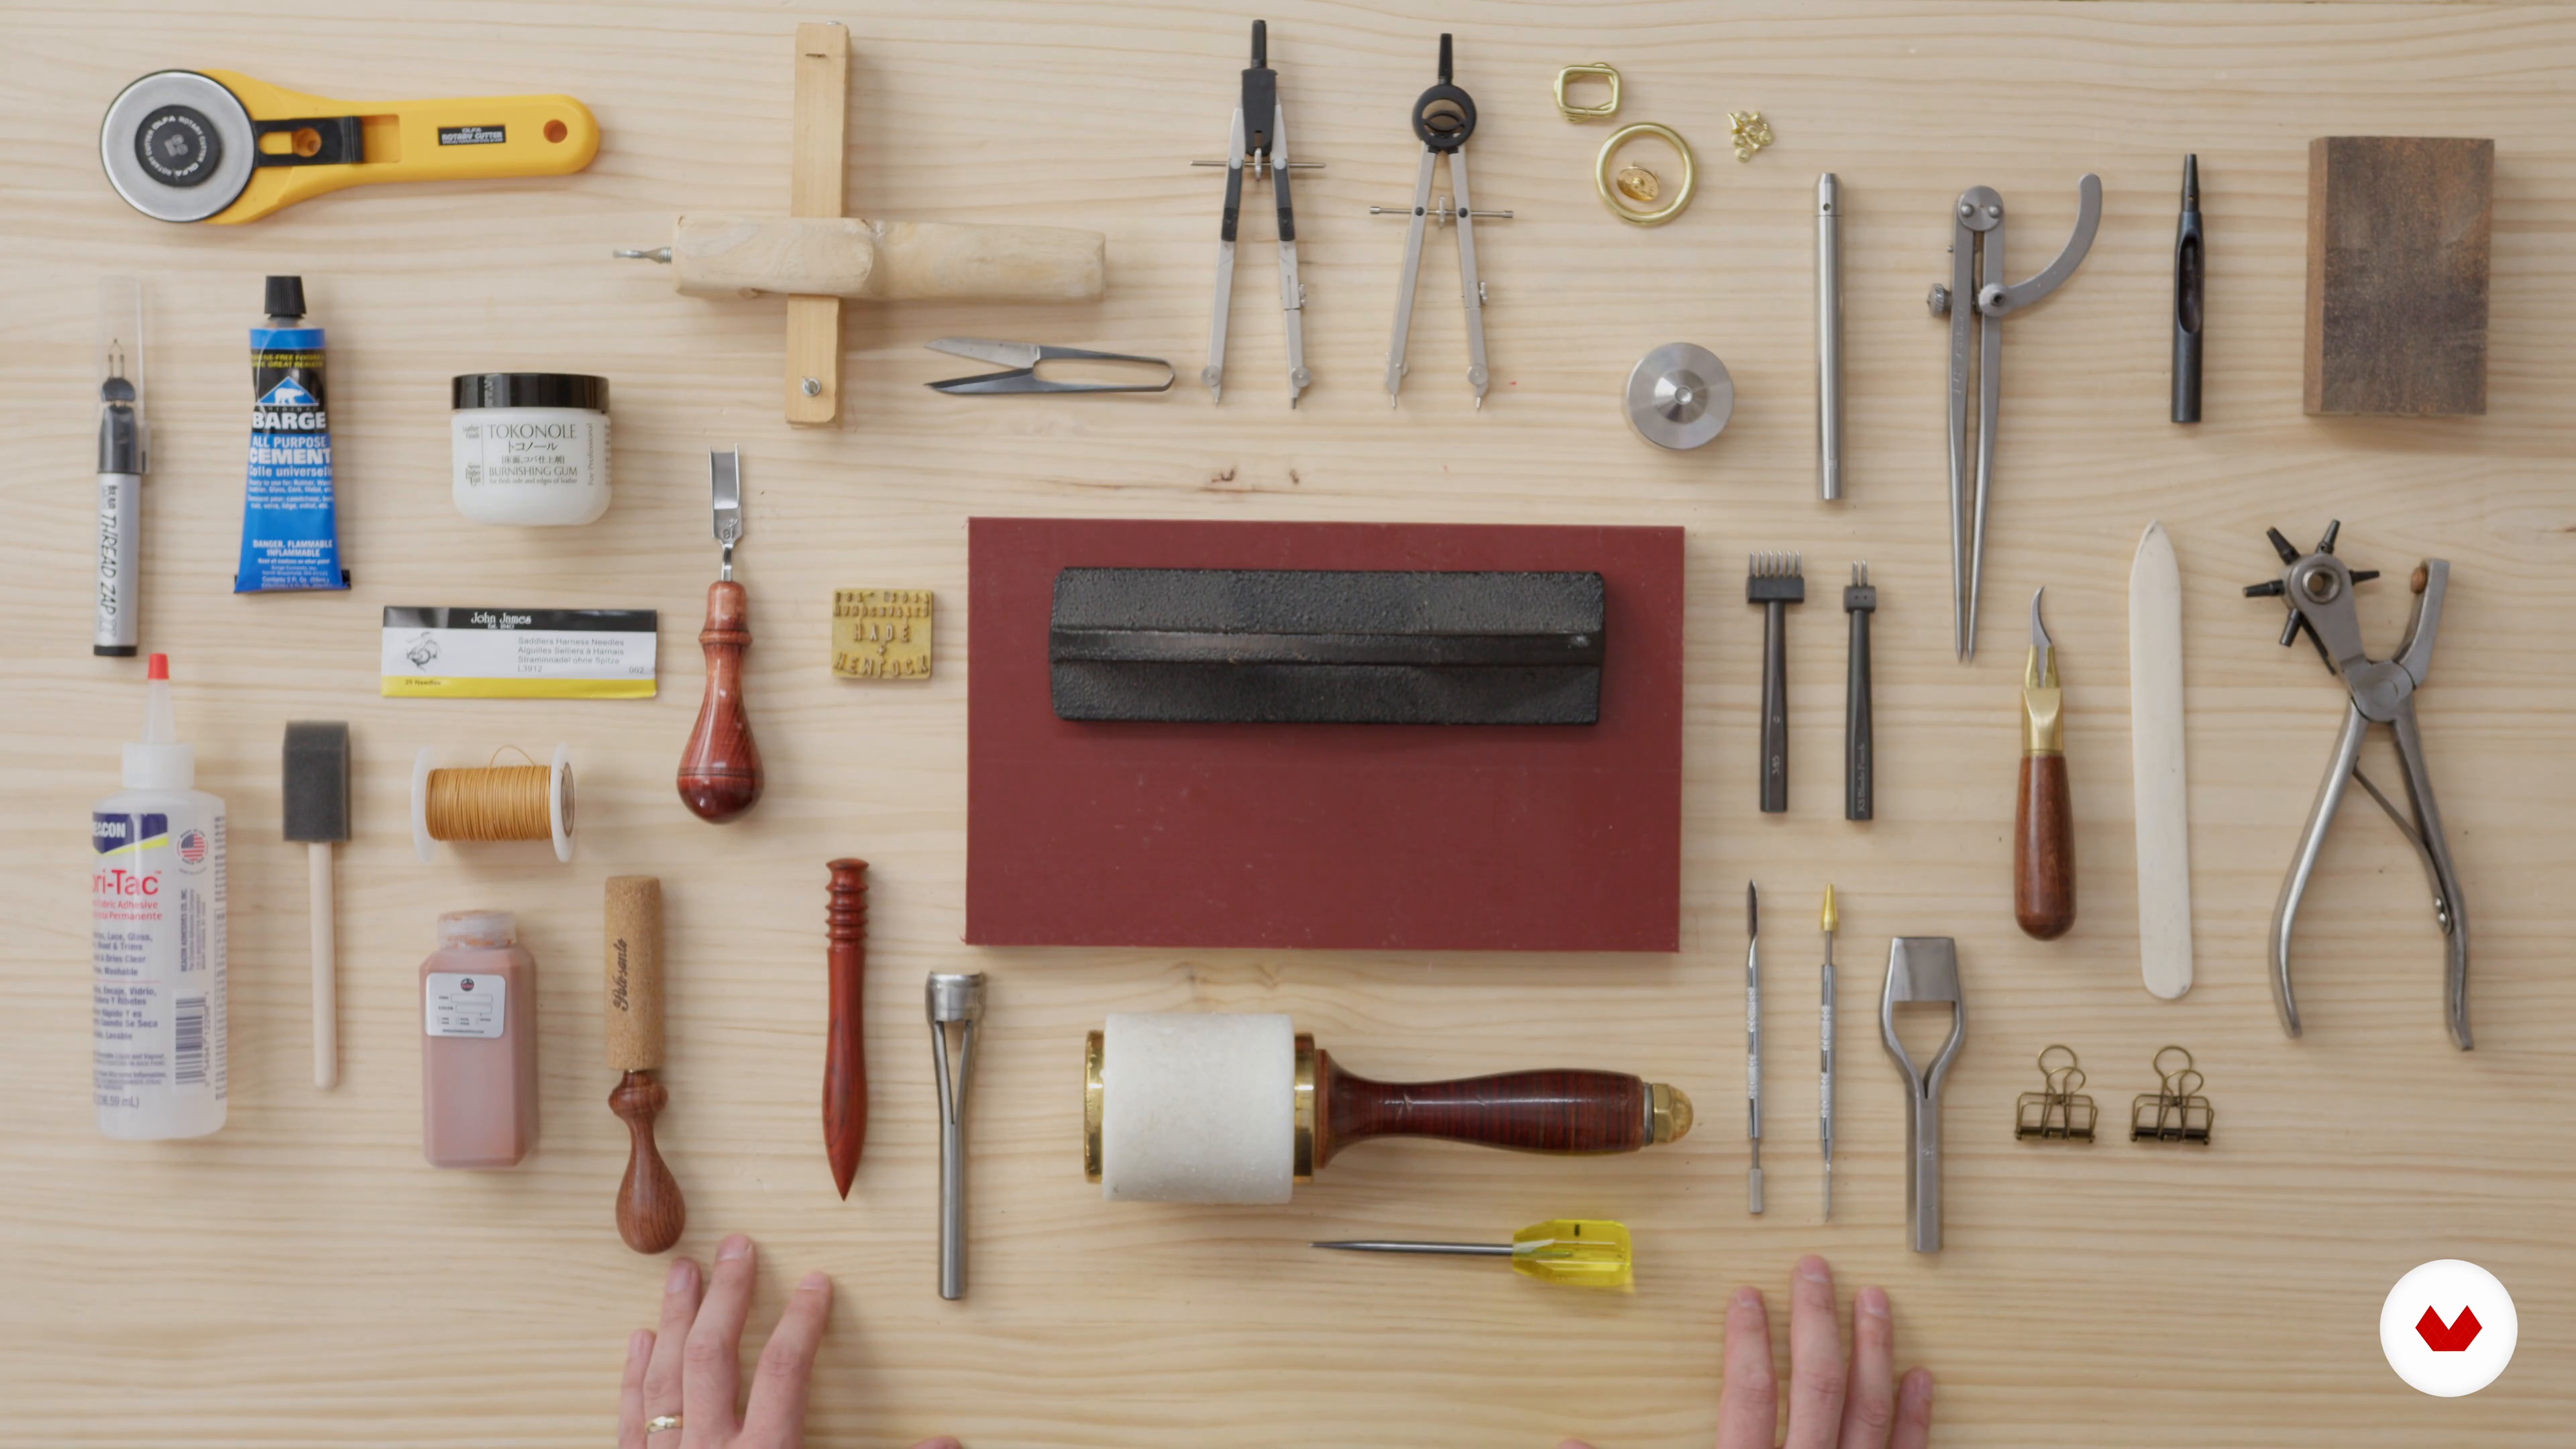
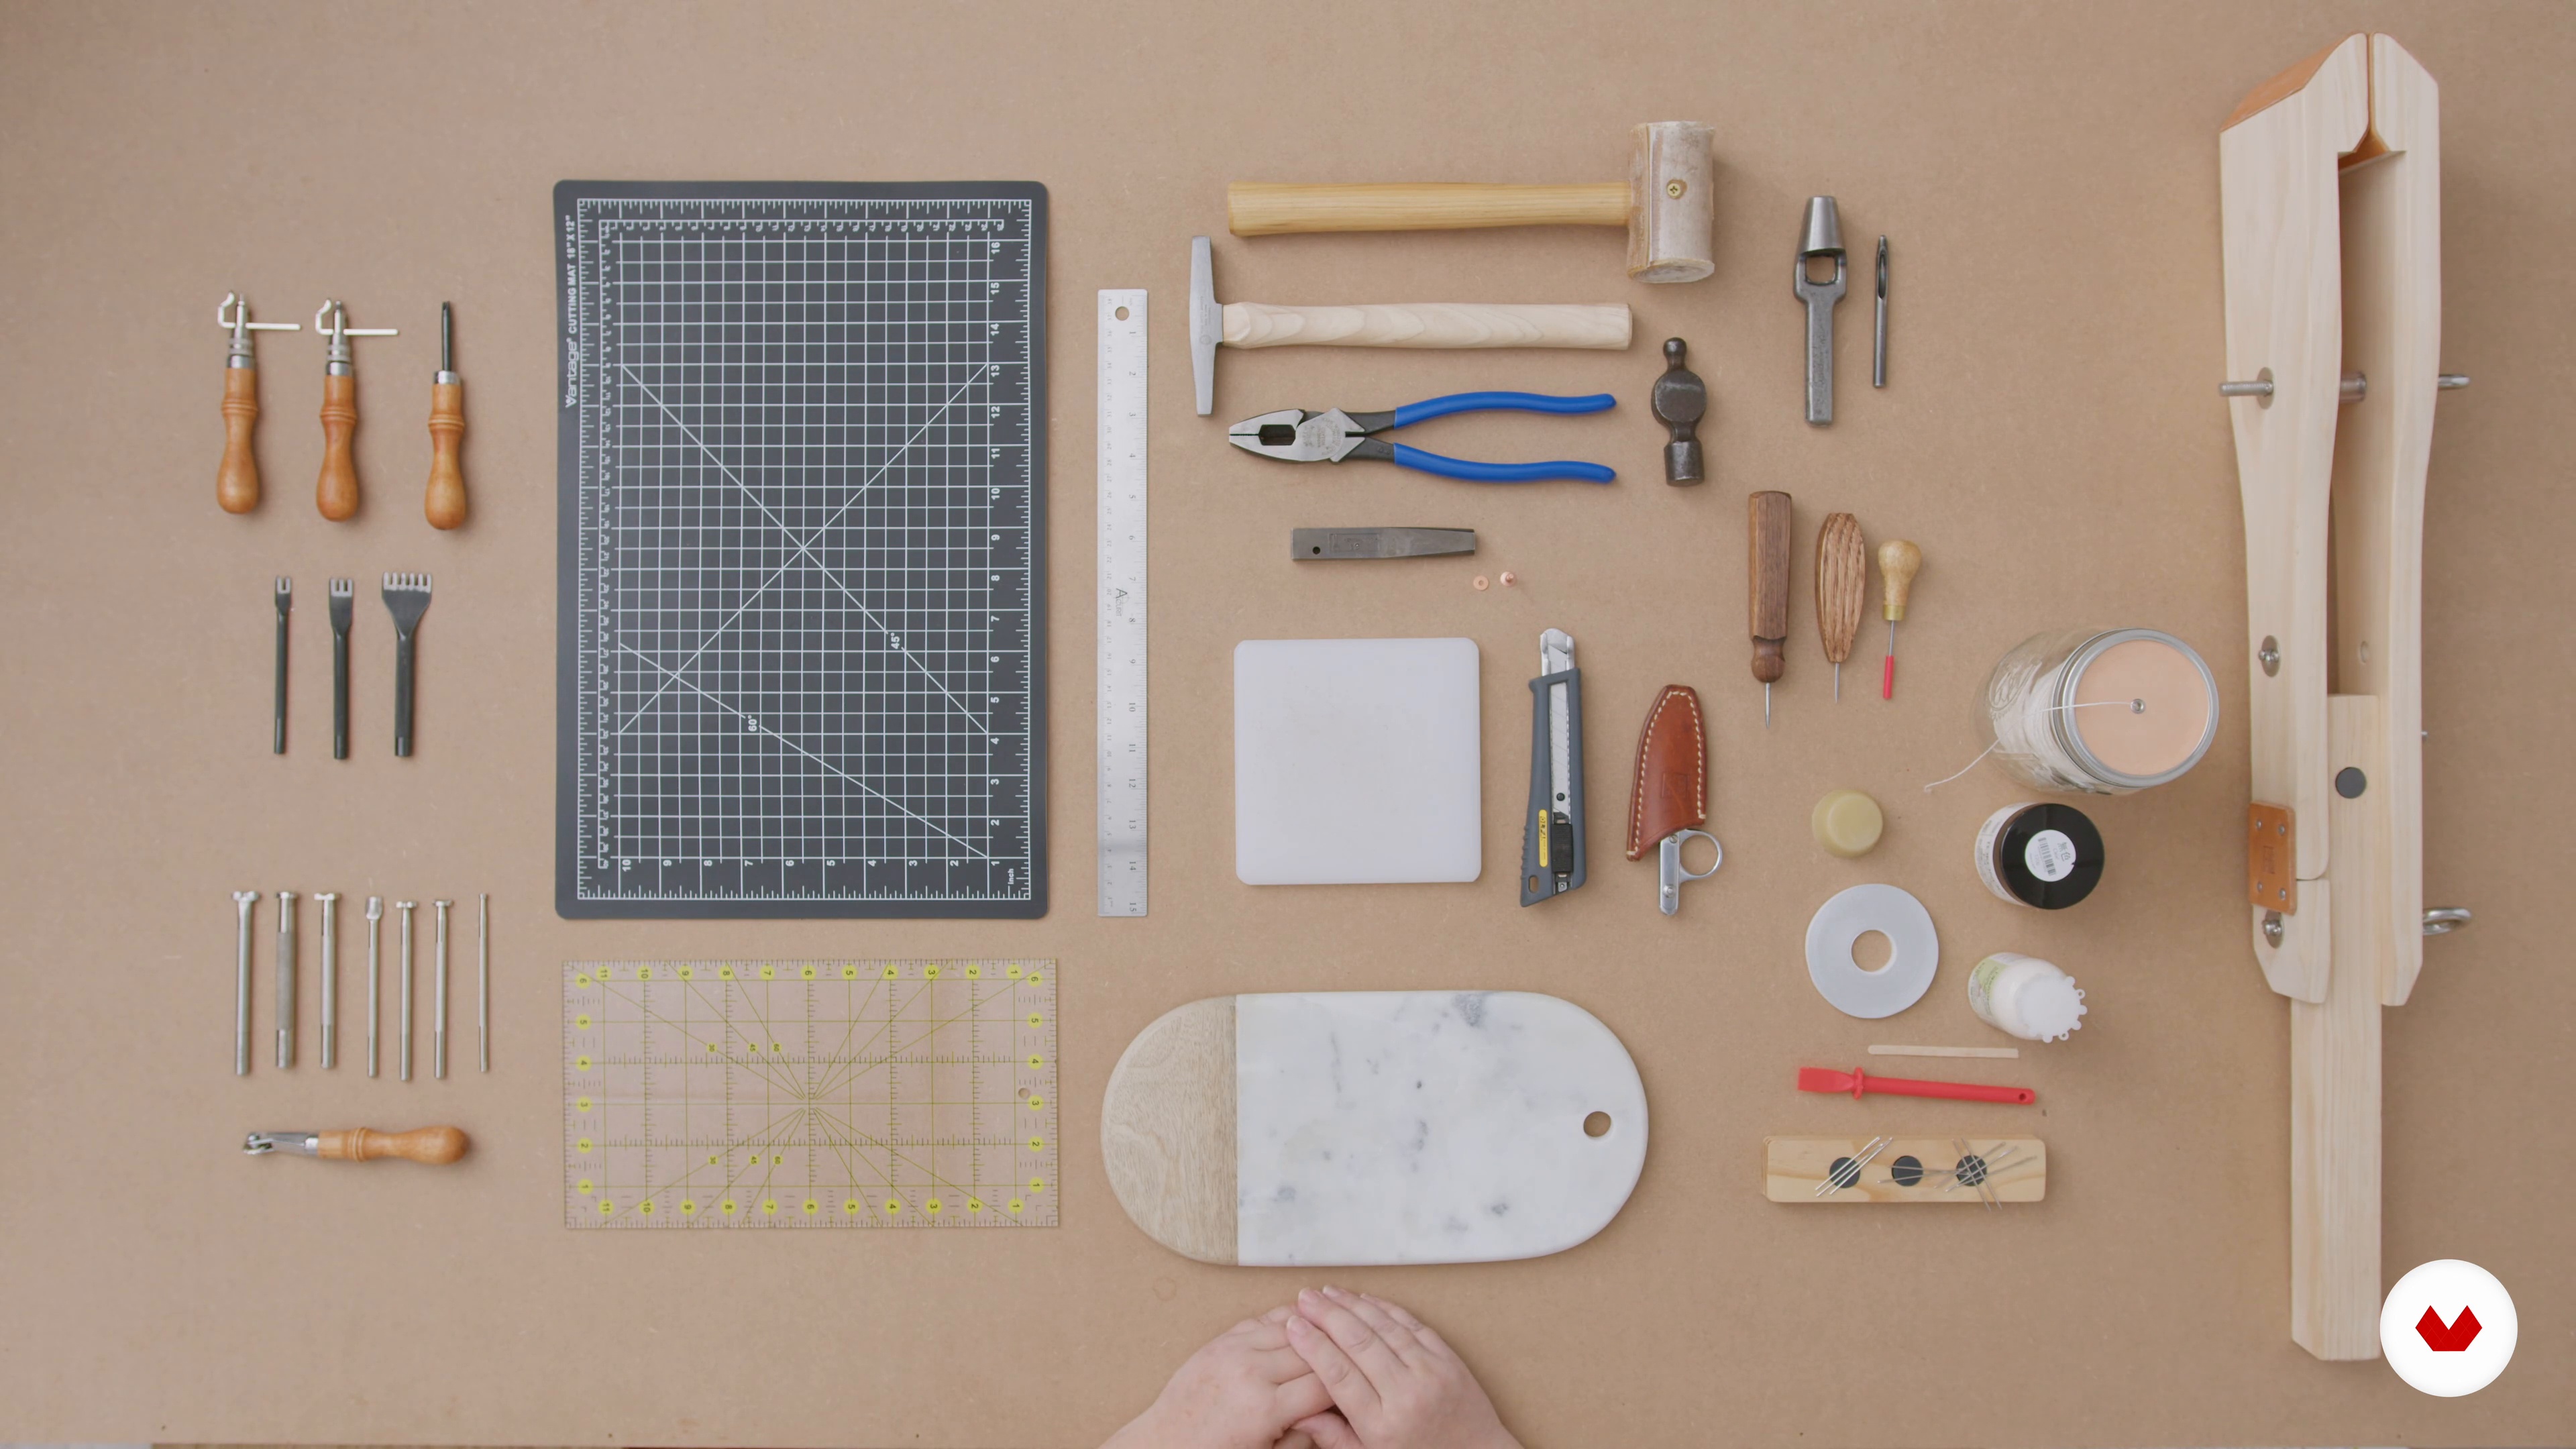
Requirements and materials
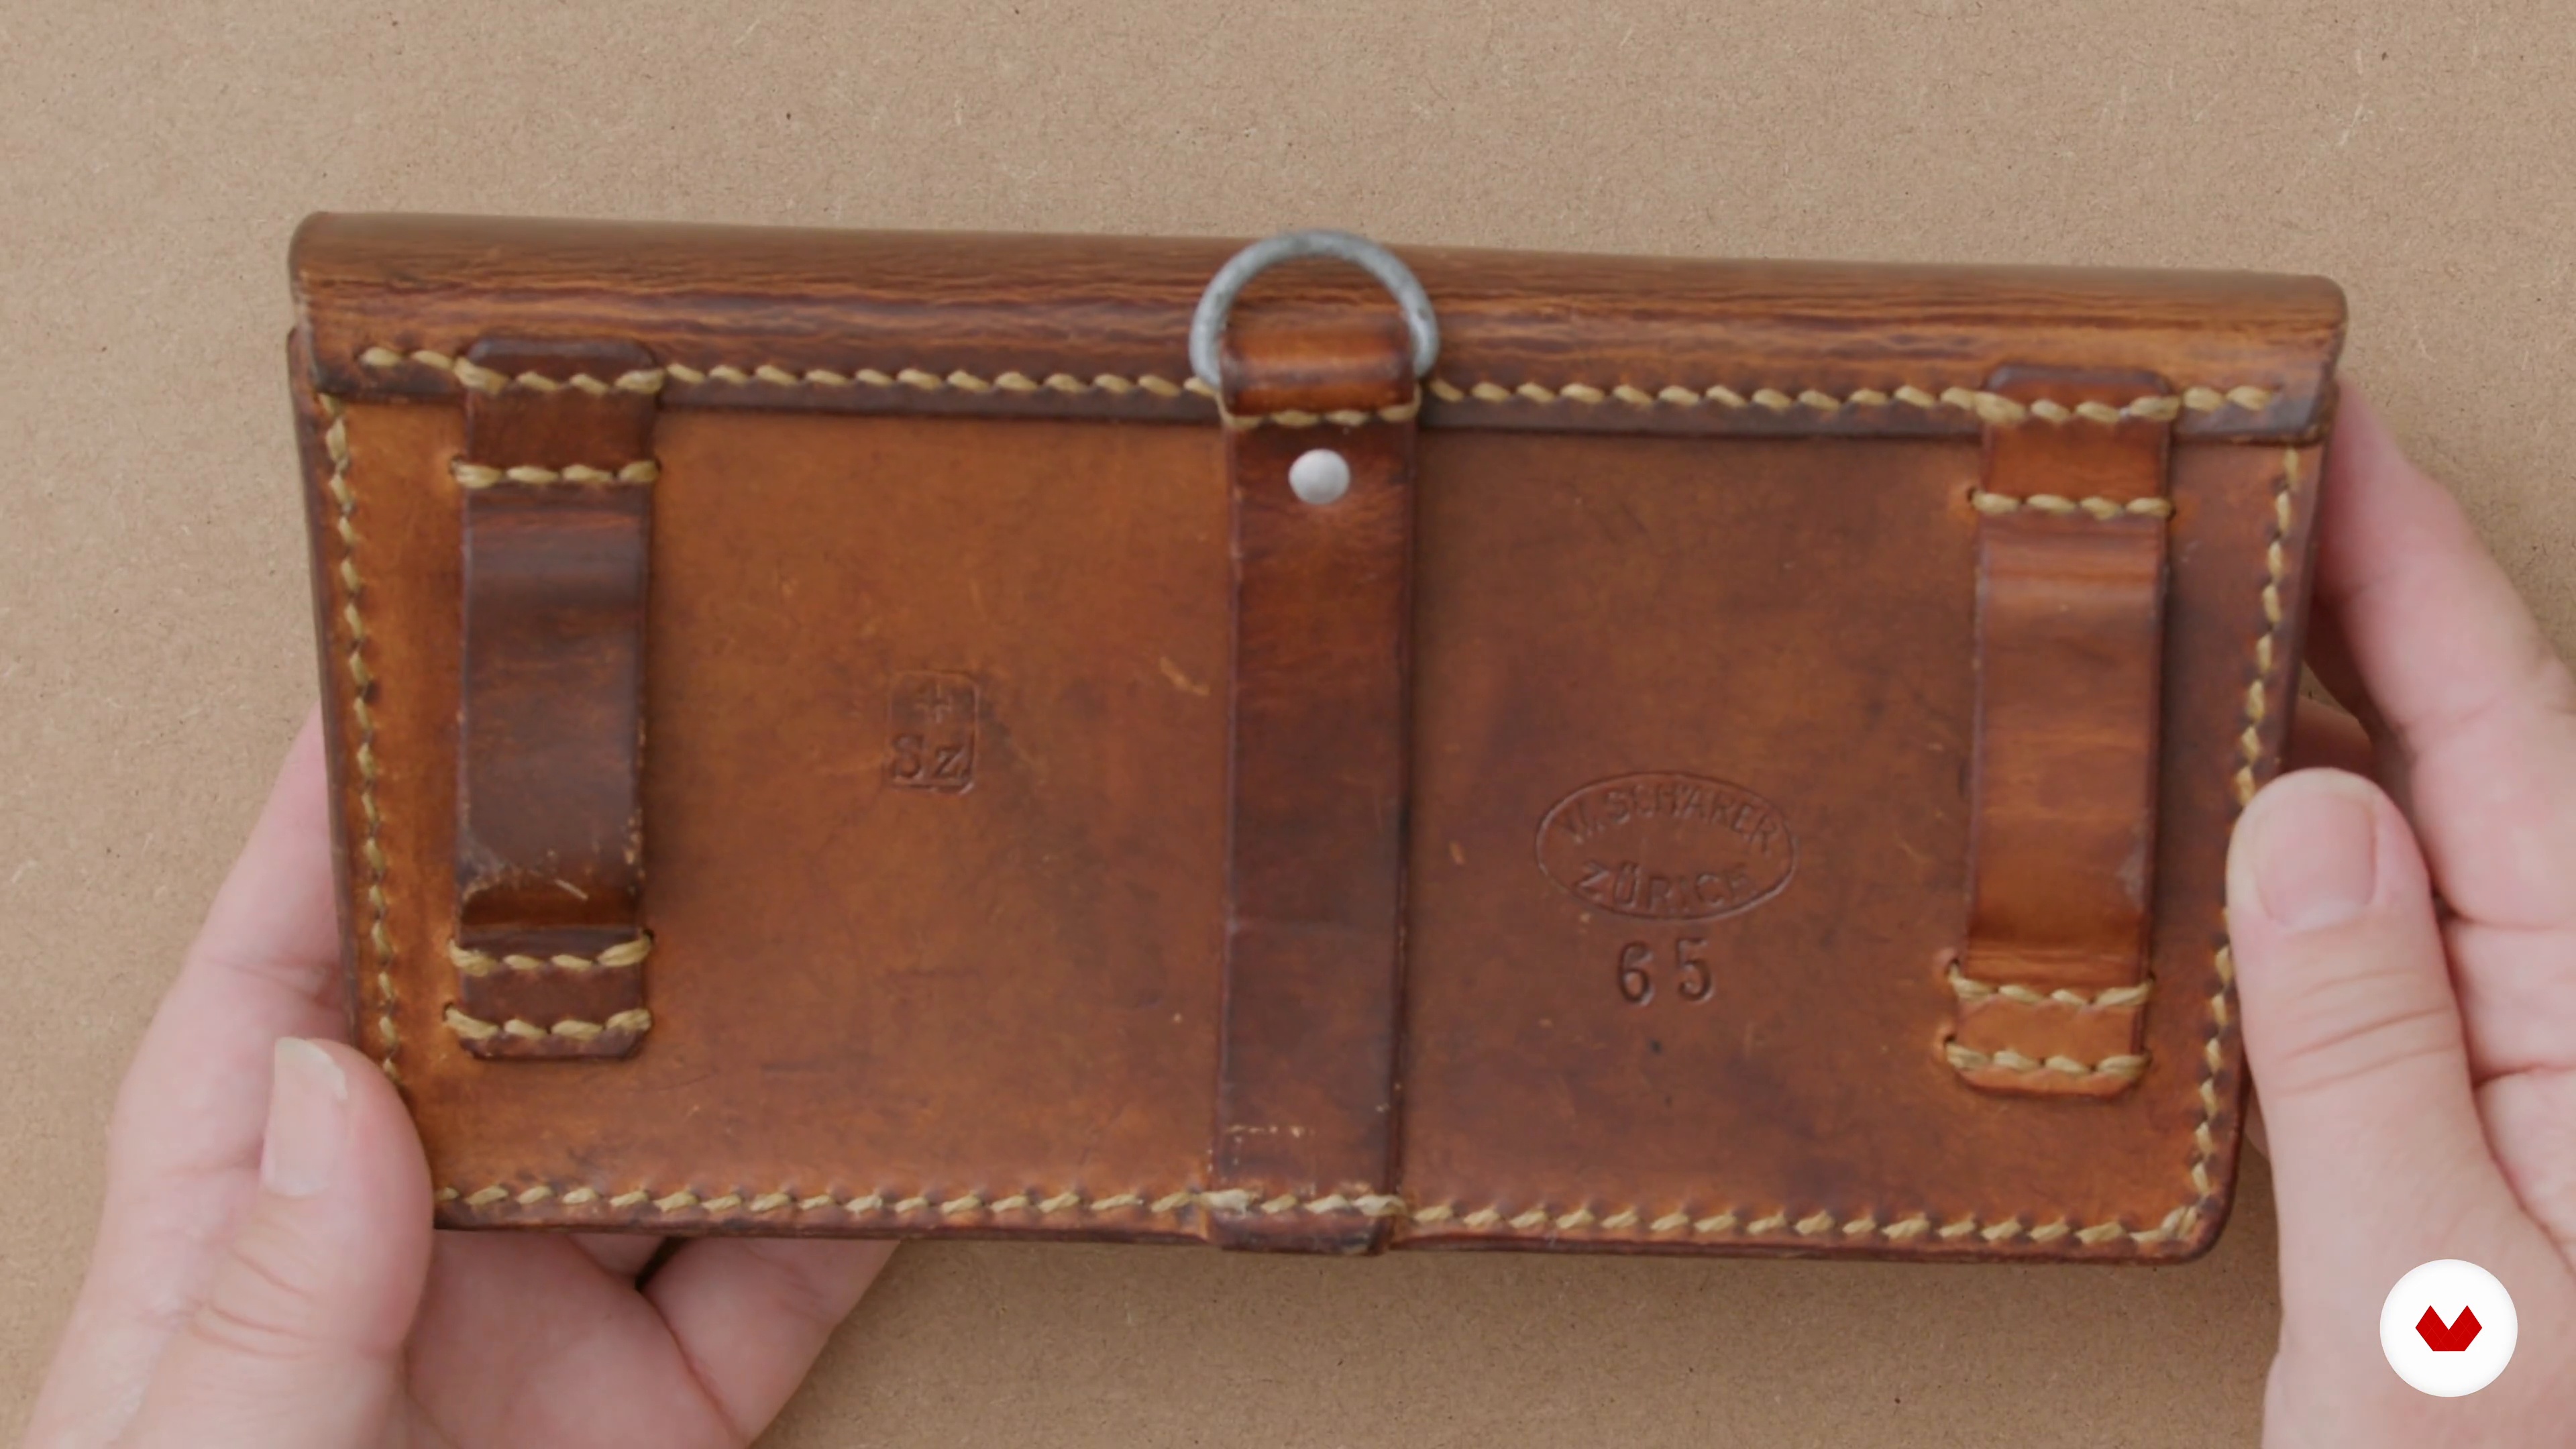
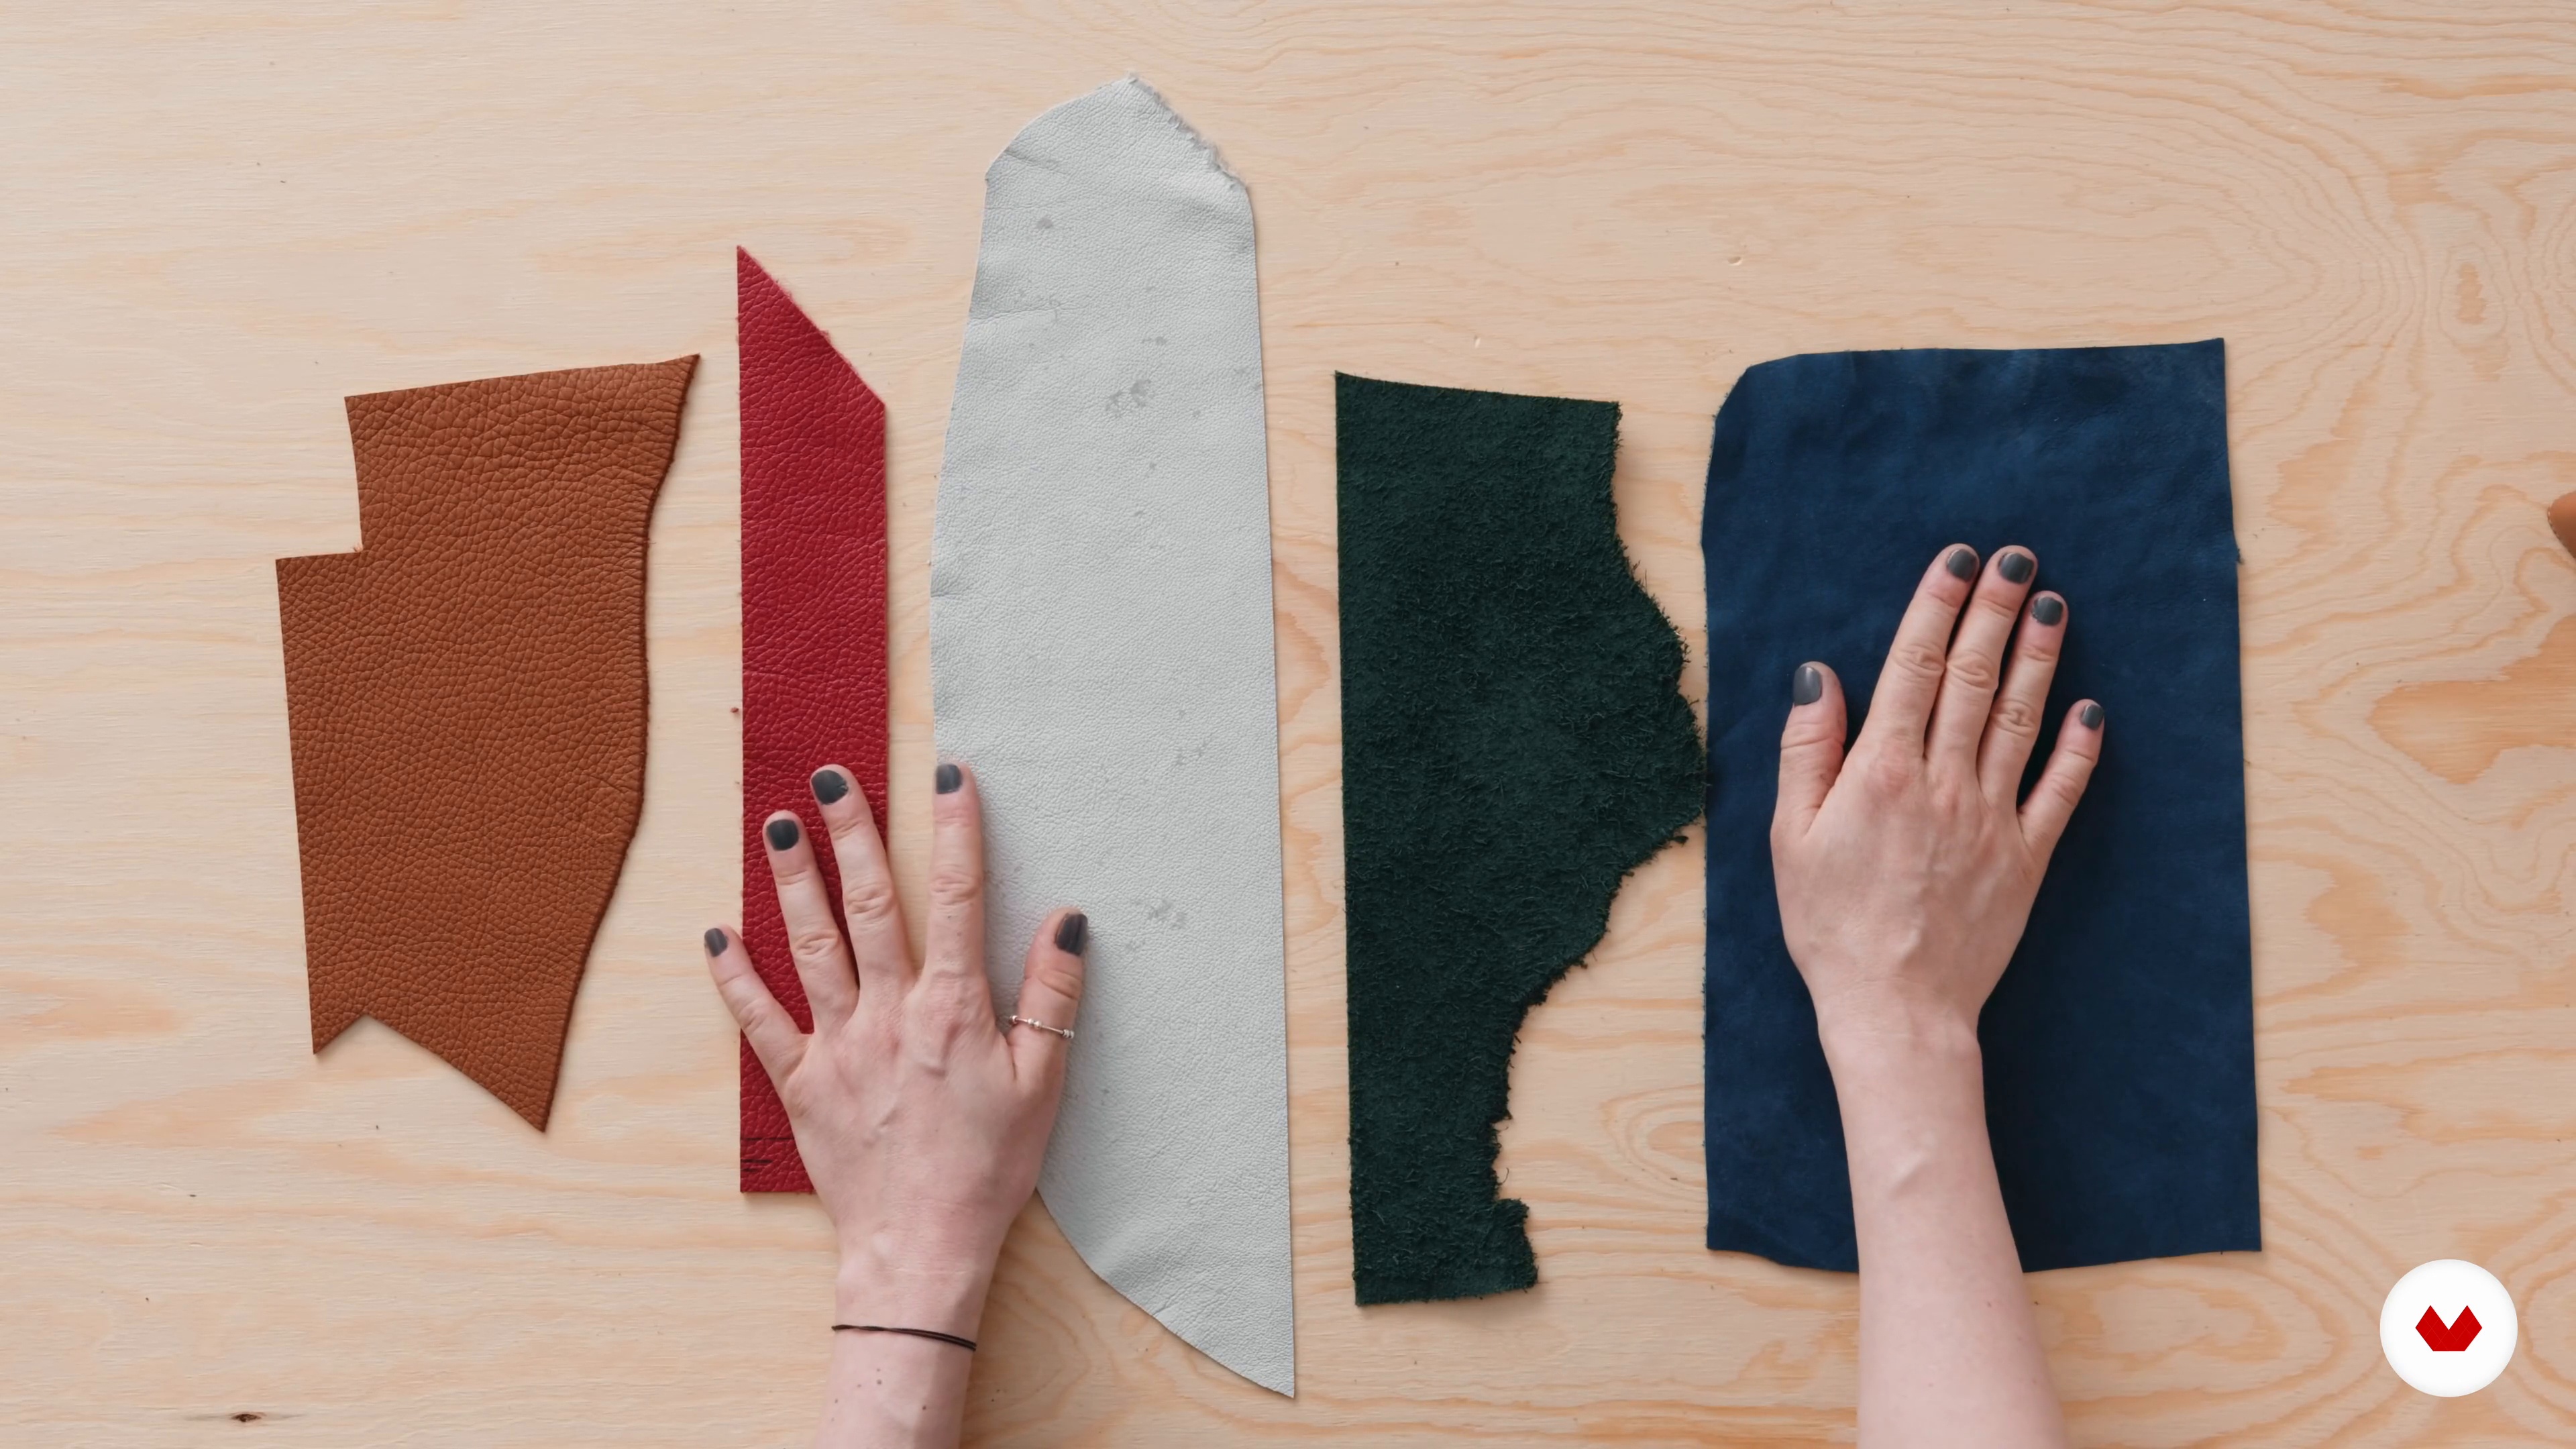
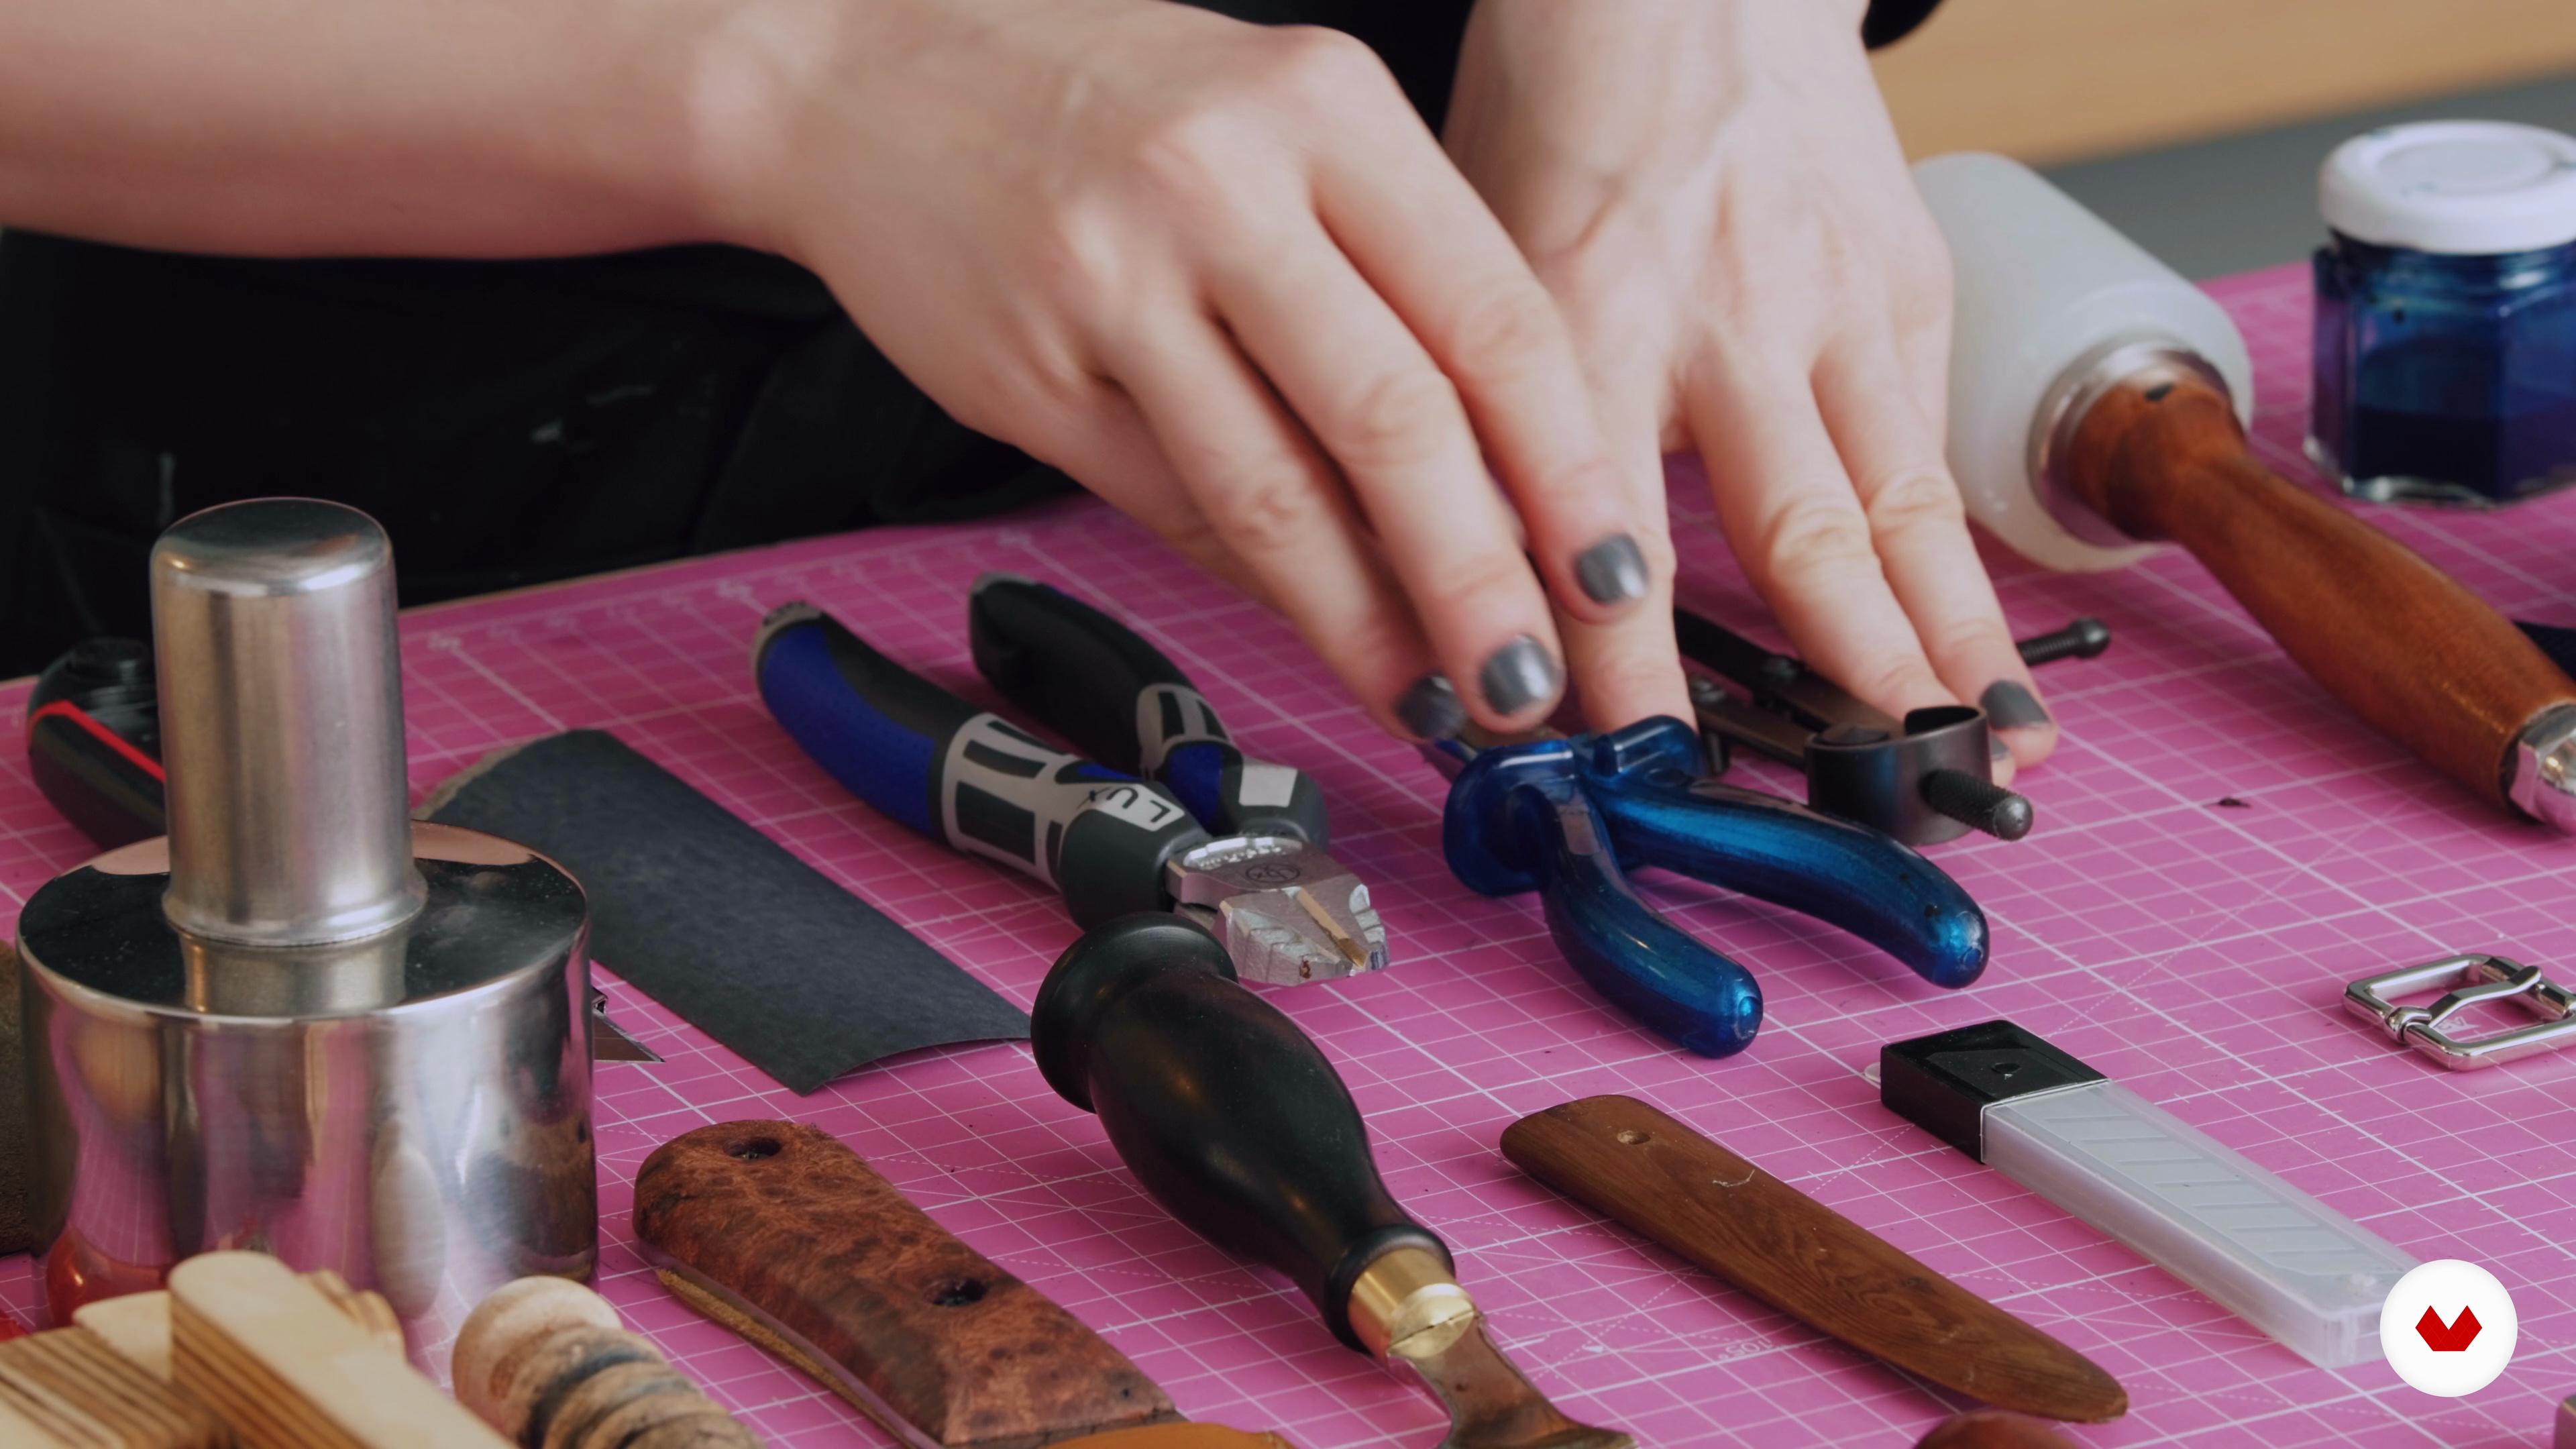
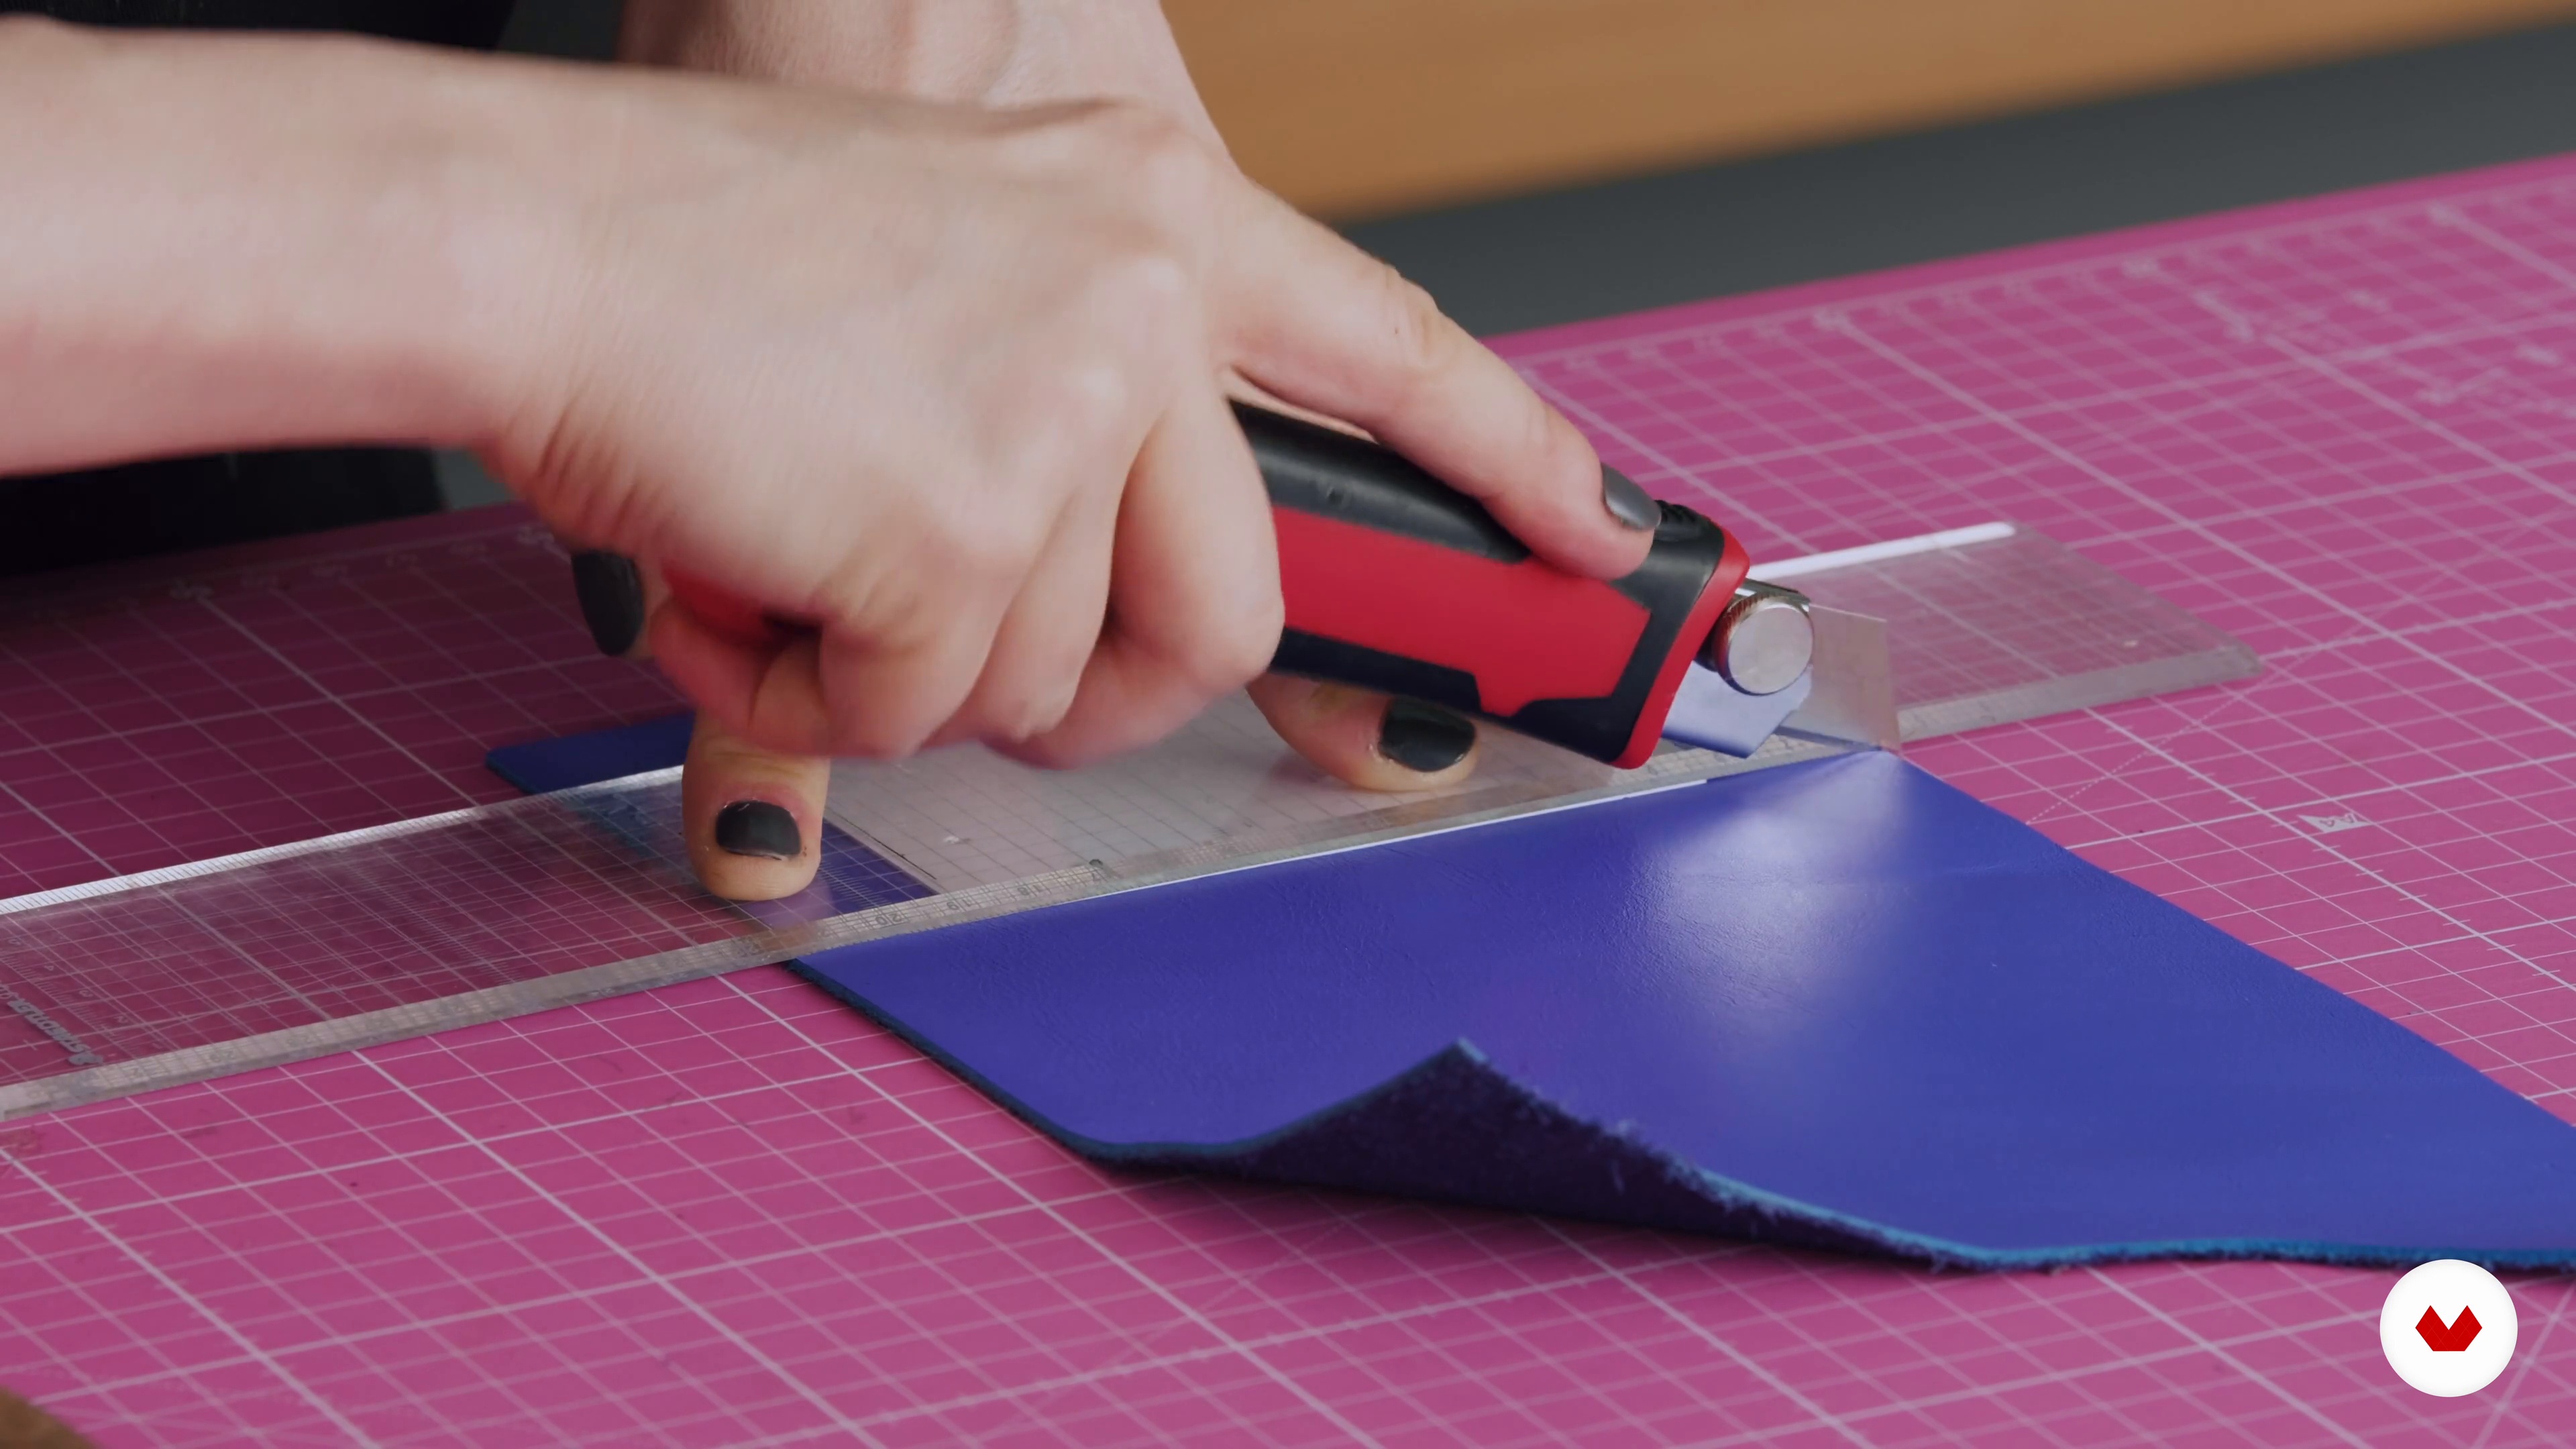
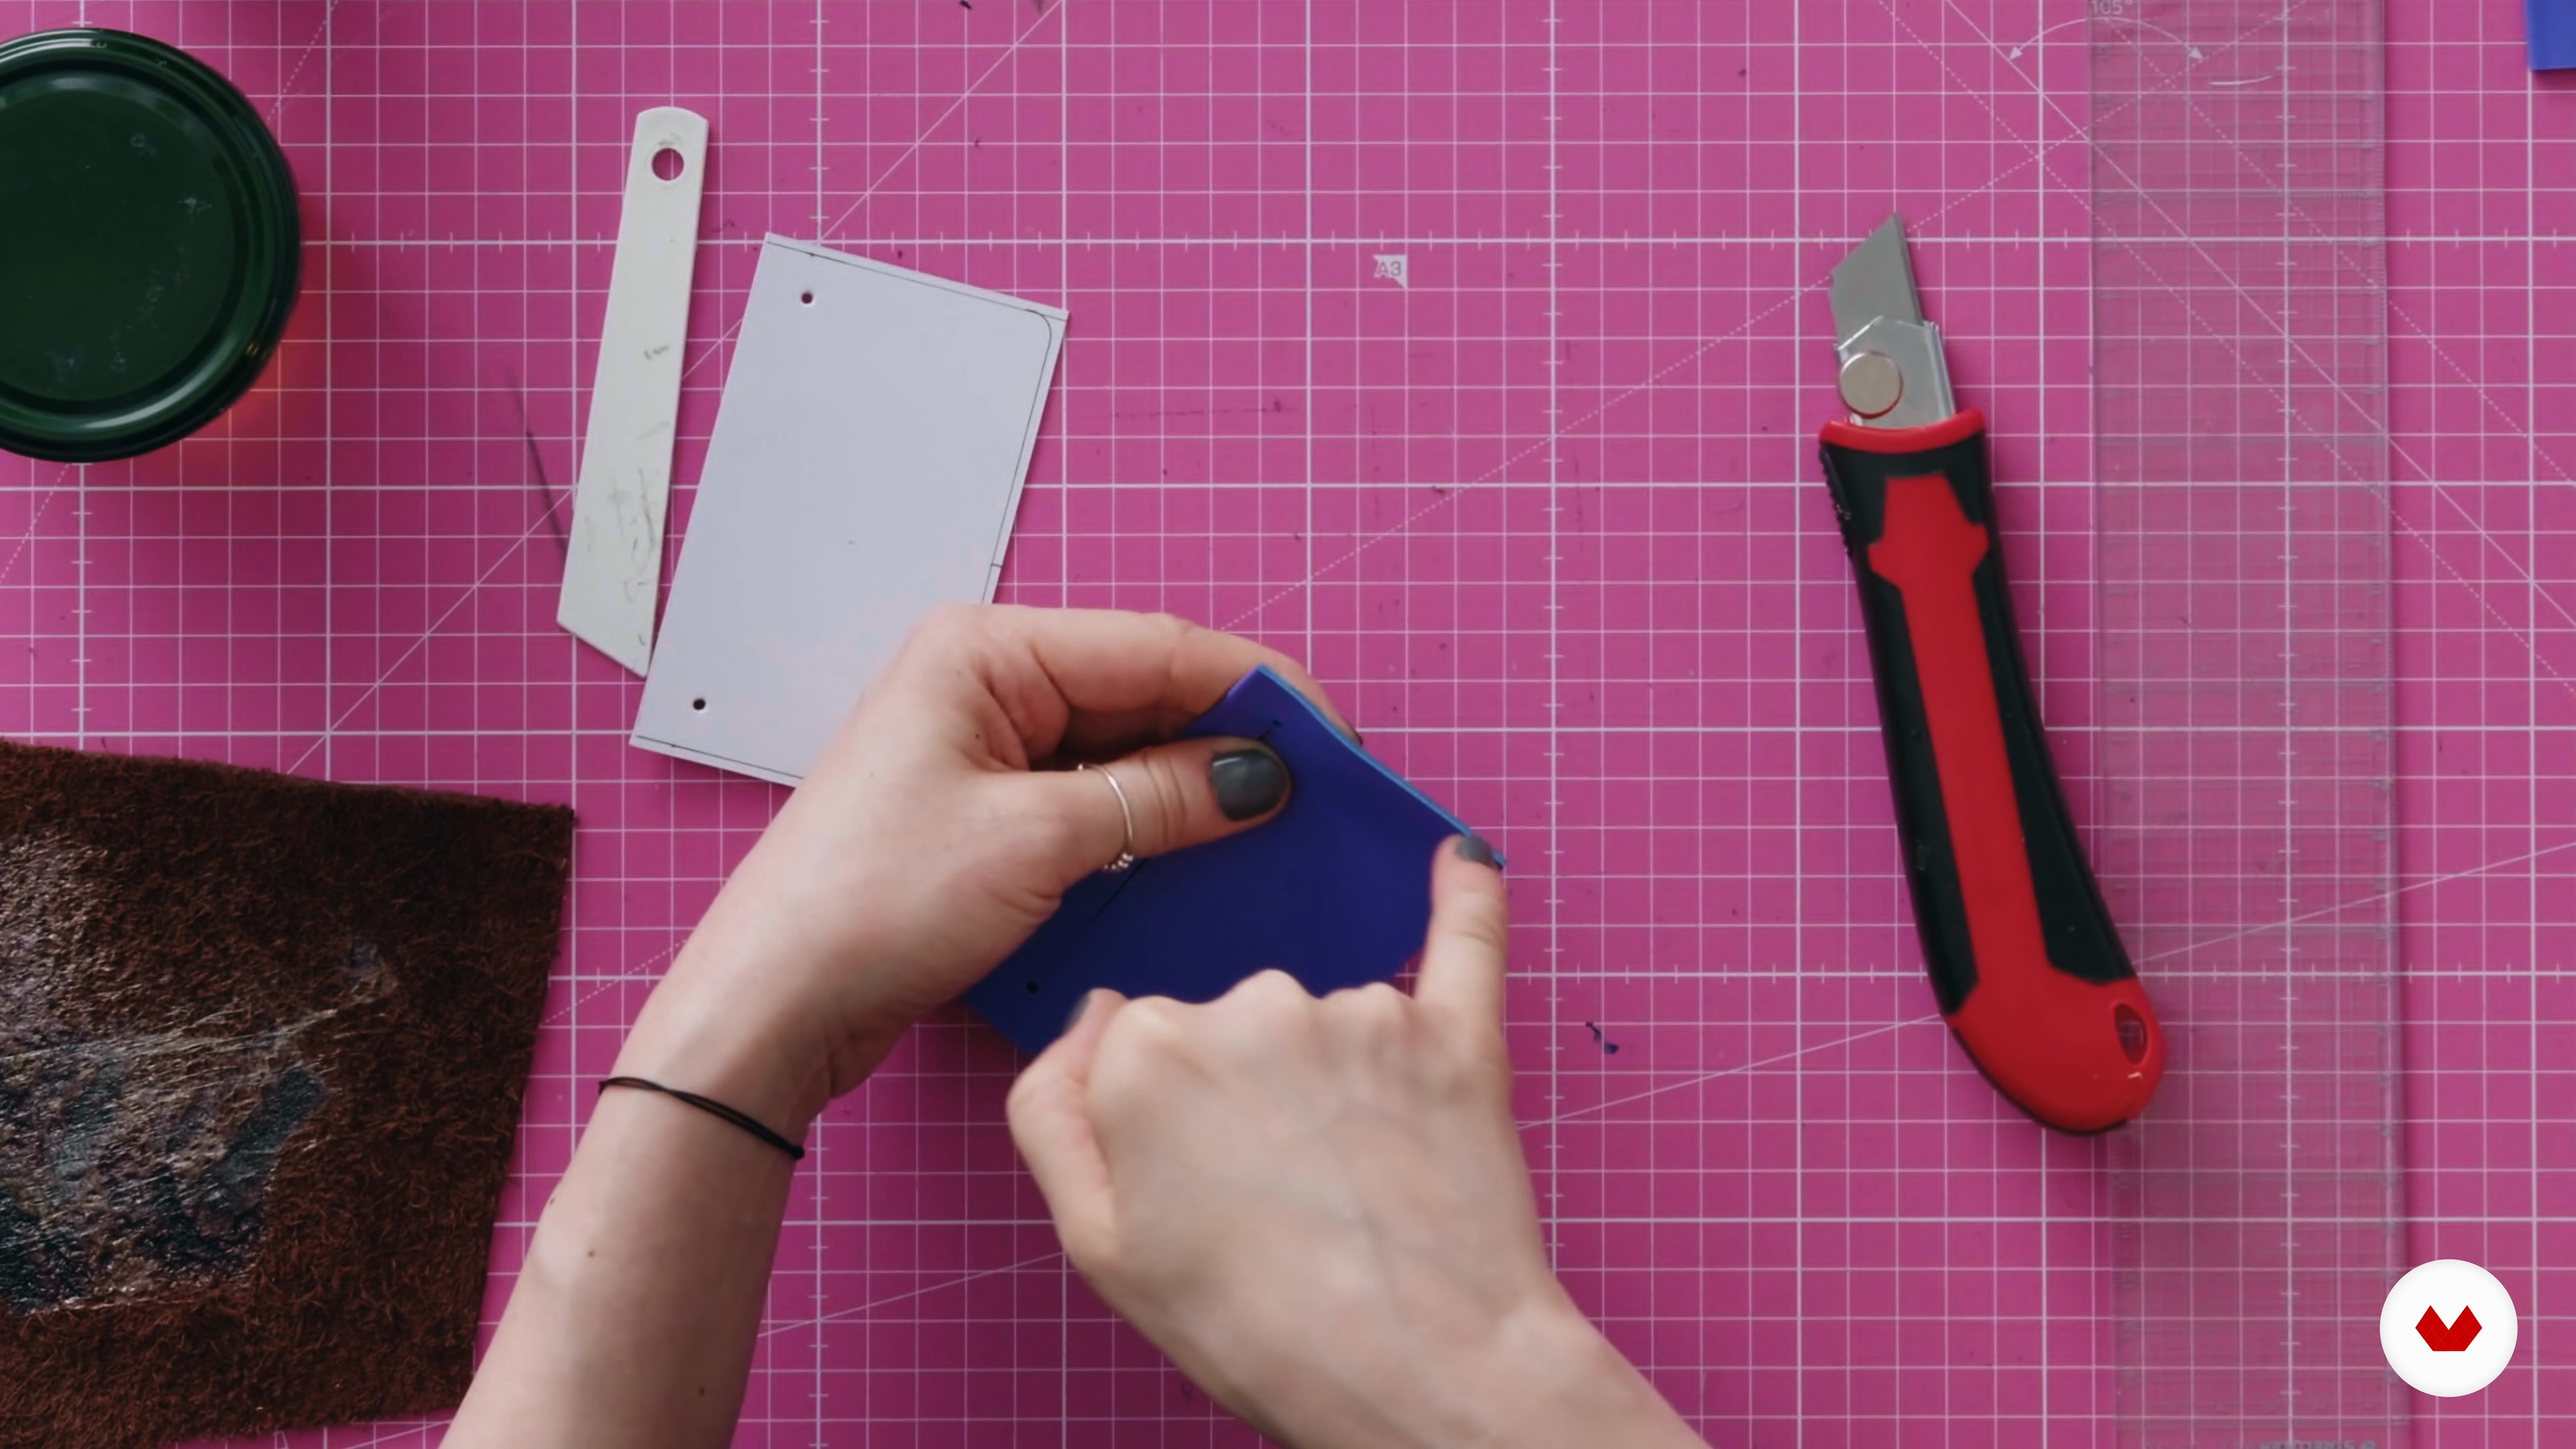
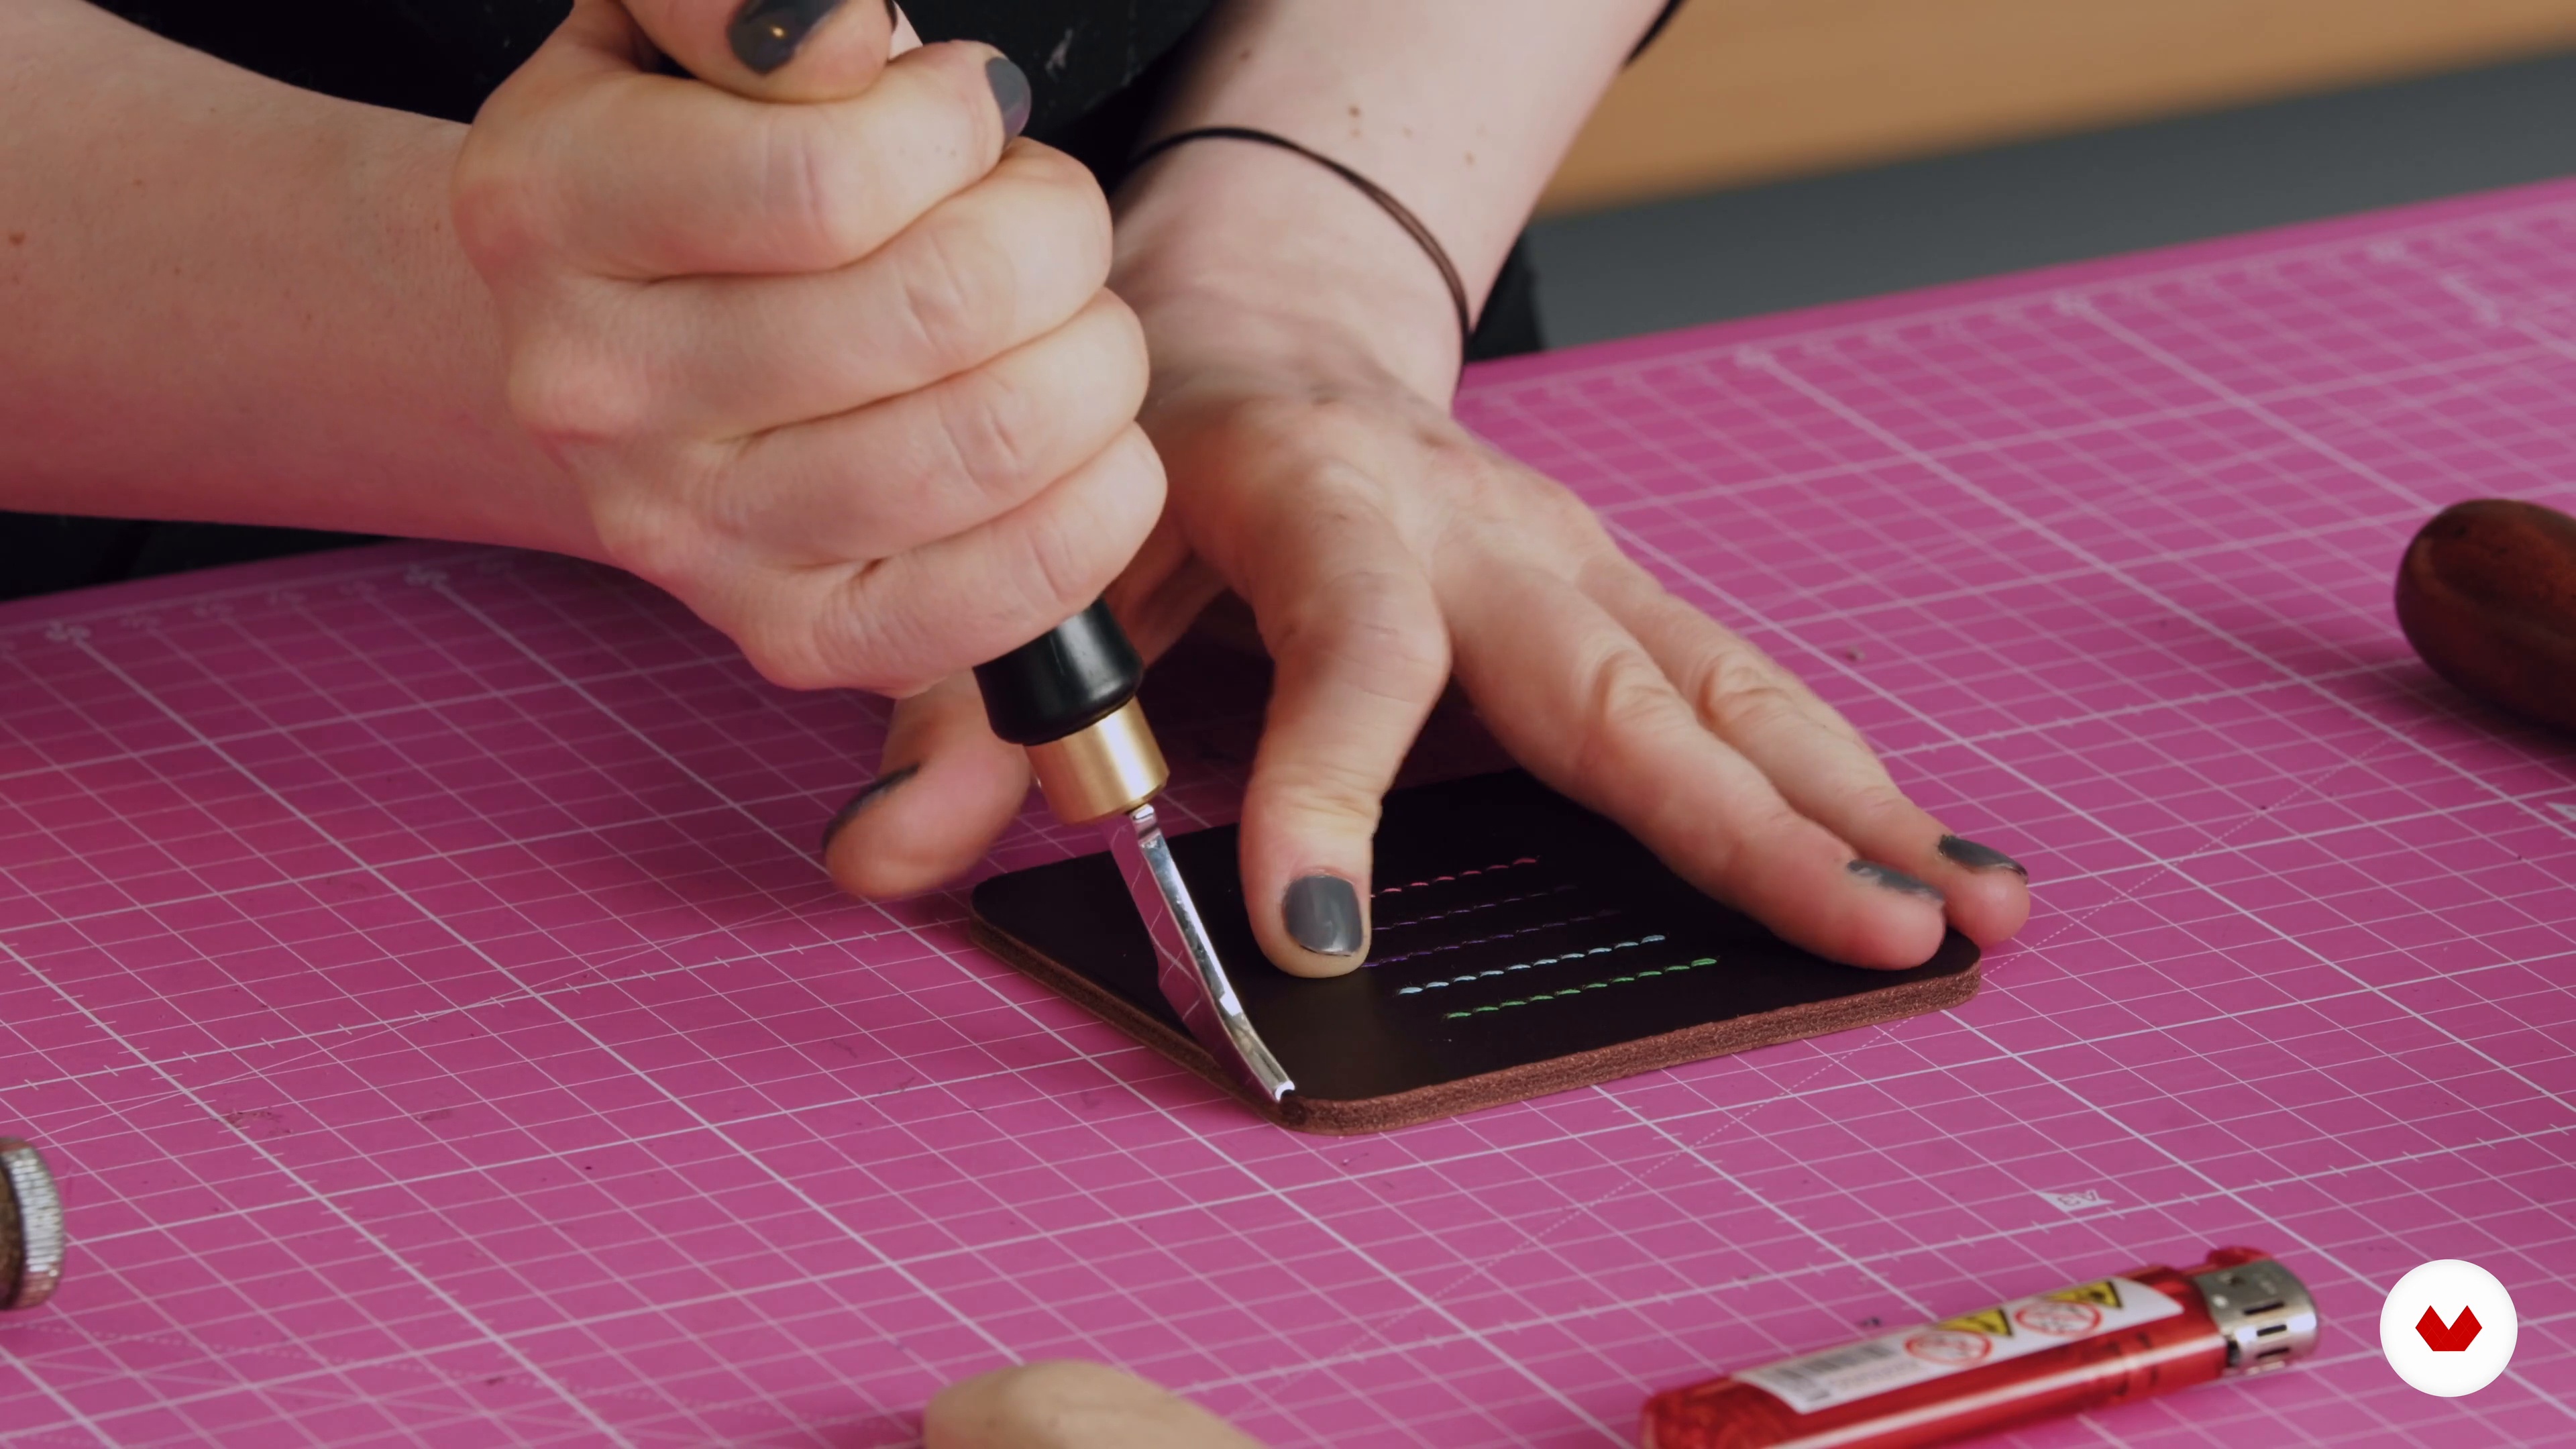
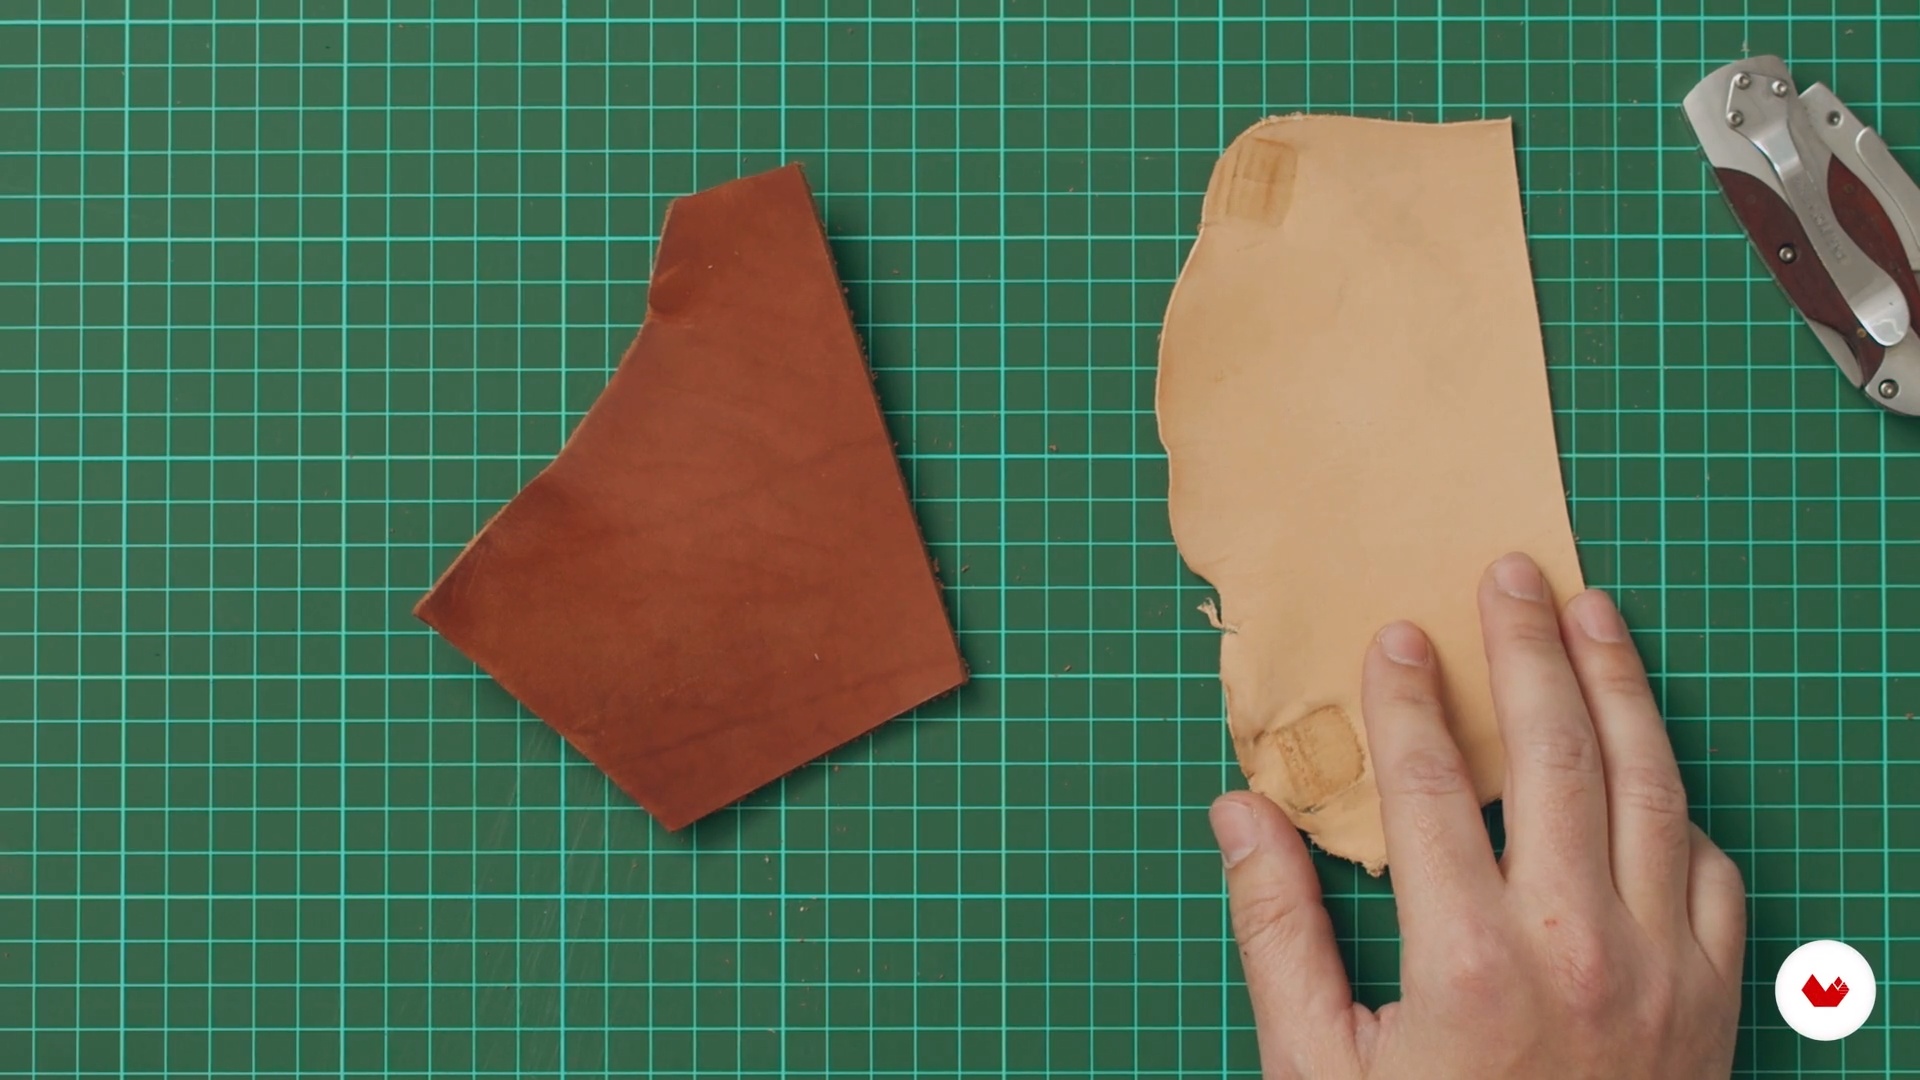
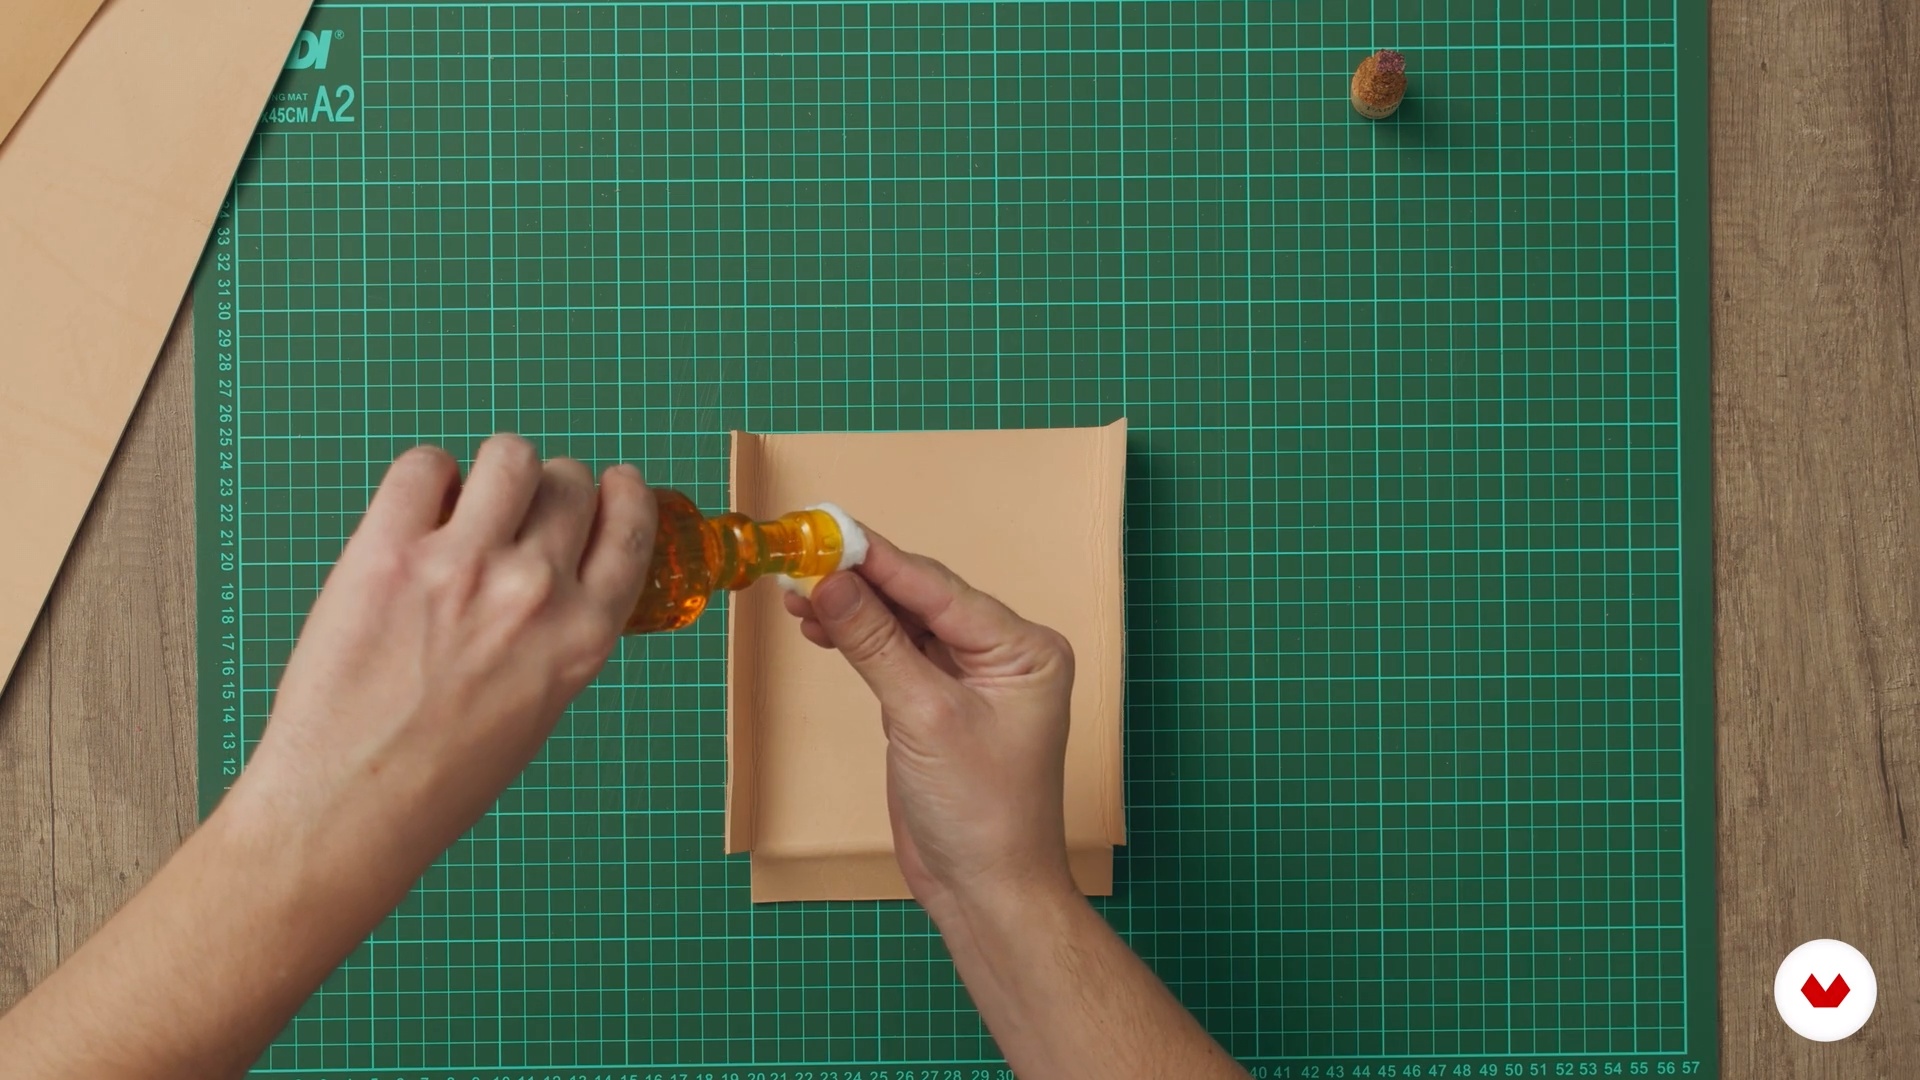
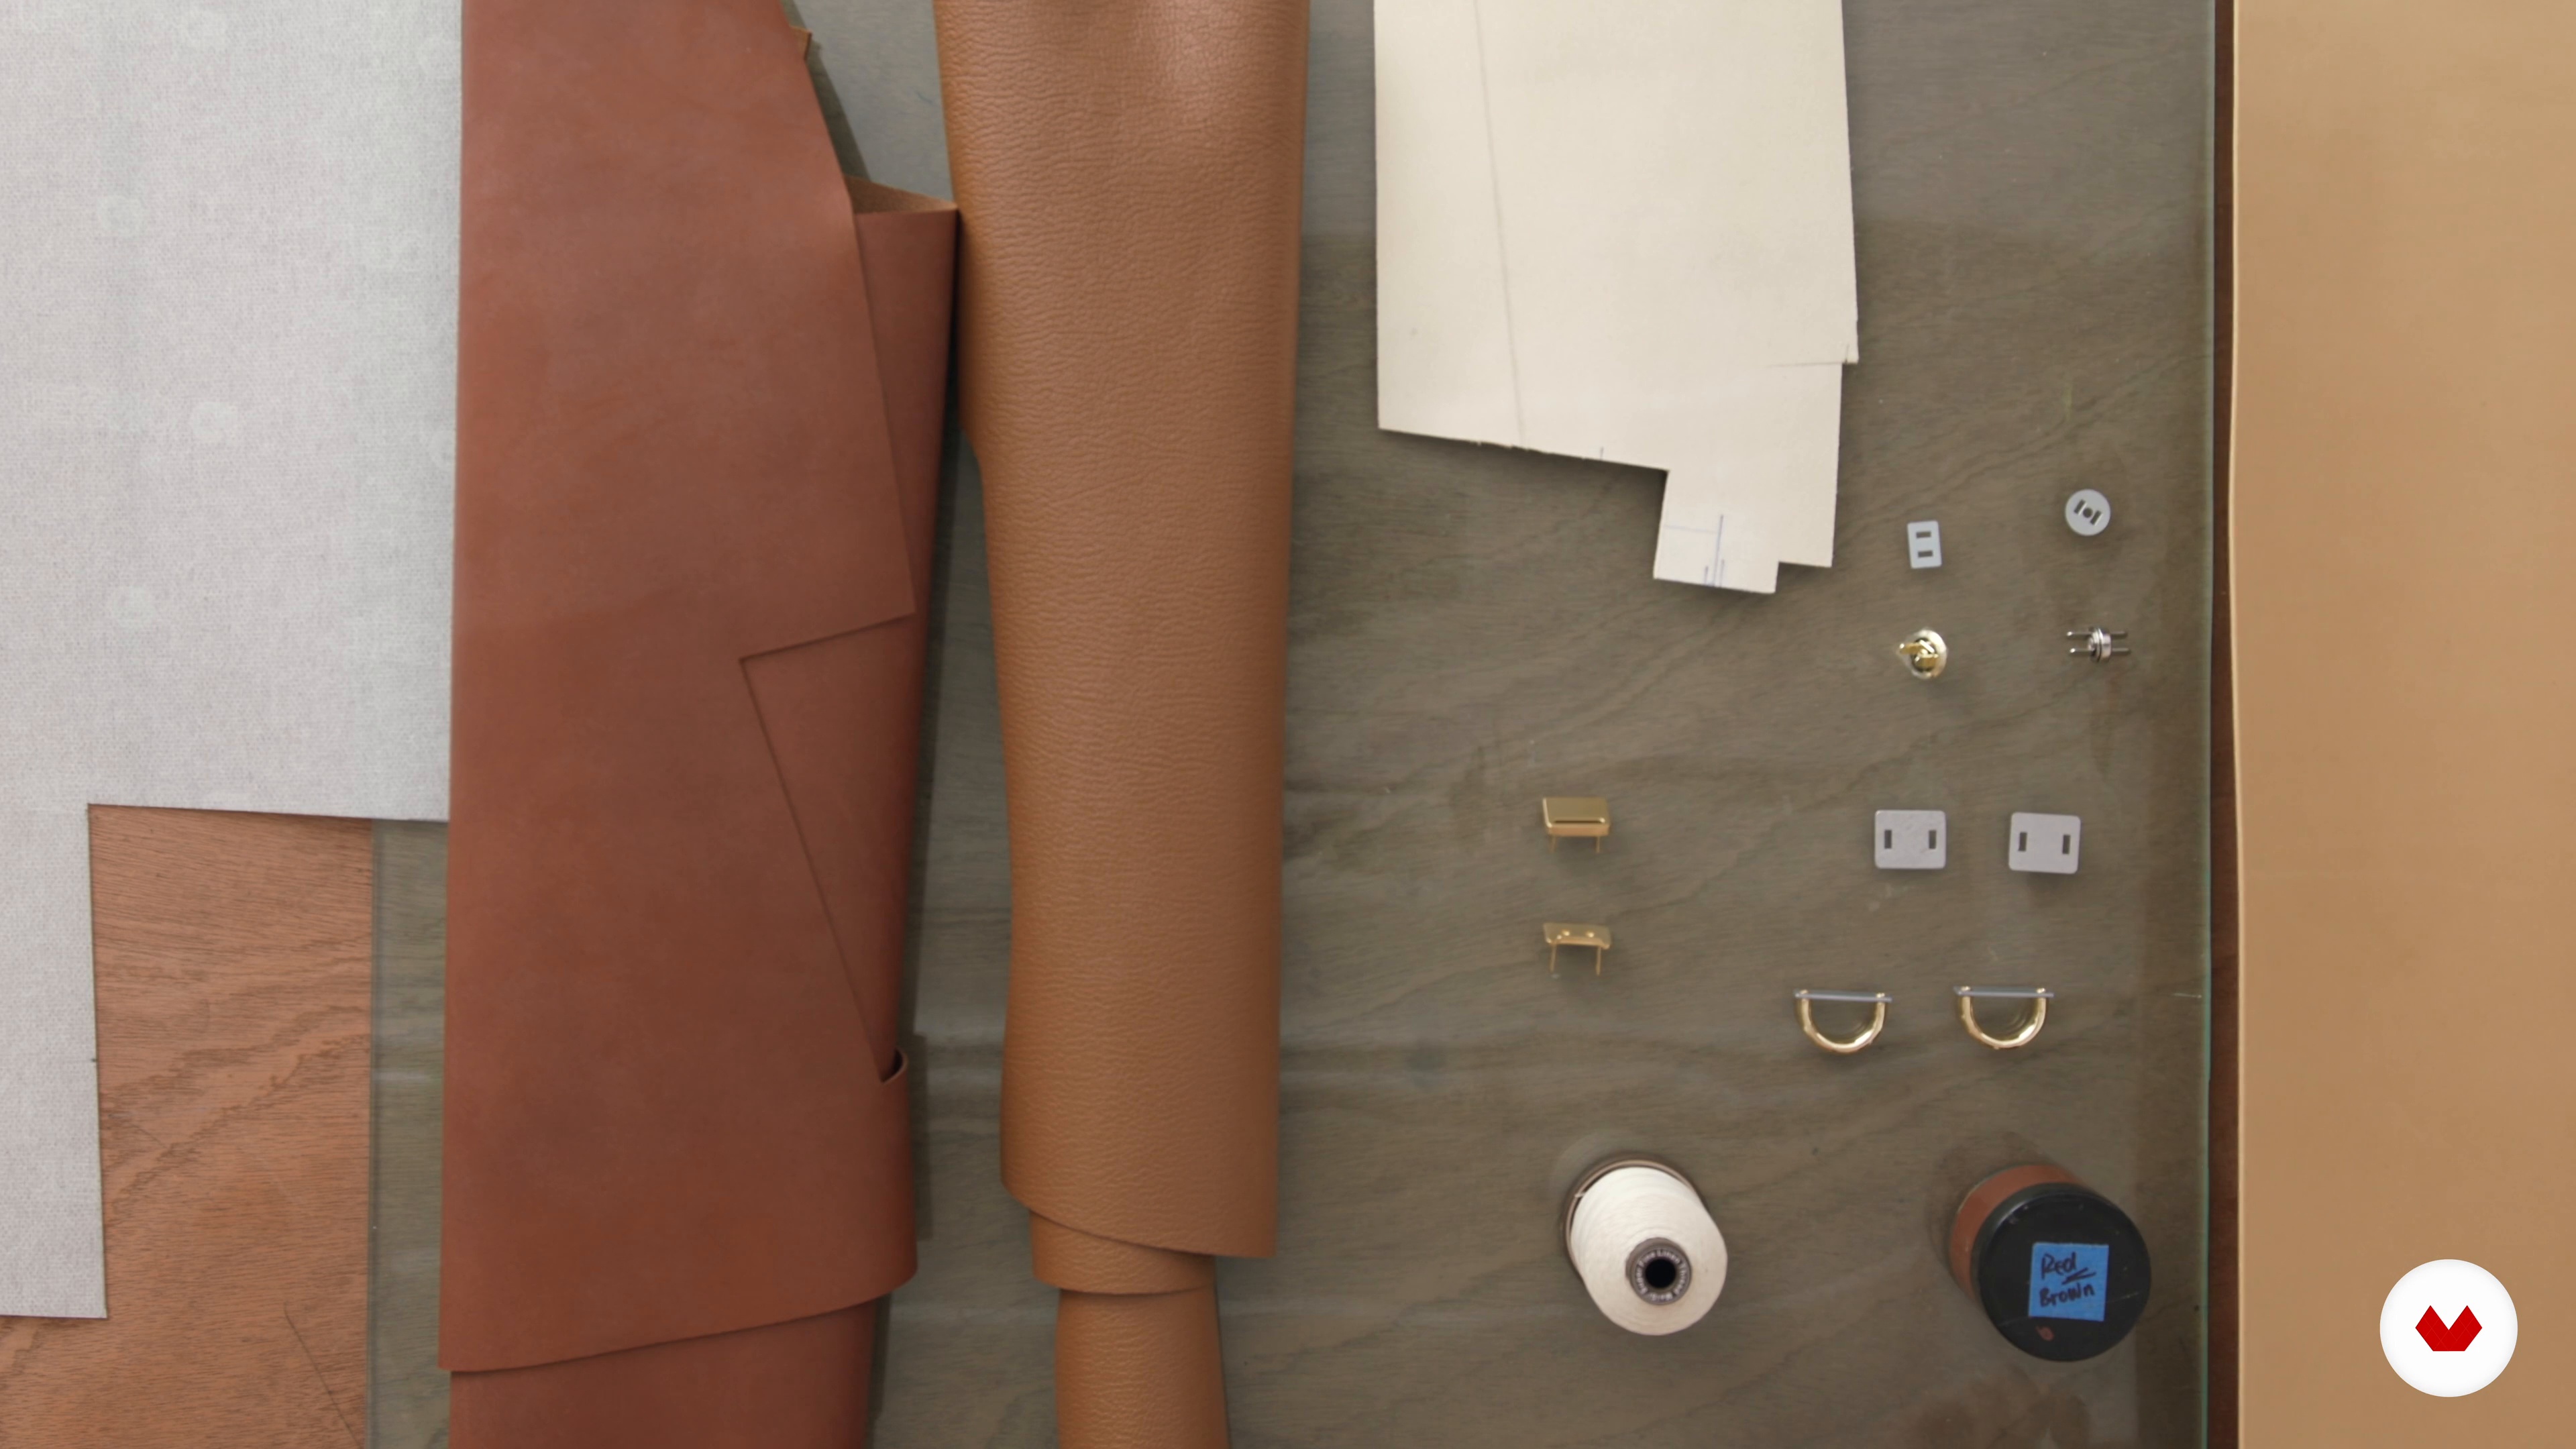
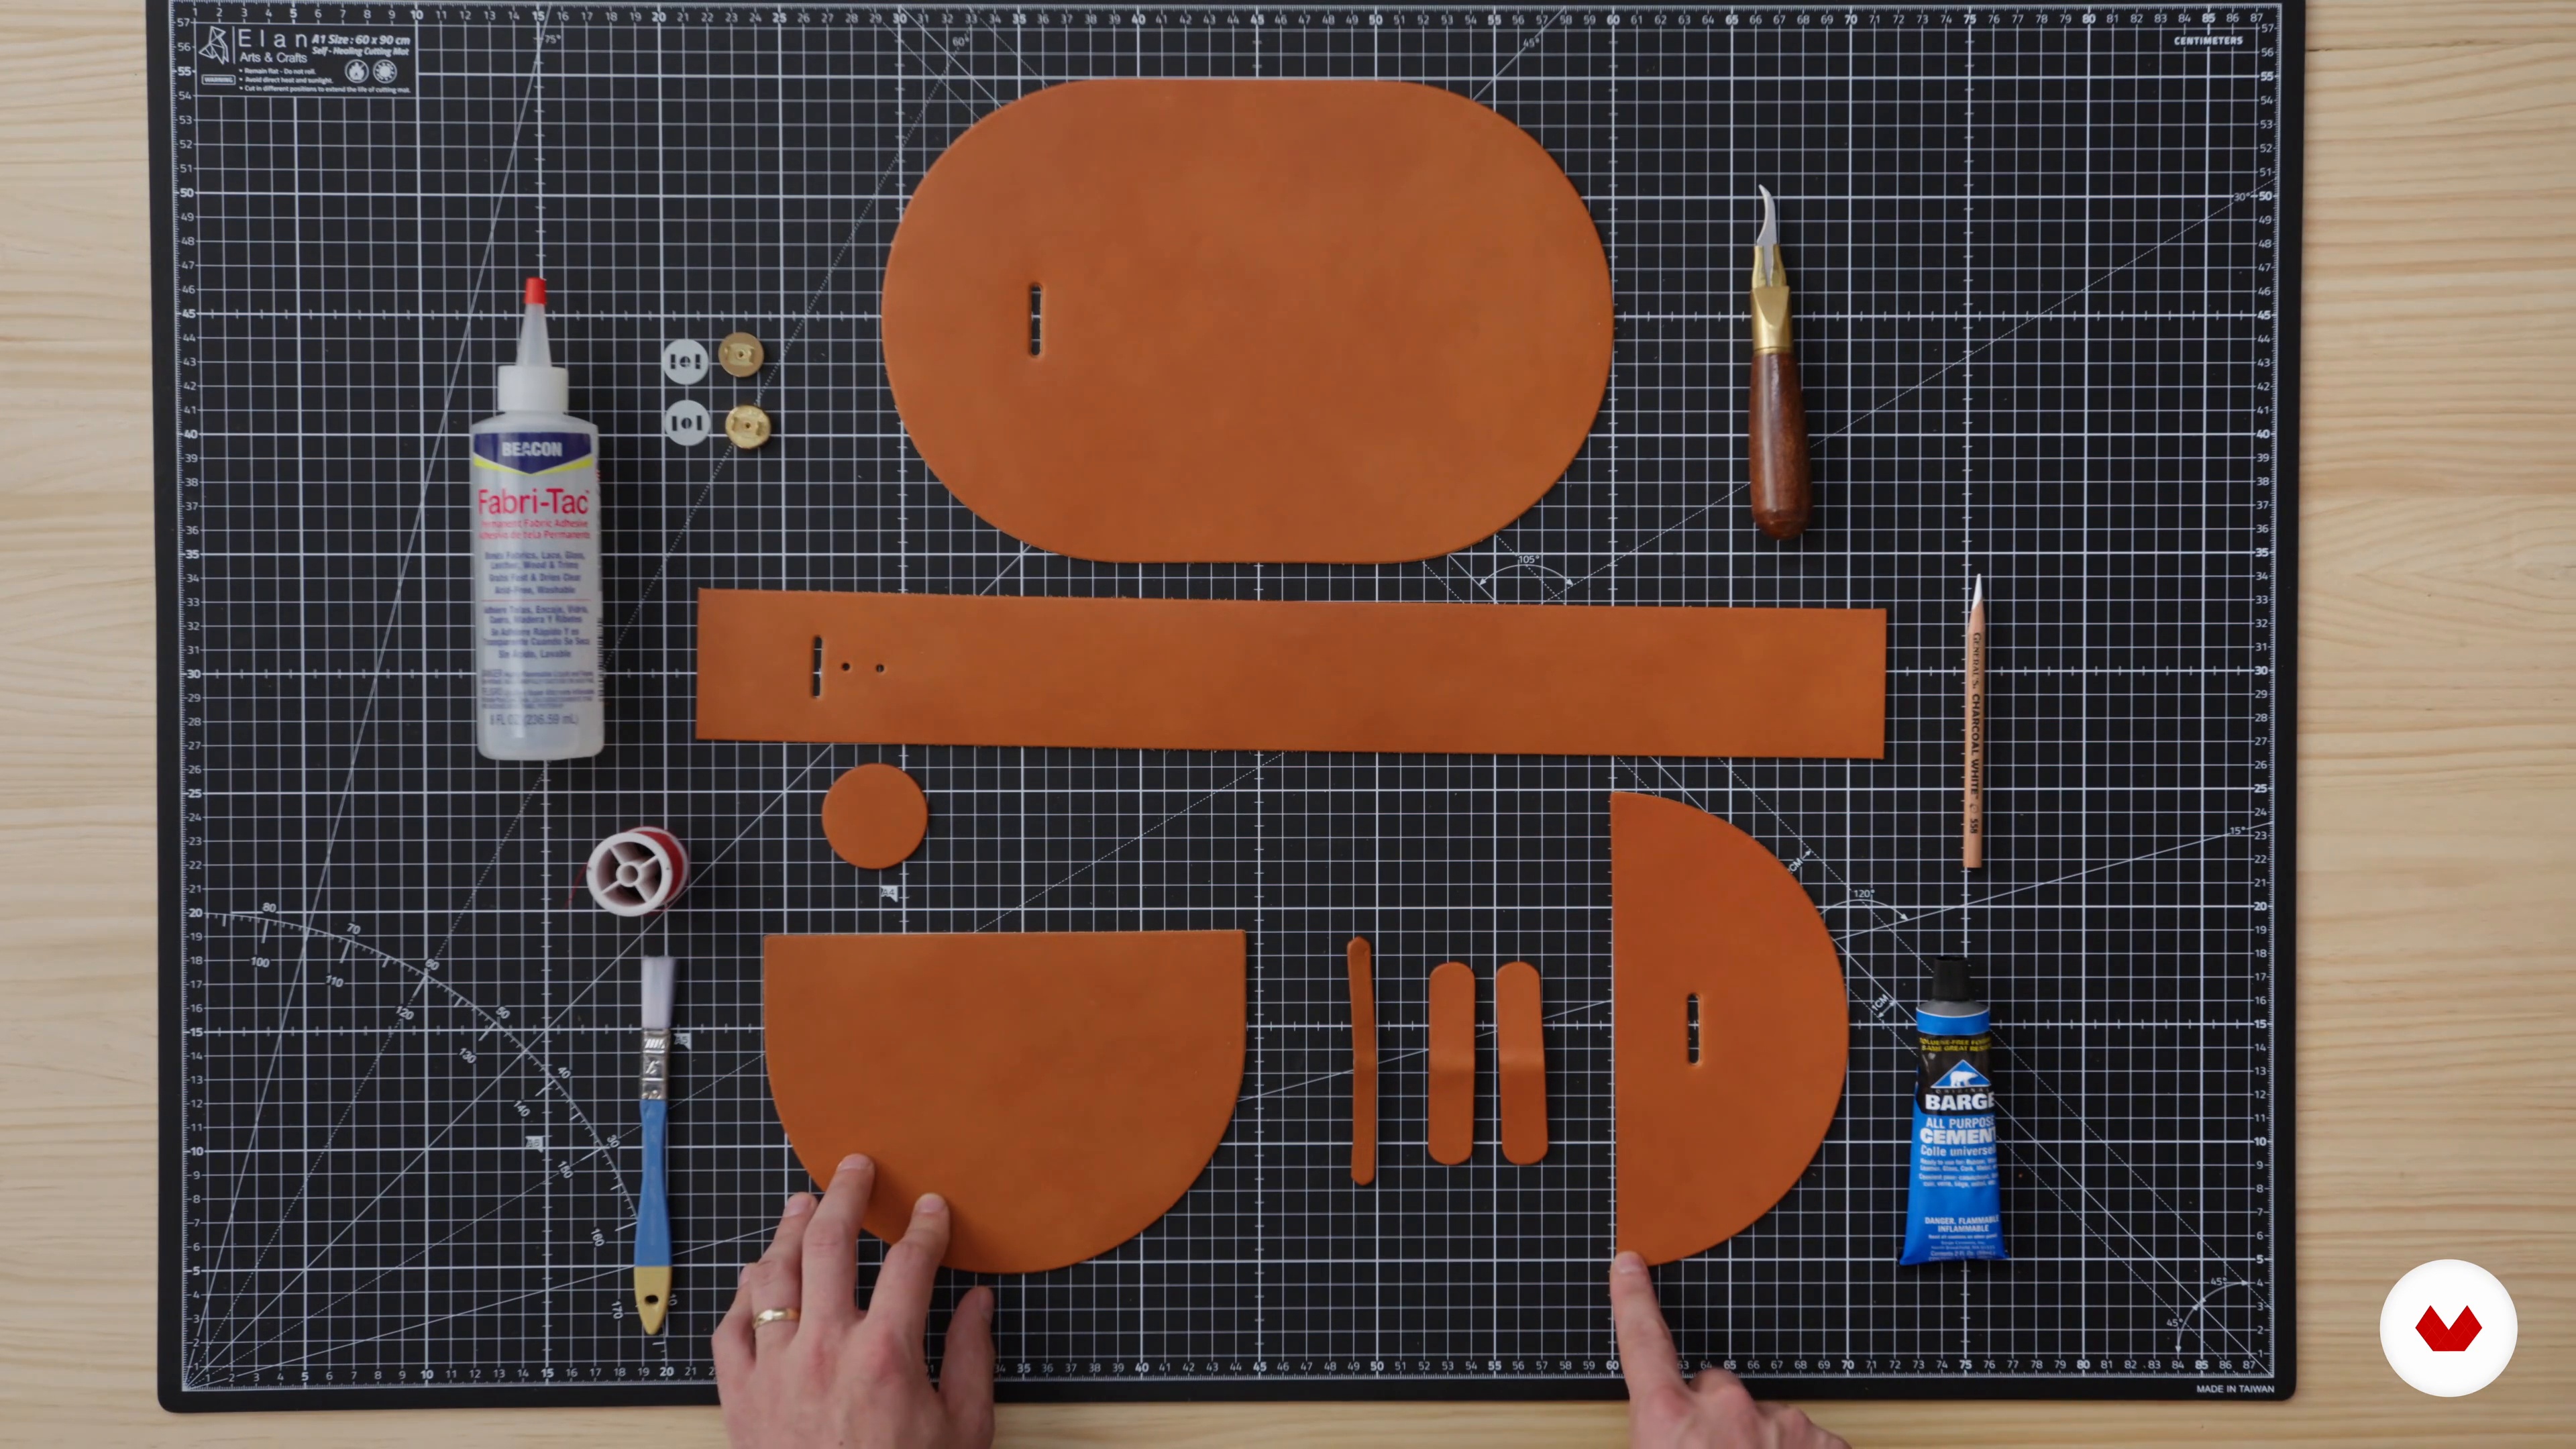
No extensive prior knowledge needed. Basic requirements include a beginner's understanding of leather types and simple tools like cutting blades, hole punches, and needles. Materials such as vegetable-tanned leather or cowhide are essential, along with thread and finishing products.


Reviews
What to expect from this specialization course
-
Learn at your own pace
Enjoy learning from home without a set schedule and with an easy-to-follow method. You set your own pace.
-
Learn from the best professionals
Learn valuable methods and techniques explained by top experts in the creative sector.
-
Meet expert teachers
Each expert teaches what they do best, with clear guidelines, true passion, and professional insight in every lesson.
-
Certificates
PlusIf you're a Plus member, get a custom certificate for every specialization course. Share it on your portfolio, social media, or wherever you like.
-
Get front-row seats
Videos of the highest quality, so you don't miss a single detail. With unlimited access, you can watch them as many times as you need to perfect your technique.
-
Share knowledge and ideas
Ask questions, request feedback, or offer solutions. Share your learning experience with other students in the community who are as passionate about creativity as you are.
-
Connect with a global creative community
The community is home to millions of people from around the world who are curious and passionate about exploring and expressing their creativity.
-
Watch professionally produced courses
Domestika curates its teacher roster and produces every course in-house to ensure a high-quality online learning experience.
FAQs
This course is designed for intermediate leatherworkers who want to advance their skills in handbag making, 3D sculptural techniques, and professional finishing. Beginners may find the pace challenging but those with basic leathercraft experience will benefit most.
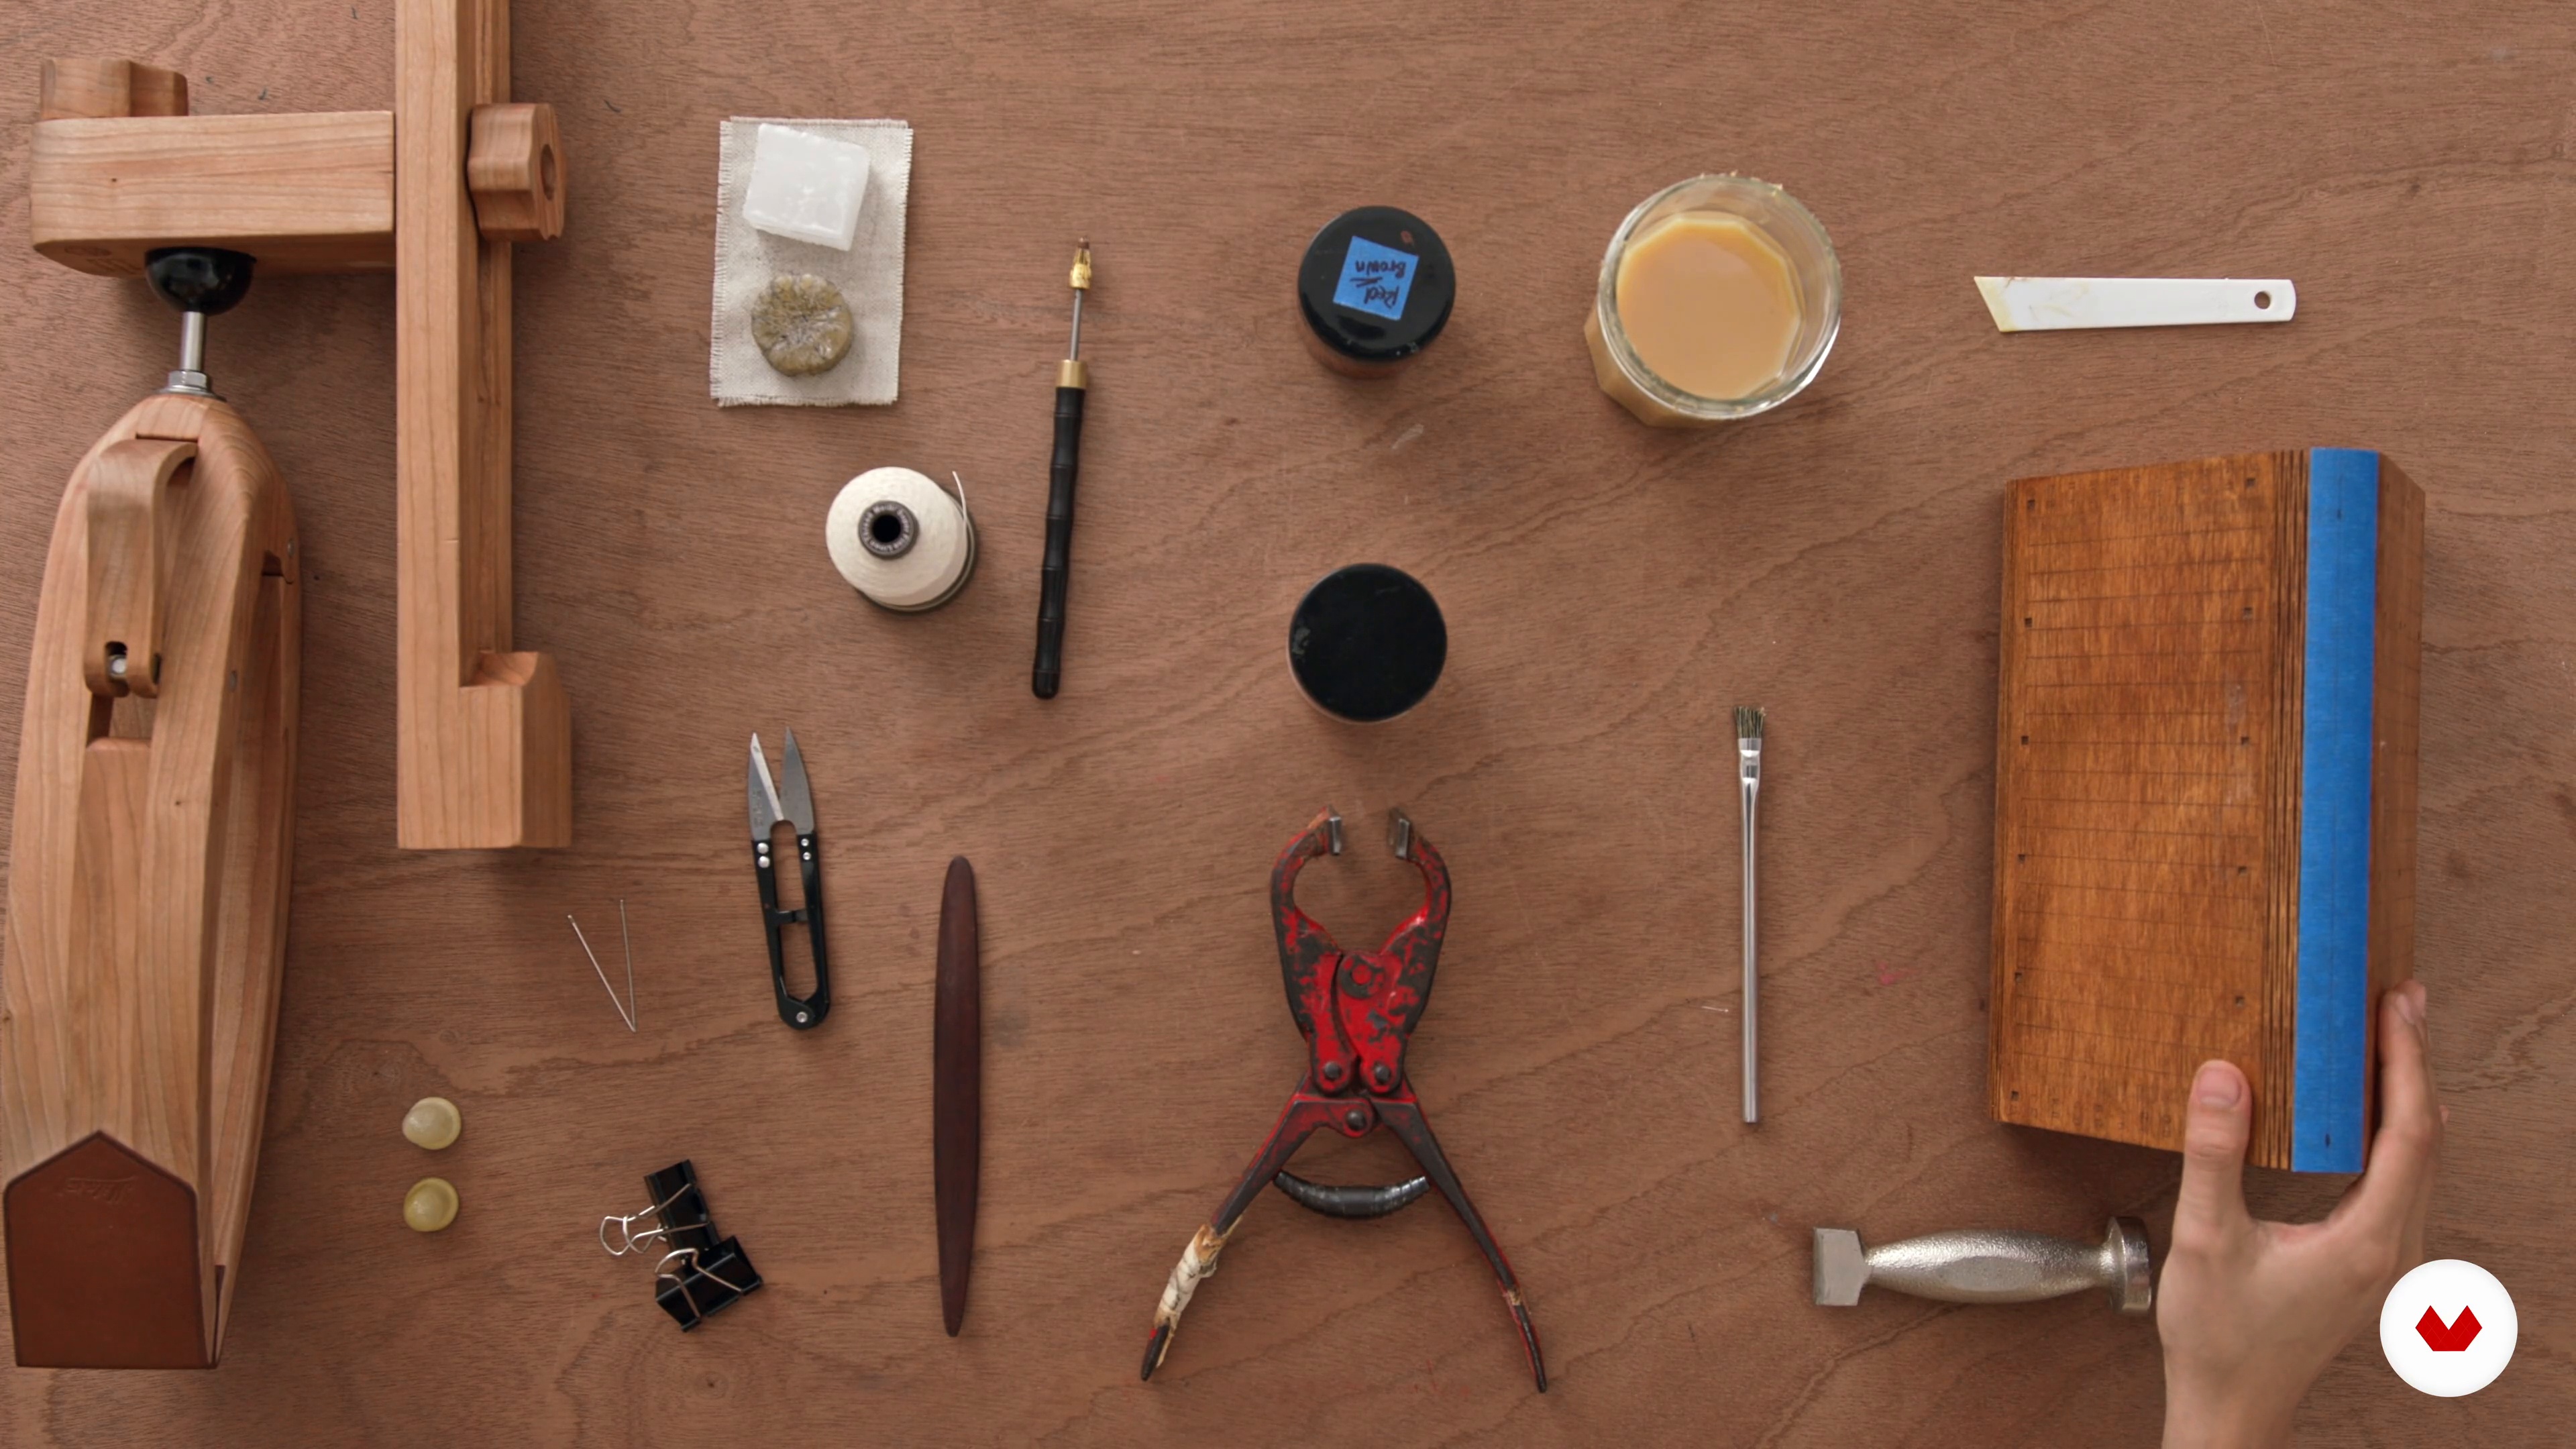
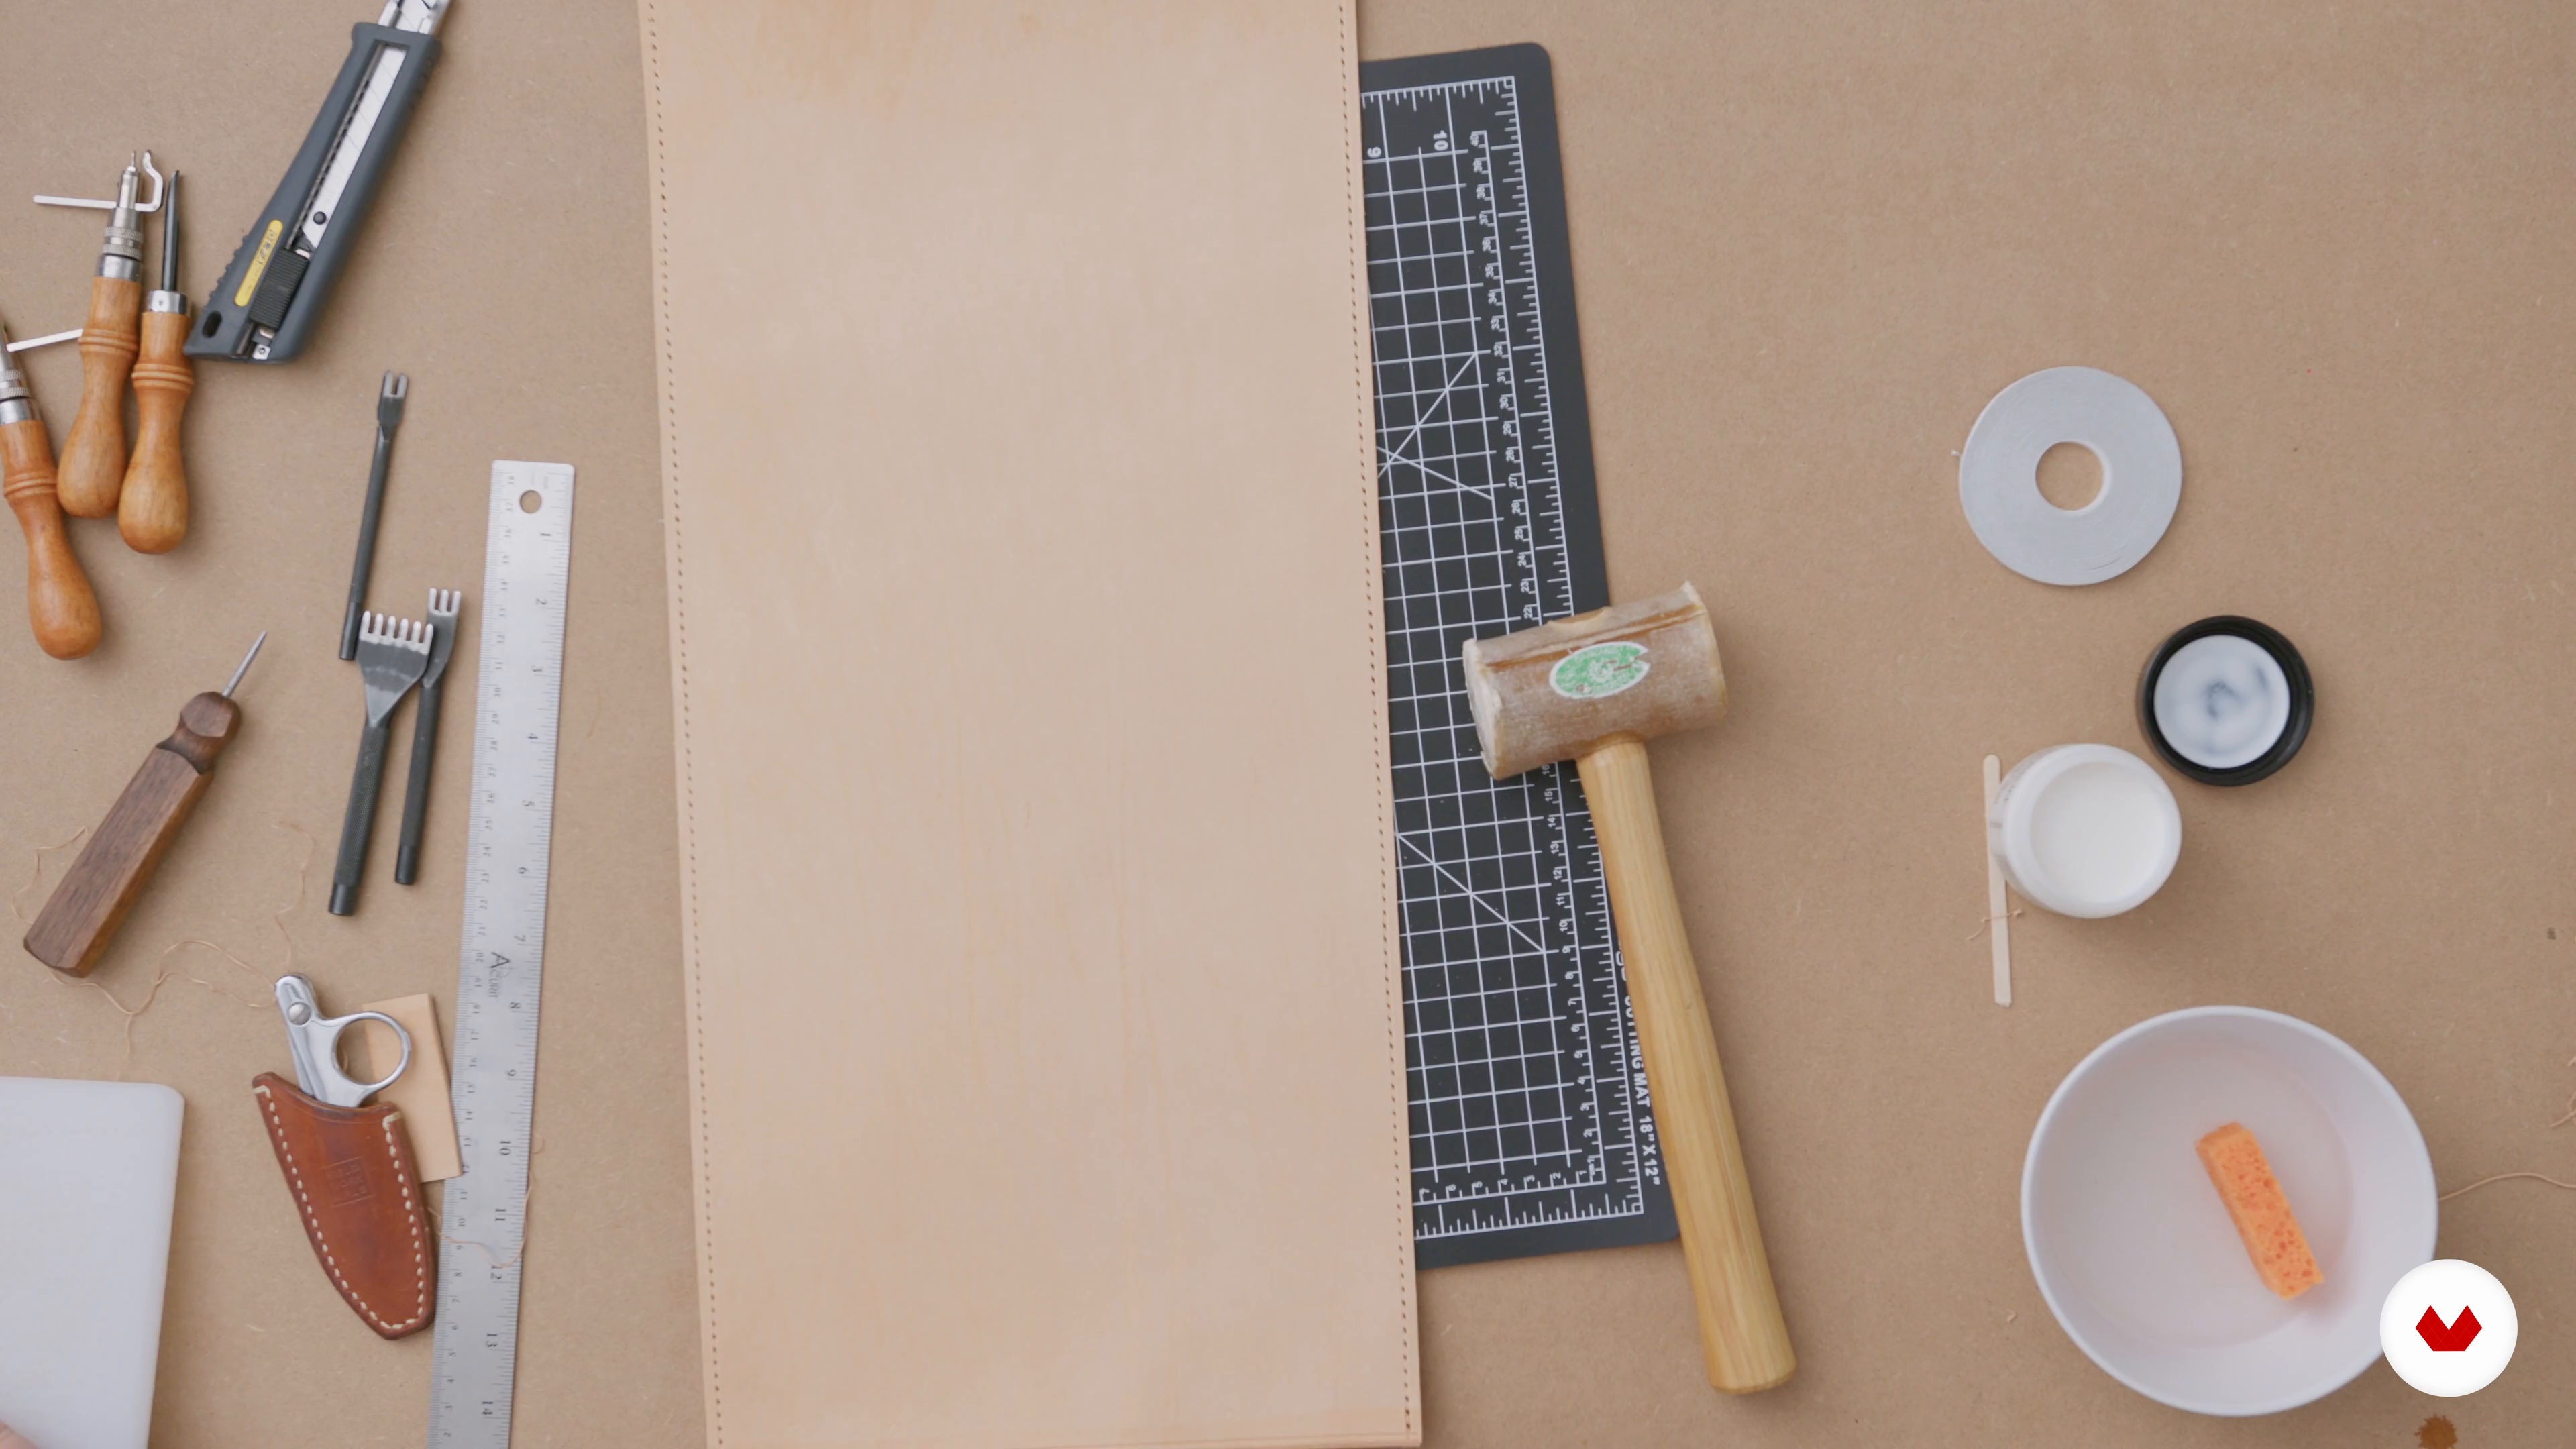
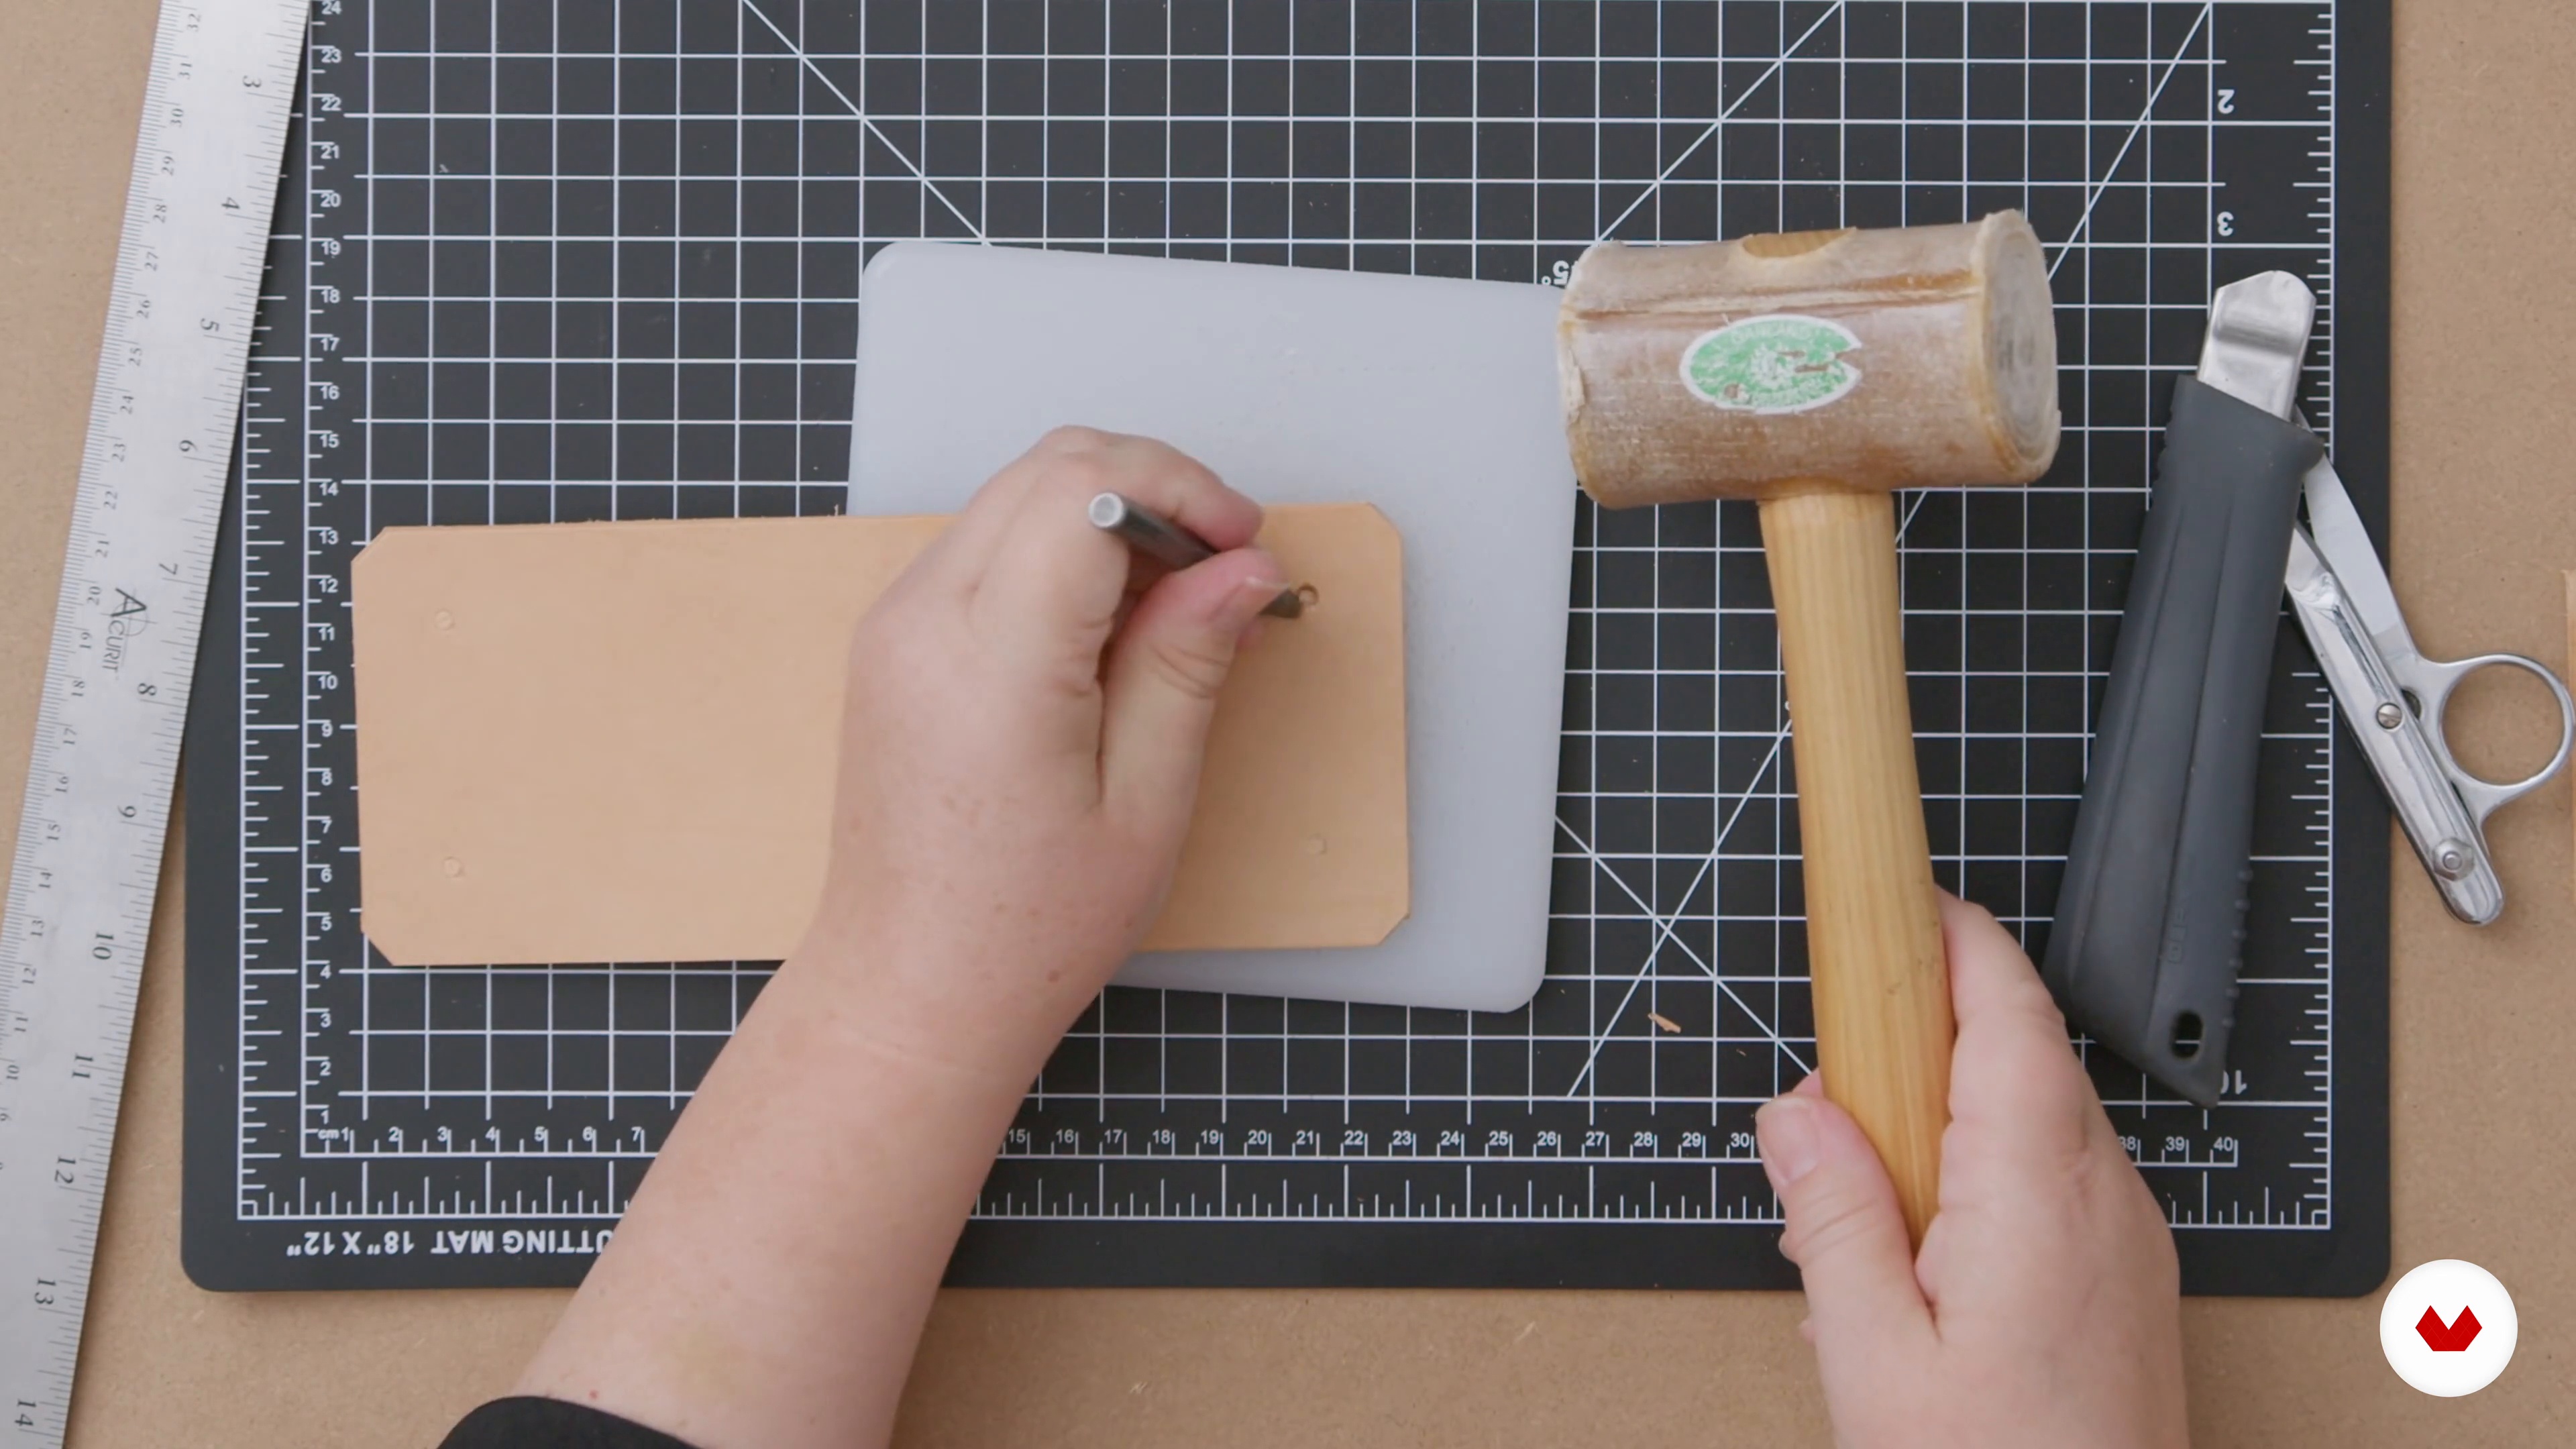
You’ll need basic leatherworking tools such as pricking irons, utility knife, edge paint, thread, needles, hardware for closures, lining material, and appropriate leather types for handbag construction. A full materials list is provided upon enrollment.
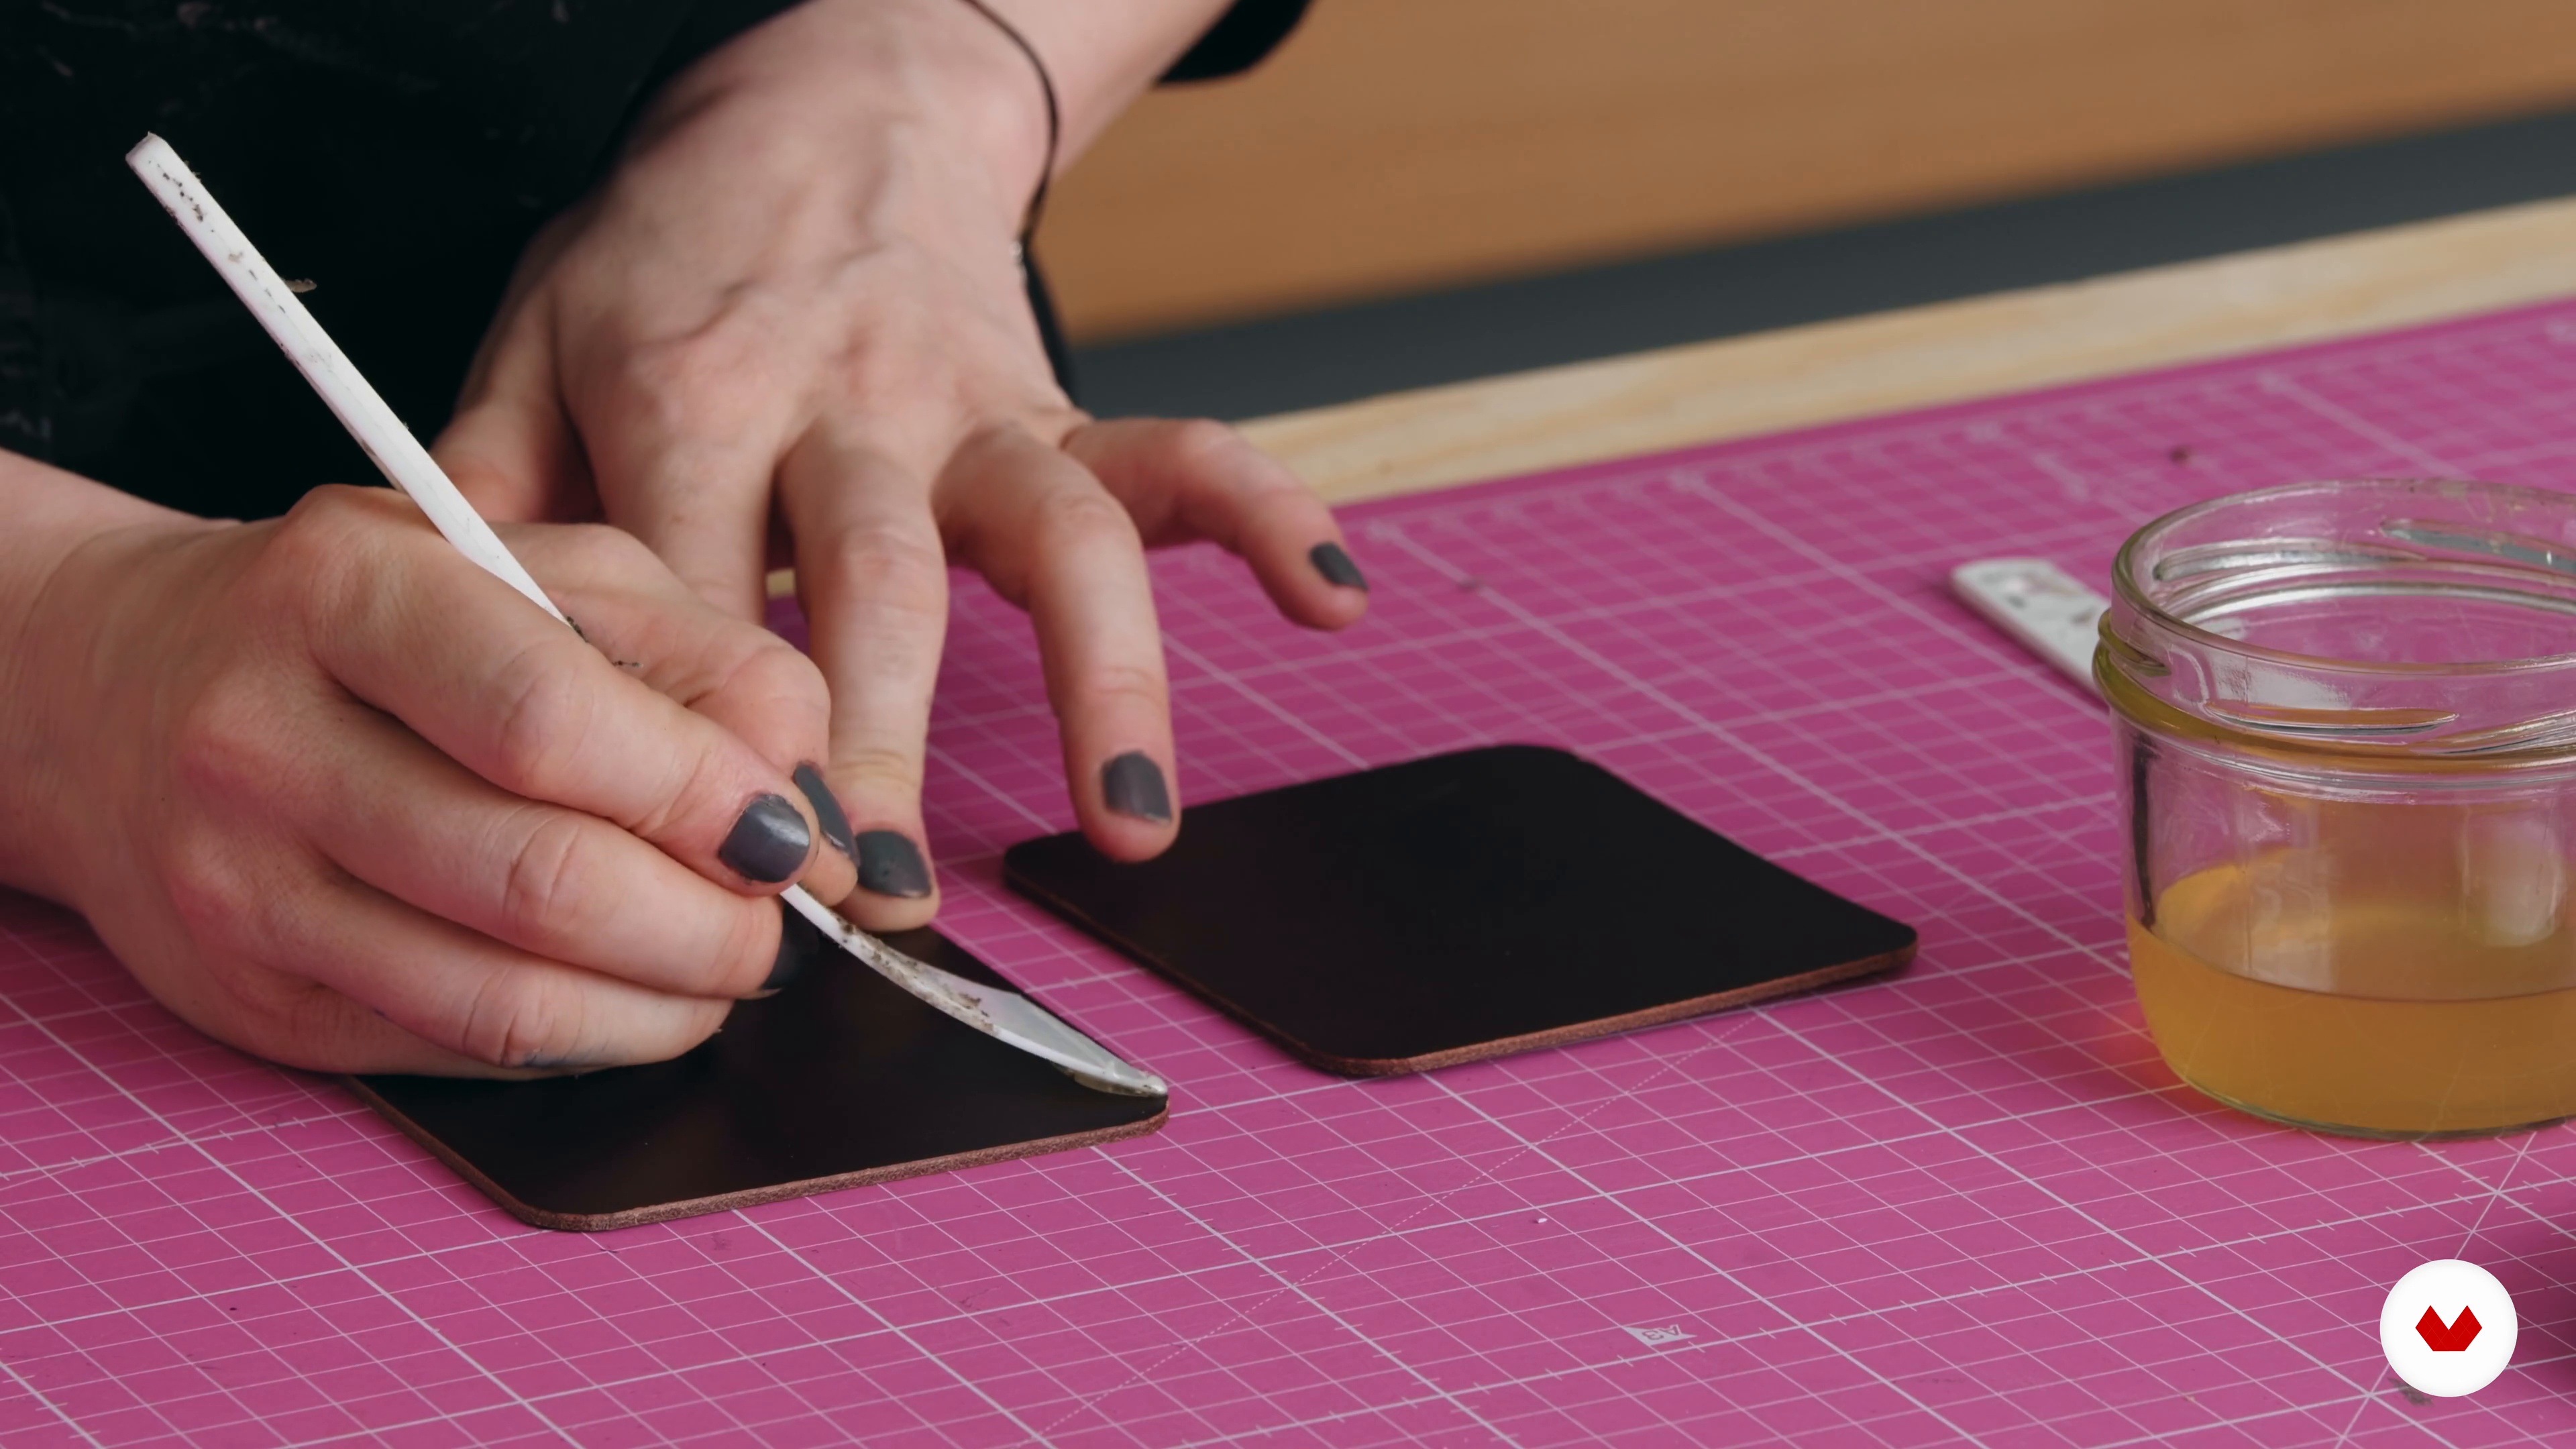
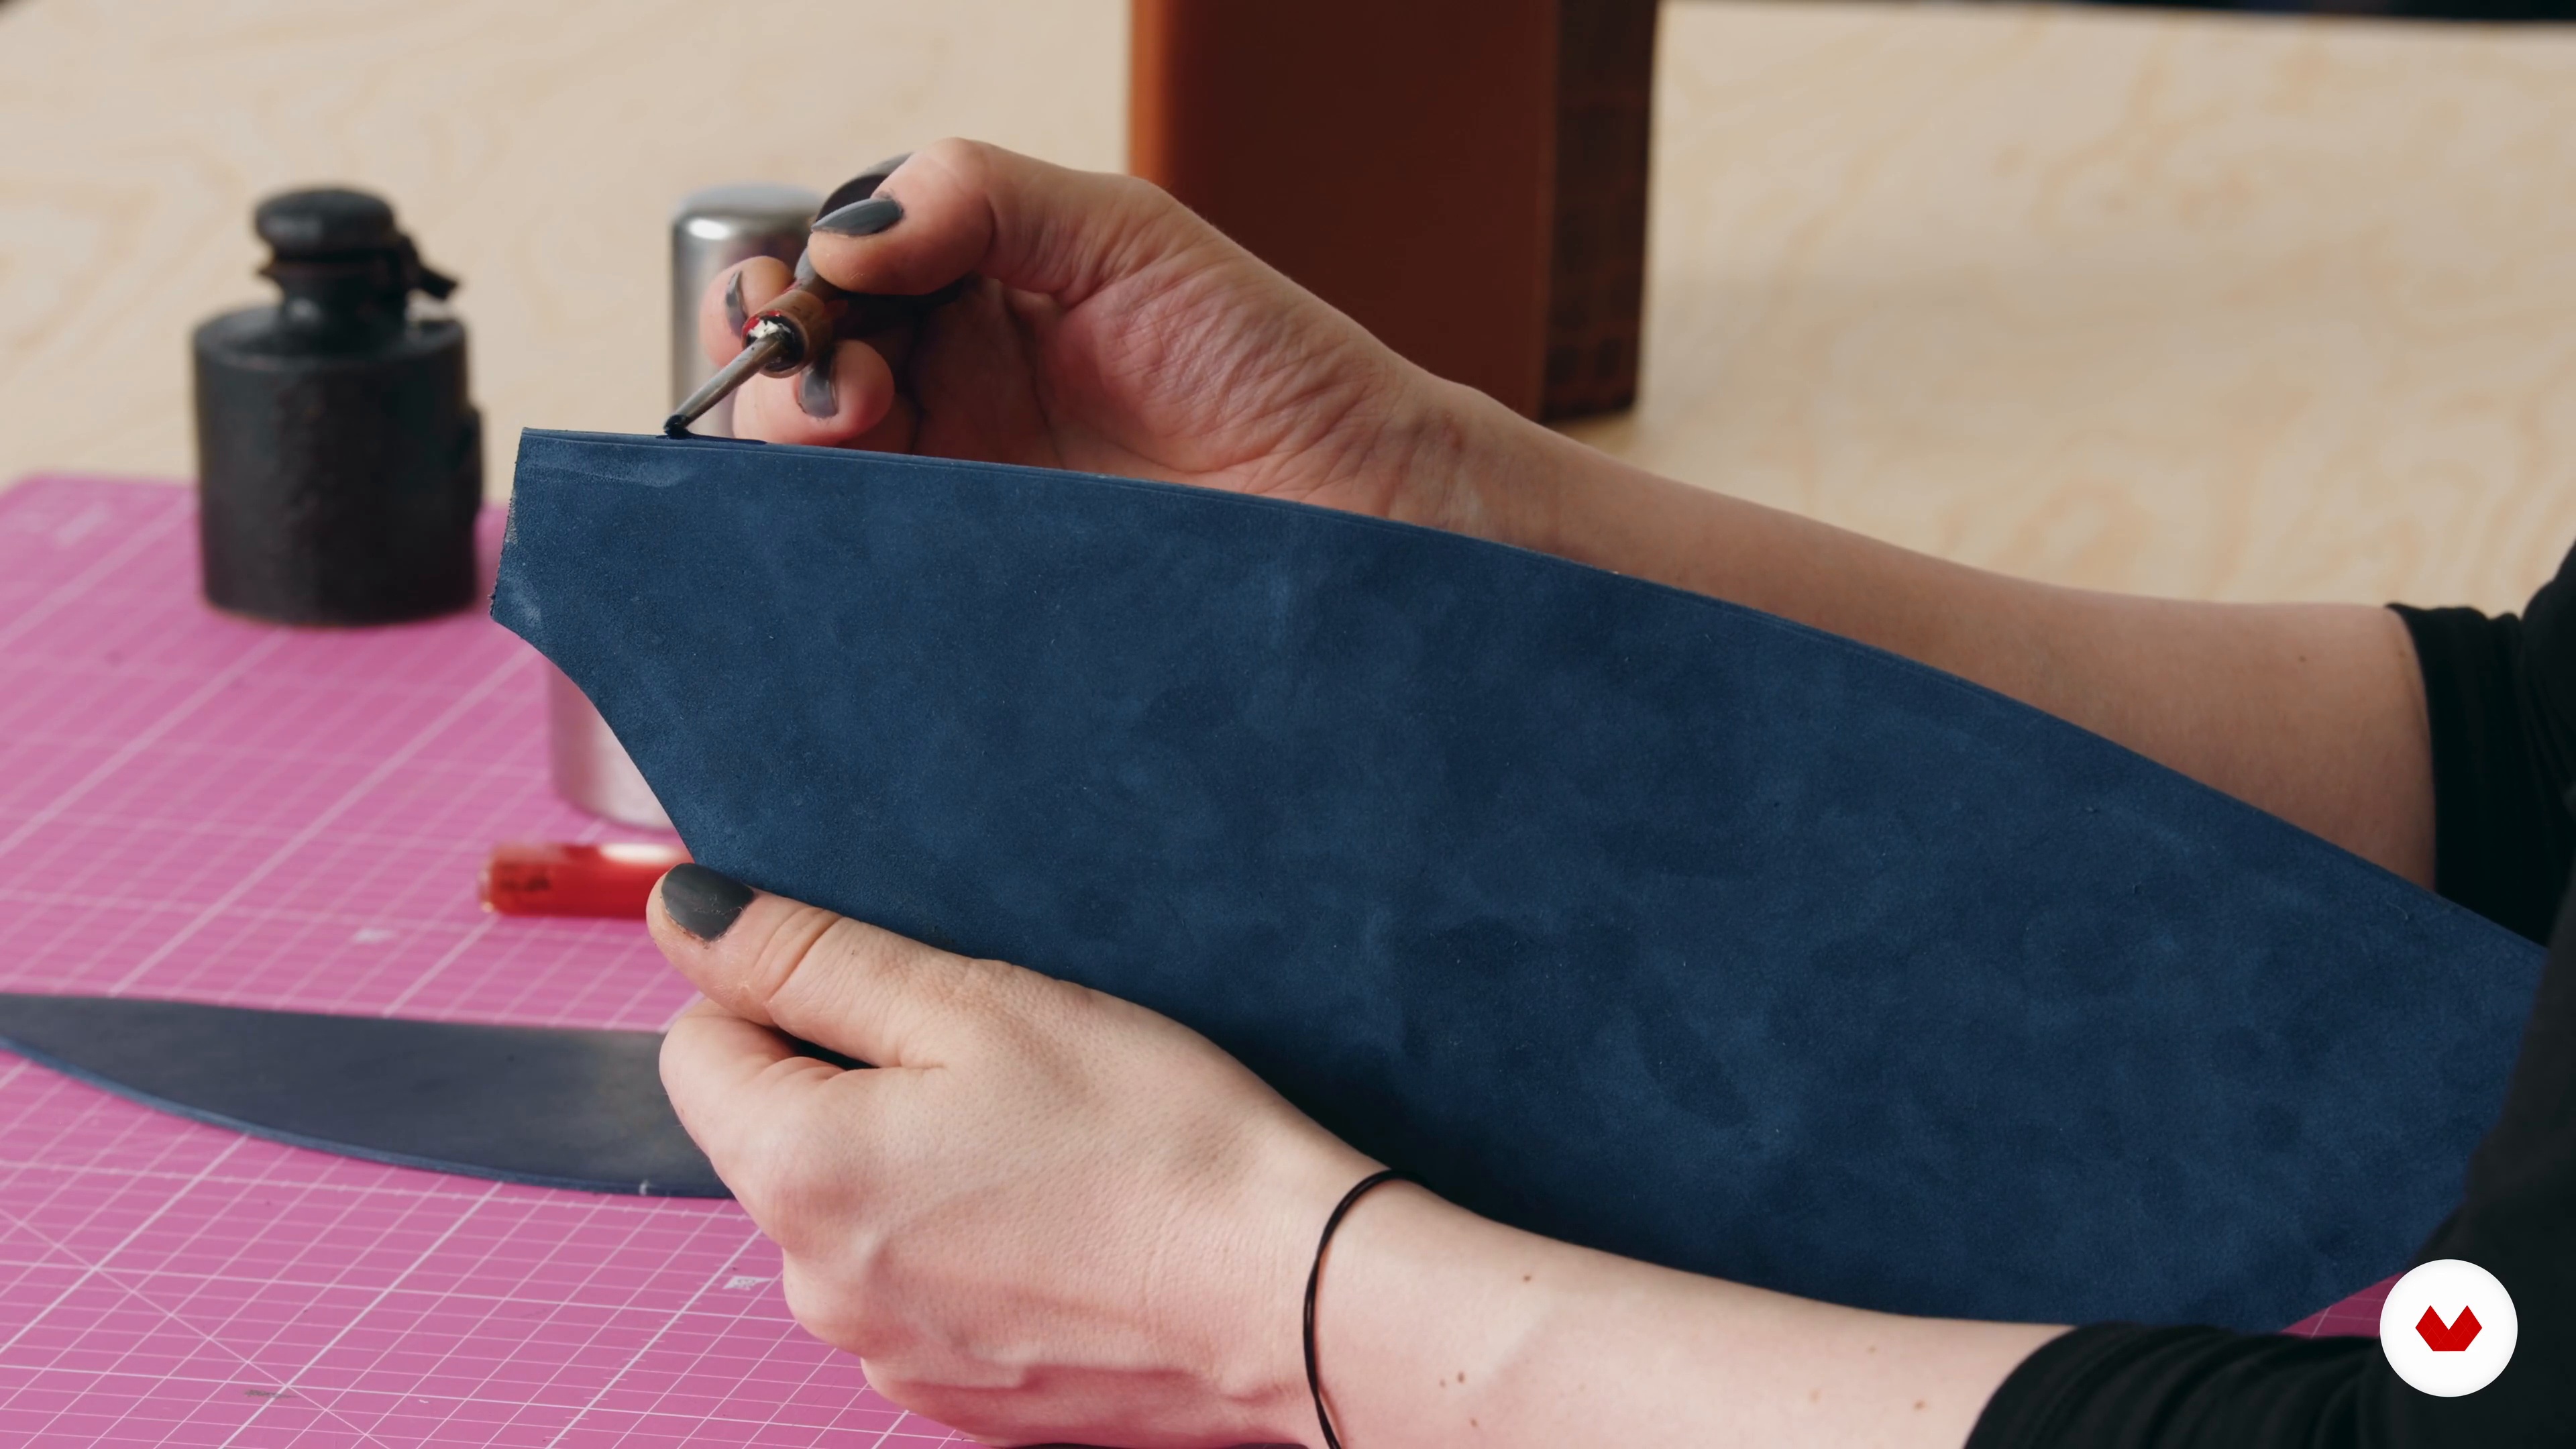
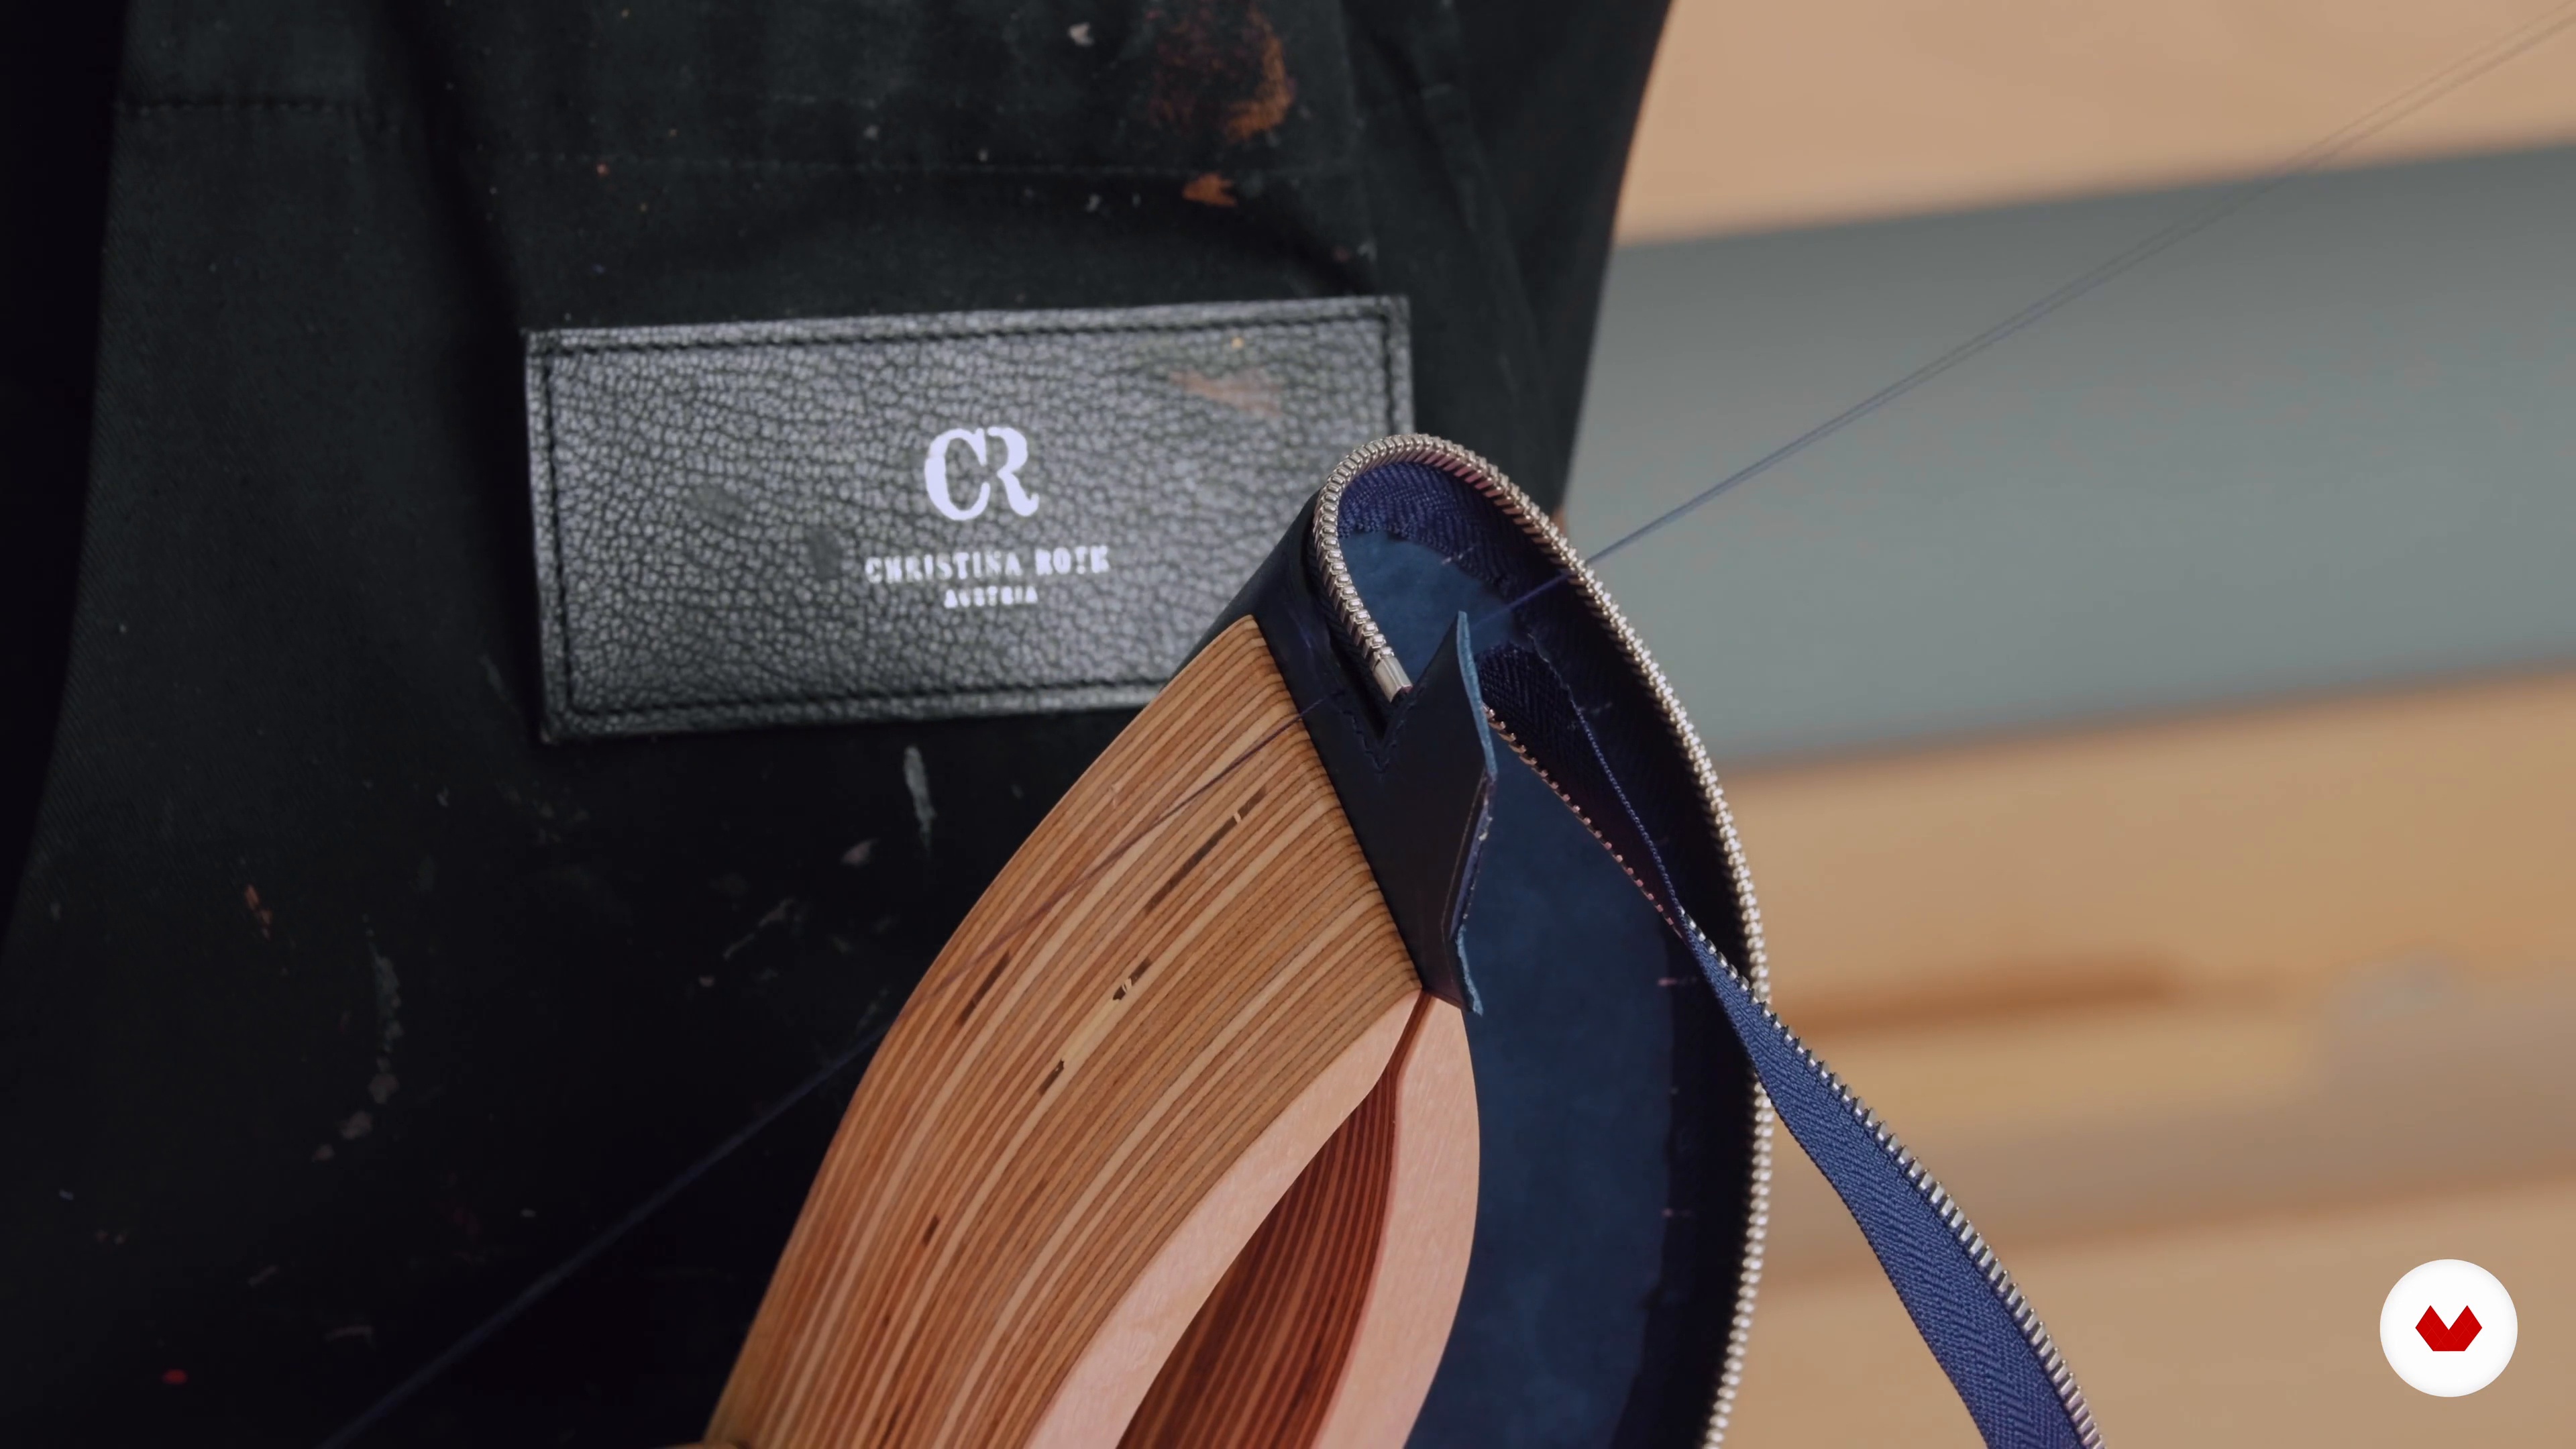
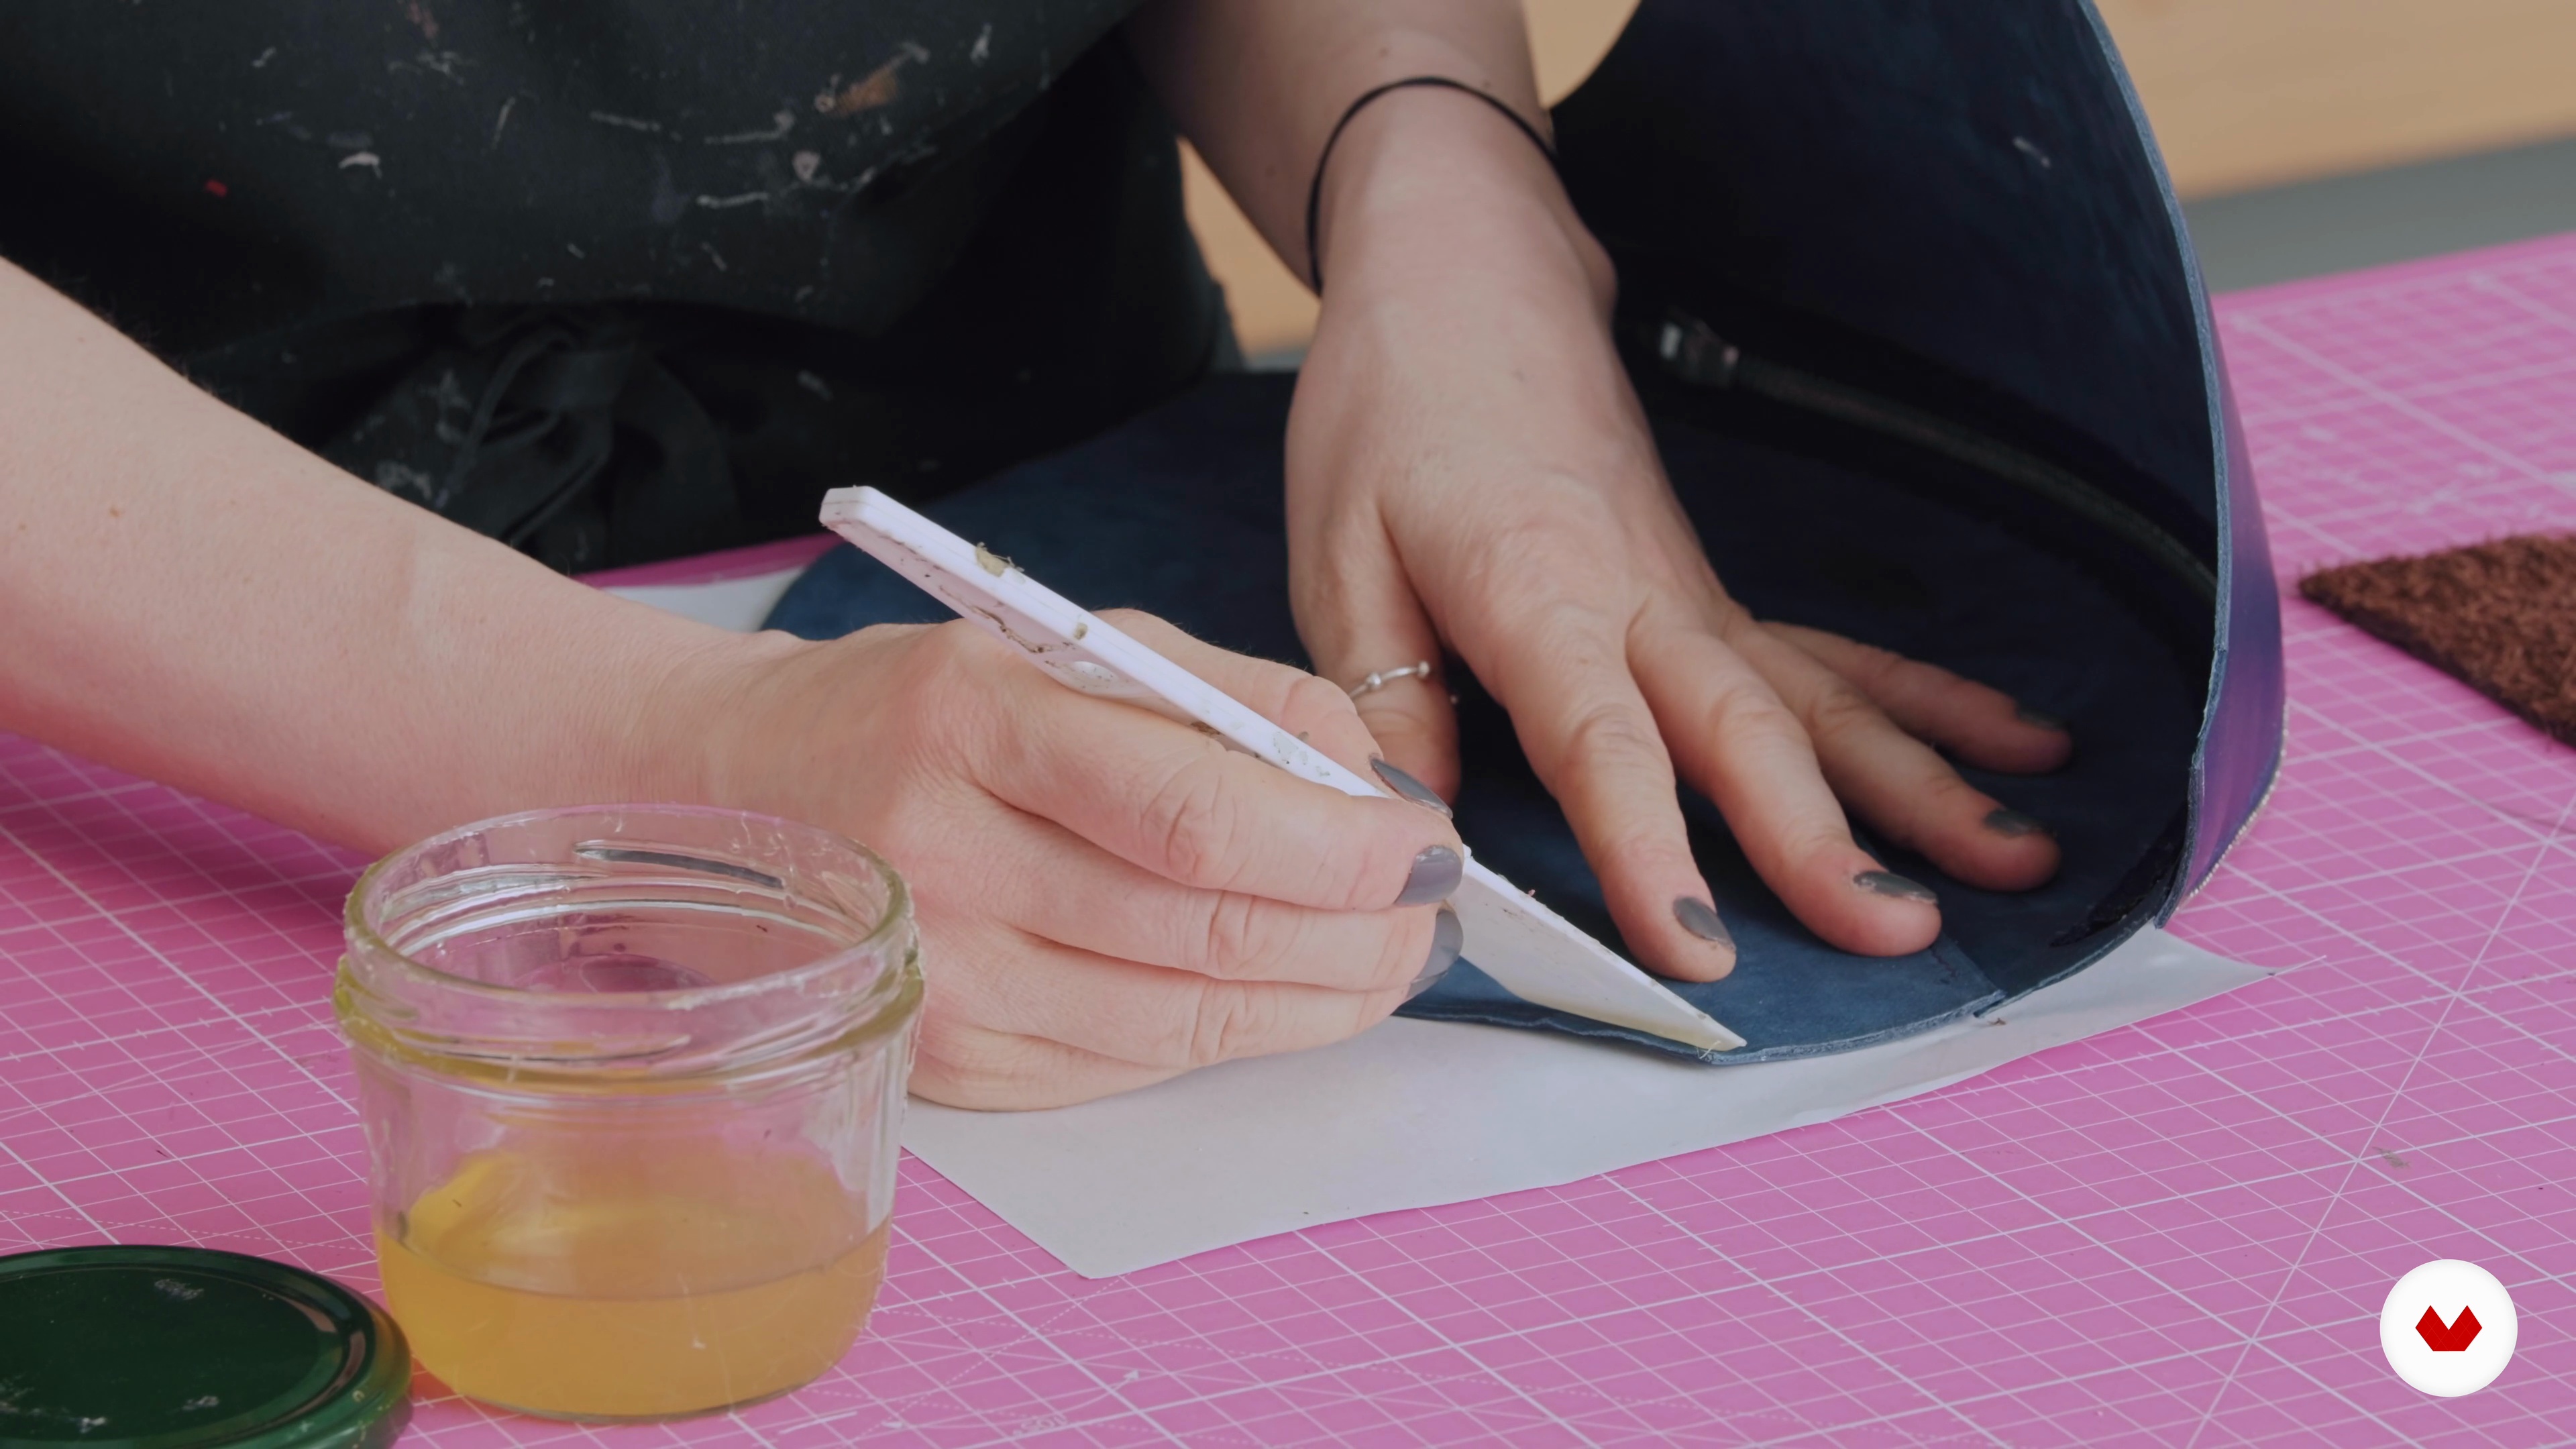
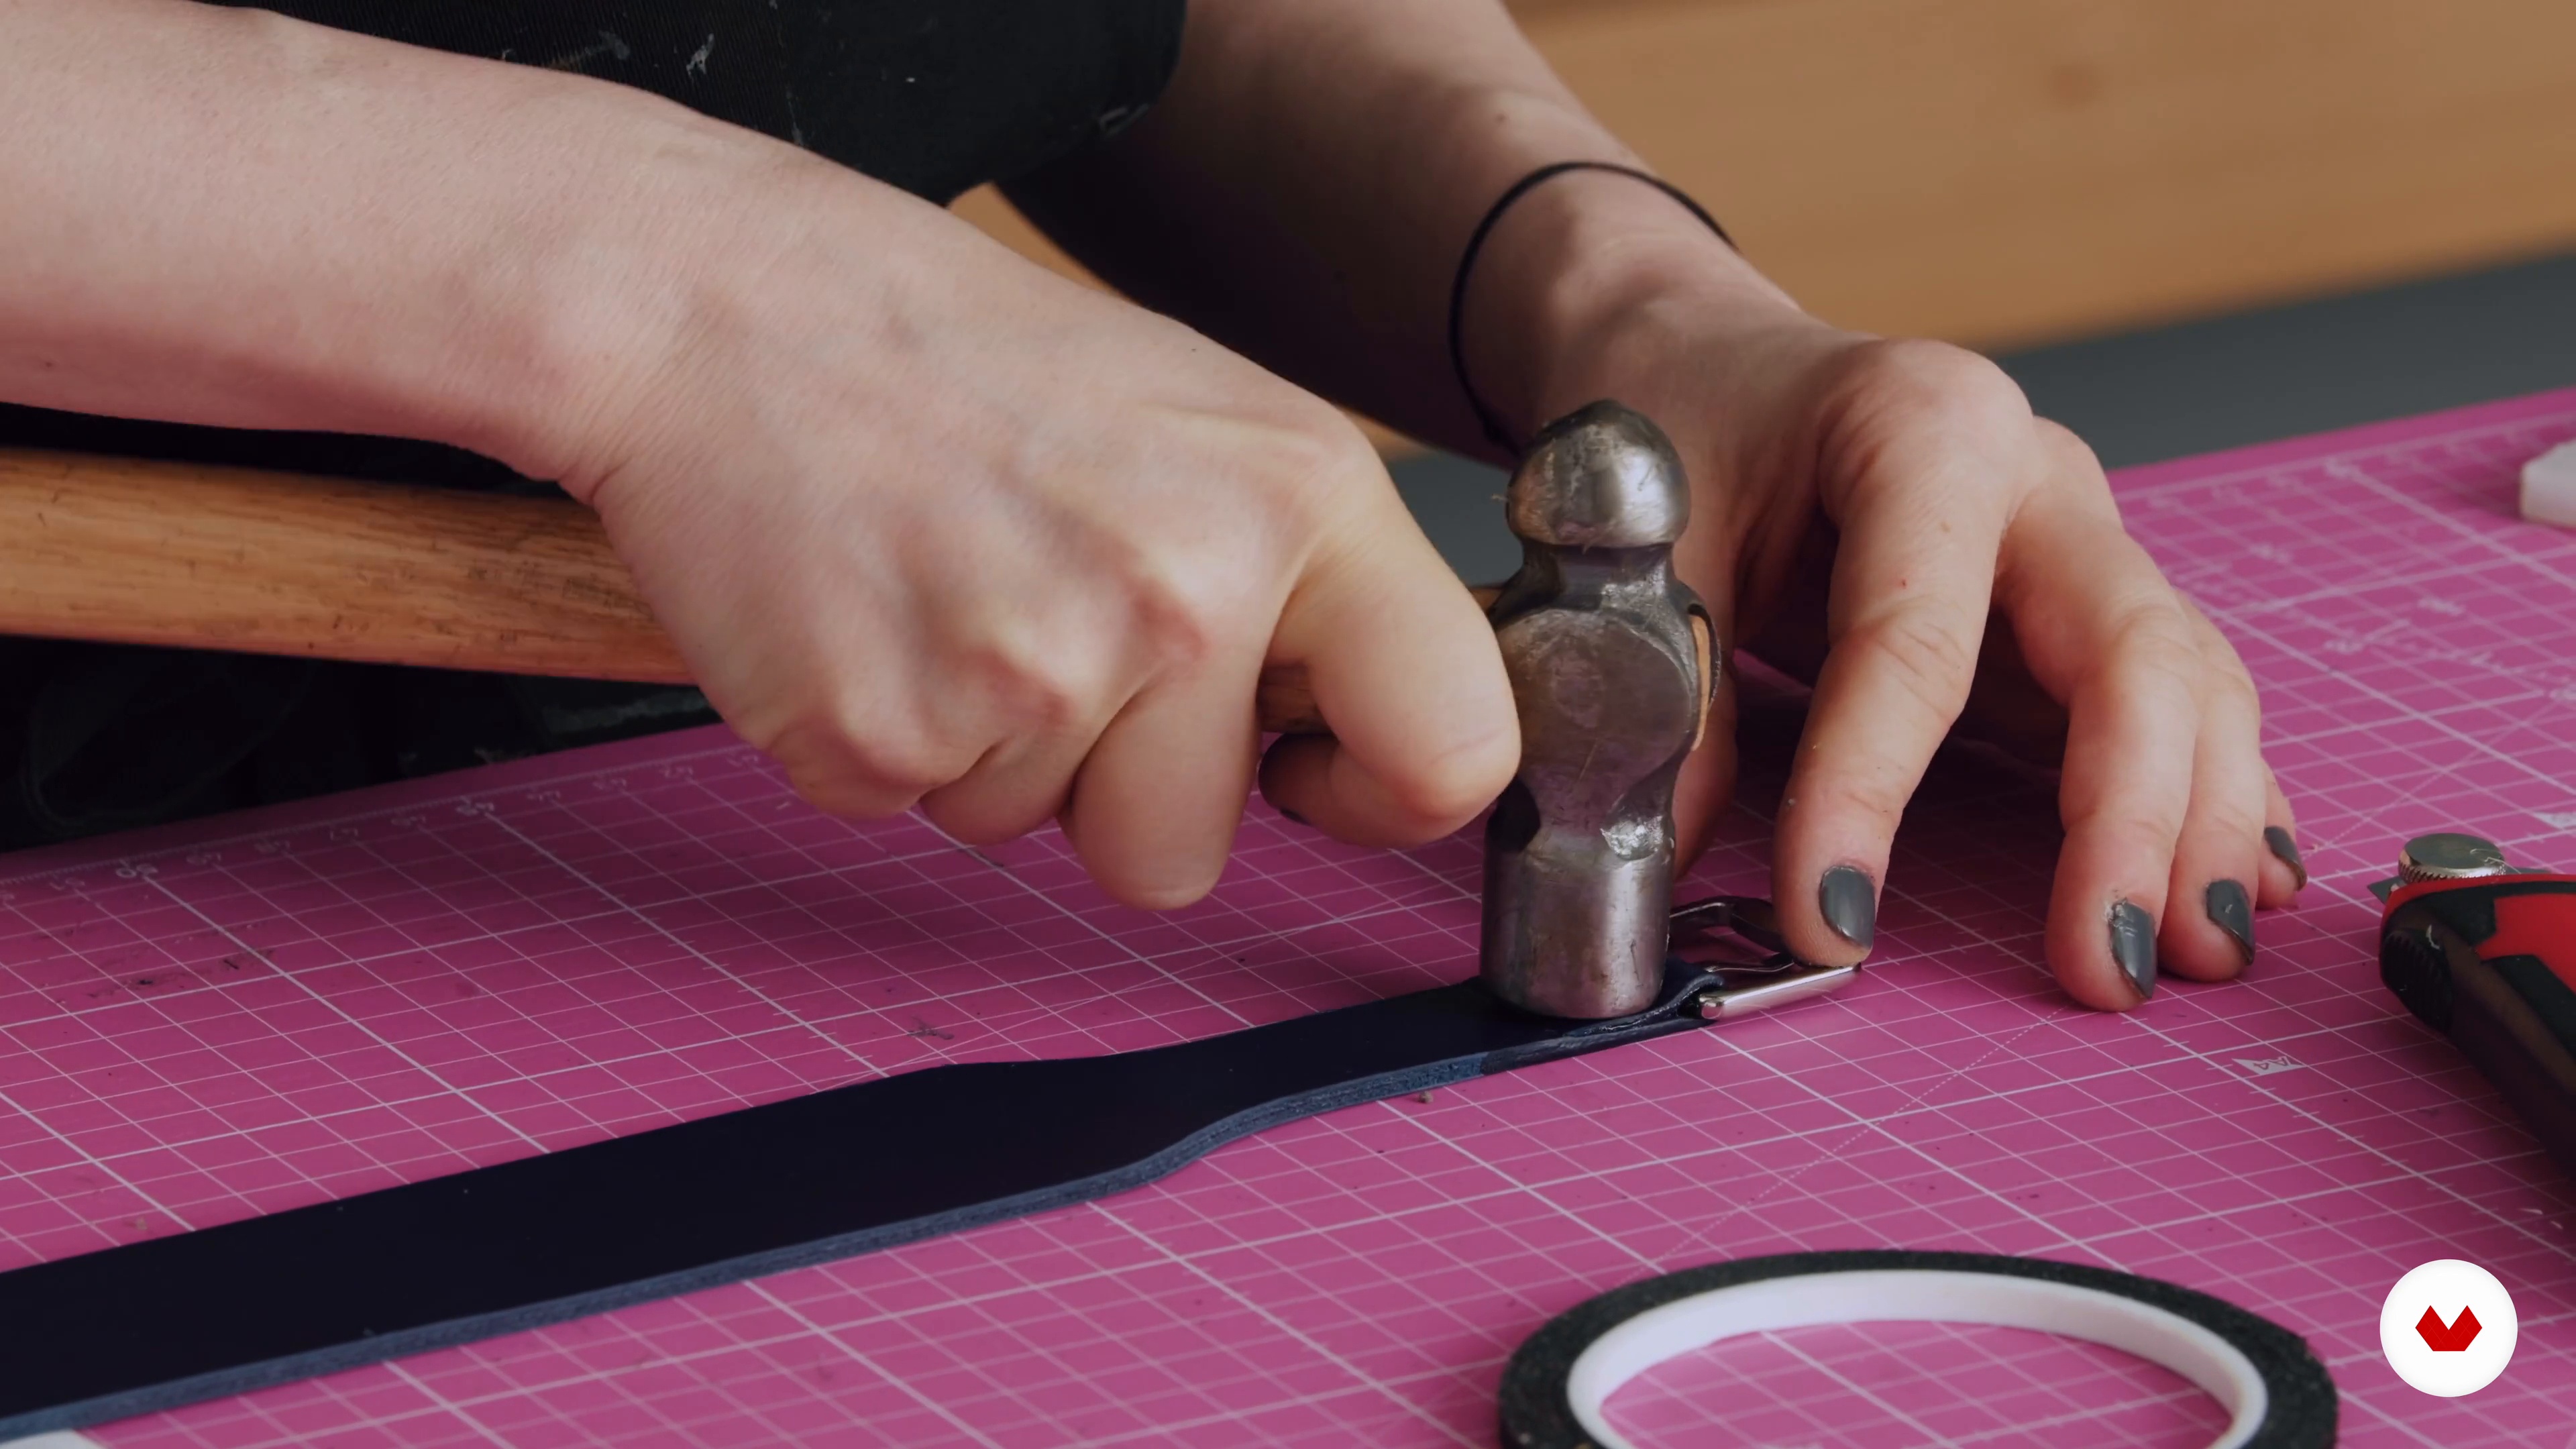
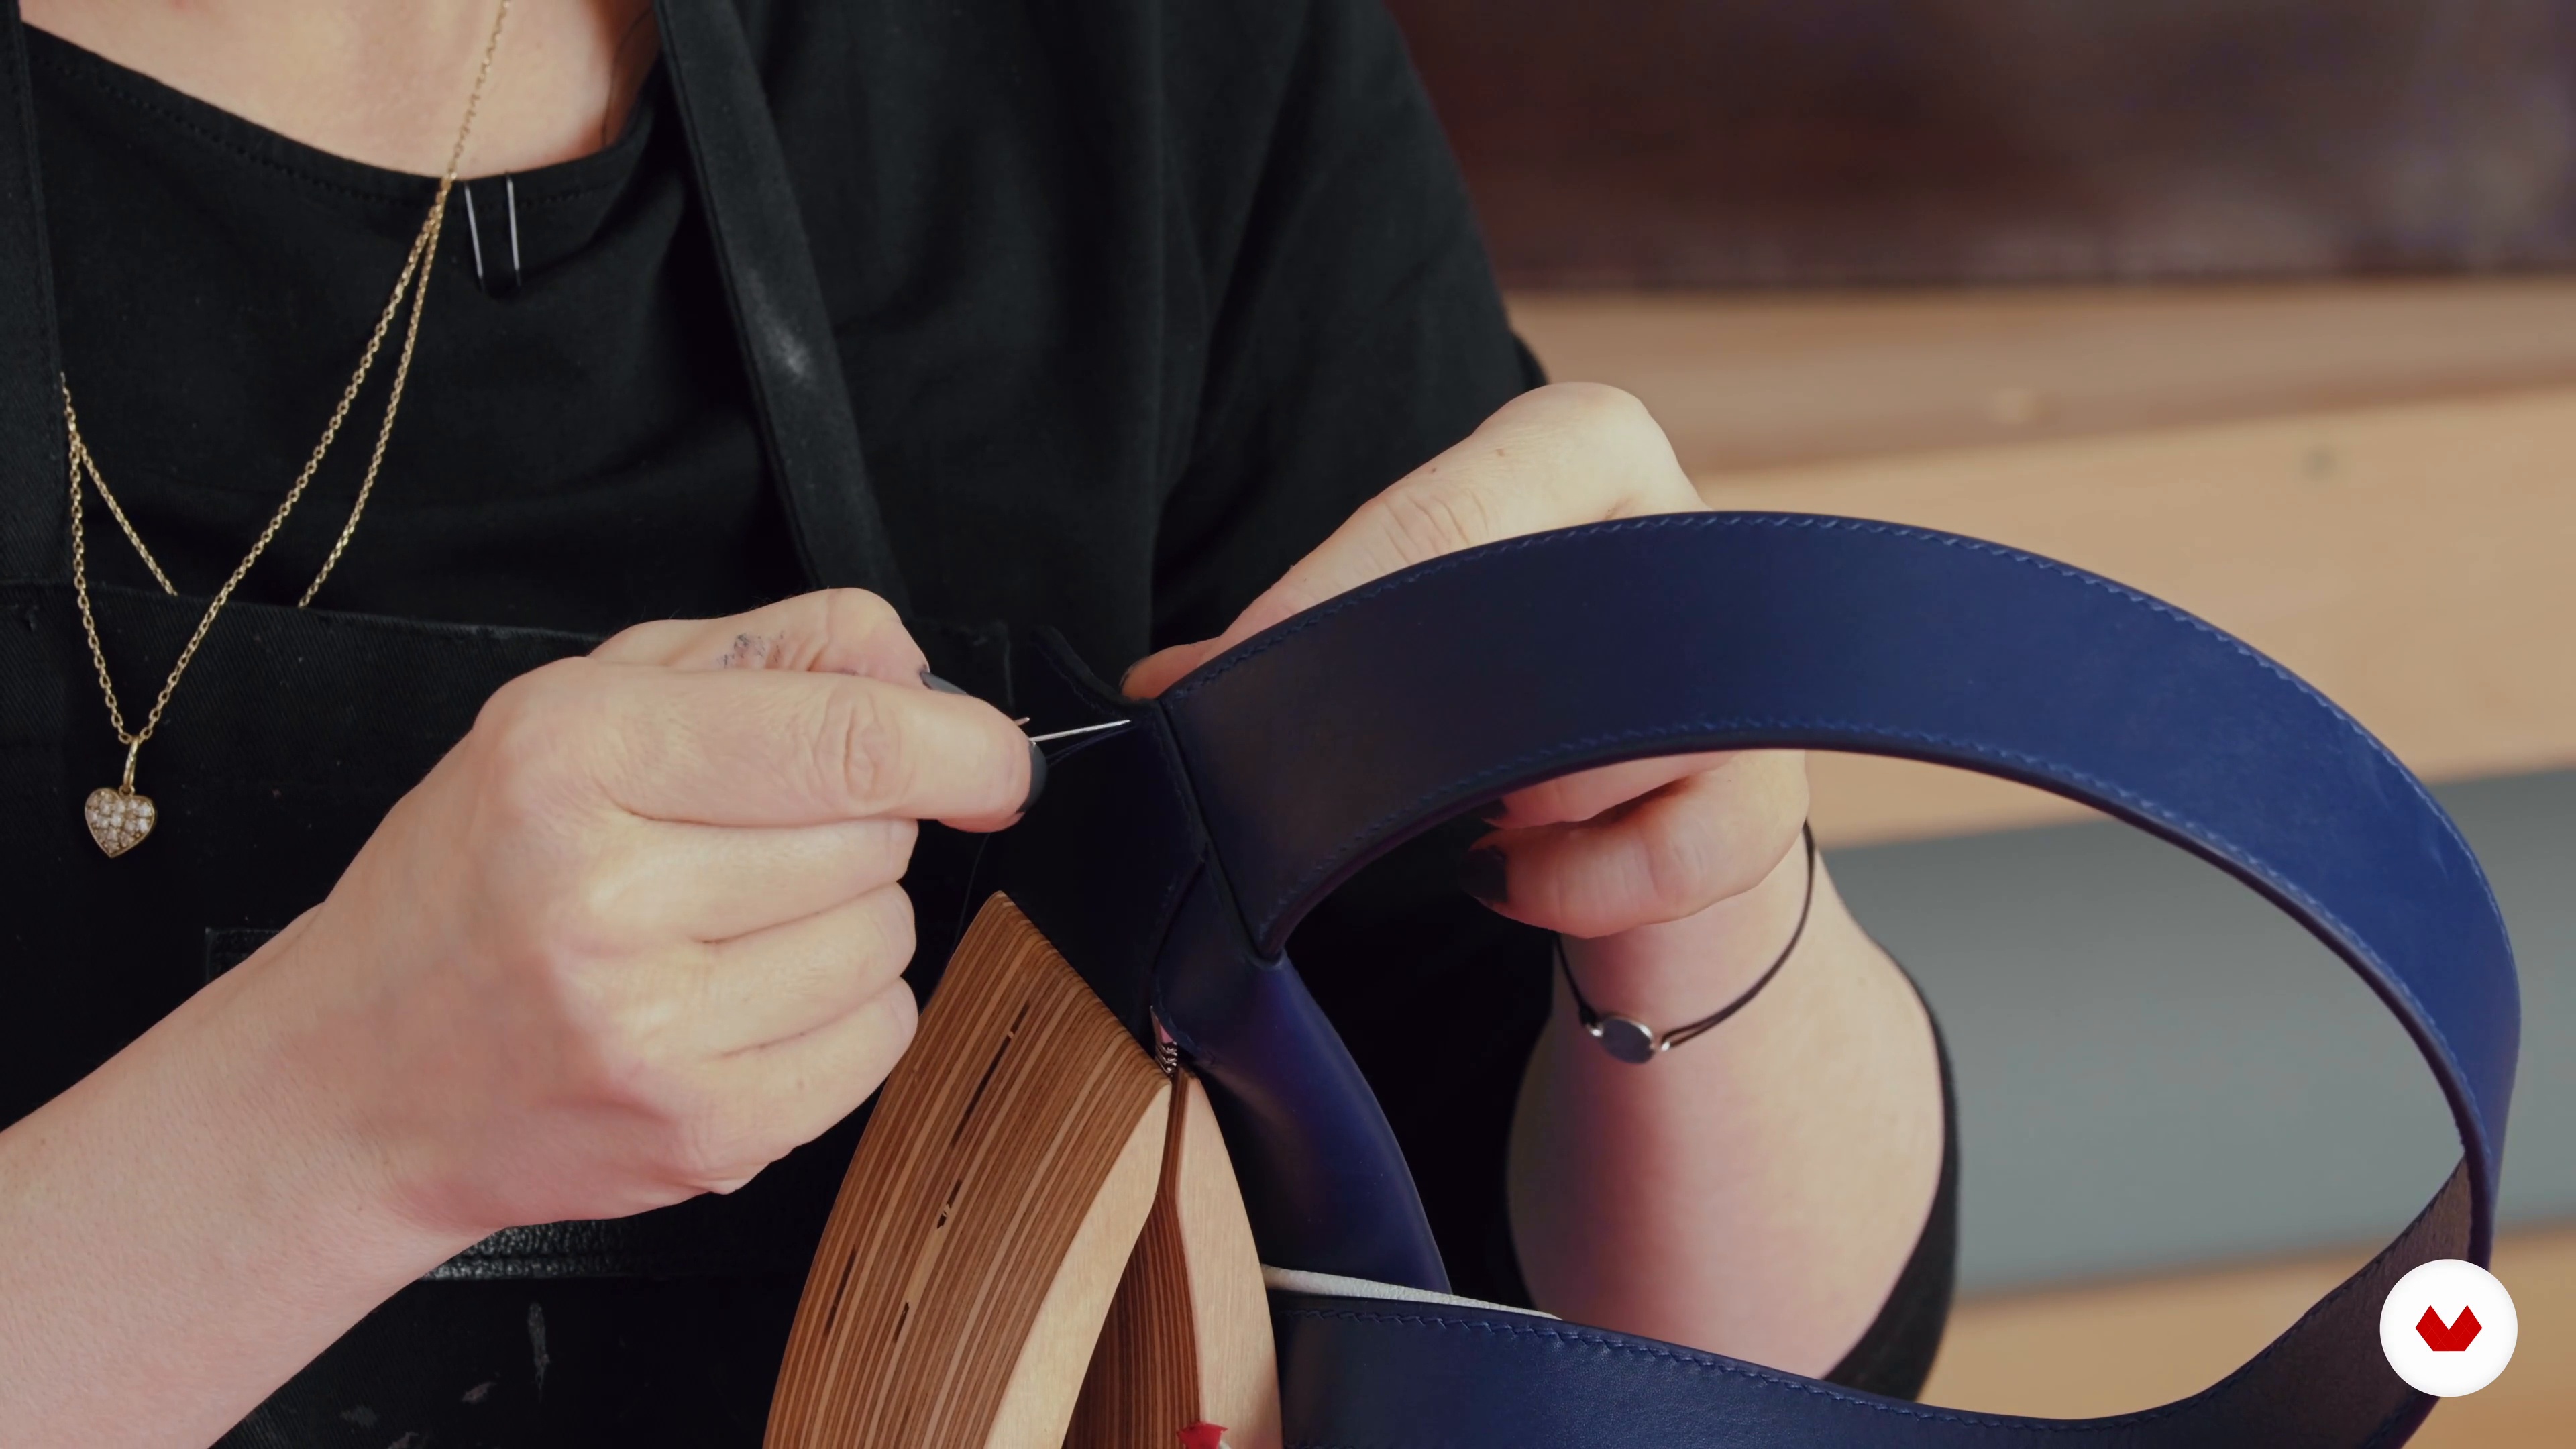
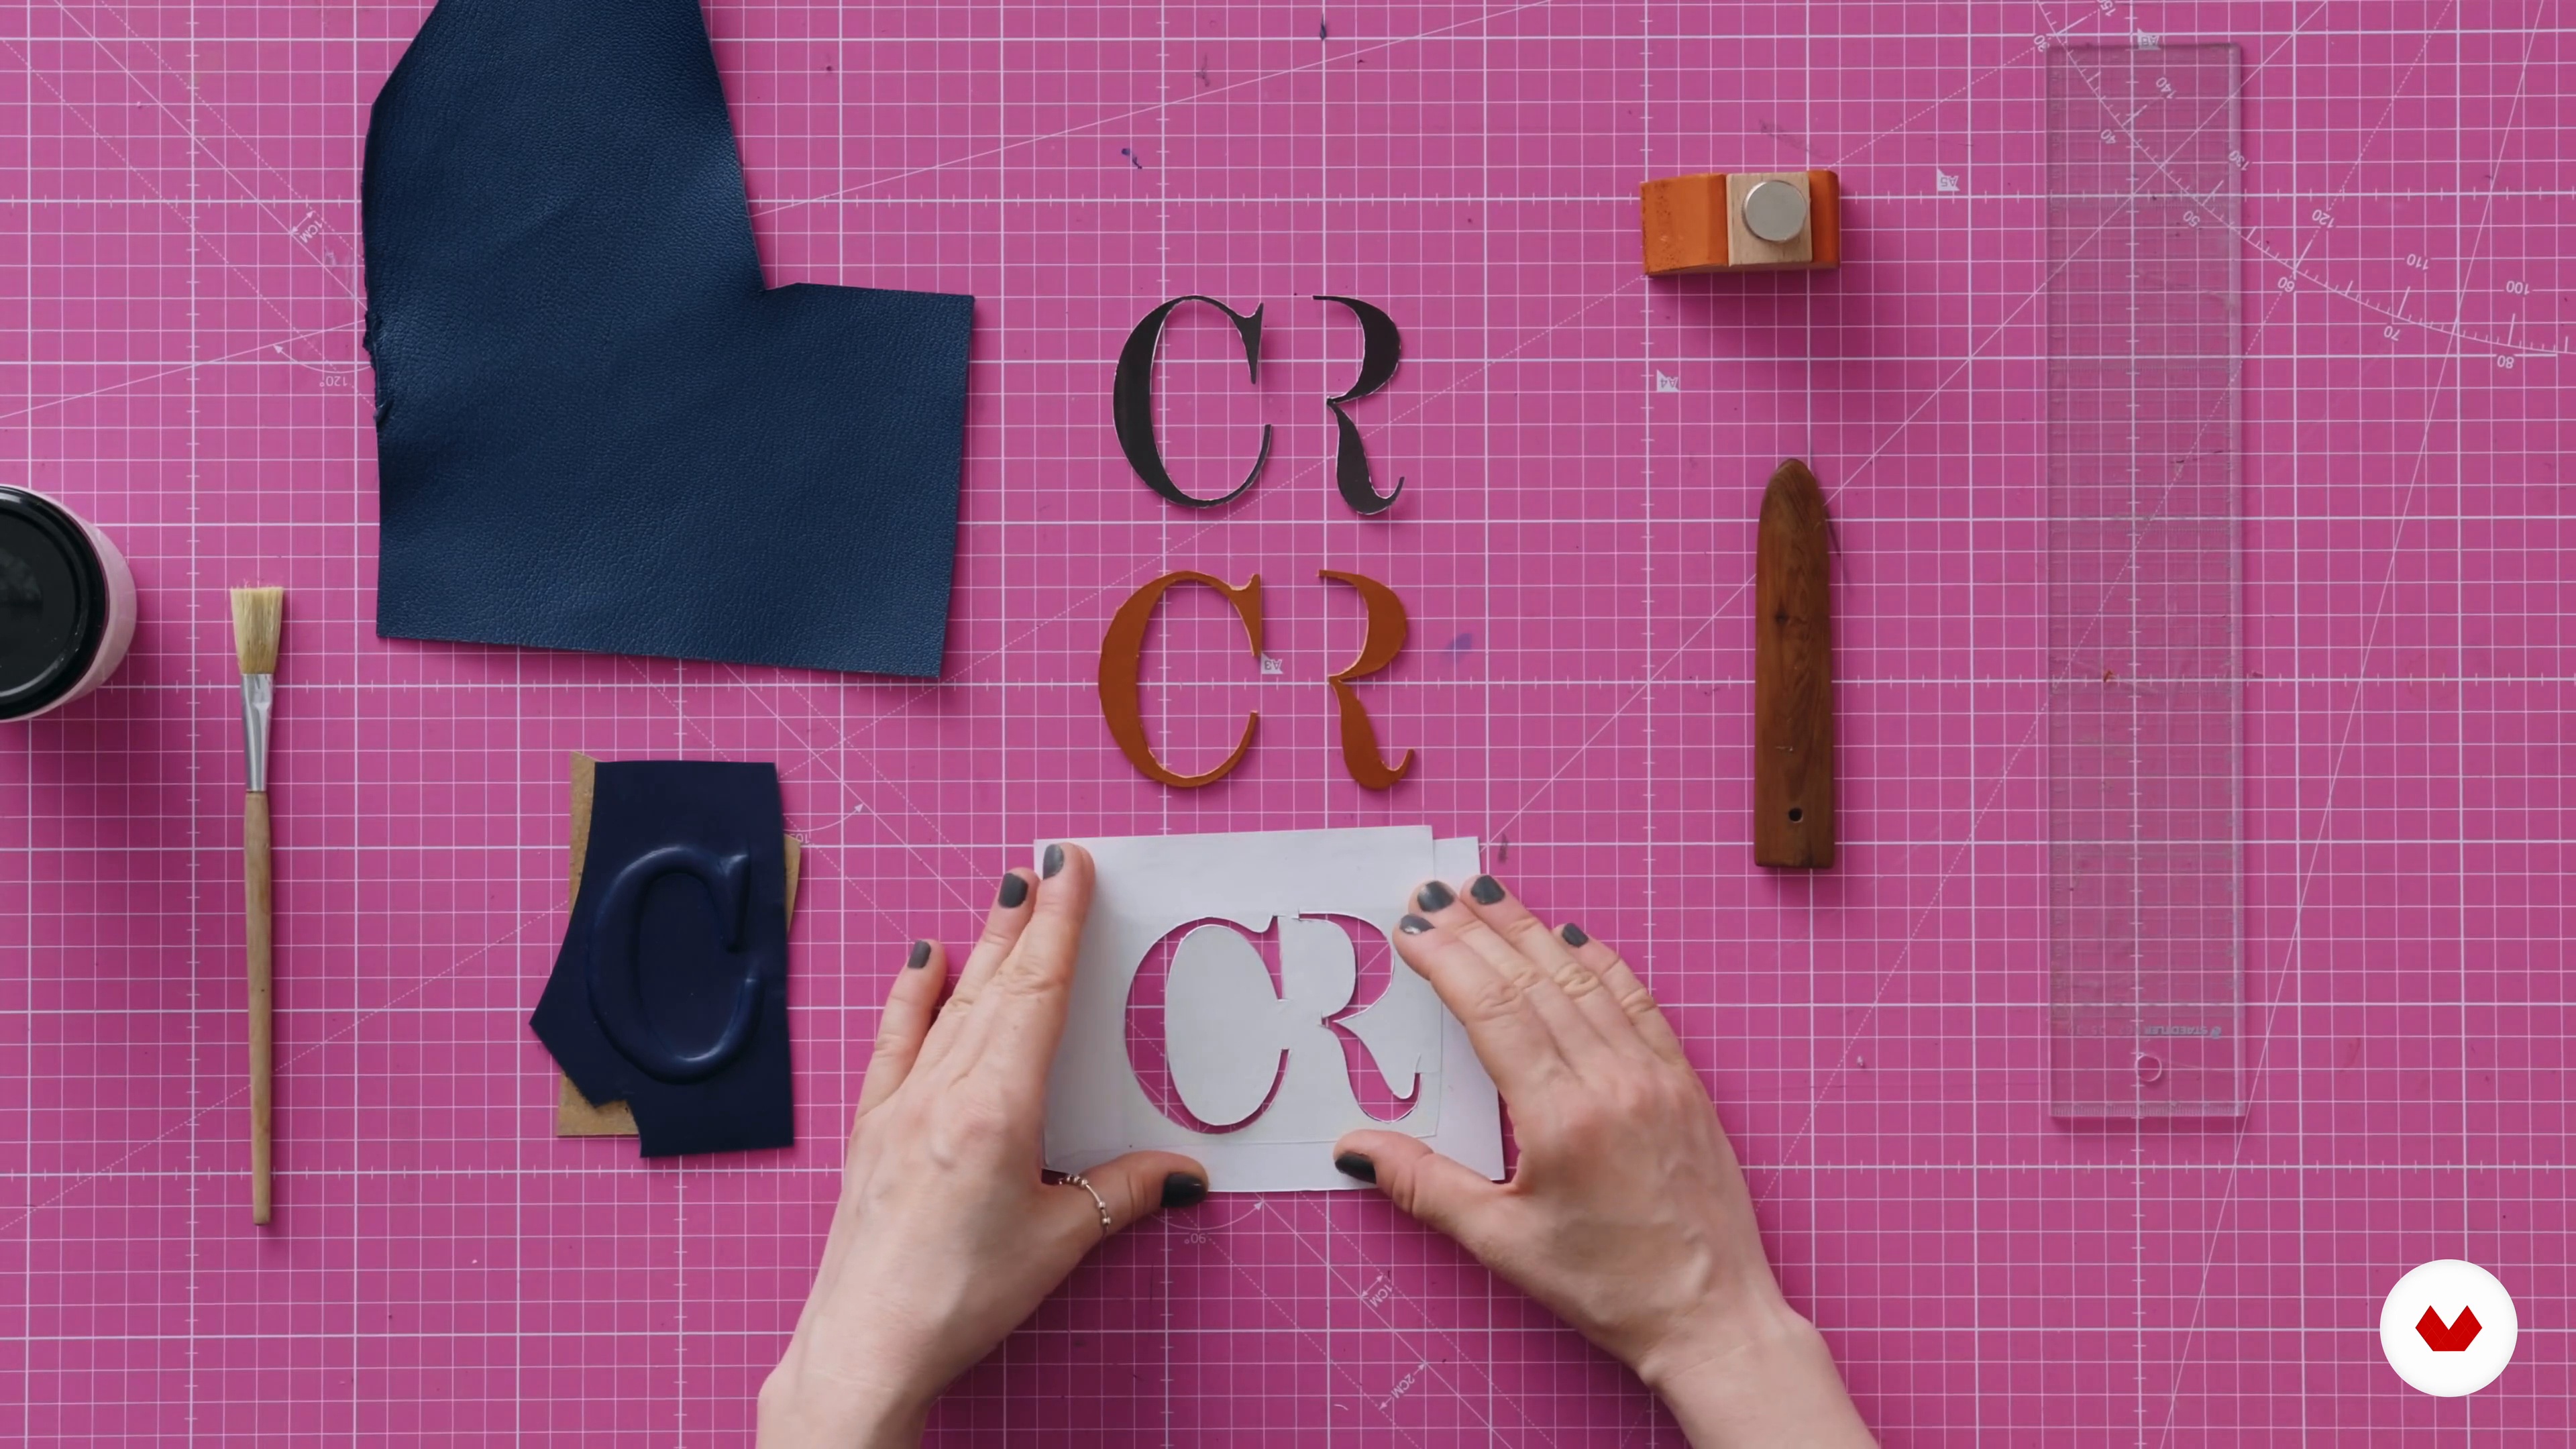
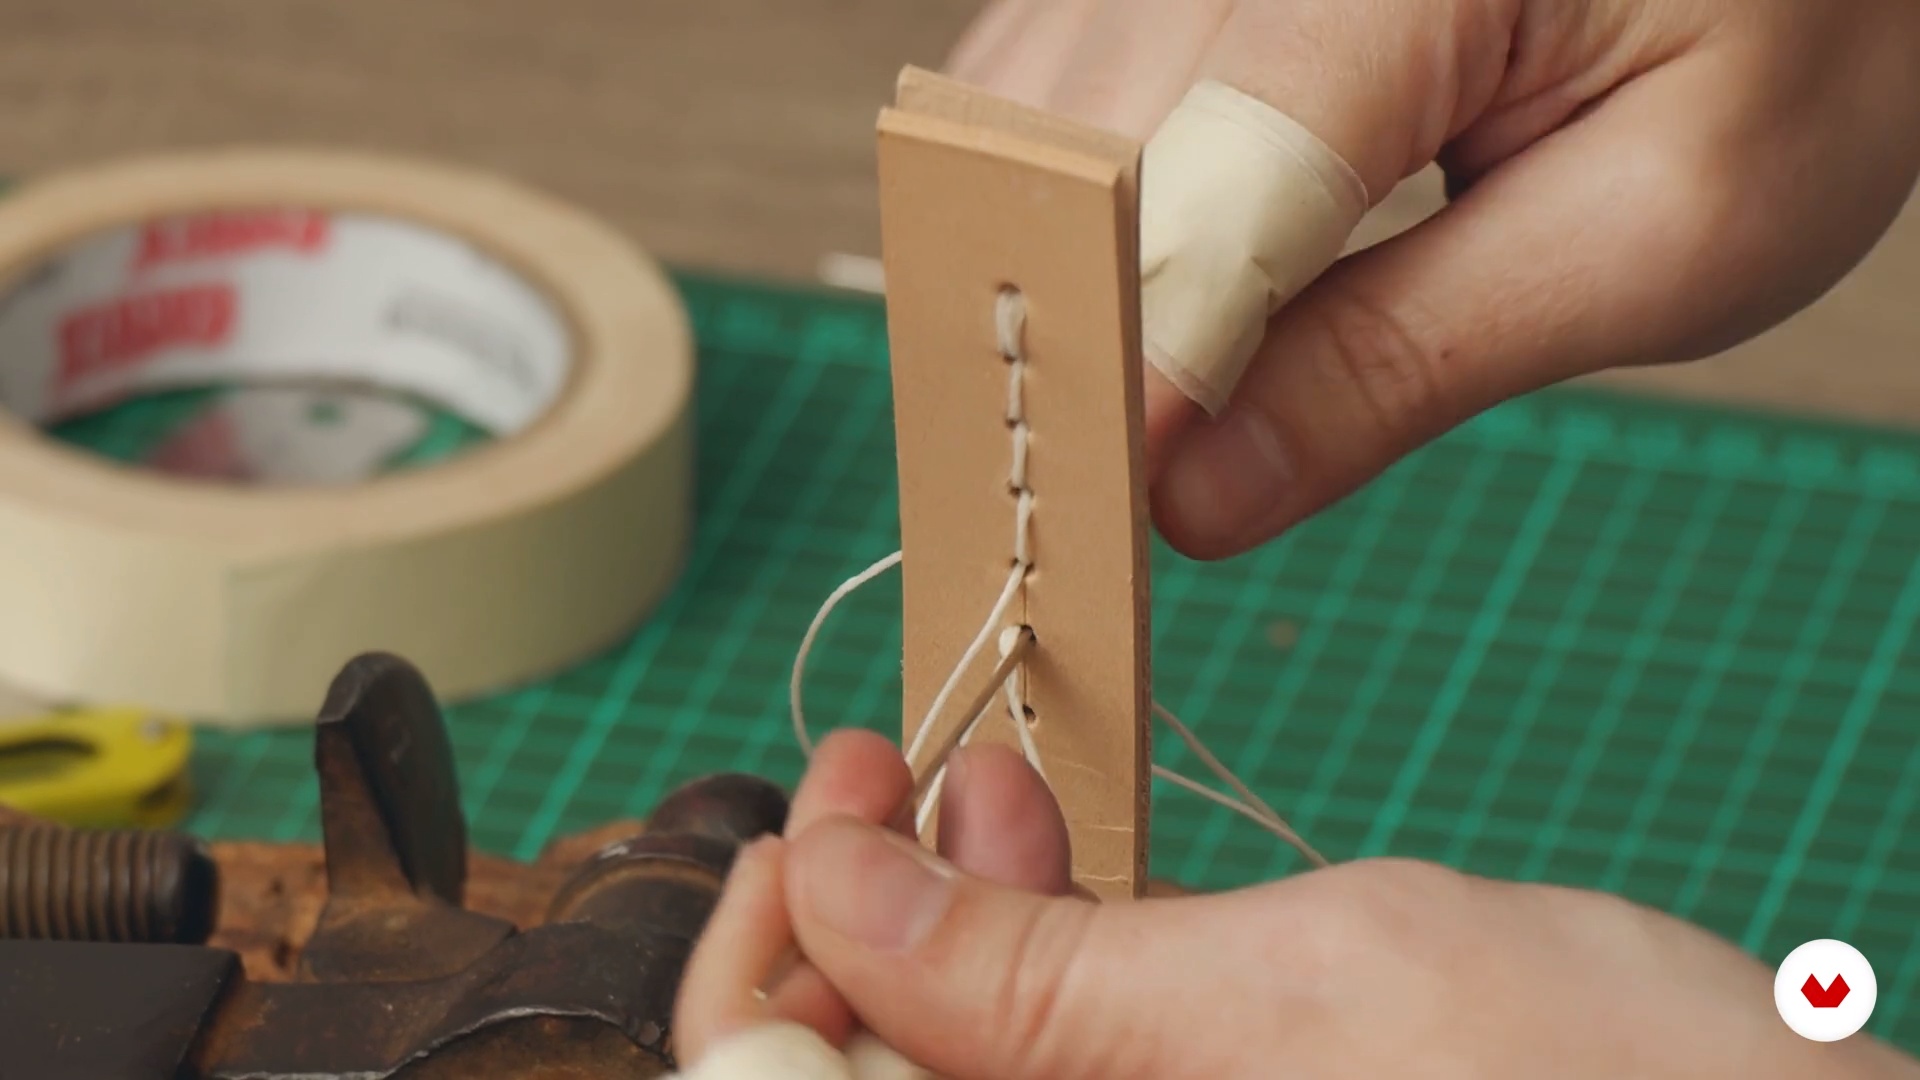
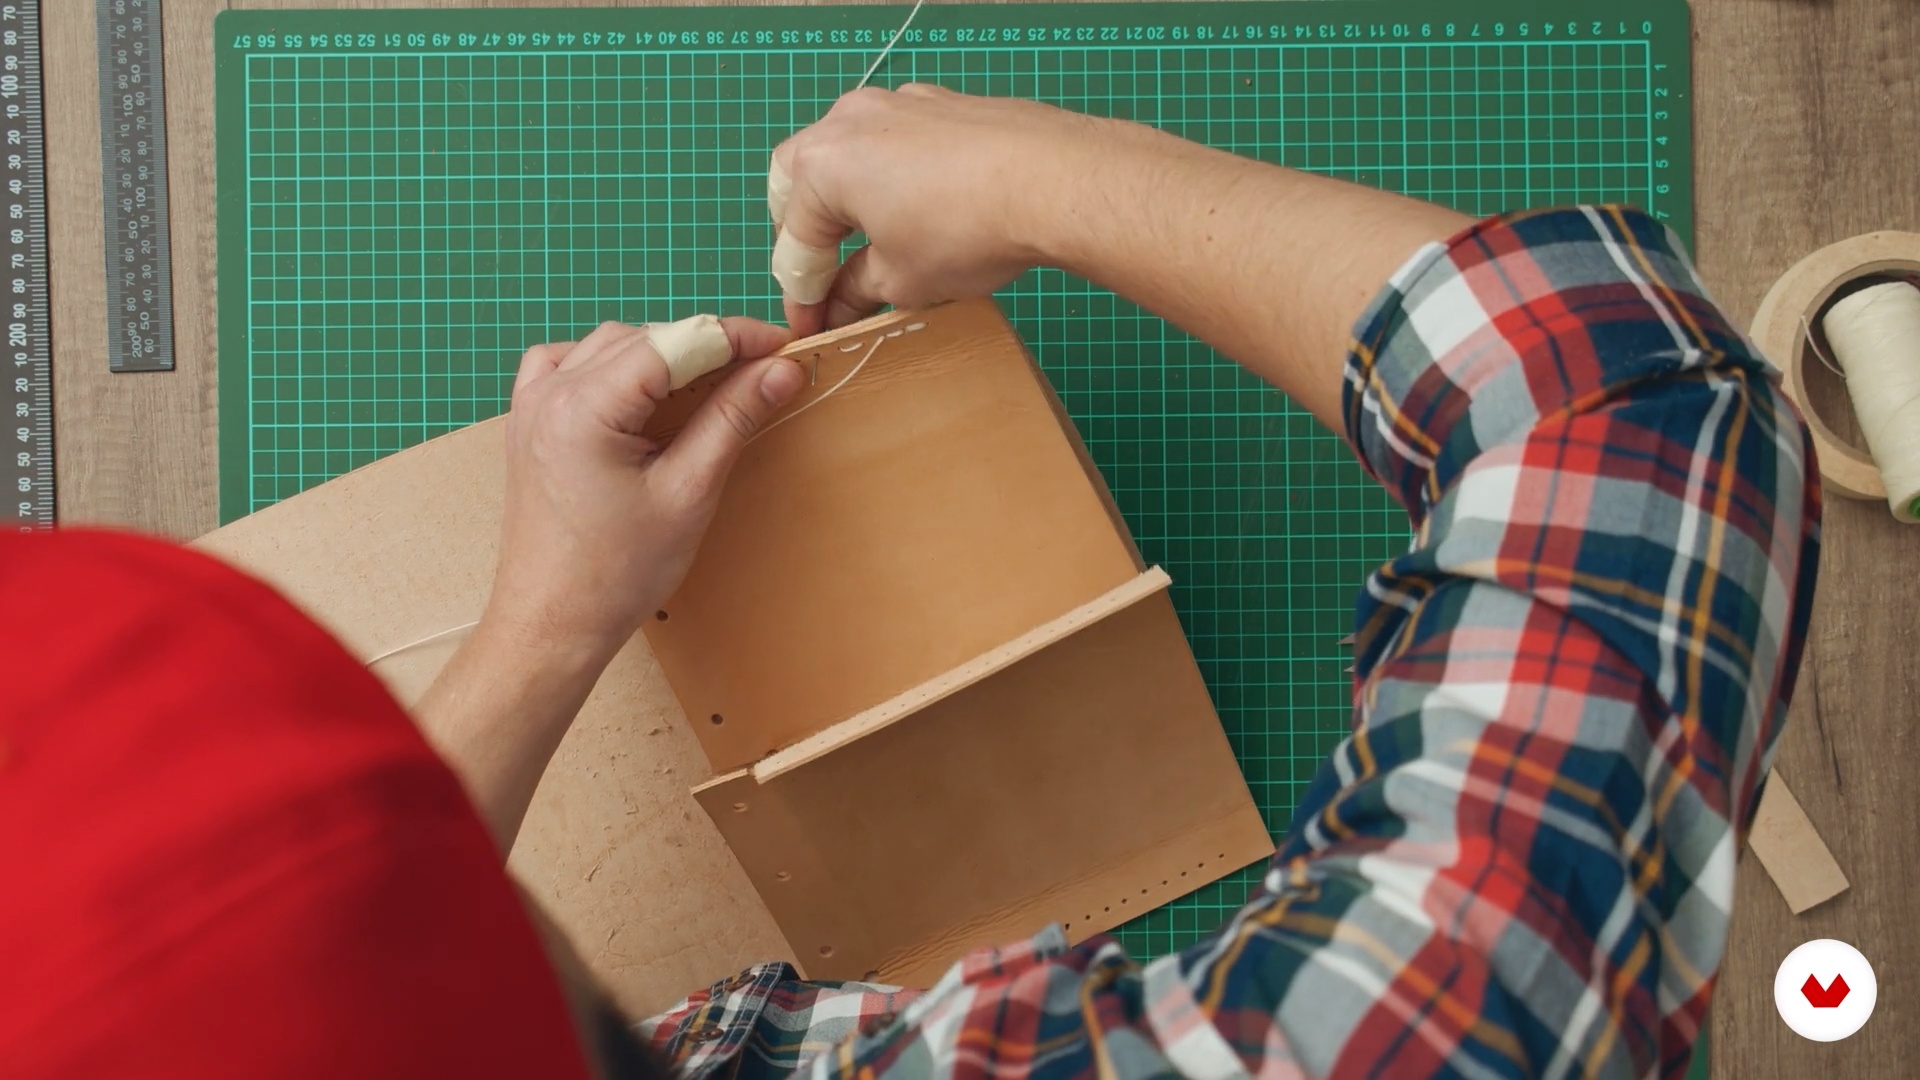
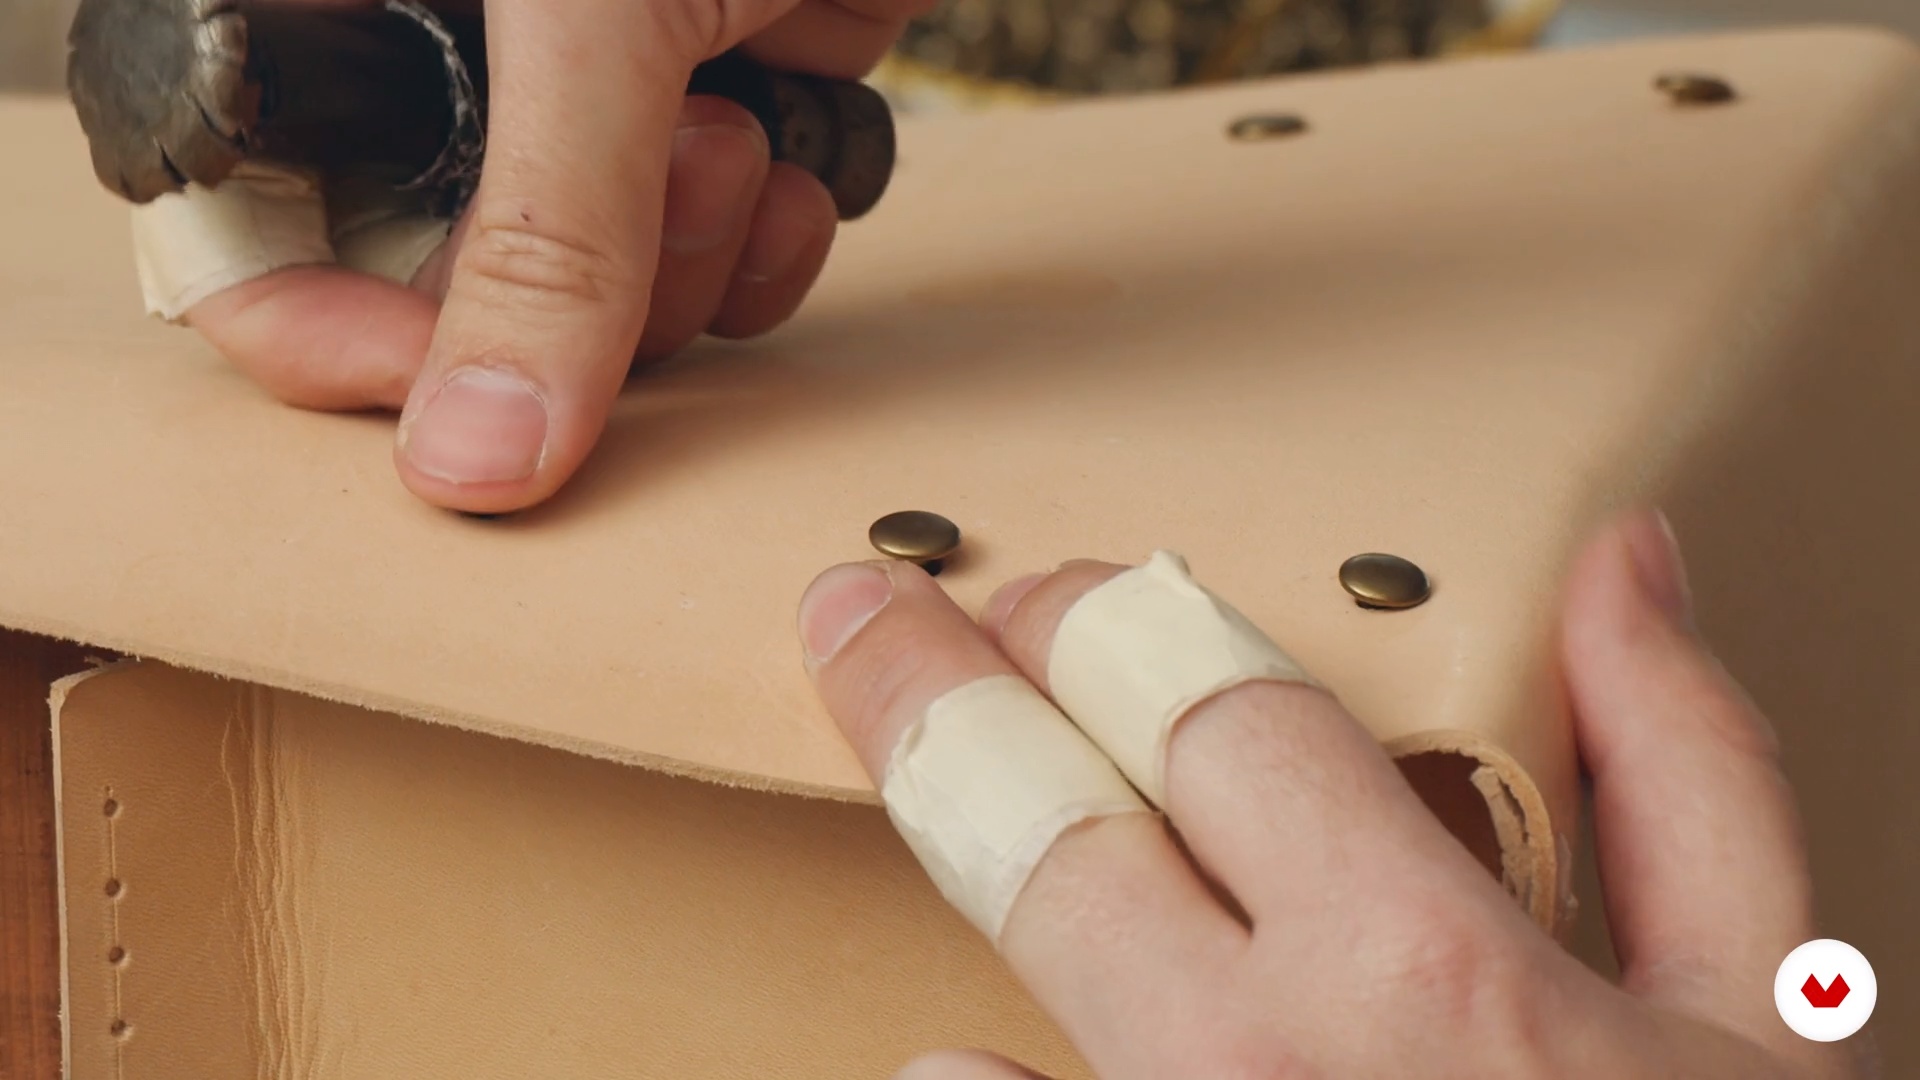
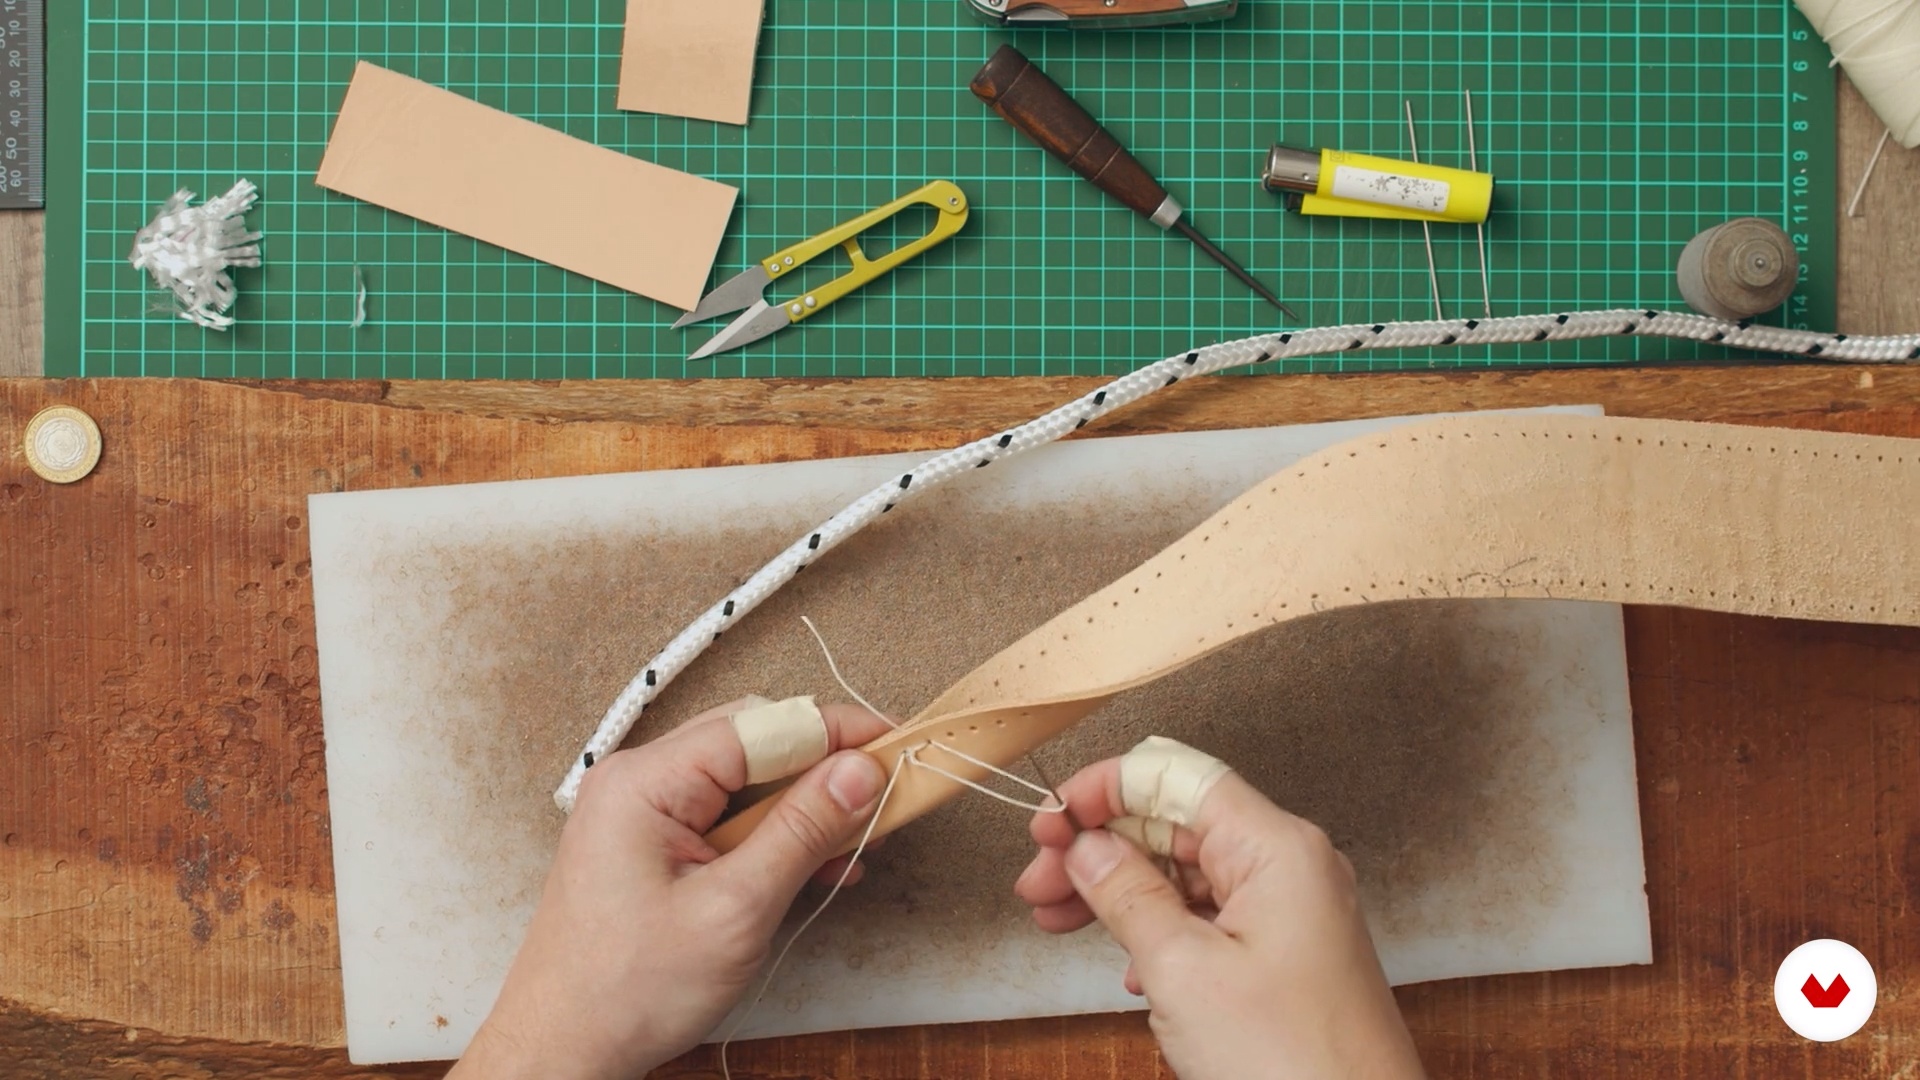
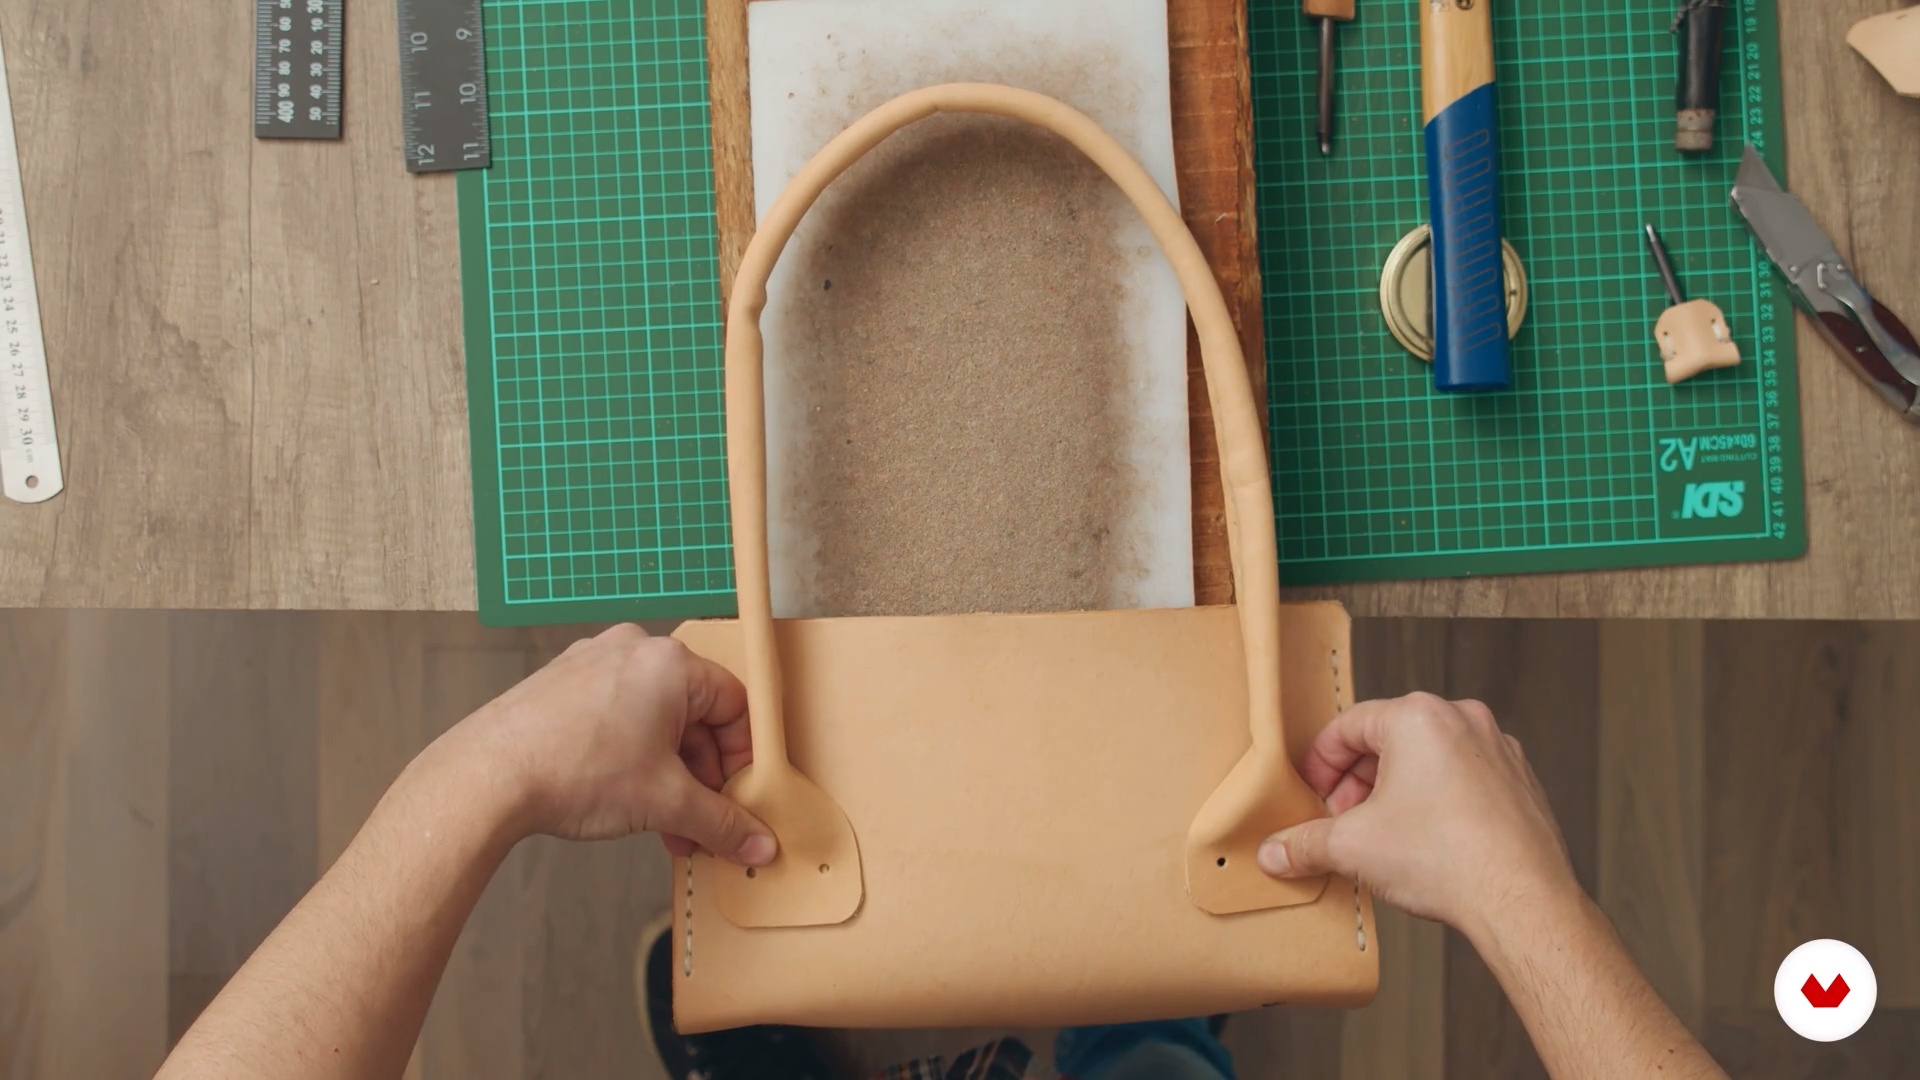
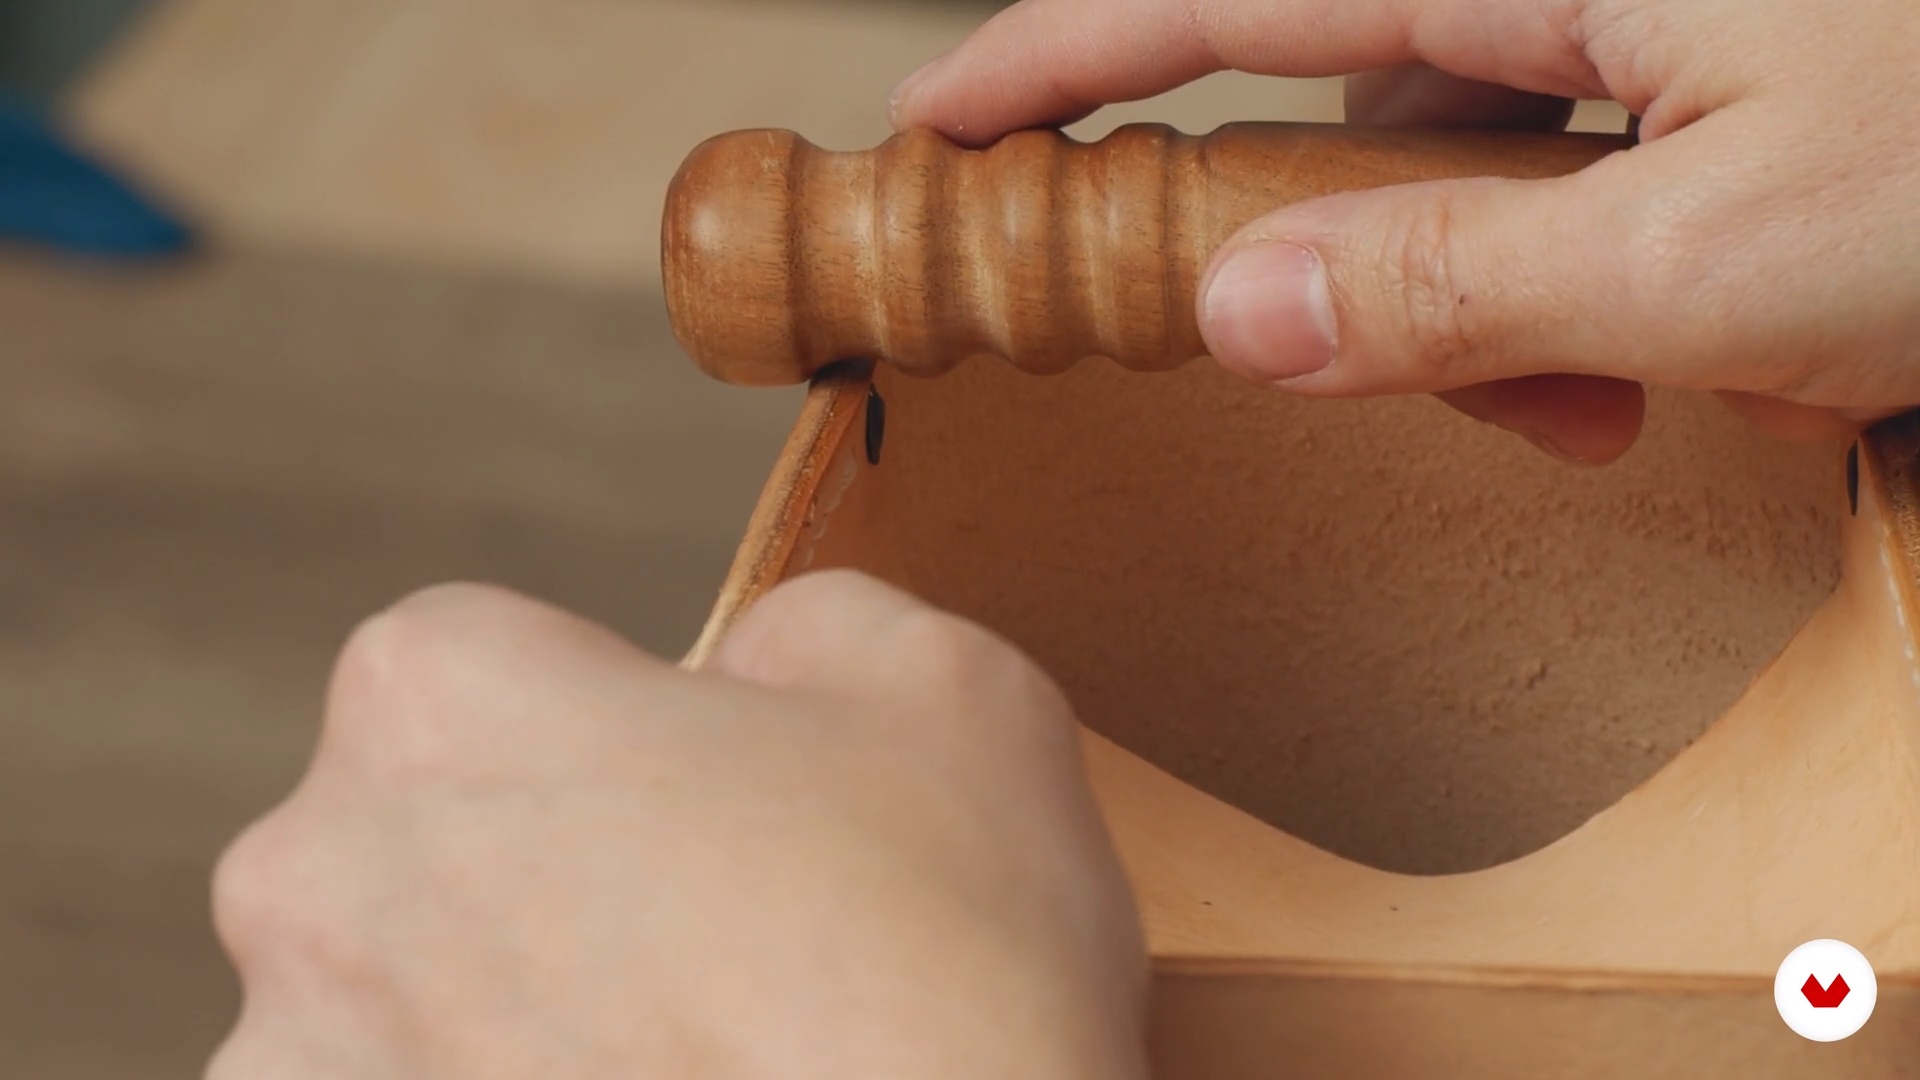
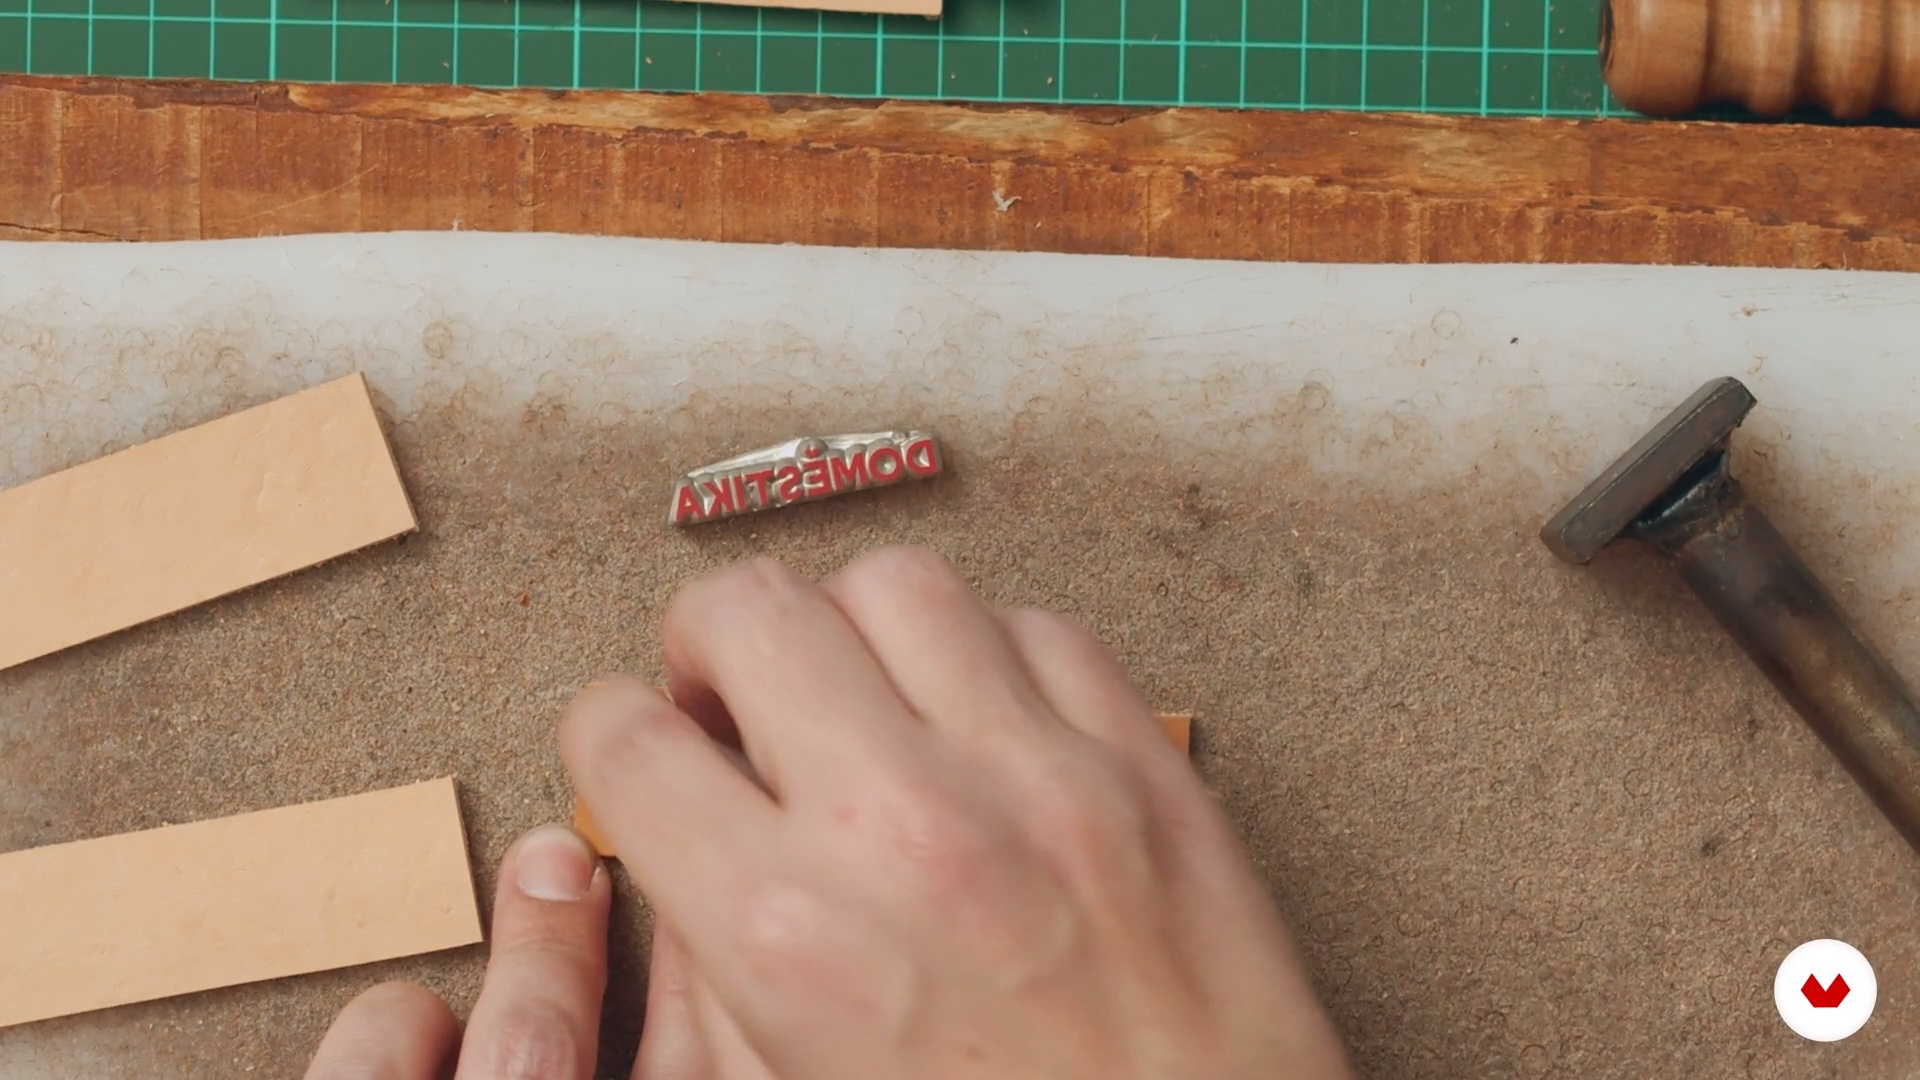
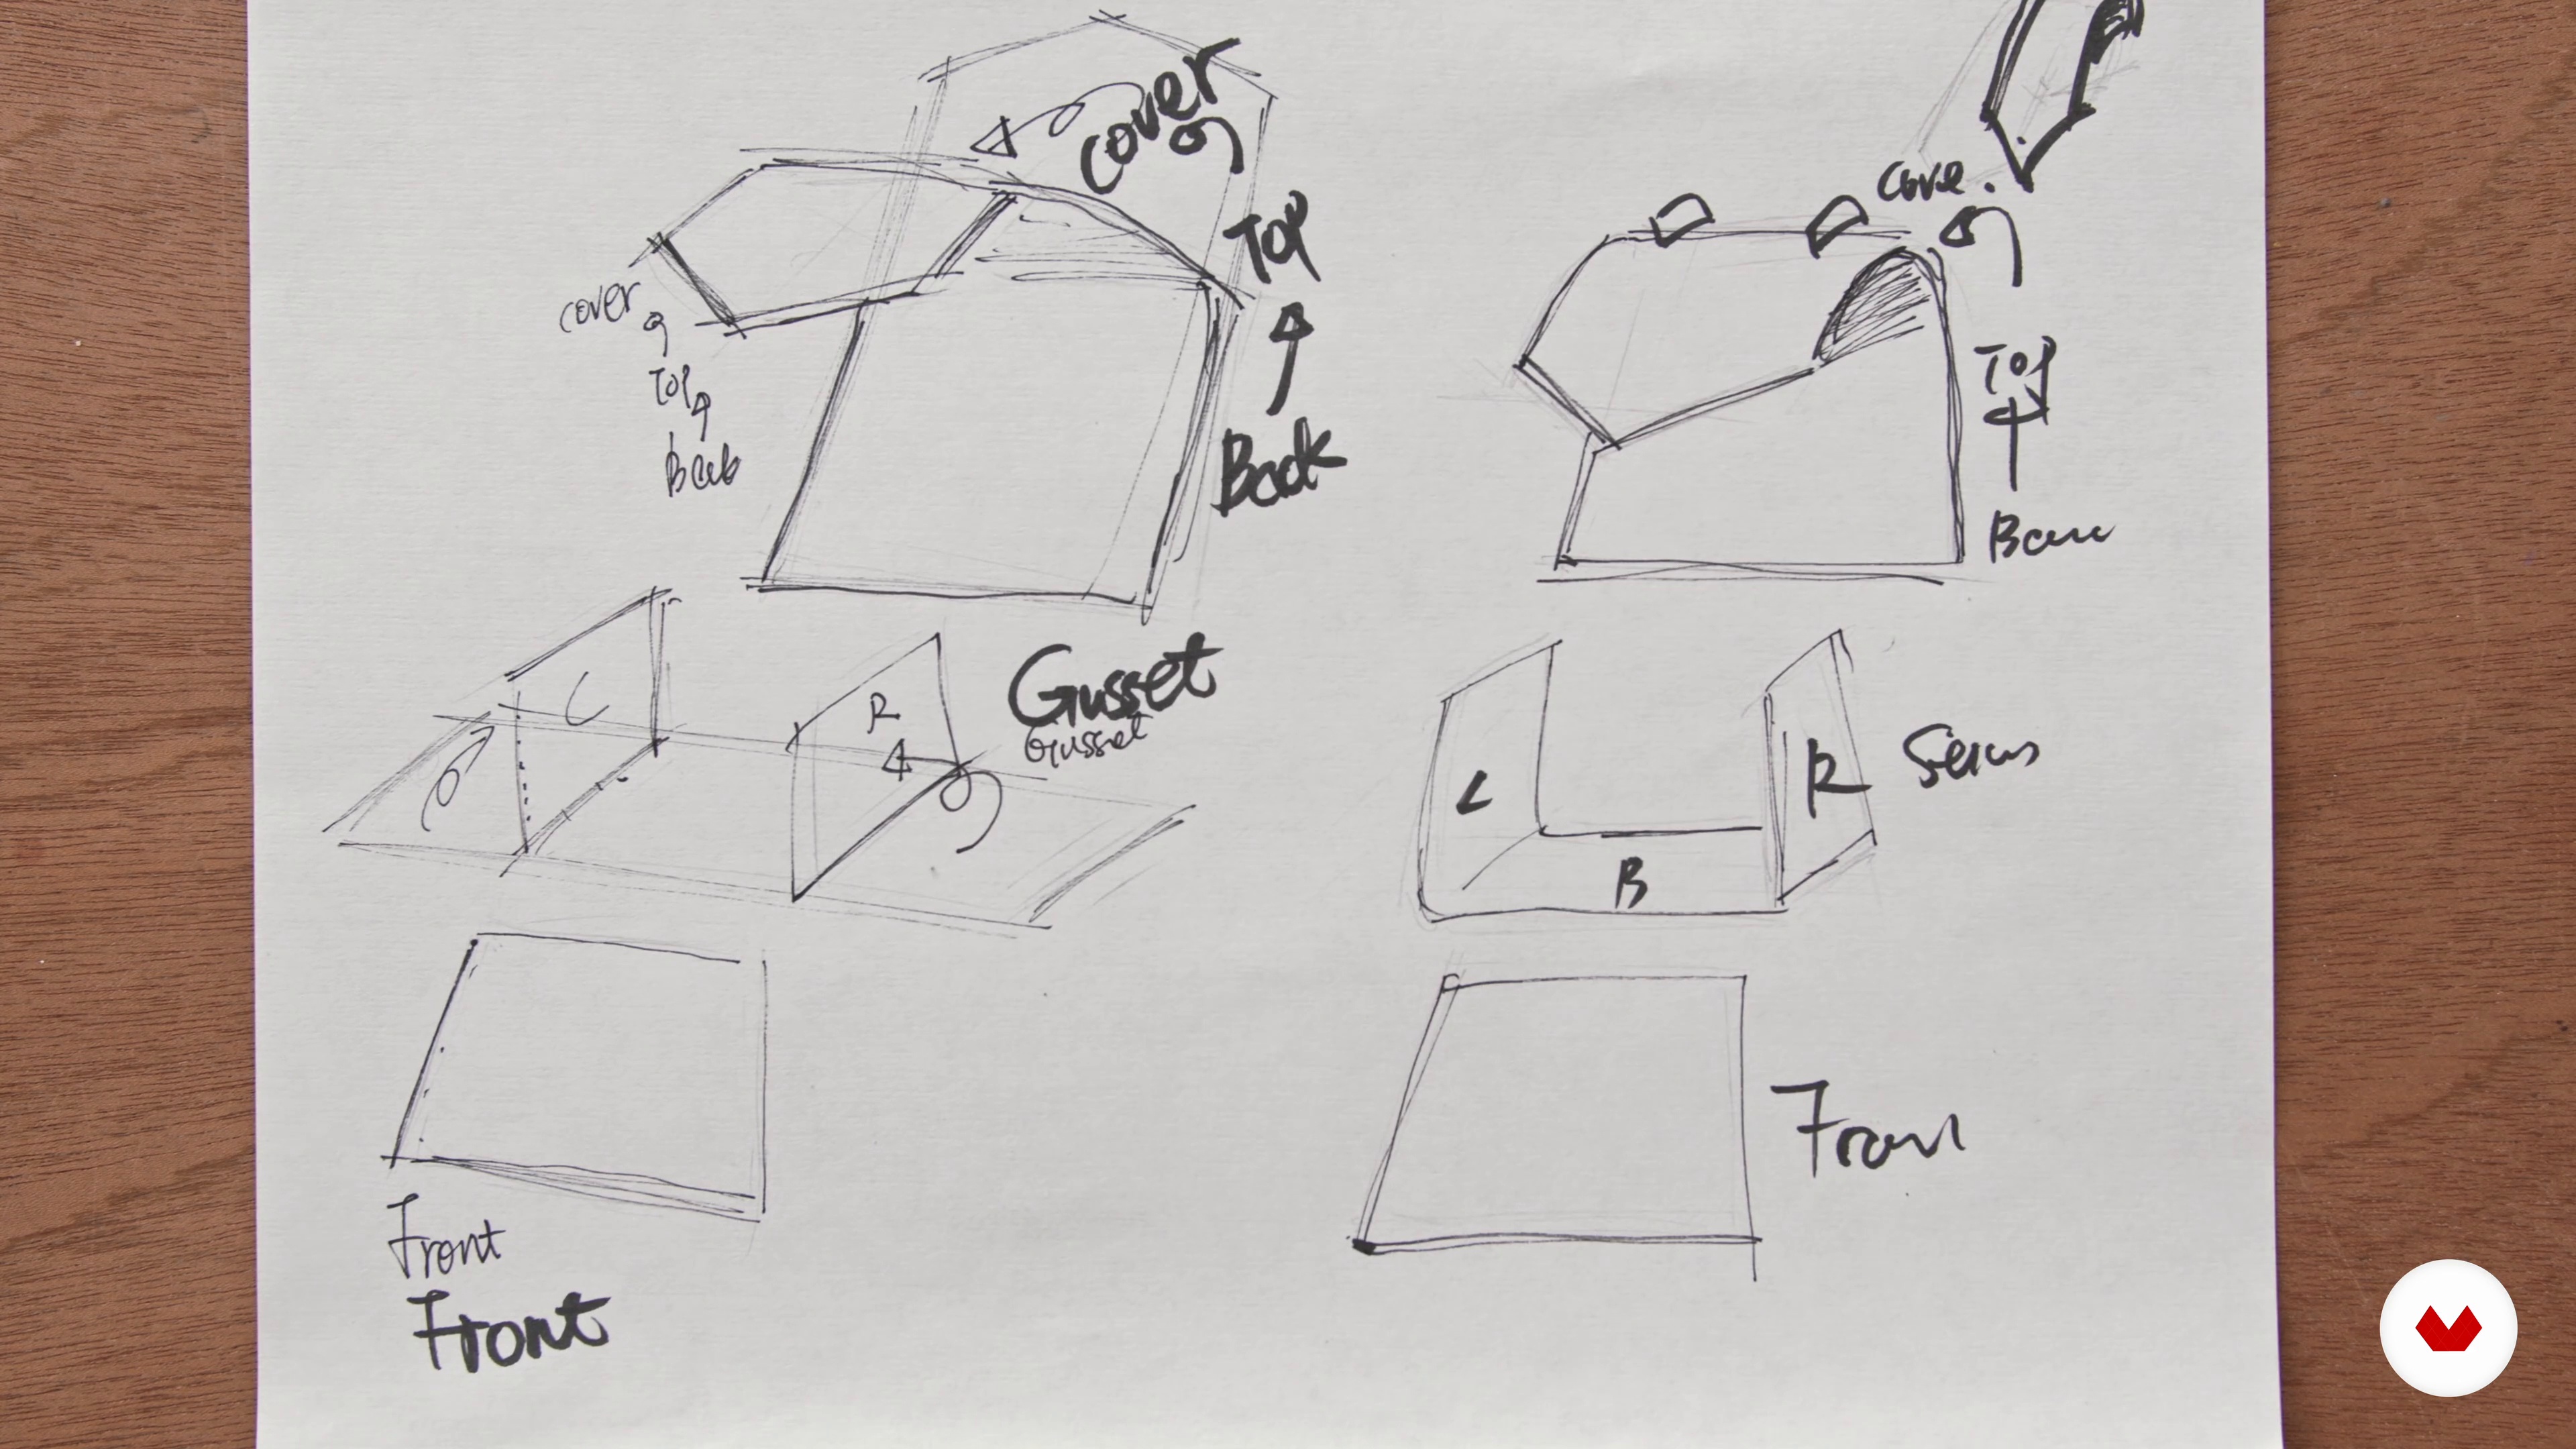
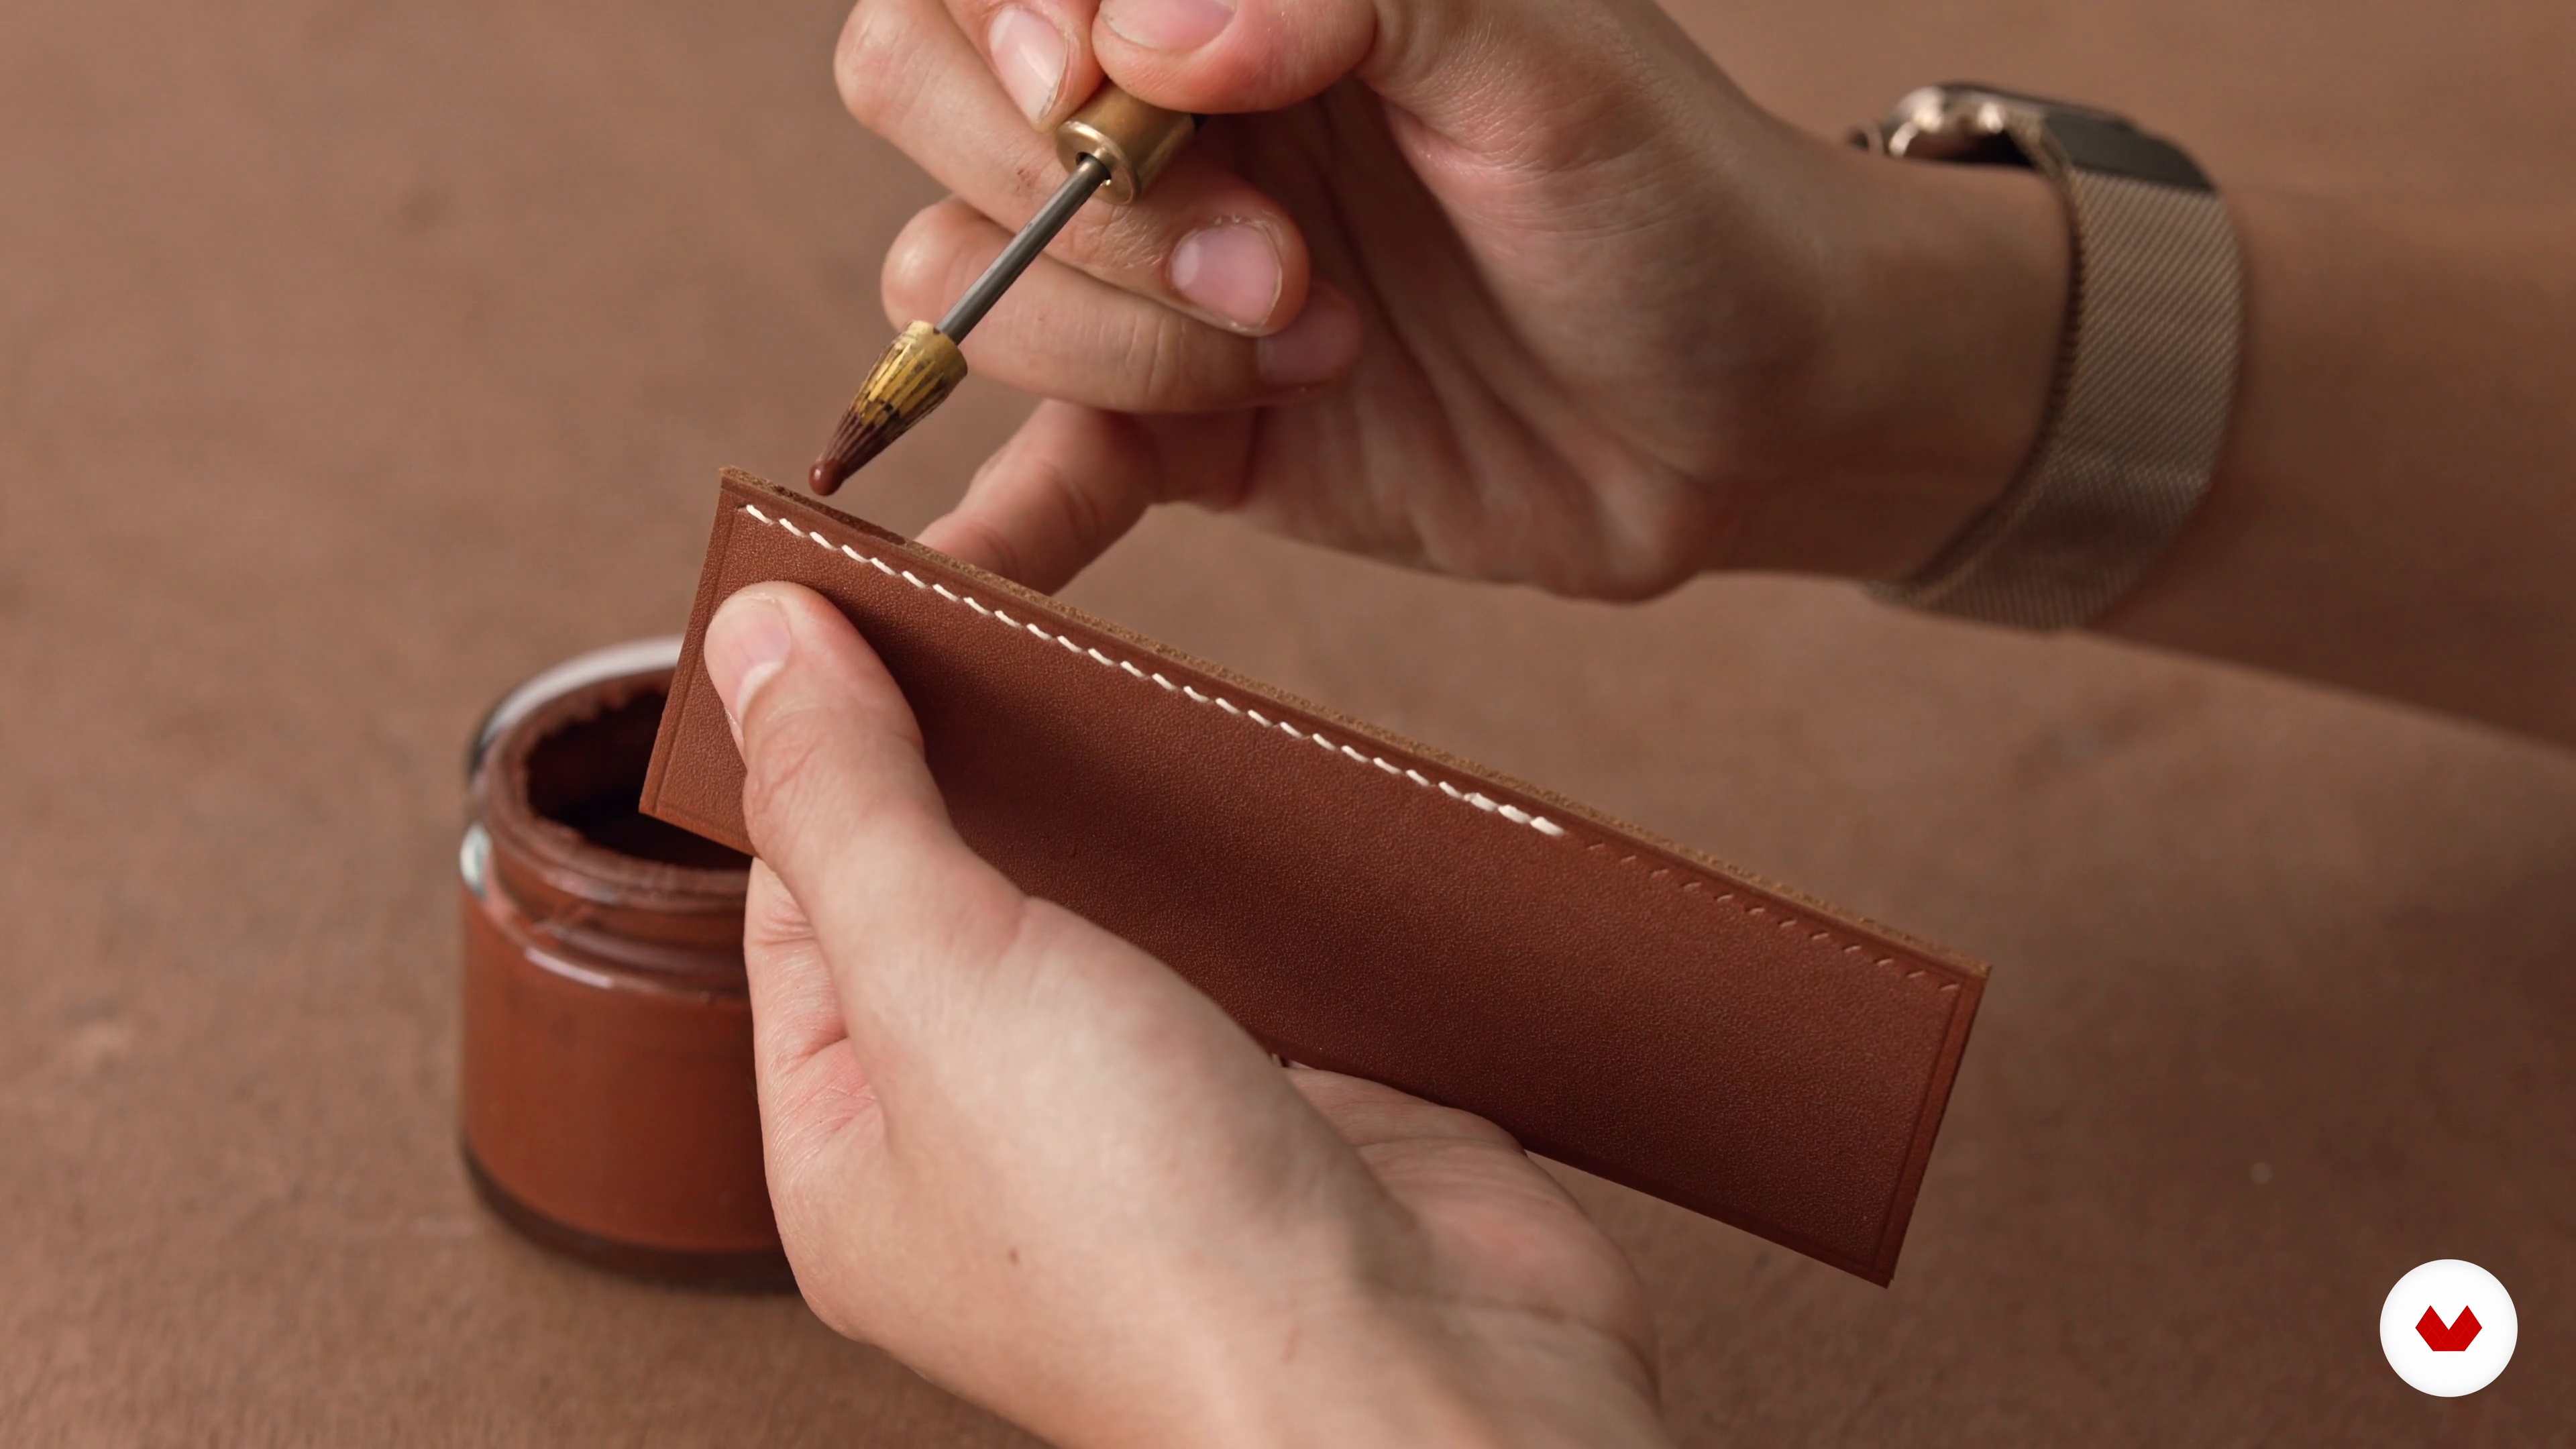
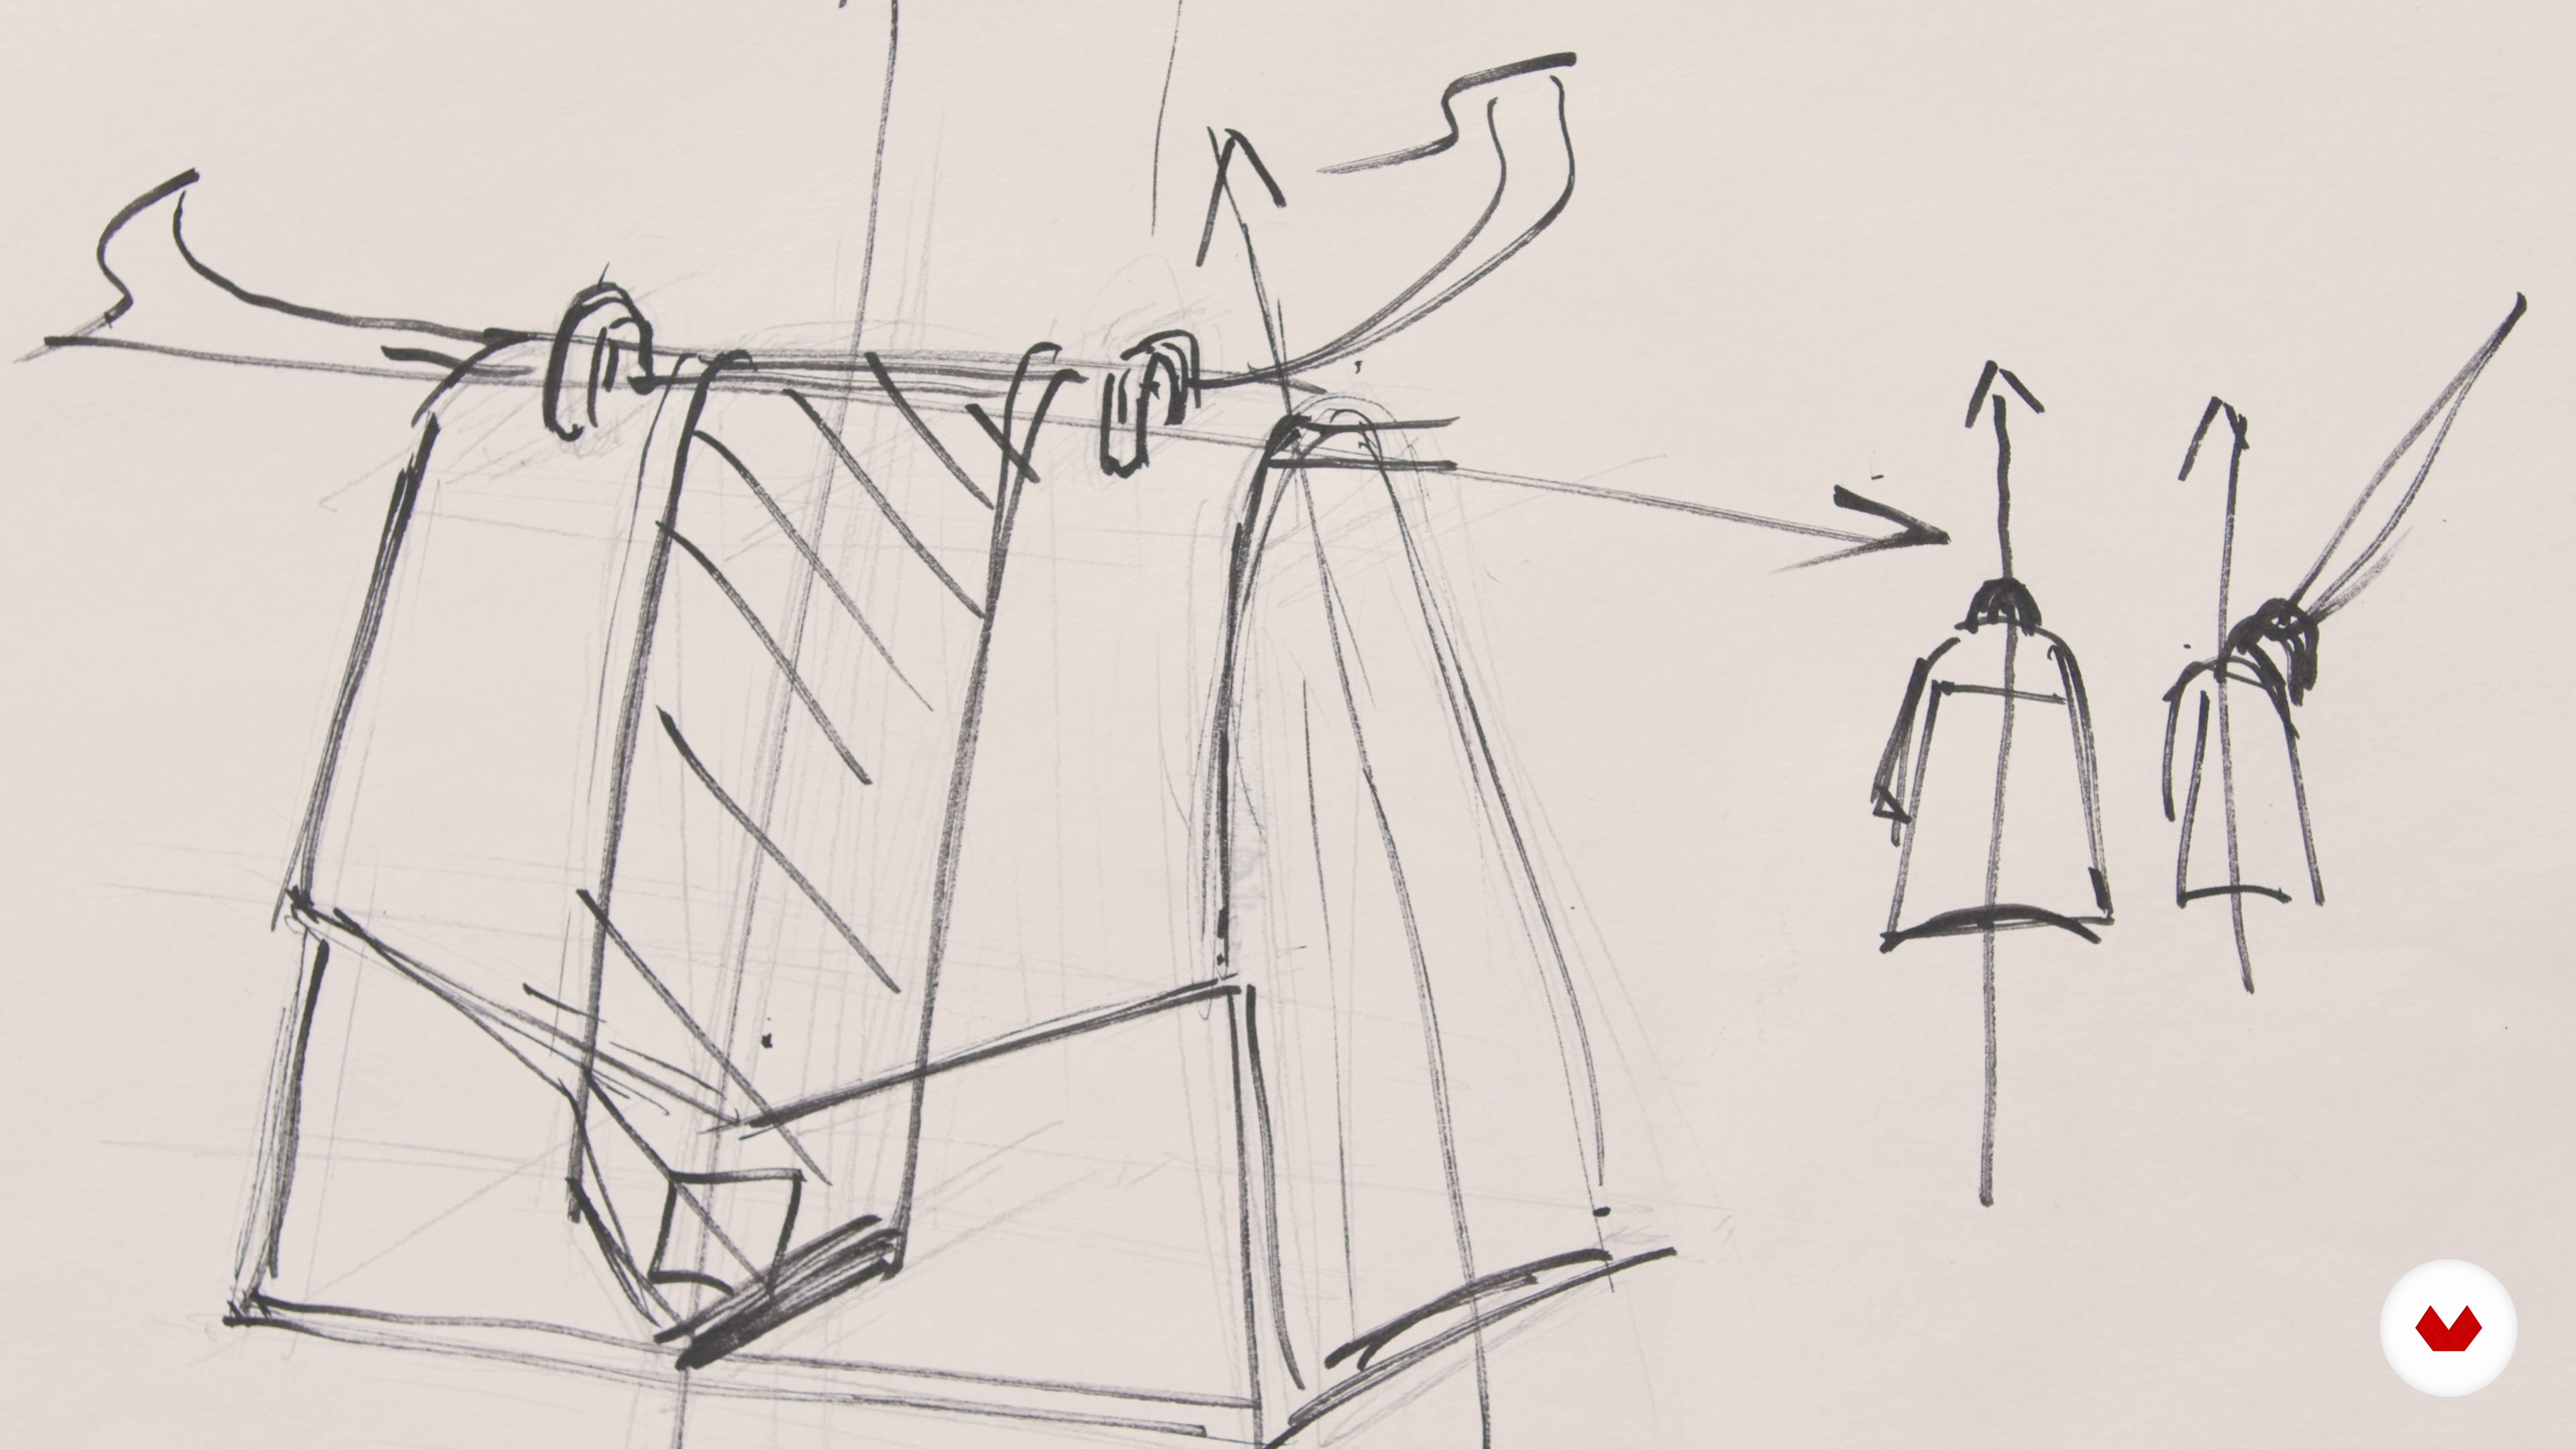
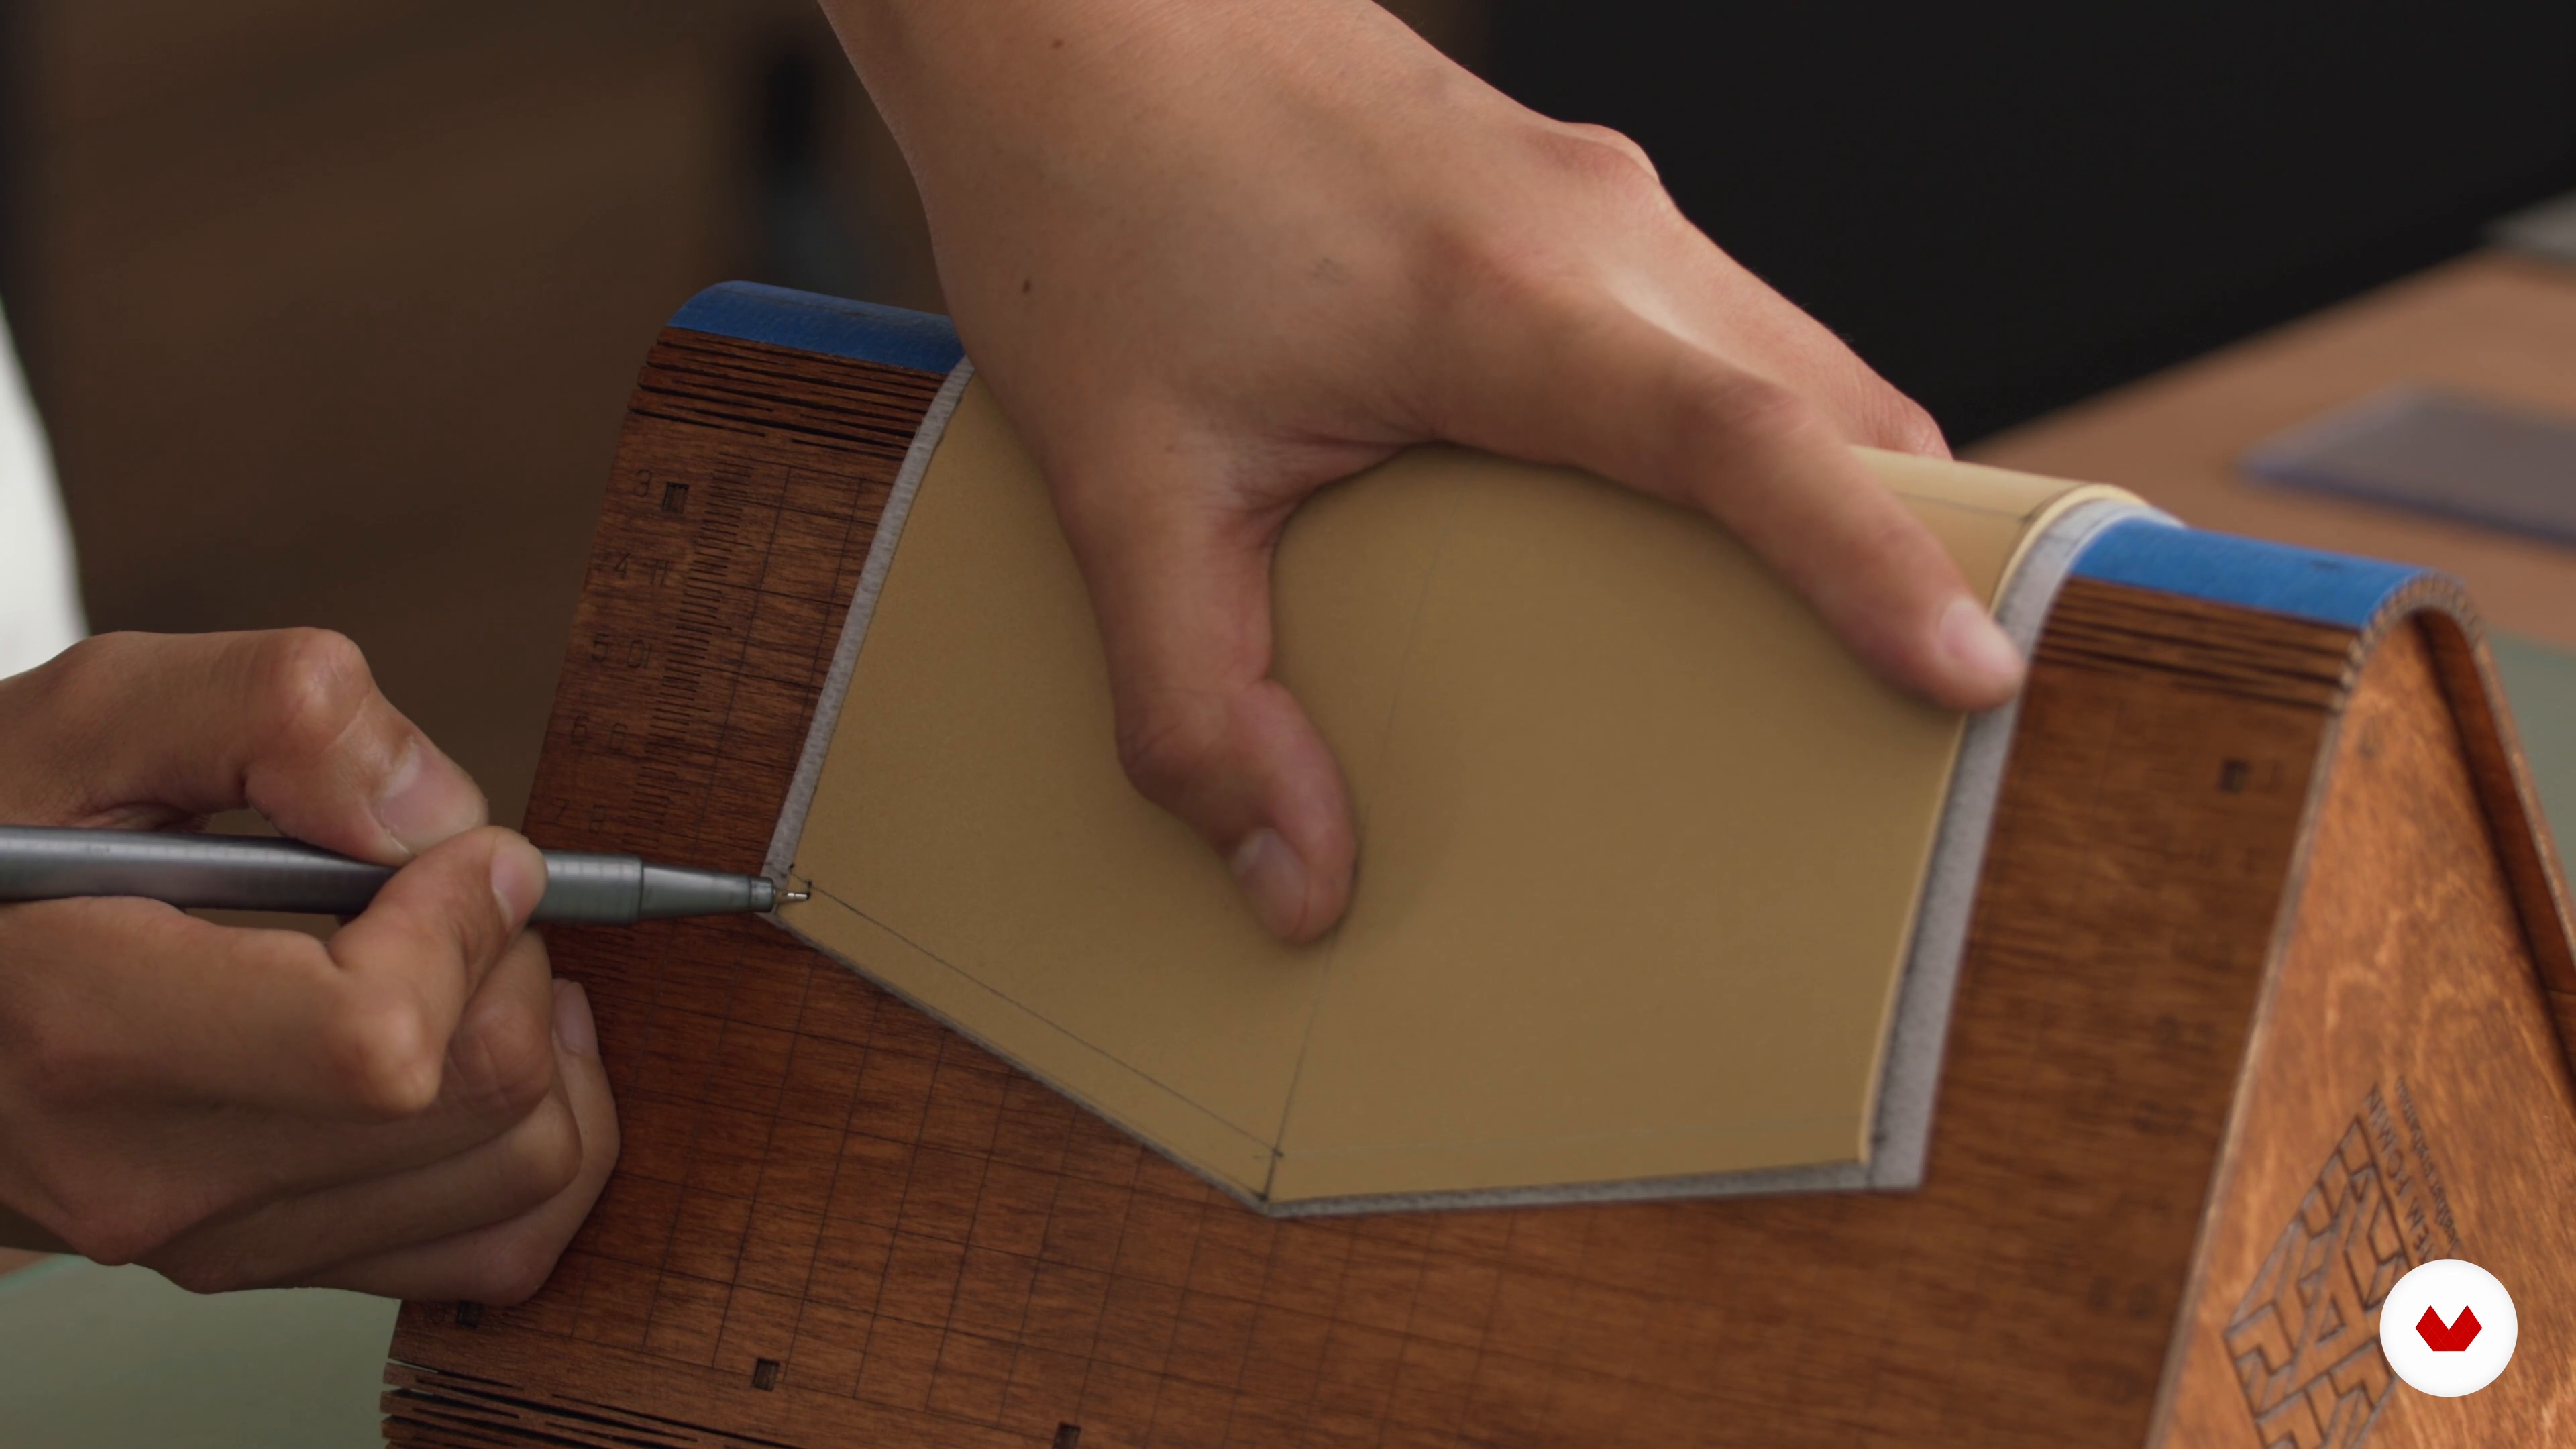
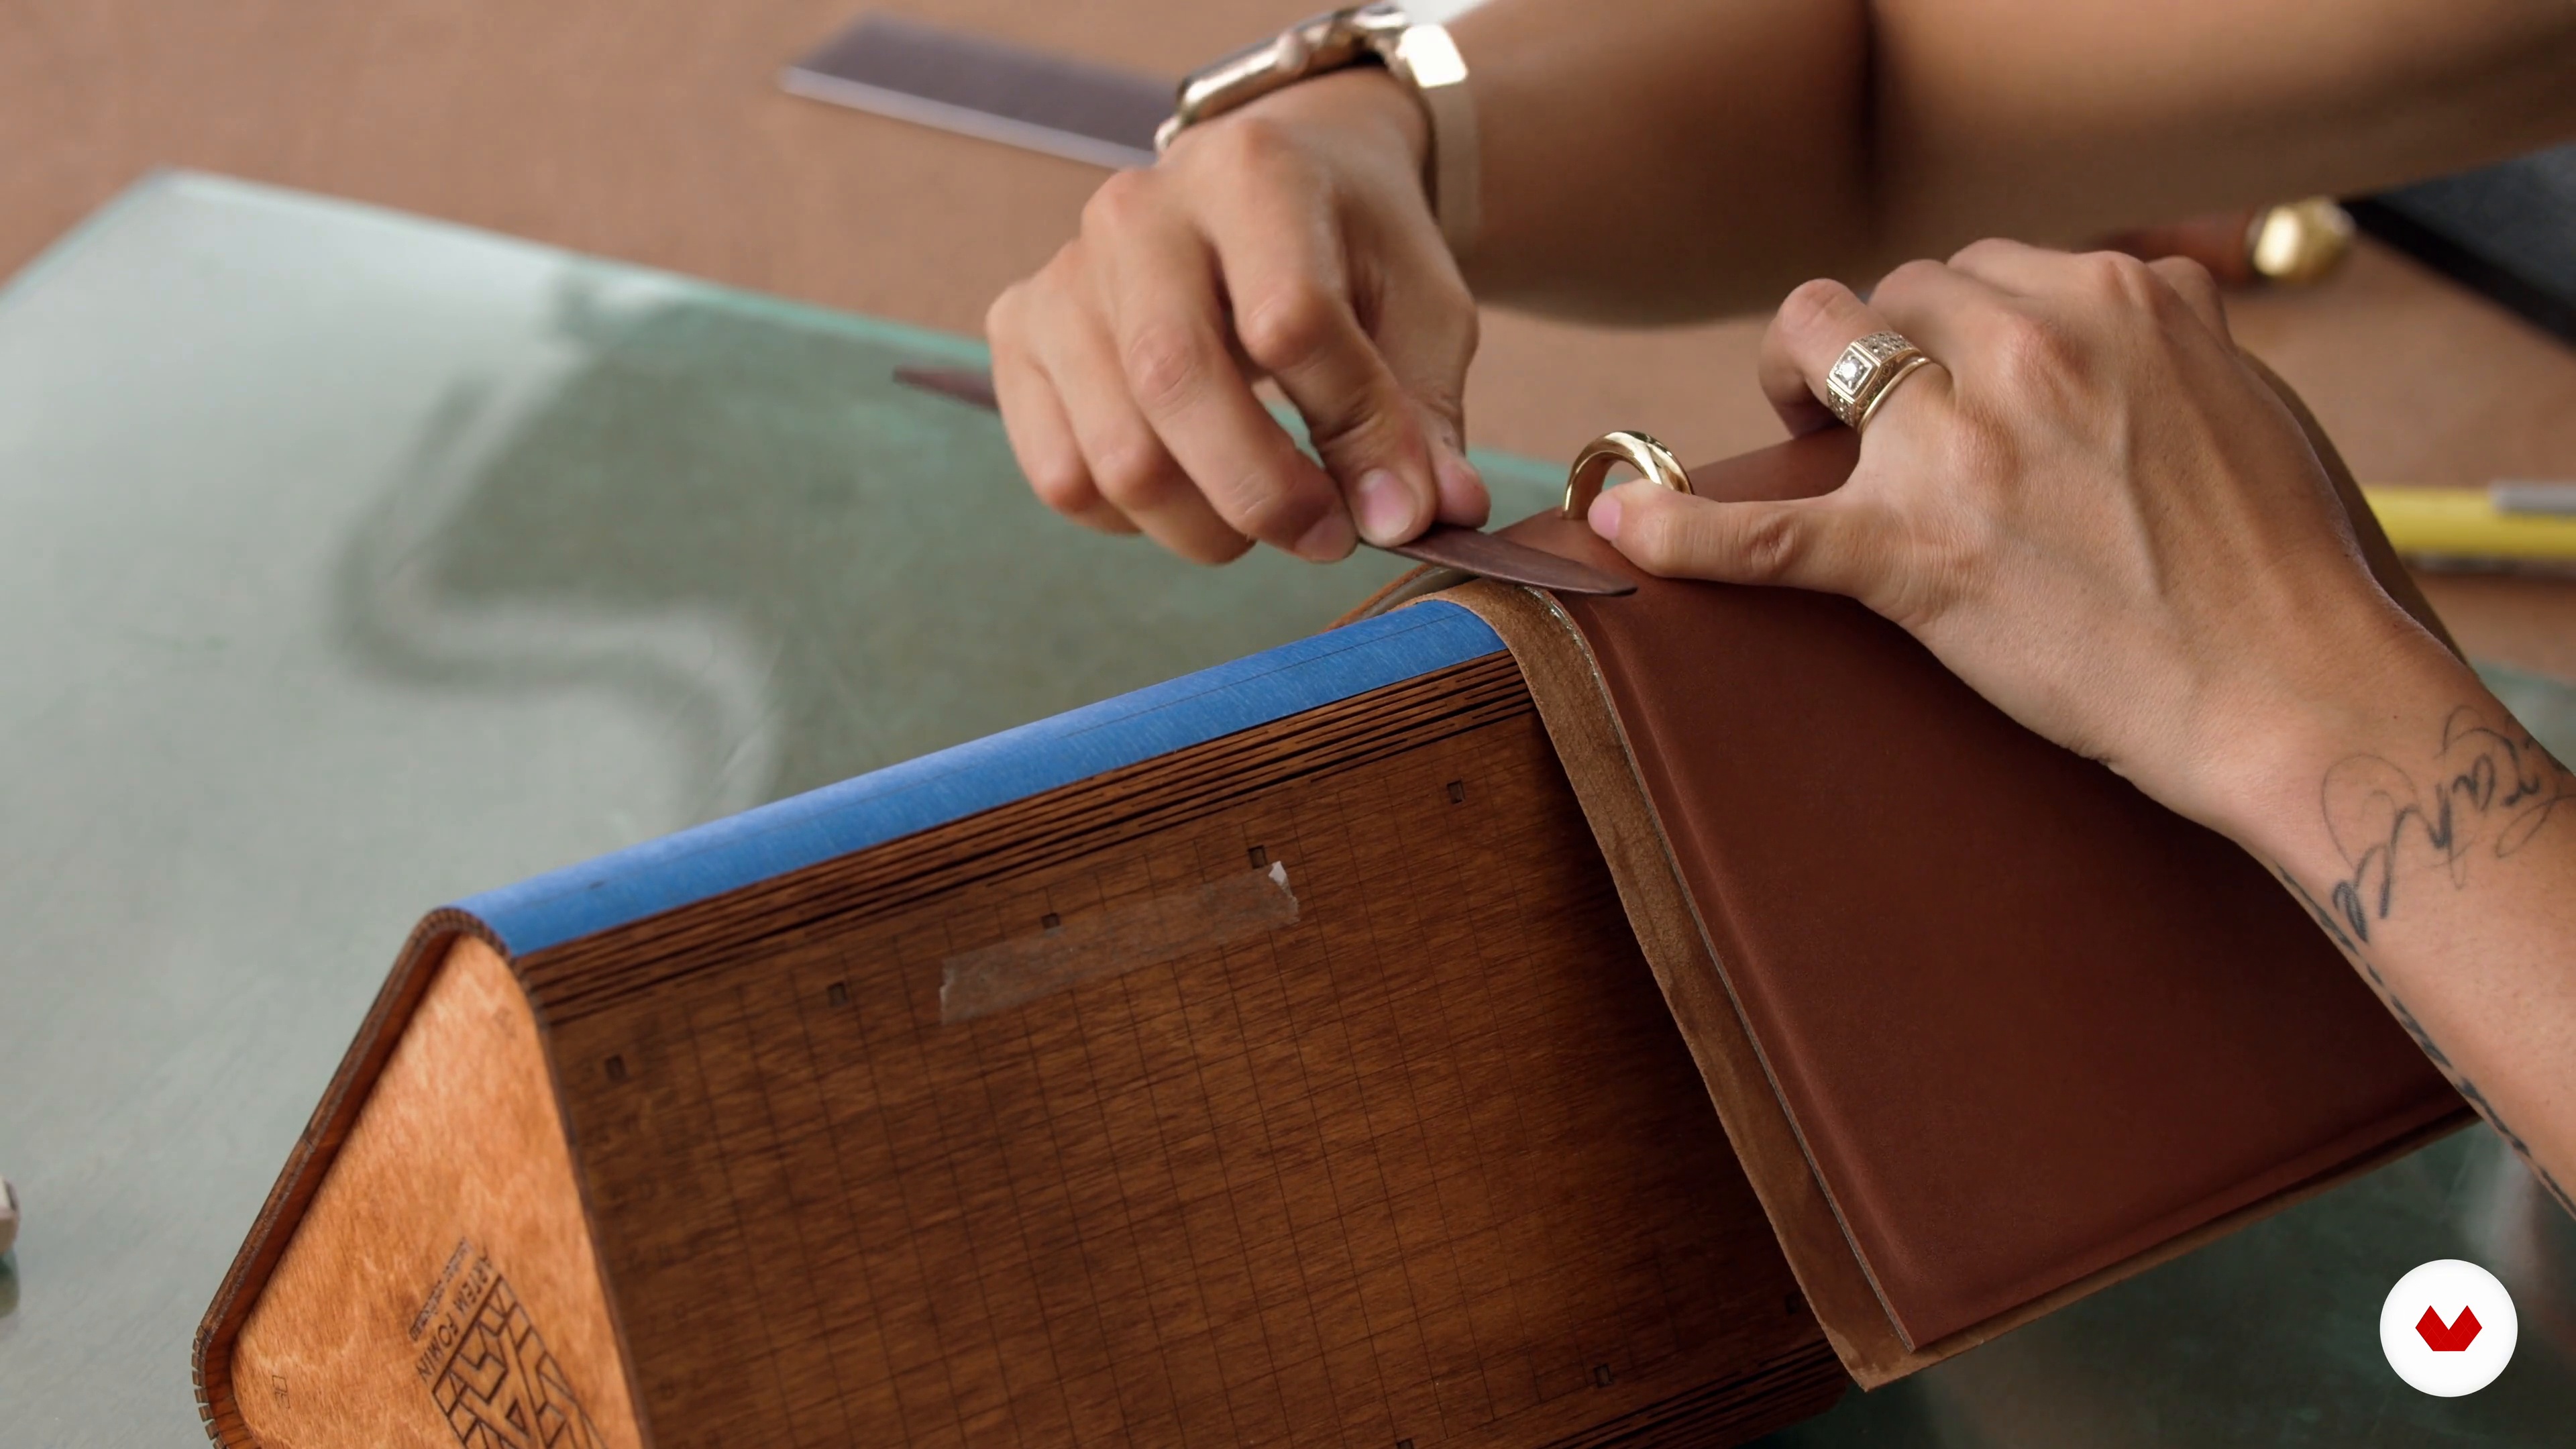
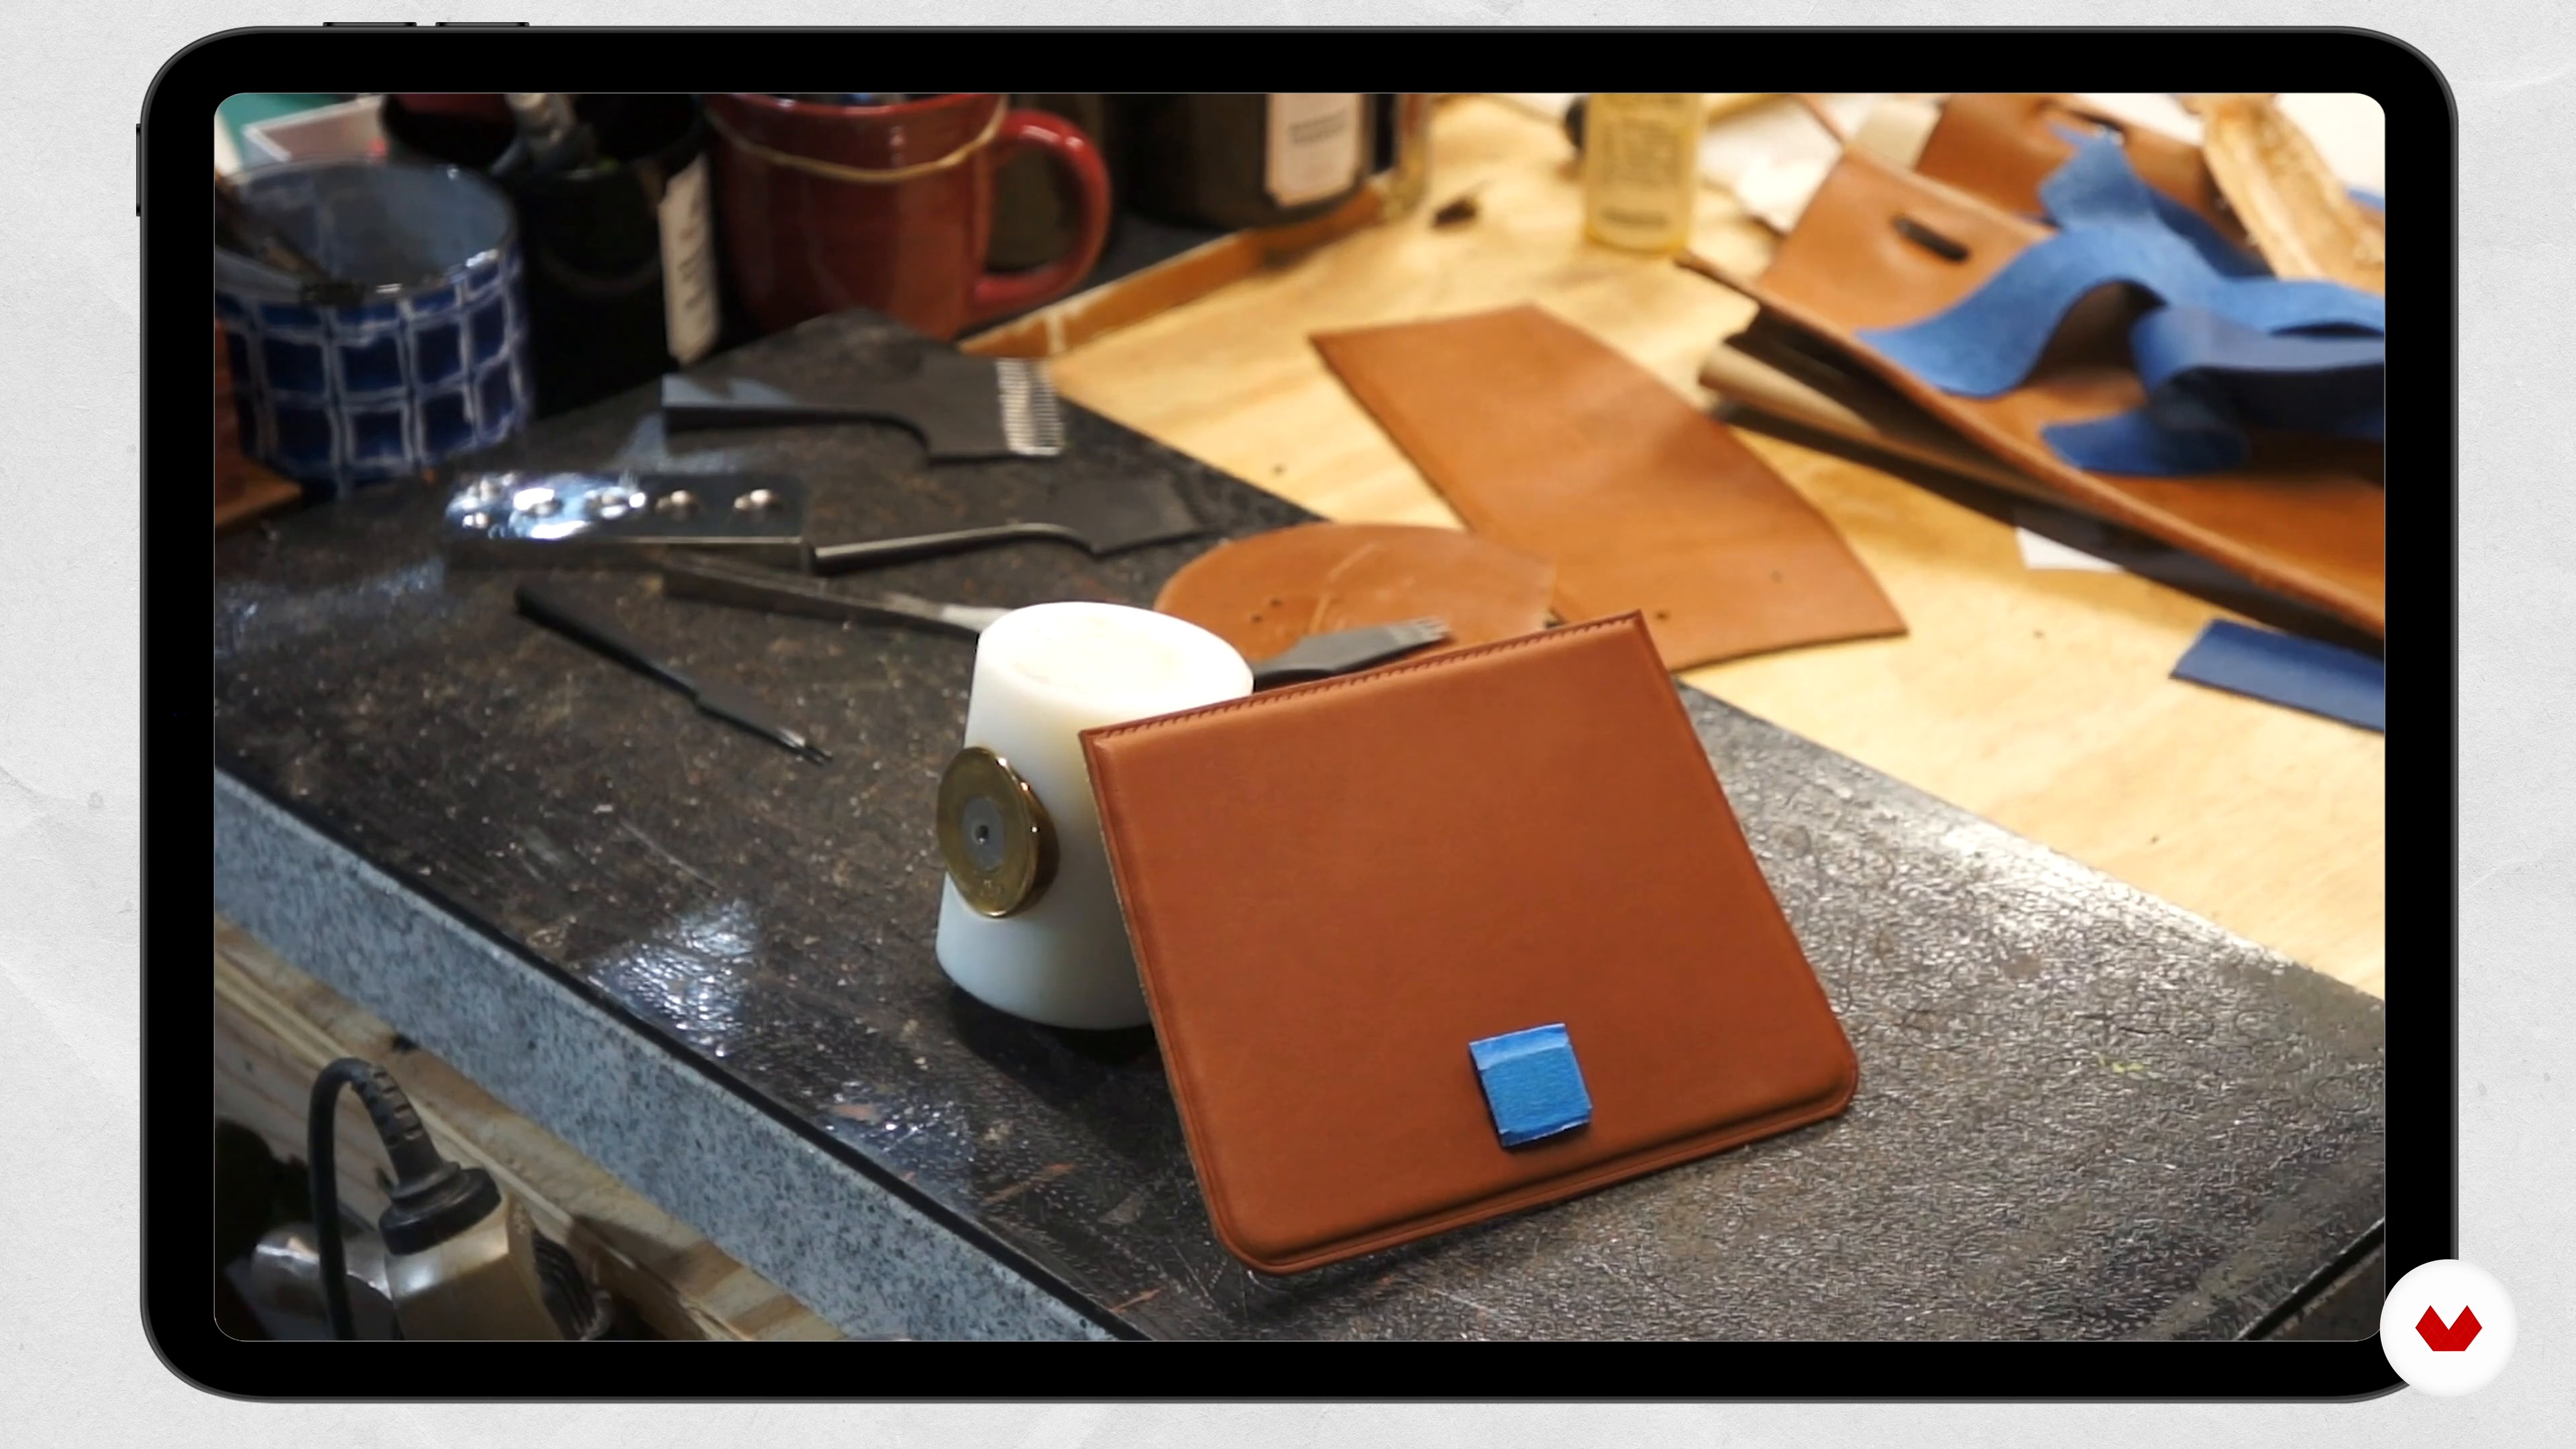
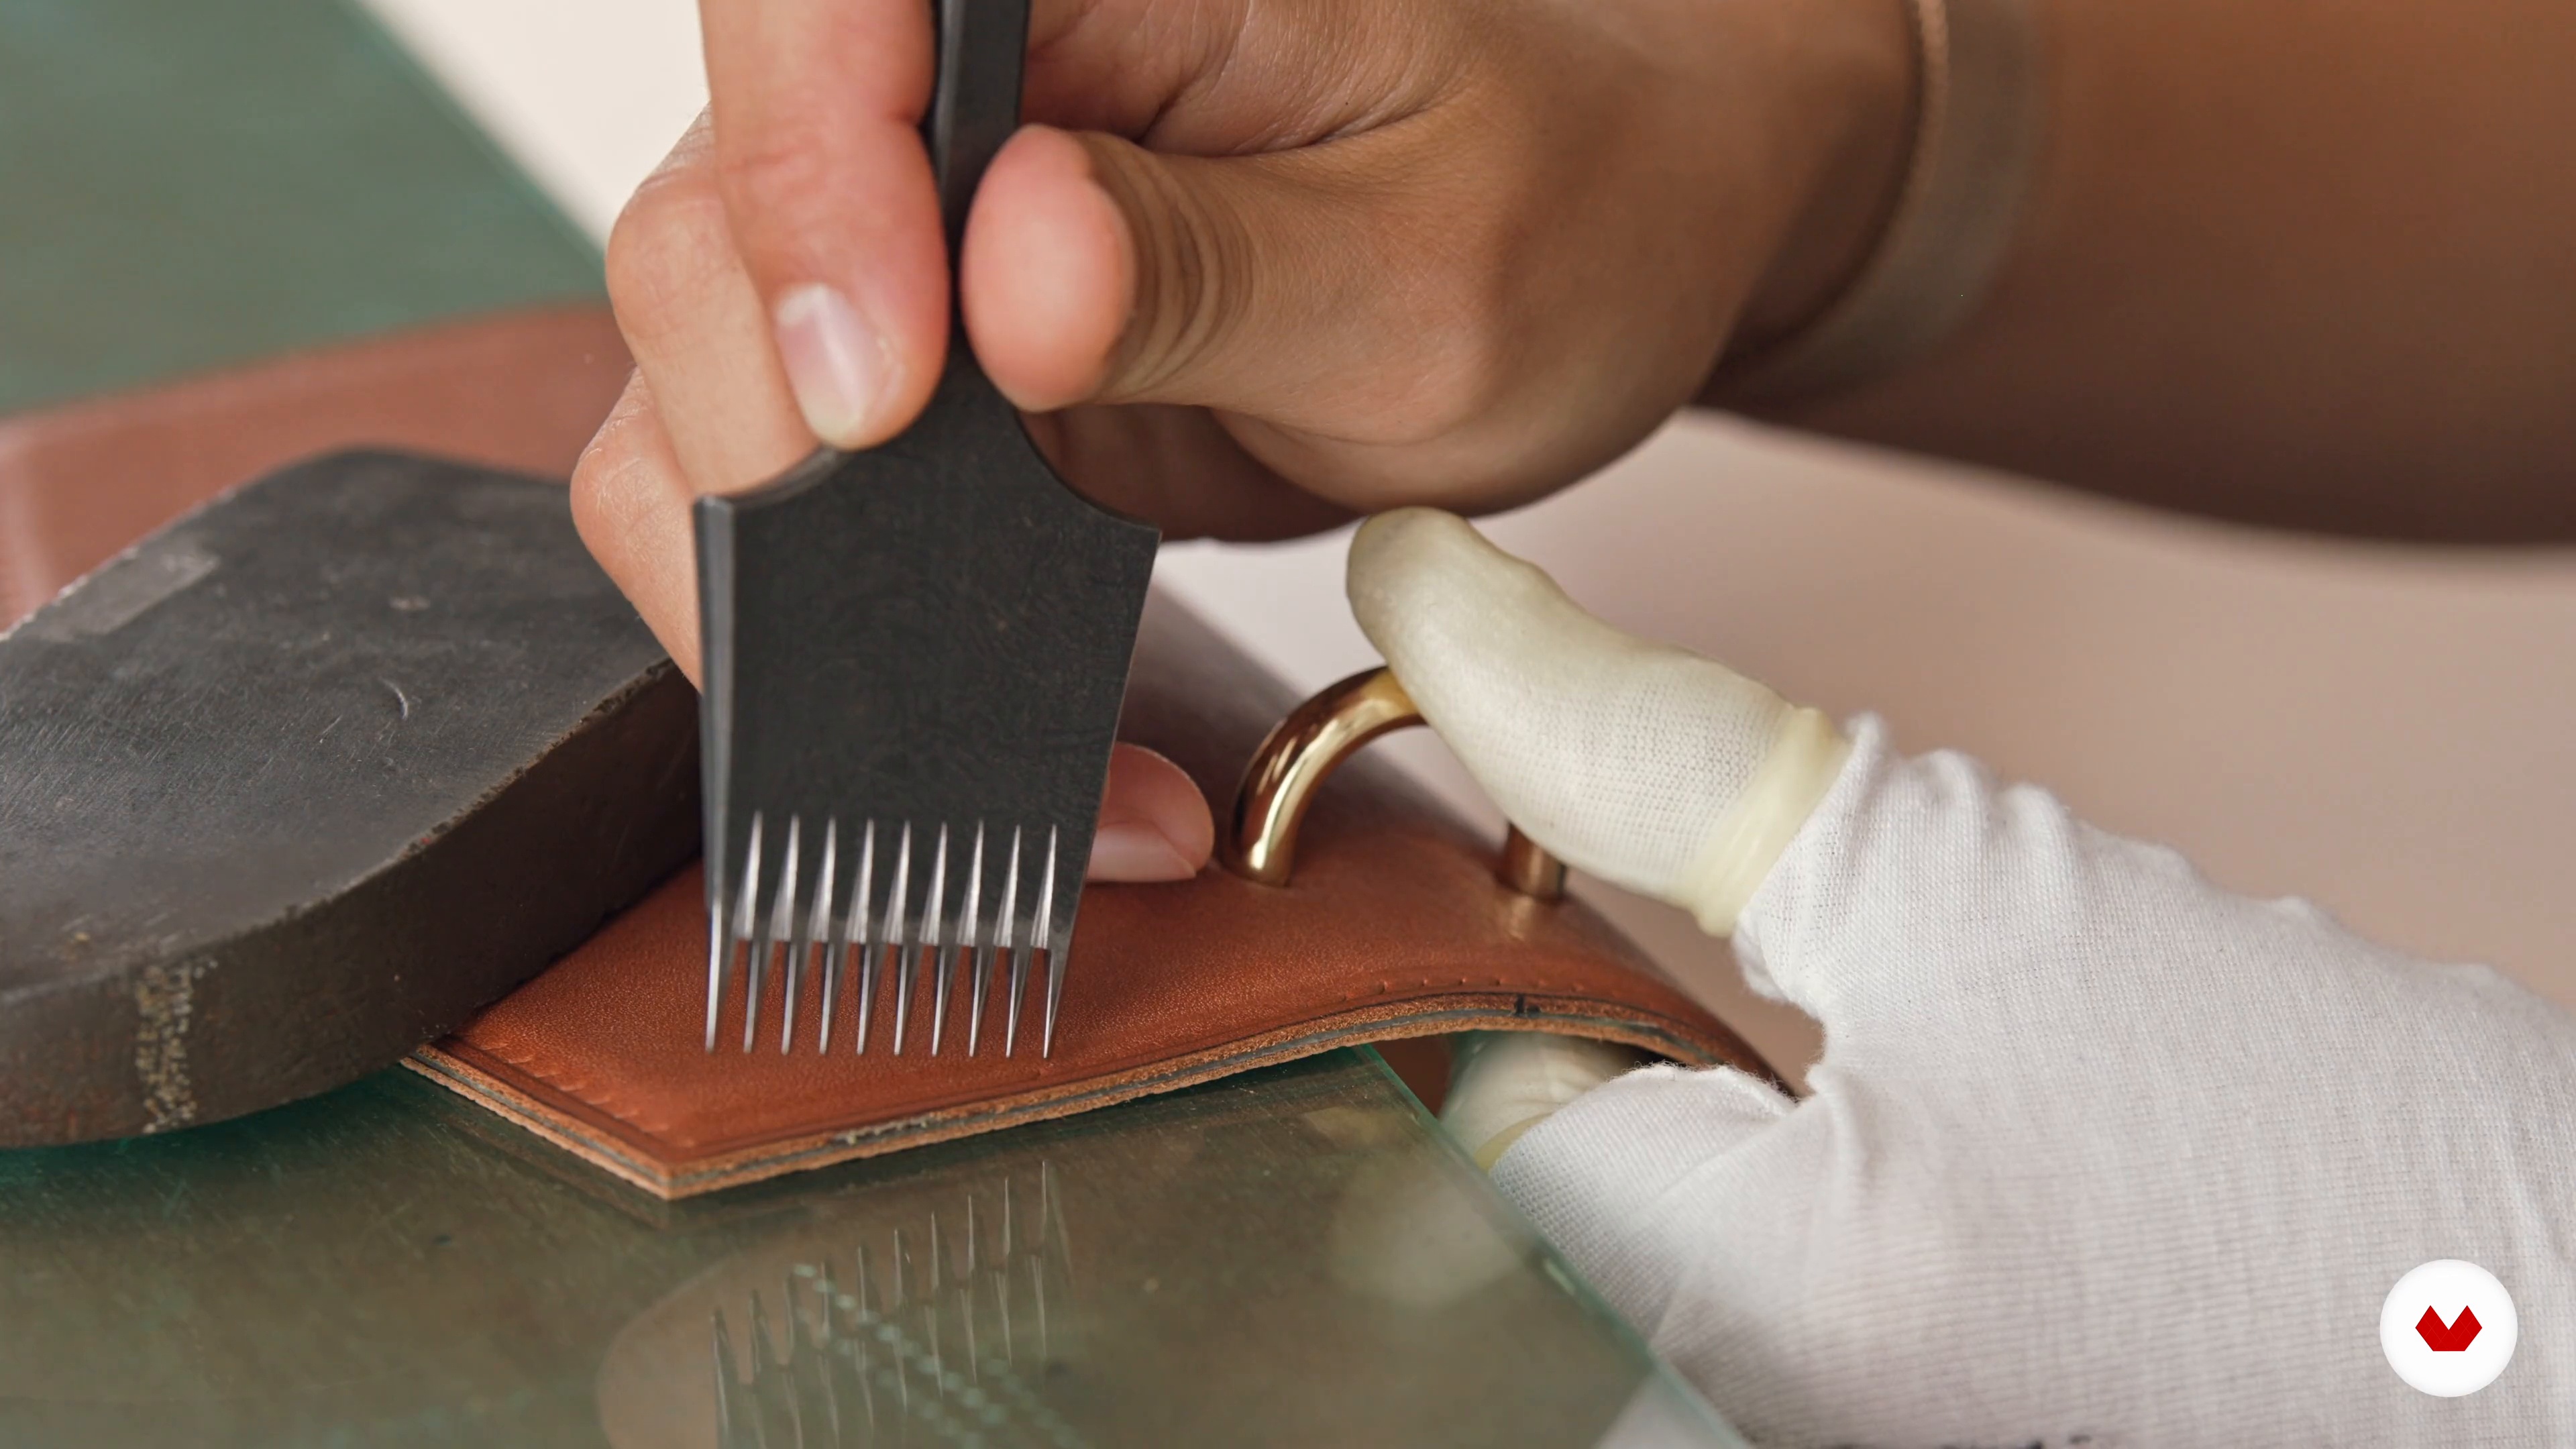
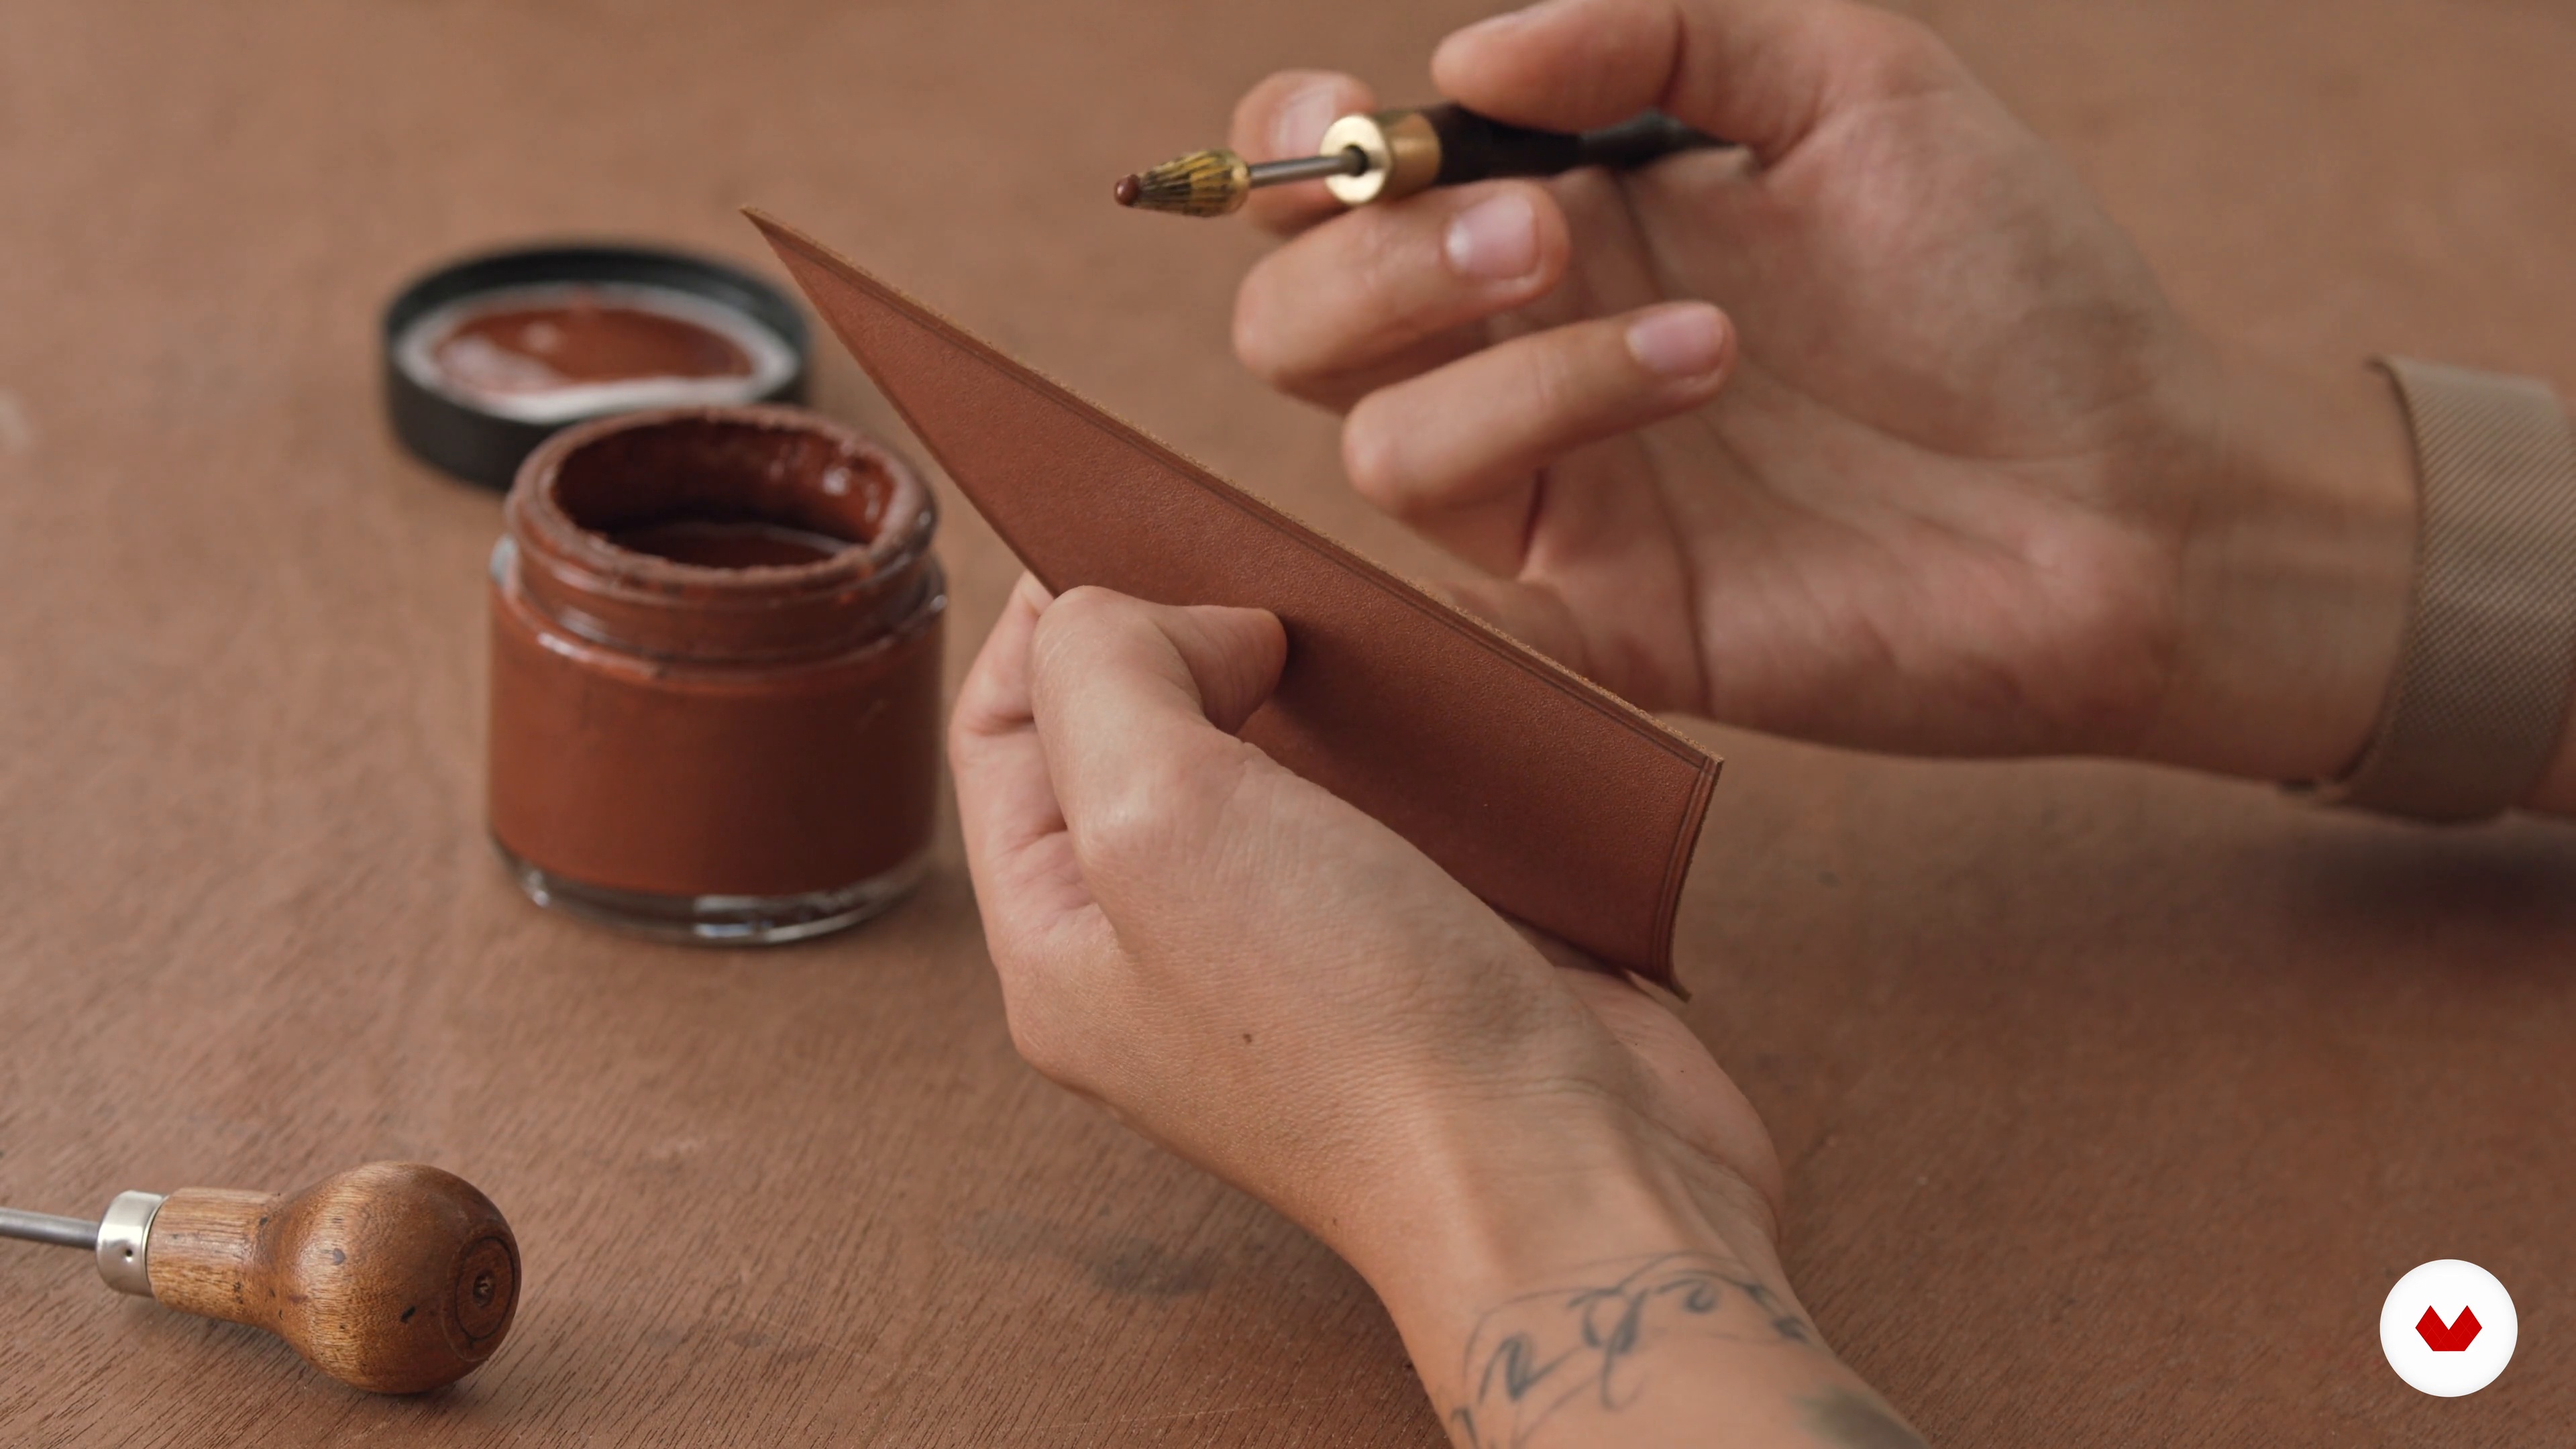
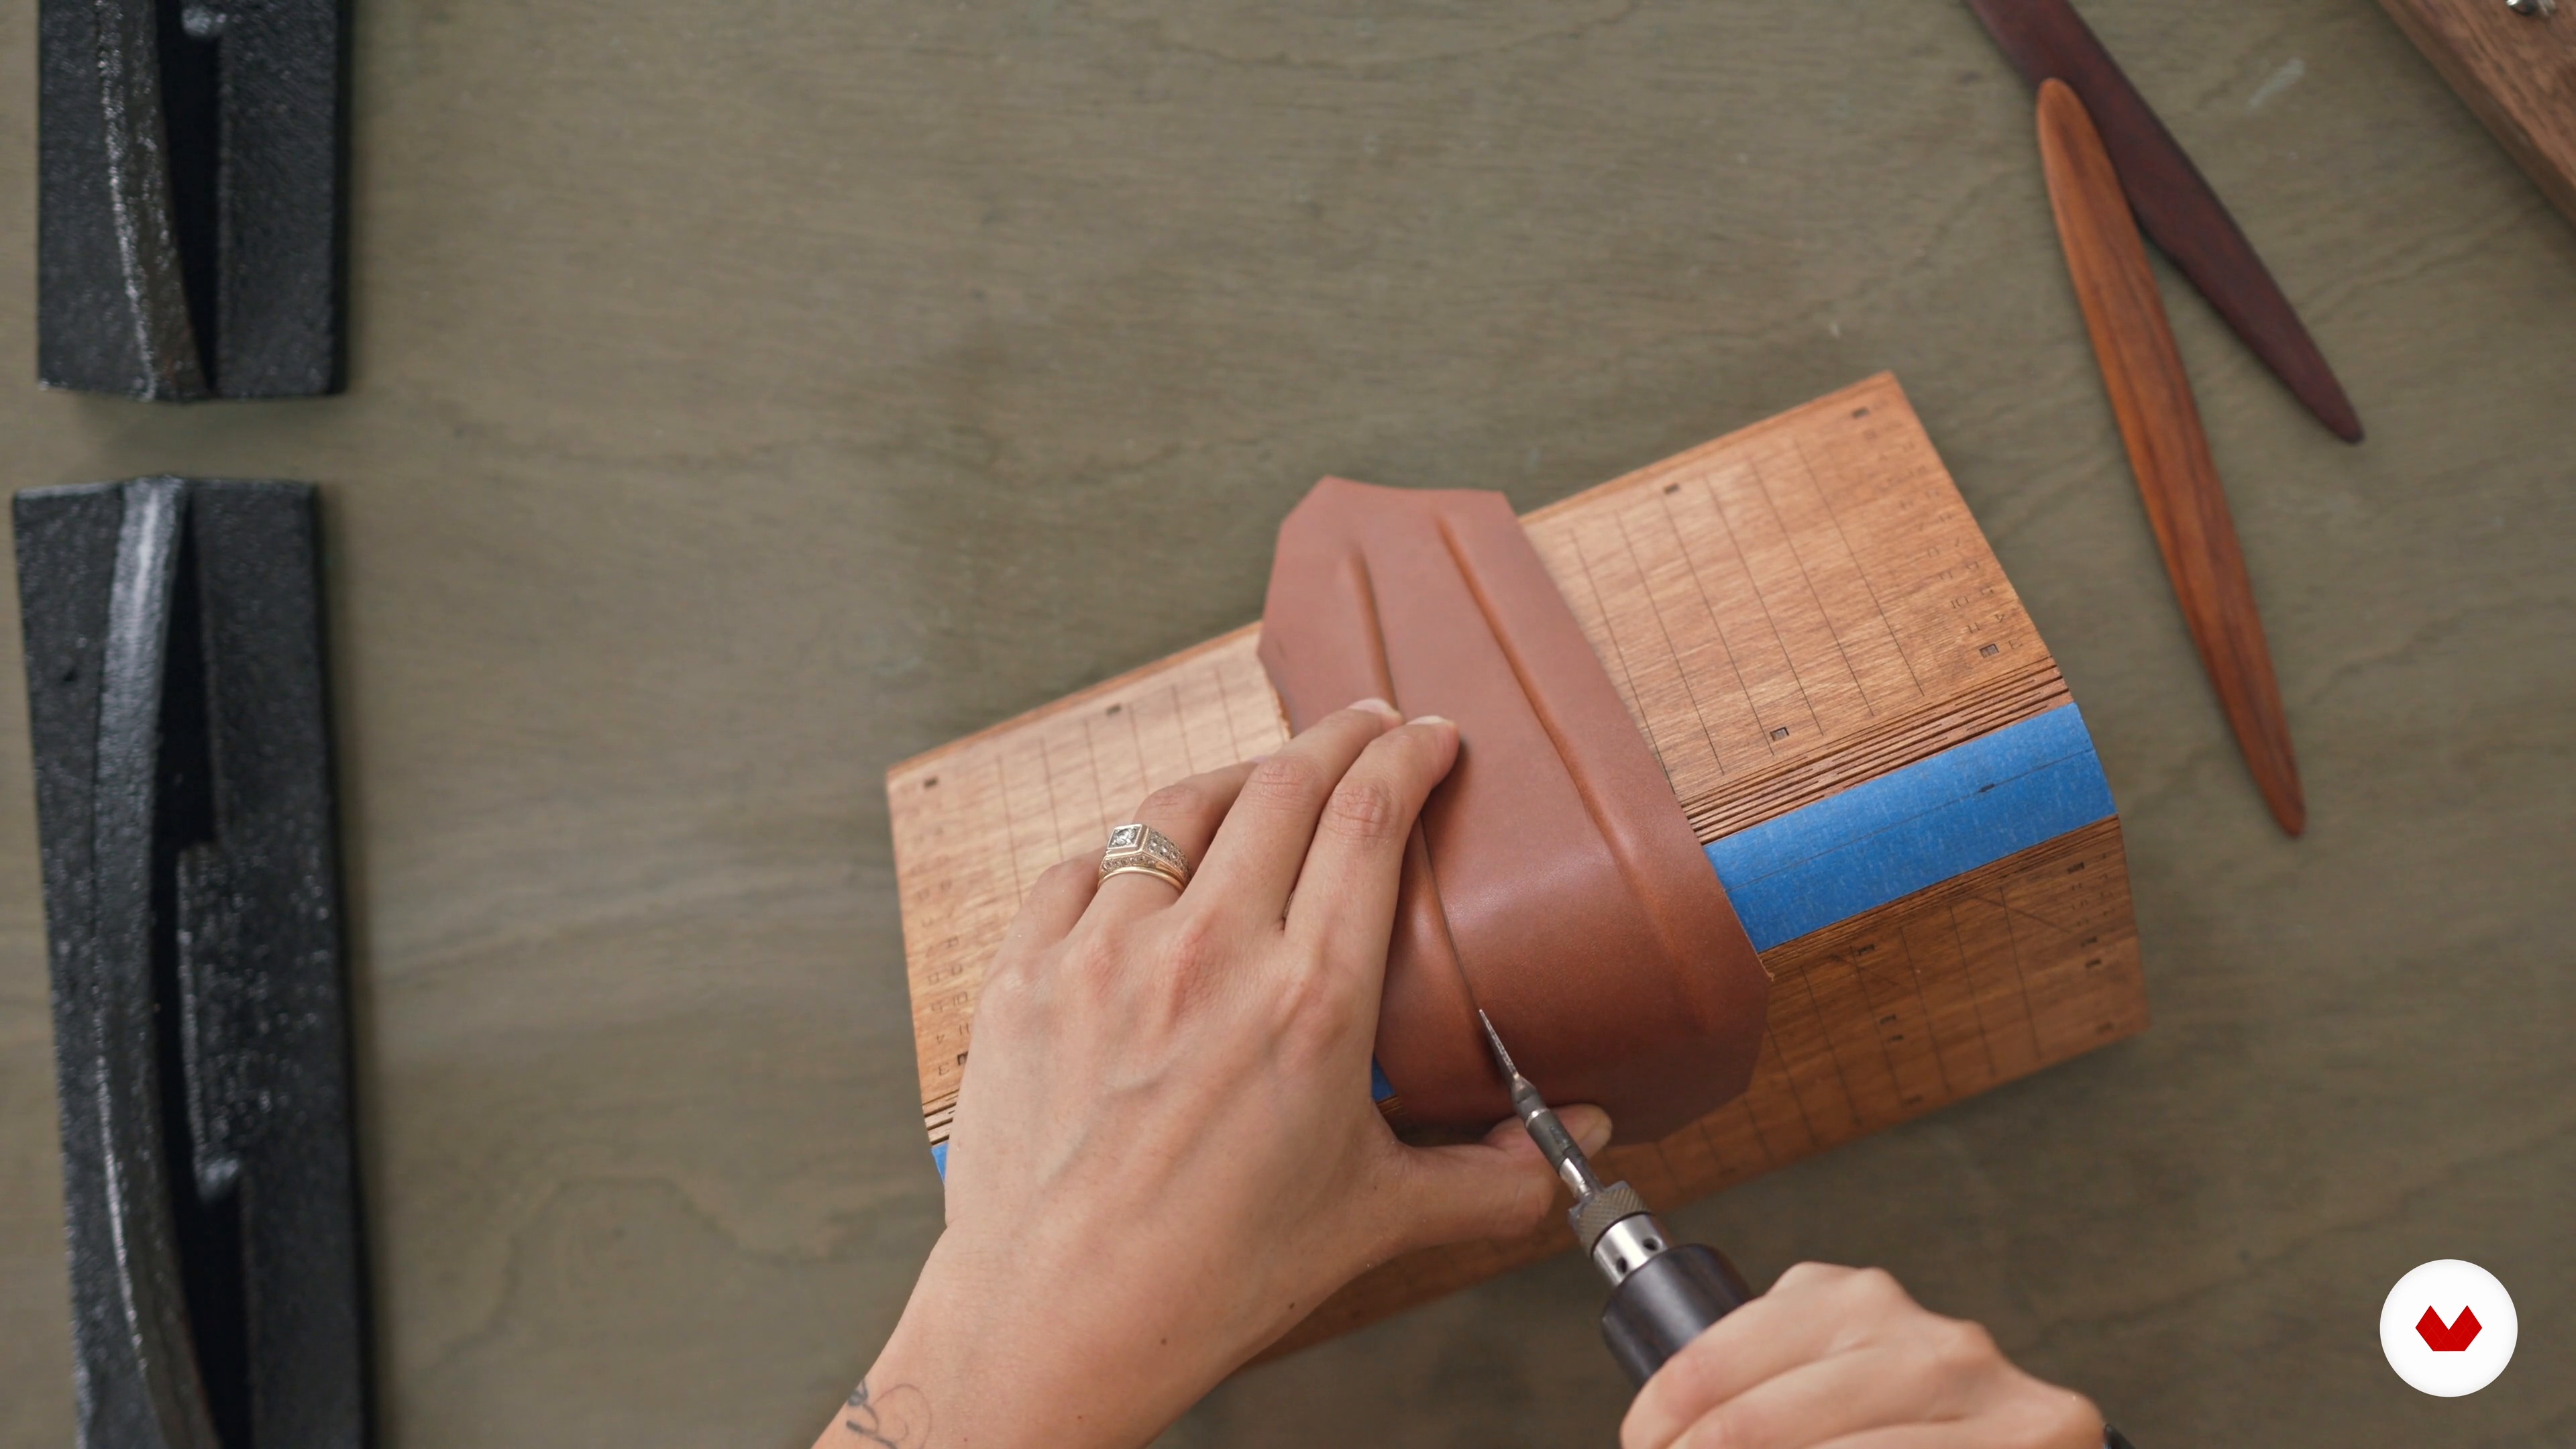
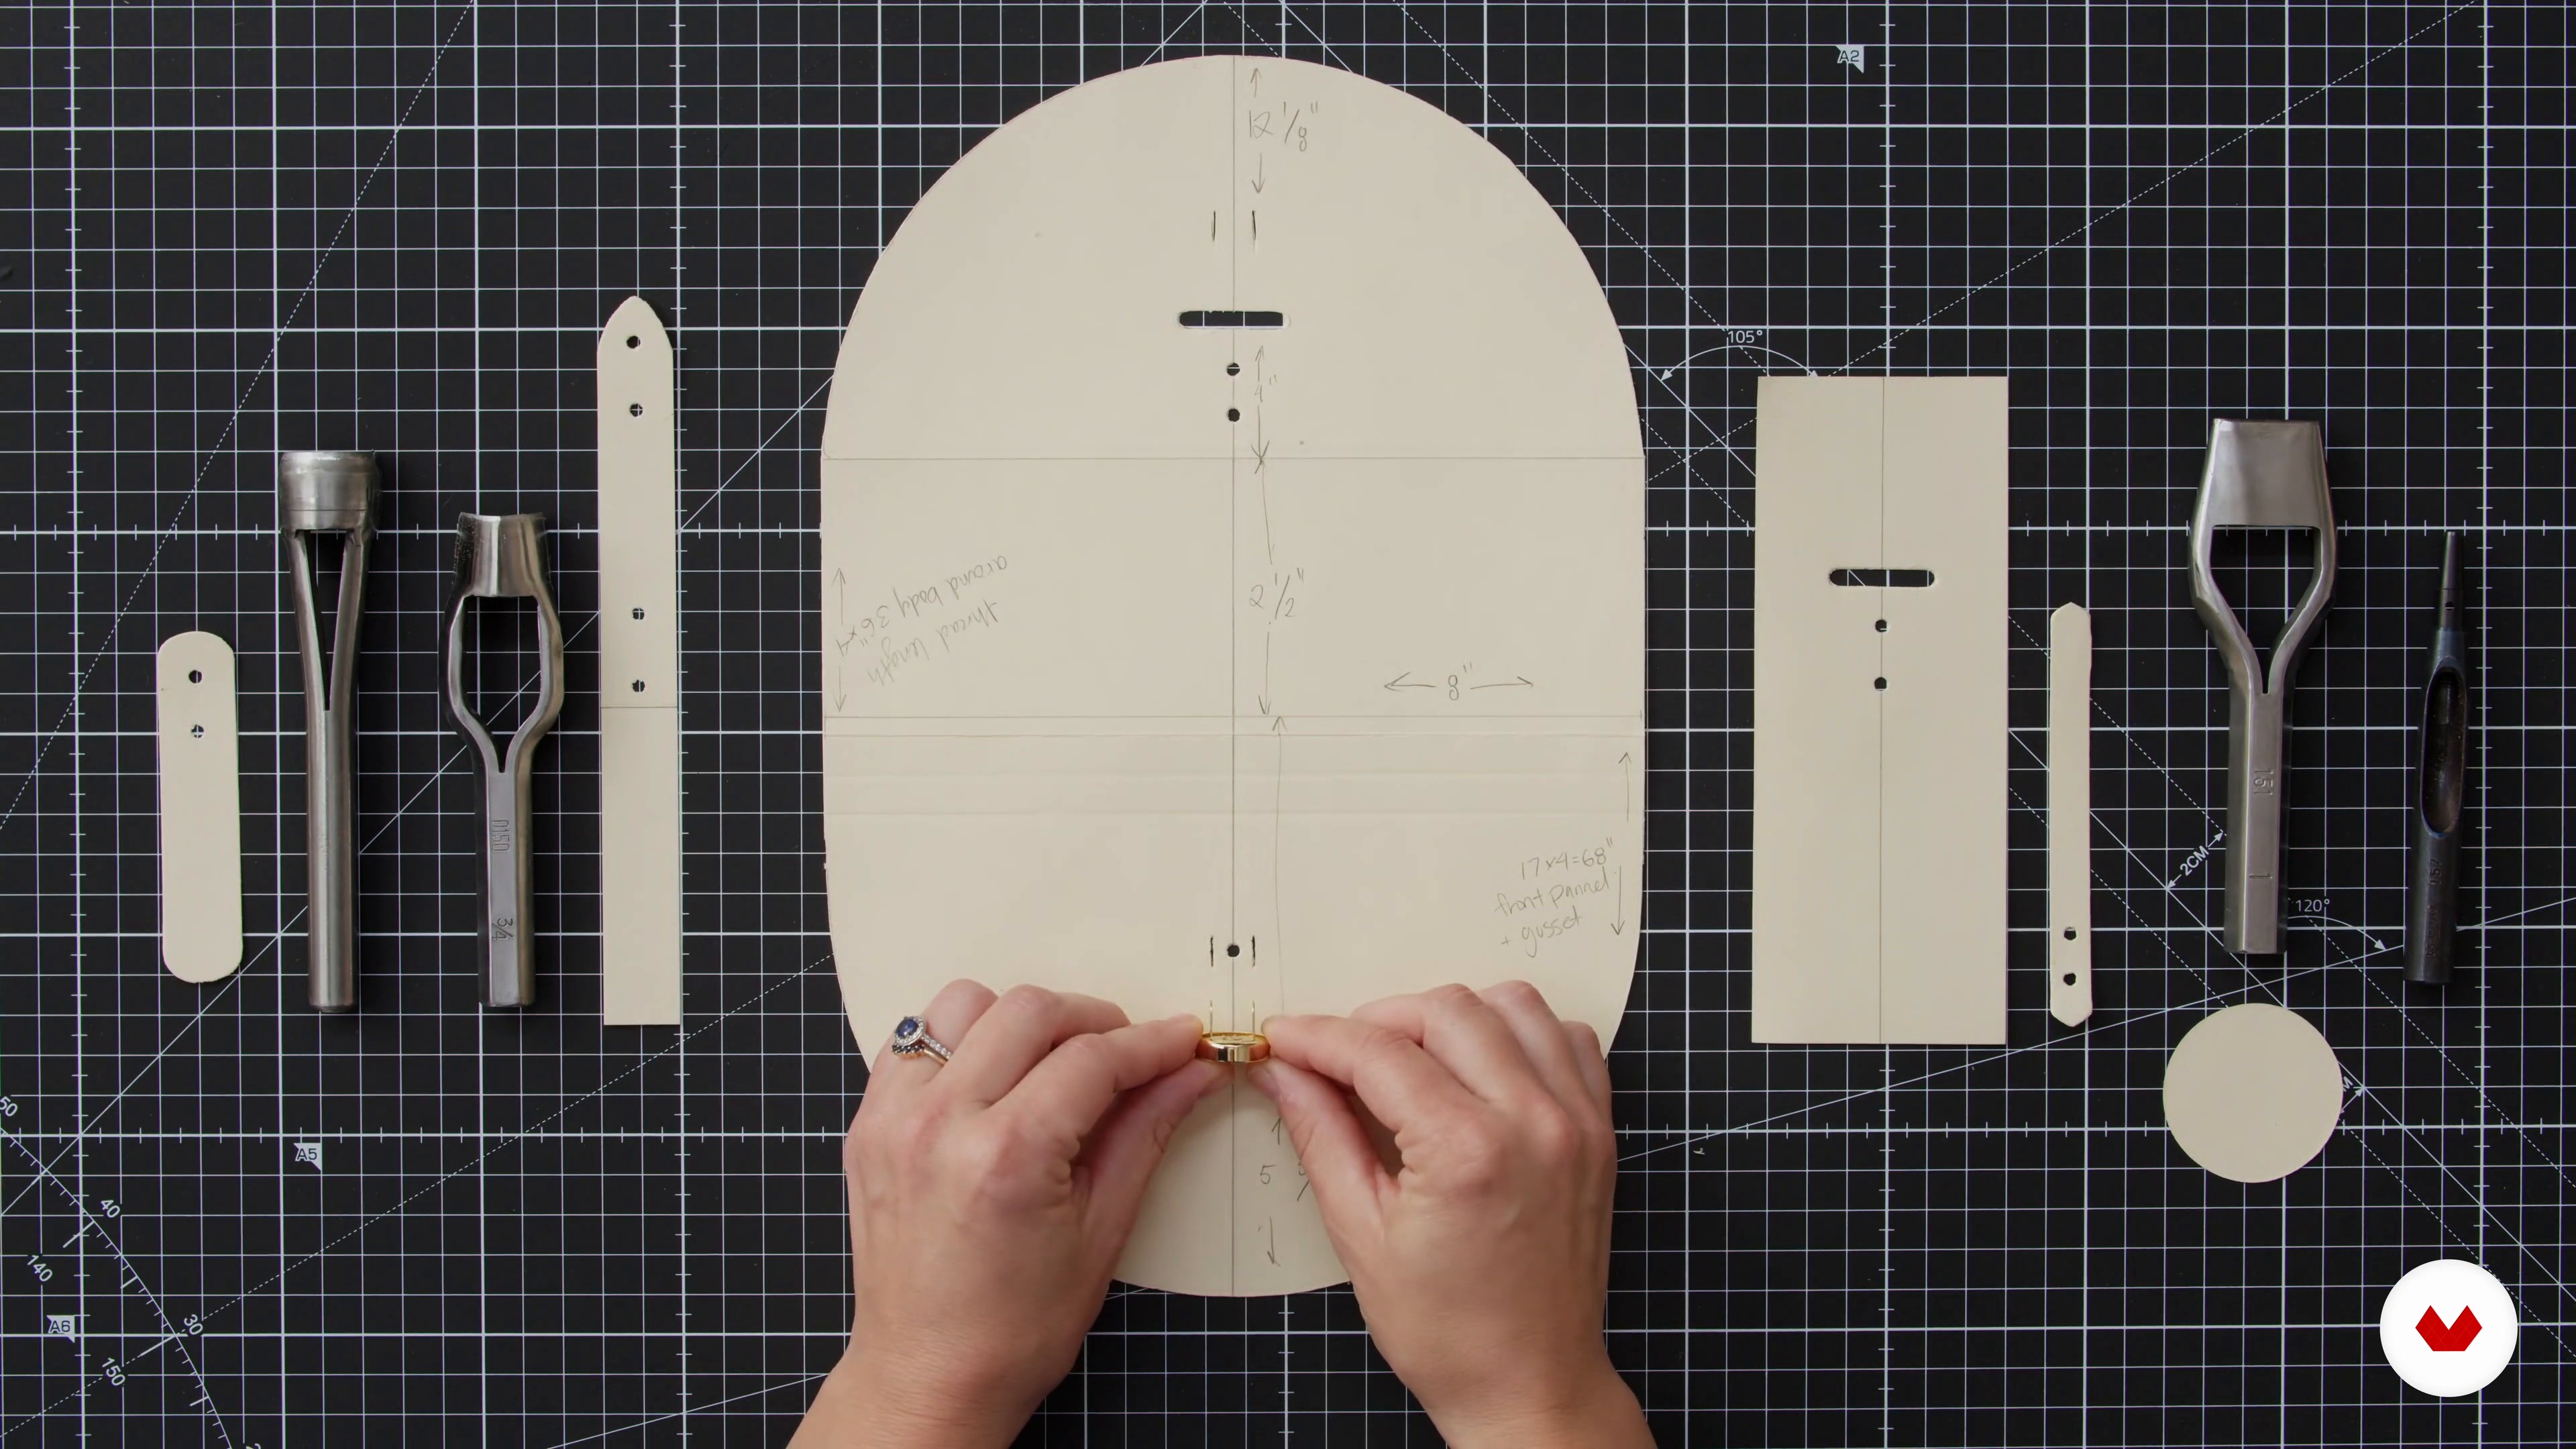
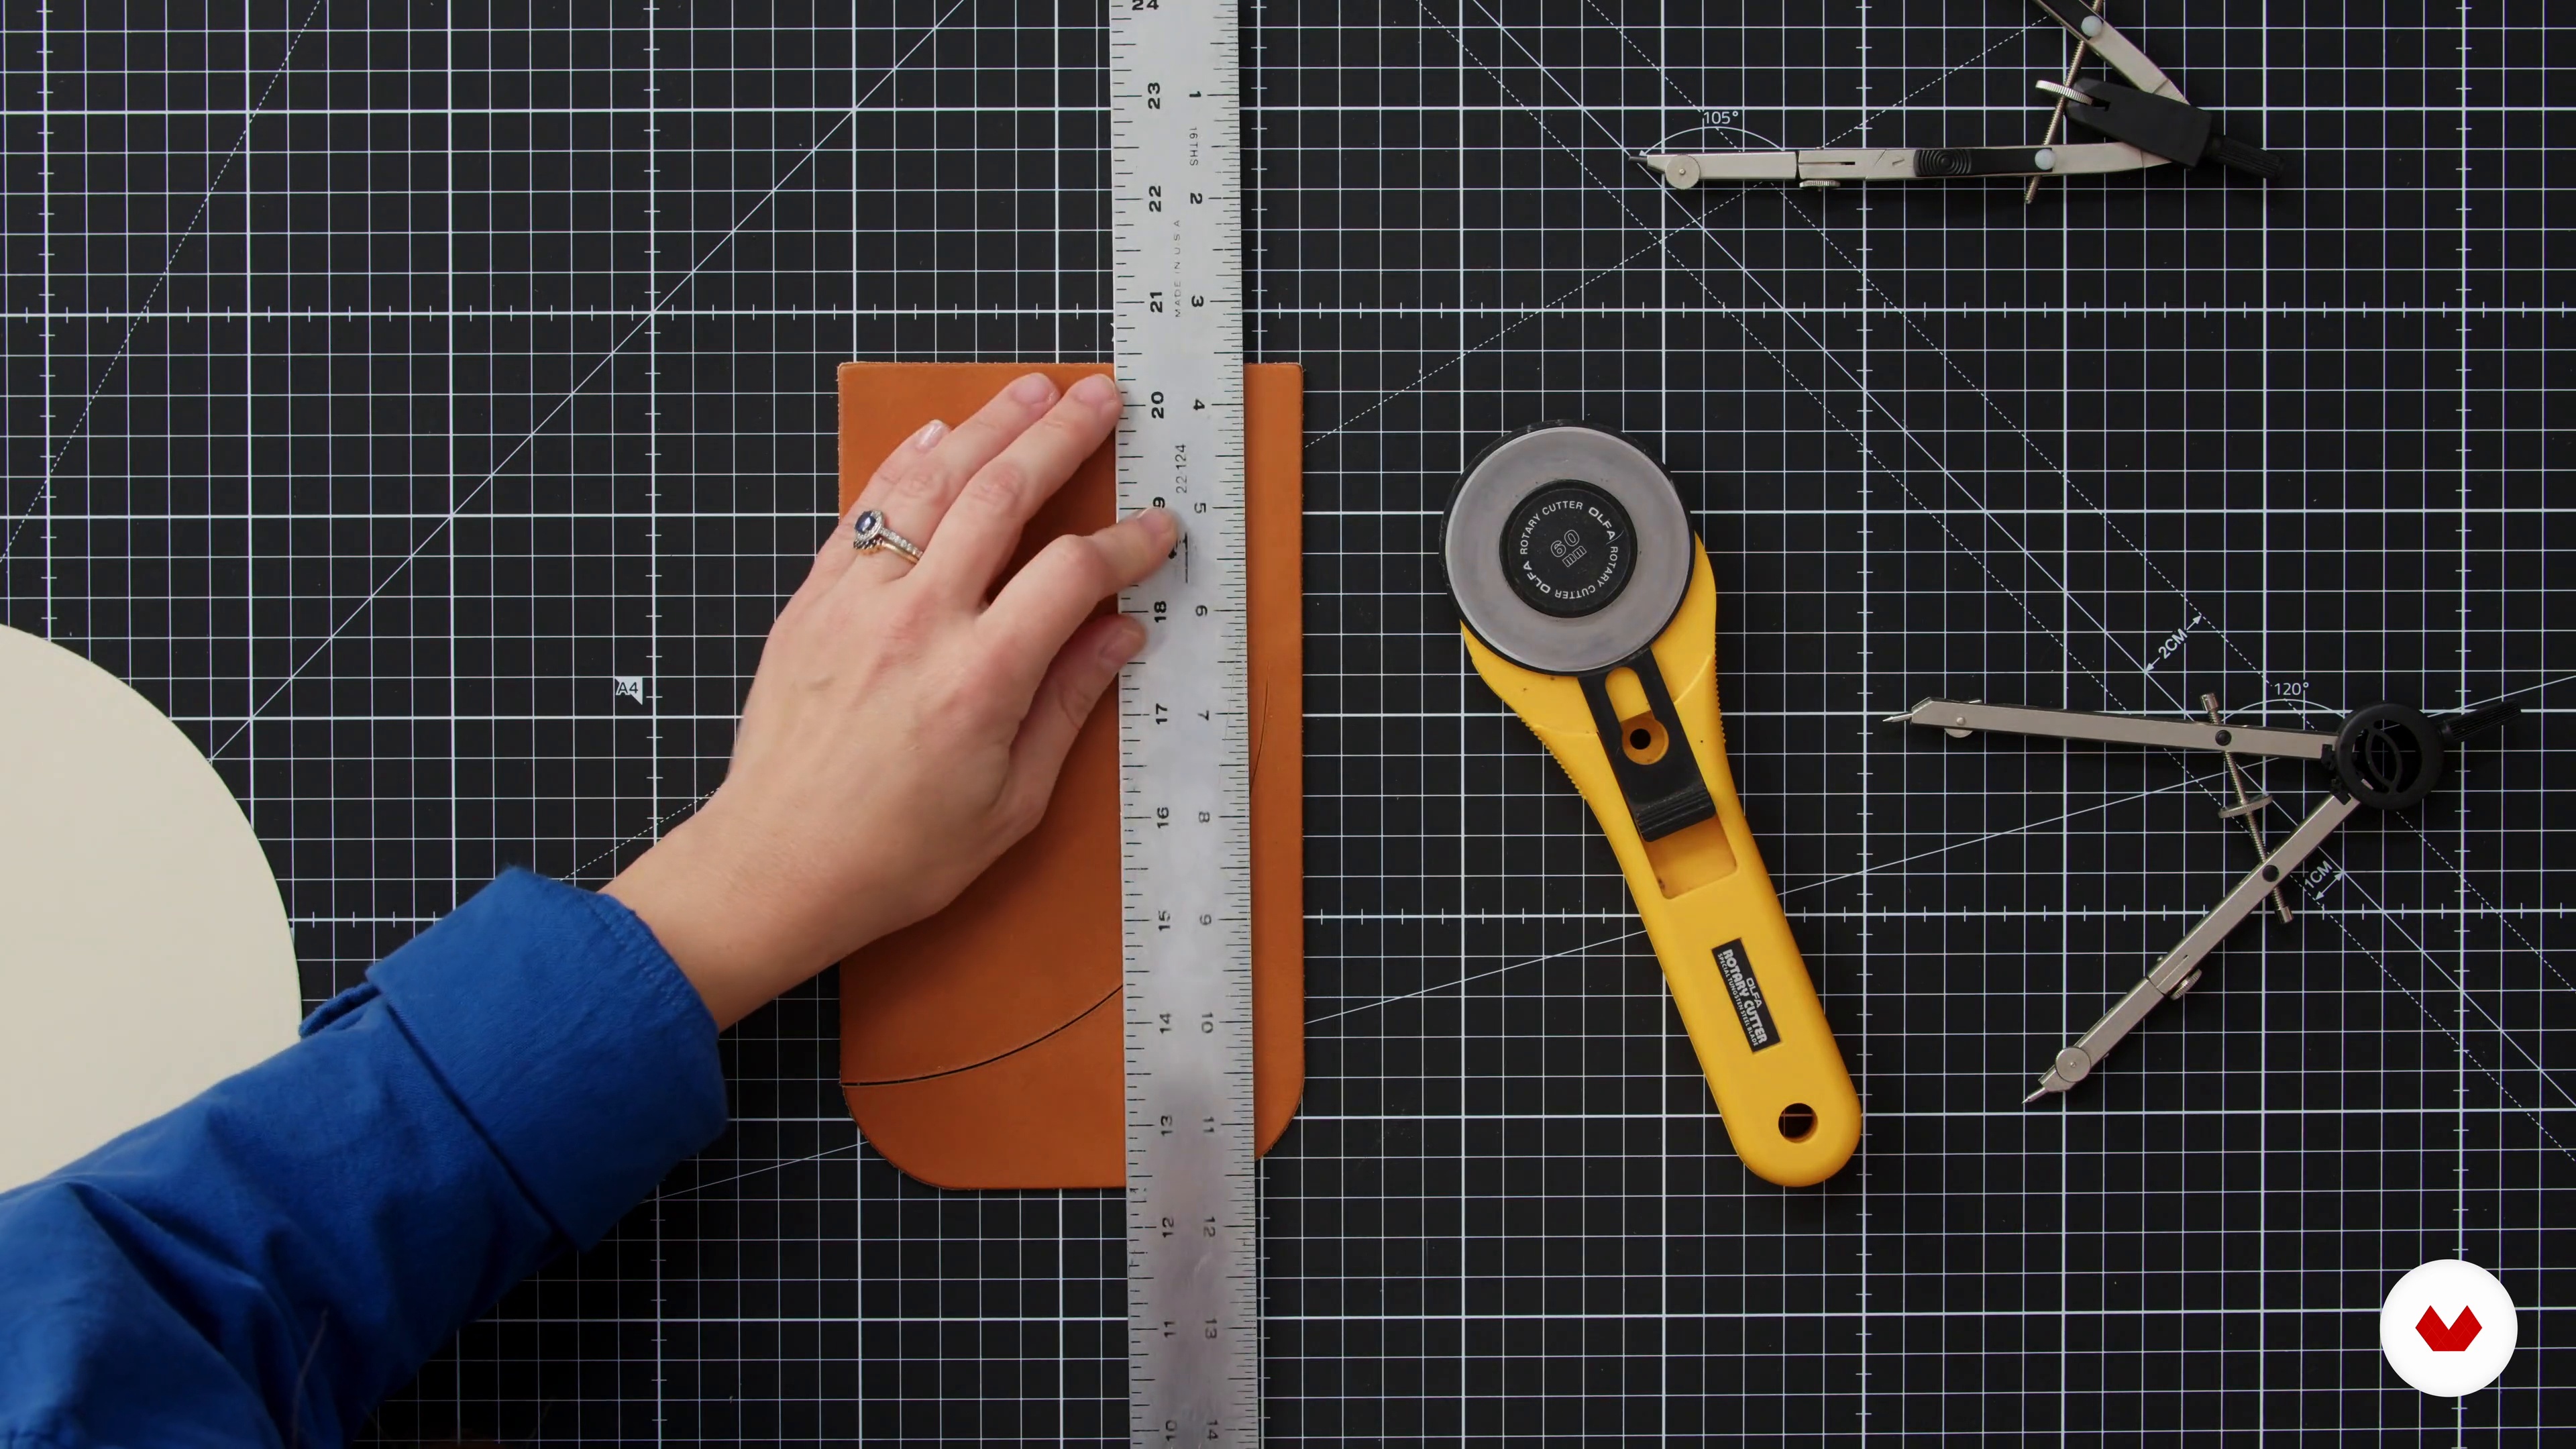
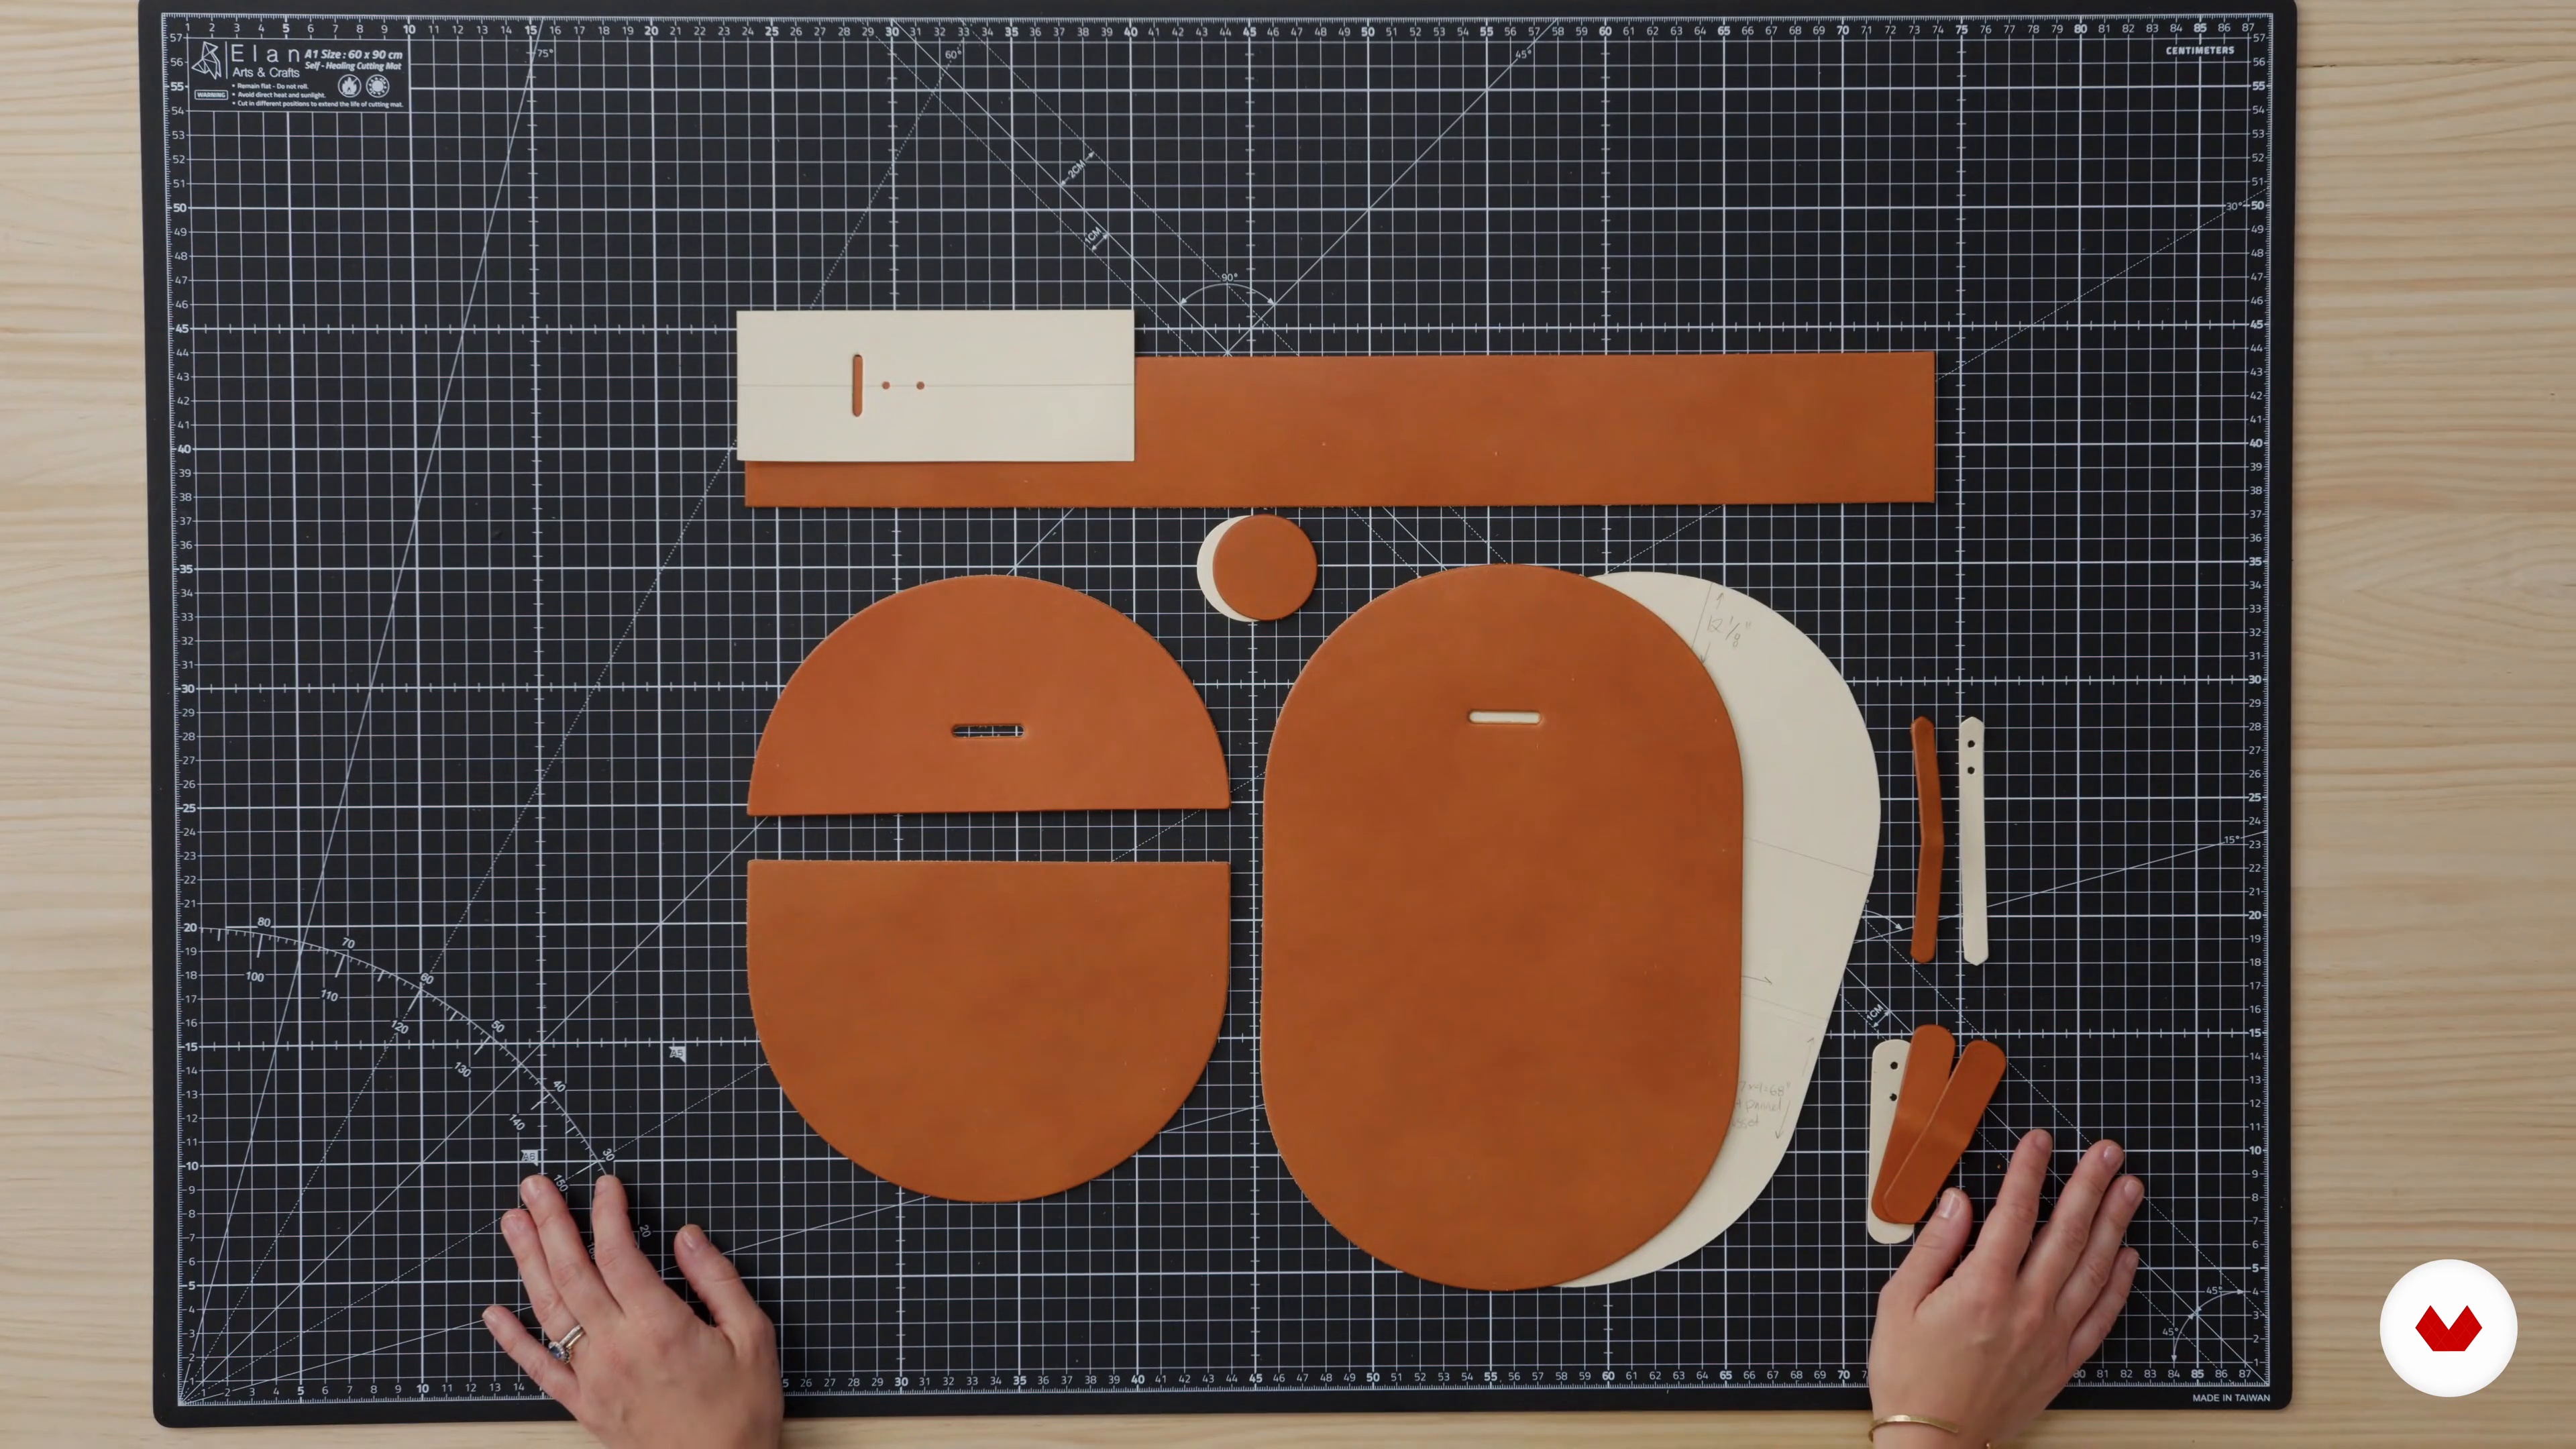
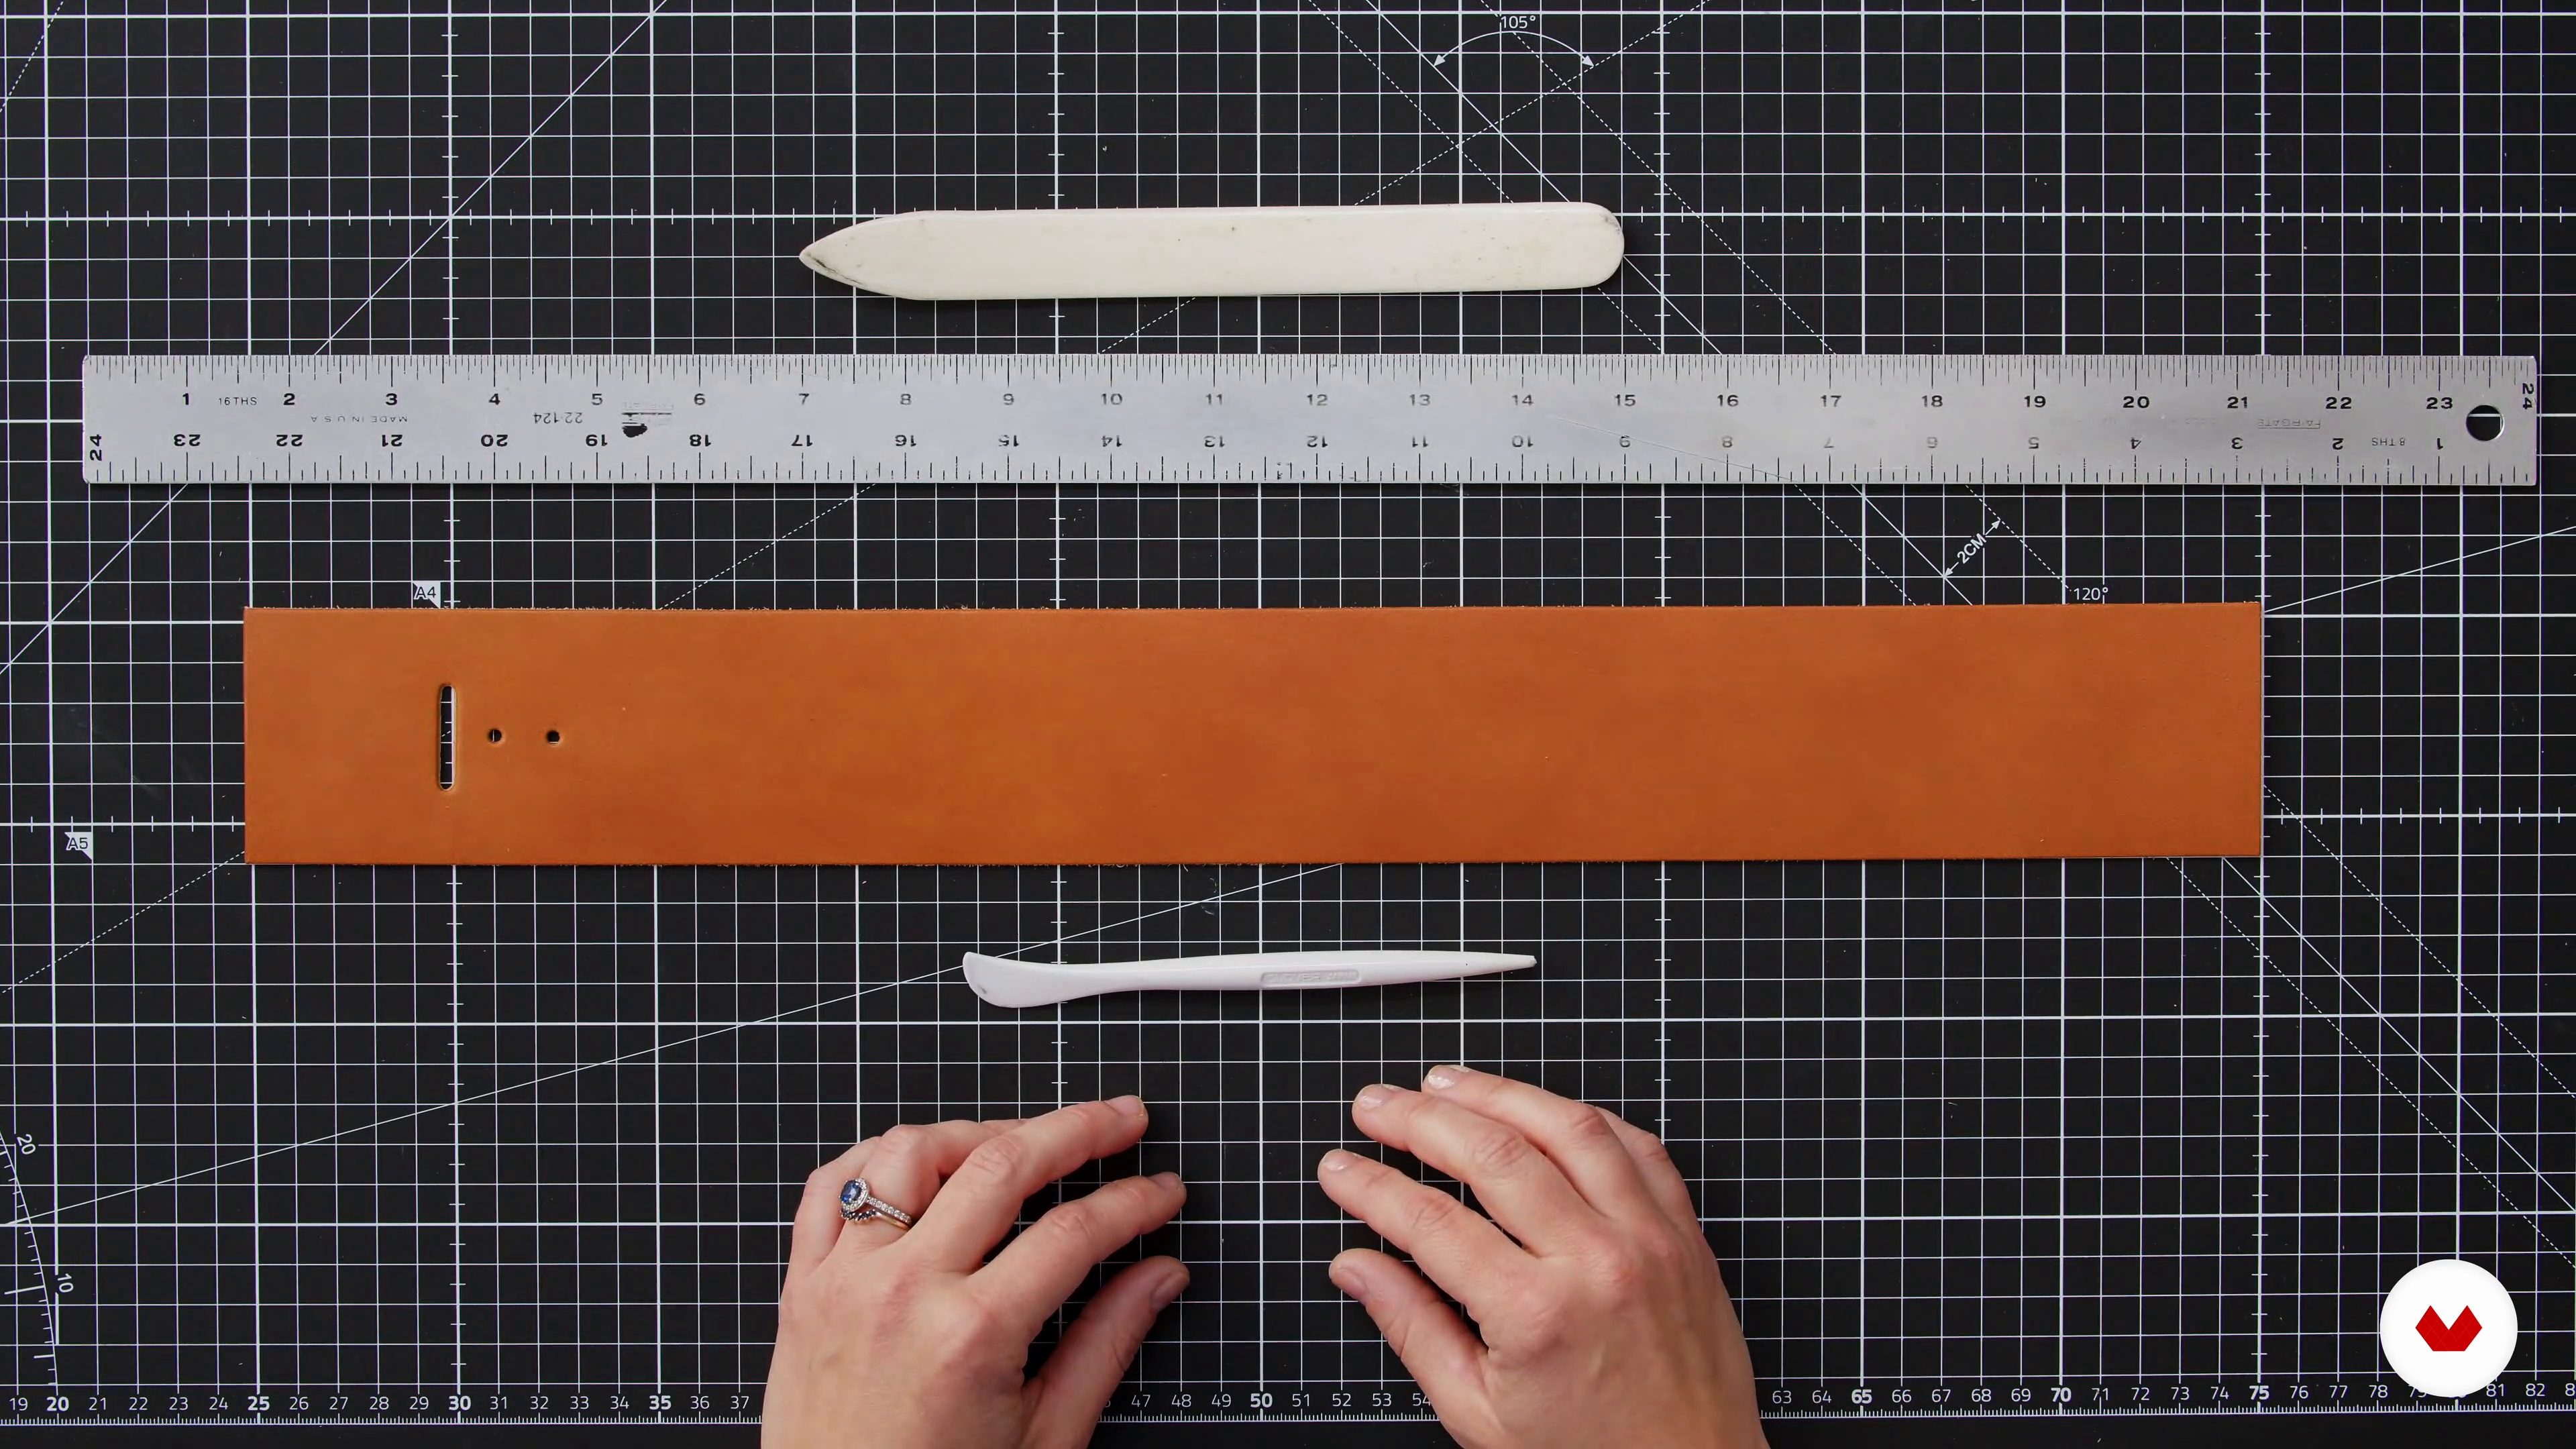
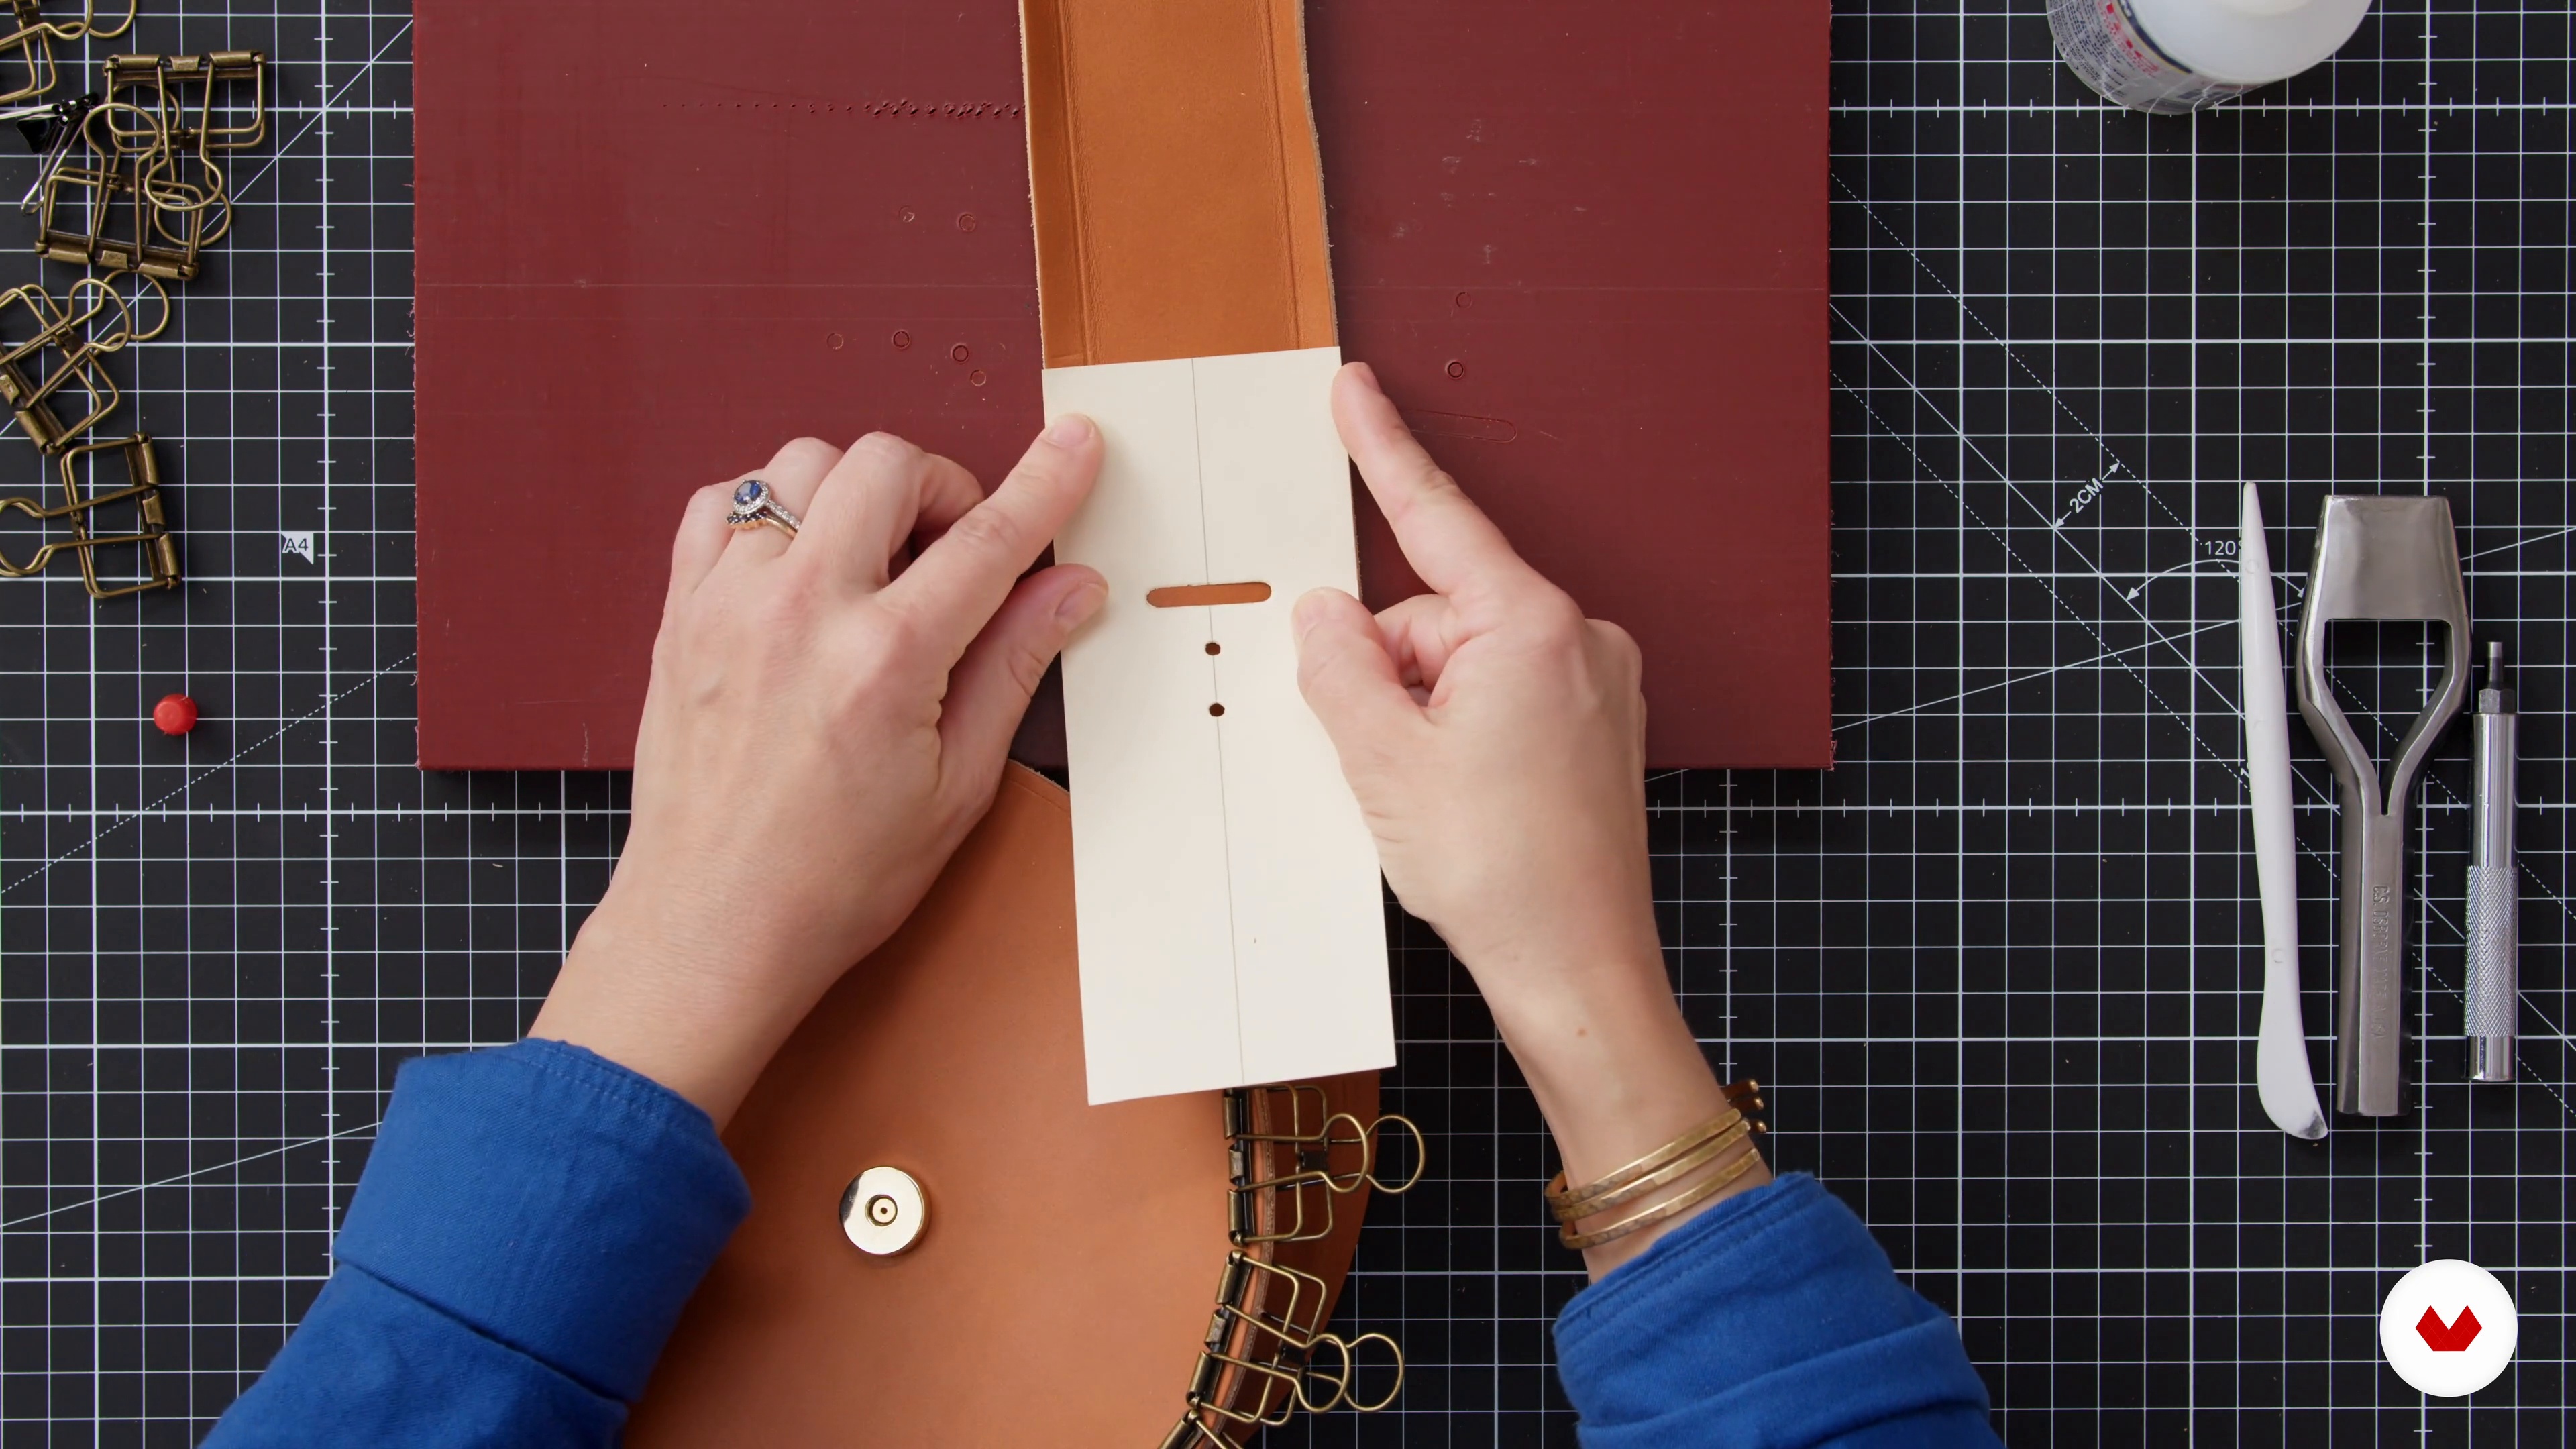
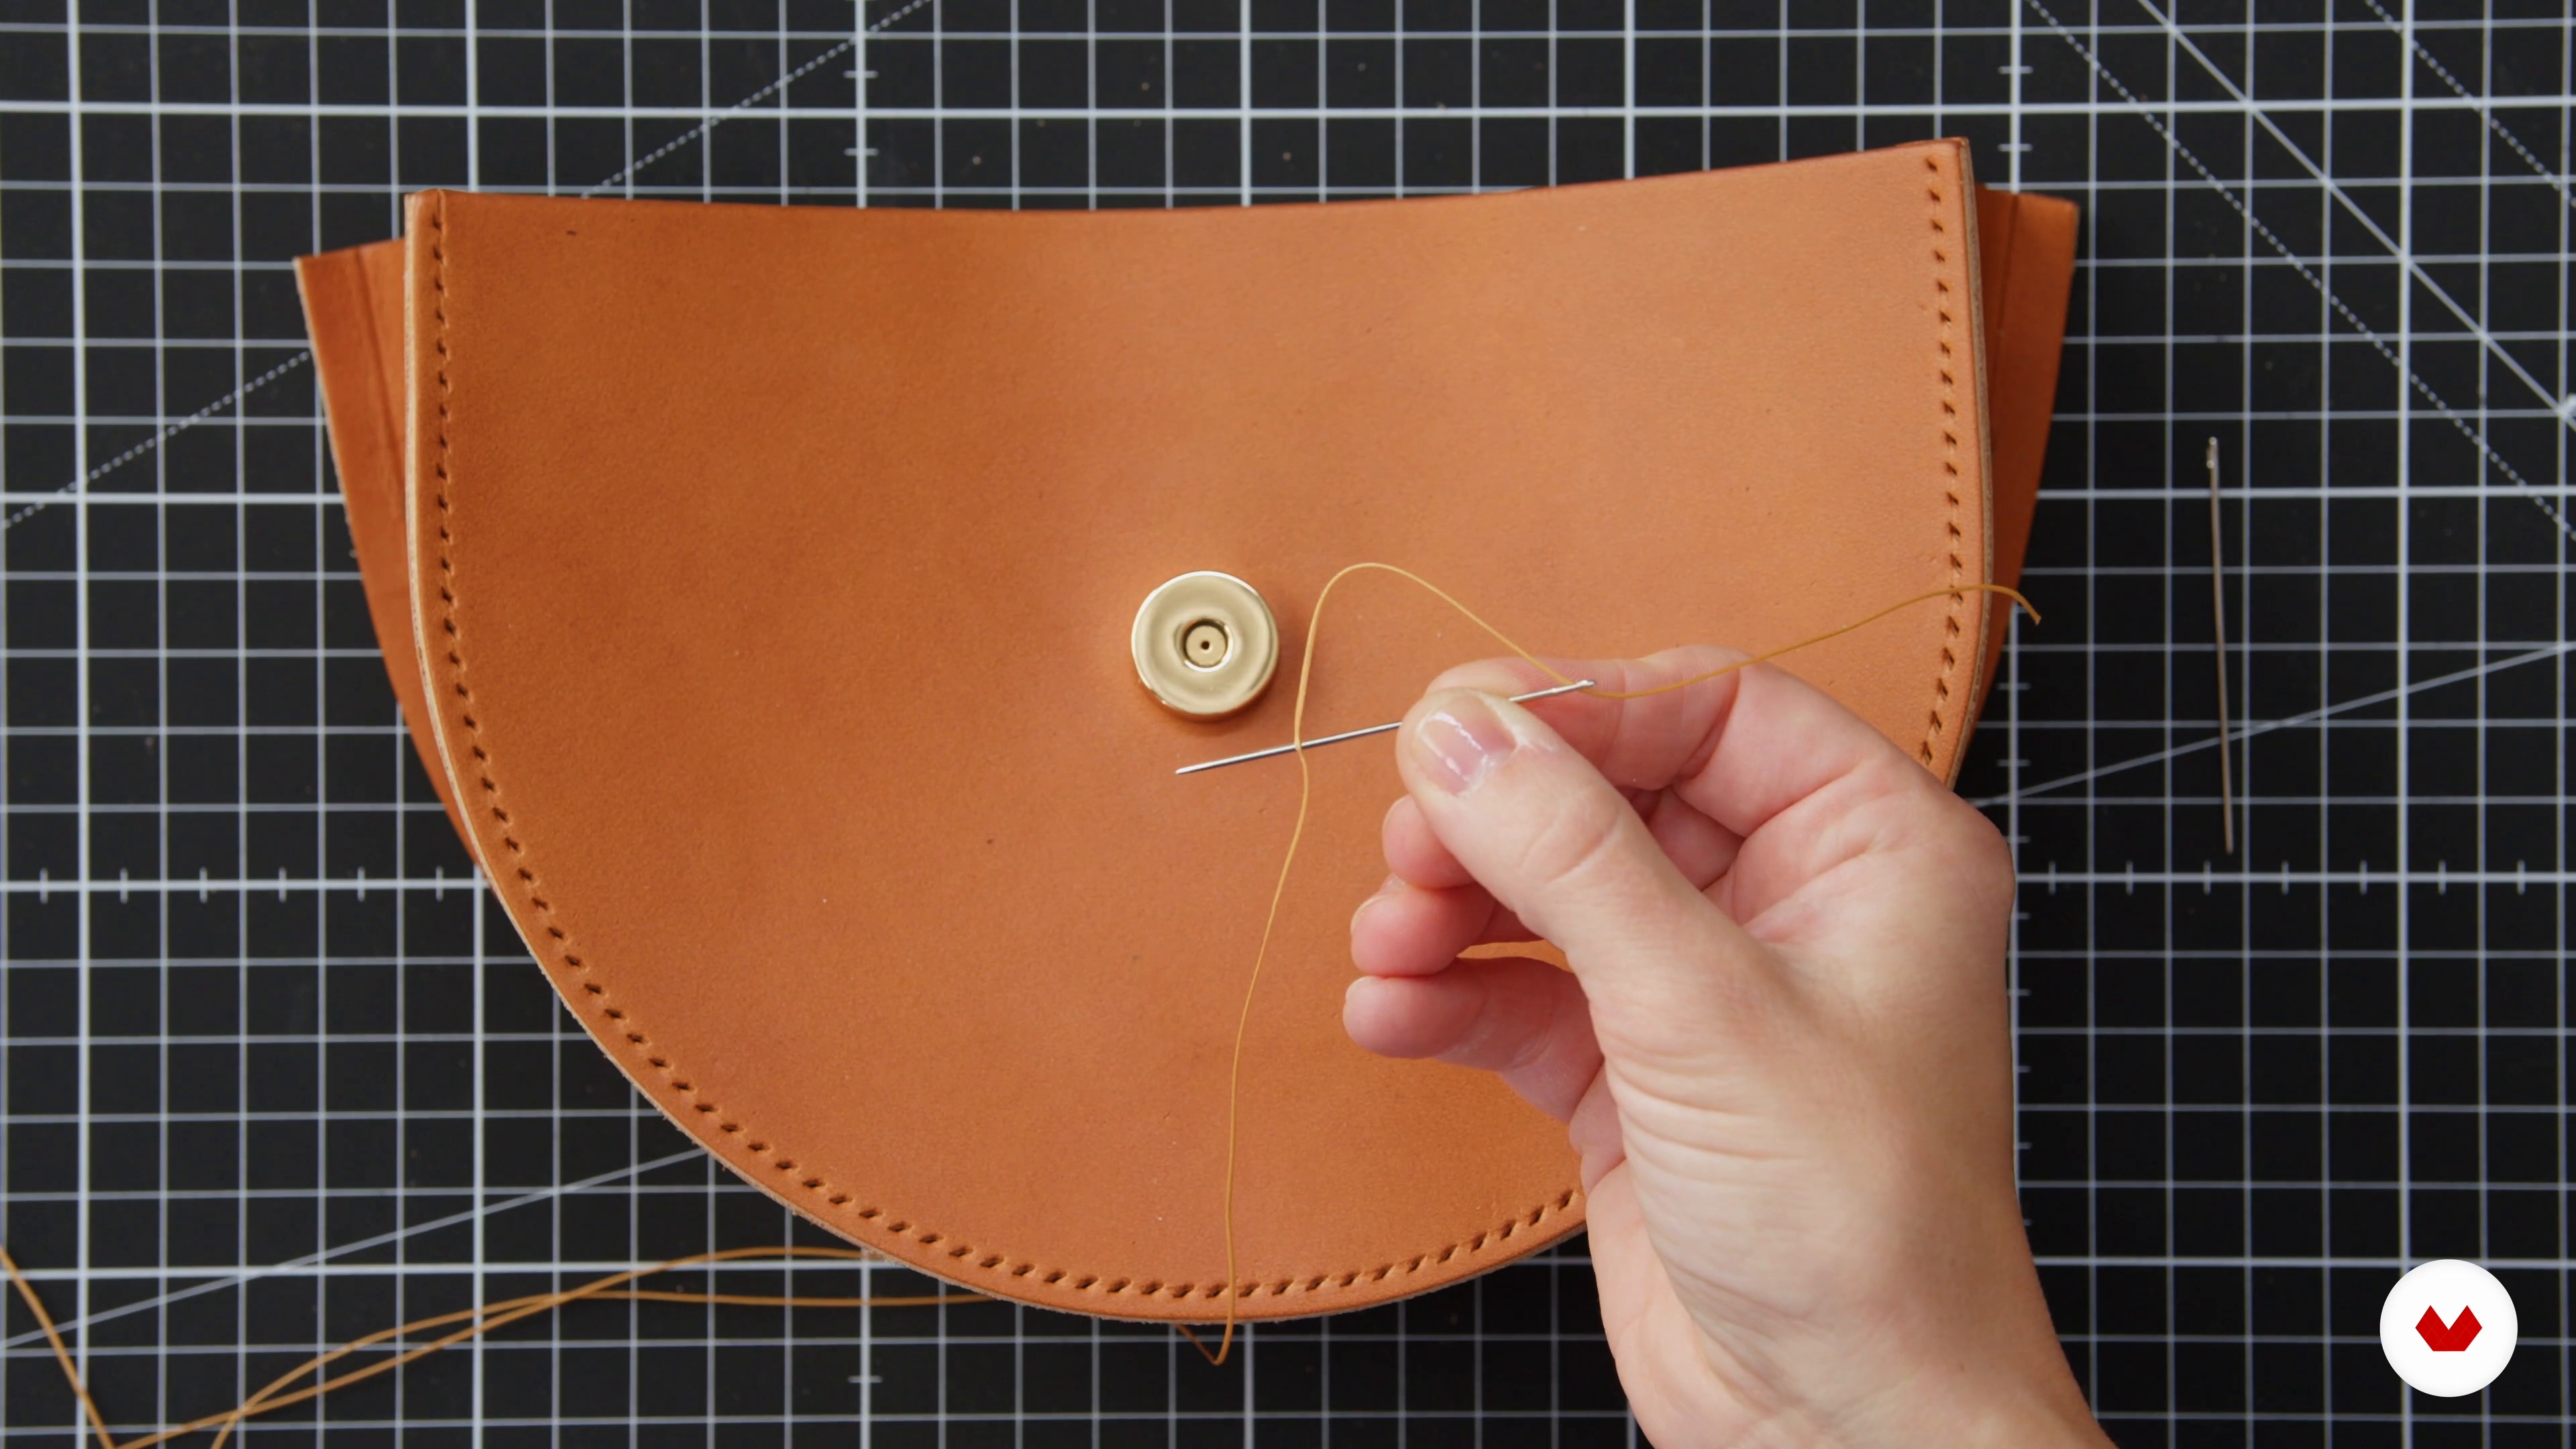
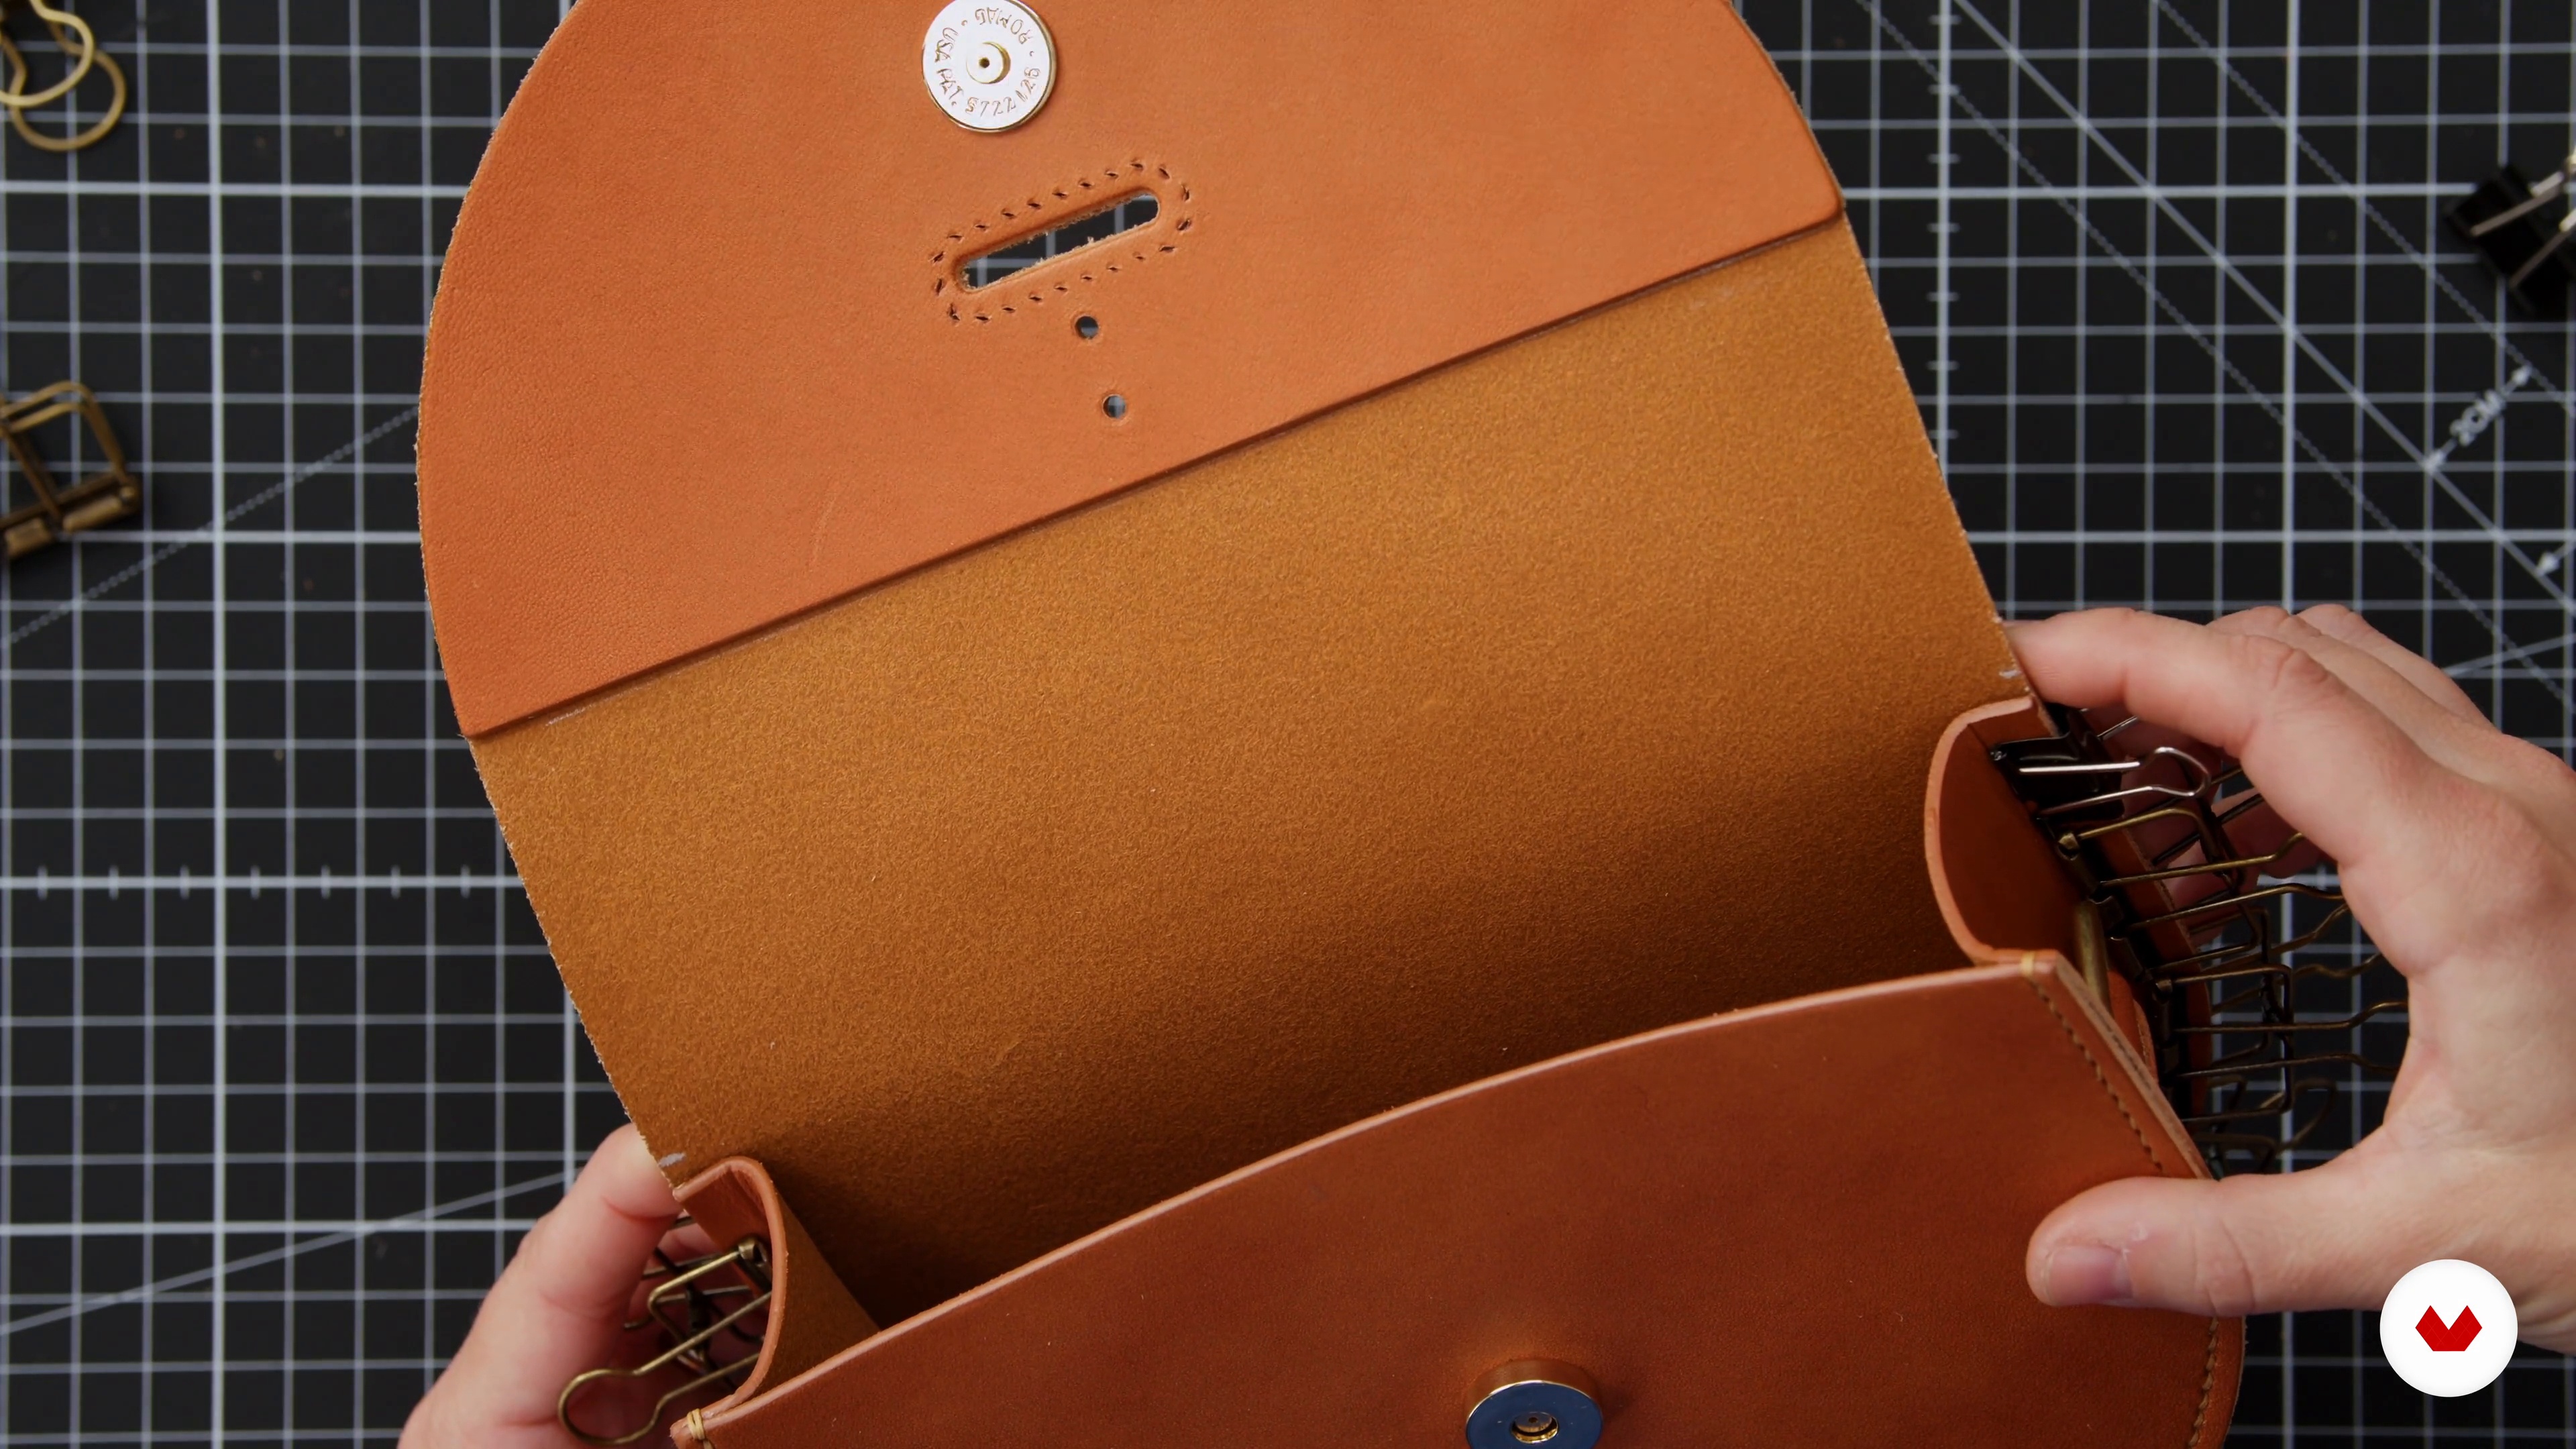
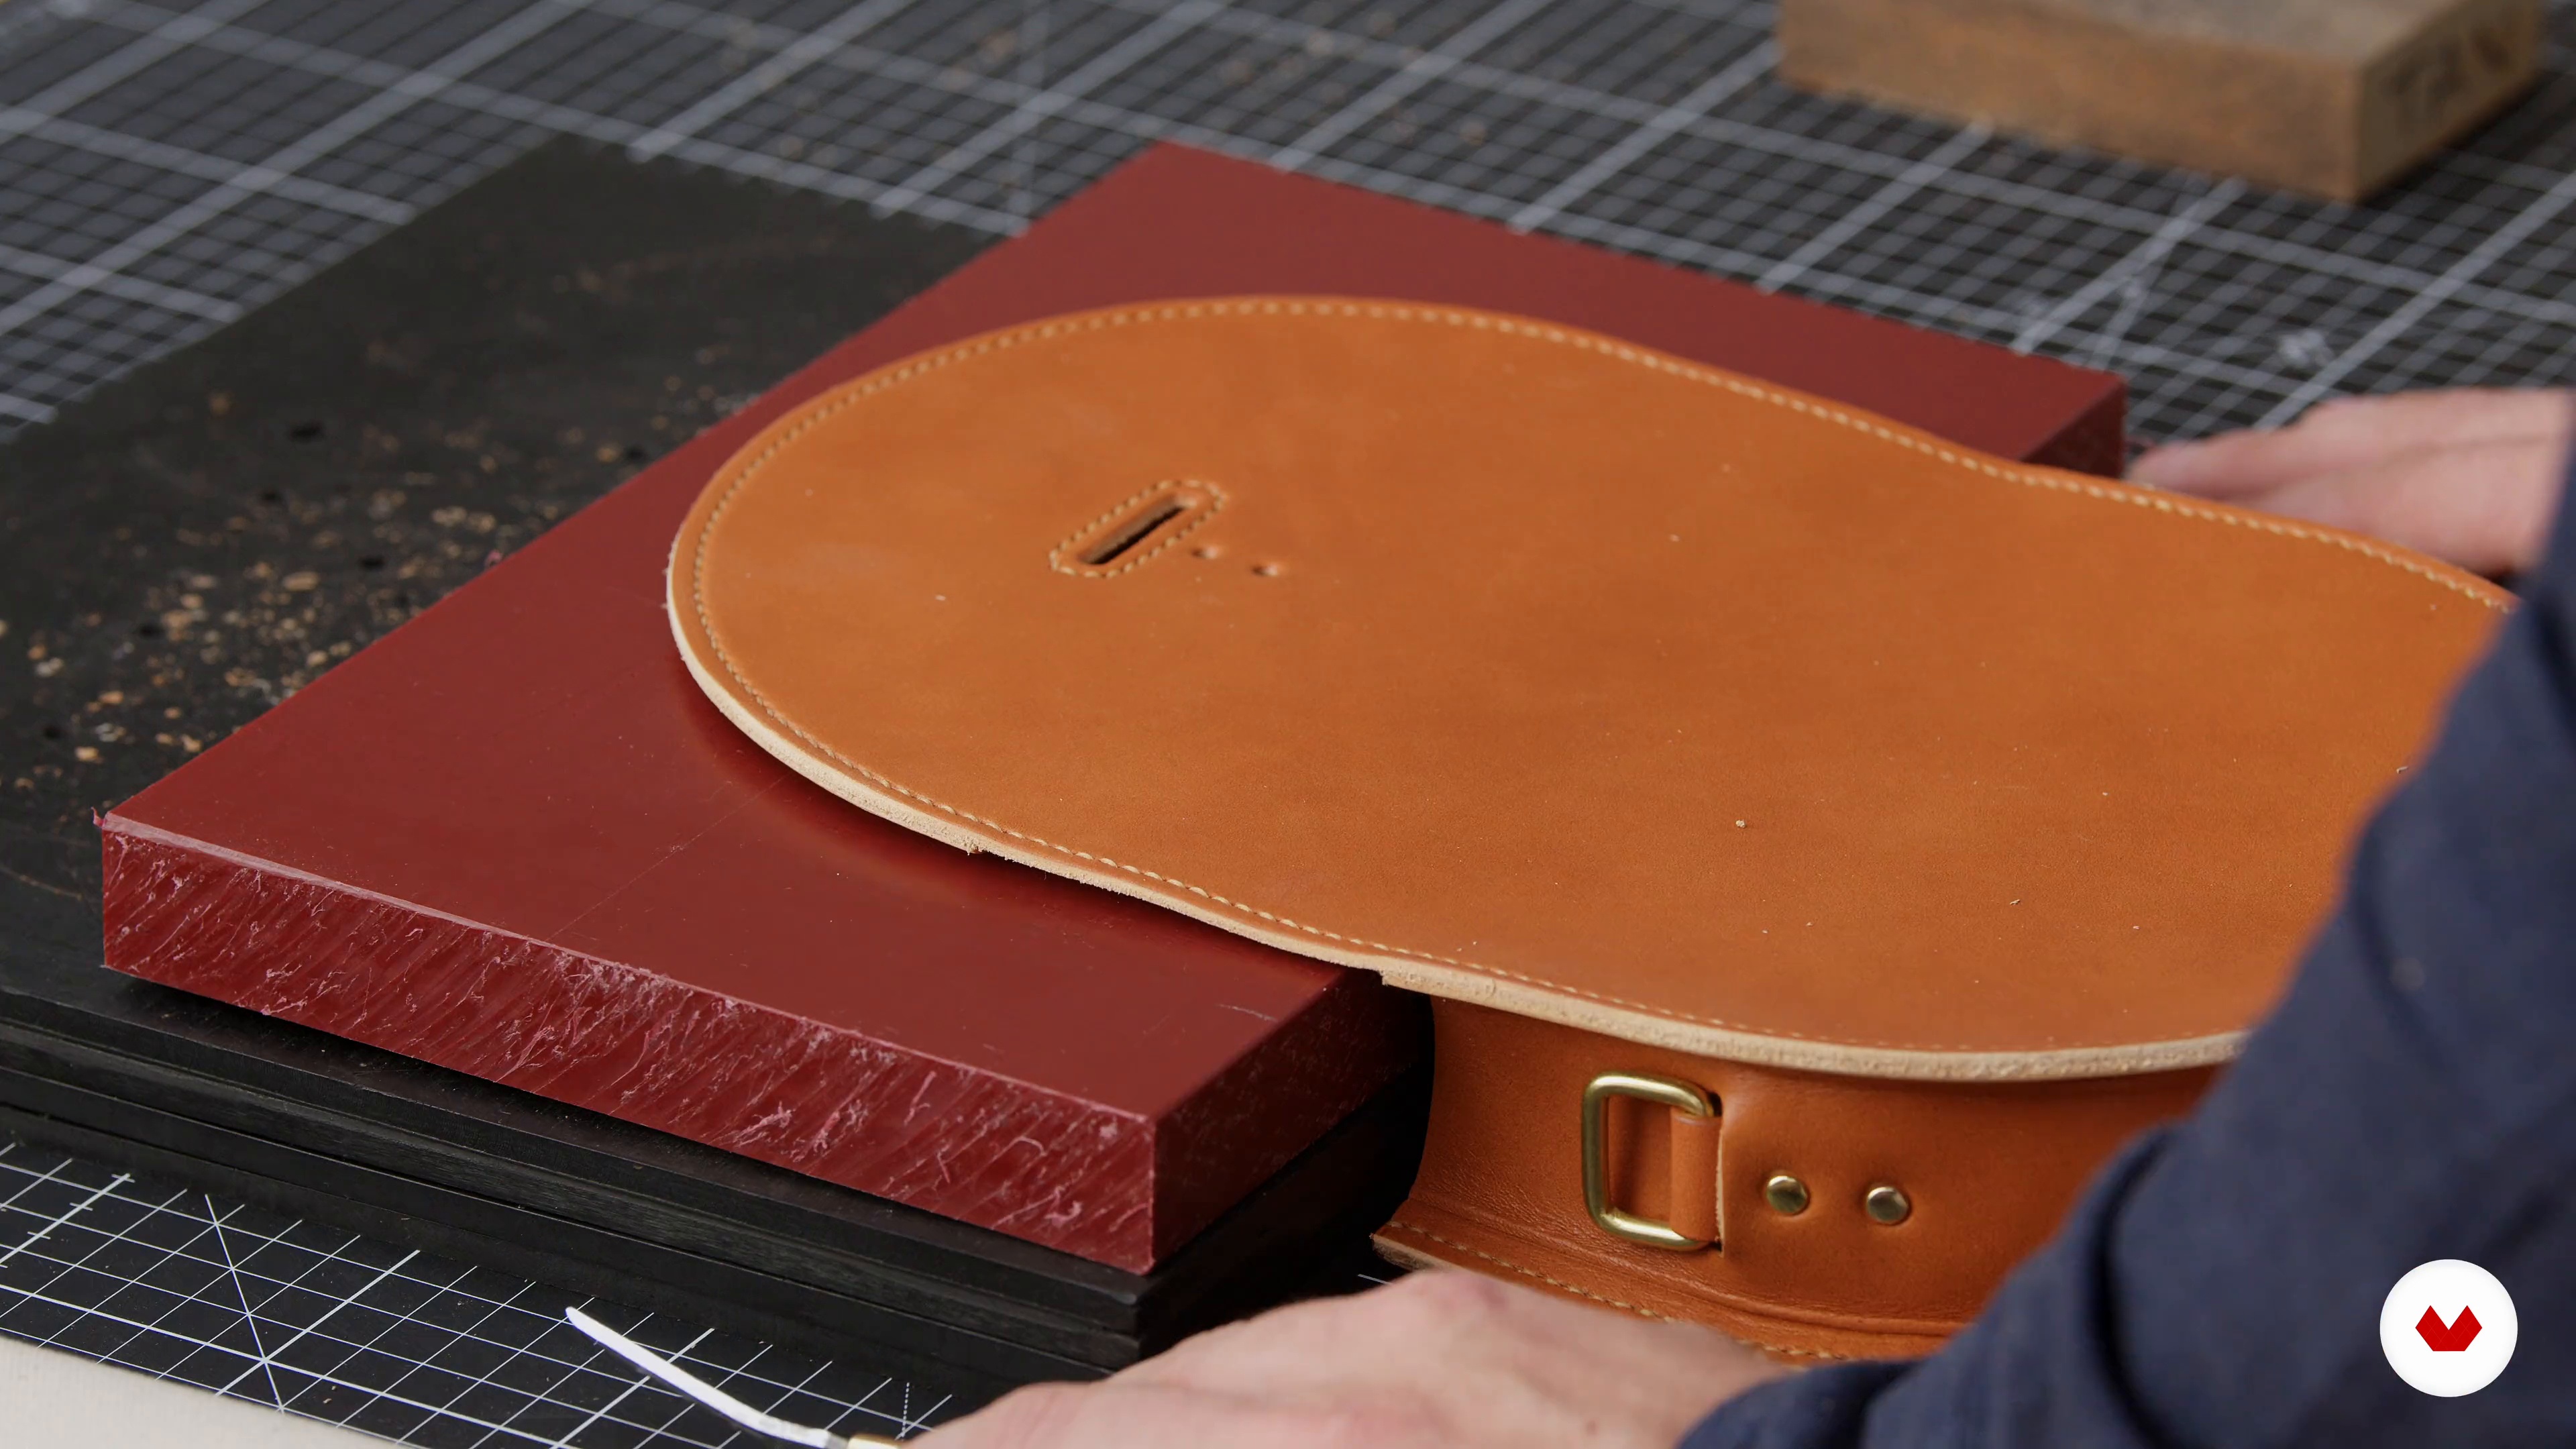
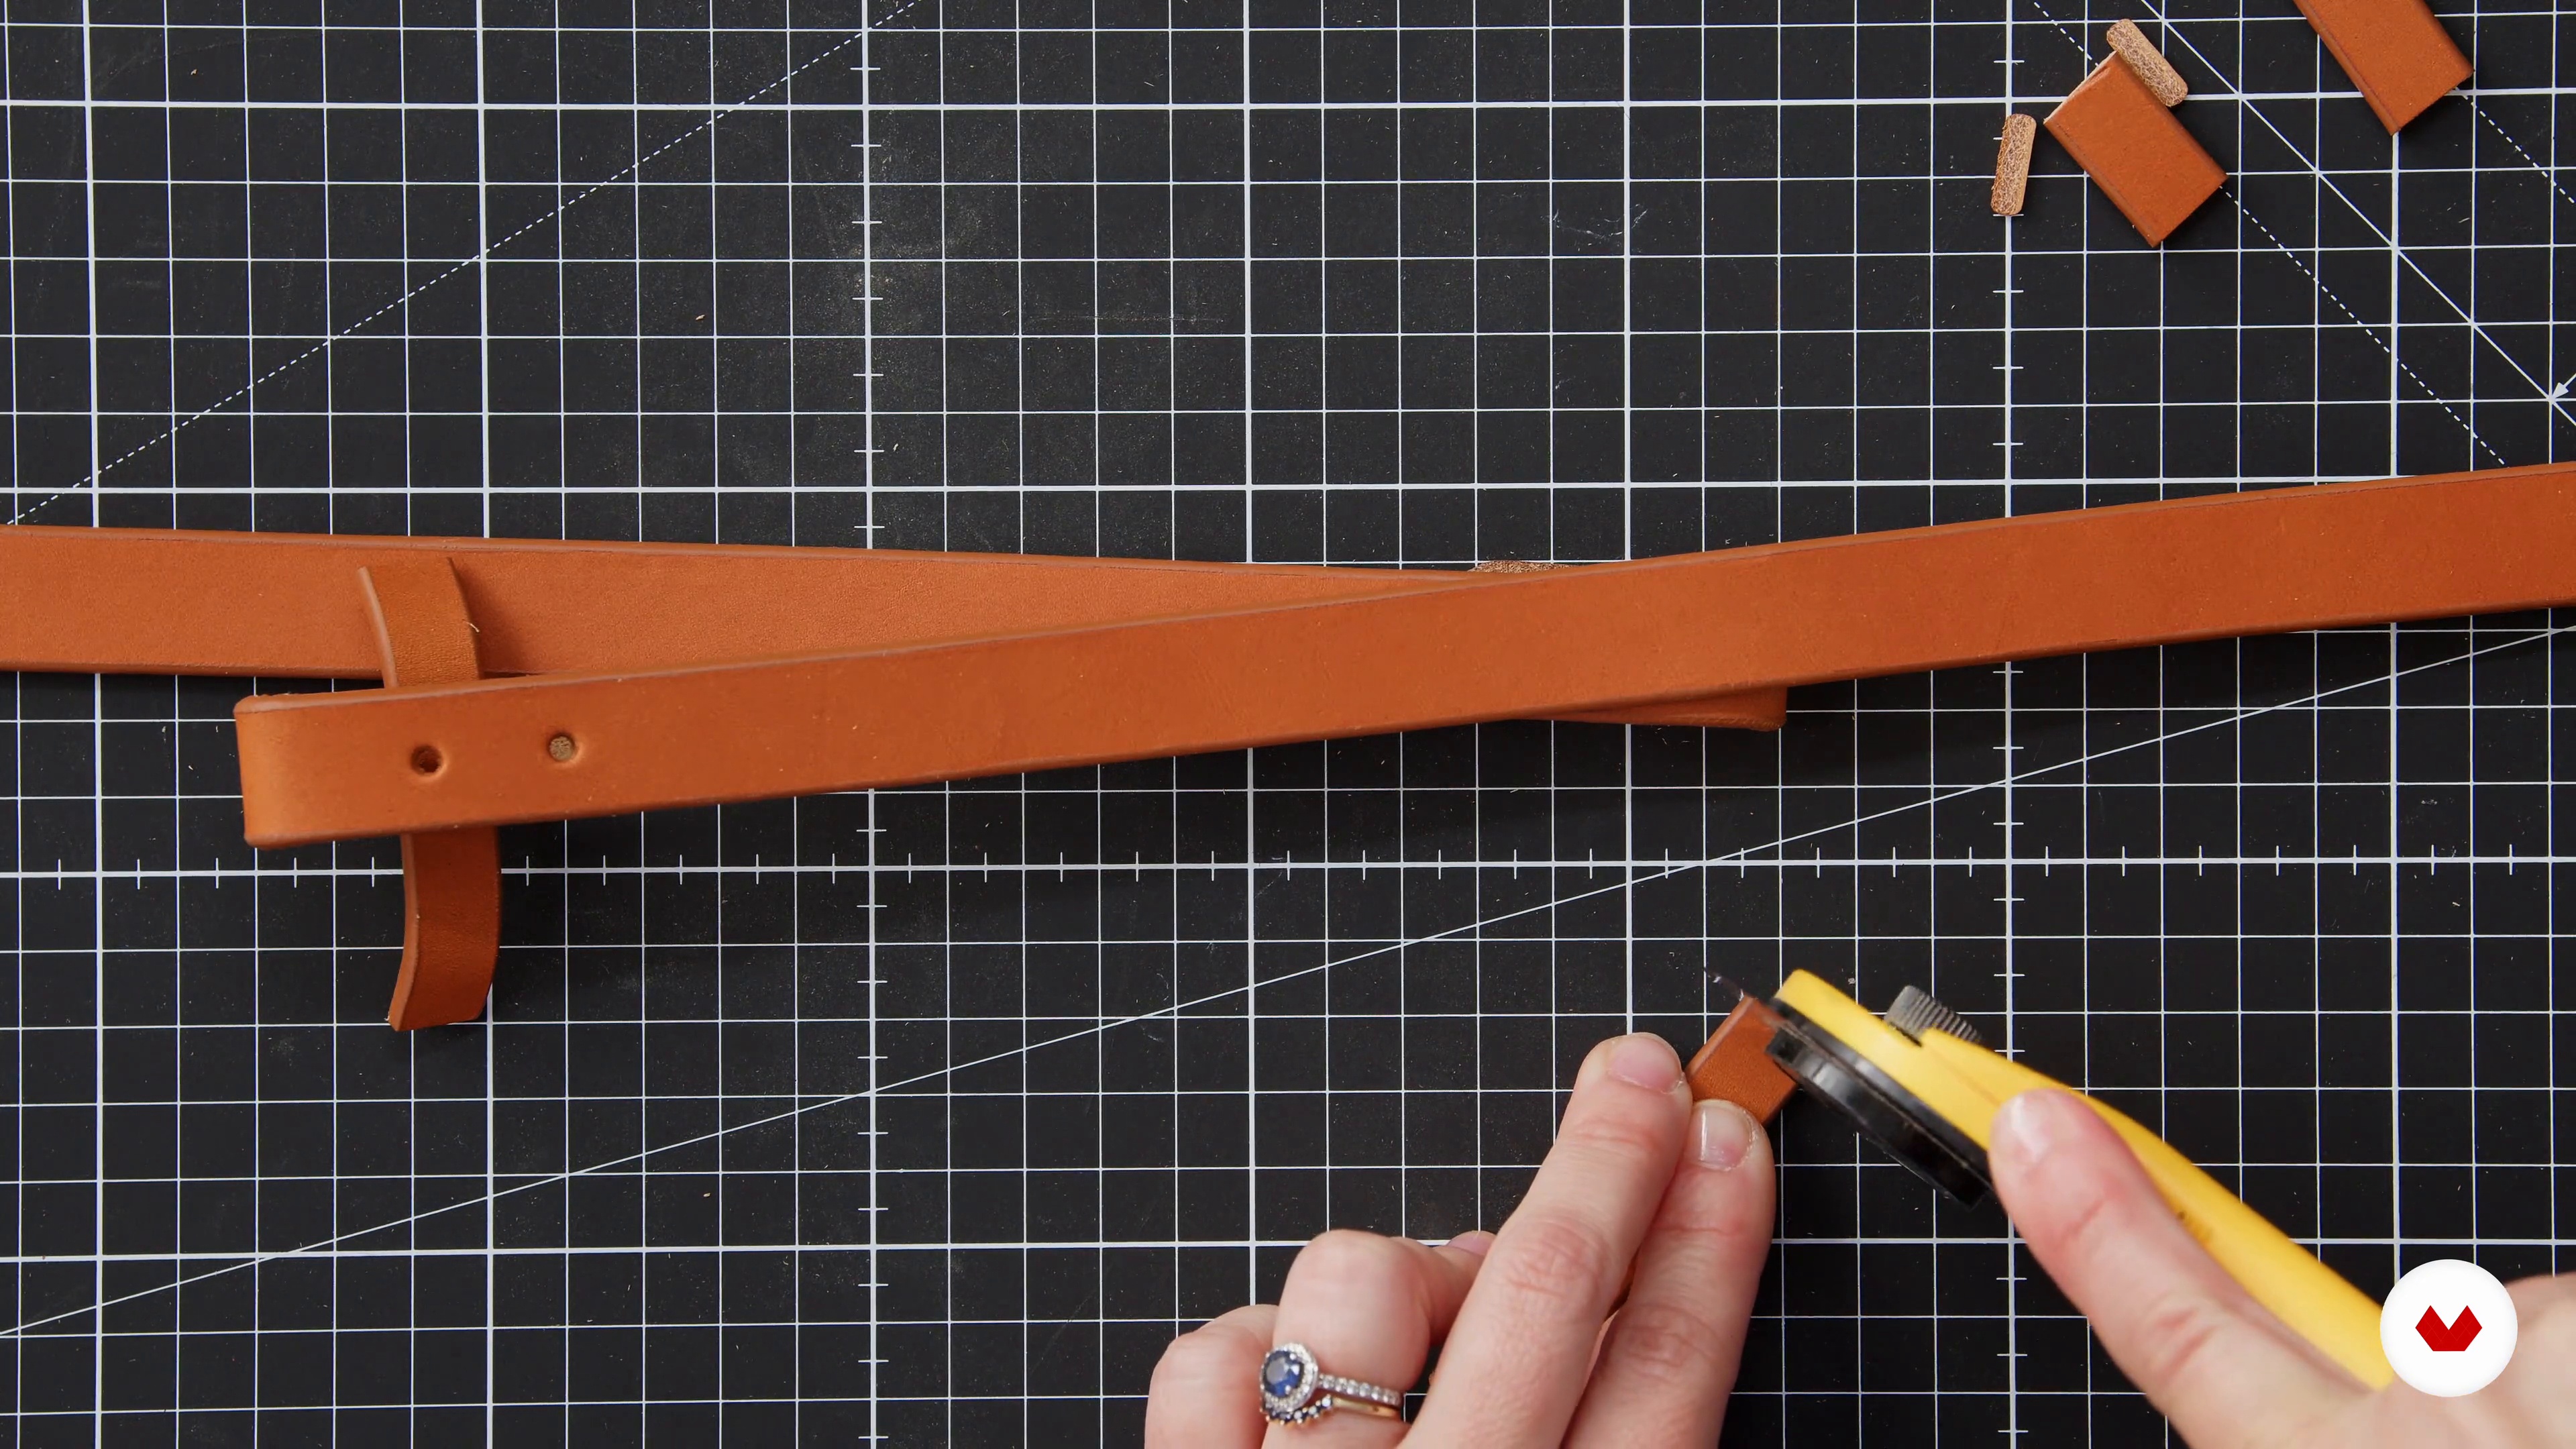
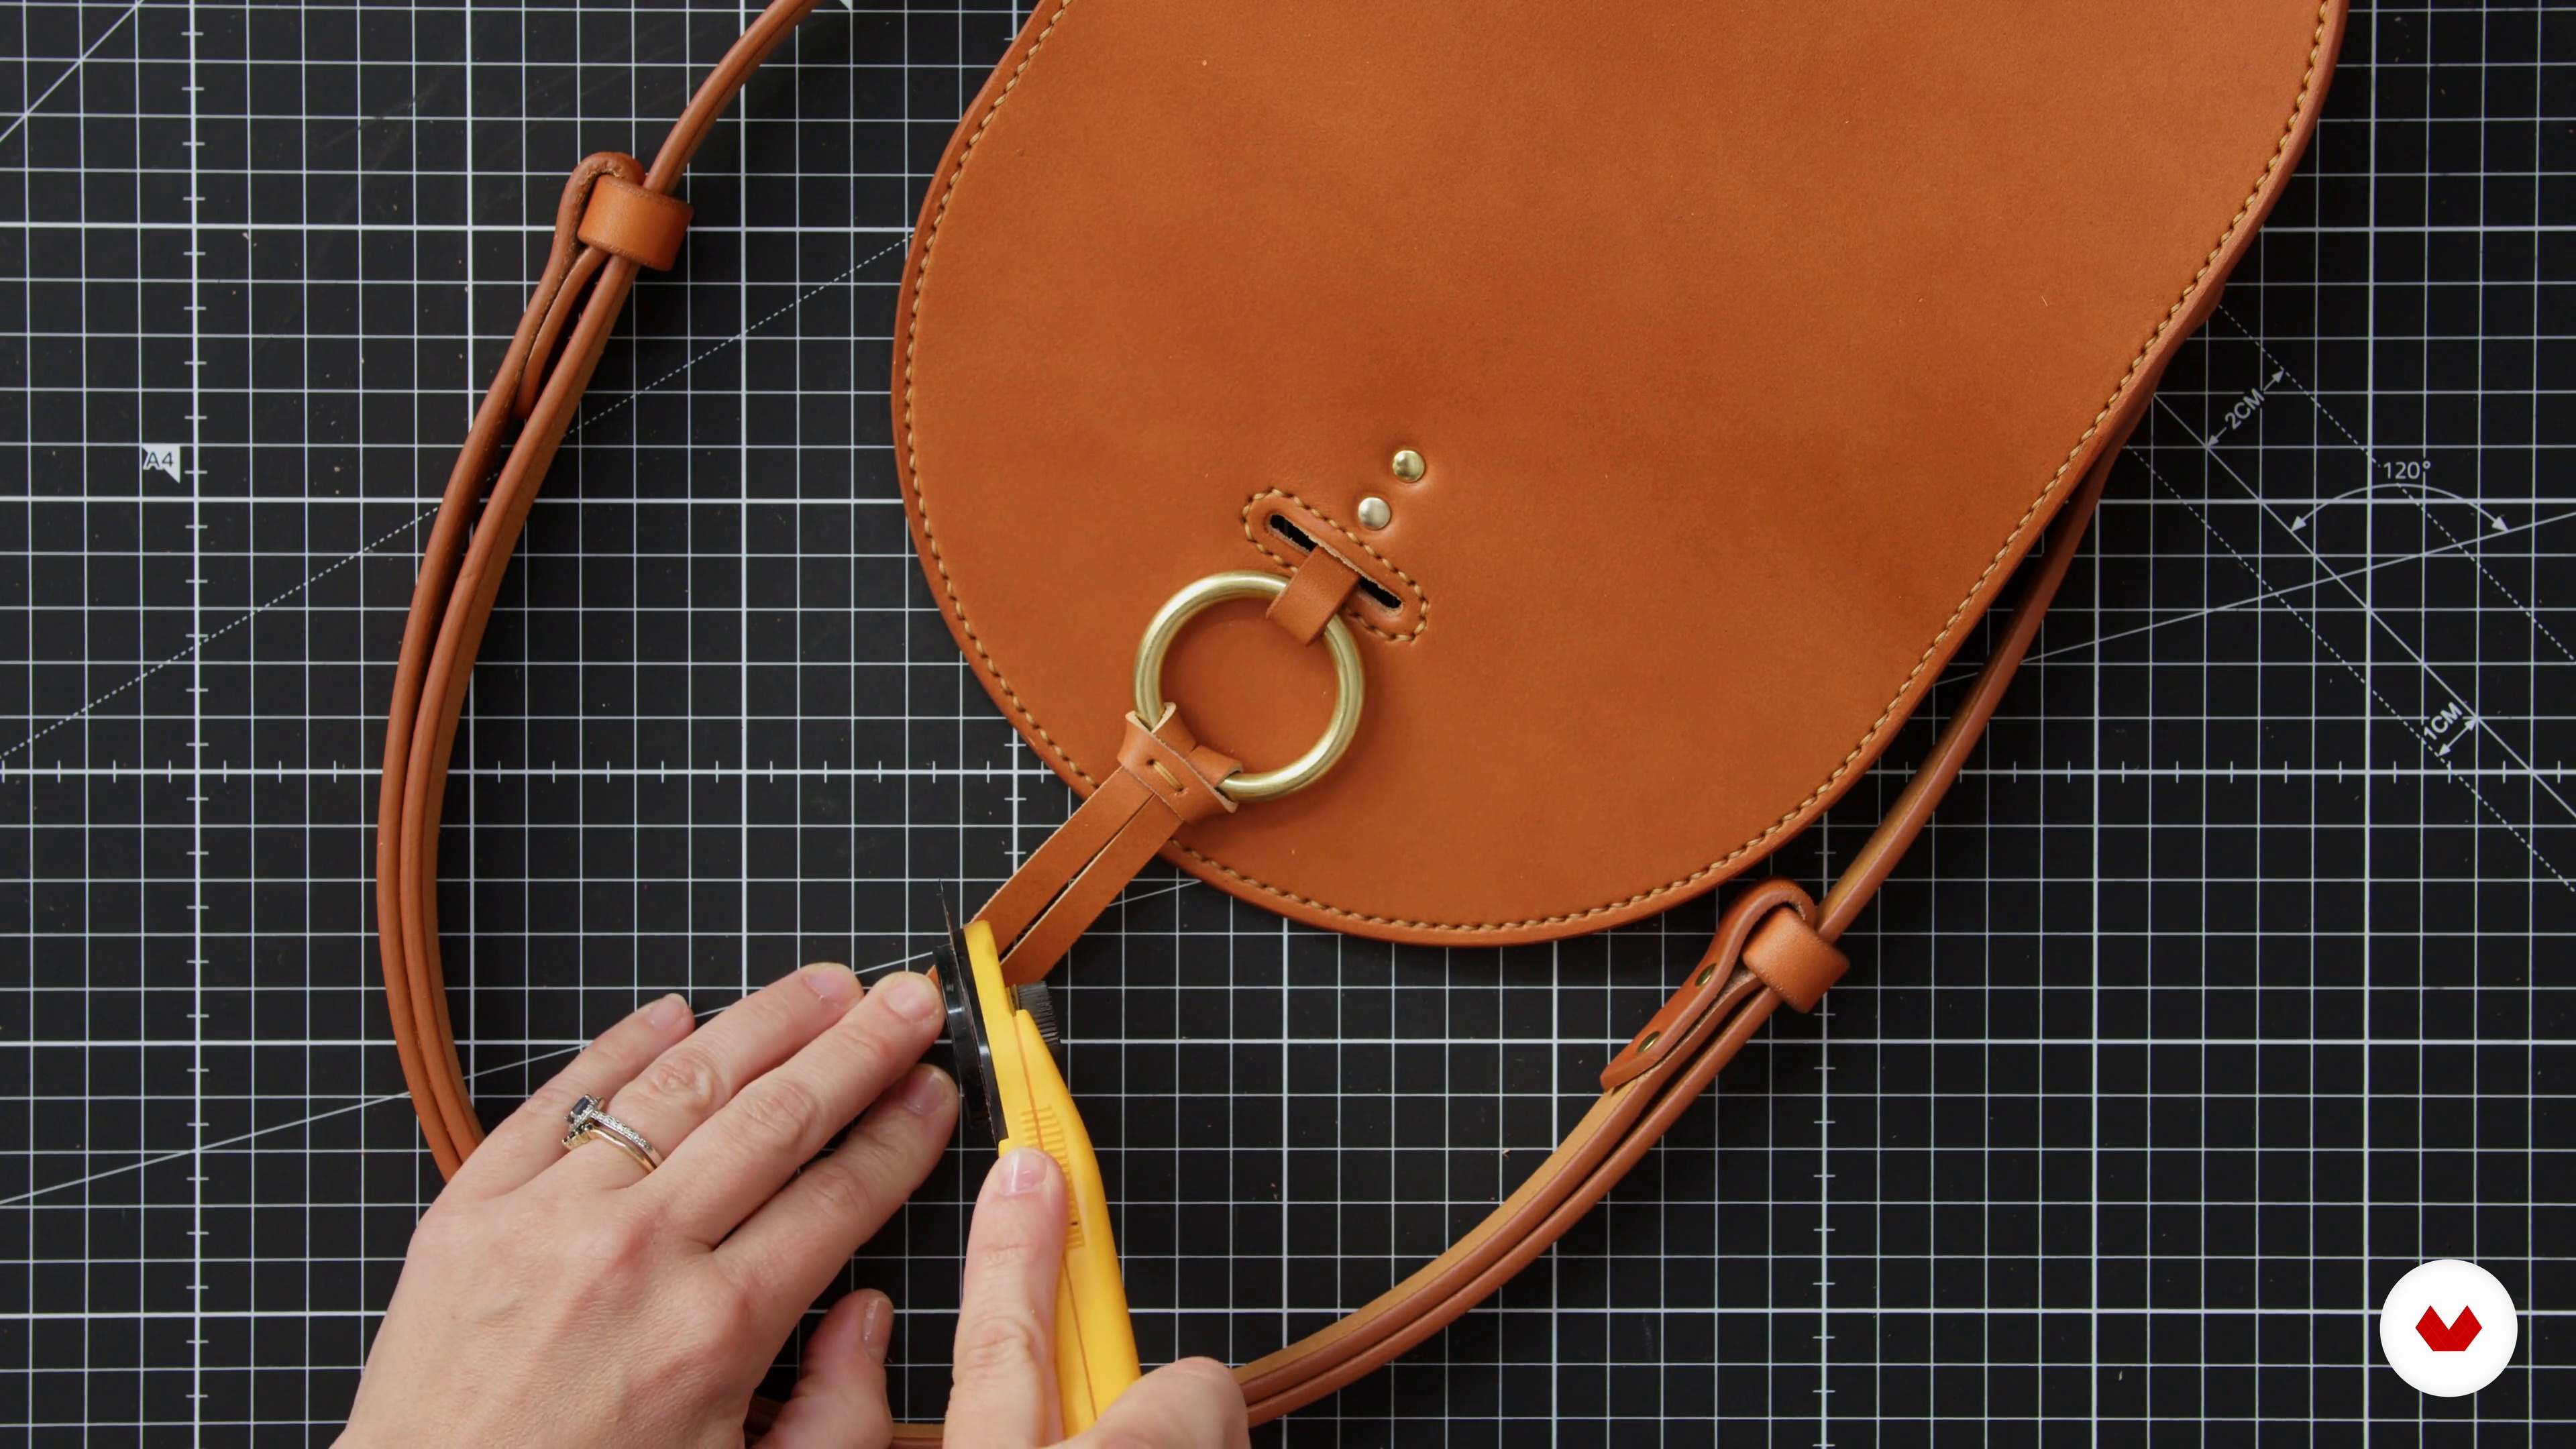
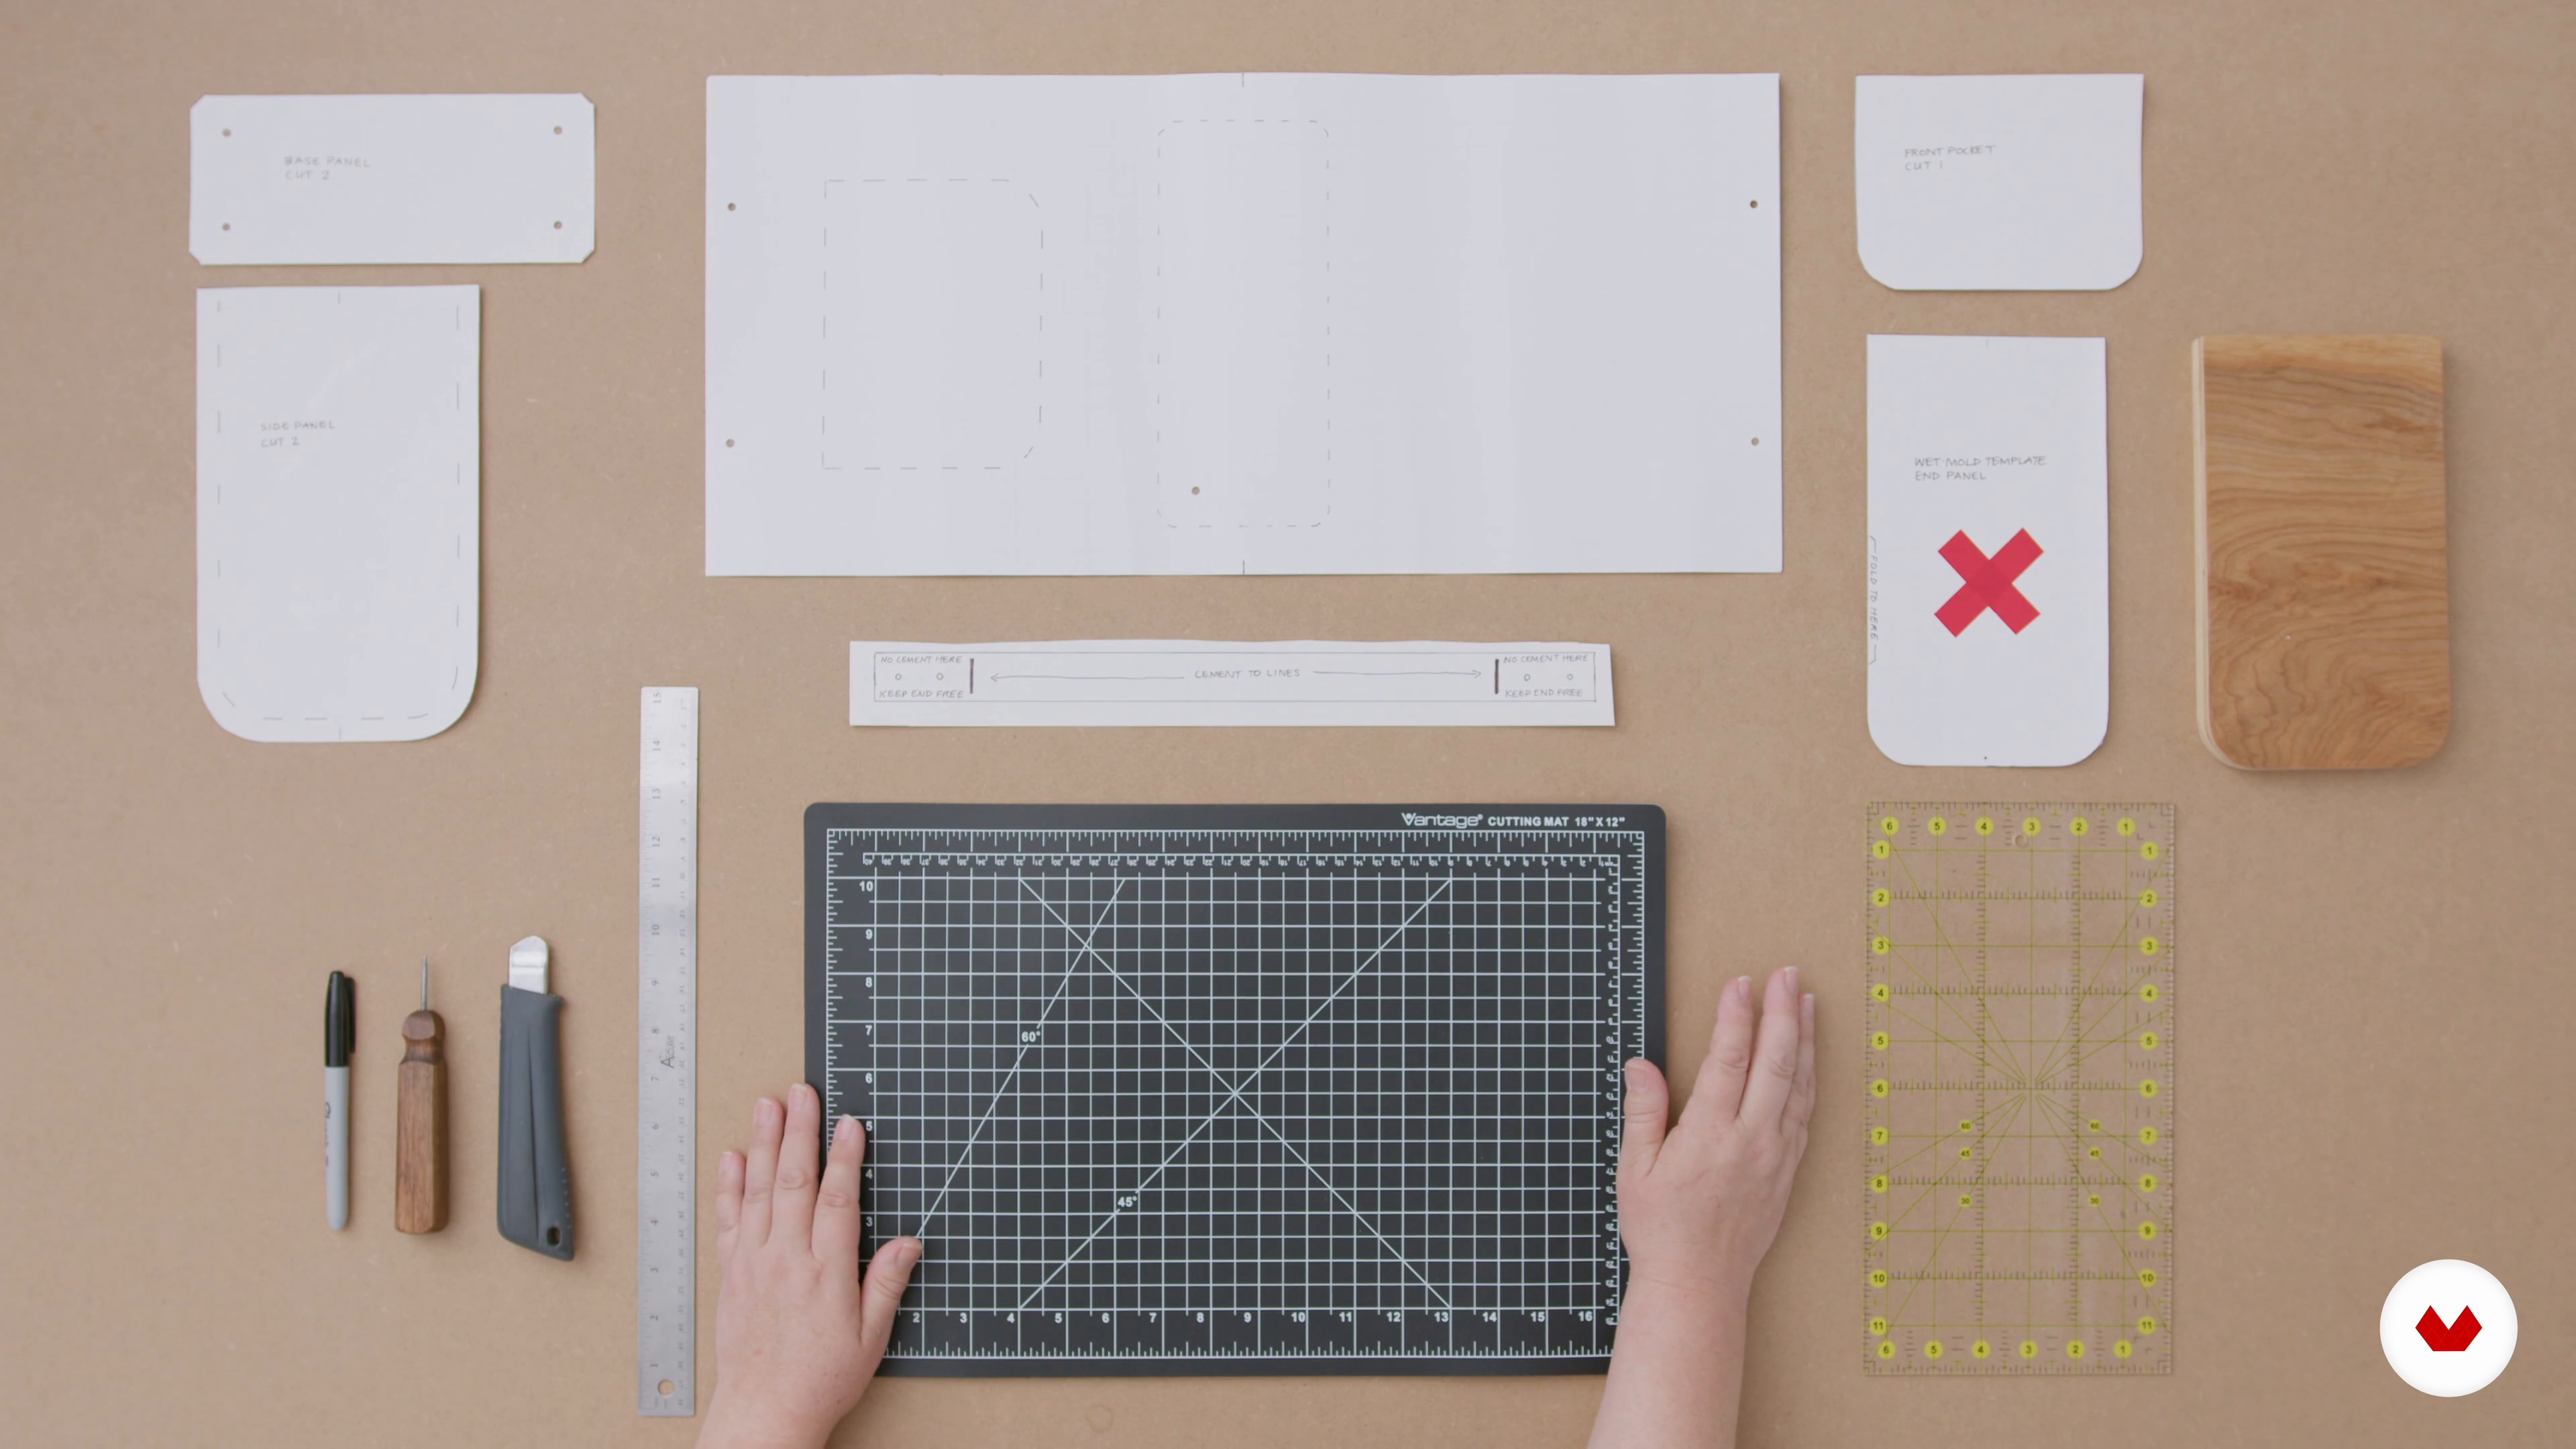
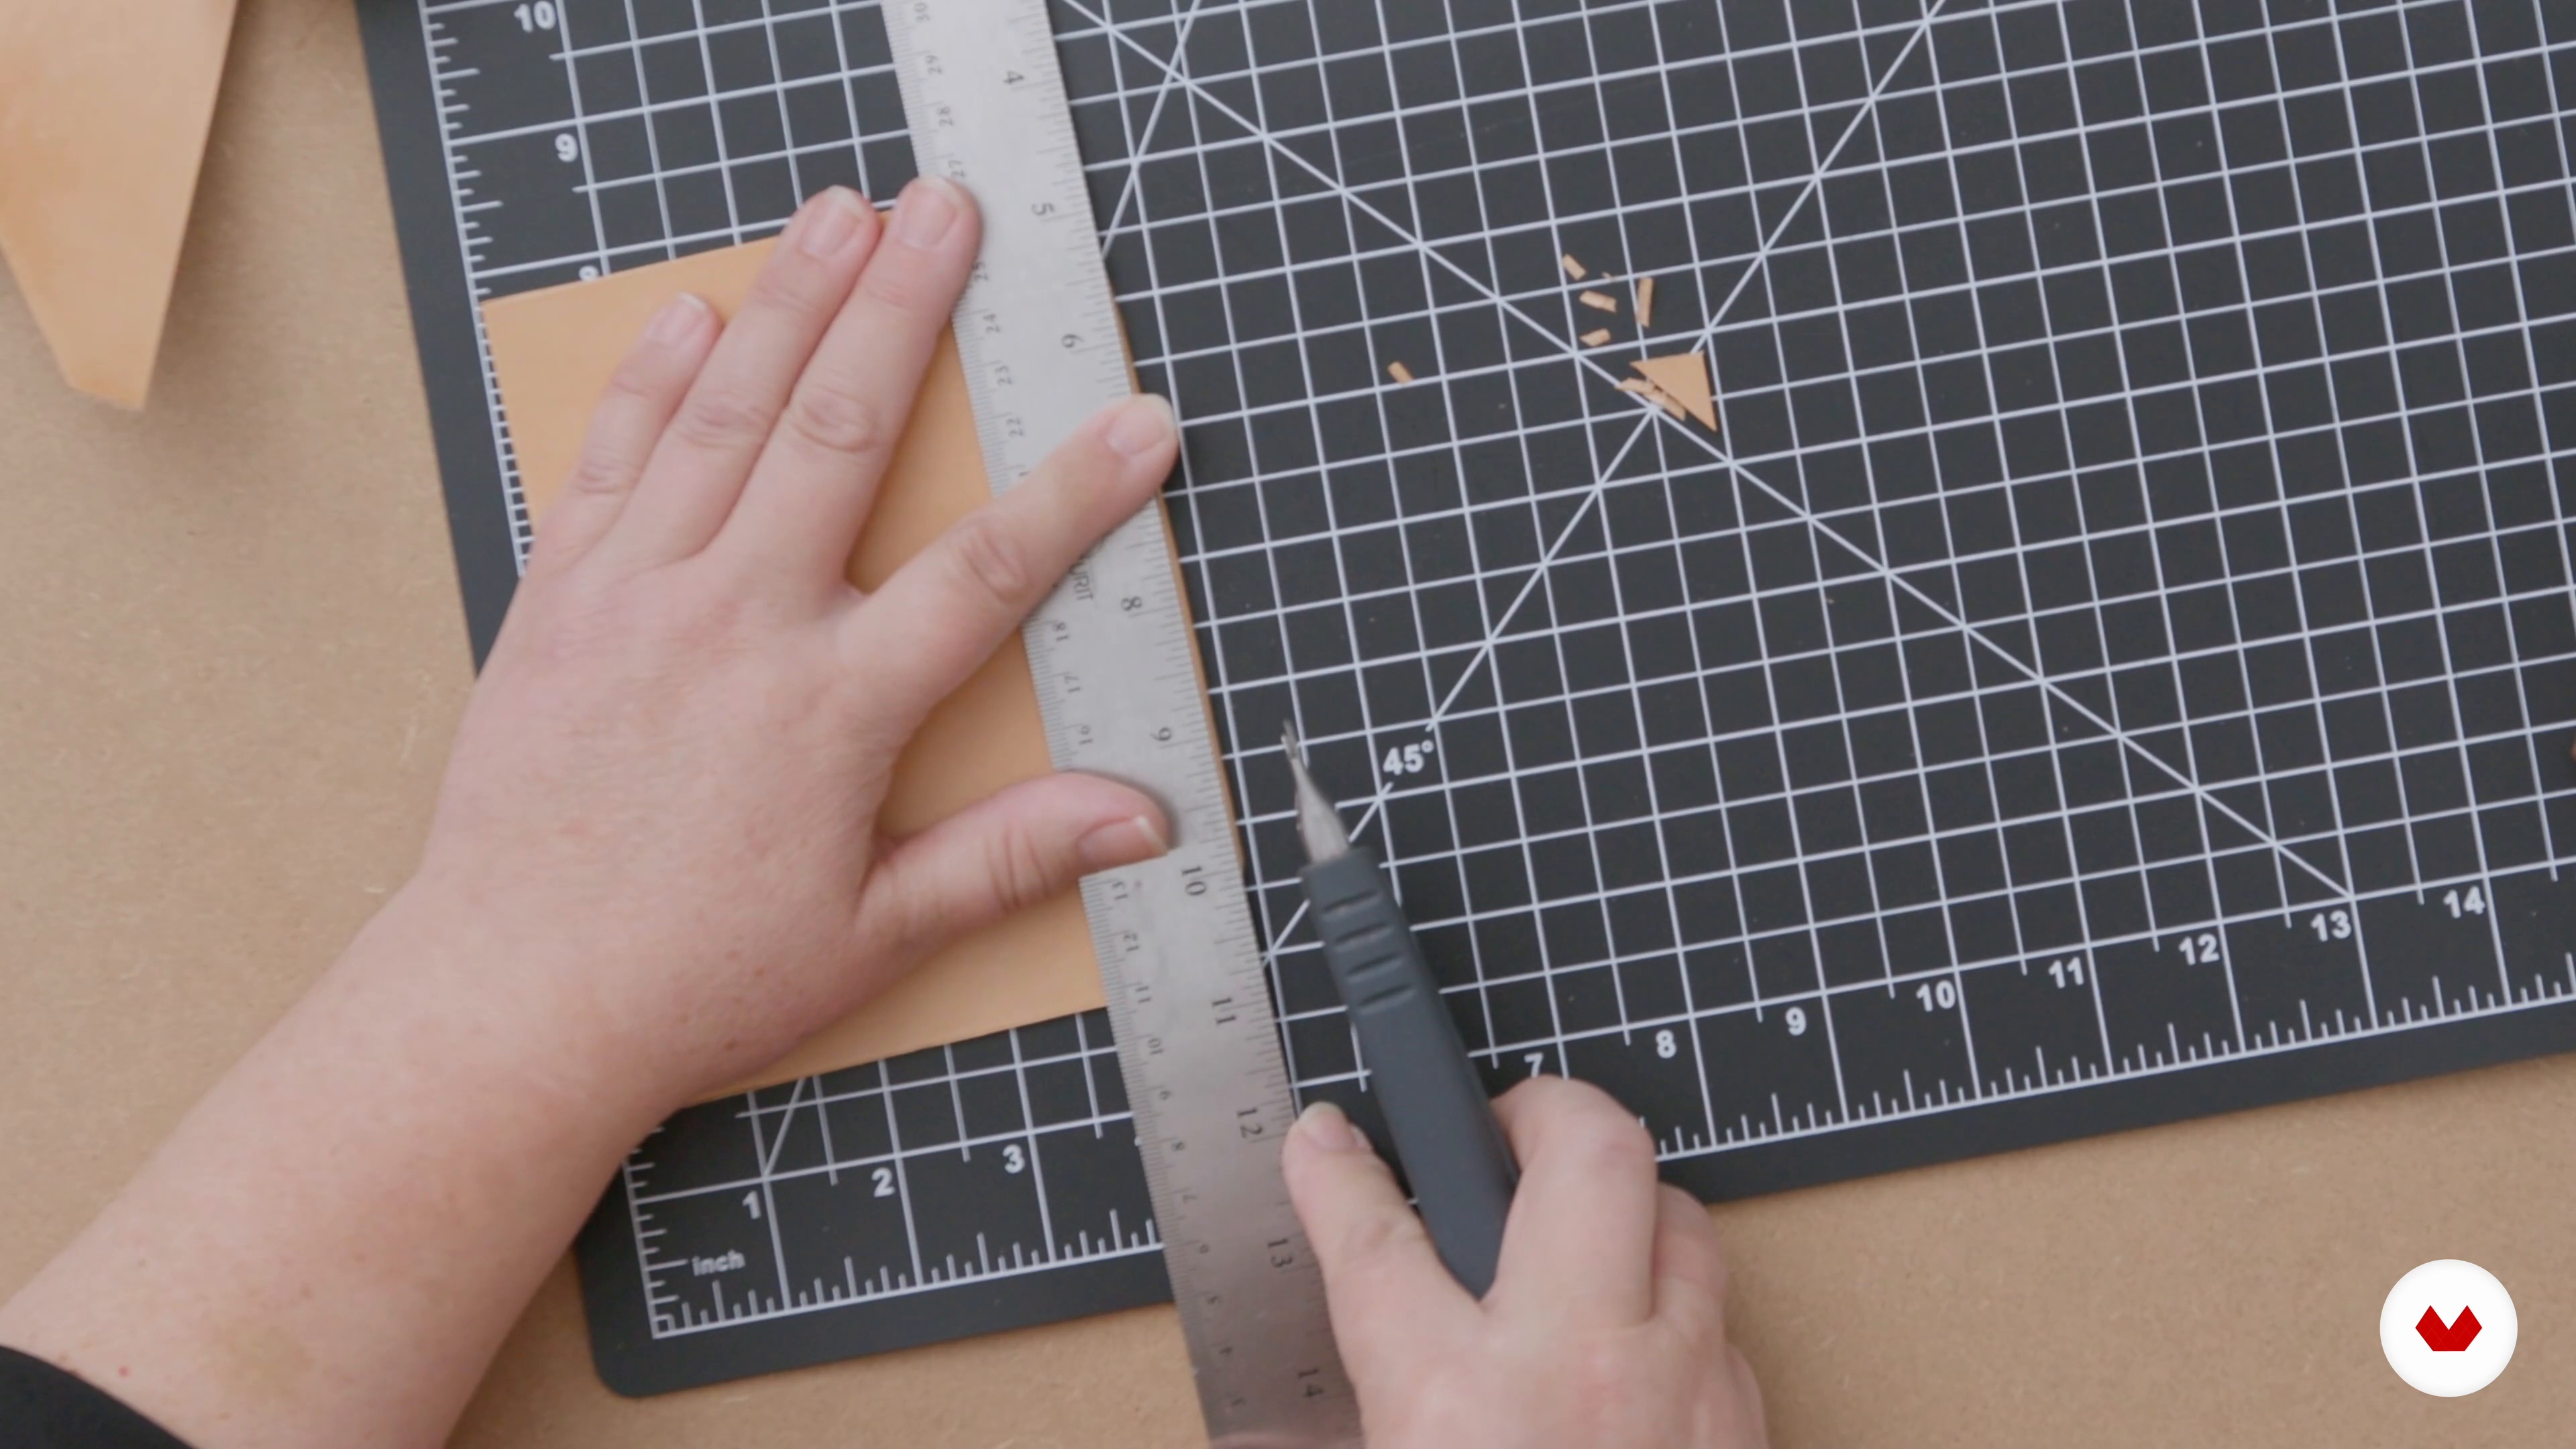
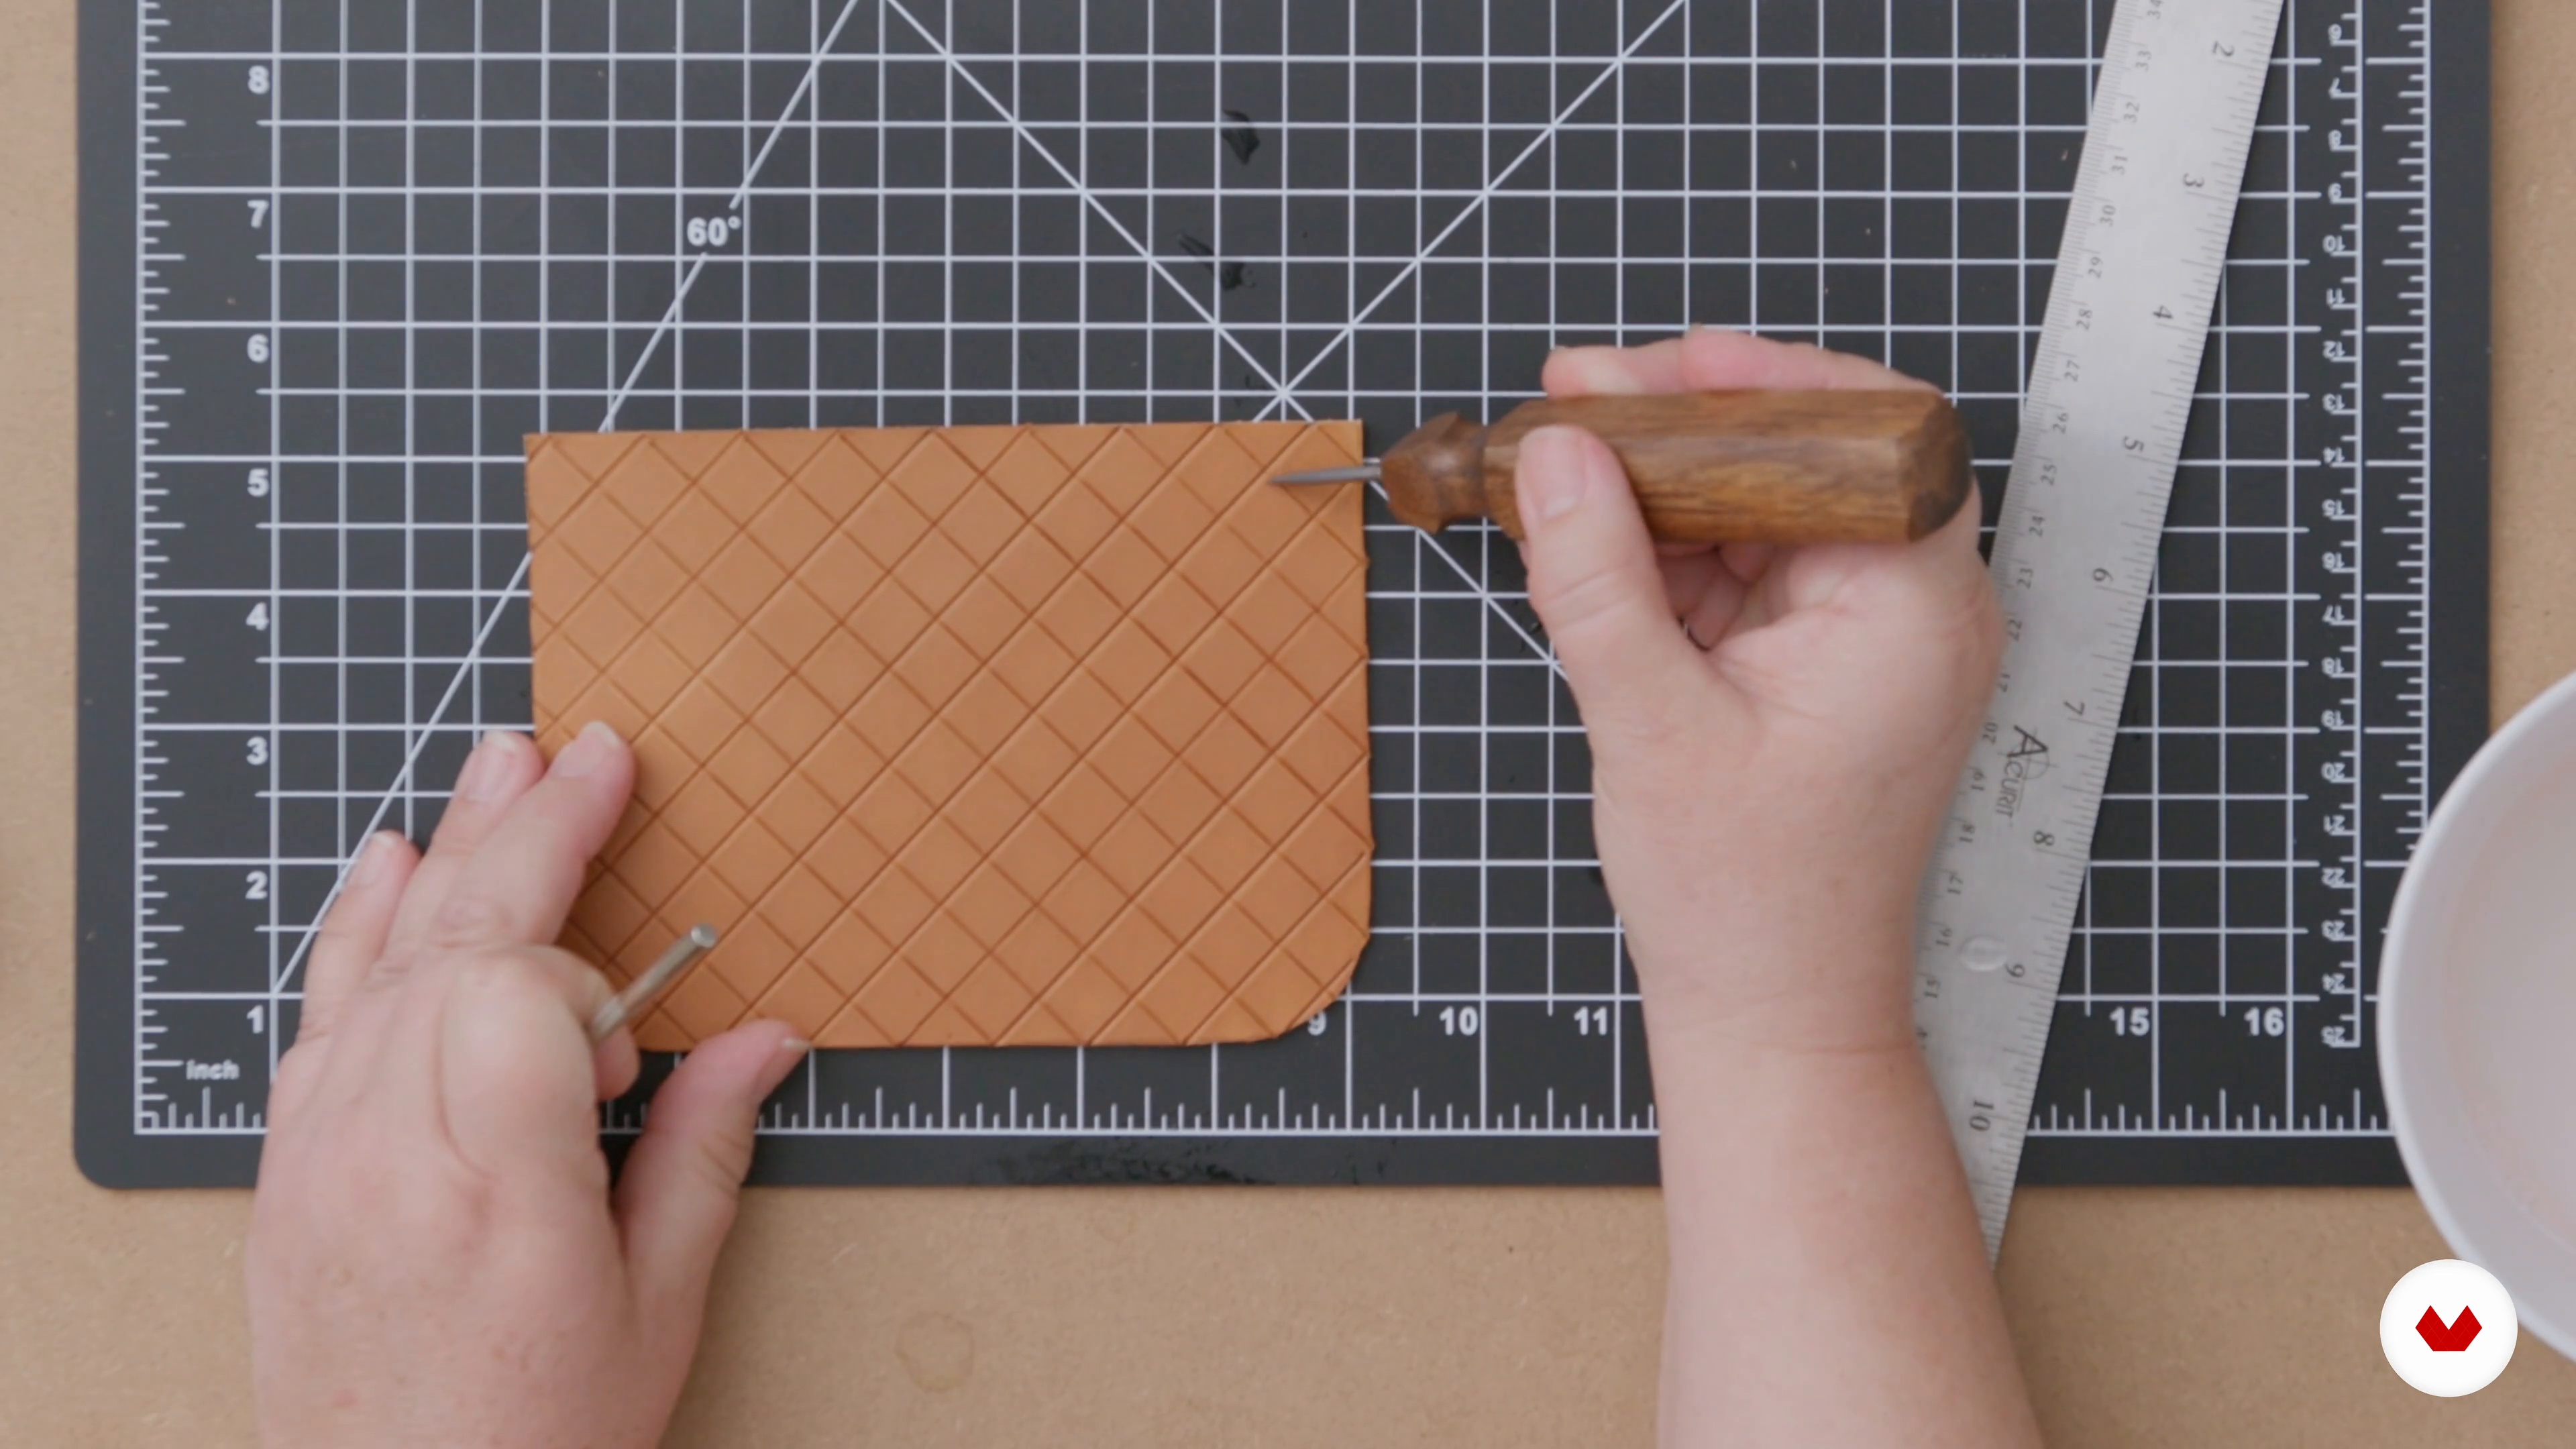
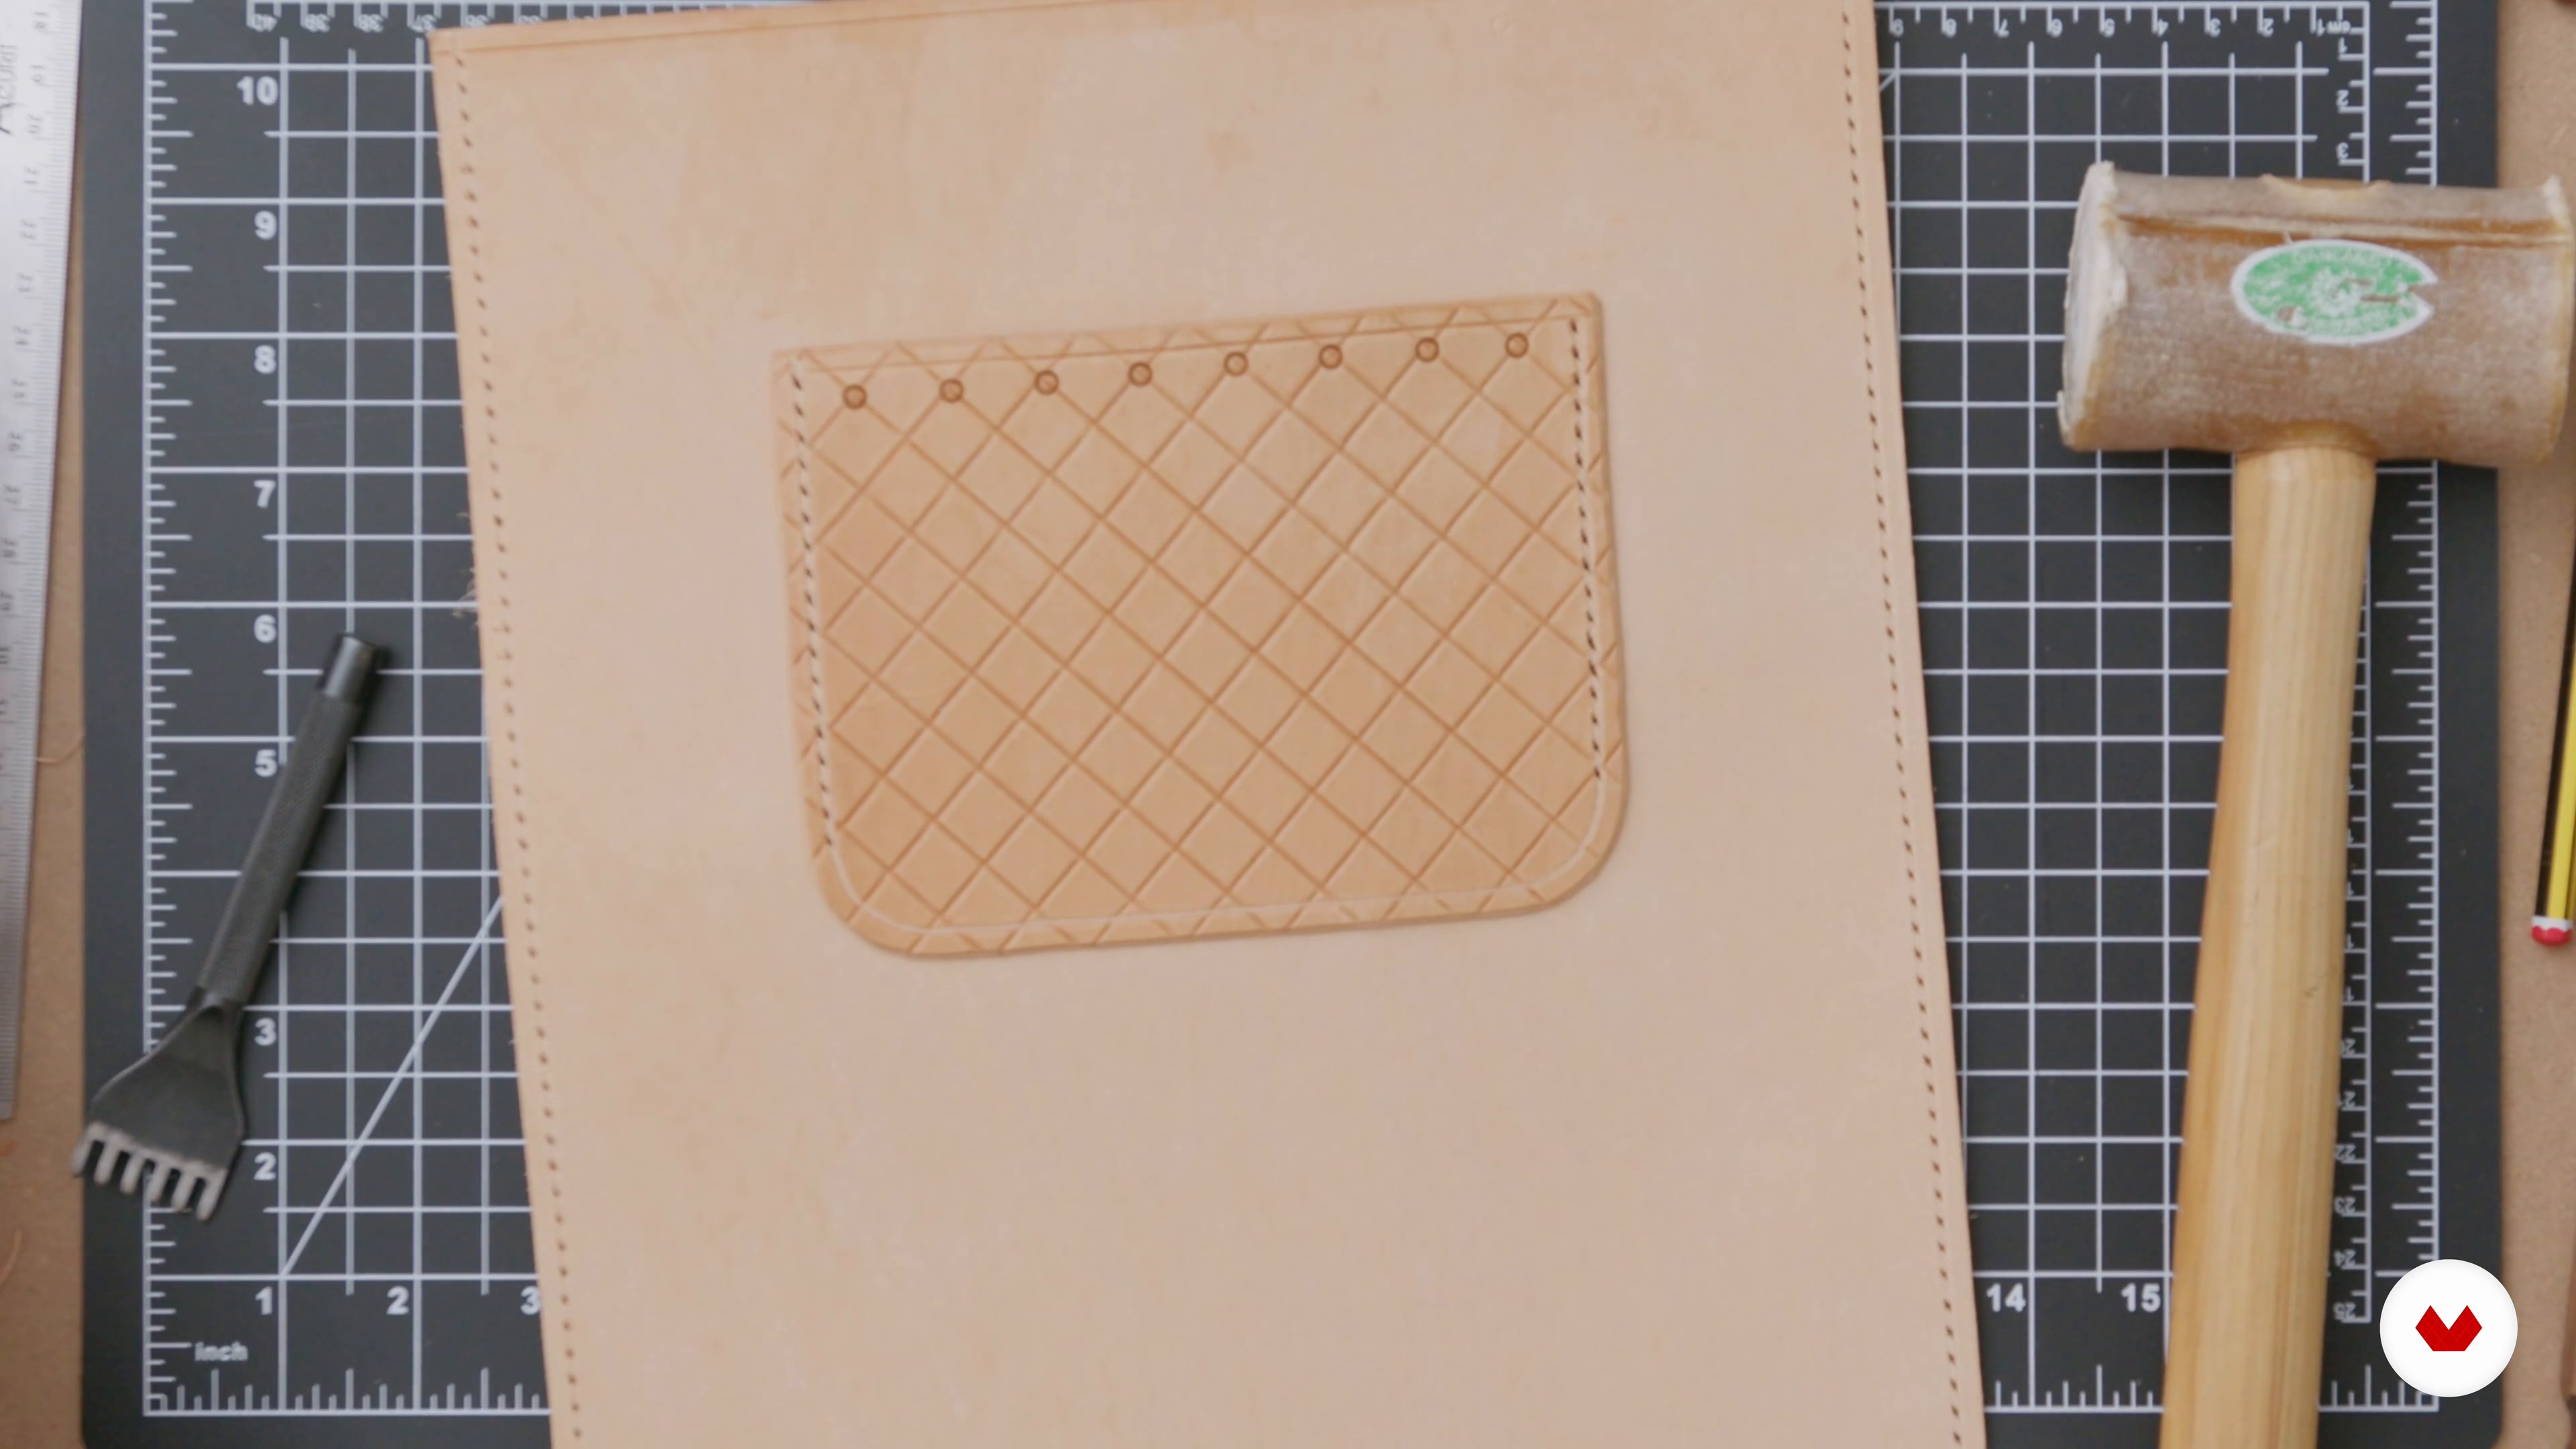
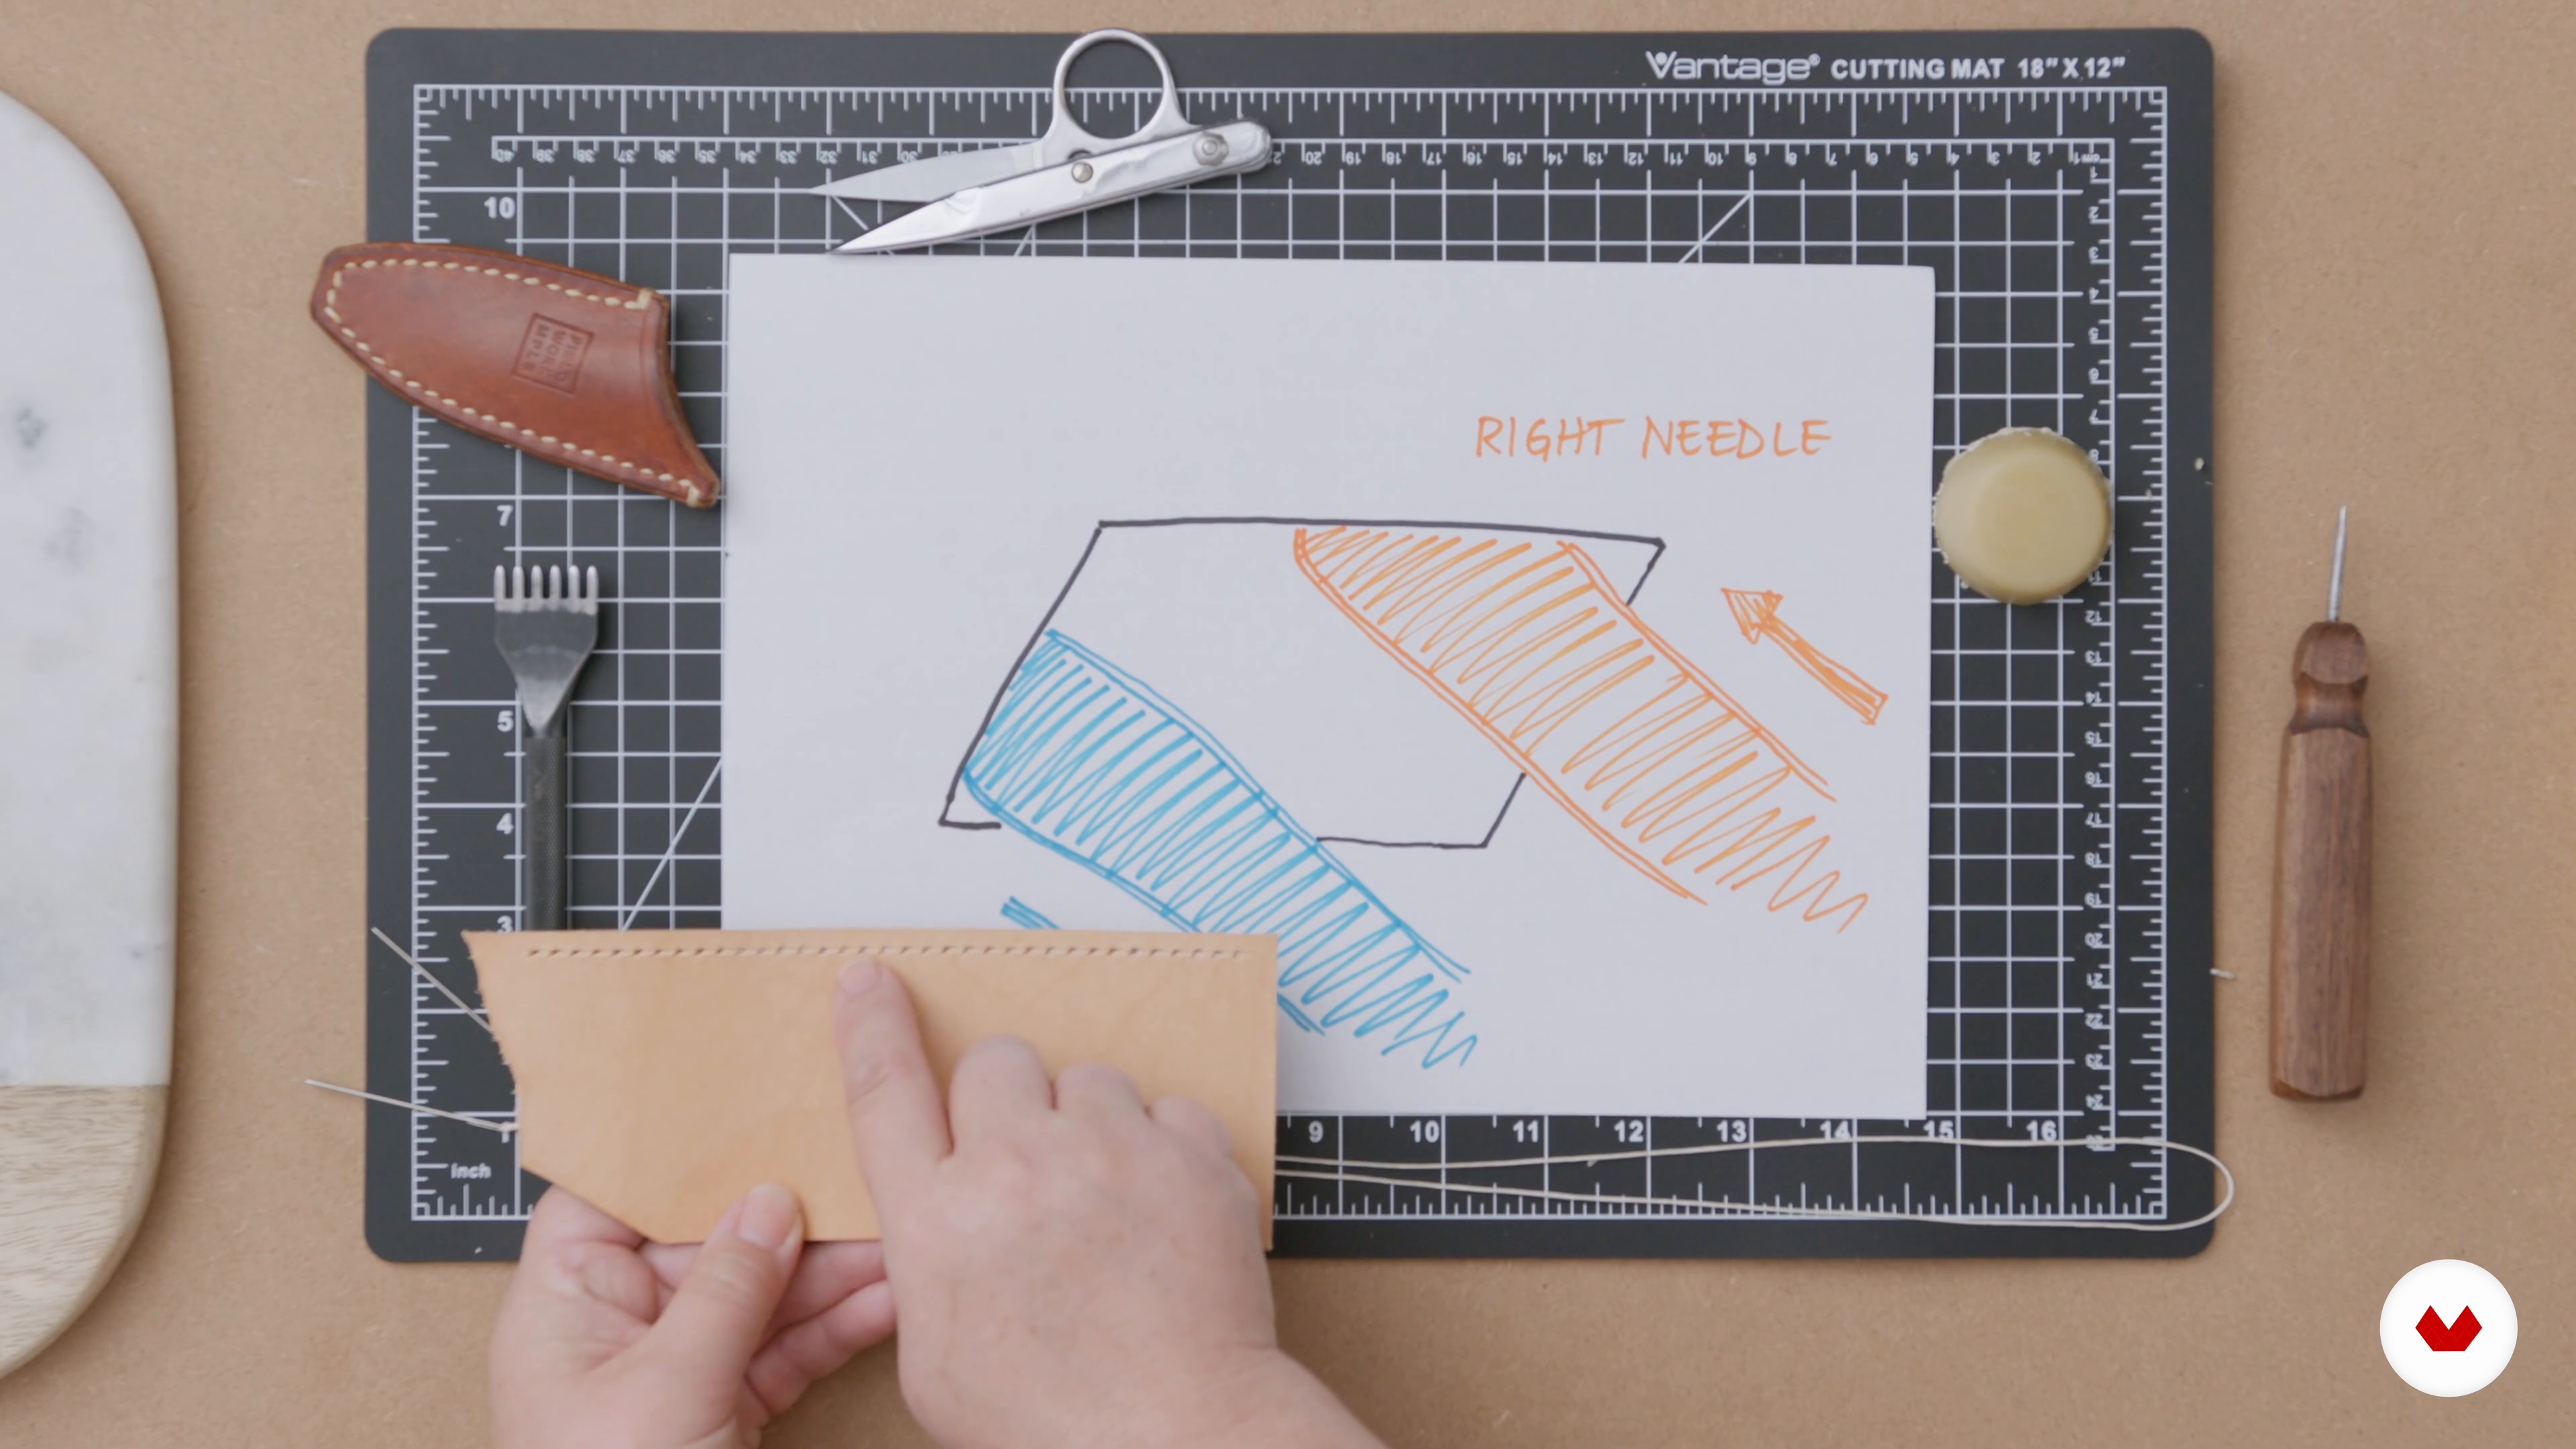
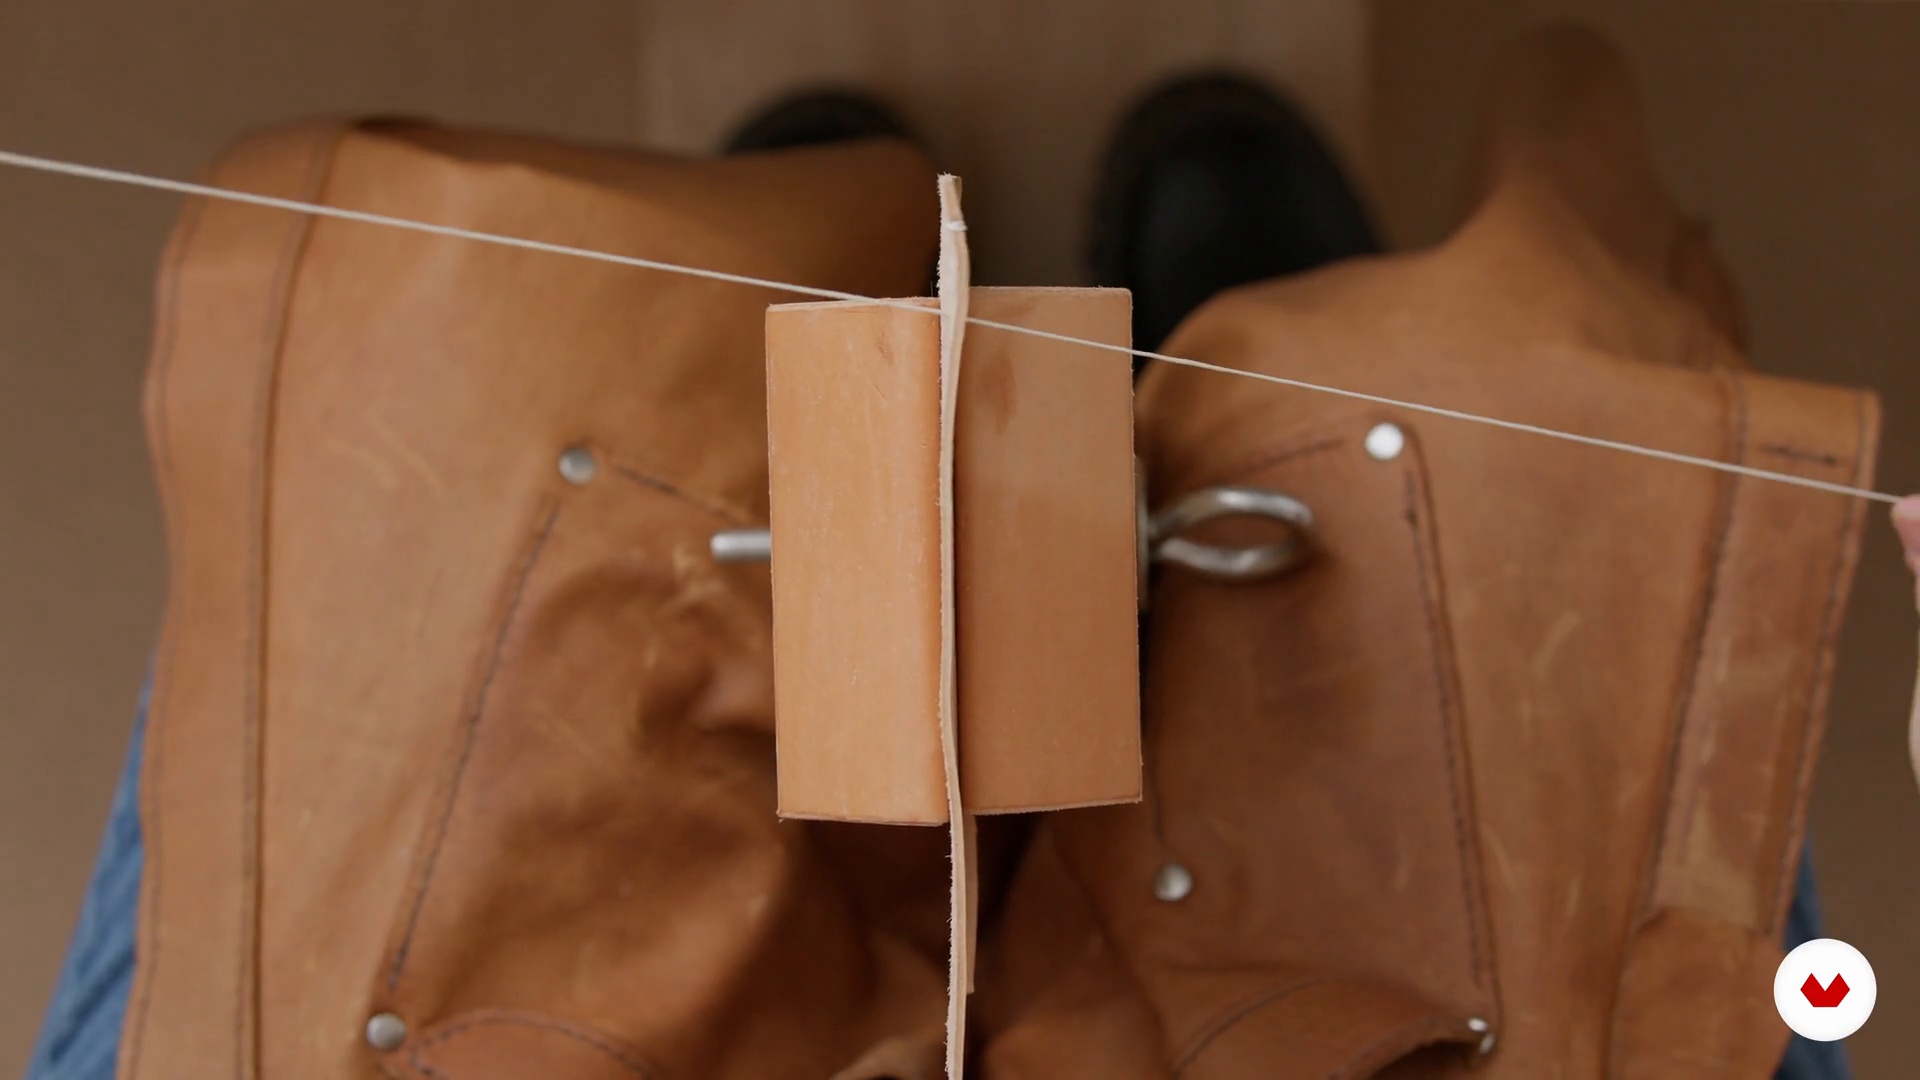
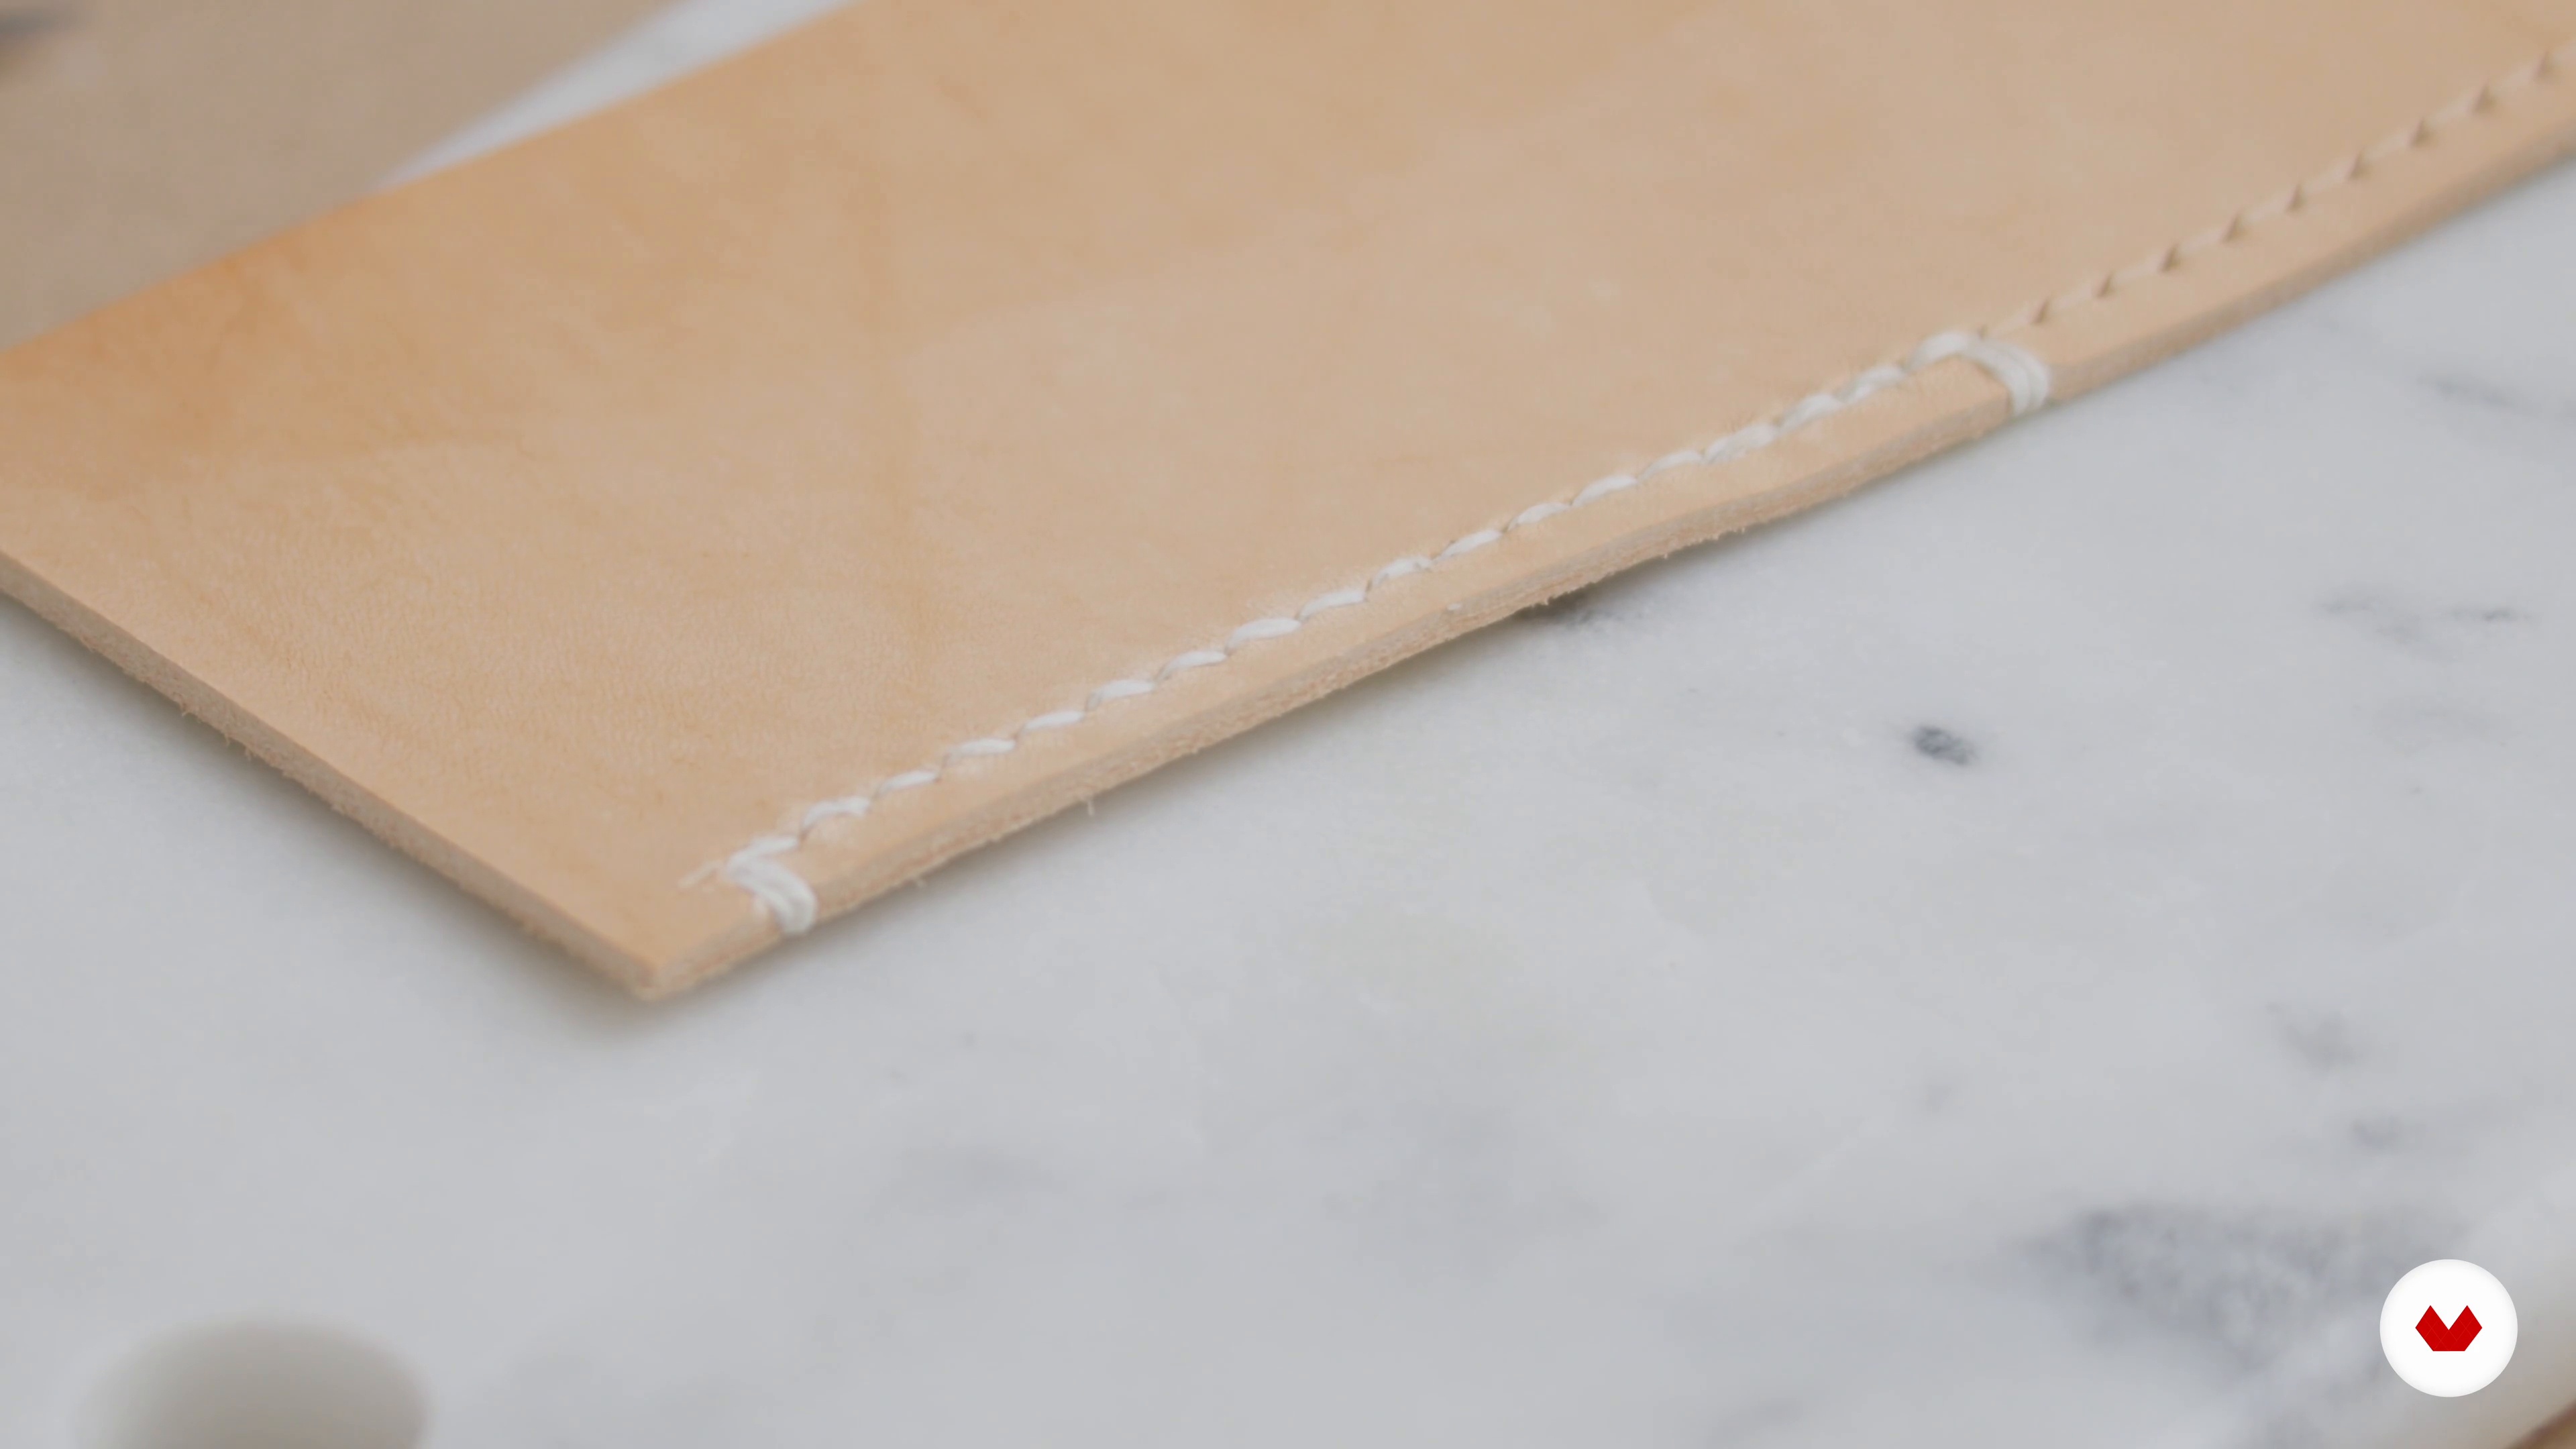
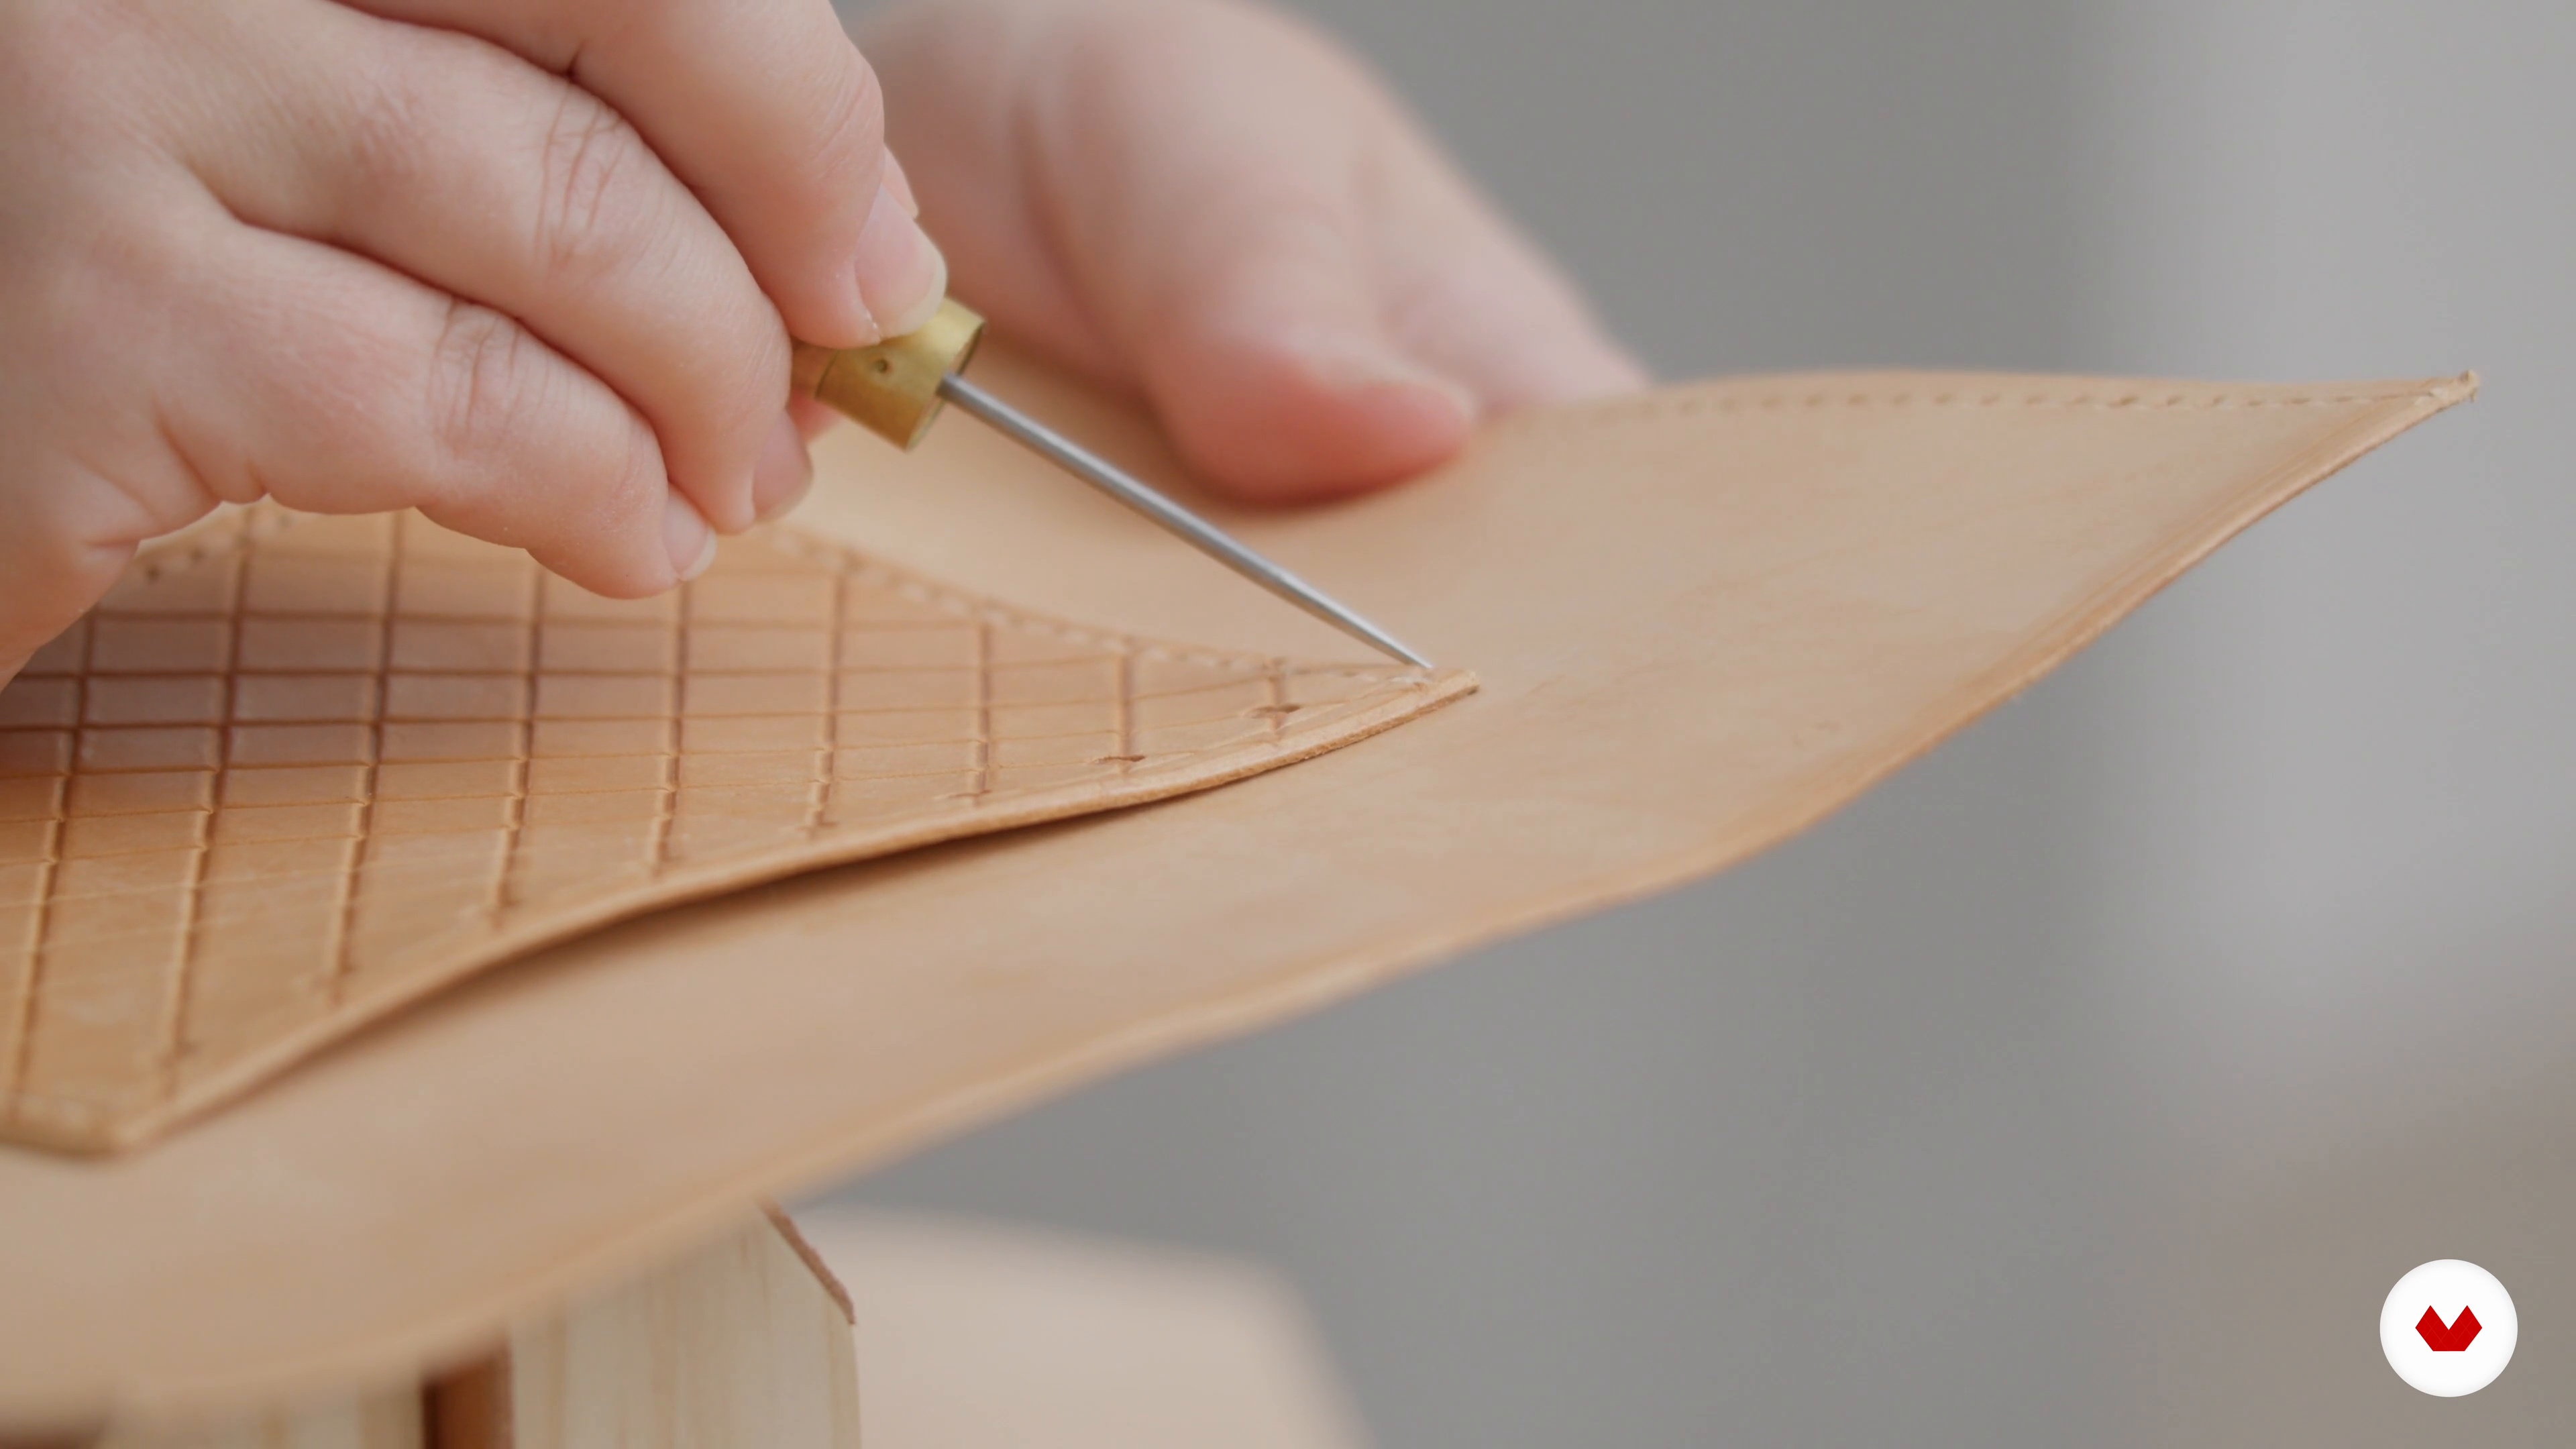
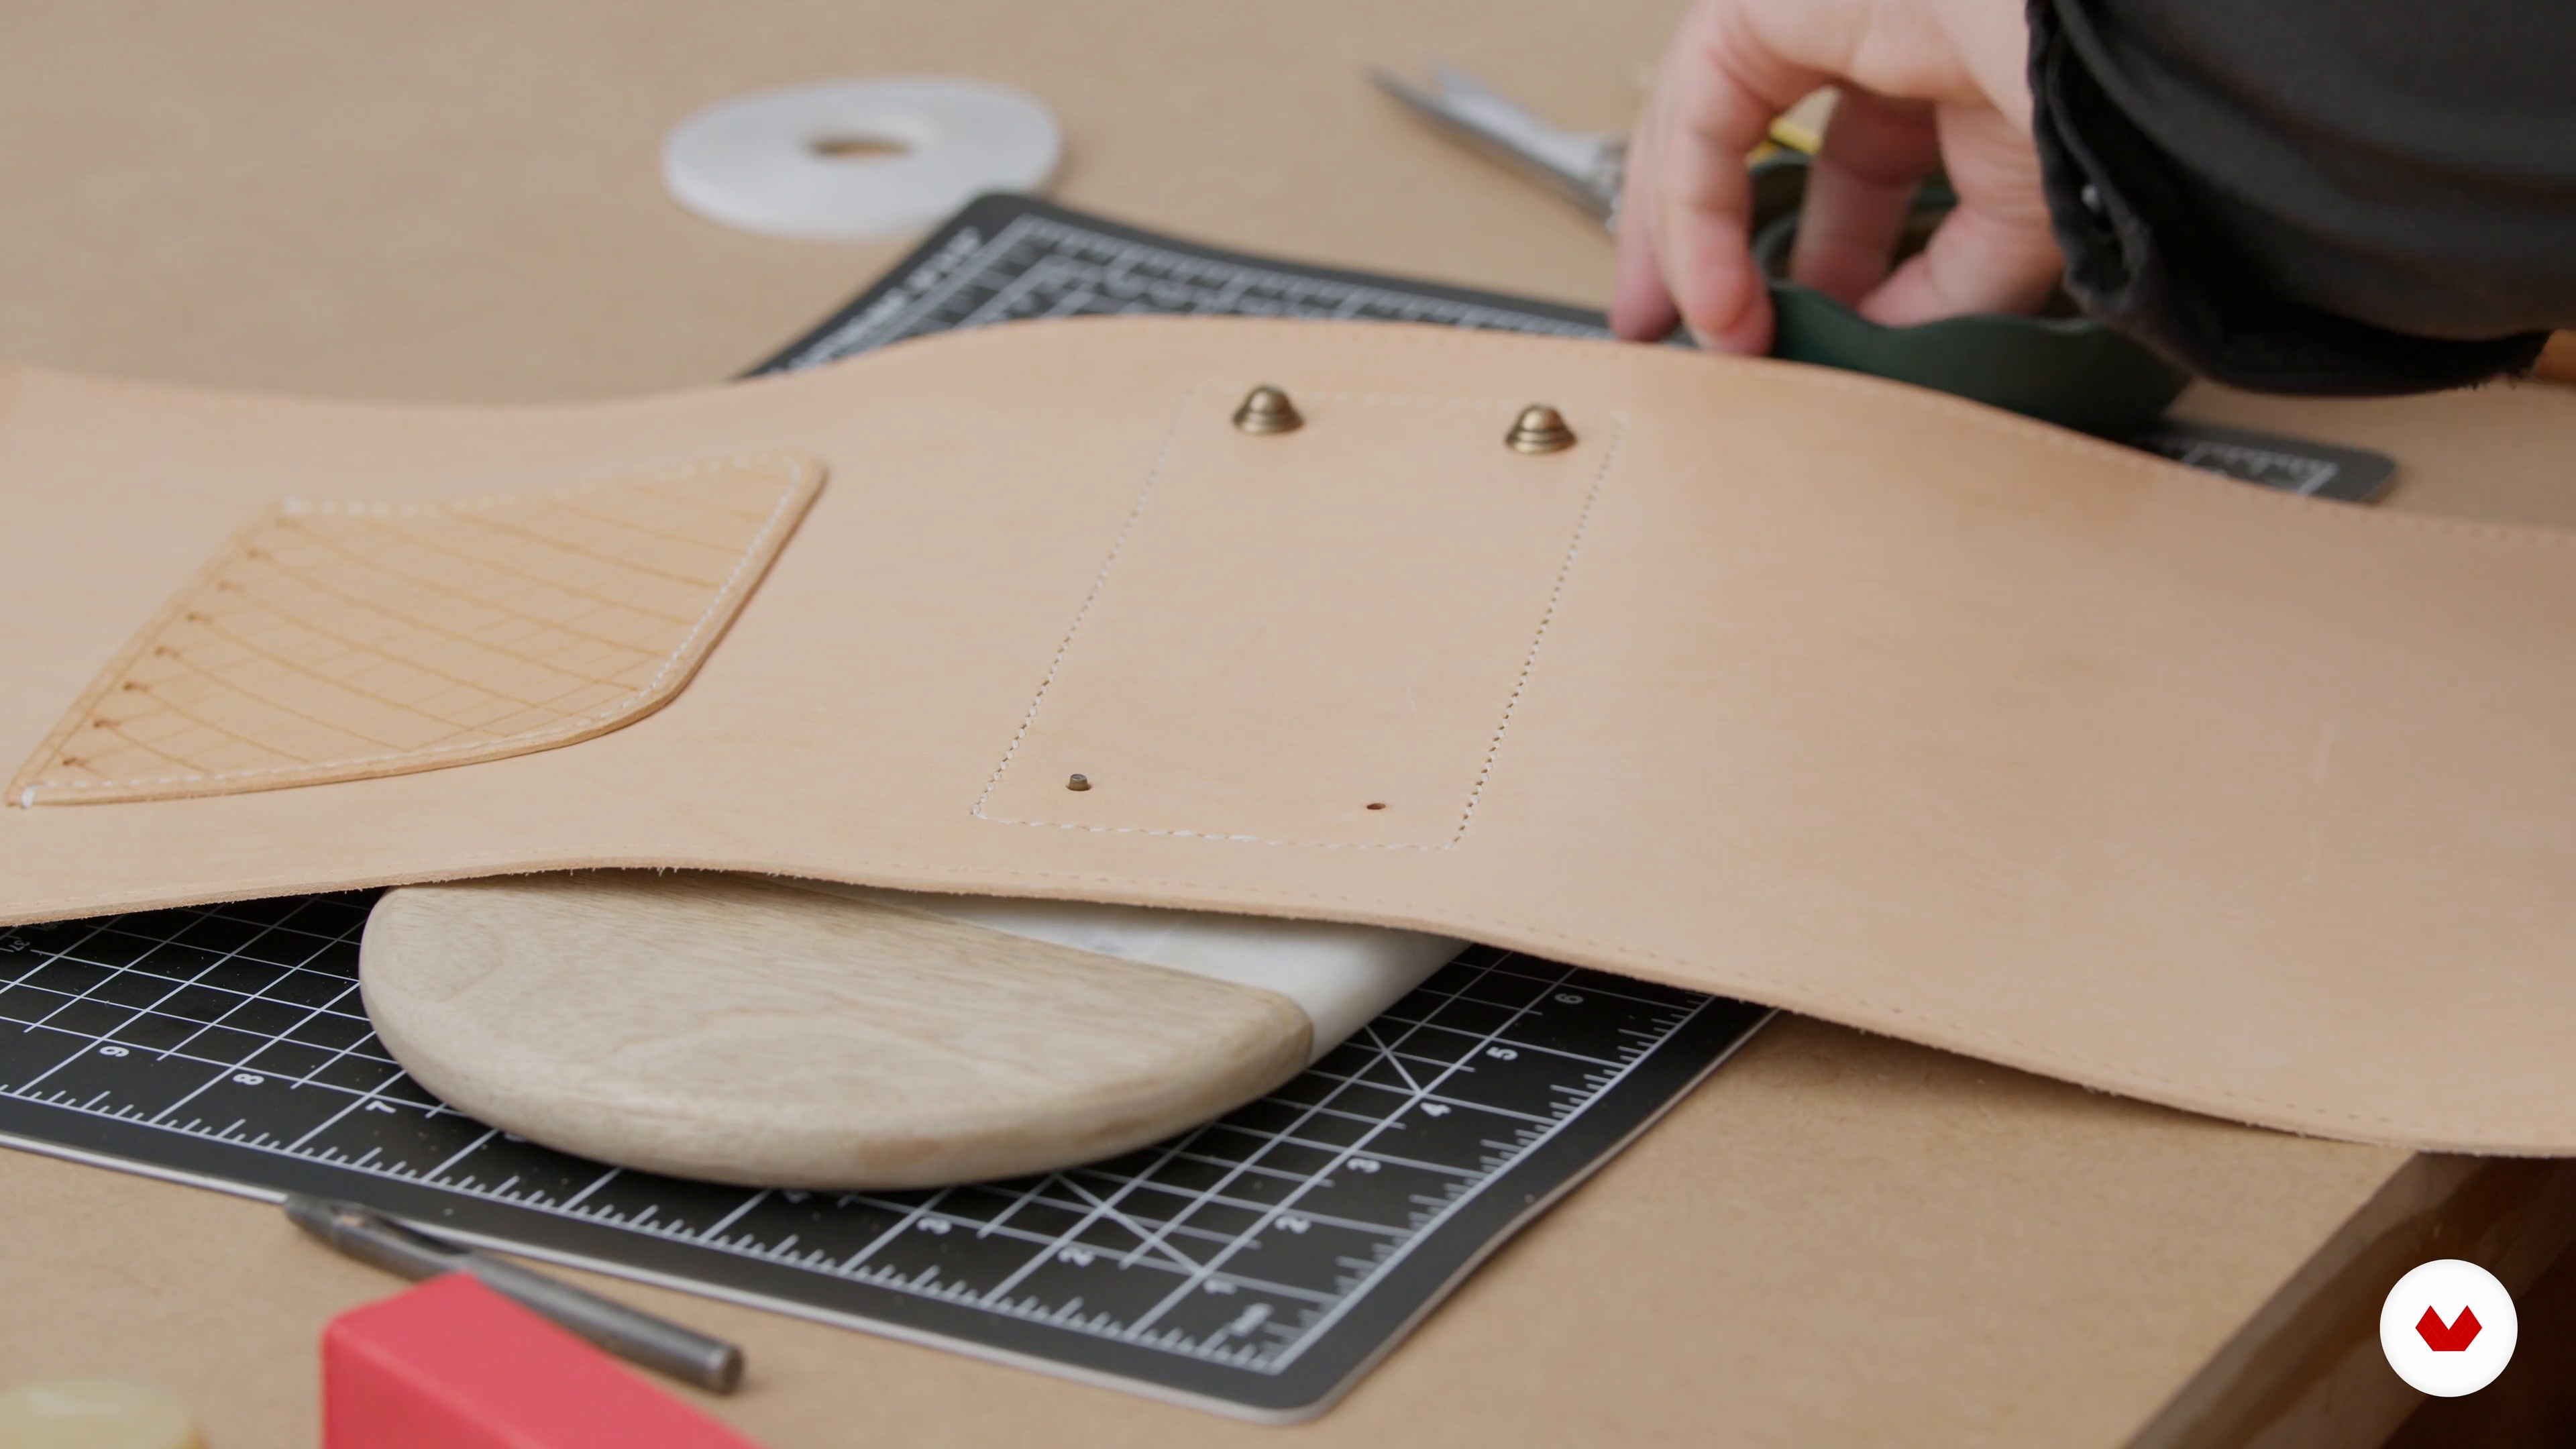
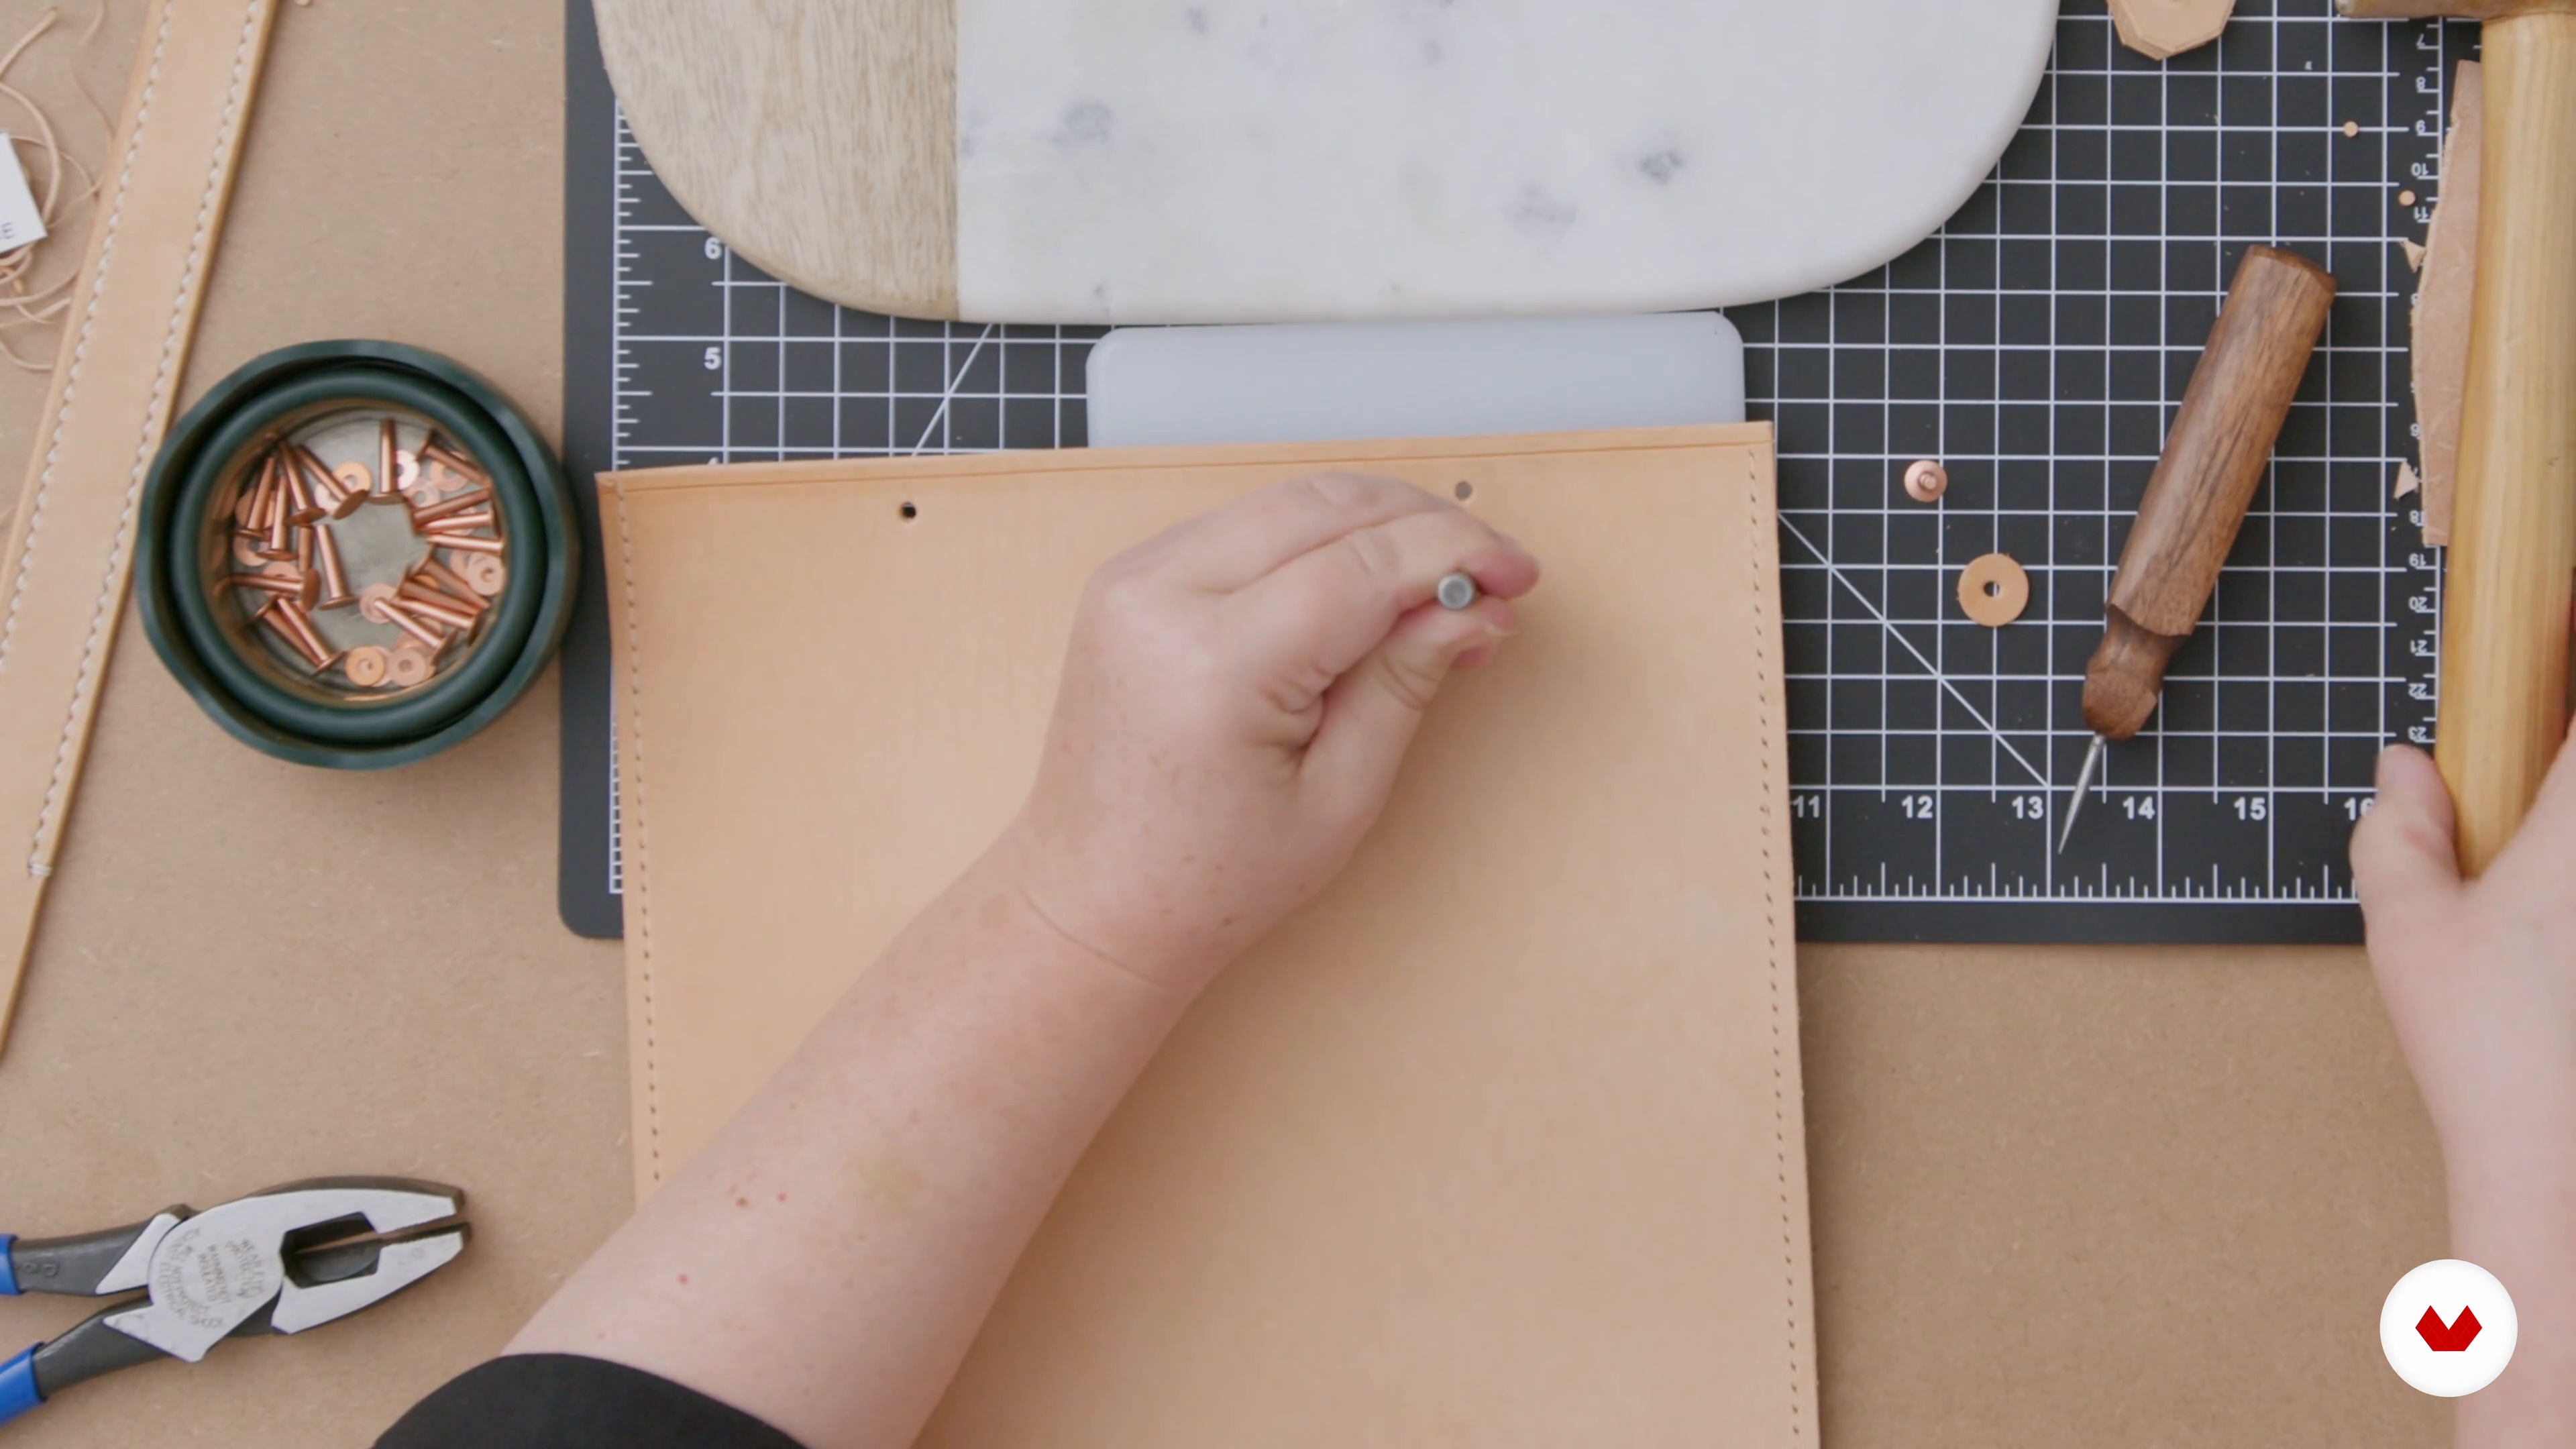
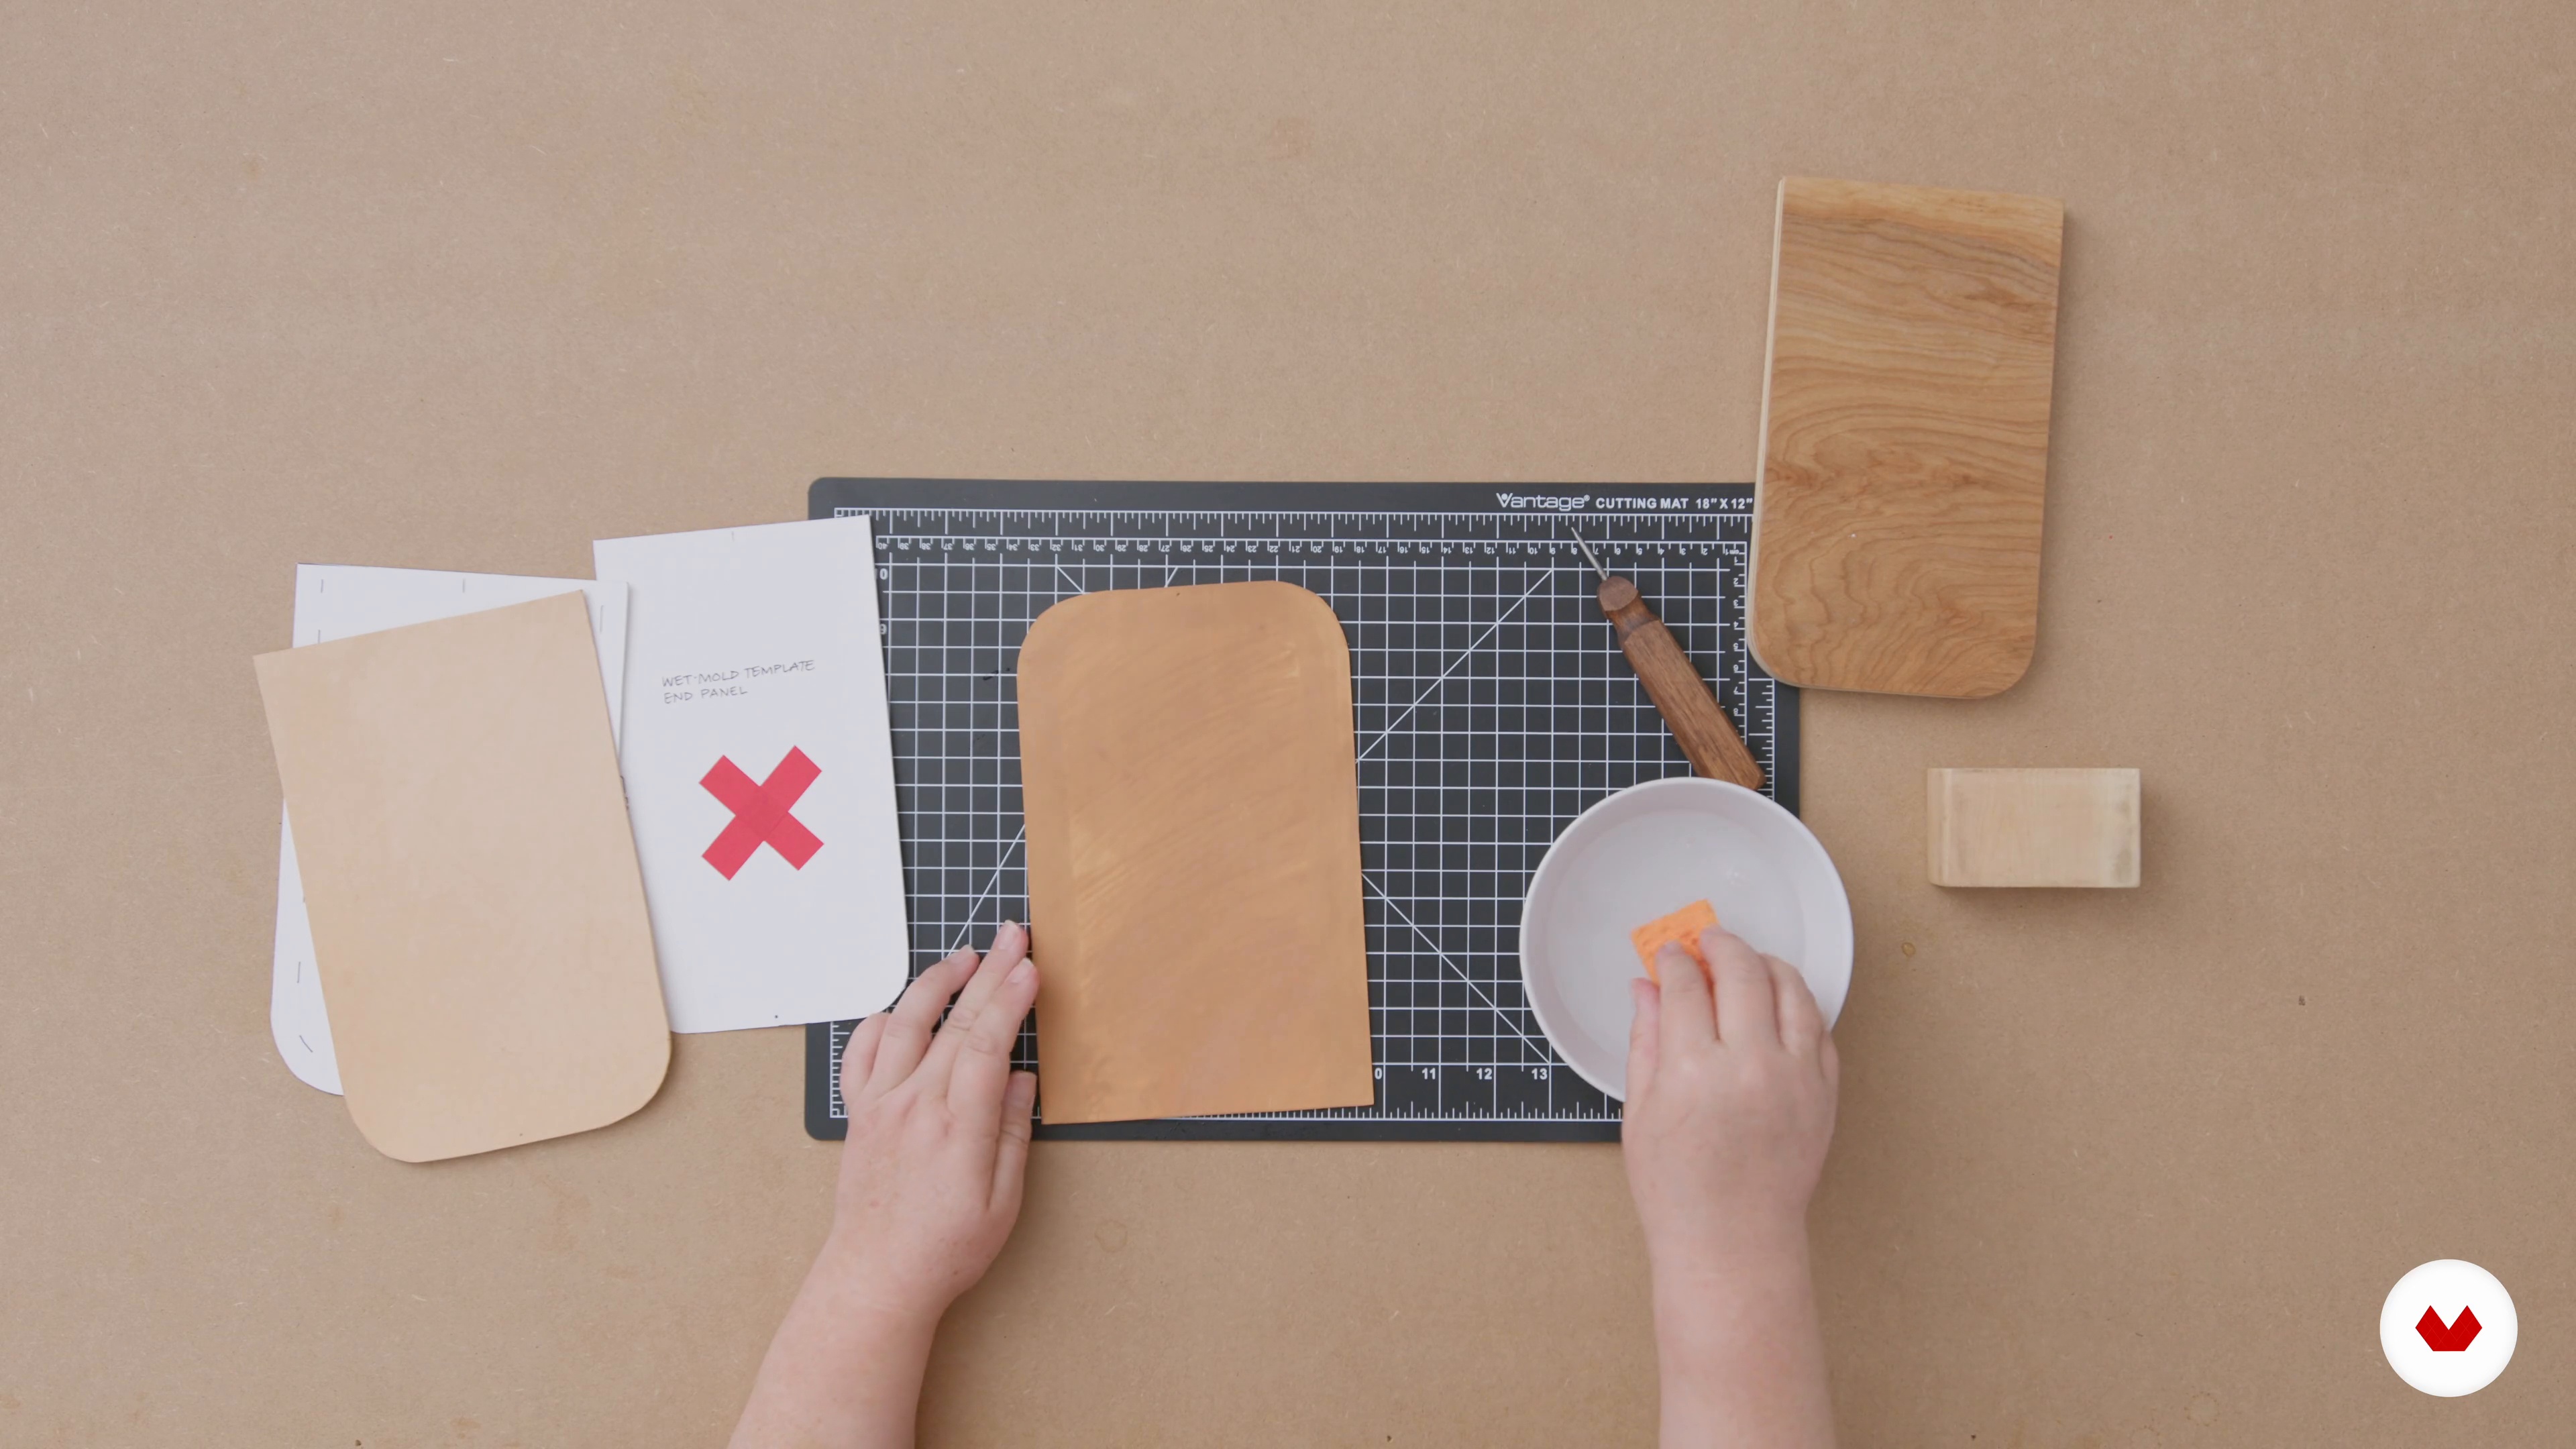
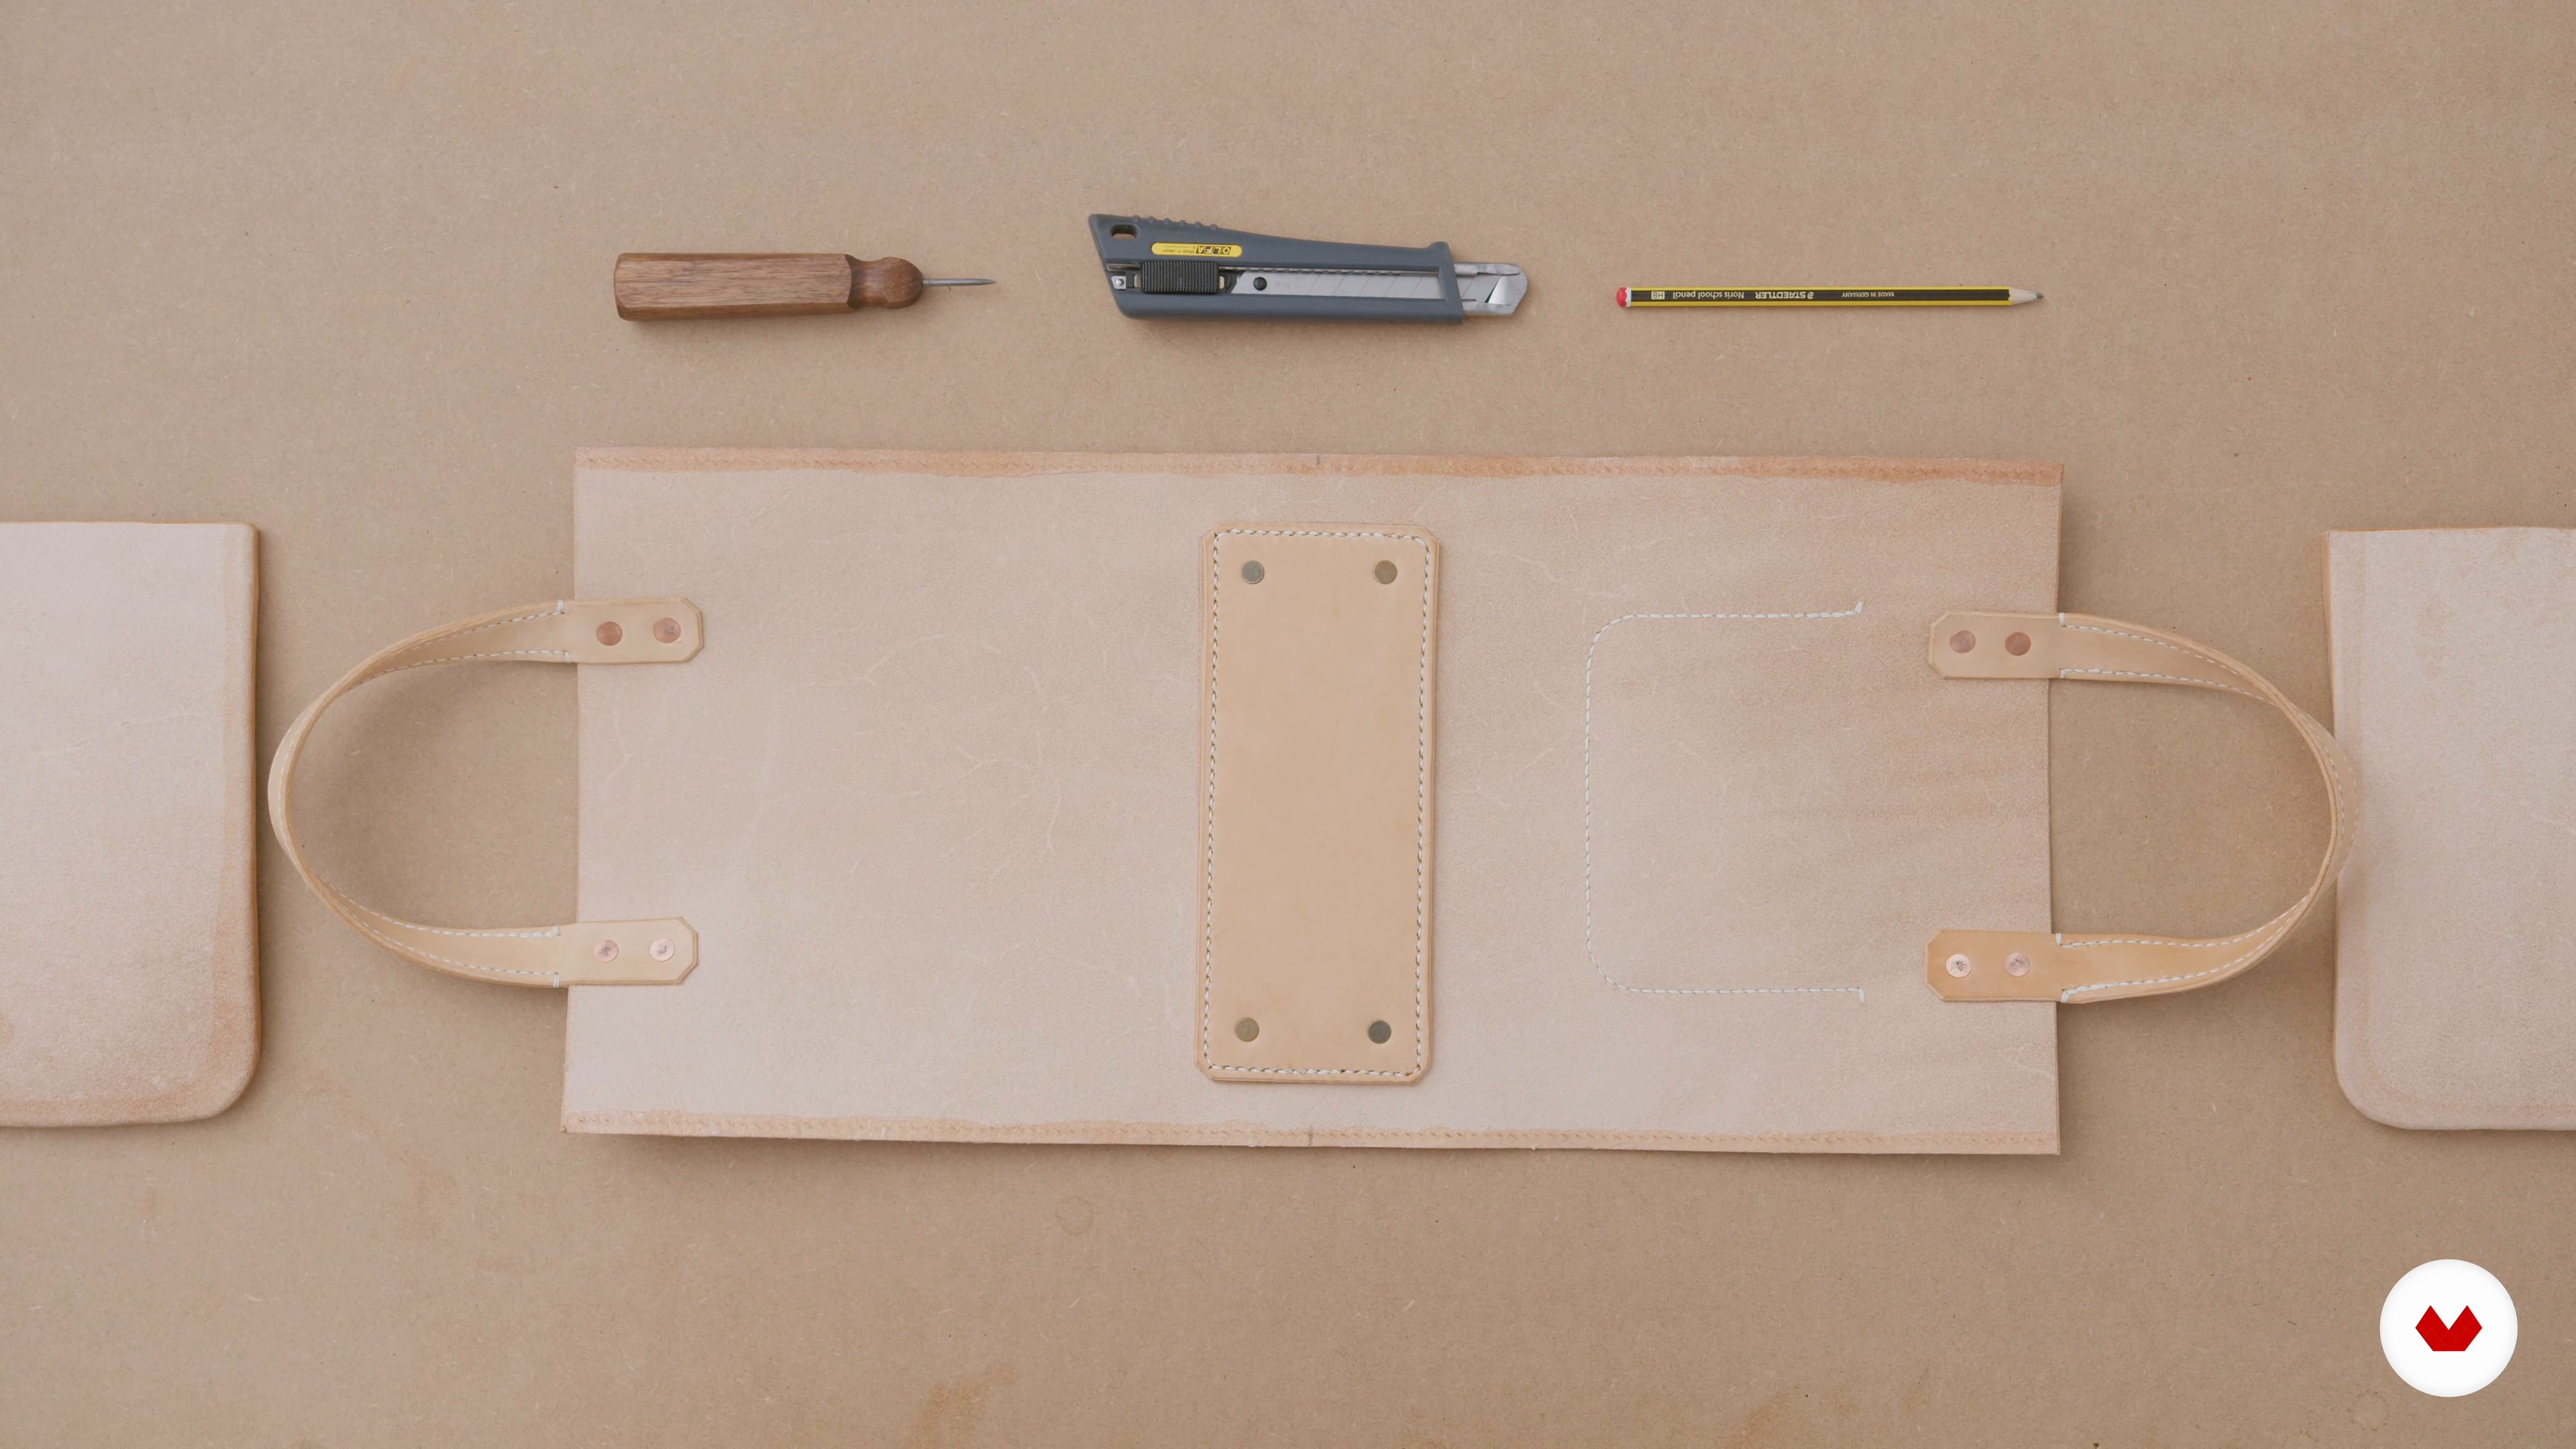
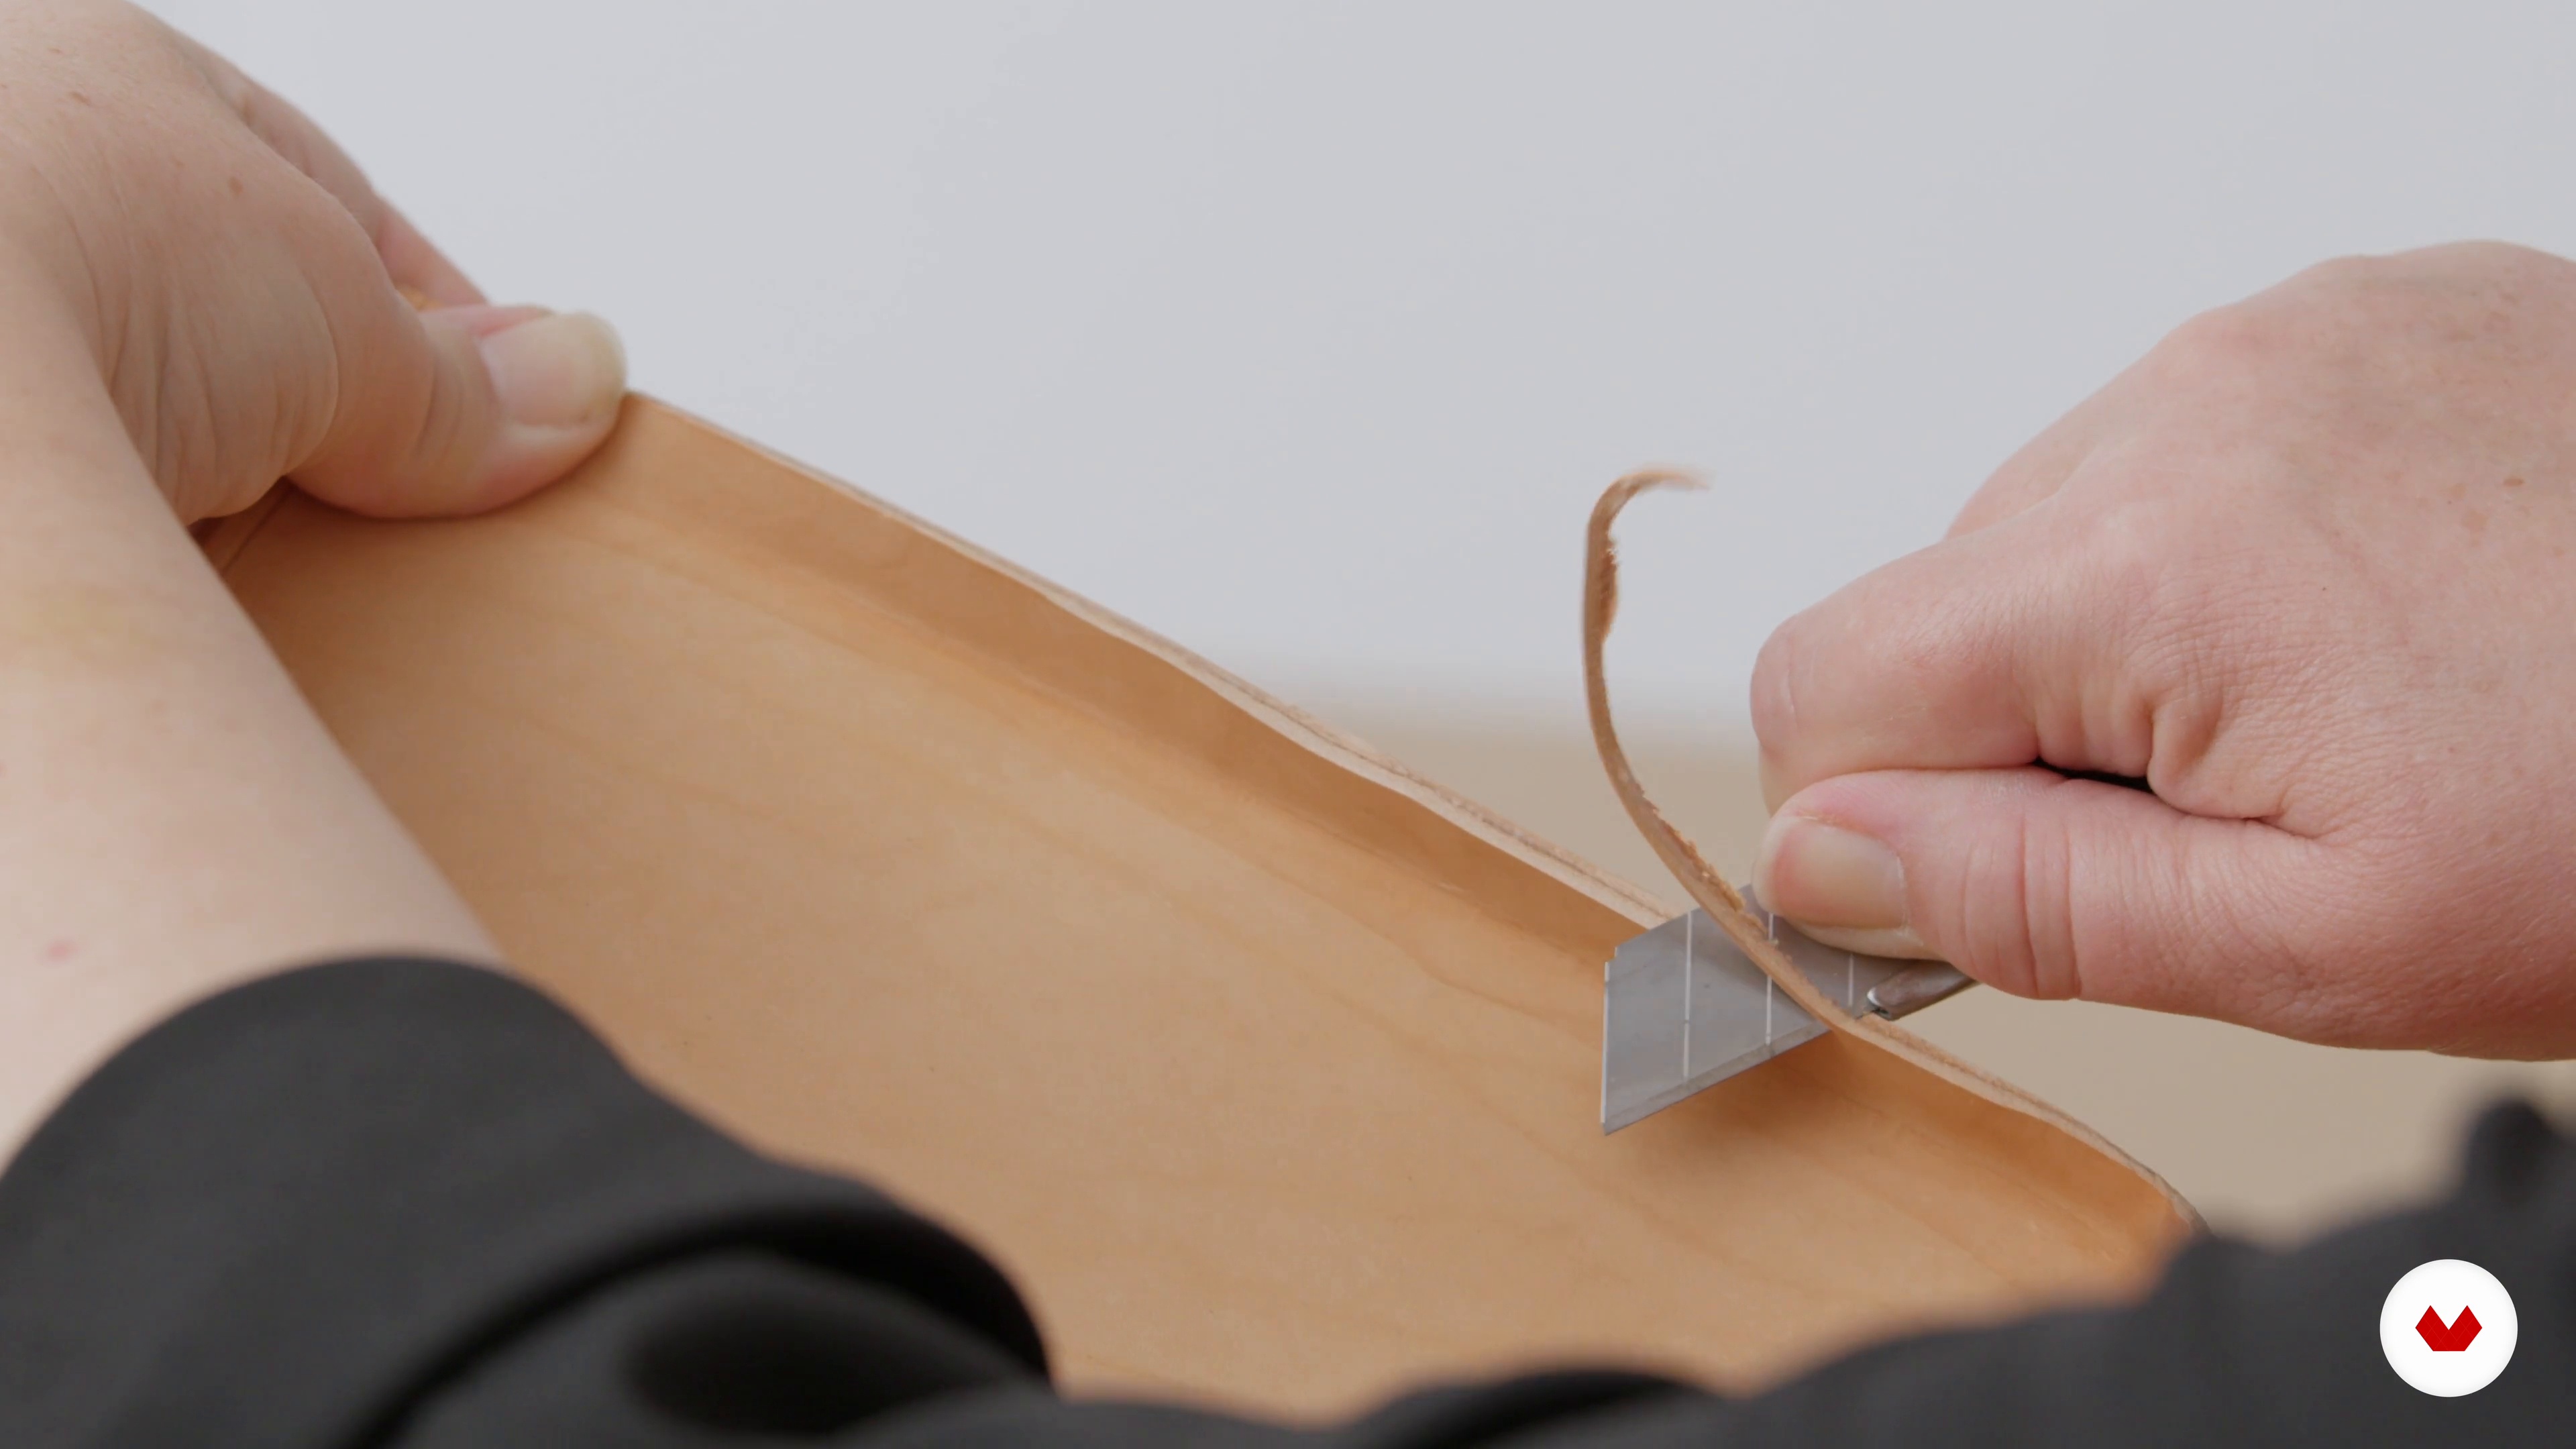
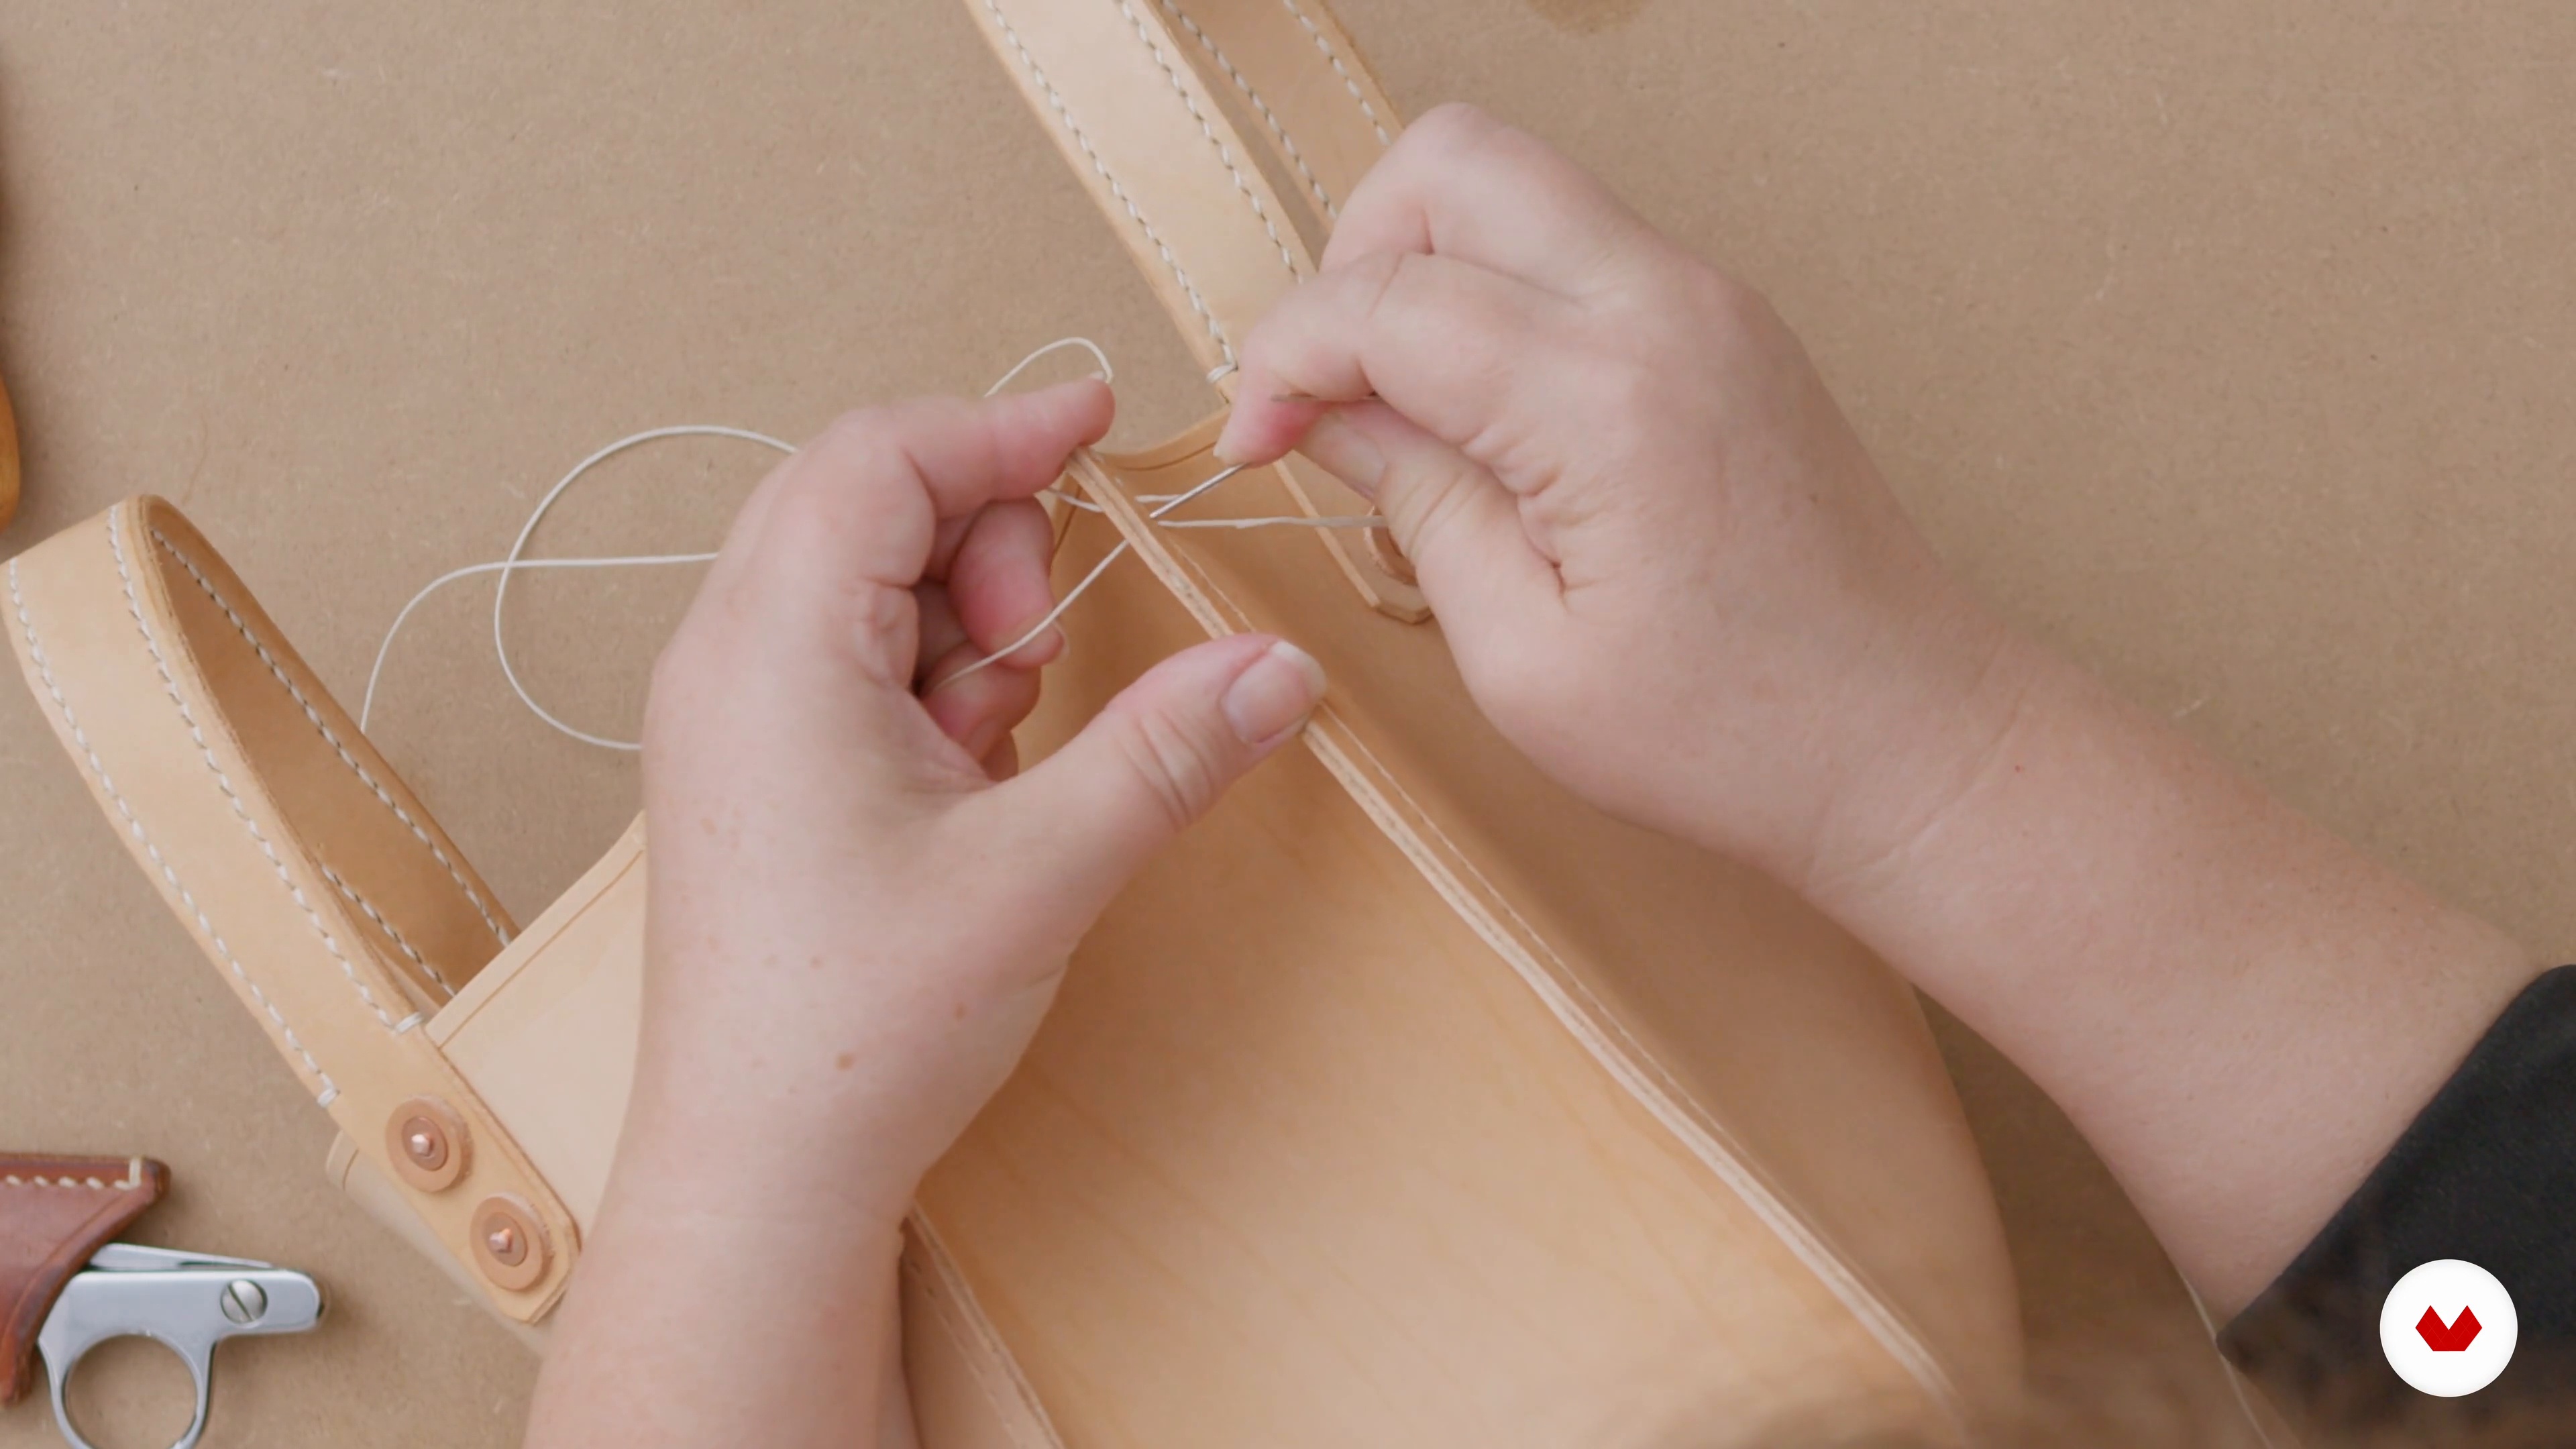
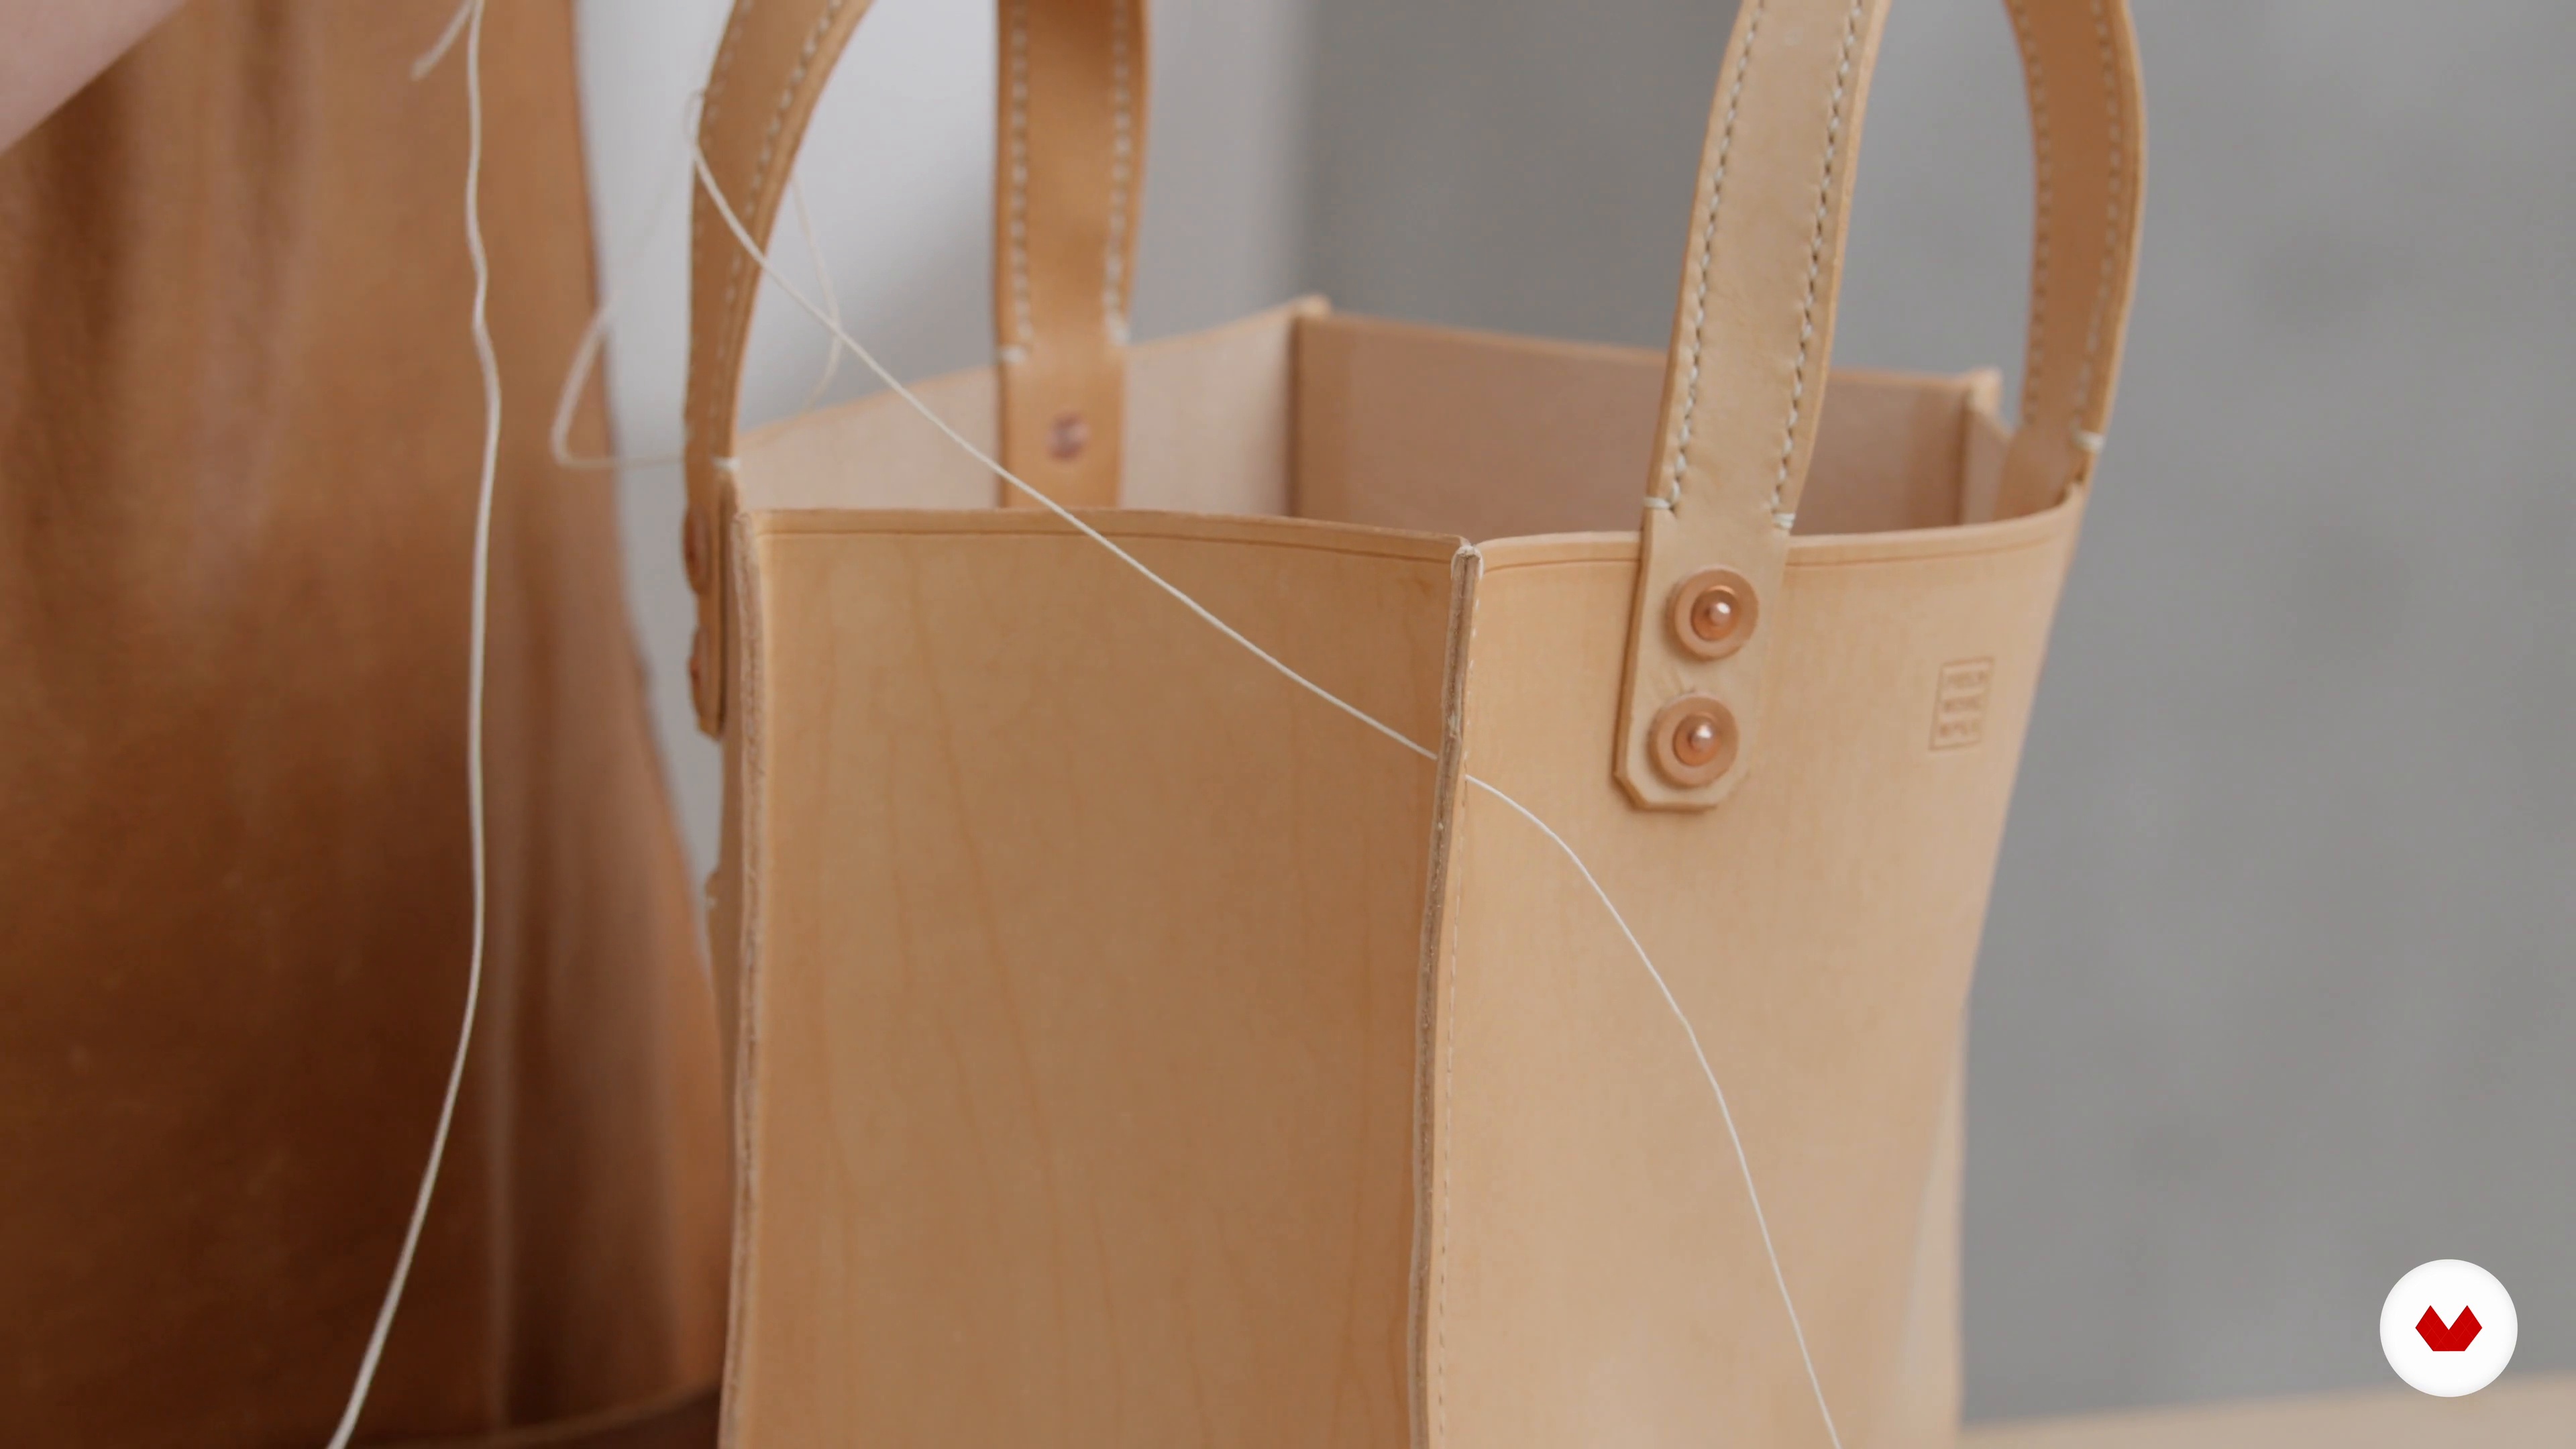
You’ll learn how to design, pattern, cut, reinforce, and assemble leather handbags, including advanced techniques for 3D shaping, mini bag construction, custom closures, edge painting, saddle stitching, and decorative finishing.
Yes, the course includes step-by-step instruction on creating and assembling invisible magnet closures, ensuring both secure and aesthetically pleasing handbag designs.
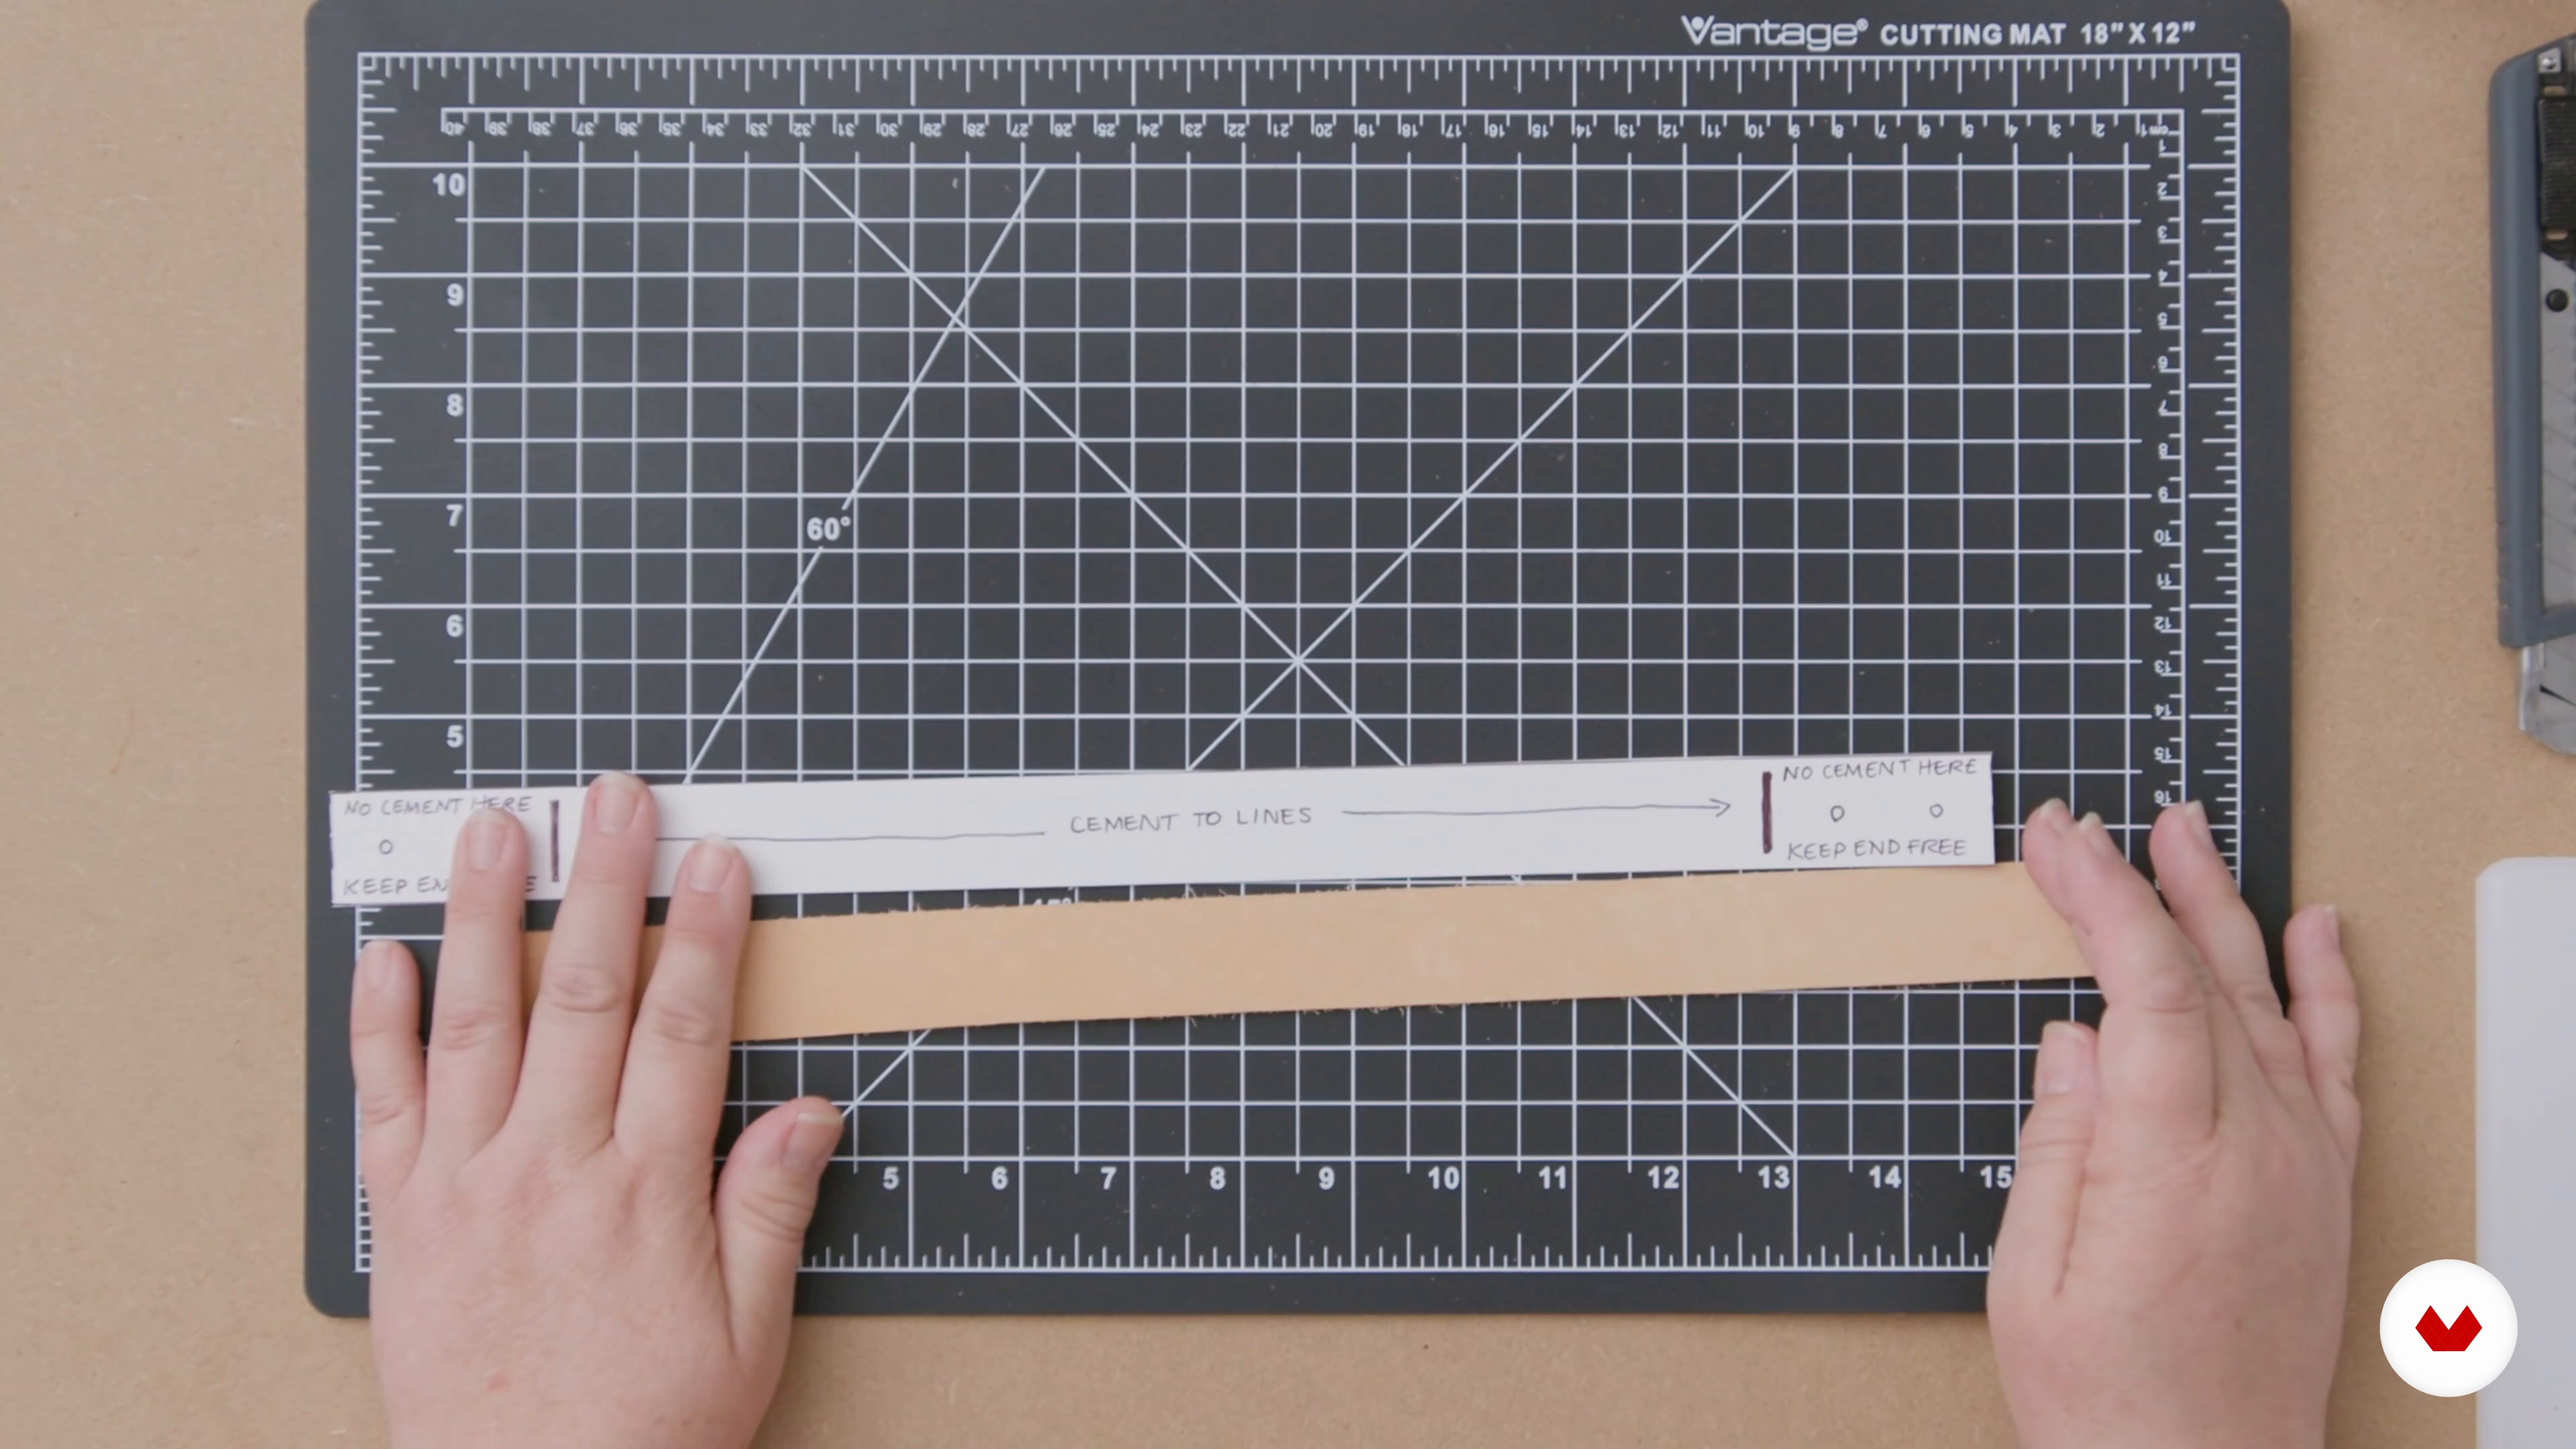
You’ll learn to select, cut, and place reinforcement and padding materials to optimize bag structure, durability, and aesthetics, with detailed guidance on material choice and placement for high-stress areas.
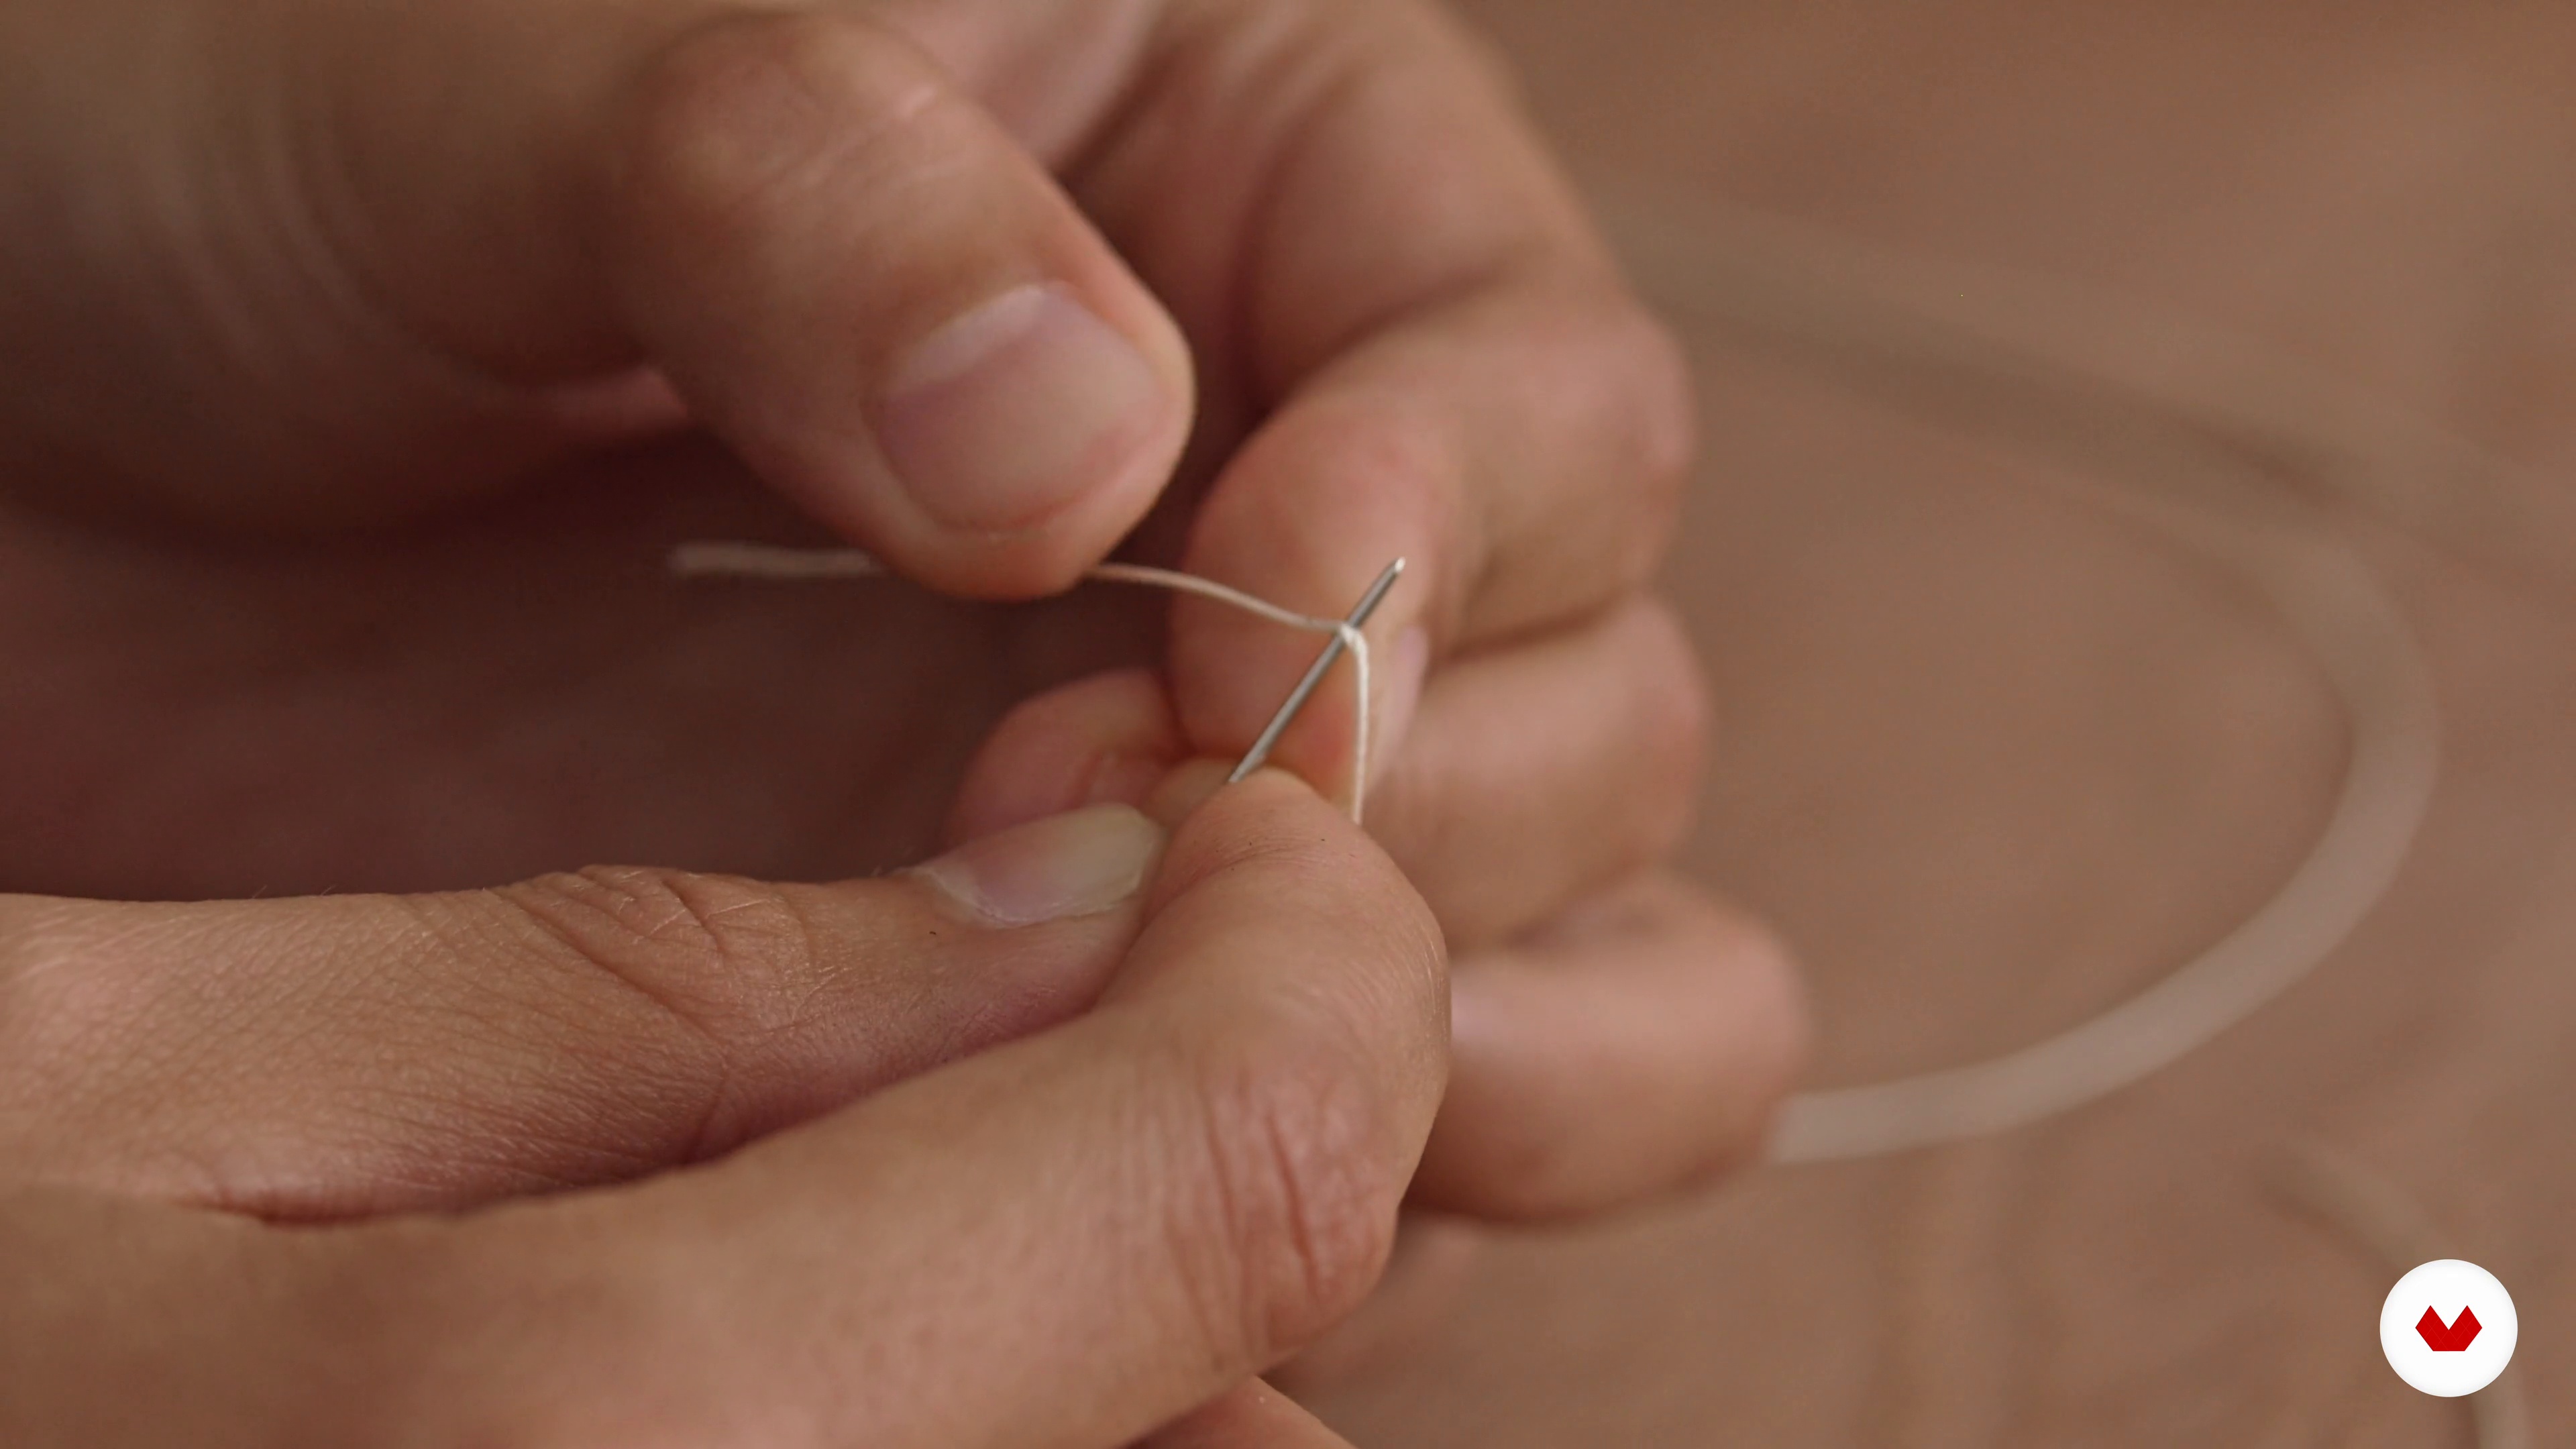
Yes, the course provides in-depth tutorials on saddle stitching, waxing thread, punching holes, and multiple edge painting techniques for smooth, professional-quality finishing.
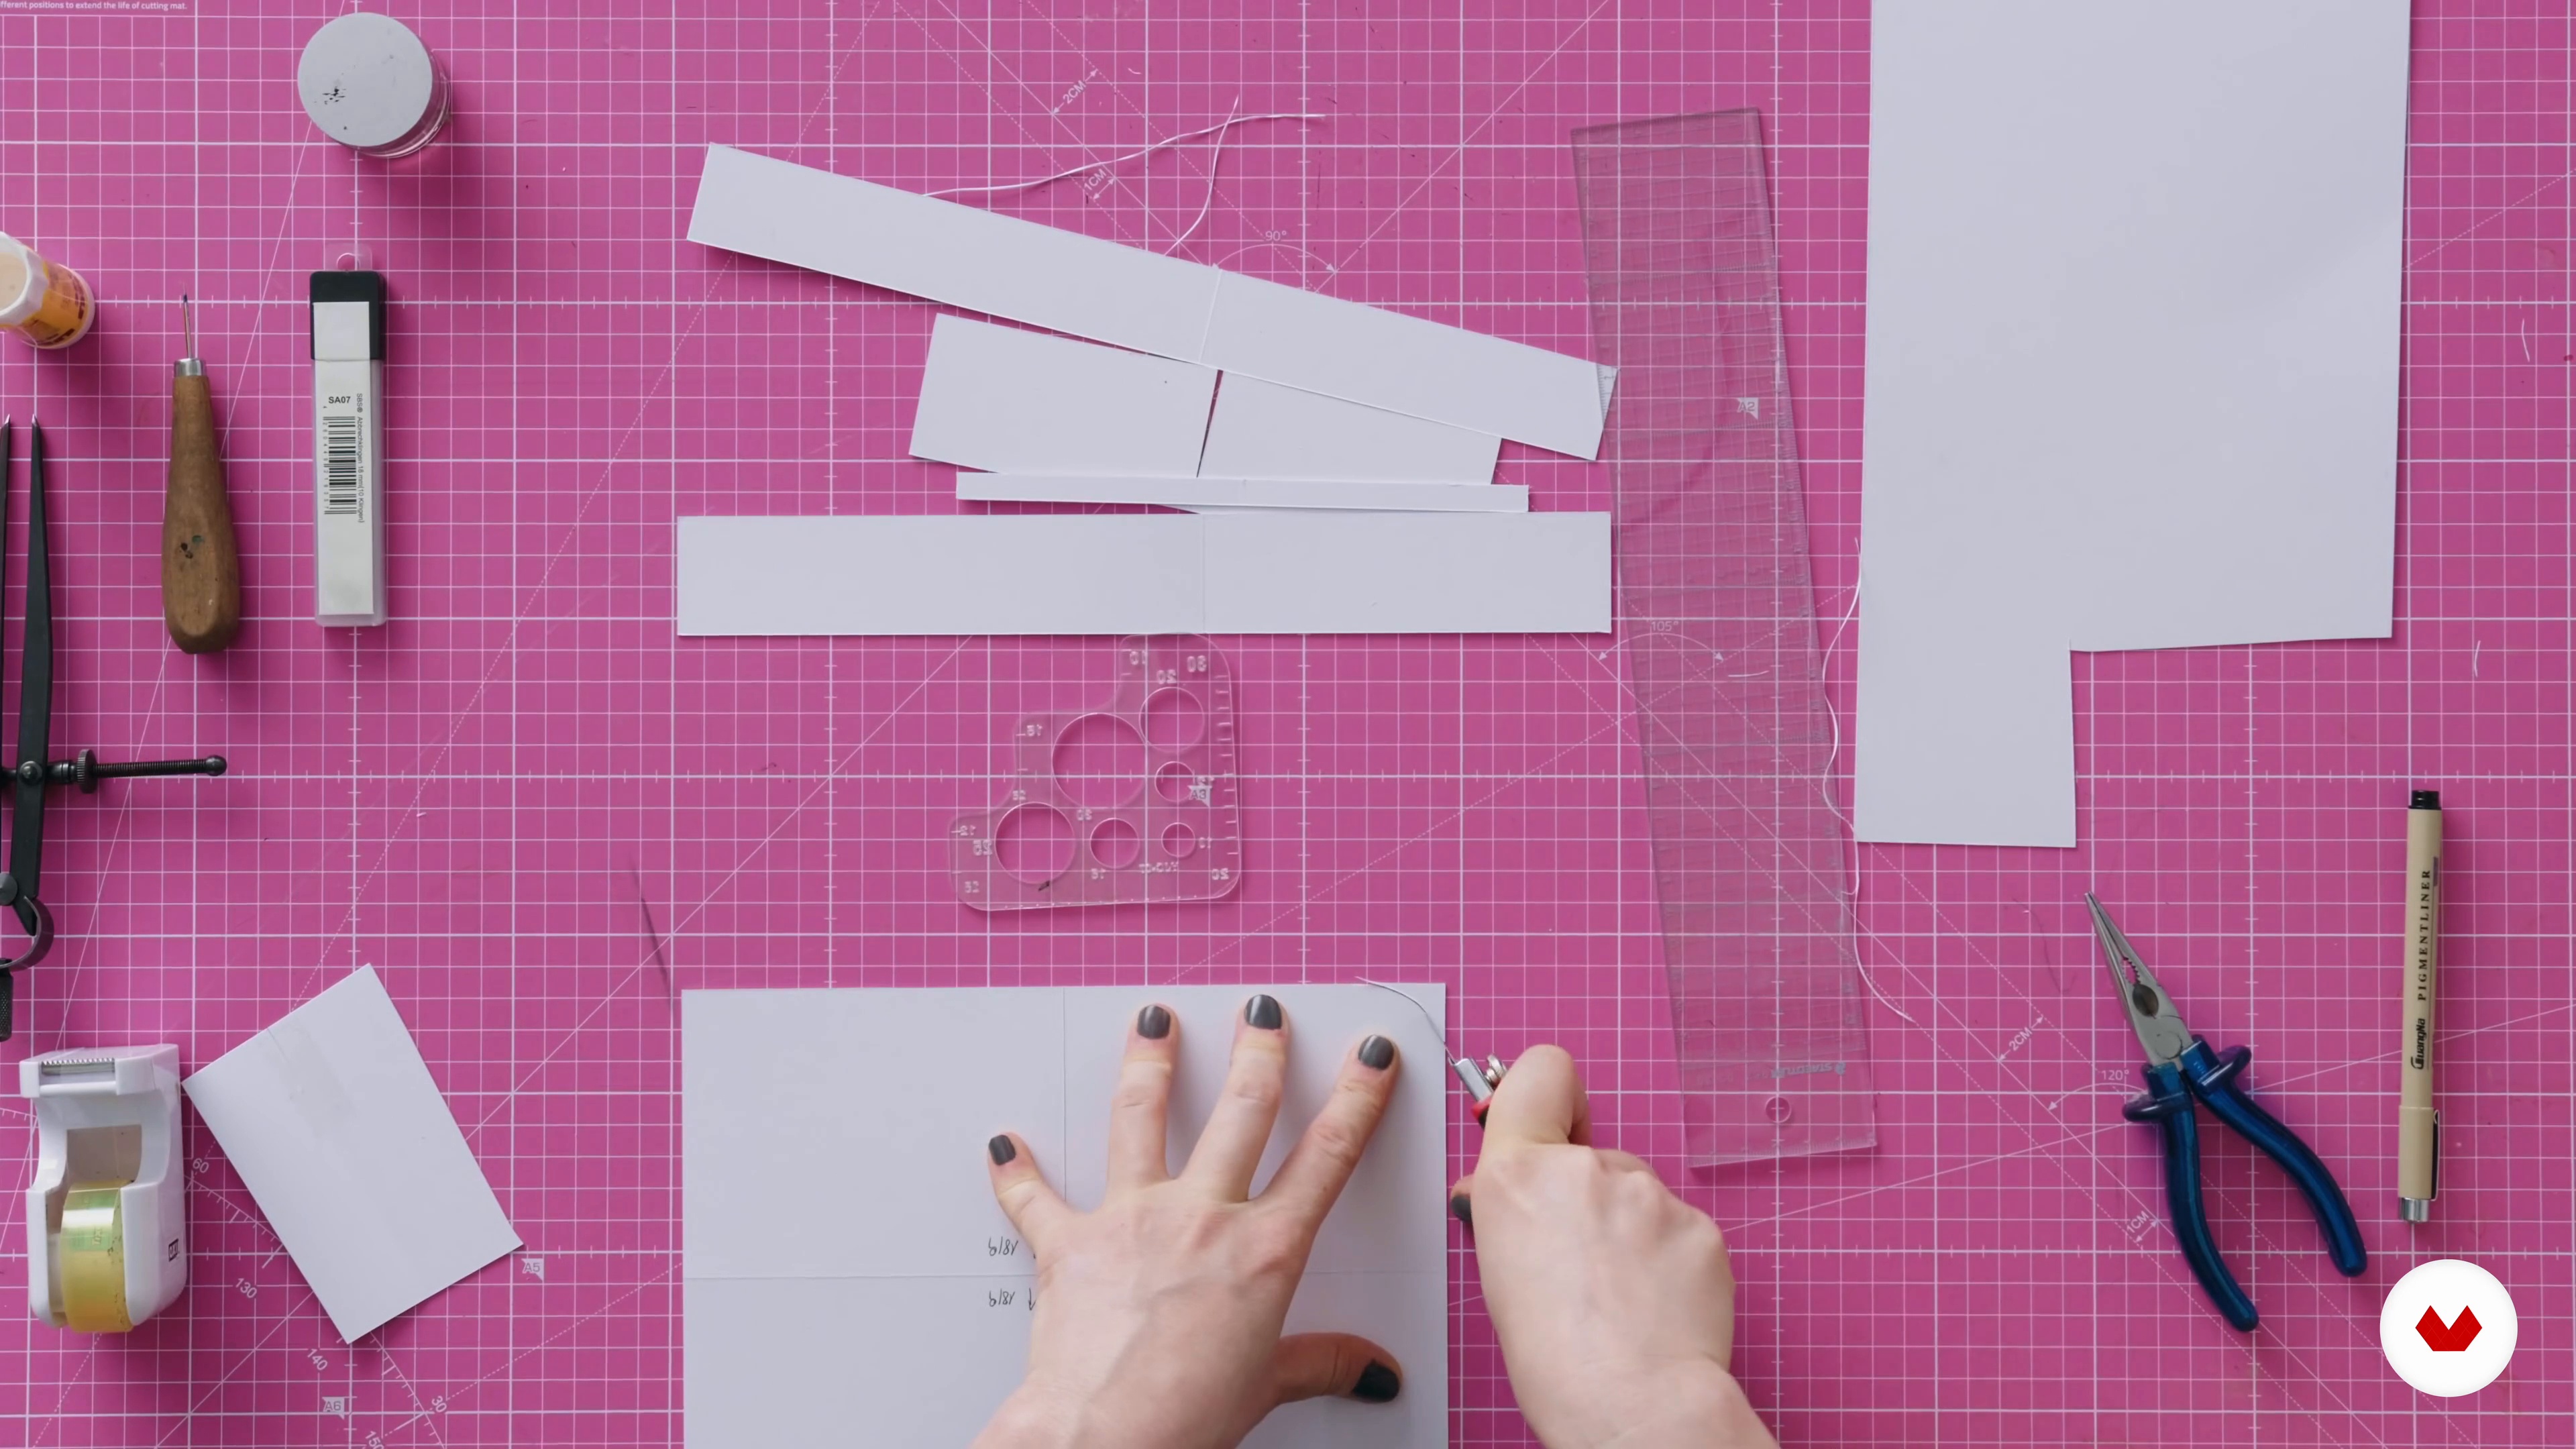
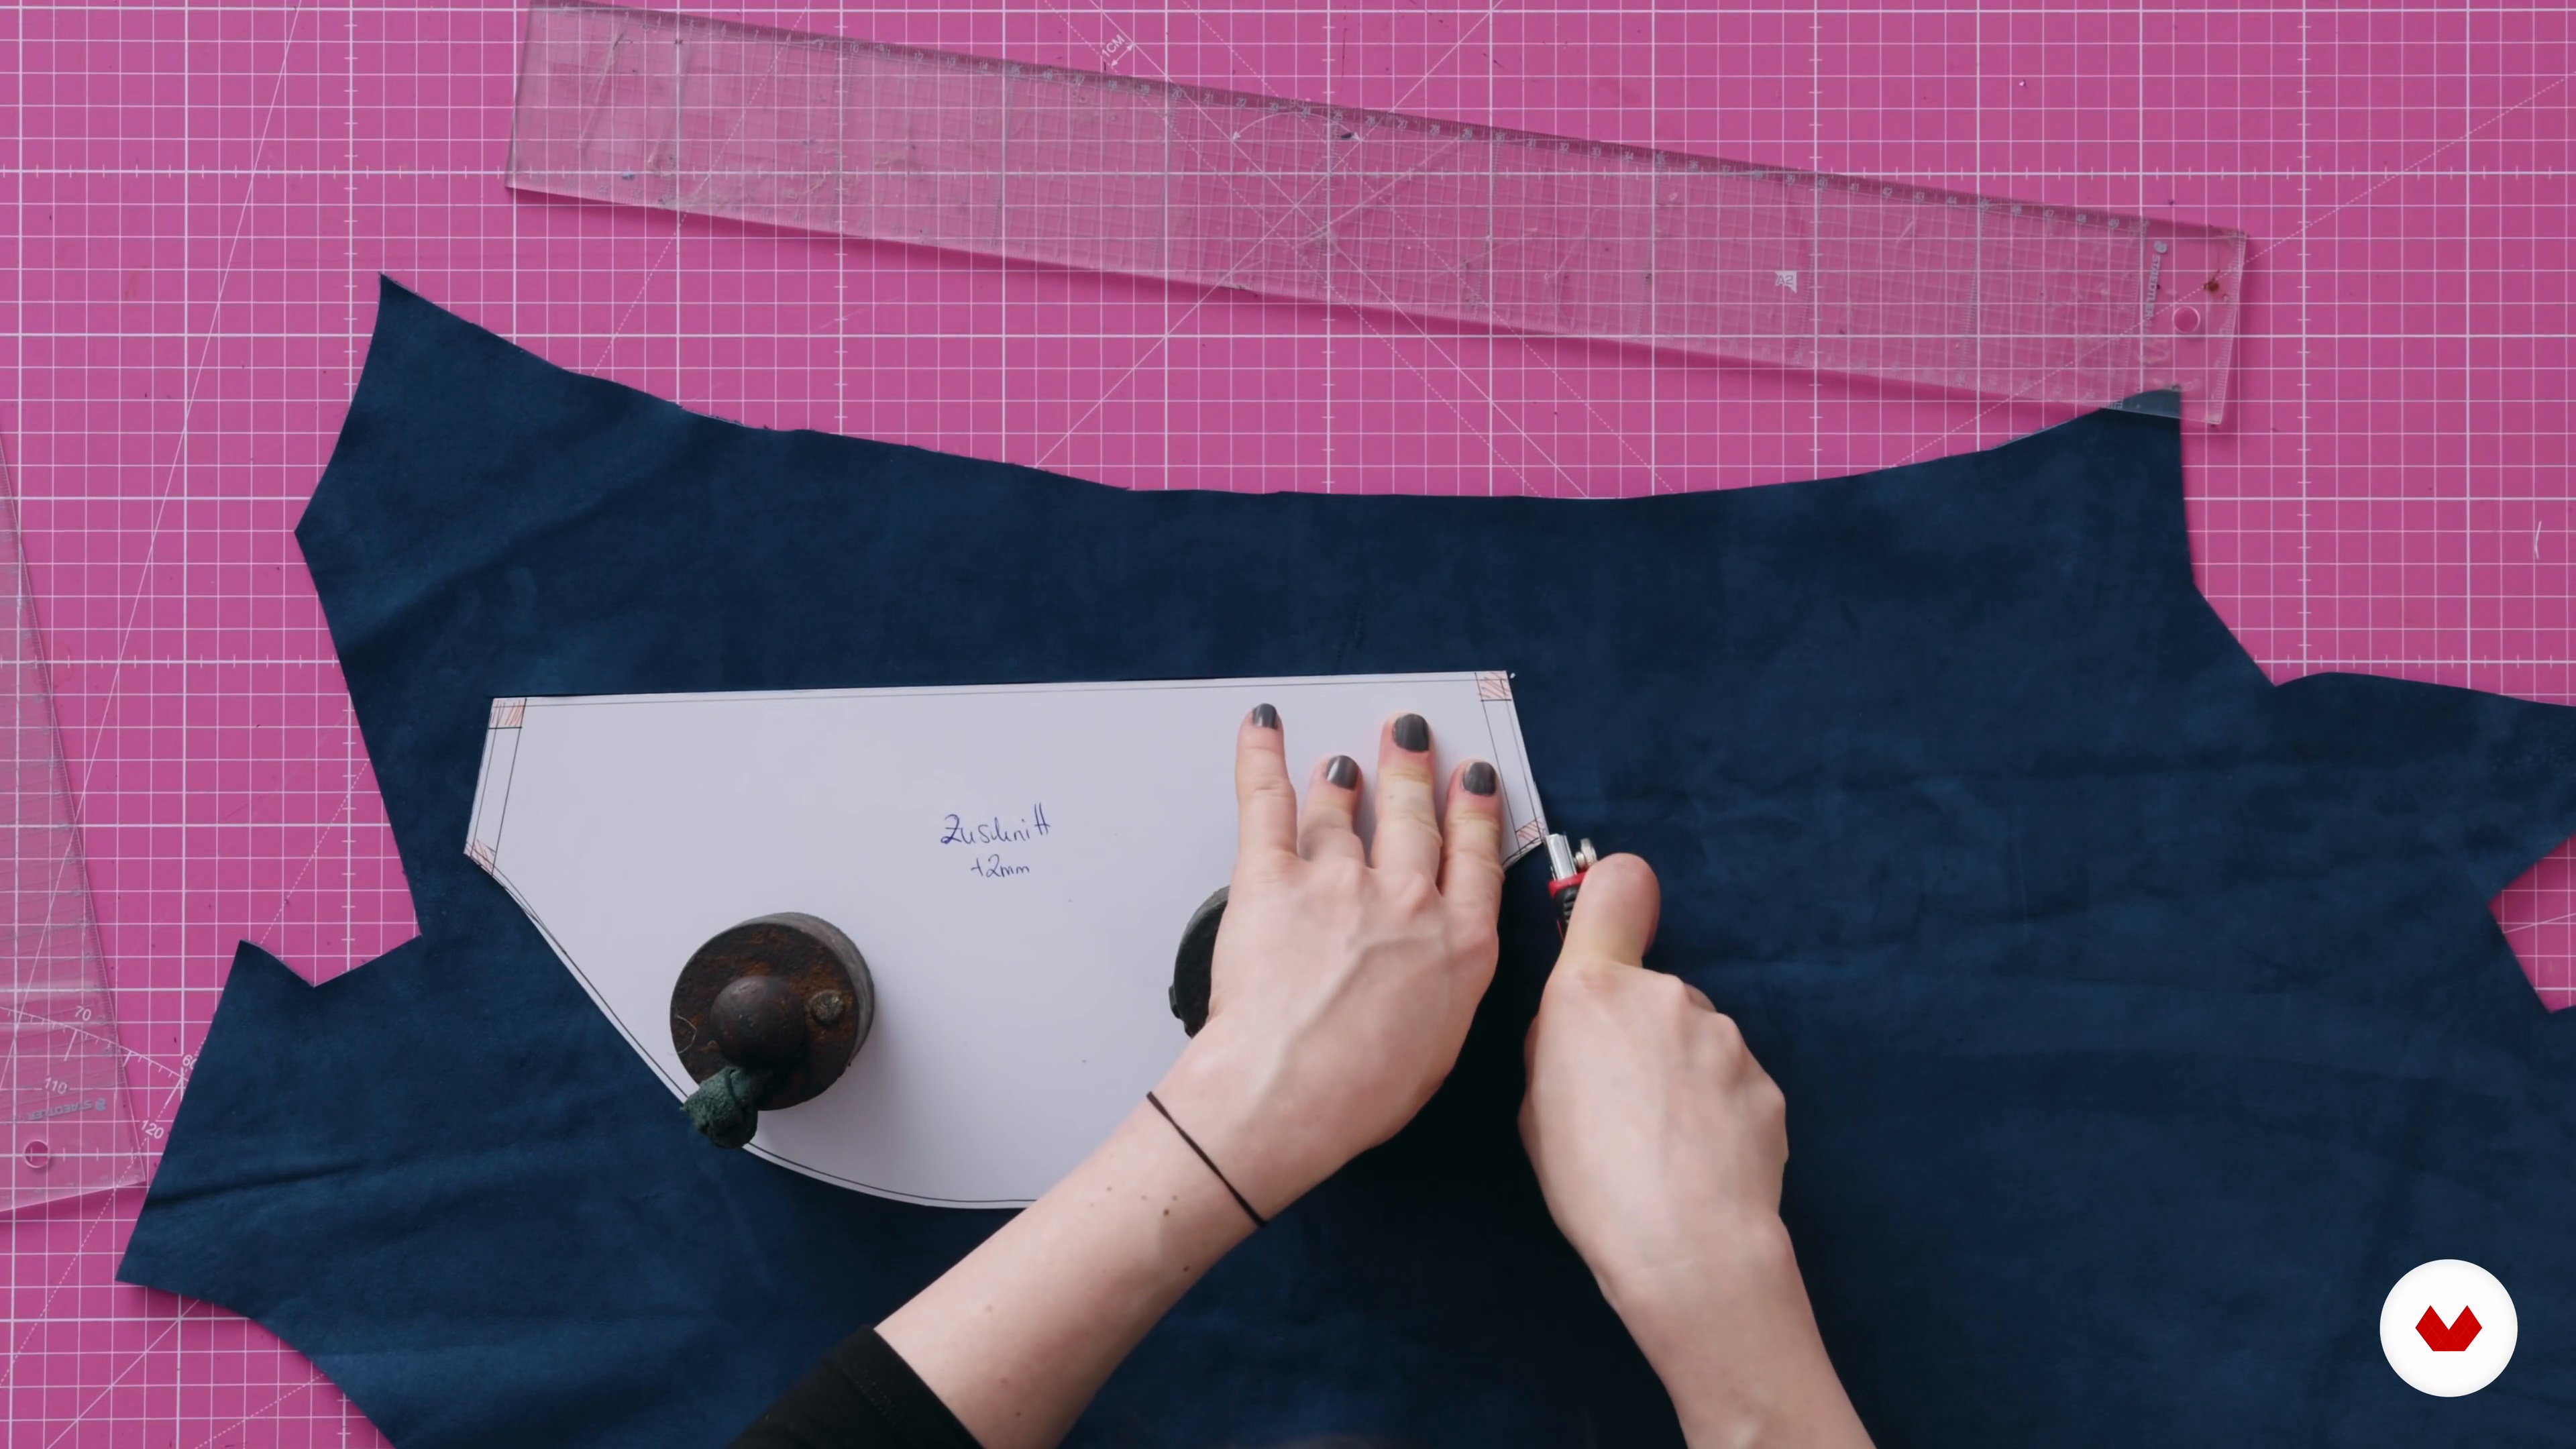
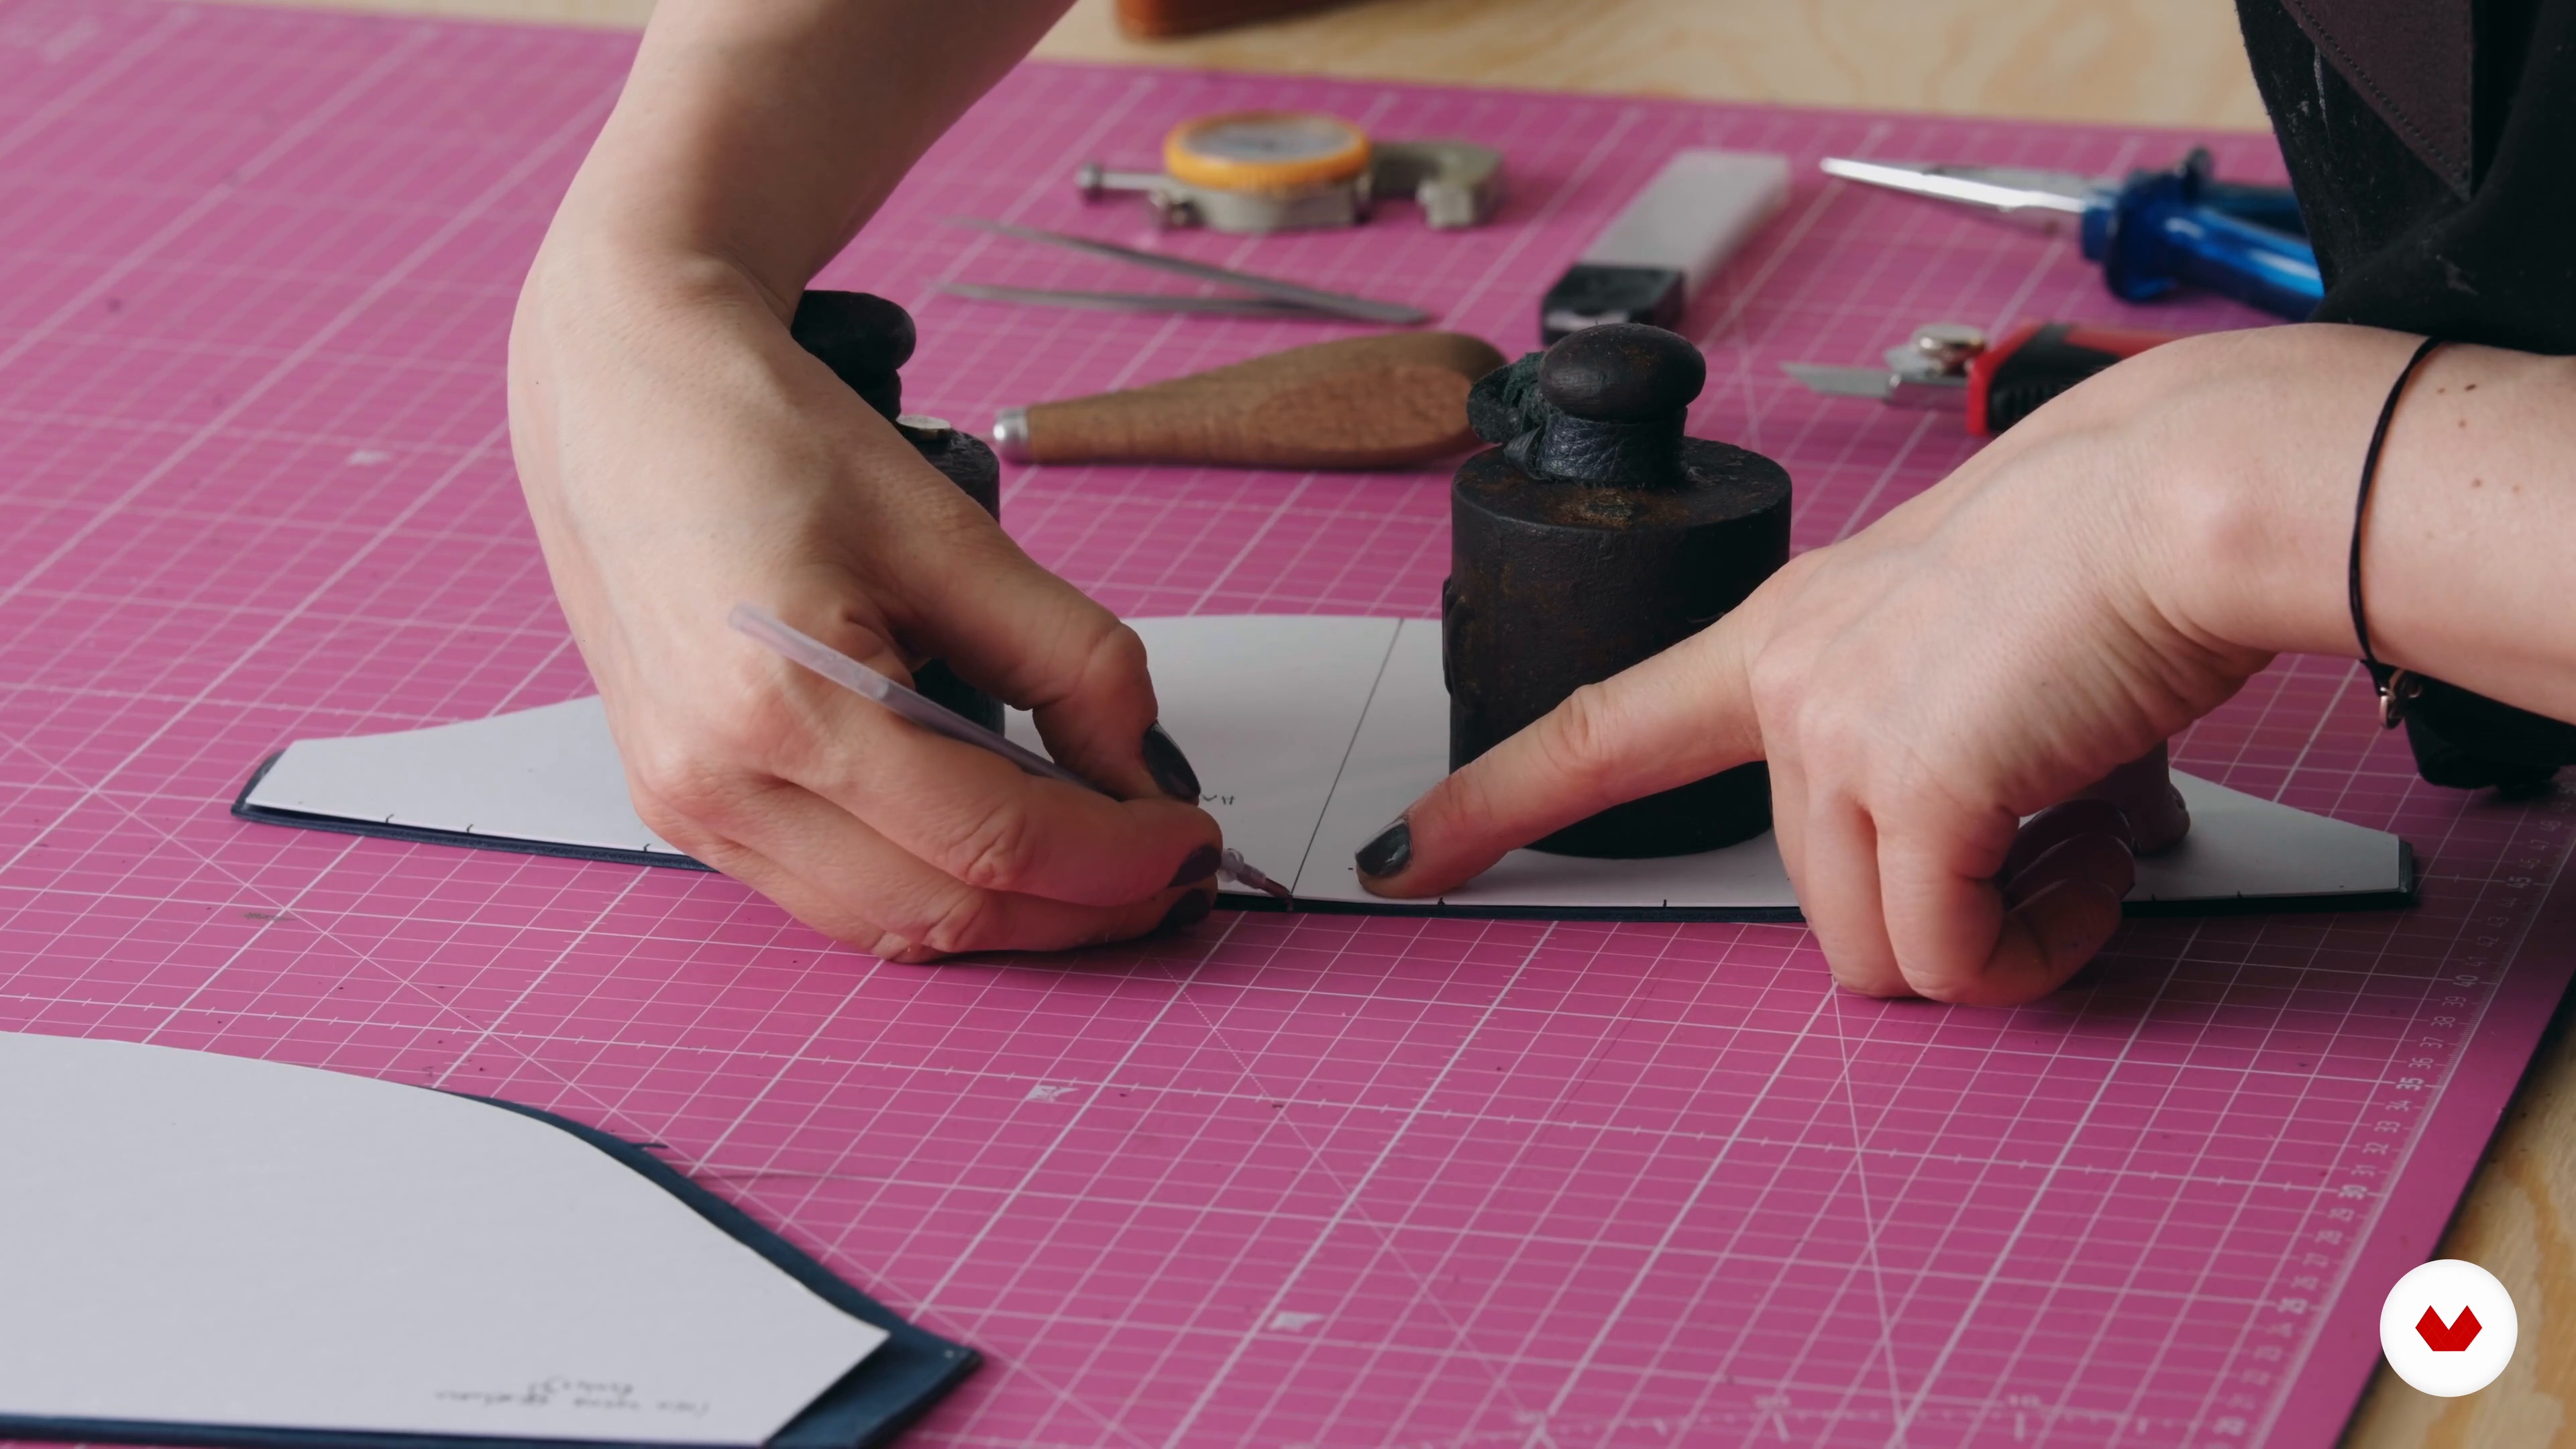
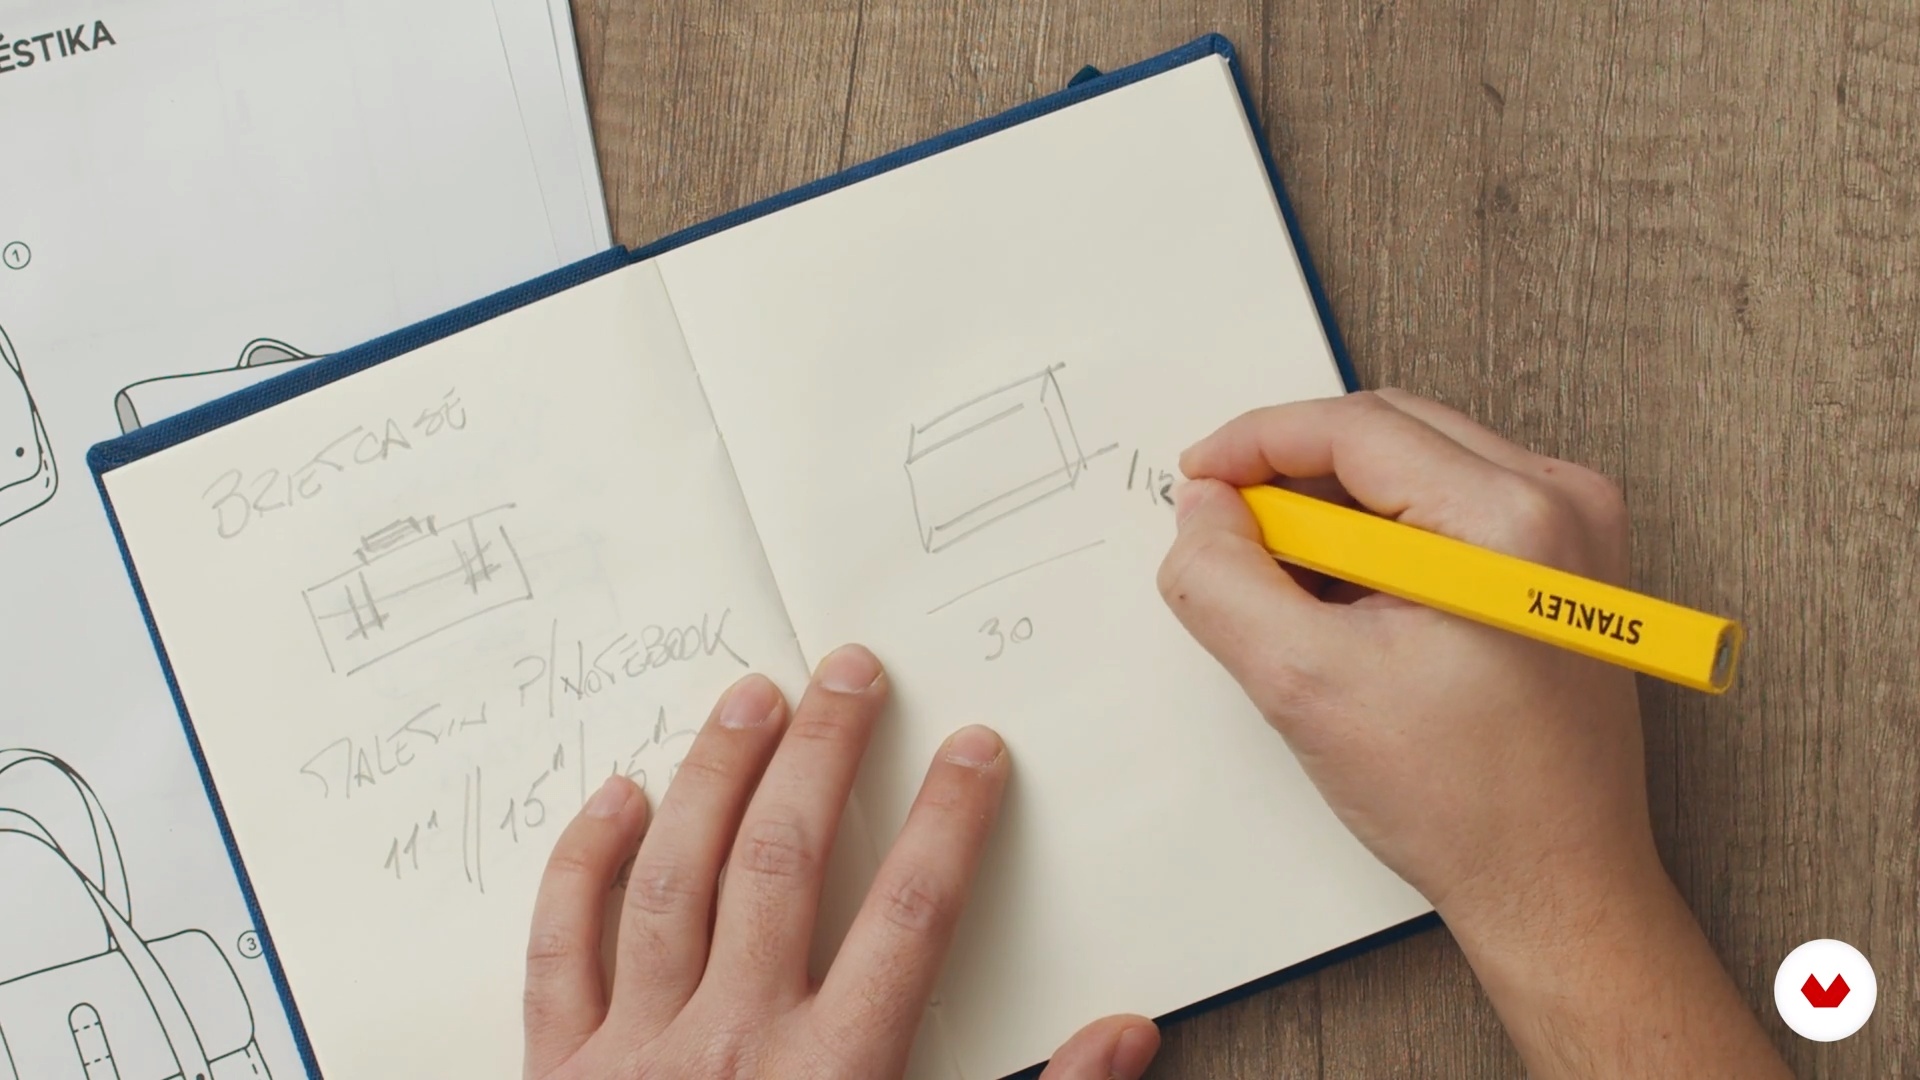
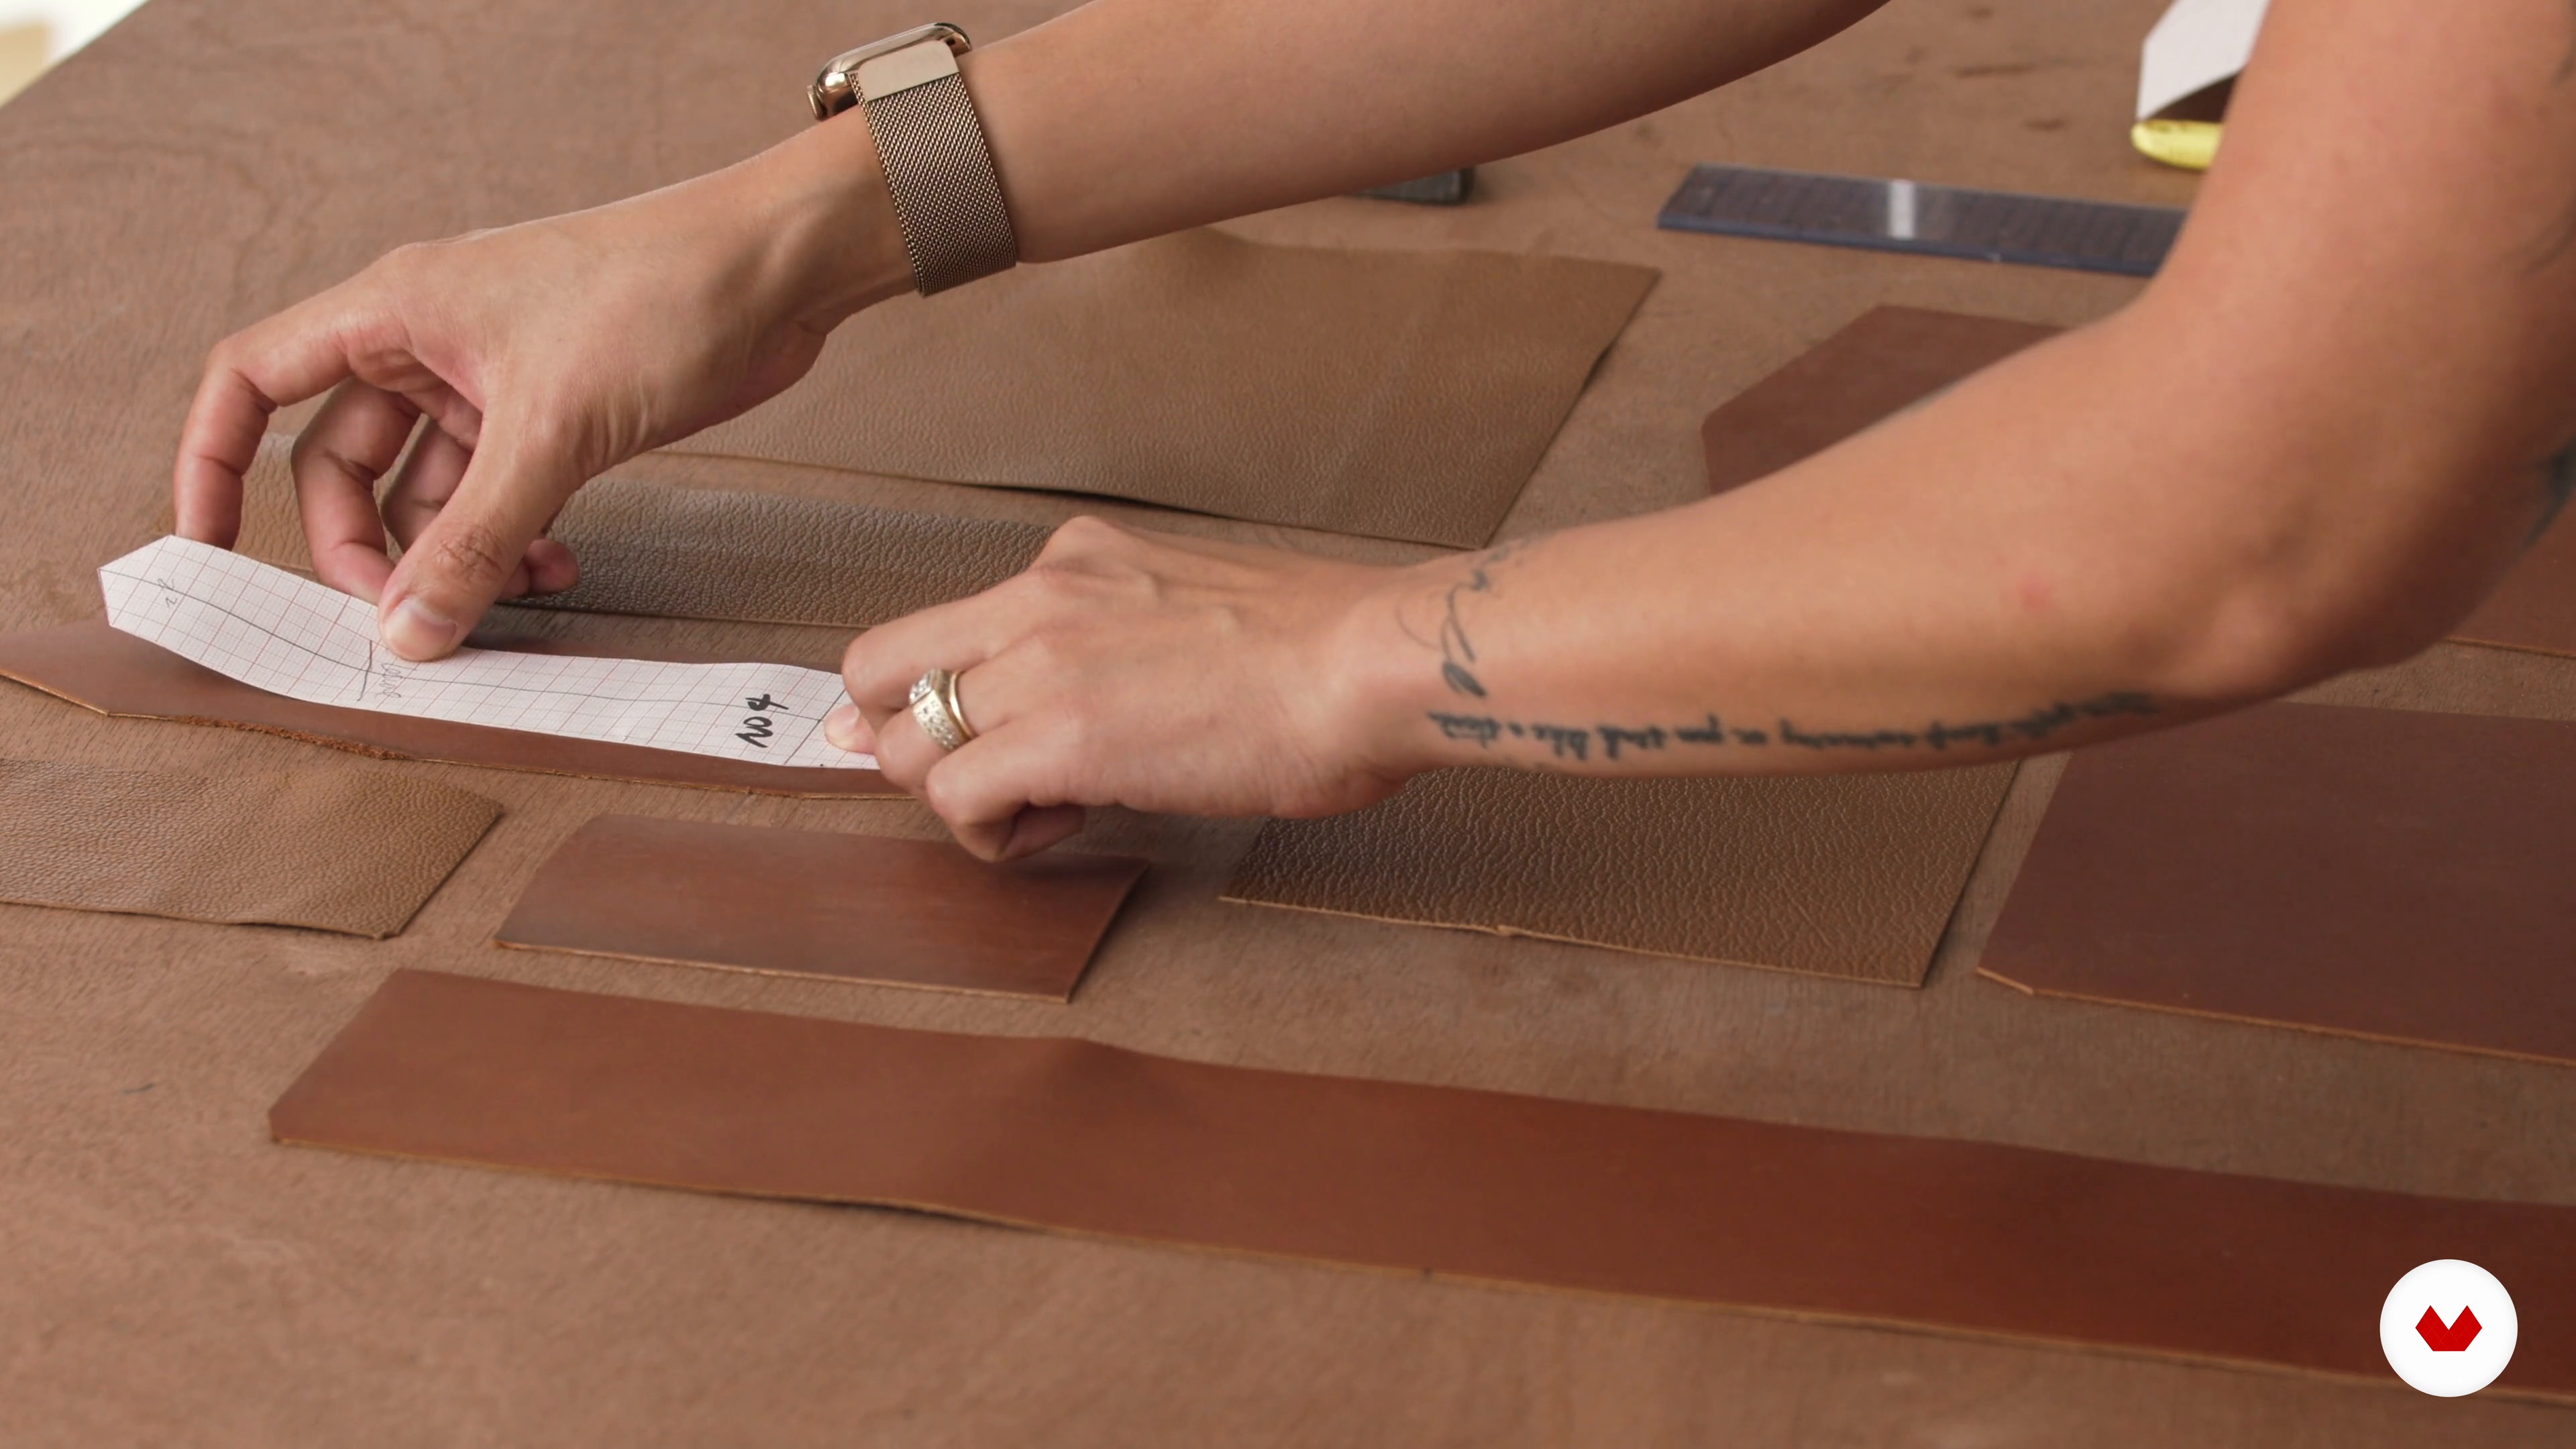
Yes, you’ll learn to create and scale accurate handbag patterns using grid paper, including exploded drawing techniques and precise measurement for custom fit and function.


Antes de comprar o curso vi os vídeos dos três primeiros módulos. Adorei o seu conteúdo e forma de explicação. Por isso o curso foi adquirido de forma consciente.
exxcelente introducción, muy motivado con este curso