
Specialization

Specialization in Creative Botanical Mixed Media Techniques

Master delicate embroidery on tulle with natural flowers, blending traditional textile techniques and botanical elements

Specialization · 6 modules

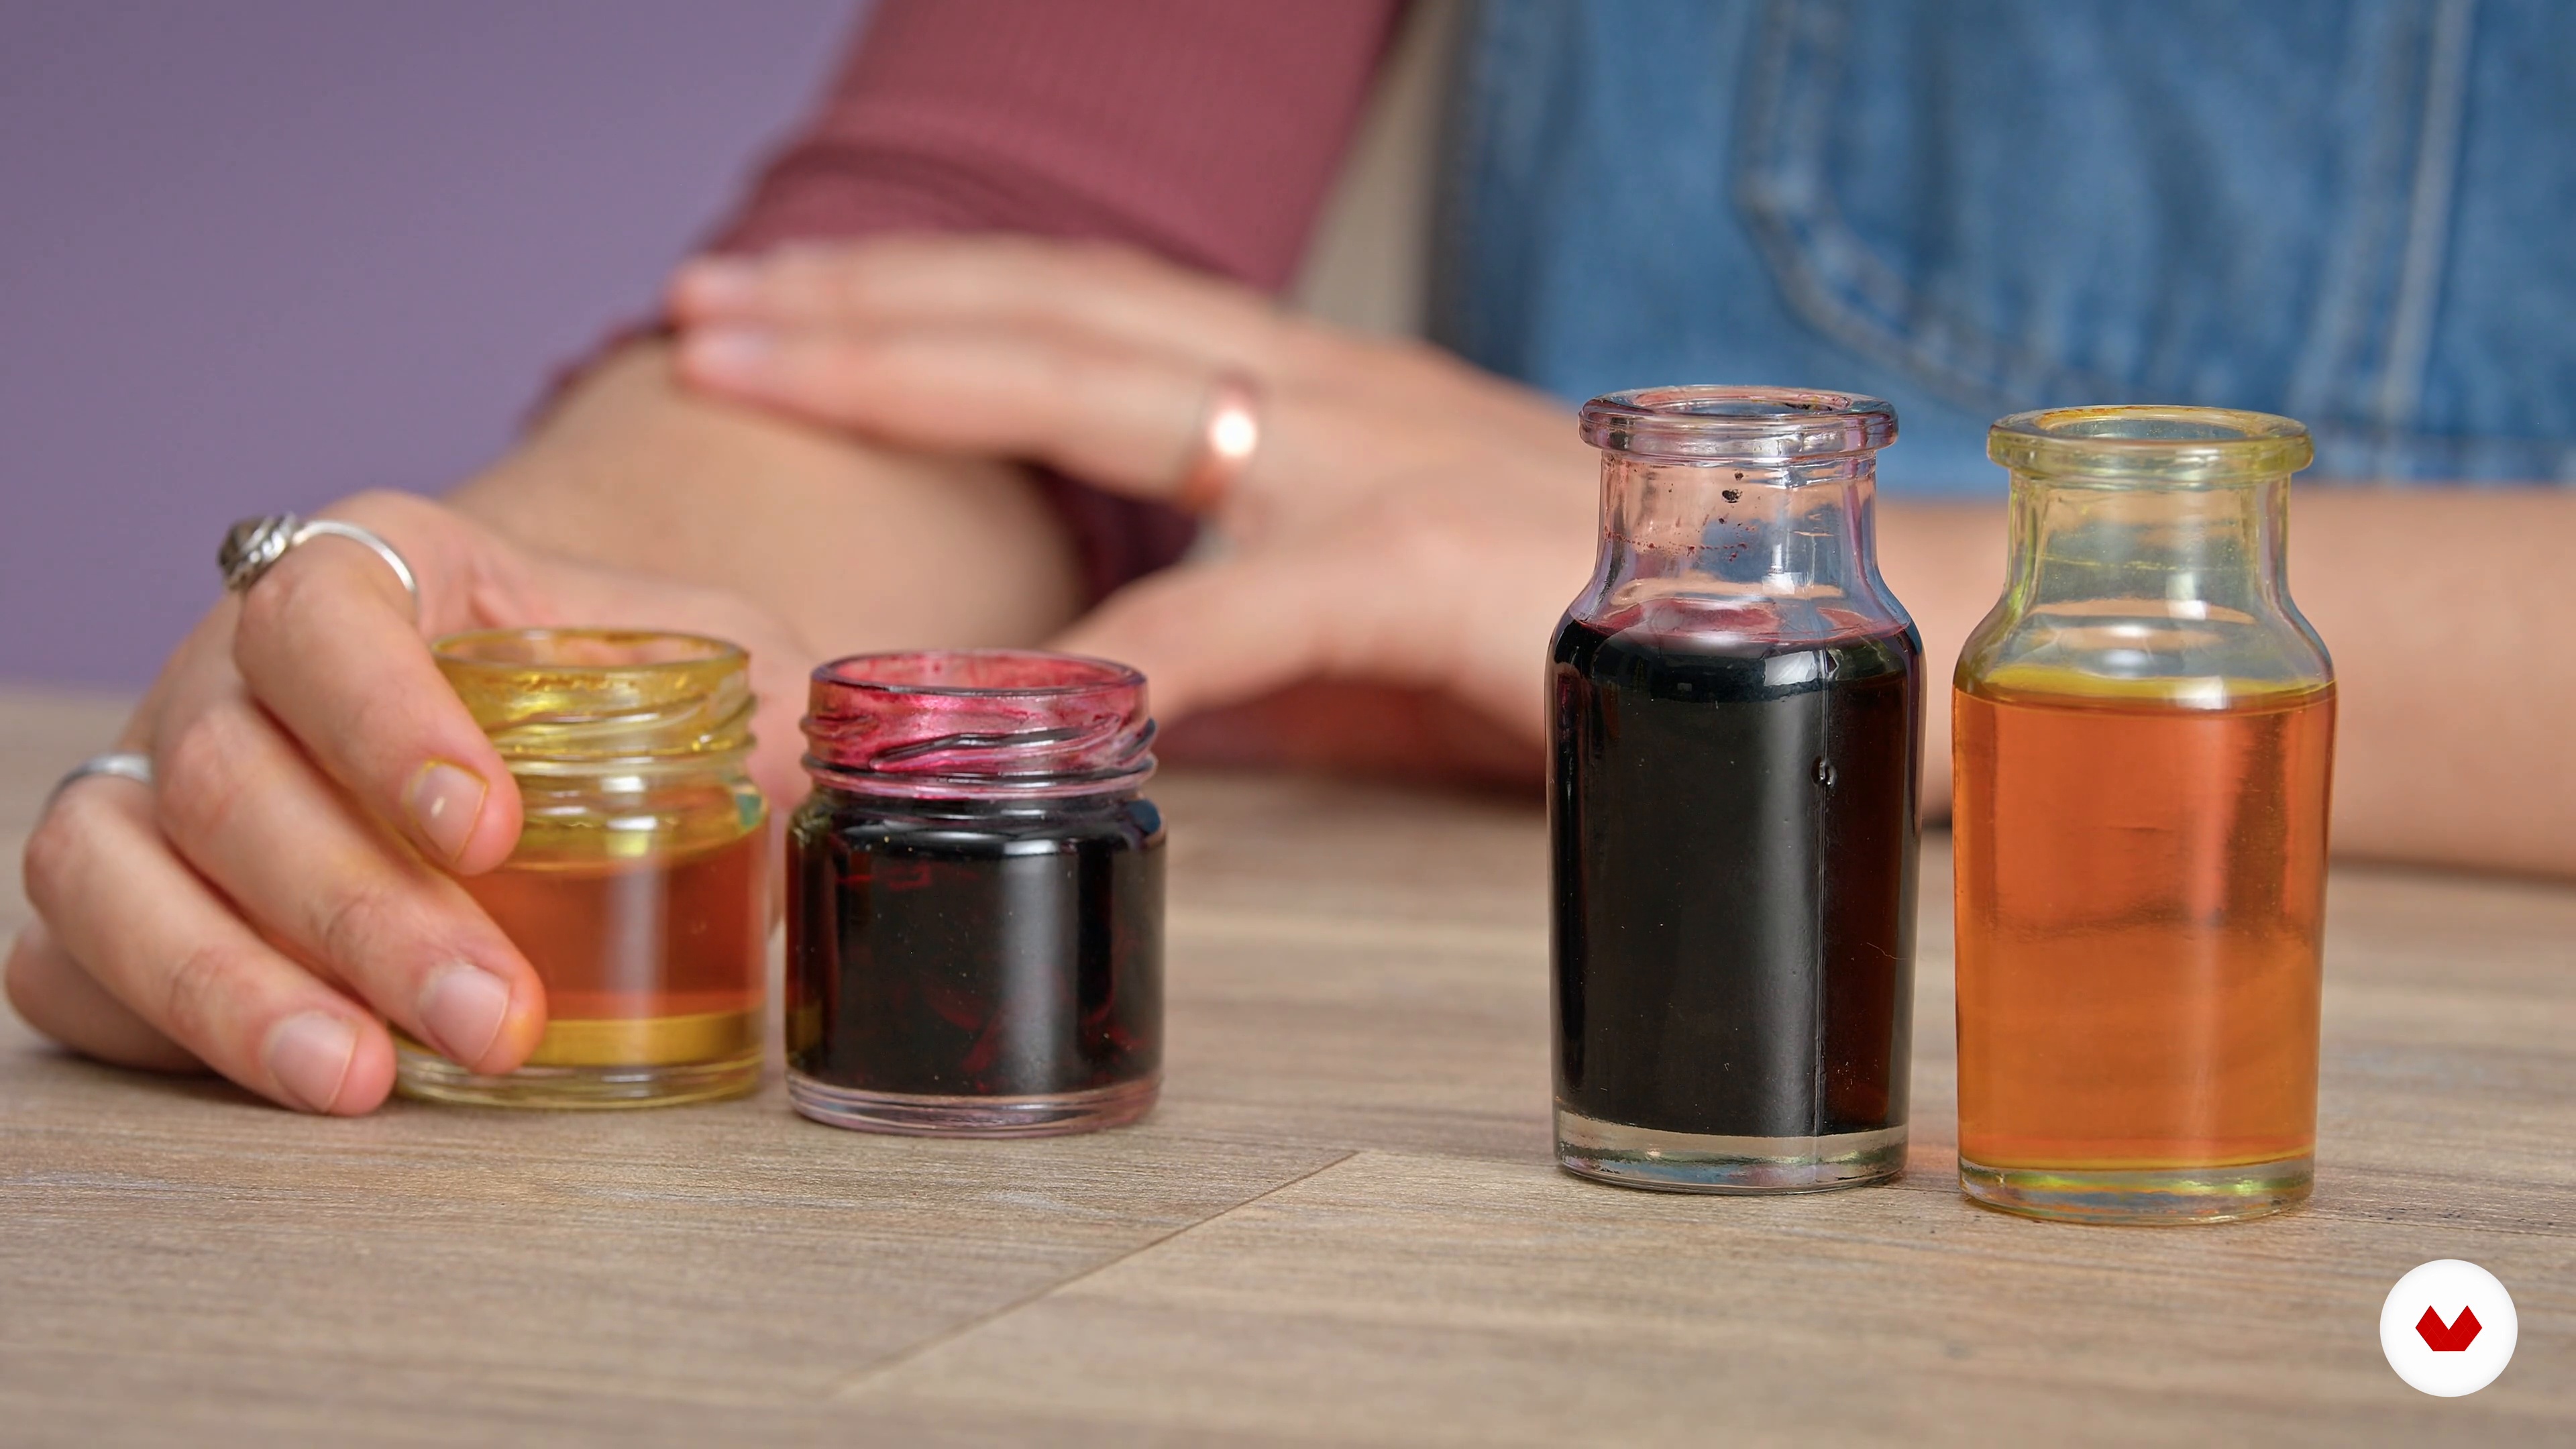
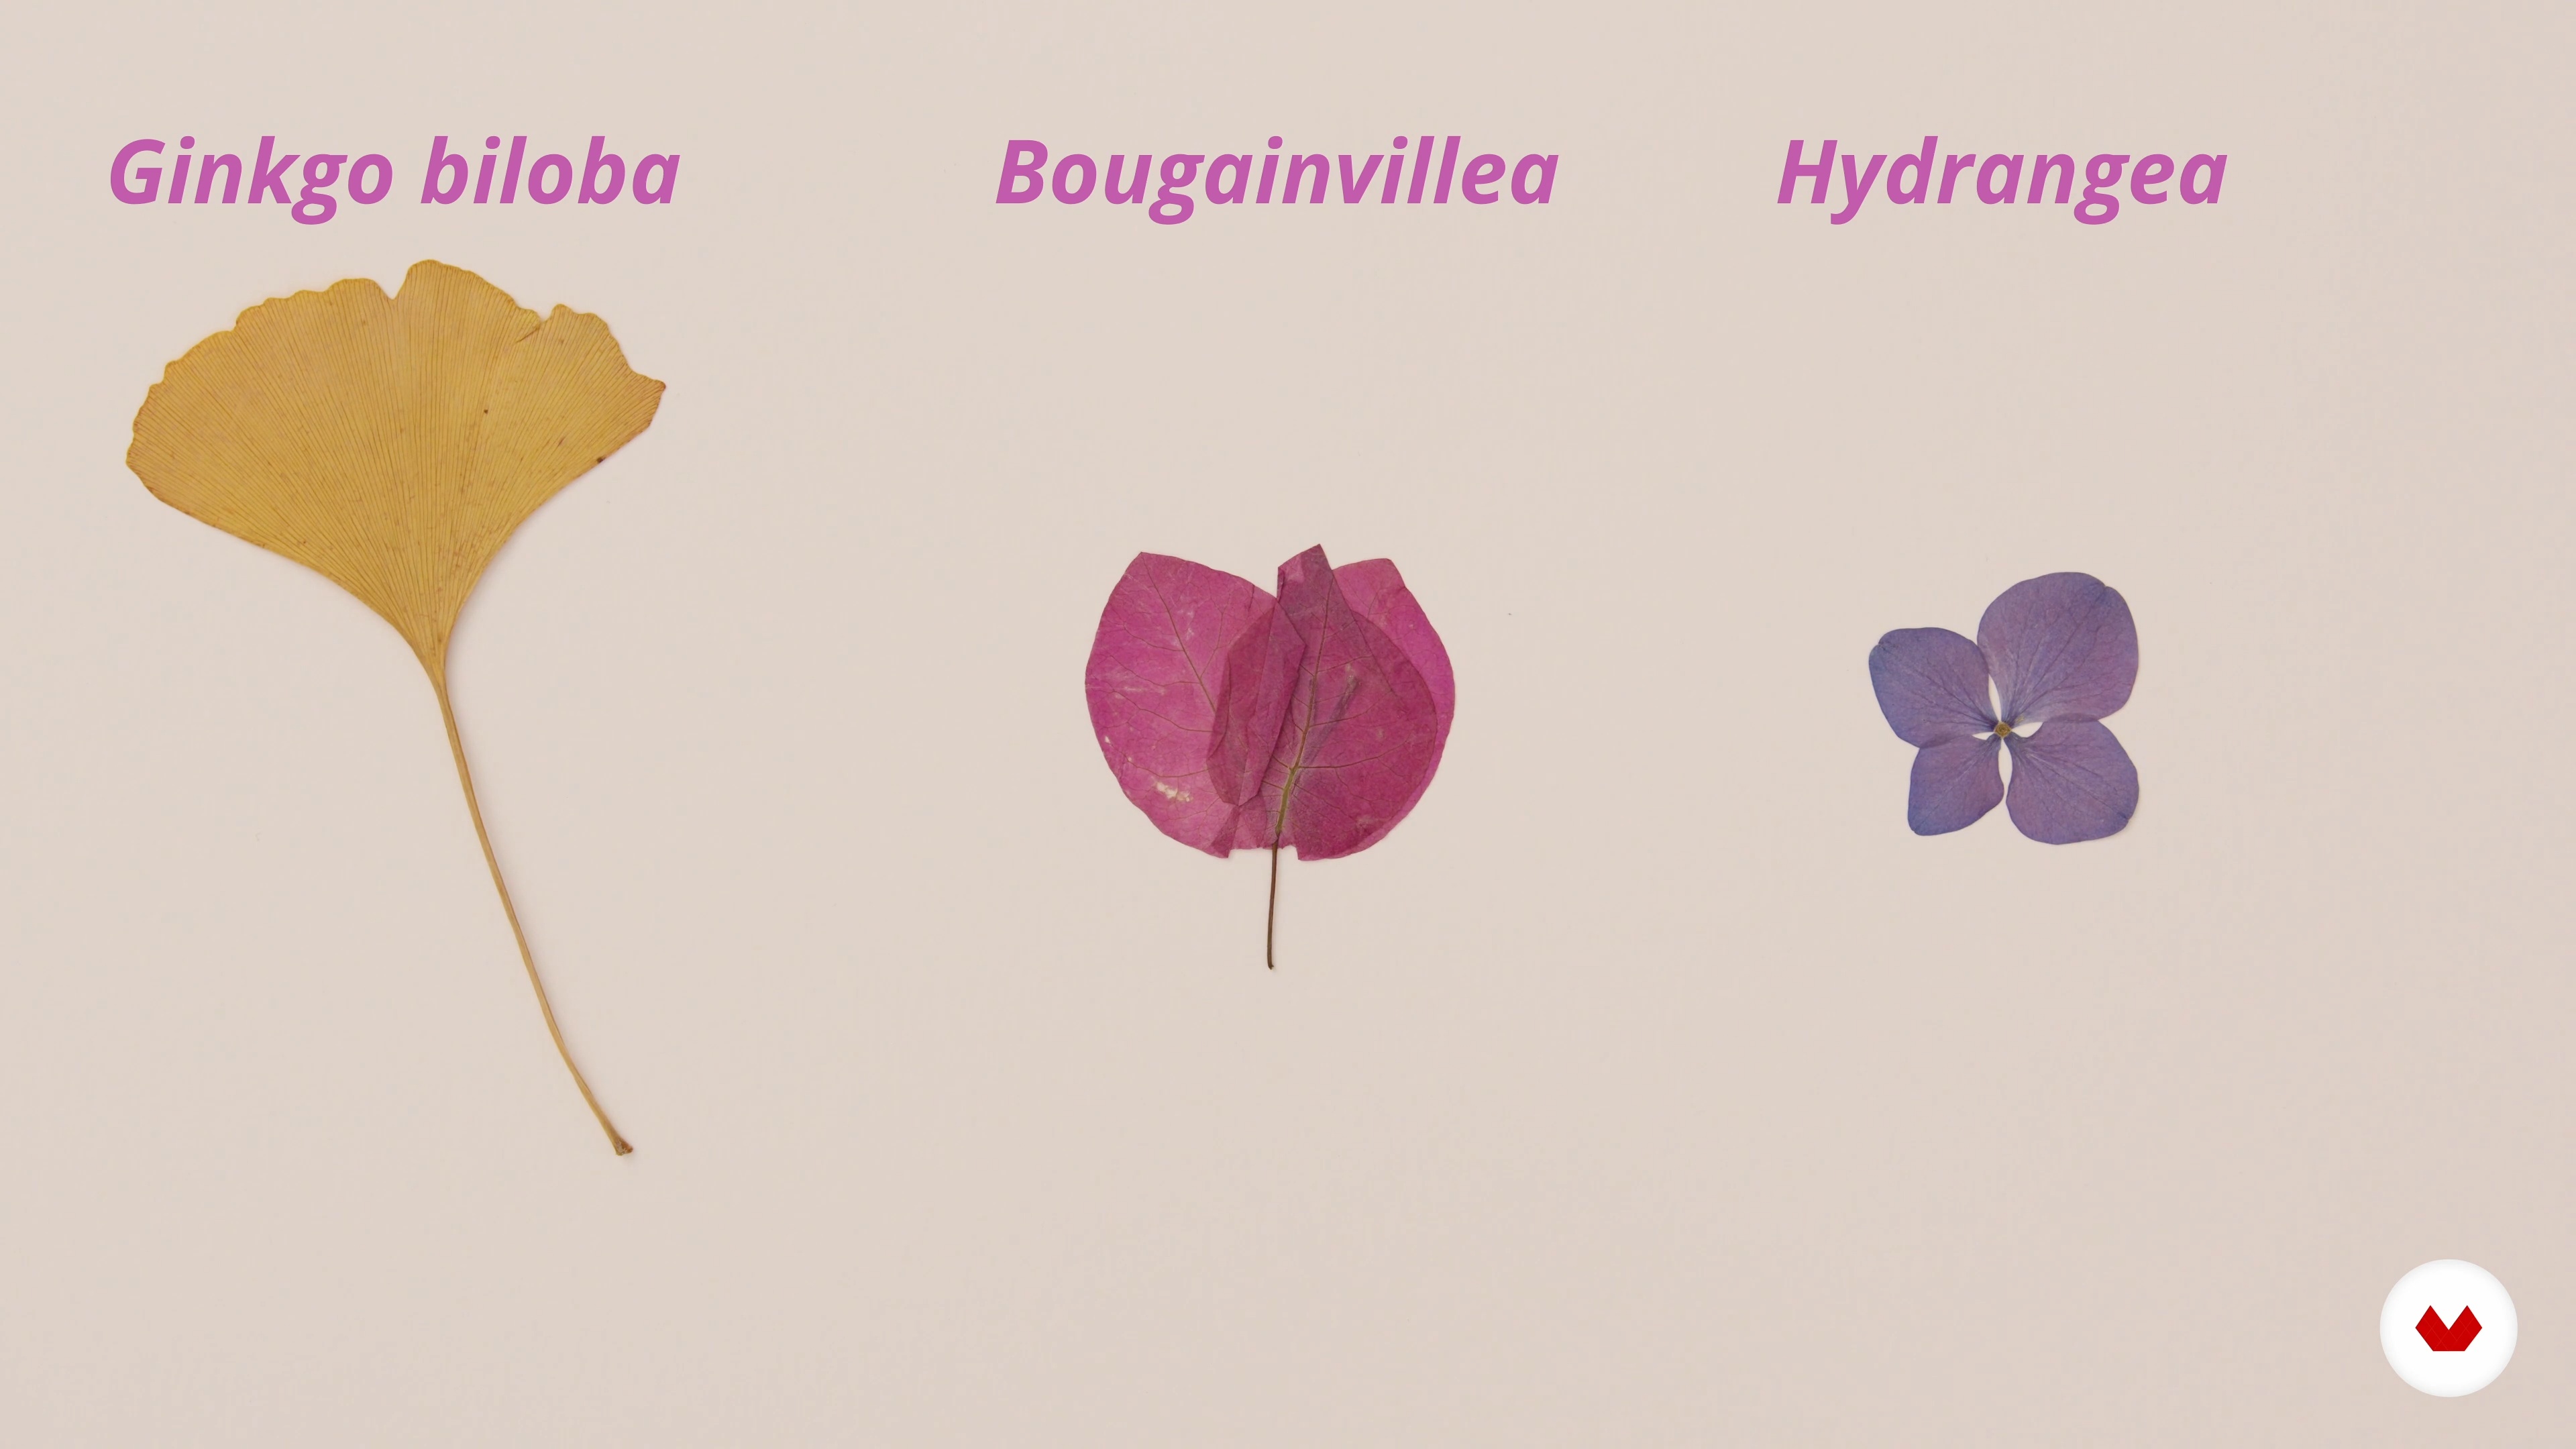
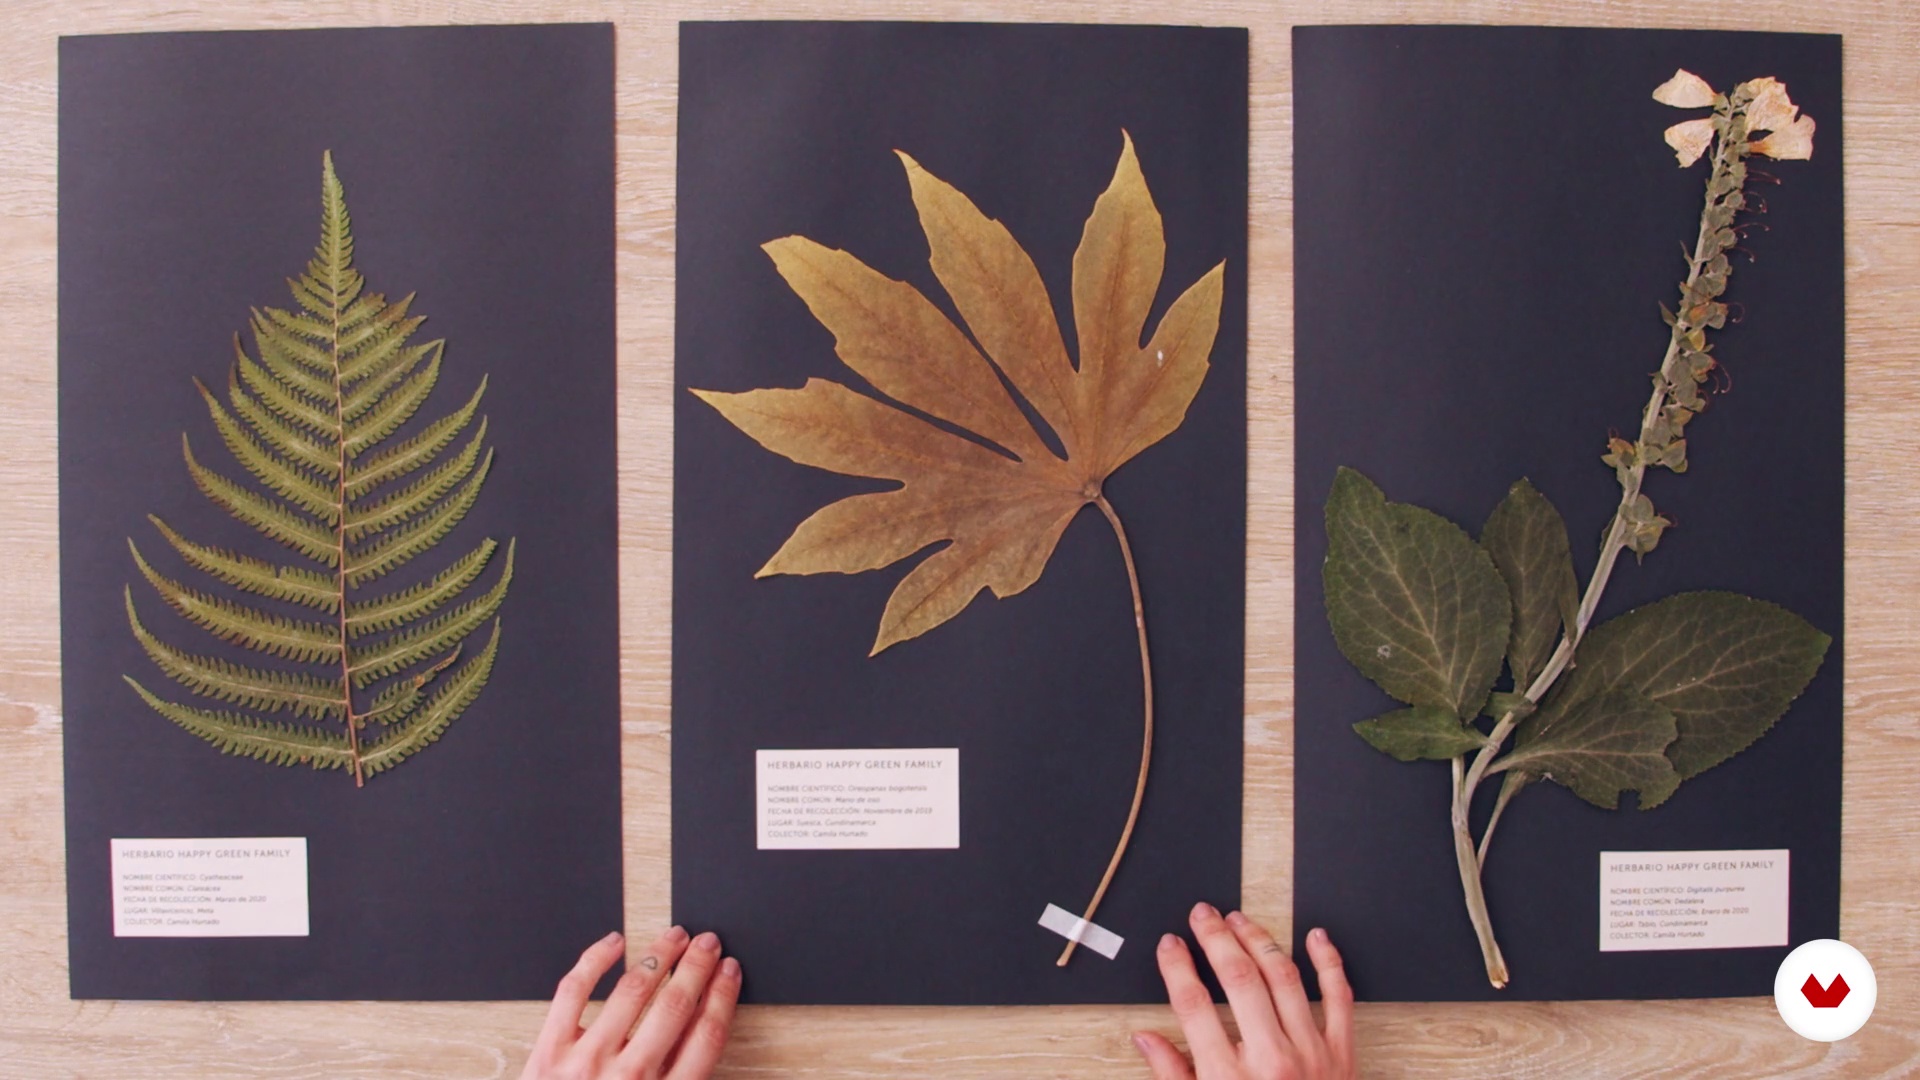
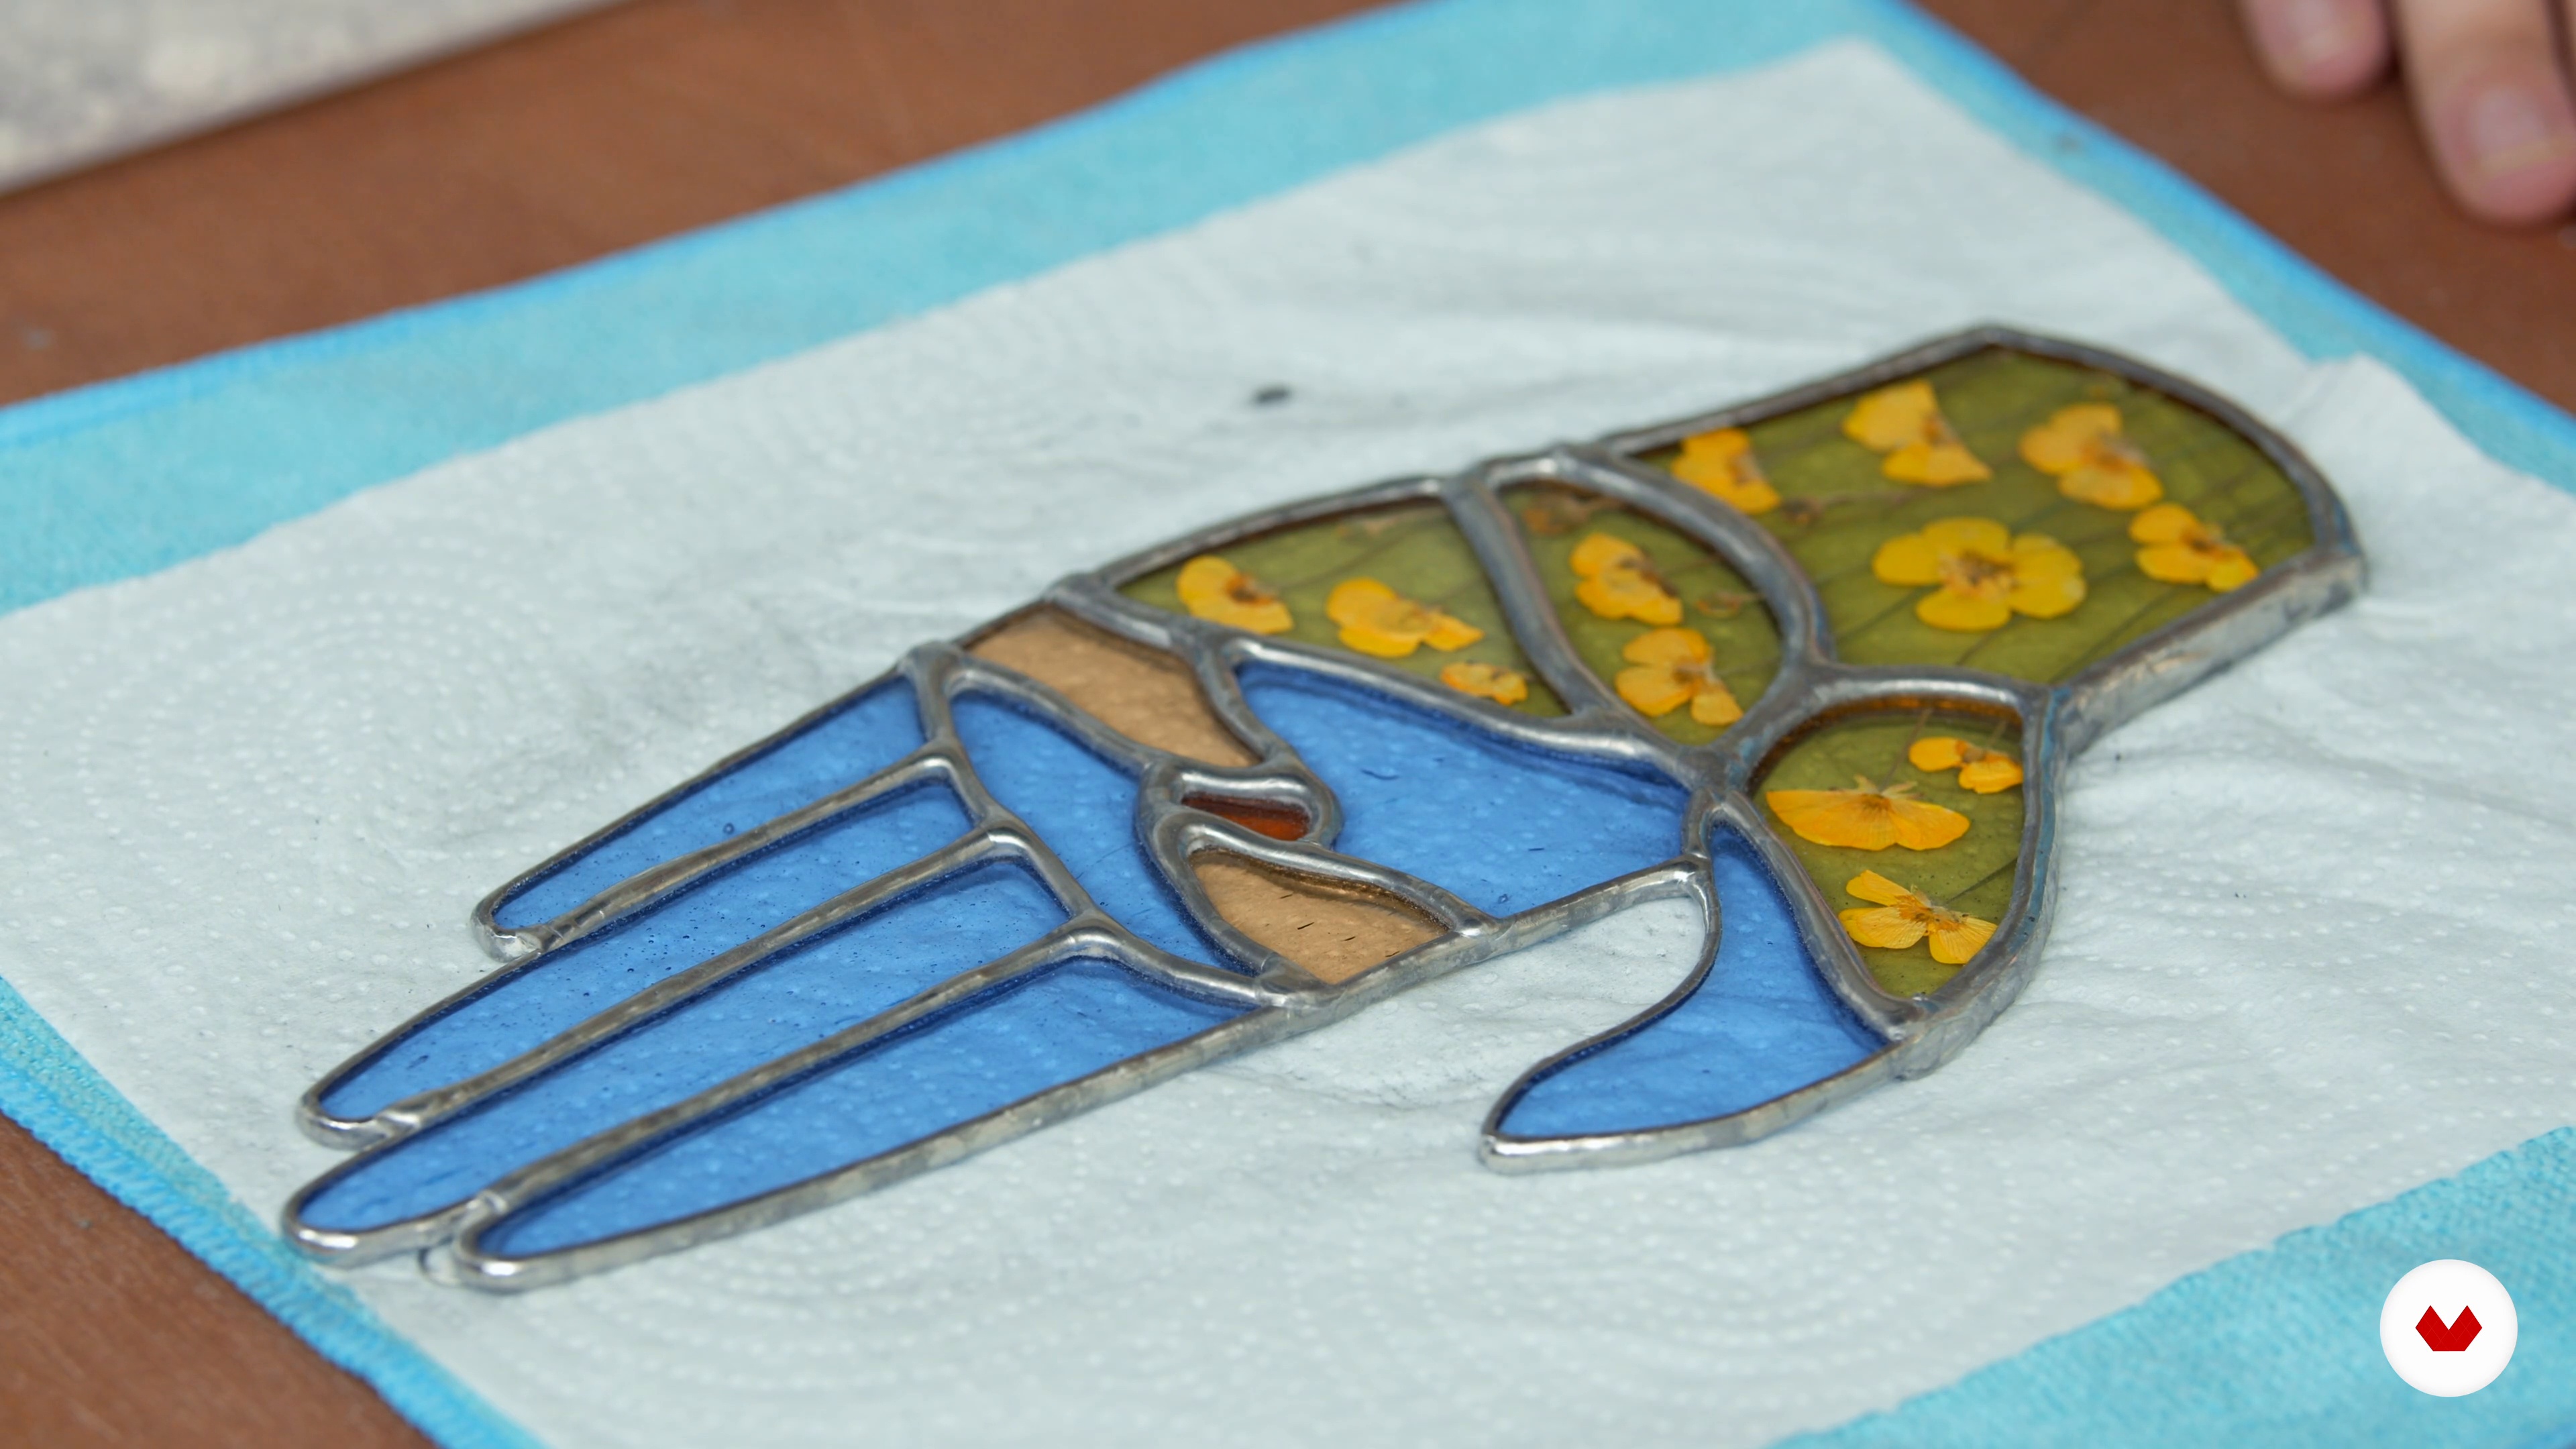
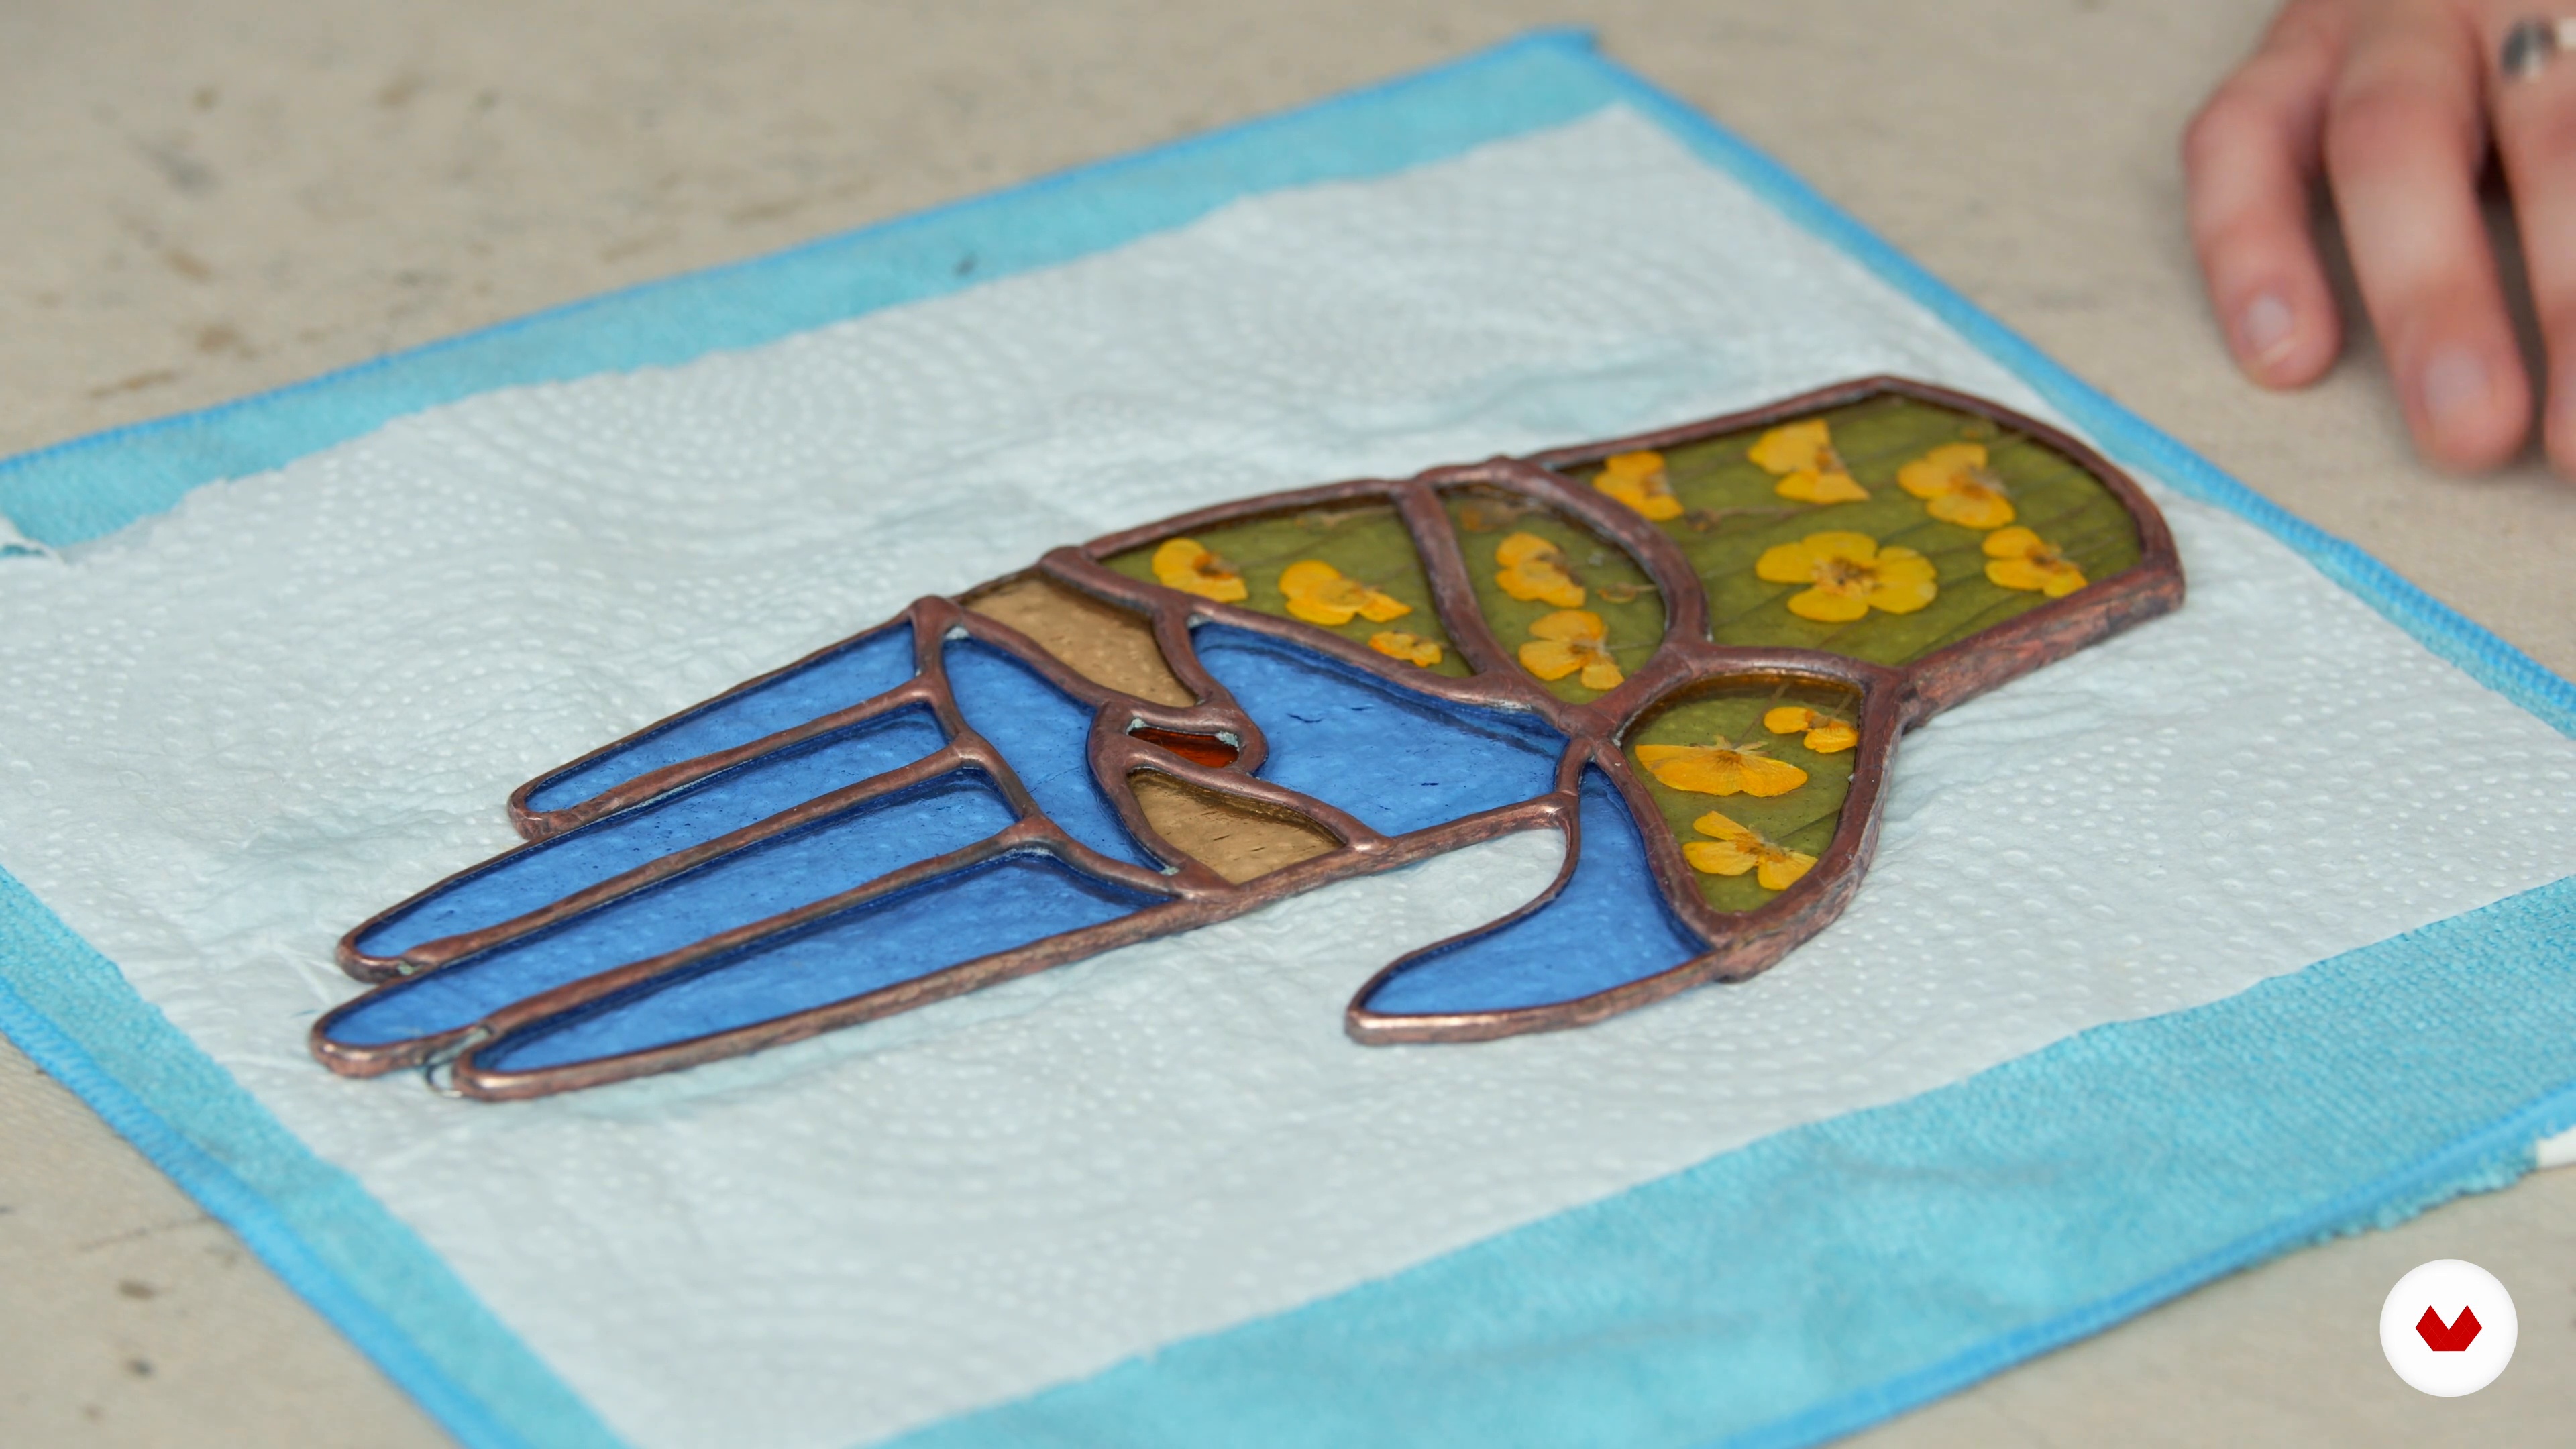
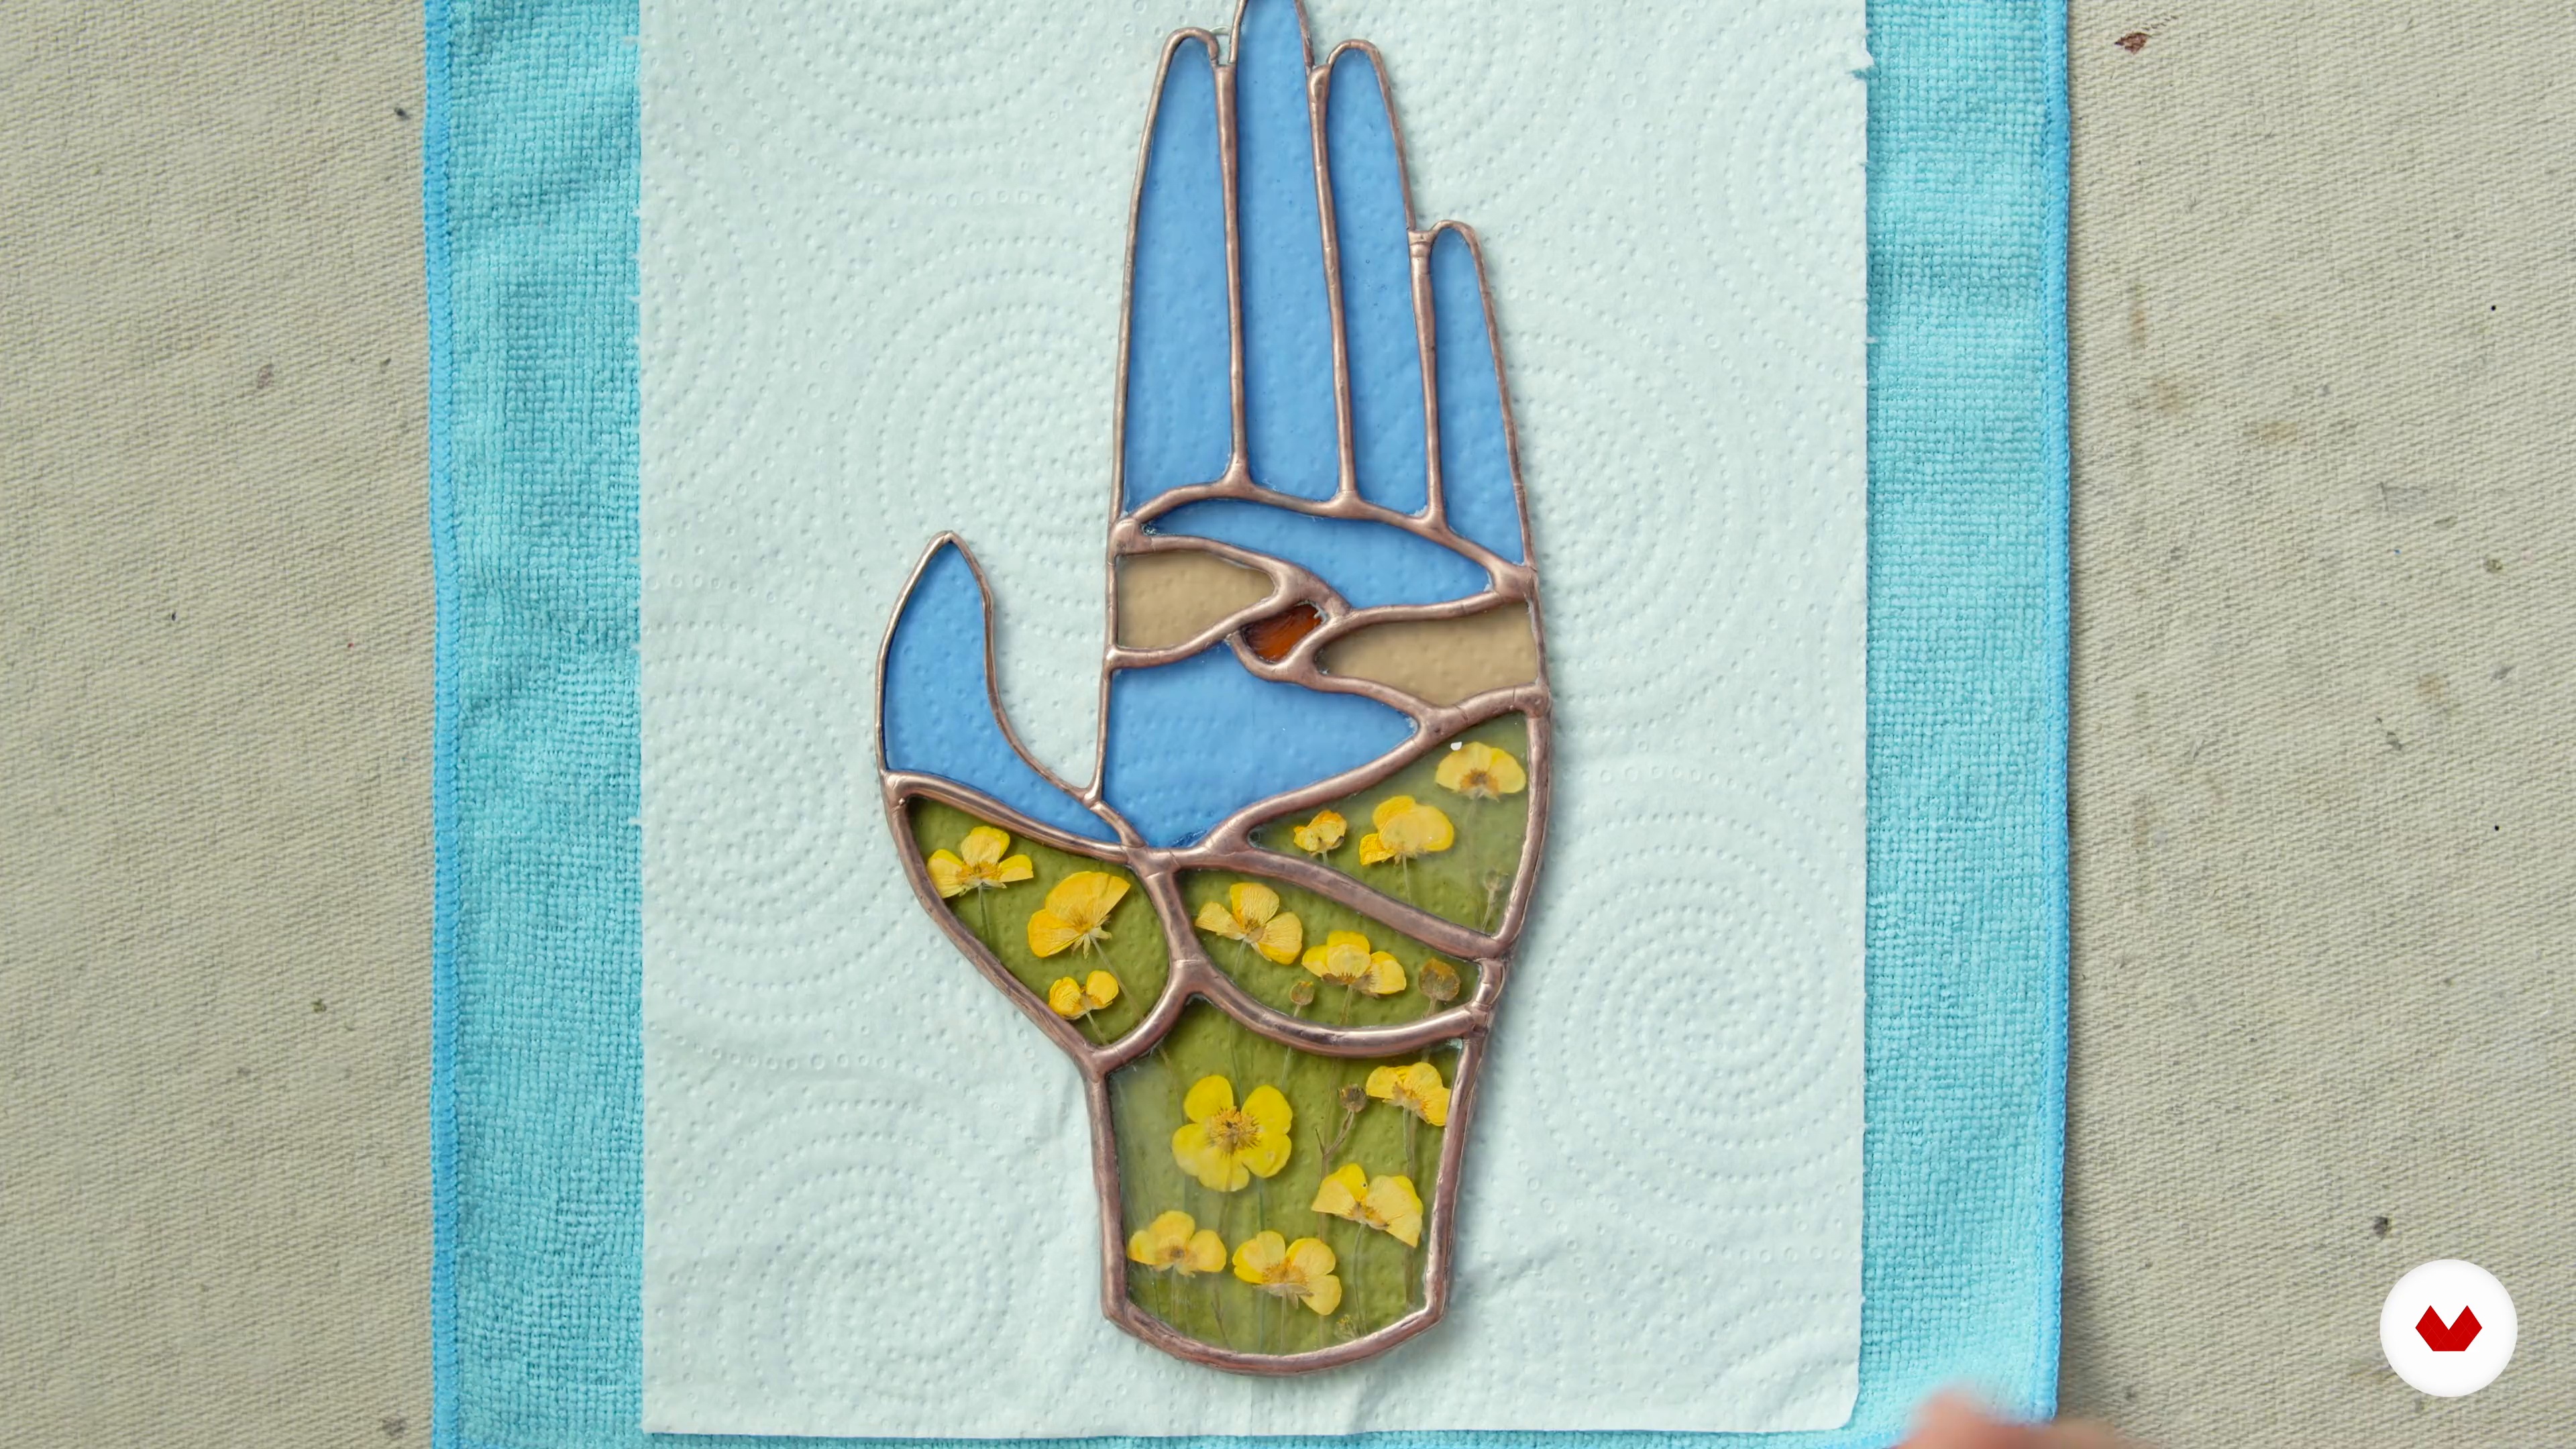
Embark on a creative journey through the art of botanical mixed media, where traditional crafts meet the beauty of nature. Delve into the delicate world of floral embroidery on tulle, crafting intricate designs that blend textile techniques with natural elements. Explore the fascinating process of extracting pigments from flowers and plants, transforming them into unique watercolor inks. Discover the charm of creating colorful herbariums that preserve the vibrancy of nature's hues. Learn the fundamental techniques of botanical pressing to maintain the form, color, and texture of your specimens for artistic projects. Finally, bring your creations to life by incorporating pressed flowers into stunning stained-glass artworks, merging the elegance of glass with botanical beauty.

Guided by a team of talented artists, including Olga Prinku, Gina and Miguel from Tortolita Inventiva, Fiona Luciani, Happy Green Family, and Molly Jackson, you'll develop a deep connection between manual creativity and the natural world. Each teacher brings their unique expertise and passion, offering insights and techniques that celebrate the ephemeral beauty of nature. Through hands-on experimentation, you'll gain the skills to transform plants into enduring works of art, celebrating the synergy of creativity and the environment.

Read more ↓

What will you learn in this specialization?
A total of 6 modules and 67 lessons
A total of 9h 31m of vídeo lessons
Taught by 5 selected expert teachers
image
1
Introduction
Dive into the world of botanical mixed media, where the textures and colors of nature become both inspiration and material. Rooted in centuries-old traditions, this mindful practice invites you to slow down, observe, and reconnect with the natural world. Discover how plants can guide your creativity and awaken a deeper appreciation for the planet.
1m
image
2
Influences | Olga Prinku
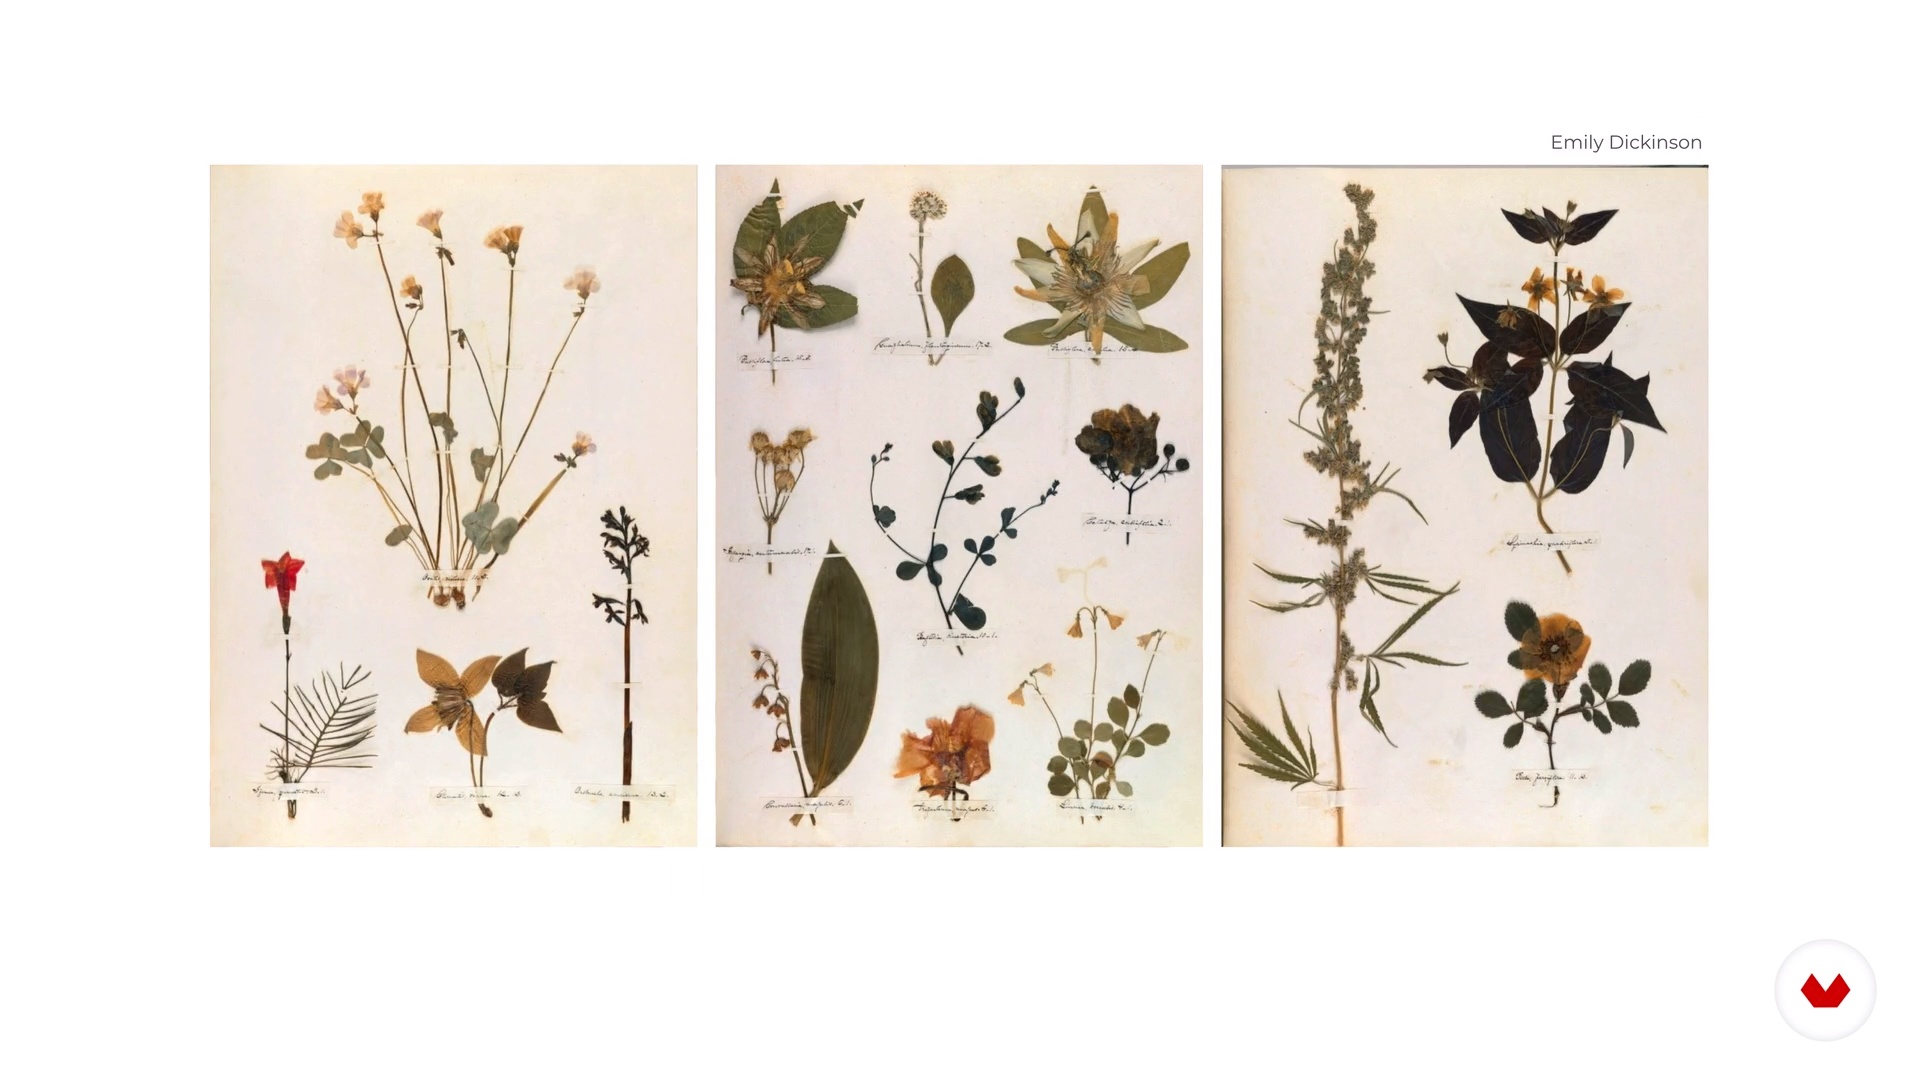
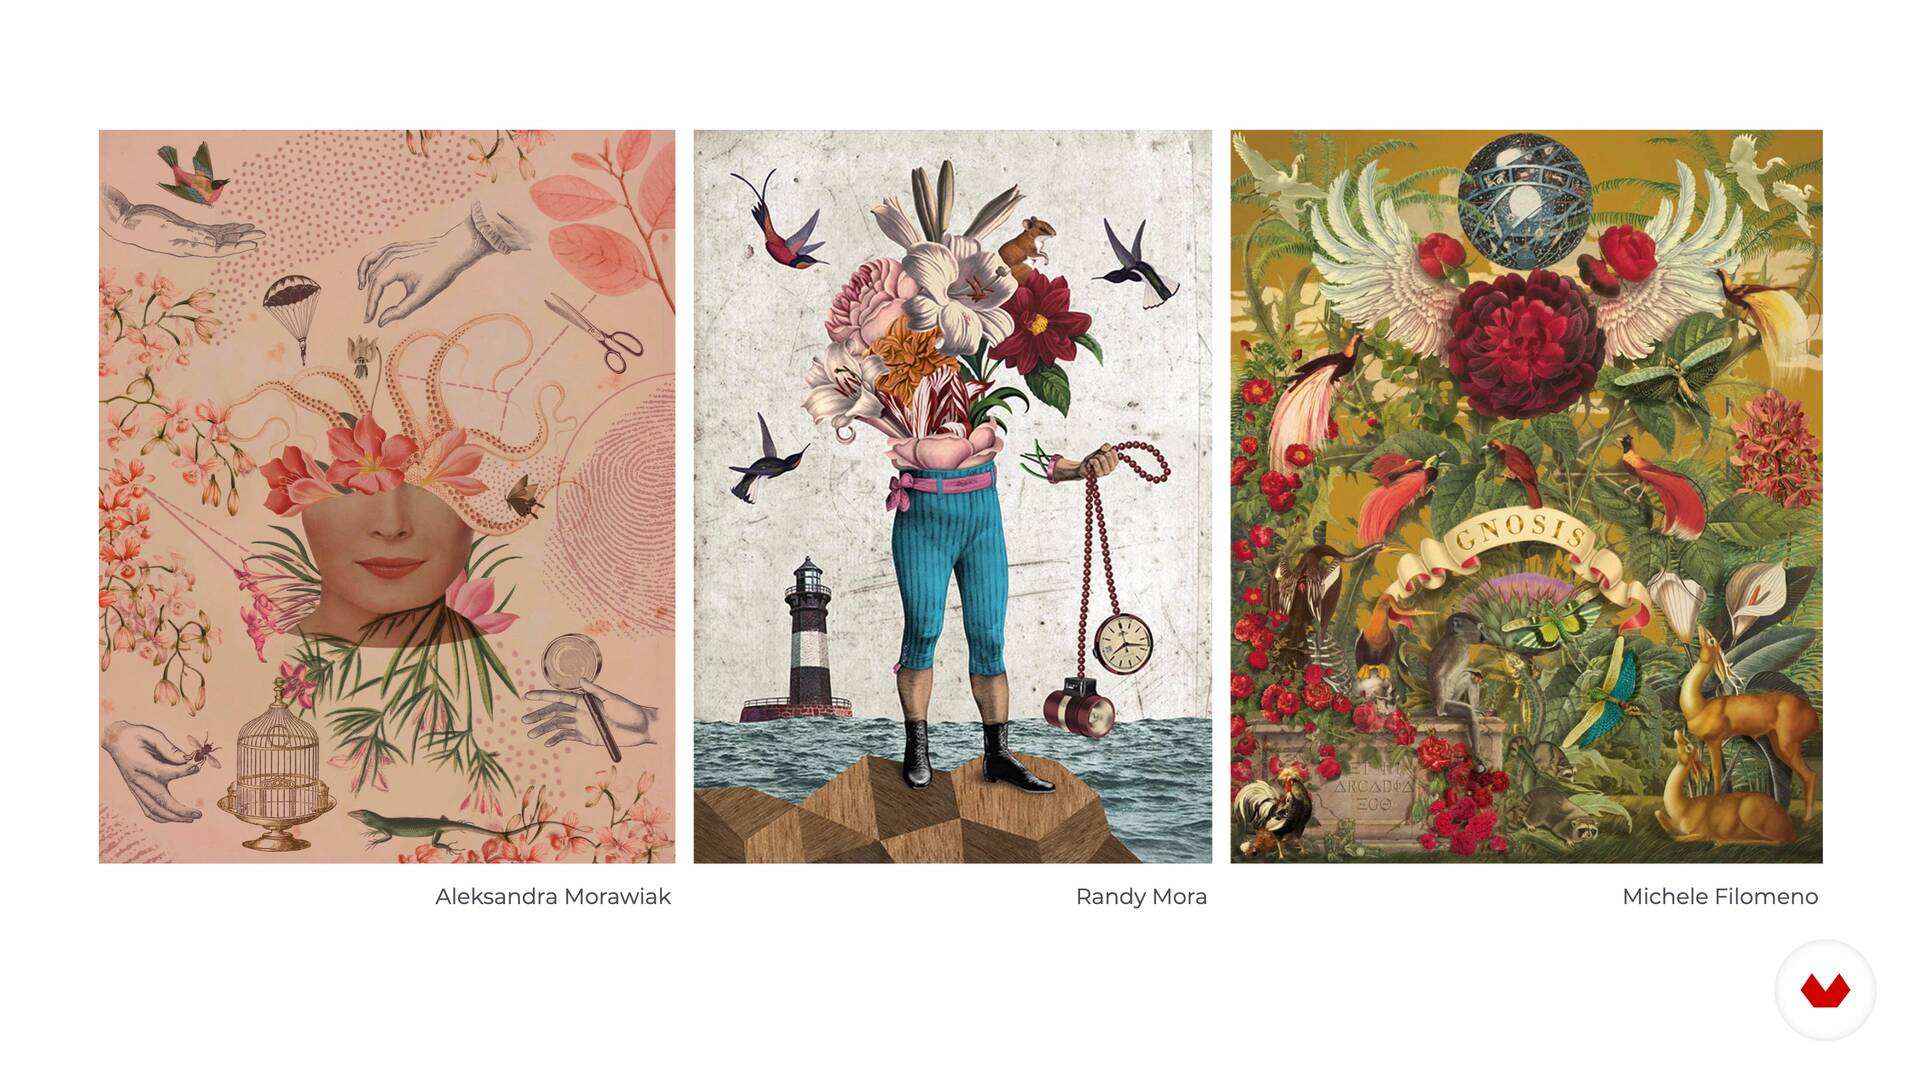
My inspiration comes from a variety of sources. Some are more directly related than others to what I do. I enjoy being outside in nature observing and recording, but I also have a series of artists like Rachel Dein, Rebecca Louise Law, Yumiko Higuchi, Karl Blossfeldt who inspire me. I hope you will enjoy learning about them in this lesson and find inspiration from their work too!
7m
image
2
Influences | Gina y Miguel
Now we will review our journey through the discovery of natural pigmentation, the evolution of our inventiveness and our self-taught training through the craft trades that we now carry out. In this lesson we will show you the main sources of inspiration and approaches that have inspired our curiosity to create our invention workshop.
4m
image
2
My sources of inspiration | Fiona Luciani
In this lesson, I will introduce you to my main sources of inspiration. Artistic movements and artists with captivating and flourishing worlds.
3m
image
2
Influences | Happy Green Family
In this lesson, I want to tell you about artists and books that have inspired me throughout this process, some are from many years ago and others more contemporary. What I like most about this art is that it is something that is done out of passion, out of love for plants. You don't necessarily have to be an artist to dedicate yourself to creative botany, or a biologist to learn from this science.
12m
image
2
Influences | Molly Jackson
In this lesson, I will be covering some of the artists and things that inspire me when I begin designing and crafting my pieces.
3m
image
3
Introduction to Dry and Preserved Flowers
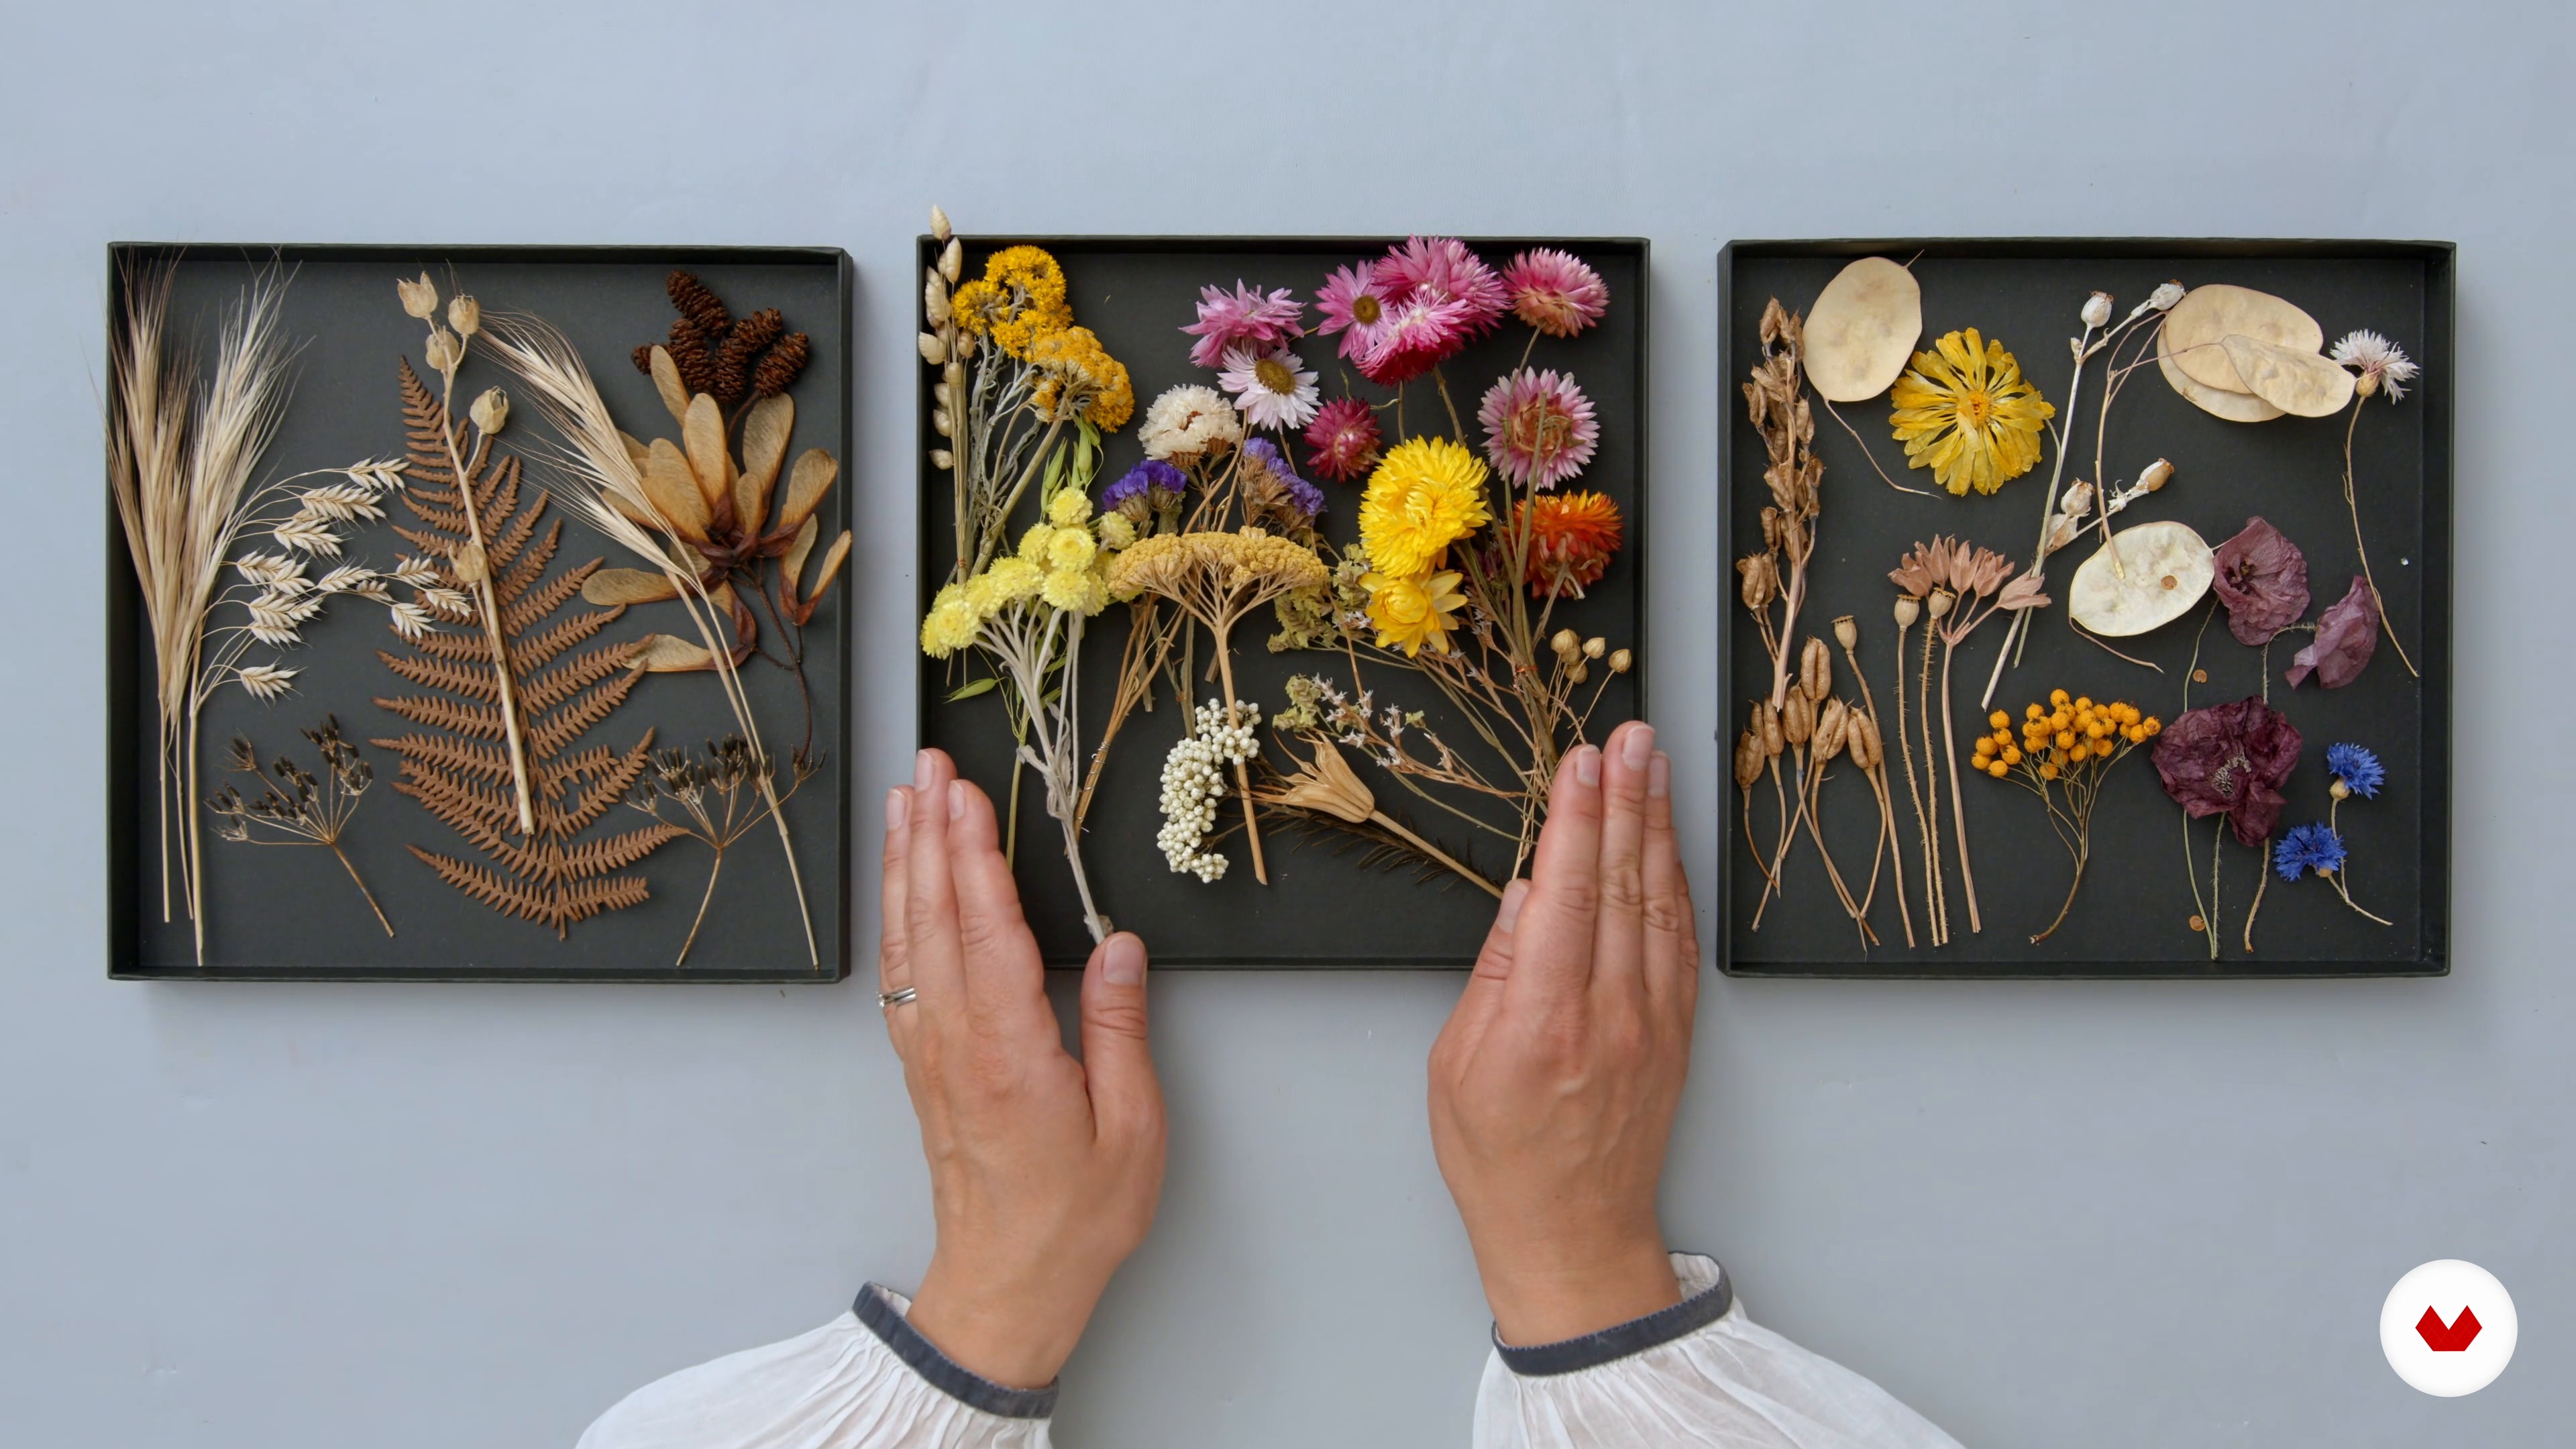
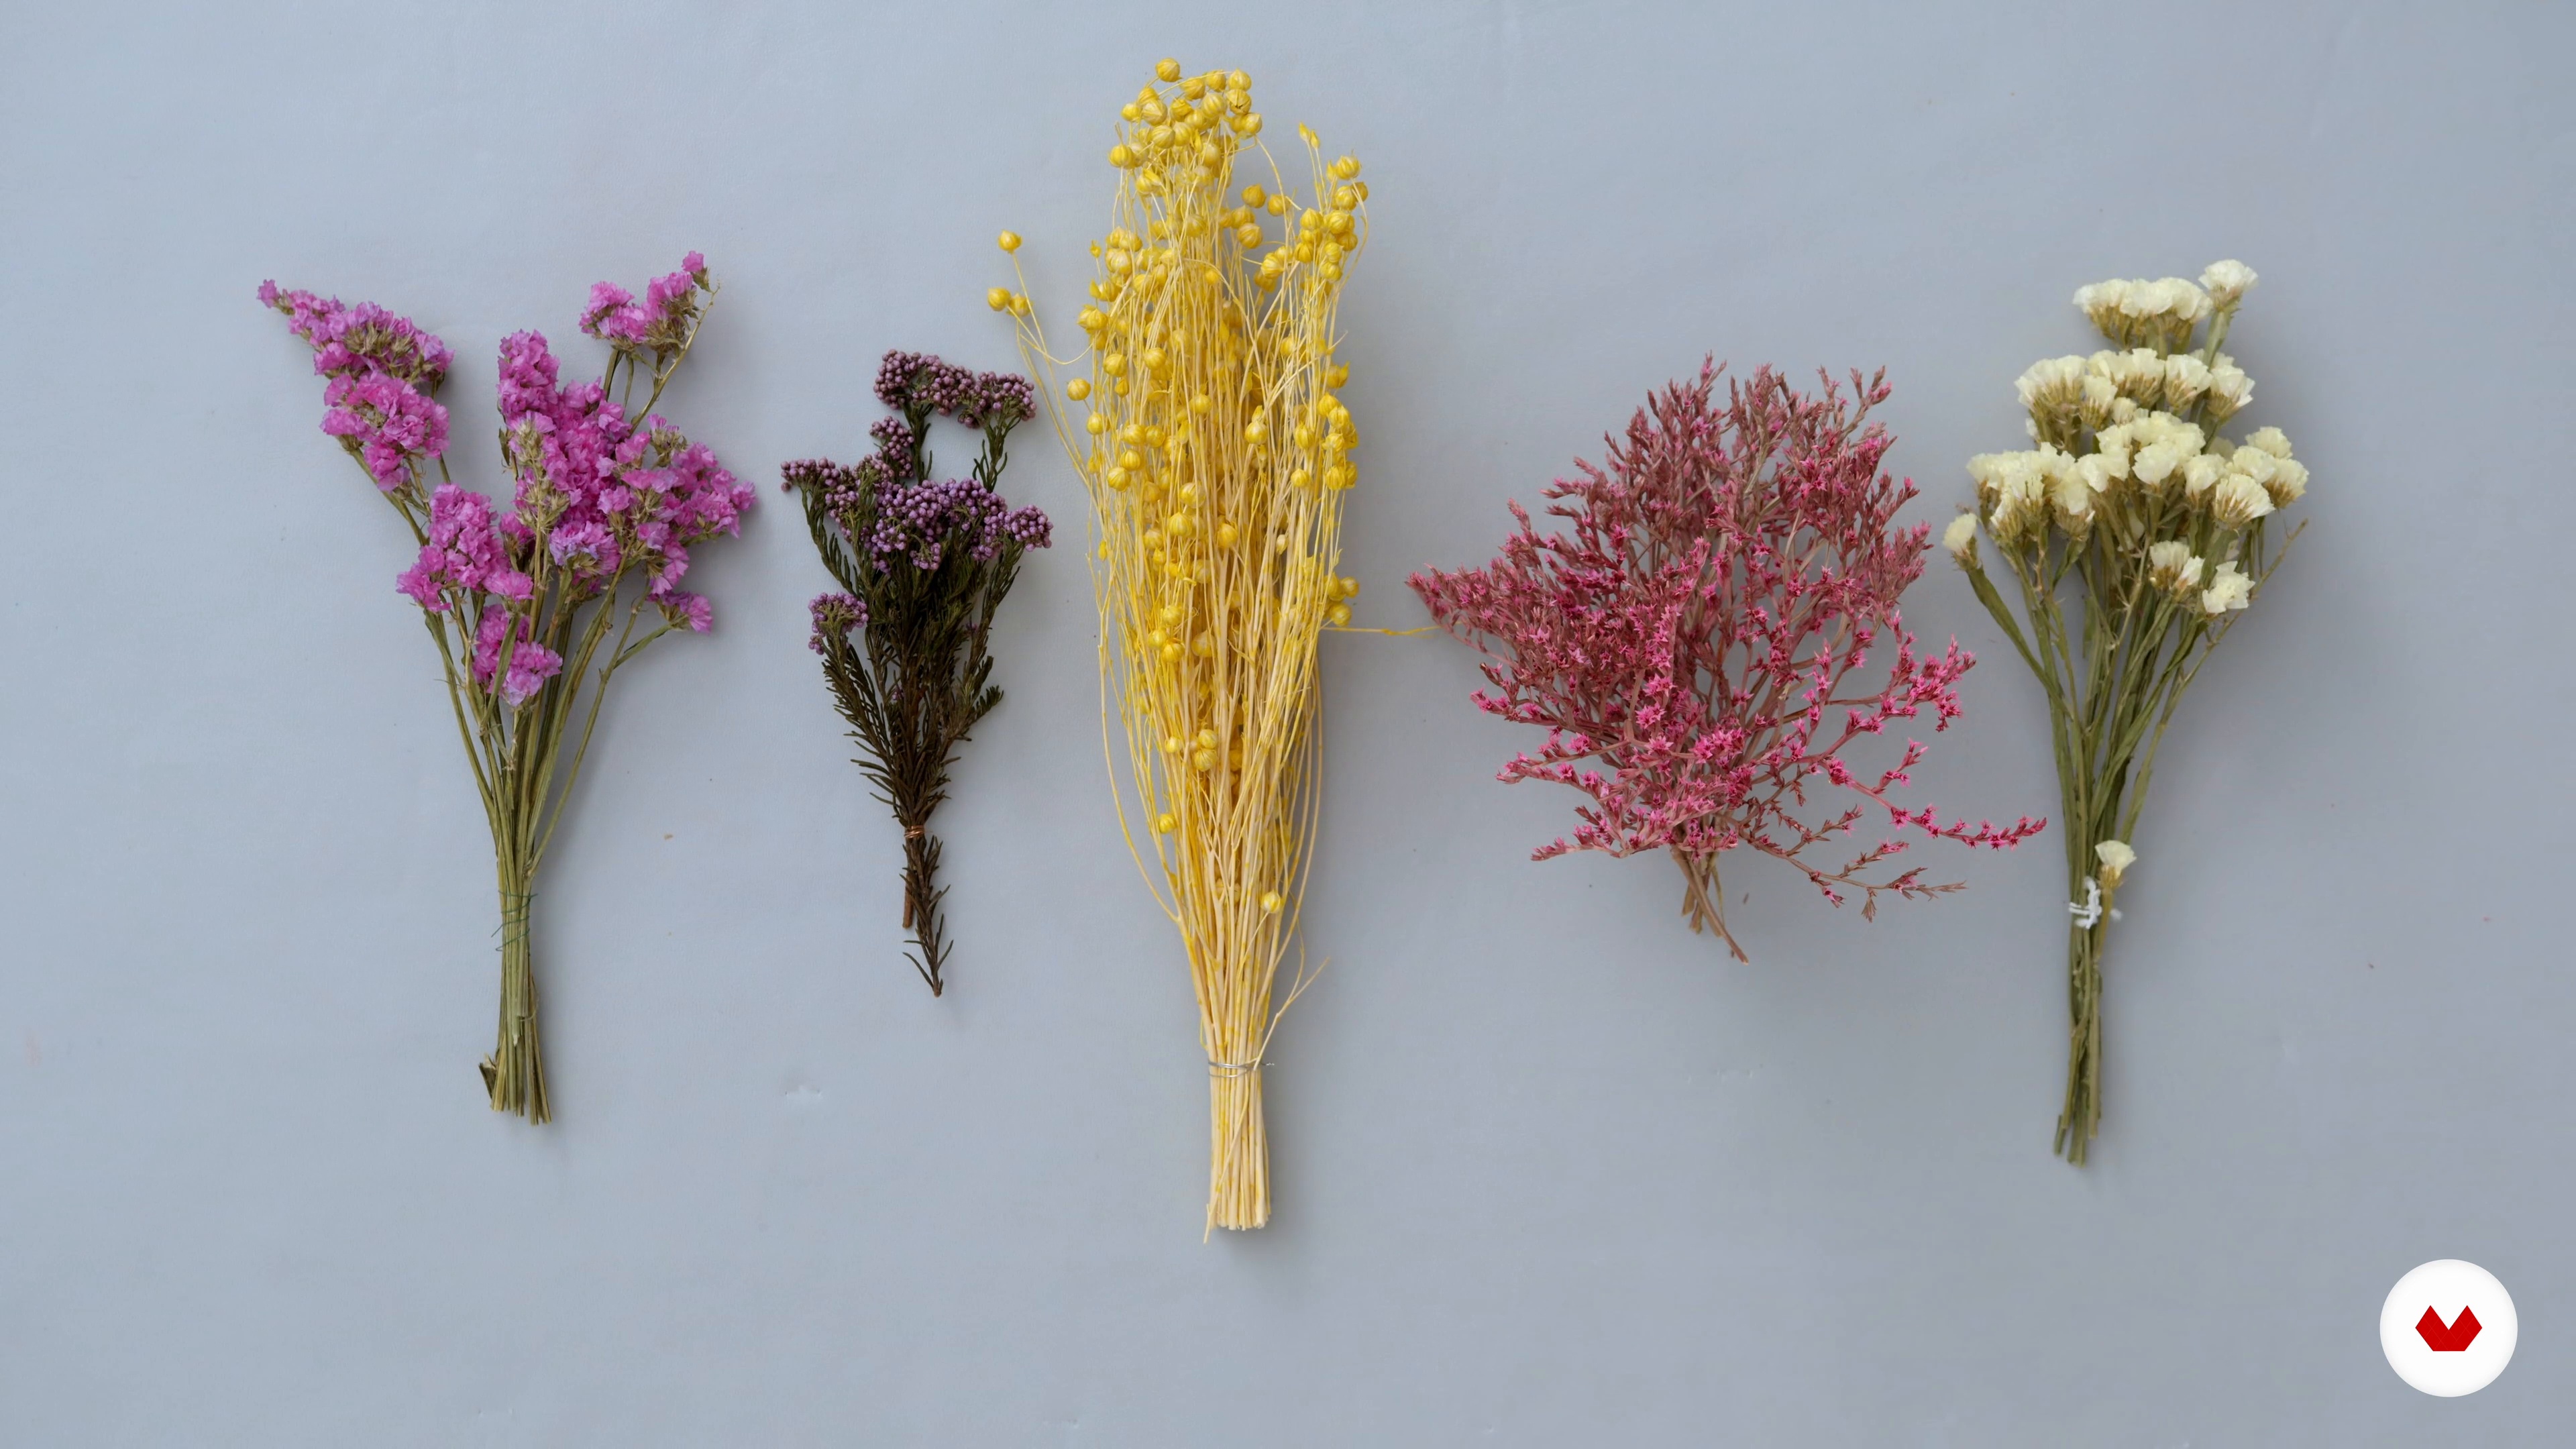
I will show you a selection of flowers that I use a lot in my work. This is a good starting route into flowers on tulle embroidery. You will learn how I group them into four groups. I will share with you knowledge that will help you later on, at the design stage, for you to be able to substitute one flower or plant with another.
17m
image
4
How to Dry Your Own Flowers
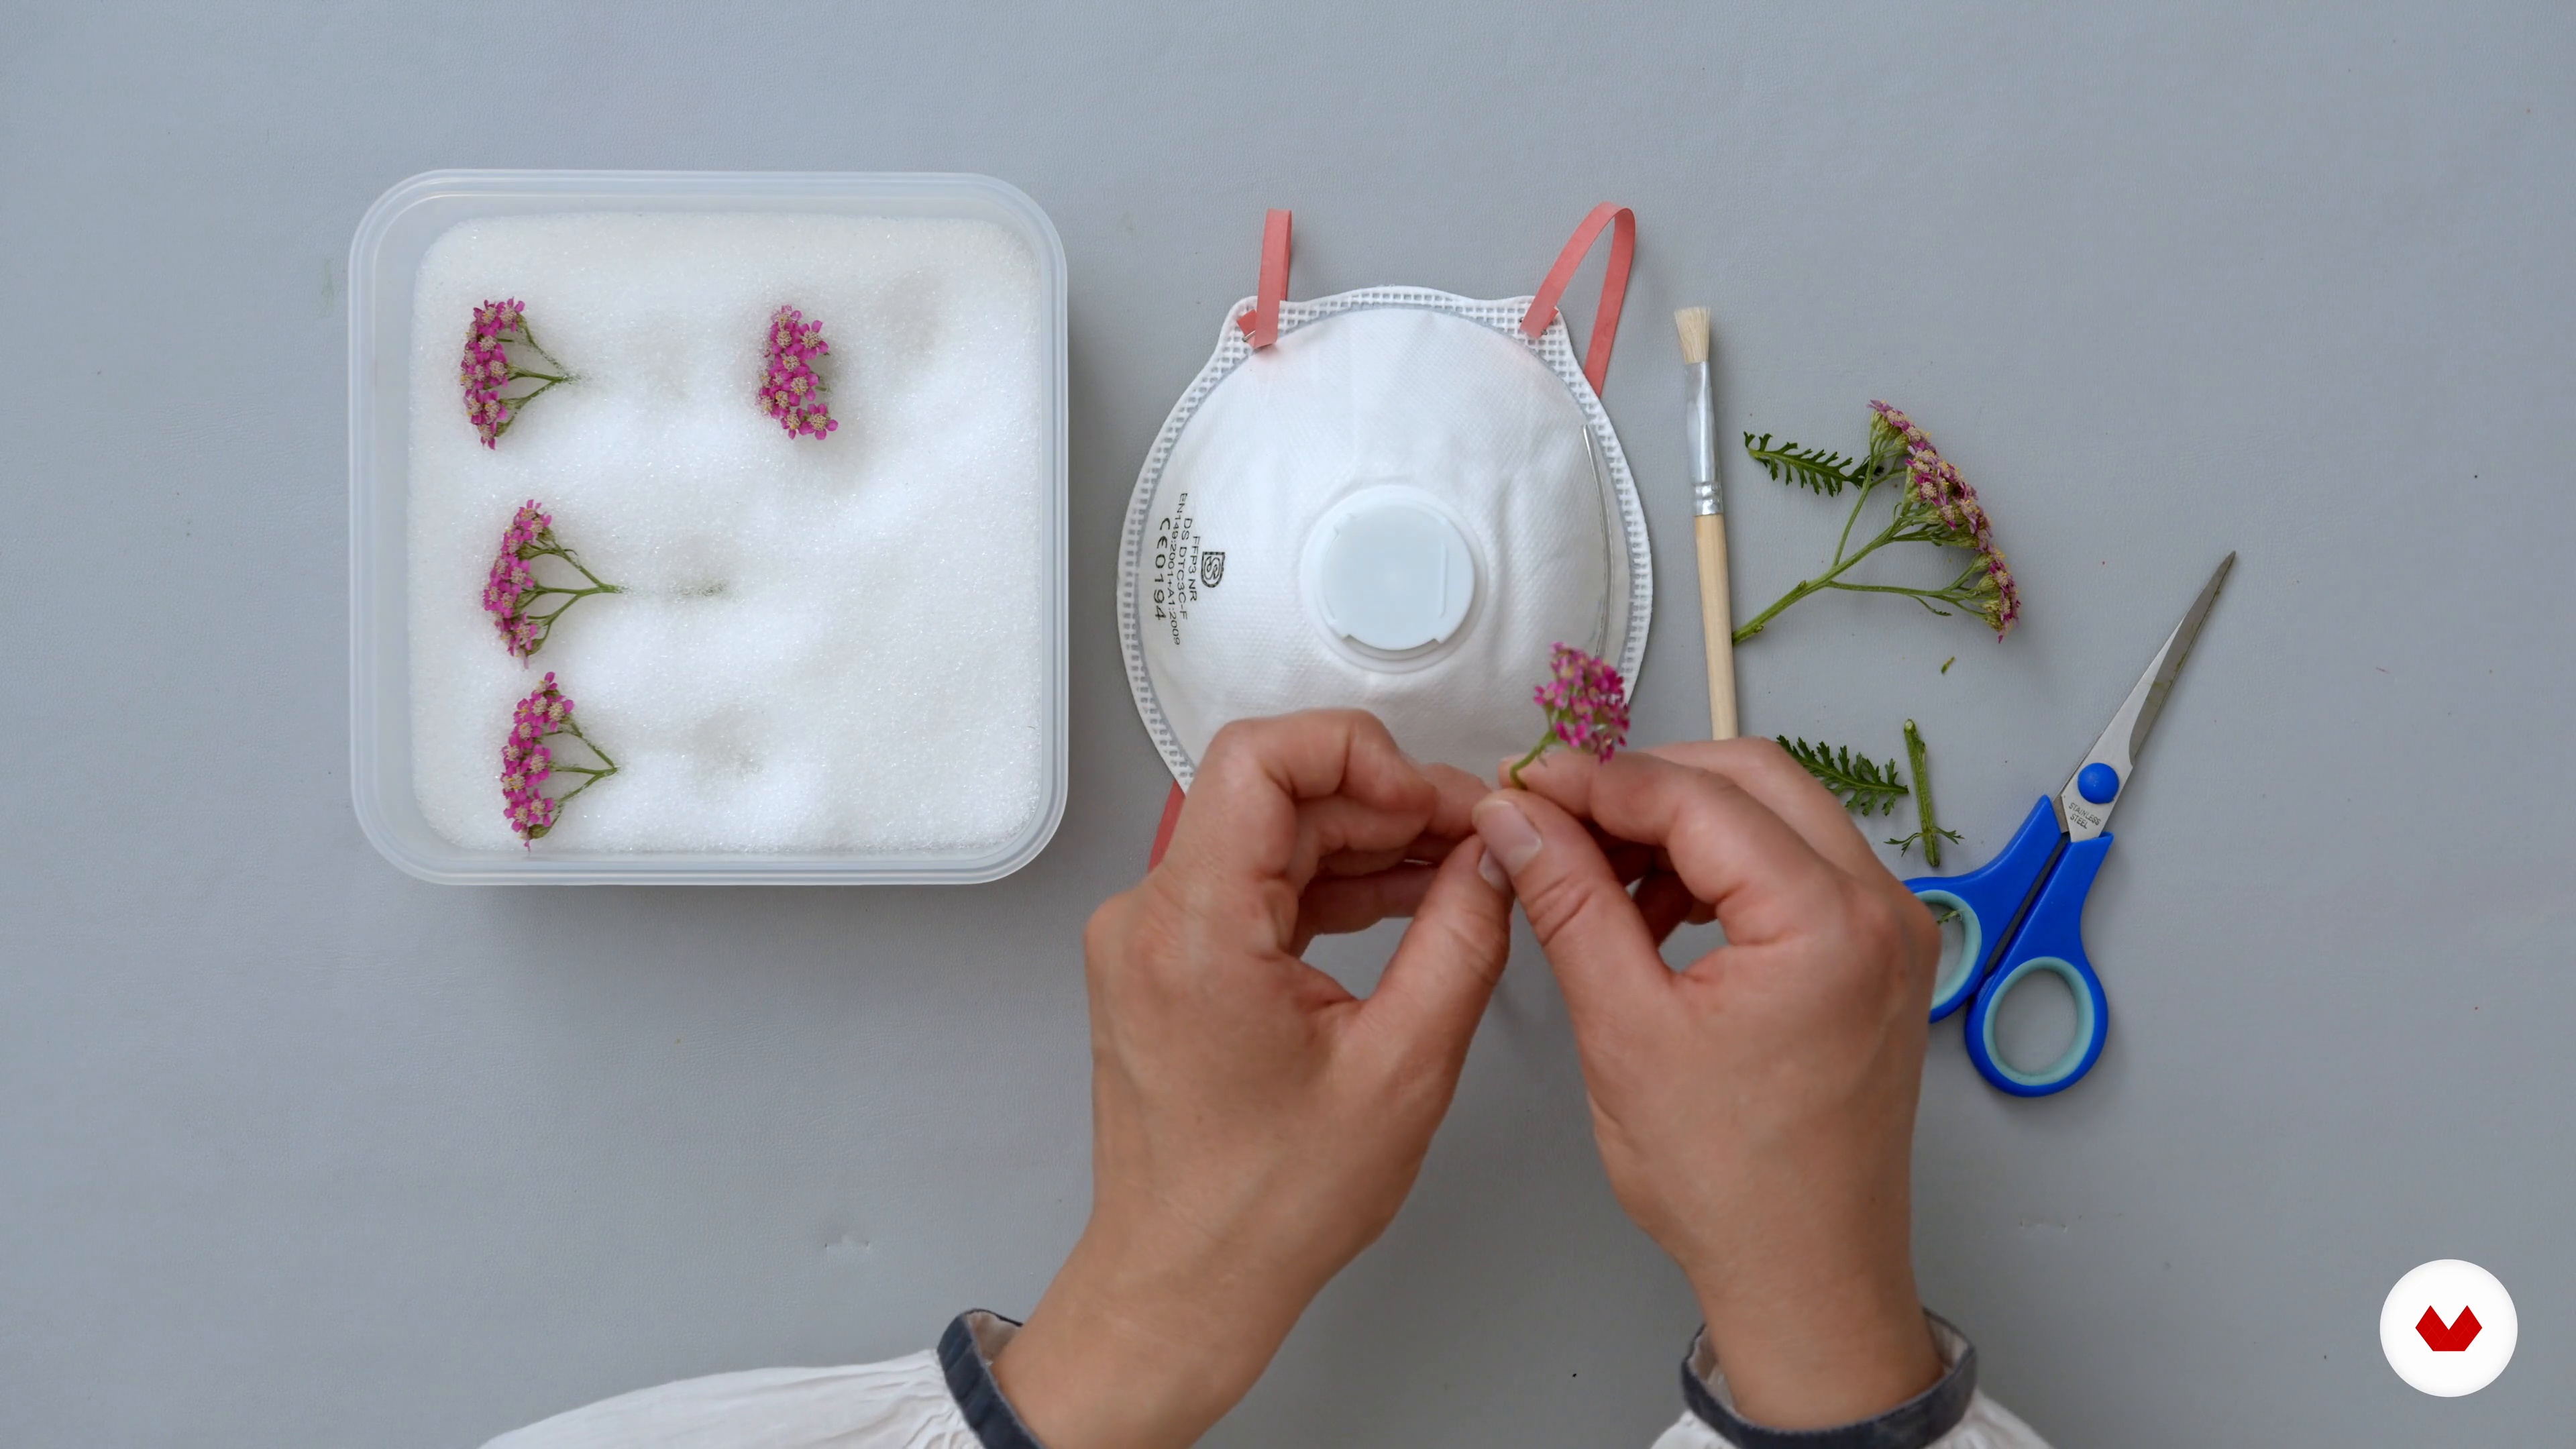
In this lesson, you will learn about the three basic techniques of drying I like to use: pressing, air-drying, and the silica method. I will also teach you which flowers are best suited to which method.
13m
image
5
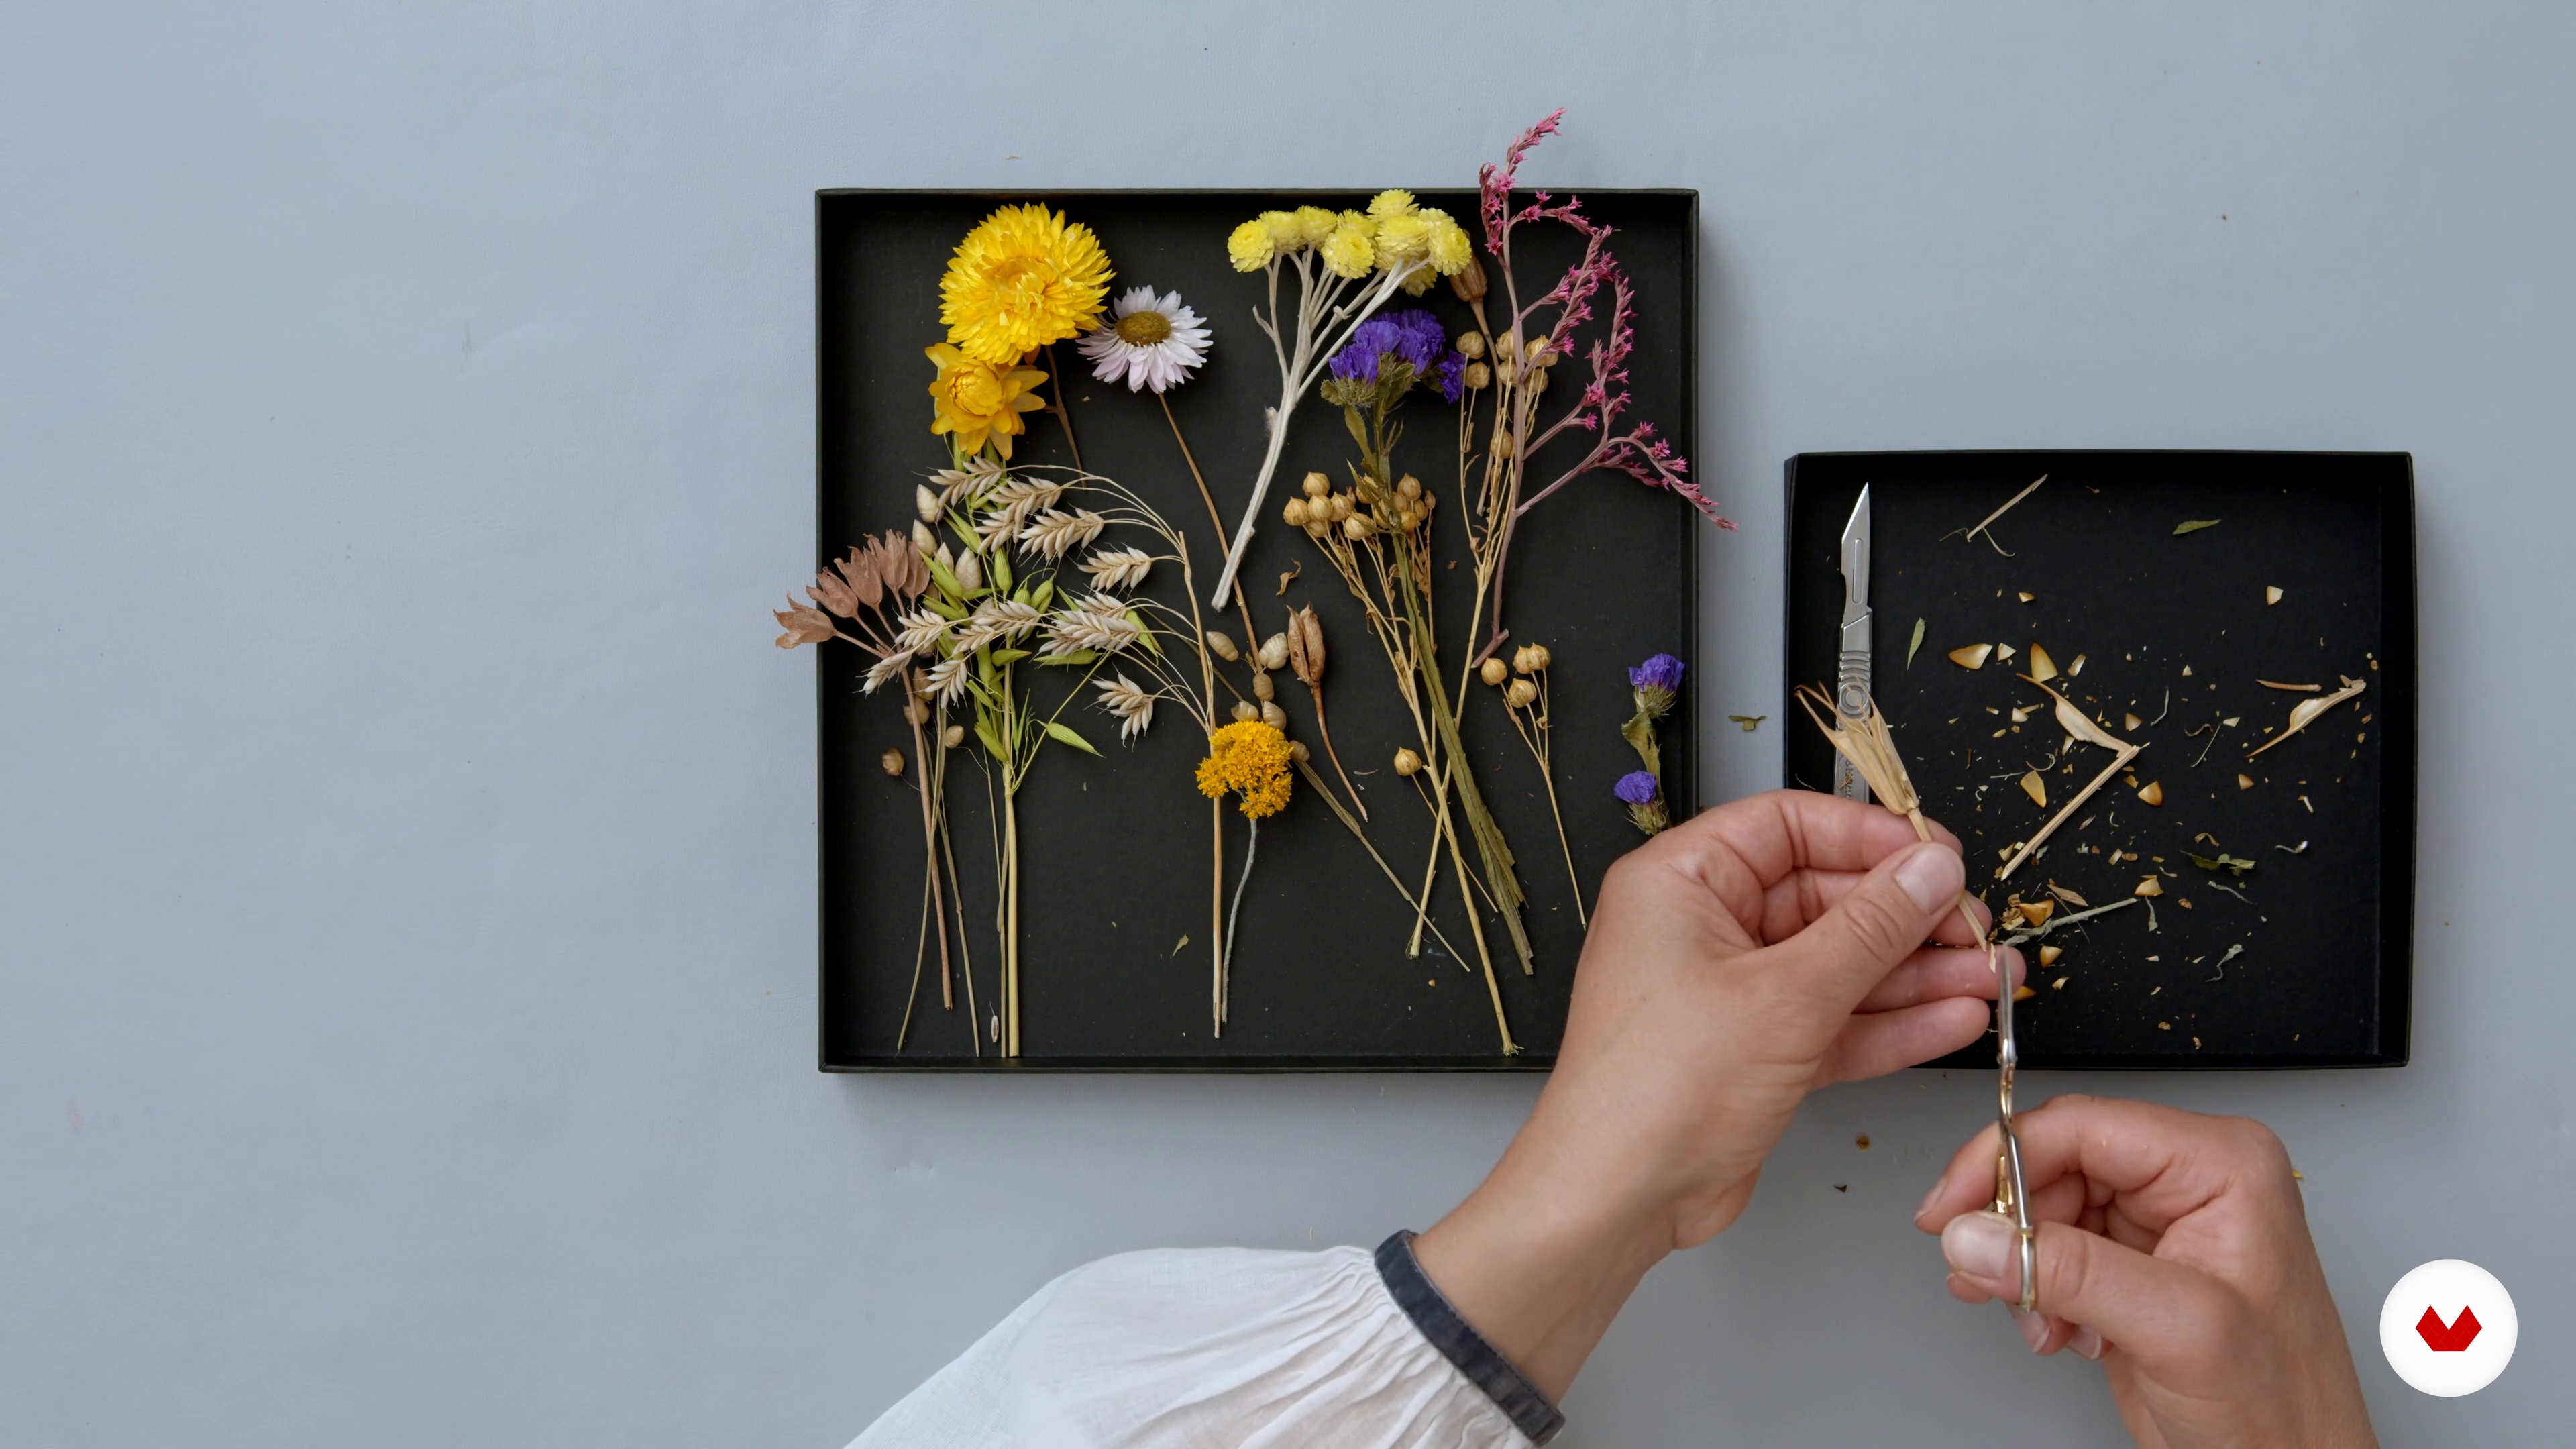
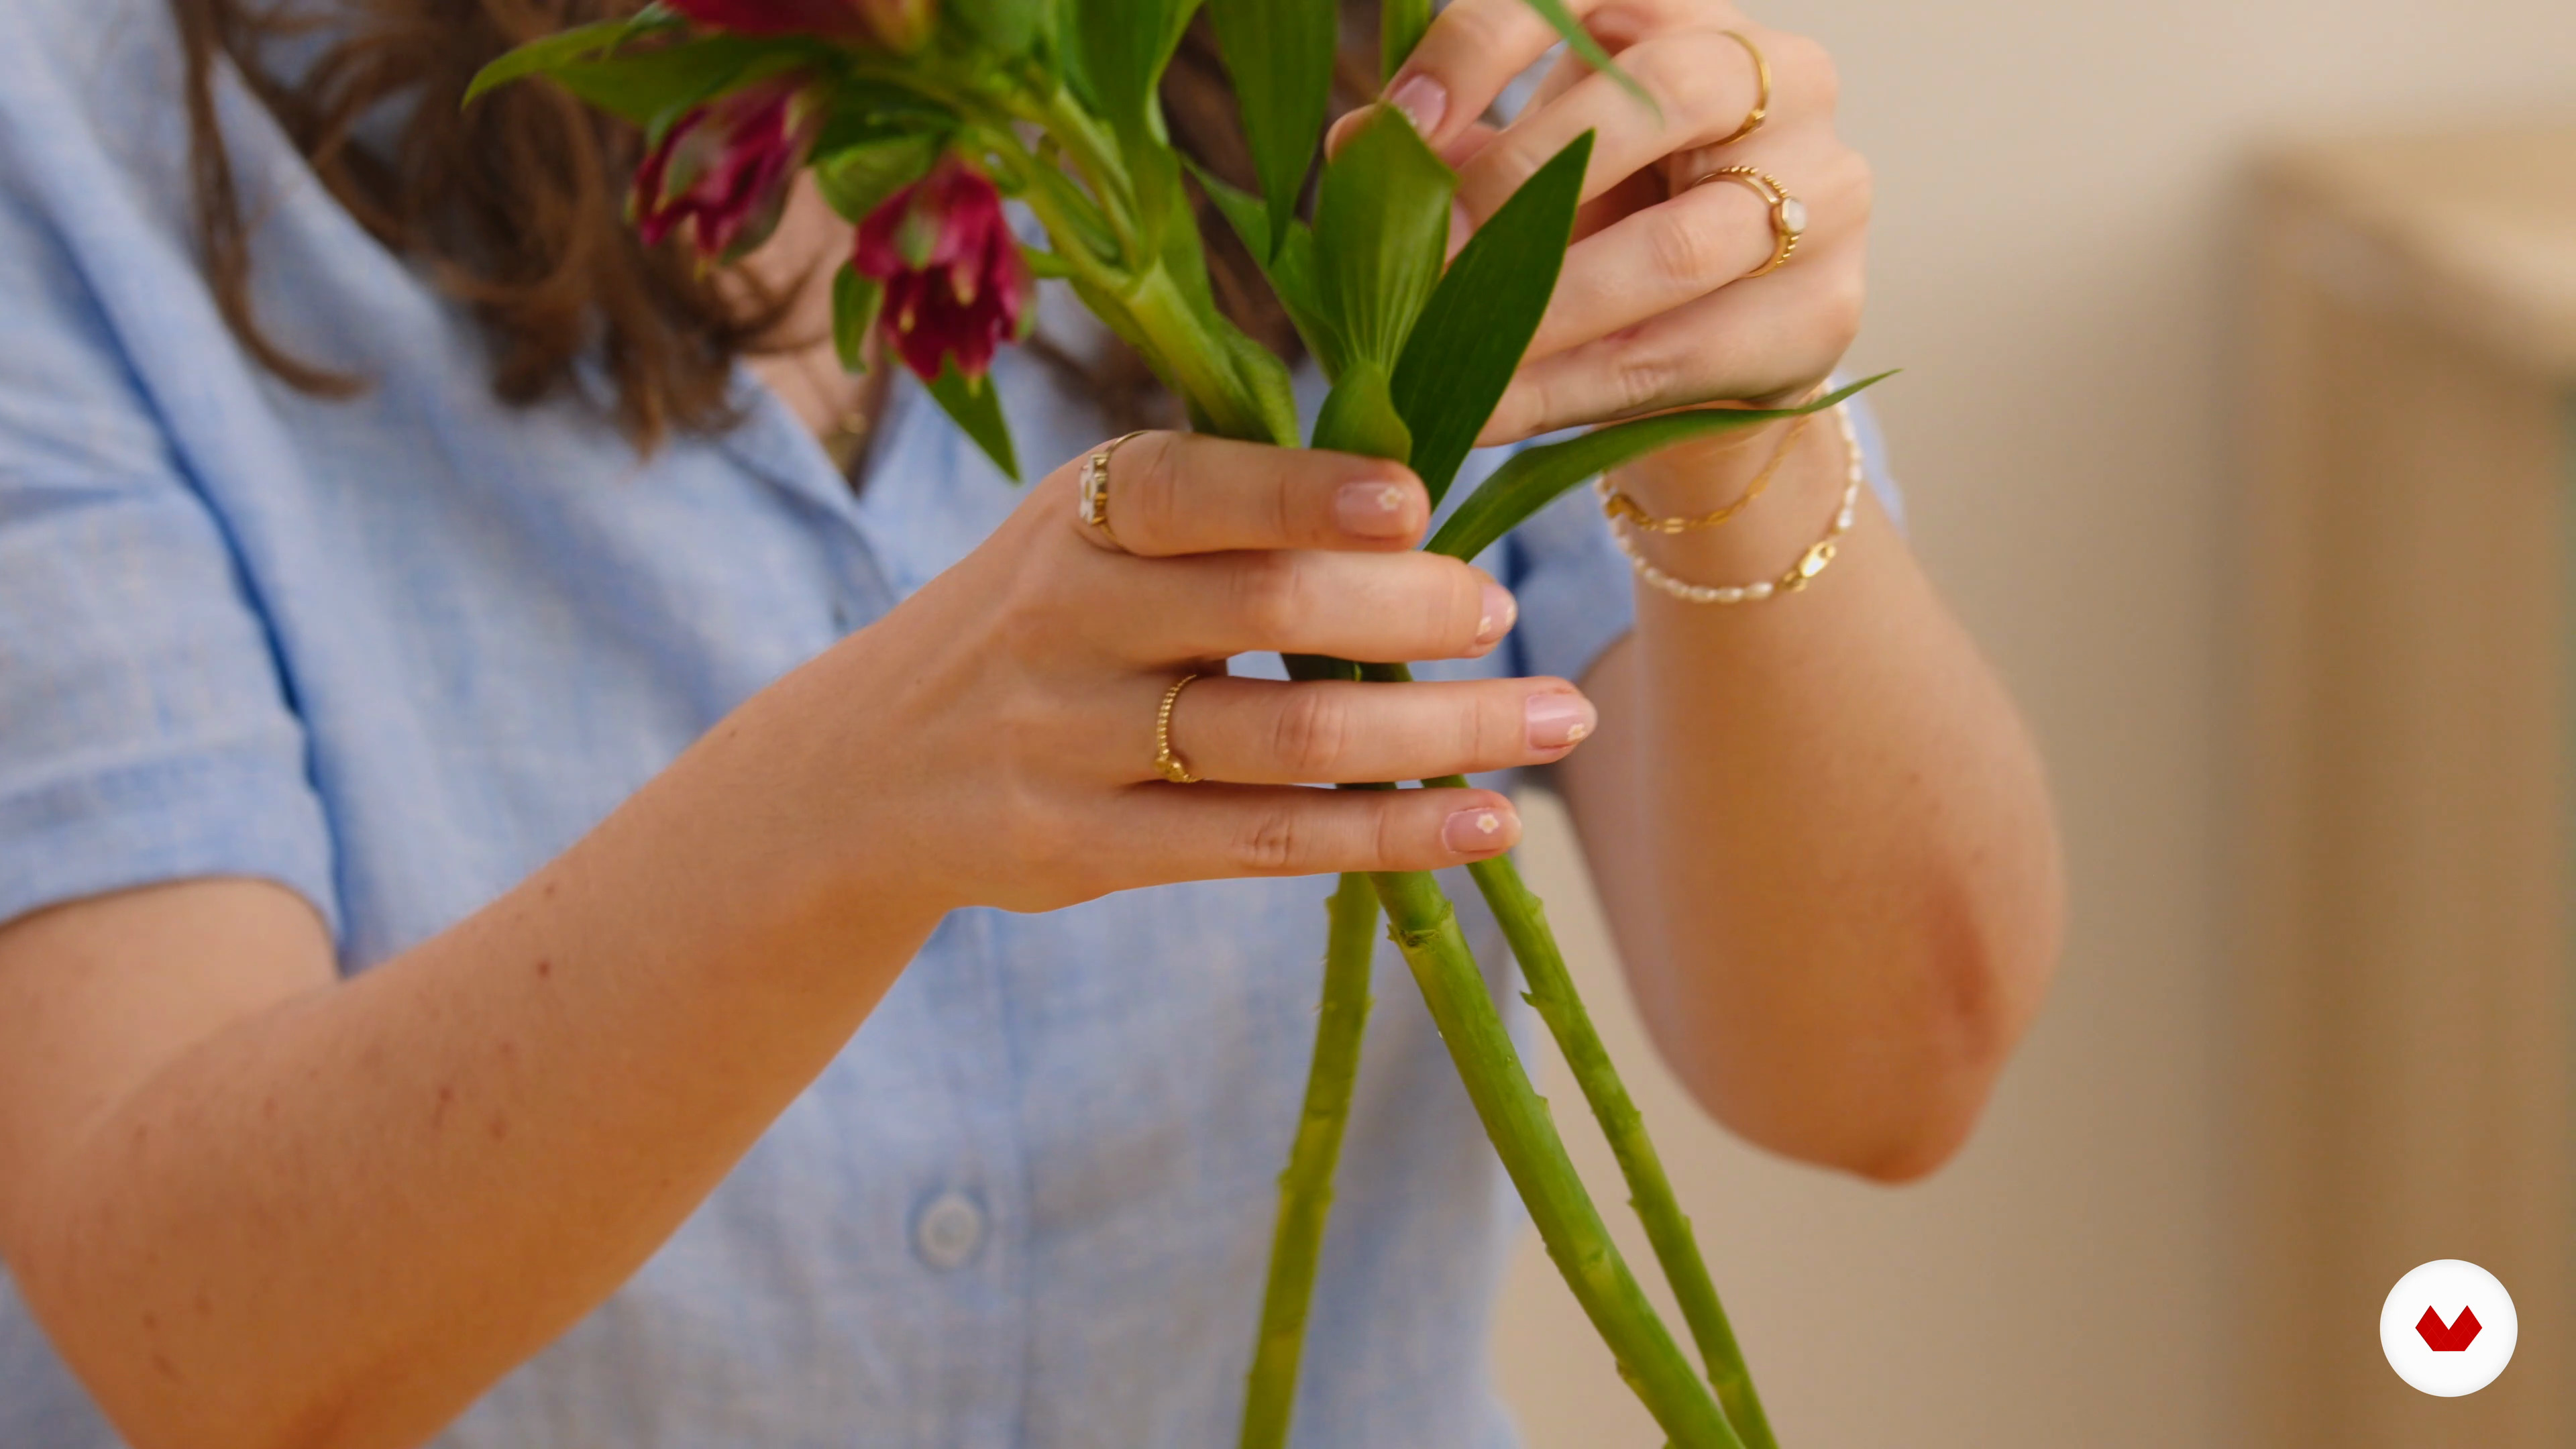
Preparing the Flowers
This is the lesson in which you will learn how to handle the flowers and their delicate stalks. I will show you how to assess the thickness and flexibility of stalks, which vary across different kinds of plants and flowers. You will also see how best to trim the stems and what is the right length to trim them to.
10m
image
6
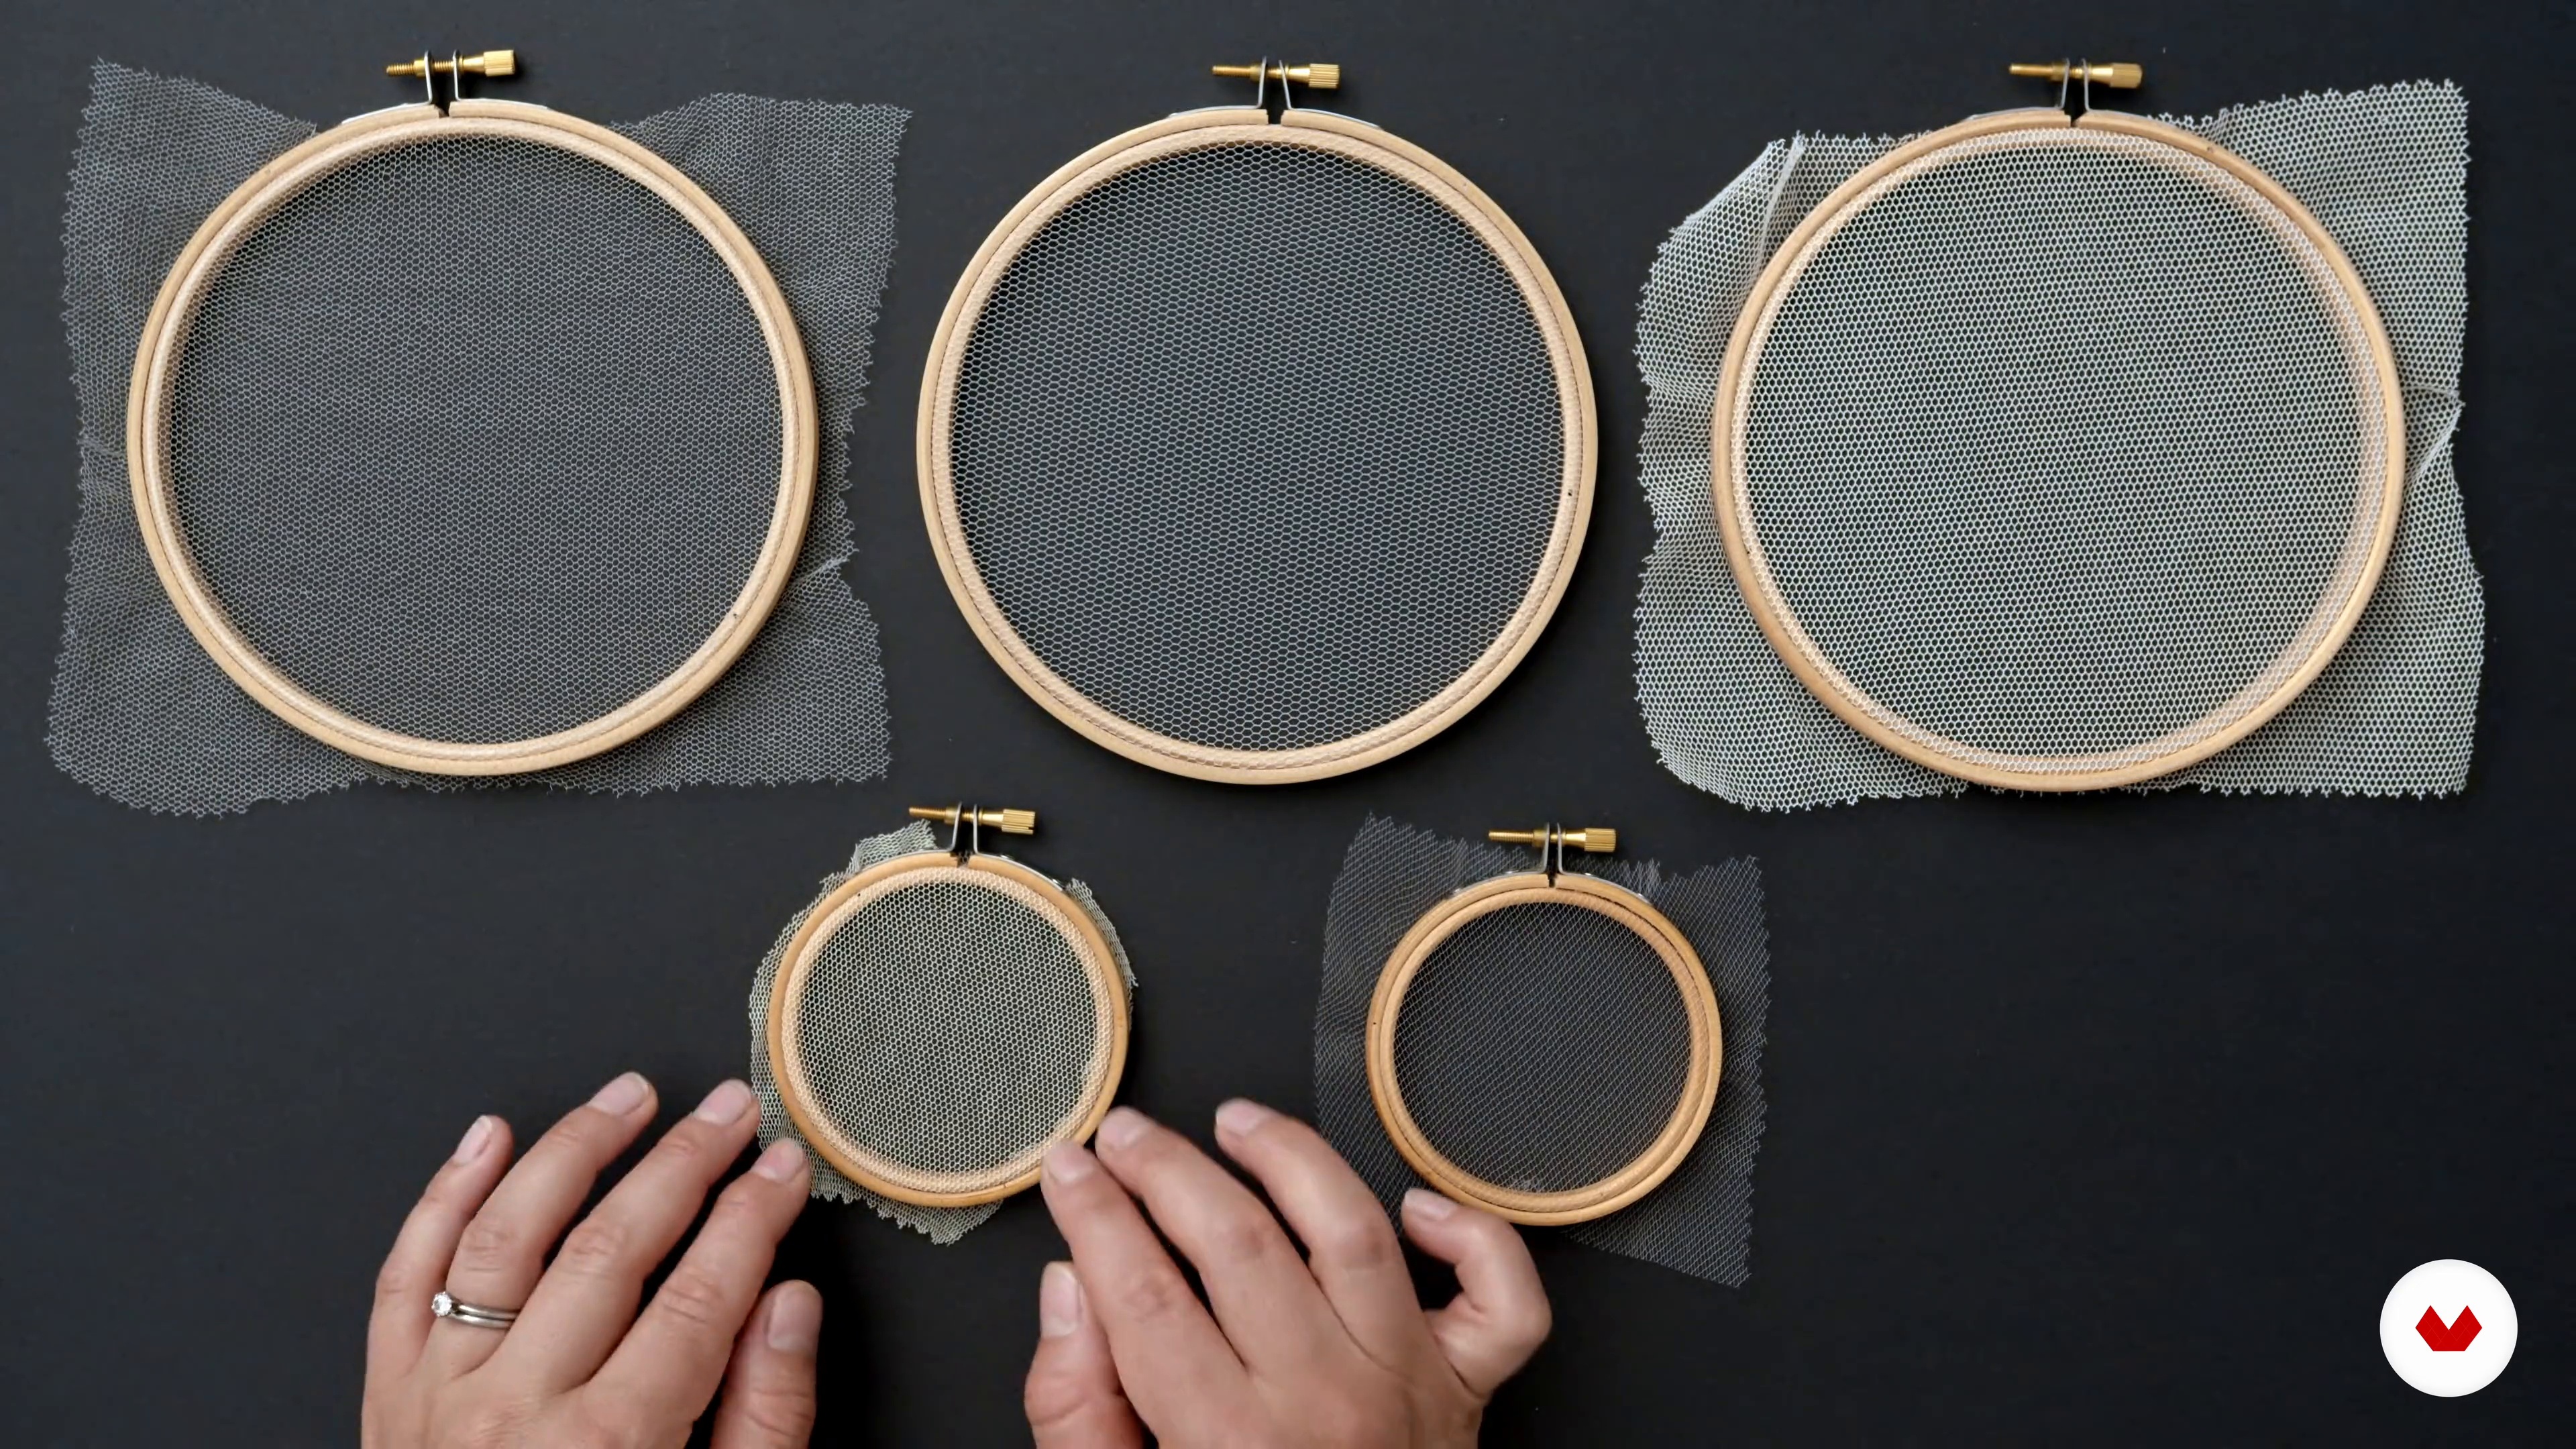
Introduction to Hoops and Tulle Fabric
I will show you the different sizes and shapes of hoops available for purchase and the different materials they come in, such as wood, bamboo, and plastic. You will find out which I prefer to use and why. I will ask you to decide which shape you would like to go for your final design. I will also talk about and show you the types of tulle fabric available in terms of size, colours, and materials they come in like natural and synthetic. You will learn in particular about the size of the netting and its importance in working with flowers on tulle embroidery.
7m
image
7
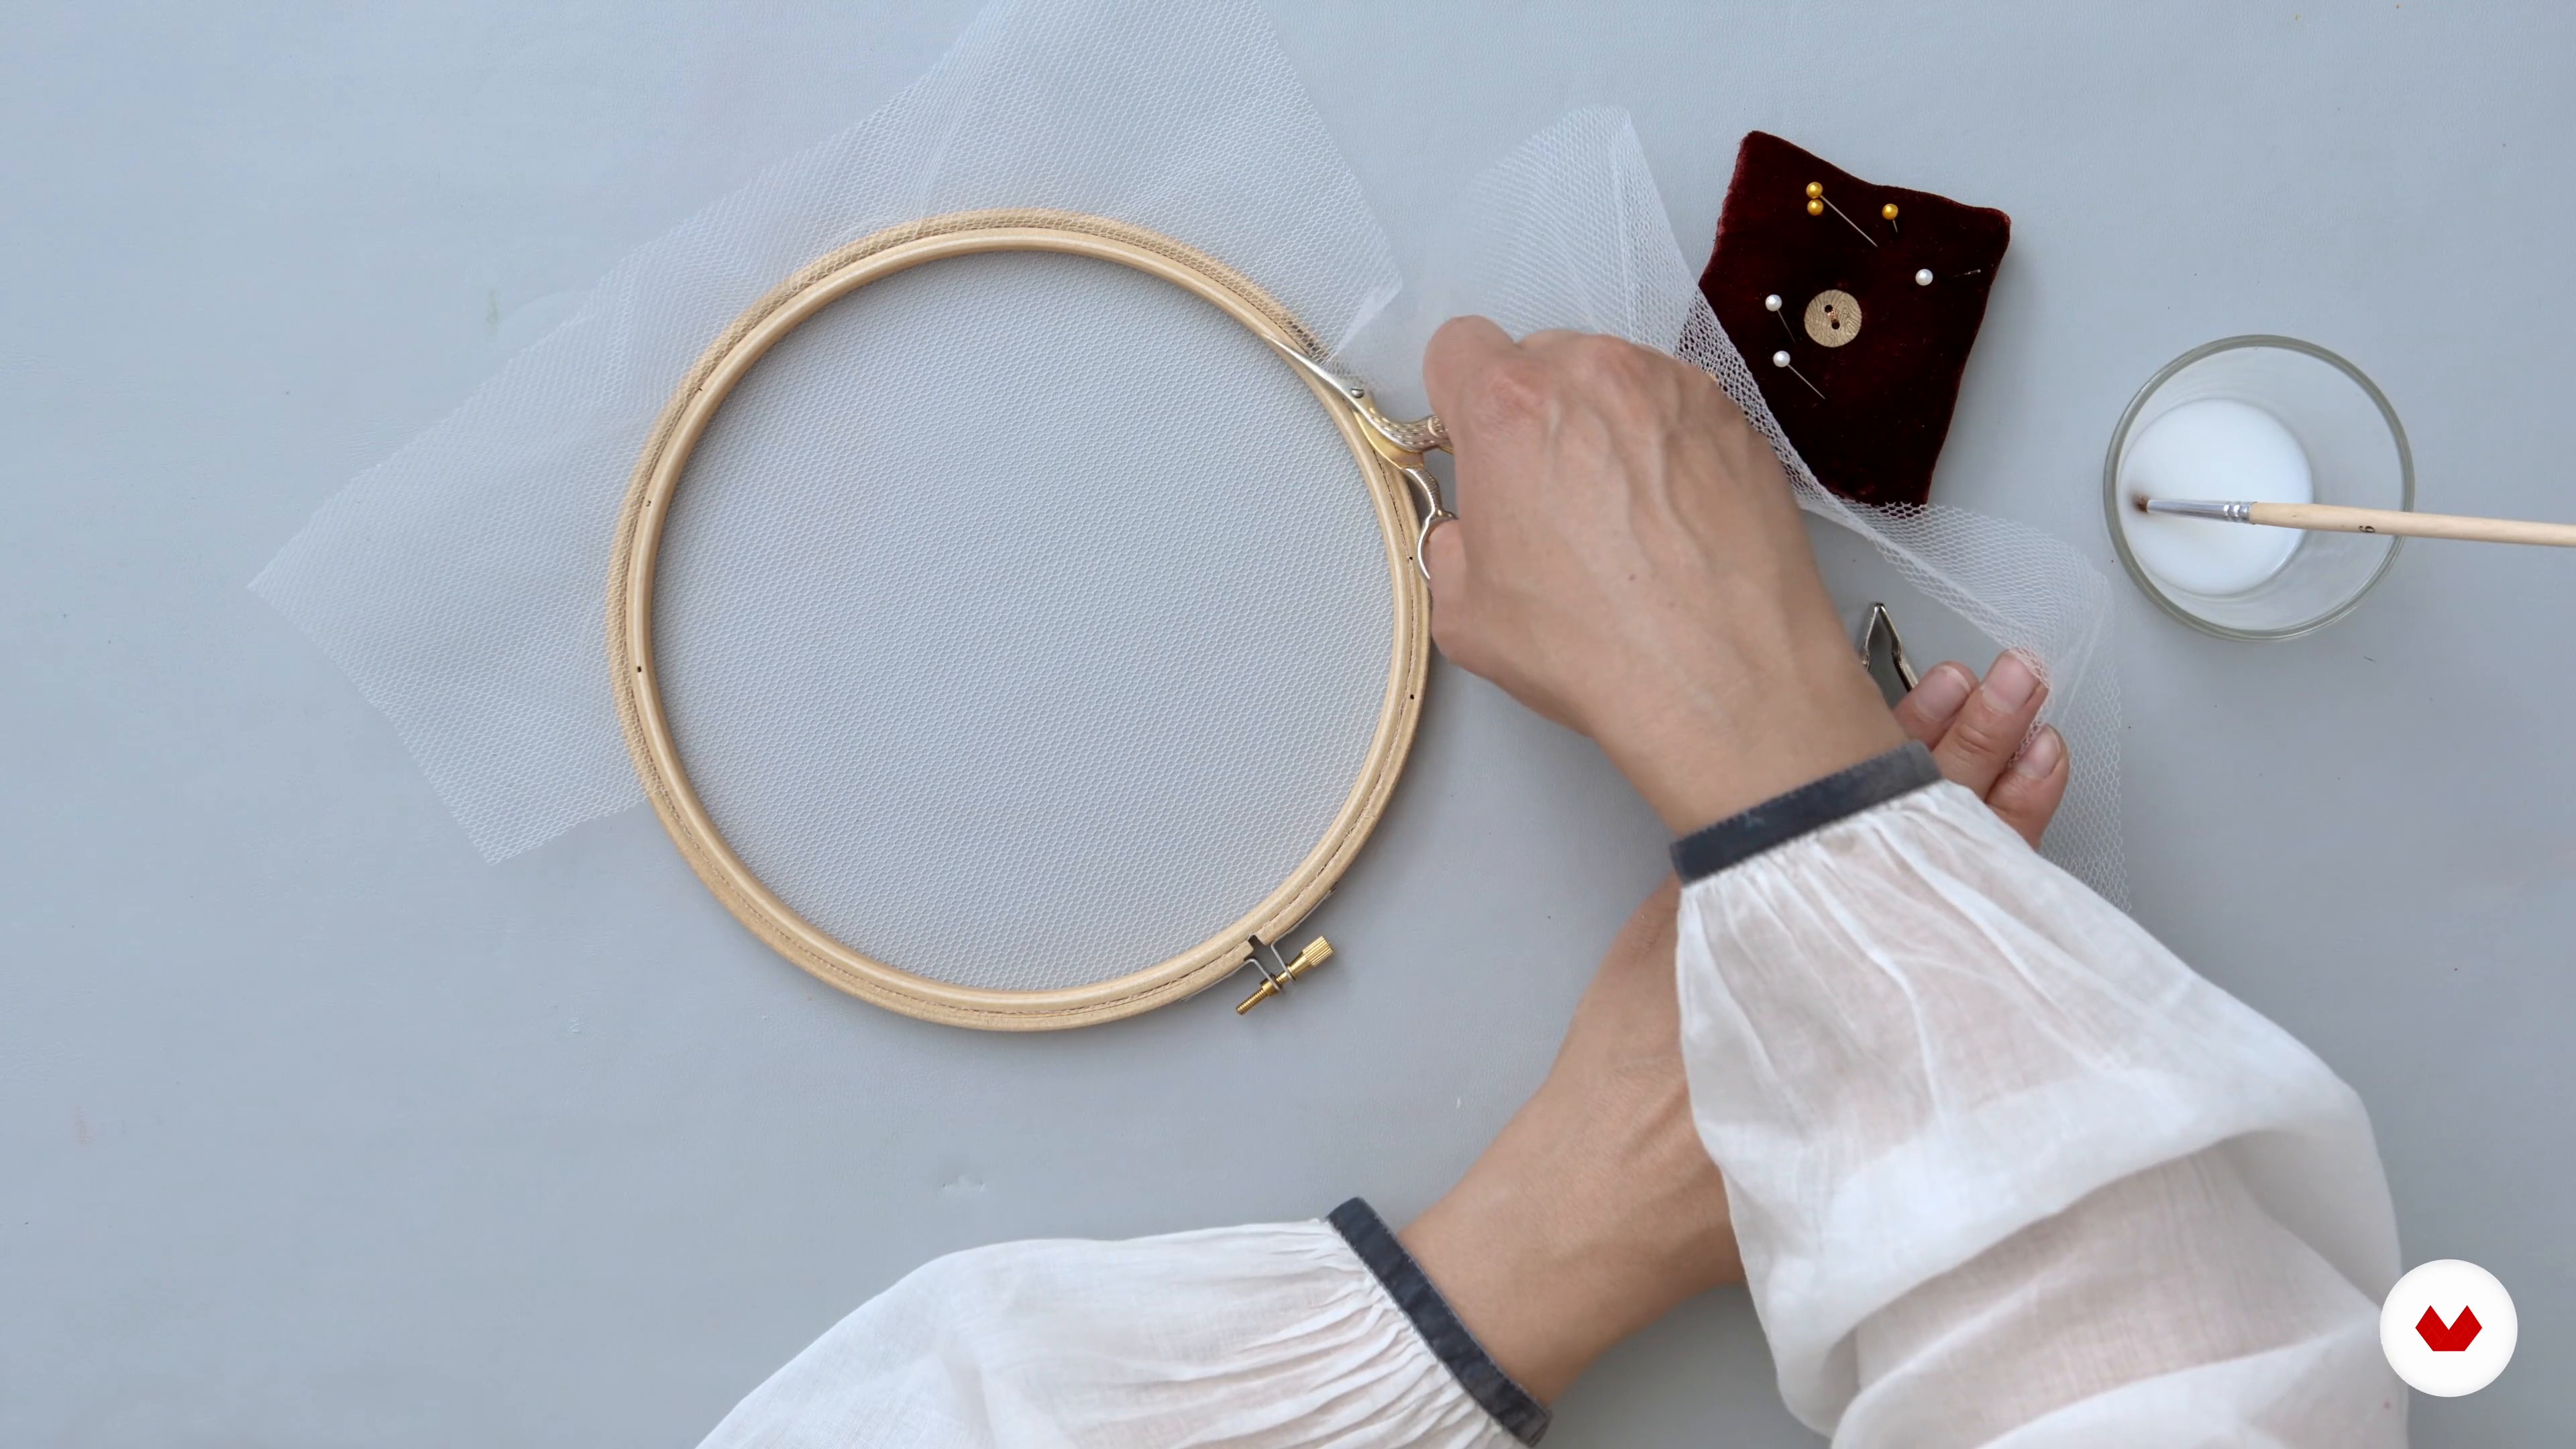
Preparing the Hoop with Tulle Fabric
In this lesson, I will show you how to attach the tulle to the hoop, and how to stretch it and secure it. Depending on what type of hoop you go for, this might be slightly different. You will learn what is the optimum amount of tightness you need to achieve so that you can work easily on the tulle with the flowers.
5m
image
8
Methods for Attaching the Flowers
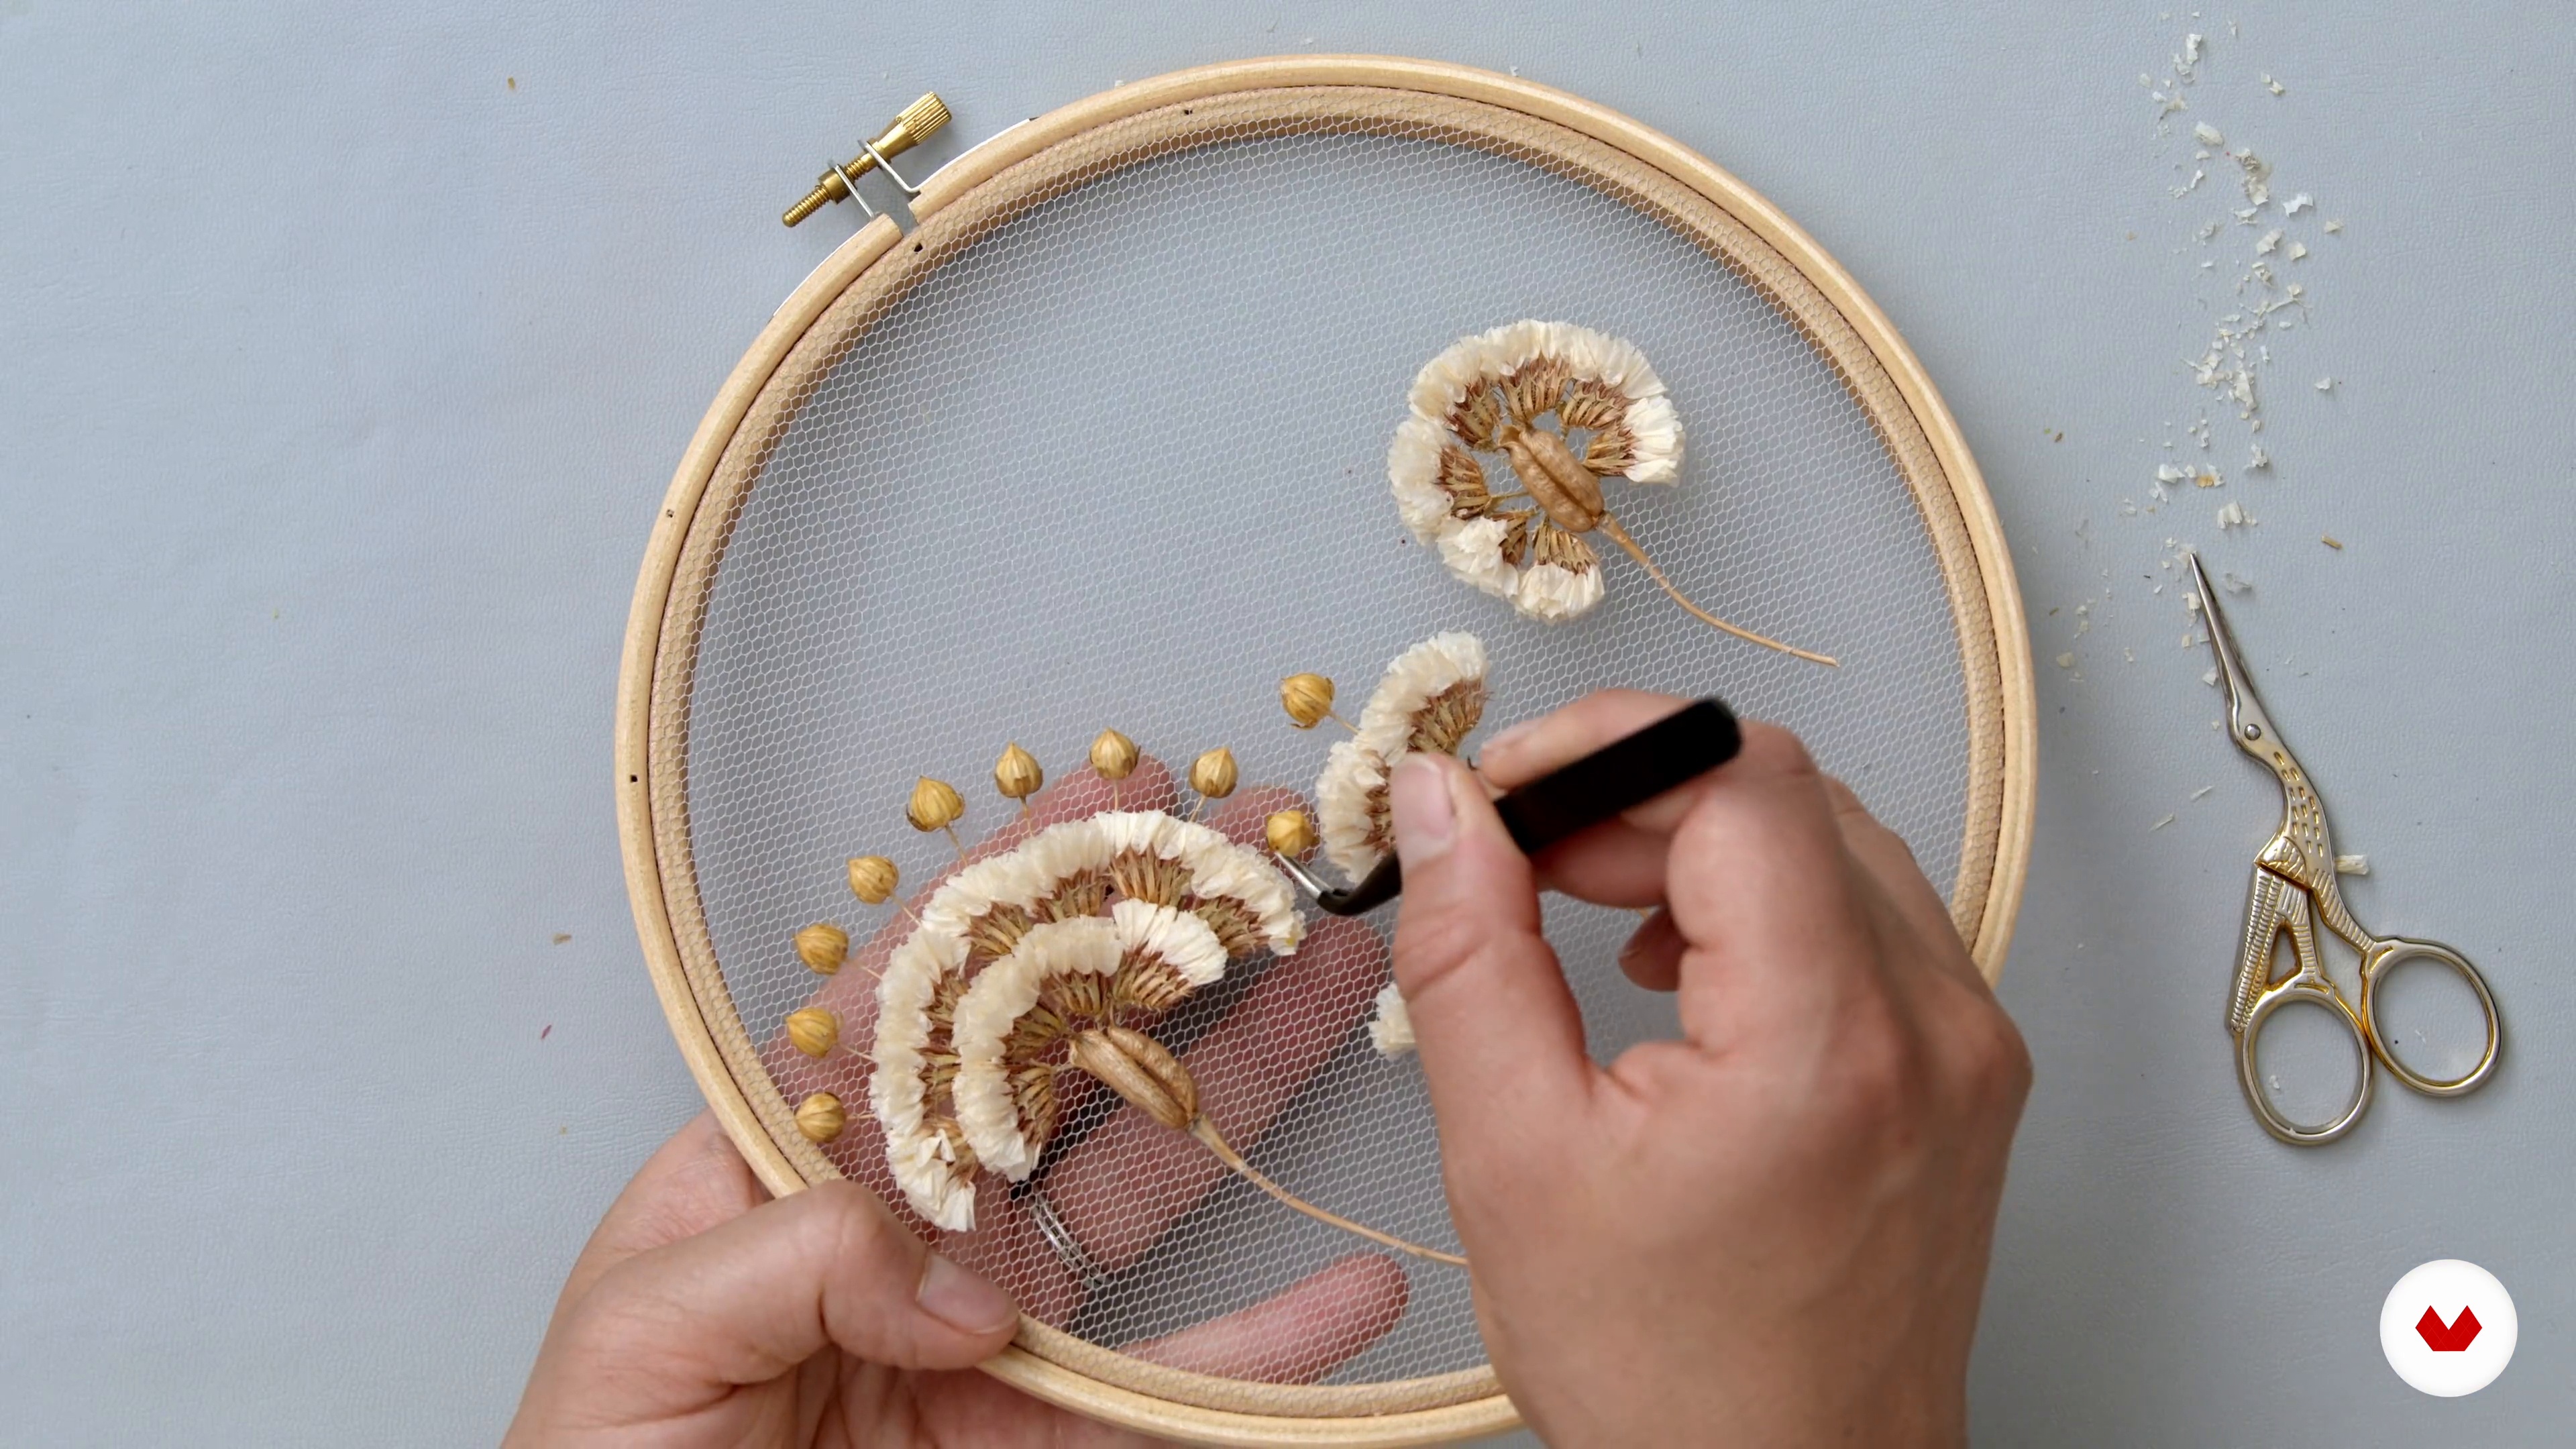
You will learn the two methods of attaching flowers to the net when building up floral shapes, and I will show you examples of which to use and when. I will demonstrate to you the method of weaving the stalks through the net with a variety of stalks. Then I will show you how to hold them to minimize breakage.
10m
image
9
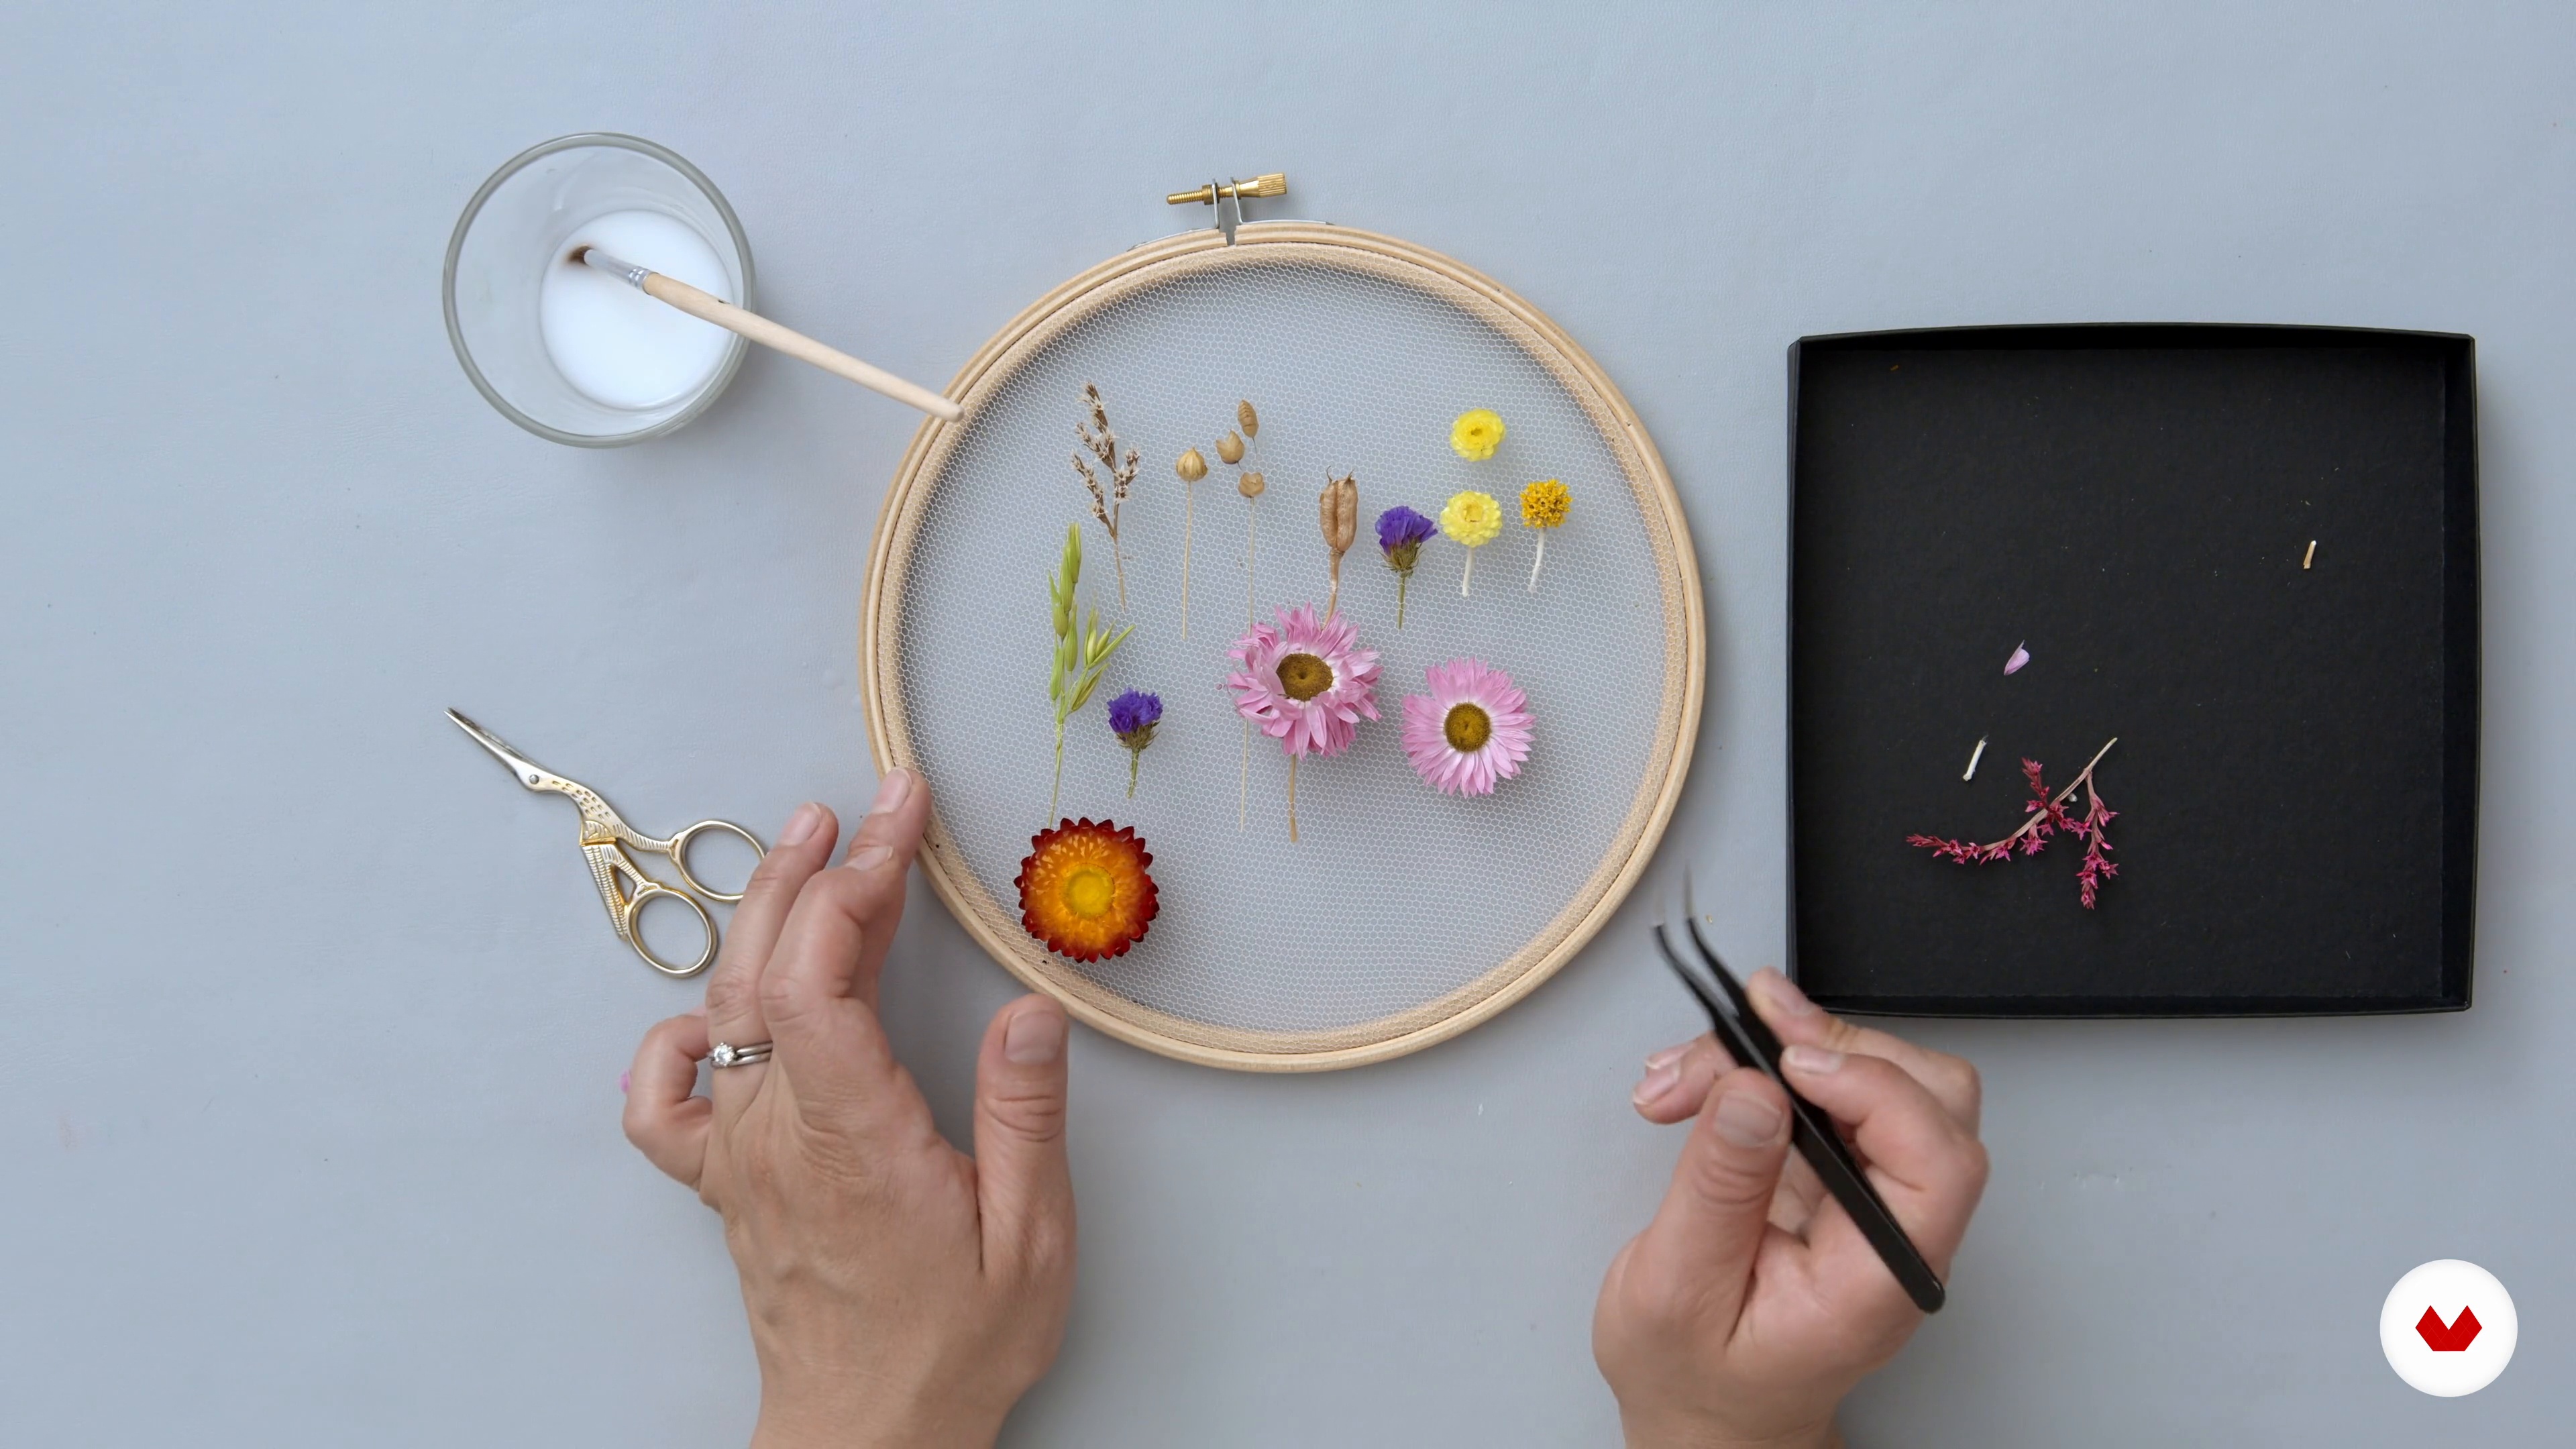
Creating Complex Shapes Using Flowers
Each complex flower shape starts with the choice of plant varieties for base or stalk. I will show you how to create the crown or the top of your shape, and talk through your choice of flowers and plants for doing so. You will learn how to create complex shapes and how to achieve a different final result by changing the plant you are using to build the shape. Last but not least, I will show how to create scaled-down and scaled-up versions of the floral shapes, as you will need to be able to make a range of sizes for your final project.
20m
image
10
Choosing Your Colour Palette
In this lesson, you will learn about natural and dyed colour options for your flowers and how to combine them. I will show you how you can create a monochrome palette in your design, by choosing flowers in the same range of colour; an analogous colour scheme, by working with colours that are next to each other on the colour wheel; or a complementary scheme, with colours that are opposite on the colour wheel. You will also learn how to be inspired by the changing of the seasons to create different colour palettes.
6m
image
11
Planning Your Final Design
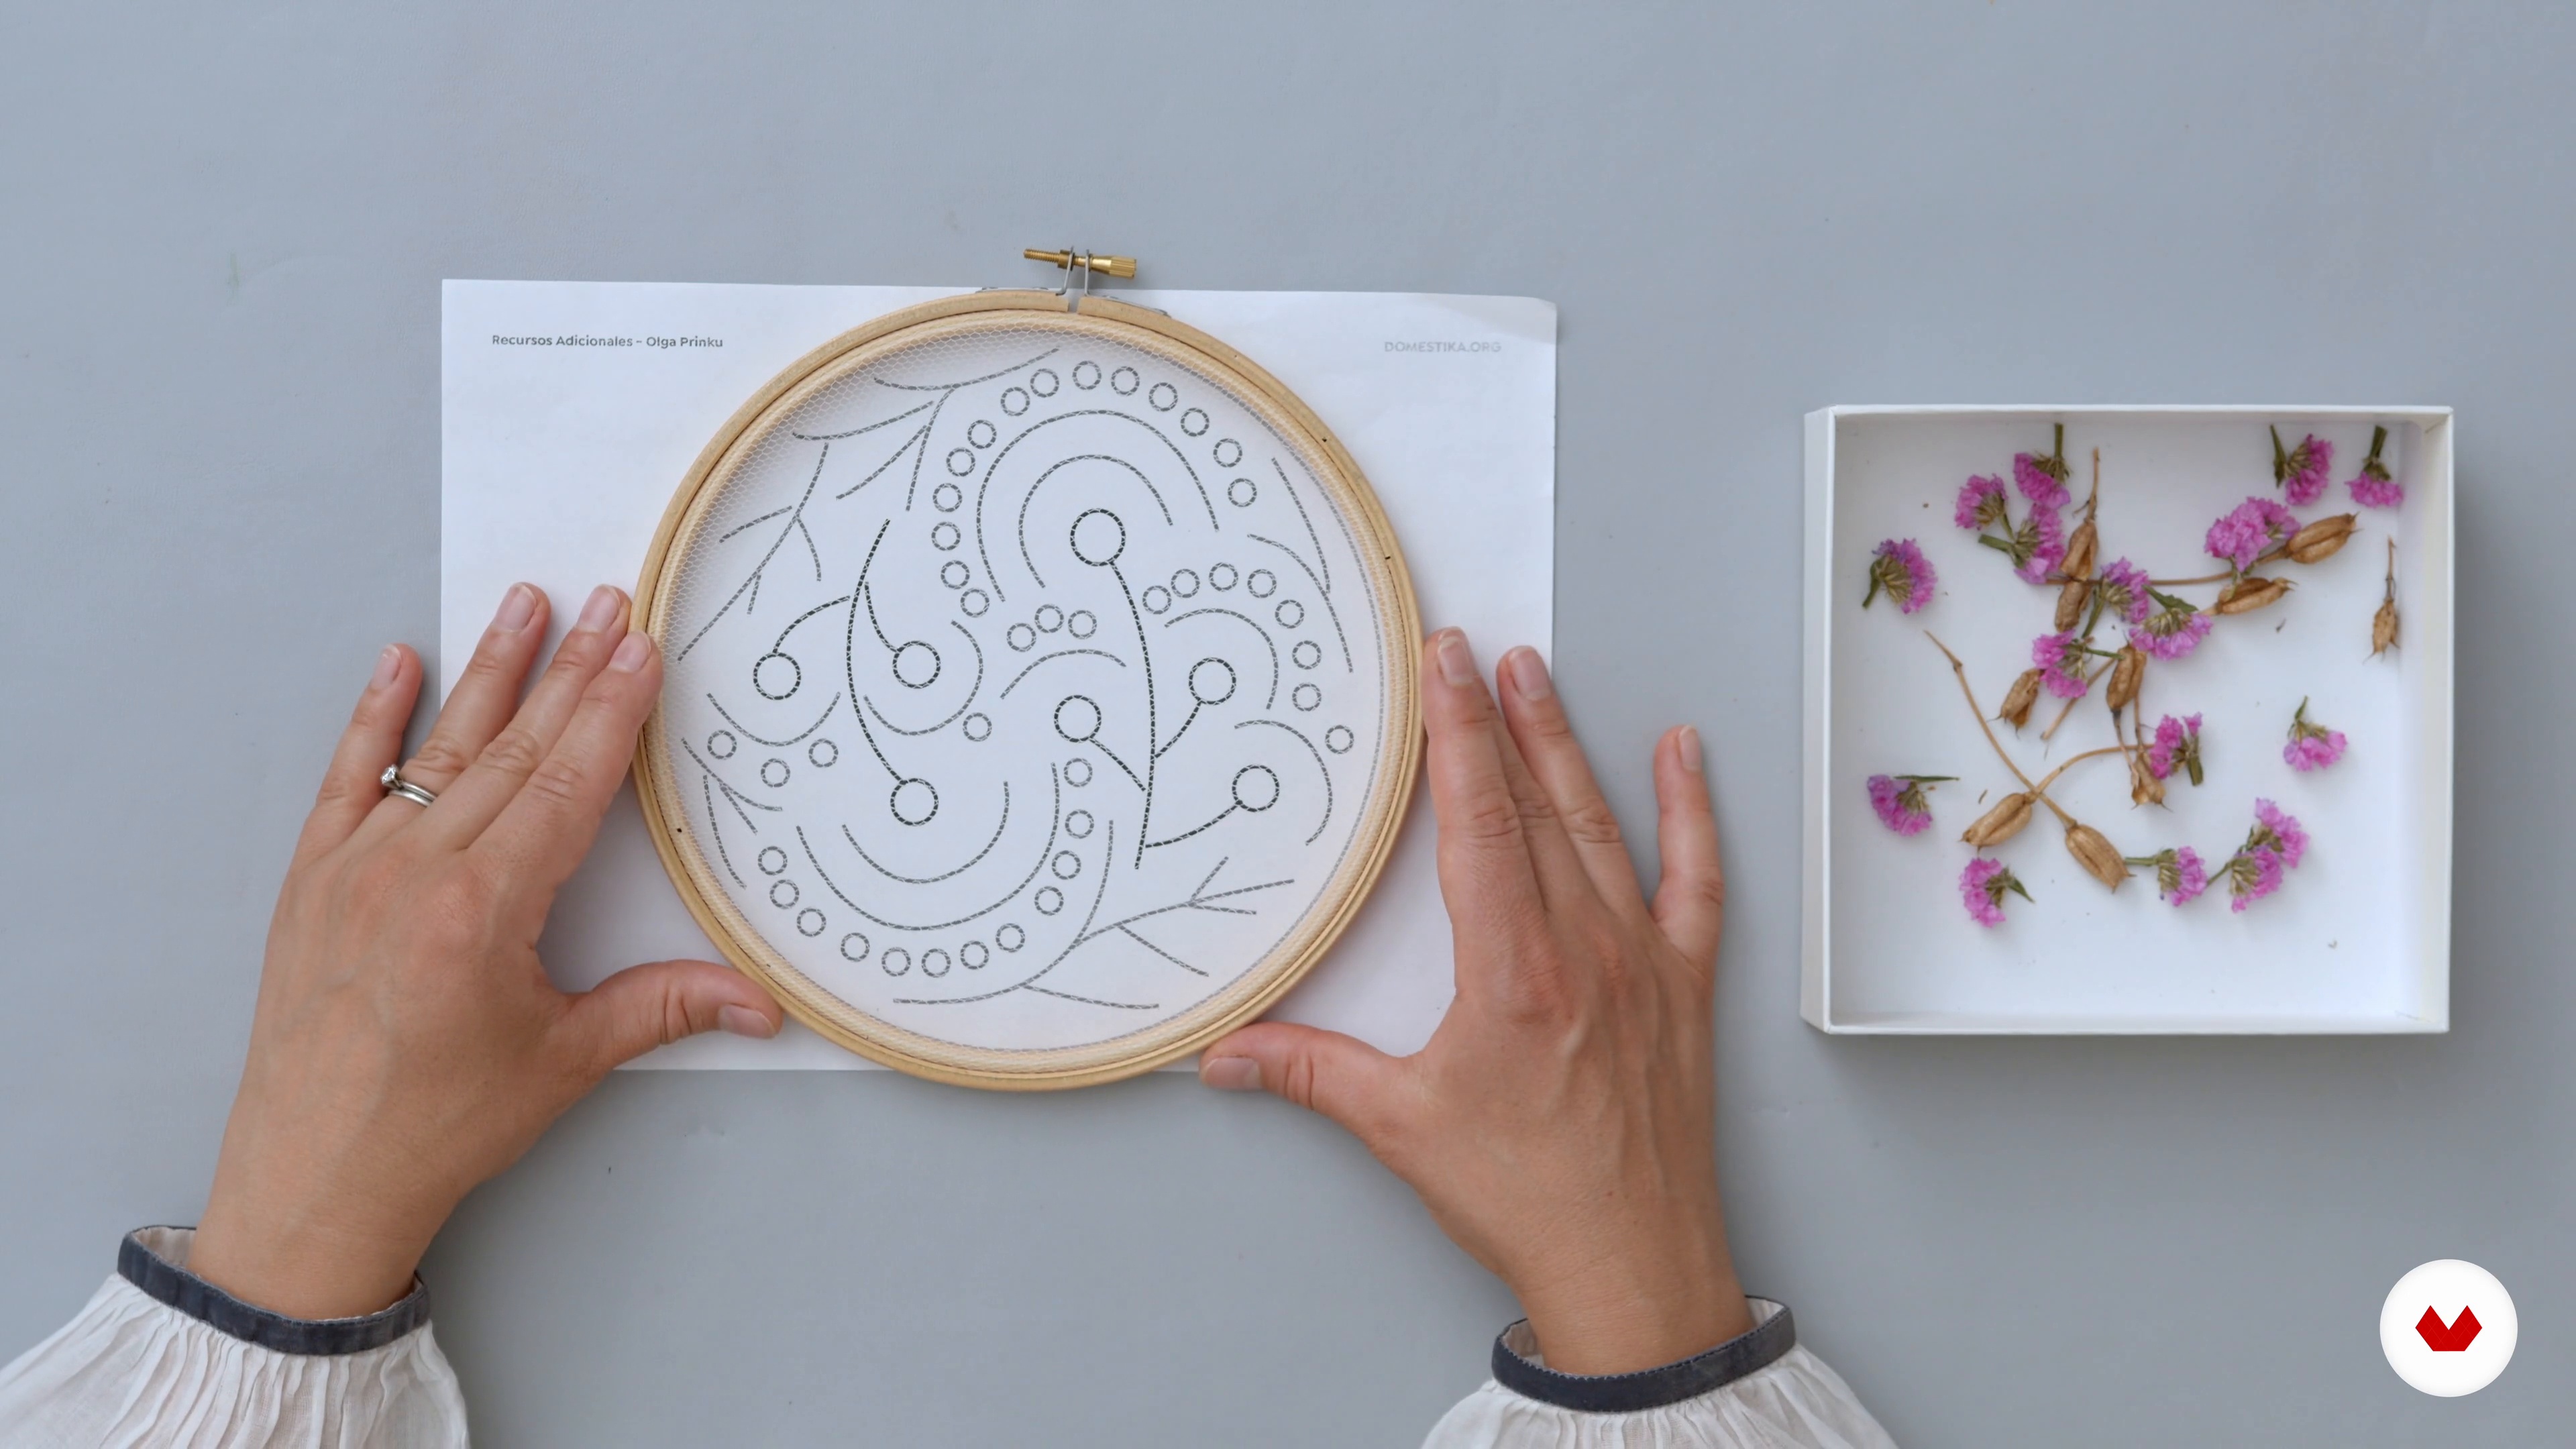
I will explain your options for deciding on how many floral shapes to build within your final hoop design, showing you some hoops that have two big main floral elements and some that have multiple smaller ones, as well as give you some tips on achieving a balanced and harmonious design.
8m
image
12
Executing Your Final Design 1
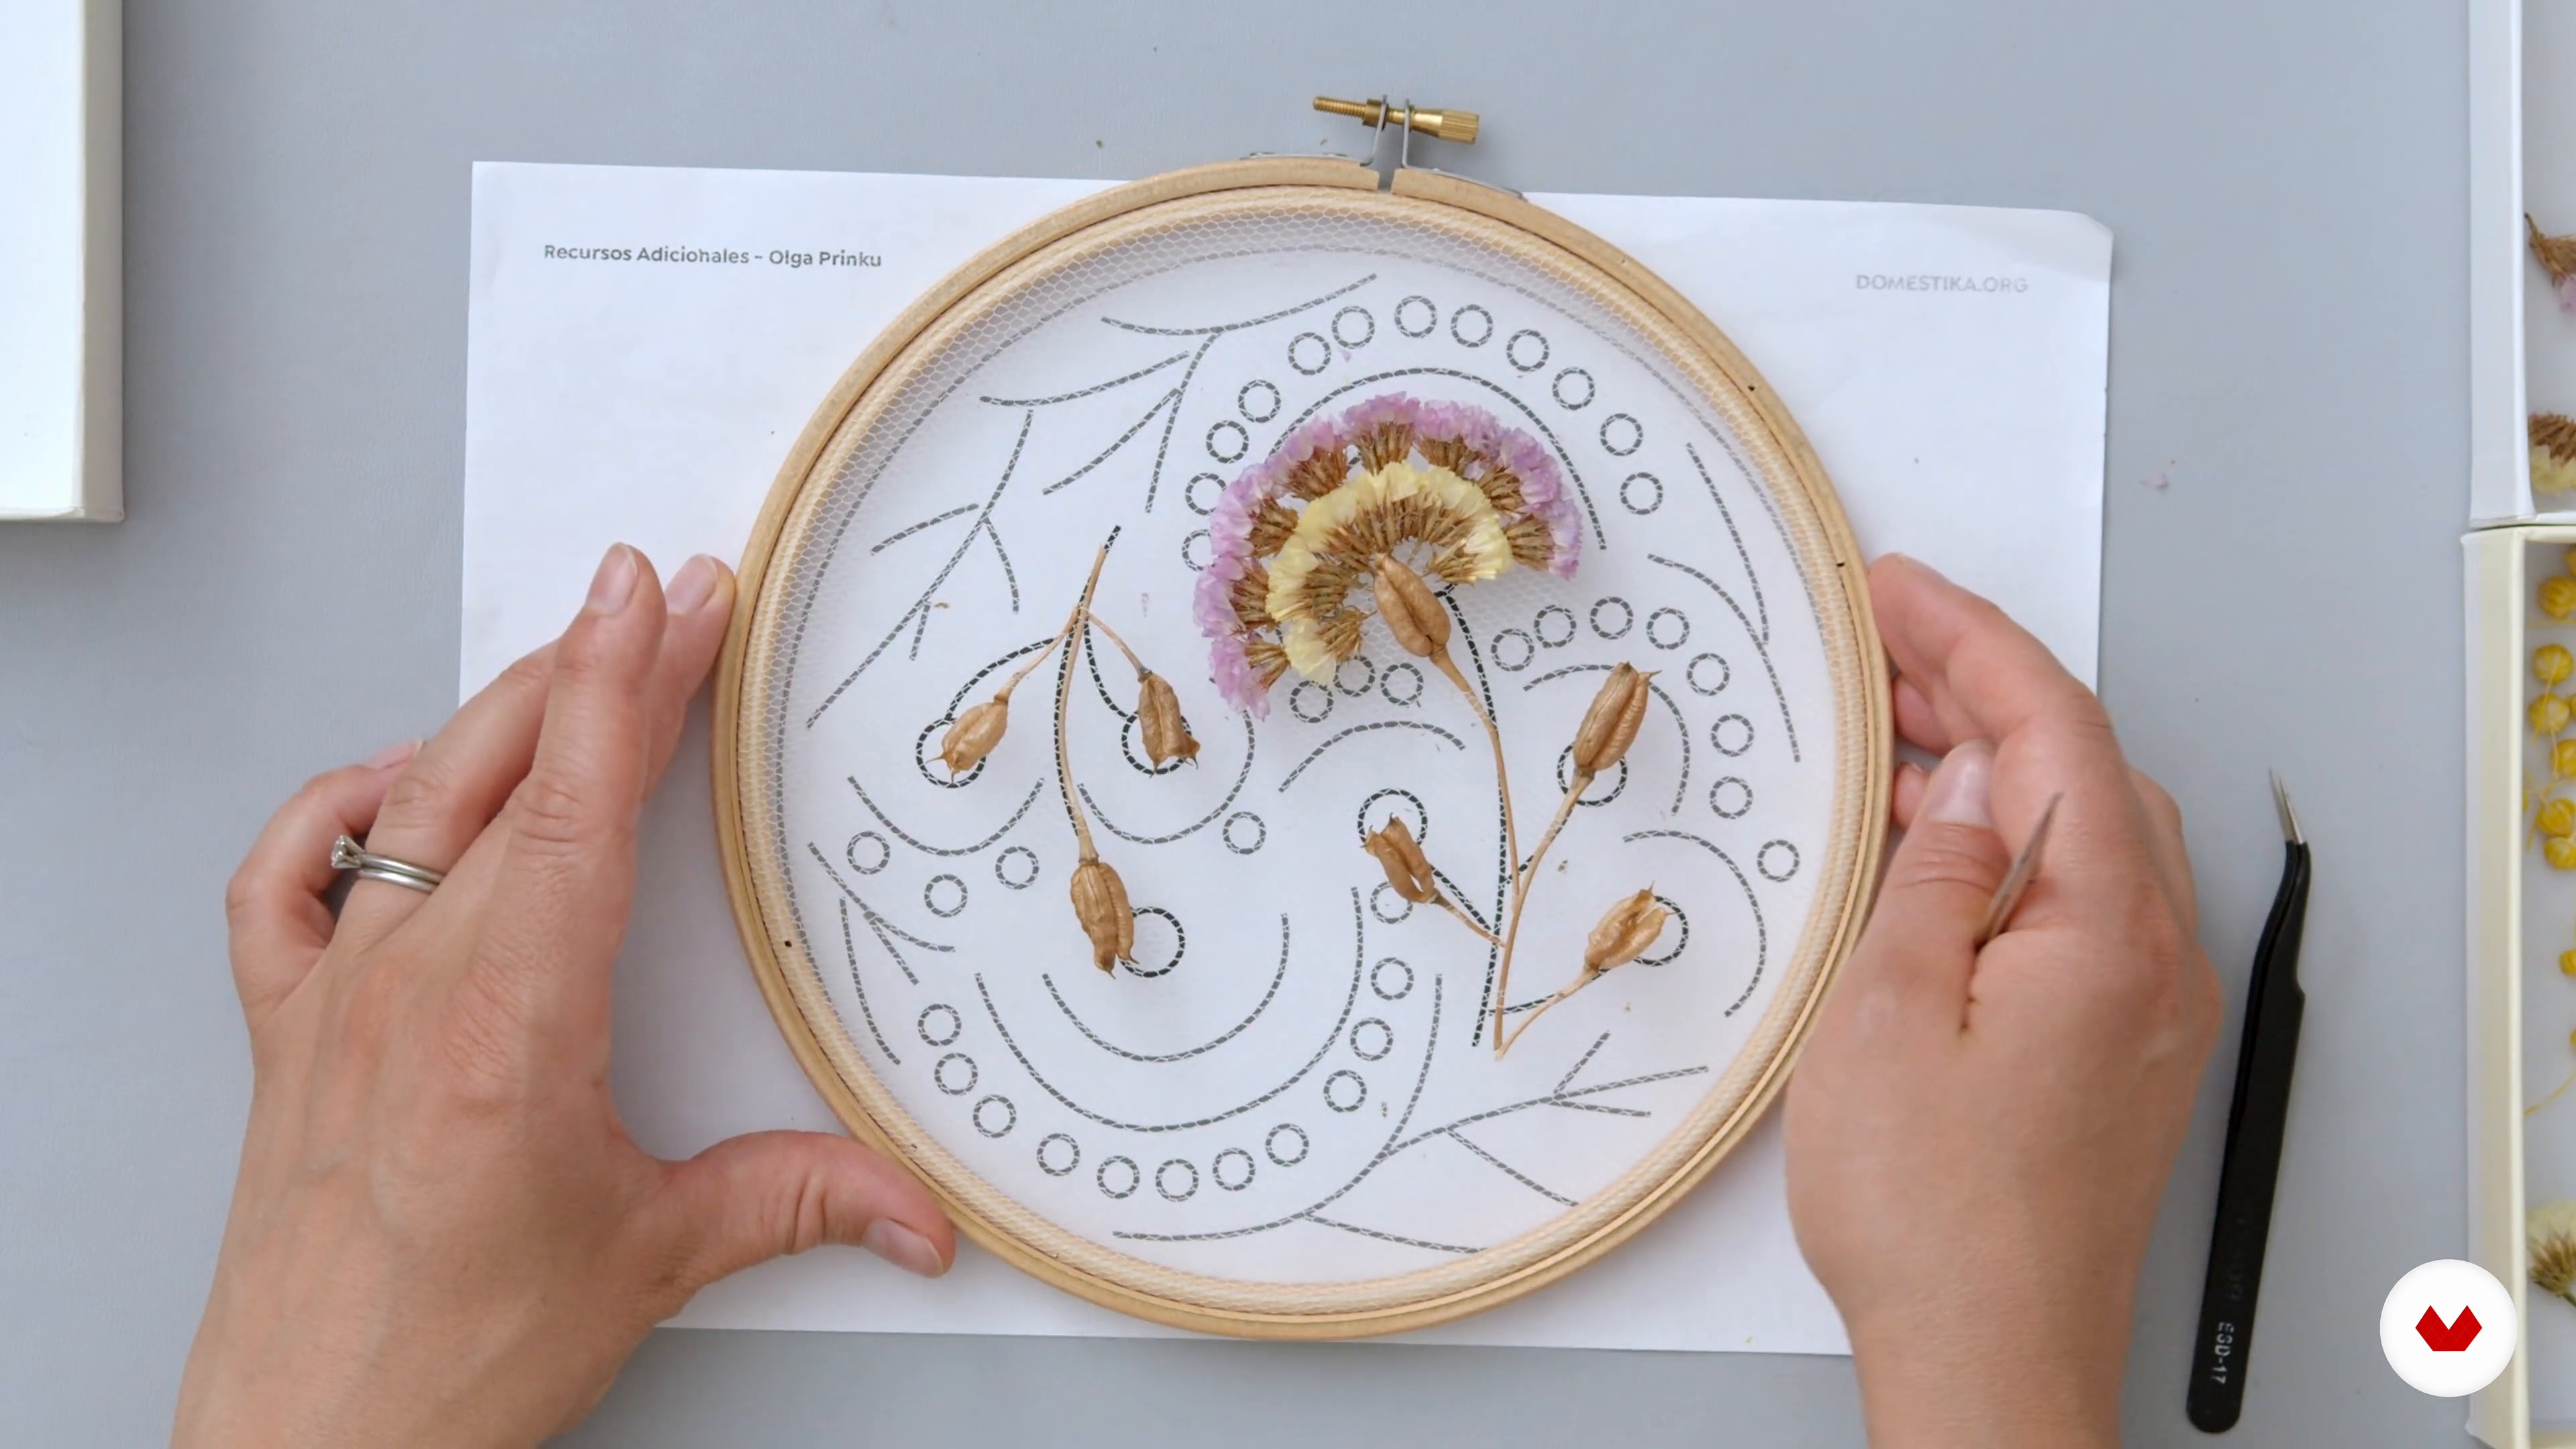
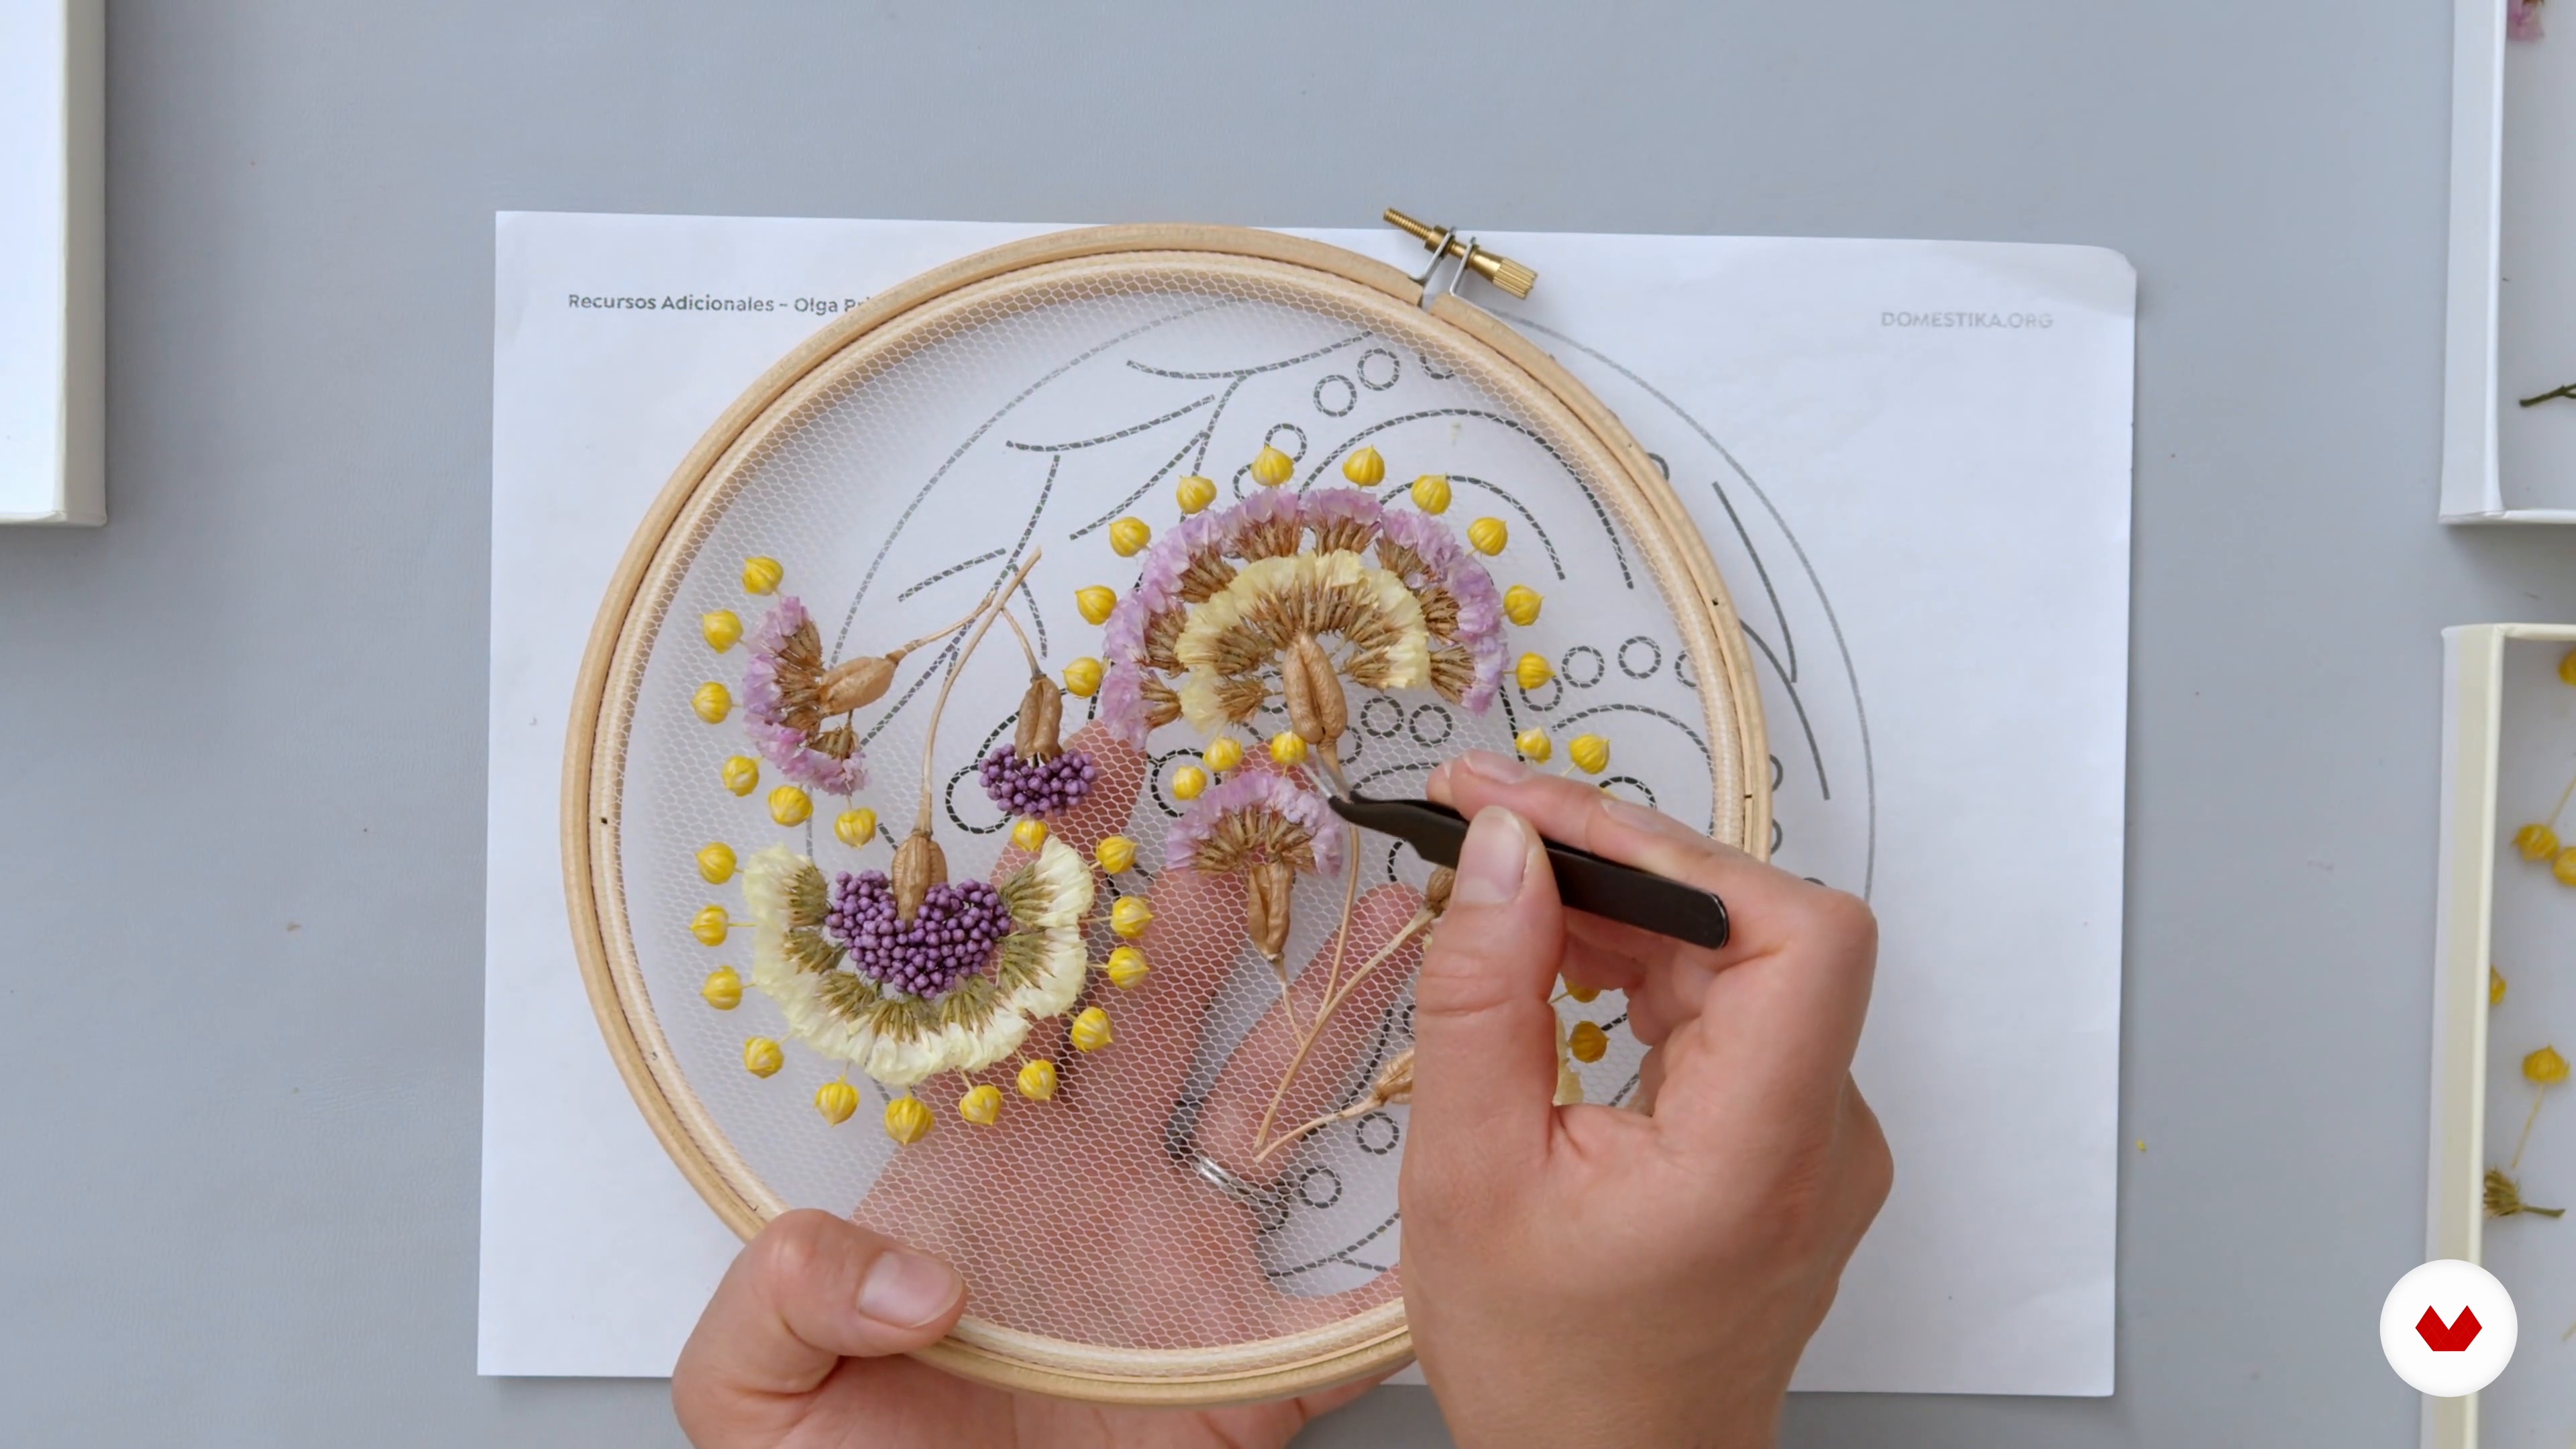
I will show you how to start to build your design, demonstrating how to place the bases for your complex floral shapes, spacing them out evenly within the hoop. Then I will demonstrate how to create a crown using the flowers I have chosen for my design, you can also do this with yours. Are you ready?
11m
image
13
Executing Your Final Design 2
I will show you how to further enhance your complex flowers by adding some berries or seed pods as accents in your final design.
20m
image
14
Executing Your Final Design 3
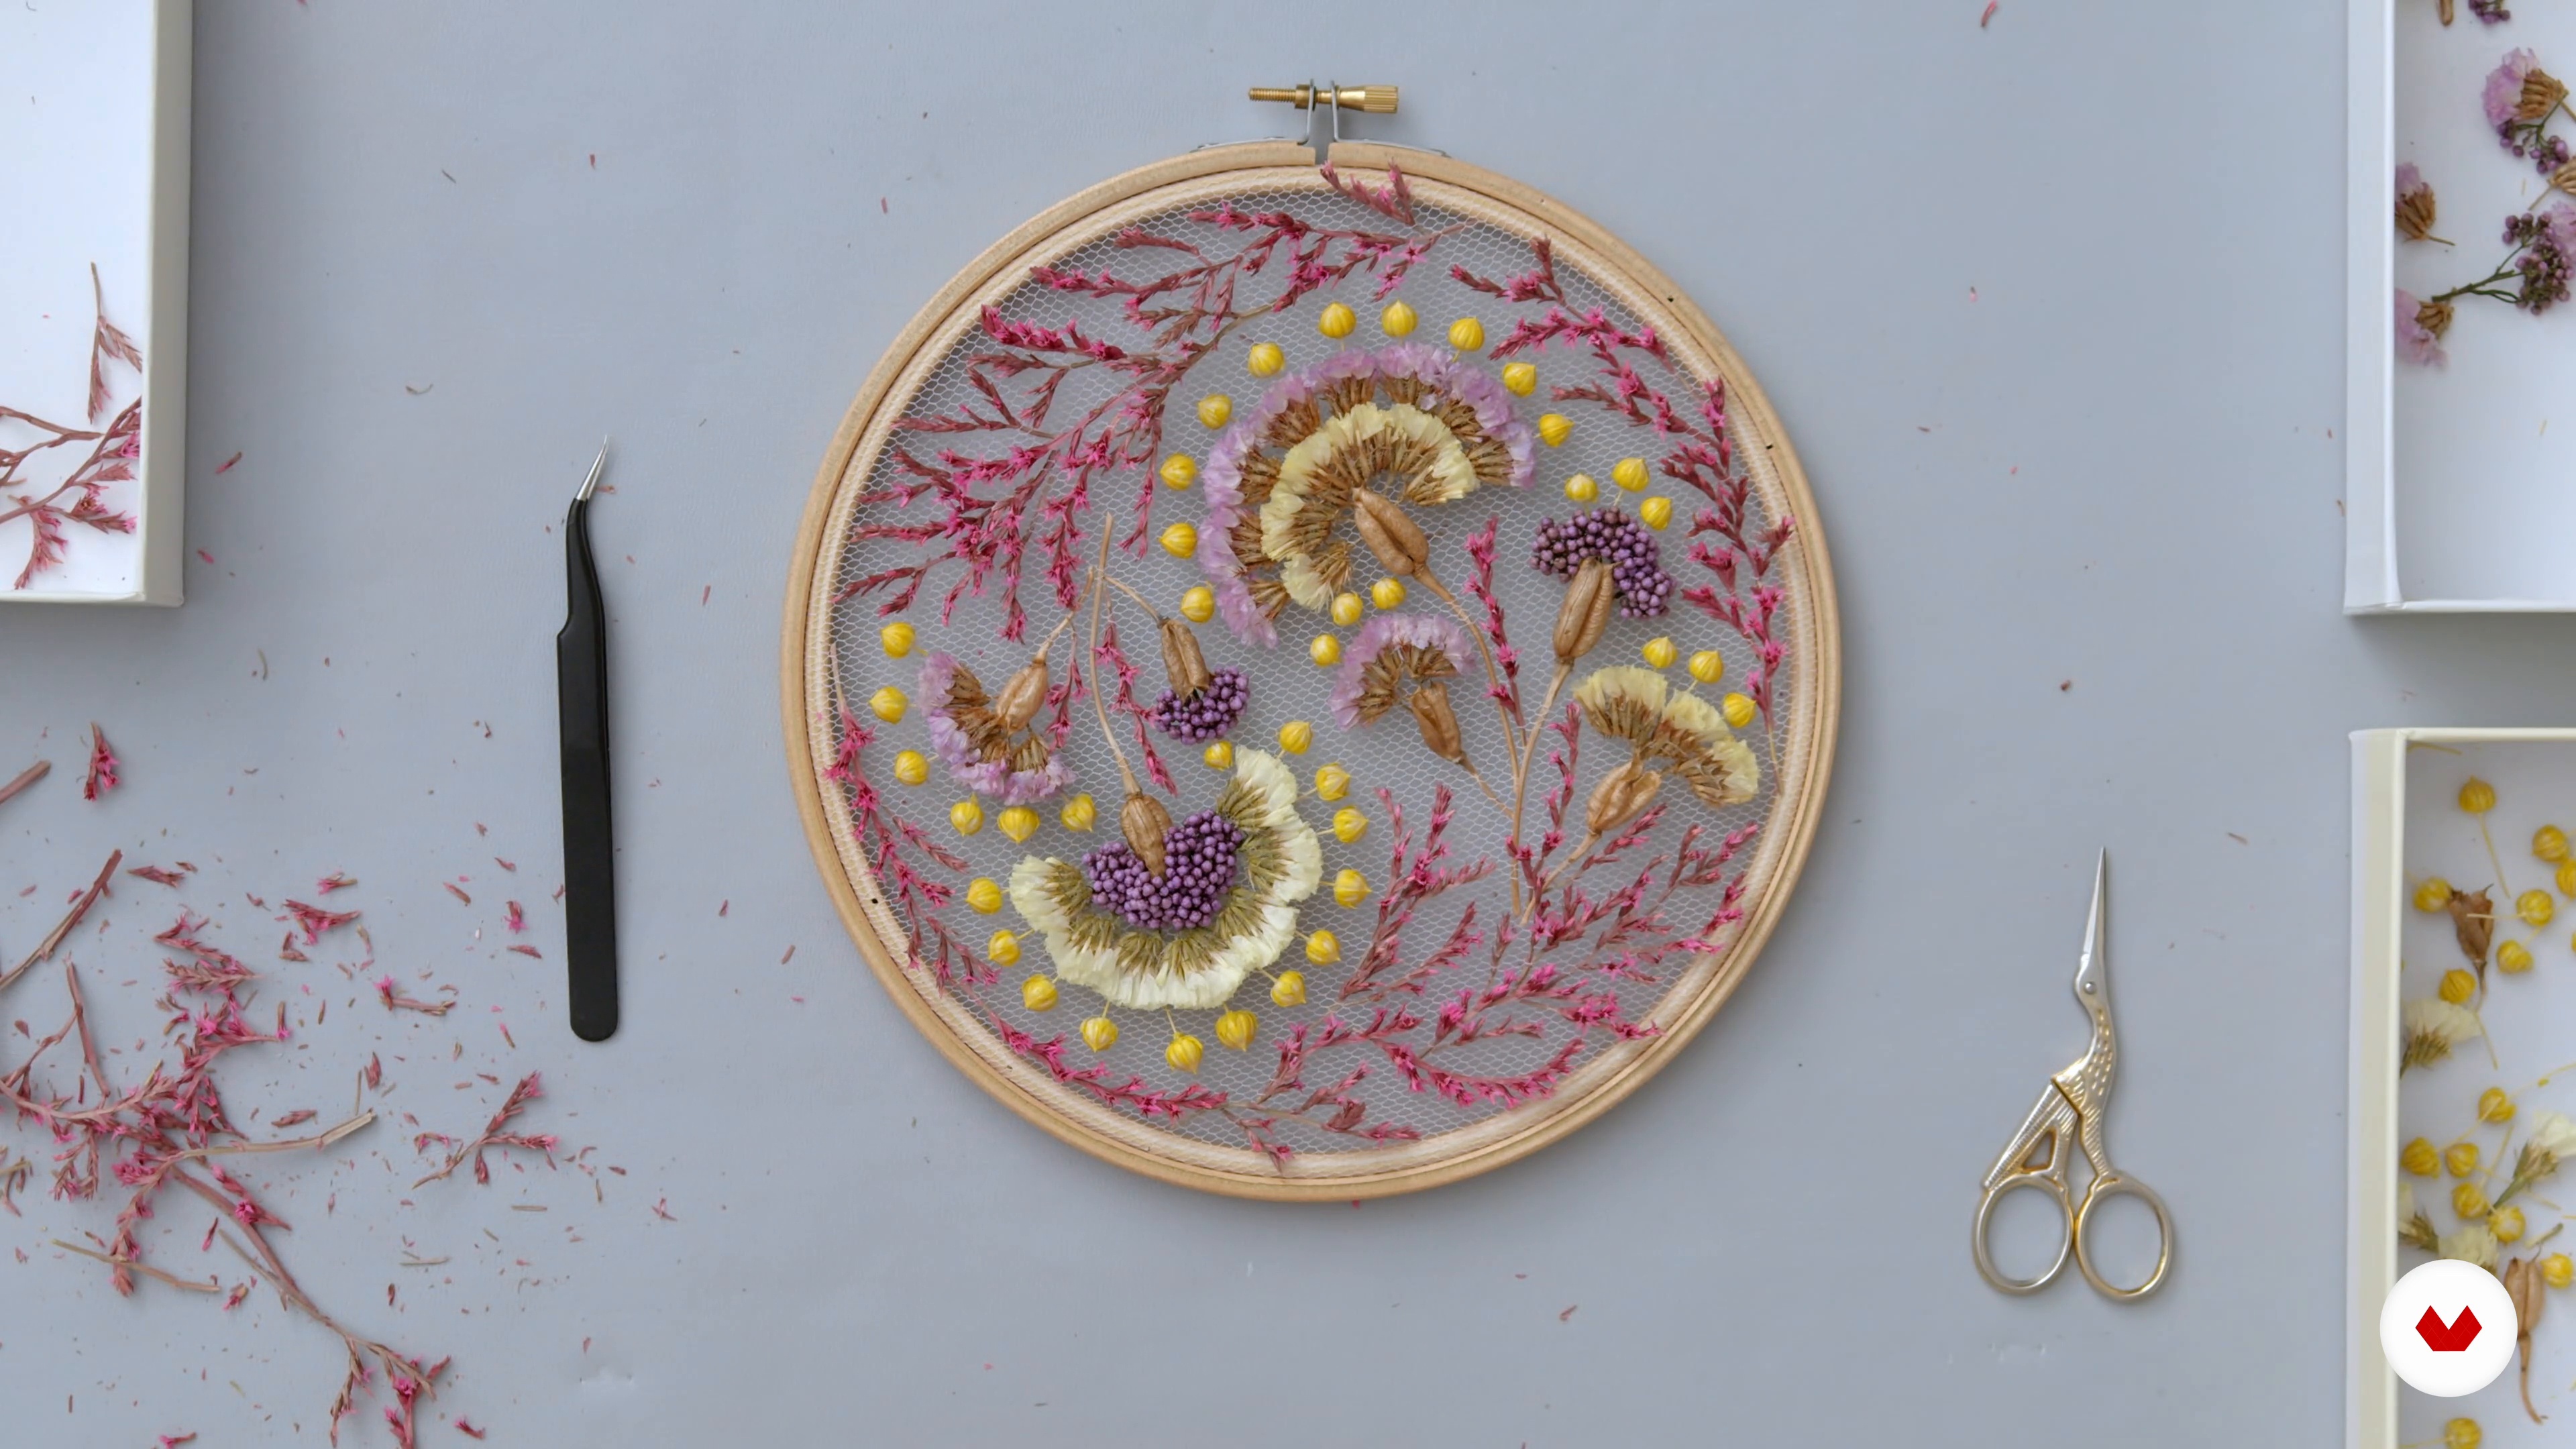
Now I will teach you how to fill the gaps that are missing, This is when you will realize if maybe your design is missing something else. [textbox type=alert]Remember, you can leave your design for a couple of days, and then come back with fresh eyes. This is what I like to do, and I find it helpful in the process.[/textbox]
18m
image
15
How to Seal Your Final Work
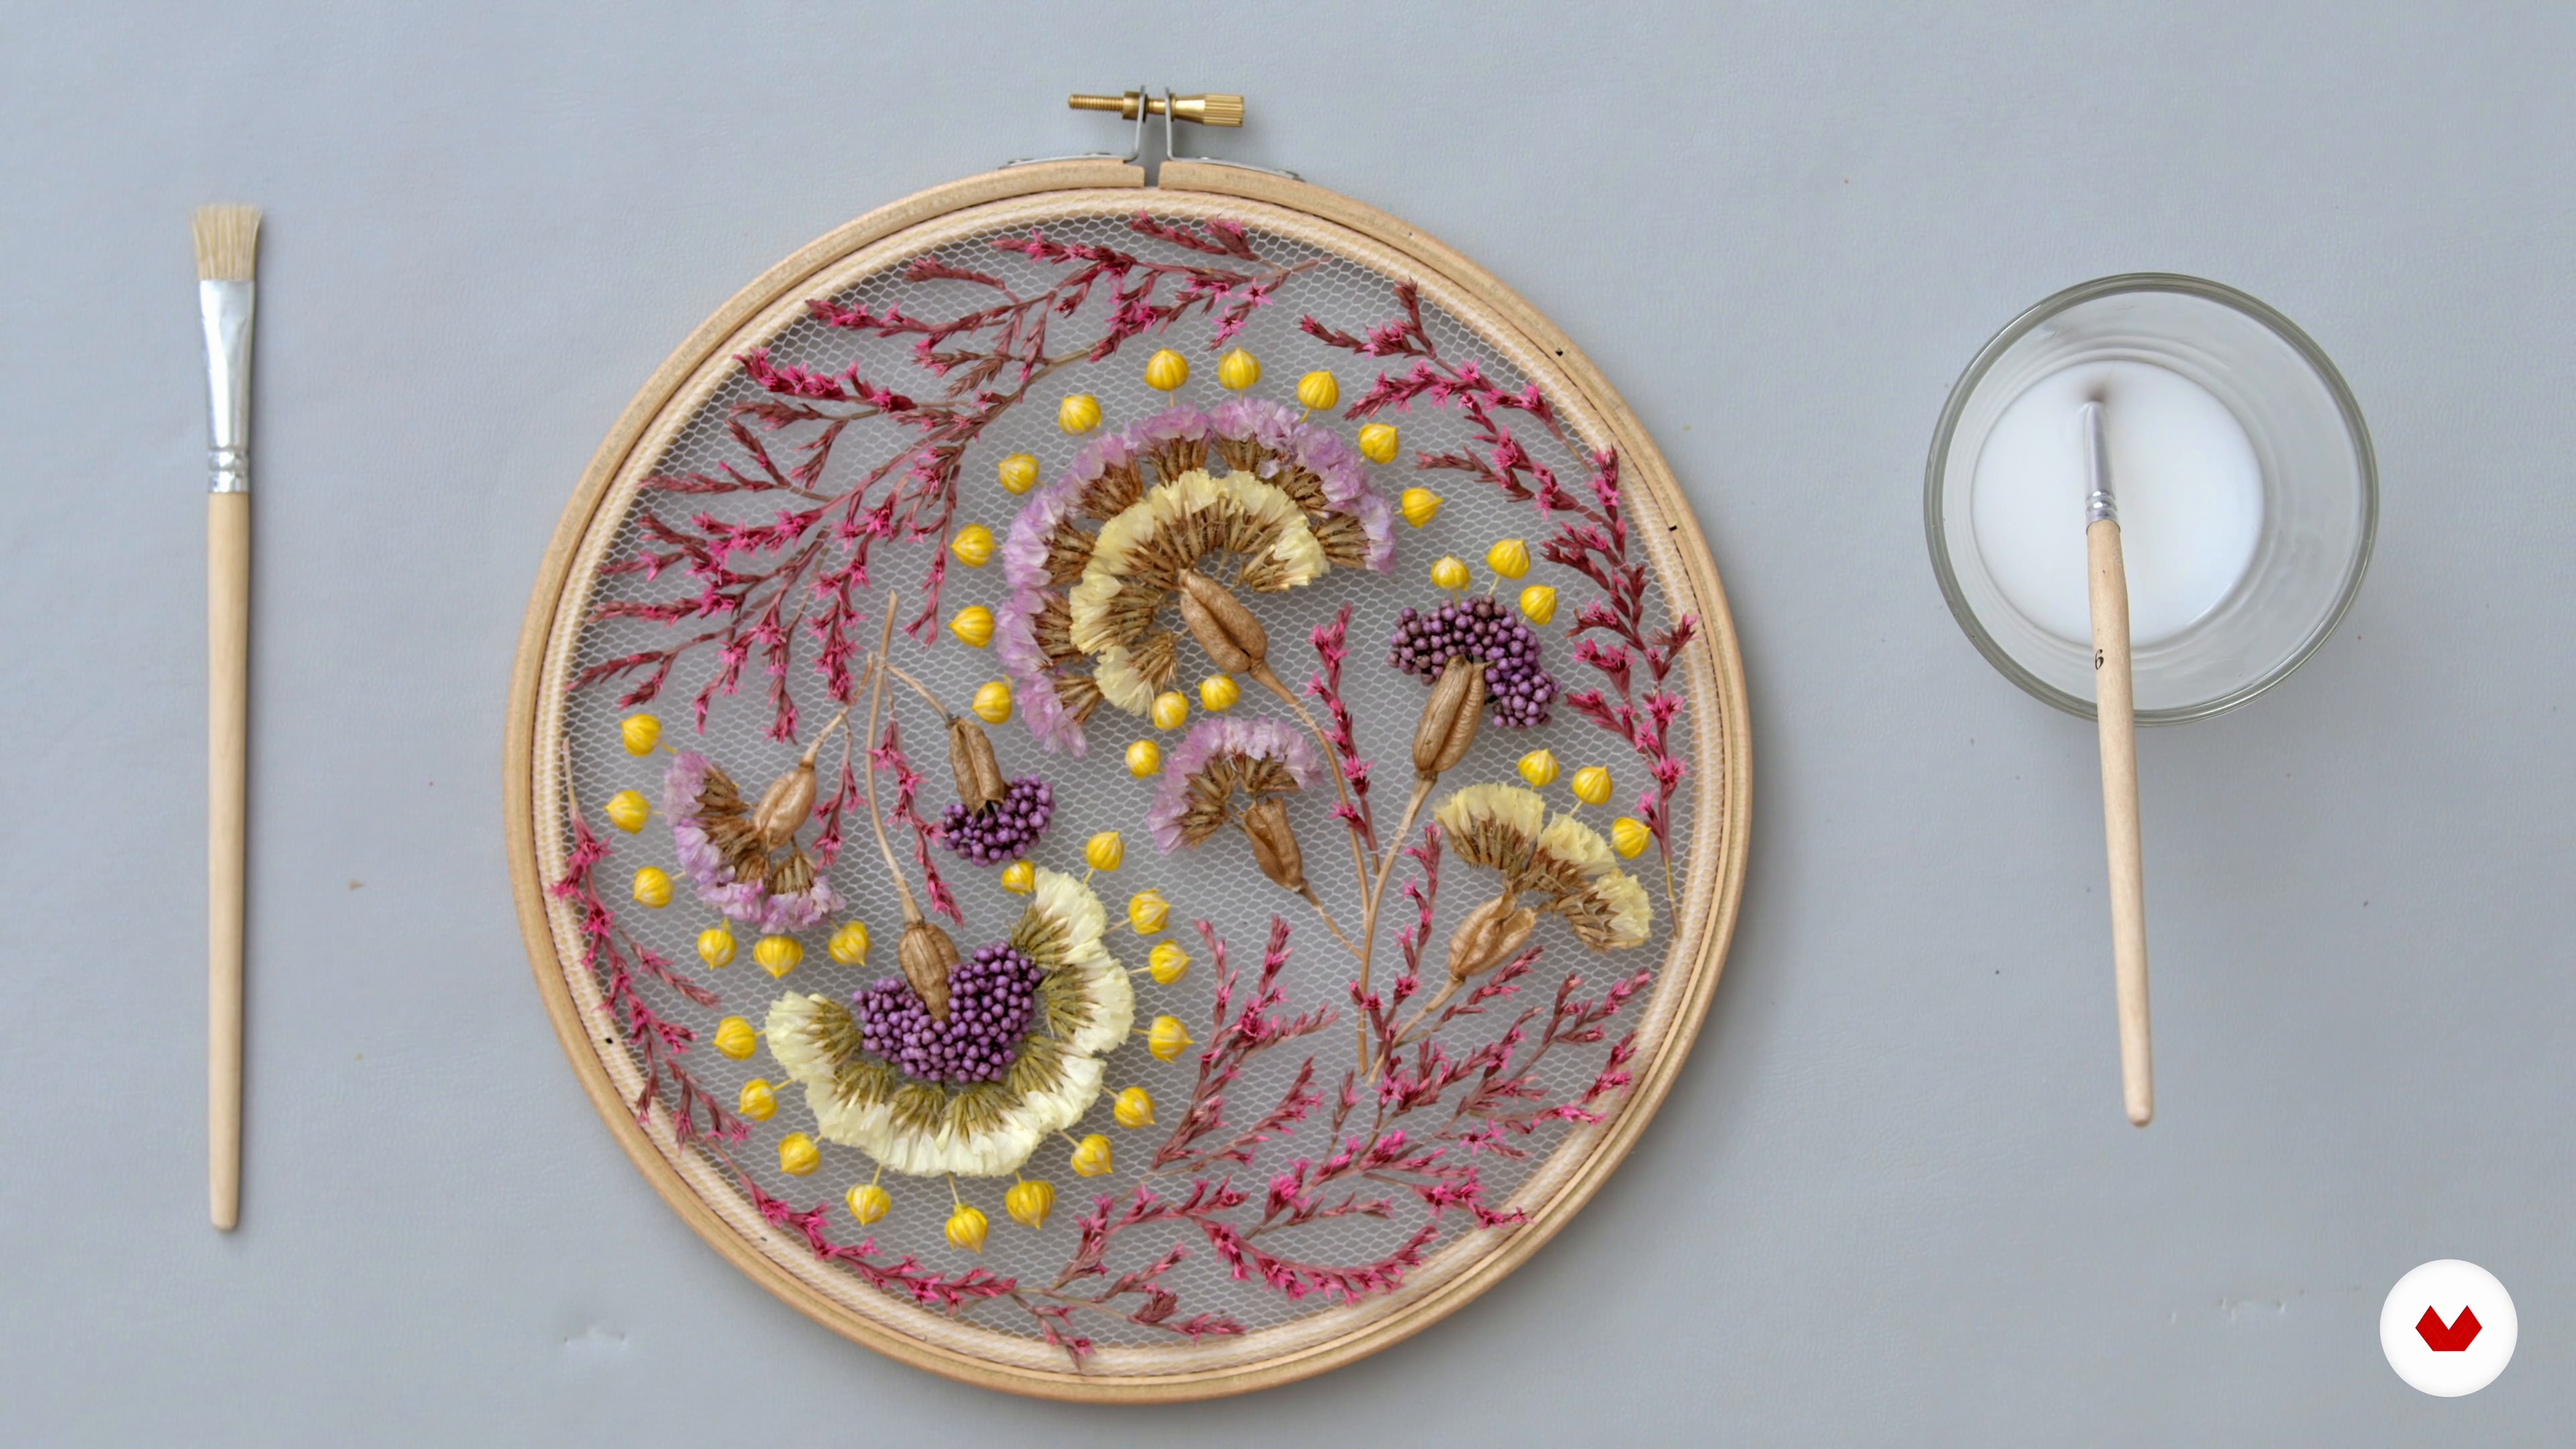
You will learn about the method I like to use to secure and seal my final work – and why it is important to use, to minimise the chances of anything moving within the design or becoming detached with movement if you need to transport your piece.
6m
image
16
Framing Your Work for Display
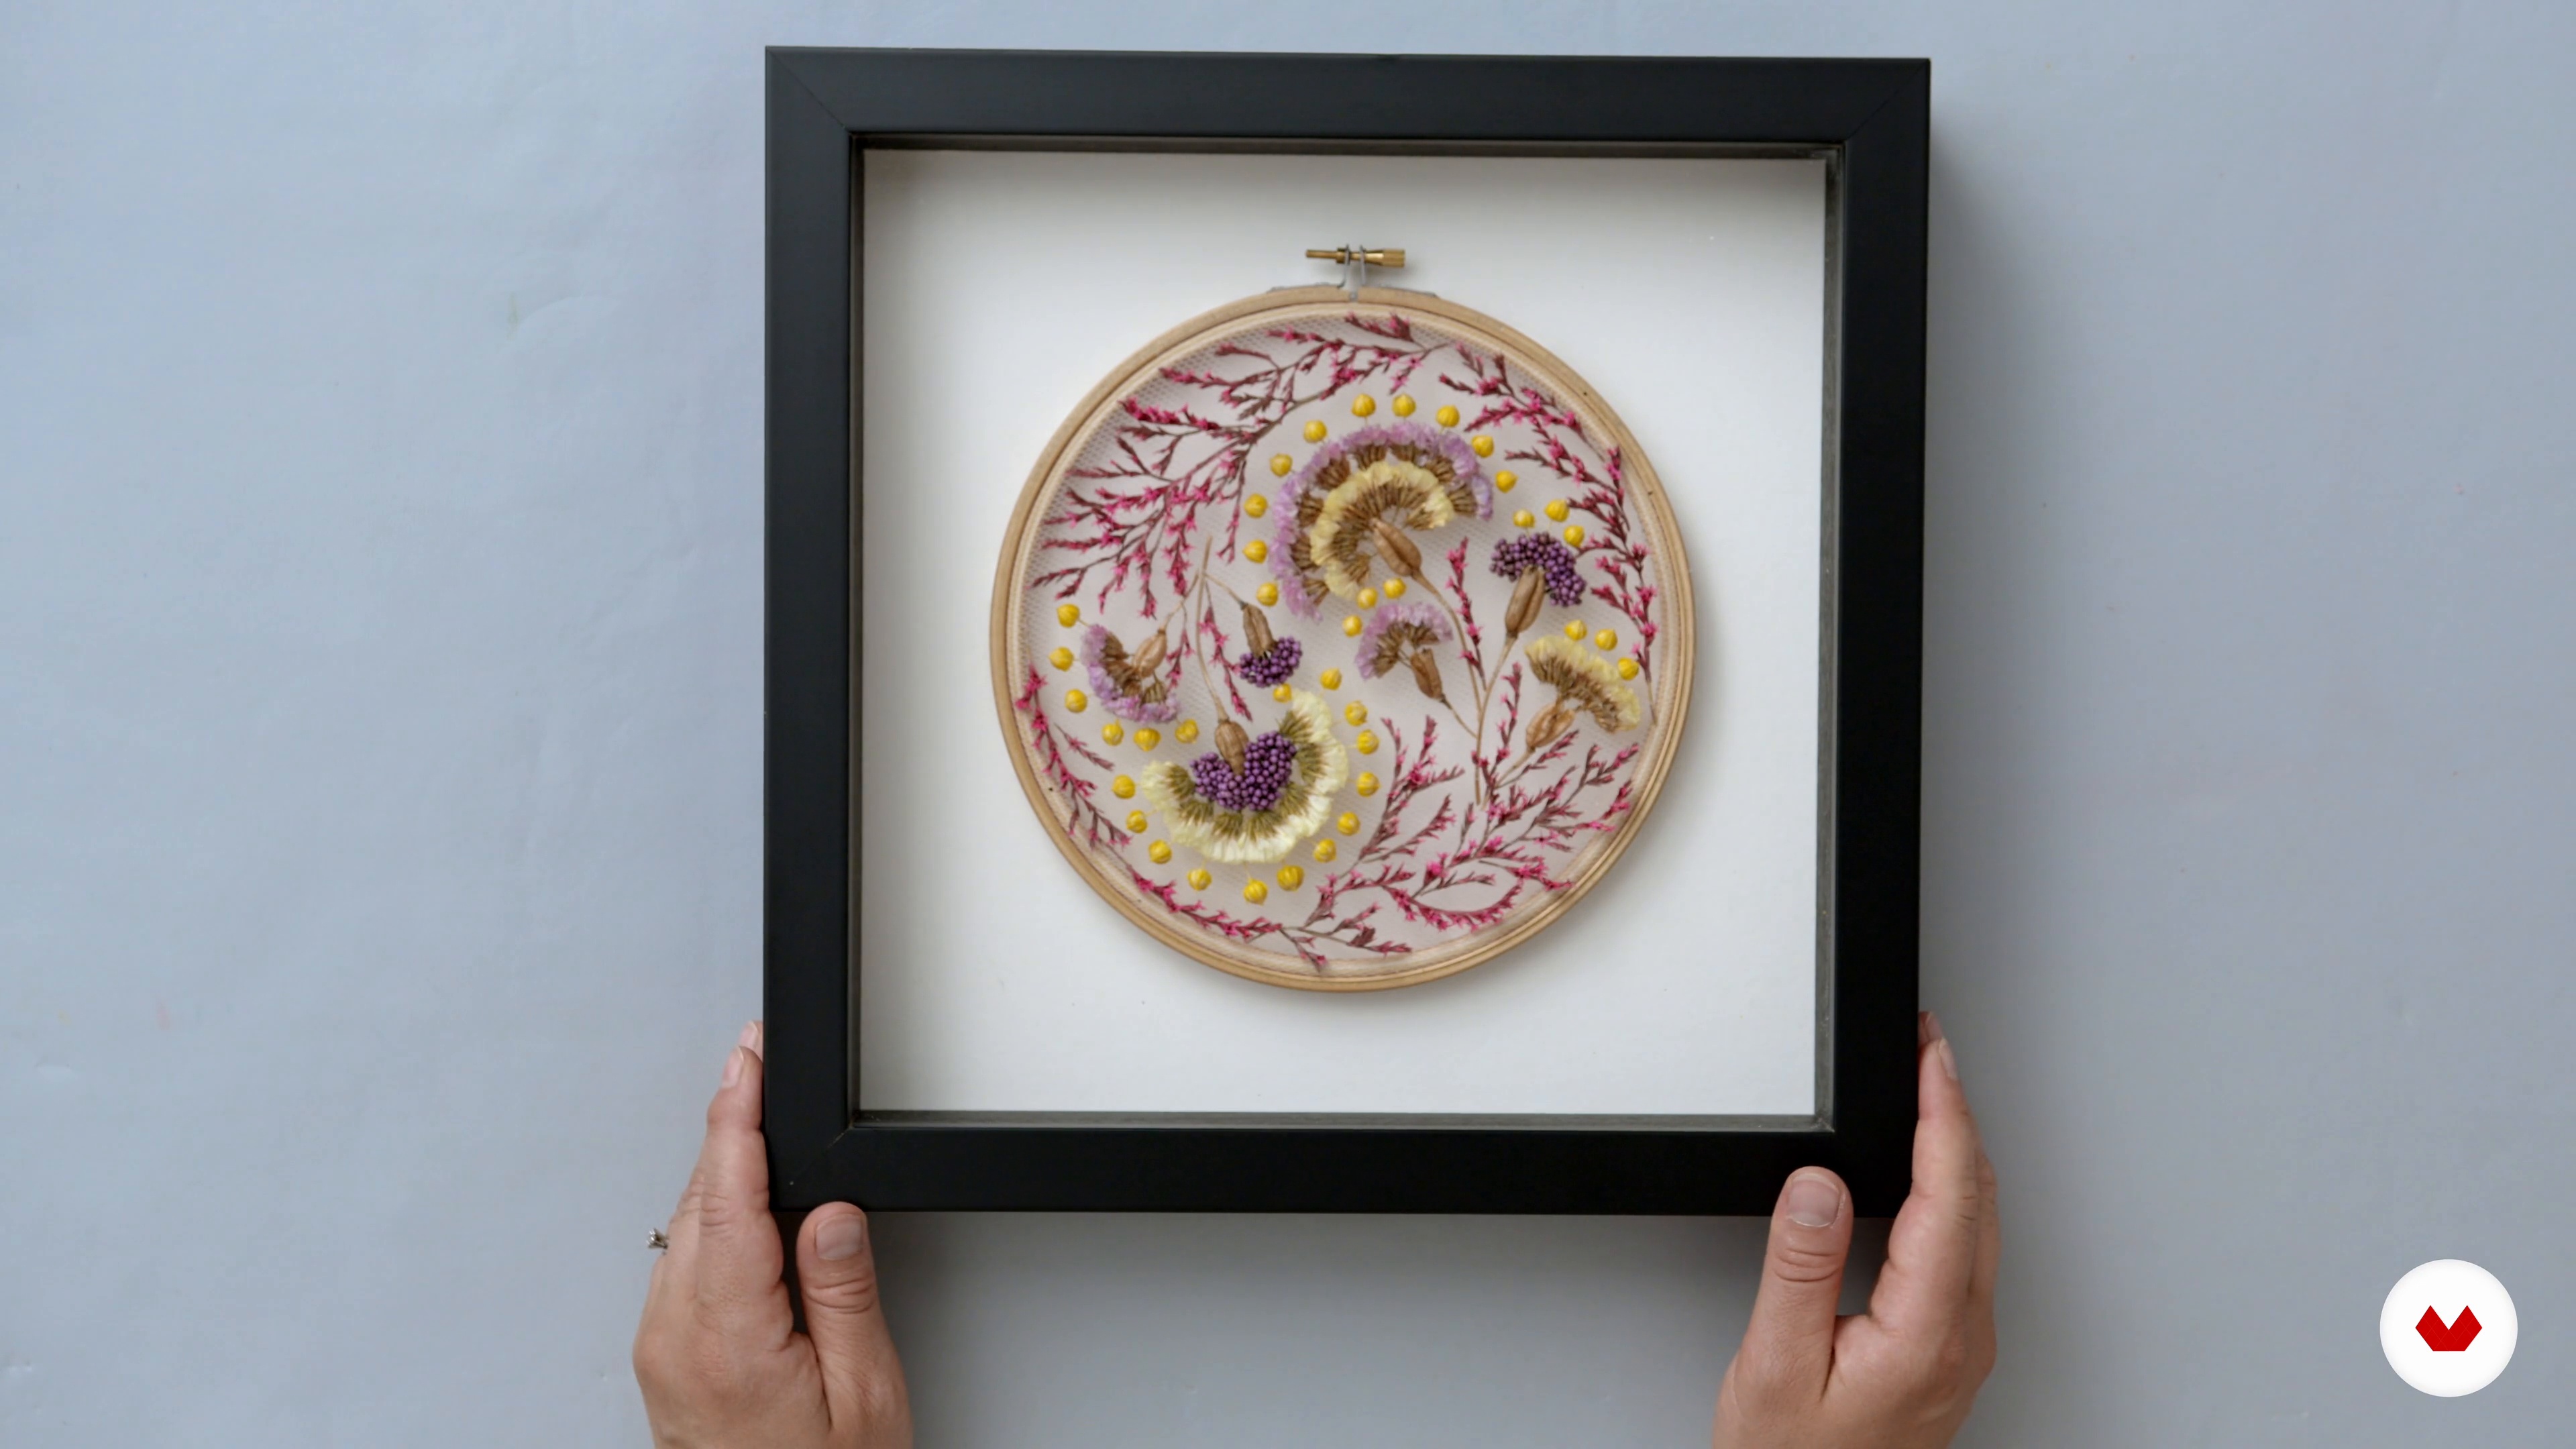
In this lesson, I will show you some possible ways to frame your work. You will learn about shadow boxes, as I tell you about the methods of glueing or using double-sided tape. I will talk about choosing the right colour for your back mount to minimise the visibility of the tulle and make the design appear to float.
9m
image
3
Sustainable Art and Curiosity
In this lesson we are going to tell you about the importance of sustainability and curiosity for us. We will also introduce you to the essence of our project.
4m
image
4
Botanical Dye Sources and Their Cycle
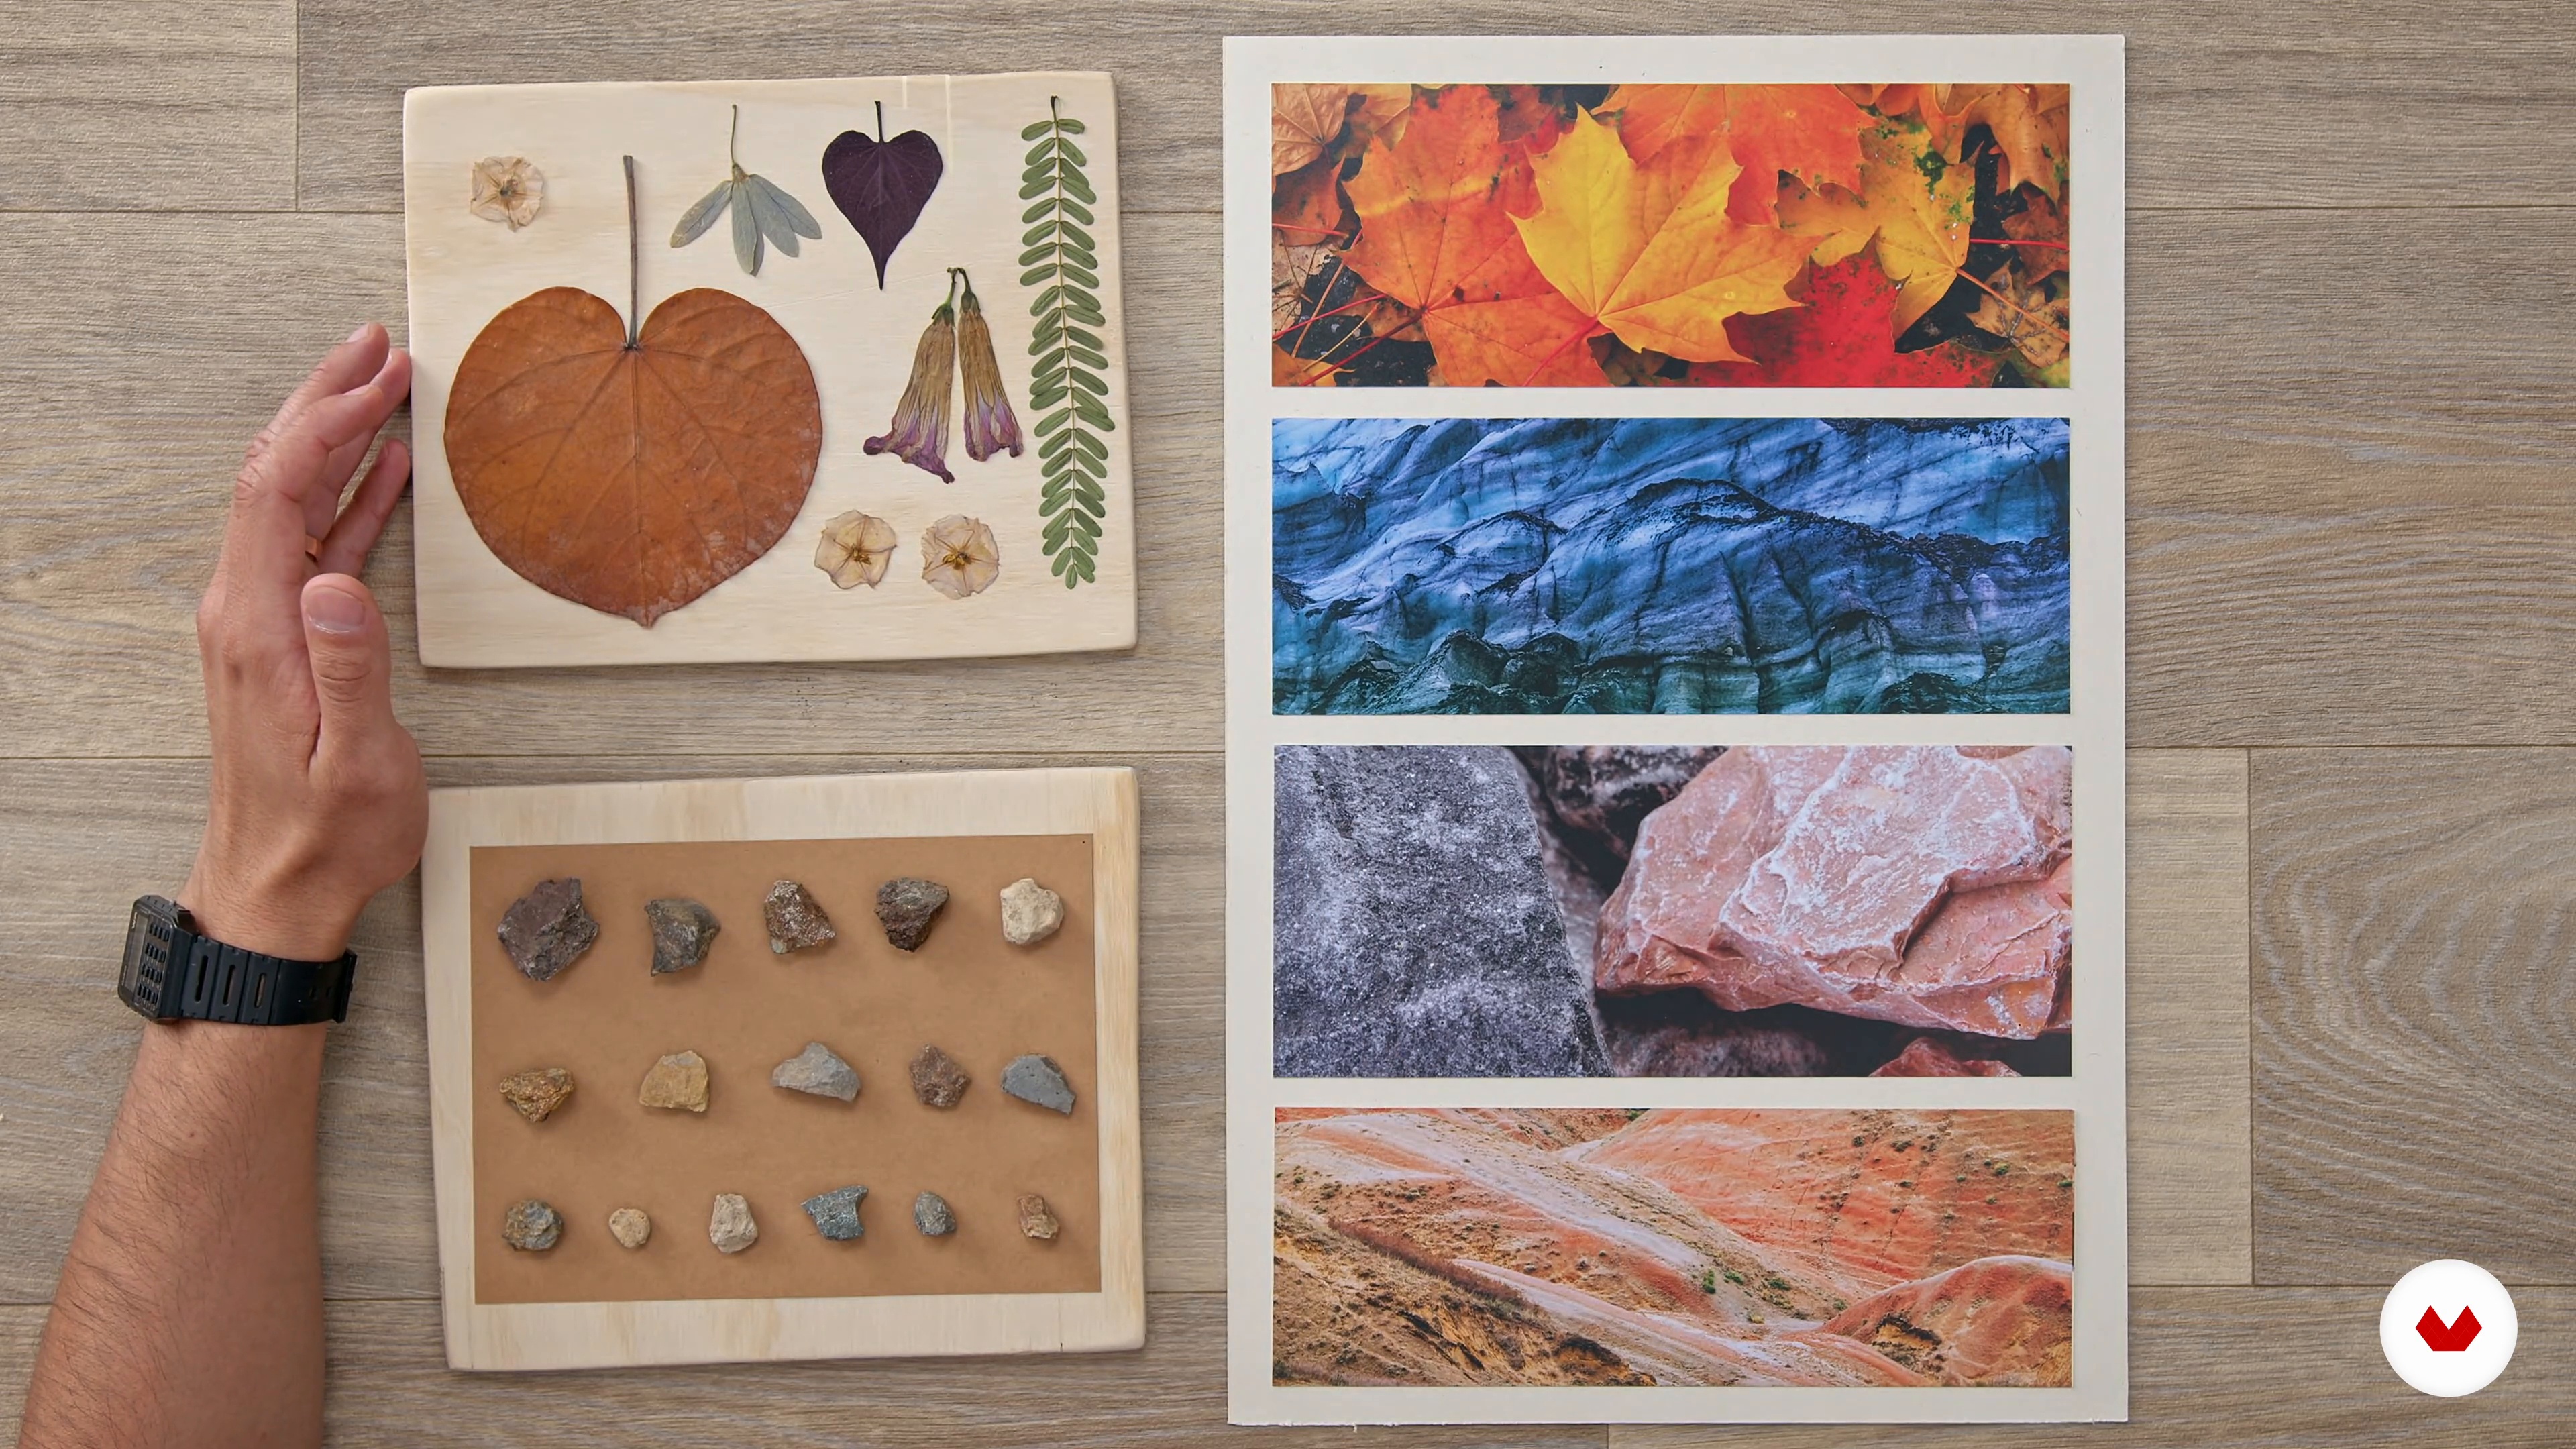
Let's get closer to botany. In this lesson we will understand plants as natural dyes, their useful life, their natural cycle and how and what to collect.
4m
image
5
Natural Classification of Vegetable and Botanical Dyes
It is time to learn the classification of natural pigments. Knowing it is important to know what colors you can get.
4m
image
6
Recognition of Materials and Tools
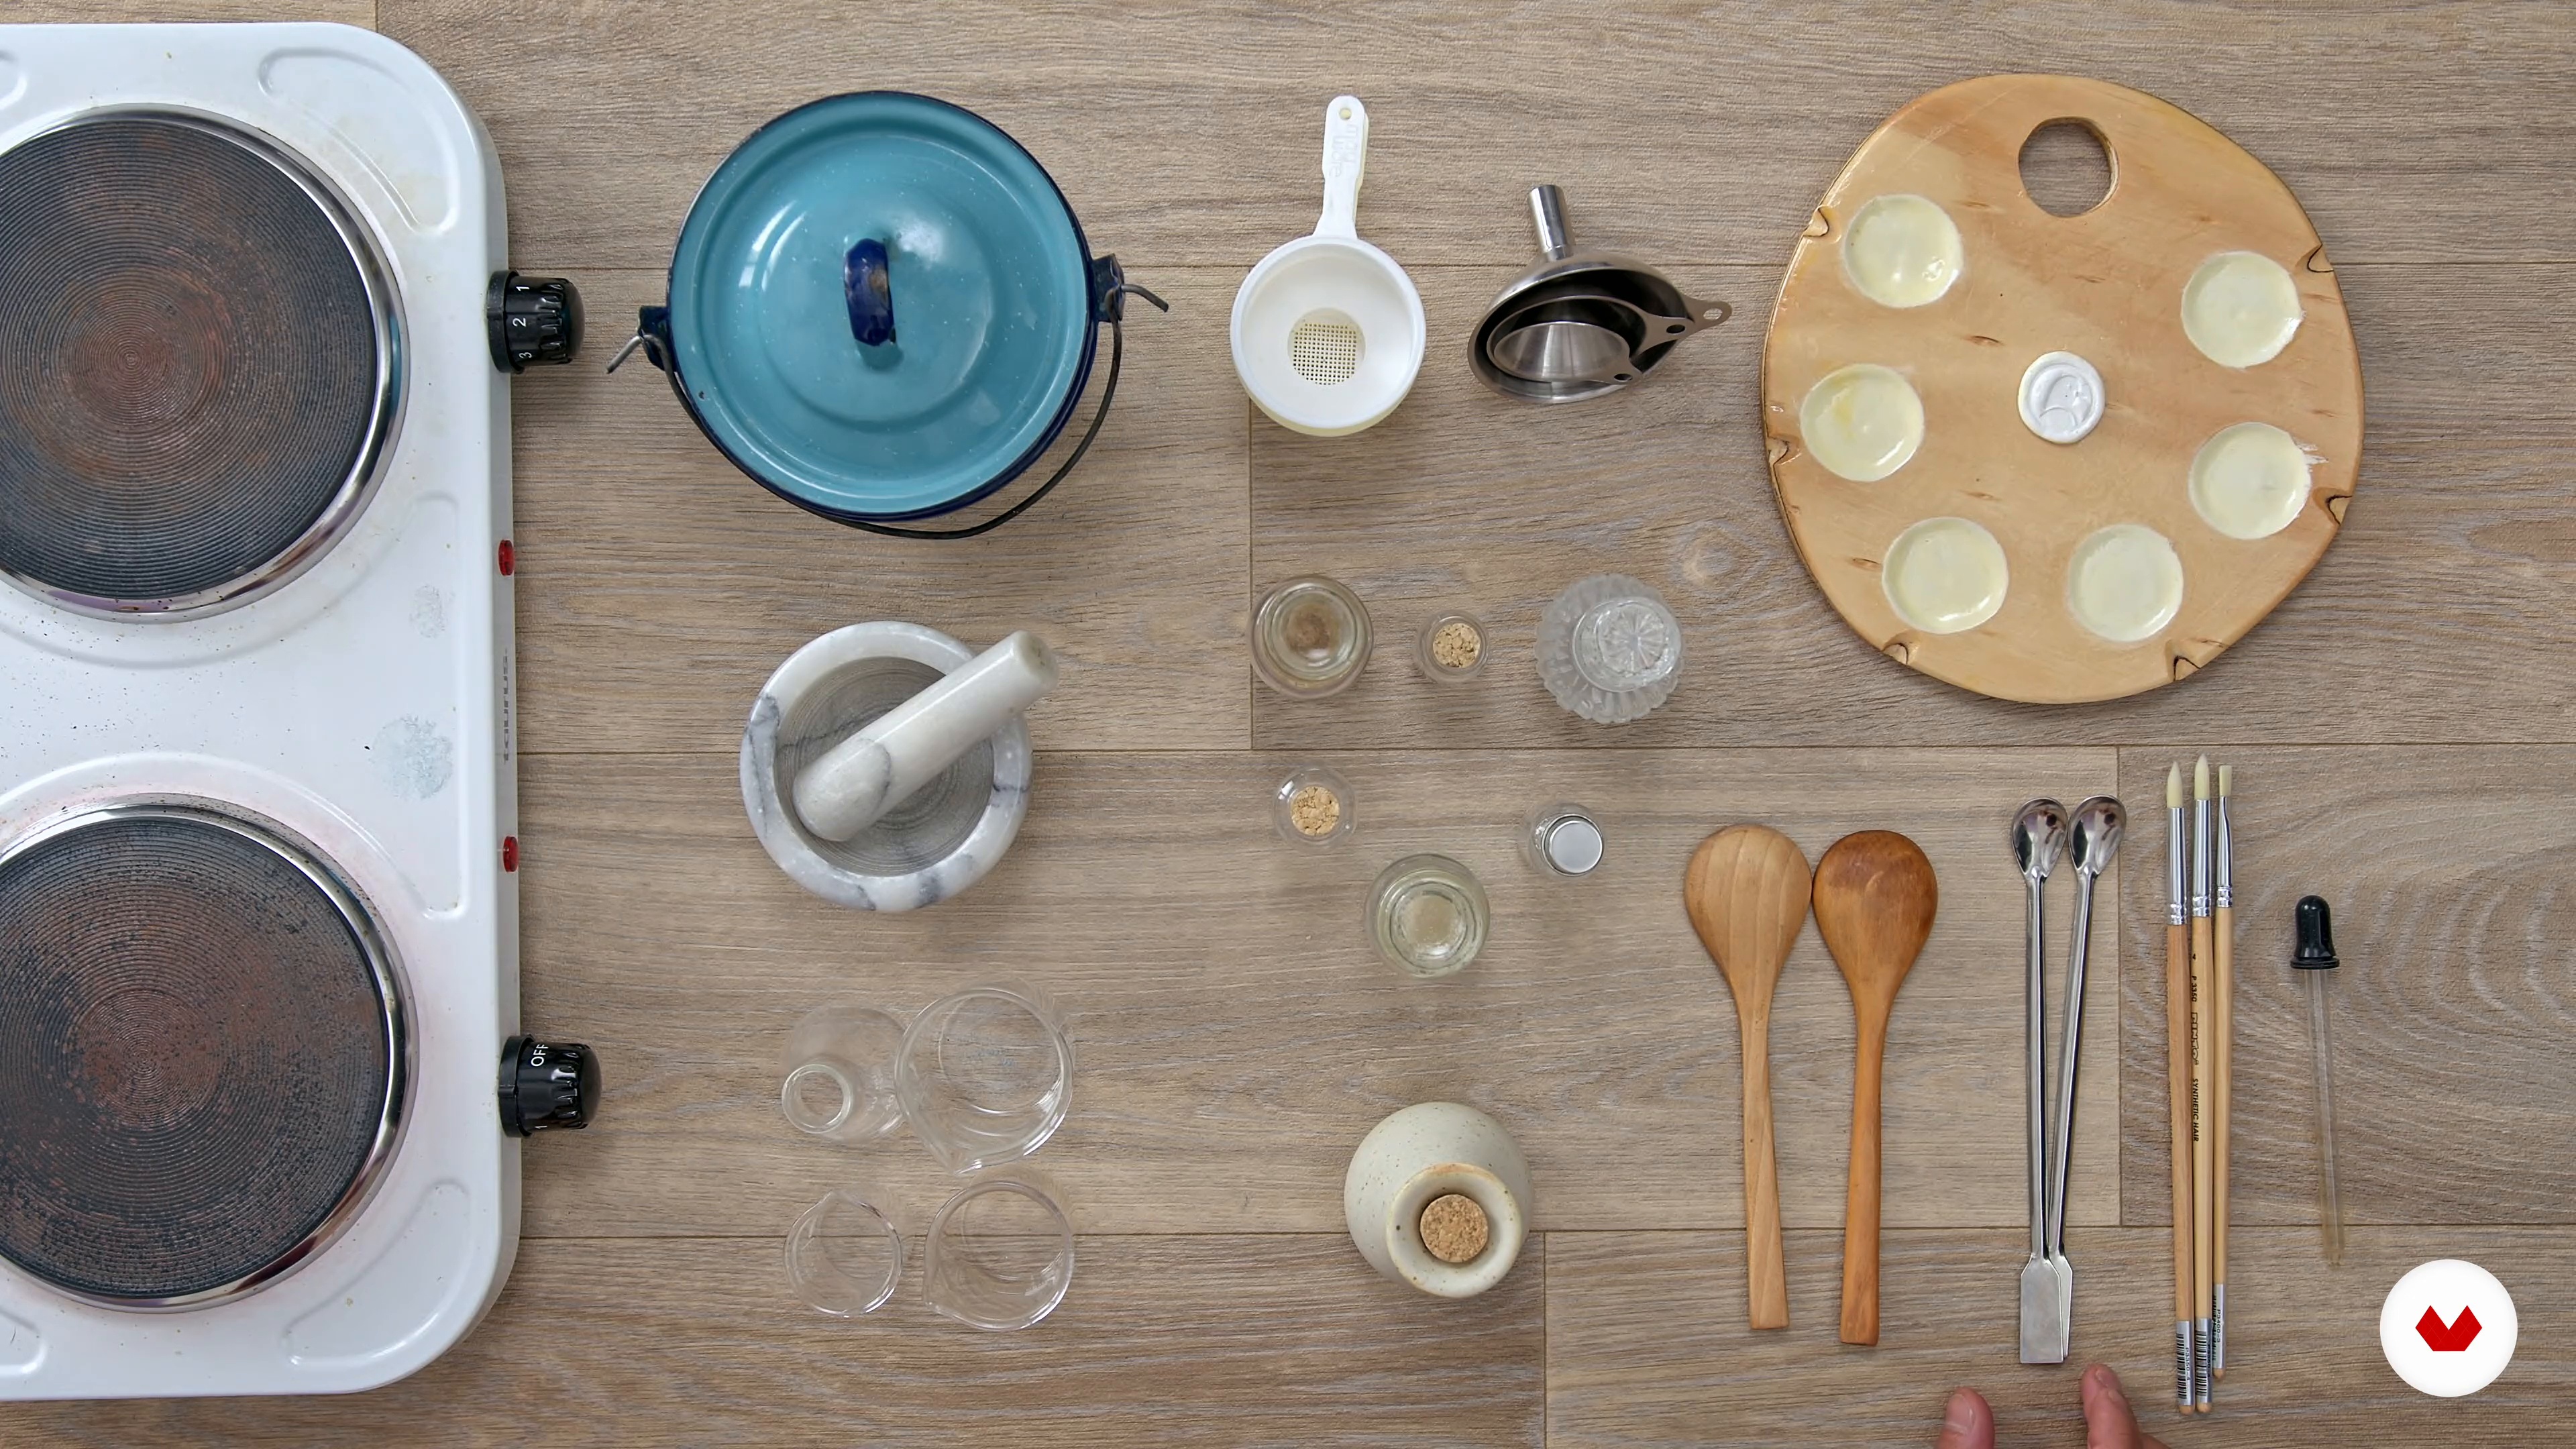
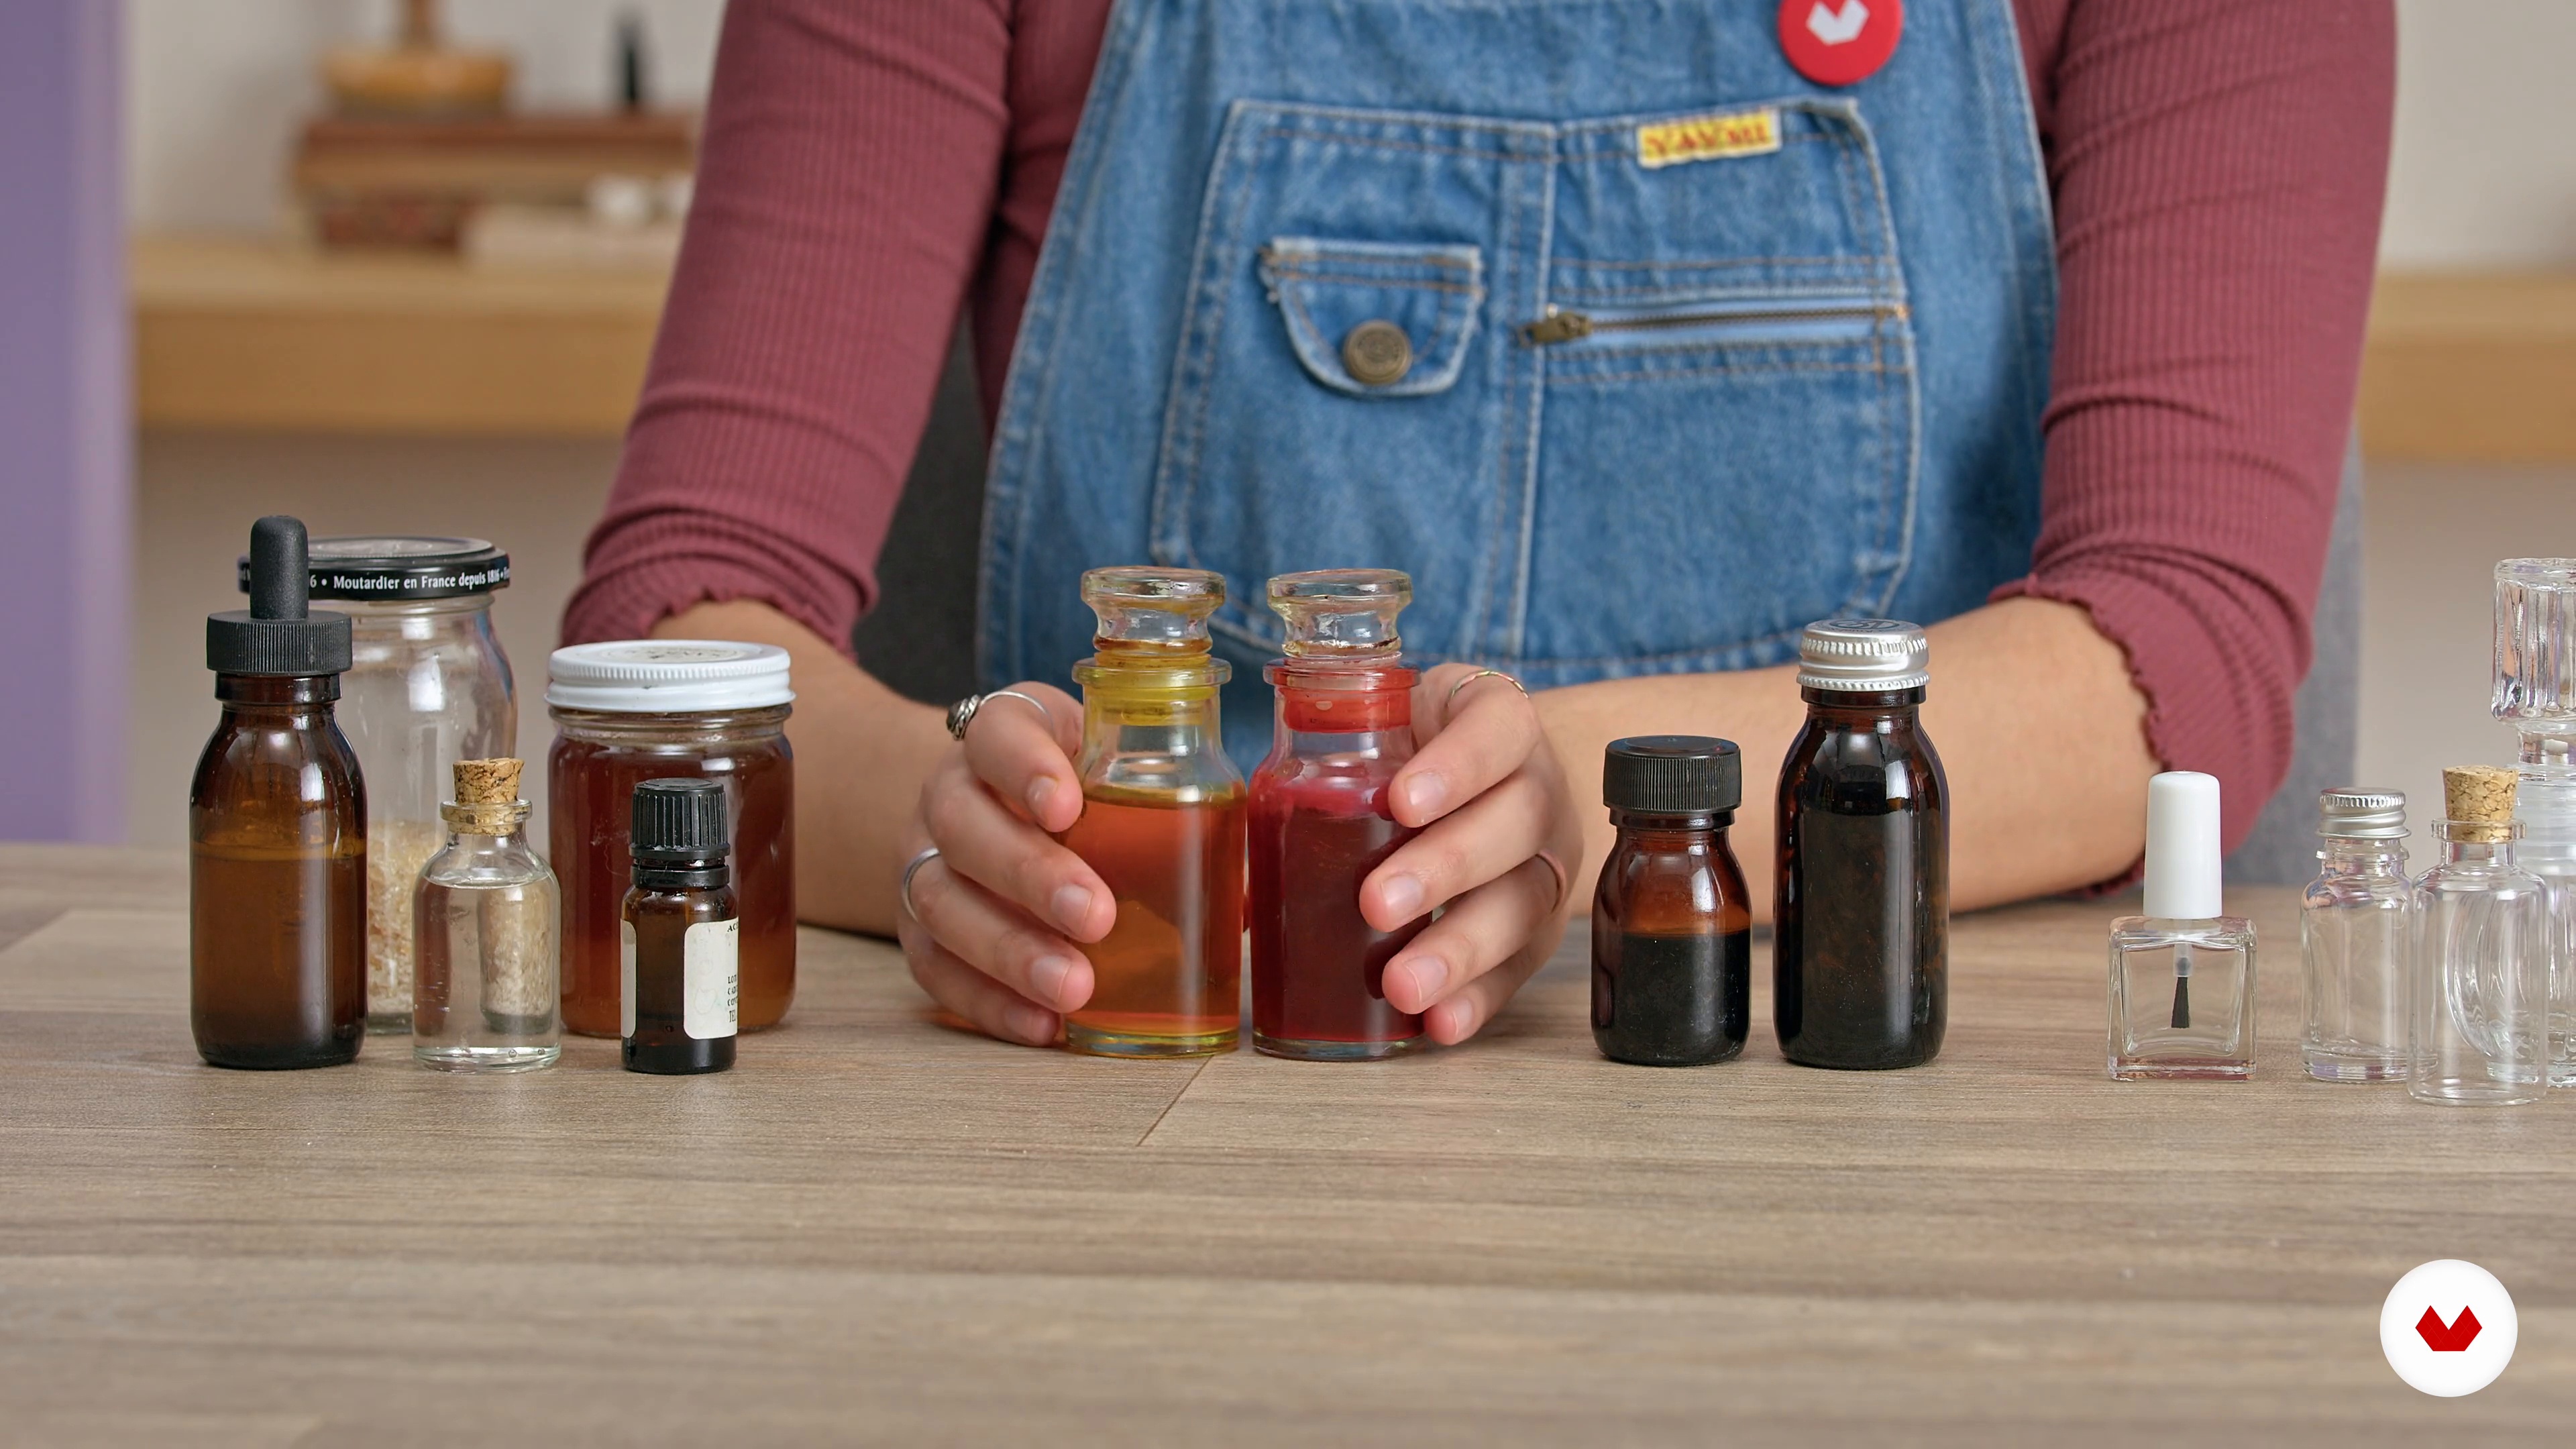
Finally, we are going to teach you how to identify the materials you will need and the tools to use during your extraction process.
3m
image
7
Extraction Procedure: Cooking and Crushing
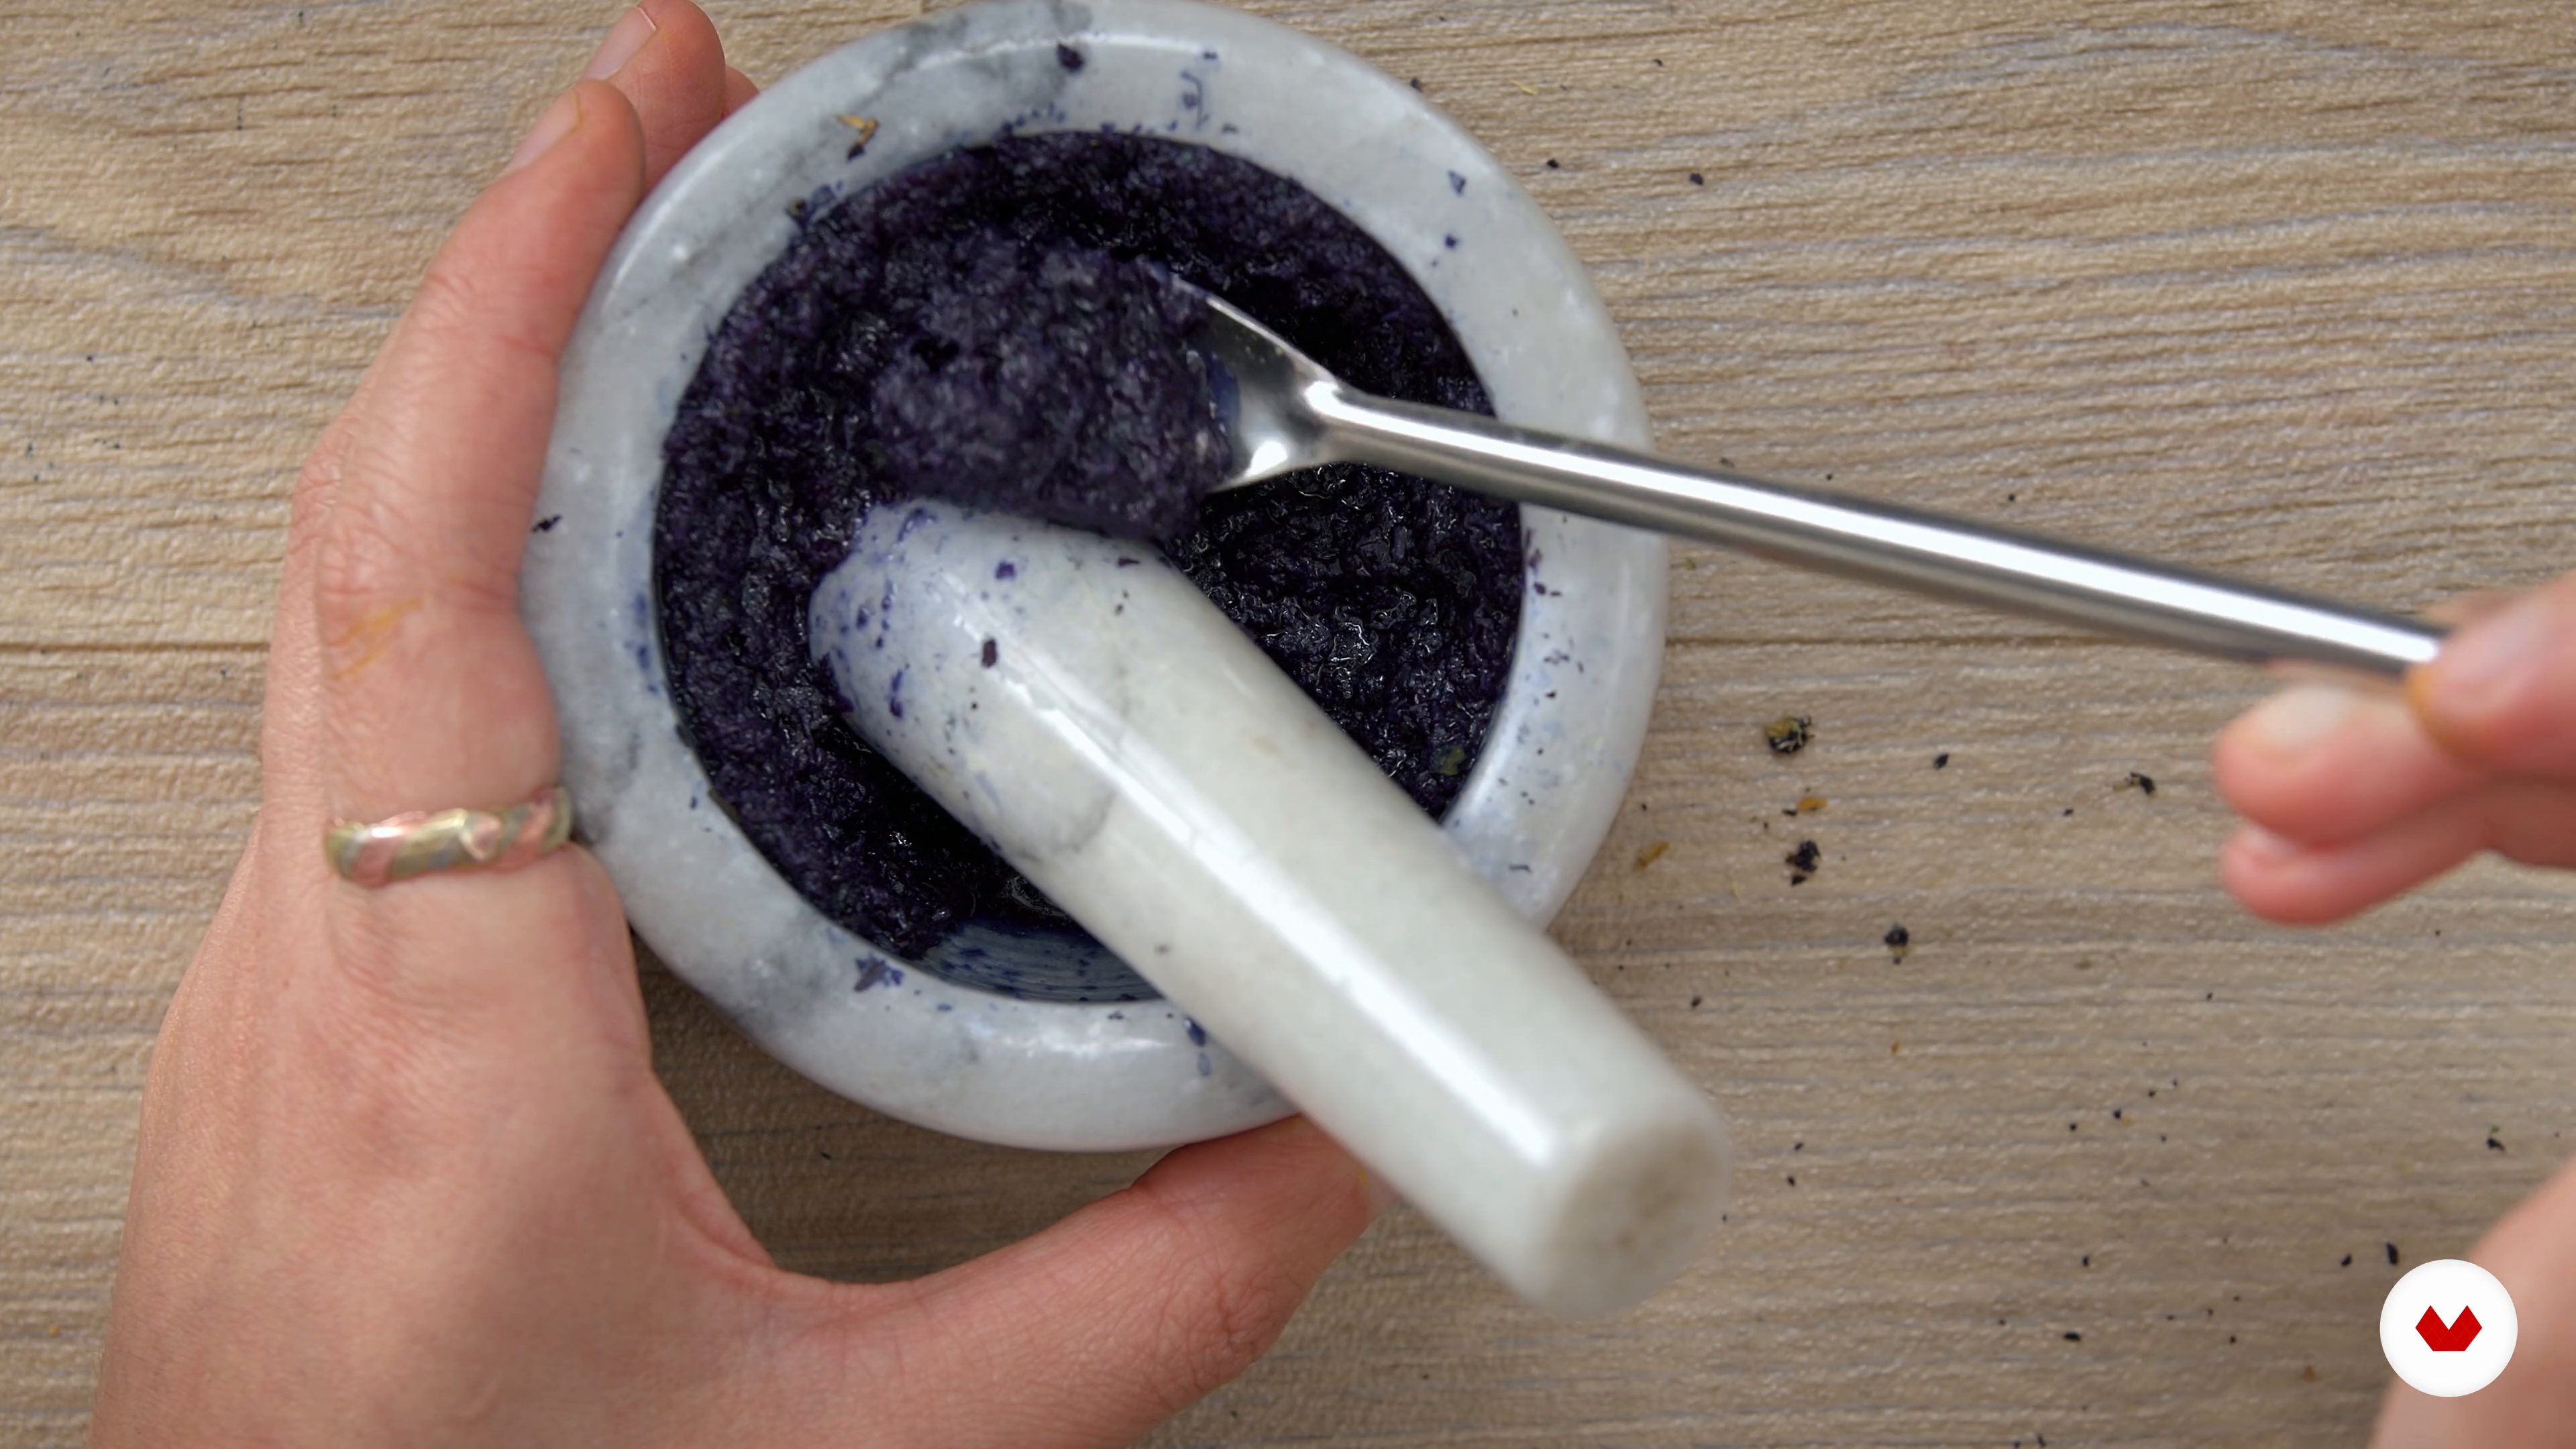
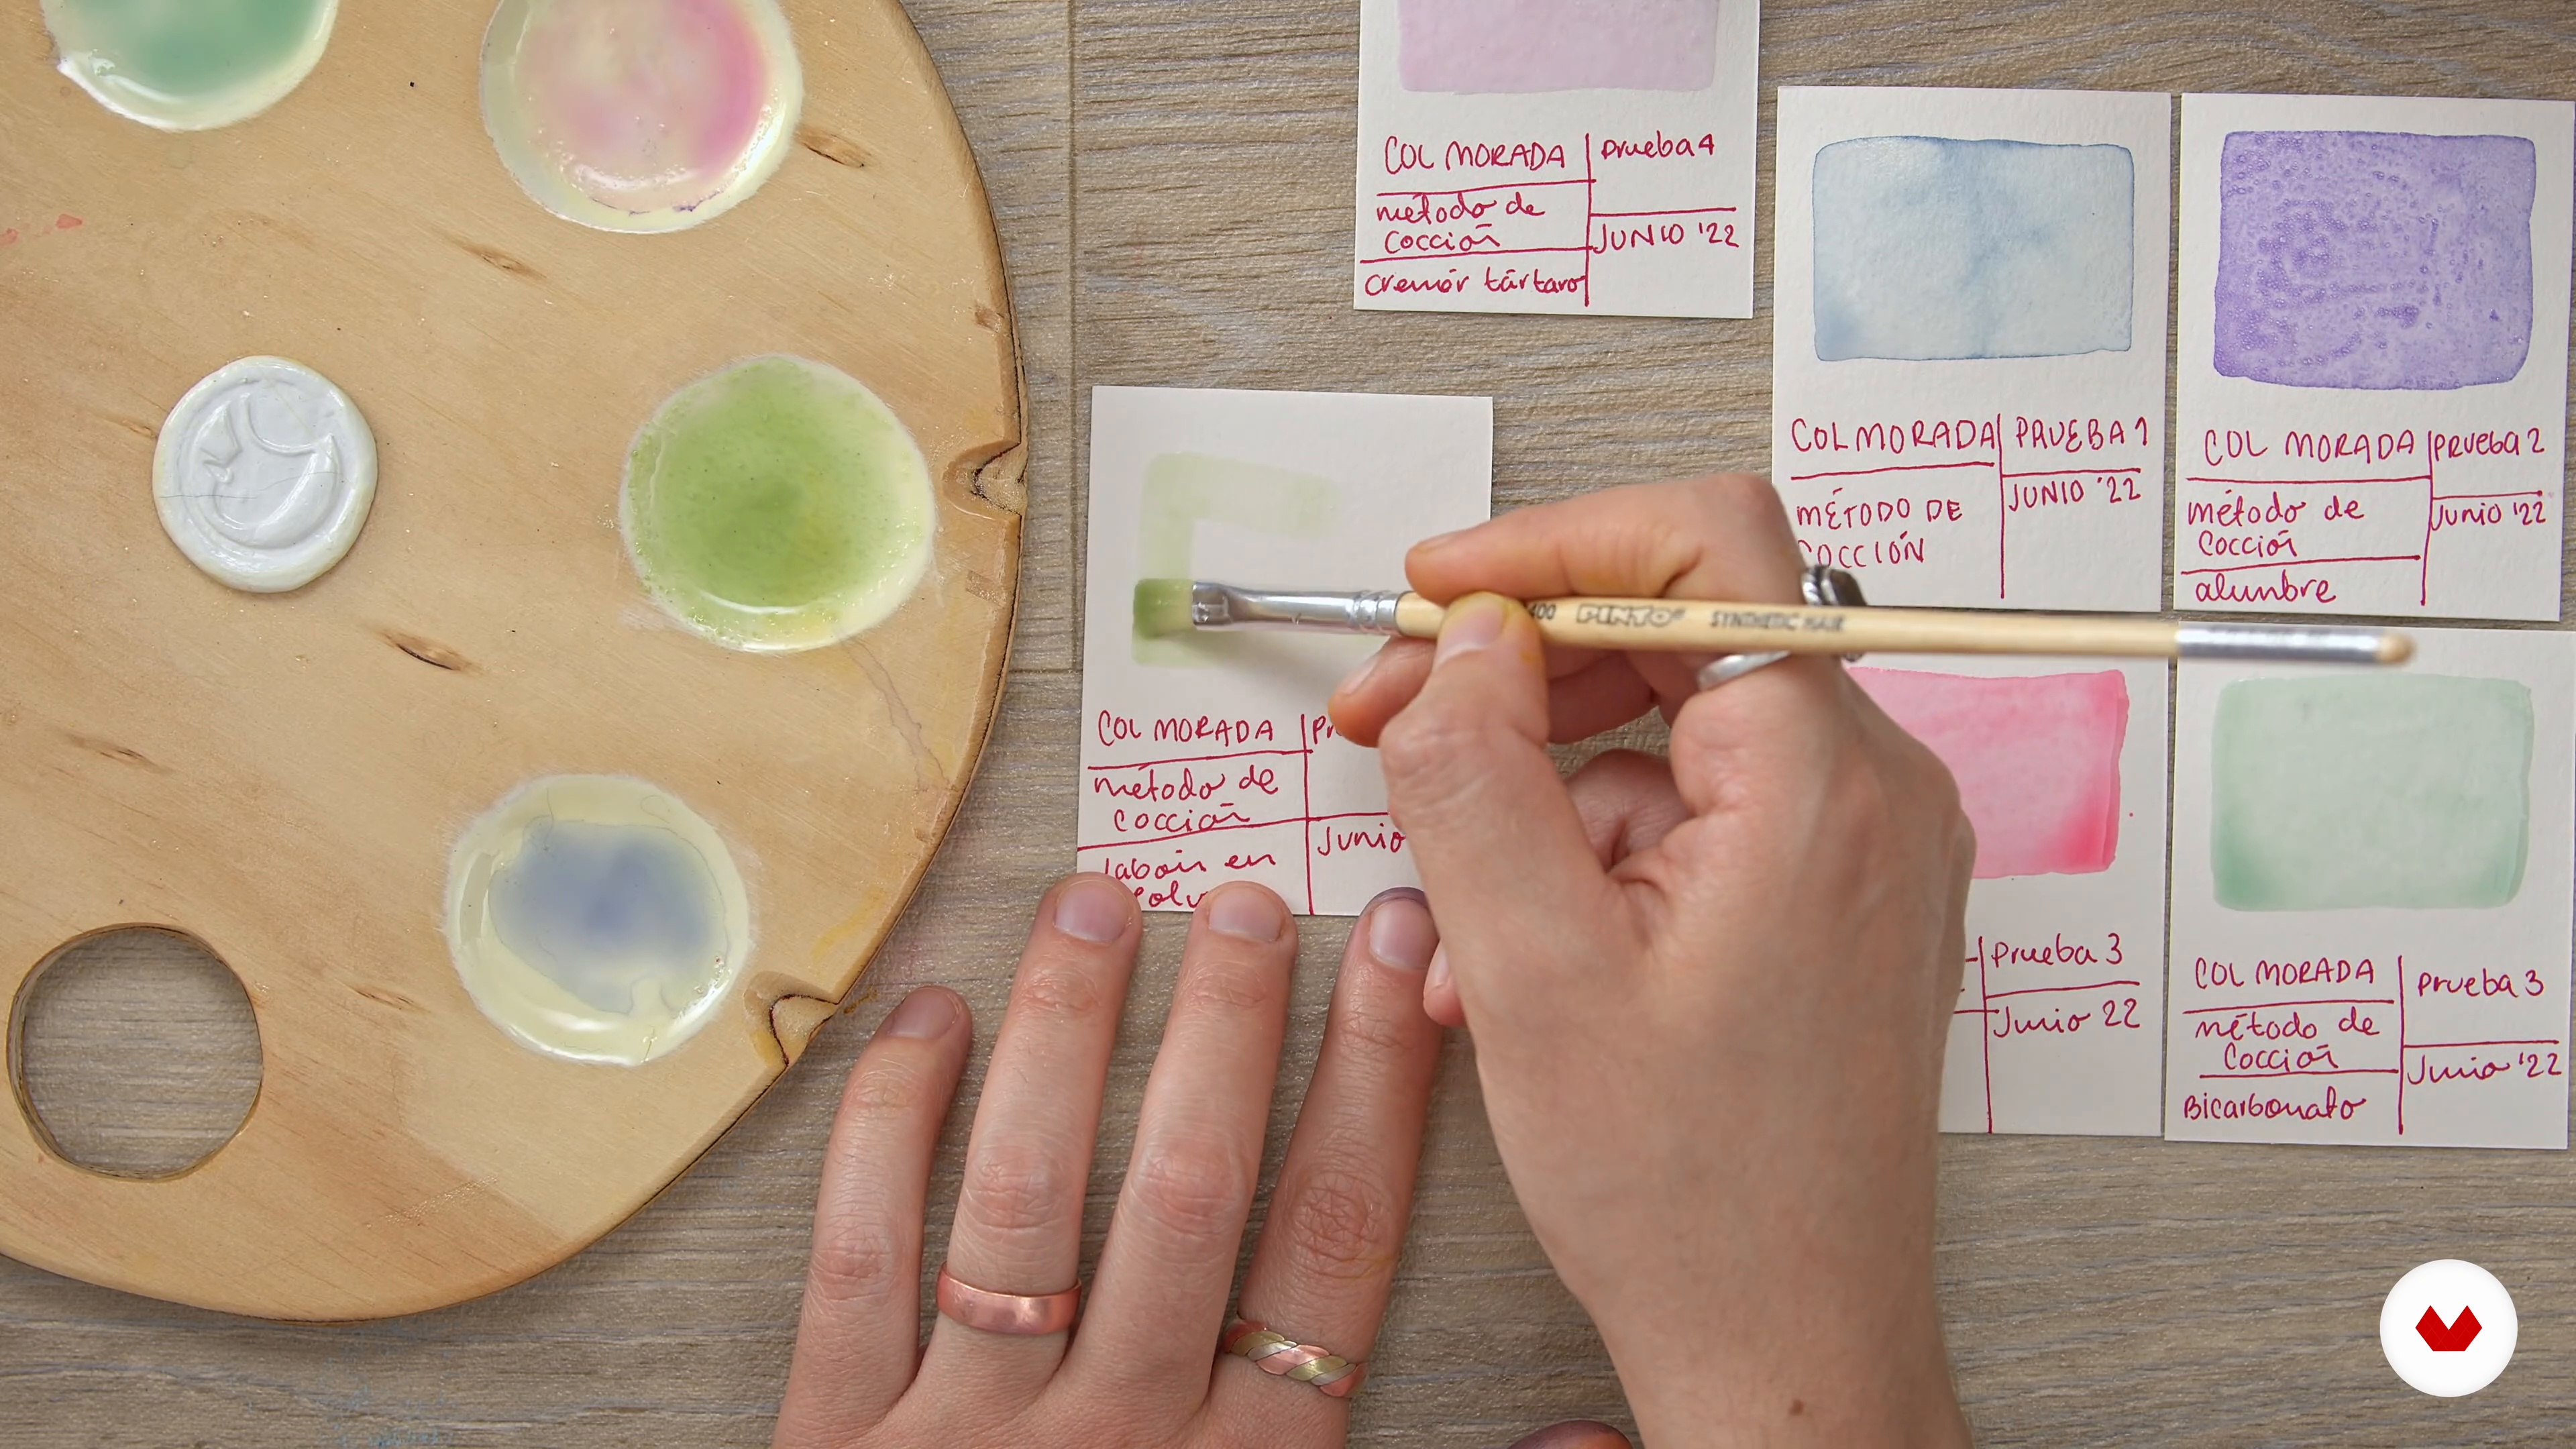
In this lesson you will learn the traditional method for the extraction of natural dyes, followed by a peculiar process to speed up their extraction.
9m
image
8
Extraction Procedure: Macerated in Water
Now we are going to explain a different process for extracting dye sources. These will be subjected to rest and the result will be more concentrated dyes and a thick consistency.
7m
image
9
Extraction Procedure: Macerated in Alcohol
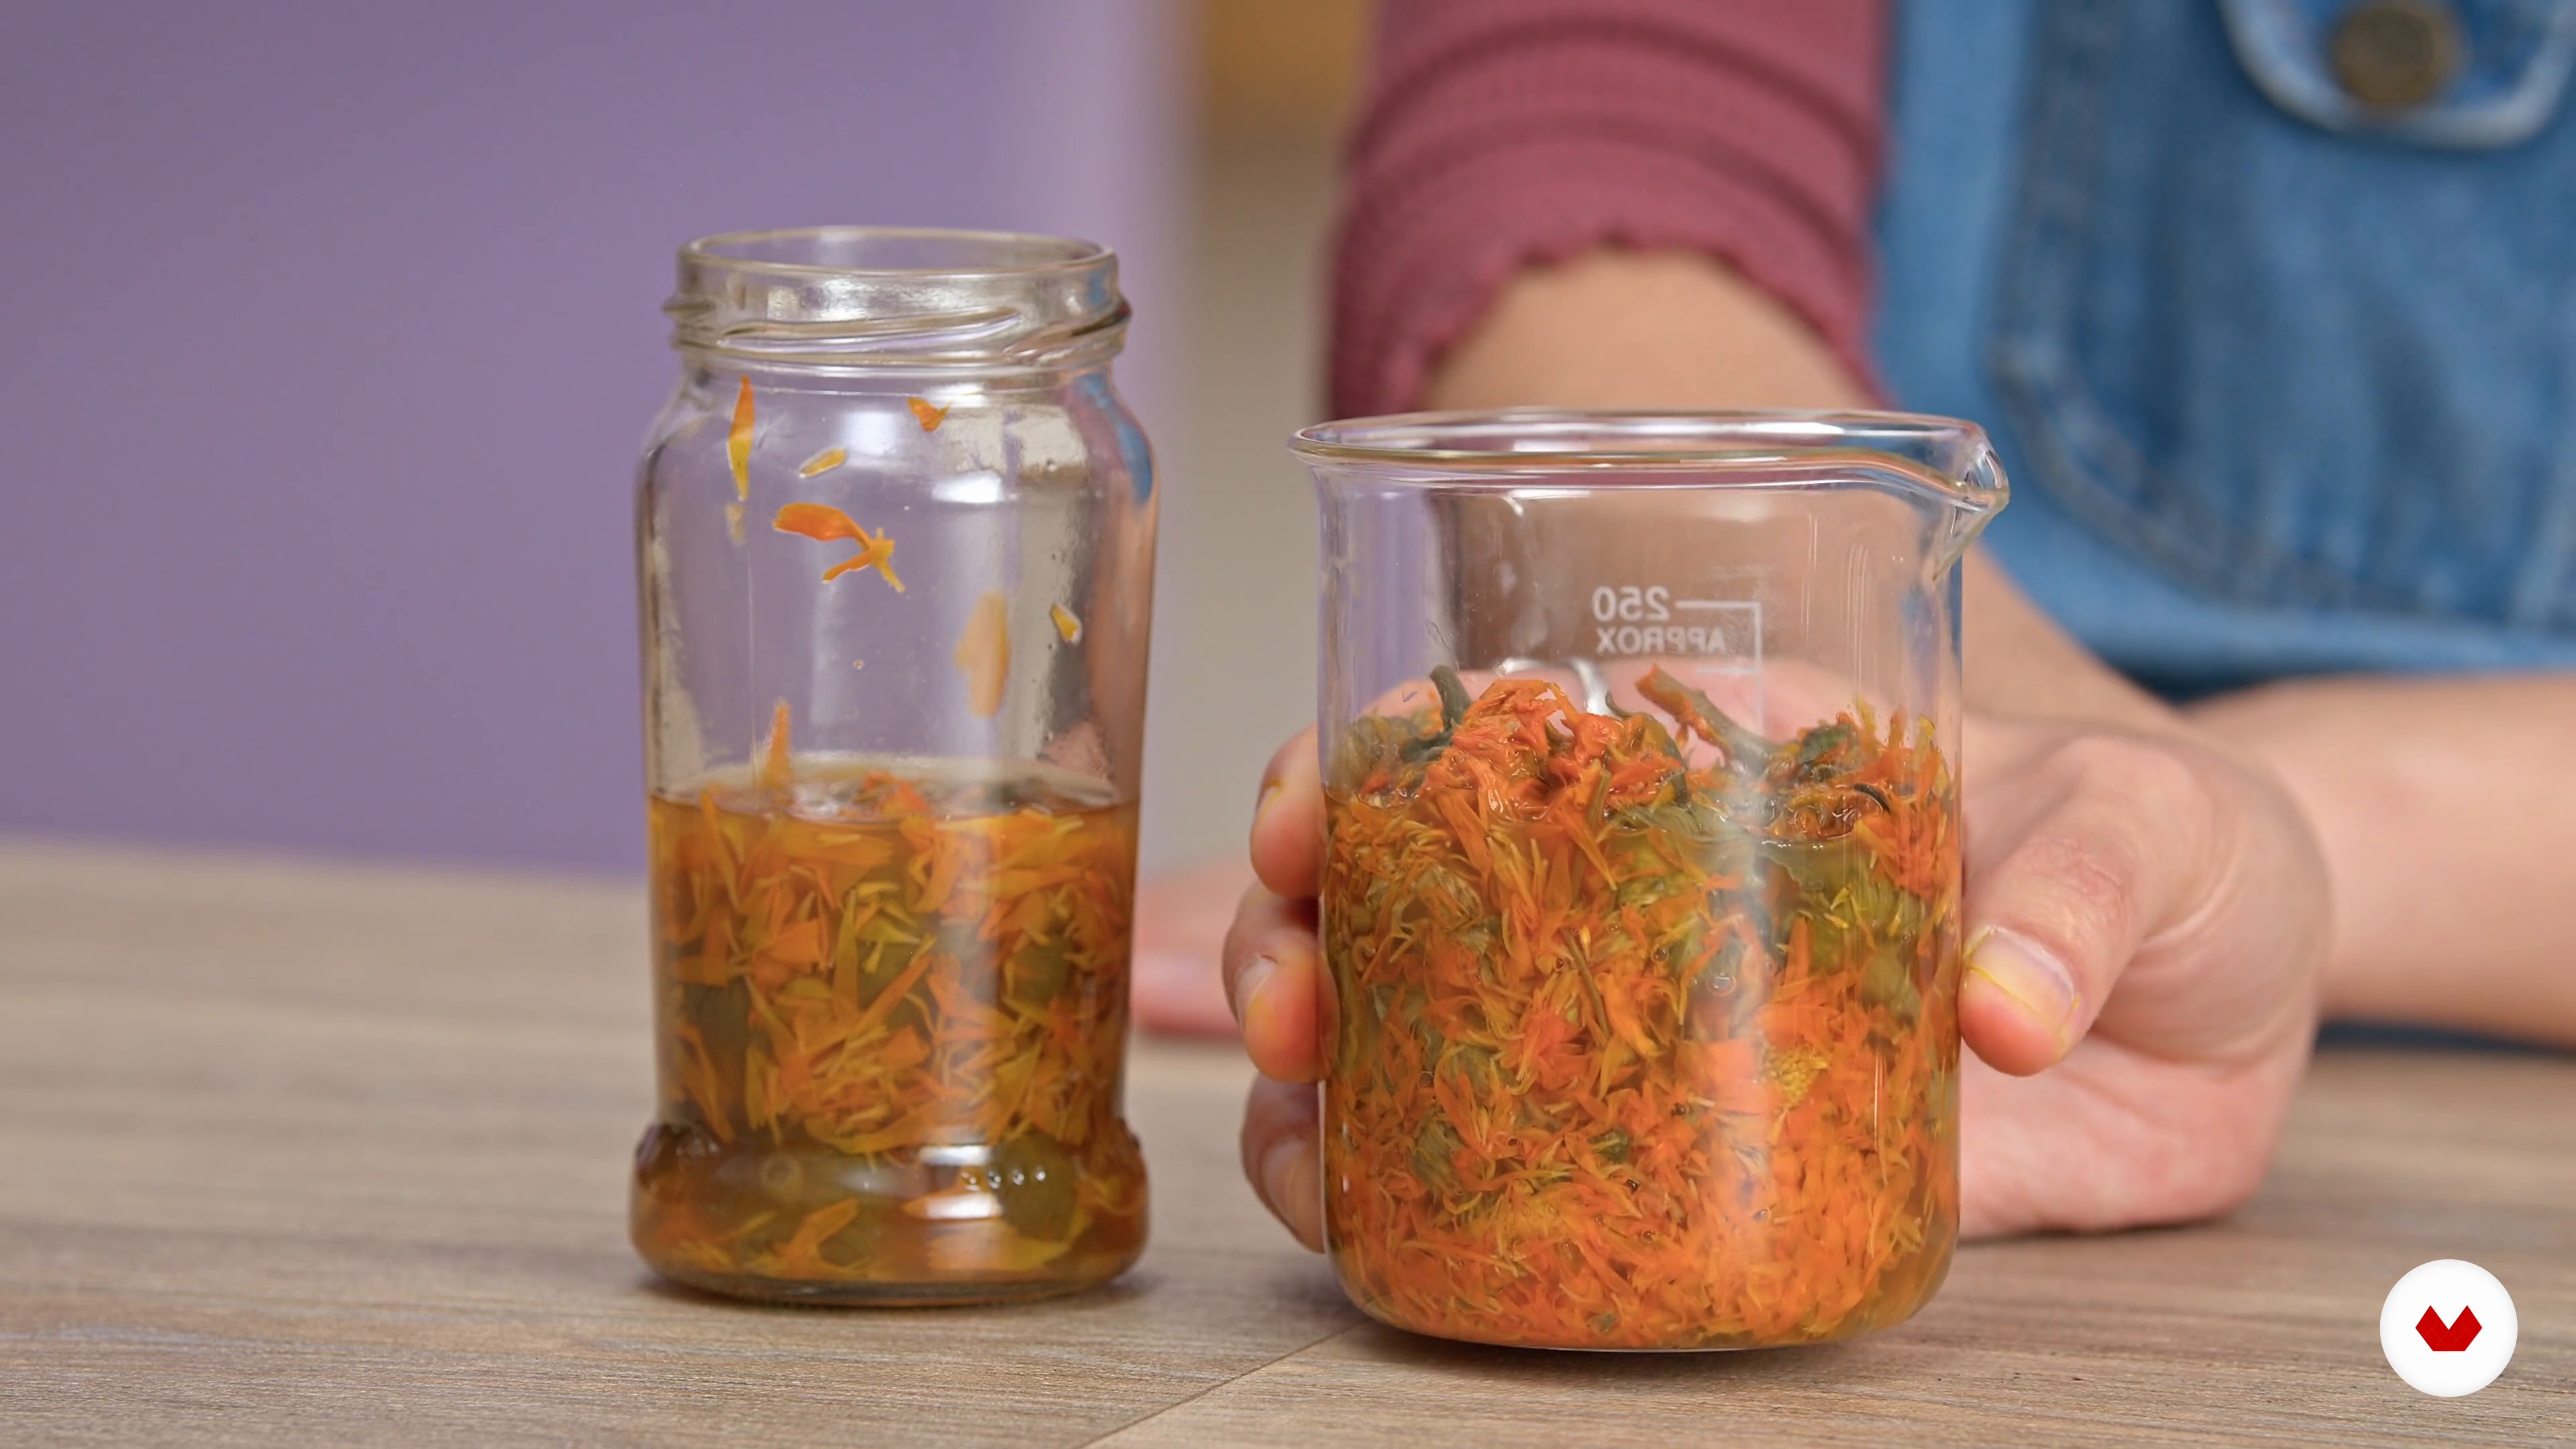
Let's explore the last procedure. We are going to teach you how to carry out a simple extraction method for an indelible and uniform ink.
4m
image
10
Color Transformations
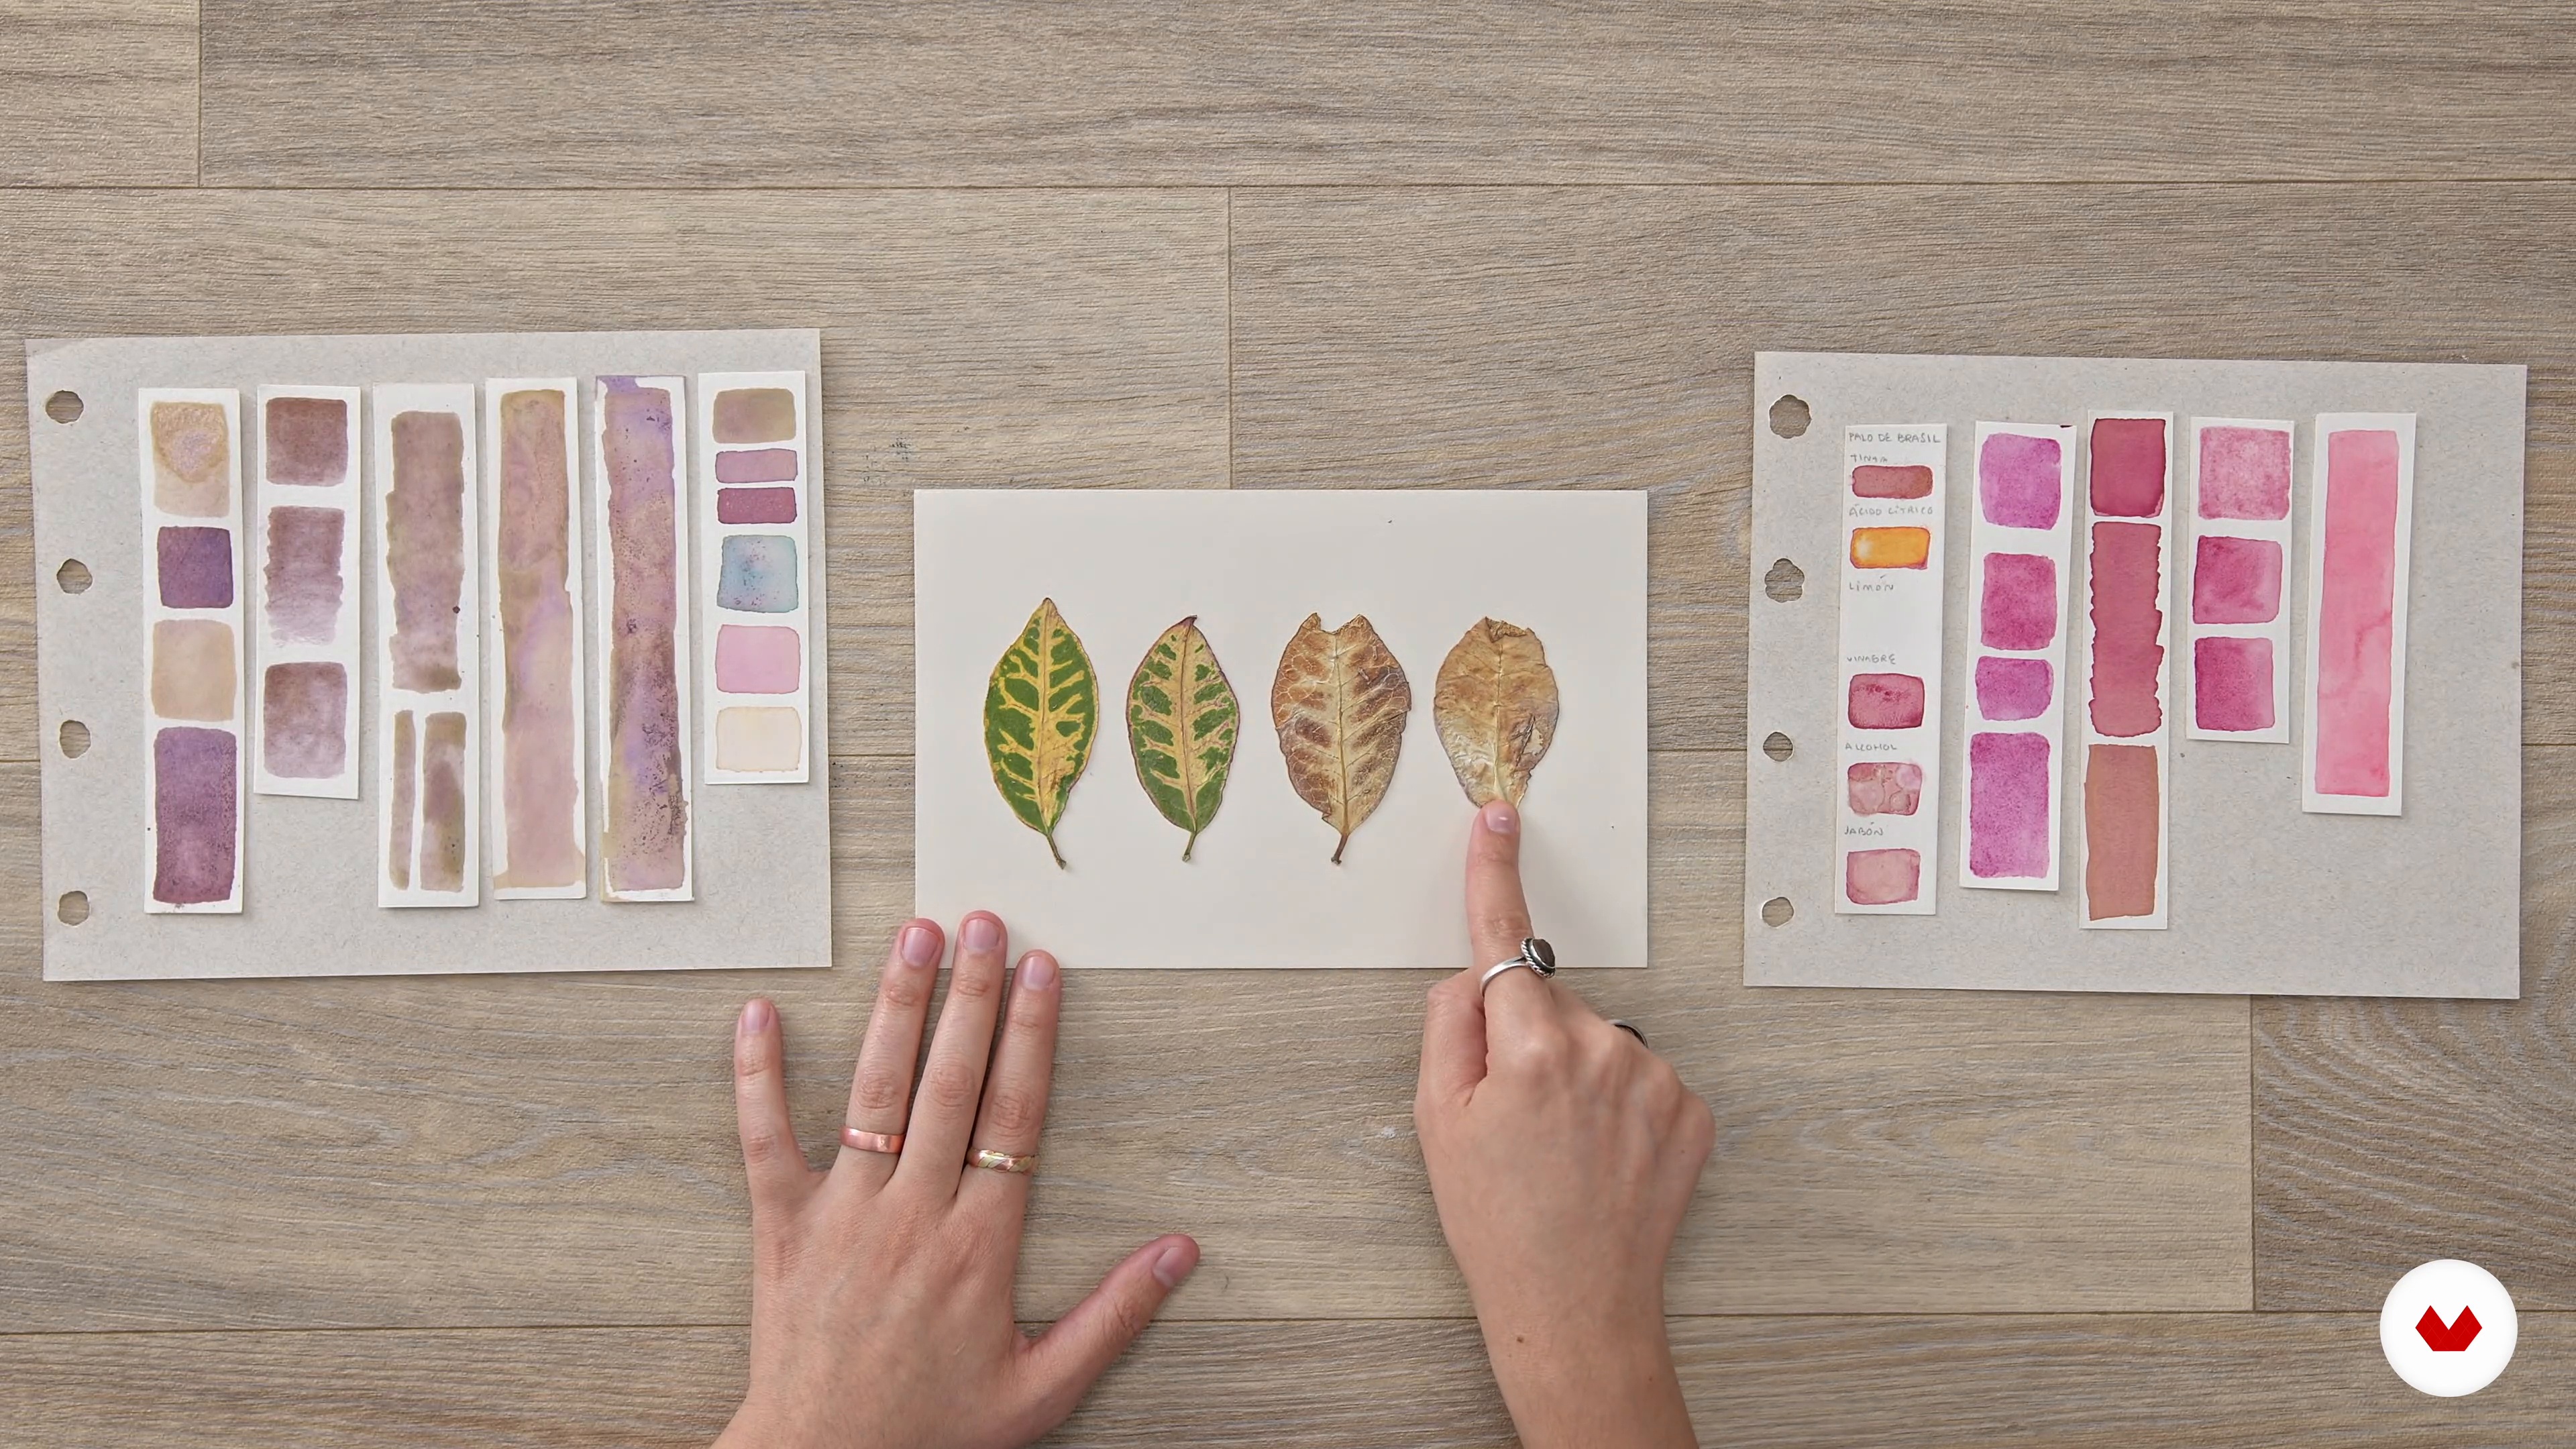
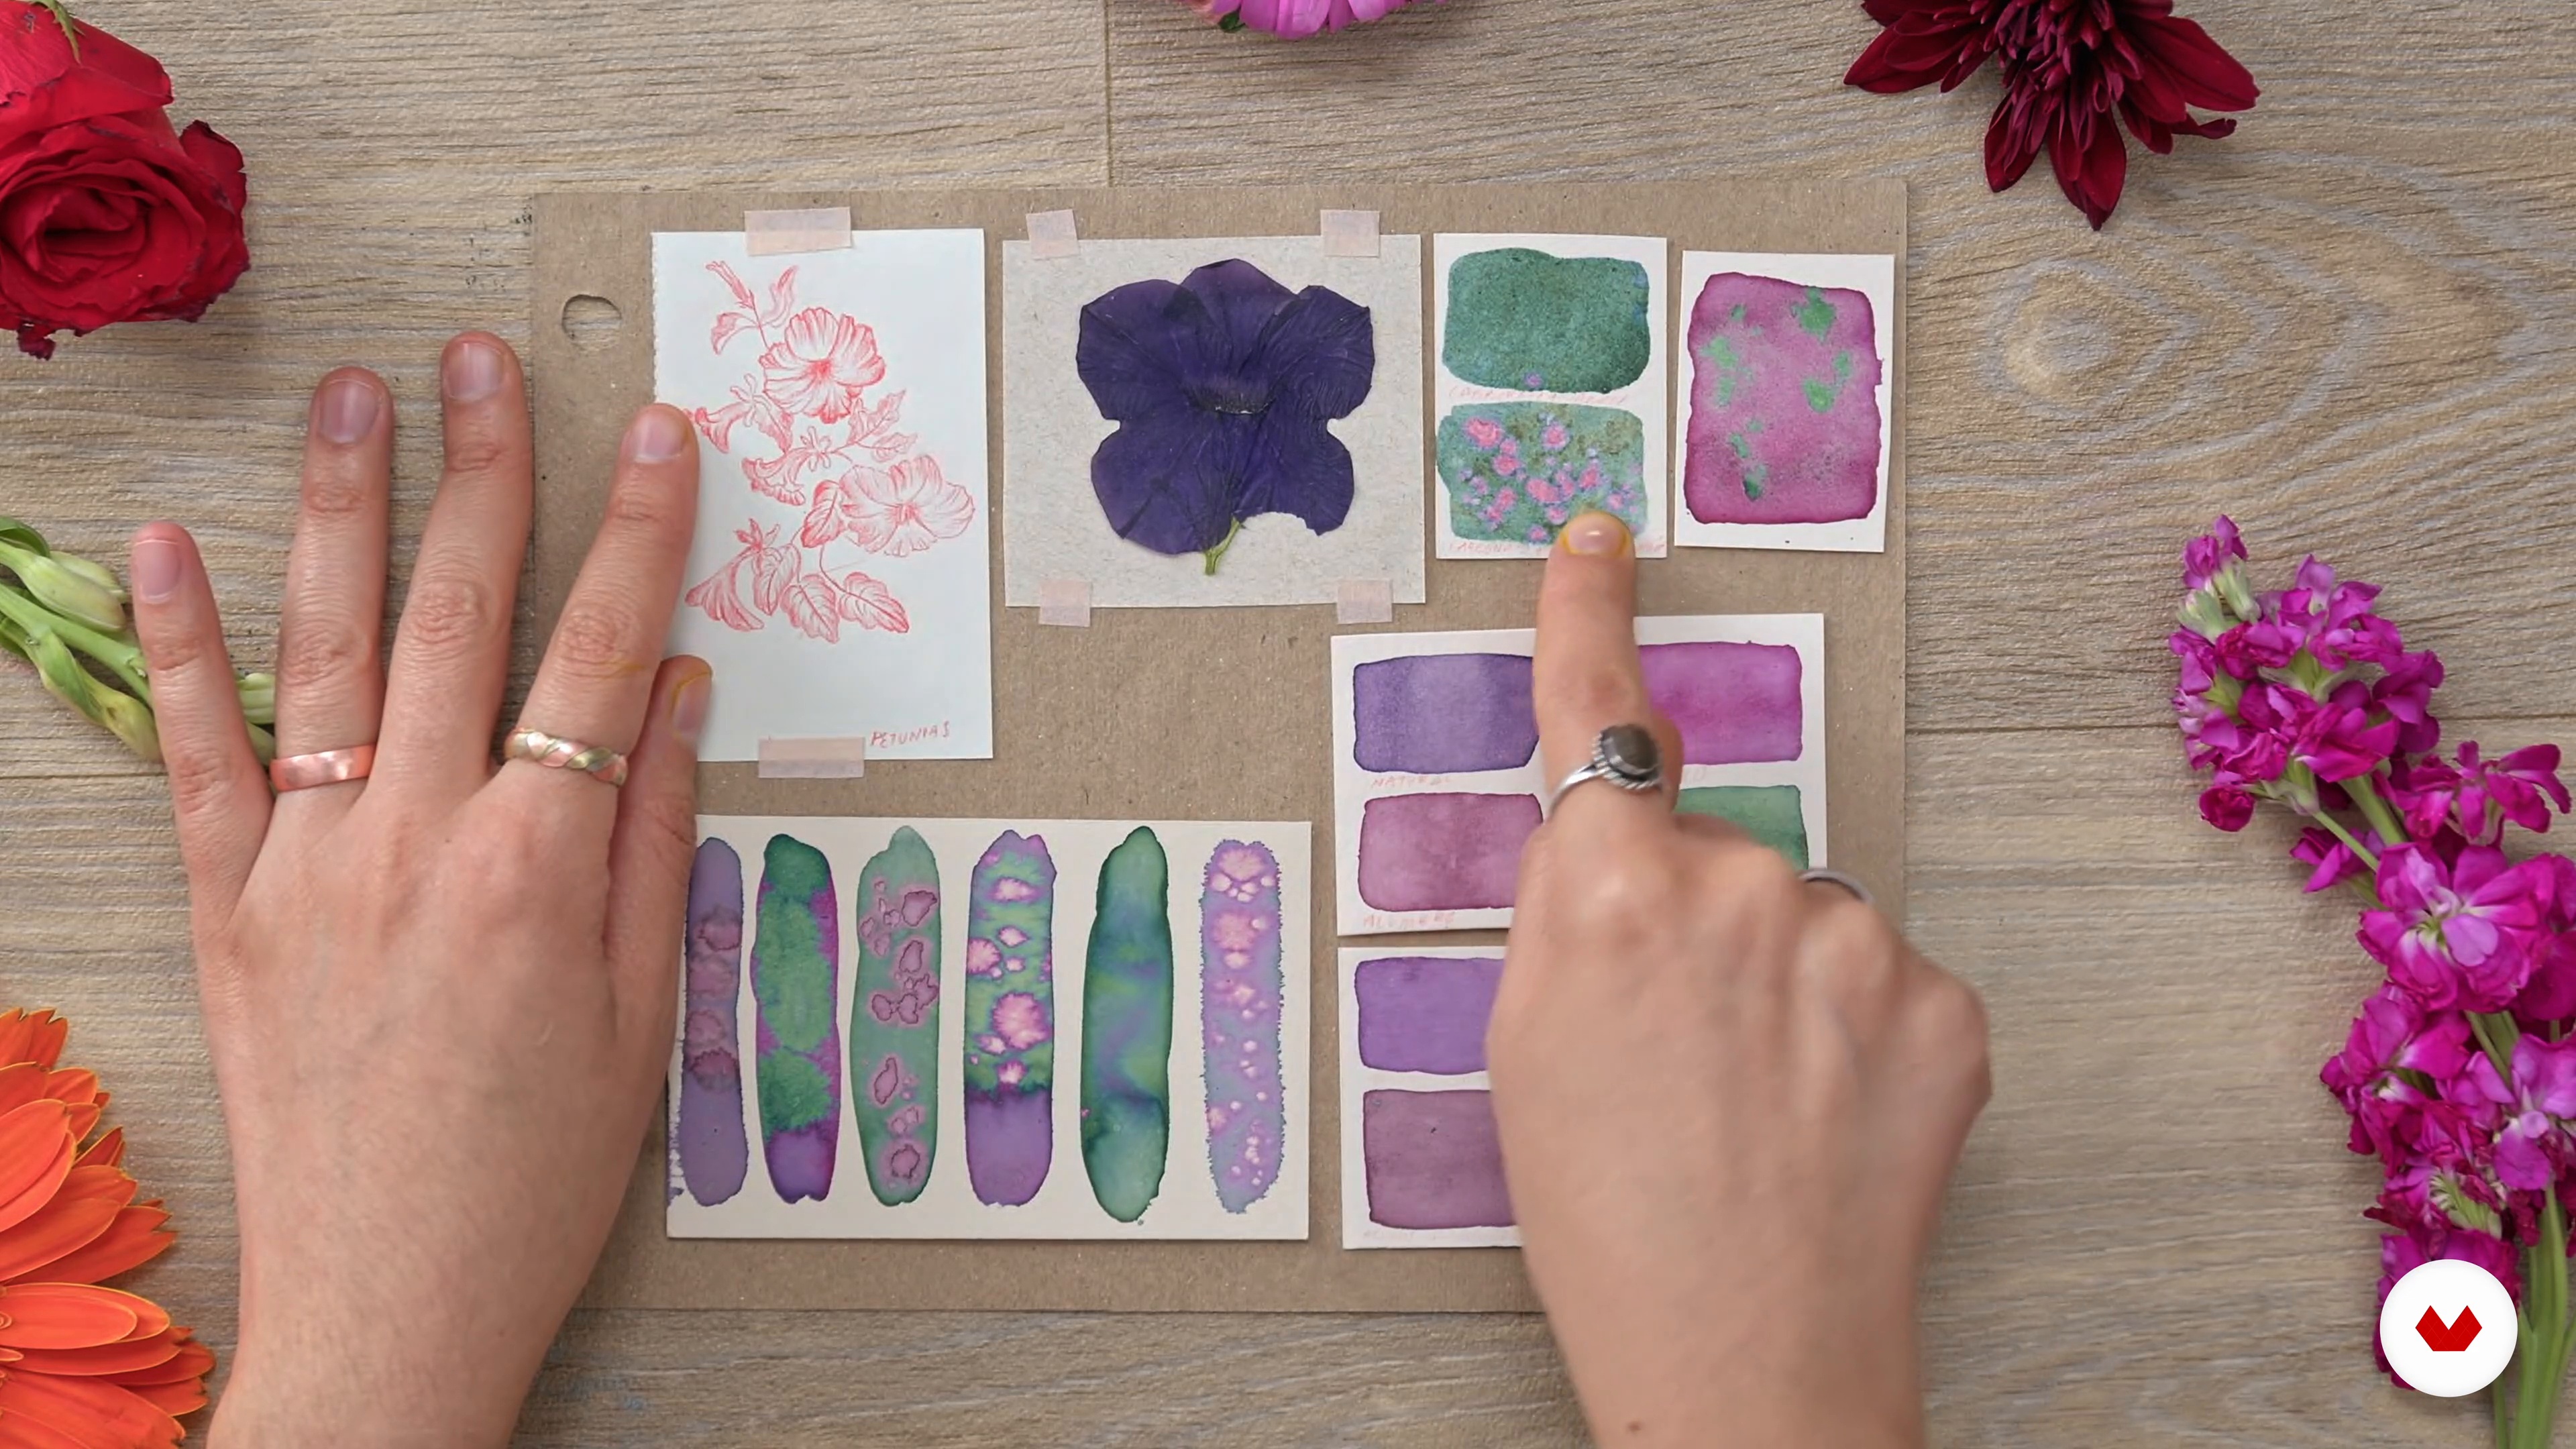
In this lesson we will teach you how to modify the color of the original ink. You will appreciate the magic of the properties of the ink, since depending on its acidity or alkalinity it will change color.
14m
image
11
Experimentation in Organic Compositions with Dyes
Now we are going to show you how to make a simple piece to modify the colors while nature takes its course. This will allow color modifiers to do textures and finishes.
8m
image
12
Preservation and Binder
With the explanations that we will give you in this lesson, you will know how to recognize which dyes need a binder and which do not, as well as identify which ones need special care.
5m
image
13
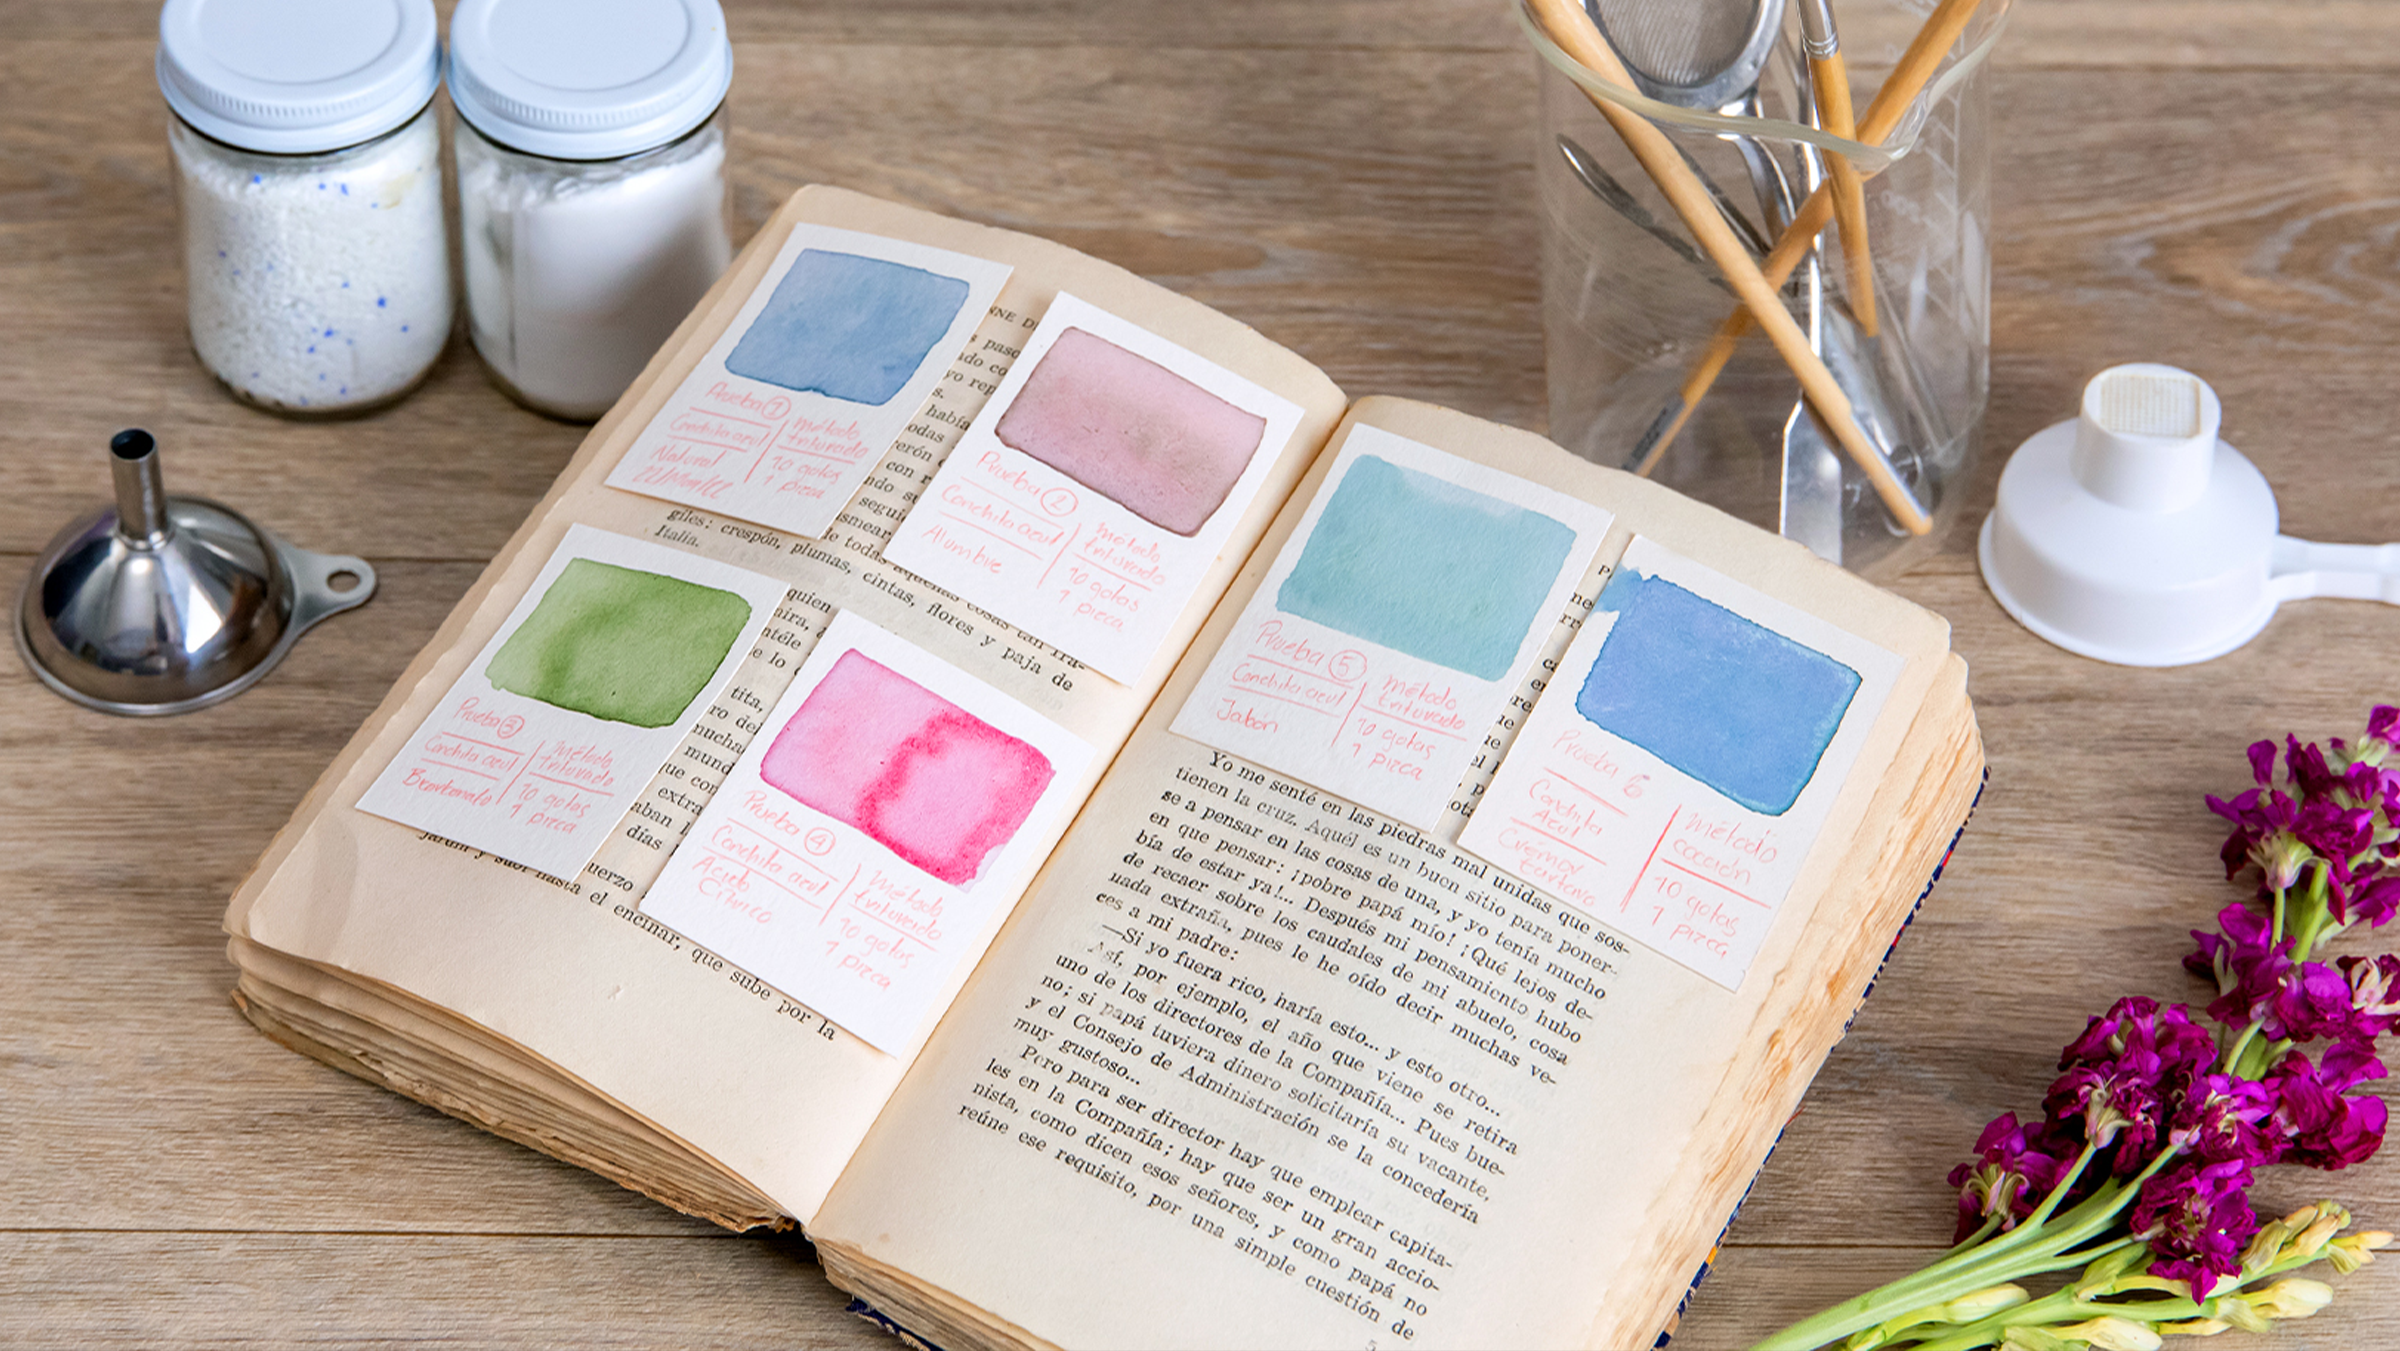
Assemble the Logbook in an Old Book
Since you have already put the techniques into practice and have already created your samples, a great idea is to set up a blog with materials that you have on hand. In this lesson we show you how to do it.
5m
image
3
The necessary equipment
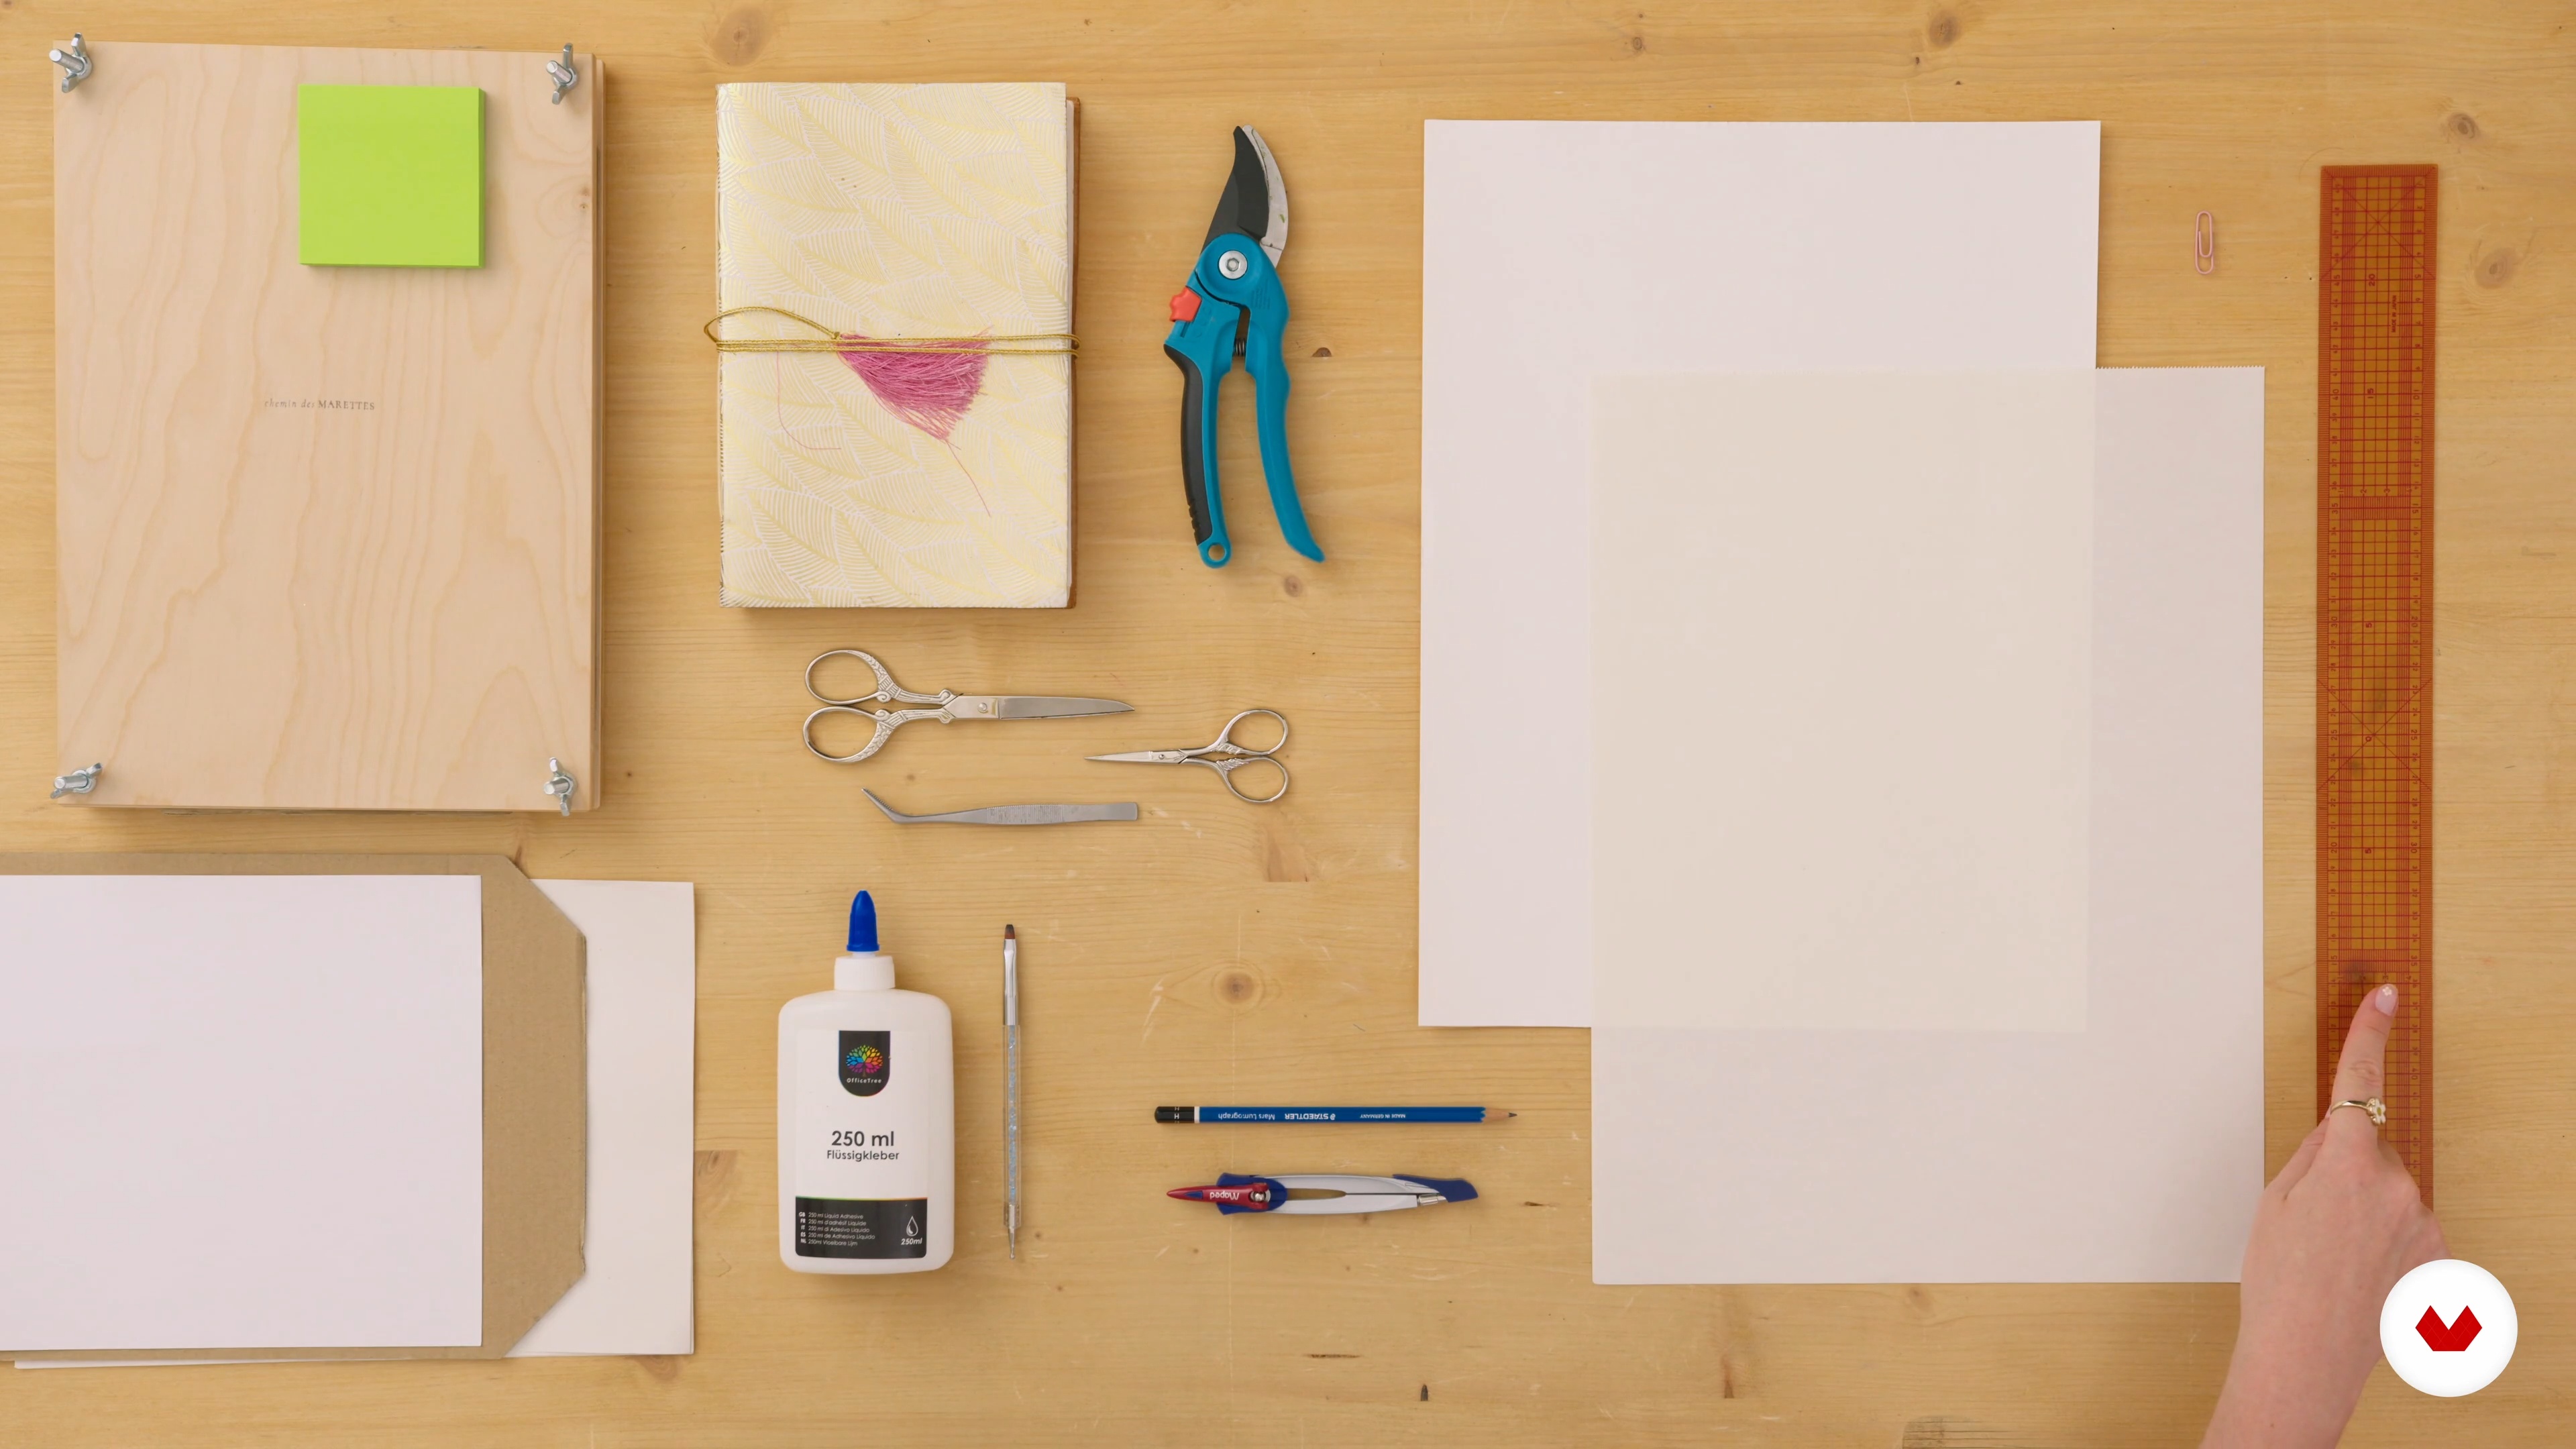
Before diving into the exciting world of the herbarium, we will familiarize ourselves with the equipment necessary to follow the course. I will introduce you to everything you will need to pick, press and finally create your herbarium.
2m
image
4
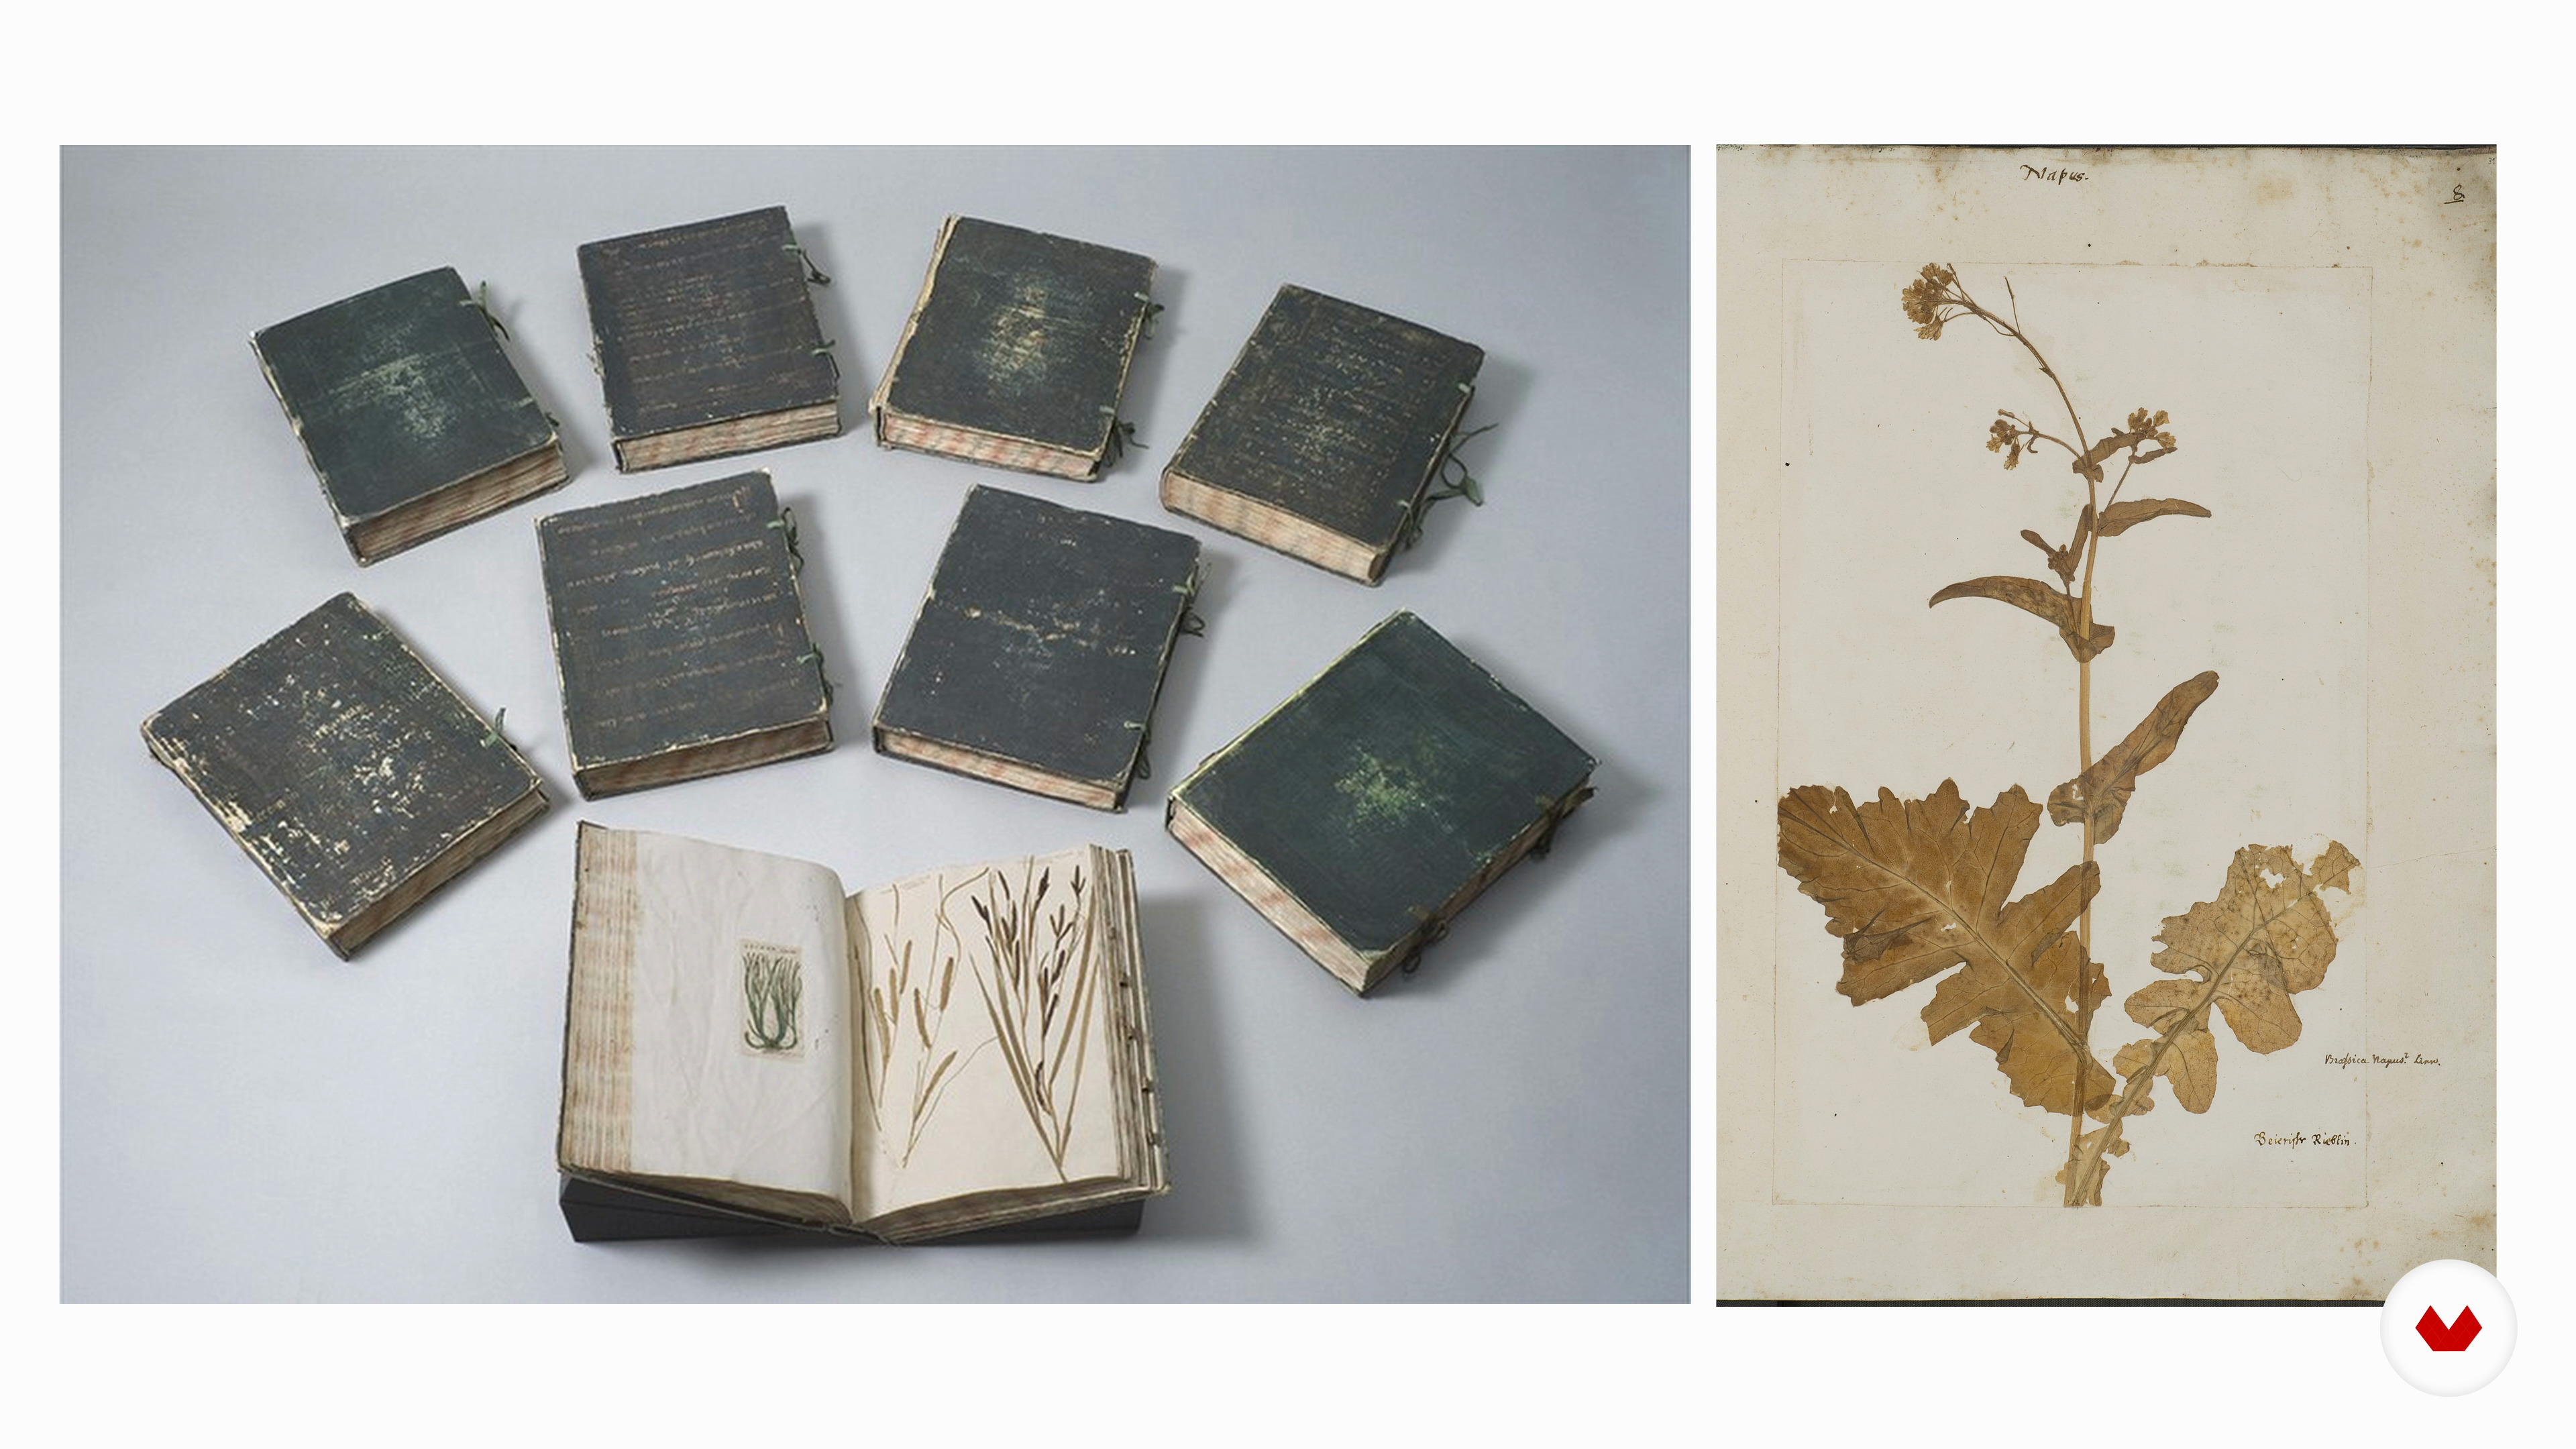
Introduction to botany
We will now become a little more familiar with the history of the herbarium and flower pressing. Its invention, use and evolution over time. We then decipher the basic botanical vocabulary and I will present the tools for plant identification.
2m
image
5
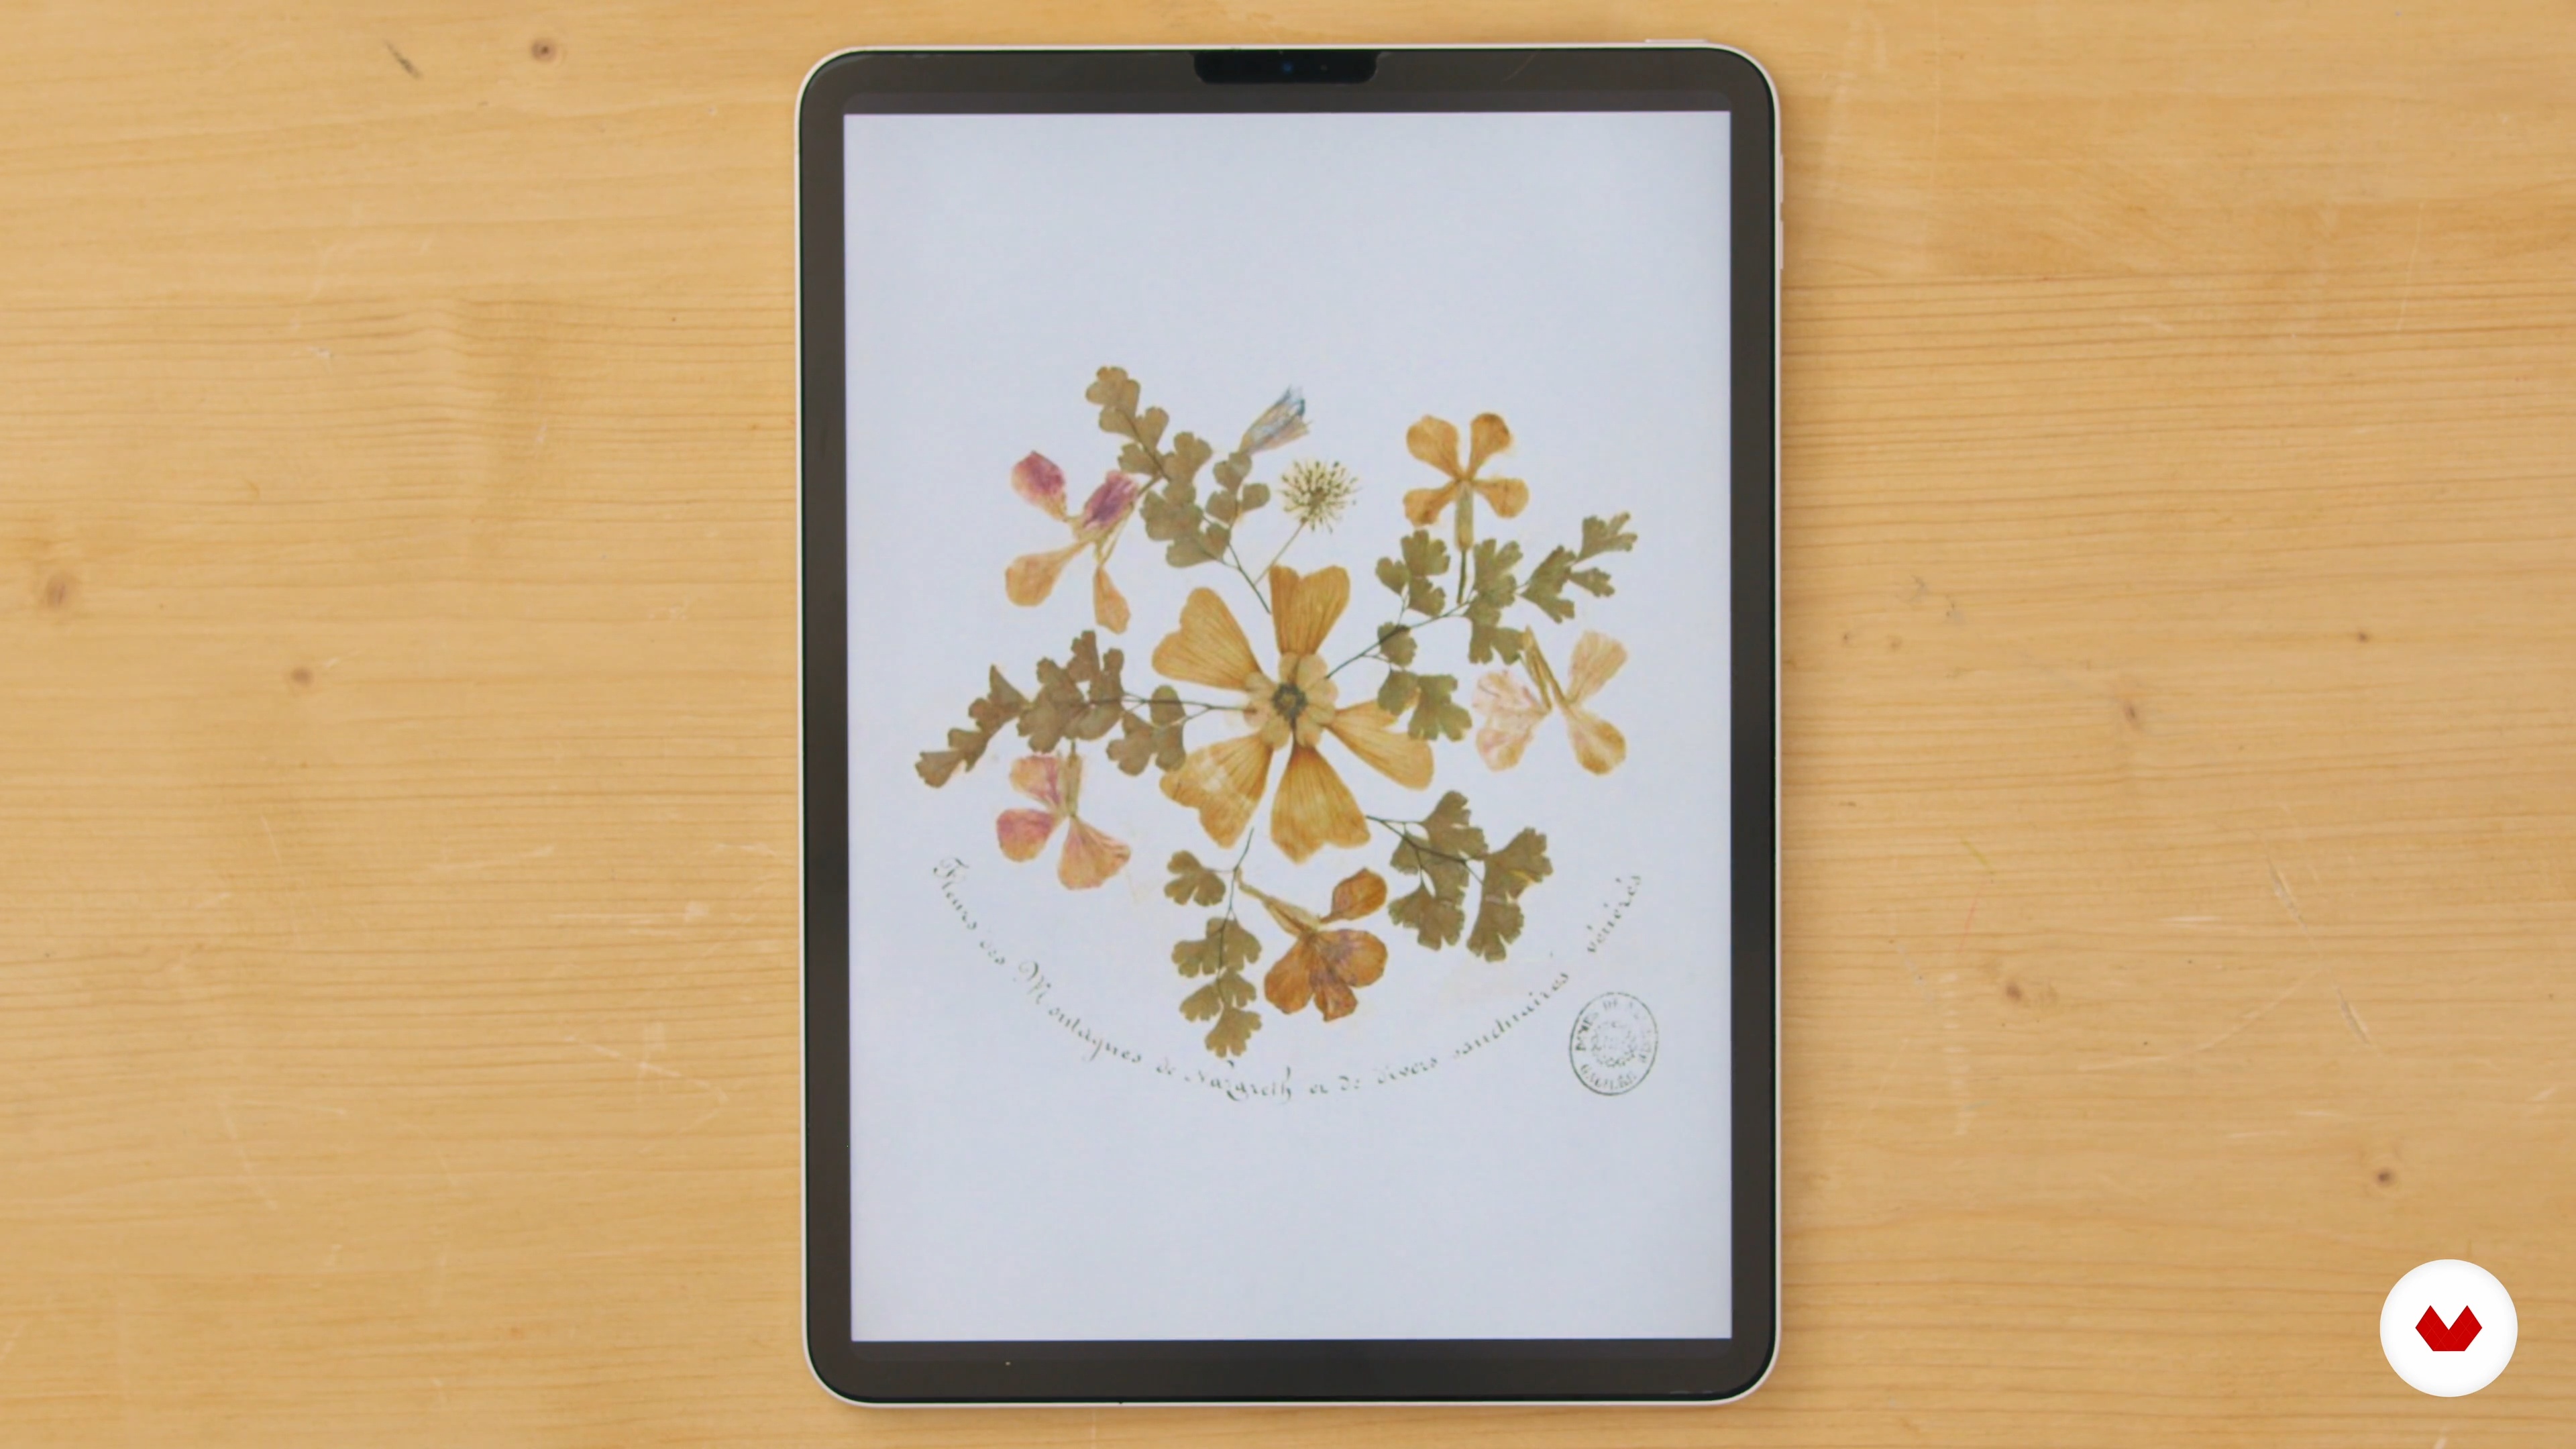
Artistic herbaria
In this lesson we will see together that the herbarium can have a completely different use than that of botanical study. We'll go through the different ways to create a pressed flower arrangement and choose which one we'll create for the final project.
2m
image
6
Inspiration and mood board
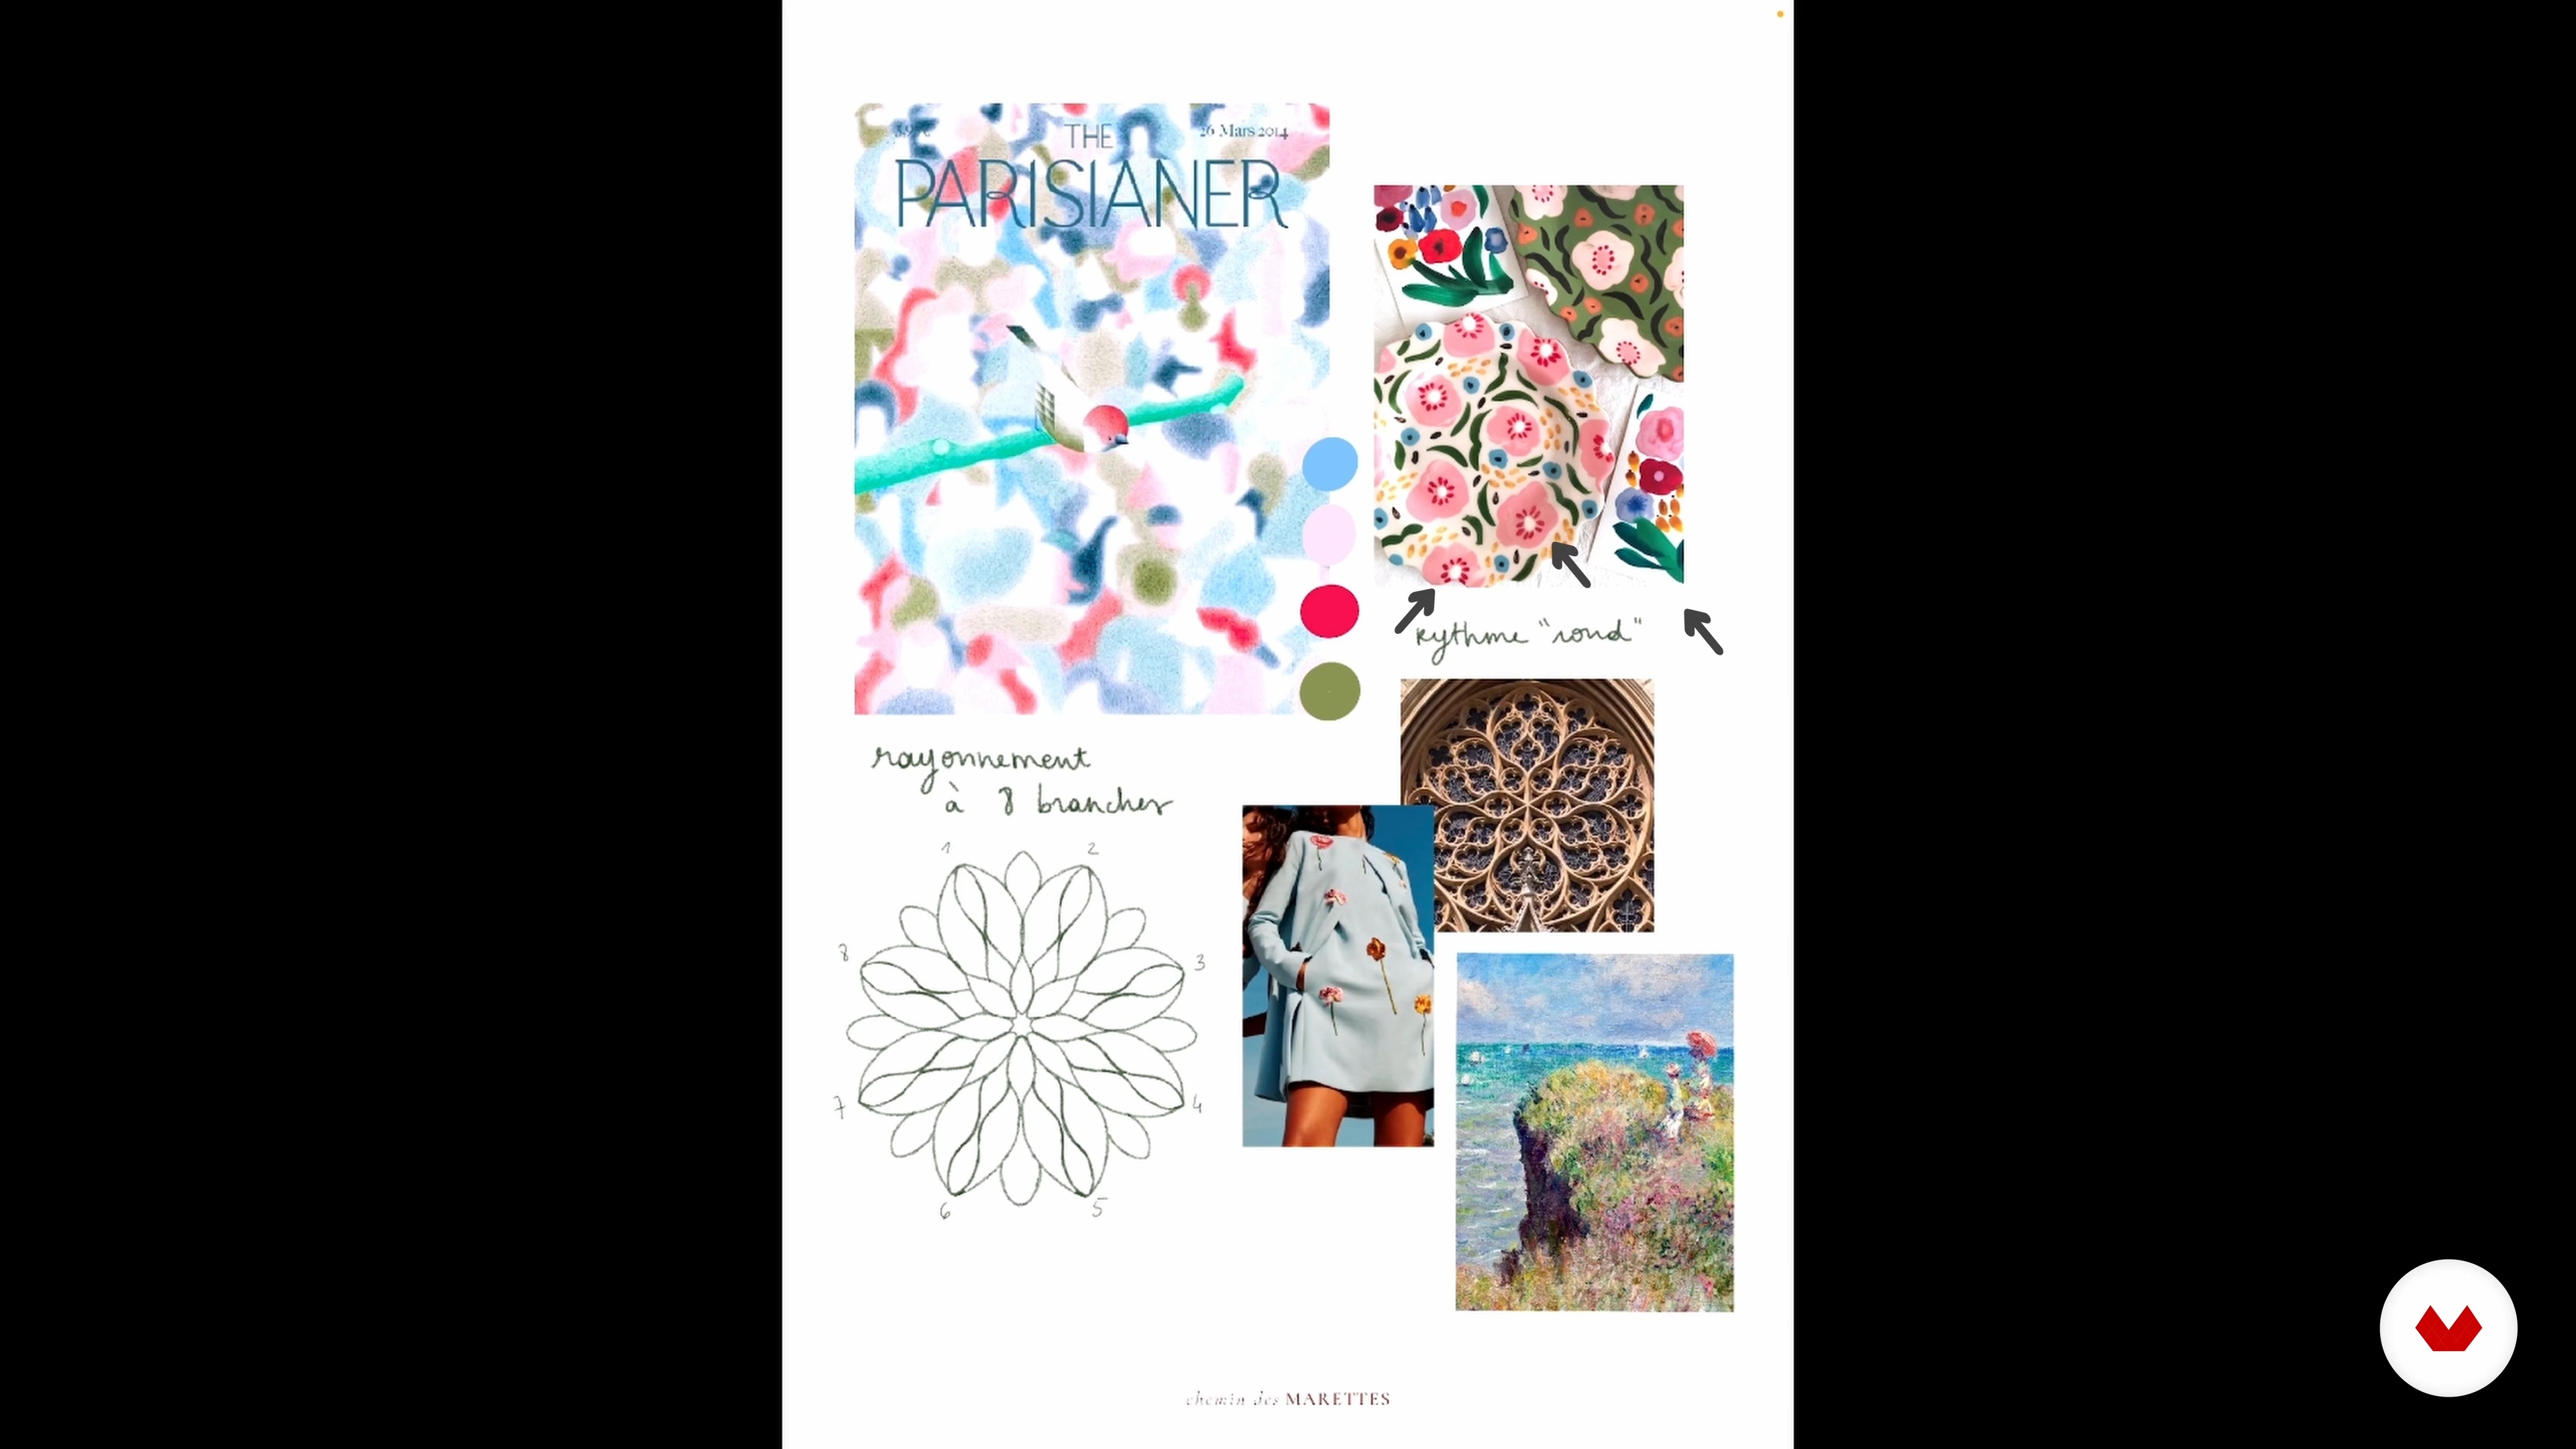
In this lesson, we will begin to sketch out how the final project will look. To do this, we will study the rules for constructing the rosette pattern. We will gather our inspirations in the form of a mood board then determine the flowers and foliage that we will have to press.
2m
image
7
Gathering
In this lesson we will learn when and how to pick for pressing while respecting seasonality. We will also see good picking practices and the different families of flowers depending on their pressing difficulty.
5m
image
8
The three families of pressed flowers
Now that you know how to pick properly, I will present to you the 3 main families of flowers that I have determined based on their pressing difficulty.
3m
image
9
Squeeze and store 1
In this lesson we will finally learn about pressing flowers. We will quickly discuss the different pressing methods. Then we'll focus on the one I use; the wooden or cardboard press. We'll list best practices and all my pressing tips and tricks. We will then study the different storage options for our pressed flowers. It is important to keep them in optimal conditions to guarantee their quality and durability.
19m
image
10
Squeeze and store 2
We continue to explore interesting concepts in this part of the course - don't miss
5m
image
11
Placement of markers
In this lesson, we will return to the notions of rosette symmetry that we studied earlier. We will thus be able to create a stencil which will be used to place the guide to the structure of our composition.
6m
image
12
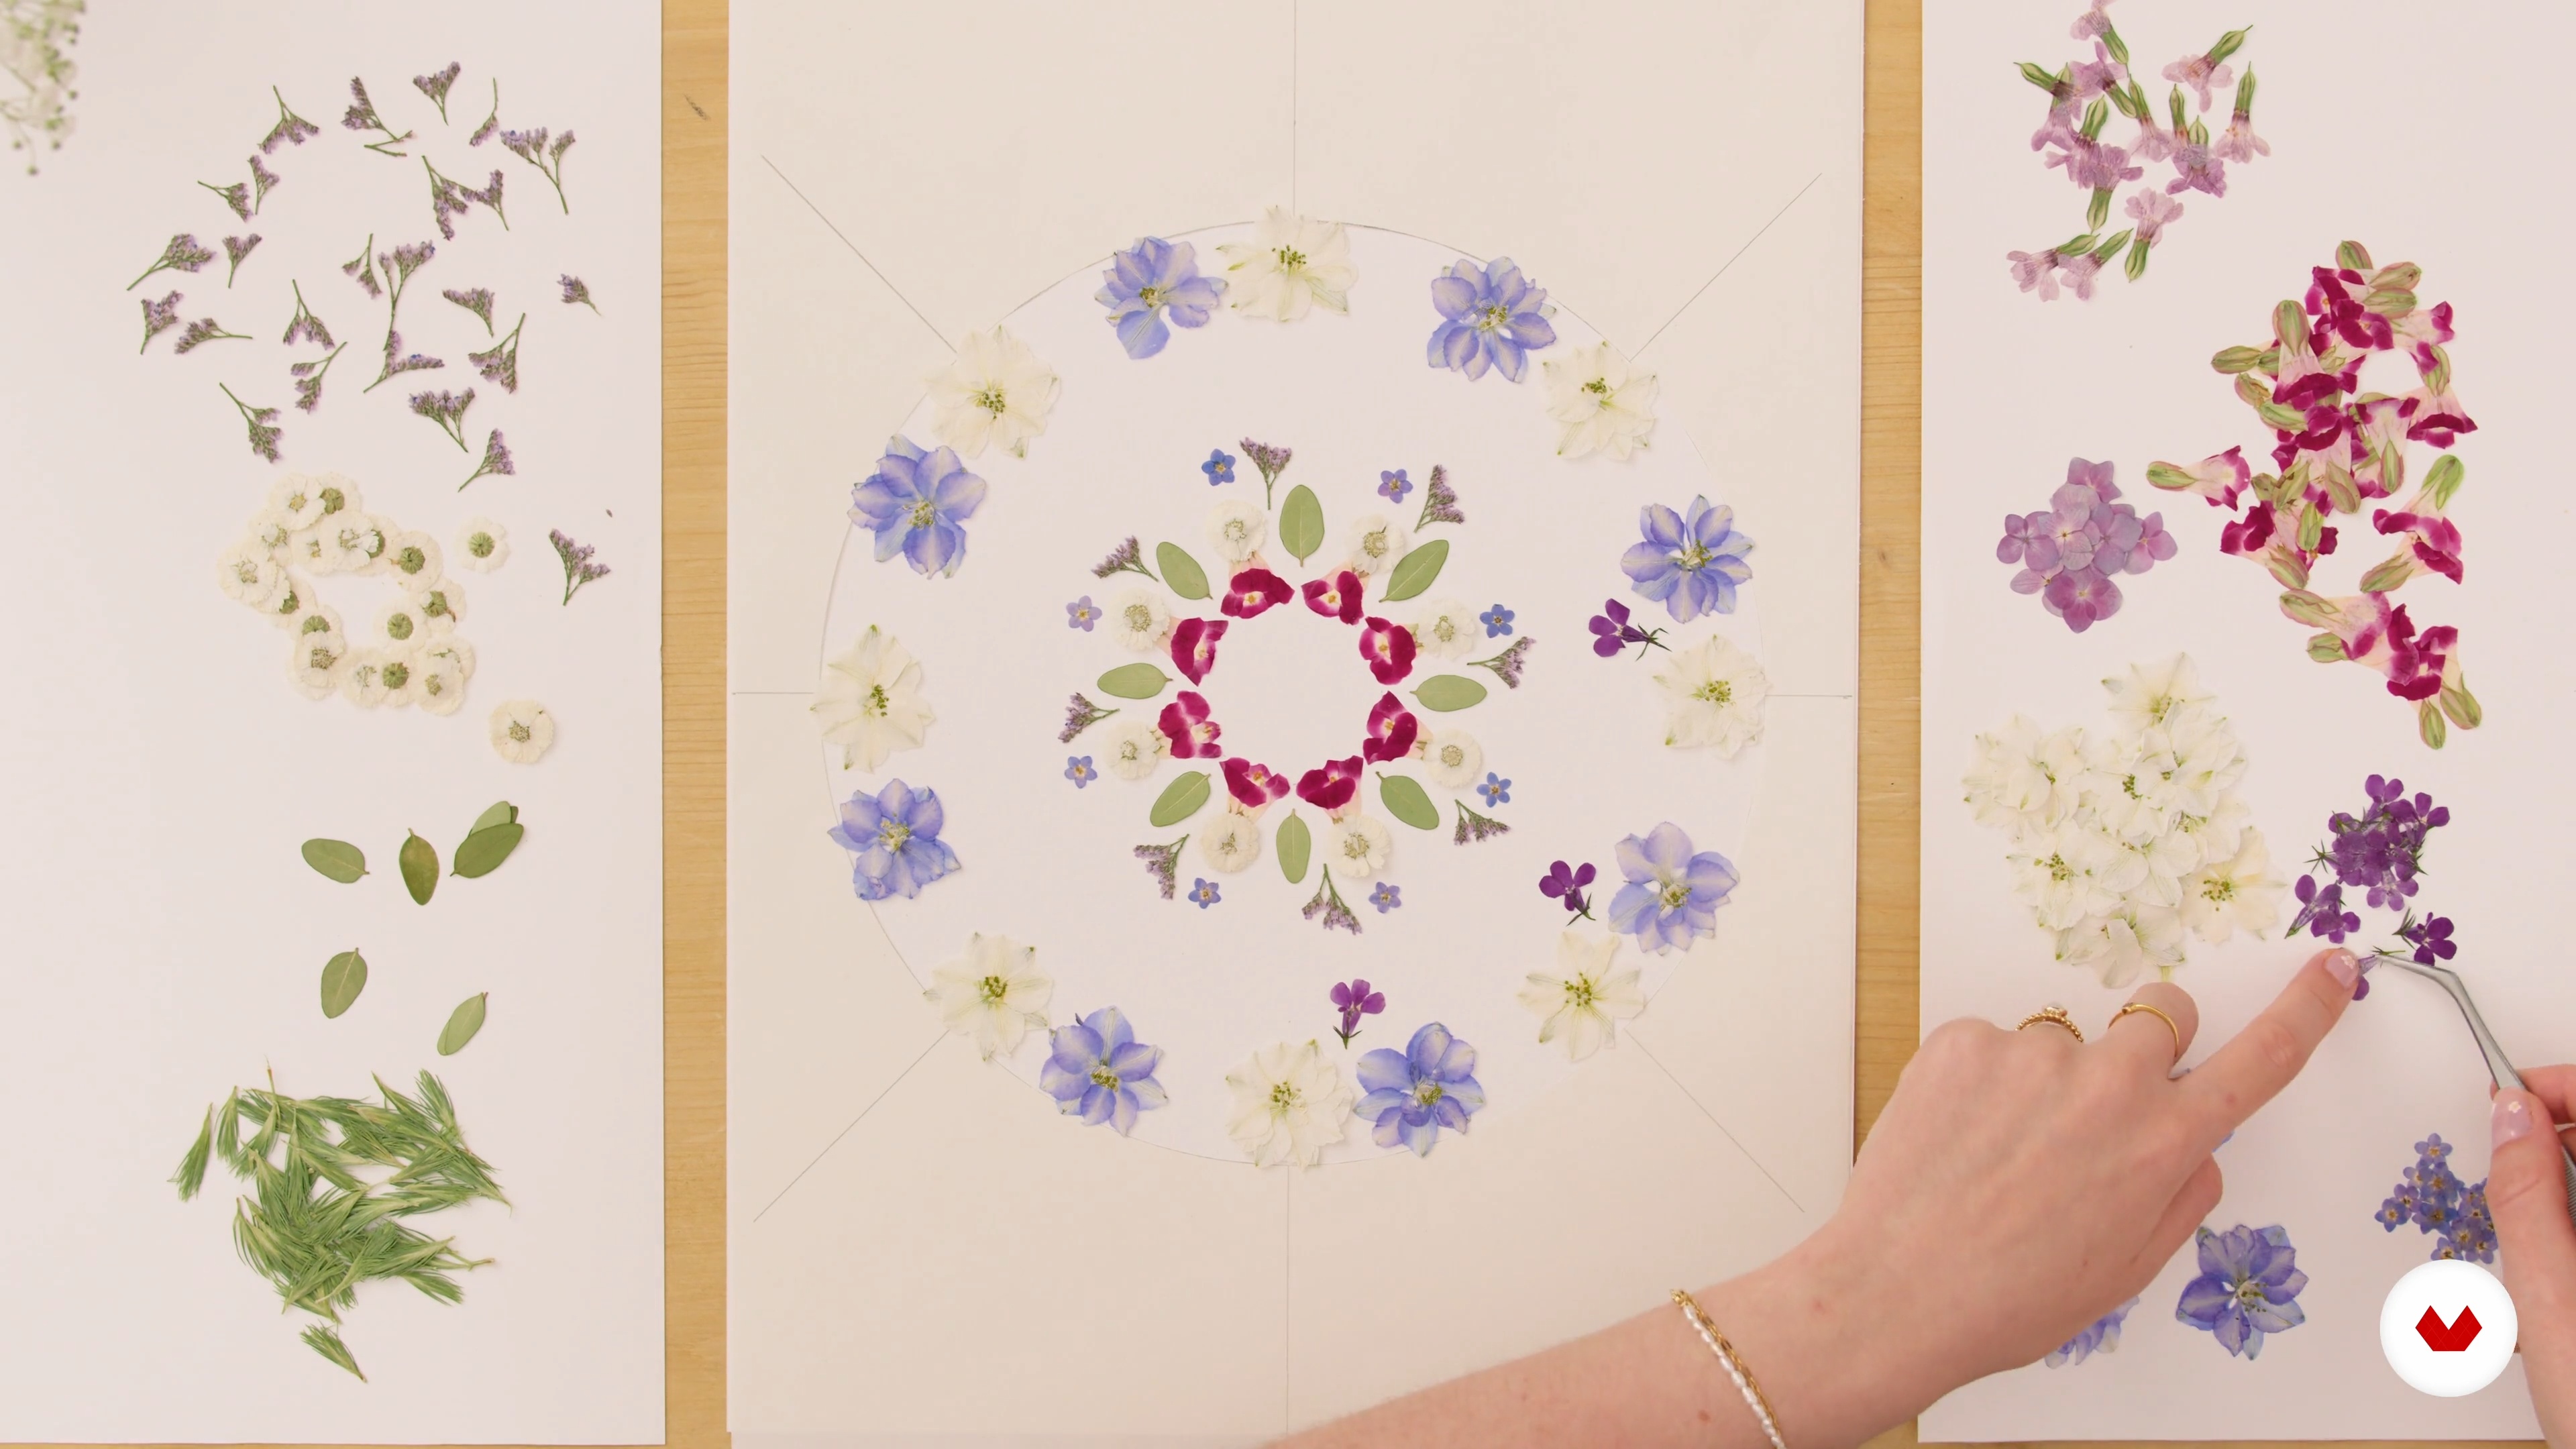
The composition
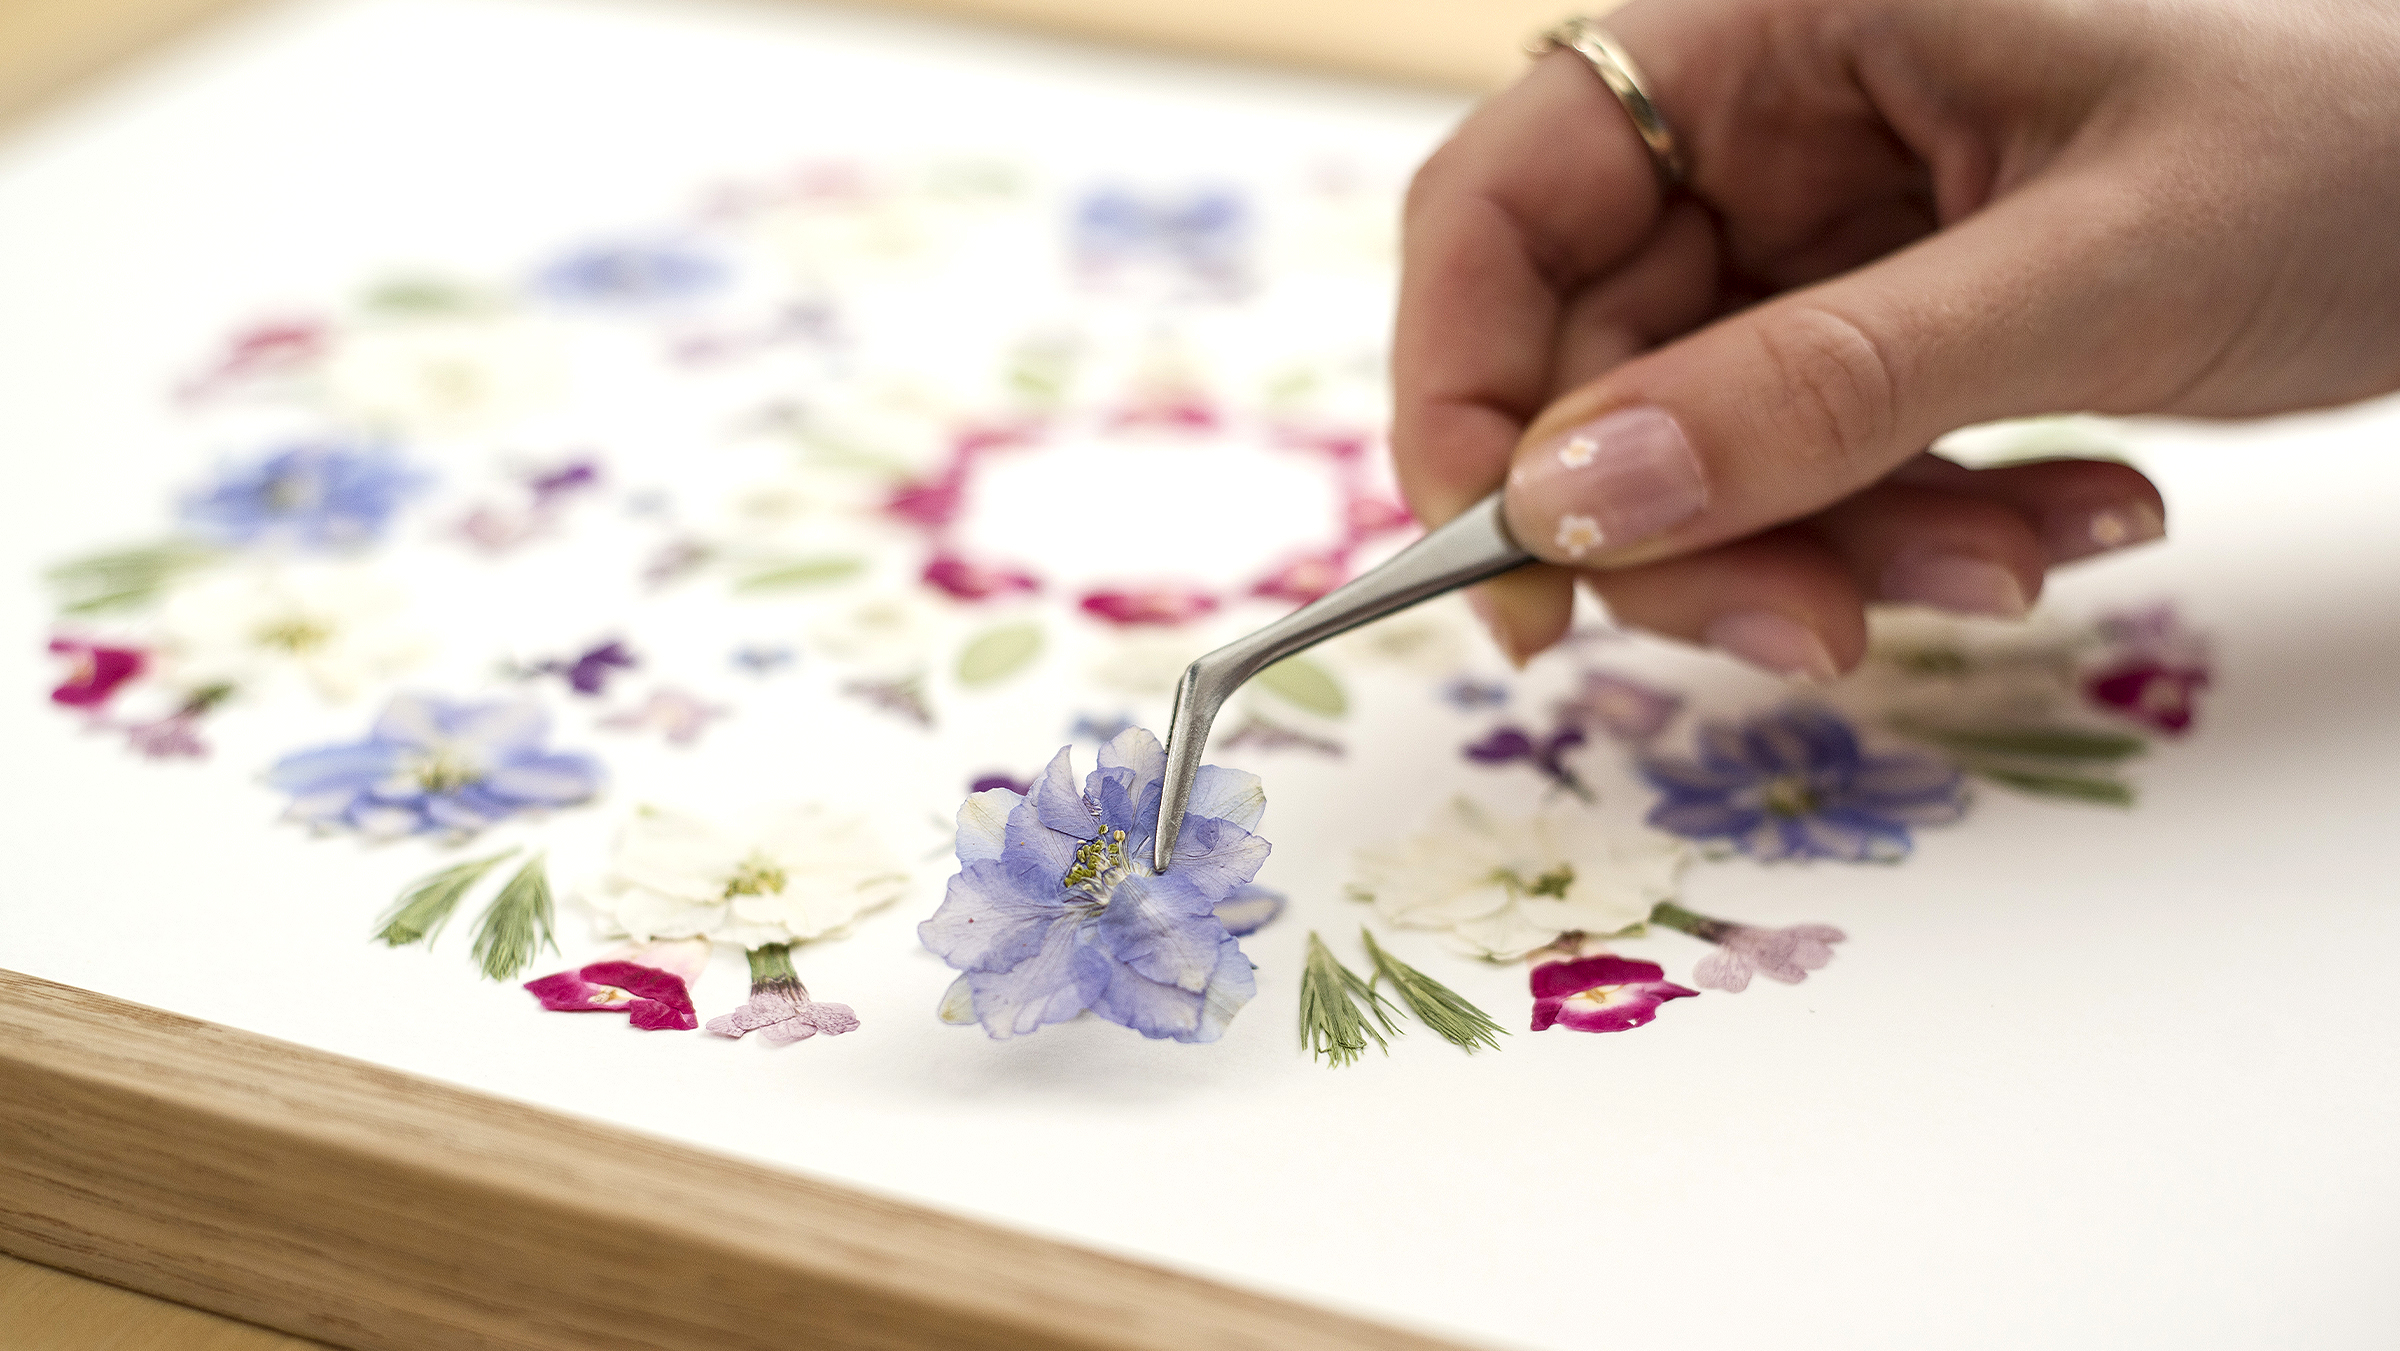
In this lesson we will create our pressed flower rosette herbarium step by step.
15m
image
13
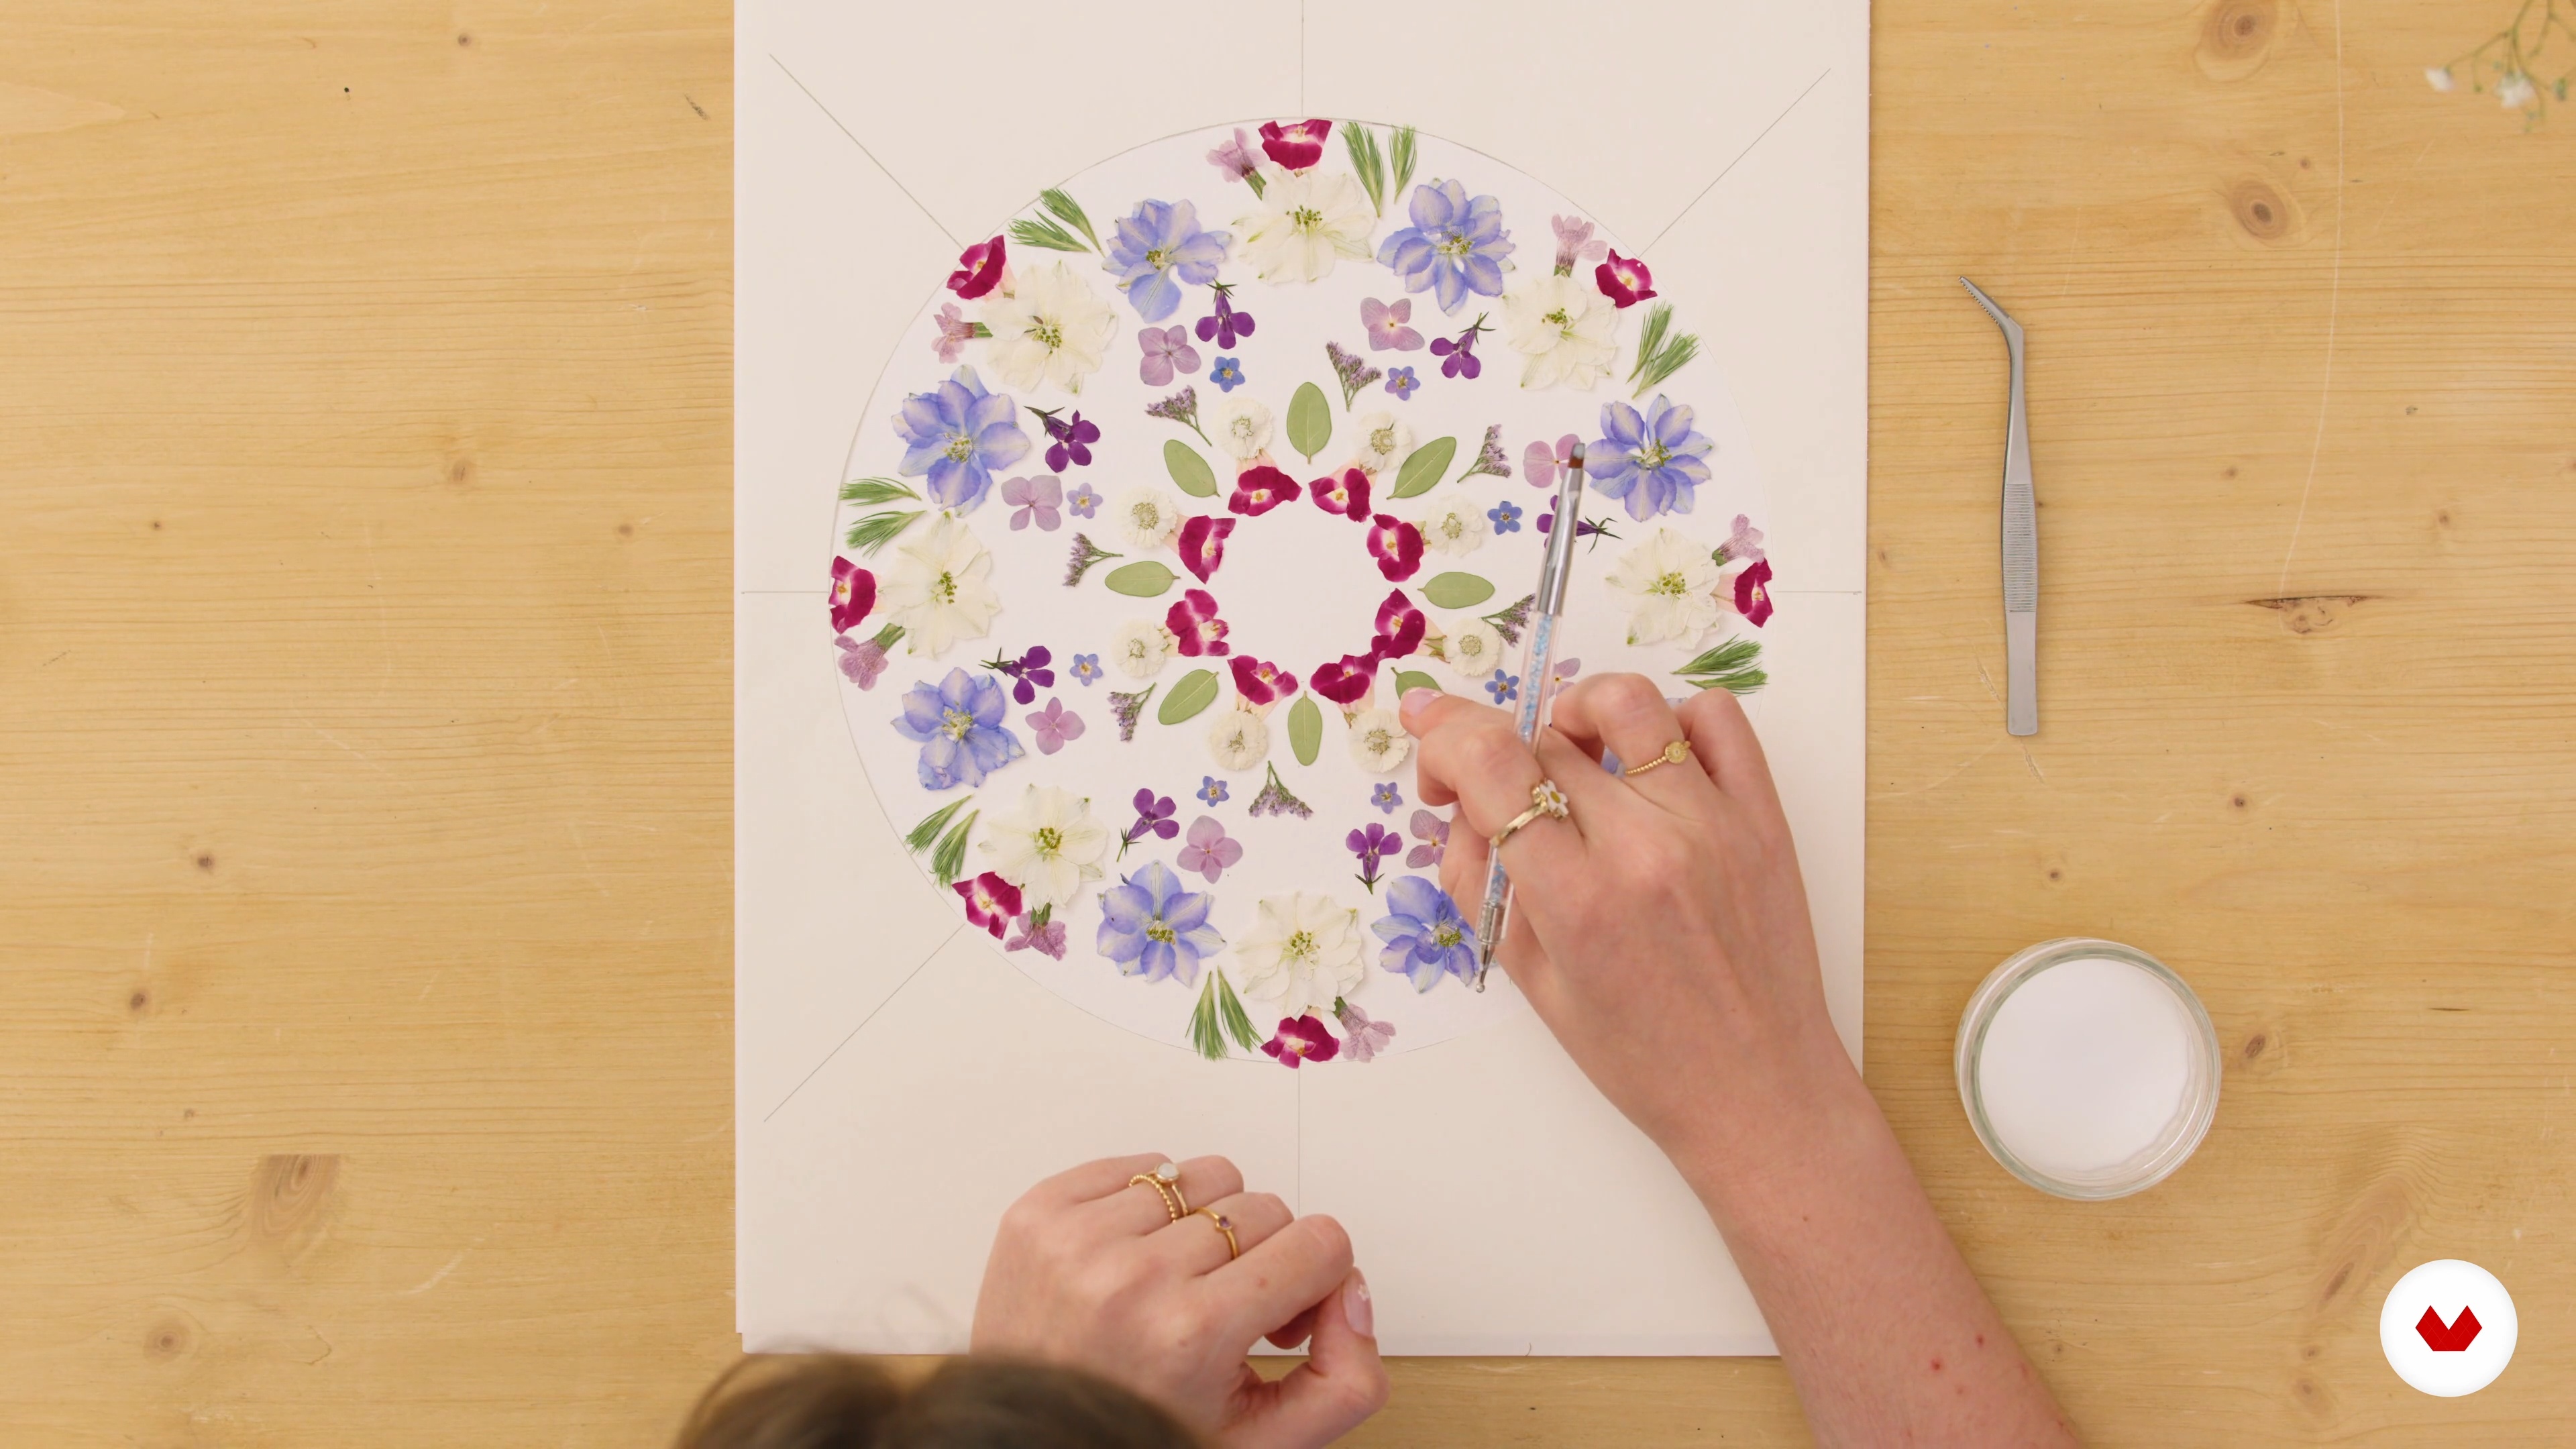
Gluing stage
In this lesson we will see how to attach our pressed flower composition with glue.
7m
image
14
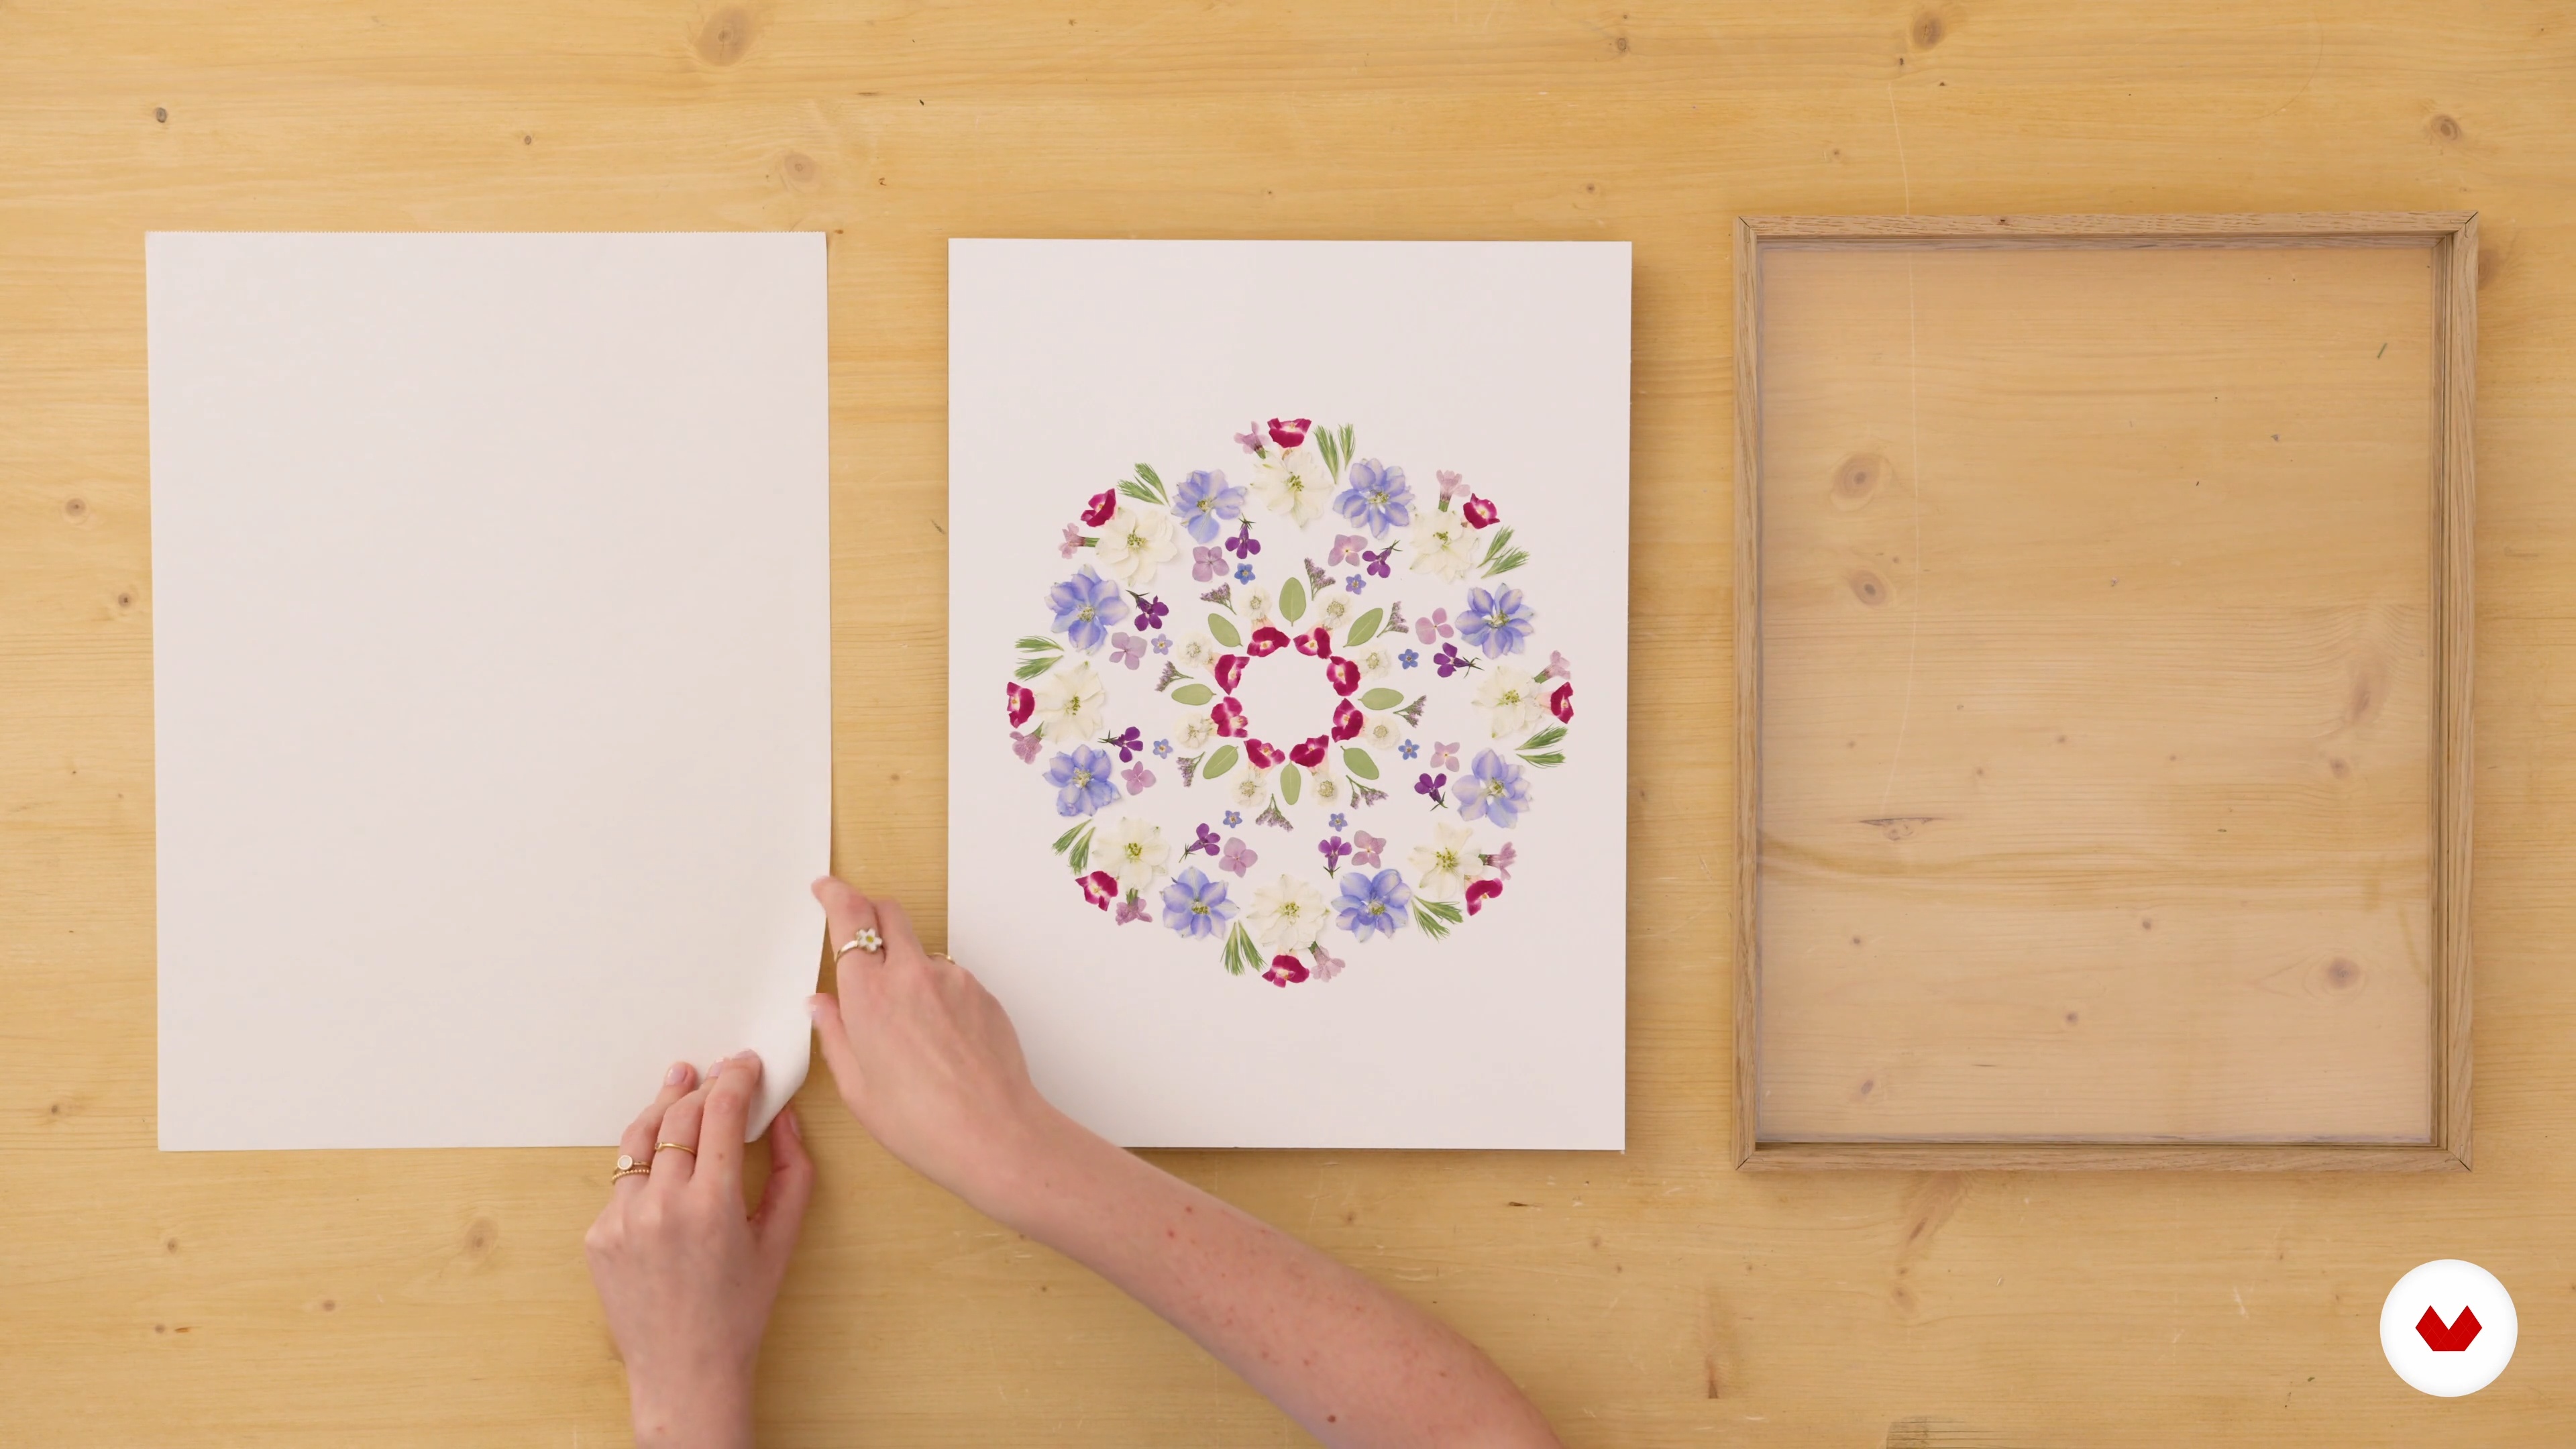
Framing and conservation
In order to best preserve your creation, we will see in this lesson how to frame it and take care of it.
3m
image
15
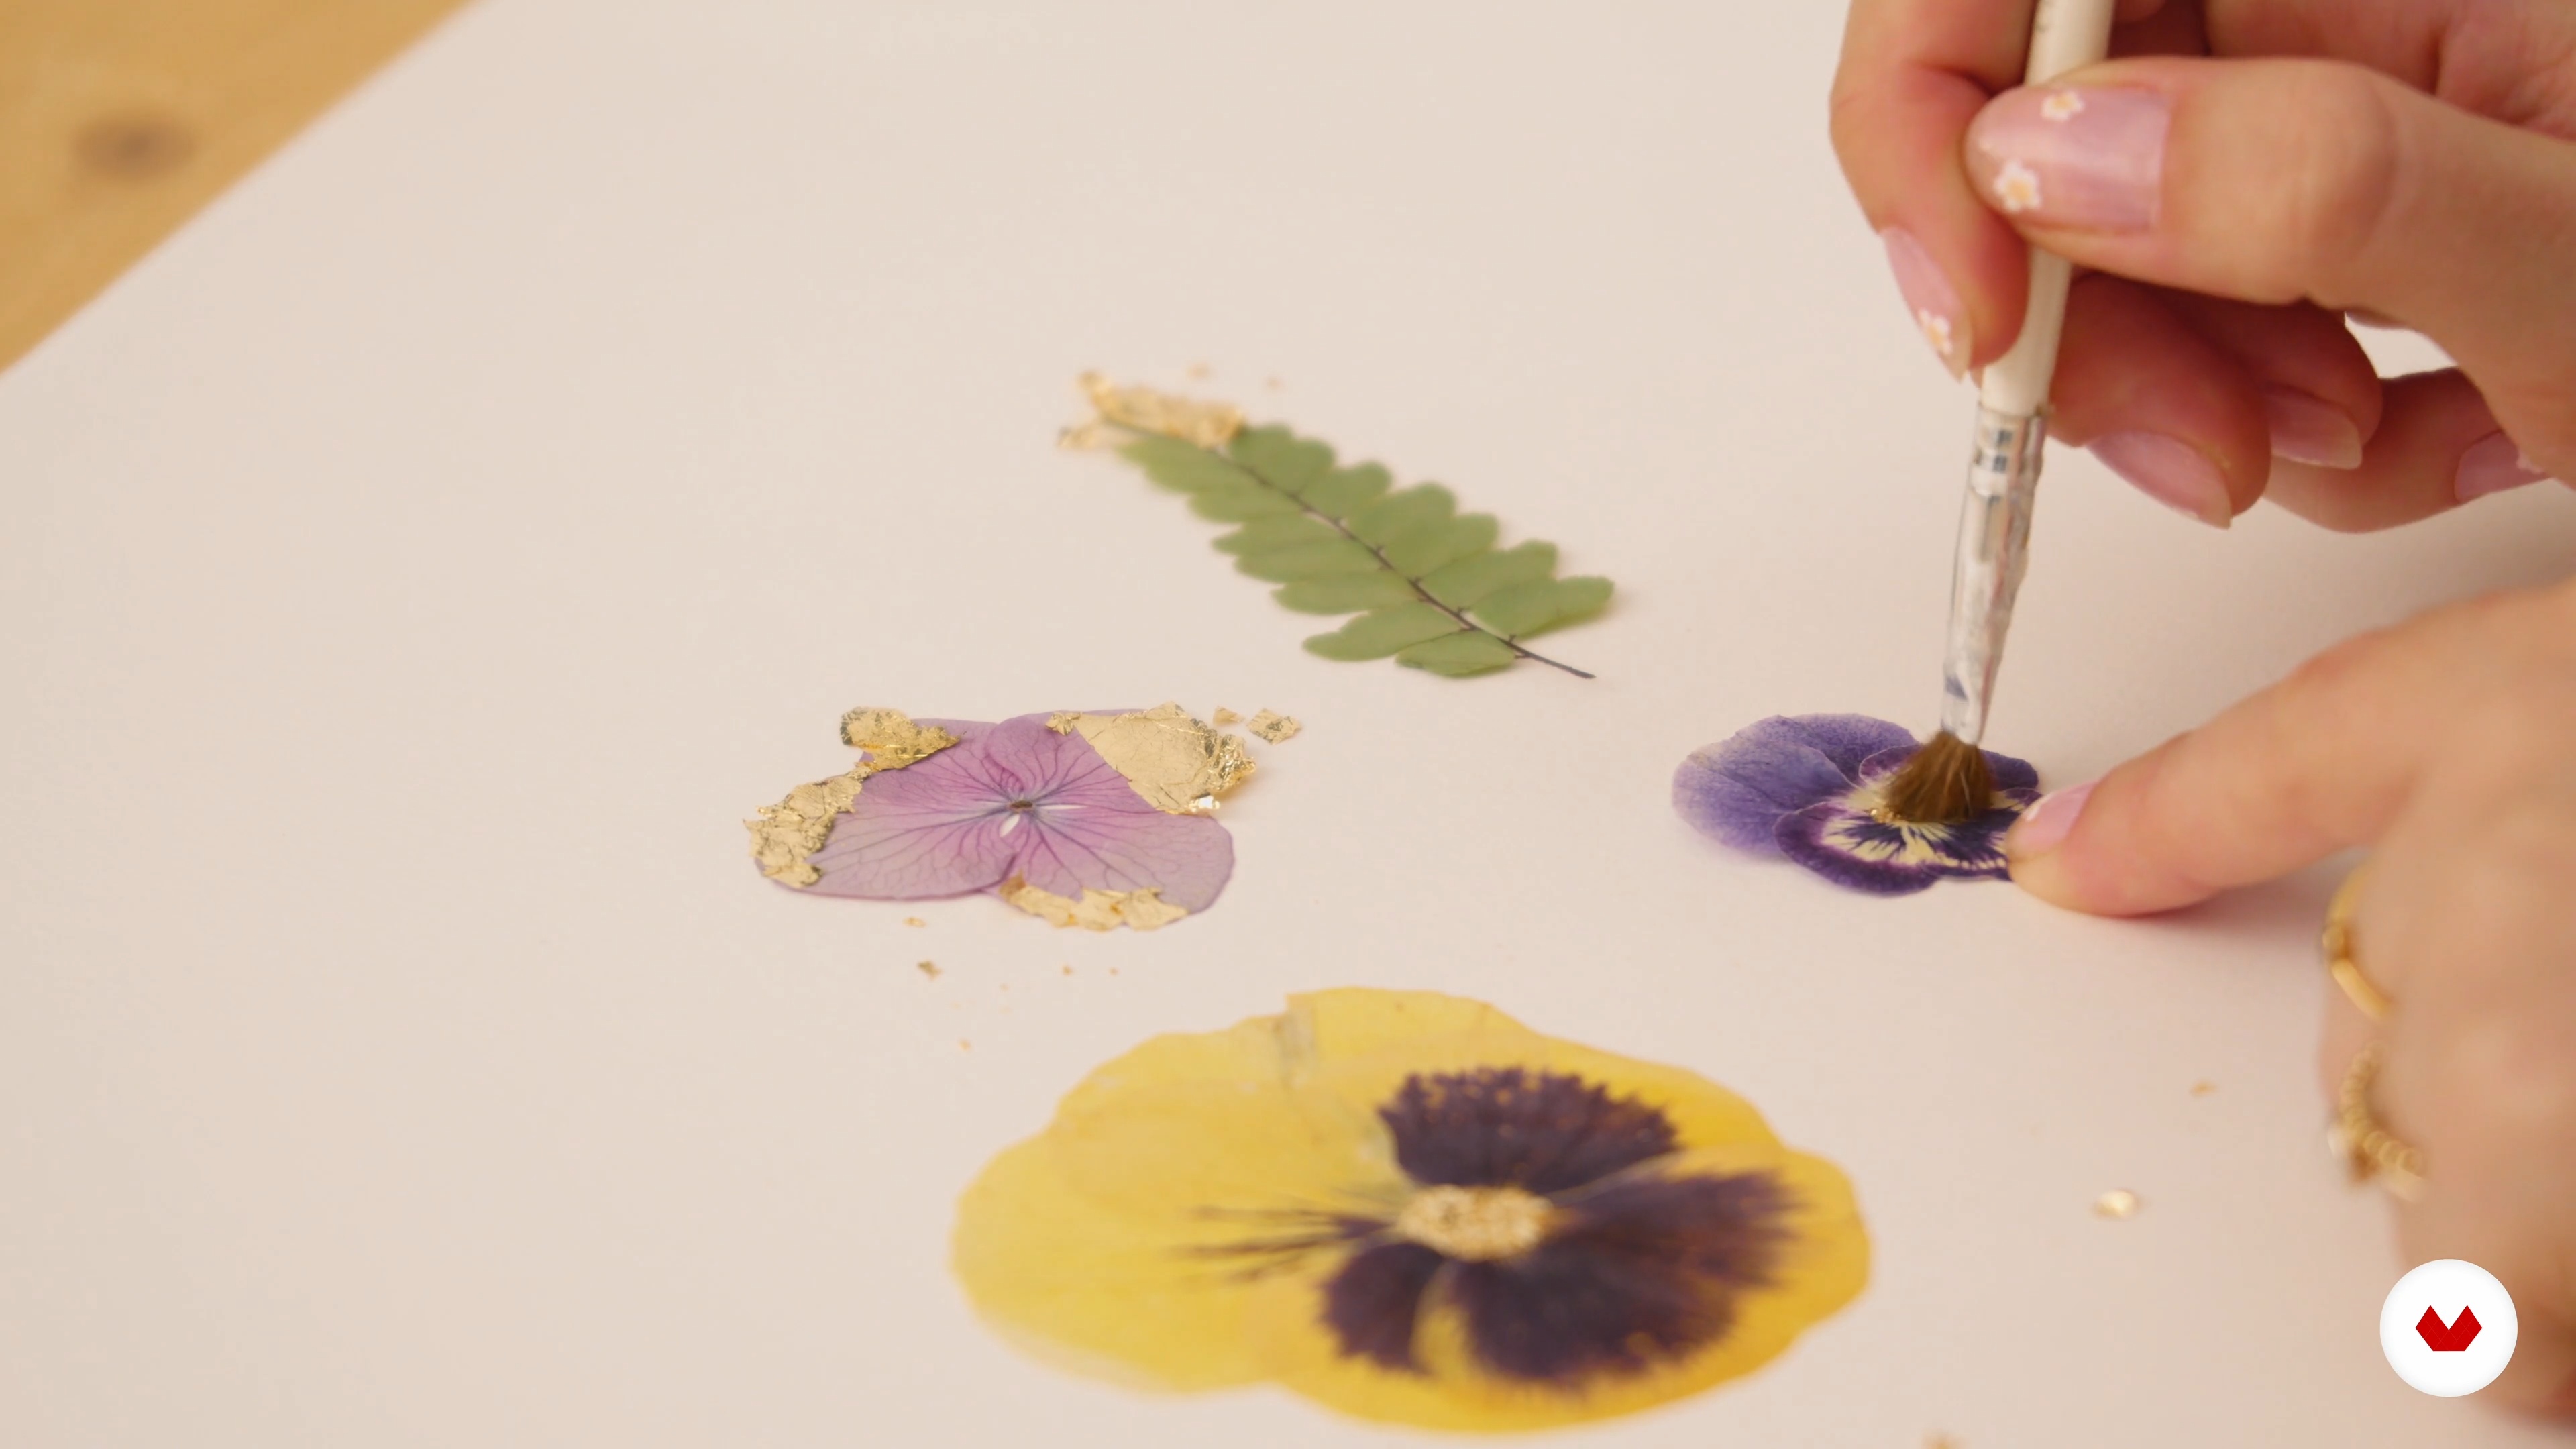
Gilding with gold leaf
In this lesson I will show you how I add gold leaf to pressed flowers. A nice way to create even more magic by arranging it in flakes or large fragments.
14m
image
16
Language of flowers
In this lesson we will discover the language of flowers, its history, its use and its importance in my work.
3m
image
4
What is the botany and basic taxonomy of a plant
I will tell you about the science that is dedicated to the study of plants. For me it is key to know the origin of these studies because to a large extent they have shaped the aesthetics that I use in my work today and they have also defined something key: the parts of the plants that I am also going to teach you.
7m
image
5
The work of botanists, collecting and what is a herbarium?
In this lesson I will tell you about the work that botanists do and how they collect their samples. The latter will be key to the process that we will carry out later in the course. In addition, I am going to show you what a herbarium is and how through these compilations we can discover surprising natural worlds.
11m
image
6
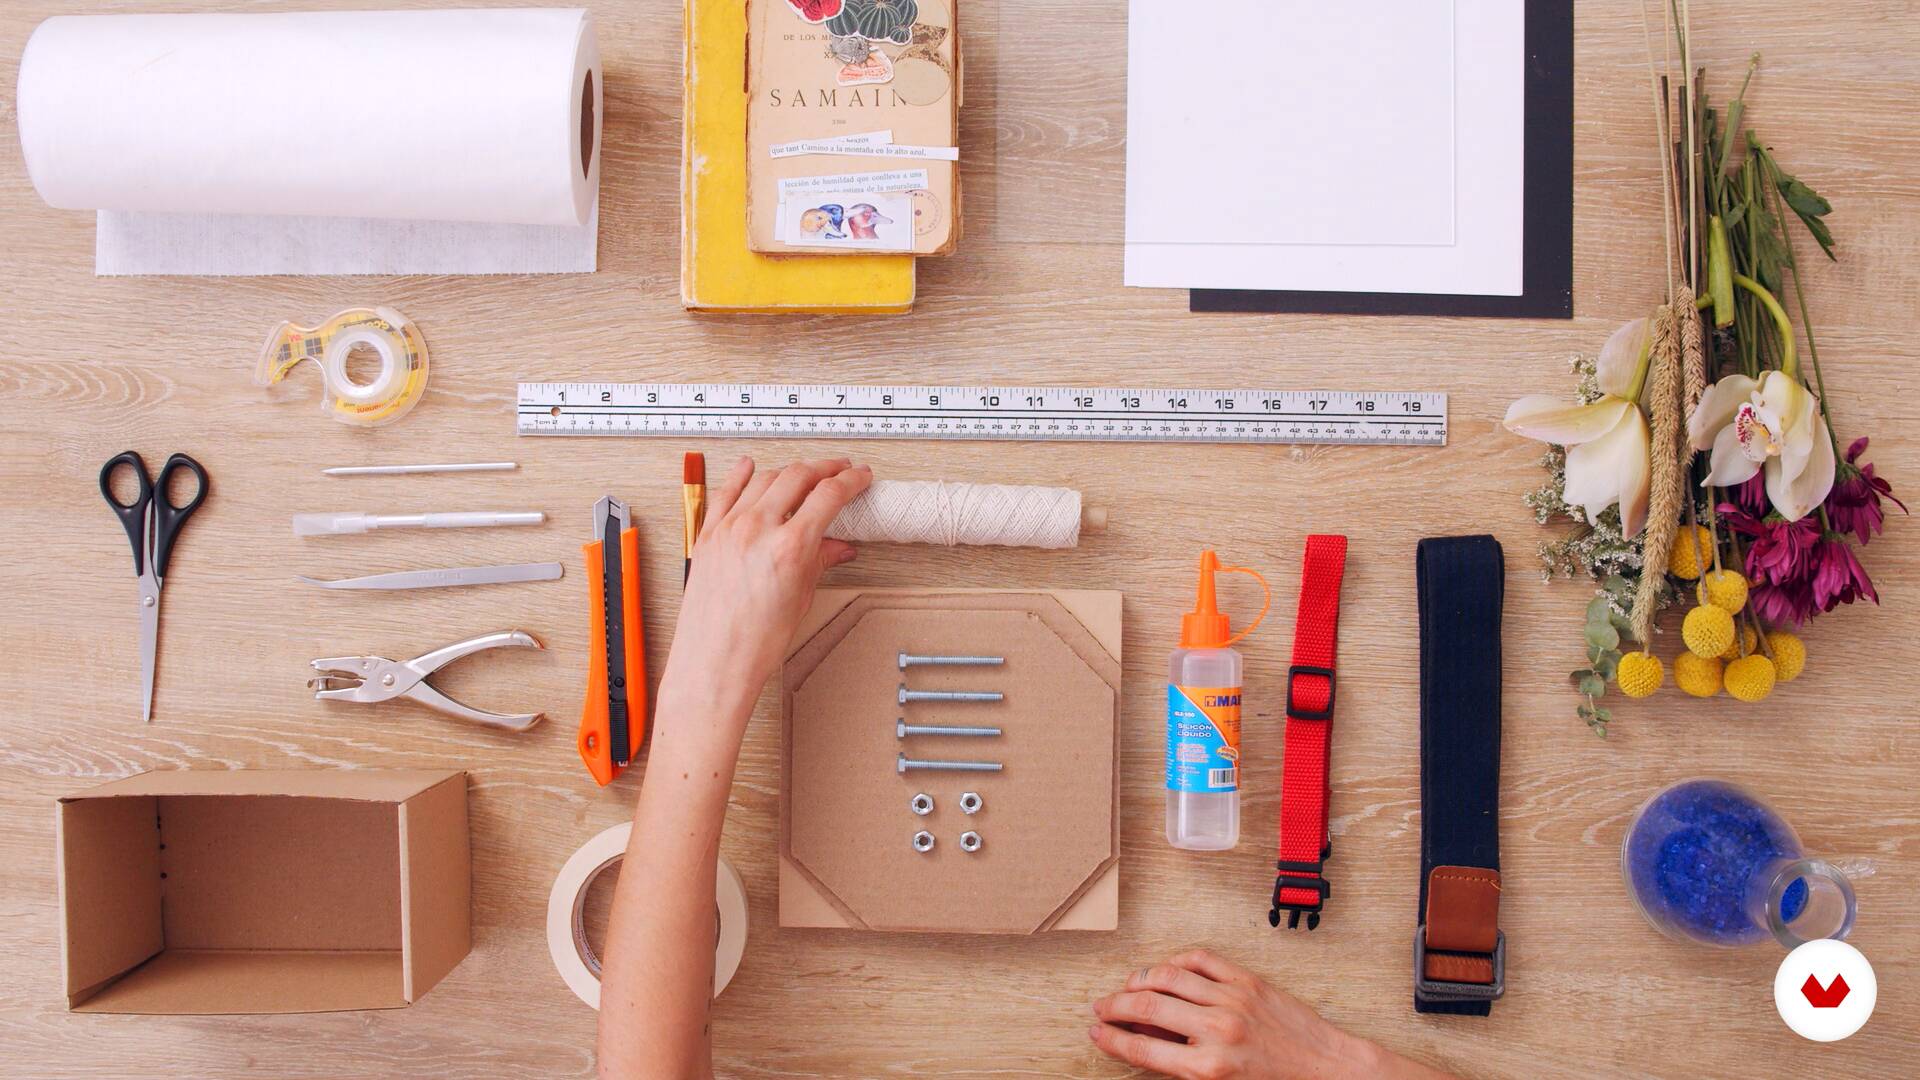
Materials and tools
Now I am going to tell you about the materials and tools that we are going to use to develop the course project.
3m
image
7
Methods to preserve plants
There are several preservation methods, what I have learned from my experience is that they all work according to the purpose and the type of plant we choose or the part of it. Each method you learn will be important for some of the pieces that you will have to do for the course project. In this lesson I am going to teach you the most used preservation methods.
11m
image
8
Methods for pressing plants
Here I am going to teach you the pressing methods, from the simplest and most intuitive to a much more professional one.
11m
image
9
Tips on how to properly glue your dried plants and principles of botanical composition
It seems obvious but it is not, gluing your pressed and preserved sheets has its science, and I want to give you some parameters so that you take them into account and do not spoil them.
12m
image
10
Separate sheets for books
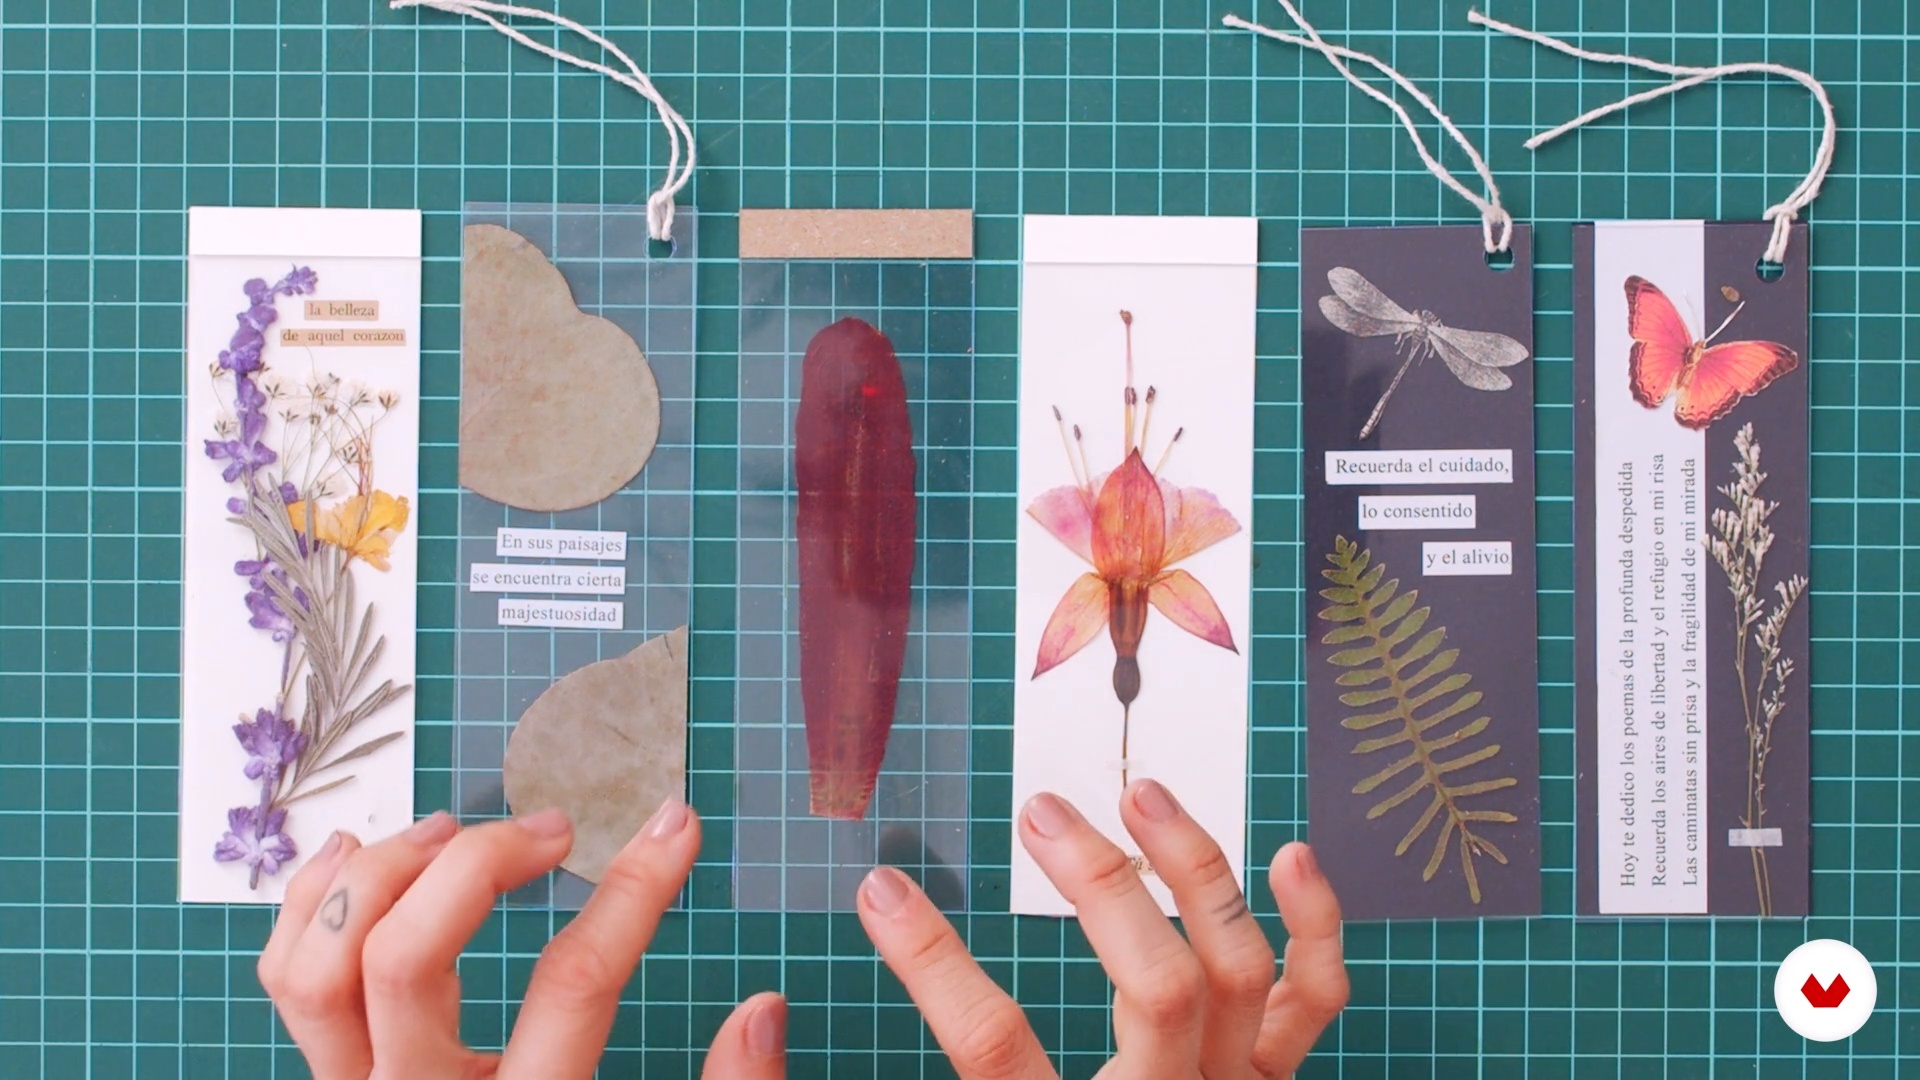
Welcome to the first part of the projects that you will carry out as a result of this course. In this lesson, I will teach you how to make bookmarks with different materials.
8m
image
11
Tables with flat plants and with volume
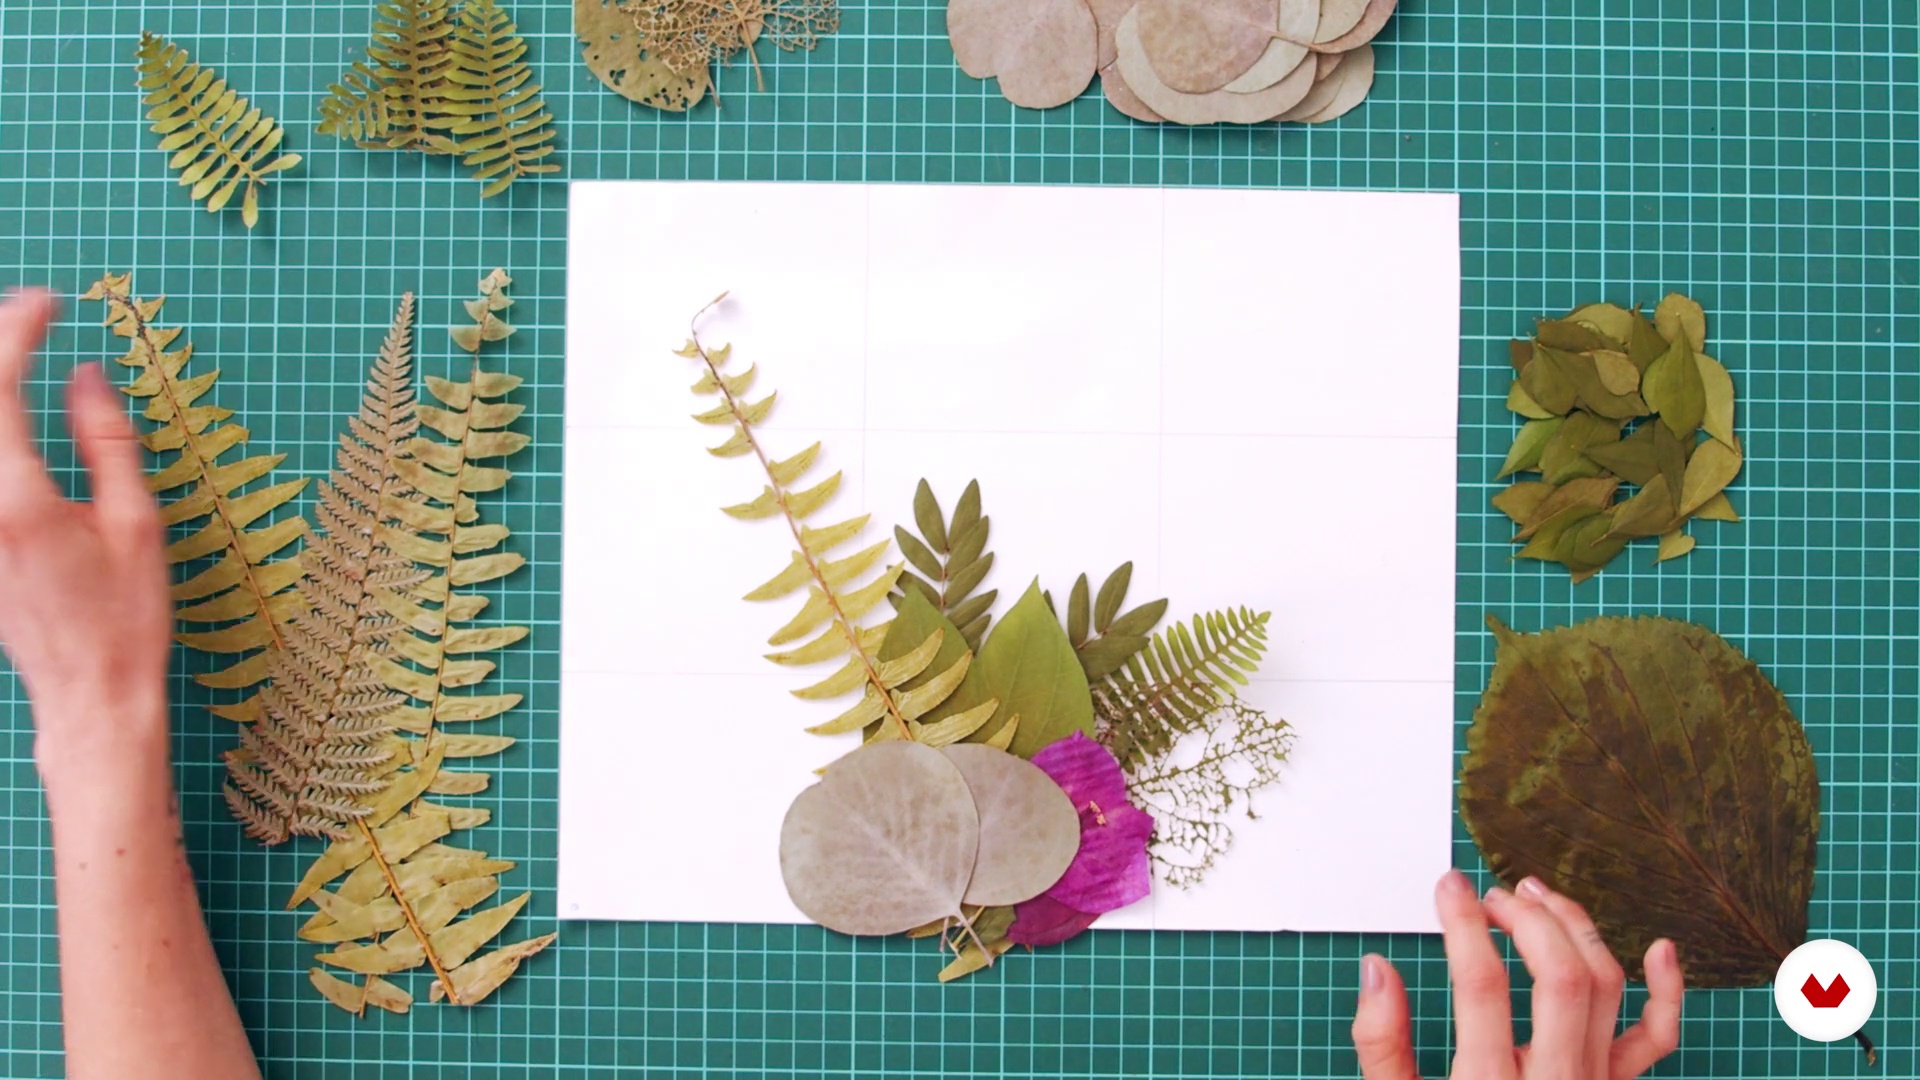
Since I entered the world of botany, paintings have been the main piece of the Happy Green Family. I have made large, small and with many types of flowers, I really like them because they are elements that give life to spaces, beyond being a decorative object, they are pure life. They are the present memory of how beautiful nature is and of all that it can offer us. In this lesson you will learn how to do them.
17m
image
12
How to store your dried flowers?
In this lesson I am going to teach you how to store your dried flowers. Now they are your greatest treasure to make all your compositions.
4m
image
13
Botanical art
Here as a farewell I leave you a mouth opener on botanical art and everything that can be done with the methods you learned in this course.
7m
image
3
Materials
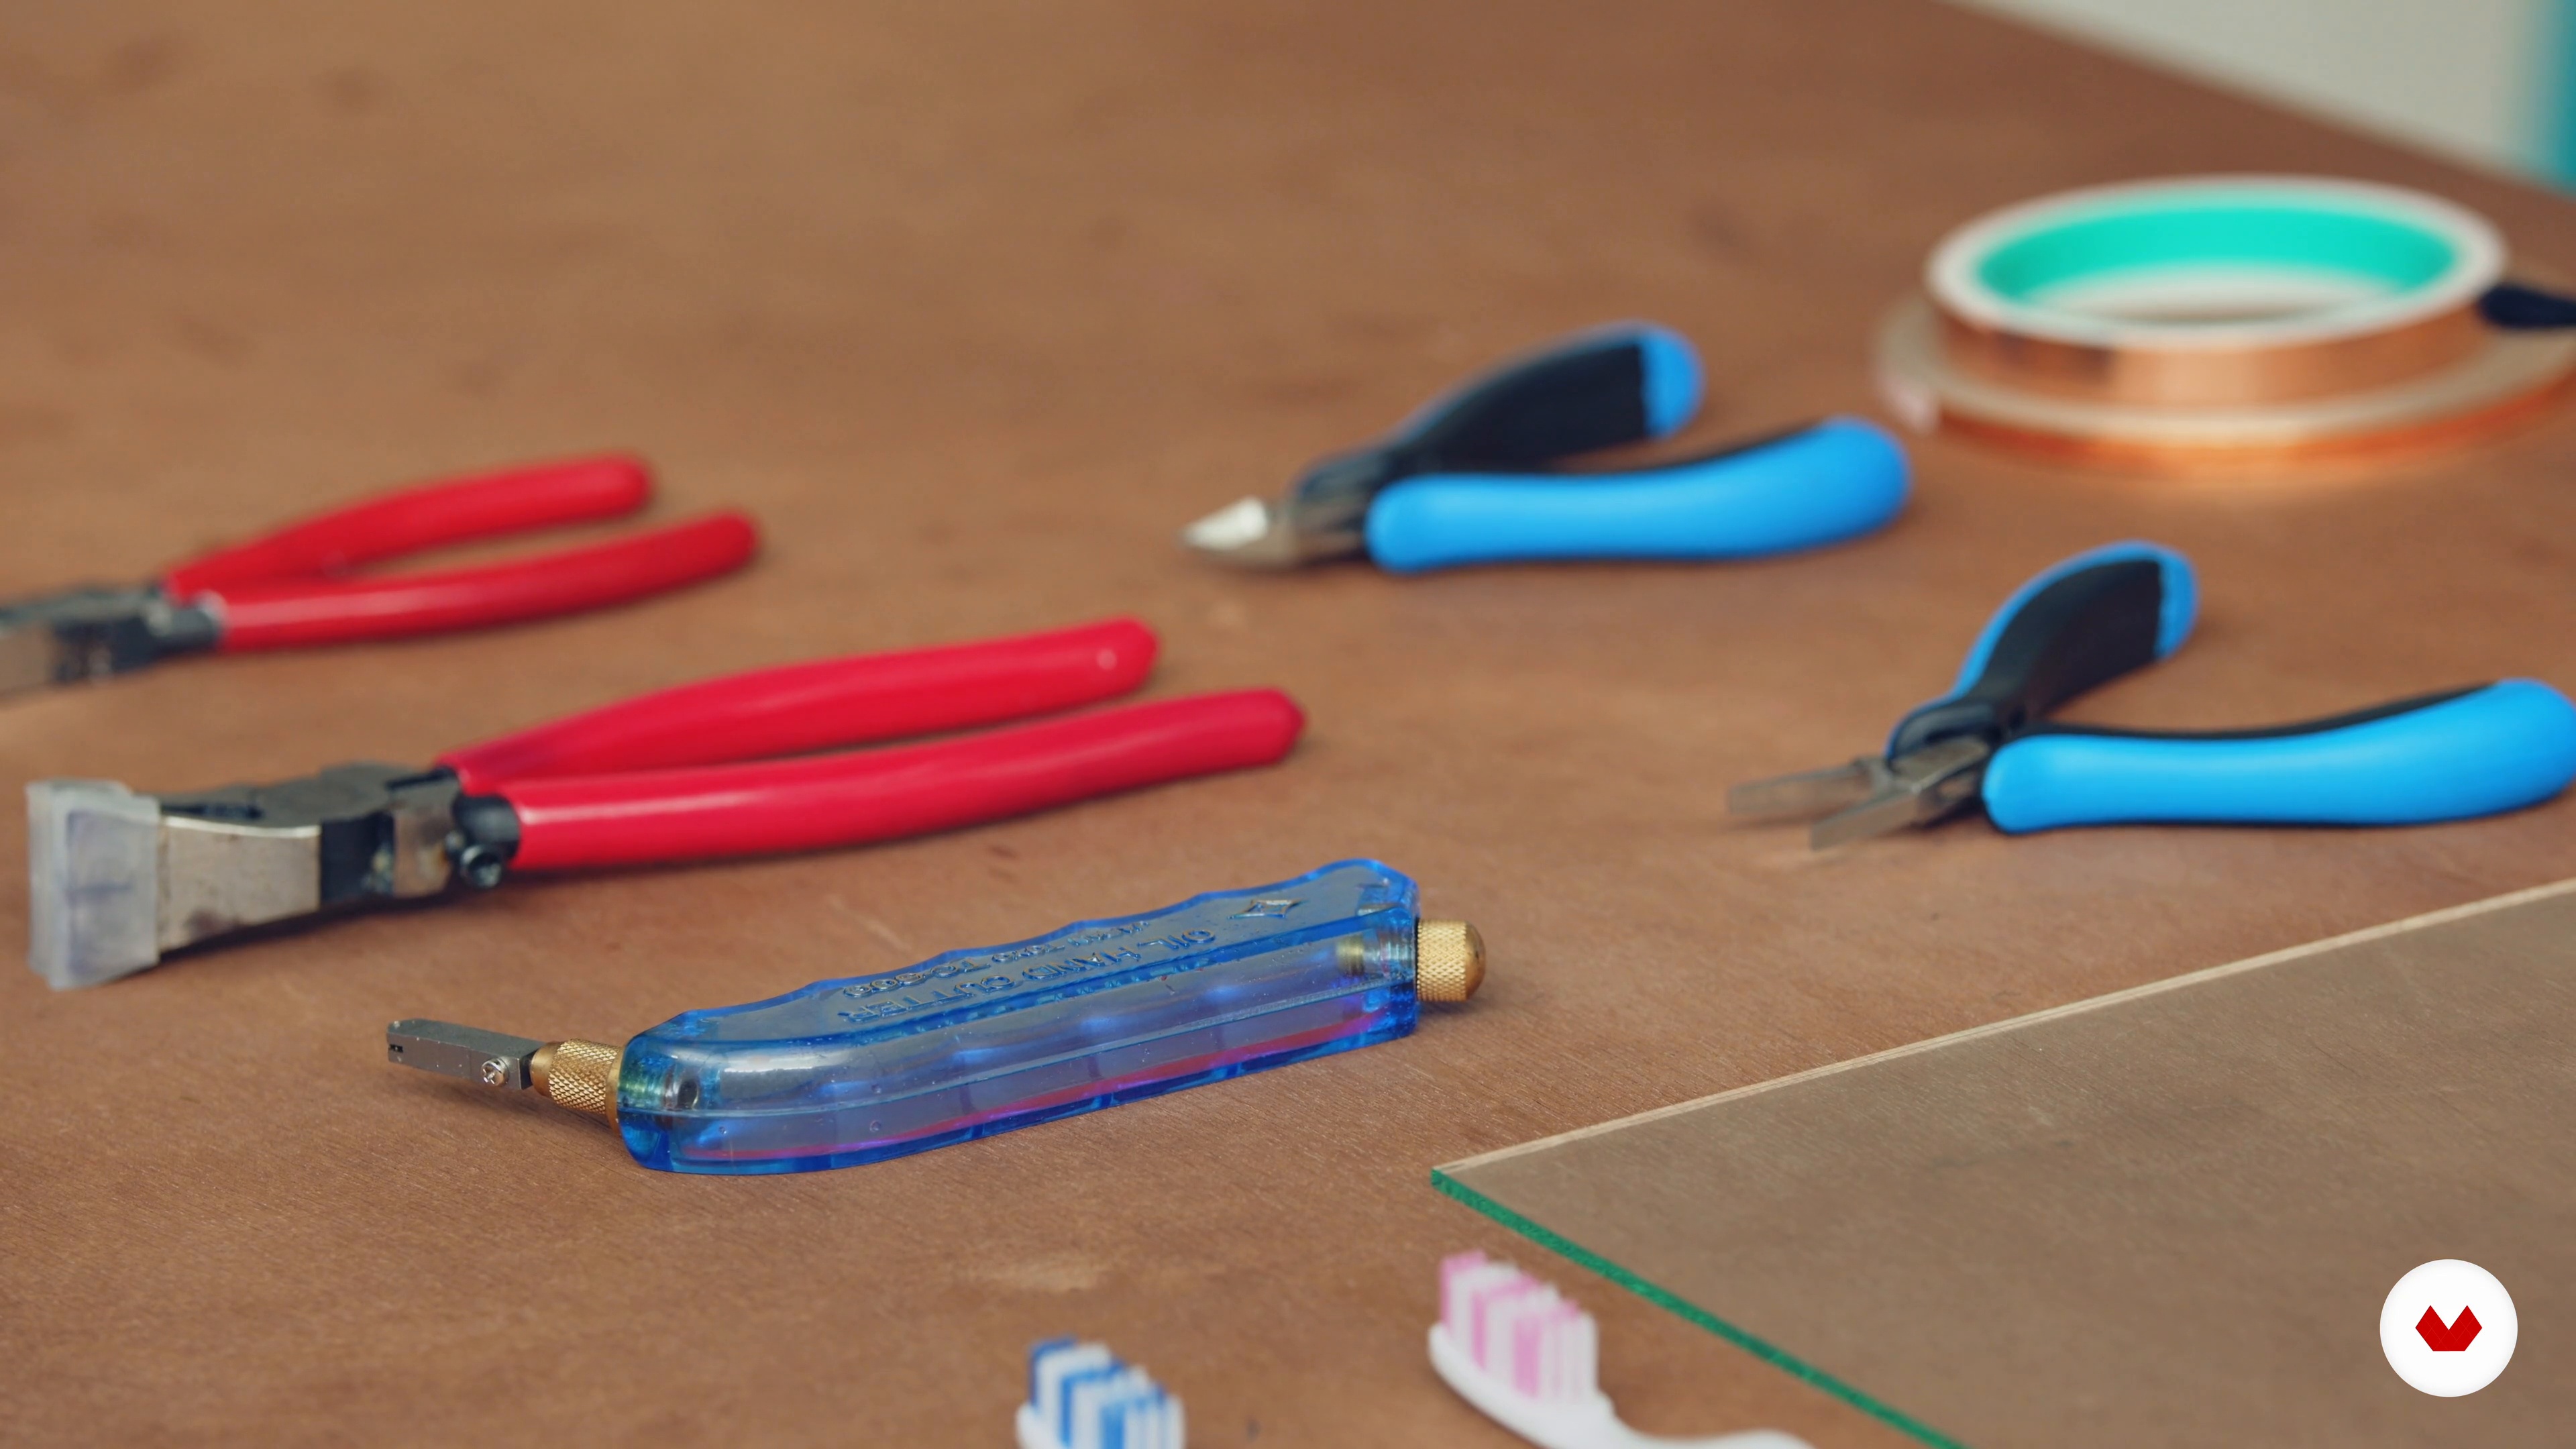
Let me first tell you a little bit about all the materials you are going to need: from glass to a glass cutter to pliers.
4m
image
4
Designing Your Piece
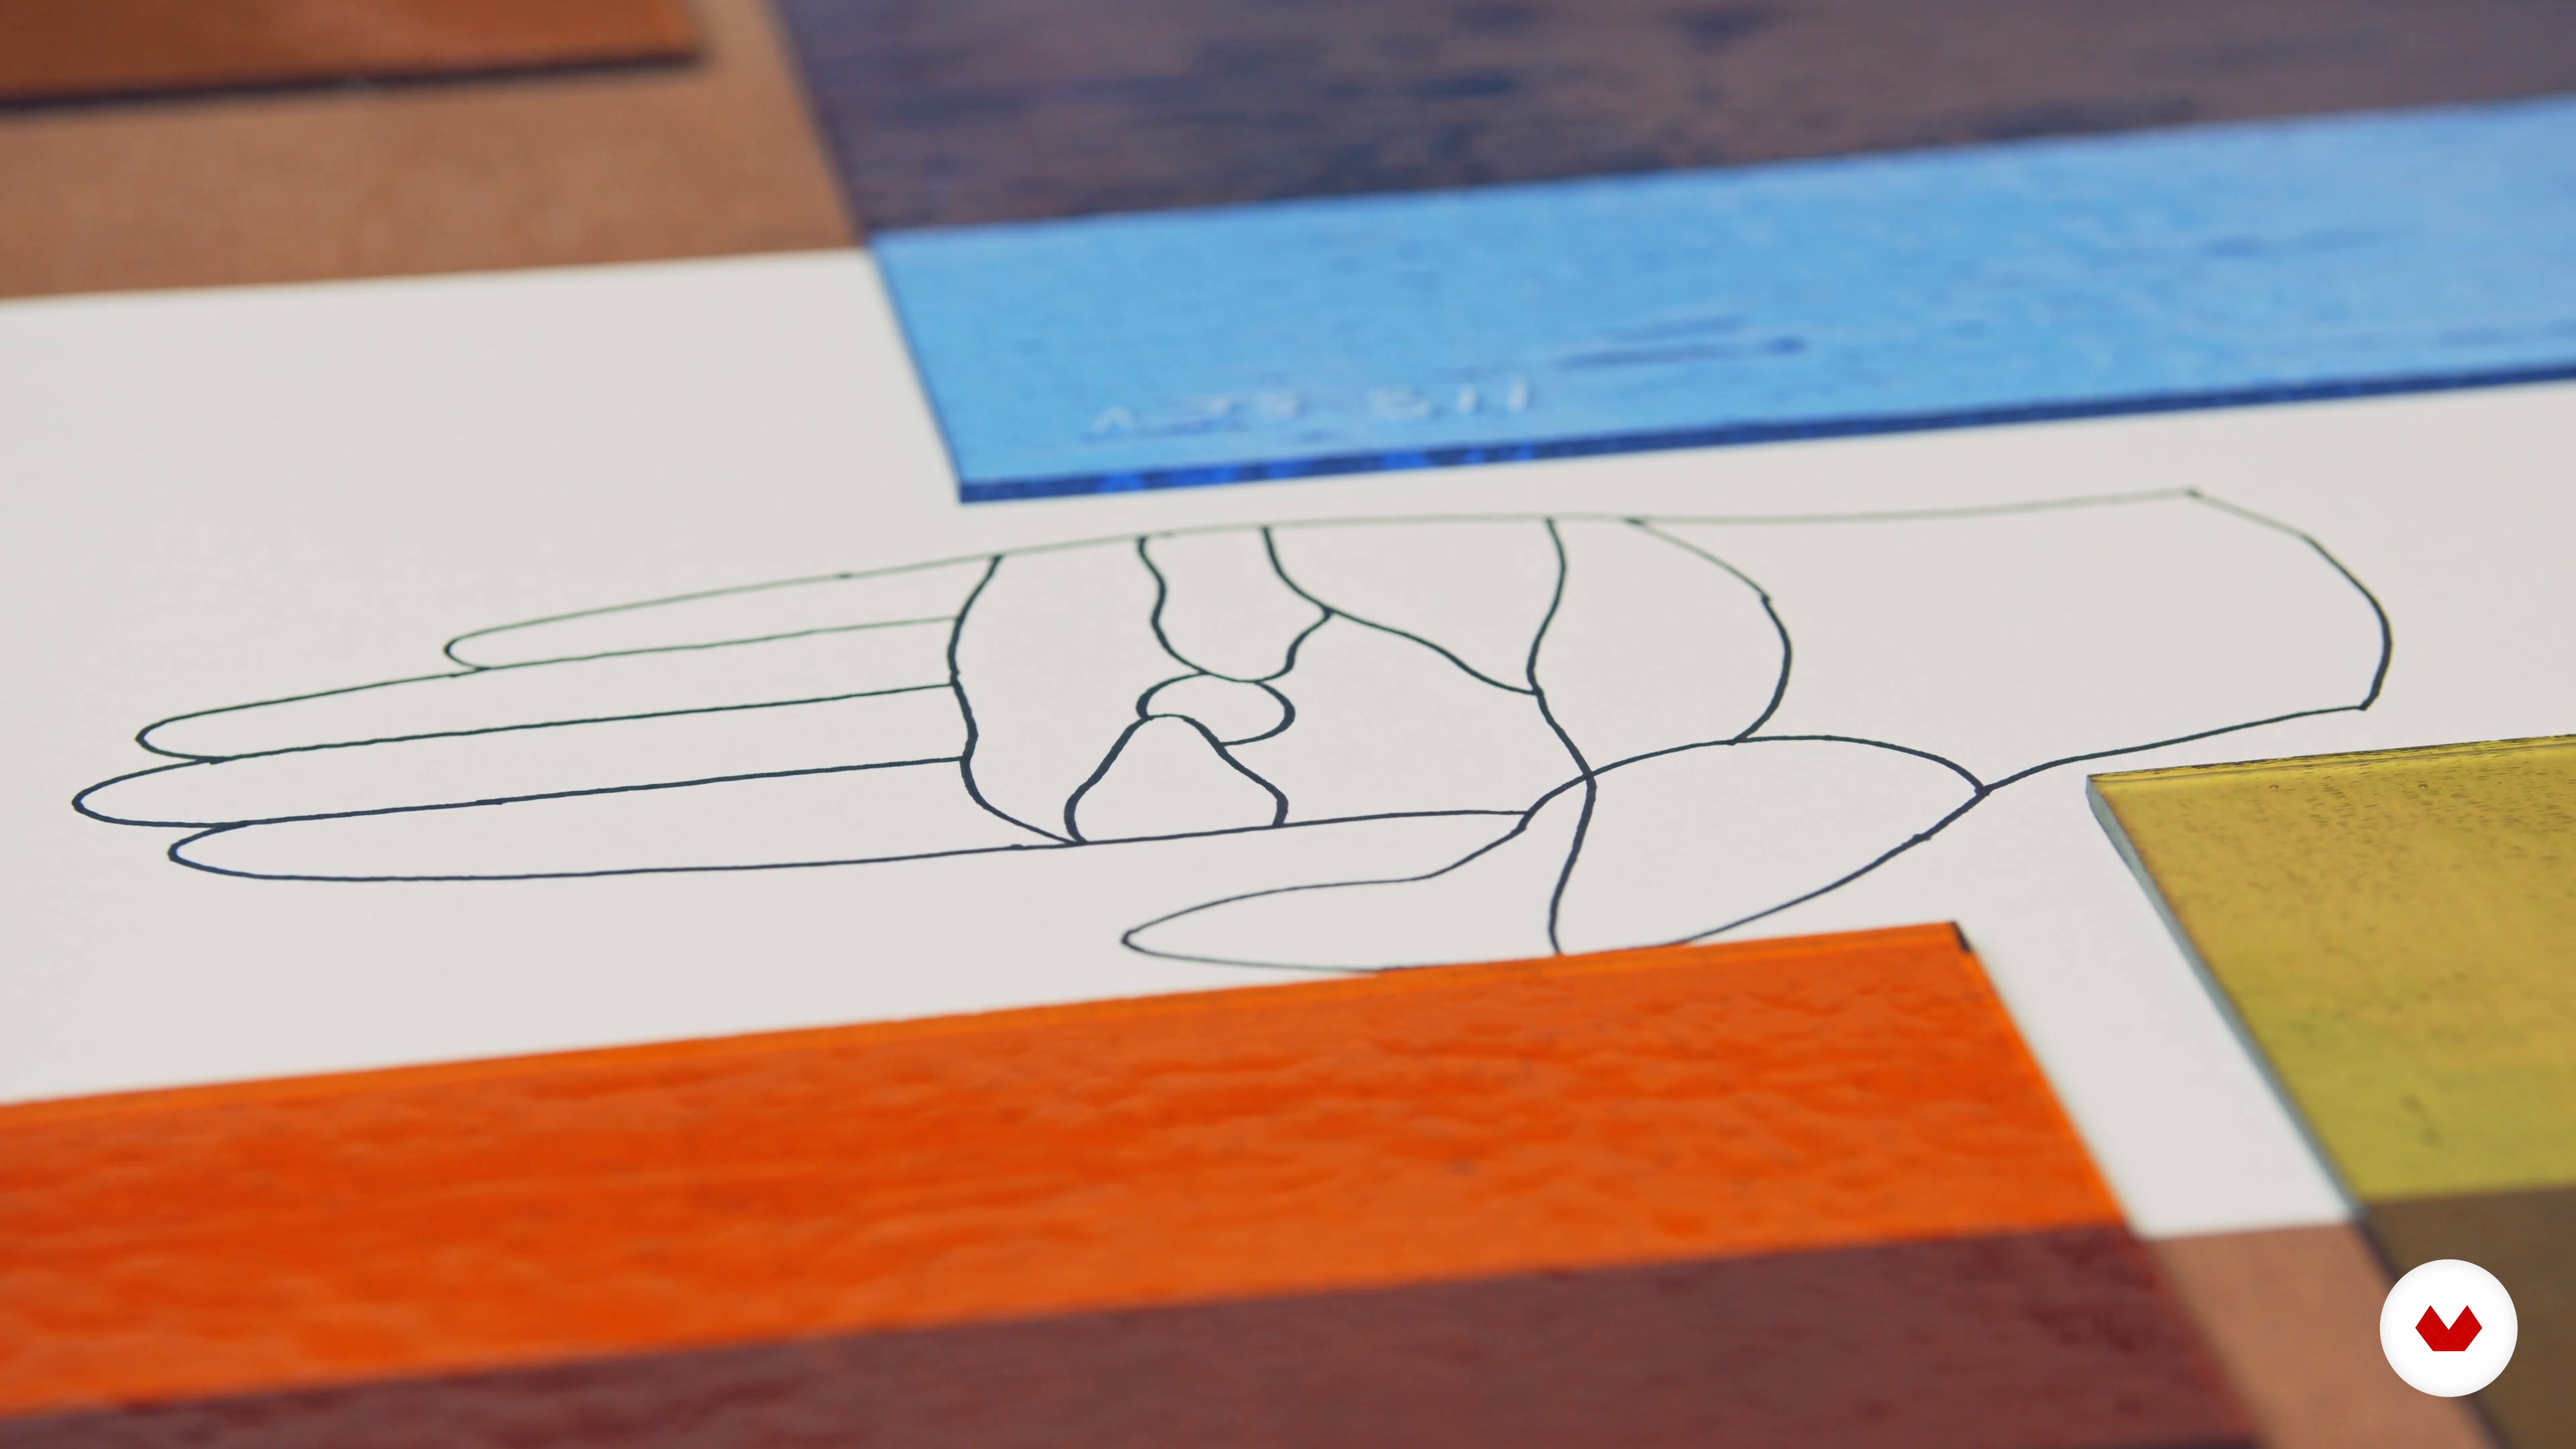
In this lesson, we will be talking about how to successfully design a simple stained glass piece that has structural integrity.
8m
image
5
Pressing Botanicals
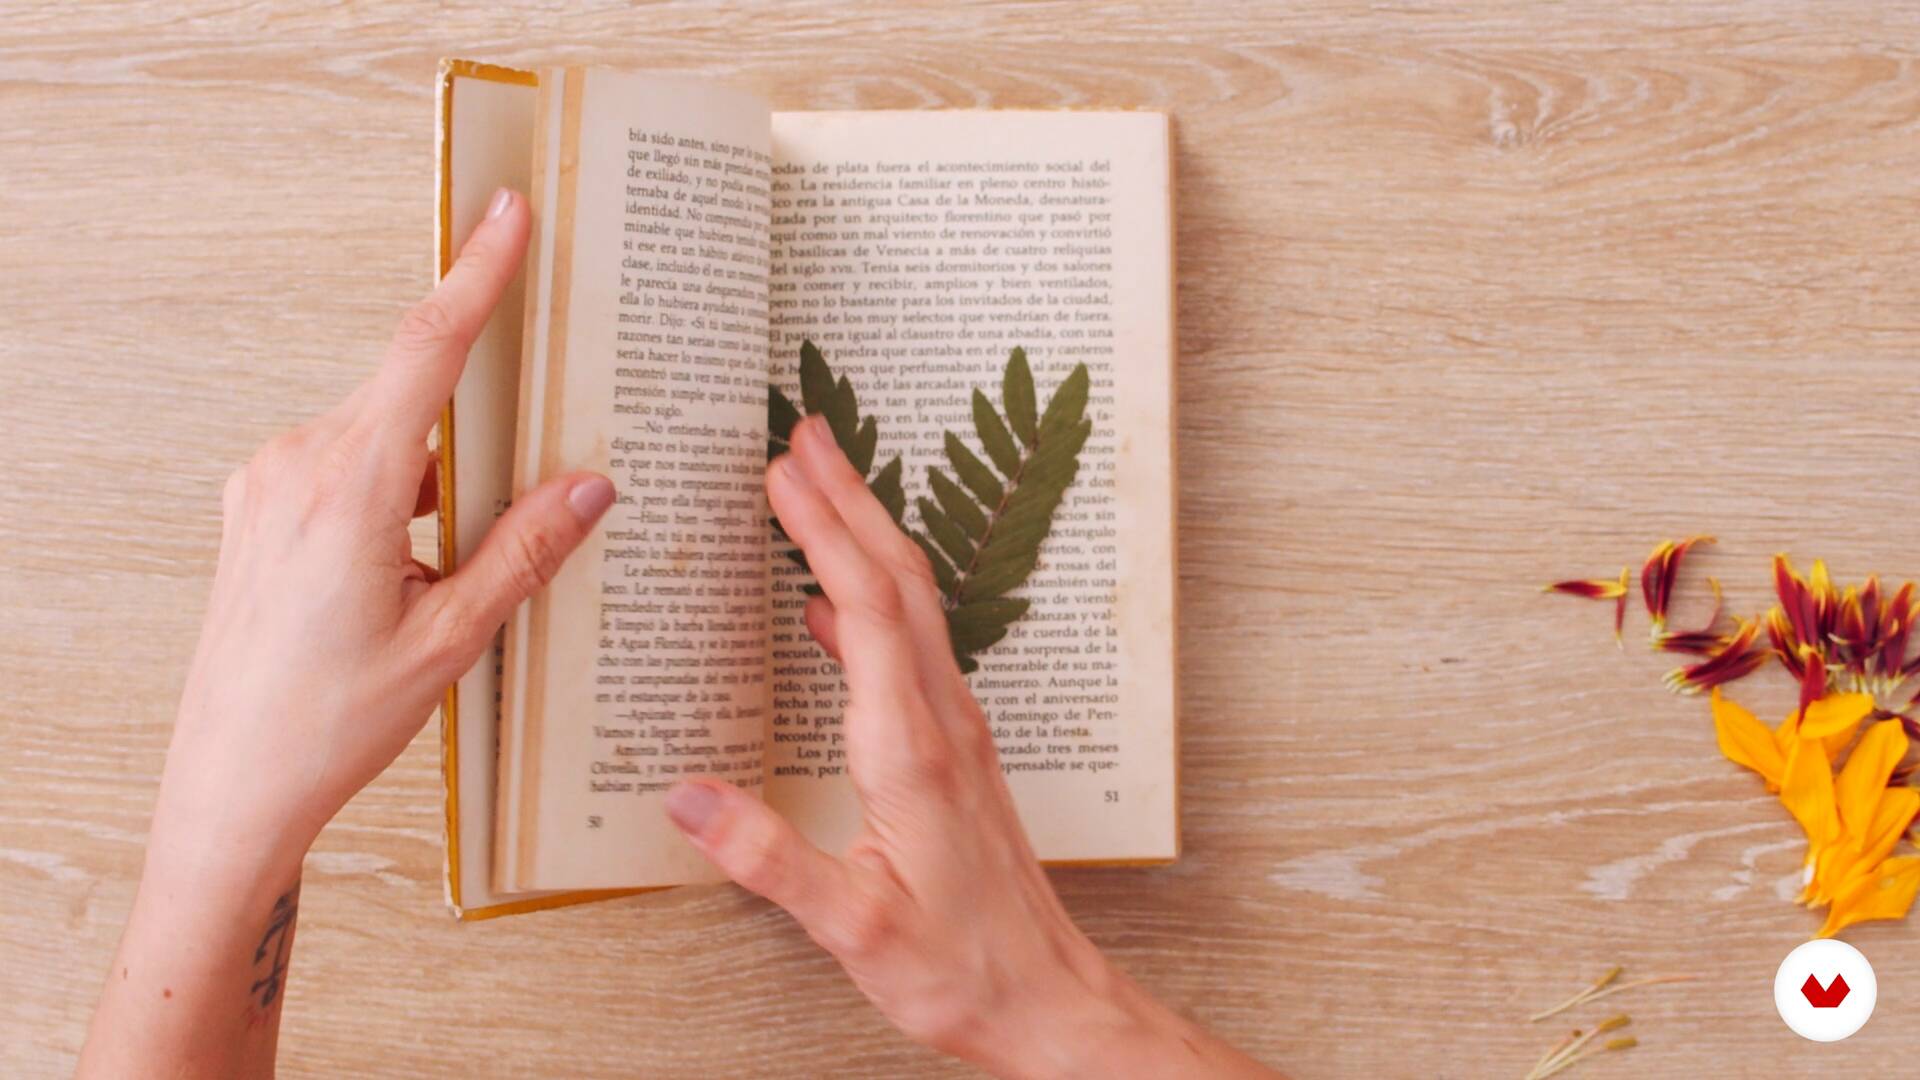
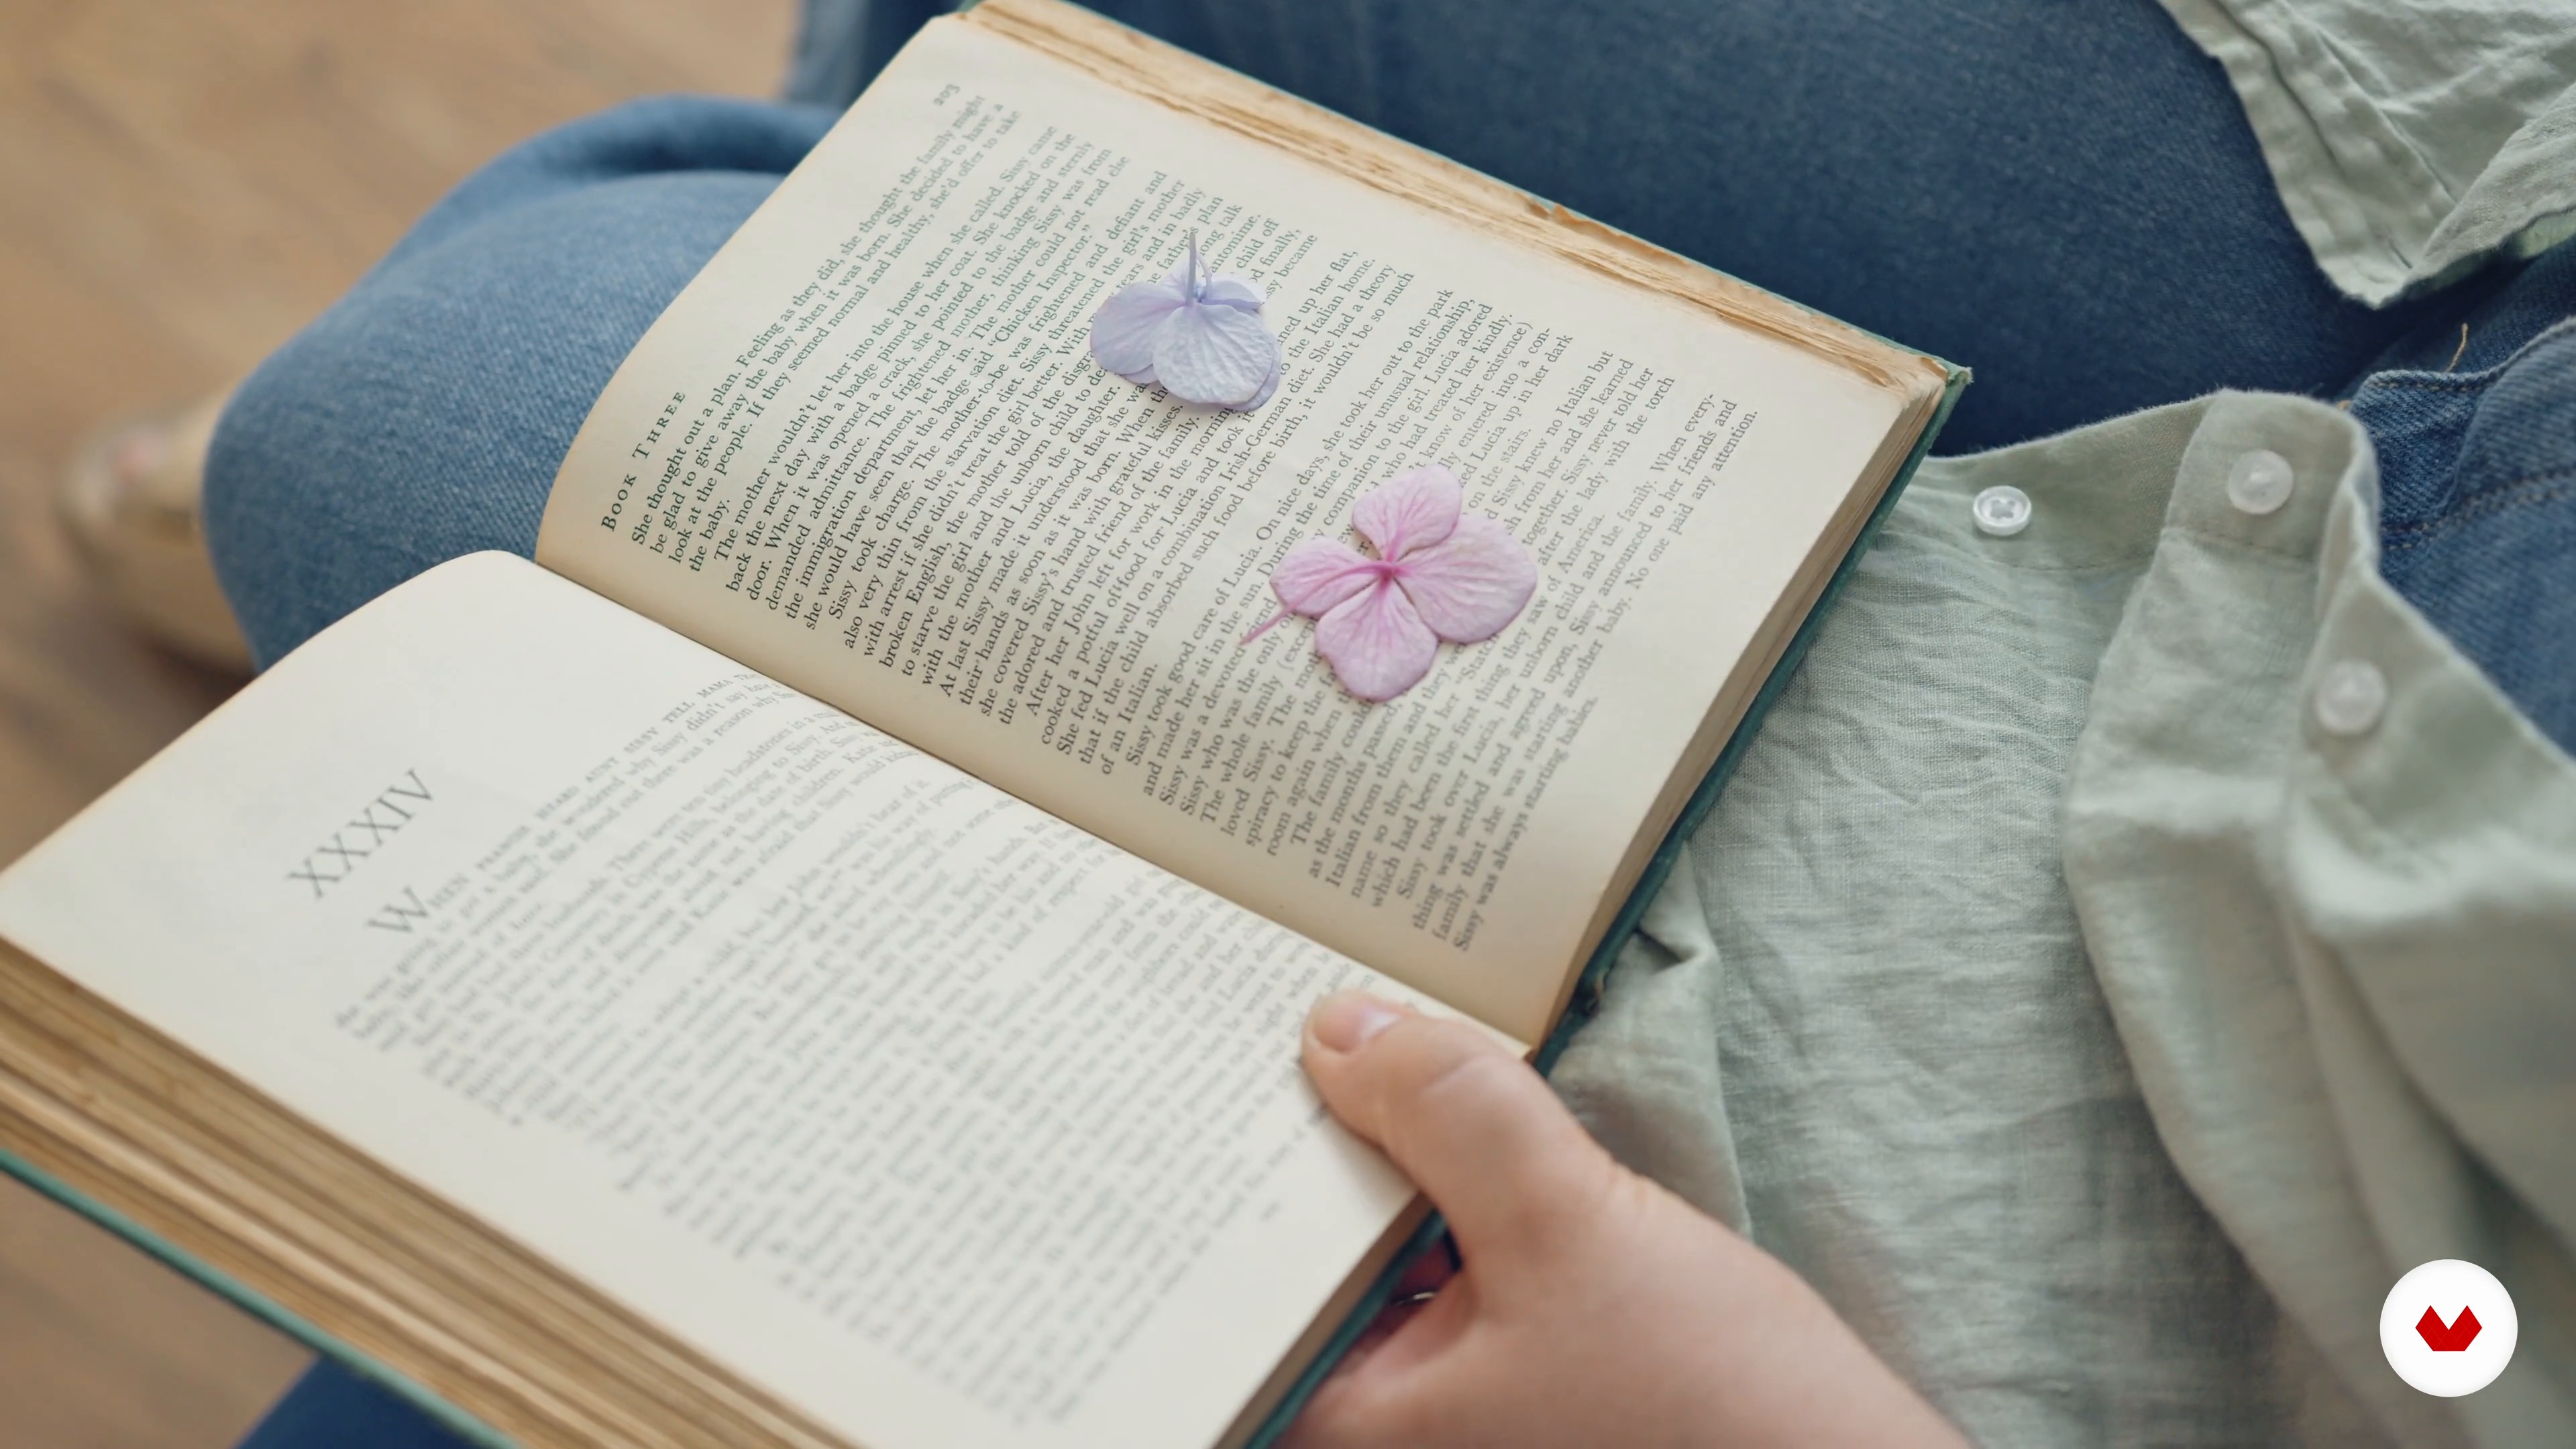
Now we will prepare your choice of botanicals for our piece by pressing them. I will show you my preferred way of pressing flowers using books and parchment paper.
4m
image
6
Safety
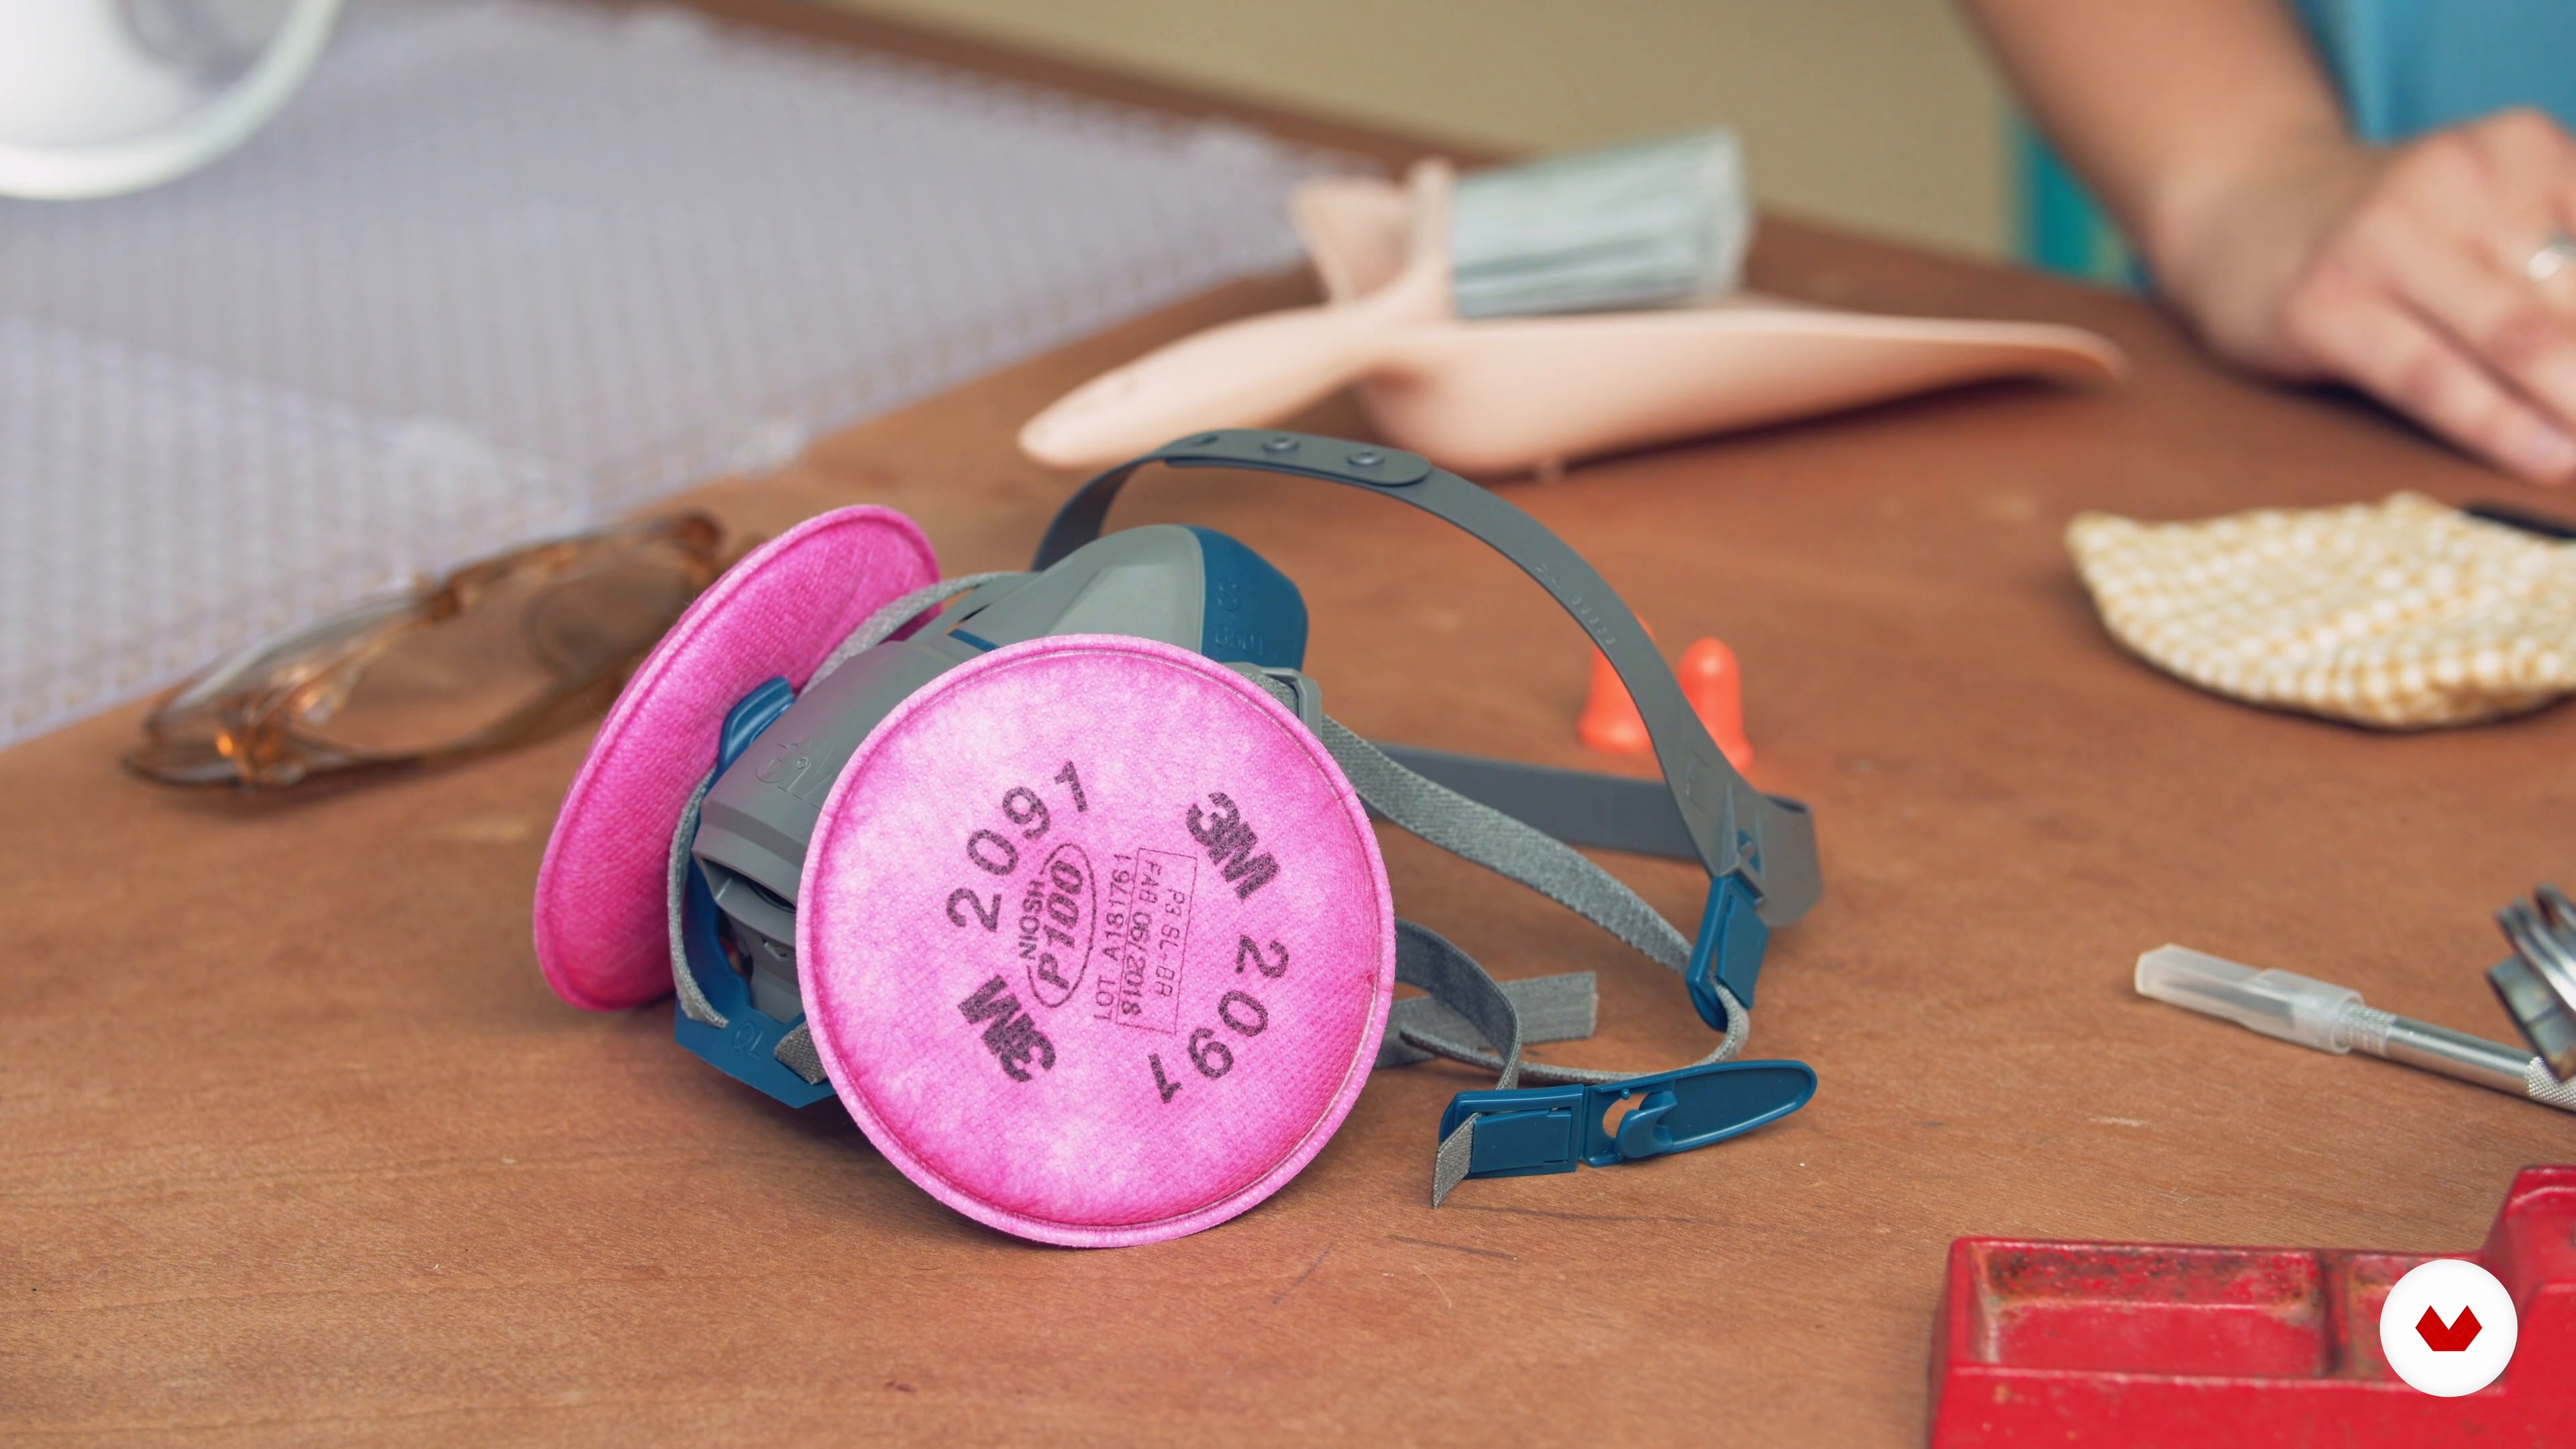
In this lesson, we will cover the importance of taking safety precautions when handling and working with stained glass.
4m
image
7
Cutting the Glass
First, we will be practicing scoring and cutting our glass. You will try to be making several different types of cuts so you'll finally feel confident cutting the glass to the shape of your design.
15m
image
8
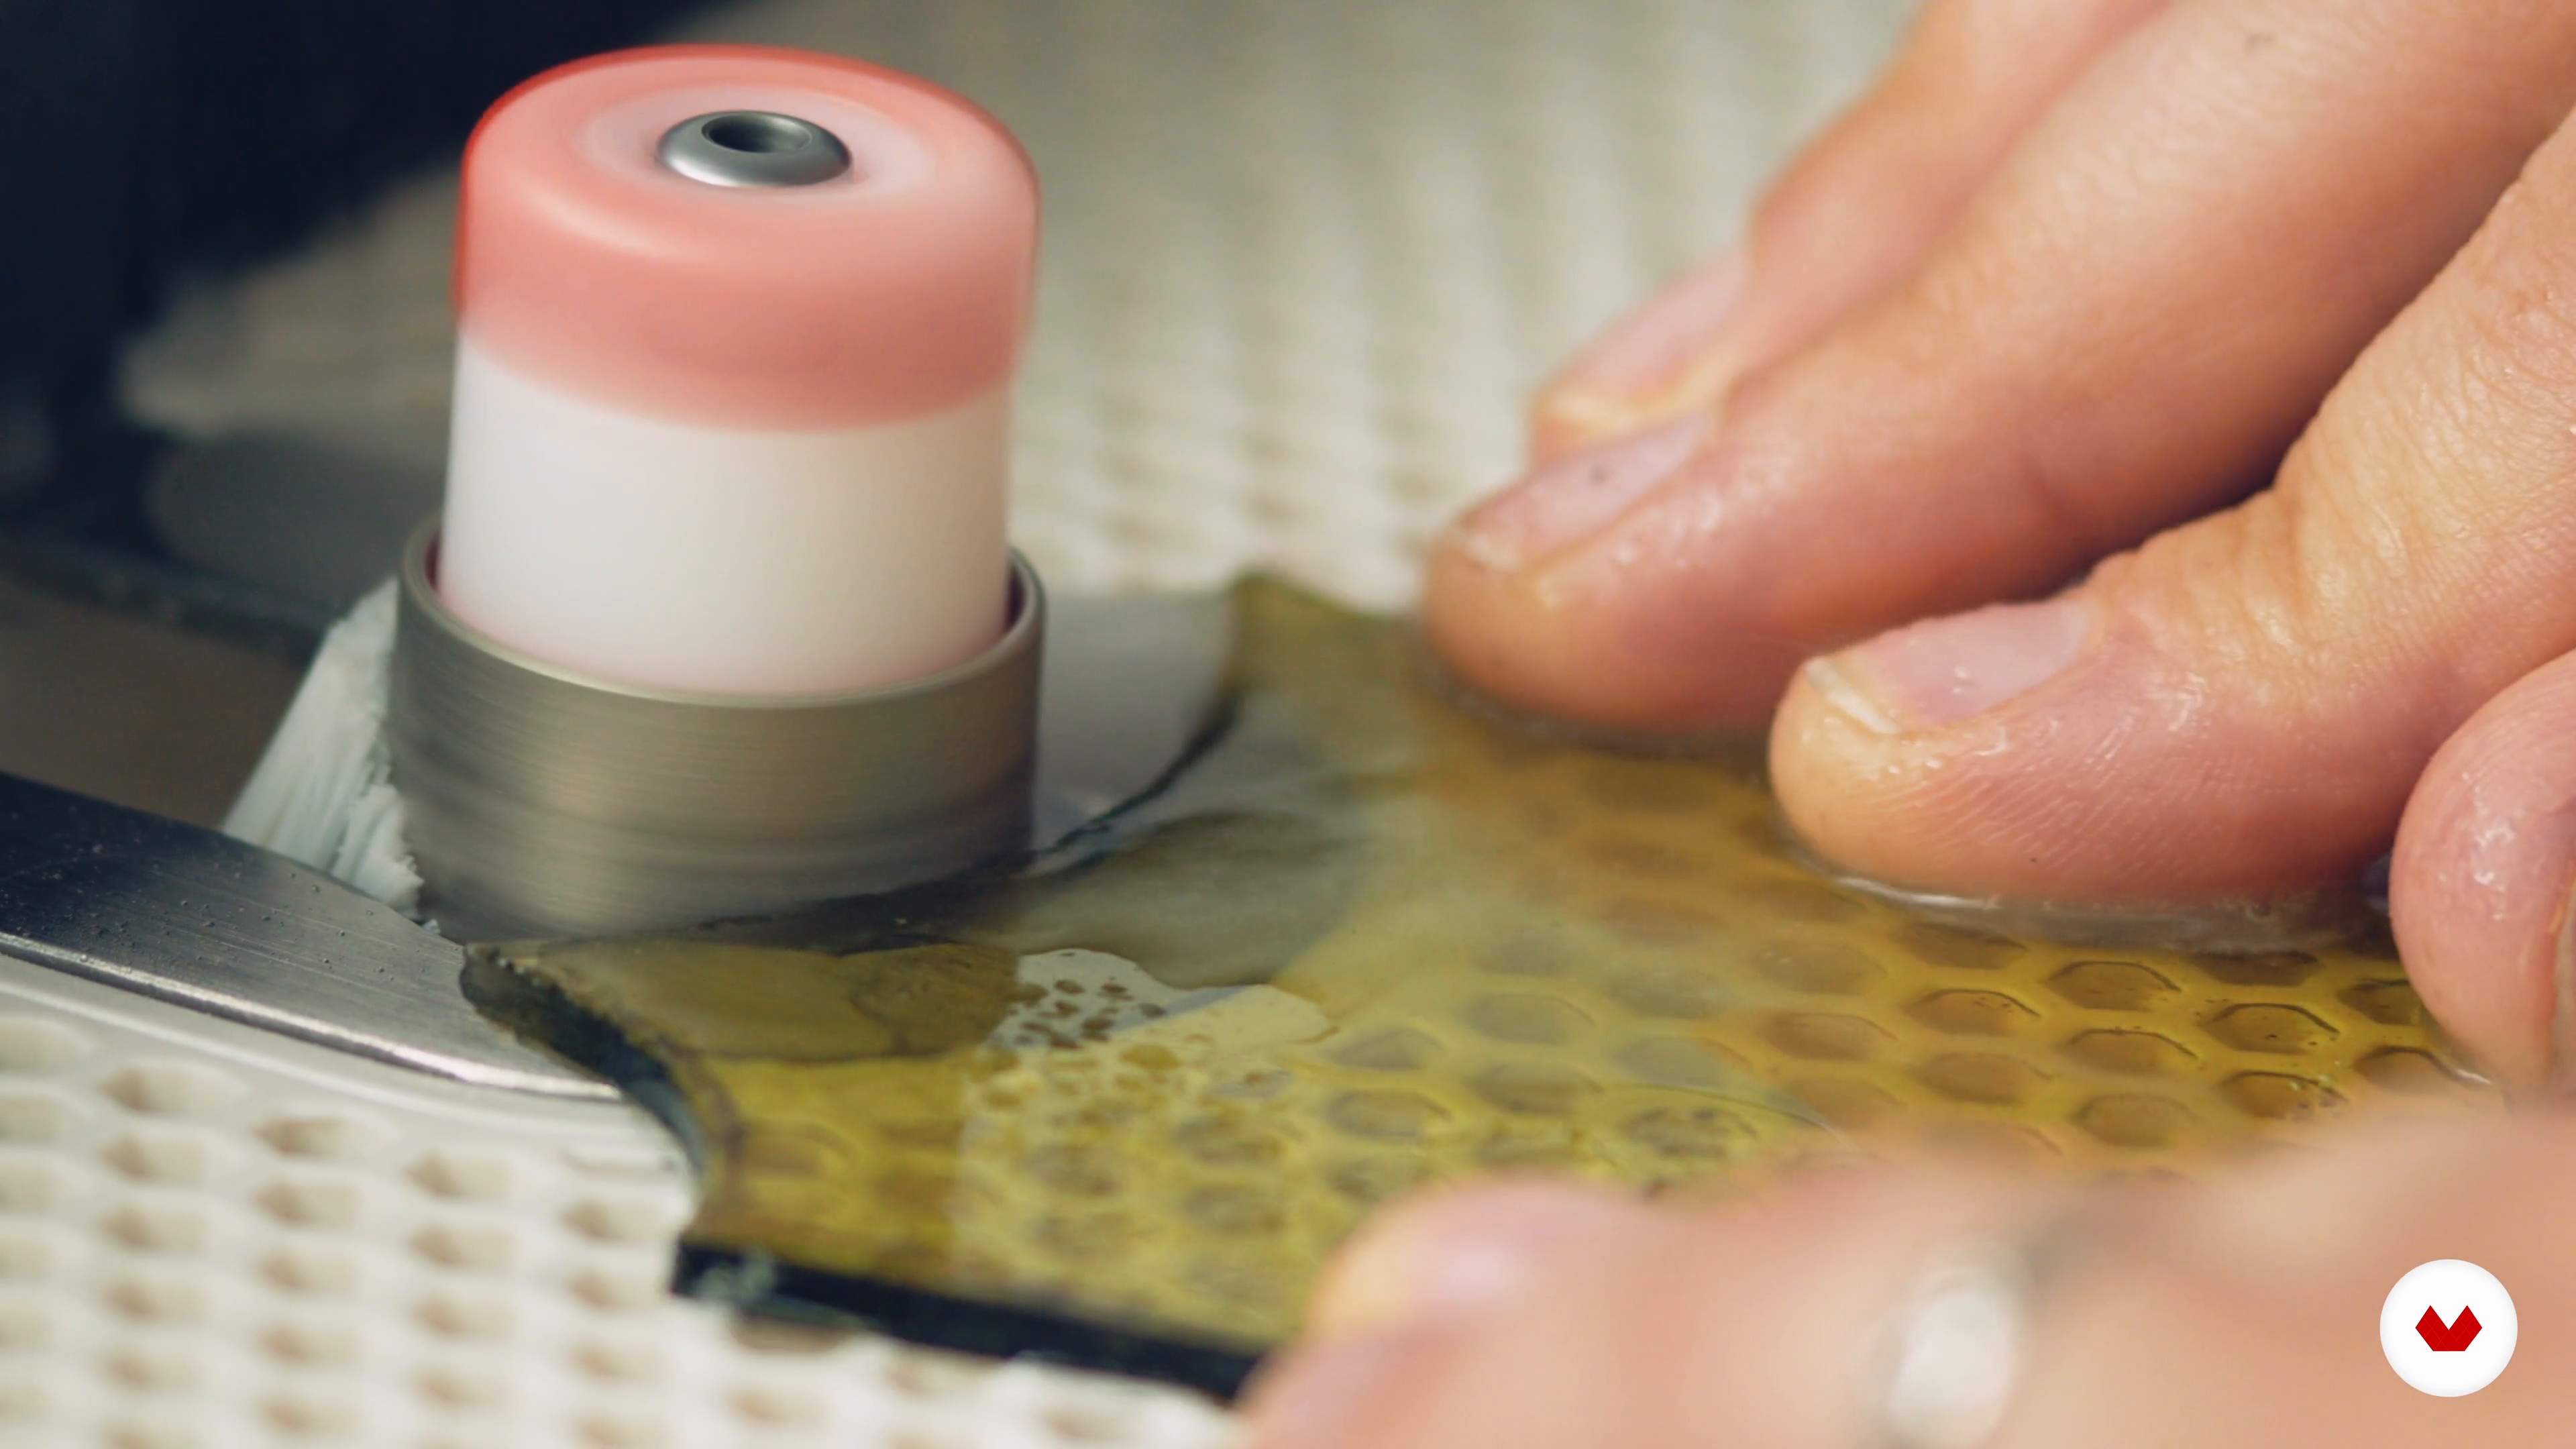
Grinding Your Glass Pieces
In this lesson, we will be covering the importance of using a glass grinder to properly fit your pieces of glass to your design, as well as reviewing the proper safety precautions to take at this point of the process.
8m
image
9
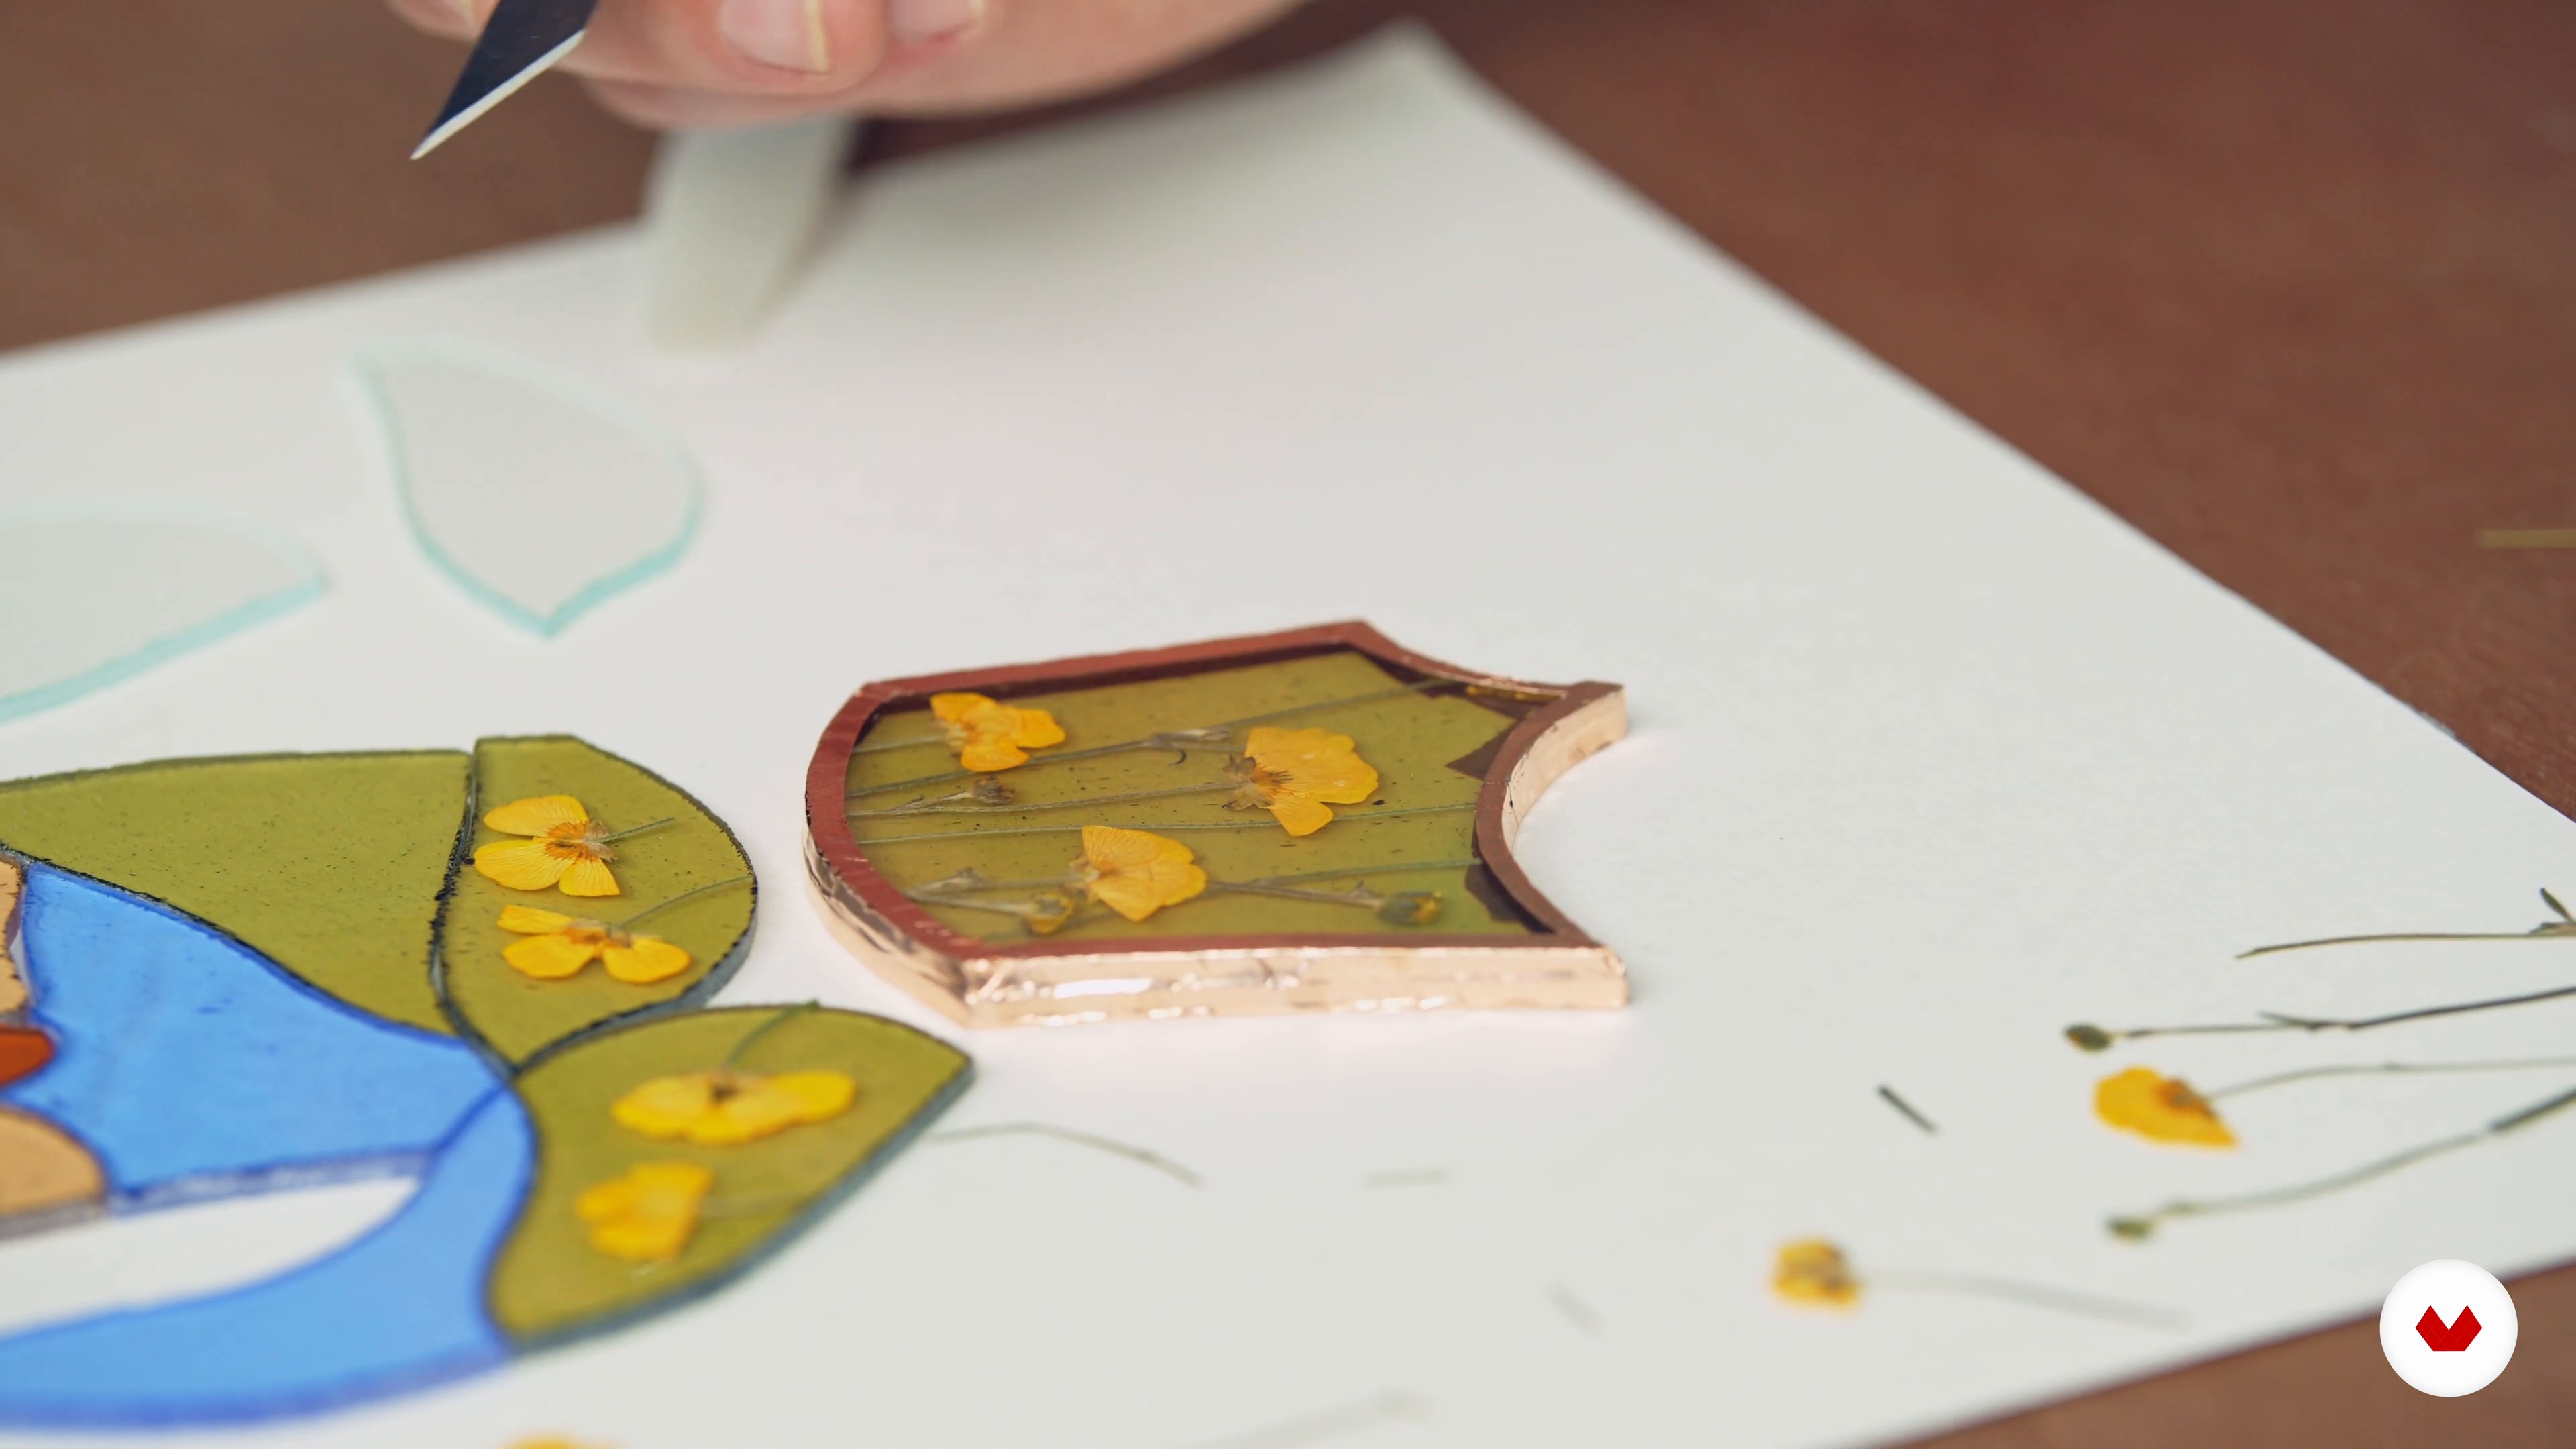
Foil Wrapping
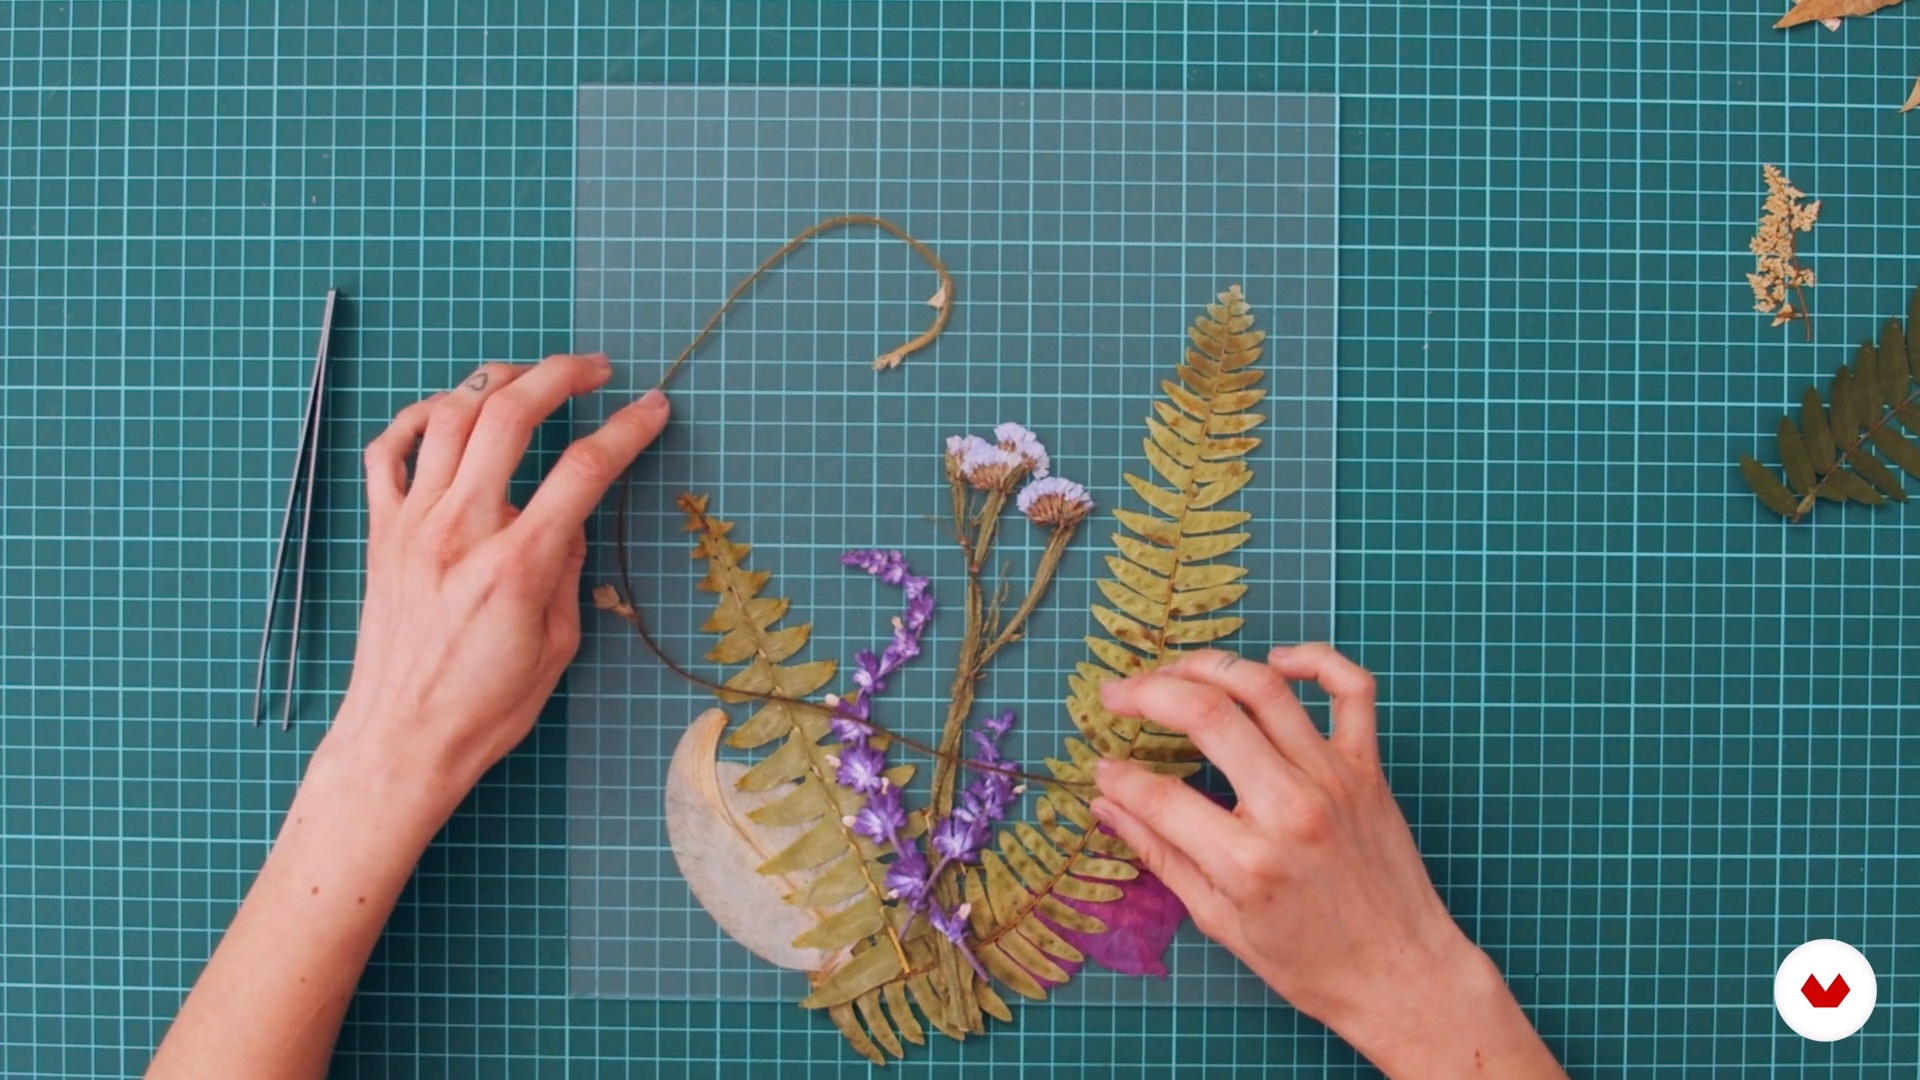
Now we will be covering the part of the process that makes the Tiffany method so unique―the use of copper foil tape and solder wire. We will discuss how to properly clean the glass so the copper foil tape adheres tightly and so our glass doesn't carry any smudges from the earlier steps of the process. Finally, I'll also tell you about the different colors and widths of foil tape, and how to properly burnish the tape to the edges of the glass. This is also the time to incorporate our botanicals into the piece.
15m
image
10
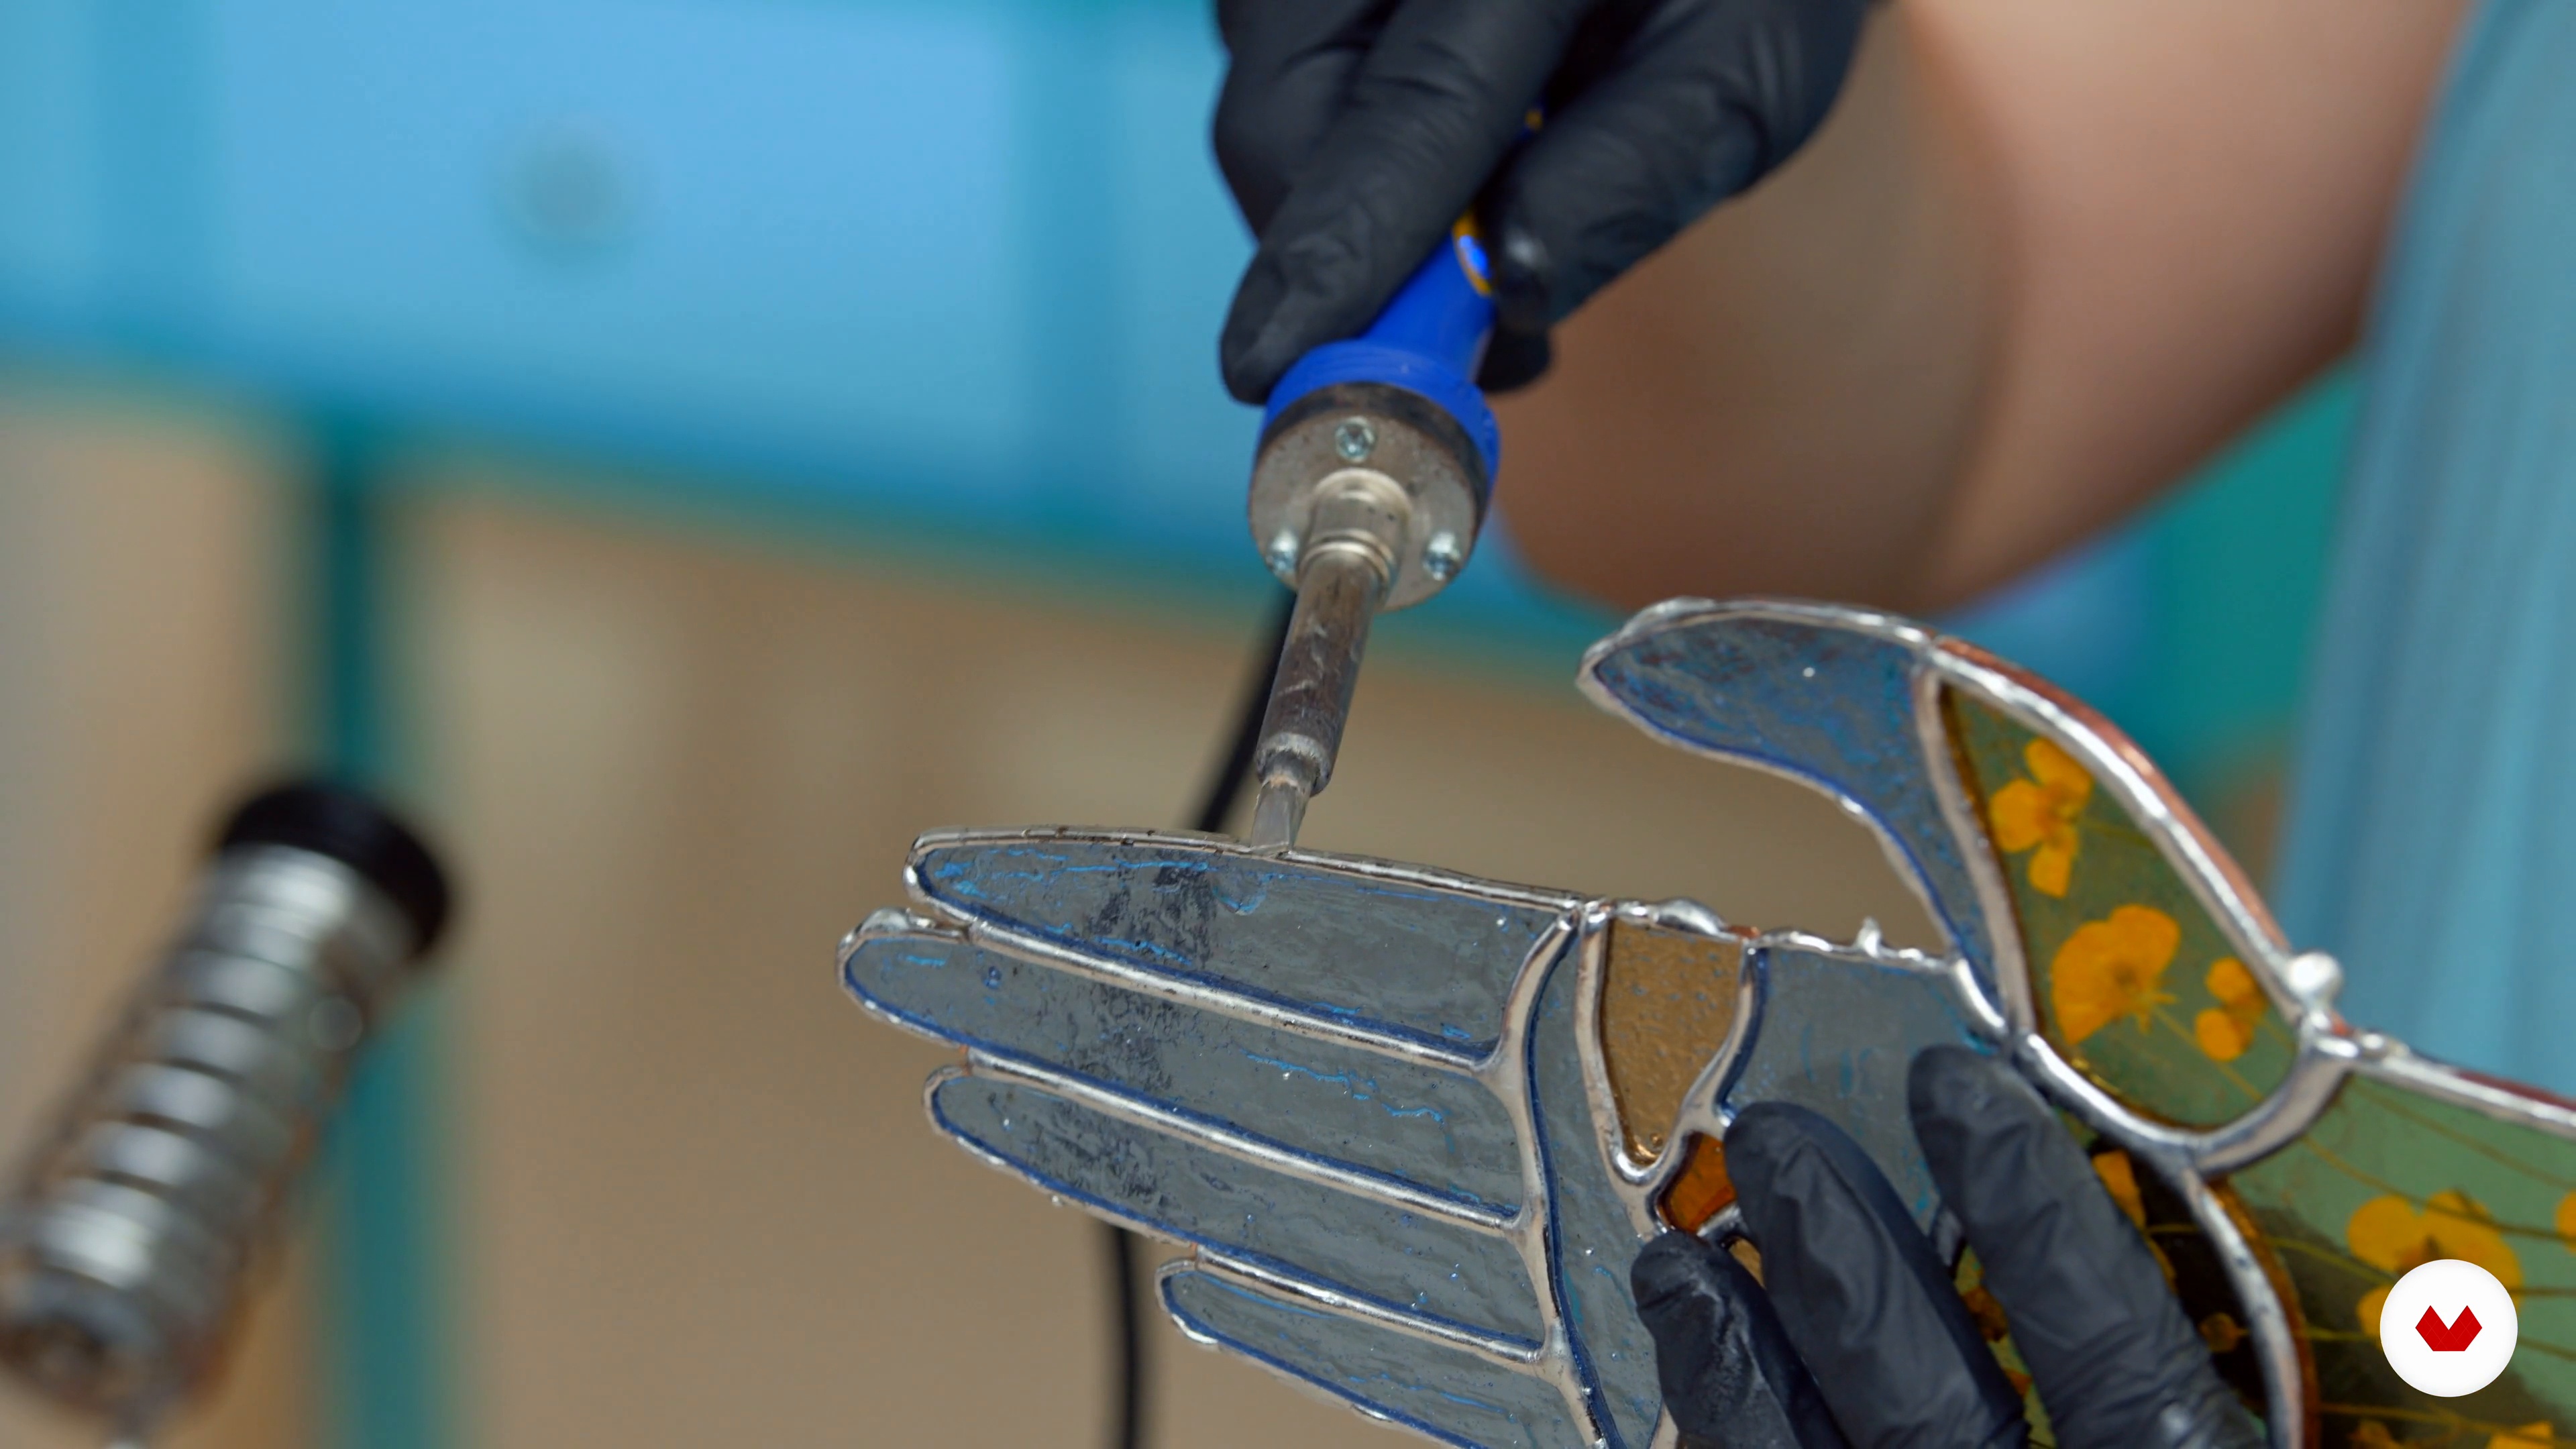
Soldering
In this lesson, we will actually solder our piece together. Prior to soldering, I will show you different options of flux and lead-tin solder versus lead-free solder. We will also be reviewing our personal protection equipment at this stage of the process.
11m
image
11
Beading and Jump Rings
Now we will talk about two different materials that you can use to frame your piece. We will then use solder to secure the framing material.
10m
image
12
Cleaning Your Piece
In this lesson, we will cover my method for cleaning stained glass pieces that contain botanical elements. I have developed this technique in the course of several years, and while there may be other ways to achieve a clean piece, this is what I have found to work best for me!
11m
image
13
Patina
This is an optional step to include in your final project. Let me show you how to chemically stain the metal of your piece to either a black or a copper patina.
5m
image
14
Polishing and Hanging
In this lesson, we will cover how to polish, hang, and take care of your piece so you can cherish it for years to come!
5m
  • 84 students
  • 67 lessons (9h 31m)
  • 89 additional resources (27 files)
  • Online and at your own pace
  • Audio: English, German, Spanish, Spanish (Latam), French, Indonesian, Italian, Dutch, Polish, Portuguese, Romanian, Turkish
  • Spanish · English · Portuguese · German · French · Italian · Polish · Dutch · Turkish · Romanian · Indonesian
  • Level: Beginner
  • Unlimited access forever

What is this course's project?

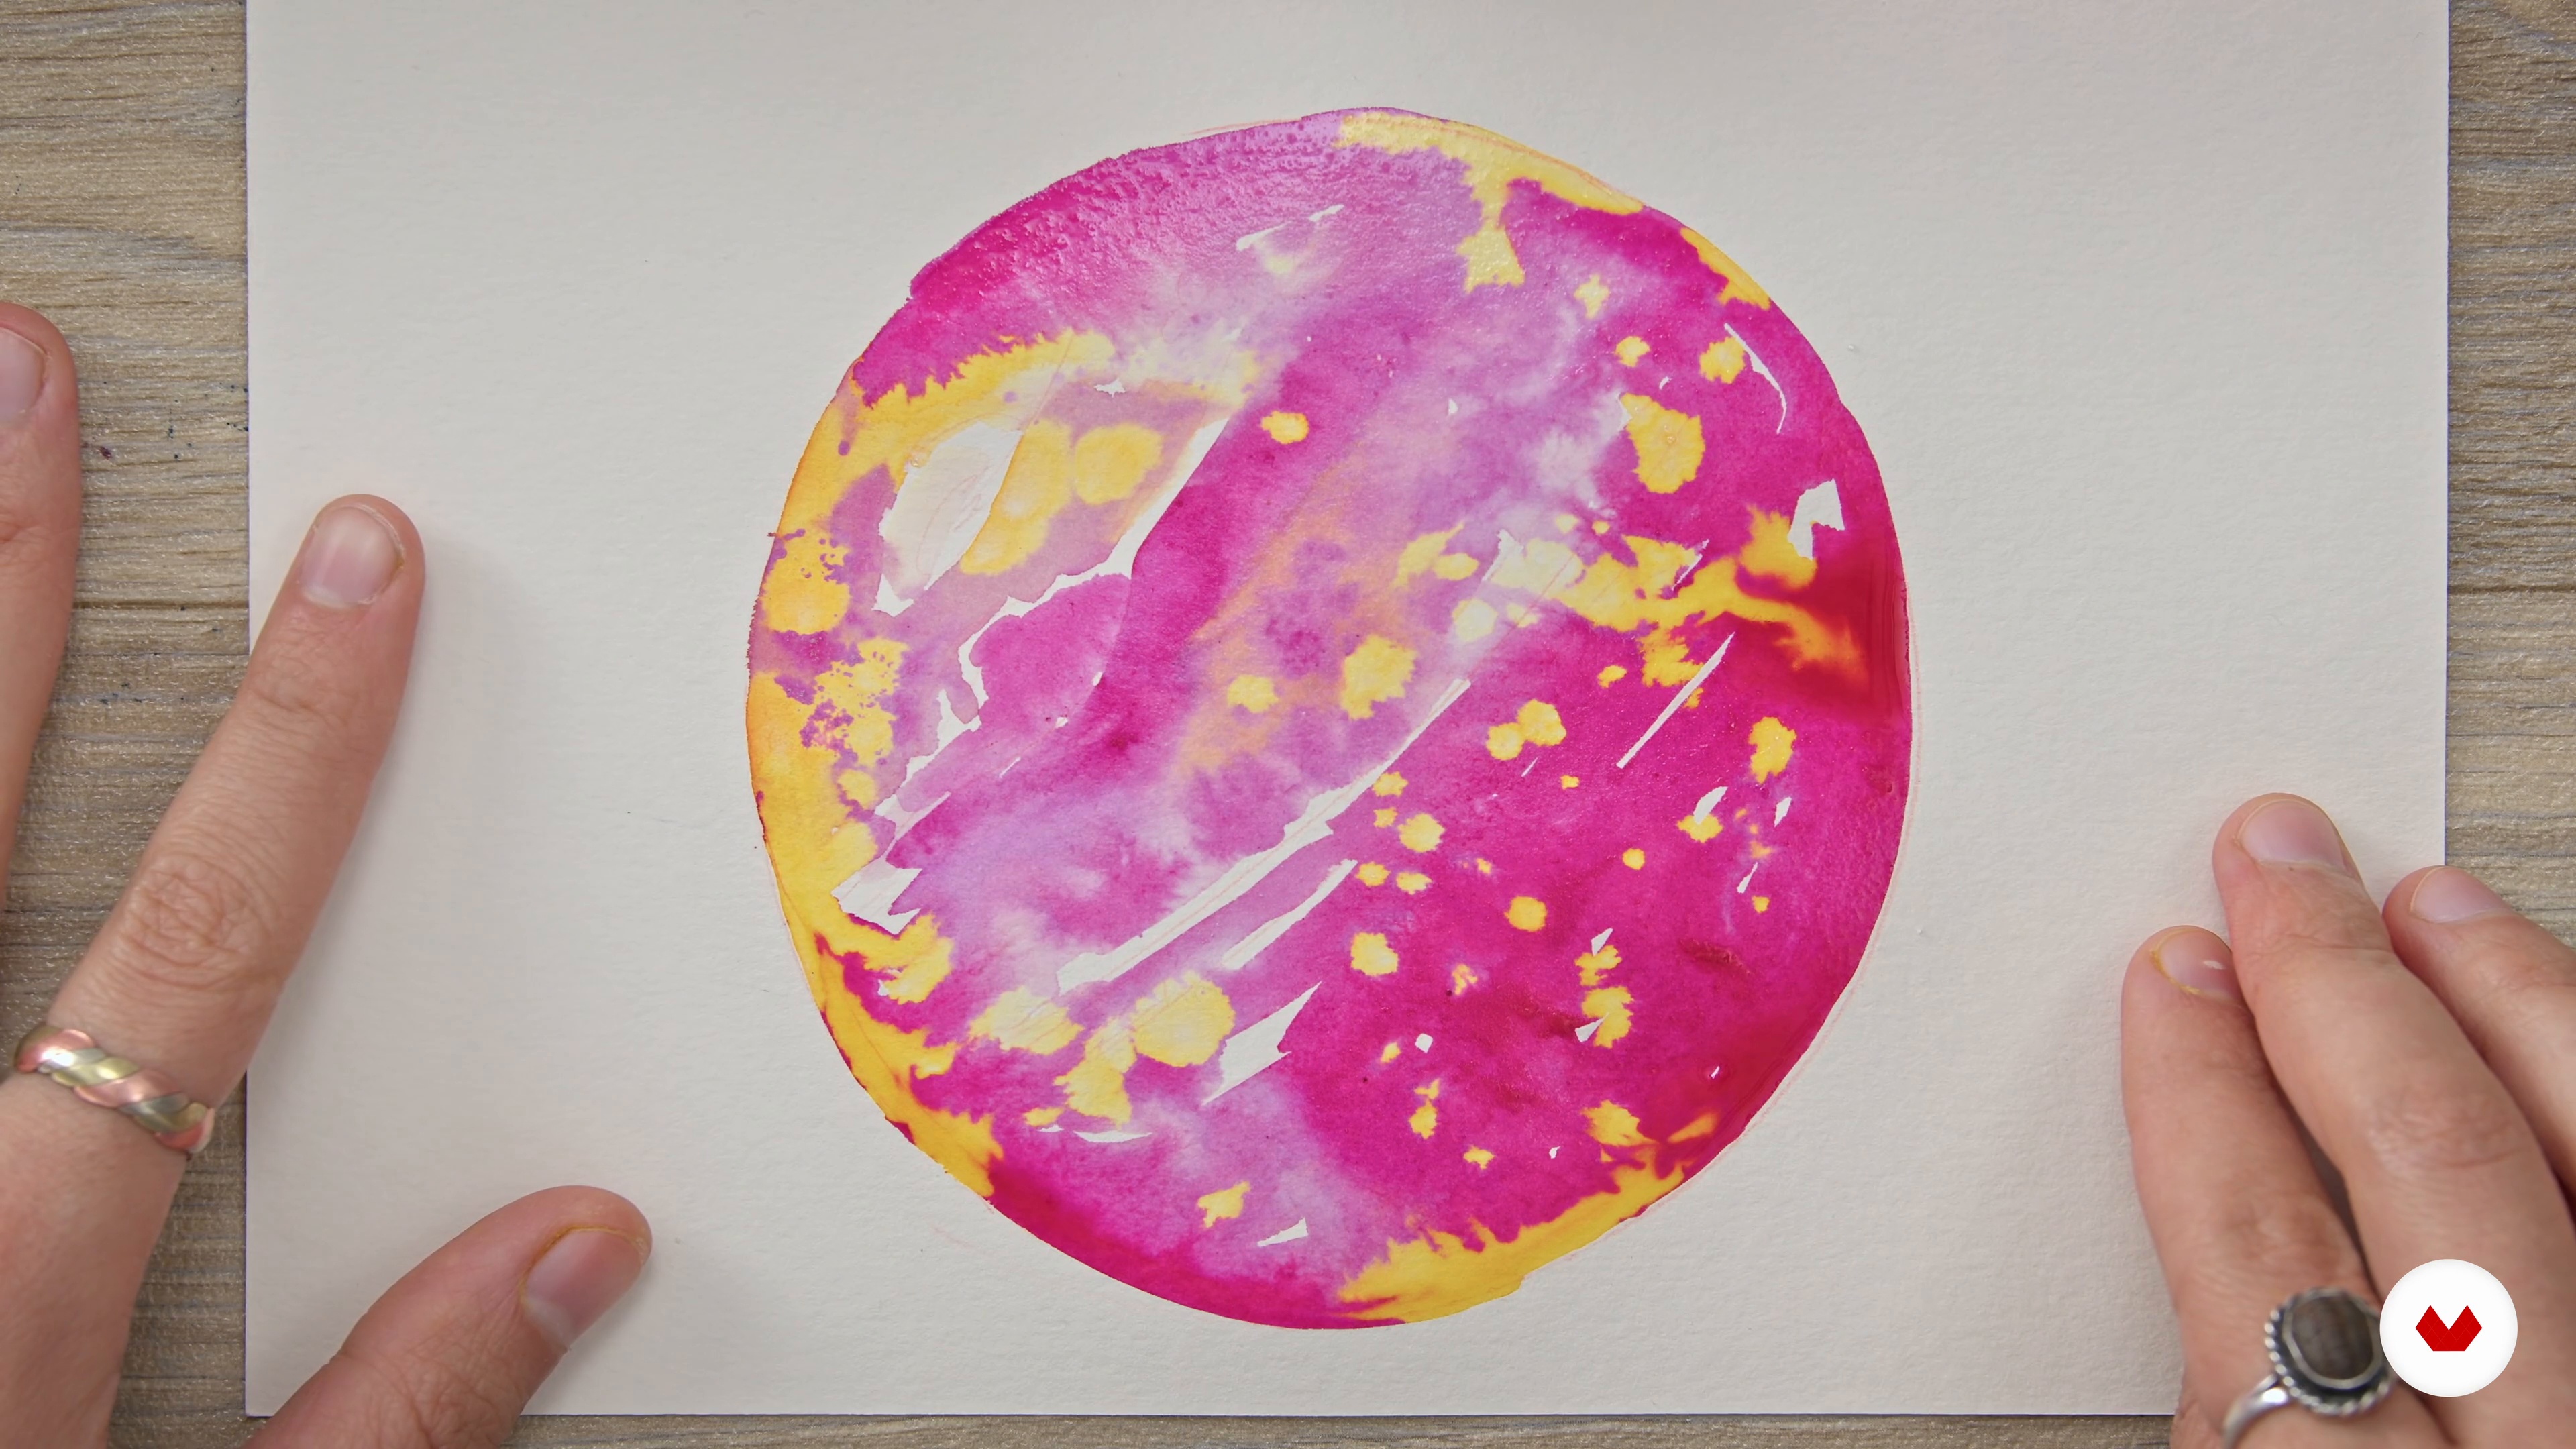
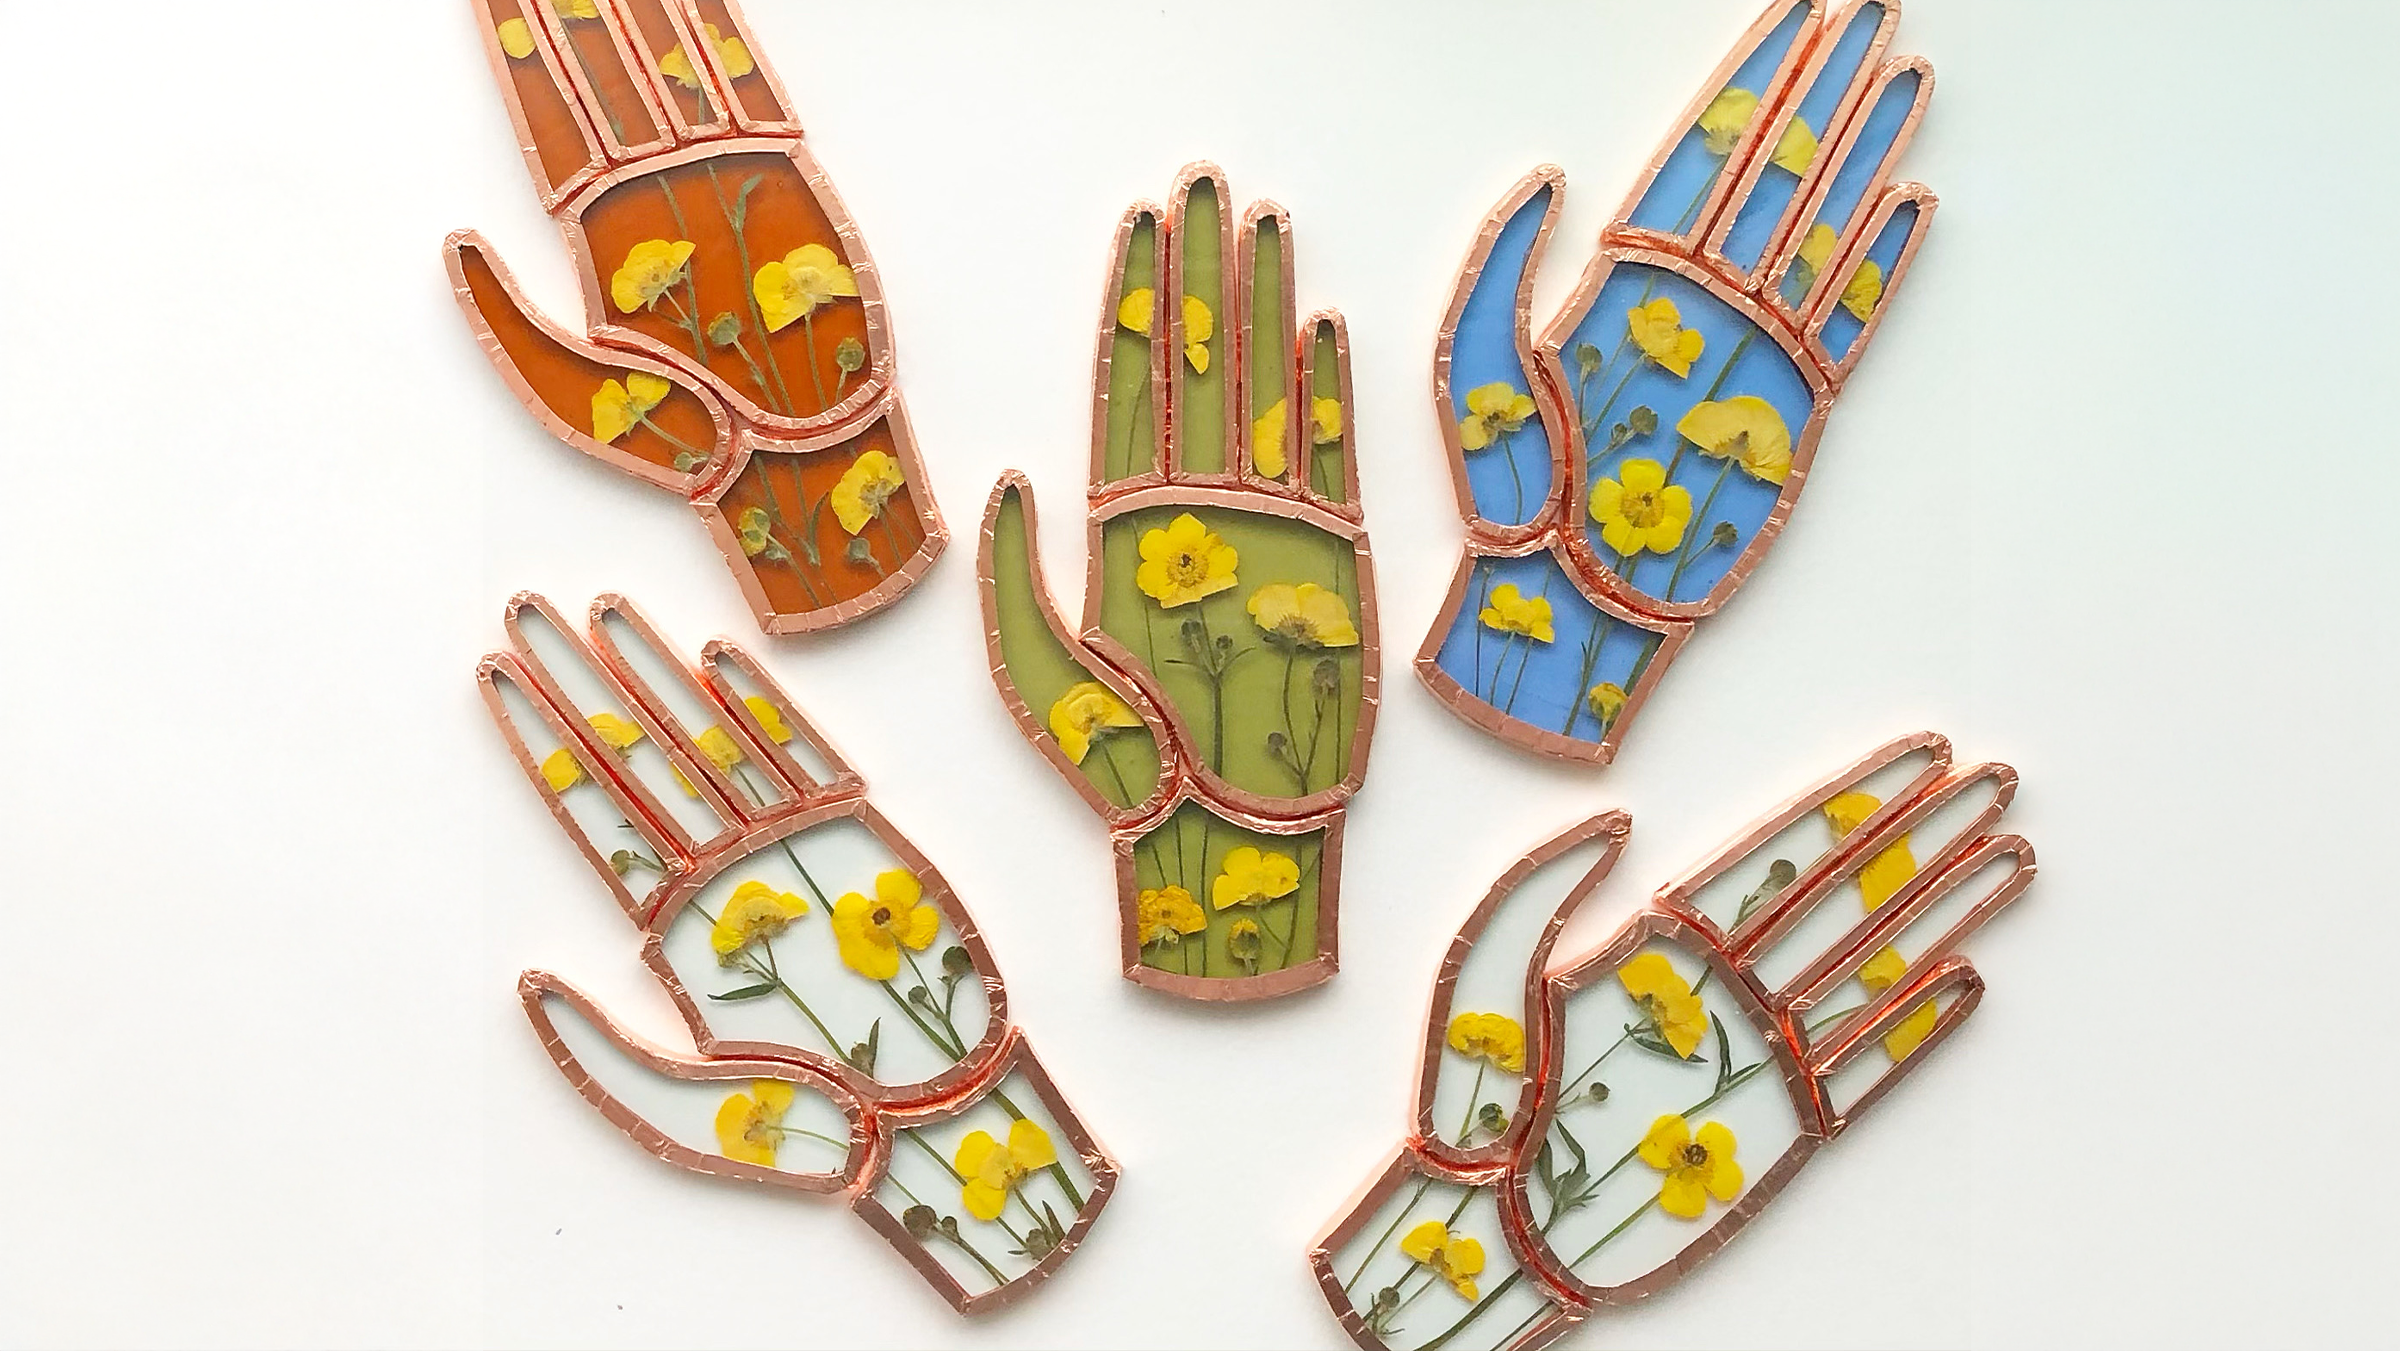
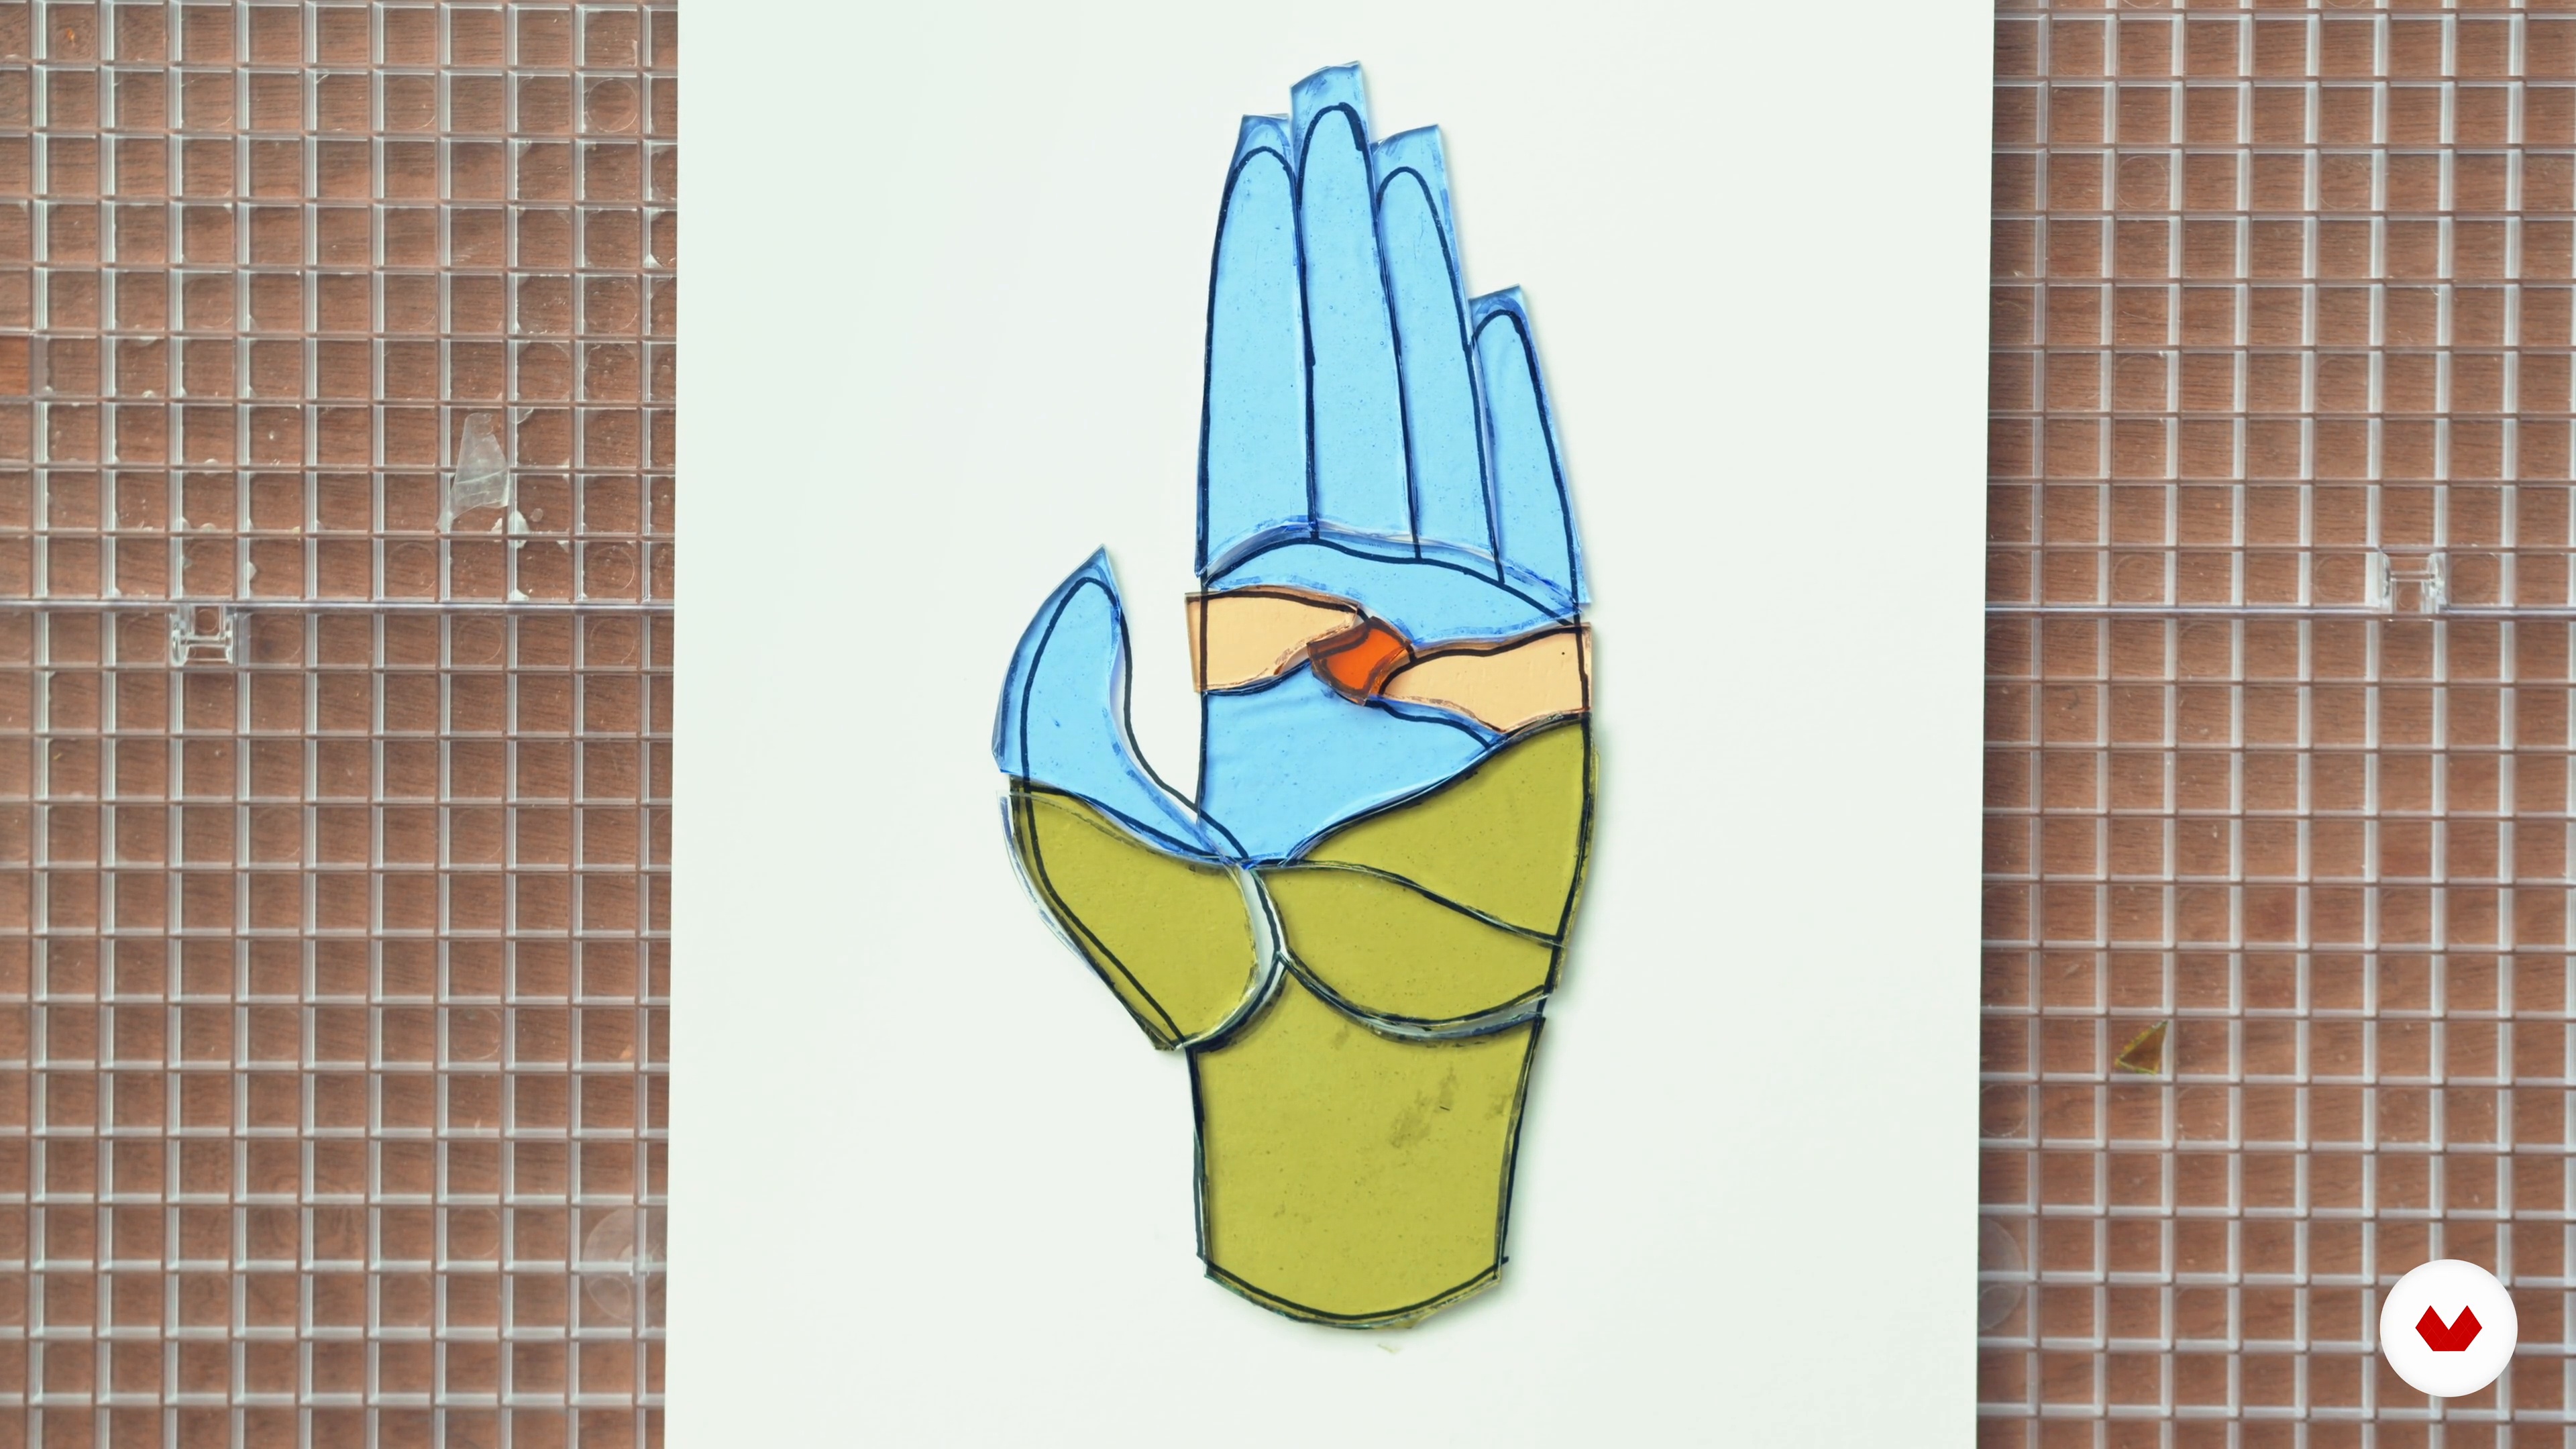
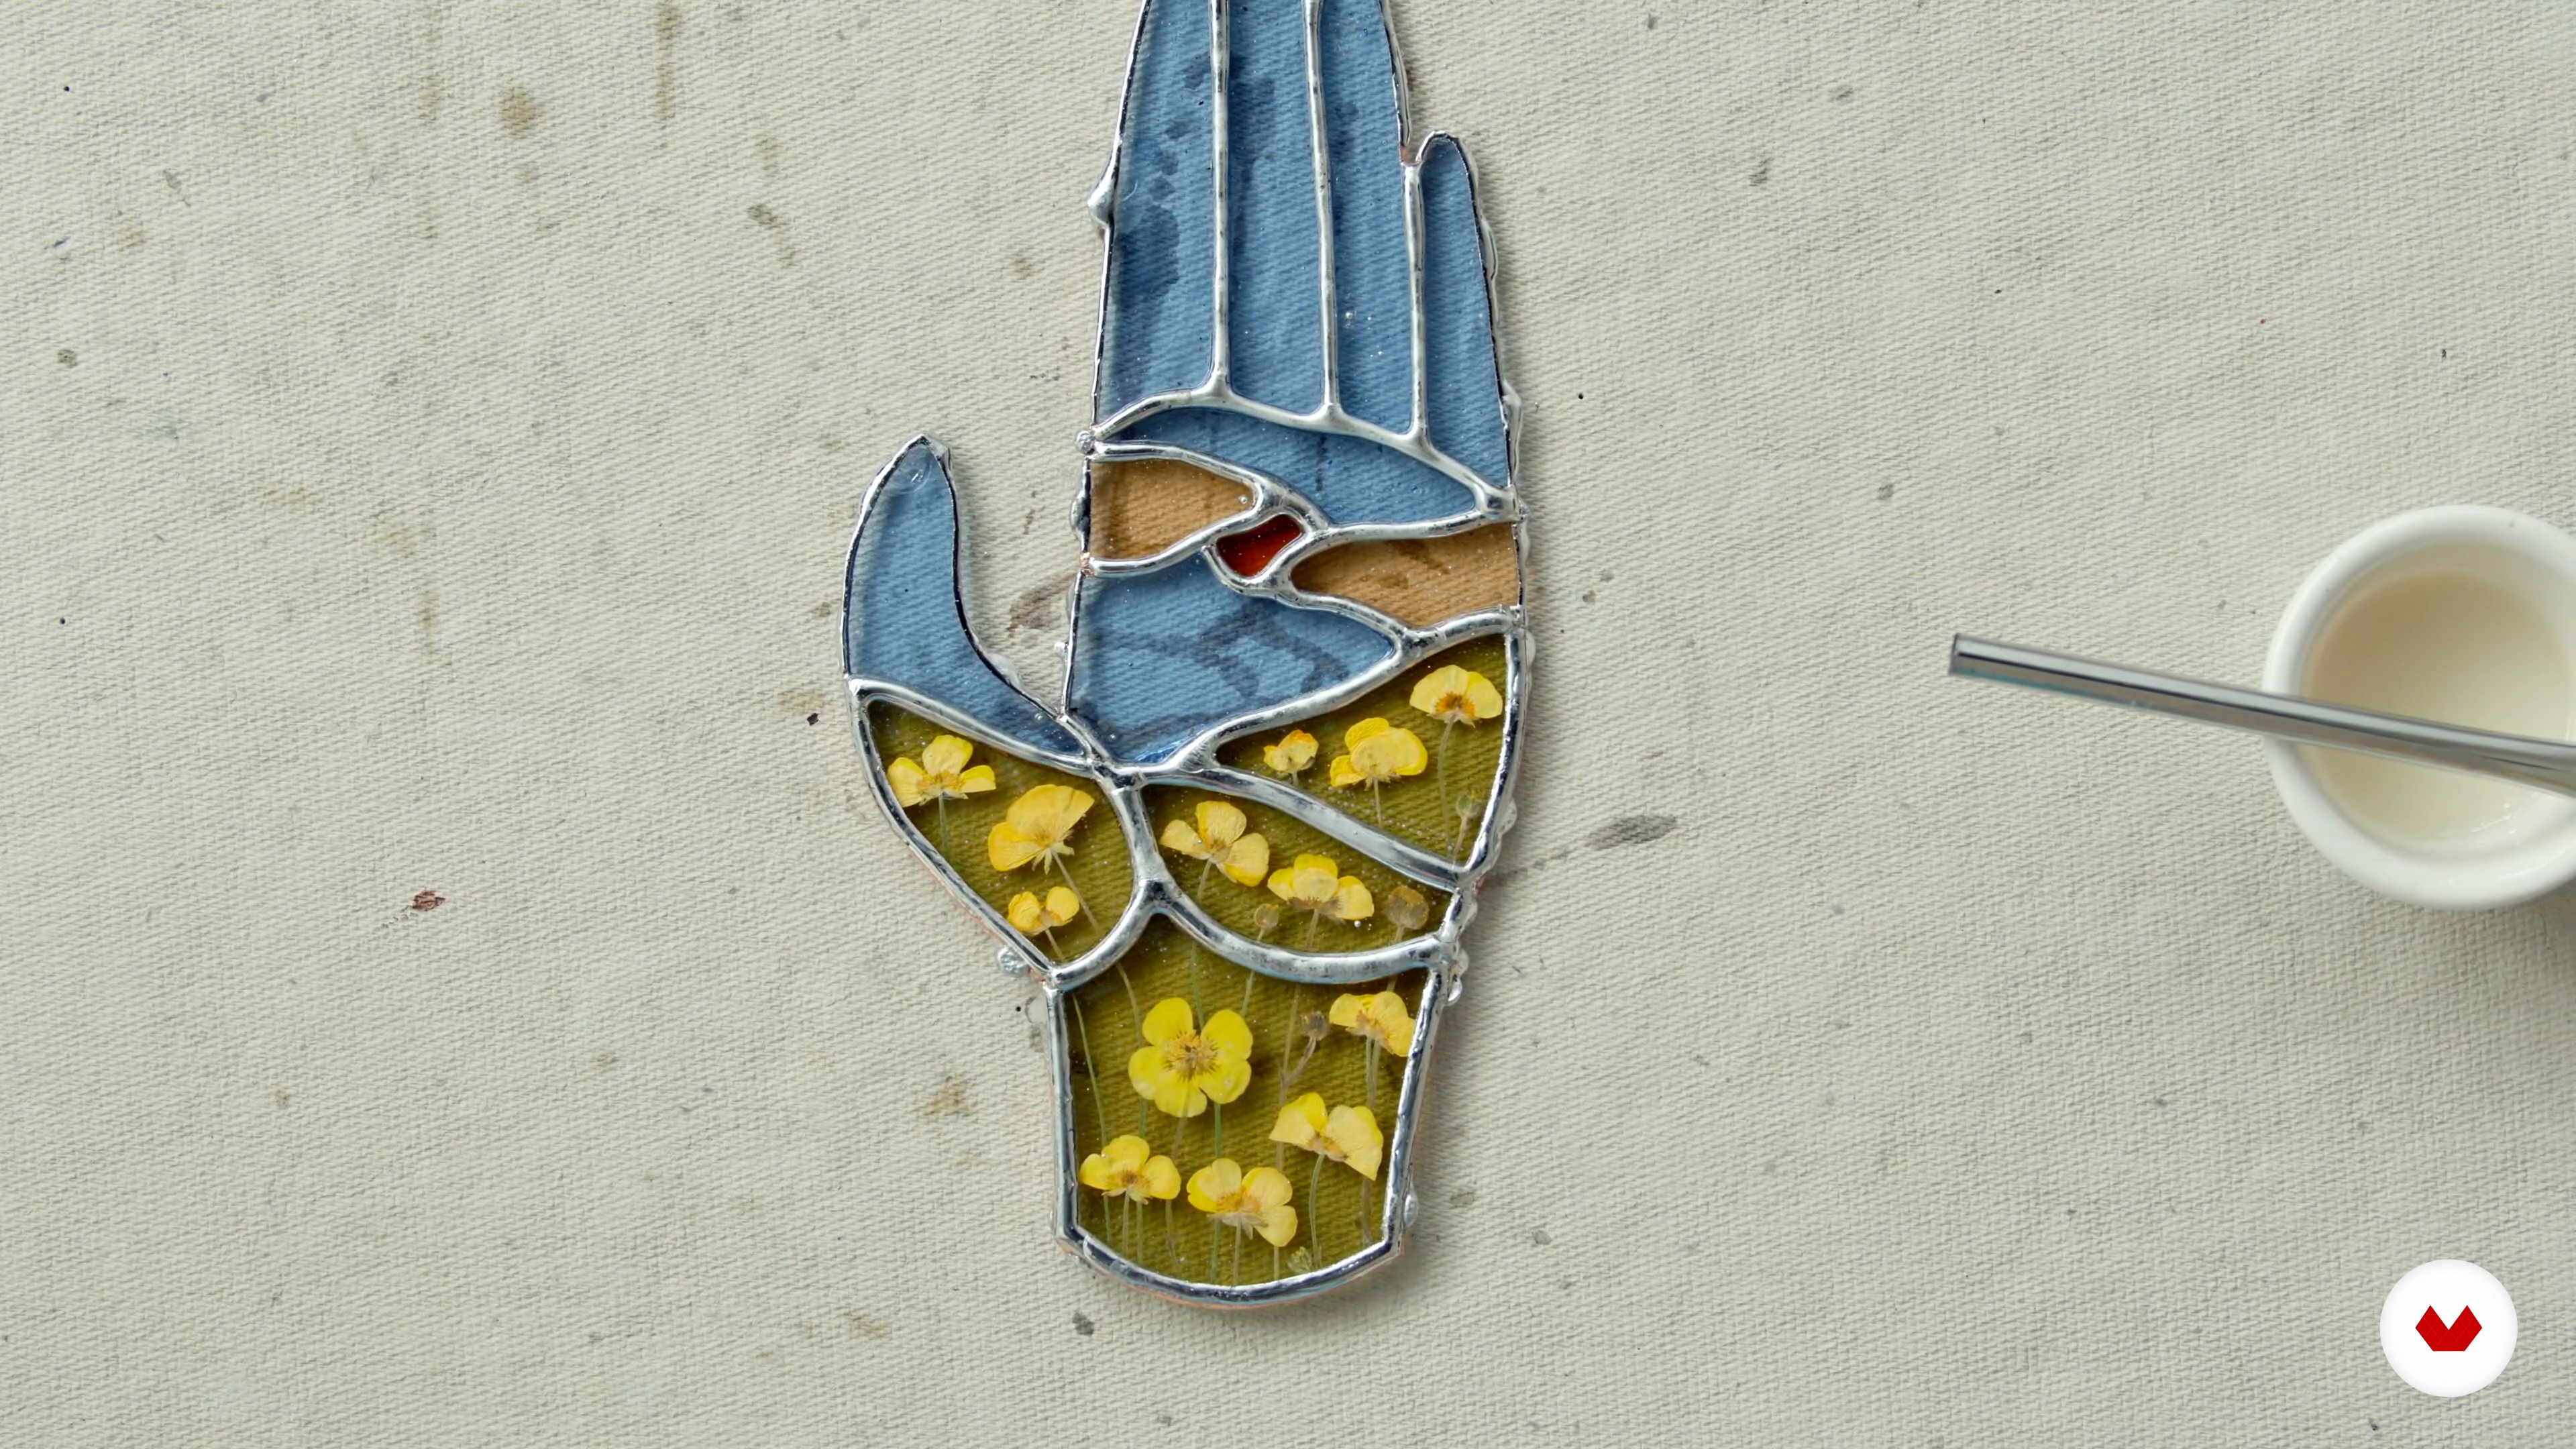
Students will create a personalized botanical artwork collection, including a tulle embroidery piece with natural elements, homemade botanical inks, an artistic herbarium, a set of pressed specimens, and a botanical stained-glass piece, showcasing diverse techniques and artistic vision.

Who is this specialization for?

This course suits creative individuals keen on exploring the intersection of art and nature through hands-on techniques. Ideal for artists, hobbyists, and nature enthusiasts eager to transform botanical elements into enduring art forms using mixed media.

Requirements and materials

No extensive prior knowledge is needed. Basic necessities include a selection of flowers, plants, tulle, watercolor materials, and a pressing kit. Gather these supplies to explore botanical creativity through embroidery, watercolor creation, and flower pressing.


Select to get to know your teachers in this specialization course
Read more ↓

What to expect from this specialization course

  • Learn at your own pace

    Enjoy learning from home without a set schedule and with an easy-to-follow method. You set your own pace.

  • Learn from the best professionals

    Learn valuable methods and techniques explained by top experts in the creative sector.

  • Meet expert teachers

    Each expert teaches what they do best, with clear guidelines, true passion, and professional insight in every lesson.

  • Certificates
    Plus

    If you're a Plus member, get a custom certificate for every specialization course. Share it on your portfolio, social media, or wherever you like.

  • Get front-row seats

    Videos of the highest quality, so you don't miss a single detail. With unlimited access, you can watch them as many times as you need to perfect your technique.

  • Share knowledge and ideas

    Ask questions, request feedback, or offer solutions. Share your learning experience with other students in the community who are as passionate about creativity as you are.

  • Connect with a global creative community

    The community is home to millions of people from around the world who are curious and passionate about exploring and expressing their creativity.

  • Watch professionally produced courses

    Domestika curates its teacher roster and produces every course in-house to ensure a high-quality online learning experience.


FAQs

Domestika courses are online classes that allow you to learn new skills and create incredible projects. All our courses include the opportunity to share your work with other students and/or teachers, creating an active learning community. We offer different formats:
Original Courses: Complete classes that combine videos, texts, and educational materials to complete a specific project from start to finish.
Basics Courses: Specialized training where you master specific software tools step by step.
Specialization Courses: Learning paths with various expert teachers on the same topic, perfect for becoming a specialist by learning from different approaches.
Guided Courses: Practical experiences ideal for directly acquiring specific skills.
Intensive Courses (Deep Dives): New creative processes based on artificial intelligence tools in an accessible format for in-depth and dynamic understanding.

All specialization courses are 100% online, so once they're published, specialization courses start and finish whenever you want. You set the pace of the class. You can go back to review what interests you most and skip what you already know, ask questions, answer questions, share your projects, and more.

The specialization courses are divided into different modules. Each one includes lessons, informational text, tasks, and practice exercises to help you carry out your project step by step, with additional complementary resources and downloads. You'll also have access to an exclusive forum where you can interact with other students, as well as share your work and your final project, creating a community around the specialization courses.

You can redeem the specialization courses you received by accessing the redeeming page and entering your gift code.

If you're a Plus member, when you complete a course you've purchased, you'll instantly get your personalized certificate. You can see all your certificates in the Certificates section of your profile. You can download your certificates as PDFs and share the link online. Learn more about certificates.
Specialization in Creative Botanical Mixed Media Techniques. Illustration, and Craft course by Domestika

Specialization in Creative Botanical Mixed Media Techniques

A specialization by multiple teachers
Berkeley, United States.
Joined April 2002
  • 84 students