
Master Japanese-inspired illustration techniques blending traditional and digital skills for vibrant, culturally rich artwork
Embark on a creative journey that blends the elegance of Japanese tradition with modern digital artistry. This specialization invites illustrators to explore a spectrum of techniques, from the vibrant hues of gouache to the nuanced strokes of India ink and Sumi-e painting. Dive into the distinct practices of seasoned artists as you learn from the expertise of Lil Sire in gouache, Mika Takahashi in ink illustration, Koshu in Sumi-e, Pierre-Marie Postel in vintage digital illustration, and Yohey Horishita in digital ink techniques. Each course builds upon the last, guiding you through a comprehensive artistic evolution.
Discover the profound cultural heritage behind traditional Japanese art while mastering tools and techniques that enhance your digital skills. Gain insights into color harmony, brush control, and the seamless integration of Zen philosophy into your work. Develop the ability to transform traditional artistry into contemporary digital creations that capture the essence of Japanese aesthetics. This specialization fosters a deep appreciation for the balance between tradition and innovation, empowering artists to forge a unique artistic voice that resonates across both timeless and modern mediums.
What will you learn in this specialization?
 1
1Introduction
Explore the timeless influence of Japanese art, where ink, balance, and rhythm come together to inspire both tradition and innovation. From classical calligraphy to digital storytelling, discover how age-old techniques continue to shape today’s visual culture—opening new paths for creative expression in everything from illustration to animation.
1m
 2
2Influences | Lil Sire
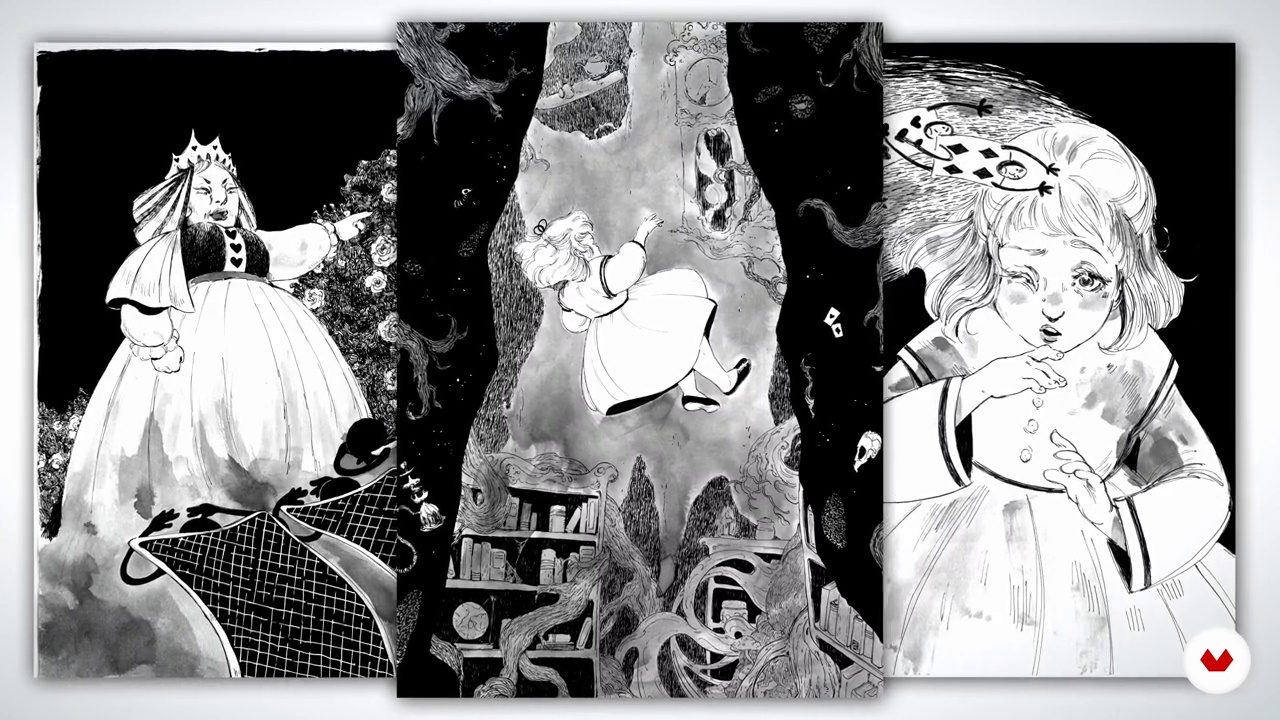
It is important to take an interest in the things and works that make you vibrate, to cultivate your desire to create and to learn! So in this lesson, I'm going to tell you about four artists who are very important in my life and who I hope will inspire you too.
8m
 3
3Influences | Mika Takahashi
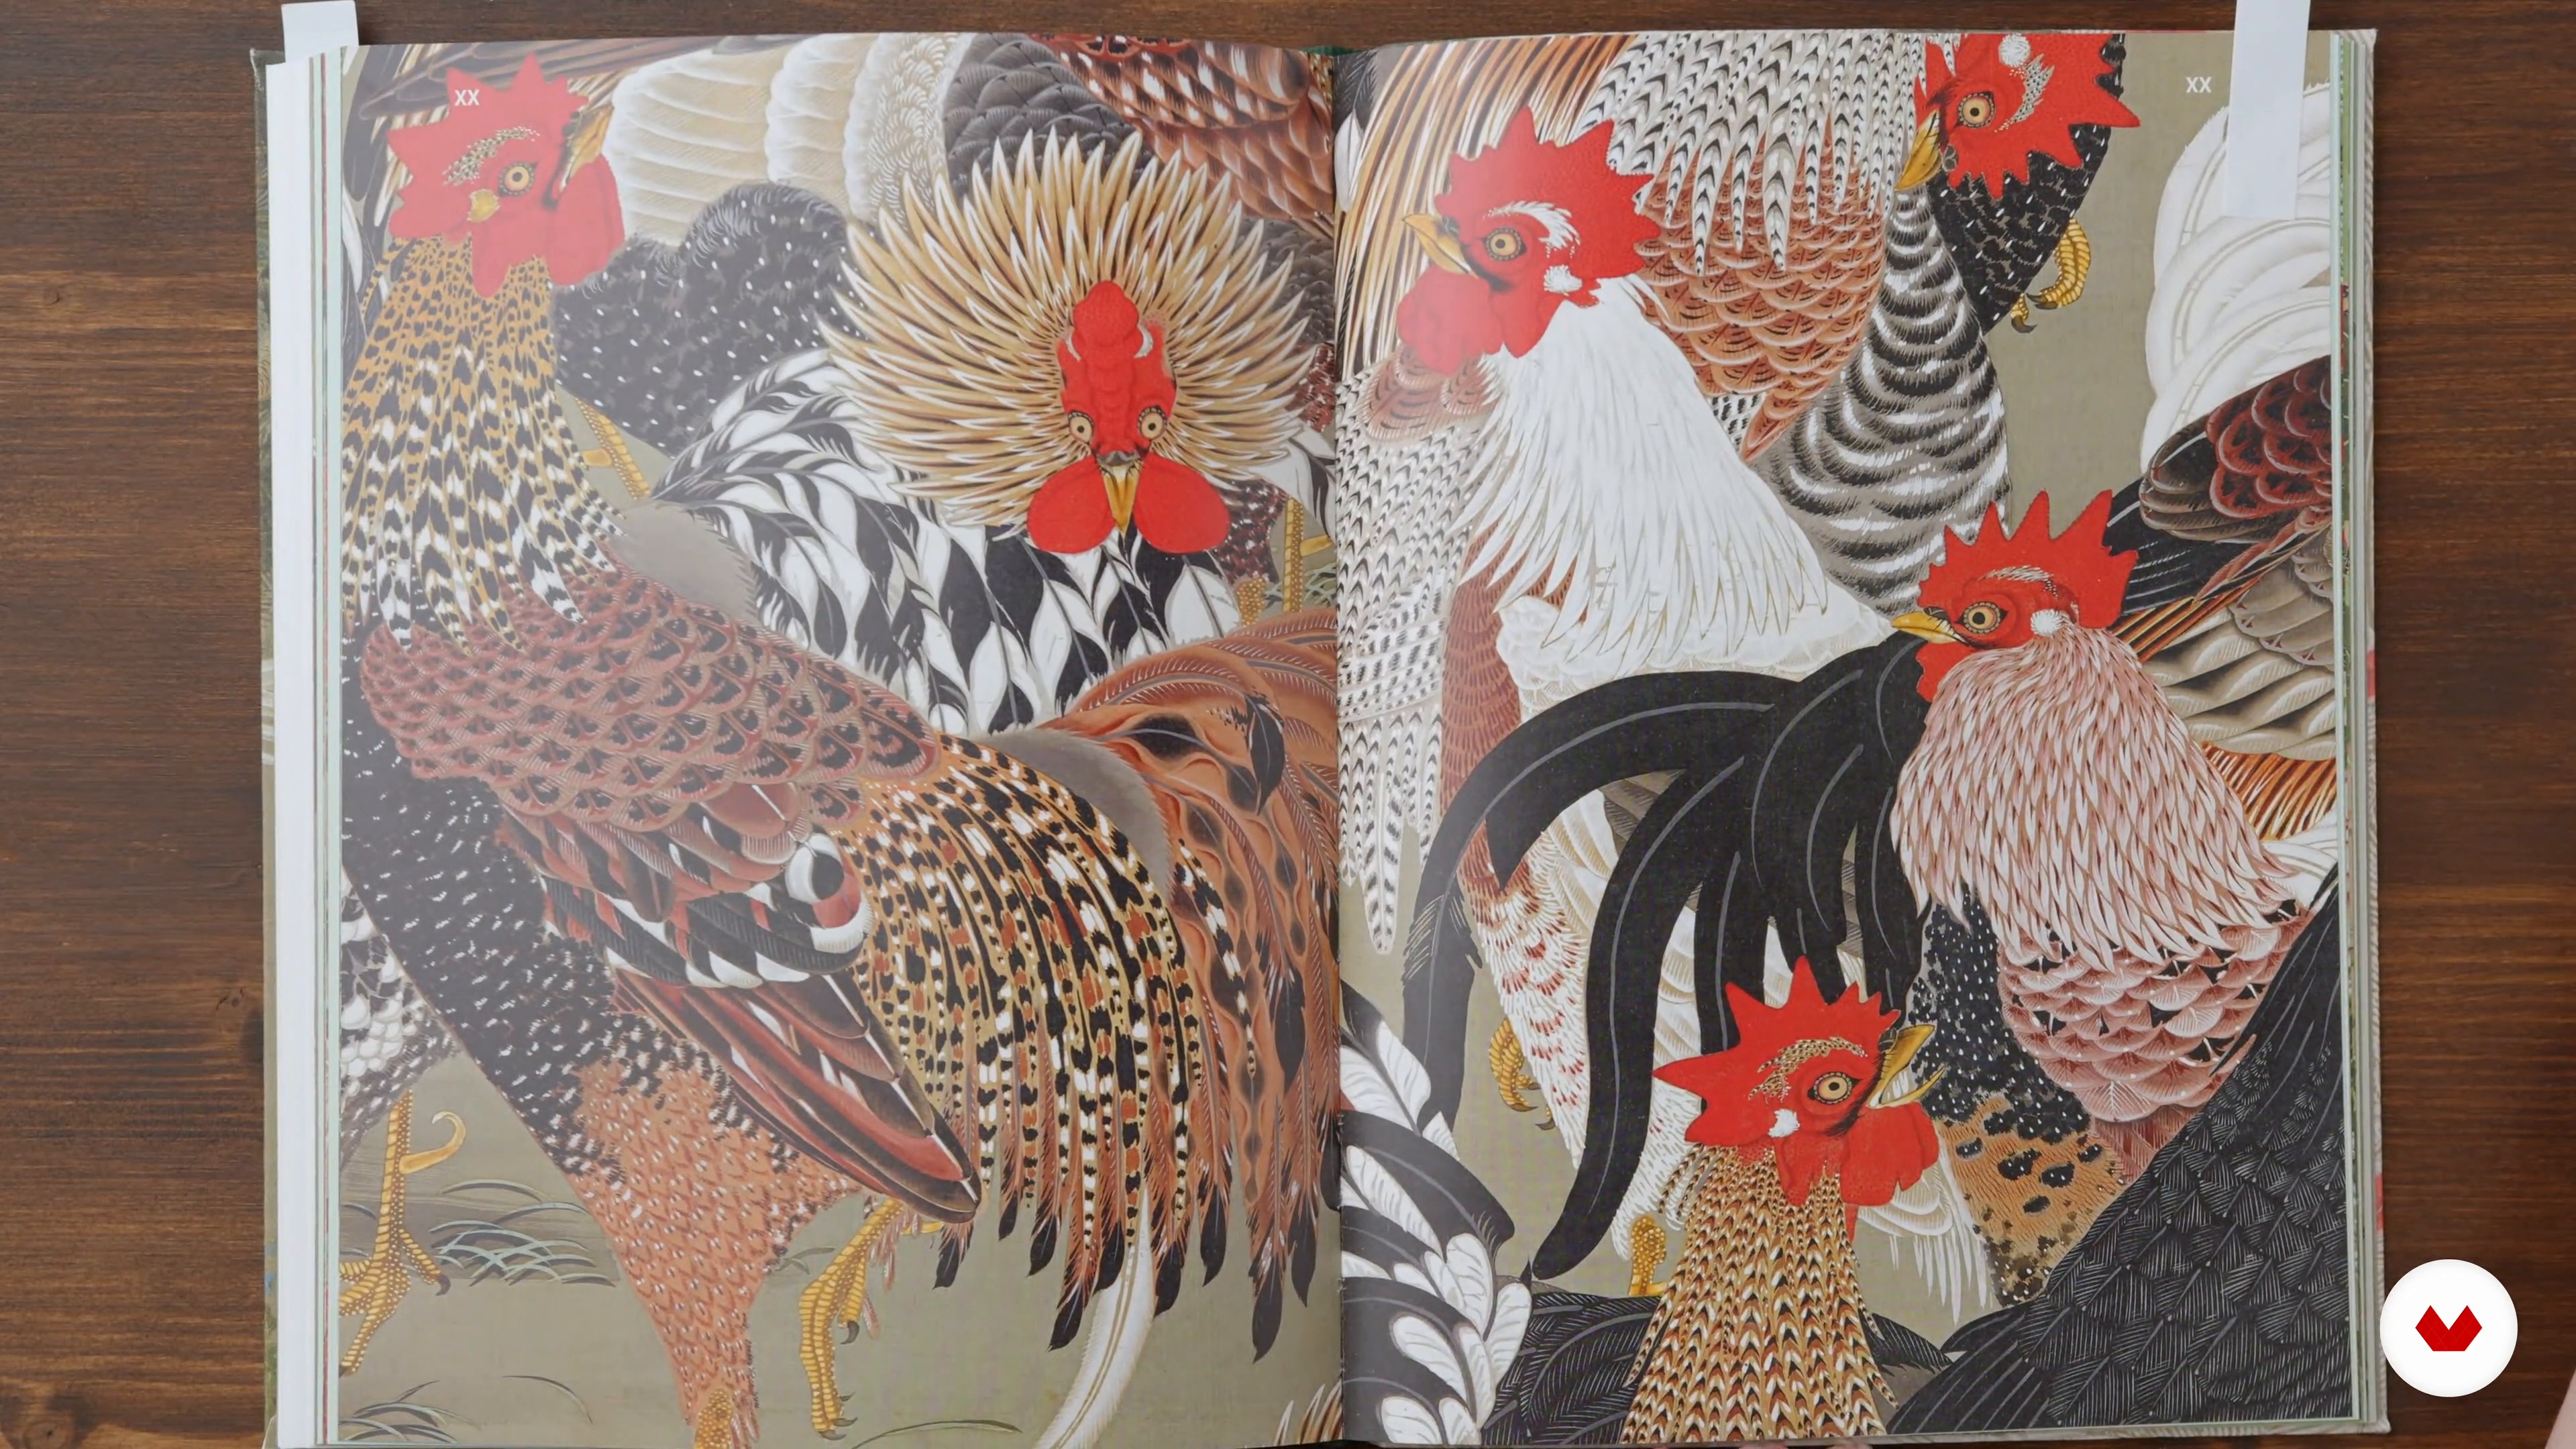
It is very important to look for references and analyze how other artists work and how these works impact you, with what methods you identify and be inspired to seek your own answers. In this class, I share my references and how I get inspired by them.
2m
 4
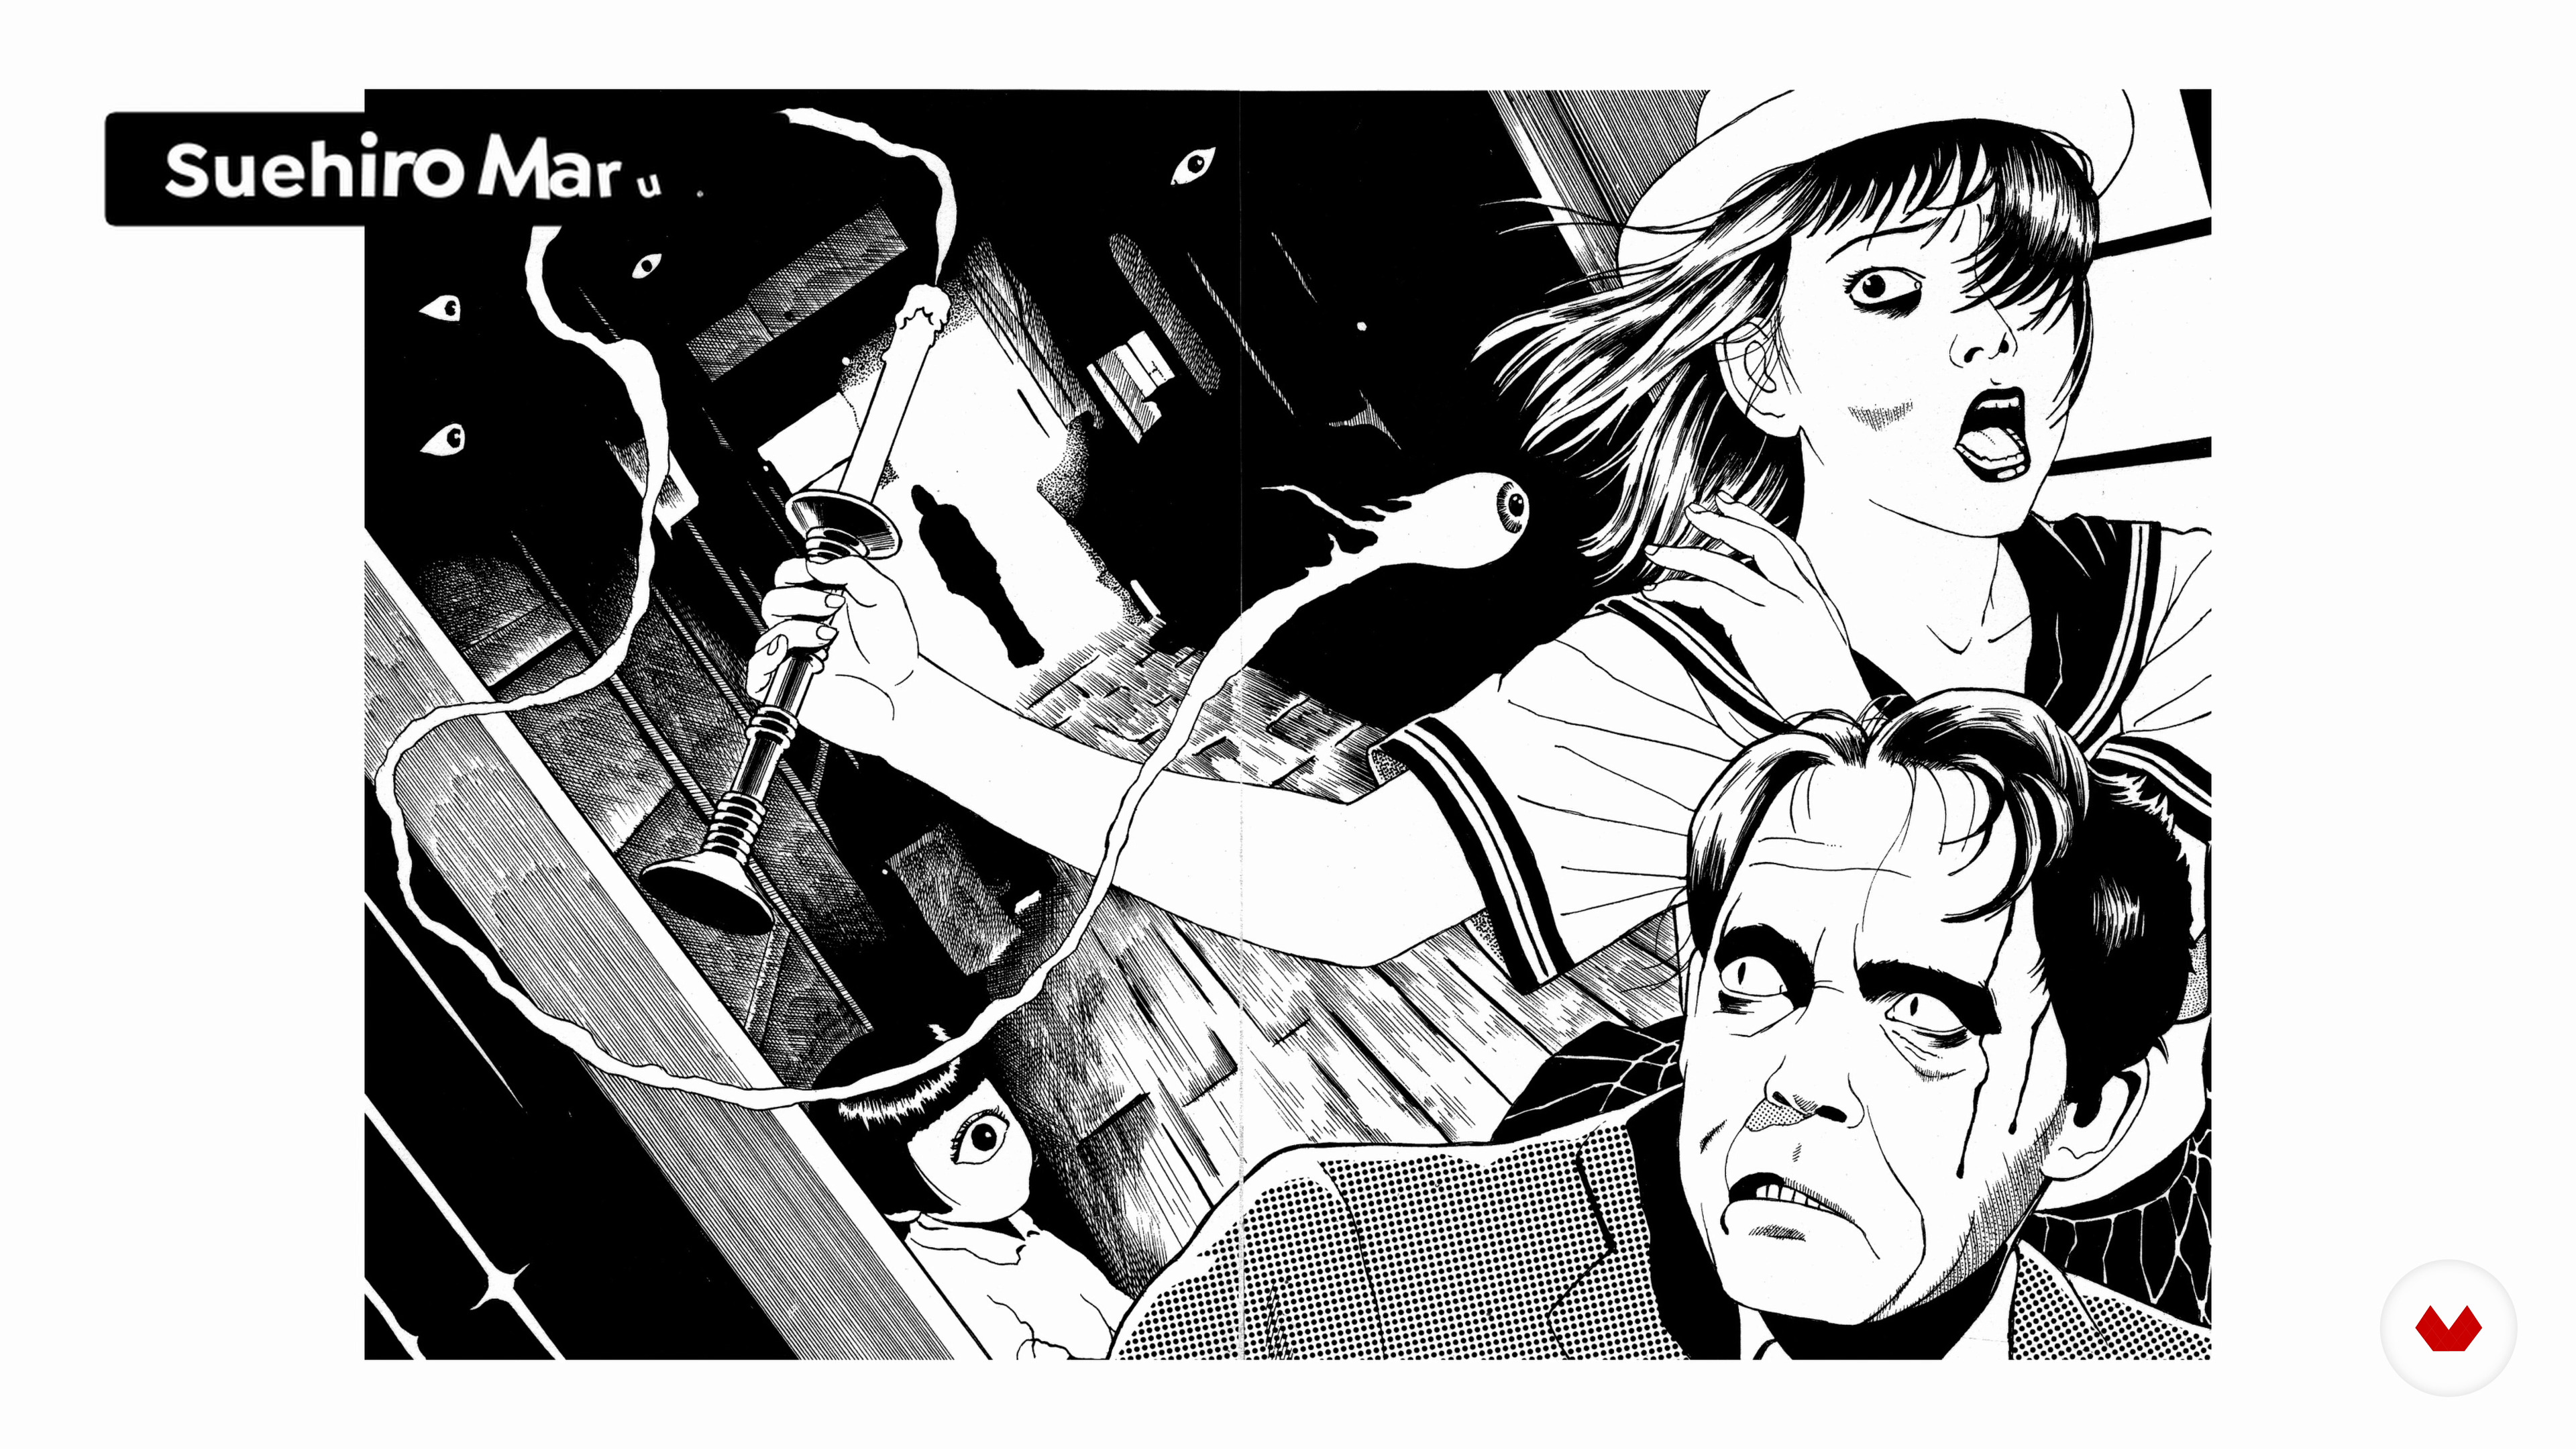
4Influences | Koshu (Akemi Lucas)
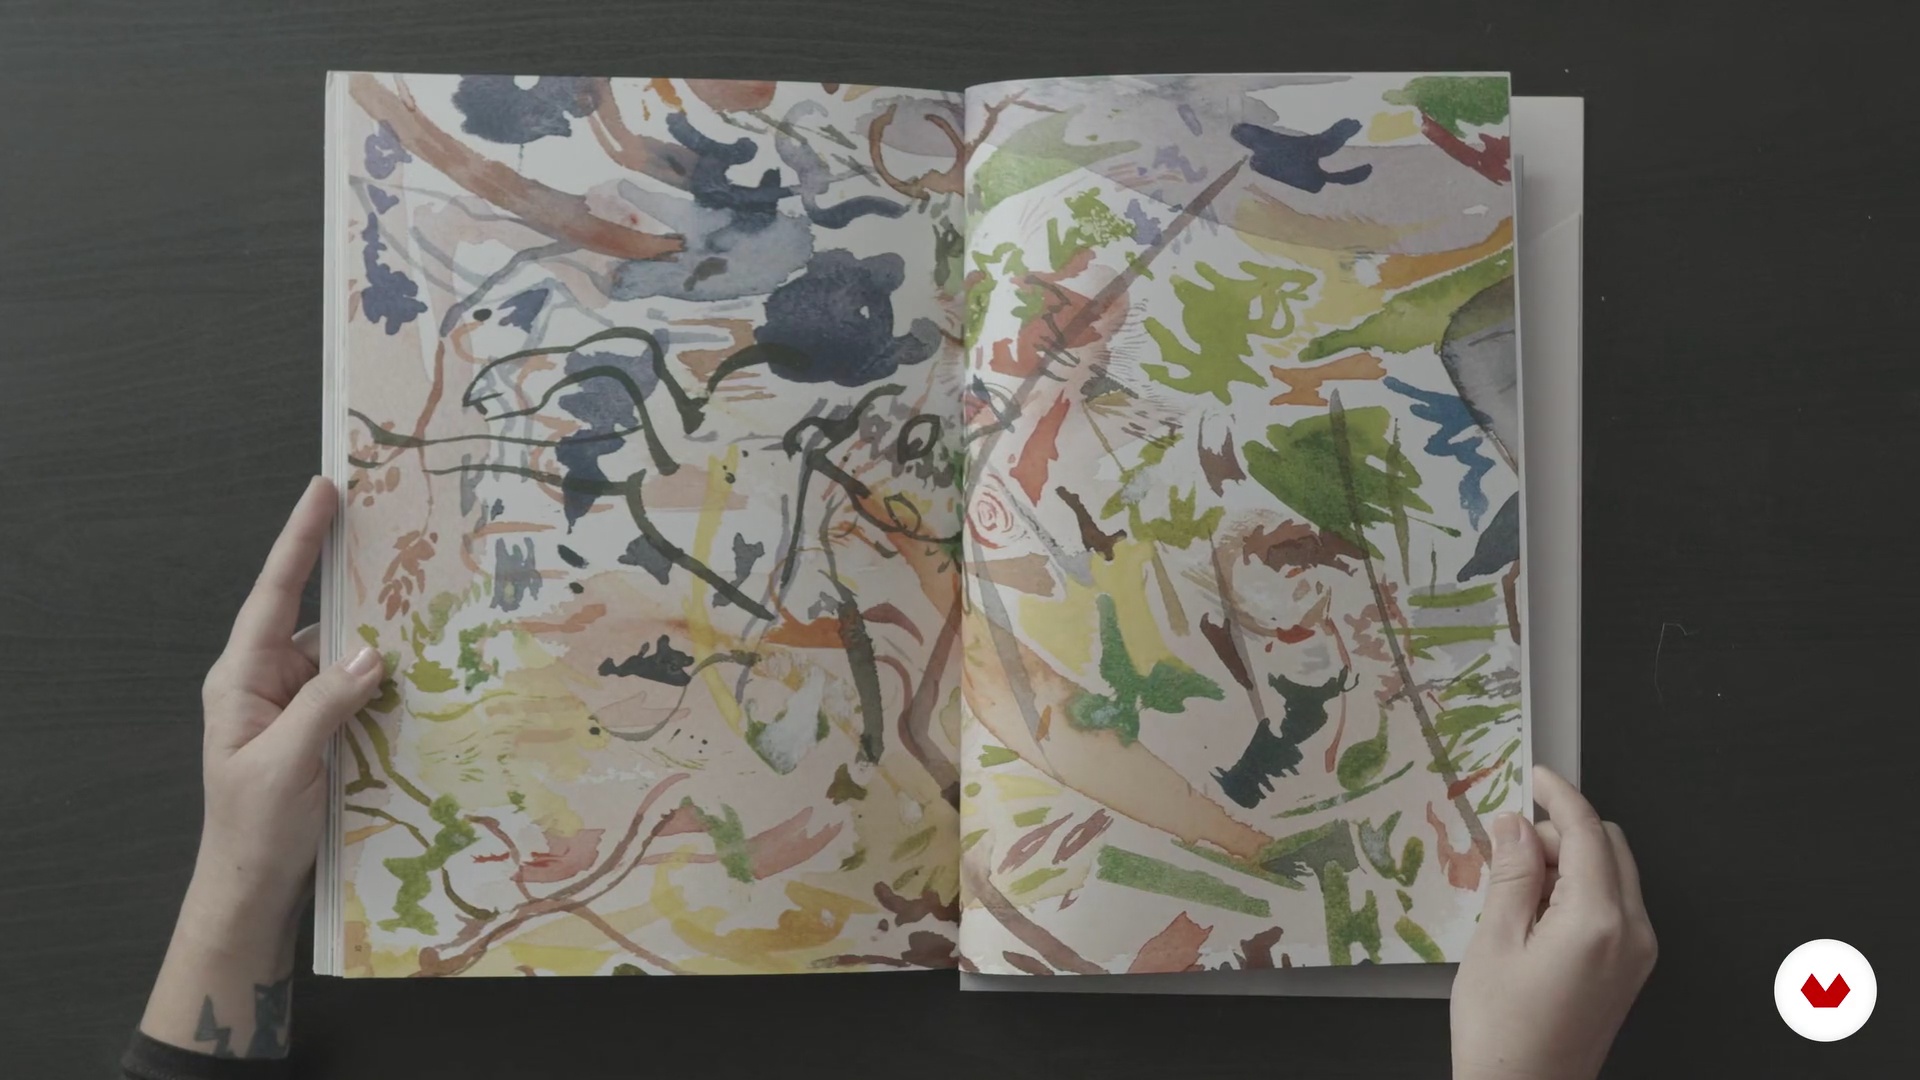
Next, I would like to talk about three figures who have influenced my work and, more generally, my life.
7m
 5
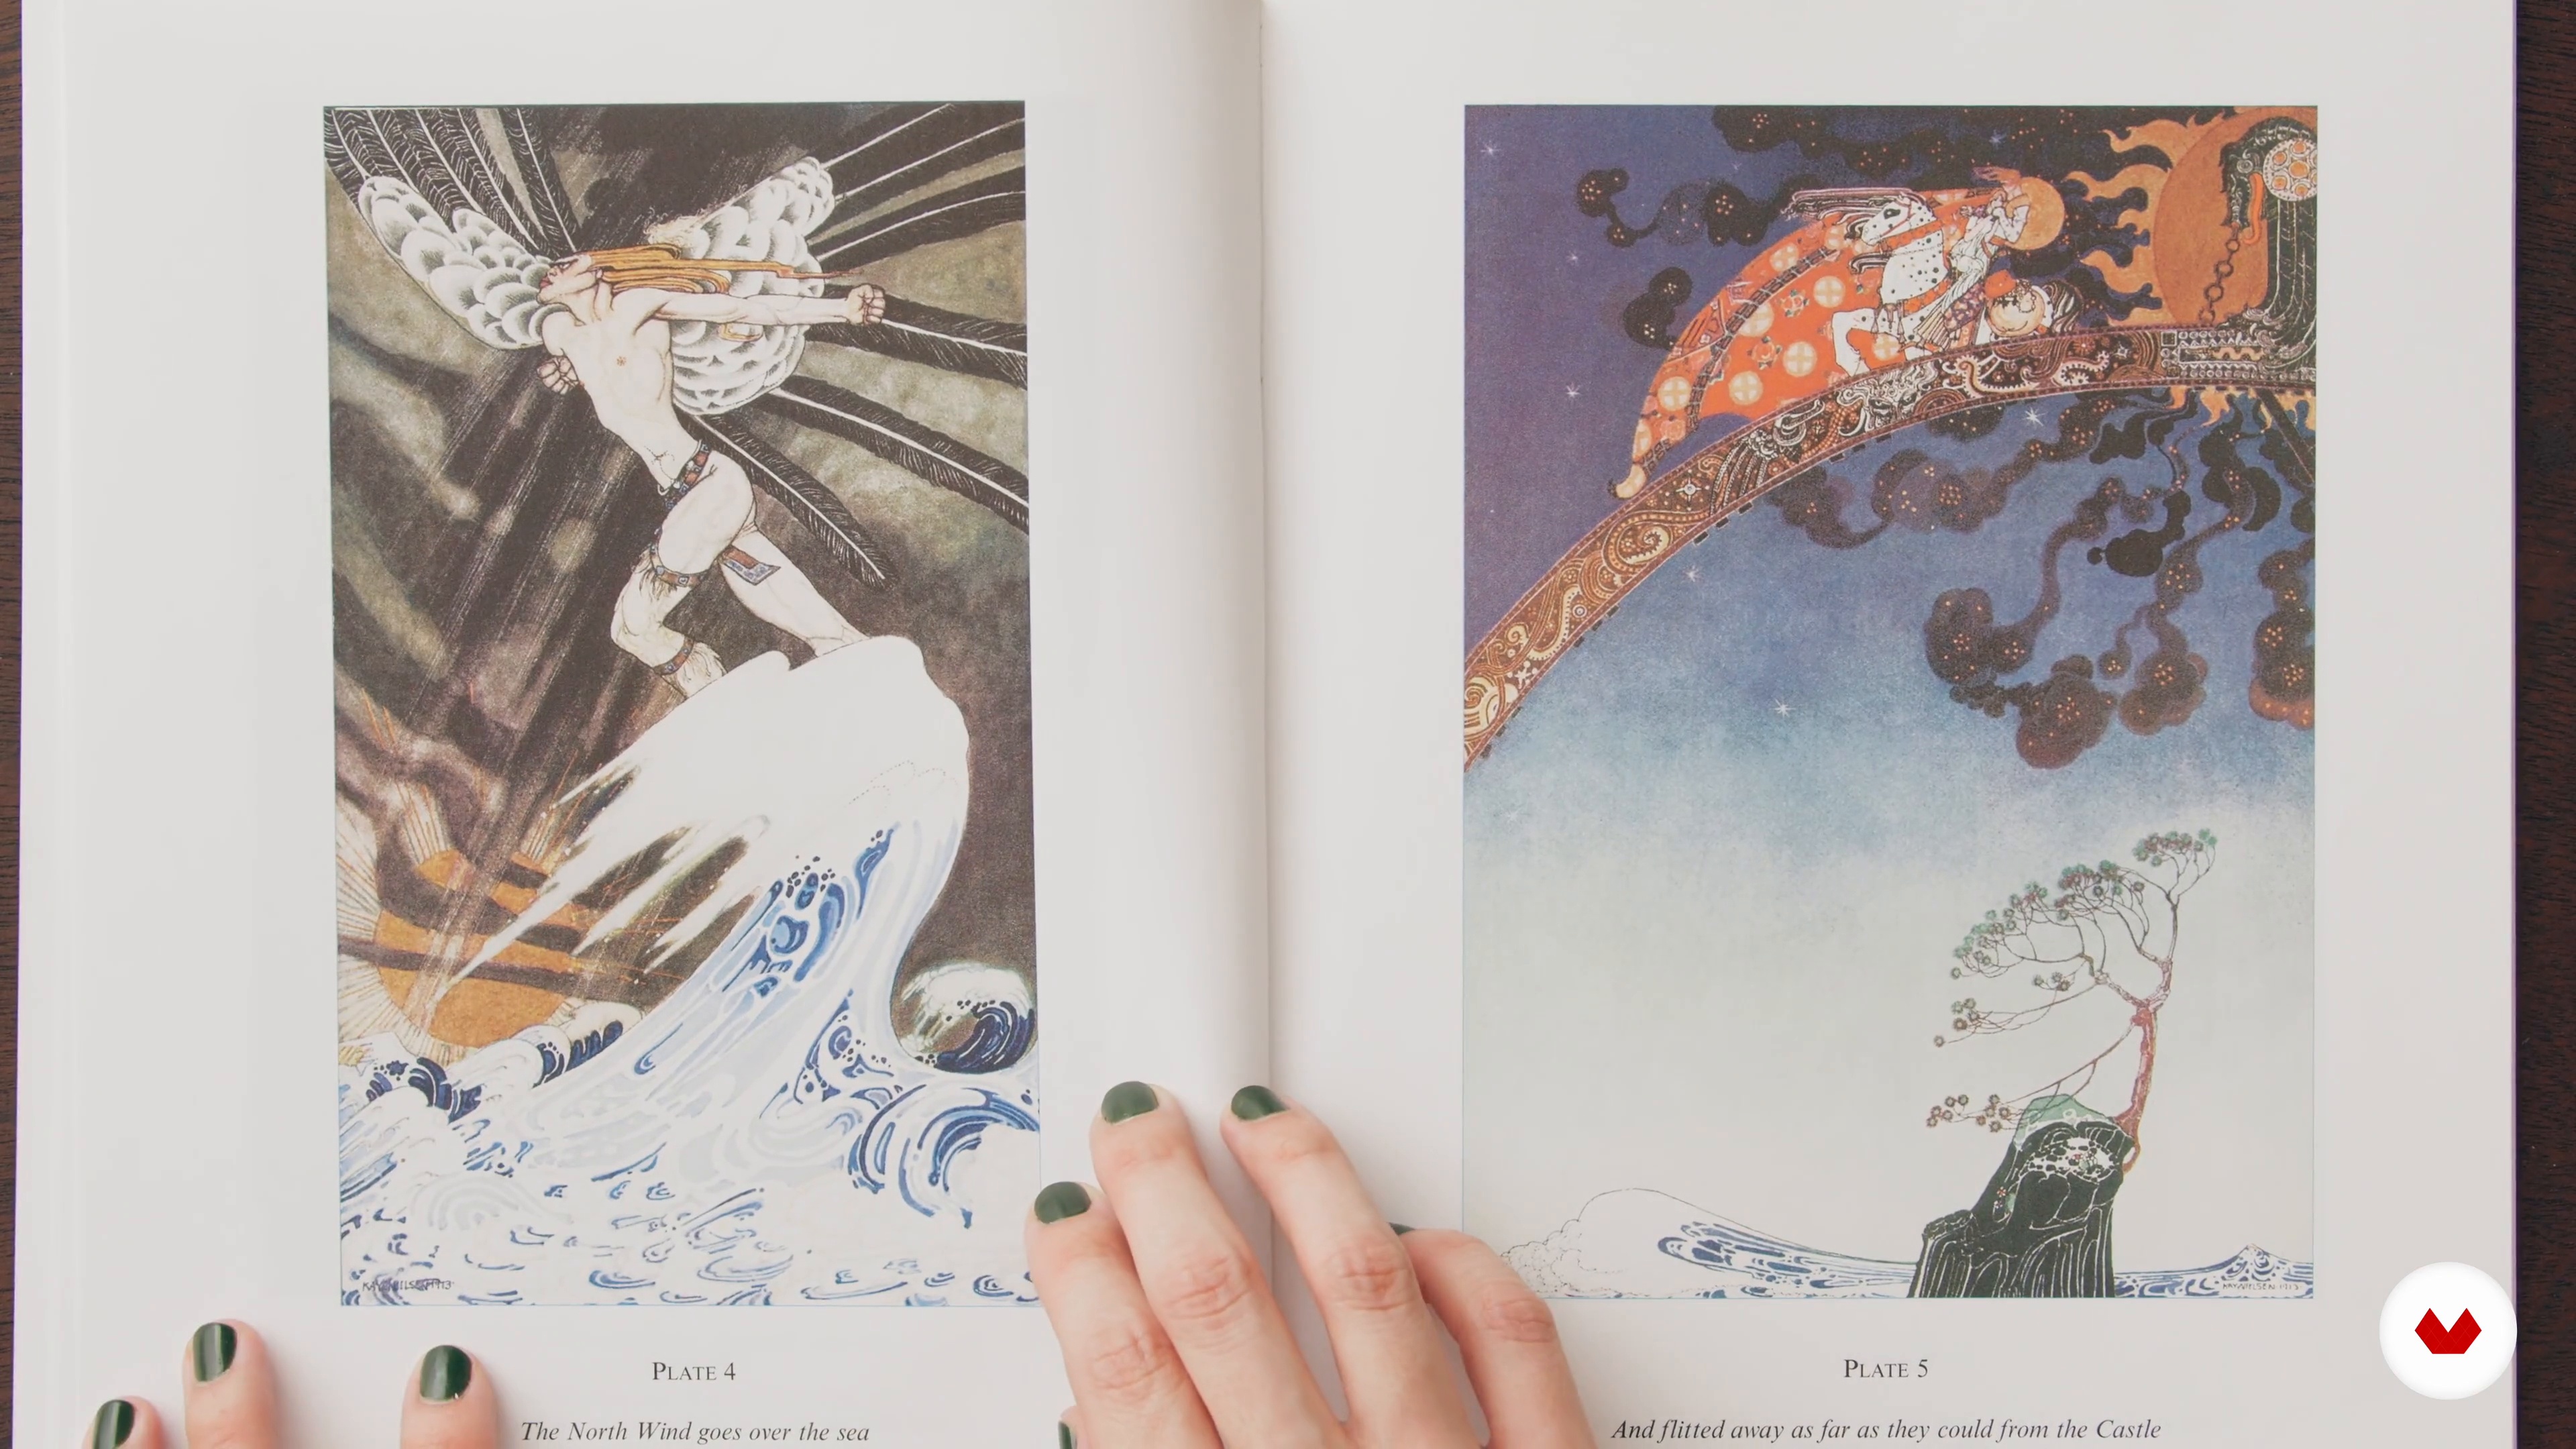
5Influences | Pierre-Marie Postel
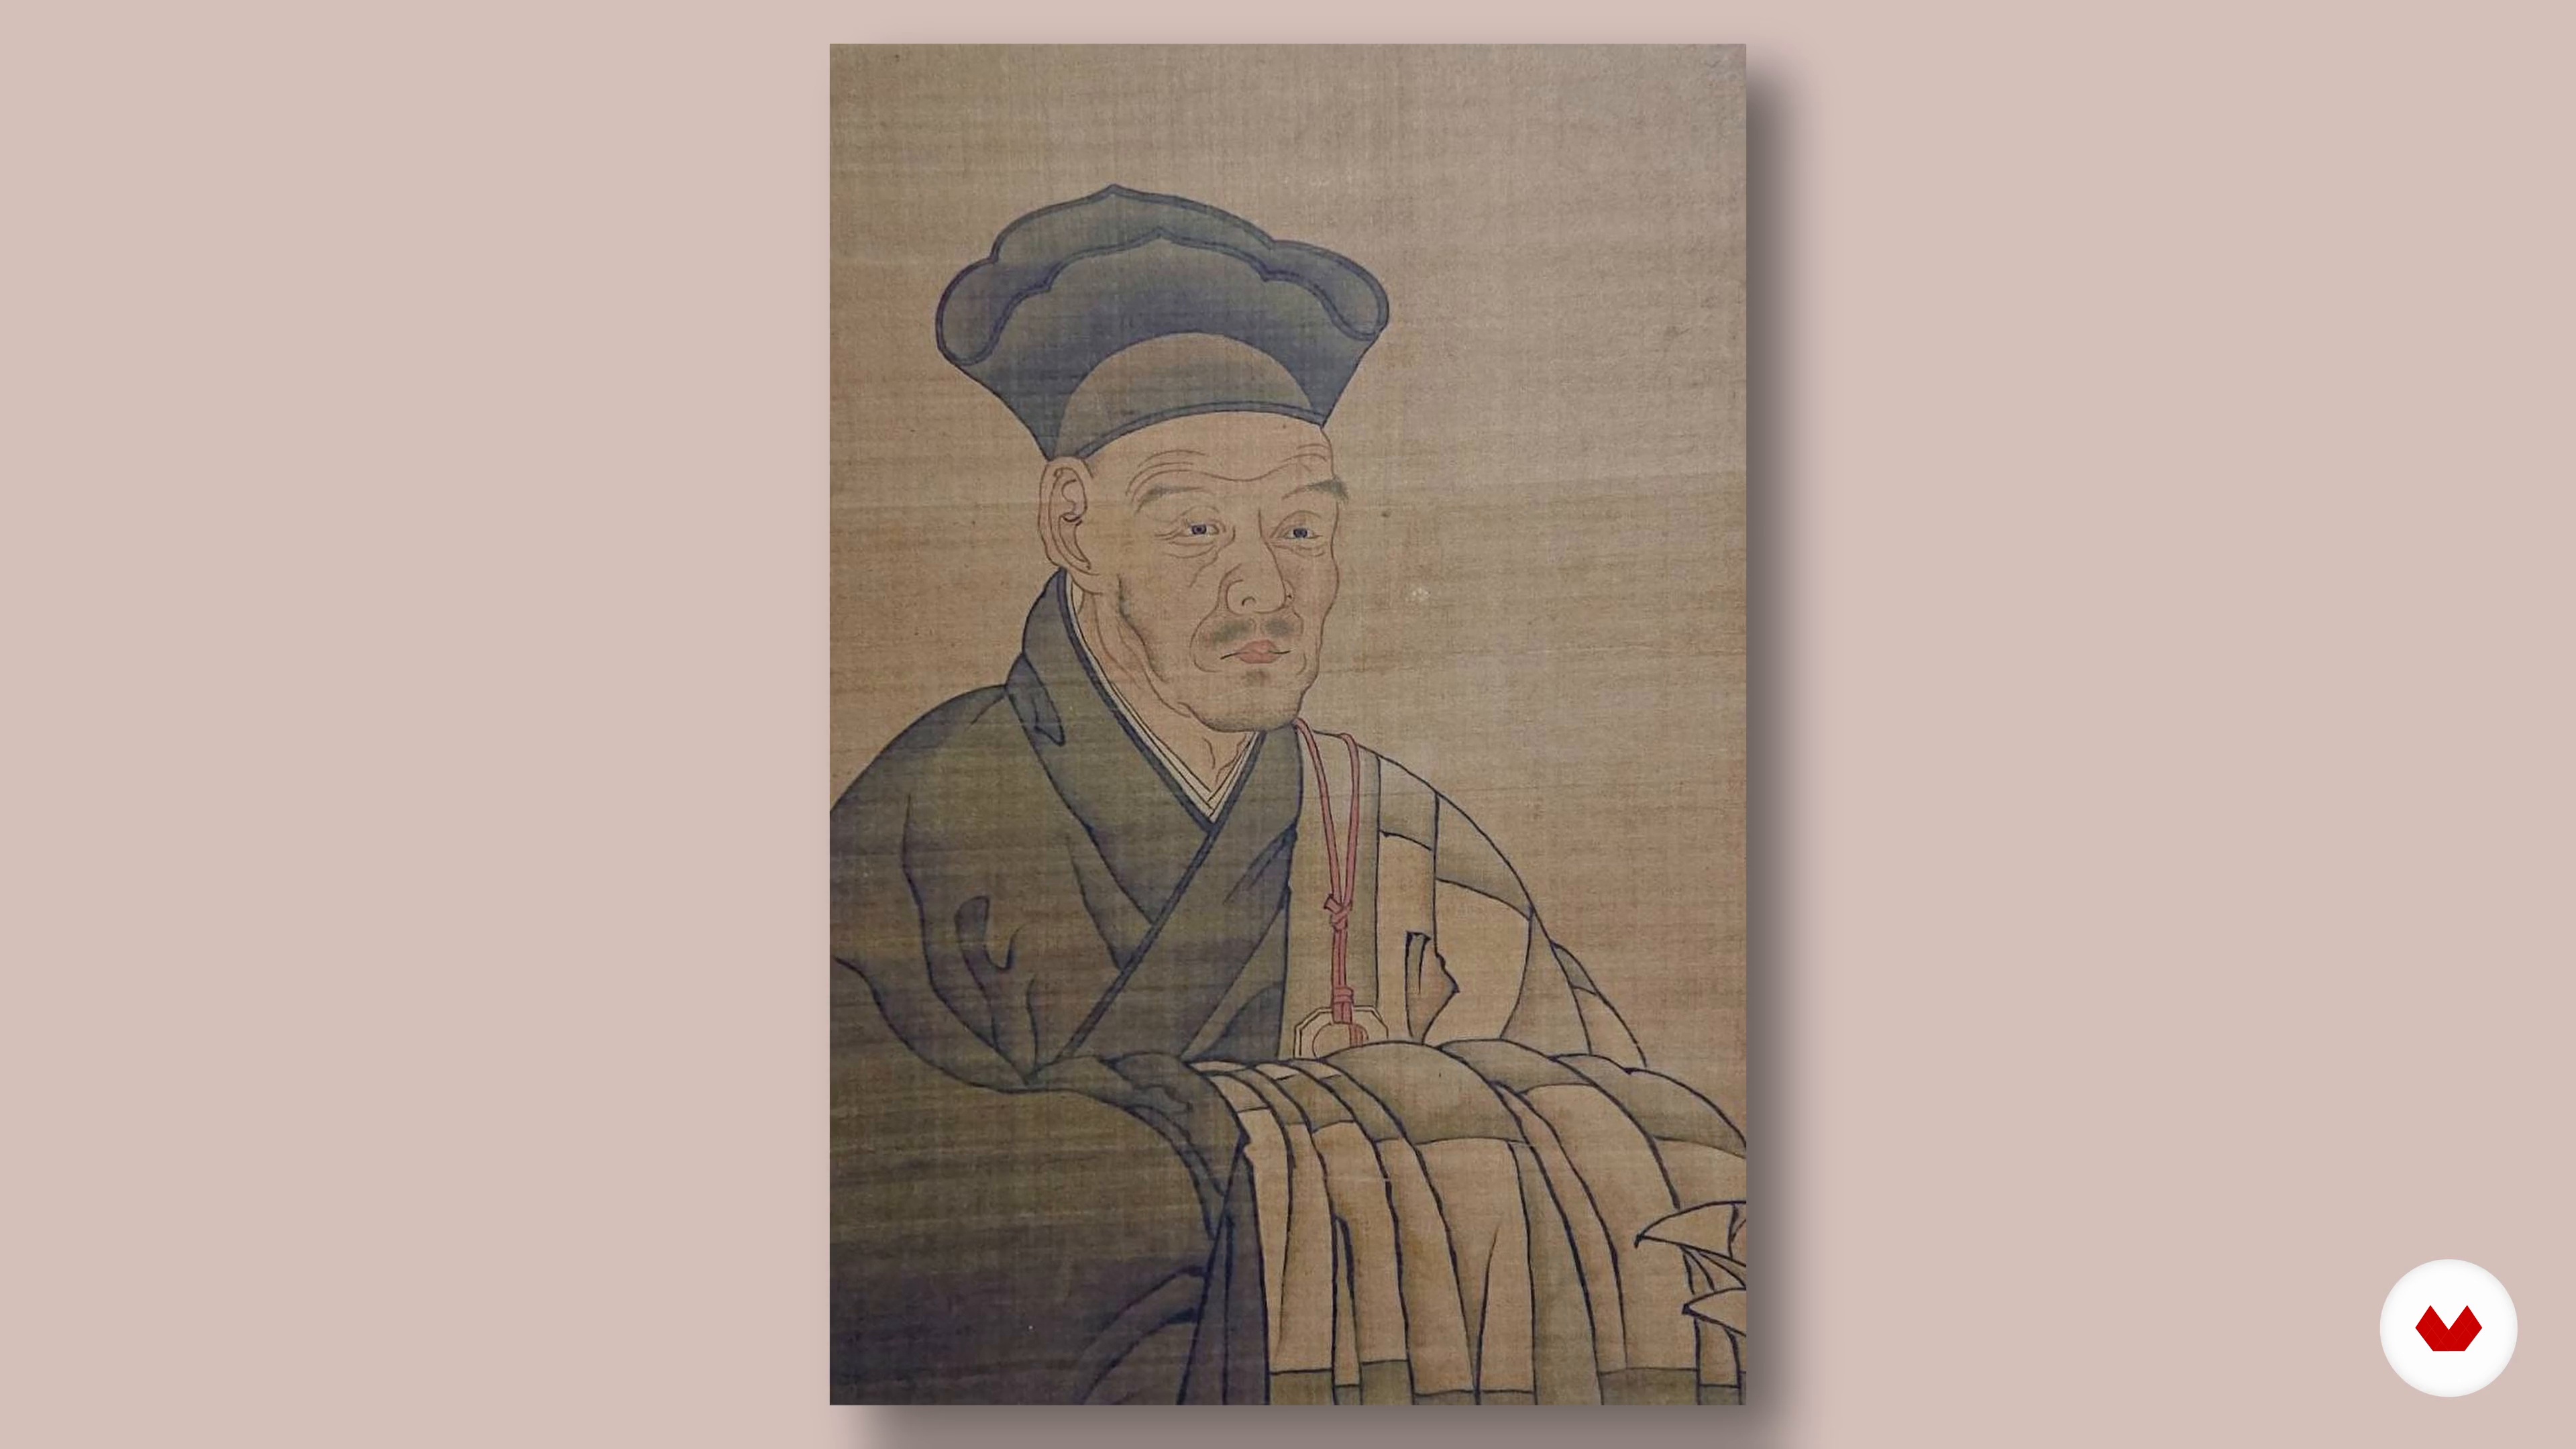
I will share with you some of my sources of inspiration: they arise a lot from my travels and my interest in Japanese culture.
2m
 6
6Influences | Yohey Horishita
Without the artists that I'm going to share with you in this lesson, I wouldn't be here as an illustrator today. They are my idols, teachers, mentors, and friends who have helped to shape my art and career in many different ways. I am so excited and happy to tell you who they are!
9m
 3
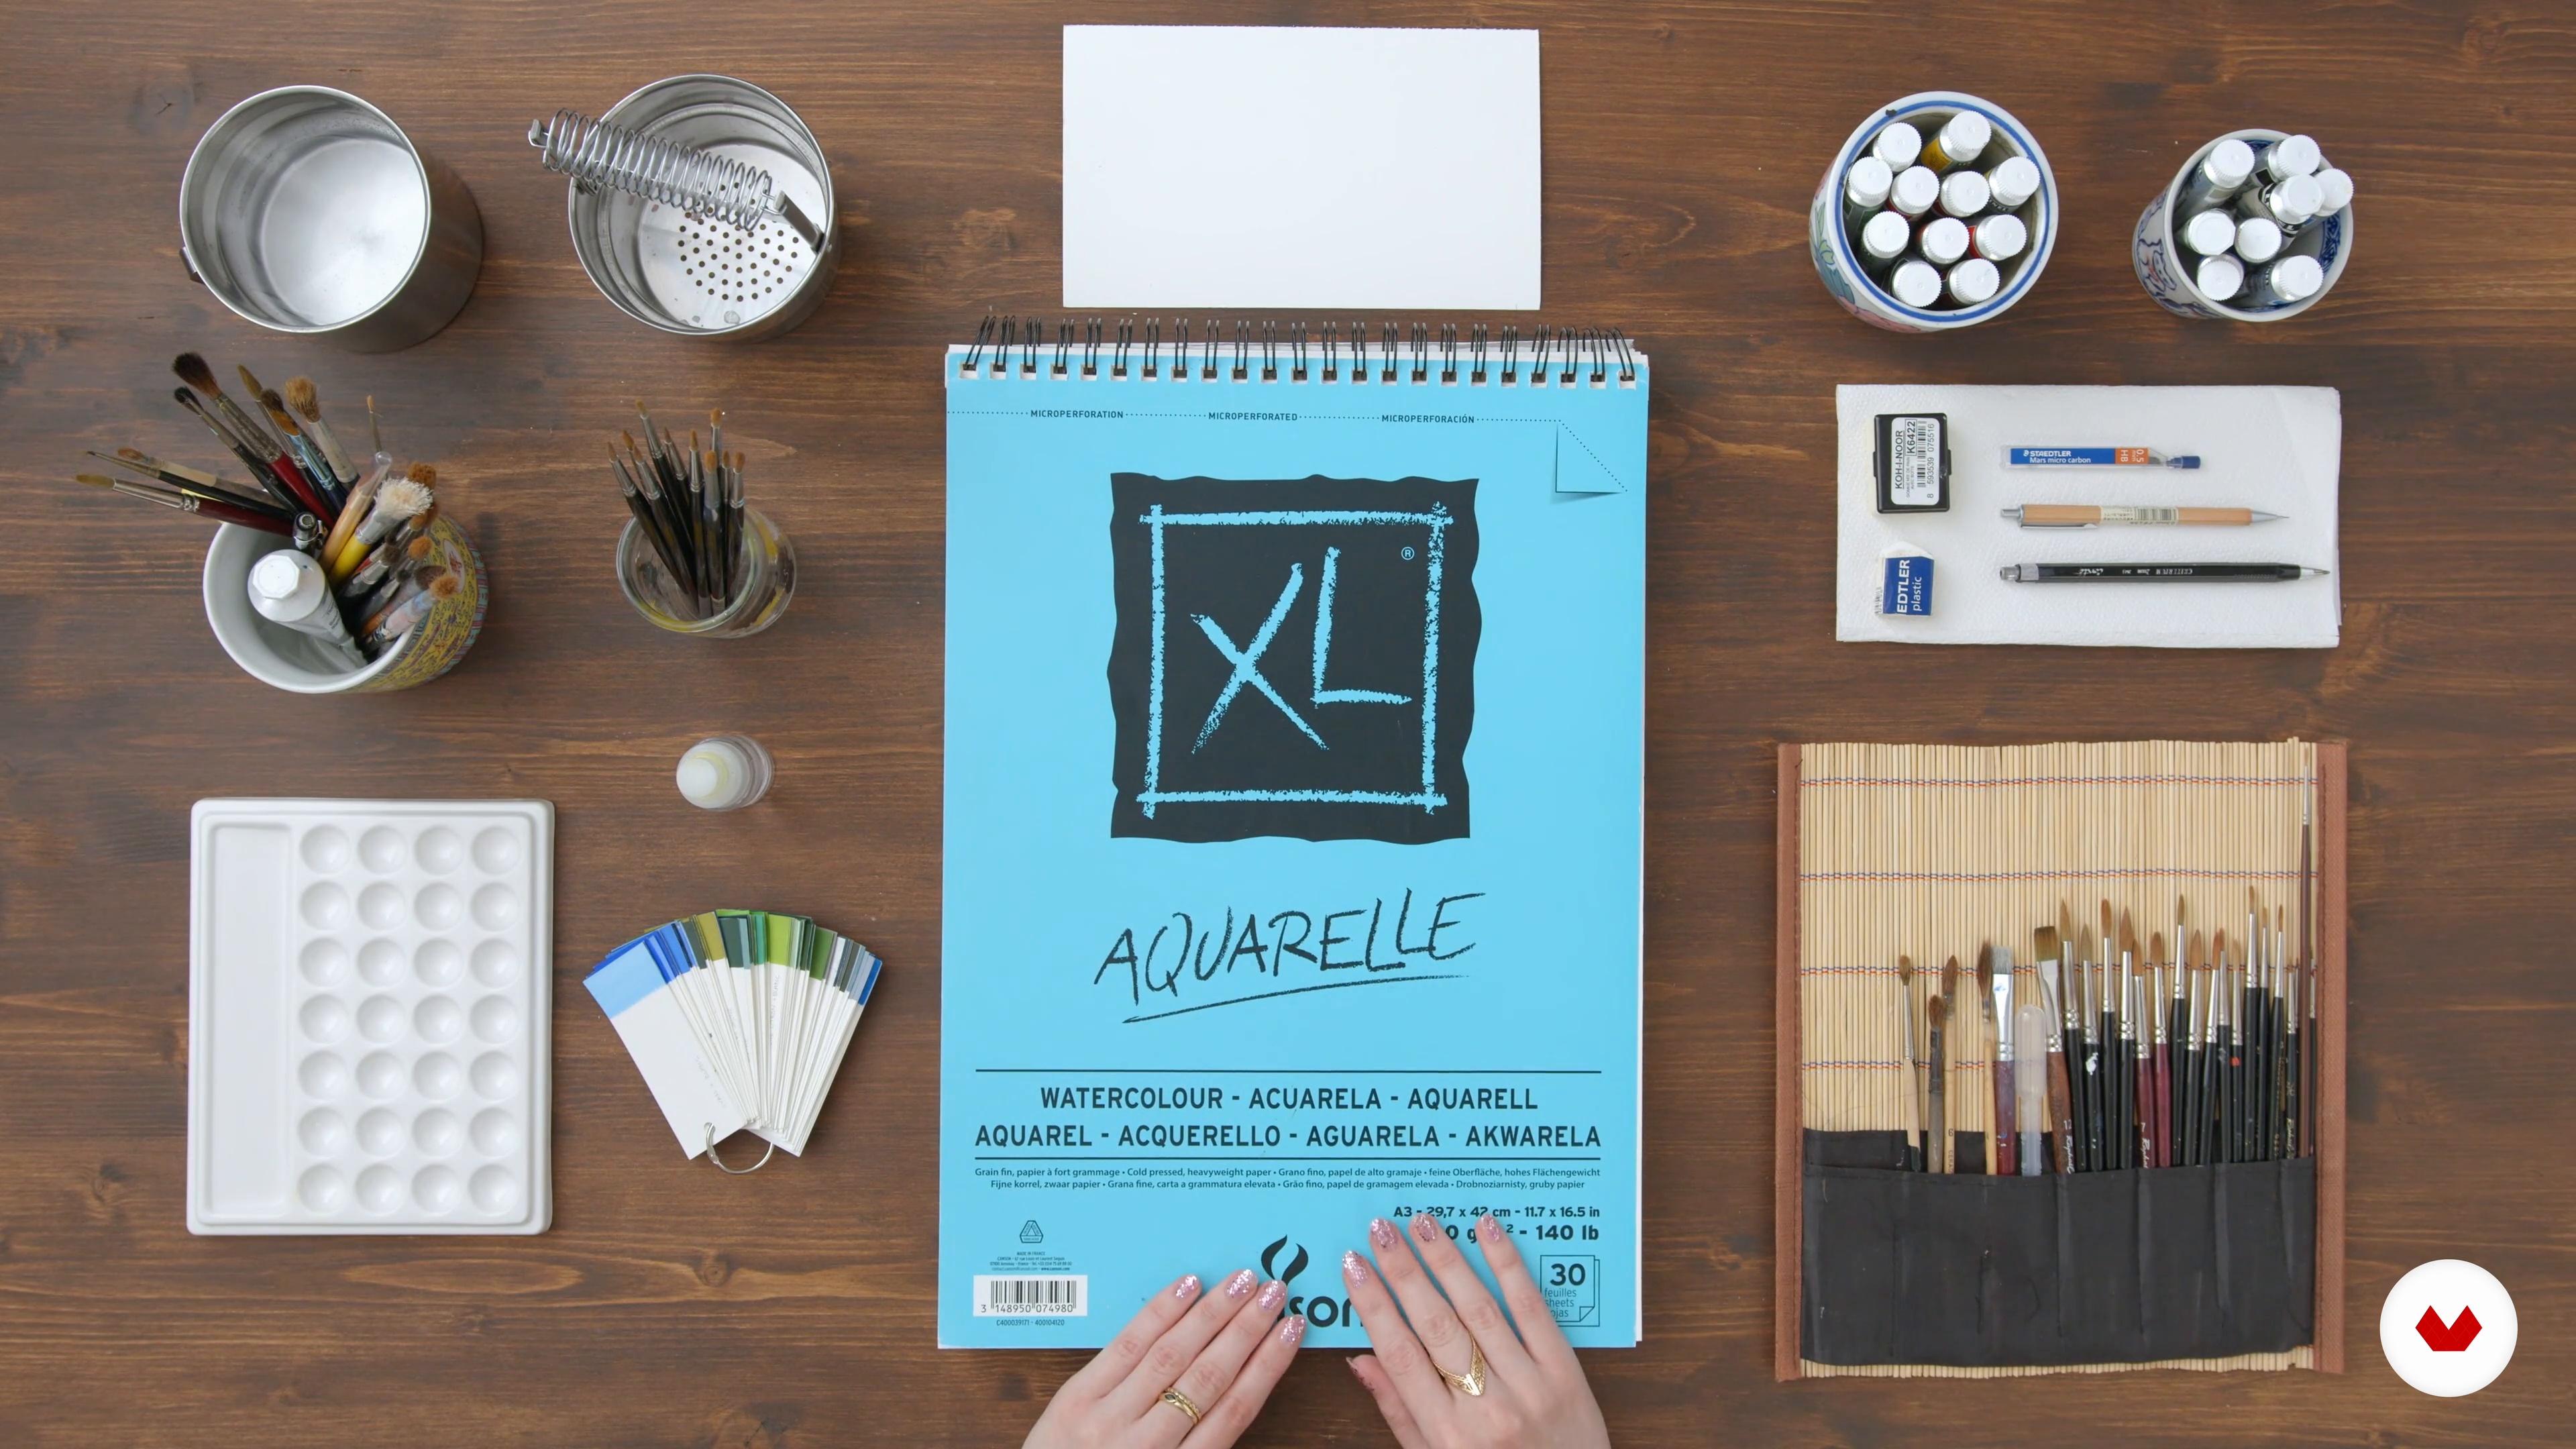
3Tools and materials
I will present to you the material that I use in my profession and that I will use for this course. The material we use is part of our style; that is why it is important to choose it well and find the one that suits us best. I will also show you how to take care of your brushes so that they last over time.
5m
 4
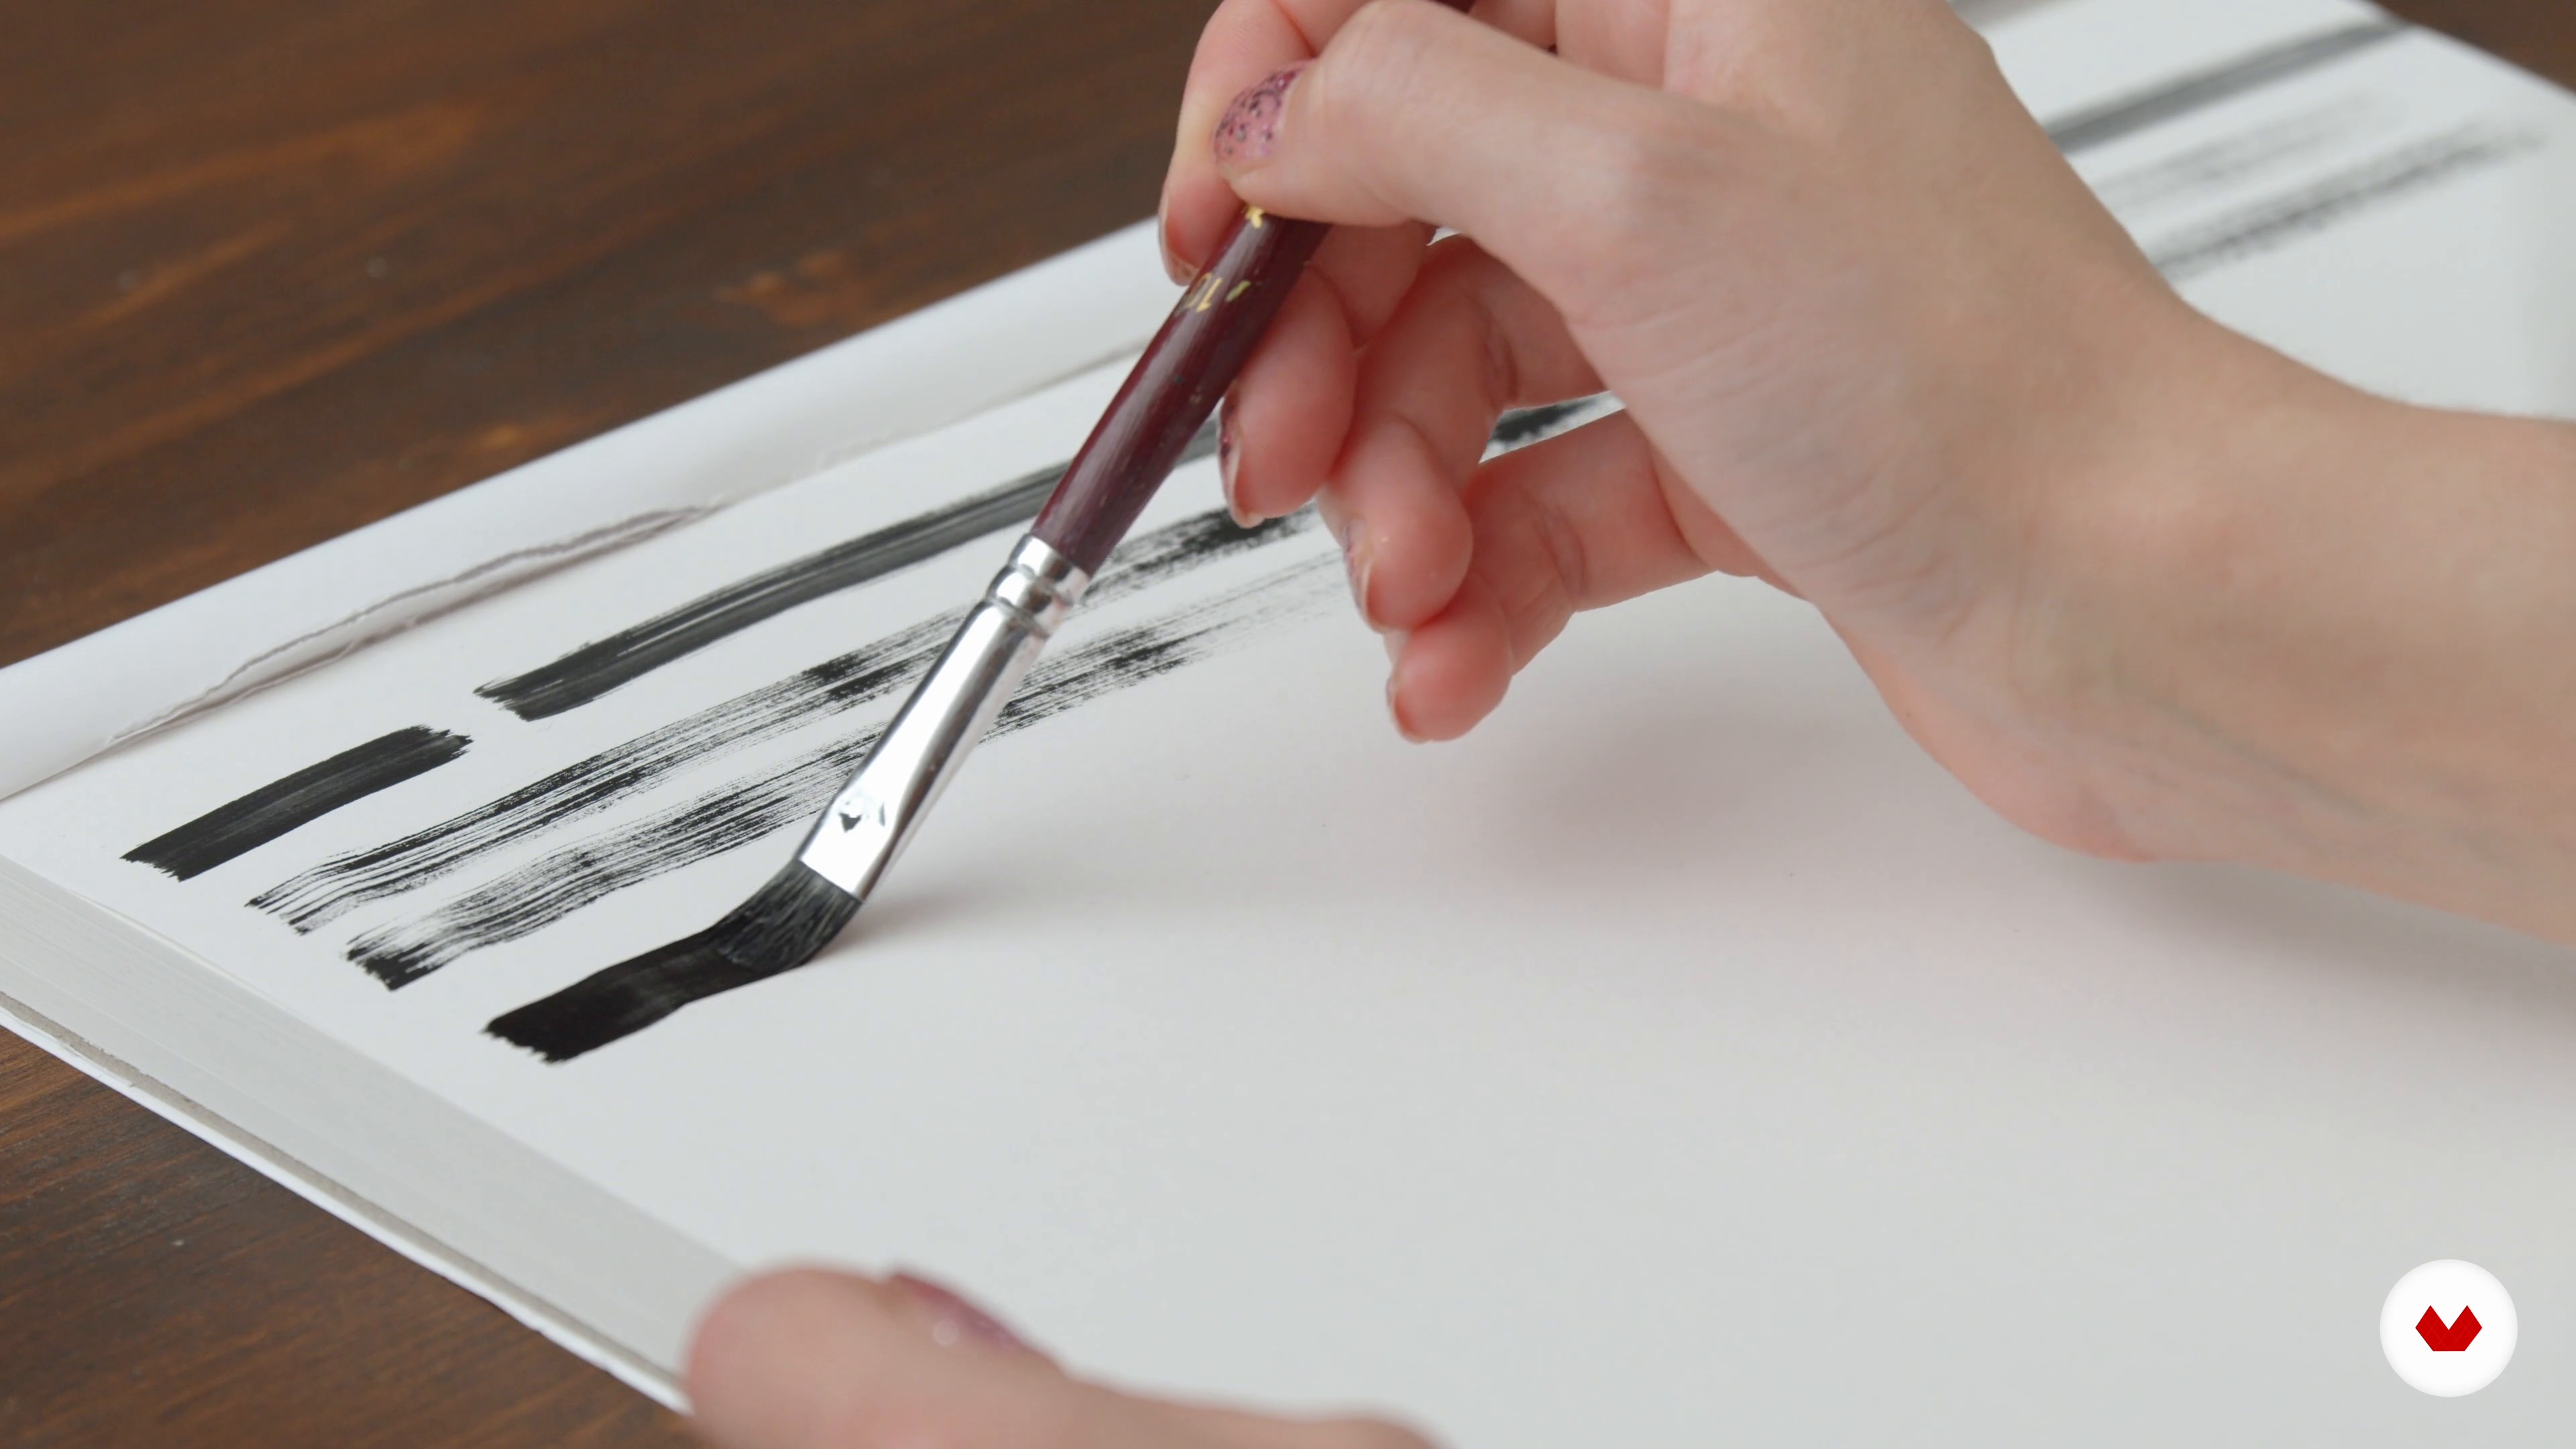
4The technique: brushes
It is important to find a tool that suits you, and to succeed in your paintings we will see together how to choose your brushes, how to take care of them and how to find the right texture to create beautiful solids.
18m
 5
5Taming the technique: brushes 1
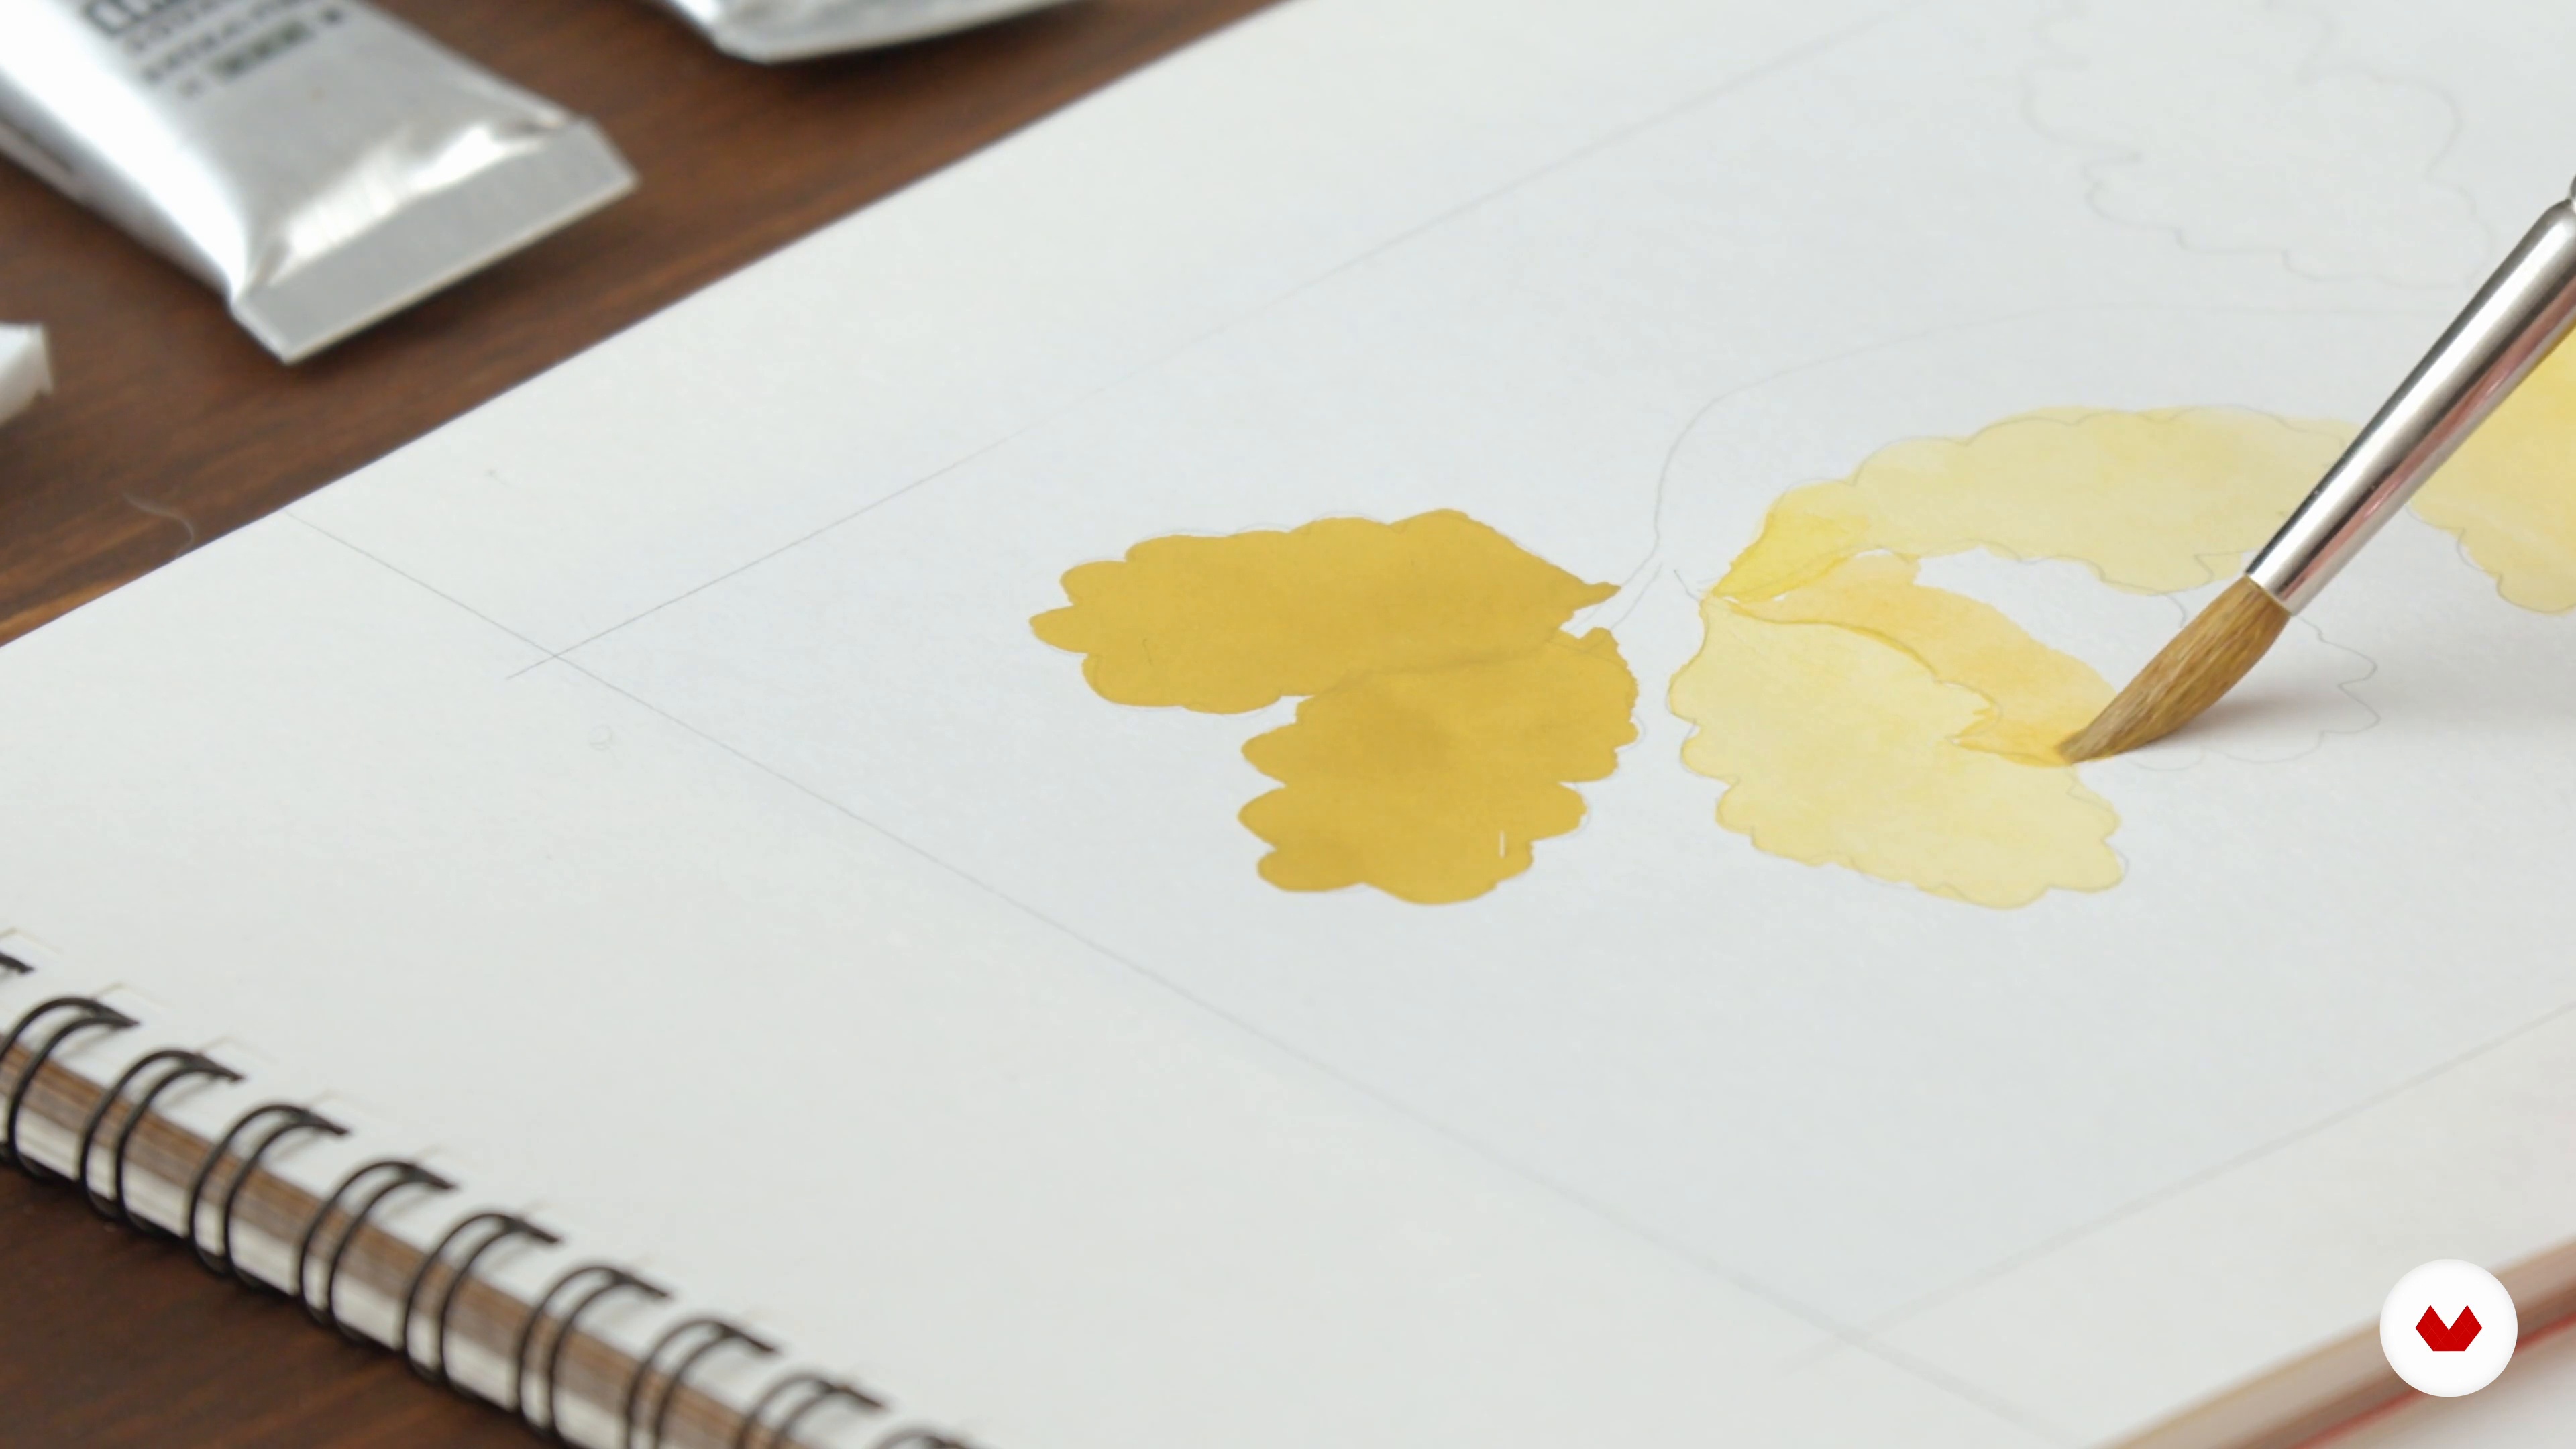
Now that you are familiar with the different types of brushes, let's put the explanations we have seen into practice. I will show you first how to paint your leaves in wash. Don't panic, mistakes happen even to the best. So, finally, I'll show you how to catch up with some of them.
12m
 6
6Taming the technique: brushes 2
Now I'm going to show you how to paint the leaf veins with fine strokes and then paint the solid background with an opaque color.
13m
 7
7The technique: the colors
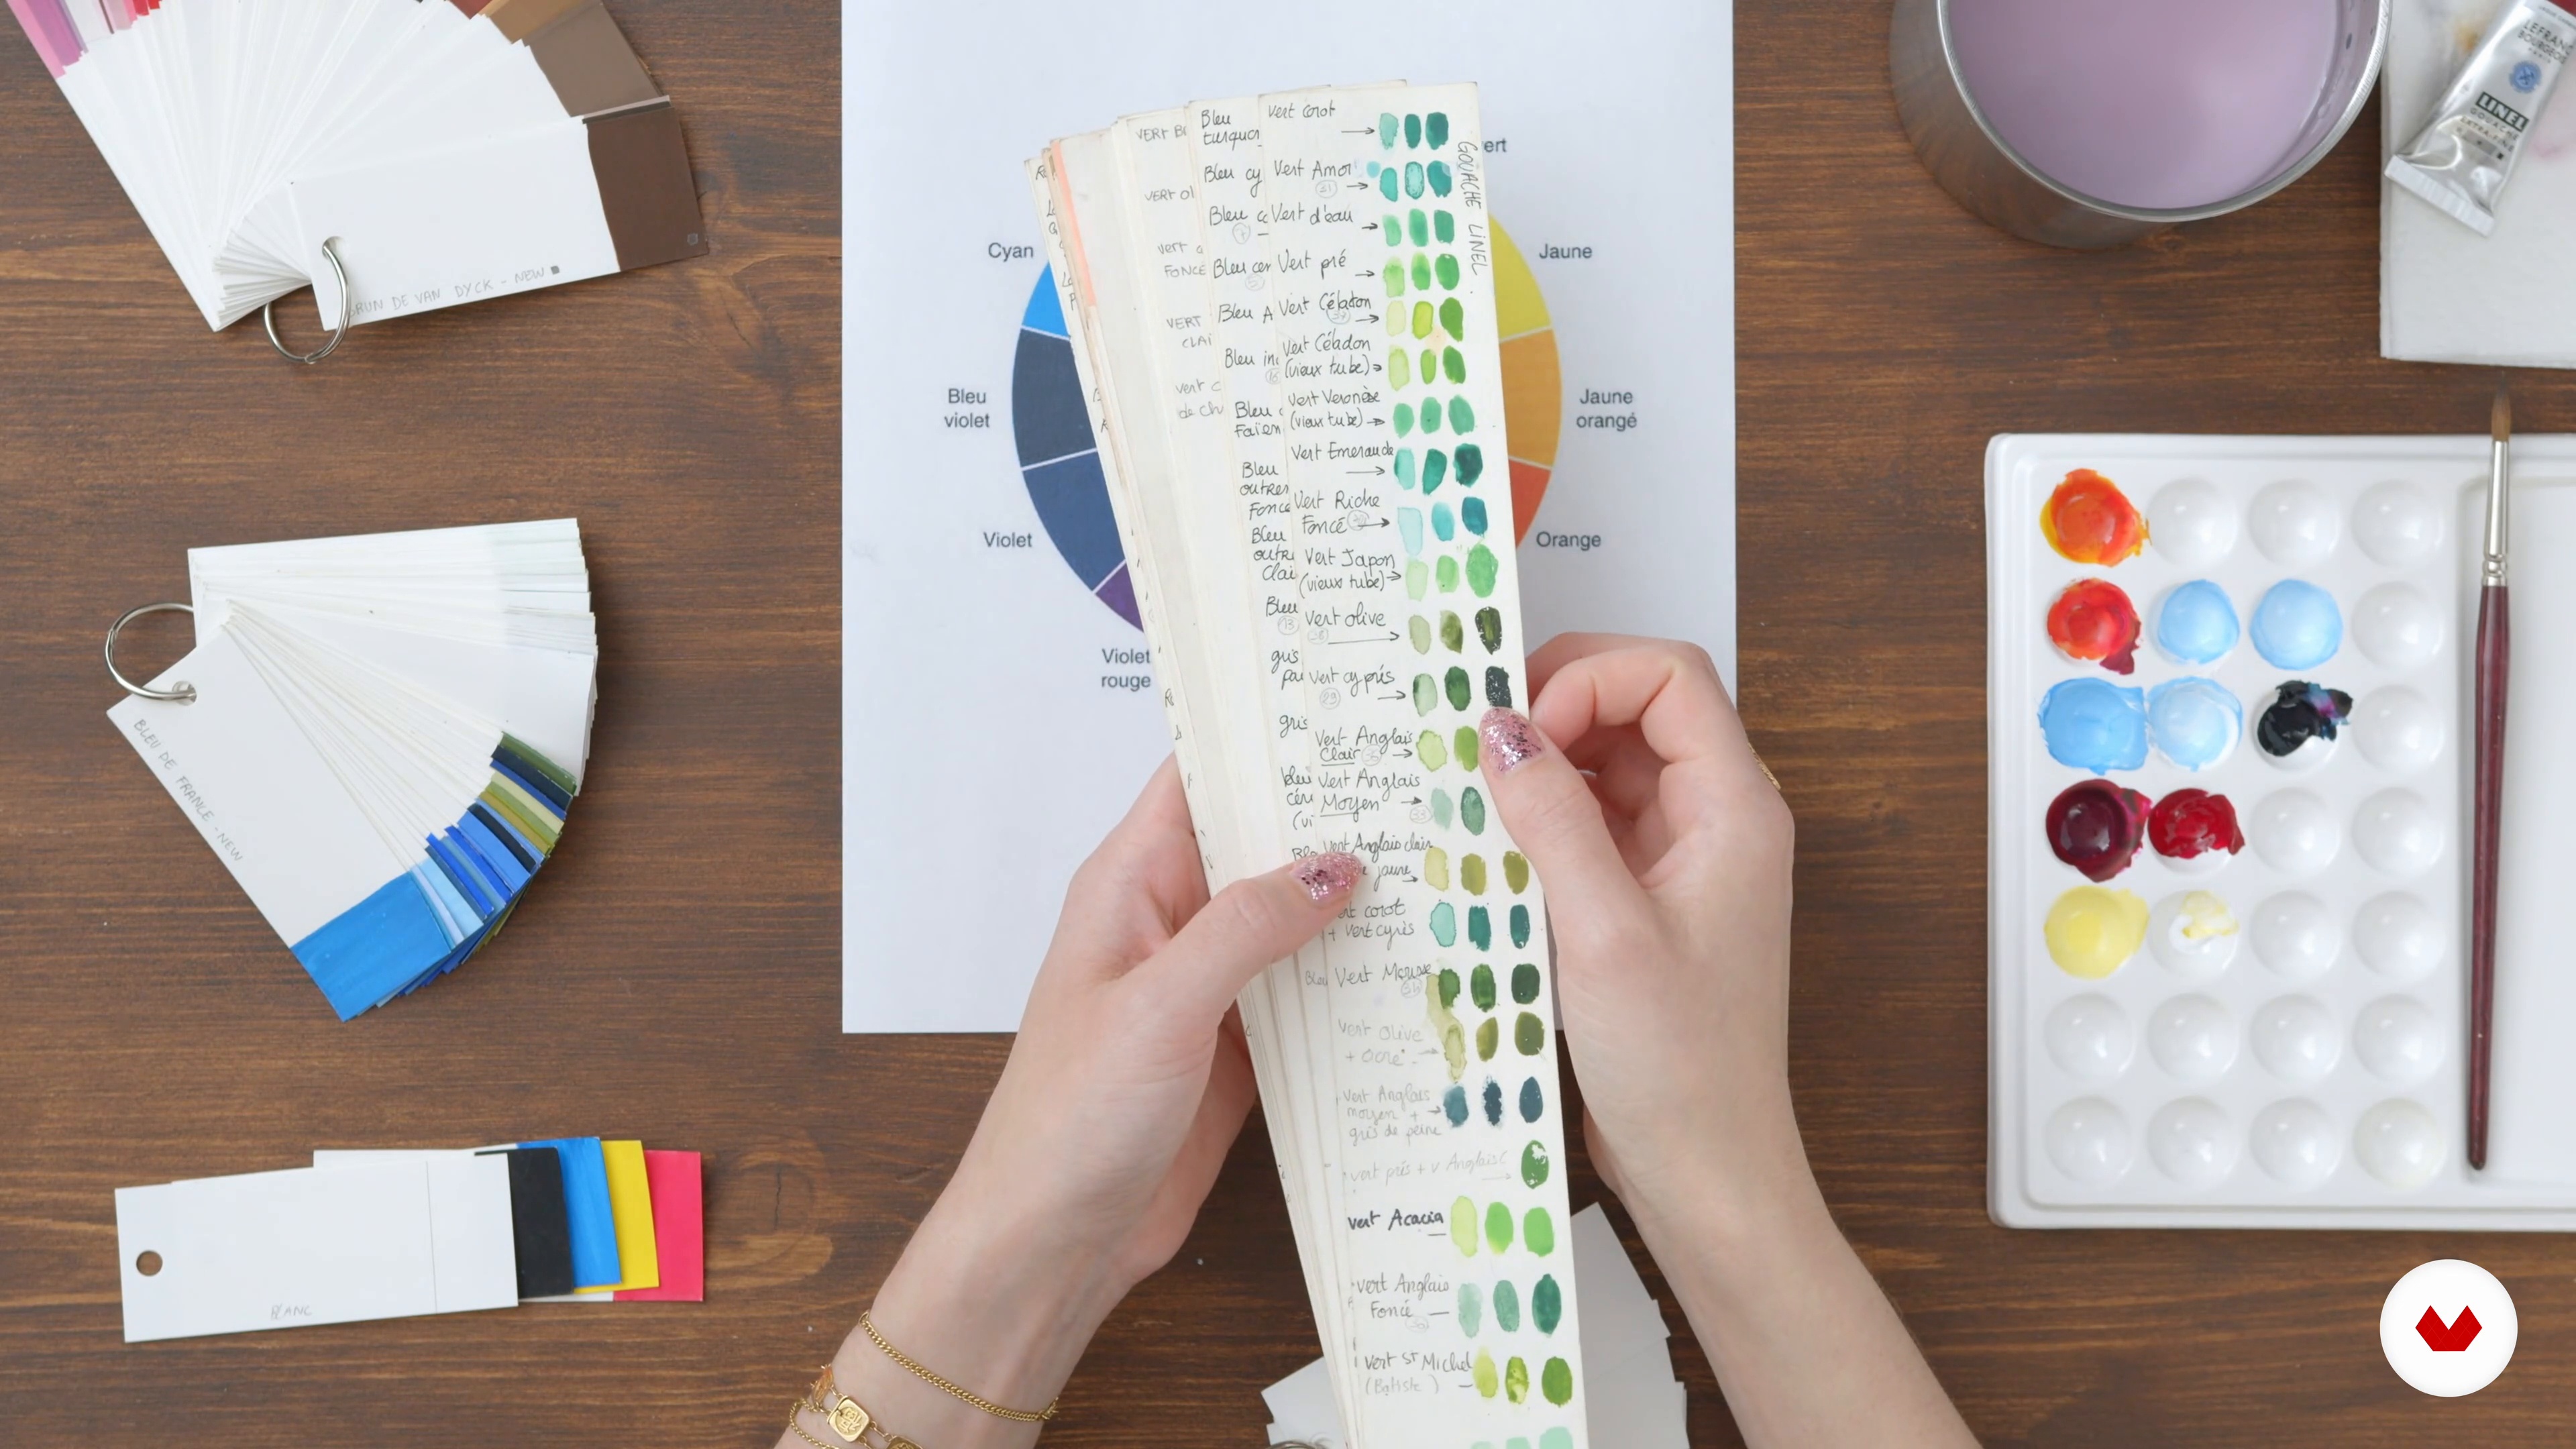
In this lesson, I'll teach you the basics of mixing your colors with gouache. I will also explain to you how they work so that you can feel free to use them in all their plurality.
16m
 8
8Taming the technique: colors 1
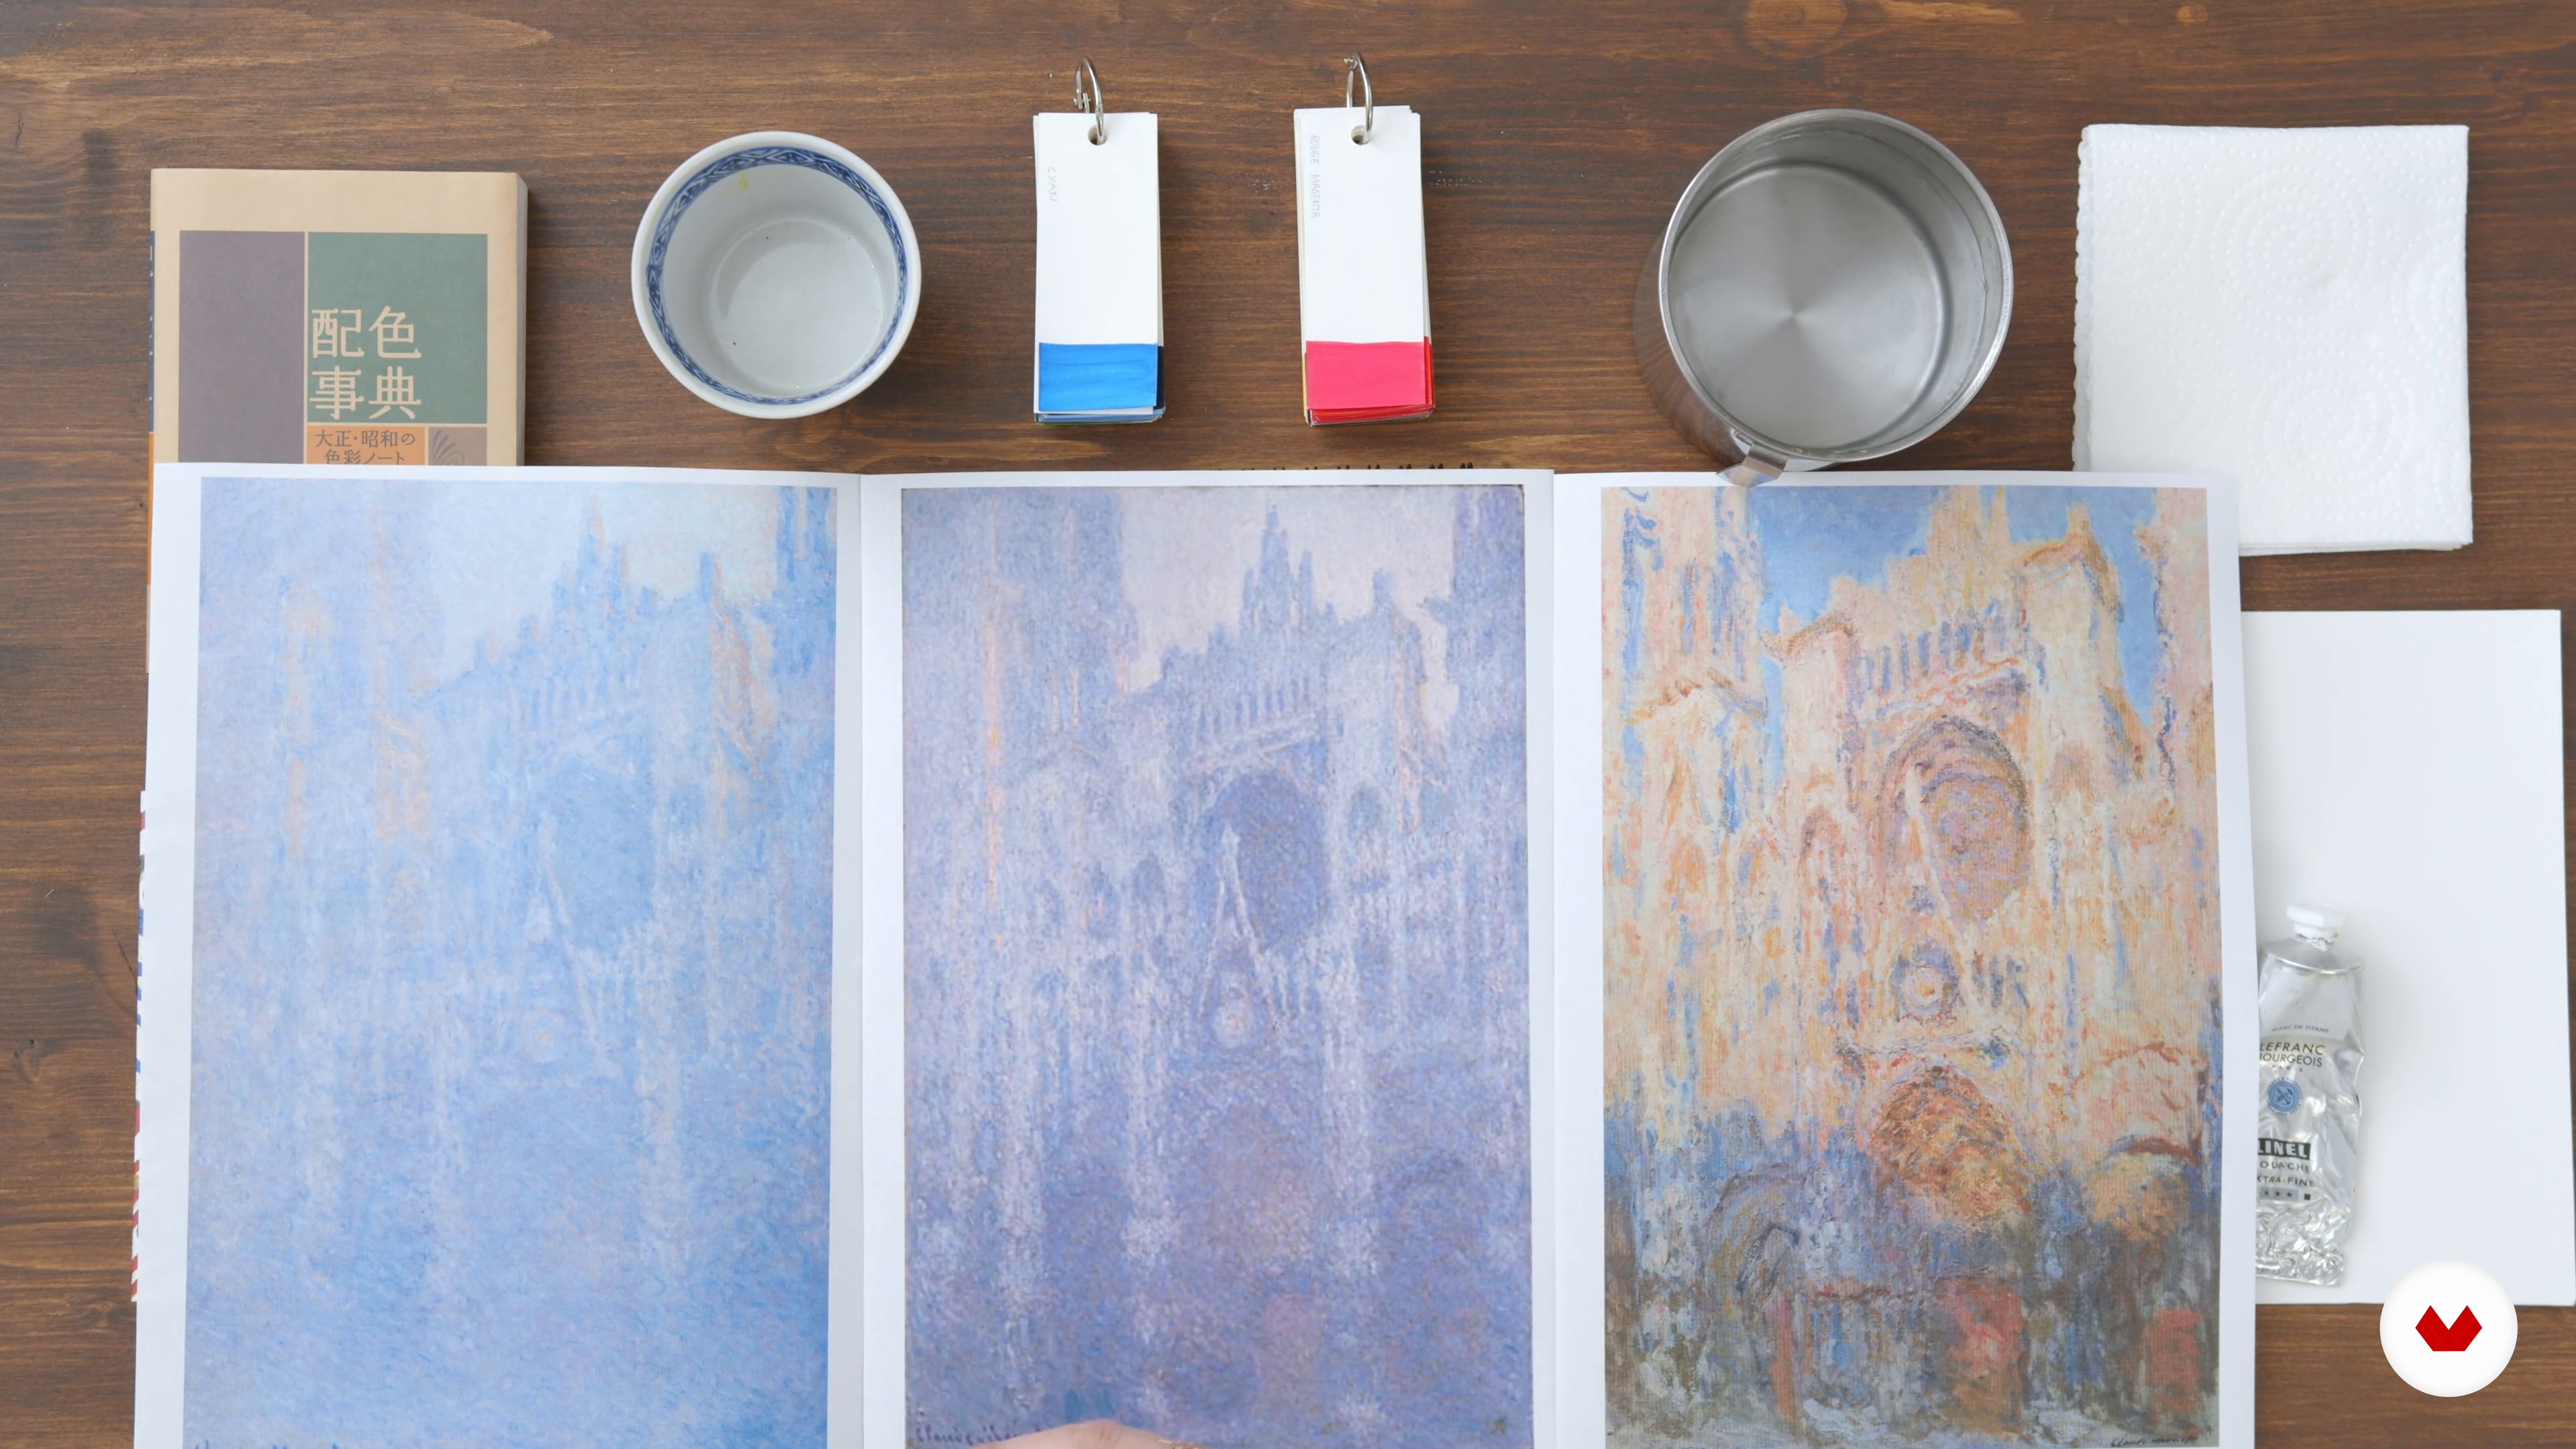
In this lesson, I will do a demonstration exercise to teach you how to find a color against a reference image.
12m
 9
9Taming the technique: 2 colors
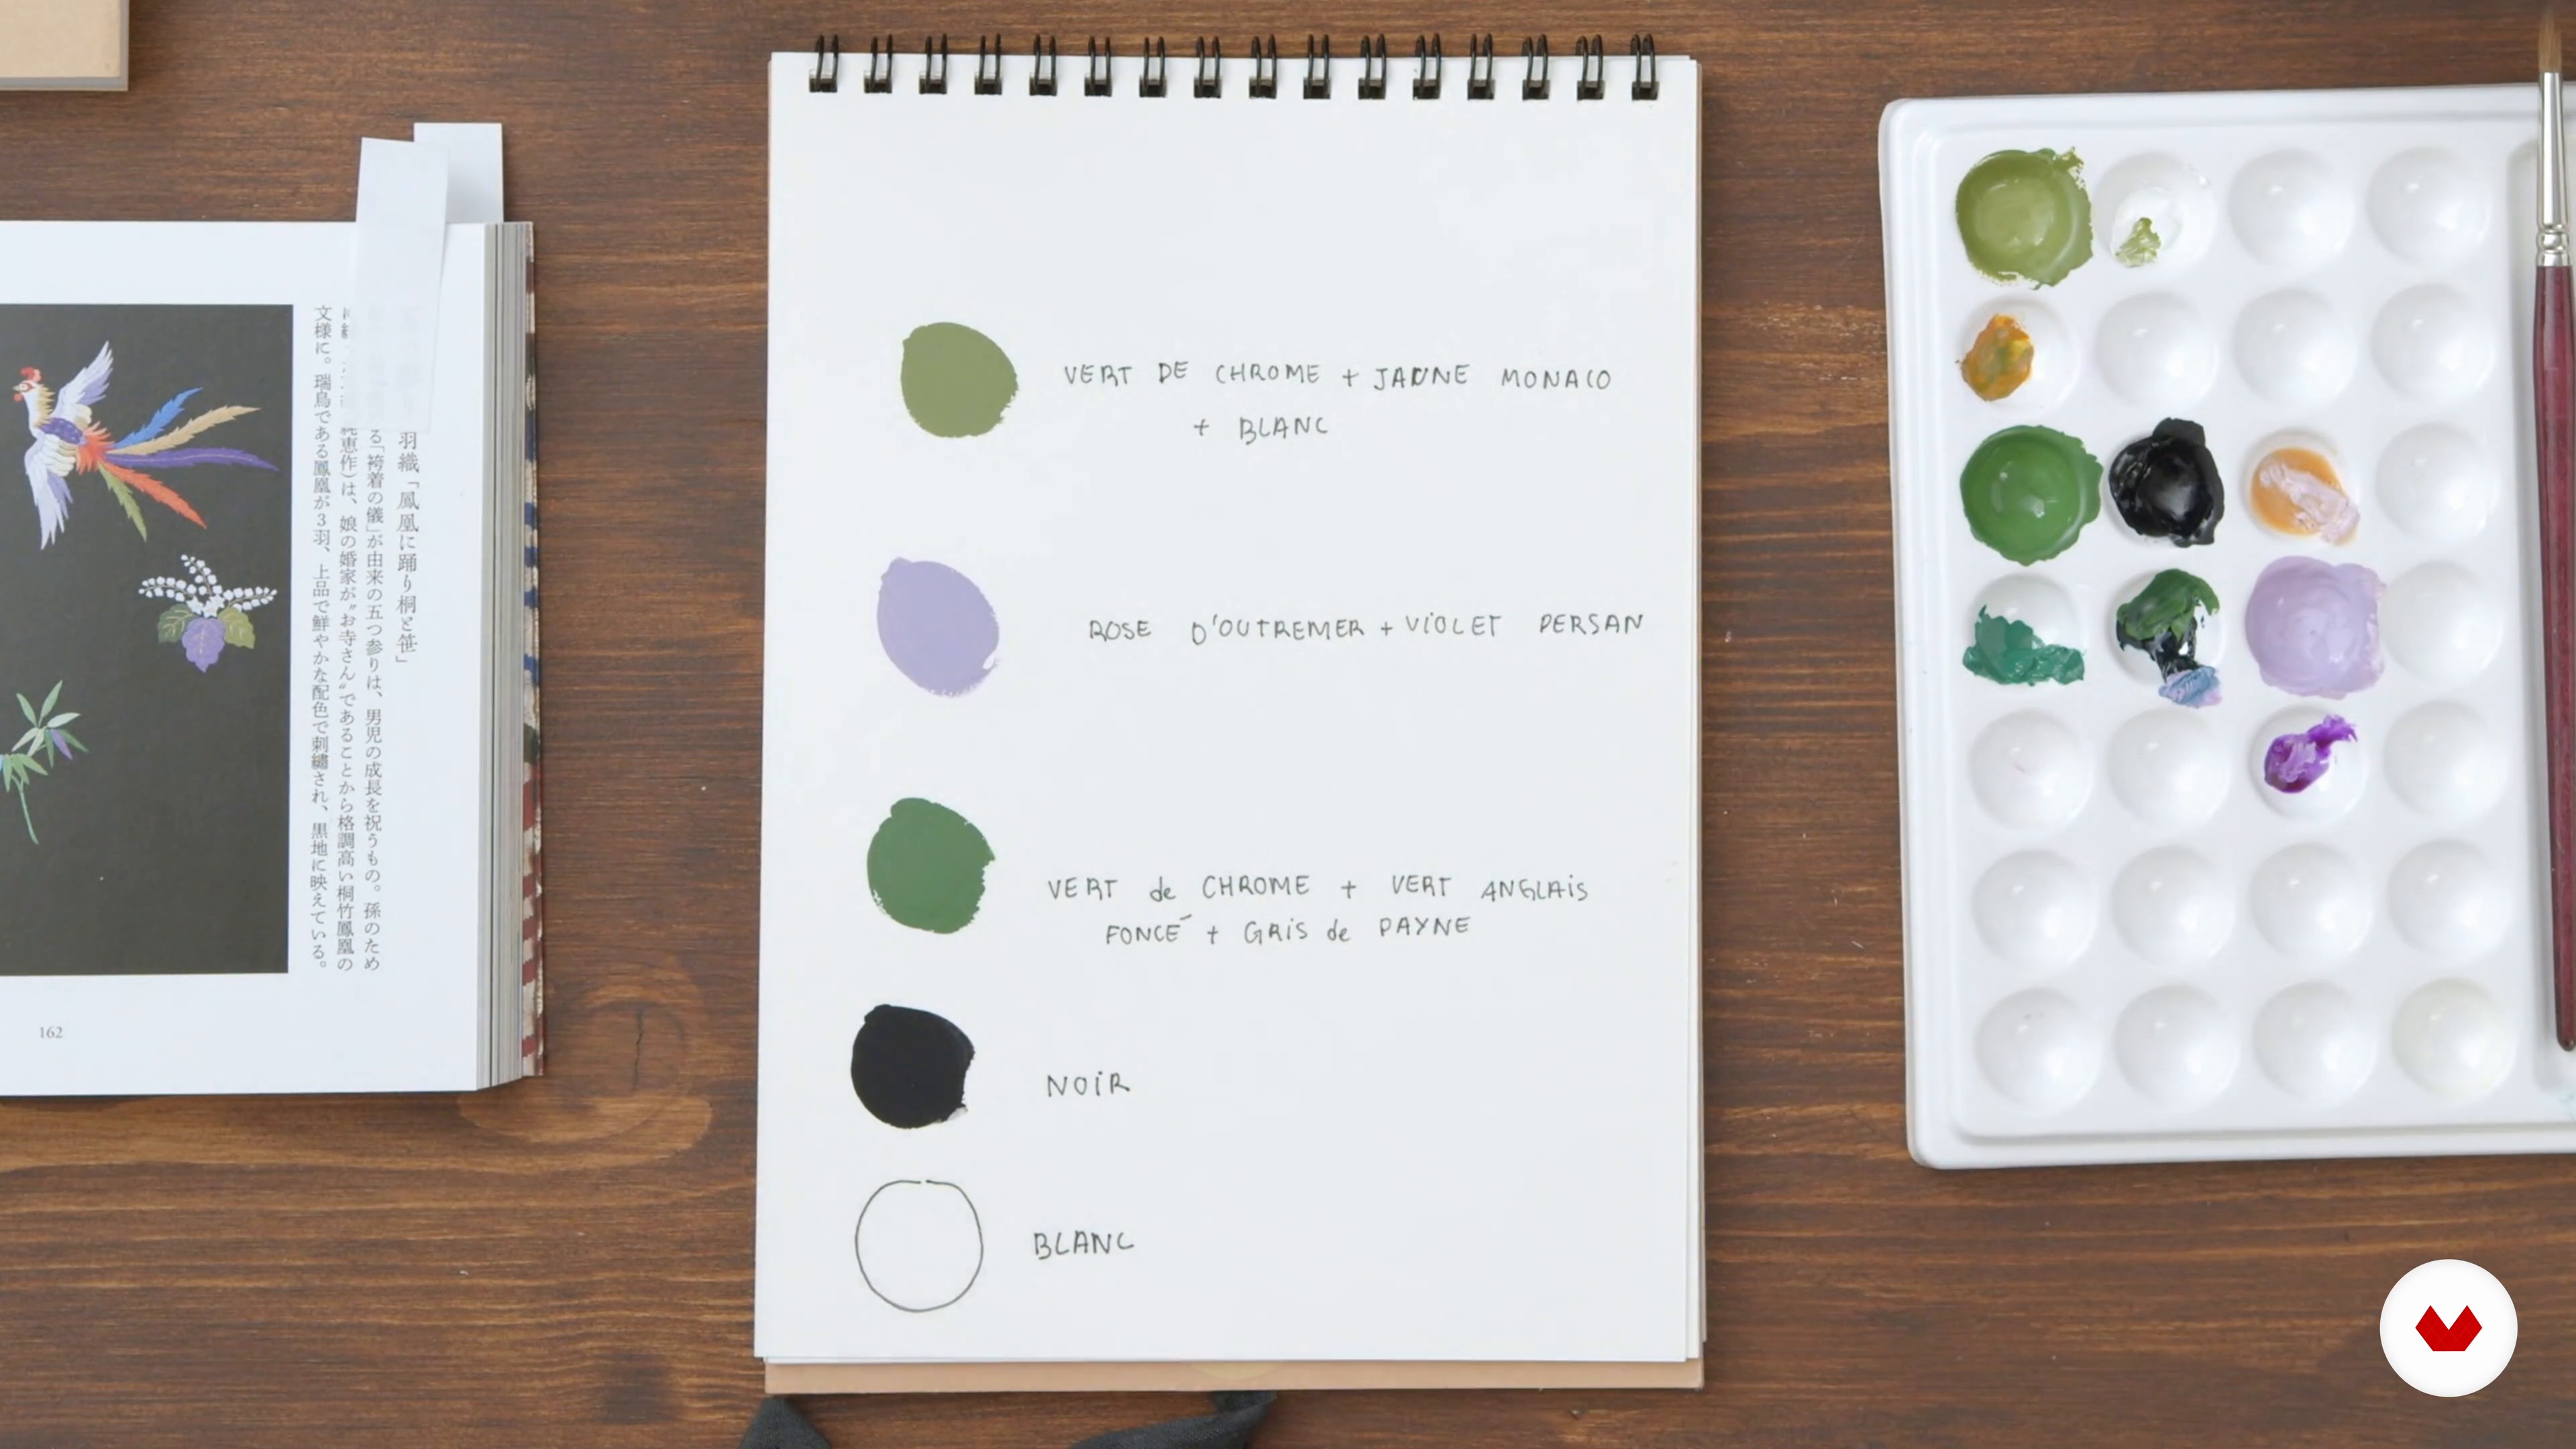
Here we are continuing our search for colors. Once it is finished, we will take care to note the references of each color and the mixtures made.
10m
 10
10Be curious to stay inspired
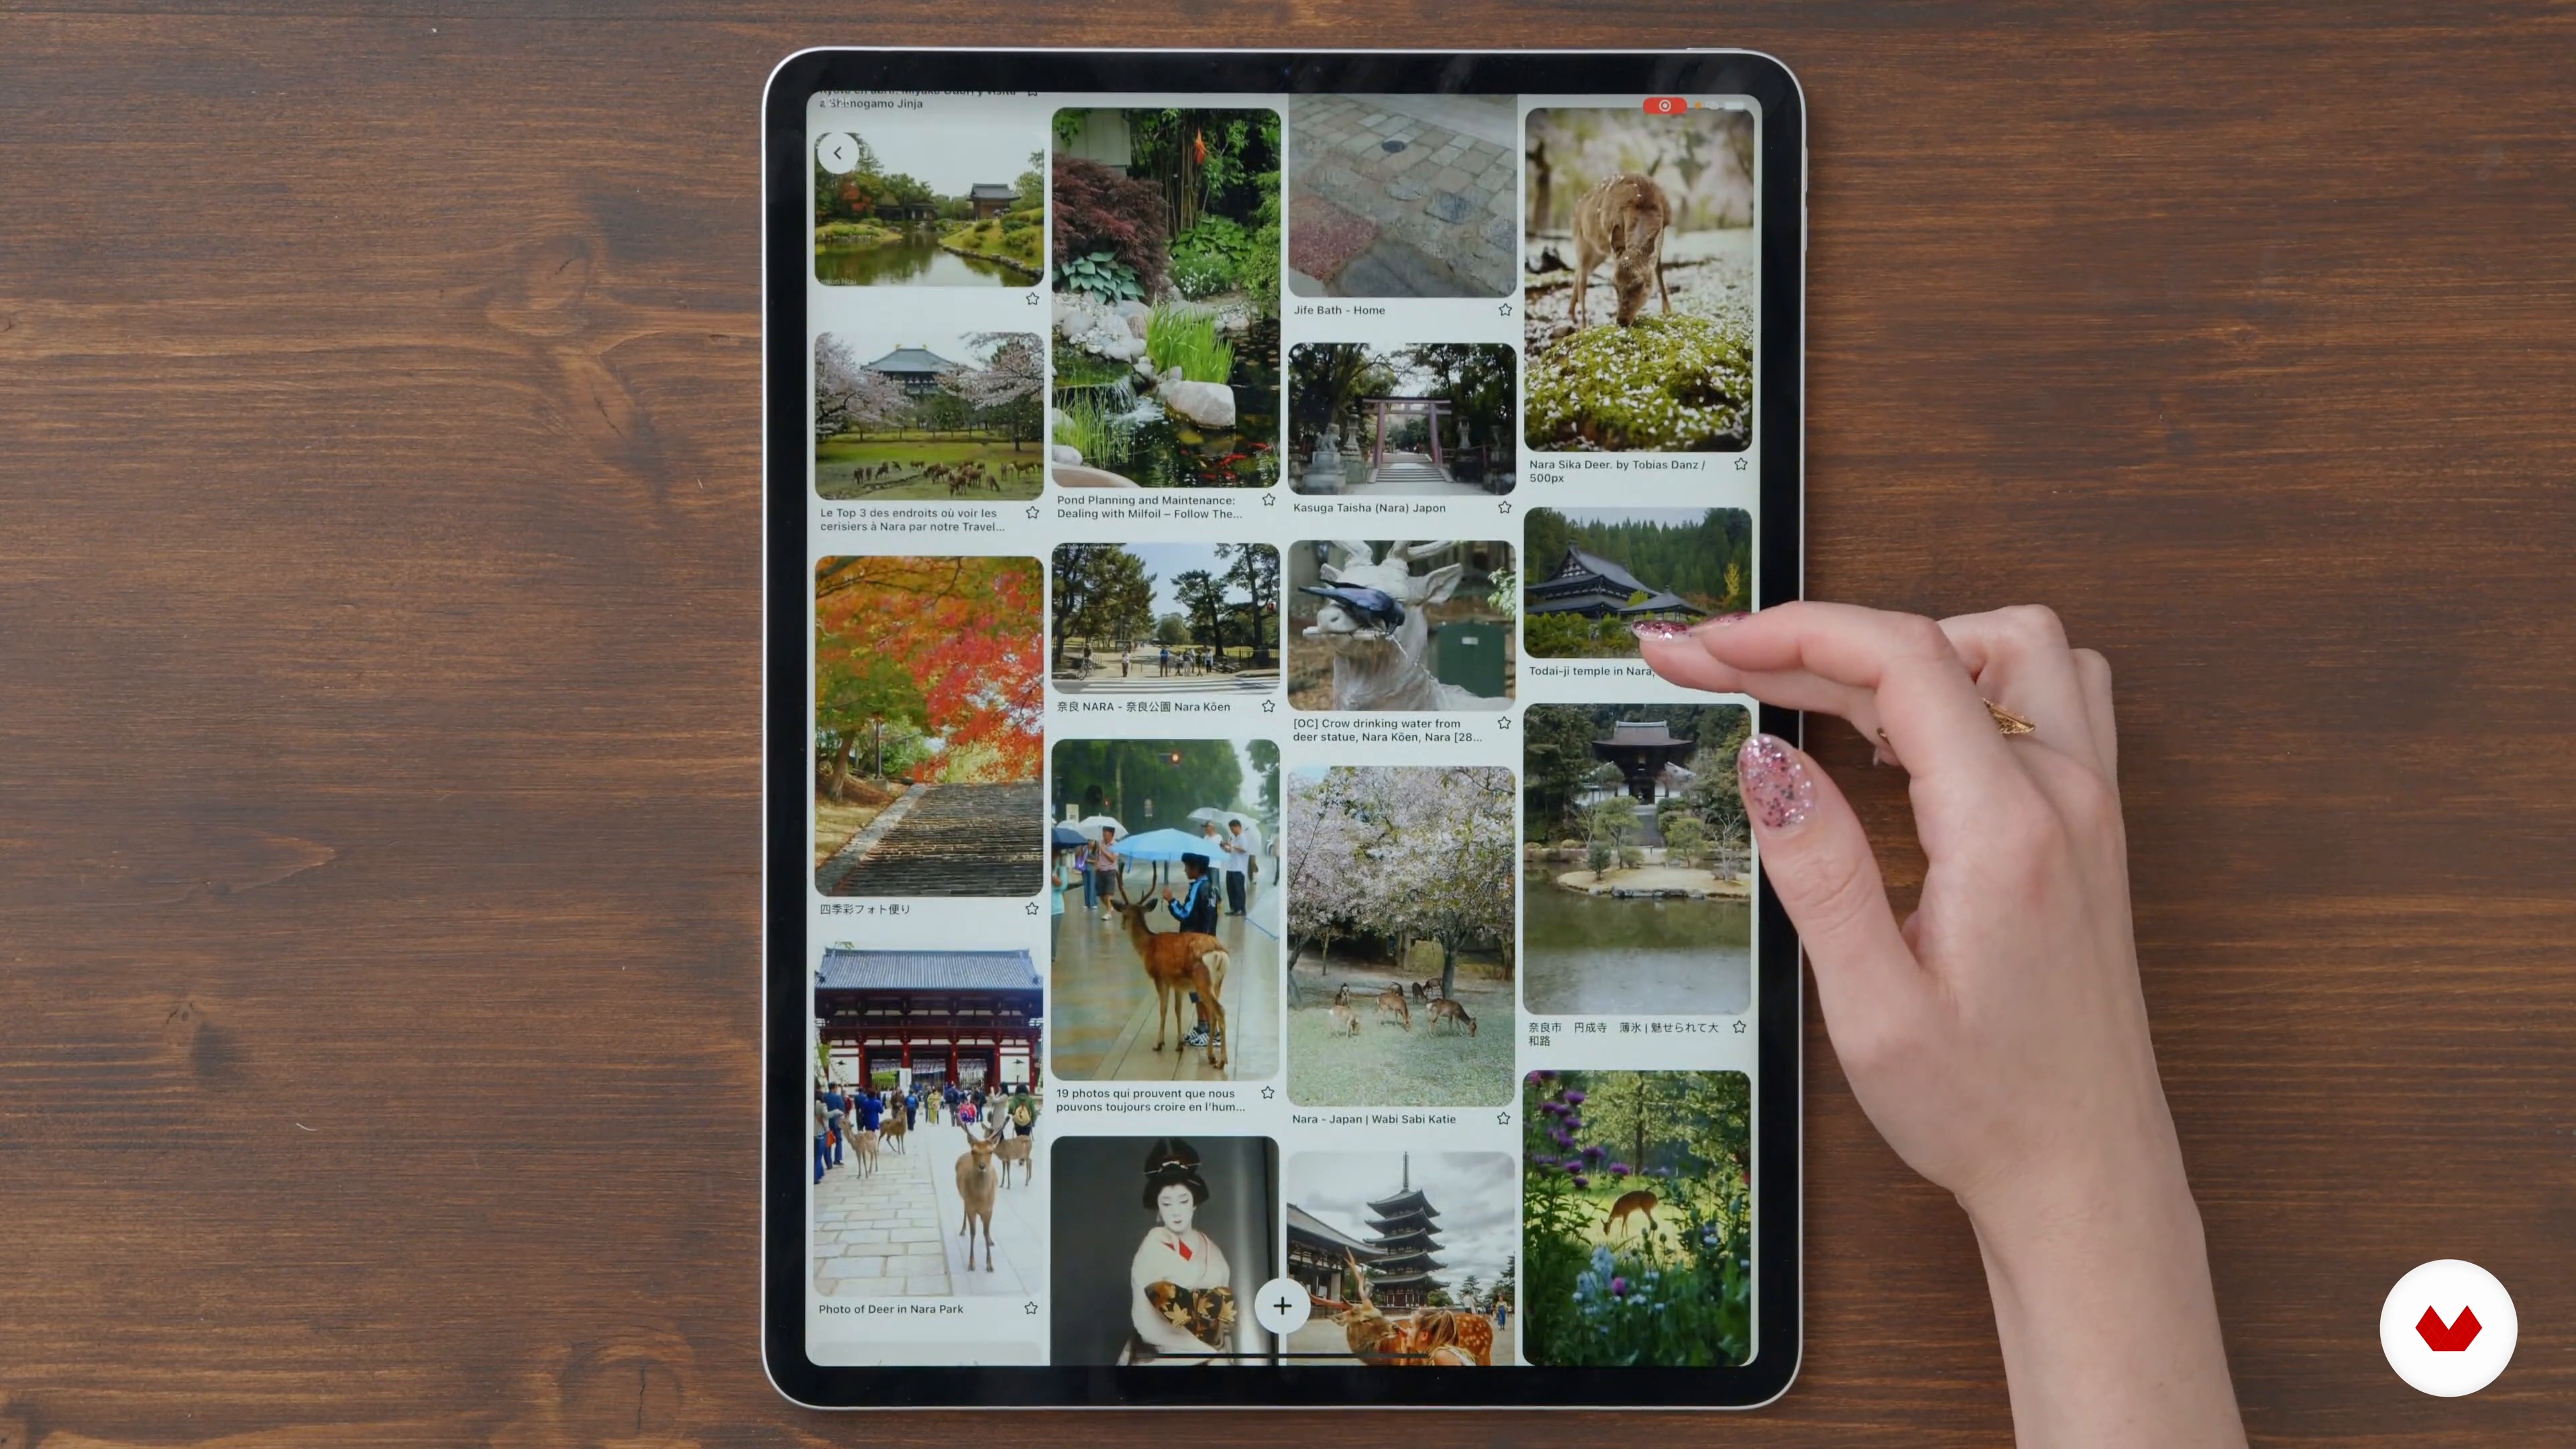
Imagination is muscle. I will teach you in this lesson how to take good habits to cultivate your creativity and how to deepen them while remaining curious. Finally, we will see how to bring this creativity to life on paper by creating a mood board.
6m
 11
11Formatting the illustration
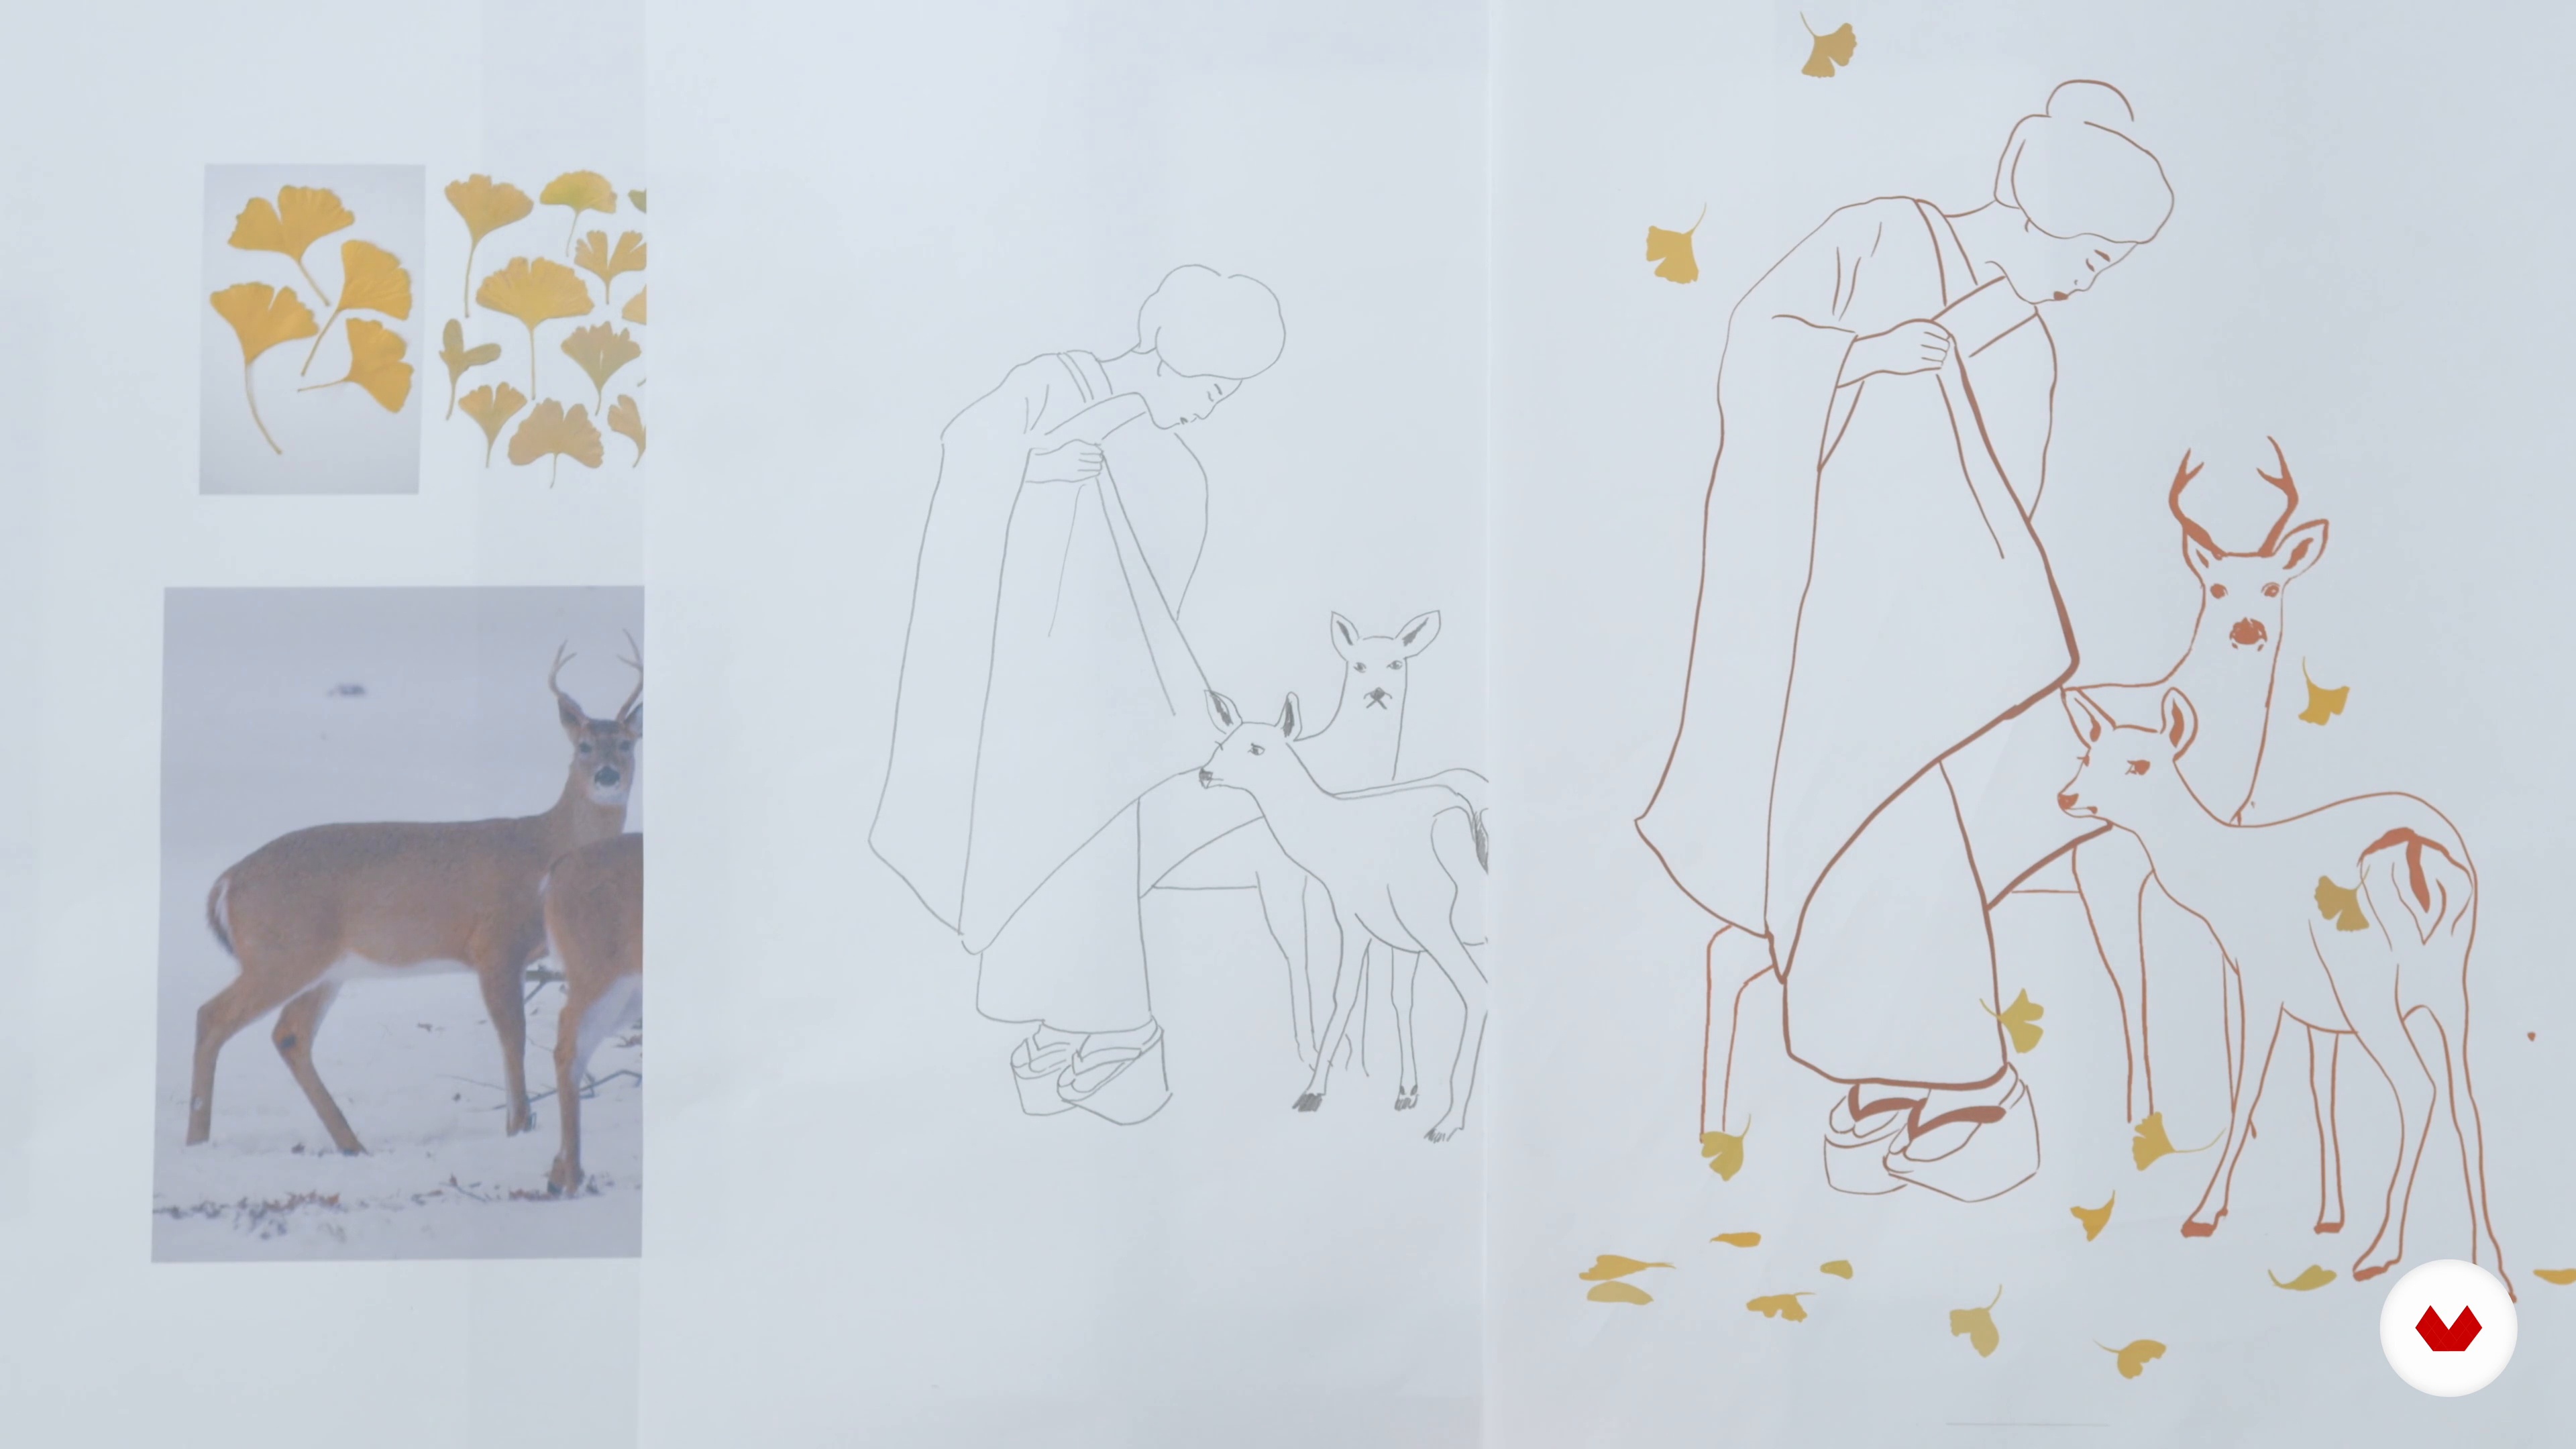
In this lesson, we will see that the light table can be a very good tool to help us draw. I will show you how to use it to create and draw pictures that look like you.
9m
 12
12The characters and their faces 1
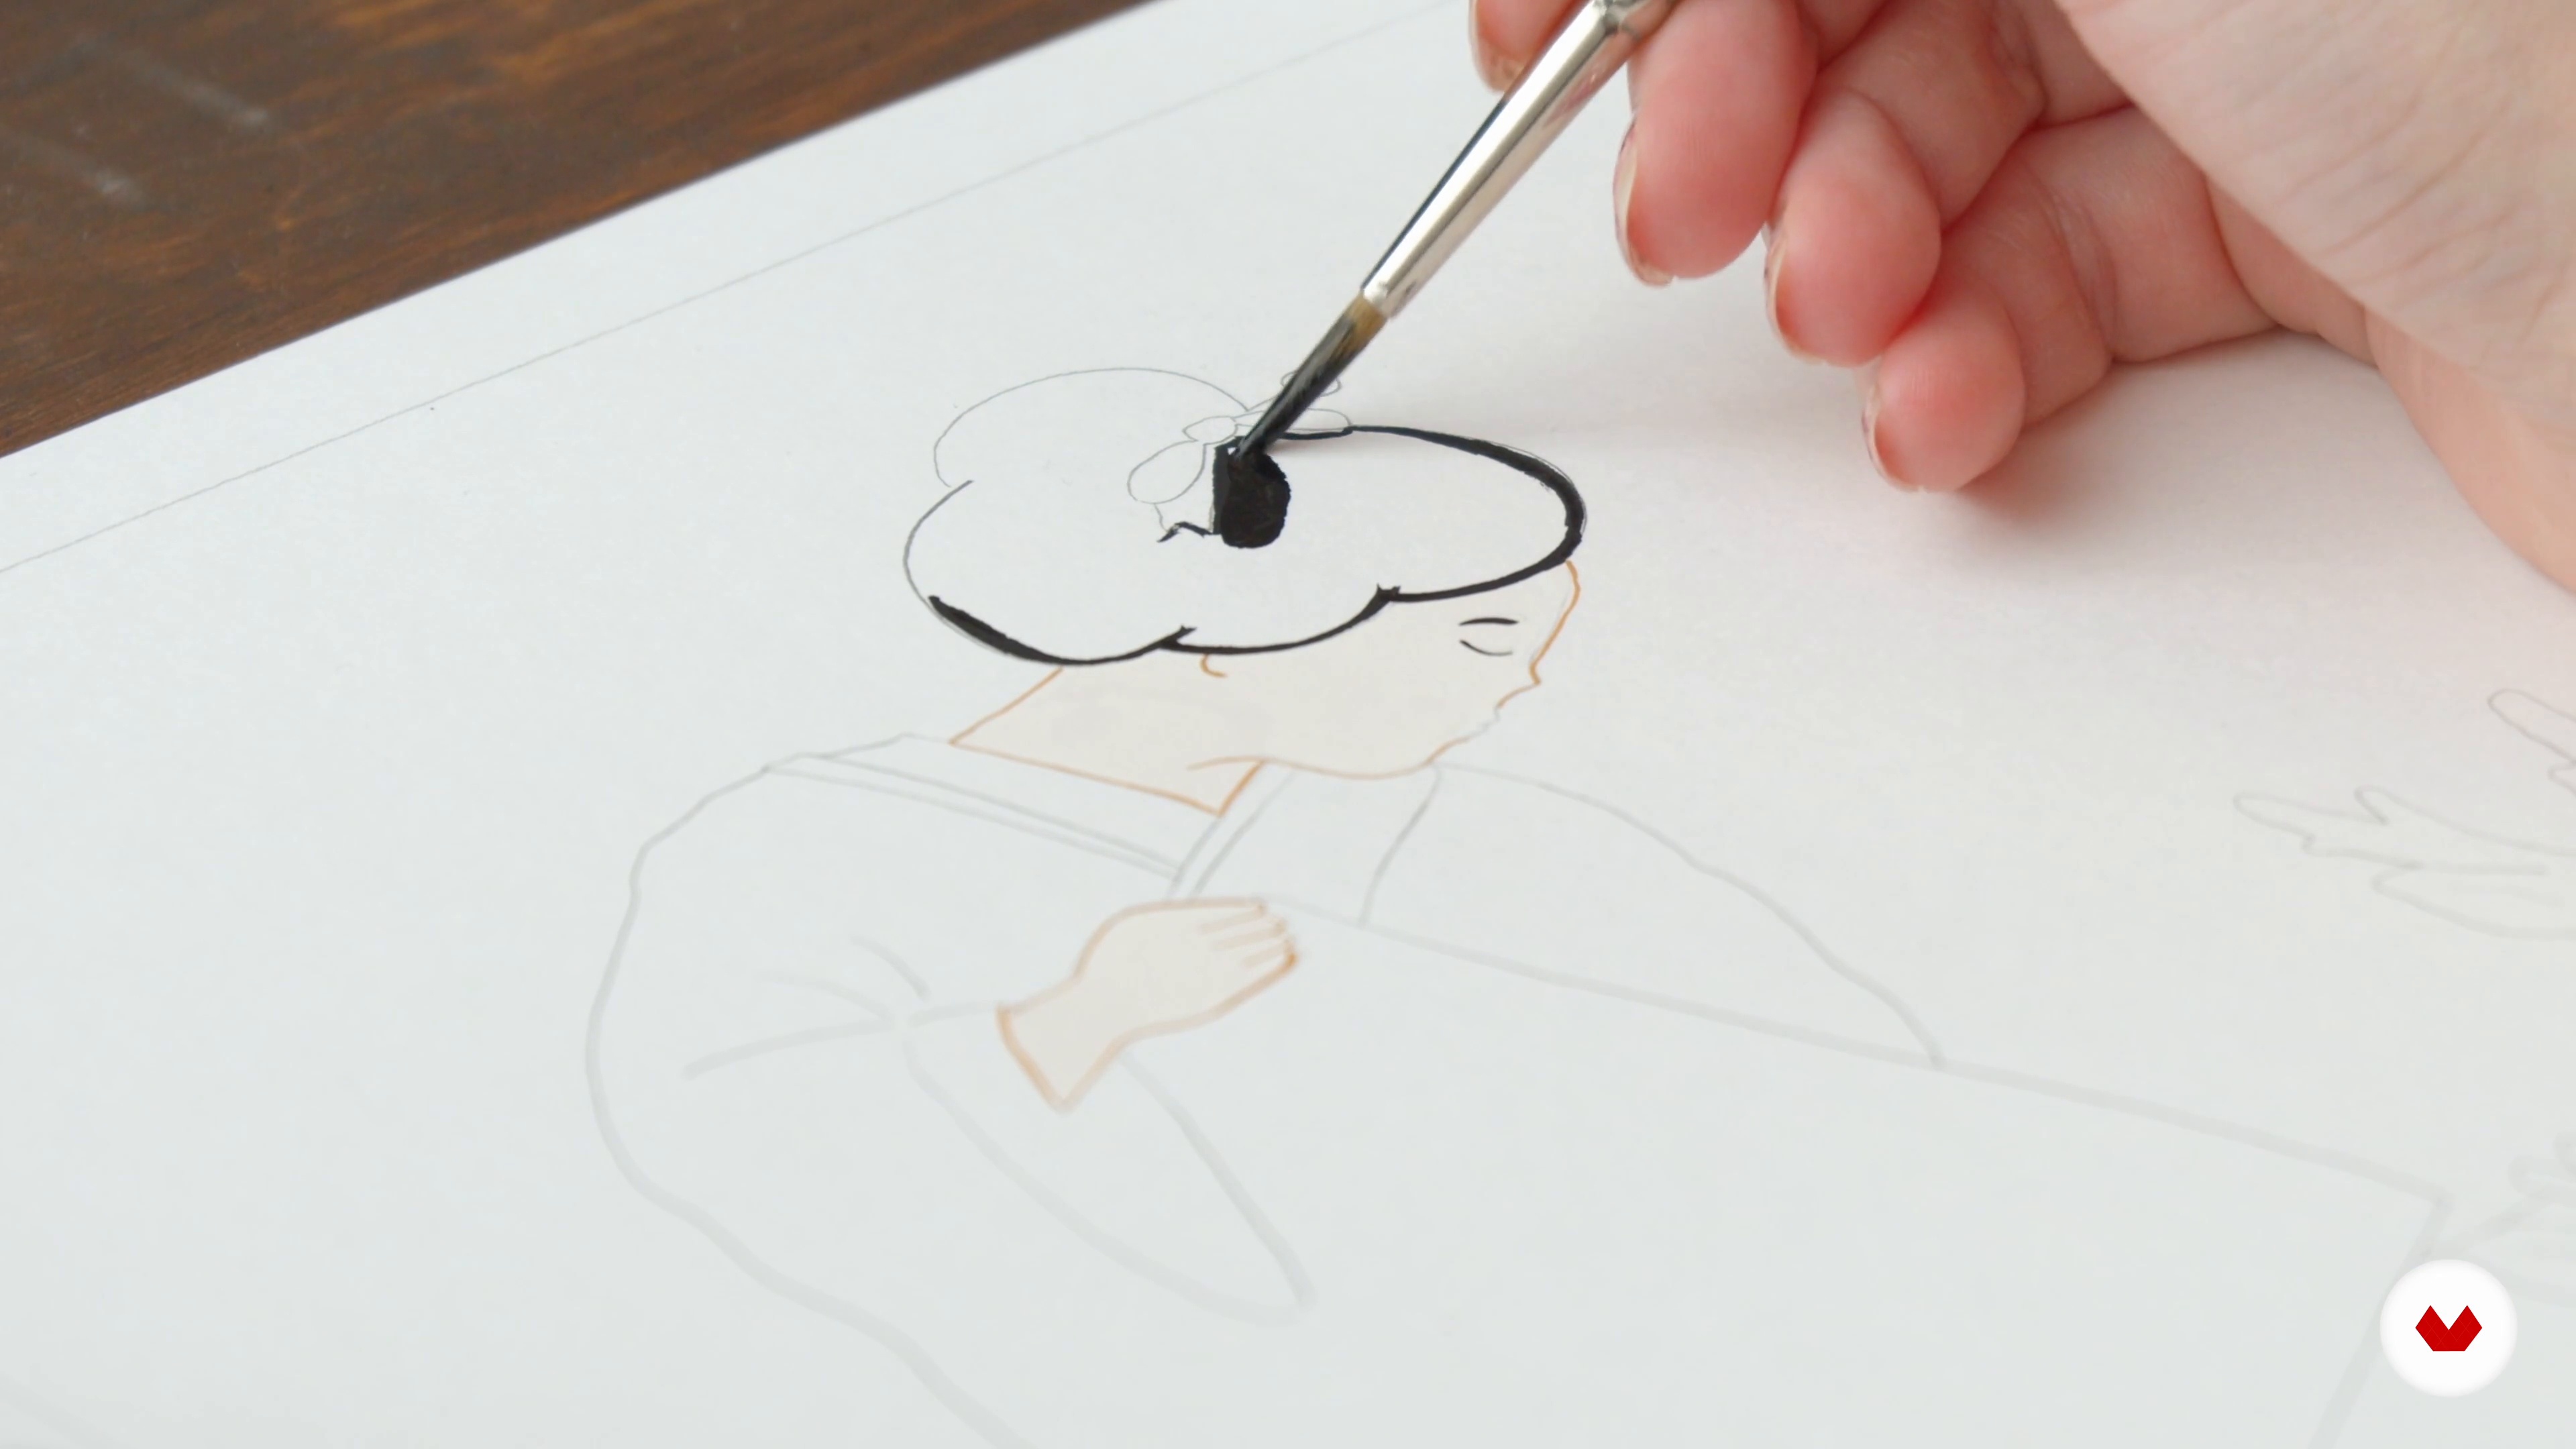
Your illustration is ready to be painted. Here I start with the face. Indeed, I advise you to start with what seems the hardest to you. That way, if something goes wrong, you won't have to start all over again and, if it's successful, it will make you want to apply yourself for the rest.
15m
 13
13The characters and their faces 2
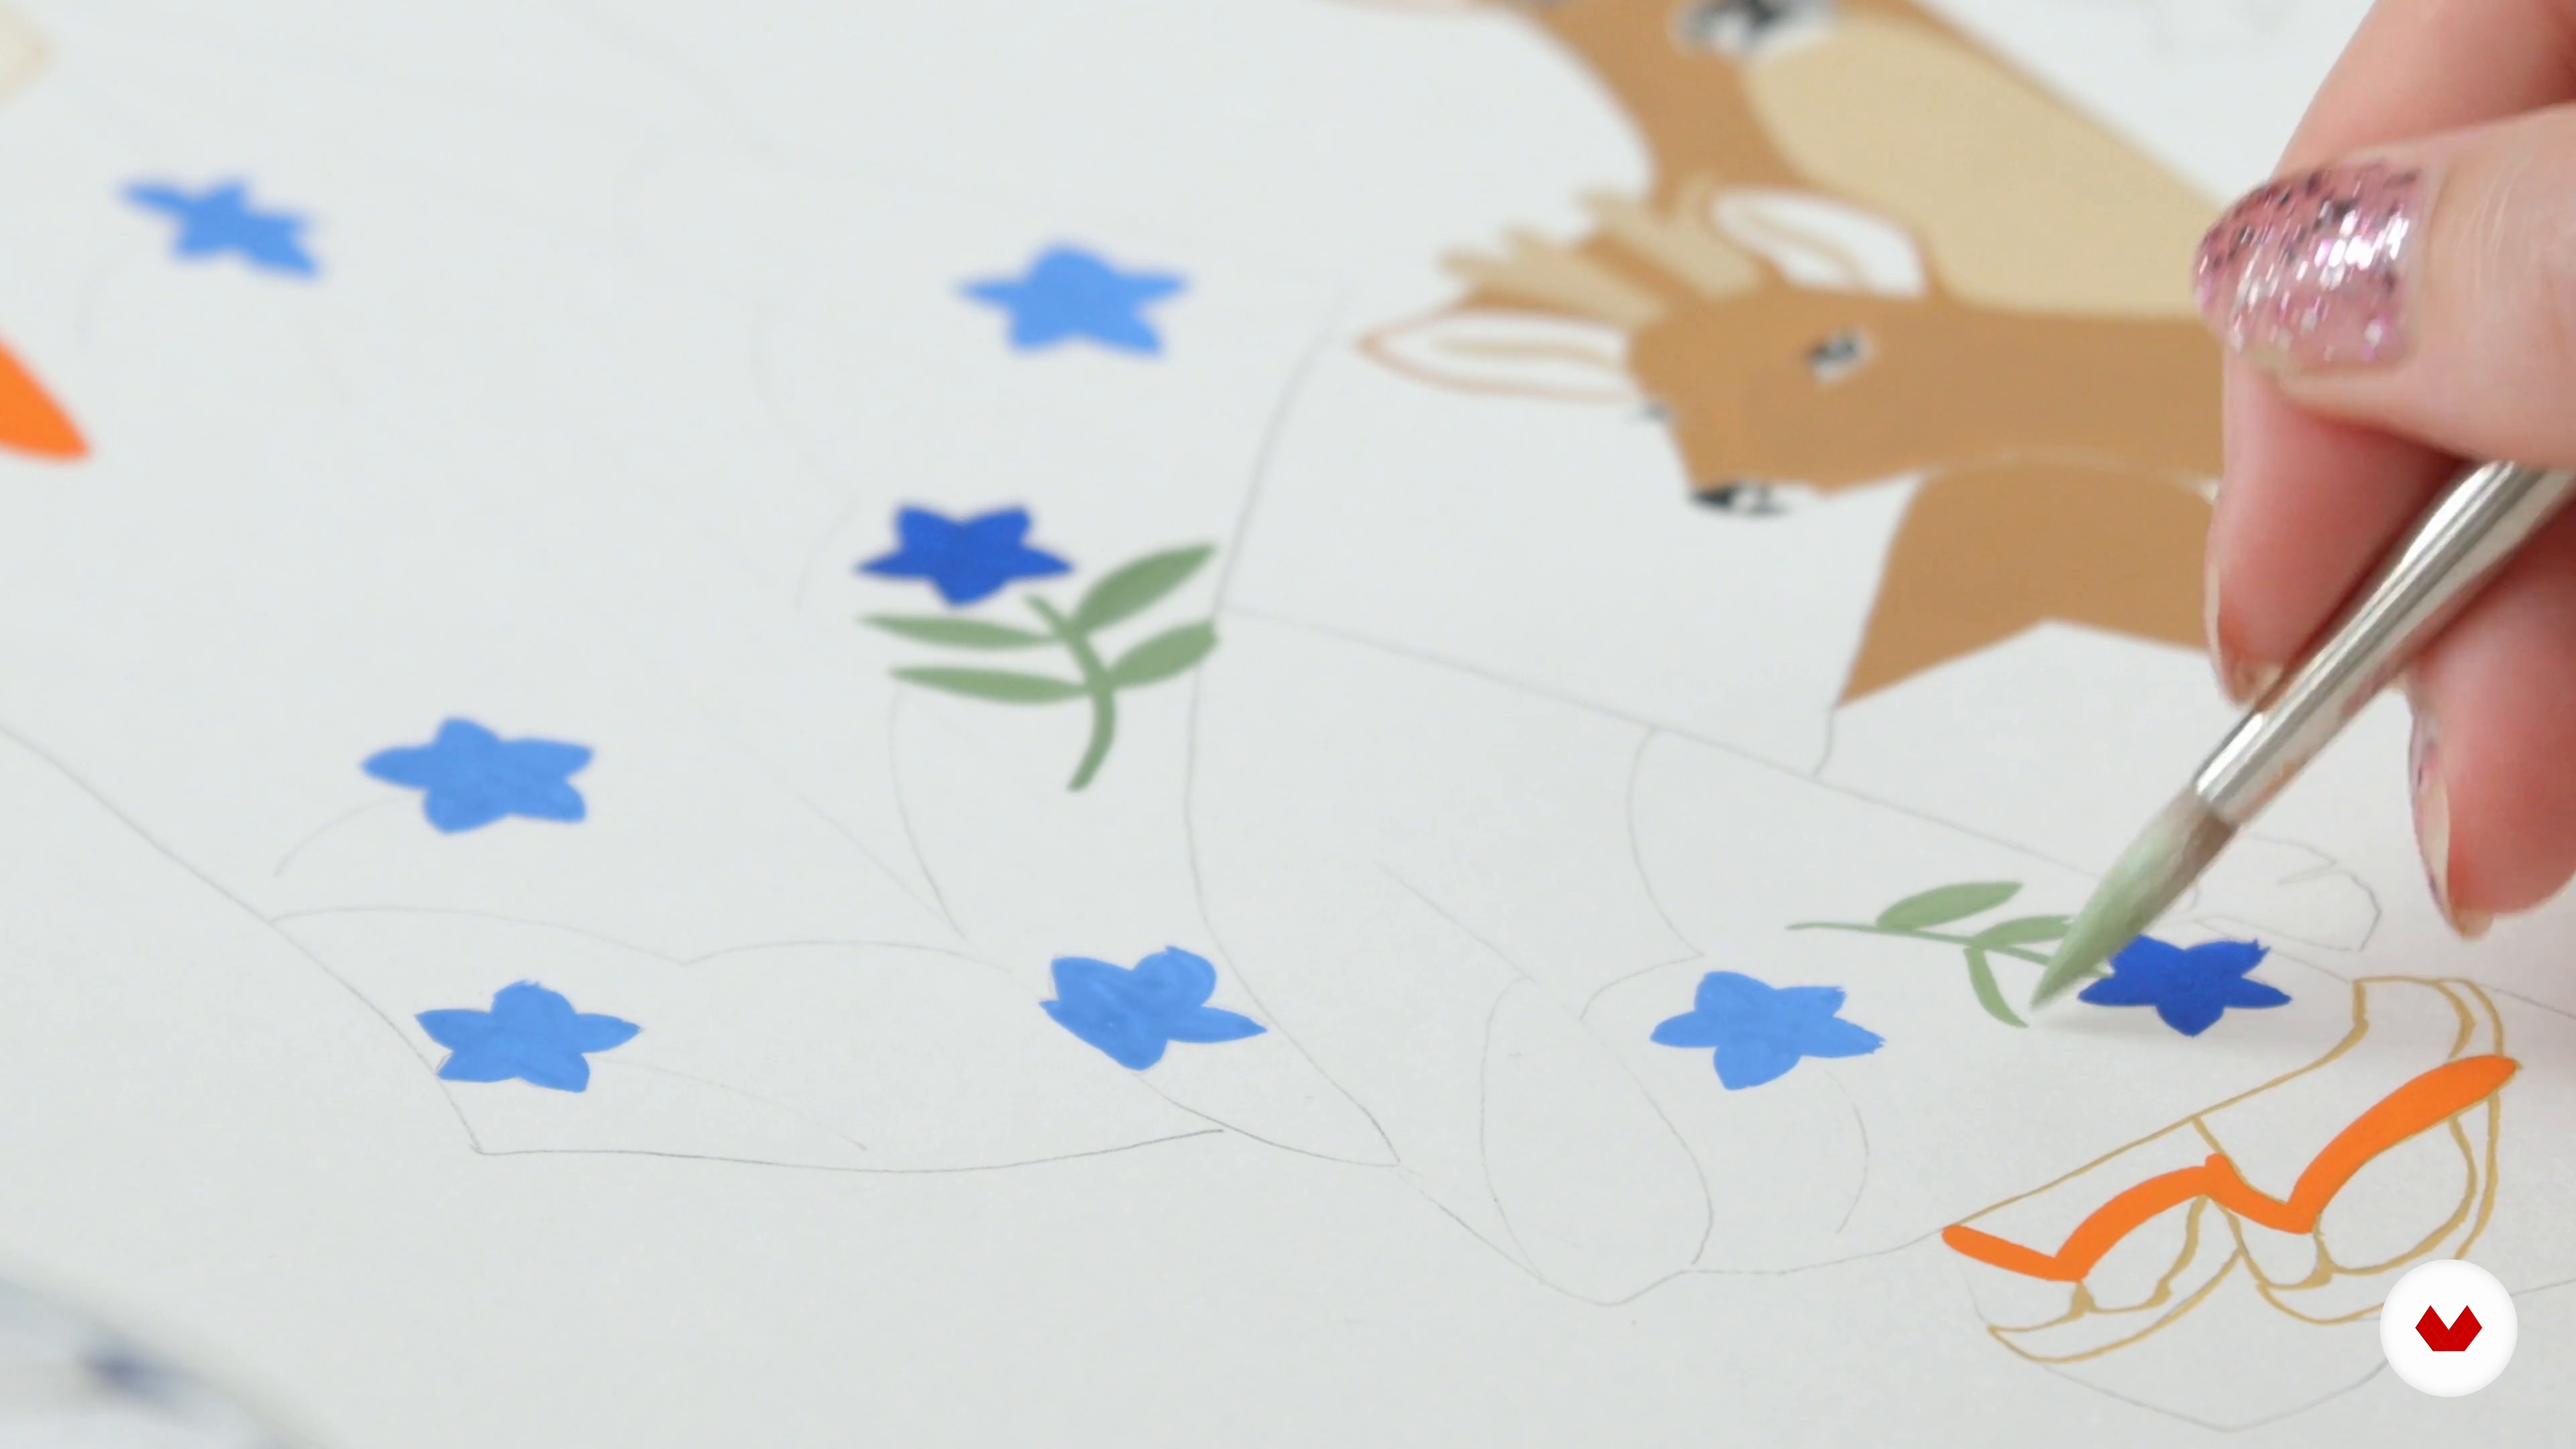
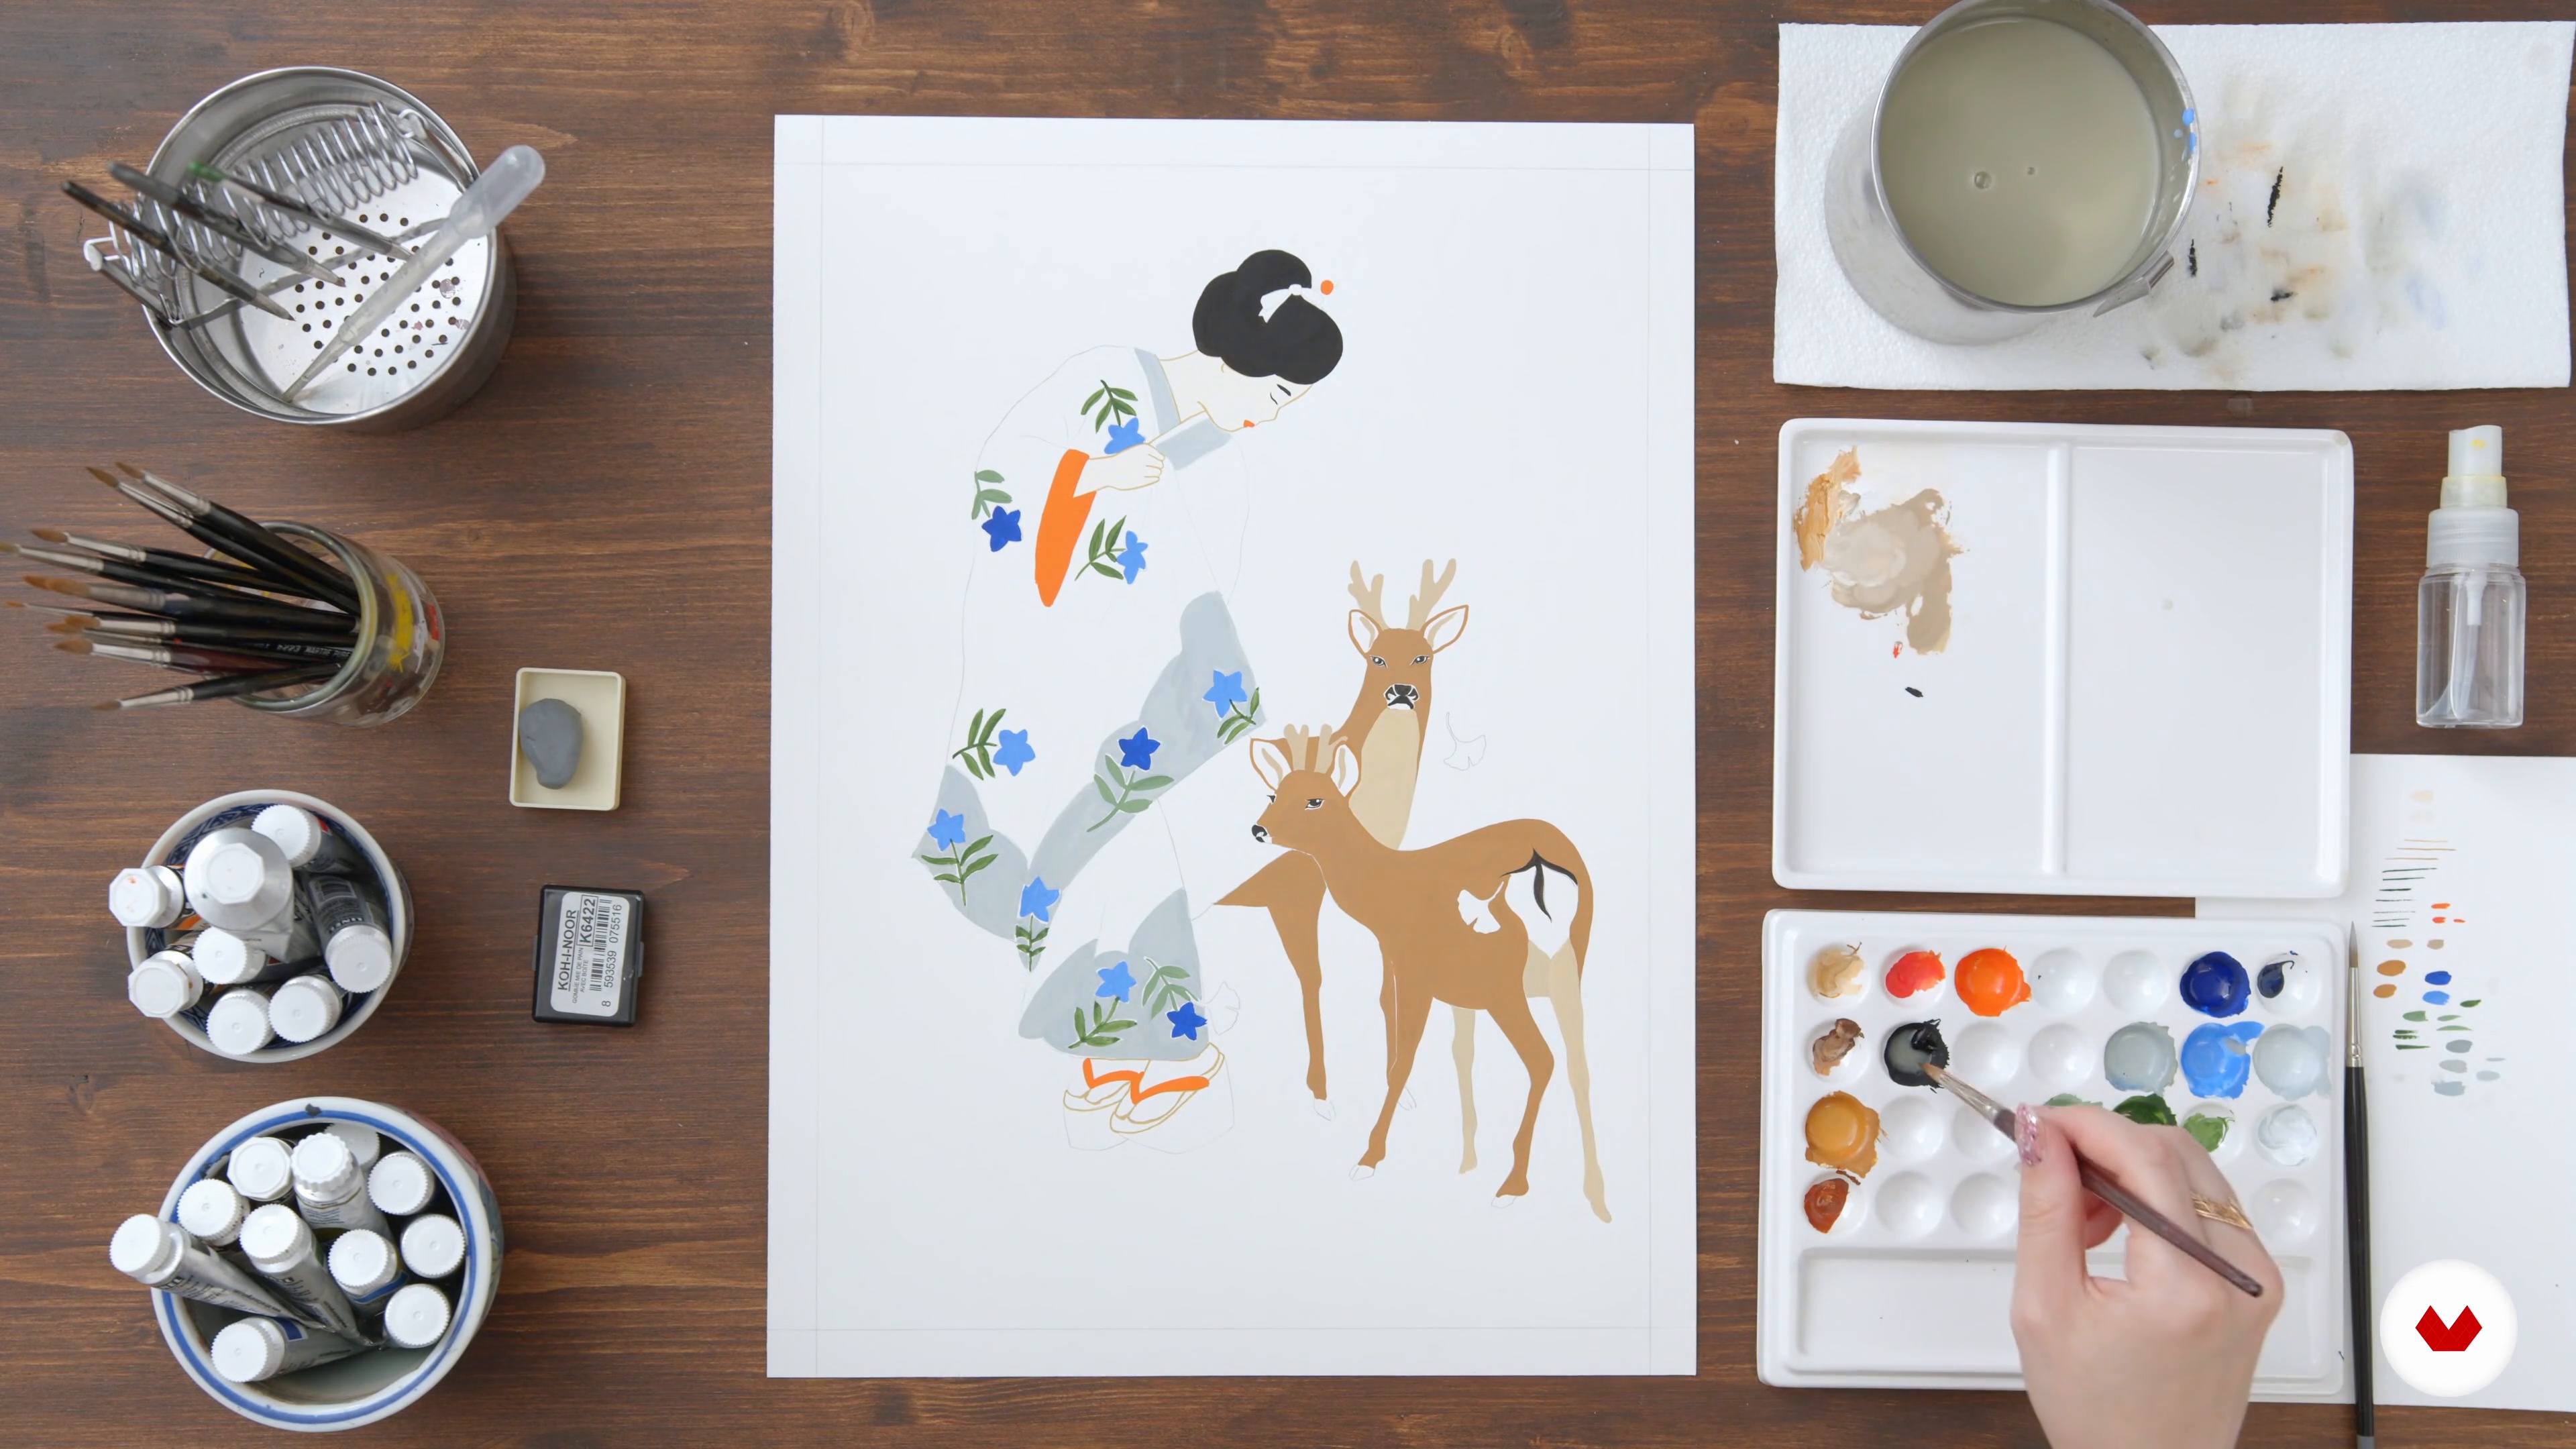
Now, I tackle the painting of the animals, then the first flowers of the kimono.
16m
 14
14The characters and their faces 3
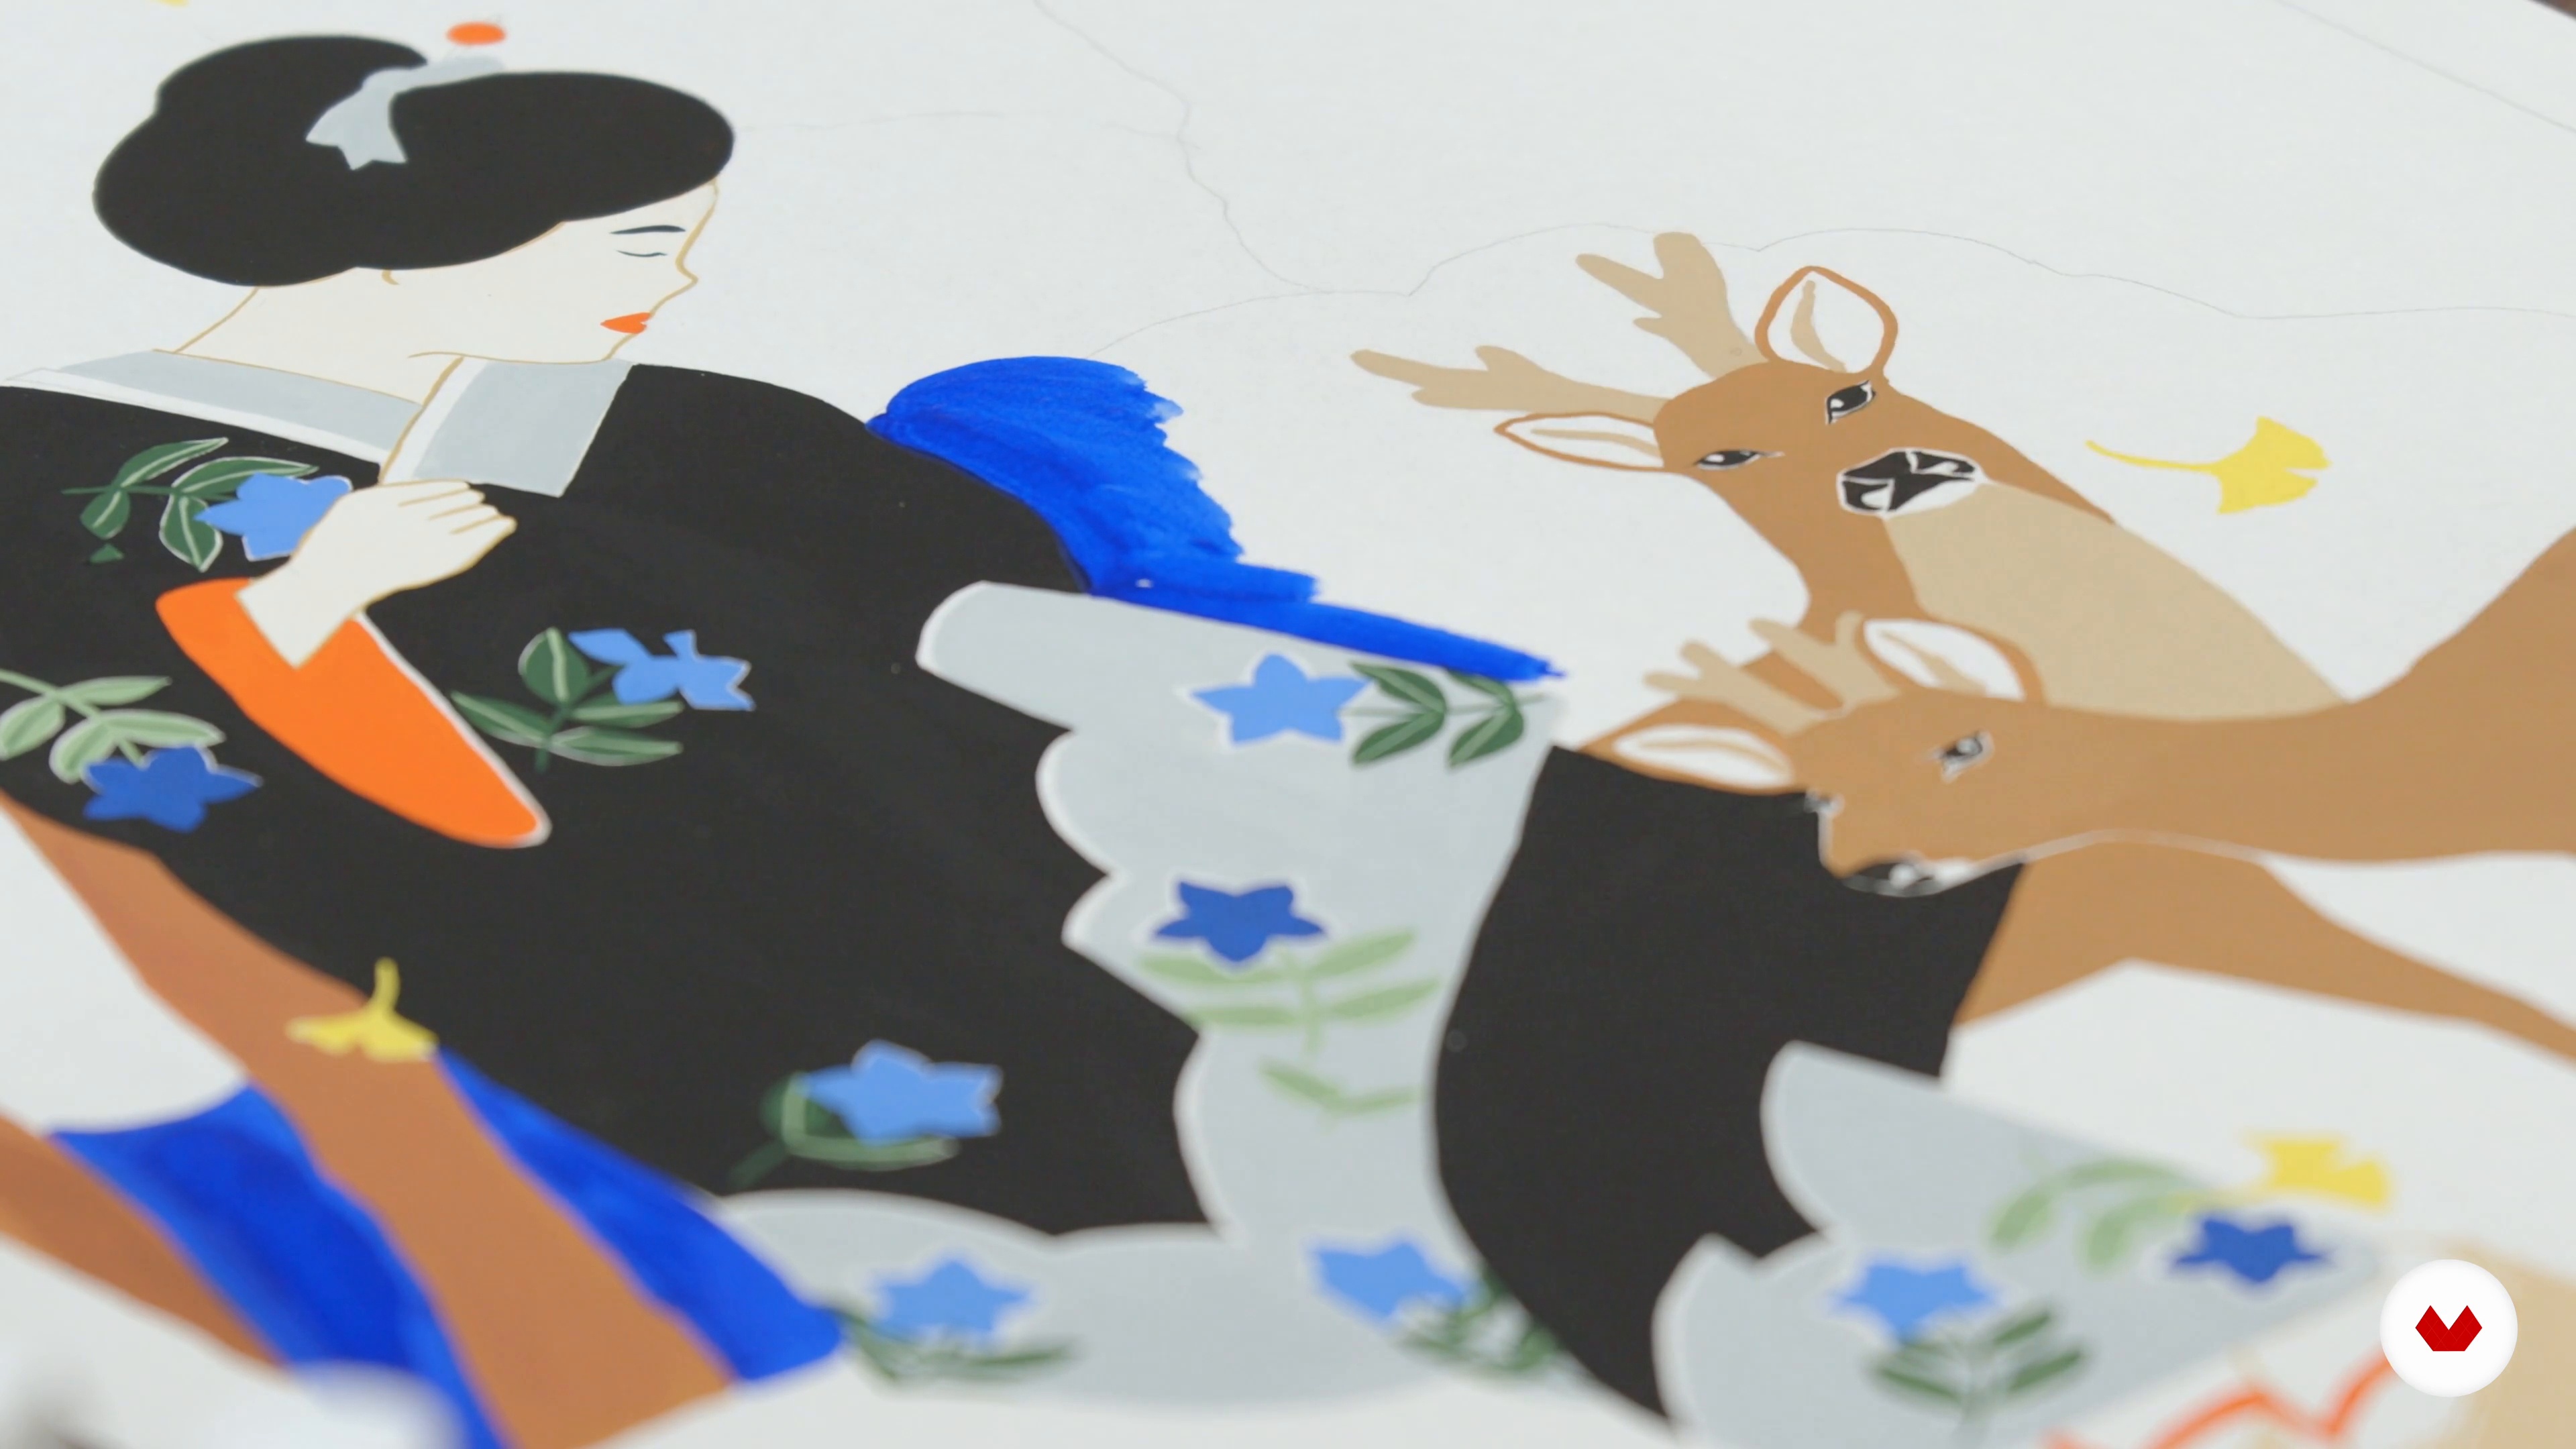
I will finish this part of the illustration by painting the fabric of the kimono. Feel free to make bigger strokes when filling in.
9m
 15
15Background colors 1
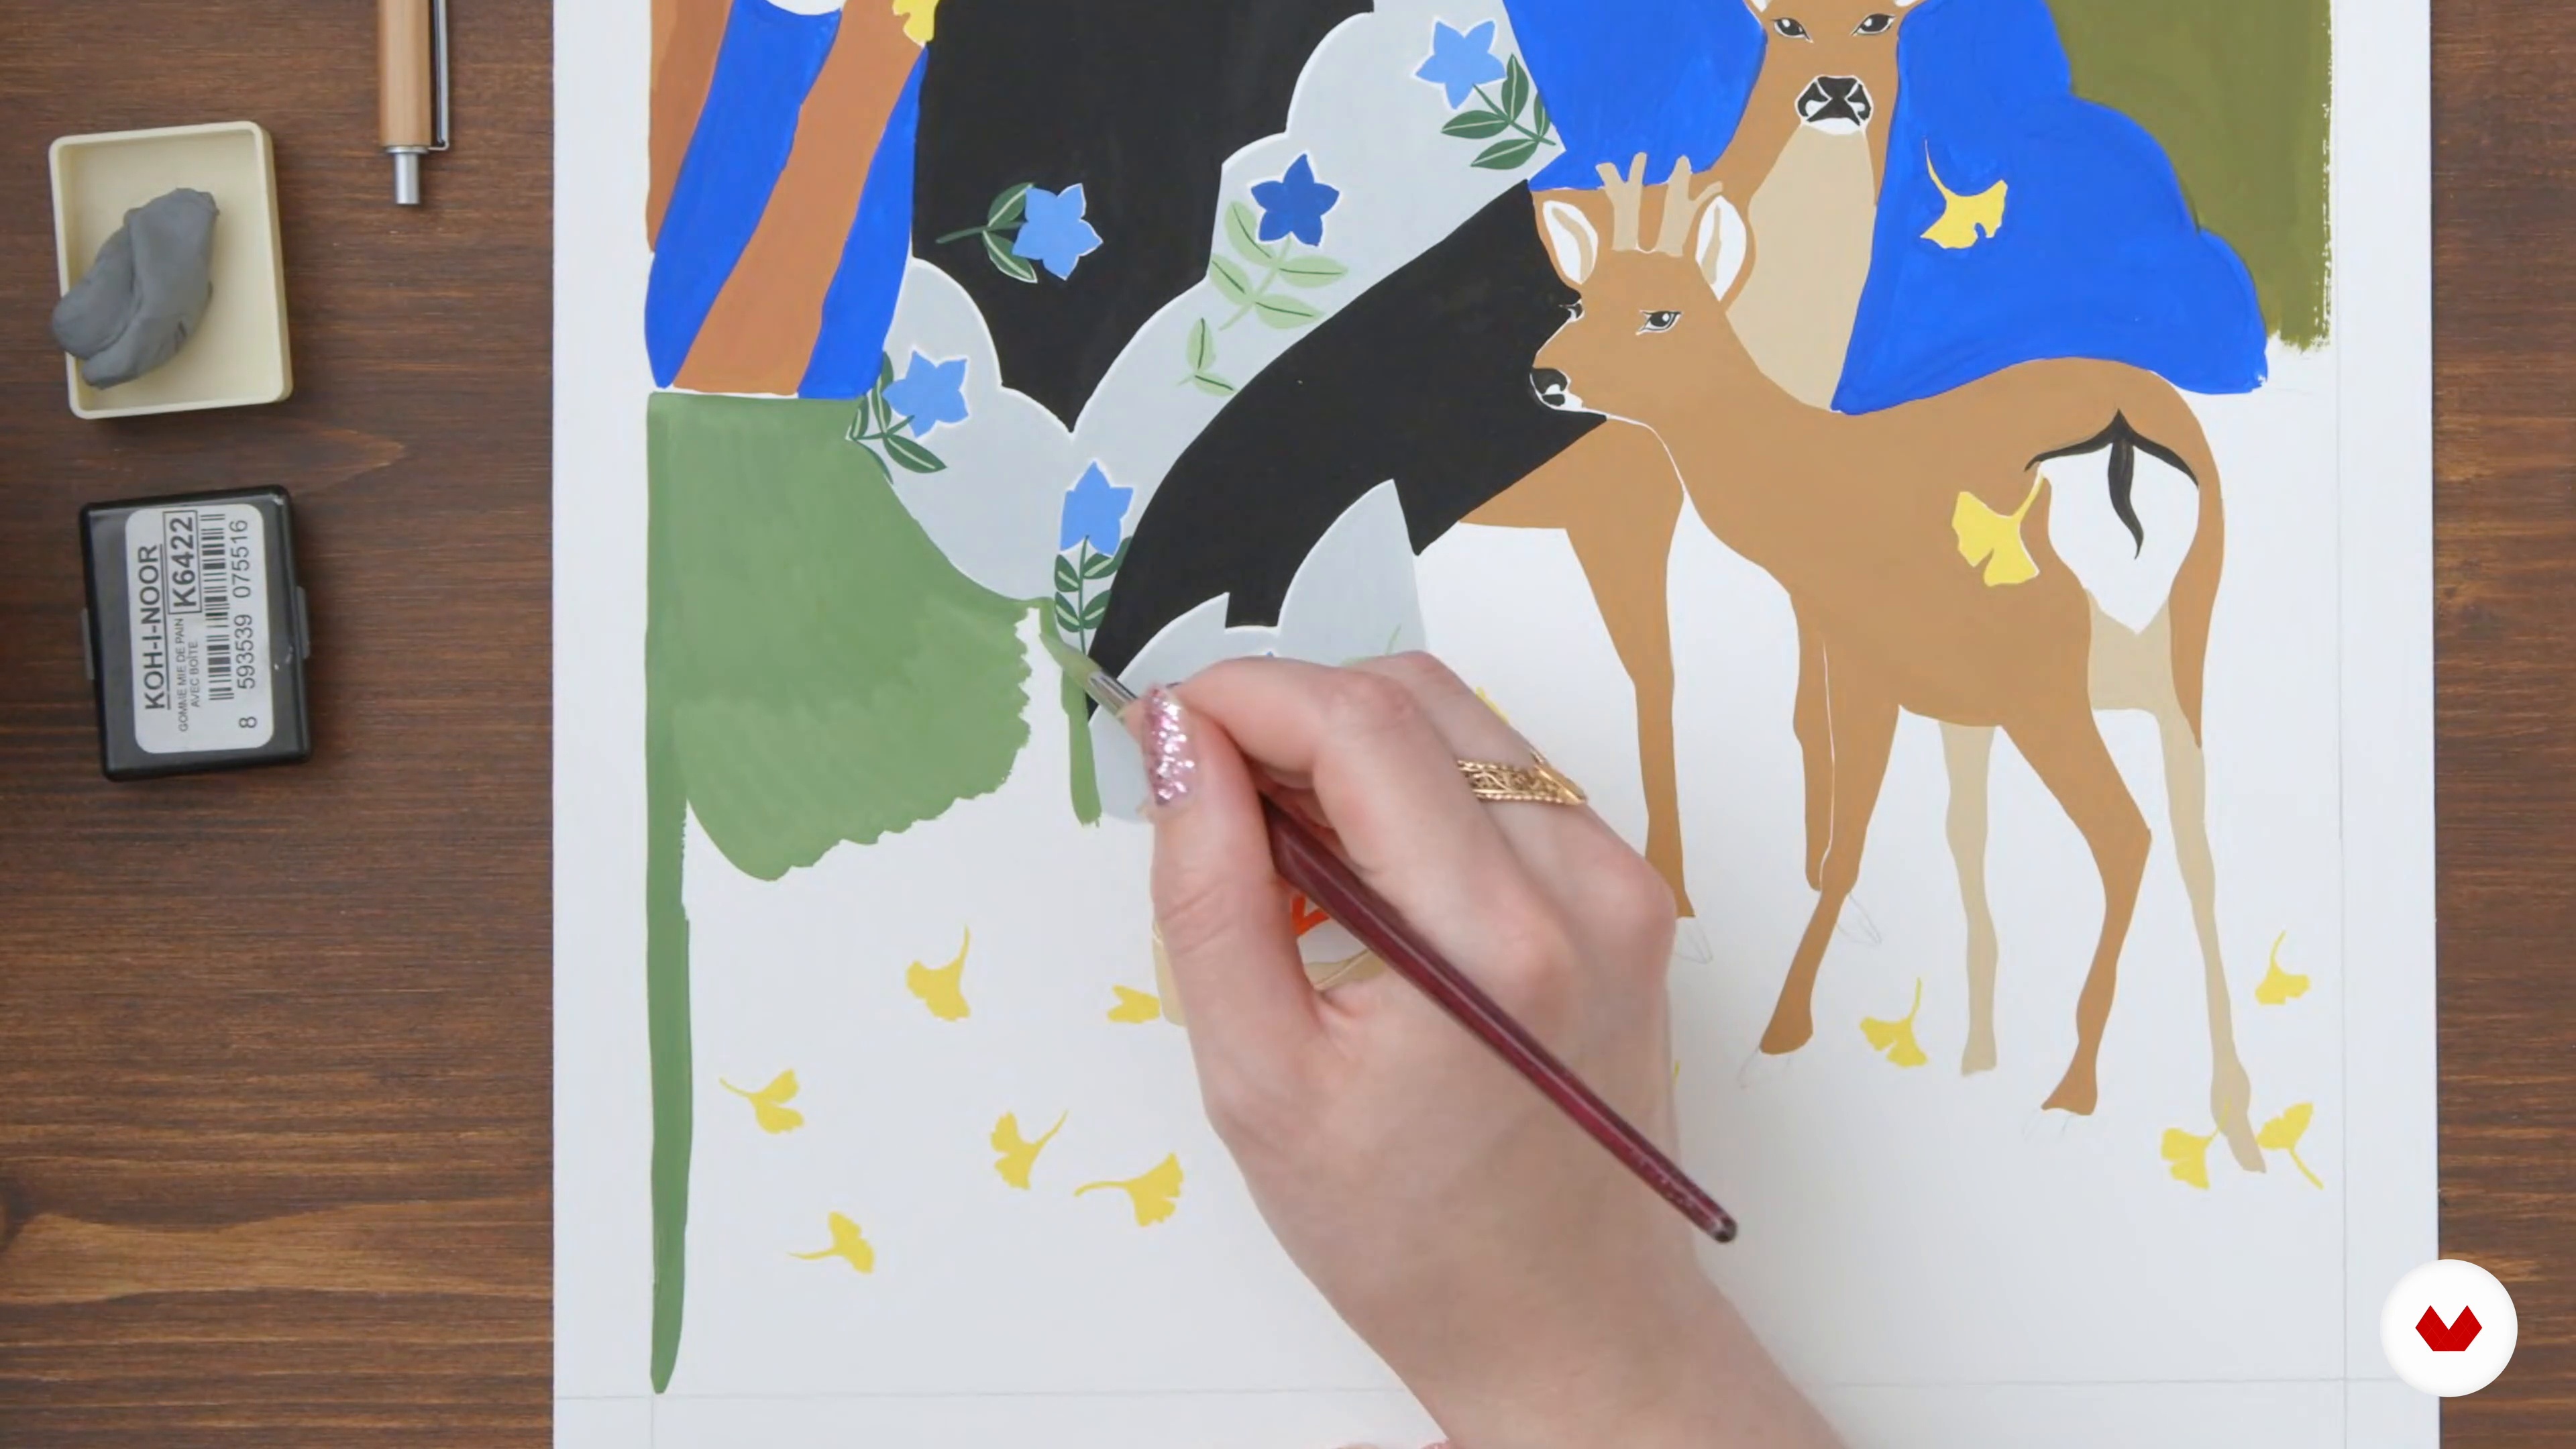
In this lesson, I'm going to paint the background colors, starting with the light colors first, then the darker ones. So you will see how to put the solid painting technique into practice. But, first of all, you will draw the criteria of the first benchmarks.
14m
 16
16Background colors 2
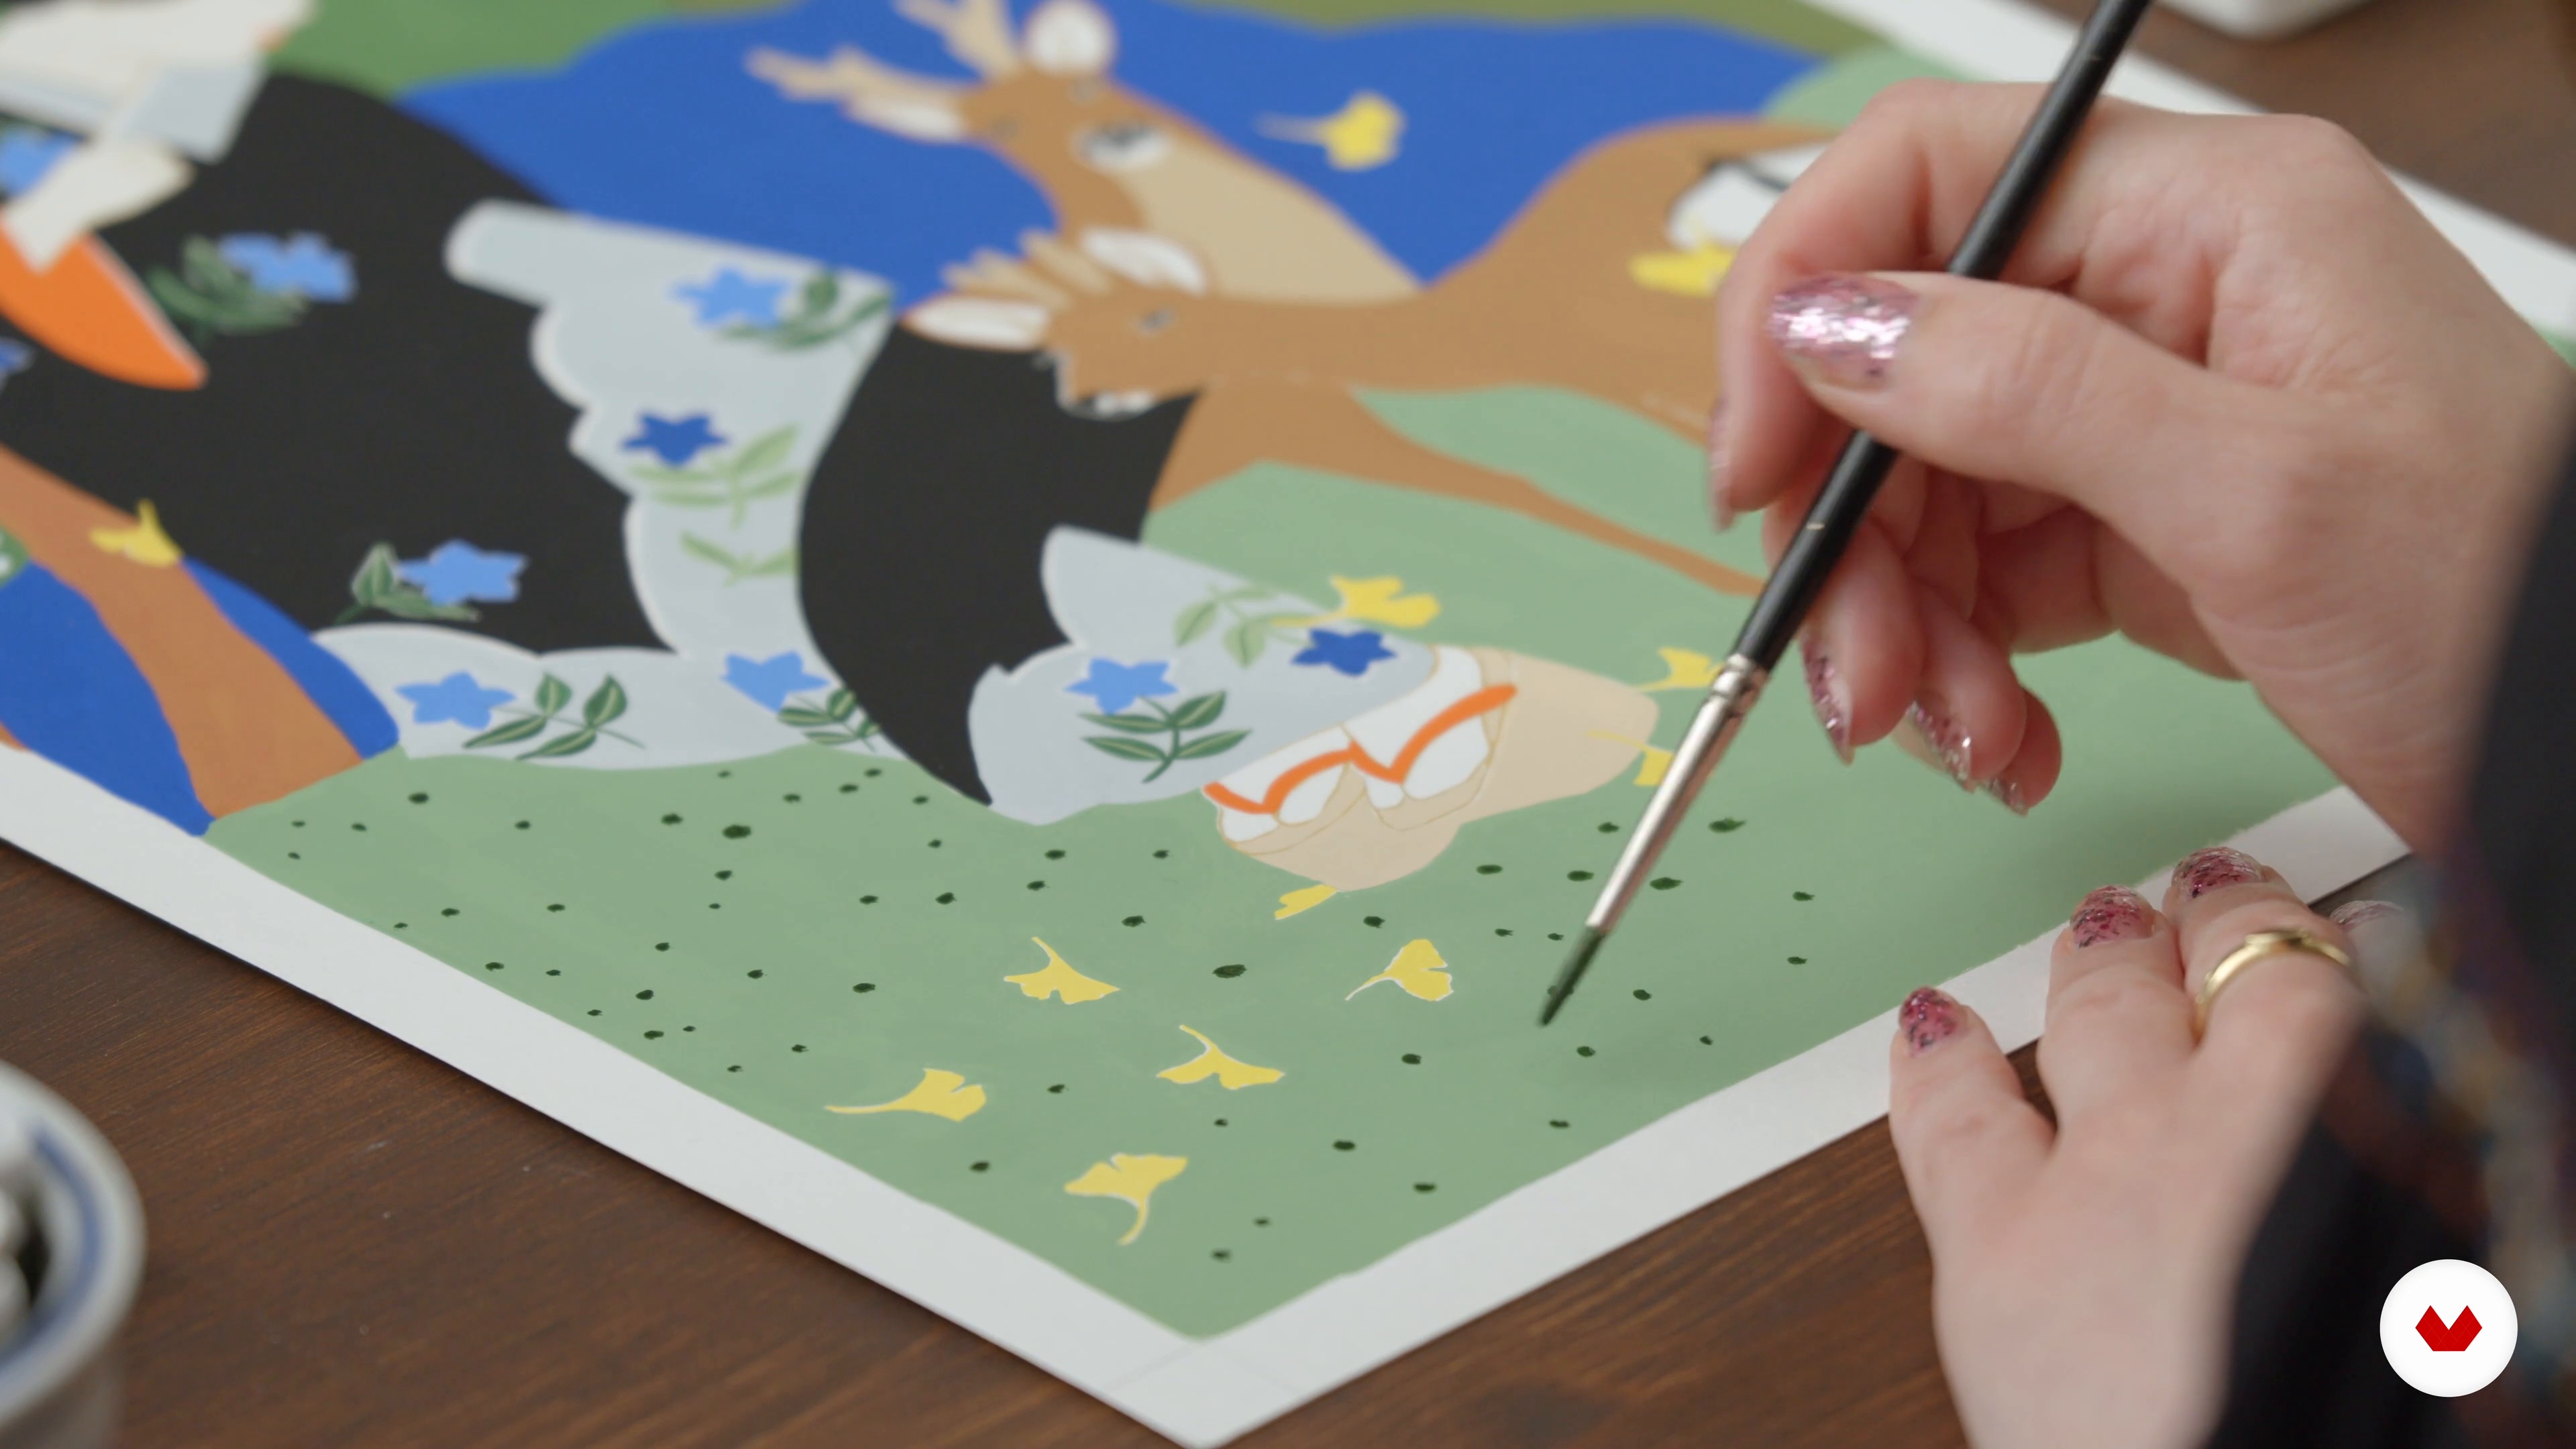
I continue to paint my background here, focusing on the darker colors.
13m
 17
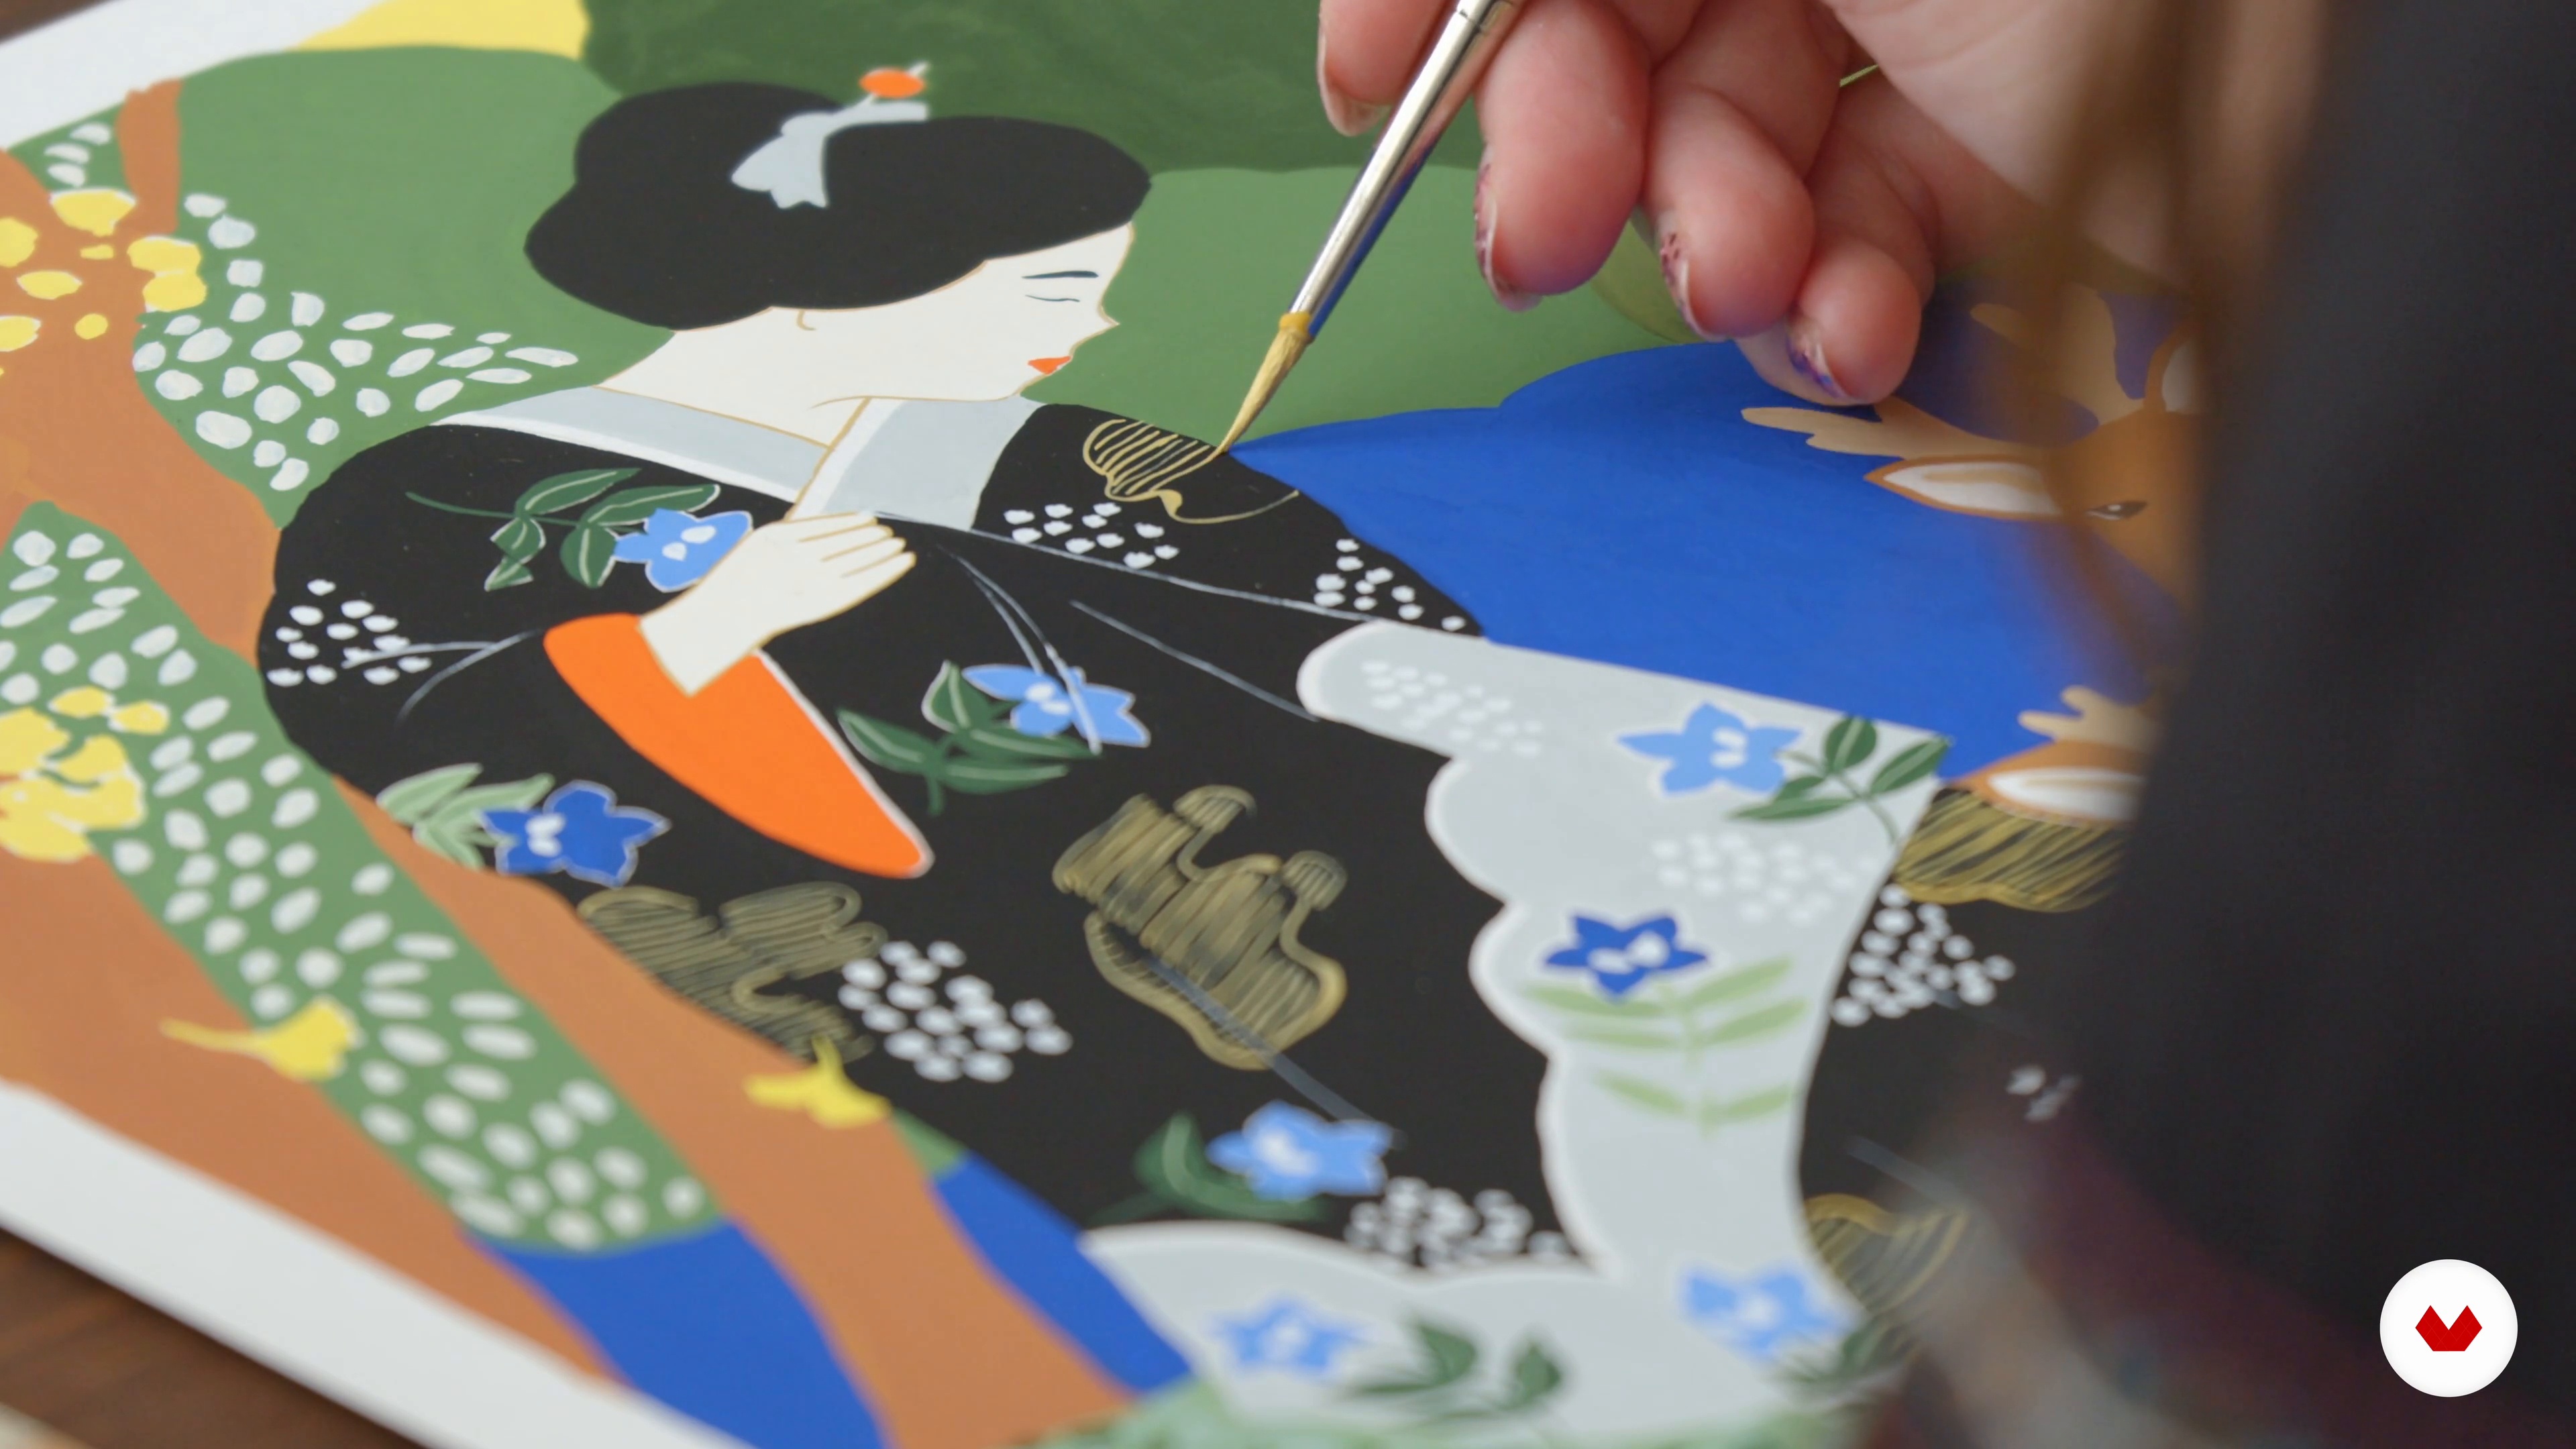
17Finishes and details 1
All the elements of our composition have been painted. Now I will show you how to add detail to your illustration, to give it some finesse and character. For that, I will start with the plant details.
19m
 18
18Finishes and details 2
Now I will focus on the pleats and details of the kimono. For this, I will not hesitate to return to my reference photo, which will serve as a guide. You will also see how to catch smudge errors. Finally, I am going to erase the lines with the pencils that served as a reference.
17m
 19
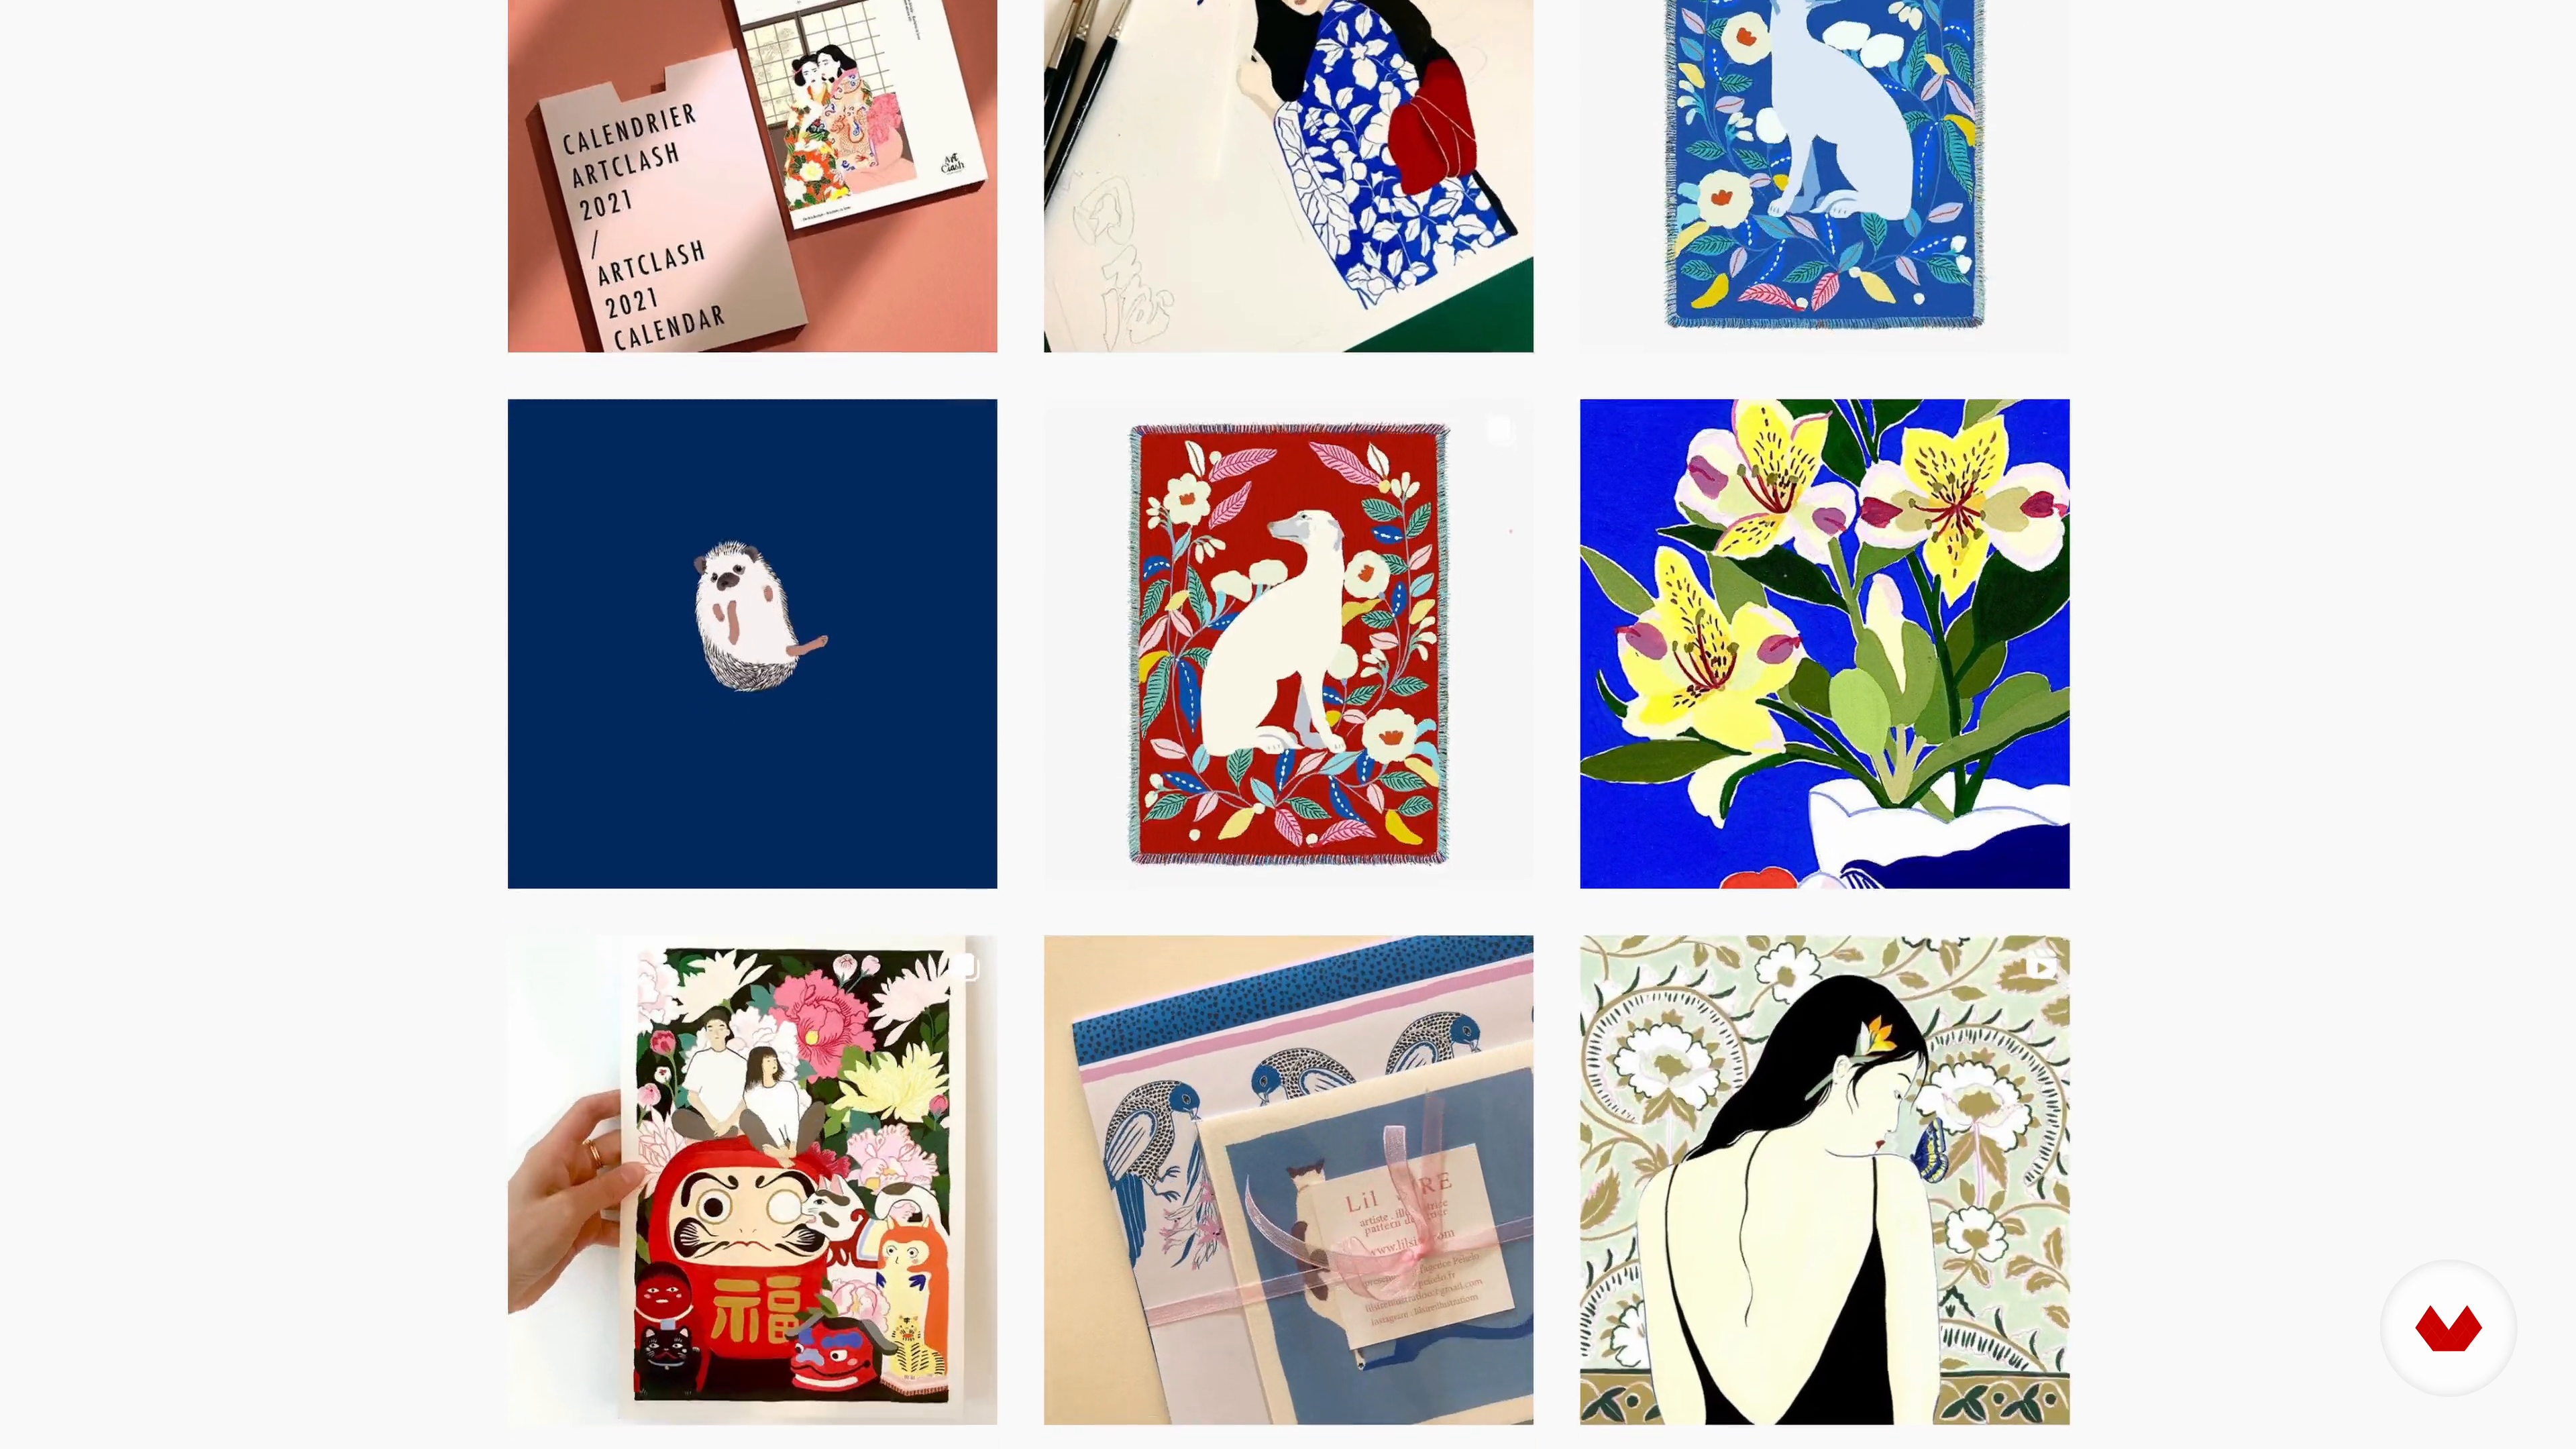
19Sharing and posting on social networks
Instagram has very positive aspects, as well as very negative ones. The best thing, as always, is to find the right balance. I'll show you how I prefer to use the app and the tools I use to organize my posts.
2m
 20
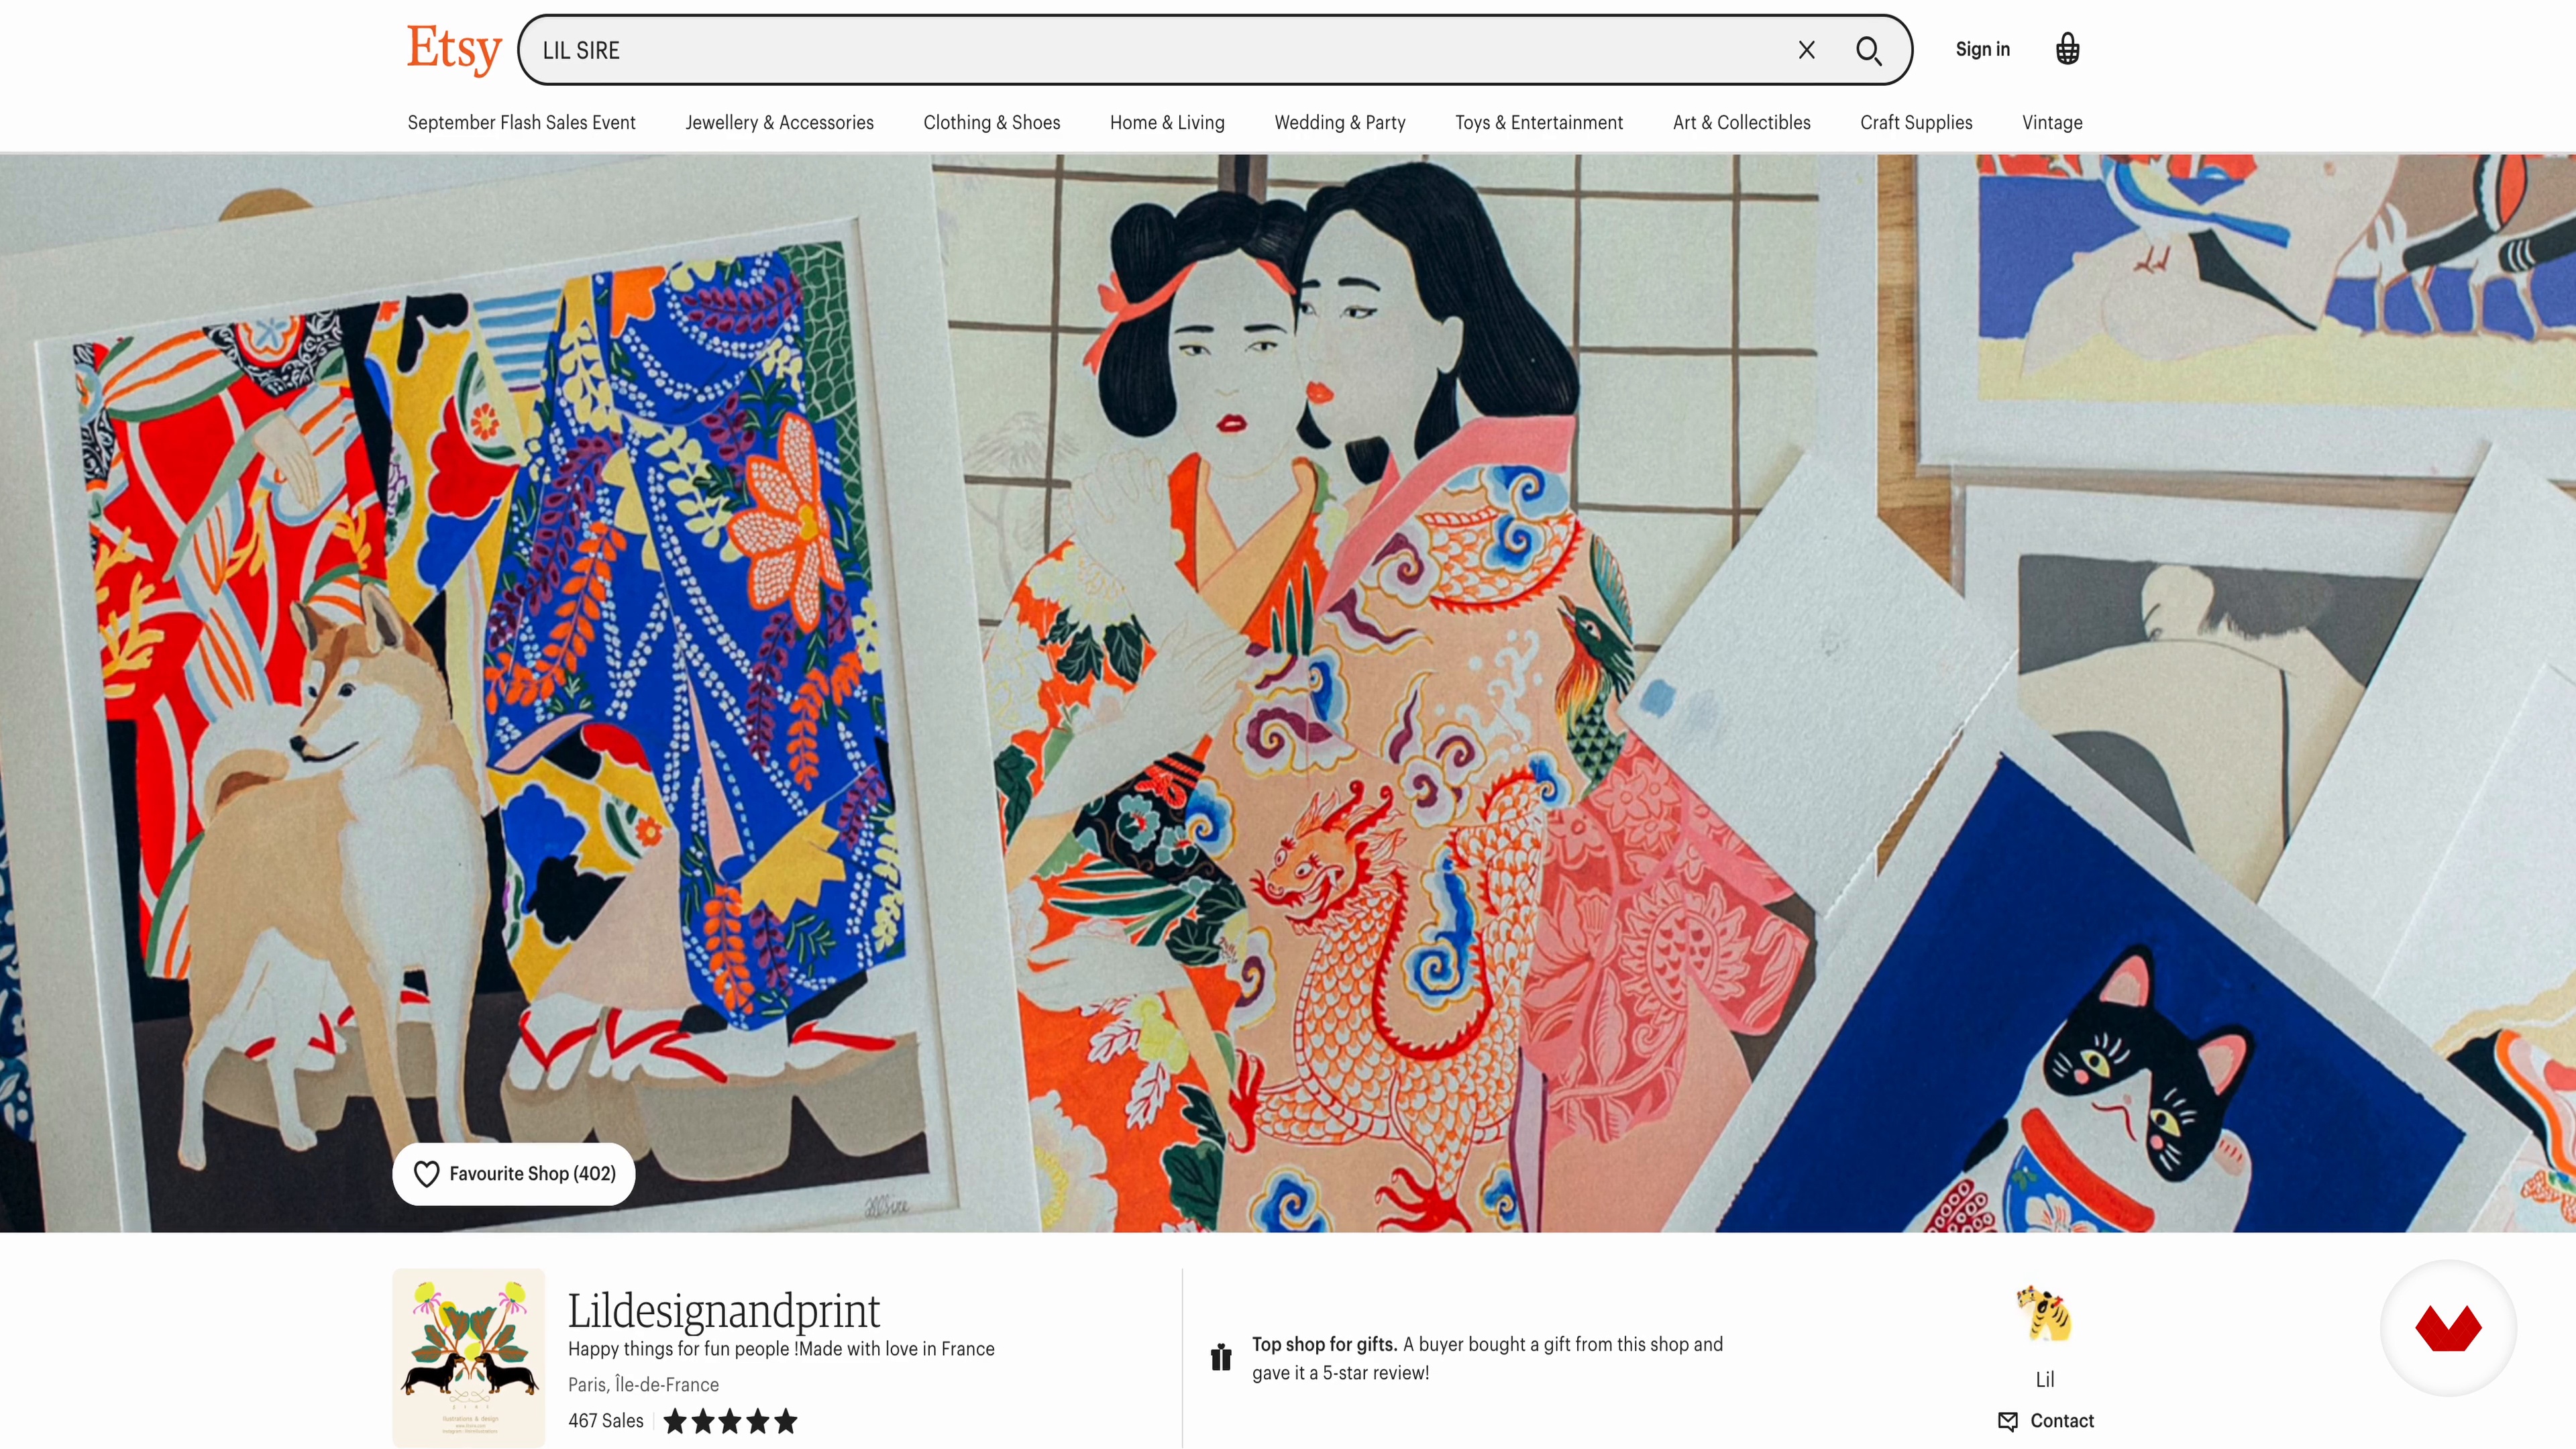
20Tips for opening your online store
Maybe you want to sell your work but don't know where to start. In this lesson, I will give you tips for opening your online store based on my own experience.
2m
 21
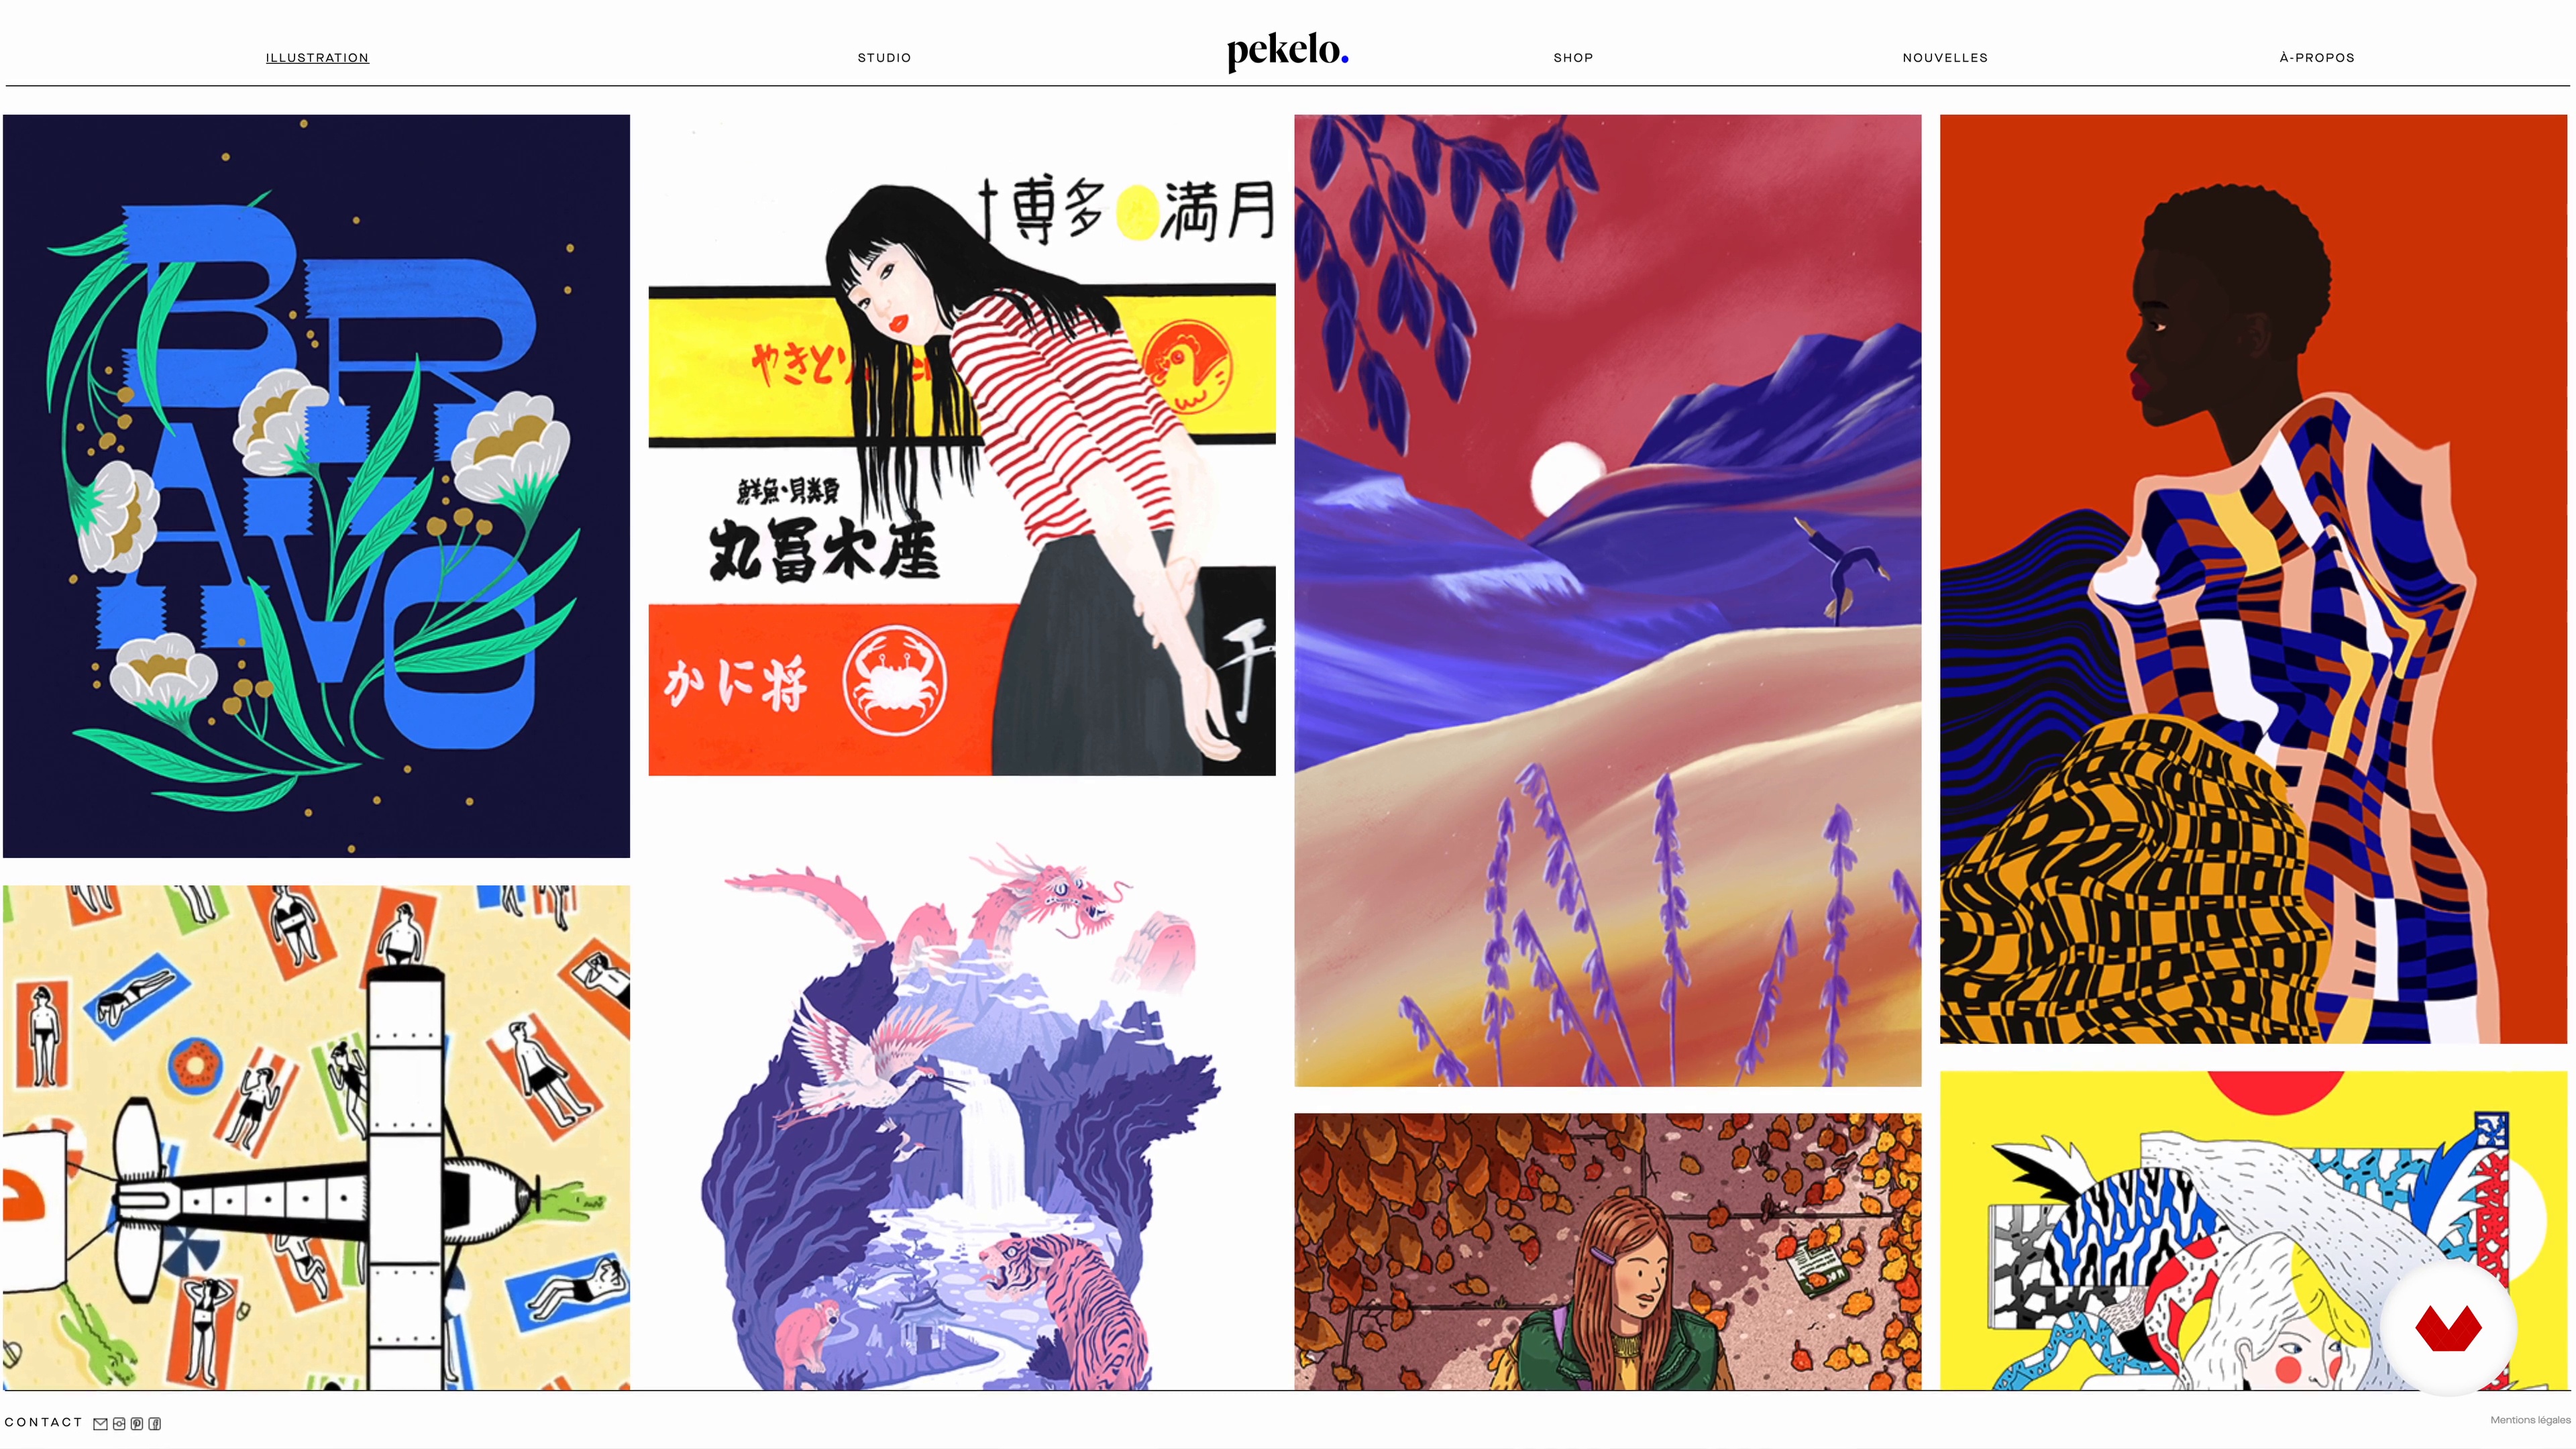
21Illustrator agencies in France
I am often asked why I have an agent and how it helps me. So I will explain here my journey to find an illustrator agent and how this agency helps me in my work.
3m
 22
22A few final tips
To end on a high note, I would like to give you three great tips that are useful to me every day in my life and which, I hope, will help you as much as I do!
2m
 4
4Influences on the choice of a theme
Have you ever felt lost looking at the blank sheet of paper? Were you wondering about your skills and creativity, believing that you will never be an artist? This is completely normal. In this class I will share with you my process in choosing a topic.
2m
 5
5Materials
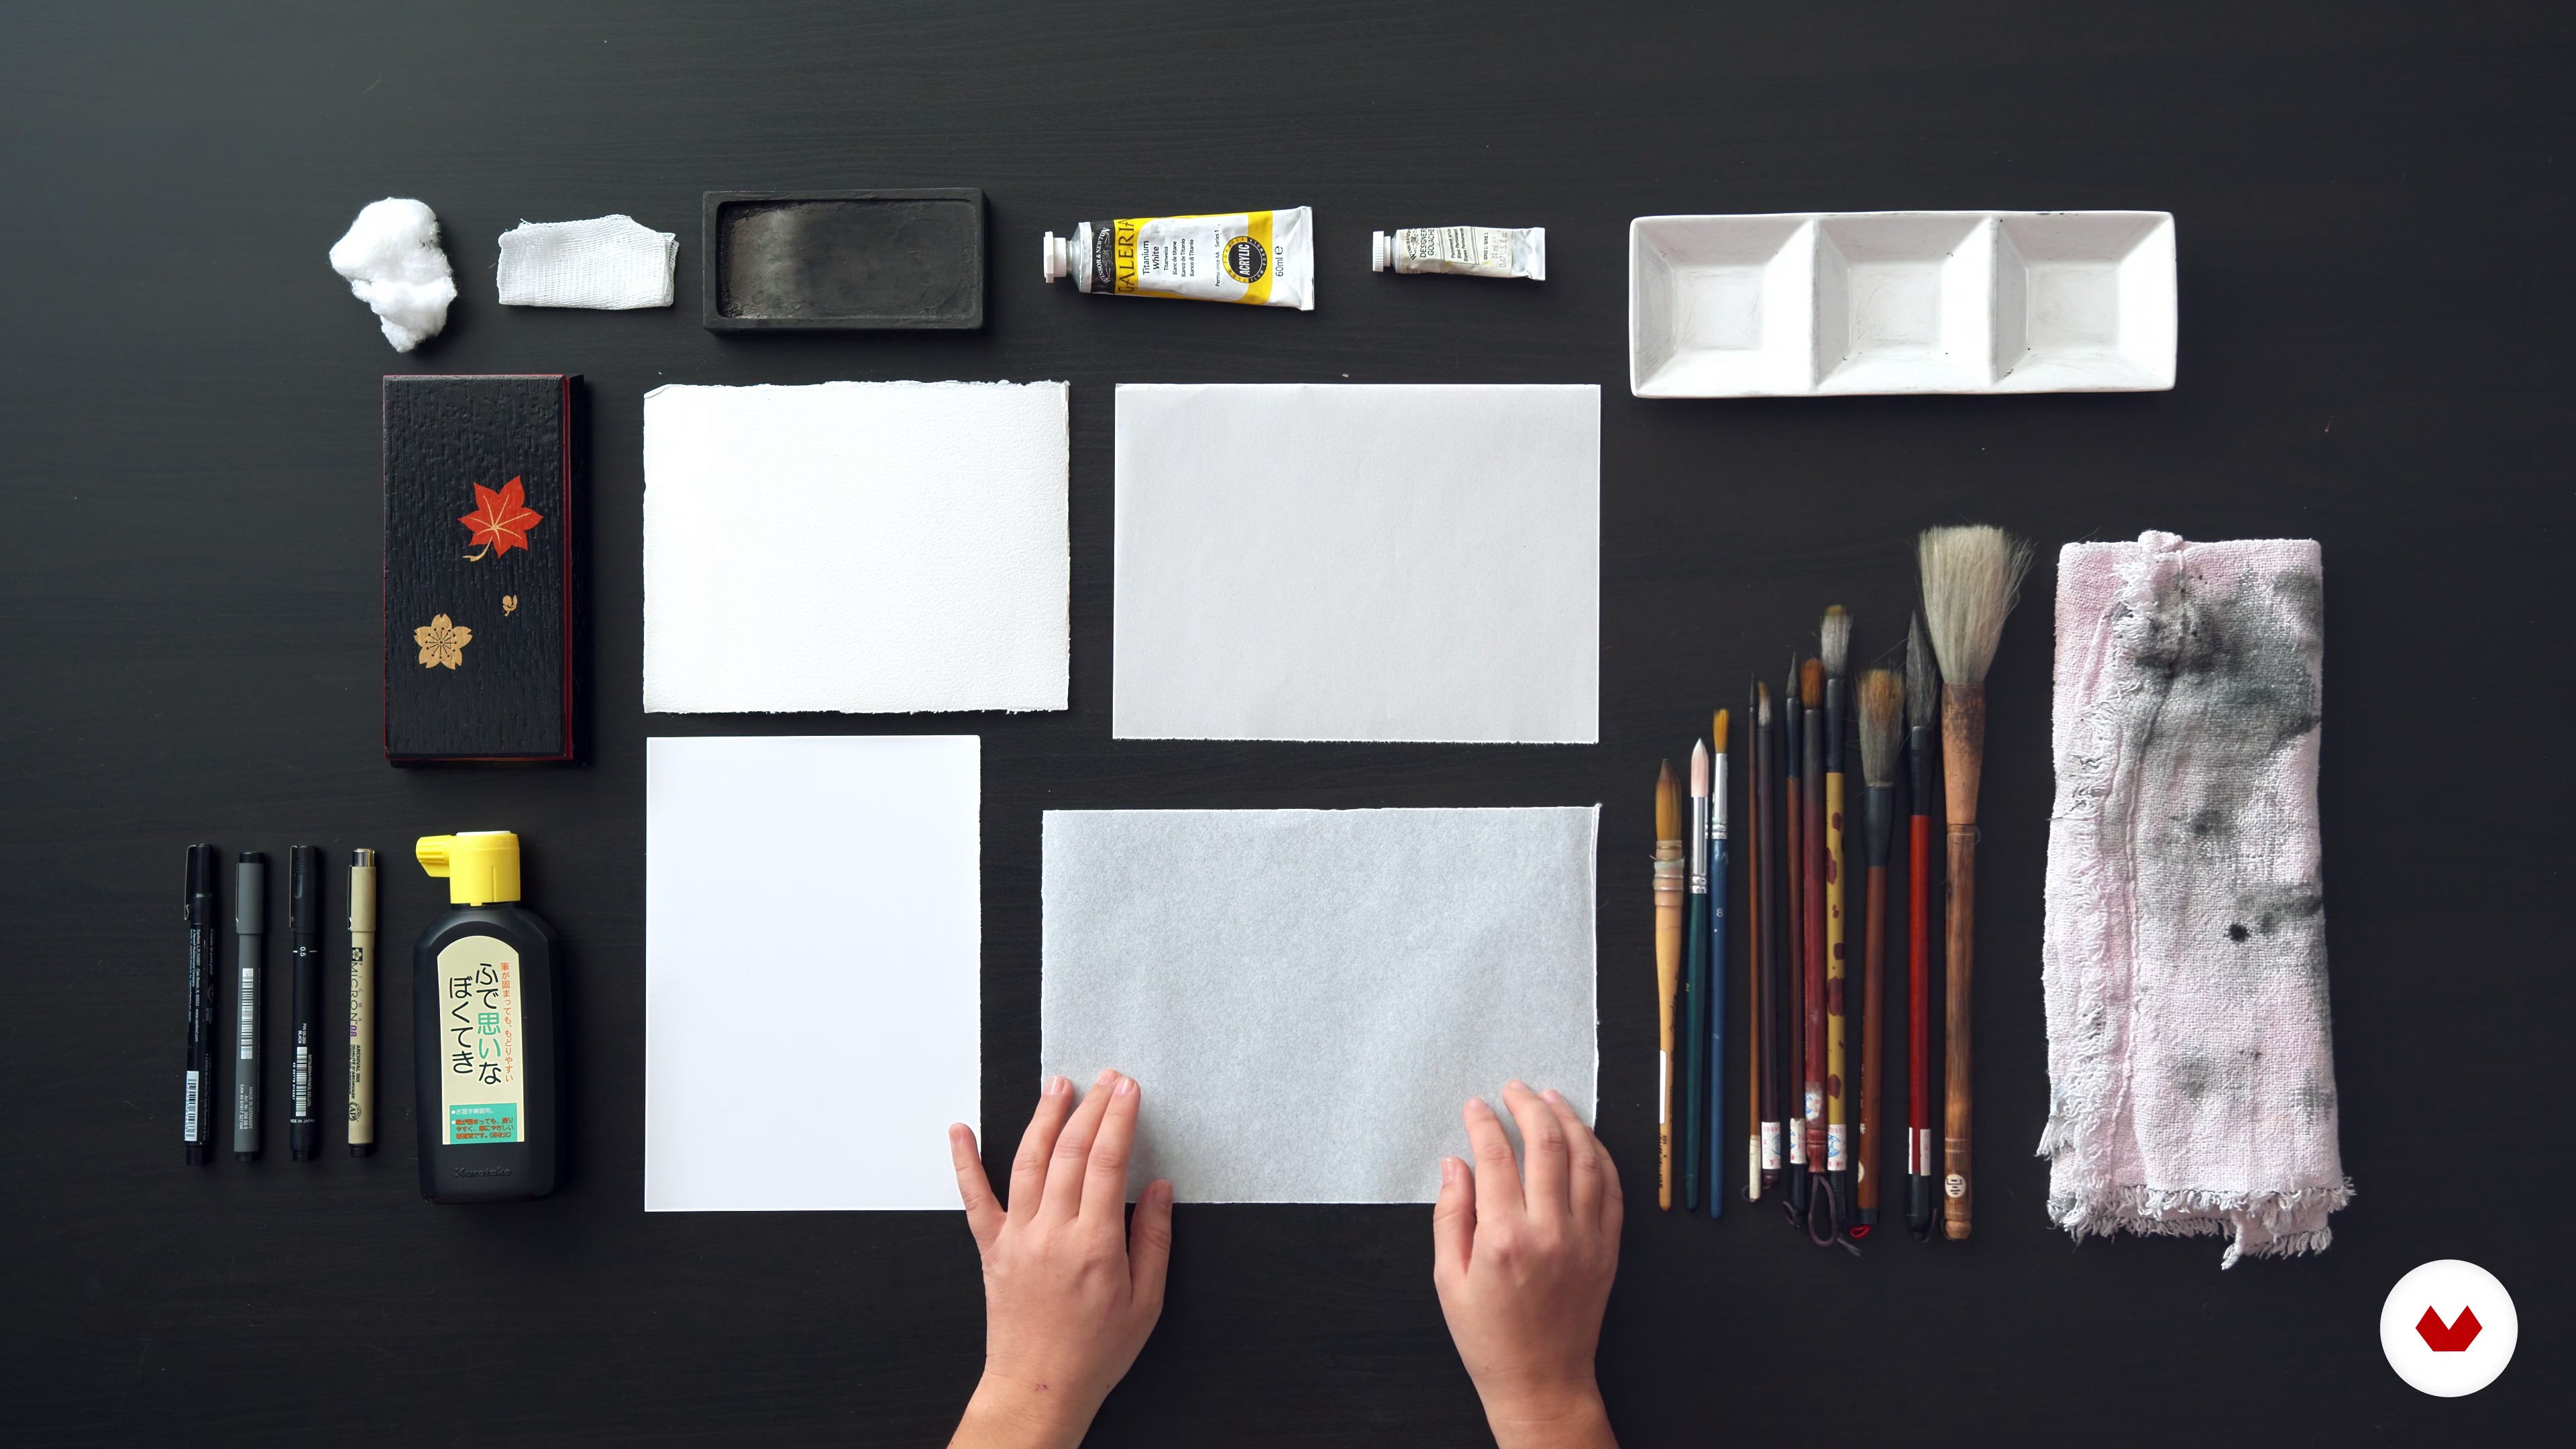
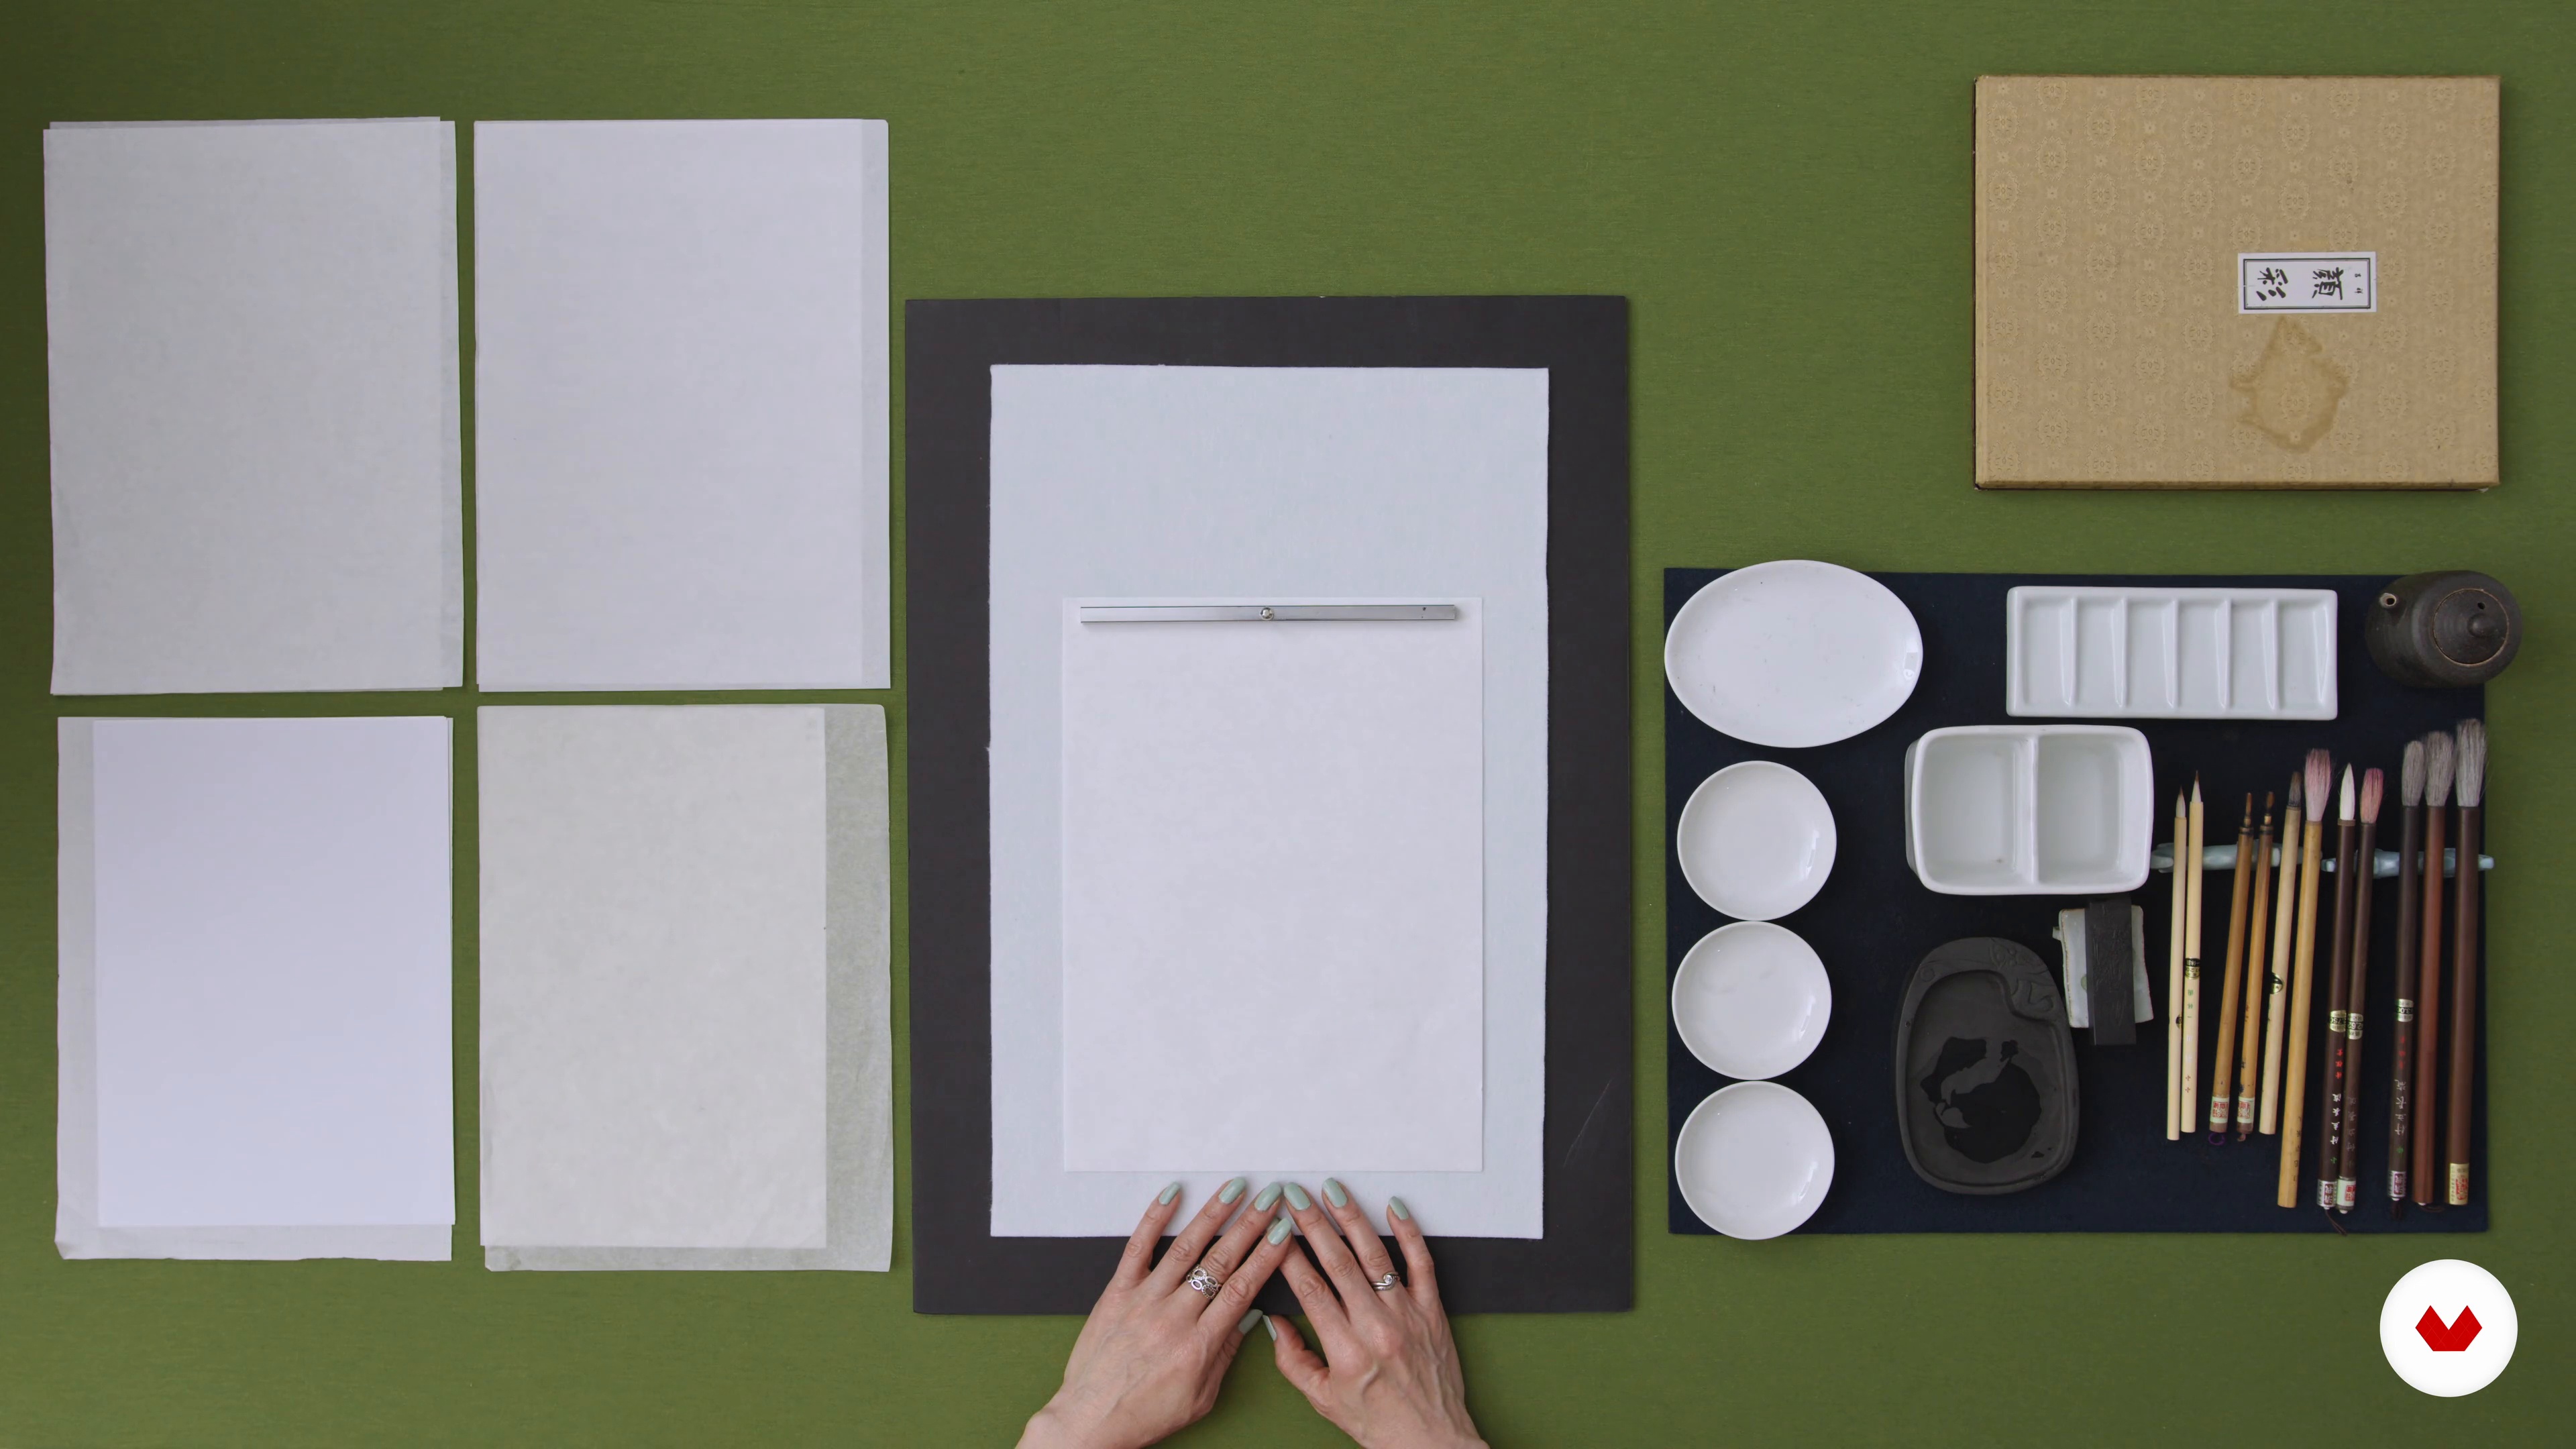
The tools are essential for any creative area, so I will present you what materials we will need for this technique: • Papers: rice, cotton, bristol, newspaper • Inks: sumi, ink in bar, ink pen; gouache and / or white acrylic paint • Brushes: shodo or sumie, watercolor • Container or bowl • Cloth or paper towel • Pencil or mechanical pencil • Rubber or bread crumb • Cleaners • Gauze and / or cotton • Light table • Scanner • Computer with Photoshop
5m
 6
6Line exercises
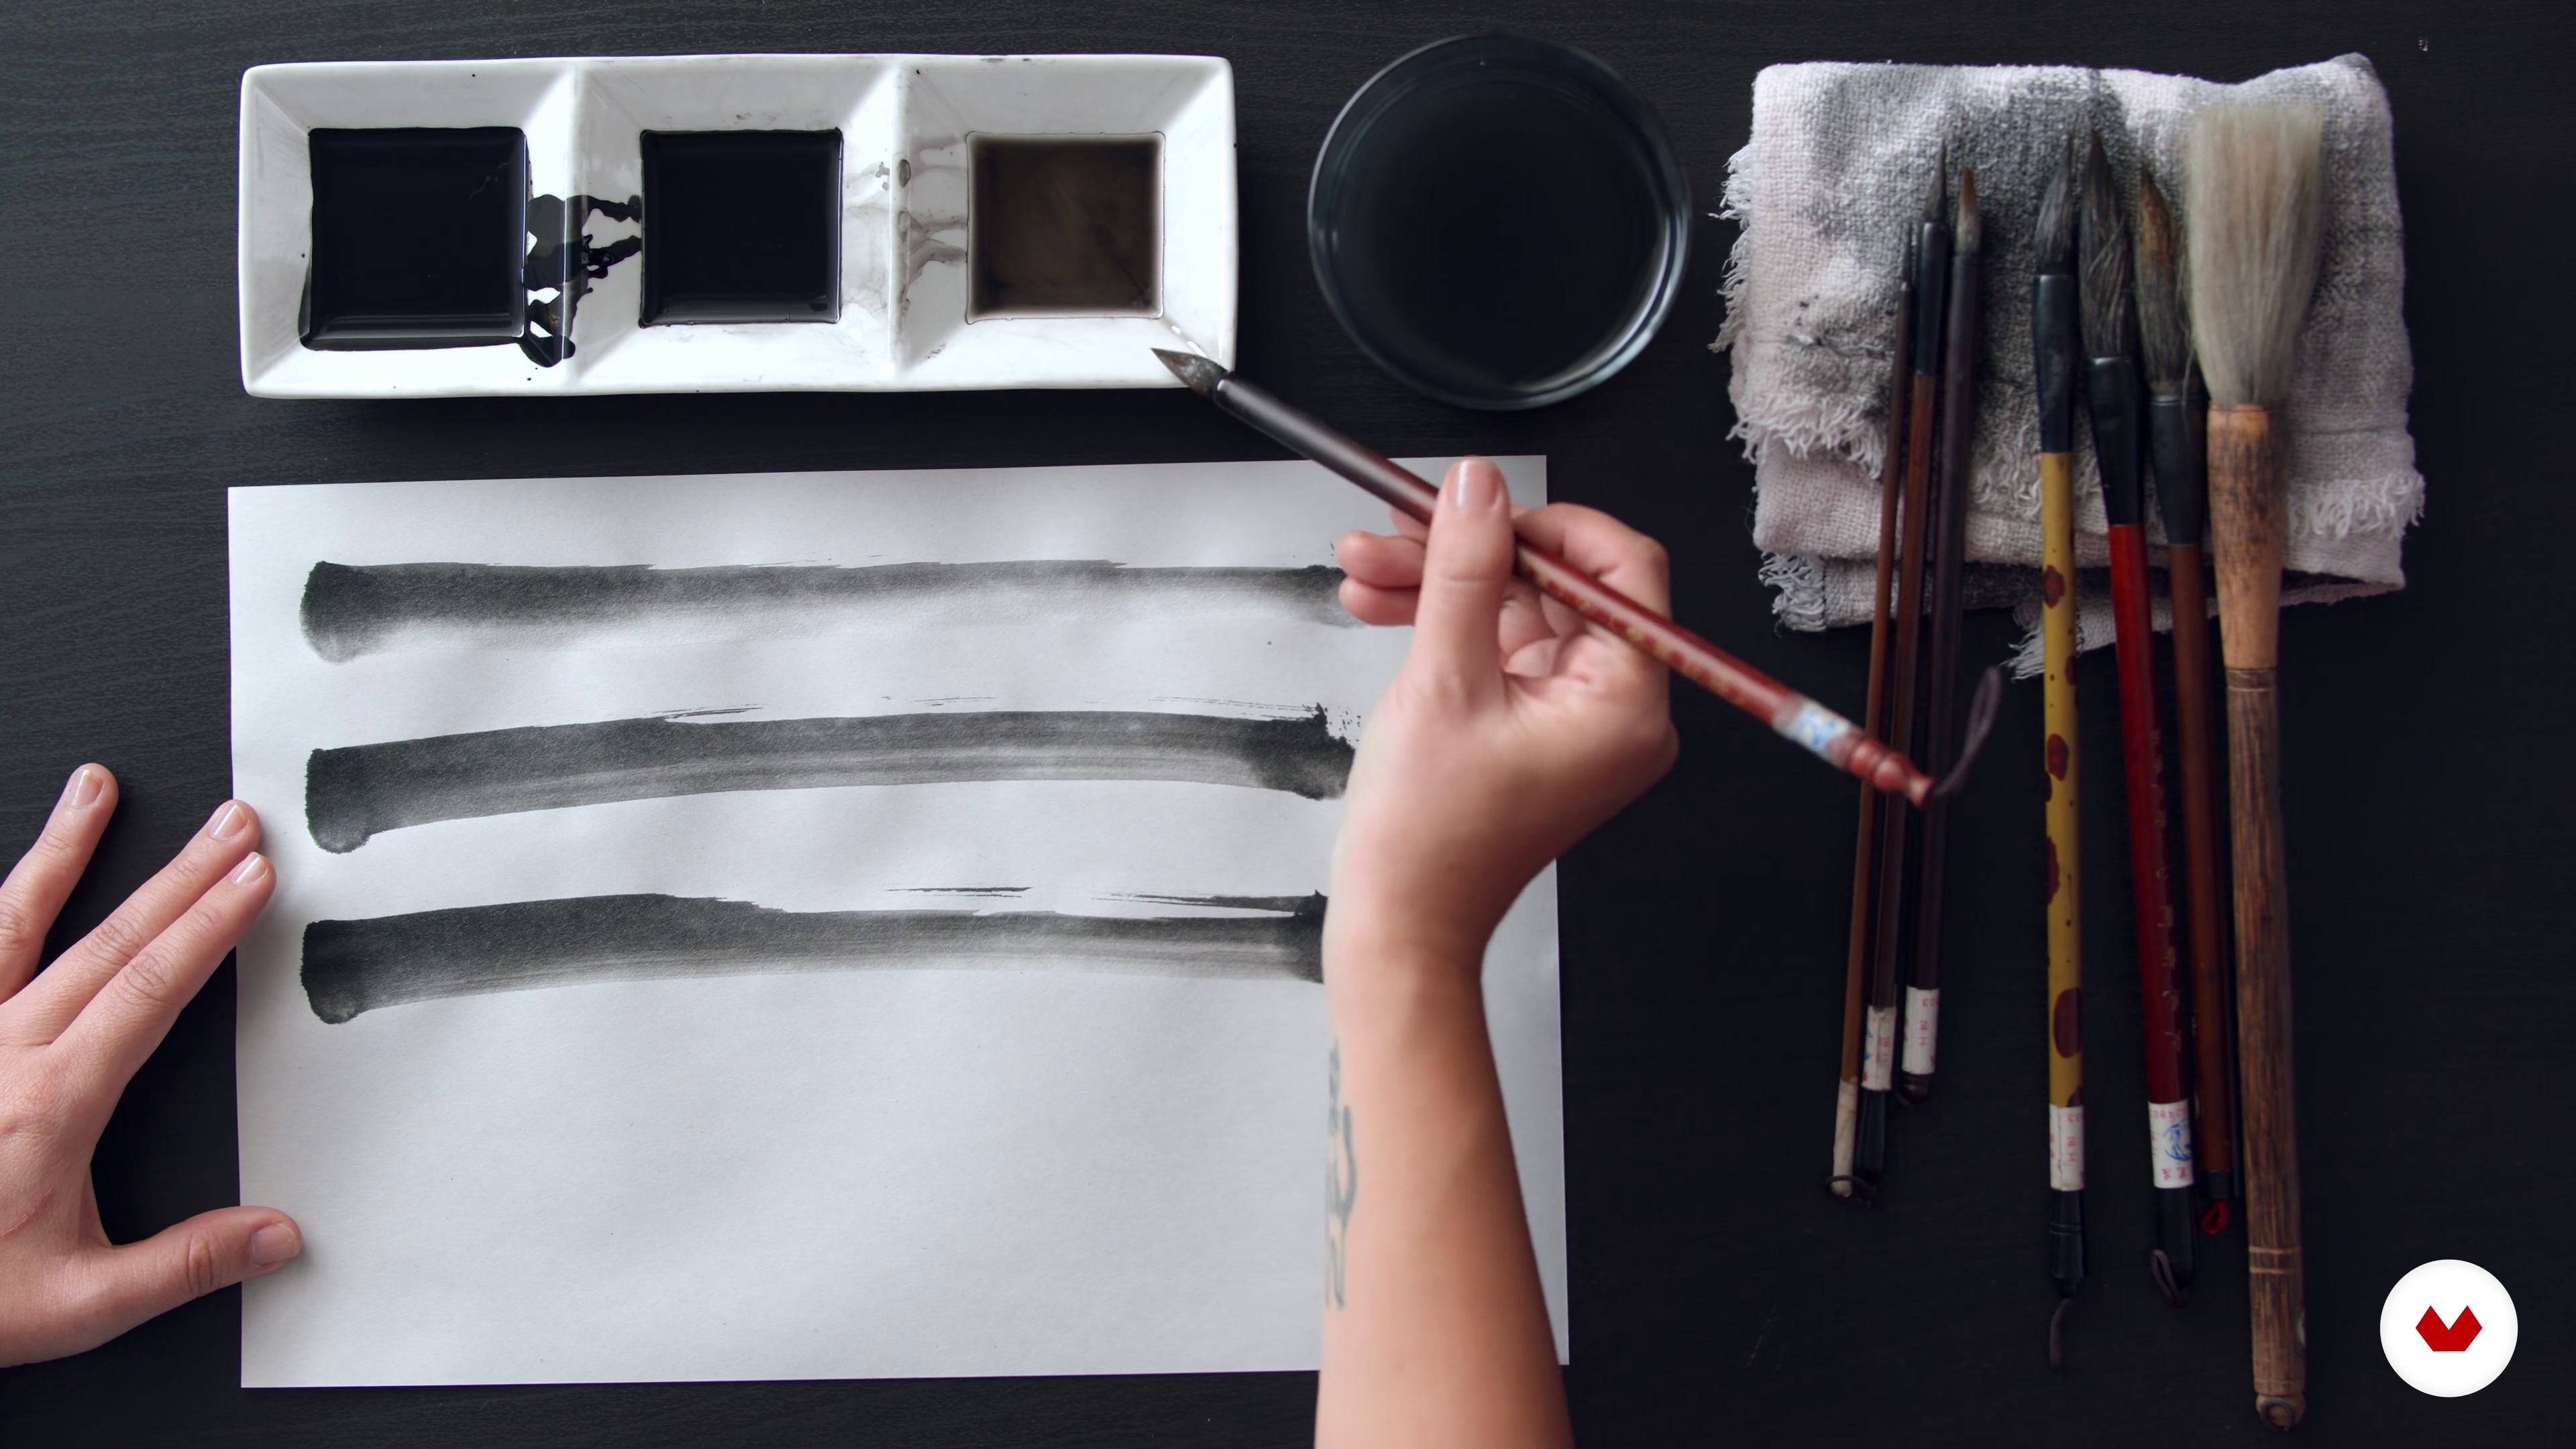
Now that we have the materials, let's start exploring them with basic exercises. Repetition is what makes perfect! So, do not save ink or paper for these exercises that will help you further.
2m
 7
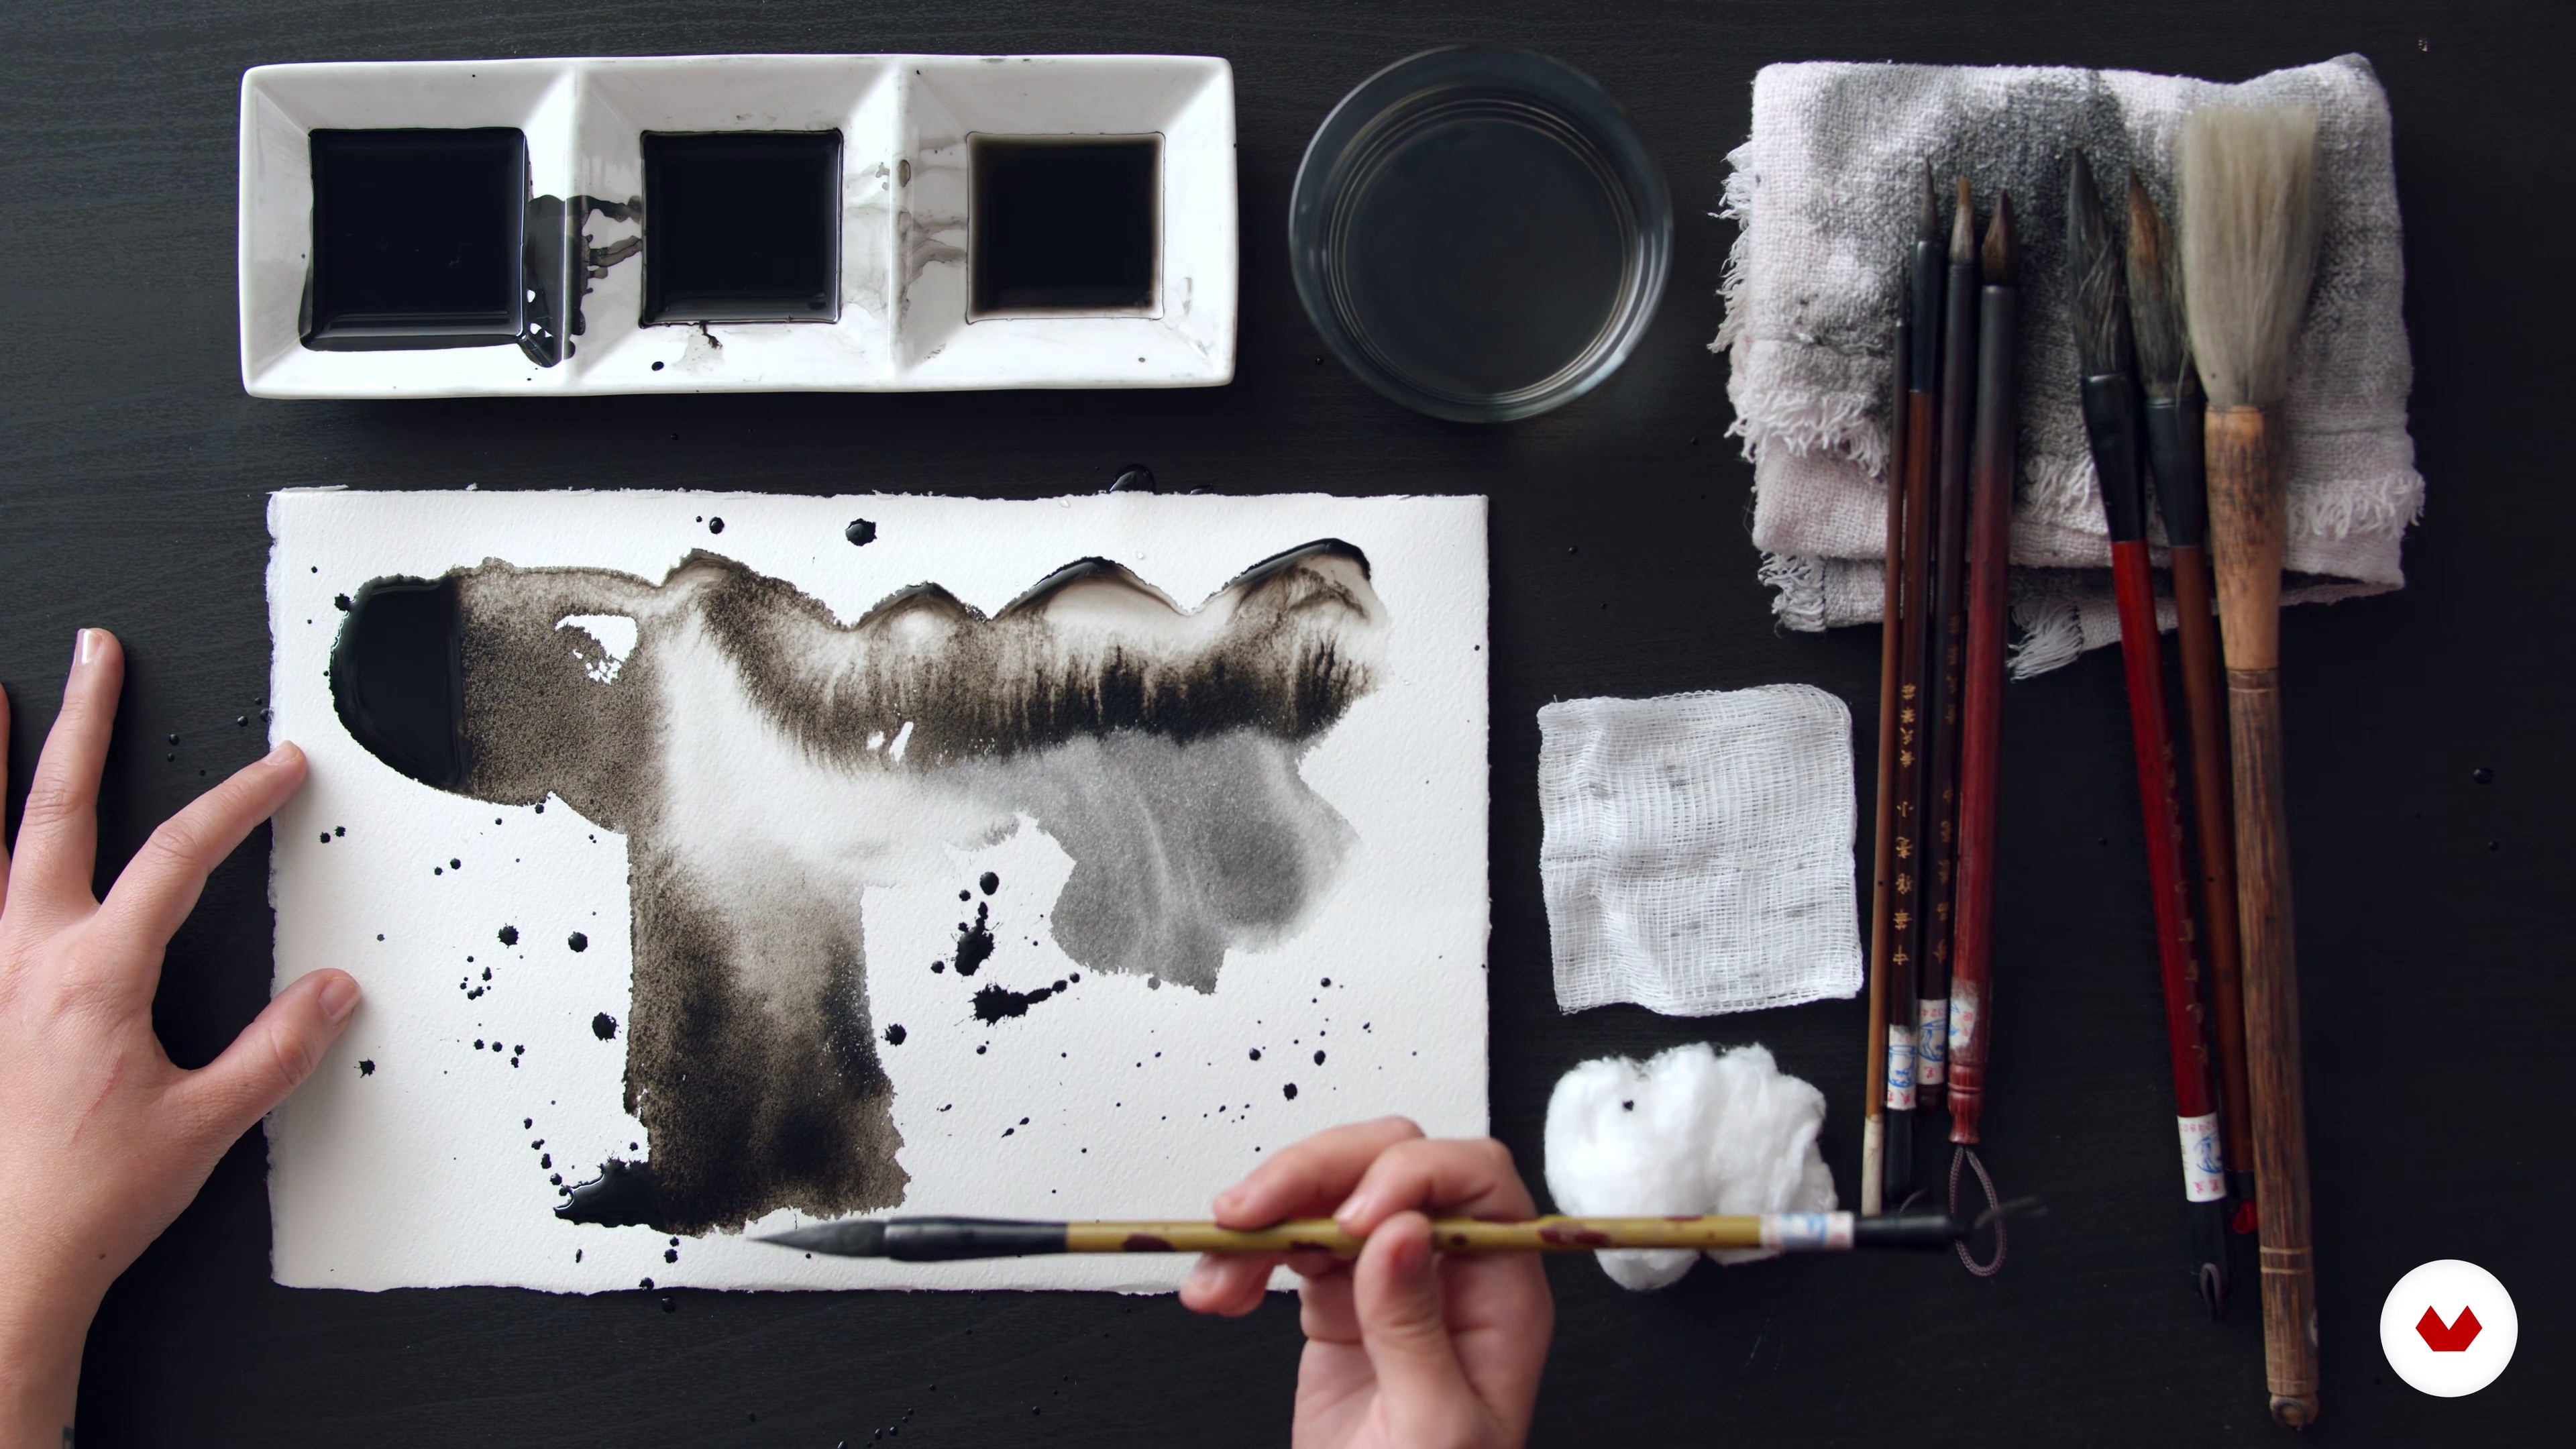
7Stain exercises
In addition to the basic exercises, it is also important to explore the possibilities of the materials through experimentation. In this class we will get our hands dirty and find out how the ink reacts to water and different types of paper.
3m
 8
8Composition
Composition is the structural basis of an image and it is it that will define the narrative. In this class I will show my process for developing an illustration and some composition tips. In the additional resources, at the end of this page, you will find a complement to this class in "Influences on the choice of my theme". In that document, I explain why I chose this photo, what it means to me and why I decided to make this composition.
3m
 9
9Final drawing
After defining the sketch it is now time to work on the final drawing. In addition to the materials we discussed earlier, I will show you some new tools that can help you in this step.
4m
 10
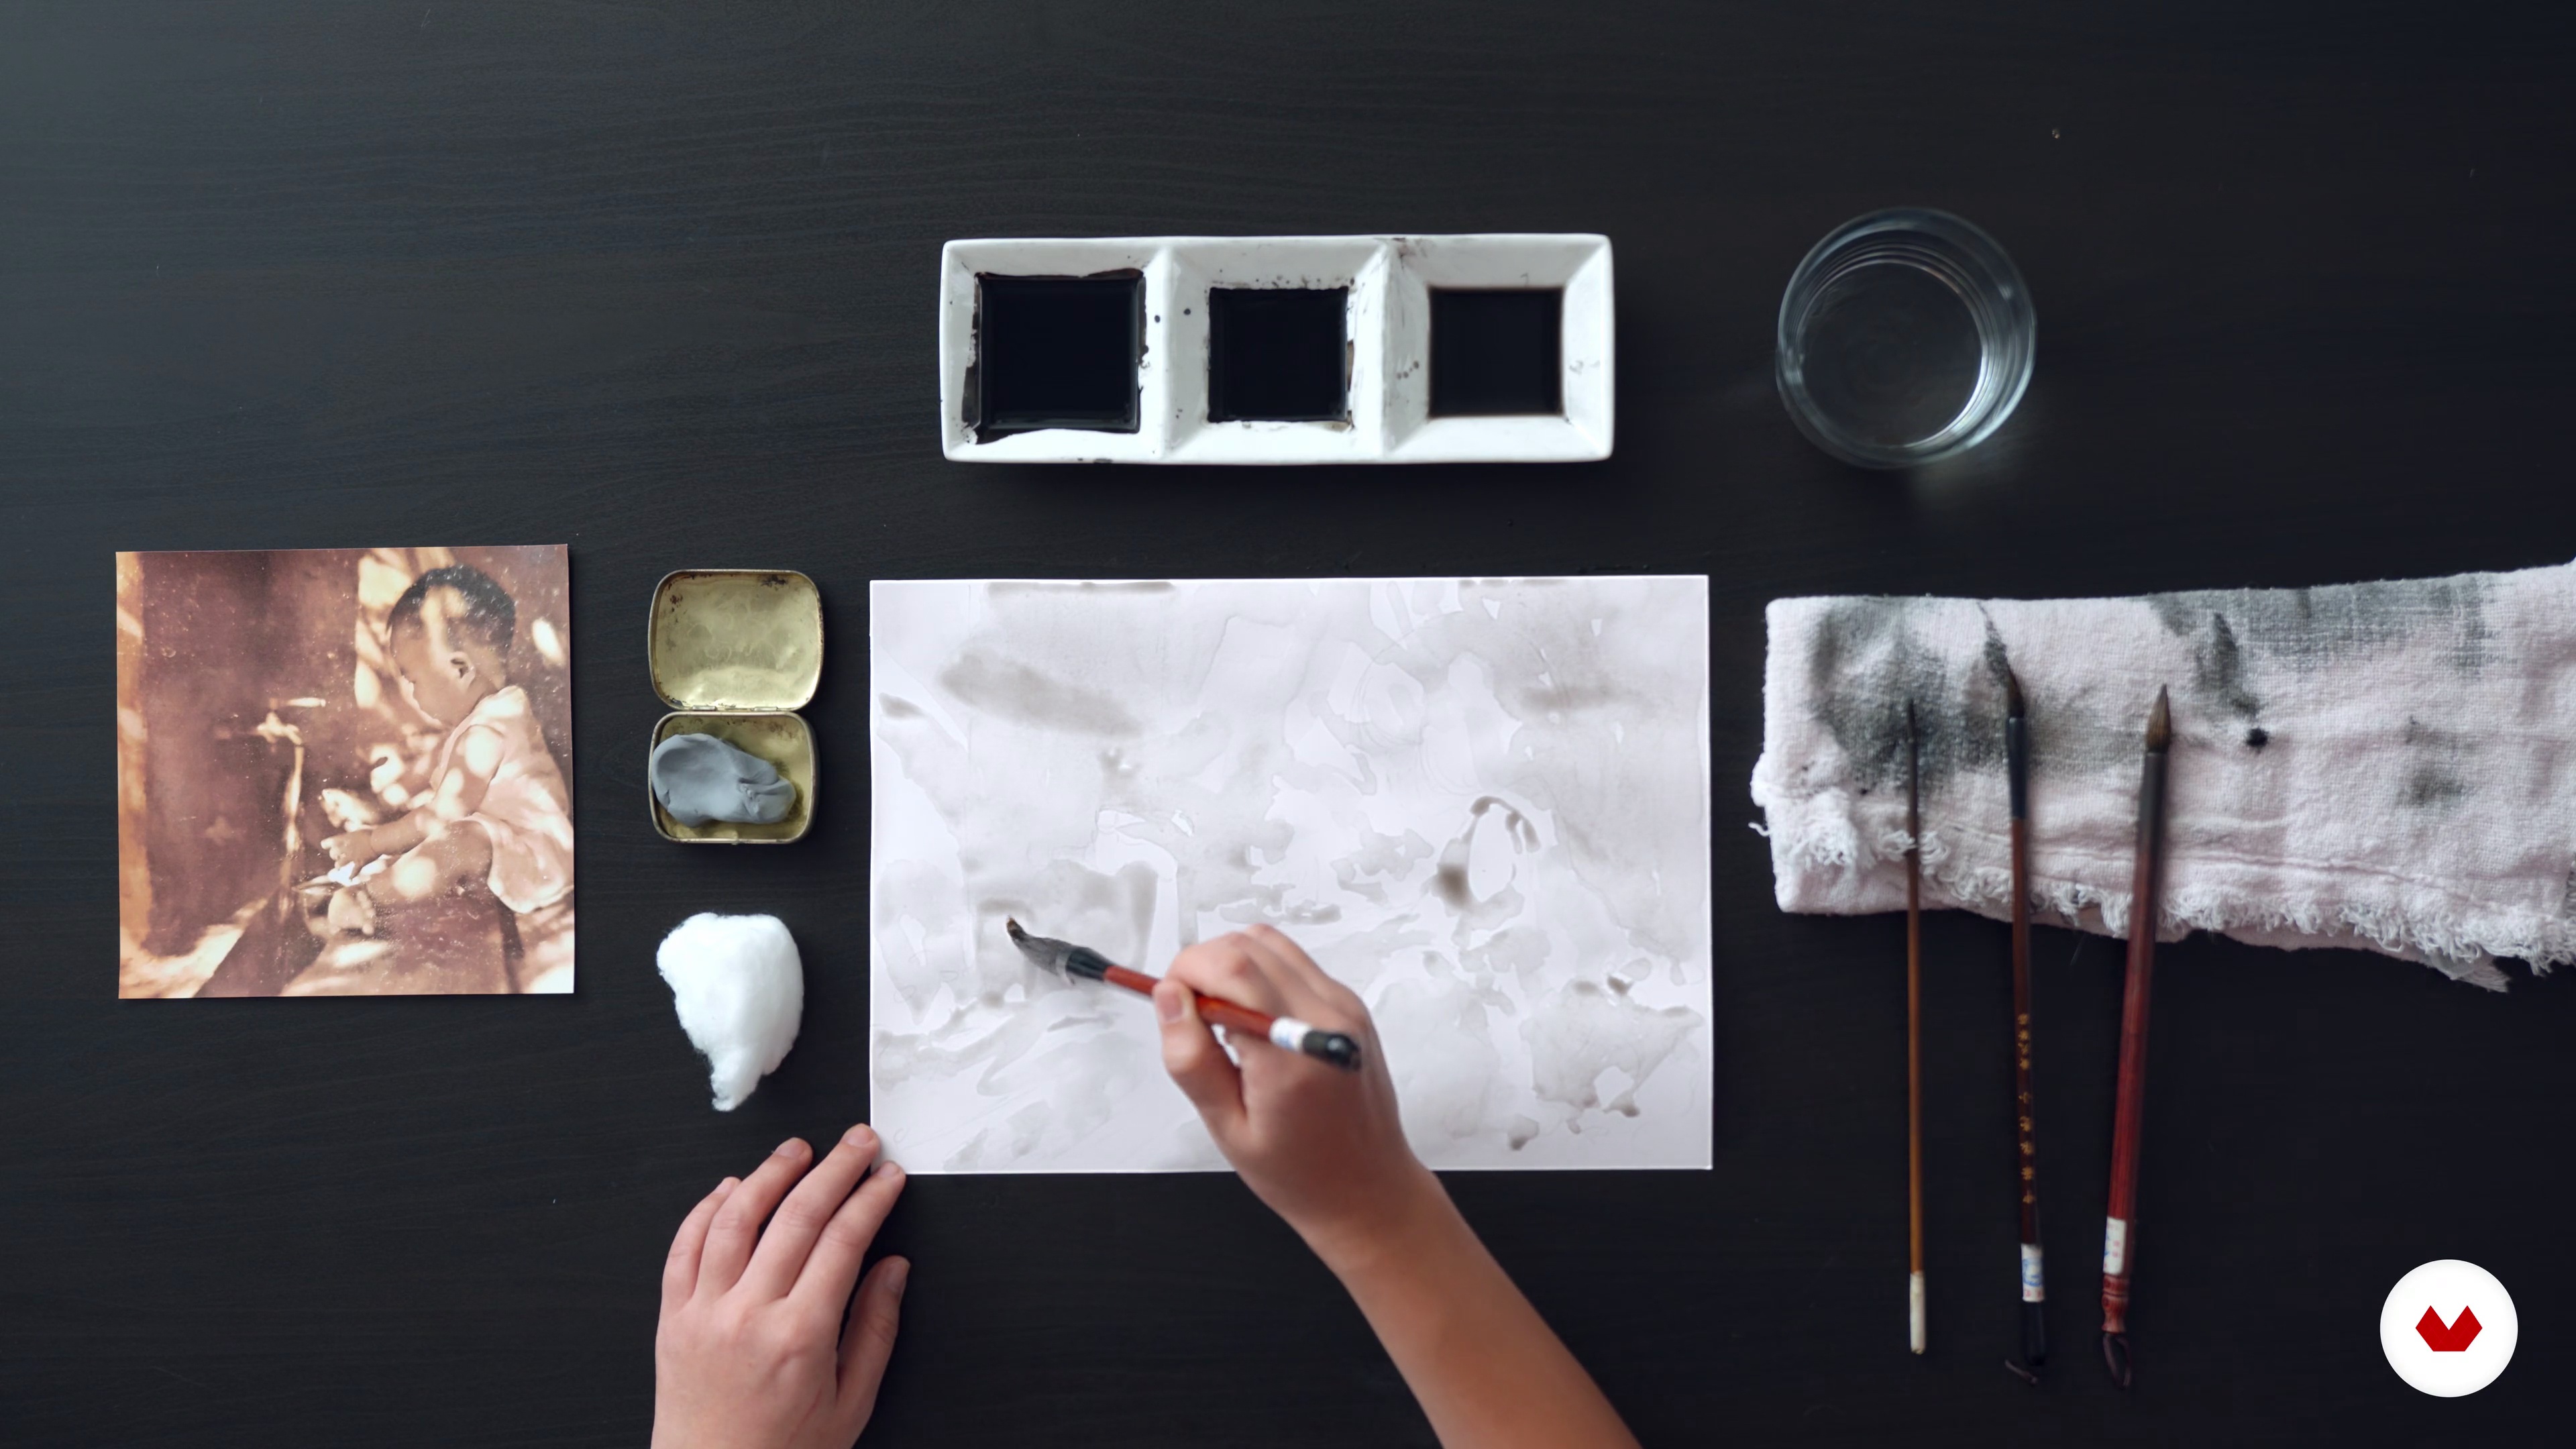
10First spots
Now we started to work with the ink. Let's define the mood of the image with the first light spots that will help us compose the light areas.
3m
 11
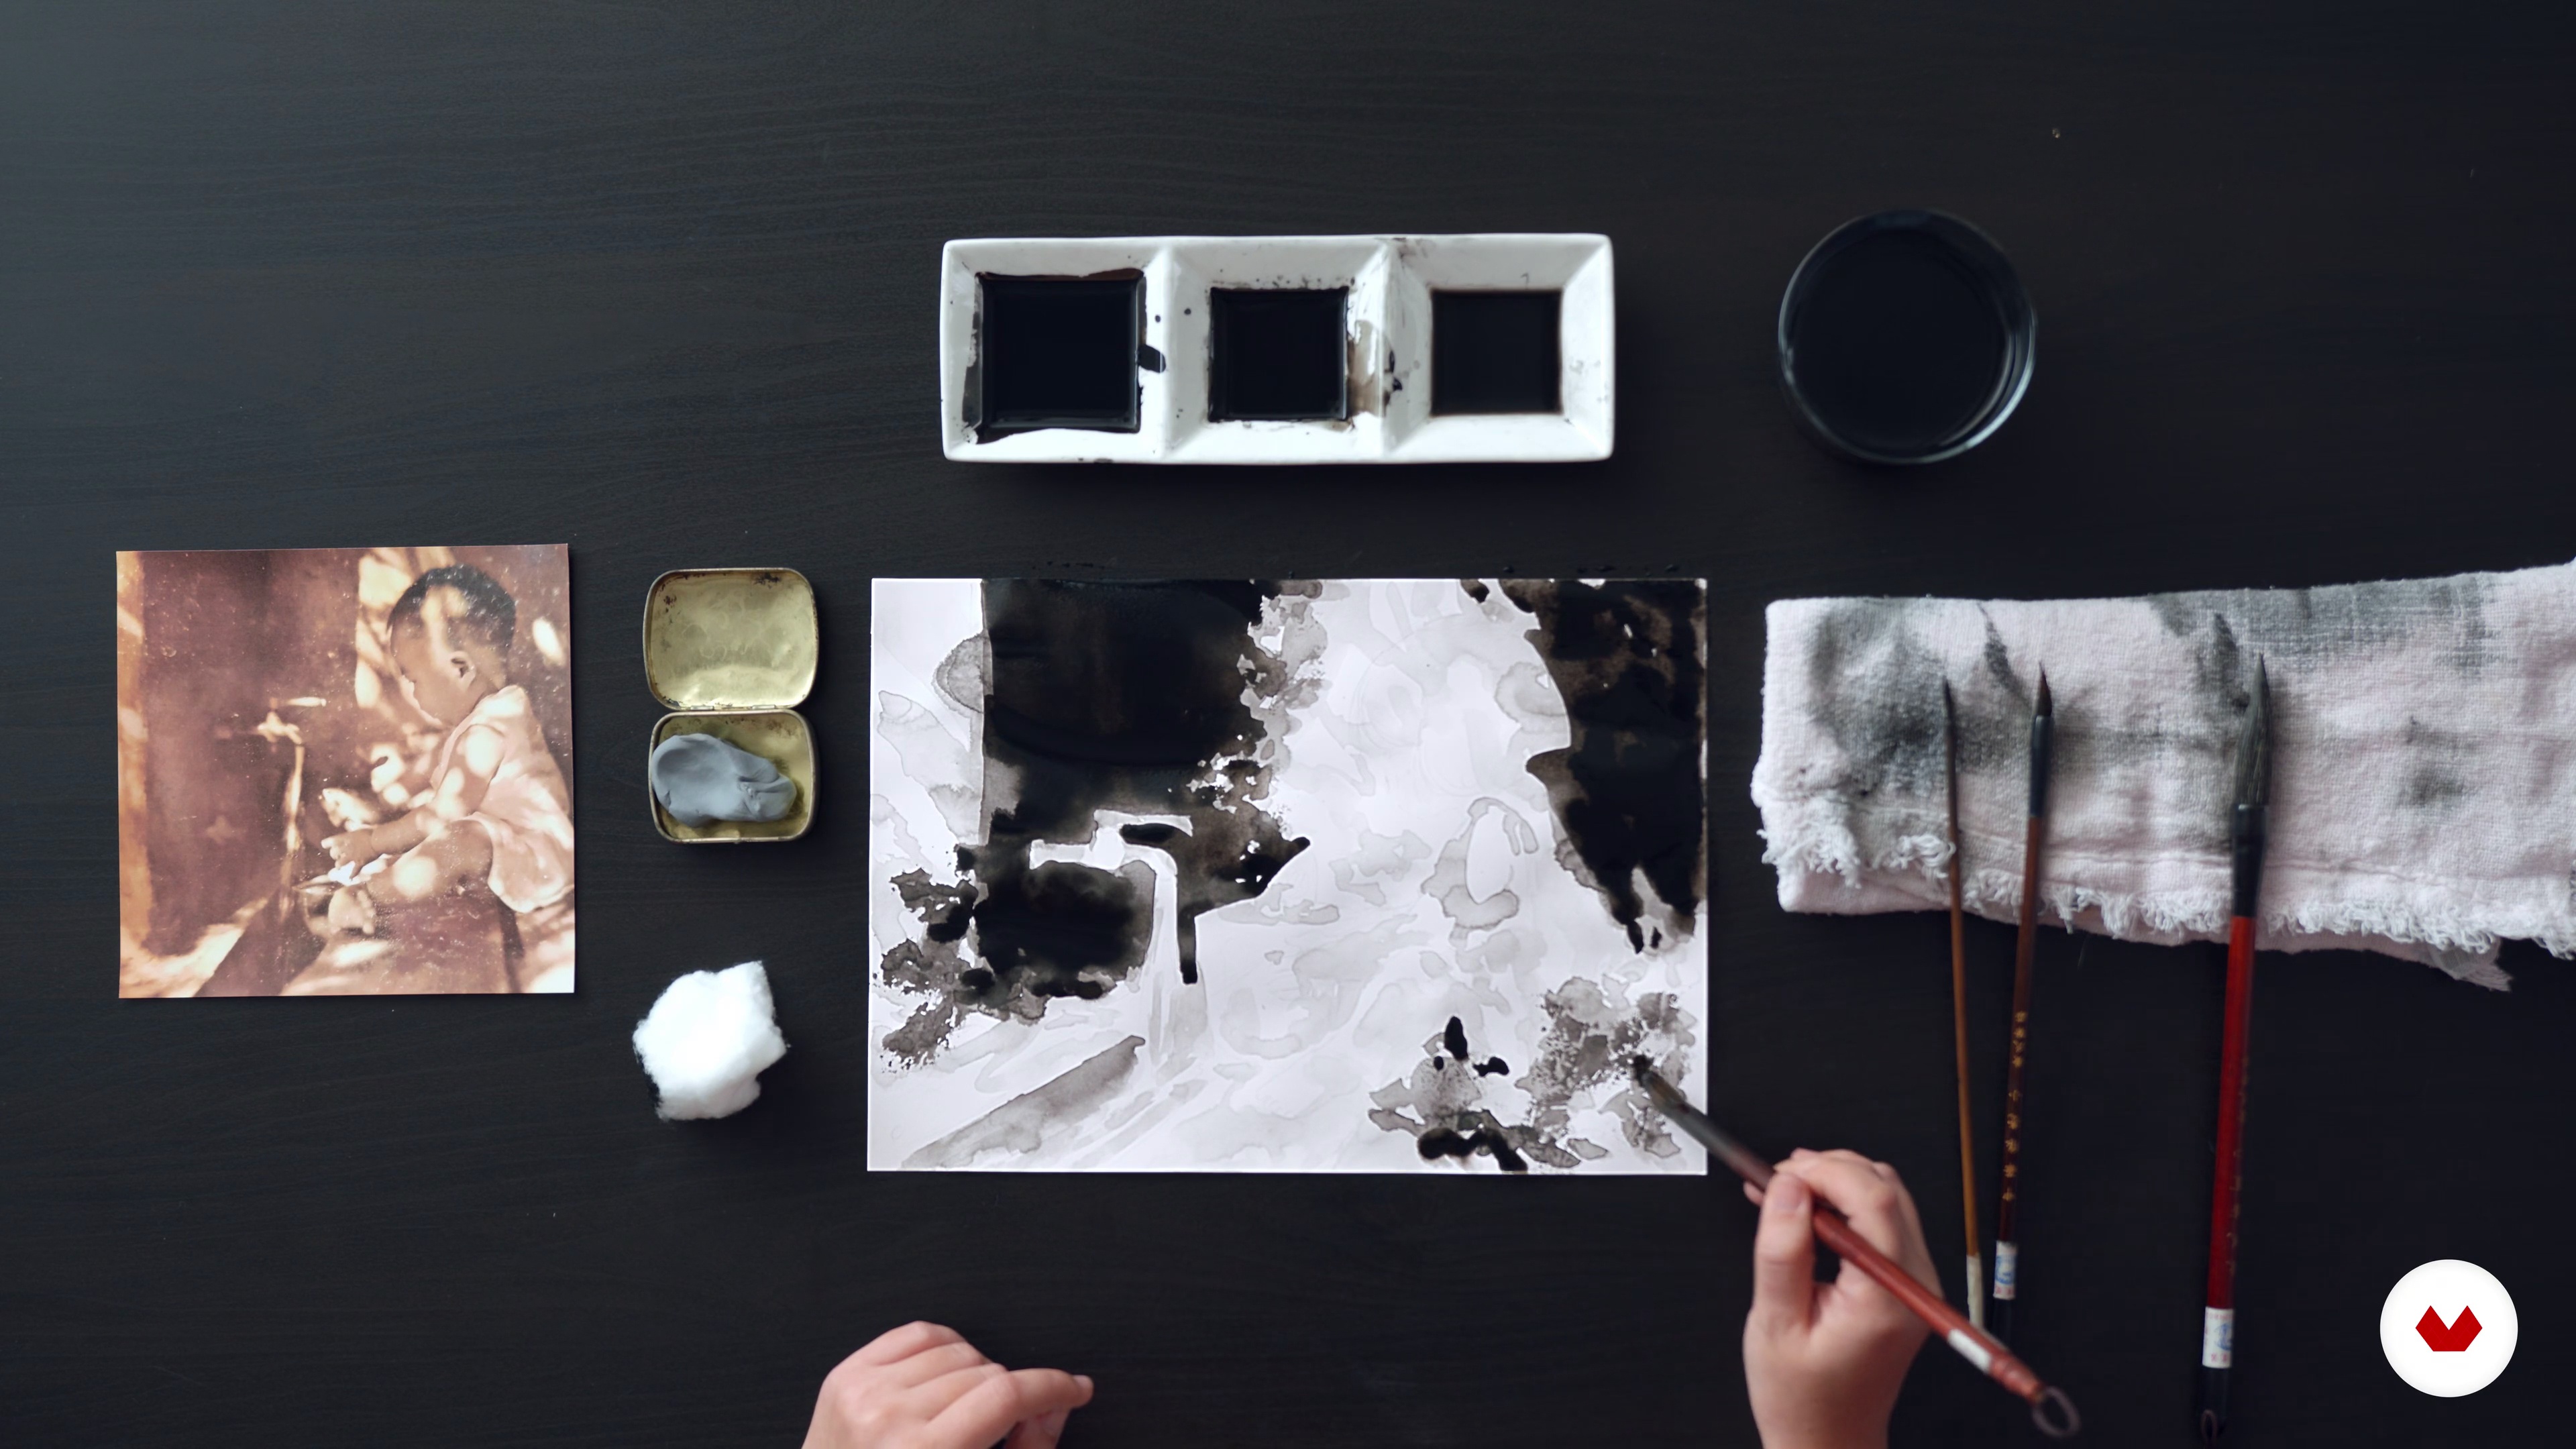
11Contrast
After defining the overall mood of the illustration, I will show you how to use contrast to better define the shapes of the drawing.
5m
 12
12Lines and fills
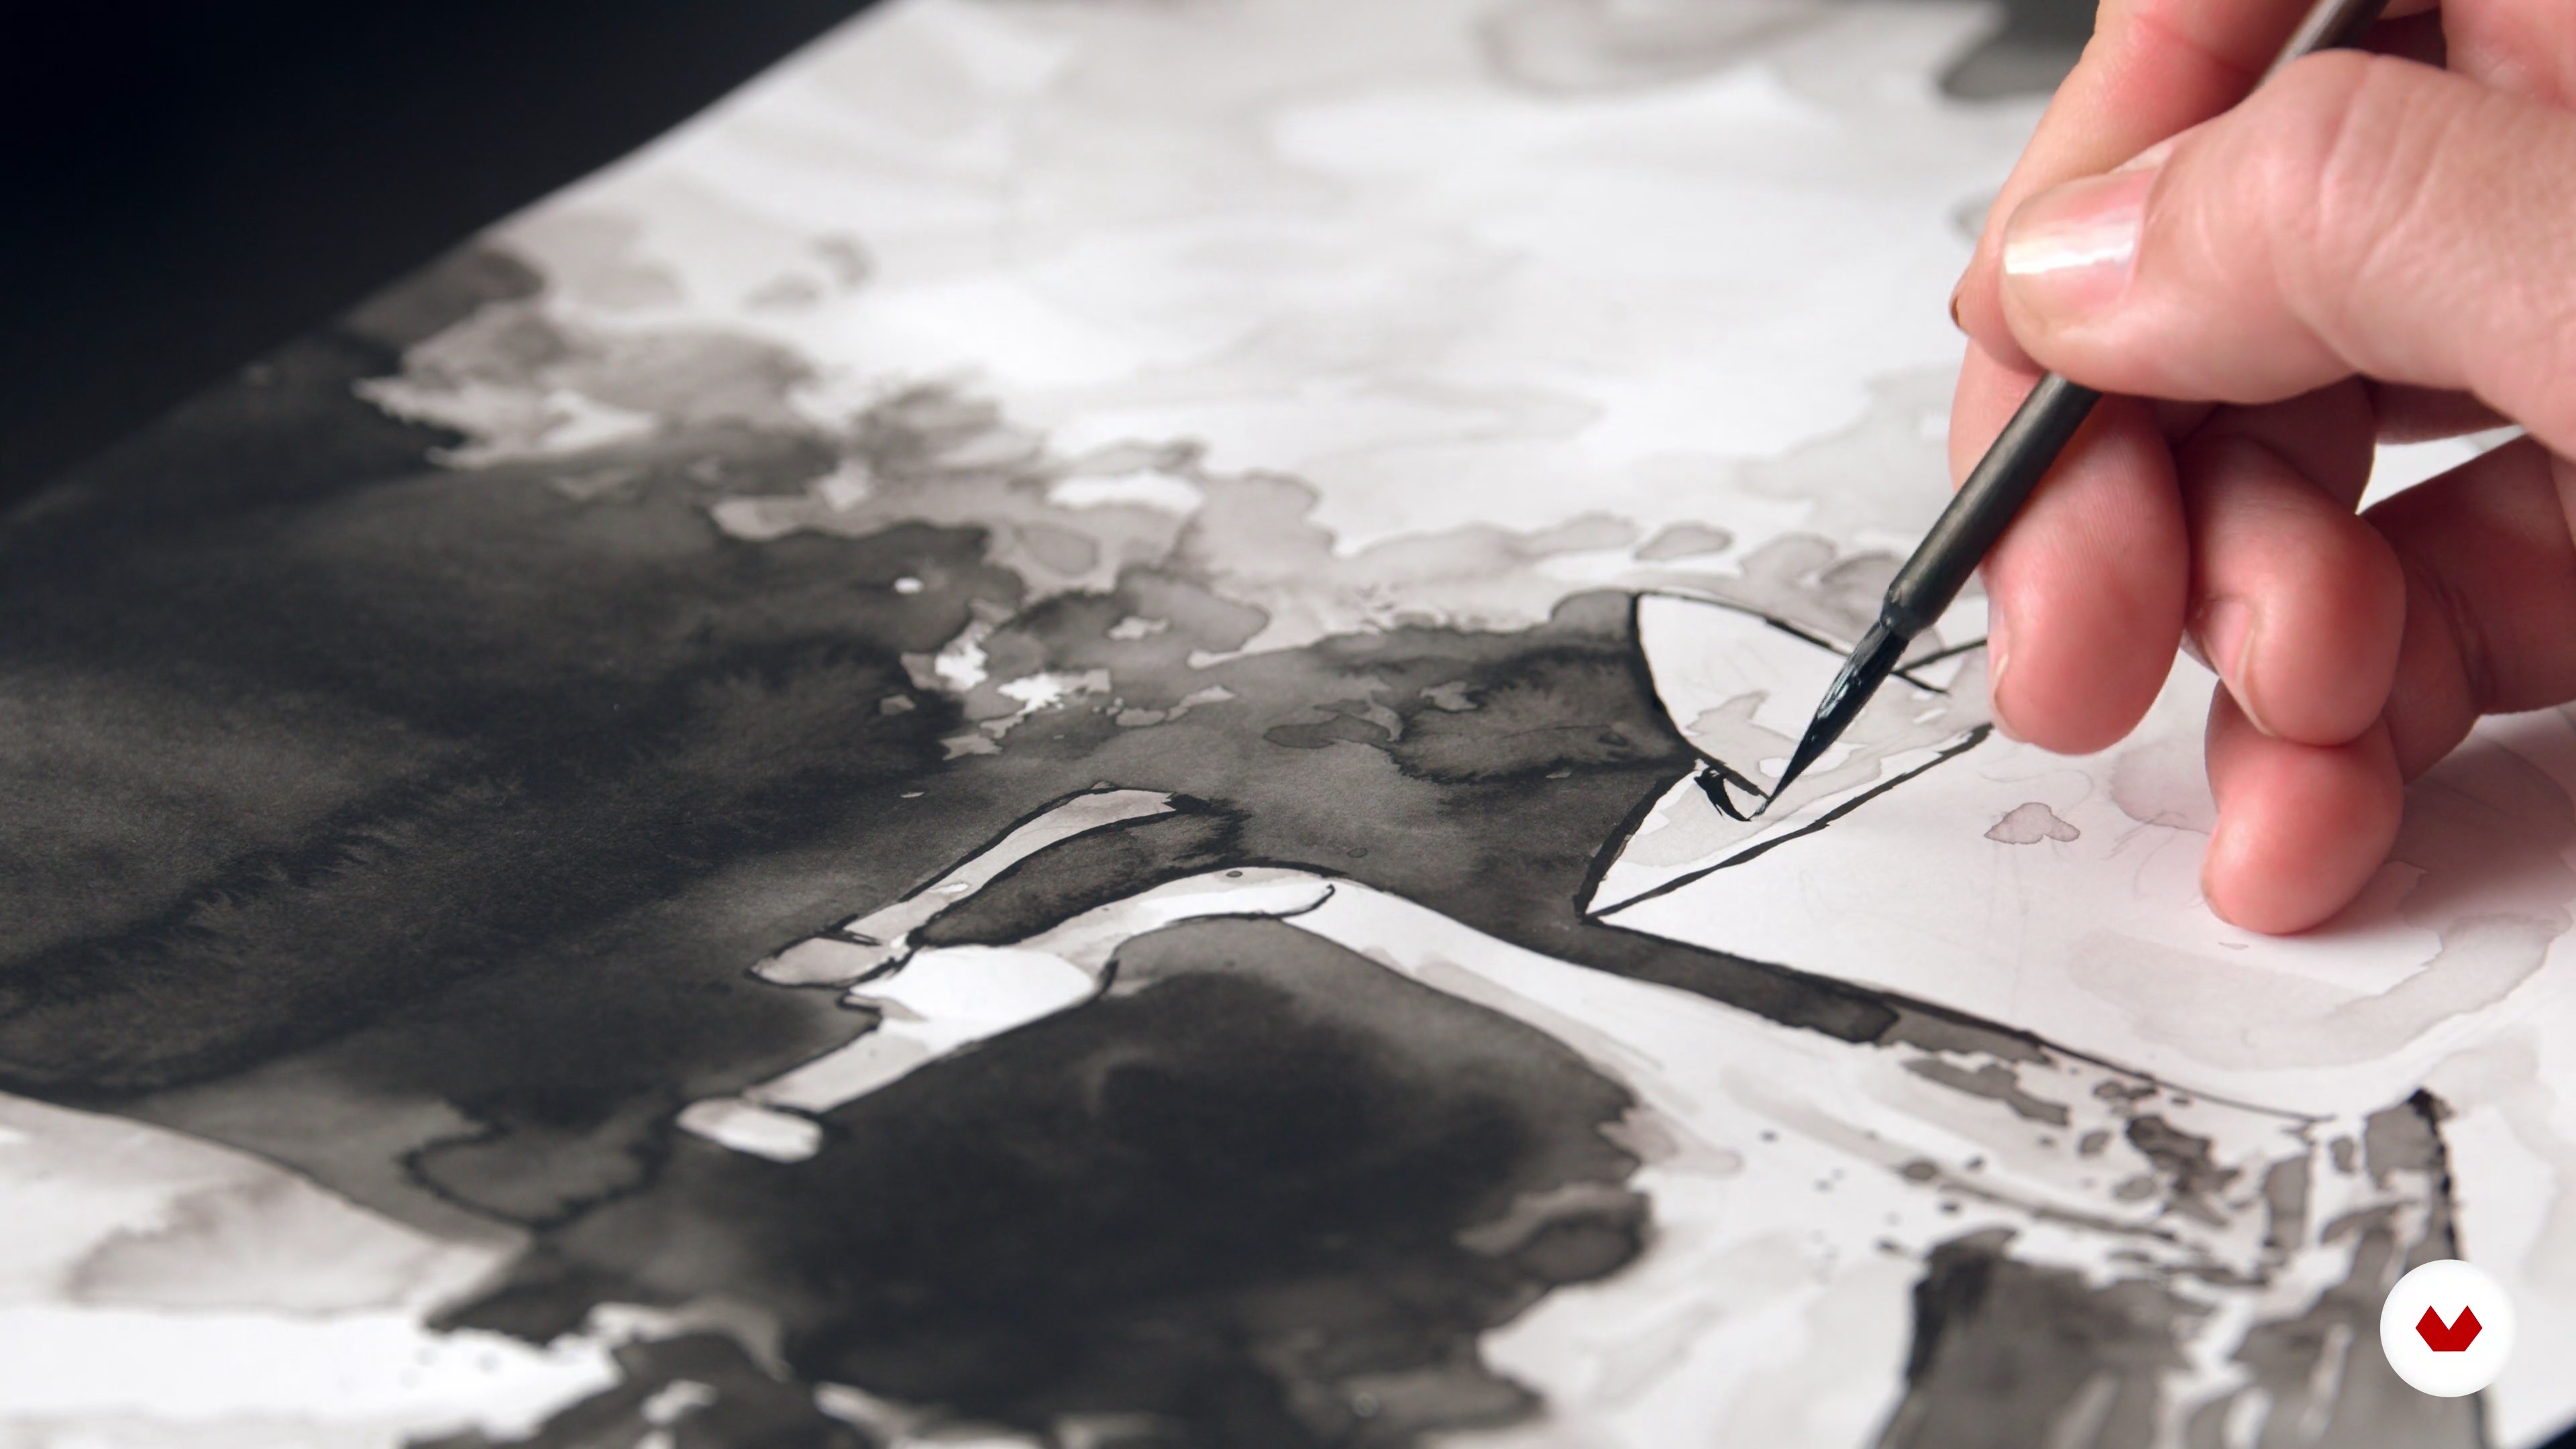
In this last step, we will draw the lines and define the illustration with a fine brush to draw the details.
14m
 13
13Manual editing
In this lesson, I will show you how you can correct minor imperfections in your work using opaque white paint such as gouache or acrylic.
3m
 14
14Digital Edition
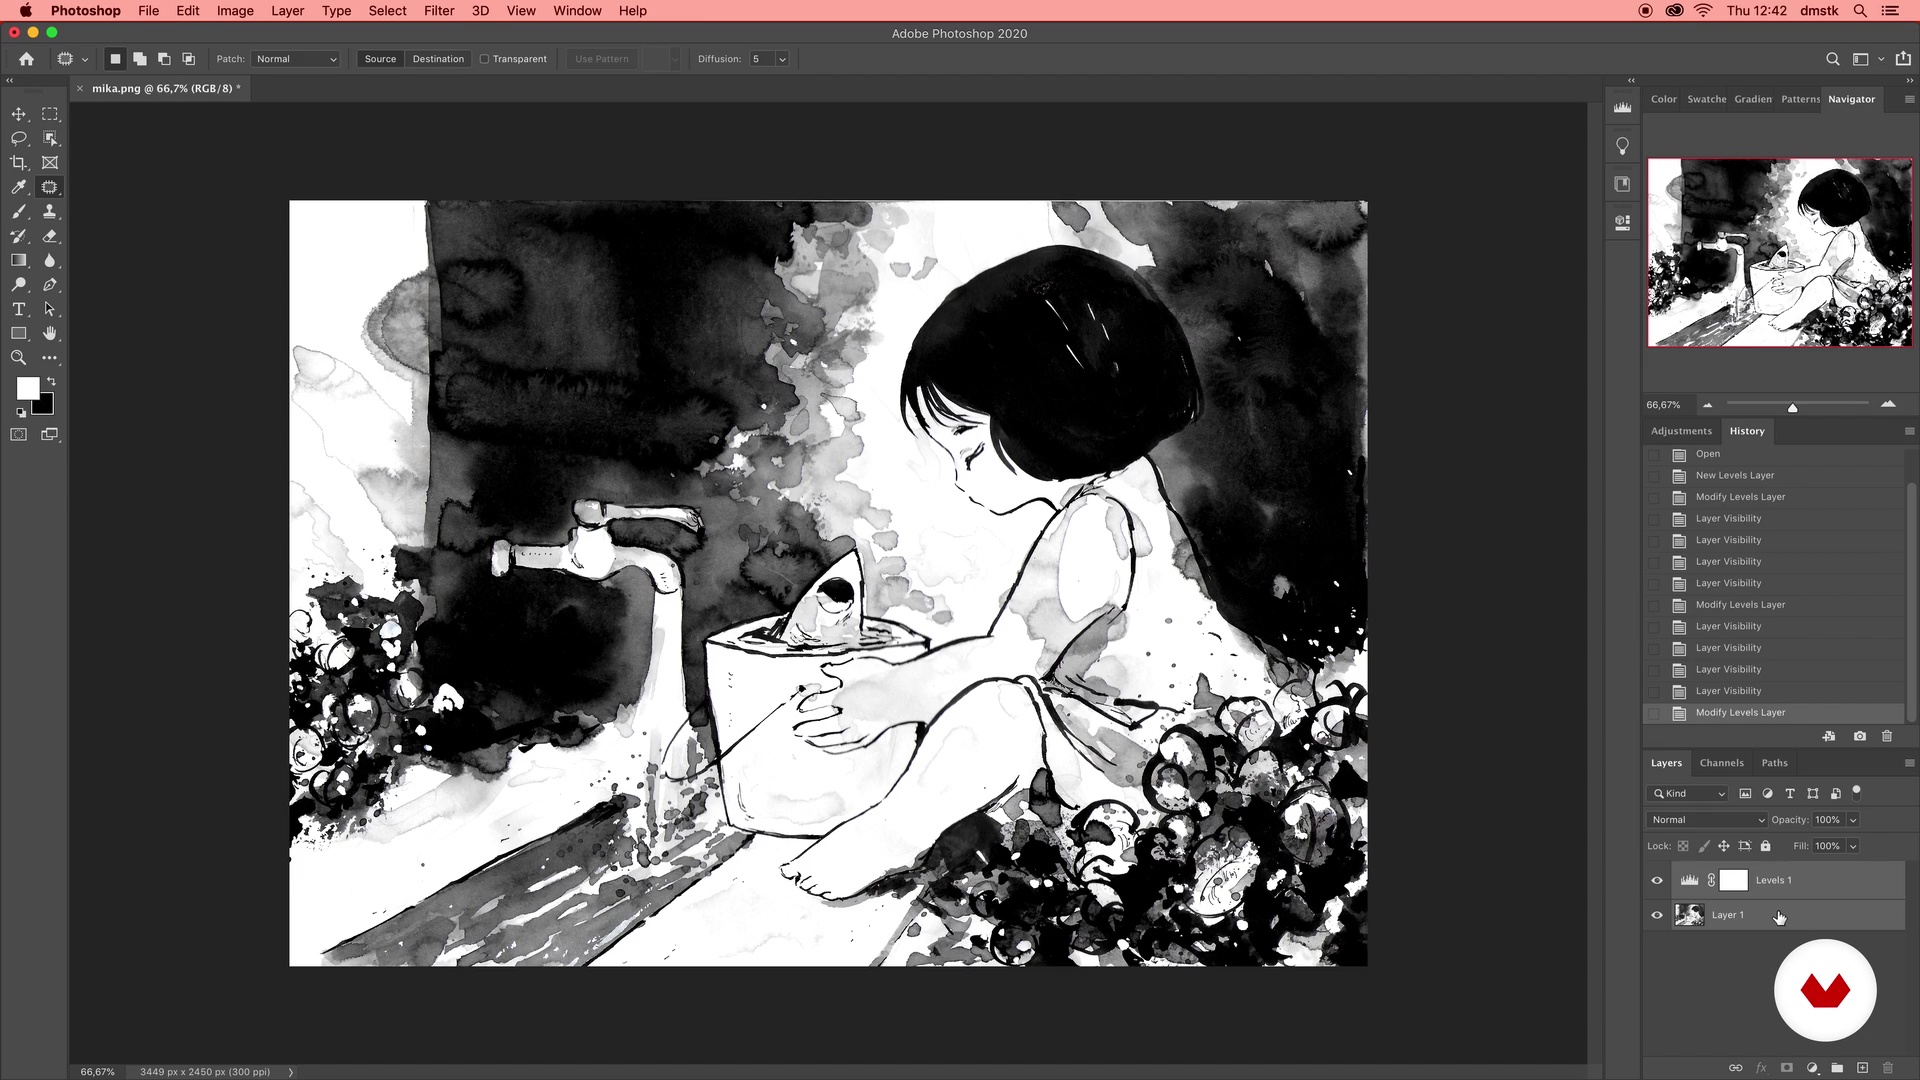
And to finish the illustration, I will show you how to scan and digitize the image to get it ready to print.
4m
 3
3Presentation of Material: Paper
In this lesson, I will cover the materials required for this course, with a special focus on ideal papers to be used for Sumi painting.
13m
 4
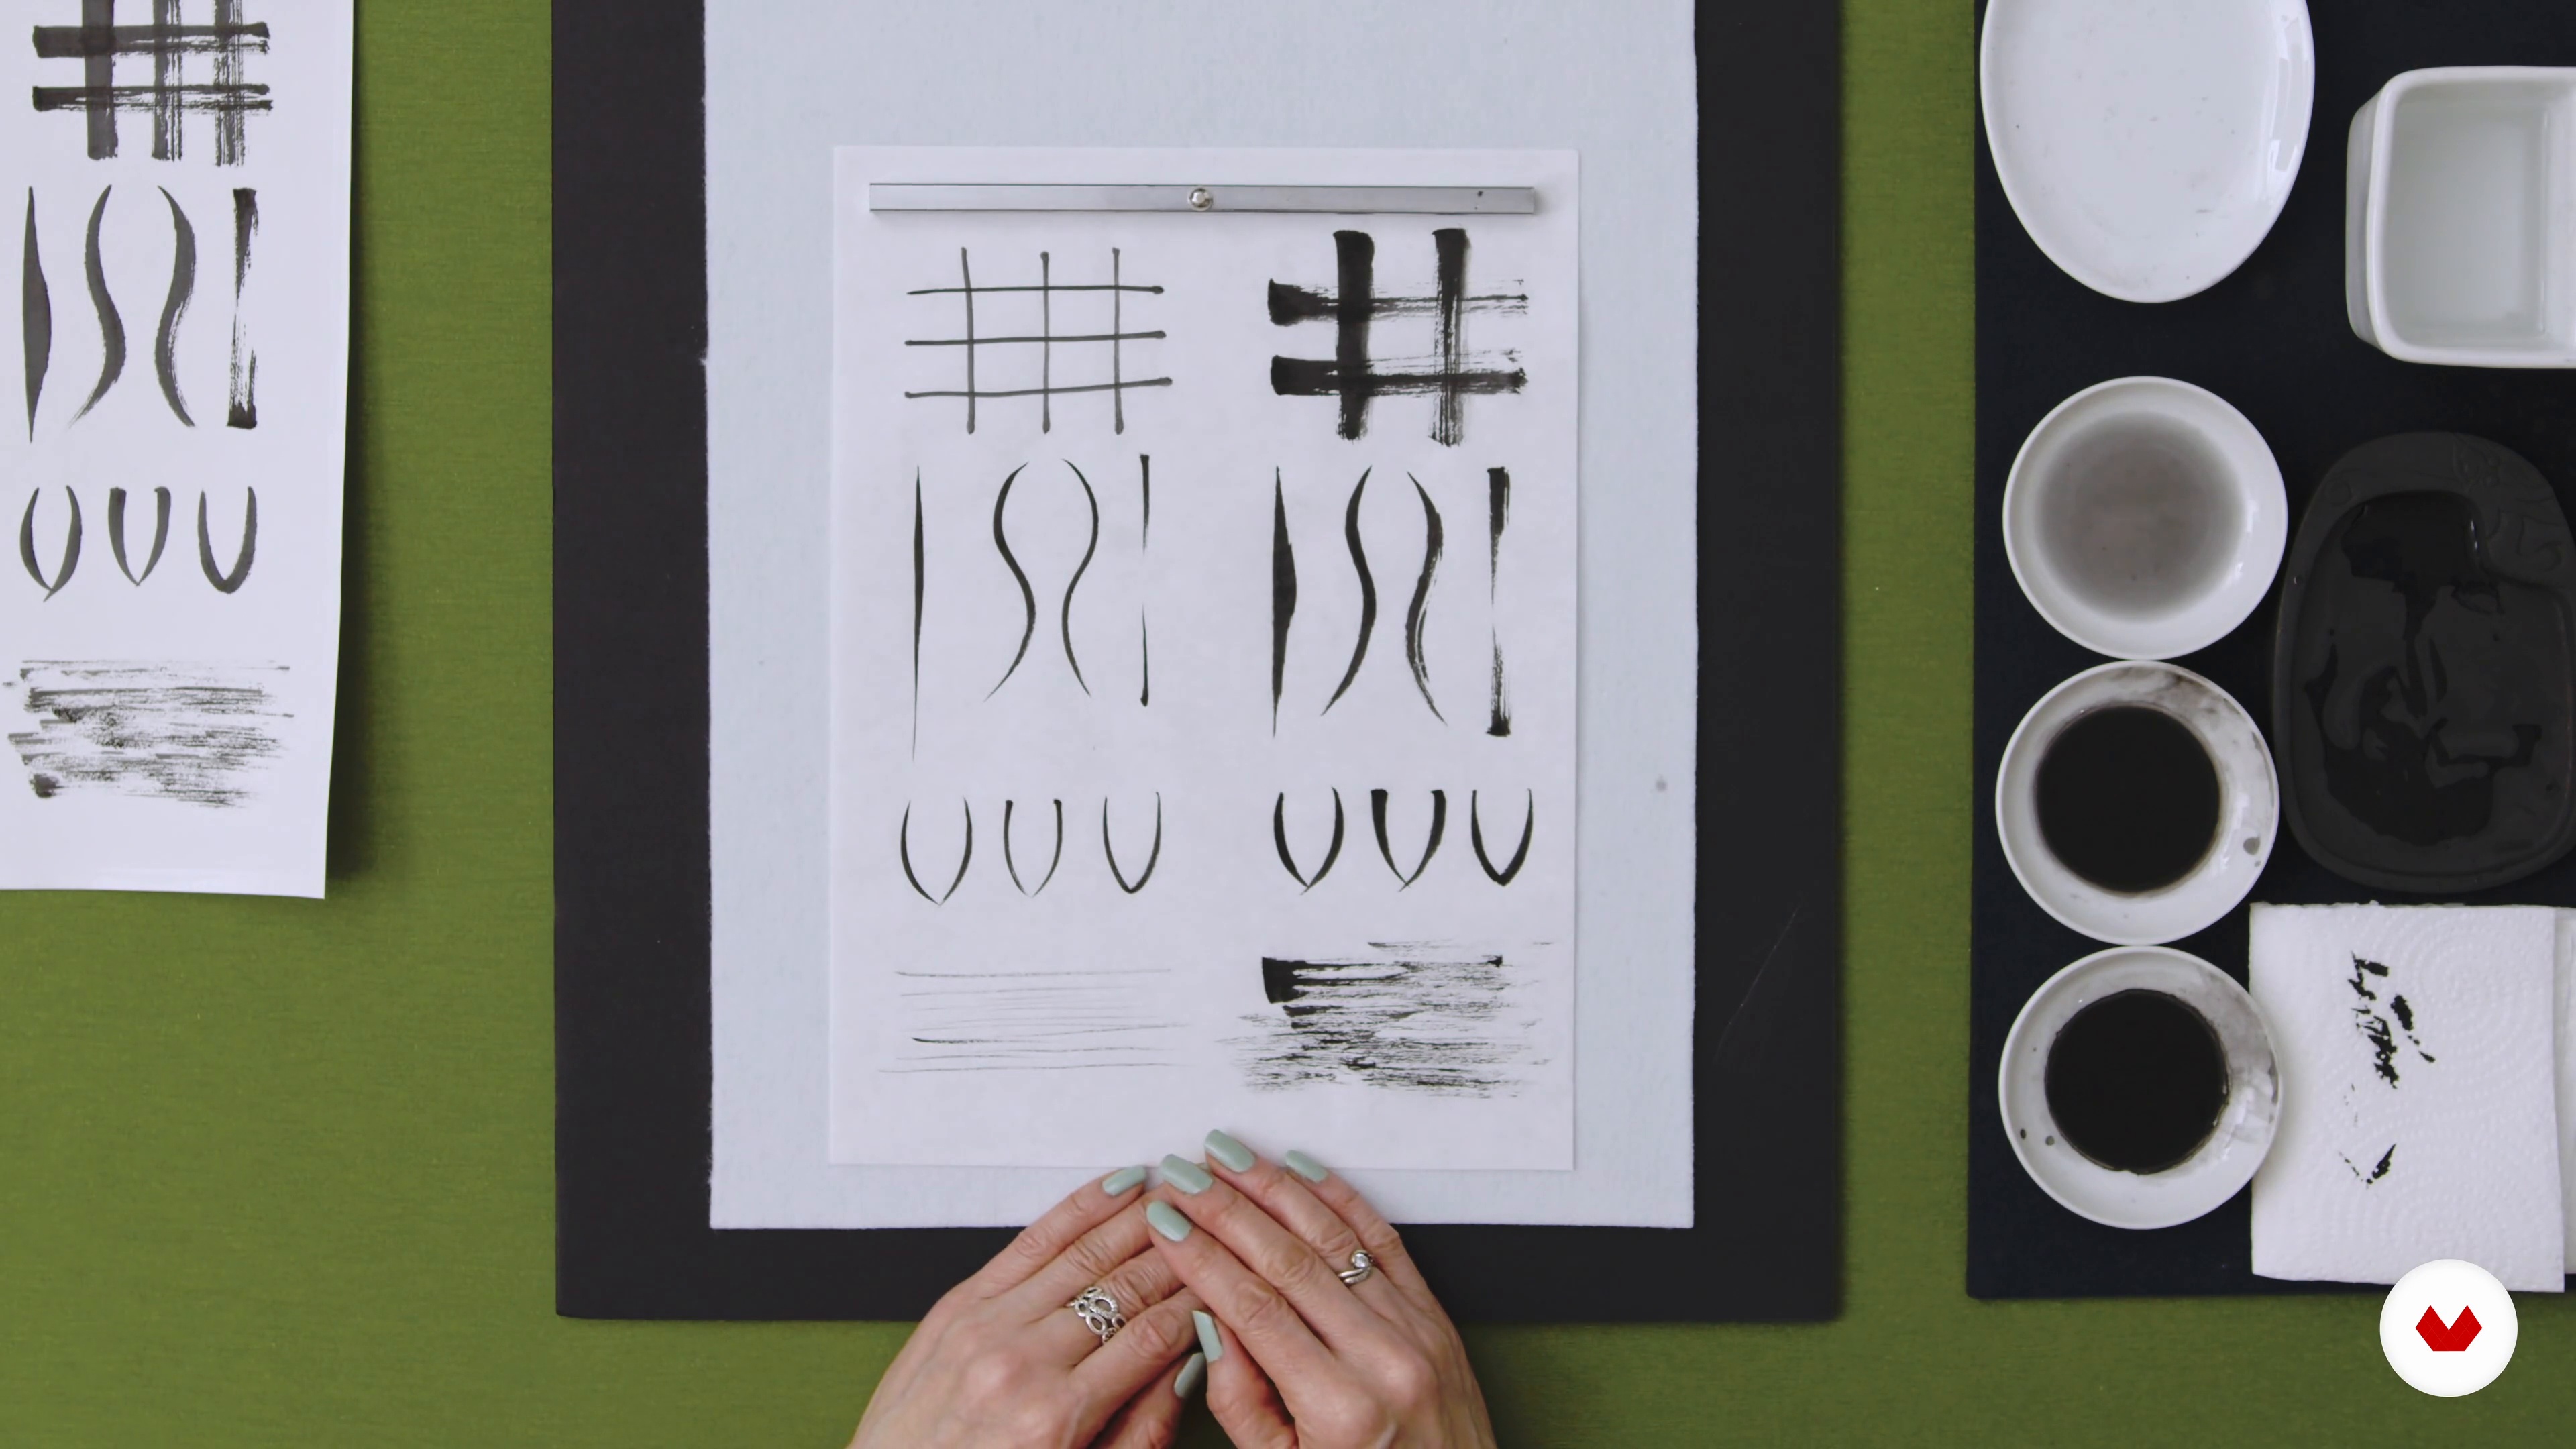
4Senbyouhou and Kourokuhou Techniques with a Small Brush
Let's start practising! First, I will recap the three key features of Sumi painting. Then, I will complete several exercises to help you familiarise yourself with small brush movements.
8m
 5
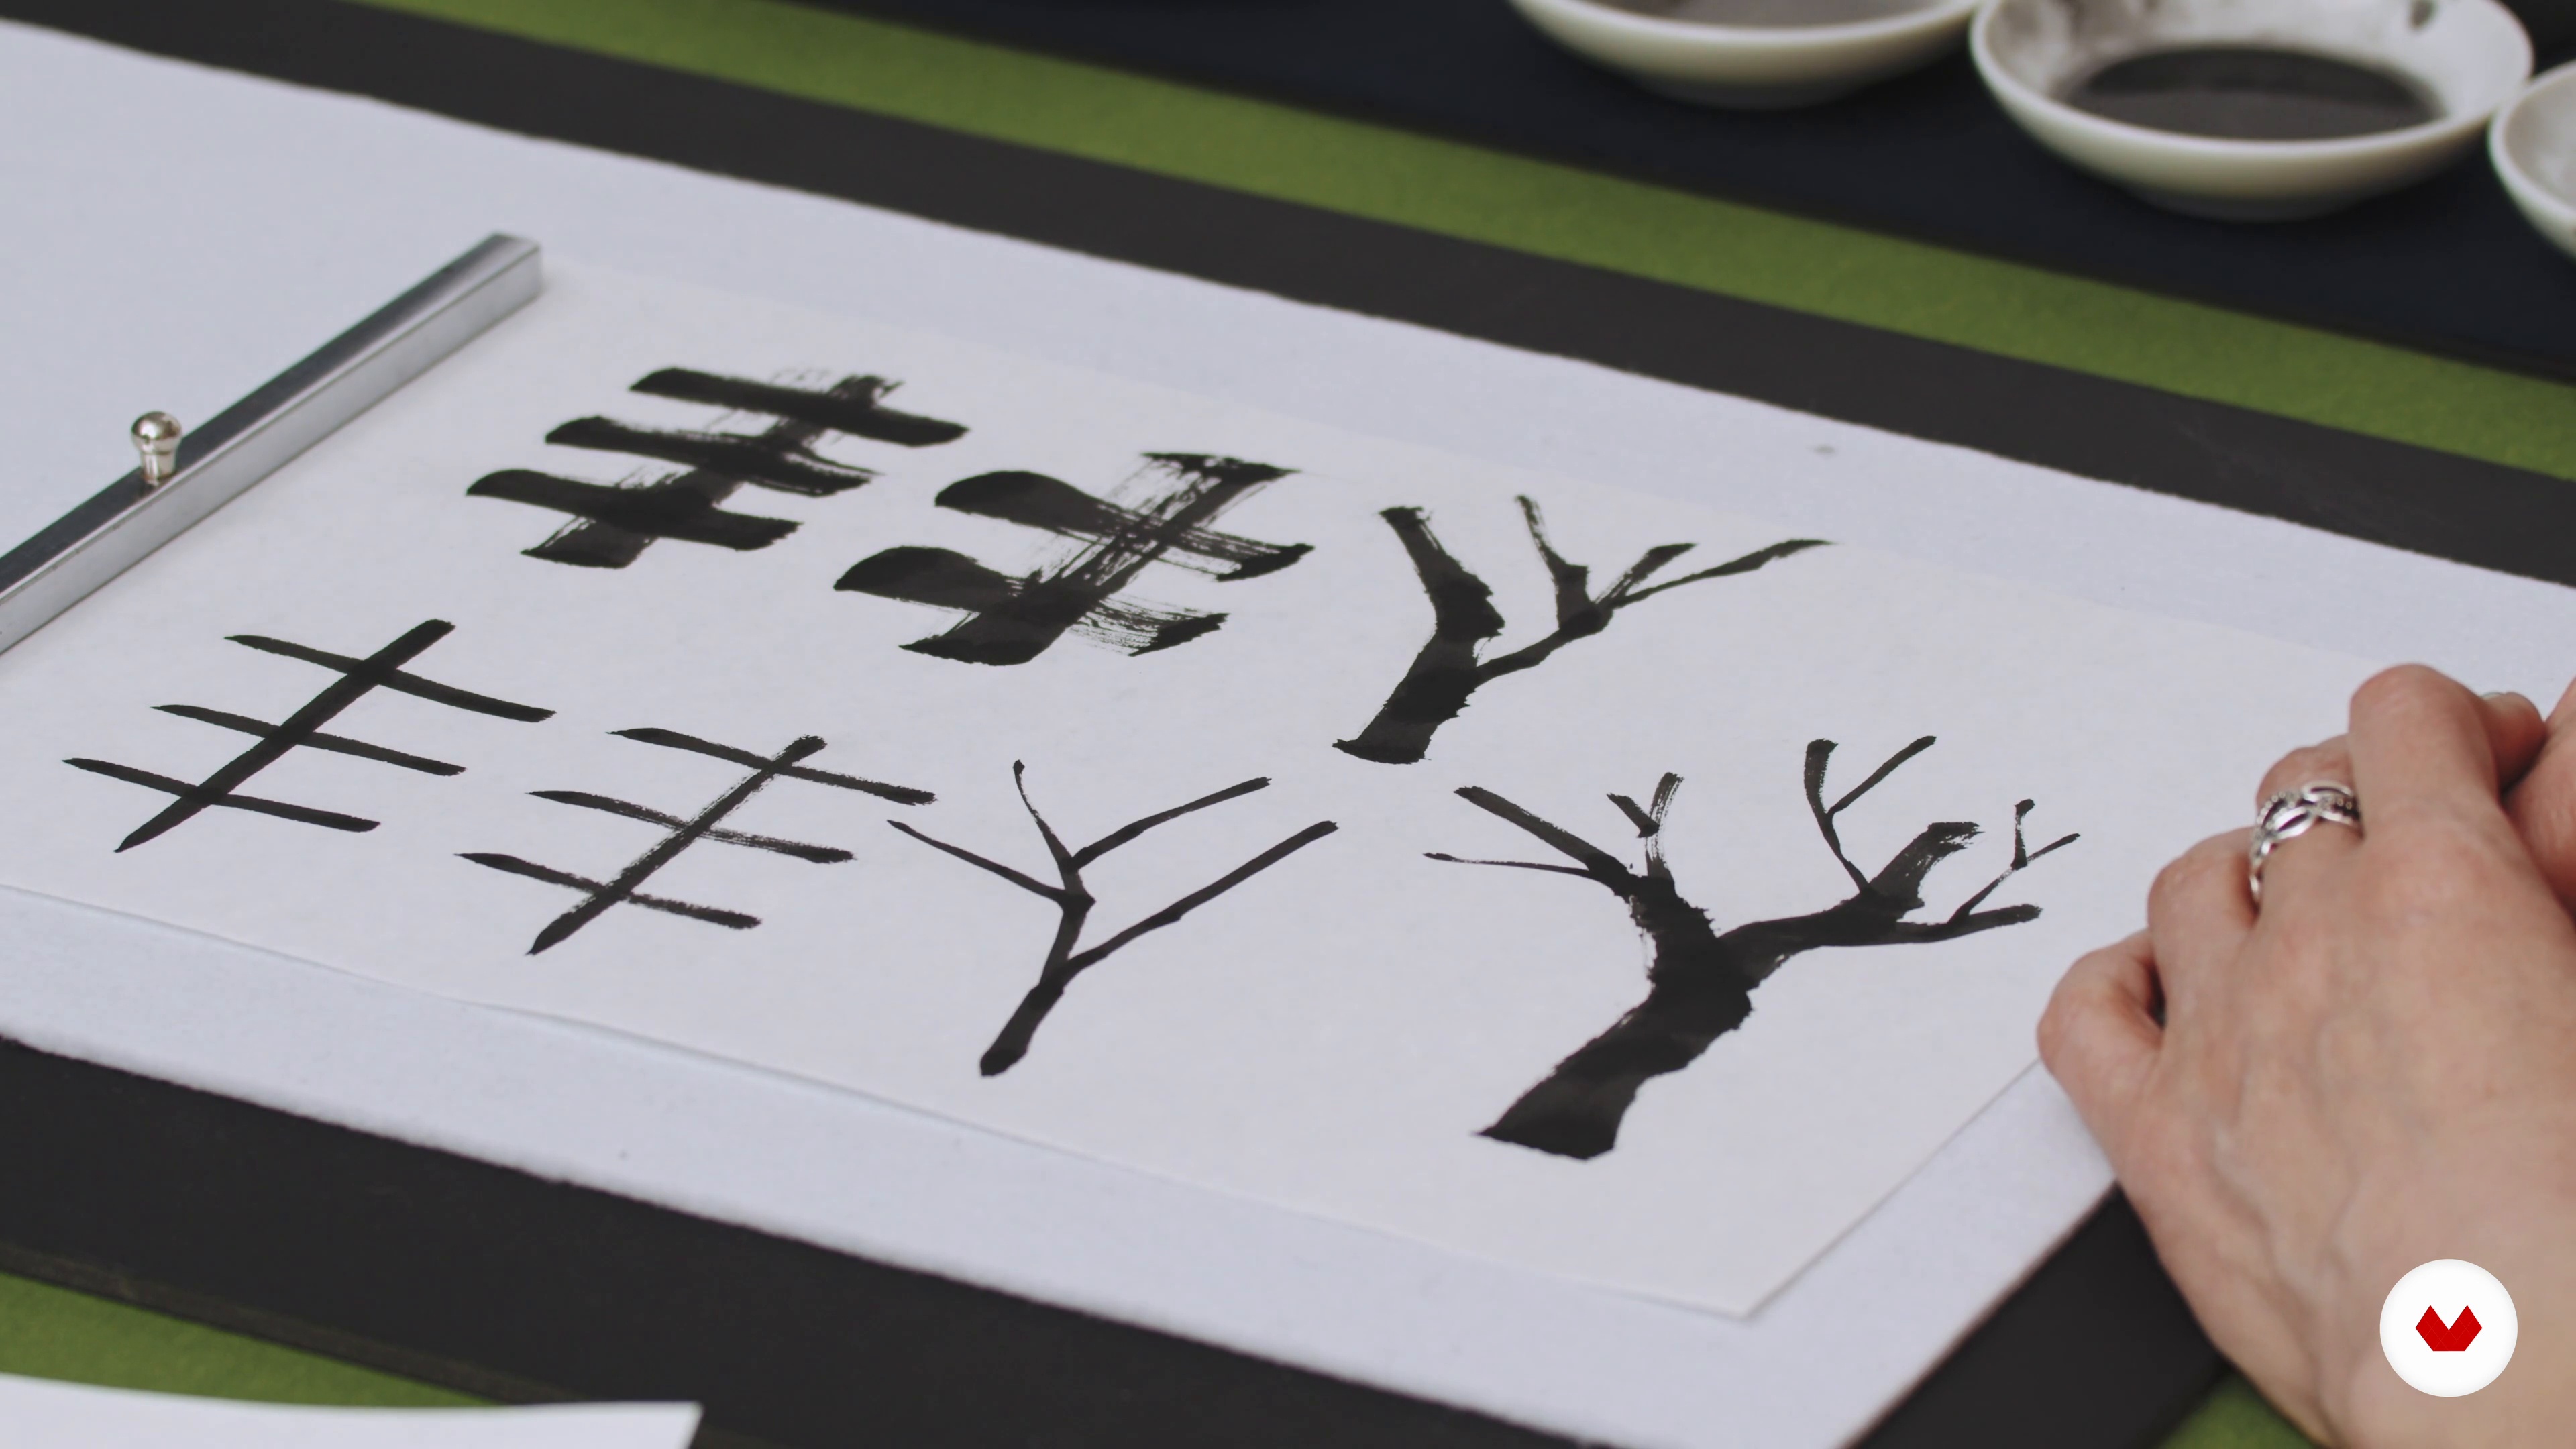
5Kasure Technique
Now, I will revise Kasure, the dry-brush technique used to add texture to elements of the natural world, like trees, rocks, or grass.
6m
 6
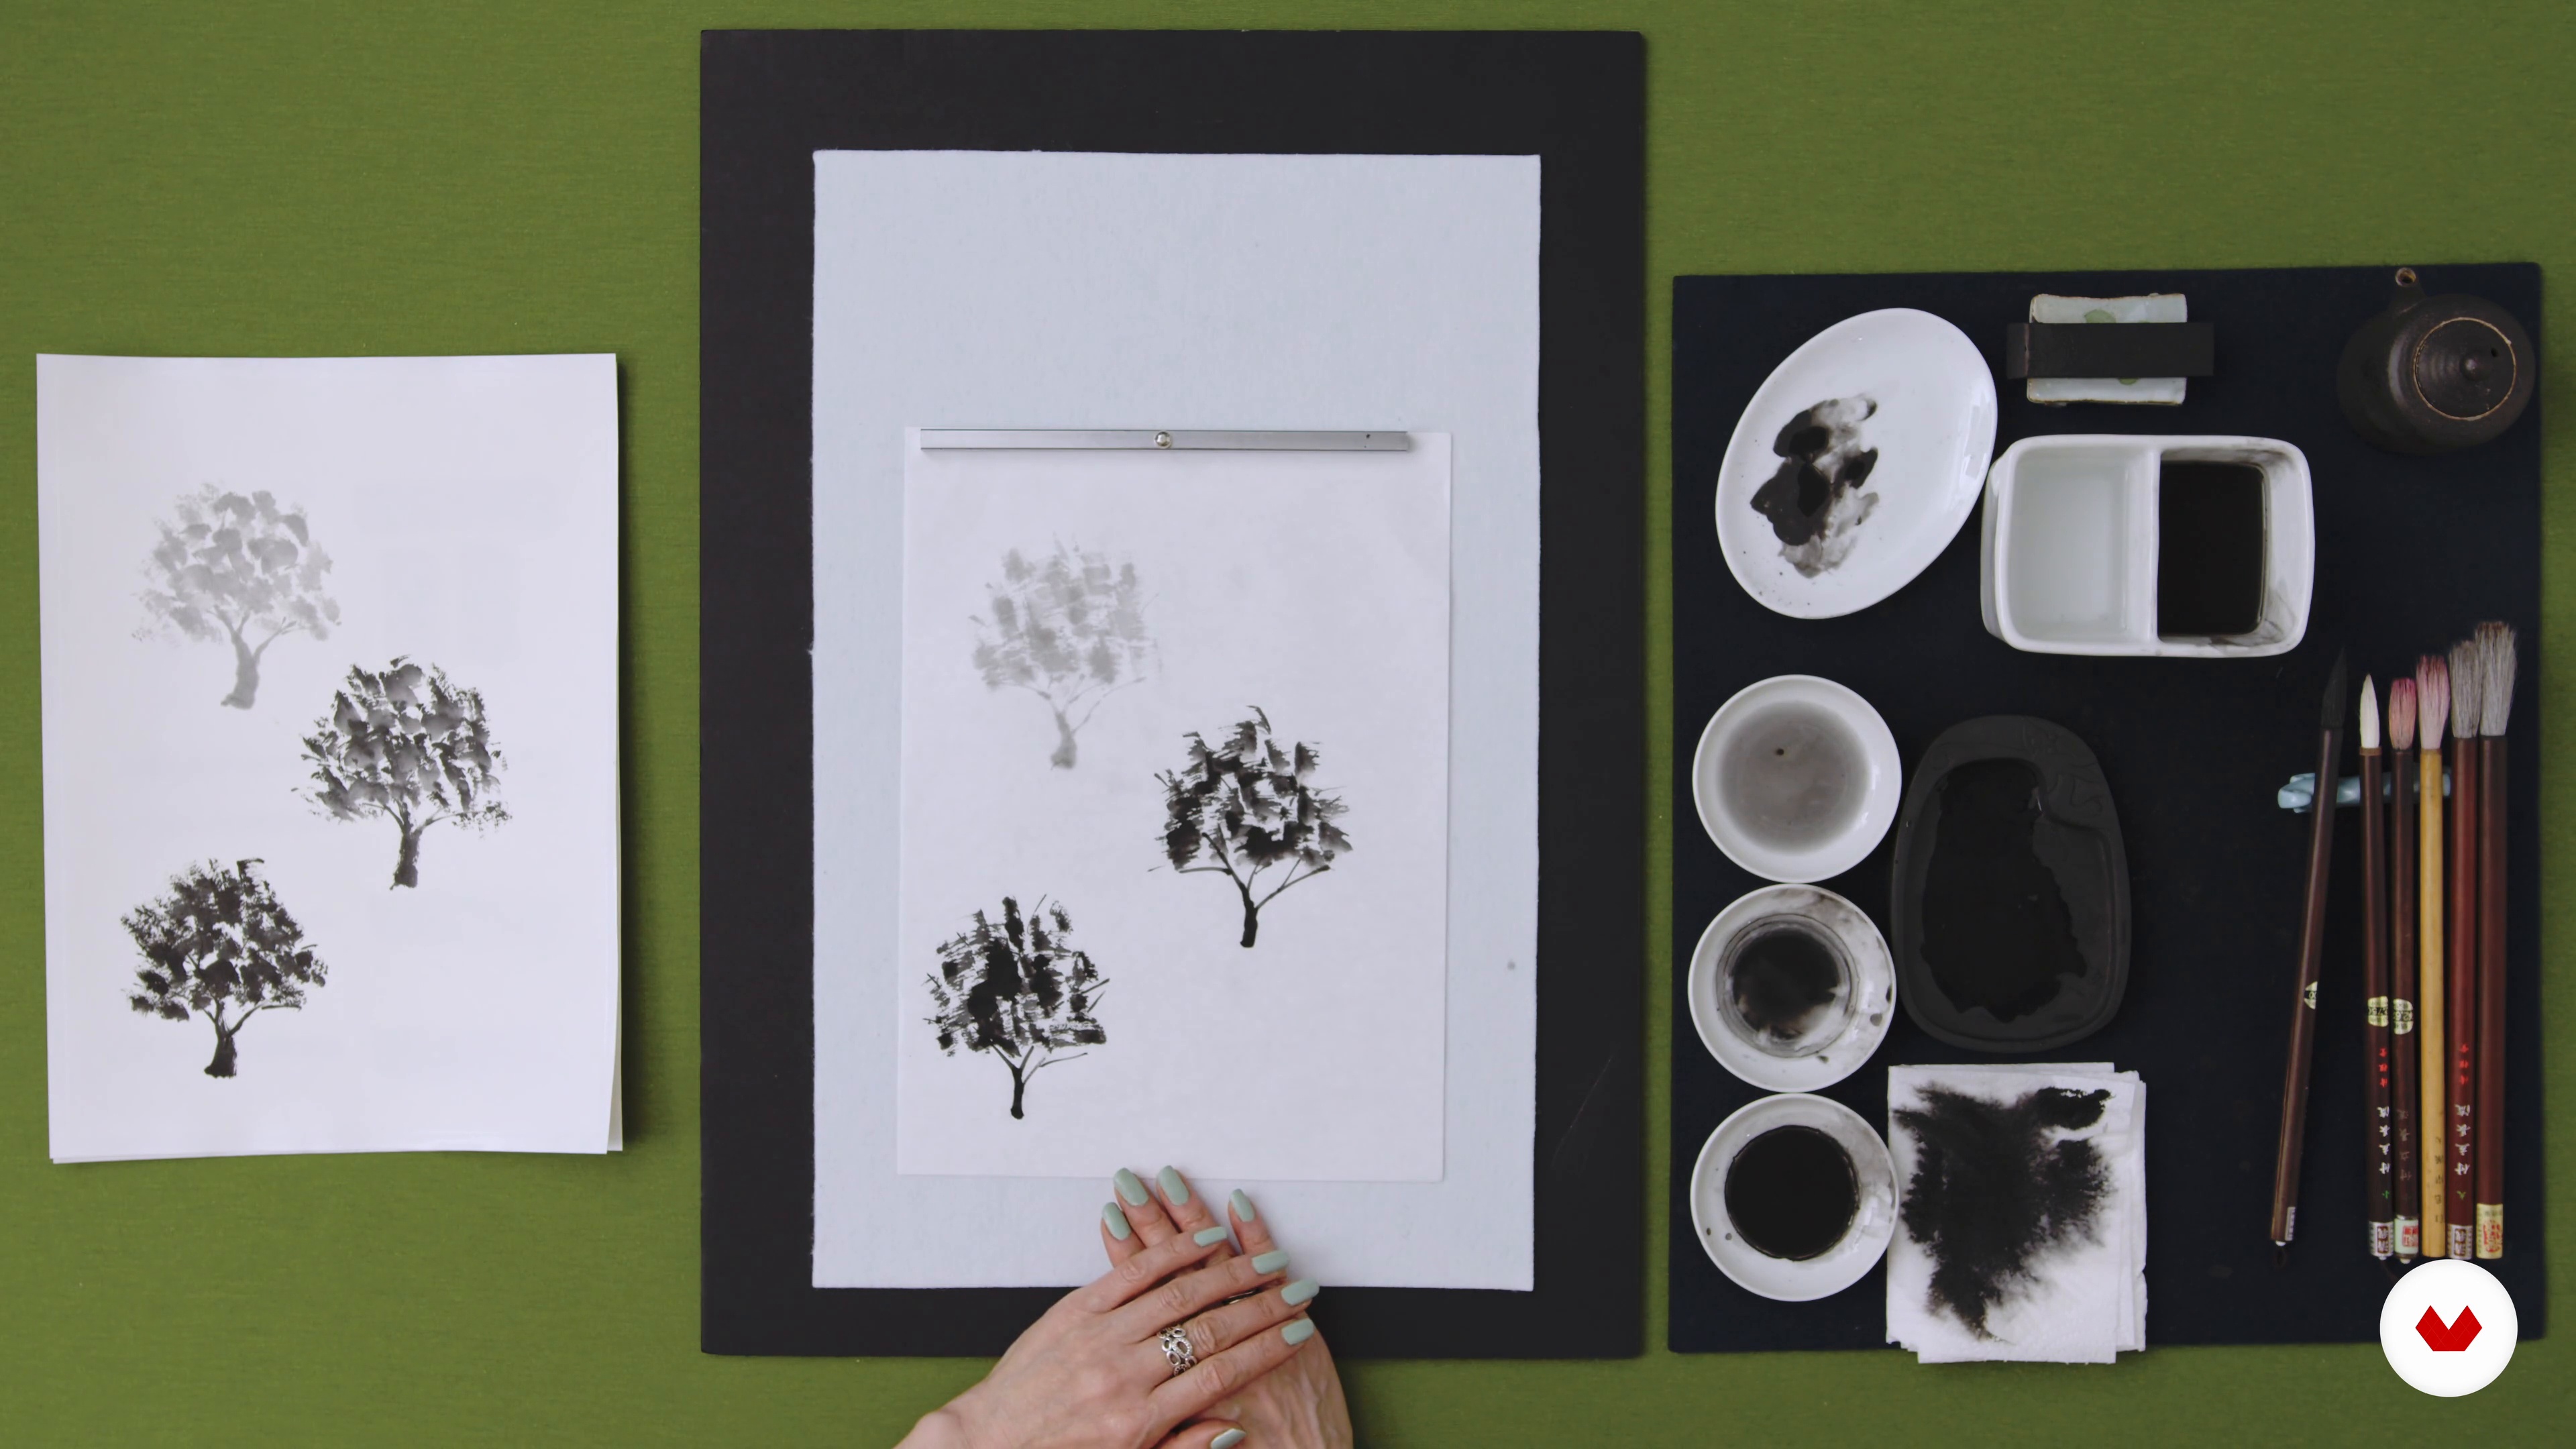
6Tsuketatehou Technique with Ink Effects
After practising with Kasure, here I will teach you how to use ink to create gradations and express depth in a simple line.
13m
 7
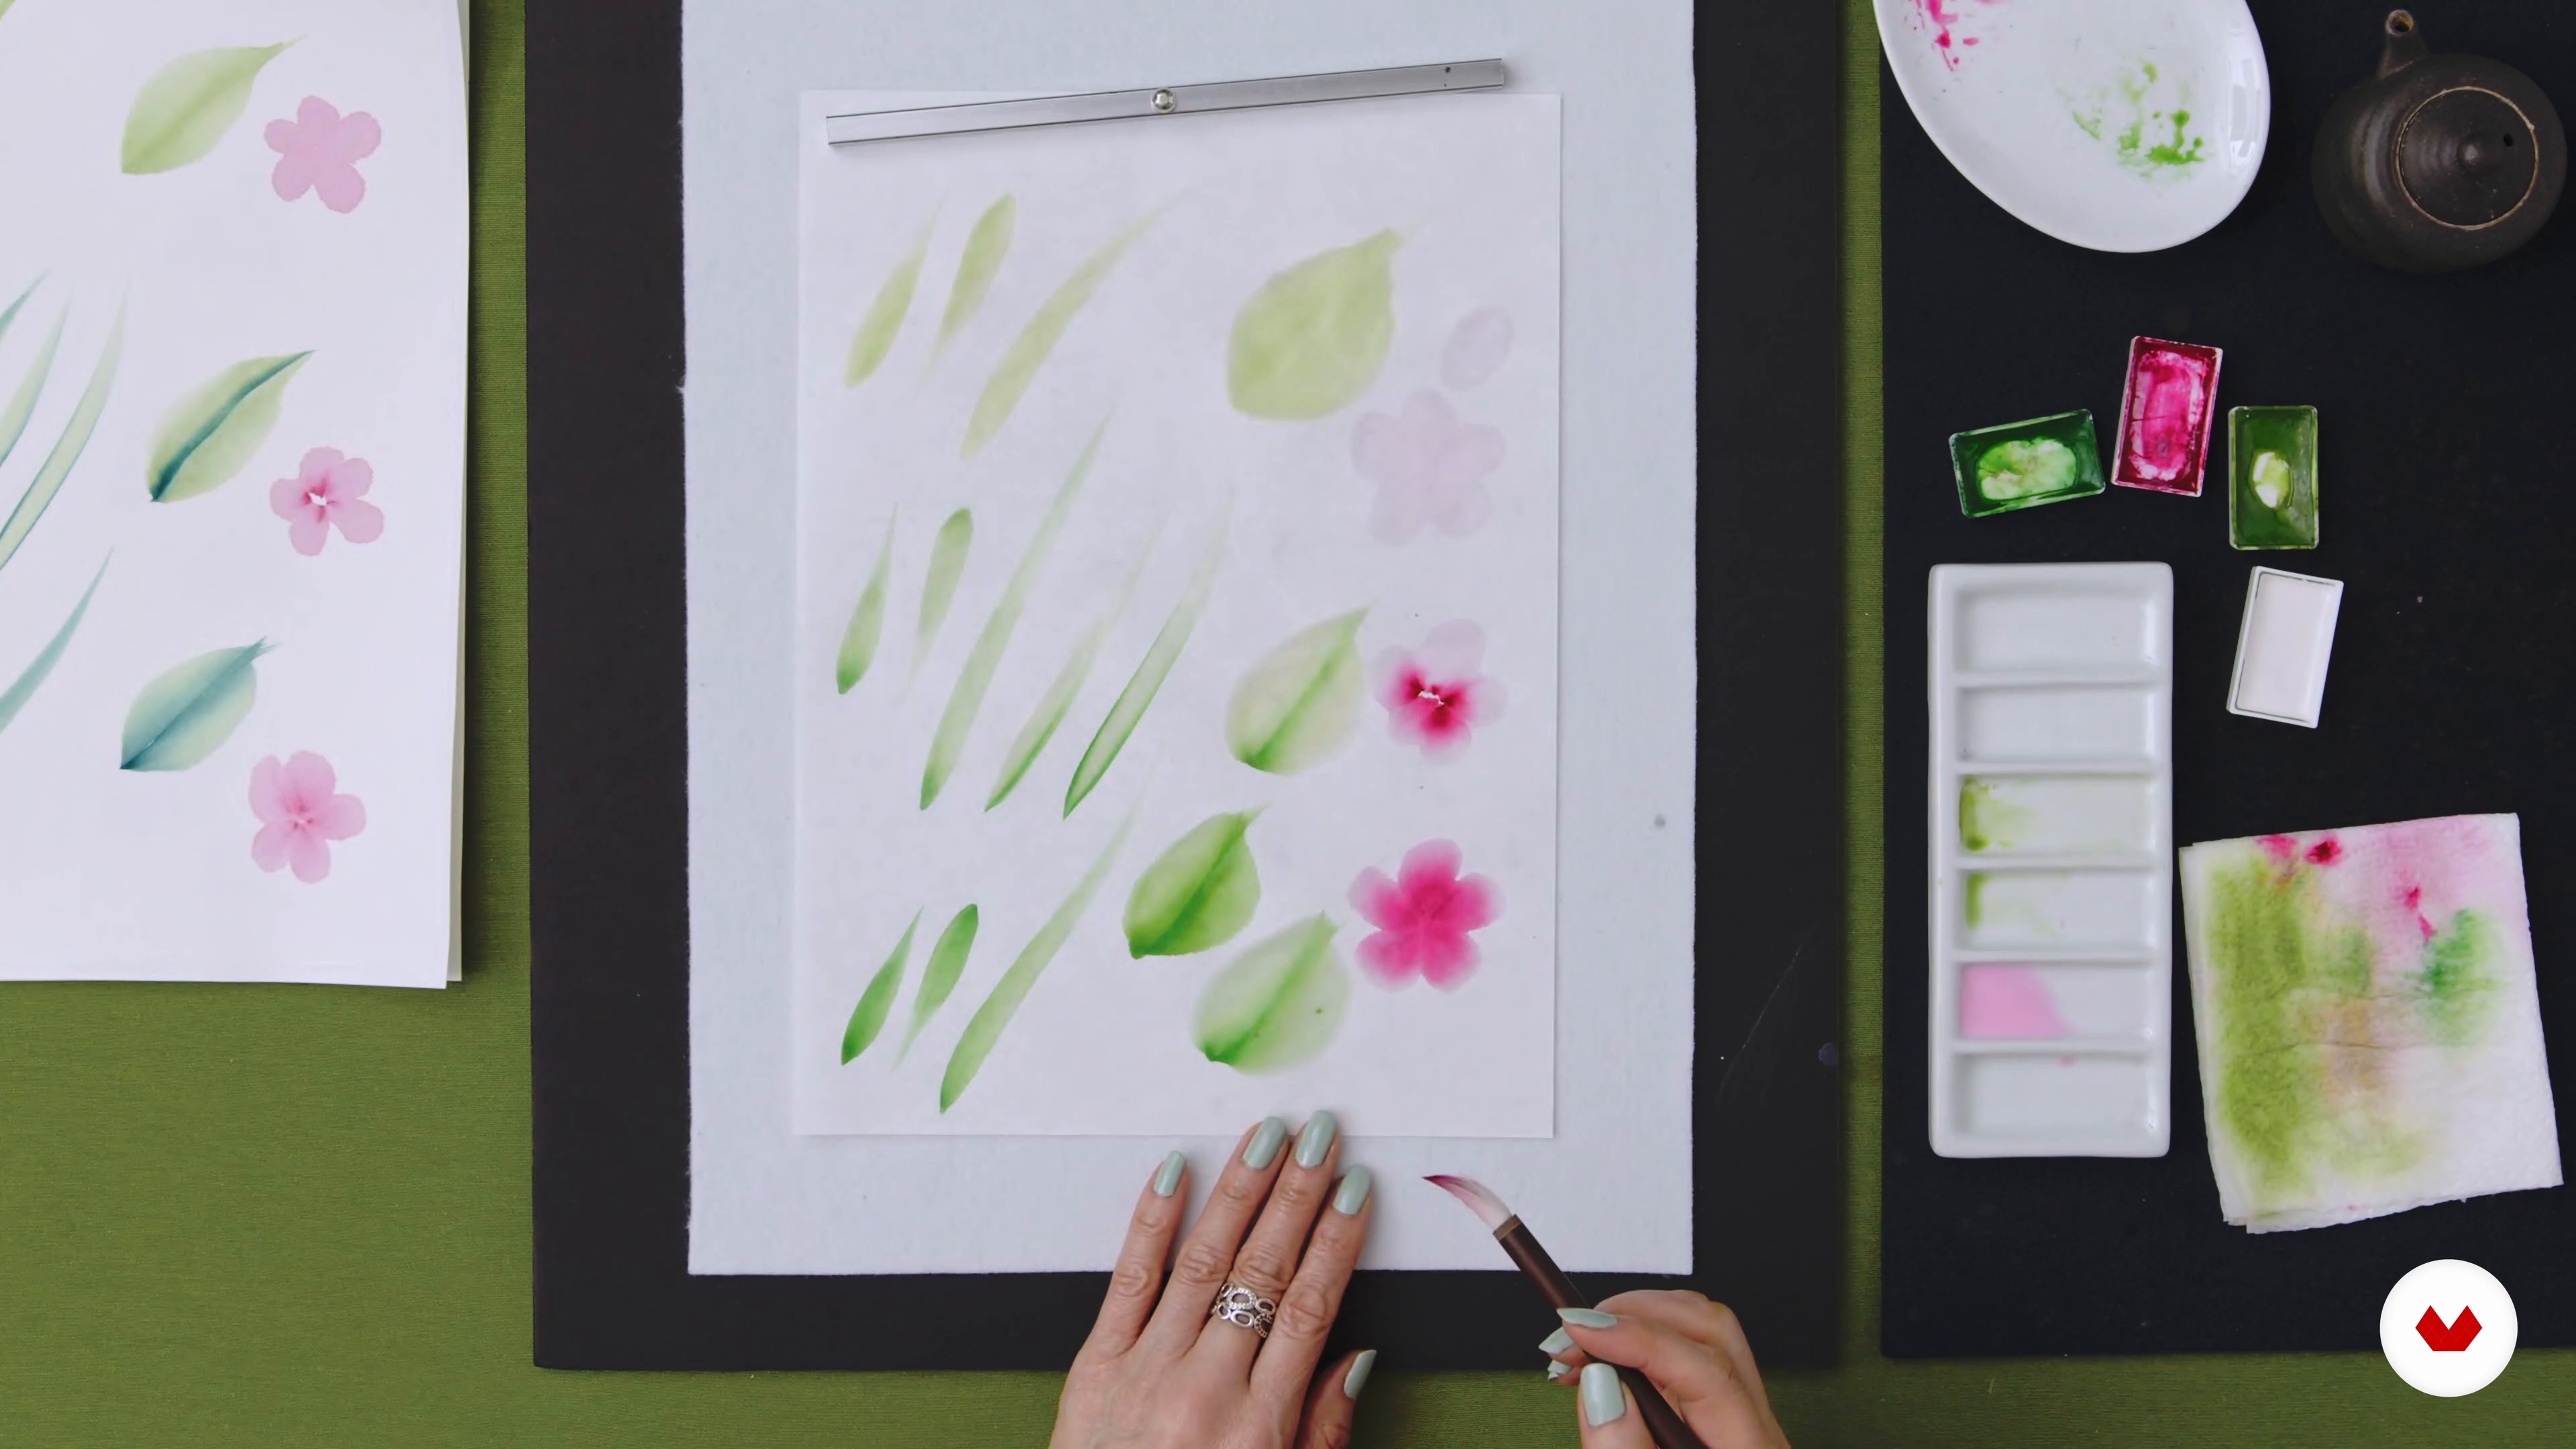
7Tsuketatehou Technique with Ink Effects and Use of Colours
Next, I will build on the techniques covered in the previous lesson and introduce colour to create leaves and flower petals.
18m
 8
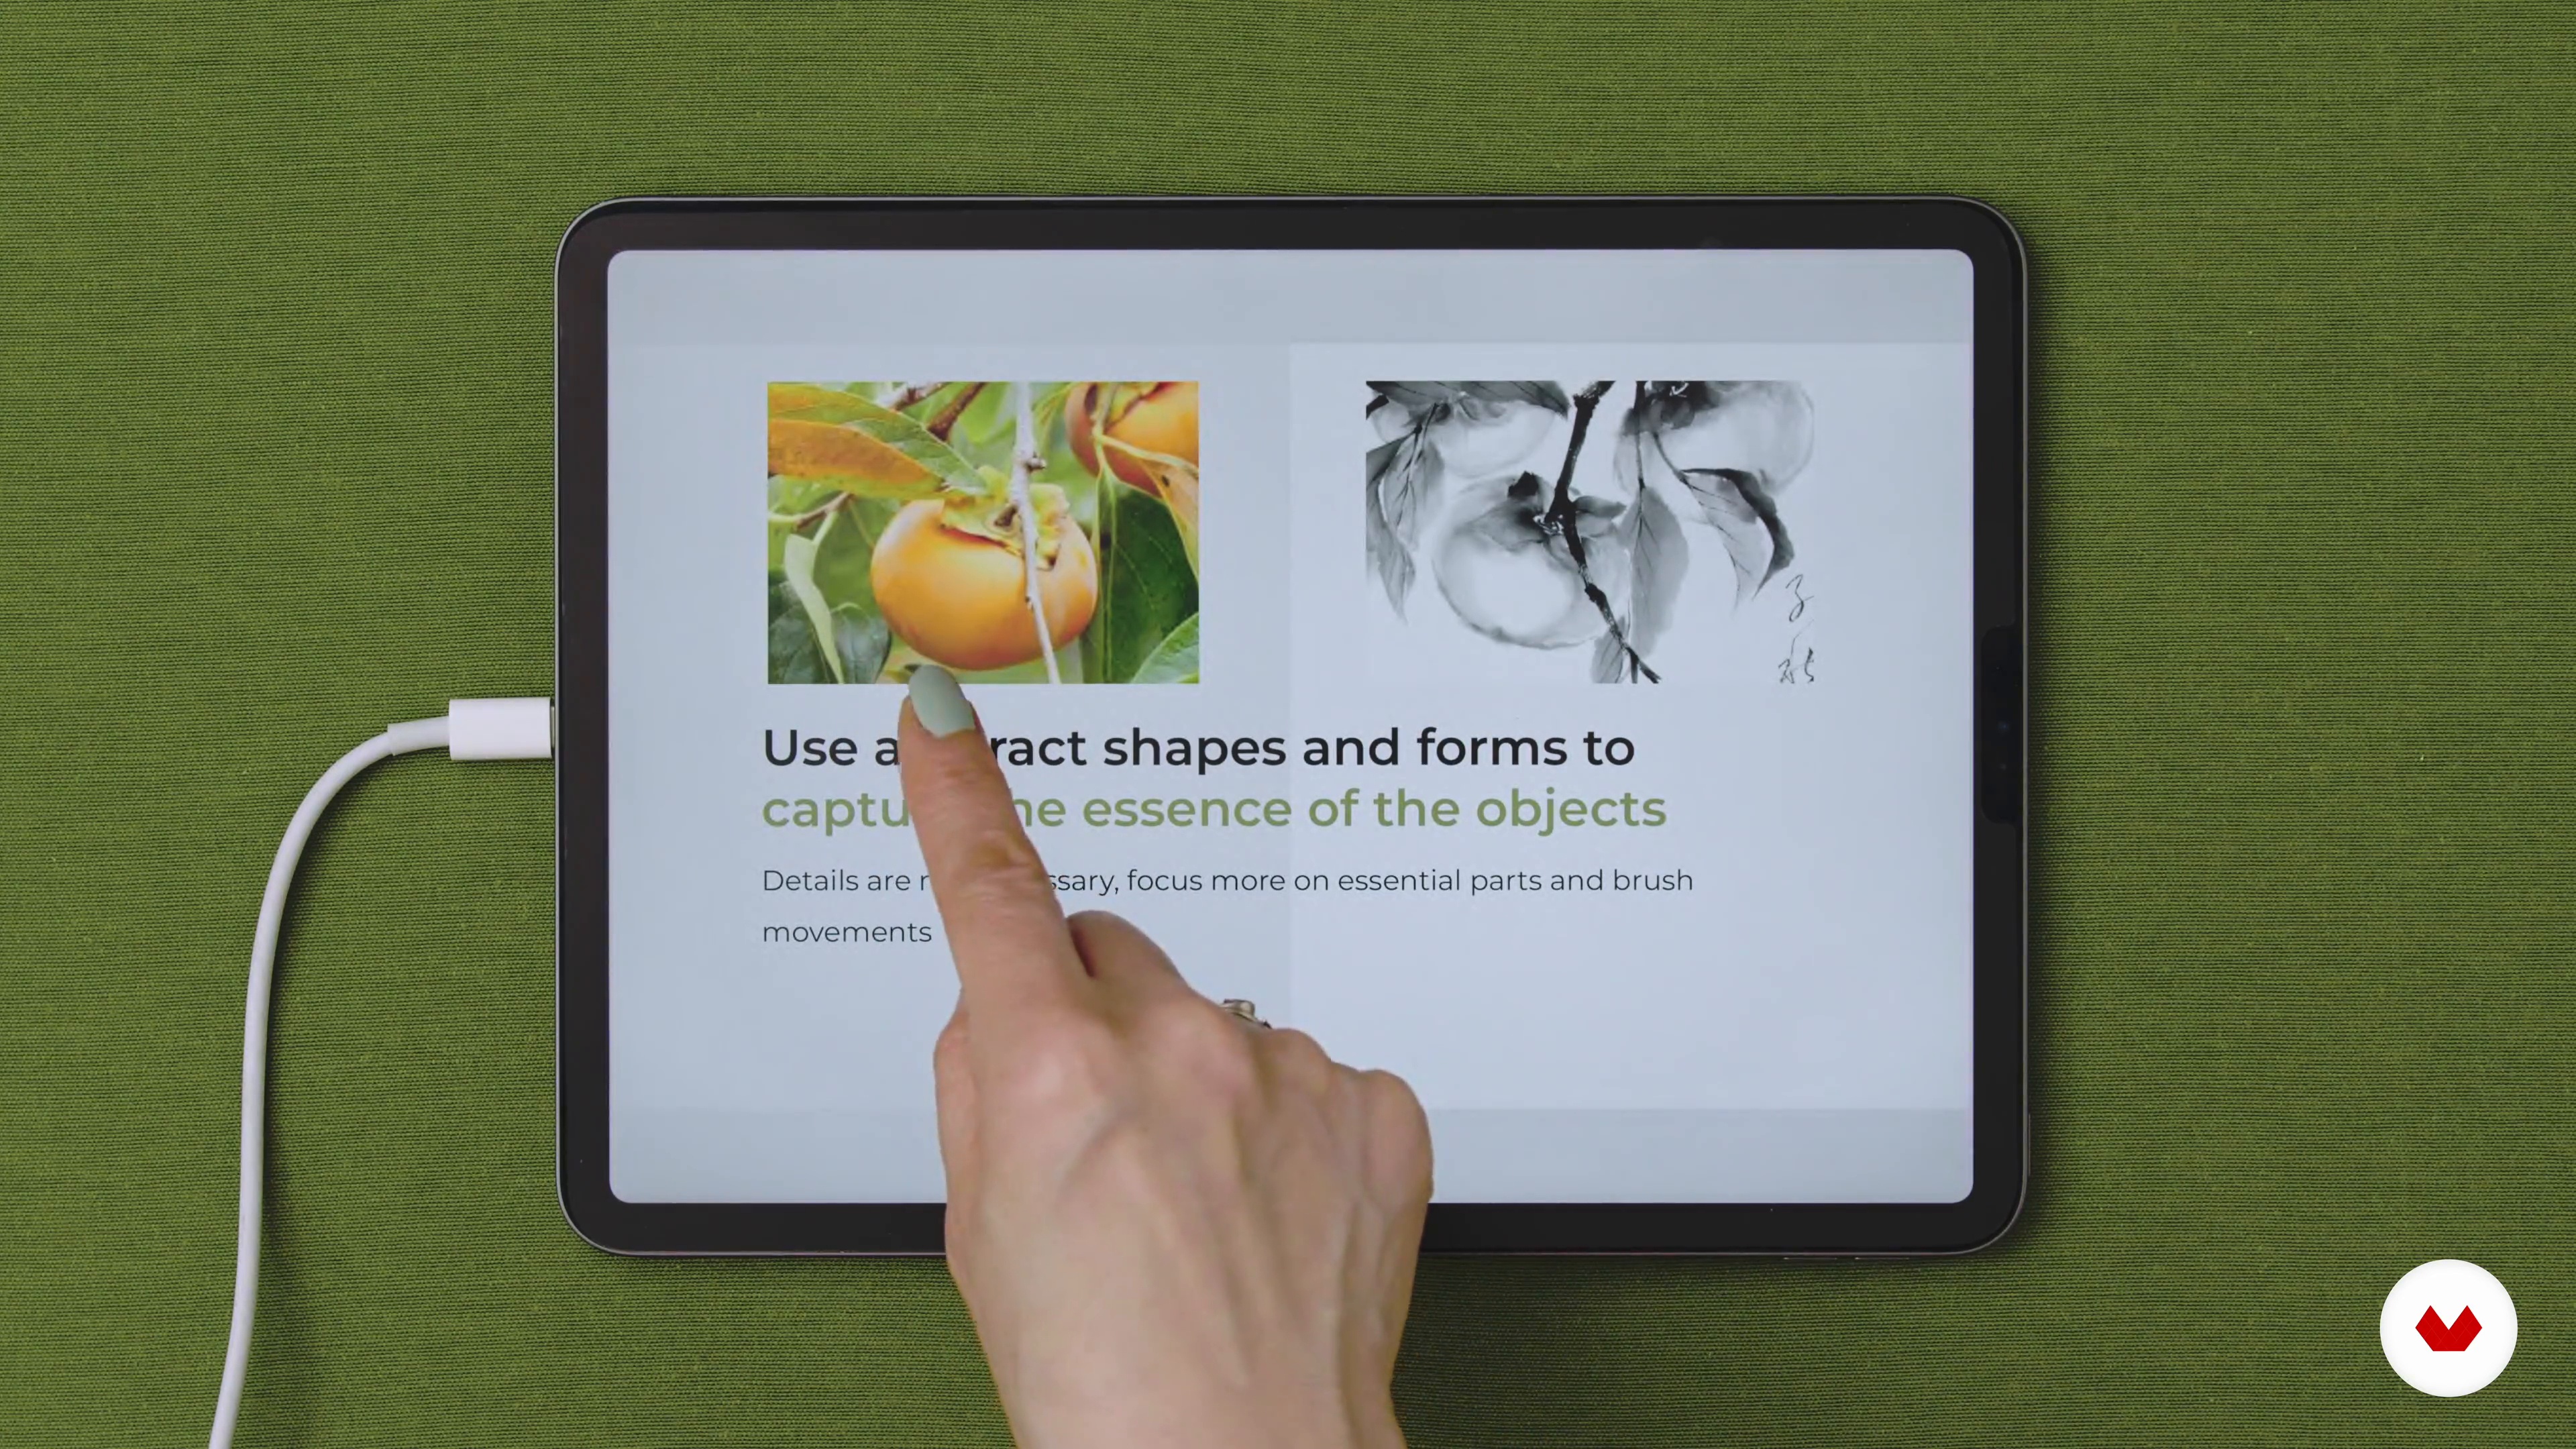
8Ideas on Composition
In this lesson, I will cover some techniques and principles to improve the composition, with a focus on plant paintings. I will also discuss the importance of copying the art of skilled painters in order to learn their brush techniques and connect with their state of mind.
7m
 9
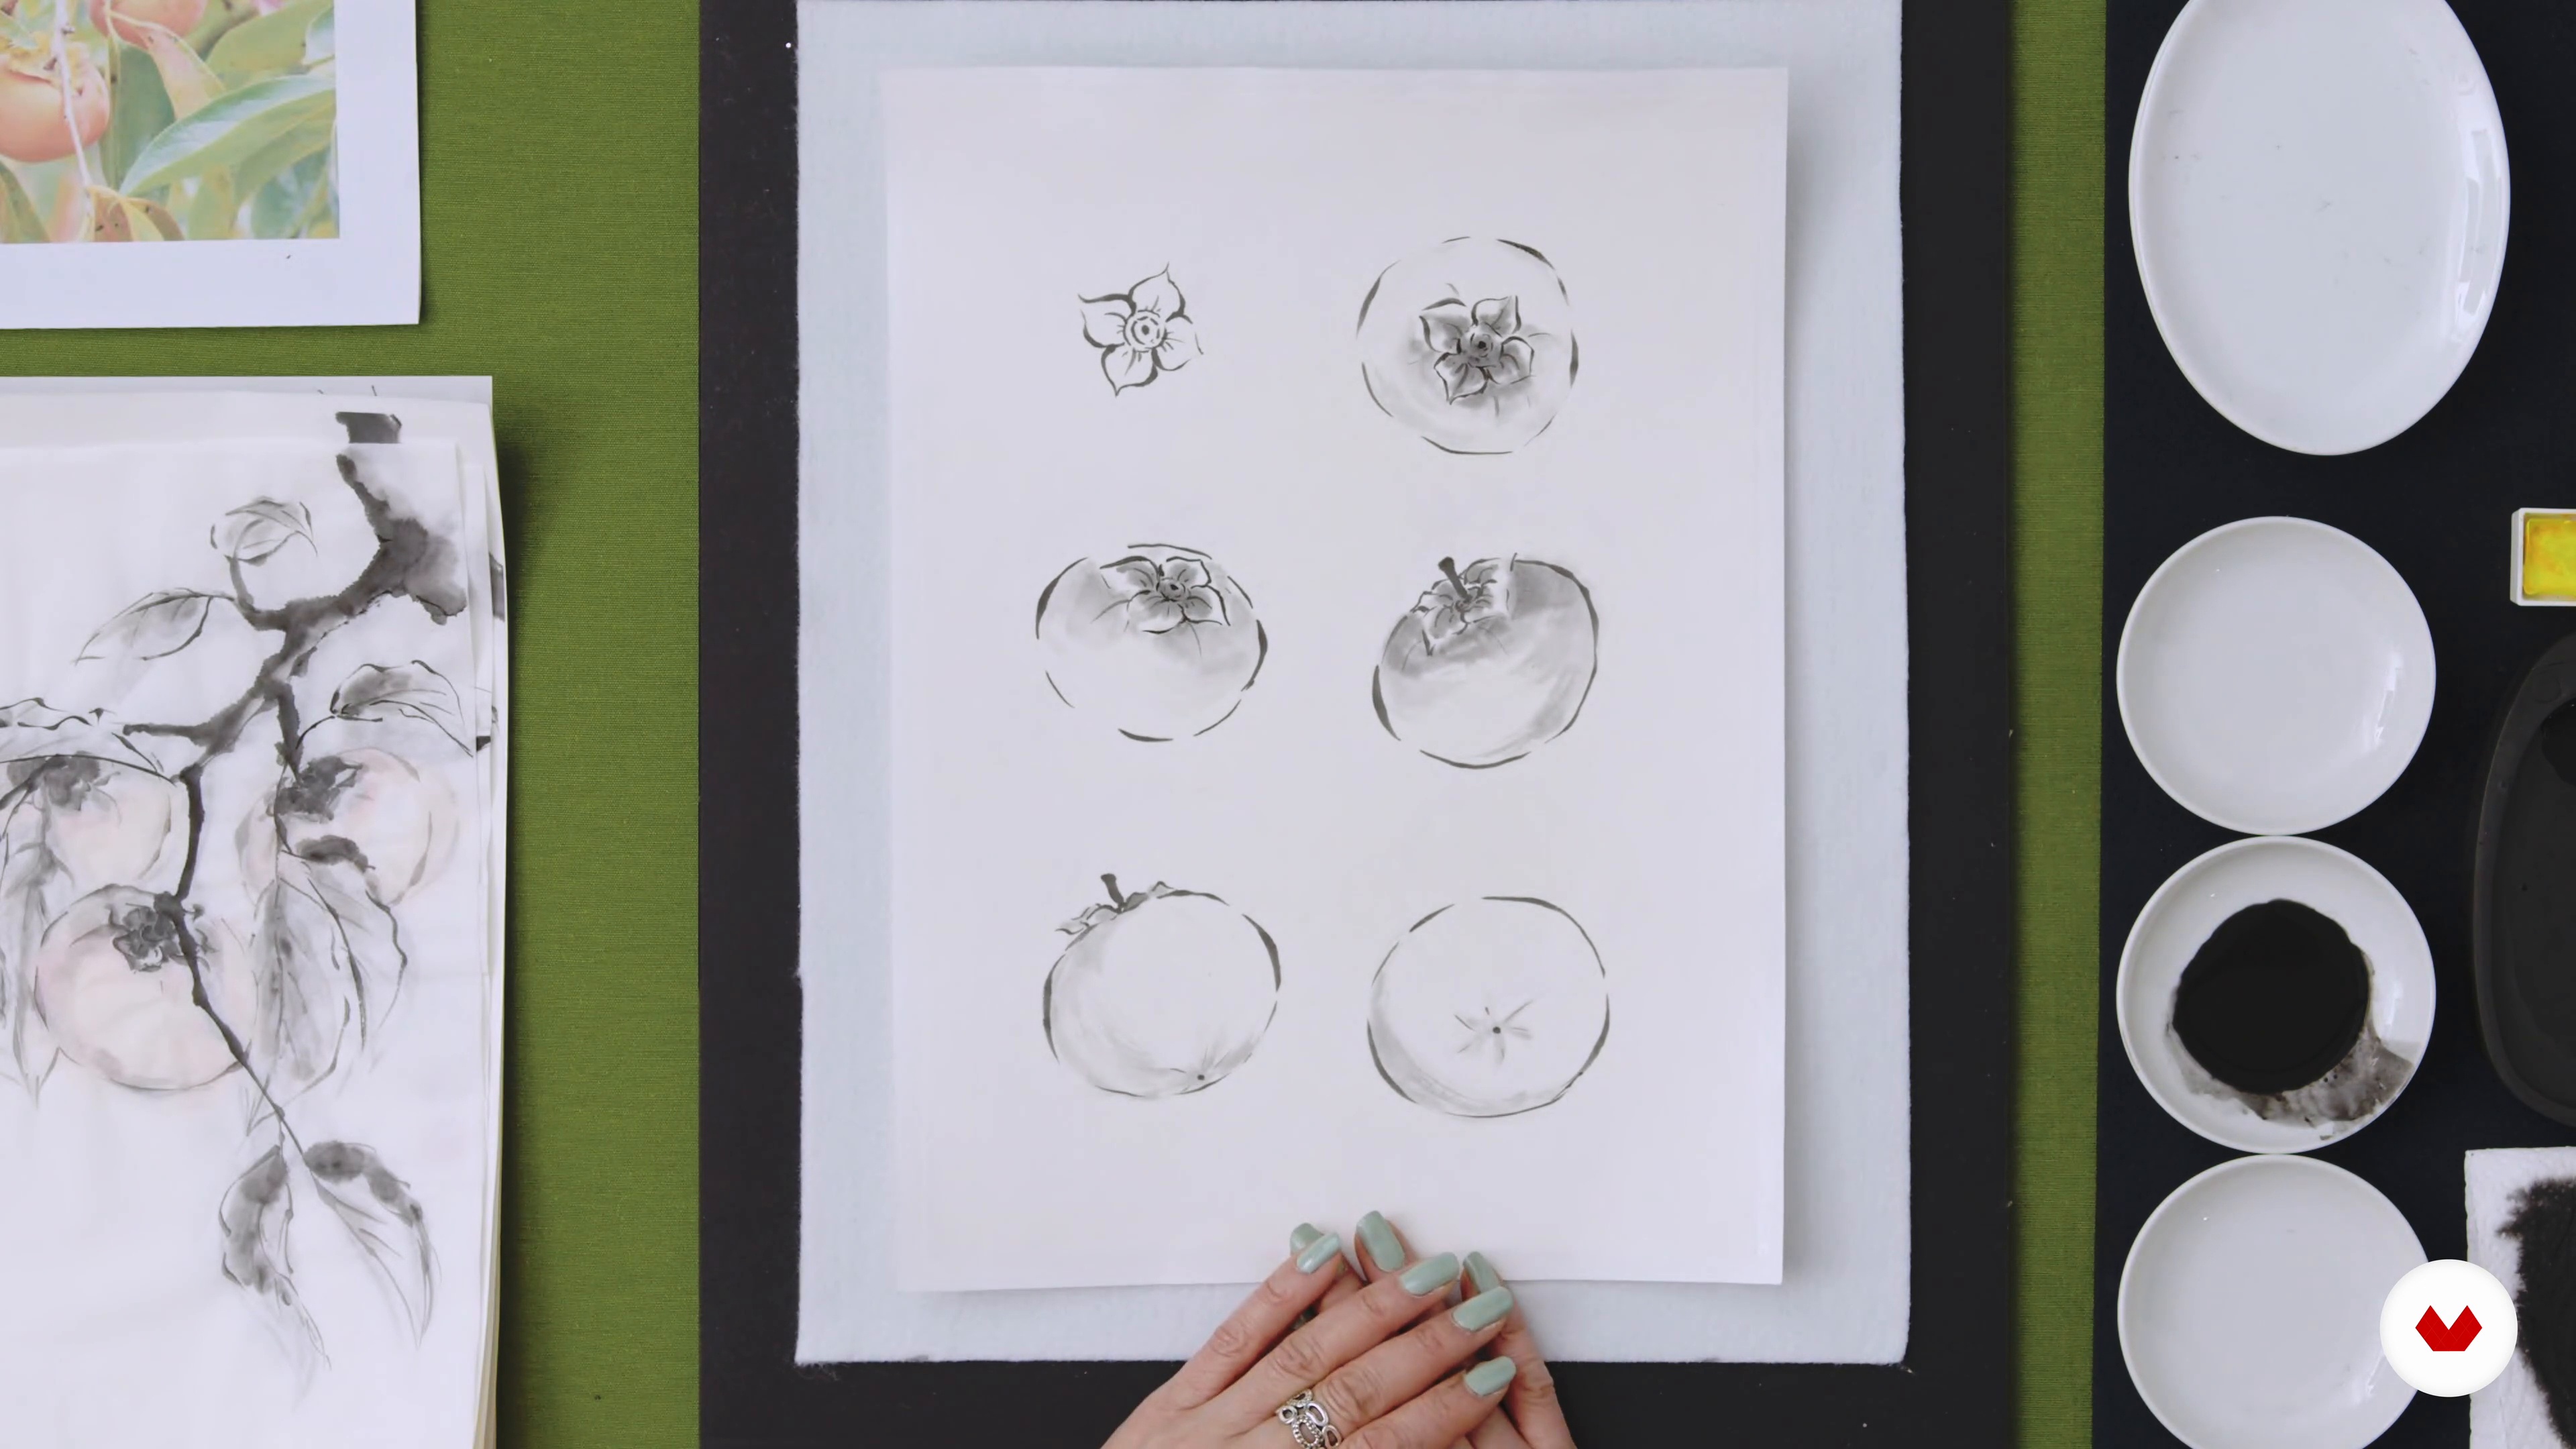
9Persimmons in Senbyouhou 1
It's time to paint! Here, I will show you how to paint persimmons in Senbyouhou. Using a reference, I will start by making some initial sketches of the leaves and the fruit. Then, I will choose the layout and practise painting the subject from different angles.
17m
 10
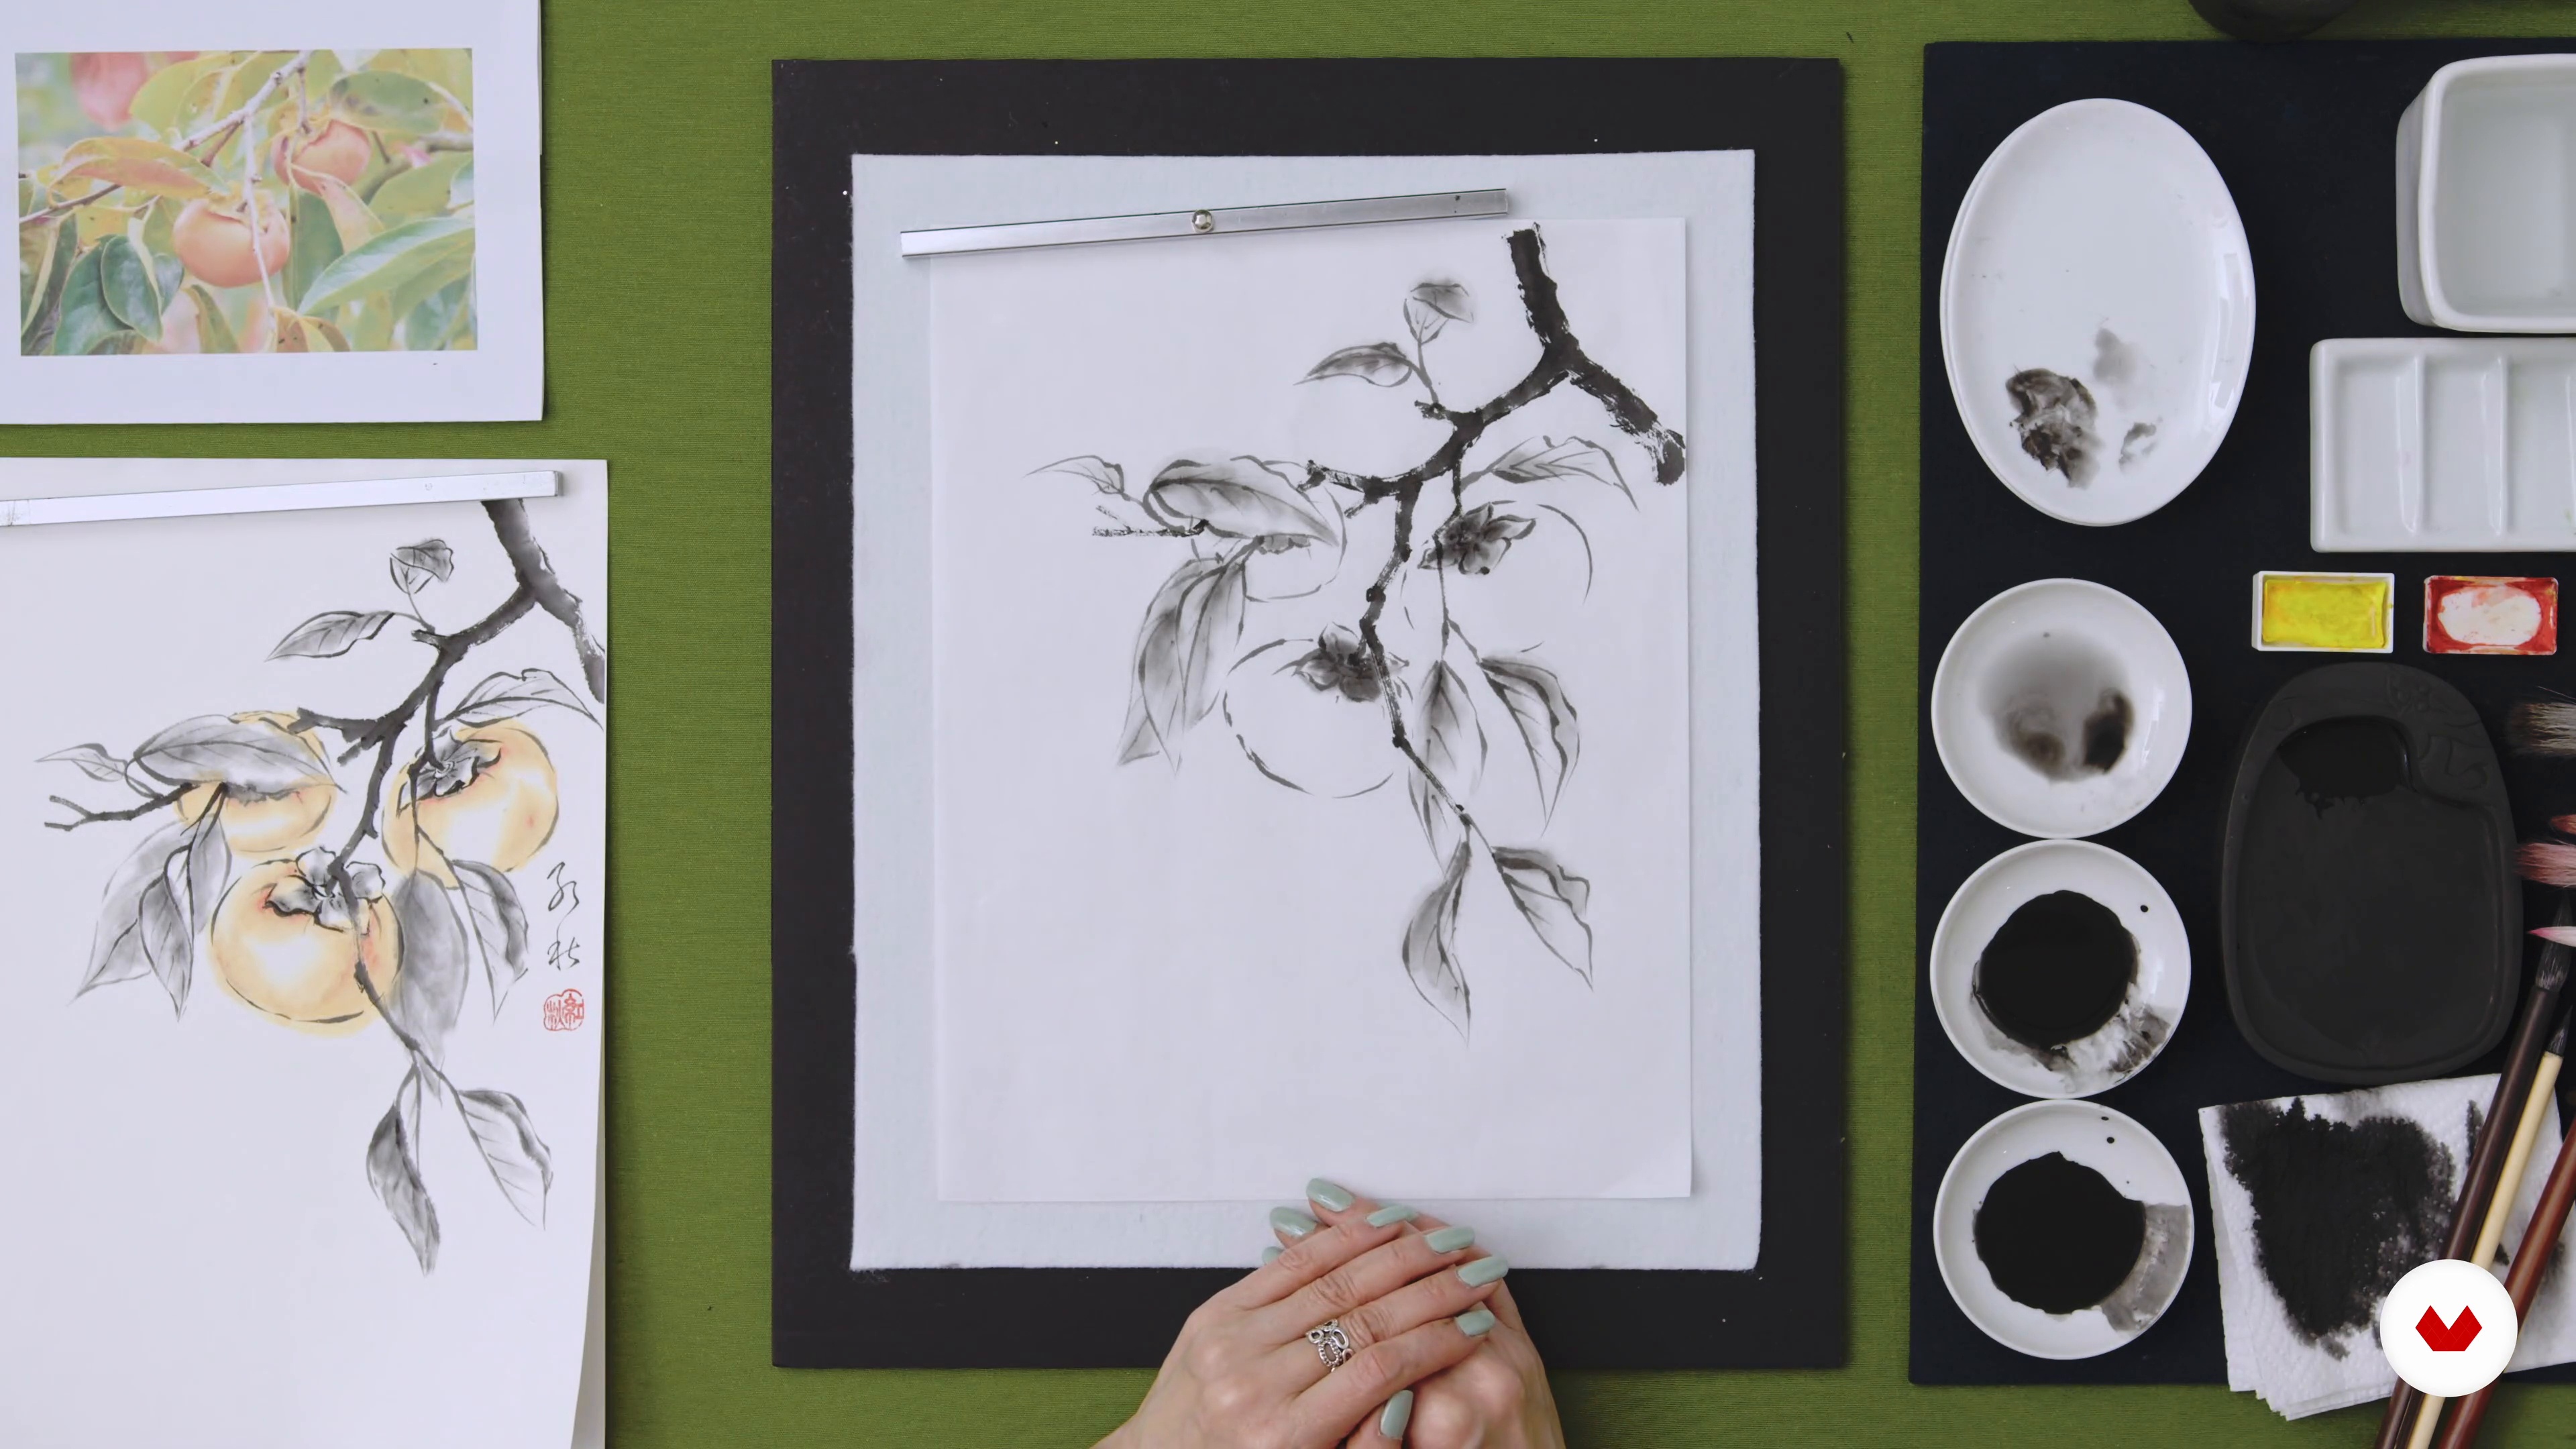
10Persimmons in Senbyouhou 2
After practising painting the draft, I am ready to paint the final artwork! I will show you how to add texture by focusing more on the brush movements and ink effects.
14m
 11
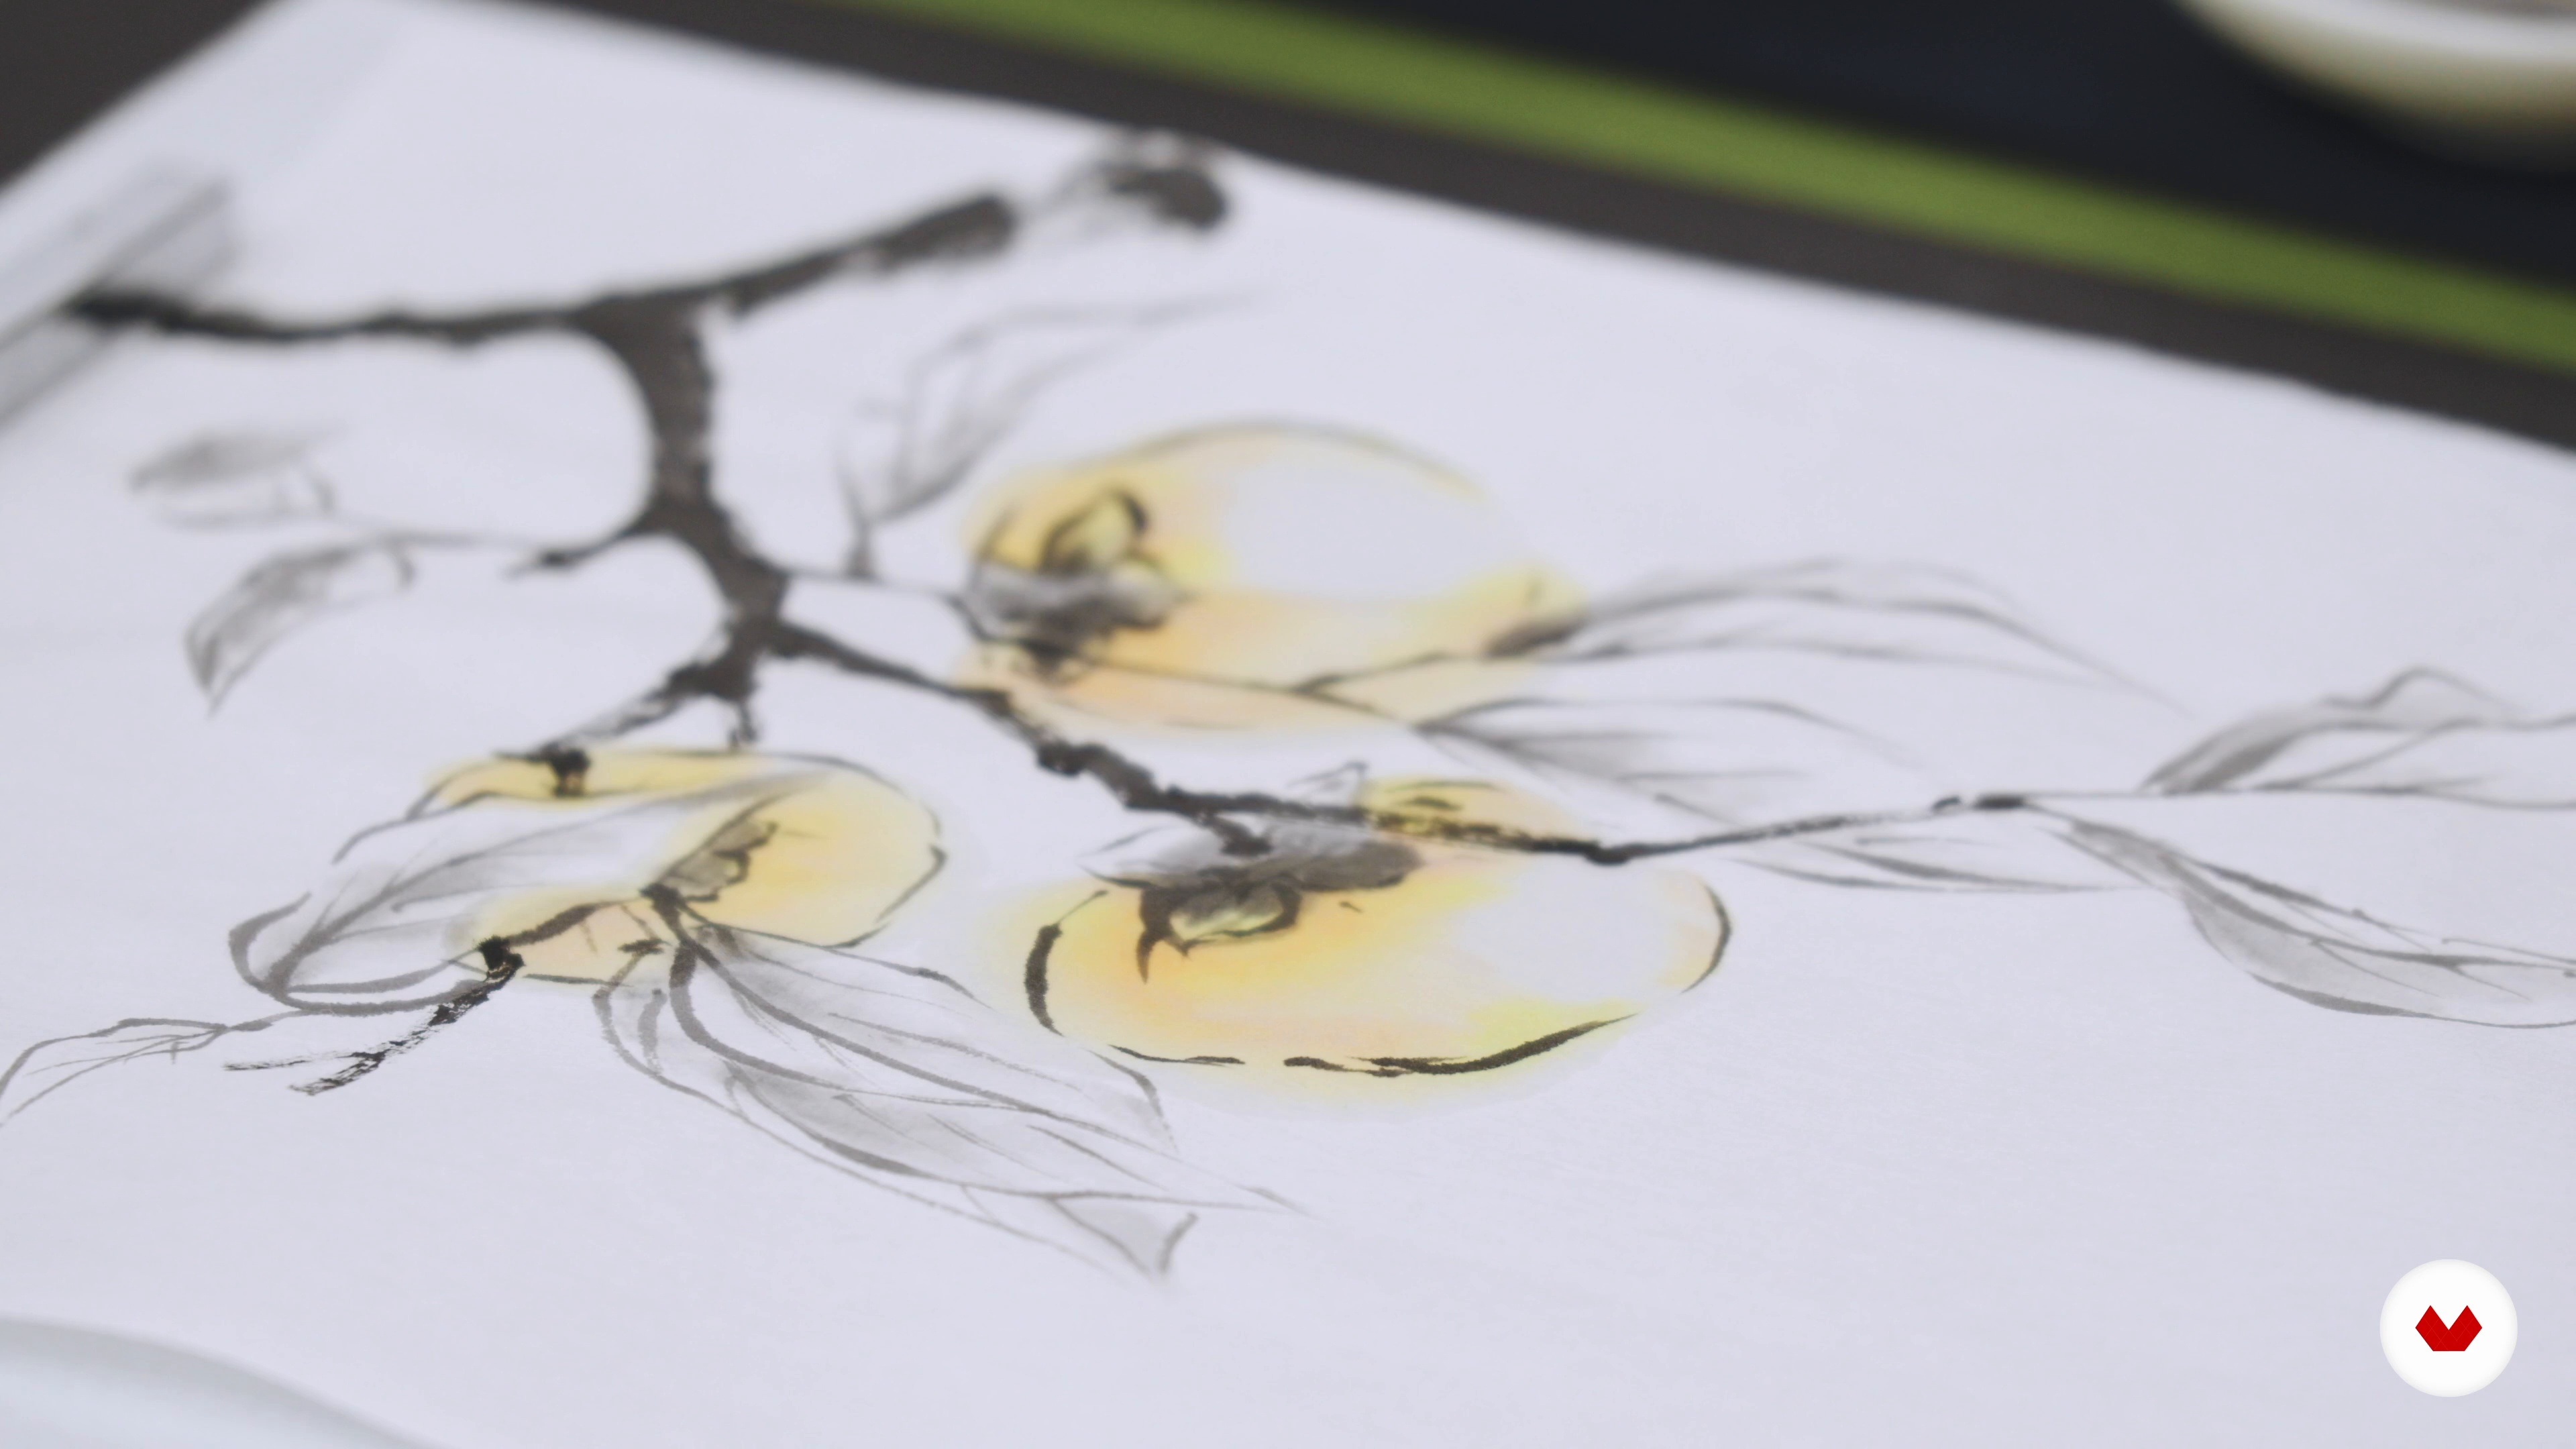
11Persimmons in Senbyouhou 3
Once the painting is dry, I will finalise the artwork and add colour: I will use yellow and orange. Before applying colour, it's important to wet the paper with water to help the ink spread.
8m
 12
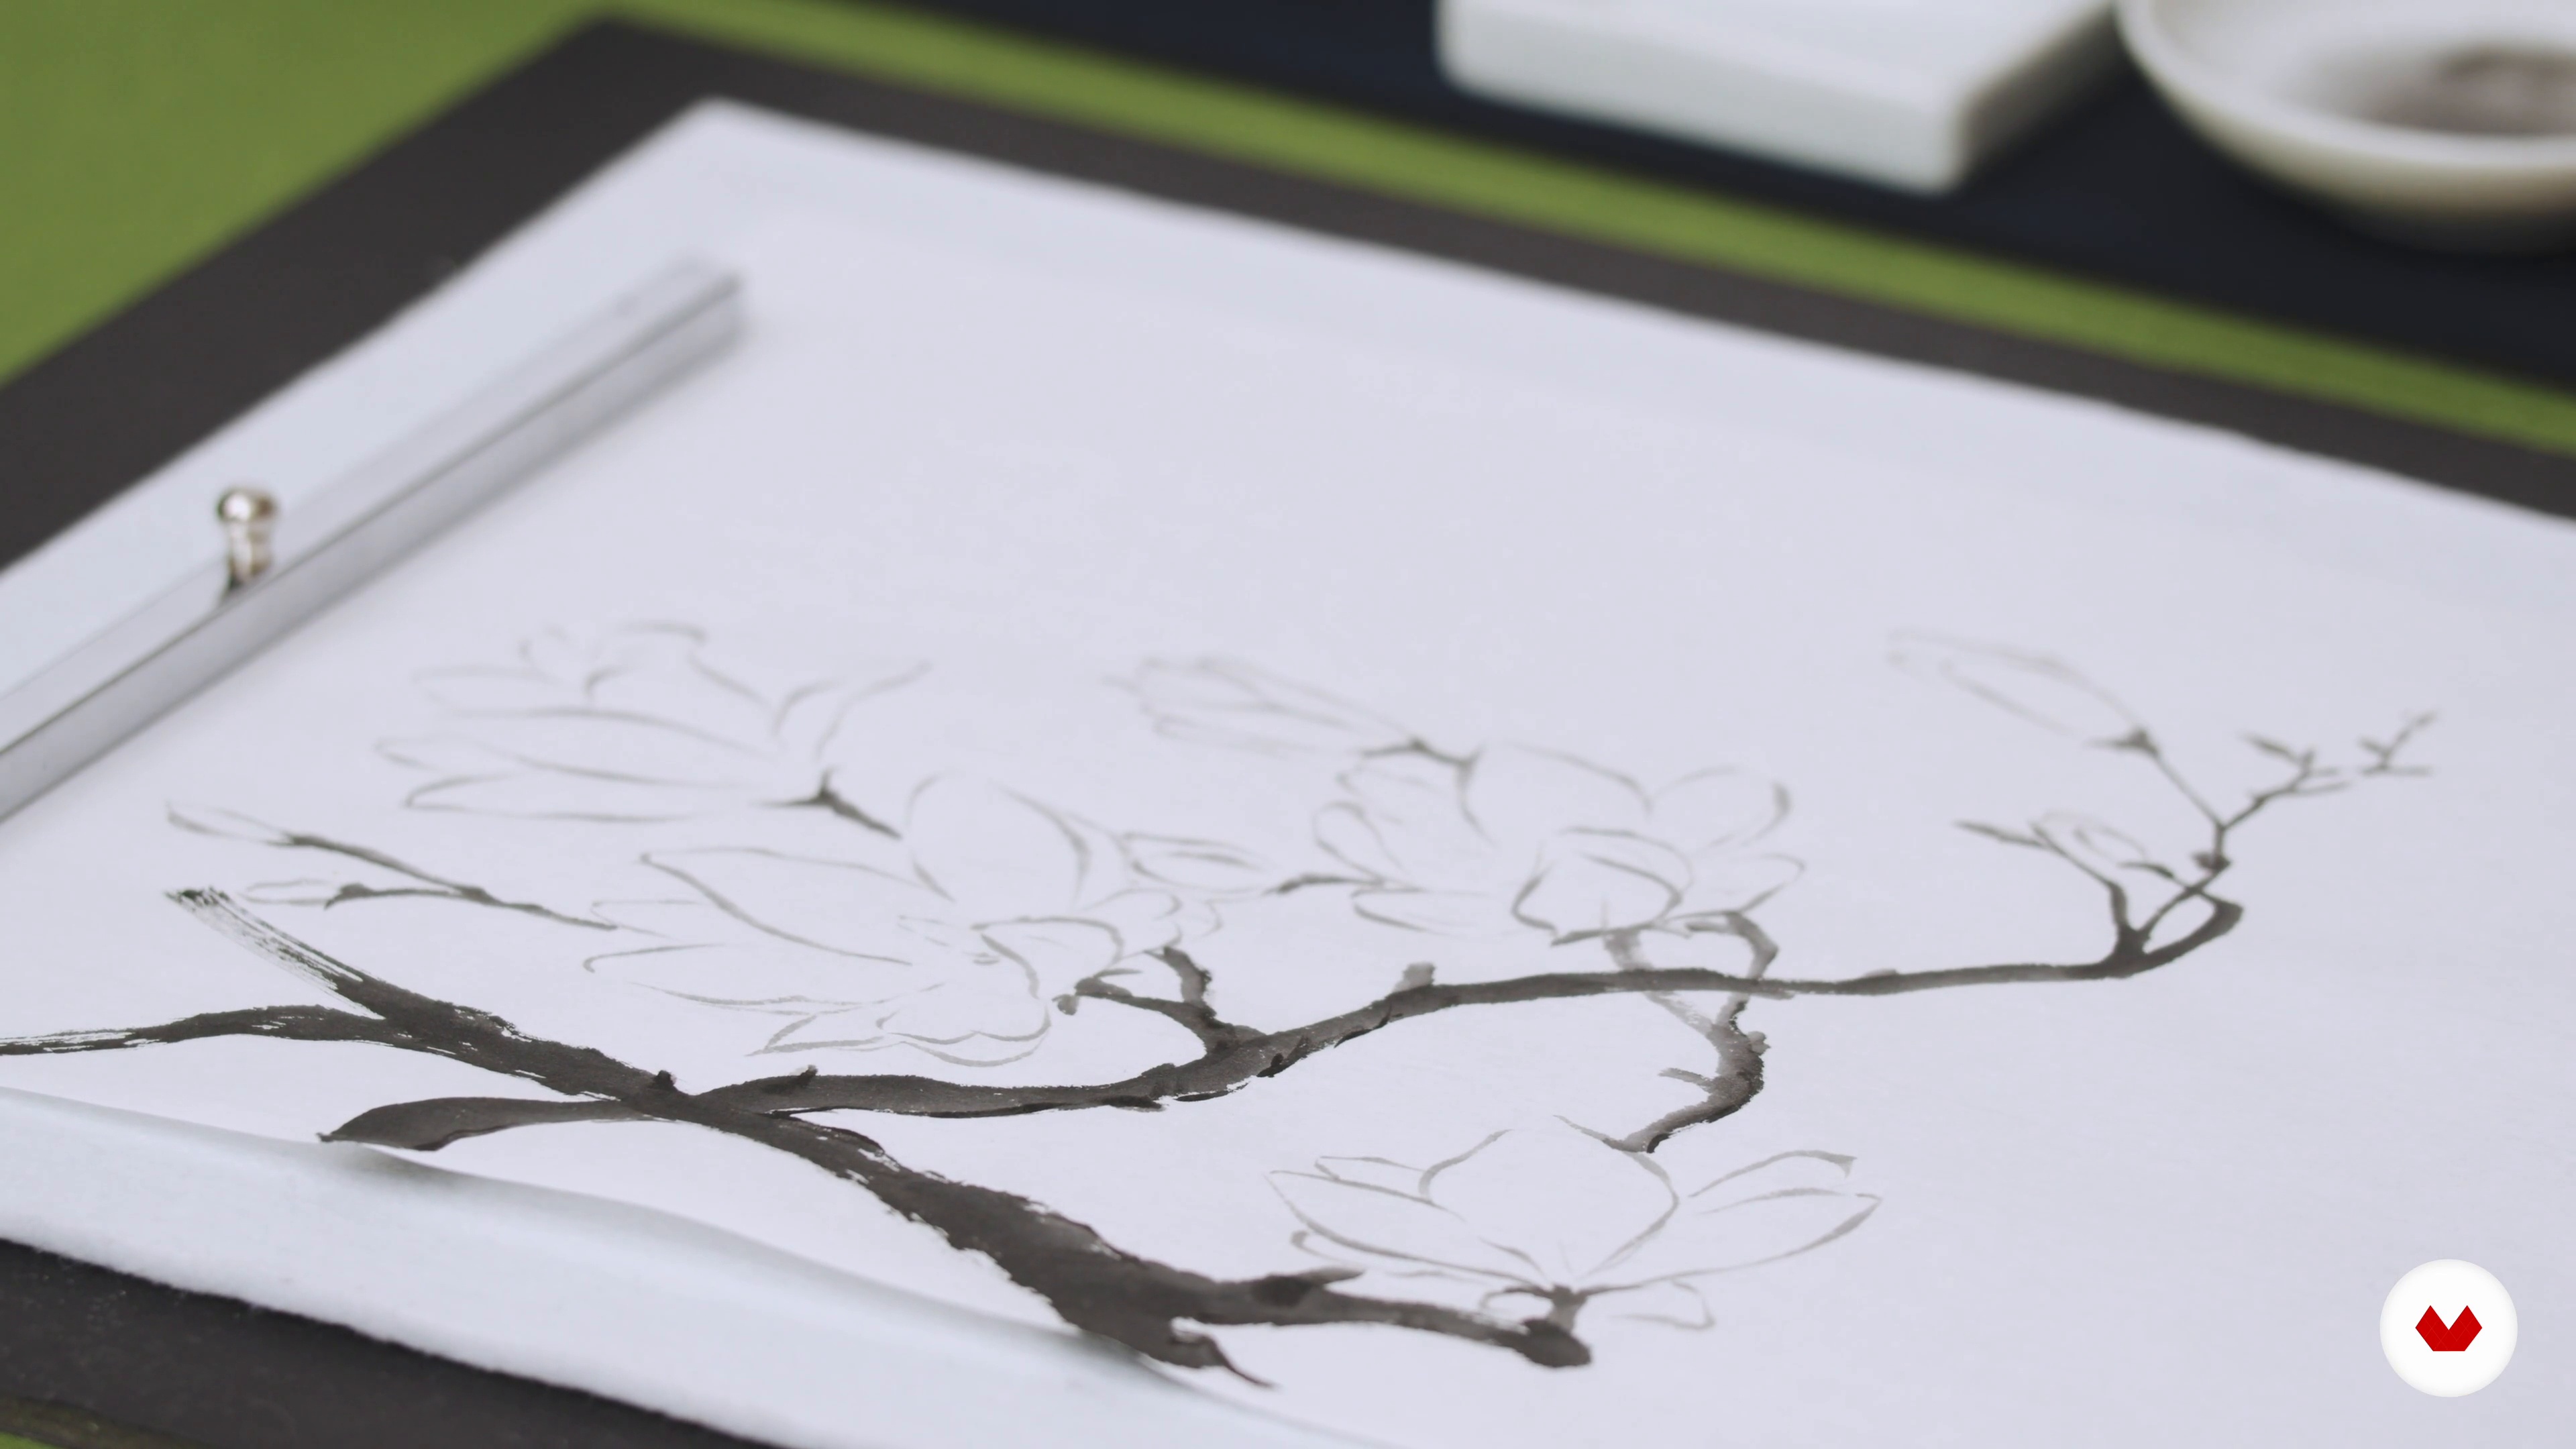
12A Magnolia in Senbyouhou 1
In this lesson, I will teach you how to build up a magnolia artwork in Senbyouhou. Here, I will start showing you how to practise painting the flower petals and how to get to the final black-and-white artwork.
17m
 13
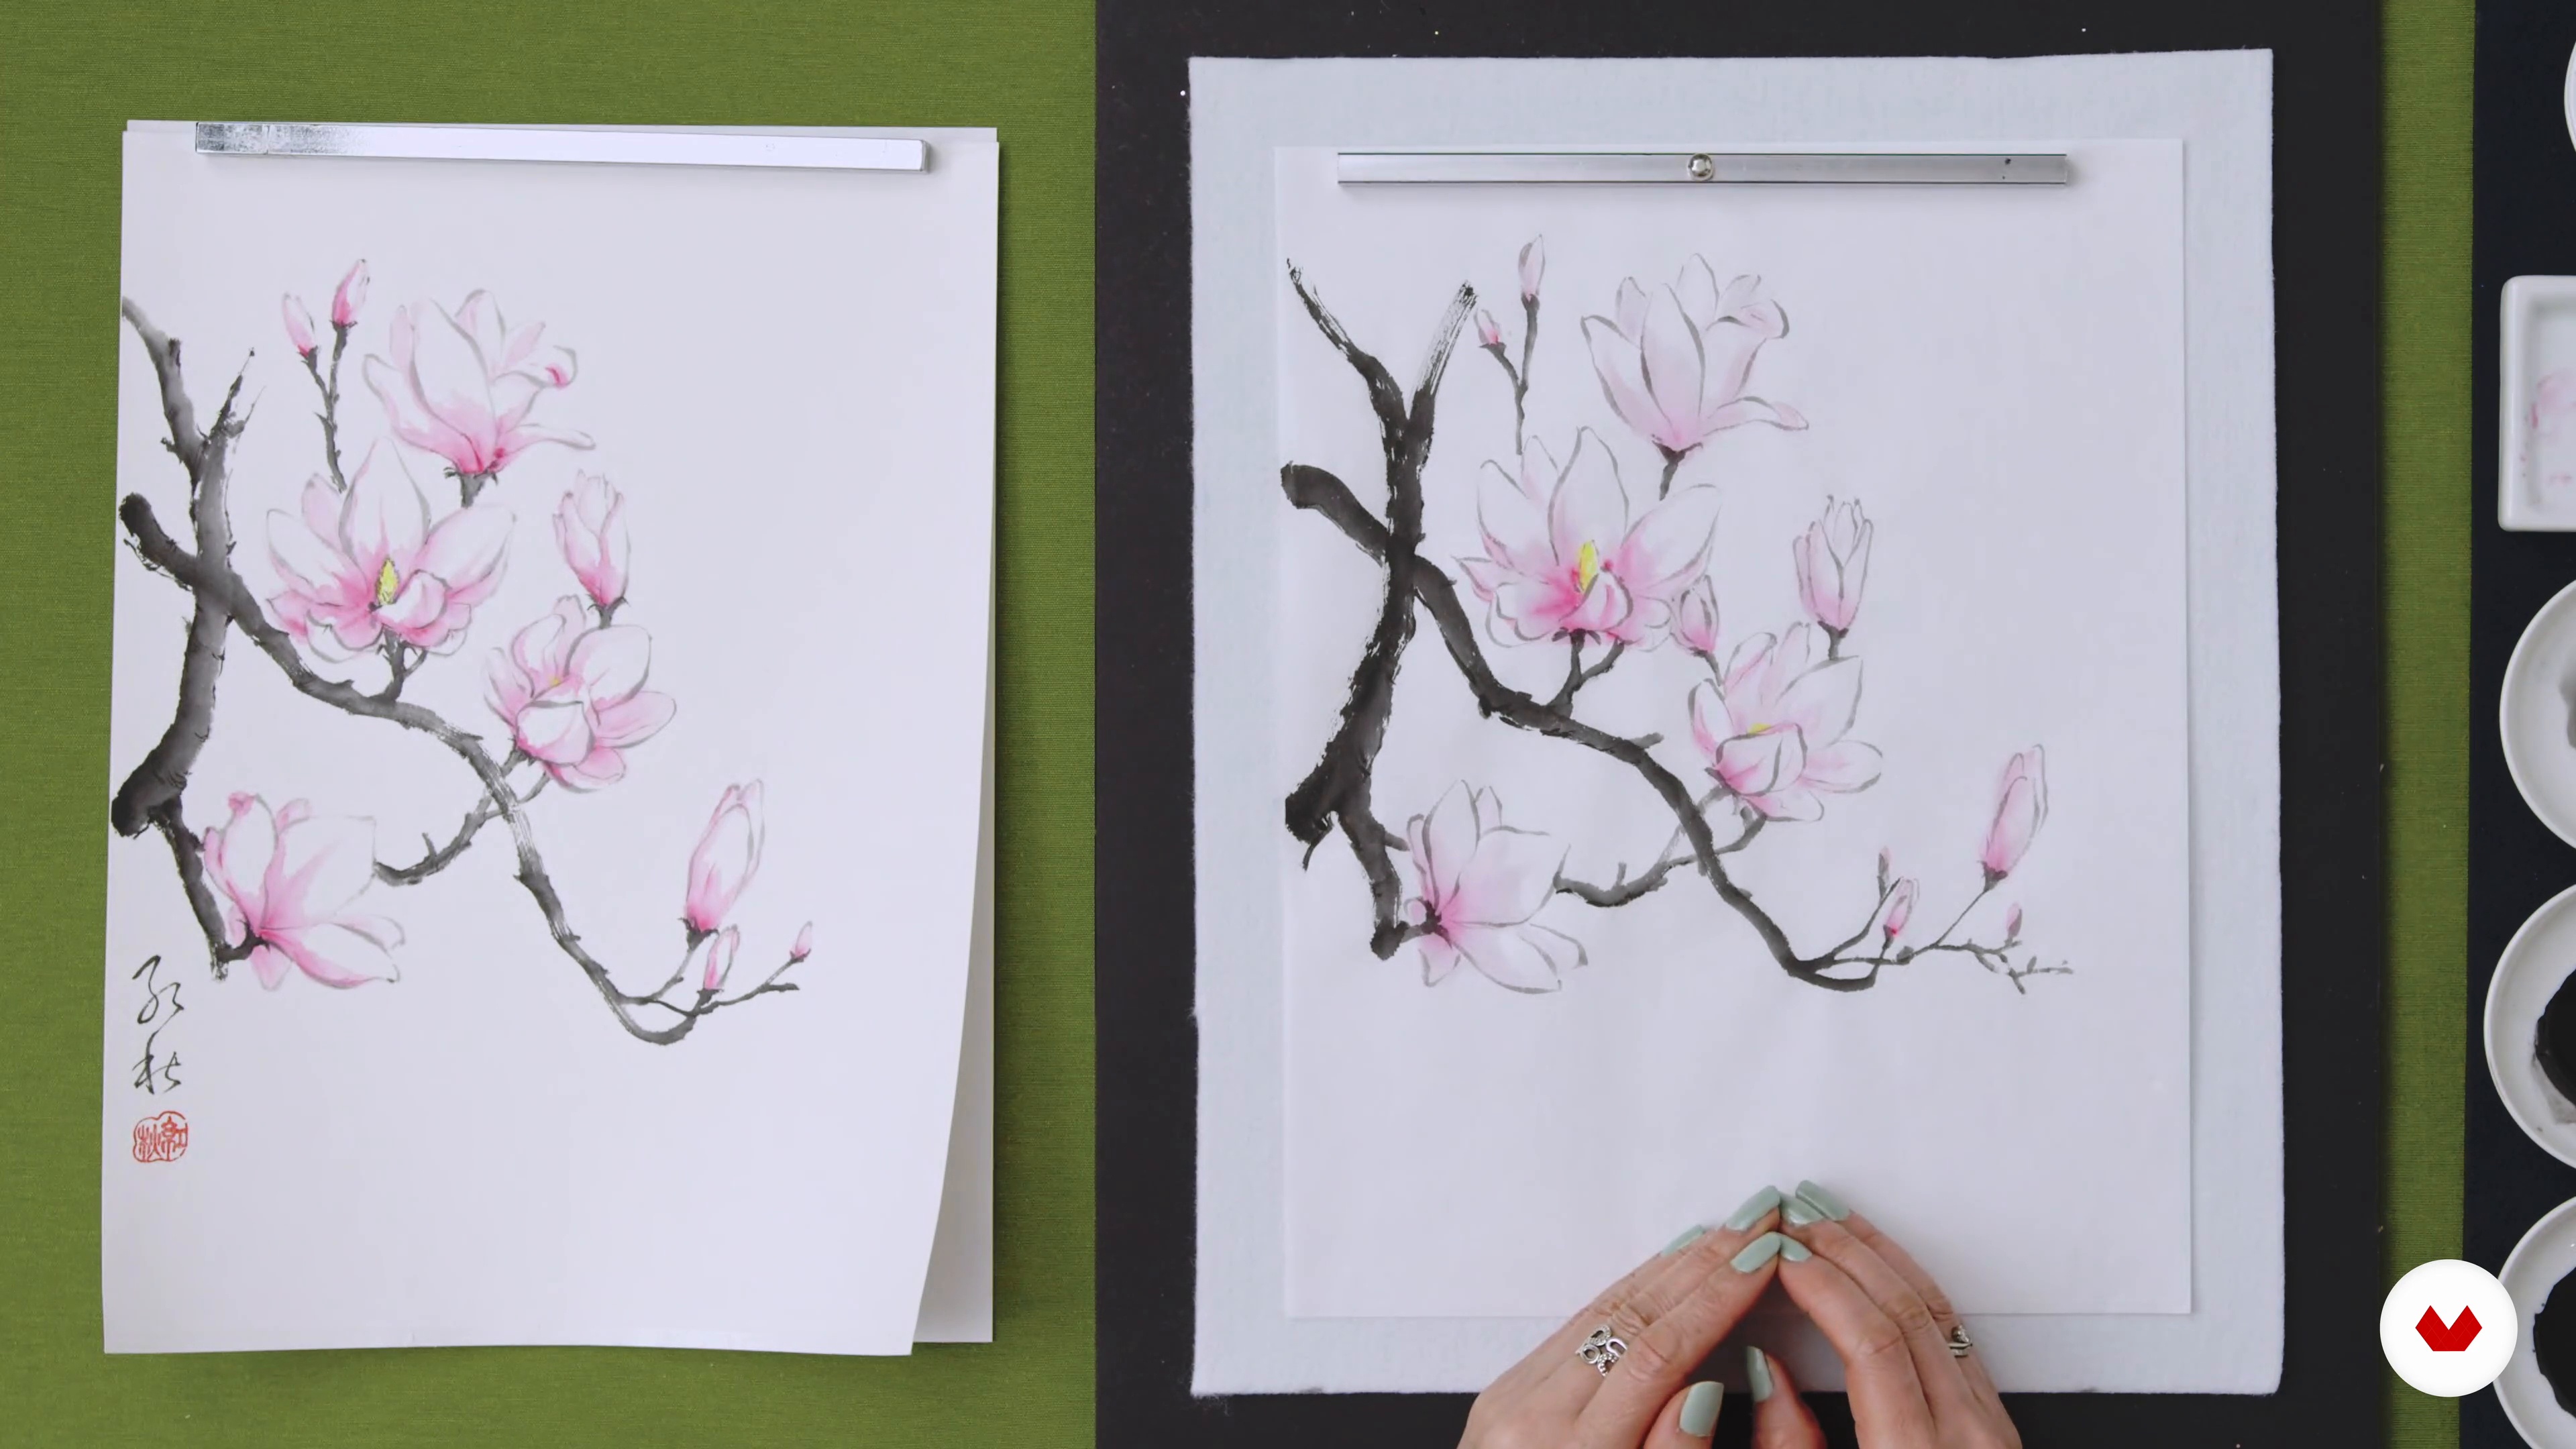
13A Magnolia in Senbyouhou 2
Next, I will show you how to add light pink colour to the petals and yellow to the central part of the flowers.
9m
 14
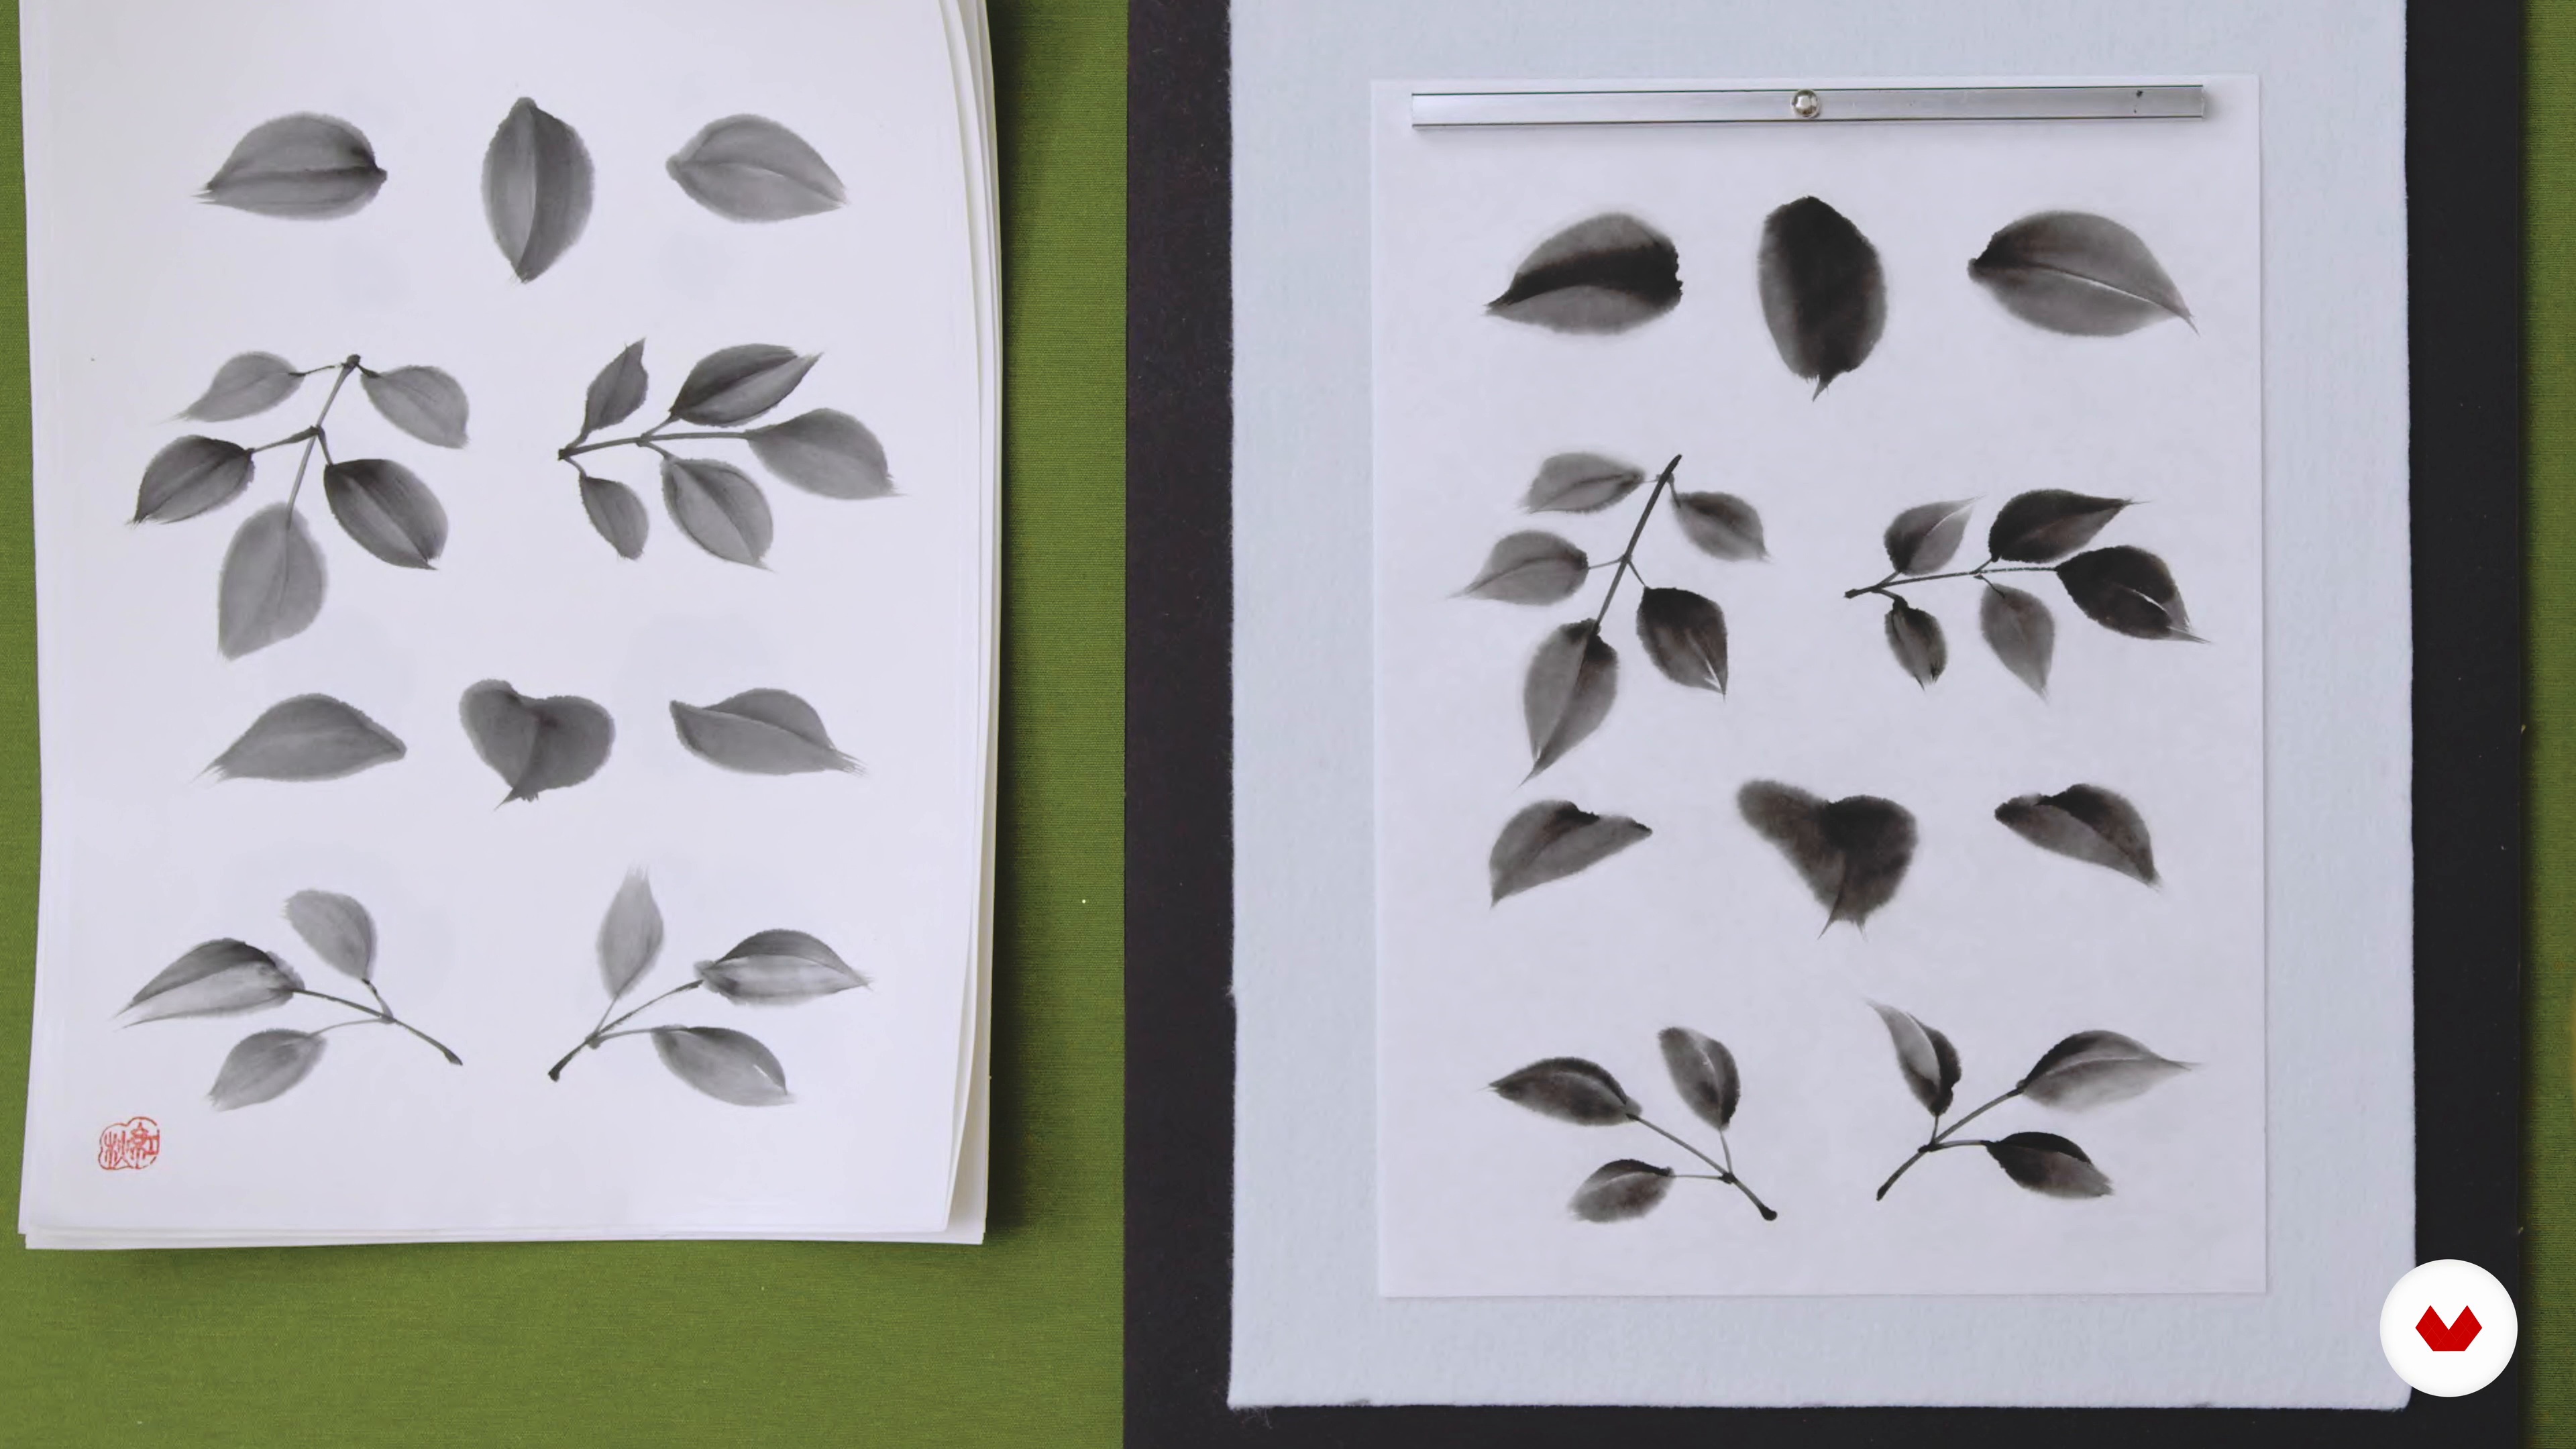
14A Rose in Tsuketatehou 1
You have learnt the process of creating fruit and flowers using Senbyouhou. Now, I will show you the process of painting a rose in Tsuketatehou.
15m
 15
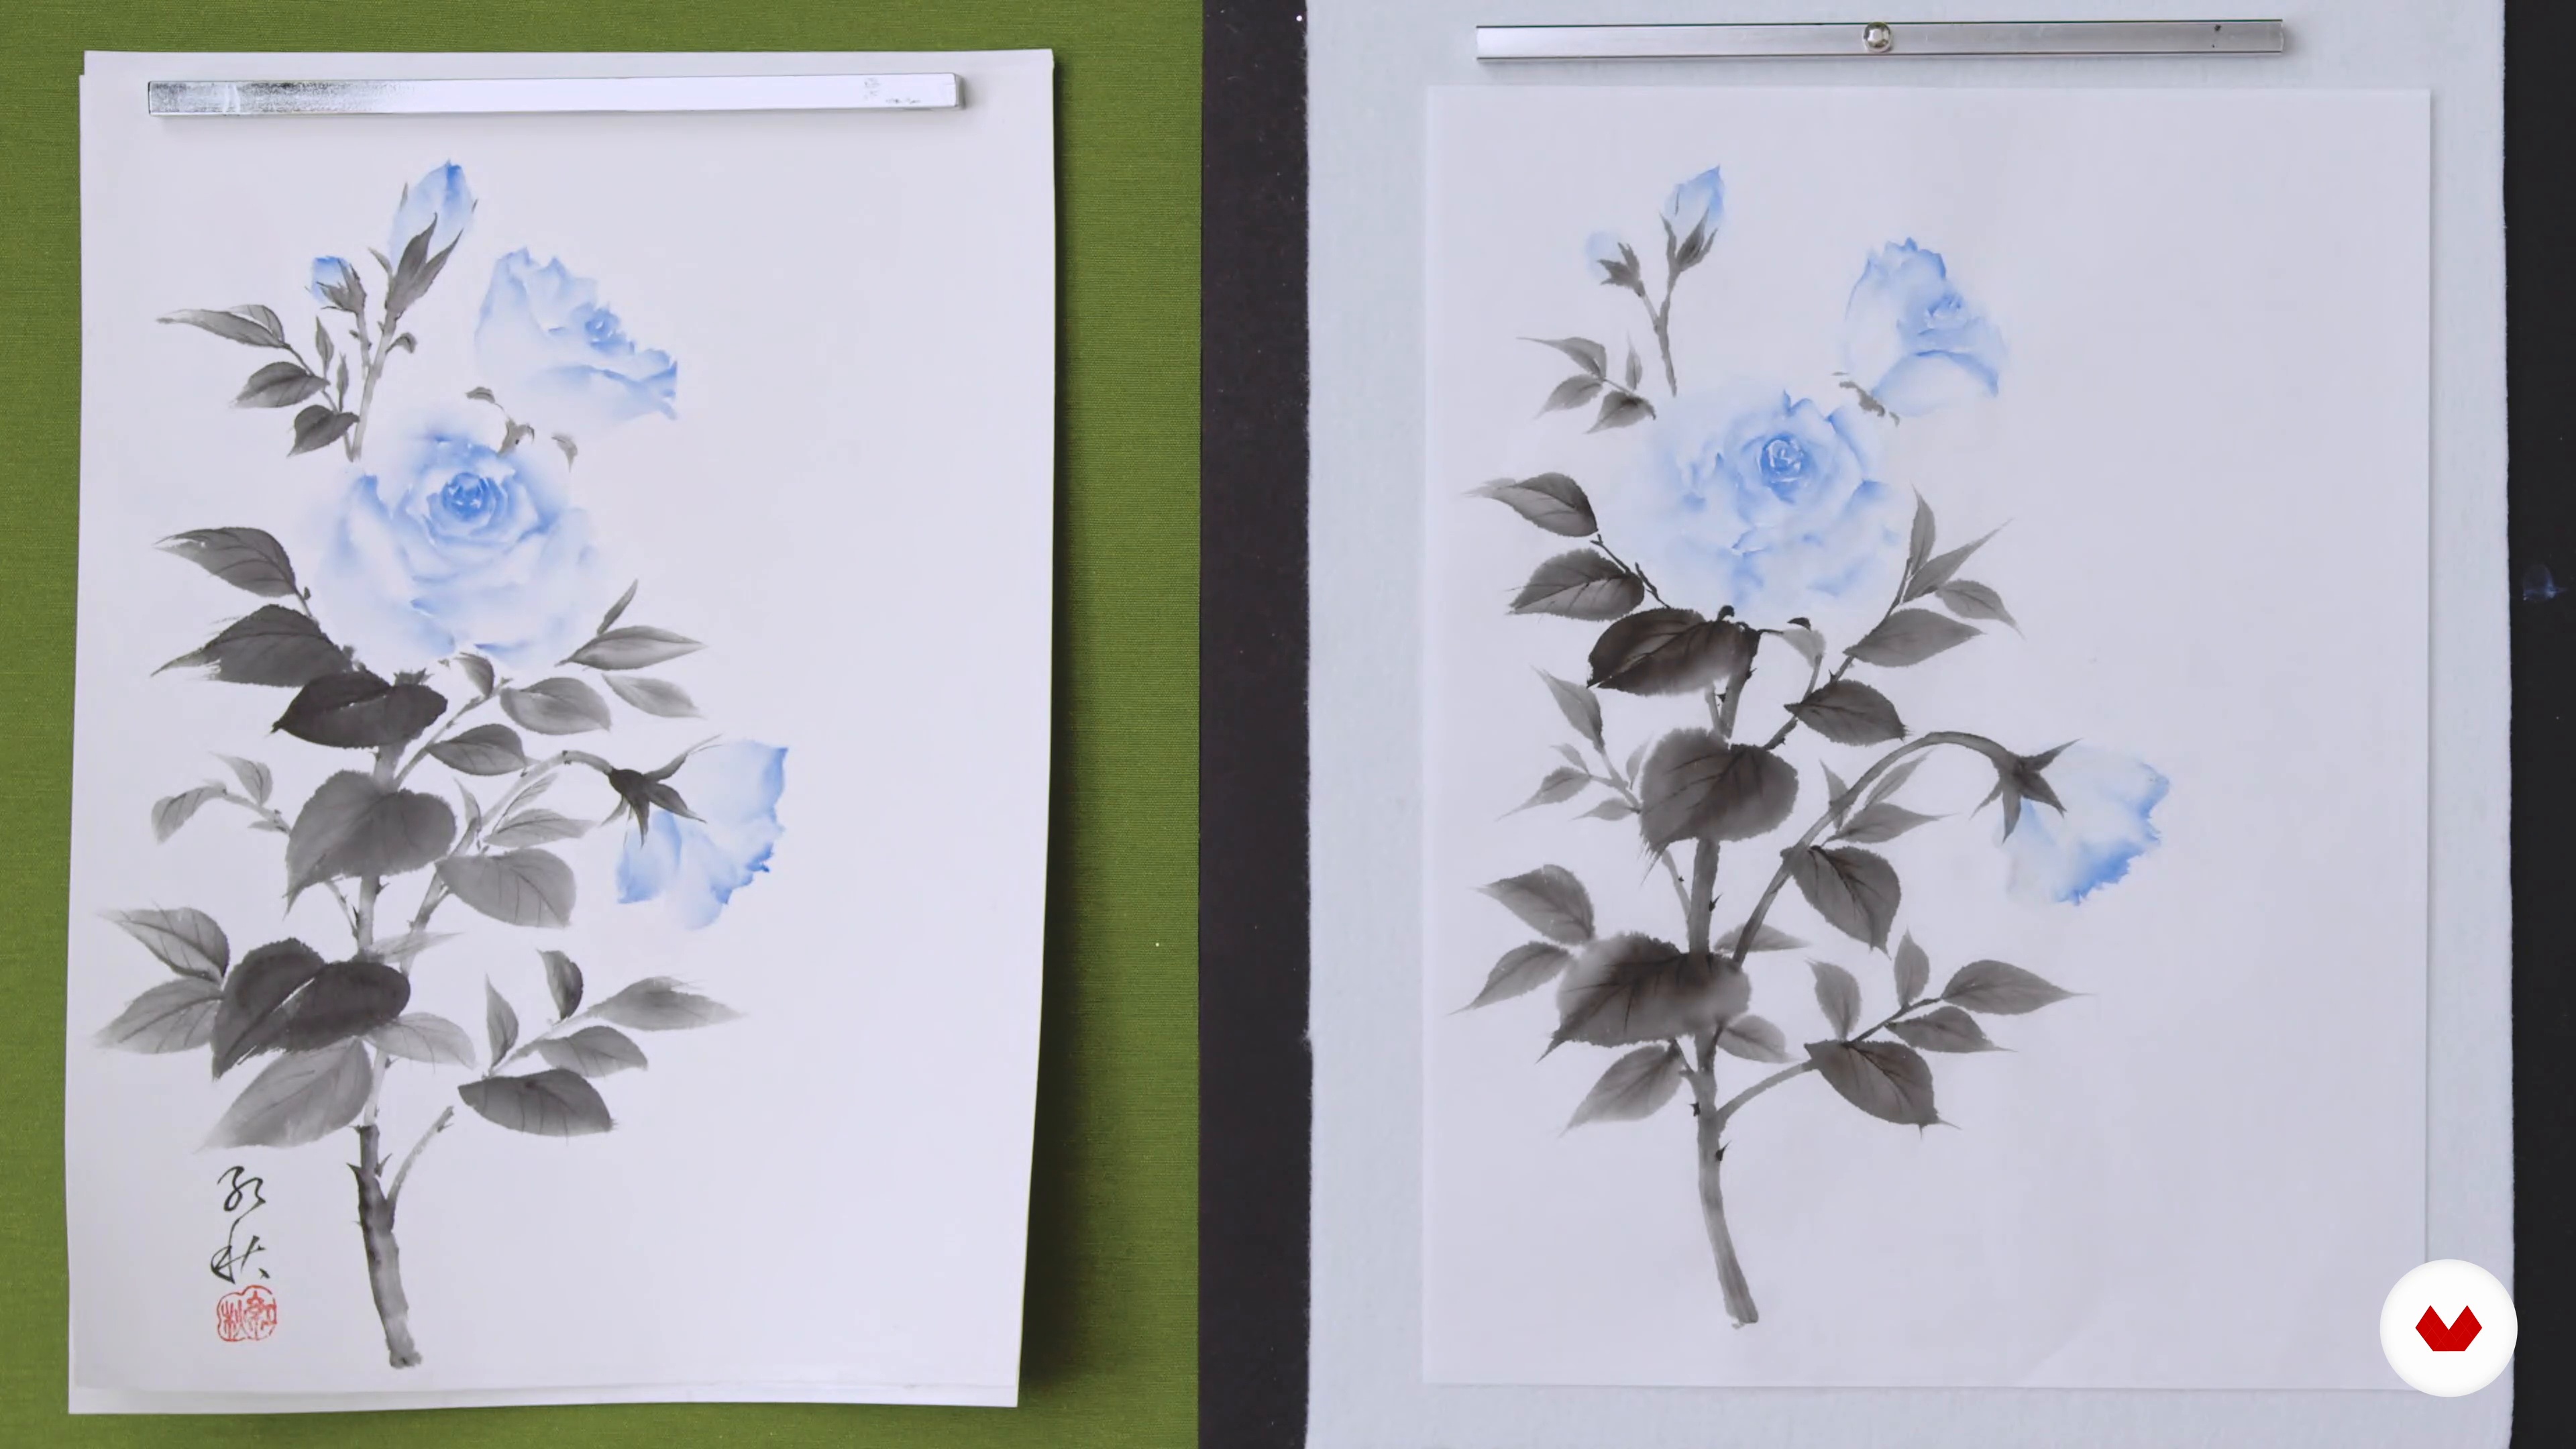
15A Rose in Tsuketatehou 2
It's time to finalise the artwork with colour. I will paint a rose that doesn't exist in nature, with blue petals to symbolise mystery.
18m
 16
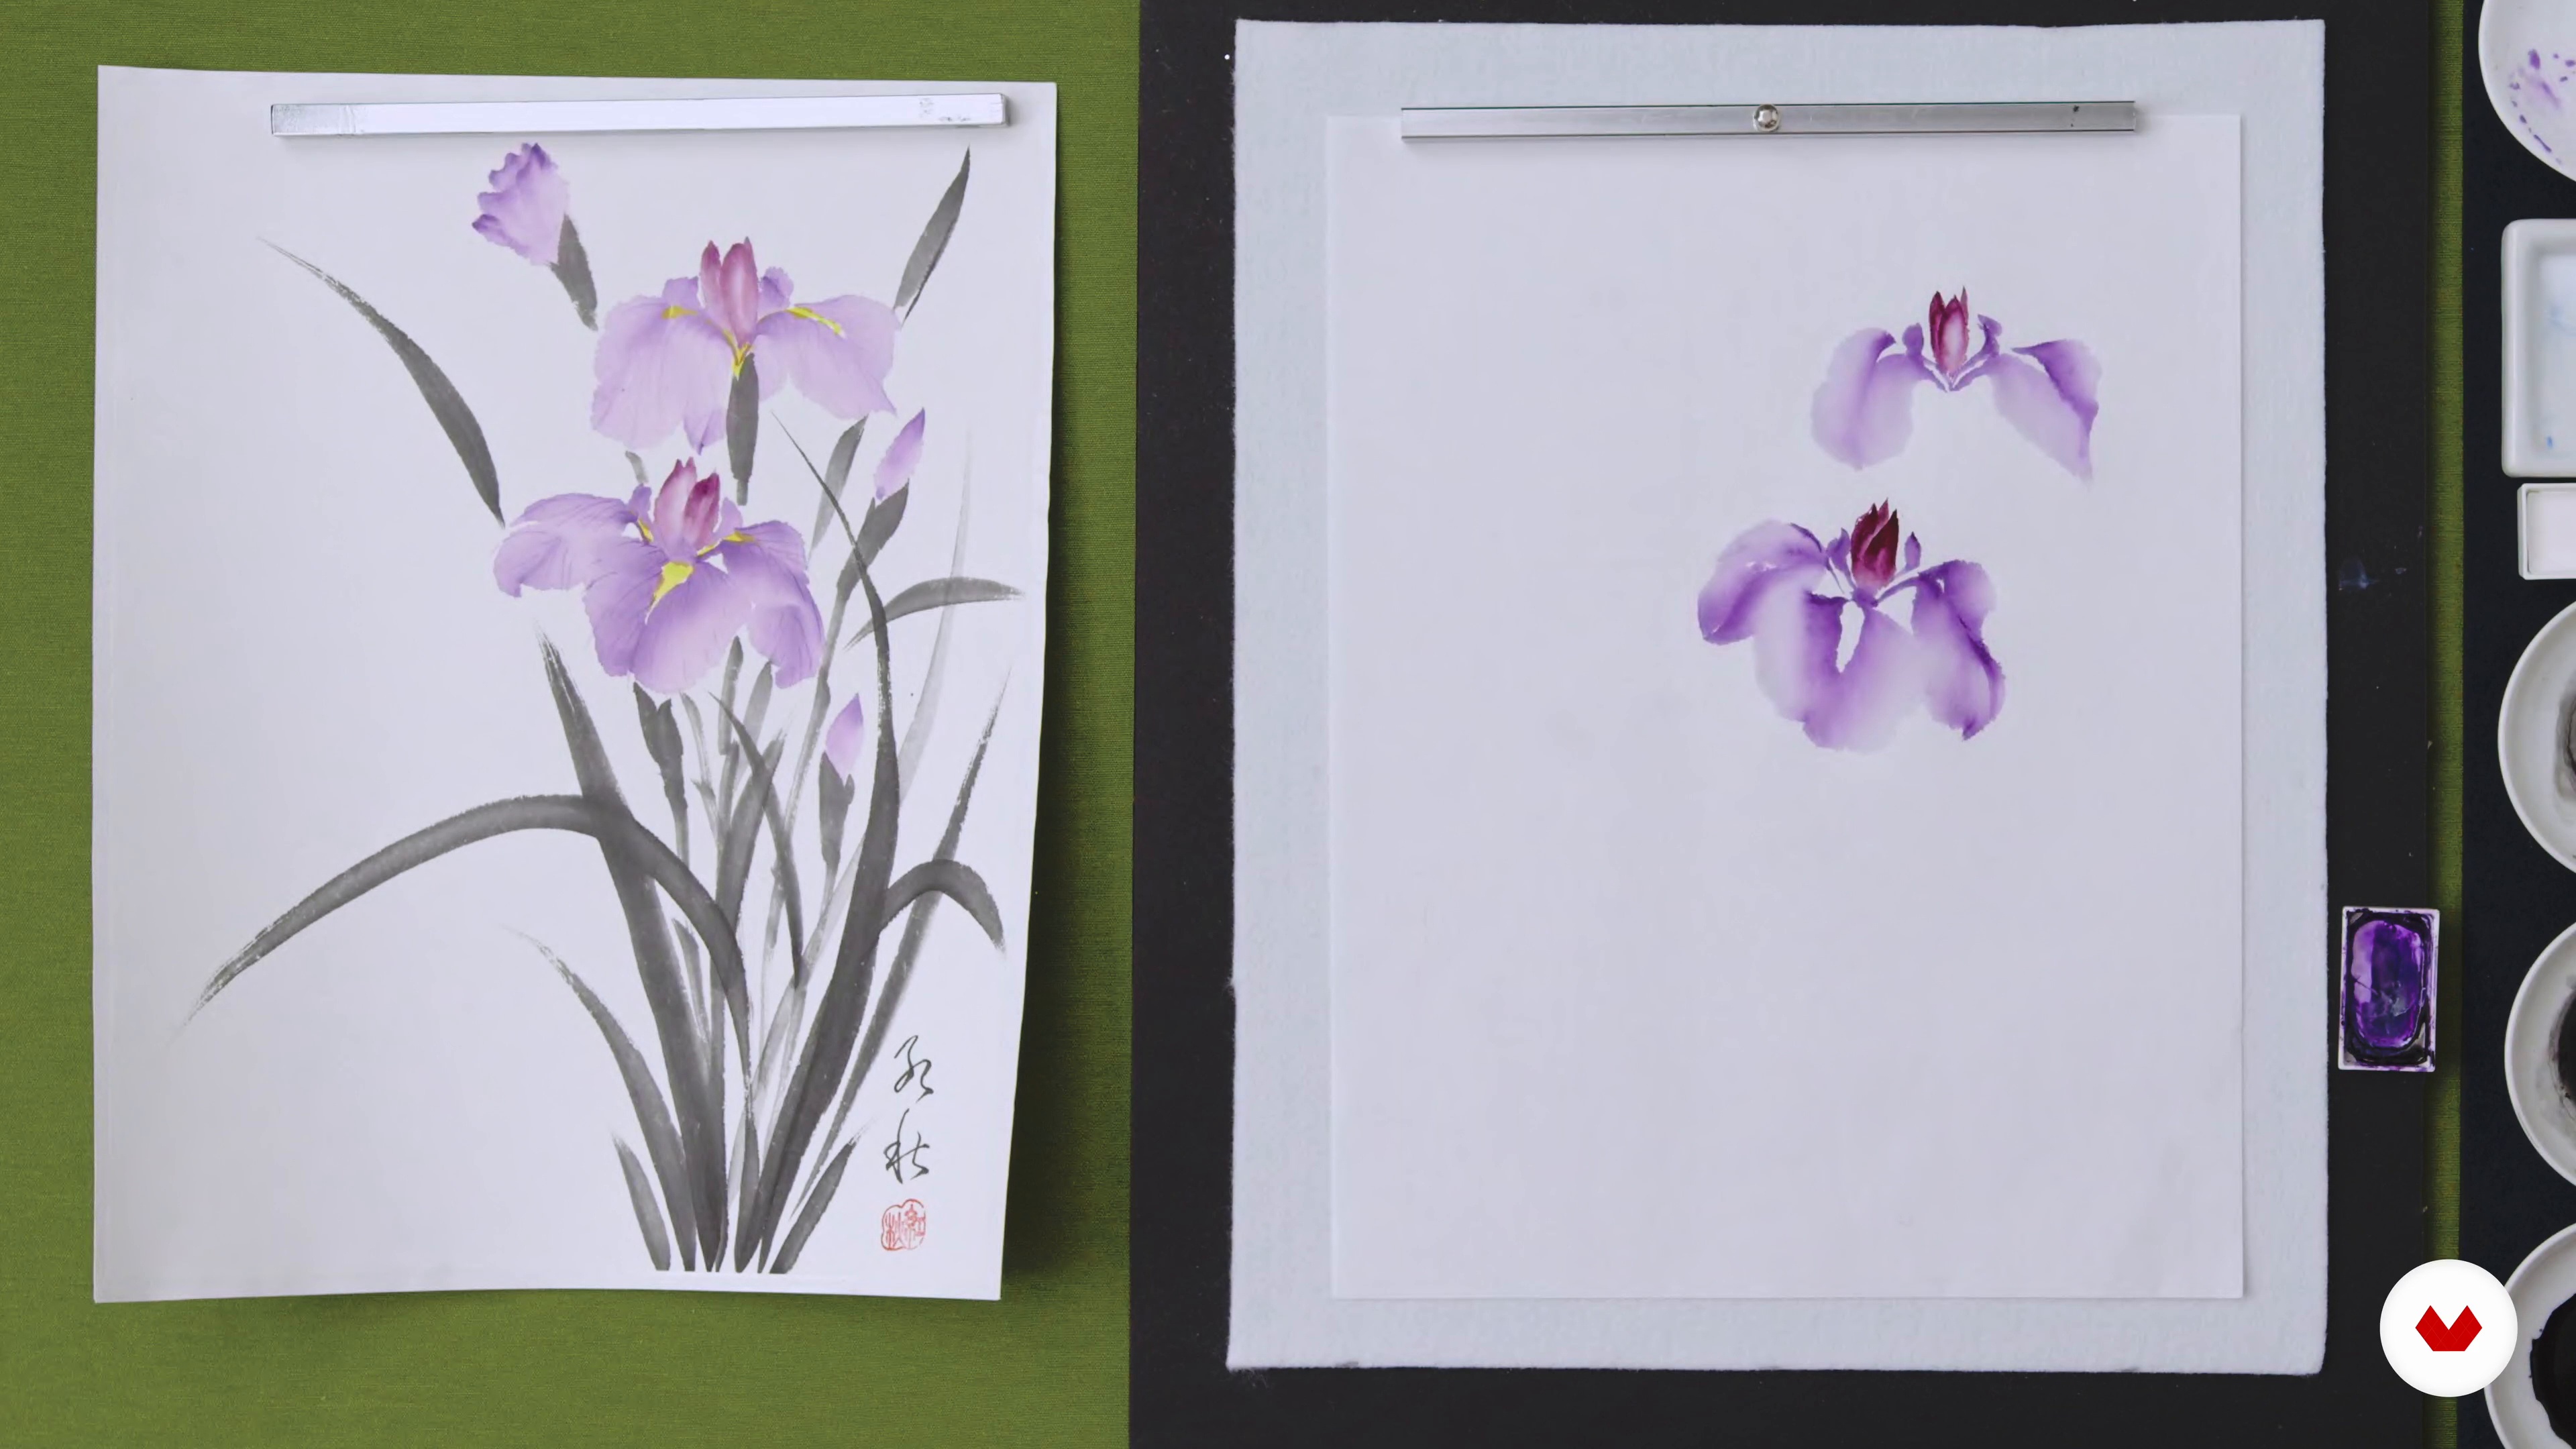
16An Iris in Tsuketatehou 1
In this lesson, I will teach you how to paint an iris in Tsuketatehou to try and capture its essence through brush movements and ink effects.
14m
 17
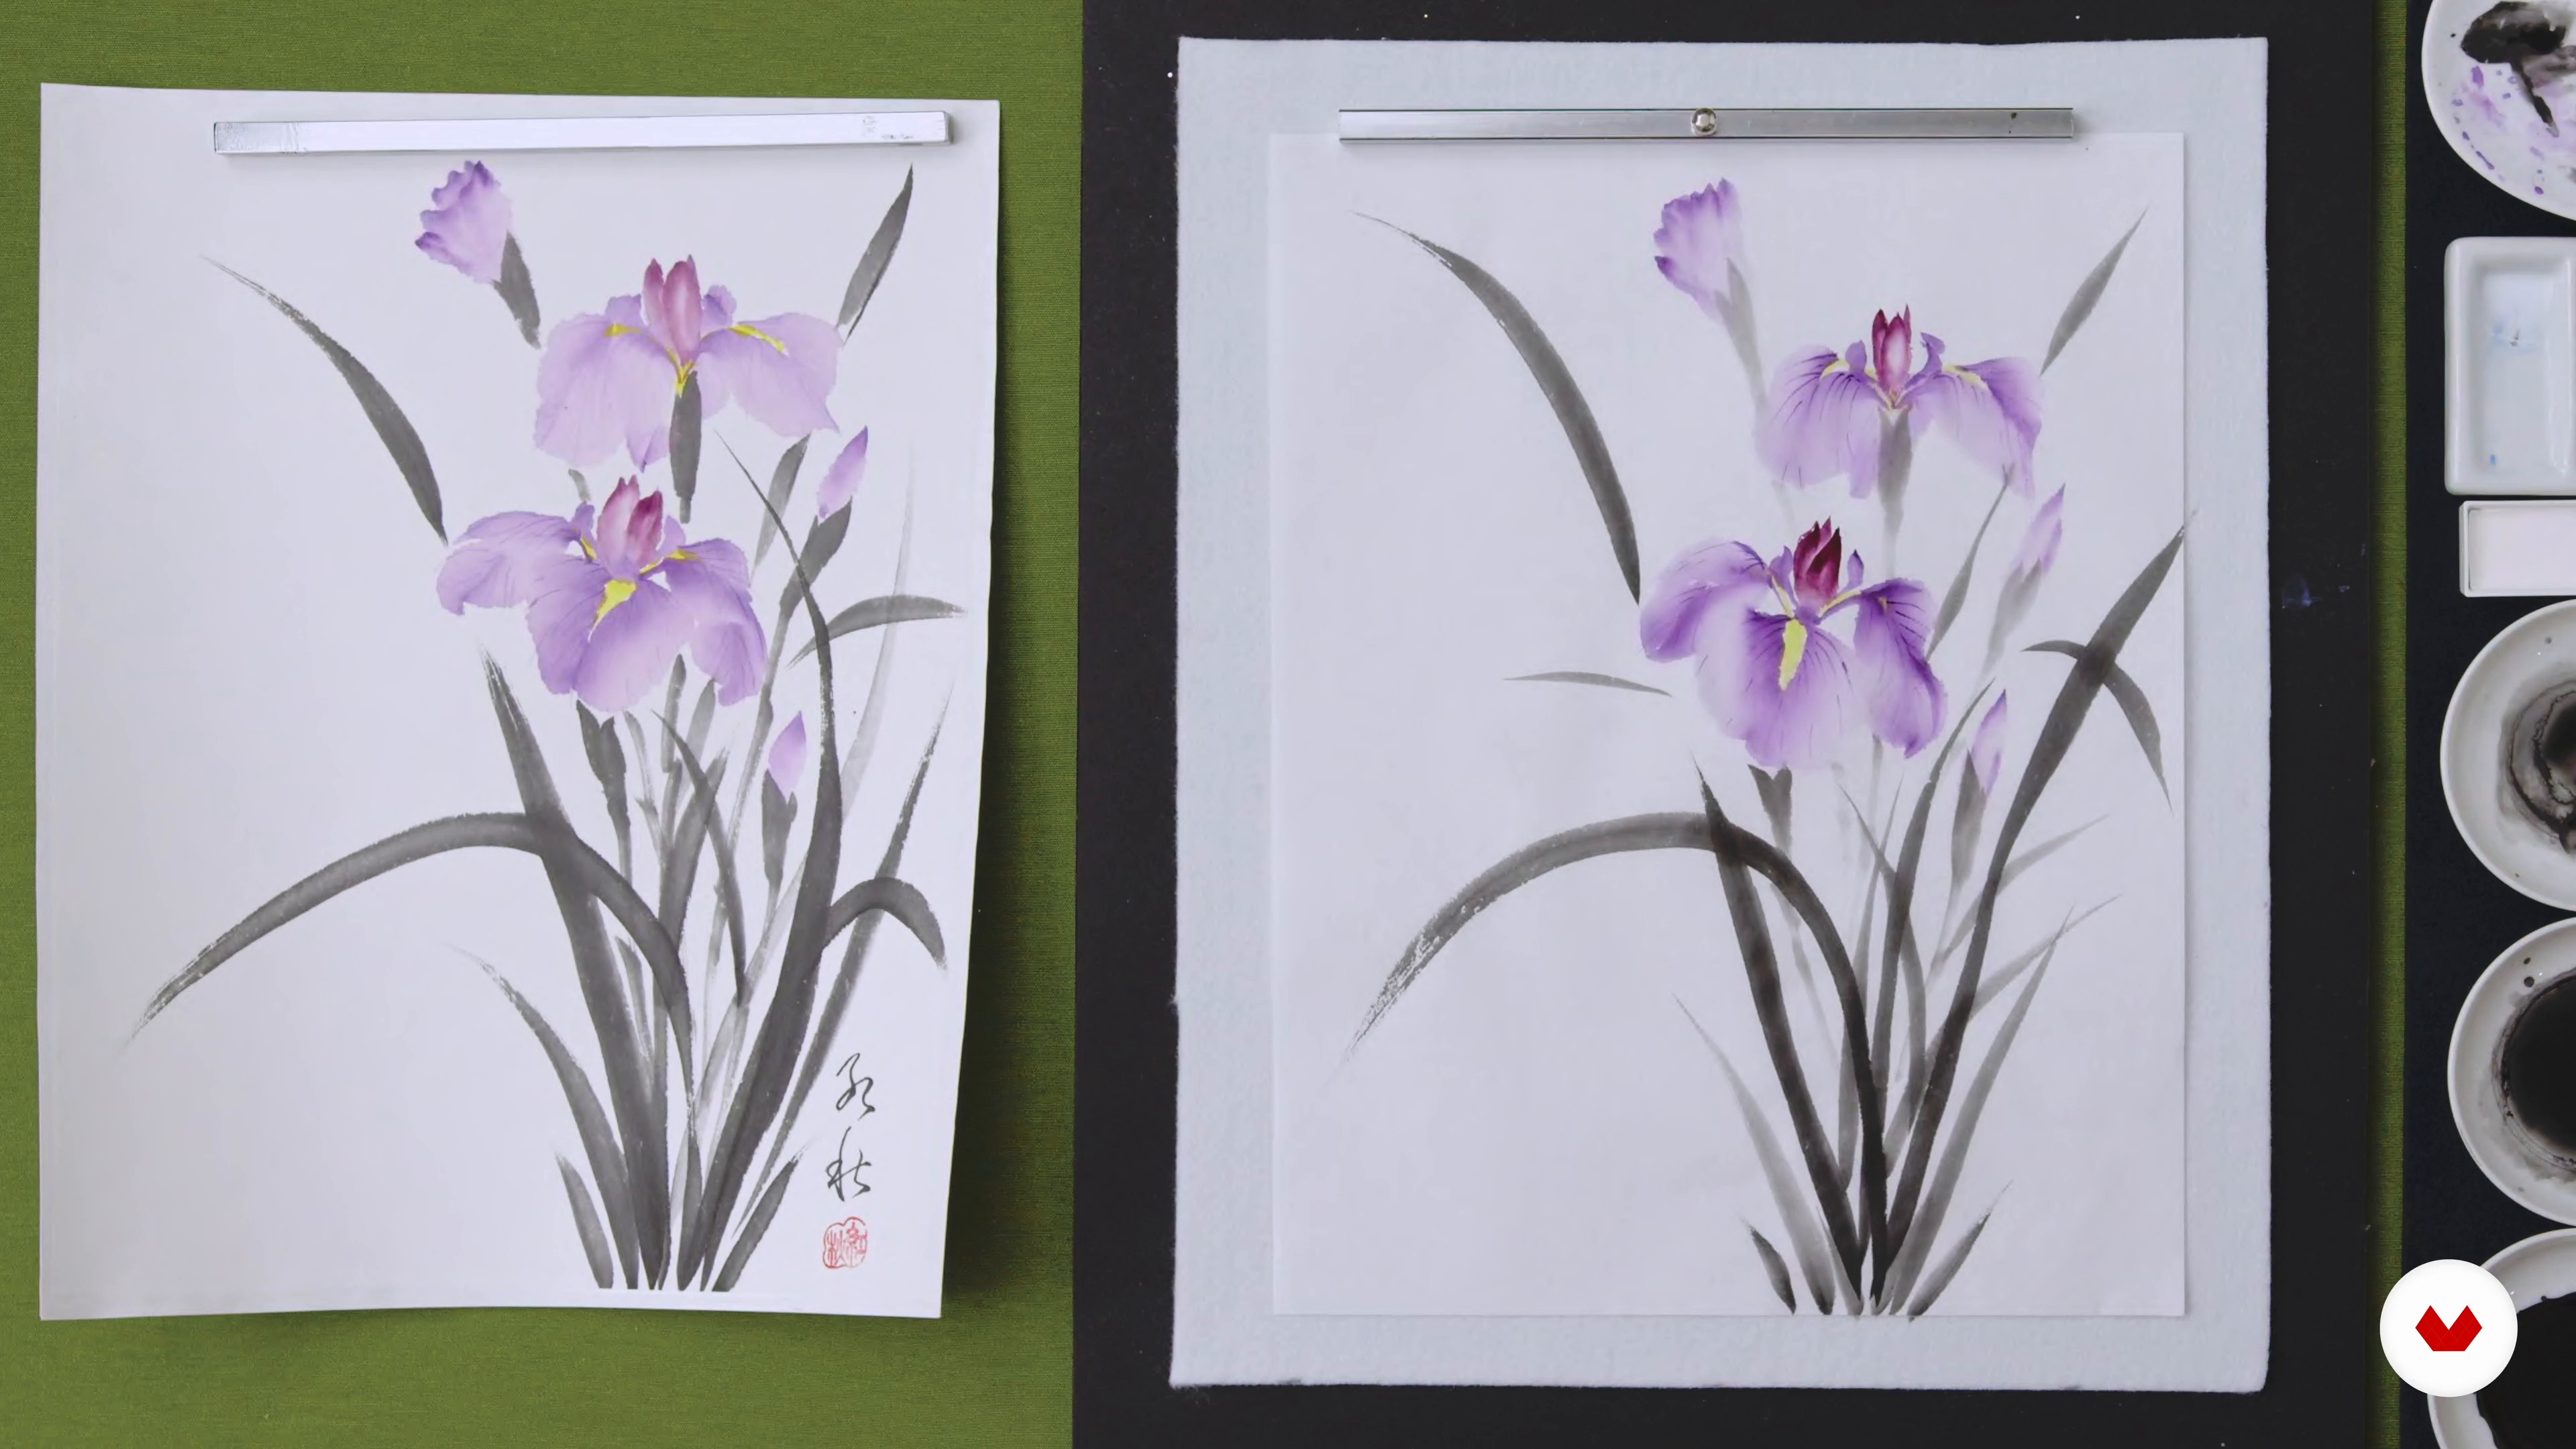
17An Iris in Tsuketatehou 2
Now, I will finish painting the petals of the iris before adding the leaves. In this phase, it's very important to always keep in mind the balance of the composition.
8m
 18
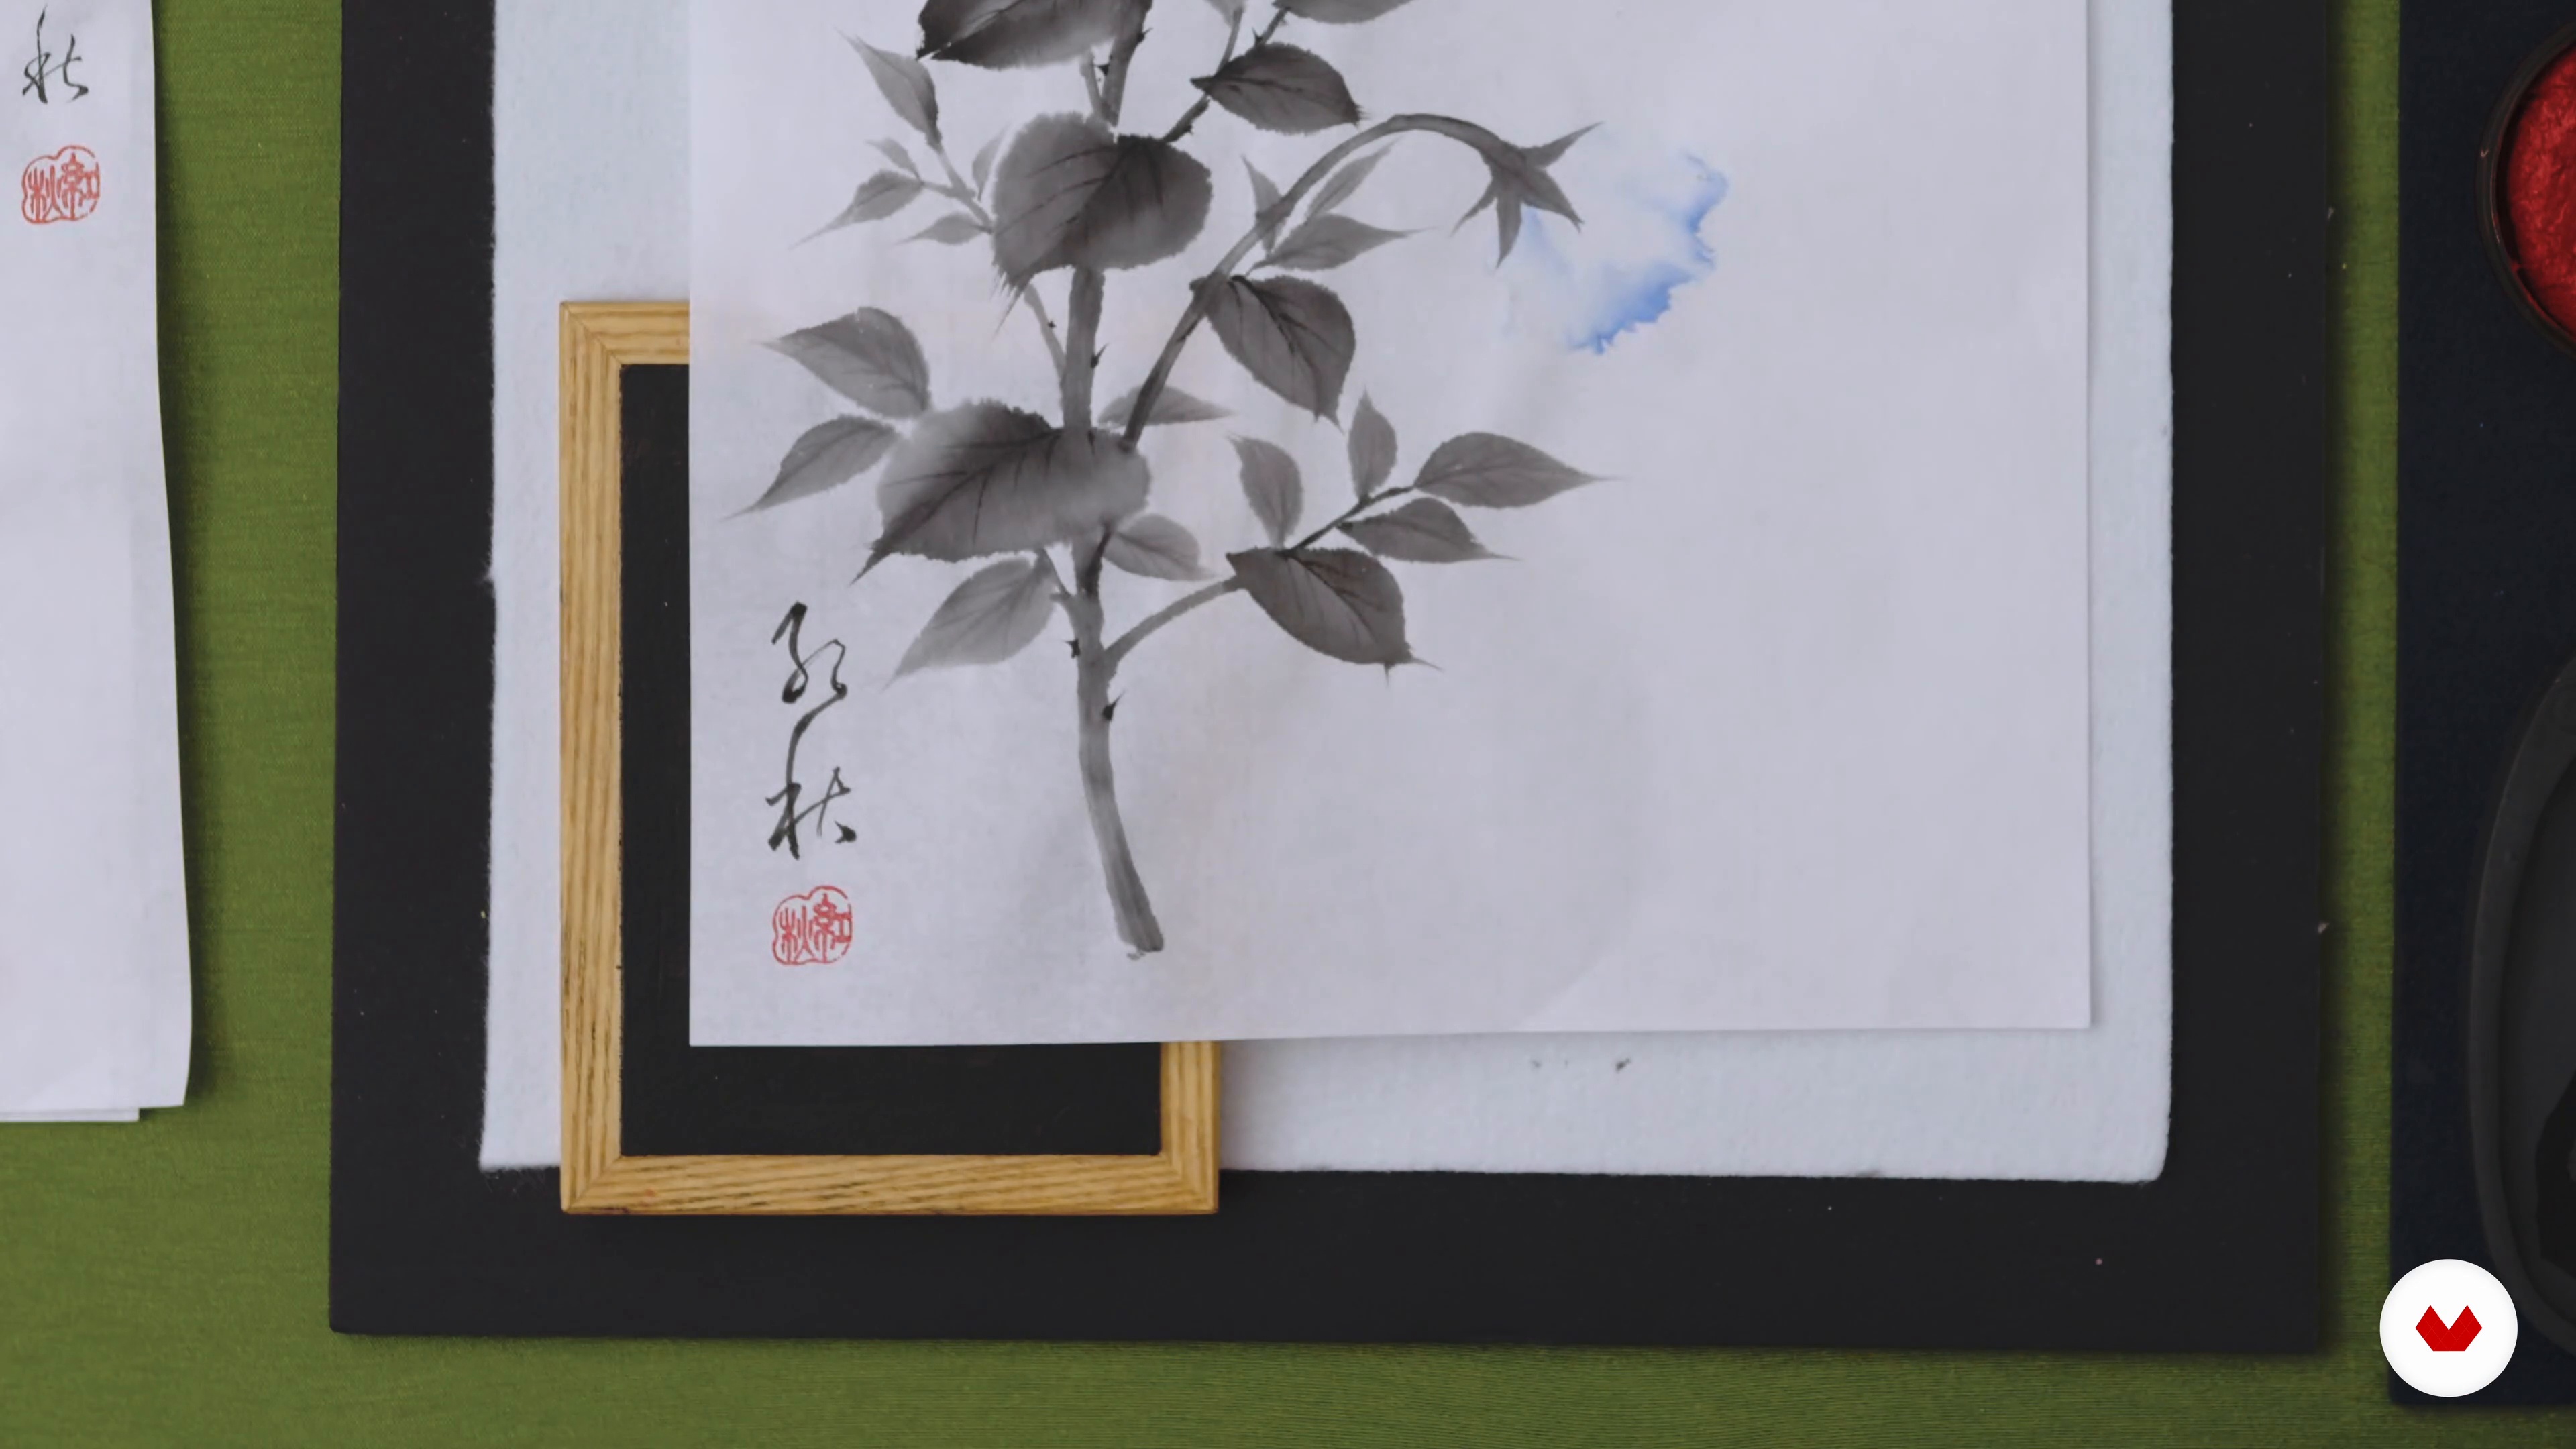
18About the Seal
What is the signature or seal and what is its purpose? In this lesson, I will briefly discuss its origins and historical significance.
9m
 19
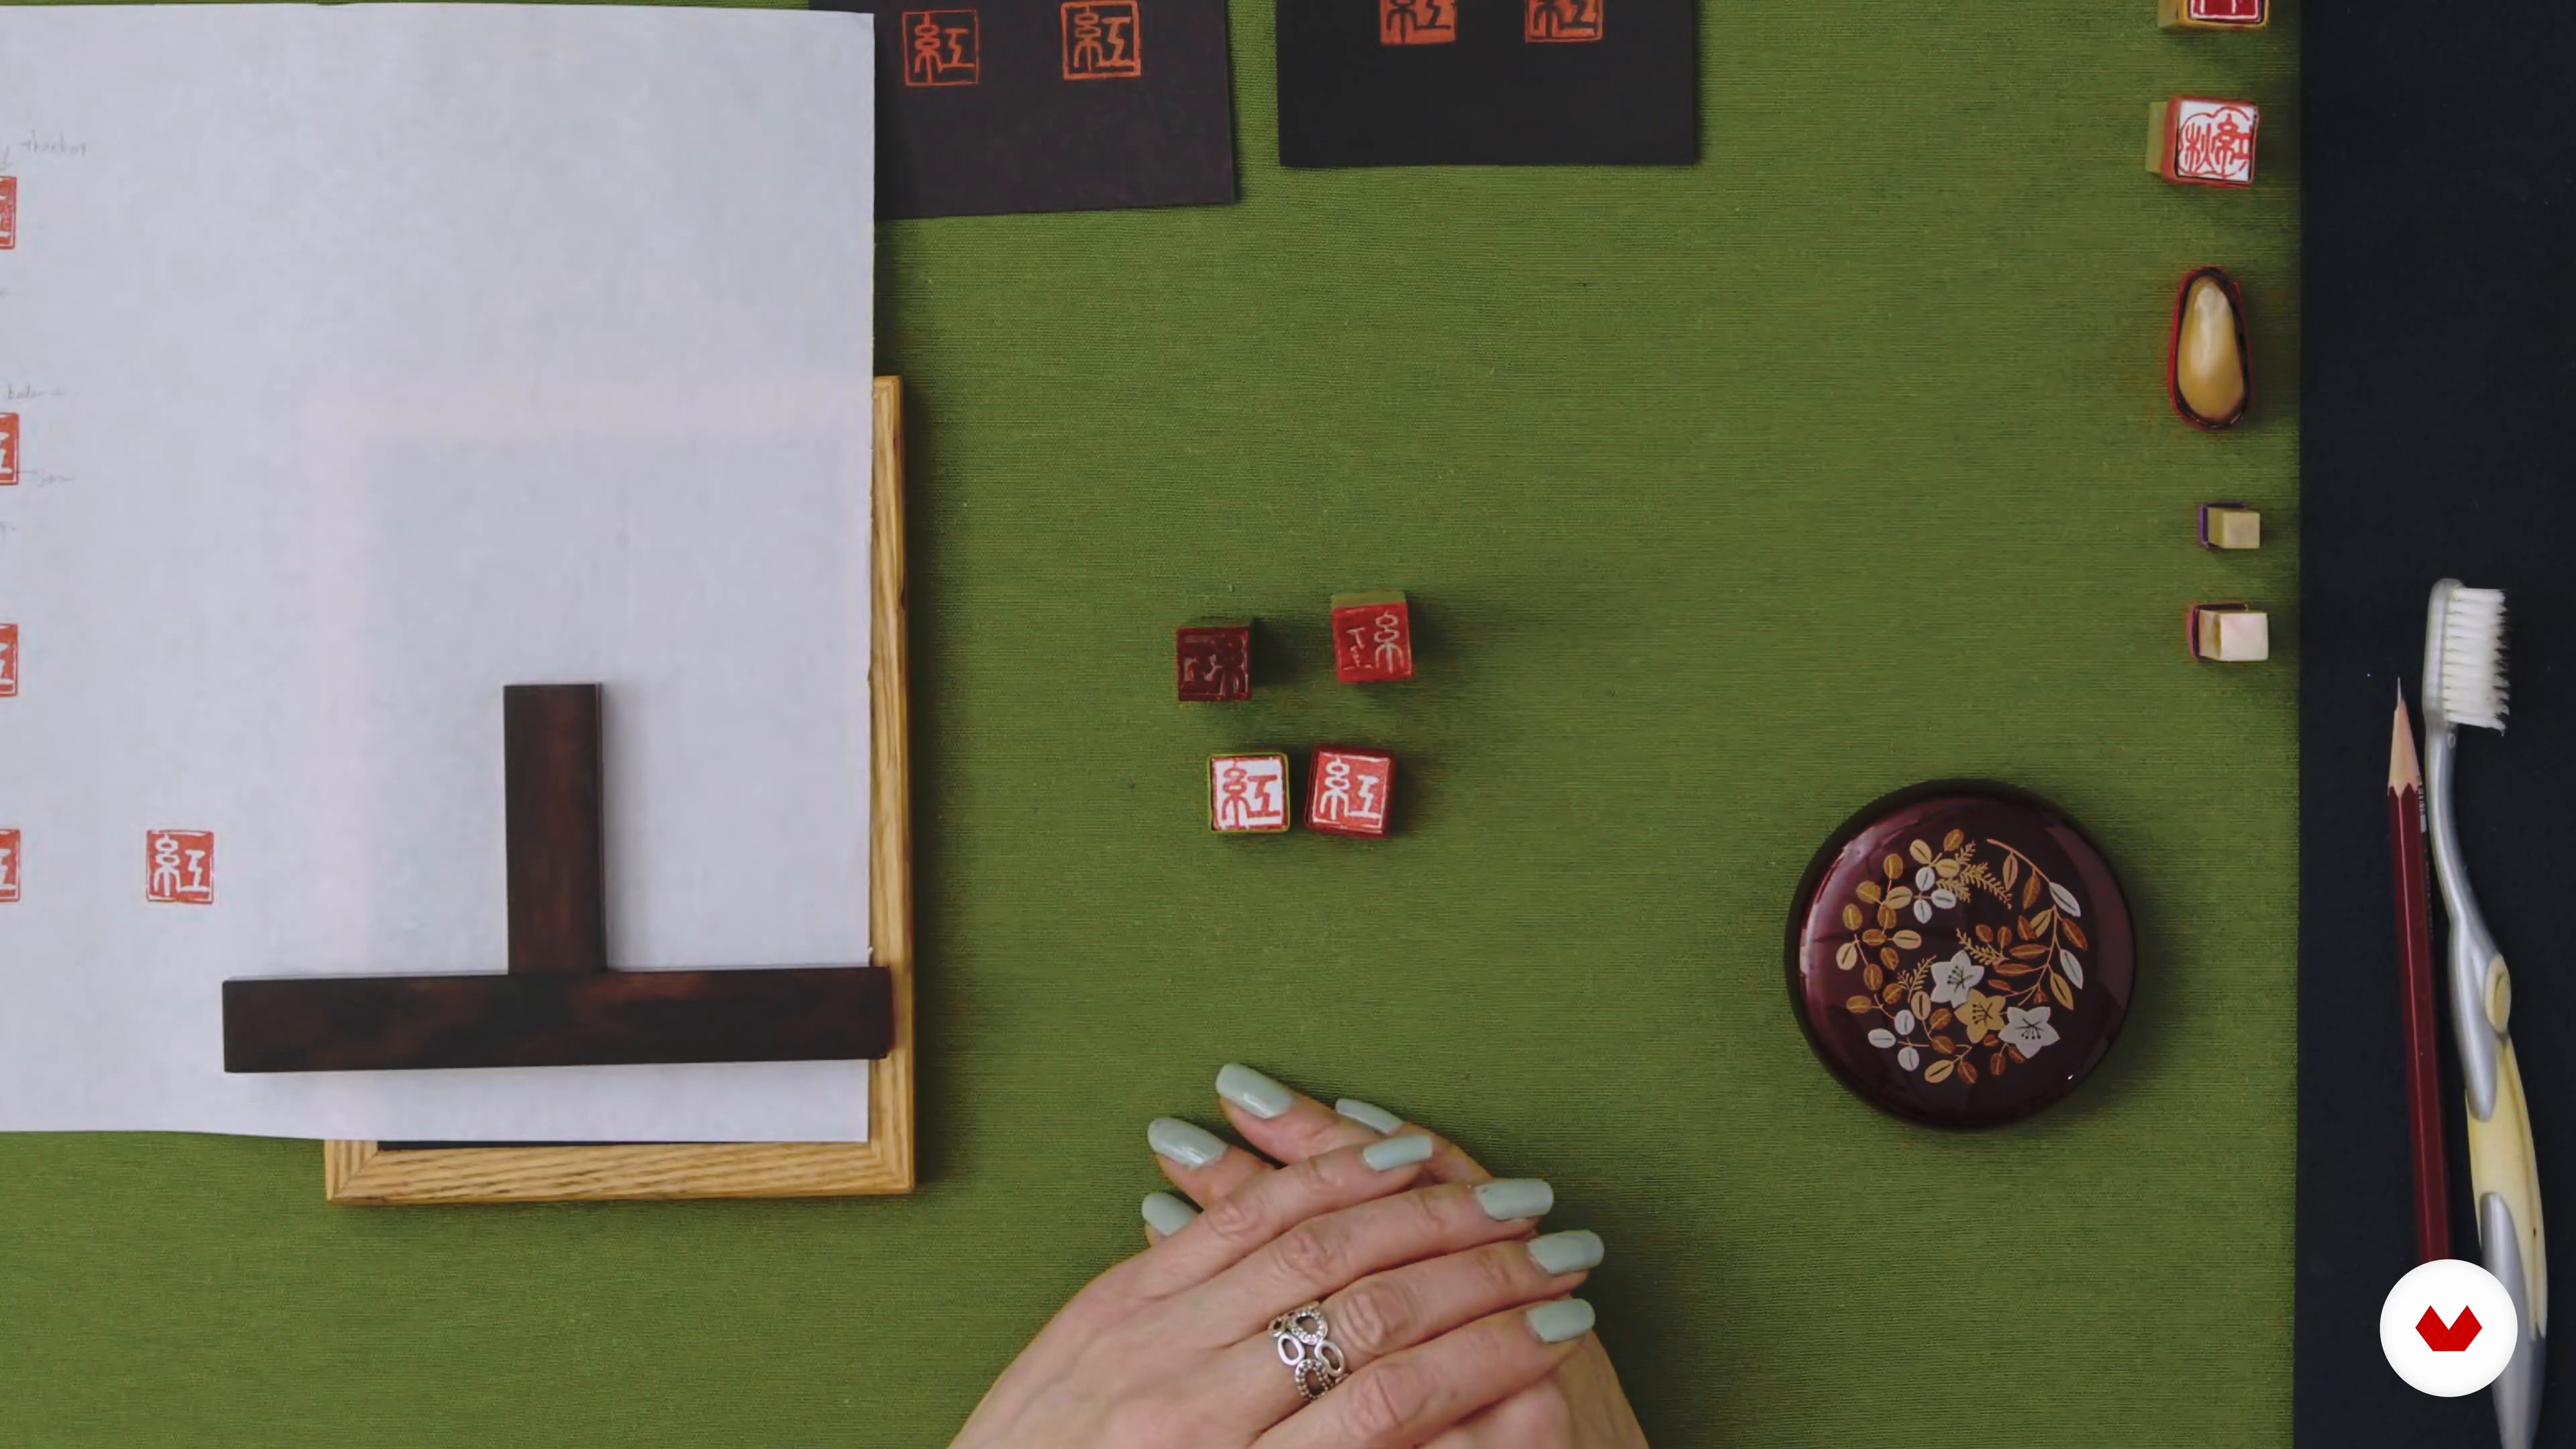
19Seal Making
Now that you know the meaning of the seal, I will show you the key stages of seal making!
18m
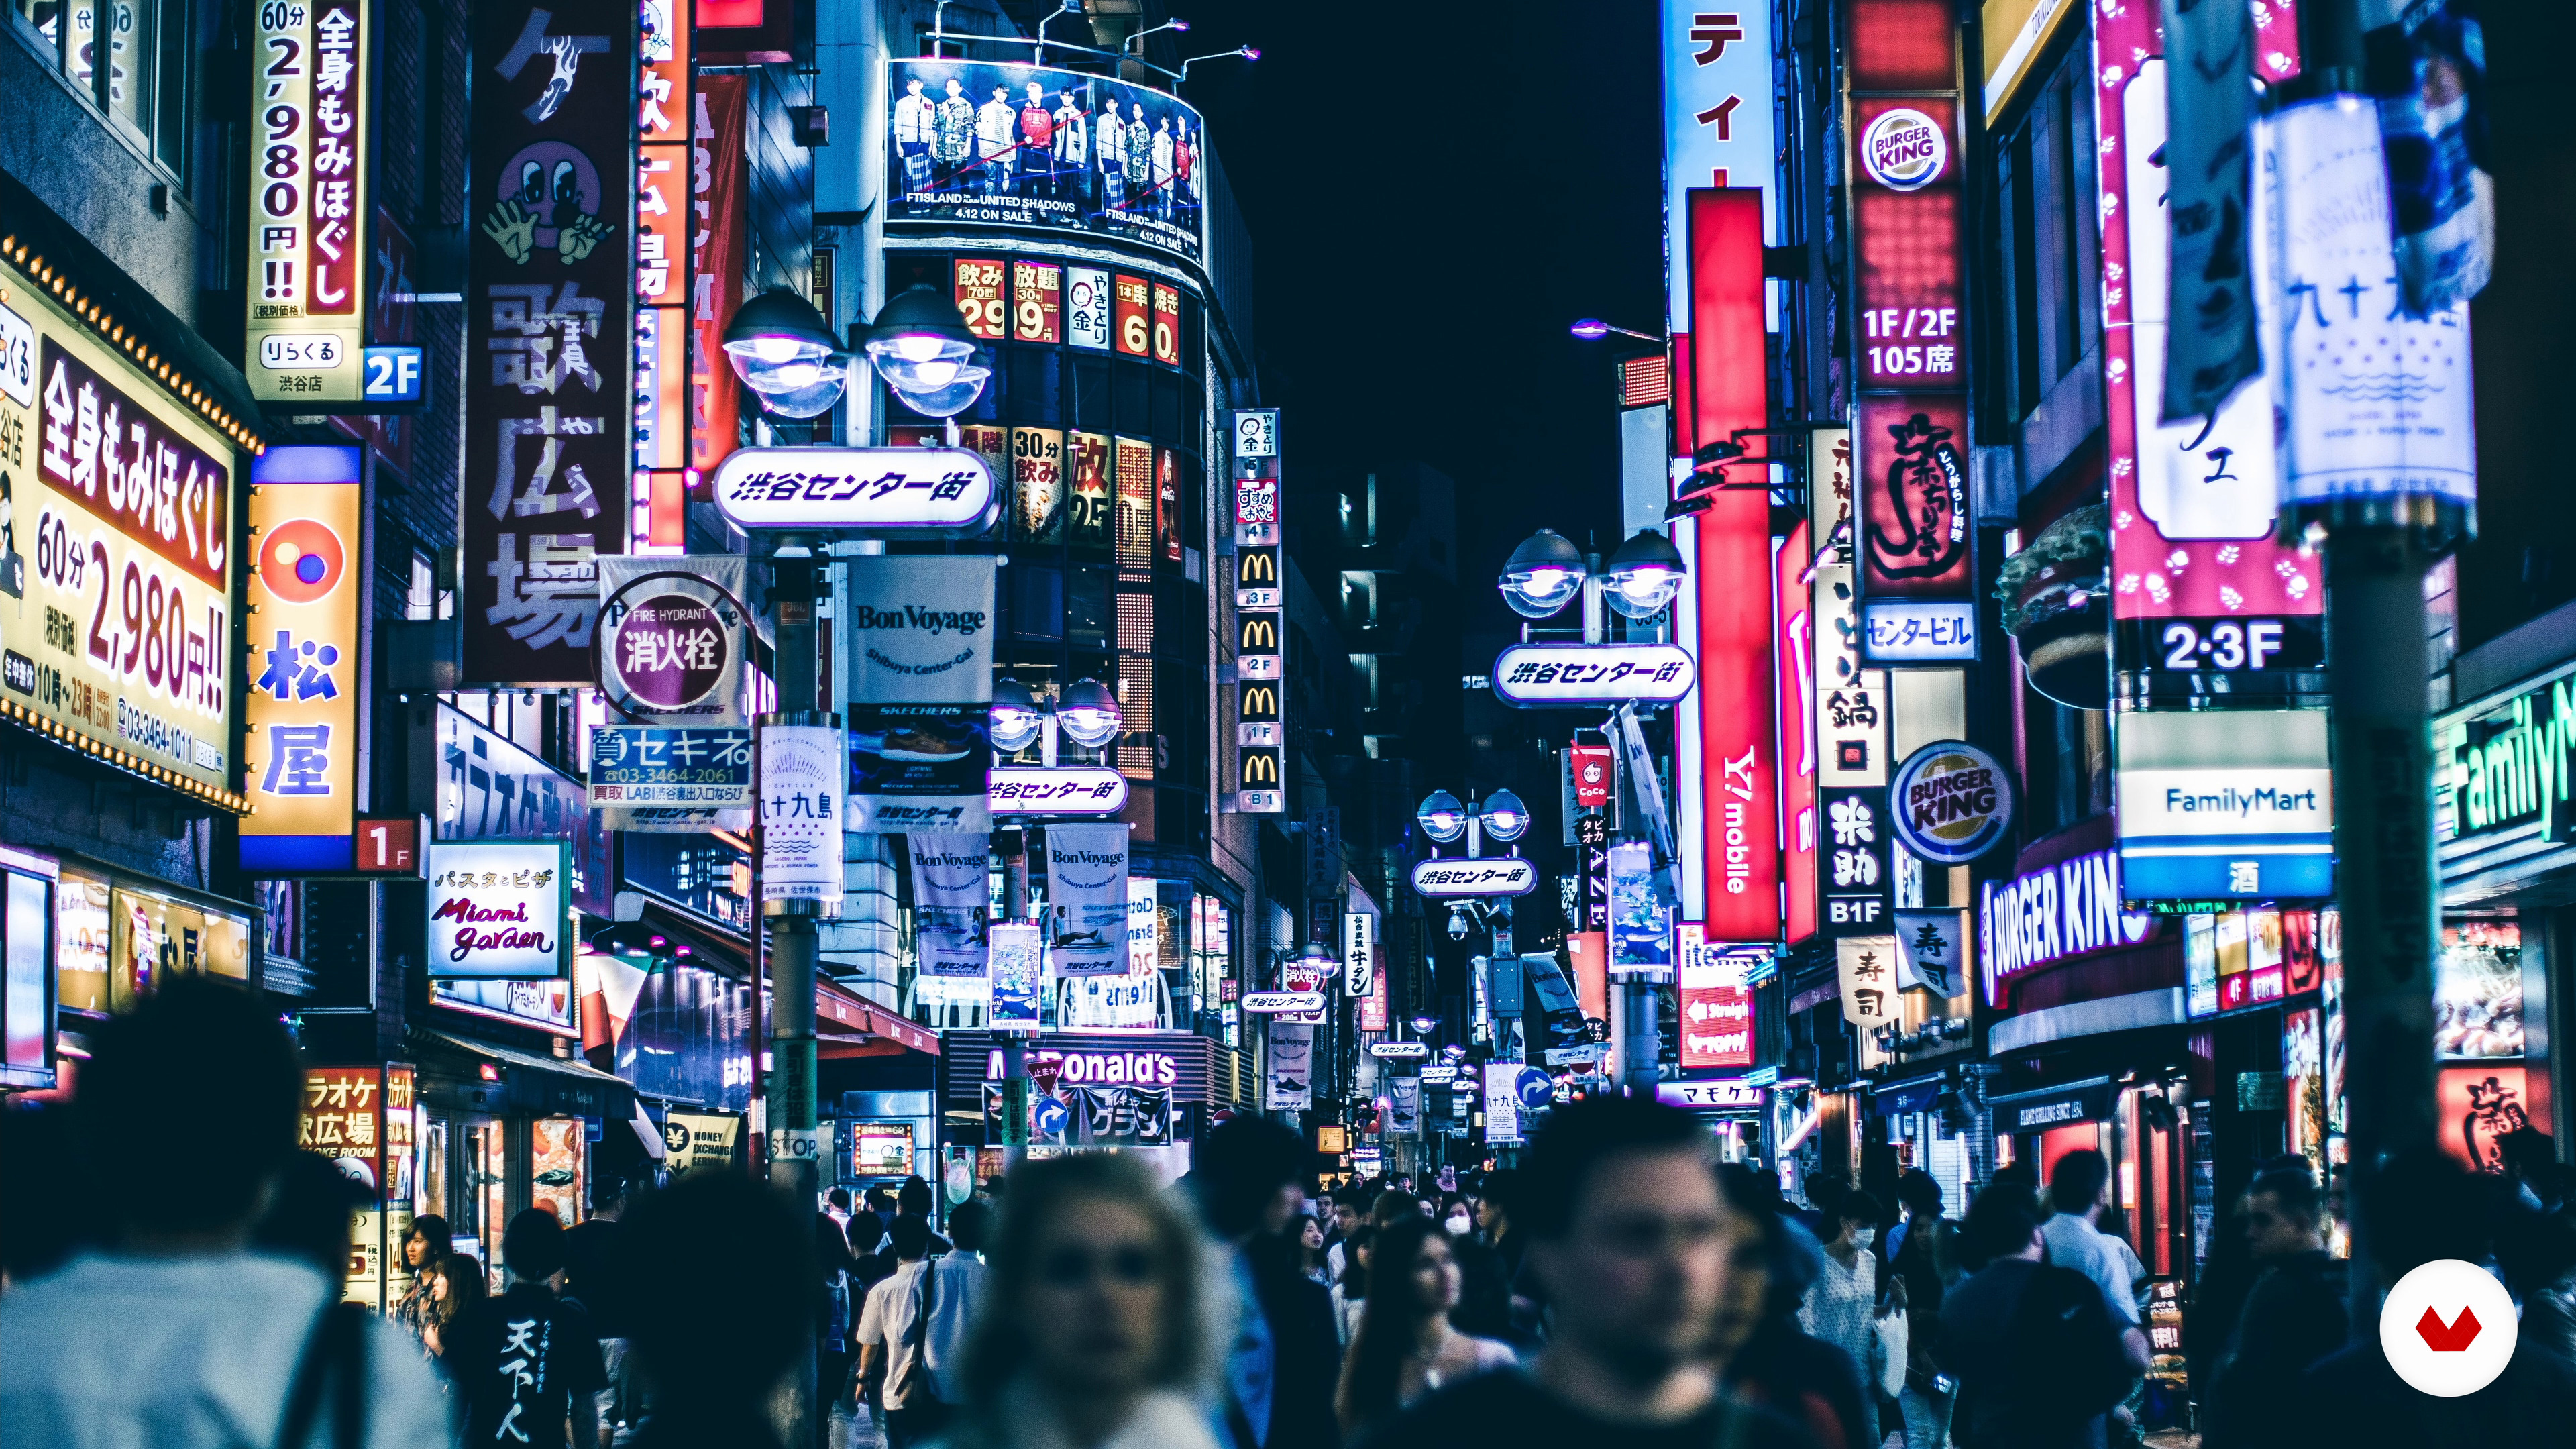 3
3Aesthetics of the Japanese theme
Learn in this lesson how to immerse yourself in a culture and its codes. Are you ready ?
2m
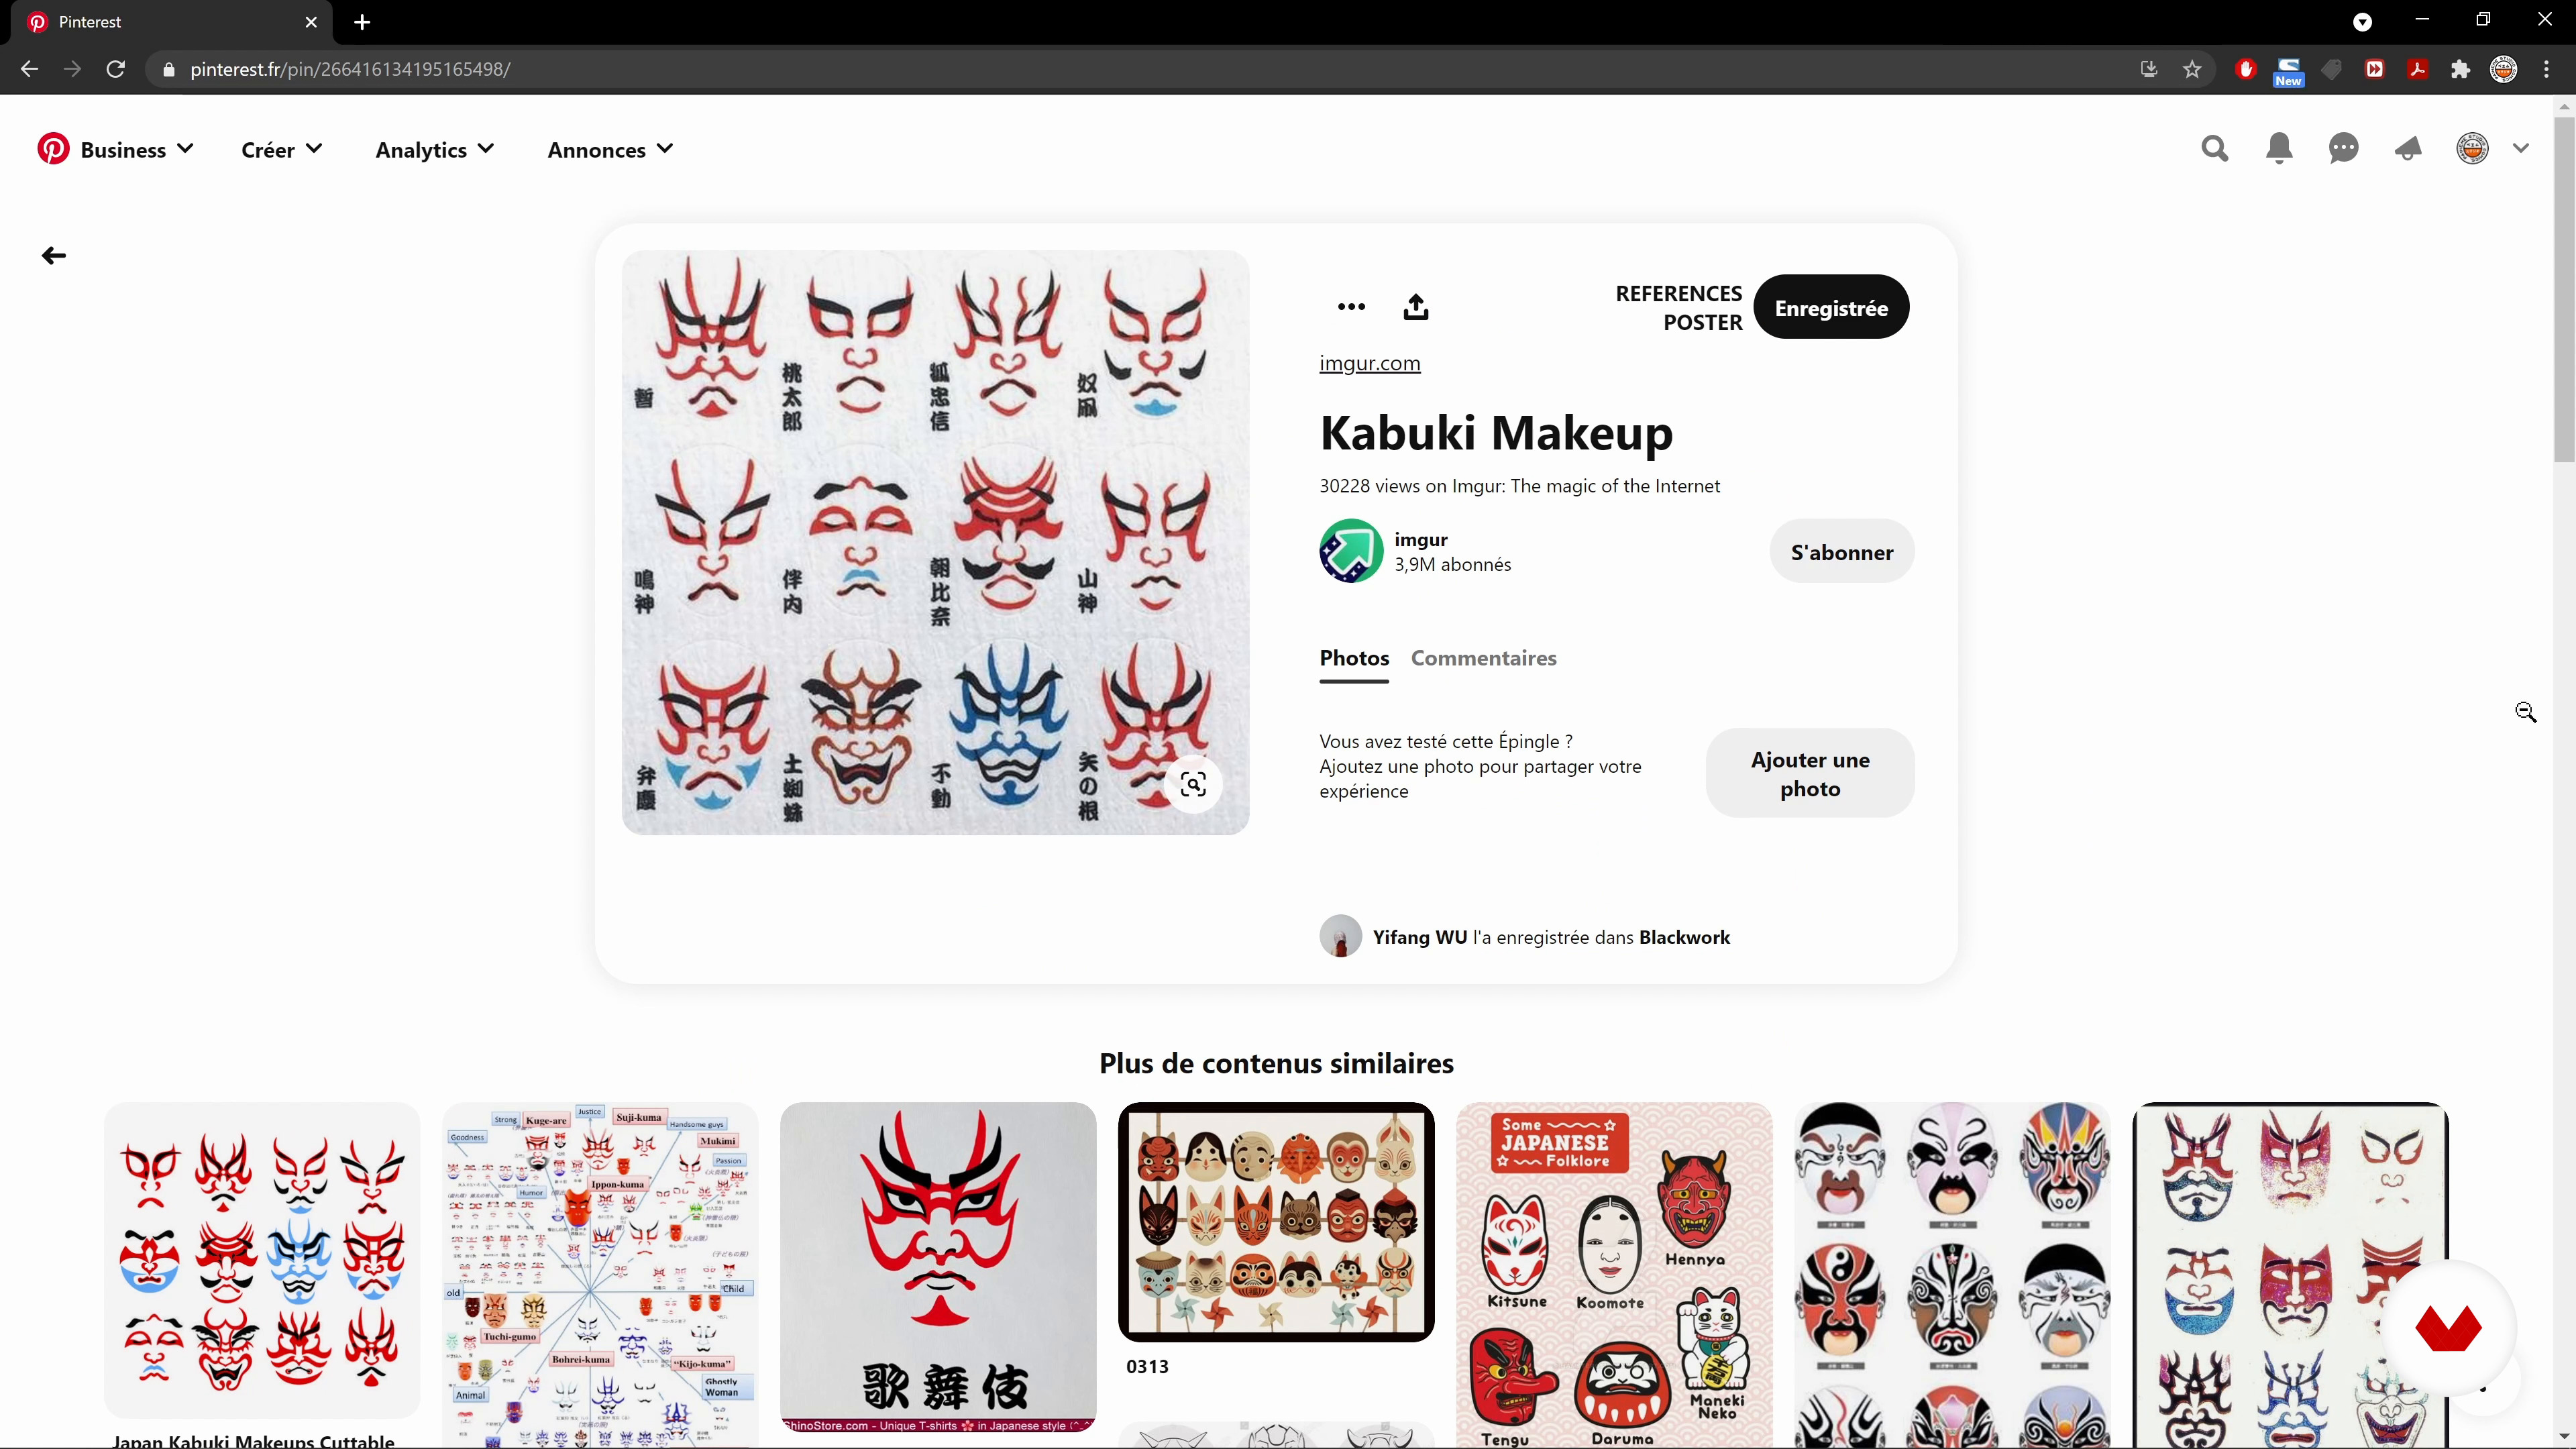 4
4Iconographic research
I will explain to you how to observe and analyze vintage posters to find iconographic references for your illustration.
11m
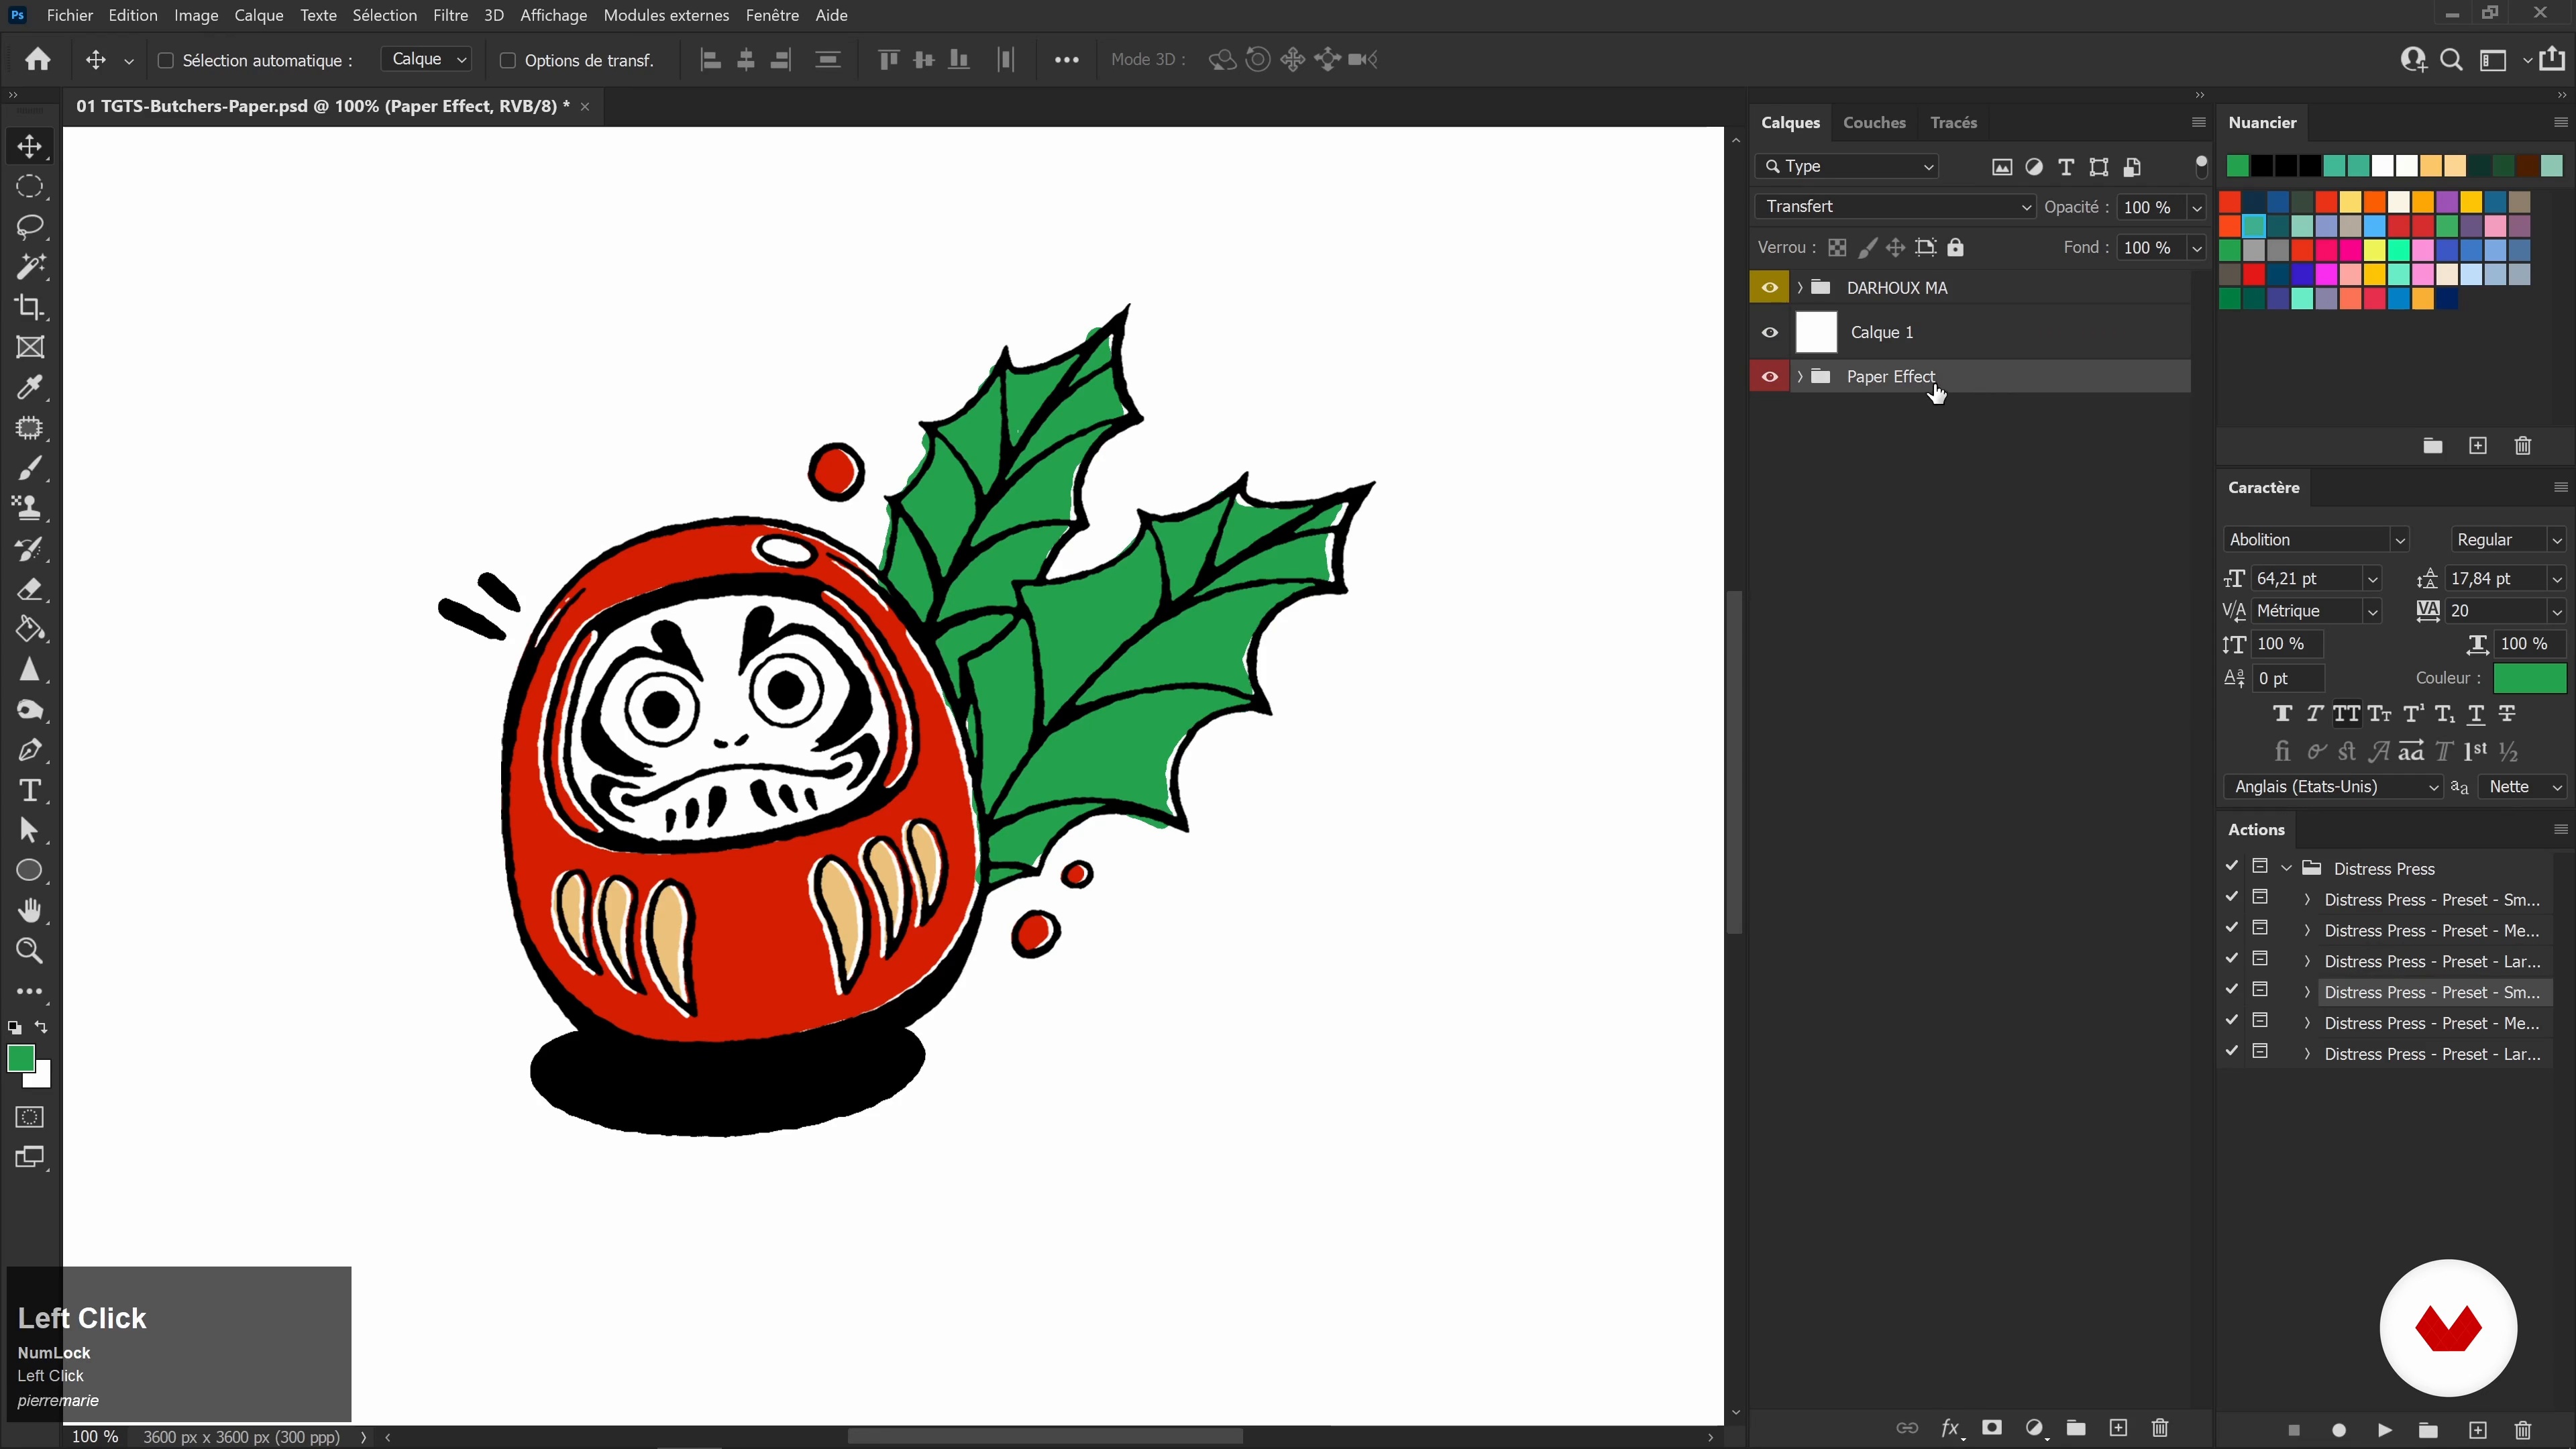 5
5A quick overview of the tools to use in Photoshop
You will learn to master some tools that will be useful to you to create your illustration: the brush, the lasso, the selection of colors, etc.
3m
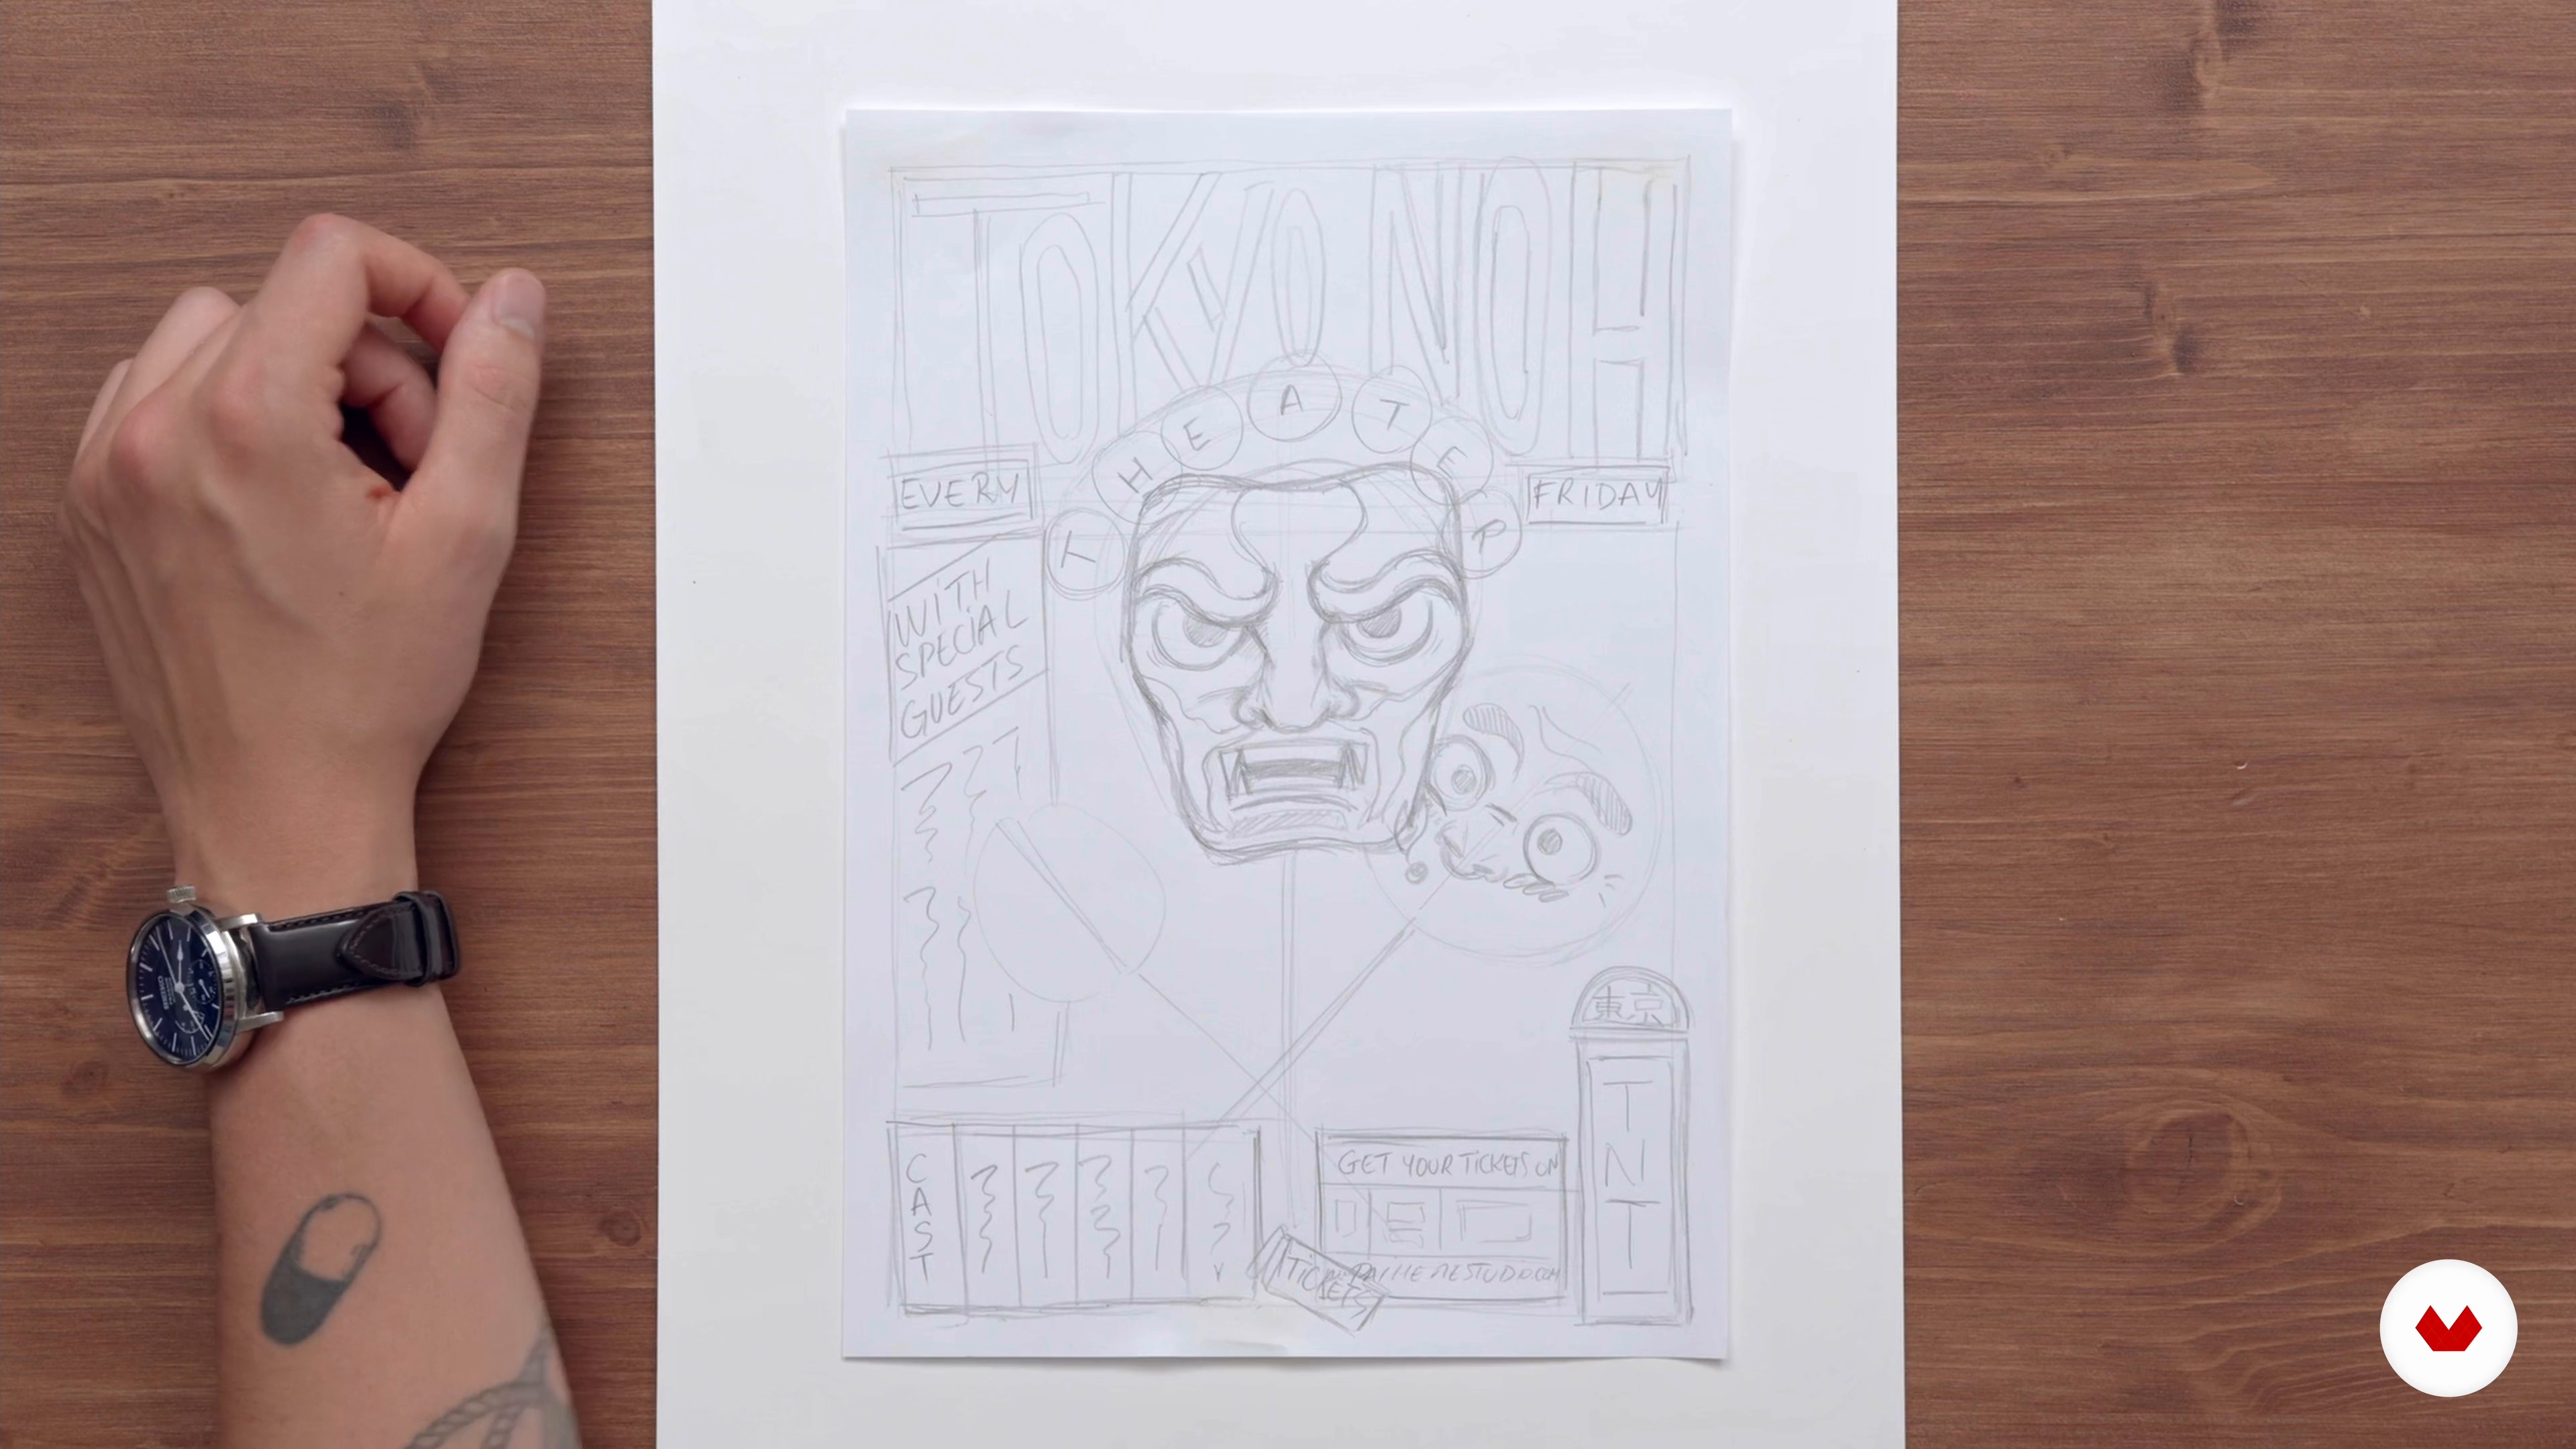 6
6From idea to paper
Now learn how to get started by quickly sketching out the first drafts of your illustration.
18m
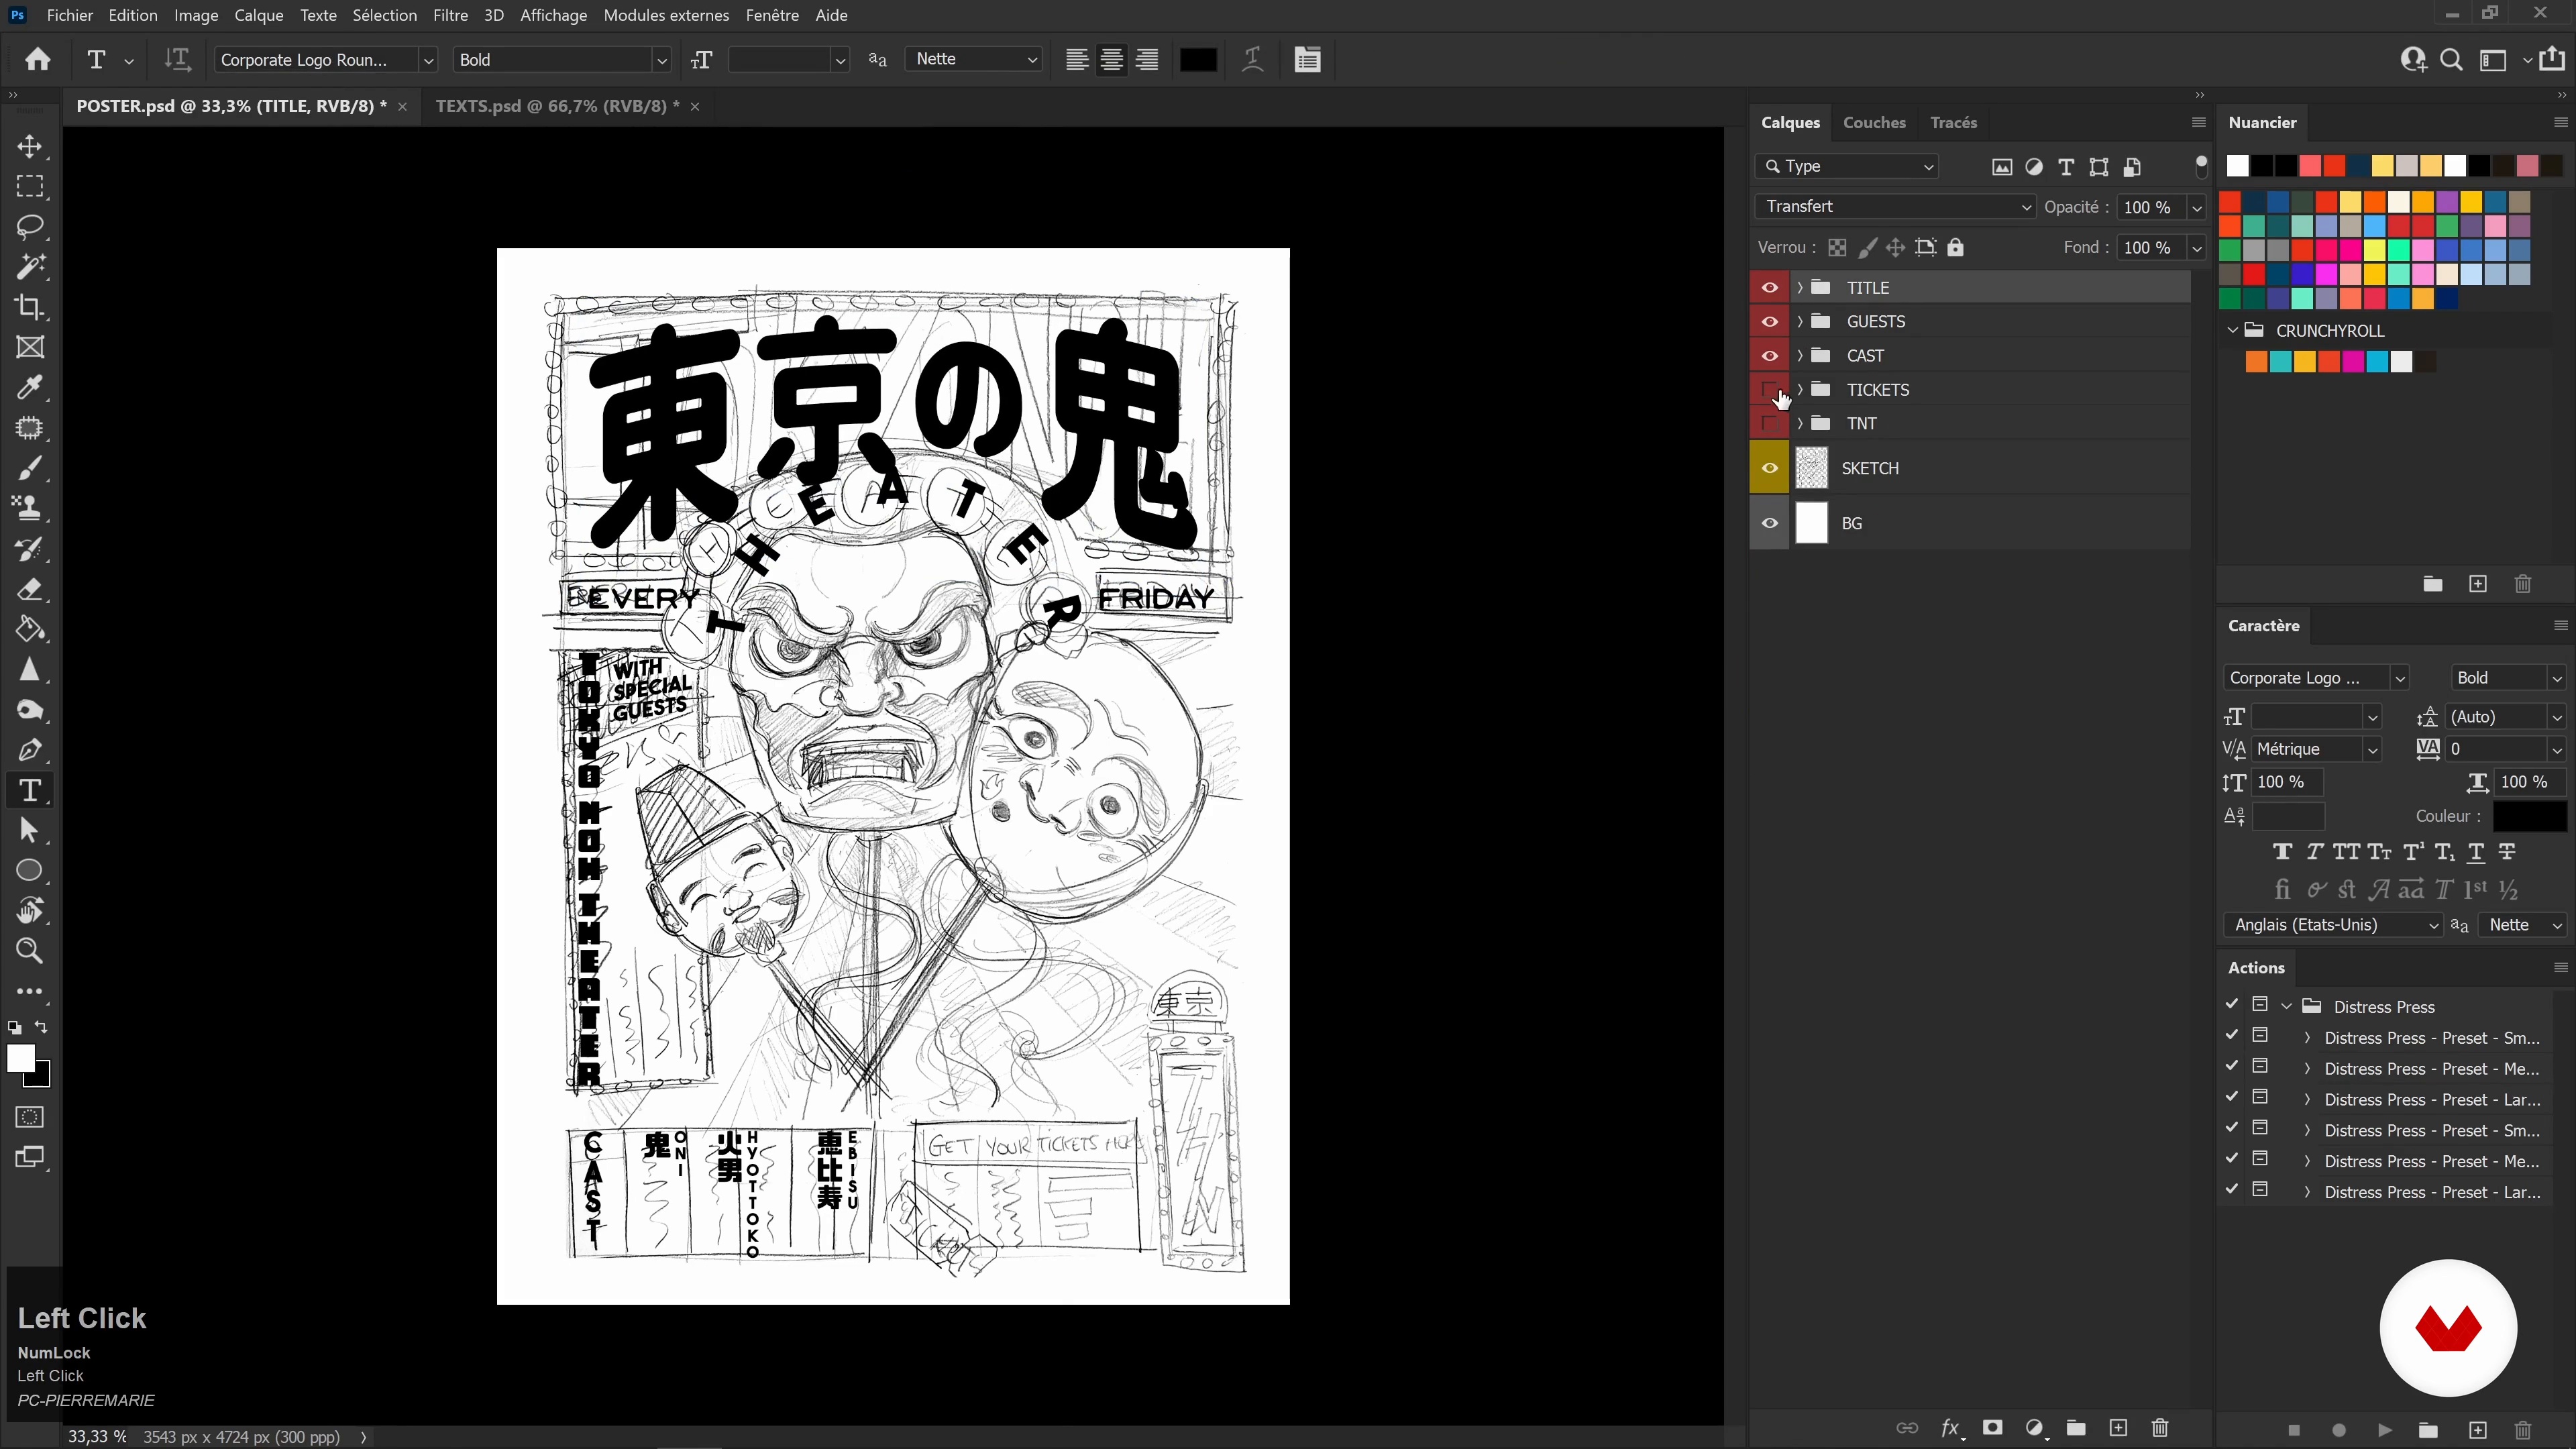 7
7Pass the sketch on Photoshop
I'll explain how to import your project into Photoshop to clean it up and add textual elements to it.
14m
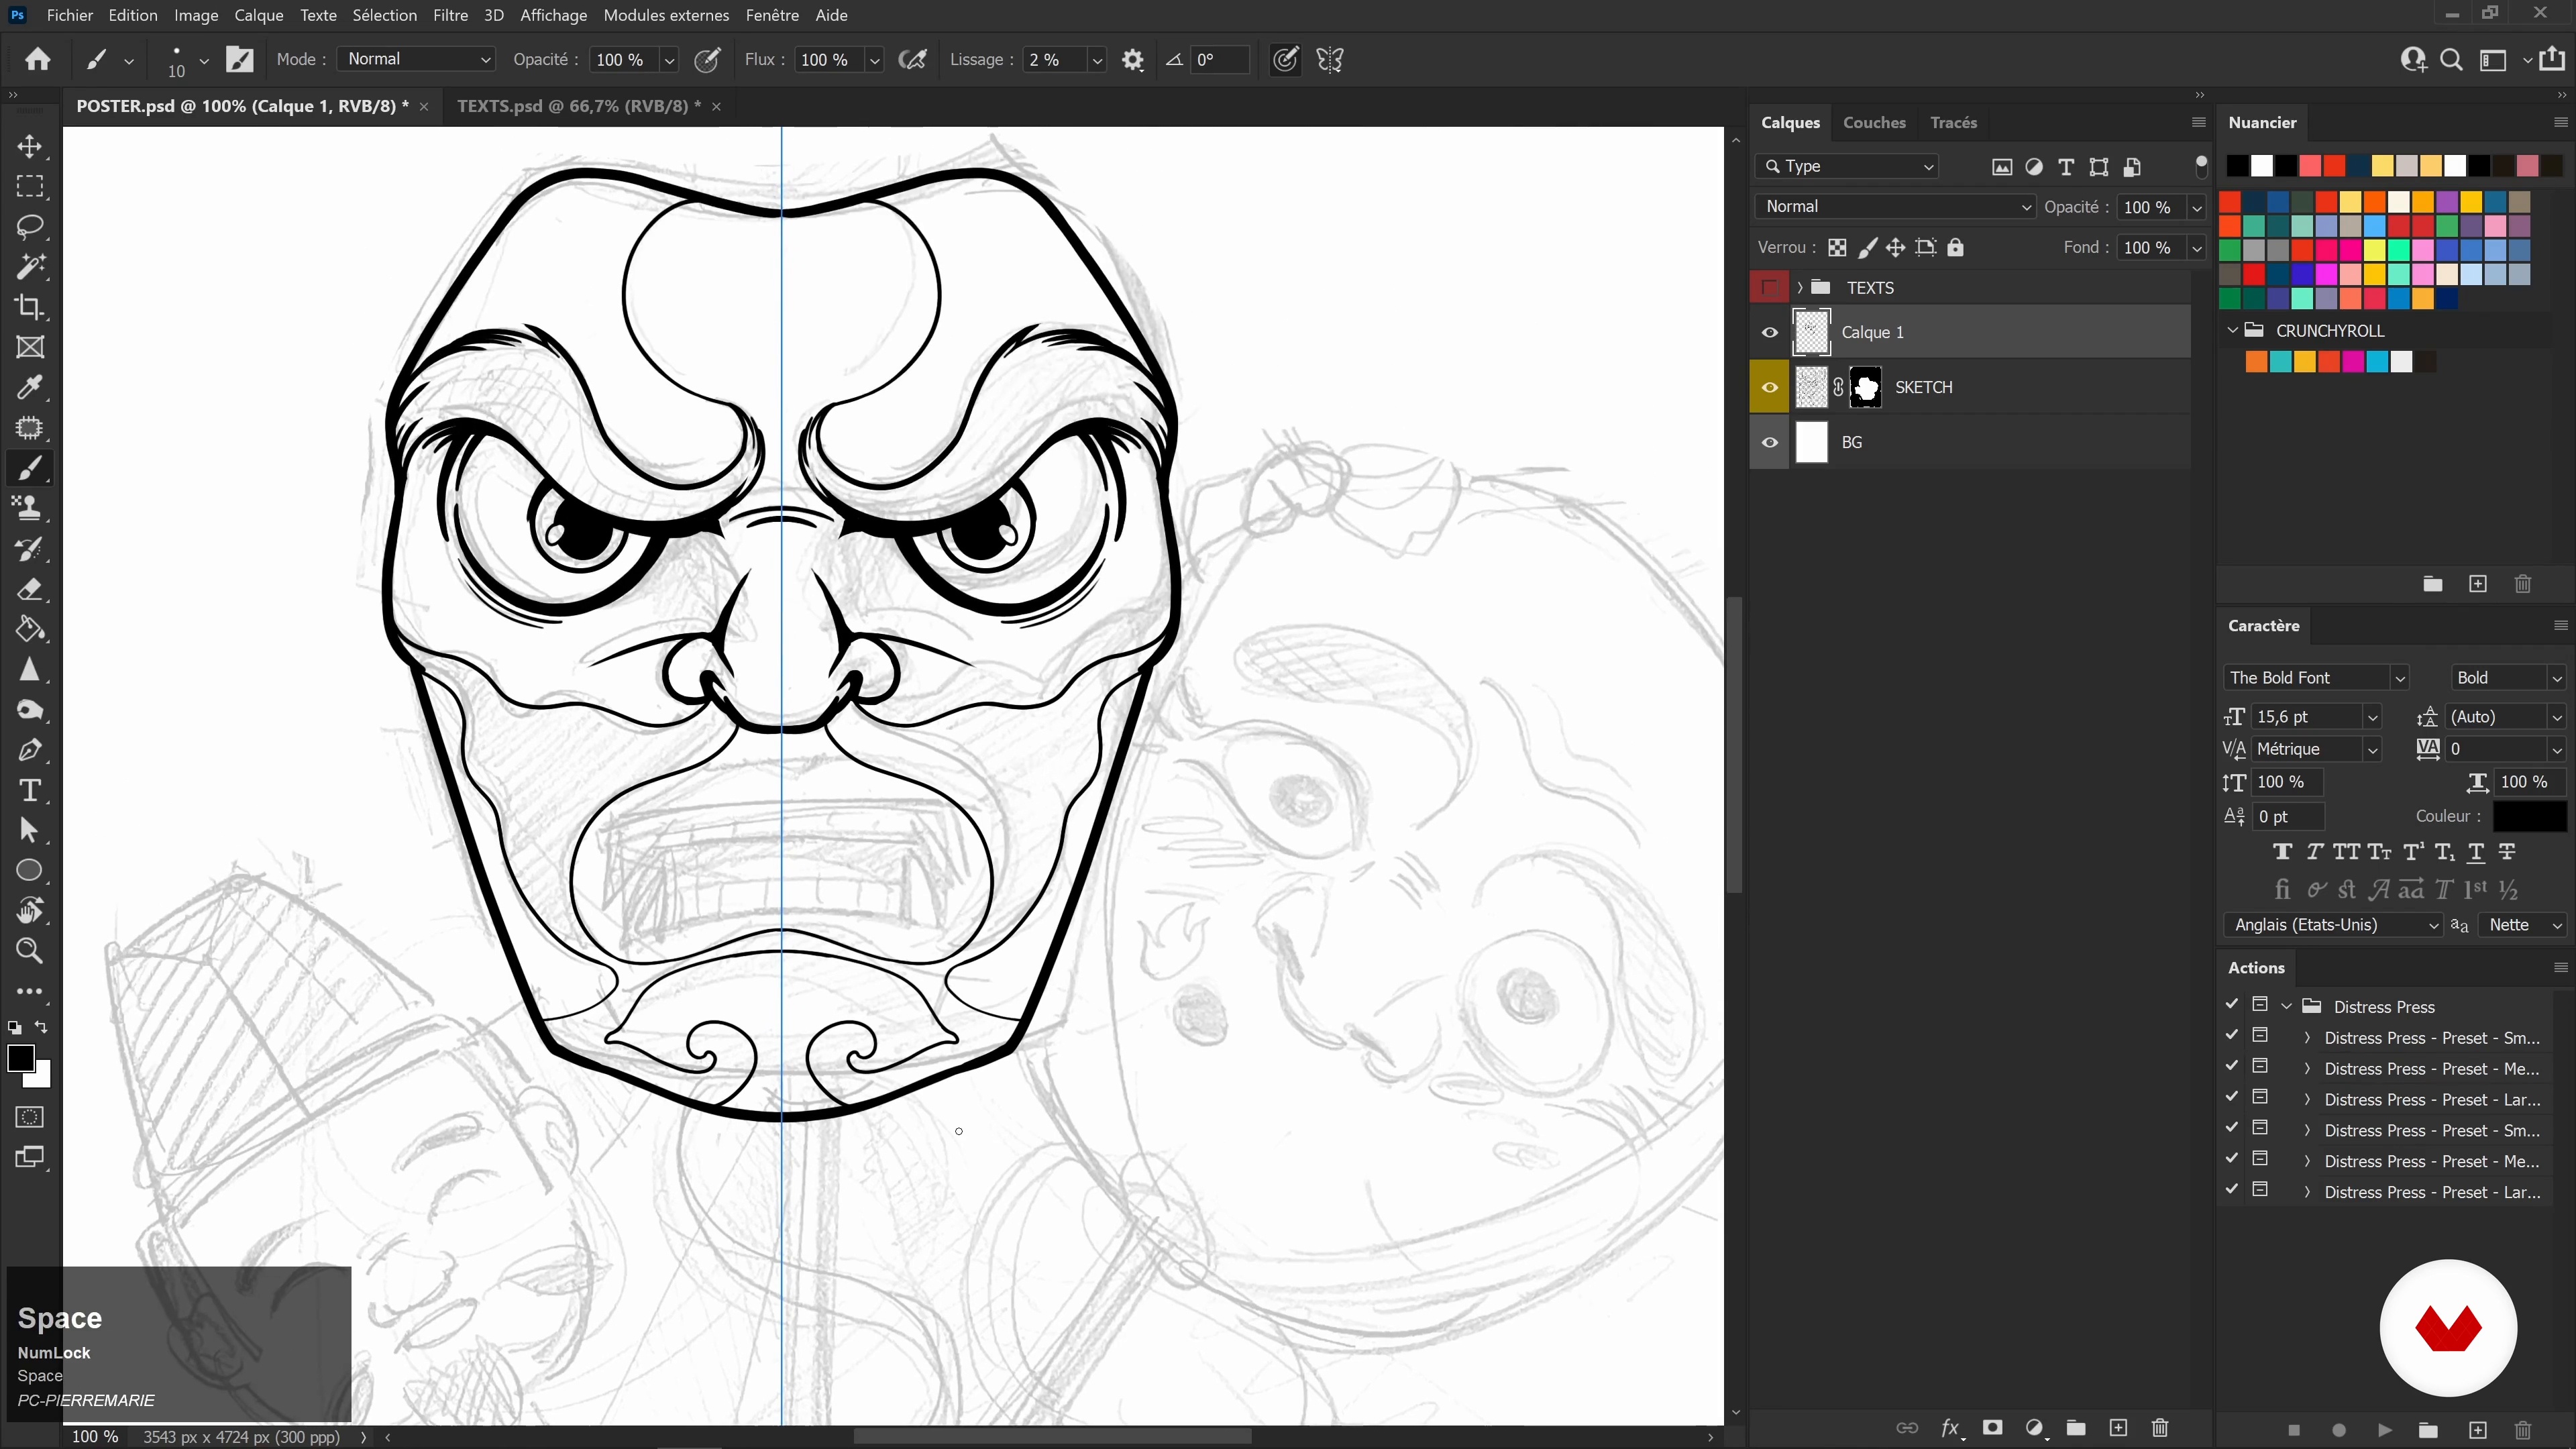 8
8Contour line drawing: the central drawing 1
In this lesson, you will focus on outline lines, starting with line art . I will also show you how to inking your drawing.
14m
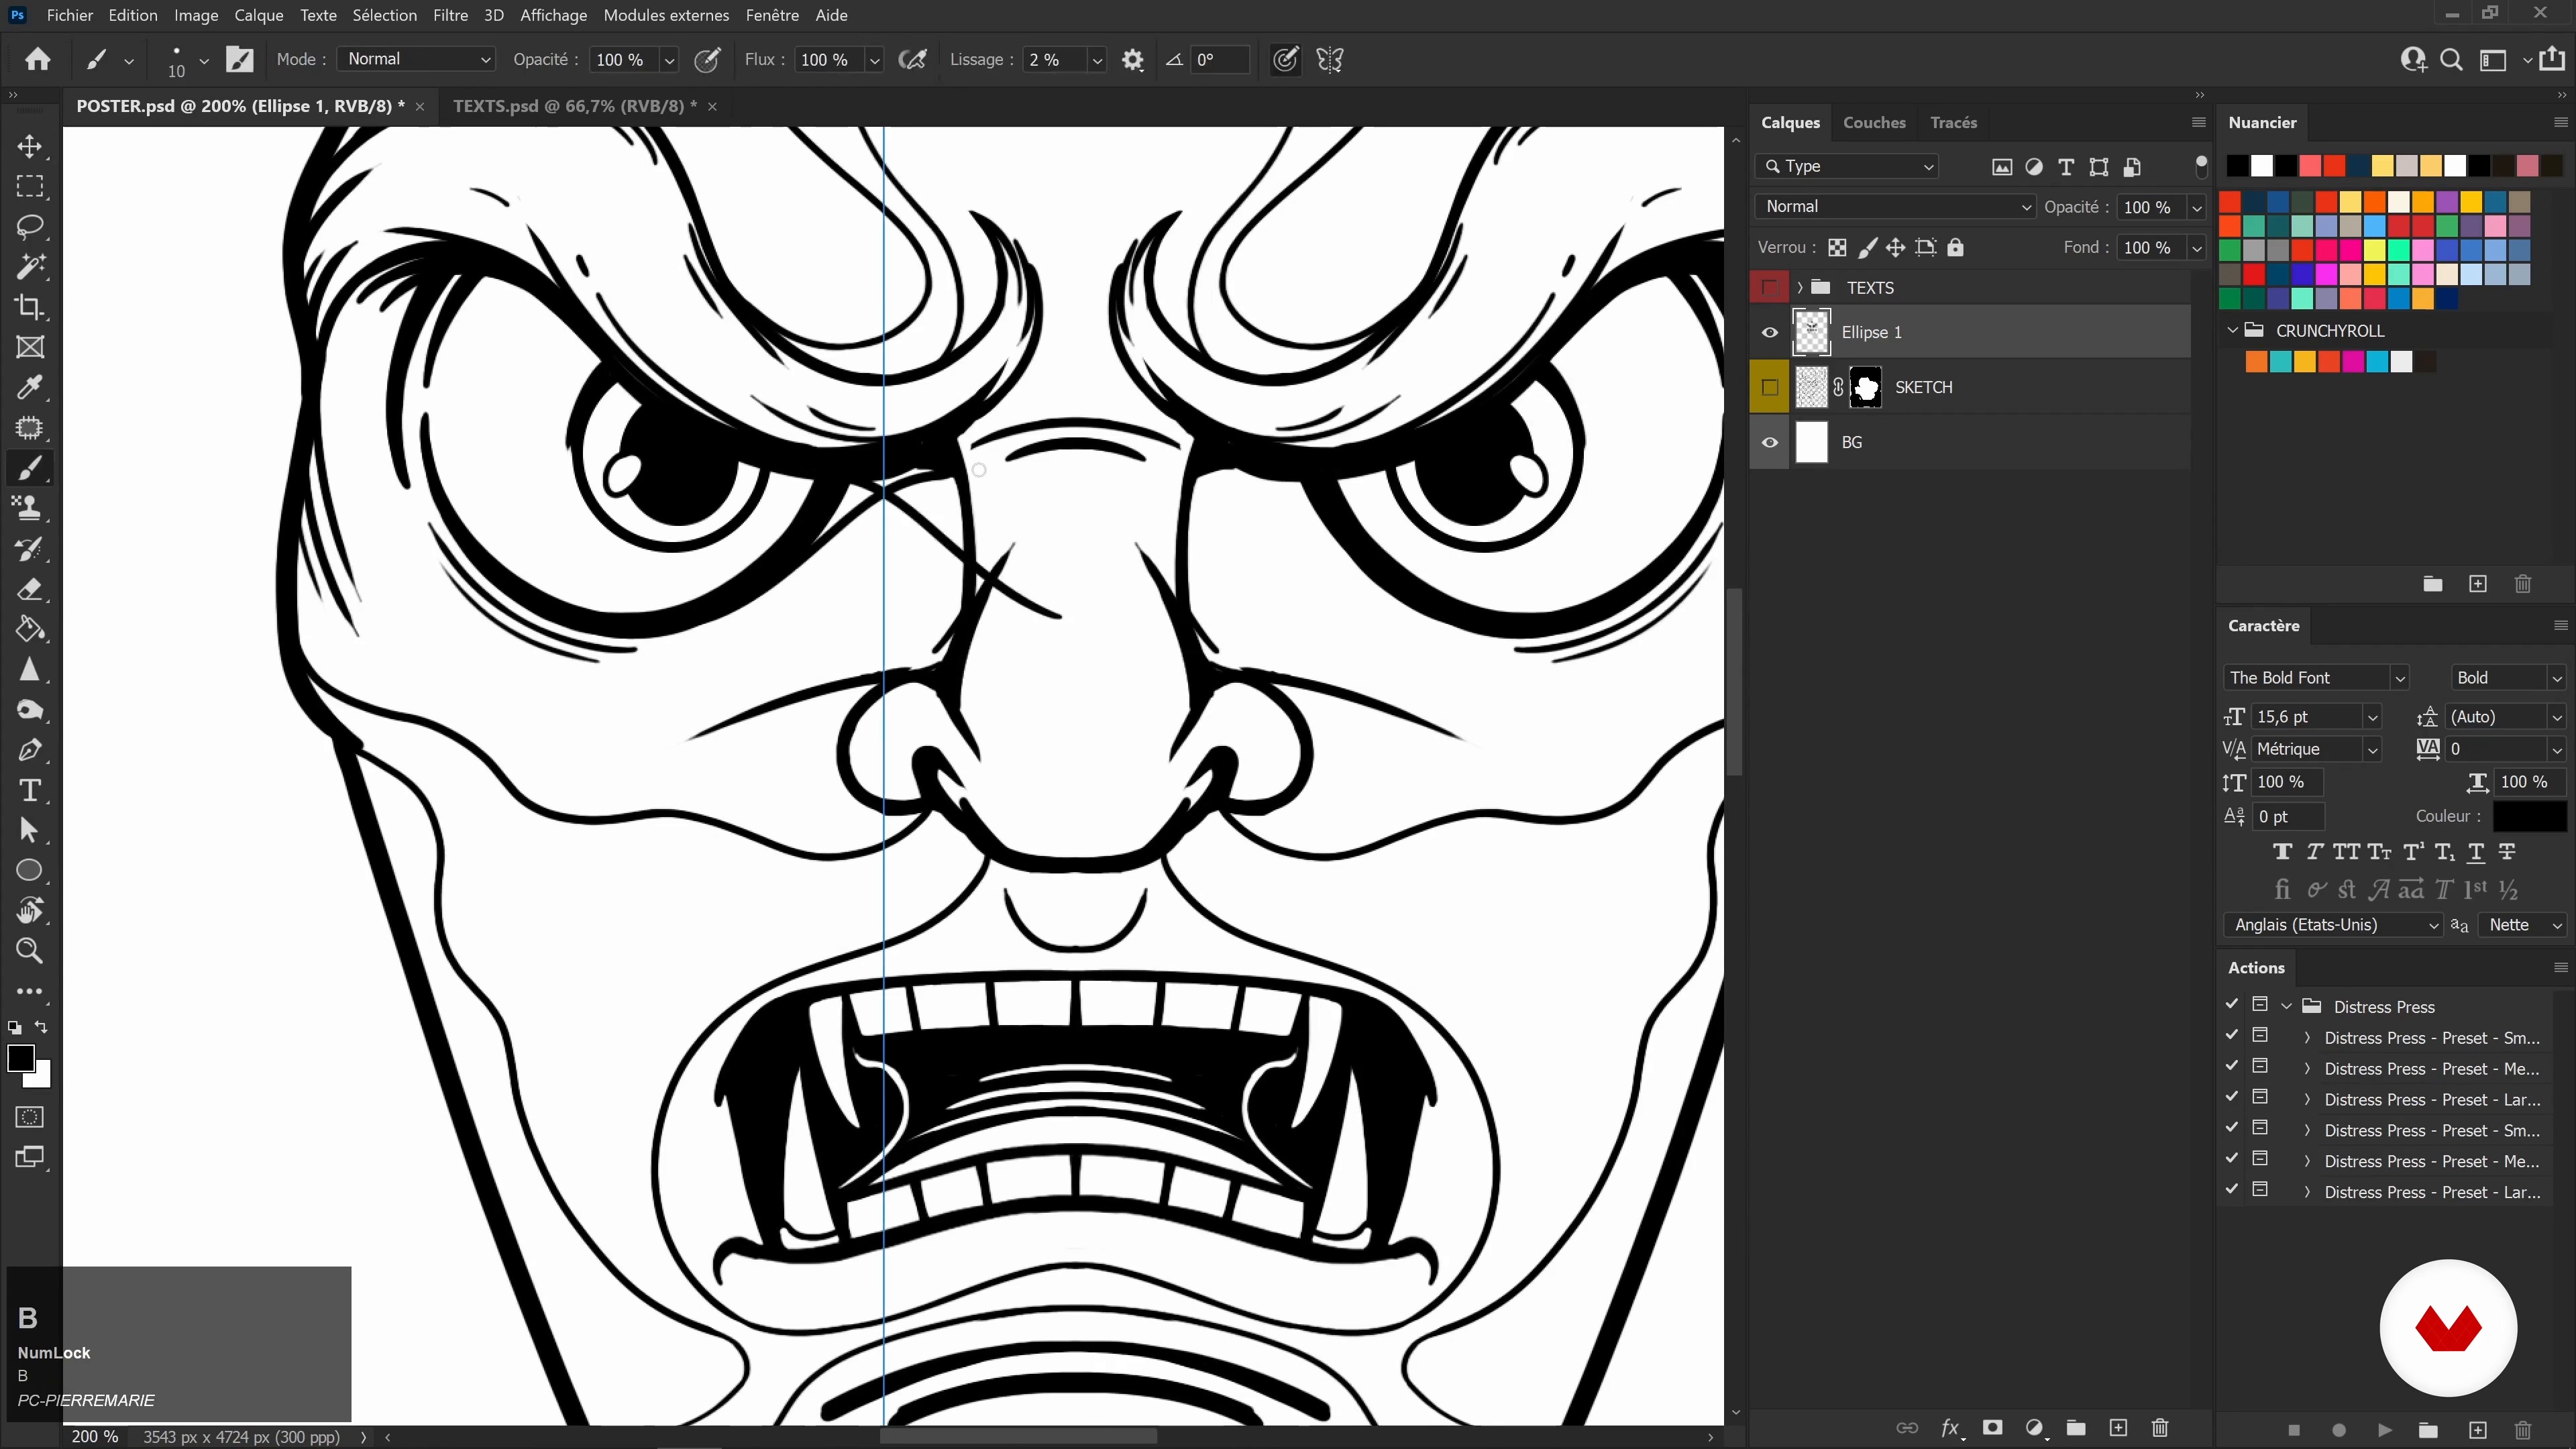 9
9Contour line drawing: the central drawing 2
You will see how to work all the details of your drawing to be able to simplify it. Also, you will see how, when you simplify your illustration, you notice the positive and negative spaces. This is going to be interesting, because it will be useful to create an illustration as harmonious as possible.
12m
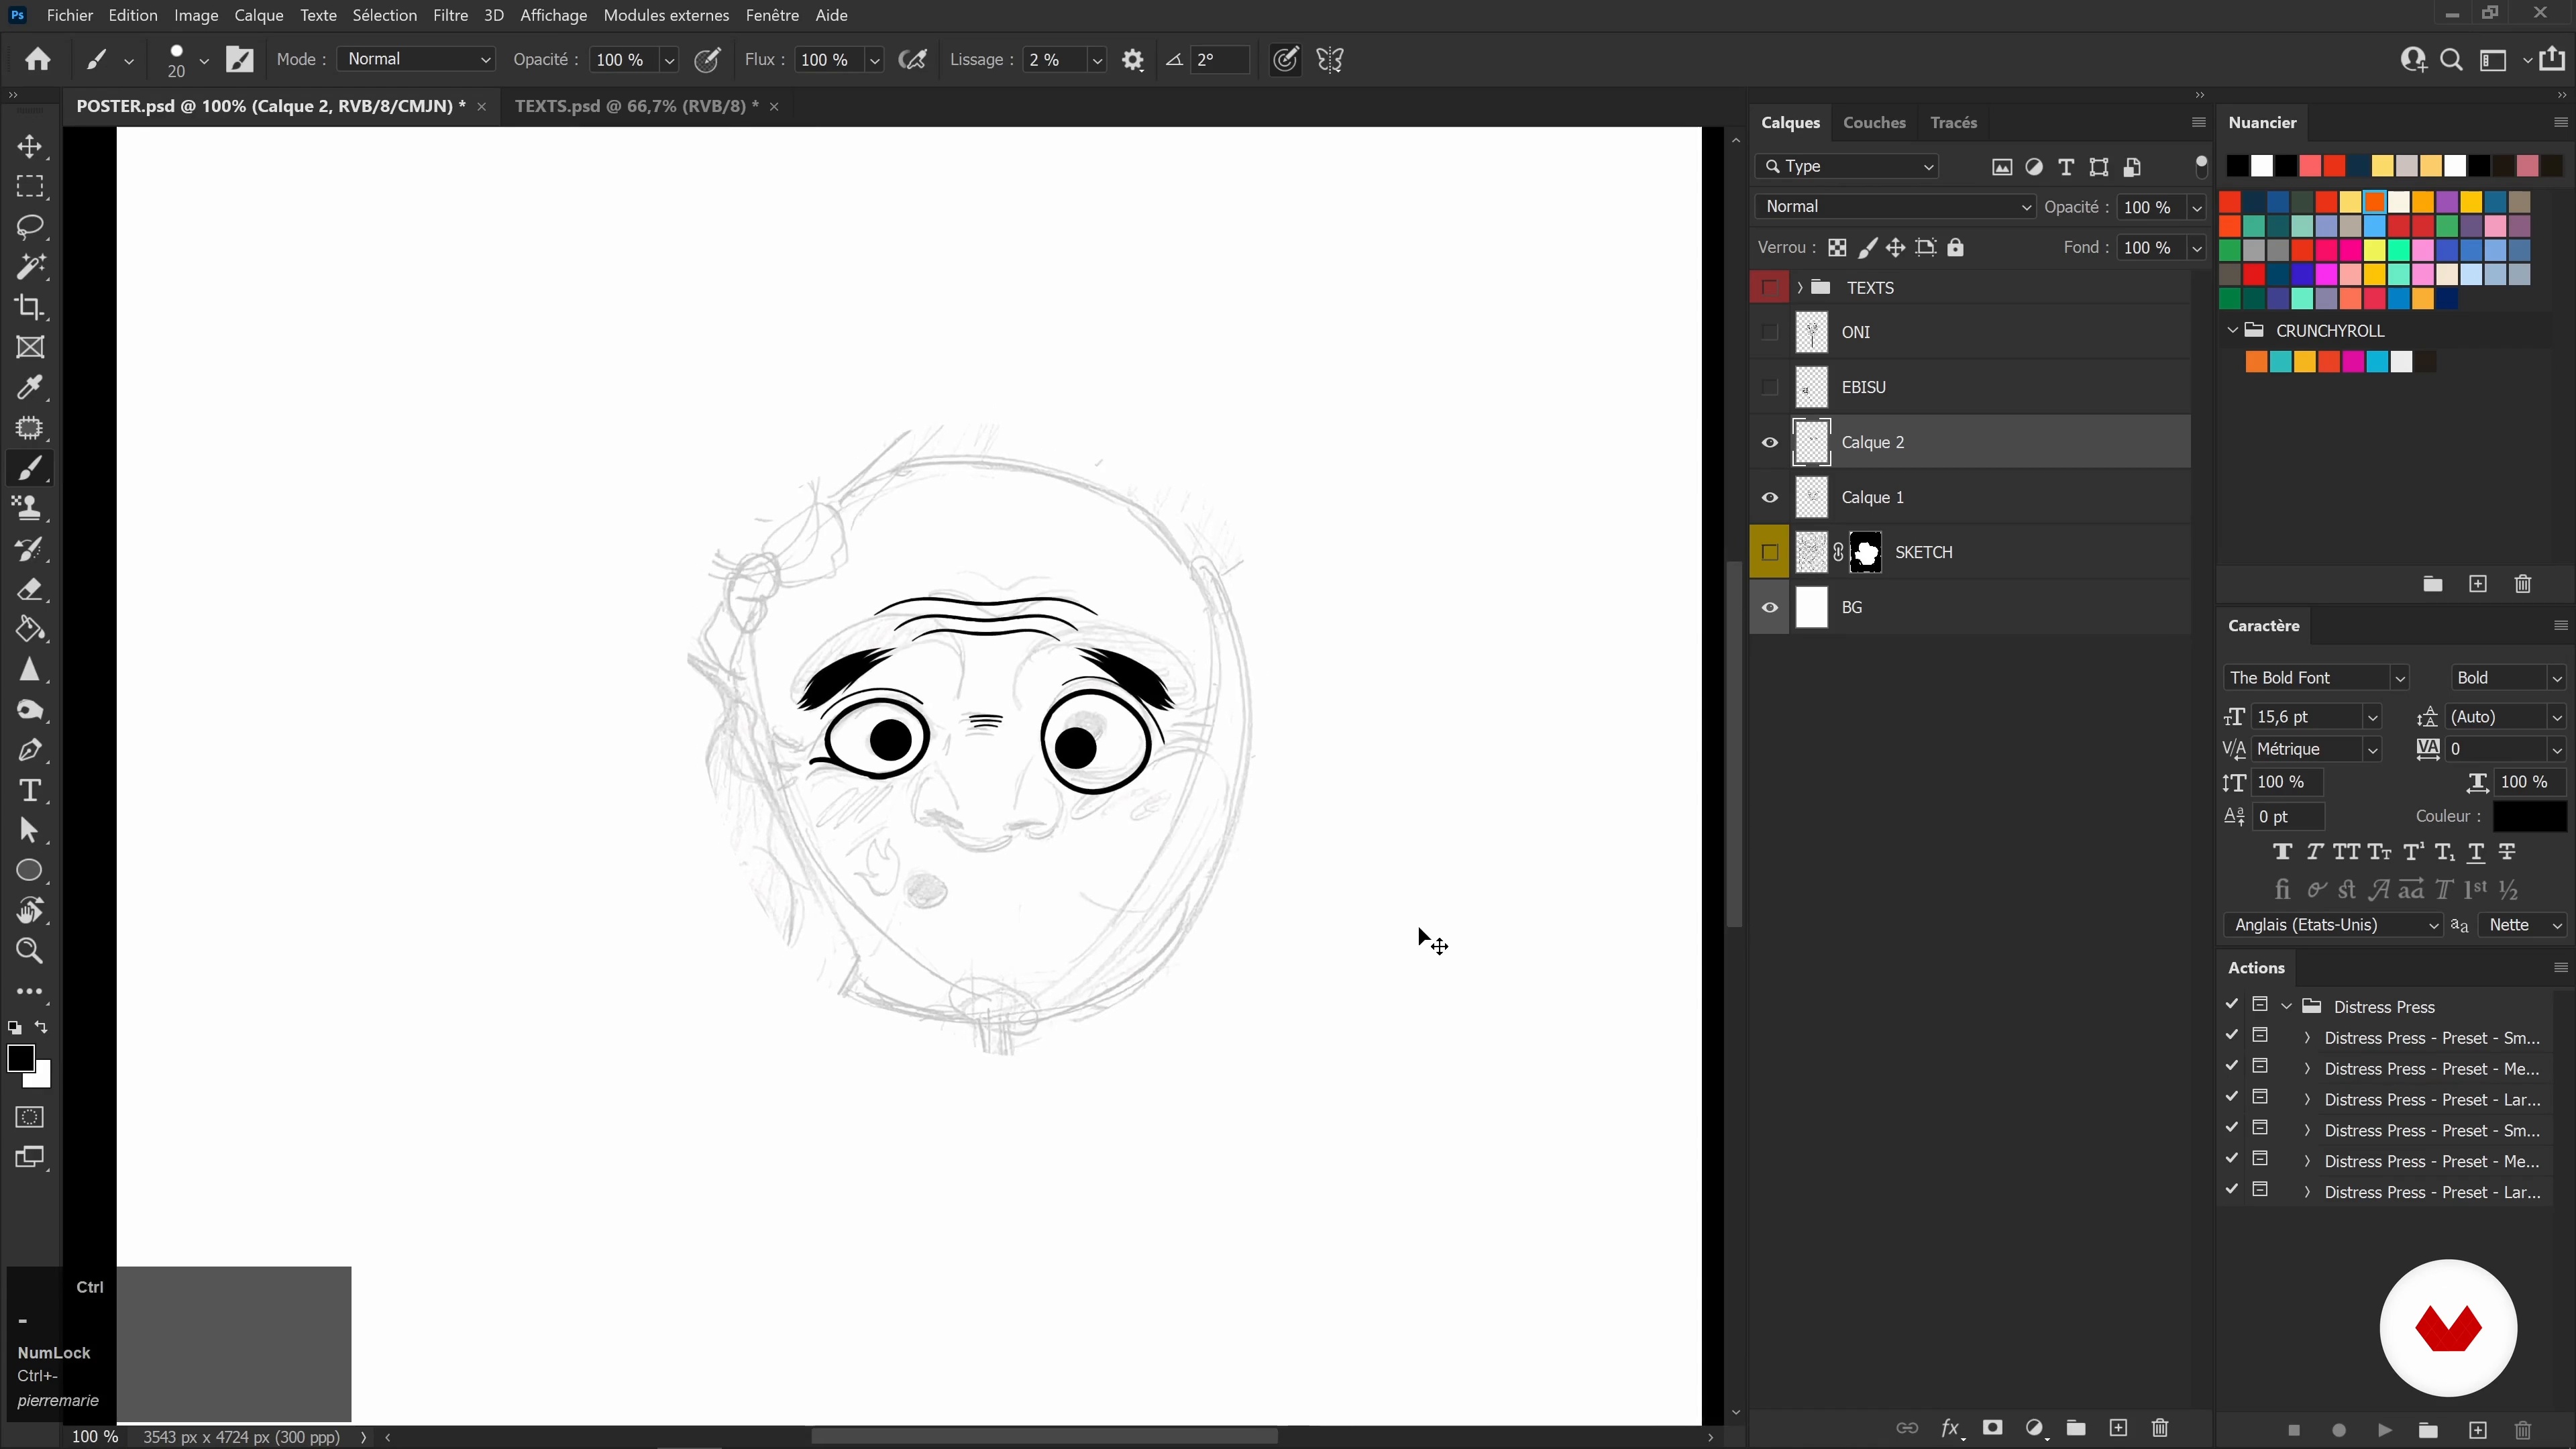 10
10Contour line drawing: the central drawing 3
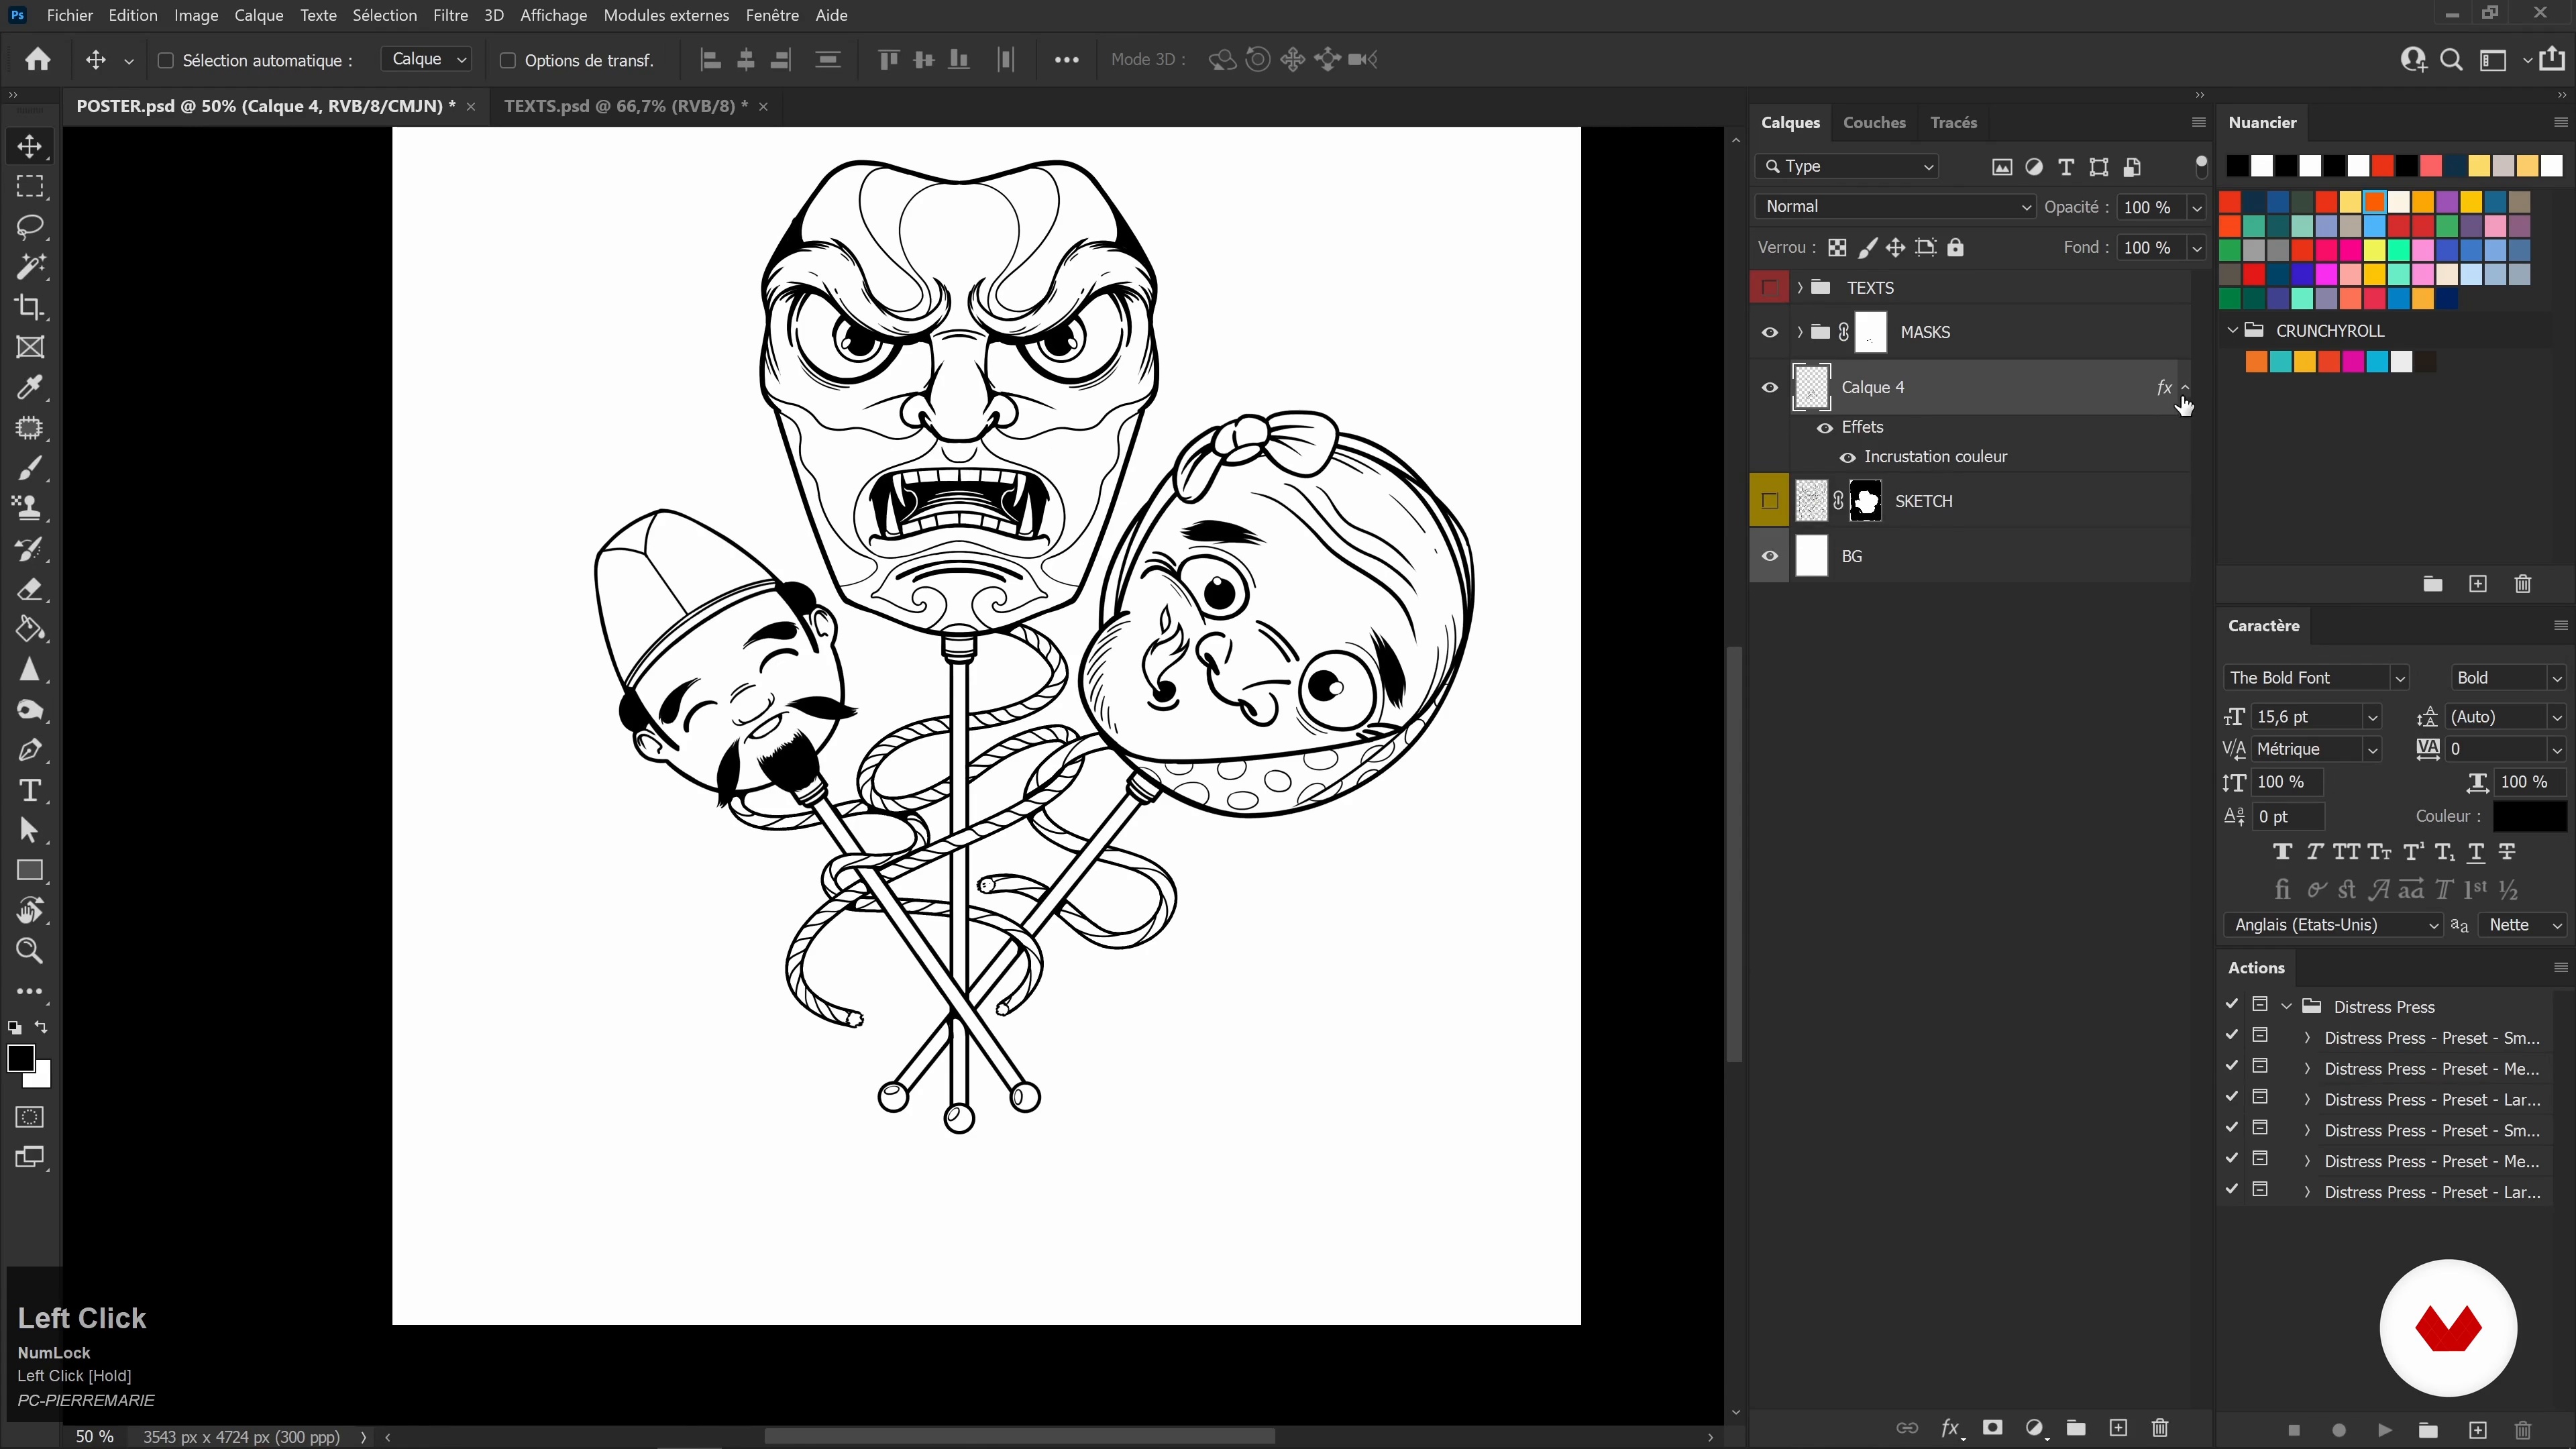
I now turn to the second element of my illustration - the mask of the deity which represents good fortune - and then to the third. Here, you will learn, among other things, to work on symmetry.
19m
 11
11Contour line drawing: the central drawing 4
All the elements being present, you will see how to finalize the central drawing. I'll show you how to take care of the symmetry and how to add and polish the final details.
16m
 12
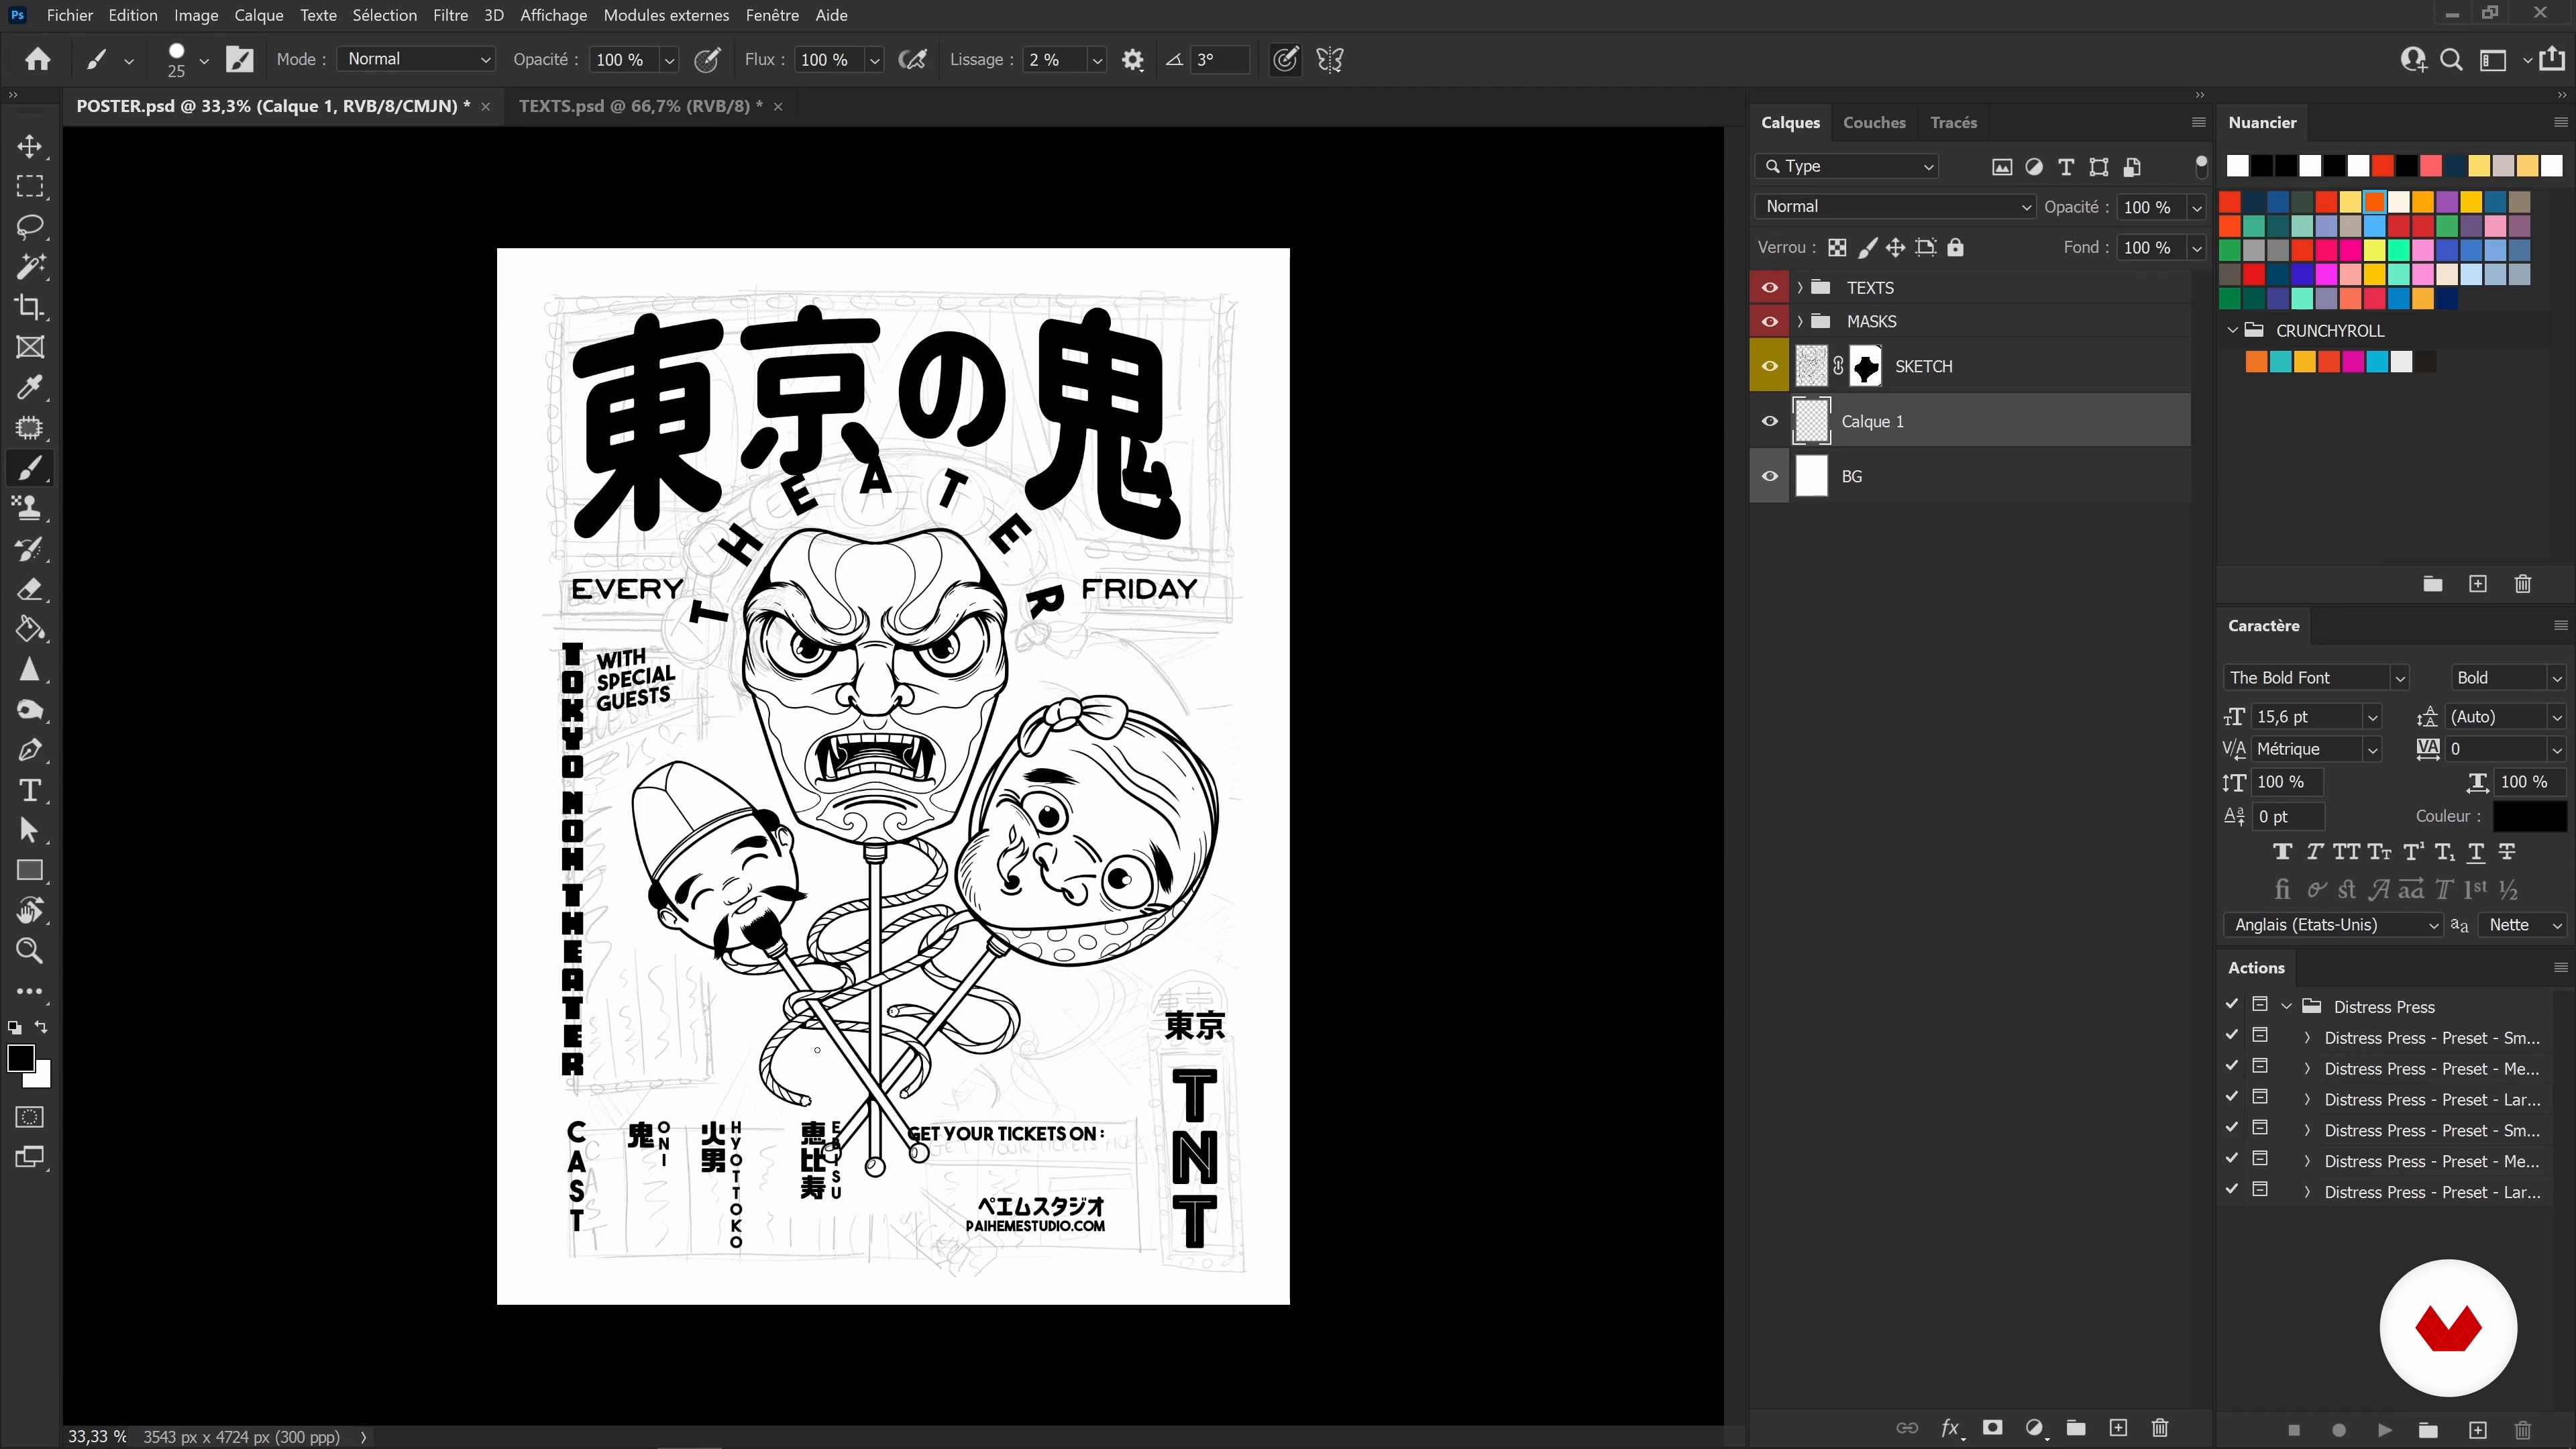
12Contour line drawing: textual elements and background 1
Following the drawing of the line art, you will now see how to place the different textual elements of the poster by deepening the choice of typography, the arrangement in space and the addition of background patterns.
18m
 13
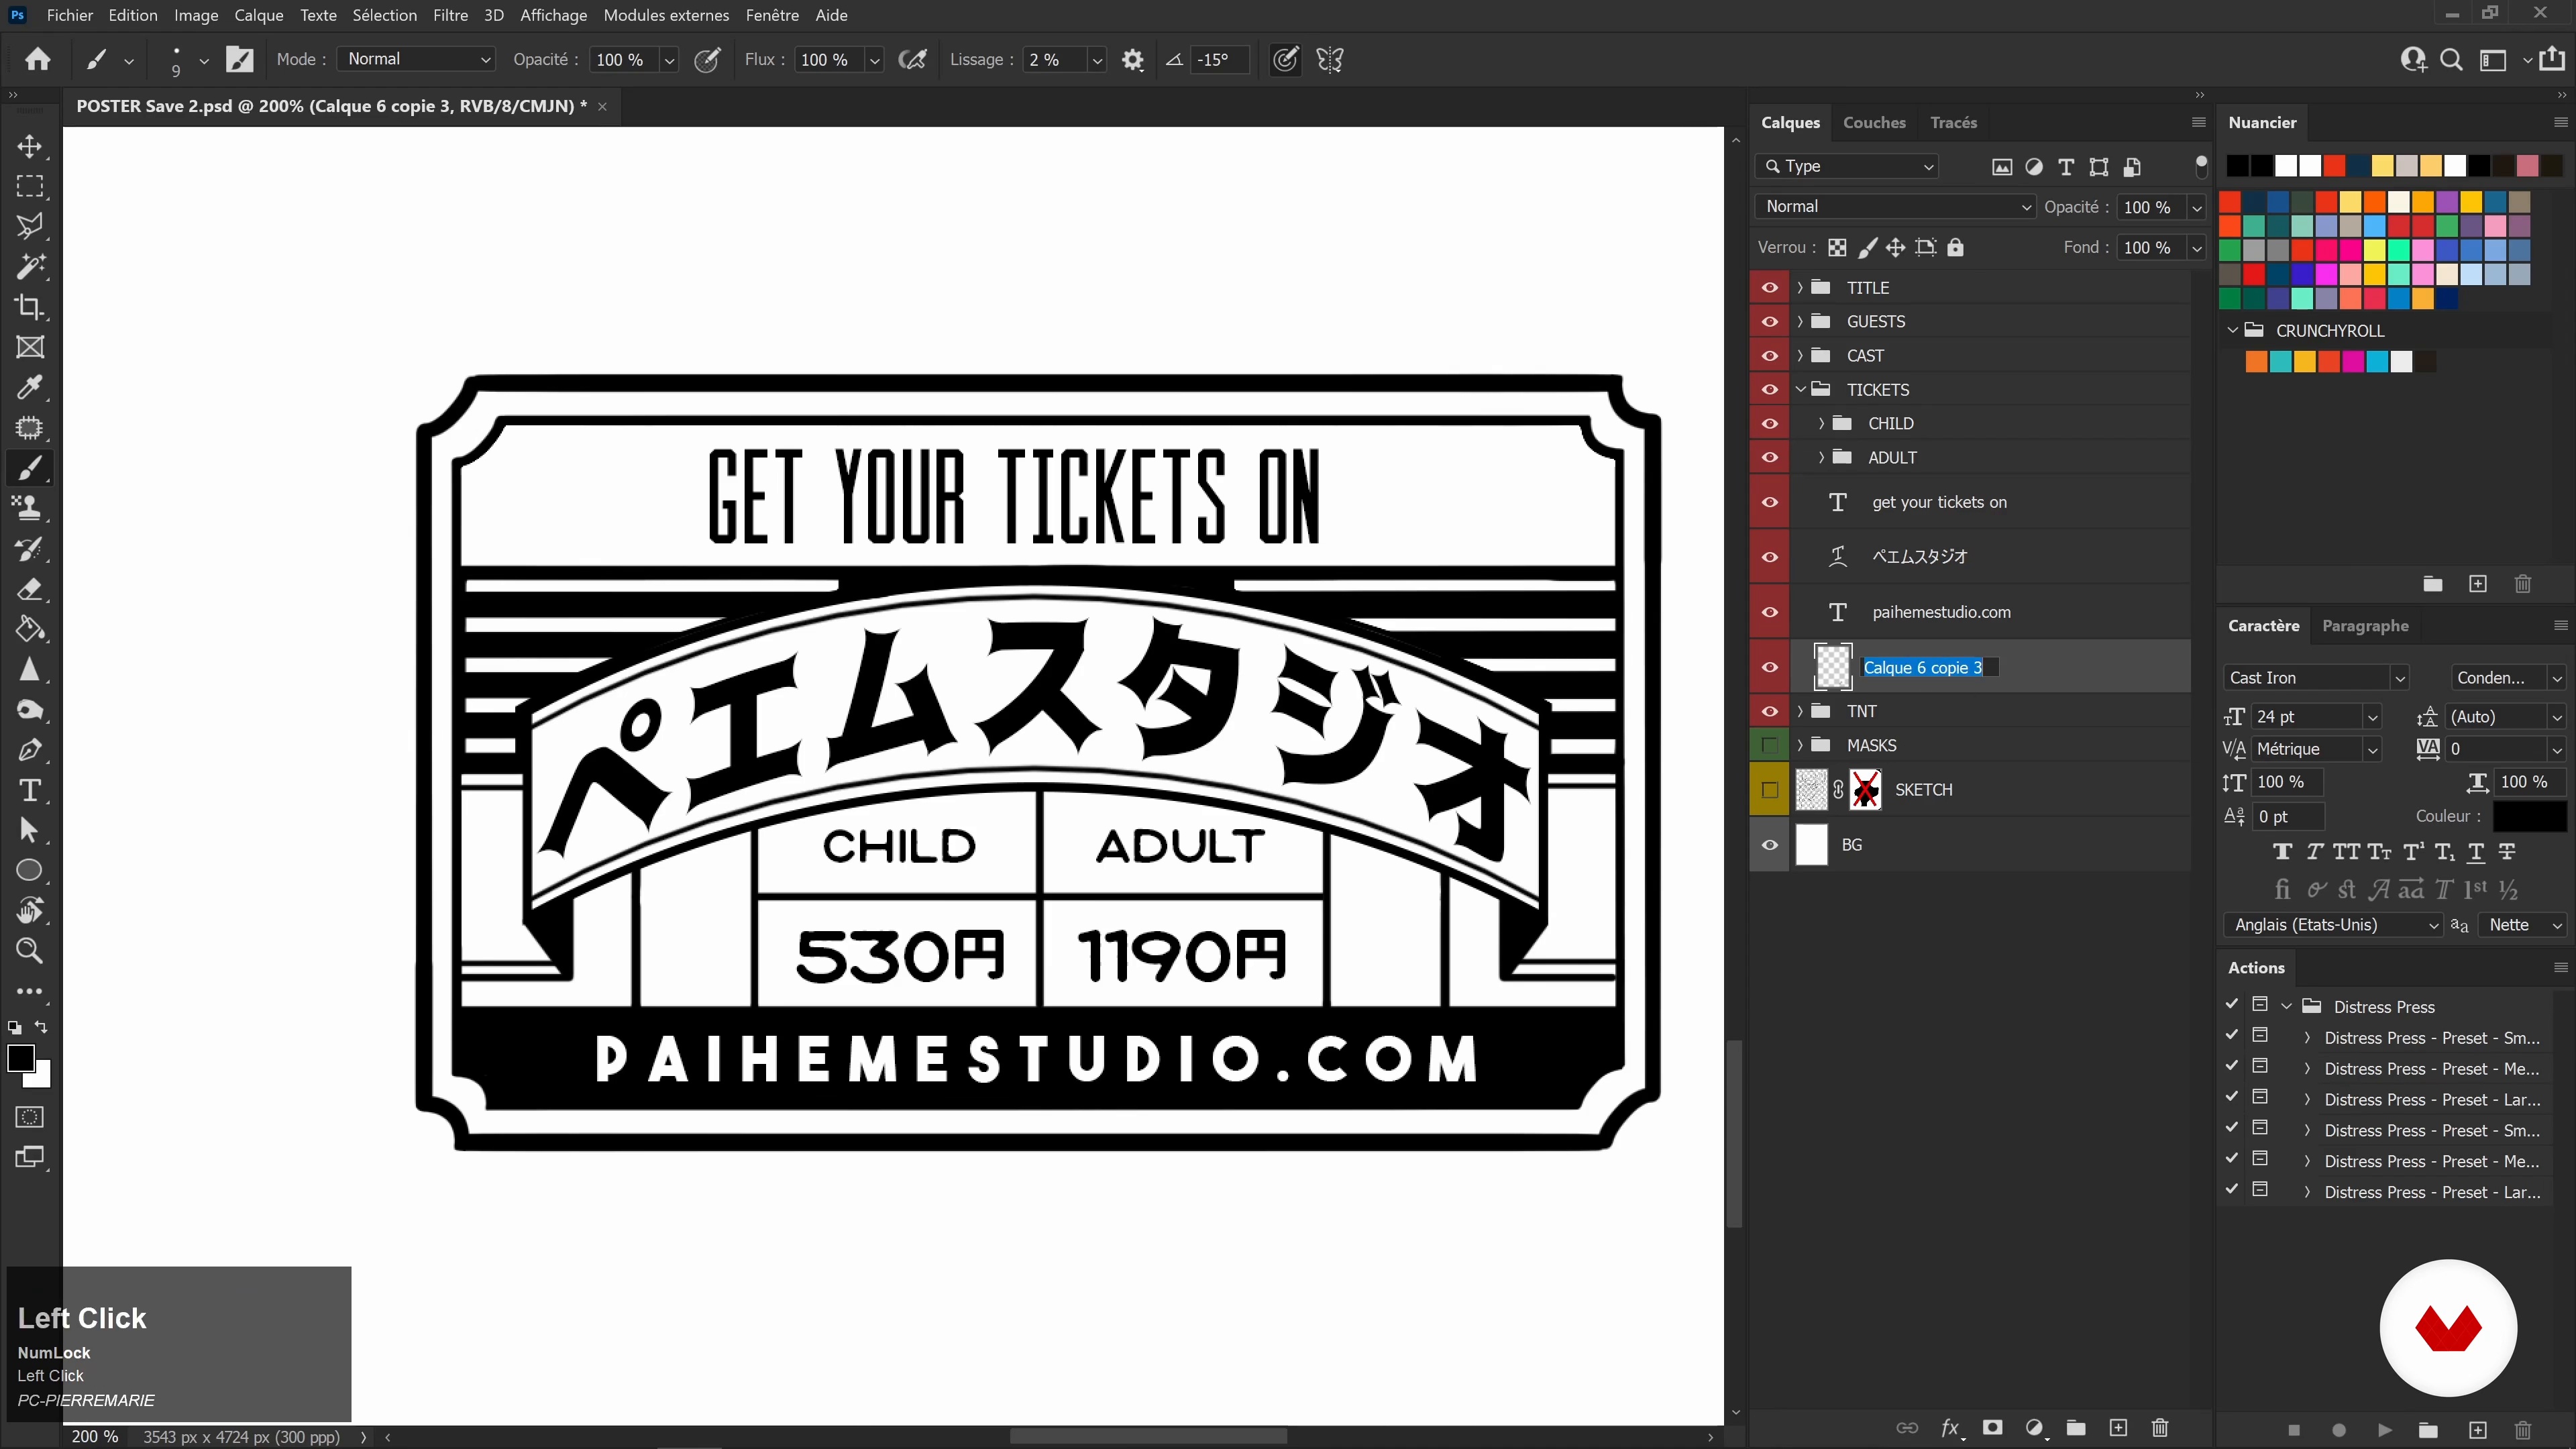
13Contour line drawing: textual elements and background 2
I'm focusing here on one element of the poster - a way of showing you a concrete example of the logic behind the choice of typography.
19m
 14
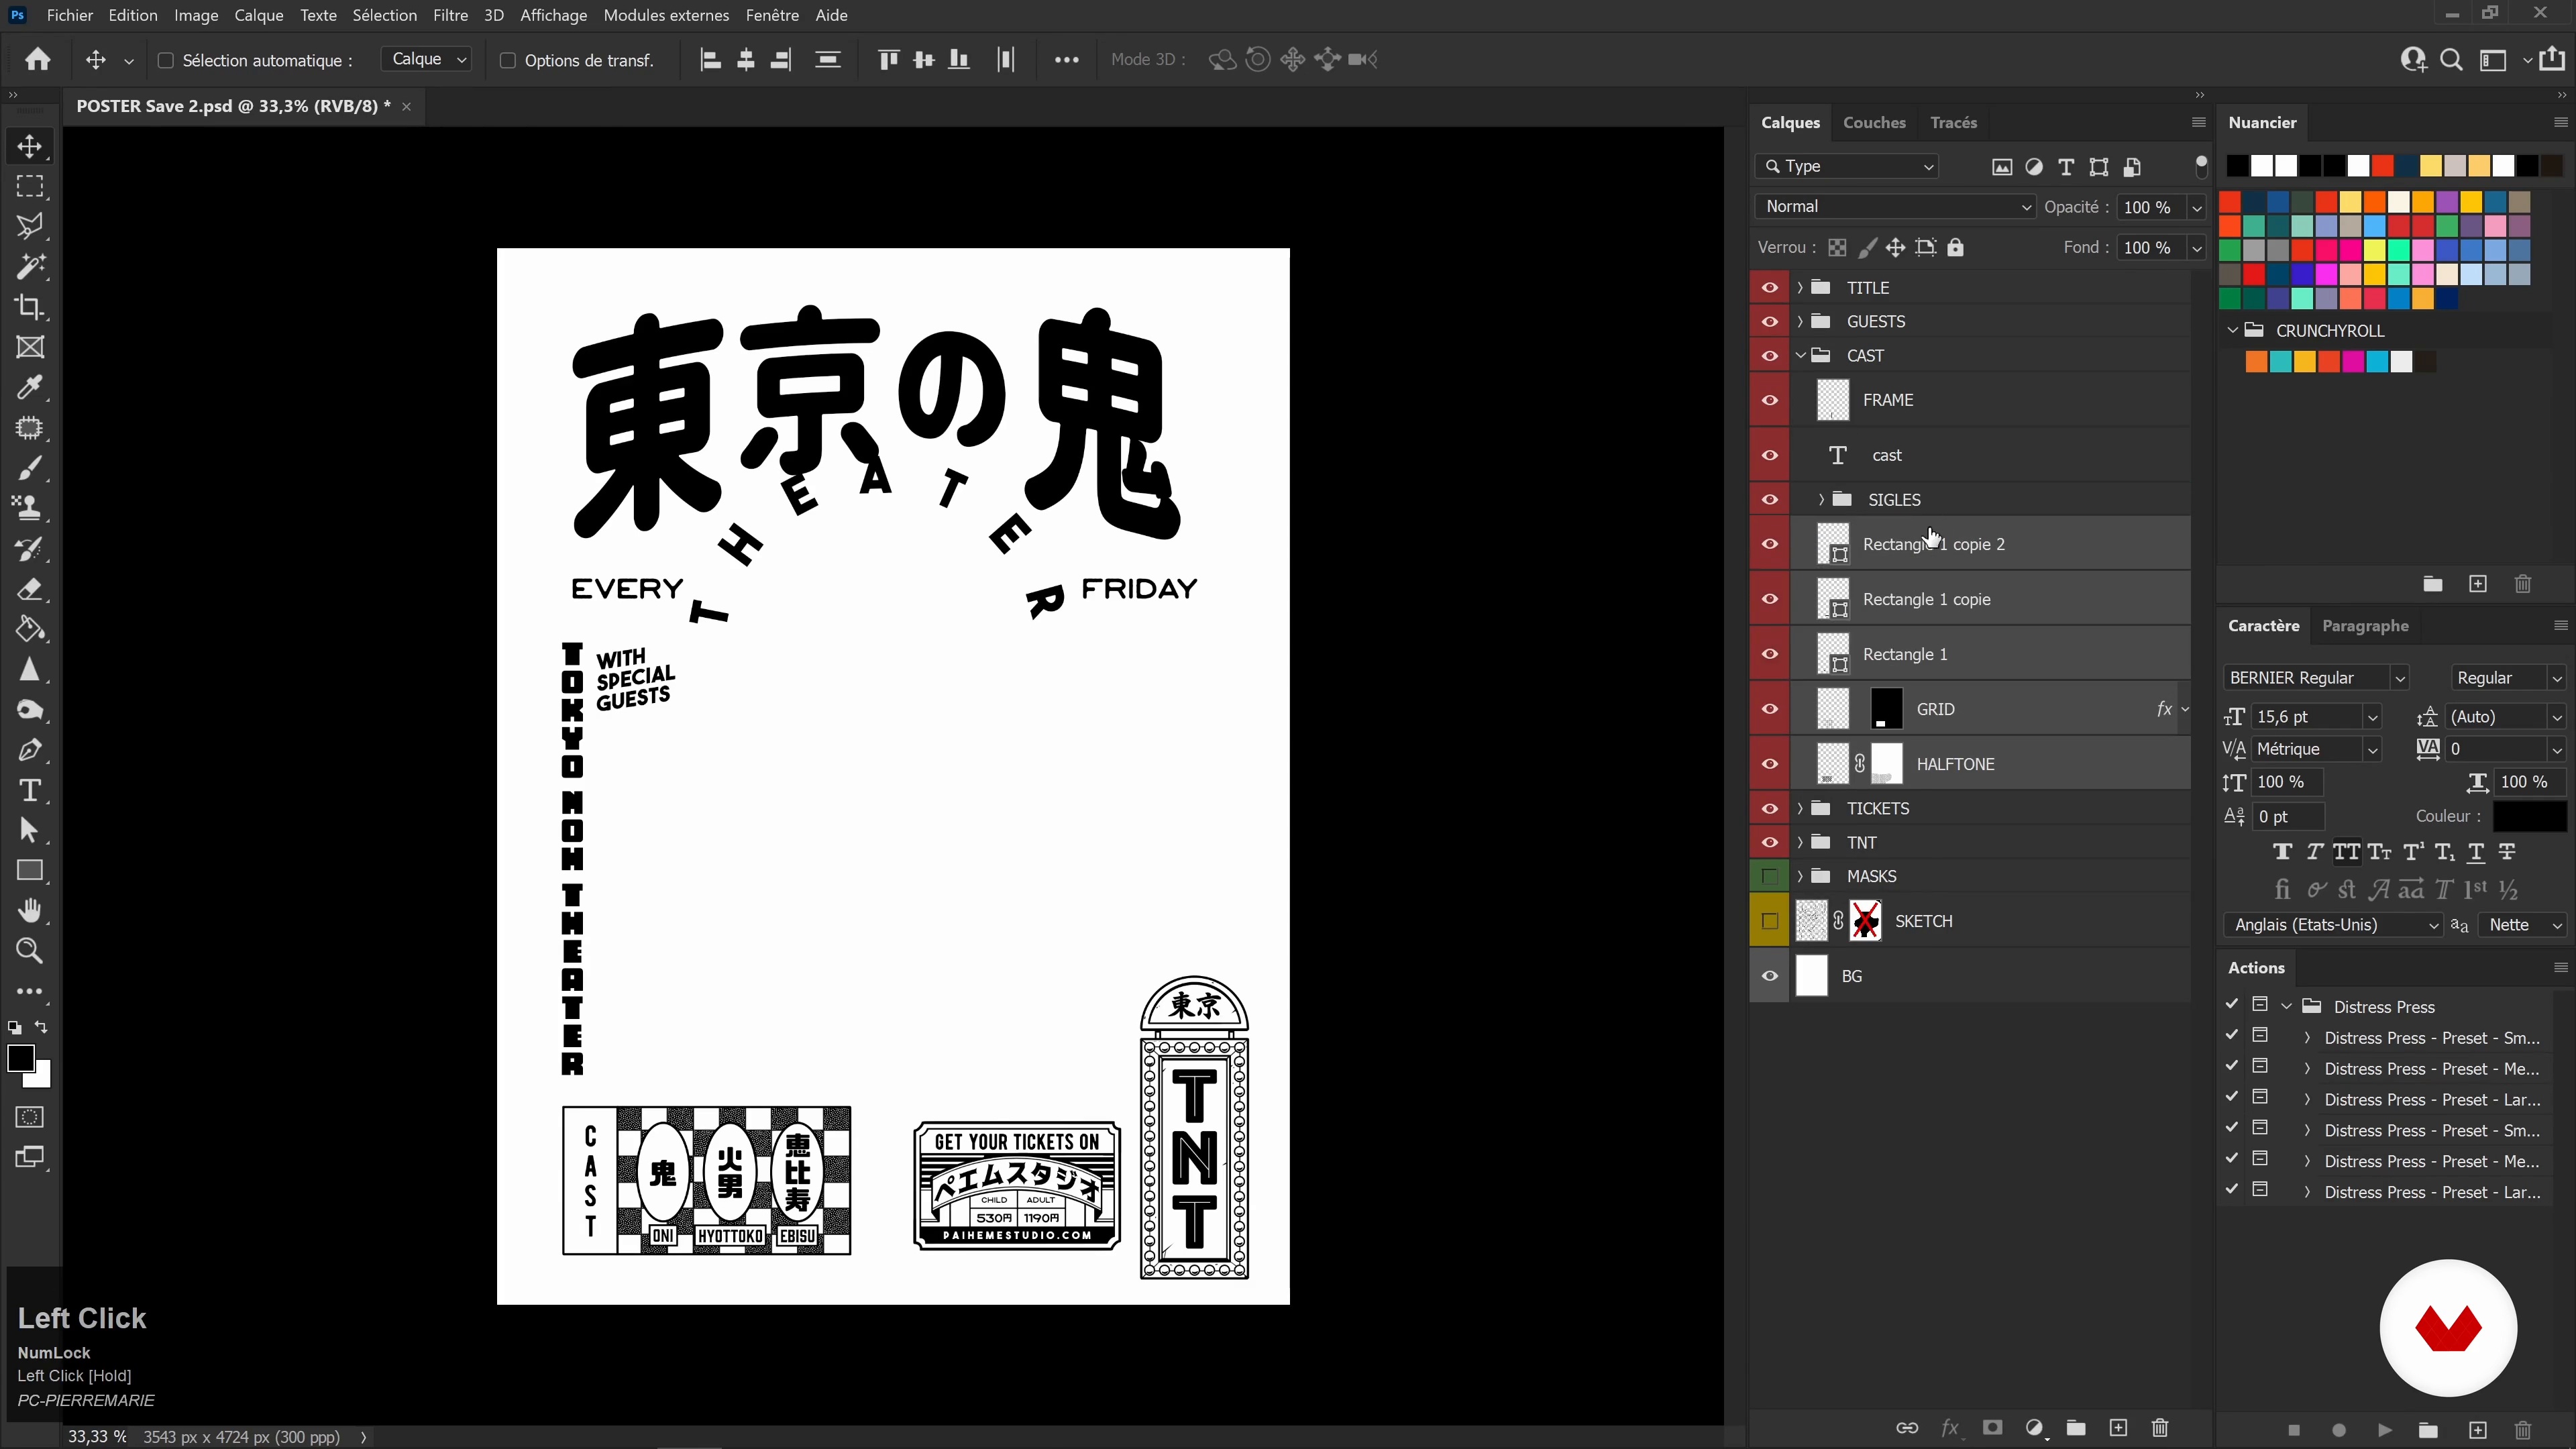
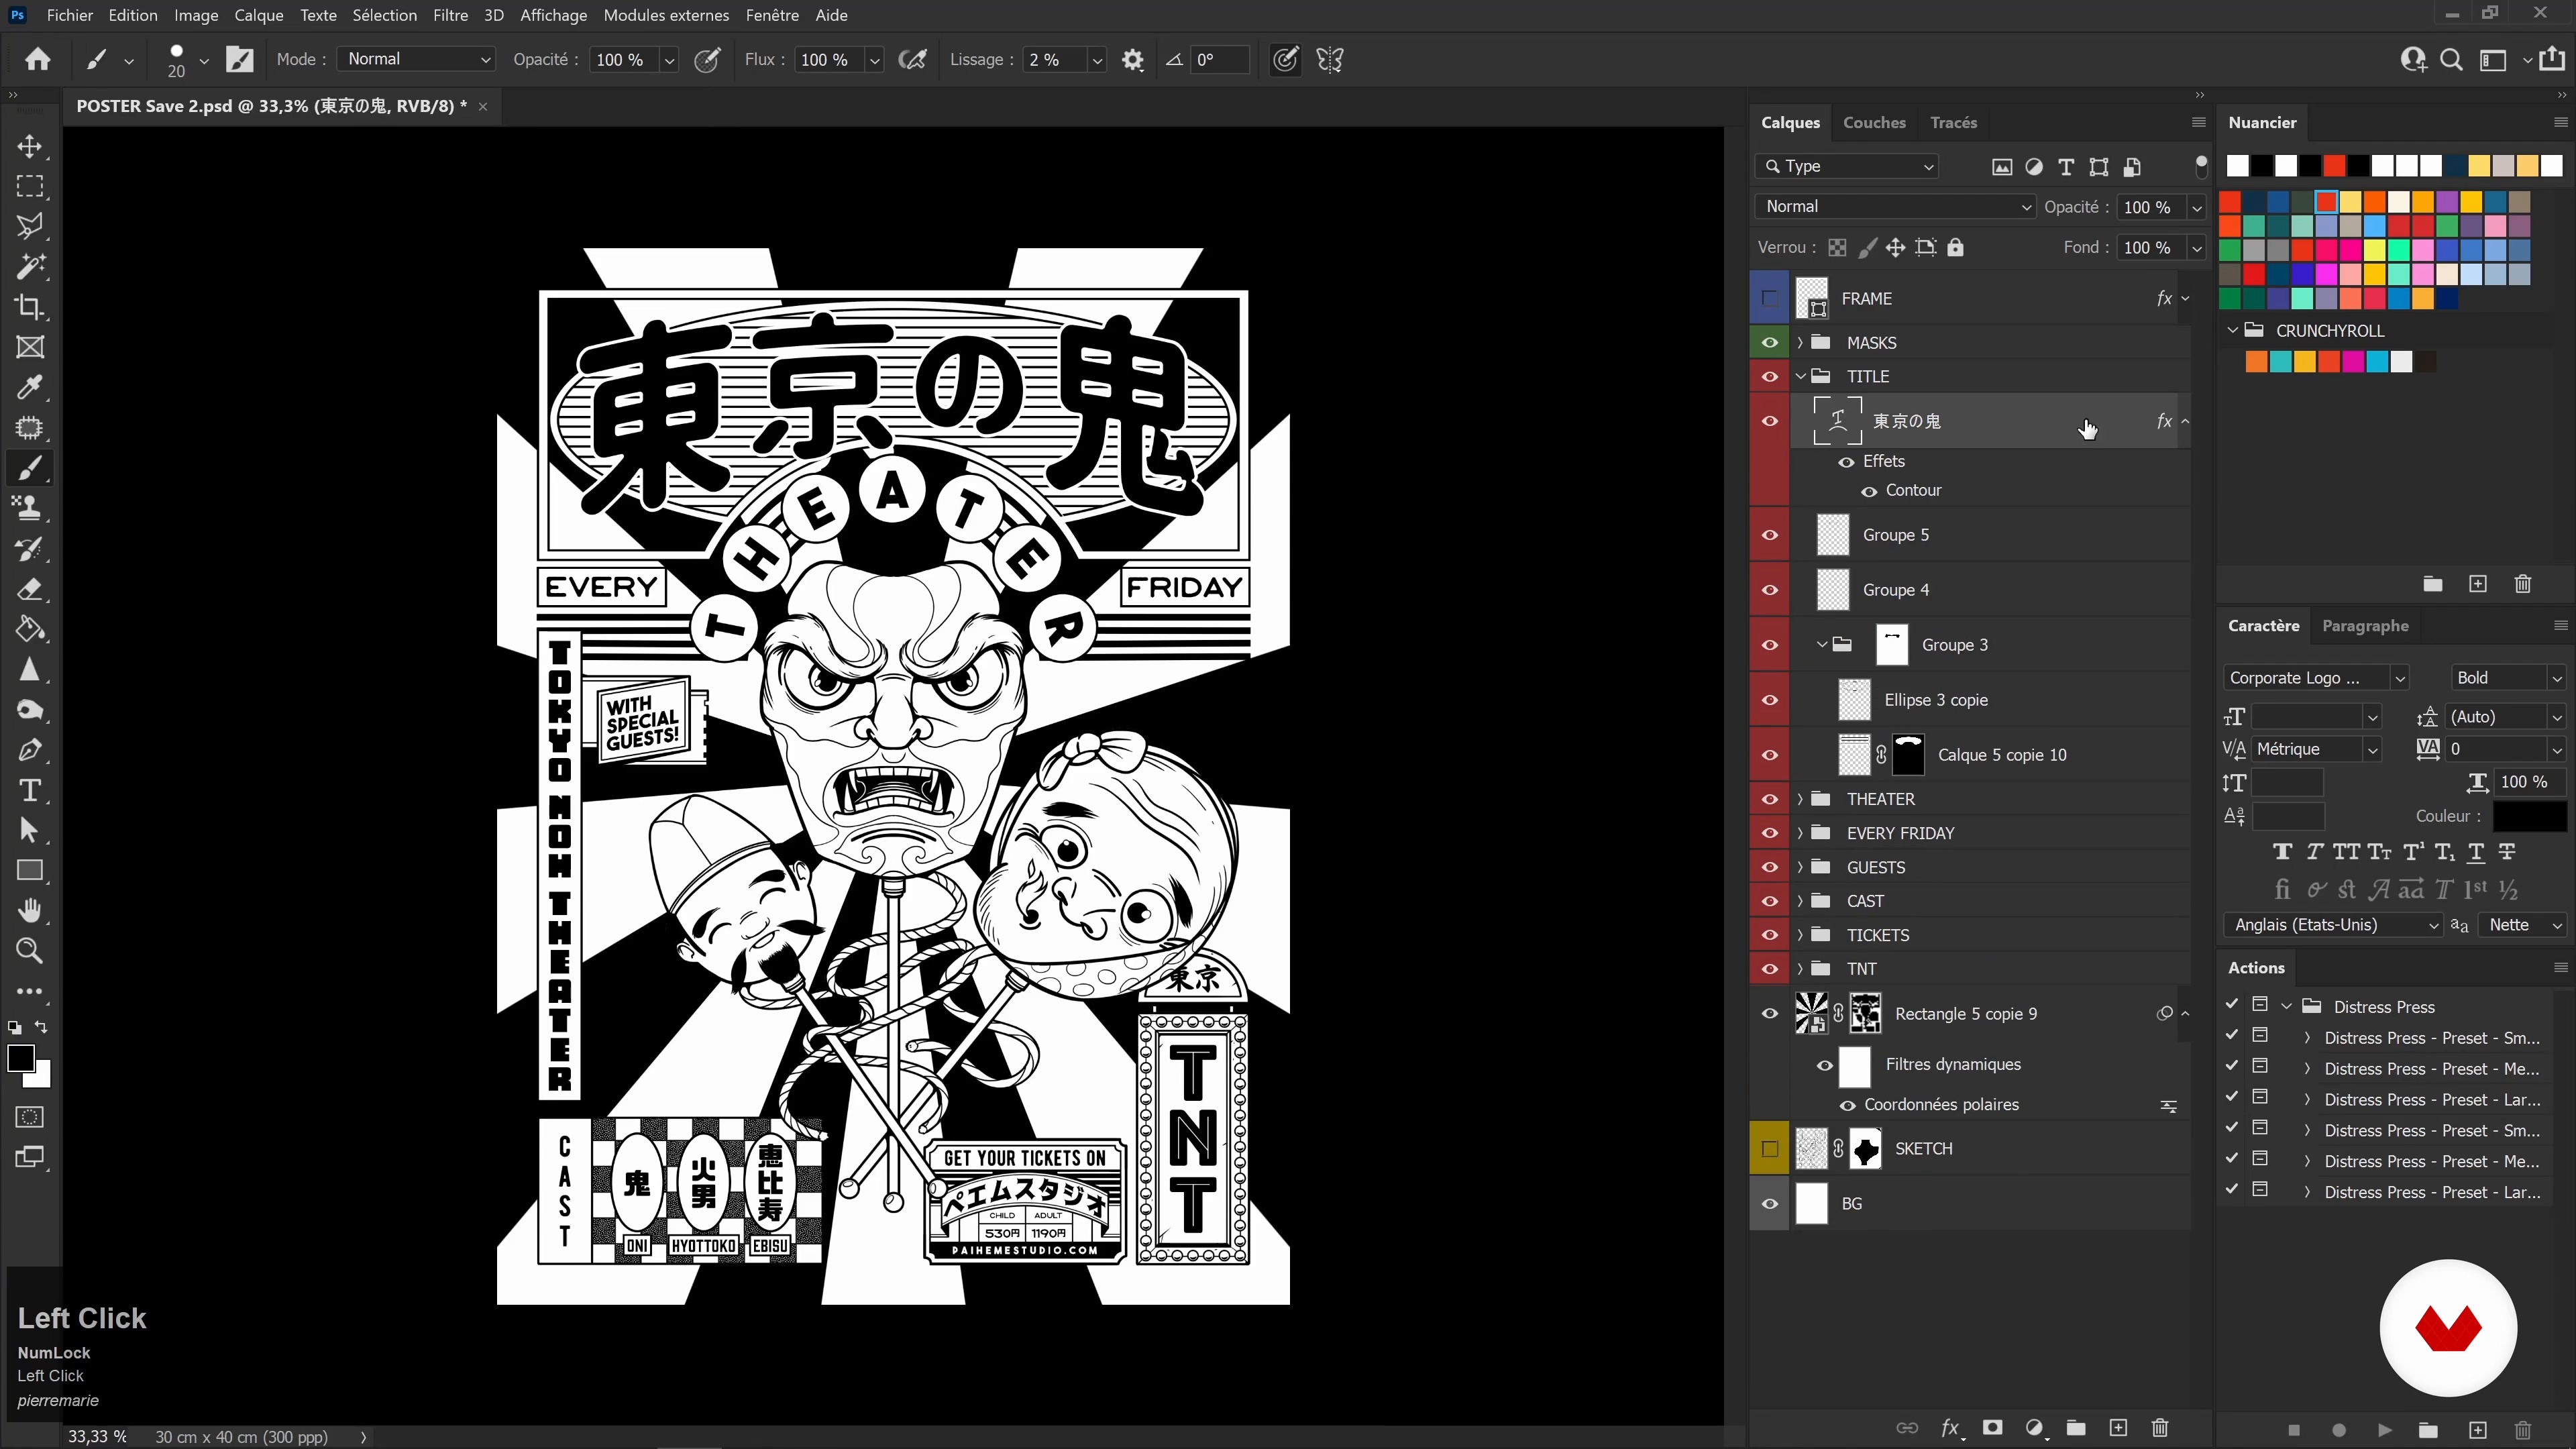
14Contour line drawing: textual elements and background 3
Now, I will explain to you how to work with Japanese signs, a new typographic variety. You will see how we can combine a hyper traditional and hyper modern style at the same time, which gives us a very nice design.
19m
 15
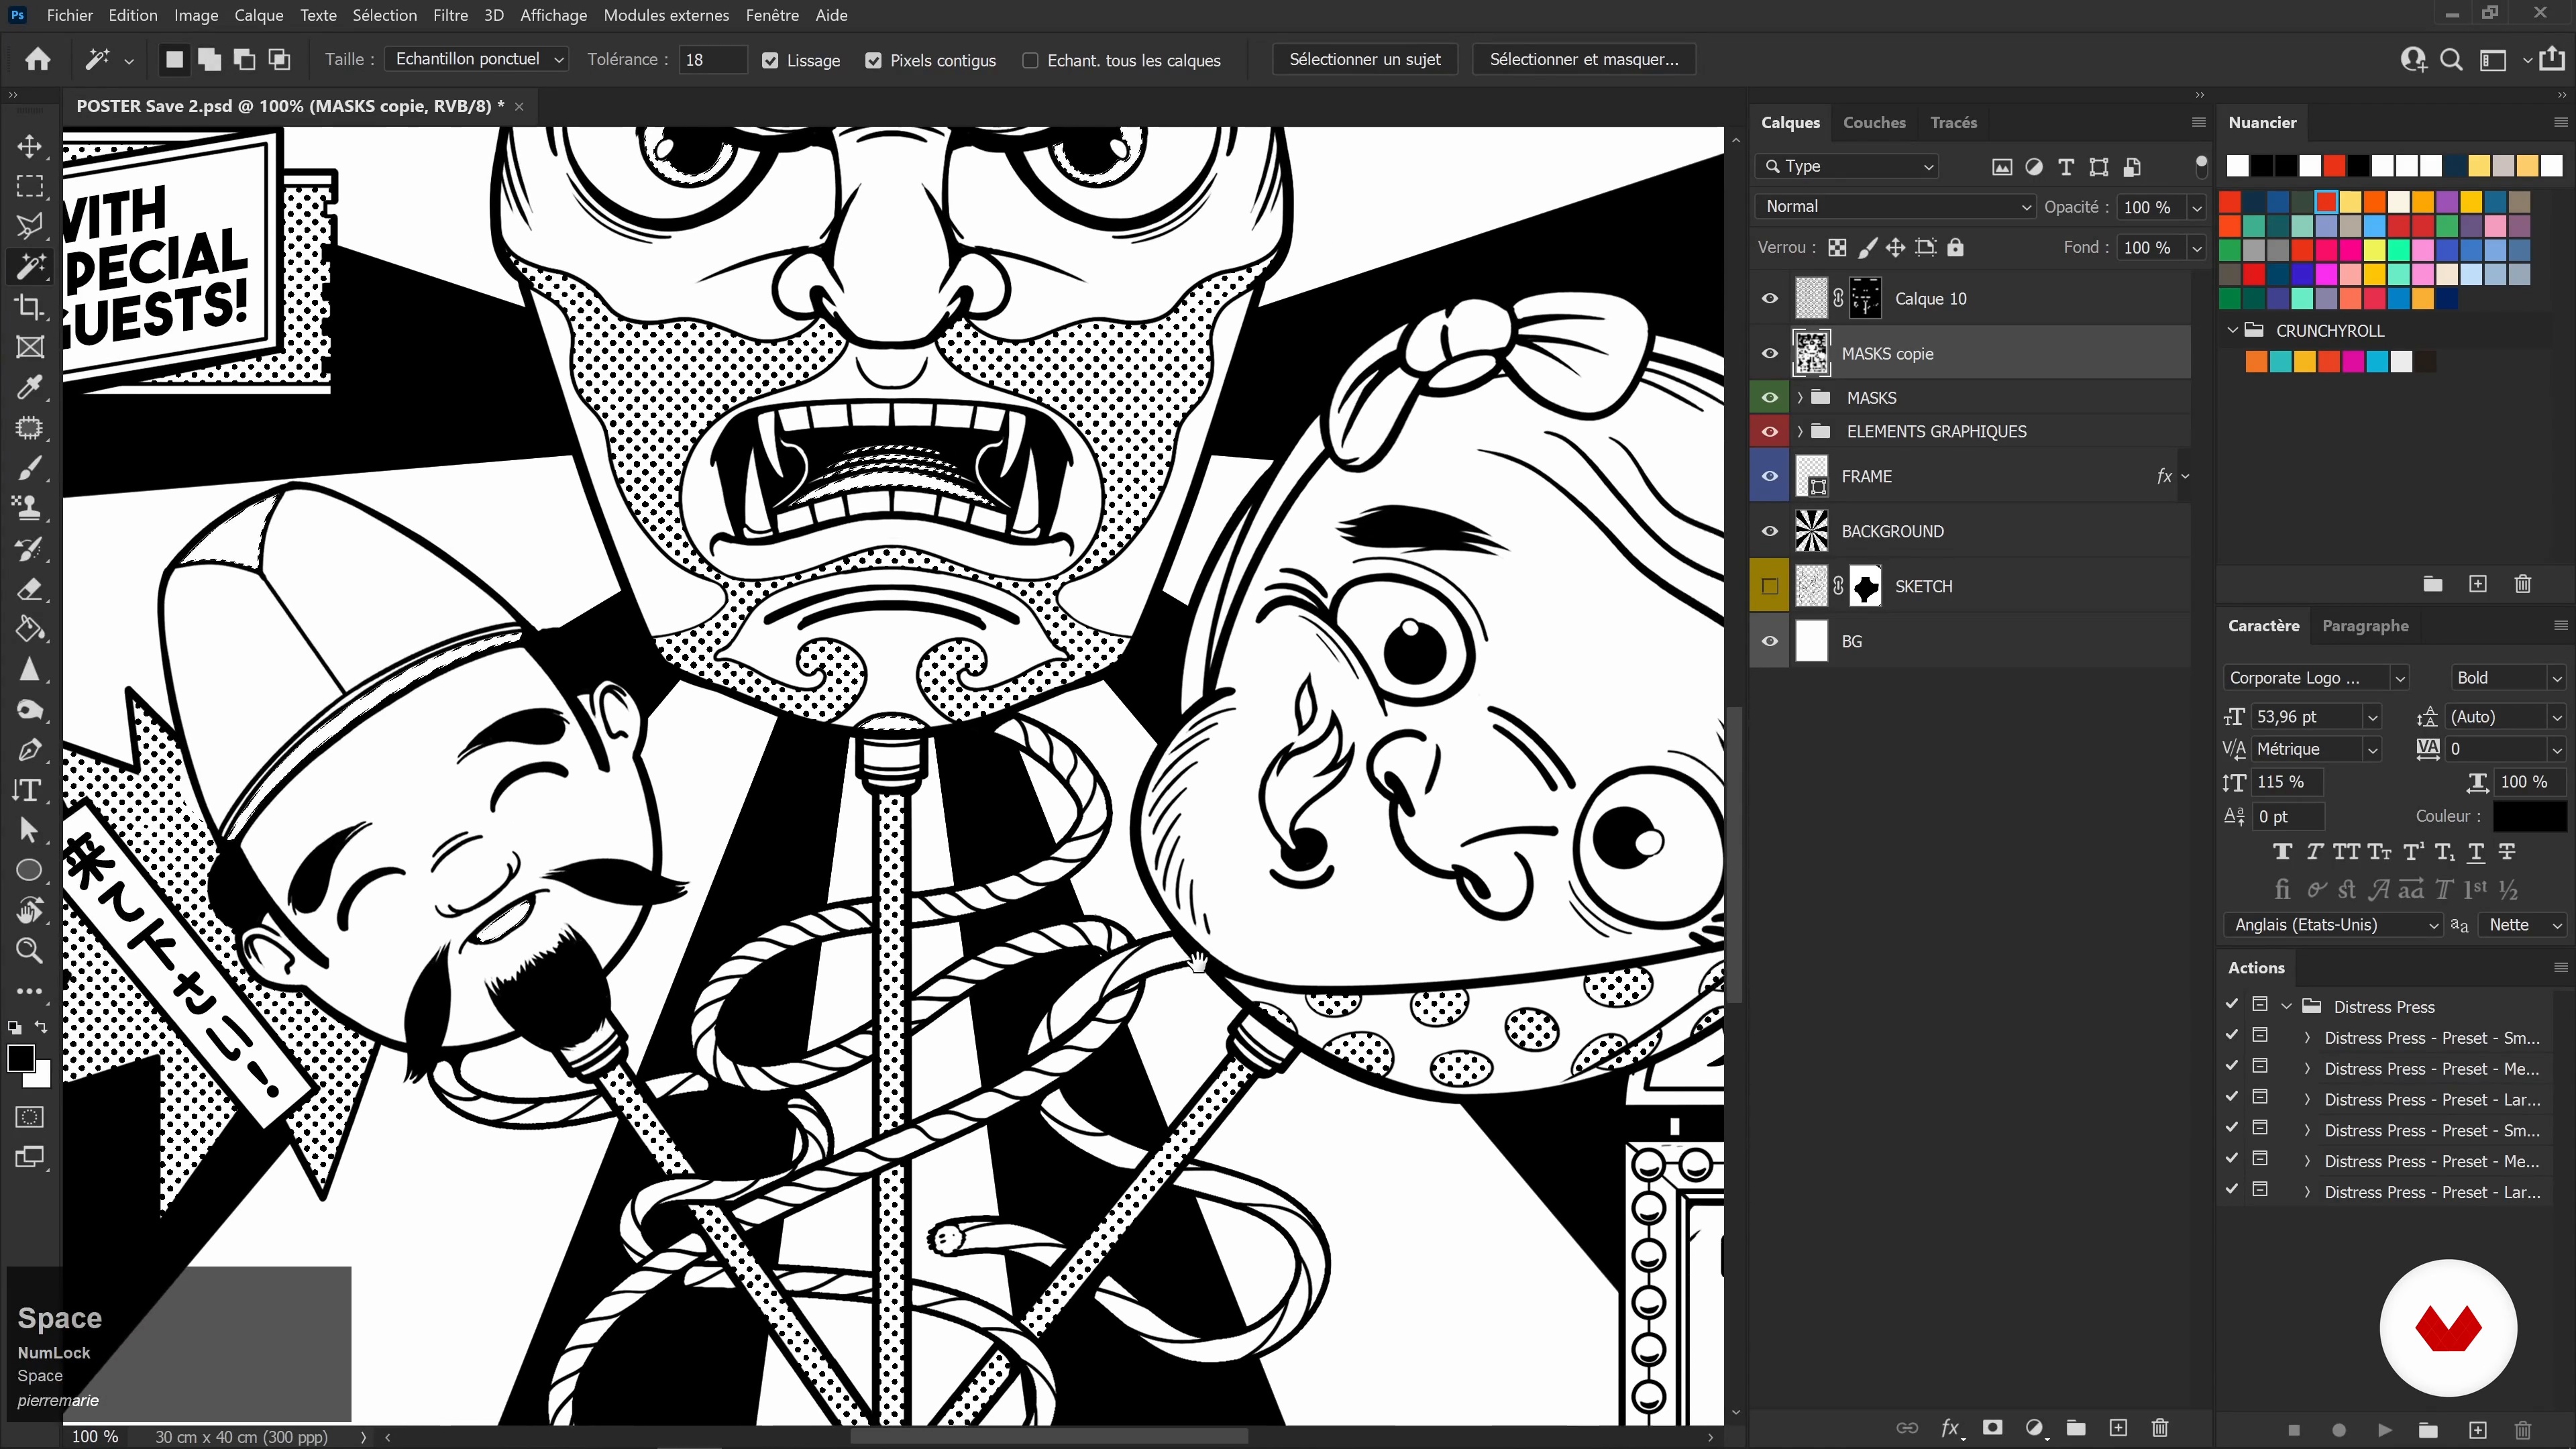
15Contour line drawing: textual elements and background 4
Once all the textual elements and their typography have been chosen and rearranged in the space of your illustration, you can start working on the background! I will teach you how to add symbols and other elements that are going to be a part of it.
19m
 16
16Contour line drawing: textual elements and background 5
You come to the last step of this unit. I will teach you how to bring the different graphic elements in your illustration to life. Don't worry if you make mistakes! Remember this is the opportunity to spot all the little details that you missed. I will finally show you how to position all the elements to play on the overall symmetry of the illustration.
12m
 17
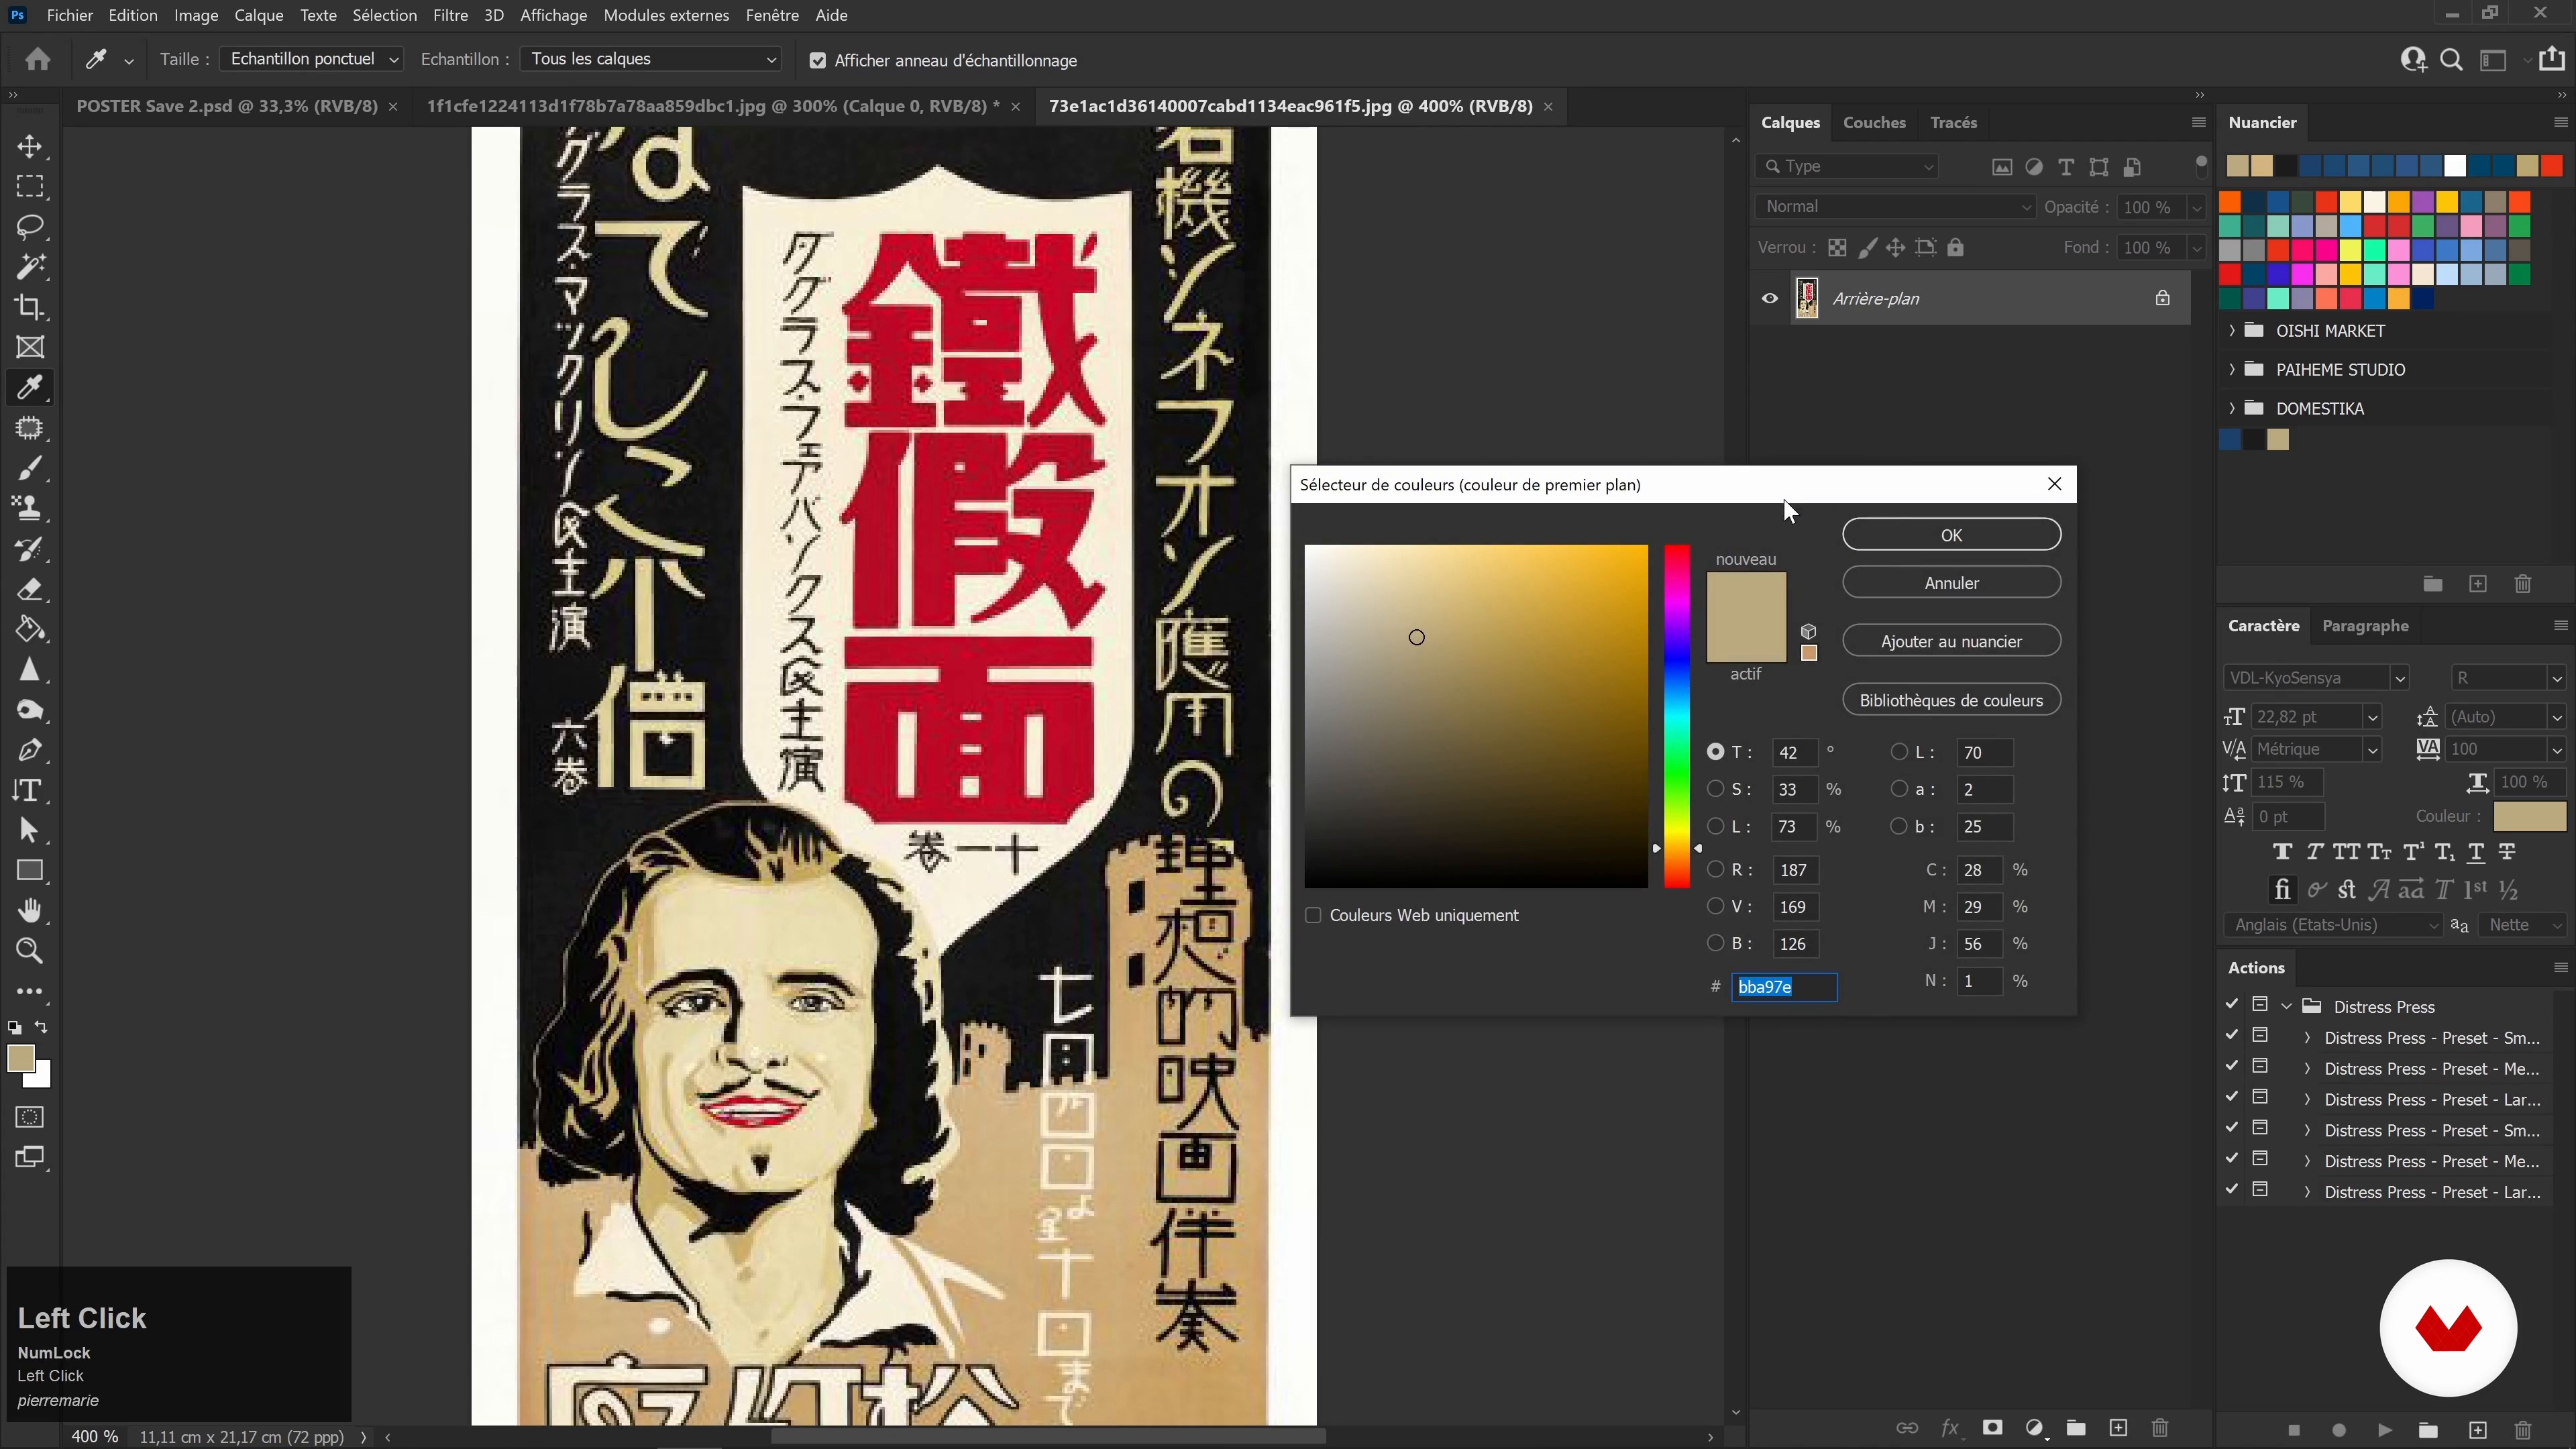
17Combinations of several sources to create a color palette
After having selected several posters that you like, I will help you identify the colors of the time and explain how to synthesize the graphic trends.
19m
 18
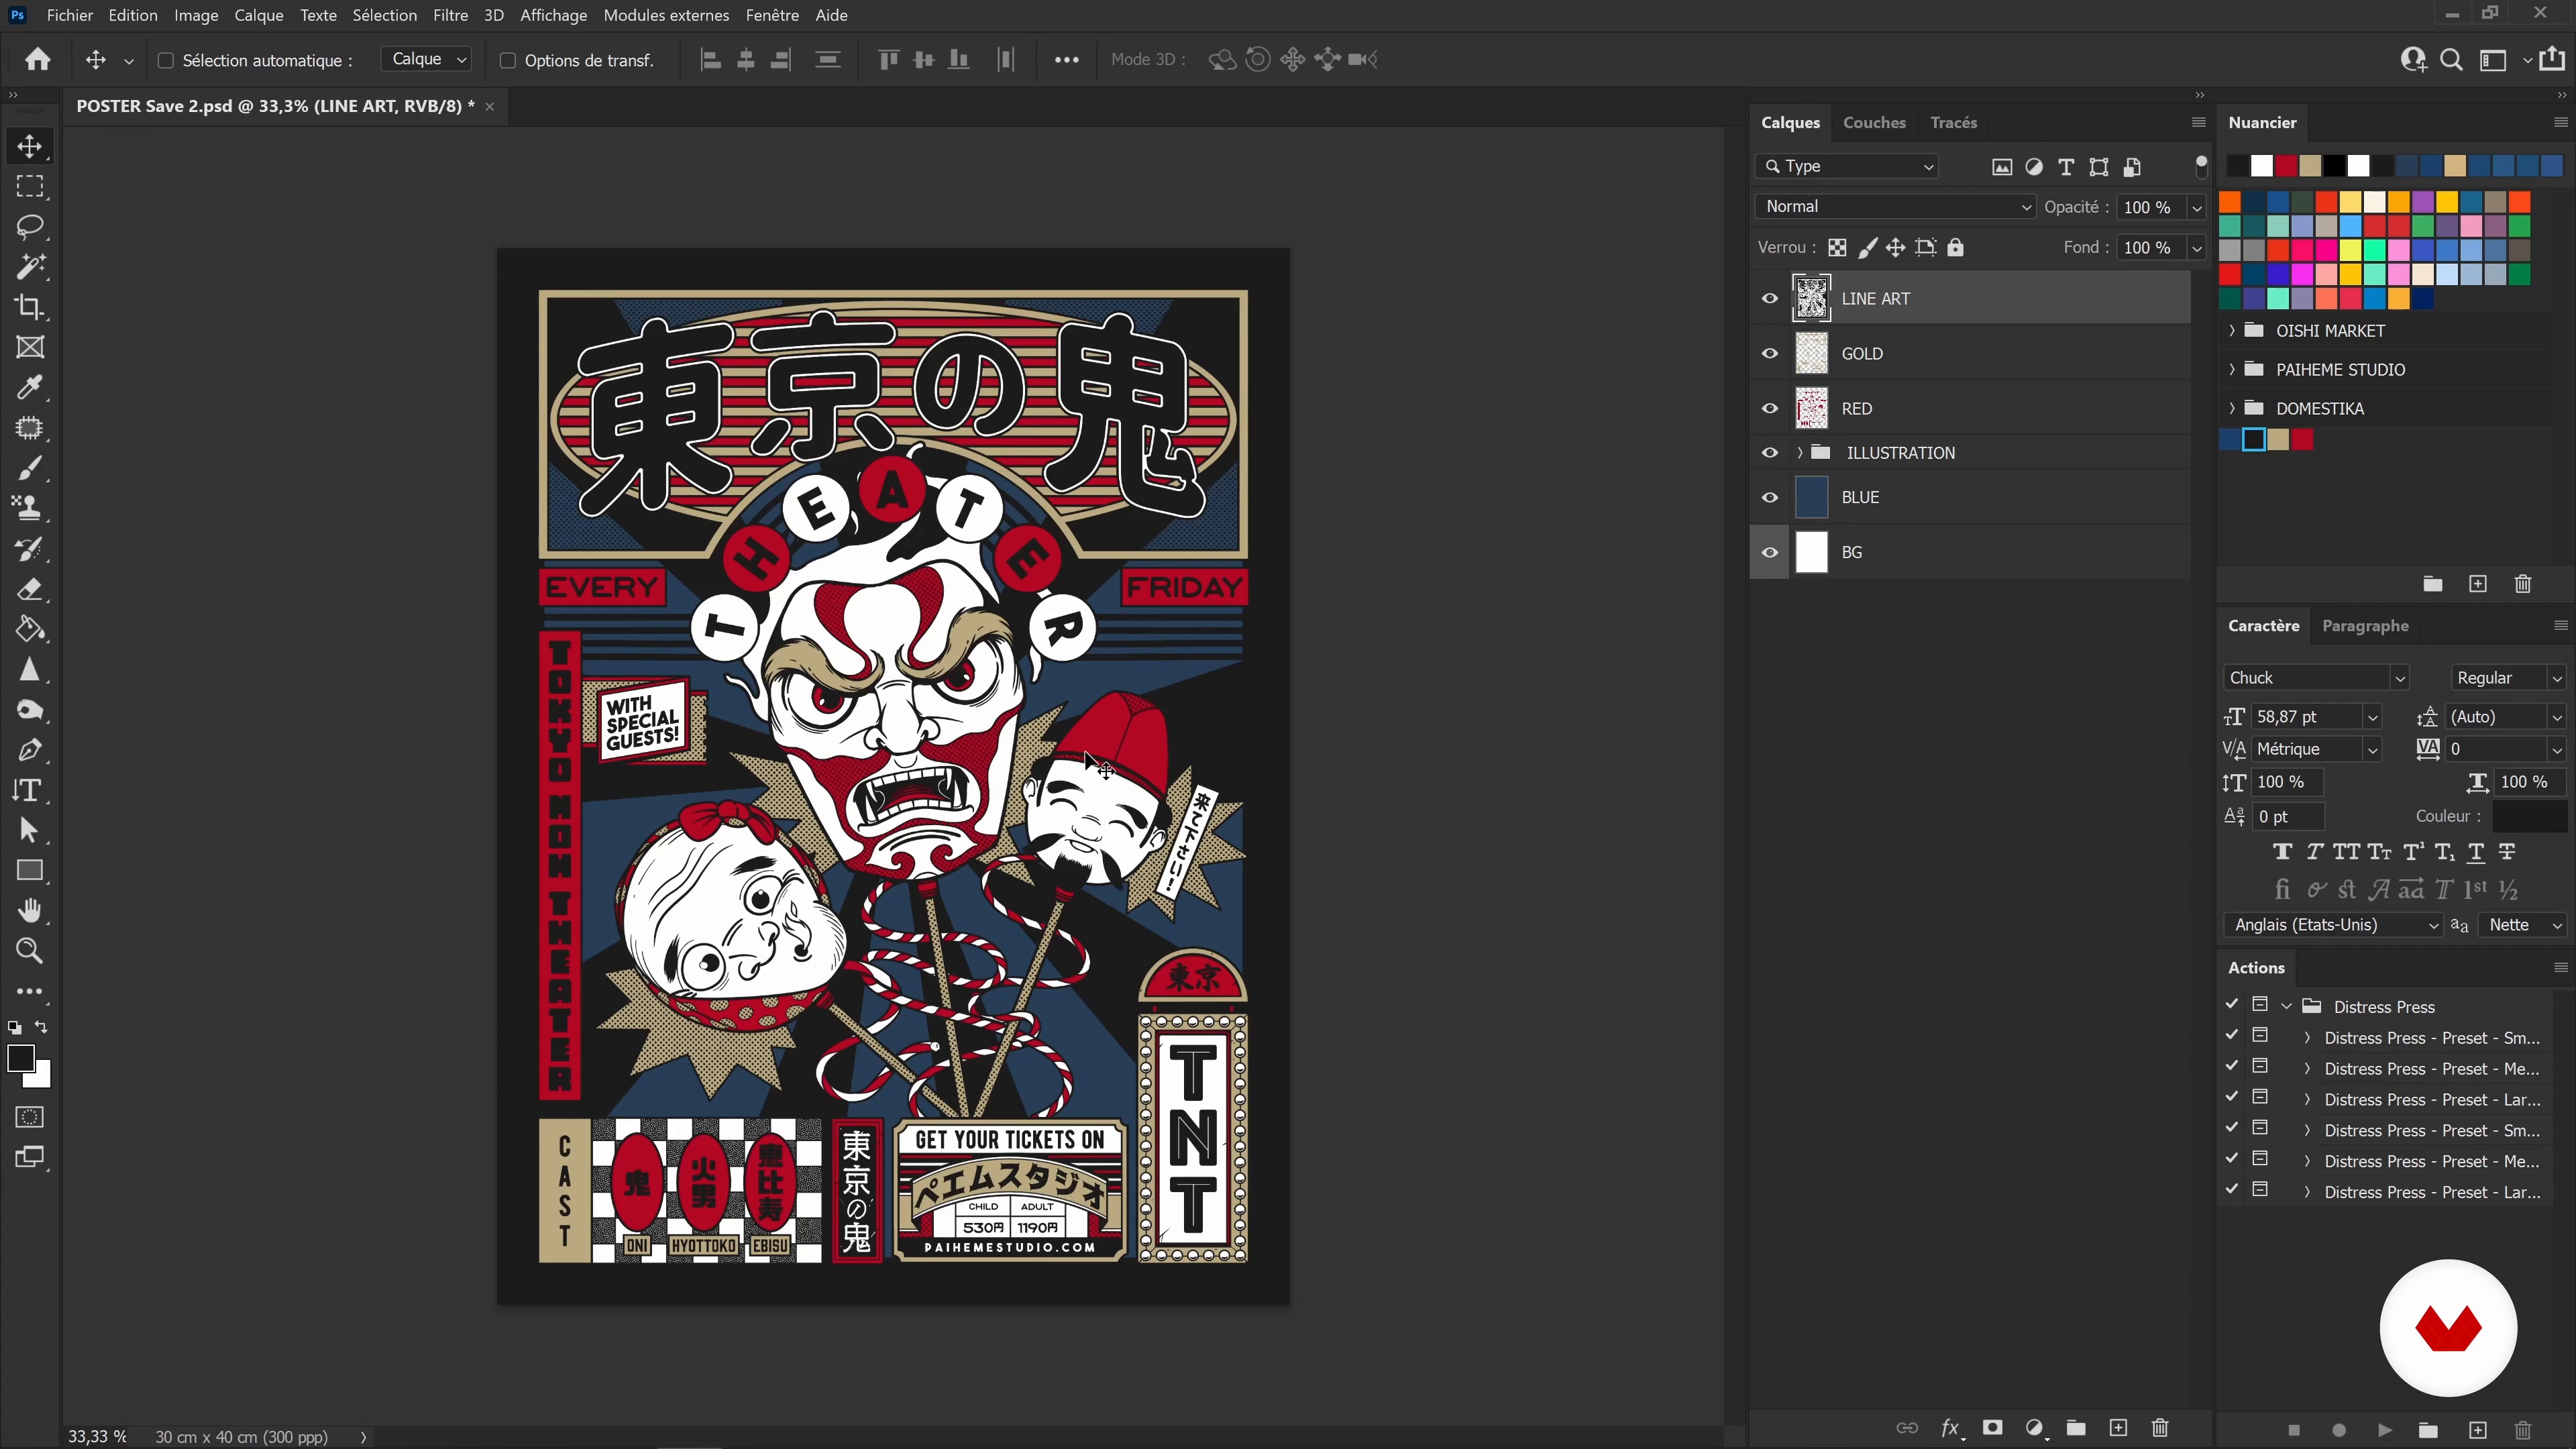
18Define the dominant colors and color
Now, you will learn how to logically select the different dominant colors that will dress the poster according to the chosen theme, and enrich this choice with complementary colors.
17m
 19
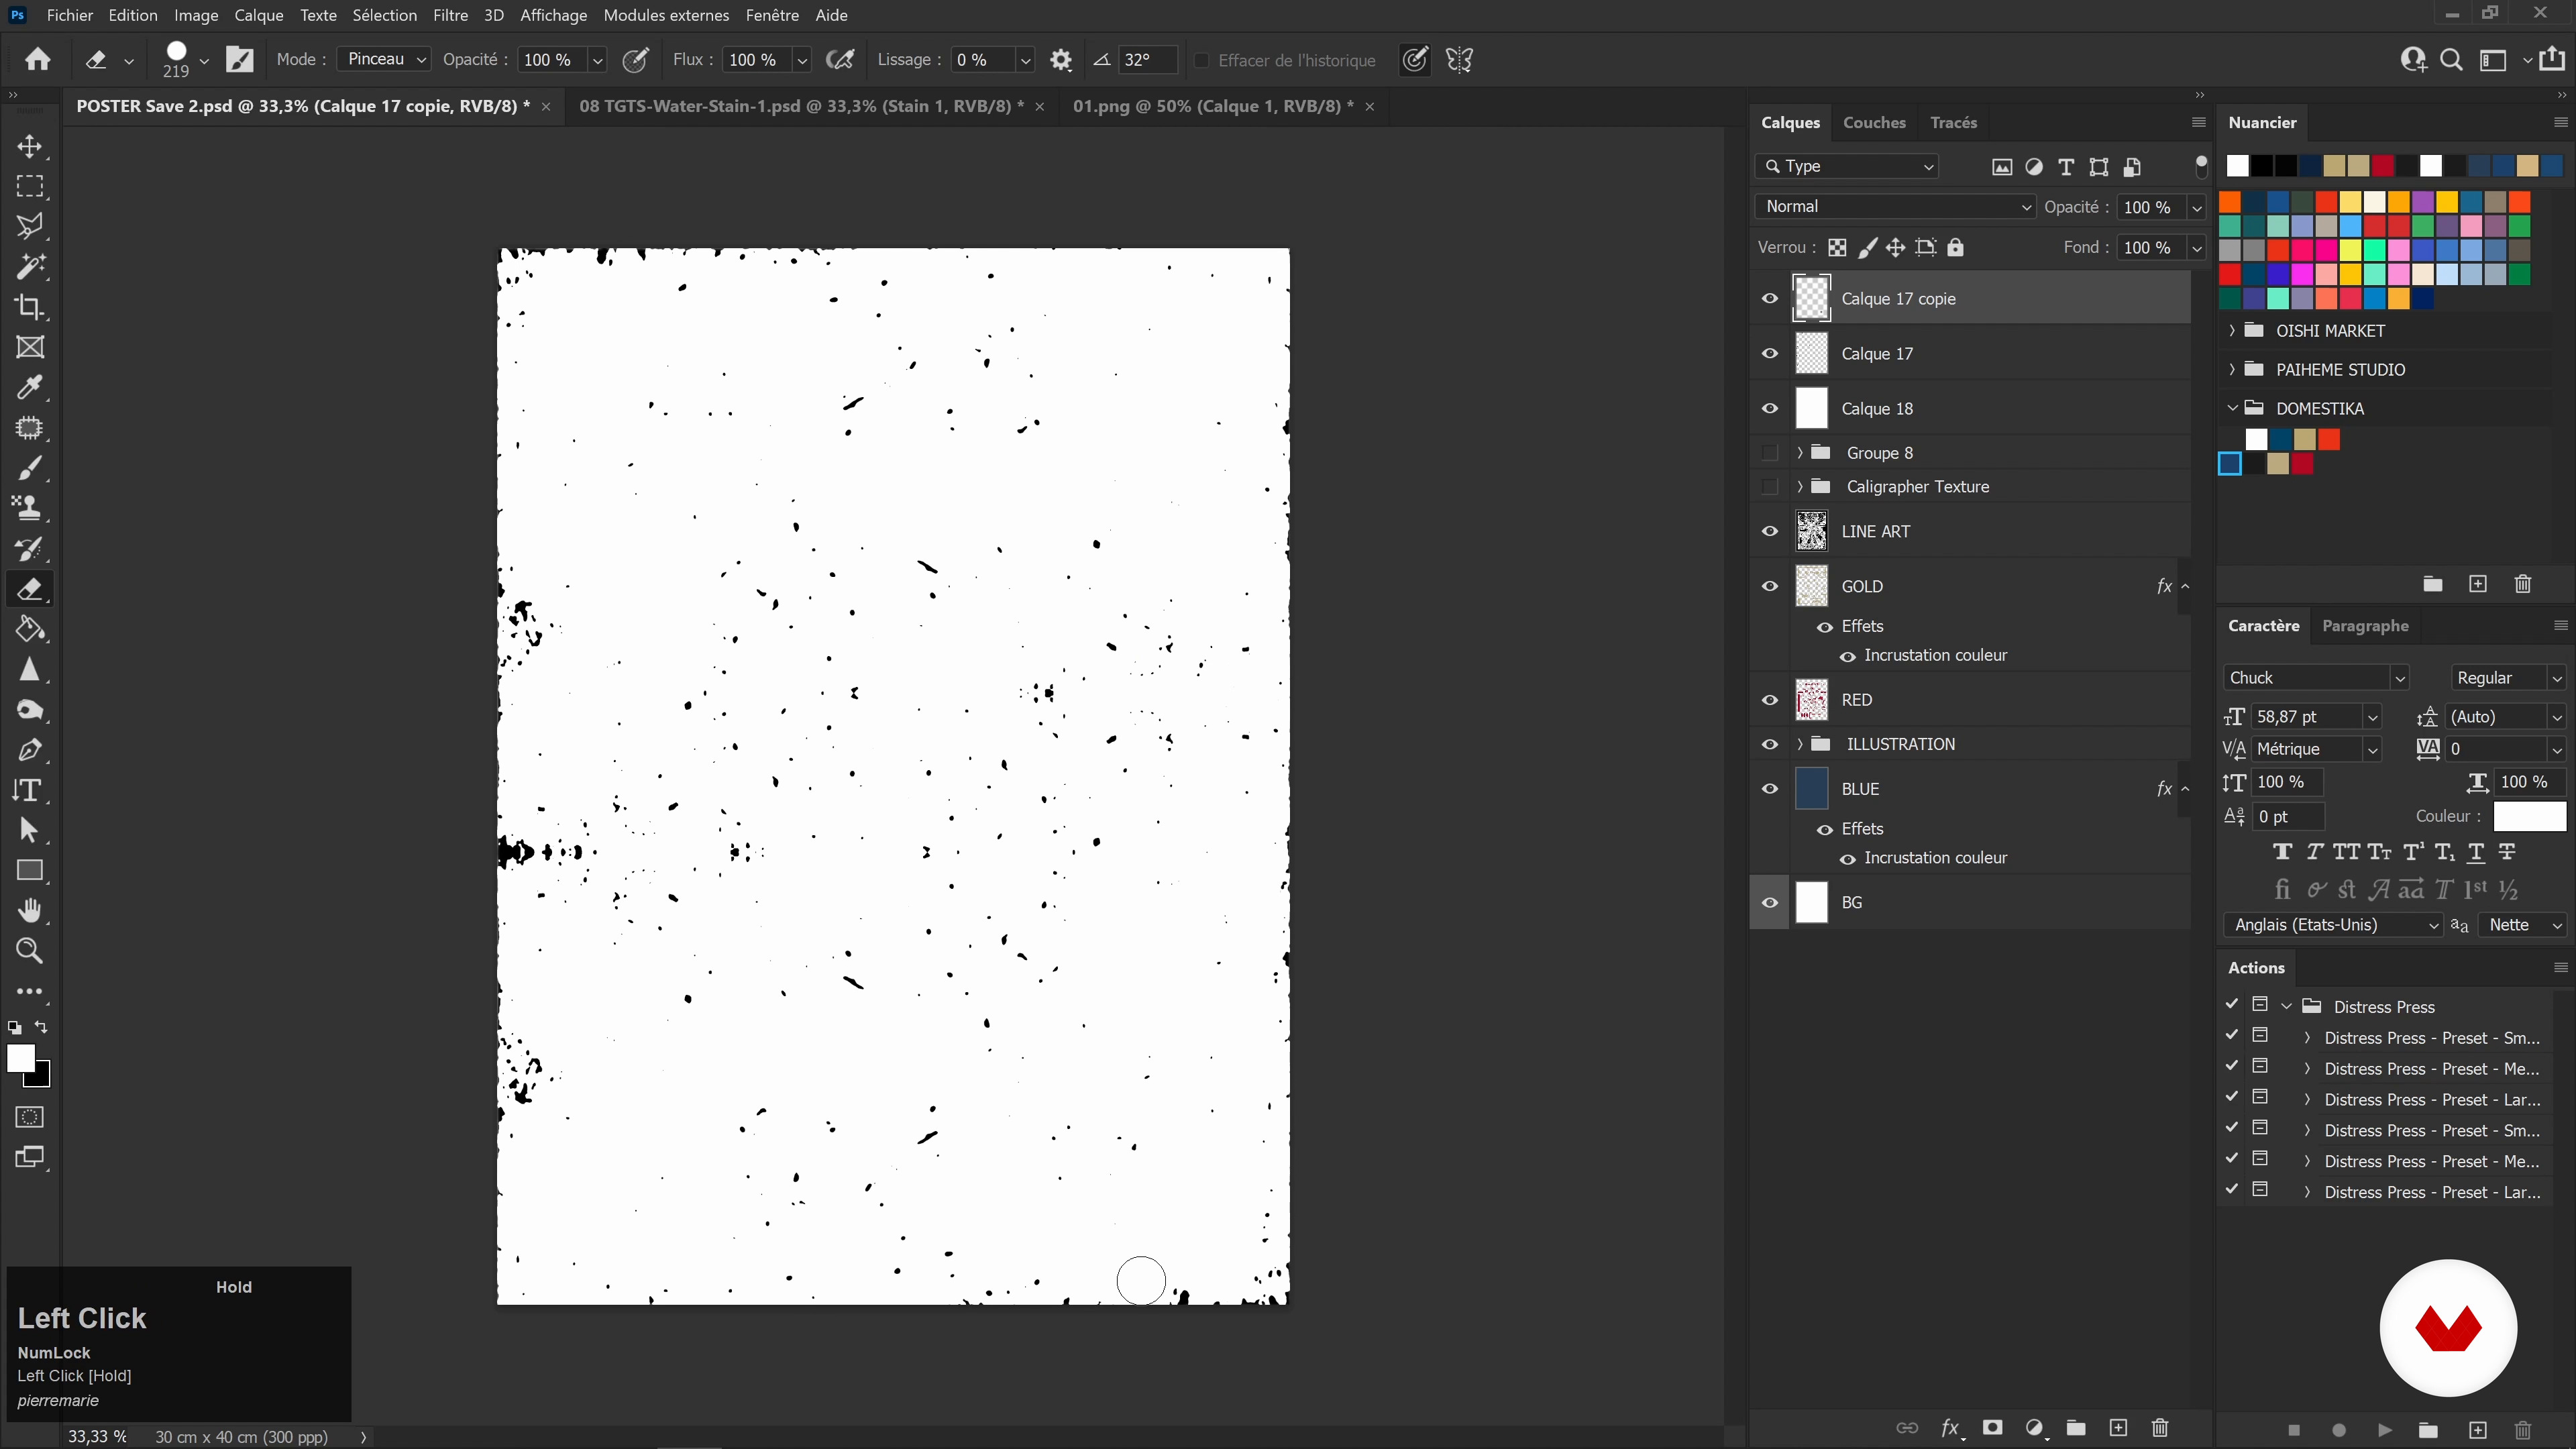
19Add textures
Here you will see how to add a vintage touch to your illustration by playing with the different textures.
15m
 20
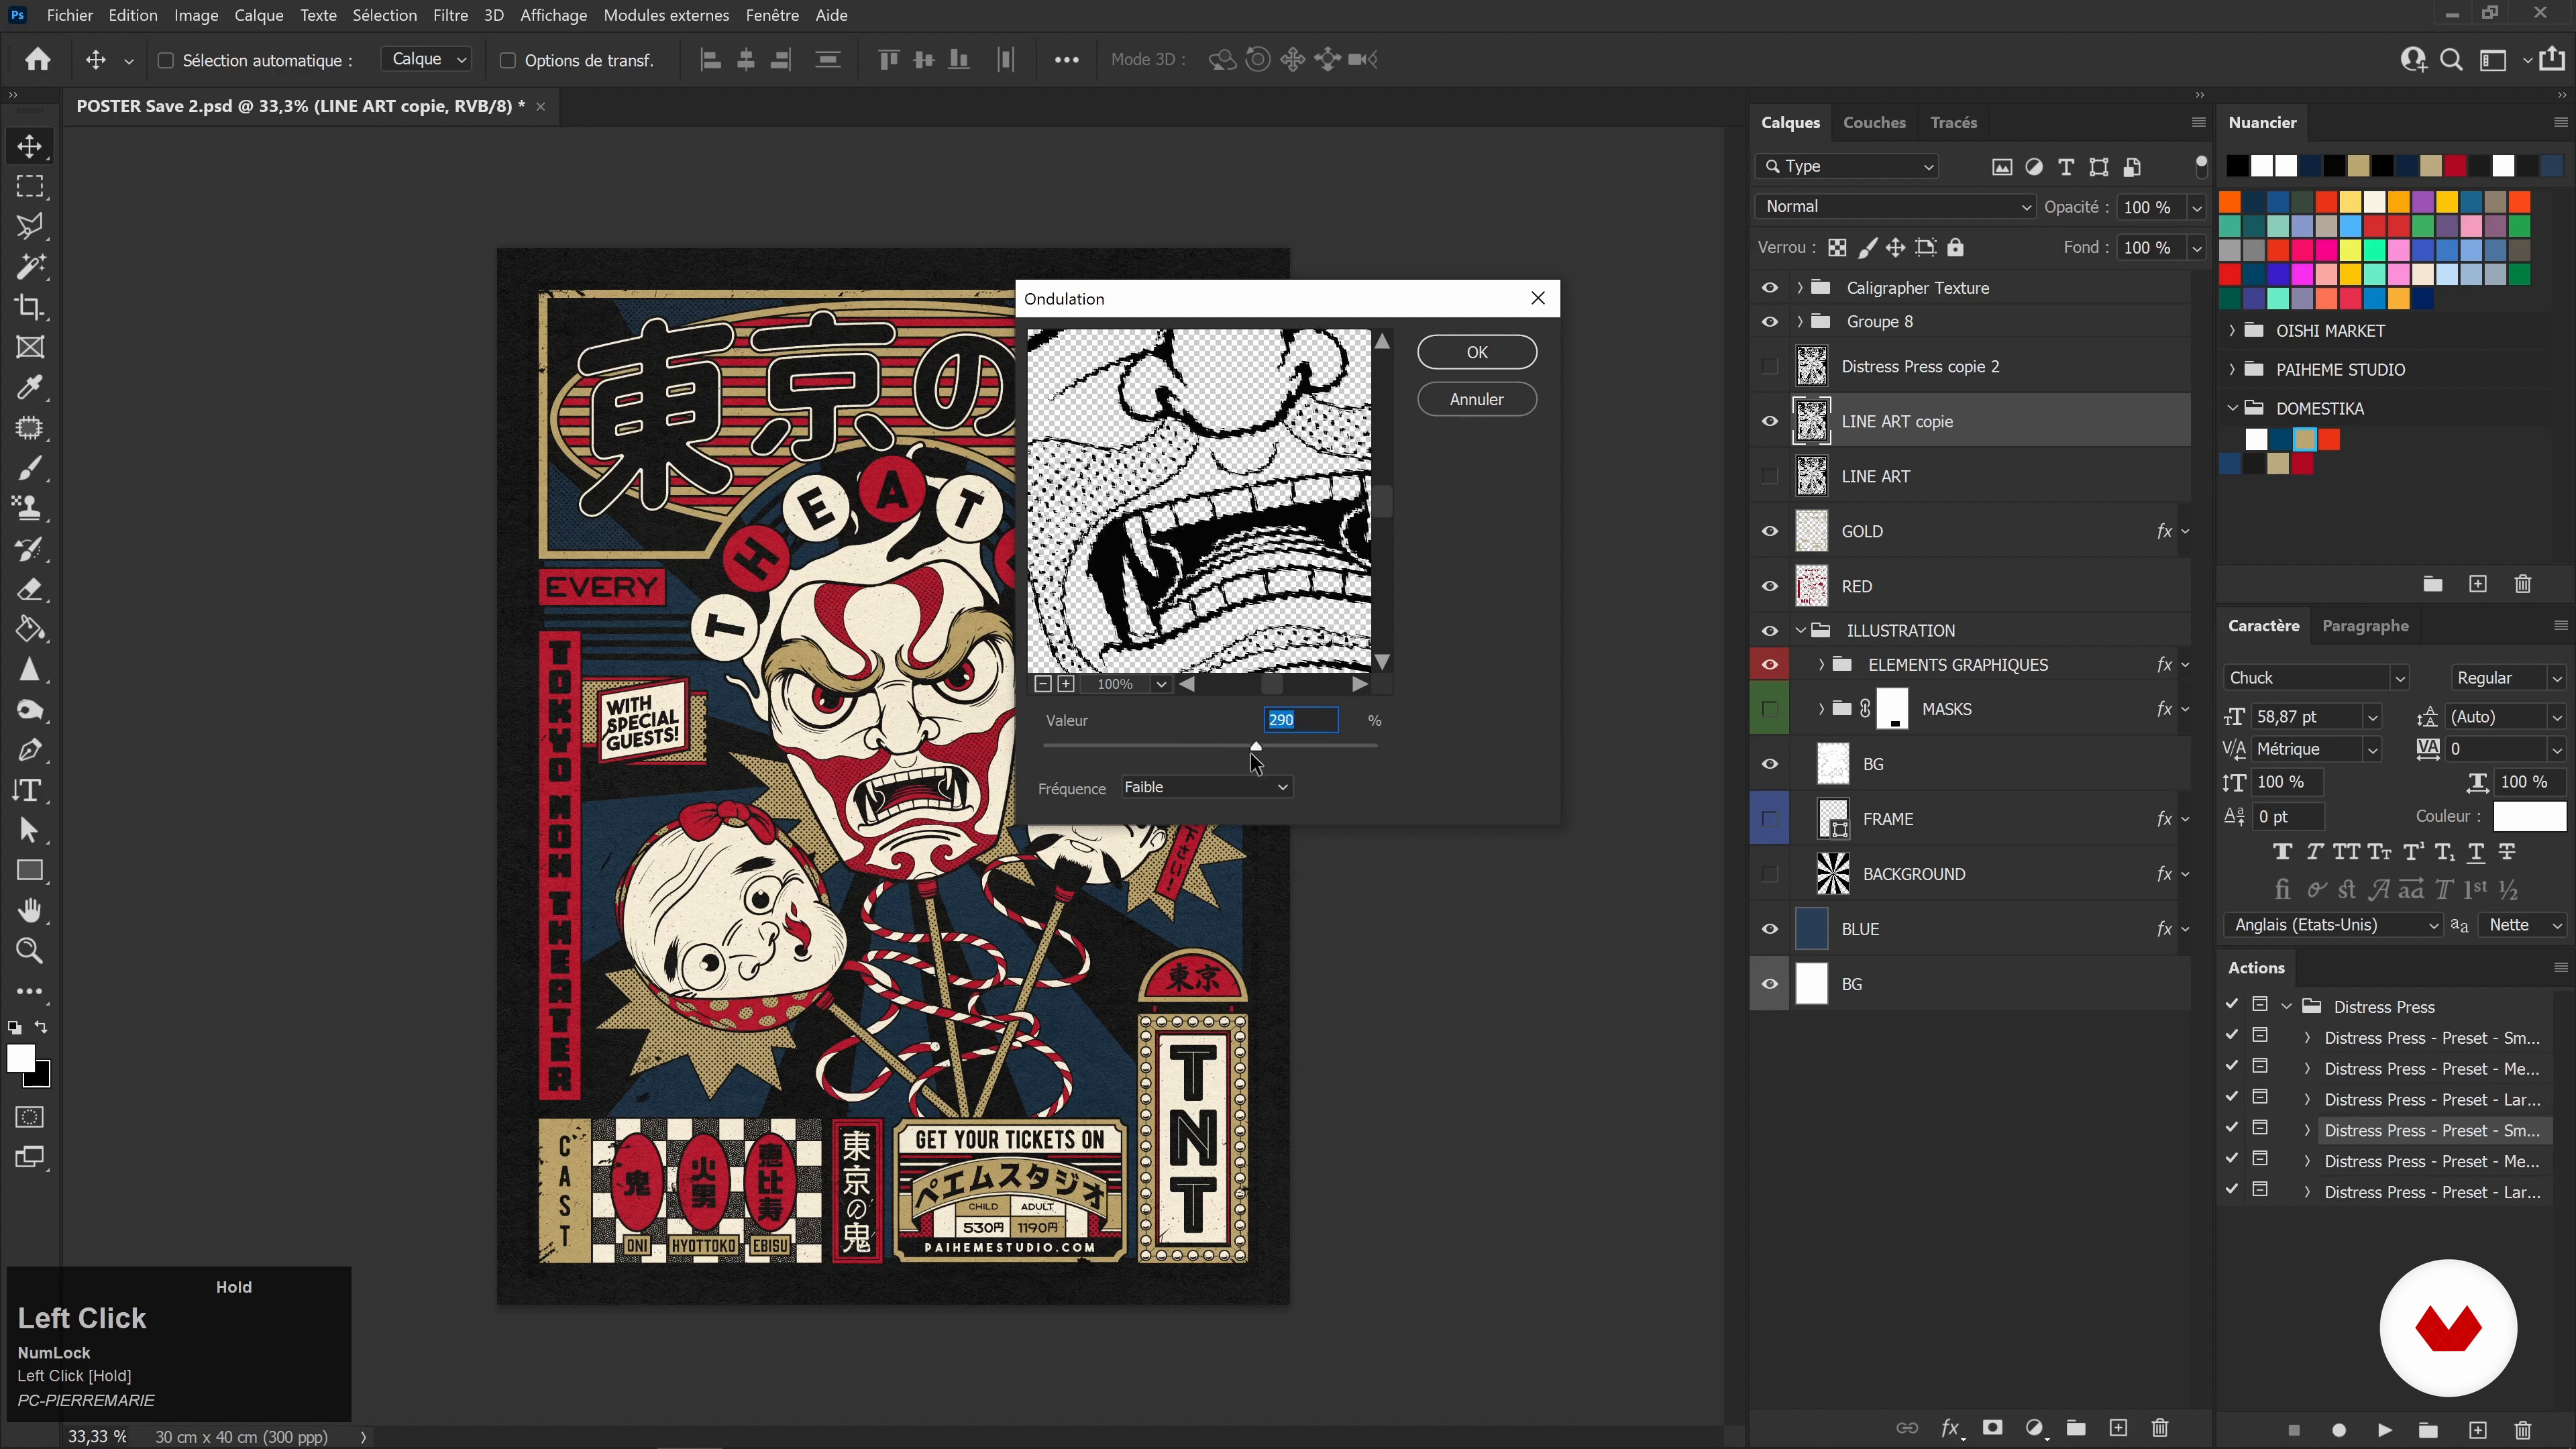
20Add imperfections: vintage look
What gives an illustration its vintage look? I'll show you how to add and recreate that imperfect touch that will make the poster look more real and authentic, like it's already dated.
4m
 21
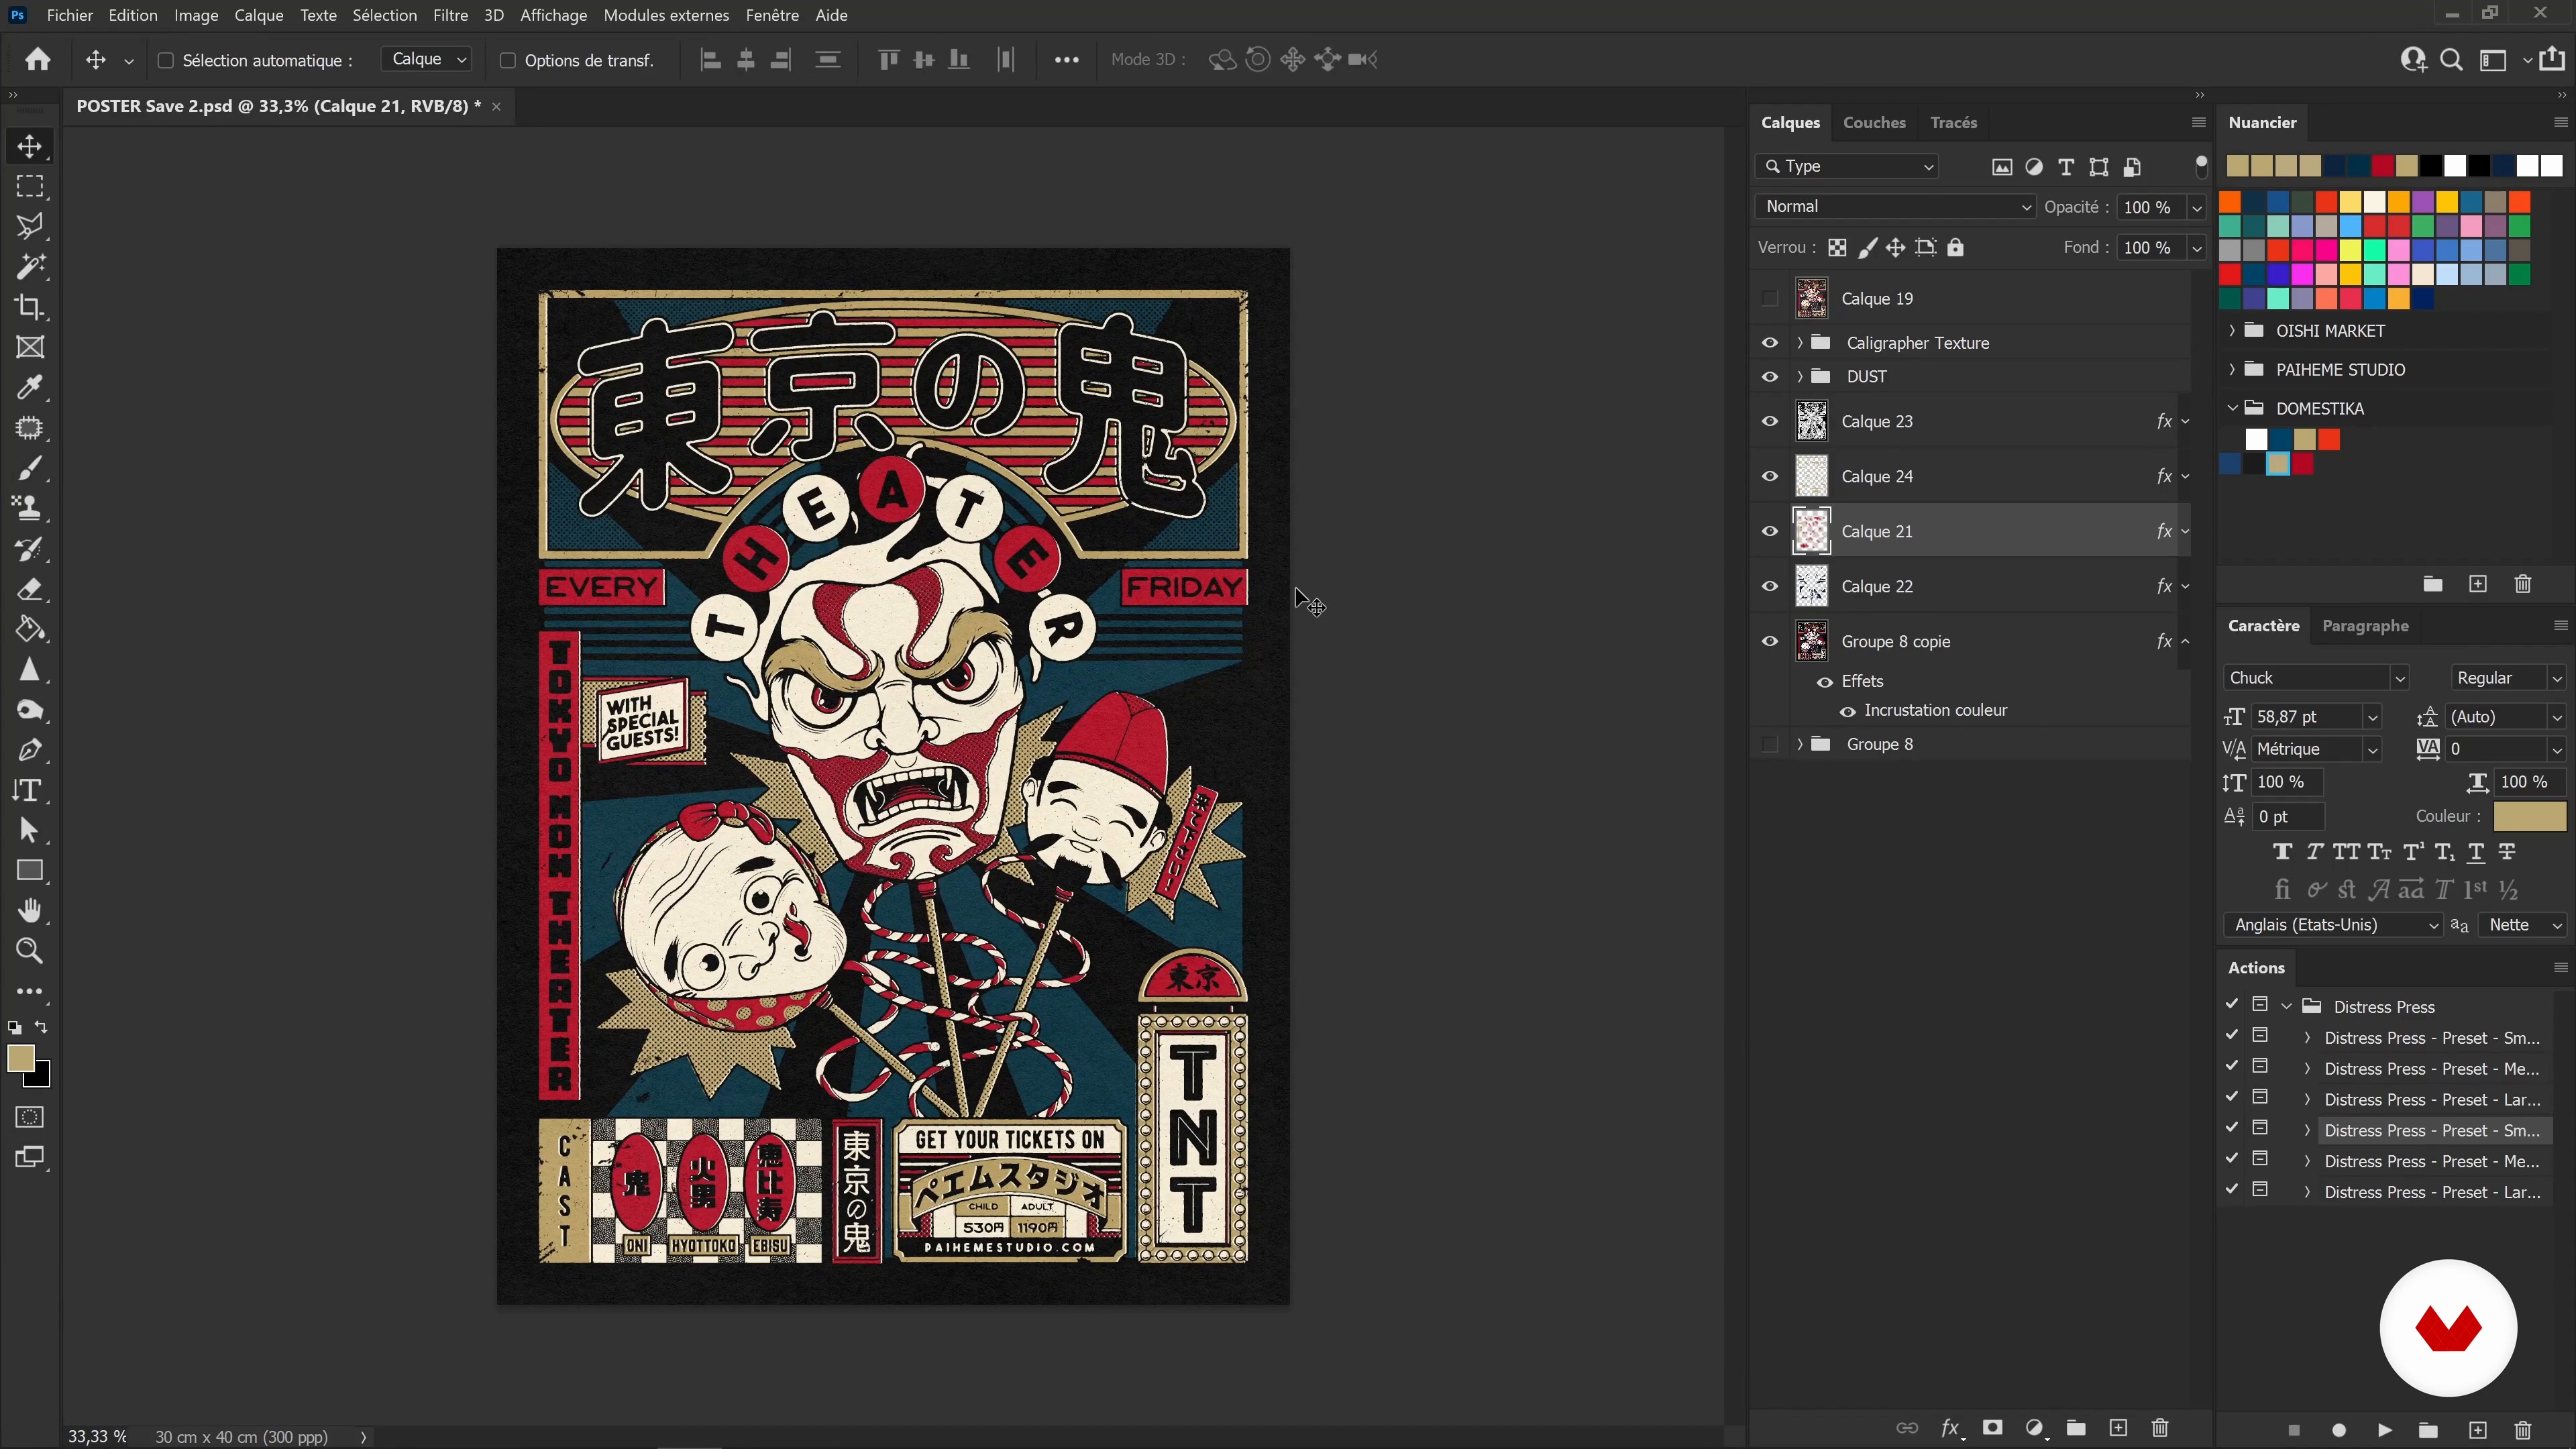
21Final details: colorimetry, saturation and level
Here, you'll learn how to make the final adjustments to colorimetry, saturation, and levels.
6m
 22
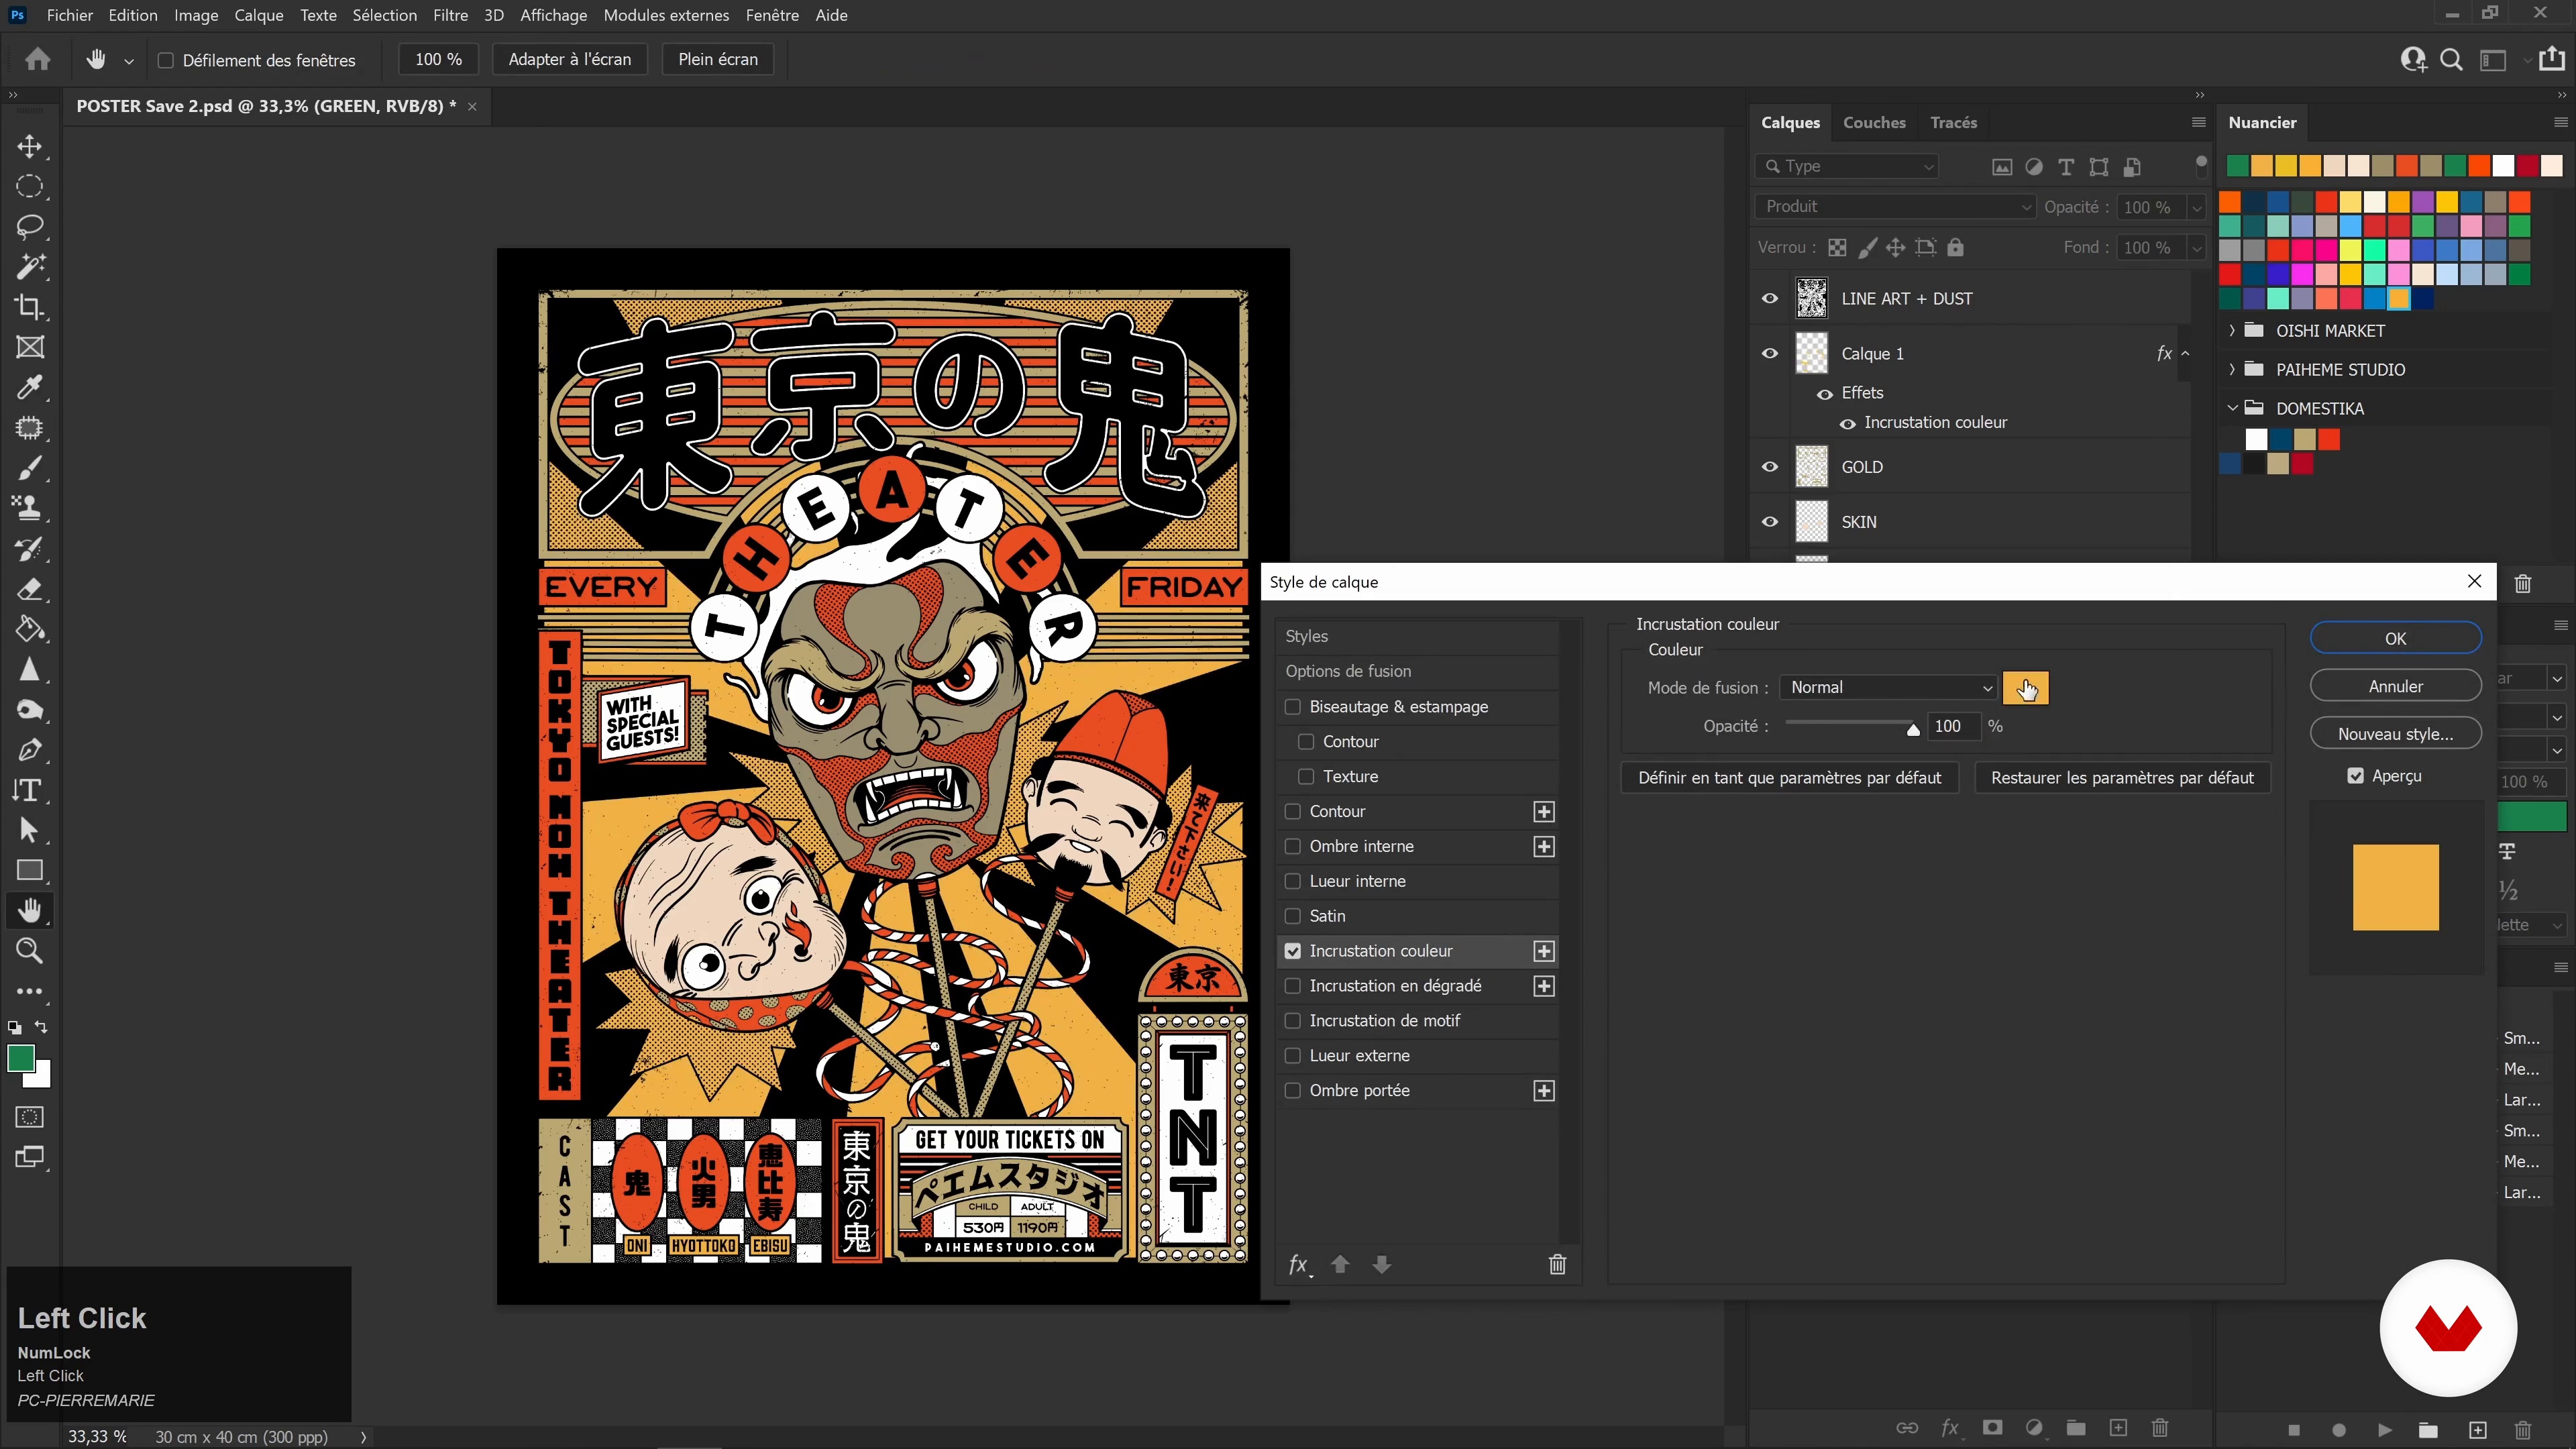
22Explore color variations on our poster 1
You will see how to adapt your poster by testing other complementary colors. So you can choose the ones that suit you best.
14m
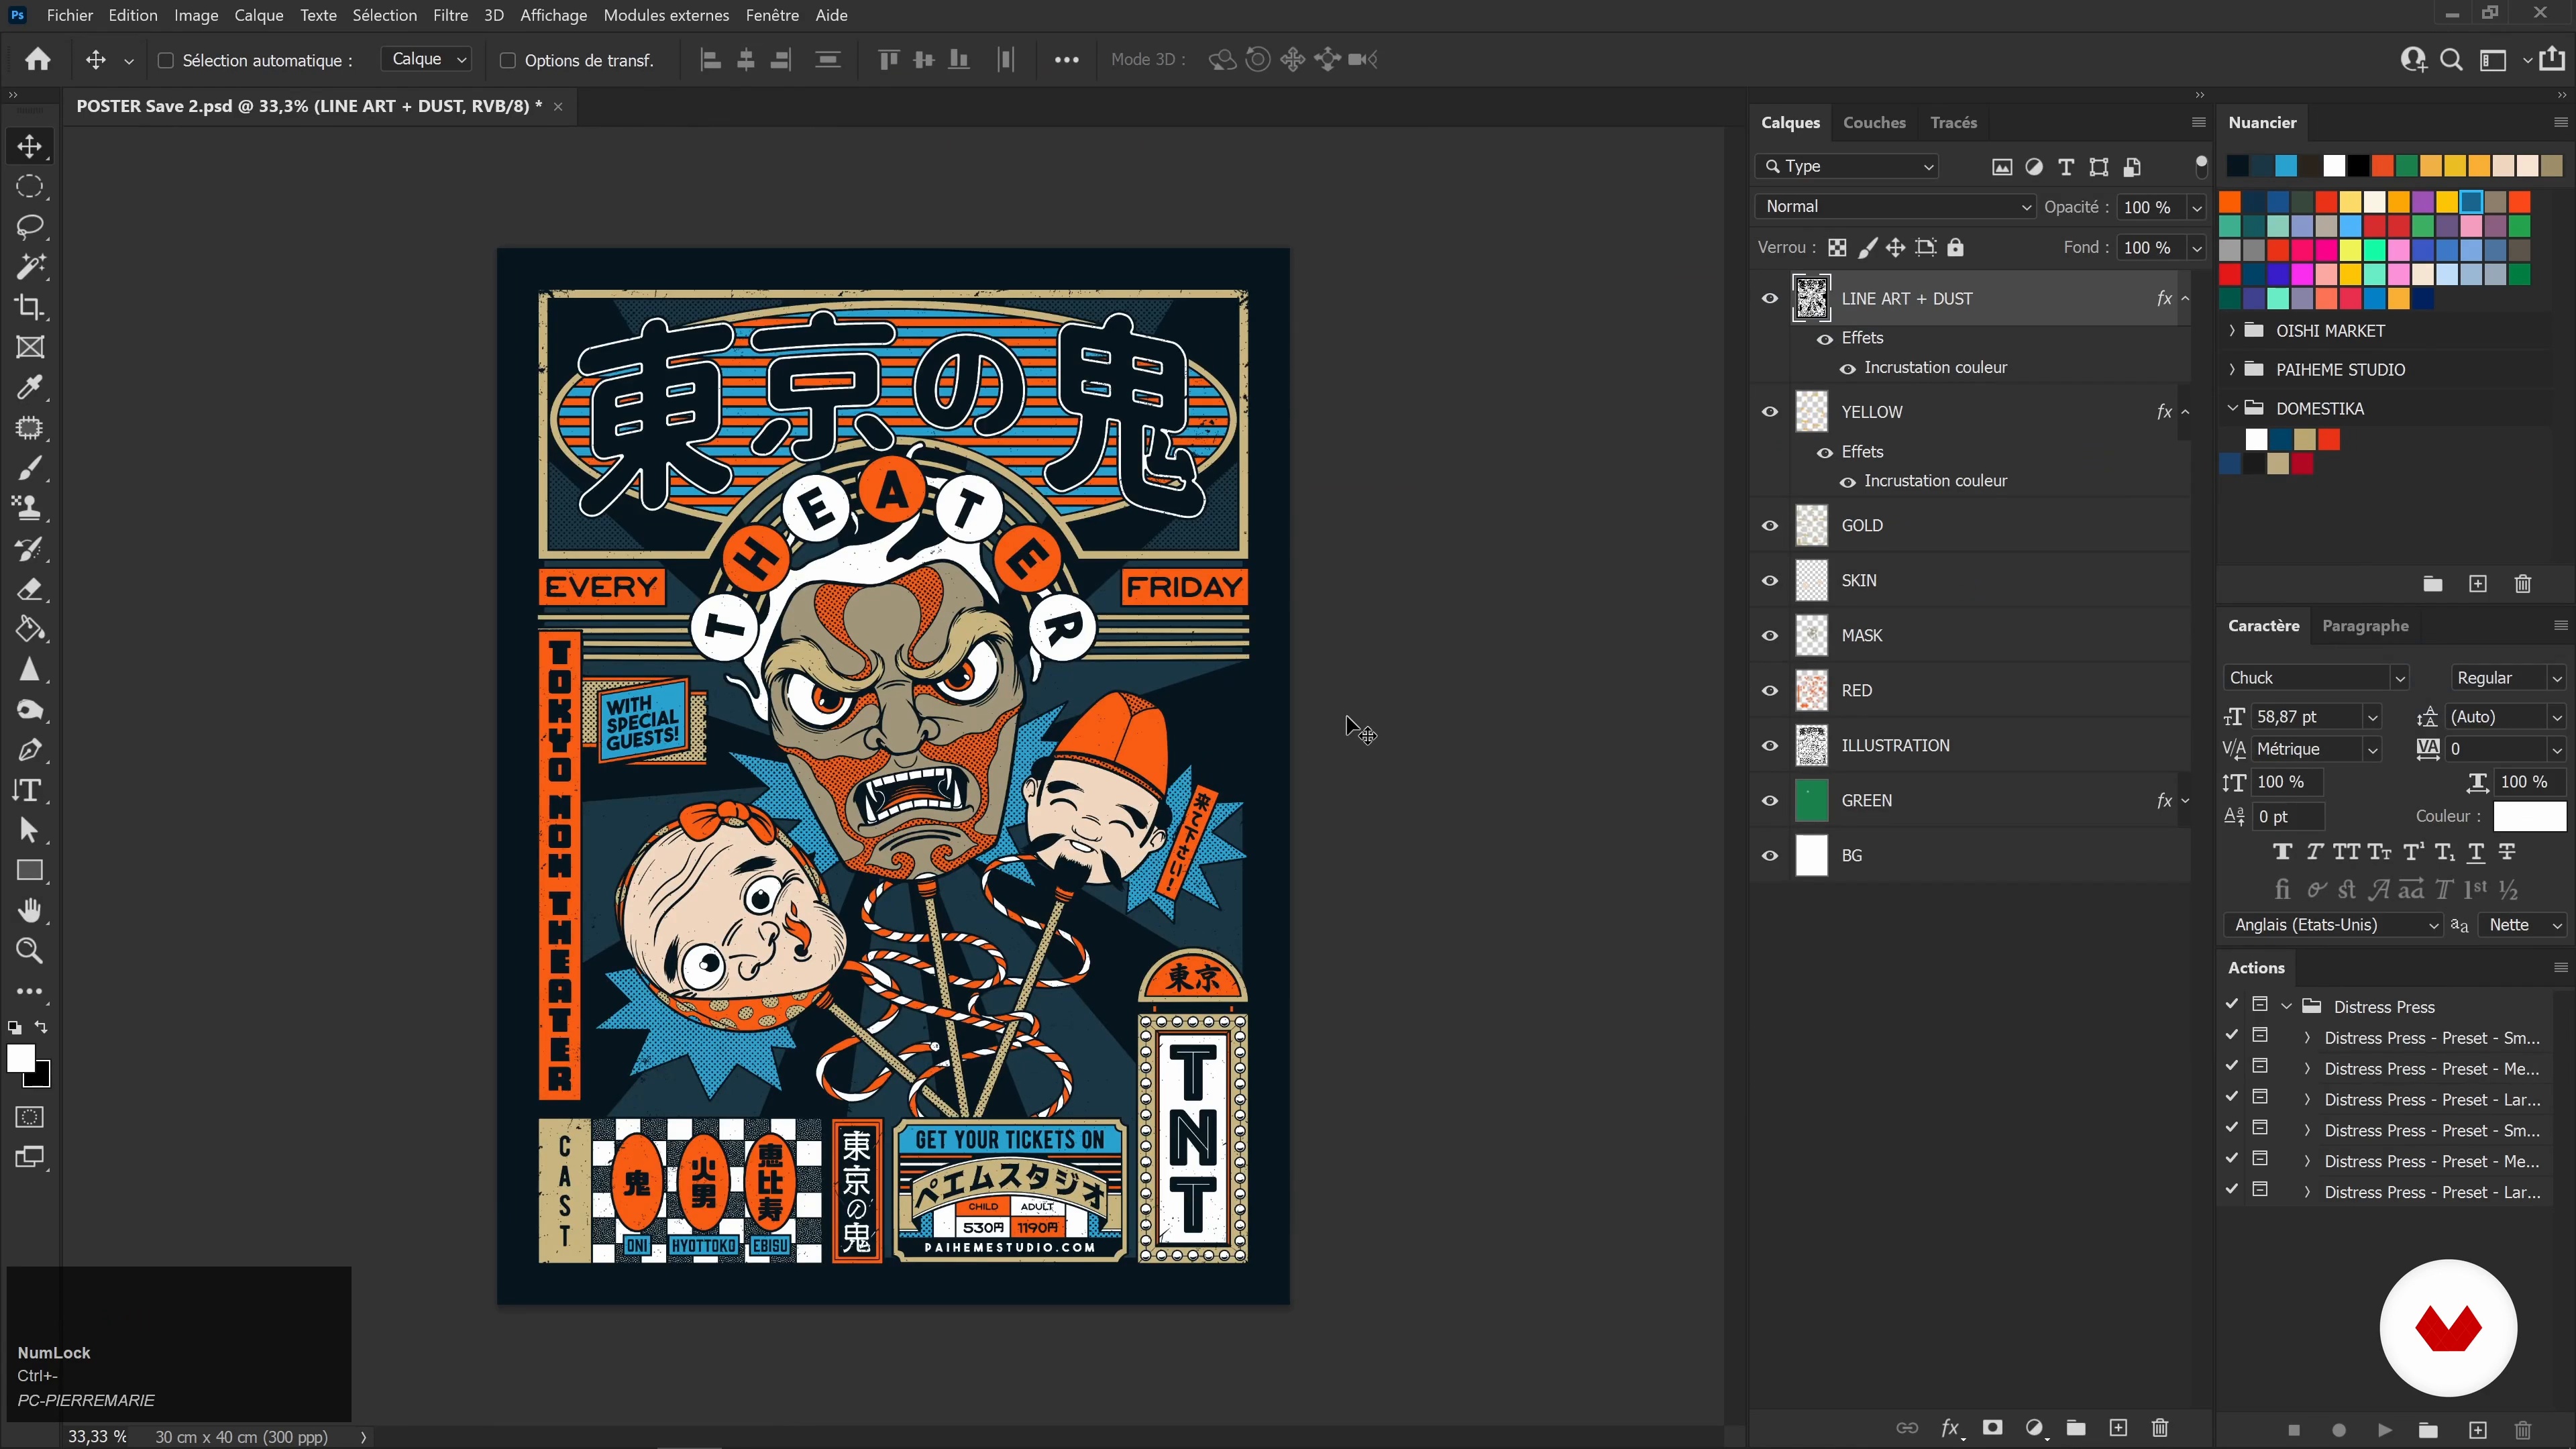 23
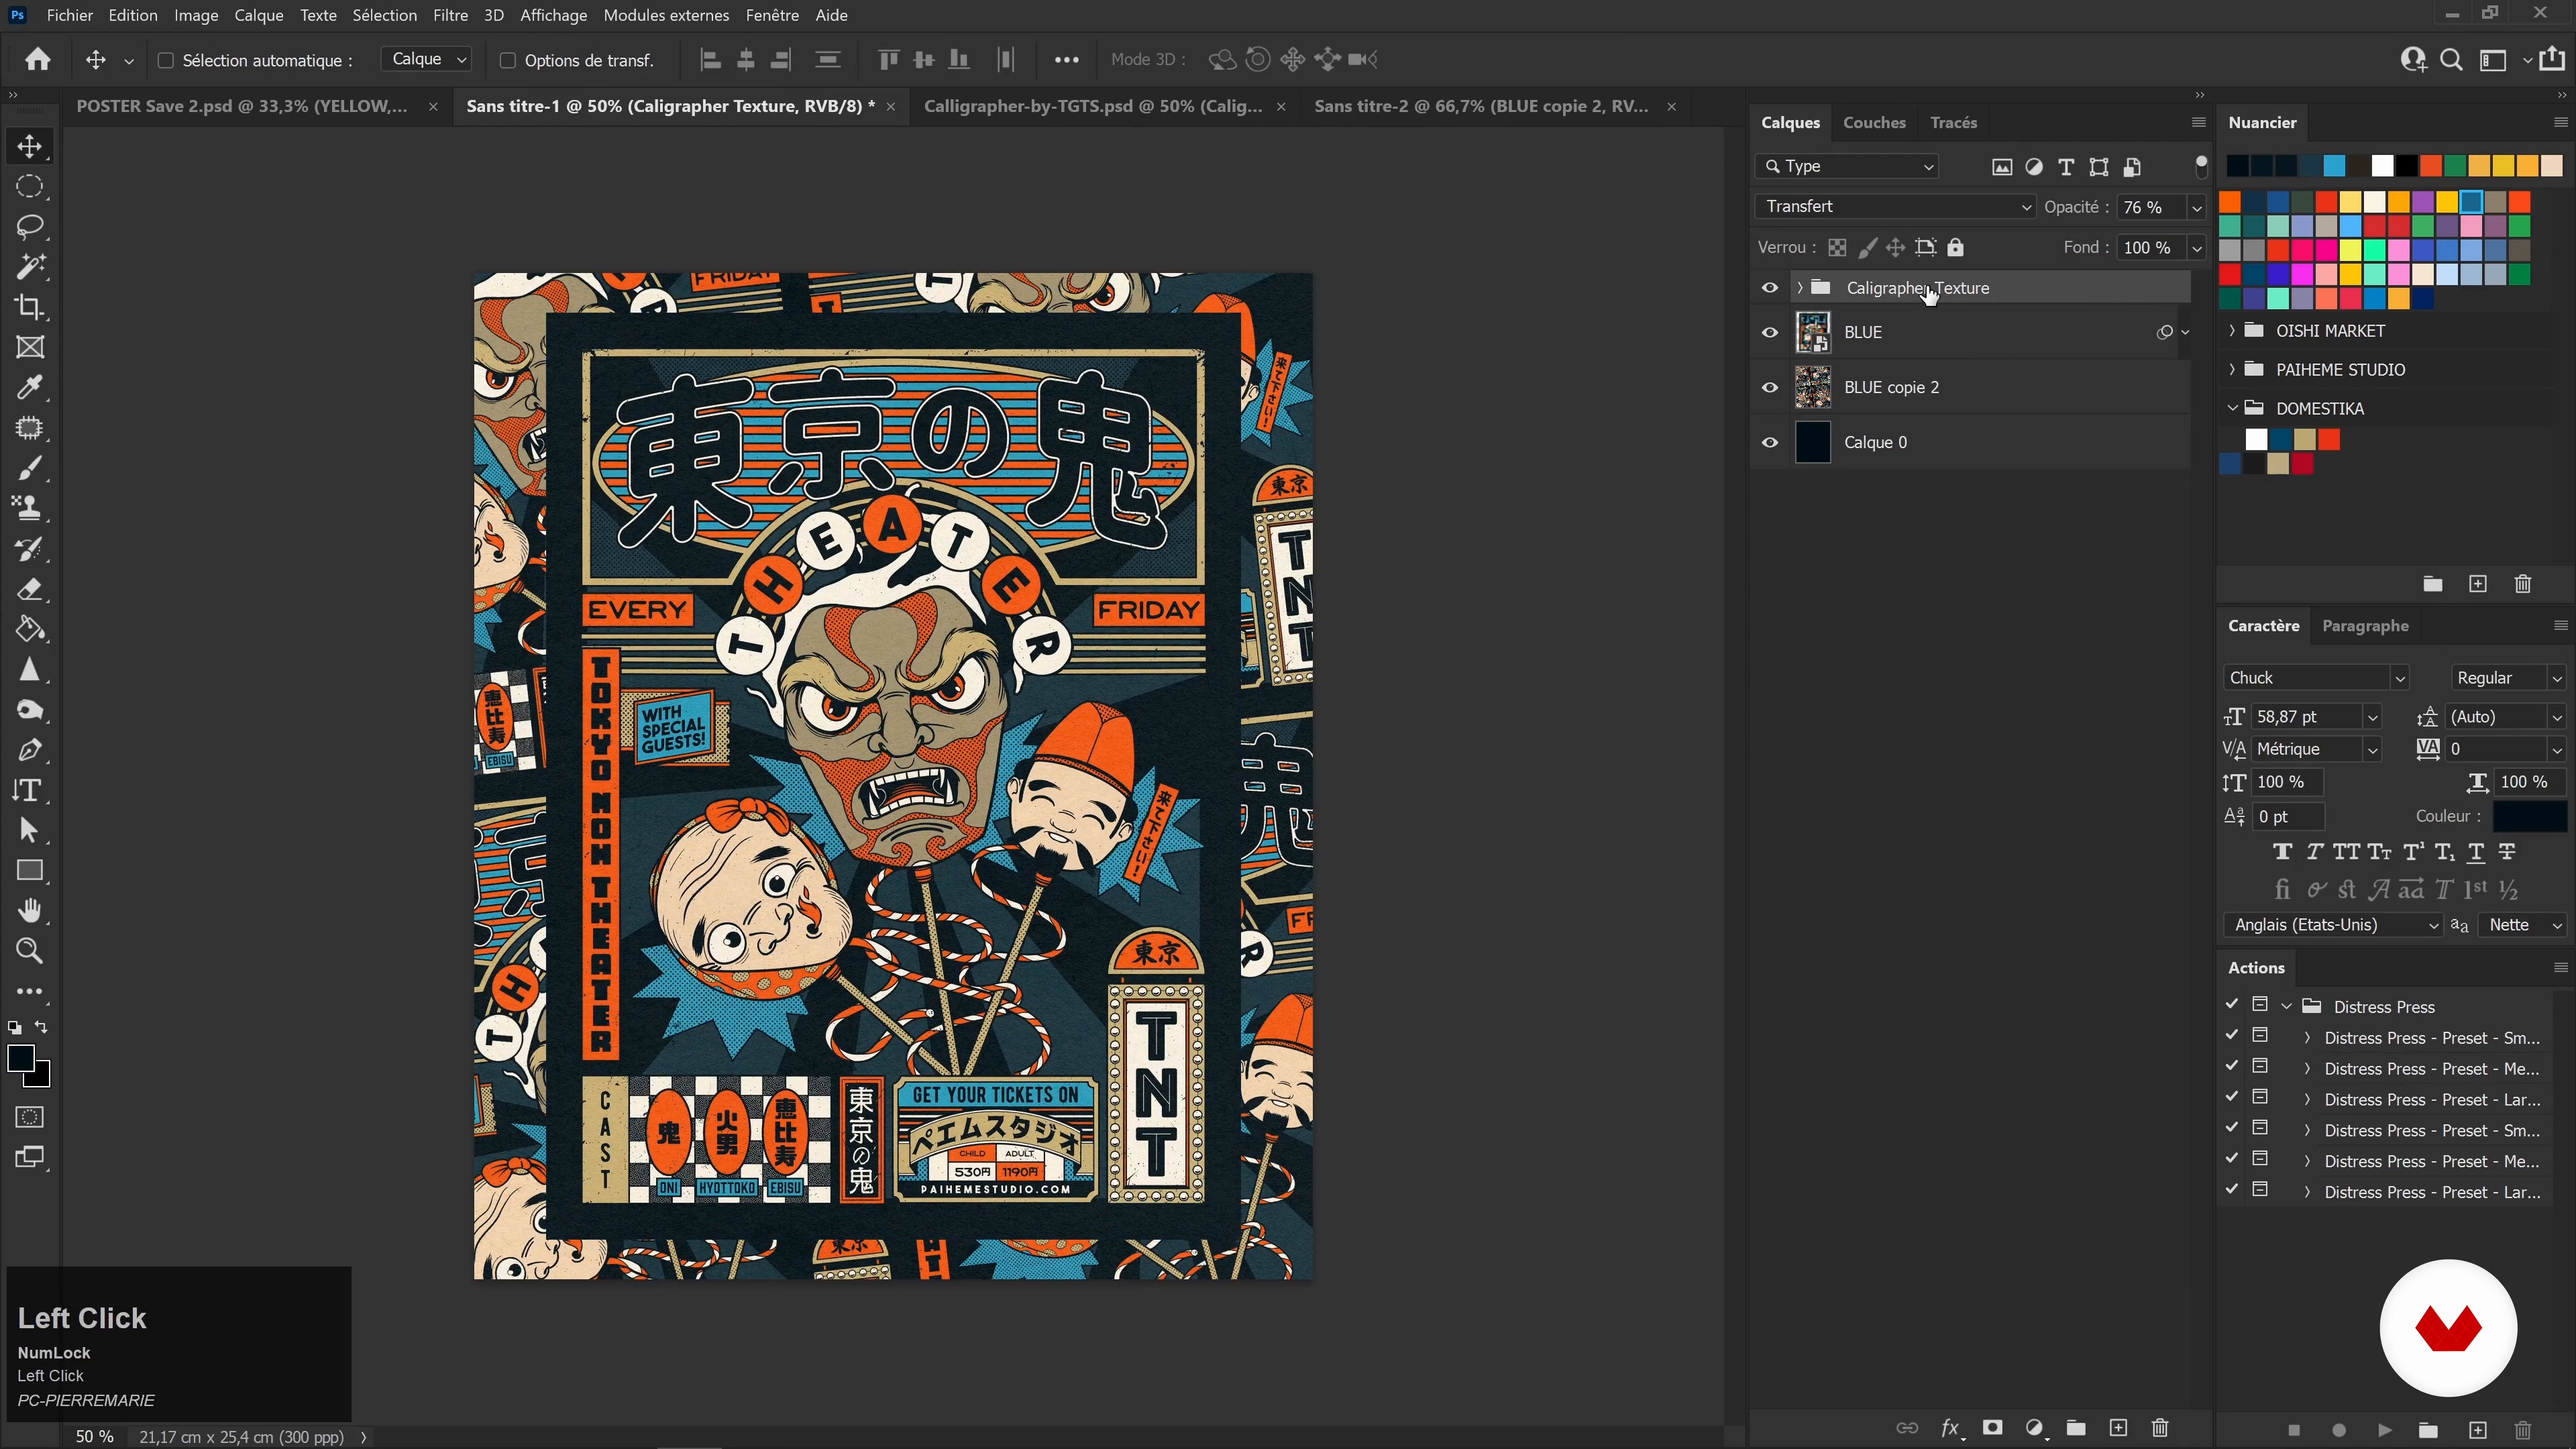
23Explore color variations on our poster 2
We will continue to explore color variations. I will show you the second variation proposal for the color blue. So you will see which elements you can play with a bit to have multiple variations.
9m
 24
24Print your poster and publish it on social networks
I will teach you how to adapt your poster to the formats of different social networks.
10m
 25
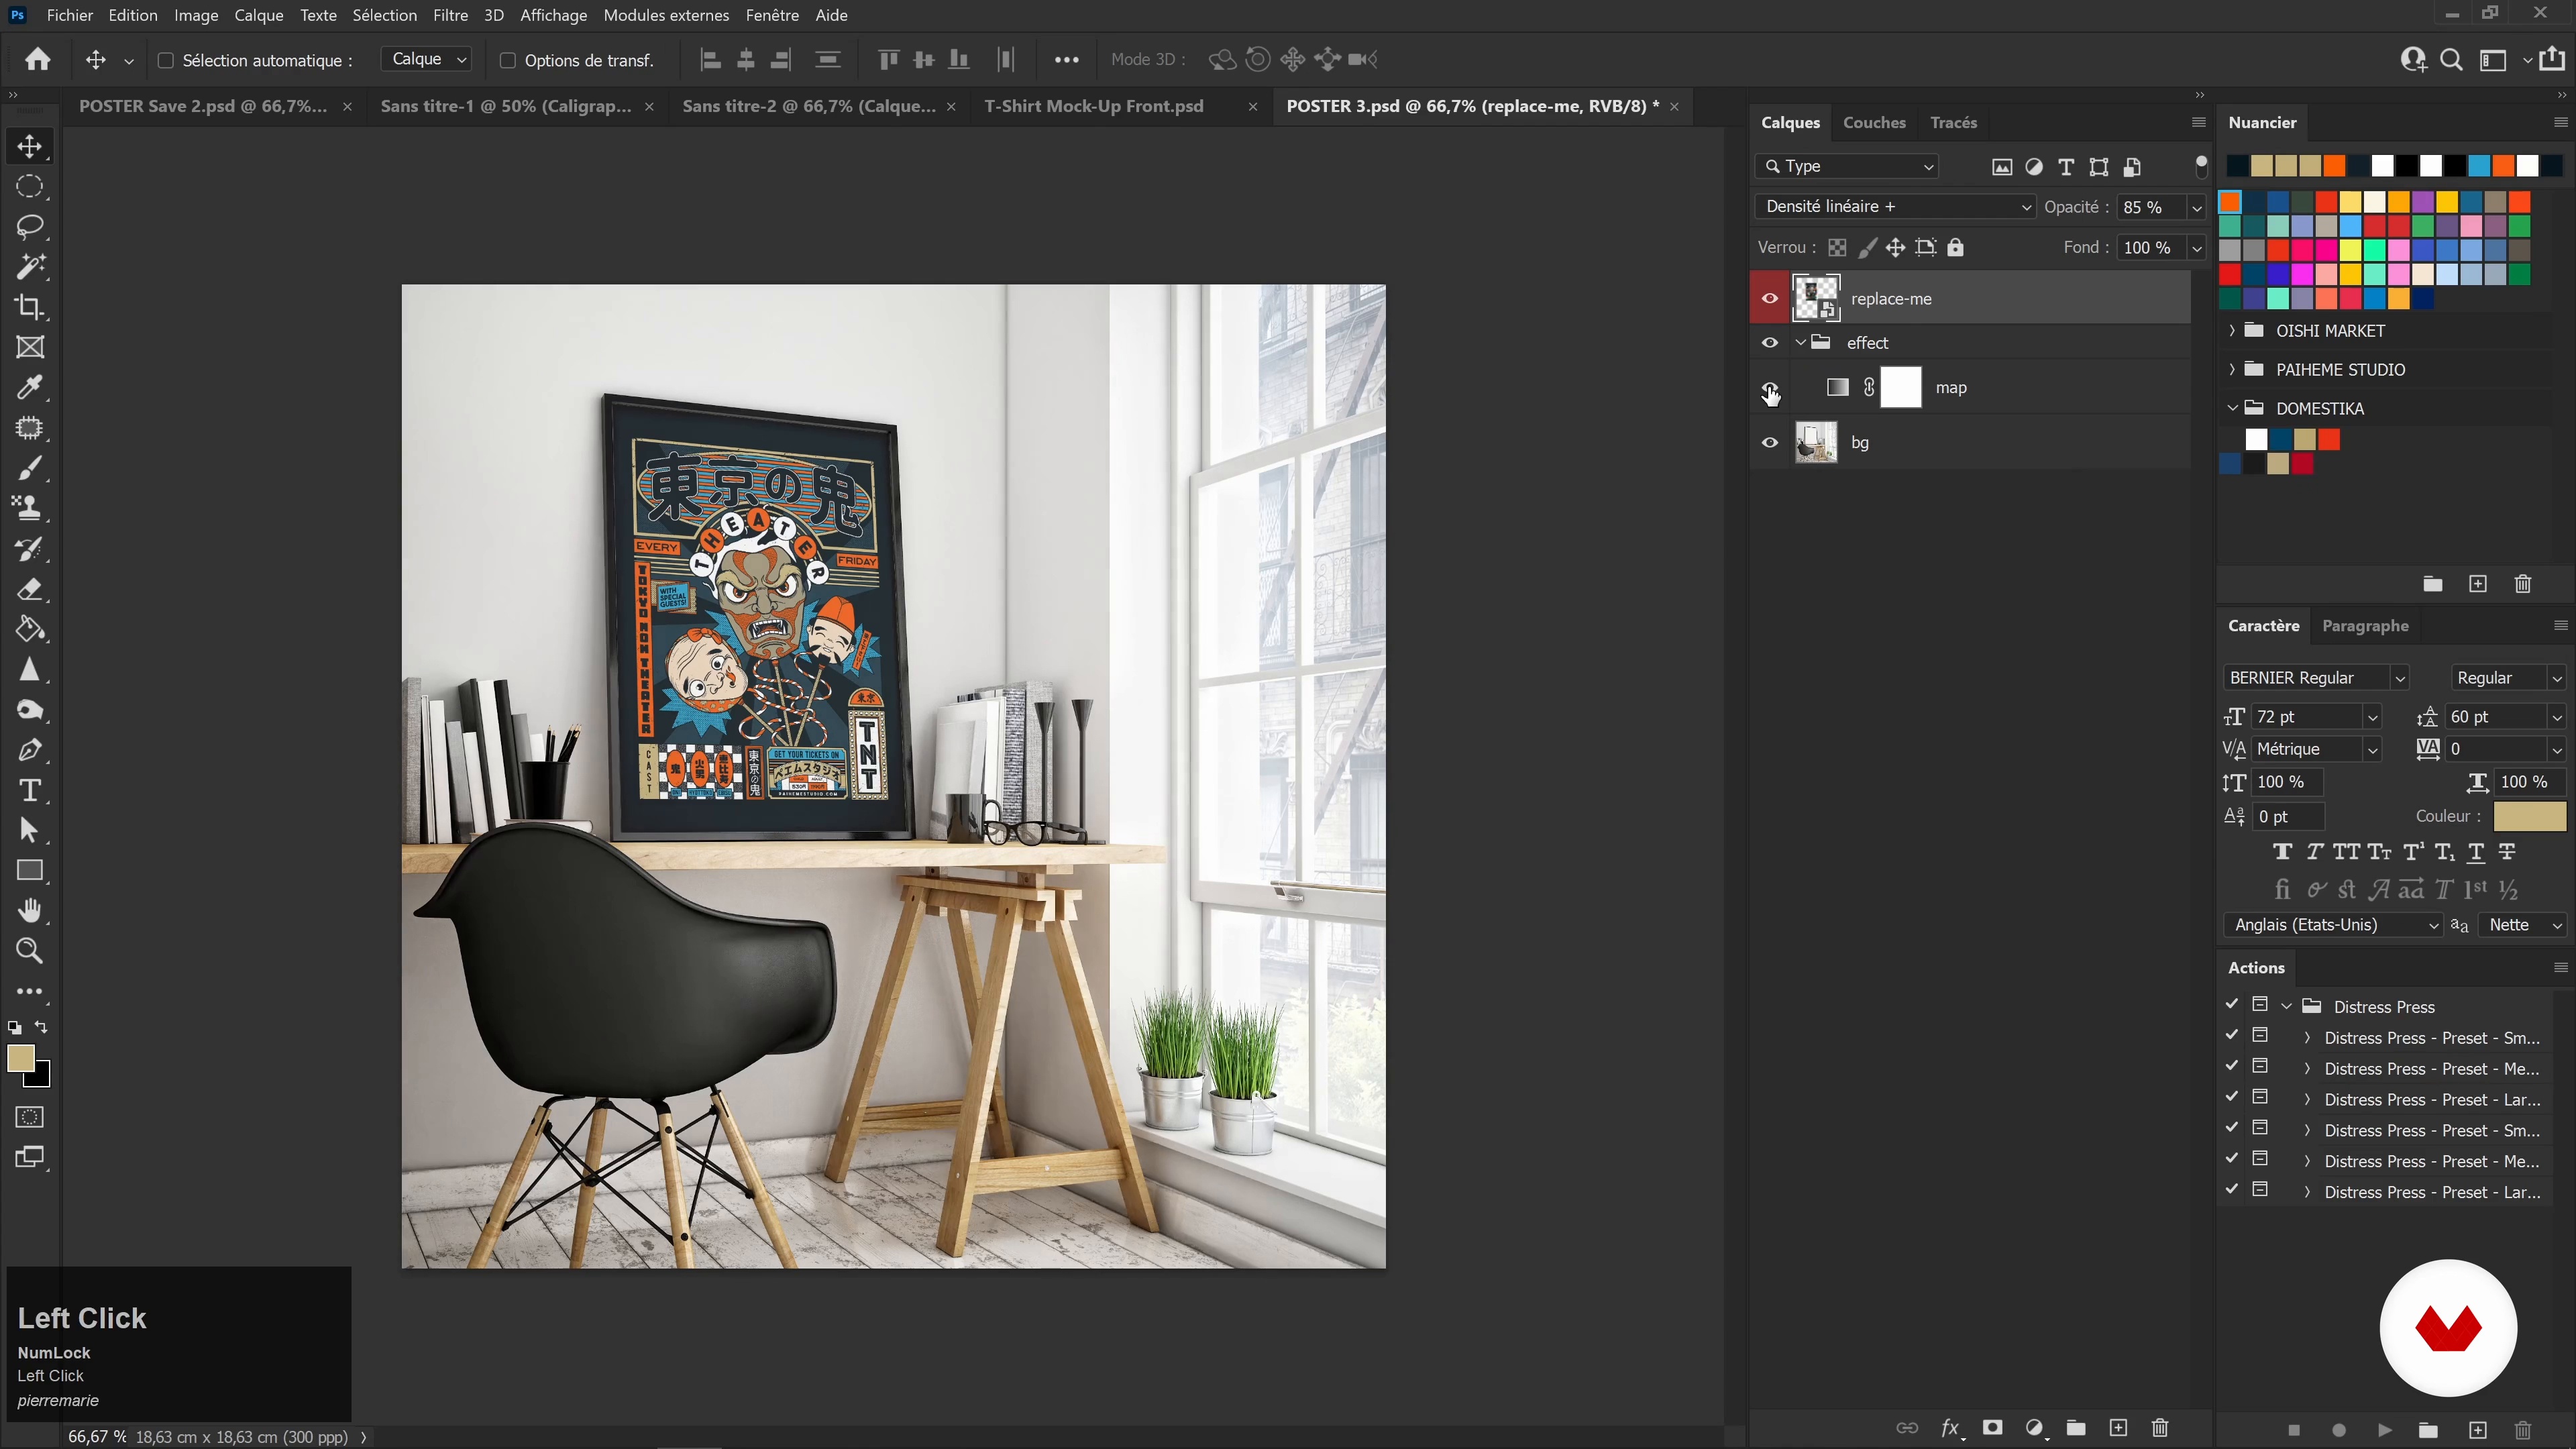
25Produce mock-up of the product
Using the Photoshop application, you will learn how to make a product mockup with your illustration.
13m
 3
3Getting Started
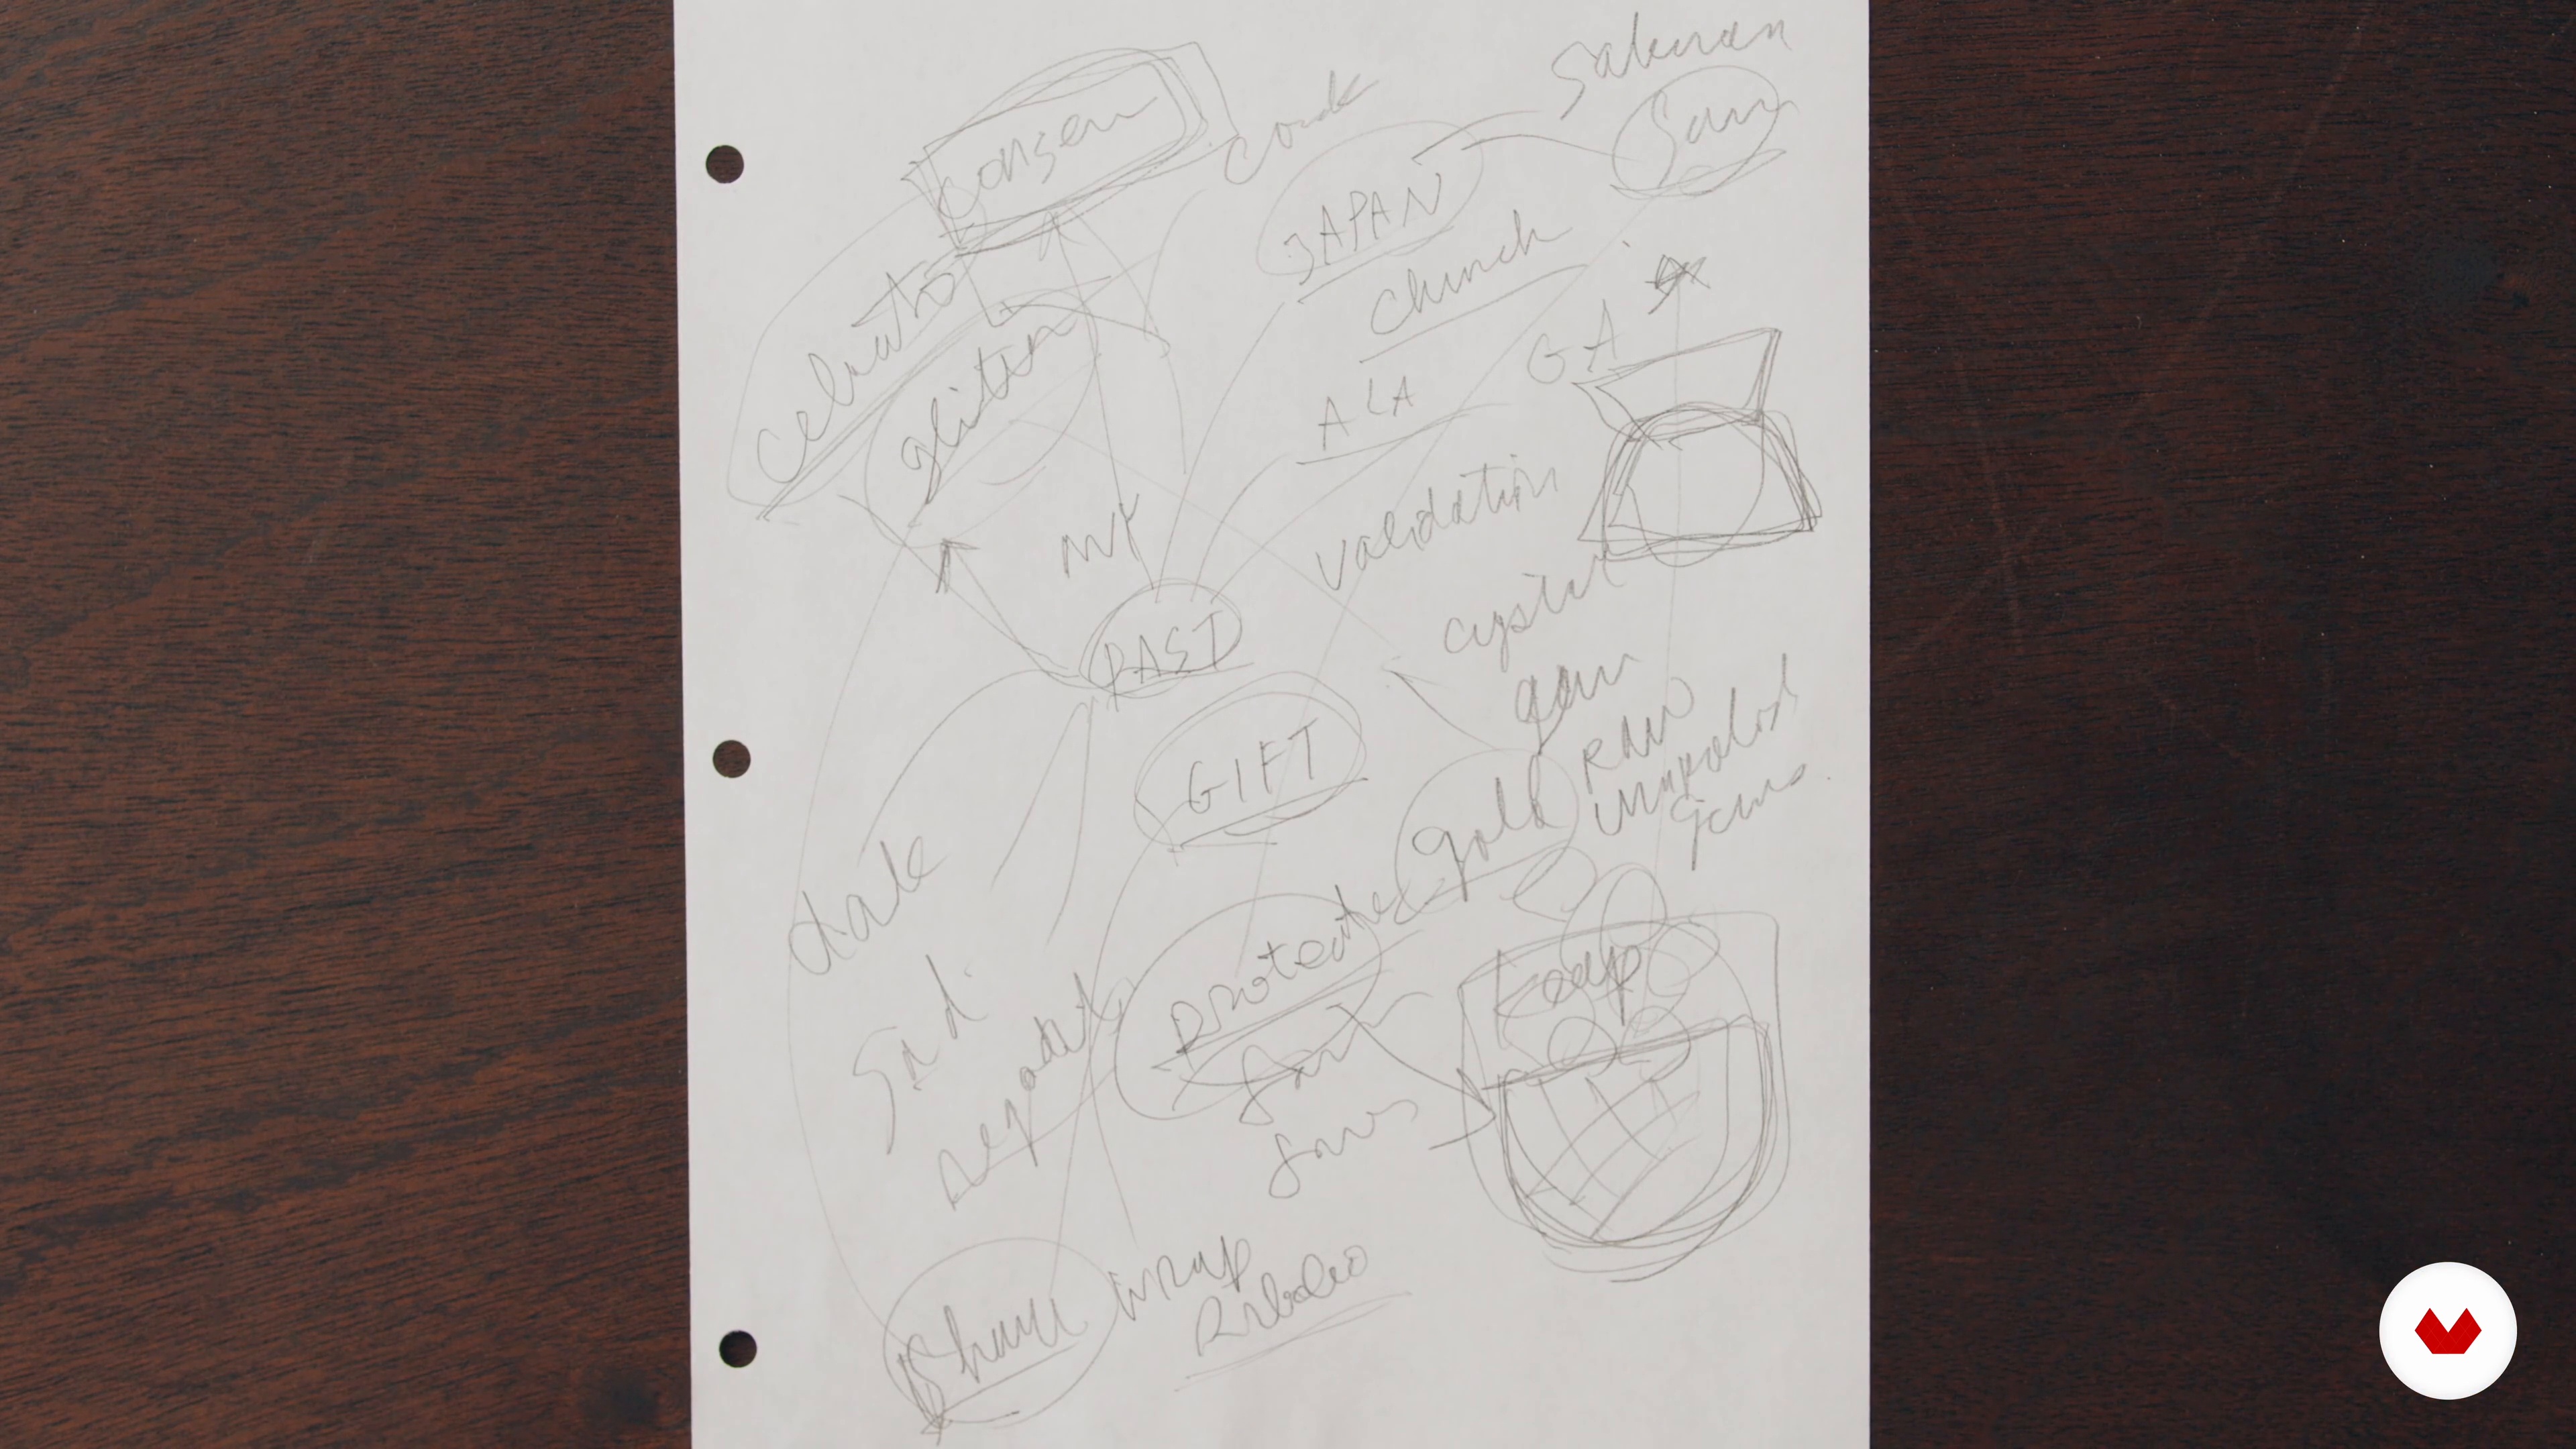
Is a blank sheet intimidating? In this lesson, I will share how to use word and visual associations to search for gold. Later, you will be given a task to develop your own association! The most important thing is to relax and have fun!
12m
 4
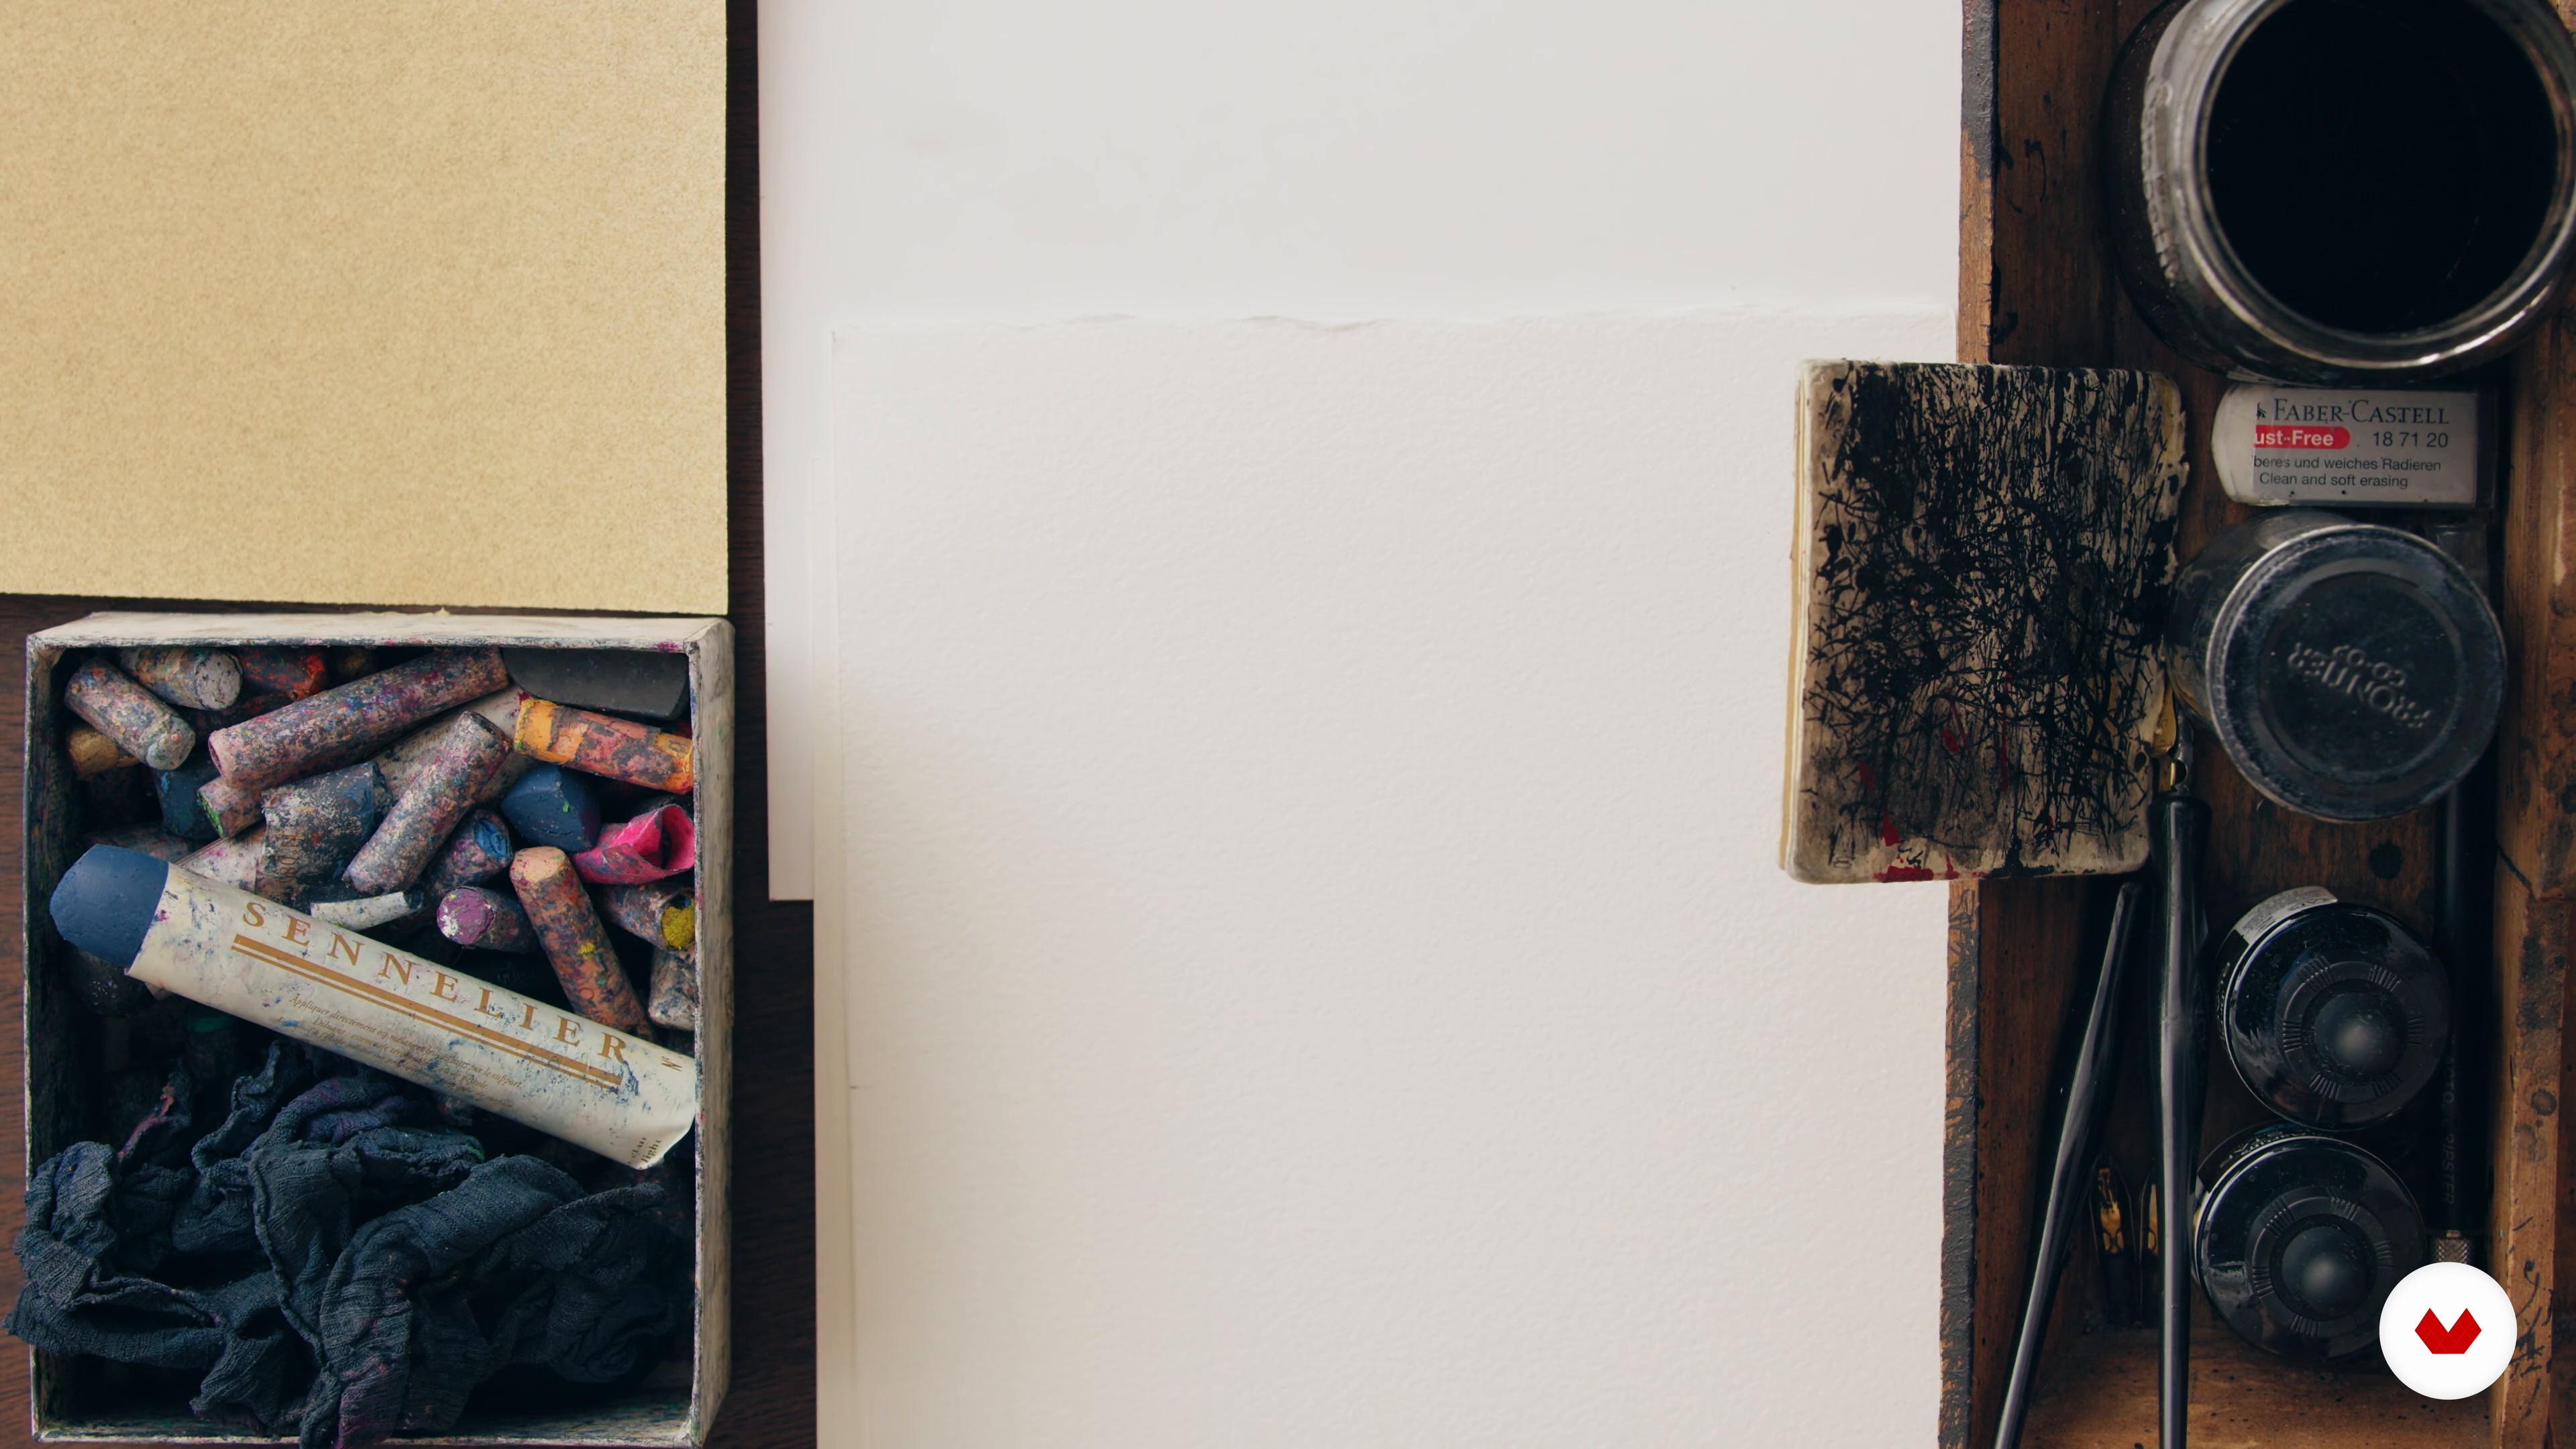
4Tools and Materials
Next, I will go through my drawing tools and materials. These are the tools that work best for me and are only recommendations. Hope it helps!
11m
 5
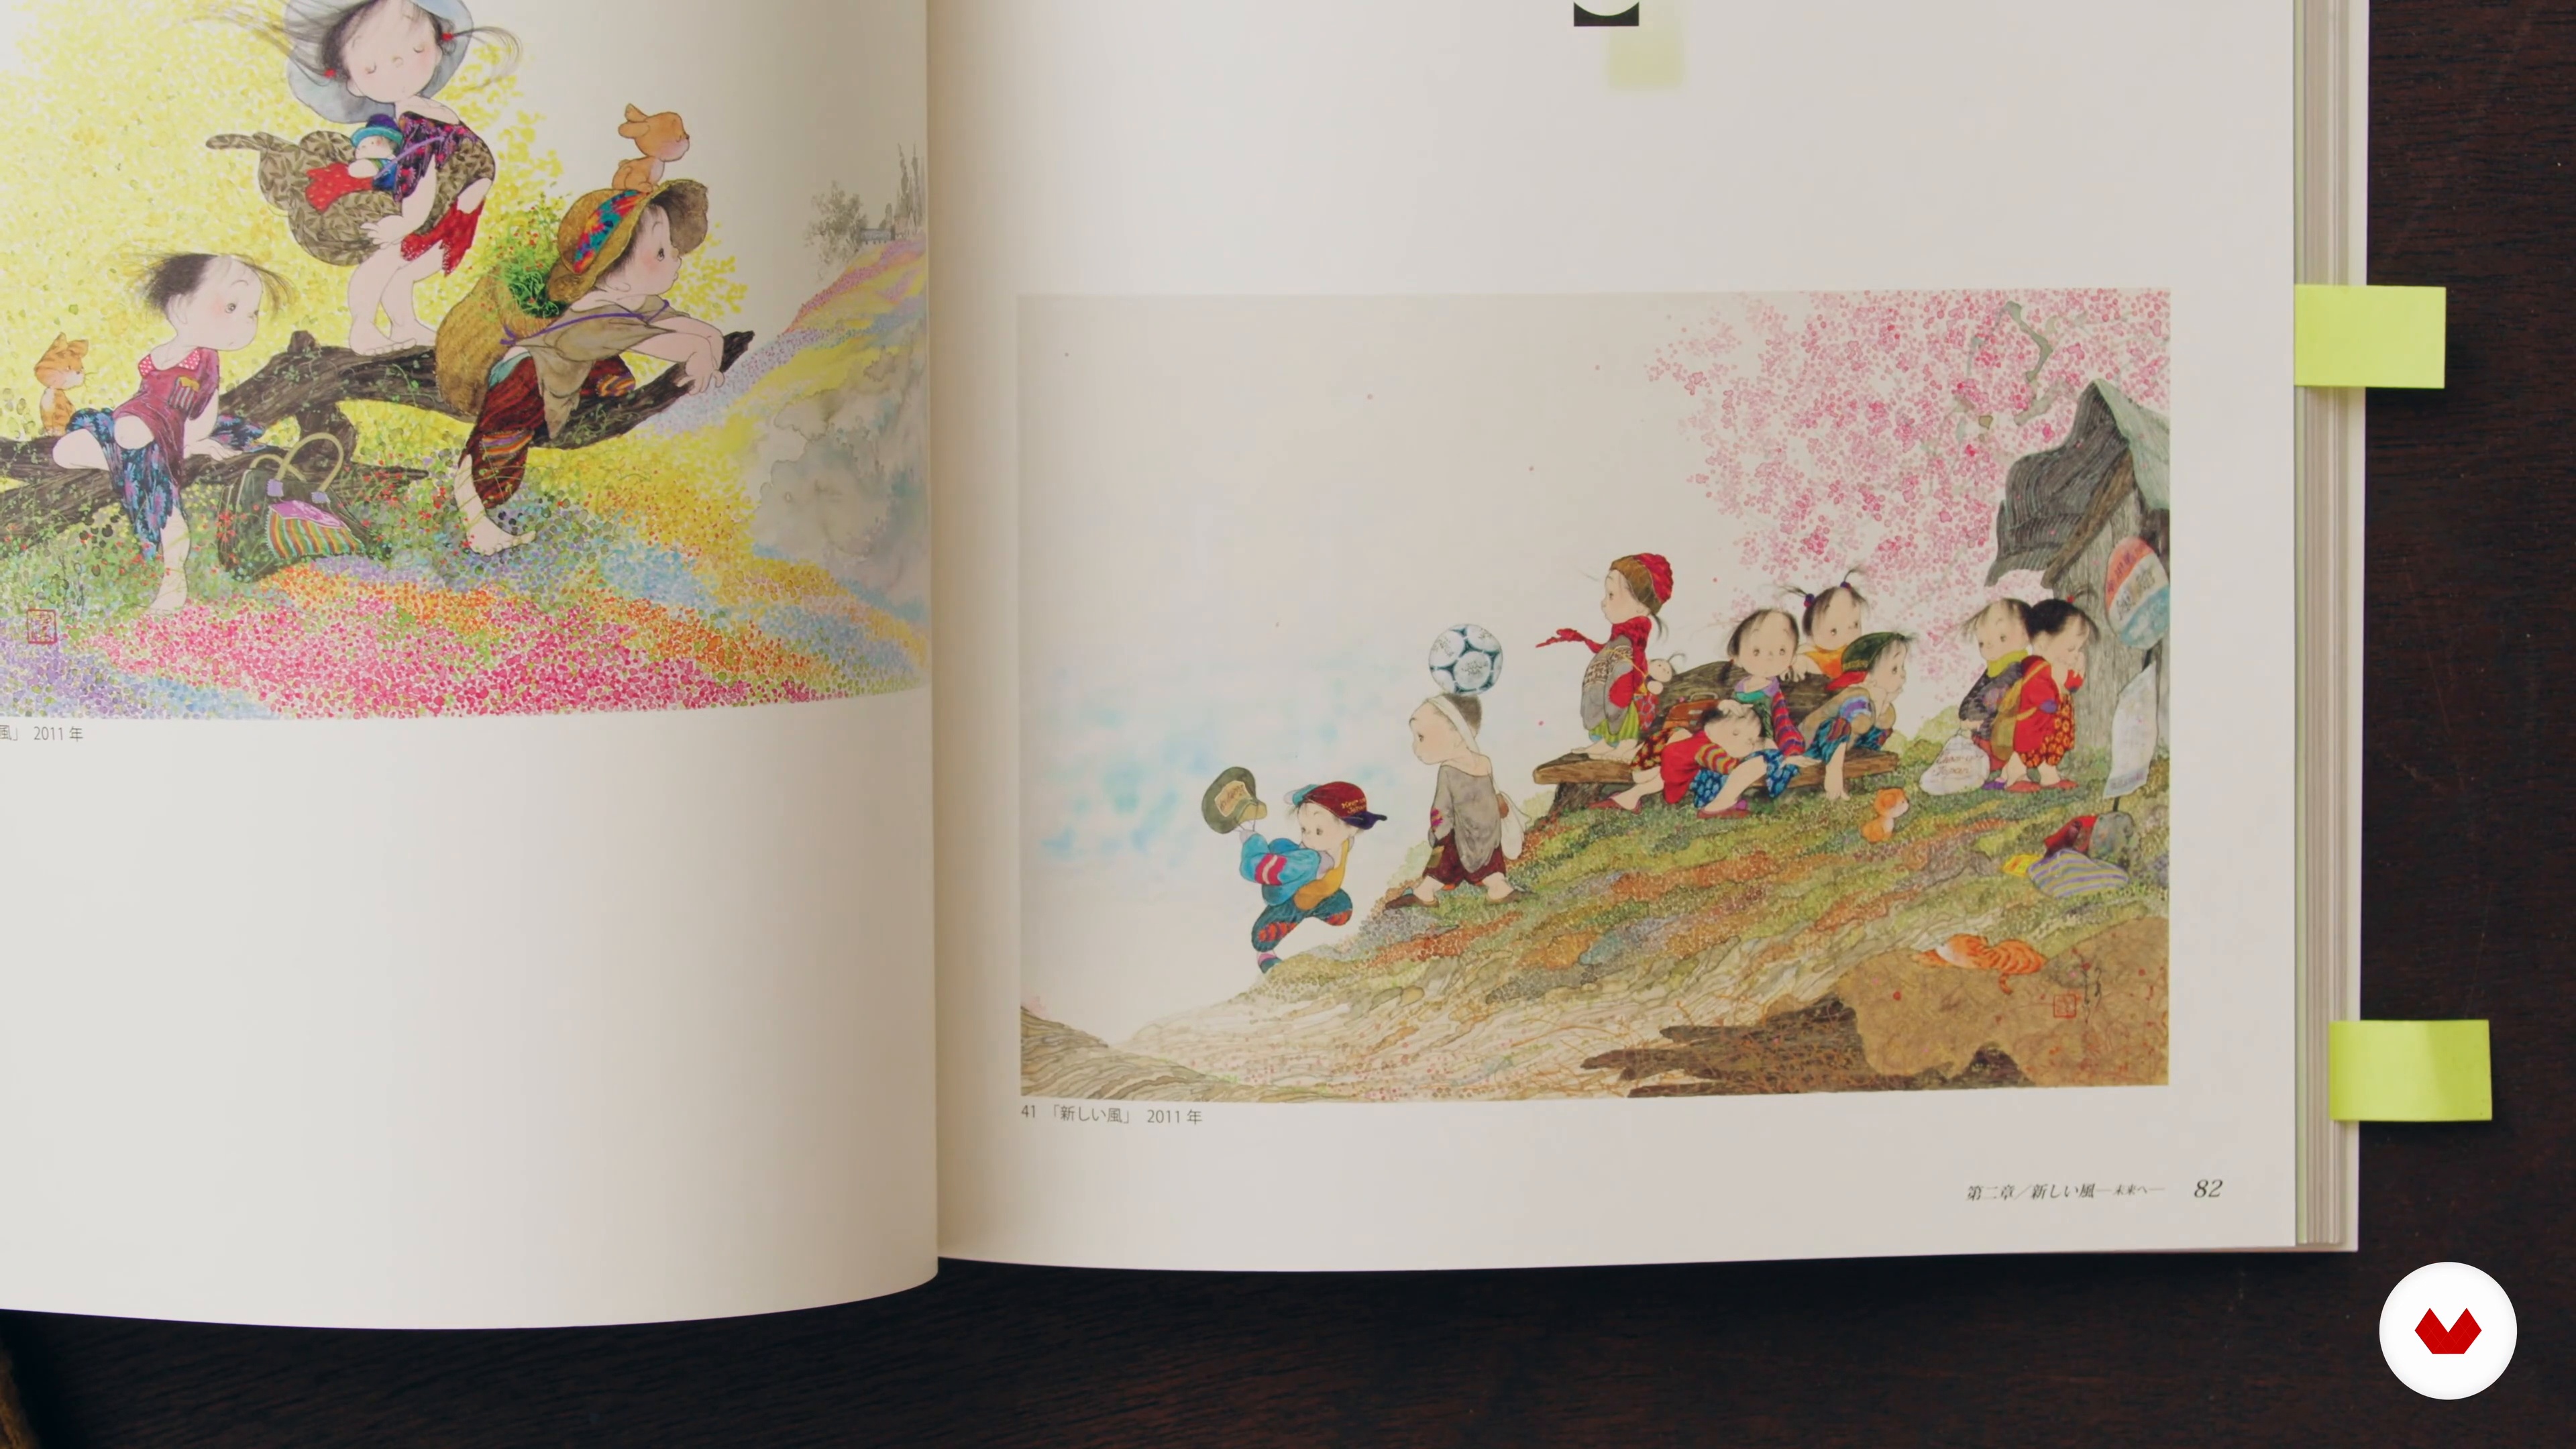
5Traditional Japanese Art and Design: The Anatomy 1
What is the hype about Japaneseness in art!? Traditional Japanese art and design teach you so much about the basics: the elements of art and the principles of design. In this lesson, I will discuss these in more detail and explain how important it is to know the basics. I will share where the inspirations for my illustration come from. By the end, you will be able to bring the essence of traditional Japanese art and design into your own illustration!
9m
 6
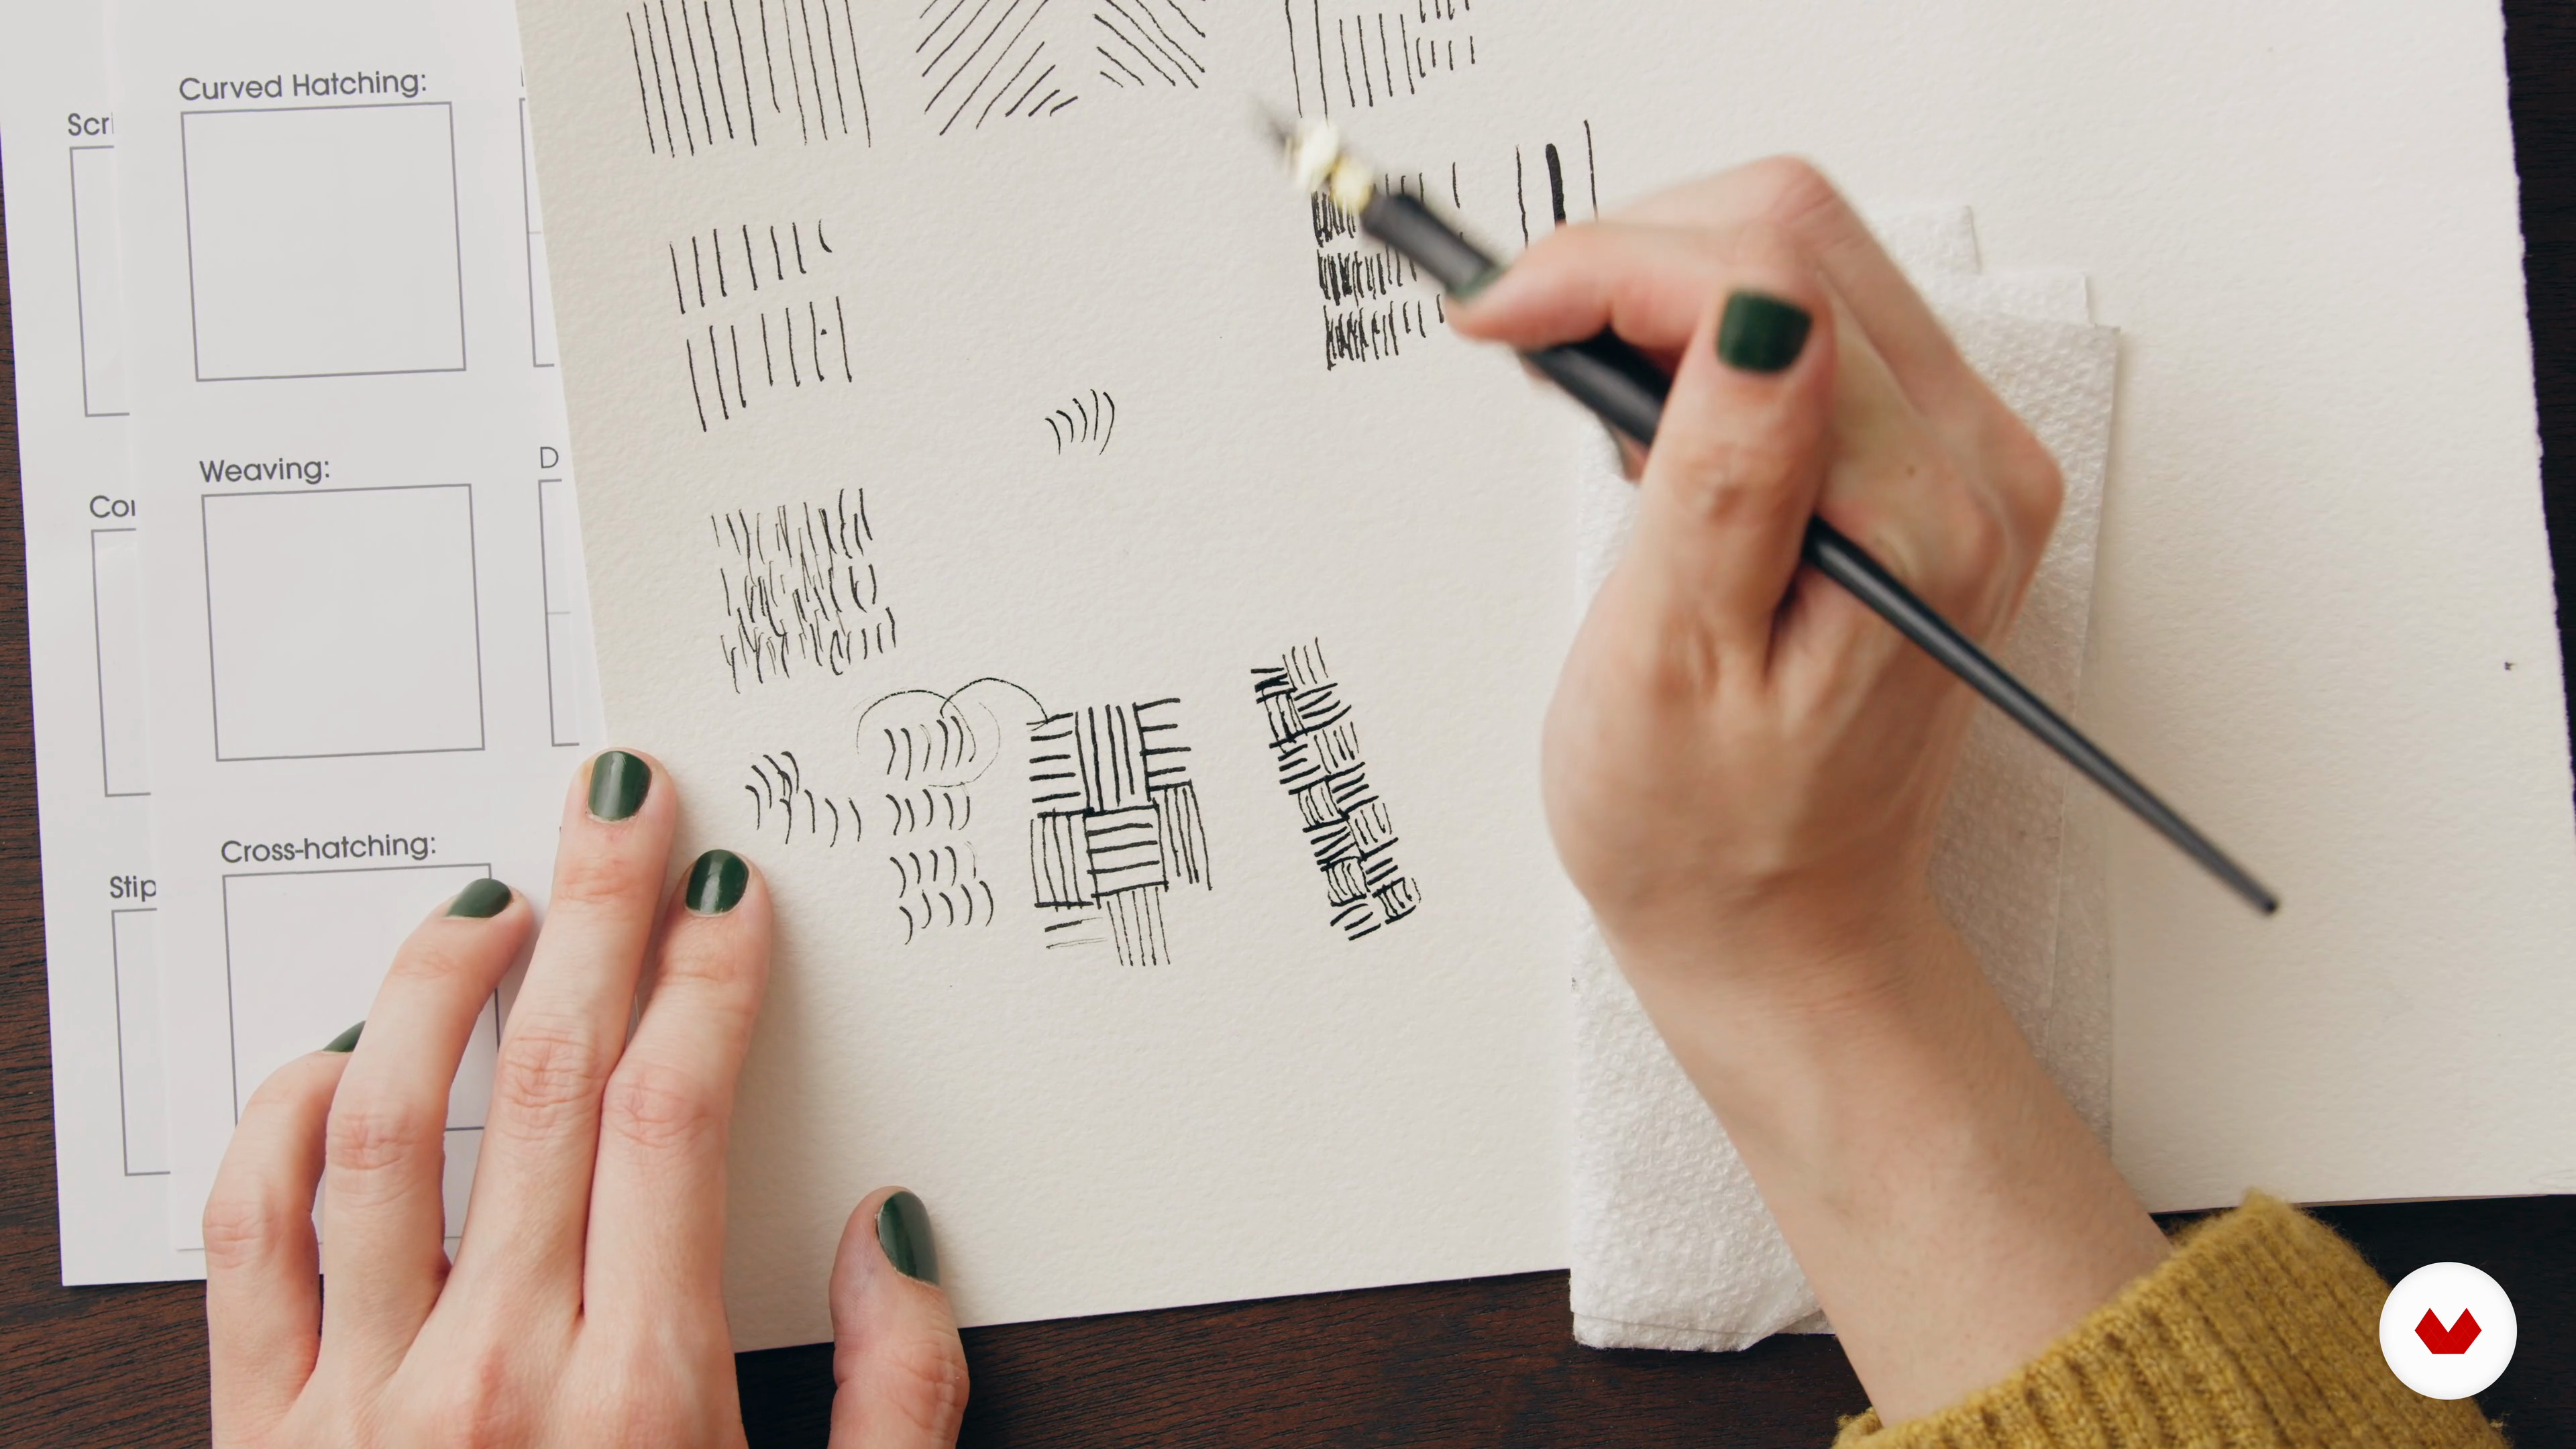
6Traditional Japanese Art and Design: The Anatomy 2
Now that we've discussed composition and the importance of empty space, let's talk about lines!
13m
 7
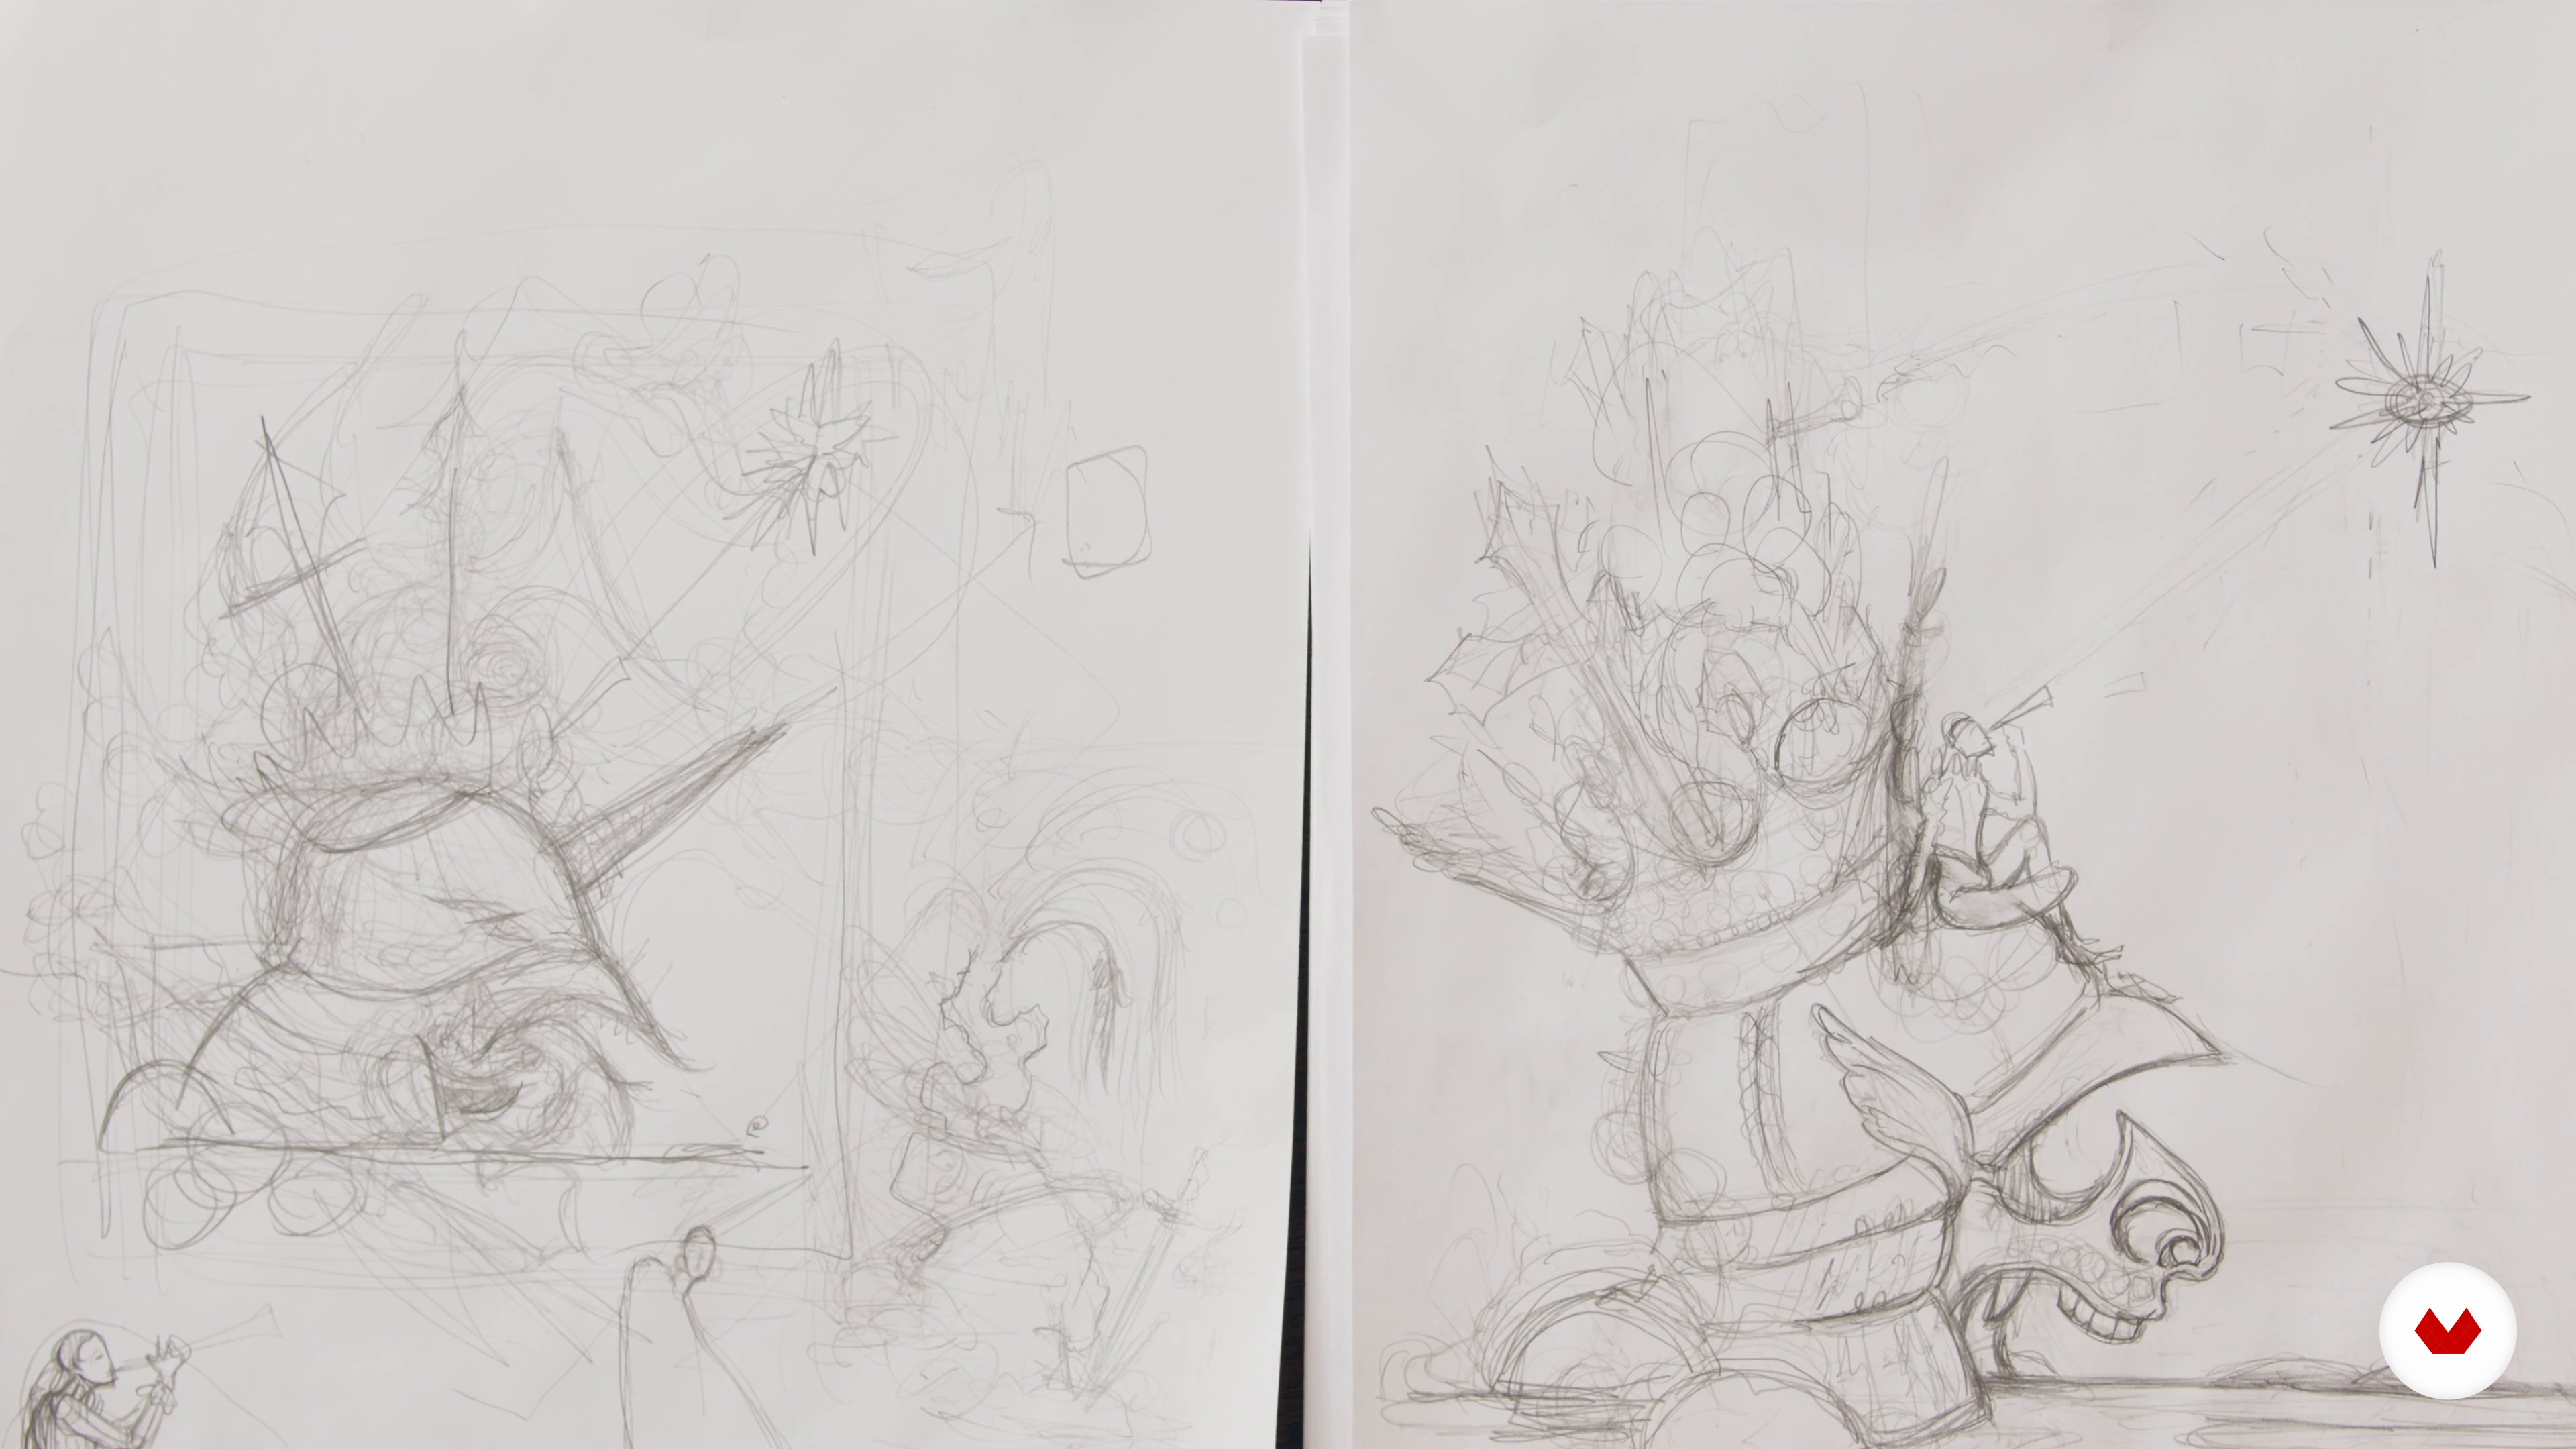
7Creating a Sketch from Thumbnails
Let’s review the word and visual association task from the previous unit. It's time to highlight some keywords that will help you to create thumbnails. Then, we will transform these into a sketch!
16m
 8
8Digital Manipulation and Image Tracing
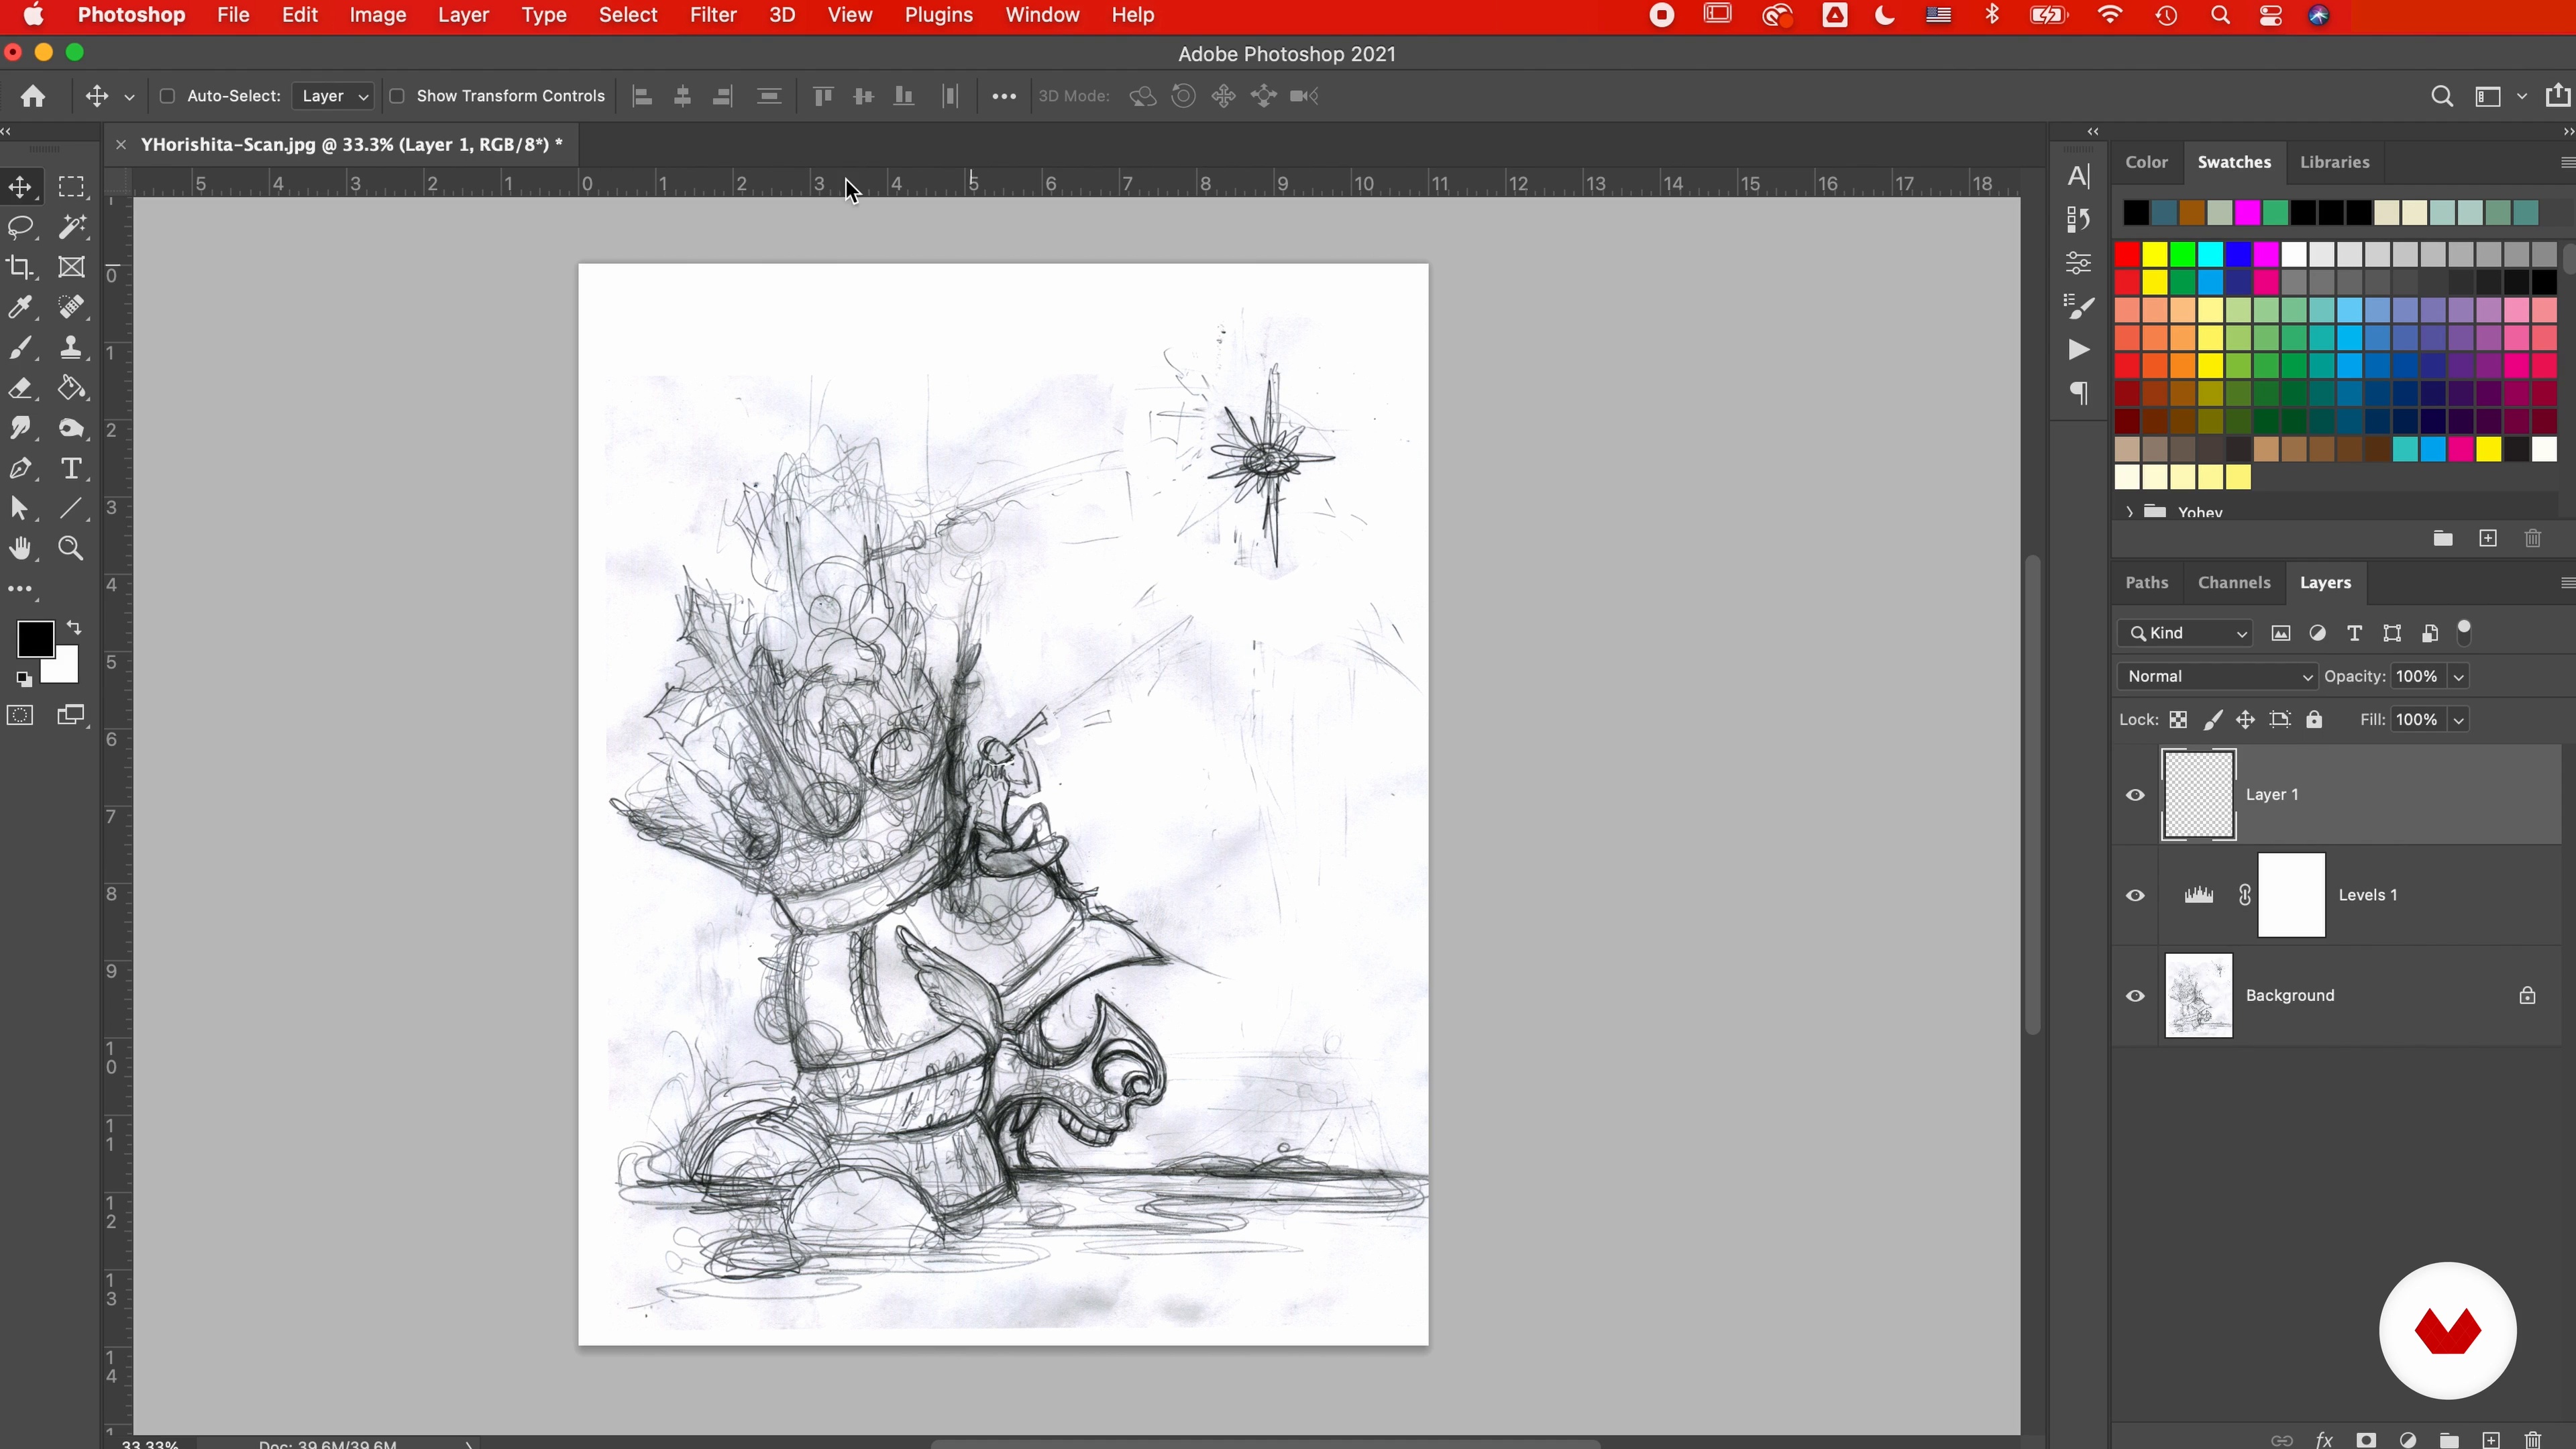
The next step is to scan the thumbnail sketch into Adobe Photoshop. Once in Photoshop, I will show you how to resize the image to scale. Then your image will be ready to print out. Using the printed-out image, we will use the lightbox to trace the image onto a new sheet of paper.
13m
 9
9Using Traditional Methods: Pen and Ink on Paper 1
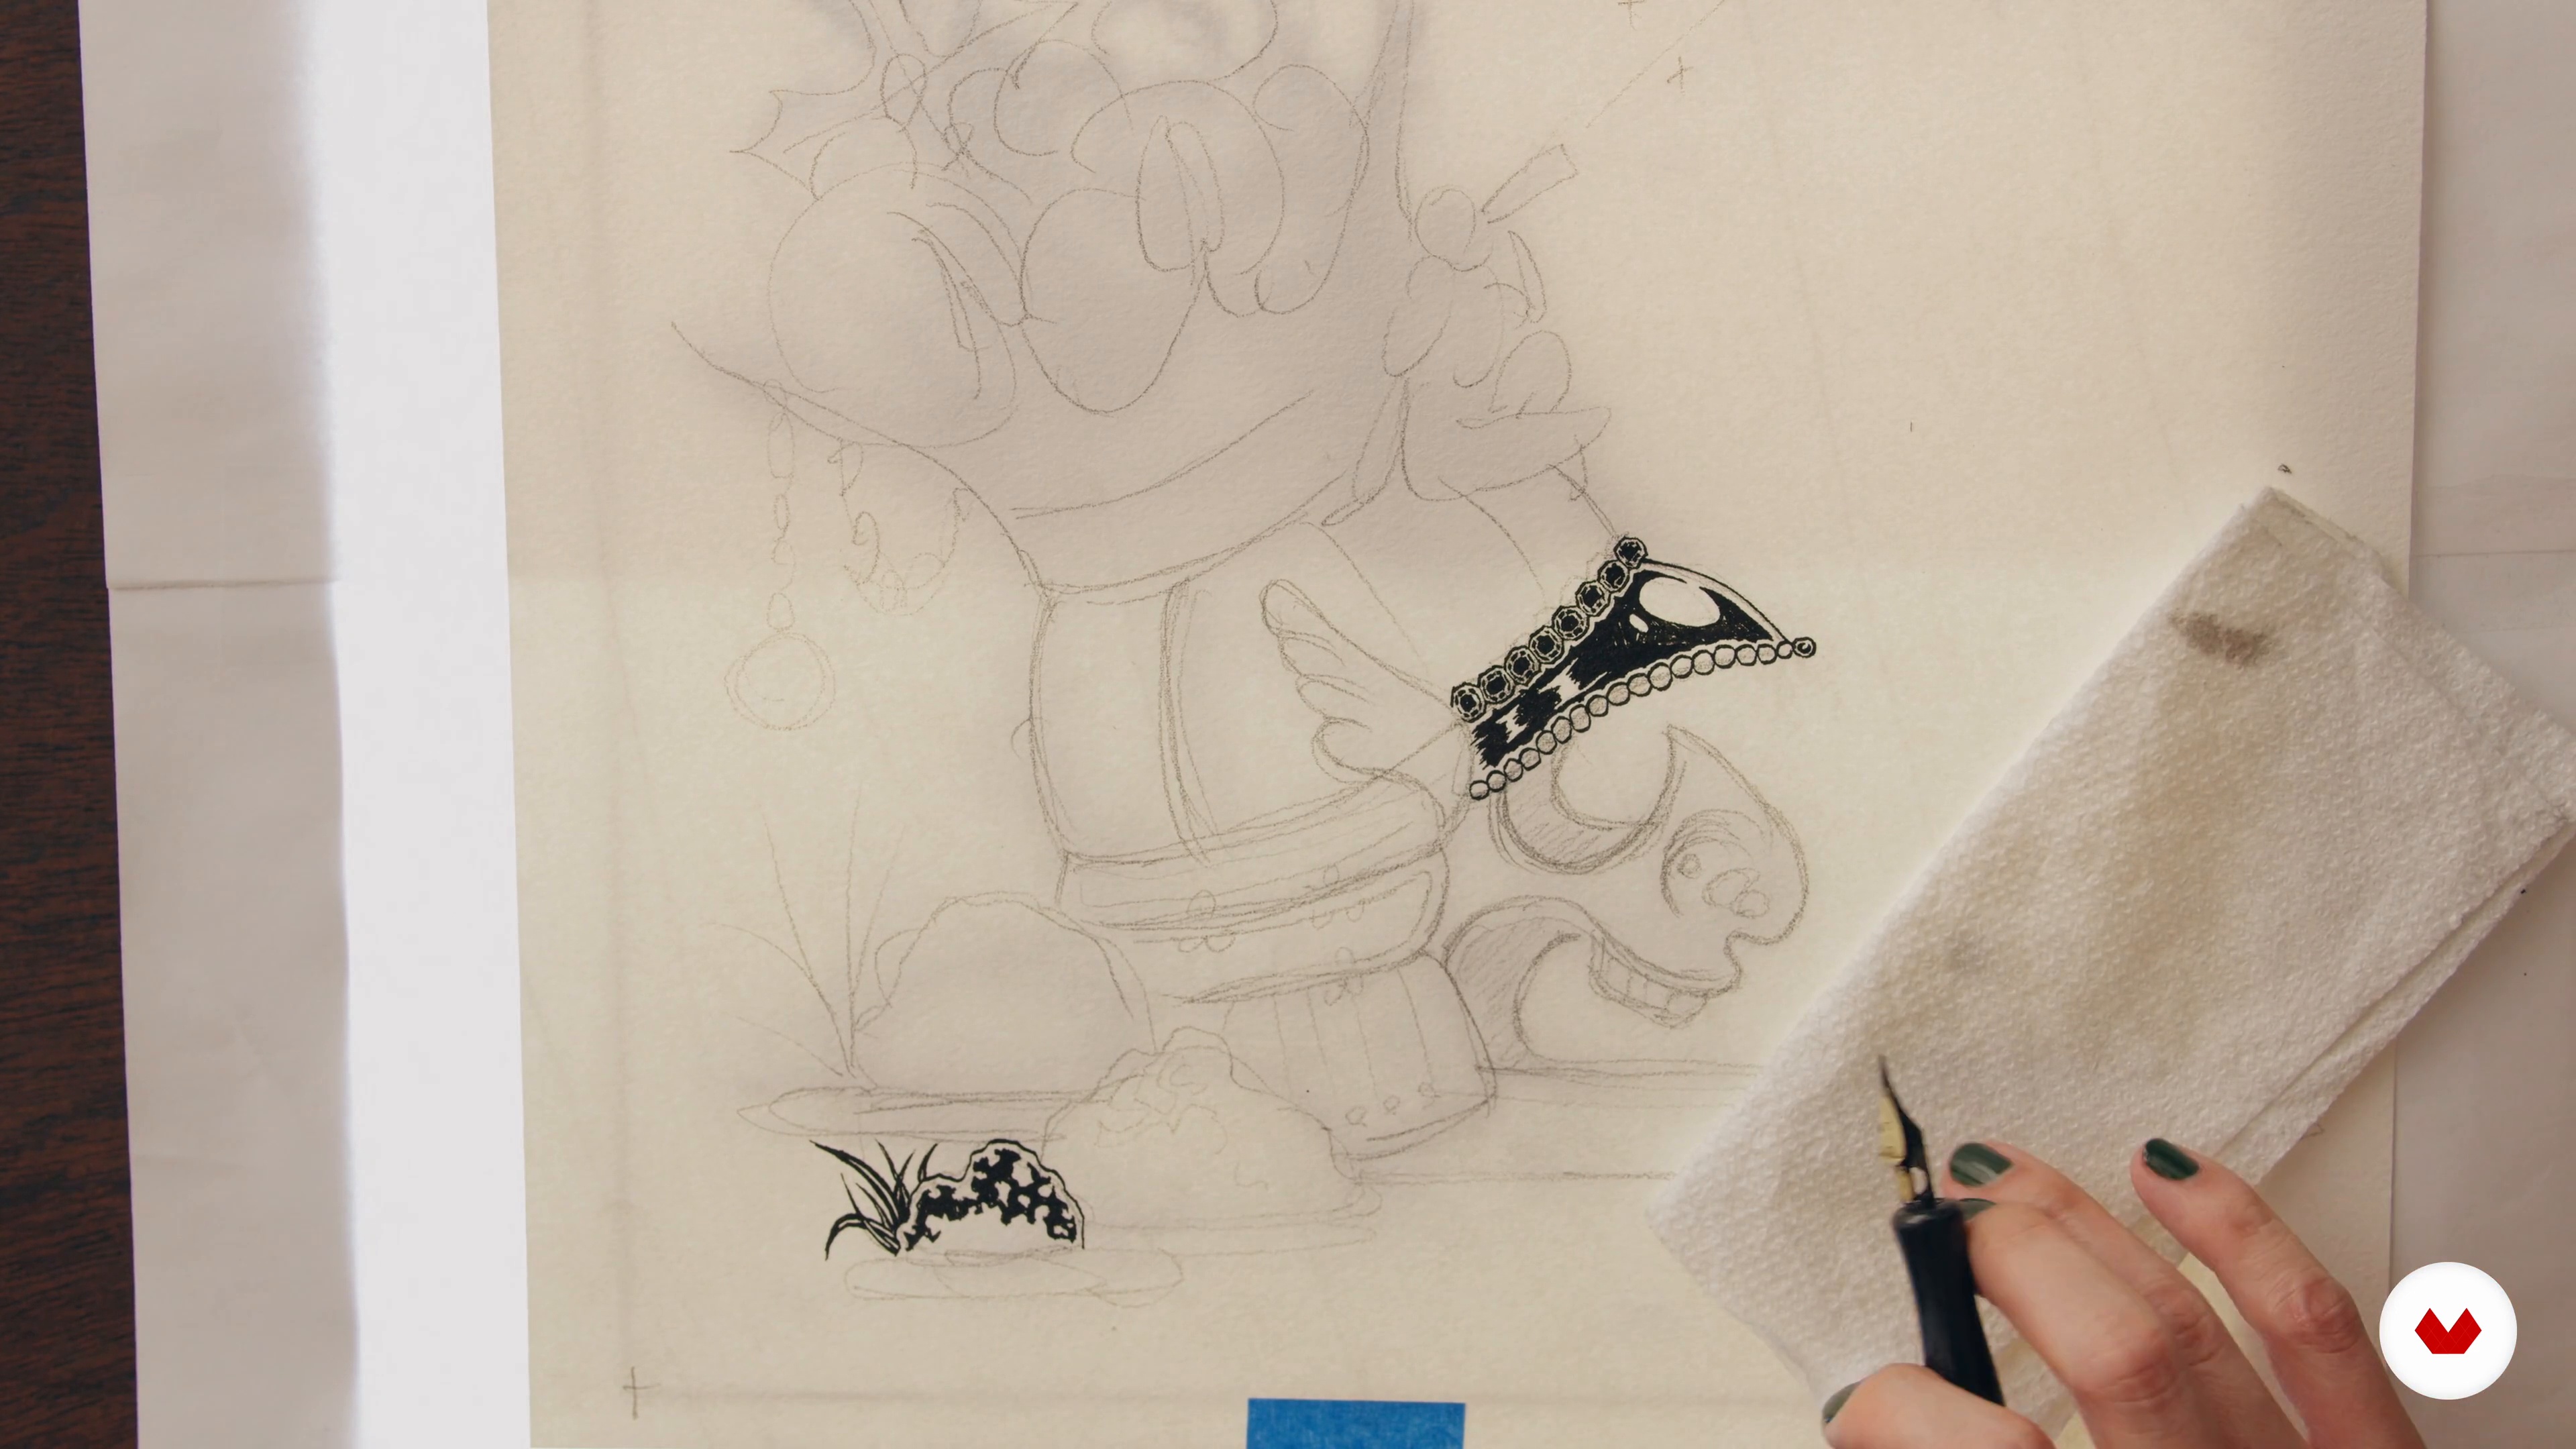
It's time to start inking! In this lesson, you will learn some tips and techniques to ink your sketch onto watercolor paper. In this first section, I will ink the helmet—a reflective surface with decorative elements—and rock—organic, textured objects made up of abstract shapes. You will see the different inking approaches I adopt. This stage relies heavily on technique, so prepare to focus!
19m
 10
10Using Traditional Methods: Pen and Ink on Paper 2
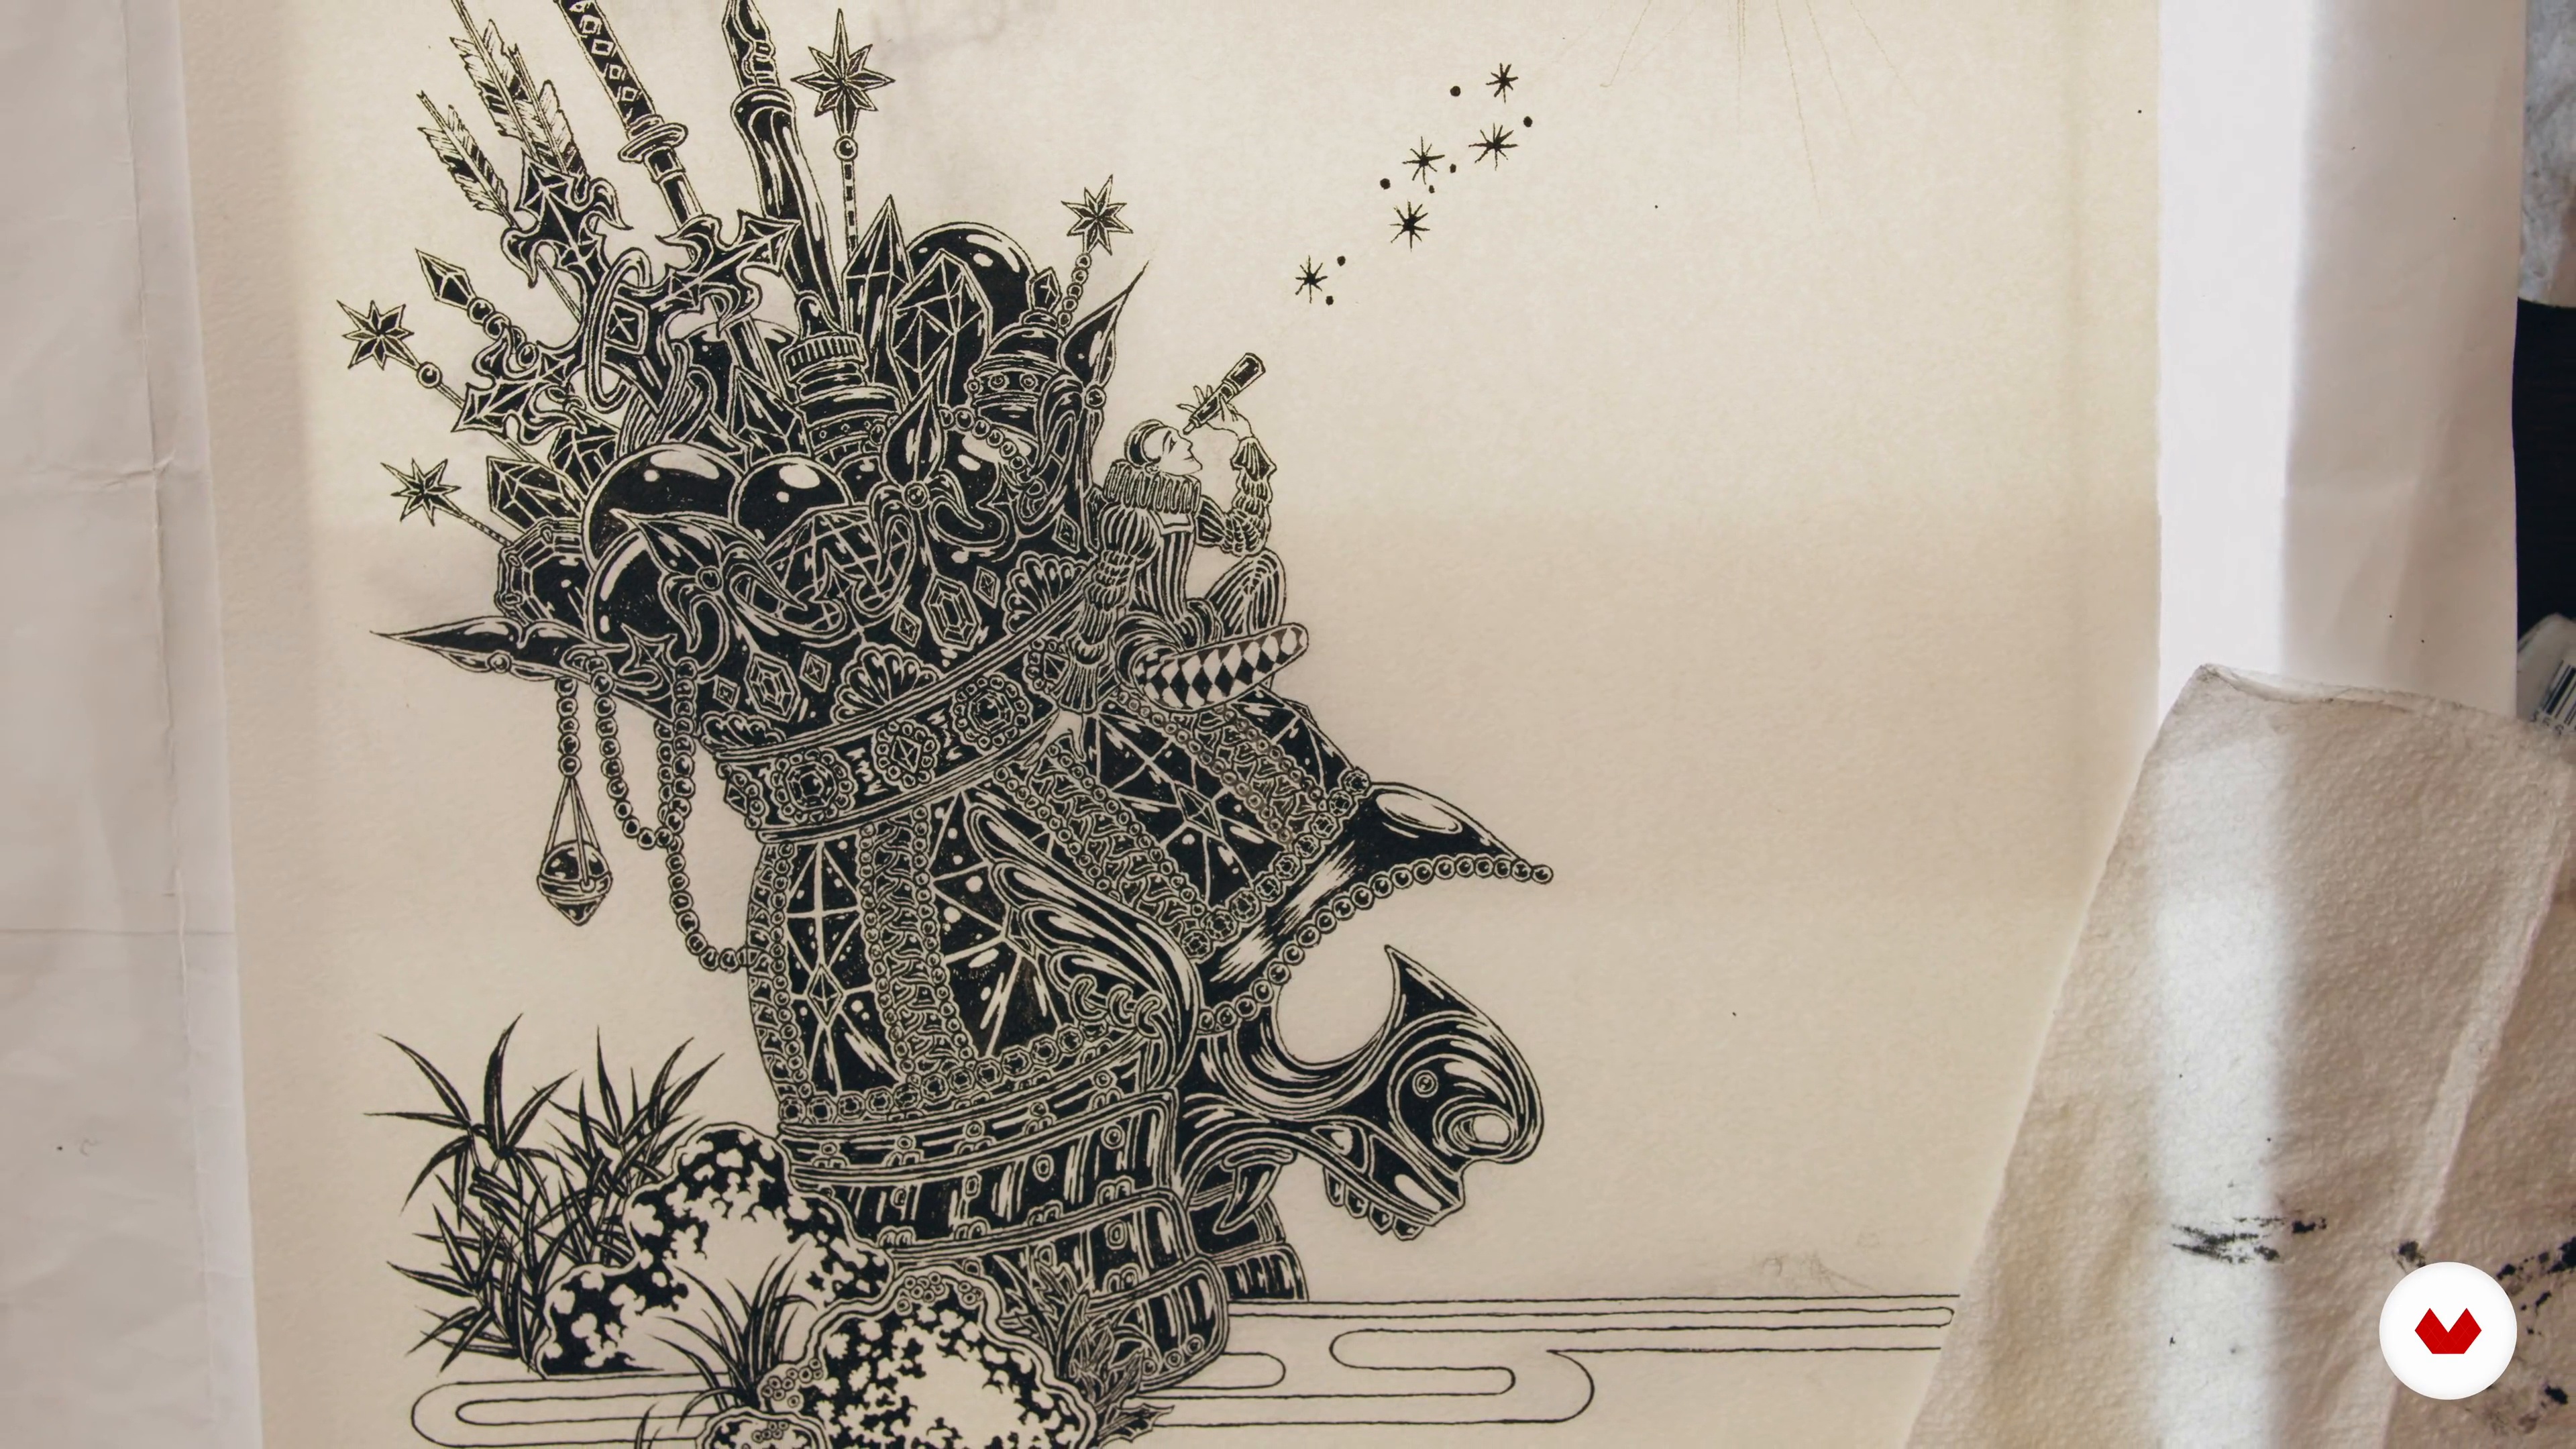
In the second part of this lesson, I will sketch and ink the eye of my illustration, before taking a final look at my composition.
9m
 11
11Using Traditional Methods: Oil Pastels 1
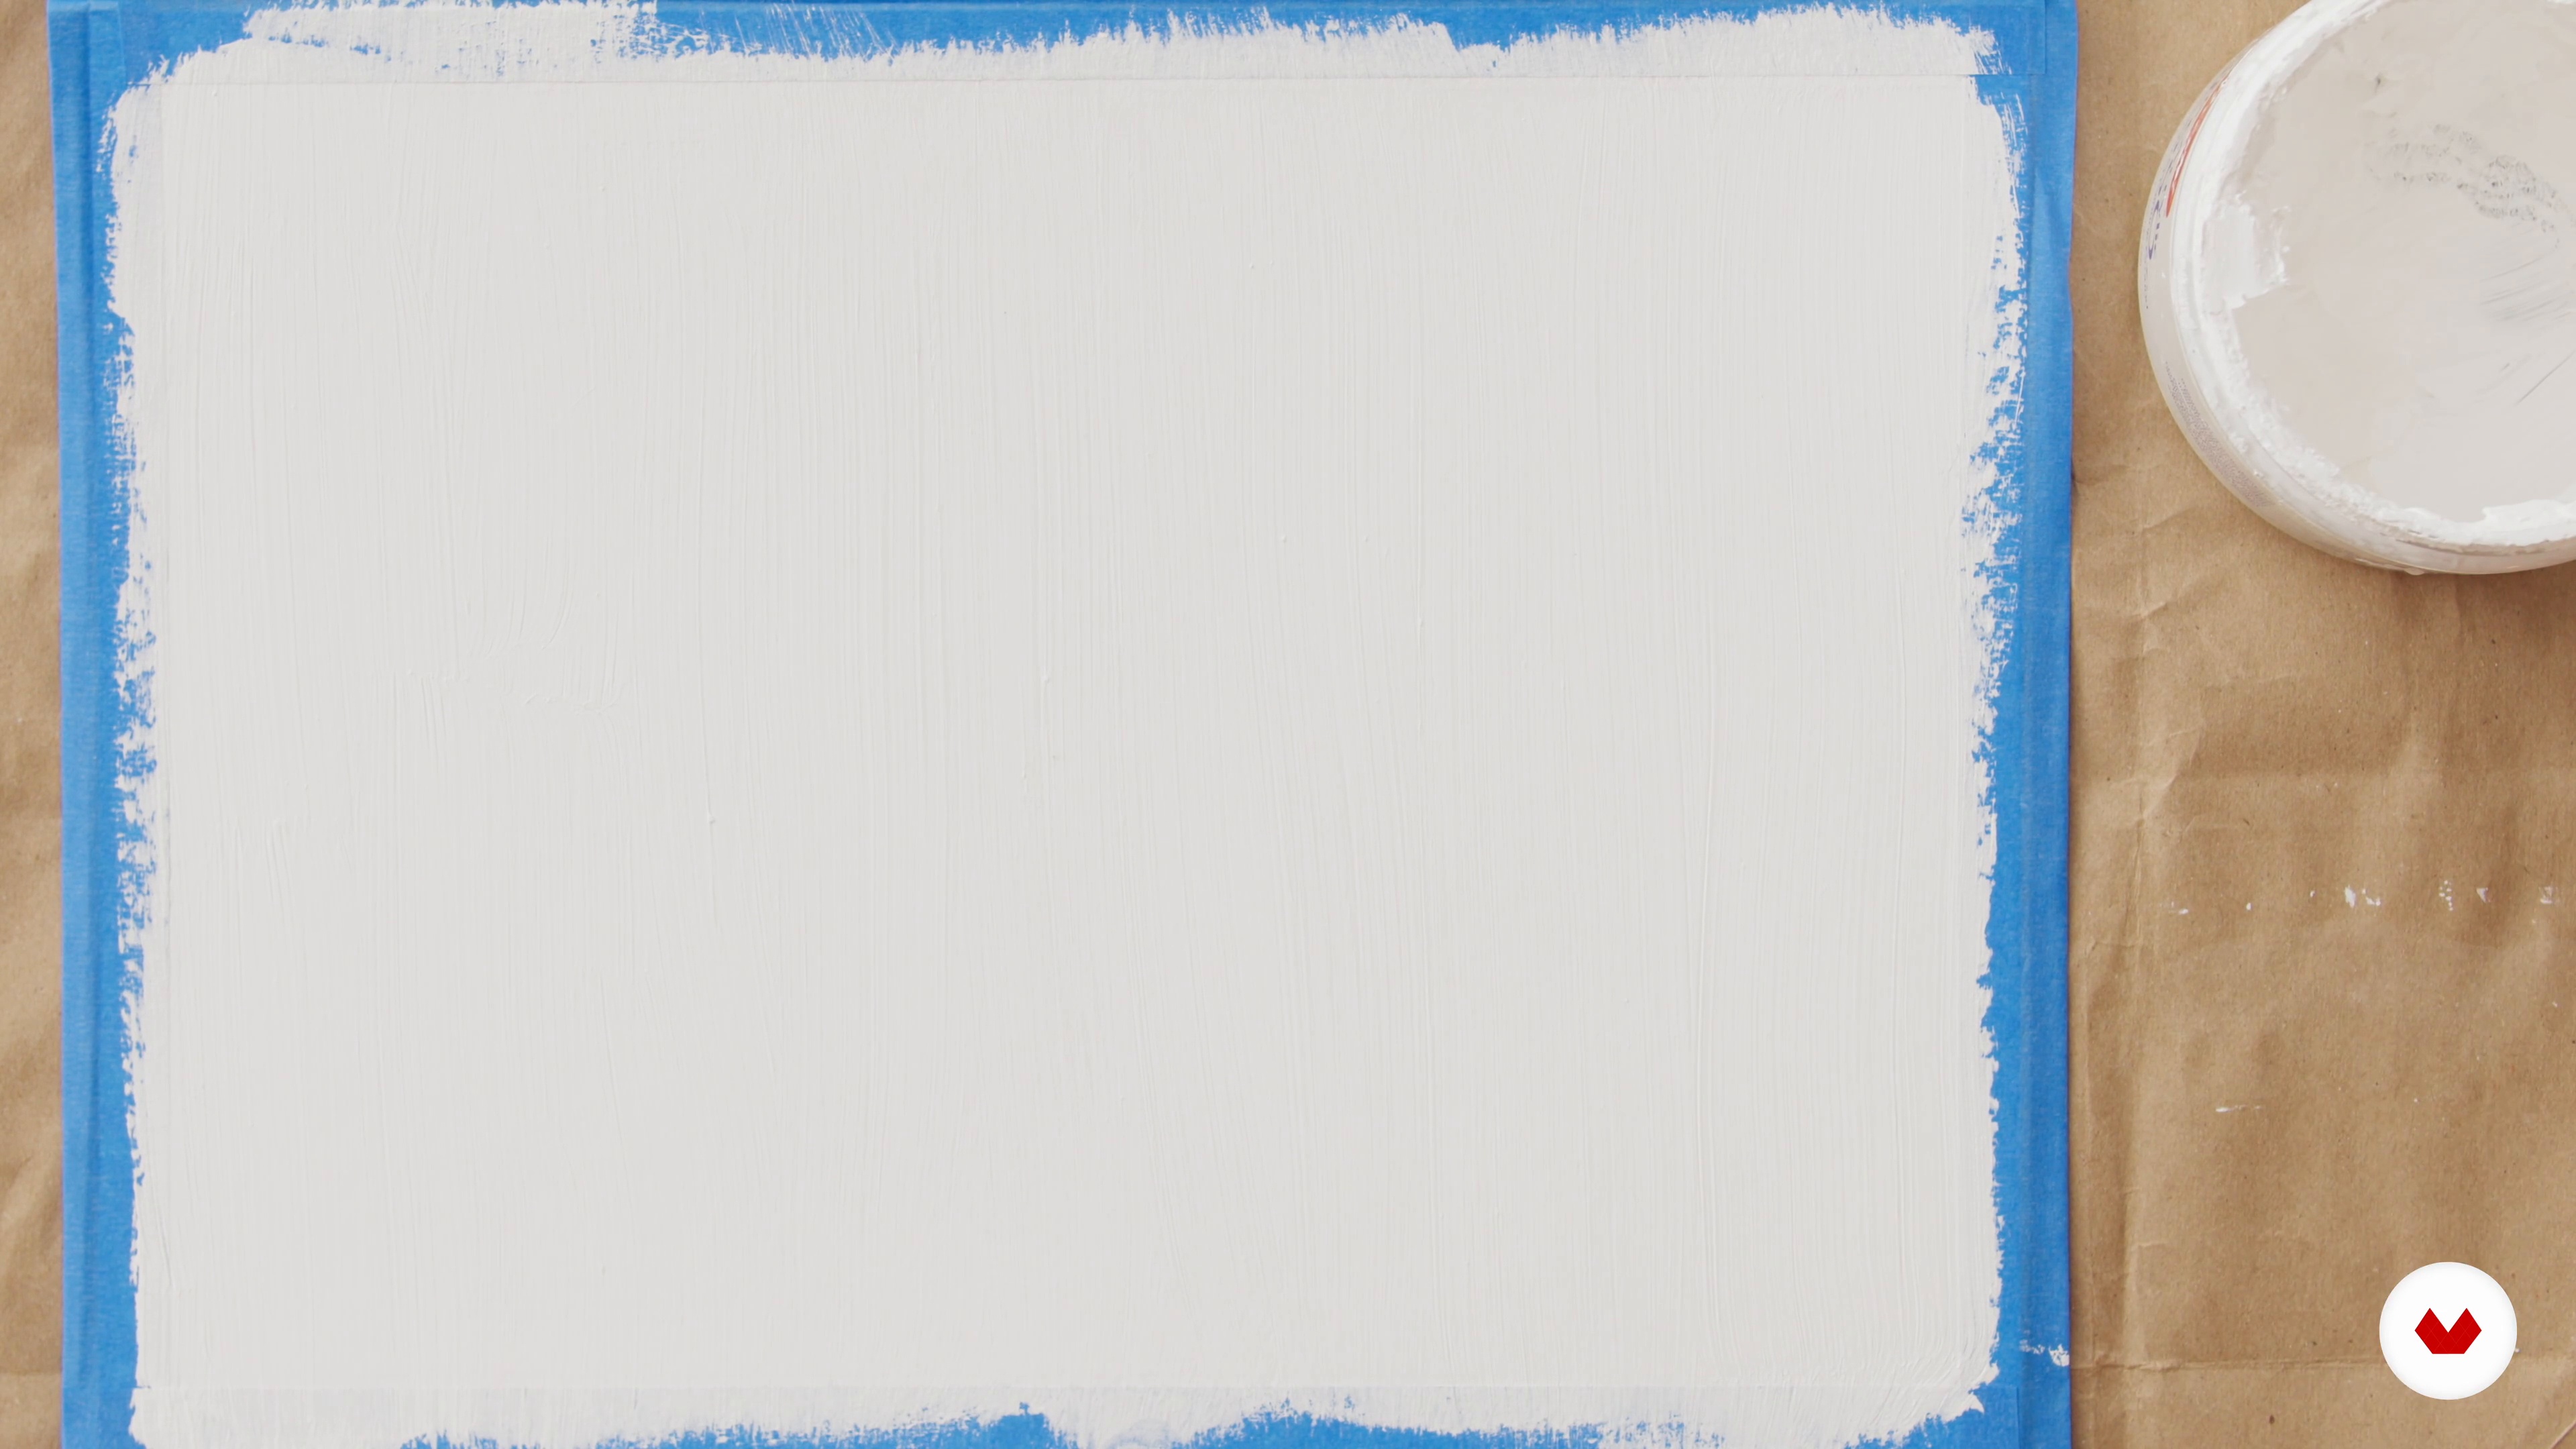
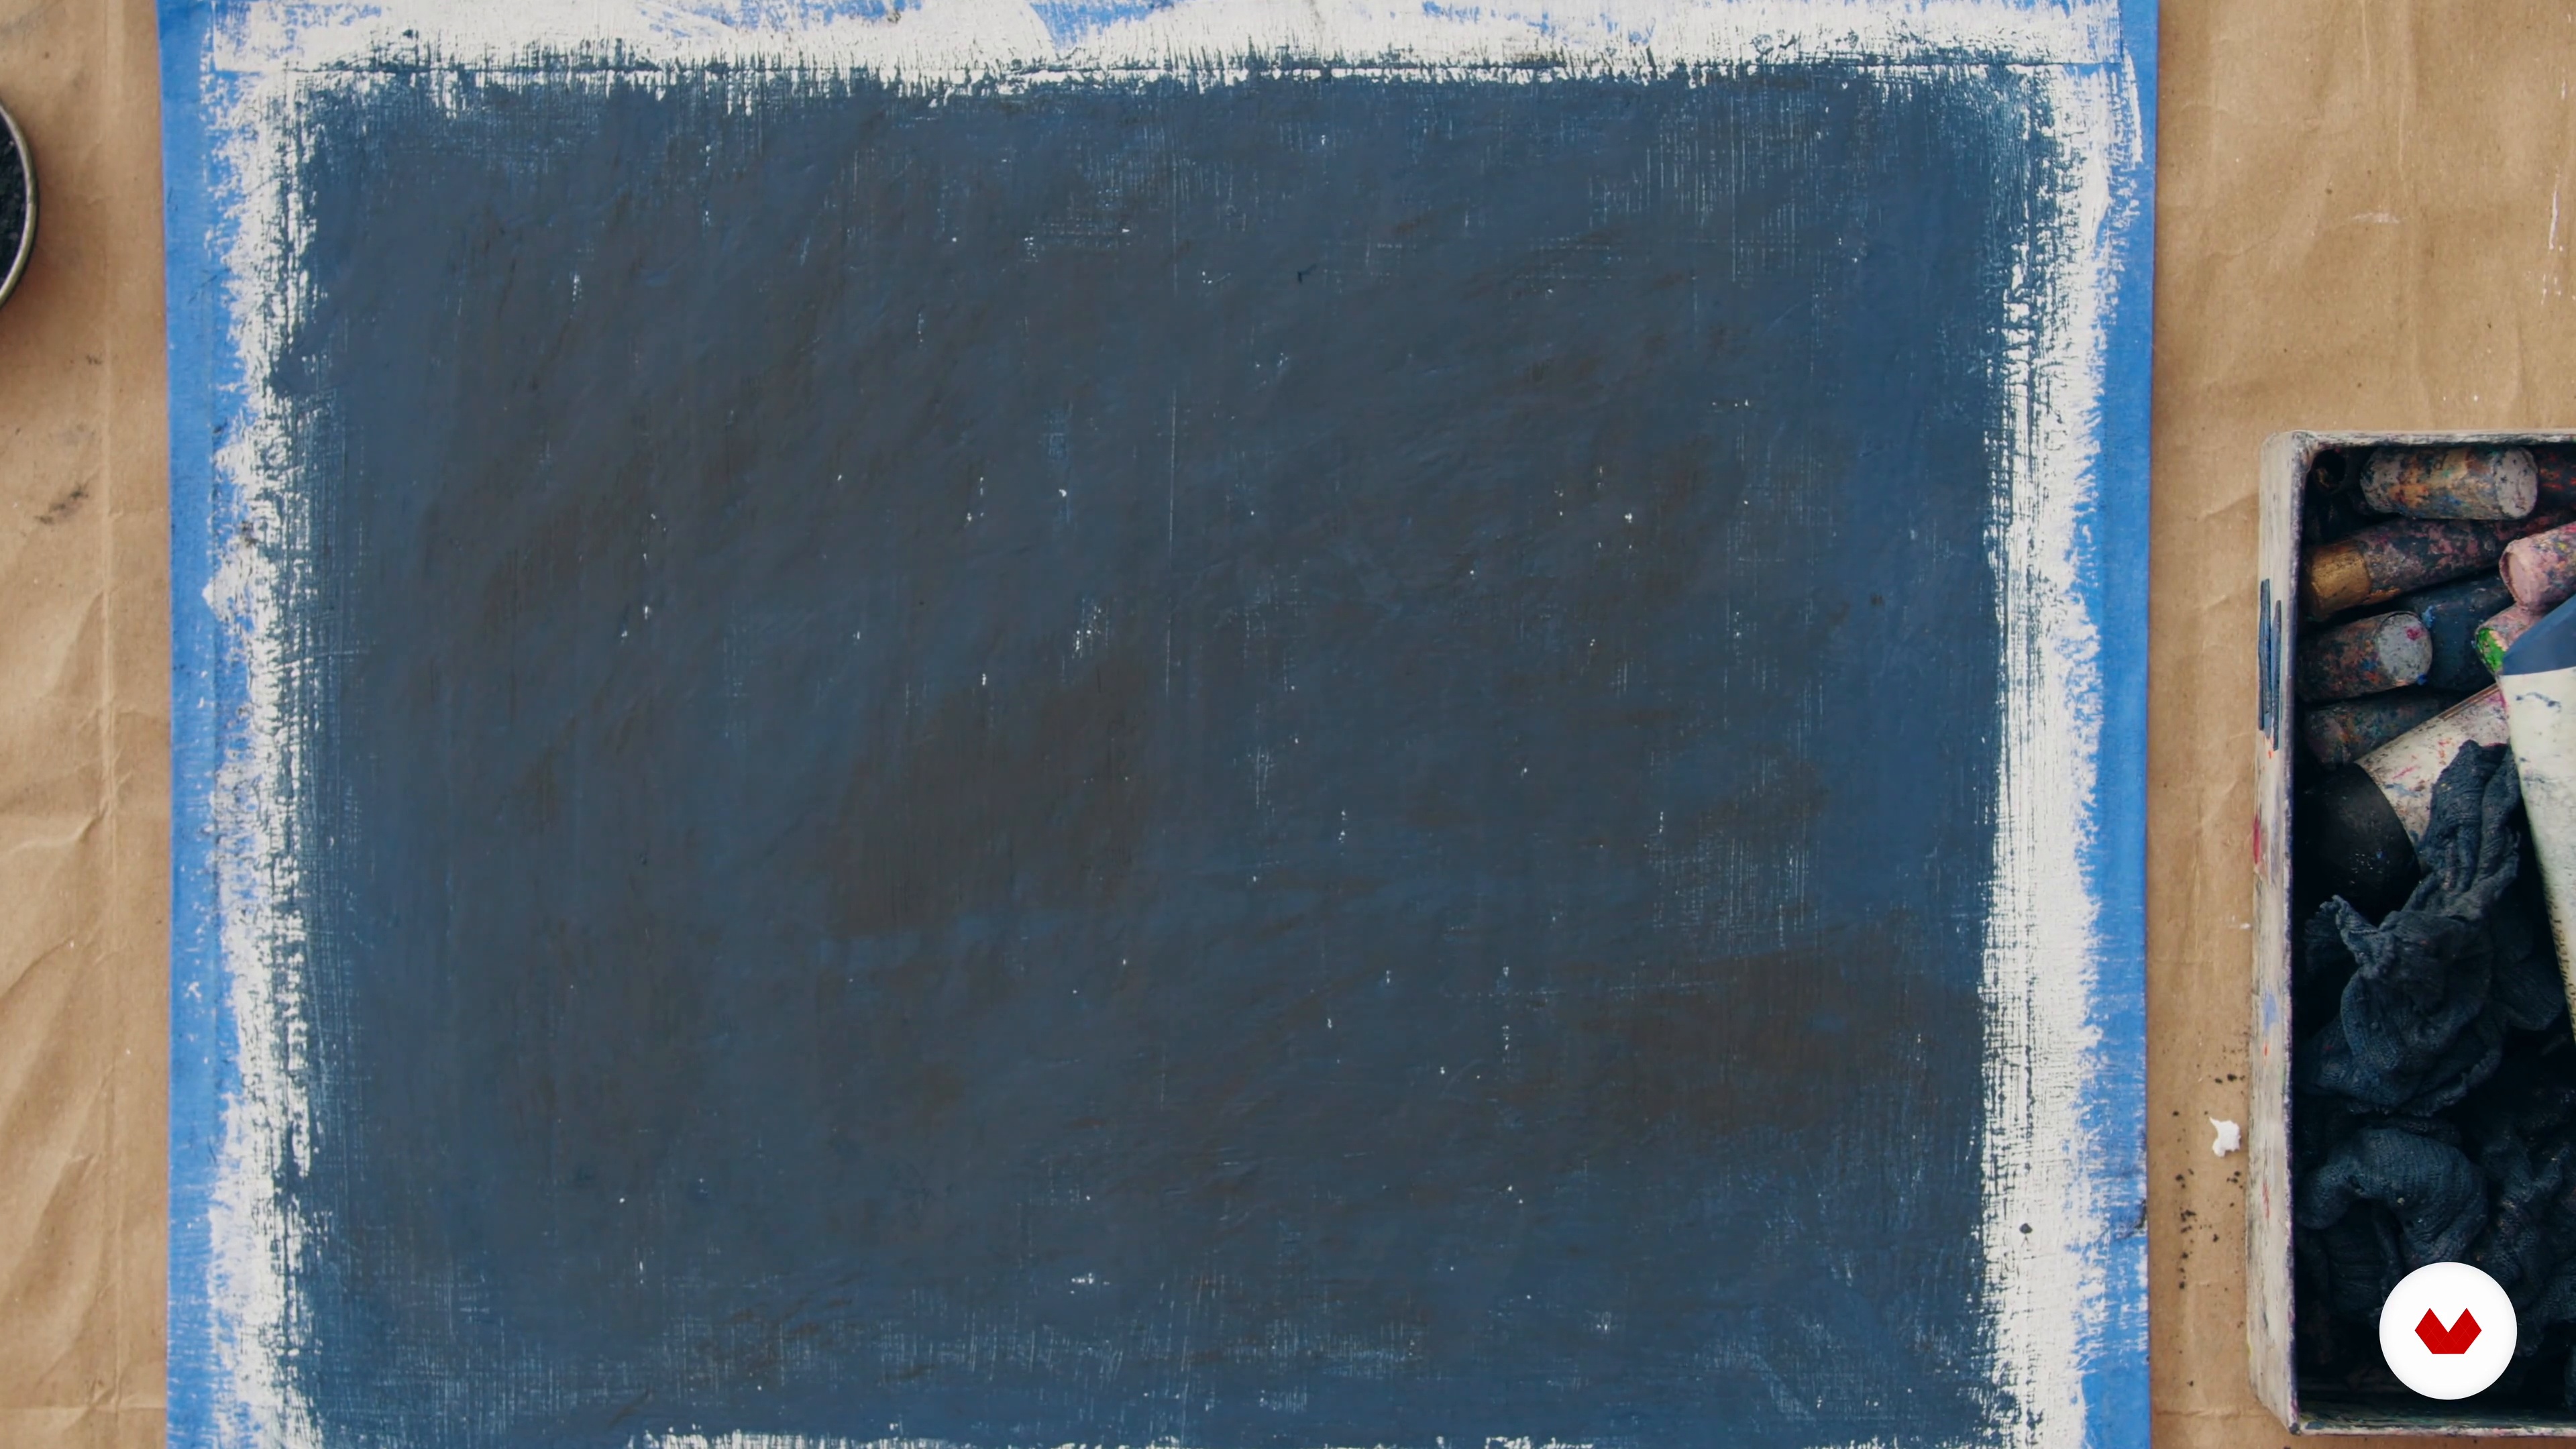
Now, I will show you how to prepare the texture for the digital part of the project. I love this part.
10m
 12
12Using Traditional Methods: Oil Pastels 2
Now that the canvas is ready, I will show you how to apply layers of oil pastel, followed by graphite powder to create a scale of different values.
7m
 13
13The Digital Stage: Adding Color 1
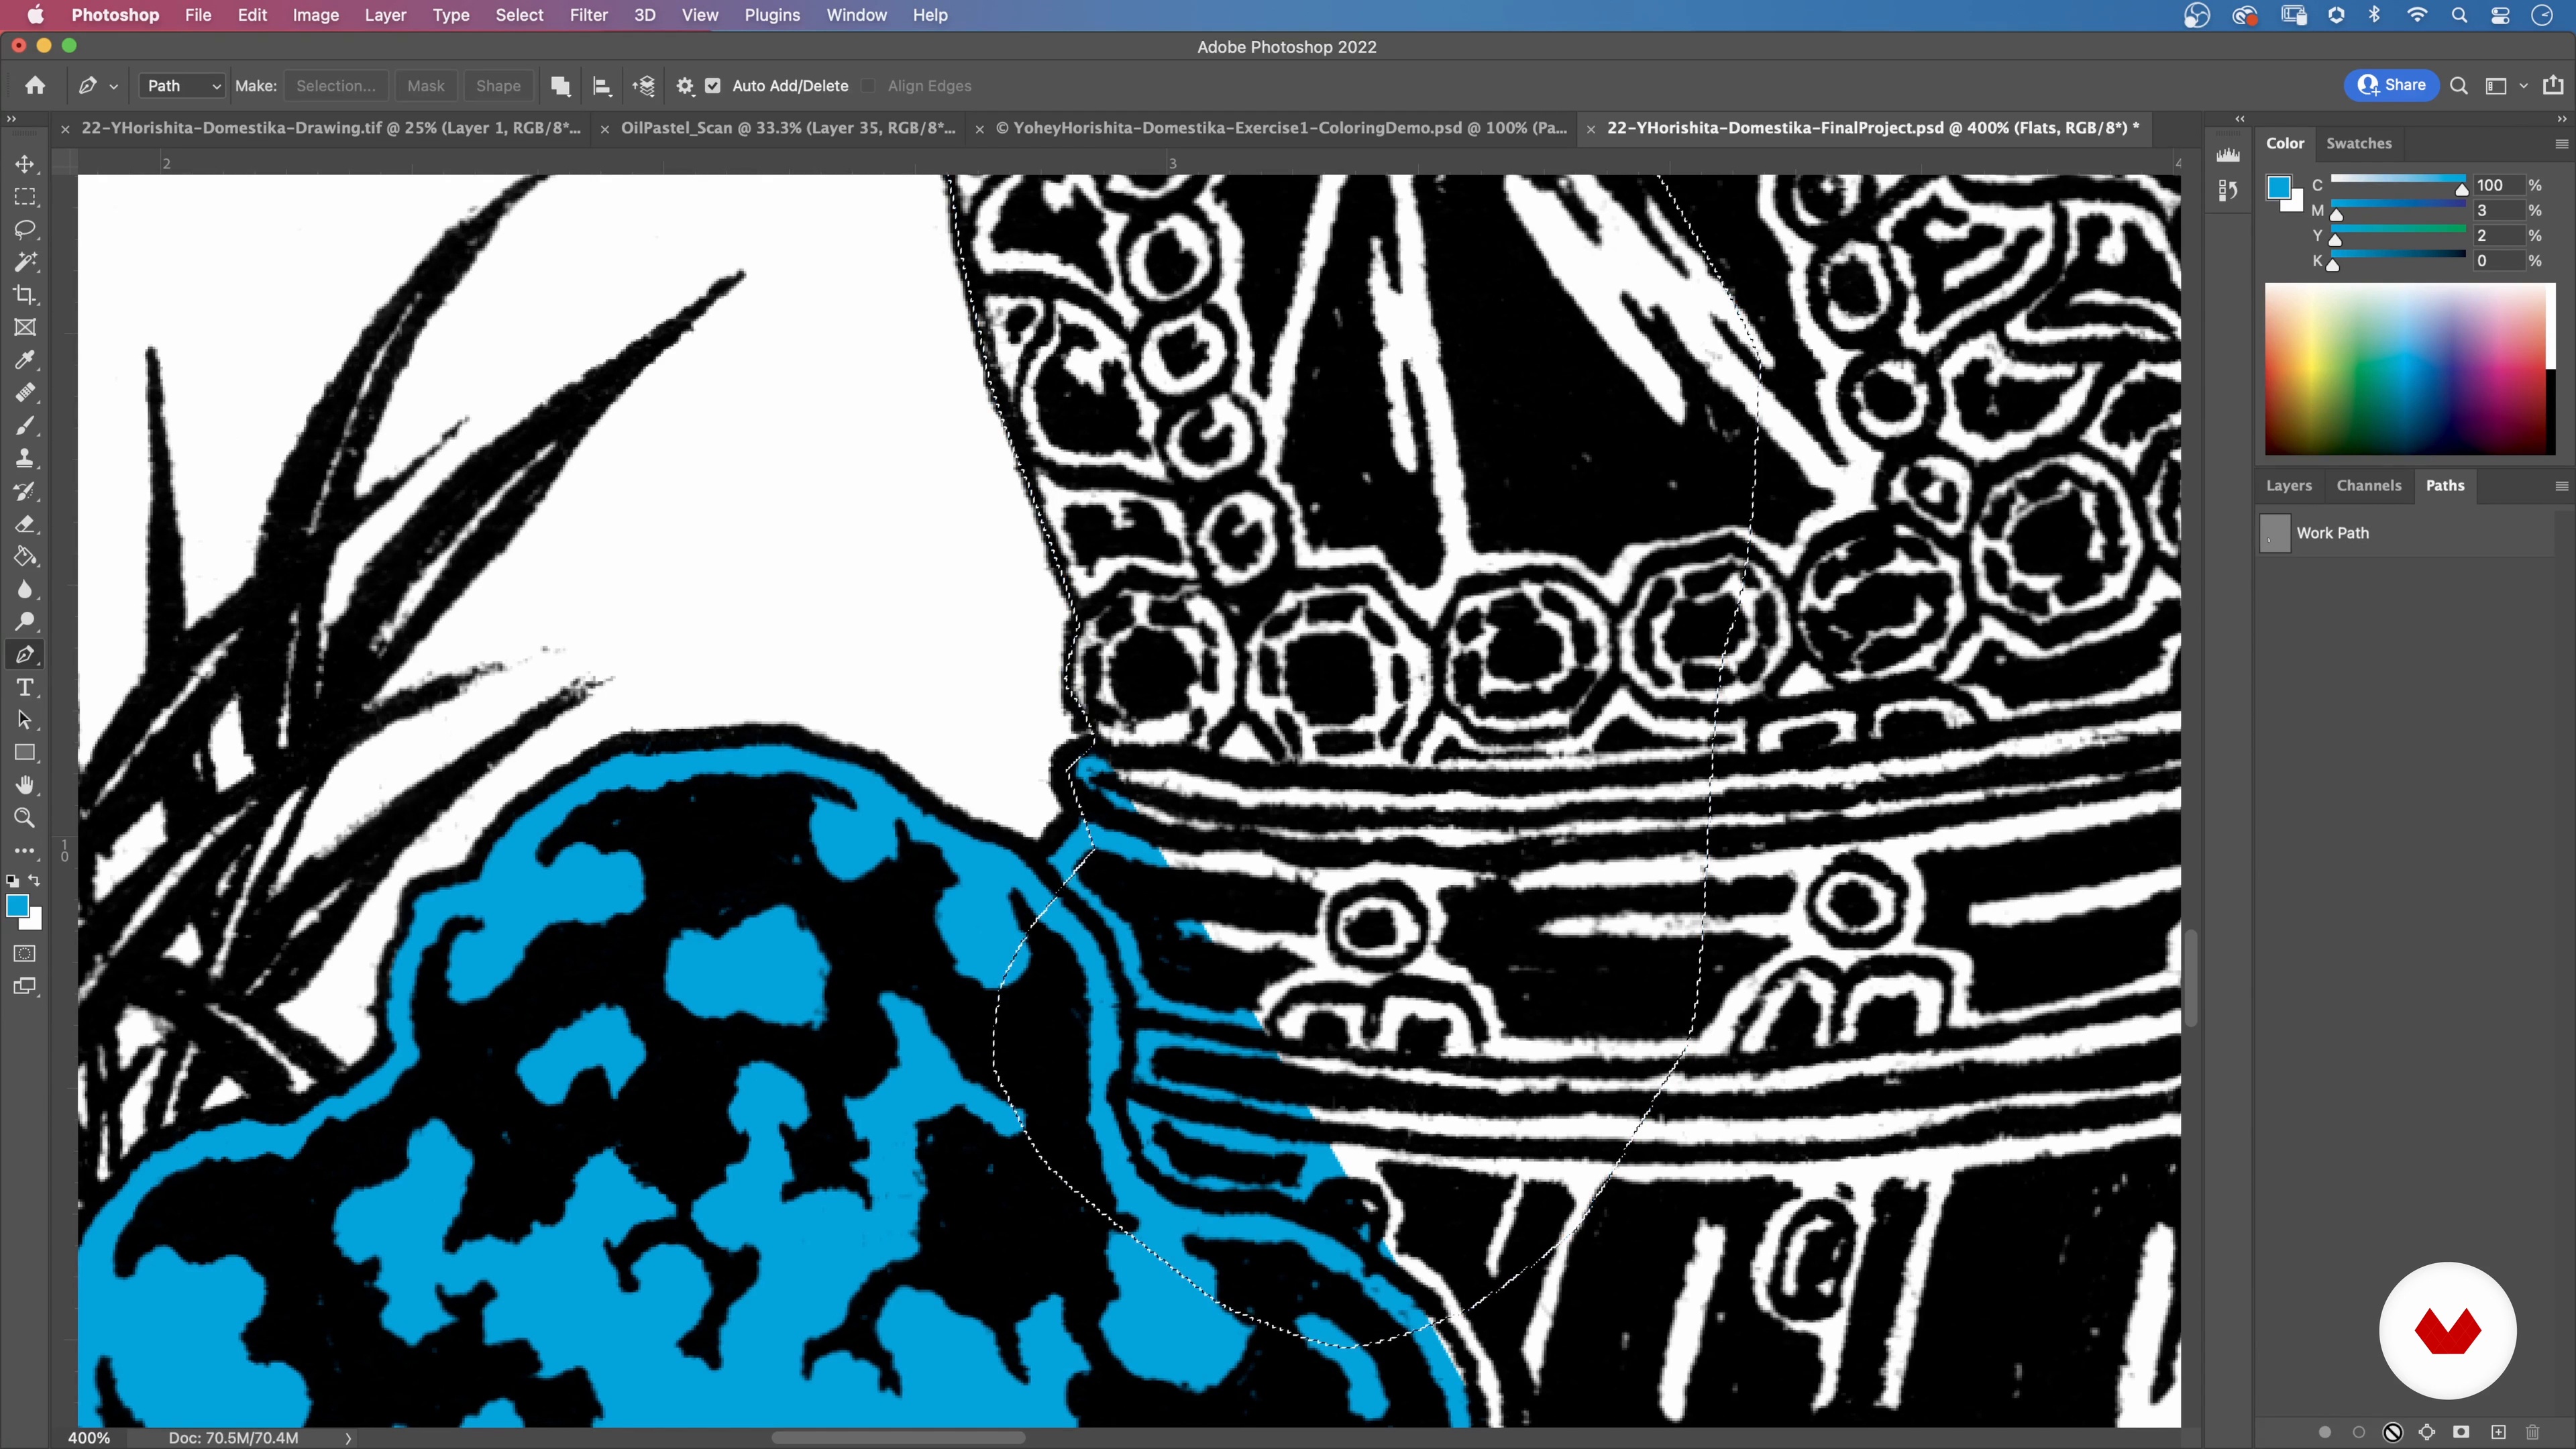
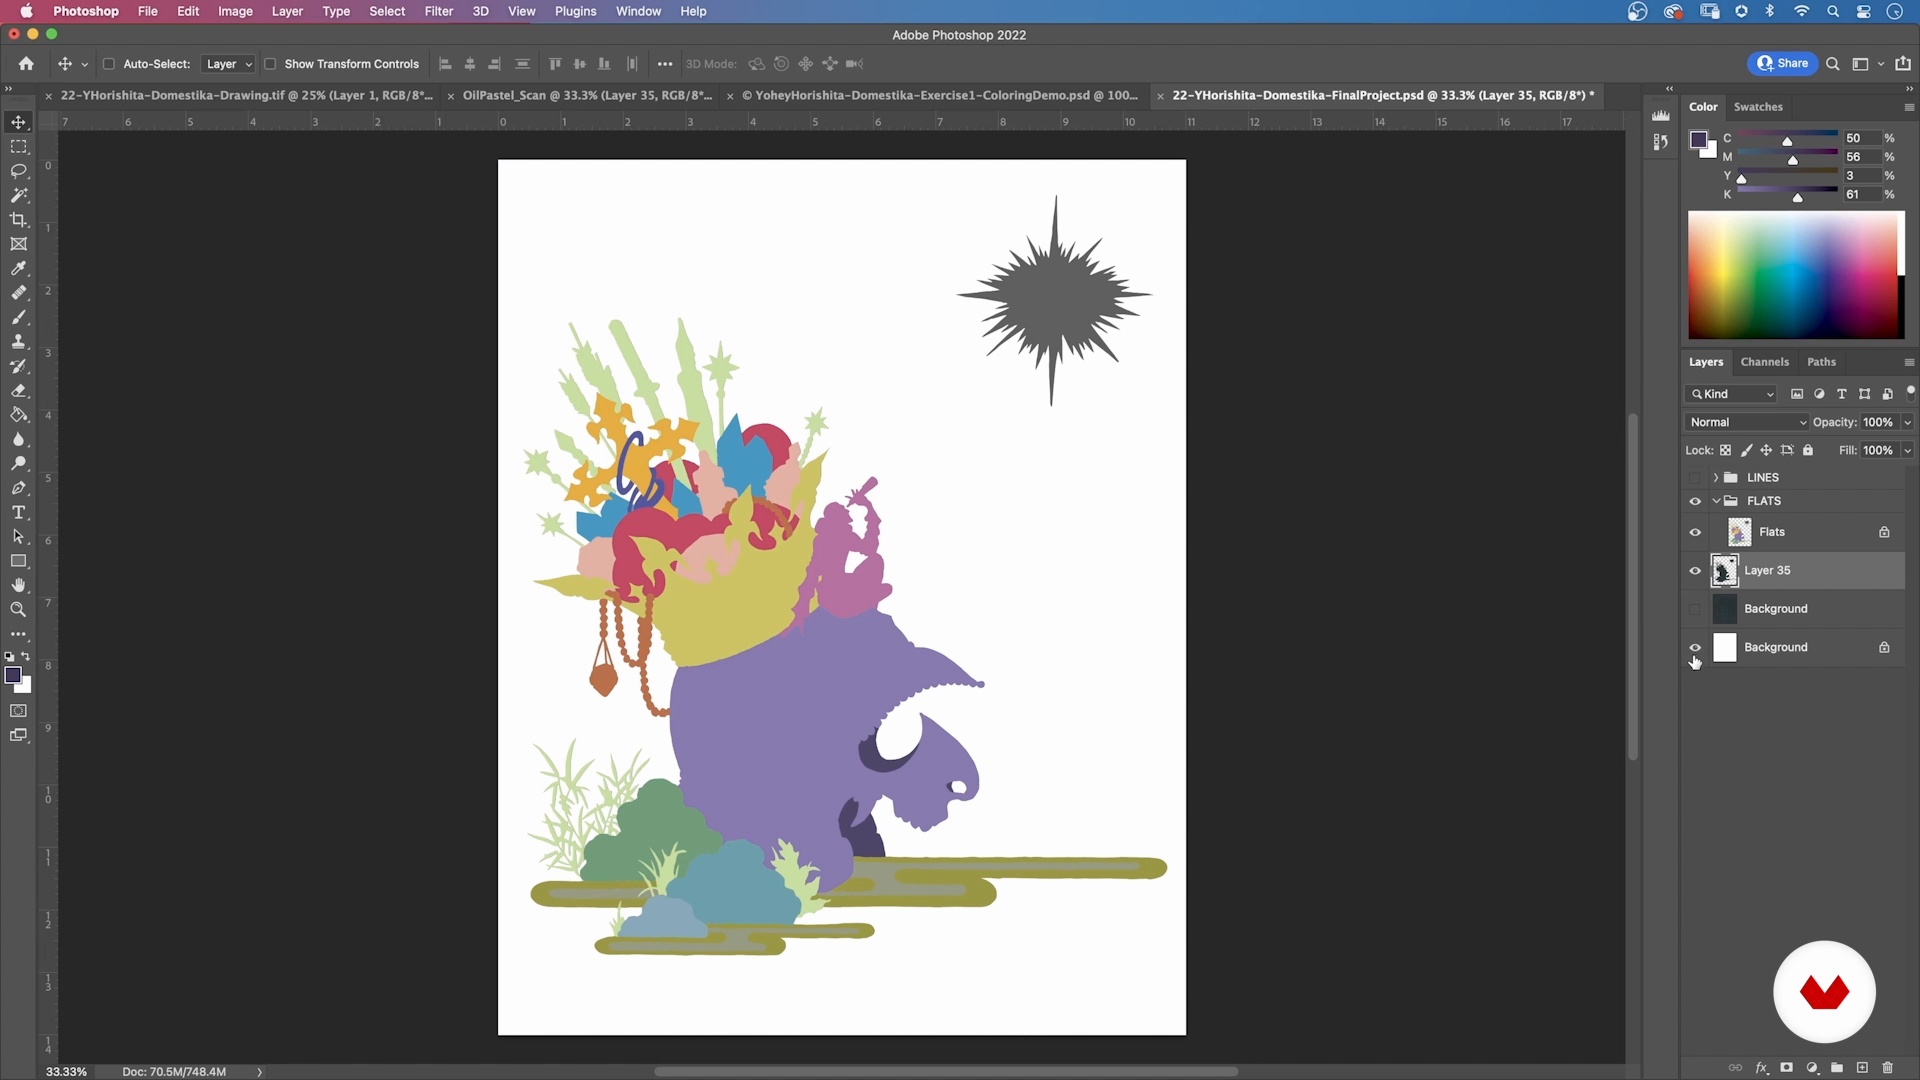
As much as I love working on my illustration traditionally, I’m the kind of person who gets bored easily. So, let’s have some fun in Photoshop. Coloring digitally gives so much more flexibility and space to explore your creative freedom—the power of "Command+Z", y'all! In this lesson, I will show you how I combine my ink drawing and the oil pastel board digitally and color them in Photoshop to complete my illustration step by step! Let’s go!!
15m
 14
14The Digital Stage: Adding Color 2
Here, I will continue adding color to my illustration, using it as a tool to differentiate the different elements. The focus will be placed on building my "FLATS" layer in Photoshop. I will then work on my "LINES" layer, to separate the drawing lines as required.
15m
 15
15The Digital Stage: Adding Color 3
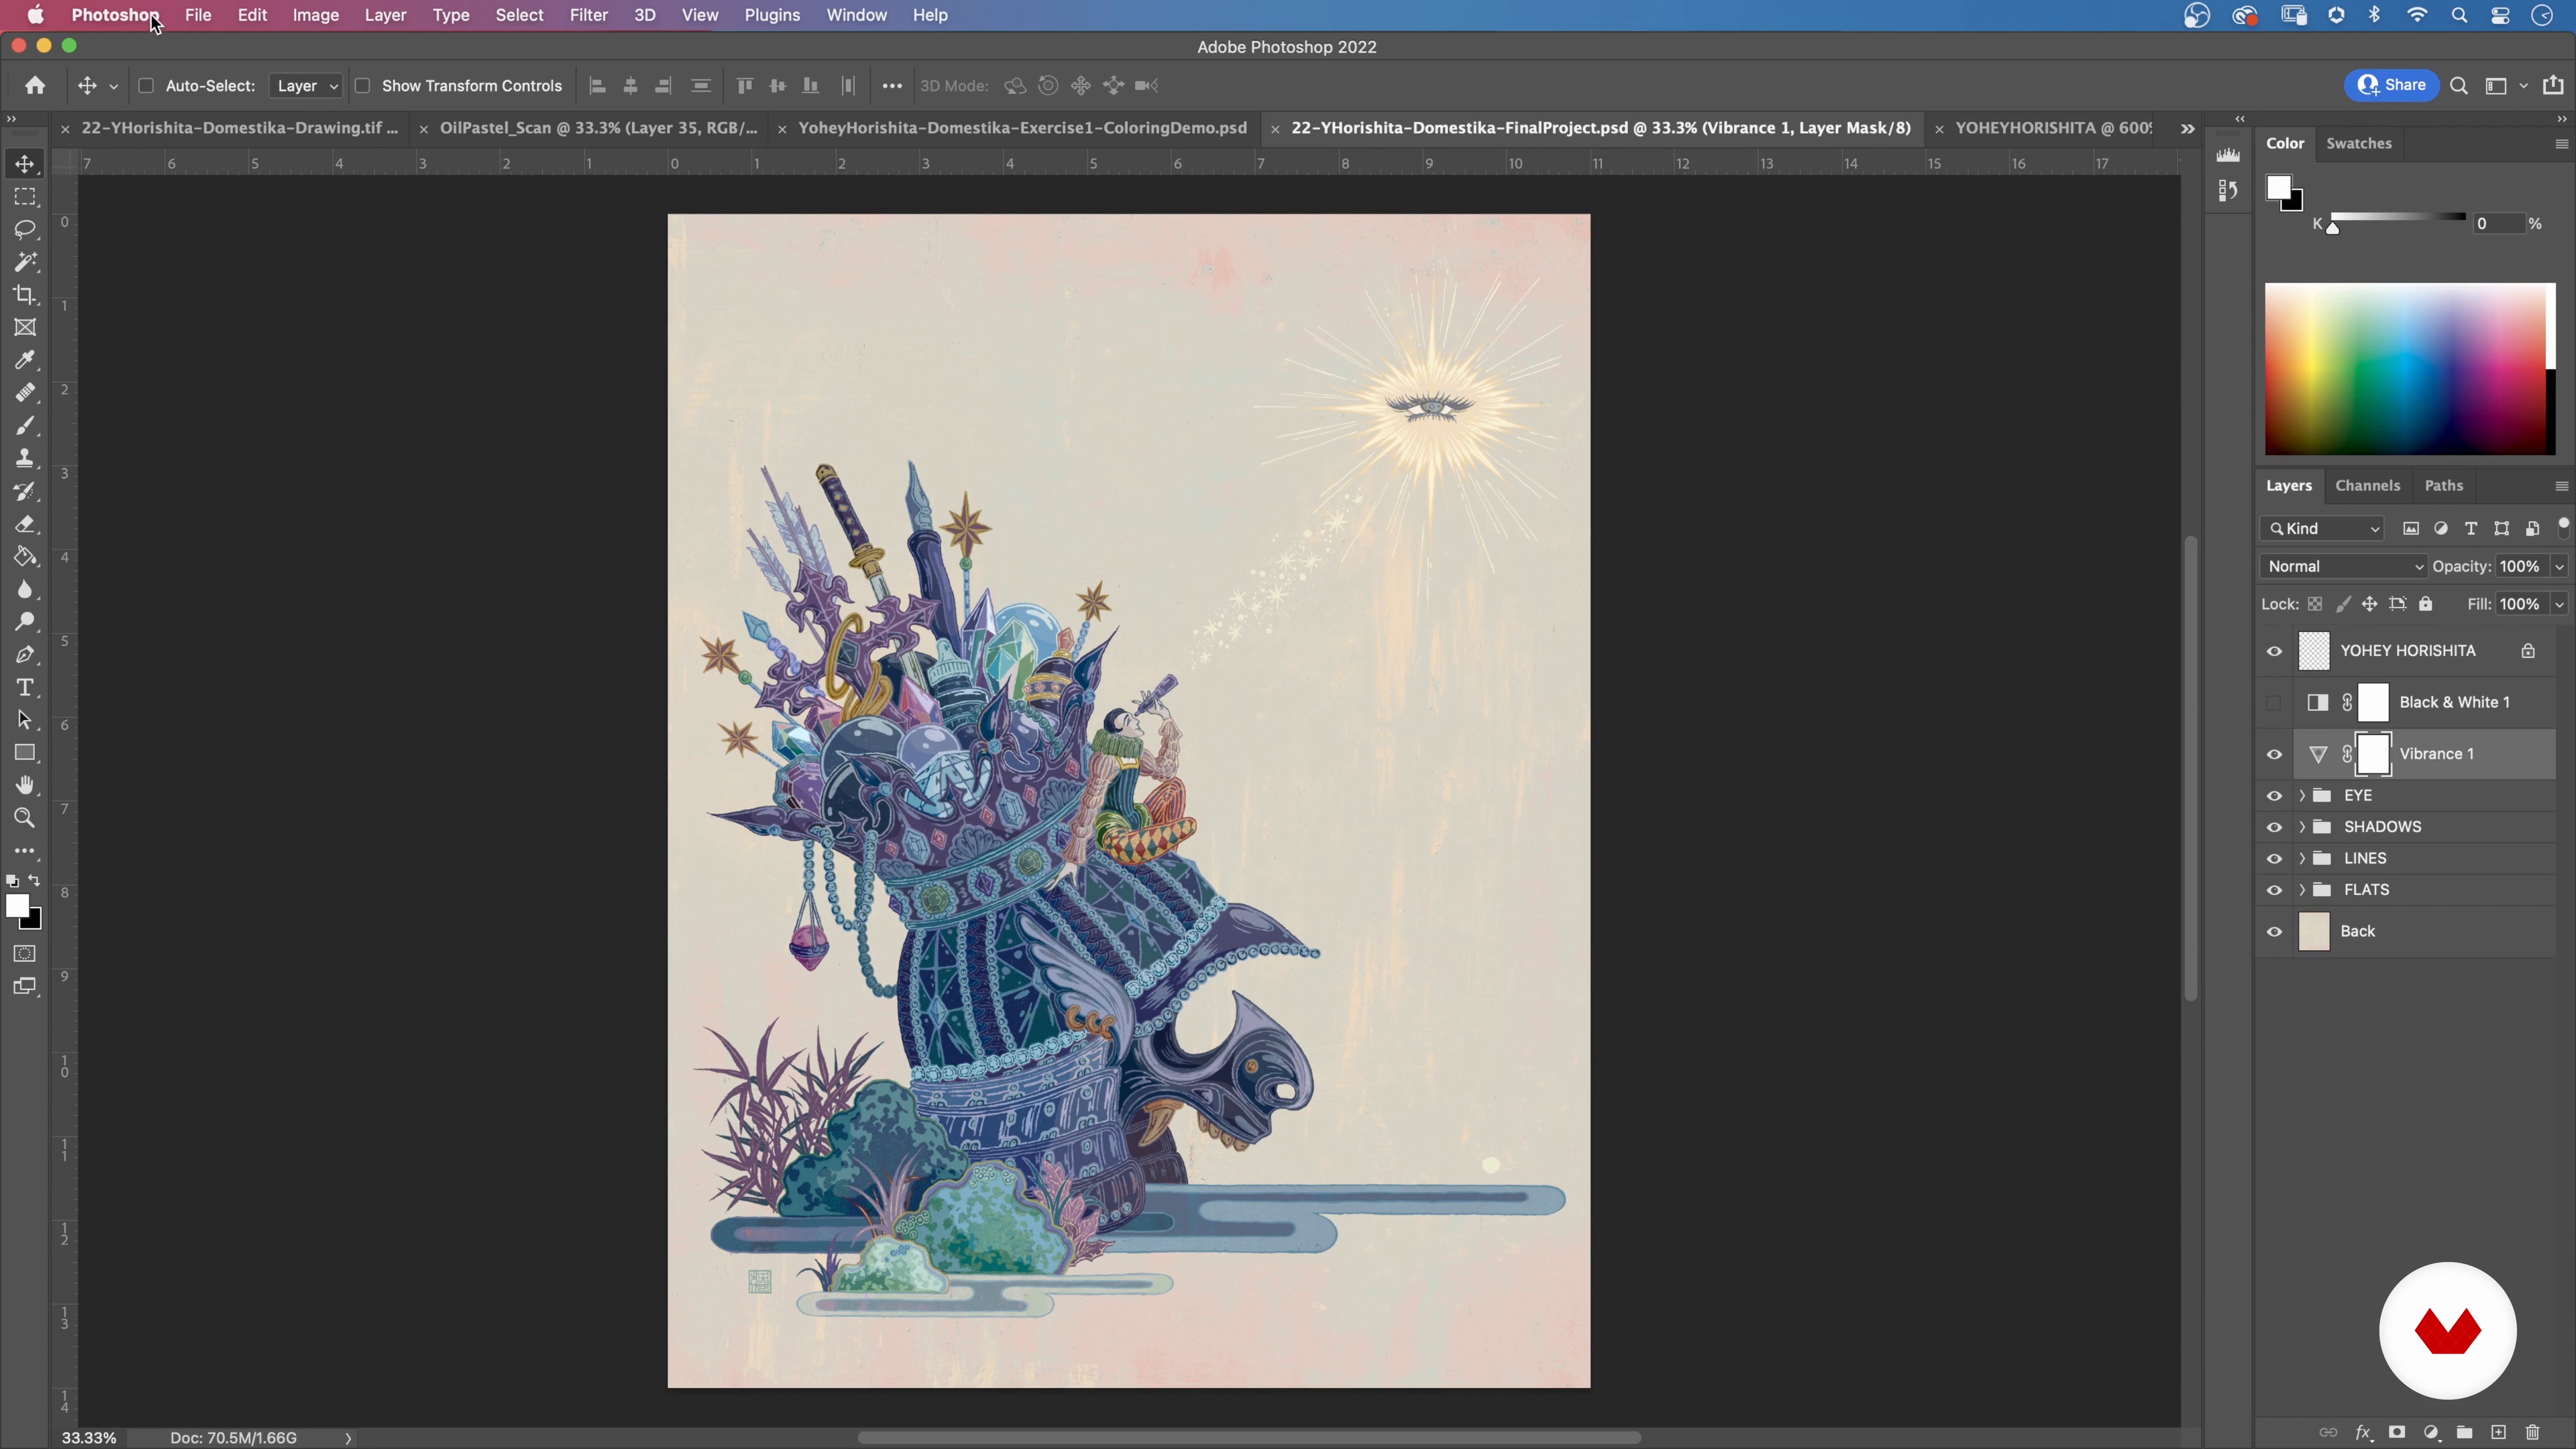
Finally, I will add shadows and highlights. Not too much though. Subtlety is the key! Then, I will demonstrate how to clean up the illustration. This is something I like to call the "Target Moment", and consists of streamlining the piece. I tend to be a maximalist, so this step is particularly important for me.
12m
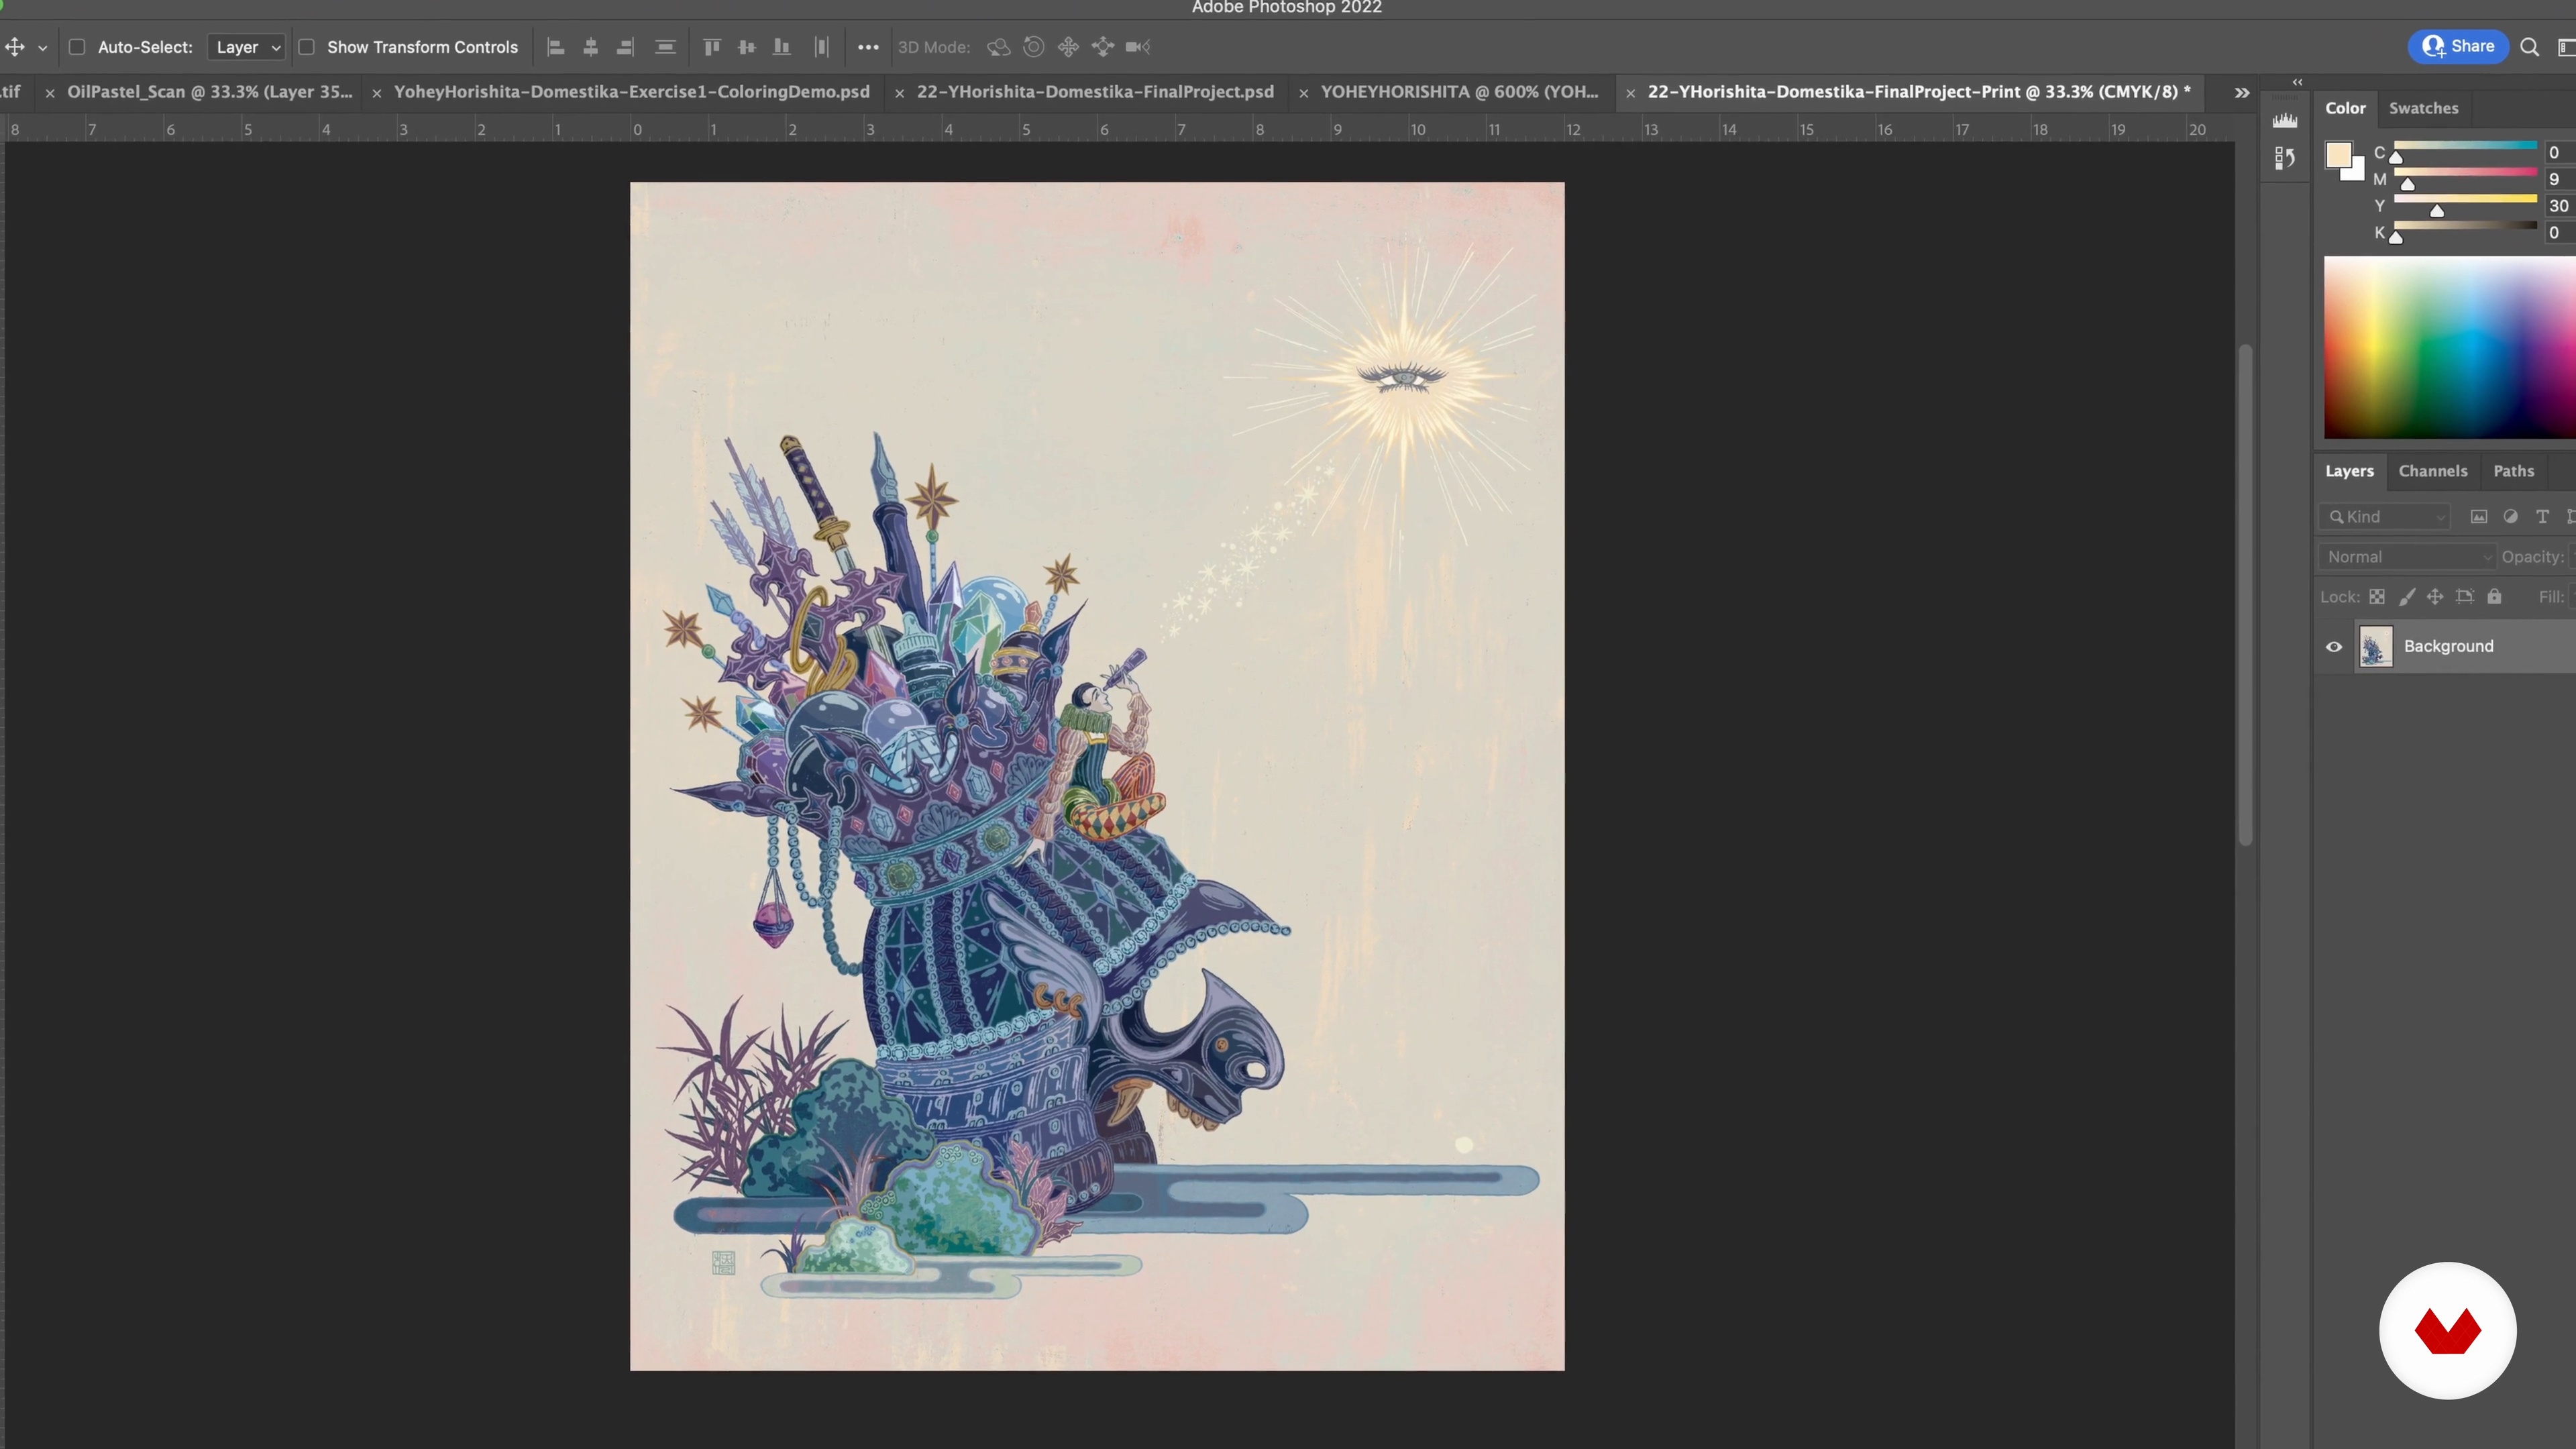 16
16Prepping the File for Print
It’s important to take a look at your digital file and see which settings it's under because the digital files have their own language too! When they deal with screens (which is the TV, cellphone, or tablet) and print, they use a different language for how to display the color! For print, let me show you what you should do.
9m
 17
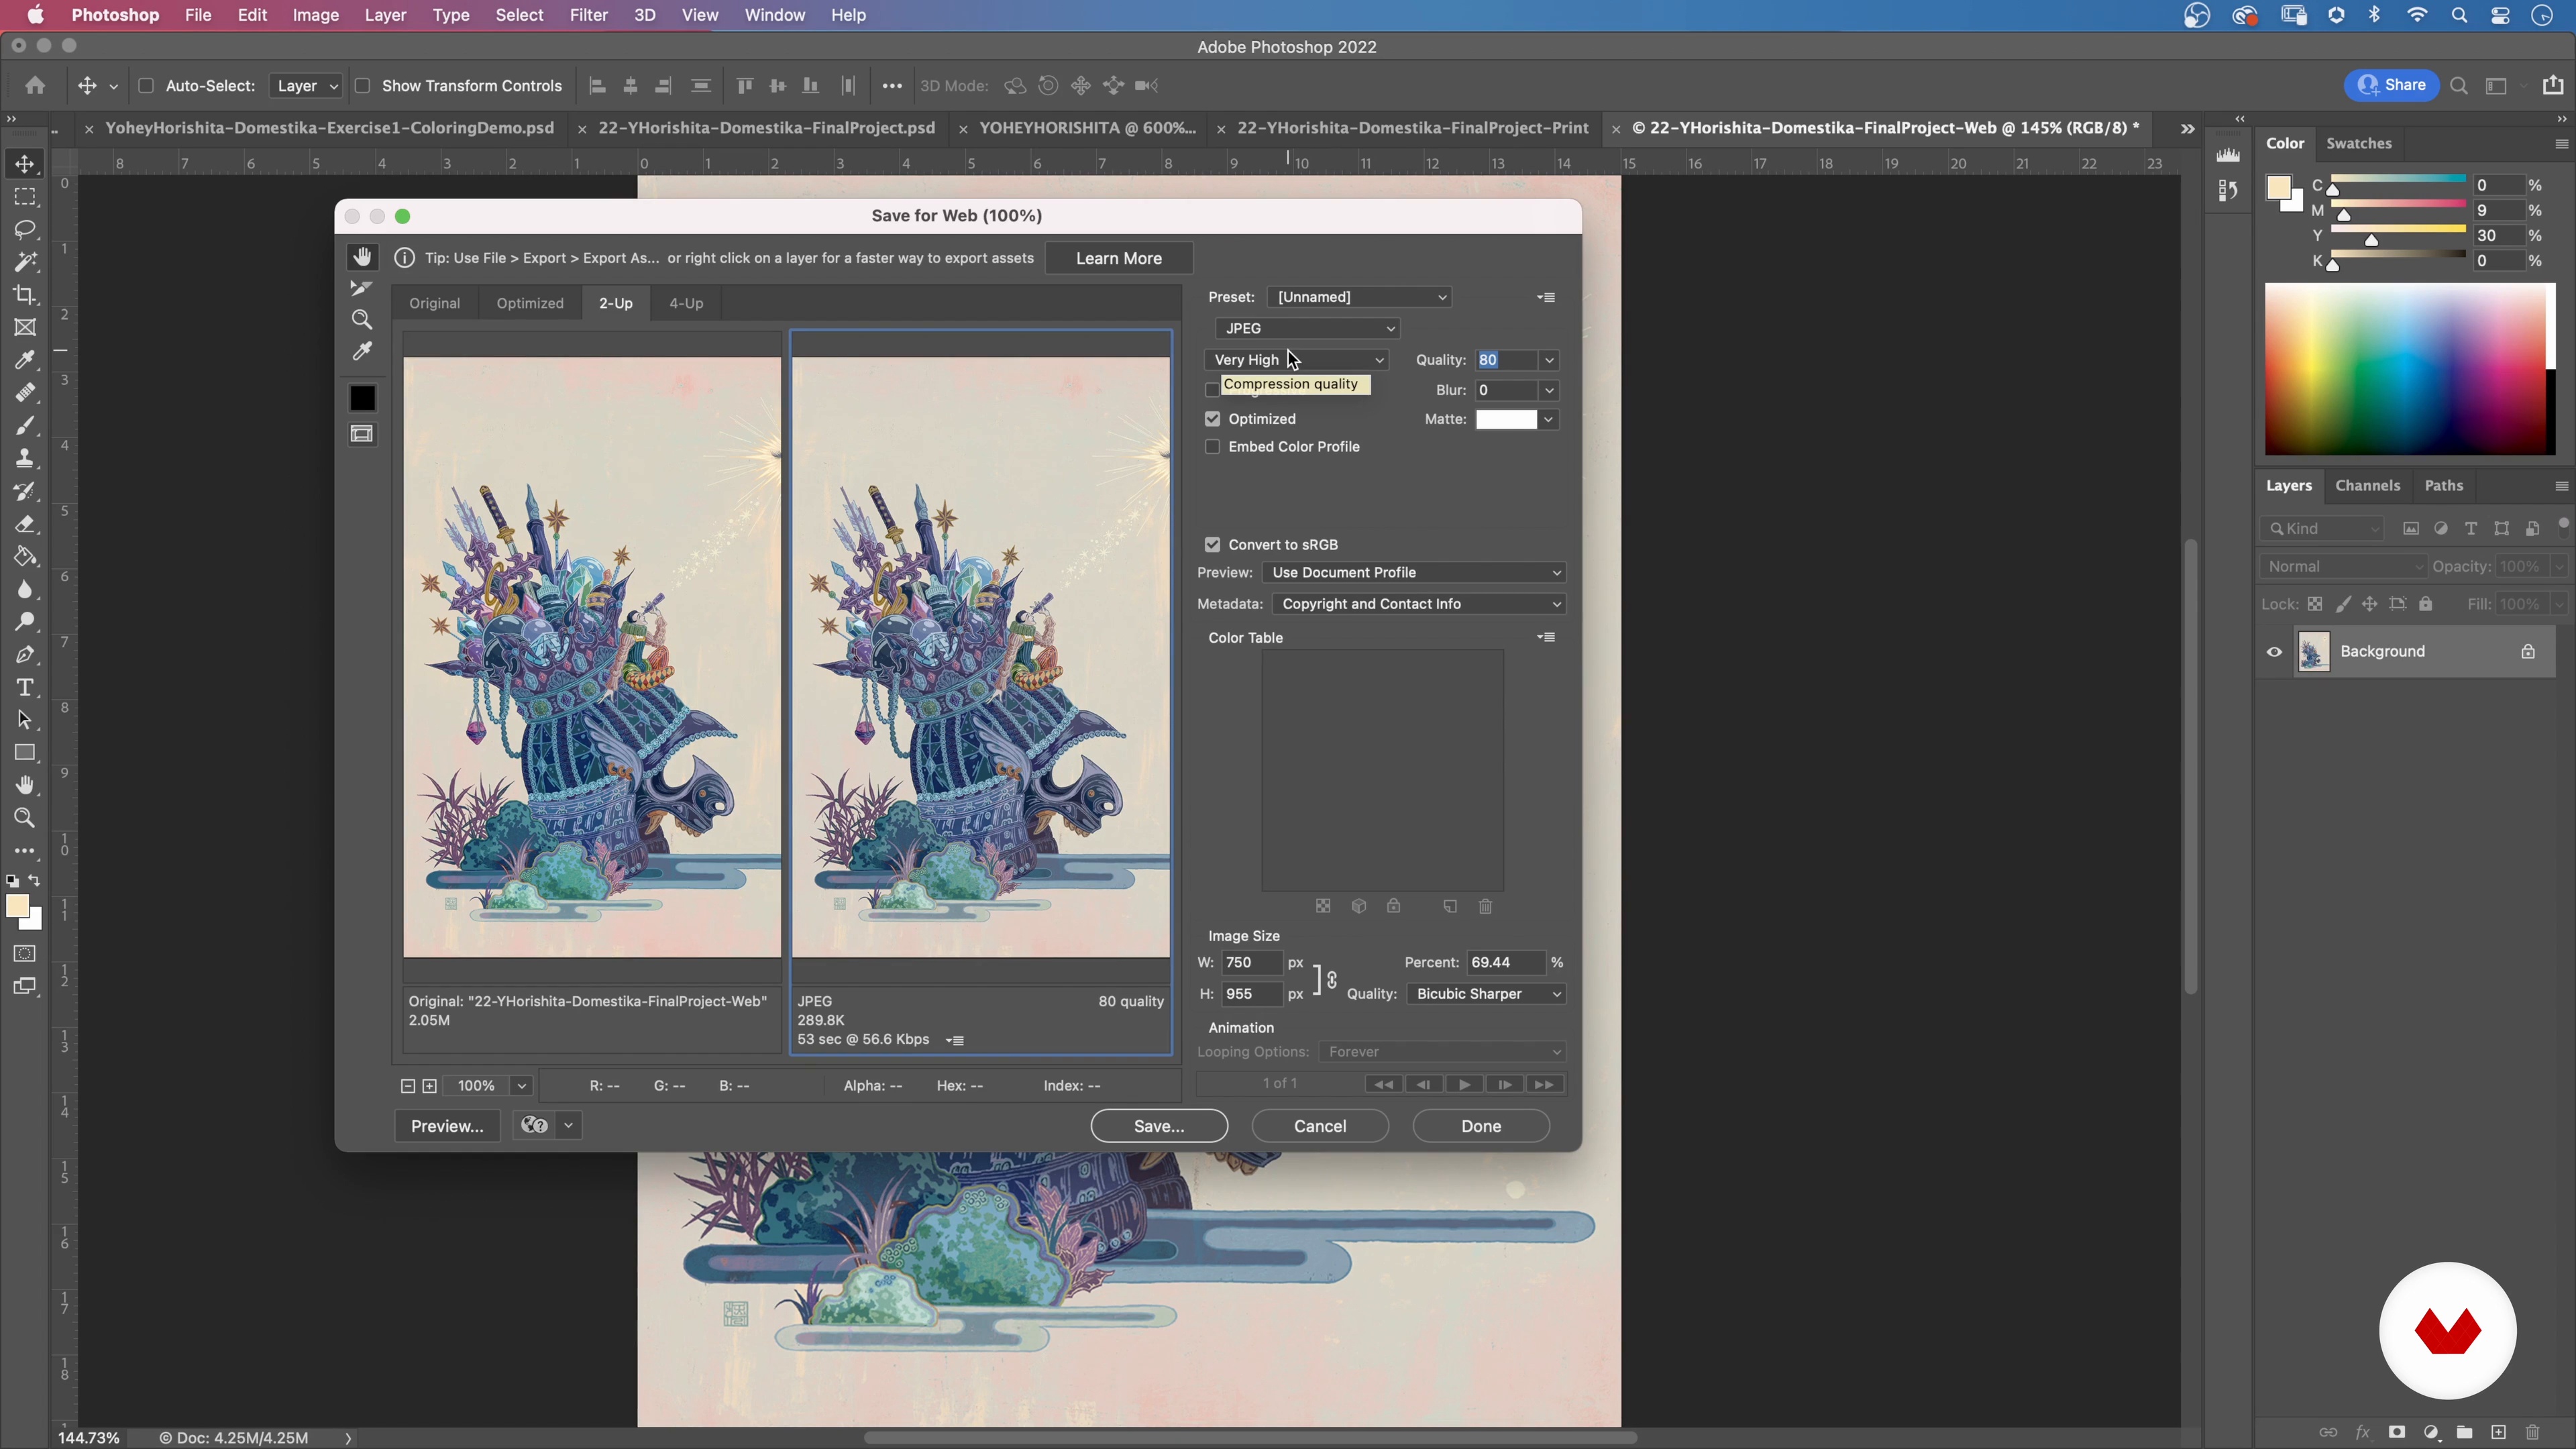
17Preparing to Share the Illustration Online 1
In this lesson, I will prepare you for the web and social media. There are many different platforms out there and it's likely that some will come and go. It’s important to stay current, try different approaches, and play with features. The ultimate goal is to find your own vibe. First, you will need to leave your digital fingerprint on the work by filling out the file information. This way, your art will always find its way back to you.
11m
 18
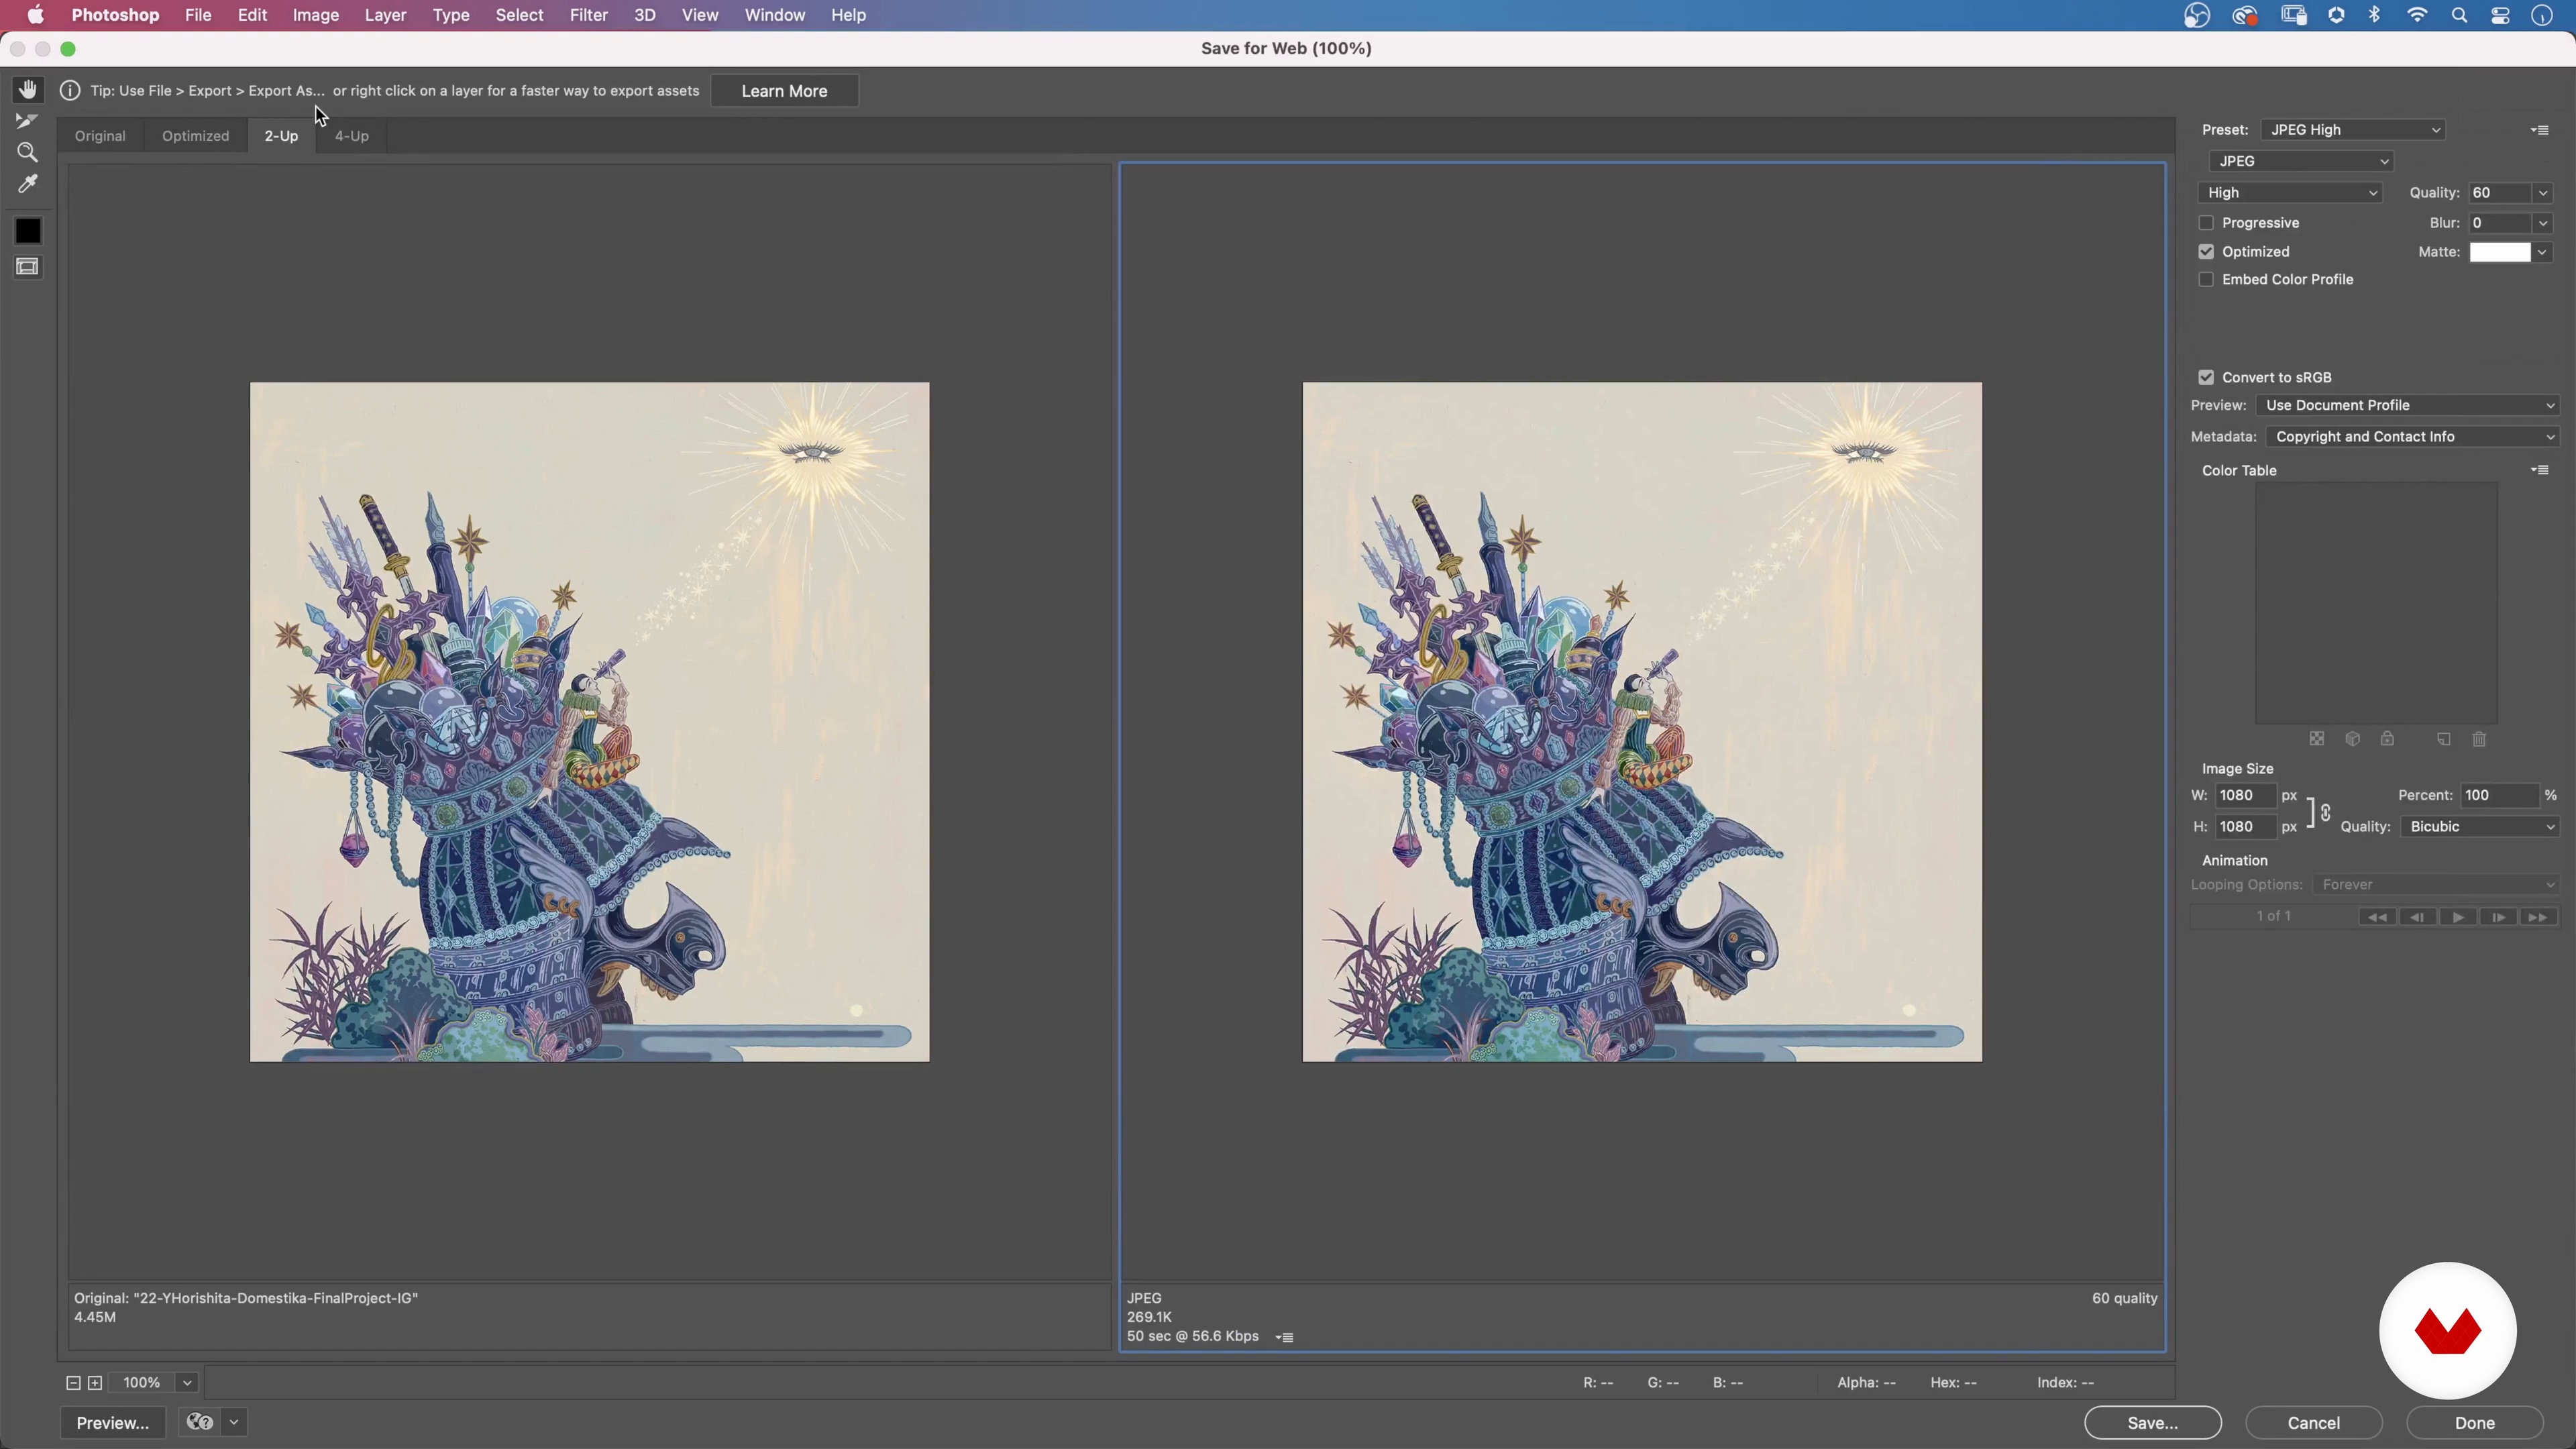
18Preparing to Share the Illustration Online 2
Now that I've covered how to upload your document to the web, let's talk about social media! On Instagram, I only post a couple of times a month. But I love Instagram stories; I use them 24/7. That’s just how I roll, you know? I know myself very well, and I’m not one to create a post every day. I have a busy life outside of social media, okay? Haha! BUT anyway, whether it’s this platform or different platforms, it’s important to know the image requirements and make sure you set up your file accordingly.
11m
 19
19Final Tips: Enjoying the Process
We’ve been through some technical steps and you might be feeling a little overwhelmed. In this lesson, I want to take a moment and encourage you to enjoy the process of making illustrations. Even though there are some technicalities involved, at the end of the day, it’s really about how you want to draw and color. You are at the center, not the techniques, tools, materials, or applications! YOU!
4m
What is this course's project?
Create a comprehensive portfolio showcasing your evolution from traditional Japanese artistic foundations to advanced digital applications, blending authentic techniques into contemporary artwork, and highlighting cultural understanding, vibrant color application, and personal visual storytelling through various mediums.
Who is this specialization for?
Ideal for illustrators seeking genuine Japanese cultural integration, digital artists desiring traditional depth, creative professionals exploring East-Asian commercial illustration, artists pursuing lifelong mastery, and enthusiasts intrigued by the blend of ancient wisdom and contemporary technology.
Requirements and materials
No extensive prior knowledge is needed. Basic requirements include a genuine interest in Japanese art, gouache paints, brushes, India ink, Sumi-e materials, watercolor paper, a digital tablet, Adobe Photoshop, and a high-resolution scanner for digitizing artwork.
Reviews
- manita_kaewkhongPLUS11 months ago
I absolutely loved this course, especially as a fan of Japanese art! The instructor was incredibly detailed and generous in sharing so many valuable techniques.
- 11 months ago
I am a big admirer of Japanese culture and art. This course has excited and enchanted me. I enjoy every lesson :-) I RECOMMEND!
Select to get to know your teachers in this specialization course


What to expect from this specialization course
Learn at your own pace
Enjoy learning from home without a set schedule and with an easy-to-follow method. You set your own pace.
Learn from the best professionals
Learn valuable methods and techniques explained by top experts in the creative sector.
Meet expert teachers
Each expert teaches what they do best, with clear guidelines, true passion, and professional insight in every lesson.
Certificates
PLUSIf you're a Plus member, get a custom certificate for every specialization course. Share it on your portfolio, social media, or wherever you like.
Get front-row seats
Videos of the highest quality, so you don't miss a single detail. With unlimited access, you can watch them as many times as you need to perfect your technique.
Share knowledge and ideas
Ask questions, request feedback, or offer solutions. Share your learning experience with other students in the community who are as passionate about creativity as you are.
Connect with a global creative community
The community is home to millions of people from around the world who are curious and passionate about exploring and expressing their creativity.
Watch professionally produced courses
Domestika curates its teacher roster and produces every course in-house to ensure a high-quality online learning experience.
FAQs
Yes, this course is designed for intermediate artists who want to deepen their skills in traditional and digital illustration, composition, and storytelling techniques.
You'll need oil pastels, ink, dip pen, watercolor paper, illustration board, gesso, graphite powder, tracing paper, a lightbox, and access to Photoshop and a Wacom tablet for digital work.
You’ll learn how to balance composition, mix complementary colors, develop concepts with word association, create texture with oil pastel and ink, and integrate traditional art with digital workflows.
Basic familiarity with Photoshop is helpful, but the course covers essential digital techniques, making it accessible for those with some traditional illustration experience looking to expand digitally.
You’ll explore layering oil pastel on gessoed board, using graphite powder, and employing pen and ink techniques like varied line weight and sandpaper erasing to achieve rich textures.
The course teaches visual brainstorming, word association, thumbnail sketching, and concept development, helping you turn abstract ideas into refined visual compositions.
Yes, you’ll learn high-resolution scanning, cleaning up ink drawings in Photoshop, adjusting levels, resizing, and preparing files for print and social media.