Specialization

Specialization in Design and Creation of Accessories

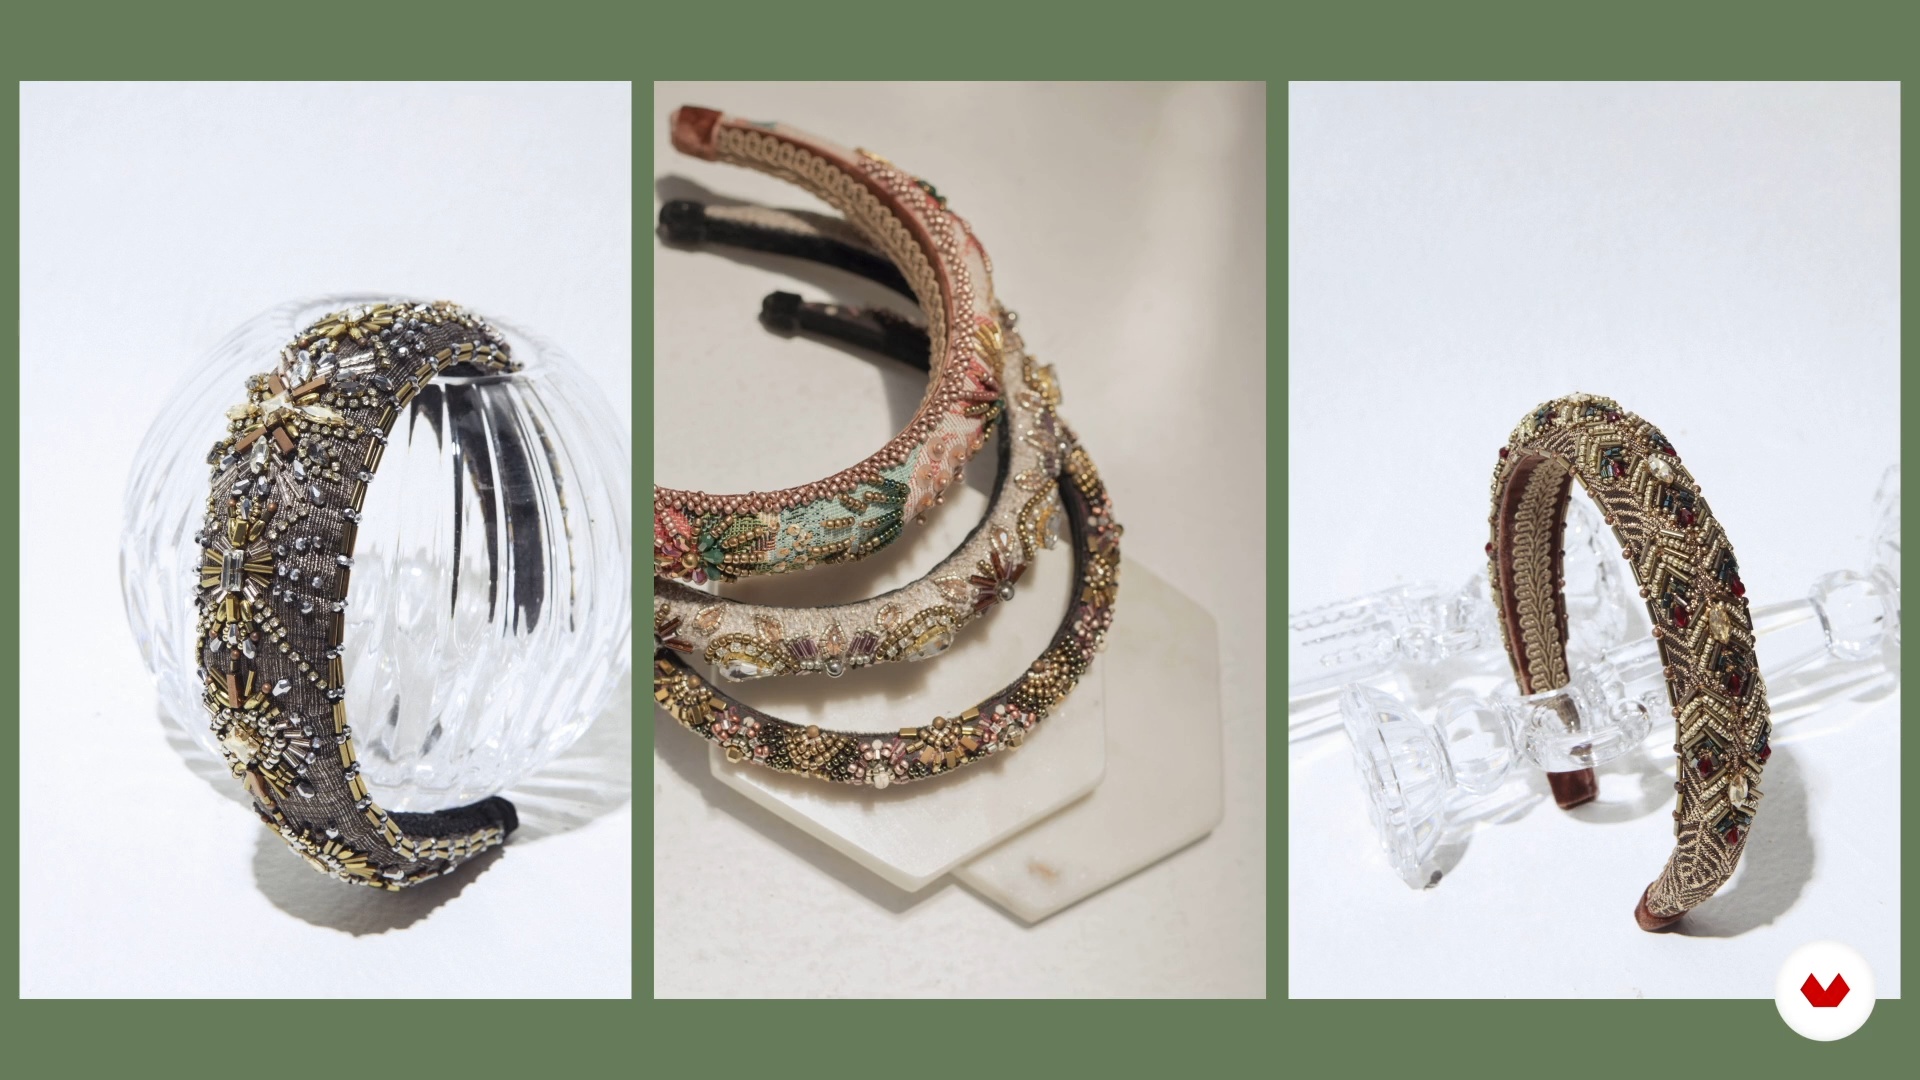
Master head accessory design by exploring embroidery techniques, millinery, and creating unique headbands.

Specialization · 6 modules

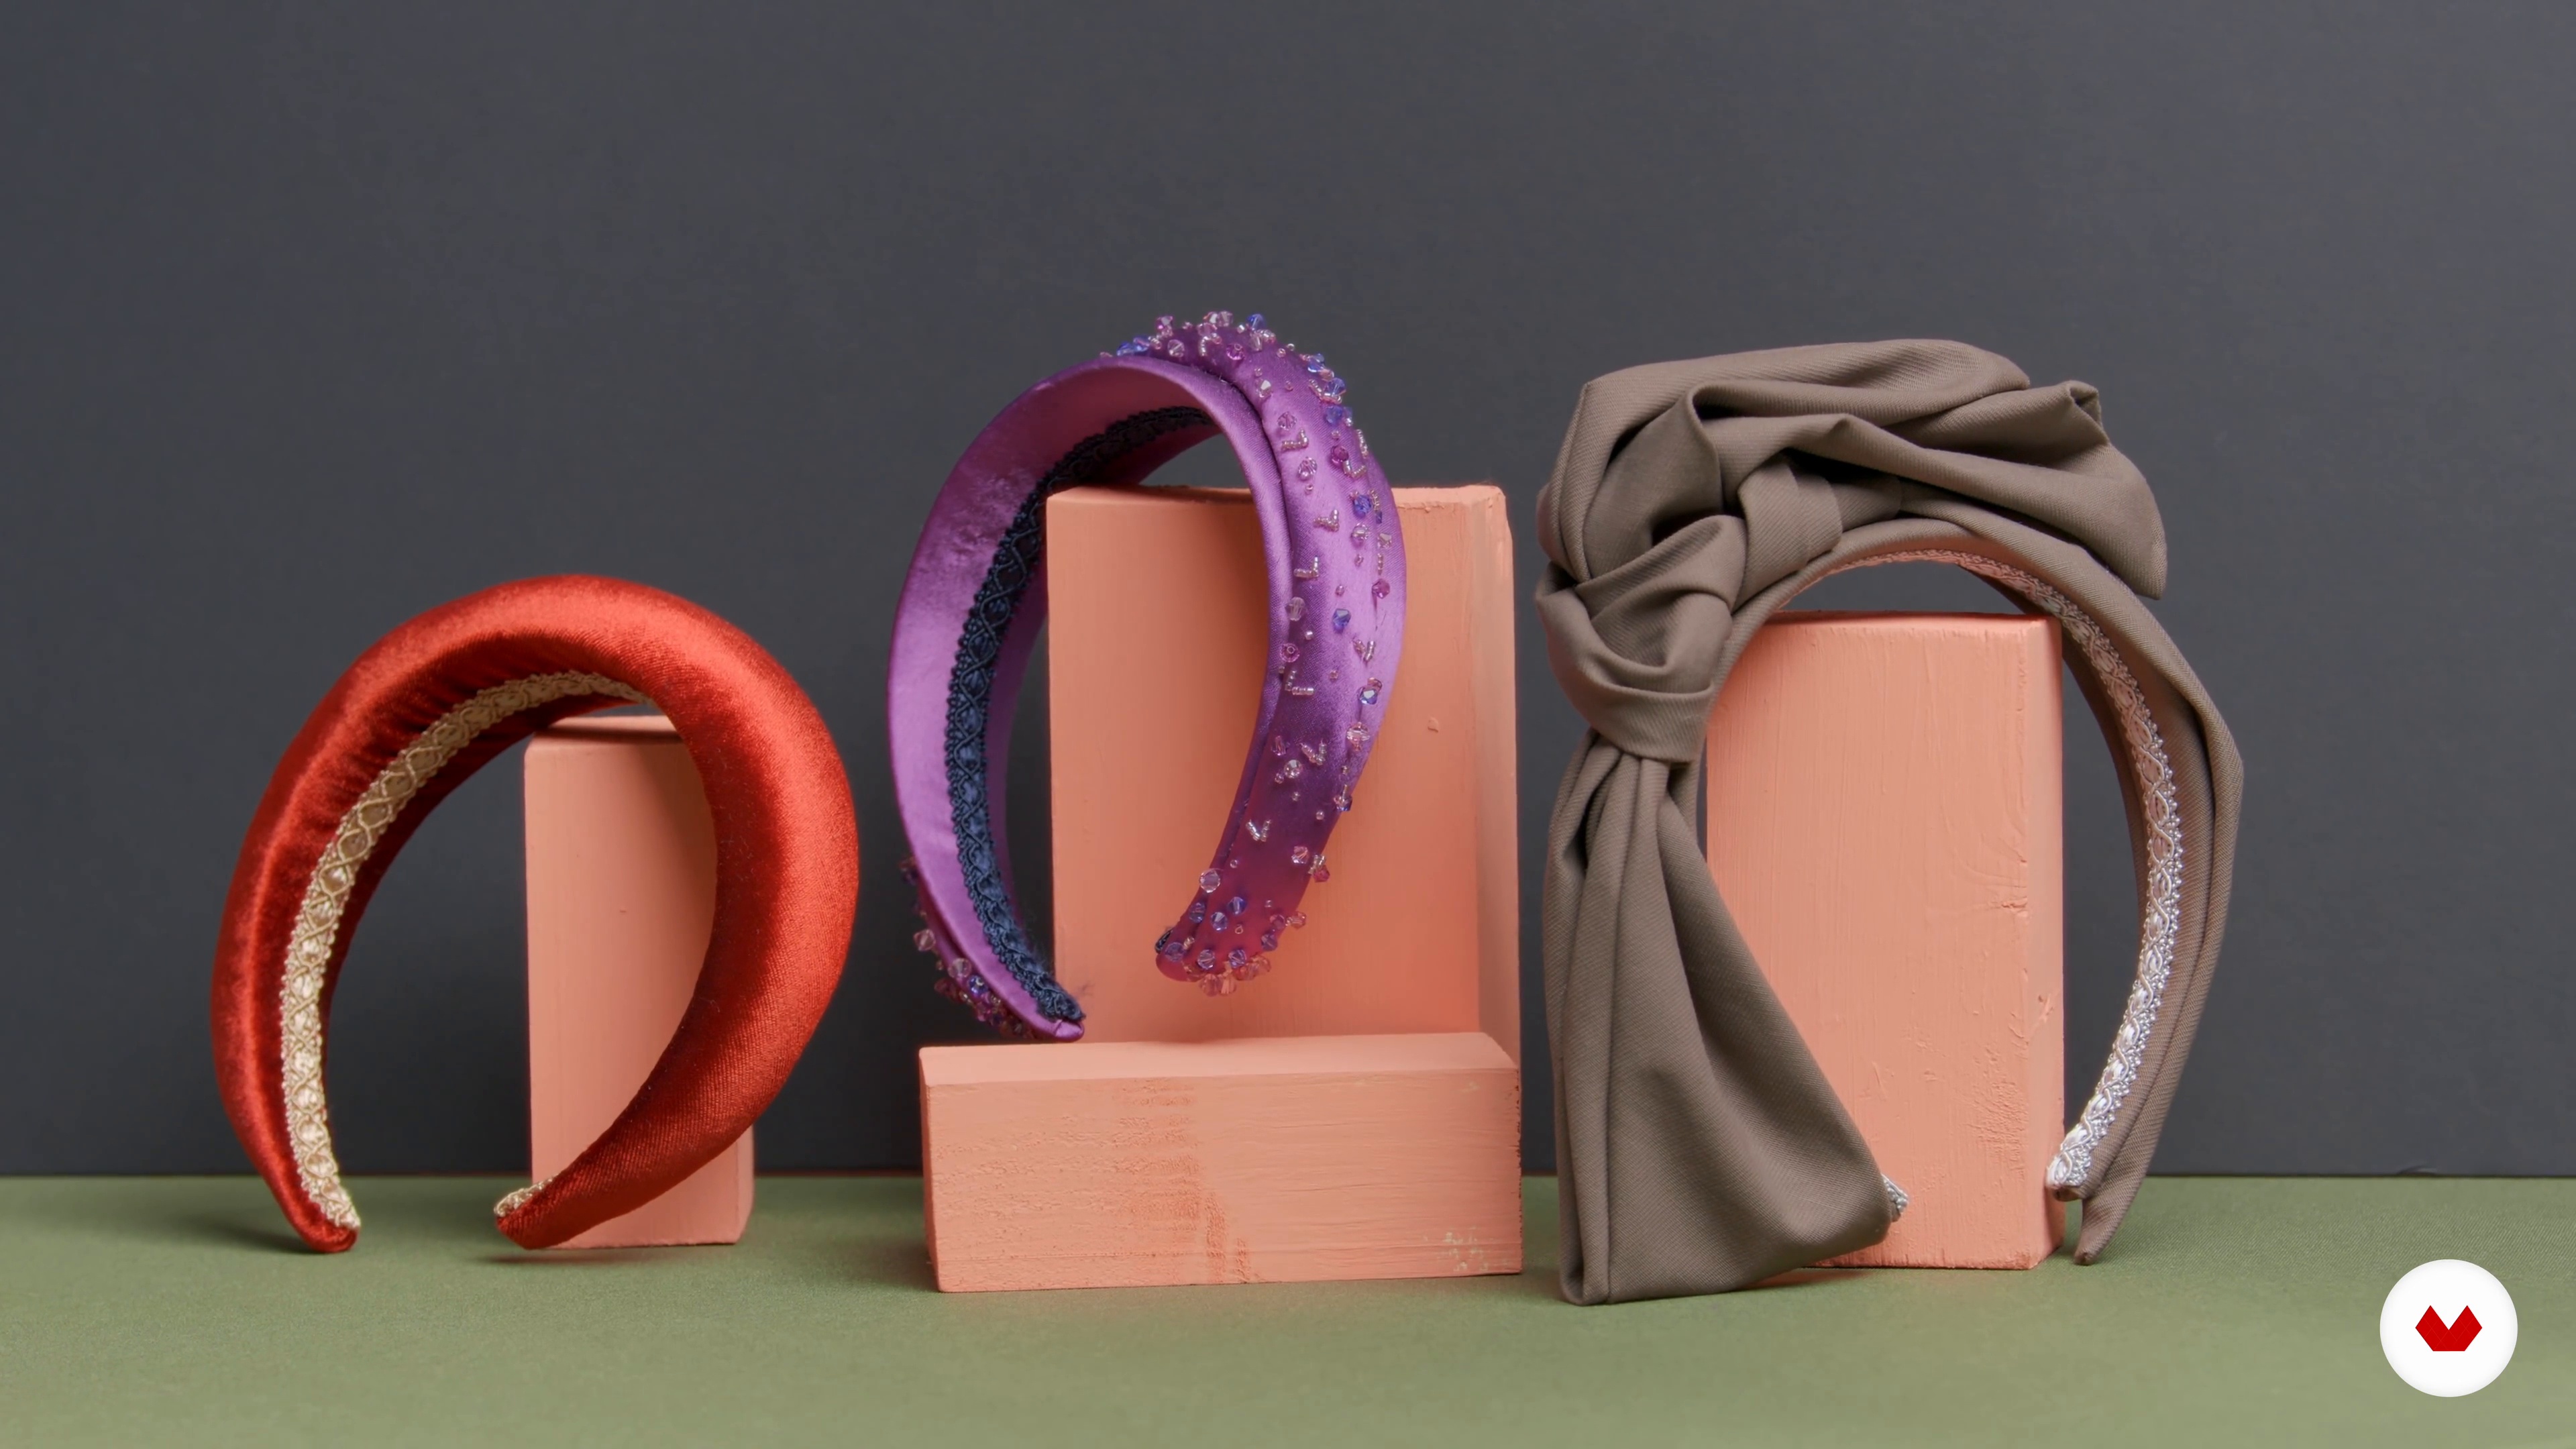
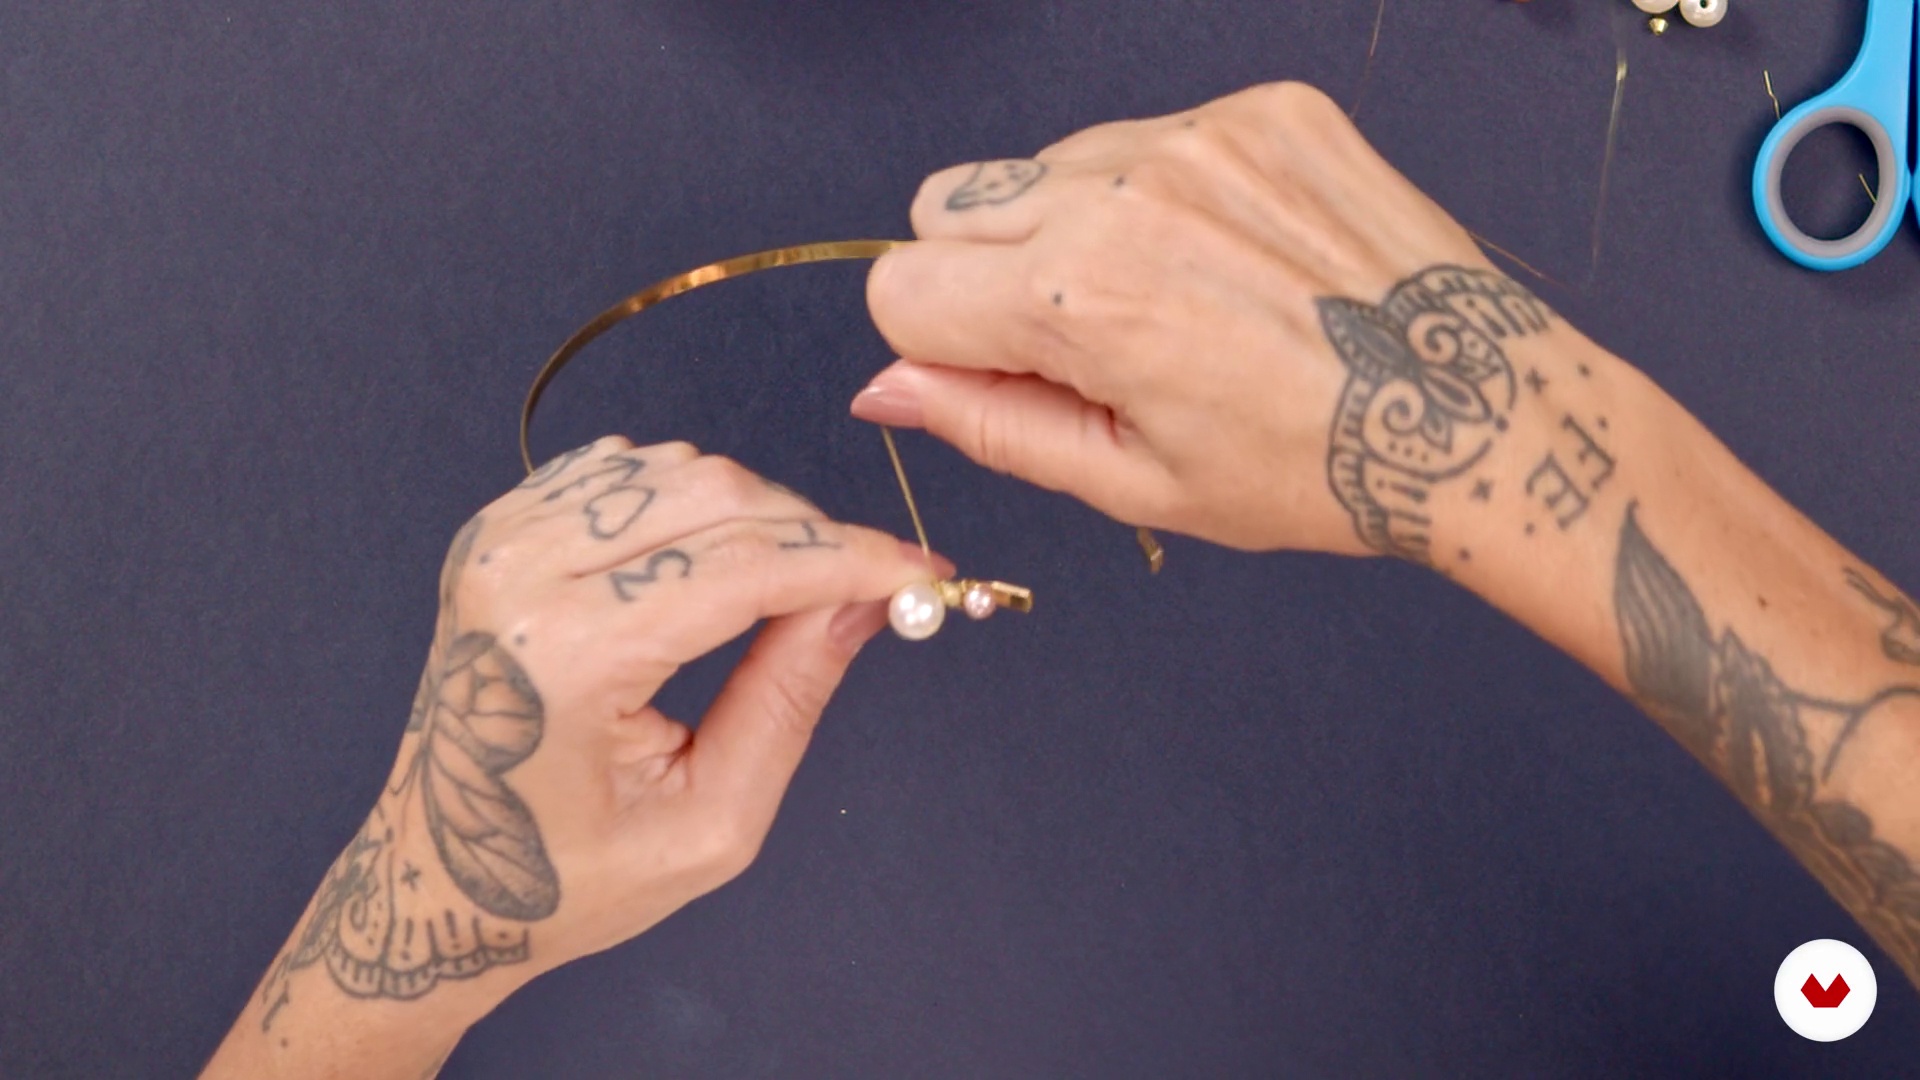
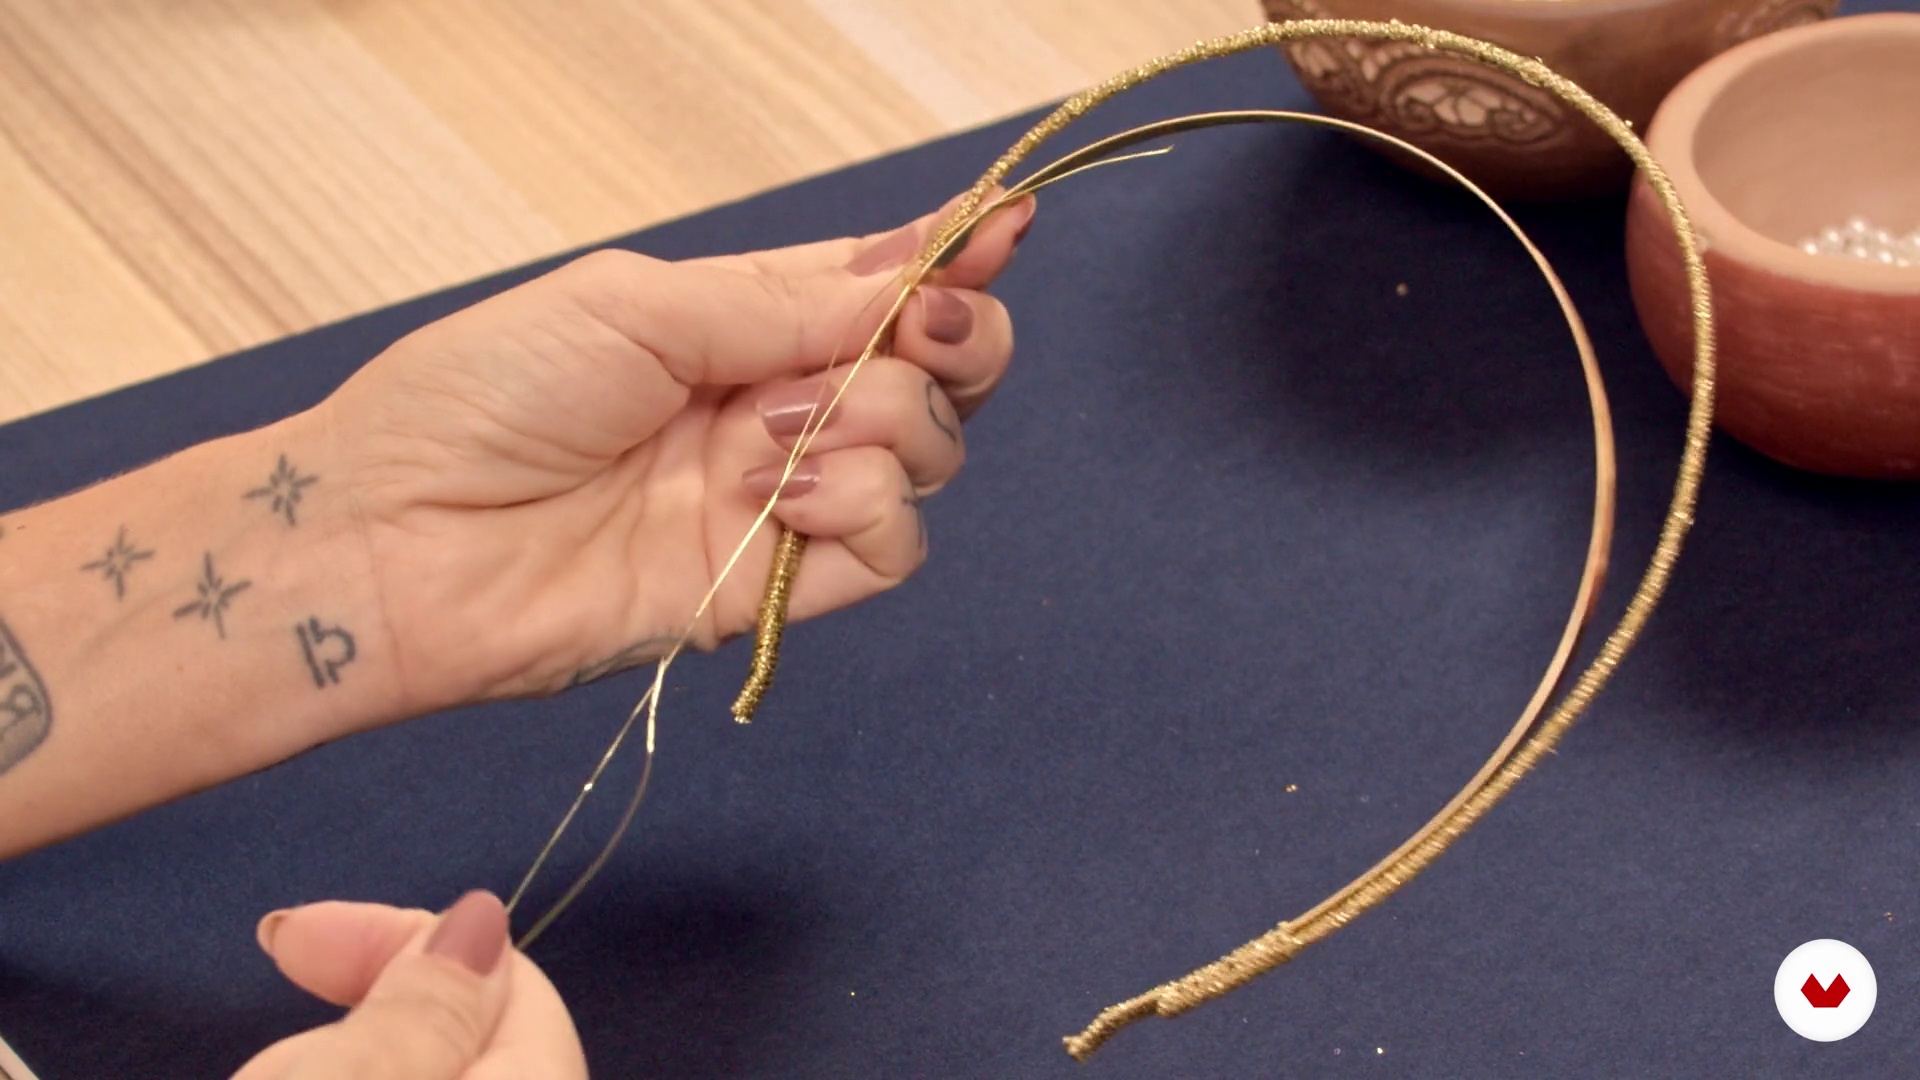
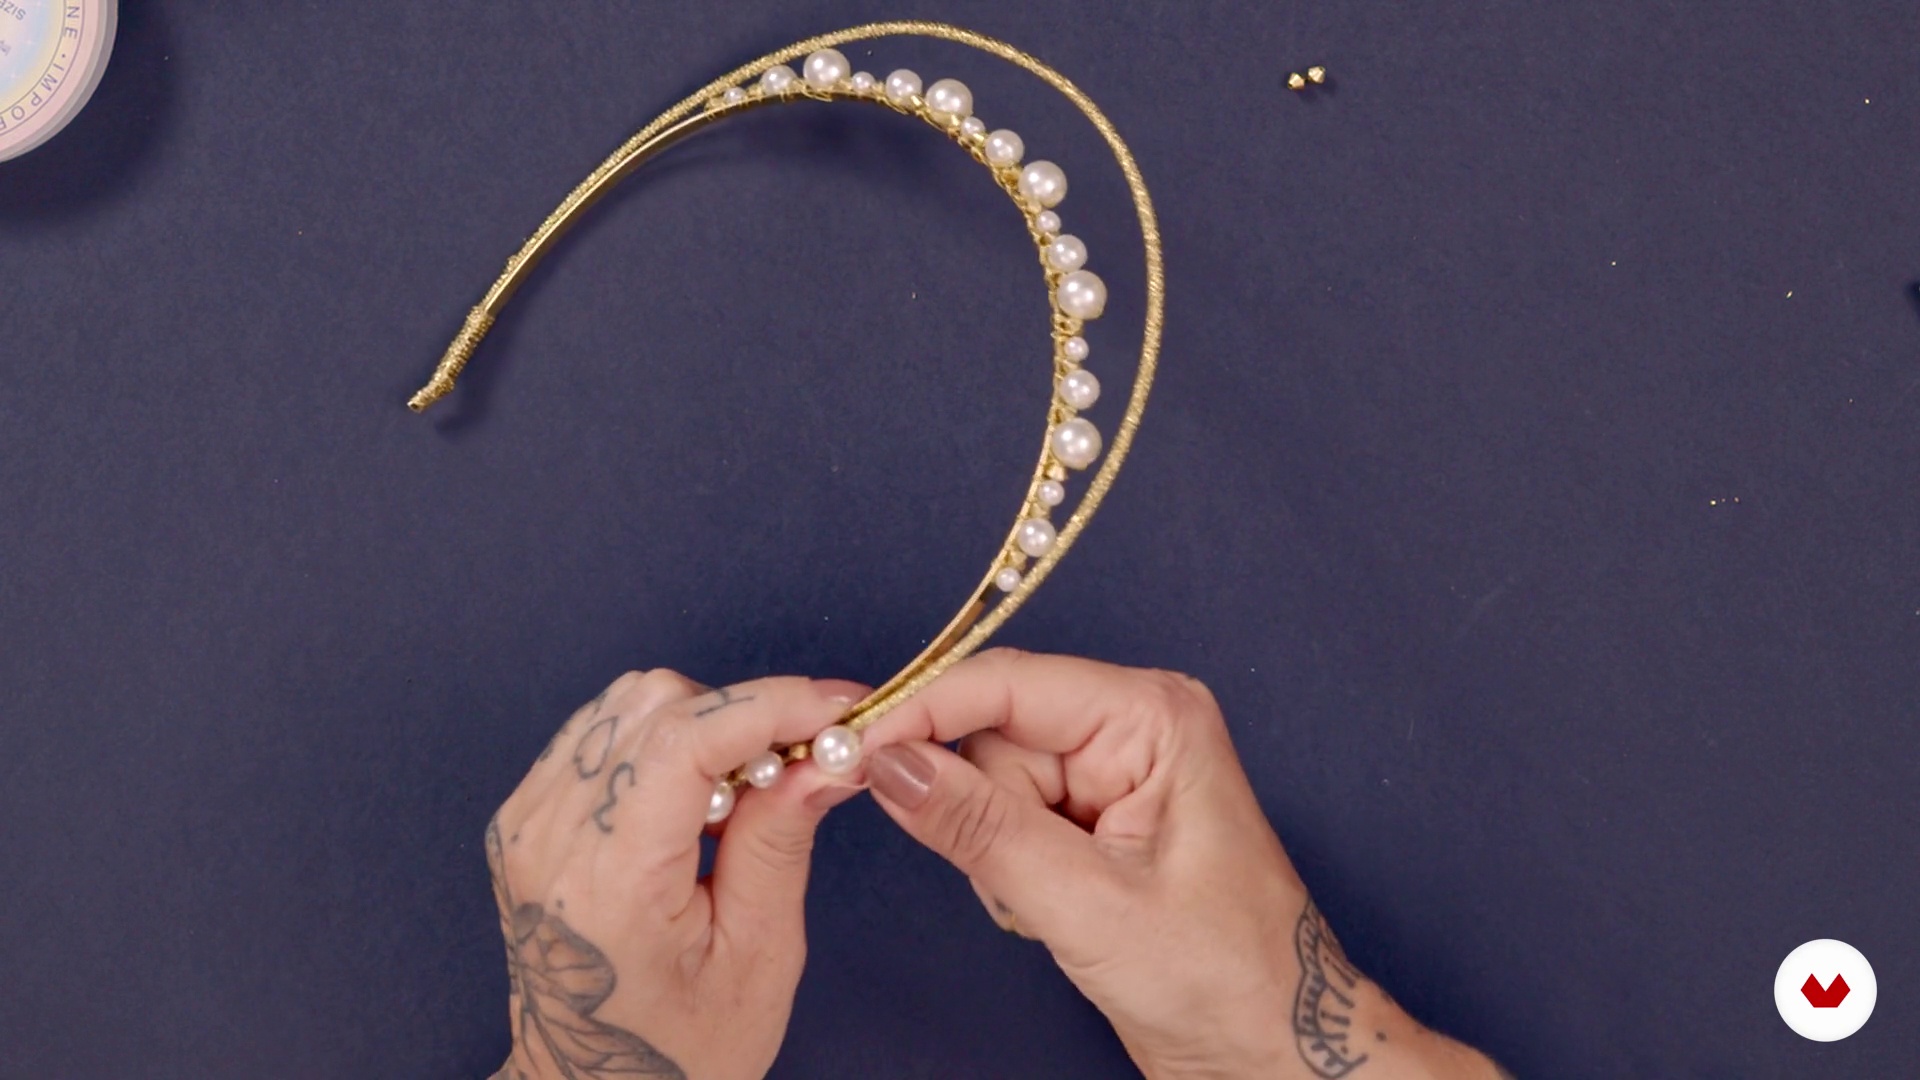
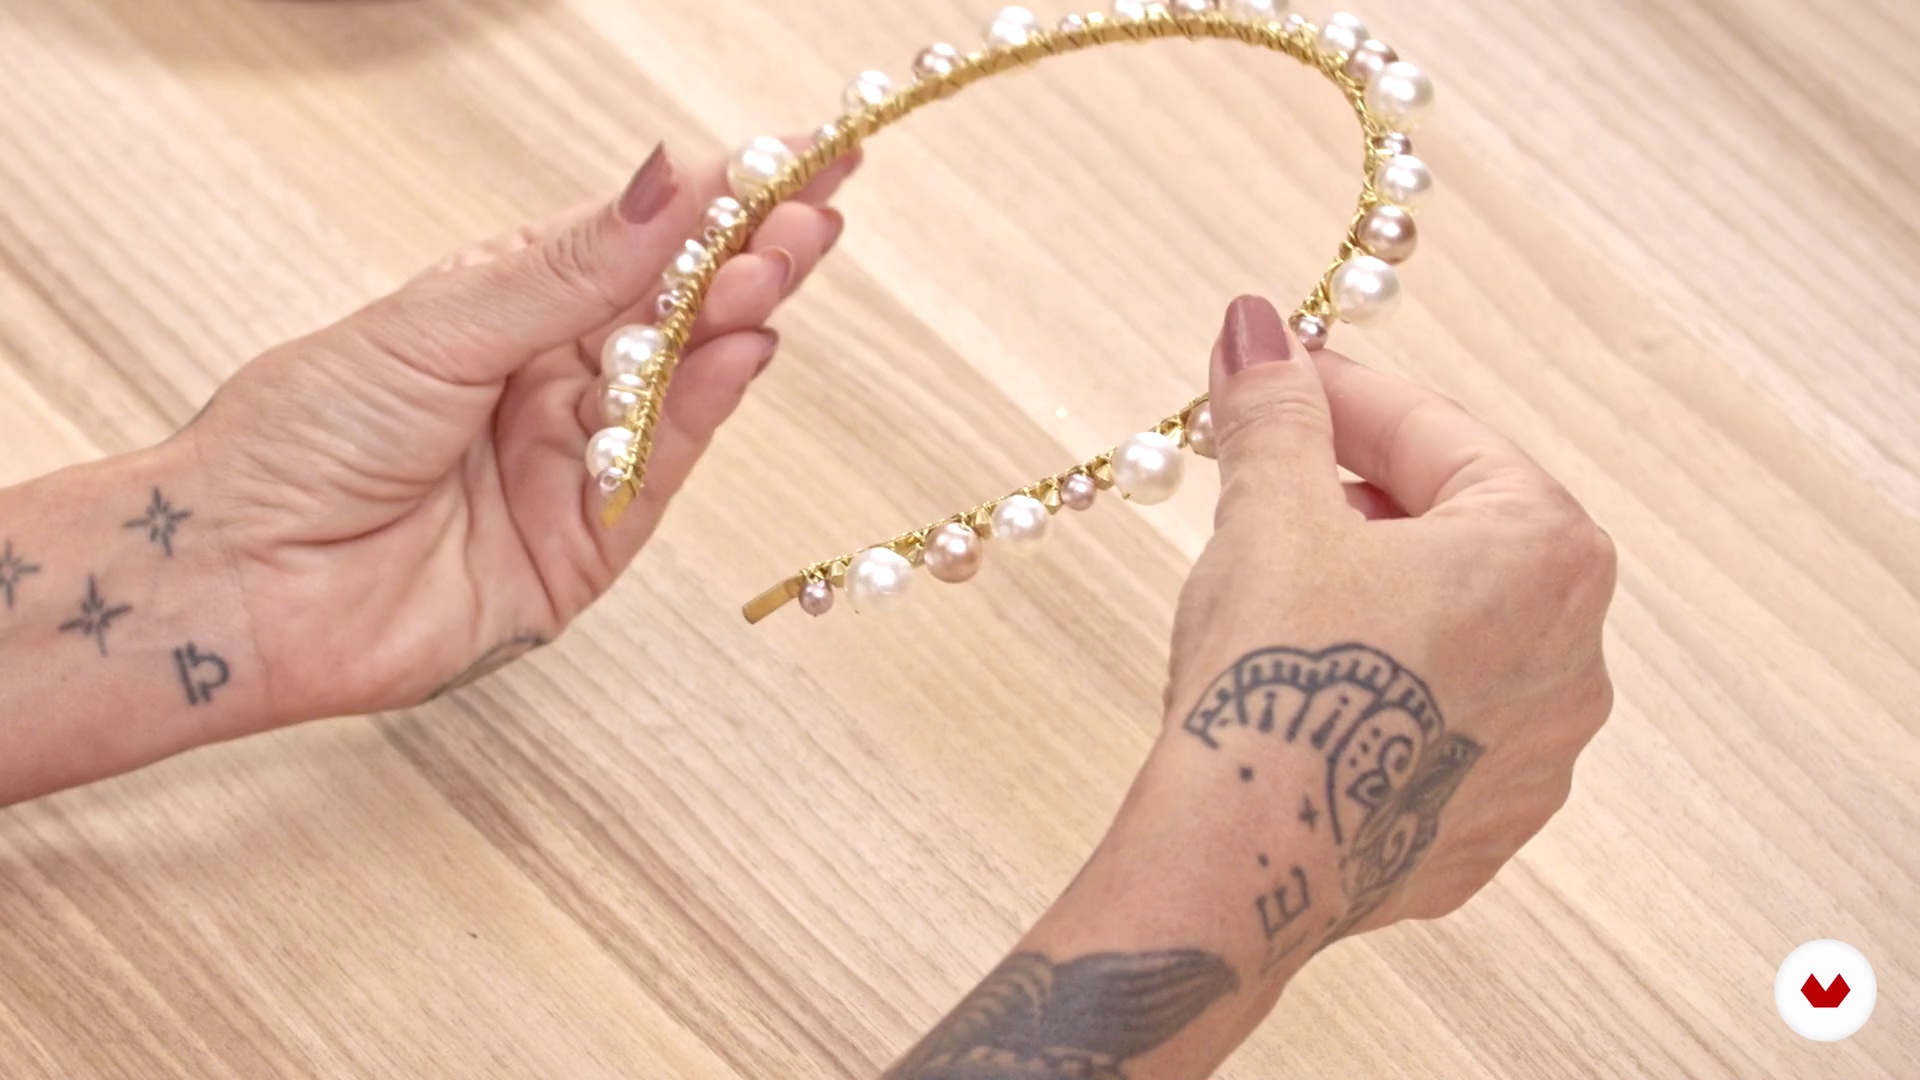
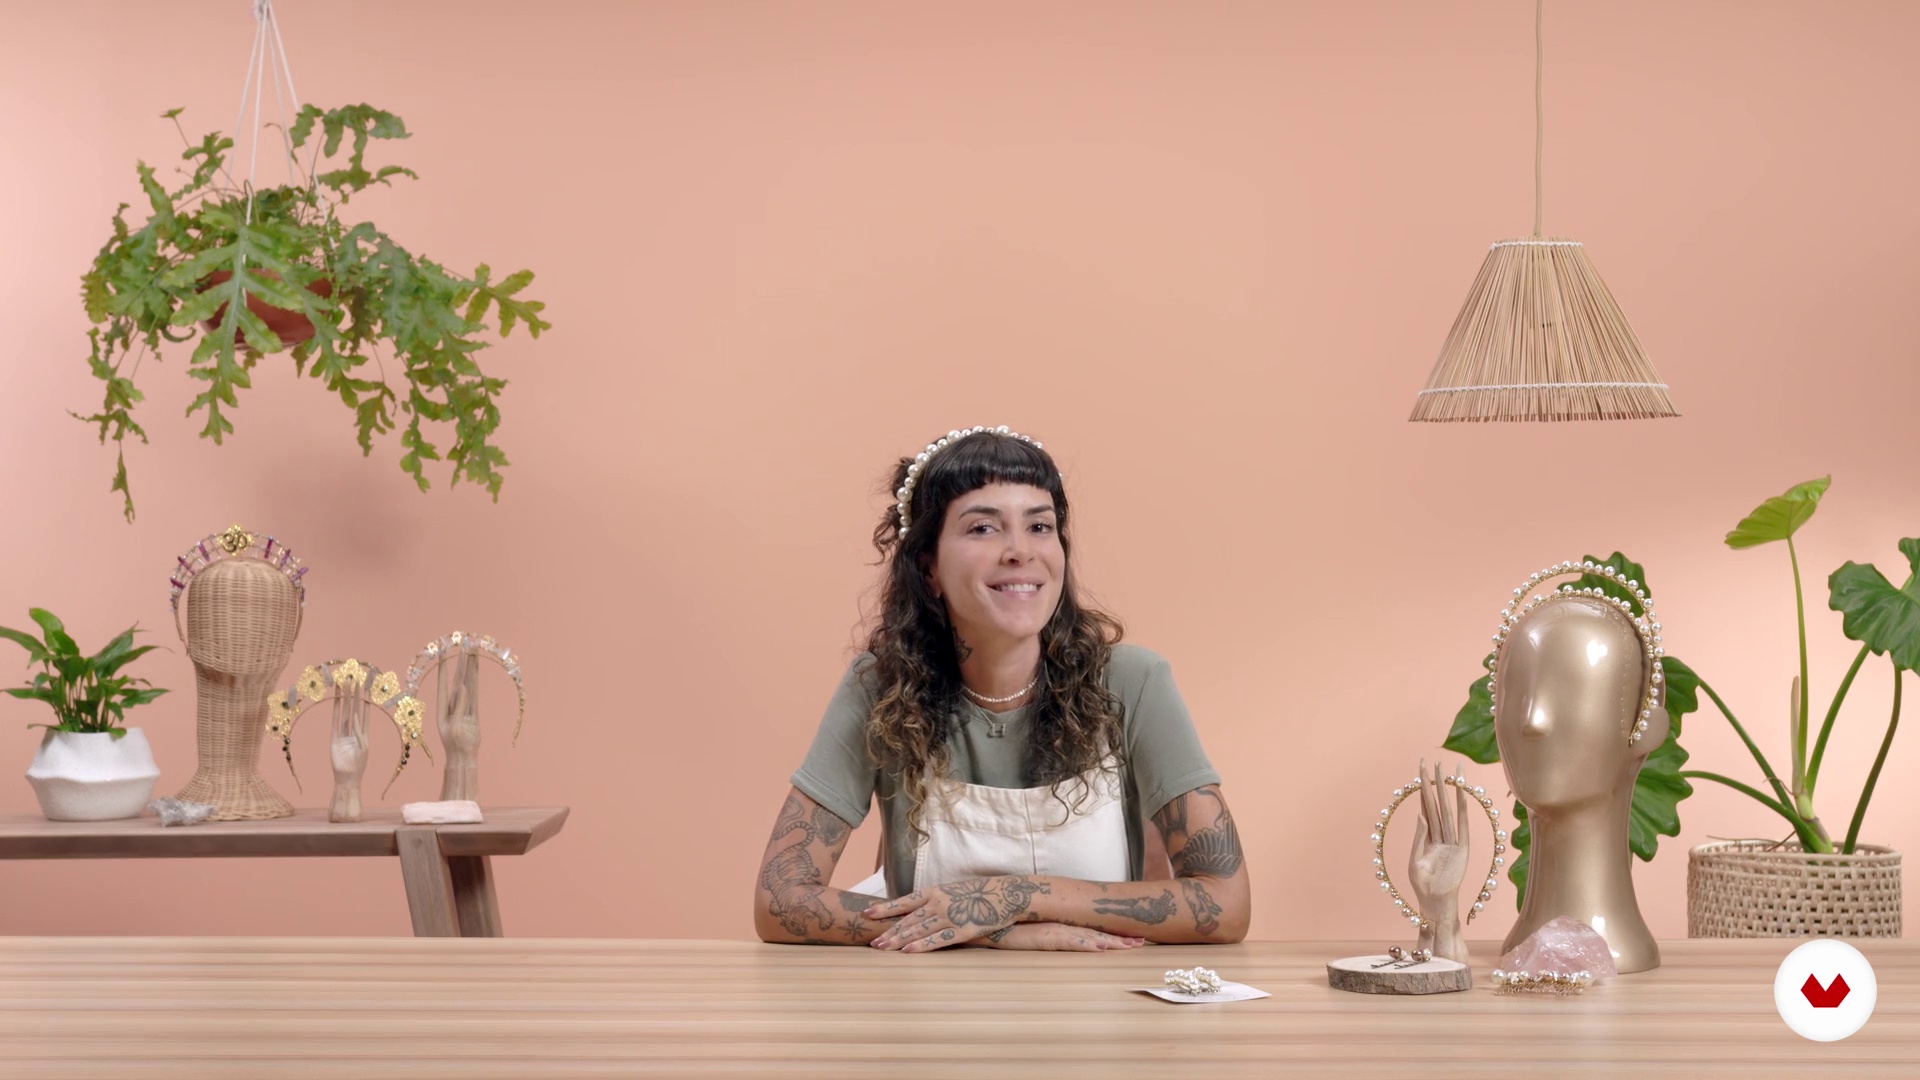
Embark on a creative journey where you'll learn to design and craft head accessories that stand out for their uniqueness and style. From beadwork guided by MULATT to headband creation using Beto García's techniques, each course offers the opportunity to explore materials and techniques that will enrich your repertoire. Millinery is transformed under the guidance of NOMADE MODERNE HATS, who will teach you how to fuse traditional methods with modern trends to create one-of-a-kind pieces. Fernanda Guimarães completes this experience with innovative approaches to hair accessories, integrating functionality and aesthetics into every design.

Gain in-depth knowledge that will allow you to master everything from the fundamentals of embroidery to advanced millinery techniques. Each lesson is designed to enhance your creativity and skills, encouraging you to experiment and develop your own identity as a designer. By the end, you'll be equipped to create a complete collection of accessories that reflects your personal style, ready to impress in any setting, from runways to casual gatherings.

Read more ↓

What will you learn in this specialization?

A total of 6 modules and 68 lessons
A total of 10h 21m of vídeo lessons
Taught by 4 selected expert teachers
image
3
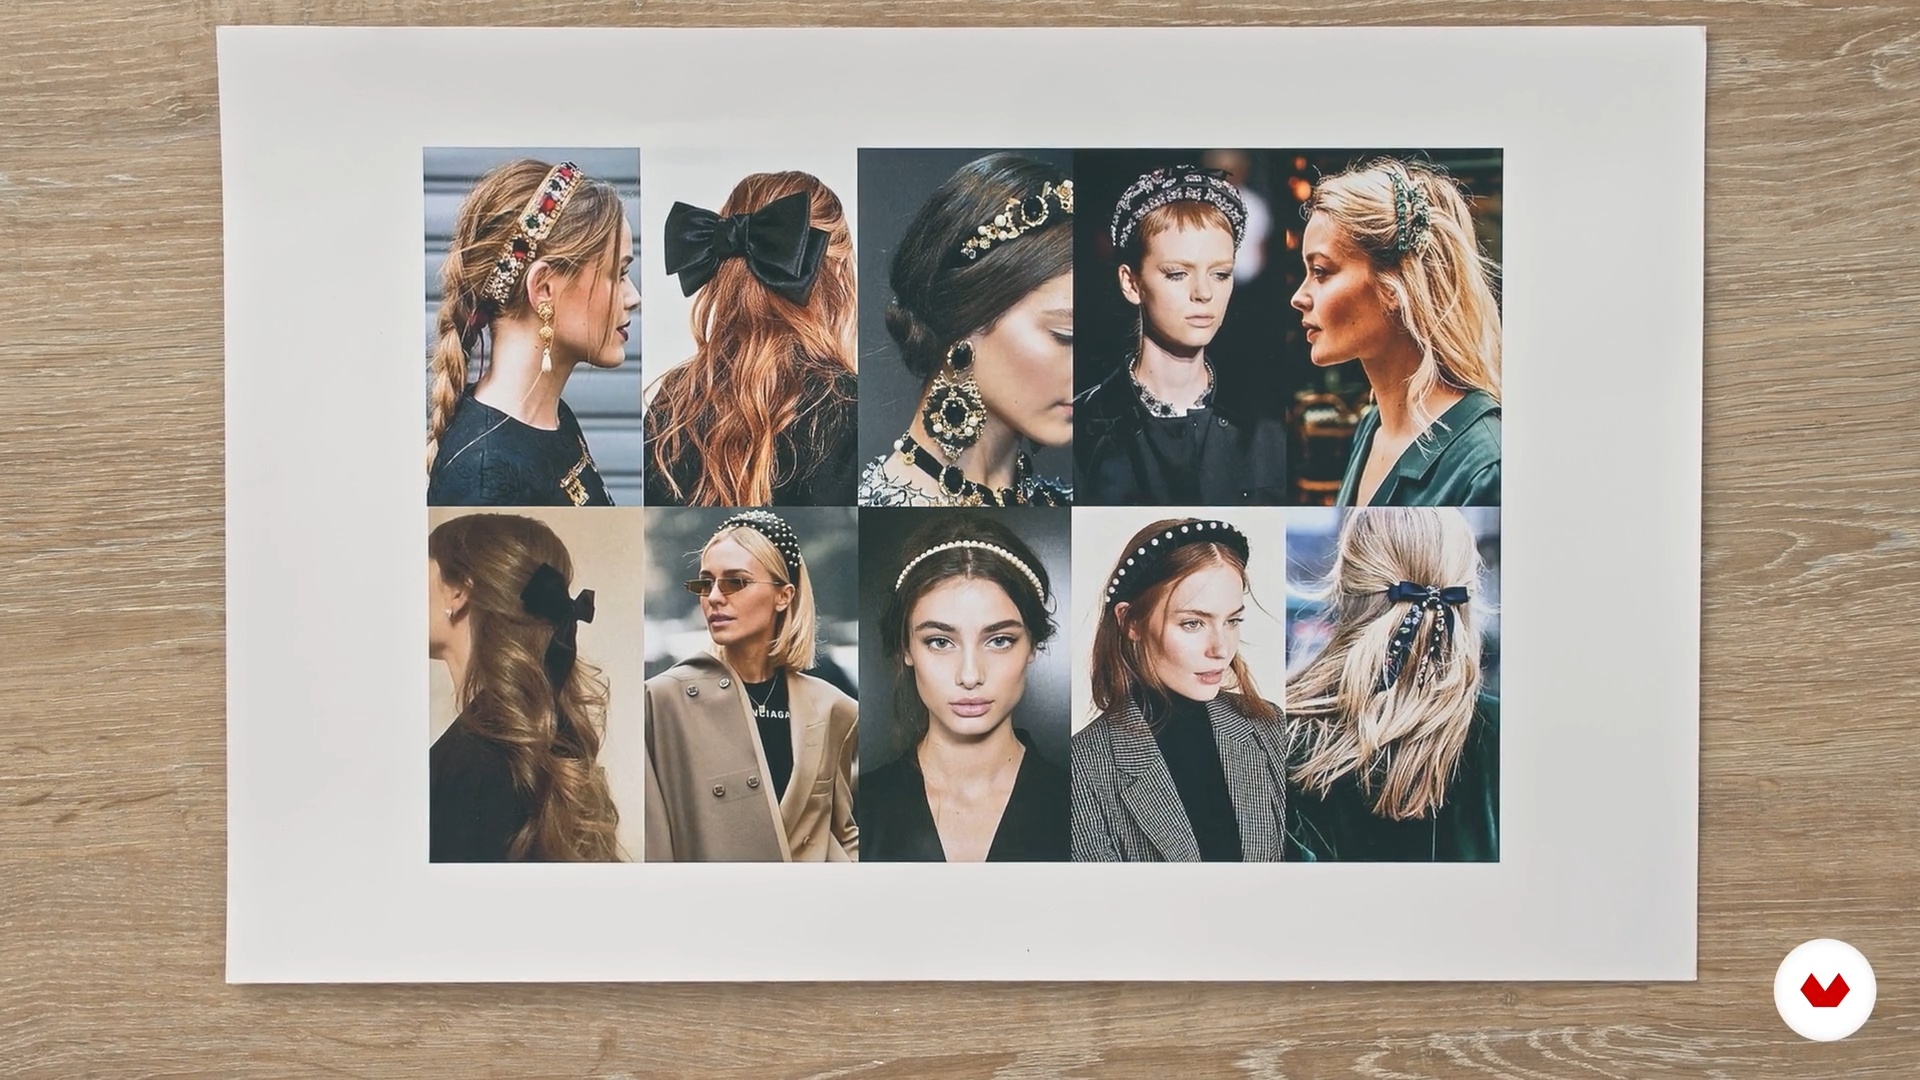
Creating a Mood Board
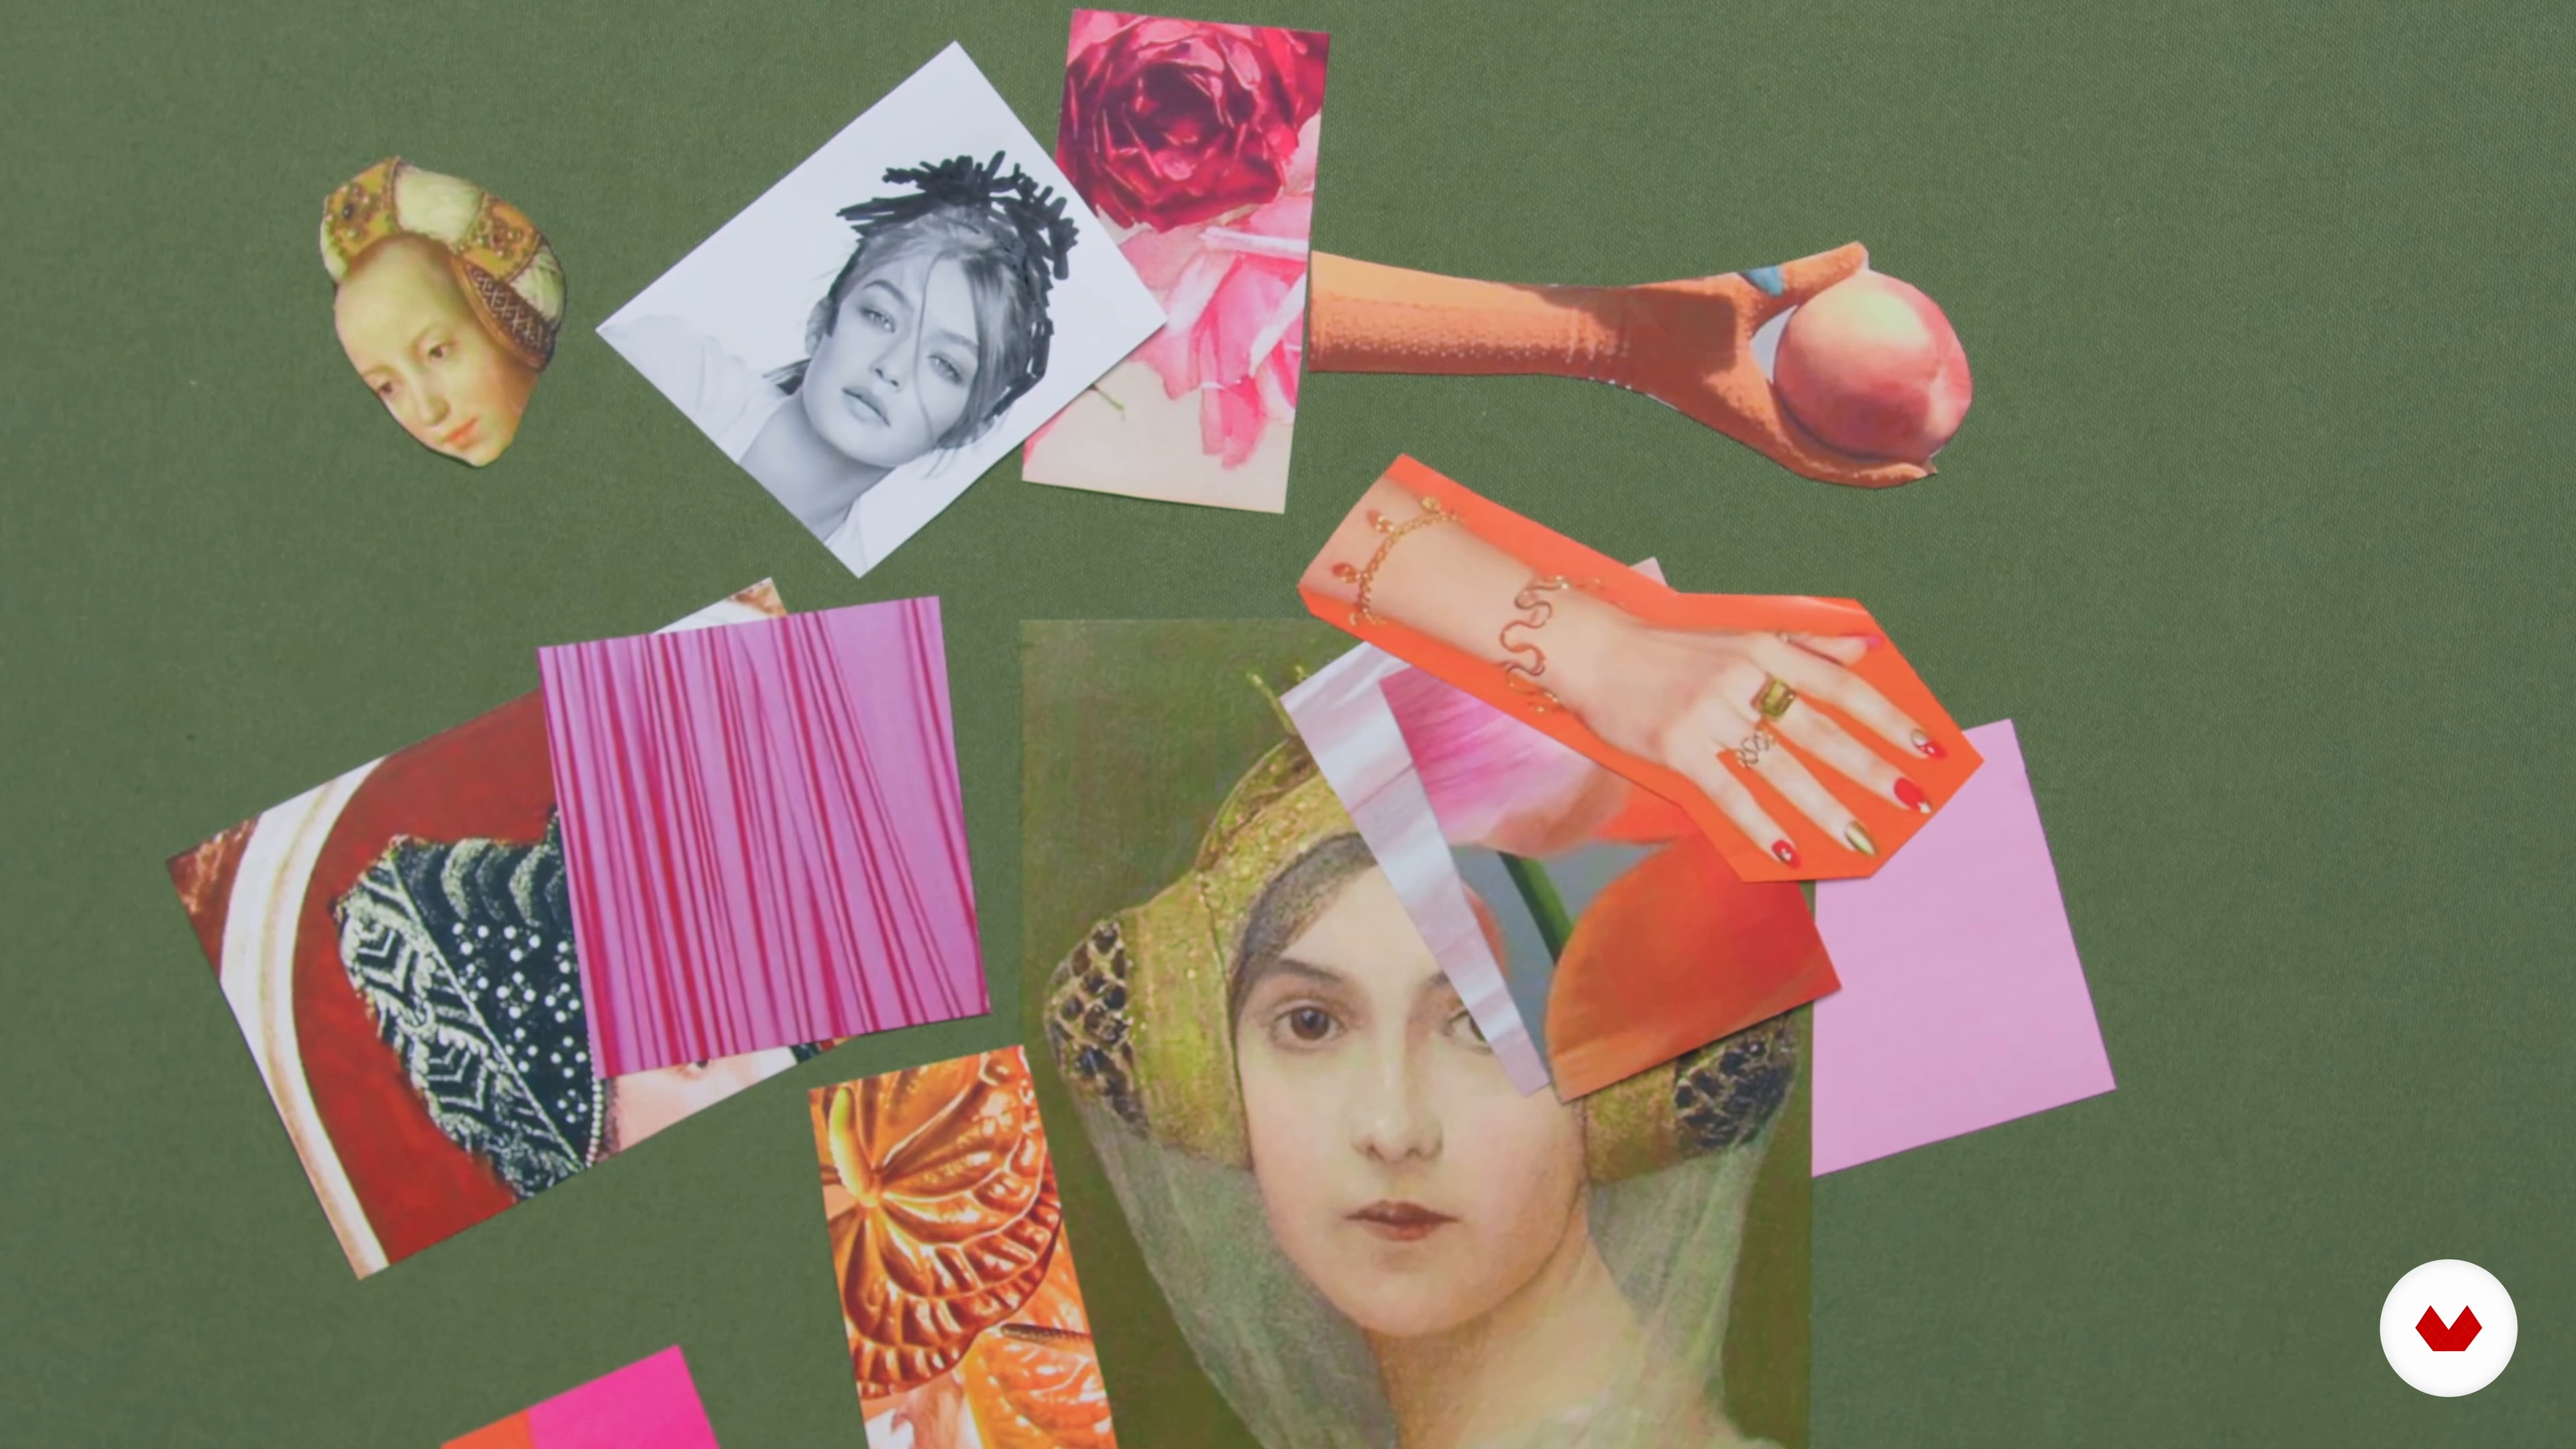
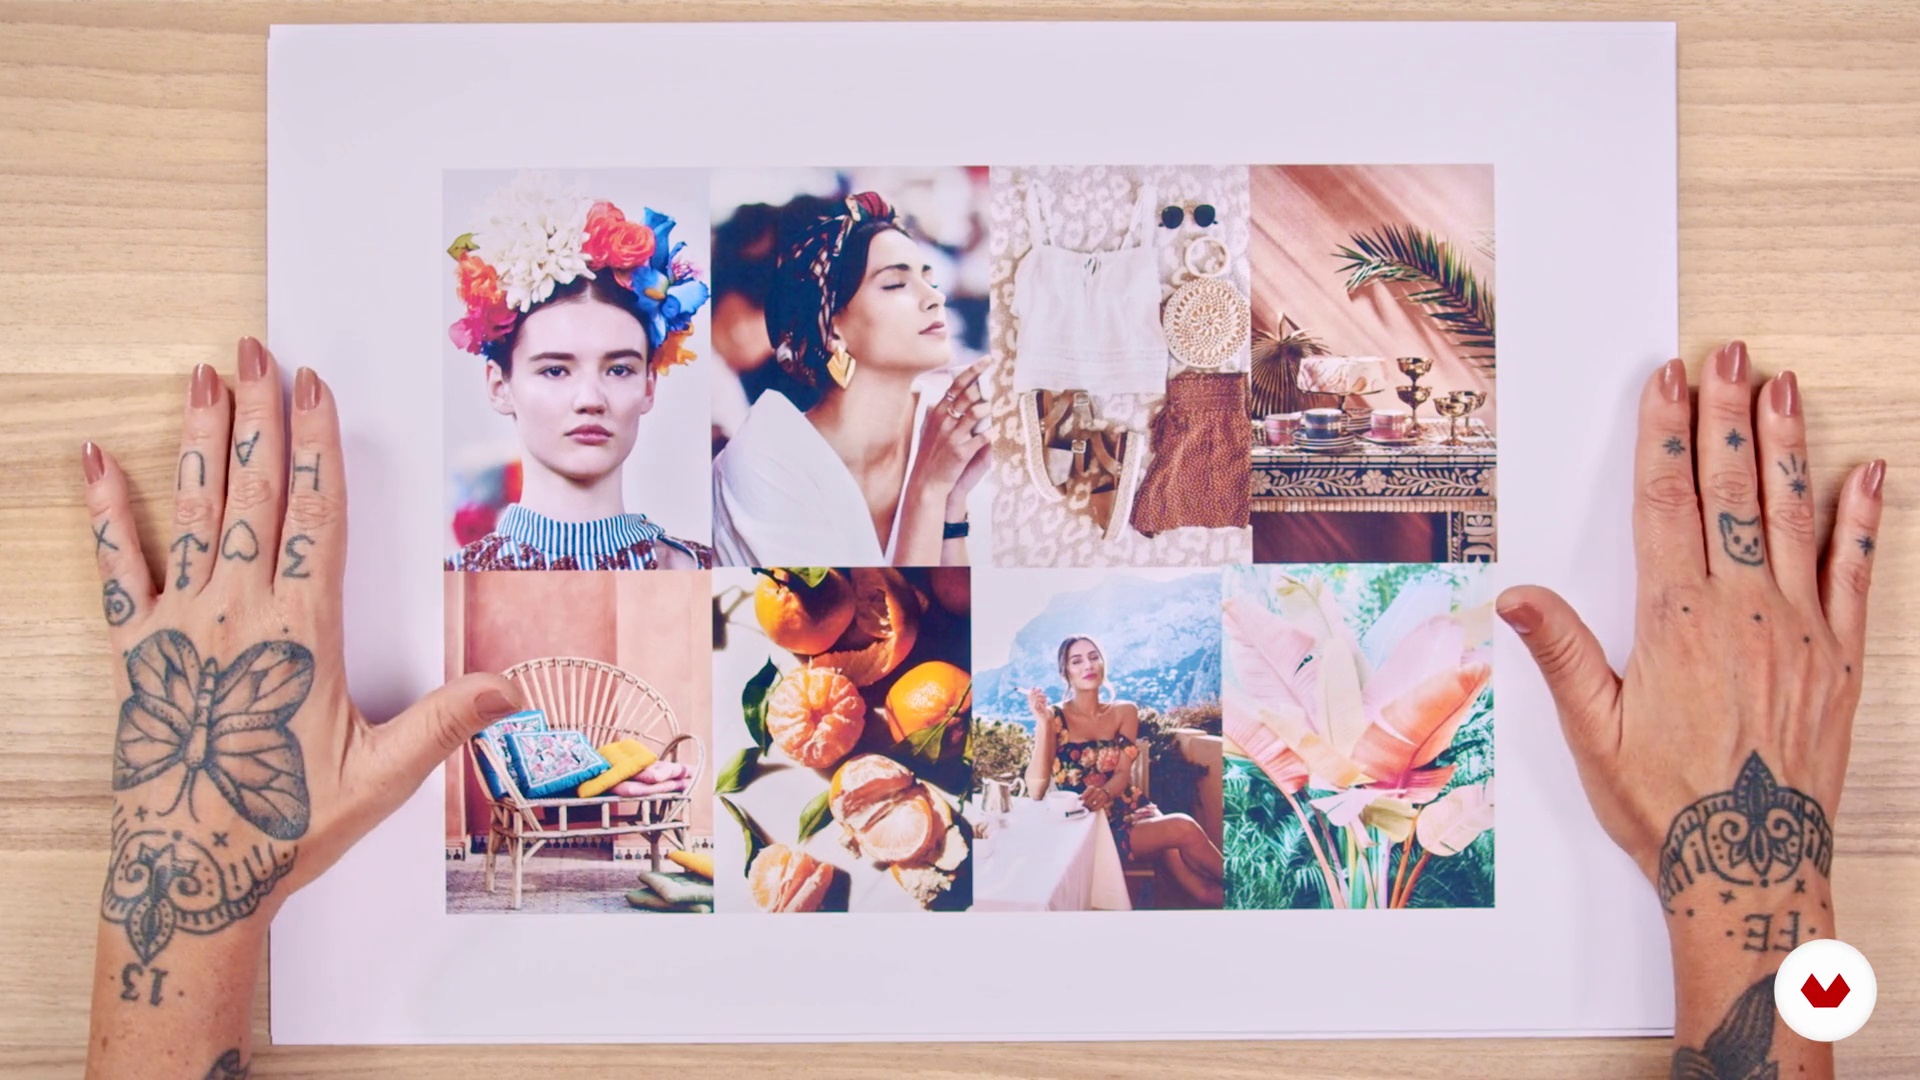
To start, we will show you the necessary concepts for the correct elaboration of a mood board. You will learn to search for images and the possibilities of their use.
4m
image
4
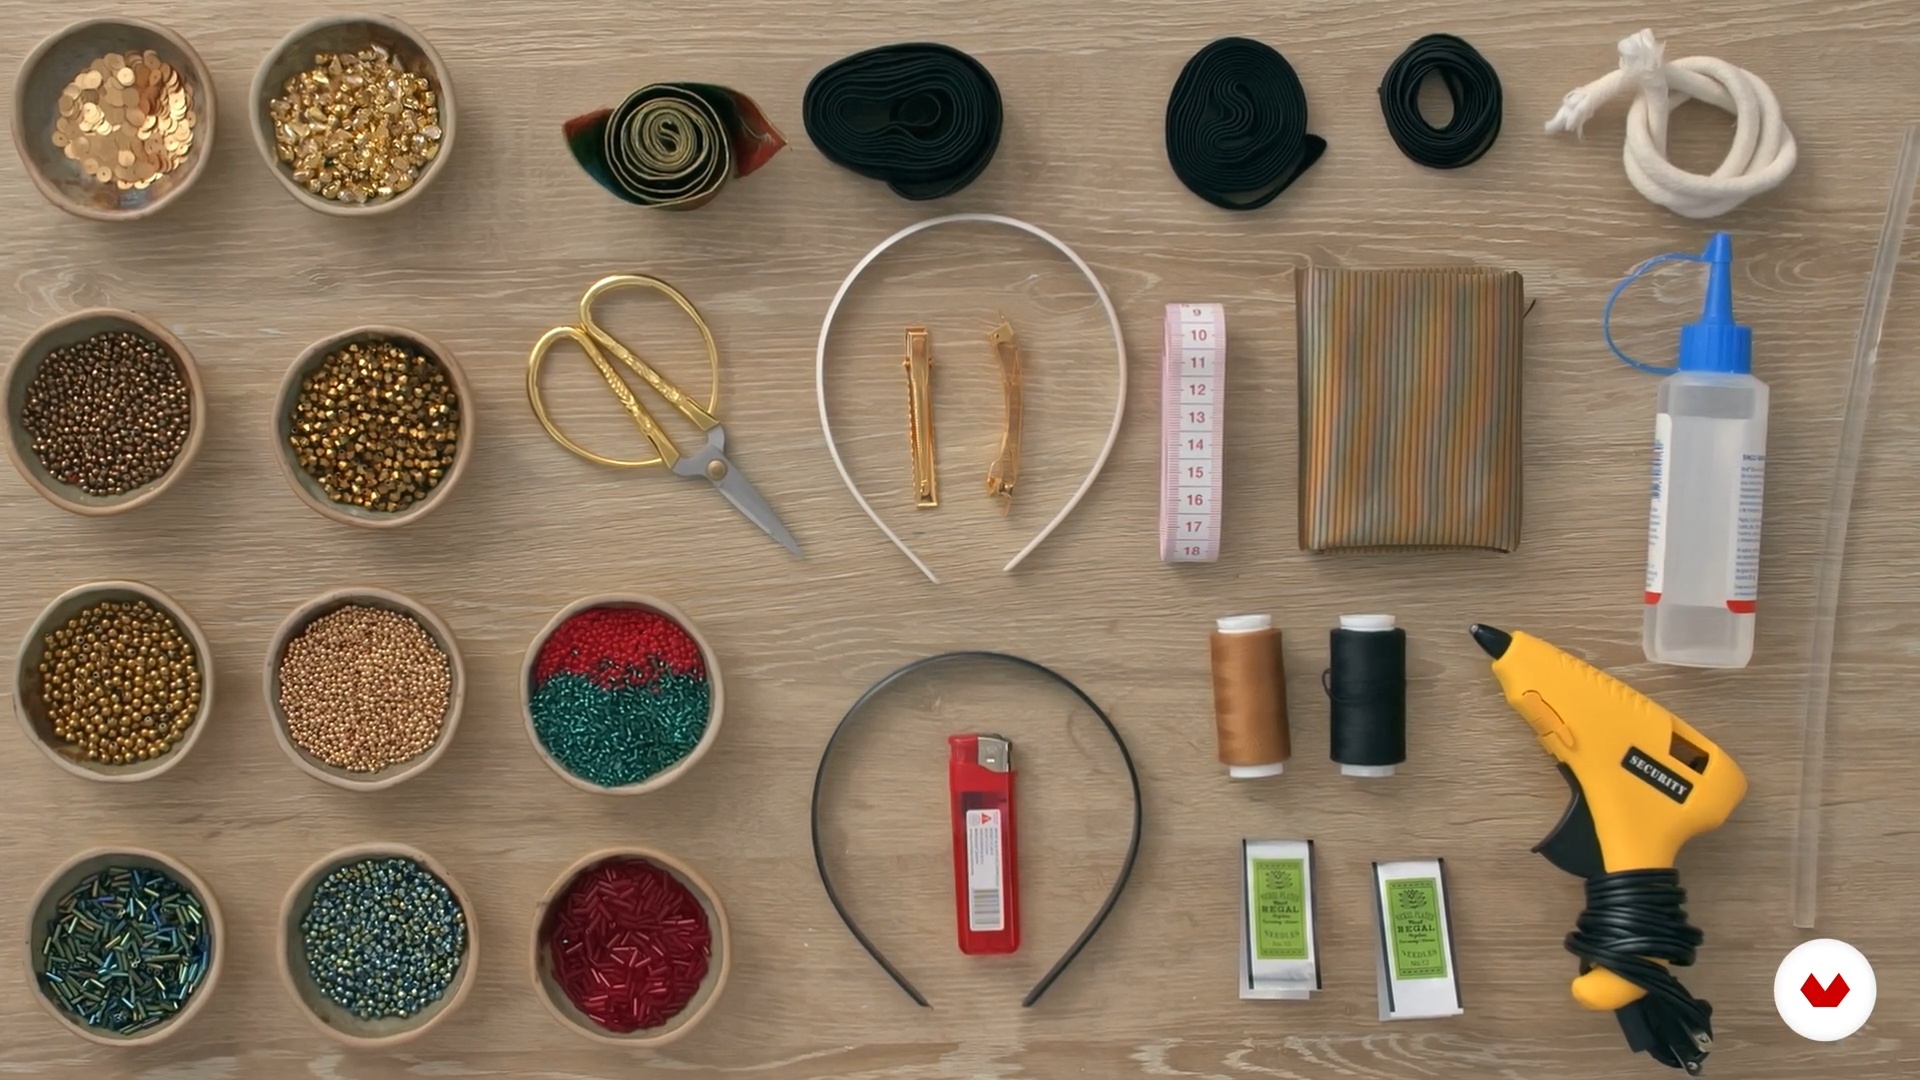
Materials and Color Palette
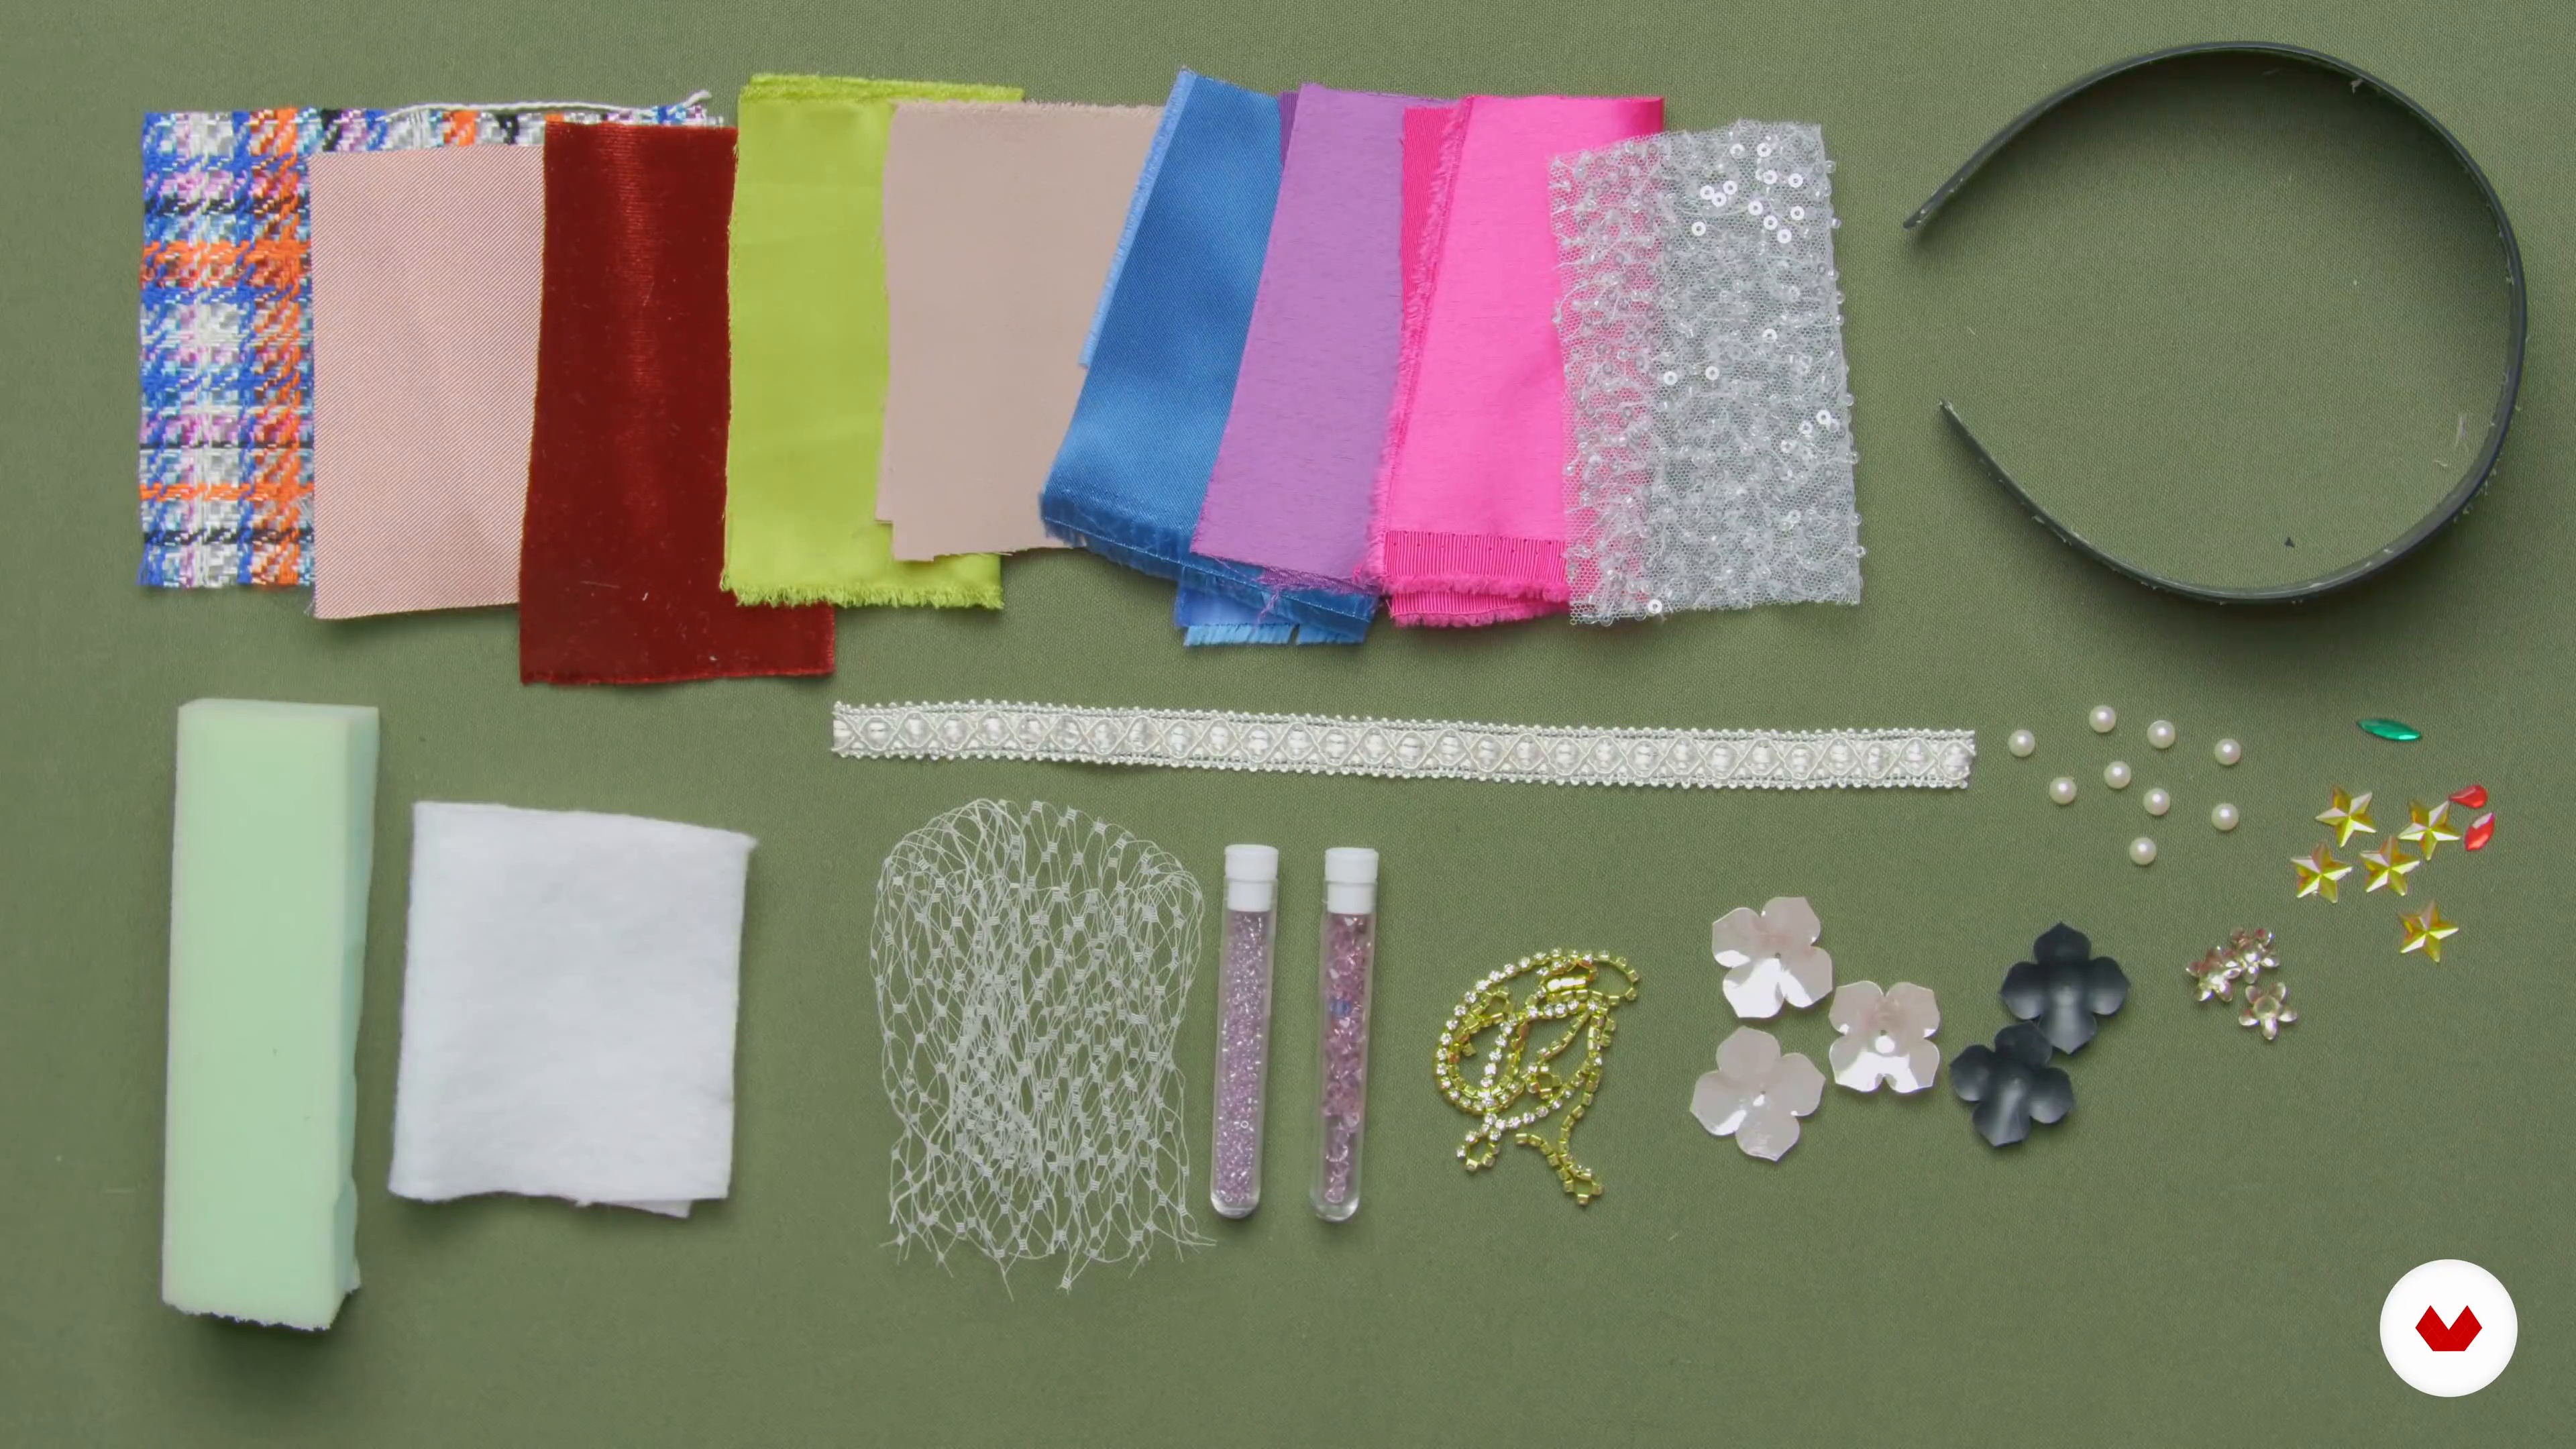
Next, we will talk about the materials that you will need for the optimal development of the course and the elaboration of your collection. One of the main characteristics of our pieces is the way we mix colors with different textures and materials. Therefore, we will show you our way of working to achieve a striking piece.
3m
image
5
Basic Stitches and Shapes
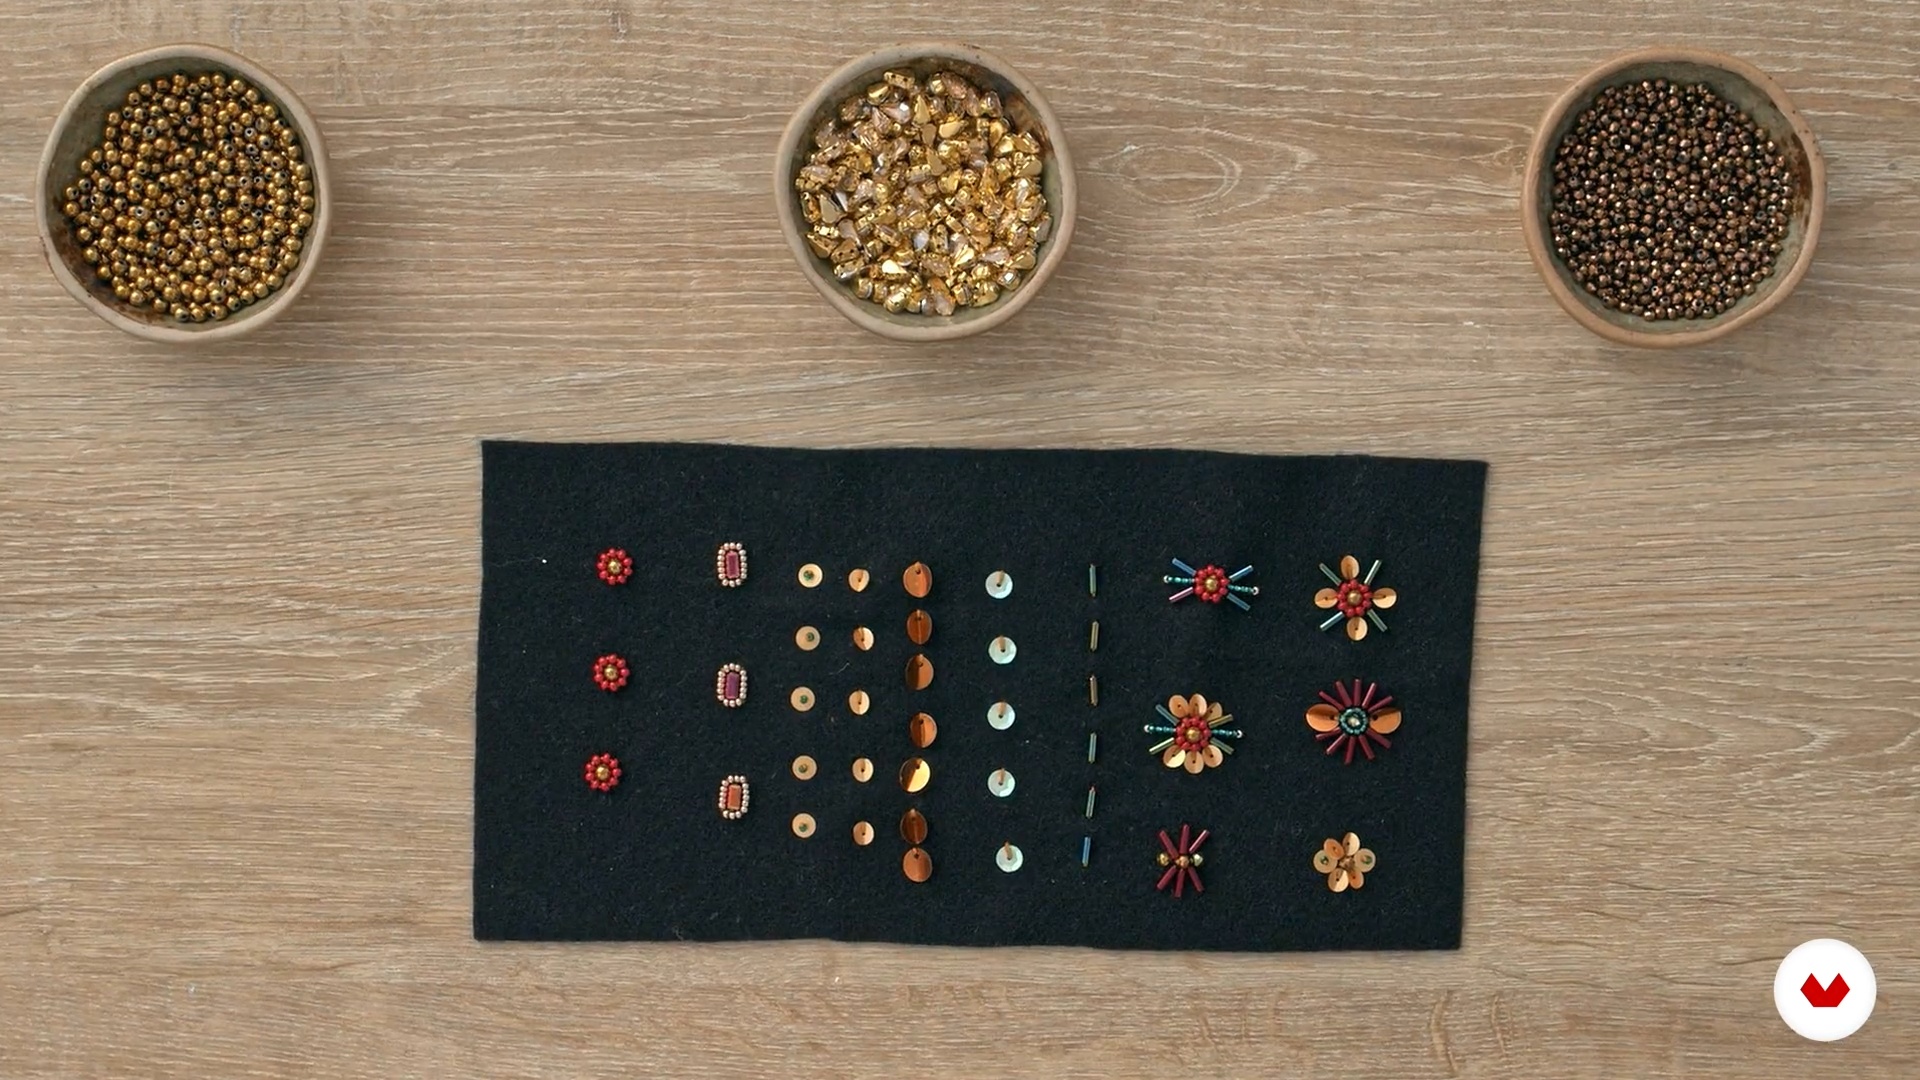
Now, we'll show you how, starting with basic stitches and shapes, you can start your own design. These forms will be the beginning of a great result. In addition, you will explore basic stone embroidery shapes such as circle, square, and oval.
11m
image
6
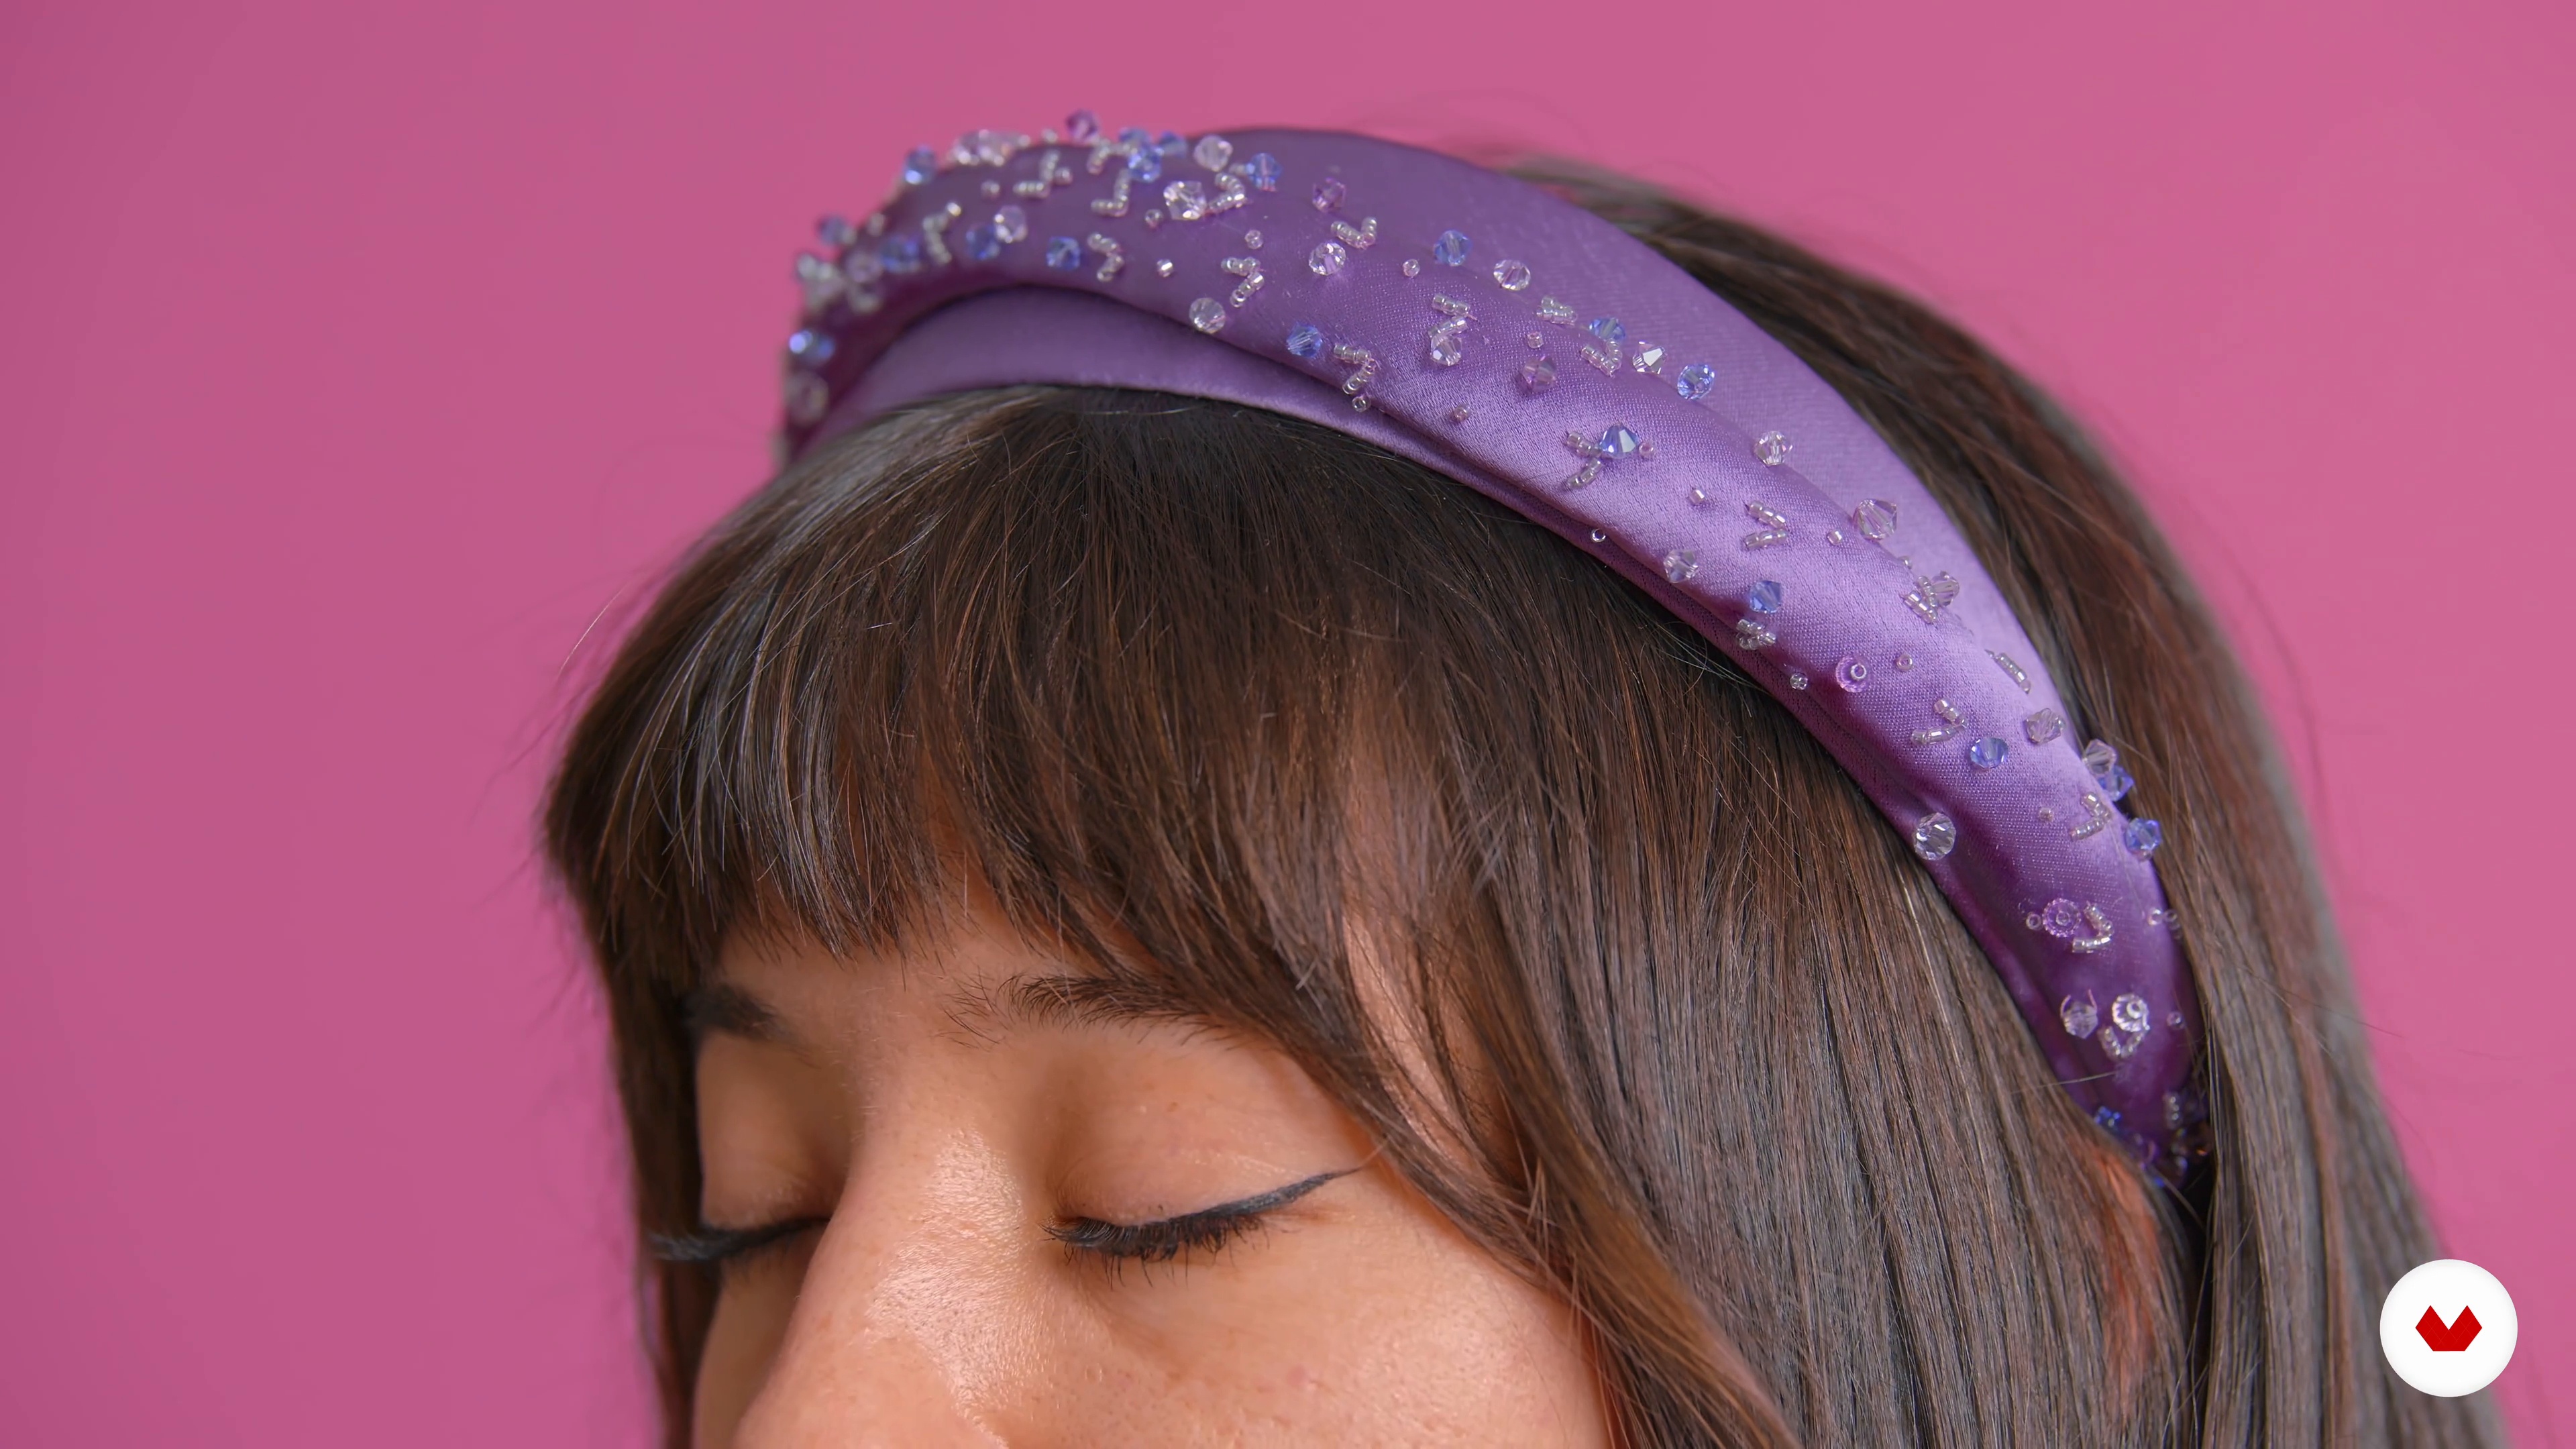
Embroidery with Beads
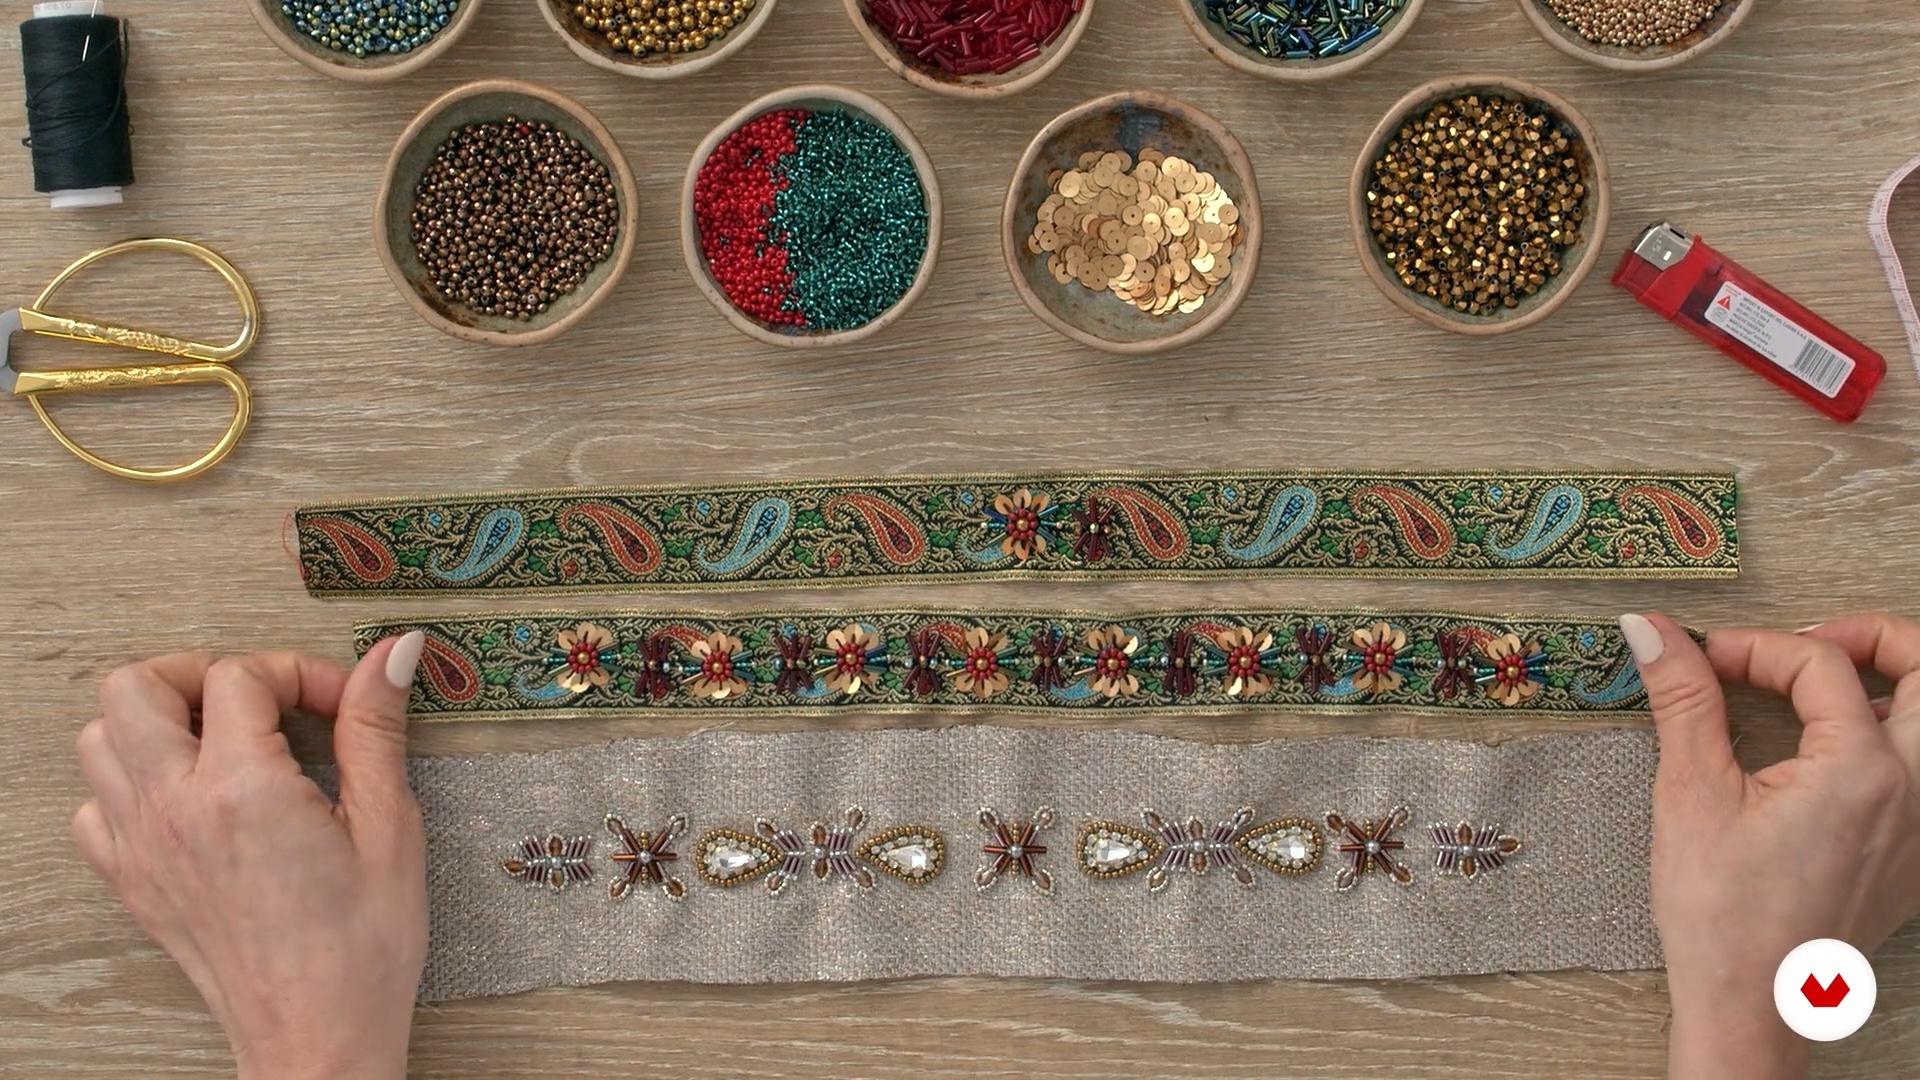
Let's start with assembly and production. We will also show you step by step how to use the different techniques and materials to advance the production and development of the project.
9m
image
7
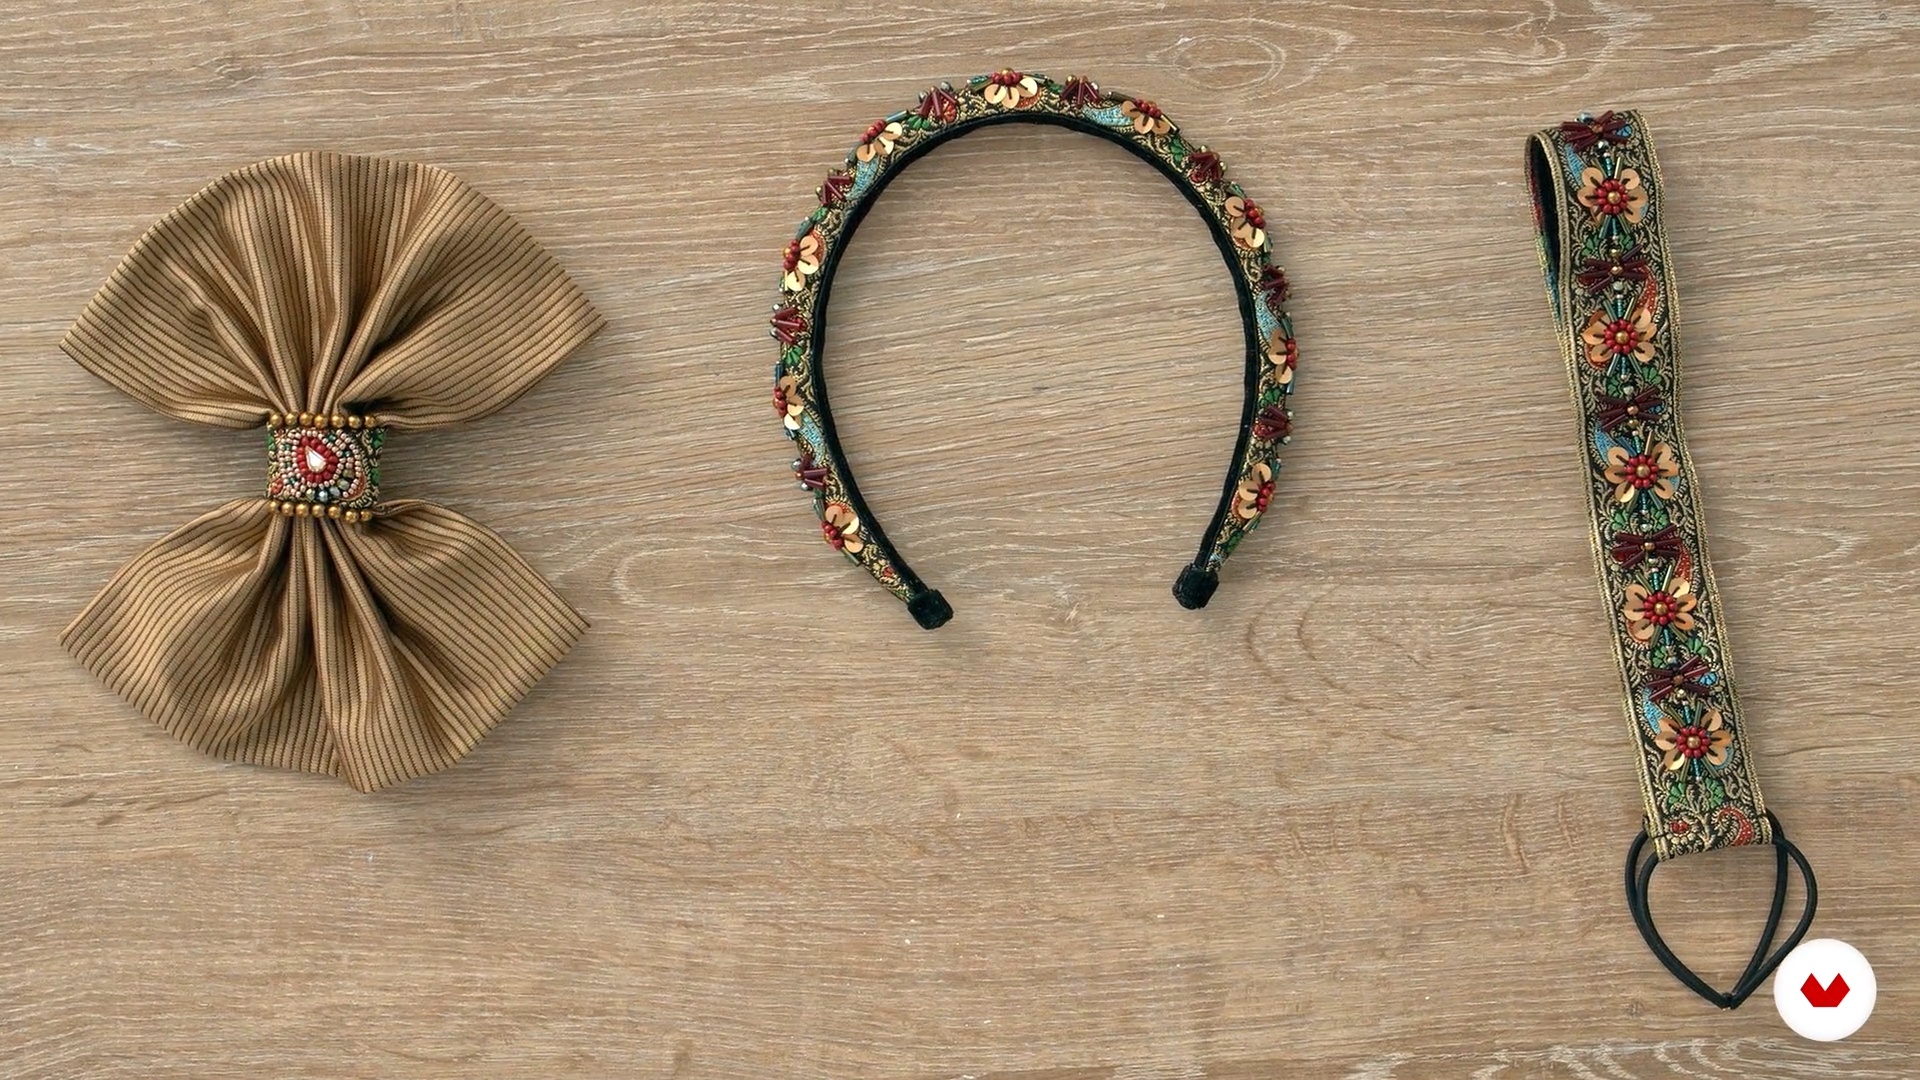
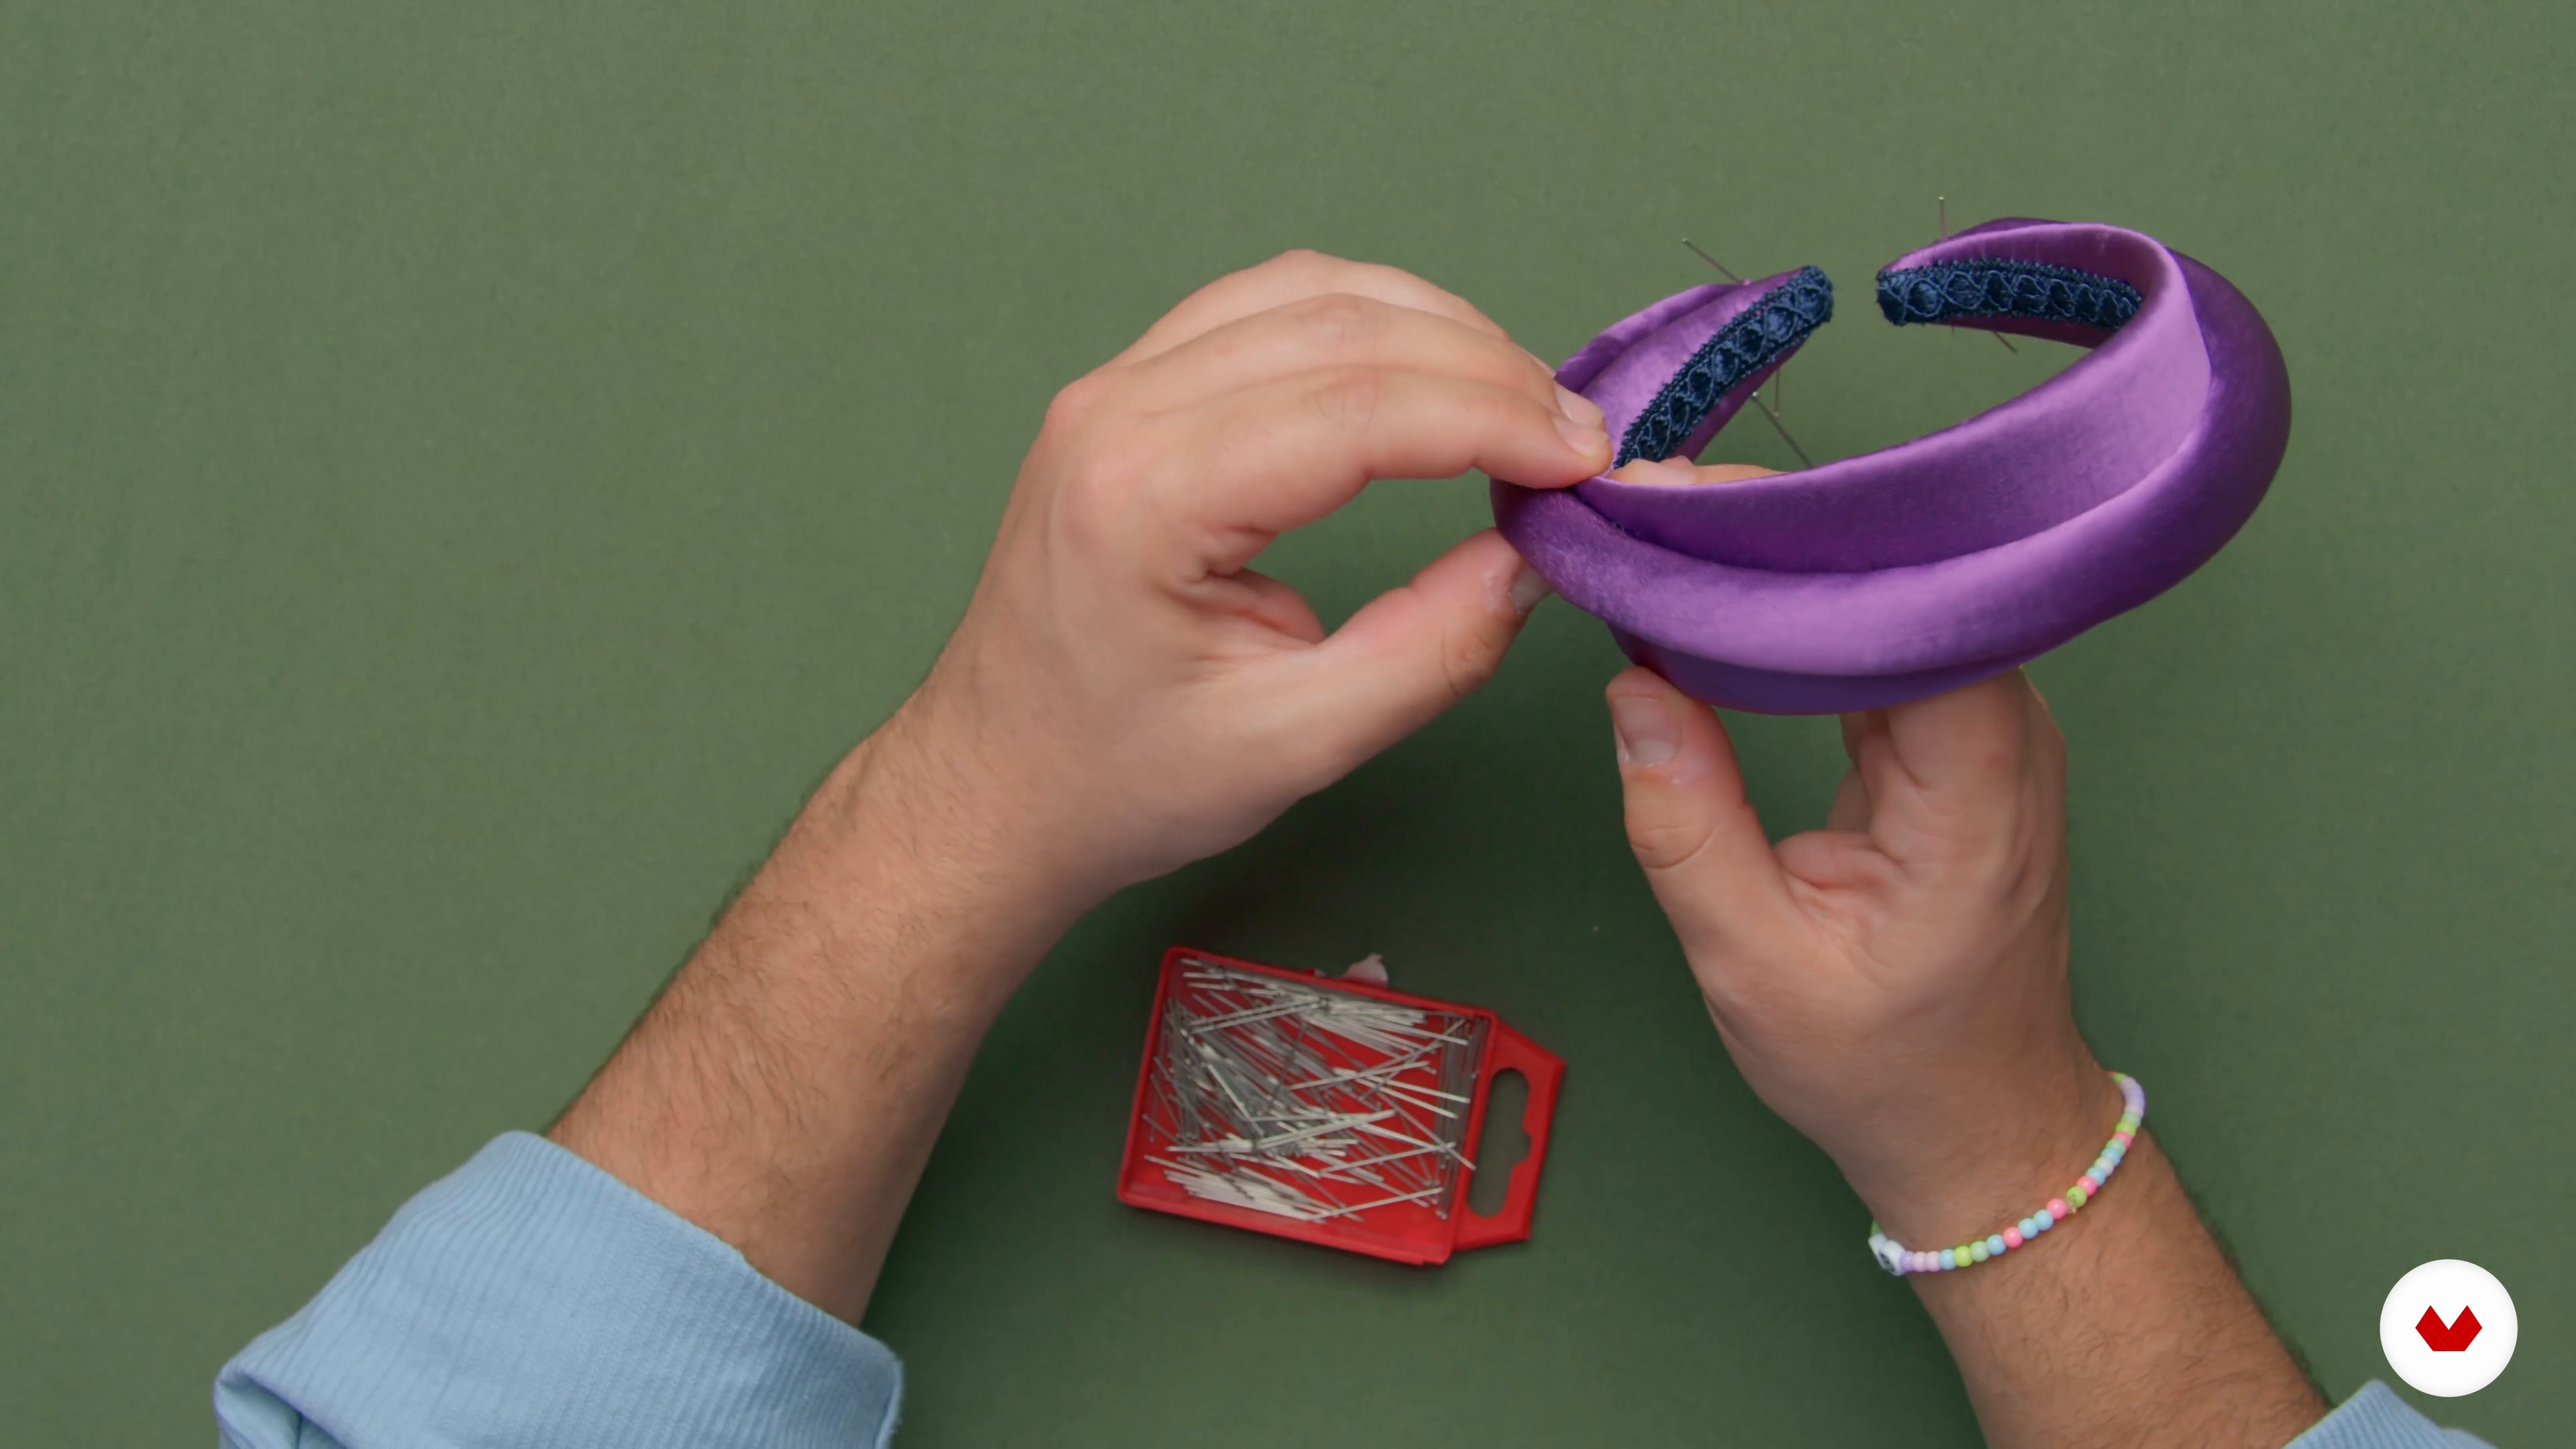
How to Assemble and Finish the Thin Headband and Bandeau
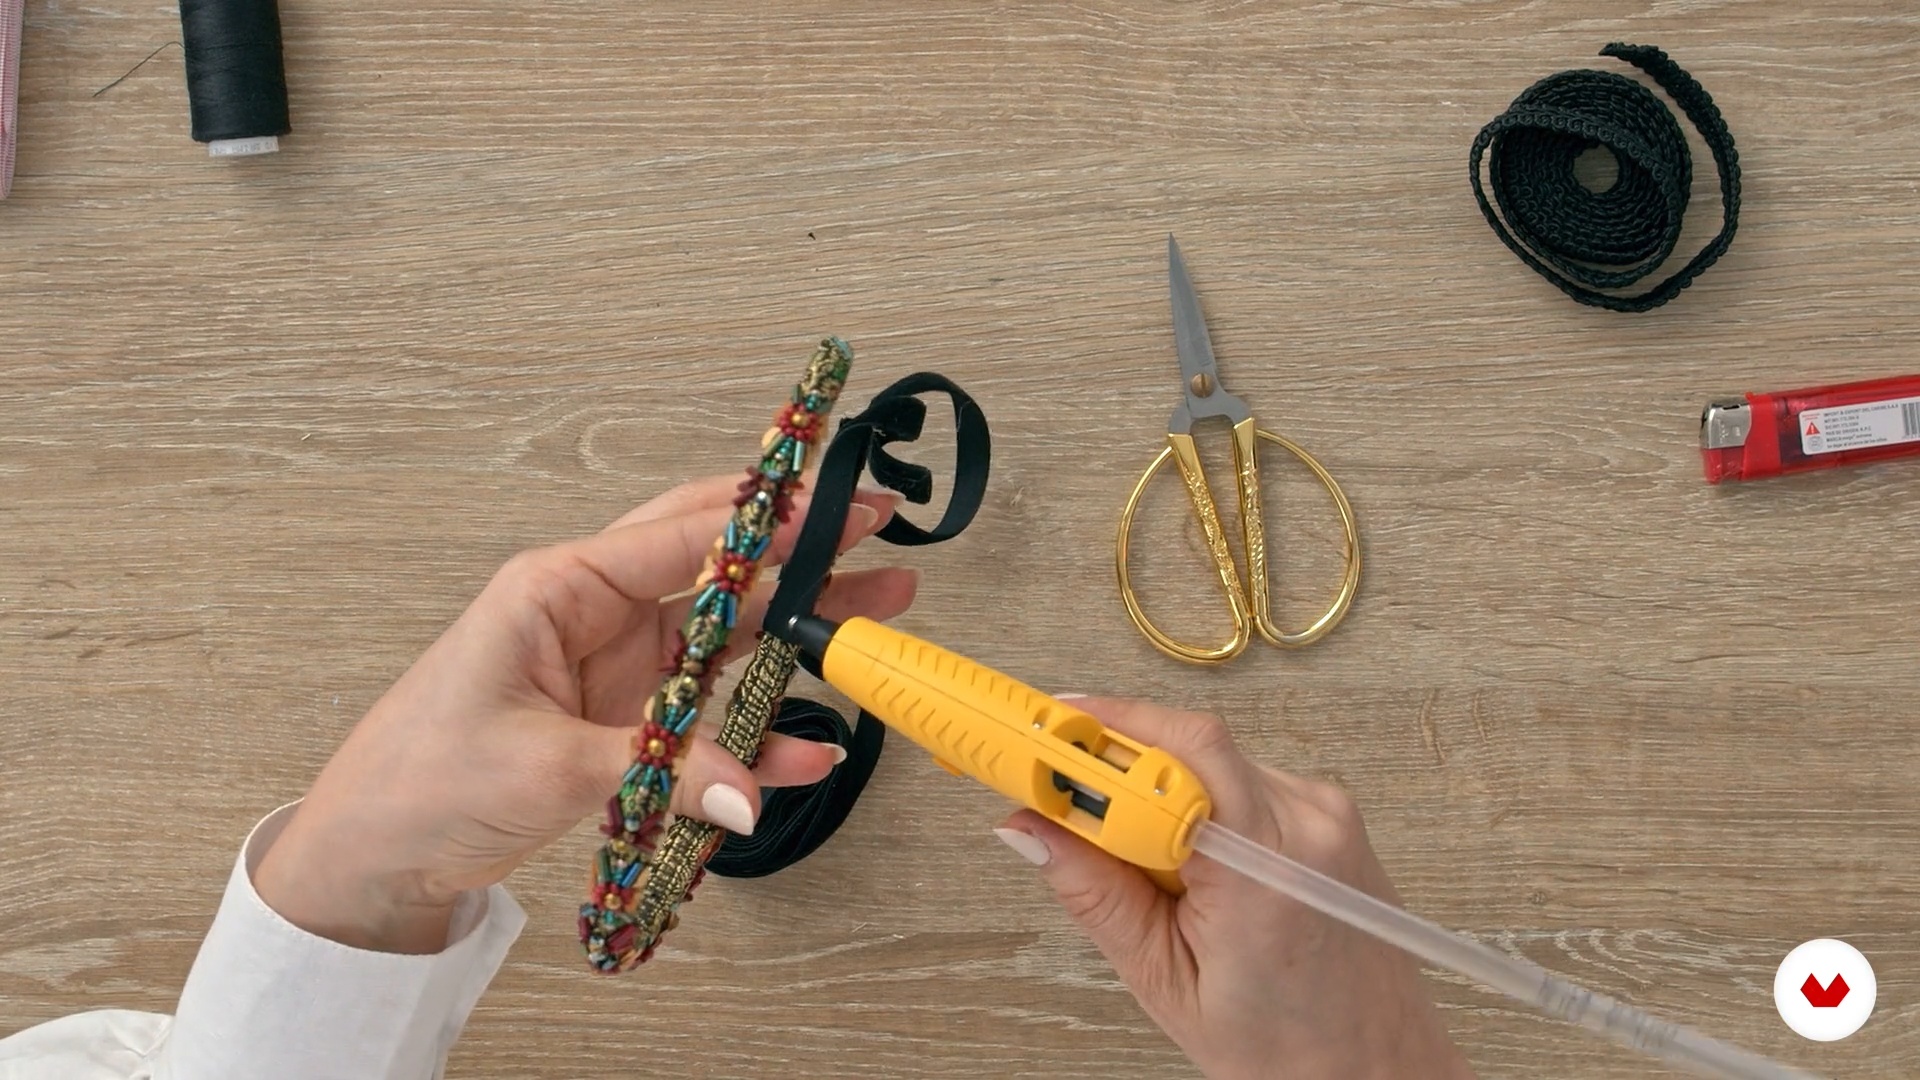
In this lesson you will learn the assembly and finishing of the thin headband and the headband, two of the most iconic pieces of our MULATT brand.
20m
image
8
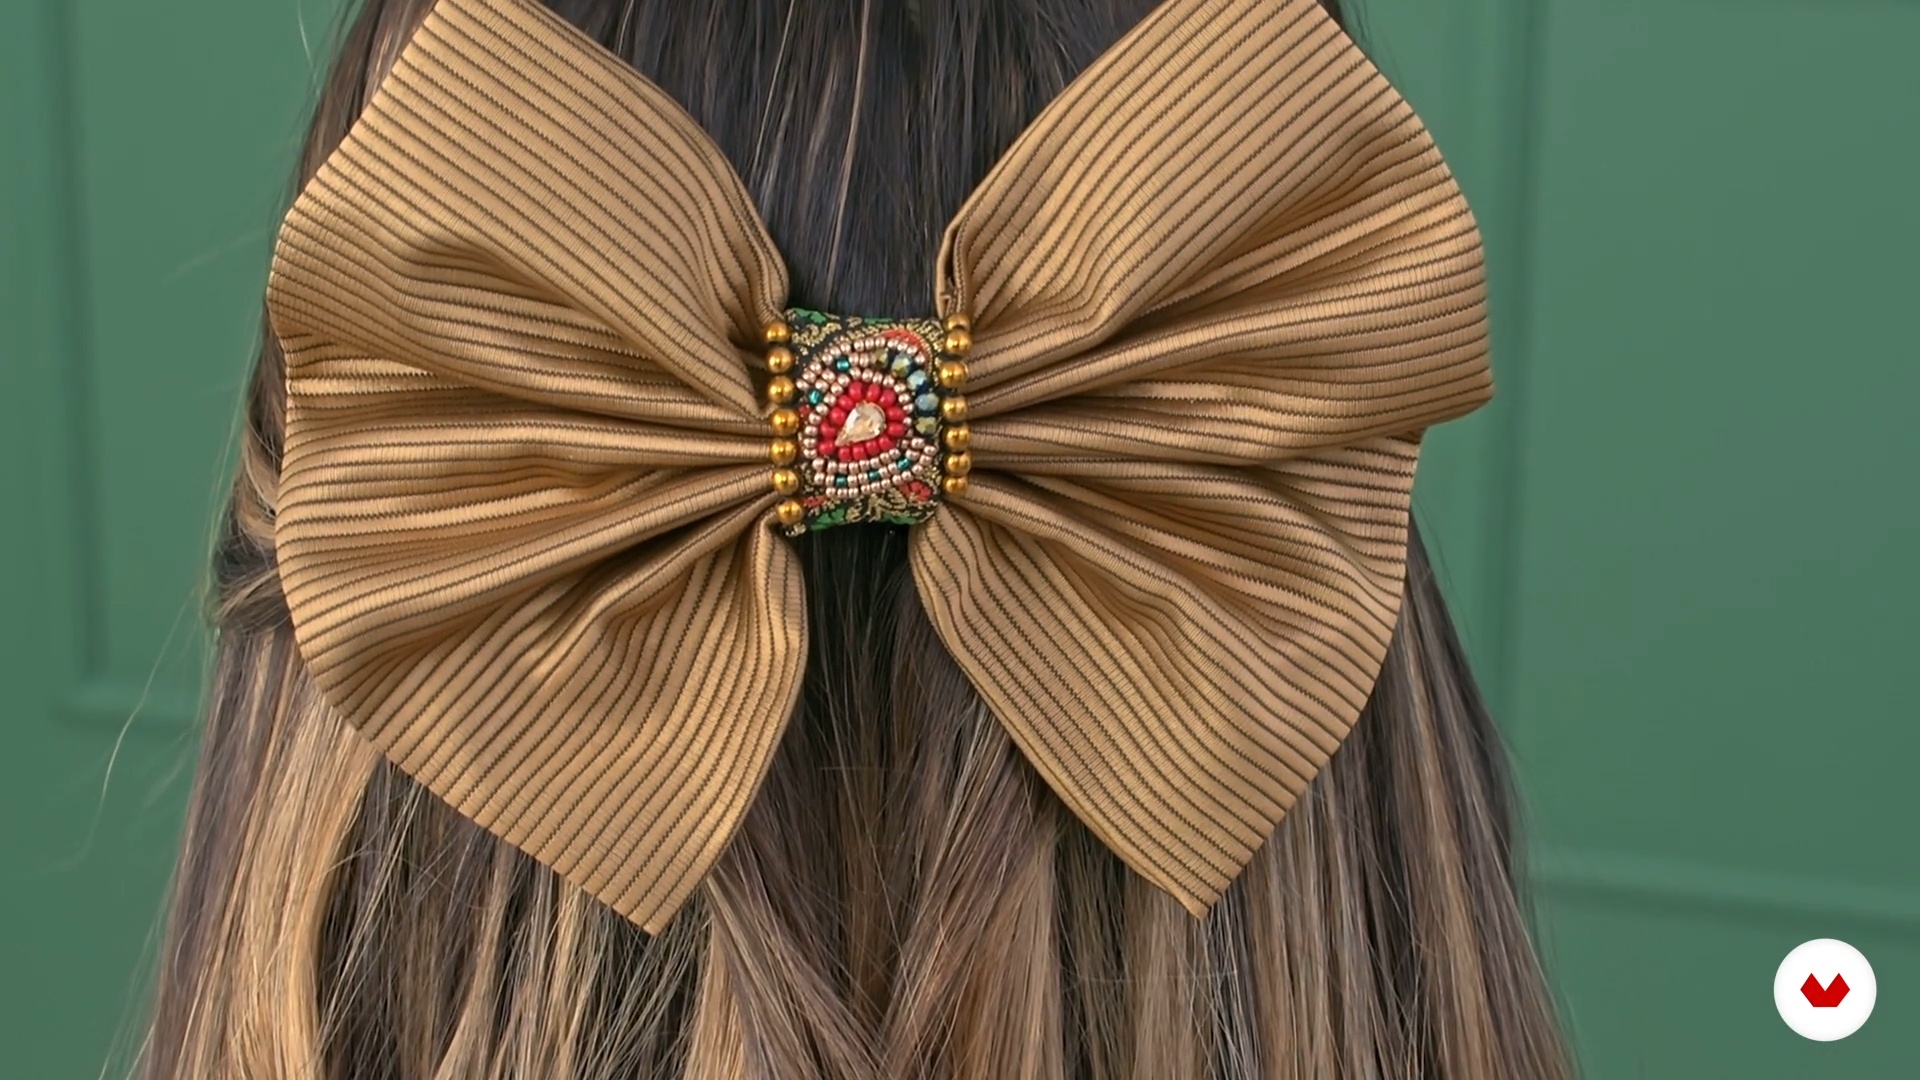
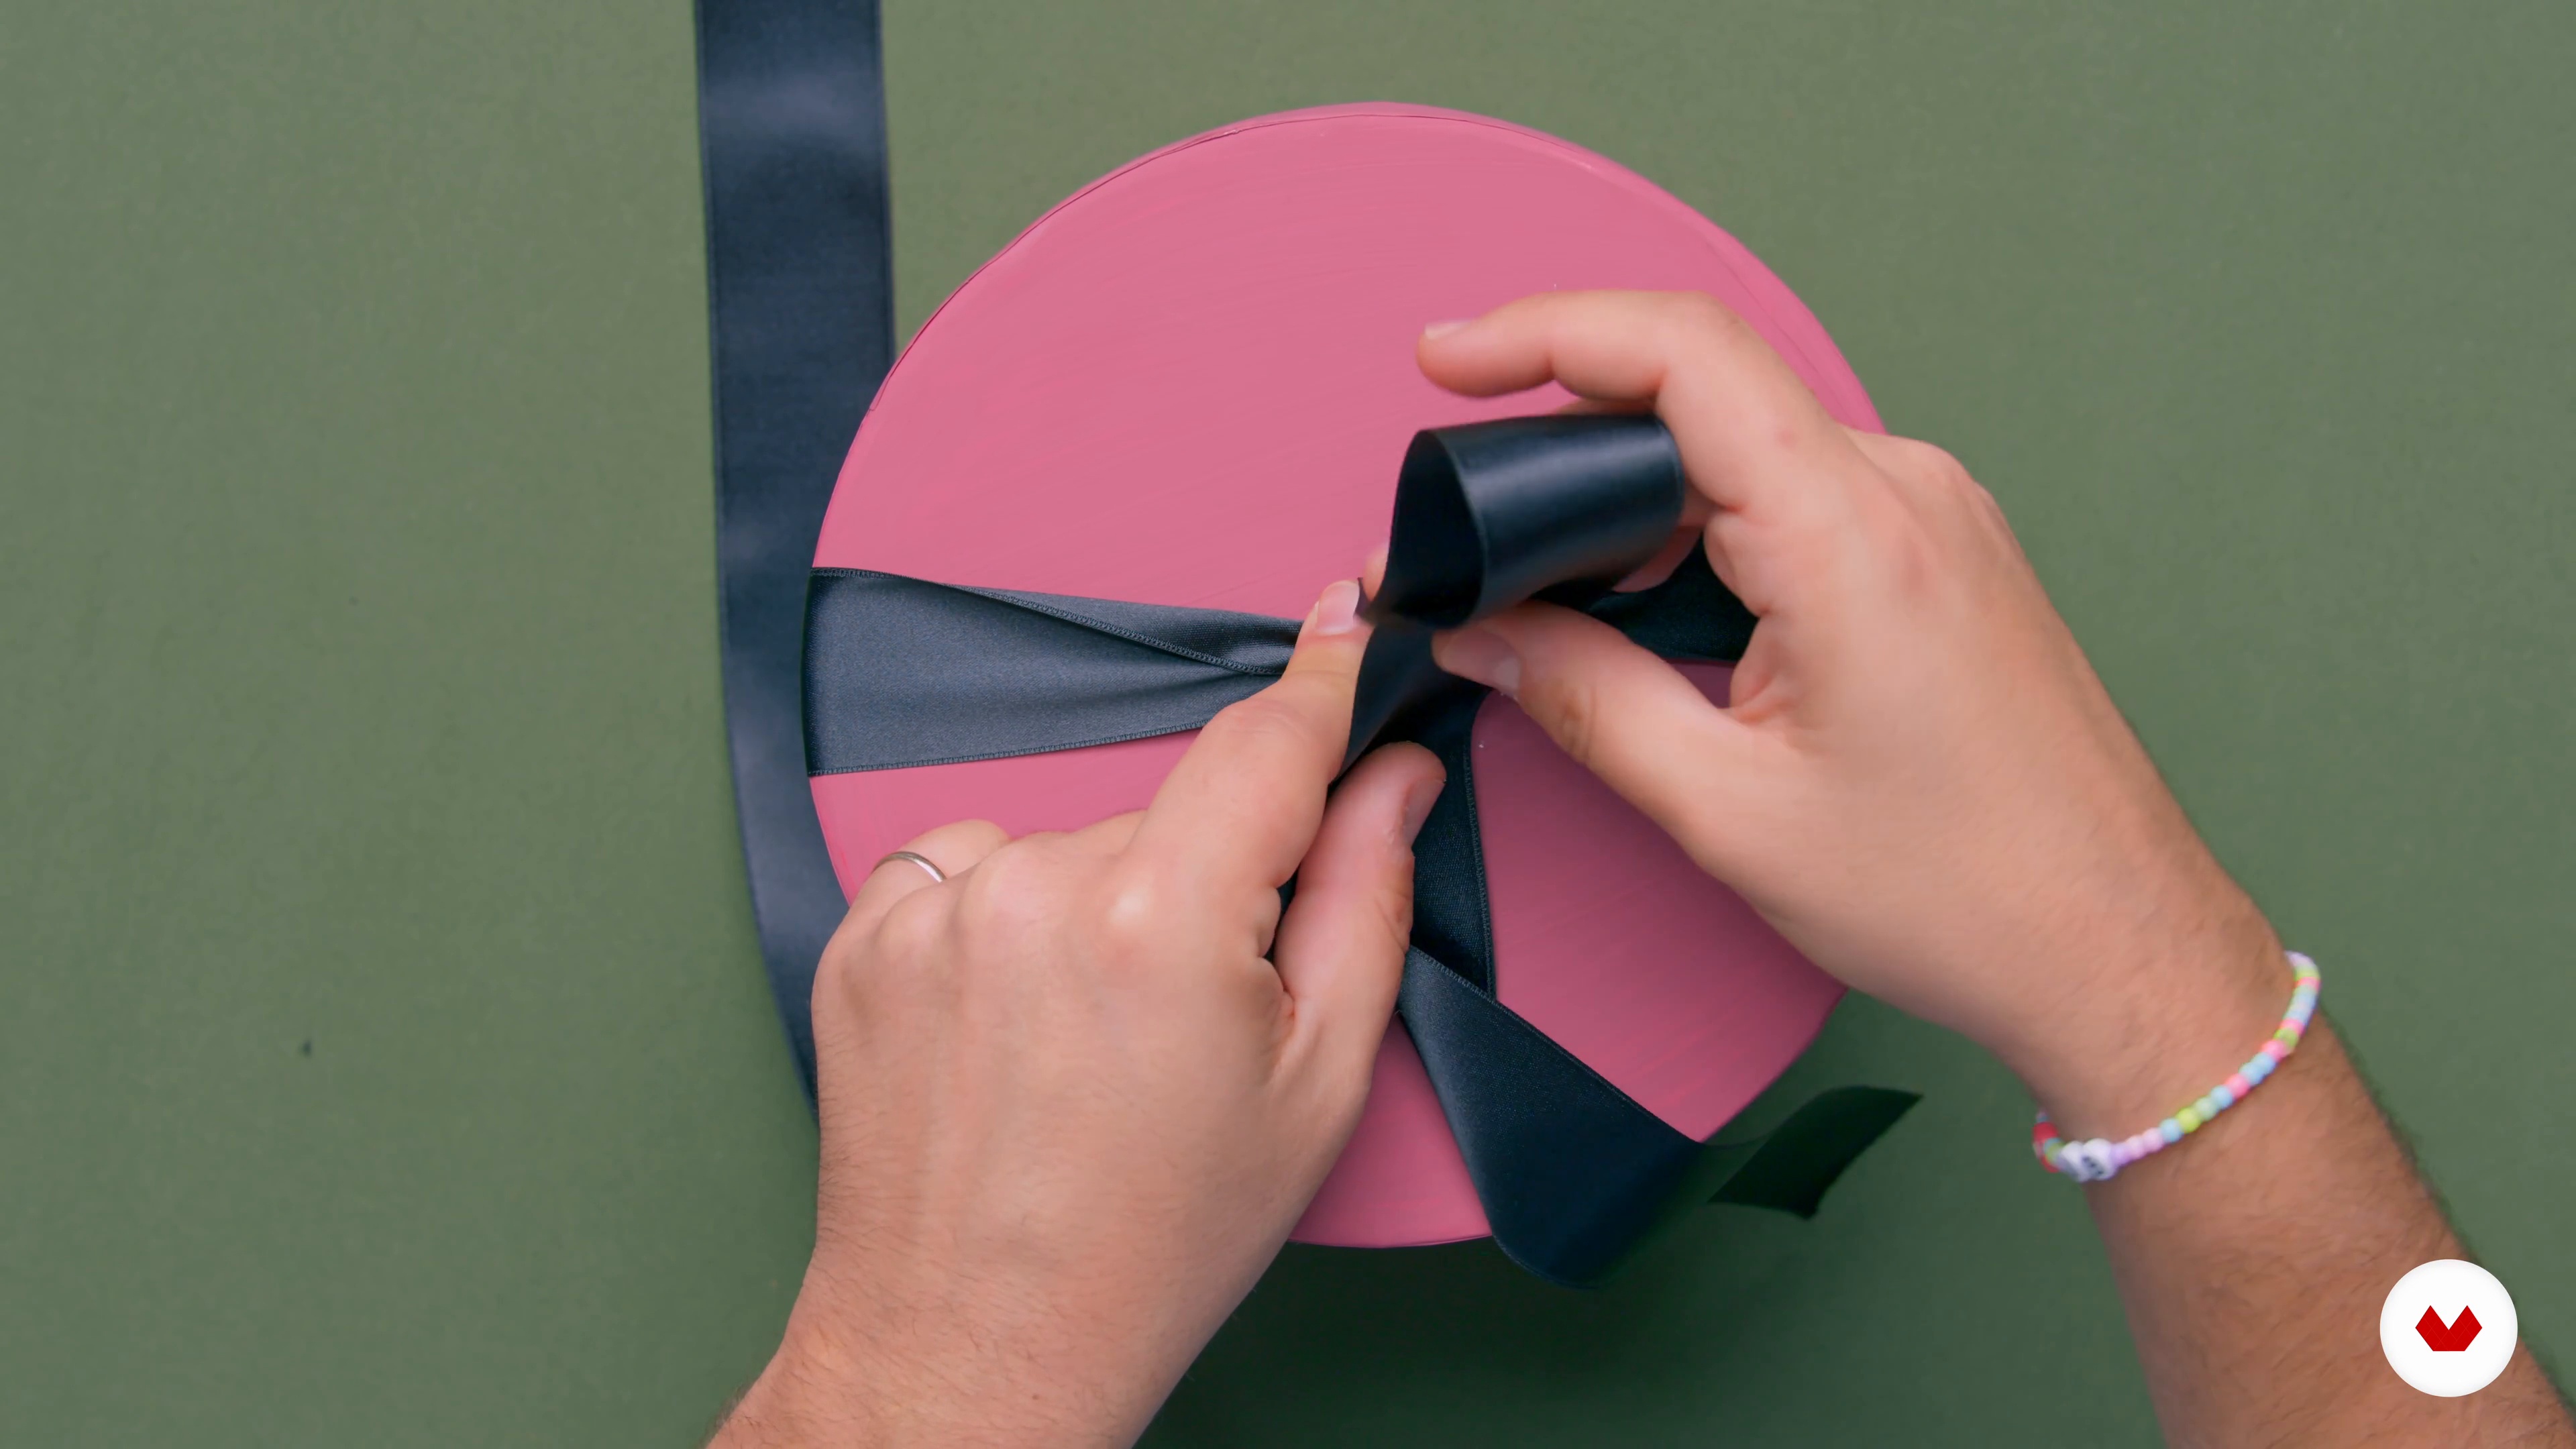
Creating the Bow
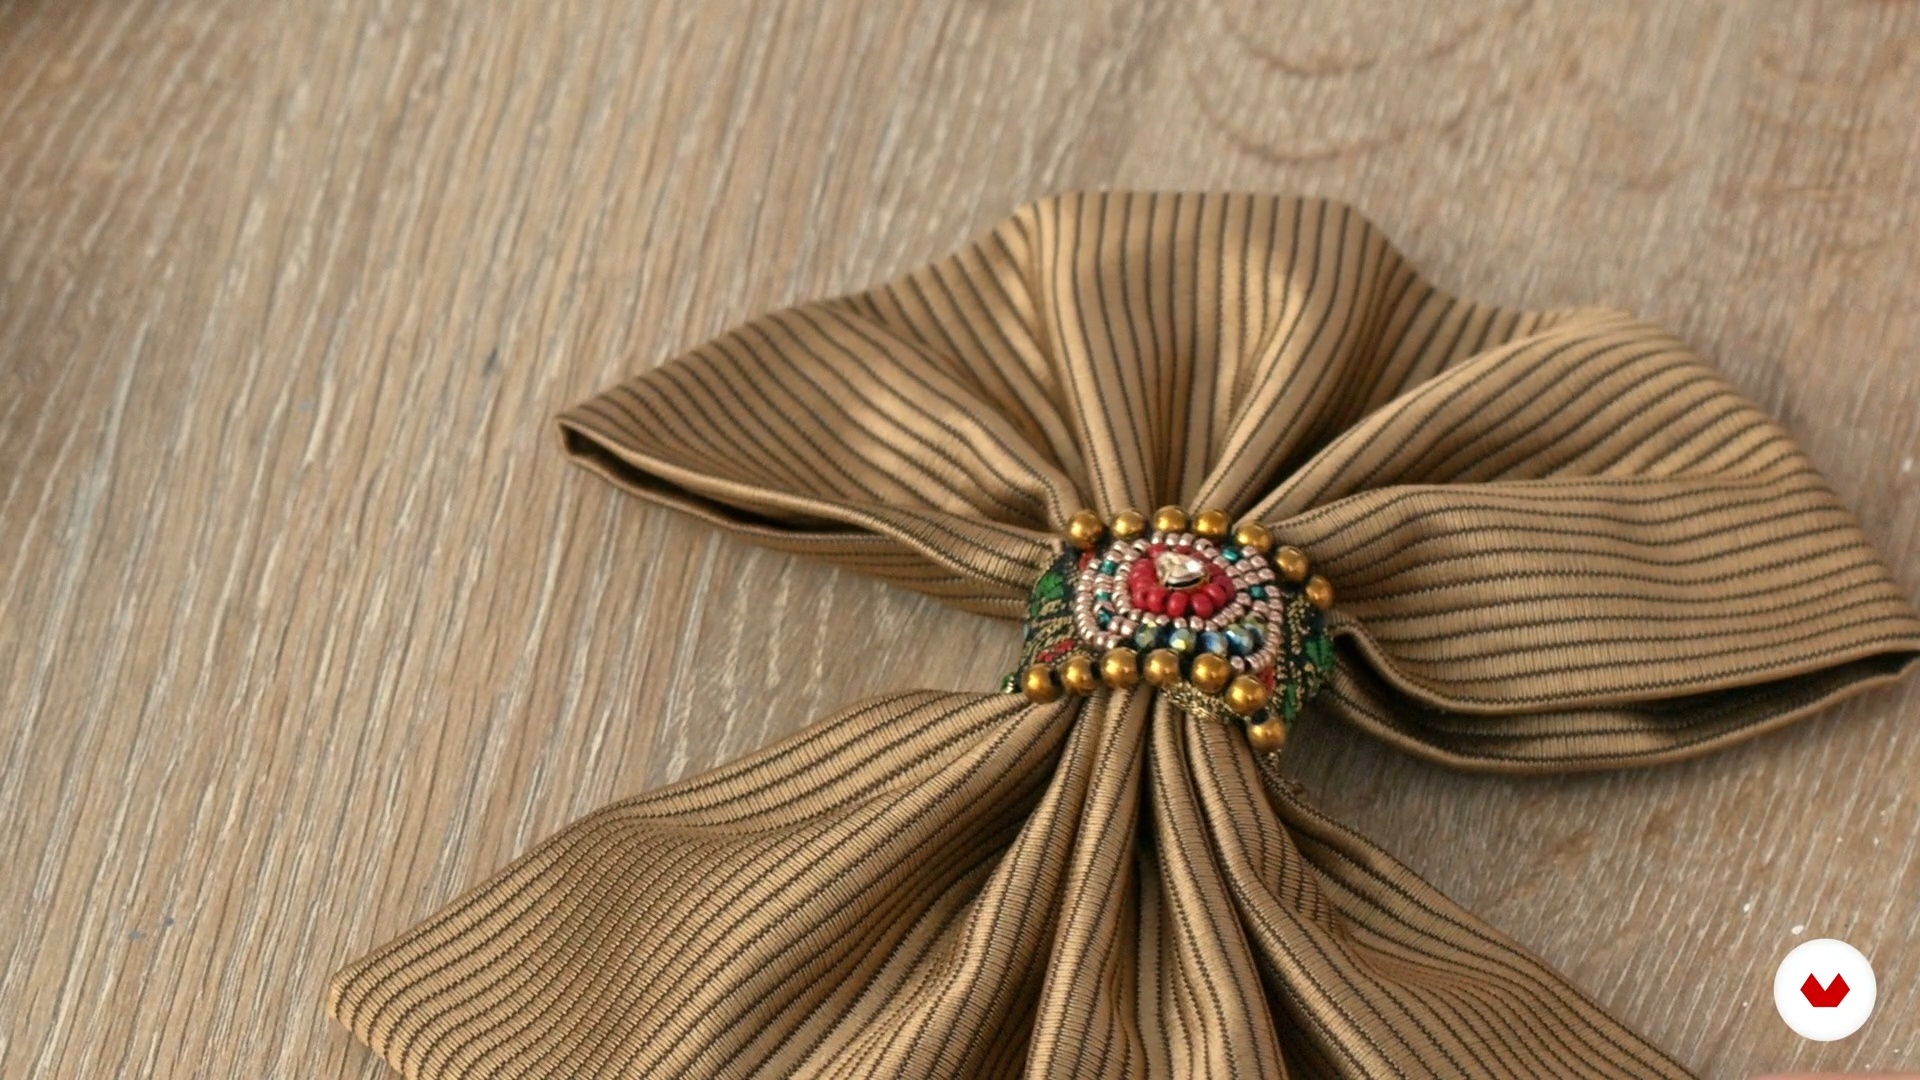
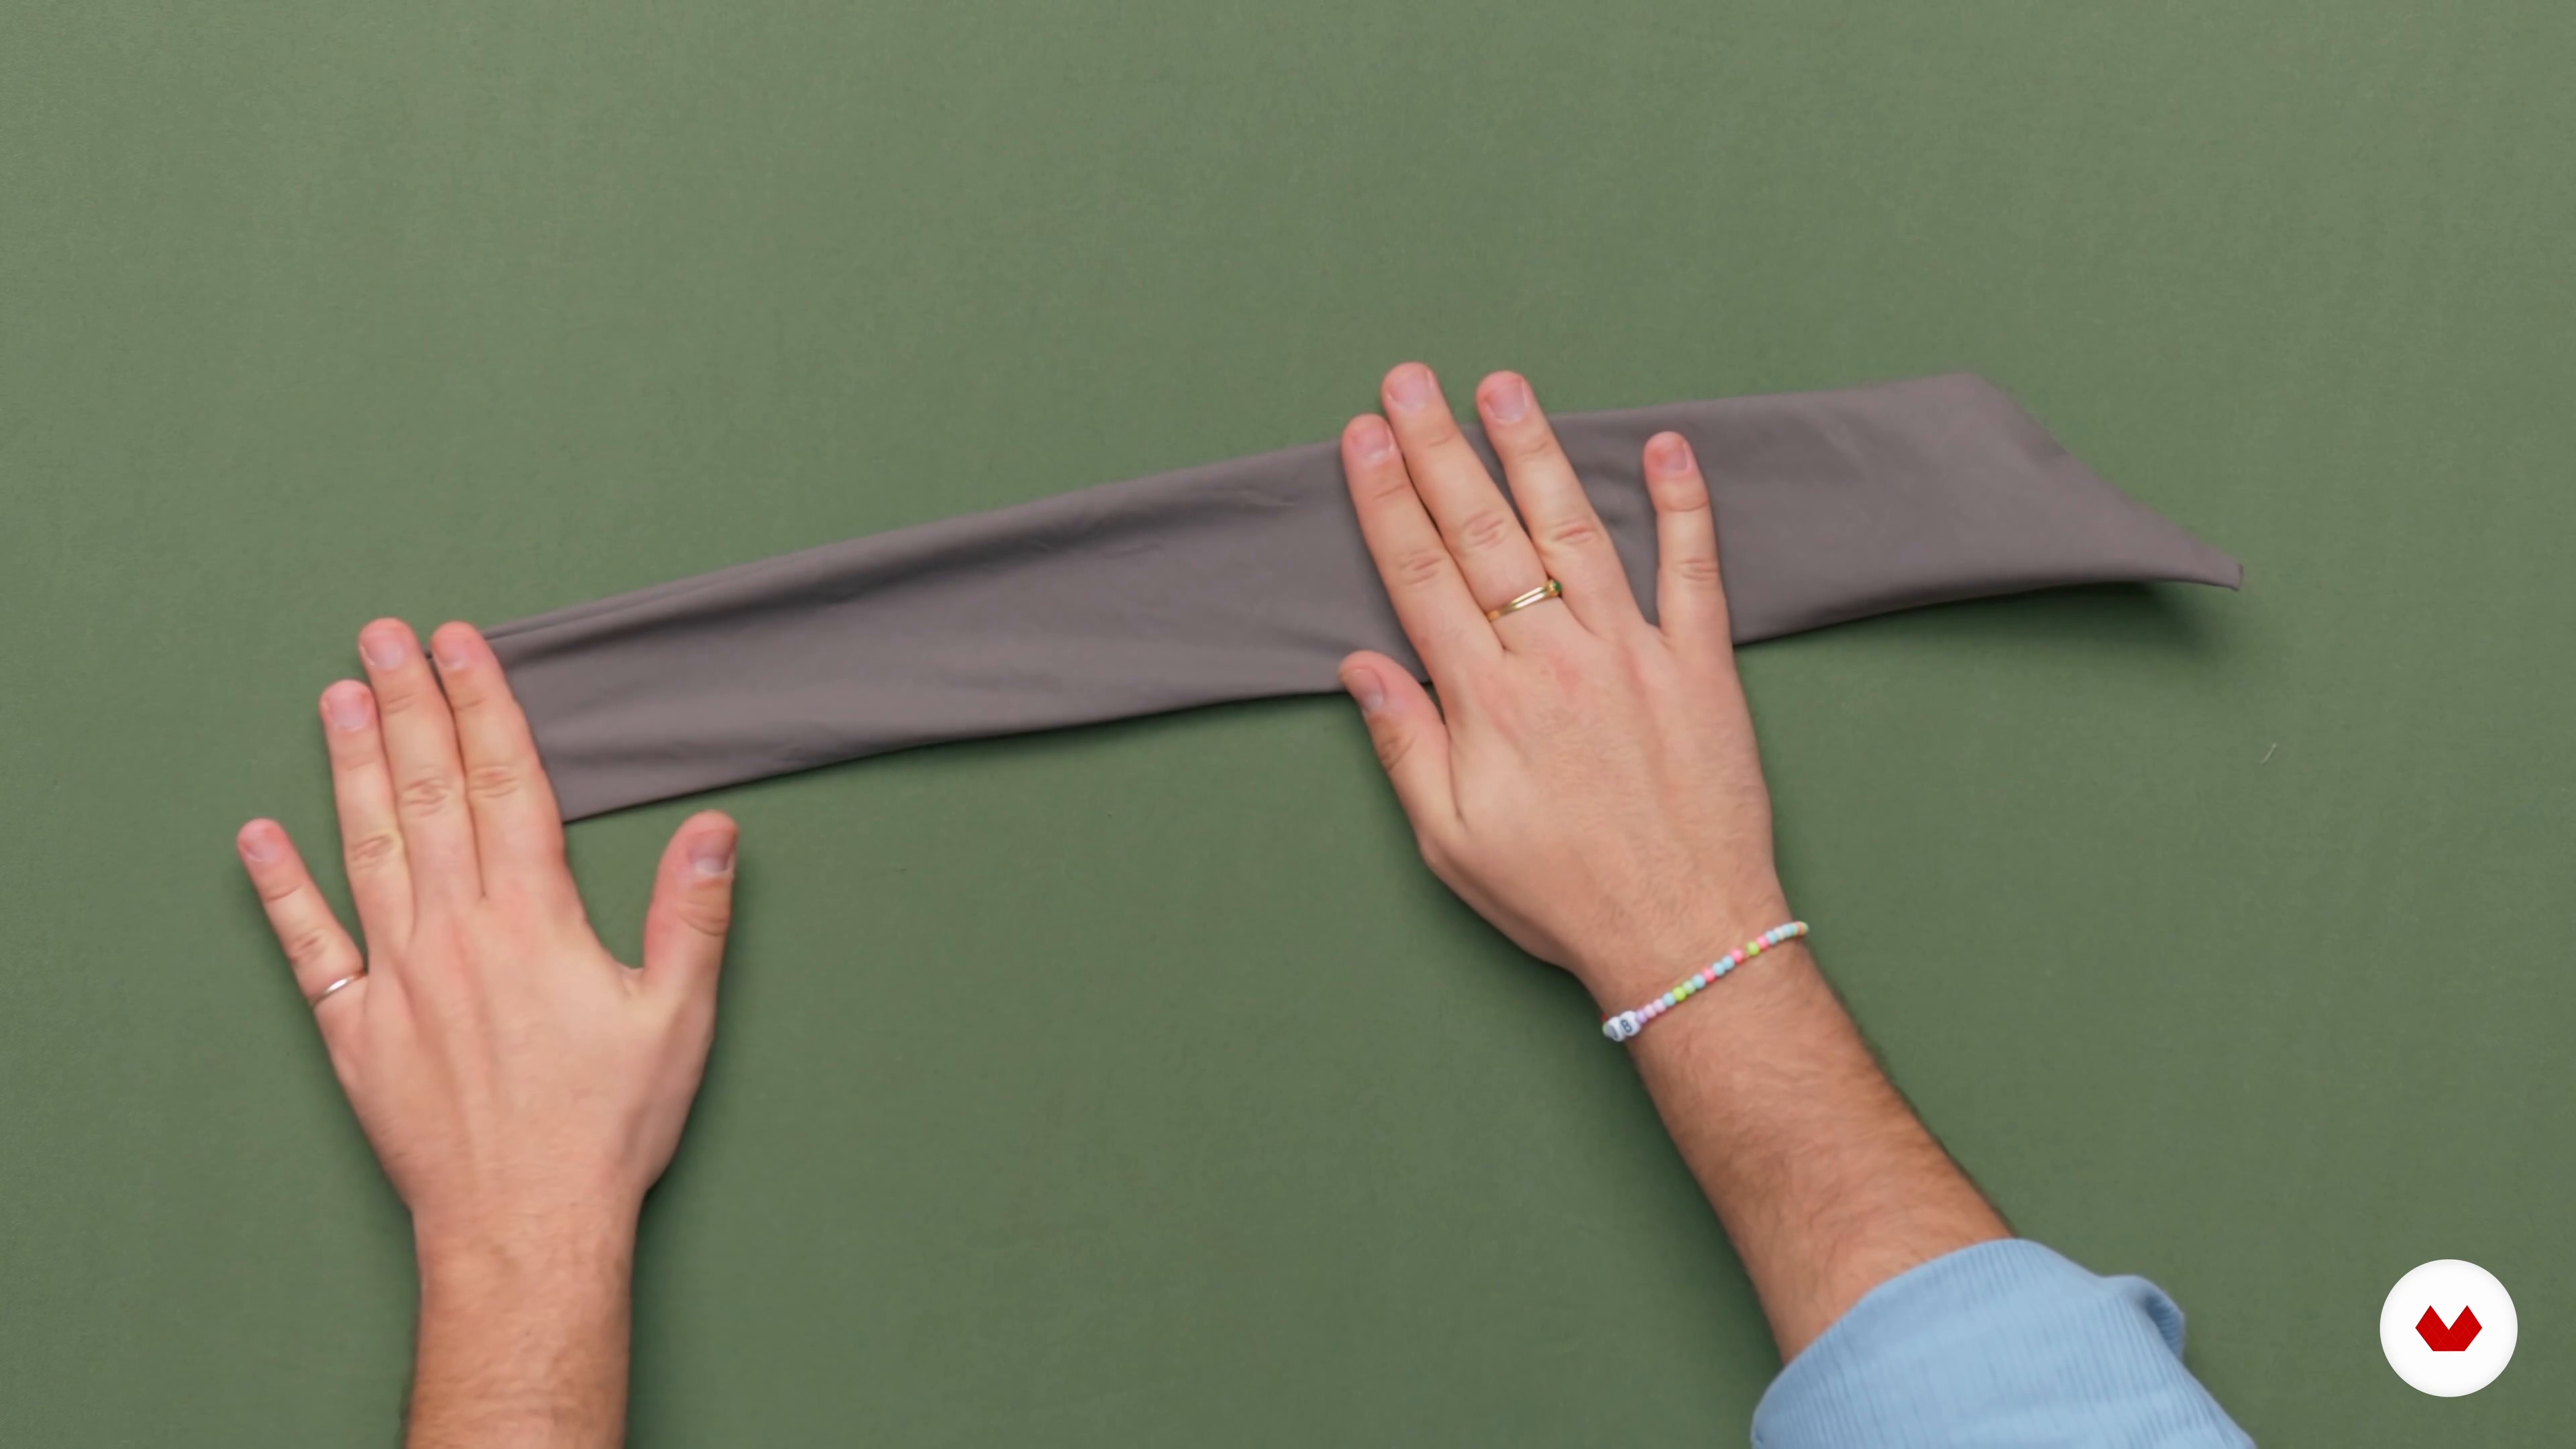
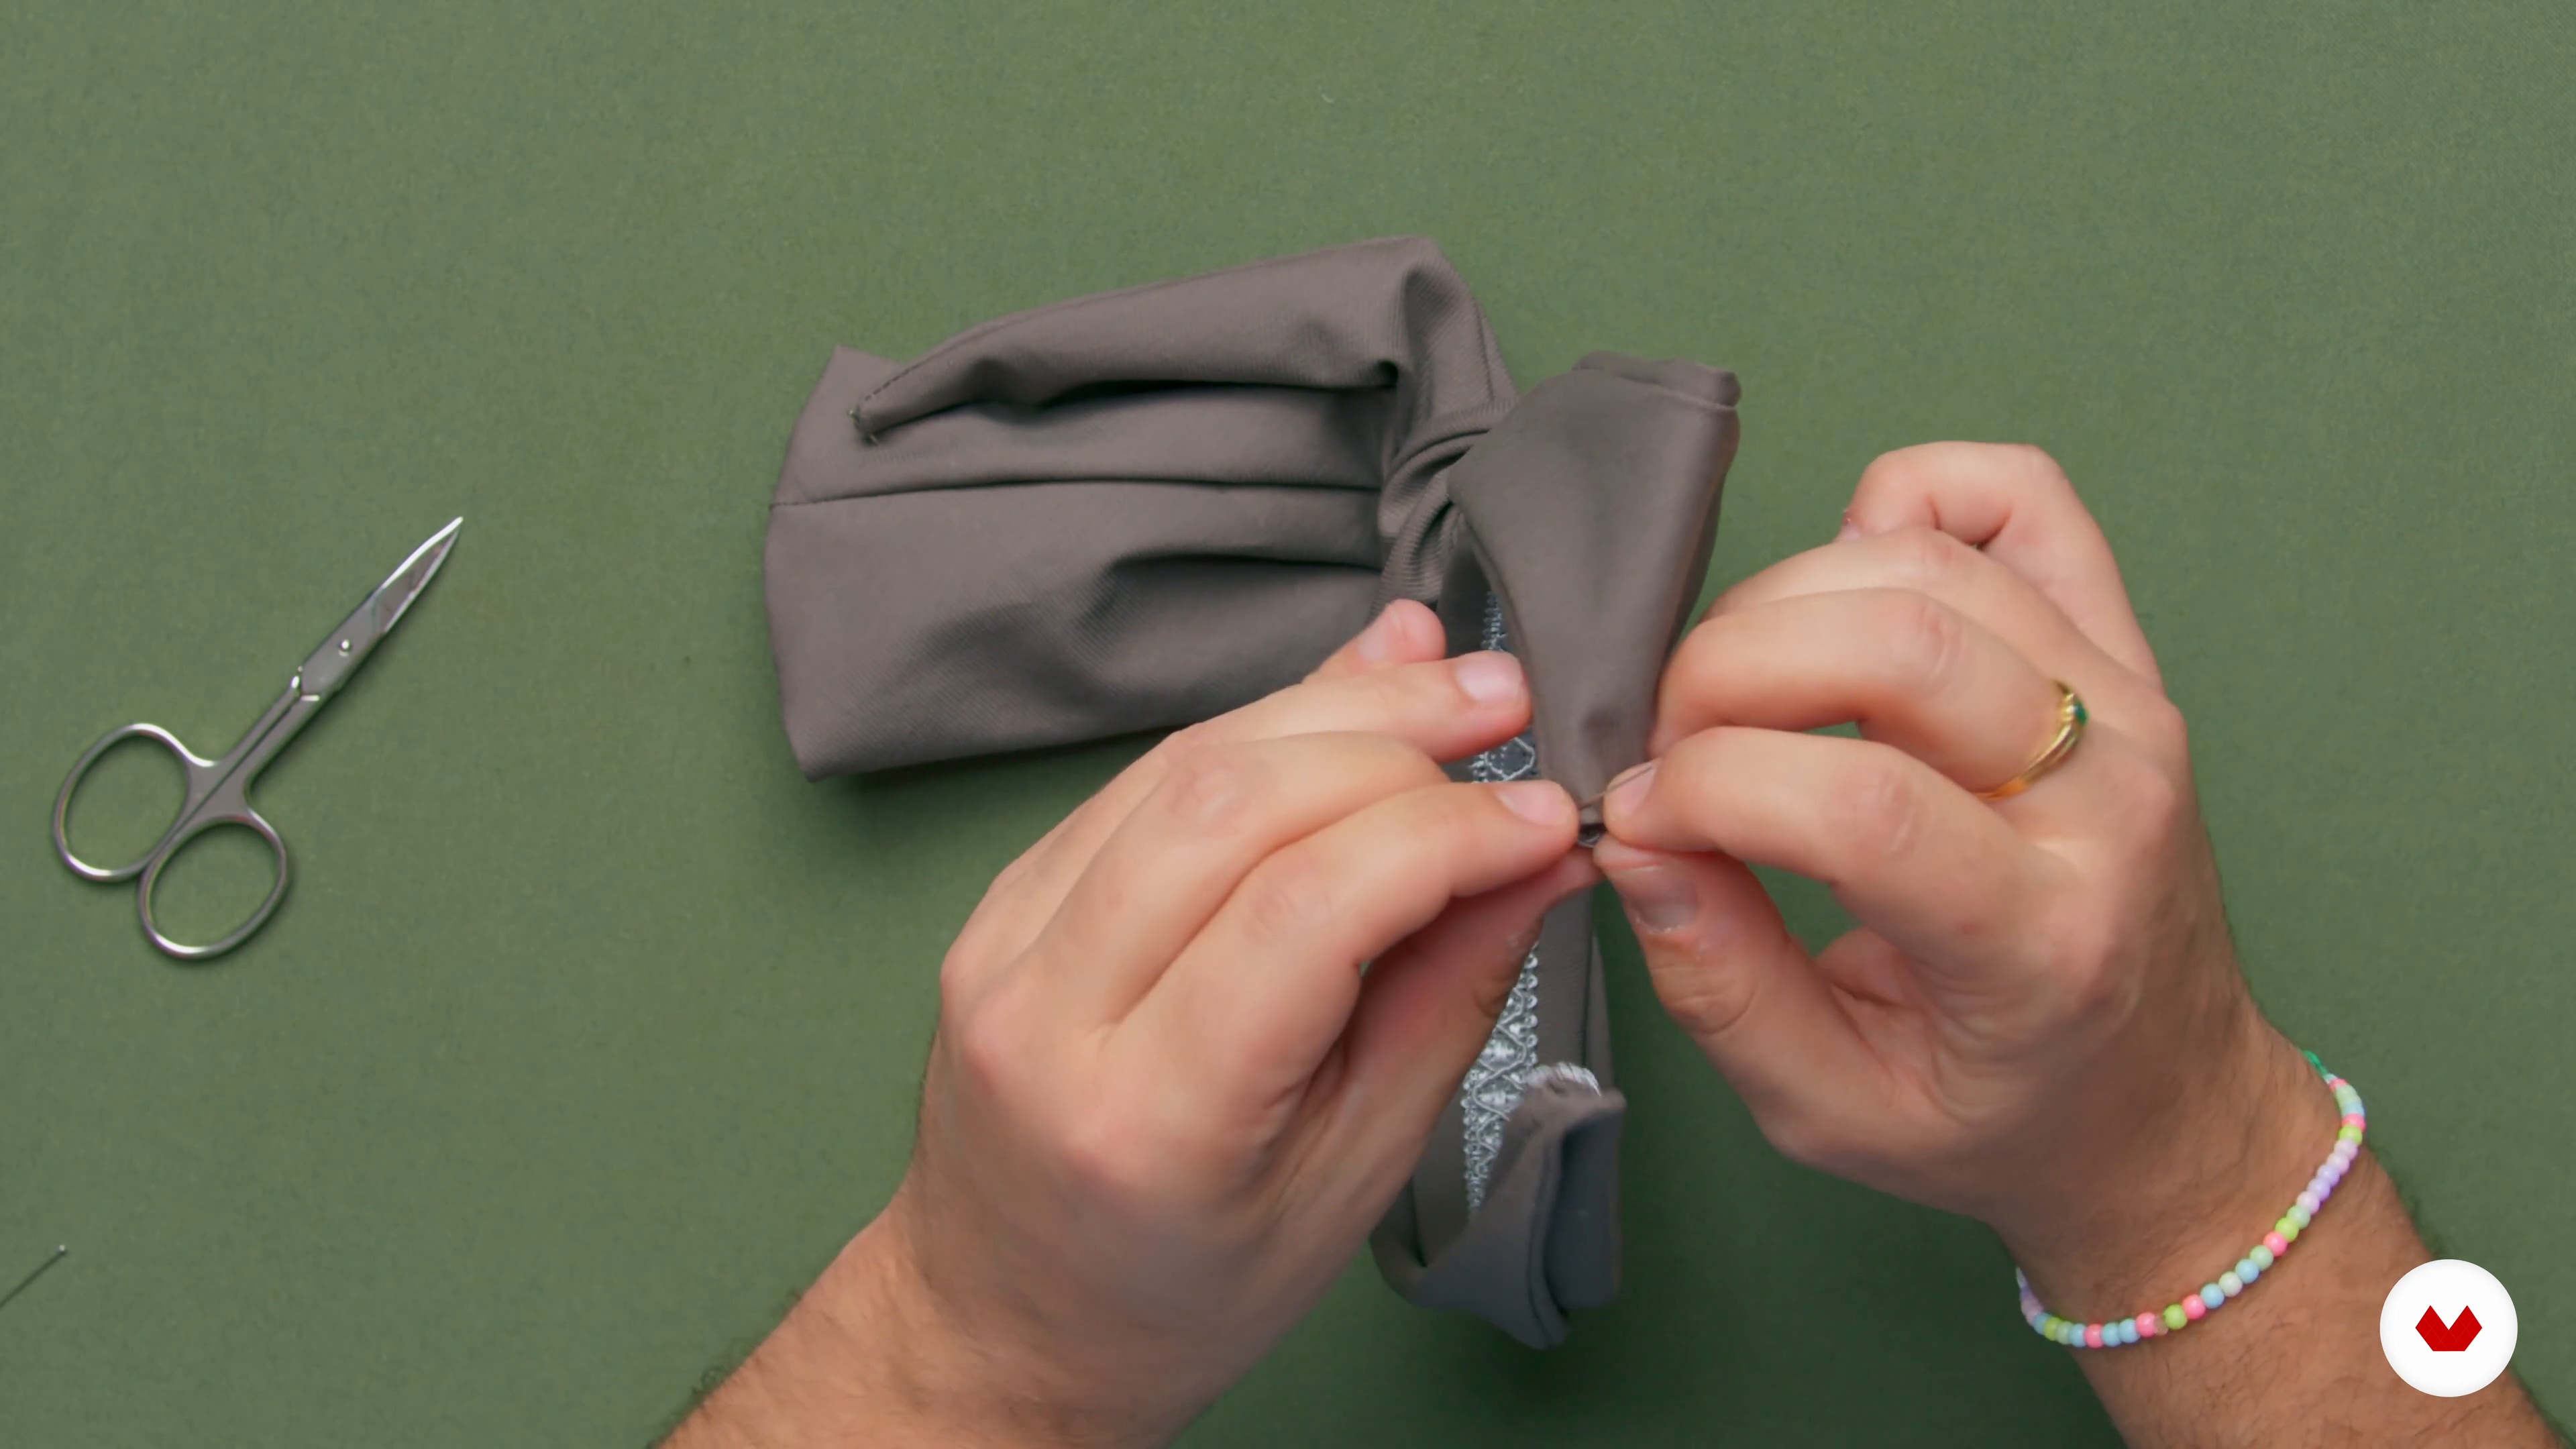
Now we are going to teach you how to make a bow. We will do the whole process, from modeling to the final finish.
17m
image
9
Care Guidelines
In this lesson we will teach you how to make an optimal quality control on the final pieces and the care you must have to keep them in good condition.
2m
image
10
How to Use the Accessories
Next, we are going to explain how to use the accessories you have created and how to combine them according to the occasion of use.
1m
image
11
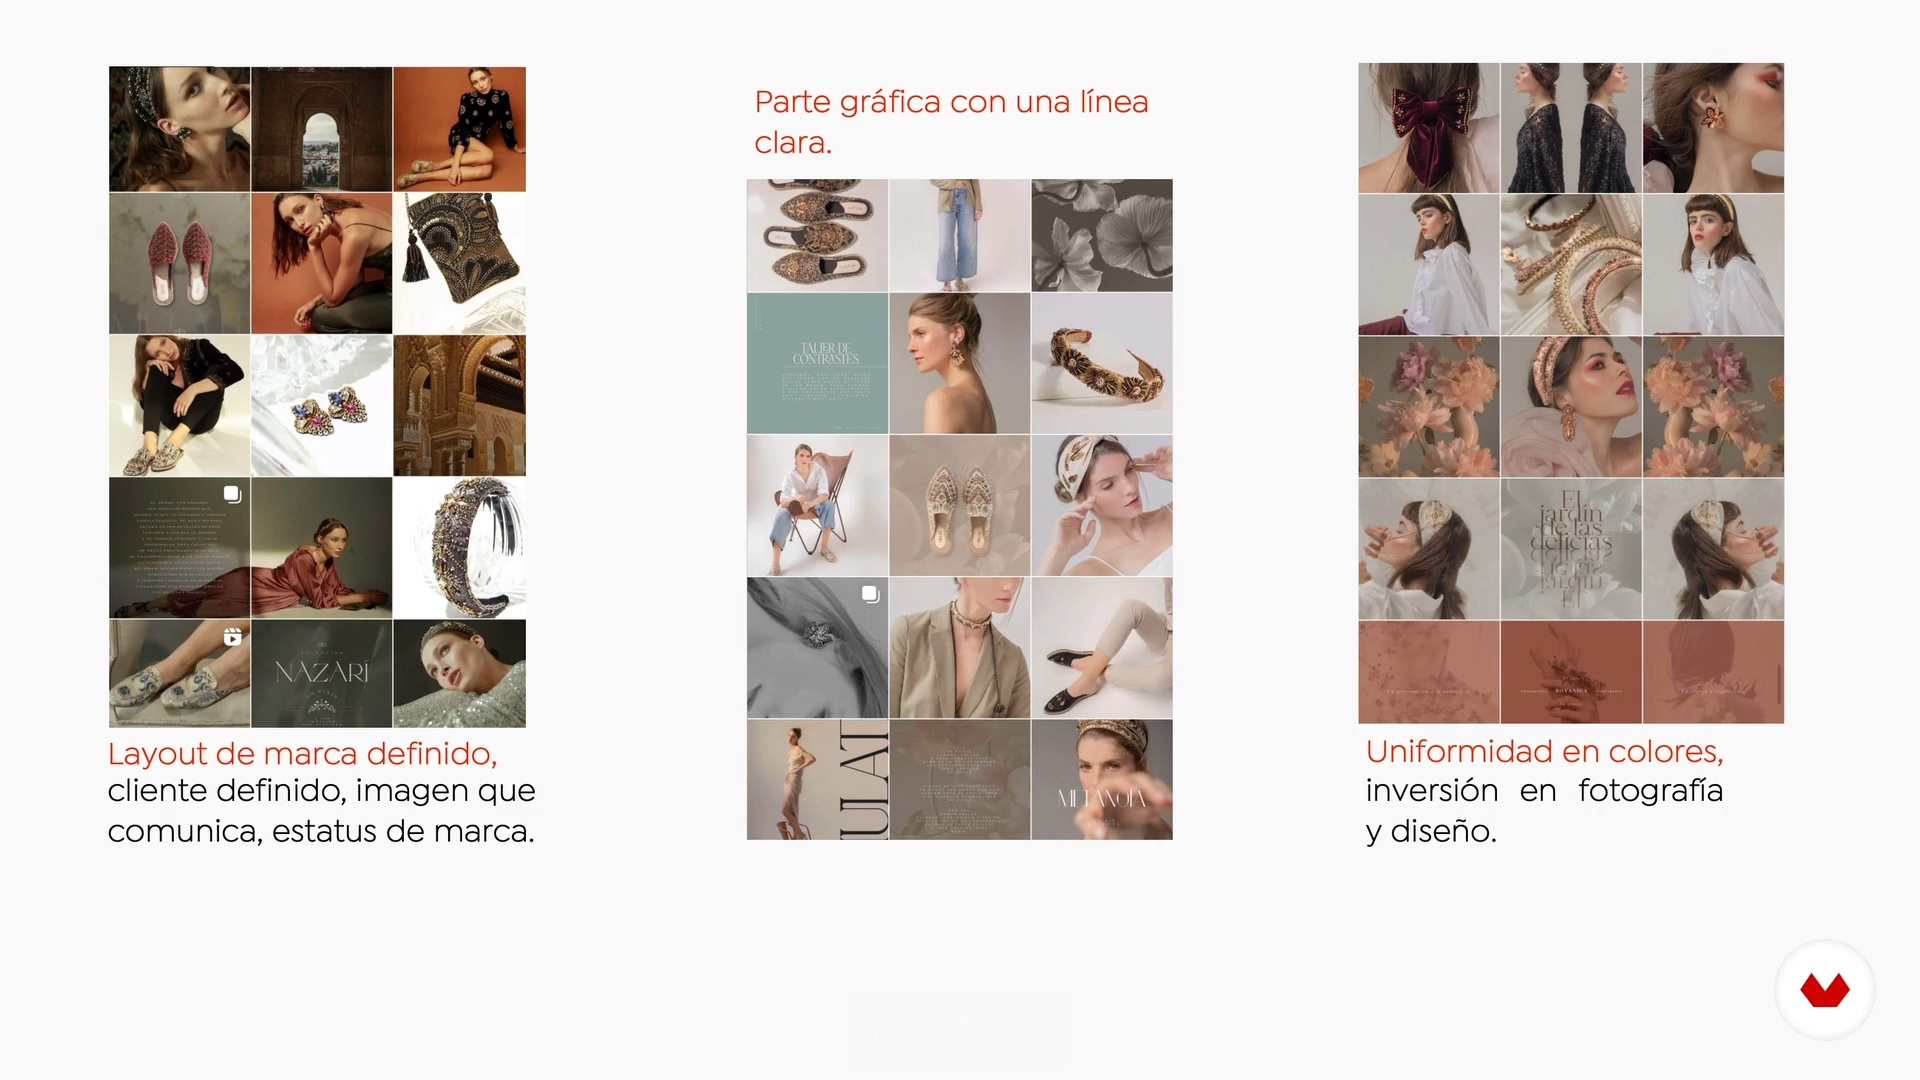
Selling on Social Media
Now you will learn to develop marketing strategies to make your products visible on different social networks.
3m
image
3
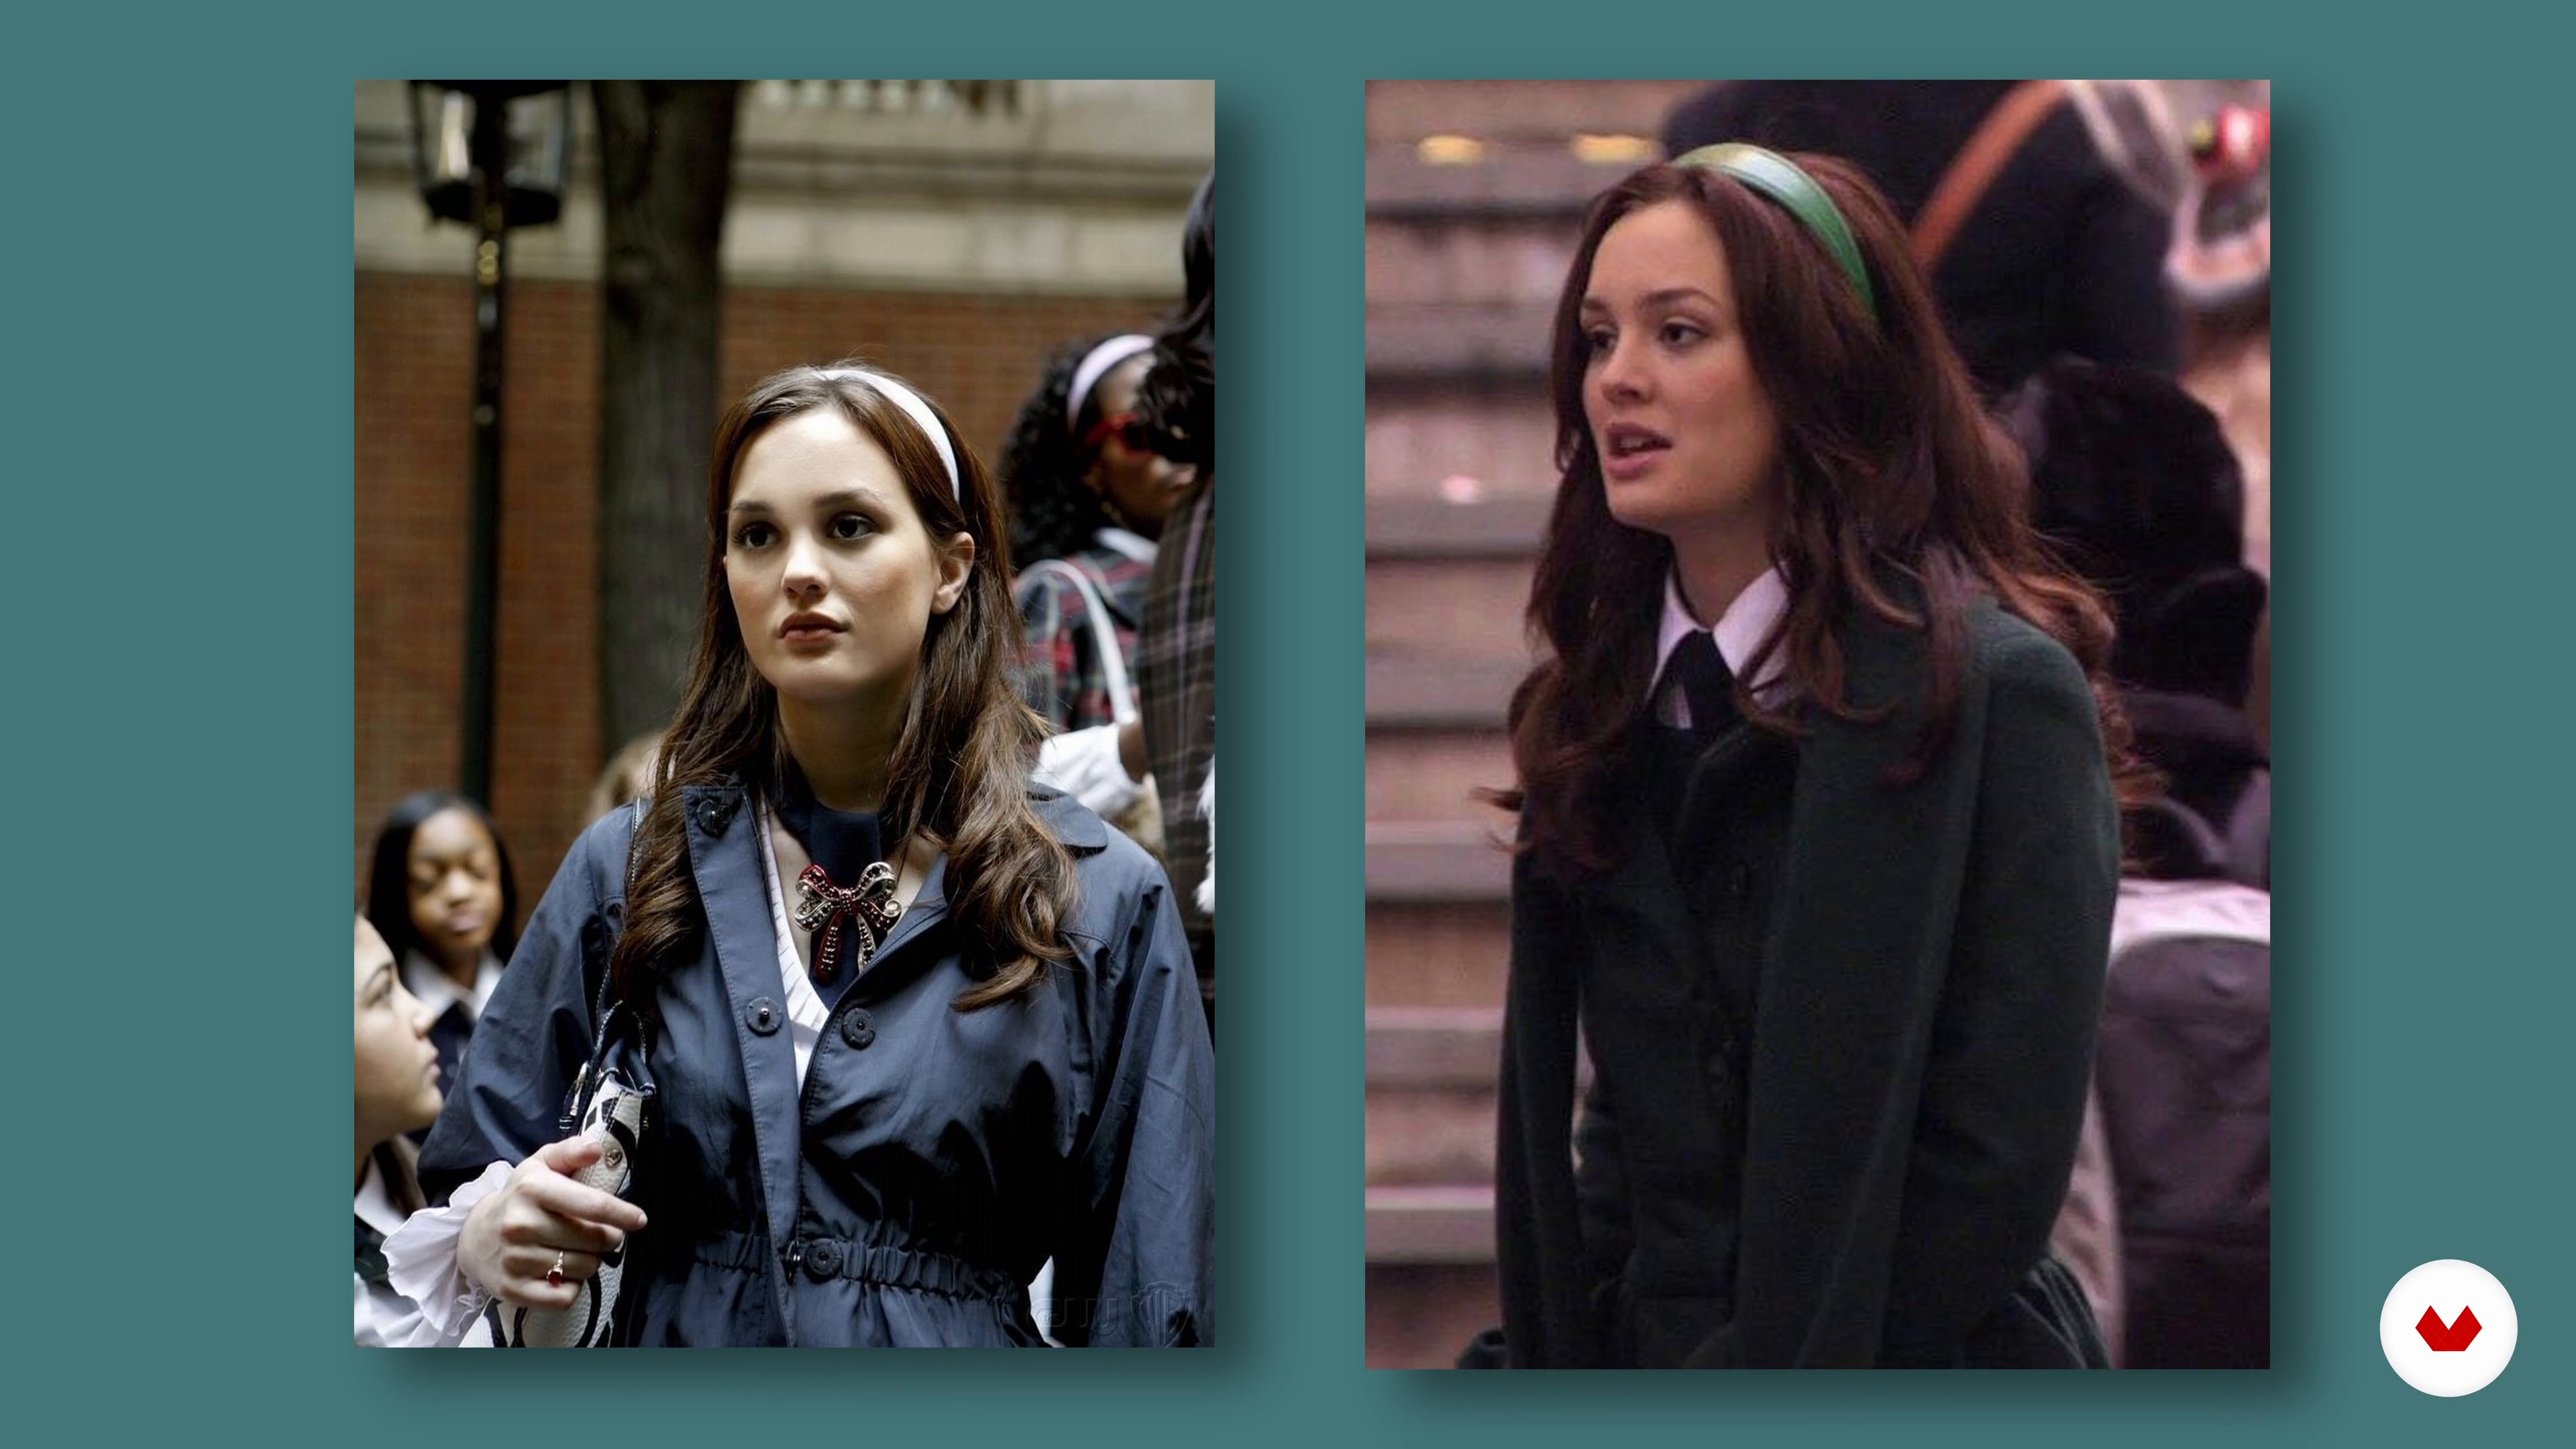
Trends and usage
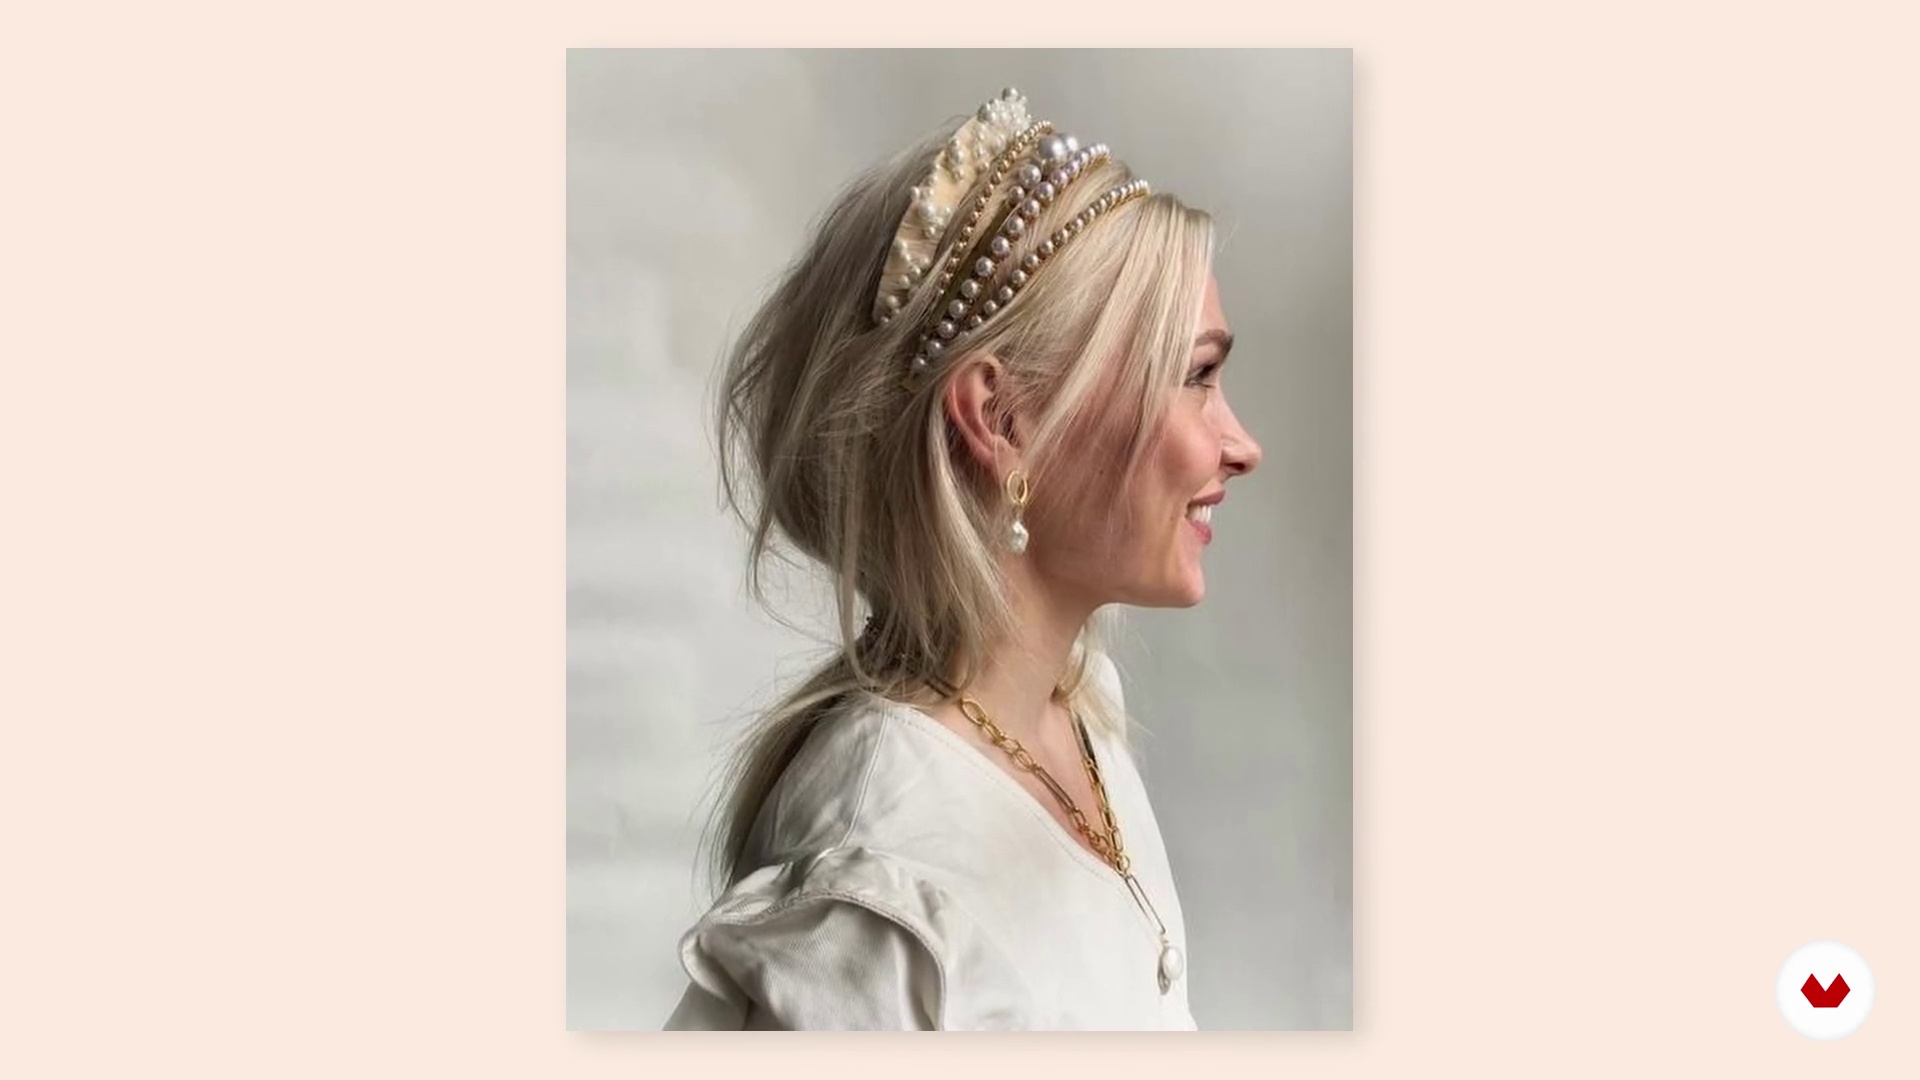
In this lesson I am going to explain the history of the headband and the different types of trends and uses that exist. I will also advance you the types of headband that we will see during the course.
3m
image
4
Fabrics and materials
Next, I am going to tell you what materials we will use to create our headbands and what are the fabrics that best adapt to each type.
6m
image
5
References and mood board
Before starting a project it is very important to look for references. In this lesson I will explain how to create the mood board of your collection and I will give you tips to select the fabrics and colors that you will use.
11m
image
6
Basic flat headband 1
In this lesson, I'll start by explaining the basic or flat headband. We can keep it simple or complete them with more ornaments.
17m
image
7
Basic flat headband 2
We continue working on the basic flat headband, focusing on the finishing touches until it is finished.
6m
image
8
Embossed basic headband
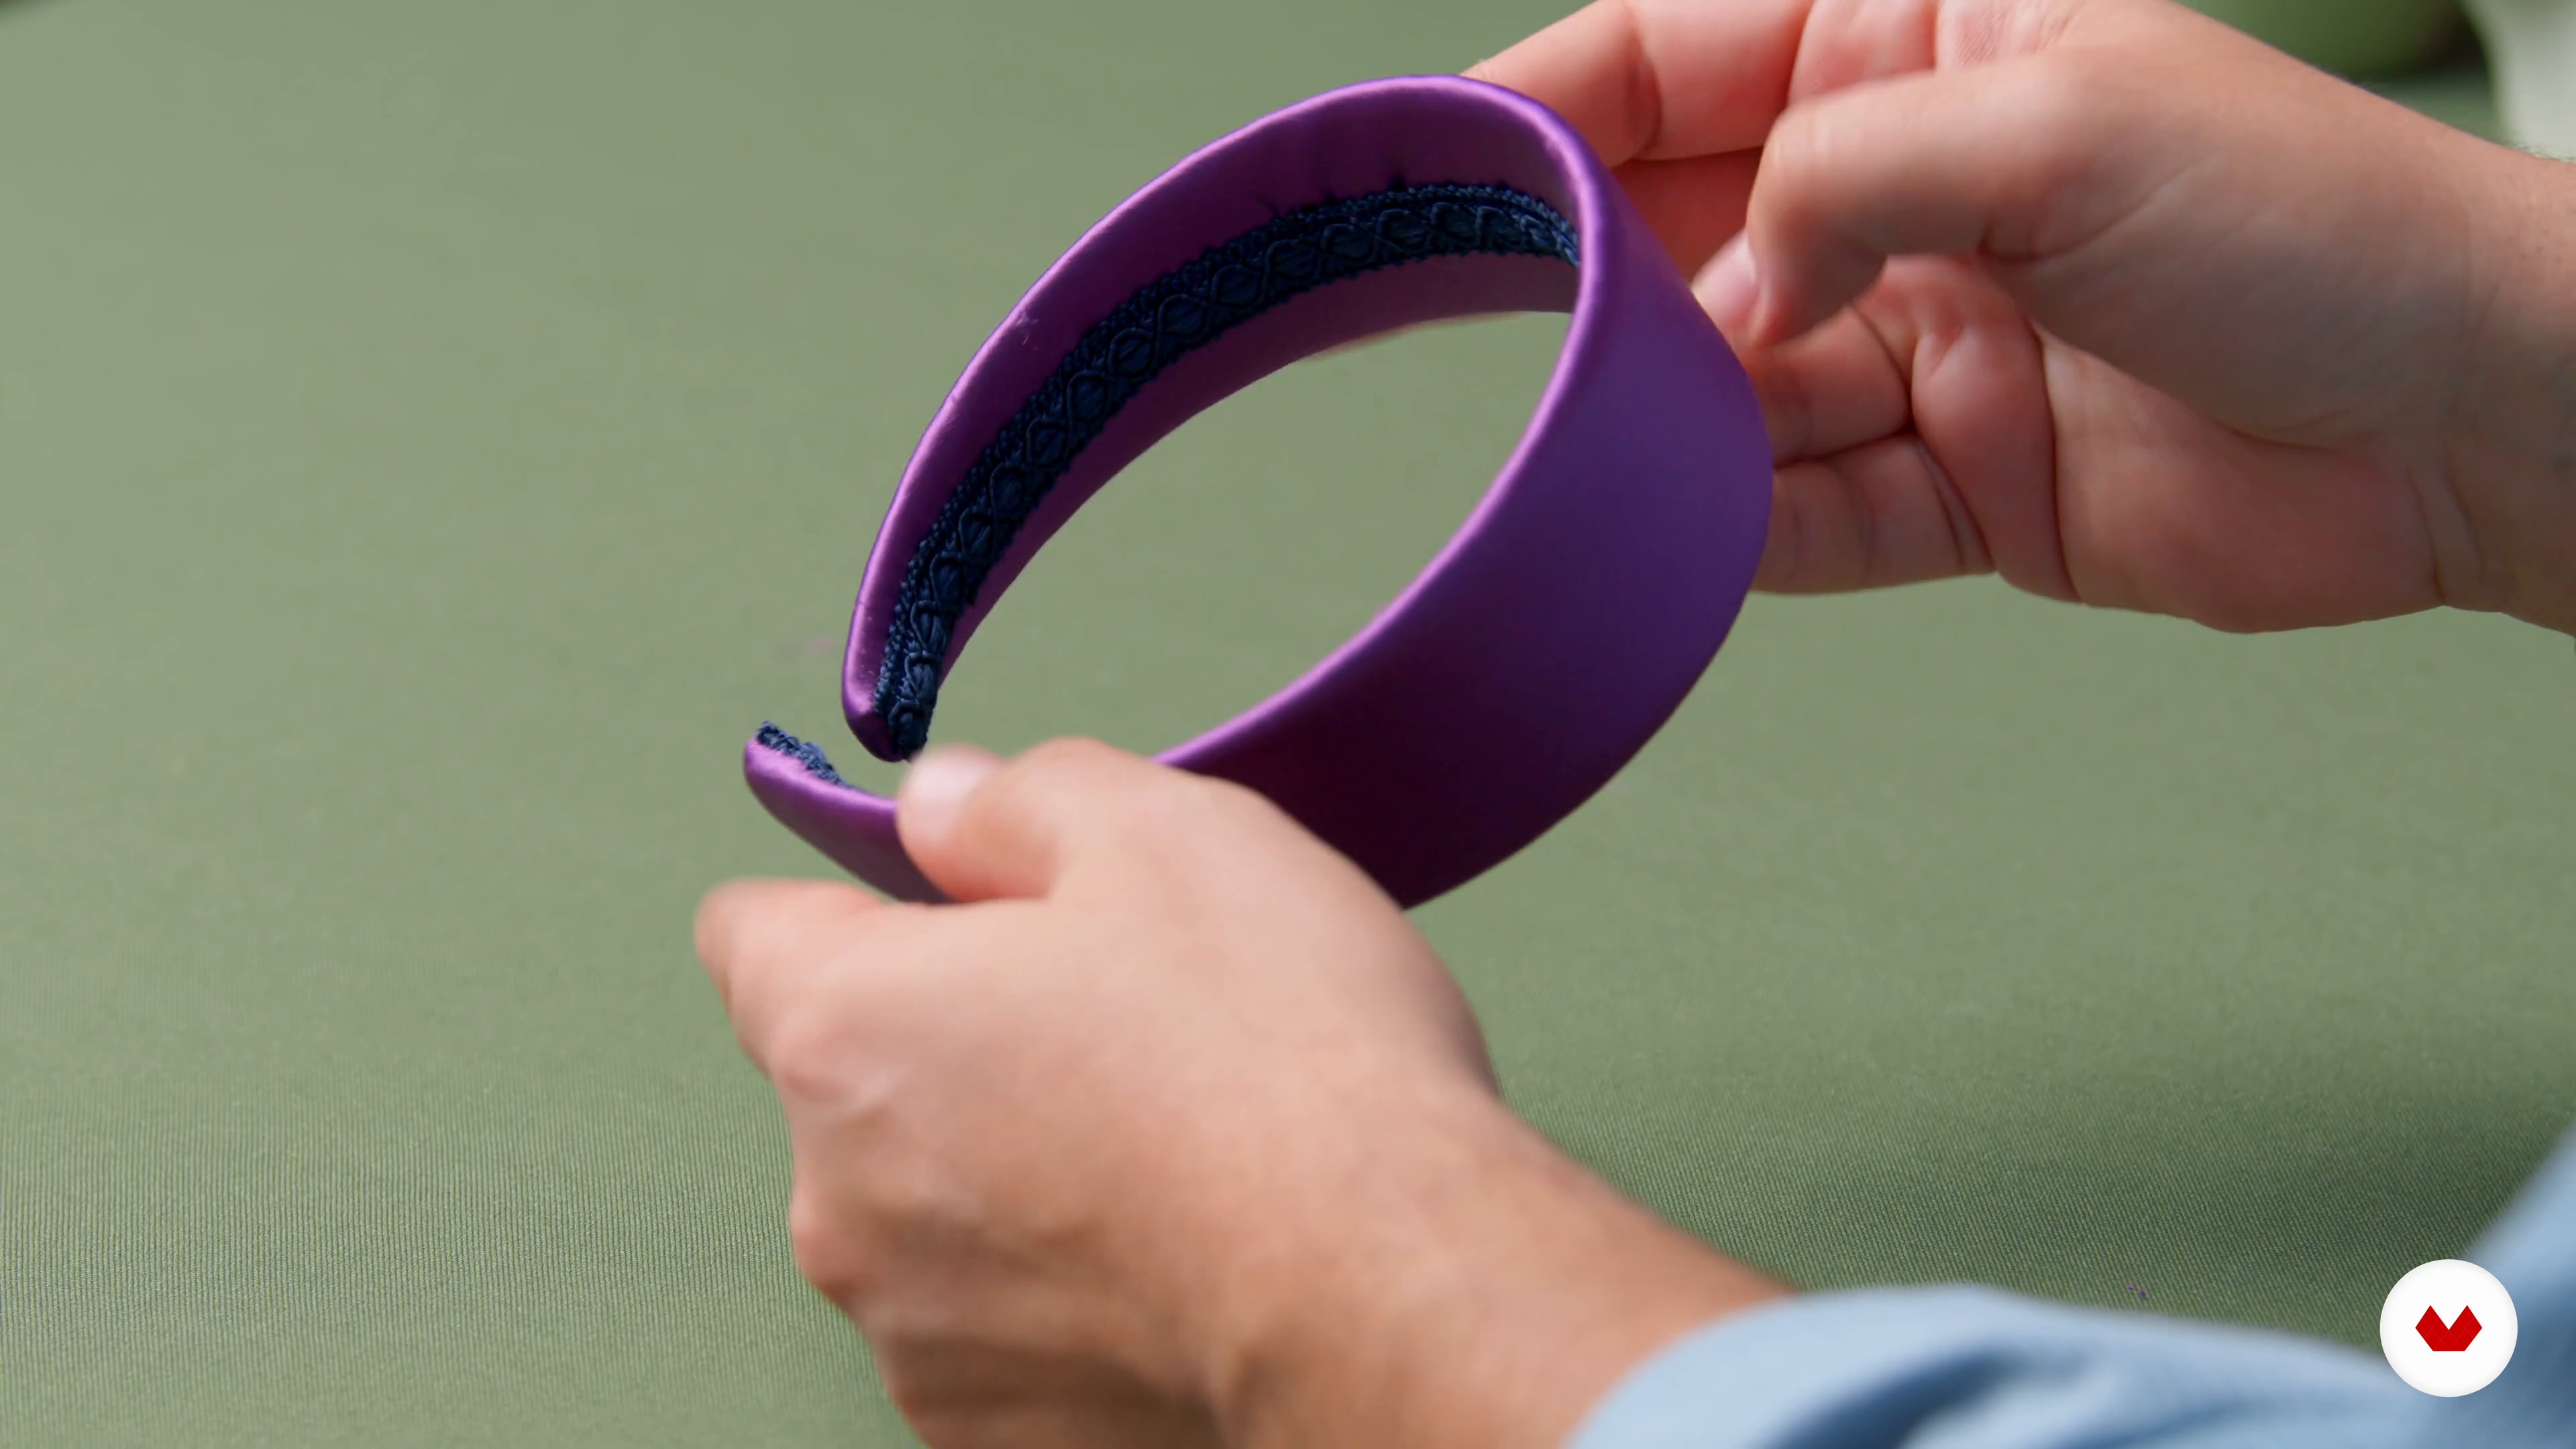
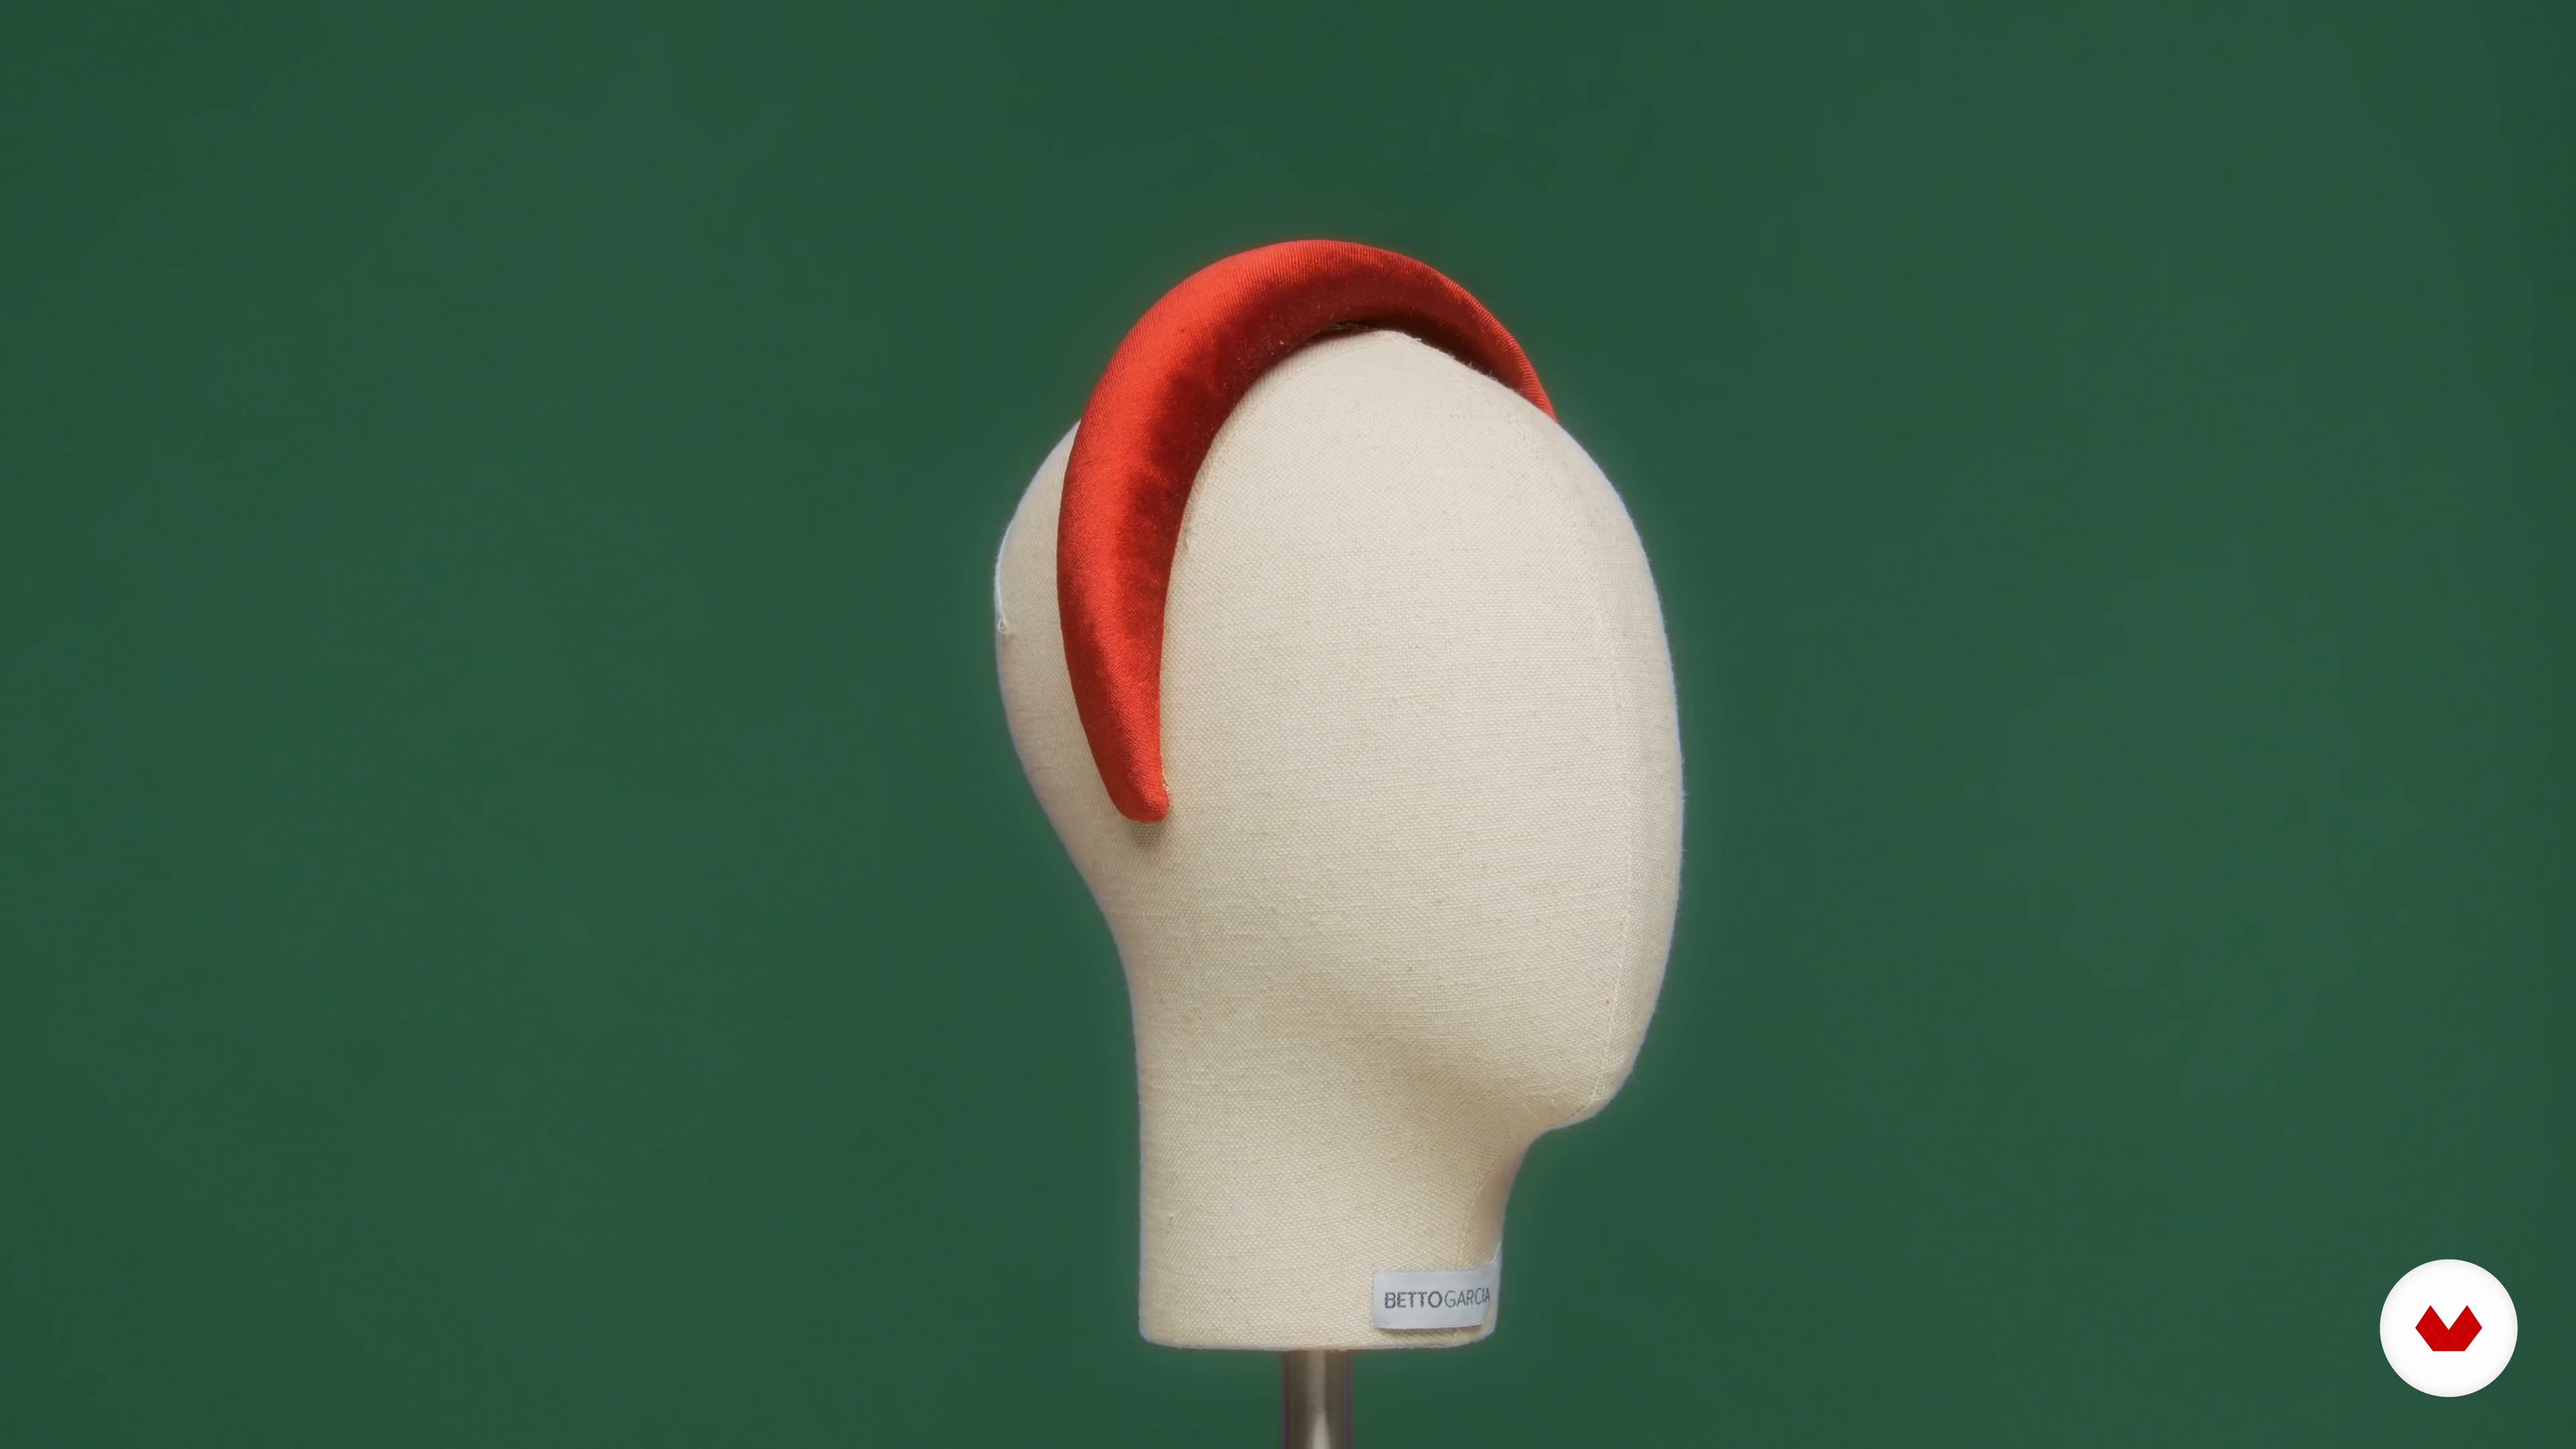
Now I want to talk to you about the most trending headband right now: the padded or embossed headband. I will explain step by step how to make it.
13m
image
9
Introduction and preparation of moulage
In this lesson I will tell you what moulage is, explaining its history and how its technique works. You will be able to apply all of this in the following lessons.
6m
image
10
Moulage headband finishes 1
Next, it's time to build the moulage headband. To do this, we will use the bands that we prepared in the previous lesson.
15m
image
11
Moulage headband finishes 2
Now we are going to work on the last details of the moulage headband until it is finished. Remember to be intuitive or intuitive and play with the stitches so that they are not seen.
7m
image
12
Introduction and finishes of the jewel headband 1
In this lesson, I am going to explain what jeweled headbands are like and how to embroider the rhinestones to create the effect we are looking for.
20m
image
13
Introduction and finishes of the jewel headband 2
We continue working on the jewel headband, finishing touches and finishes until it is finished.
16m
image
14
How to take photos for your social networks
In this lesson I will tell you how to create your set to display your pieces. I will give you several tips to mount it and photograph it, so you can share your work on social networks.
2m
image
15
Packaging and care
When you share your work, the packaging of your piece and how you present it is very important. In this lesson I will teach you how to do it.
5m
image
3
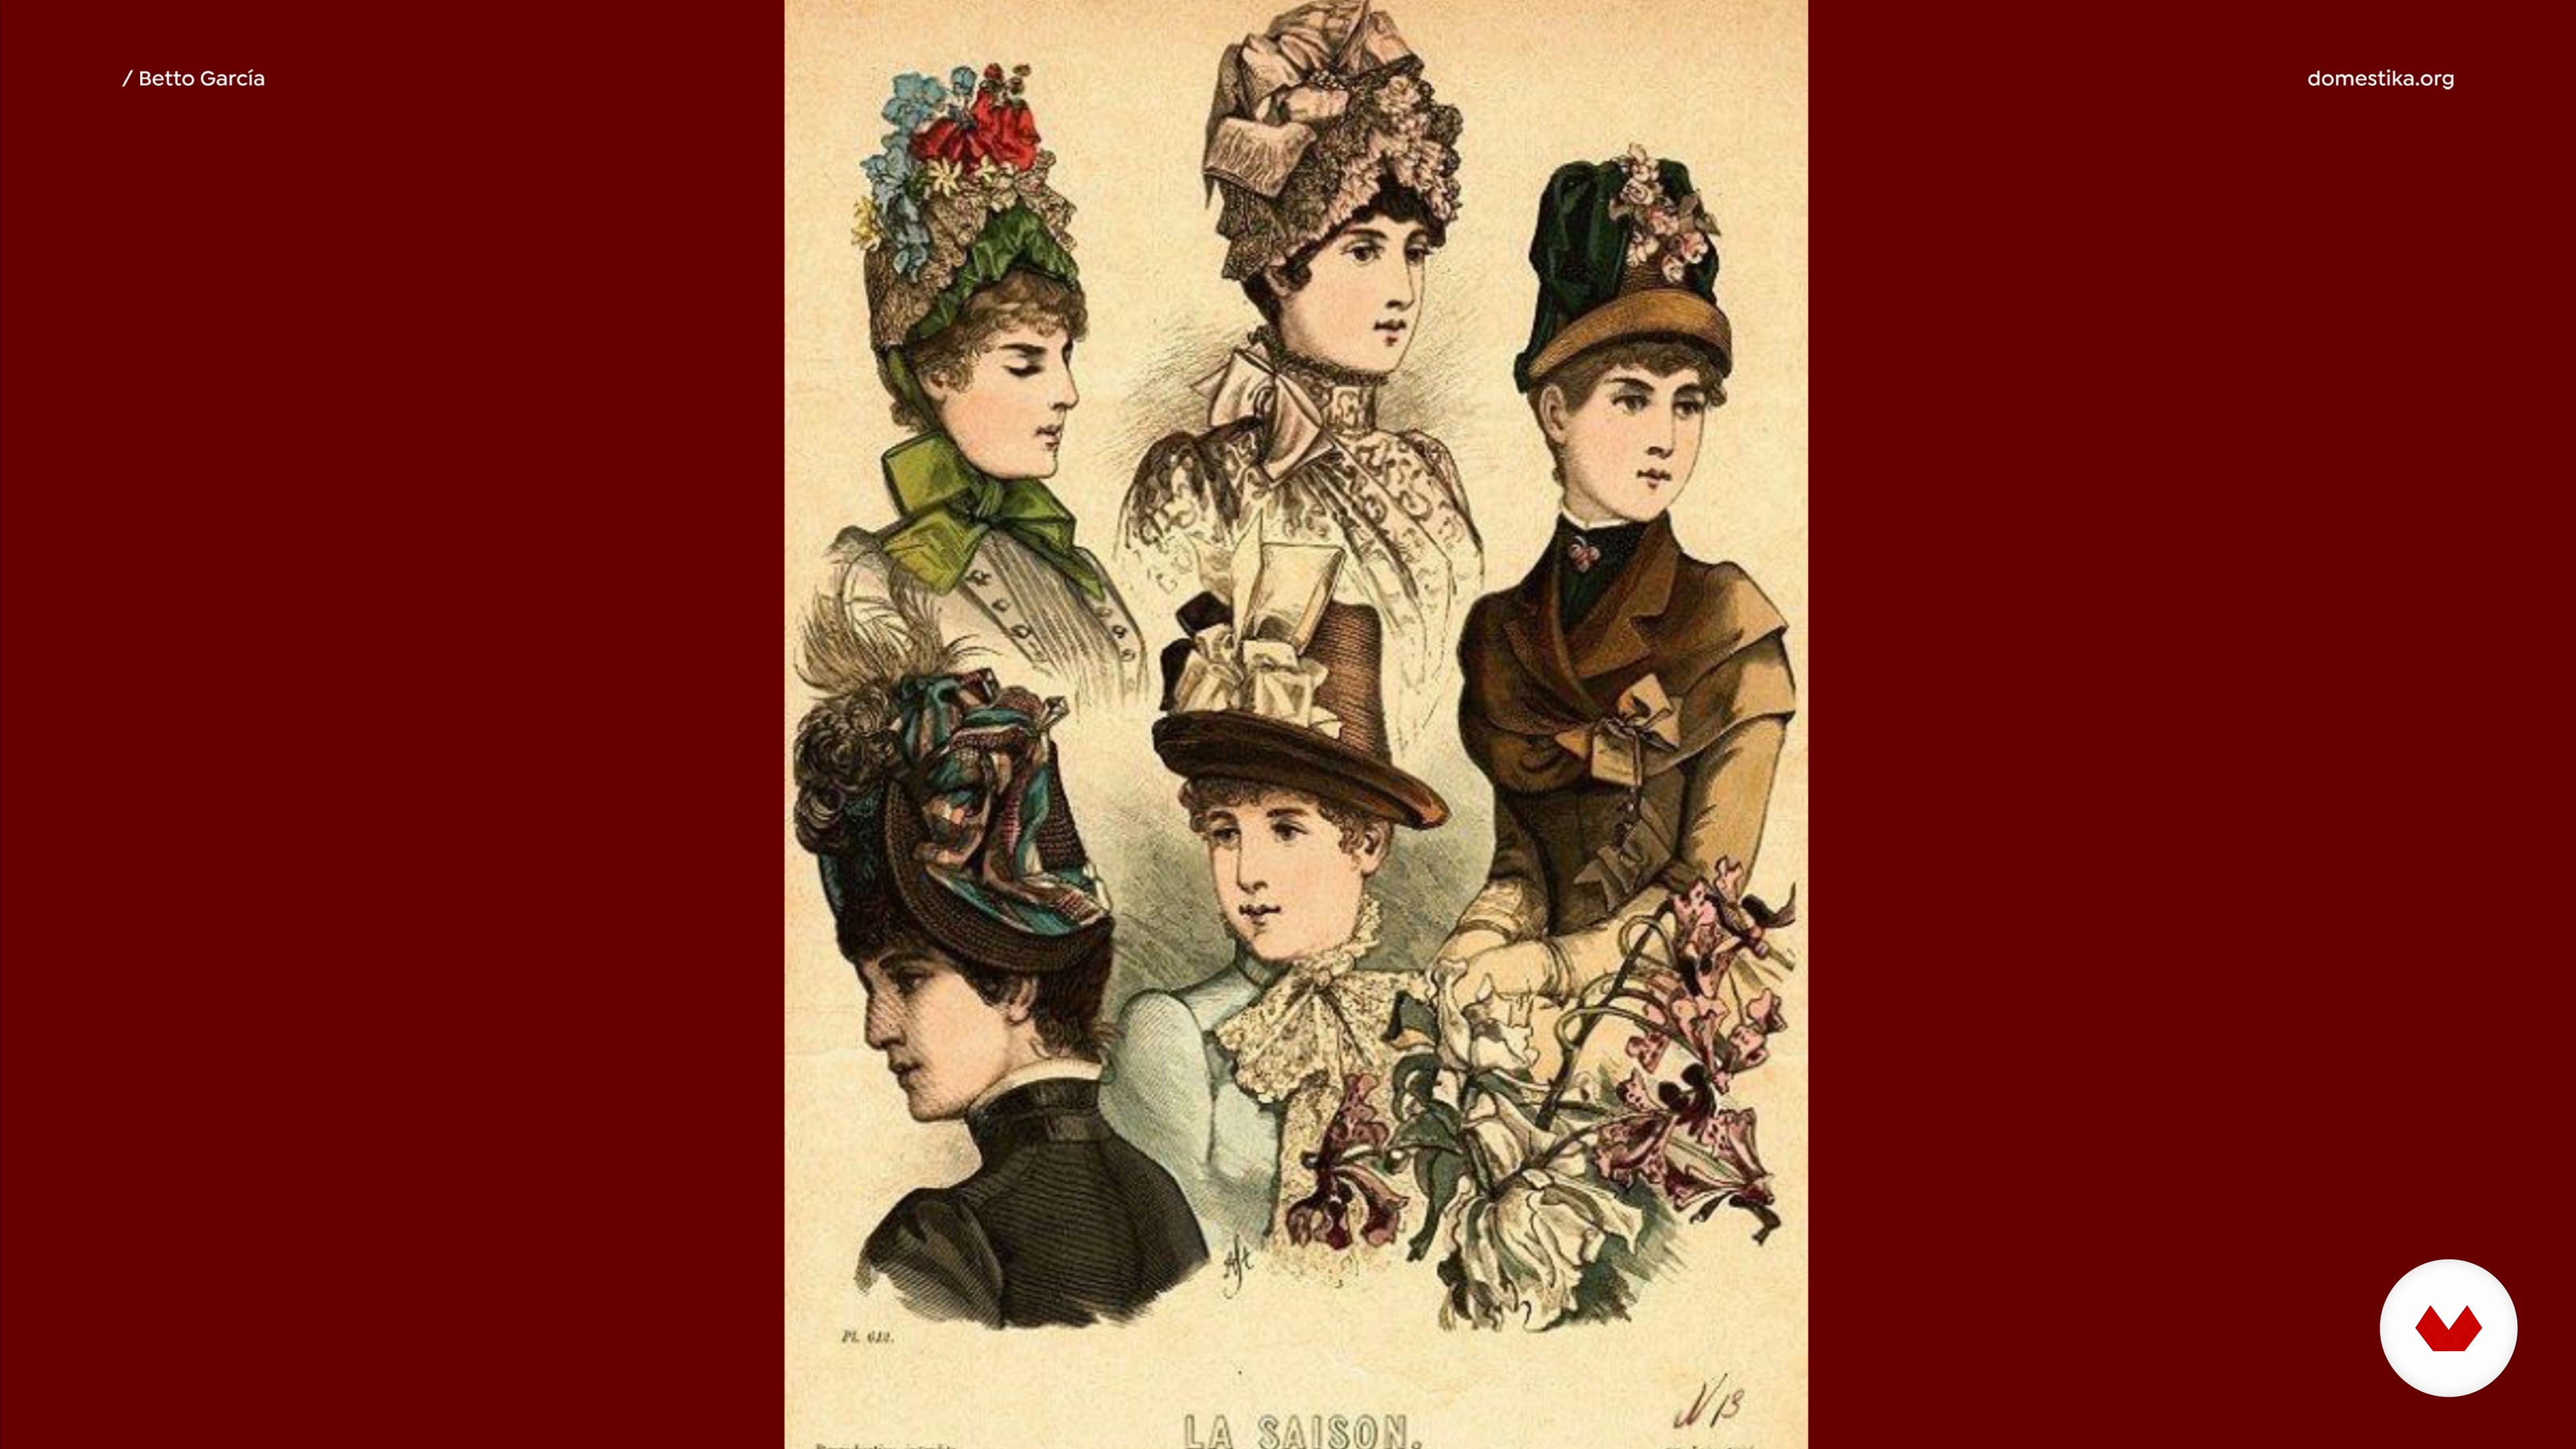
Origin of the hat, its types and history
In this lesson I am going to tell you what the first hat was and how its history has evolved to the present day.
4m
image
4
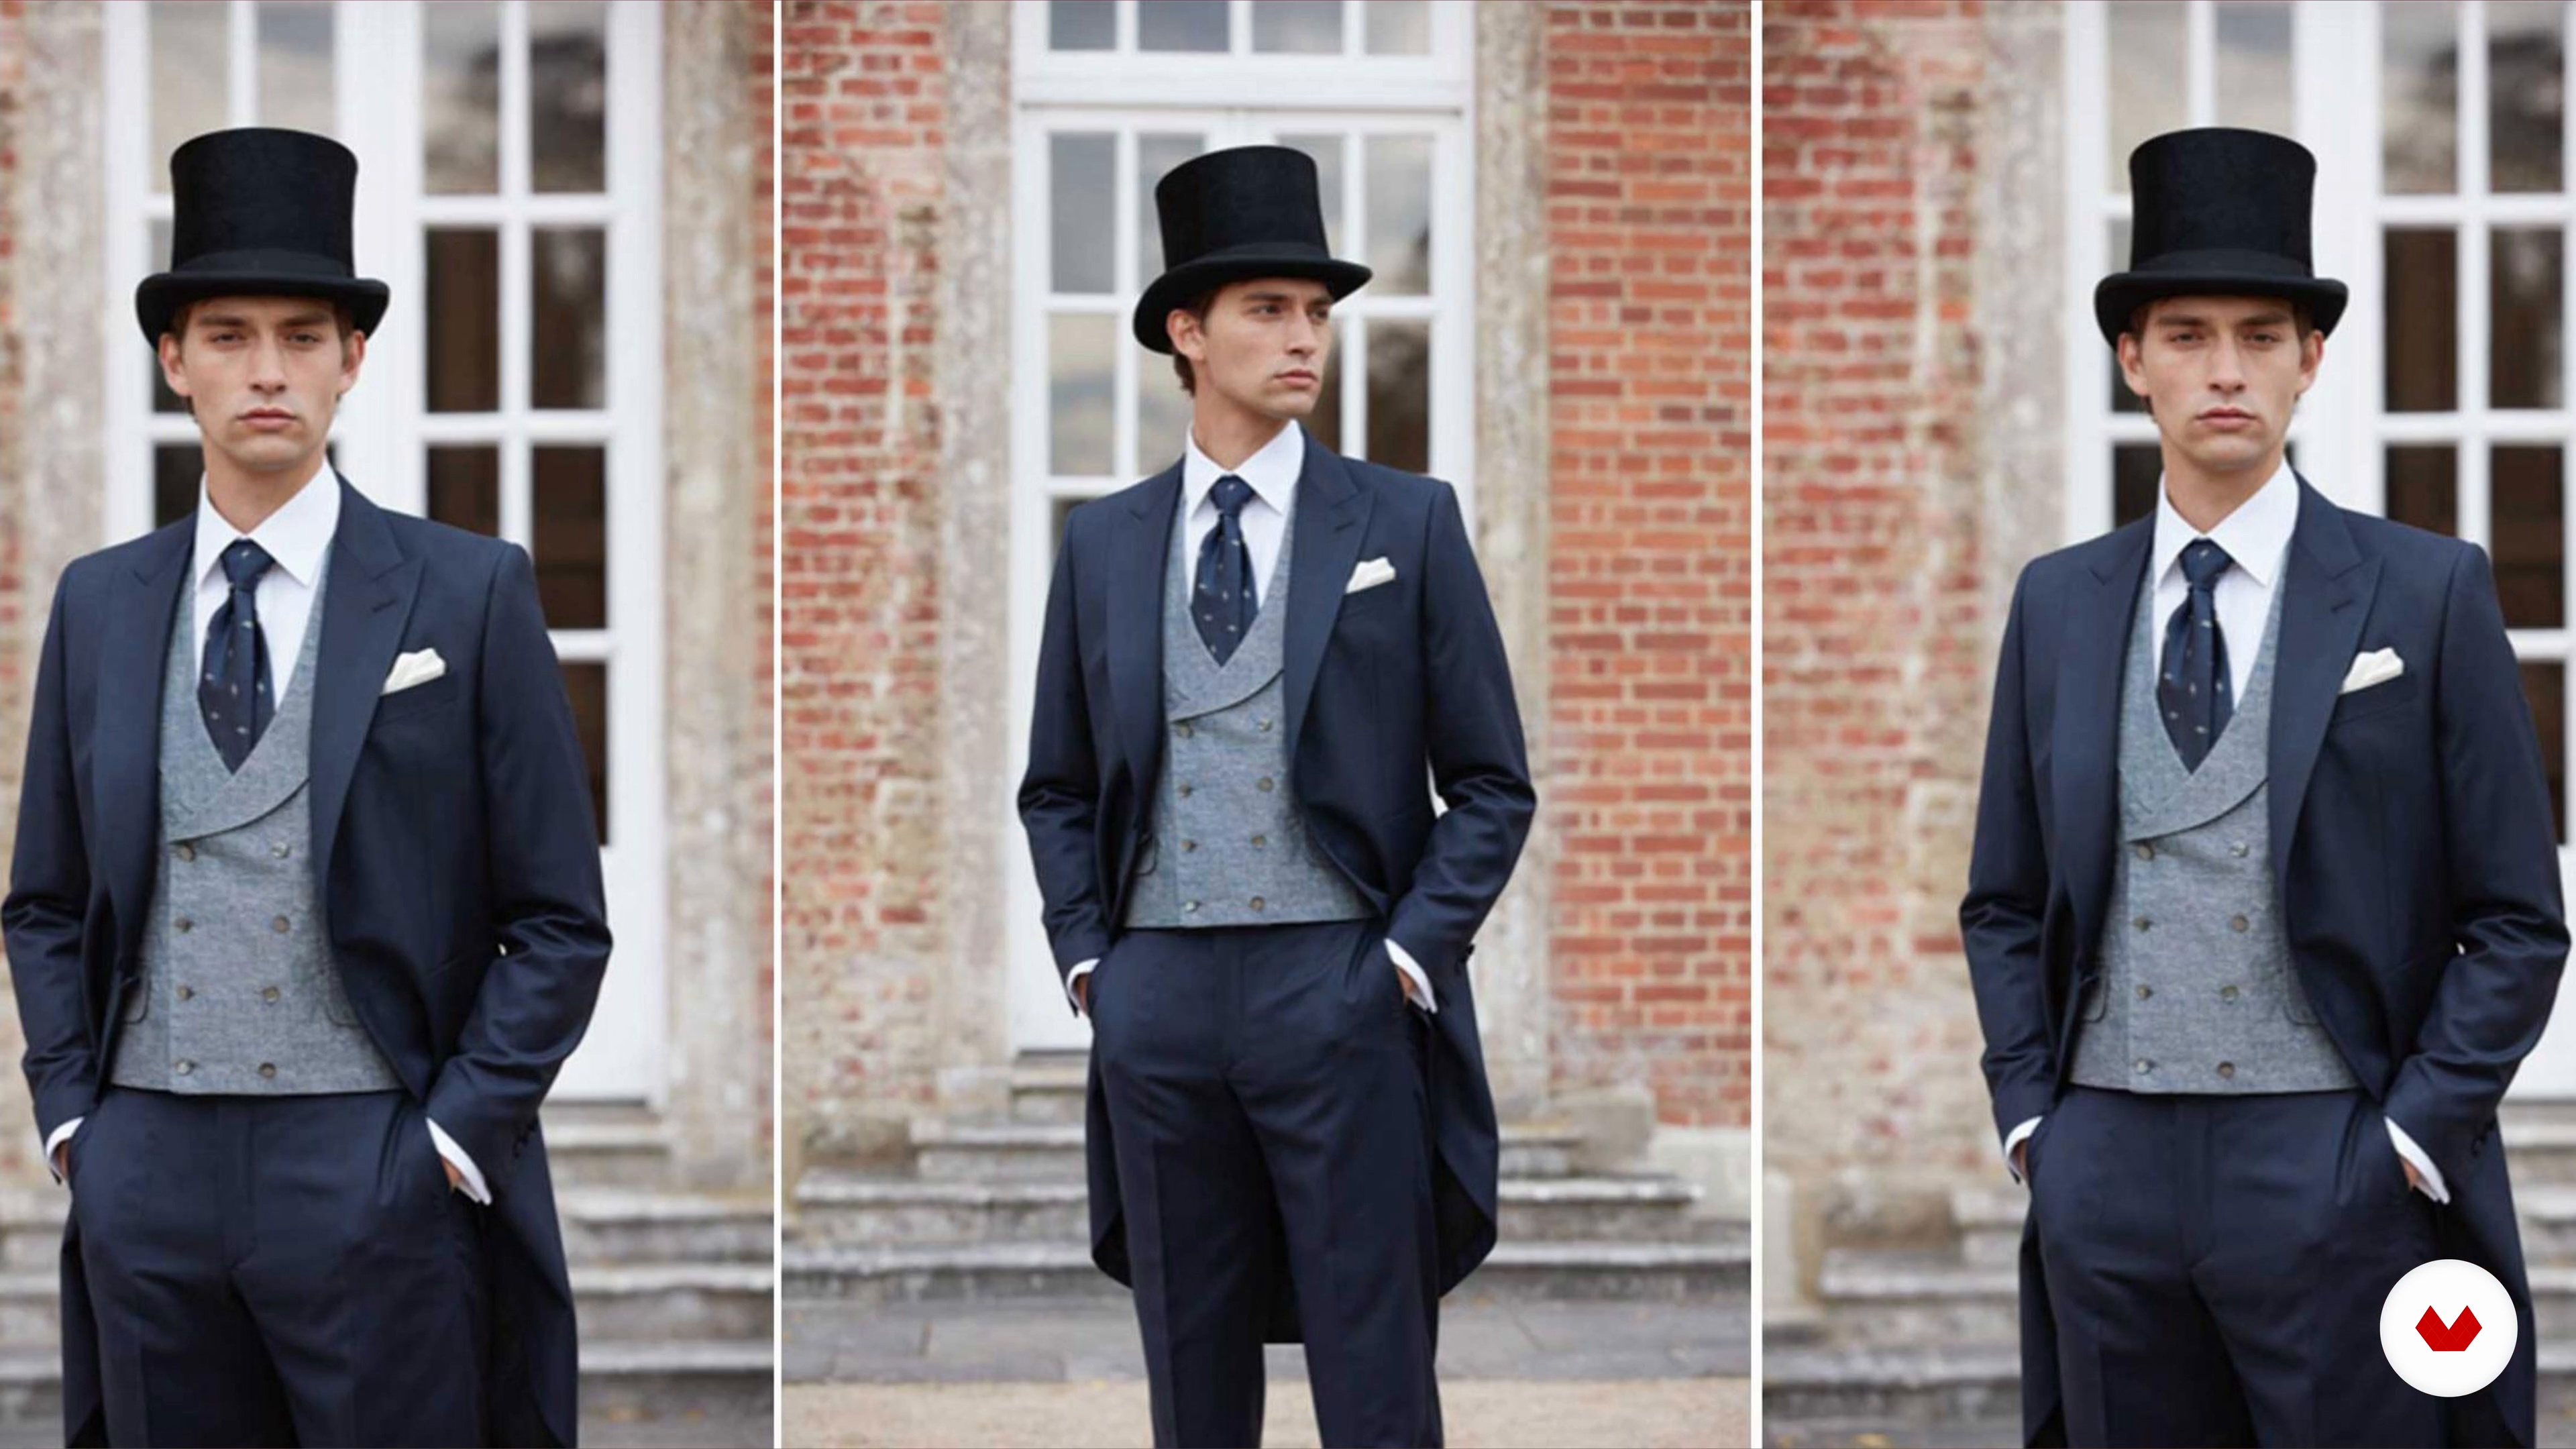
Hat protocol and tips on its use
Next, I am going to tell you when we should use each type of hat and ways to put it on. I will also give you different recommendations that demystify the use of the hat from a more current point of view.
3m
image
5
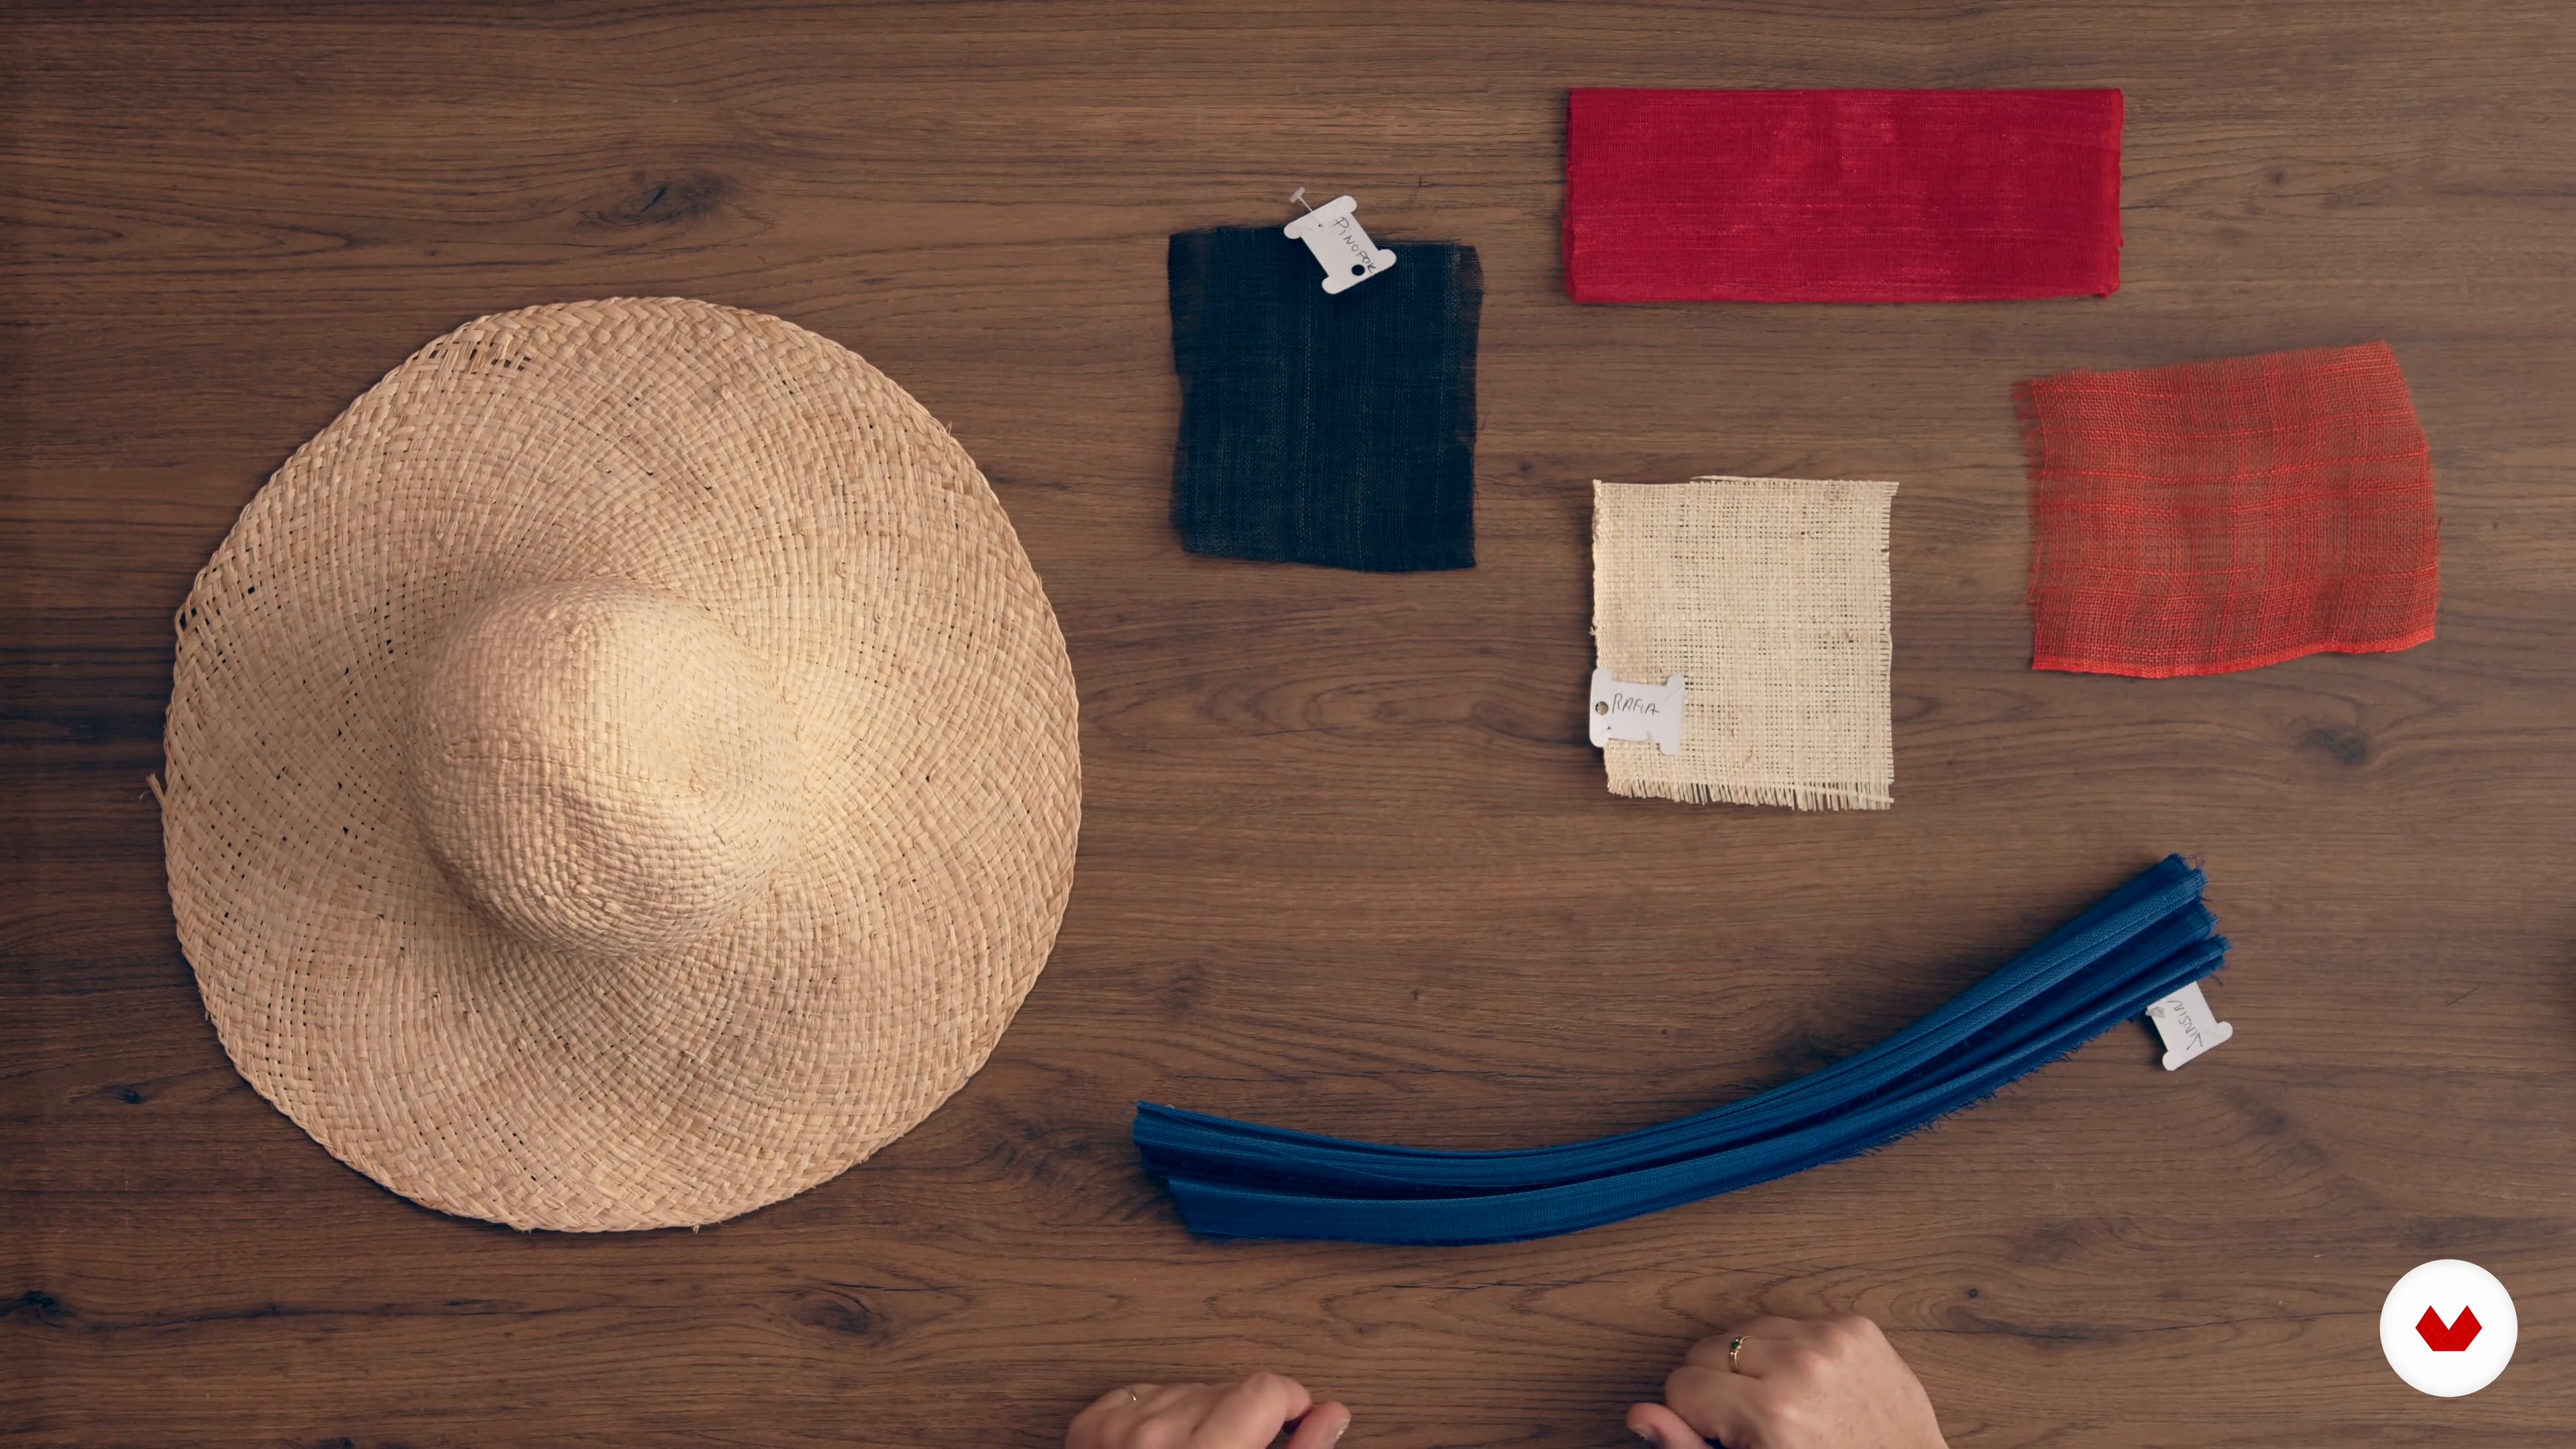
Fabrics and capelines
In this lesson we are going to see the wide range of natural fabrics and what capelines are to create your hat.
3m
image
6
How to take measurements of the head and different types of last
Next, I am going to give you some necessary tips to be able to take the correct measurement of the head and, thus, know the size to make the hat.
2m
image
7
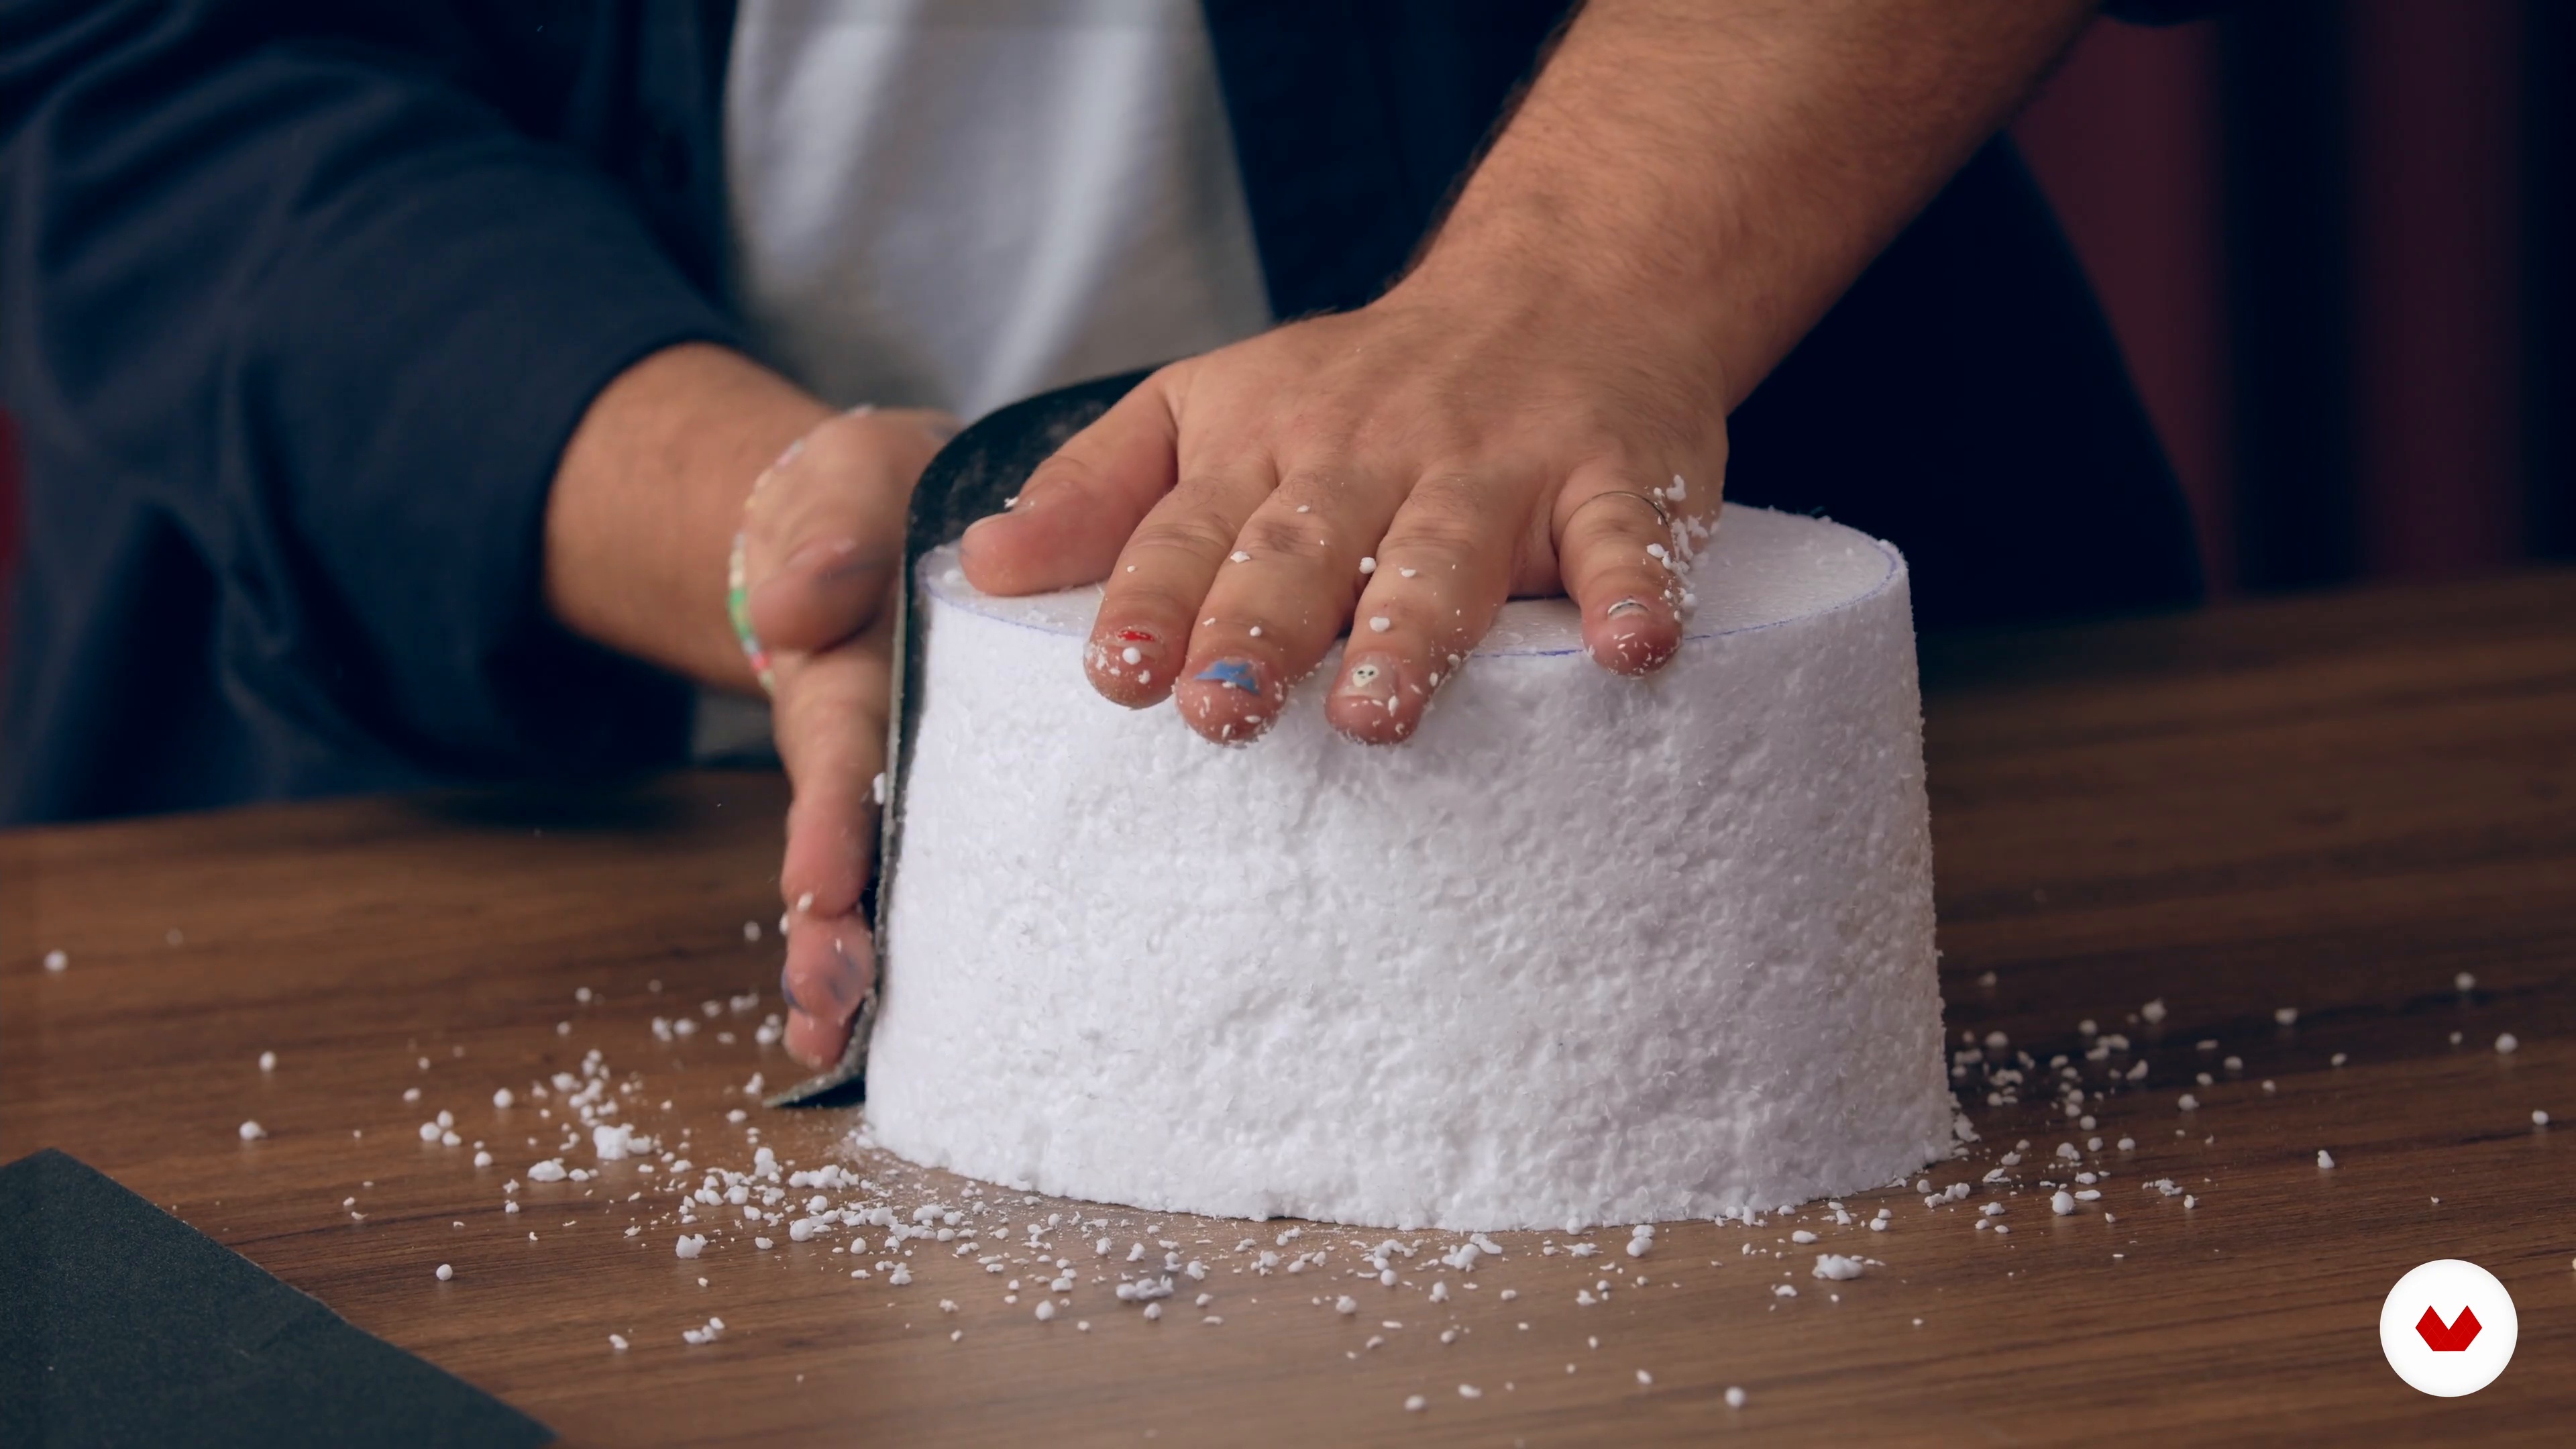
Creating your own last from home
Professional lasts can be purchased, but they have a fairly high cost. Therefore, in this lesson I am going to explain how to work the cork by molding it to create your last.
6m
image
8
Shaped and finished to last with capeline
In this lesson I am going to explain step by step the first point necessary to create your hat. We will start modeling the capeline on the last.
9m
image
9
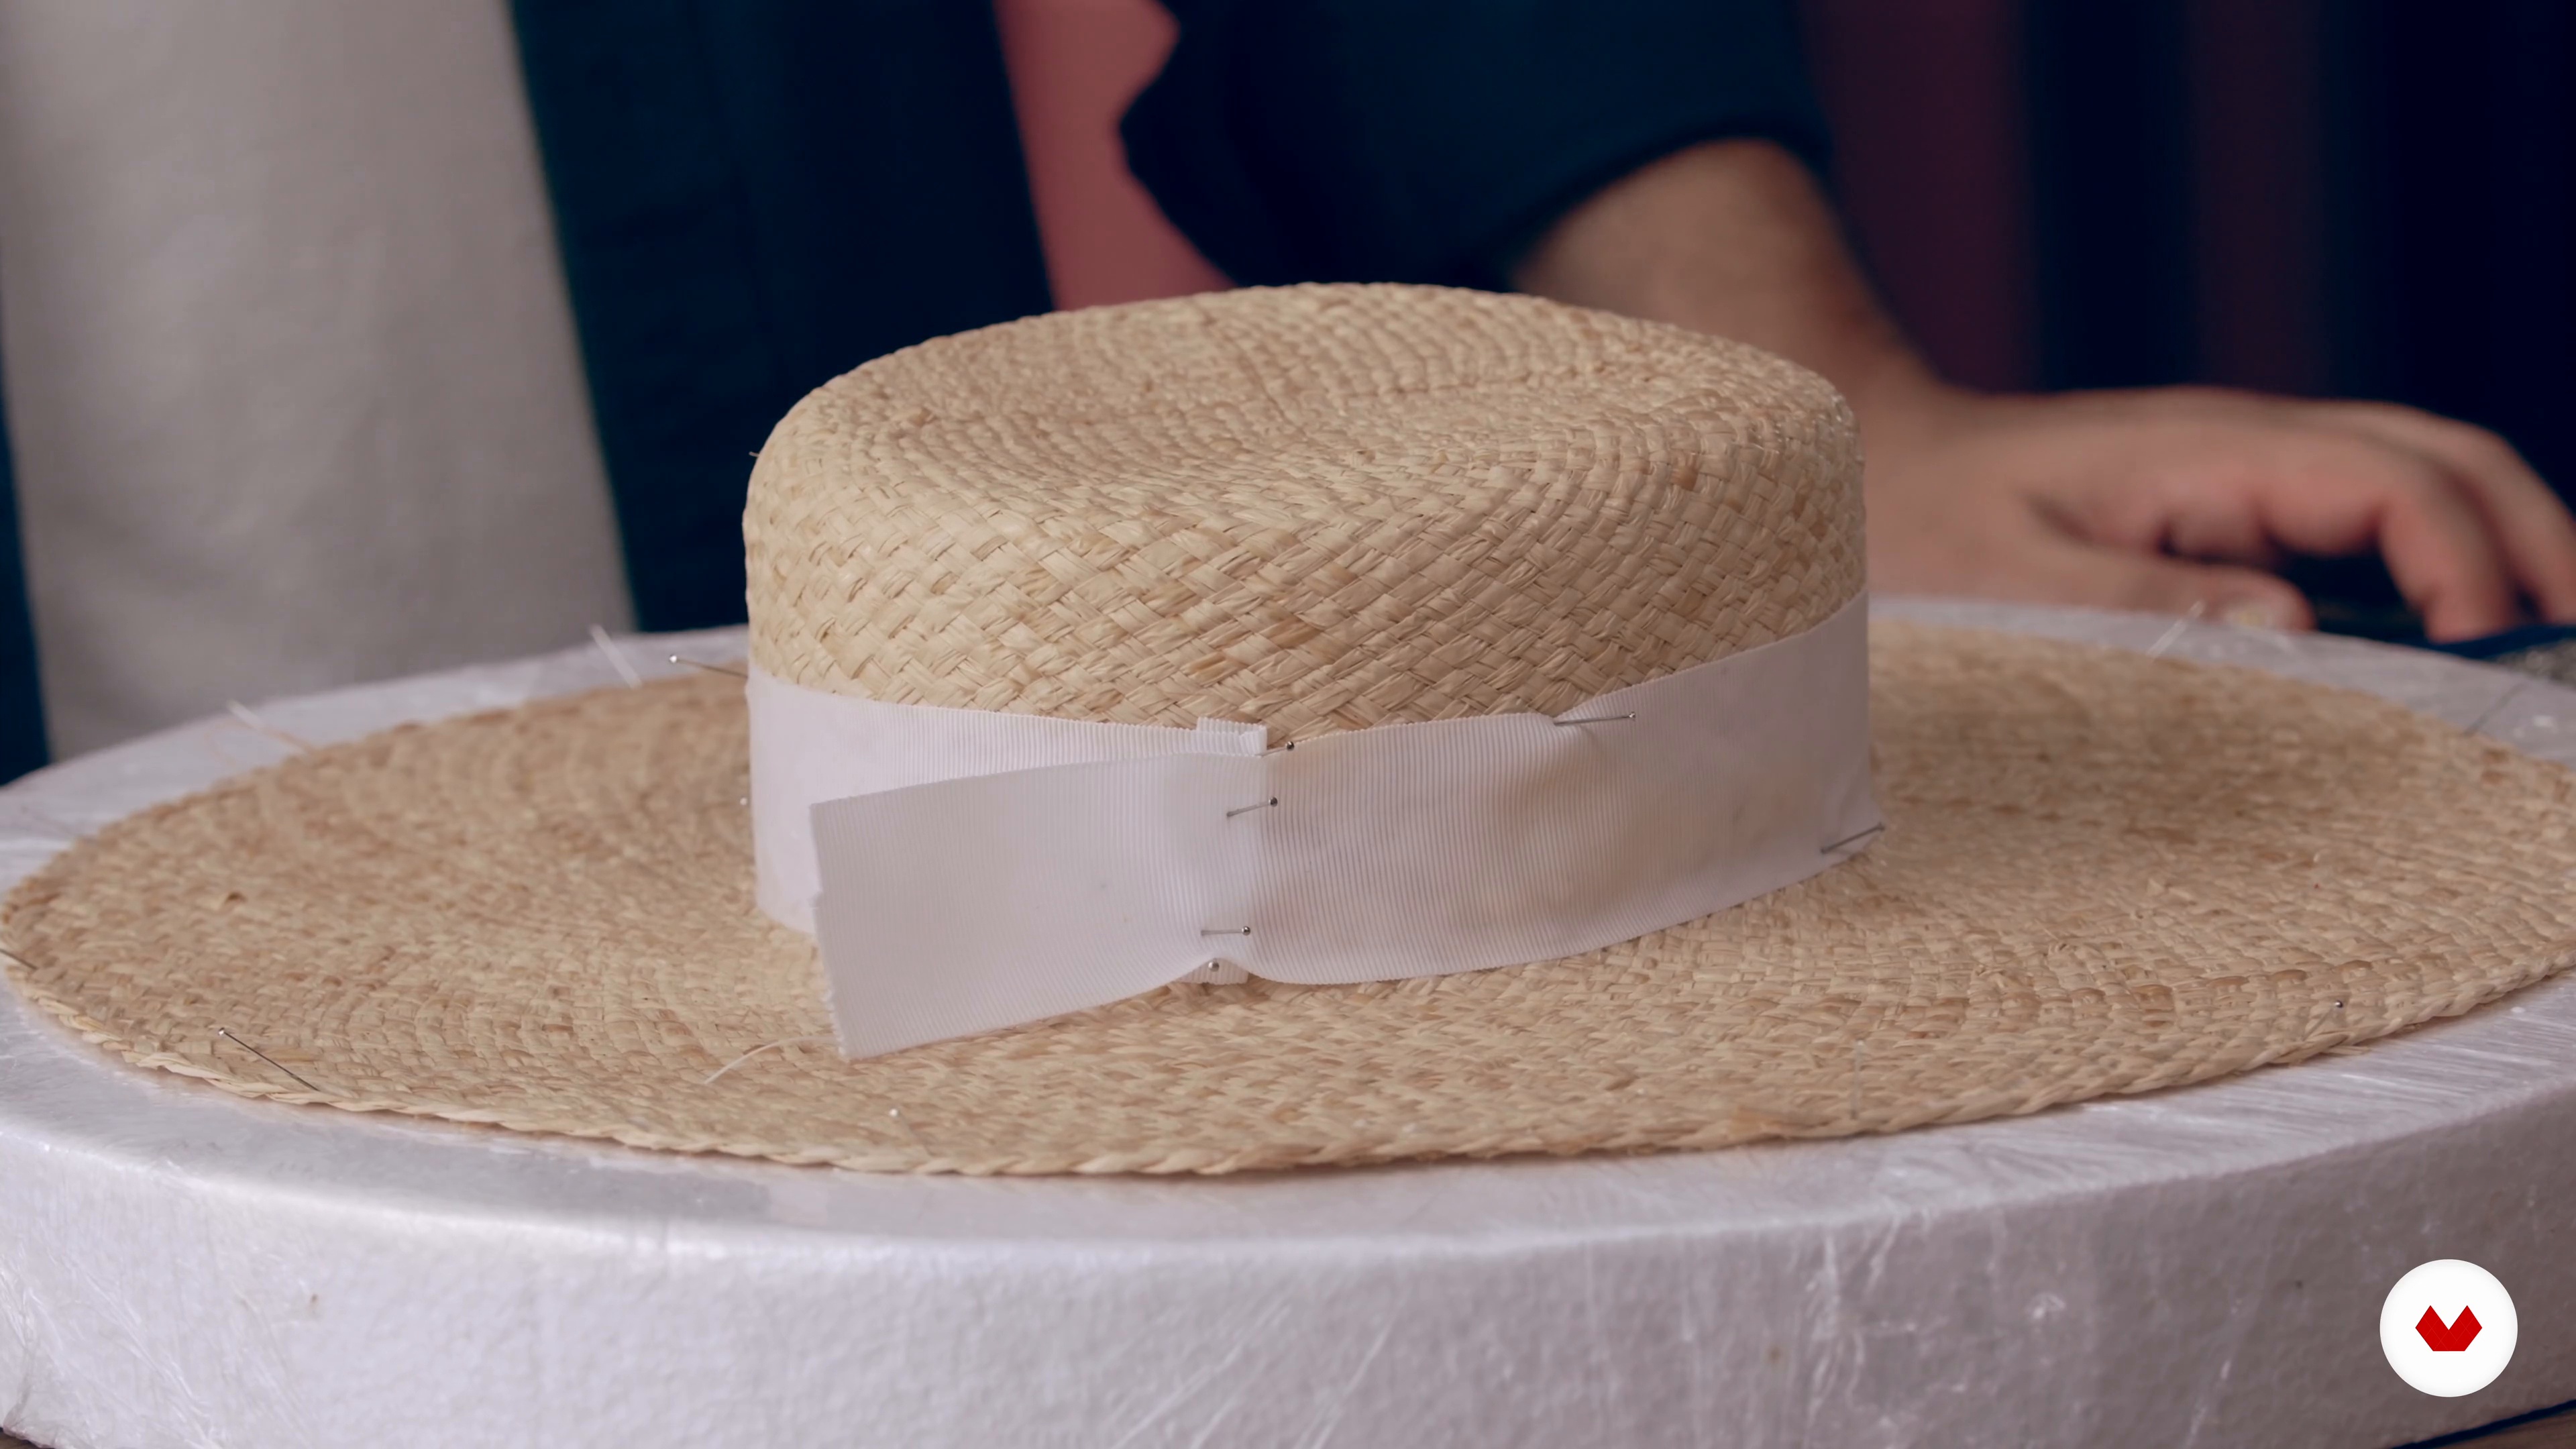
Finishing and finishing of the hat
To create a good hat it is important to know how to make good finishes. In this lesson I will explain how.
13m
image
10
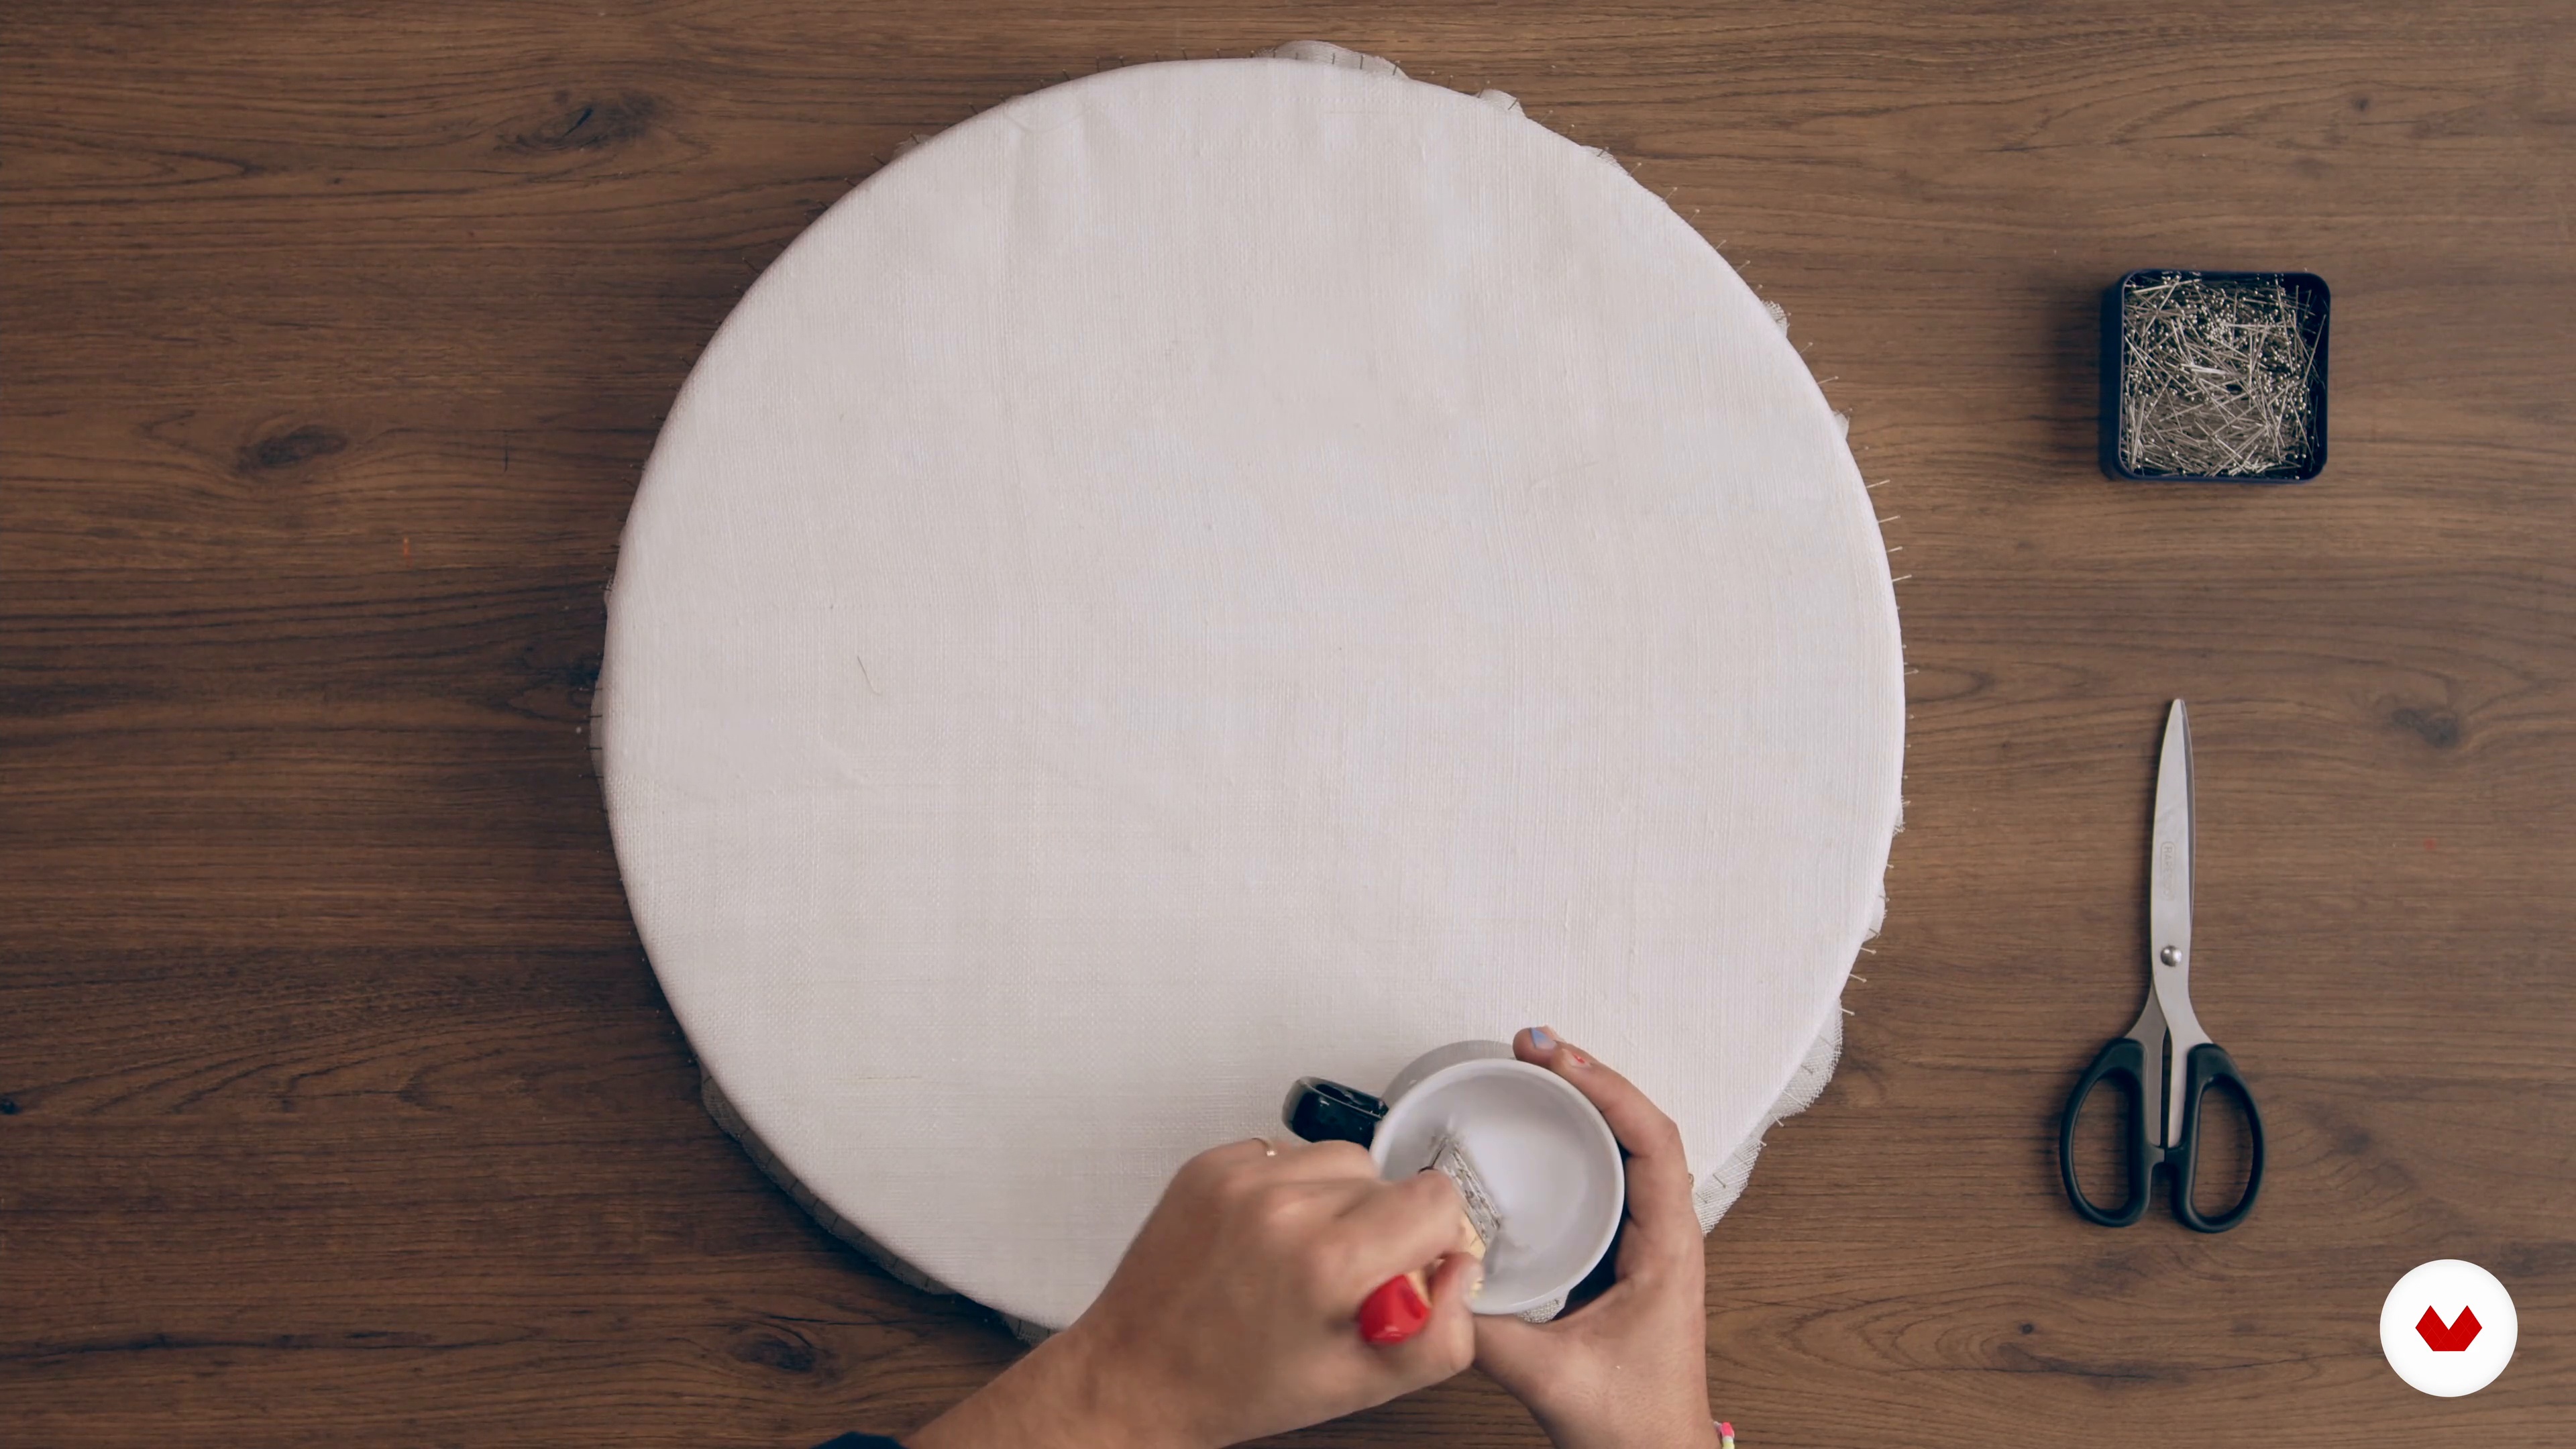
Modeled and primed in sinamay last
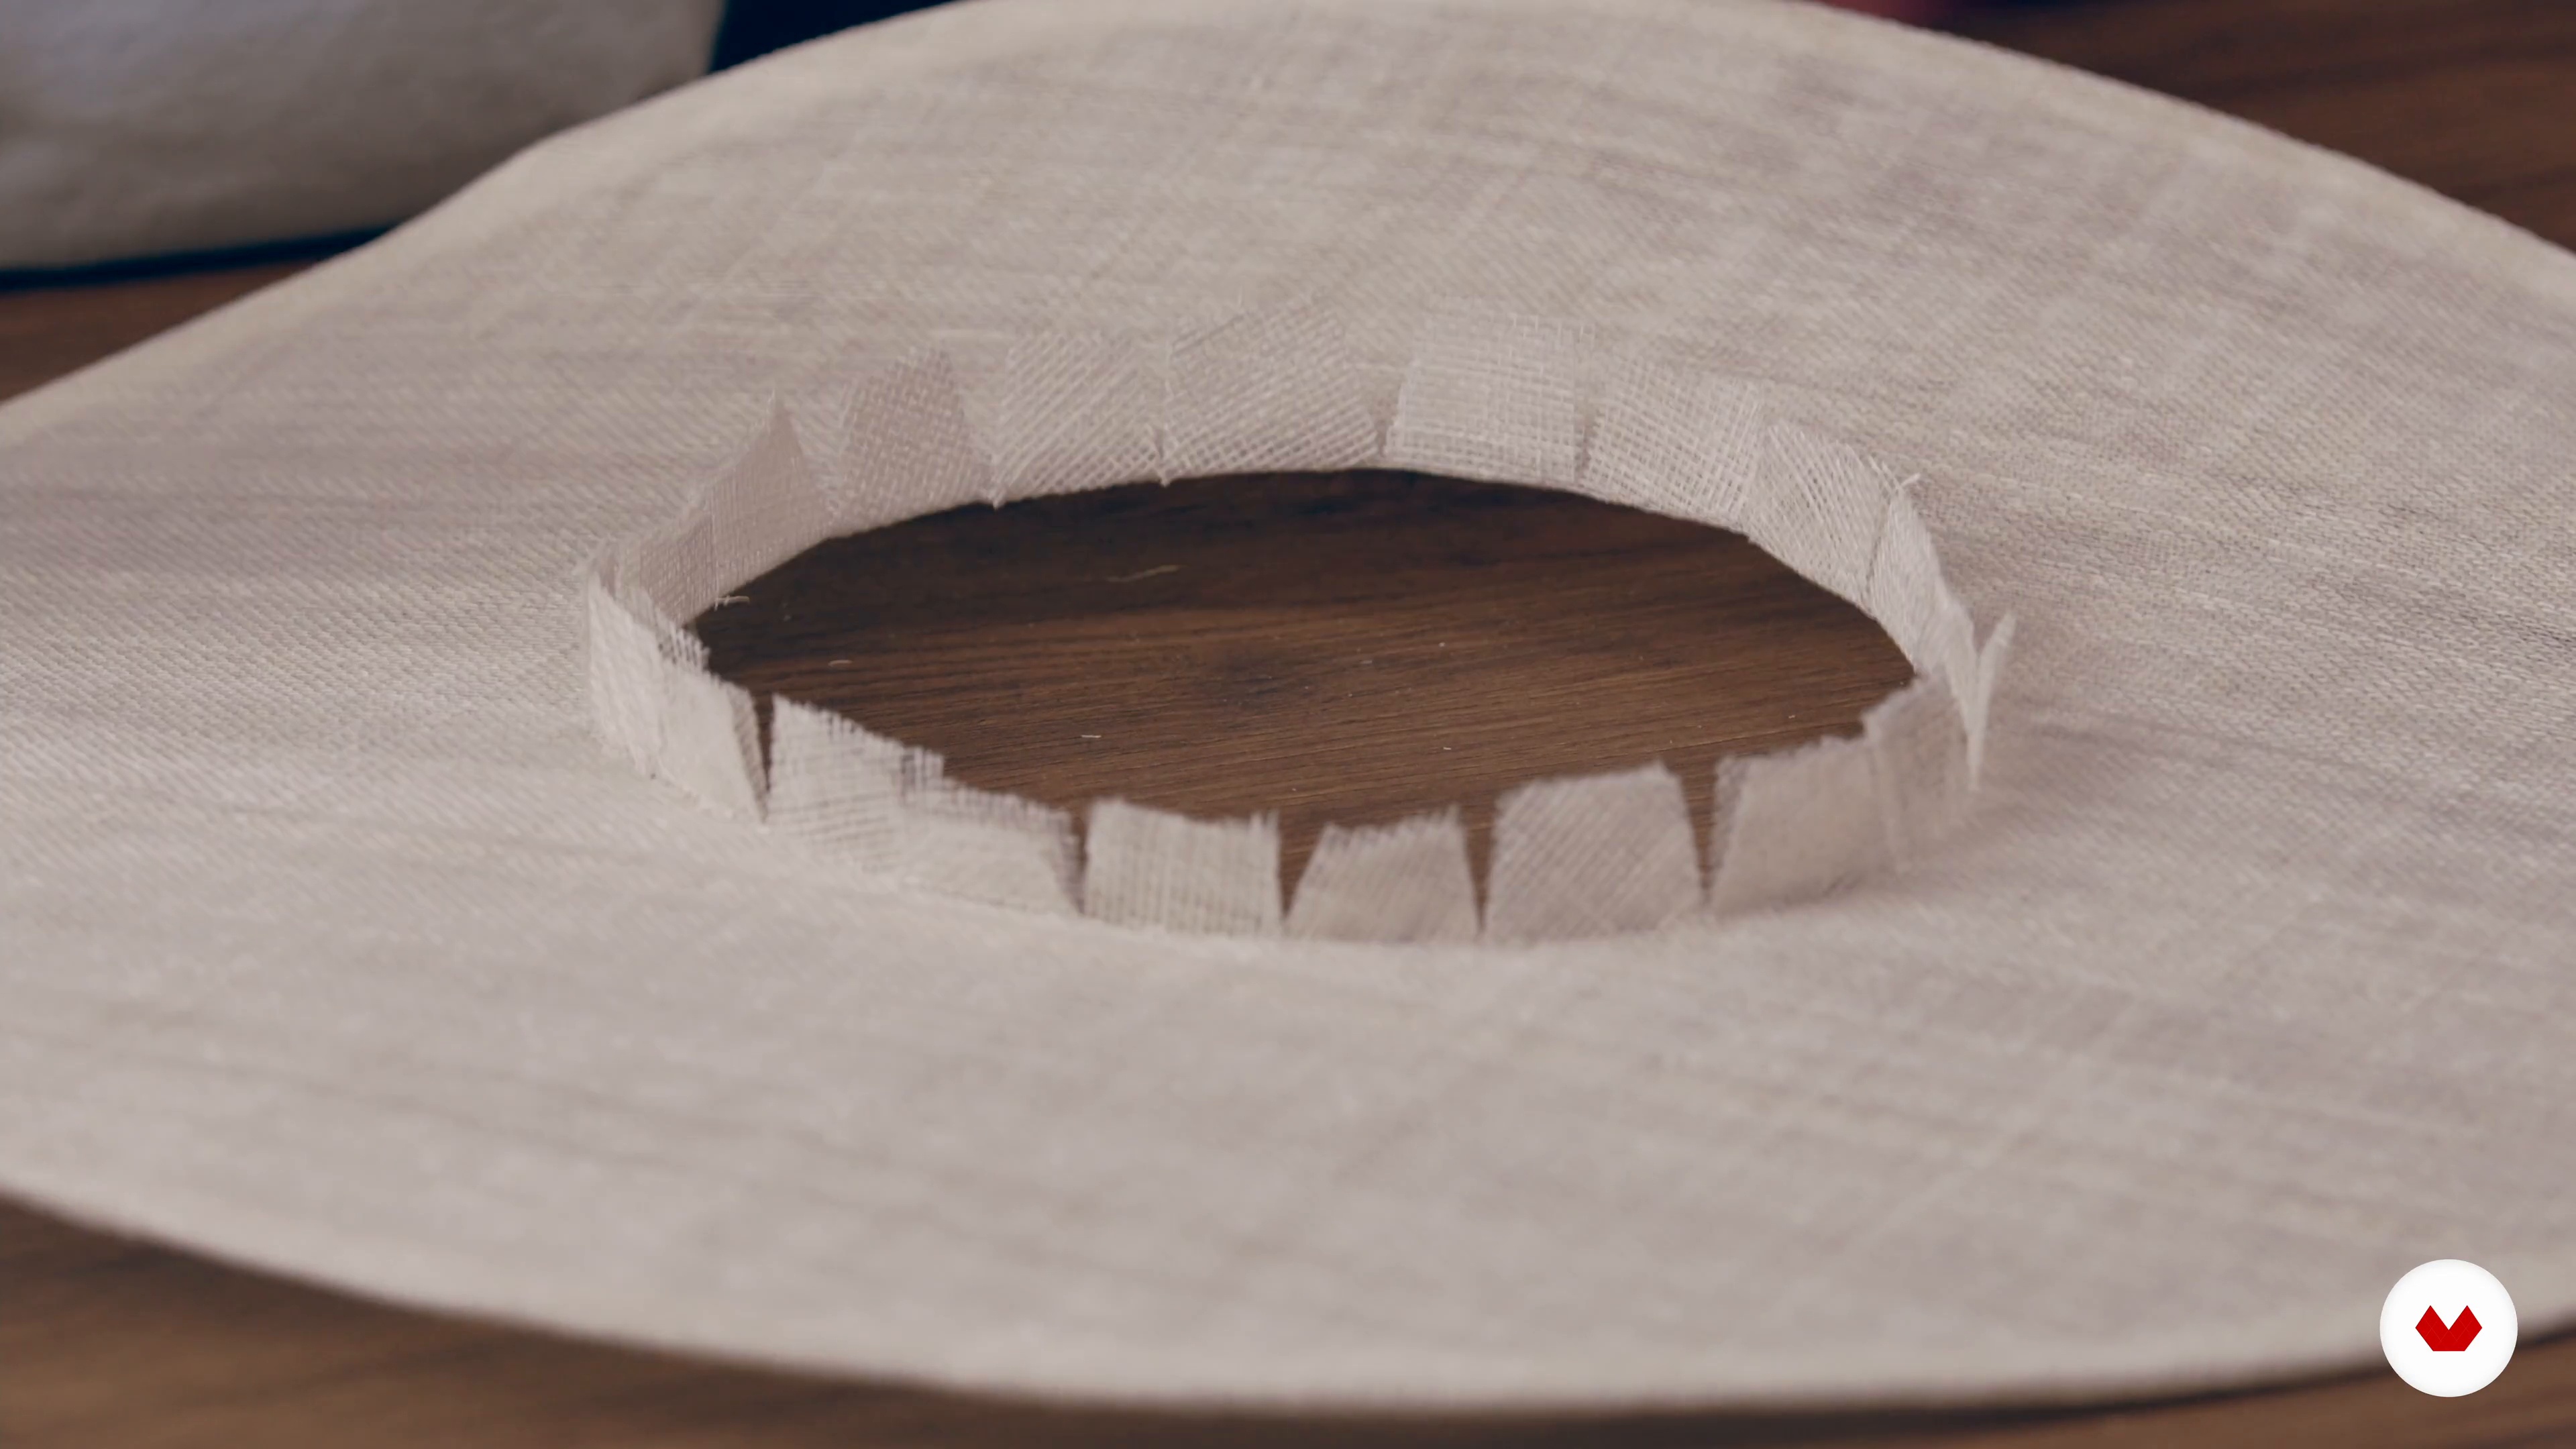
In this lesson I will teach you the modeling of the sinamay on the last and the sizing. We will see how to take the first essential step, marking the difference between the sinamay and the capelina.
13m
image
11
Finishing and finishing of the brim of hat 1
Next, we are going to see the different finishes that you can carry out to finish off your hat.
17m
image
12
Finishing and finishing of the wing of the hat 2
We continue to work on the finials on the brim of the hat.
16m
image
13
Shaping and finishes of the cup 1
Now I am going to give you the necessary advice to finish the hat and give it a "haute couture" result.
18m
image
14
Shaping and finishes of the glass 2
We continue to emphasize the finishes of the glass to finish the basic piece of our hat with sinamay. All that remains is to decorate it!
14m
image
15
Creatives with feathers
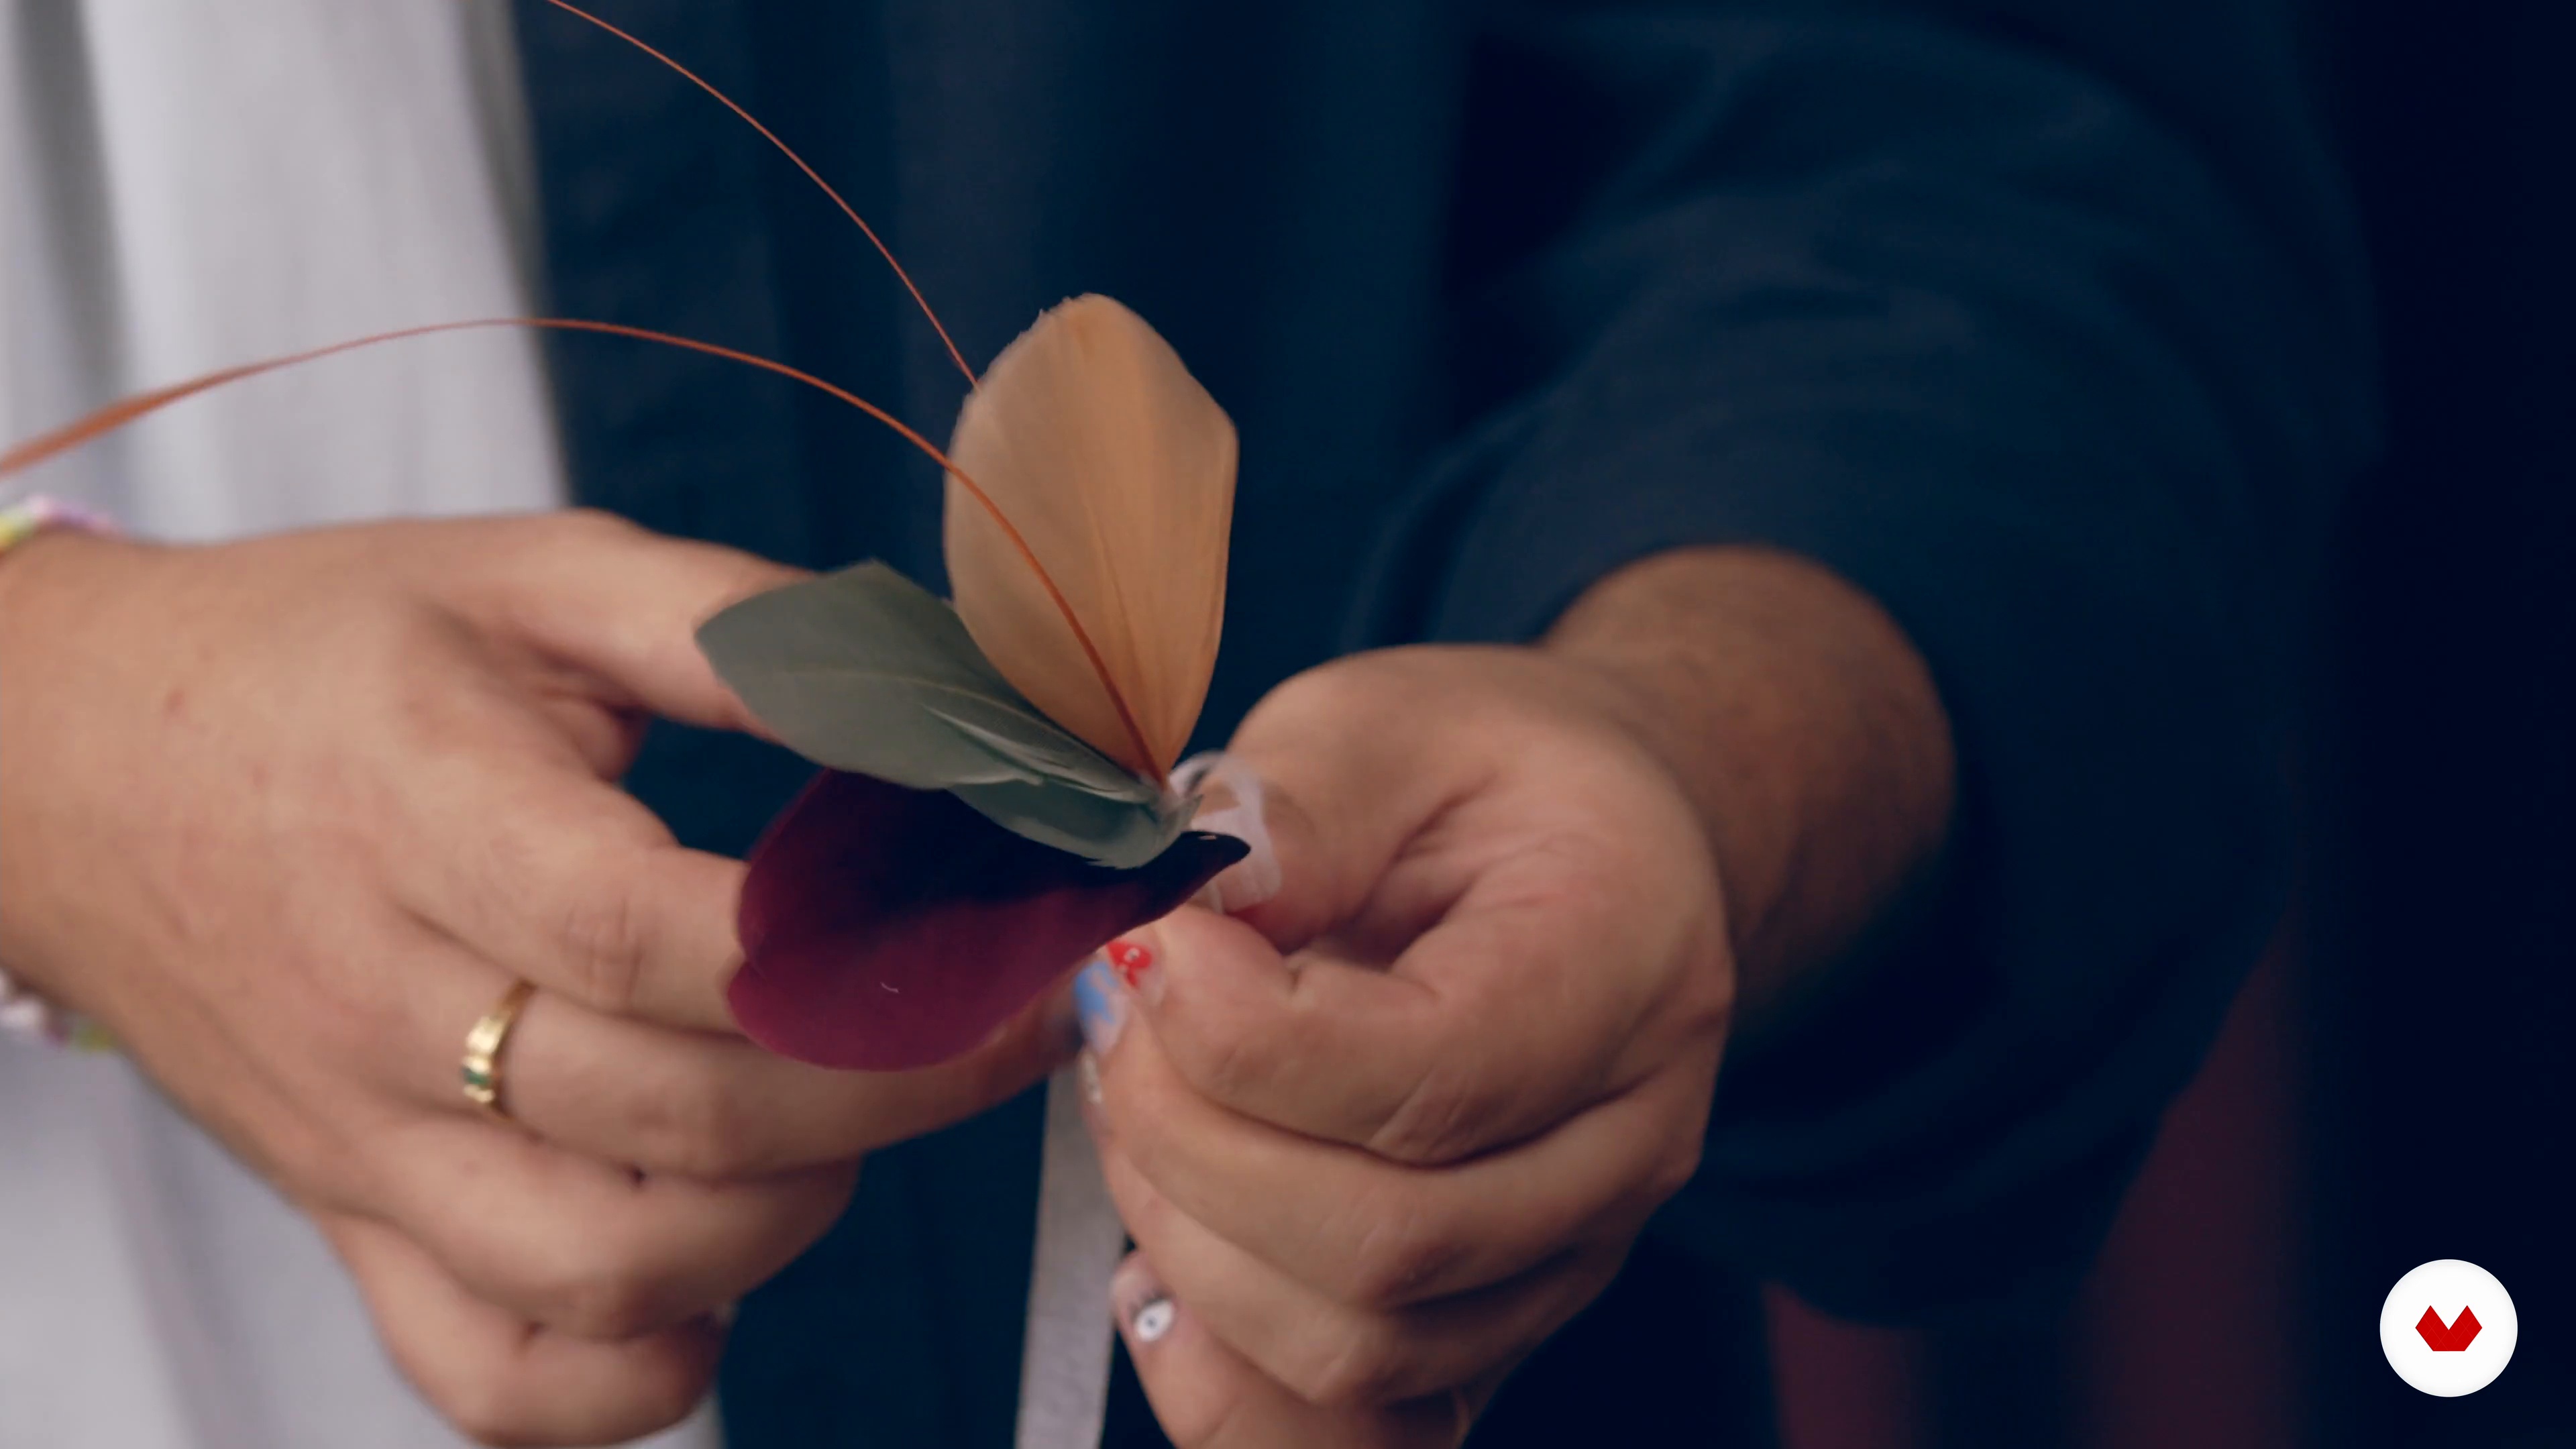
In this lesson we are going to see different types of pen, their origin and how to work them.
12m
image
16
Sustainable fabrics
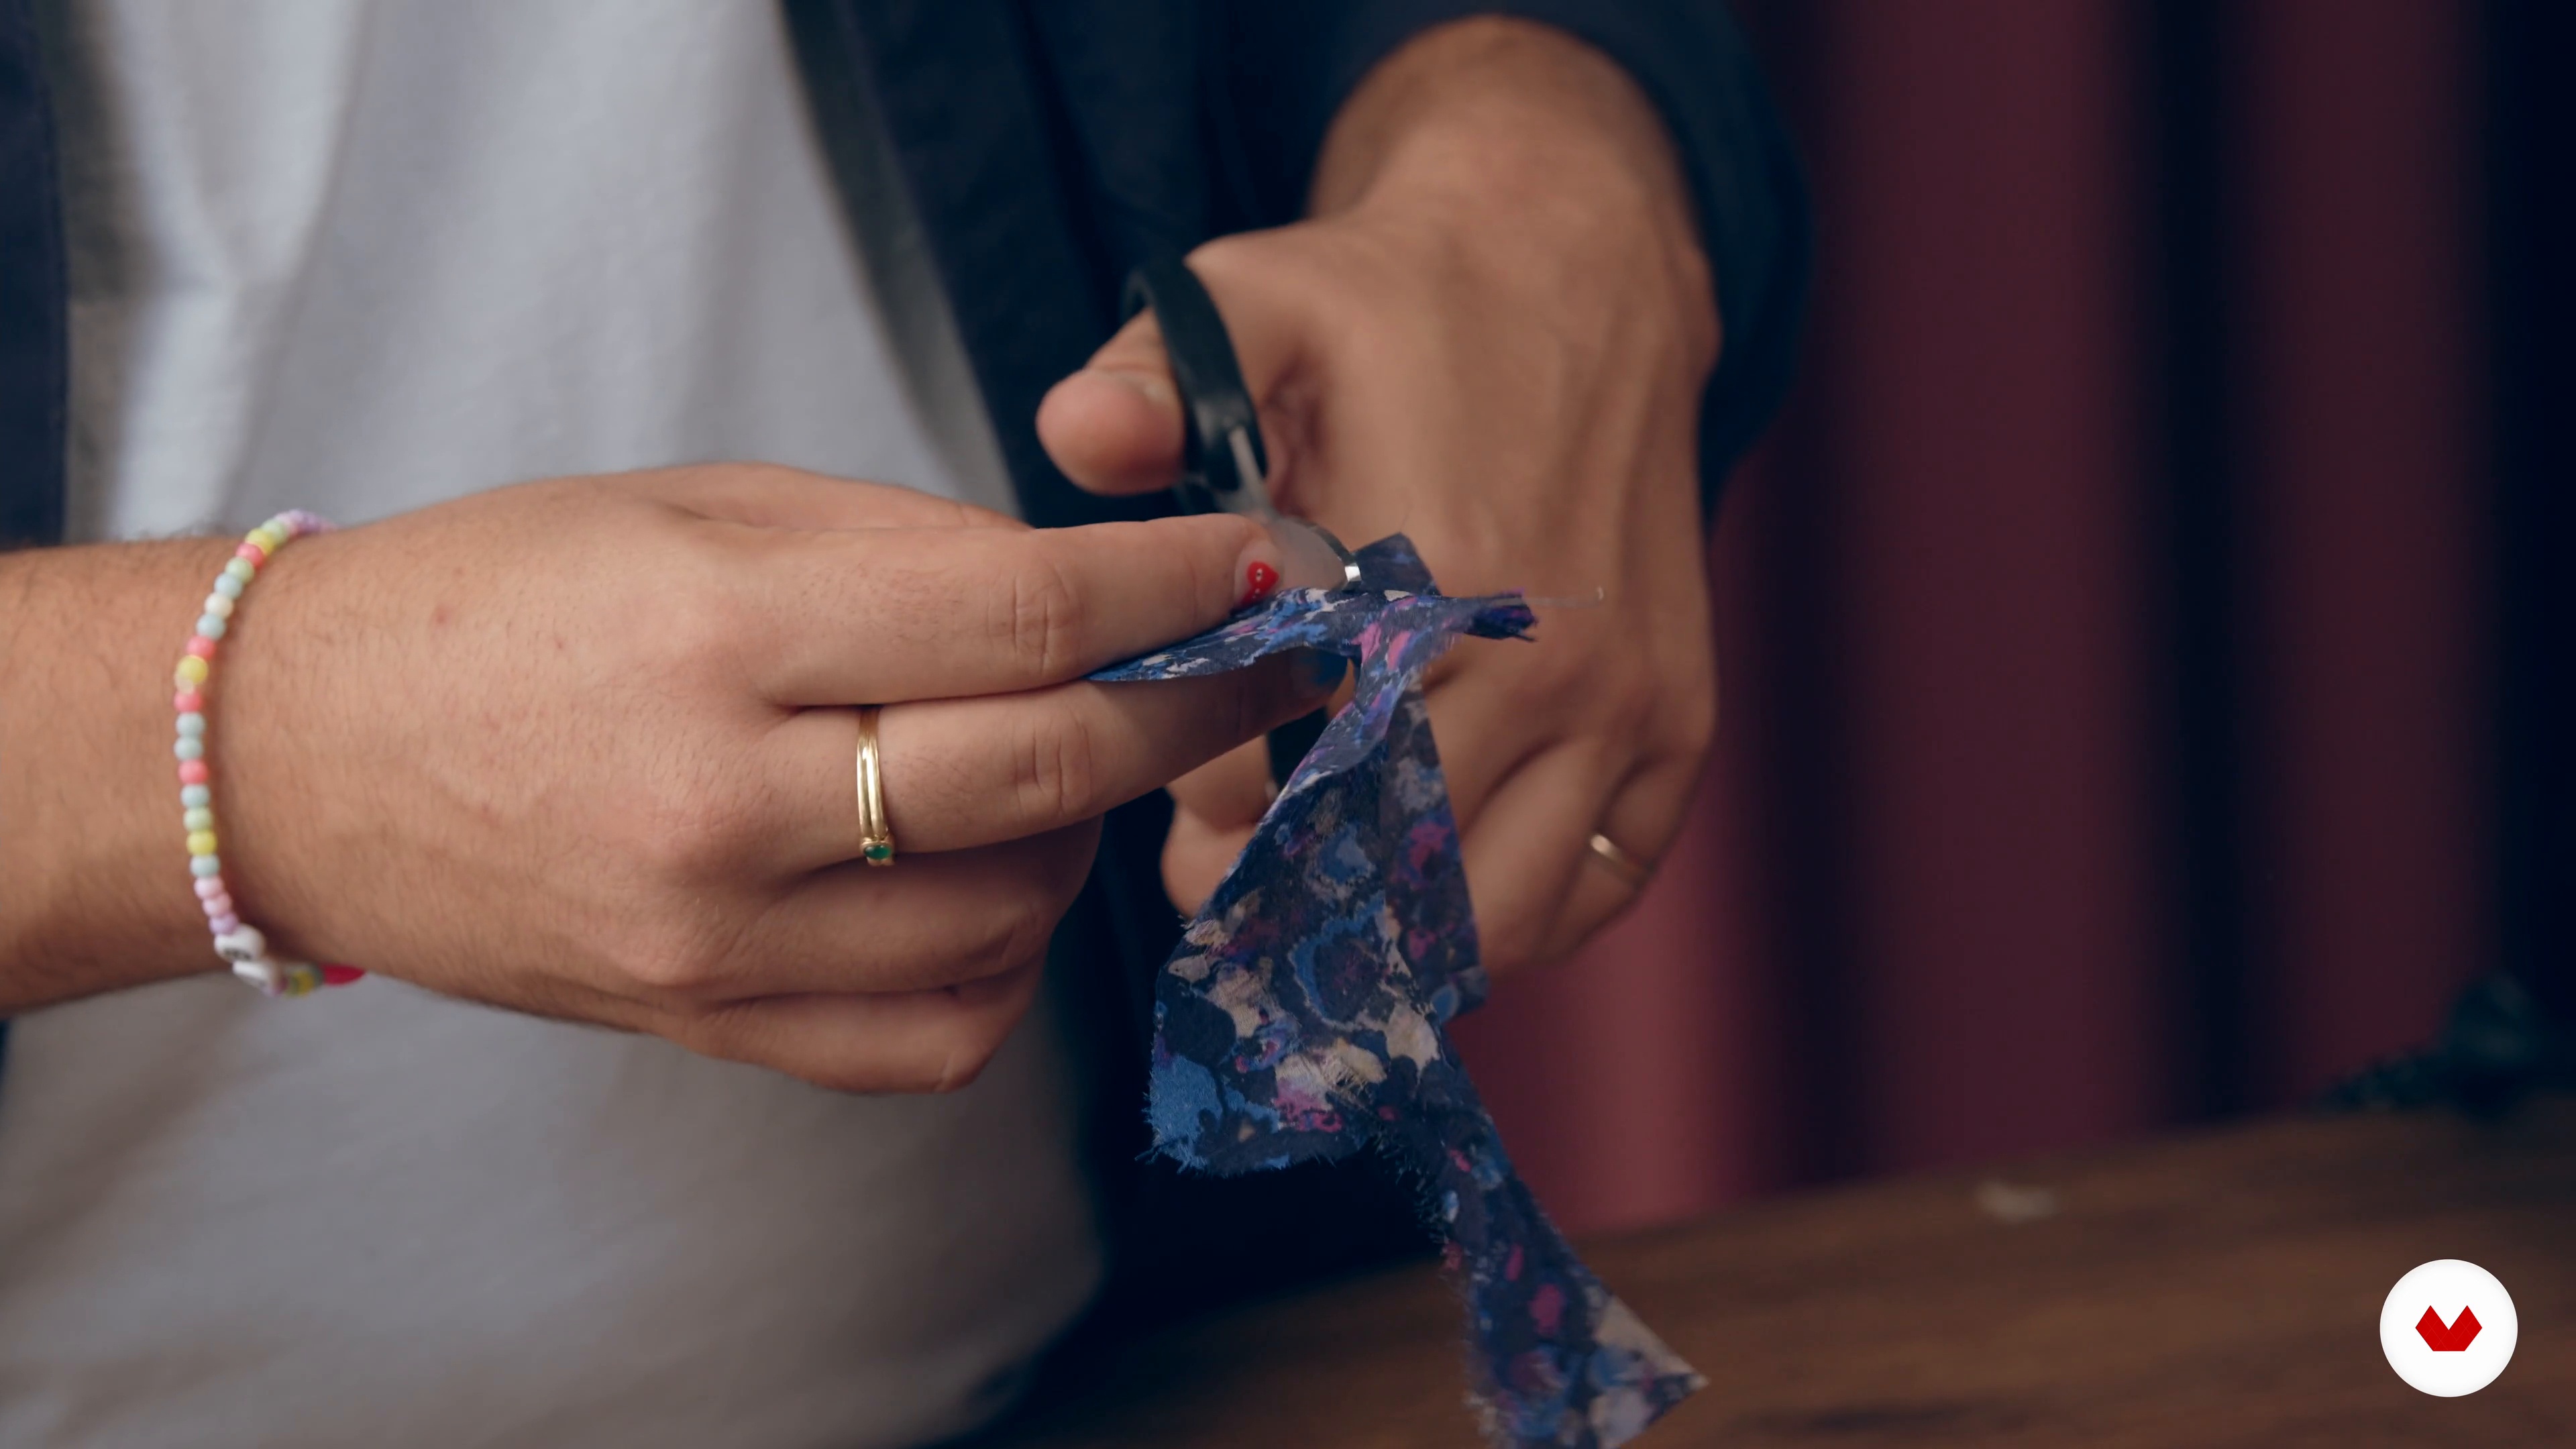
Sustainability is very important today. That's why I'm going to show you how to give your garments a second life by creating beautiful finishes.
14m
image
17
Finish application
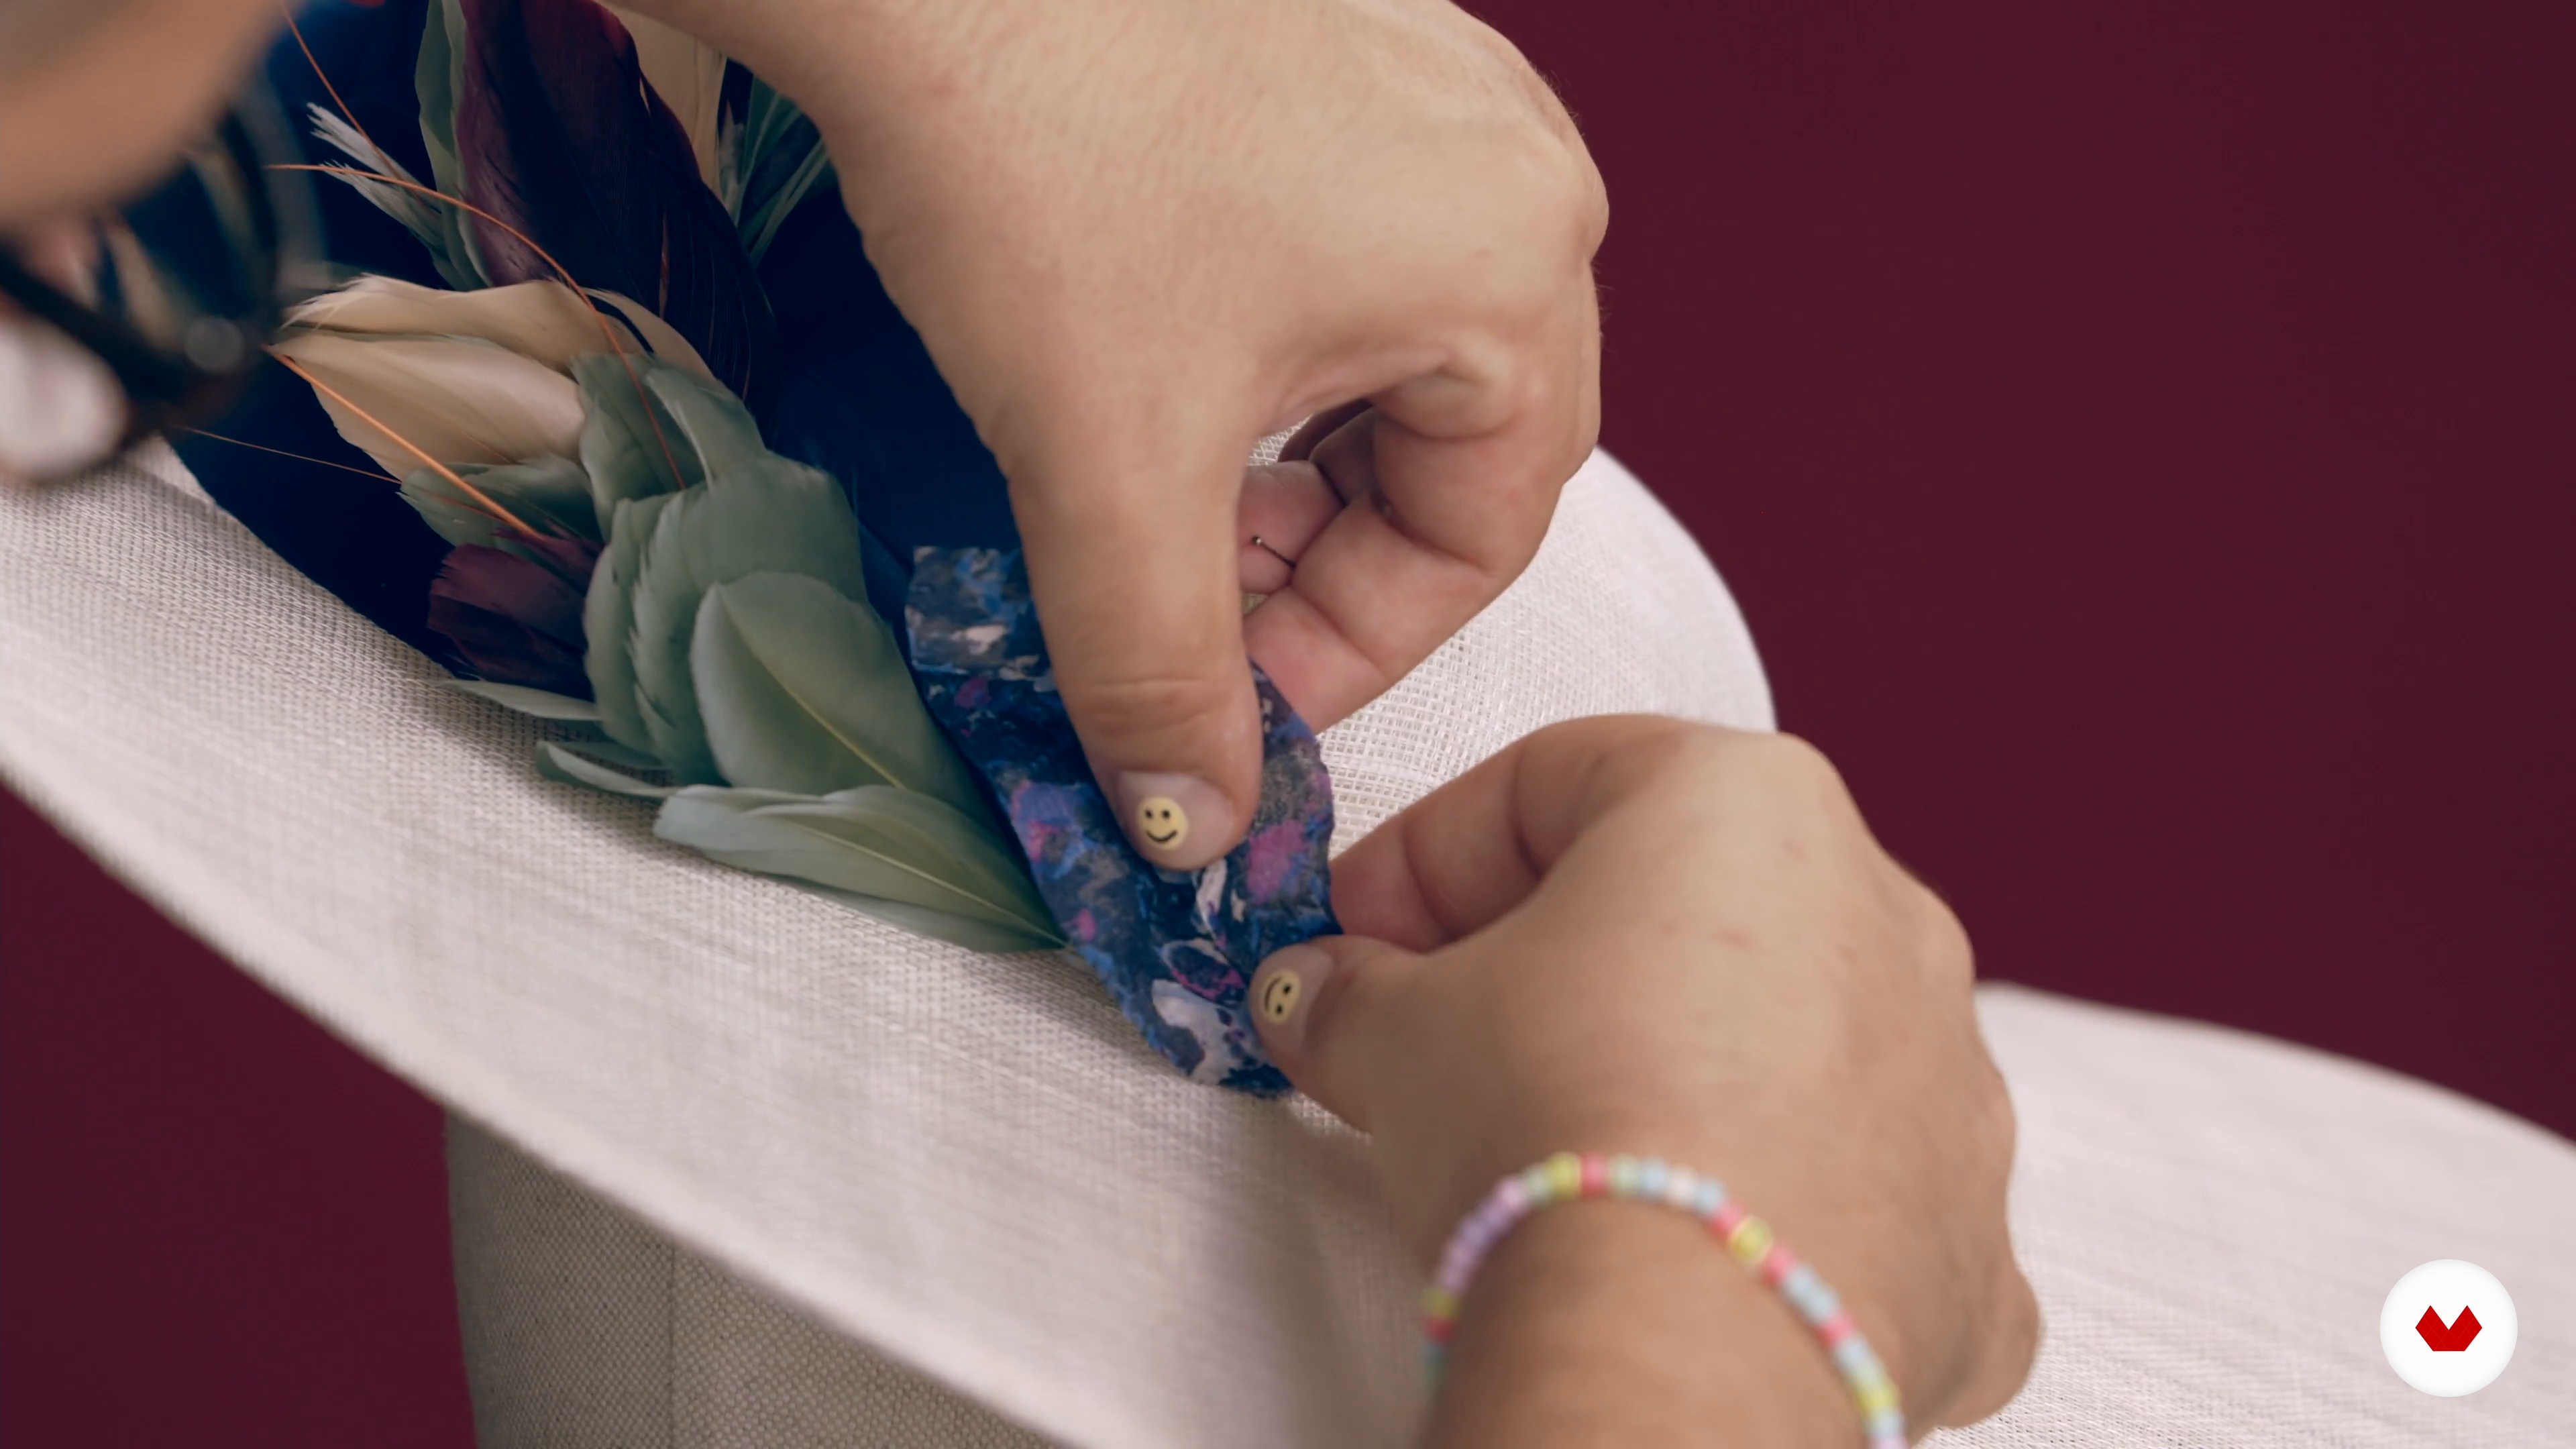
In this lesson we will see how you have to apply the different types of ornaments on the hat.
9m
image
3
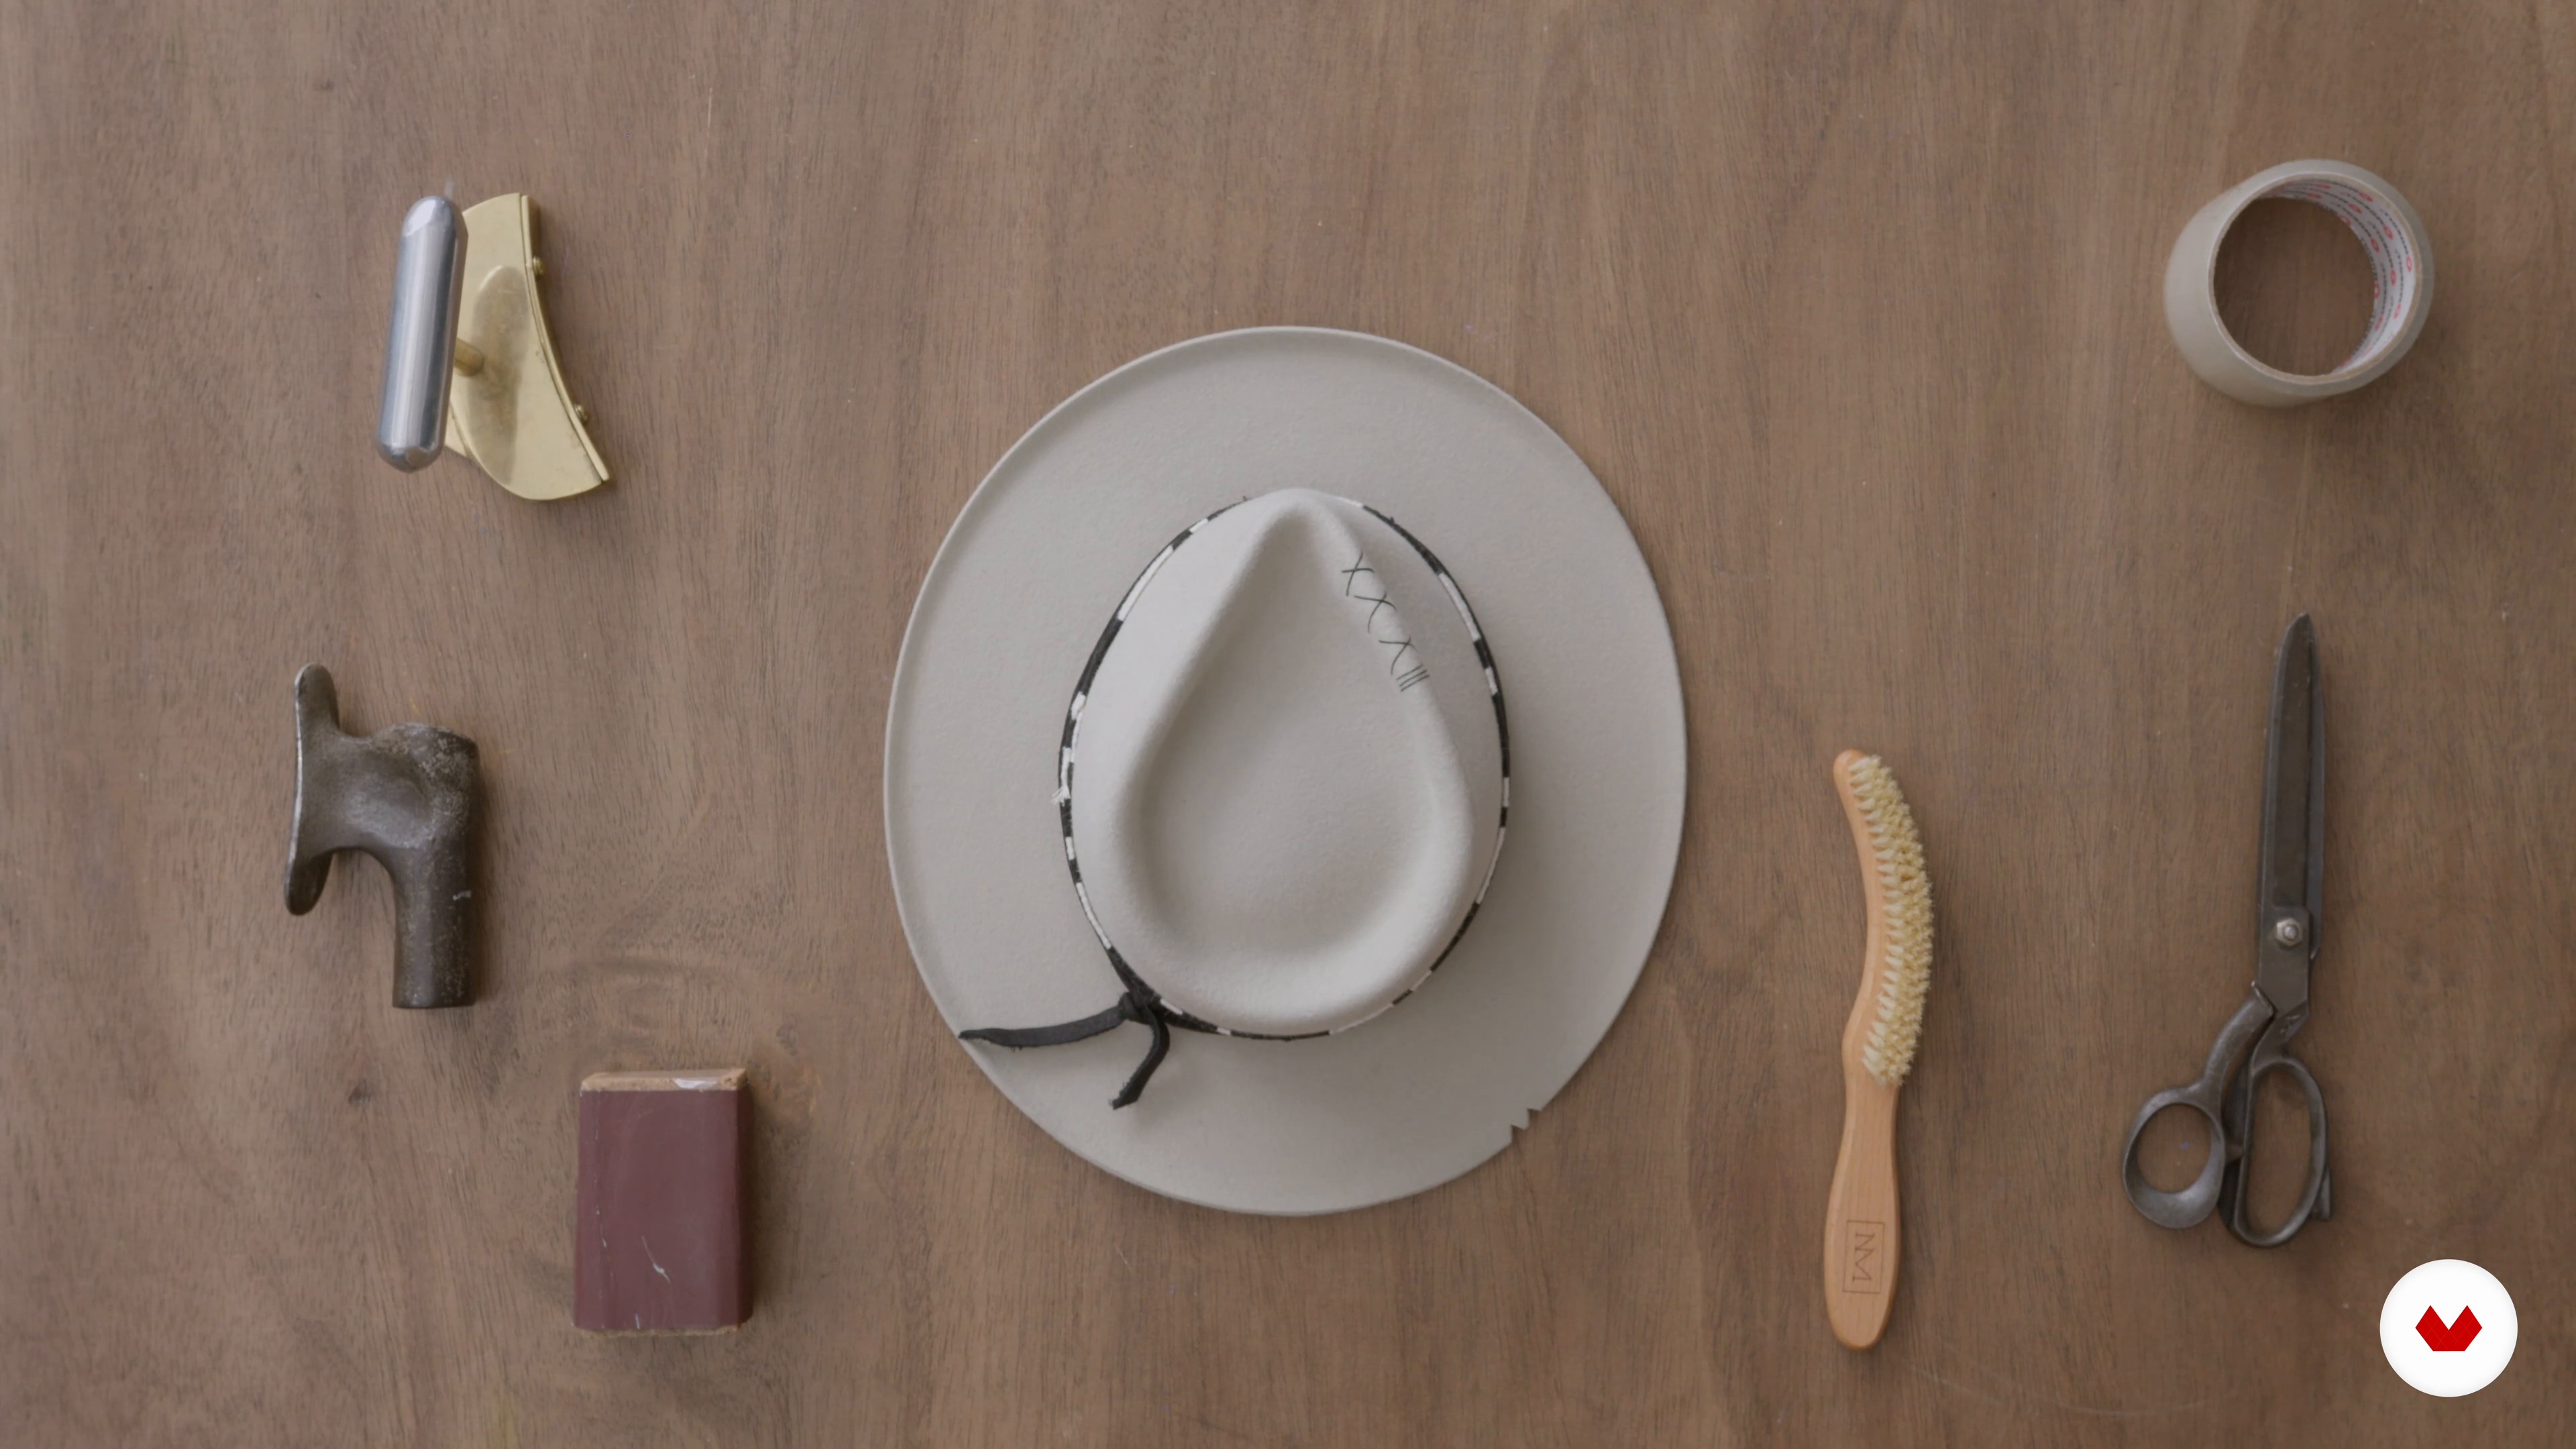
Tools and Materials
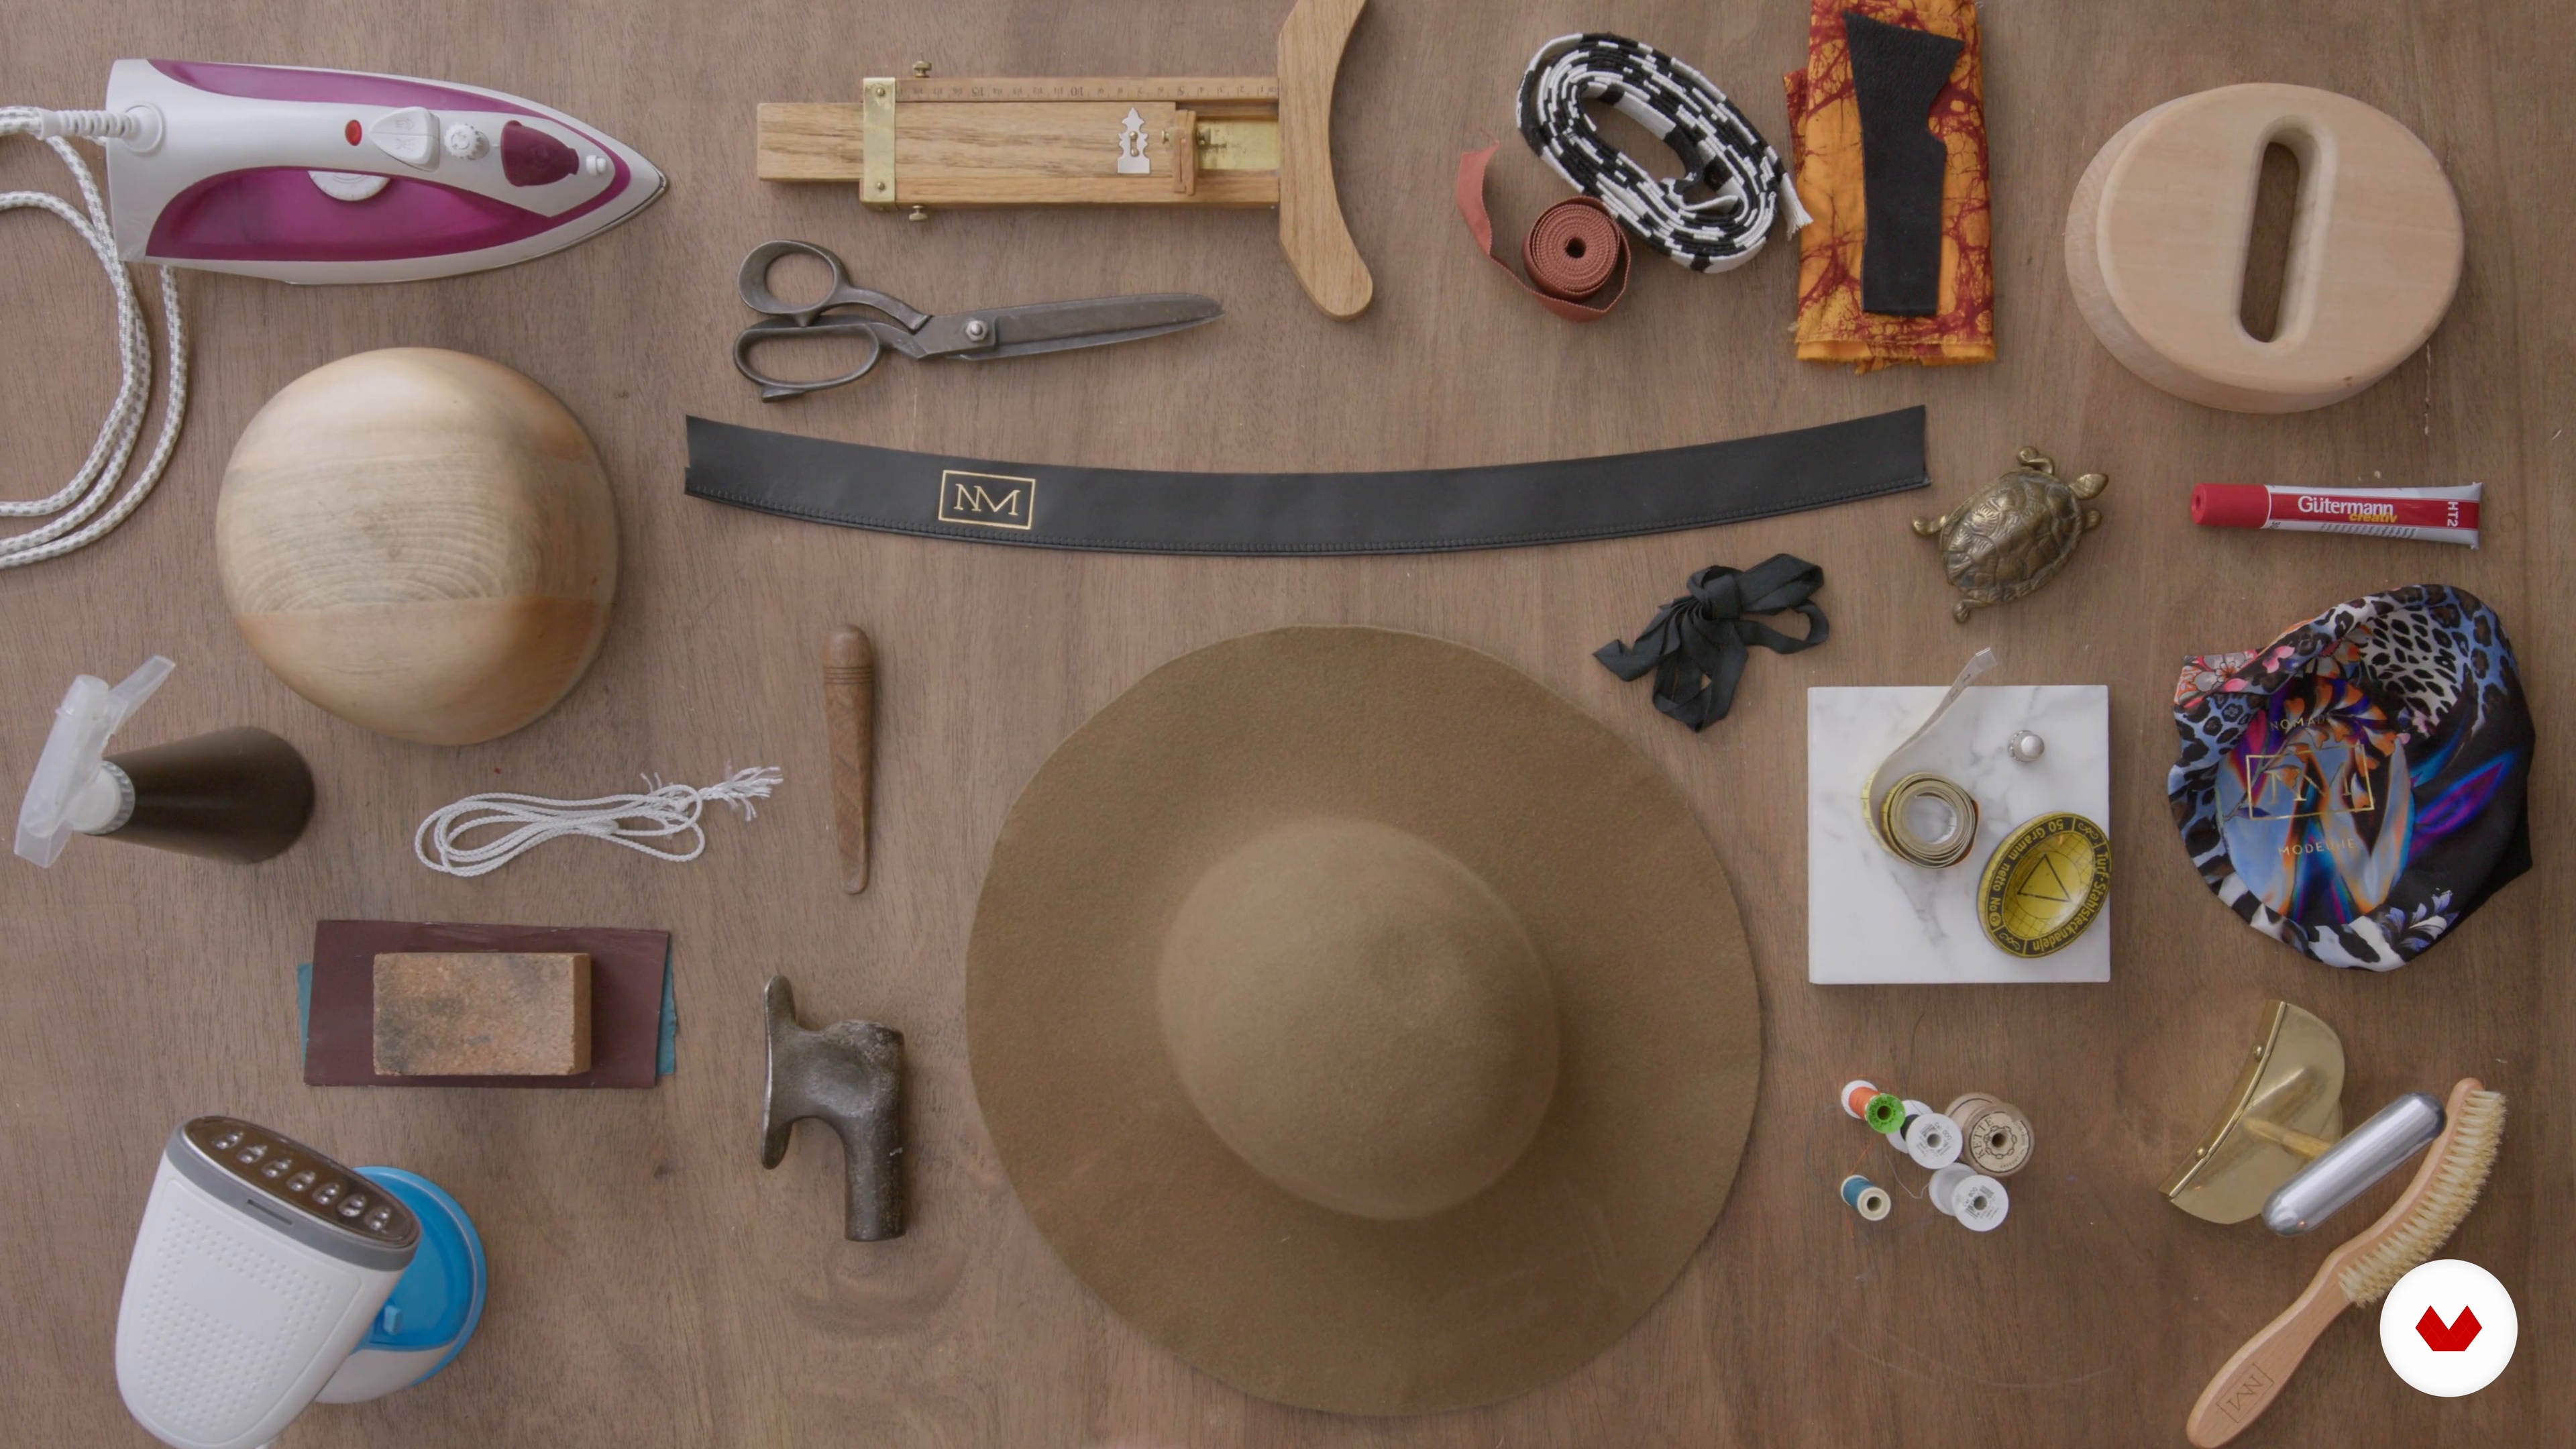
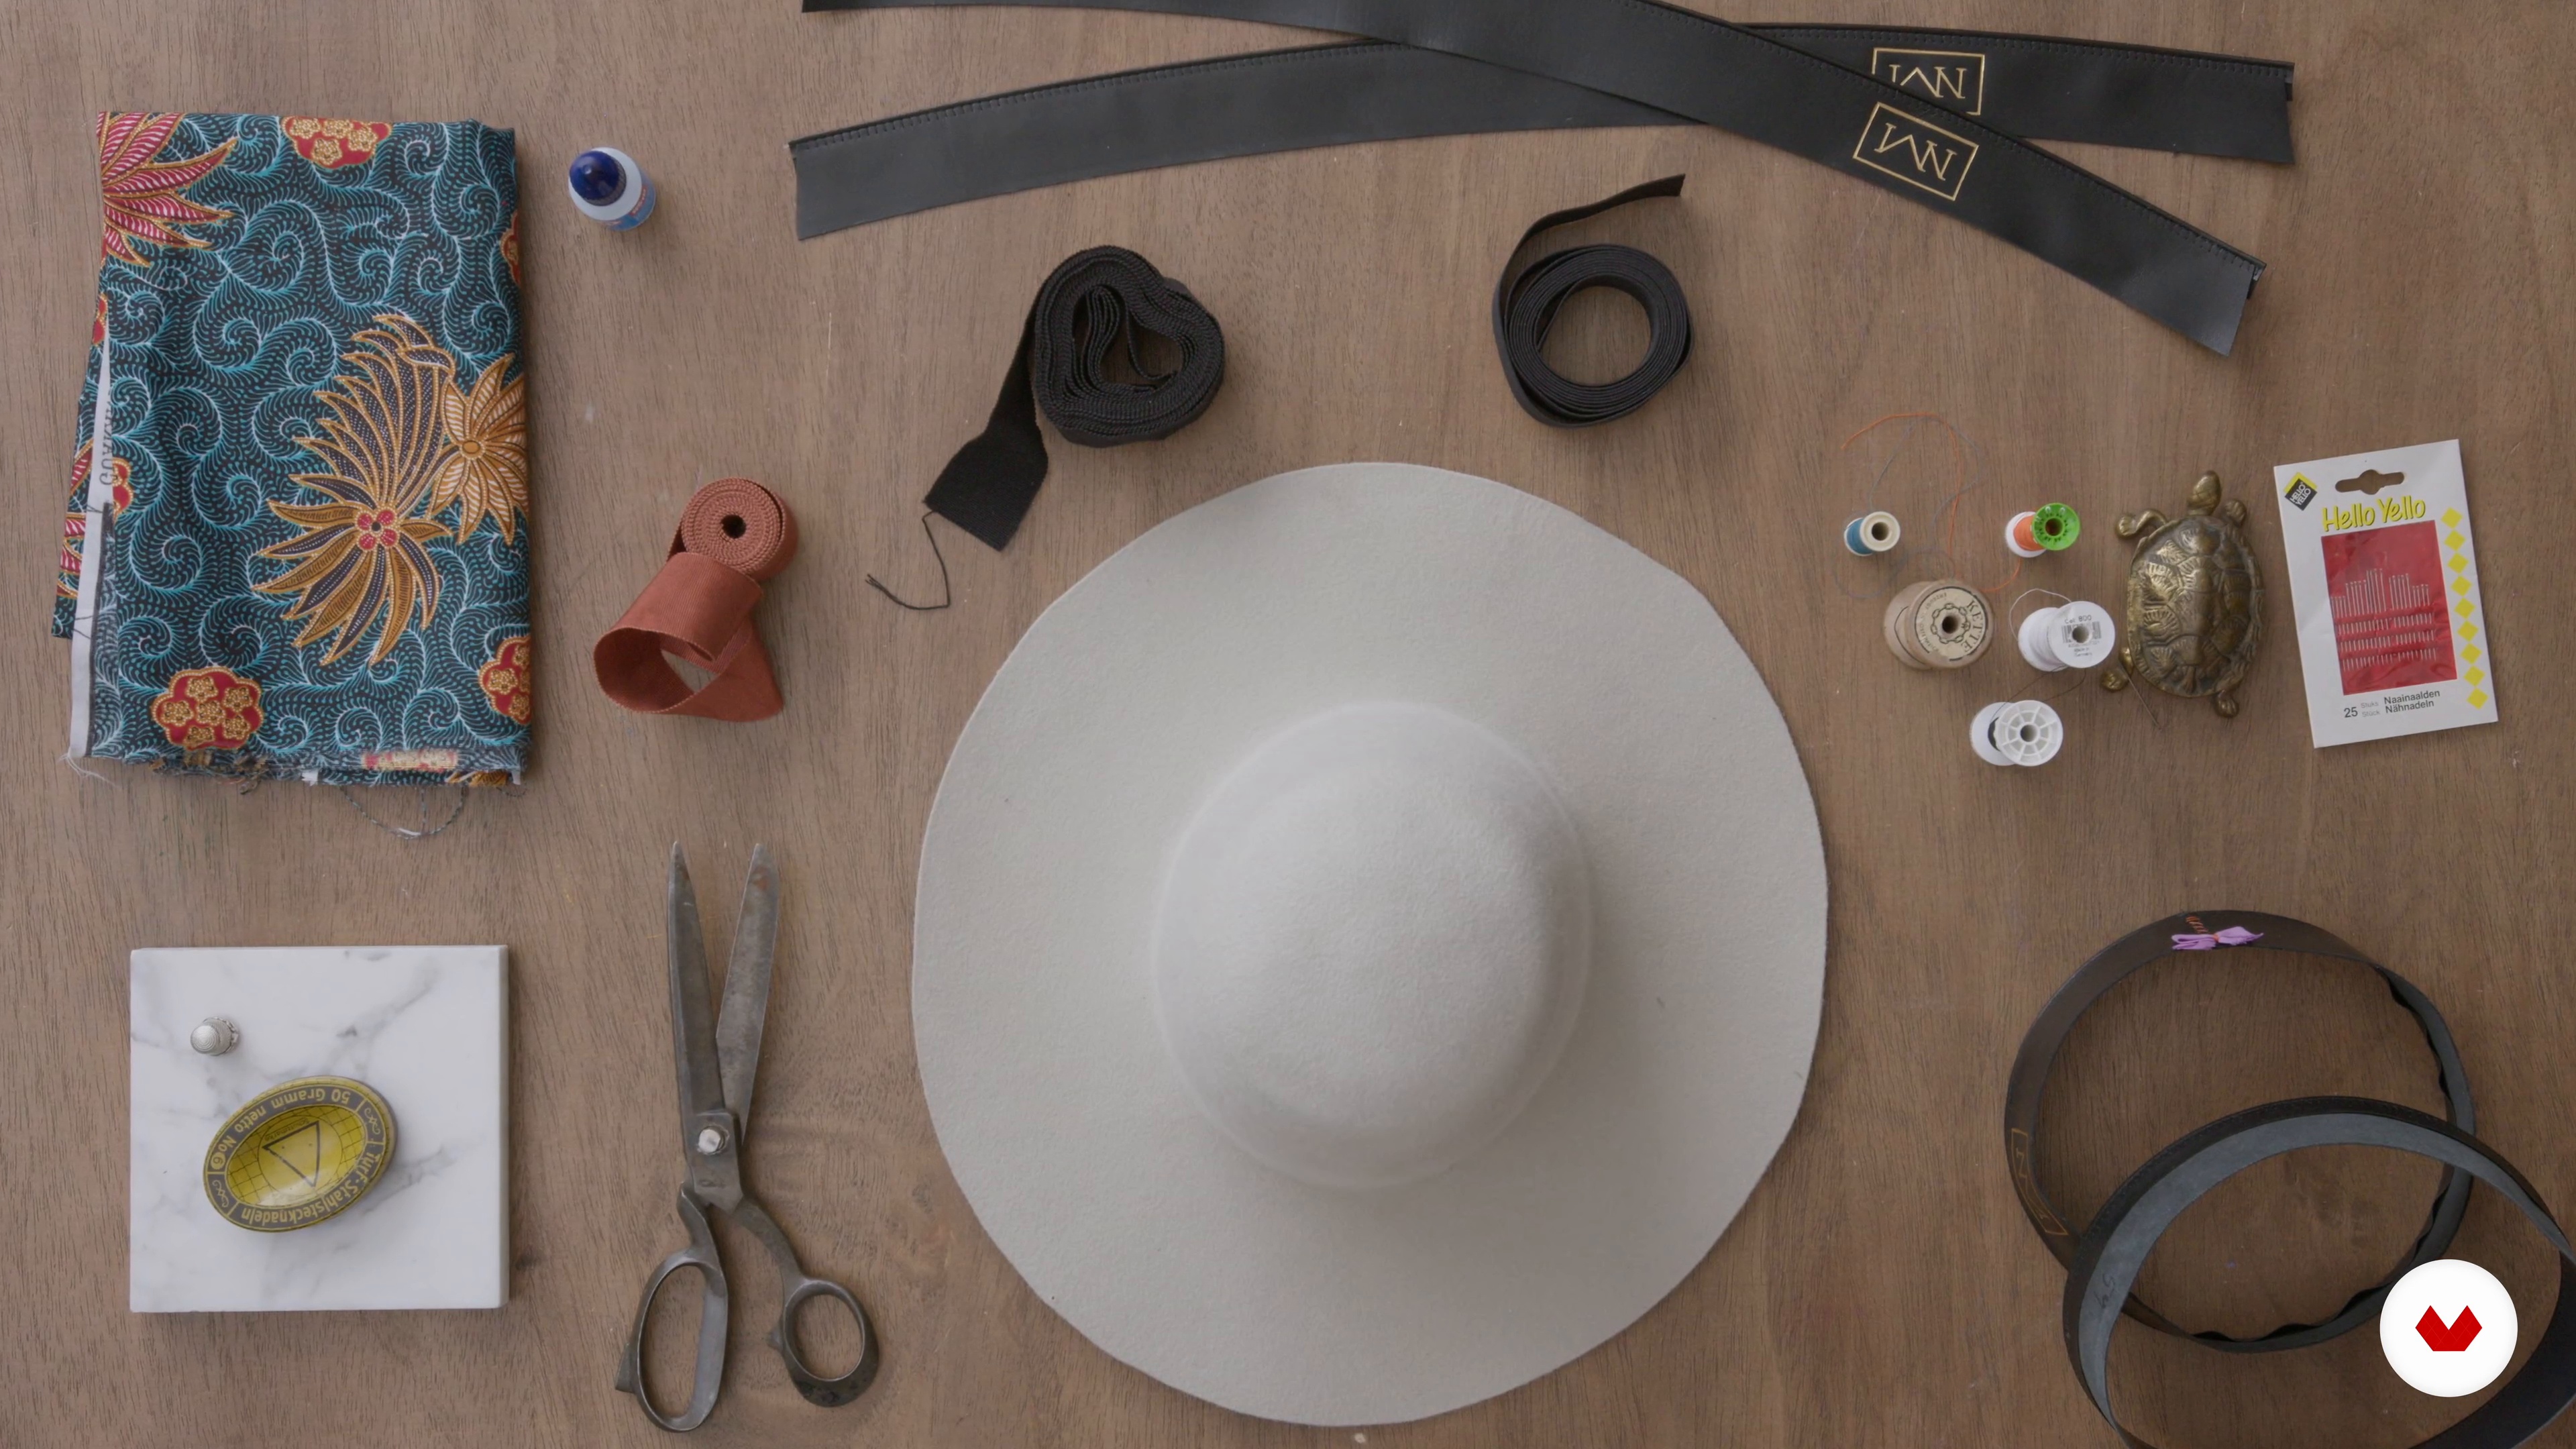
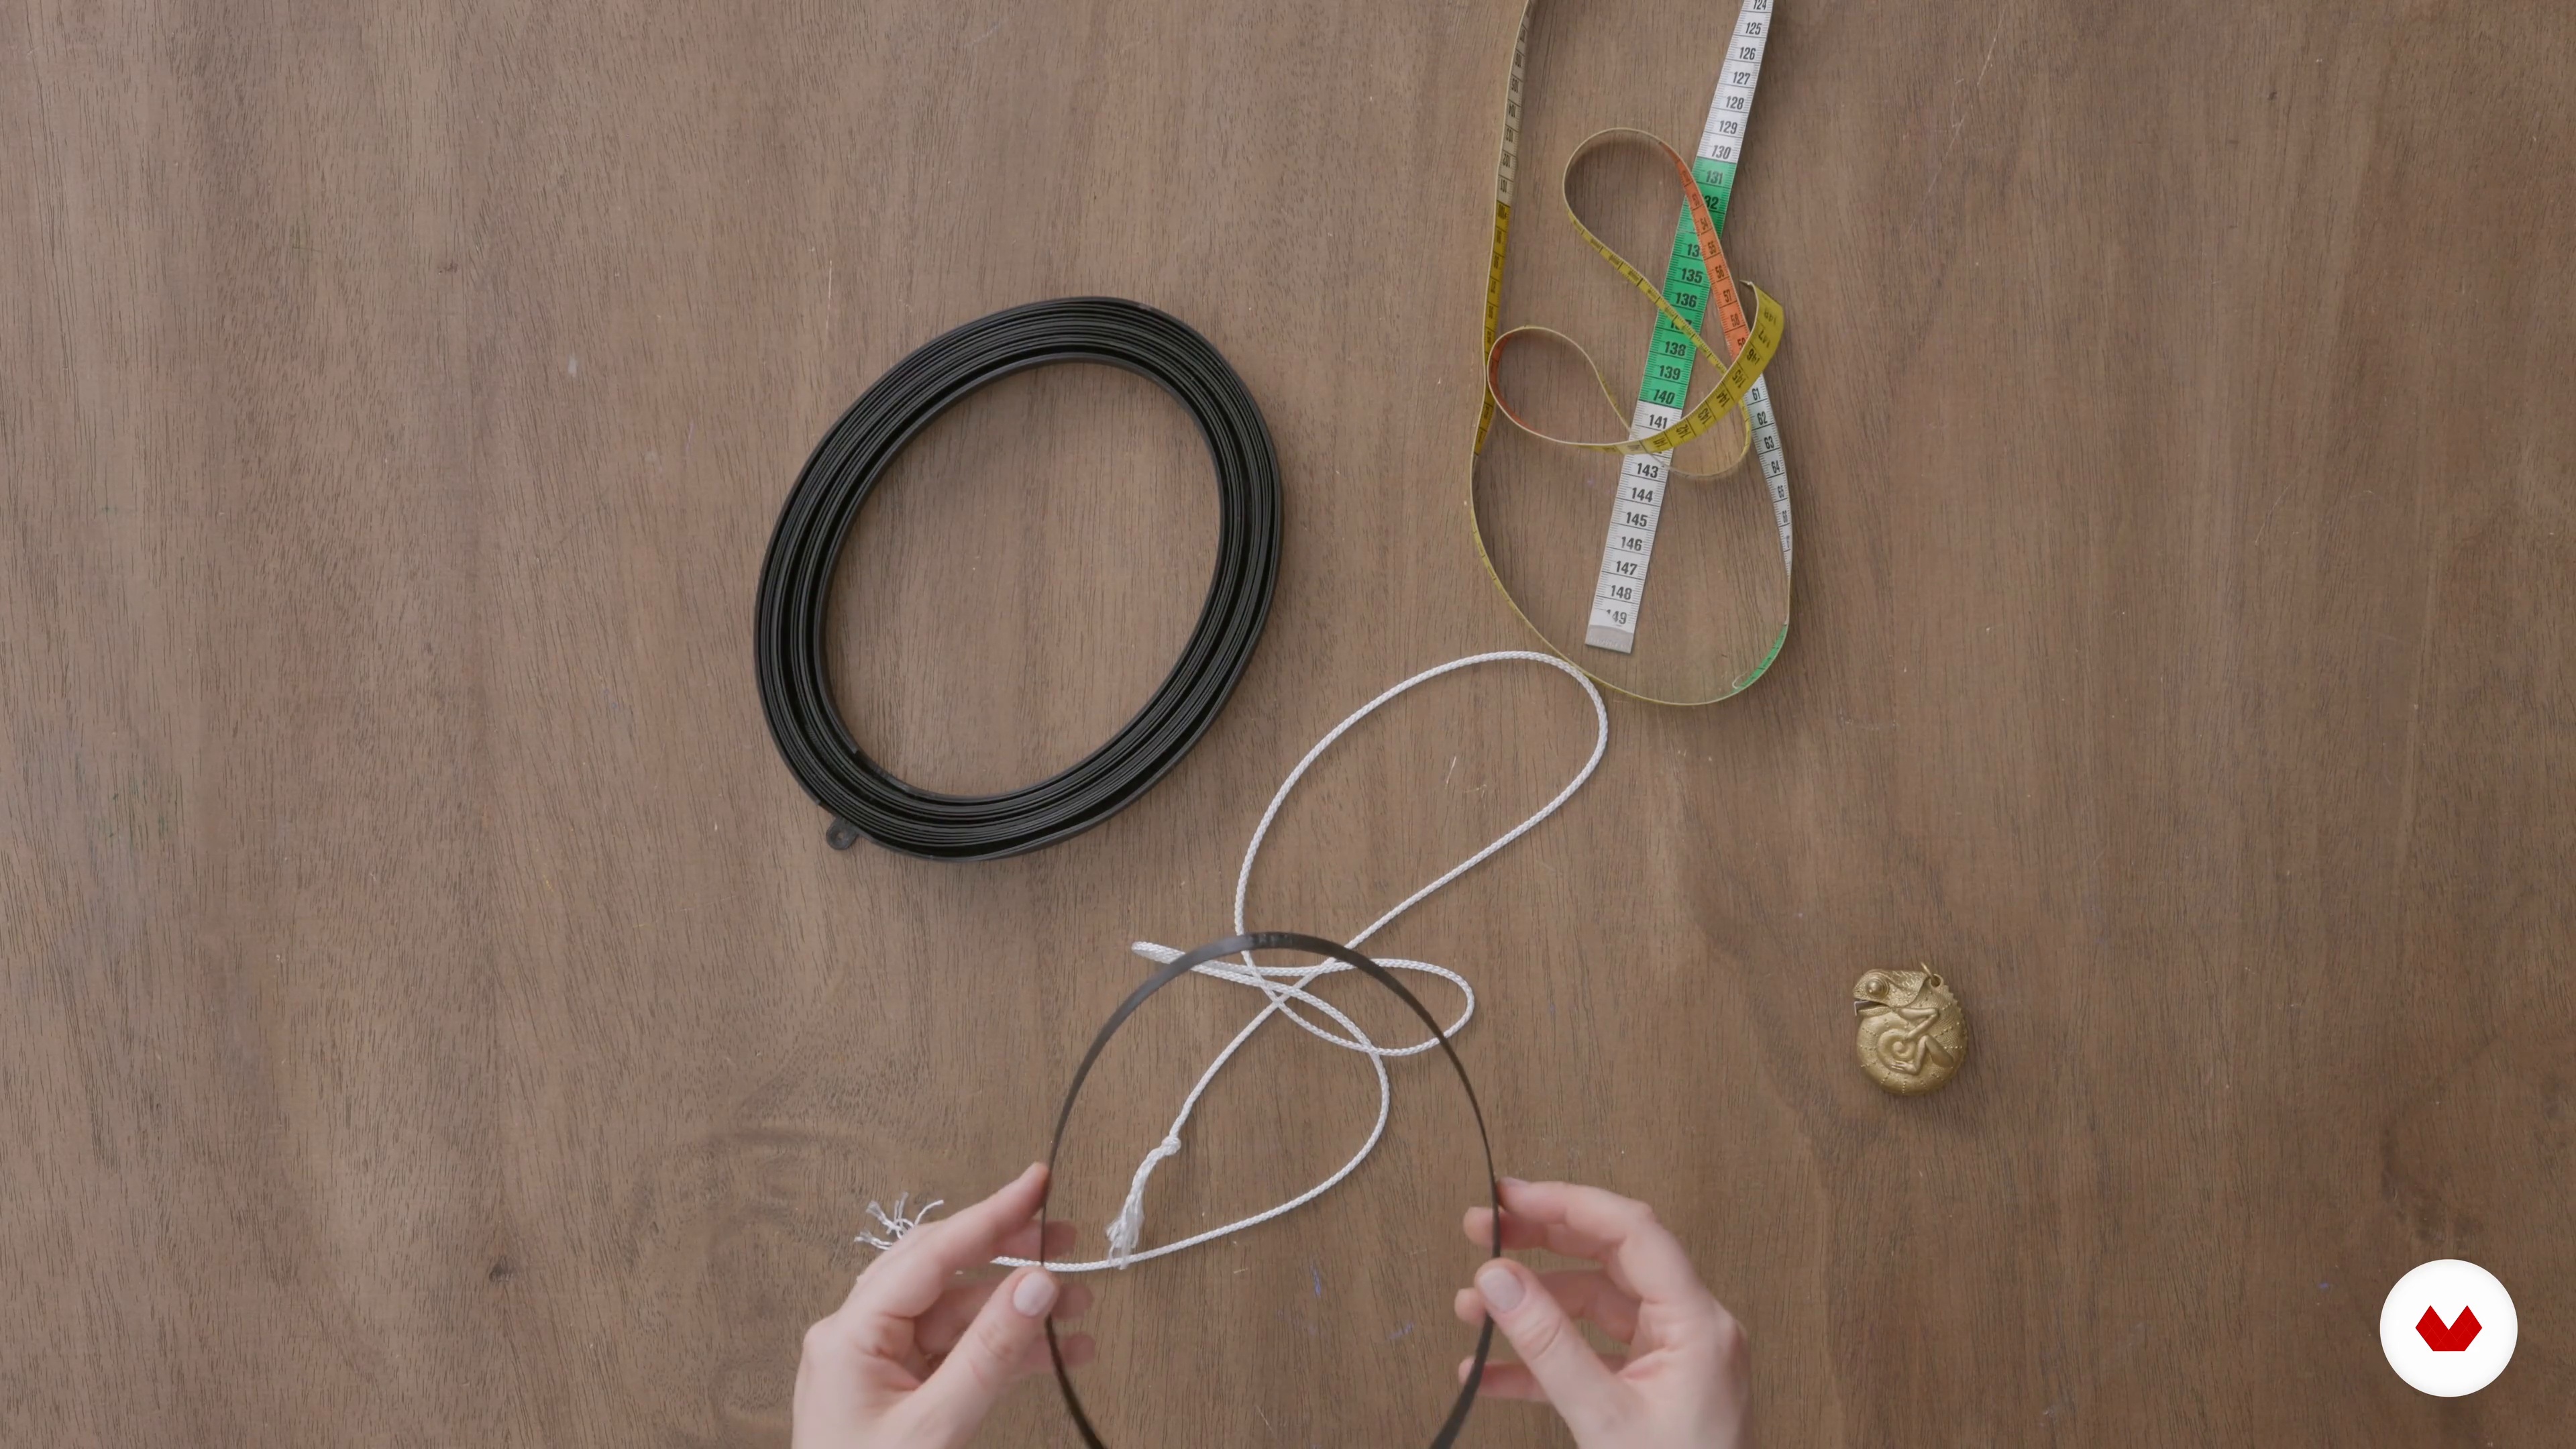
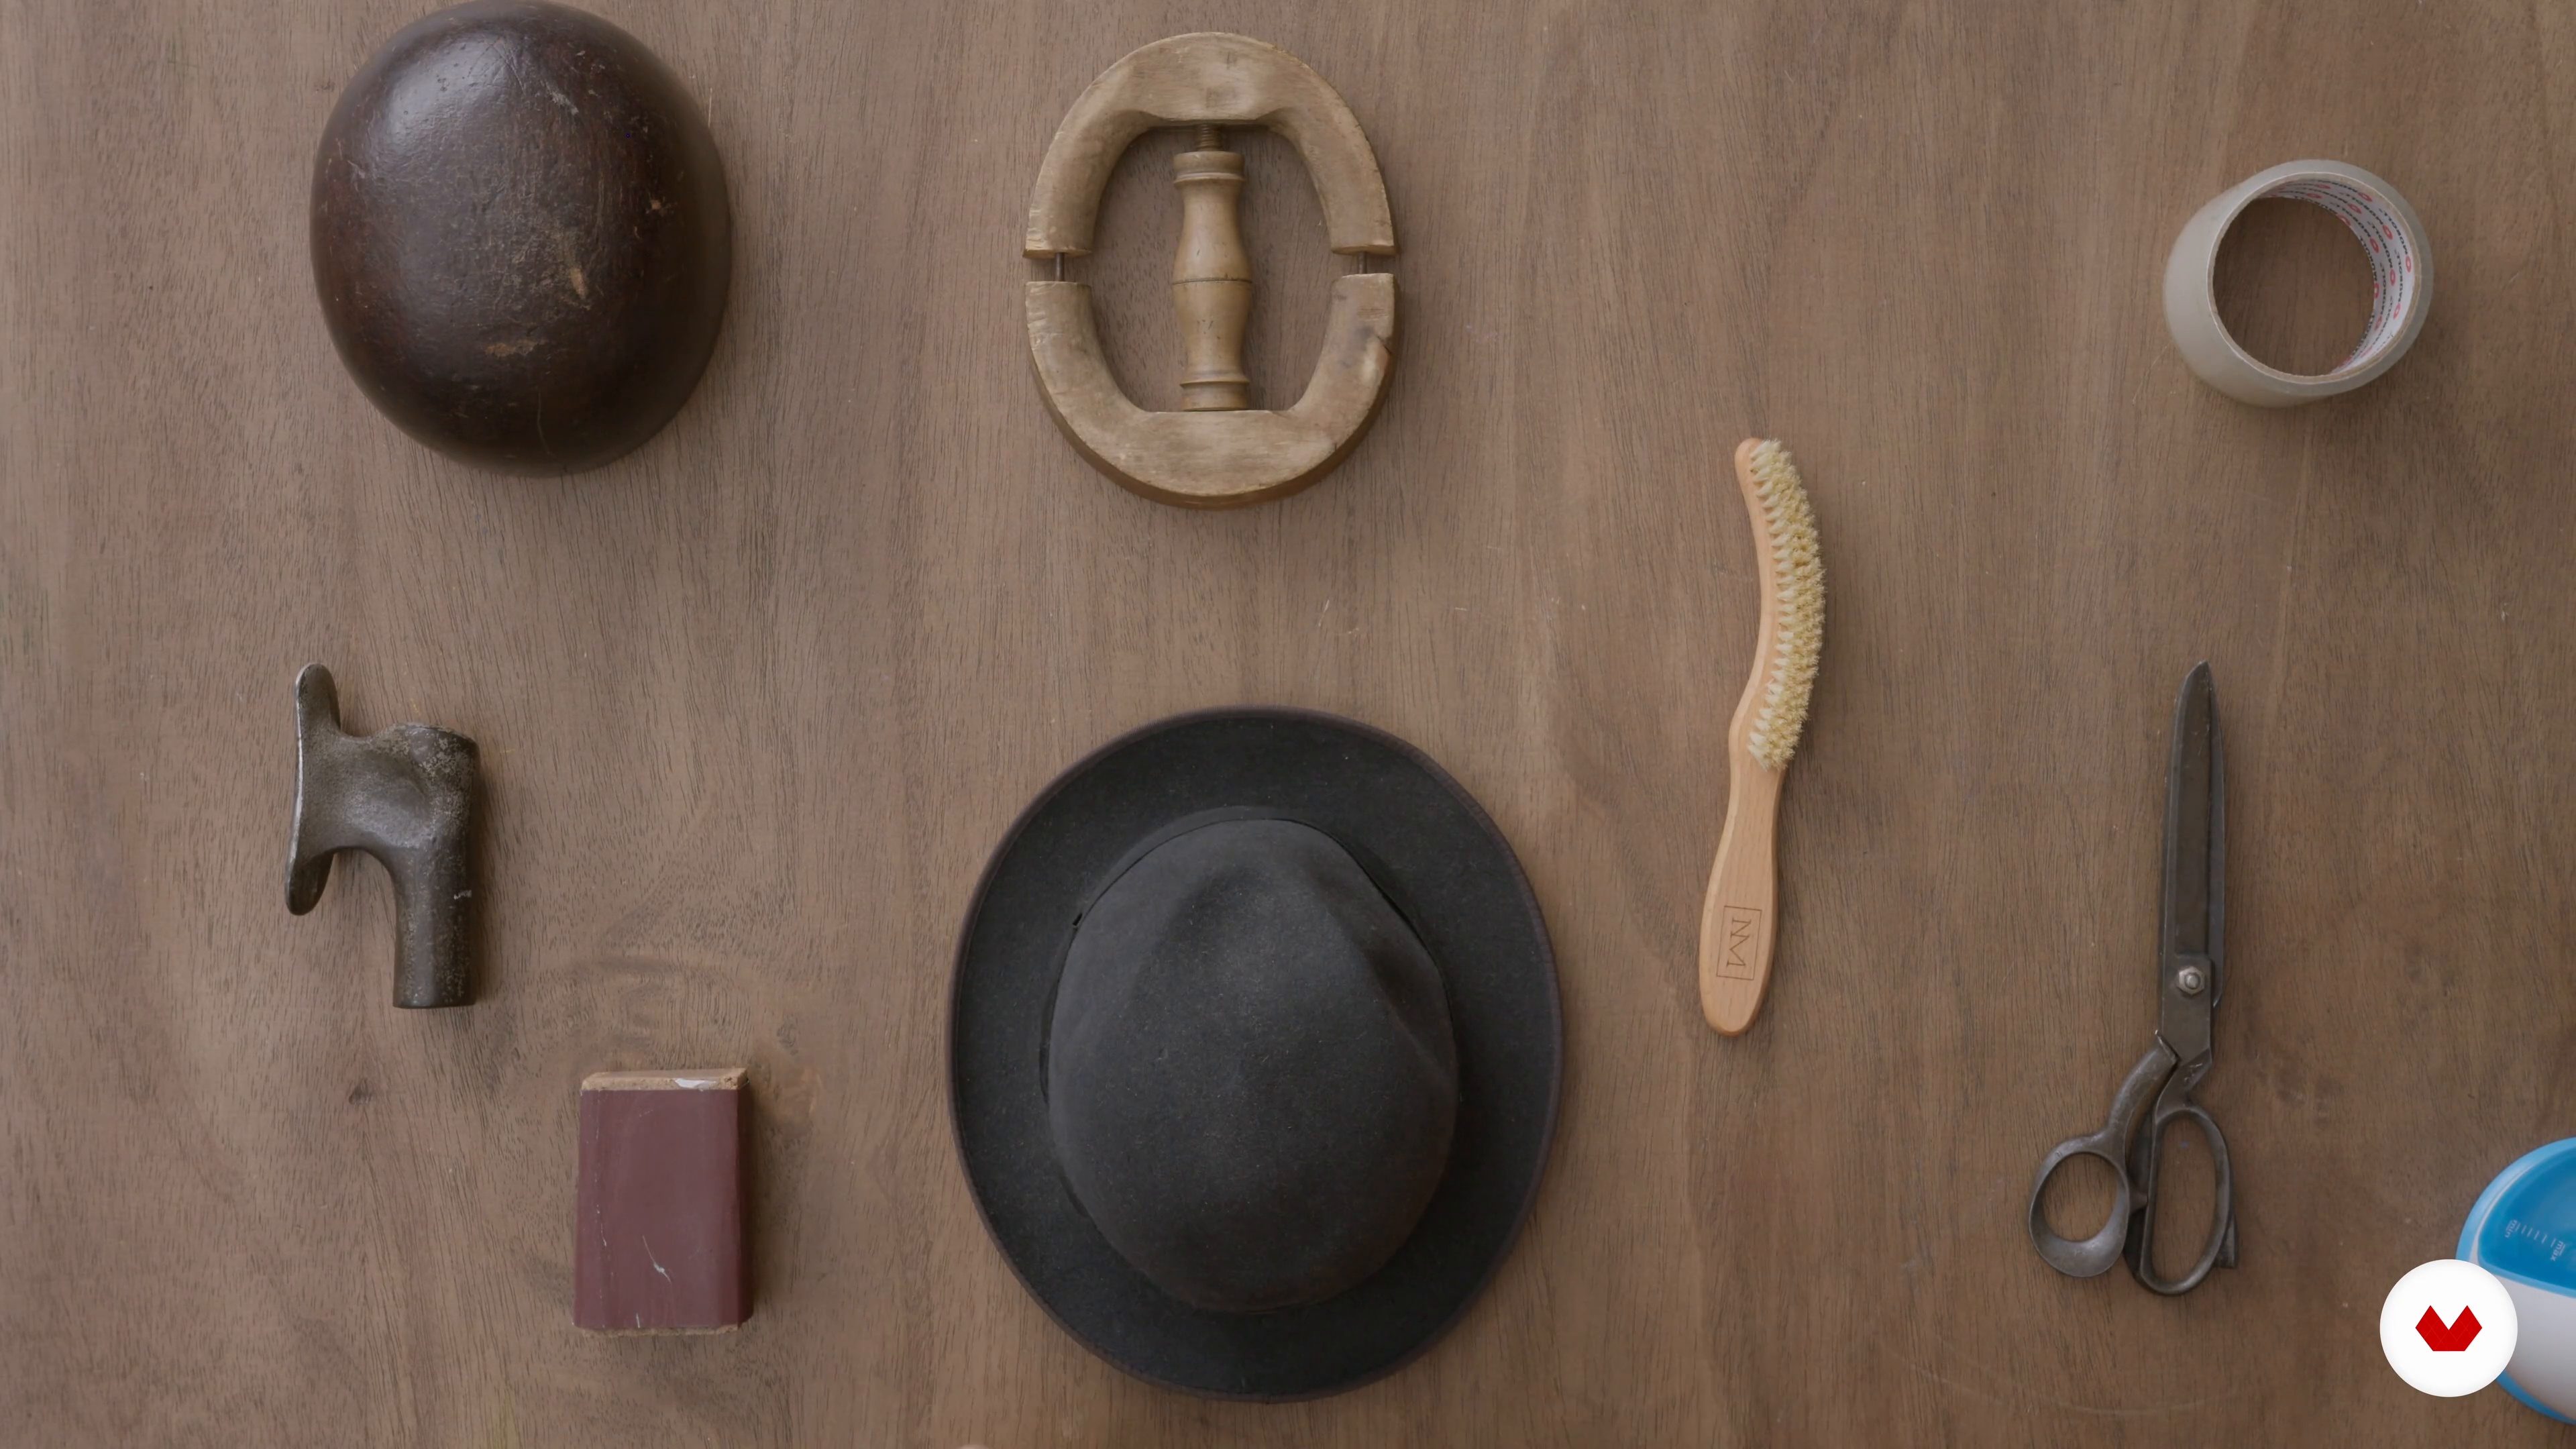
What are the tools of the trade? In this lesson, we will cover what you need to make your hat, from materials to equipment.
3m
image
4
The Mood Board
An important step in the creative process is making a mood board. You will learn how to draw from your own inspirations to choose the fabrics and decorations you will use to make your hat.
3m
image
5
Hat Blocks
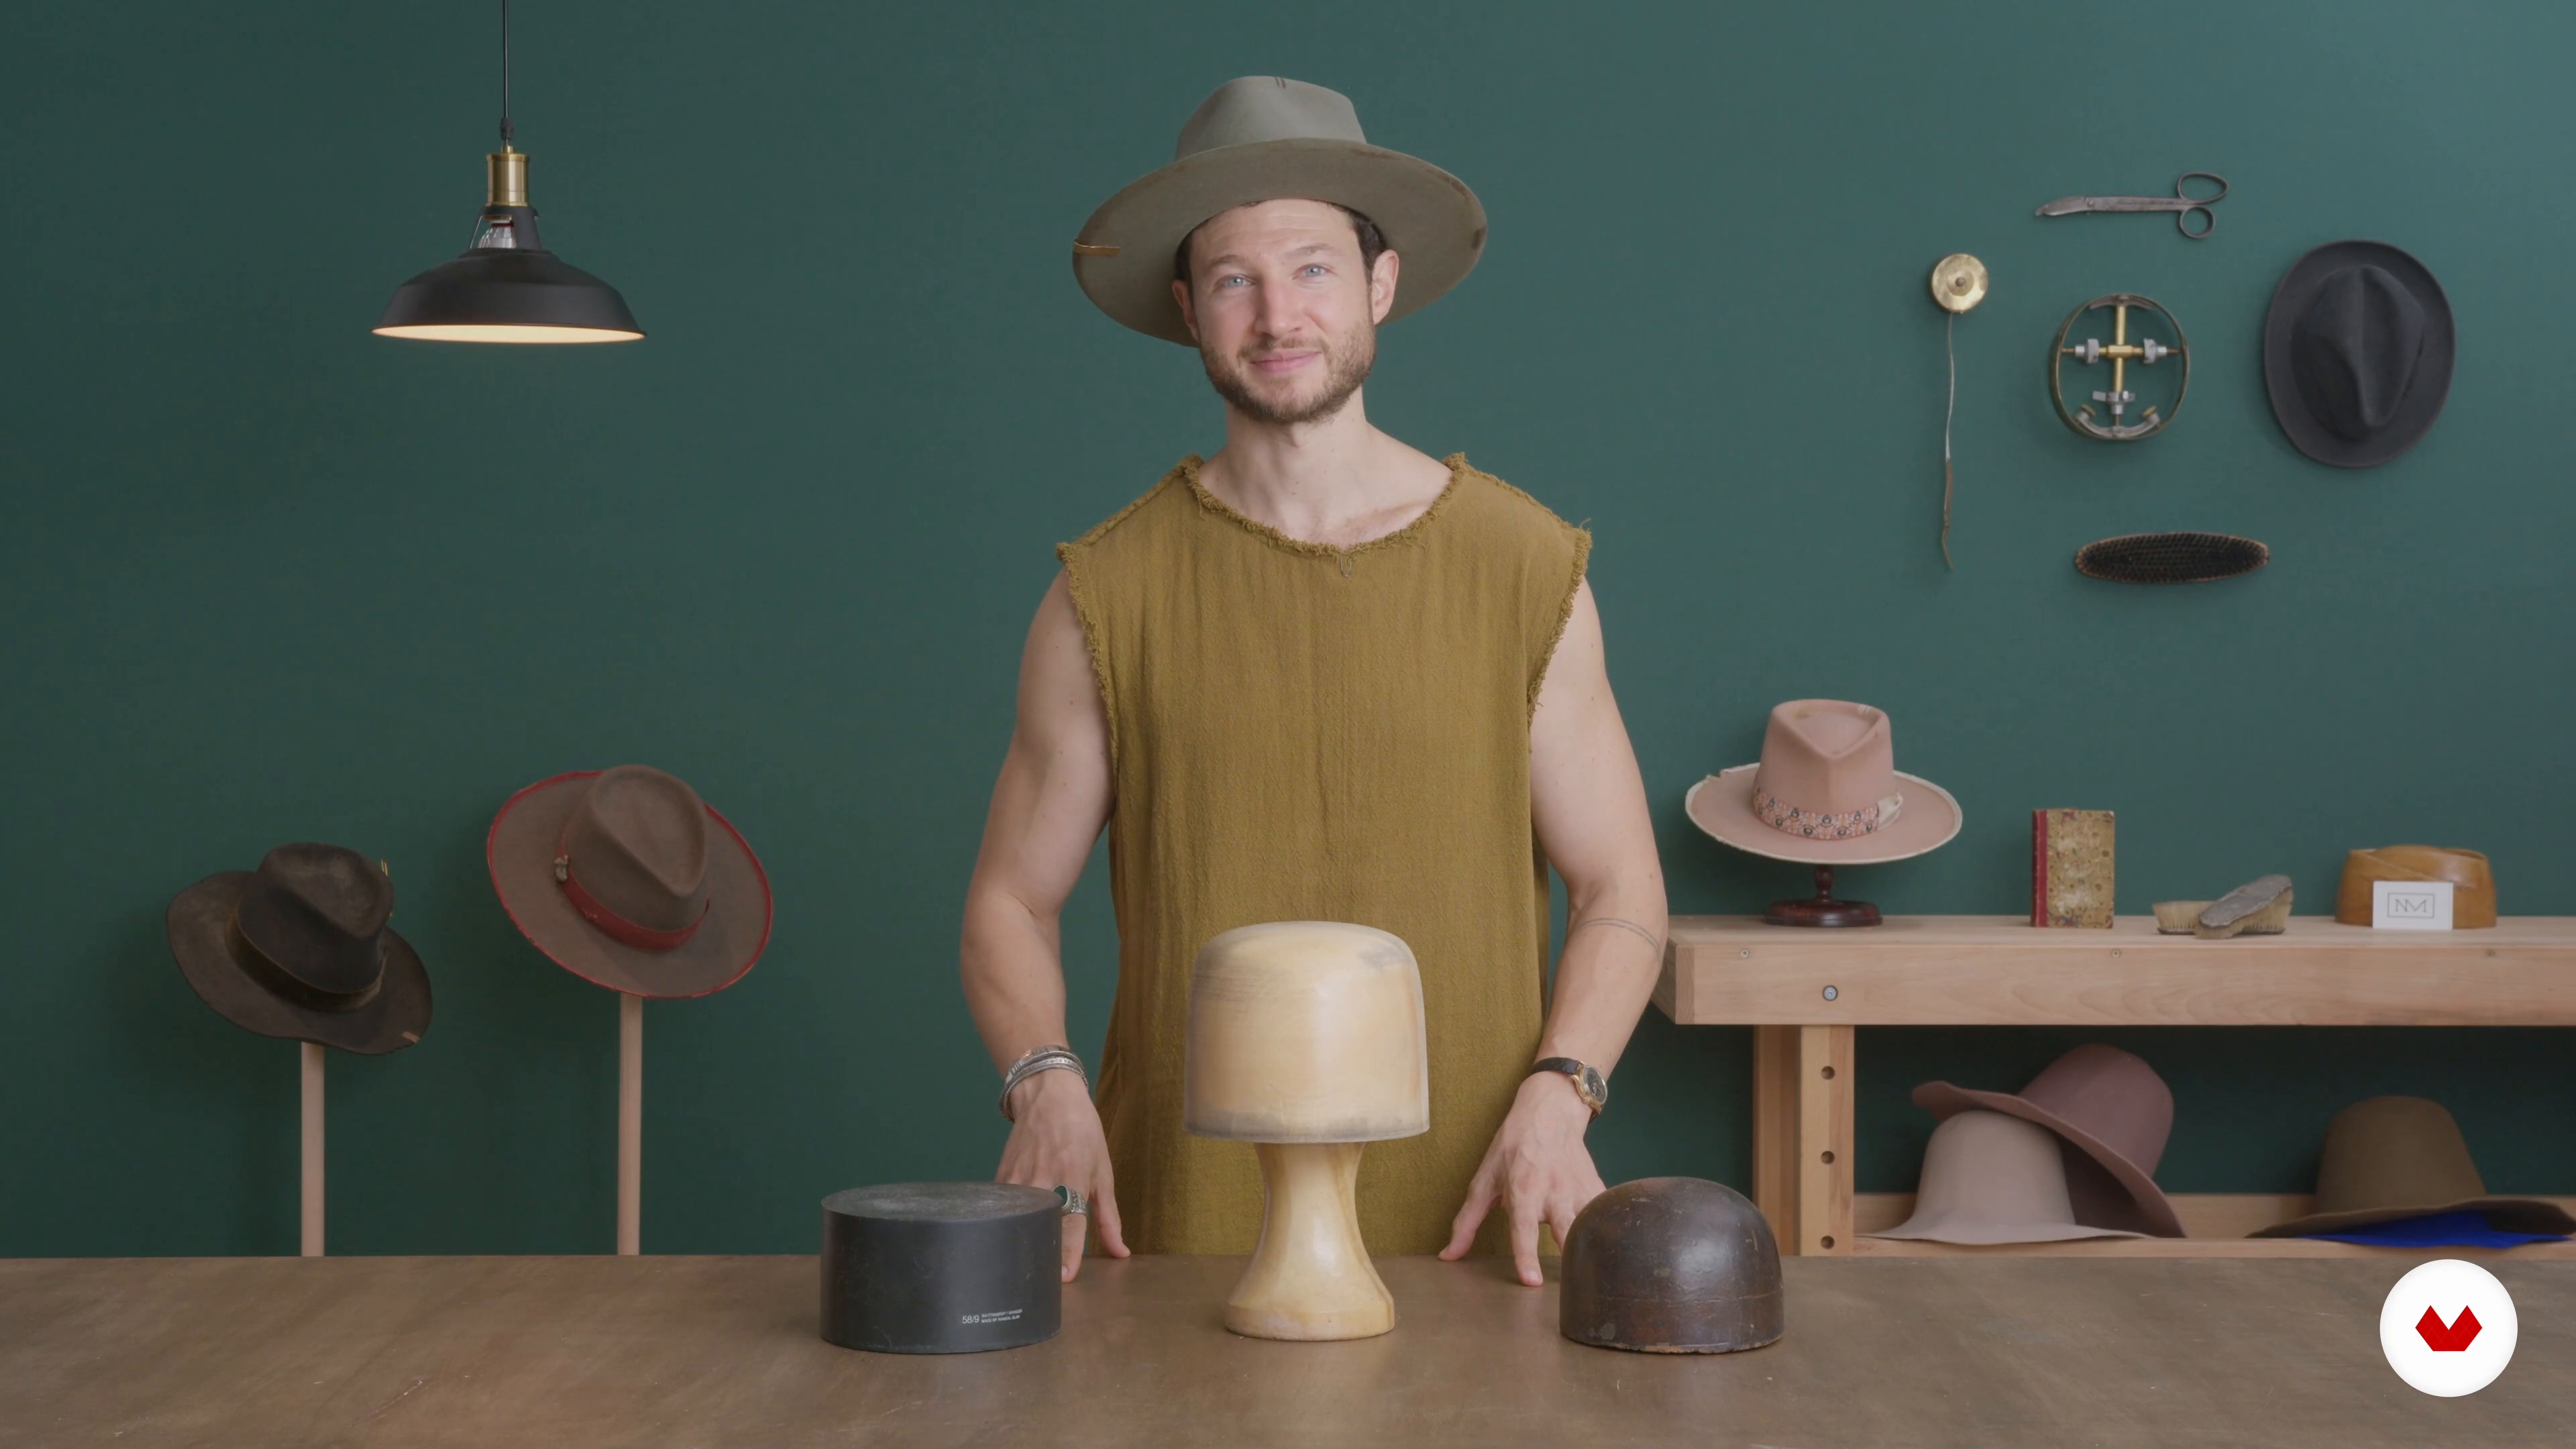
In this lesson, we will look at the different types of hat blocks you can use to shape the base of your hat, including open crowns and flat tops. You will learn the differences between each type.
5m
image
6
Fabrics for Hat Making
There are various types of fabrics you can work with to make your hat. In this lesson, we will delve into some of the available options.
5m
image
7
Finding Your Head Size
Enough with the theory, let's dive into hat-making! In this lesson, you will learn how to measure your head size. This is the first step of the creative process.
4m
image
8
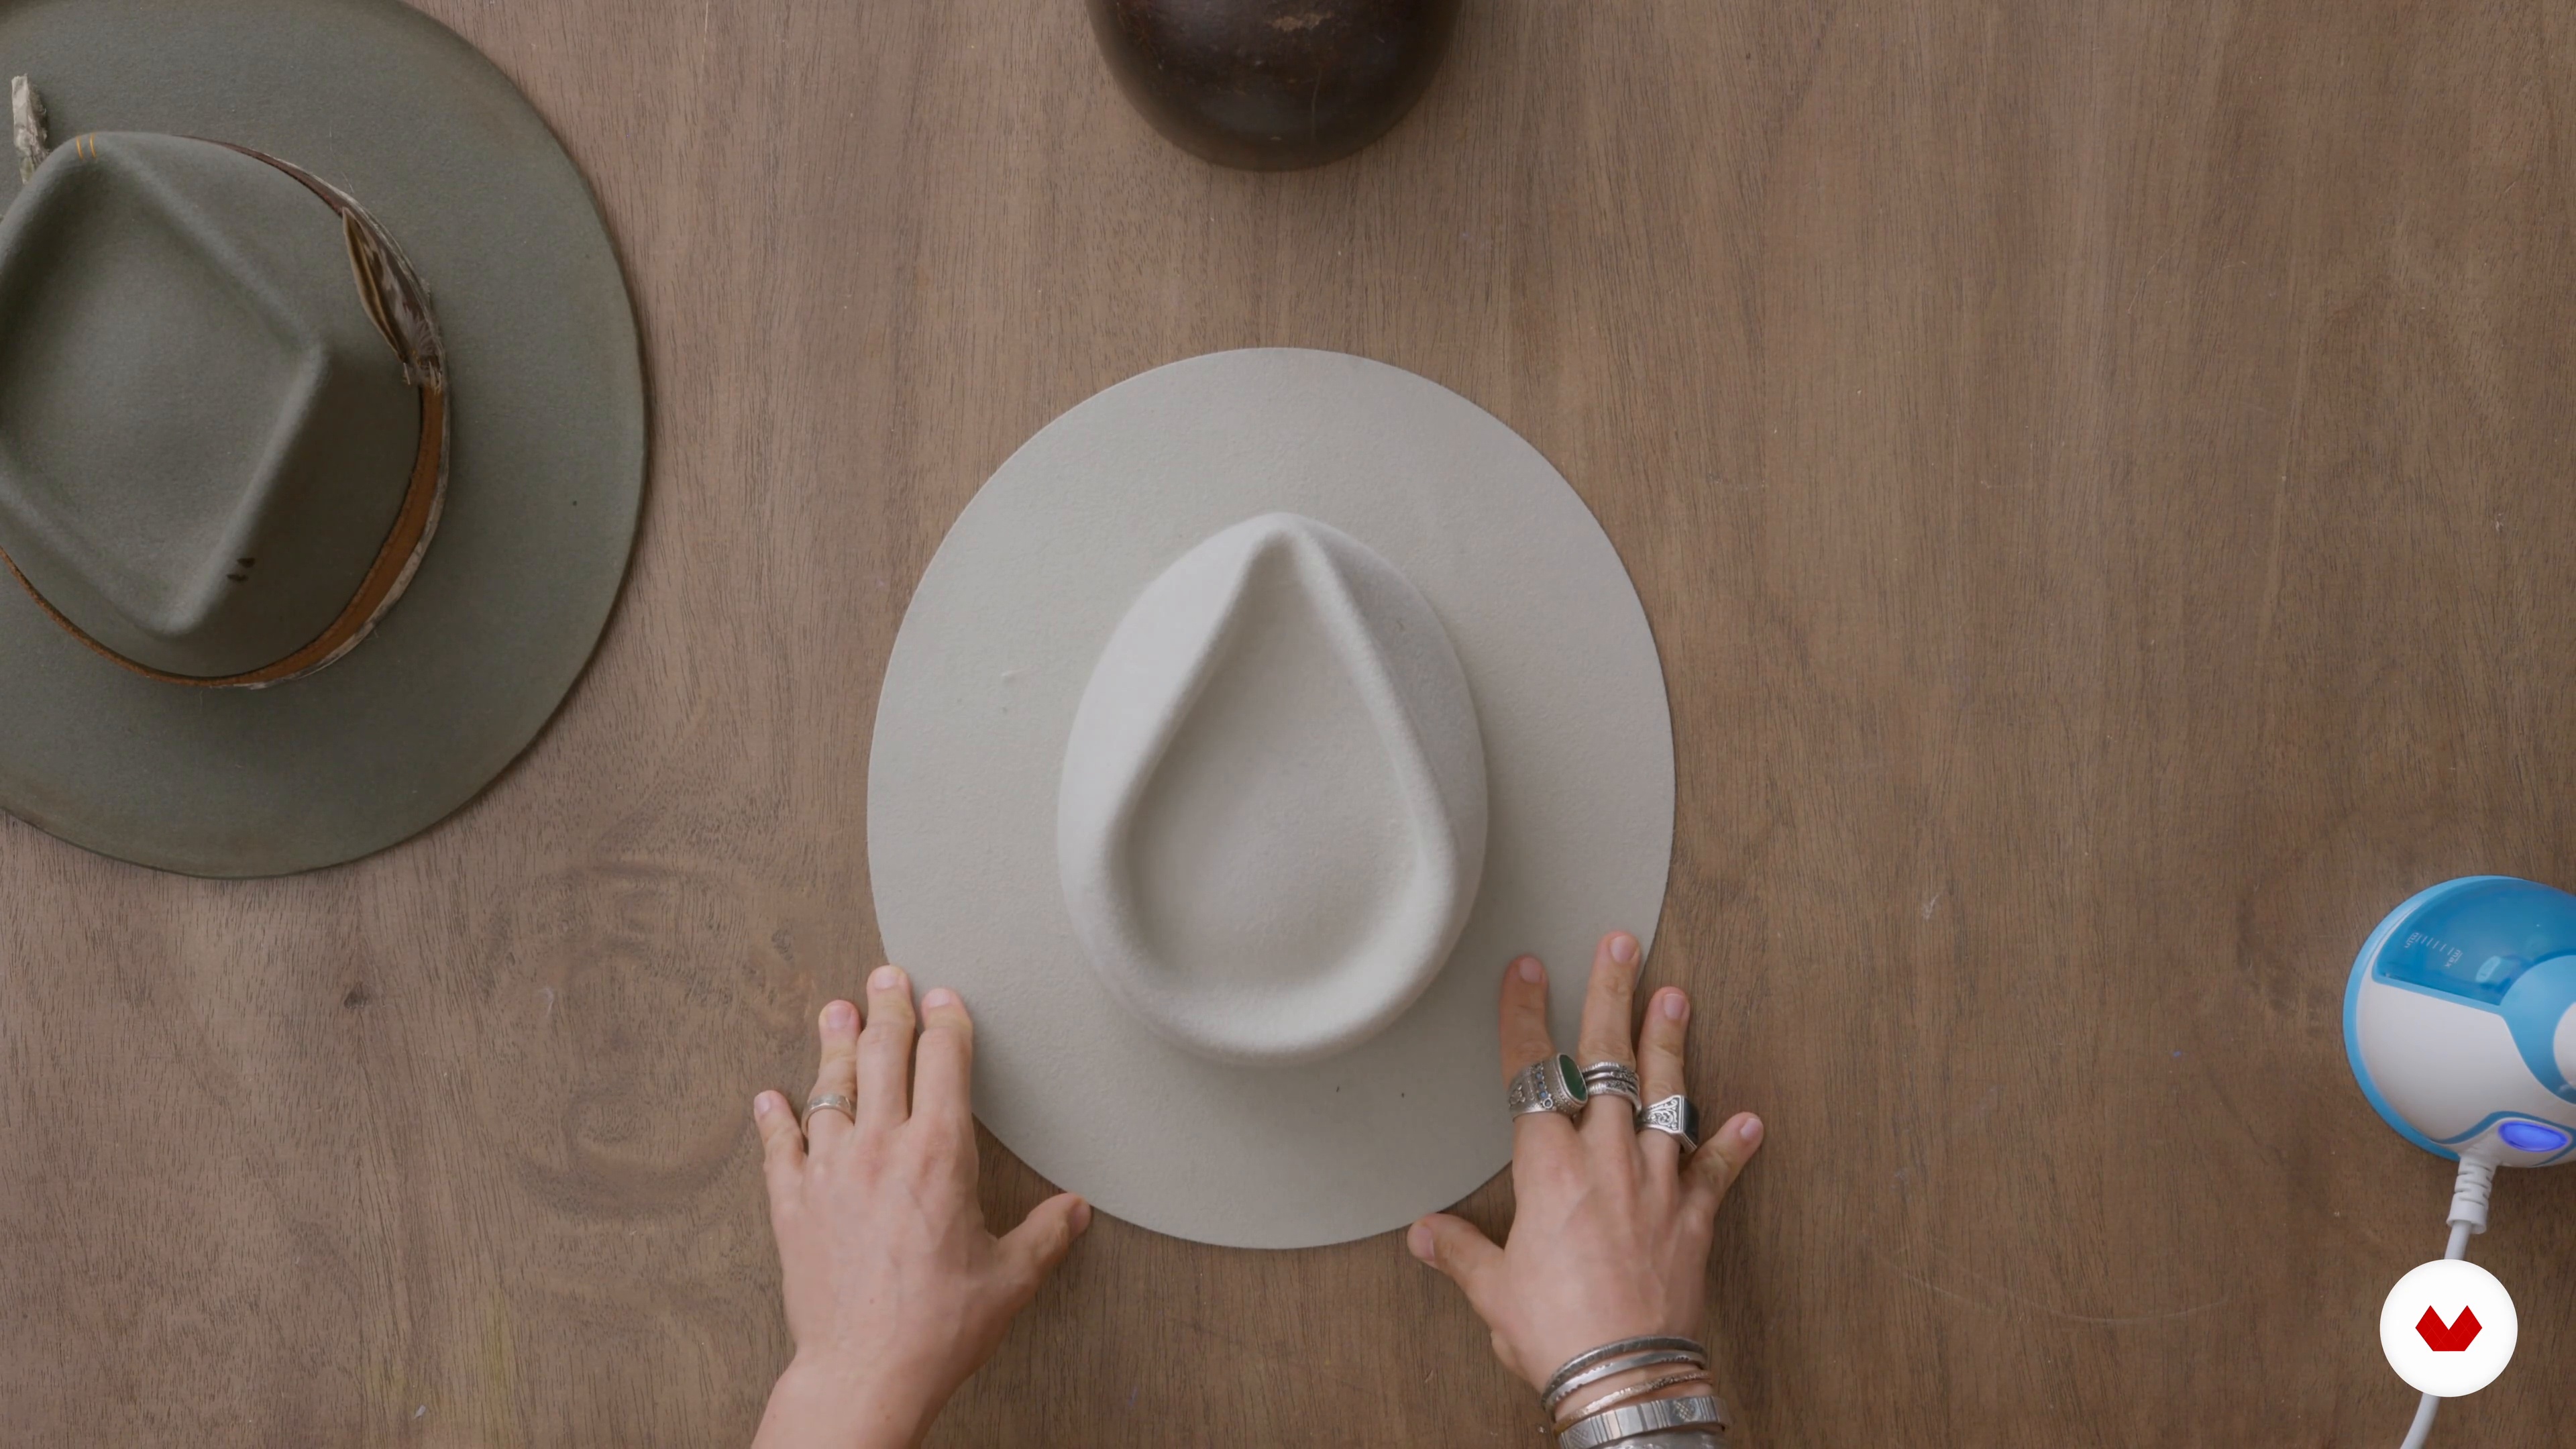
Blocking the Felt
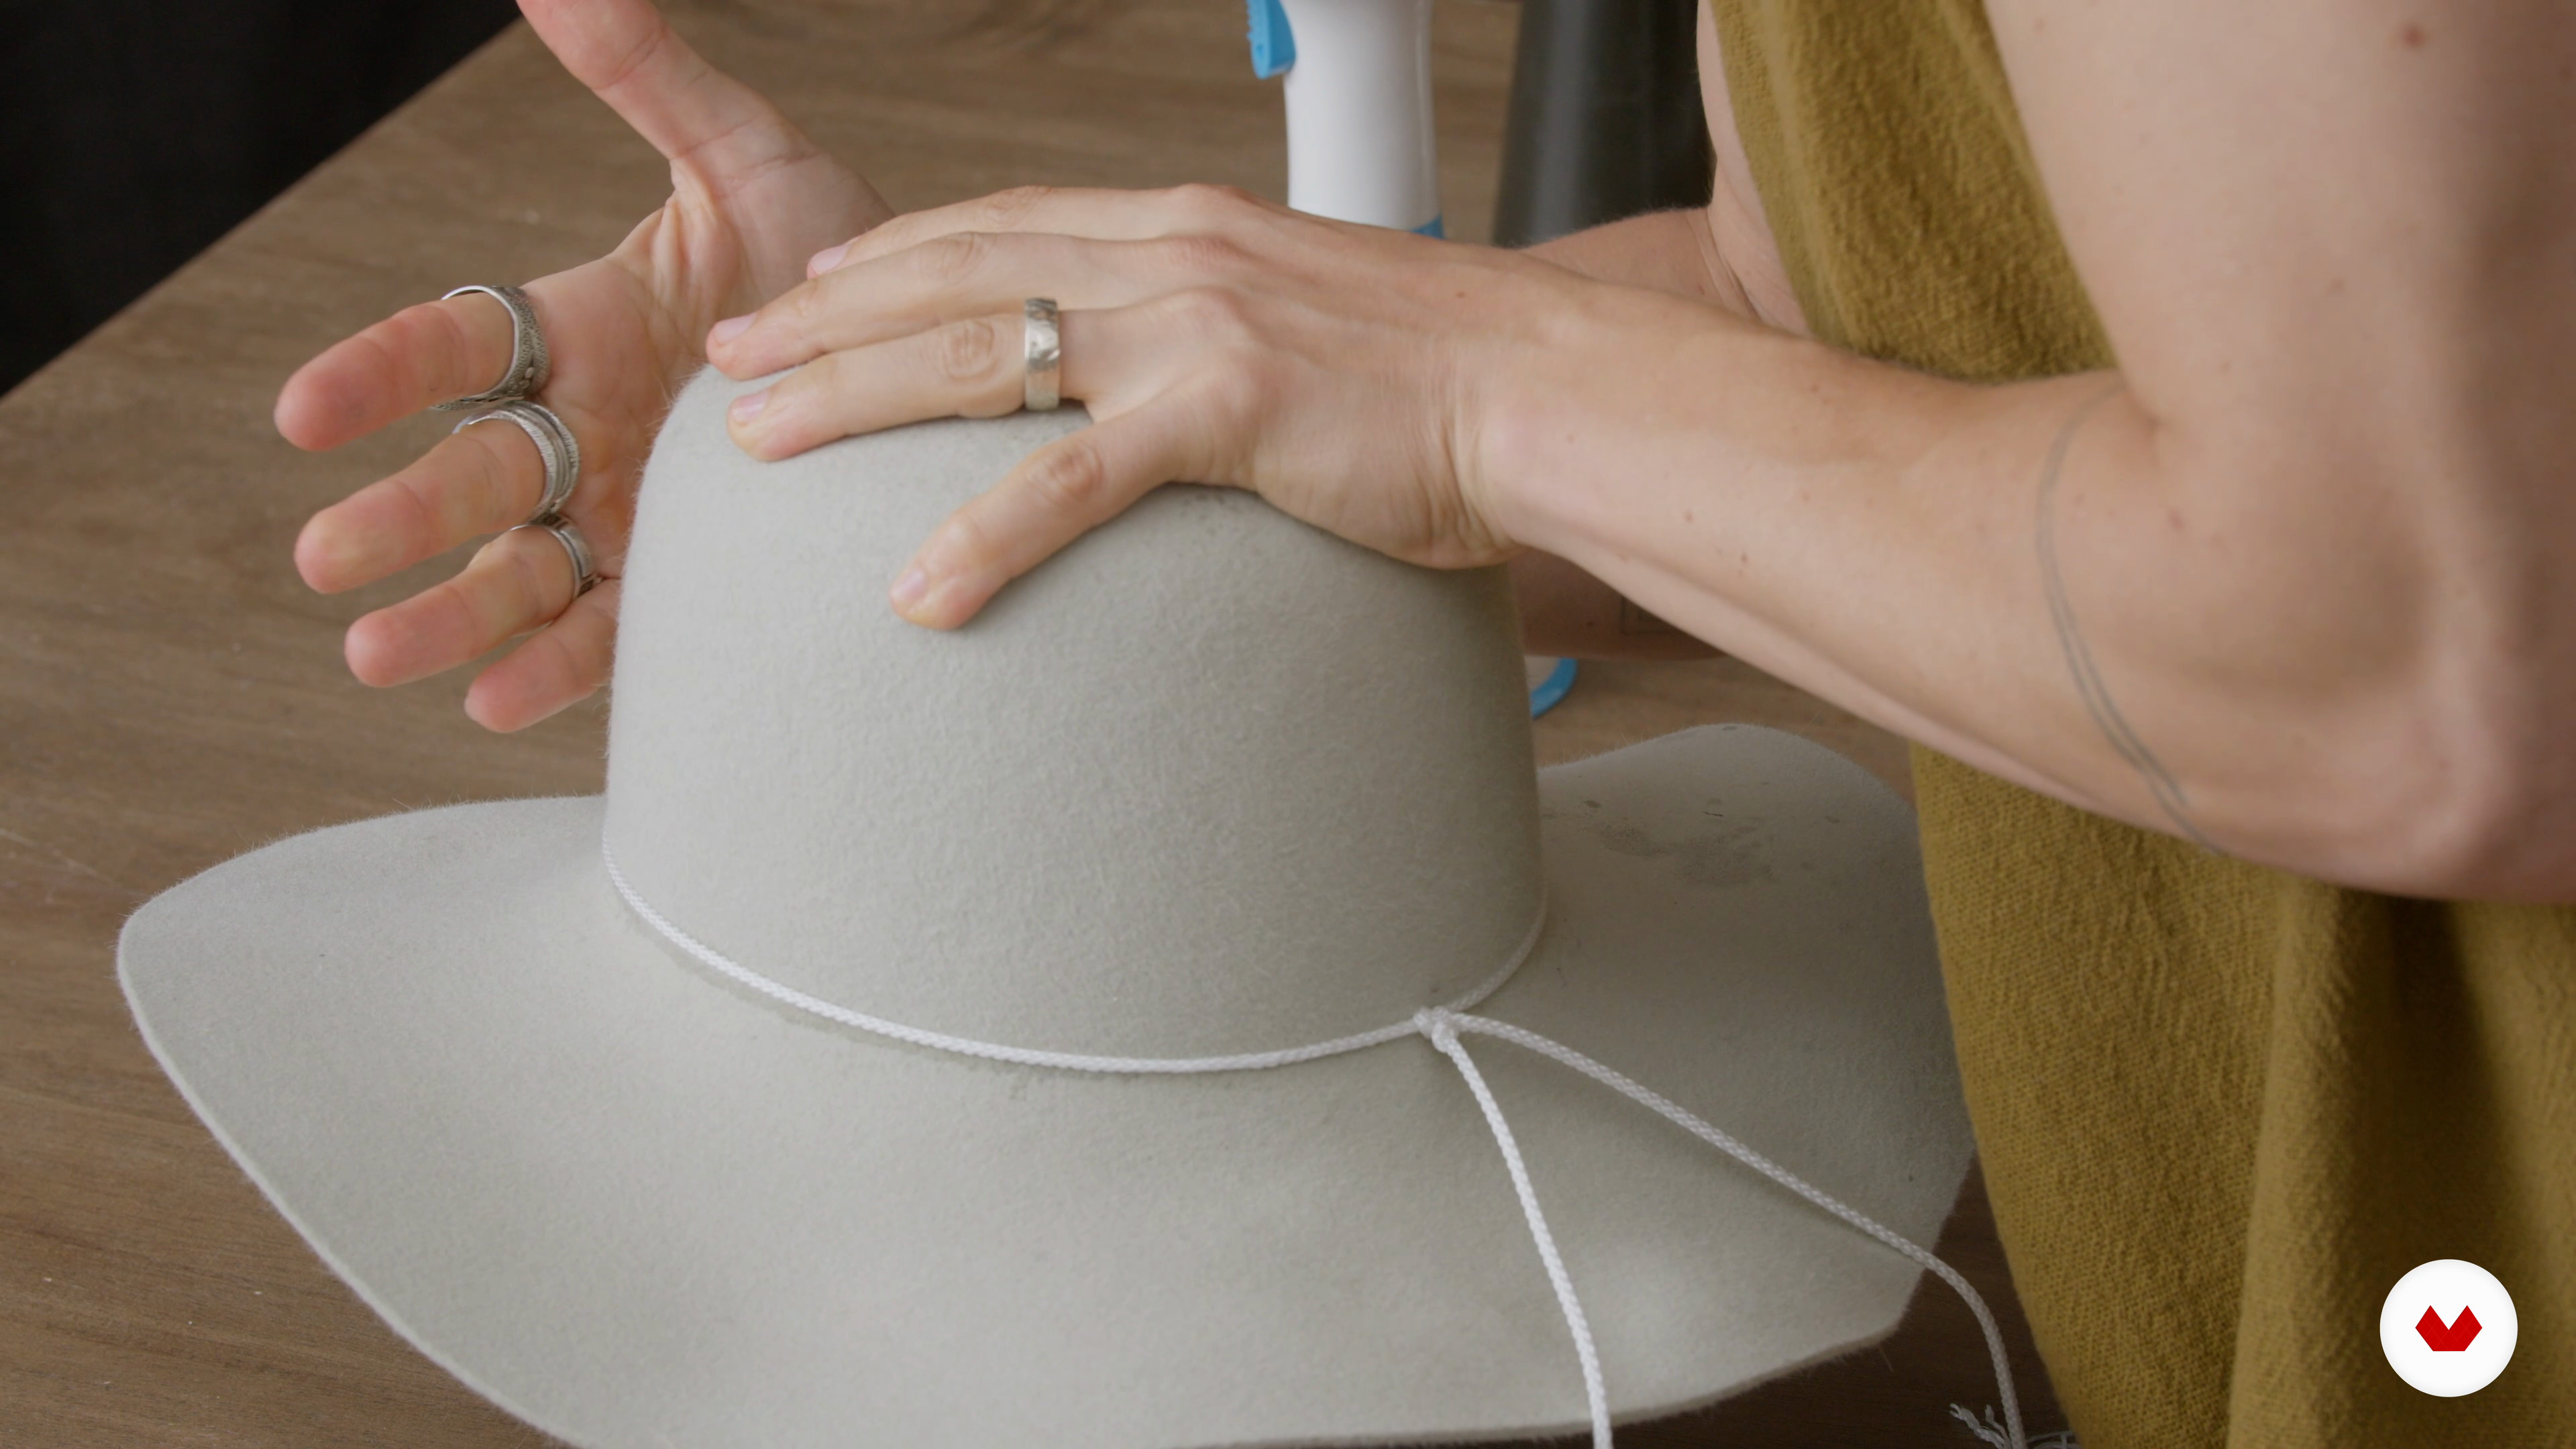
Once you've gathered all the measurements you need, the next step is to block the felt over a hat block using steam. This will help you to achieve the desired shape.
11m
image
9
Cutting the Brim and Pouncing the Felt
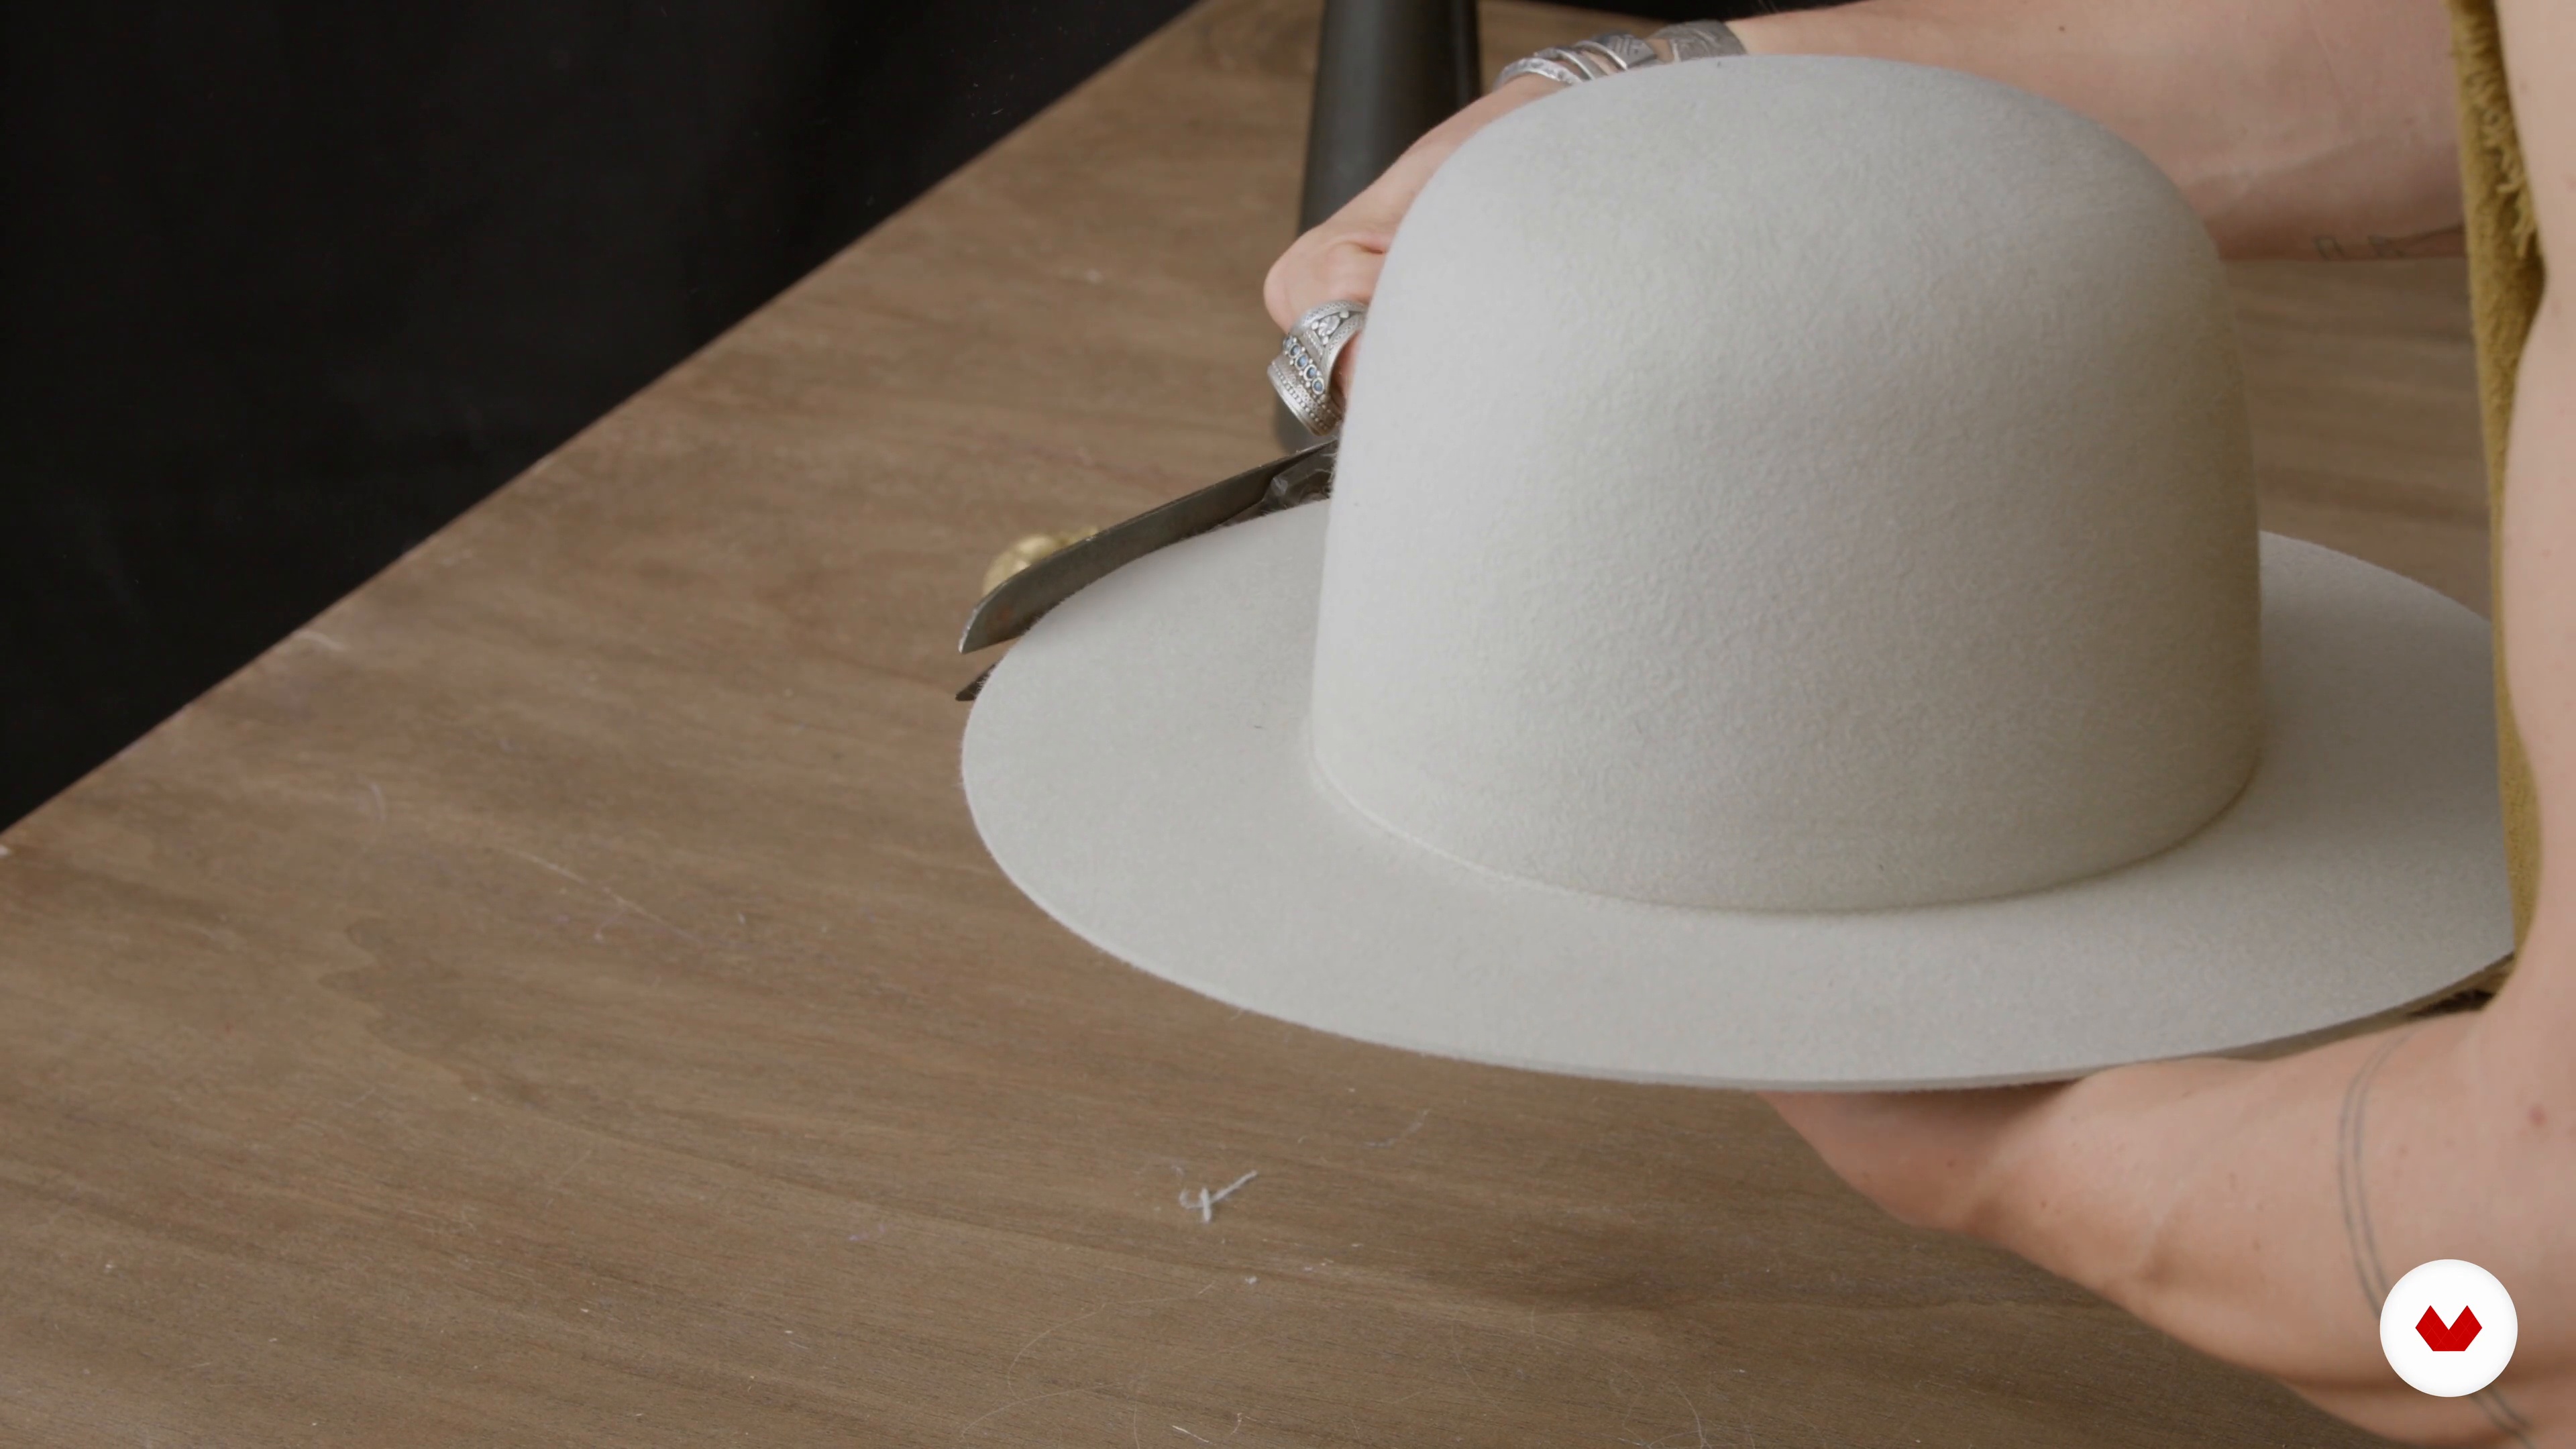
When the felt is dry, you will need to pounce it—smoothen it out with sandpaper—and cut the brim to the desired length. This step will ensure a cleaner finish.
11m
image
10
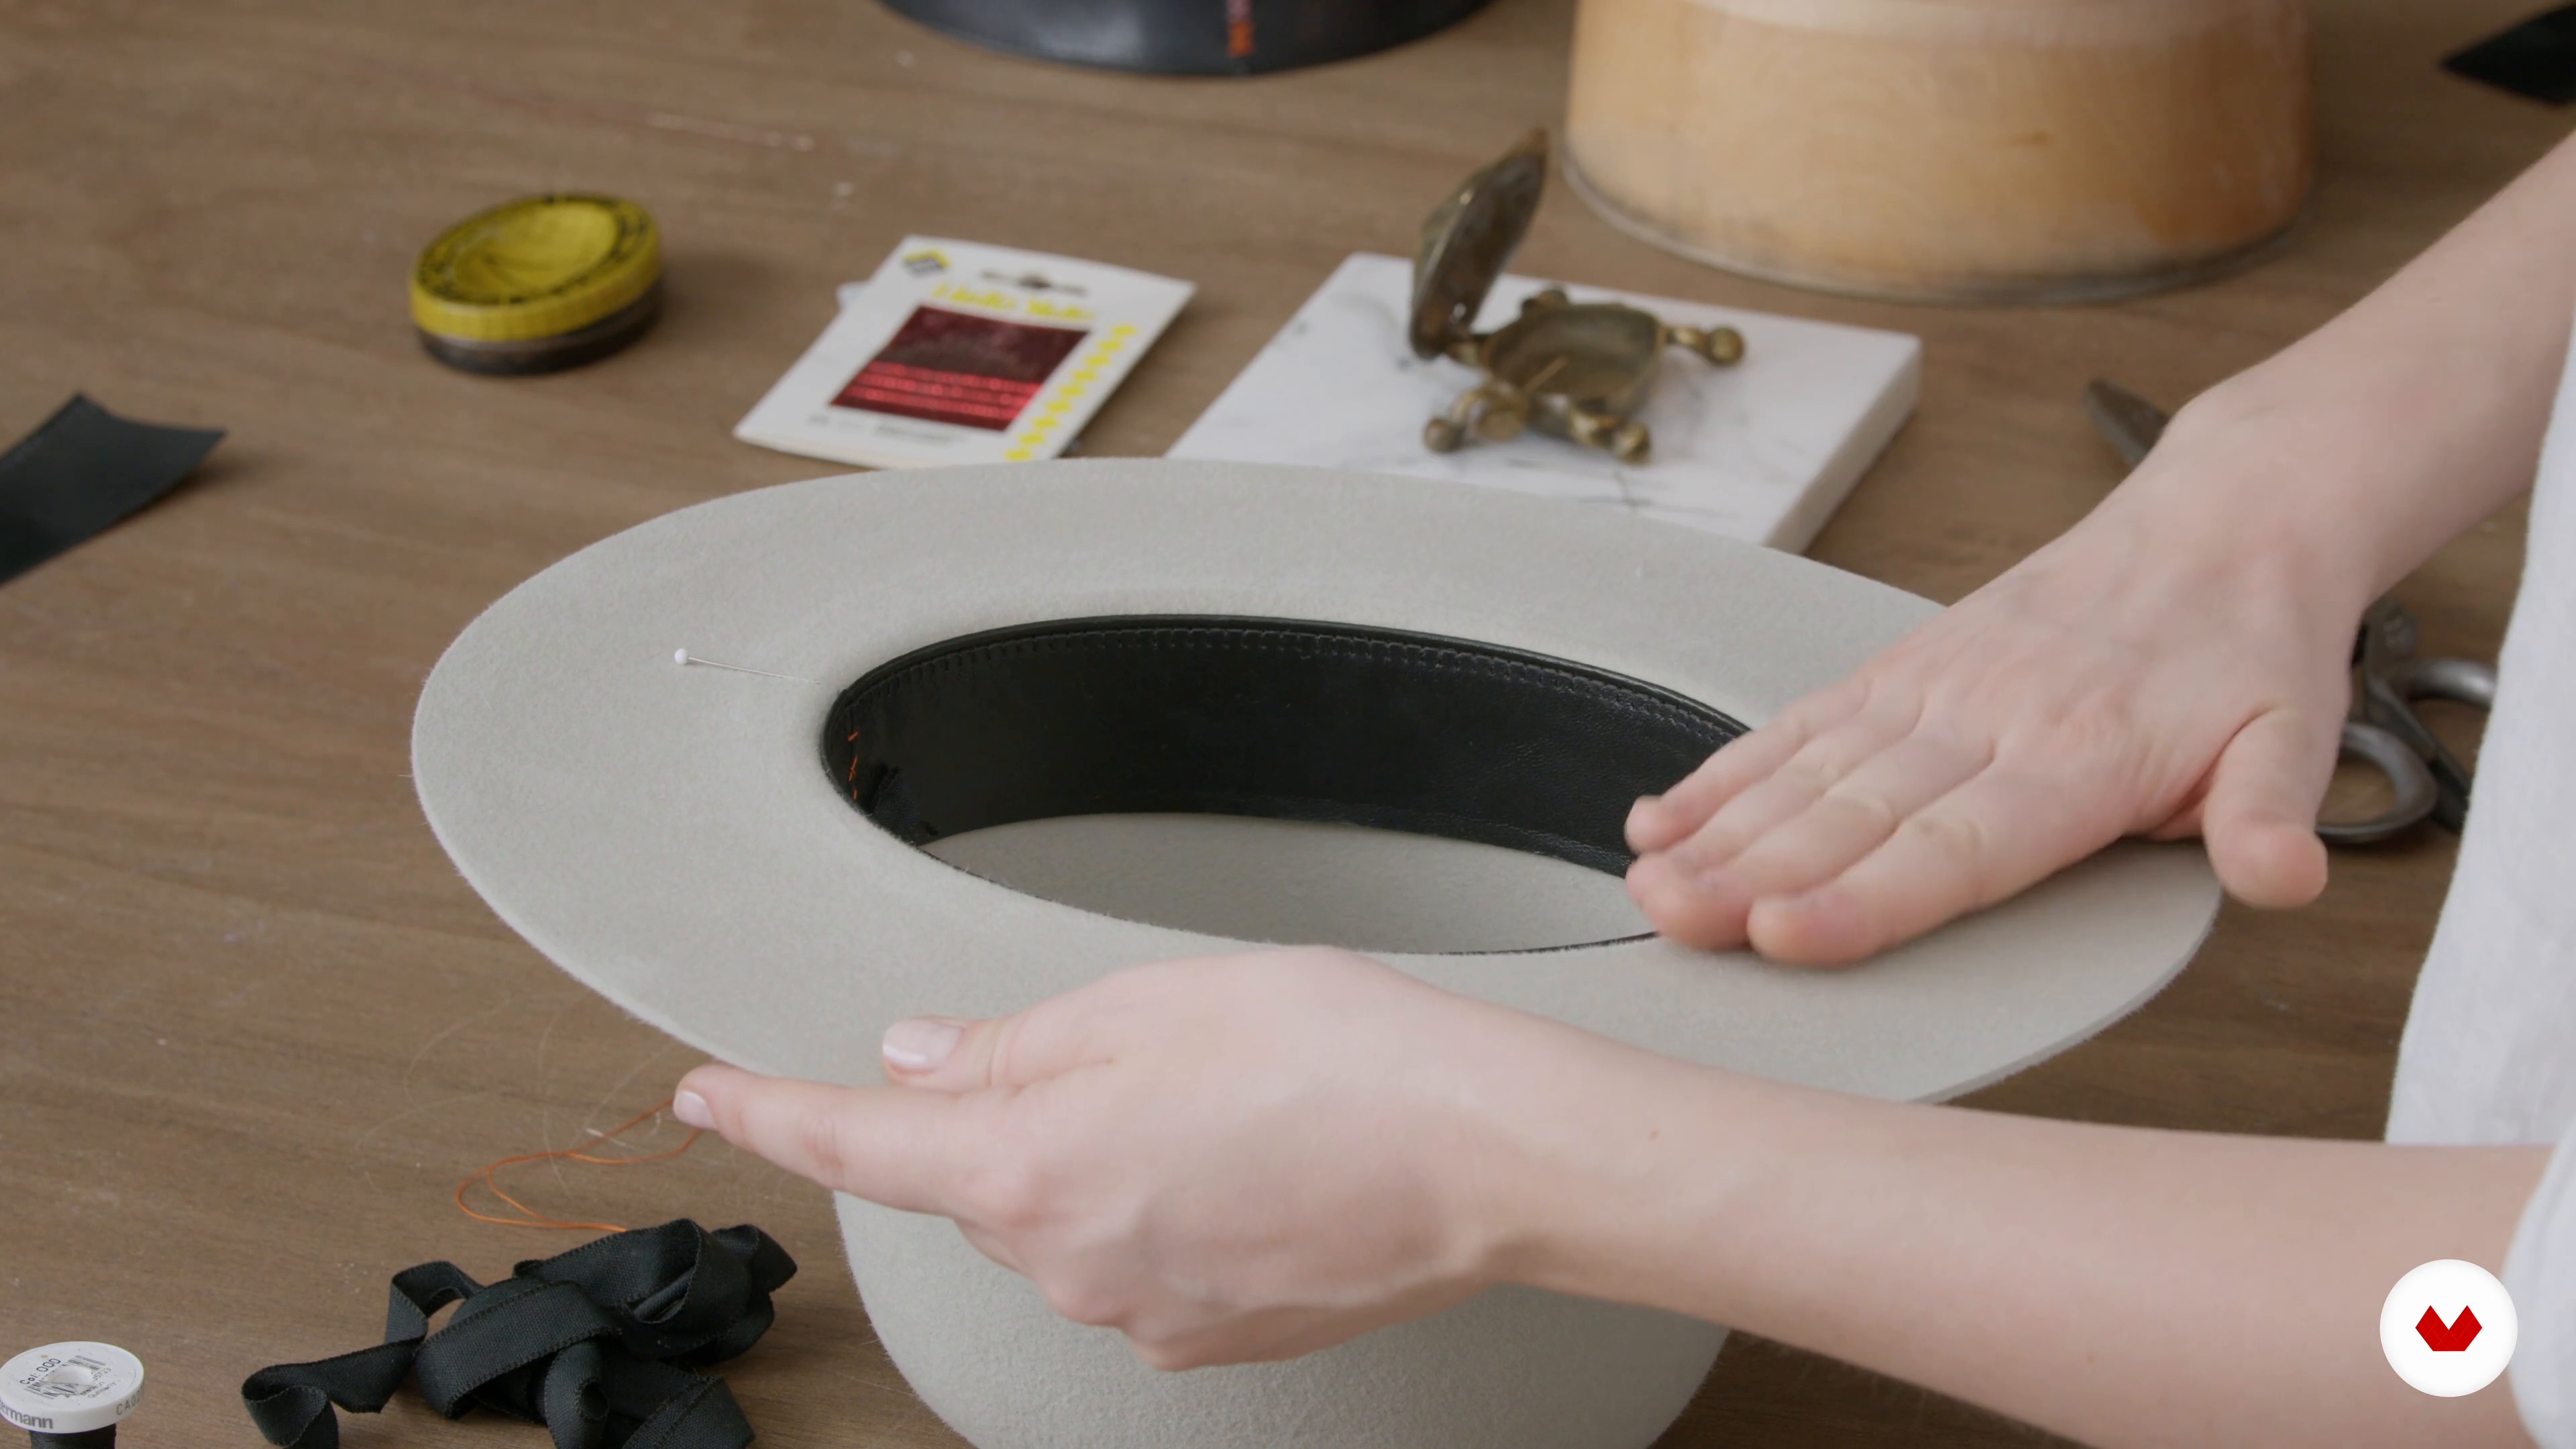
Preparing the Sweatband
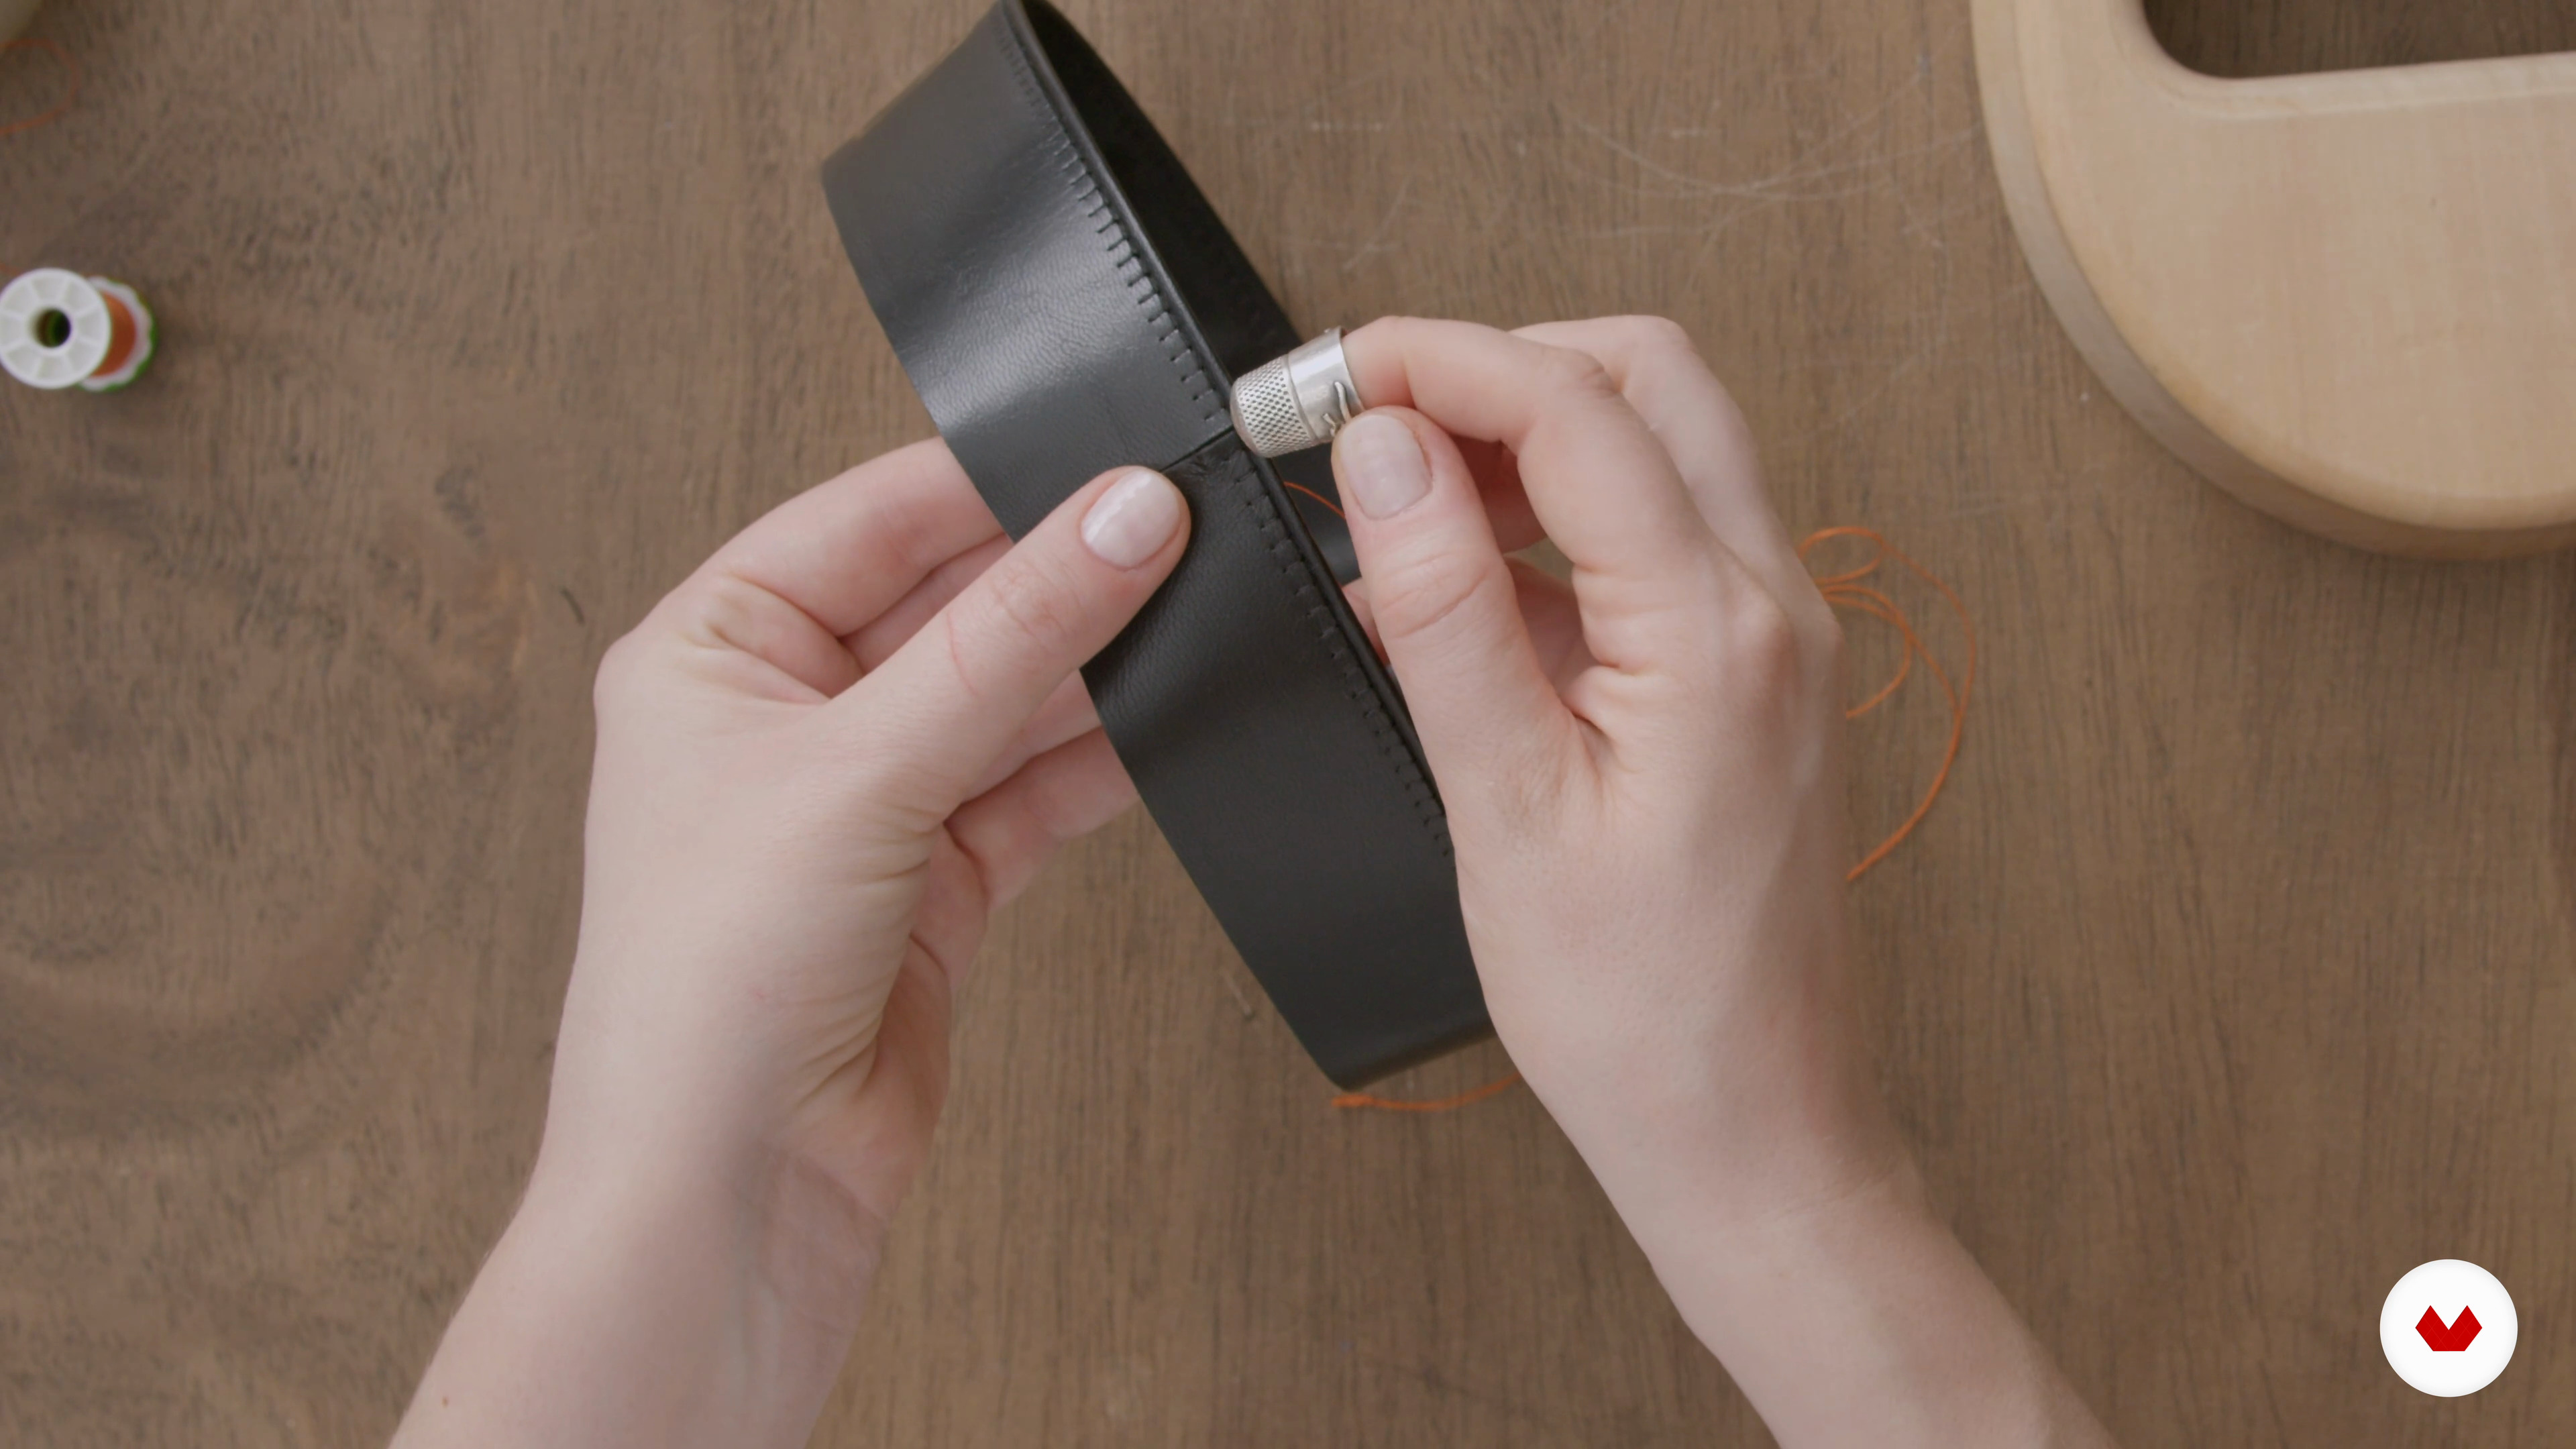
With the base of the hat complete, it's time to progress from the hands-on, muscle work to the detailing stage. For this, you will need patience and precision. To start with, you will learn how to prepare an inside band or sweatband.
22m
image
11
Sewing In the Sweatband
You will now sew the finished sweatband into your hat according to the markings you've made. Once the sweatband is in place, make sure that it's sitting smoothly before starting to sew.
11m
image
12
Shaping the Hat
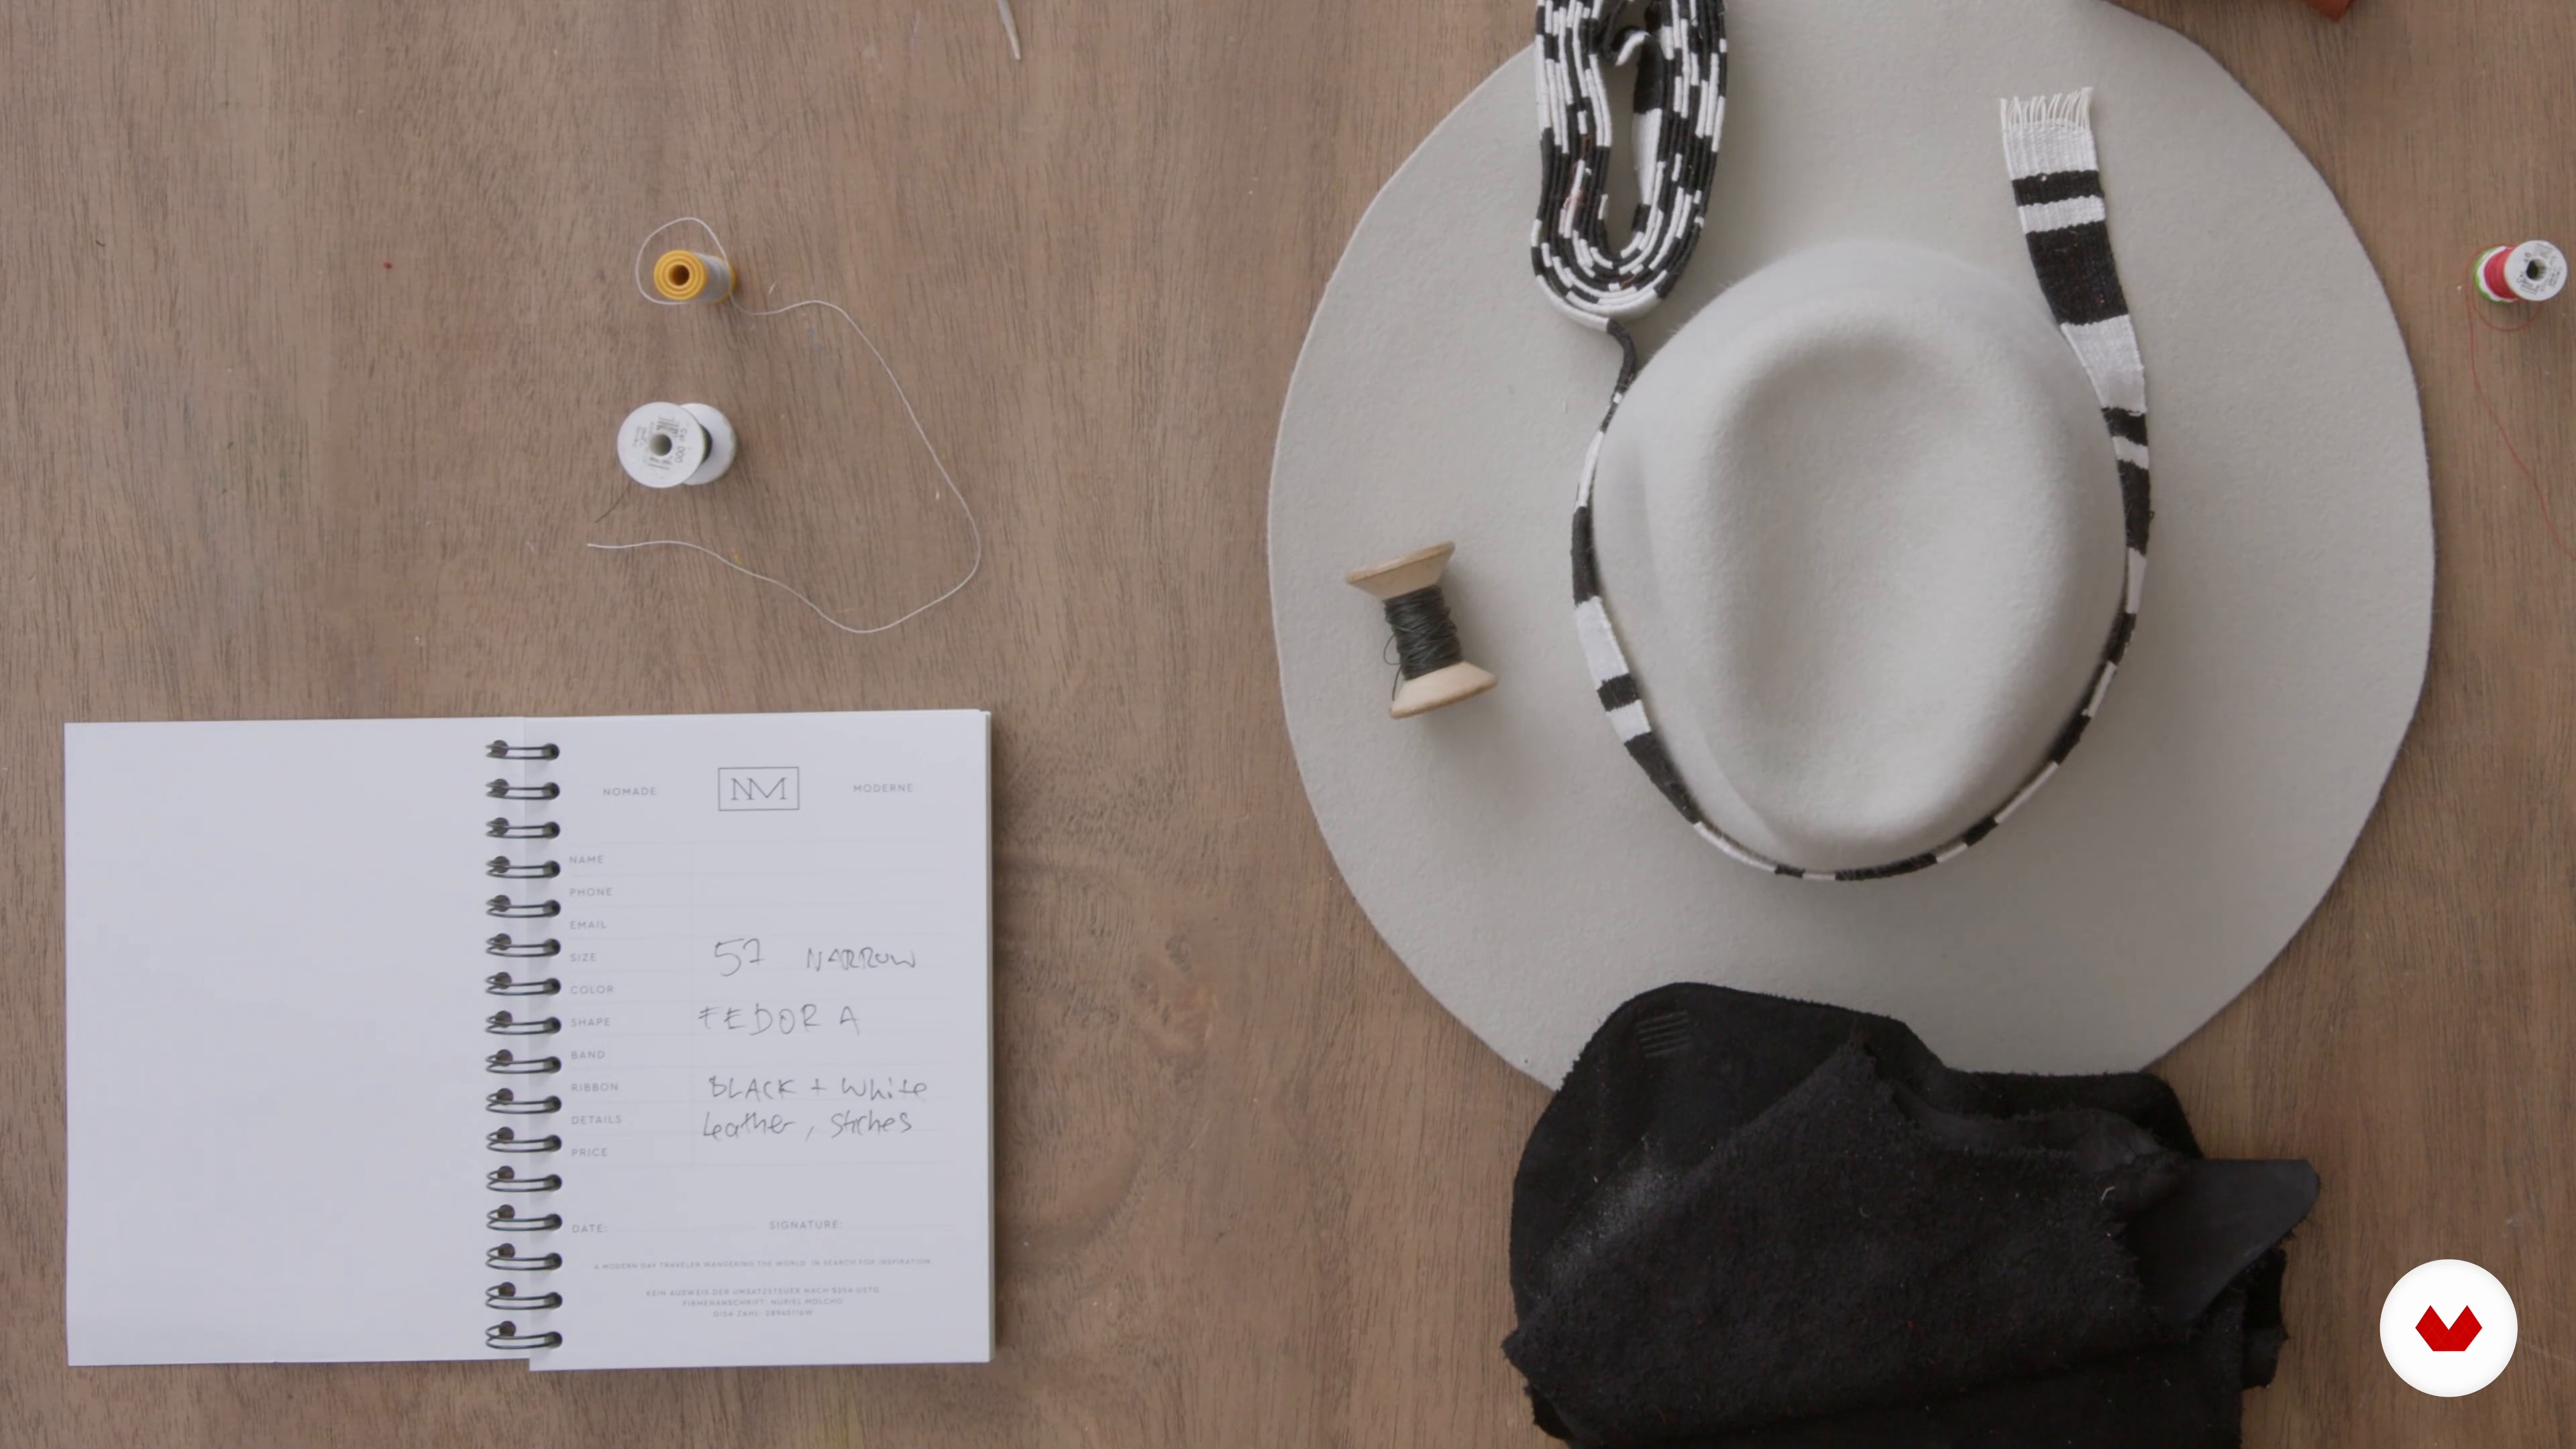
To conclude this unit, we will cover how to mold the crown of your hat into its desired shape. You will learn how to achieve a fedora, but this is by no means a shape this you need to stick to.
12m
image
13
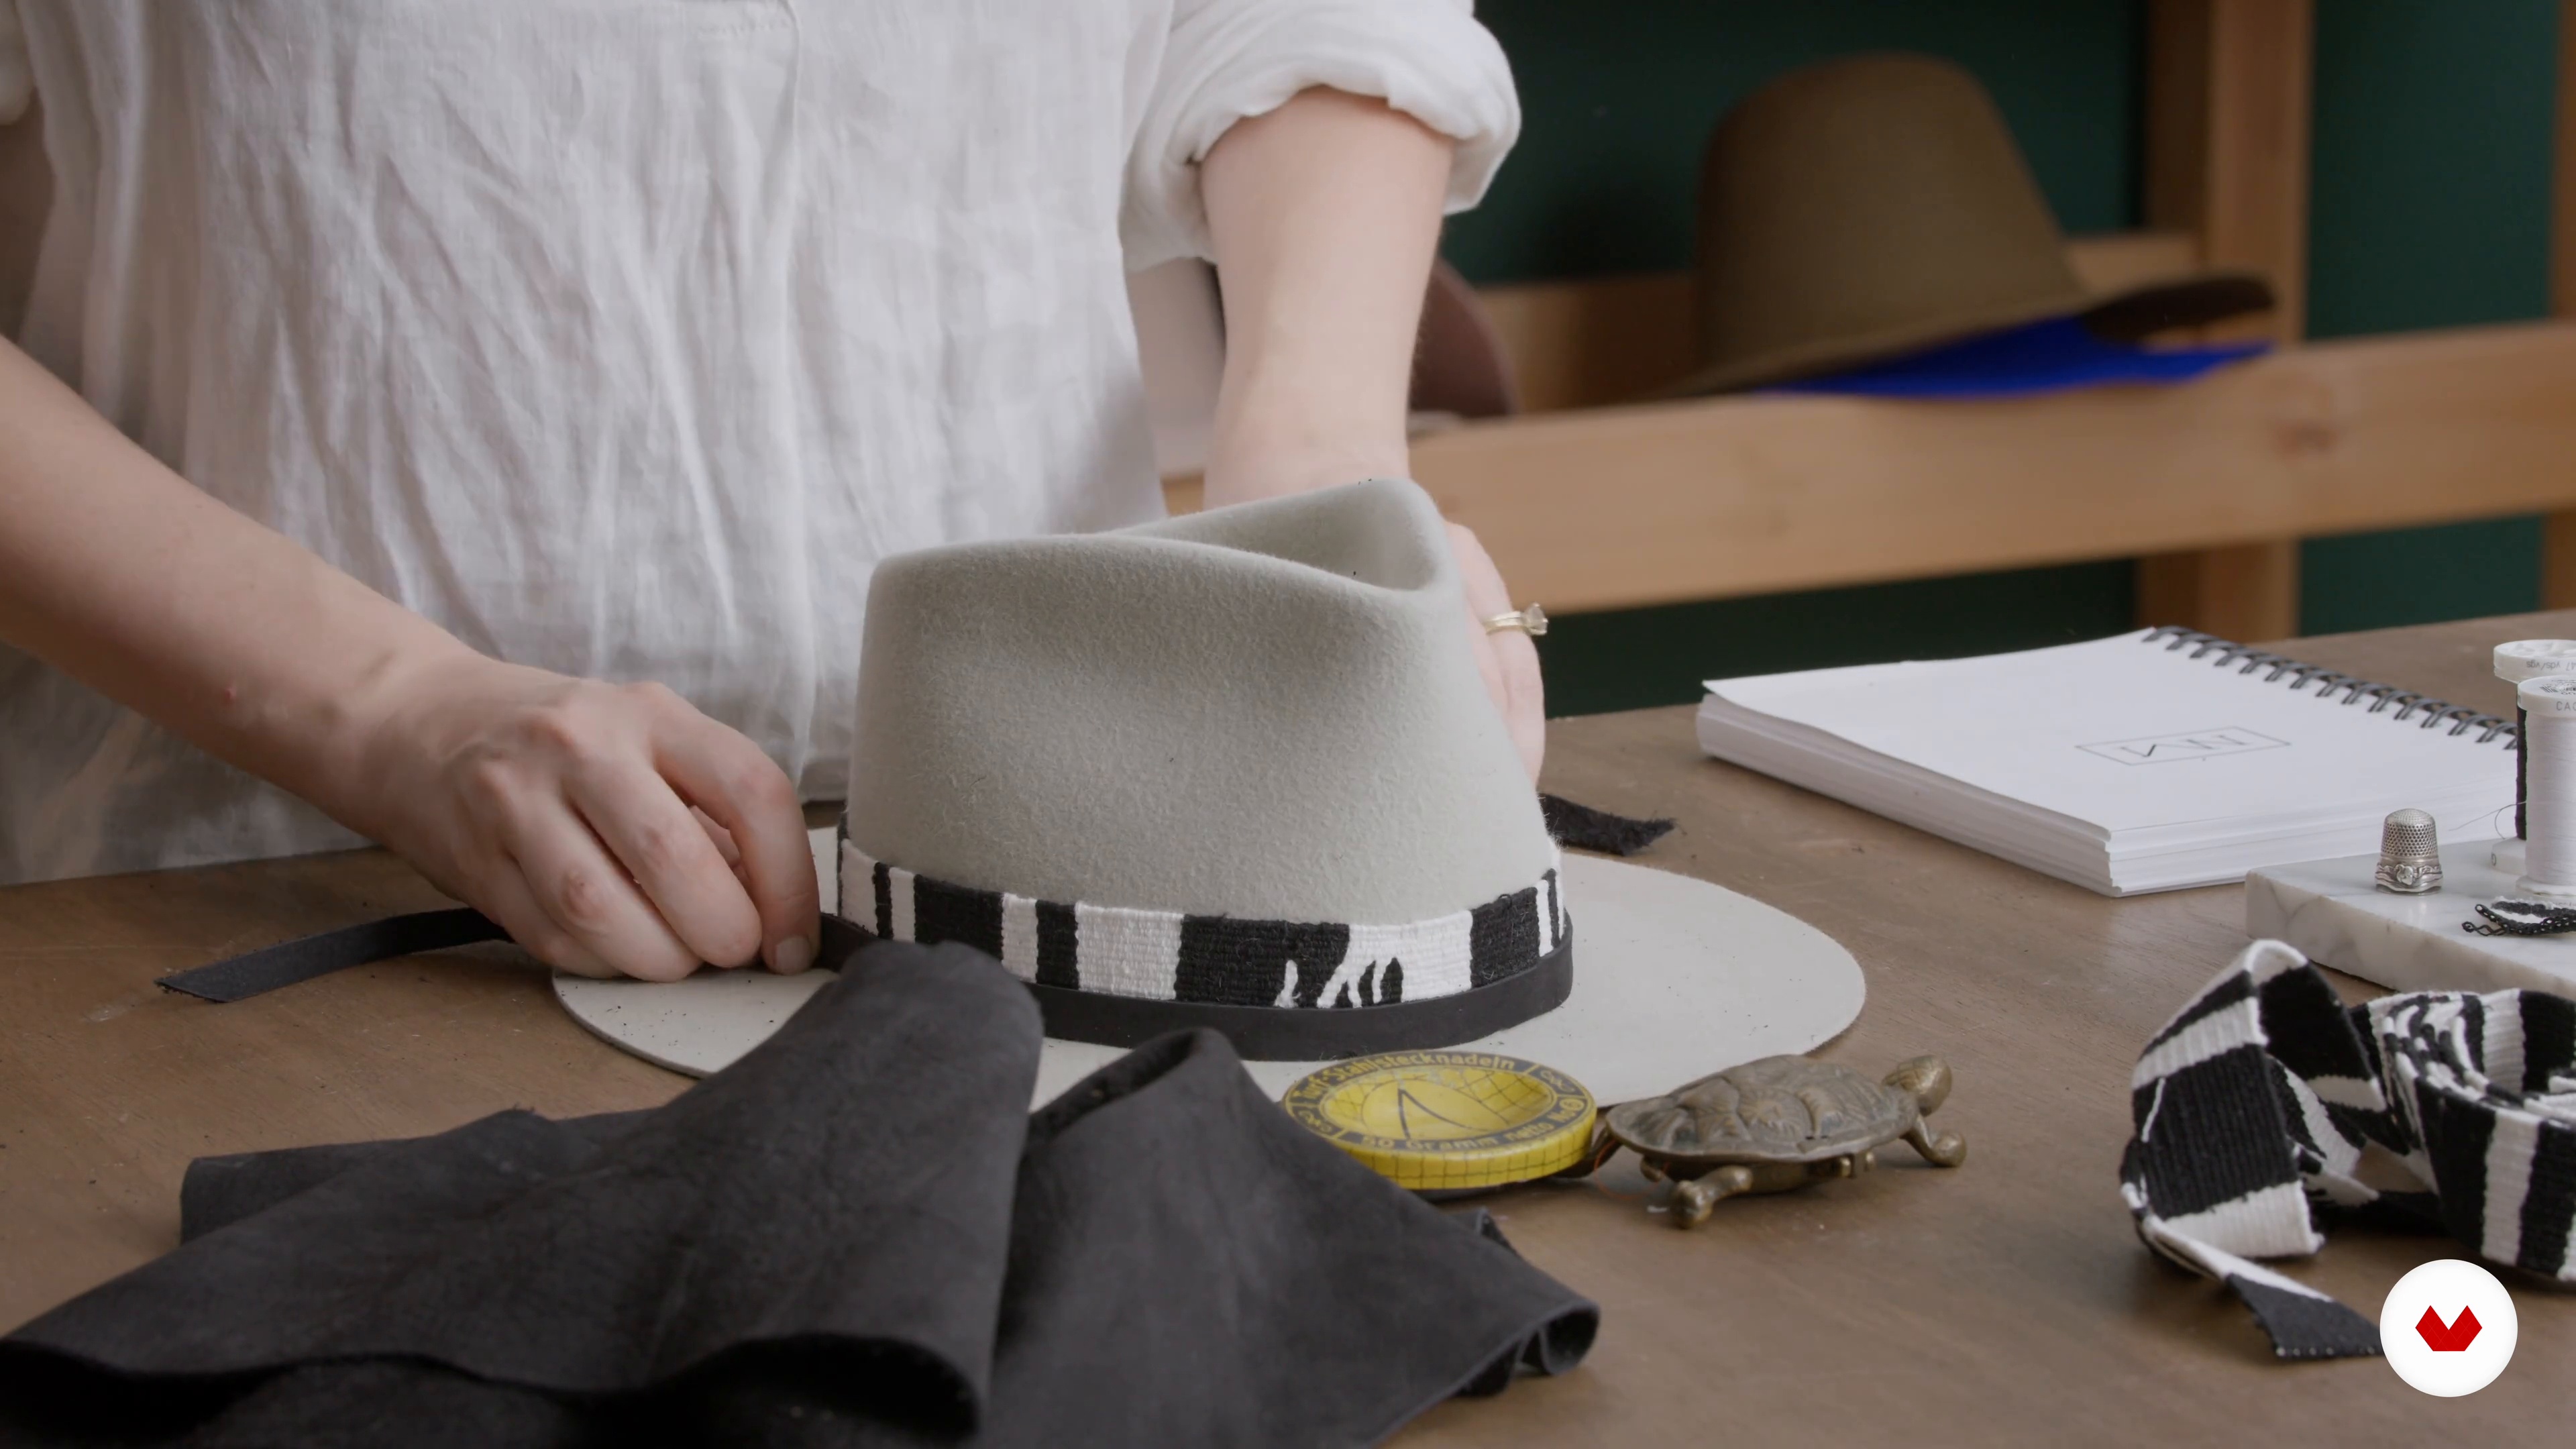
Decorations
It's time to add those personal details and use the fabrics you chose for your hat in your mood board. Let's get creative!
14m
image
14
Final Touches
Almost done! It's time to give your hat the finishing touch. You will learn a couple of ways to bring character and a certain edge to your work.
6m
image
15
Reshaping and Resizing a Vintage Hat
Seen a hat you like but need to tweak a little? In this lesson, we'll show you how to resize and reshape a vintage or new hat.
8m
image
4
Style and target audience
In this class, I will show you how to identify our main inspirations to style our collection and define which audience we are going to produce.
4m
image
5
Adding concept to creation
Now that you have learned about the diversity of materials, in this class, I will talk about creating the style and identity for the collection.
5m
image
6
Elaboration of the mood board
In this step, I will show you how to create a mood board gathering the images that should compose the style, identity and lifestyle of the brand and its collection.
3m
image
7
Materials
In this class, I will talk about the choice of materials and what you need to make your collection.
8m
image
8
Bobby pins
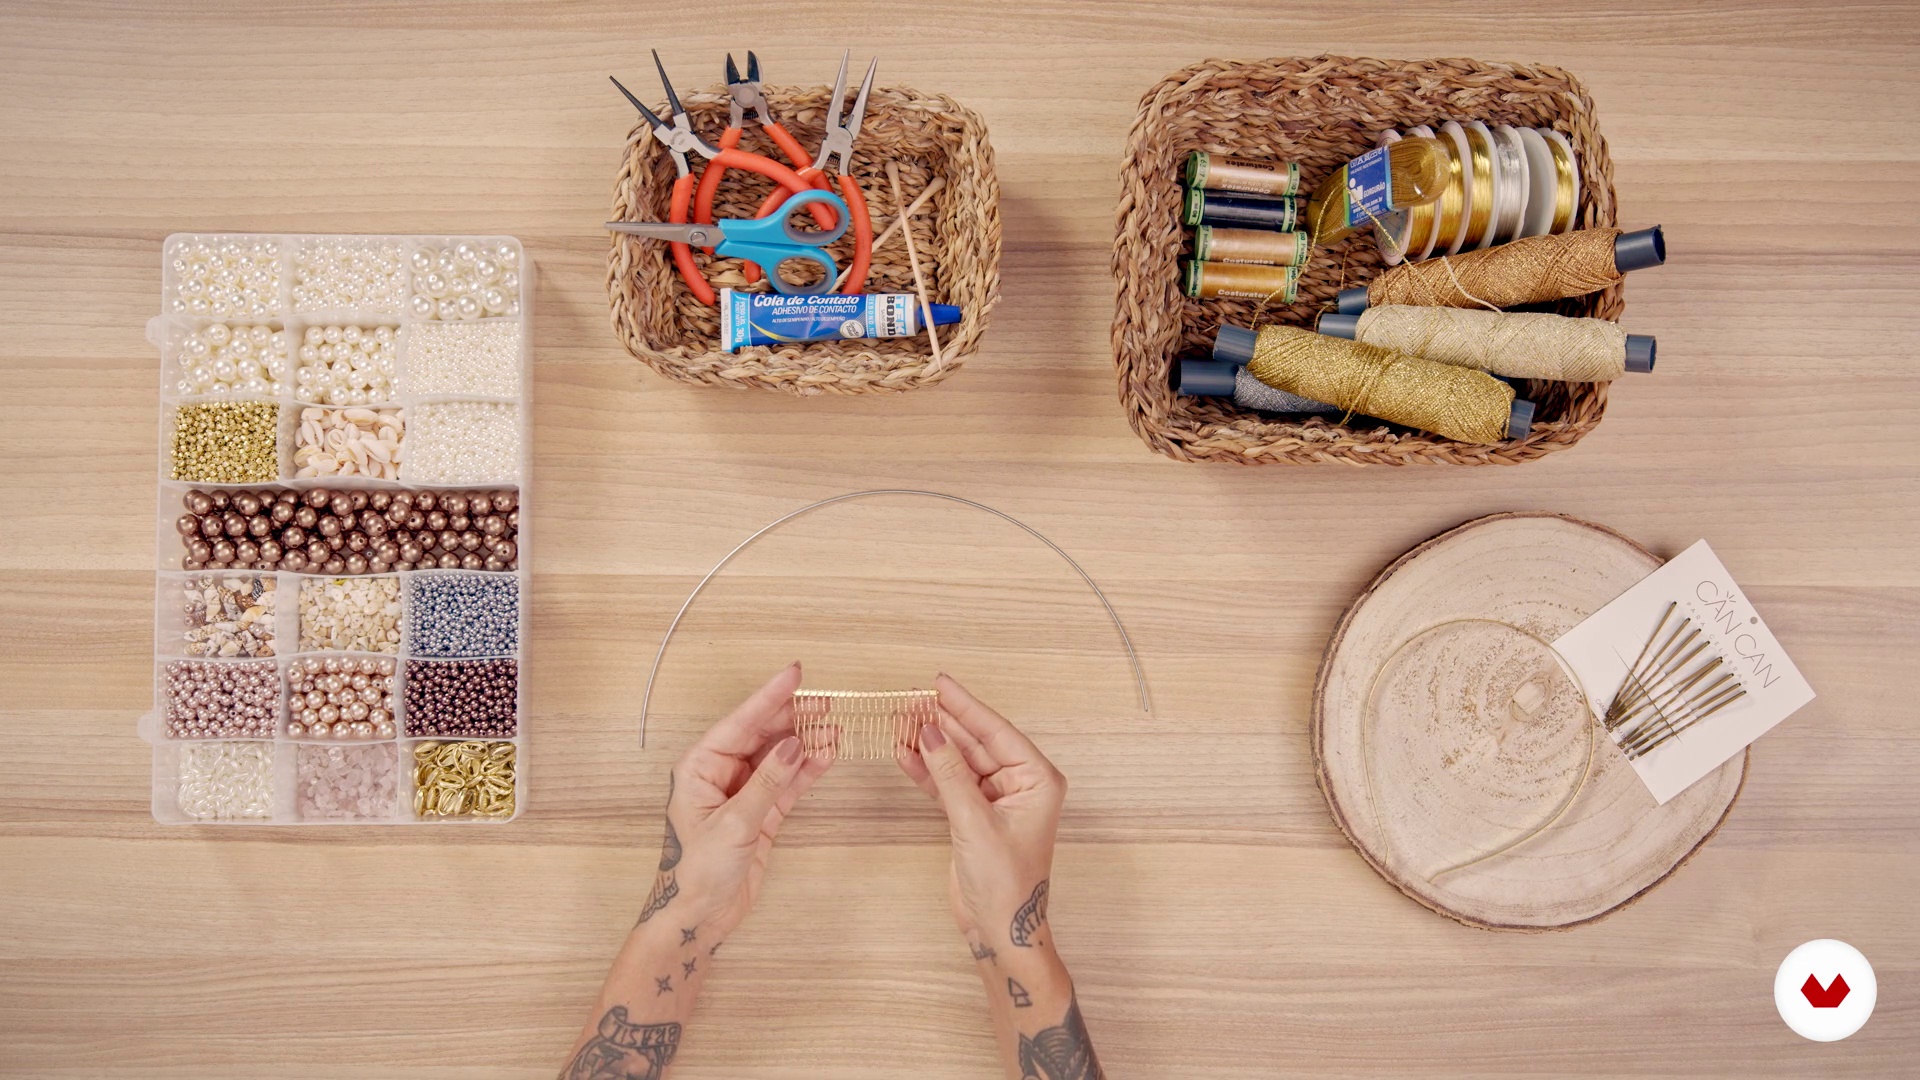
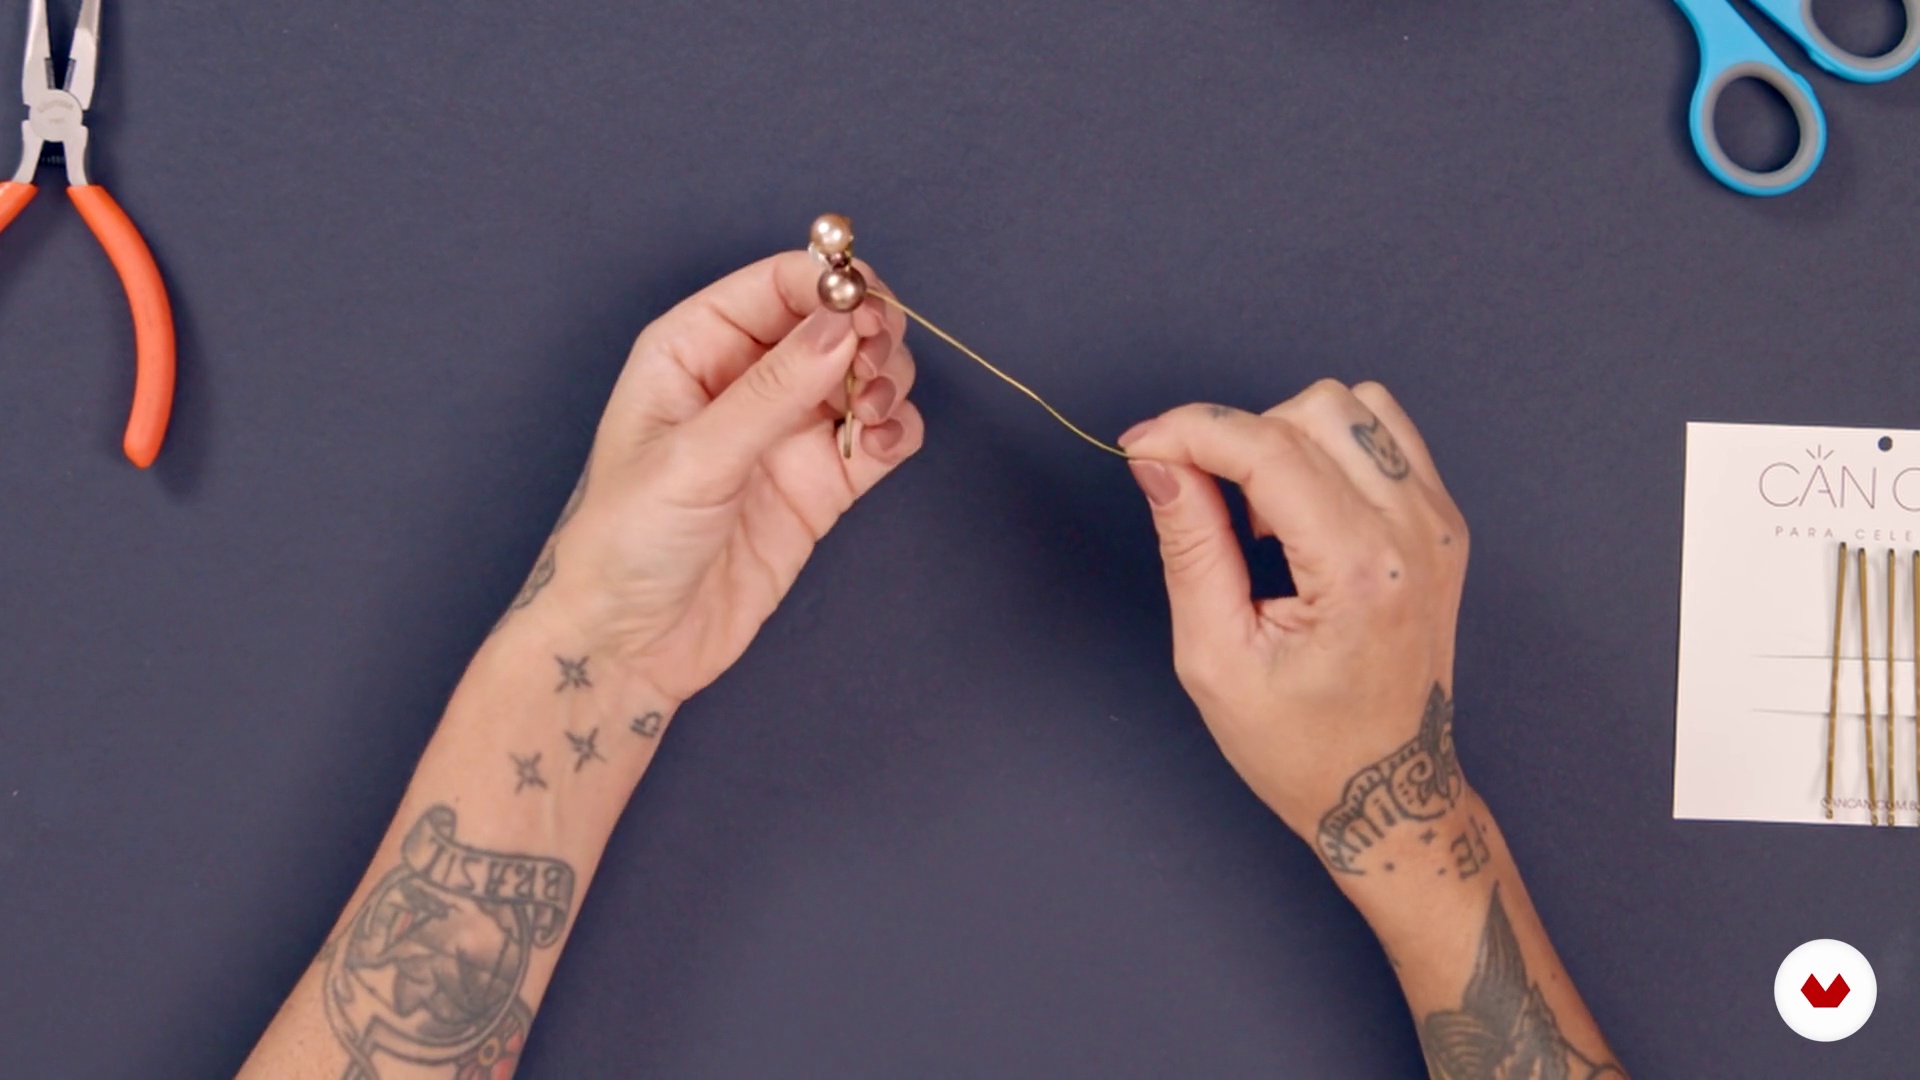
Here, let's start the part that I like to produce and teach the most: the assembly of the accessories! We will start the creation with the assembly of clamps.
10m
image
9
Combs 1
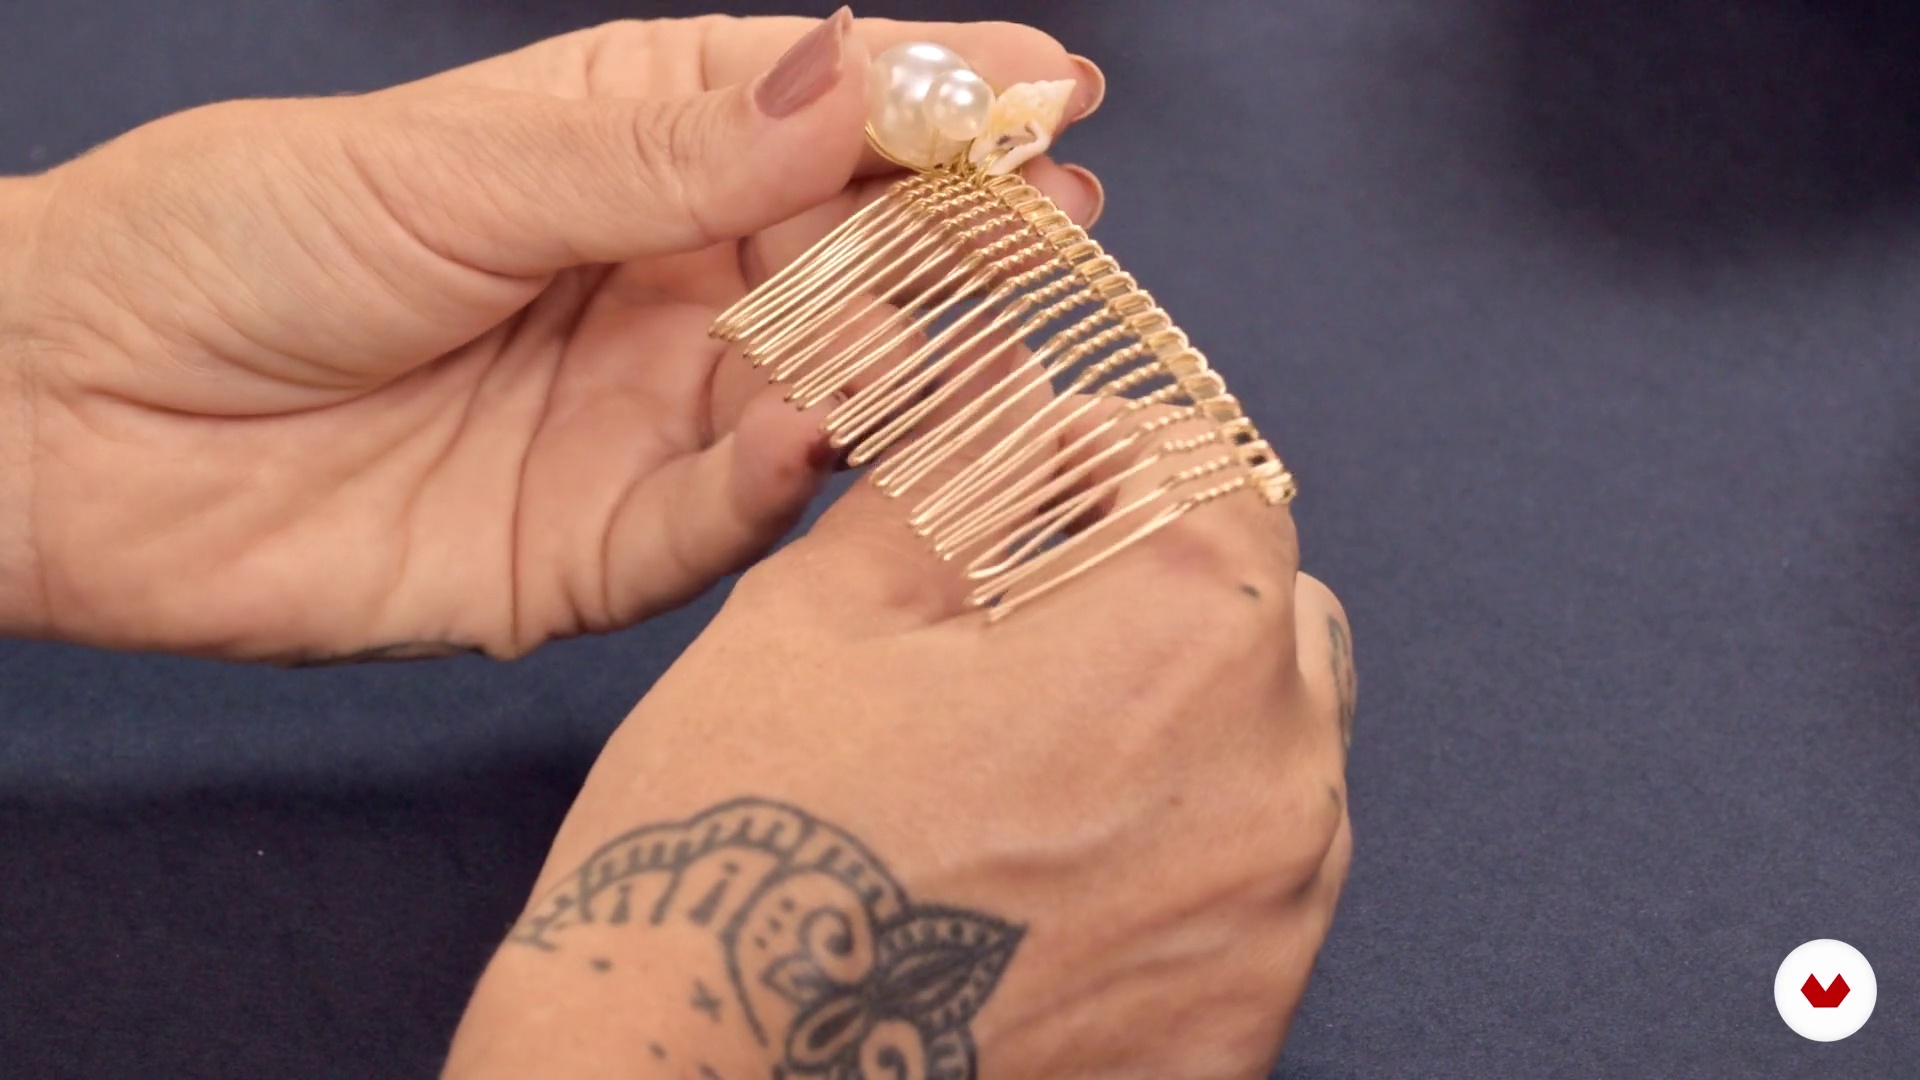
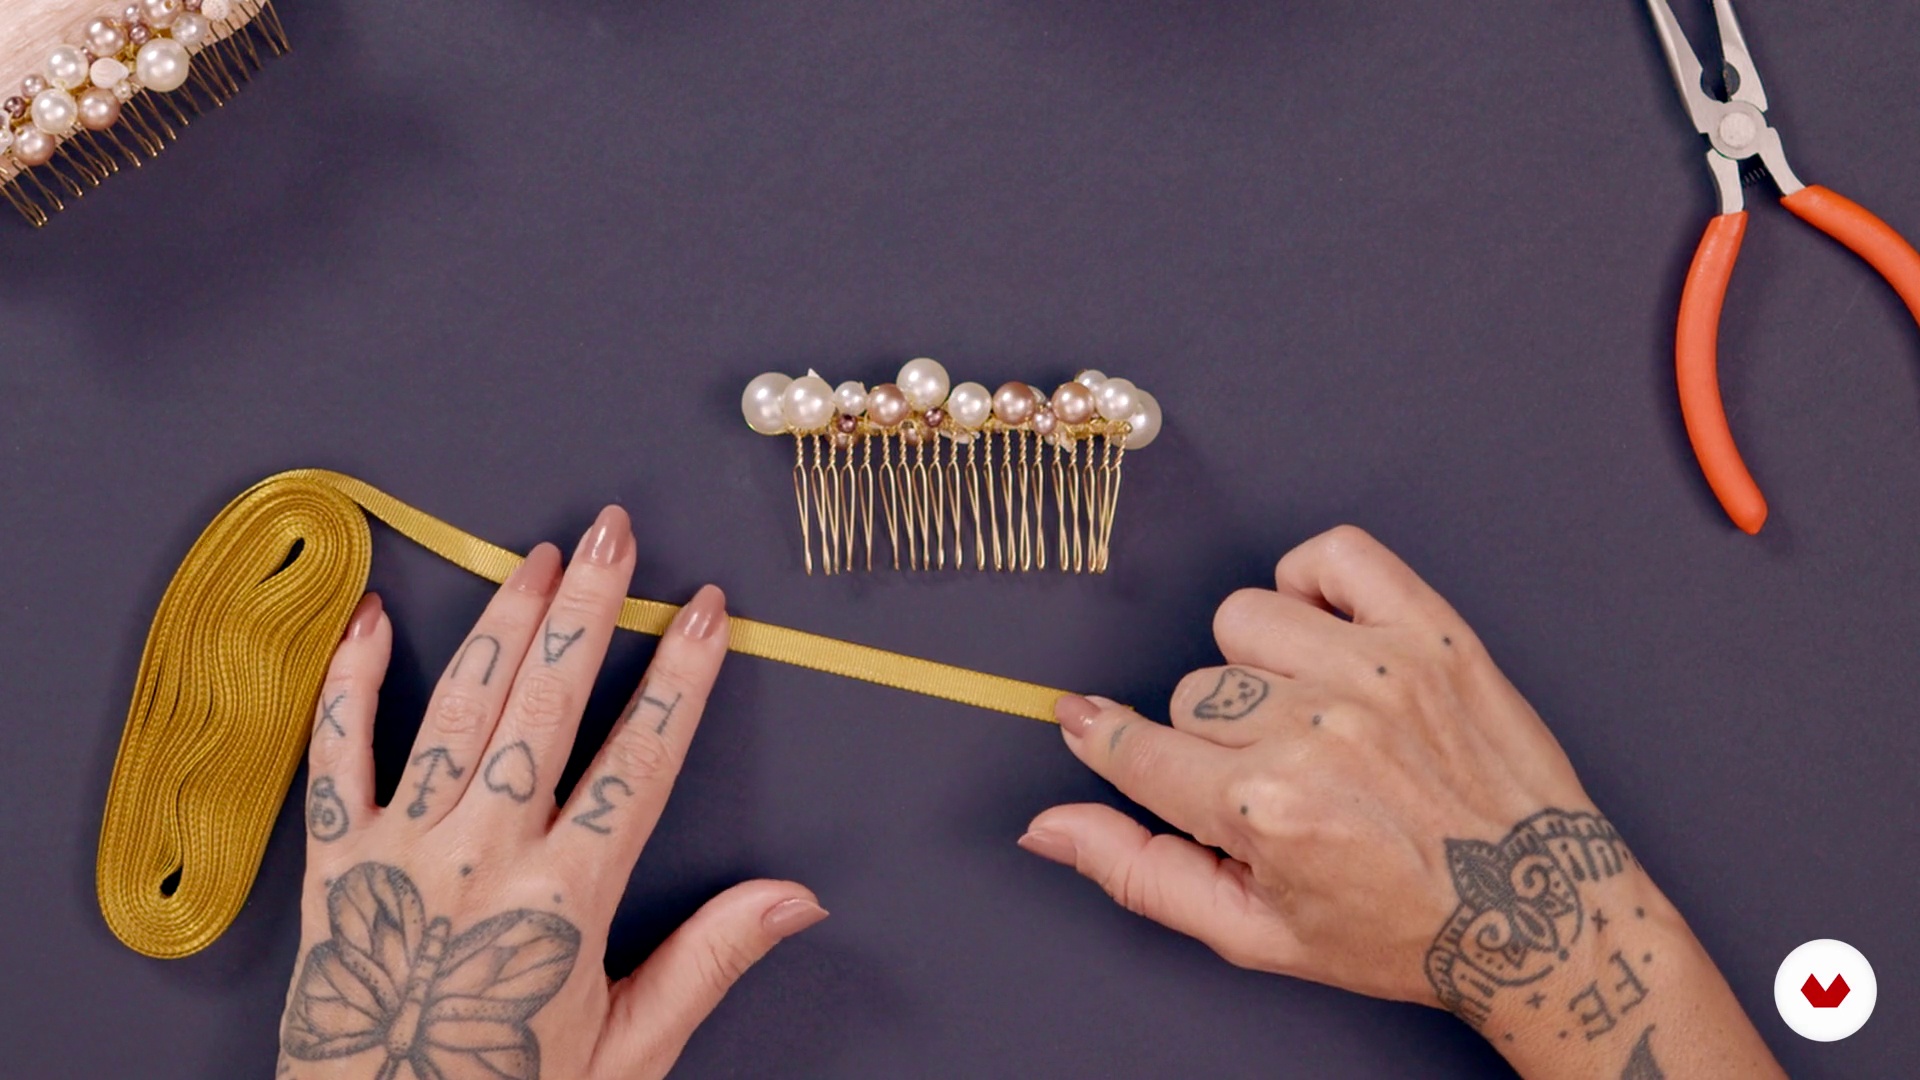
In this lesson, we will explain how to make and assemble combs that adorn the hair.
13m
image
10
Combs 2
In this second part of the lesson, you will see how to reinforce each part to finish the piece and apply the finish to the composition.
12m
image
11
Arch with simple base
In this class, I will start the assembly of an arch, first, with a simple base, then we will start for the arch of two bases.
10m
image
12
Arch with two bases 1
Now I will explain how to work with a two-base arc.
17m
image
13
Arch with two bases 2
With the bottom base done, in this second part of the lesson, I will show you how to make the top base of the piece.
10m
image
14
Quality testing
Here, I will explain the importance of a quality assessment after creating your product.
4m
image
15
Sales and Marketing
We got to the sales part! It is time to develop marketing strategies and to understand the sales possibilities of your product, which is the consolidation of your brand looking for the best ways to insert your products in the market.
5m
  • 10 students
  • 68 lessons (10h 21m)
  • 57 additional resources (11 files)
  • Online and at your own pace
  • Audio: Spanish, German, English, Spanish (Latam), French, Indonesian, Italian, Dutch, Polish, Portuguese, Romanian, Turkish
  • Spanish · English · Portuguese · German · French · Italian · Polish · Dutch · Turkish · Romanian · Indonesian
  • Level: Beginner
  • Unlimited access forever

What is this course's project?

The project involves designing and creating a complete collection of head accessories, integrating techniques such as beadwork, headband making, and modern millinery. You will develop creative and technical skills to express your personal style.

Who is this specialization for?

Emerging fashion designers, artisans looking to expand their repertoire, creative professionals interested in head accessories, design enthusiasts wanting to create unique pieces, and entrepreneurs with the ambition to launch their own line of accessories.

Requirements and materials

No extensive prior experience is required, just a basic embroidery kit containing ribbons, threads, cords, a headband base, and jewelry beads. Creativity and a willingness to experiment with materials and techniques will enrich your accessory design skills.

Select to get to know your teachers in this specialization course
Read more ↓

What to expect from this specialization course

  • Learn at your own pace

    Enjoy learning from home without a set schedule and with an easy-to-follow method. You set your own pace.

  • Learn from the best professionals

    Learn valuable methods and techniques explained by top experts in the creative sector.

  • Meet expert teachers

    Each expert teaches what they do best, with clear guidelines, true passion, and professional insight in every lesson.

  • Certificates
    Plus

    If you're a Plus member, get a custom certificate for every specialization course. Share it on your portfolio, social media, or wherever you like.

  • Get front-row seats

    Videos of the highest quality, so you don't miss a single detail. With unlimited access, you can watch them as many times as you need to perfect your technique.

  • Share knowledge and ideas

    Ask questions, request feedback, or offer solutions. Share your learning experience with other students in the community who are as passionate about creativity as you are.

  • Connect with a global creative community

    The community is home to millions of people from around the world who are curious and passionate about exploring and expressing their creativity.

  • Watch professionally produced courses

    Domestika curates its teacher roster and produces every course in-house to ensure a high-quality online learning experience.


FAQs

Domestika courses are online classes that allow you to learn new skills and create incredible projects. All our courses include the opportunity to share your work with other students and/or teachers, creating an active learning community. We offer different formats:
Original Courses: Complete classes that combine videos, texts, and educational materials to complete a specific project from start to finish.
Basics Courses: Specialized training where you master specific software tools step by step.
Specialization Courses: Learning paths with various expert teachers on the same topic, perfect for becoming a specialist by learning from different approaches.
Guided Courses: Practical experiences ideal for directly acquiring specific skills.
Intensive Courses (Deep Dives): New creative processes based on artificial intelligence tools in an accessible format for in-depth and dynamic understanding.

All specialization courses are 100% online, so once they're published, specialization courses start and finish whenever you want. You set the pace of the class. You can go back to review what interests you most and skip what you already know, ask questions, answer questions, share your projects, and more.

The specialization courses are divided into different modules. Each one includes lessons, informational text, tasks, and practice exercises to help you carry out your project step by step, with additional complementary resources and downloads. You'll also have access to an exclusive forum where you can interact with other students, as well as share your work and your final project, creating a community around the specialization courses.

You can redeem the specialization courses you received by accessing the redeeming page and entering your gift code.

If you're a Plus member, when you complete a course you've purchased, you'll instantly get your personalized certificate. You can see all your certificates in the Certificates section of your profile. You can download your certificates as PDFs and share the link online. Learn more about certificates.
Specialization in Design and Creation of Accessories. Craft, and Fashion course by Domestika

Specialization in Design and Creation of Accessories

A specialization by multiple teachers
Berkeley, United States.
Joined April 2002
  • 10 students