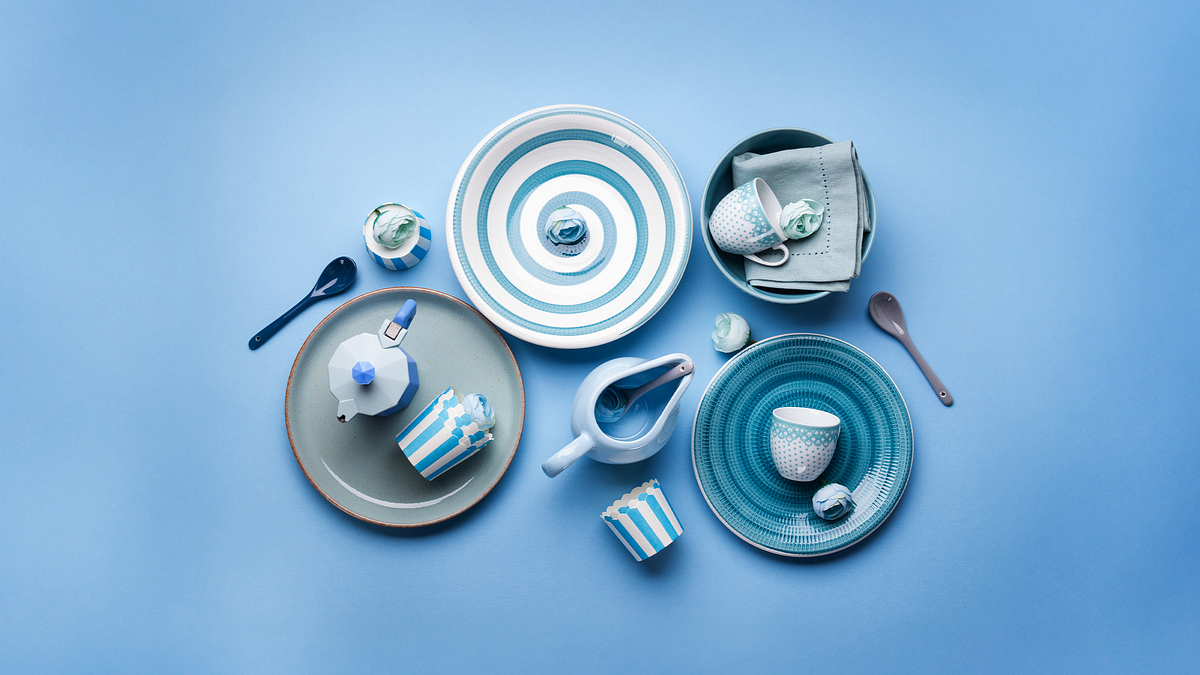

Create memorable dining experiences by mastering table design, floral arrangements, and ceramic tableware customization.
Embark on a creative journey through the art of table design and styling, where every element tells a story. This specialization invites enthusiasts of design and hospitality to explore the synergy between handcrafted ceramics, vibrant floral arrangements, and impeccable food styling. Learn to craft personalized tableware, harmonize various textures, and create visually captivating compositions. Dive into the world of ceramics with Hessa Al Ajmani, who guides you in making functional pieces with floral imprints. Discover the magic of floral art with ORA The Floral Agency, mastering techniques to elevate your tablescapes.
Explore the secrets of table styling with Folies, bringing together color, composition, and atmosphere to create memorable dining experiences. Camila Gómez demonstrates how to transform classic tablescapes into innovative displays, while Jodi Moreno reveals the art of food styling, turning each dish into a visual masterpiece. This comprehensive learning path empowers you to design unforgettable tables for intimate dinners, grand events, or editorial projects, blending creativity with hospitality.
What will you learn in this specialization?
 1
1Introduction
A table is more than a place to eat—it’s the heart of celebration, a stage for connection, and a canvas for creativity. Blend textures, colors, and forms to tell a story that delights the senses. From mood boards to personal style, discover how to craft tablescapes that spark conversation, stir emotions, and leave memories long after the last plate is cleared.
1m
 2
2Influences | Hessa Al Ajmani
In this lesson, I will tell you about the things and people that inspire me most, whether that's due to the way they've developed their practices or because they sparked my curiosity to explore and experiment with my own practice.
11m
 3
3Who Inspire Me | ORA The Floral Agency
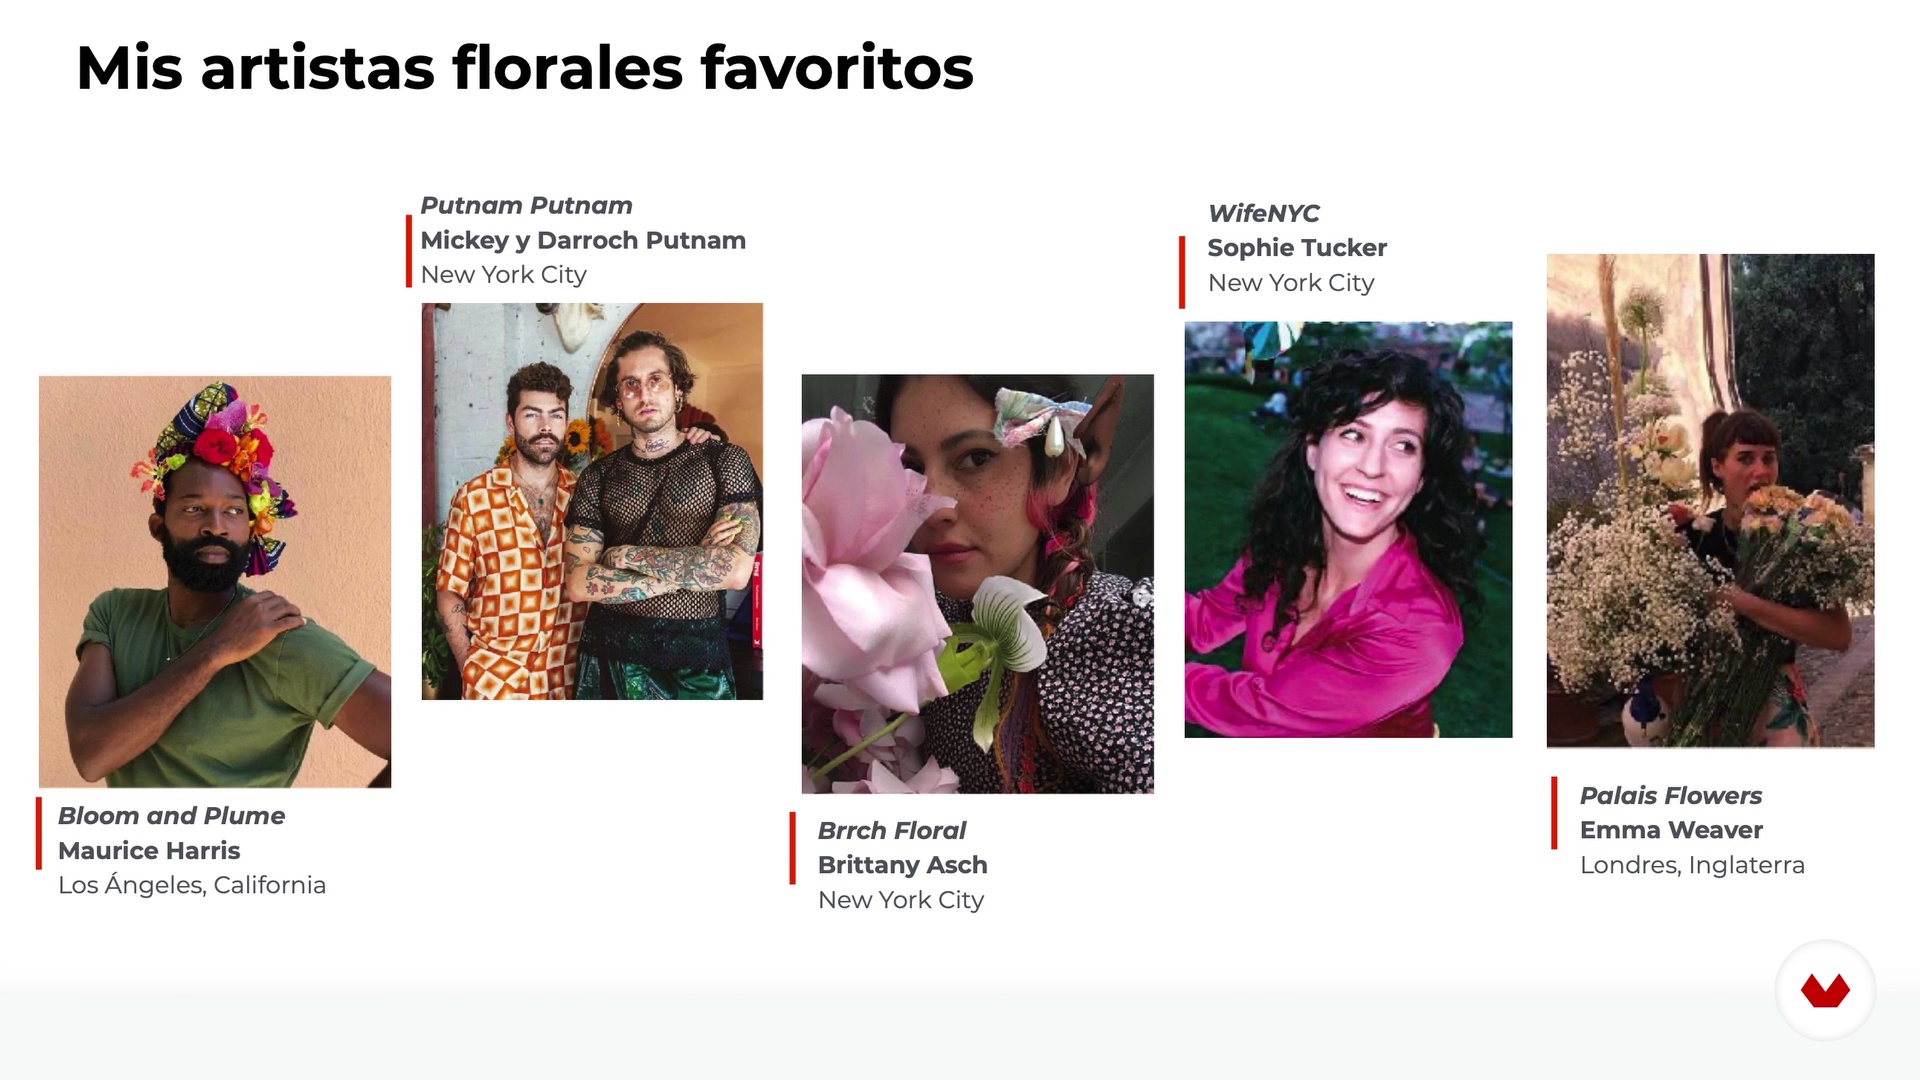
Here I am going to tell you about my favorite floral artists. I love seeing them because I get inspired and from each one of them I explore little things to create my own taste and stamp.
17m
 4
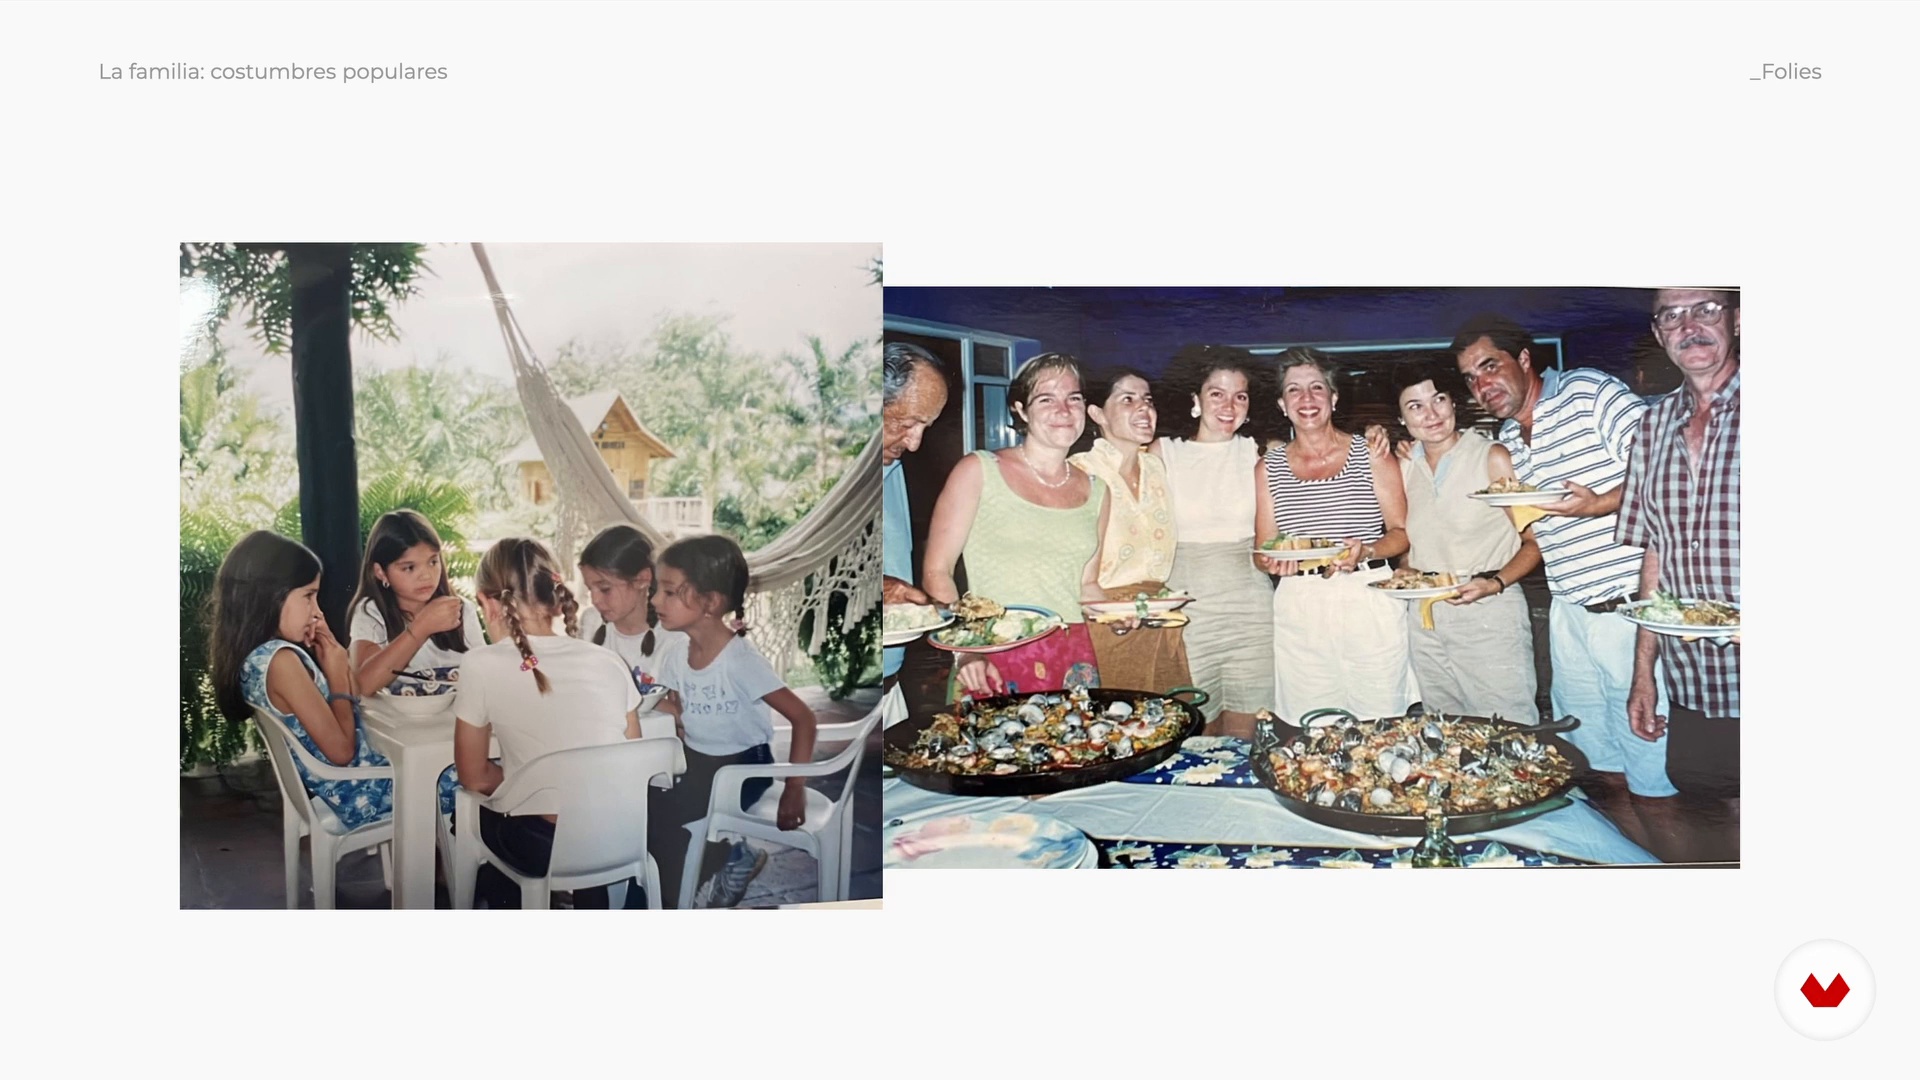
4Influences | Folies
Now we will introduce you to what has inspired our search for good living through design and who our biggest influences are.
6m
 5
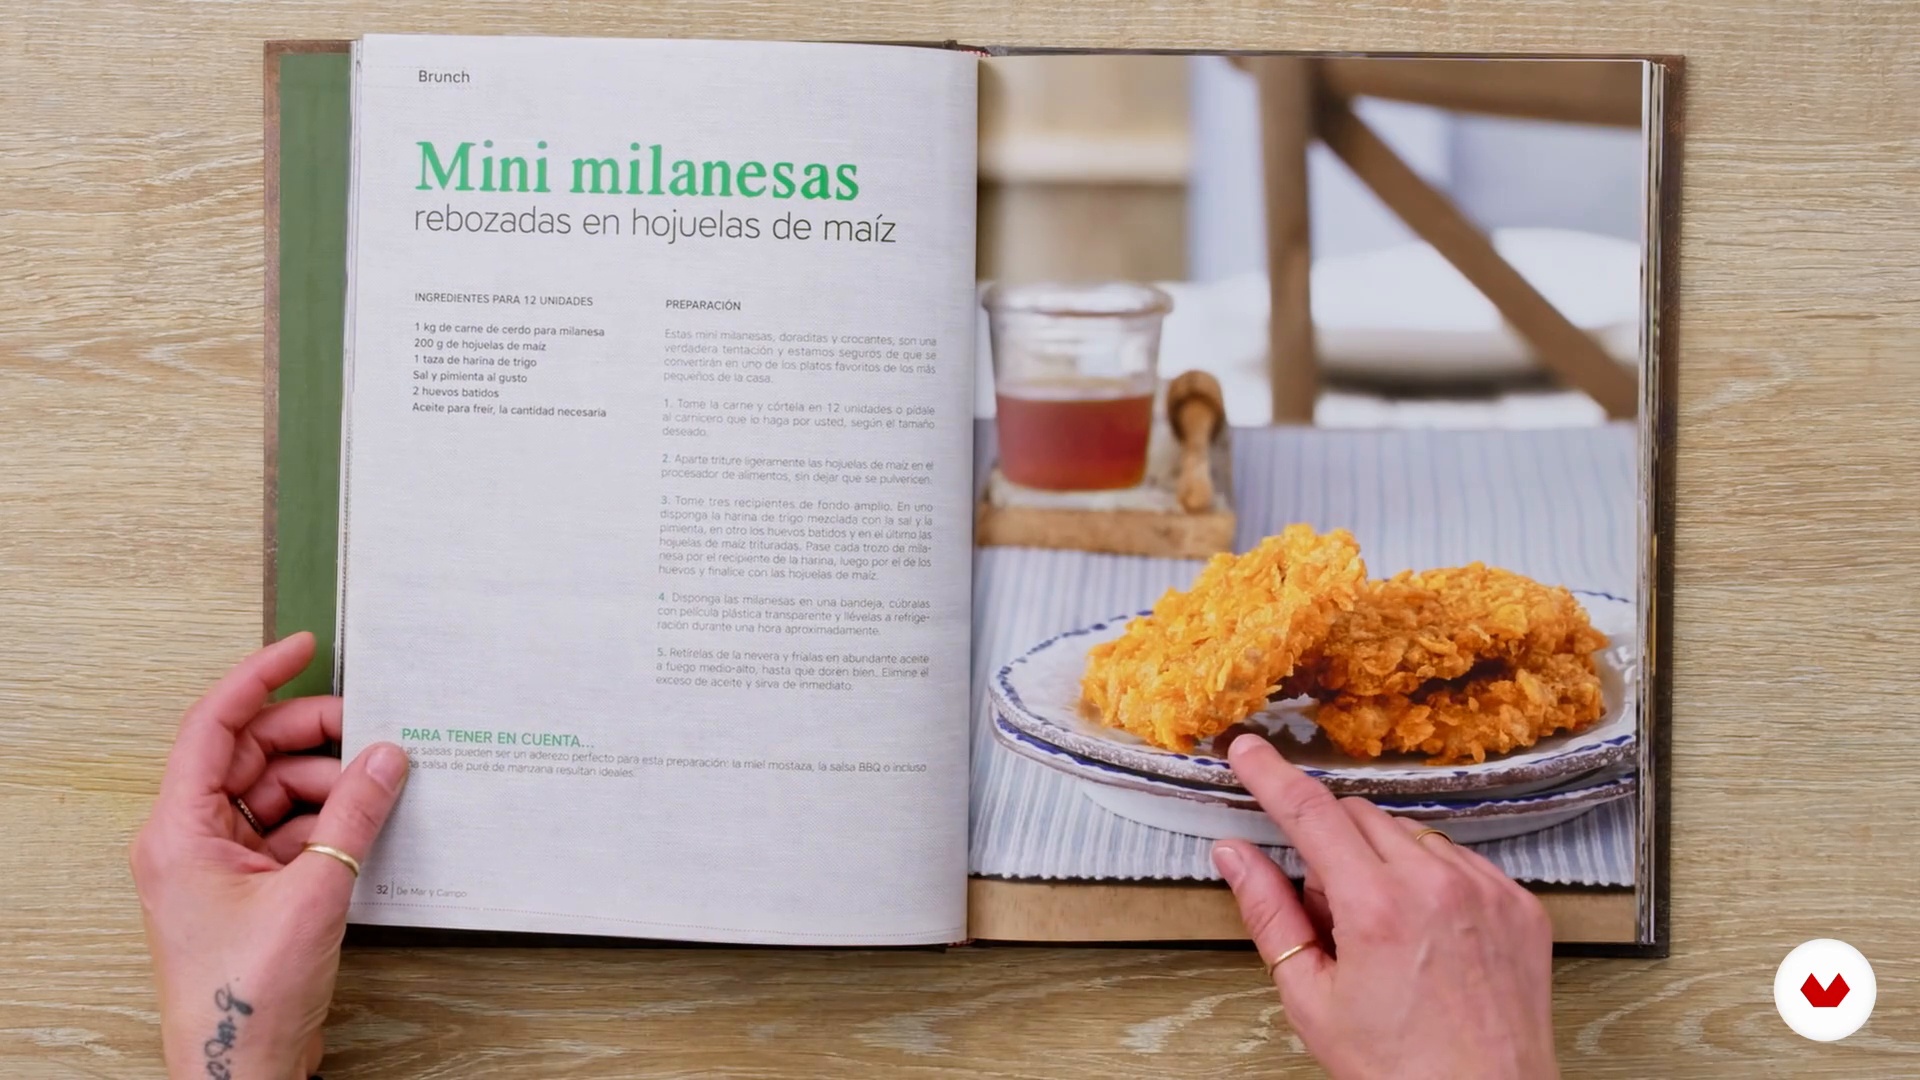
5Influences 1 | Camila Gómez
How did I get here? What are my influences? Yes, it is true that we all have great muses that inspire us in our work, but sometimes that inspiration is in the most everyday things you can think of.
7m
 6
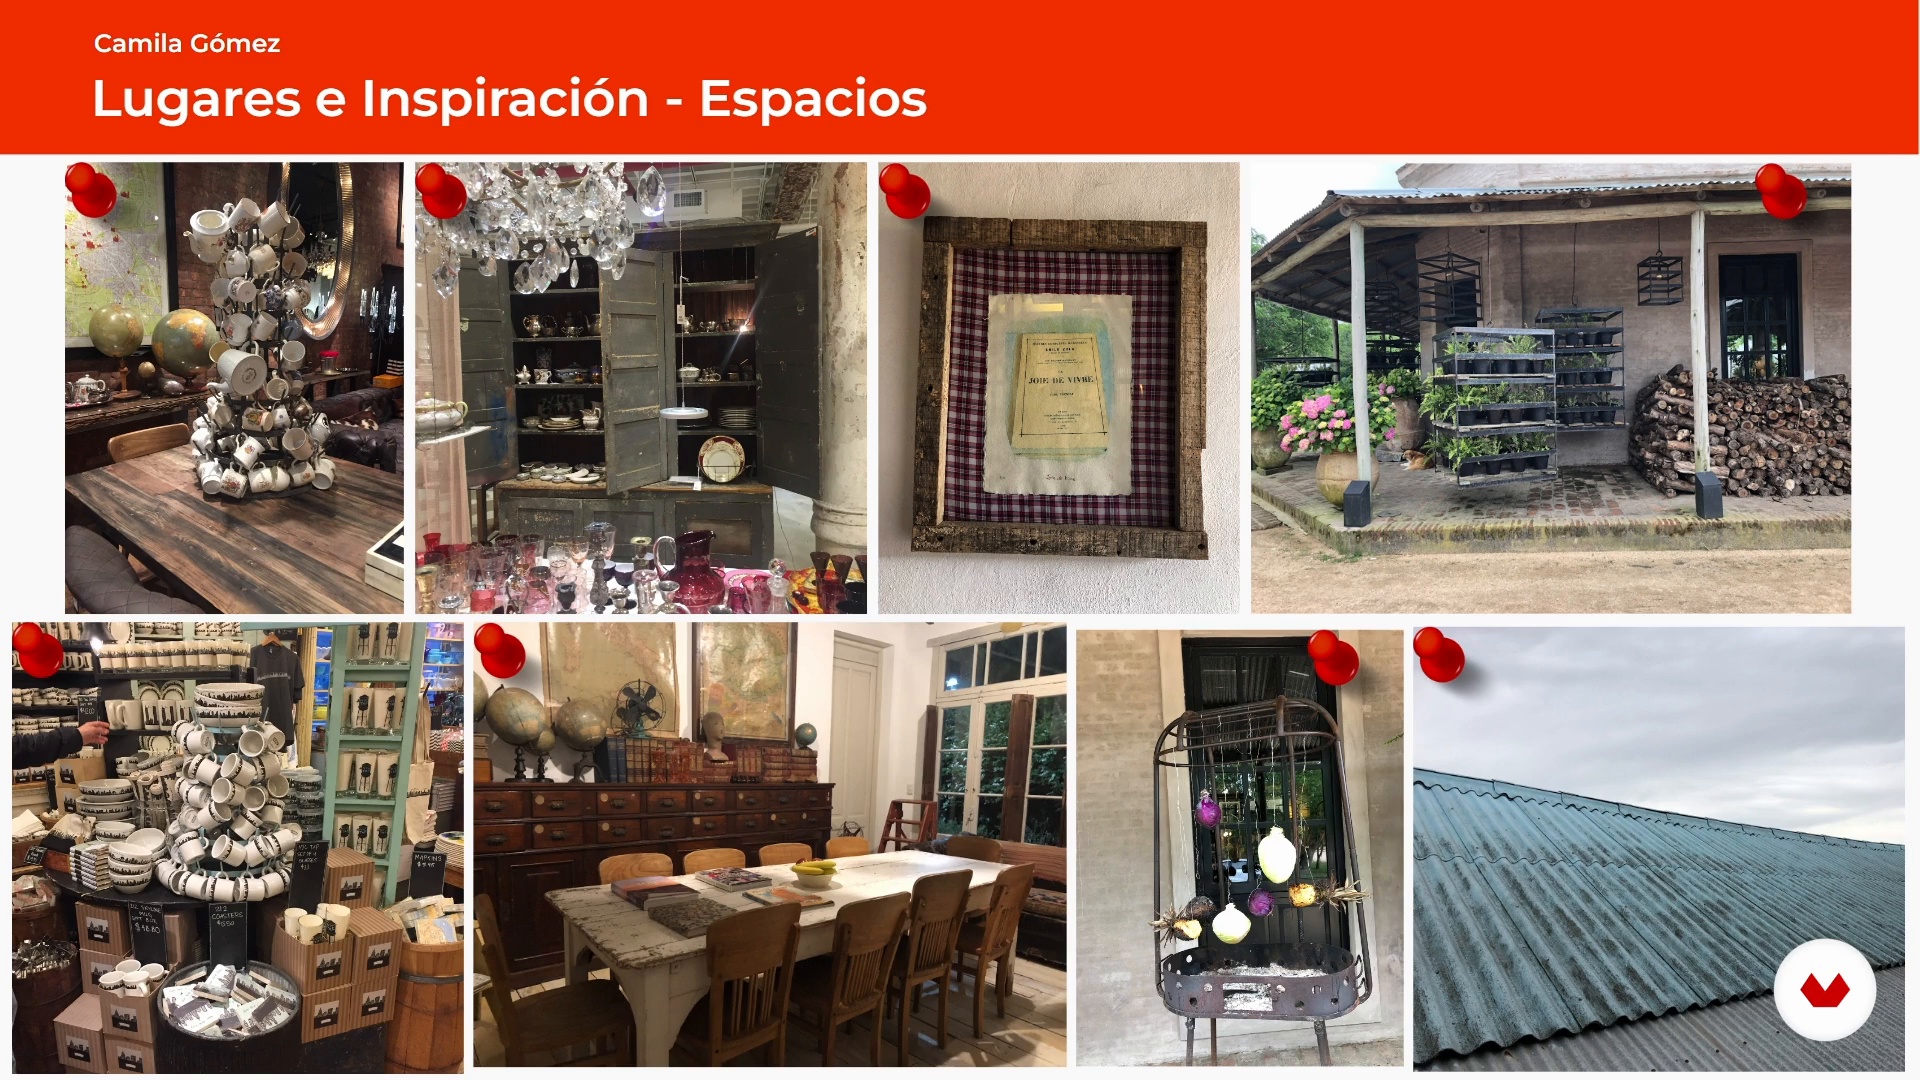
6Influences 2 | Camila Gómez
After having shown you some books that inspire me, I continue talking about my influences, in this case markets, spaces, colleagues and much more.
14m
 7
7Influences | Jodi Moreno
In this lesson, I'll share with you some of the references that have influenced my work. I think for any creative process, it’s important to be inspired by a variety of artists and work across various fields that's why I am not only inspired by other chefs, but also by painters, photographers, architects, and more.
3m
 3
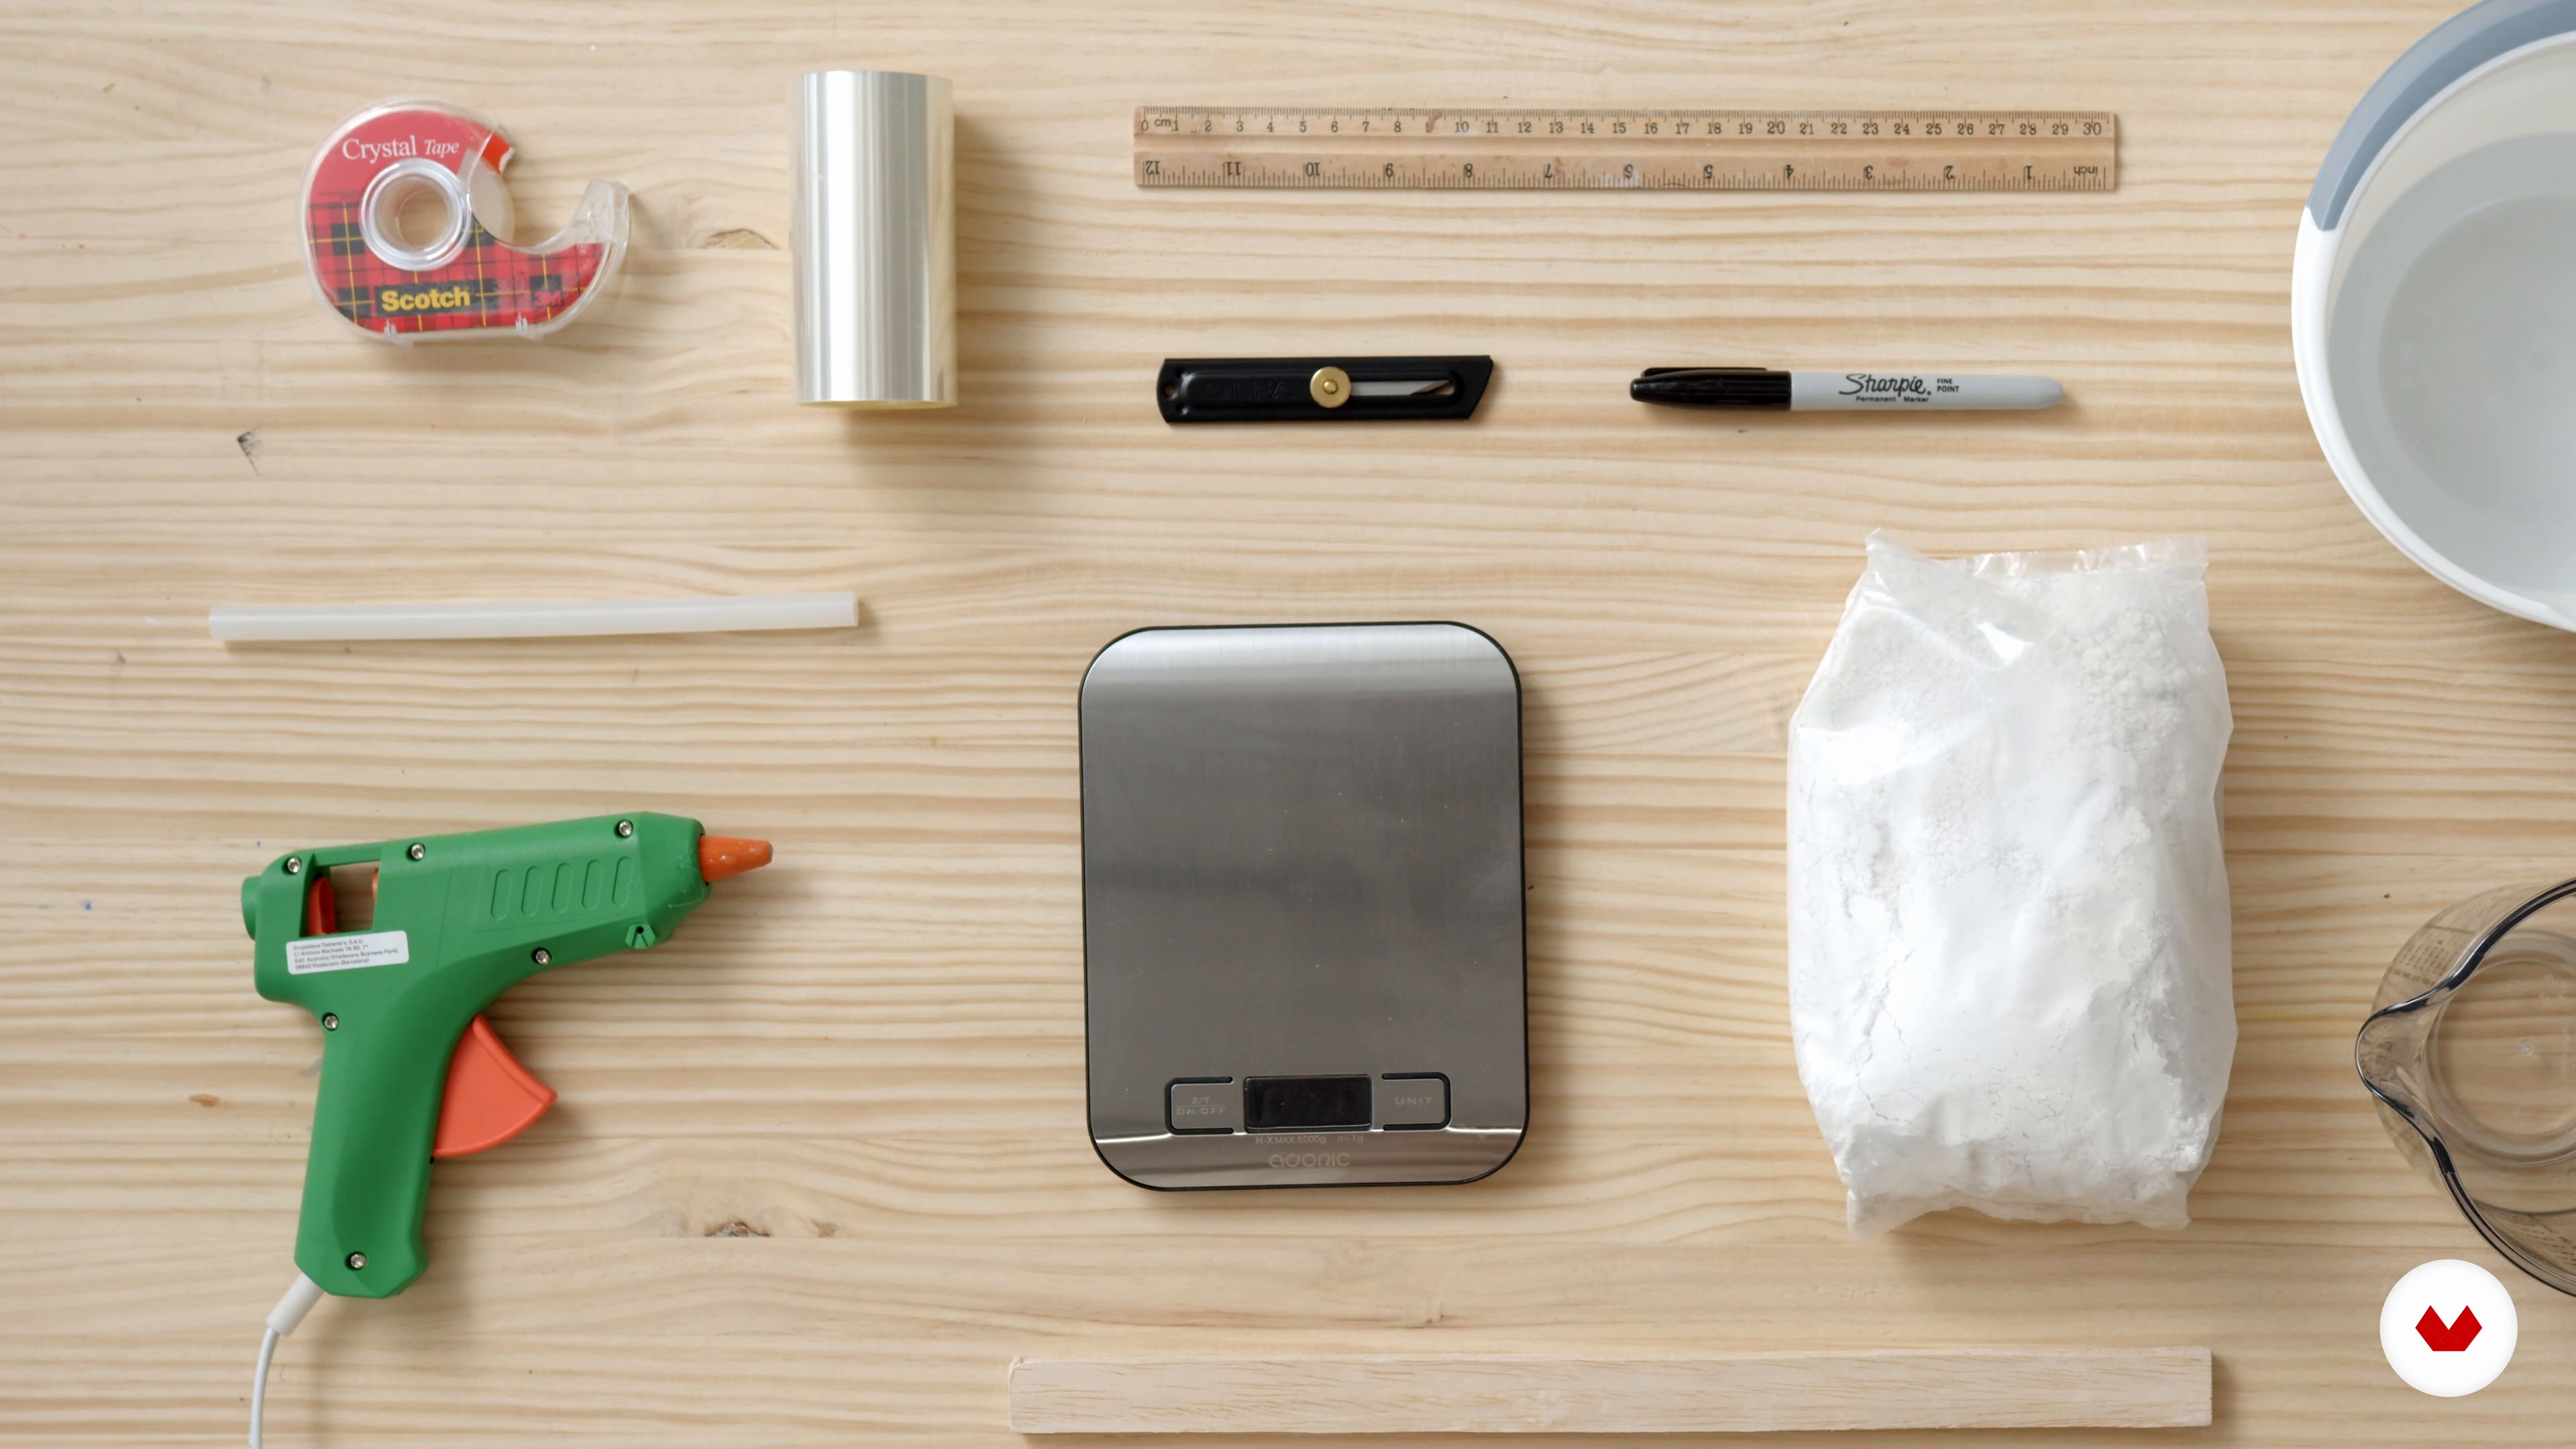
3Tools and Materials
In this lesson, I will go over all the tools and materials you will need for this course and explain what they will be used for.
11m
 4
4Technique Foundations and Making a Product Food Safe
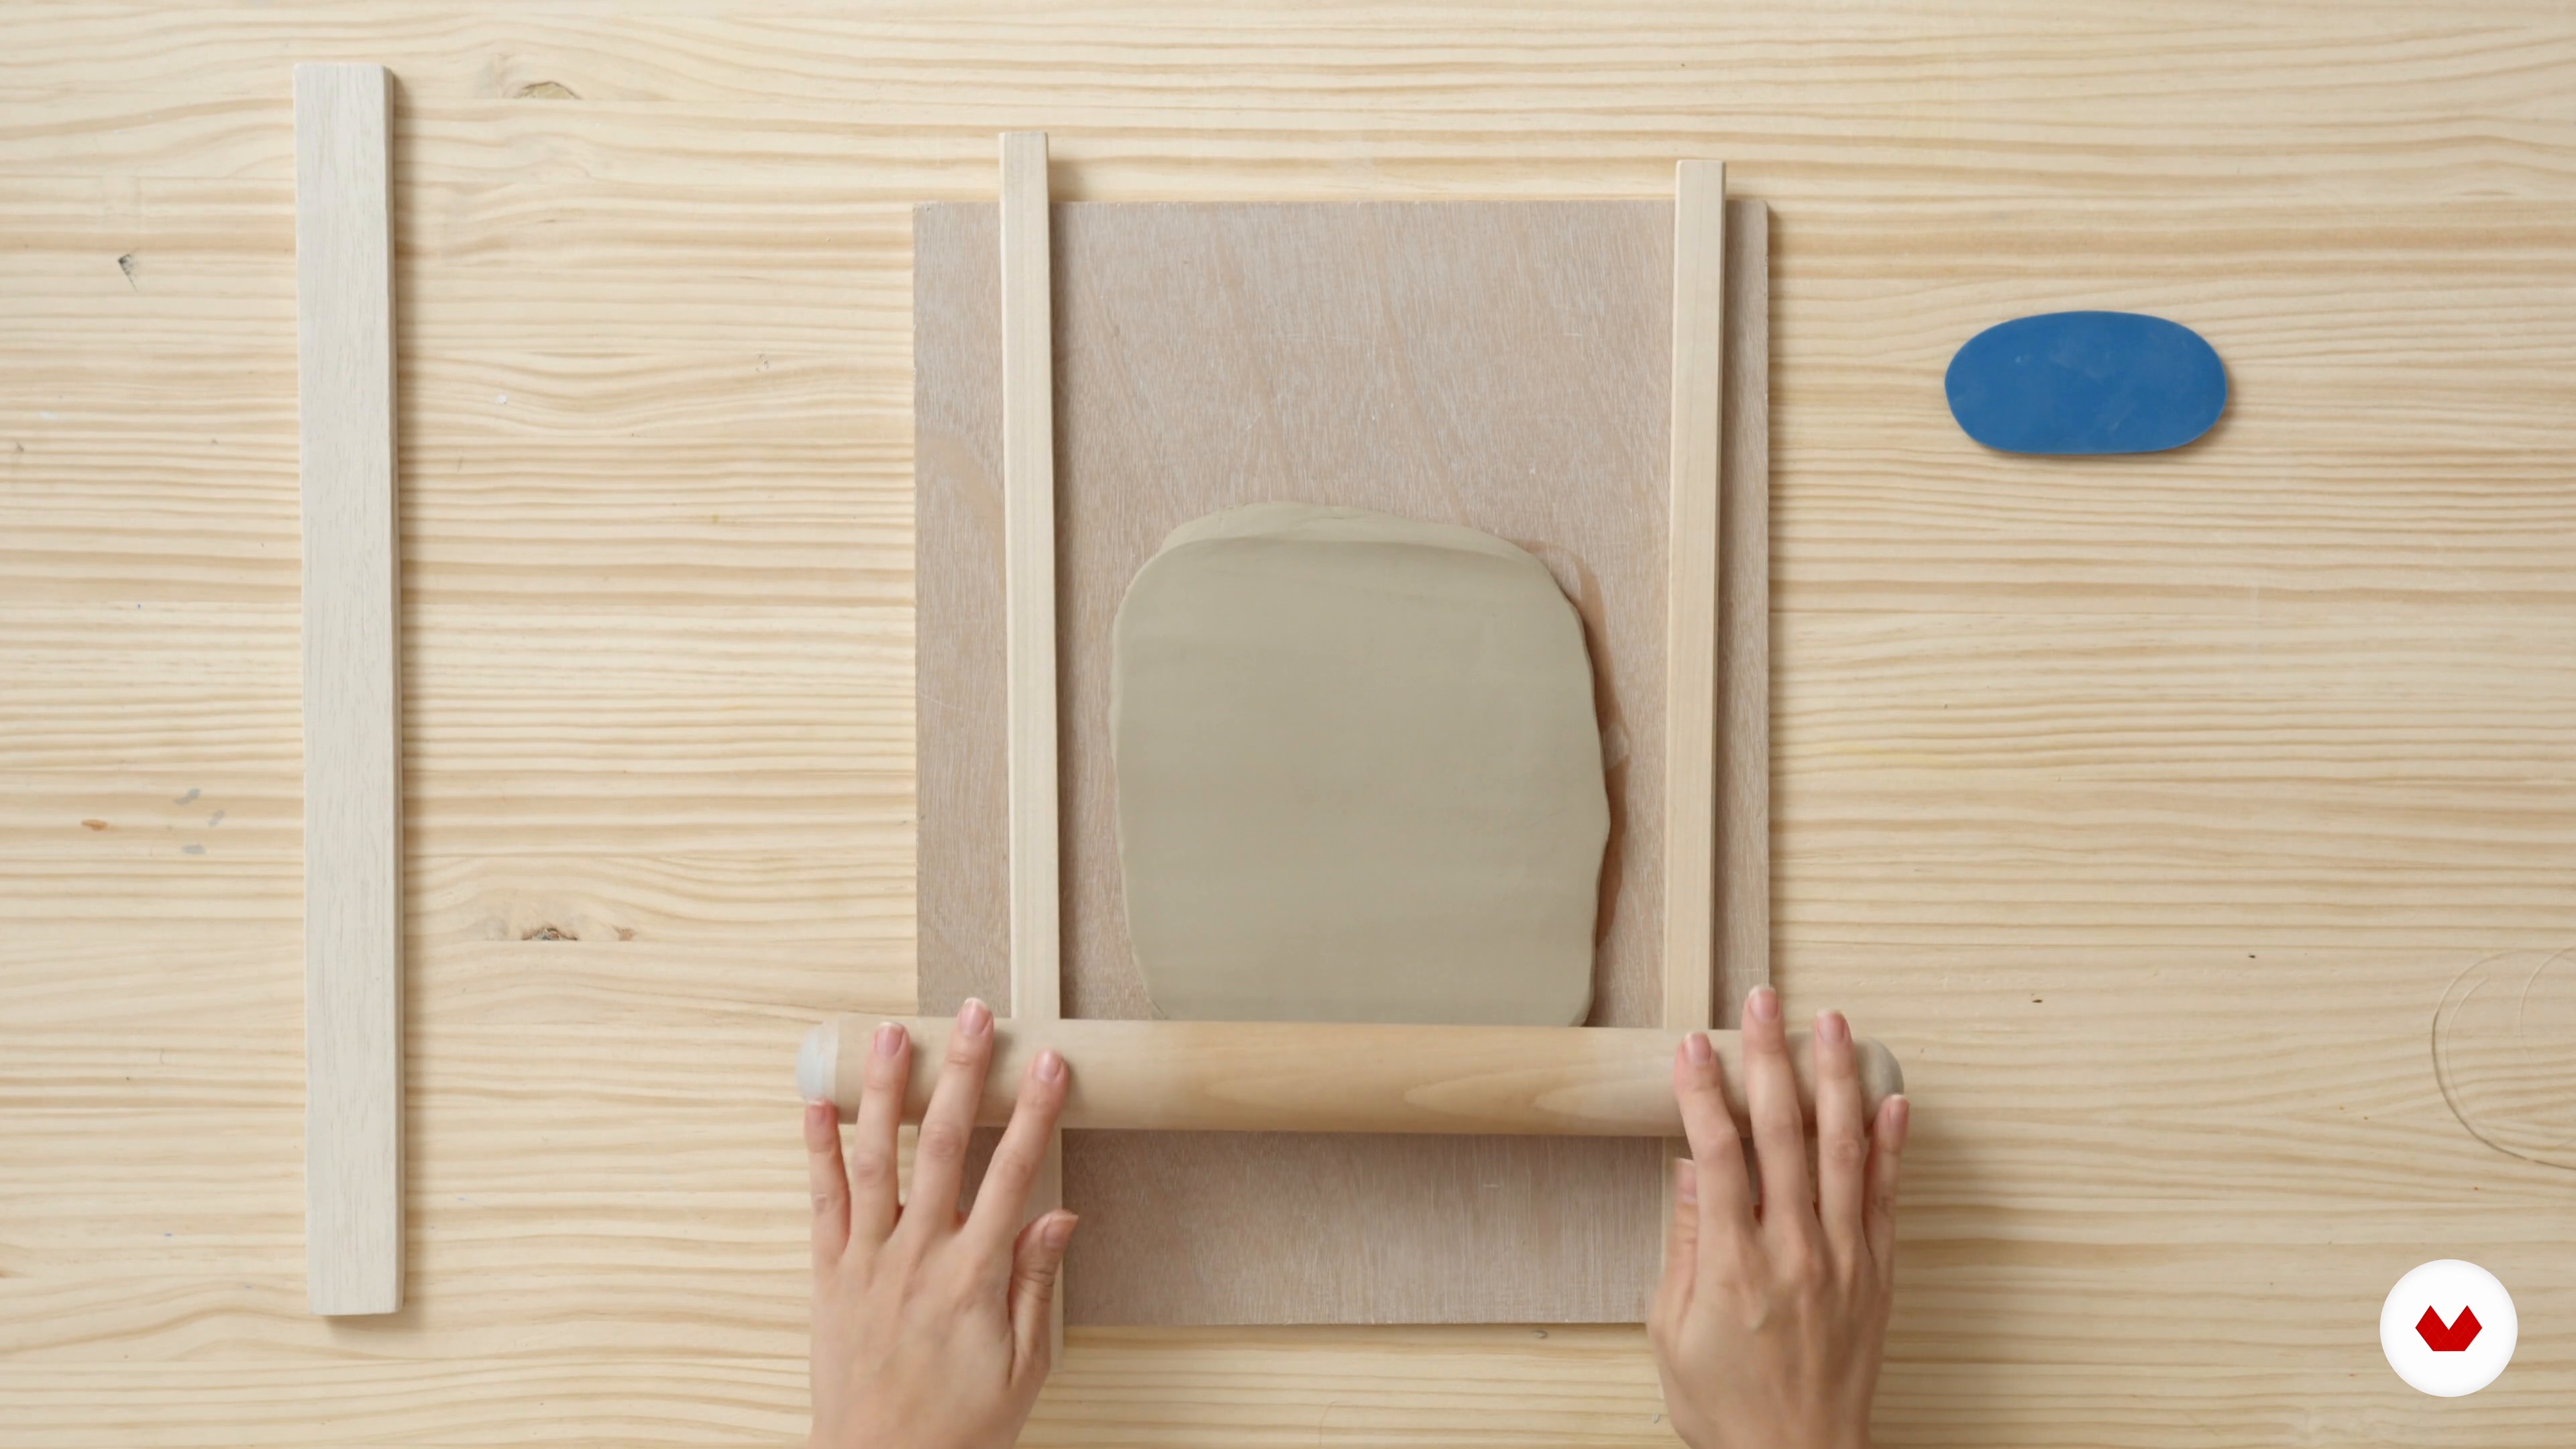
Now, you will be introduced to the basic hand-building techniques. With these foundational techniques, you will be able to create various forms and objects with clay, including the floral mugs that will become the main focus later on in this course. Before diving into the production process of your ceramic mug, let’s take a moment to go over some important food safety and functional design elements that can help to improve the durability and functionality of the piece.
18m
 5
5Plaster Mold-Making
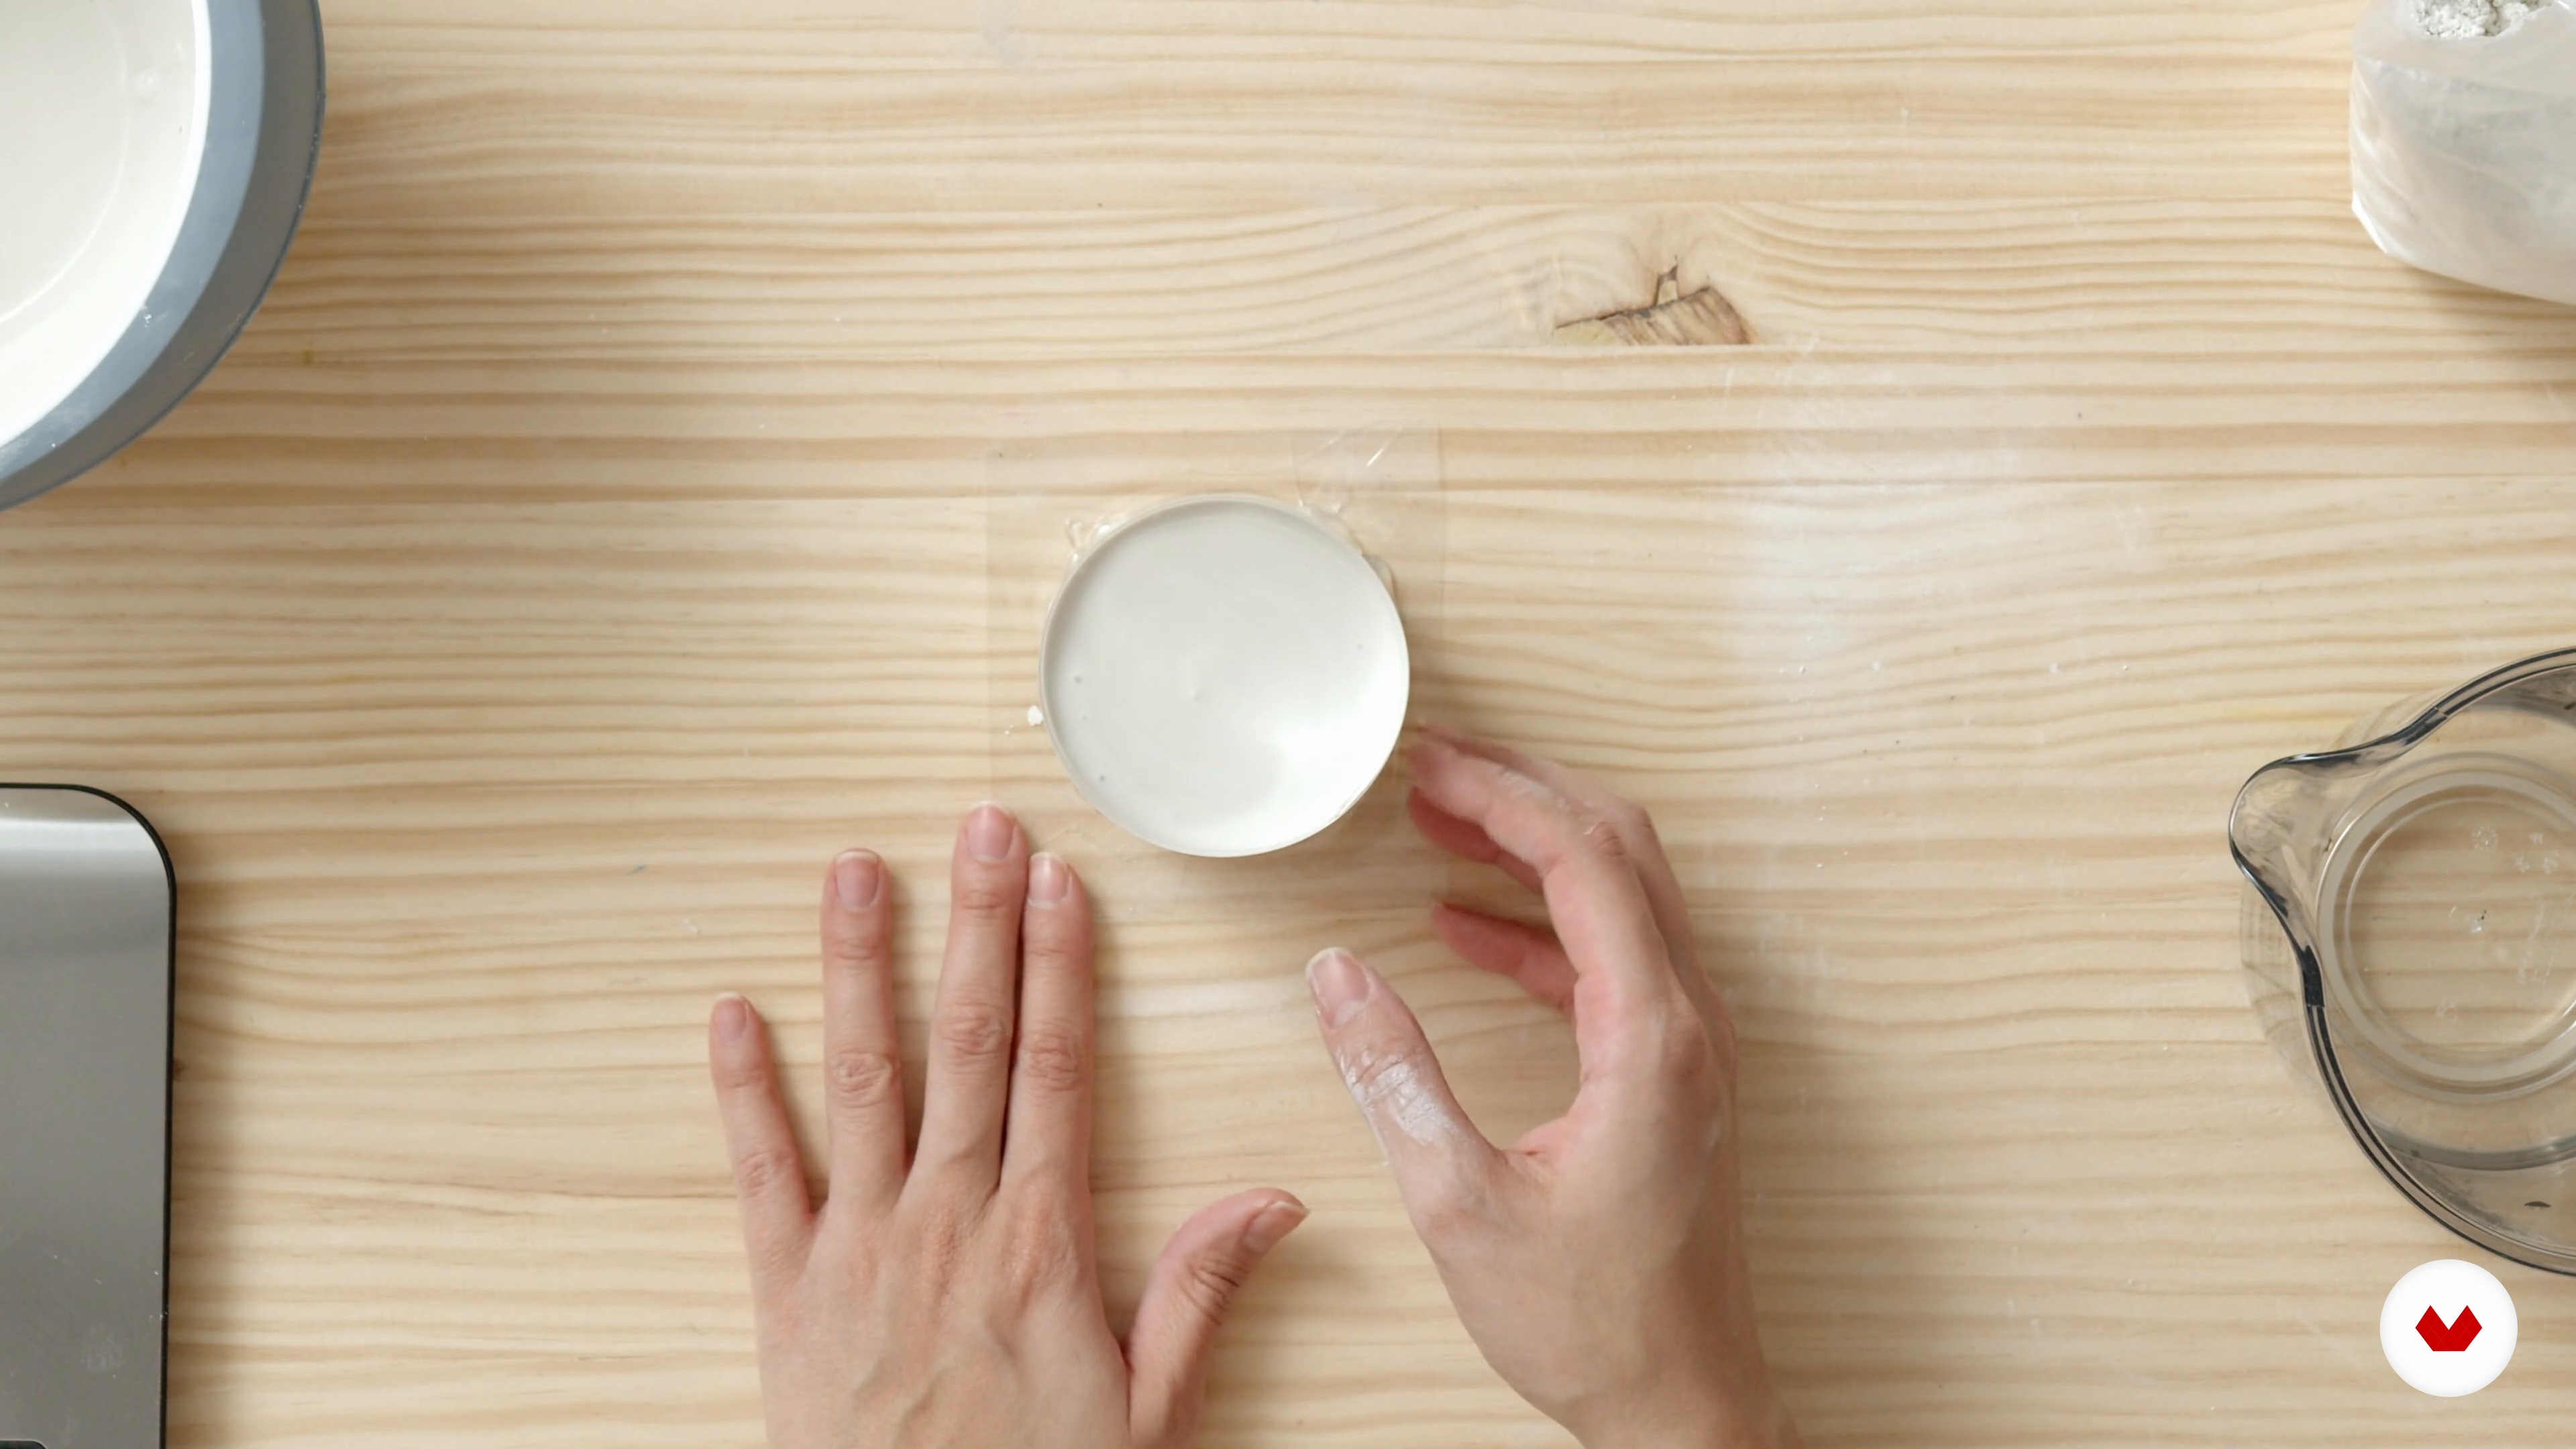
Let's take a look at the simple process to create your own plaster molds using just two ingredients and other objects you can easily find at home.
7m
 6
6Finding Your Flowers and Plants
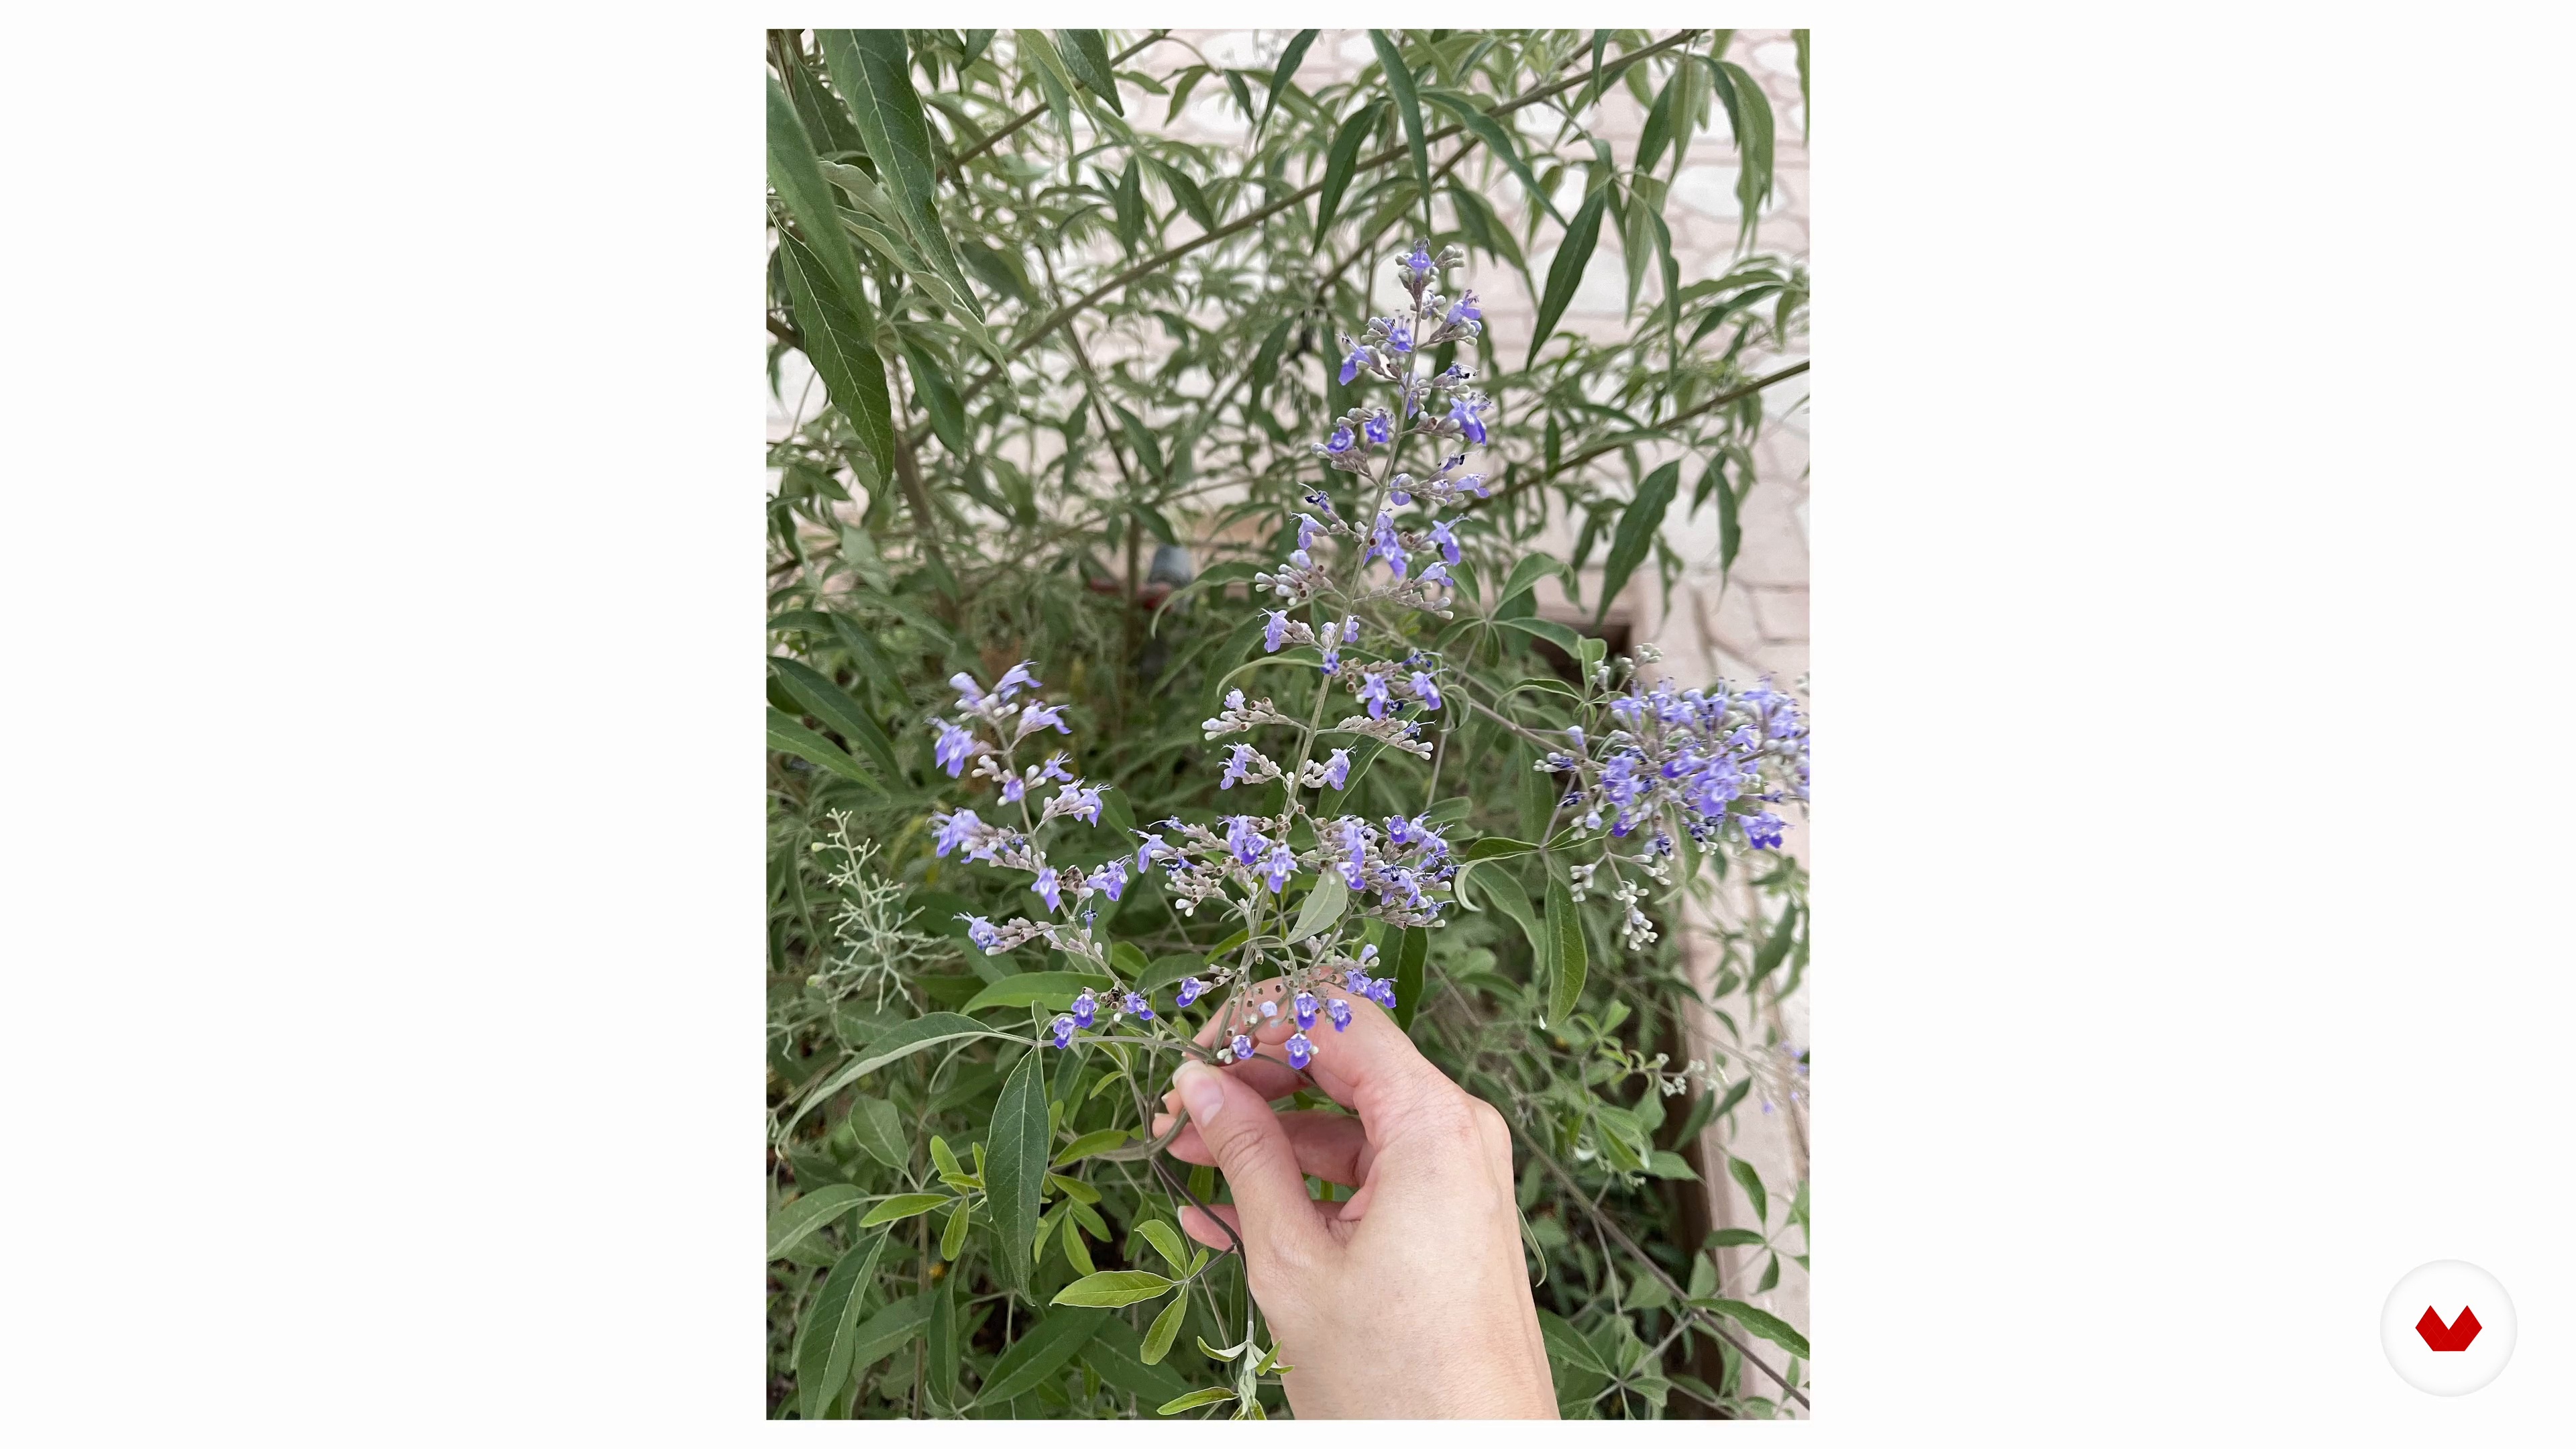
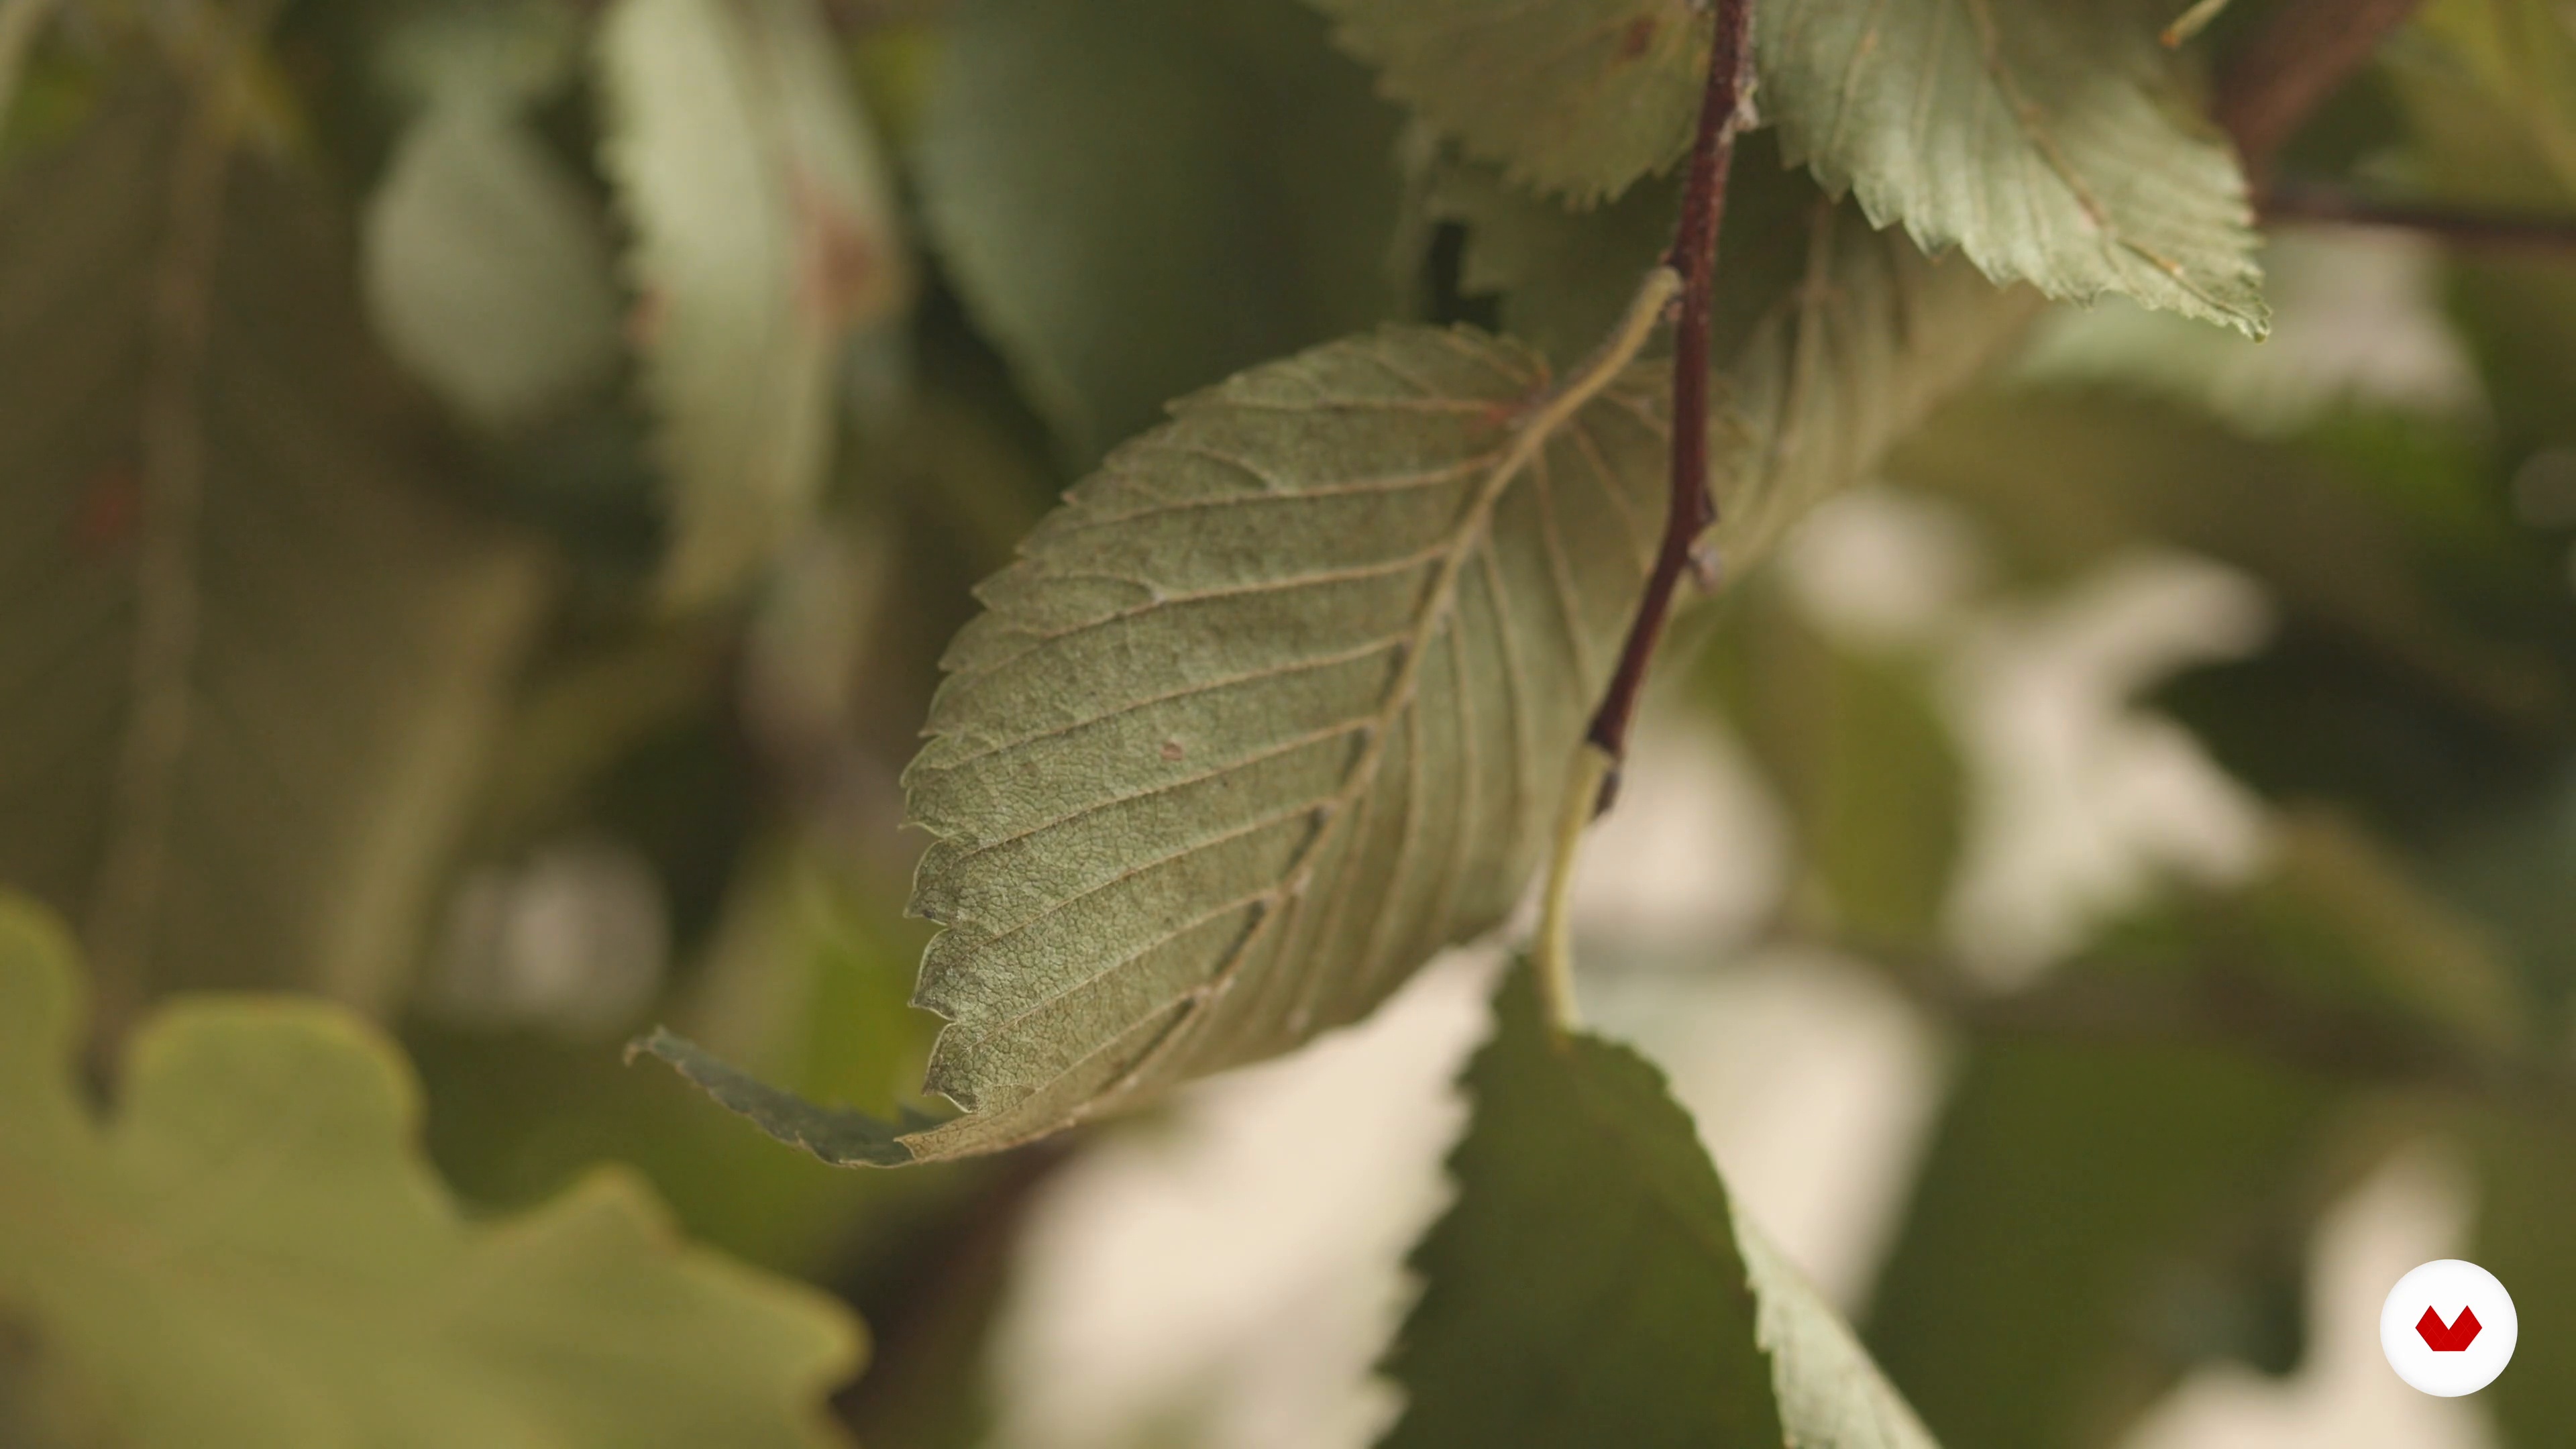
It's now time to talk about what types of leaves and wildflowers are best for imprinting on clay, and how to collect them from the wild in a way that is sustainable and respectful to nature. I will then discuss how to clean the cuttings and prepare the arrangement or design that you would like to see on your ceramic mug.
4m
 7
7Cutting the Slab
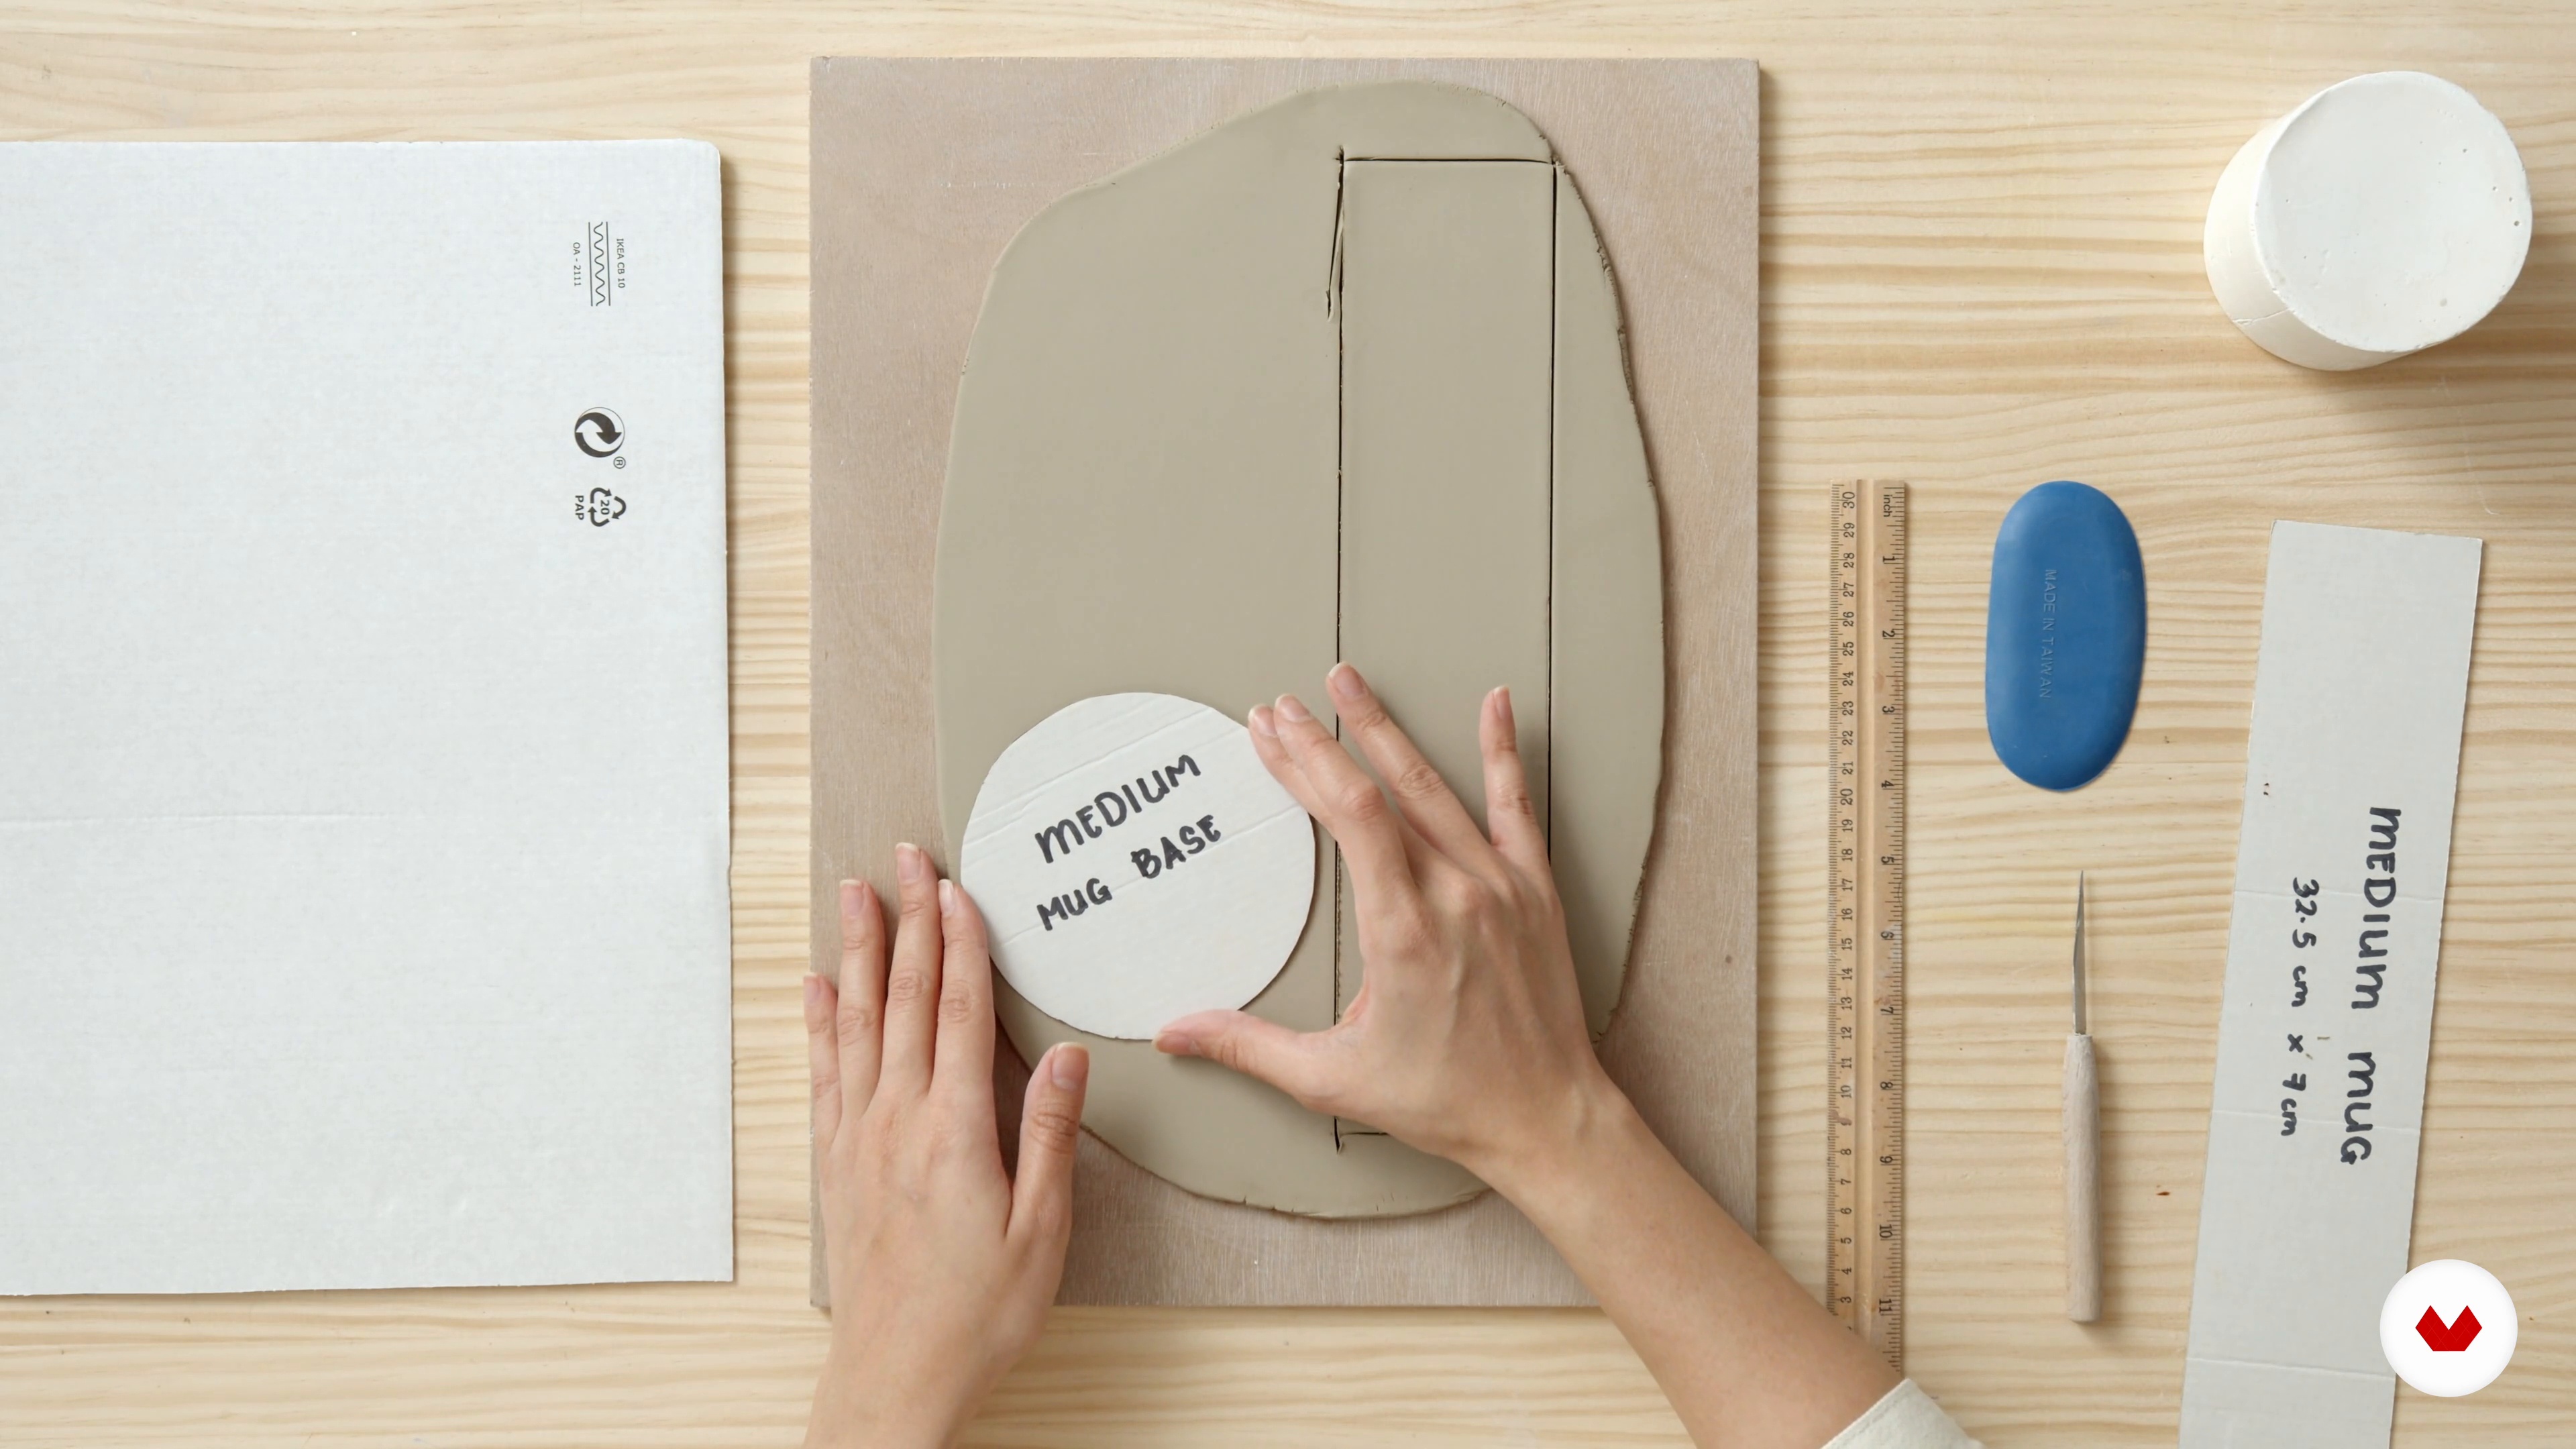
In this lesson, I will model how to roll out the clay into a flat sheet called the "slab", from which I will cut the wall, base, and handle of the mug using templates.
8m
 8
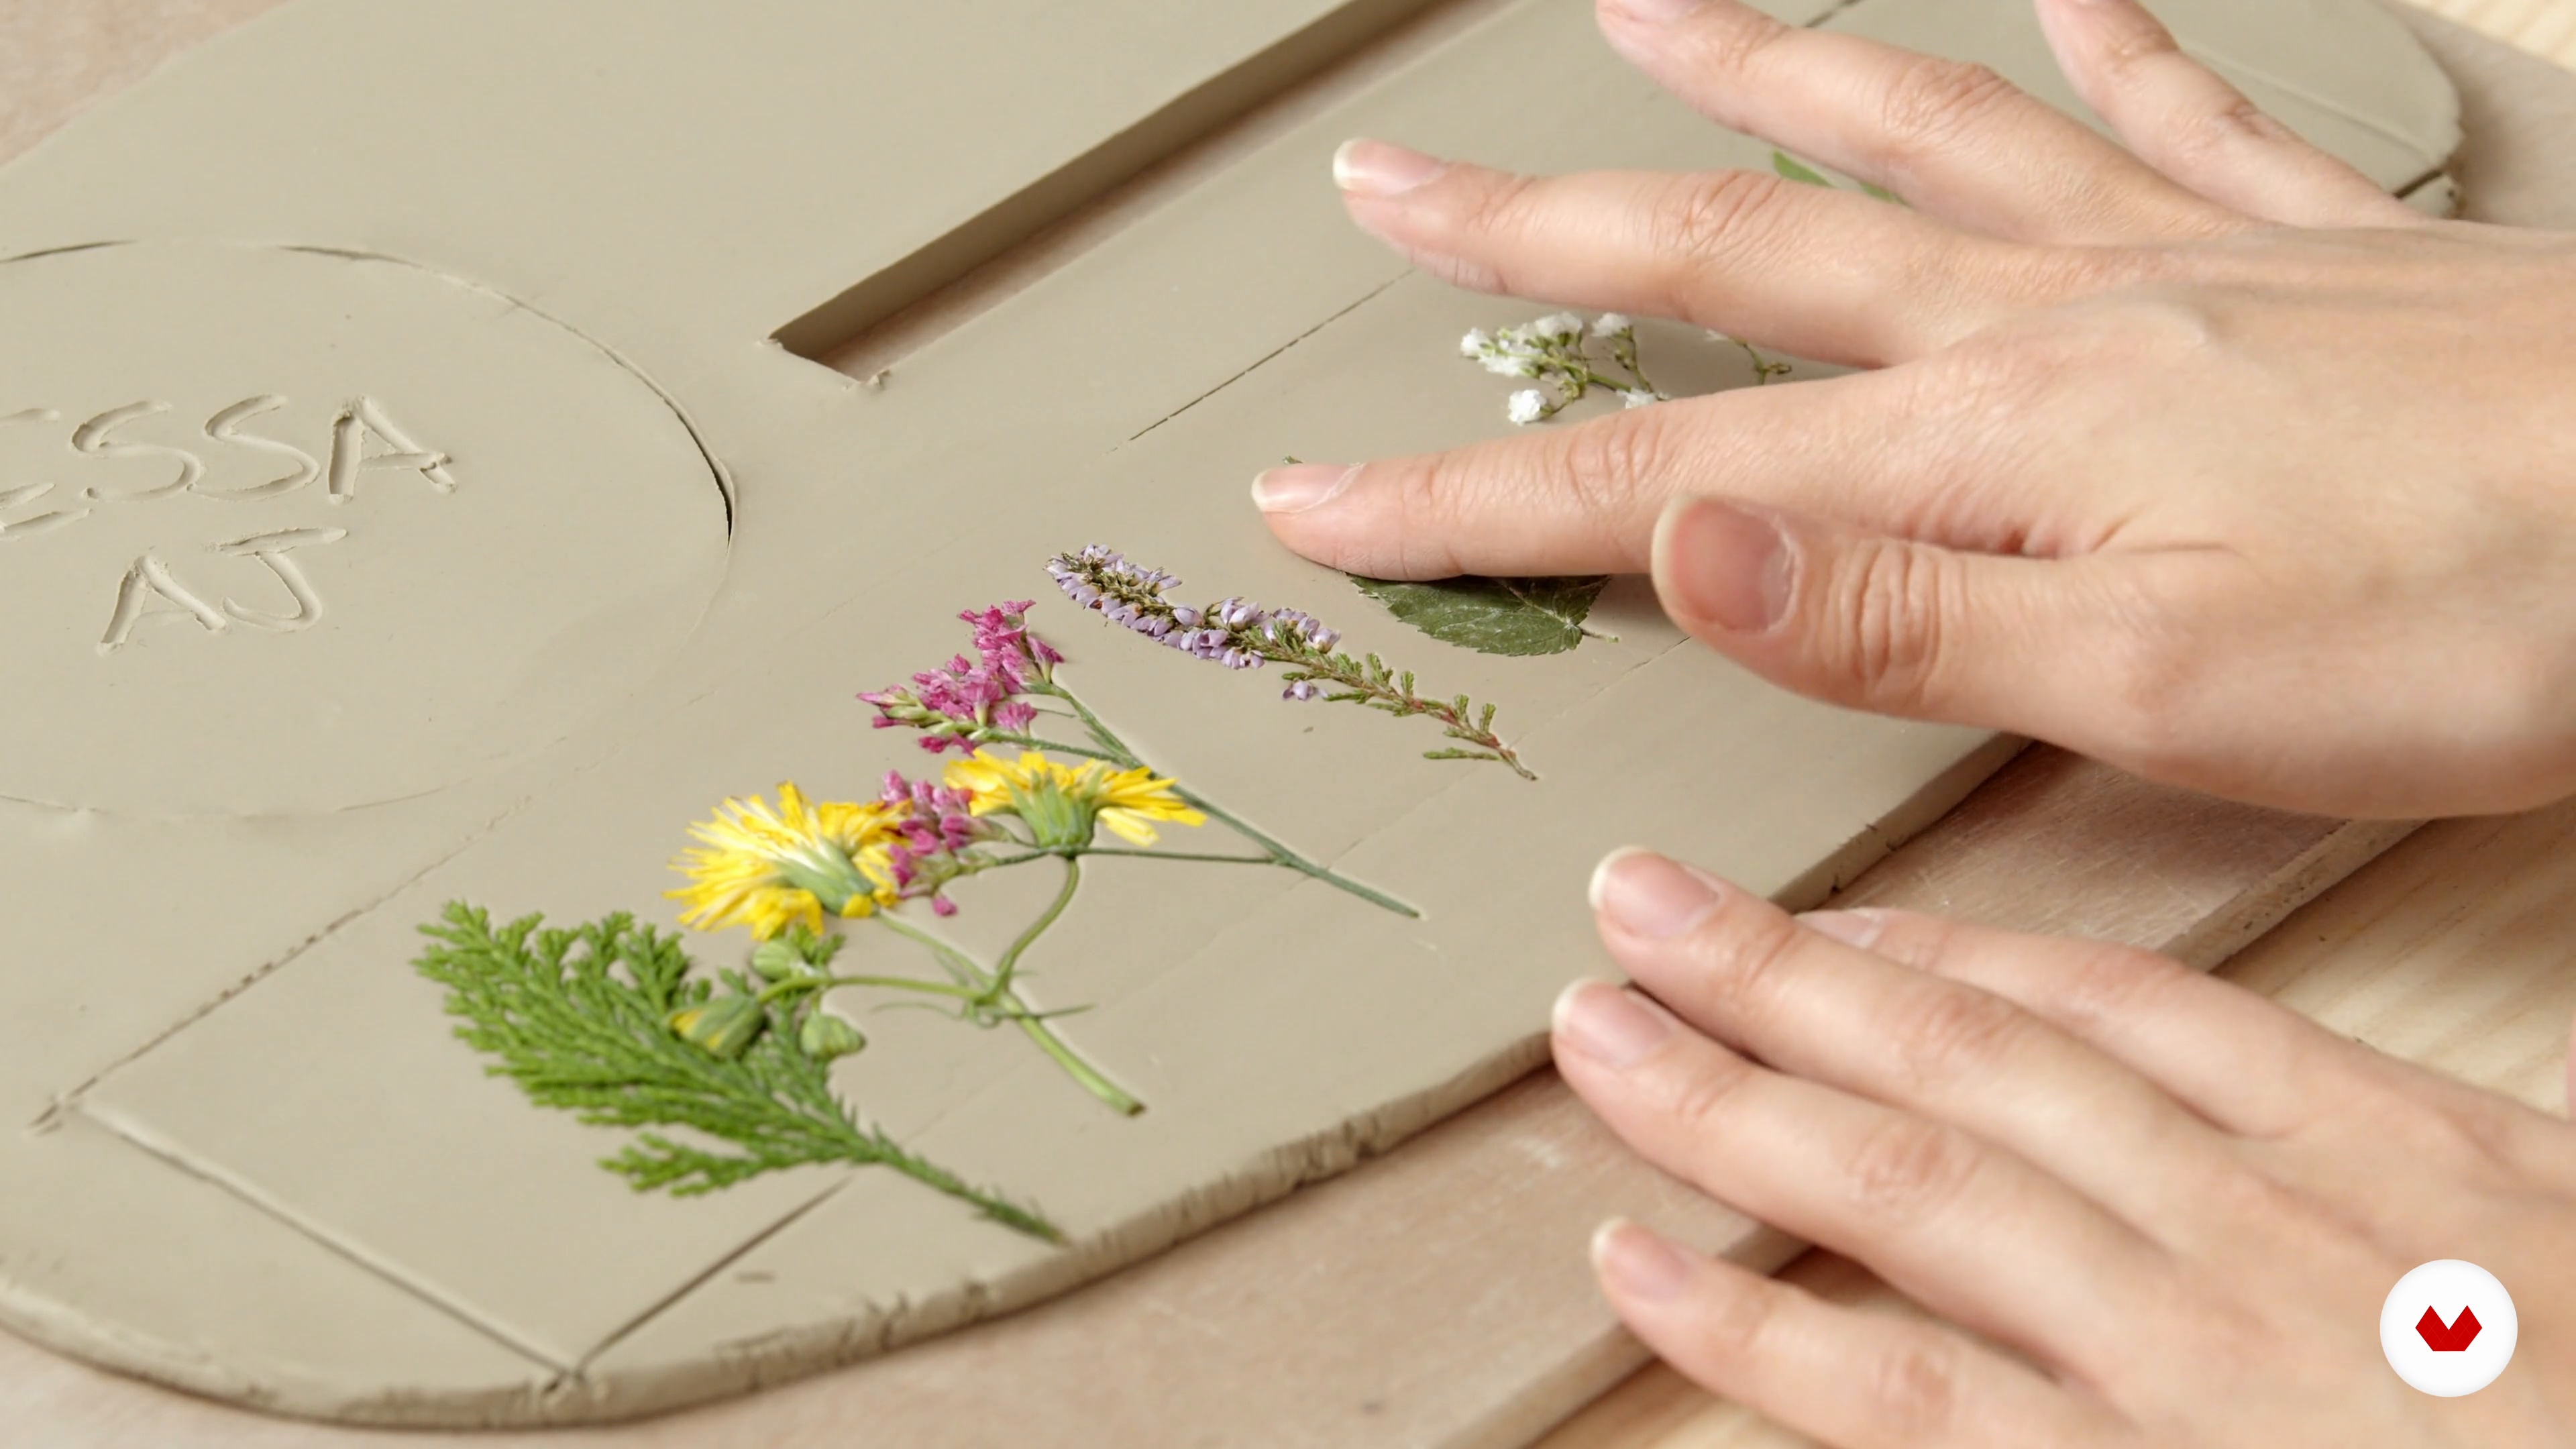
8Imprinting Flowers
Now, I will imprint the flowers and leaves that I prepared earlier onto the clay to create the botanical design.
5m
 9
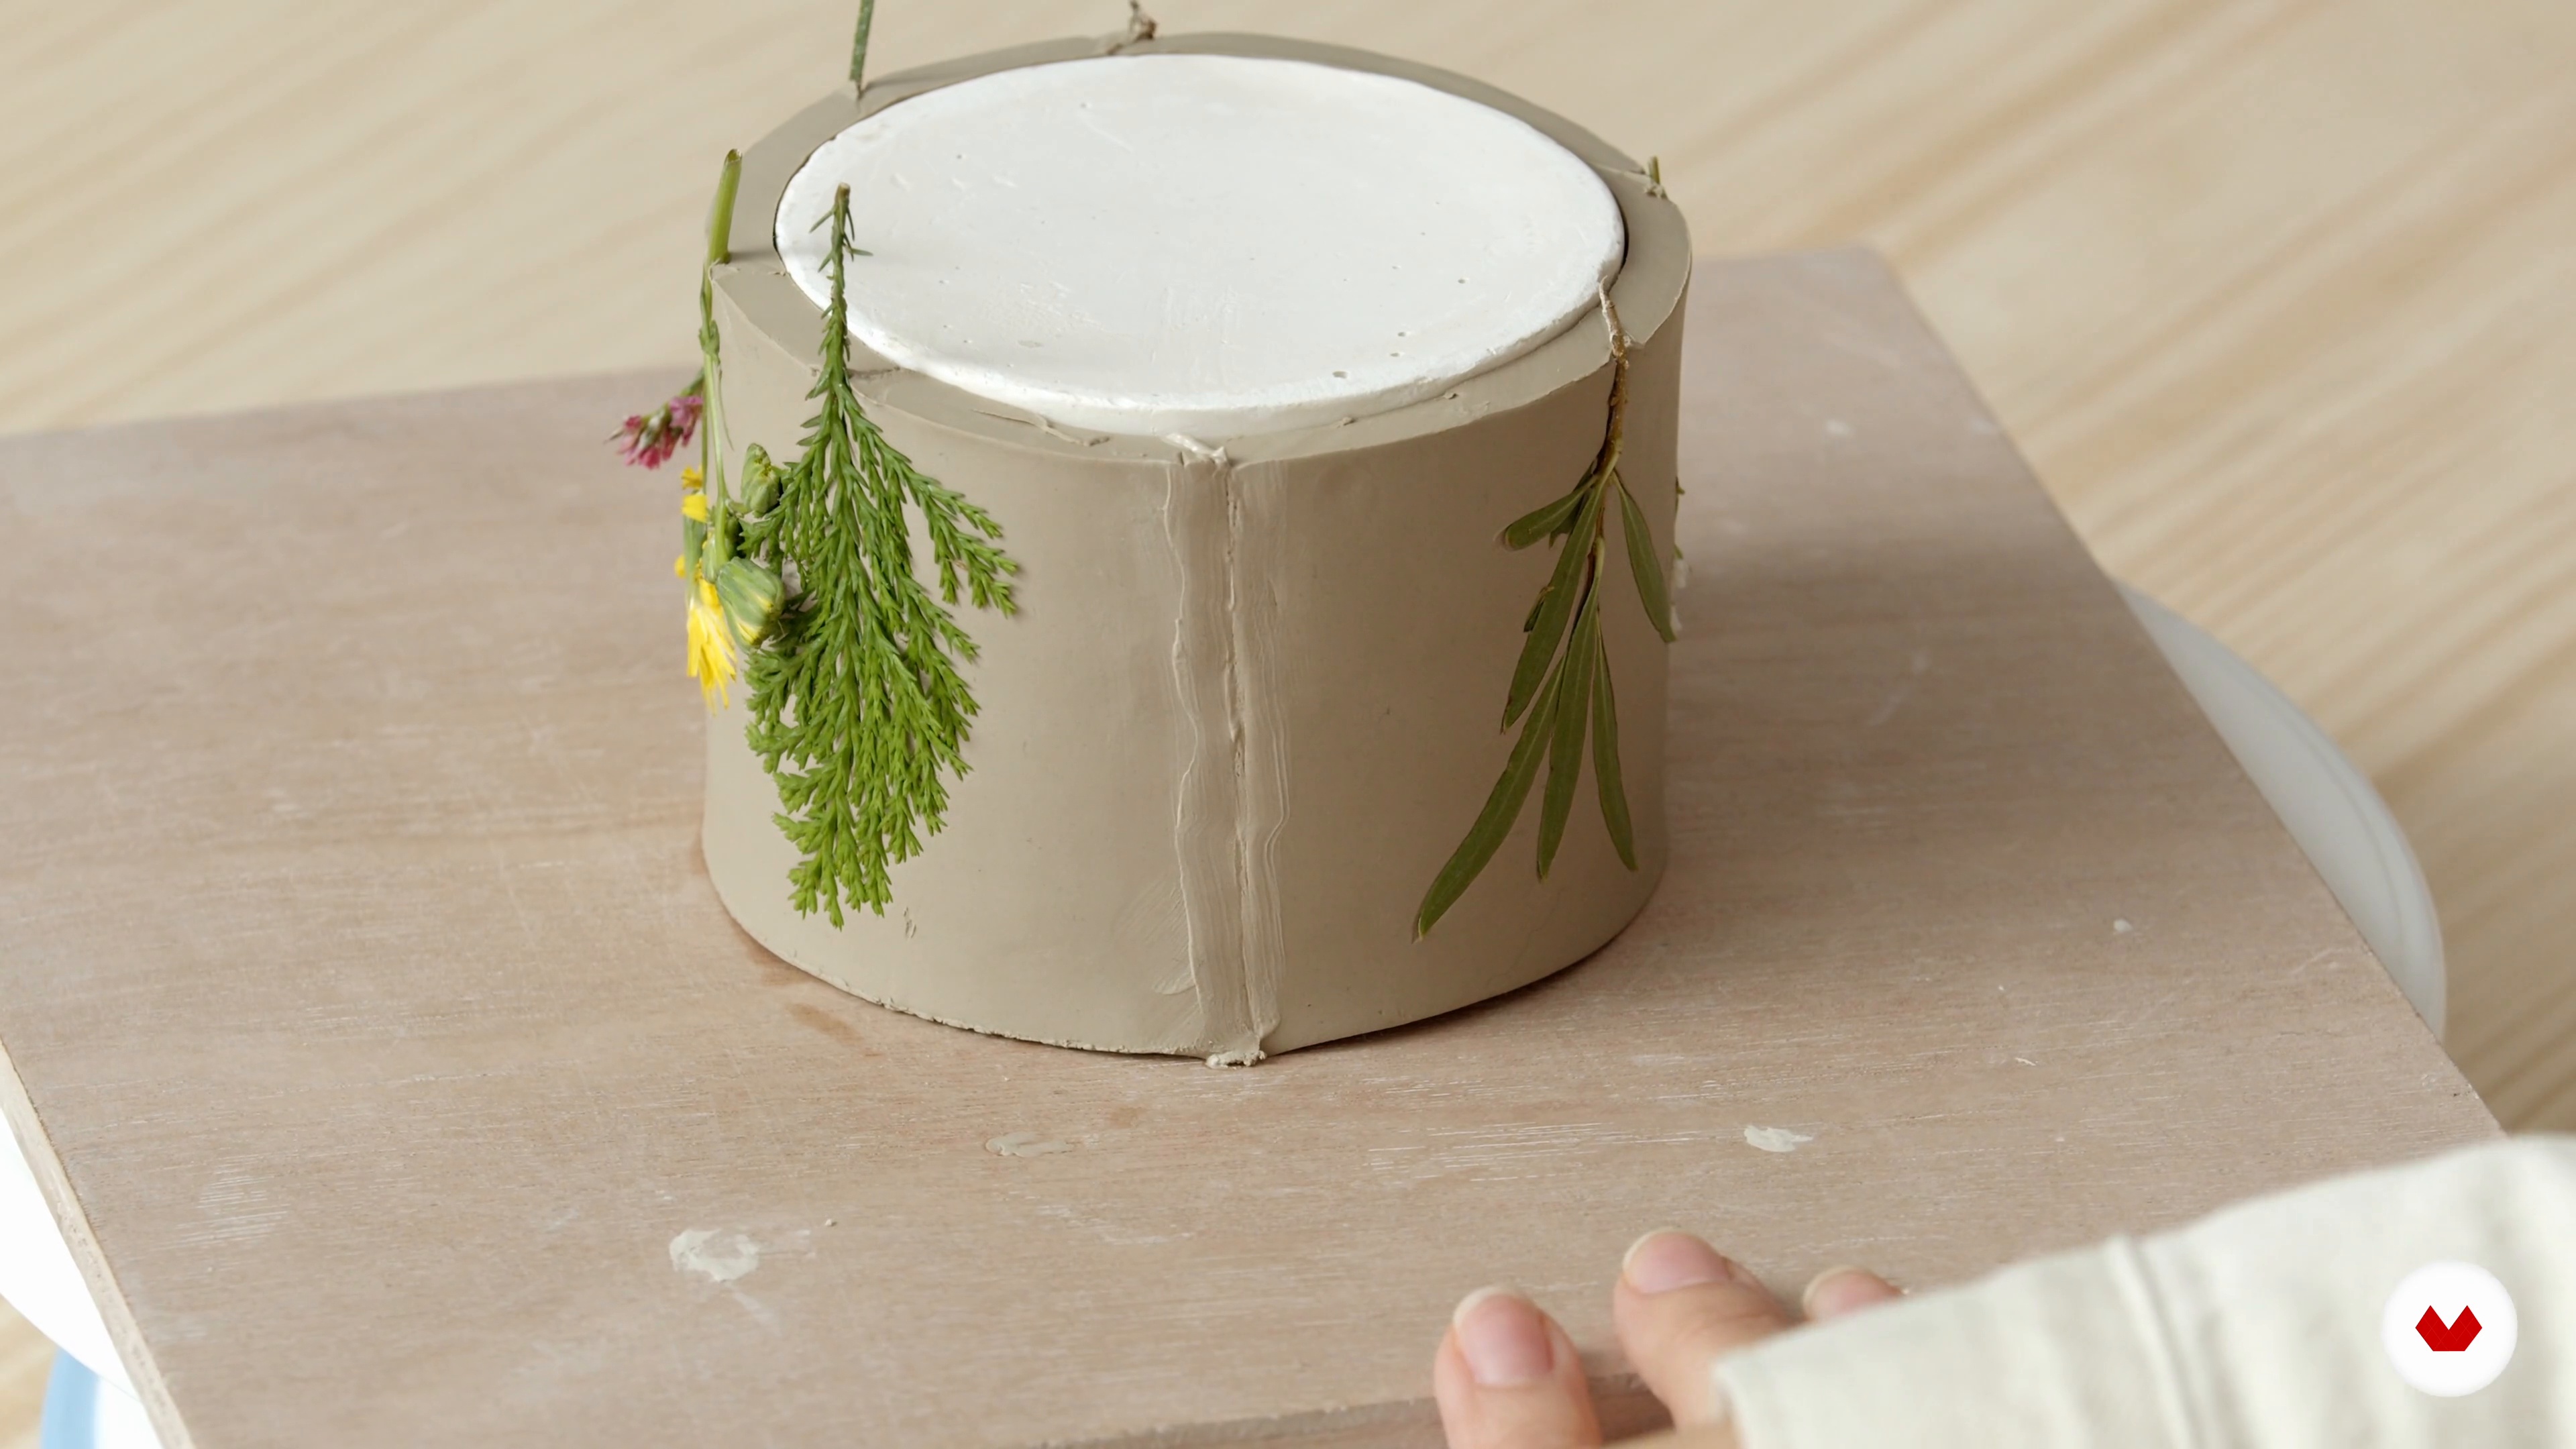
9Creating the Form
Next, let's form the wall of the mug by wrapping the clay slab around the plaster cylinder mold.
8m
 10
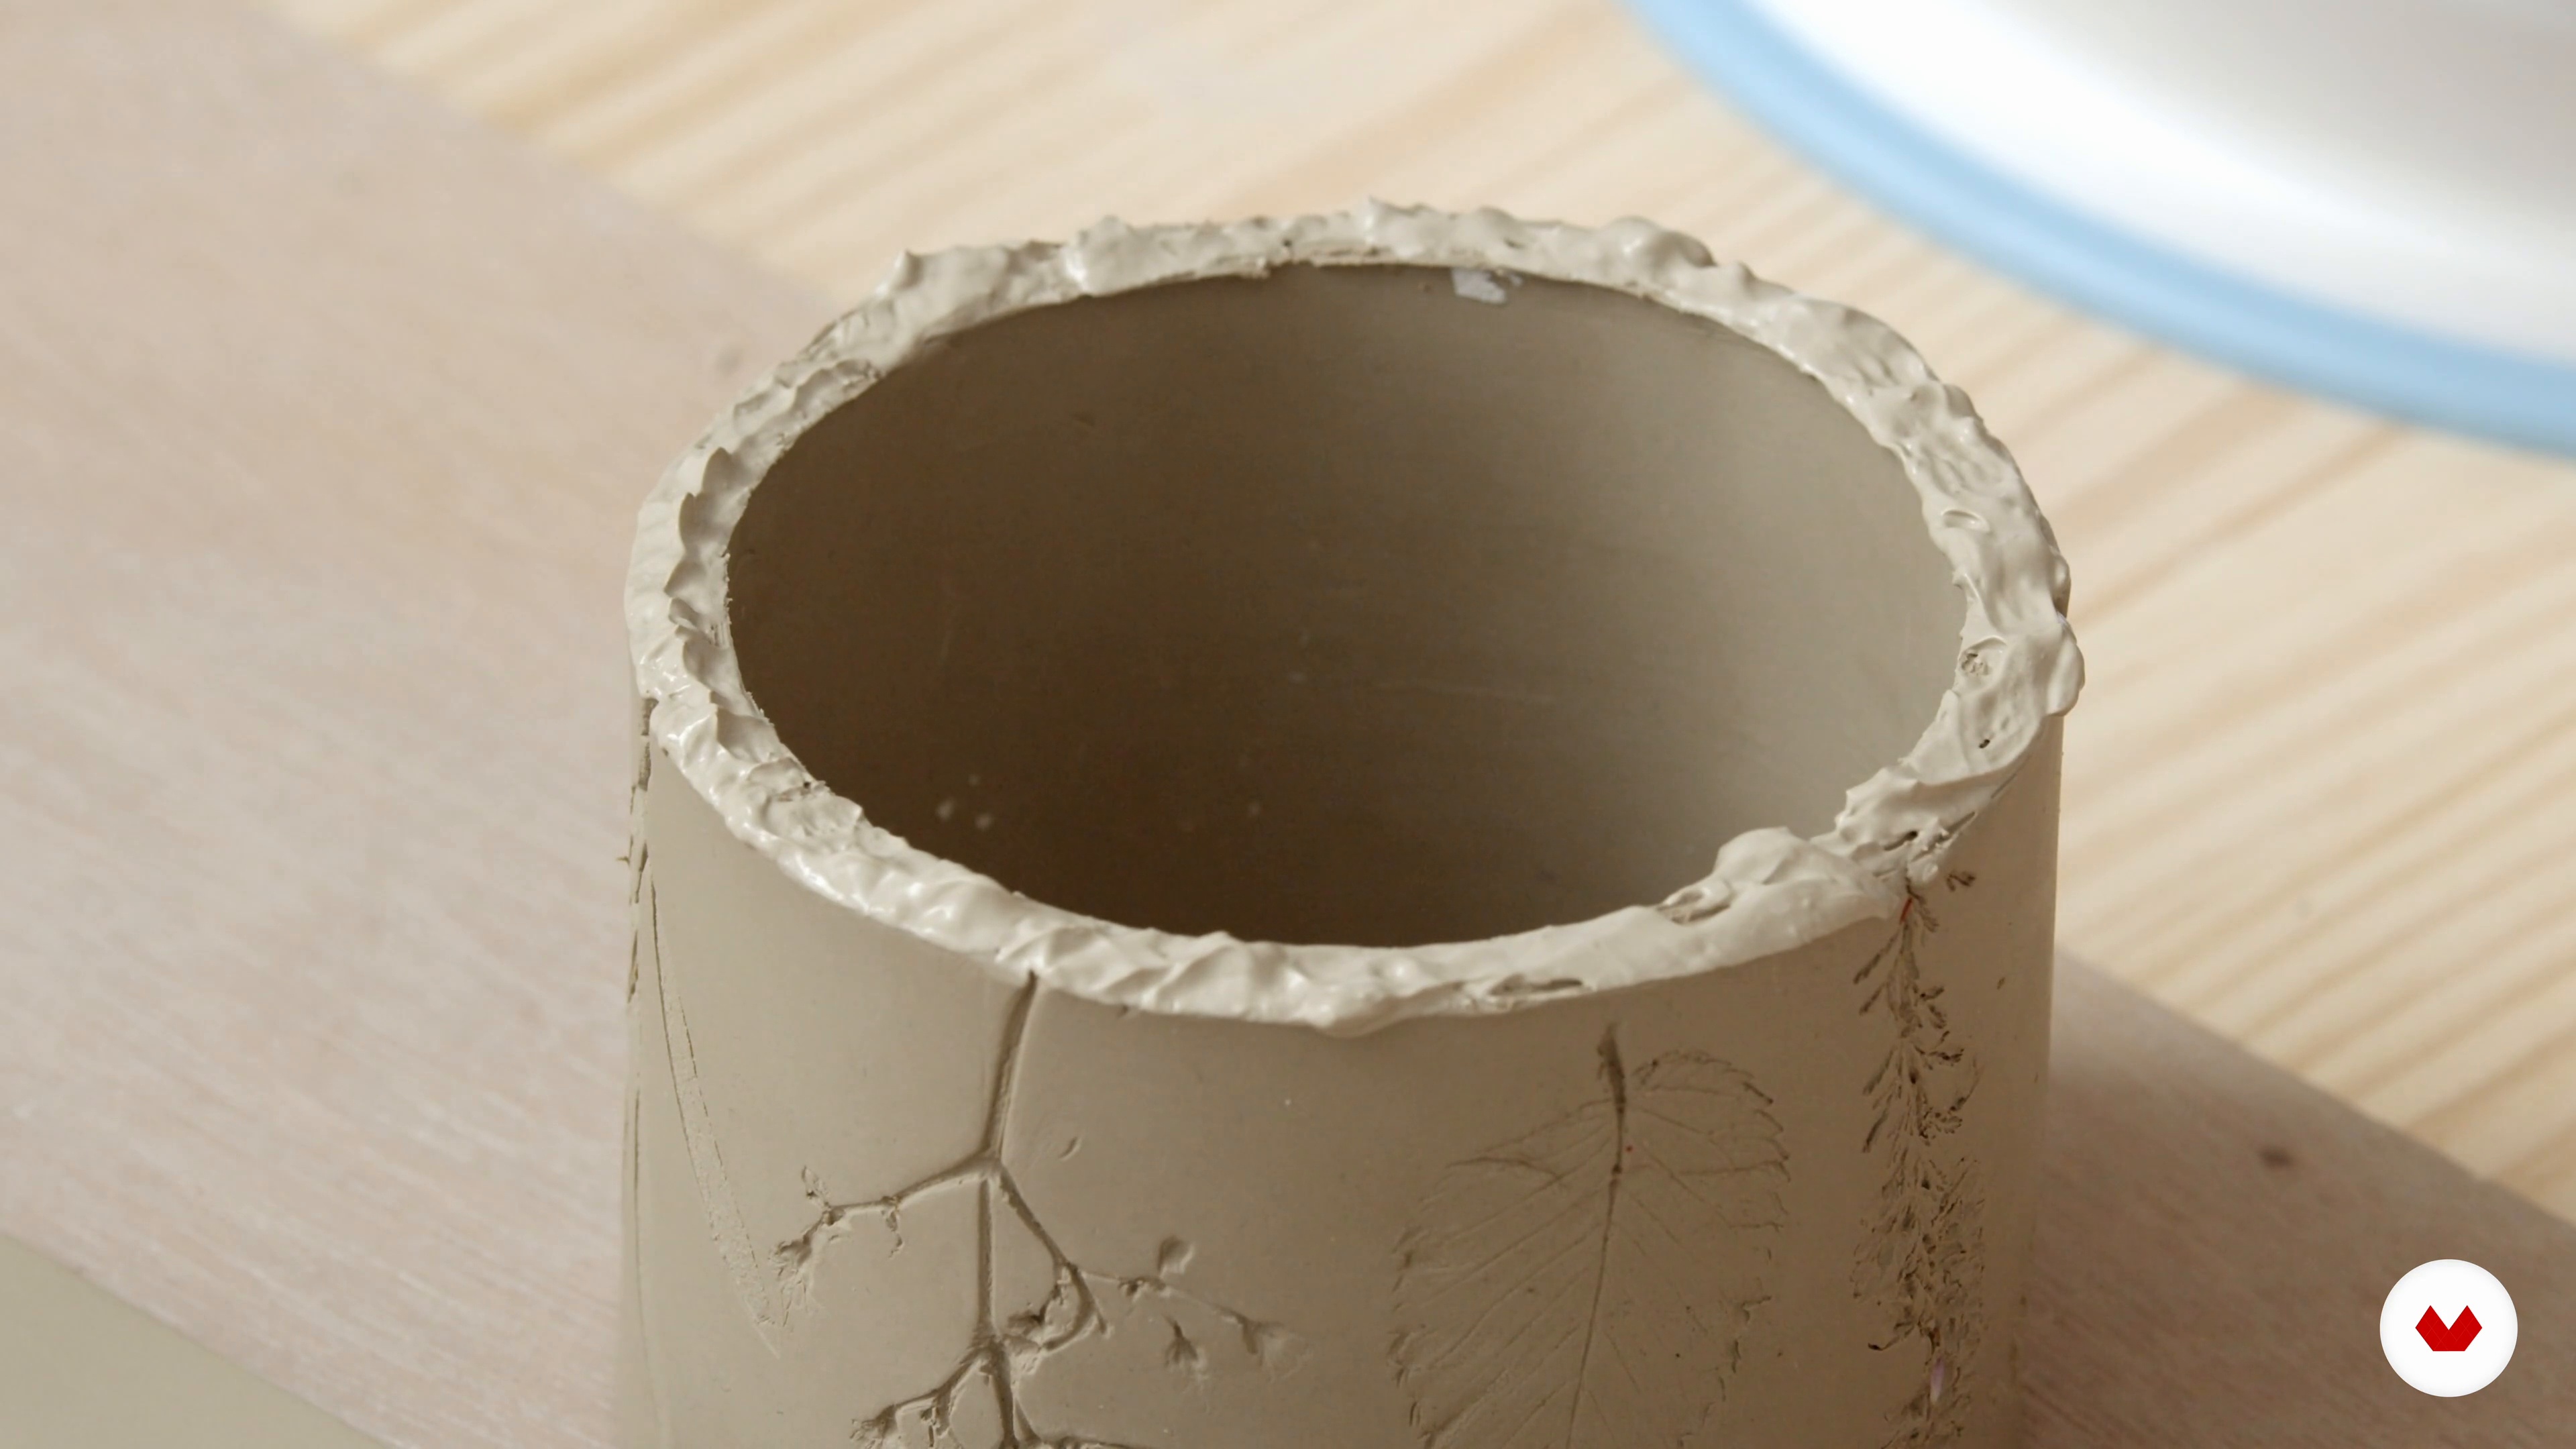
10Attaching the Components, Finishing Touches, and Firing
To end this unit, I will demonstrate how to assemble the components you prepared, using the score-and-slip technique, to create the mug. Then, I will briefly cover the essential step of bisque firing and how you can work with your own local pottery studios to do this.
13m
 11
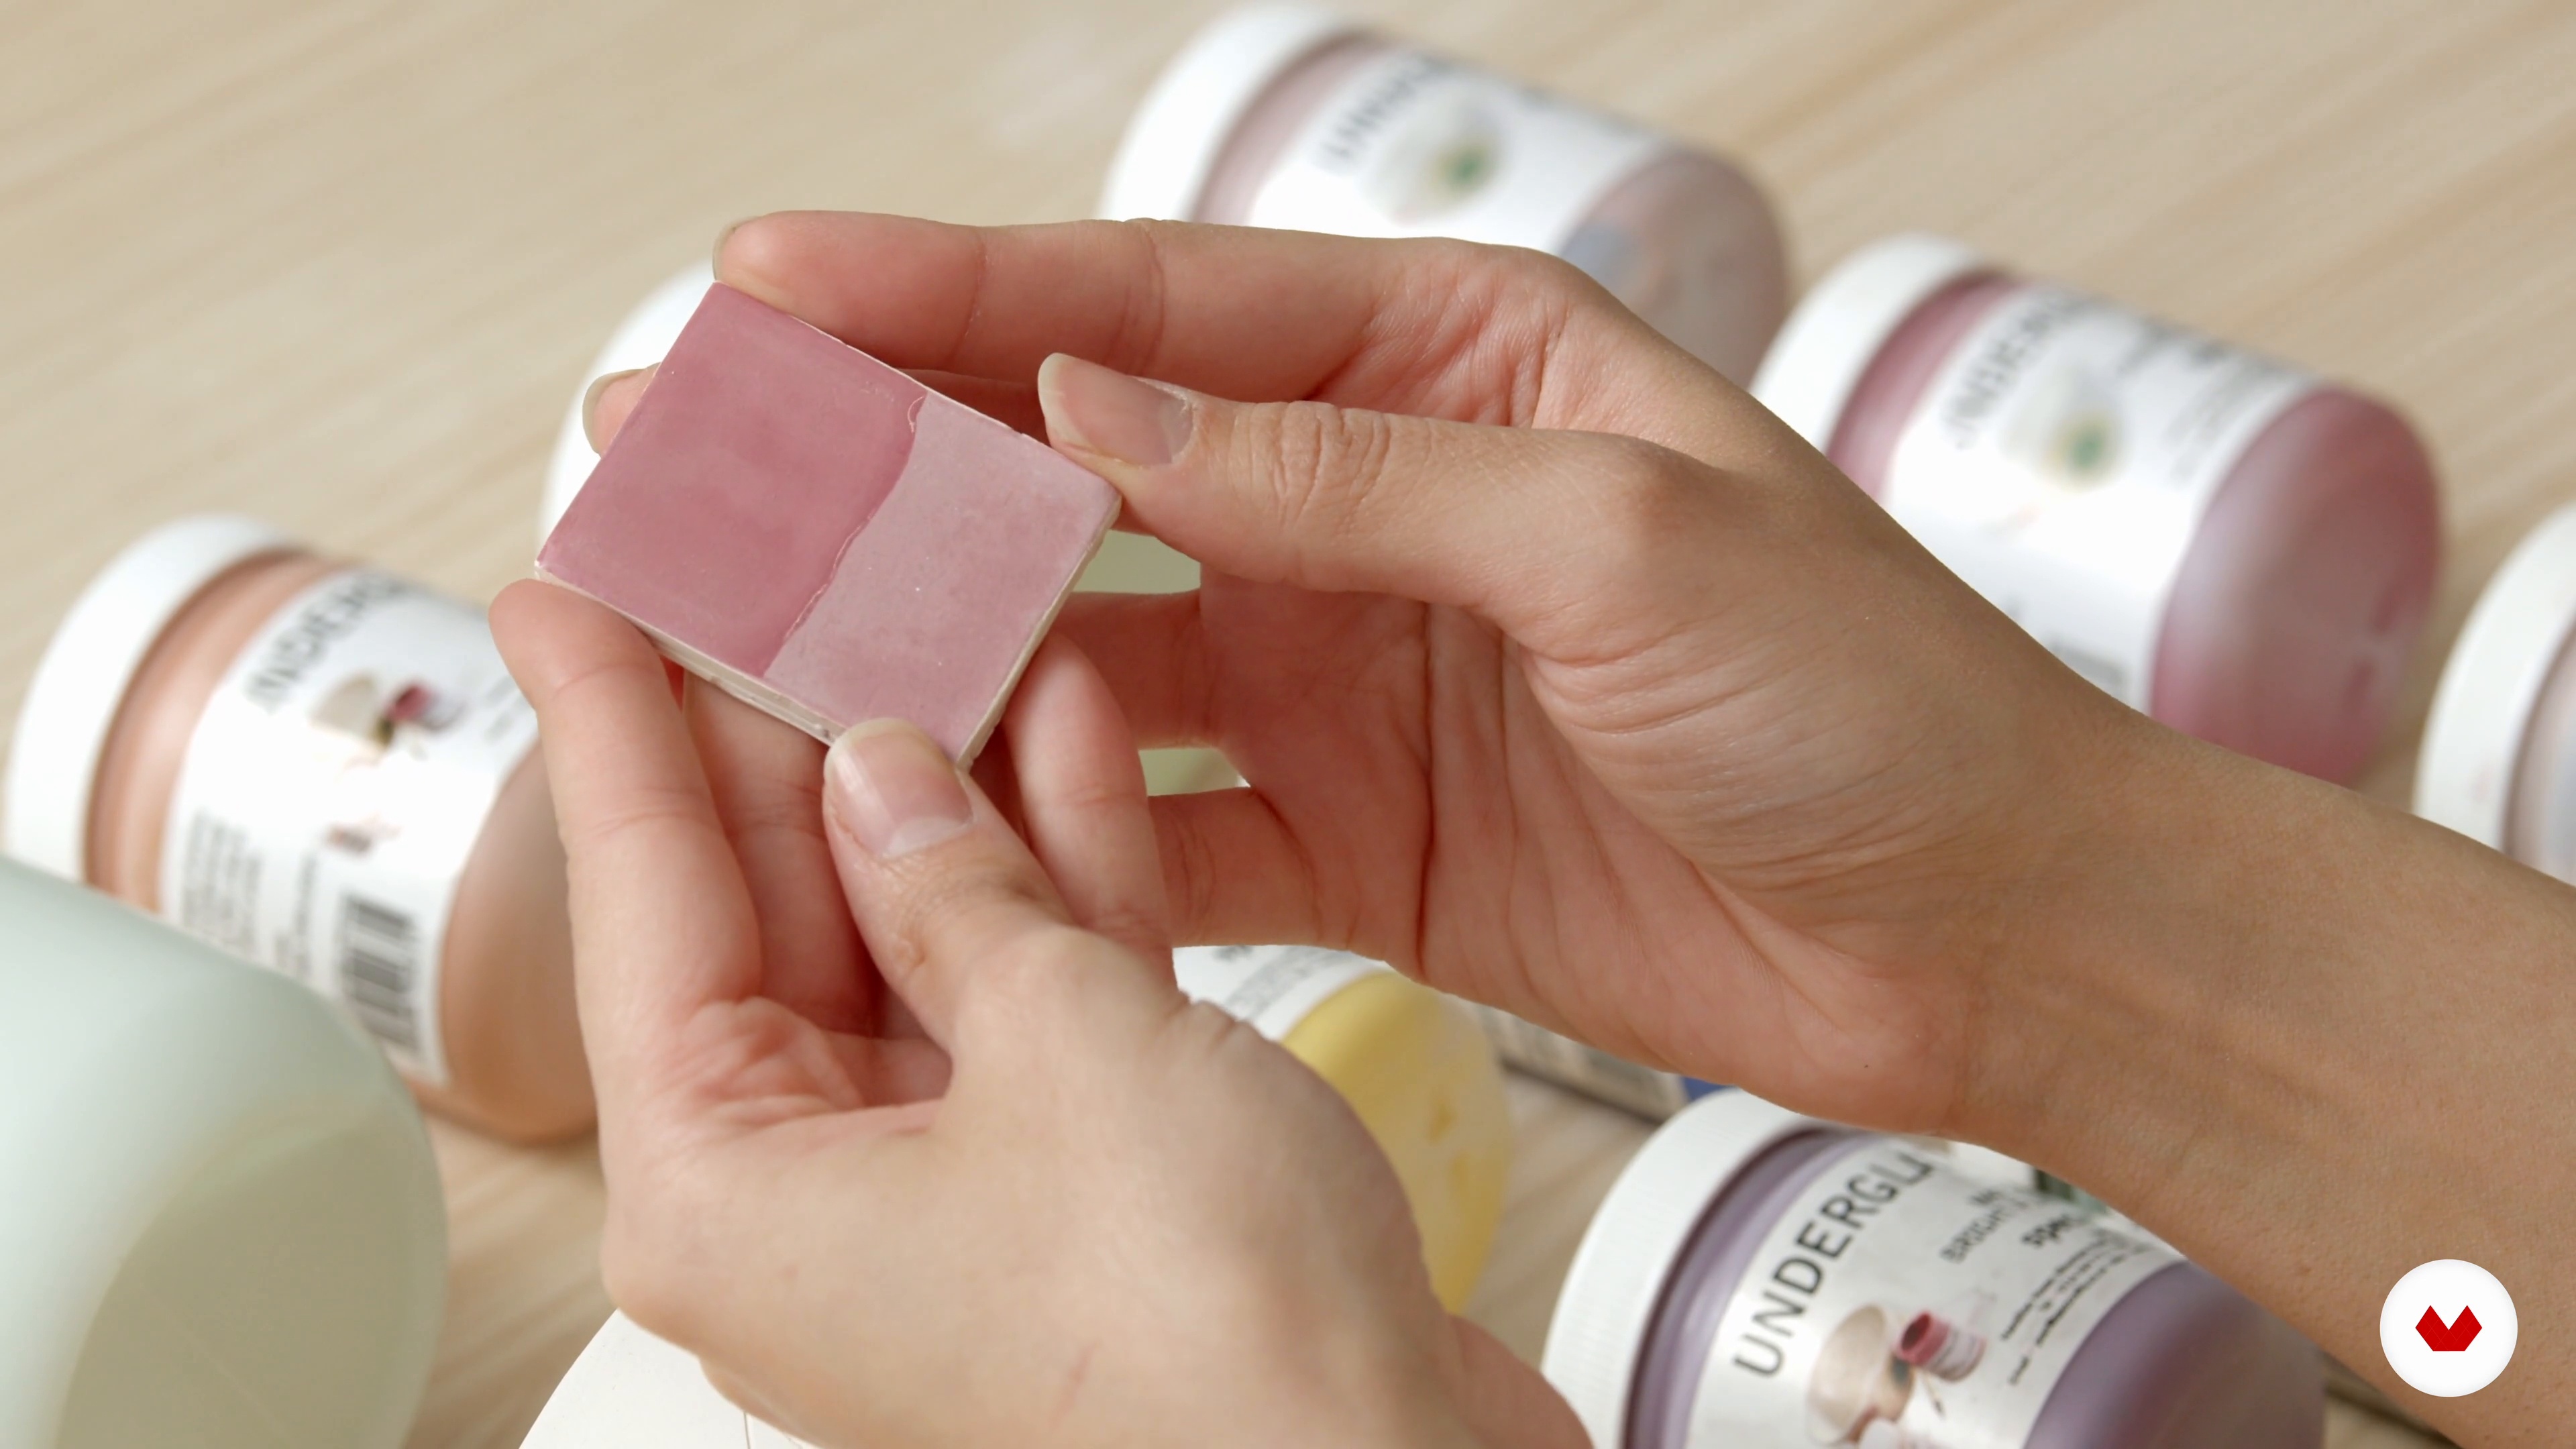
11Preparing the Bisqueware
In this lesson, I will show you how to prepare your bisque for glazing by first sanding it down and cleaning it, then testing the glazes.
5m
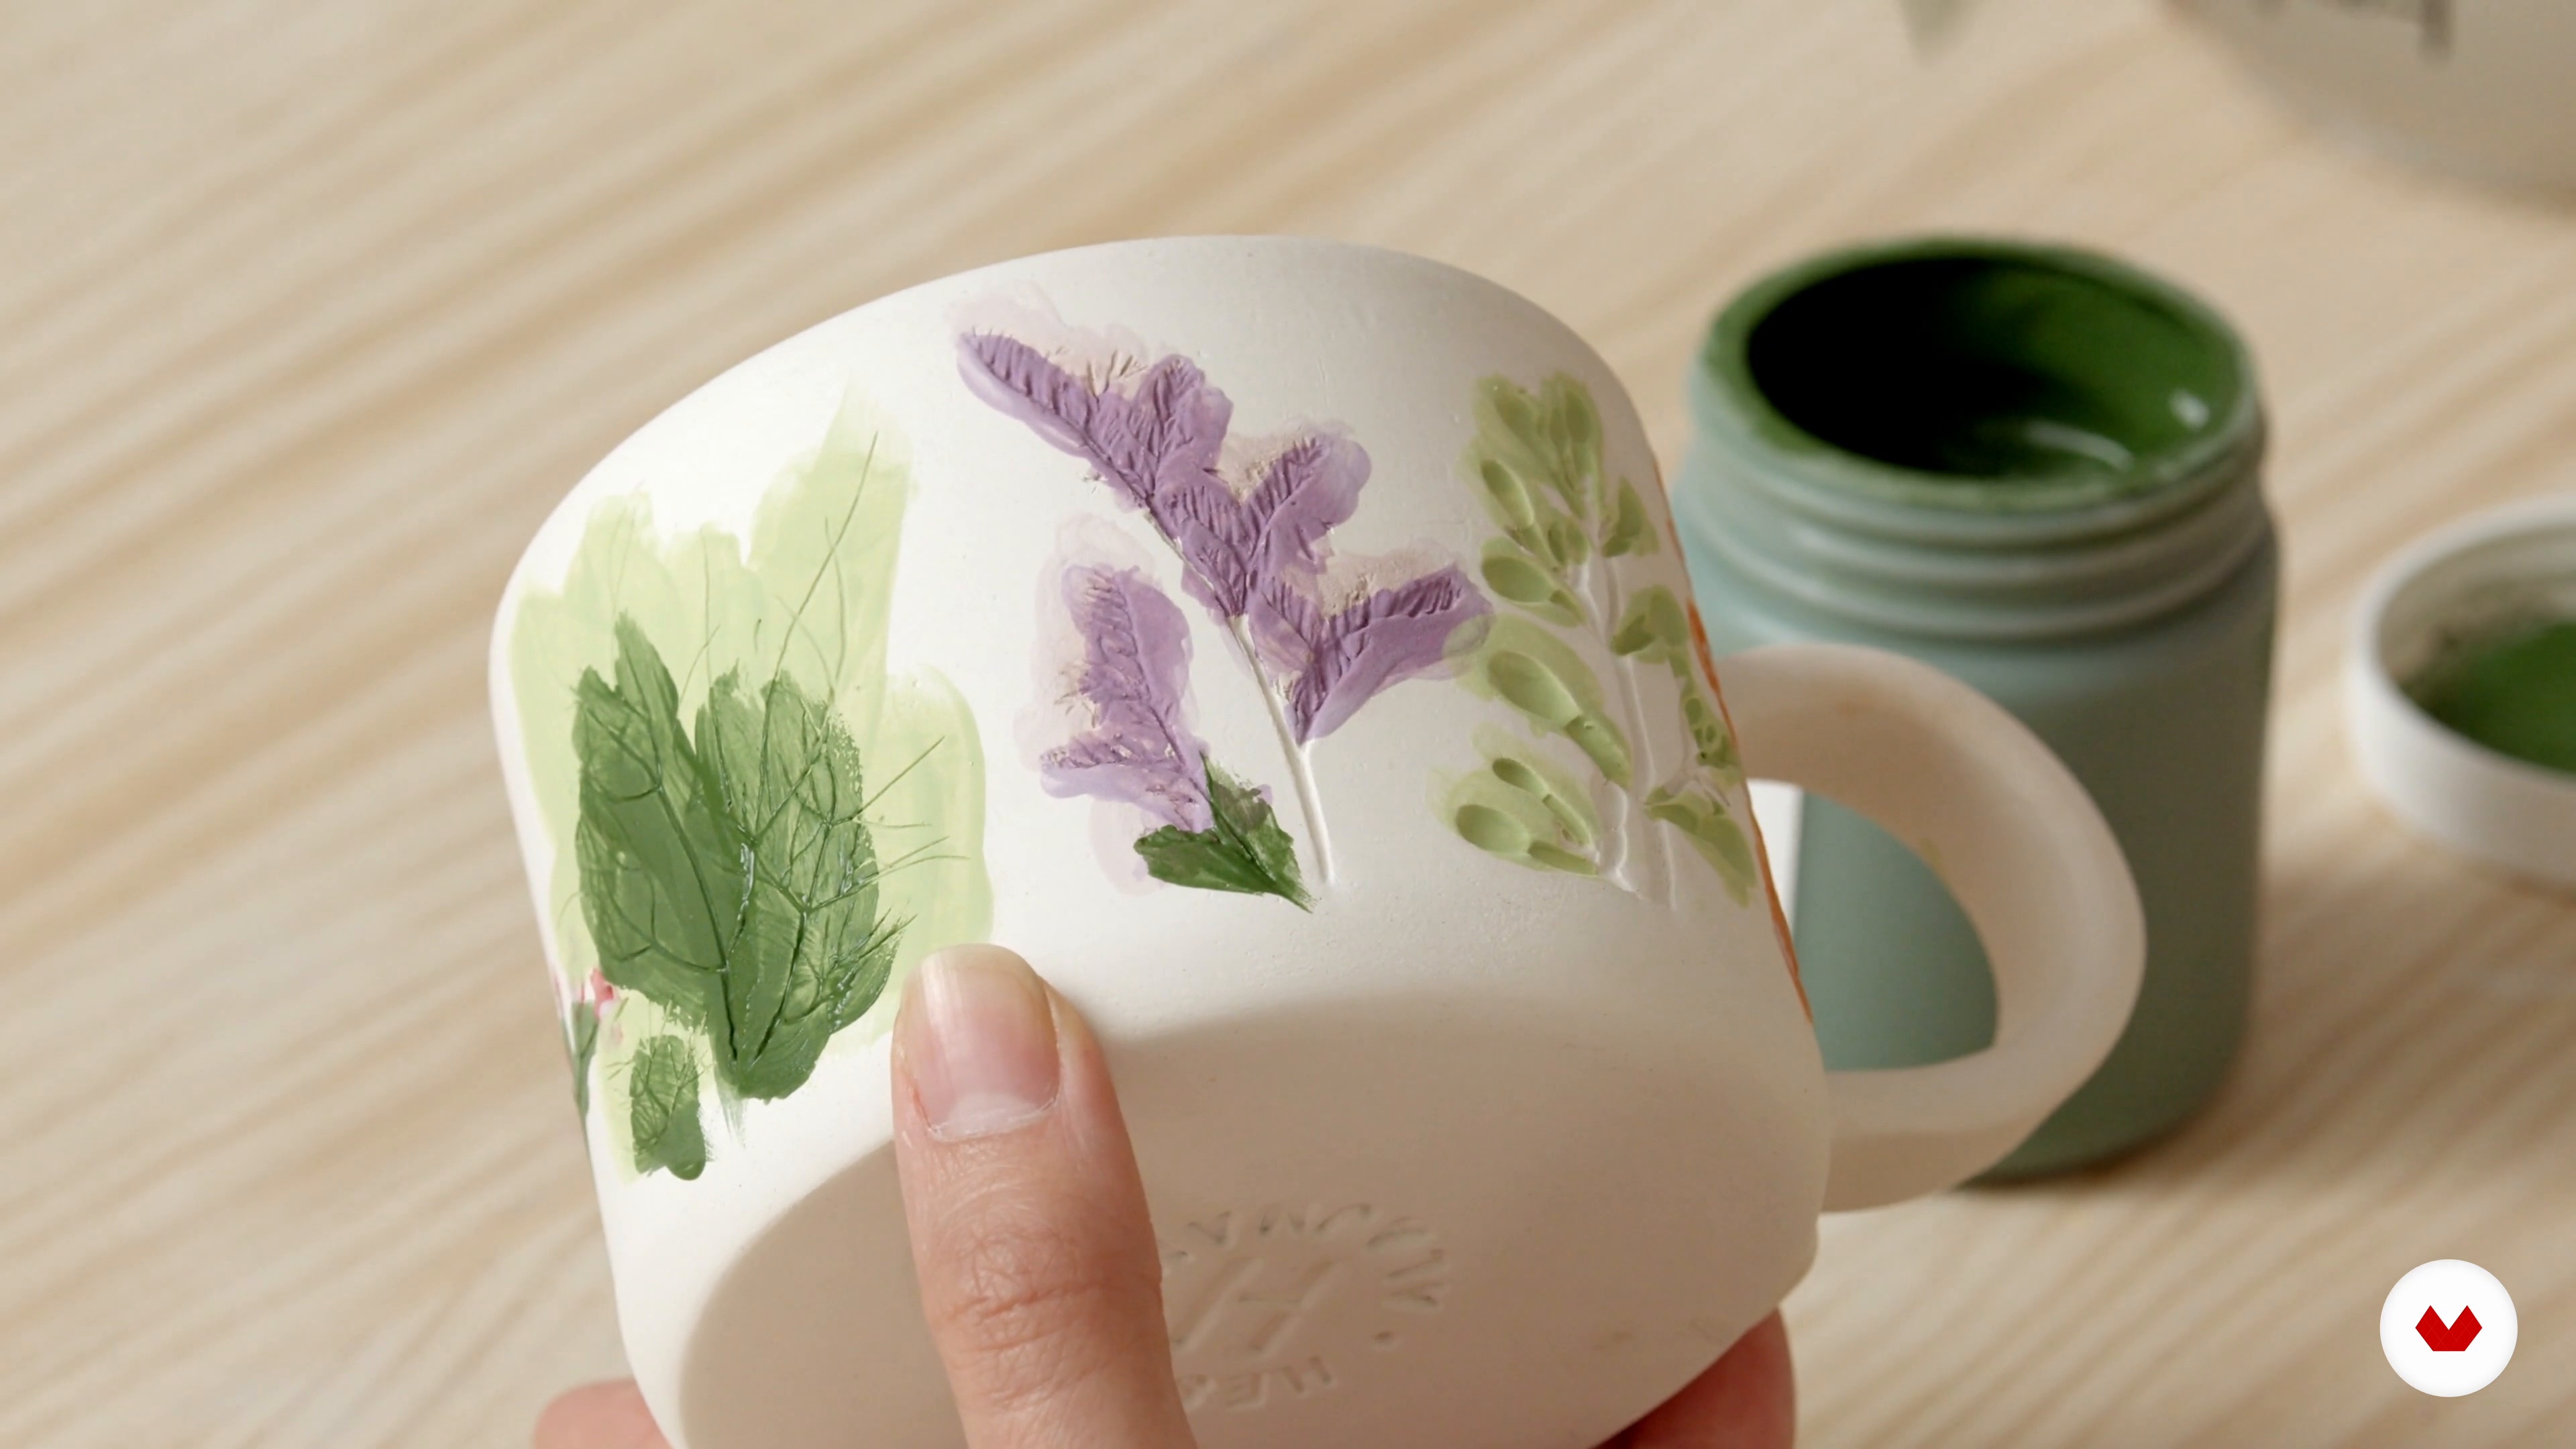 12
12Underglazing
Now, you will see how to mix underglazes to create different shades of color to make the flowers look more realistic.
14m
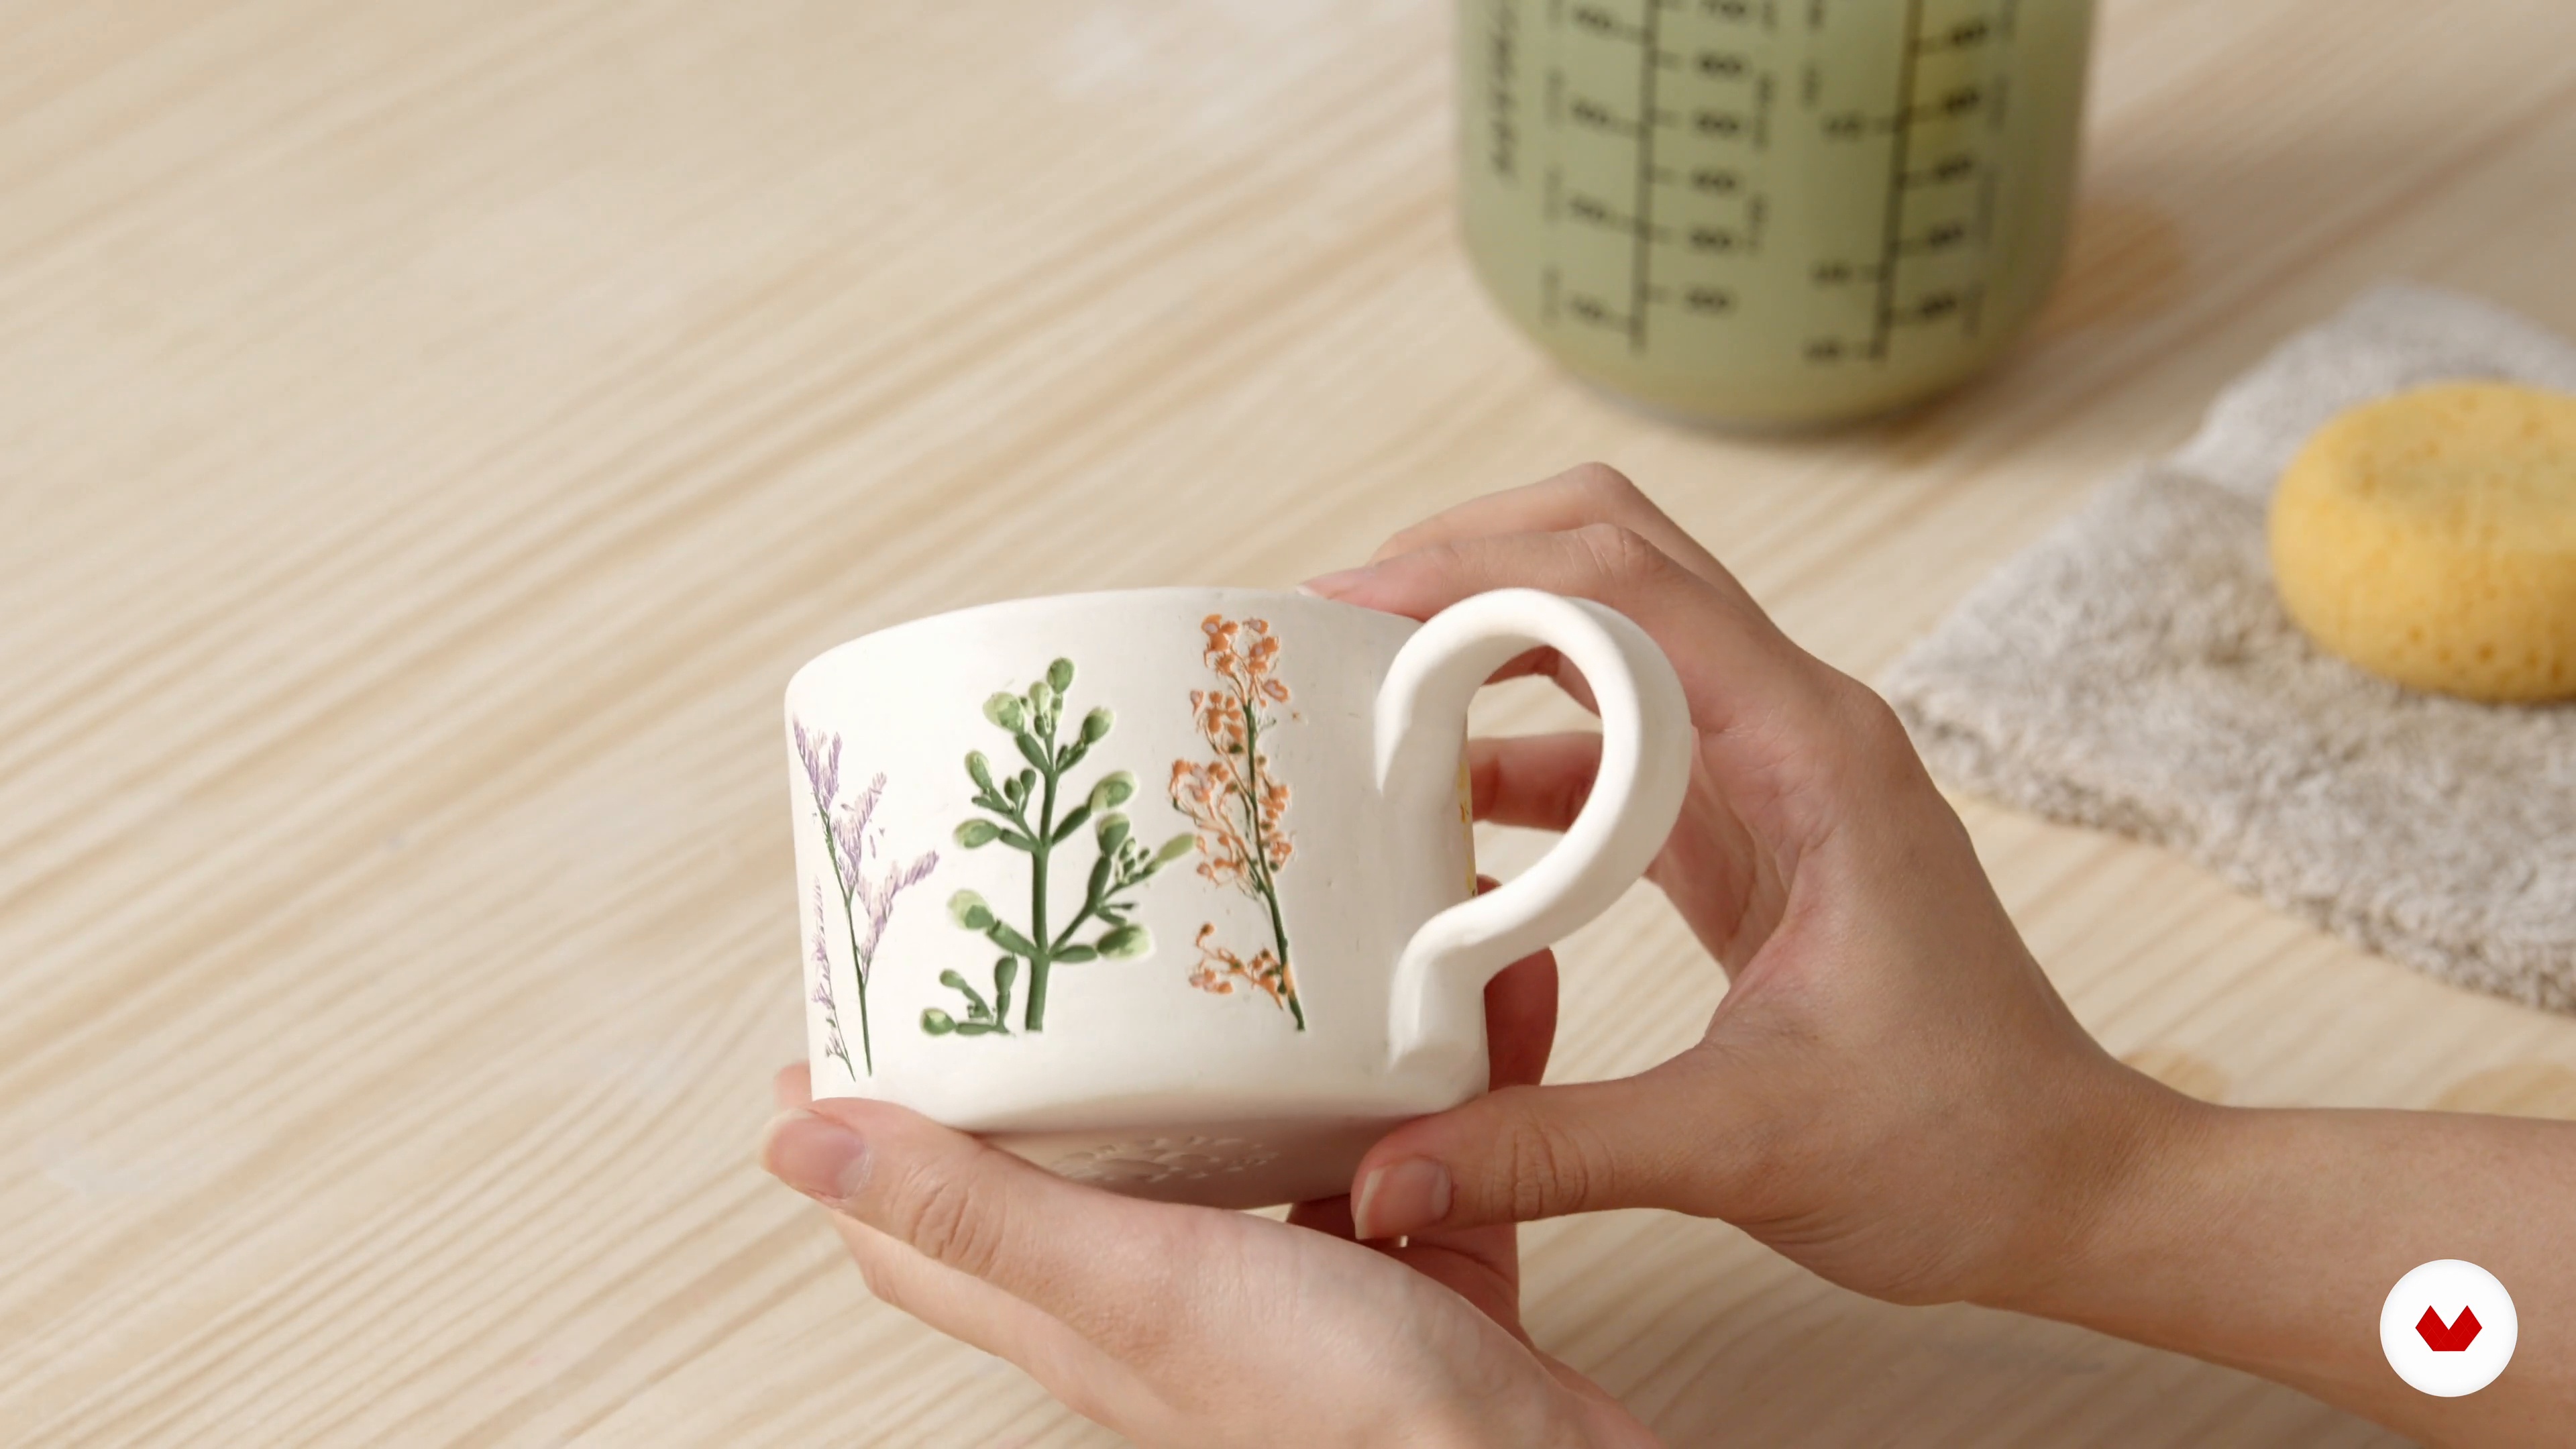 13
13Cleaning the Excess
It's time to clean the excess underglaze to reveal the lines of the imprints. Let's see how it turns out!
4m
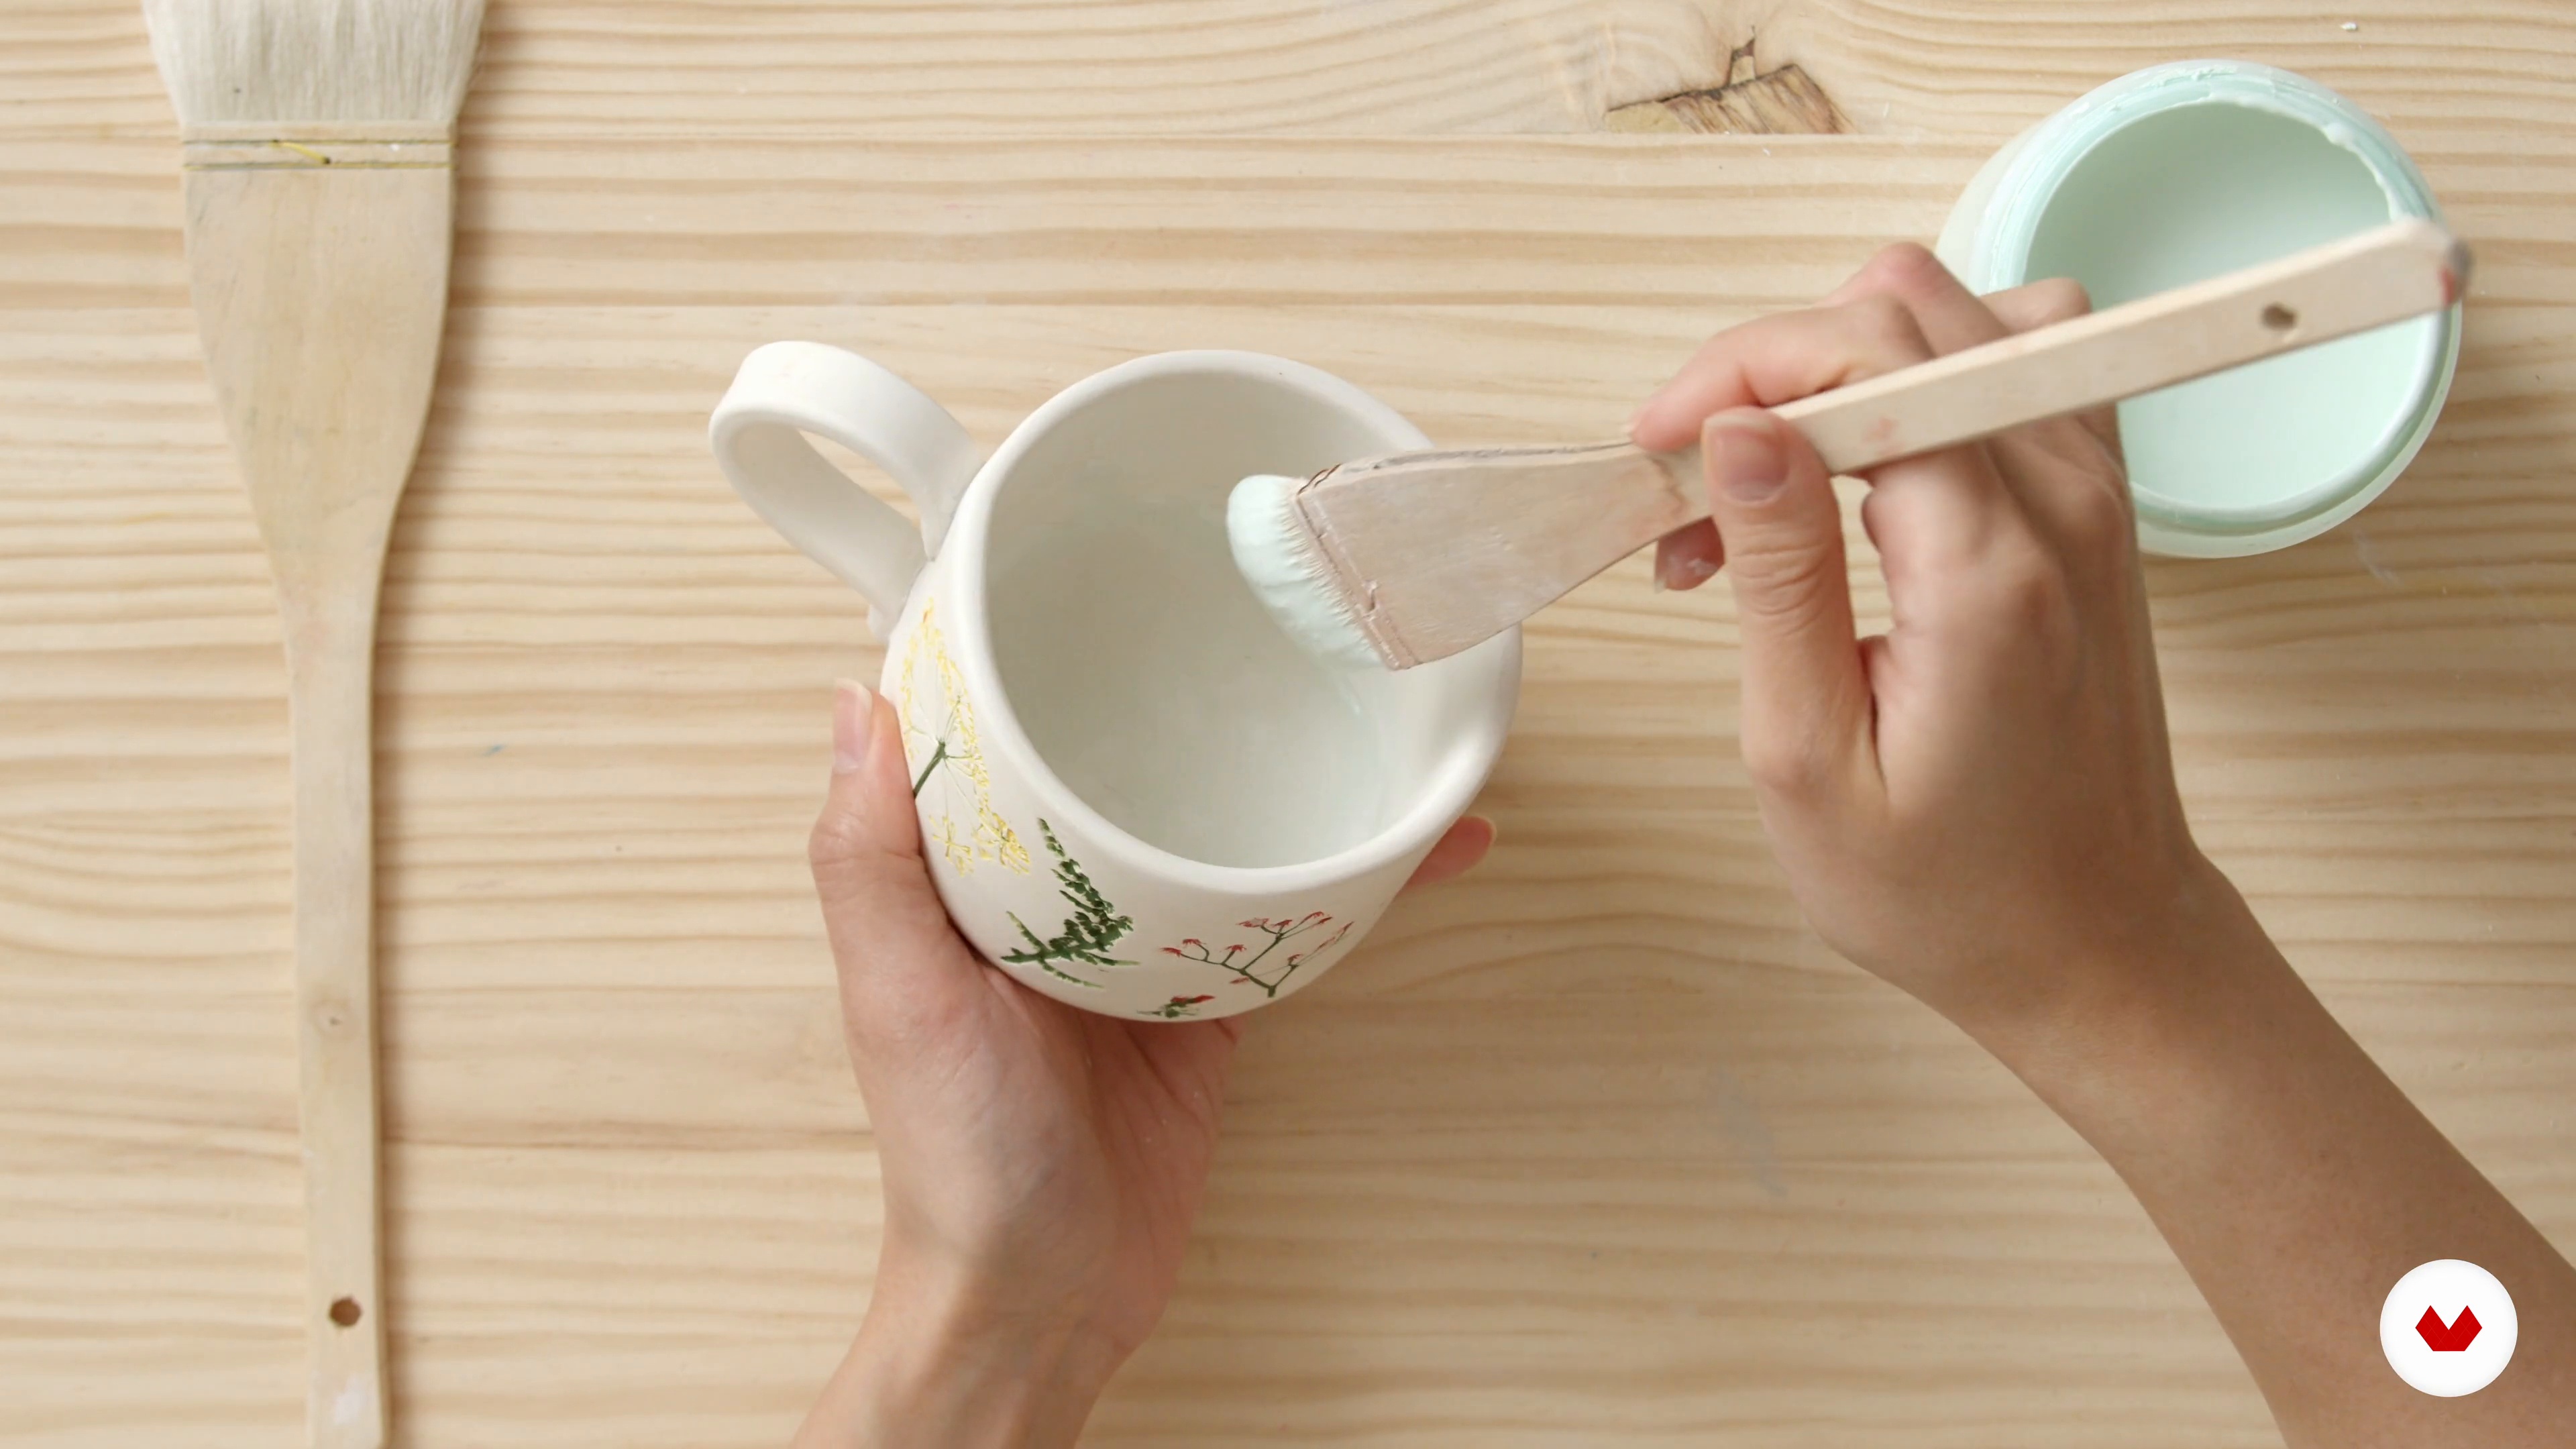 14
14Clear Glazing and Glaze Firing
In this lesson, I will clear glaze the piece to seal it and make it food safe. I will discuss different approaches to this. Then, I will briefly go over the process of glaze firing. This step will produce a finished ceramic piece.
10m
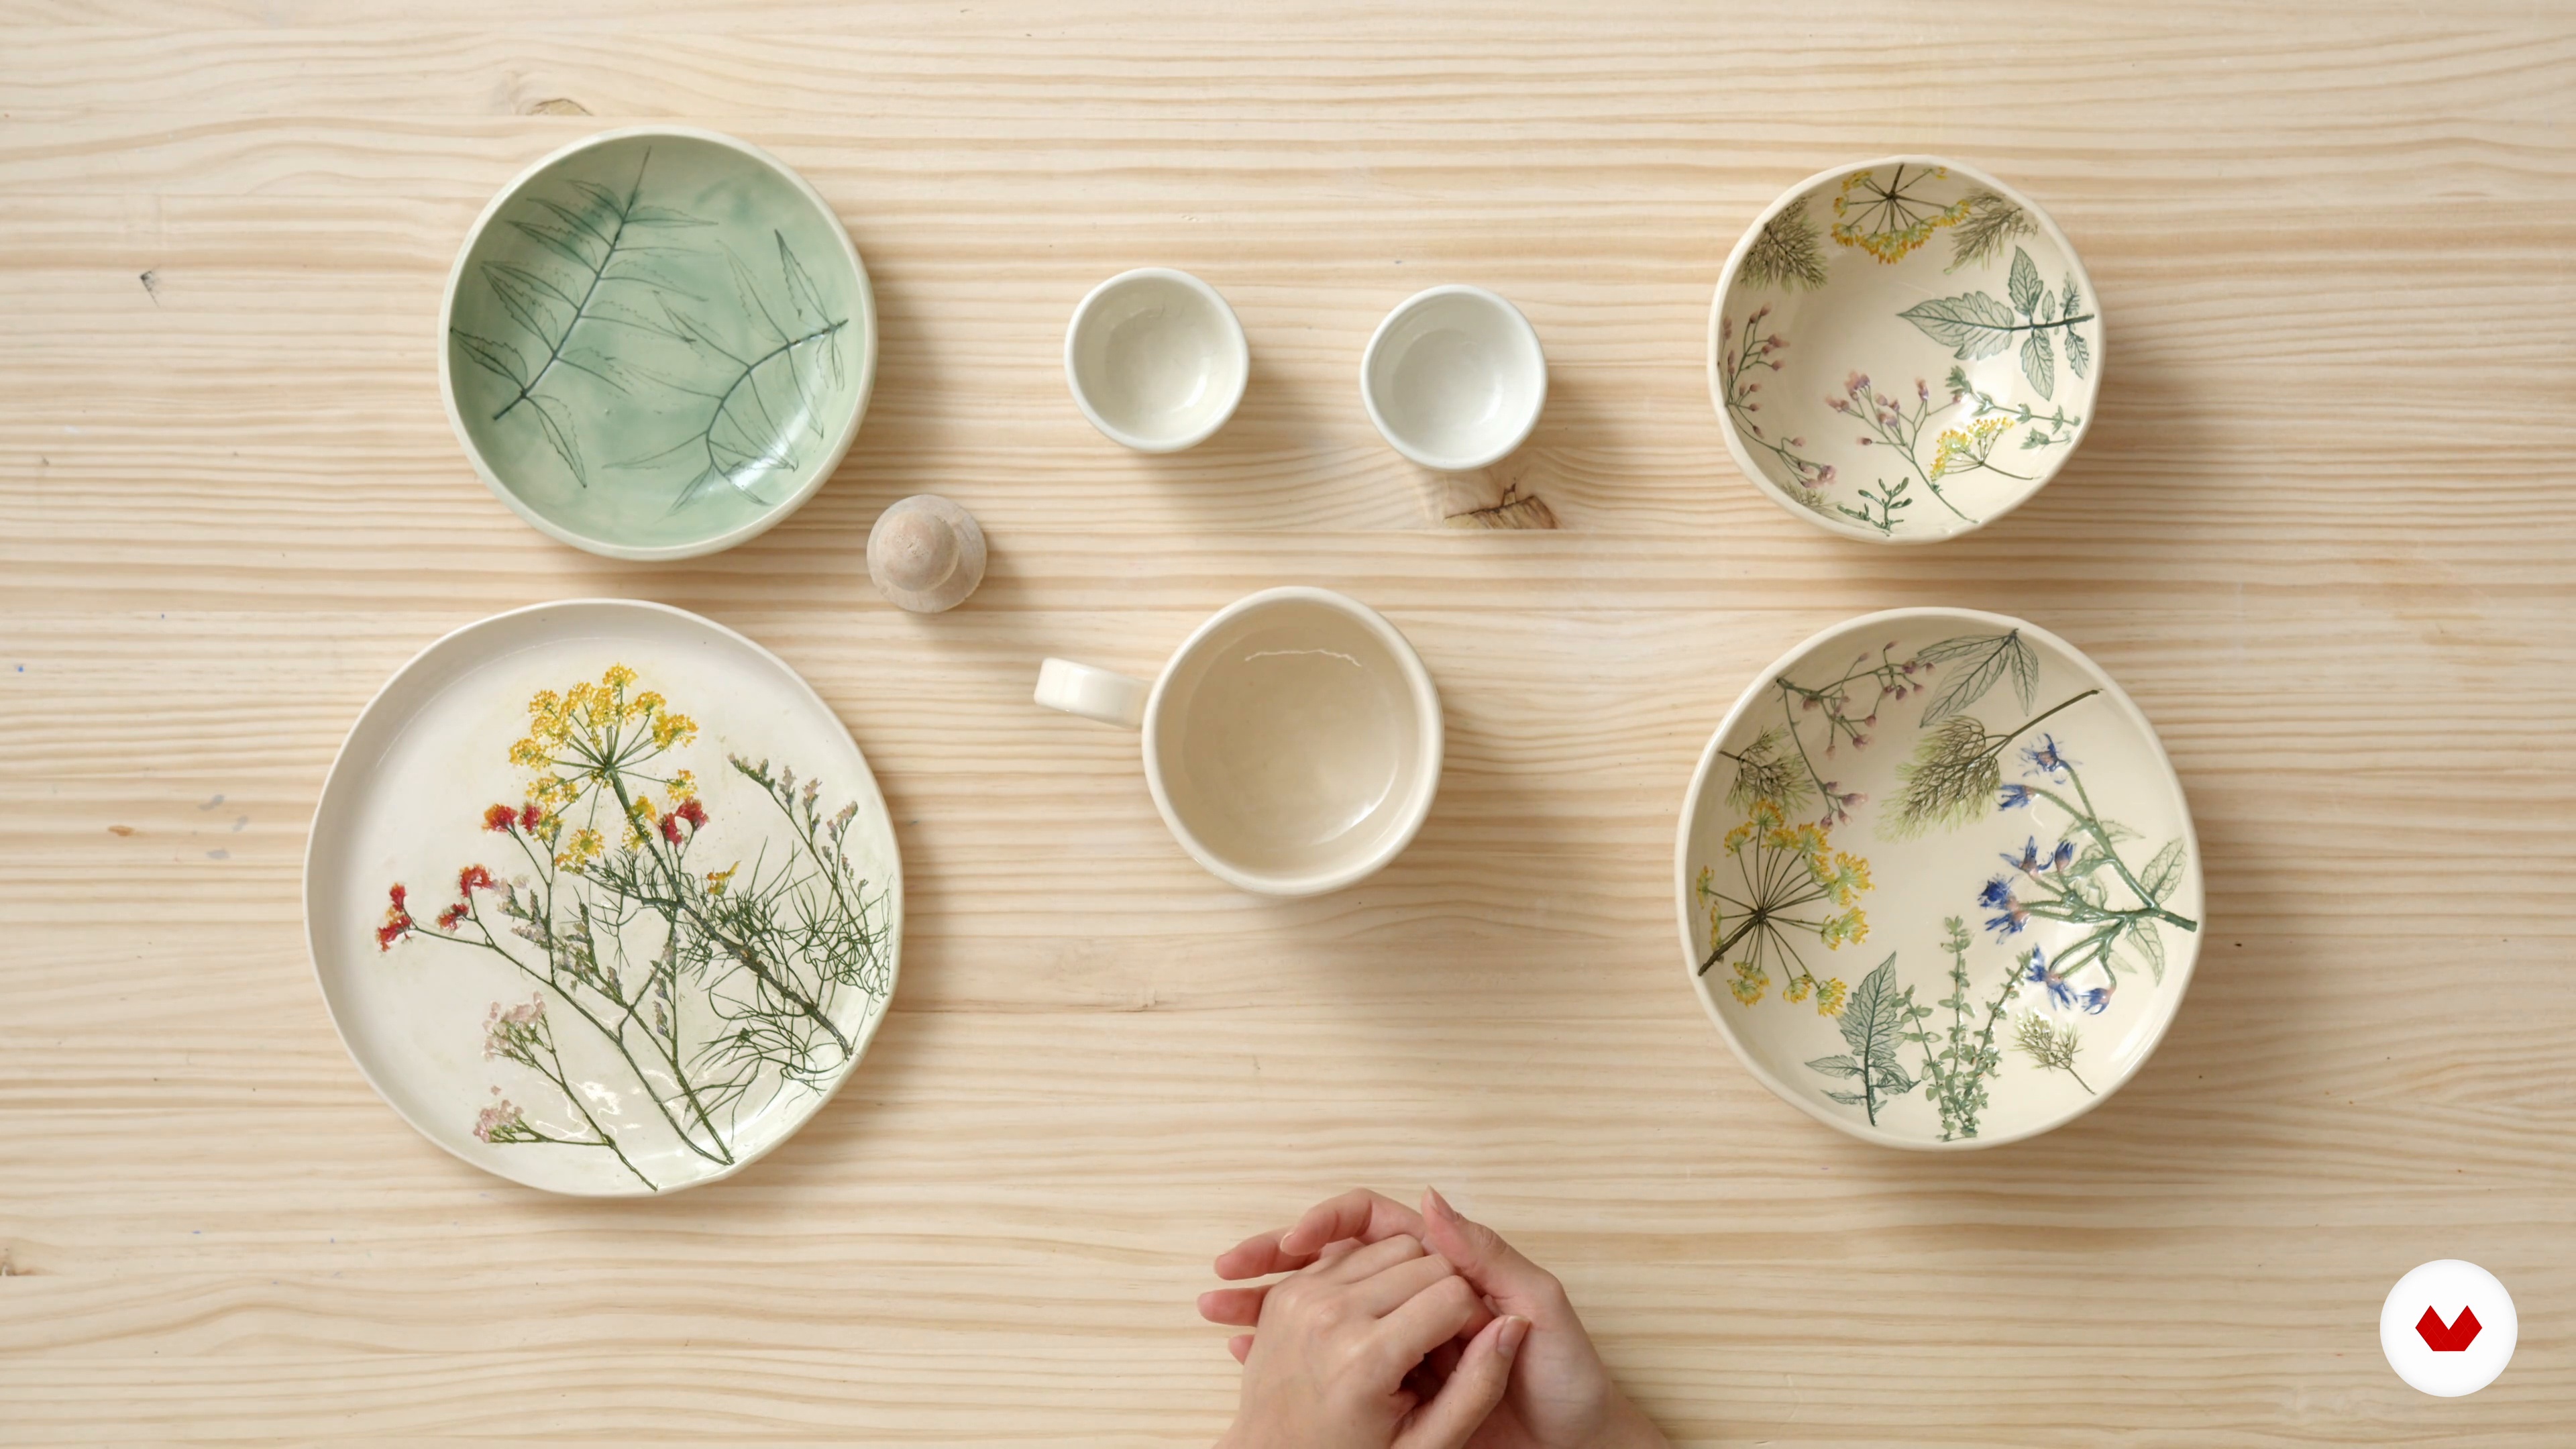 15
15Accessorizing and Applications
In this lesson, I will show you some alternative applications whereby the same process and technique can be used to create different functional ceramic ware. I will also talk about some additional decorative elements you can add to your piece to personalize it with your own style.
2m
 16
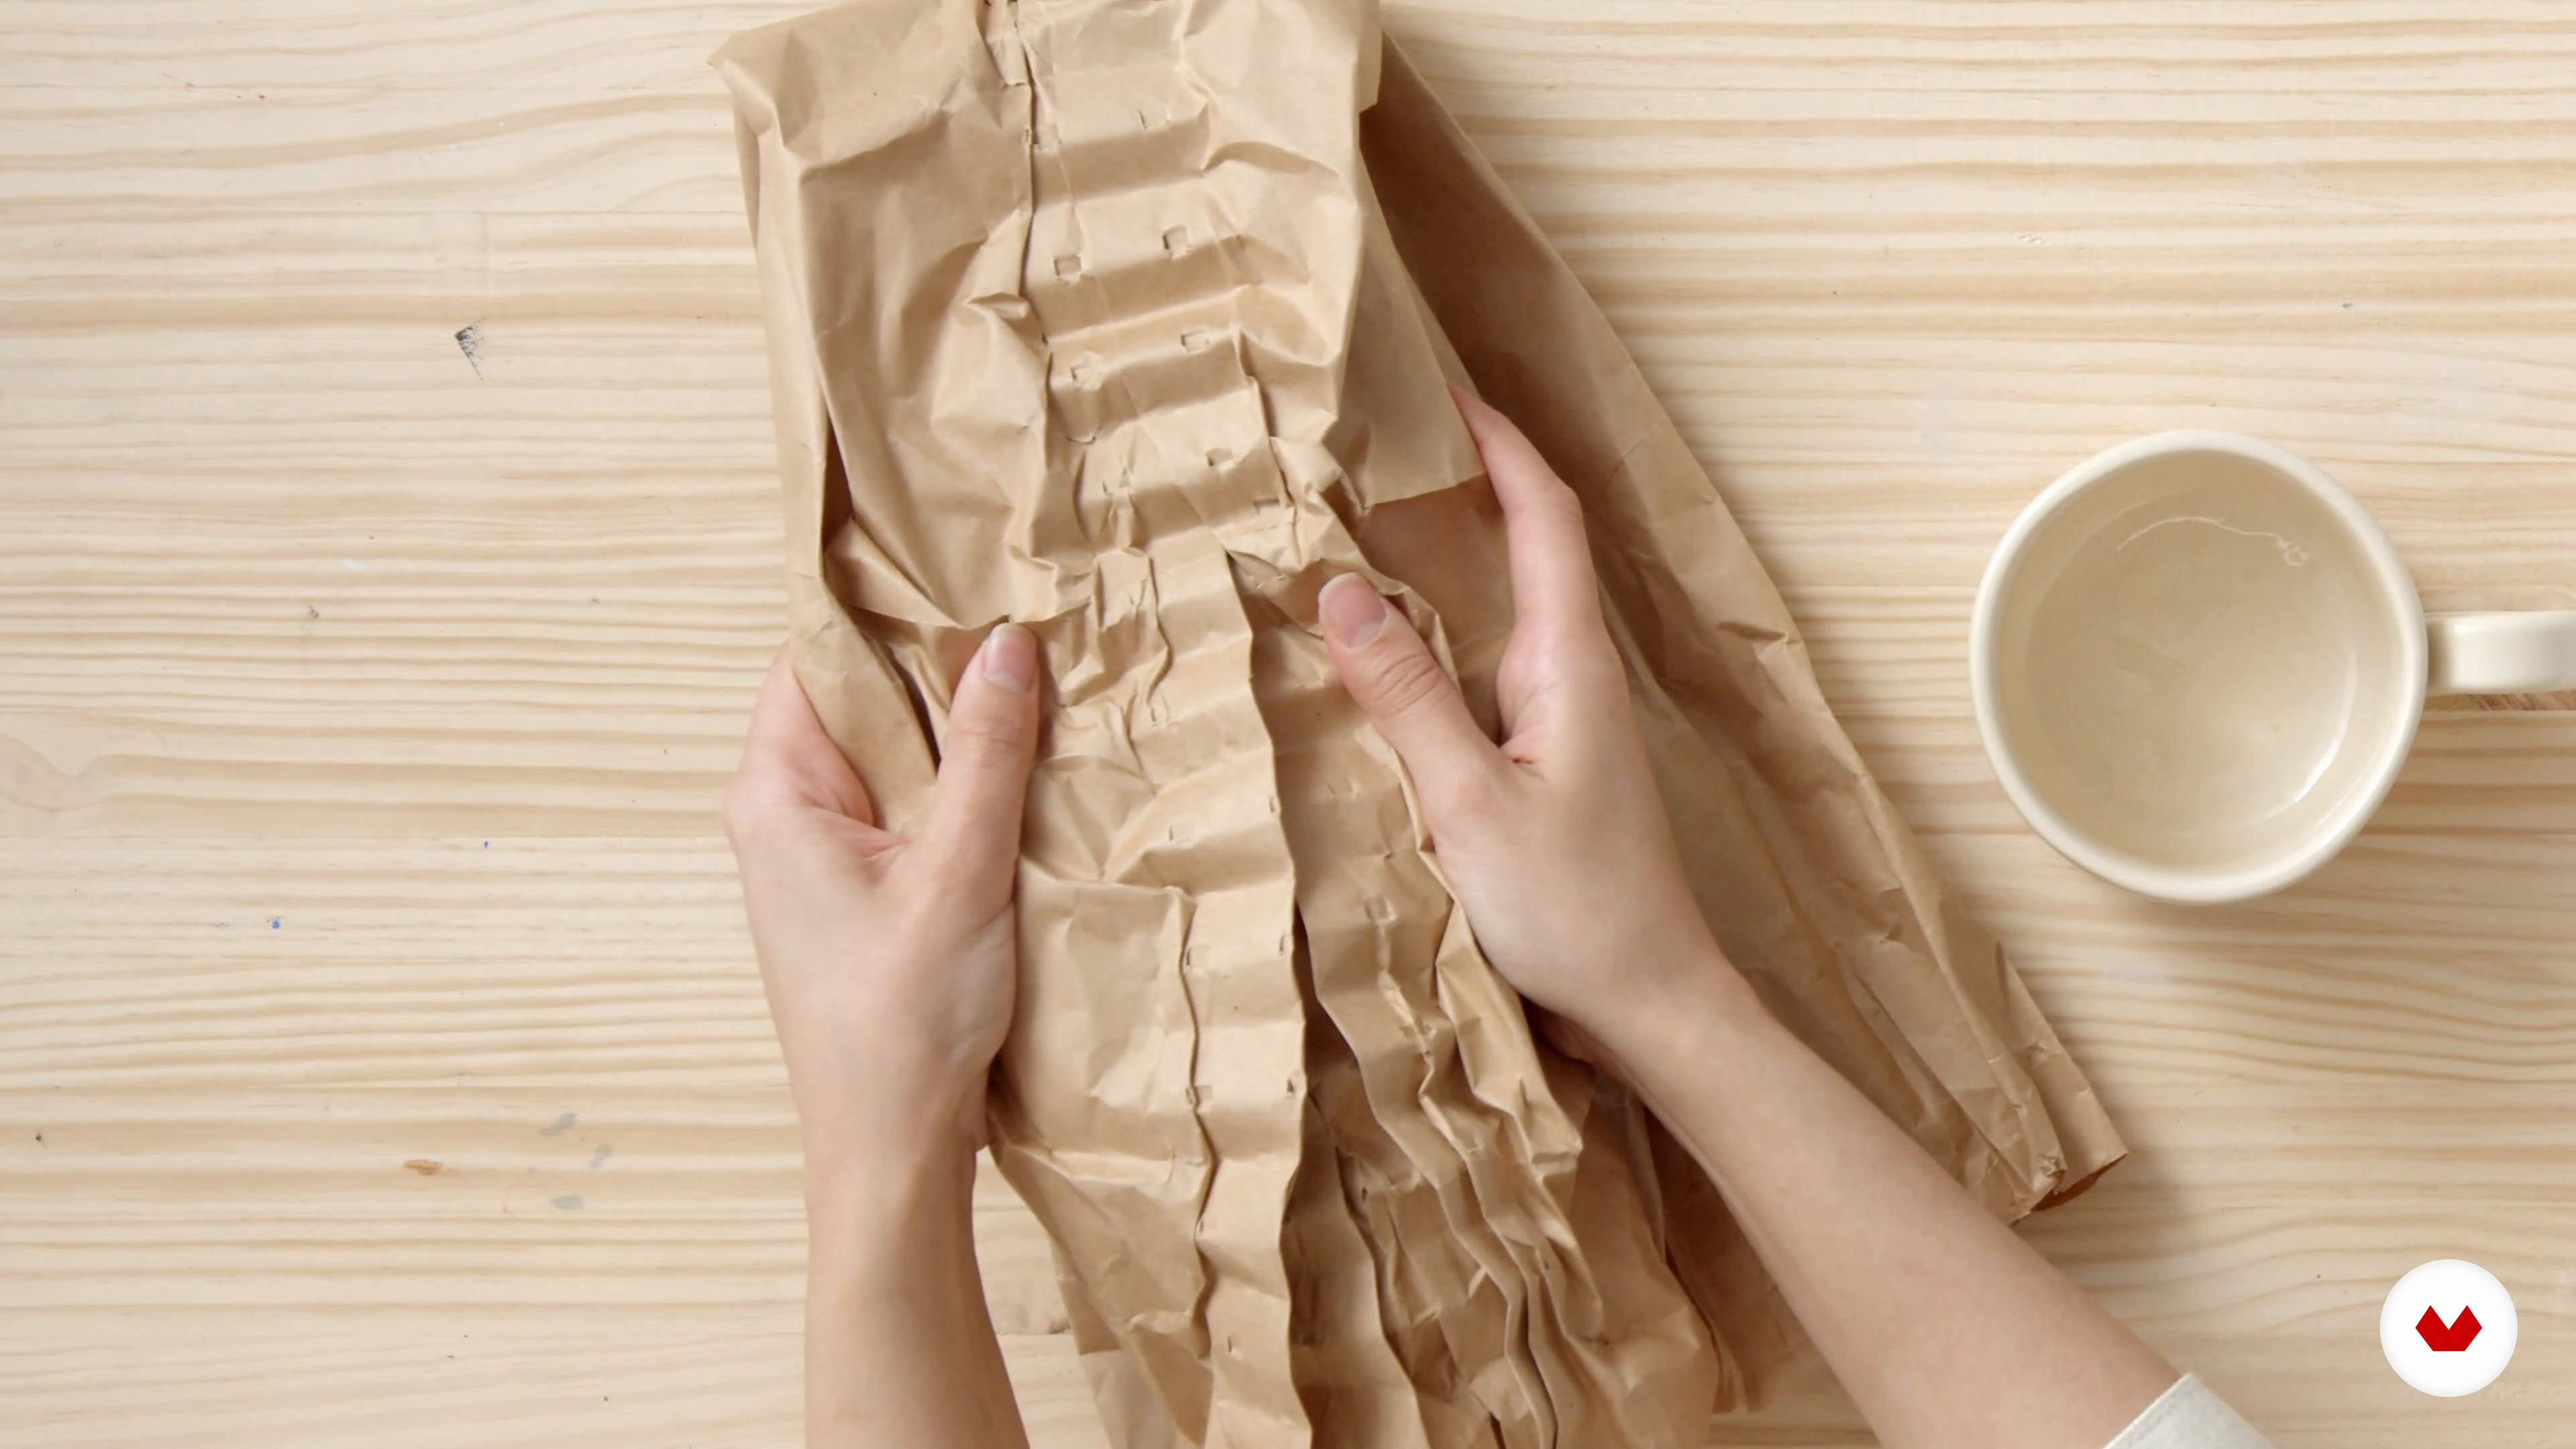
16Care Tips and Packaging
Now, I will discuss how to care for your piece in the long run with some extra packaging and storage tips.
2m
 4
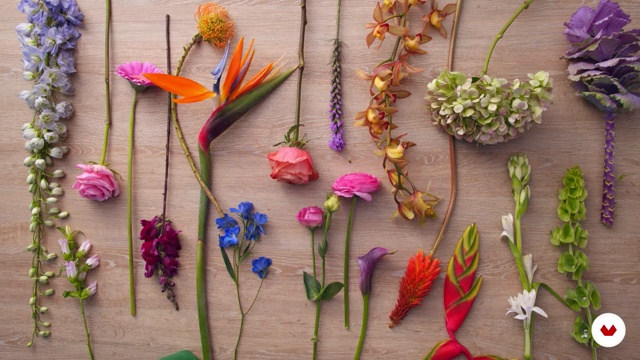
4Classification of flowers. Part 1
In this lesson I am going to explain the 5 types of flowers that exist in the harmony of an arrangement. I will also talk about what the stem of the same flower communicates and what purpose it serves within the arrangement. The success of a composition lies in the varieties. Say no to the cookbook!
17m
 5
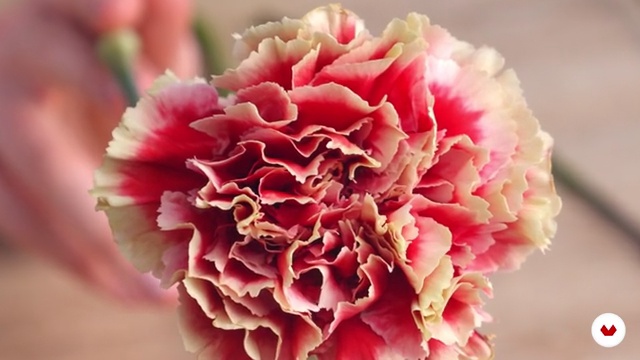
5Classification of flowers. Part 2
Here I keep showing you the complementary flowers and the dried flowers. I'm also going to introduce you to how to give your arrangements a flirty touch.
6m
 6
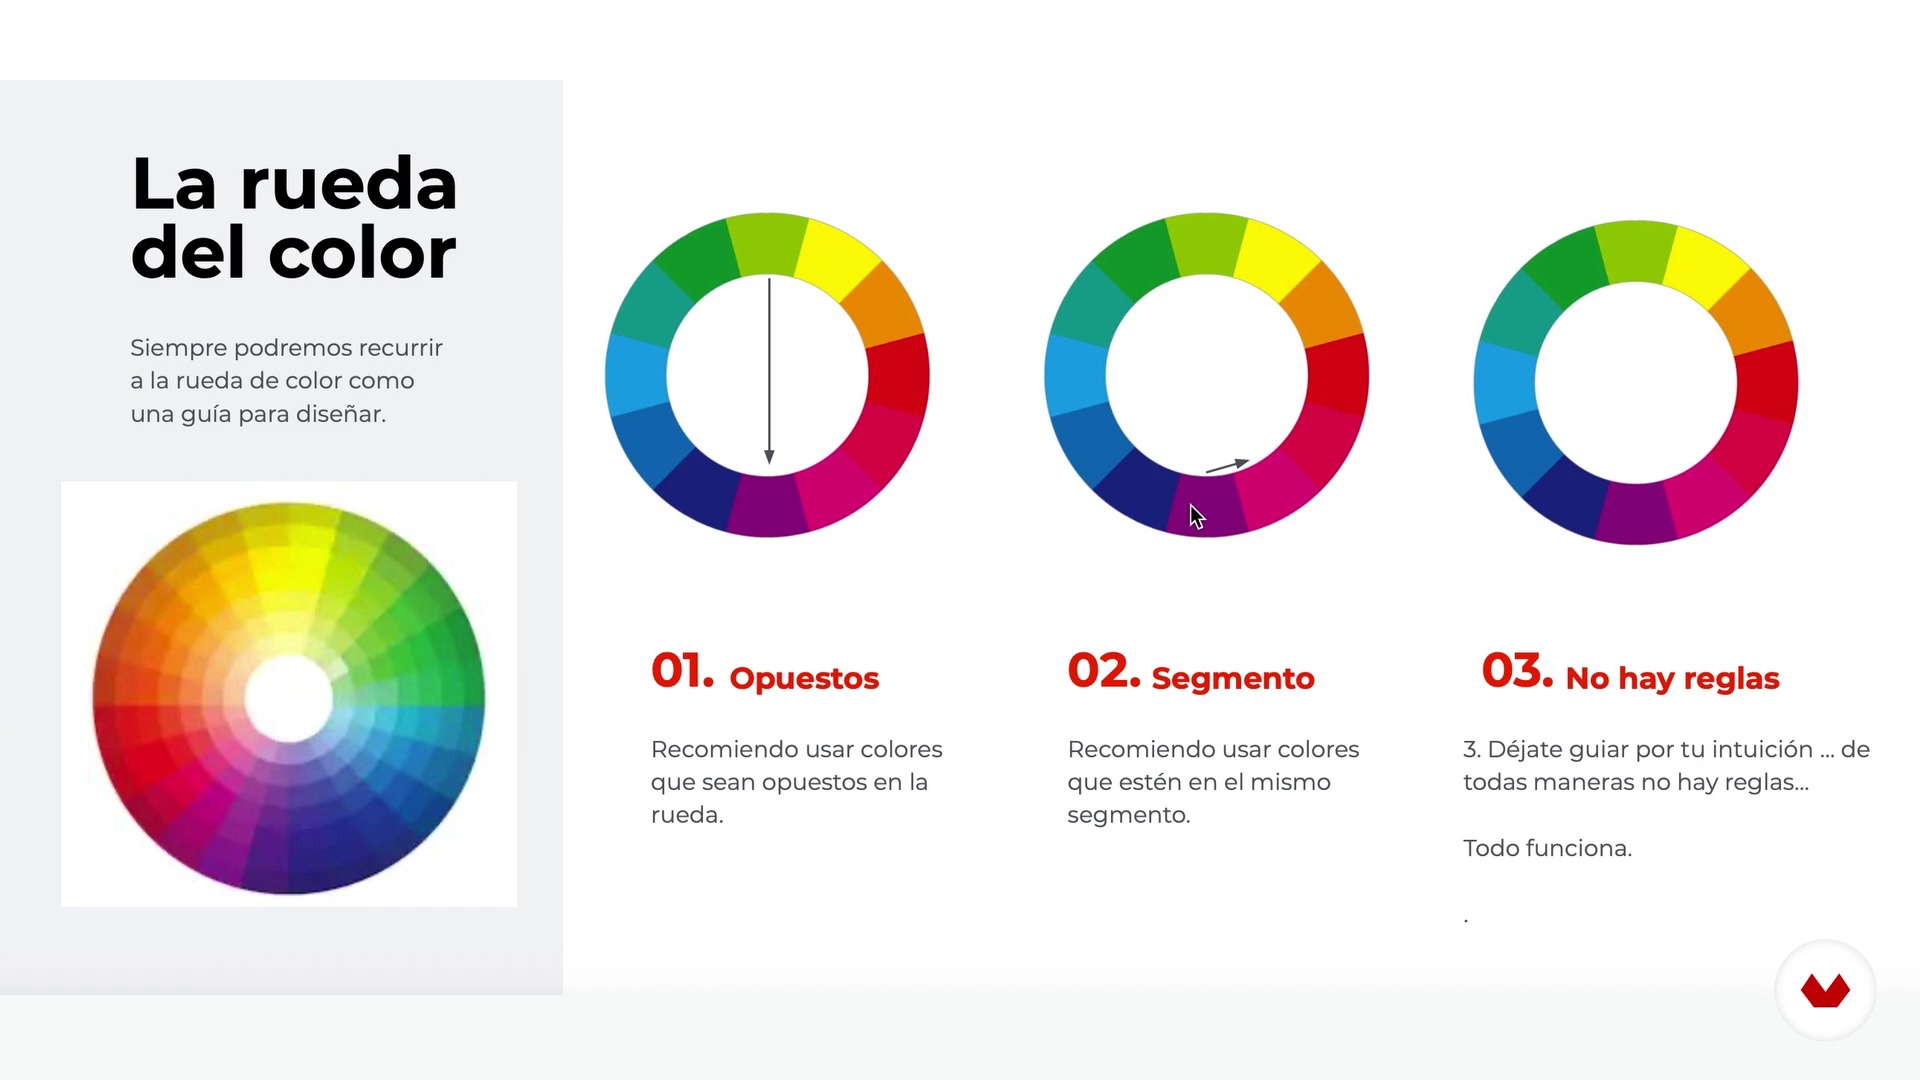
6Theory of color
Here I will explain mechanisms that I use to choose a color palette and have coherence to design a balanced composition.
11m
 7
7Composition techniques. Part 1
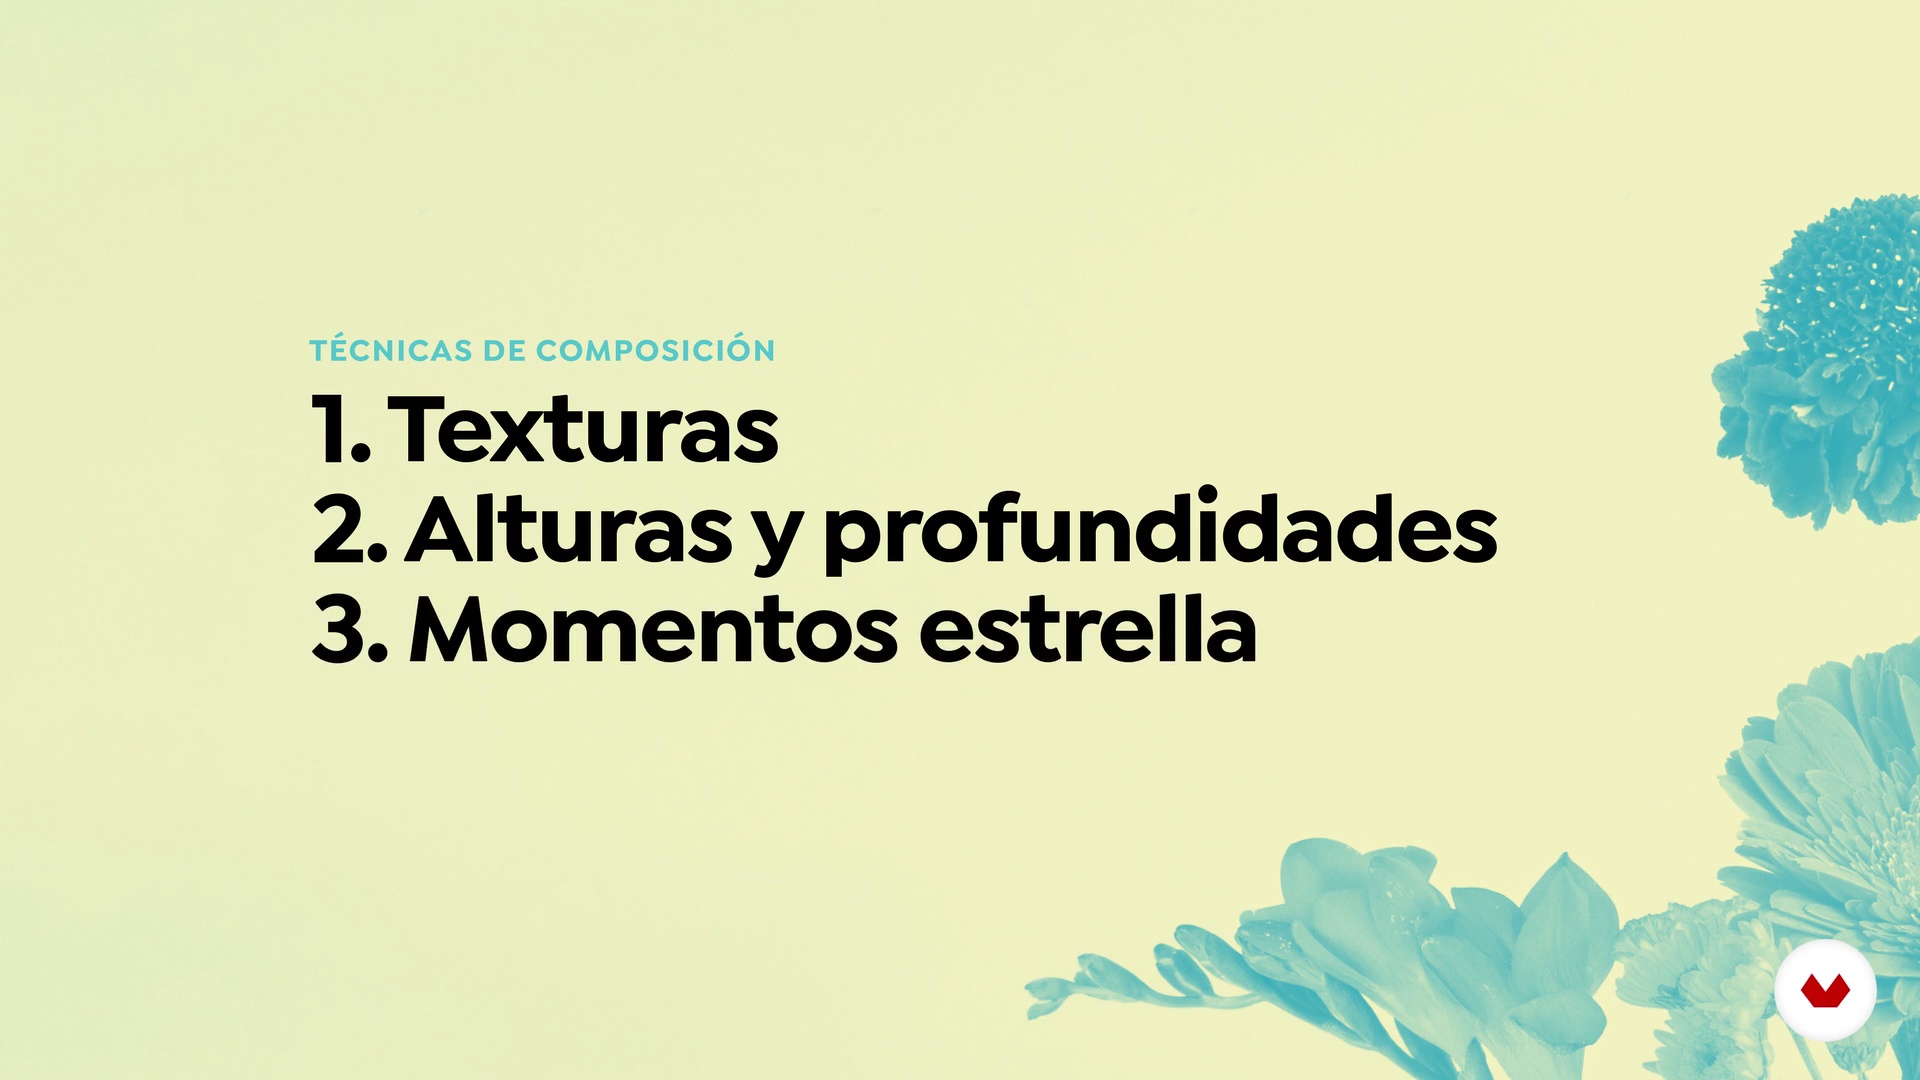
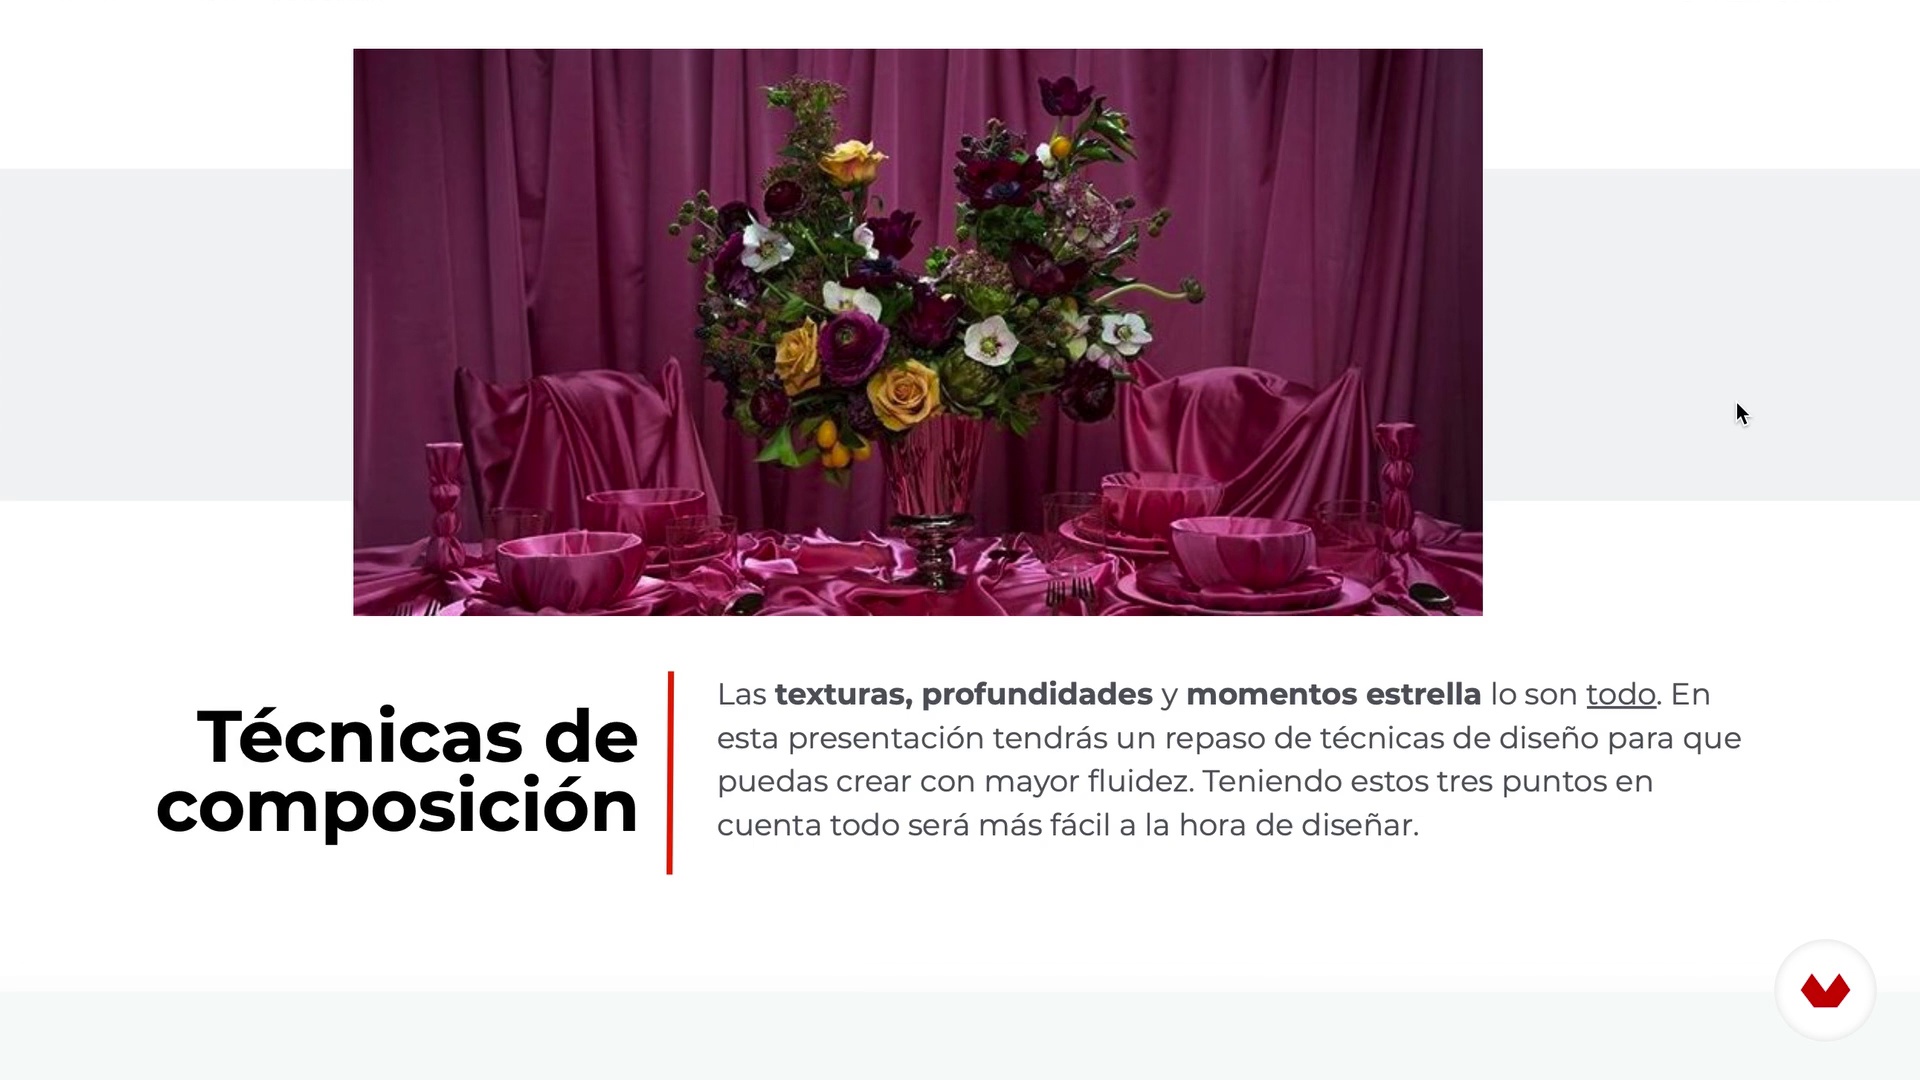
In this lesson I am going to talk to you about 4 important concepts: textures, height, depth and star moments. All very important when composing a flower arrangement. Before that I am going to tell you what we should leave at the door and never let in floral design again.
10m
 8
8Composition techniques. Part 2
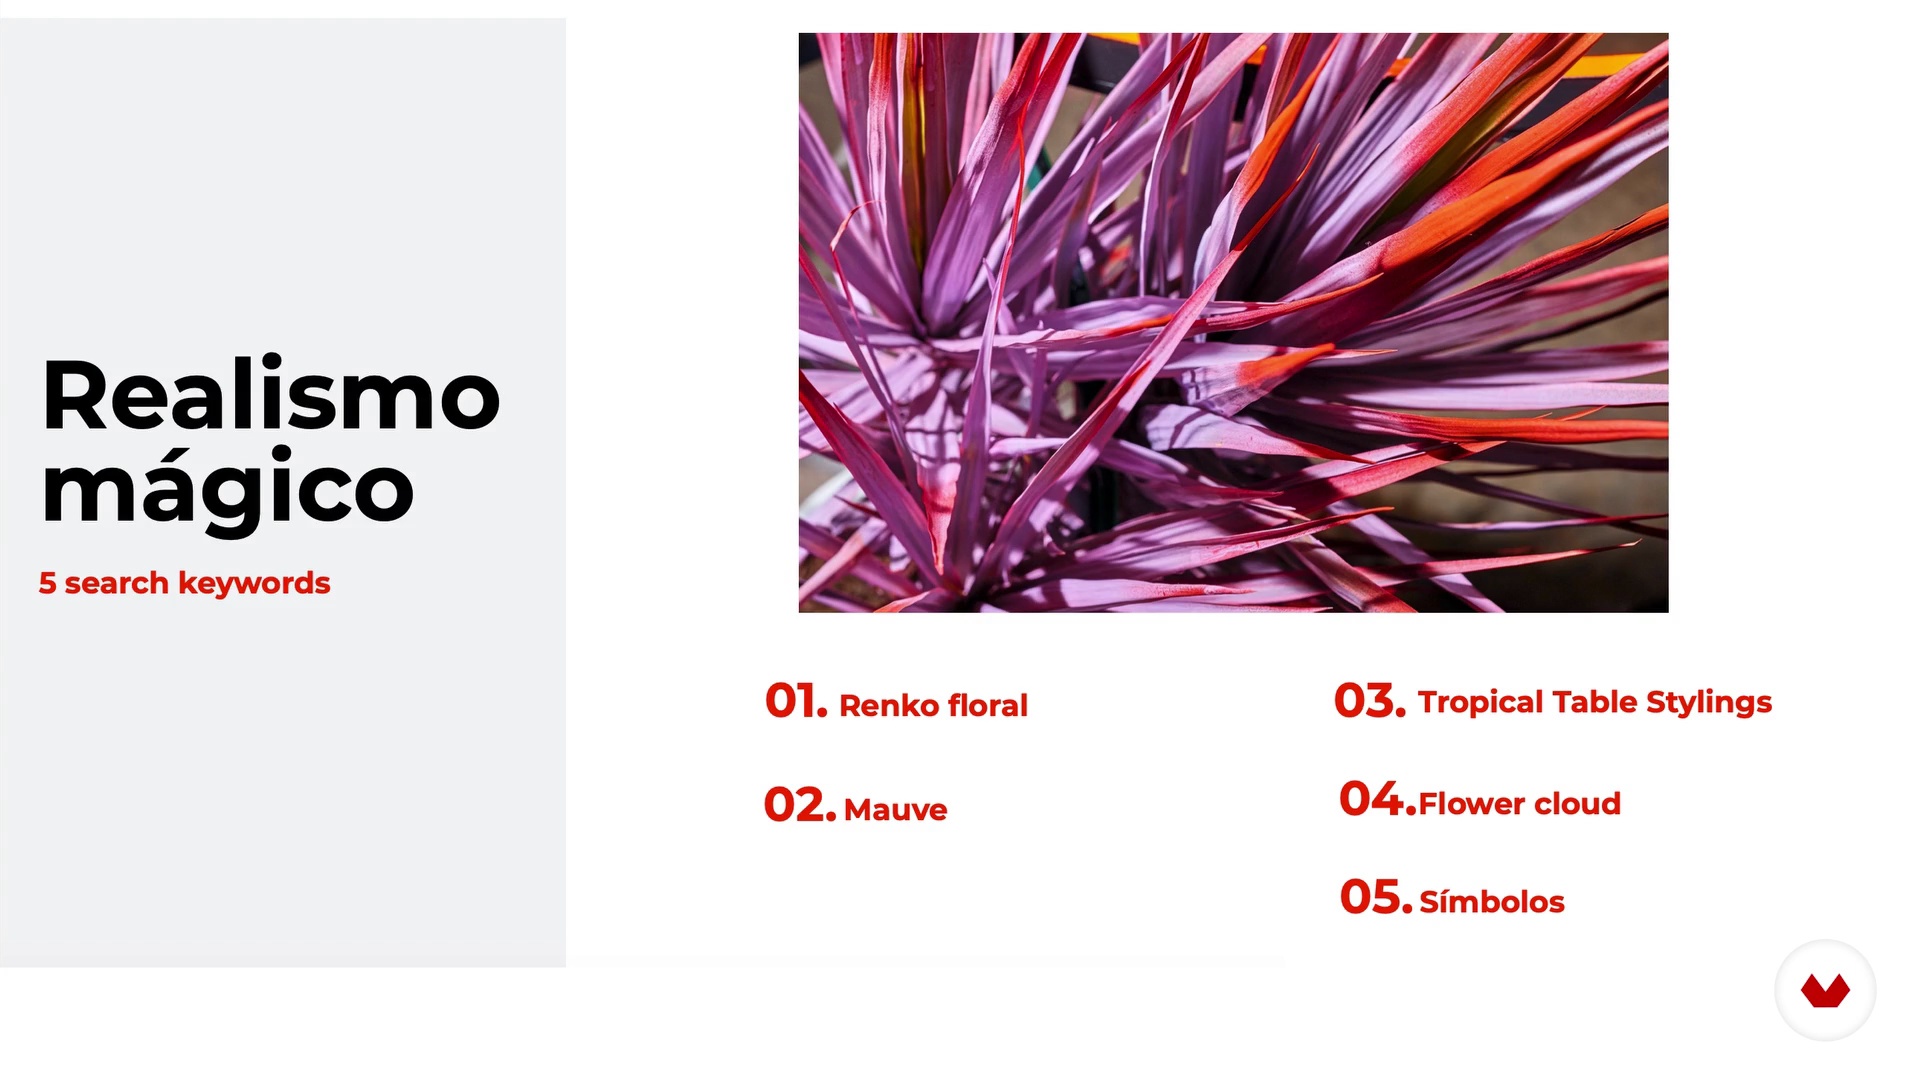
Taking into account what we are going to leave behind, I will tell you about the new concepts that we must take into account when composing flower arrangements.
11m
 9
9Brainstorming session
In this lesson I will explain the creative process that happens with my team to begin to build on a series of references and ideas. Here I will tell you the concept on which I will base the final project of the course,
18m
 10
10Materials and tools
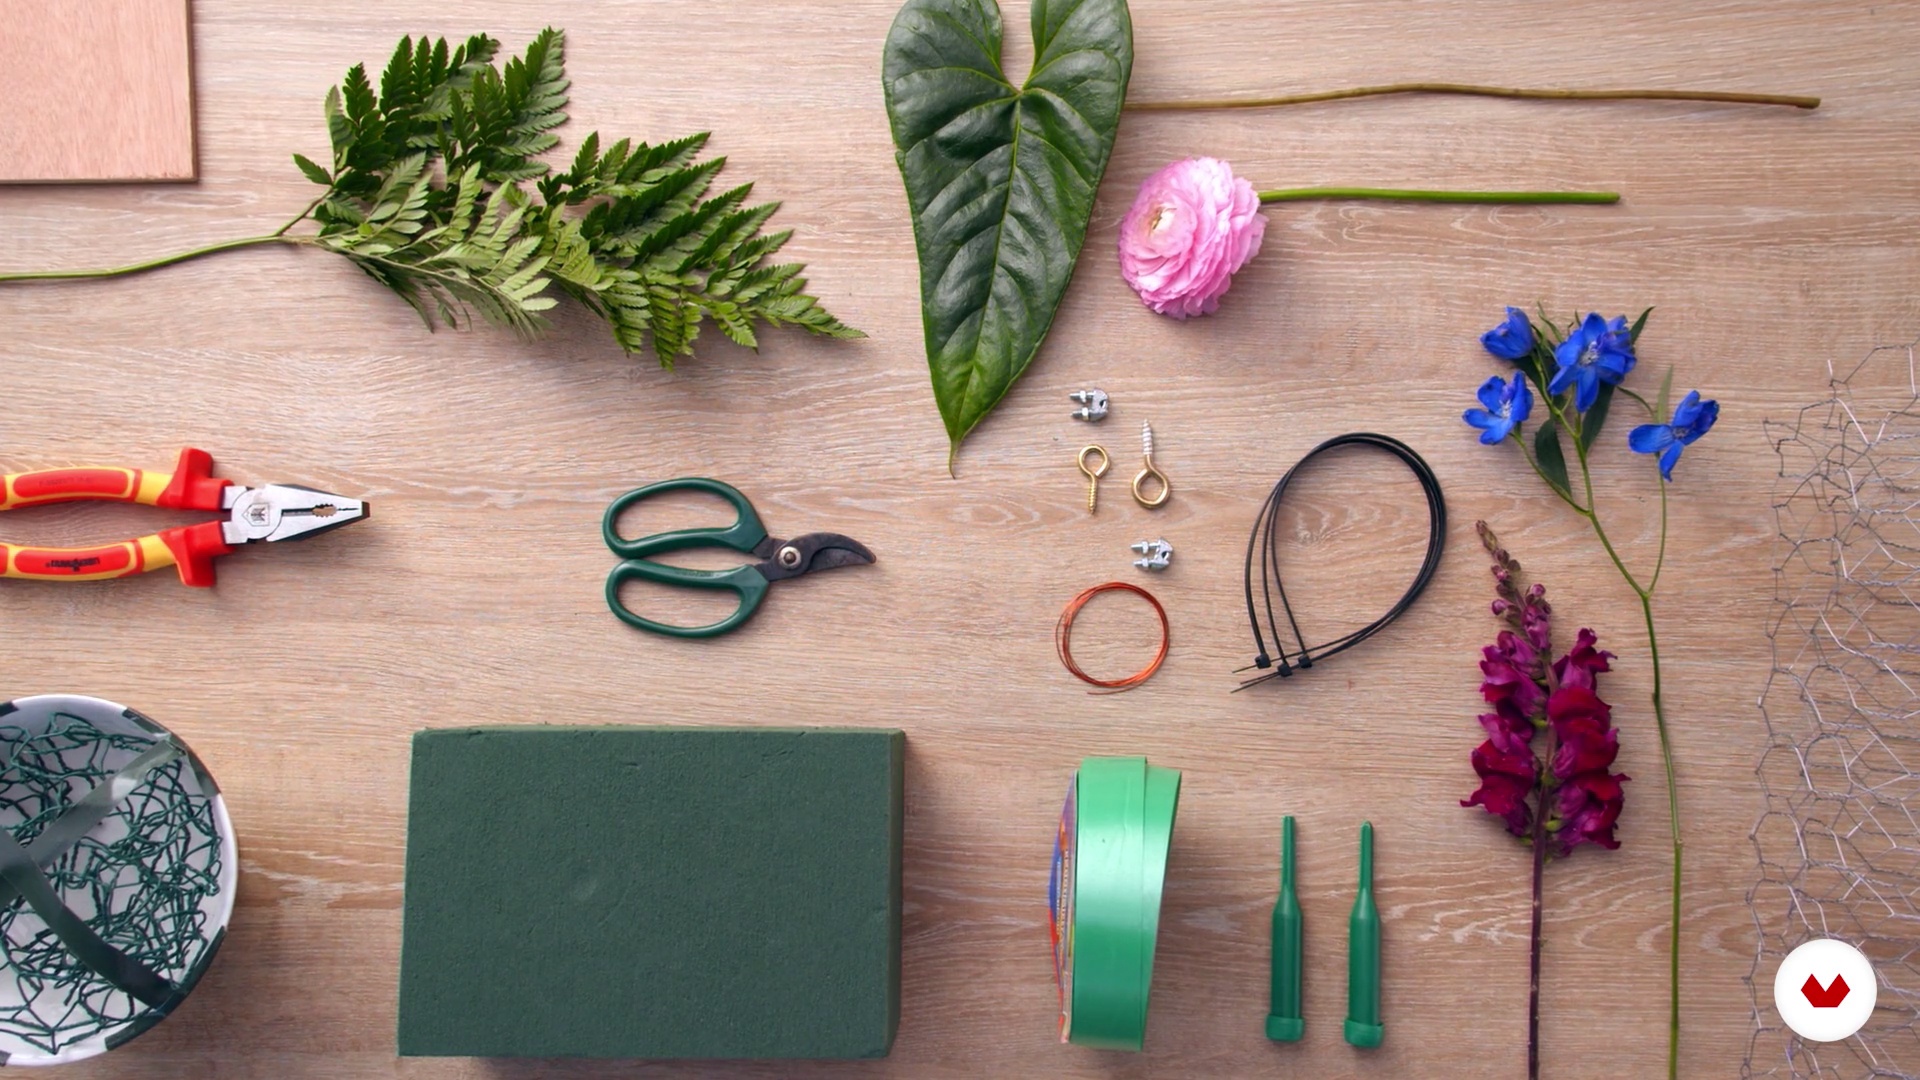
In this lesson I am going to tell you what are the materials and tools we need to develop the course.
5m
 11
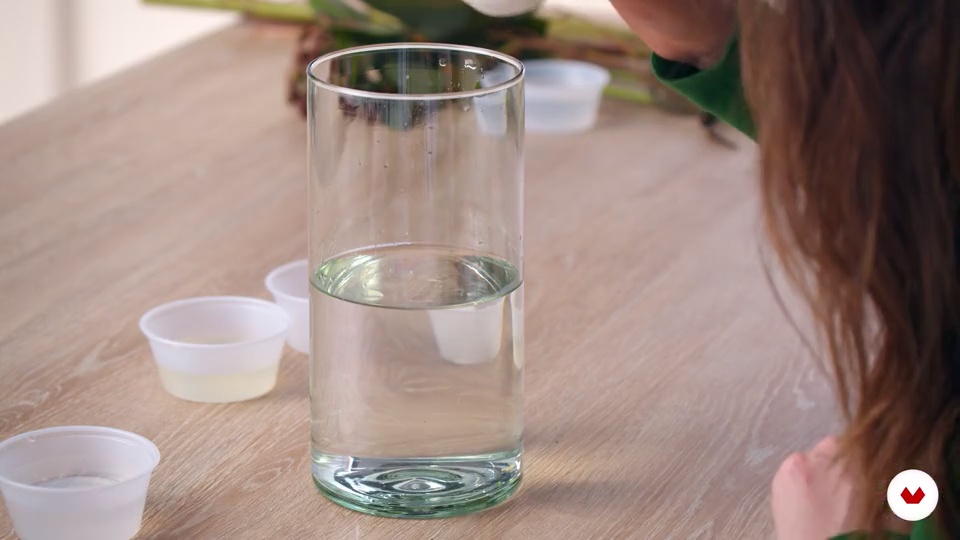
11Hydration and care of the flower
Now I am going to tell you about how we should prepare the flower before making the arrangements. Peeling and moisturizing it are fundamental steps so that in the subsequent steps our creations remain impeccable, fresh and last over time.
13m
 12
12Arrangements with oasis. Part 1
In this lesson I will explain the pros and cons of using oasis in flower arrangements. I will make an elongated centerpiece using oasis taking into account the look I am looking for for the table assembly.
17m
 13
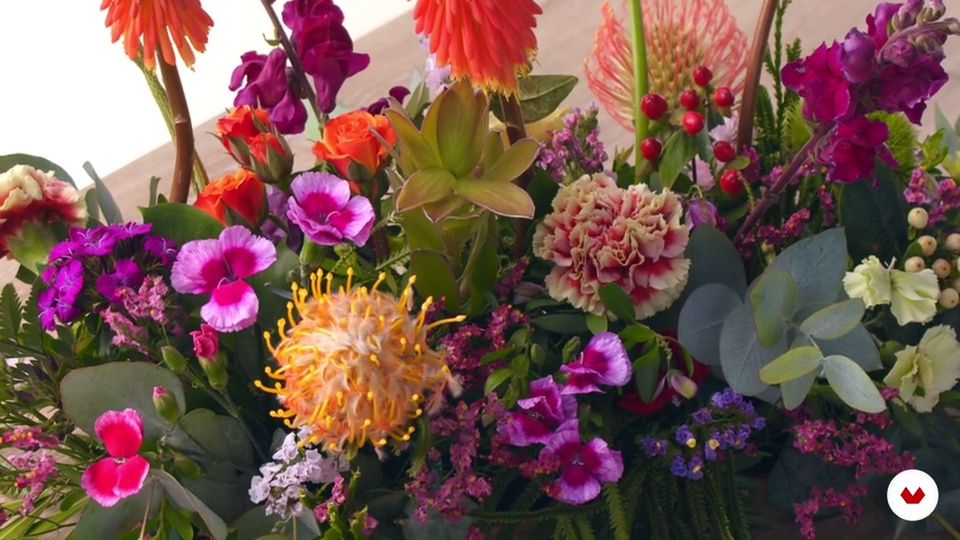
13Arrangements with oasis. Part 2
In this part I am going to continue placing the foliage of the composition in oasis.
13m
 14
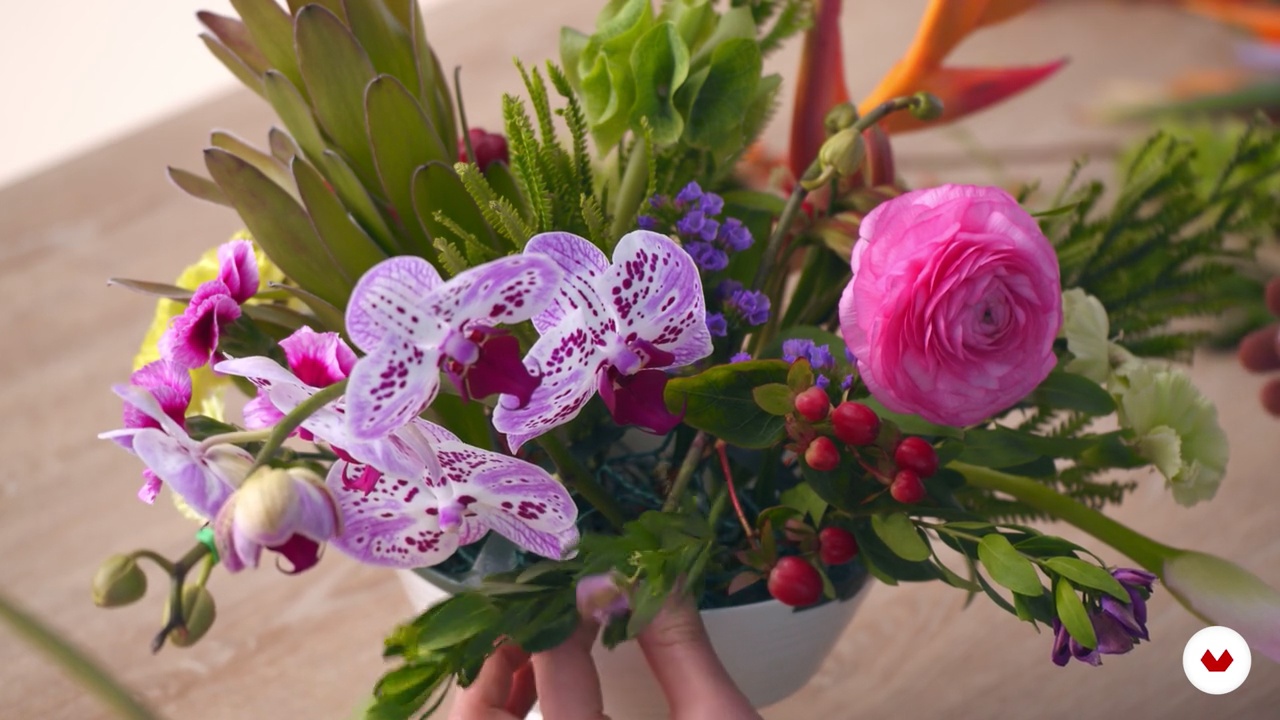
14Arrangements with chicken wire or chicken wire
Here I will explain how to use chicken wire for your flower arrangements. These will also be part of the table that we have conceptualized previously, so they must be consistent with the chromatic and thematic aesthetics that we need to create the atmosphere of the table.
12m
 15
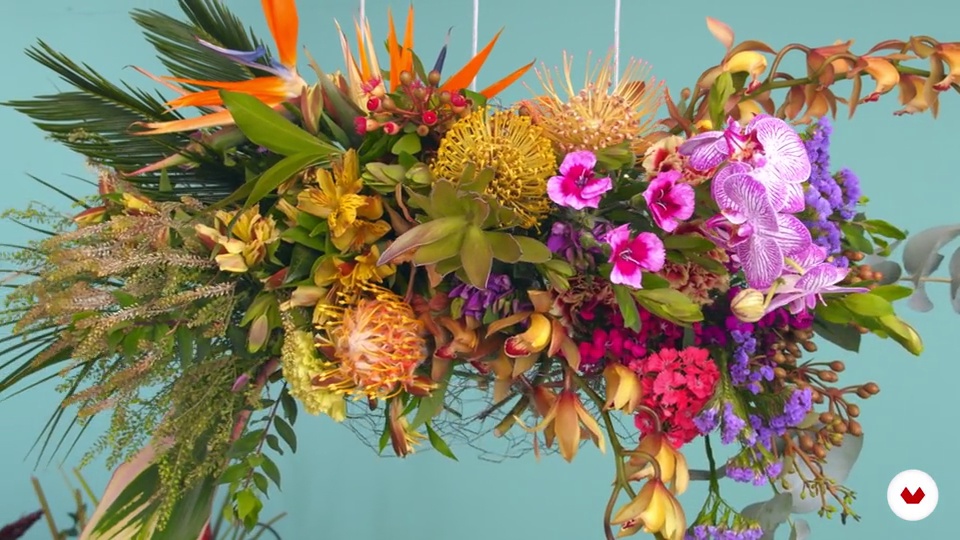
15Floral cloud
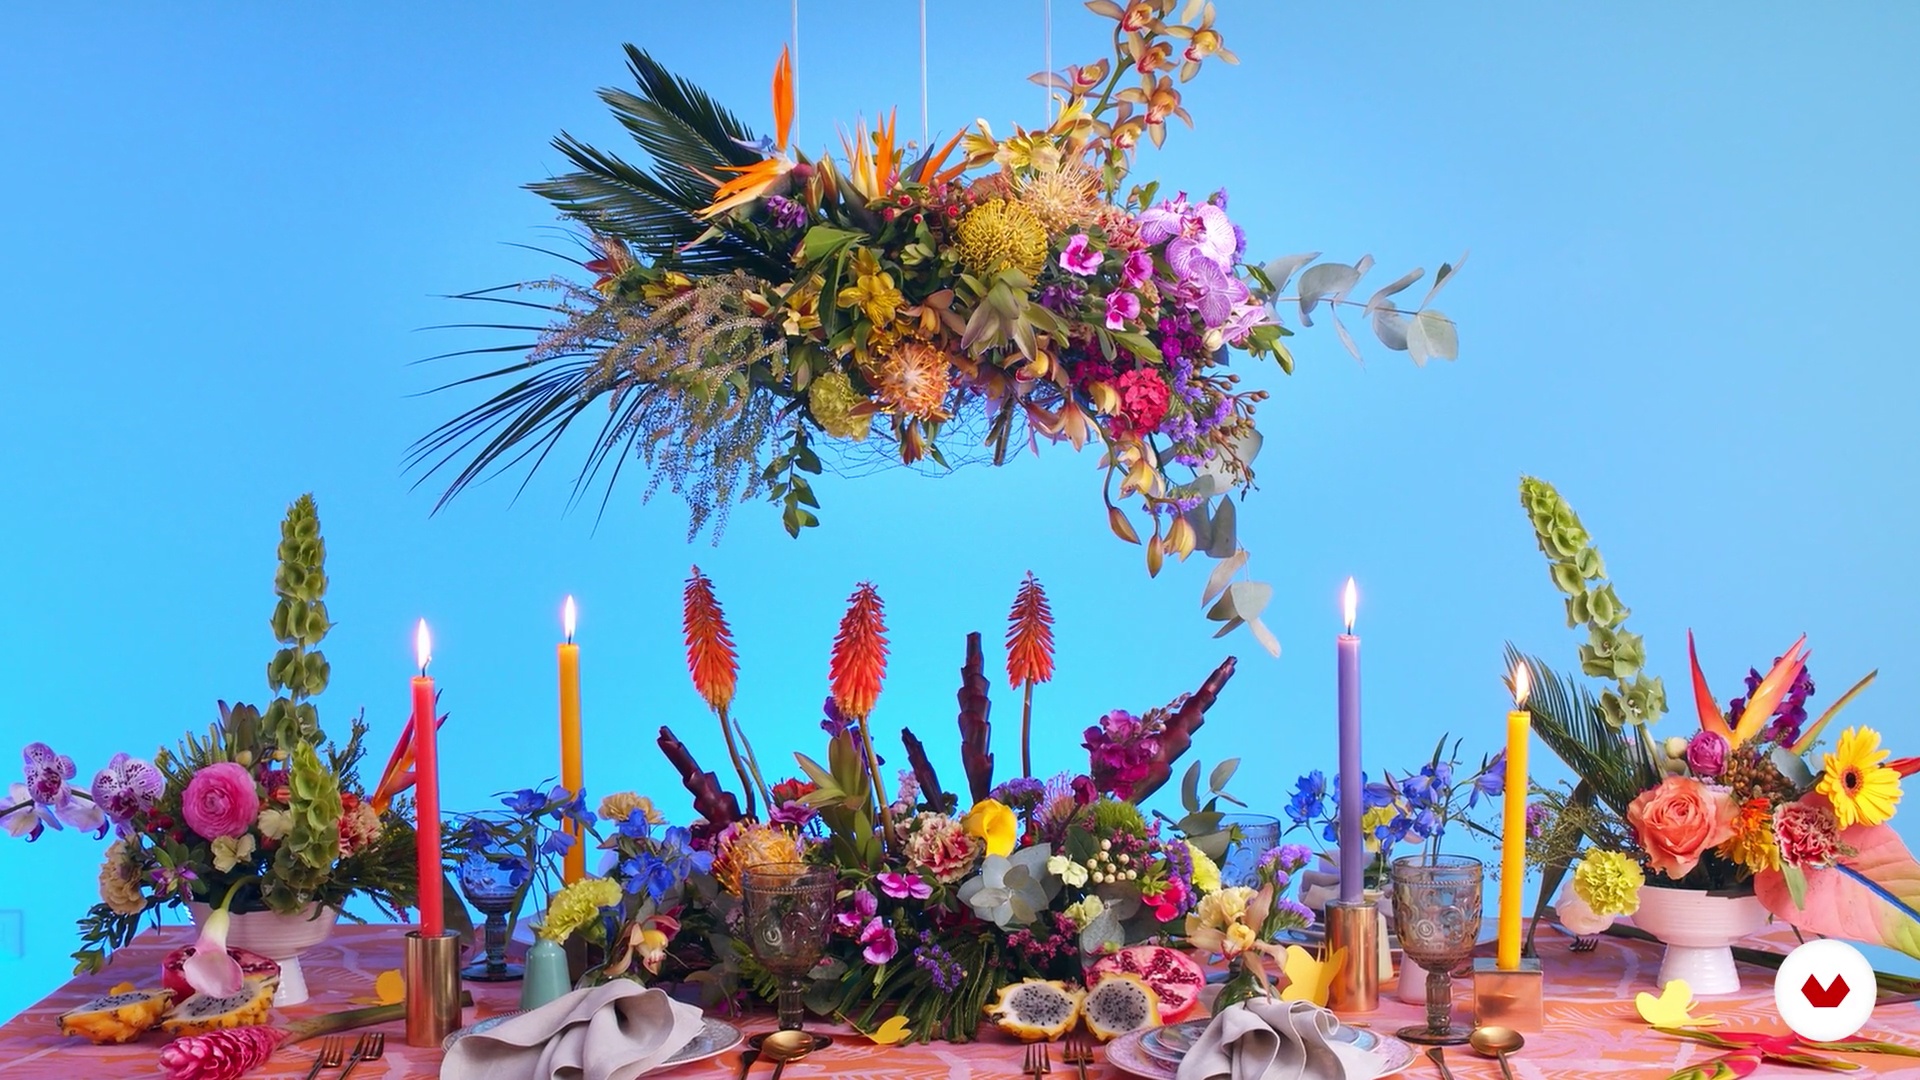
Here I will give you a detailed step by step on how to create a floral cloud. I am going to explain what you must take into account before making the cloud, for example, analyze where it is going to hang and with what. We will see what type of flower and foliage is appropriate for this type of installation, all this without neglecting the plans we have for the table.
16m
 16
16Assembling the table
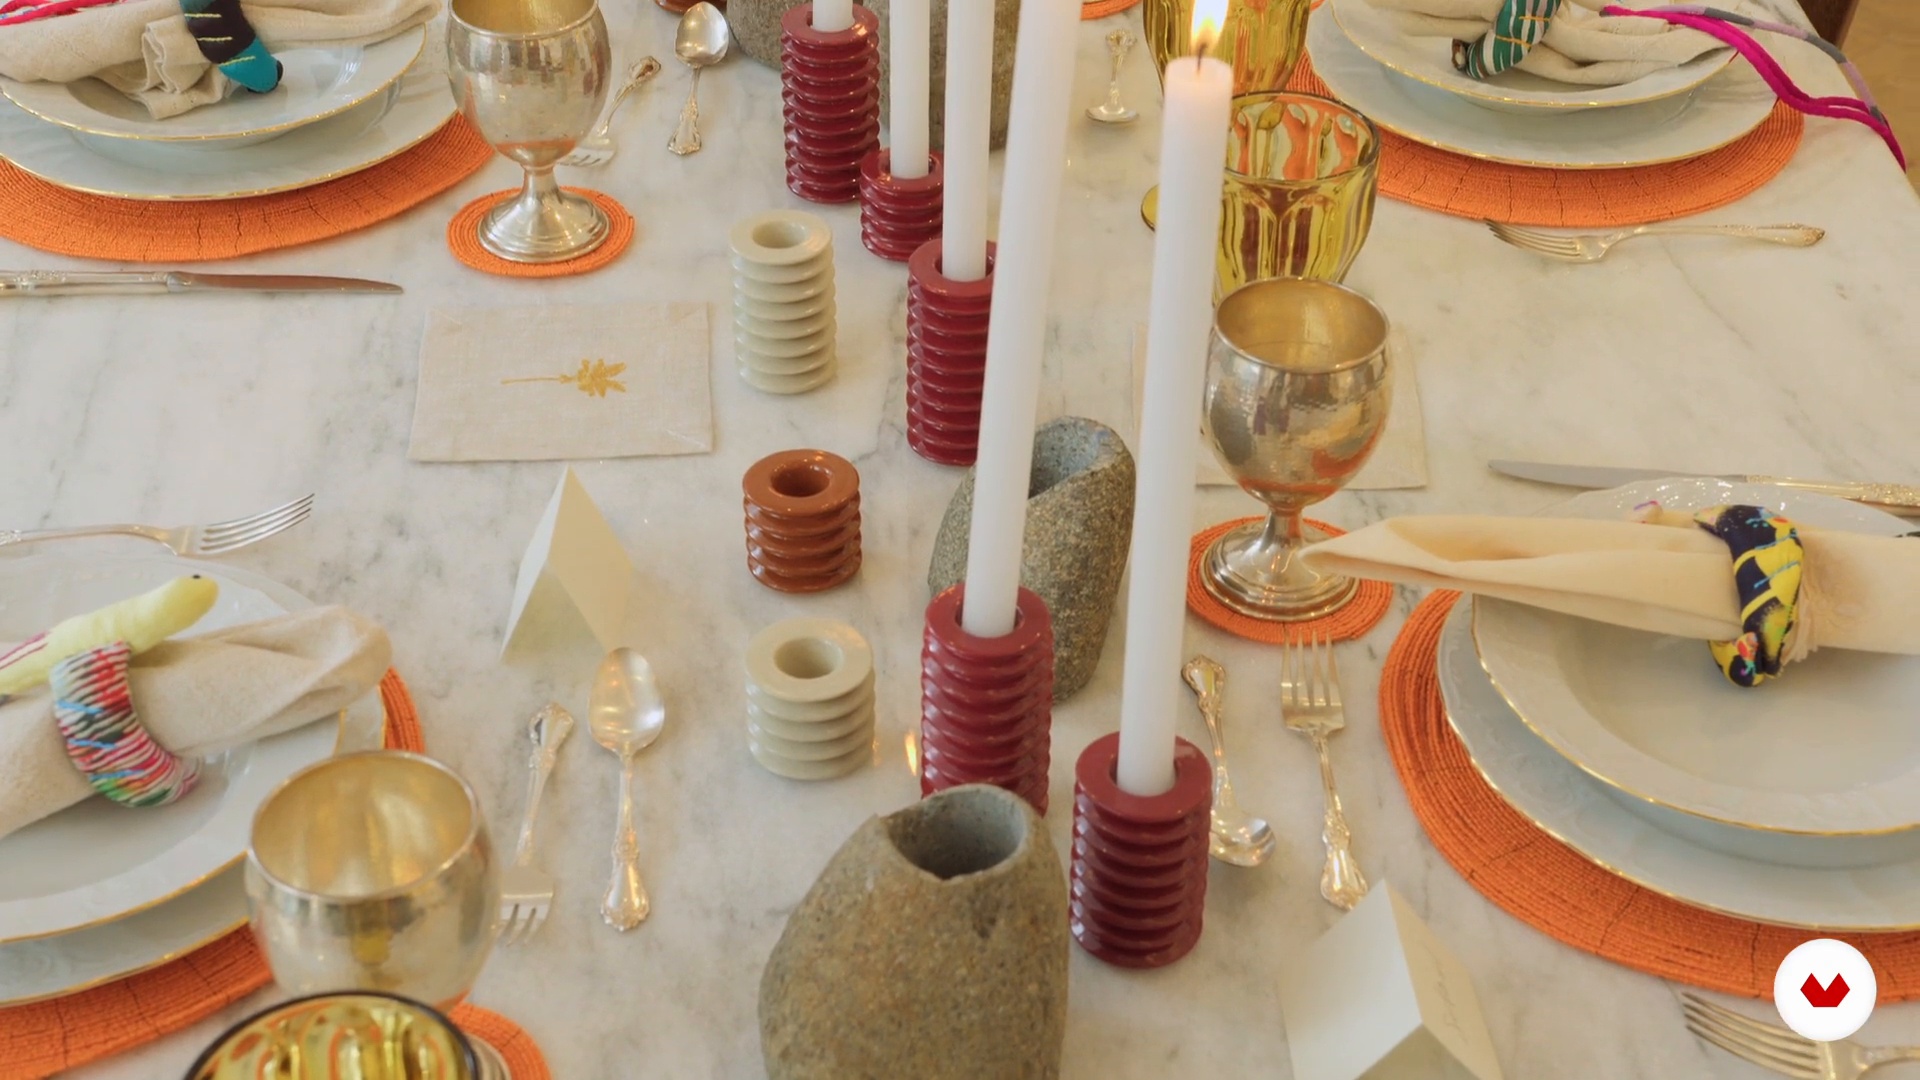
In this lesson I will explain the different decorative elements that a table has. Then I will place the flower arrangements to compose the table concept we had planned with them. I'm going to talk to you about the use of mix and match positions, some ways to locate the positions and the use of candles to generate height games.
9m
 3
3The table throughout history
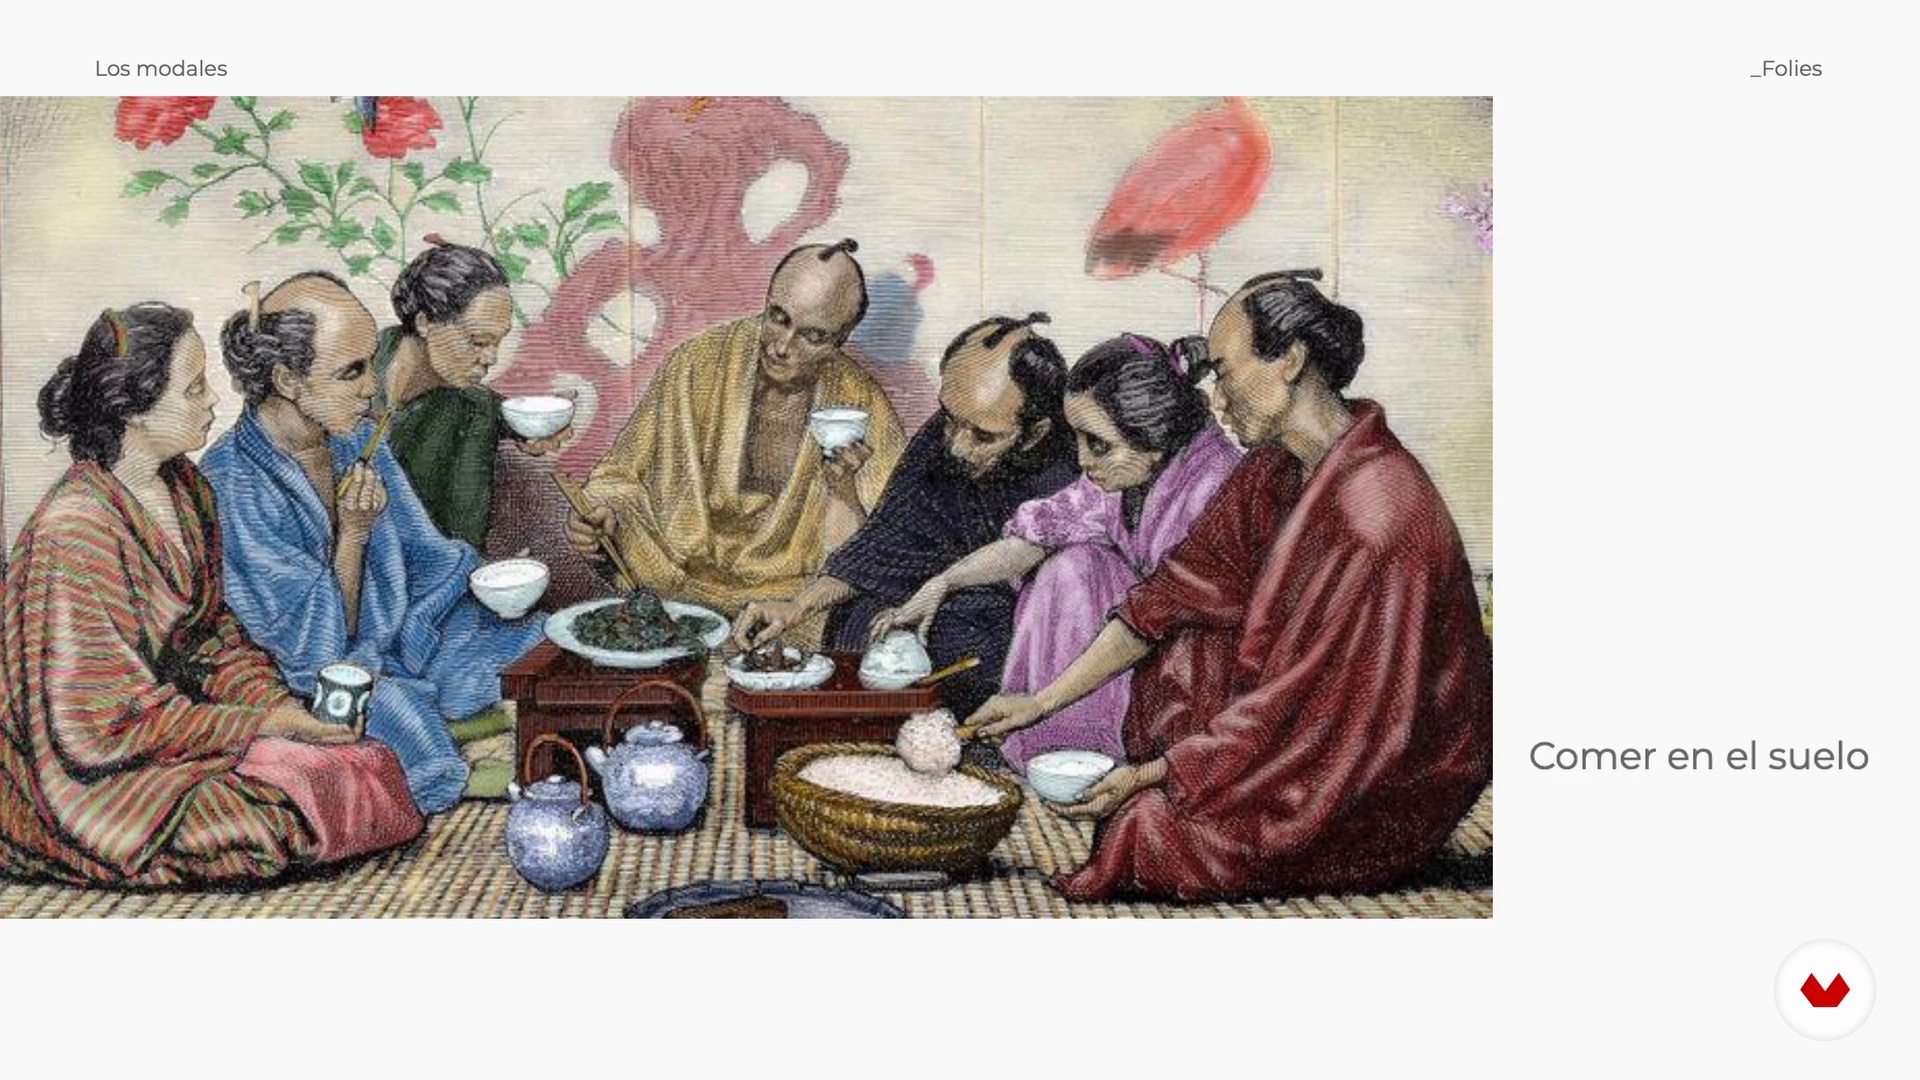
In this lesson we will take a temporal and spatial tour to learn about some of the ways in which human beings have related to the art of serving the table in different parts of the world and at different times in history.
10m
 4
4The table and the setting
Now we are going to delve into the relationship that the table has with the geographical environment and the cultural context of the people. Through some specific cases, we will analyze how traditions can condition, limit or nurture our practices around it and therefore the way in which we serve it.
6m
 5
5The raison d'être of a good table: enjoyment
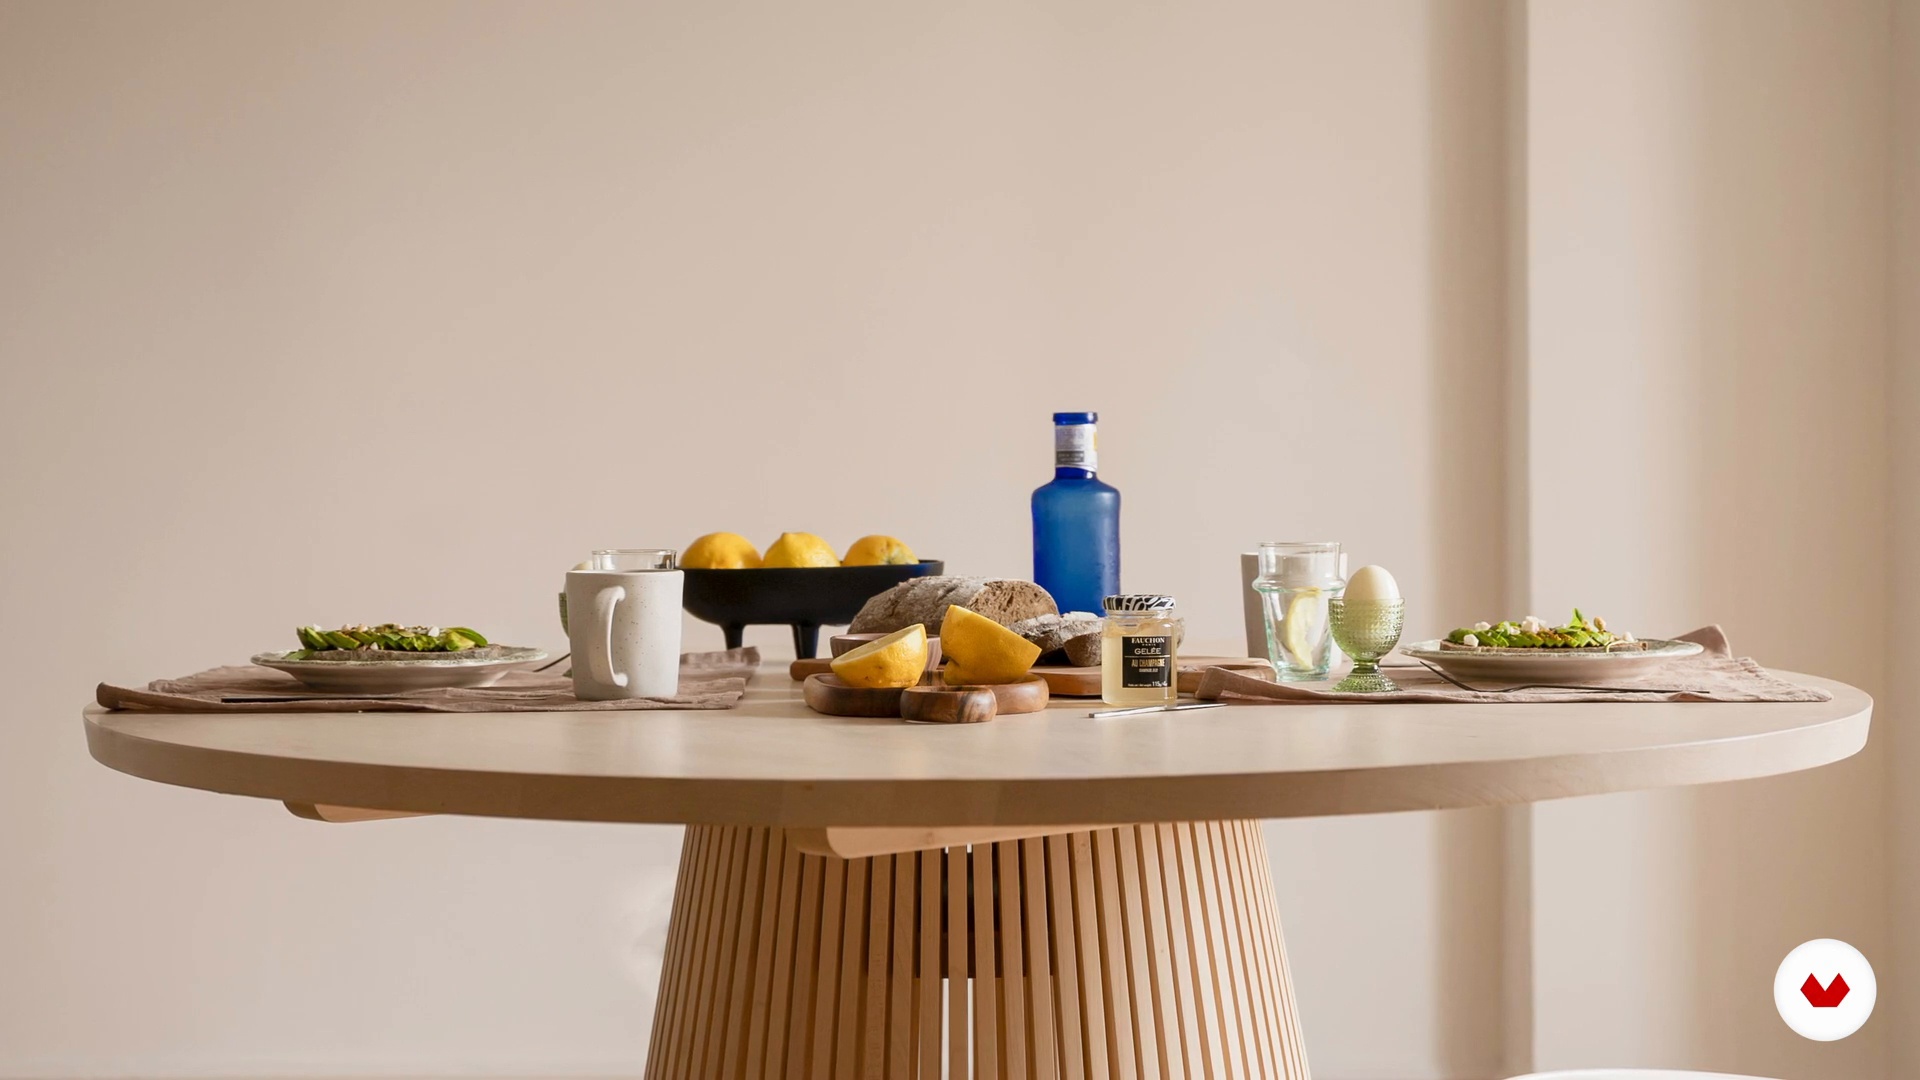
Finally, we will talk about the reasons that, for us, motivate and give meaning to setting a table. We will also tell you about some of the most important benefits of serving the table intentionally.
2m
 6
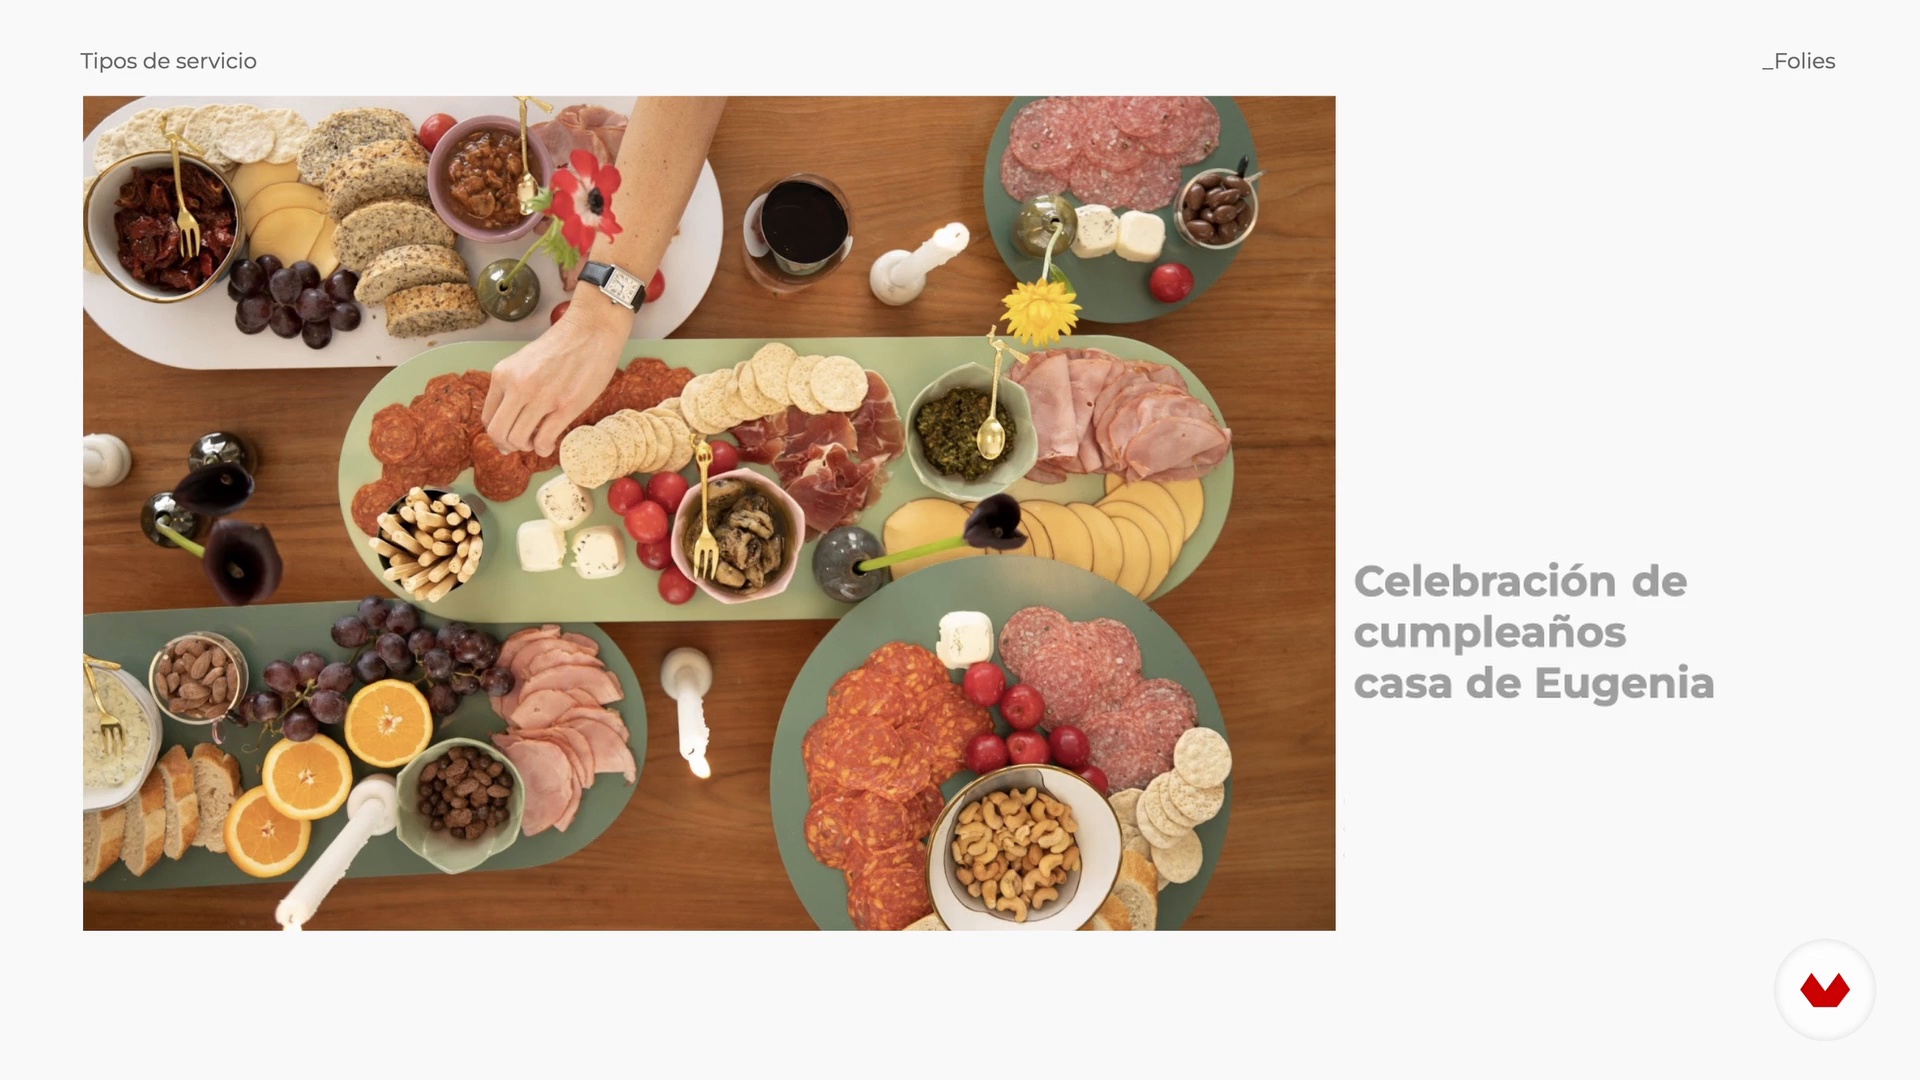
6Types of service
In this lesson you will learn about the types of service that exist when preparing the assembly of a table. We will teach you the criteria that you must take into account to know what type of service works best on each occasion.
8m
 7
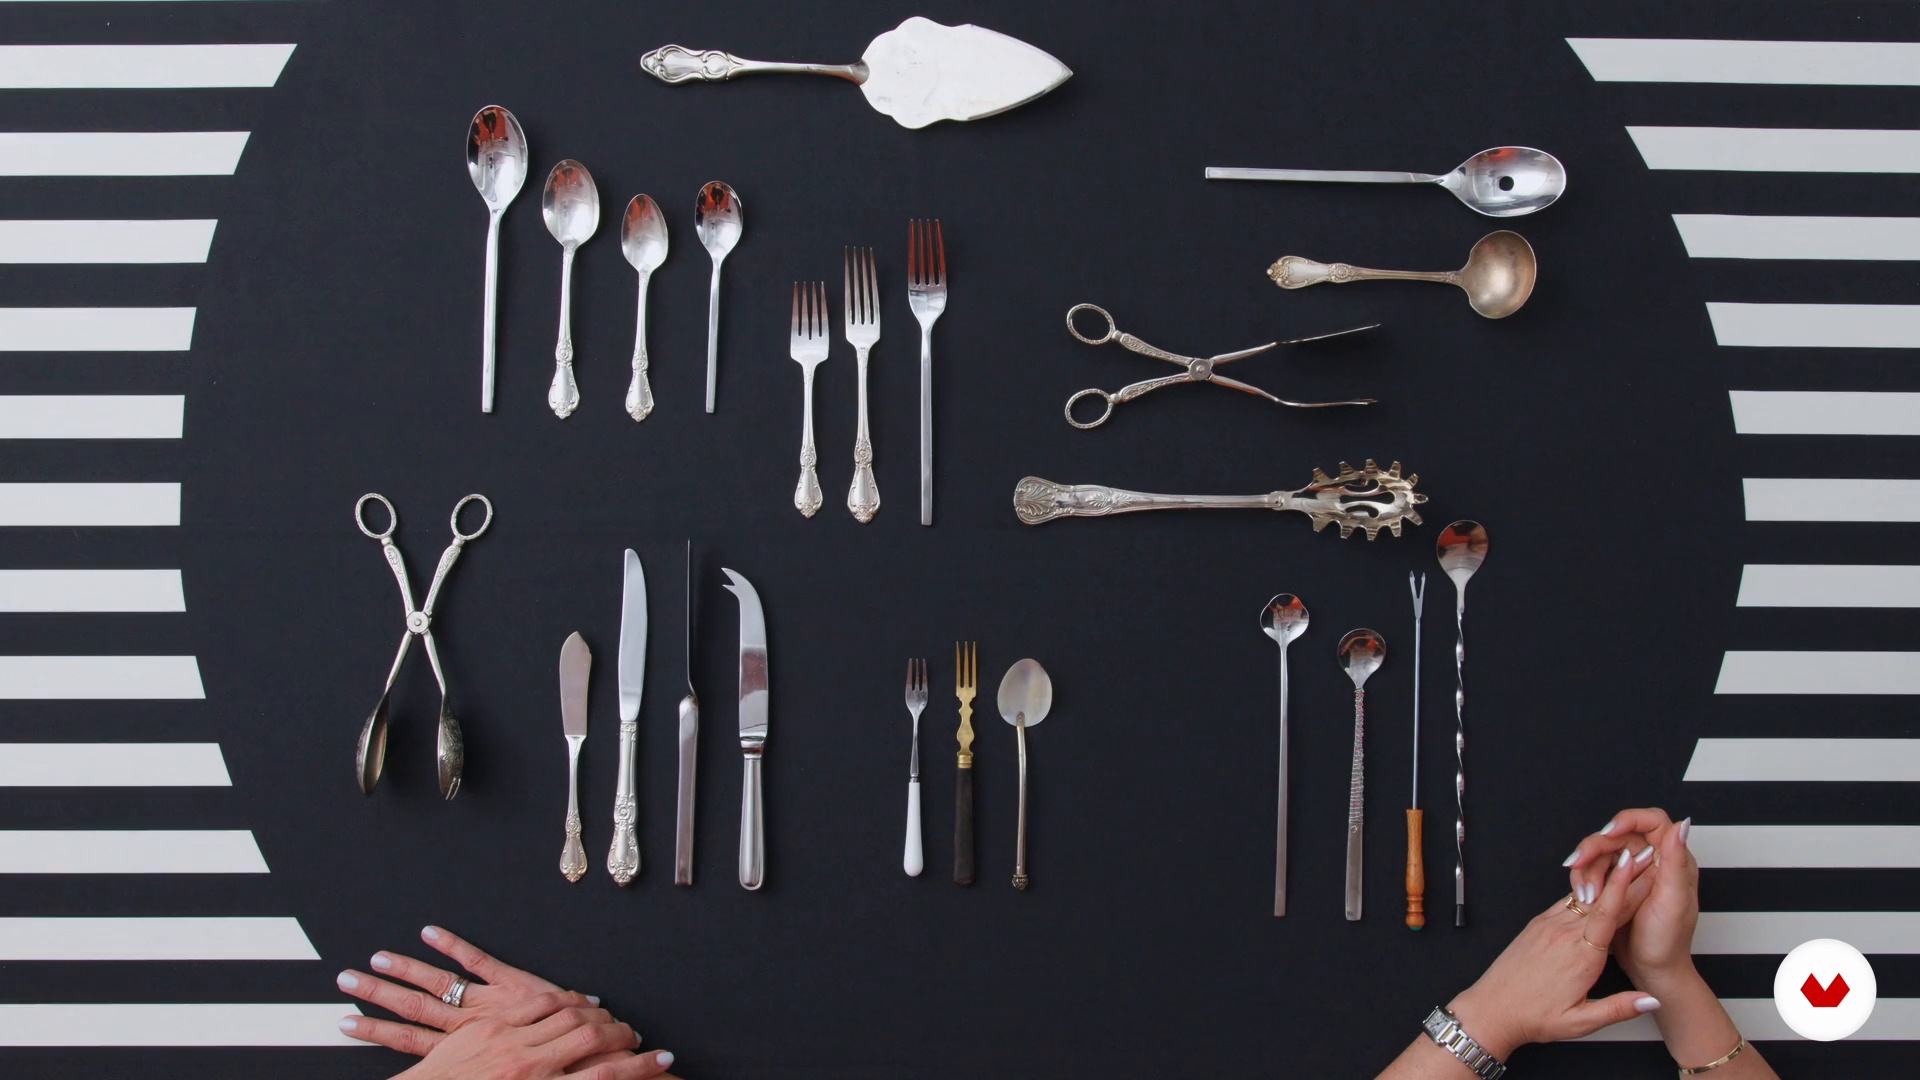
7Tableware and table architecture
Now we will talk about the architecture of the table: we will tell you what are the elements that make it up and we will teach you how to use the layer method. We will review basic elements, complementary elements and specialized elements, among others.
9m
 8
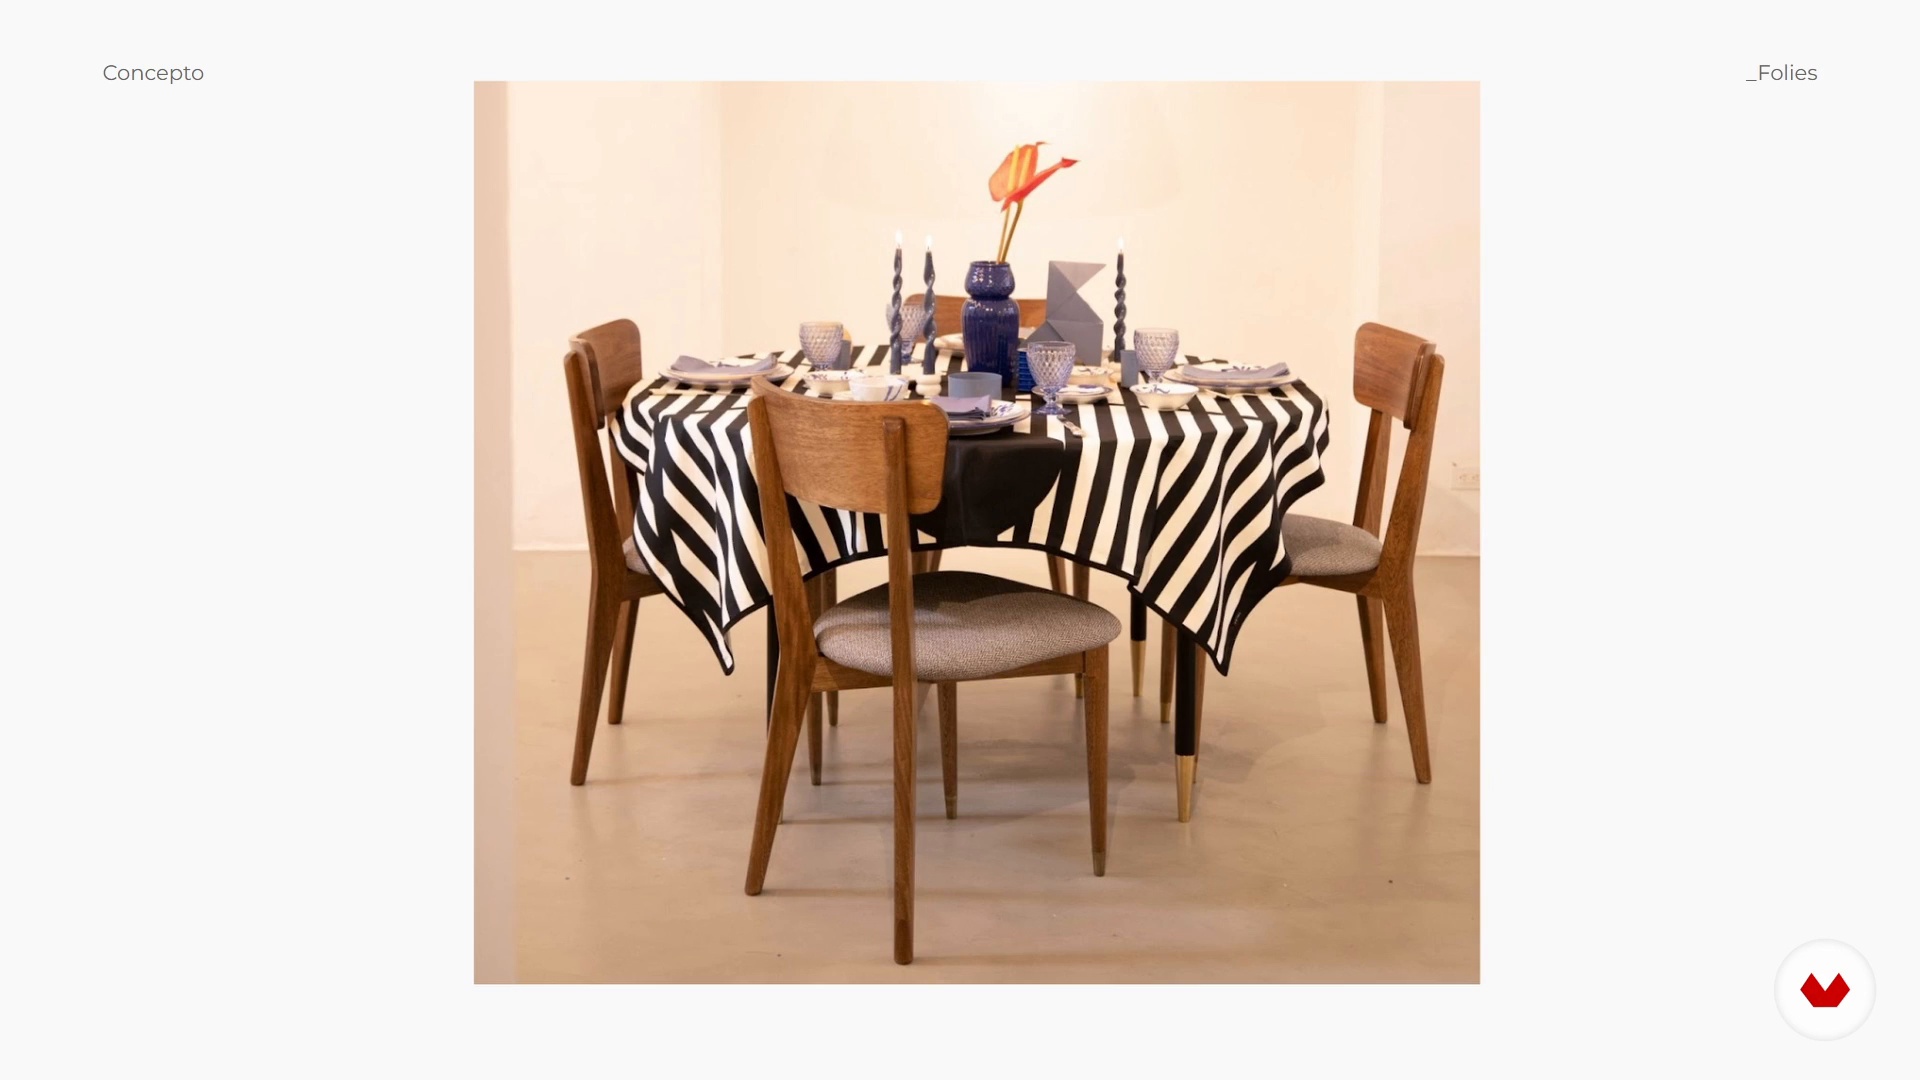
8Atypical tables: bring out the artist in you
The time has come to bring out the artist in you. In this lesson we will show you some places where you can find inspiration and we will show you some examples of very interesting tables that have unusual elements as protagonists. We will give you some ideas to choose the theme and principles of composition so that you take into account throughout the assembly.
8m
 9
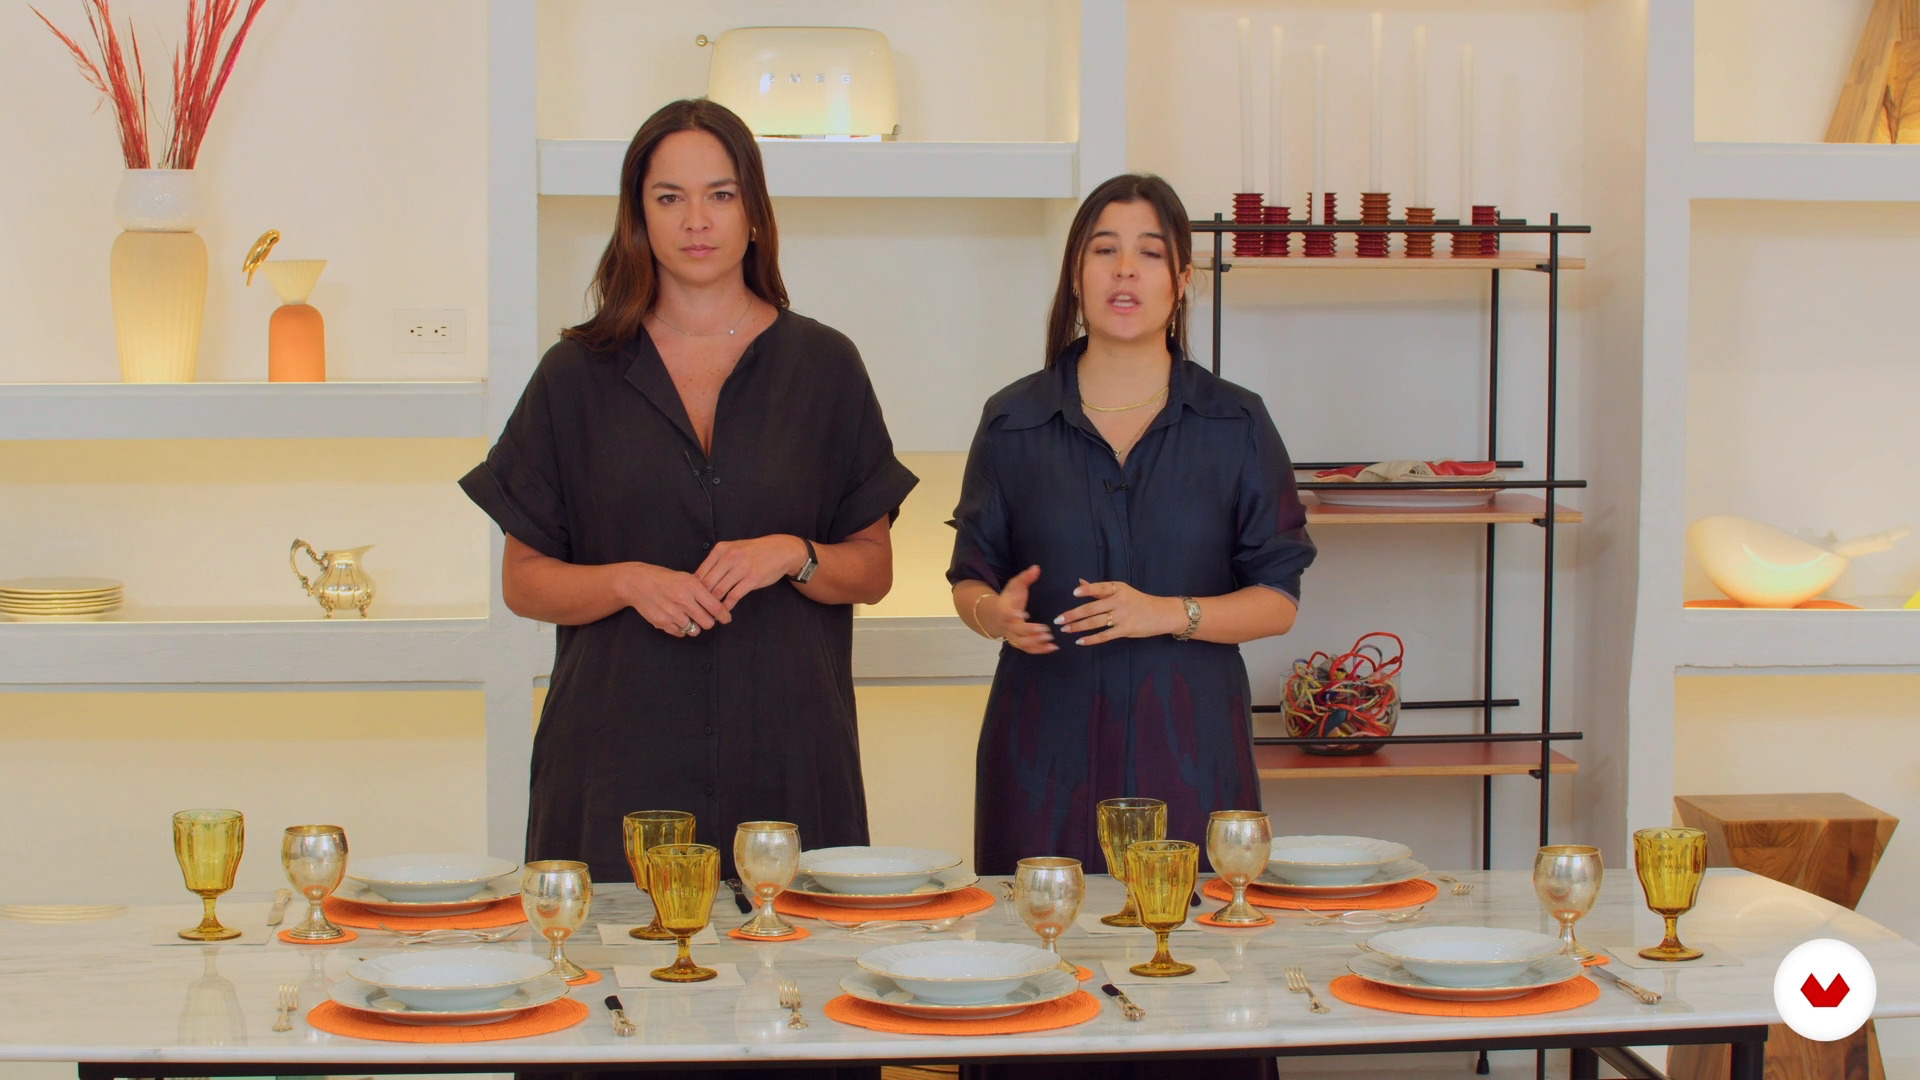
9Let's do it
The moment of truth has arrived: in this lesson we will set up our table together. Taking as a starting point the types of service that we select, we will assemble the layers of our table one by one.
10m
 10
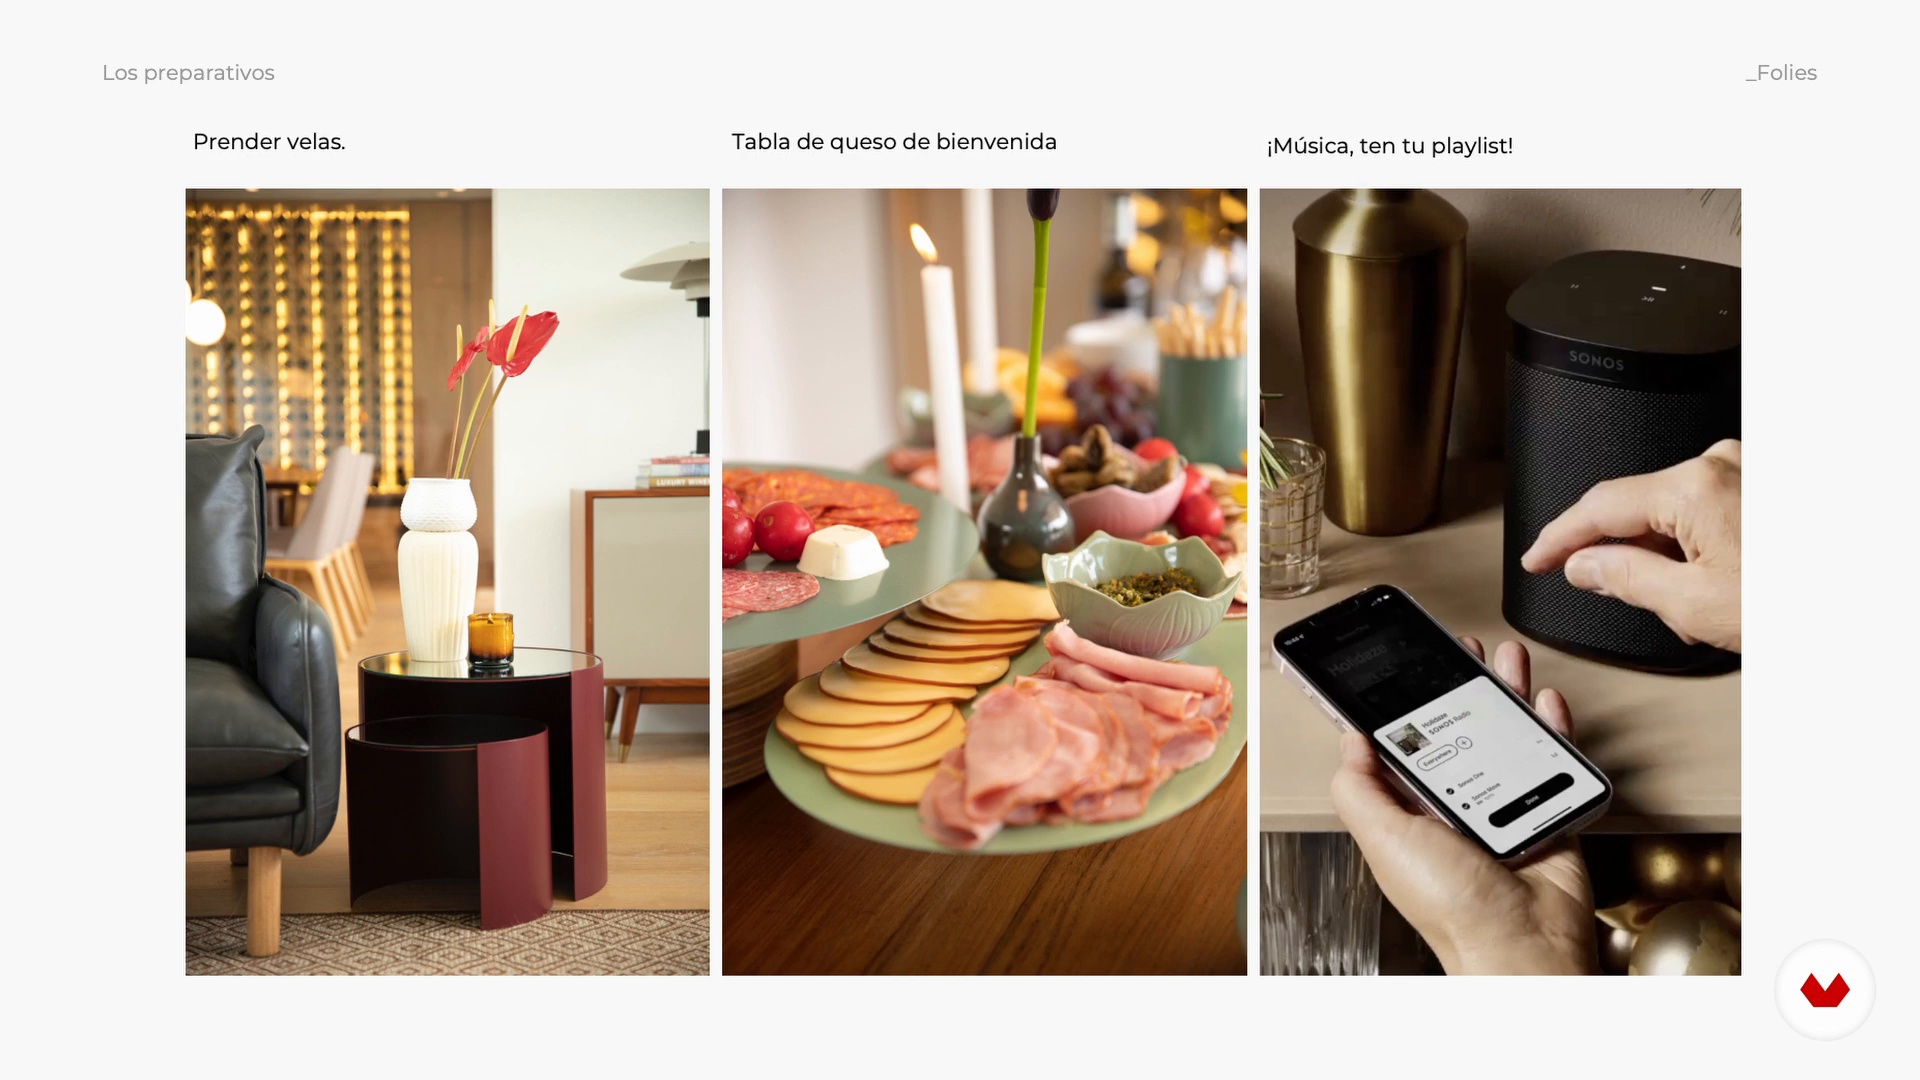
10The three times of hosting
In this lesson you will learn the concept of "hosting" and how to build an experience for your guests that goes beyond the table. We will take a tour of the three times that you should take into account when designing that experience.
3m
 11
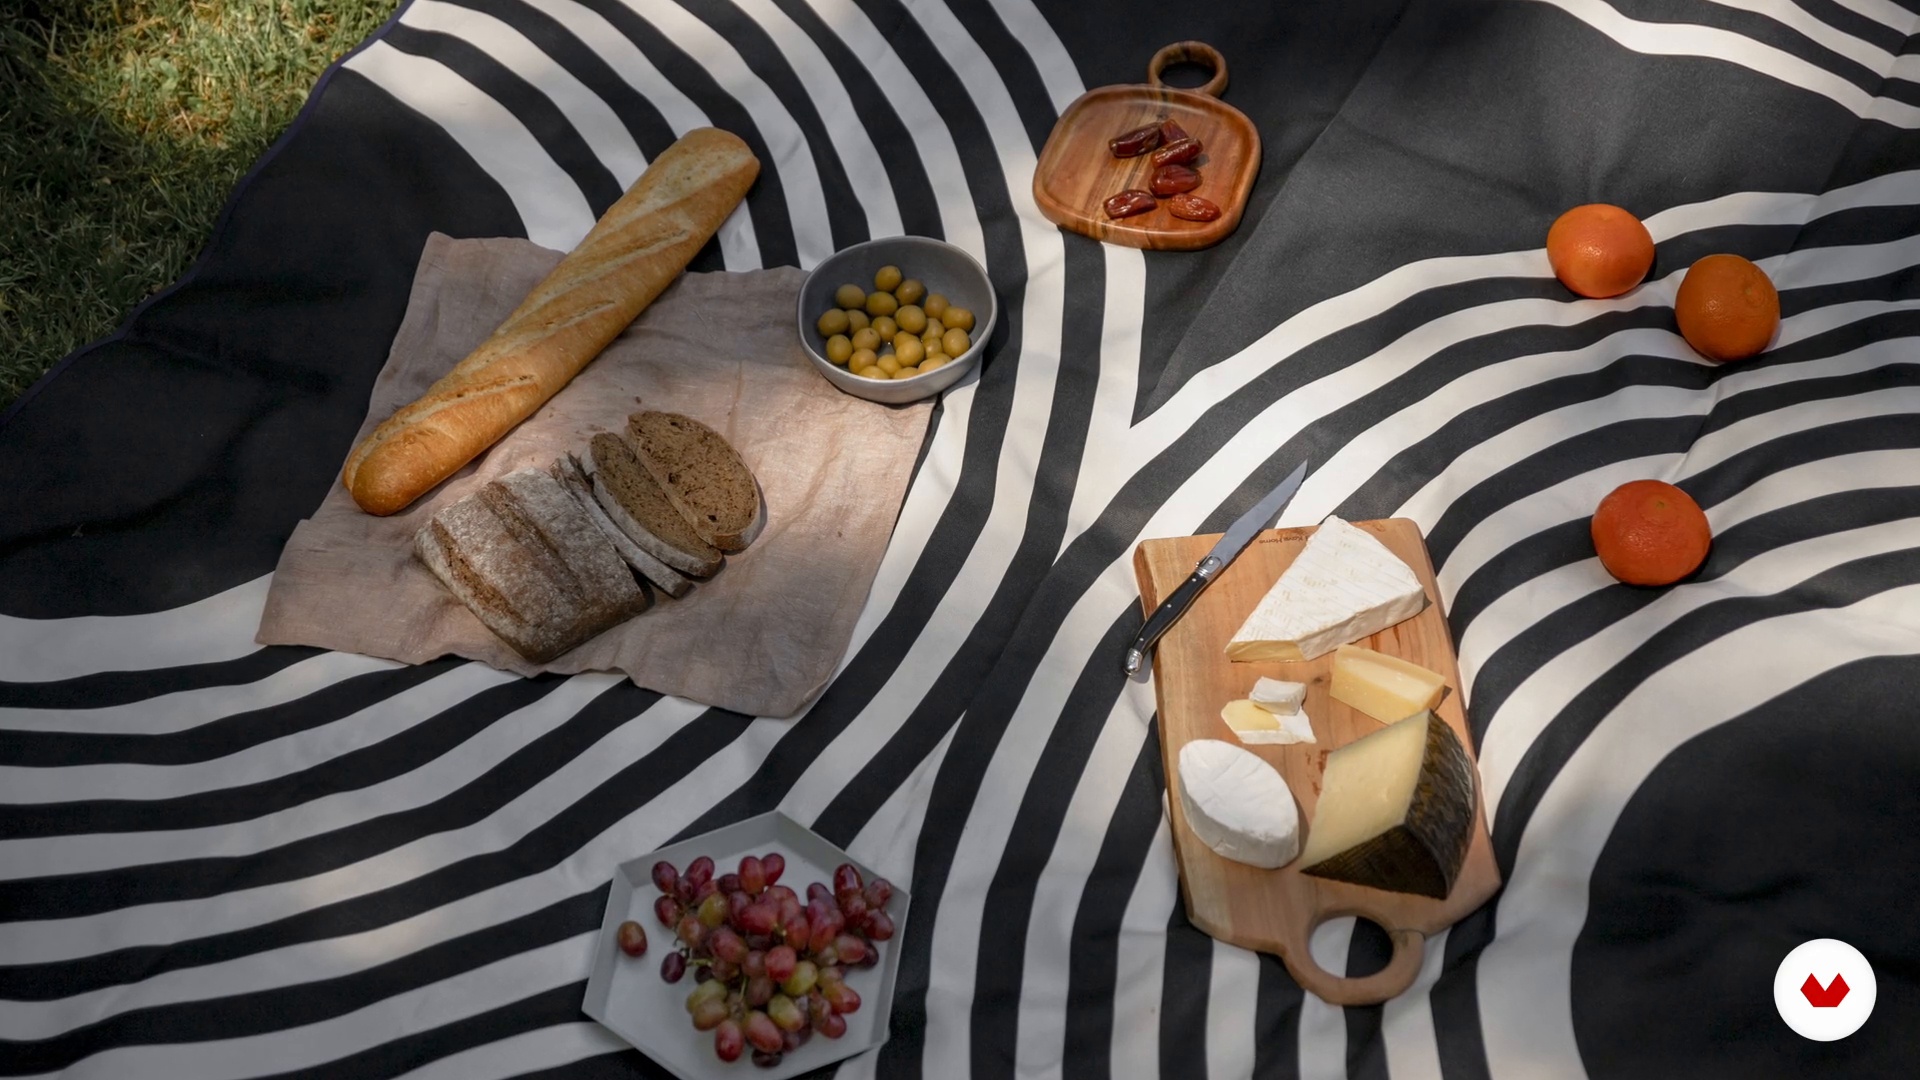
11Pull the table off the table
Sometimes the table is not enough. In this lesson we will teach you some ideas to set up a table “out of the table”. We will learn to use complementary furniture and even to assemble without the need for a table.
1m
 4
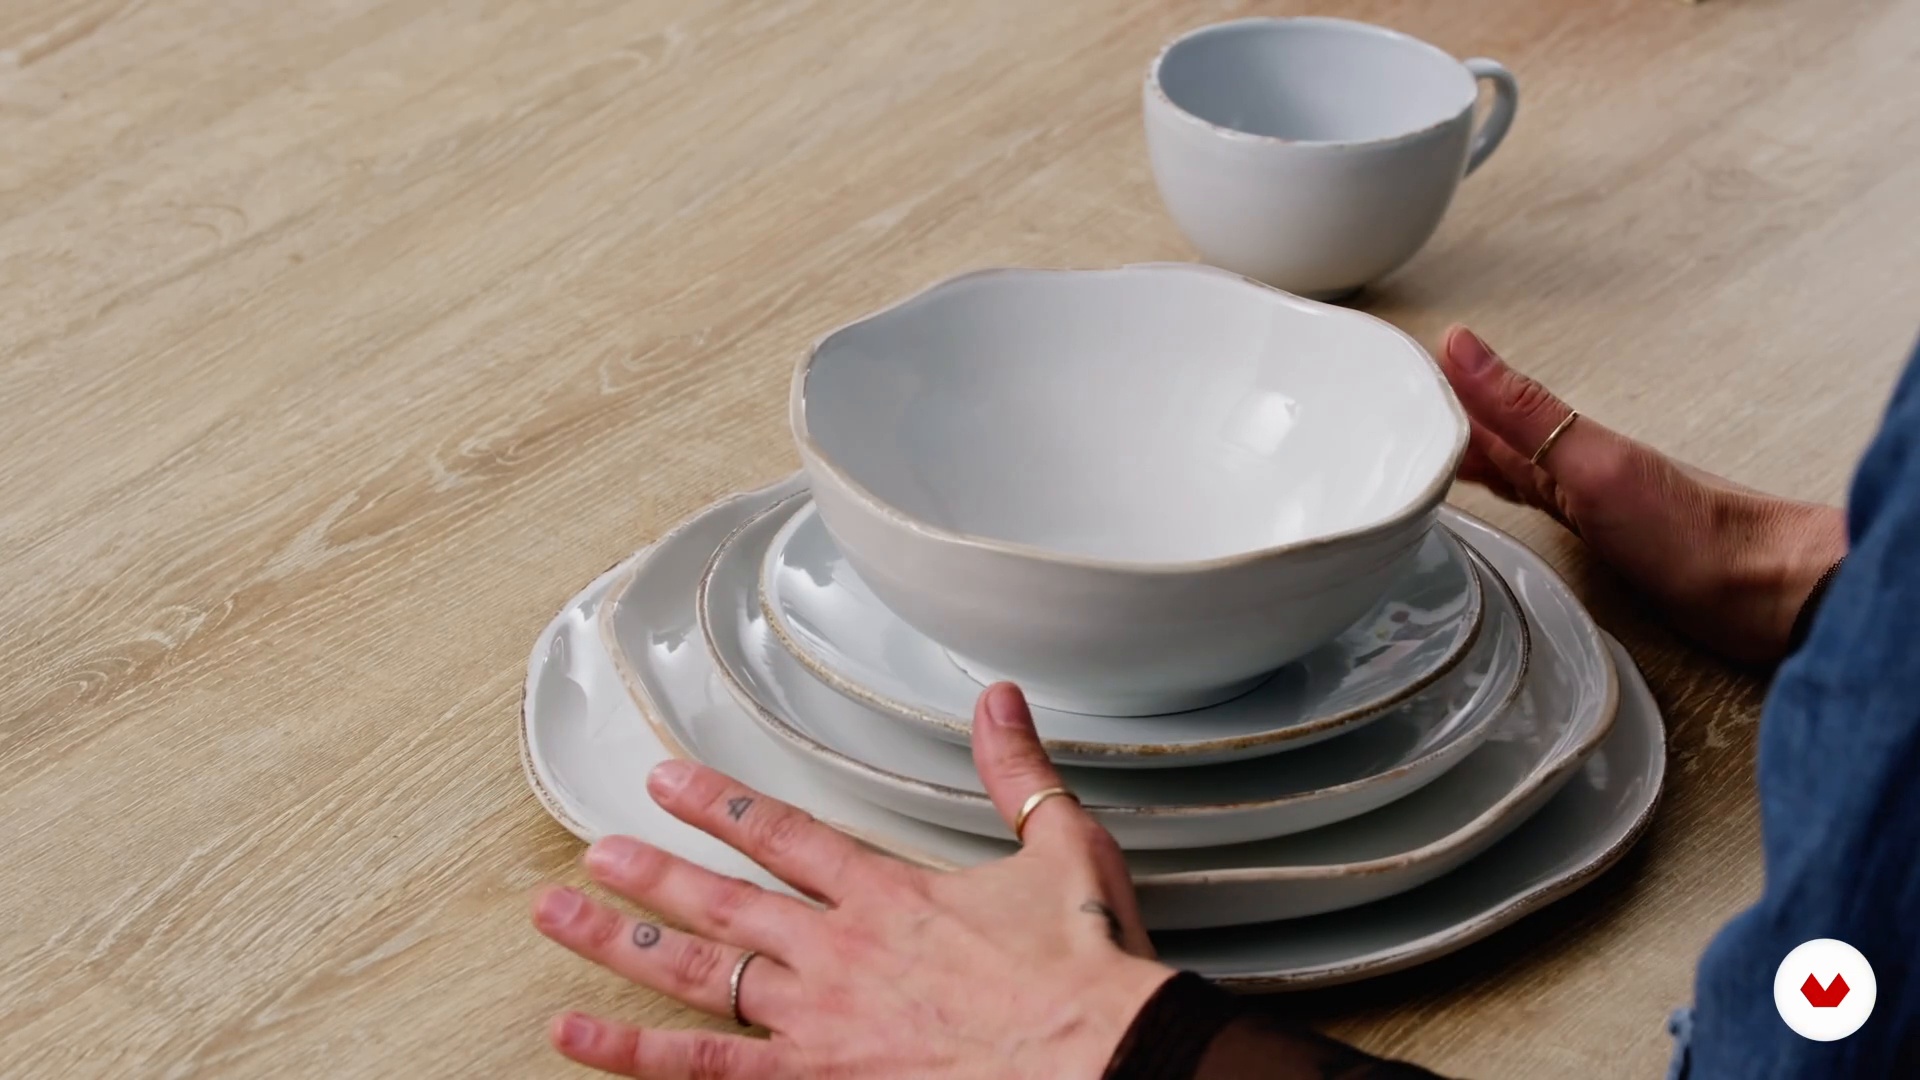
4What is a crockery made of? 1
In this lesson I will explain how the course project will be. Then we are going to start by recognizing the basic pieces of tableware, working with the utensils you have at home.
13m
 5
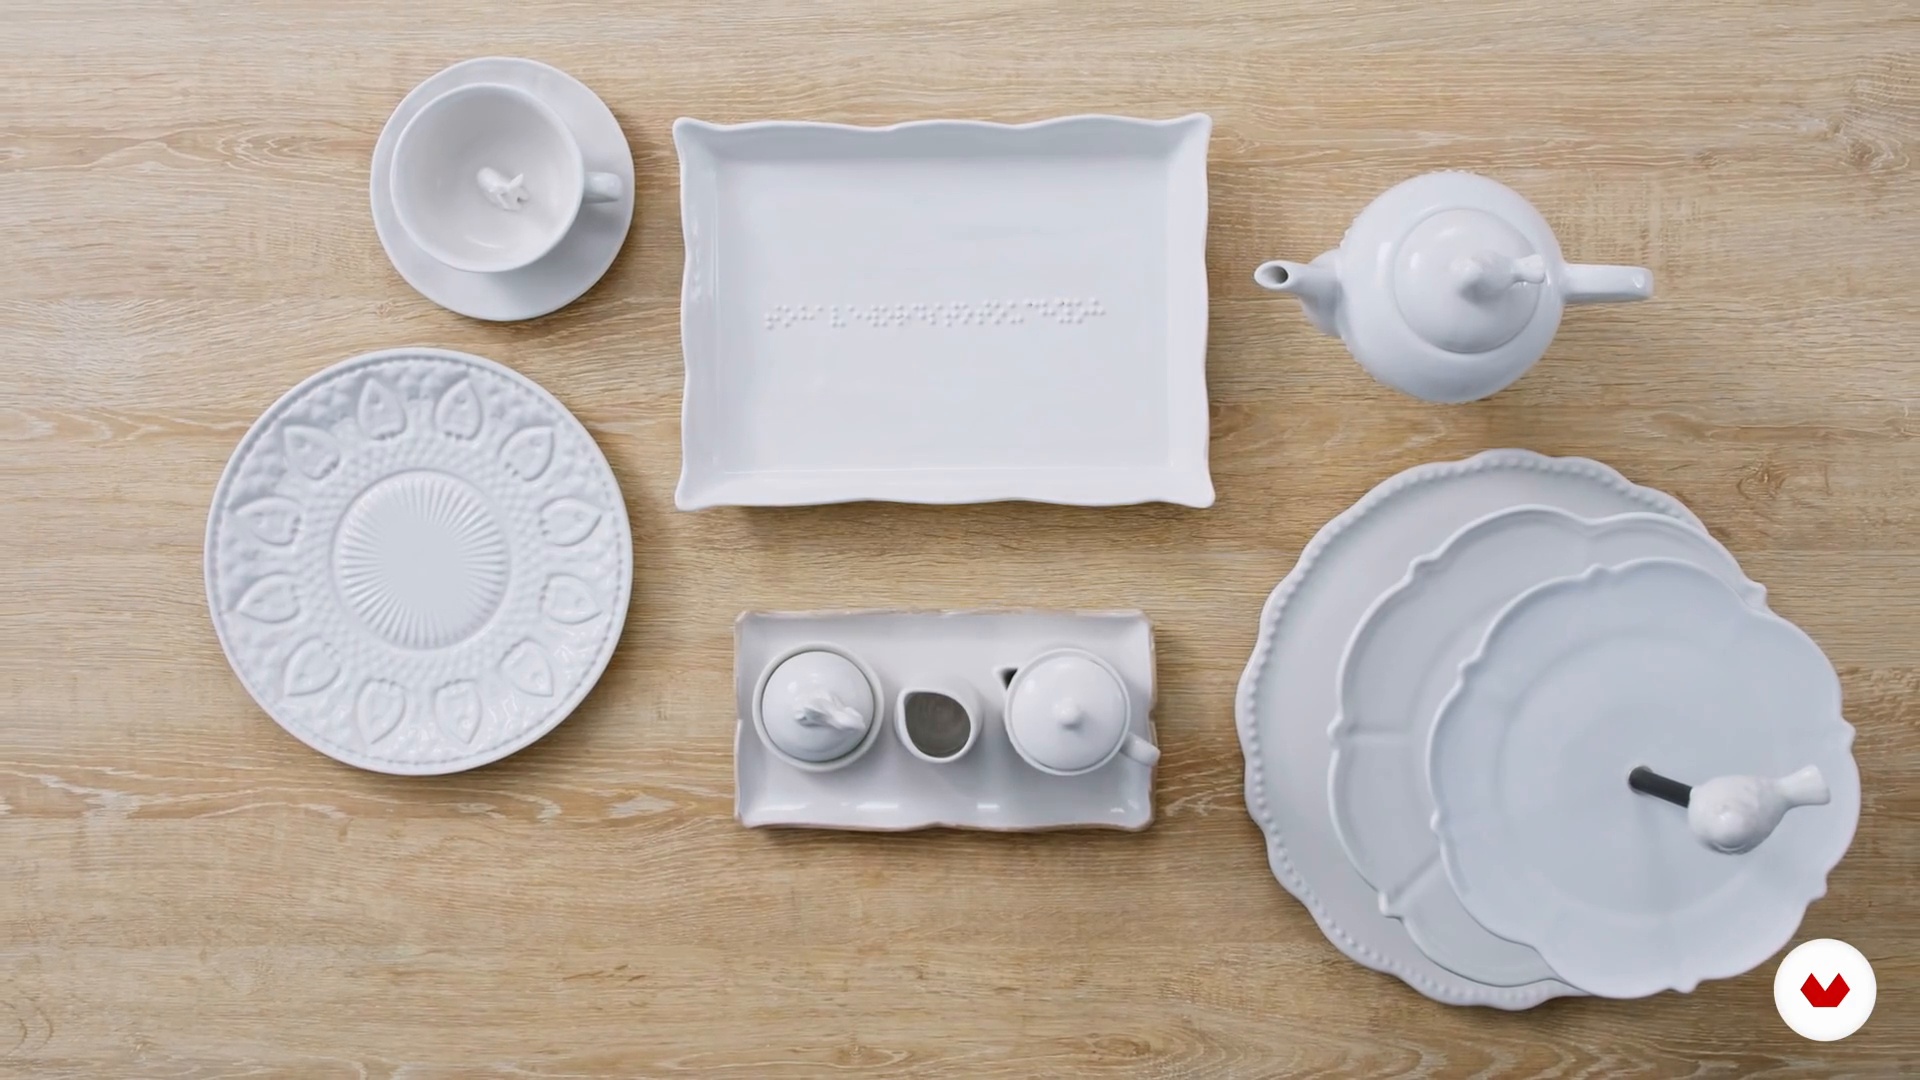
5What is a crockery made of? 2
You already know what the essential pieces of tableware are, but we still have one key element to know: the accessories.
5m
 6
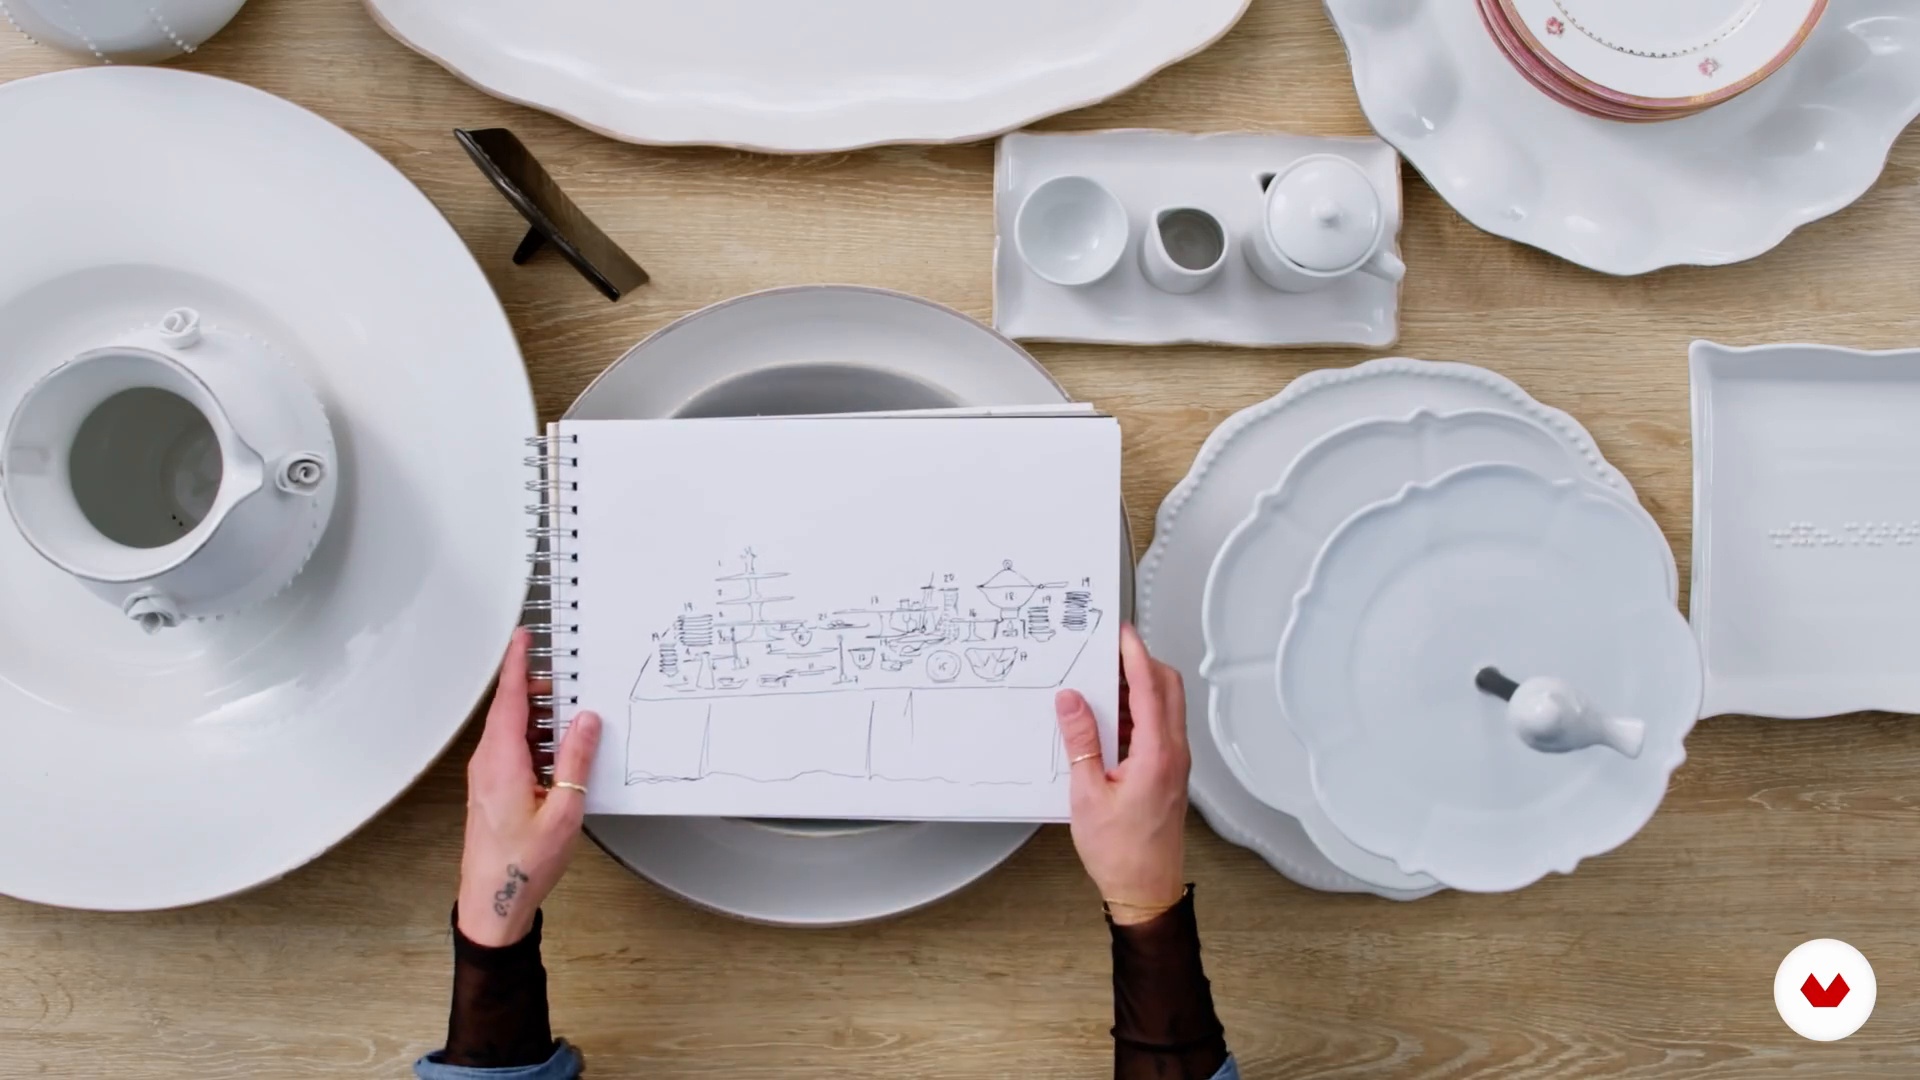
6Different types of service
In this lesson we will assemble the different types of service so that you feel comfortable with the assembly. It is important that you let go, any piece will do!
8m
 7
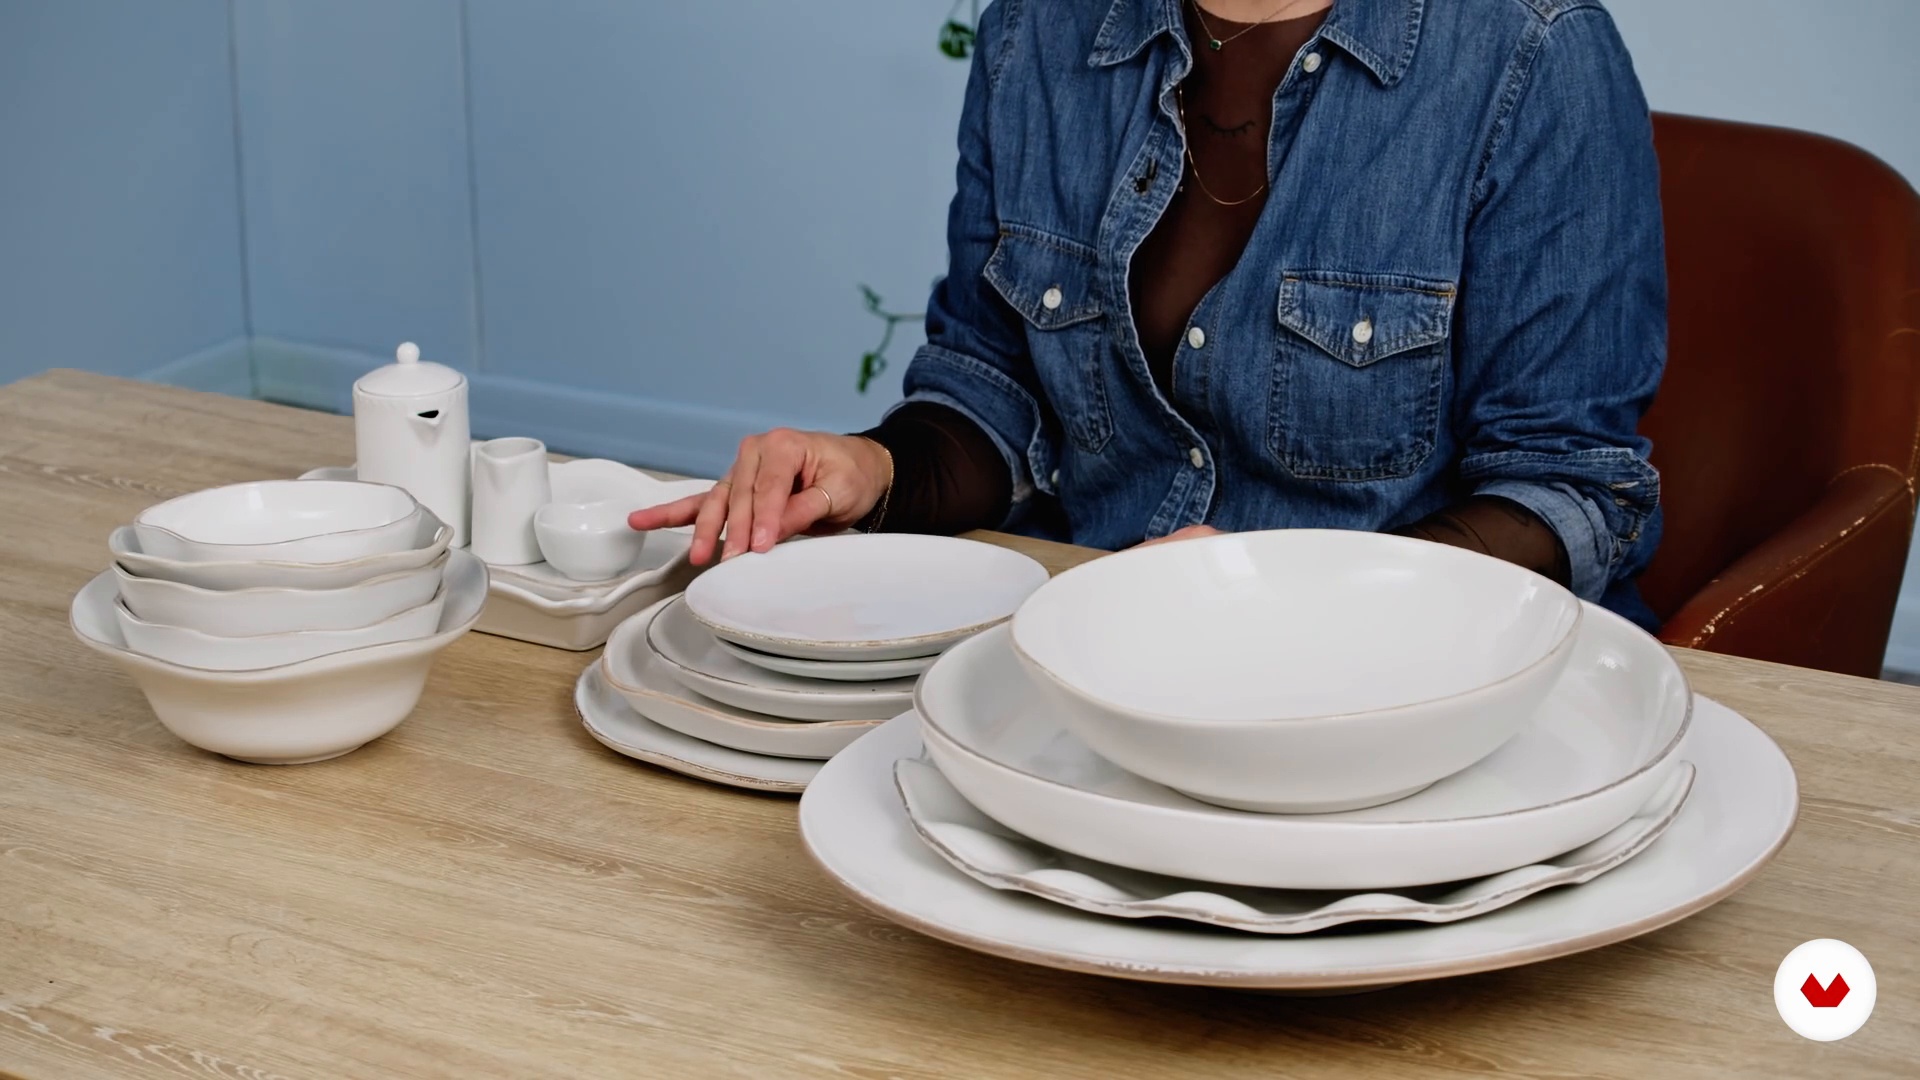
7Basic rules of stackability
Finally, I will tell you about some key rules that you must keep in mind so that you can successfully assemble your tableware and that it never suffers damage.
2m
 8
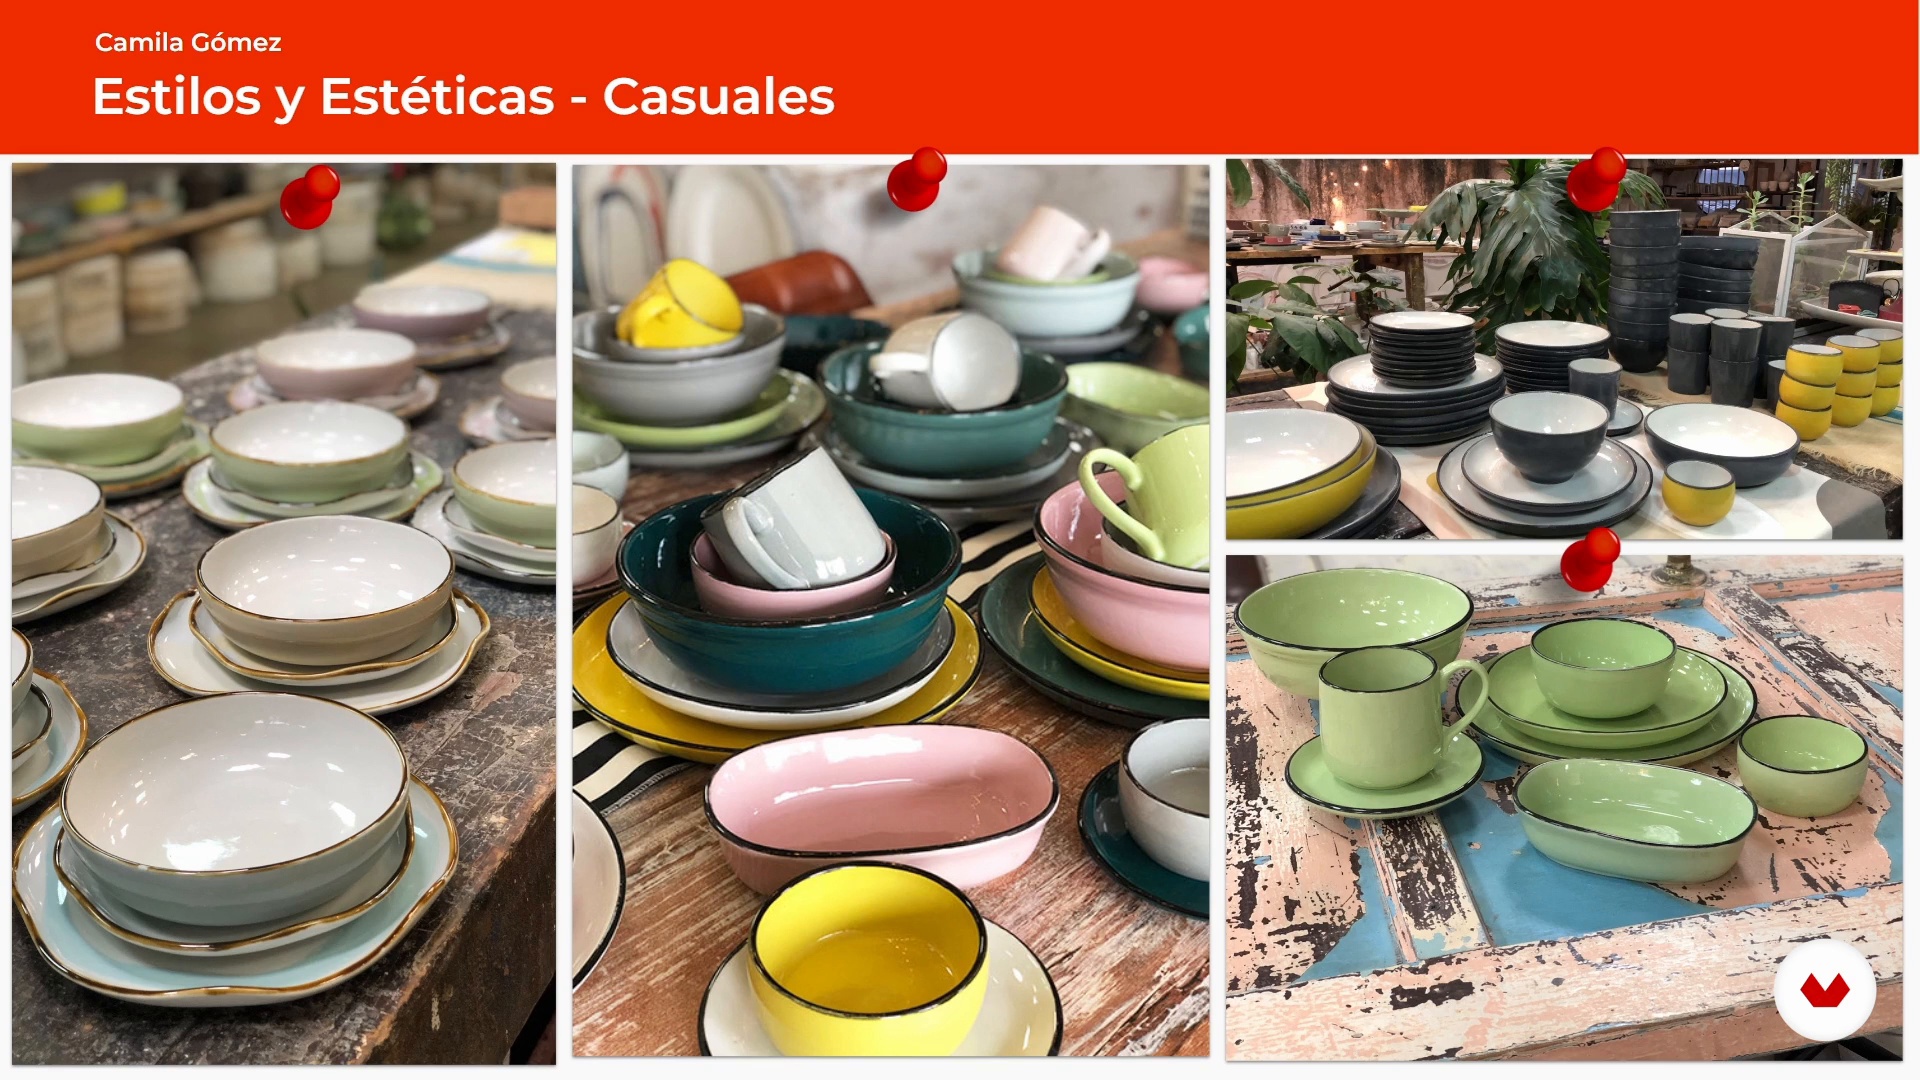
8Styles and aesthetics 1
In this lesson I will explain what it means to stling tableware and we will explore the different styles of tableware that we can find.
16m
 9
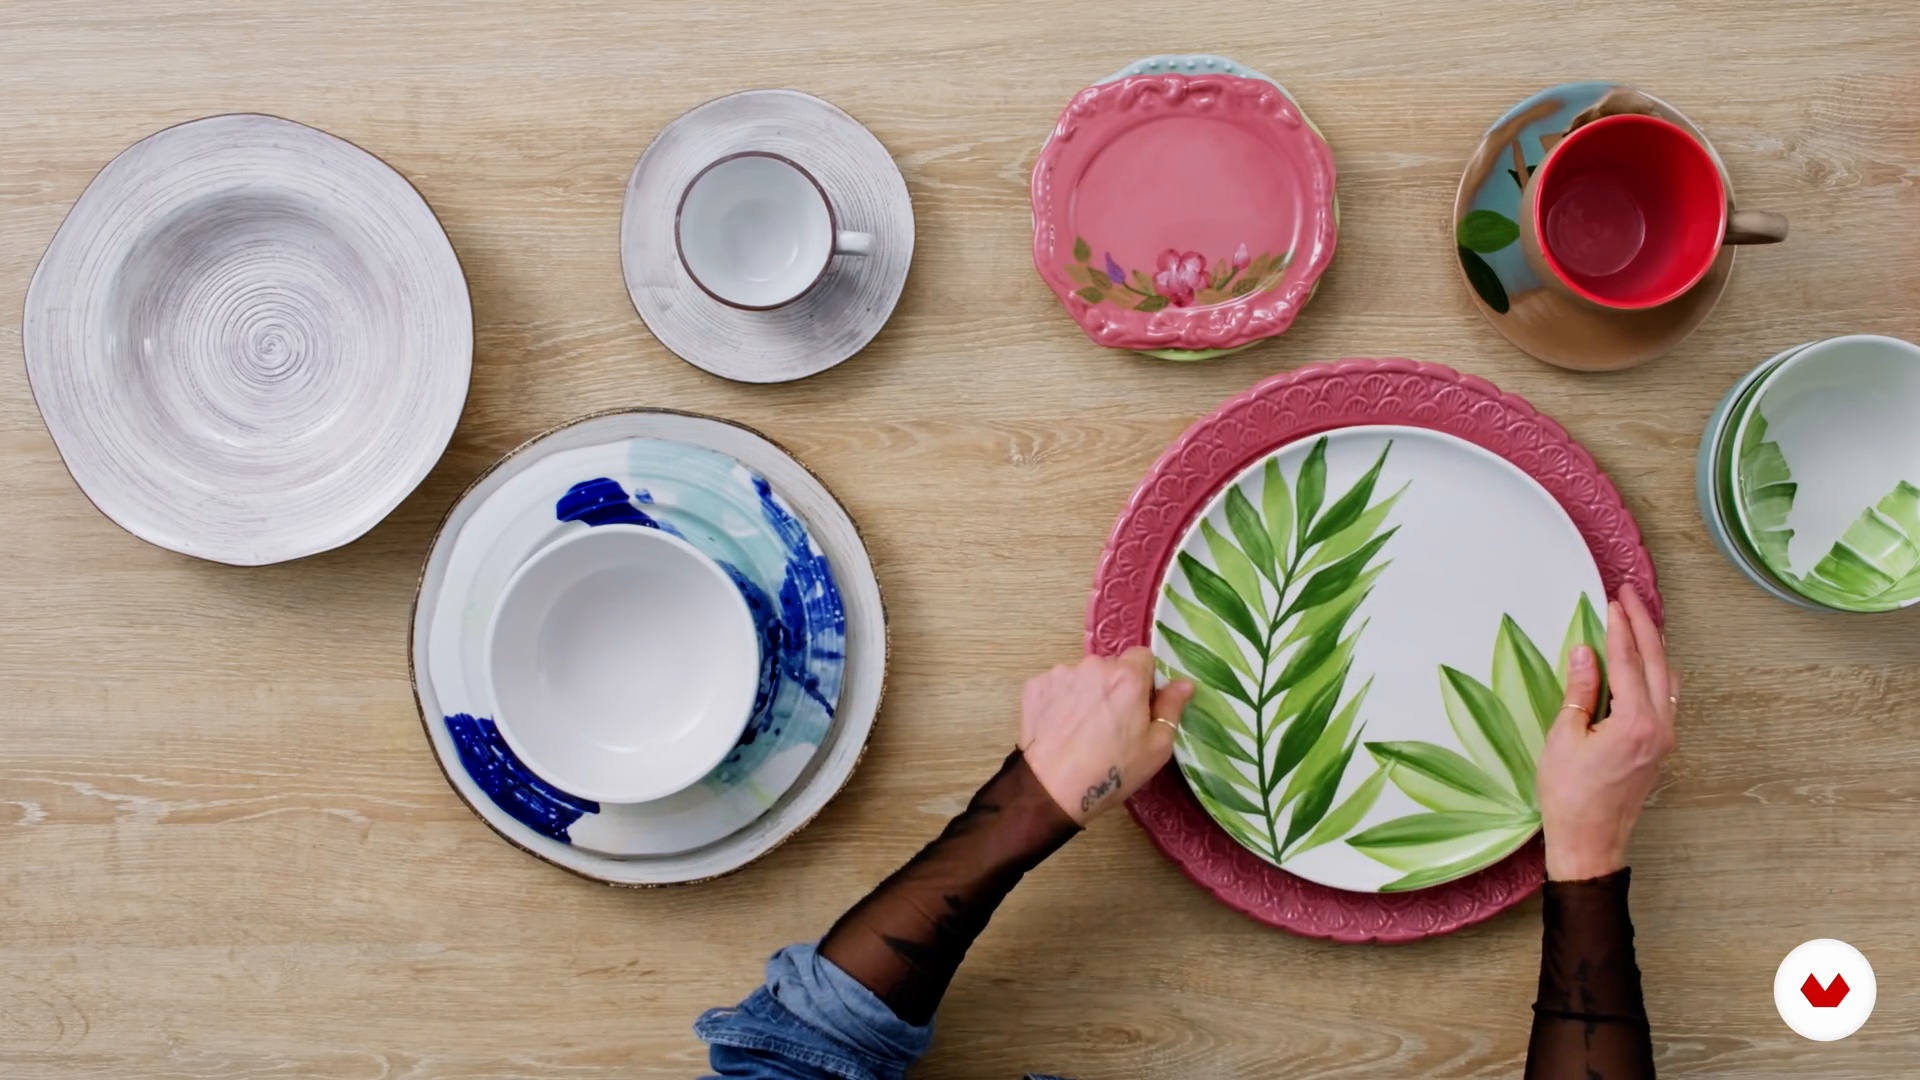
9Styles and aesthetics 2
Now we are going to see what types of materials and techniques exist in the world of tableware and how to recognize what best suits each style.
16m
 10
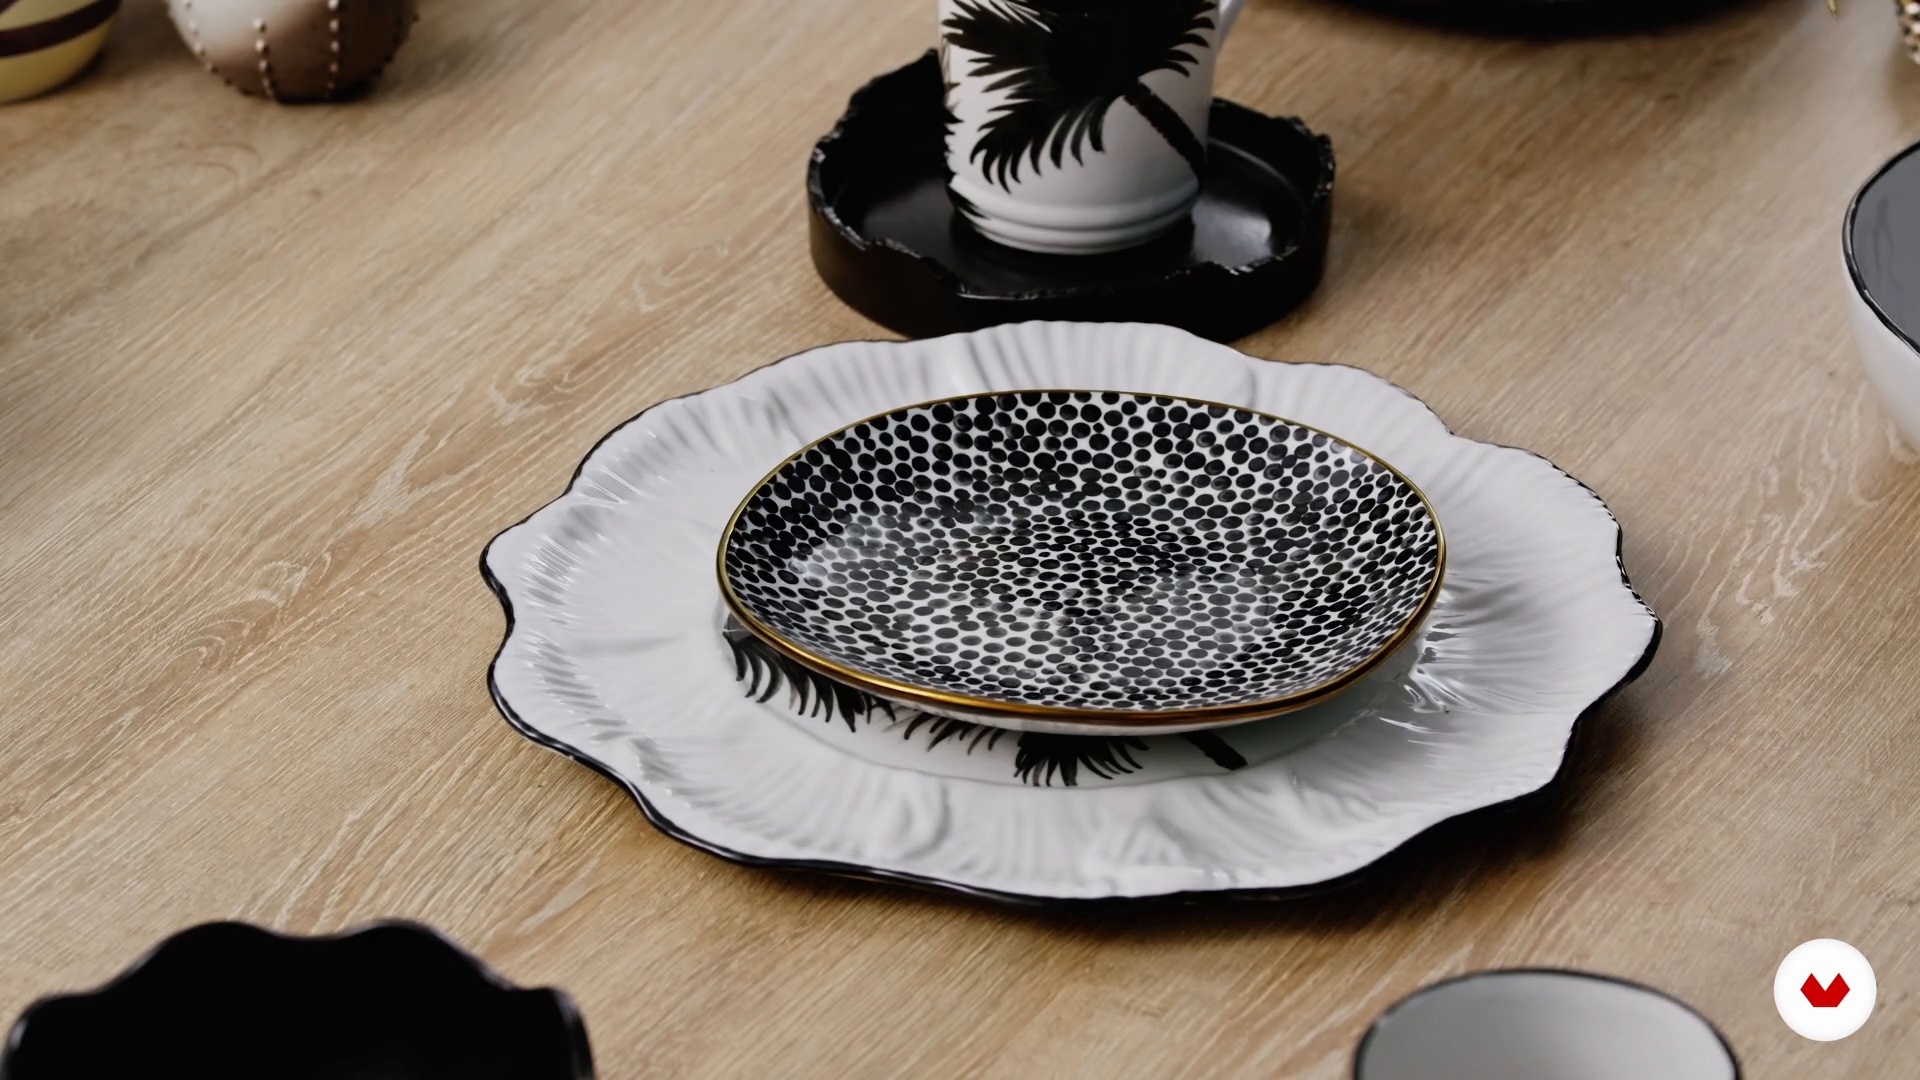
10How to collect new pieces and the art of mix and match
Mixing is an art! In this lesson you will learn how to grow your tableware collection and master the mix, not only in shape, but also in color to achieve functional and aesthetic assemblies.
20m
 11
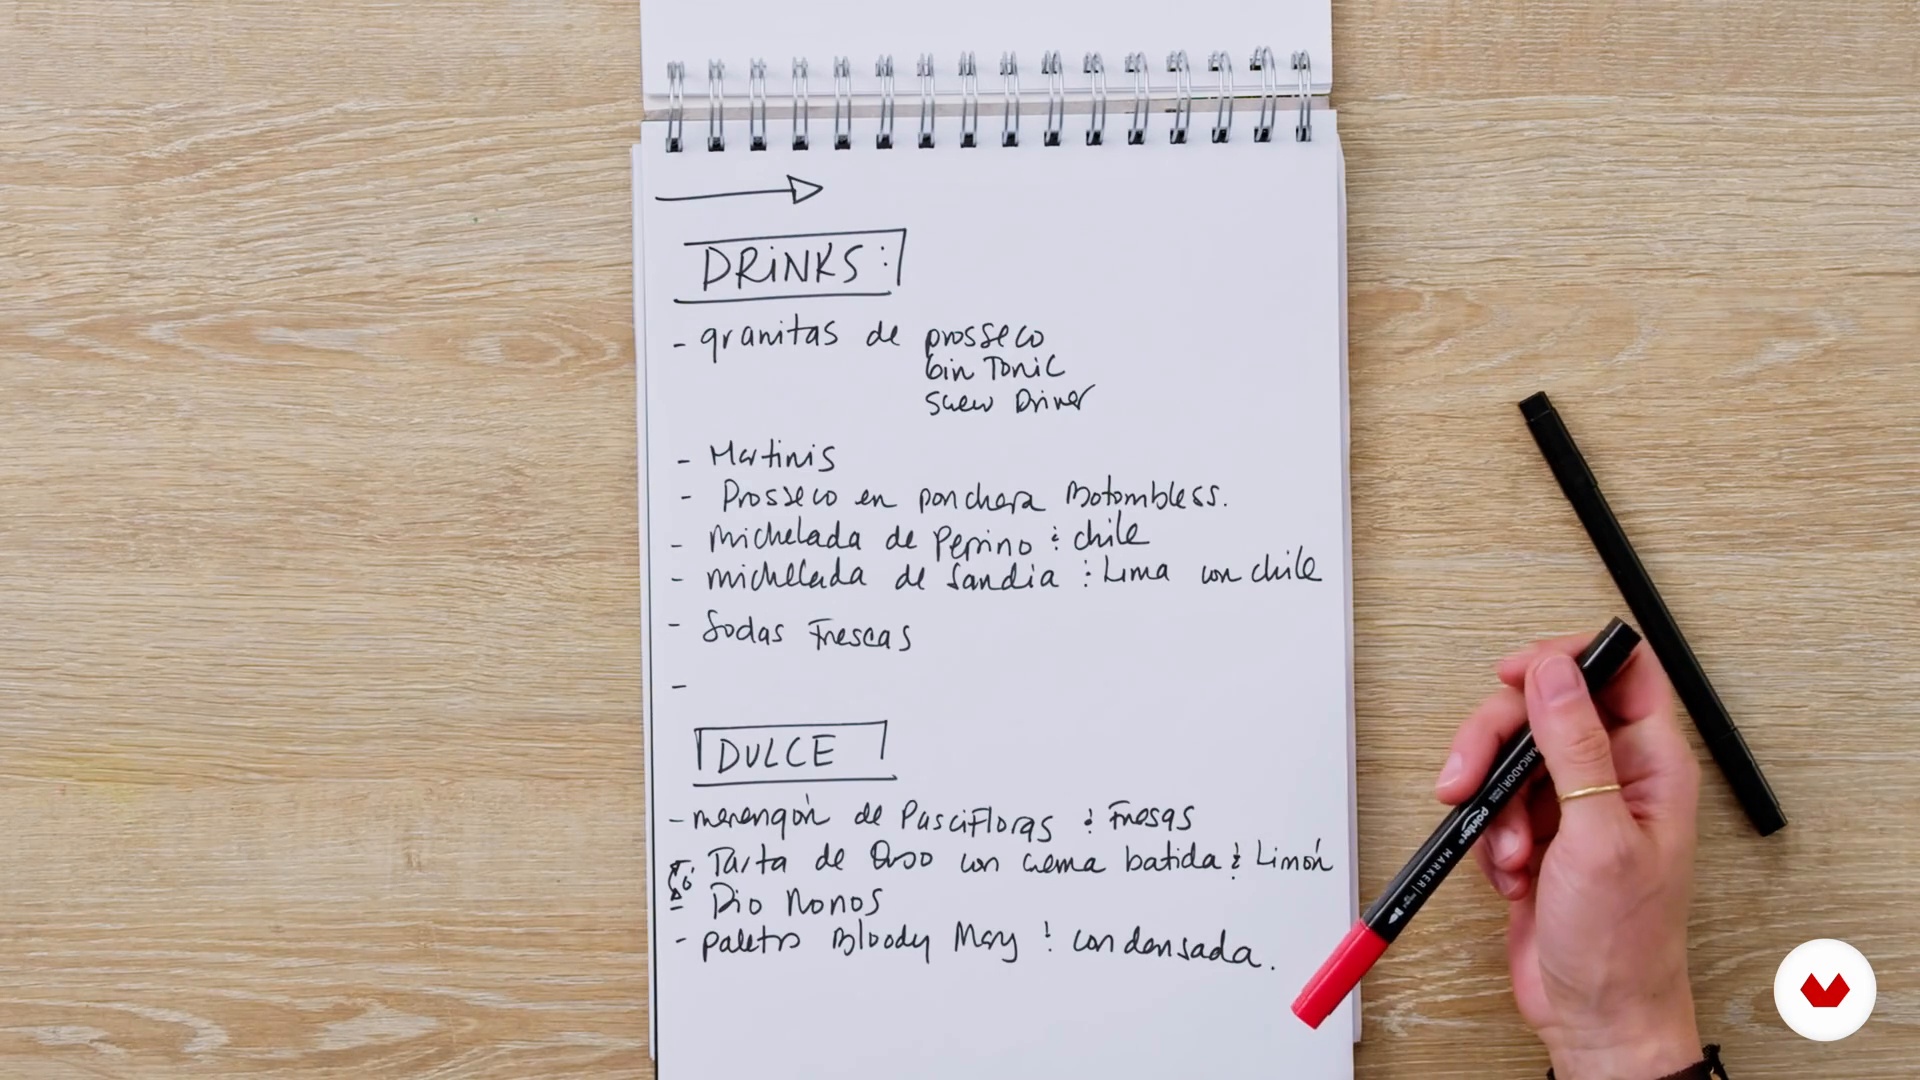
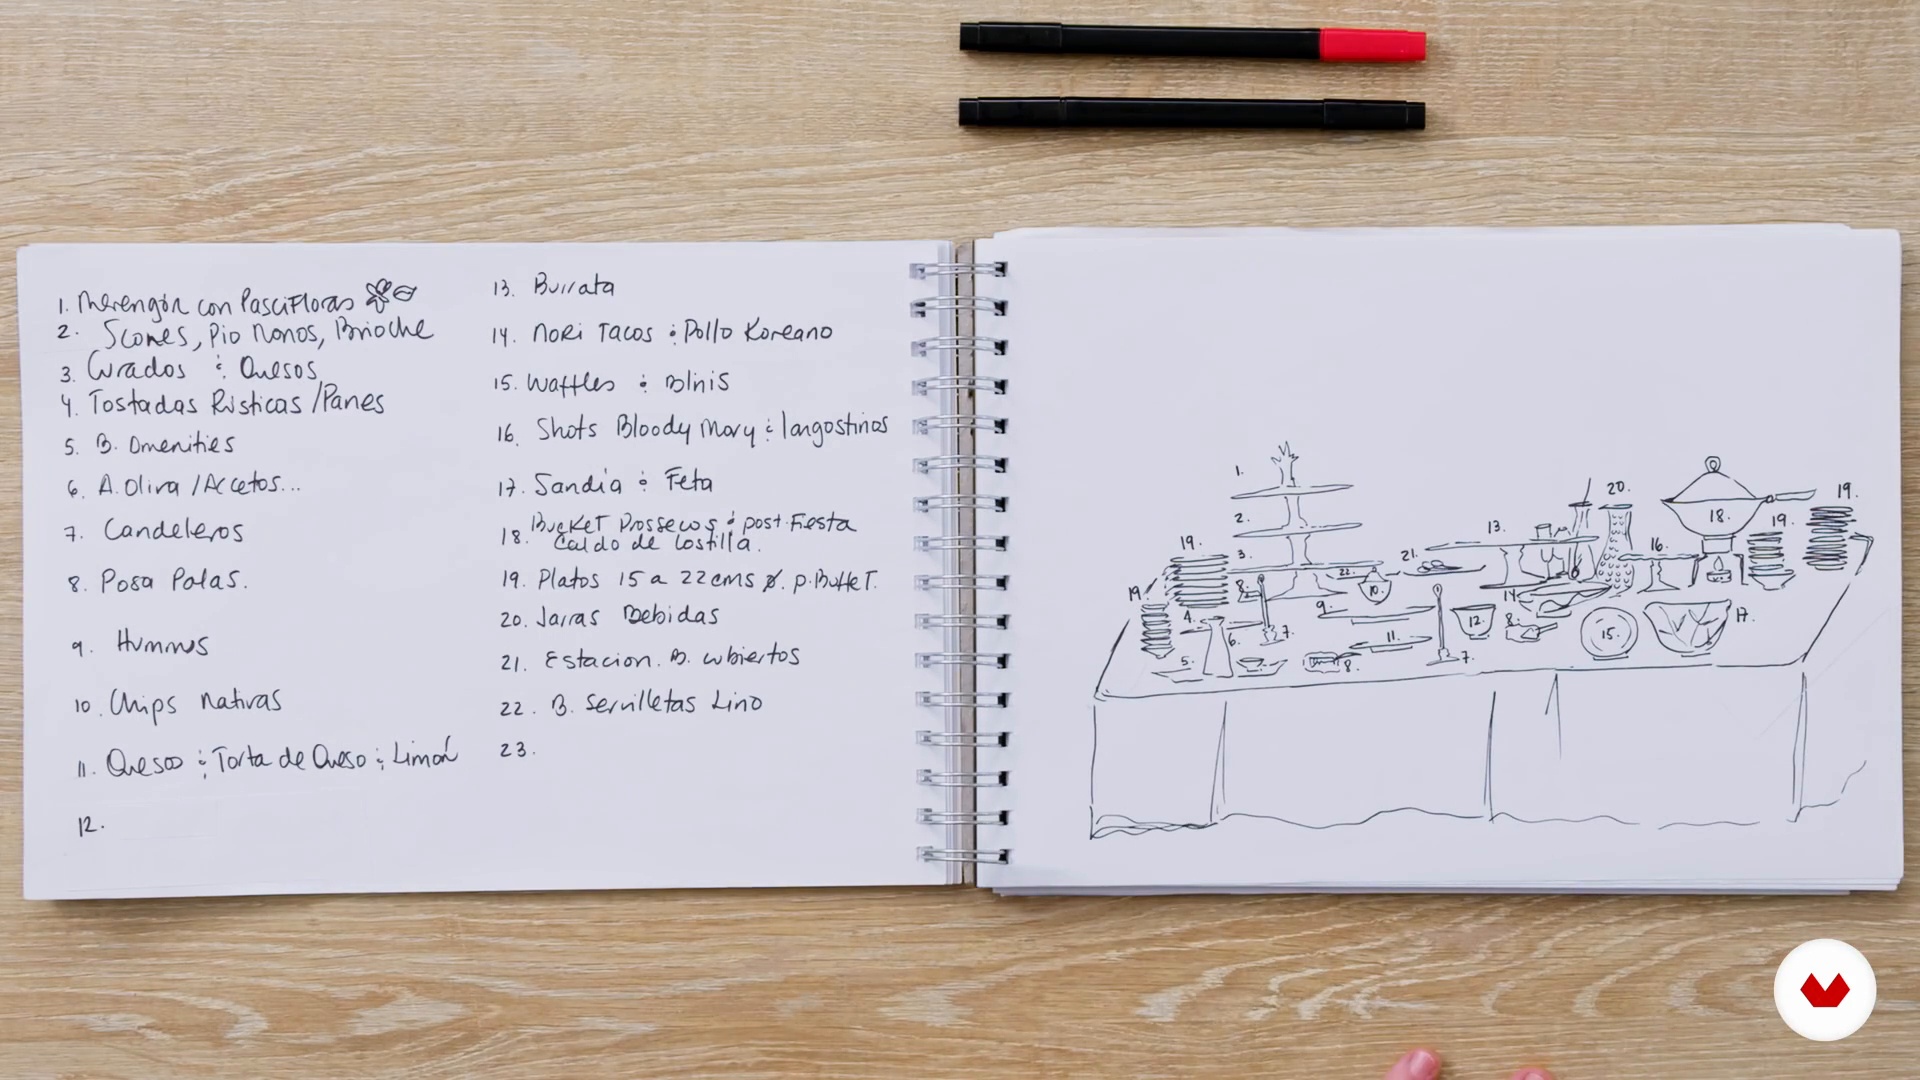
11Define an experience
We are going to start putting together the course project. It is time to choose our menu to recognize what parts we will need for the subsequent assembly. I chose a brunch, but you can choose the recipe or experience you prefer.
9m
 12
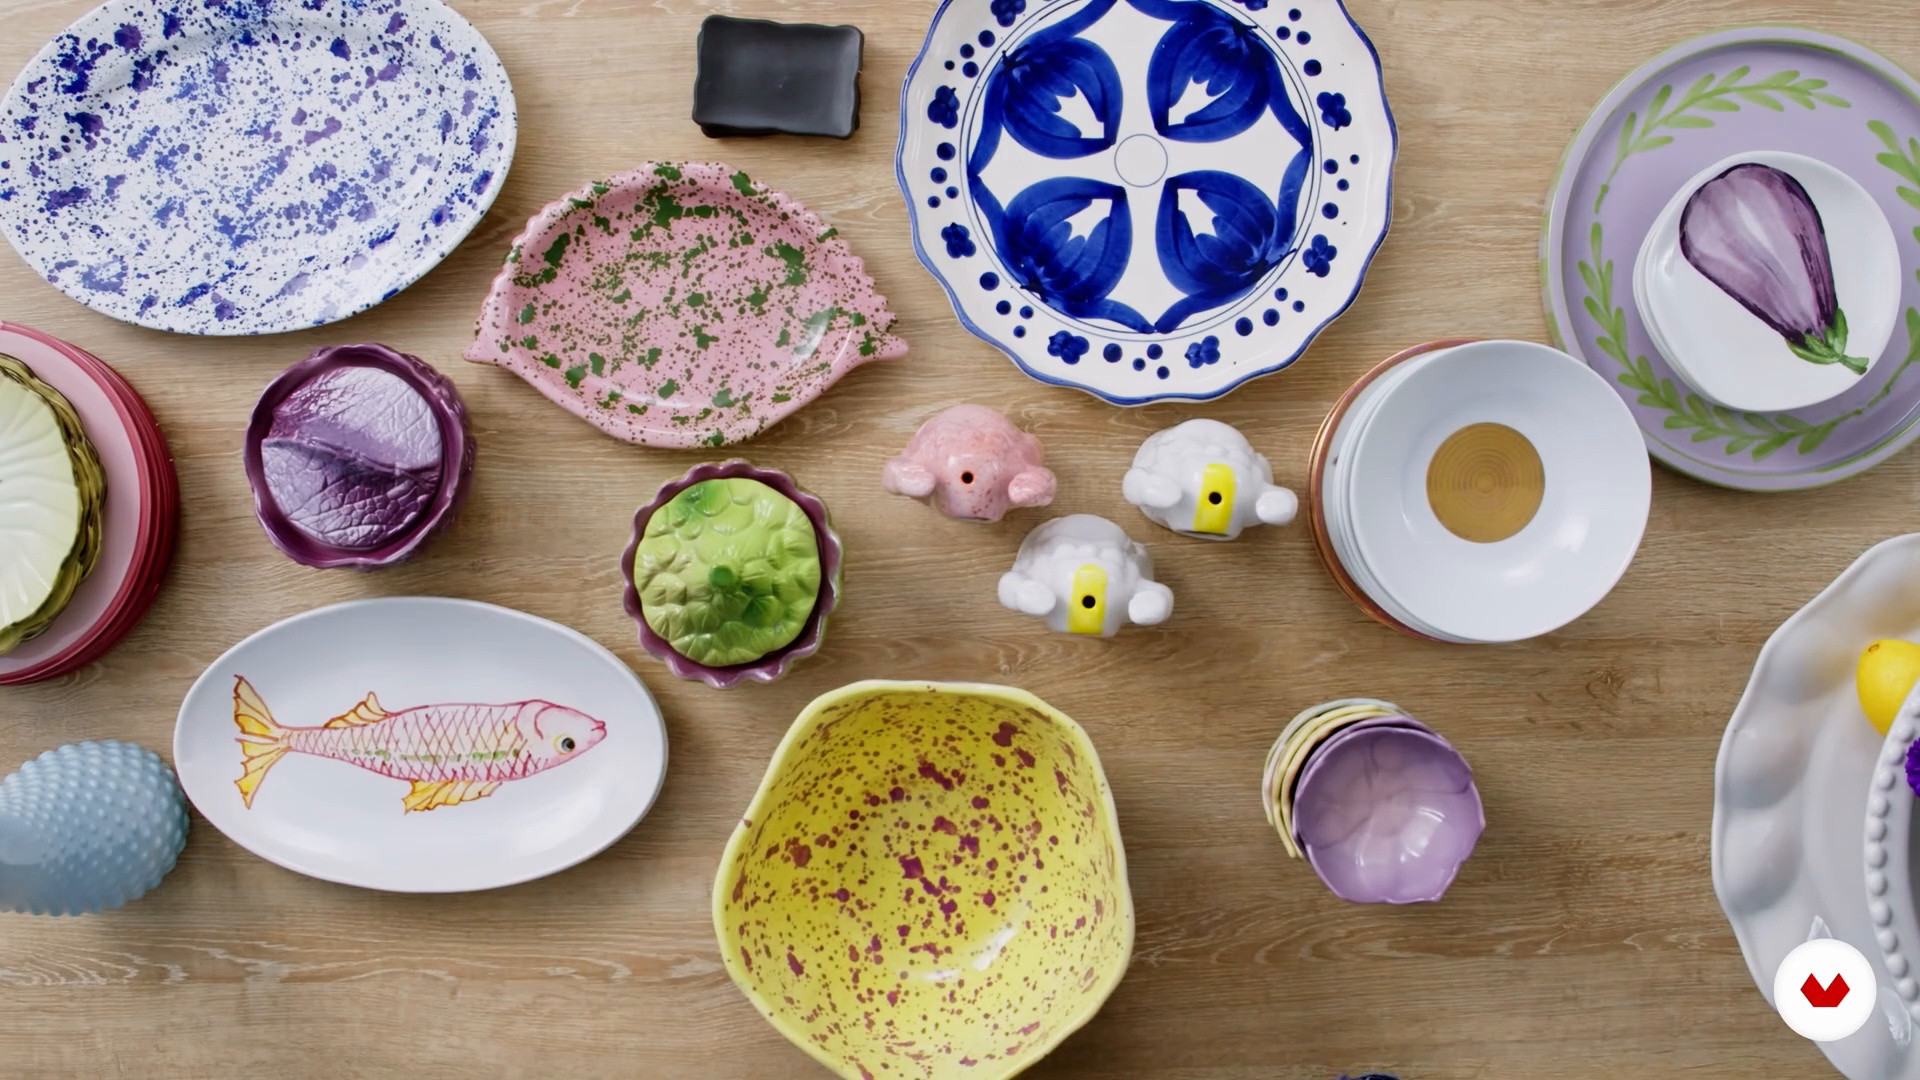
12Define the pieces 1
We already have a menu, so now we have to find the pieces. In this lesson I will explain why it is so important to pair menu and dish, and I will tell you how to define the perfect pieces for your project.
10m
 13
13Define the pieces 2
We continue delving into the concepts to take into consideration when selecting the pieces for our table setting.
9m
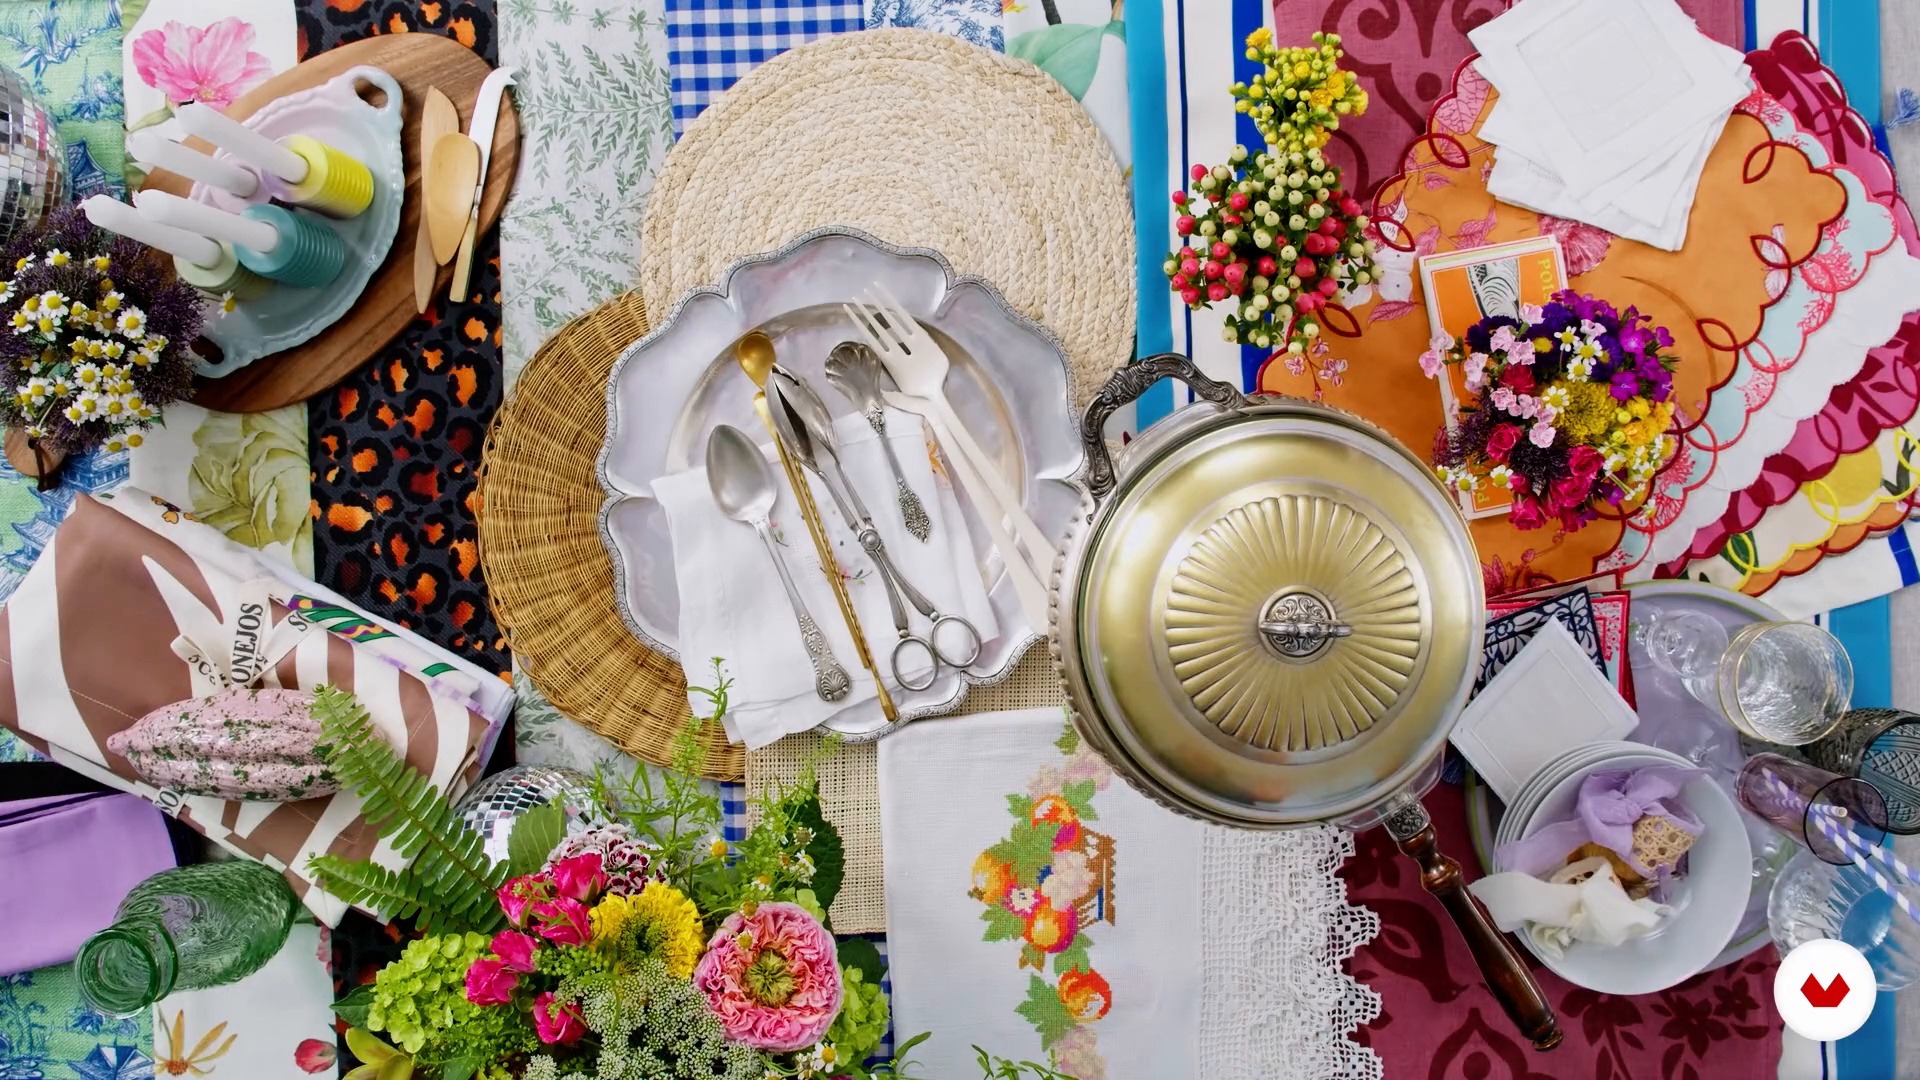 14
14Styling table setting
Your tableware needs company, so let's finish putting together your experience with some elements that enhance your setup. I'm going to teach you how to select them and bring them to your table.
4m
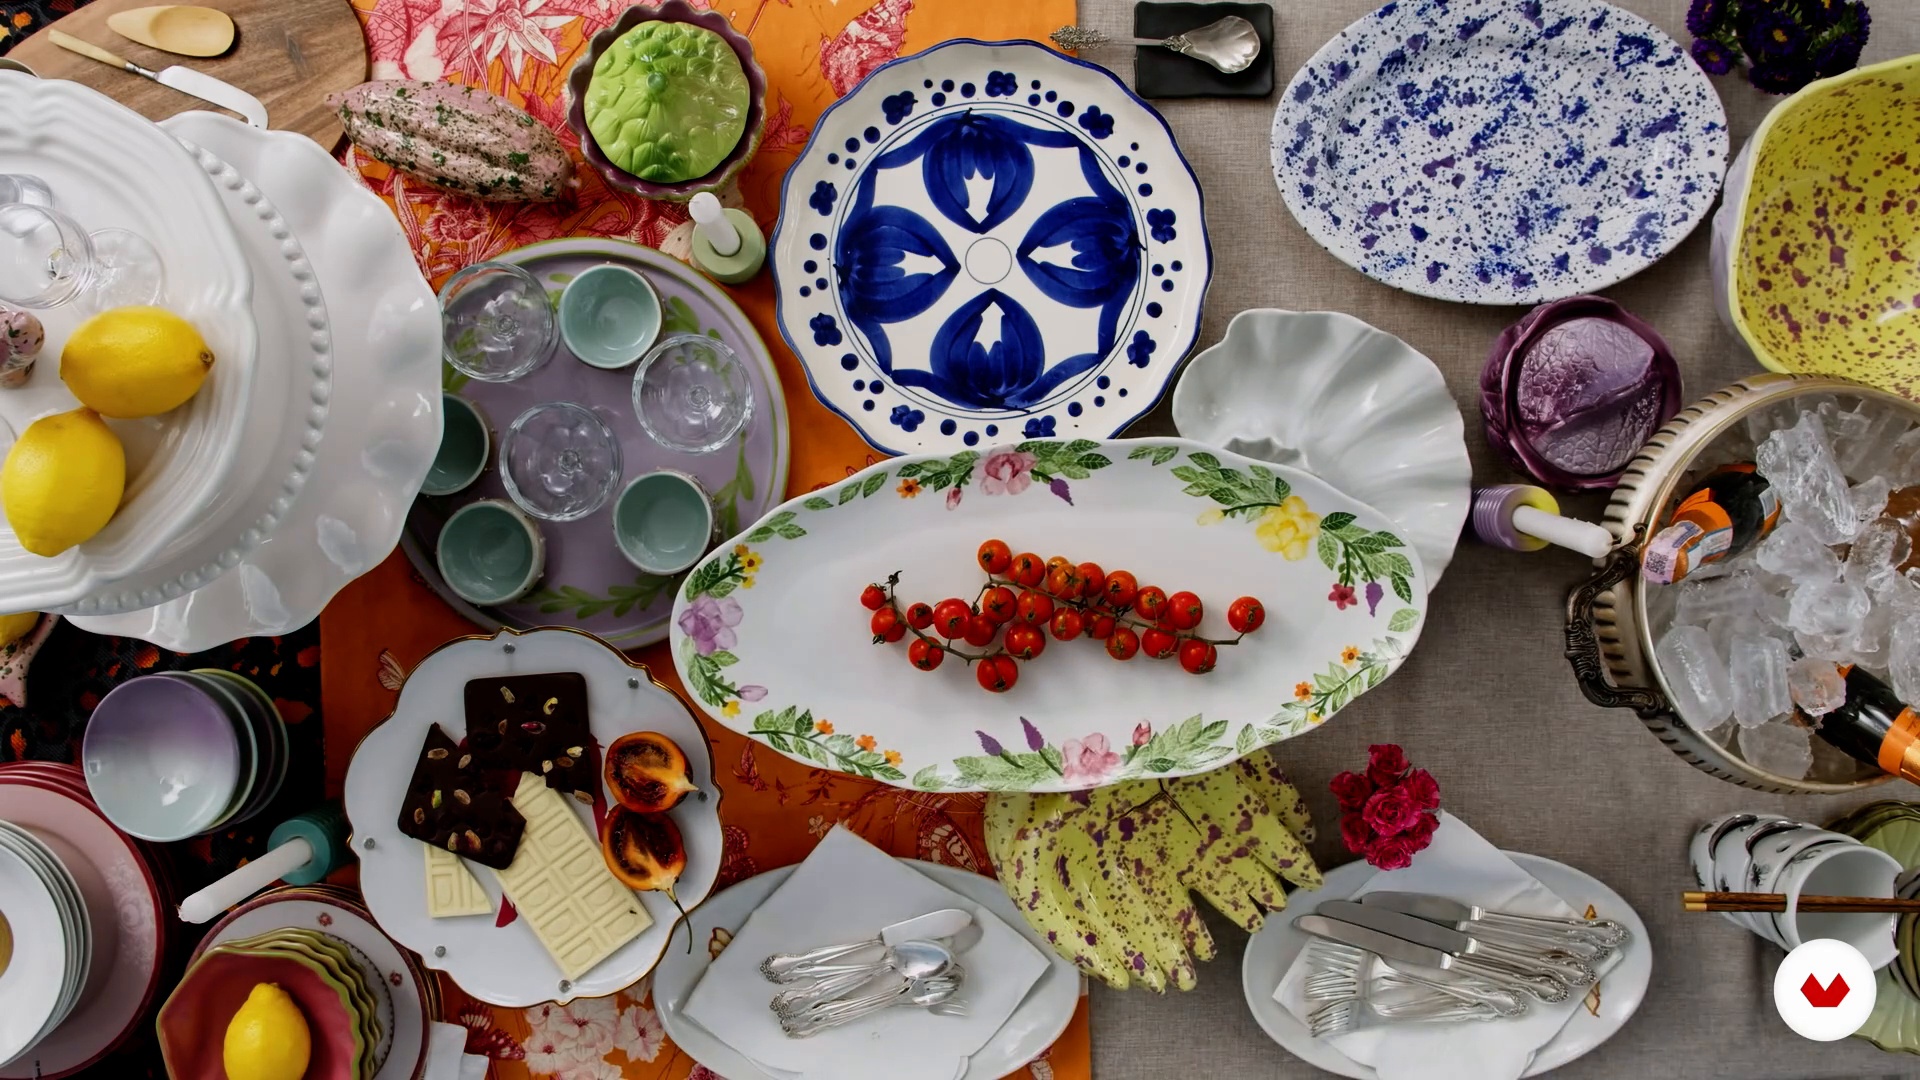 15
15Set up the table
We already have crockery, we already know what guidelines to have to go around the world and bring new pieces. We also know how to modify a montage and how to mix color; the theme is selected, the menu is on the way, and our new dinnerware library is ready. Now let's set up the table!
16m
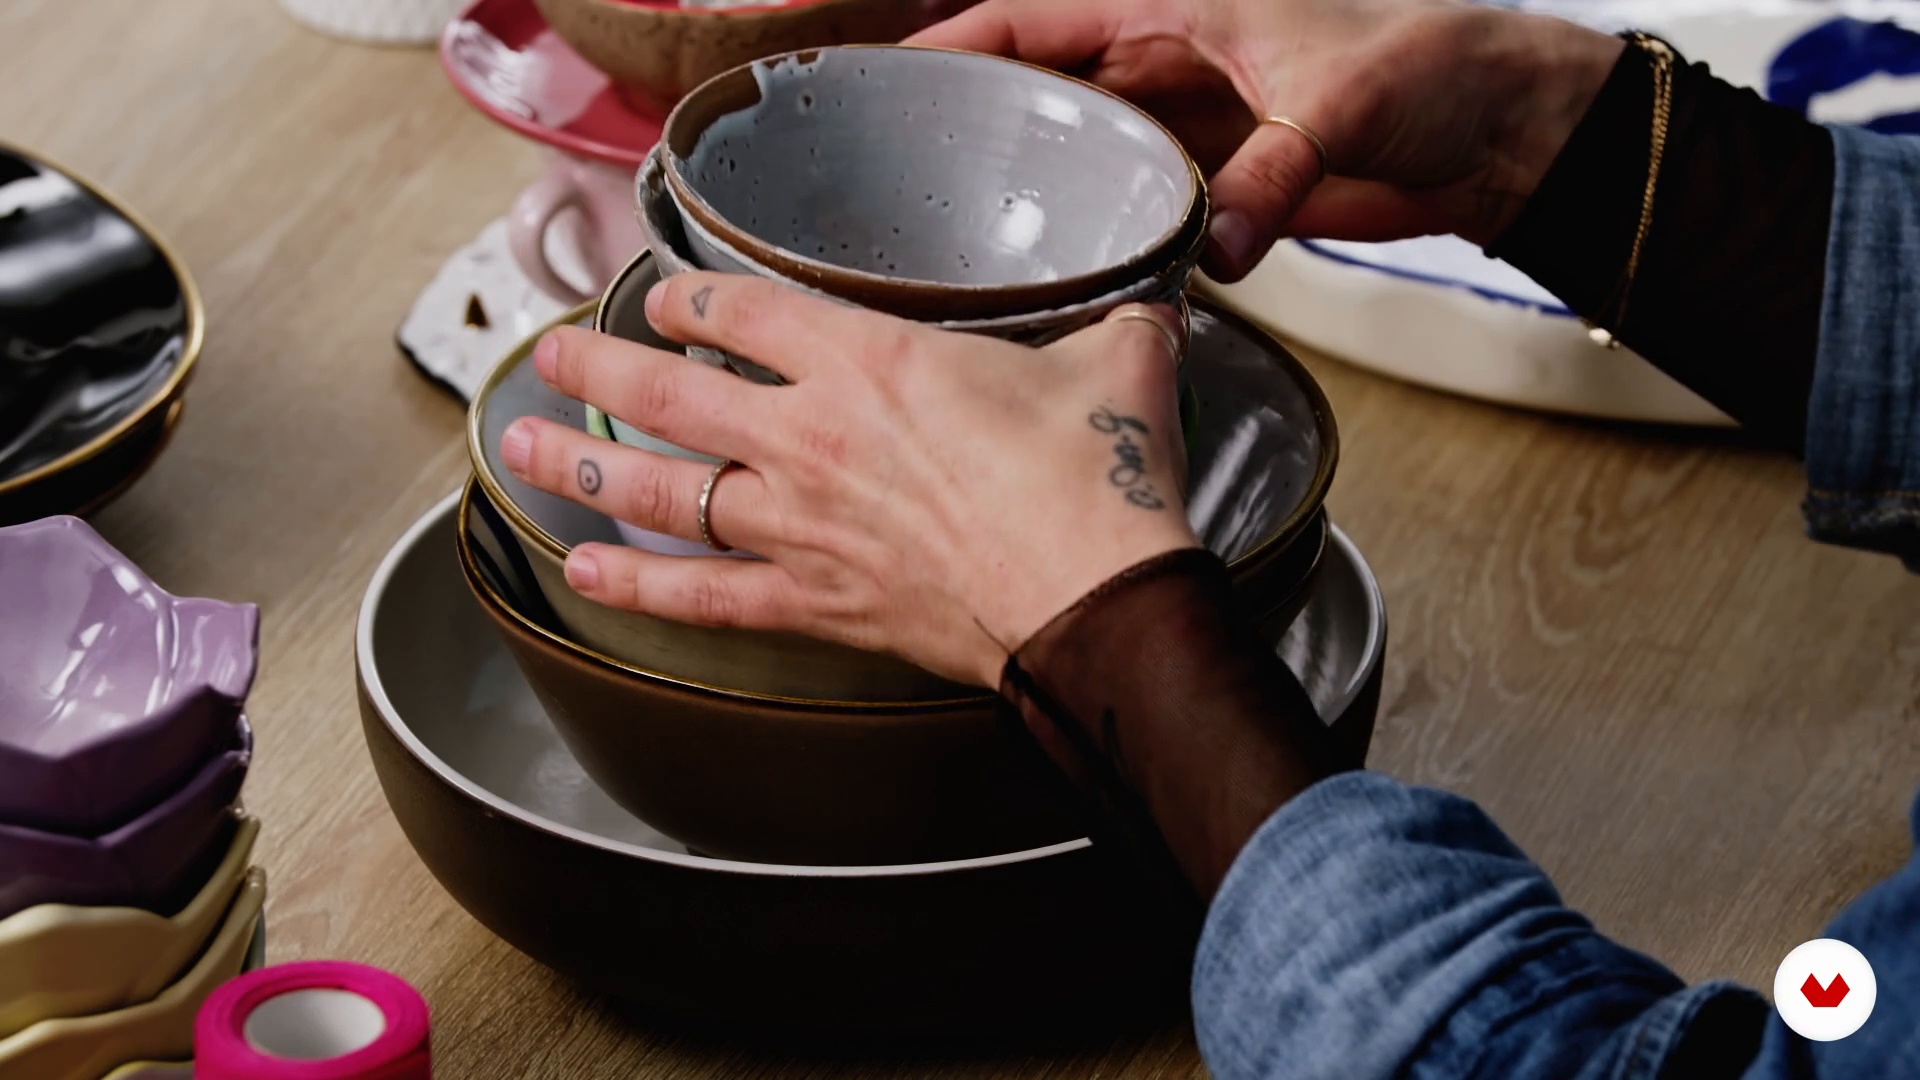 16
16Basic stacking rules and tips for storing and displaying your tableware at home 1
The more your collection grows, the more necessary it will be to store the pieces correctly. In this lesson I will give you some basic tips on how to stack or store your tableware.
16m
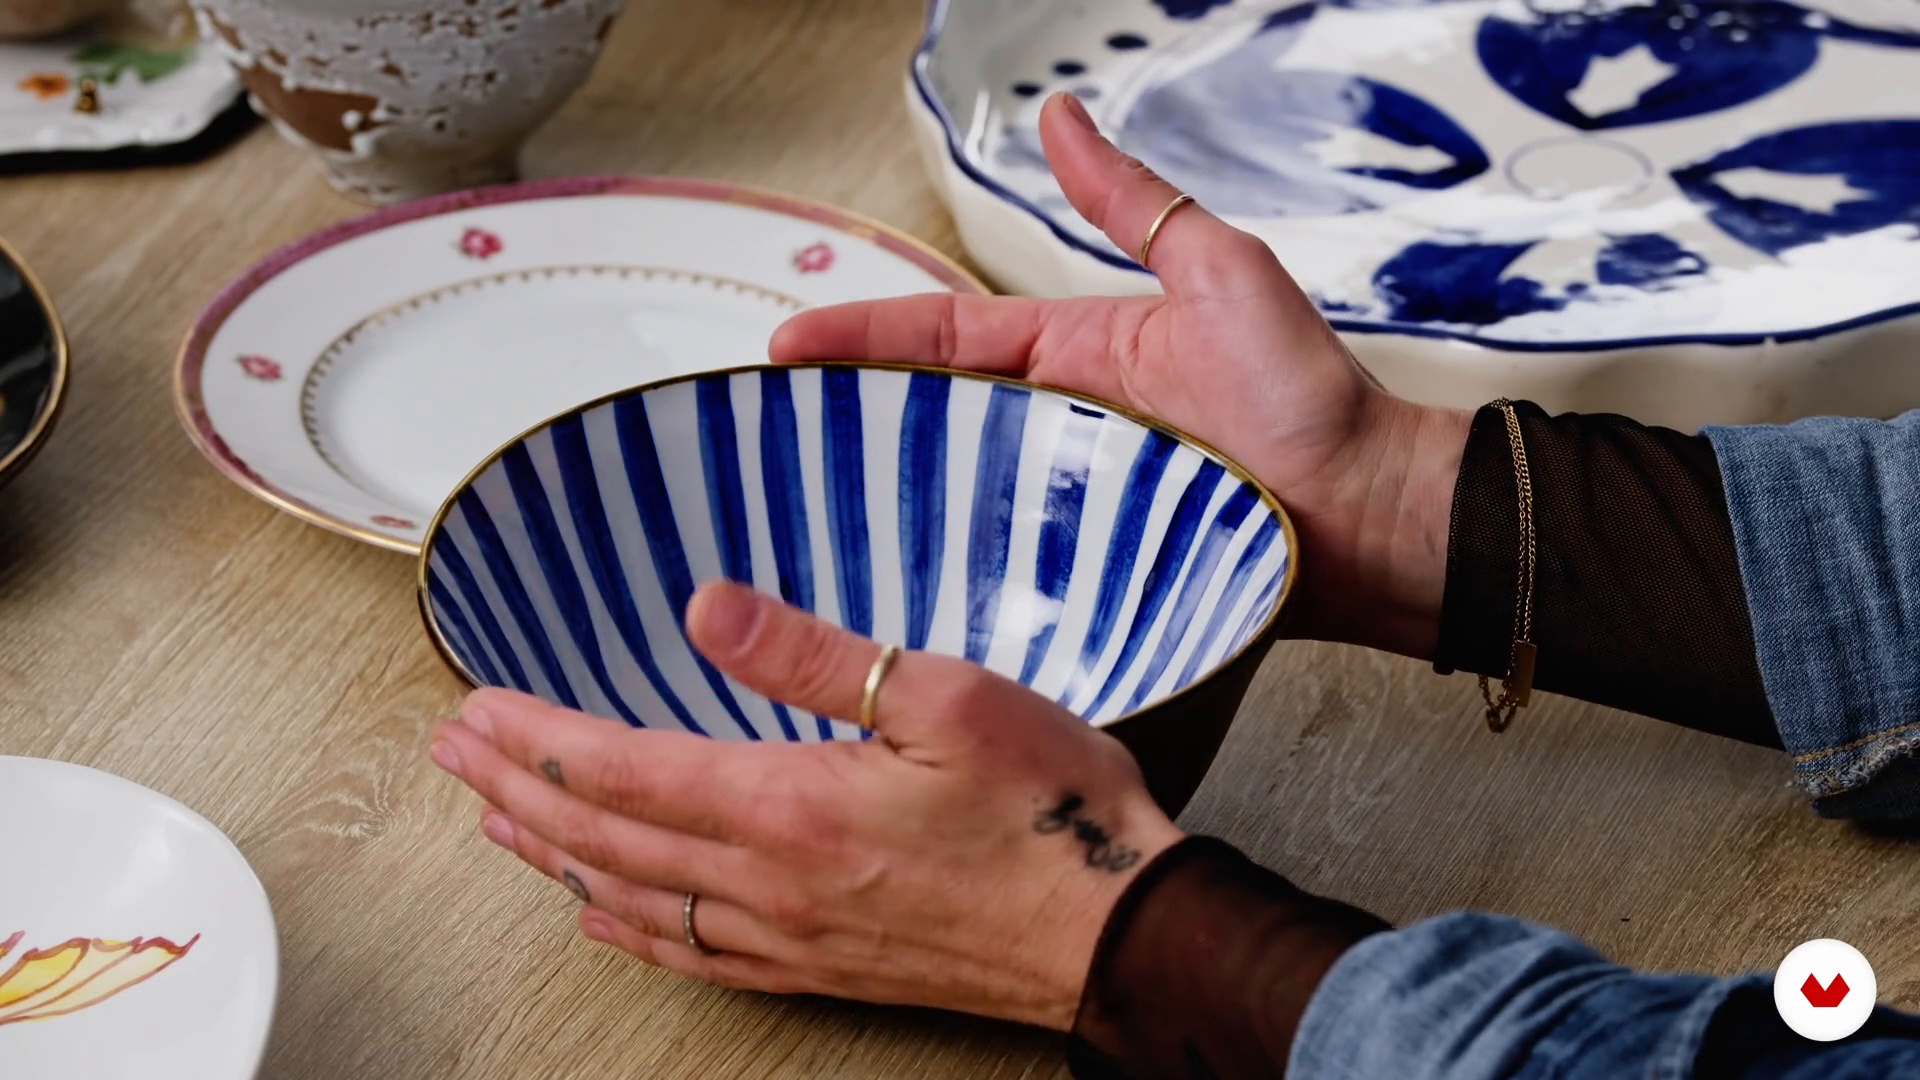 17
17Basic stacking rules and tips for storing and displaying your tableware at home 2
After explaining how to store your pieces, I am now going to show you how to organize, display and care for them.
16m
 18
18Packaging and transport tips
If I go around the world, how do I pack my tableware so that it reaches its destination safe and sound? I tell you everything in this lesson.
9m
 4
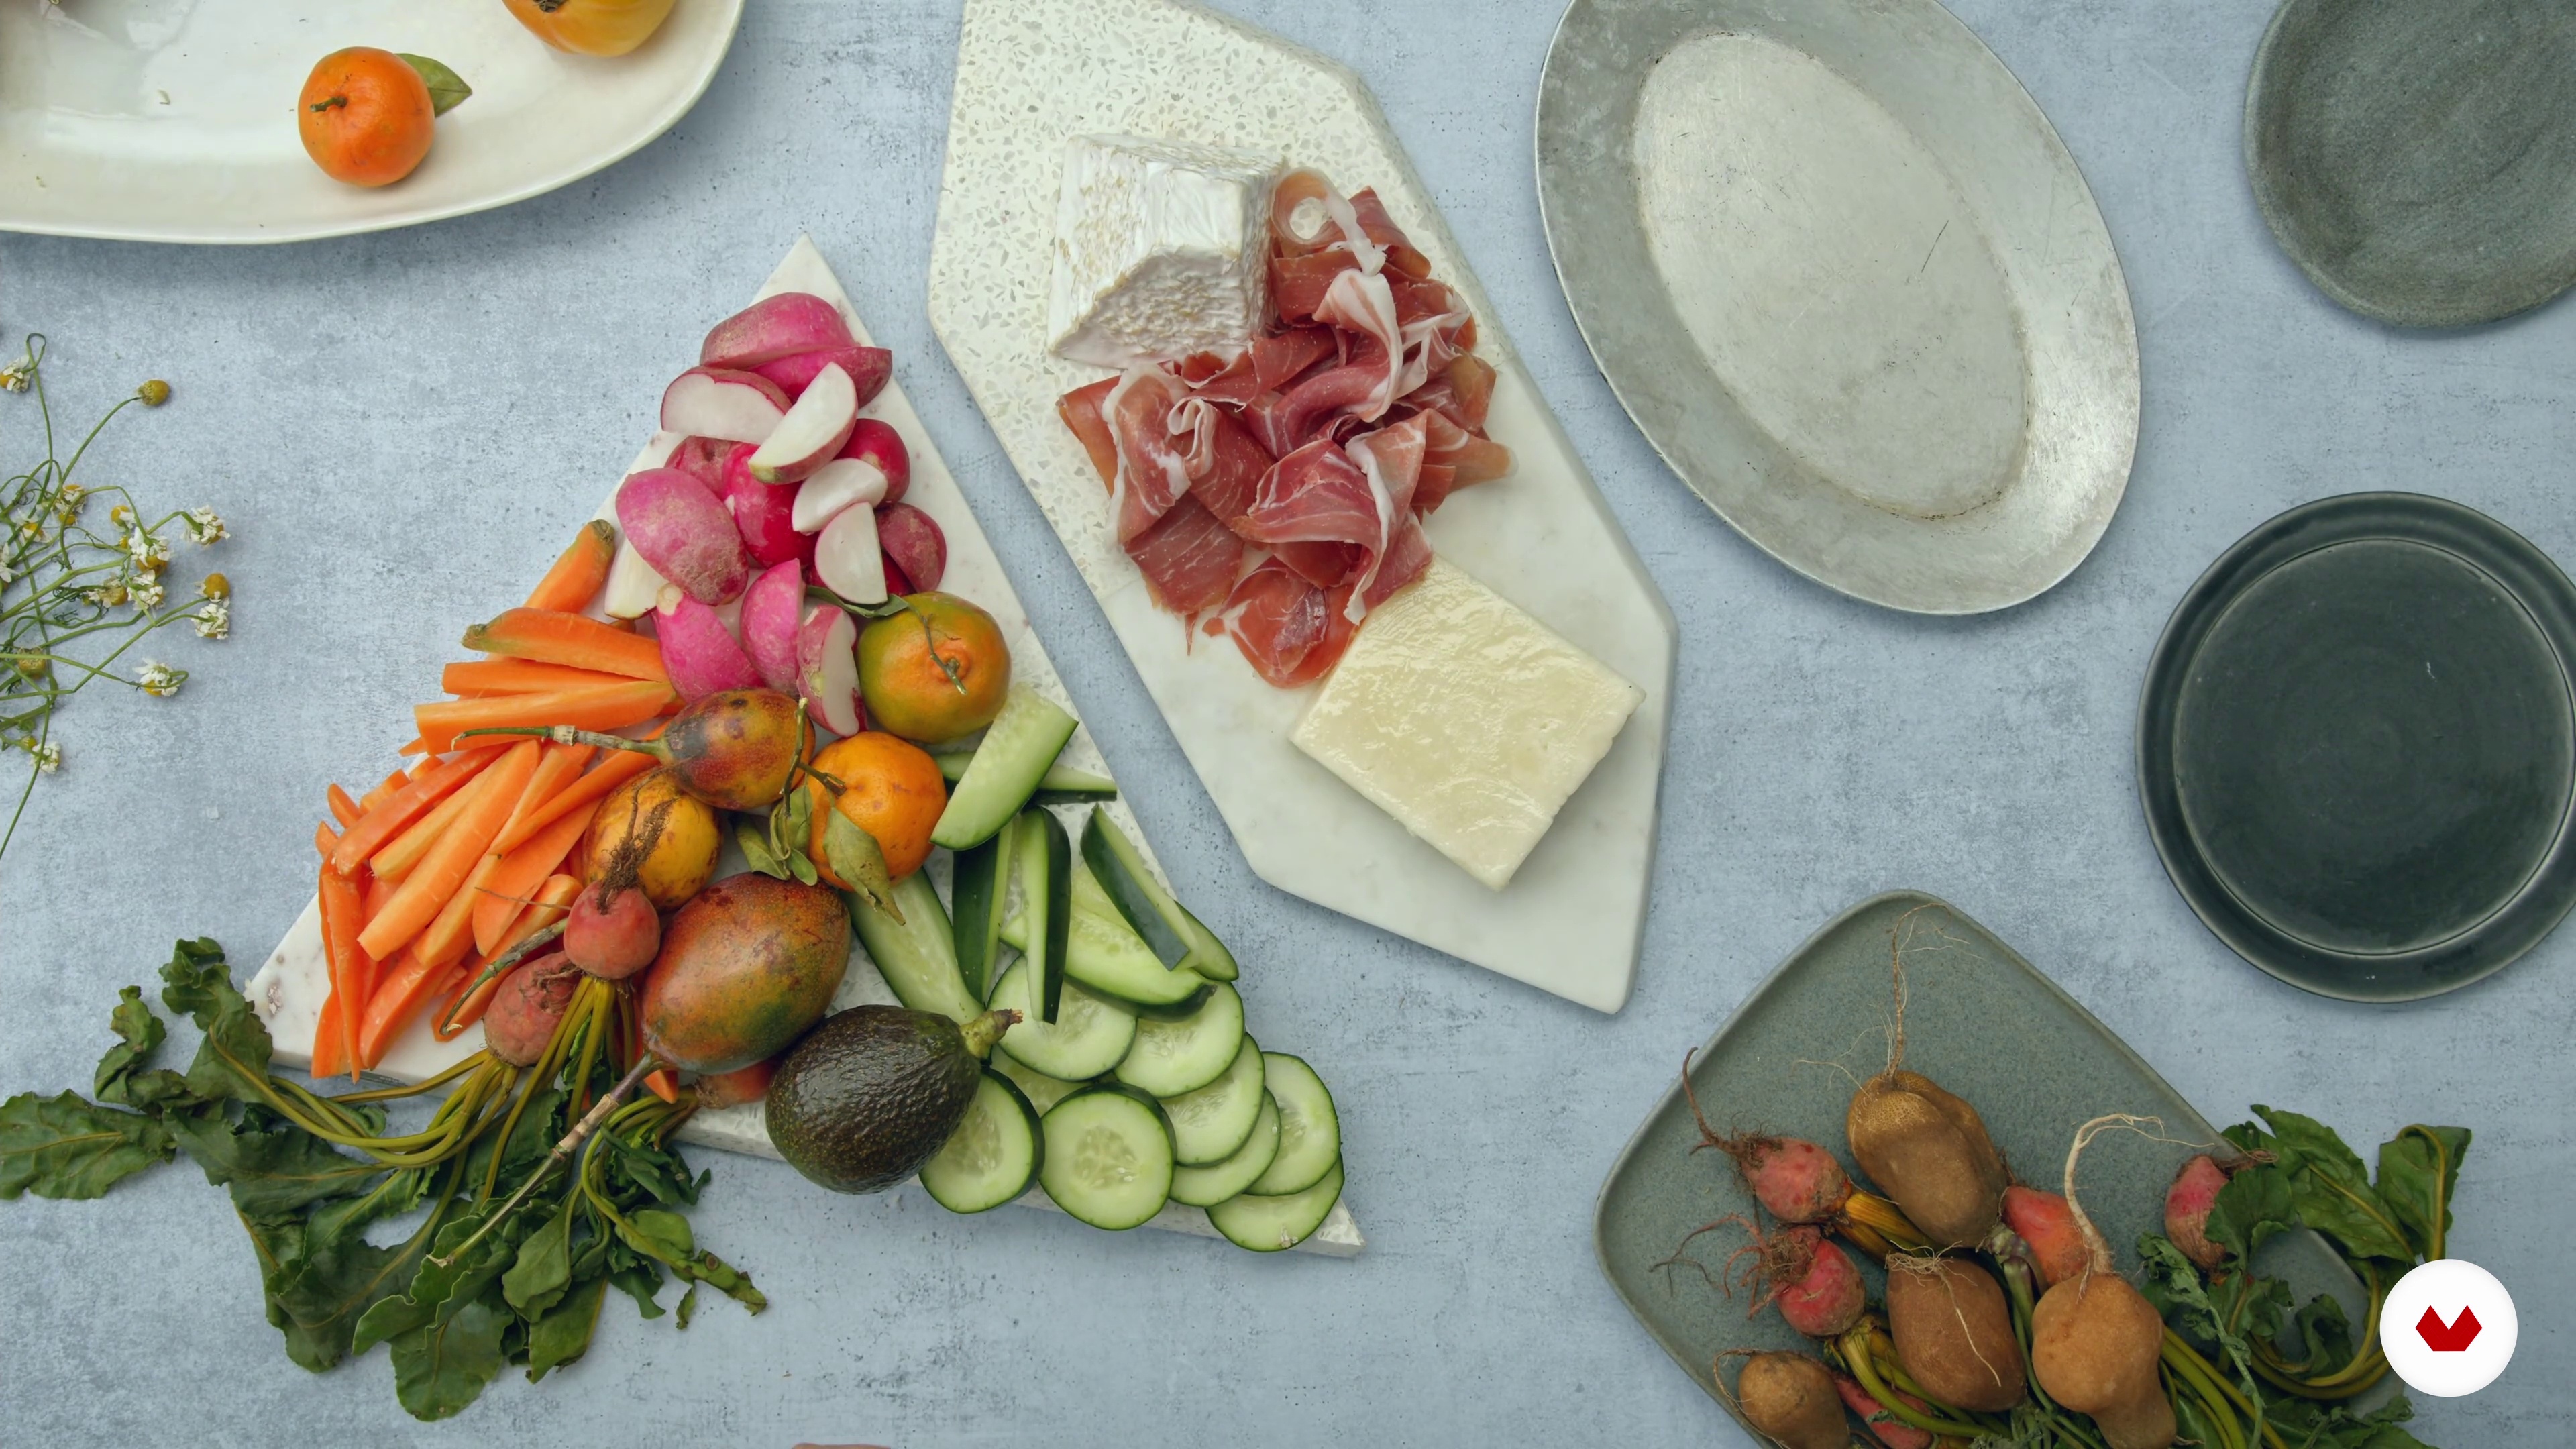
4Developing a Personal Style
Developing a personal style is important in creating your own personal brand, message, and feelings you are looking to convey when you create a scene.
19m
 5
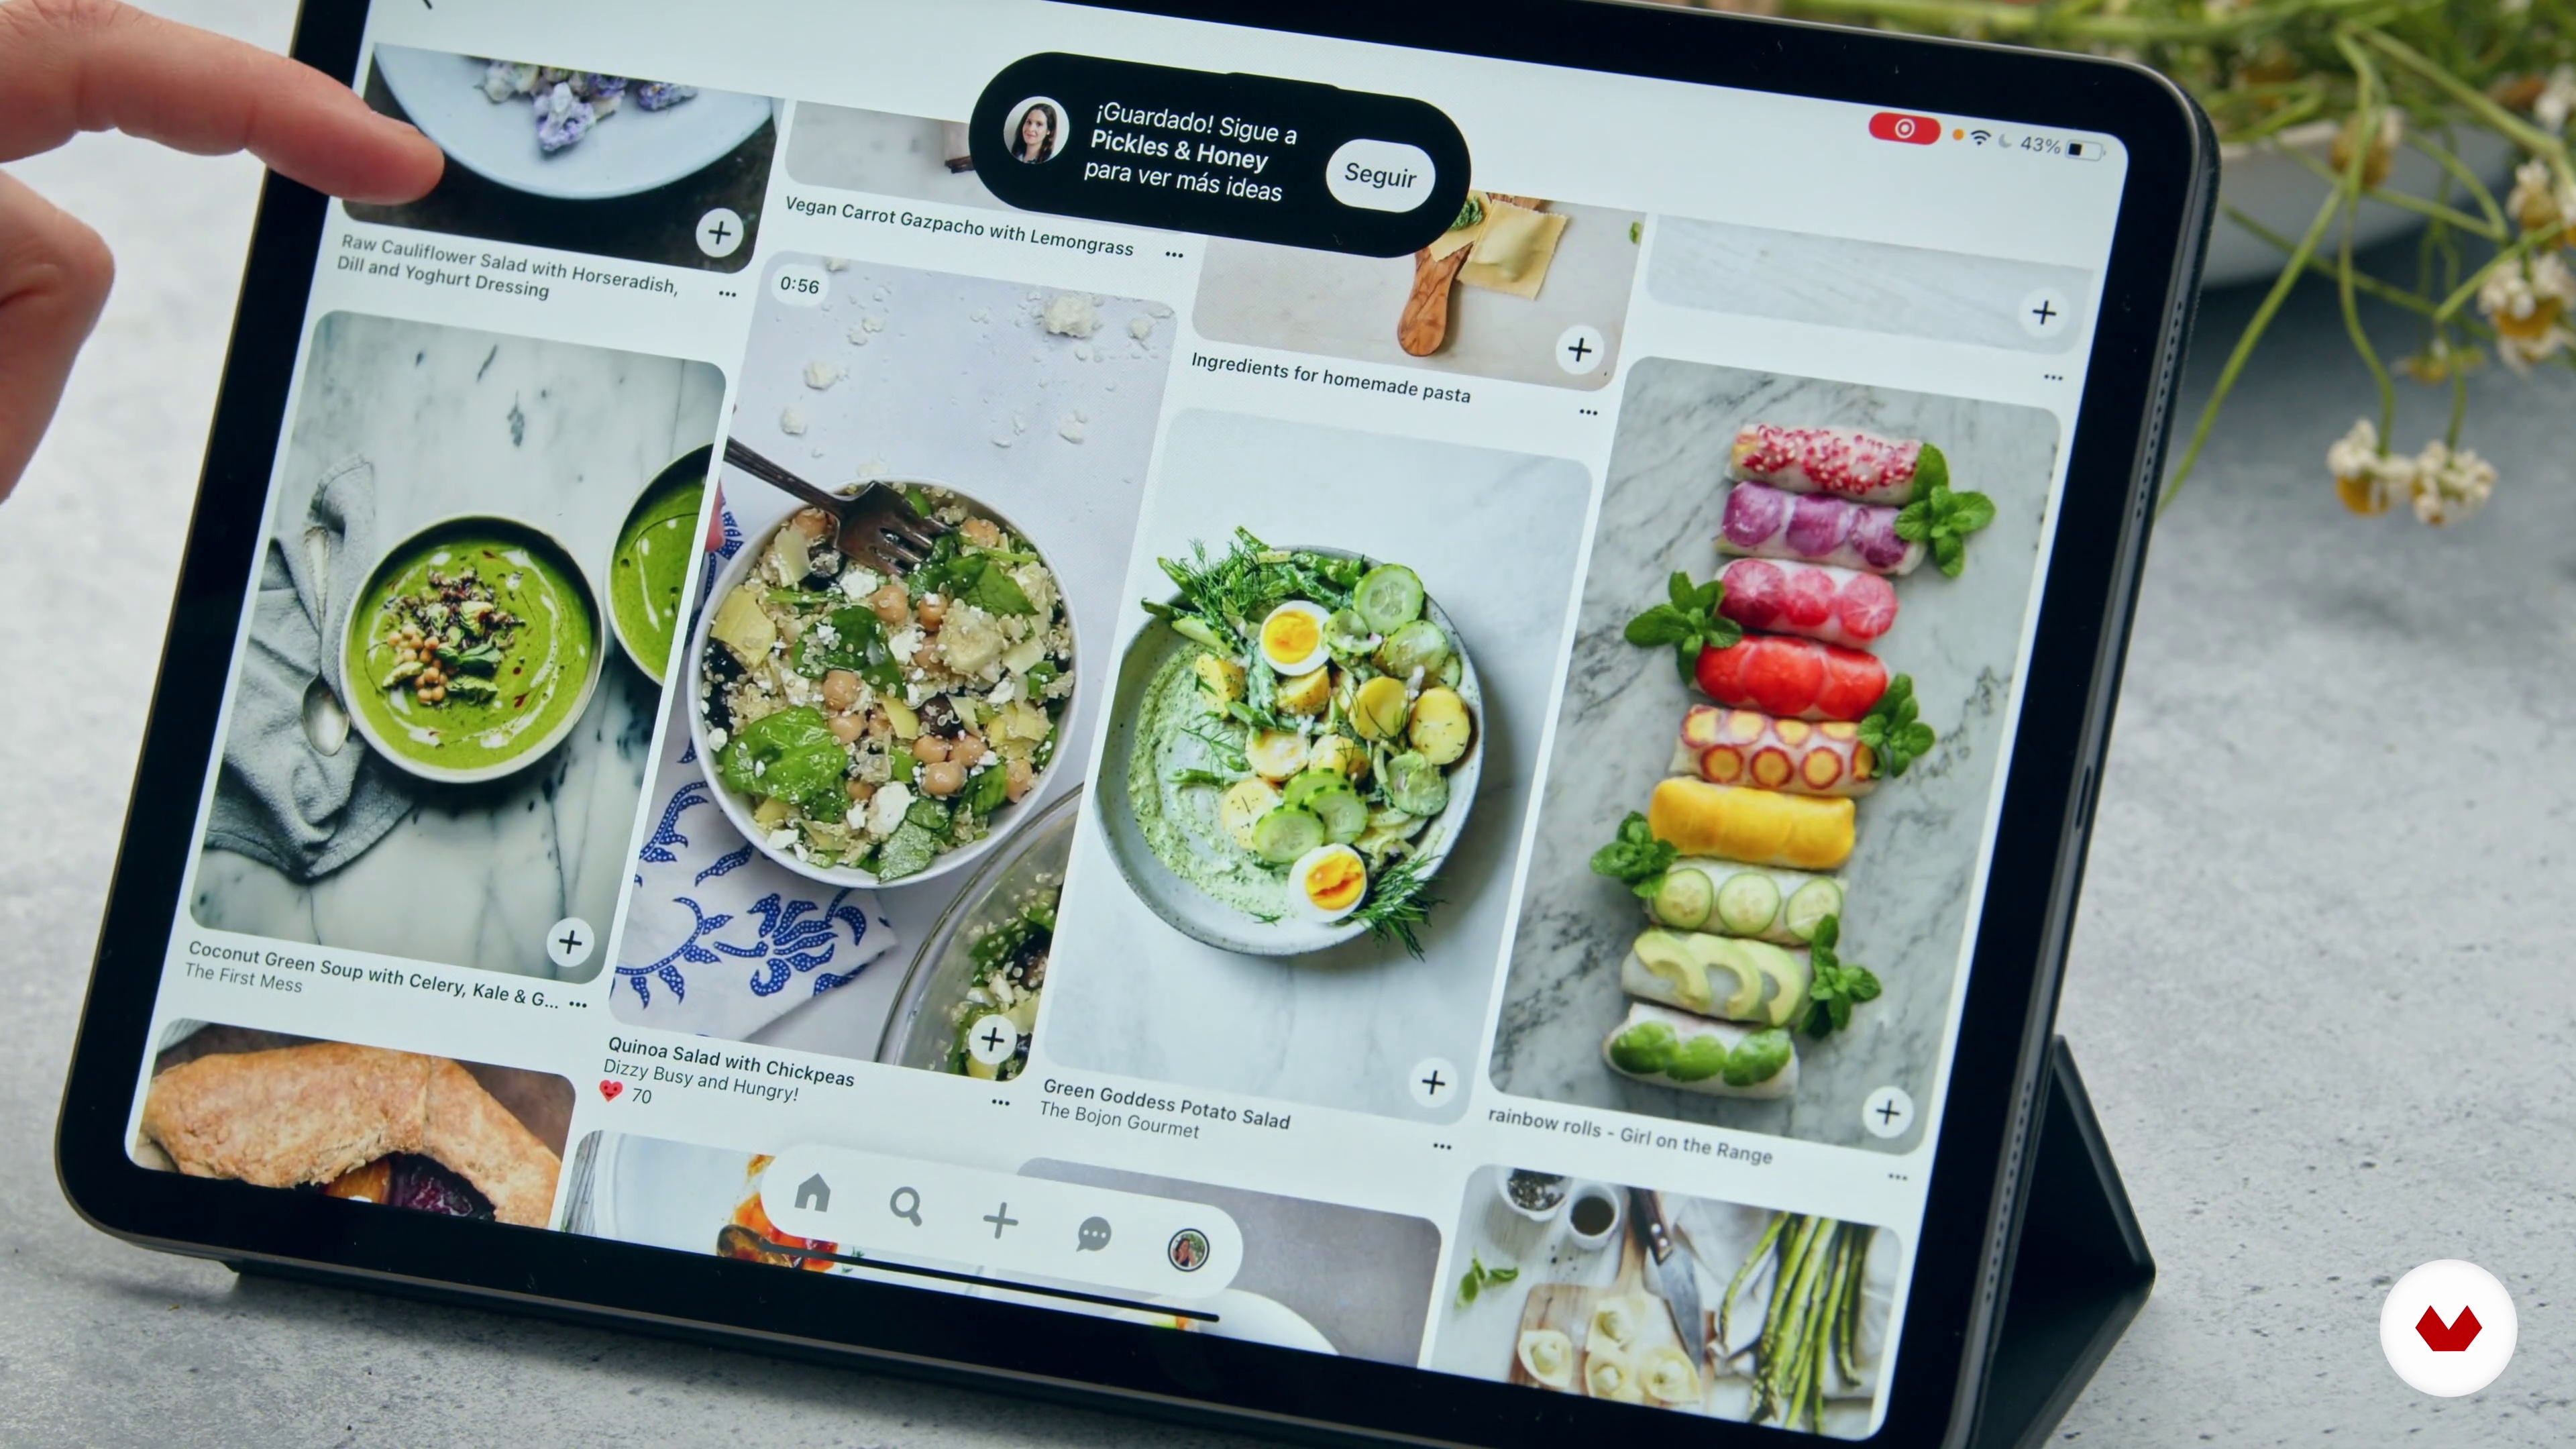
5Brainstorming and Inspiration
Inspiration can come from a lot of places. It is something I am always seeking, and I have several methods of keeping track of the inspiration I find. In this lesson, I will share with you my techniques for brainstorming and mood-boarding, both a very important part of the process for styling.
10m
 6
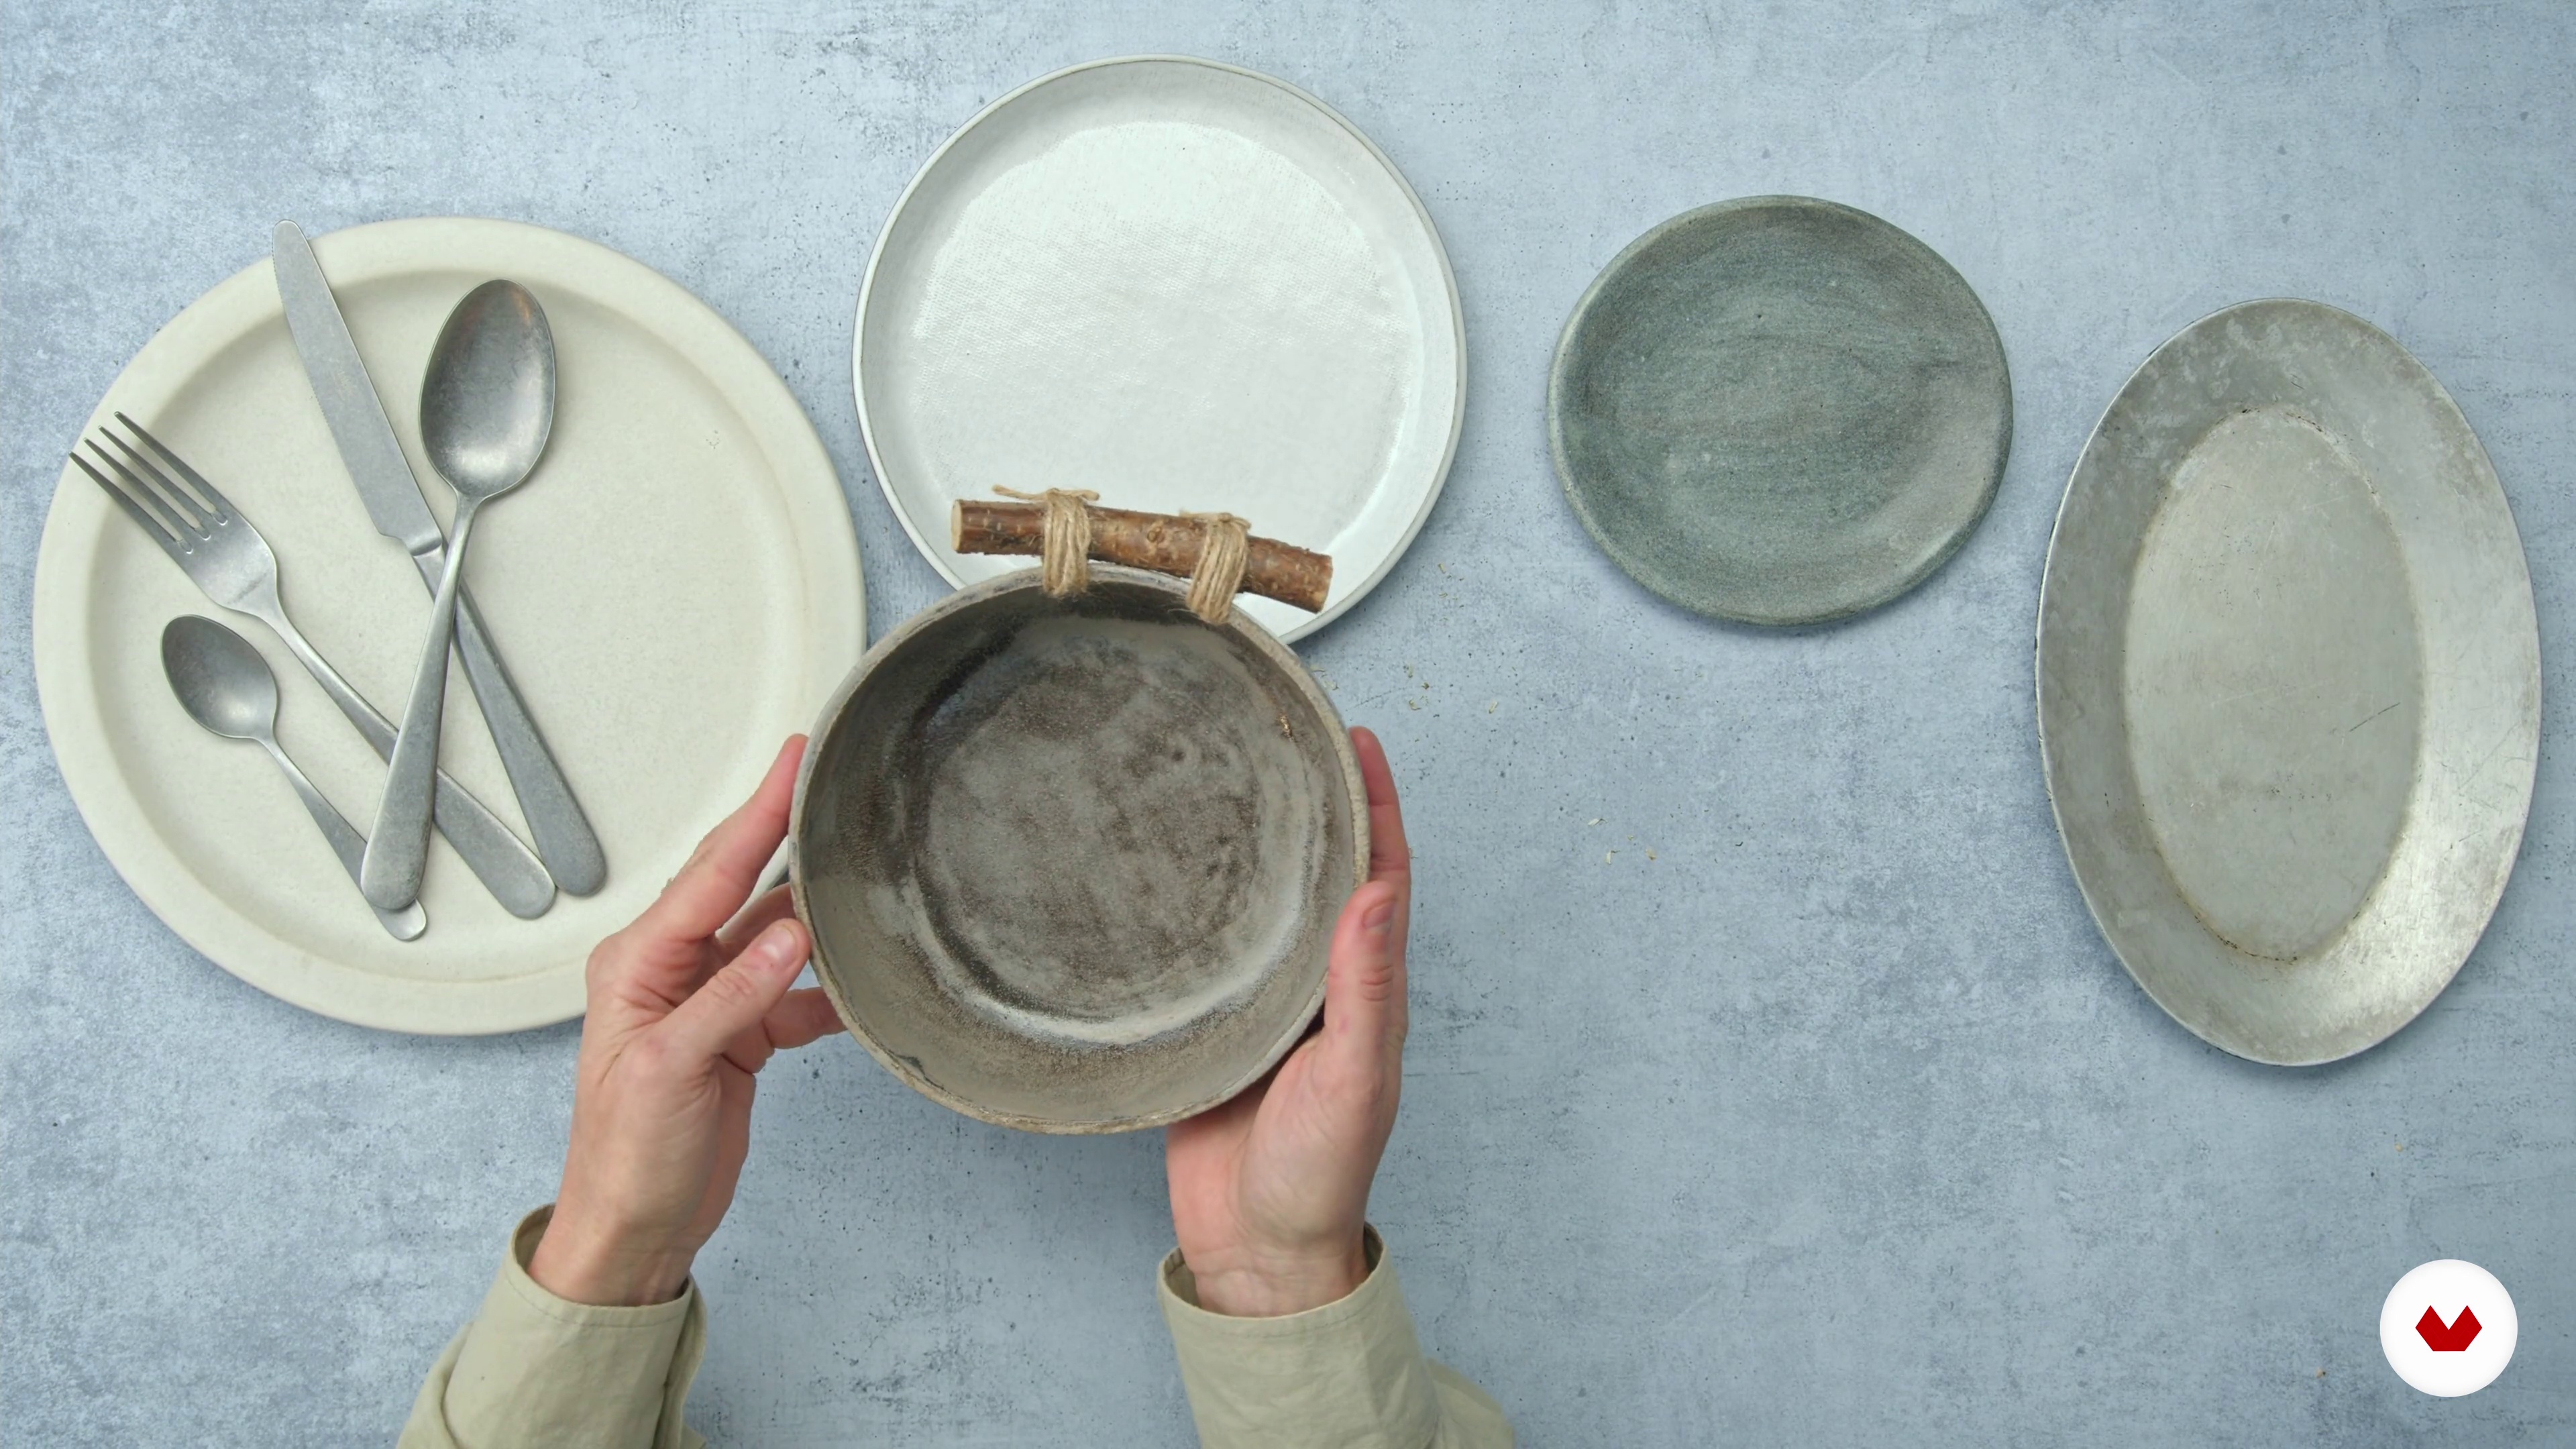
6Developing the Concept and Source Materials
Let's get to it! Once the brainstorming is completed and a theme and general direction have been decided upon, then it is time to source both the props and material and the food for the recipes.
7m
 7
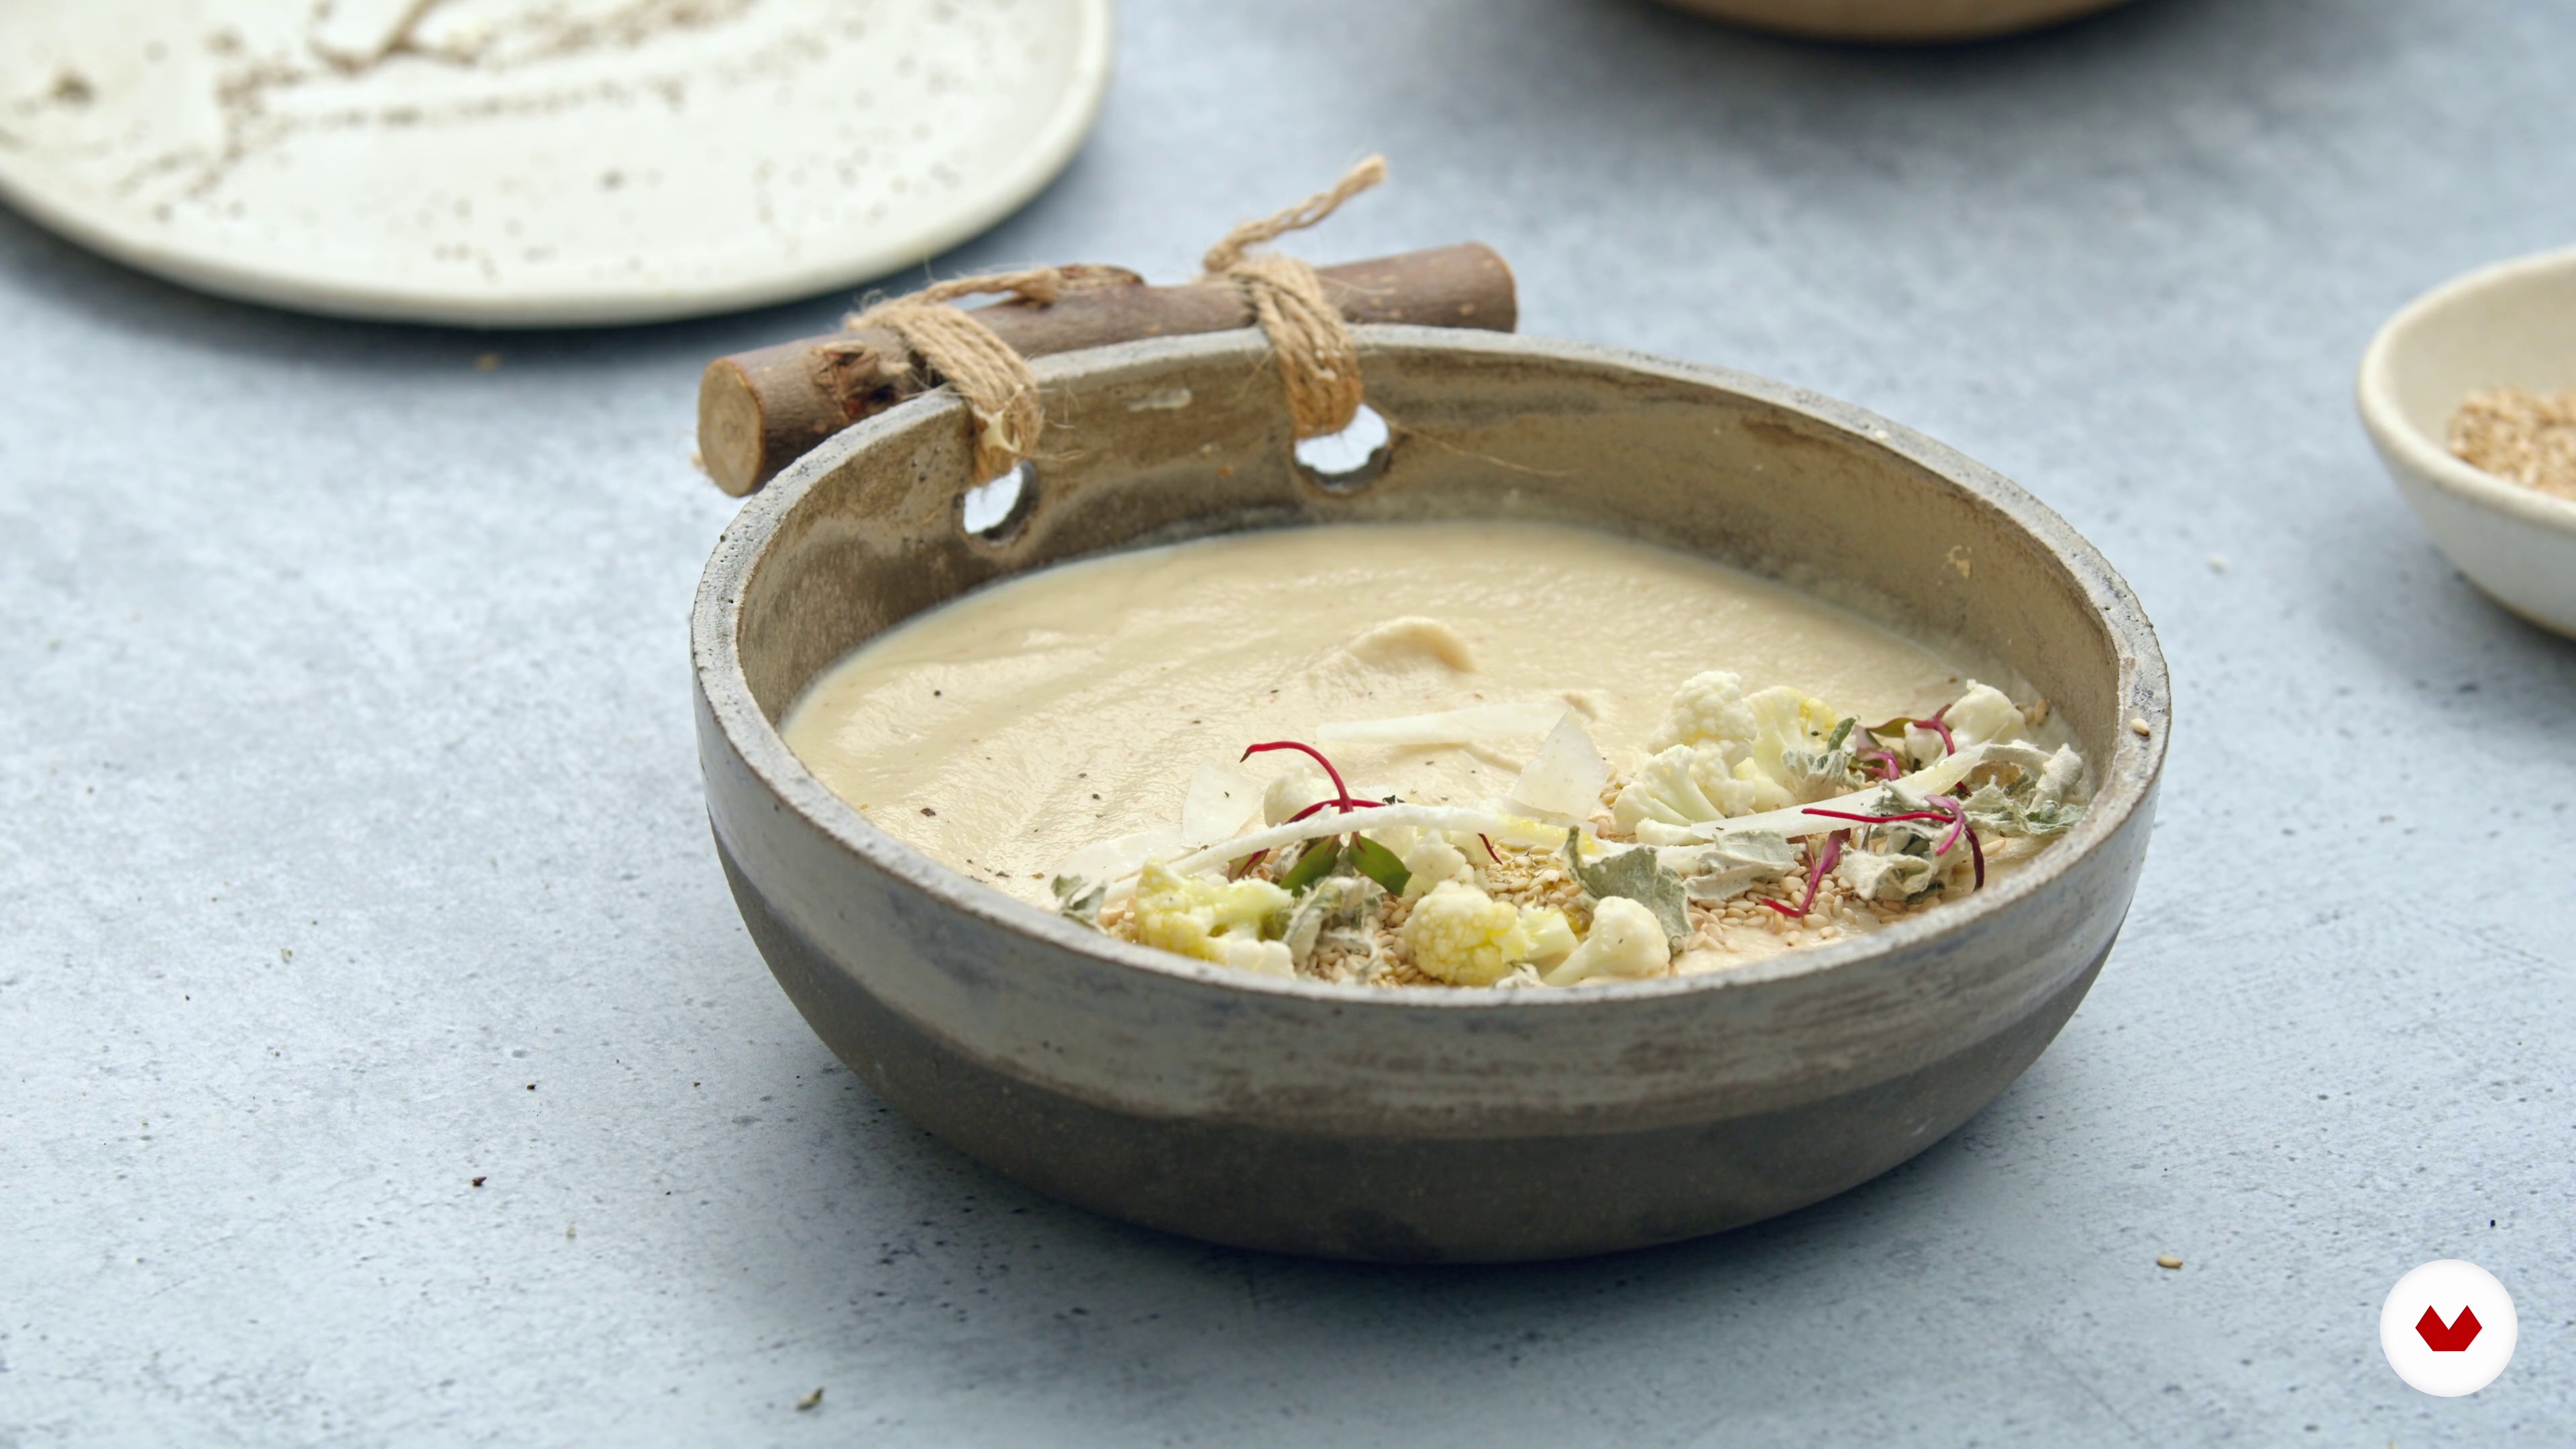
7Soup
In this lesson, I will discuss the plating of the first dish, which will be a cauliflower soup. The soup I will style will be primarily monochromatic, with slight pops of color and texture. I'll show you some styling and composition guides, and talk you through the ingredient choices.
10m
 8
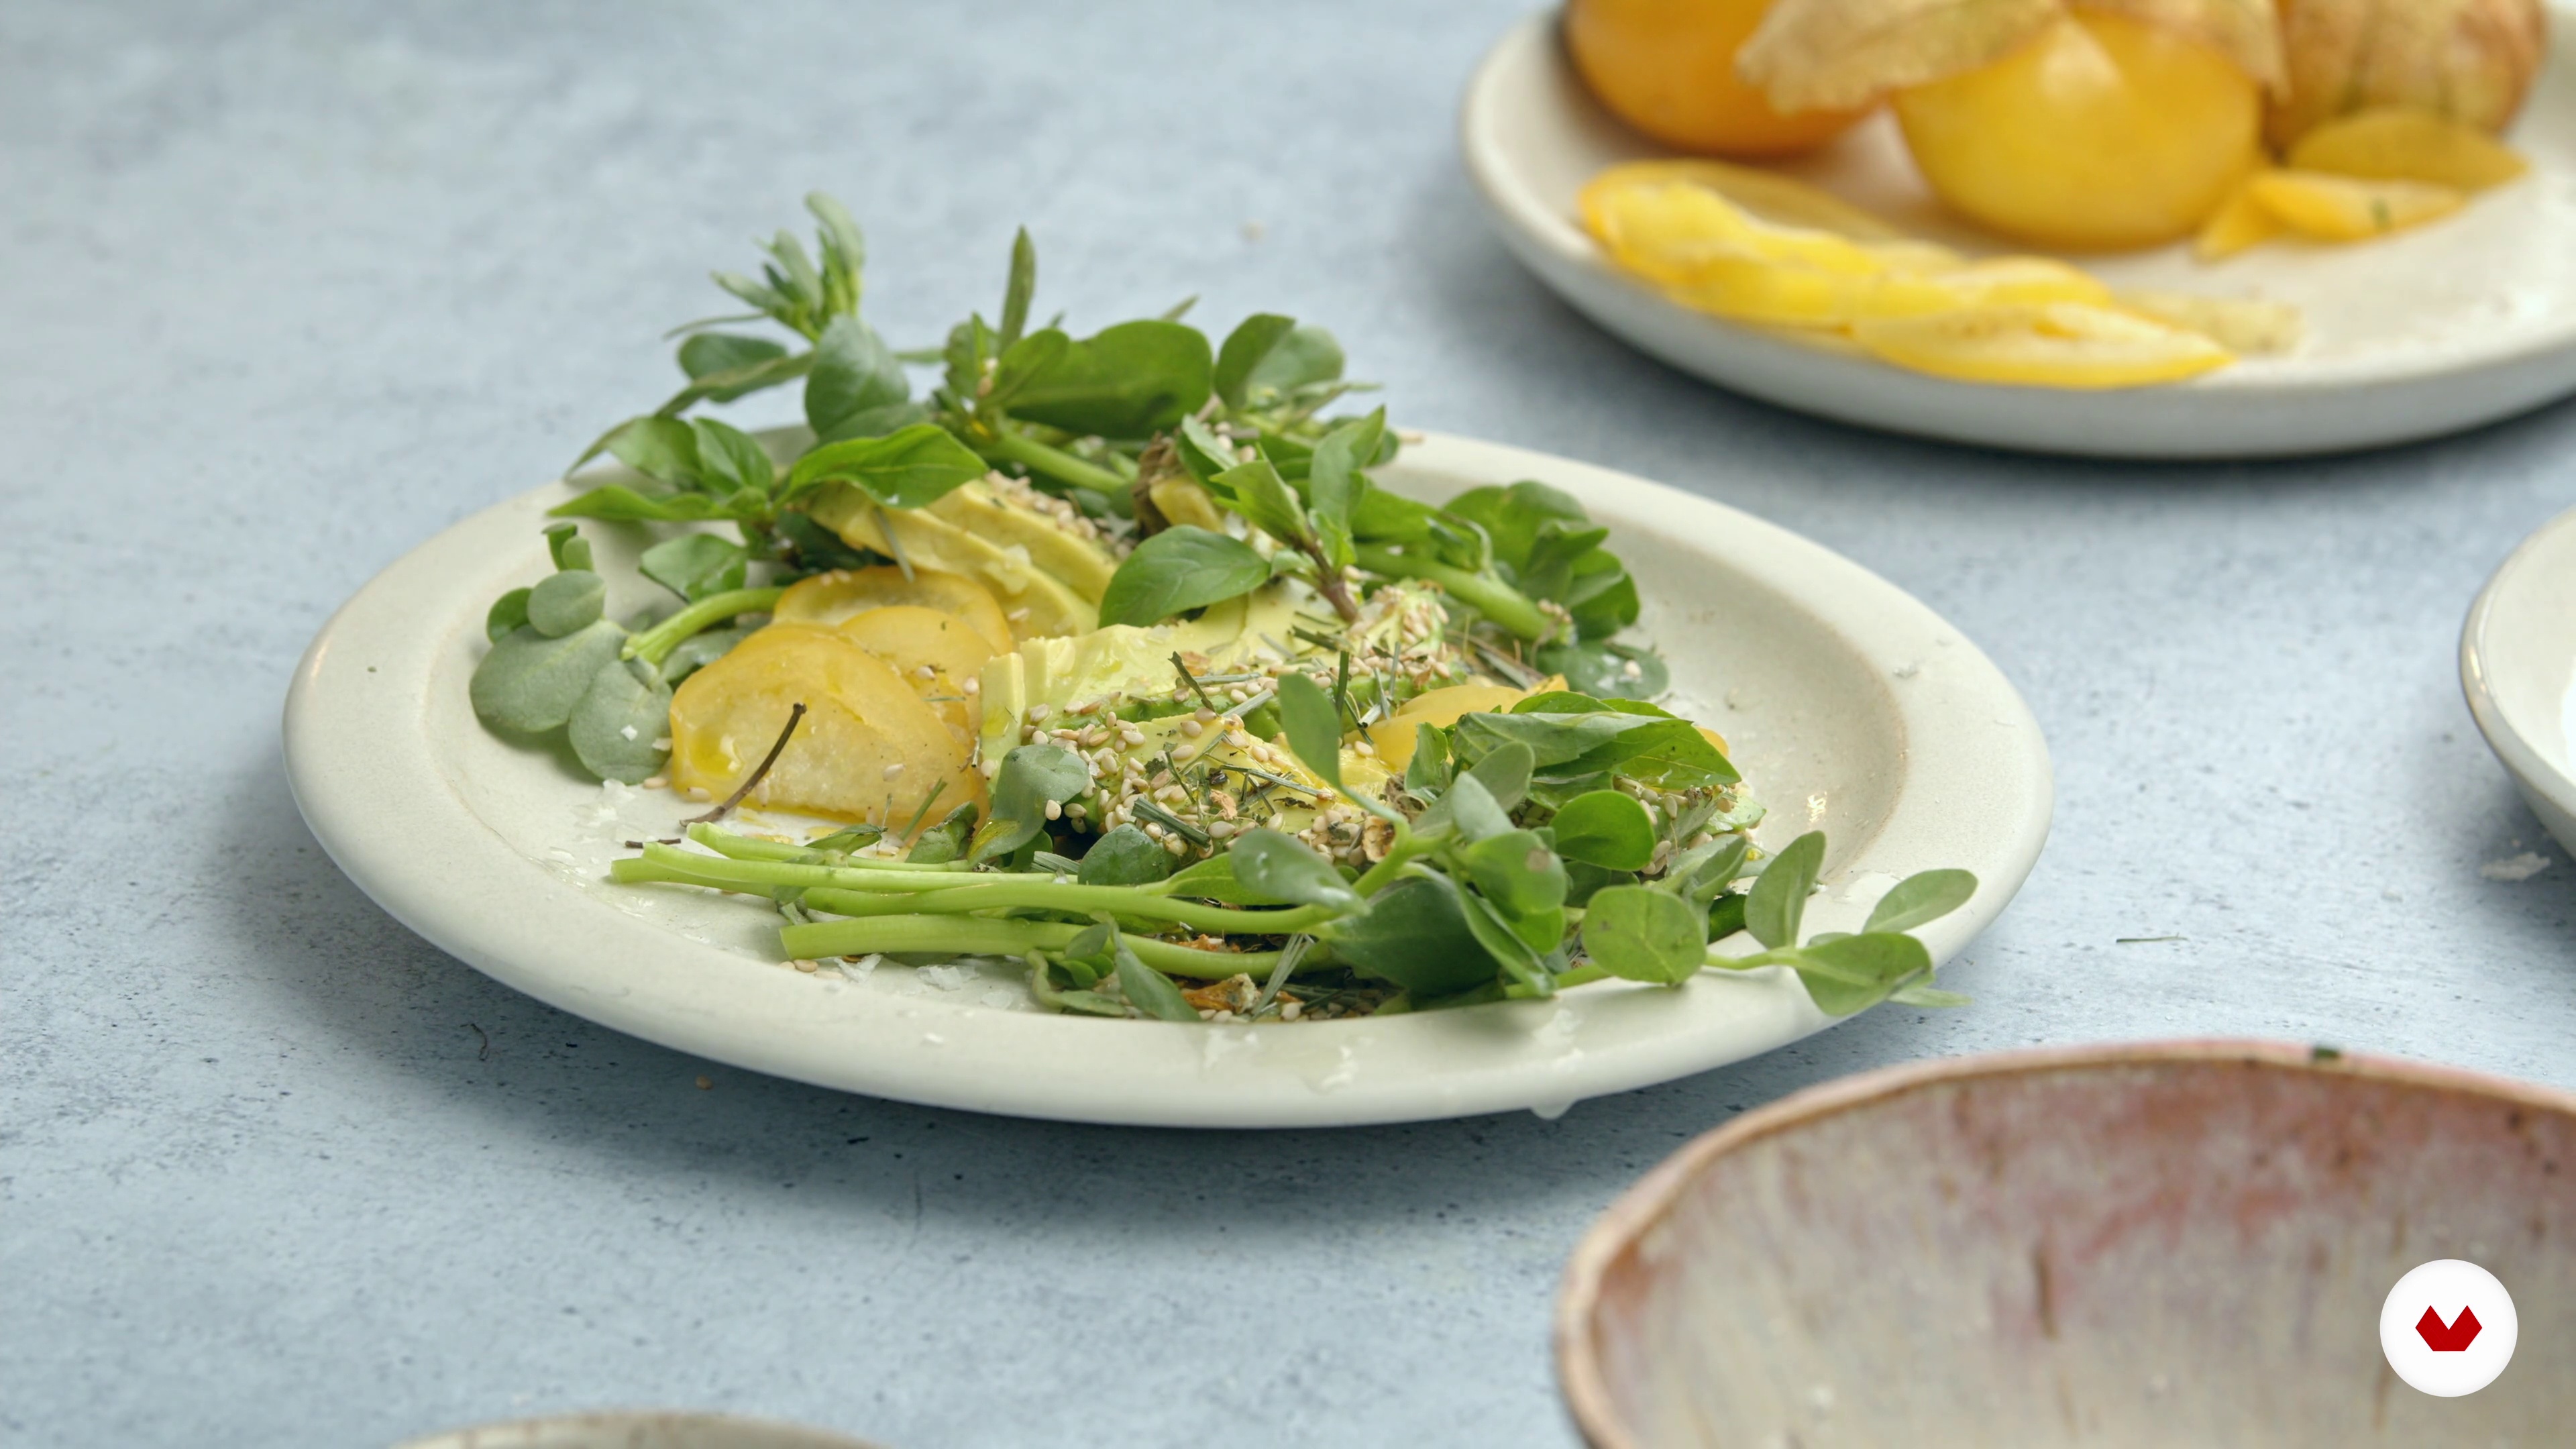
8Salad
For the second course, I will plate a colorful salad using more geometric patterns as inspiration. The main focus of this dish will be how to play with the color of the food, and how arranging in patterns can create a visually pleasing dish.
12m
 9
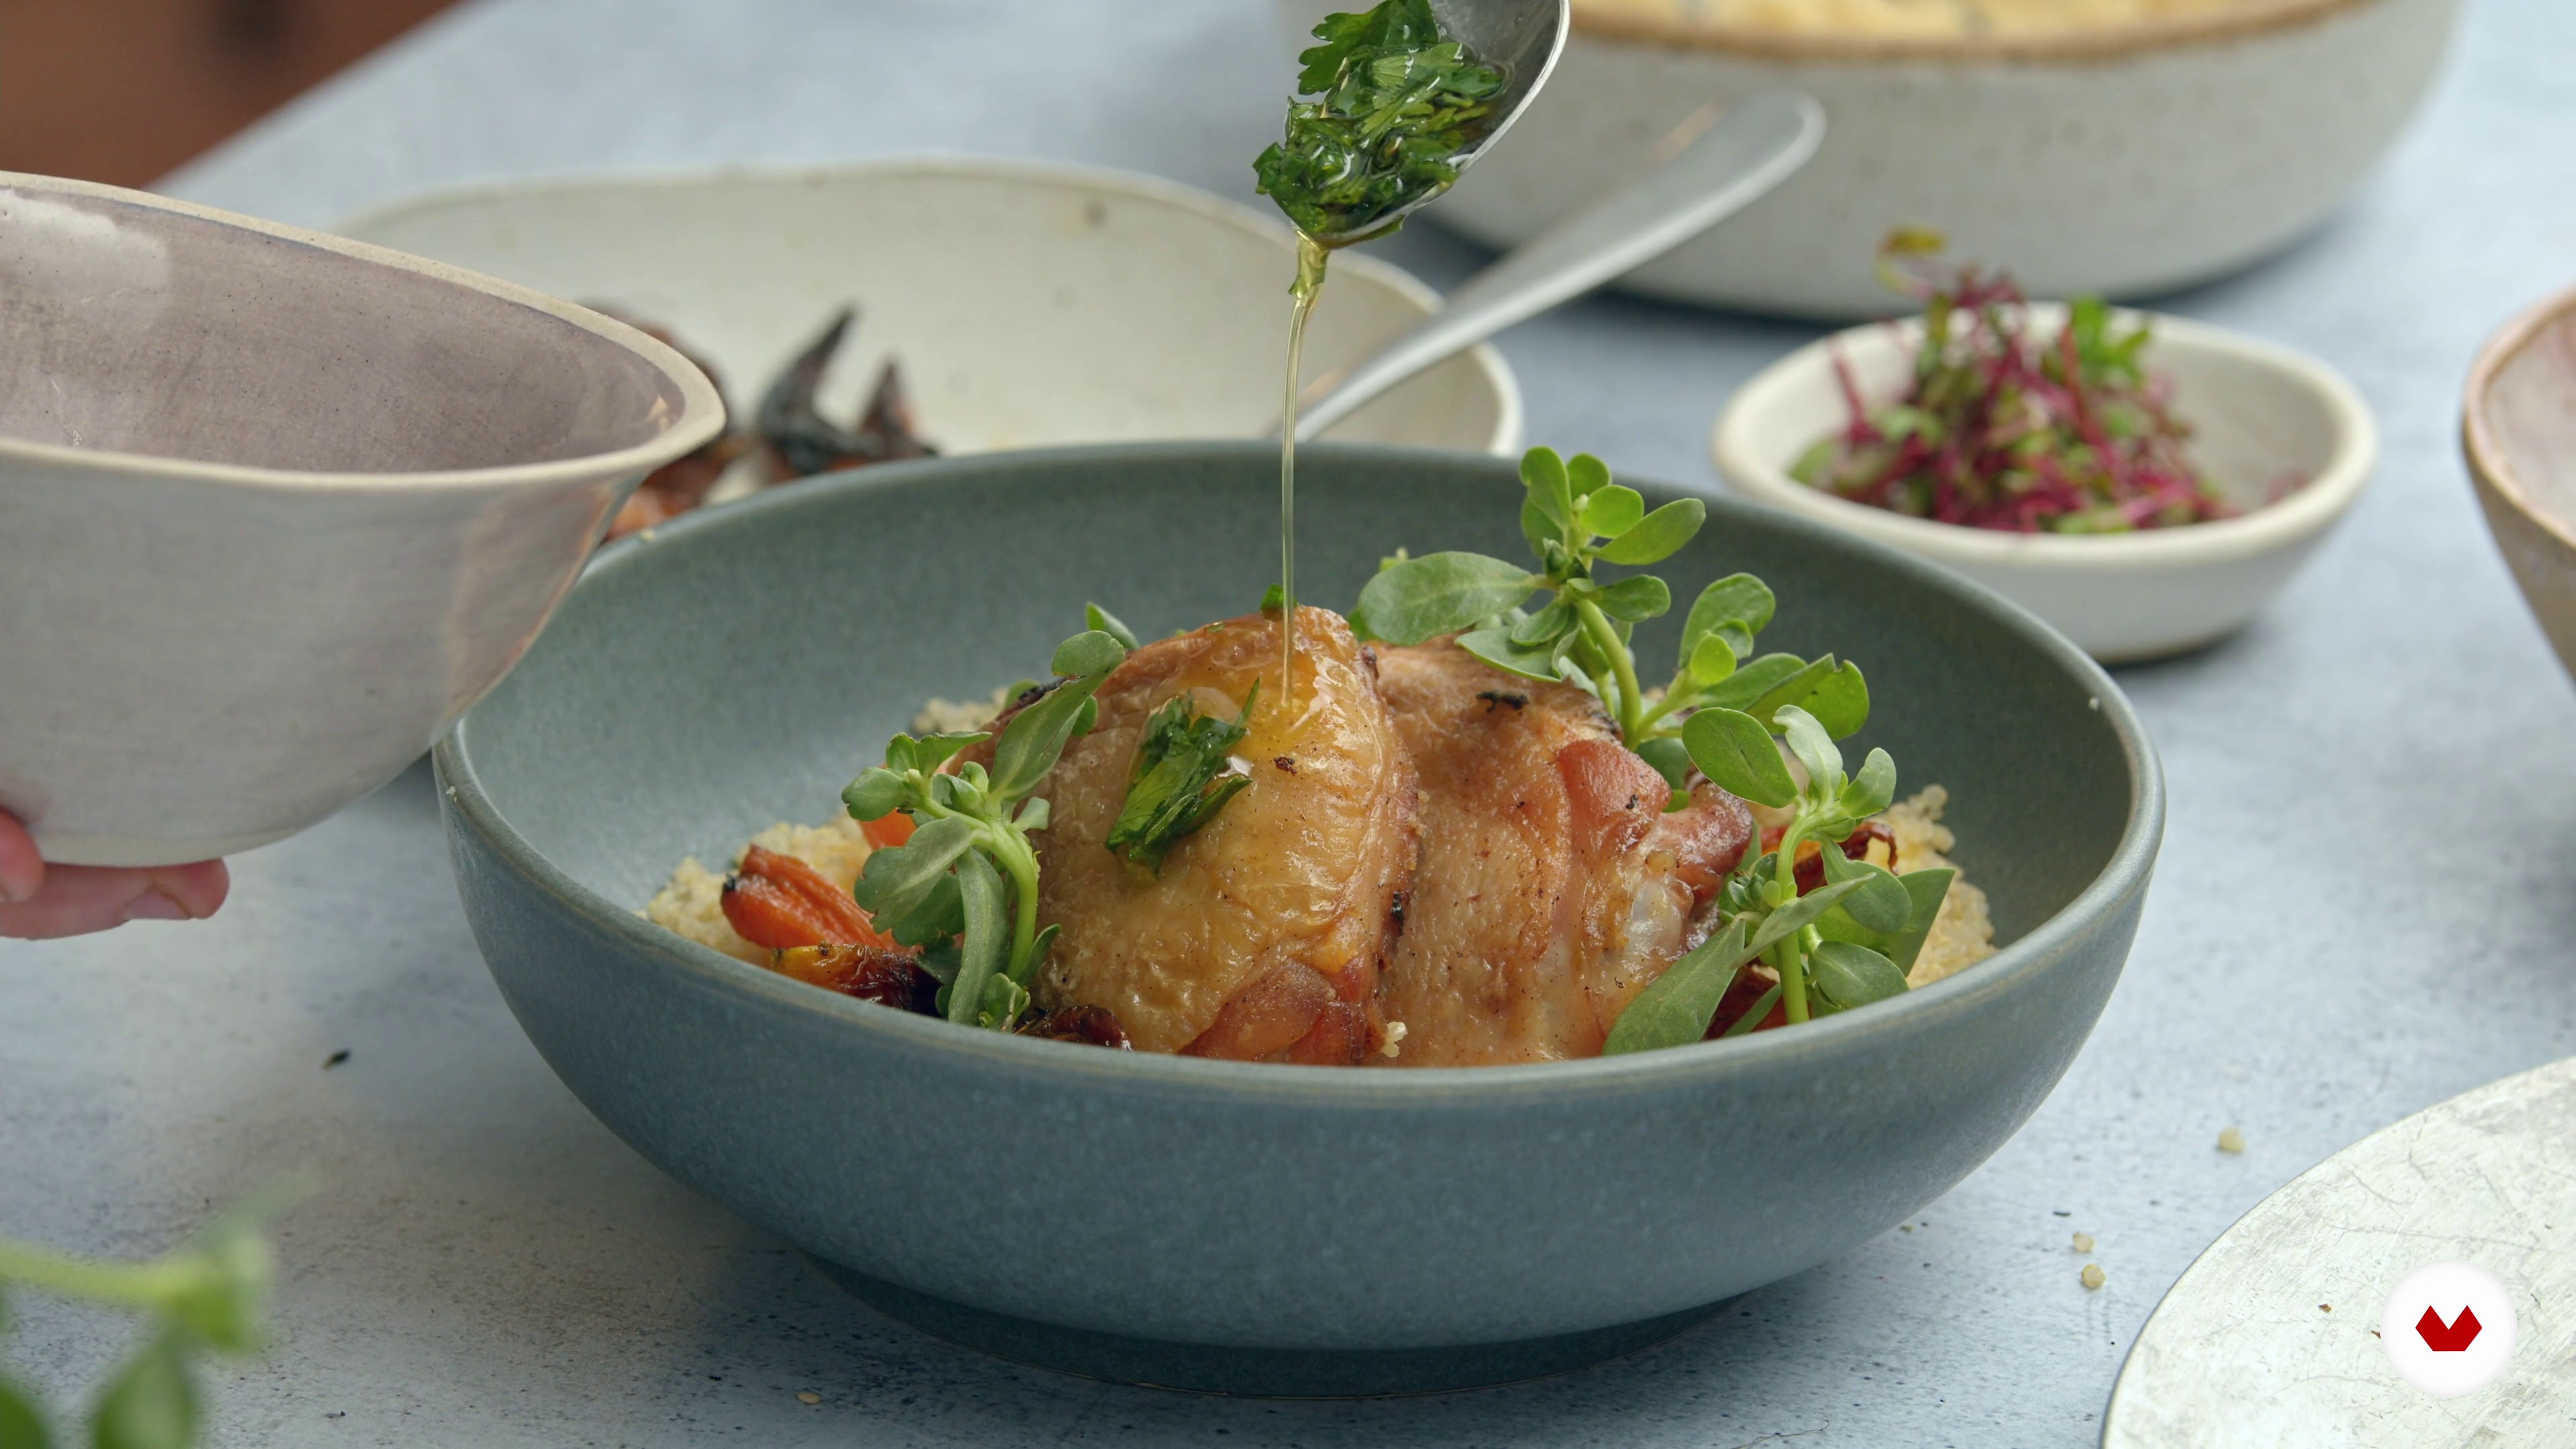
9Main Dish
It is time to plate the main dish. I'll discuss some differences between plating the main dish versus an appetizer or other dishes. In this lesson, I'll talk about the things you should note when styling a dish with multiple layers of colors and textures such as this one.
8m
 10
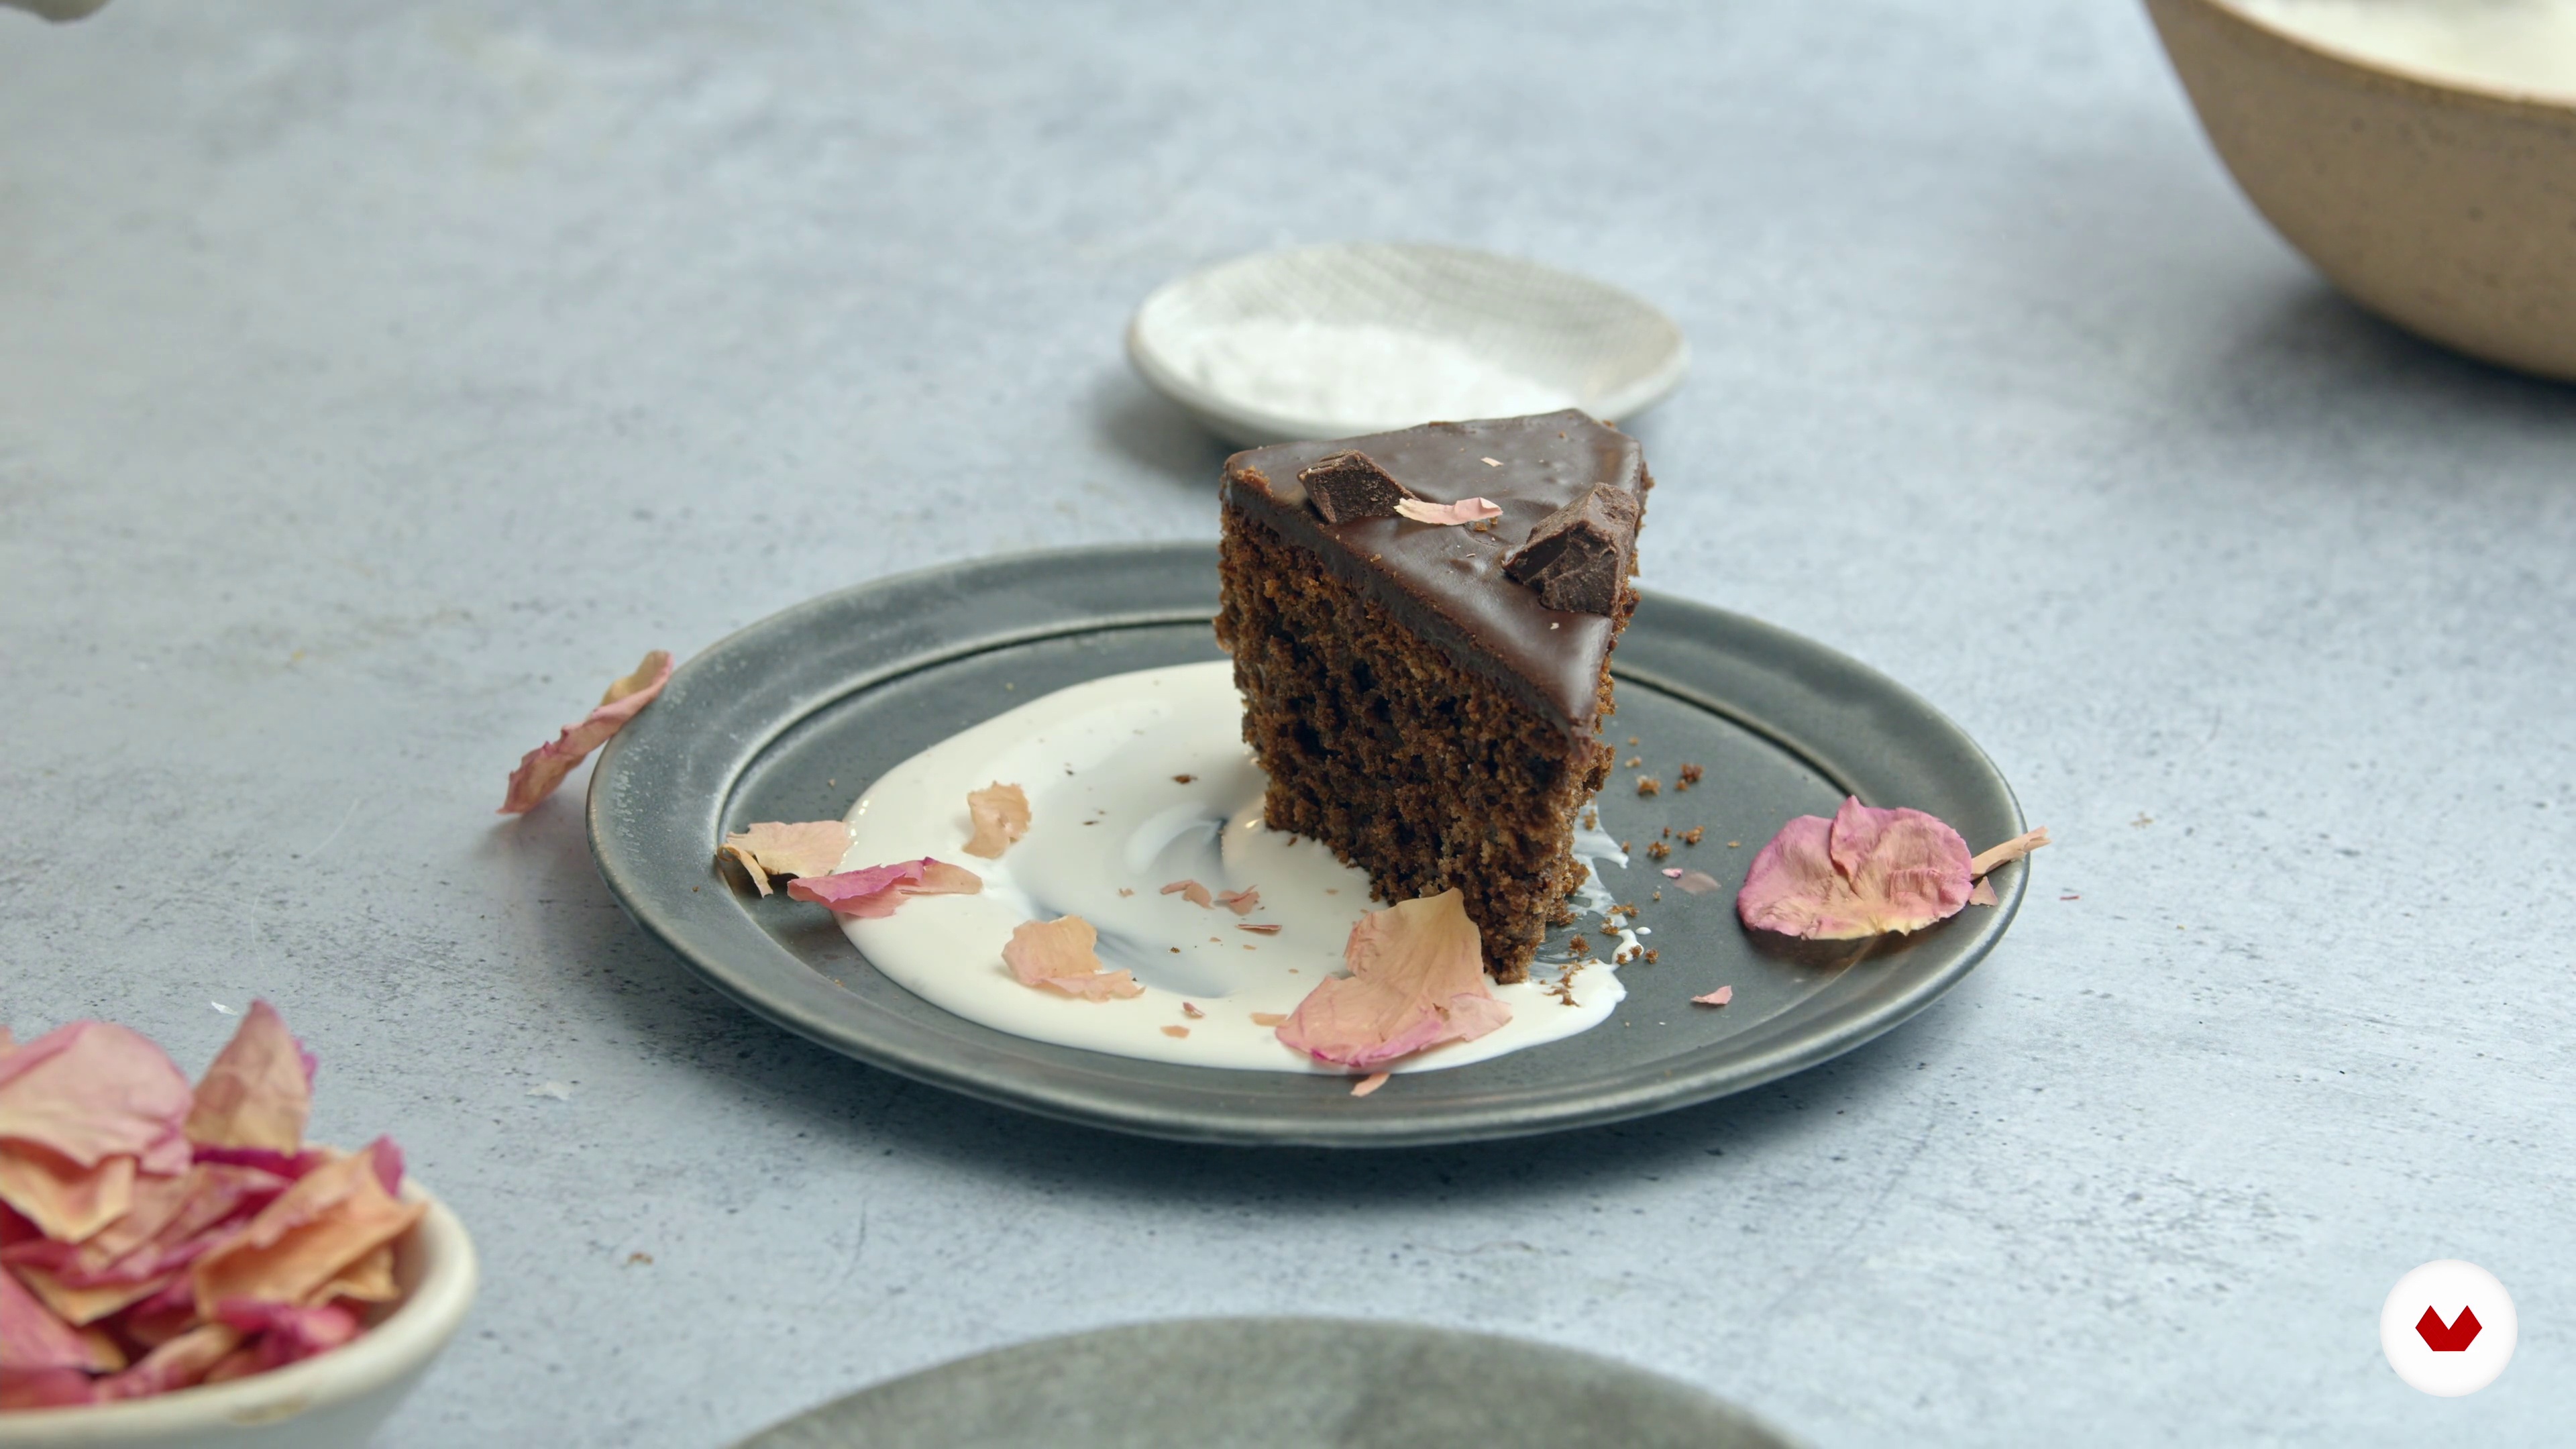
10Dessert
For this dish, I will style a chocolate cake, and I will also show you how to style and photograph more than one dish in the image. You'll learn when it is best to keep styling to a minimum and how to keep the image alluring by using lighting and contrasting colors and one ingredient of interest.
4m
 11
11Things to Consider before Taking the Shot
Before you get that perfect final shot, there are a few things to consider. In this lesson, I will share with you the main aspects I double-check like lighting, styling, and composition.
5m
 12
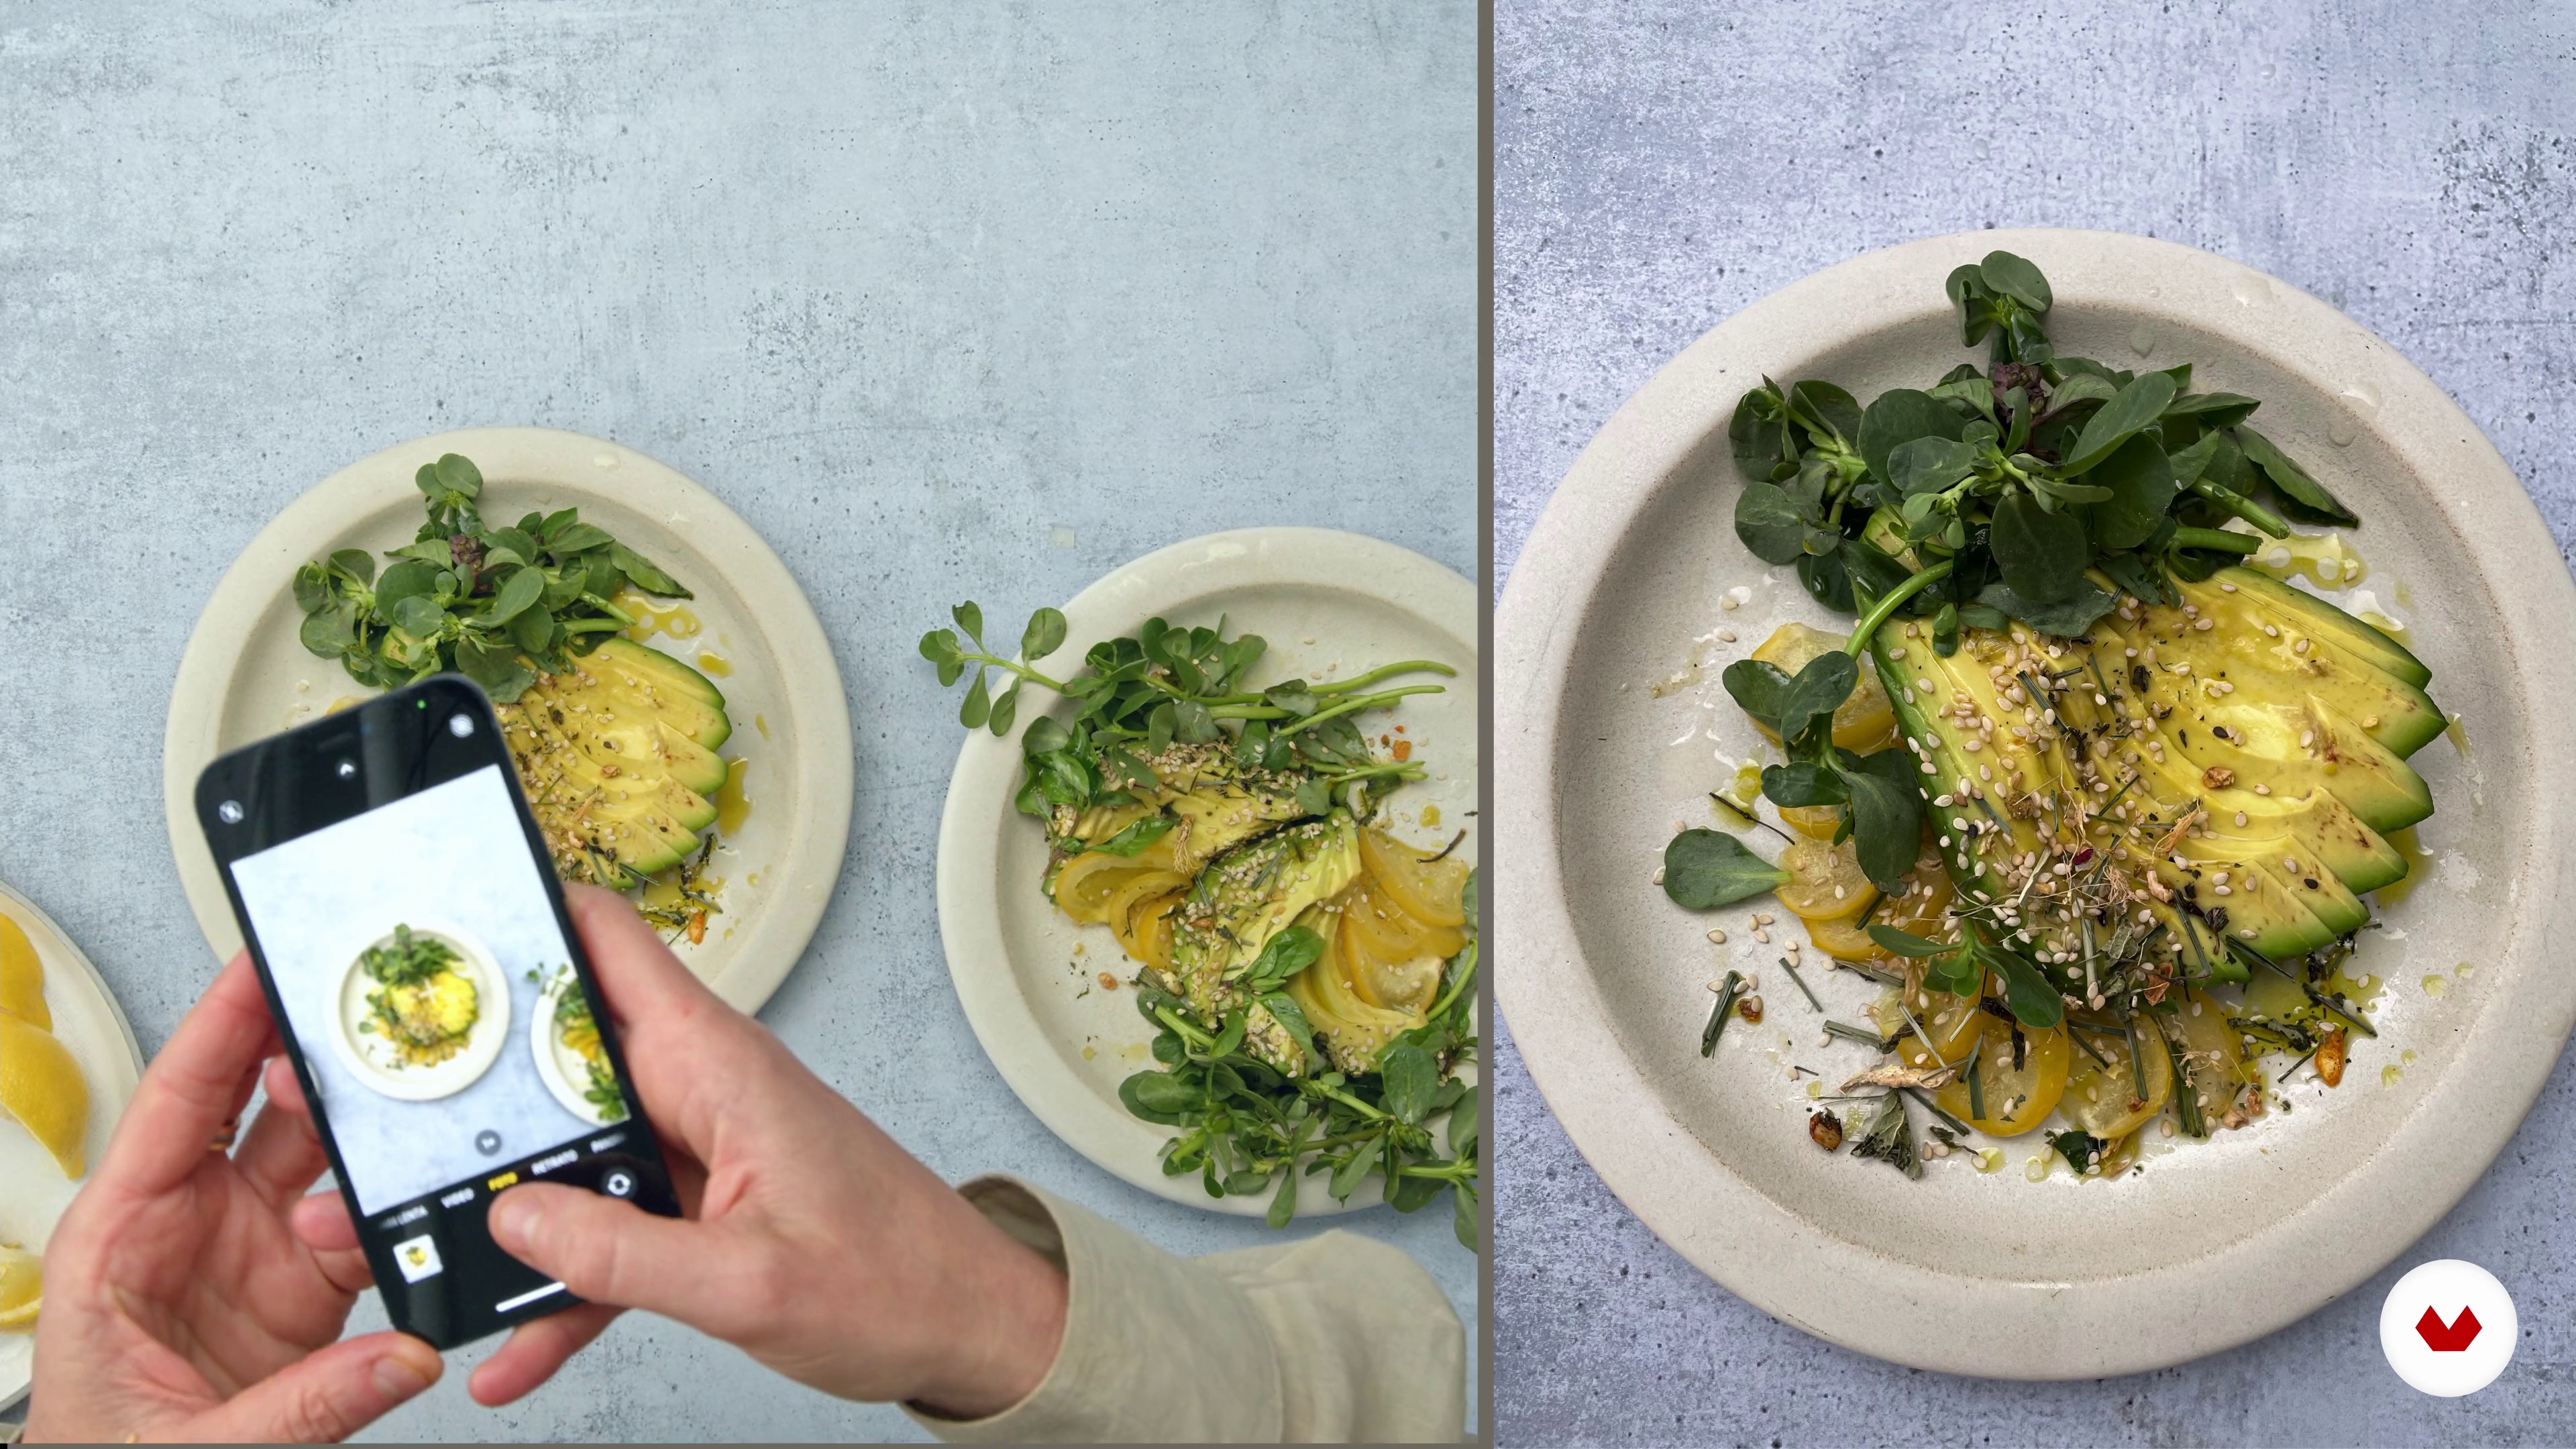
12Getting the Perfect Shot
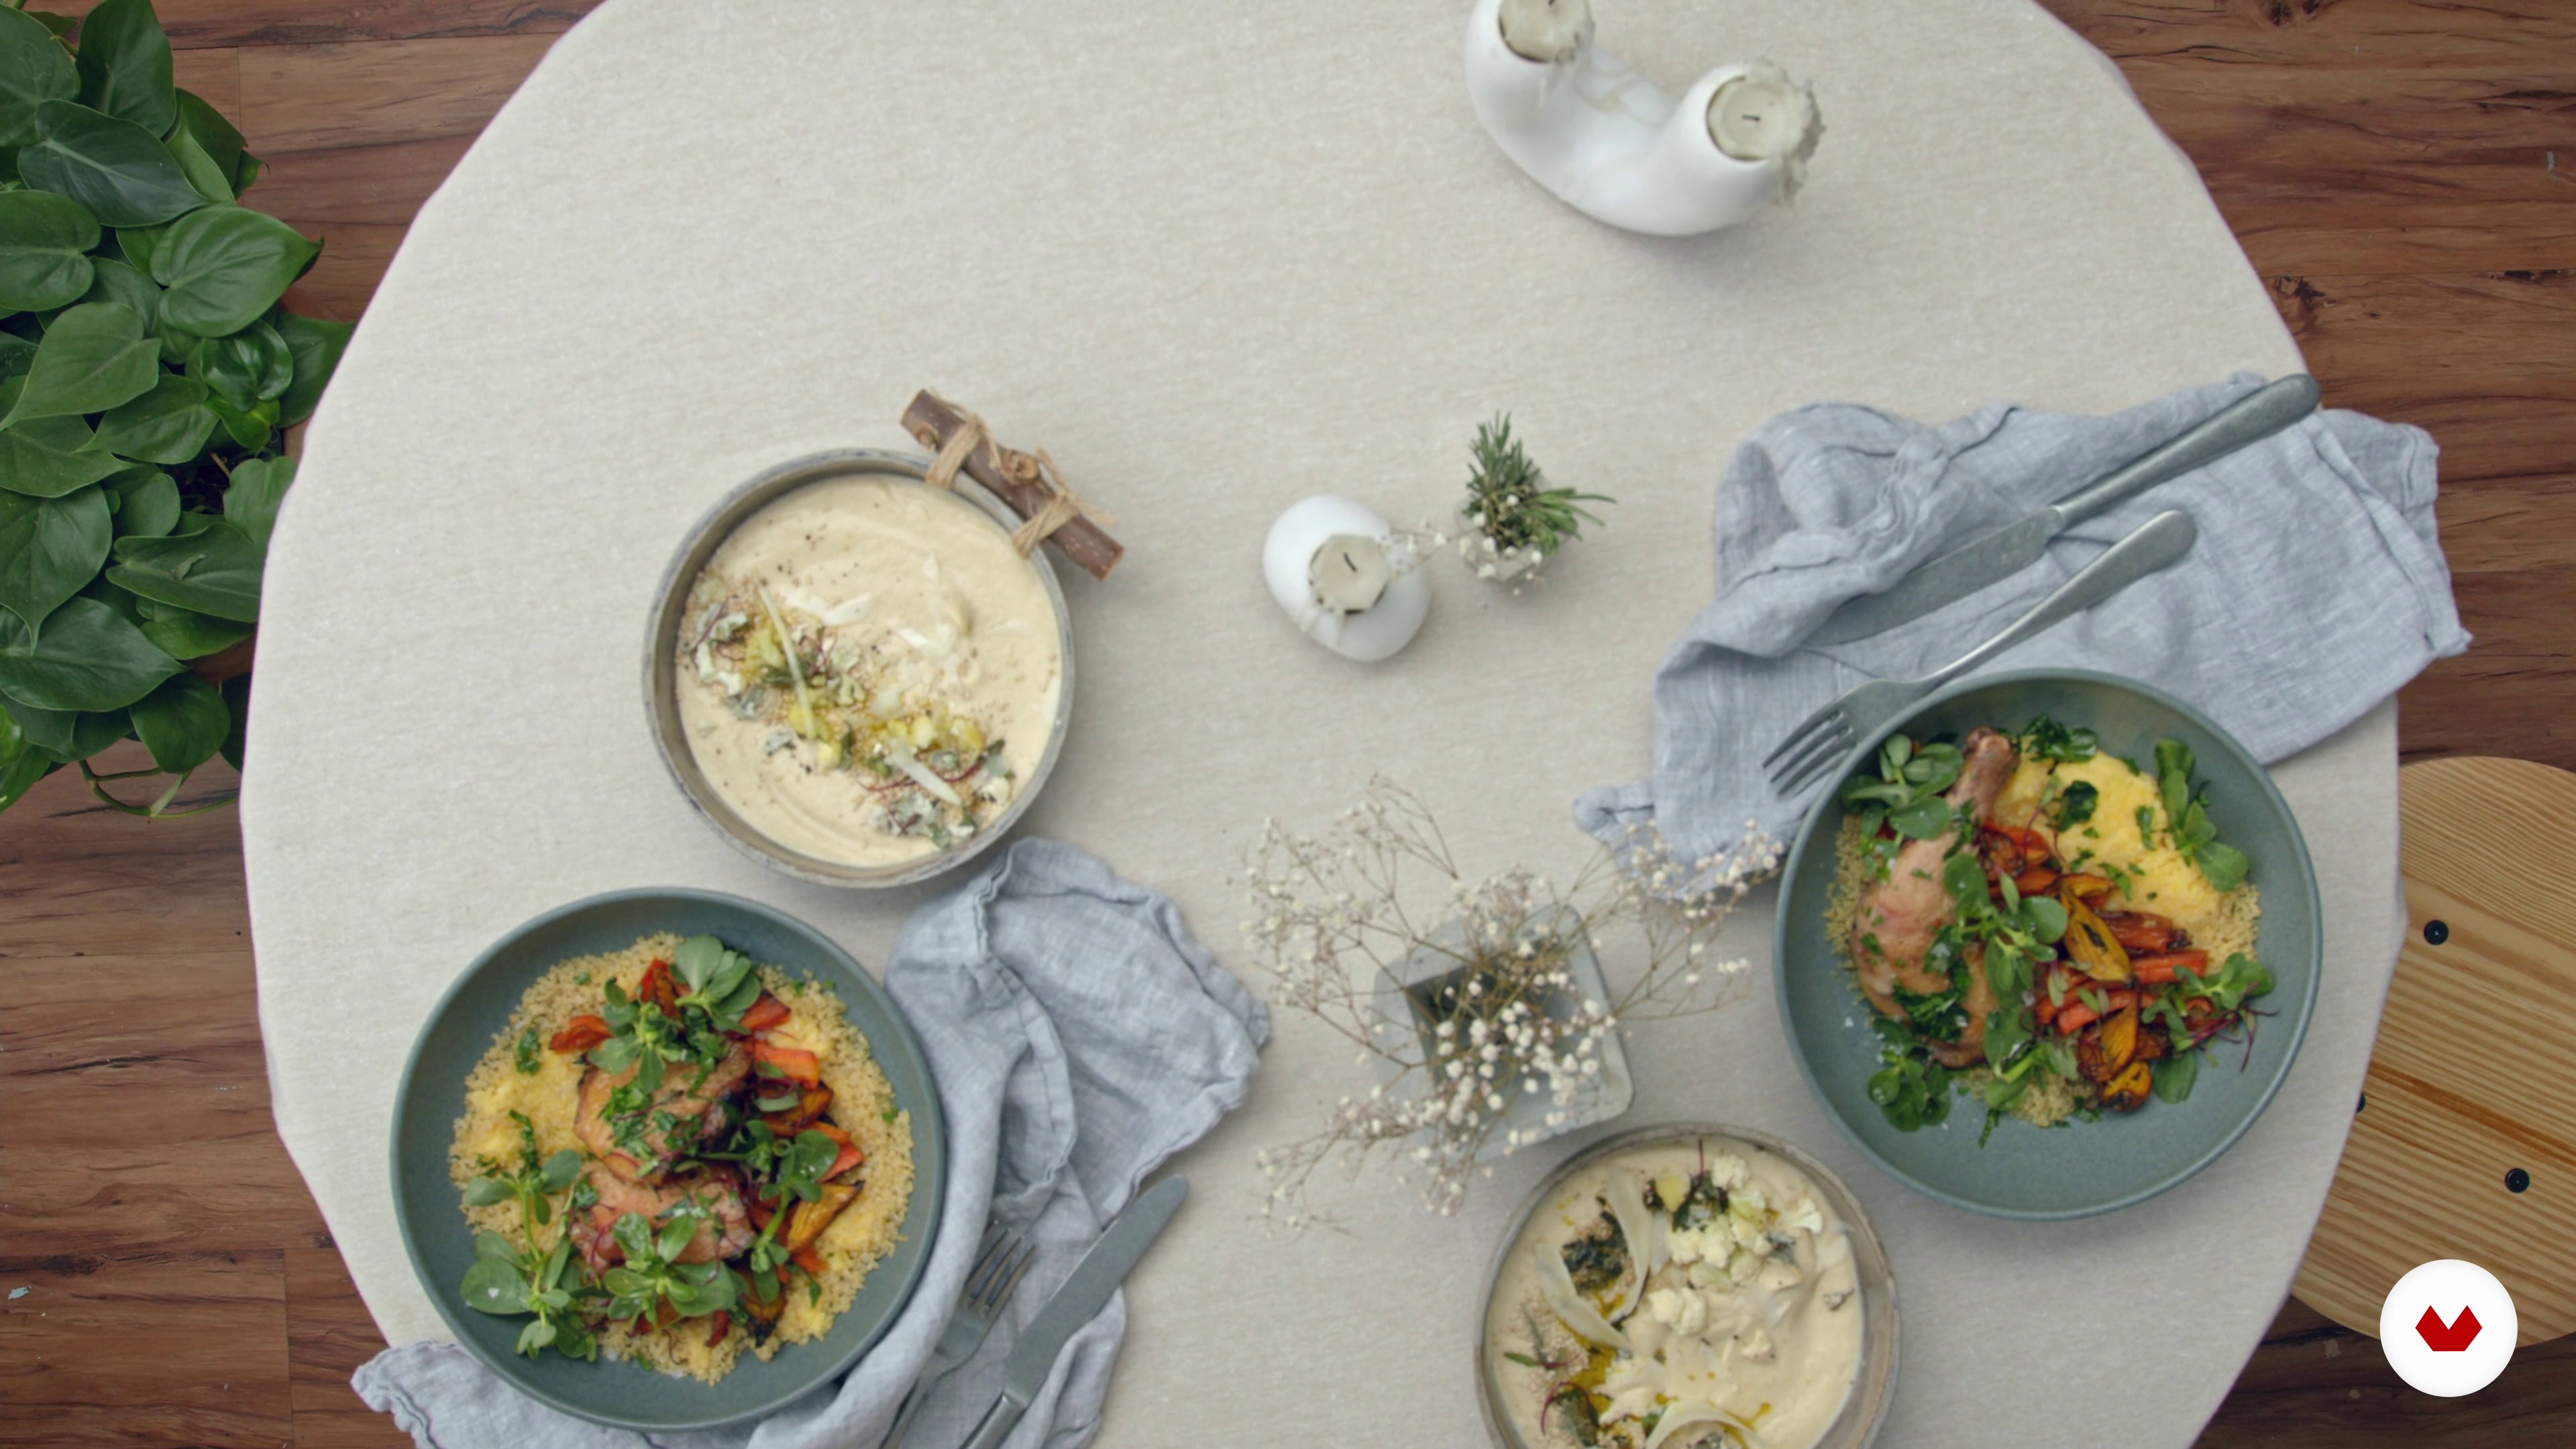
You'll learn how to get the perfect shot. Take a few test shots to see how the image will look, and don't be afraid to explore around add things, remove things until you are perfectly happy with 3 or 5 pictures.
6m
 13
13Basic Editing, and Portfolio Building
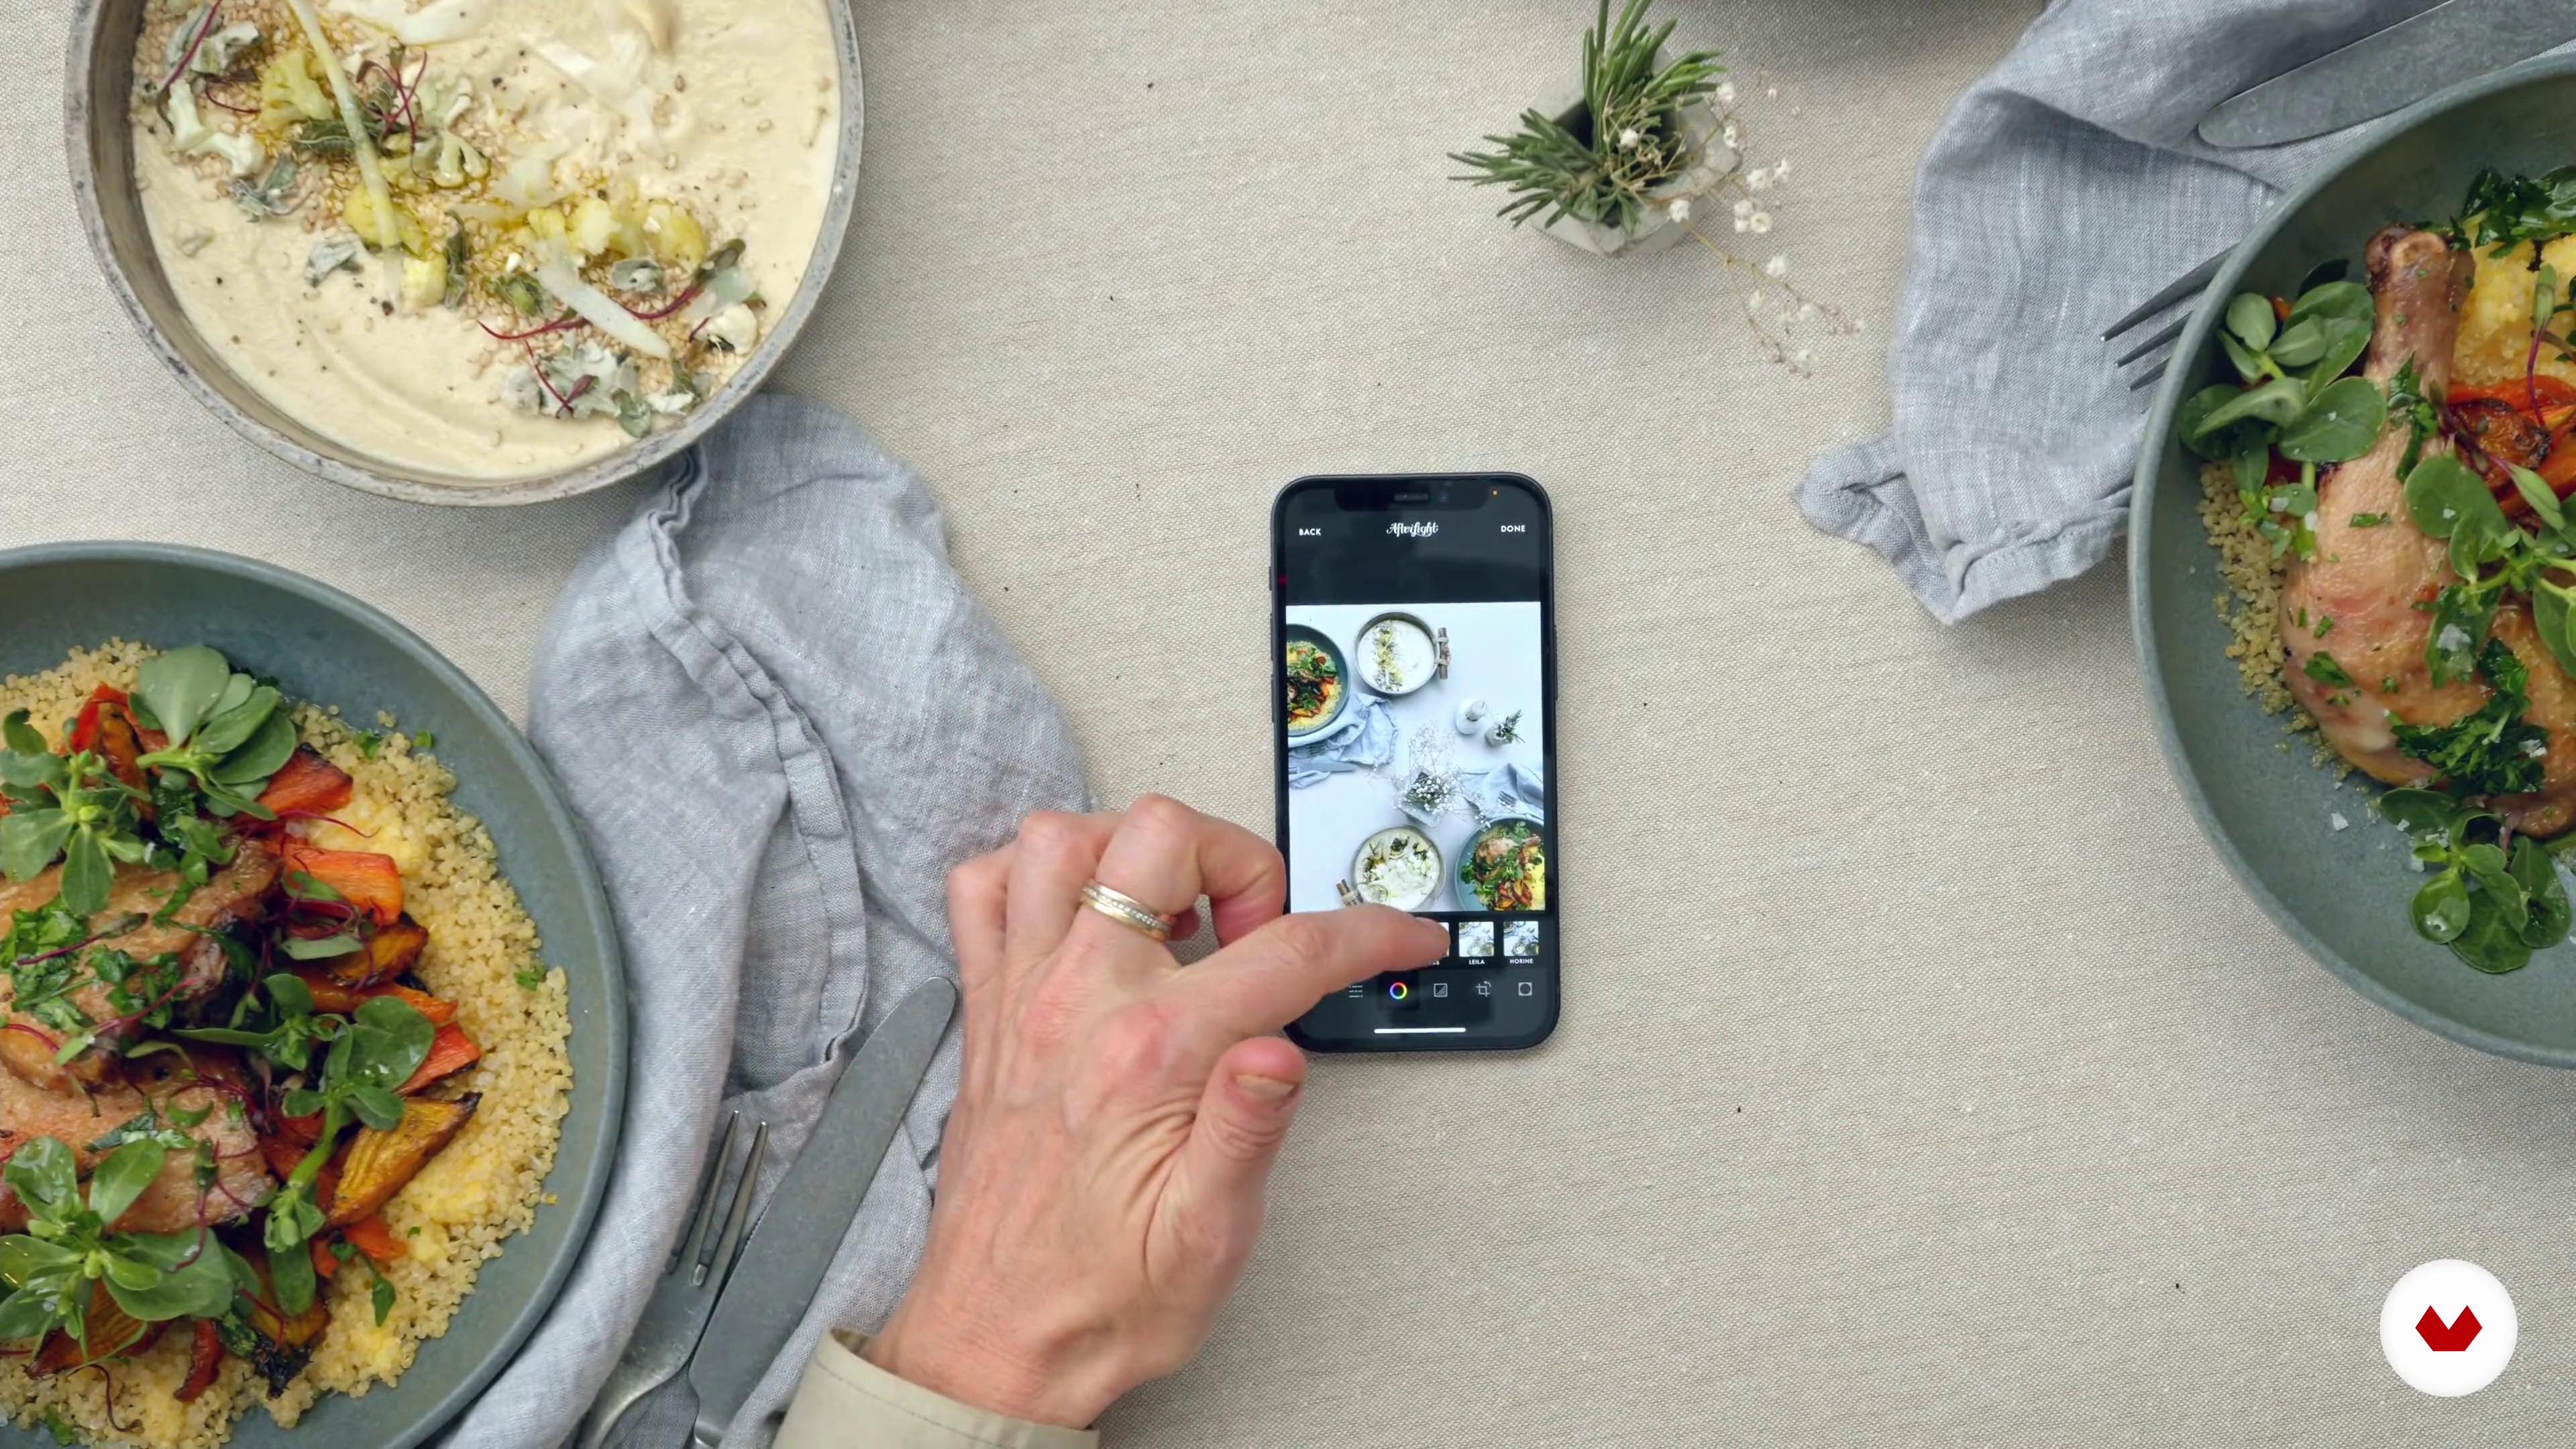
Once you think you have the perfect shot, it’s time to edit. Finally, I will show you a few good editing apps and give you some tips on creating a portfolio that has a strong and consistent look.
8m
What is this course's project?
Design and execute a personalized dining experience by crafting unique tableware, creating harmonious floral arrangements, mastering table styling, and perfecting food plating. Capture the entire creative journey, producing a visually stunning and emotionally engaging table masterpiece.
Who is this specialization for?
This course is designed for creative individuals passionate about crafting unforgettable dining experiences. It's ideal for those who appreciate the art of table design, from ceramic enthusiasts to floral arrangers and aspiring food stylists, seeking to elevate their hosting skills.
Requirements and materials
No extensive prior knowledge needed. Gather a clay toolkit, fresh flowers, ceramic paints, floral scissors, and basic ingredients for plating. Access to a computer or device for following along is essential. Perfect for curious minds ready to create!
Reviews
- 4 months ago
Muy inspirador y divertido
Select to get to know your teachers in this specialization course


What to expect from this specialization course
Learn at your own pace
Enjoy learning from home without a set schedule and with an easy-to-follow method. You set your own pace.
Learn from the best professionals
Learn valuable methods and techniques explained by top experts in the creative sector.
Meet expert teachers
Each expert teaches what they do best, with clear guidelines, true passion, and professional insight in every lesson.
Certificates
PLUSIf you're a Plus member, get a custom certificate for every specialization course. Share it on your portfolio, social media, or wherever you like.
Get front-row seats
Videos of the highest quality, so you don't miss a single detail. With unlimited access, you can watch them as many times as you need to perfect your technique.
Share knowledge and ideas
Ask questions, request feedback, or offer solutions. Share your learning experience with other students in the community who are as passionate about creativity as you are.
Connect with a global creative community
The community is home to millions of people from around the world who are curious and passionate about exploring and expressing their creativity.
Watch professionally produced courses
Domestika curates its teacher roster and produces every course in-house to ensure a high-quality online learning experience.
FAQs
Yes, this course is designed for beginners and covers foundational food styling, plating, and photography techniques, making it accessible to those with little or no prior experience.
You’ll need a smartphone or camera, some basic props and tableware, and everyday kitchen tools. Access to food ingredients for practicing styling techniques is also recommended.
You’ll learn how to style and photograph food, create mood boards, select props, use color theory, and design visually appealing events and table settings for both indoor and outdoor scenes.
Yes, the course teaches strategies for collecting, sourcing, and renting props, as well as finding affordable and unique items to enhance your food styling and photography.
Absolutely. Many course techniques can be done with a smartphone camera, and practical tips for maximizing your phone’s photography capabilities are included.
Yes, the course guides you in exploring artistic inspiration, moodboarding, and practice exercises to help you discover and refine your own unique food styling and photography style.
The course covers step-by-step methods for plating, using garnishes like microgreens and oils, and creating visual interest with techniques such as swooping, layering, and monochromatic styling.