Specialization

Specialization in Editorial Fashion Photography

Develop advanced skills in editorial and fashion photography, creating impactful visual narratives with professional techniques

Specialization · 6 modules

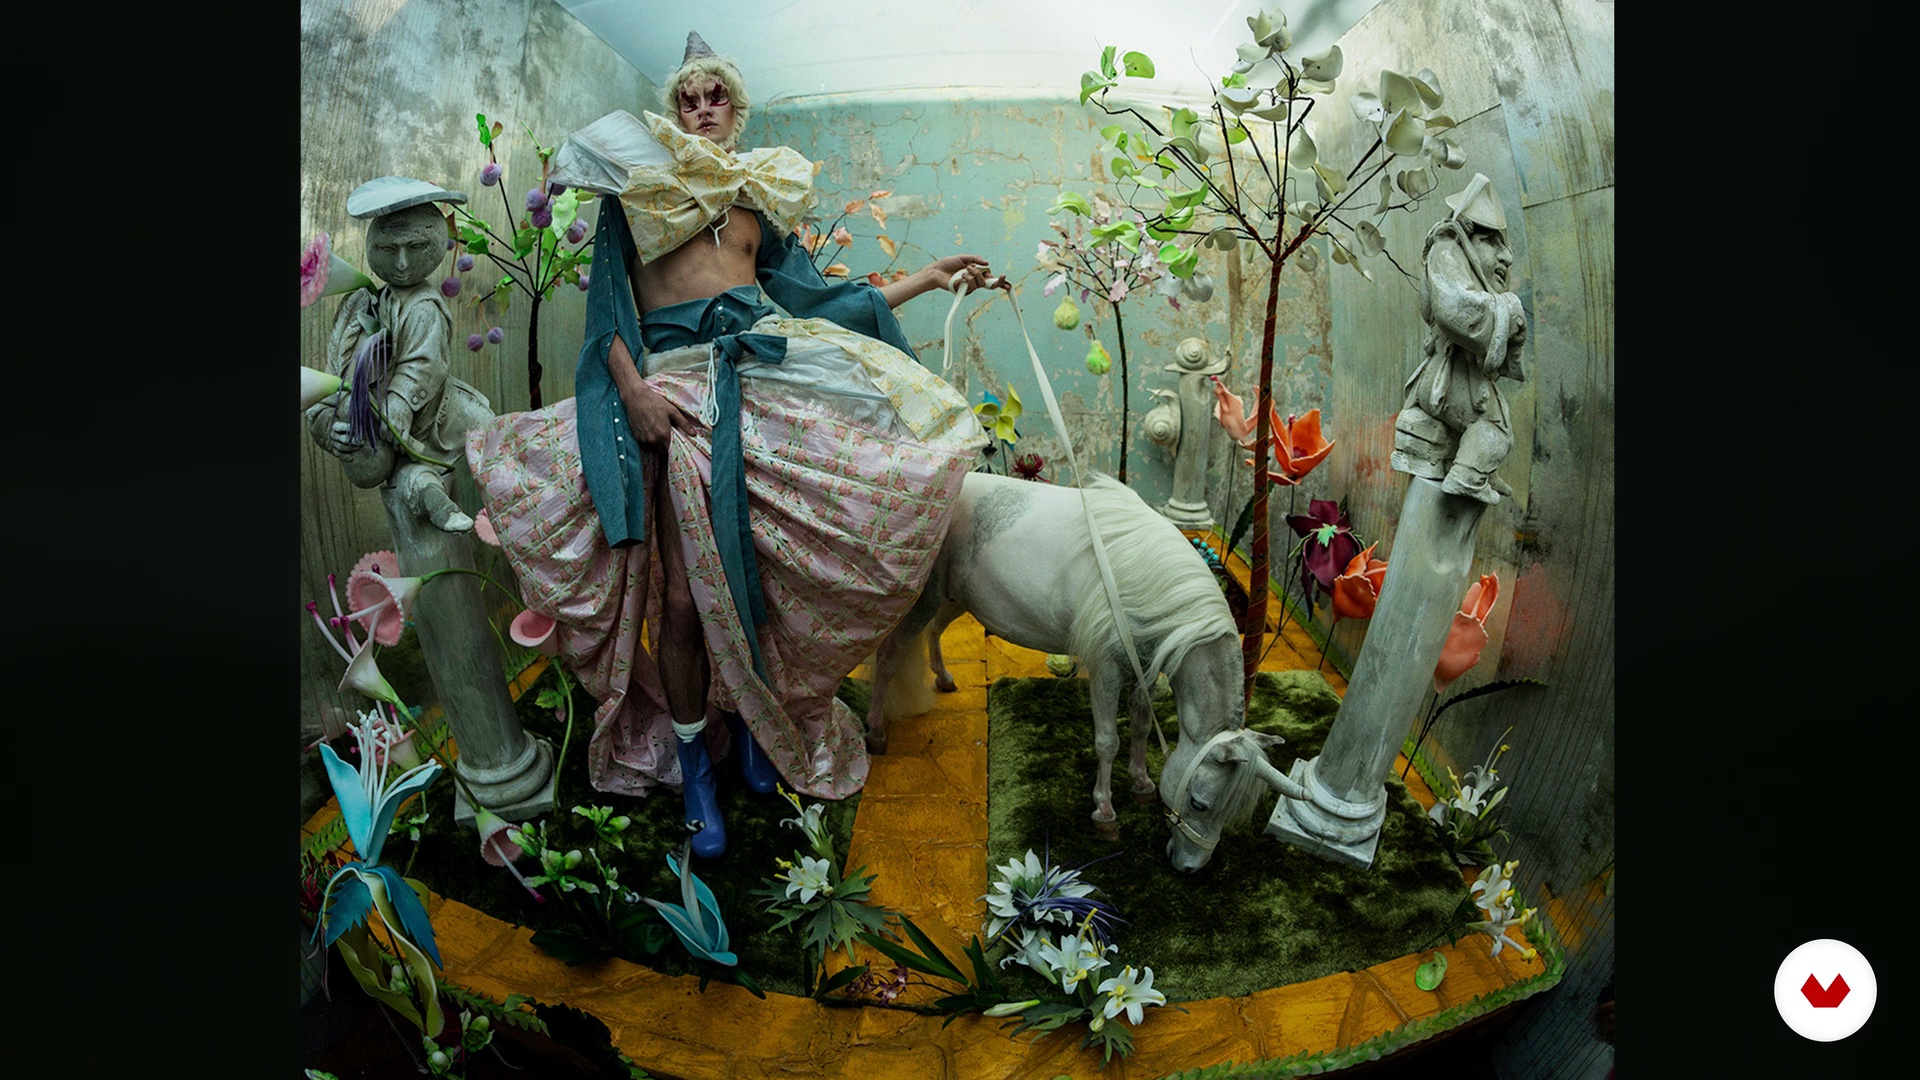
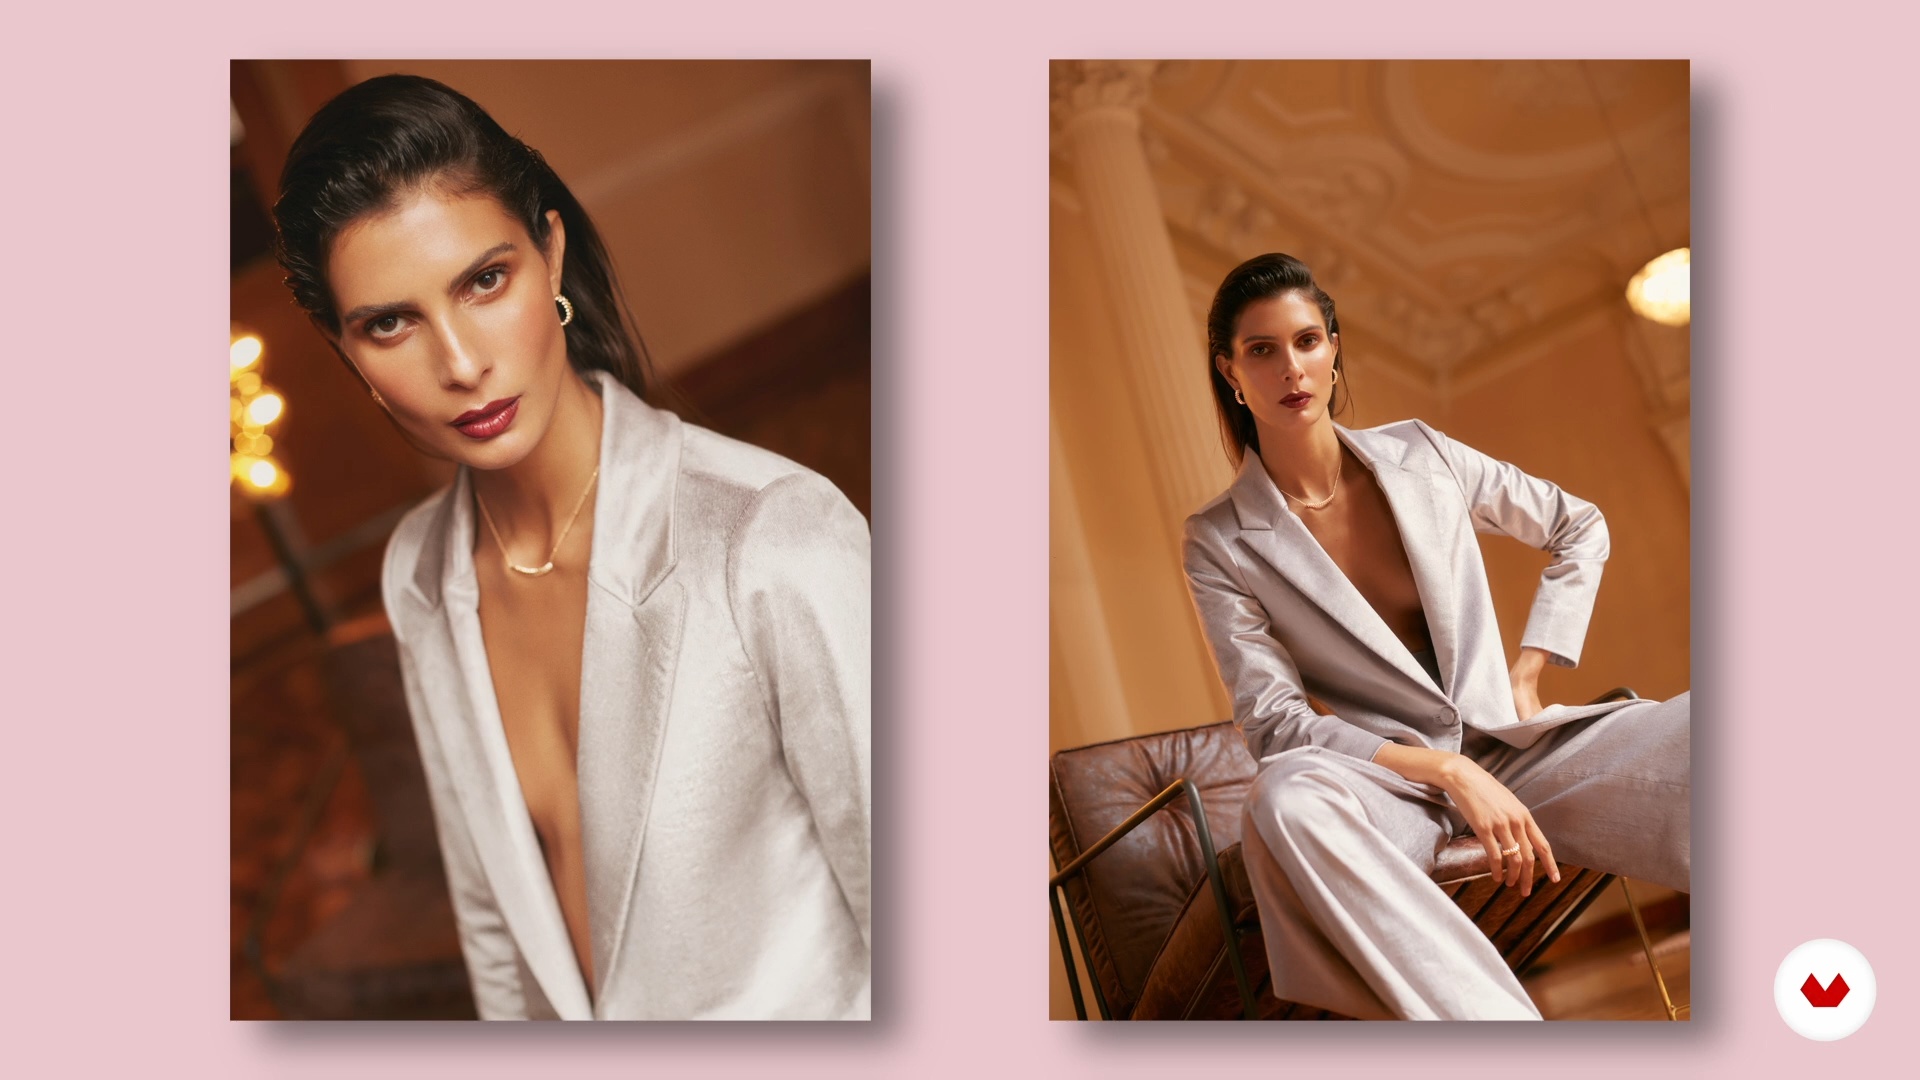
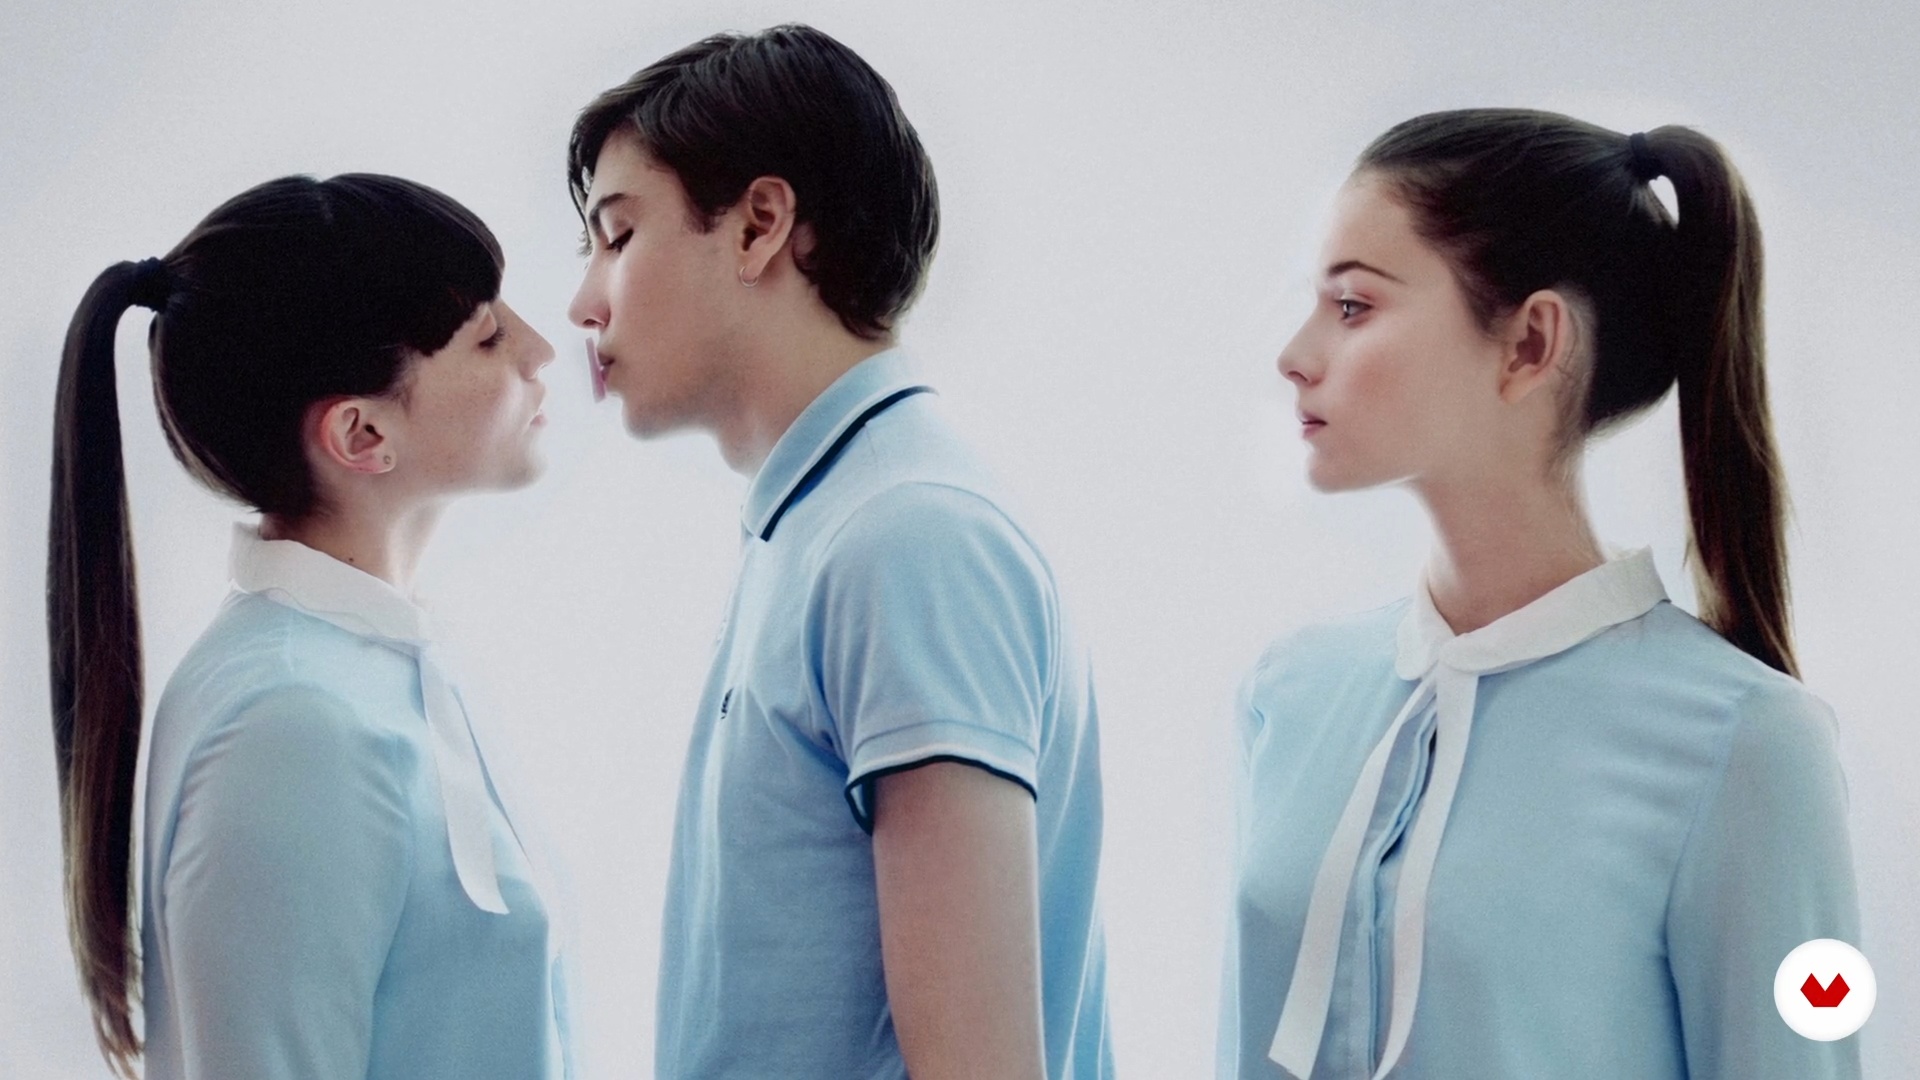
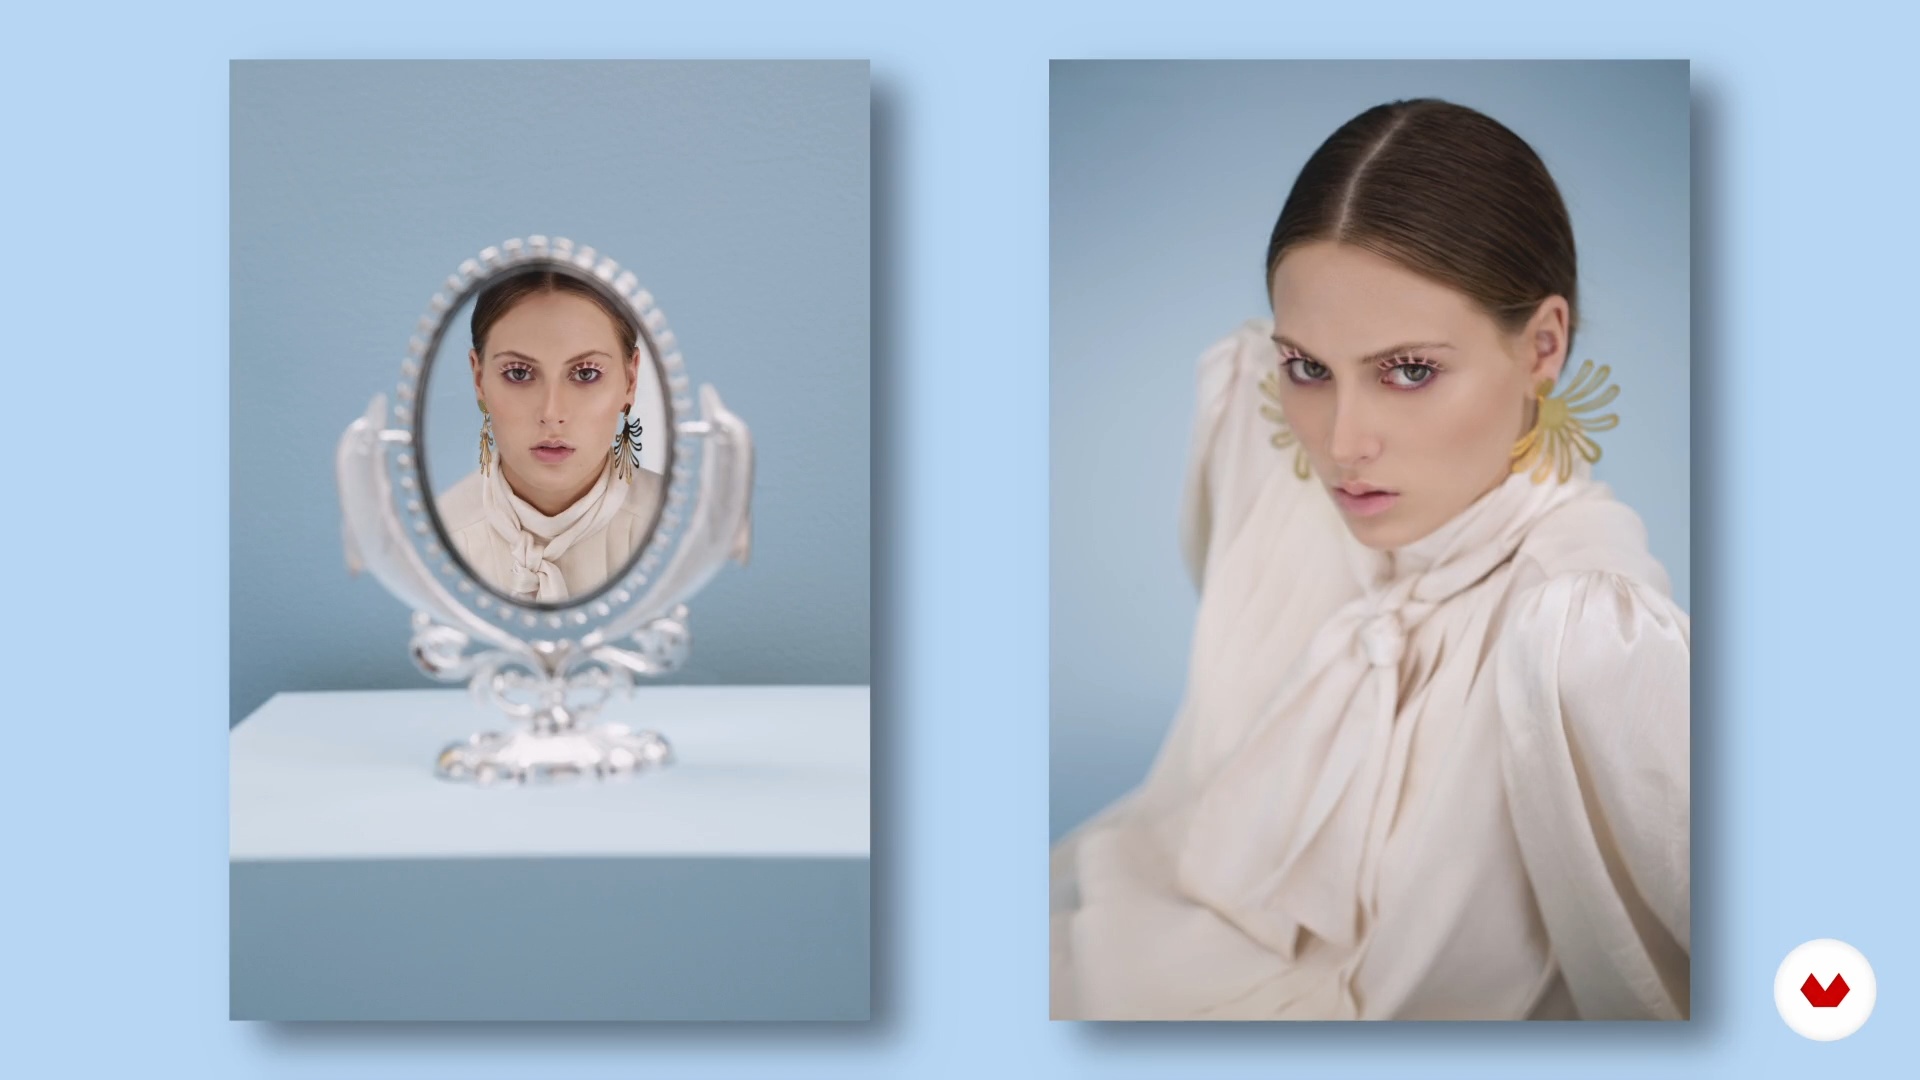
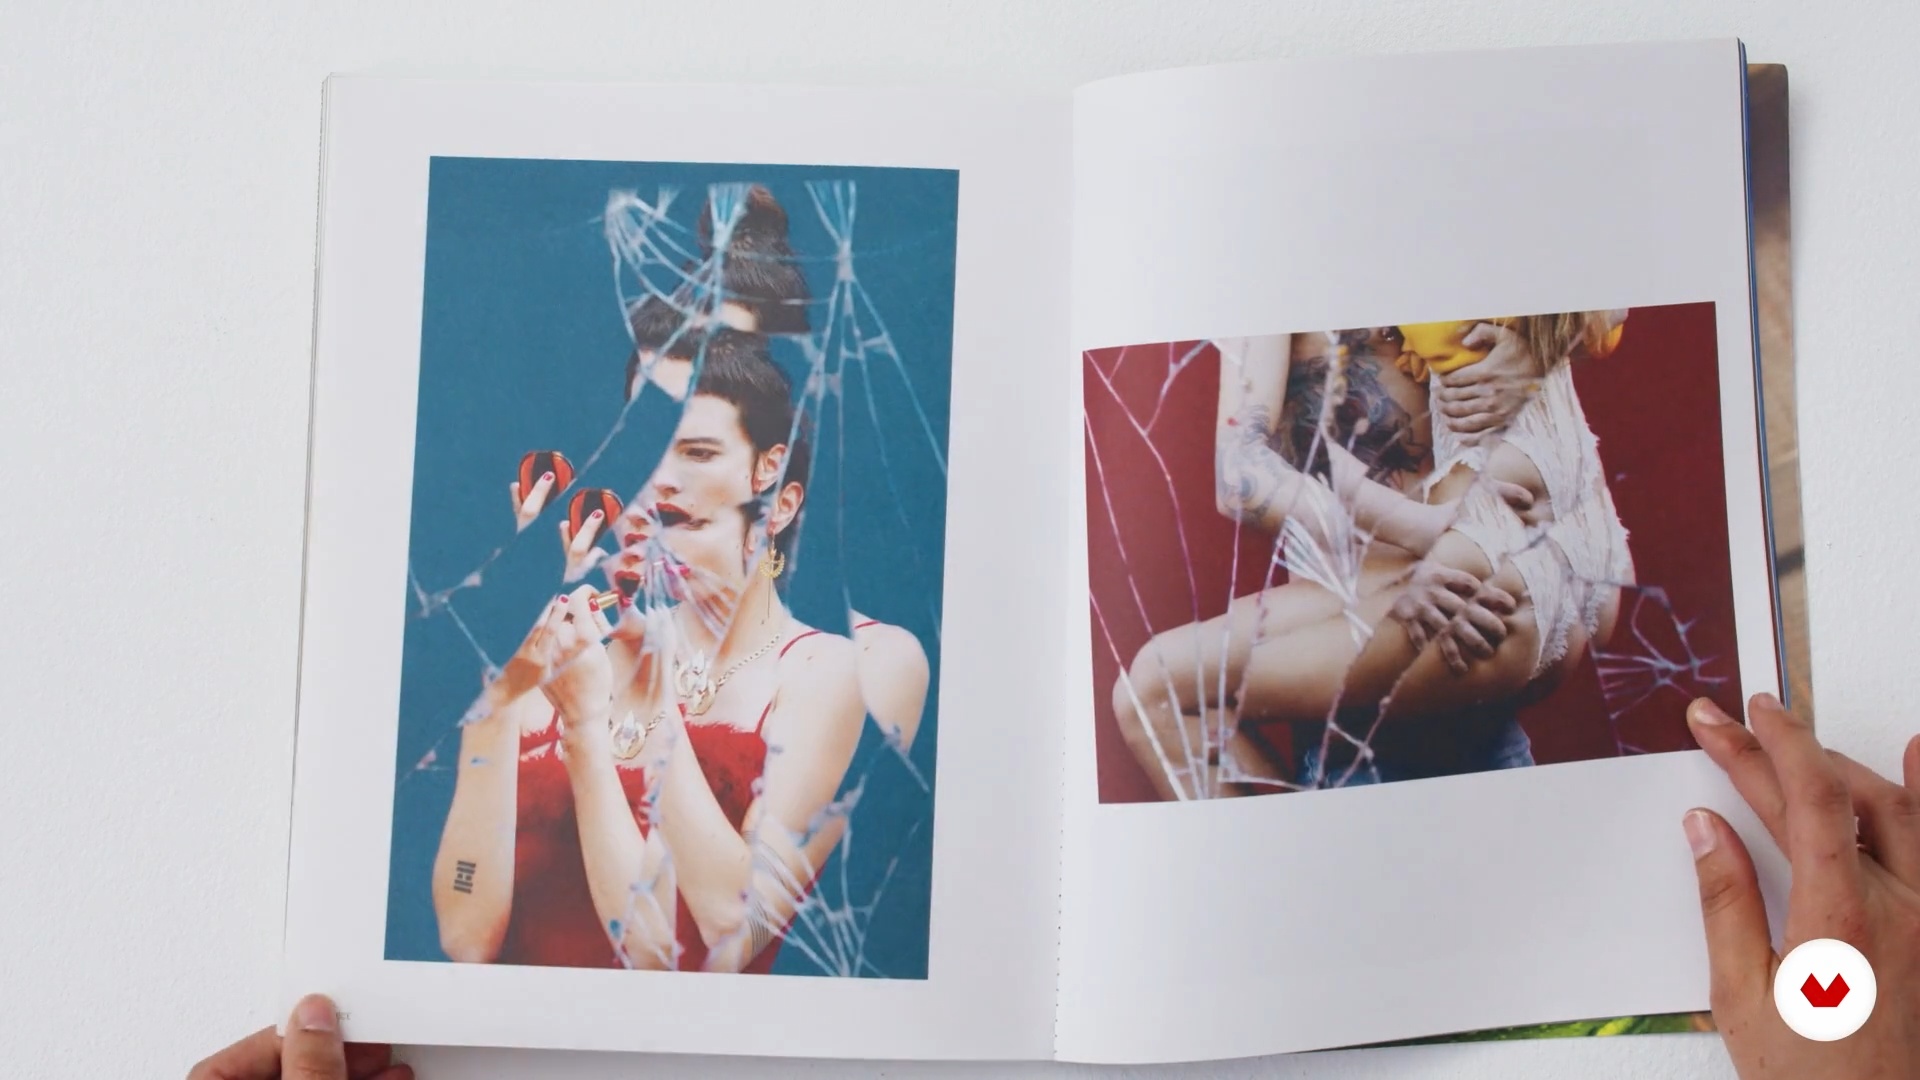
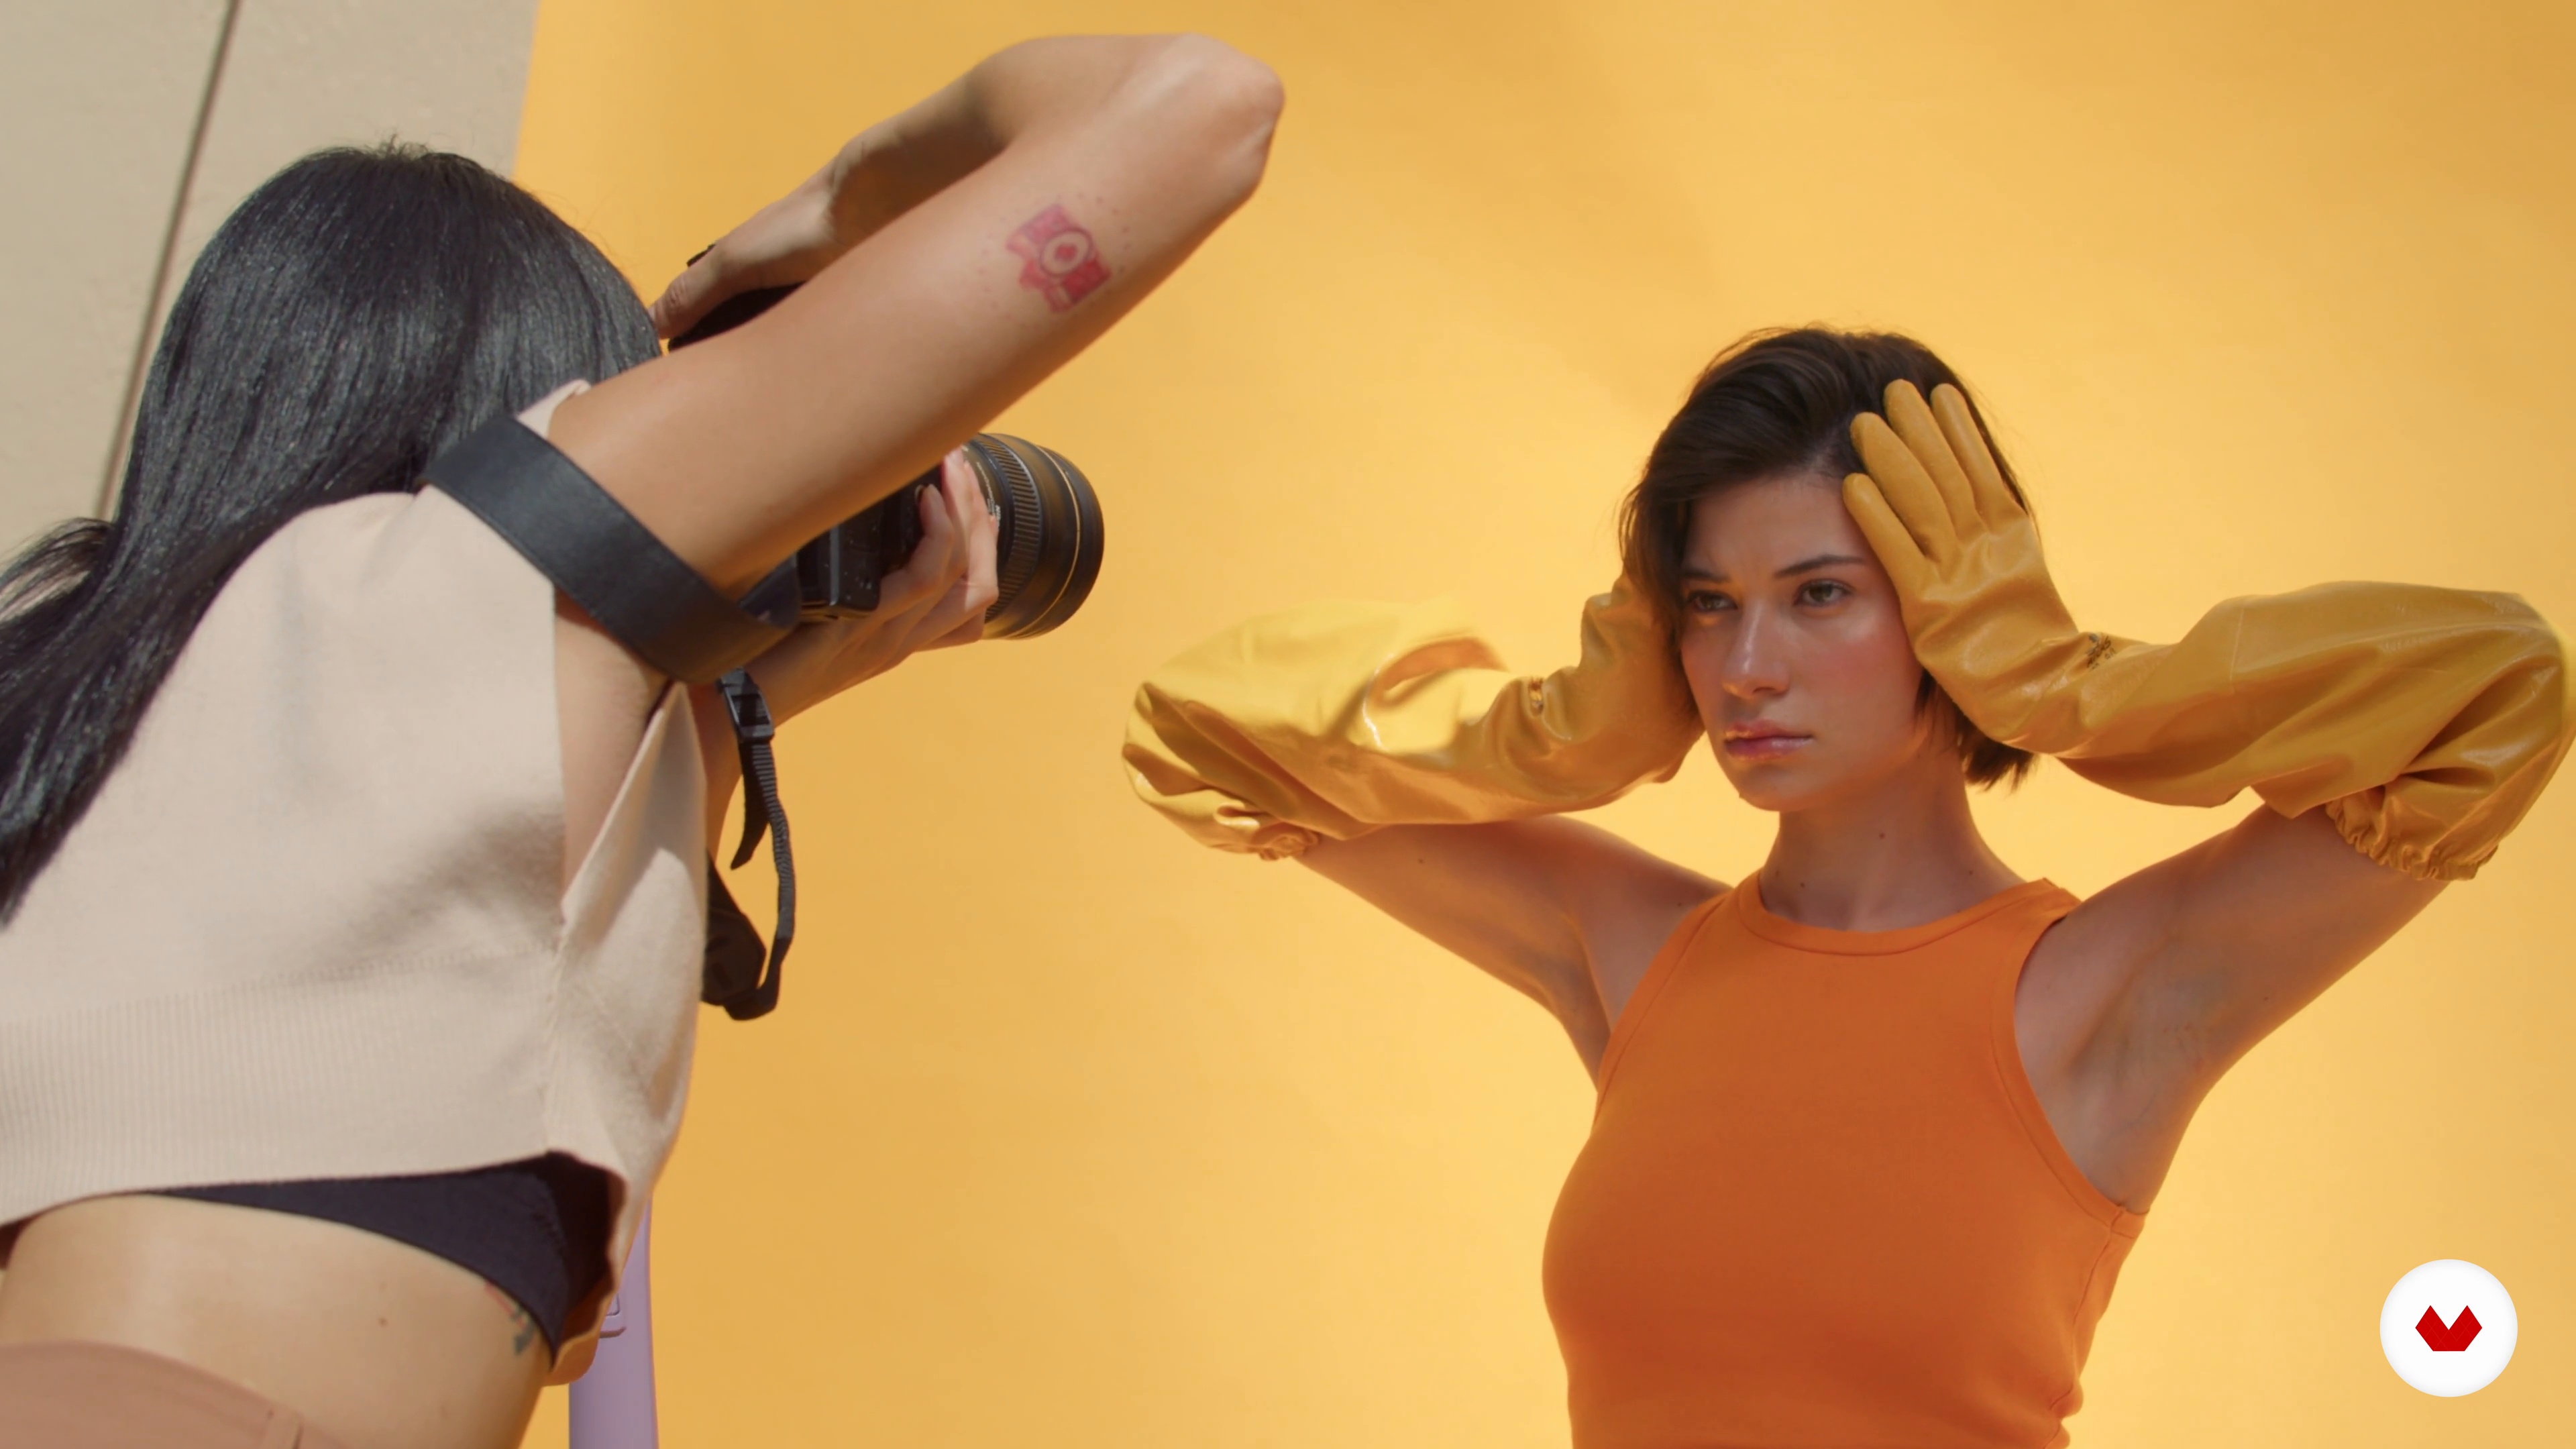
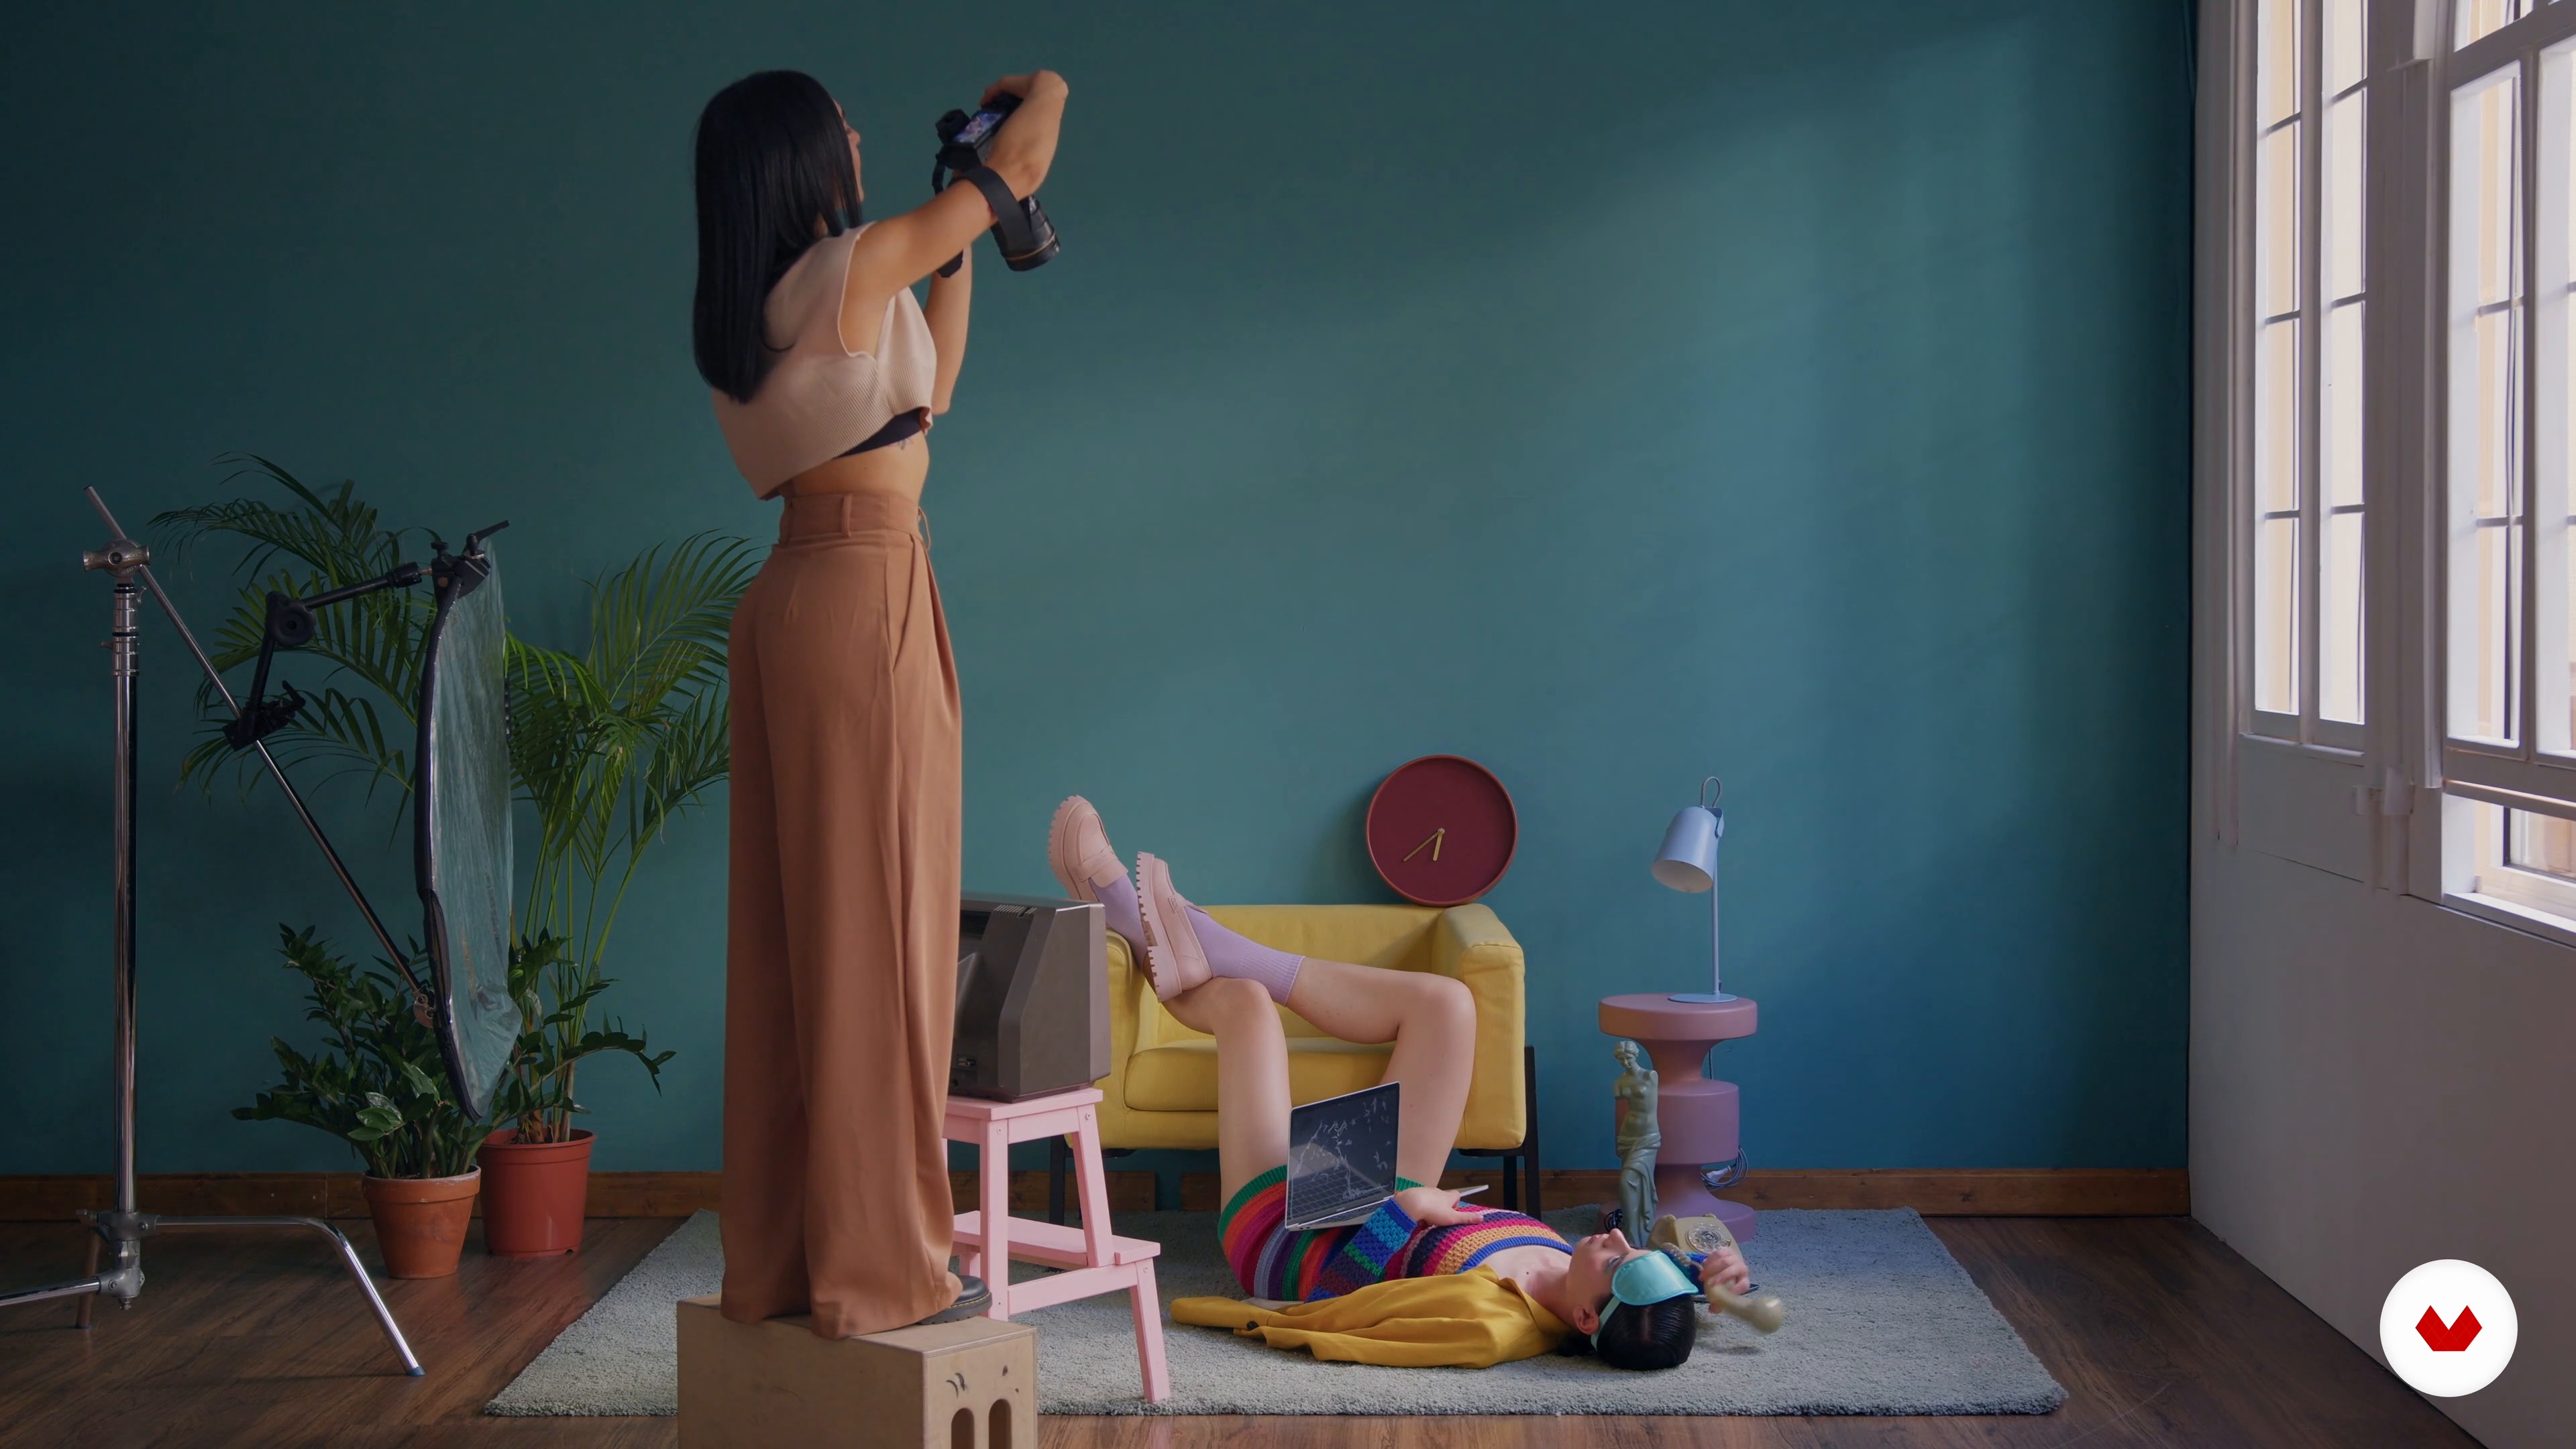
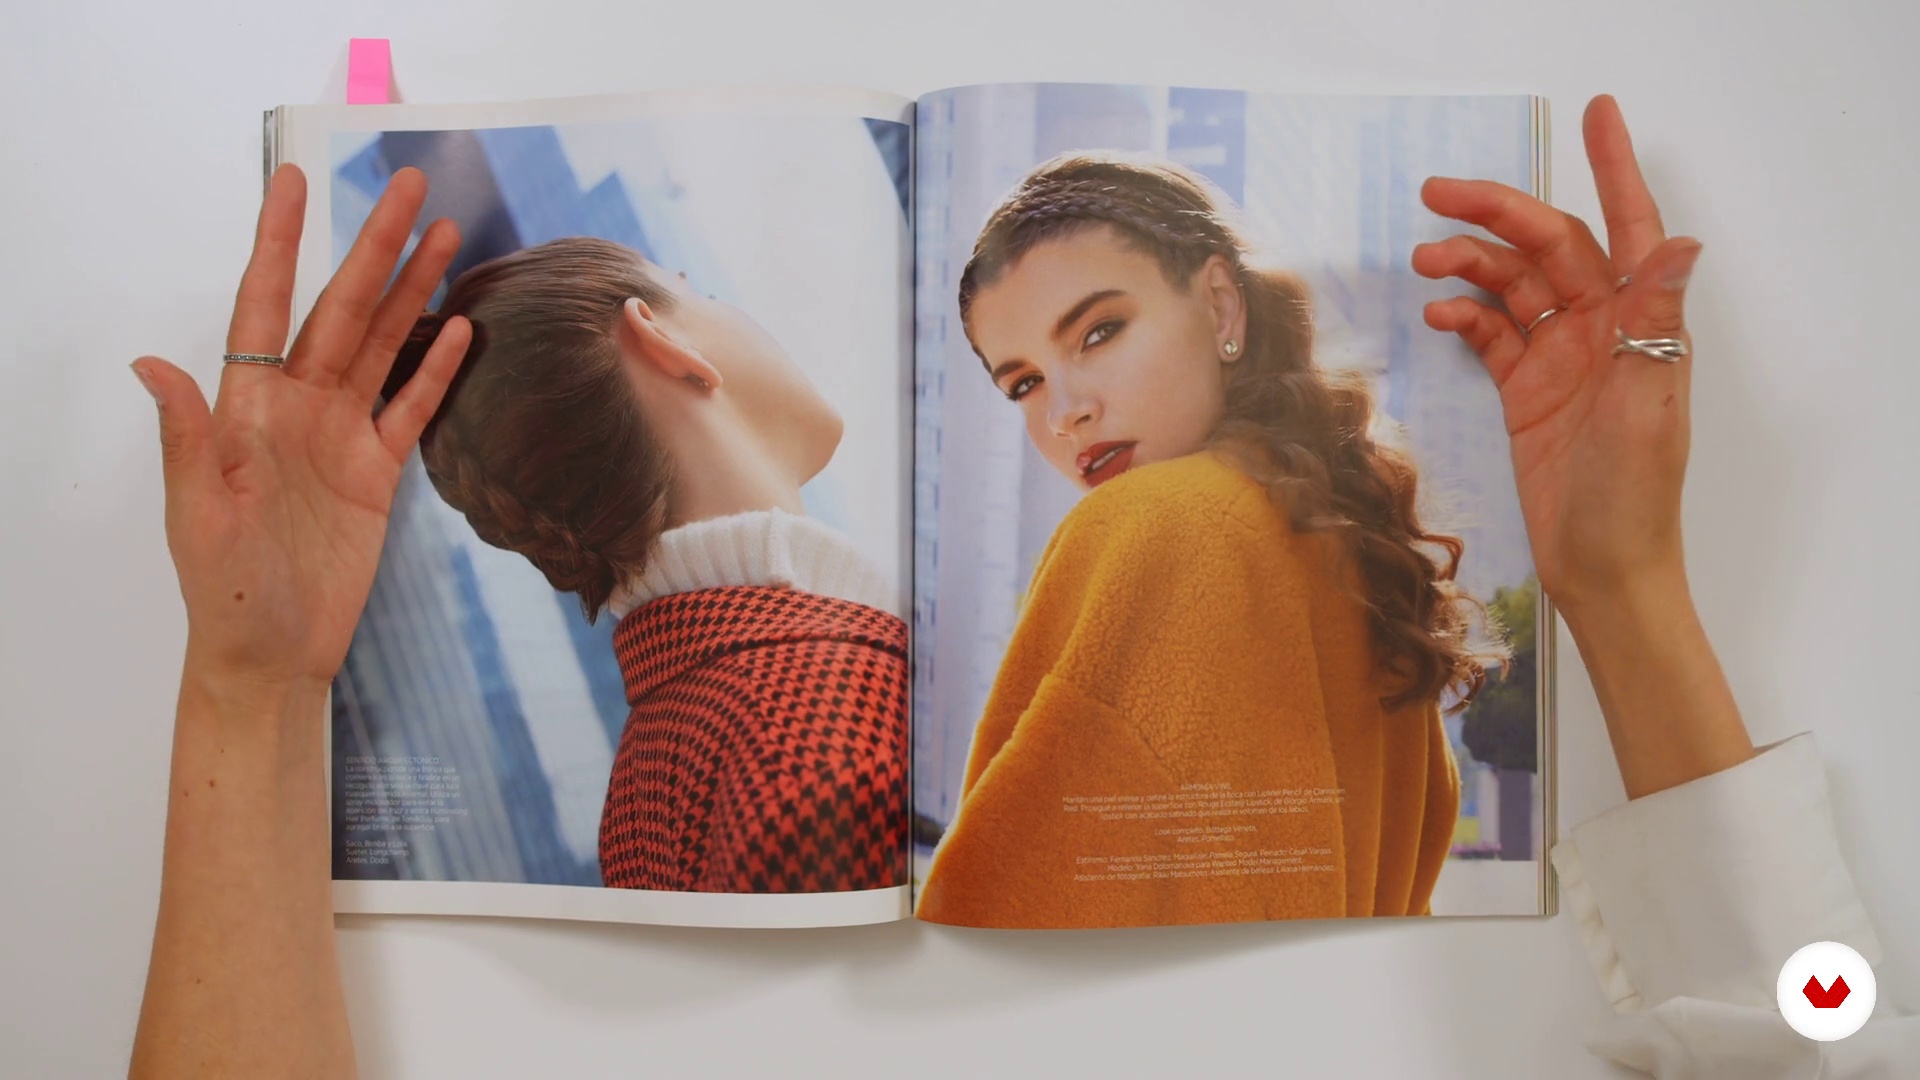
Explore the fascinating Editorial and Fashion Photography specialization, designed for photographers who want to take their skills to the next level. Across five complementary courses, discover how to transform concepts into visual narratives that captivate and communicate powerful stories. From creating photographic concepts and exploring lighting techniques to mastering natural light, each course offers essential tools to develop your unique style. With the guidance of experts such as Paula Thomas, Natalia GW, Angela Garcia, VIRIDIANA, and Jvdas Berra, you'll gain valuable insights in conceptualization and art direction.

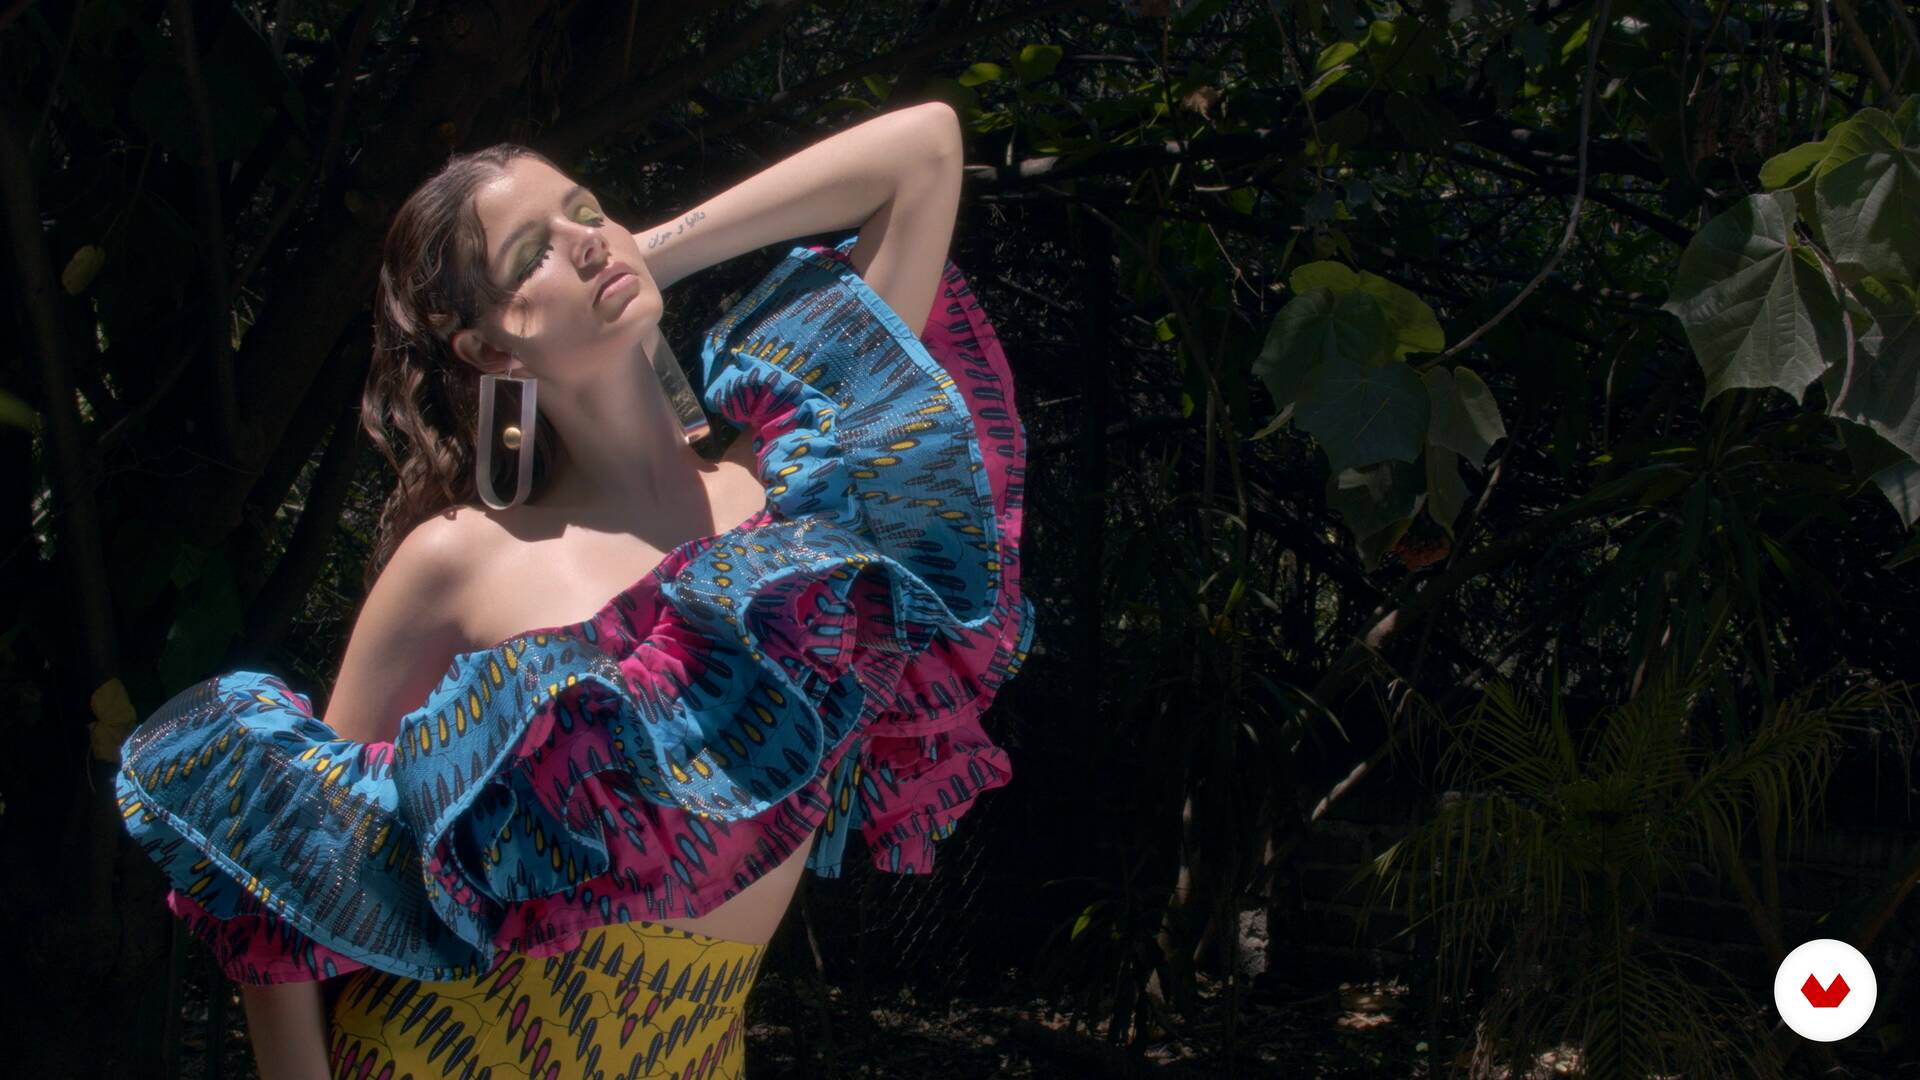
This specialization focuses not only on the technical aspect but also on artistic expression, elevating fashion photography to new heights. Learn to integrate key elements into complete editorial productions and create images with a fine art approach and aesthetic value. Upon completion, you'll be equipped with a professional portfolio that demonstrates your technical mastery and creative vision, ready to impress potential clients and publications. Become a visual storyteller capable of transforming ideas into memorable images.

Read more ↓

What will you learn in this specialization?
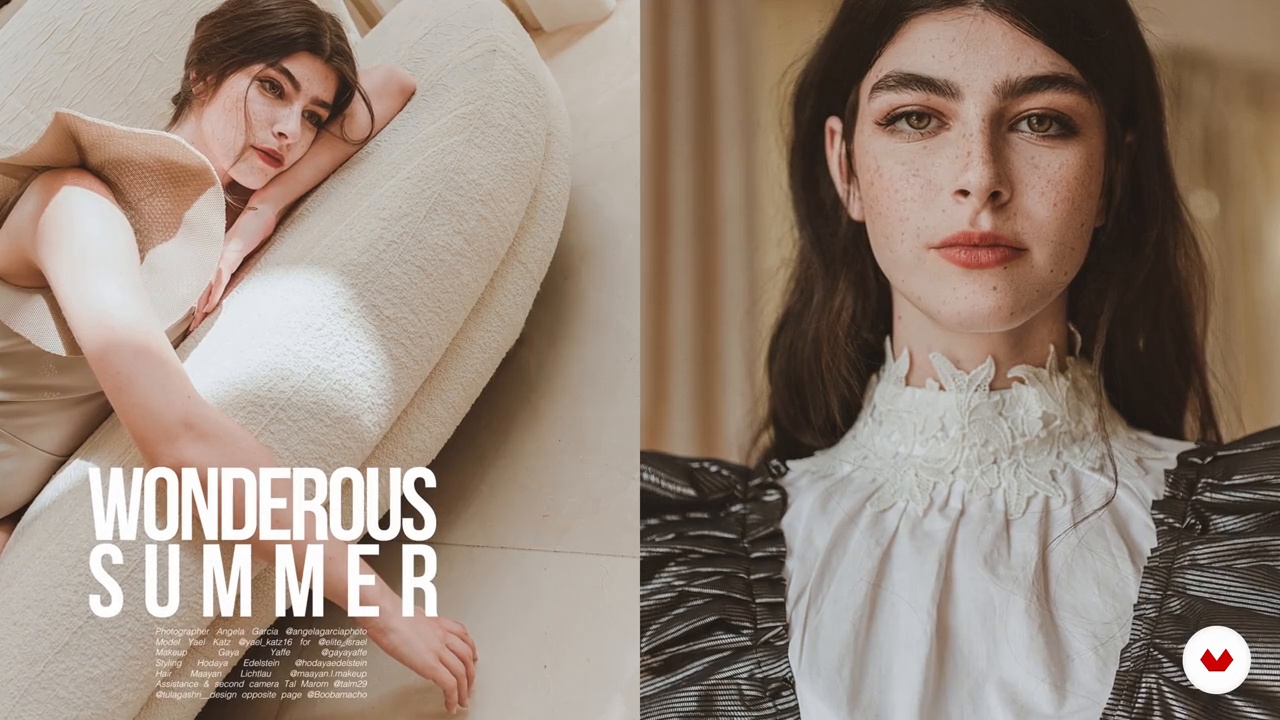
A total of 6 modules and 72 lessons
A total of 11h 28m of vídeo lessons
Taught by 5 selected expert teachers
image
1
Introduction
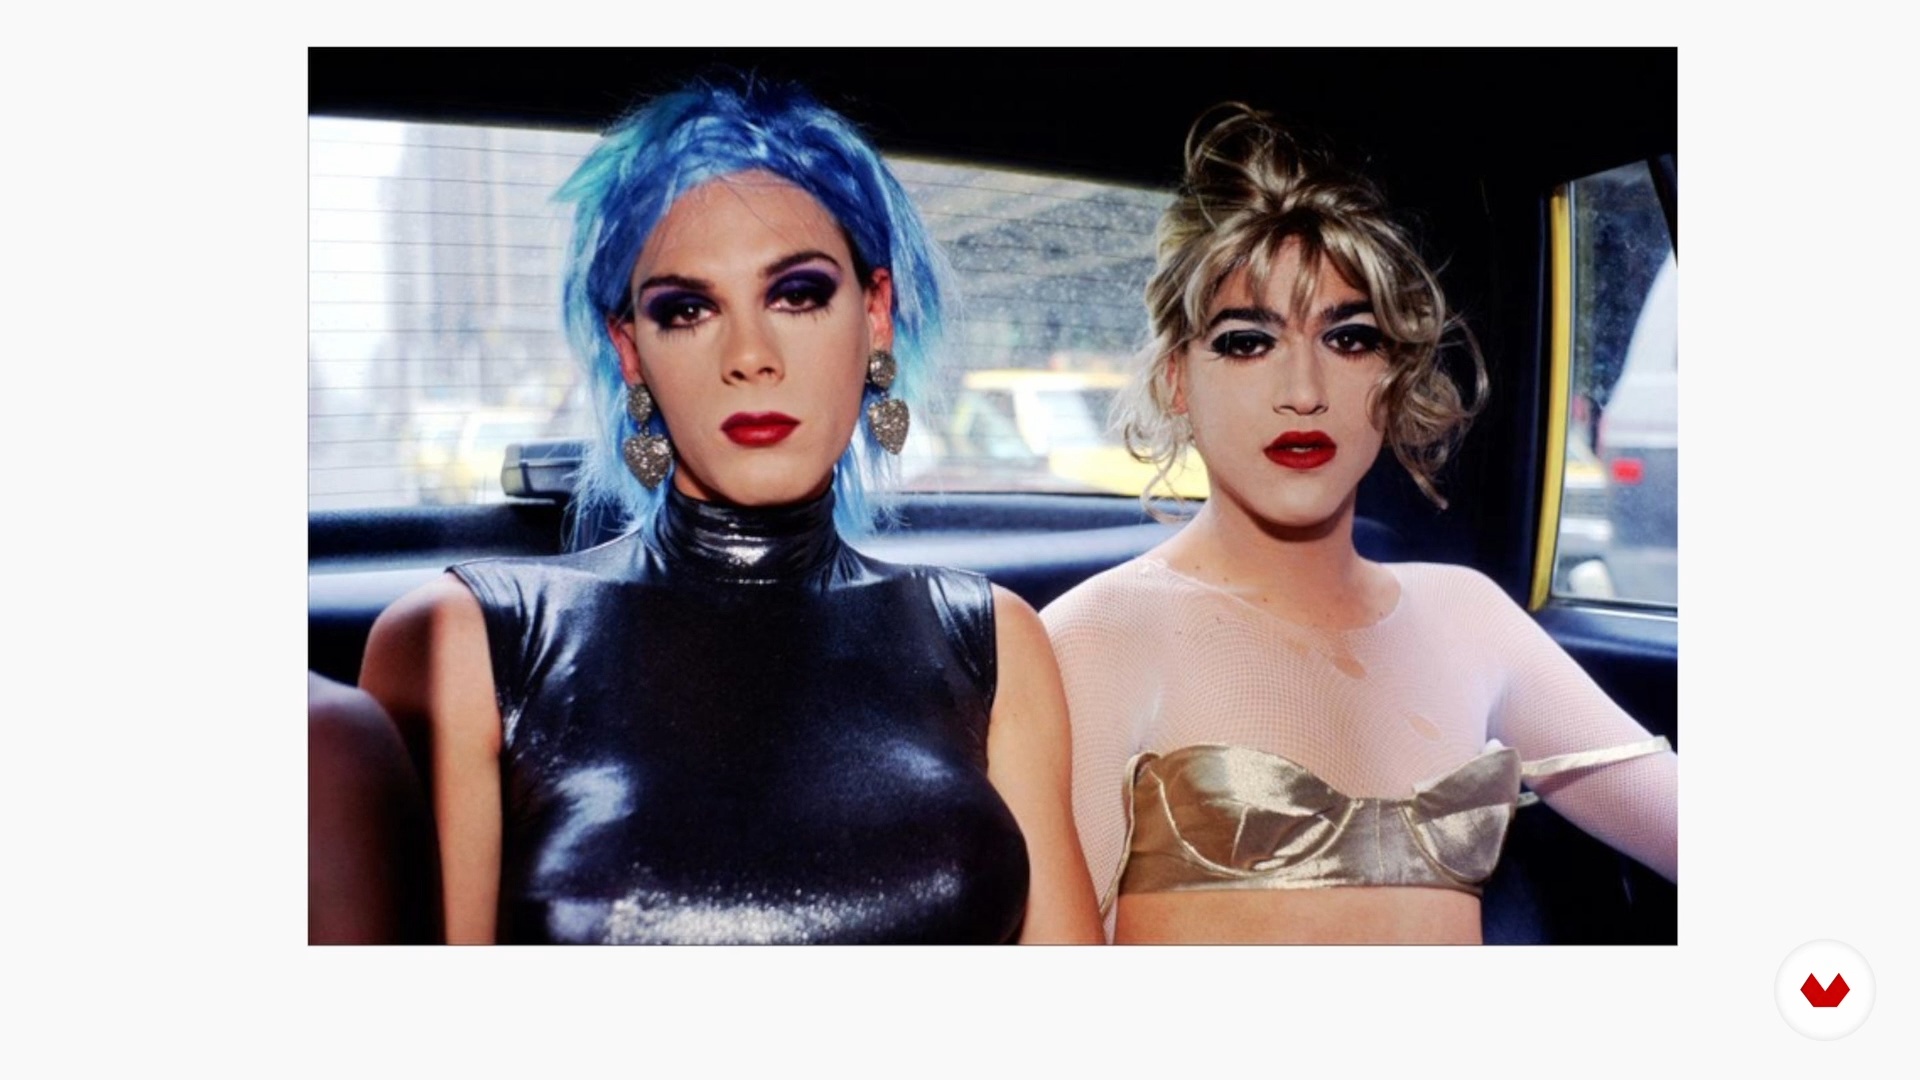
Discover how editorial photography transforms fashion into storytelling and technique into art. You'll be a visual conductor: shaping concepts, leading teams, and narrating with your own unique style. Each image will be an aesthetic voice that communicates identity, emotion, and a worldview.
2m
image
2
Influences | Paula Thomas
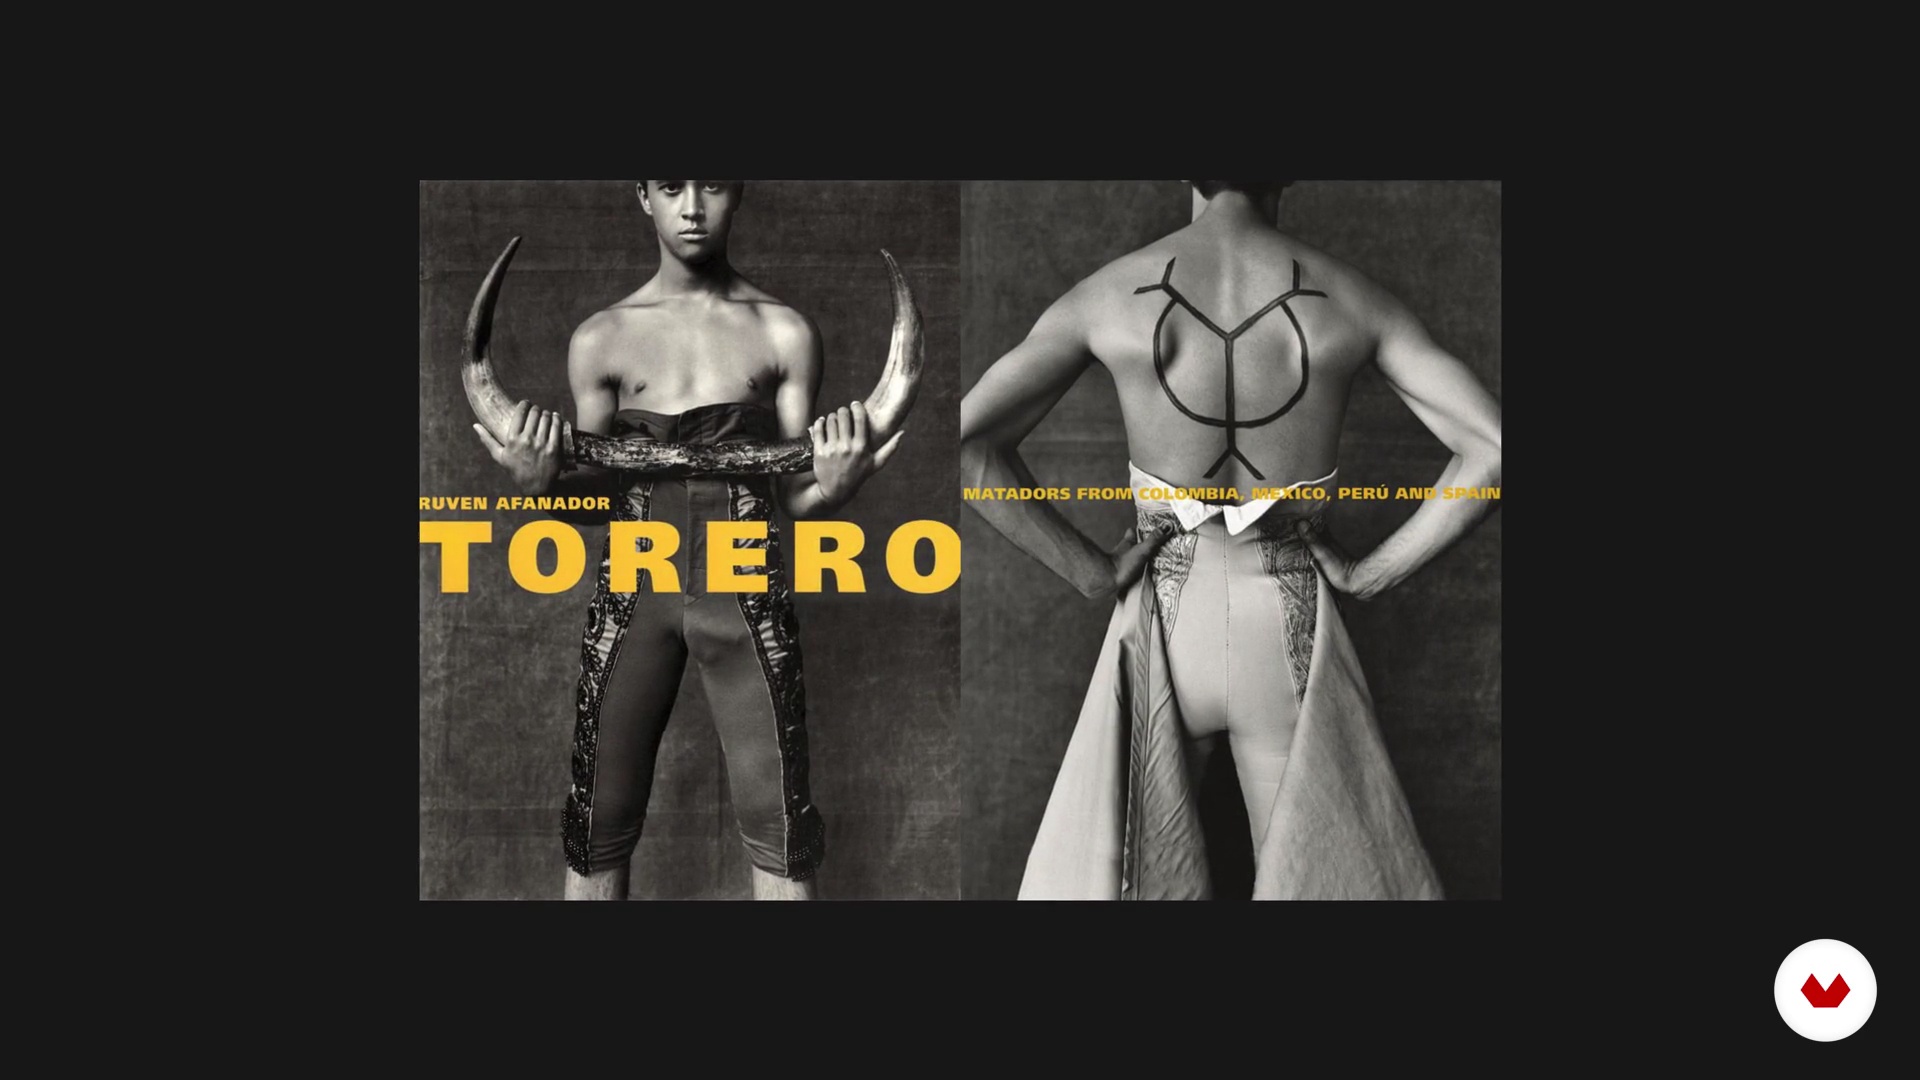
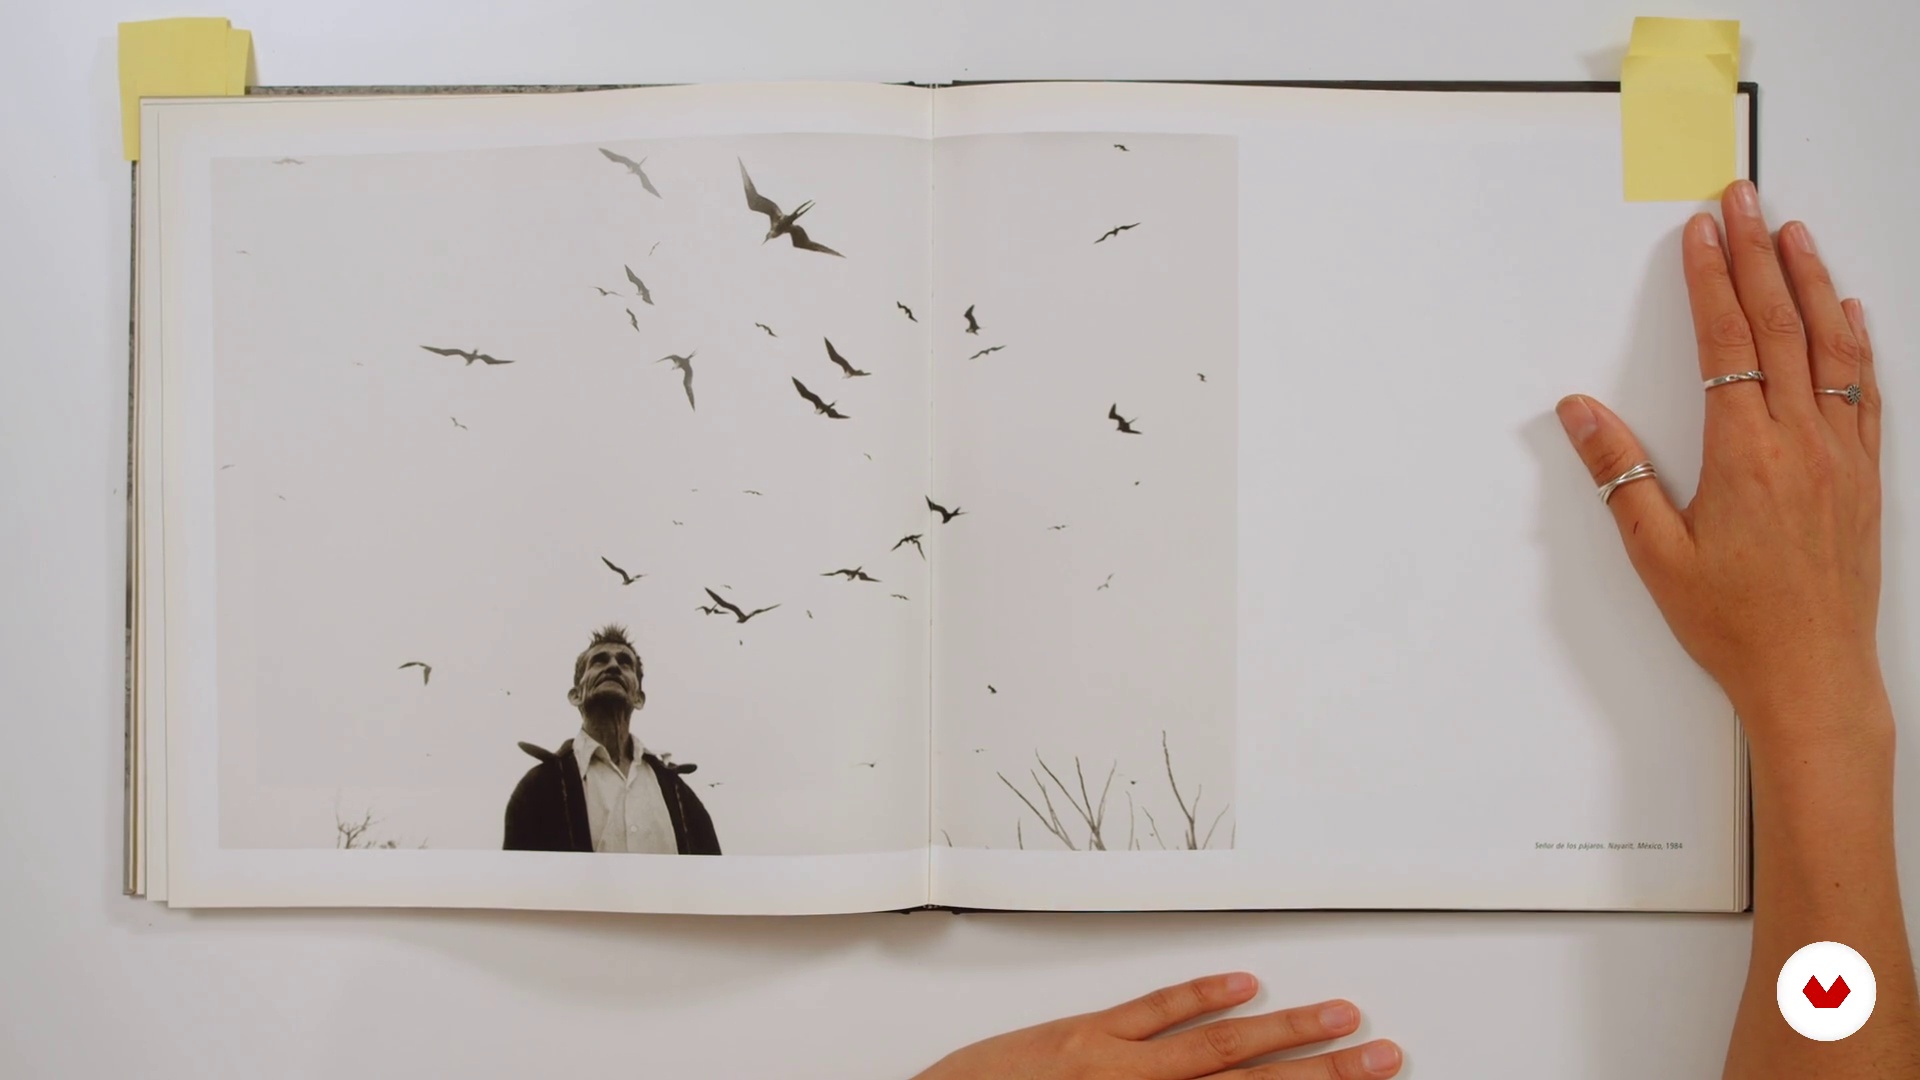
In this lesson I will tell you about some of my sources of inspiration, from artists, photographers and even writers.
12m
image
3
Influences | Natalia GW
In this lesson I will tell you which are my favorite artists and who have inspired and influenced my work. Today, we have the advantage of living in a time of great accessibility, so we are just one click away from finding very talented famous and non-famous artists who inspire us every day.
6m
image
4
Influences | Angela Garcia
There are many elements of the arts and photography that, due to their impact, have inspired me to build my own essence. Now I am going to show you some of the influences that have been part of my learning and development as a photographer.
2m
image
5
Influences | VIRIDIANA
I will show you the direct influences that nourish my work as a photographer both to build my imaginary from elements of the arts and literature as photographers who have permeated my work because of their quality of work.
13m
image
6
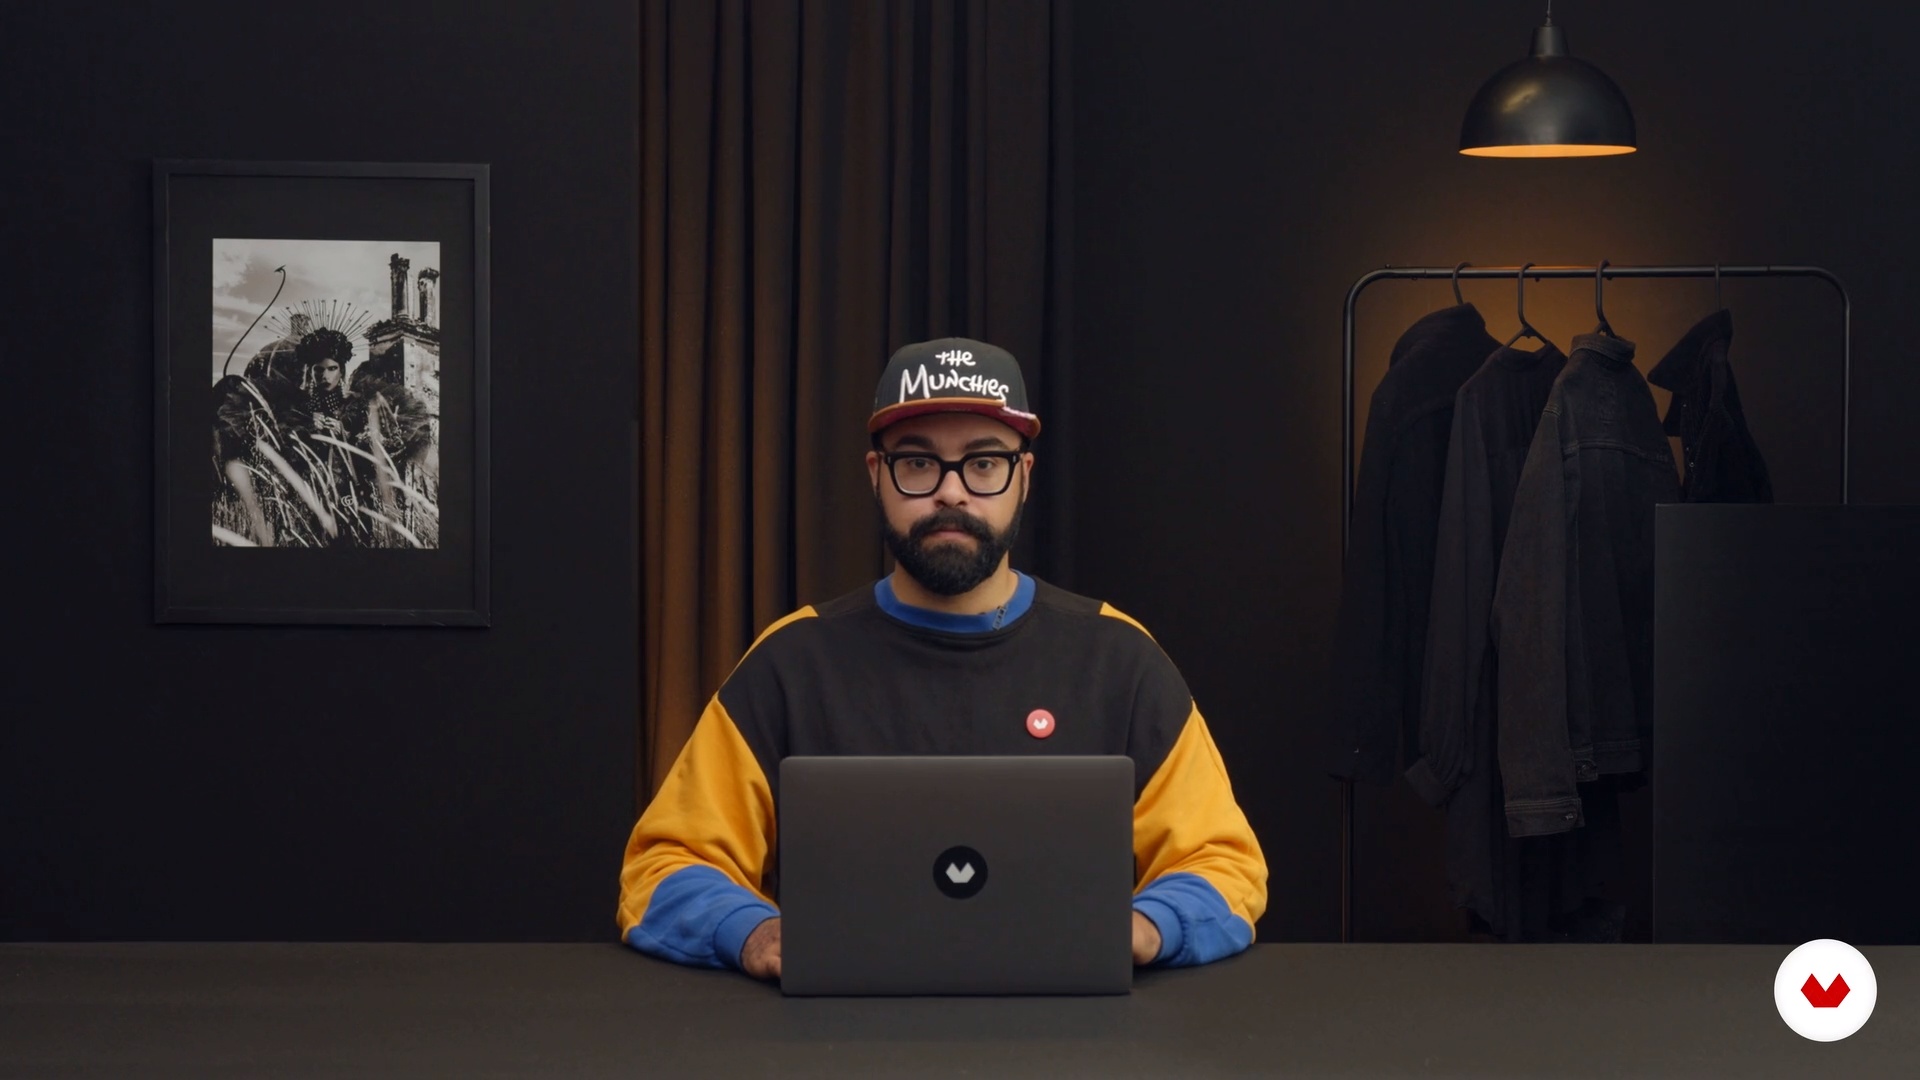
Influences | Jvdas Berra
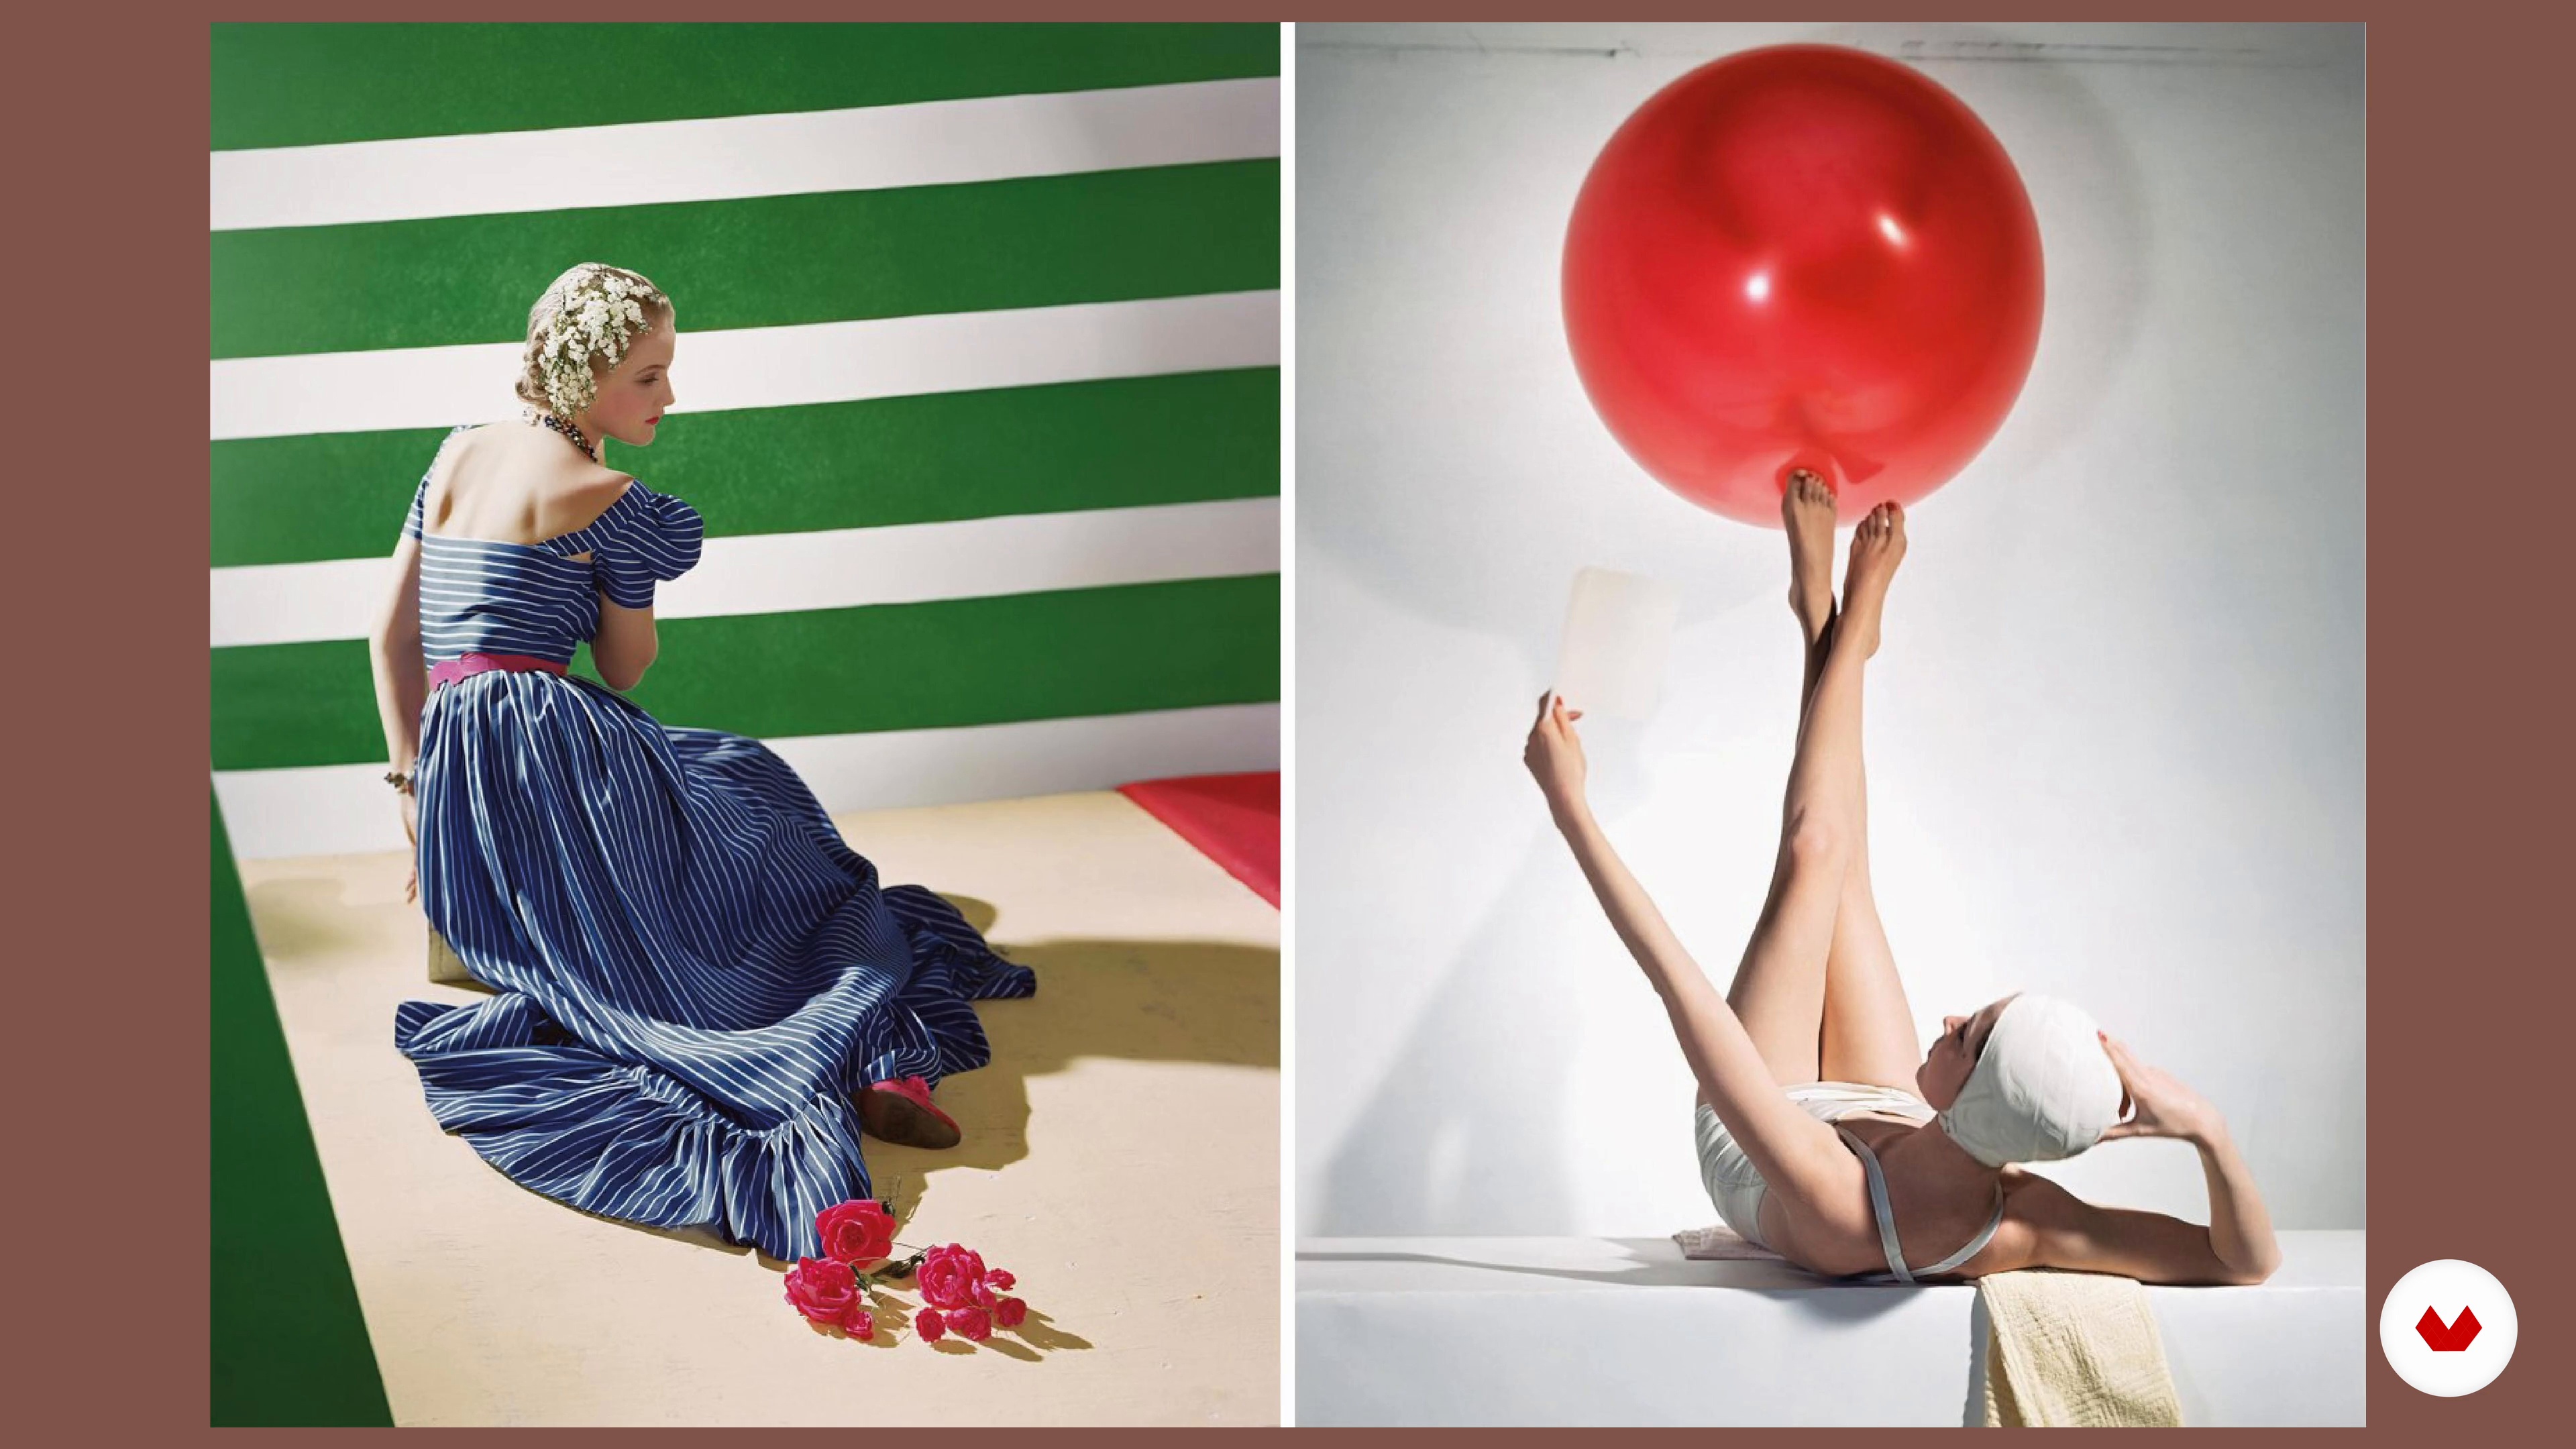
My influences range from the elegance and dynamism of Richard Avedon, to the colorful surrealism of Tim Walker, giving a mix of styles in his fashion portraits and fine art .
3m
image
3
What is a photographic series?
How to make your photographs not just a lot of loose images? How can you tell a story with a set of them? In this lesson you will see what a photographic series is and I will share some tips to create one.
9m
image
4
What is a visual narrative?
Now I will explain to you the importance of having a narrative in the photographic series. I will also tell you how the narrative serves to tell a story in images.
2m
image
5
Photographic series: narrative resources
You will learn what are those resources that you can use, apart from the technical ones, to correctly convey the idea of your series and have a narrative and aesthetic unity in your project.
11m
image
6
How was the idea born?
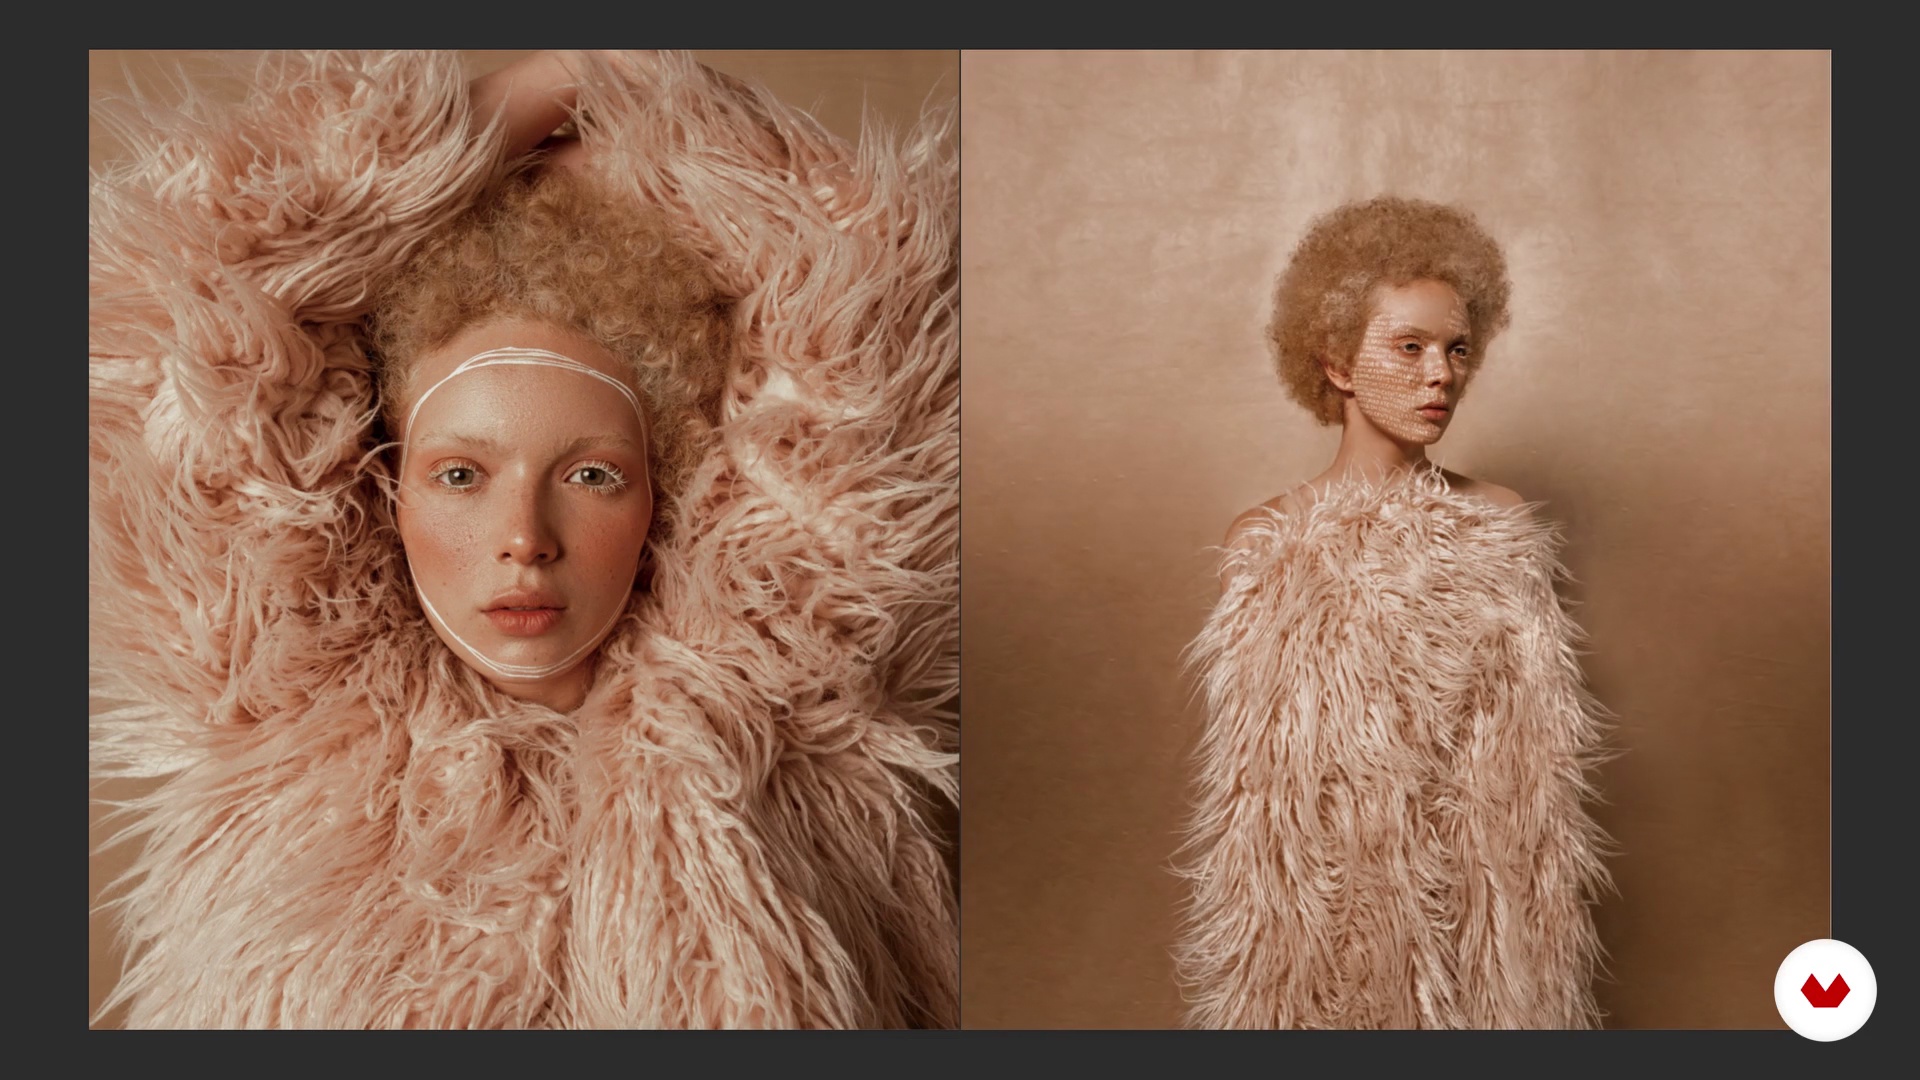
My personal works are born in a notebook, on a piece of paper, or on anything where I can write. In this lesson I will give you some insights that will help you know where to start to do a photographic project.
2m
image
7
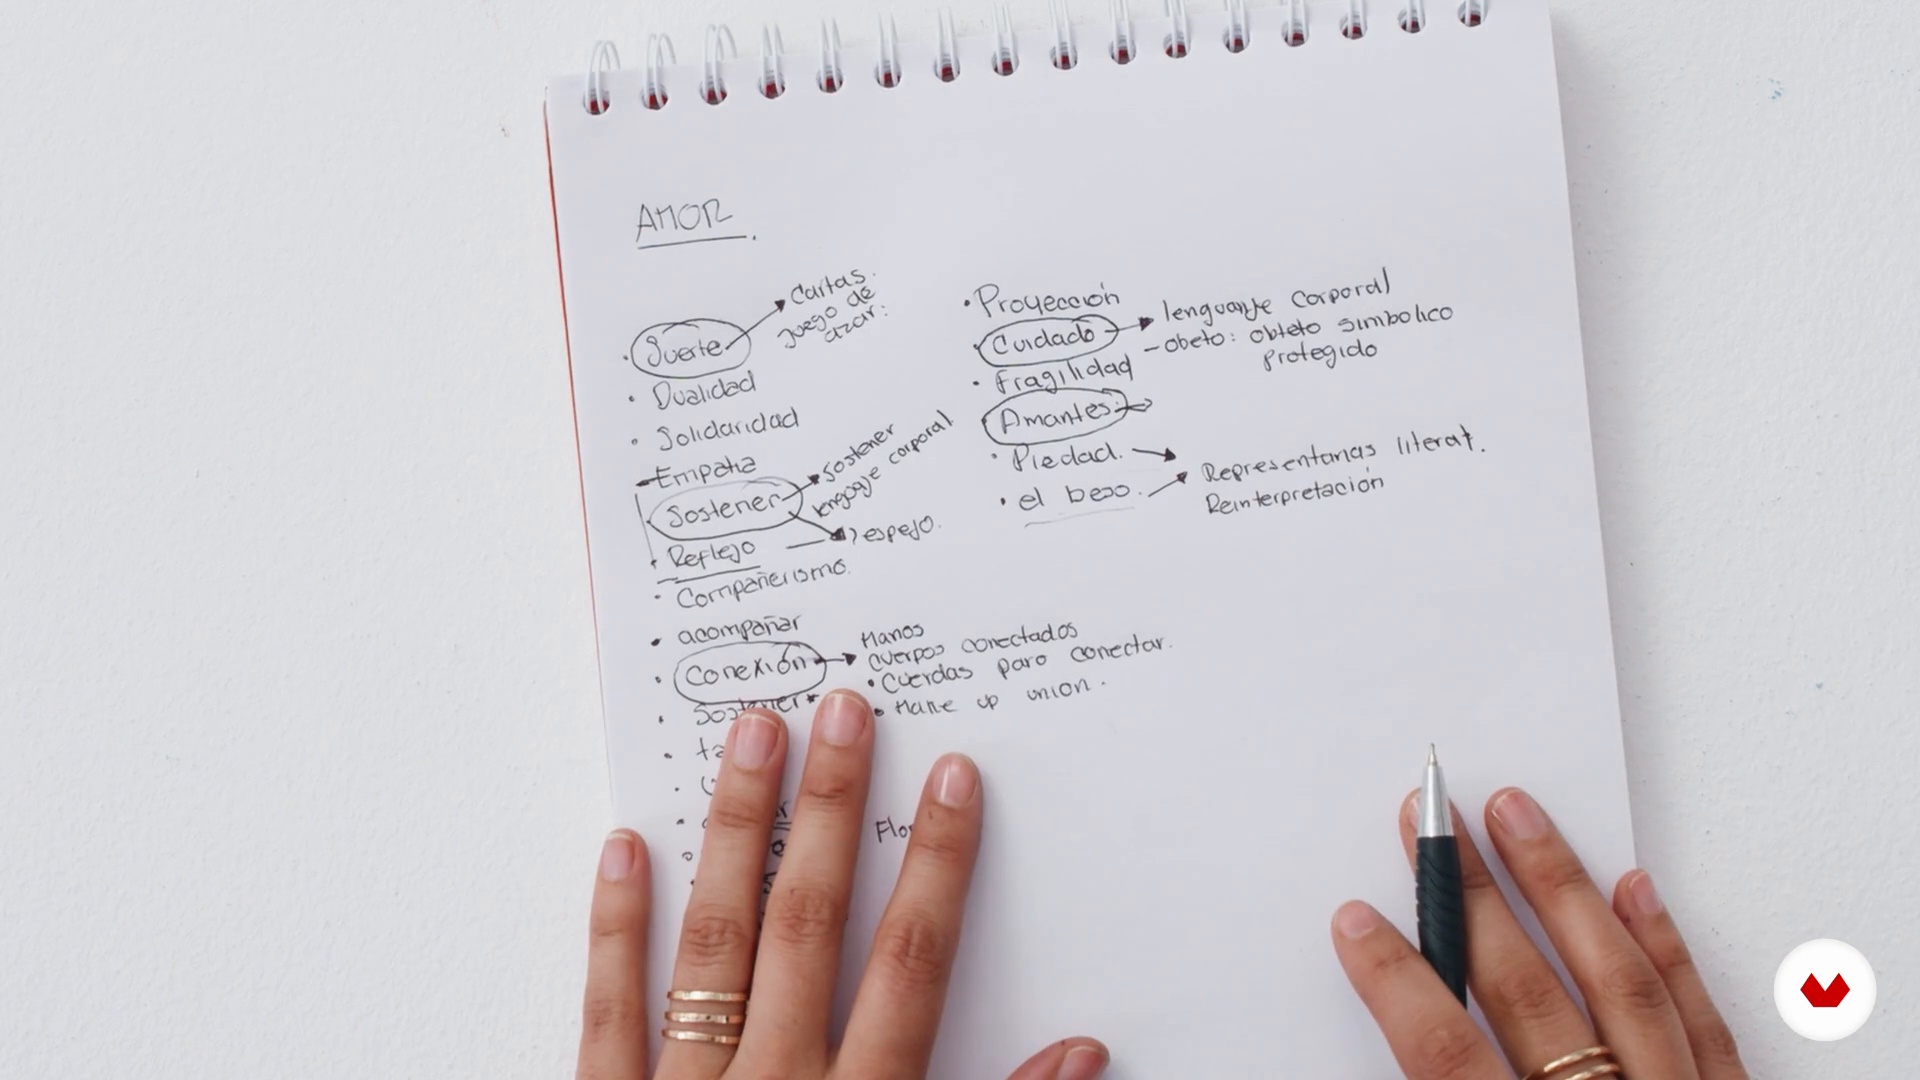
brainstorming
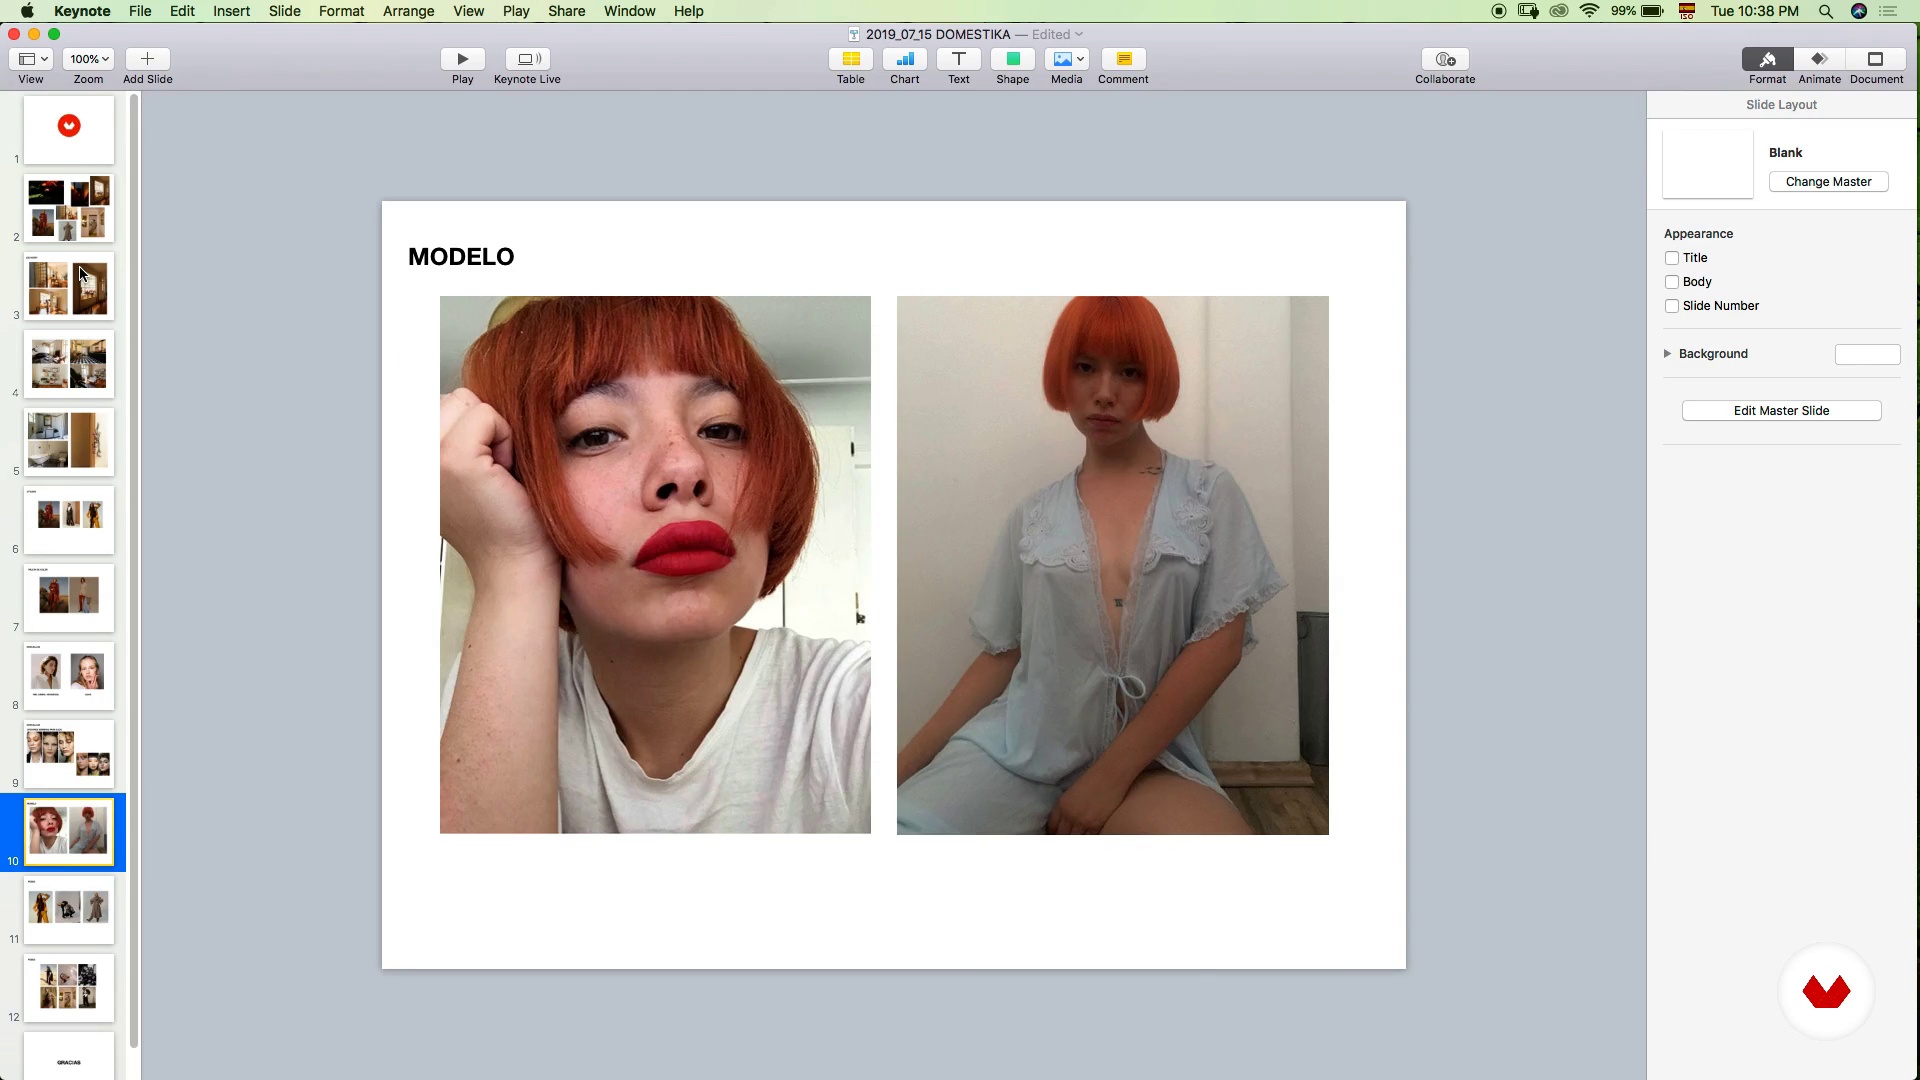
In this lesson you will learn an exercise that will help you to conceptualize all those ideas that you have loose and to have more clarity about what you want to communicate.
9m
image
8
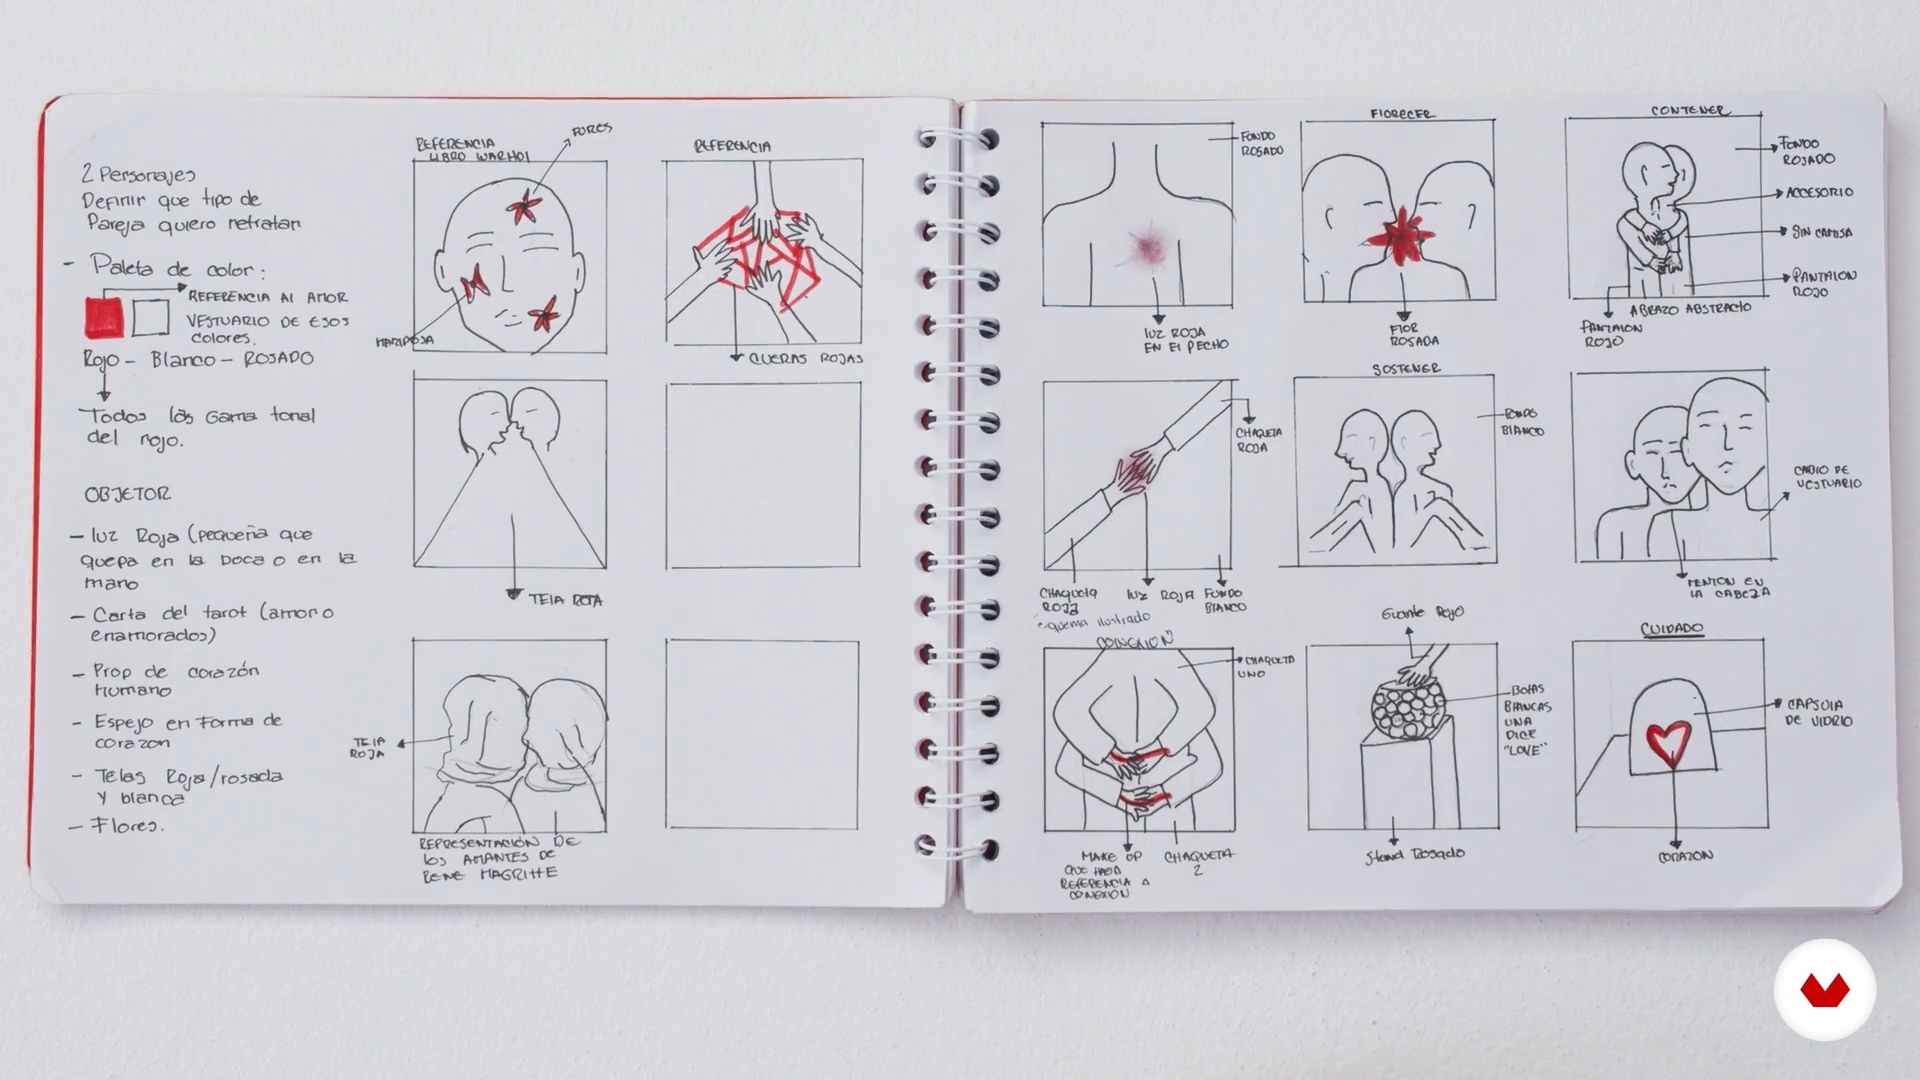
the storyboard
This exercise, born in the cinema, will help you to have a big picture of your project. Besides, it will help you build each frame to arrive at your shooting with everything organized, which will help you optimize time and have better communication of your idea with your work team.
10m
image
9
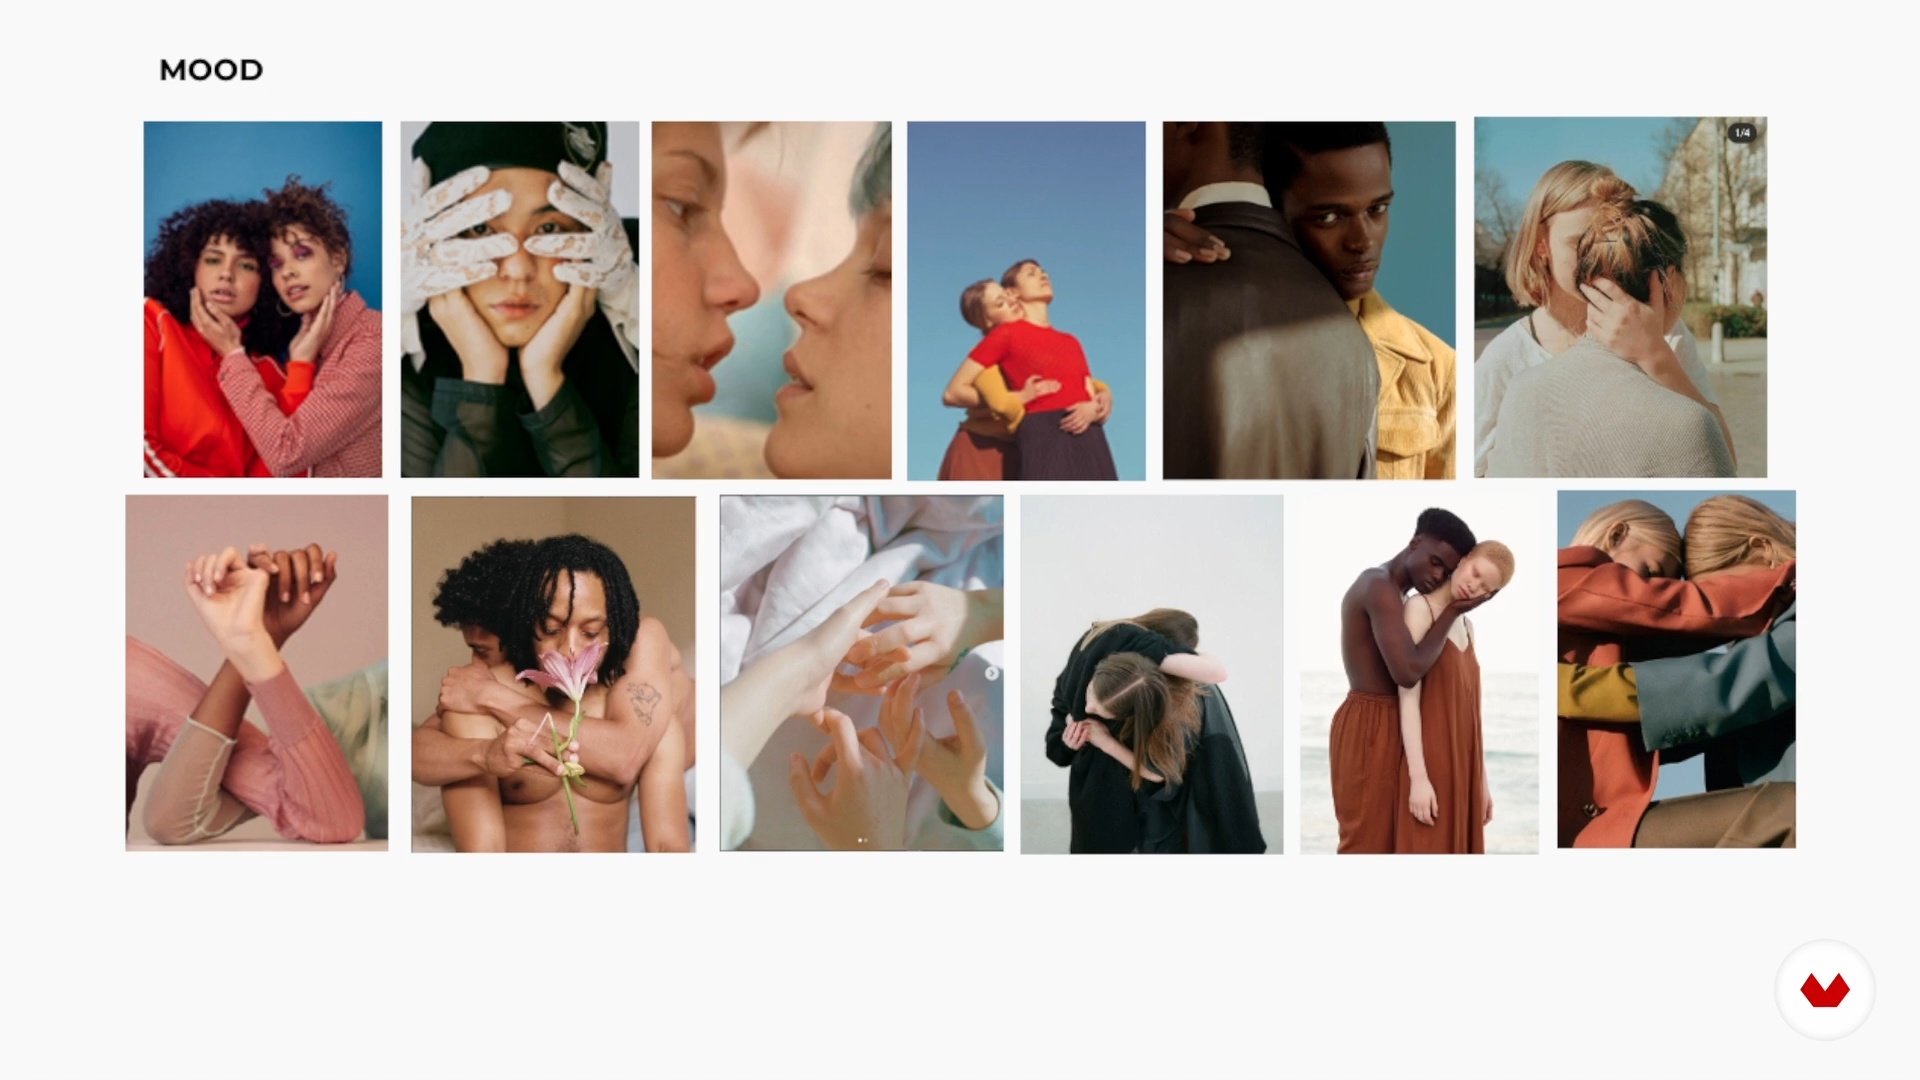
Inspiration and mood board
You will learn how to find inspiration for your project, a mix of images that help you better land all the narrative resources that we saw previously. It will be a technical guide and you will learn to be inspired without copying but reinterpreting and adapting to your idea.
14m
image
10
Materials and photographic equipment
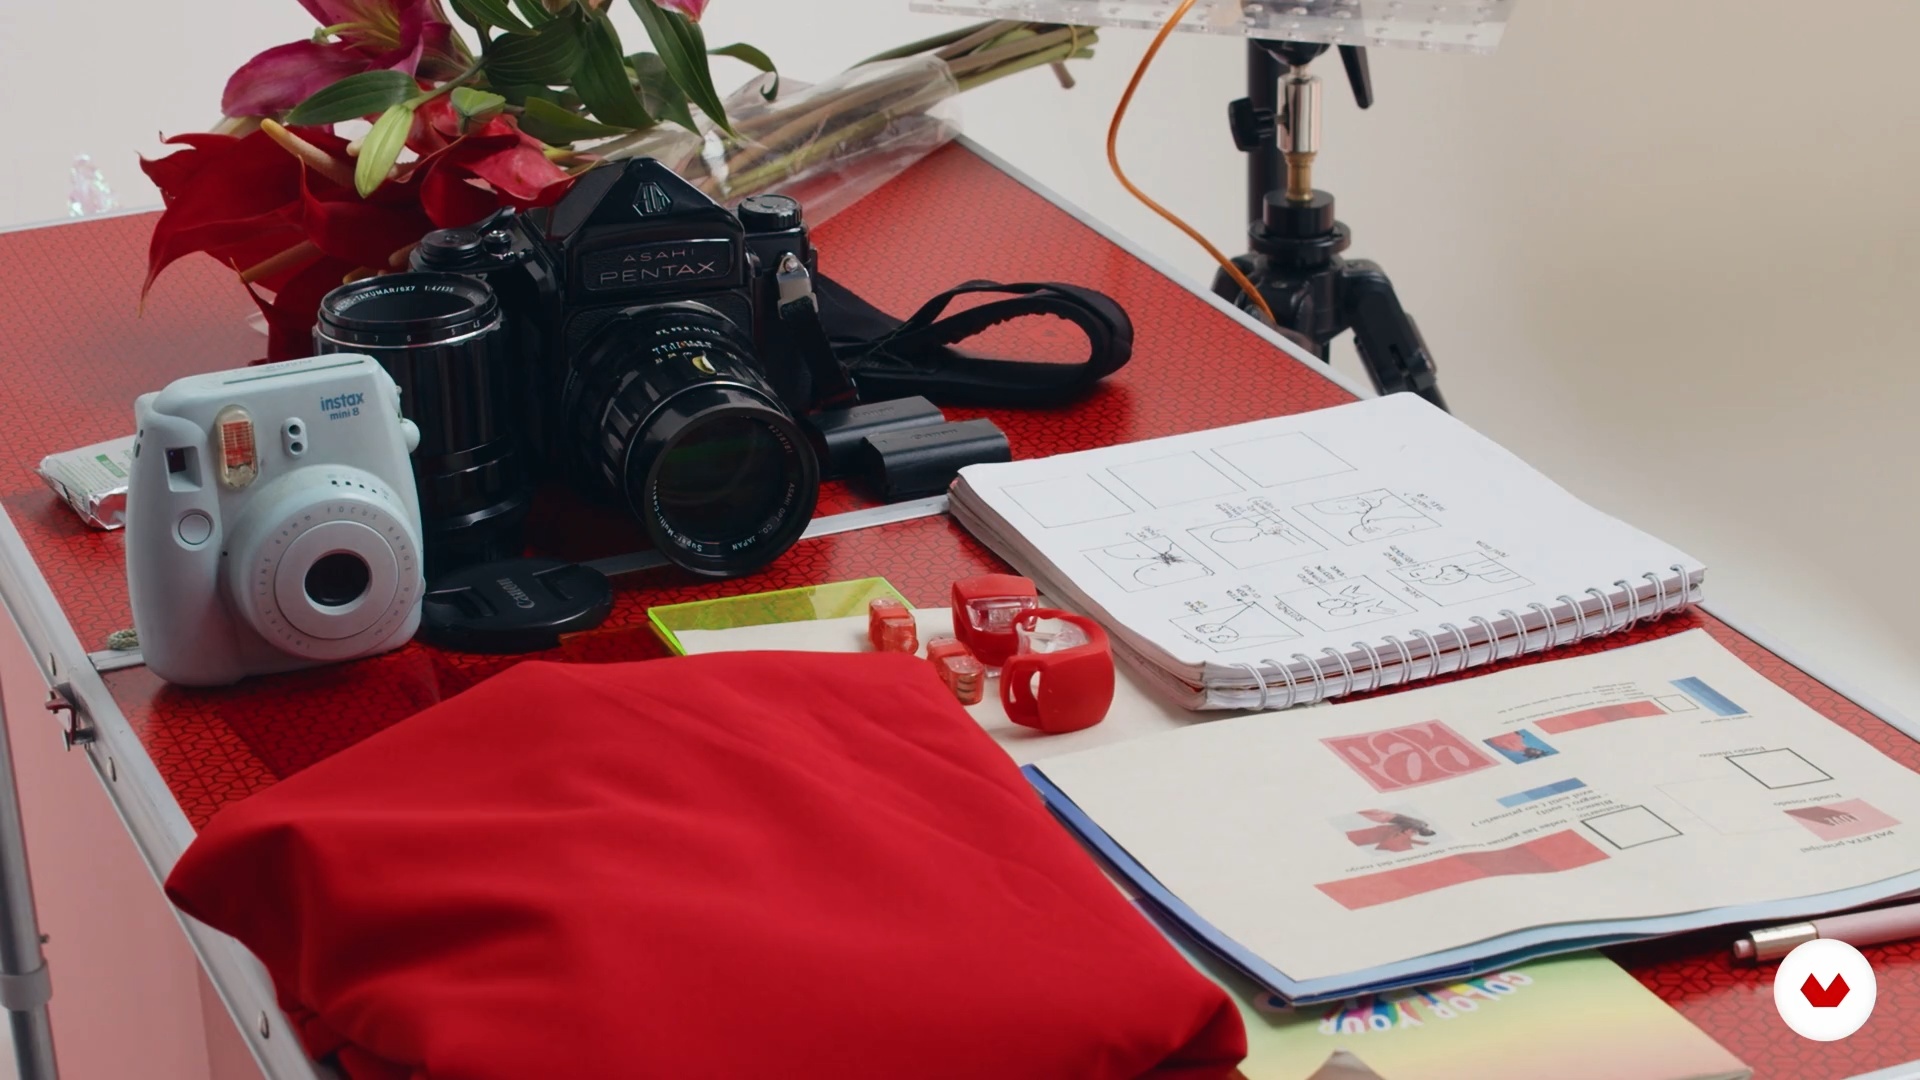
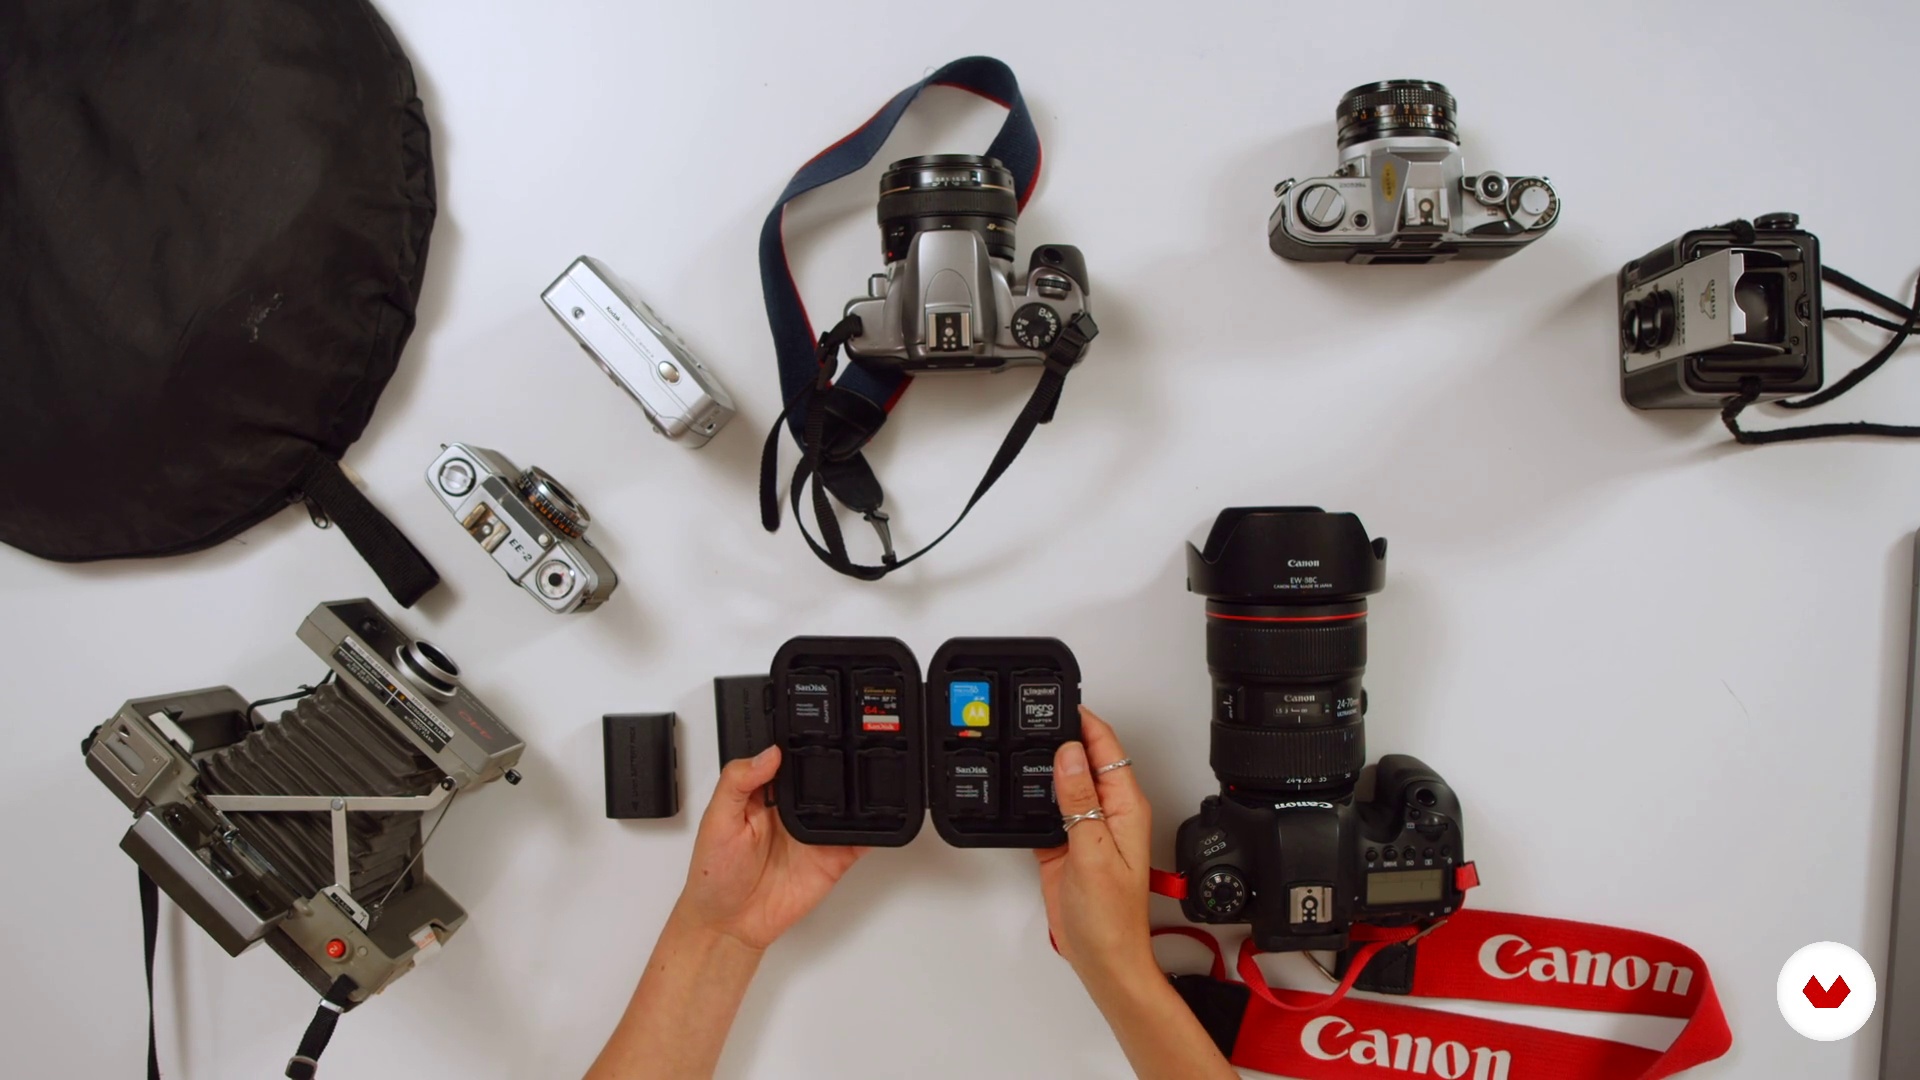
I'll show you everything I gathered to make my series possible and the photographic equipment I usually use.
4m
image
11
Assemble the set and set up the equipment
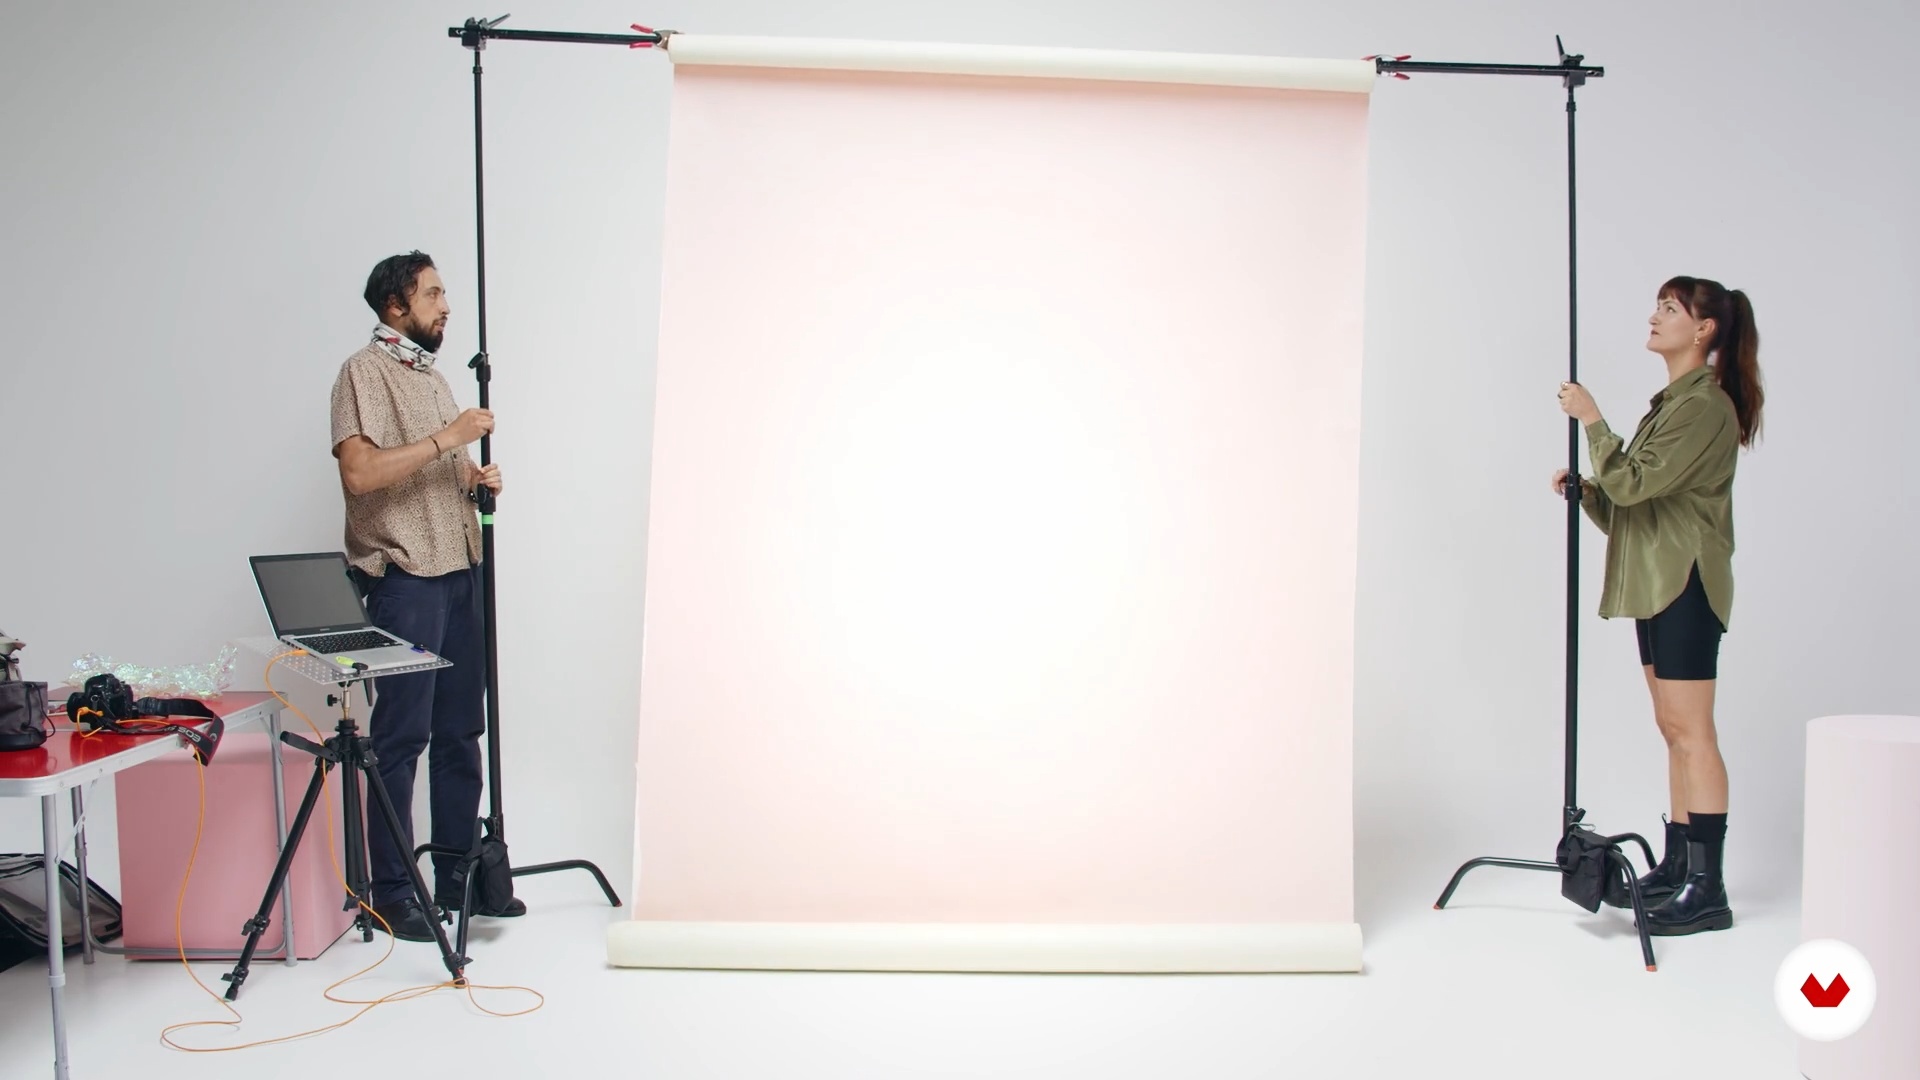
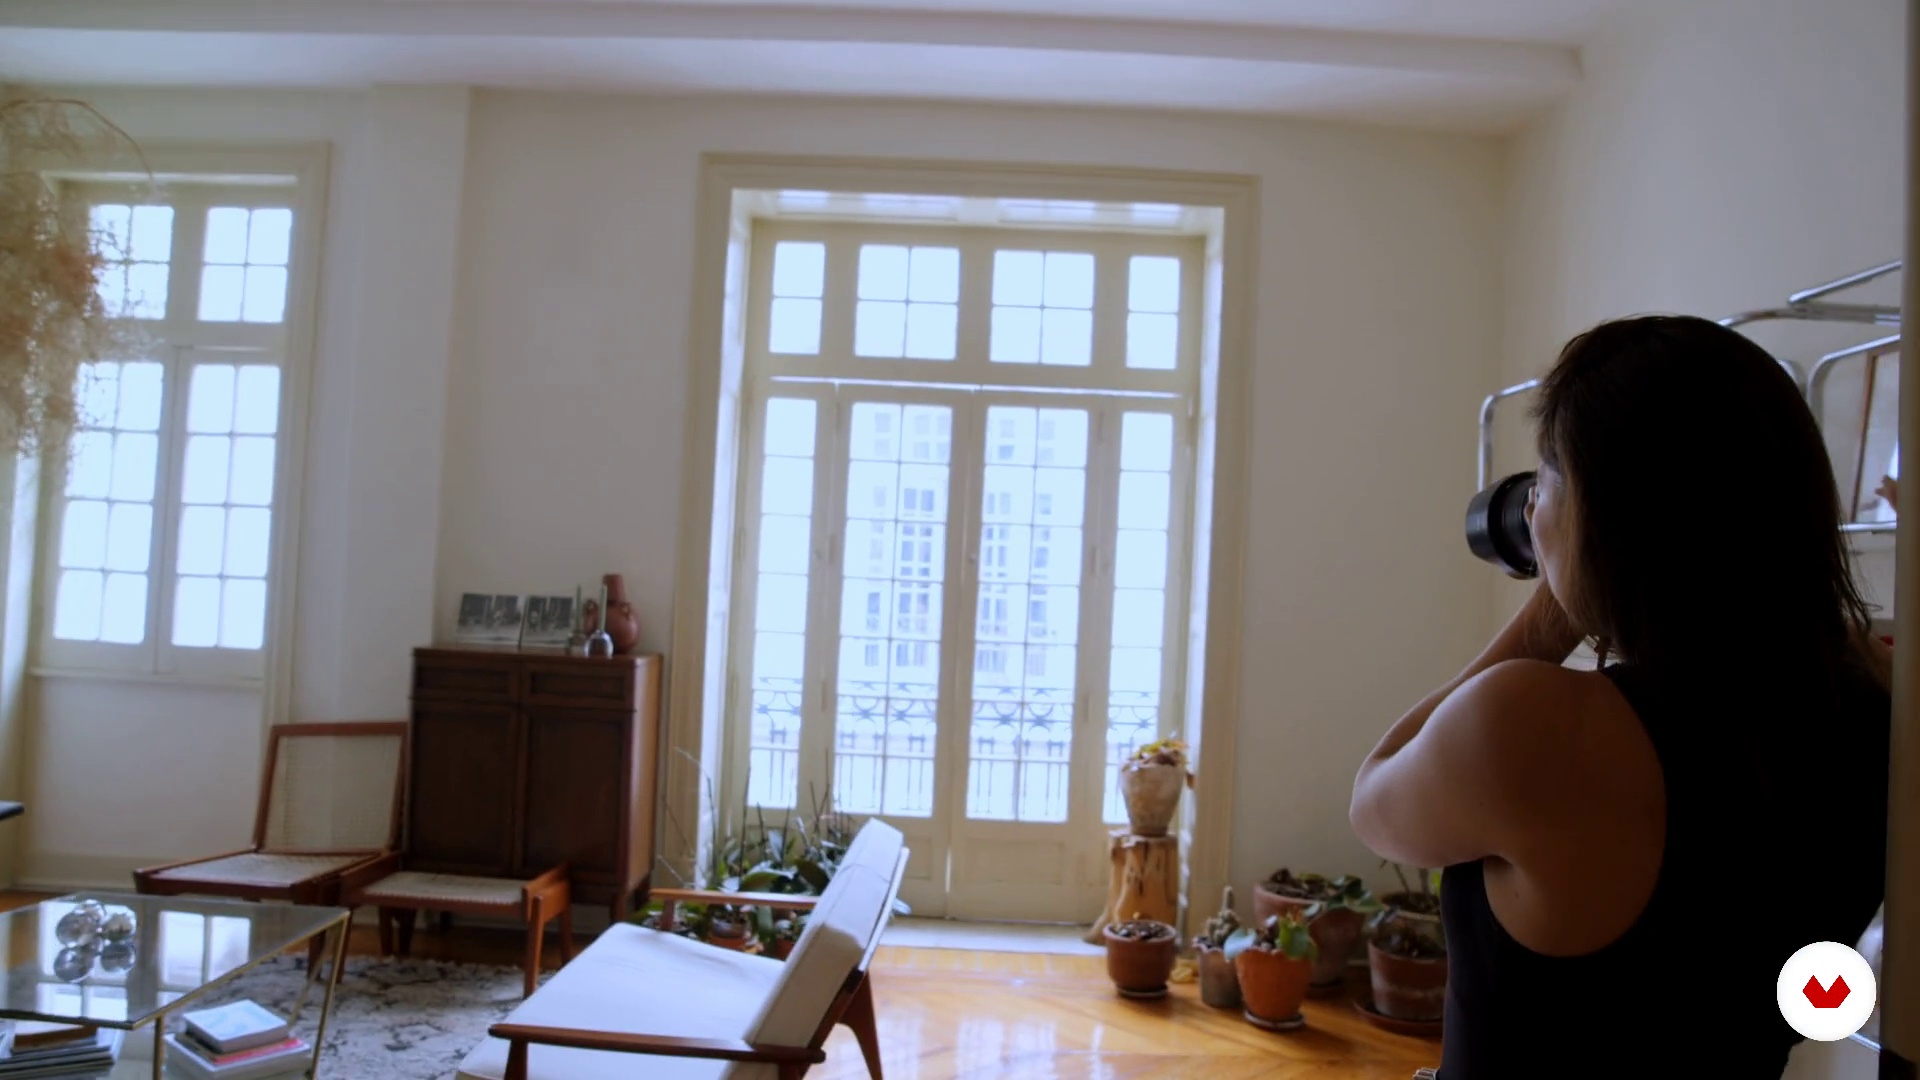
It's time to build the stage where the magic is going to happen. You will see how to compose this set and how to set up your teams.
2m
image
12
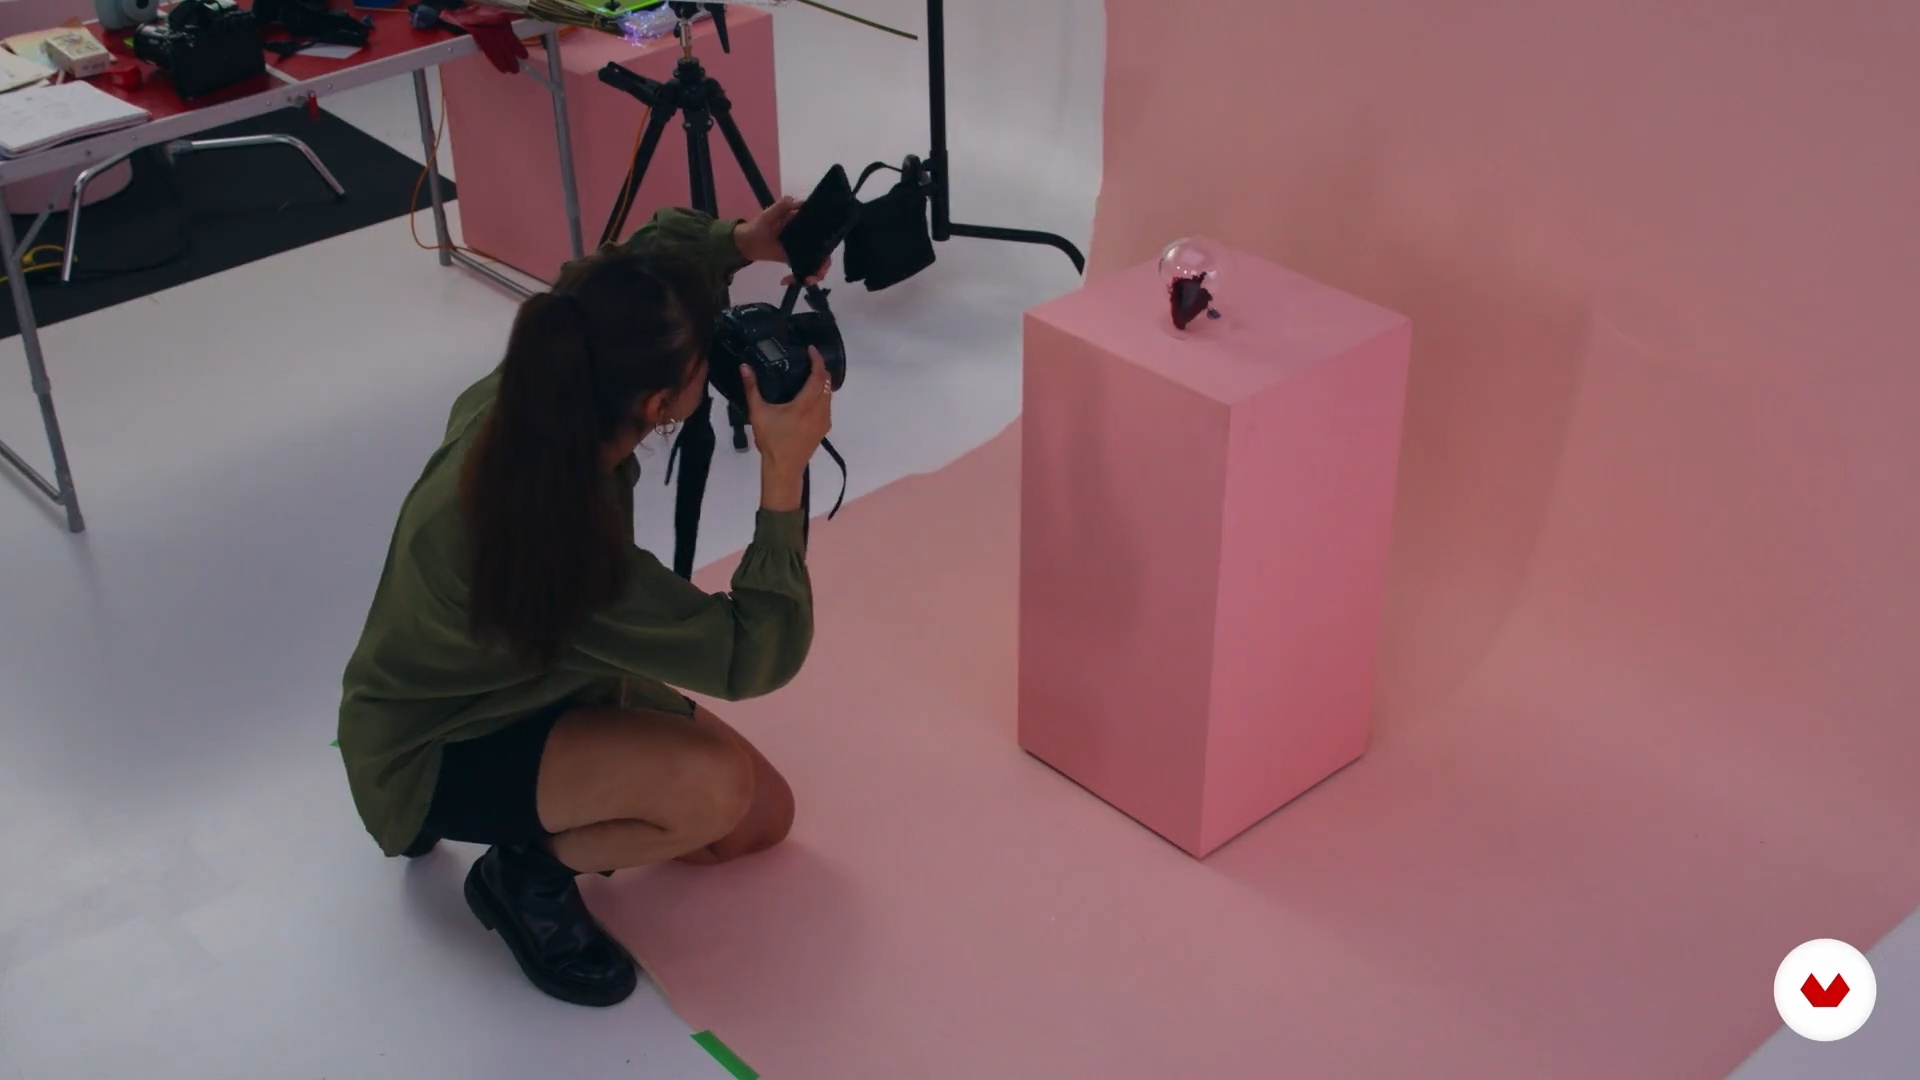
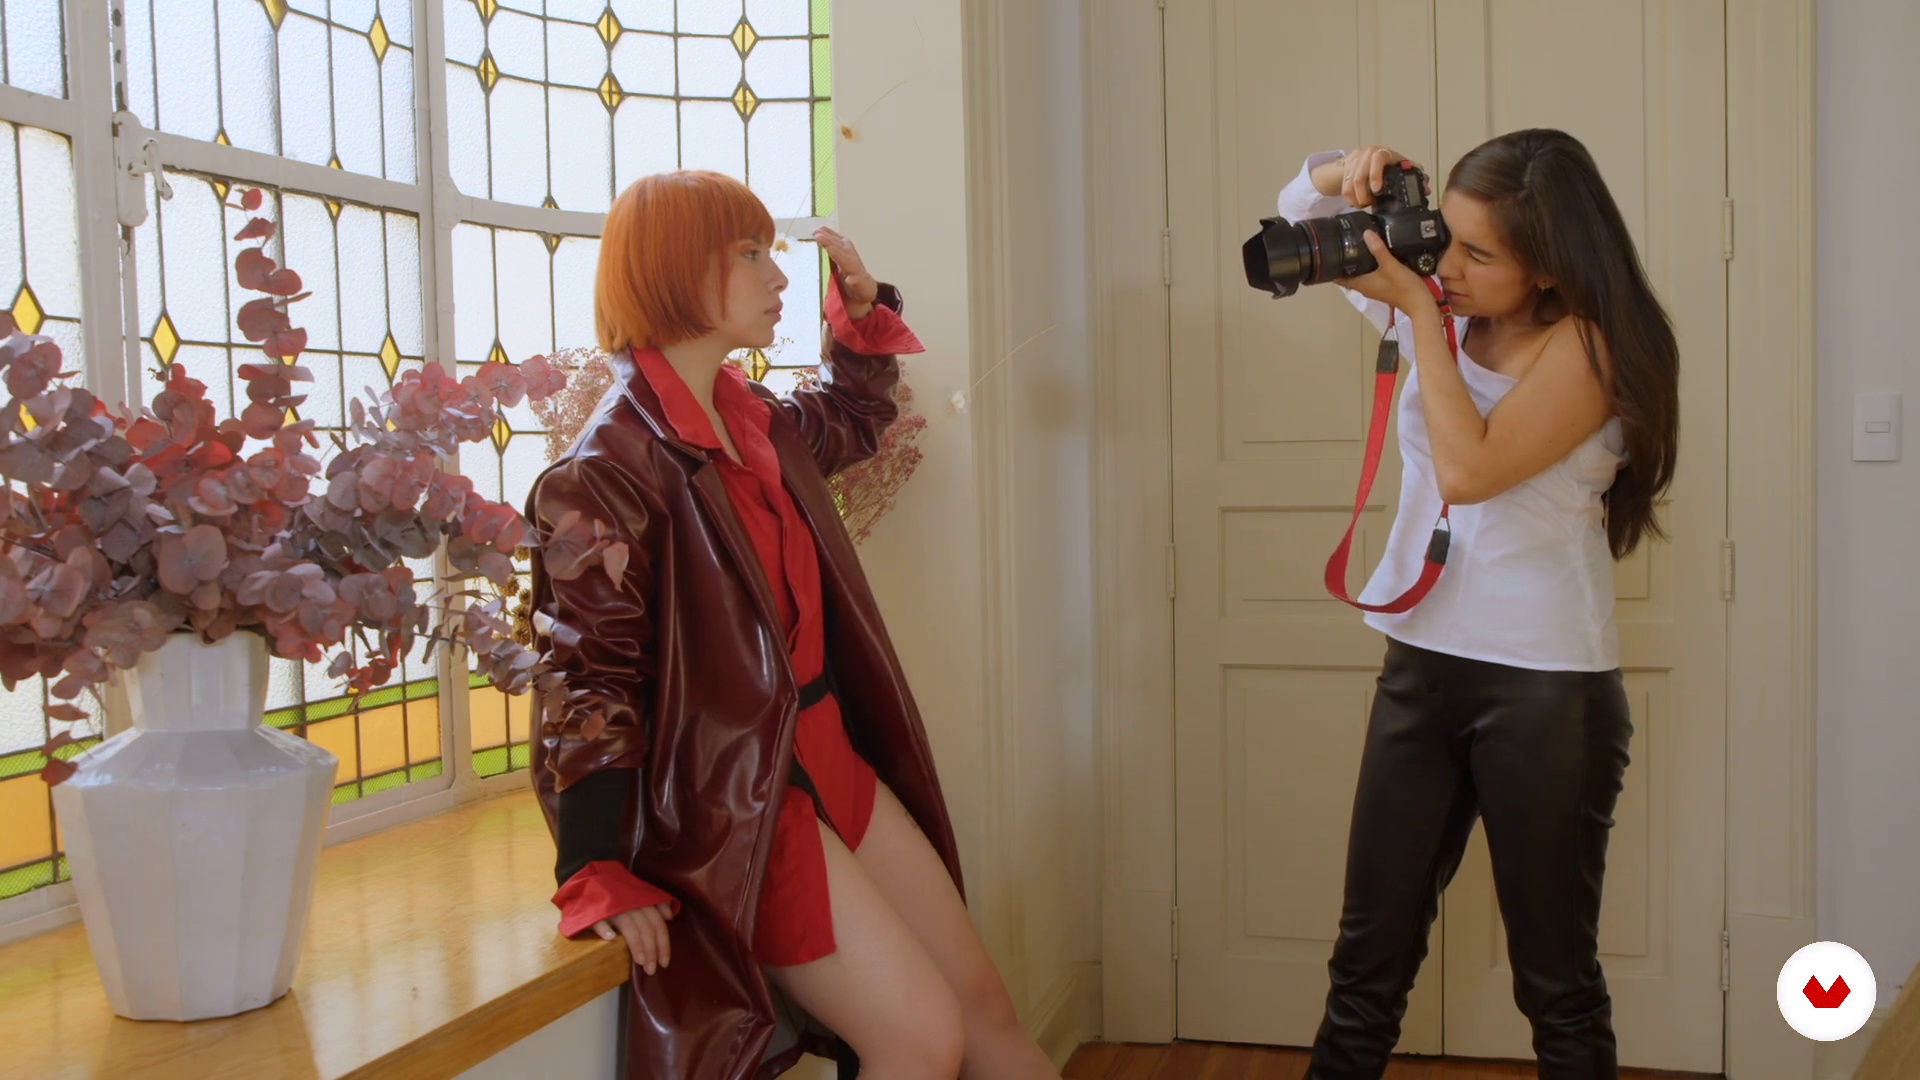
The photo session: the characters 1
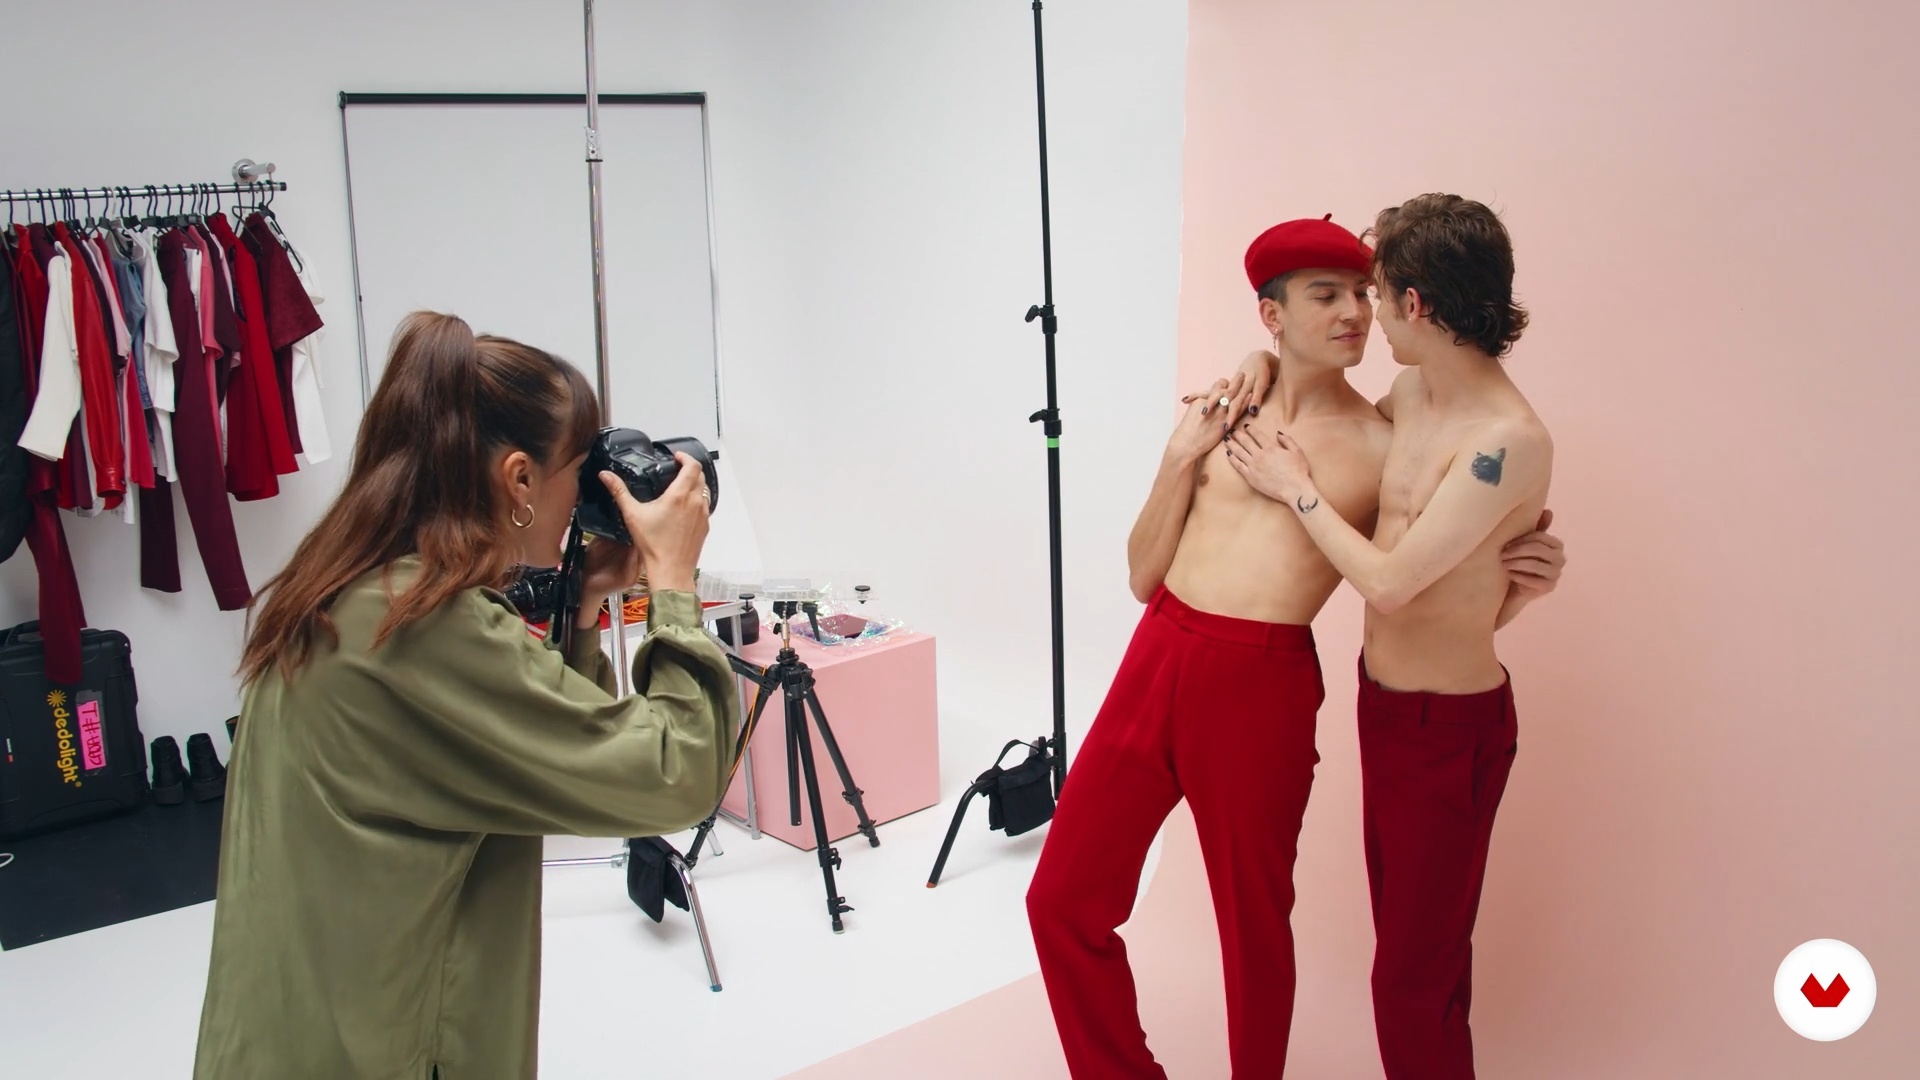
Remember that body language is a powerful resource to communicate your idea. So, good communication with the team and with your characters is key here to be able to create a chemistry where you can not only transmit what you wanted but there is room for creativity and improvisation, very powerful things can come out.
13m
image
13
The photo session: the characters 2
During this second part of the lesson, I will show you how to carry out the photo session process, but now with a wardrobe change that will help you aesthetically connect your photographic series.
12m
image
14
The photo session: the still life
The time for action has finally arrived, it is time to put into practice the rest of the narrative resources that you learned in the previous lessons.
12m
image
15
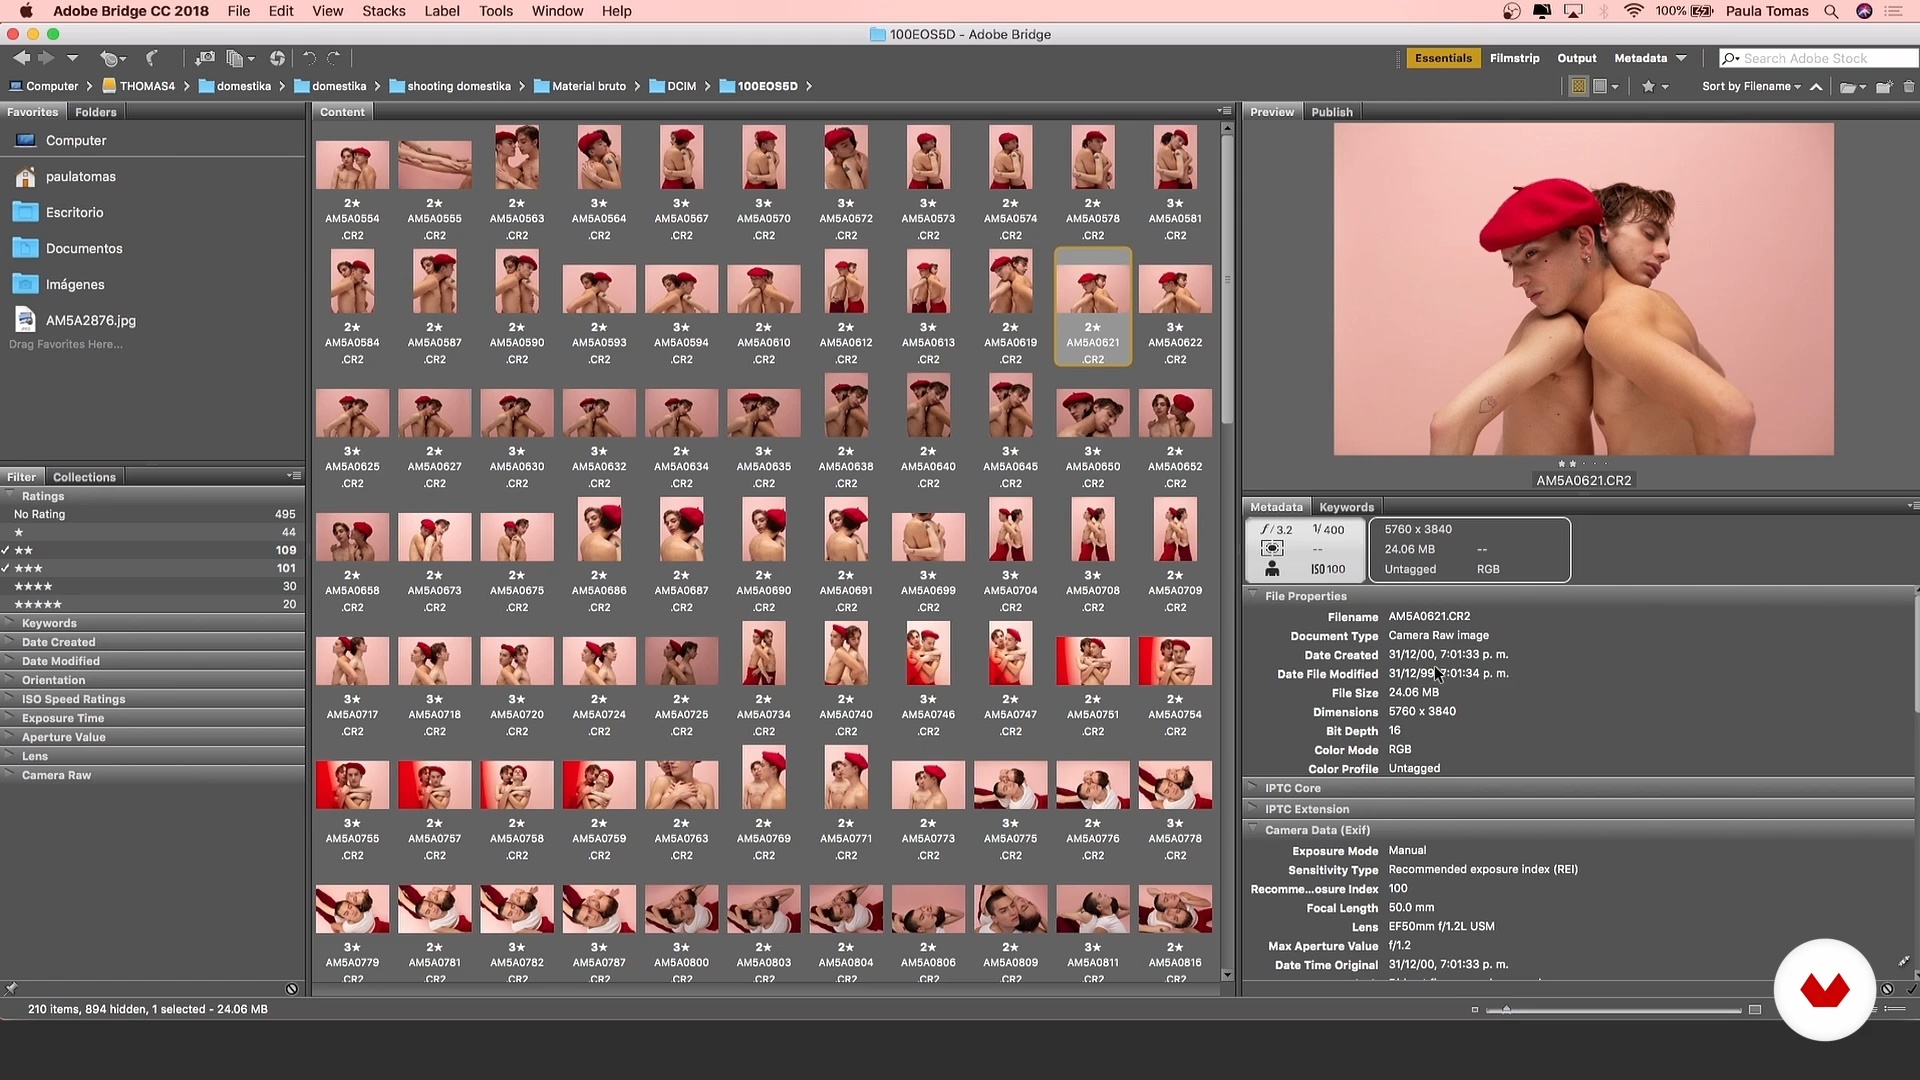
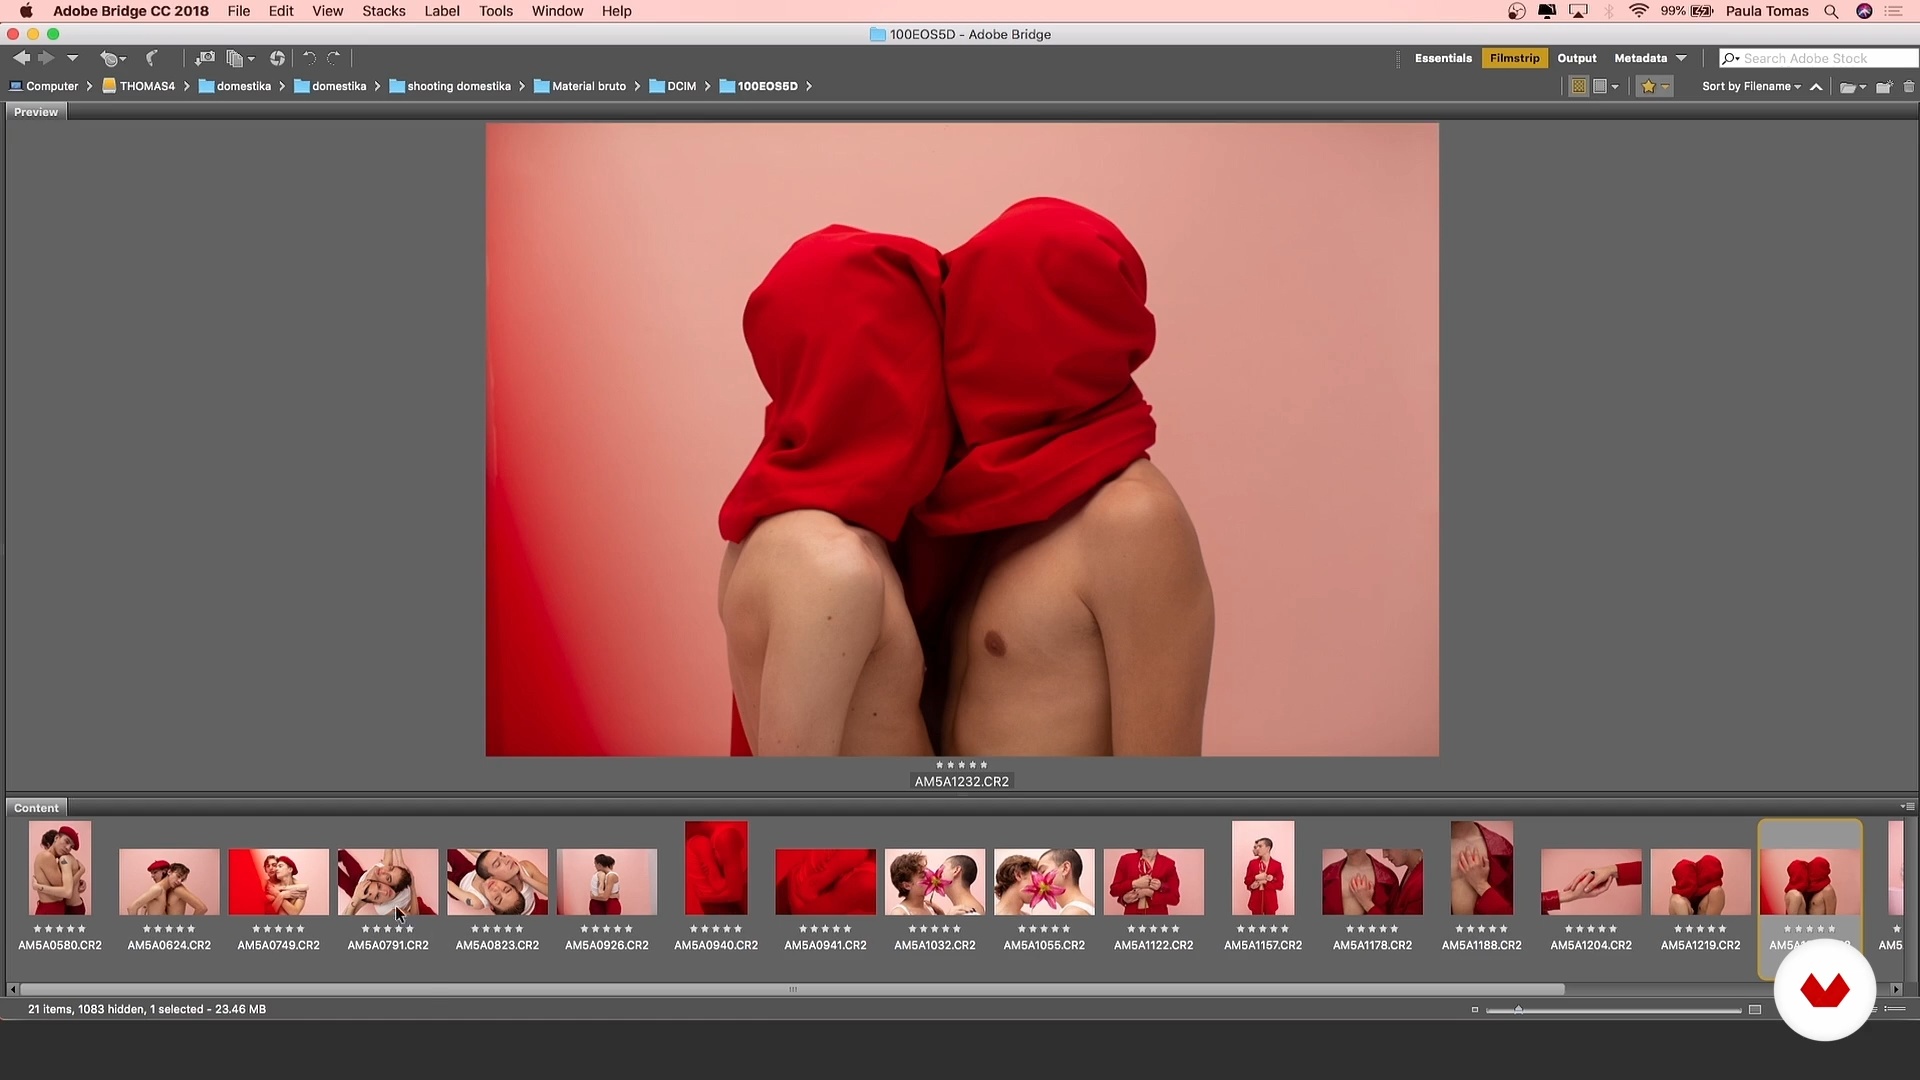
The selection of images 1
To begin with, you will see the importance of selecting the most powerful images to communicate your idea and to have a compelling and powerful photographic series.
19m
image
16
The selection of images 2
I will continue showing you how I carry out the selection of photographs to make my series. In addition, I will show you some tricks that I take into account to create a strategy that leads me to reinforce the series.
15m
image
17
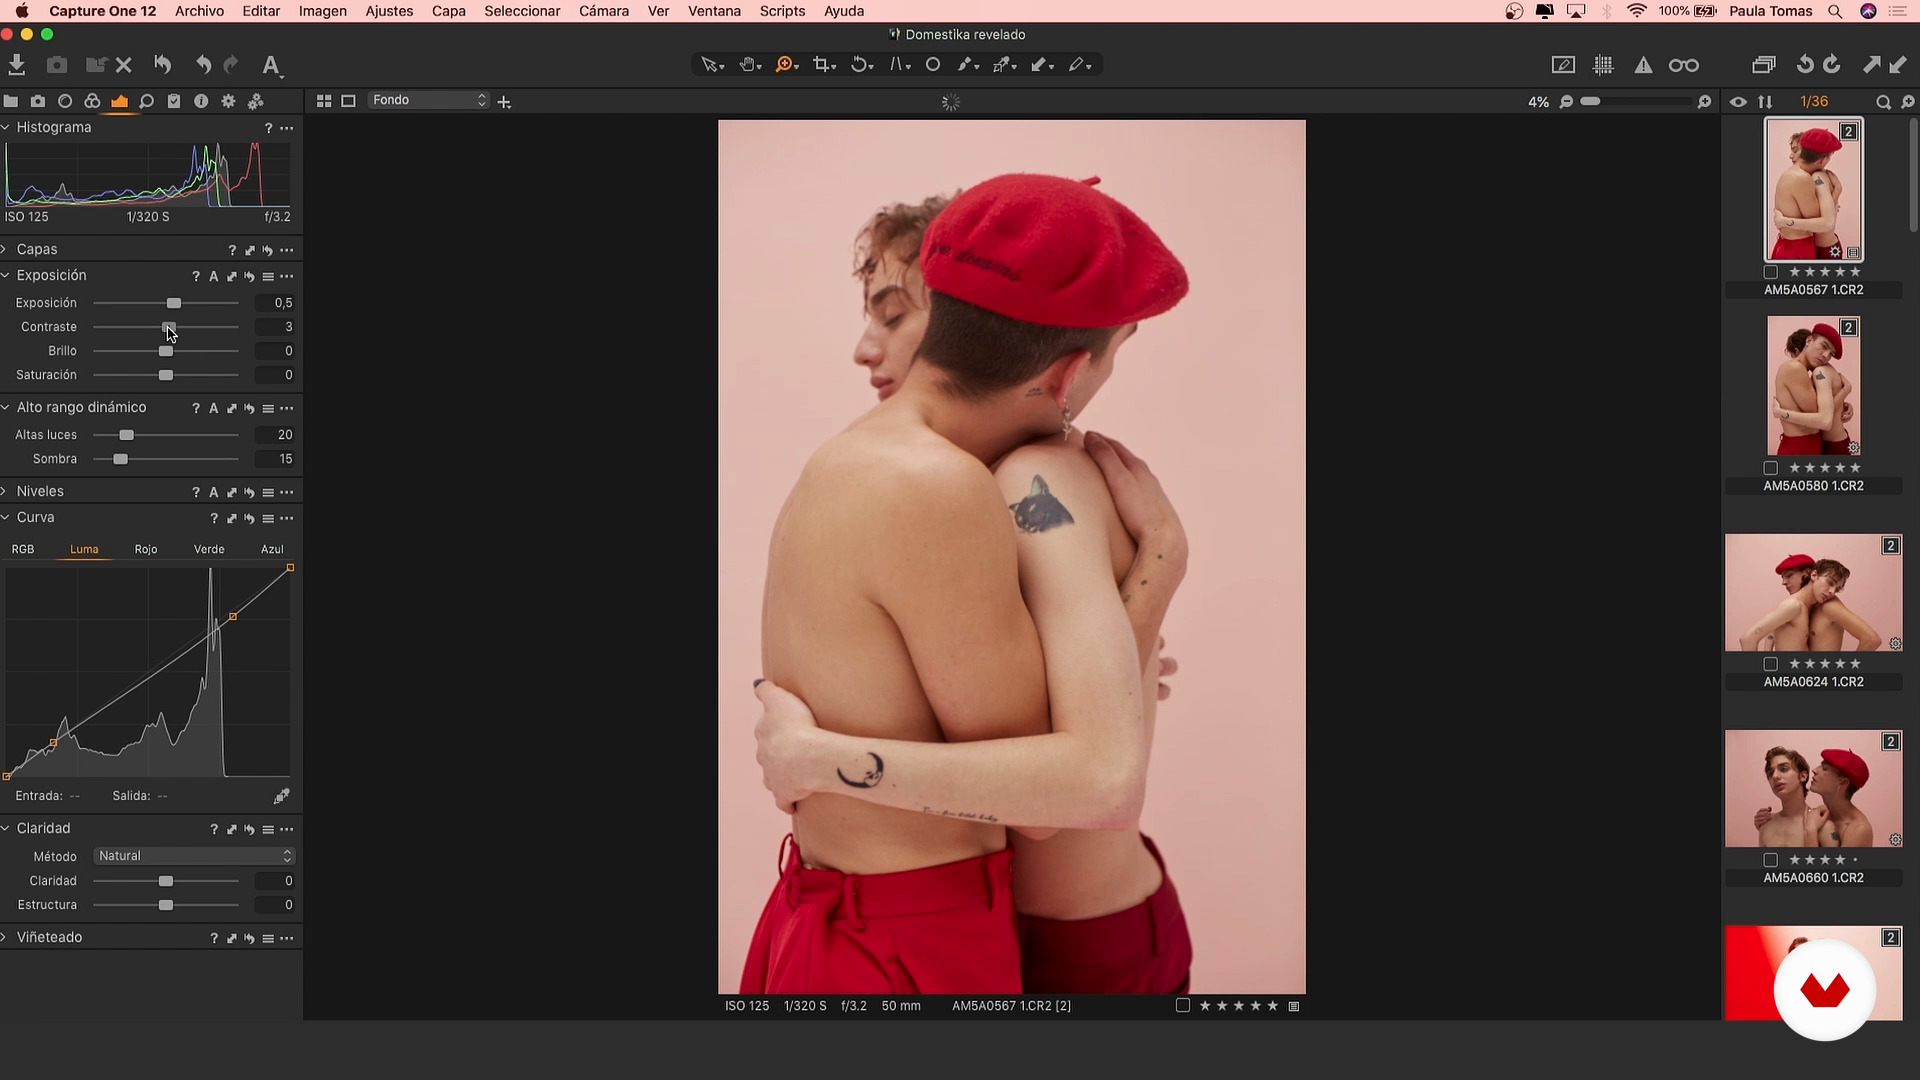
Basic Post Production Settings 1
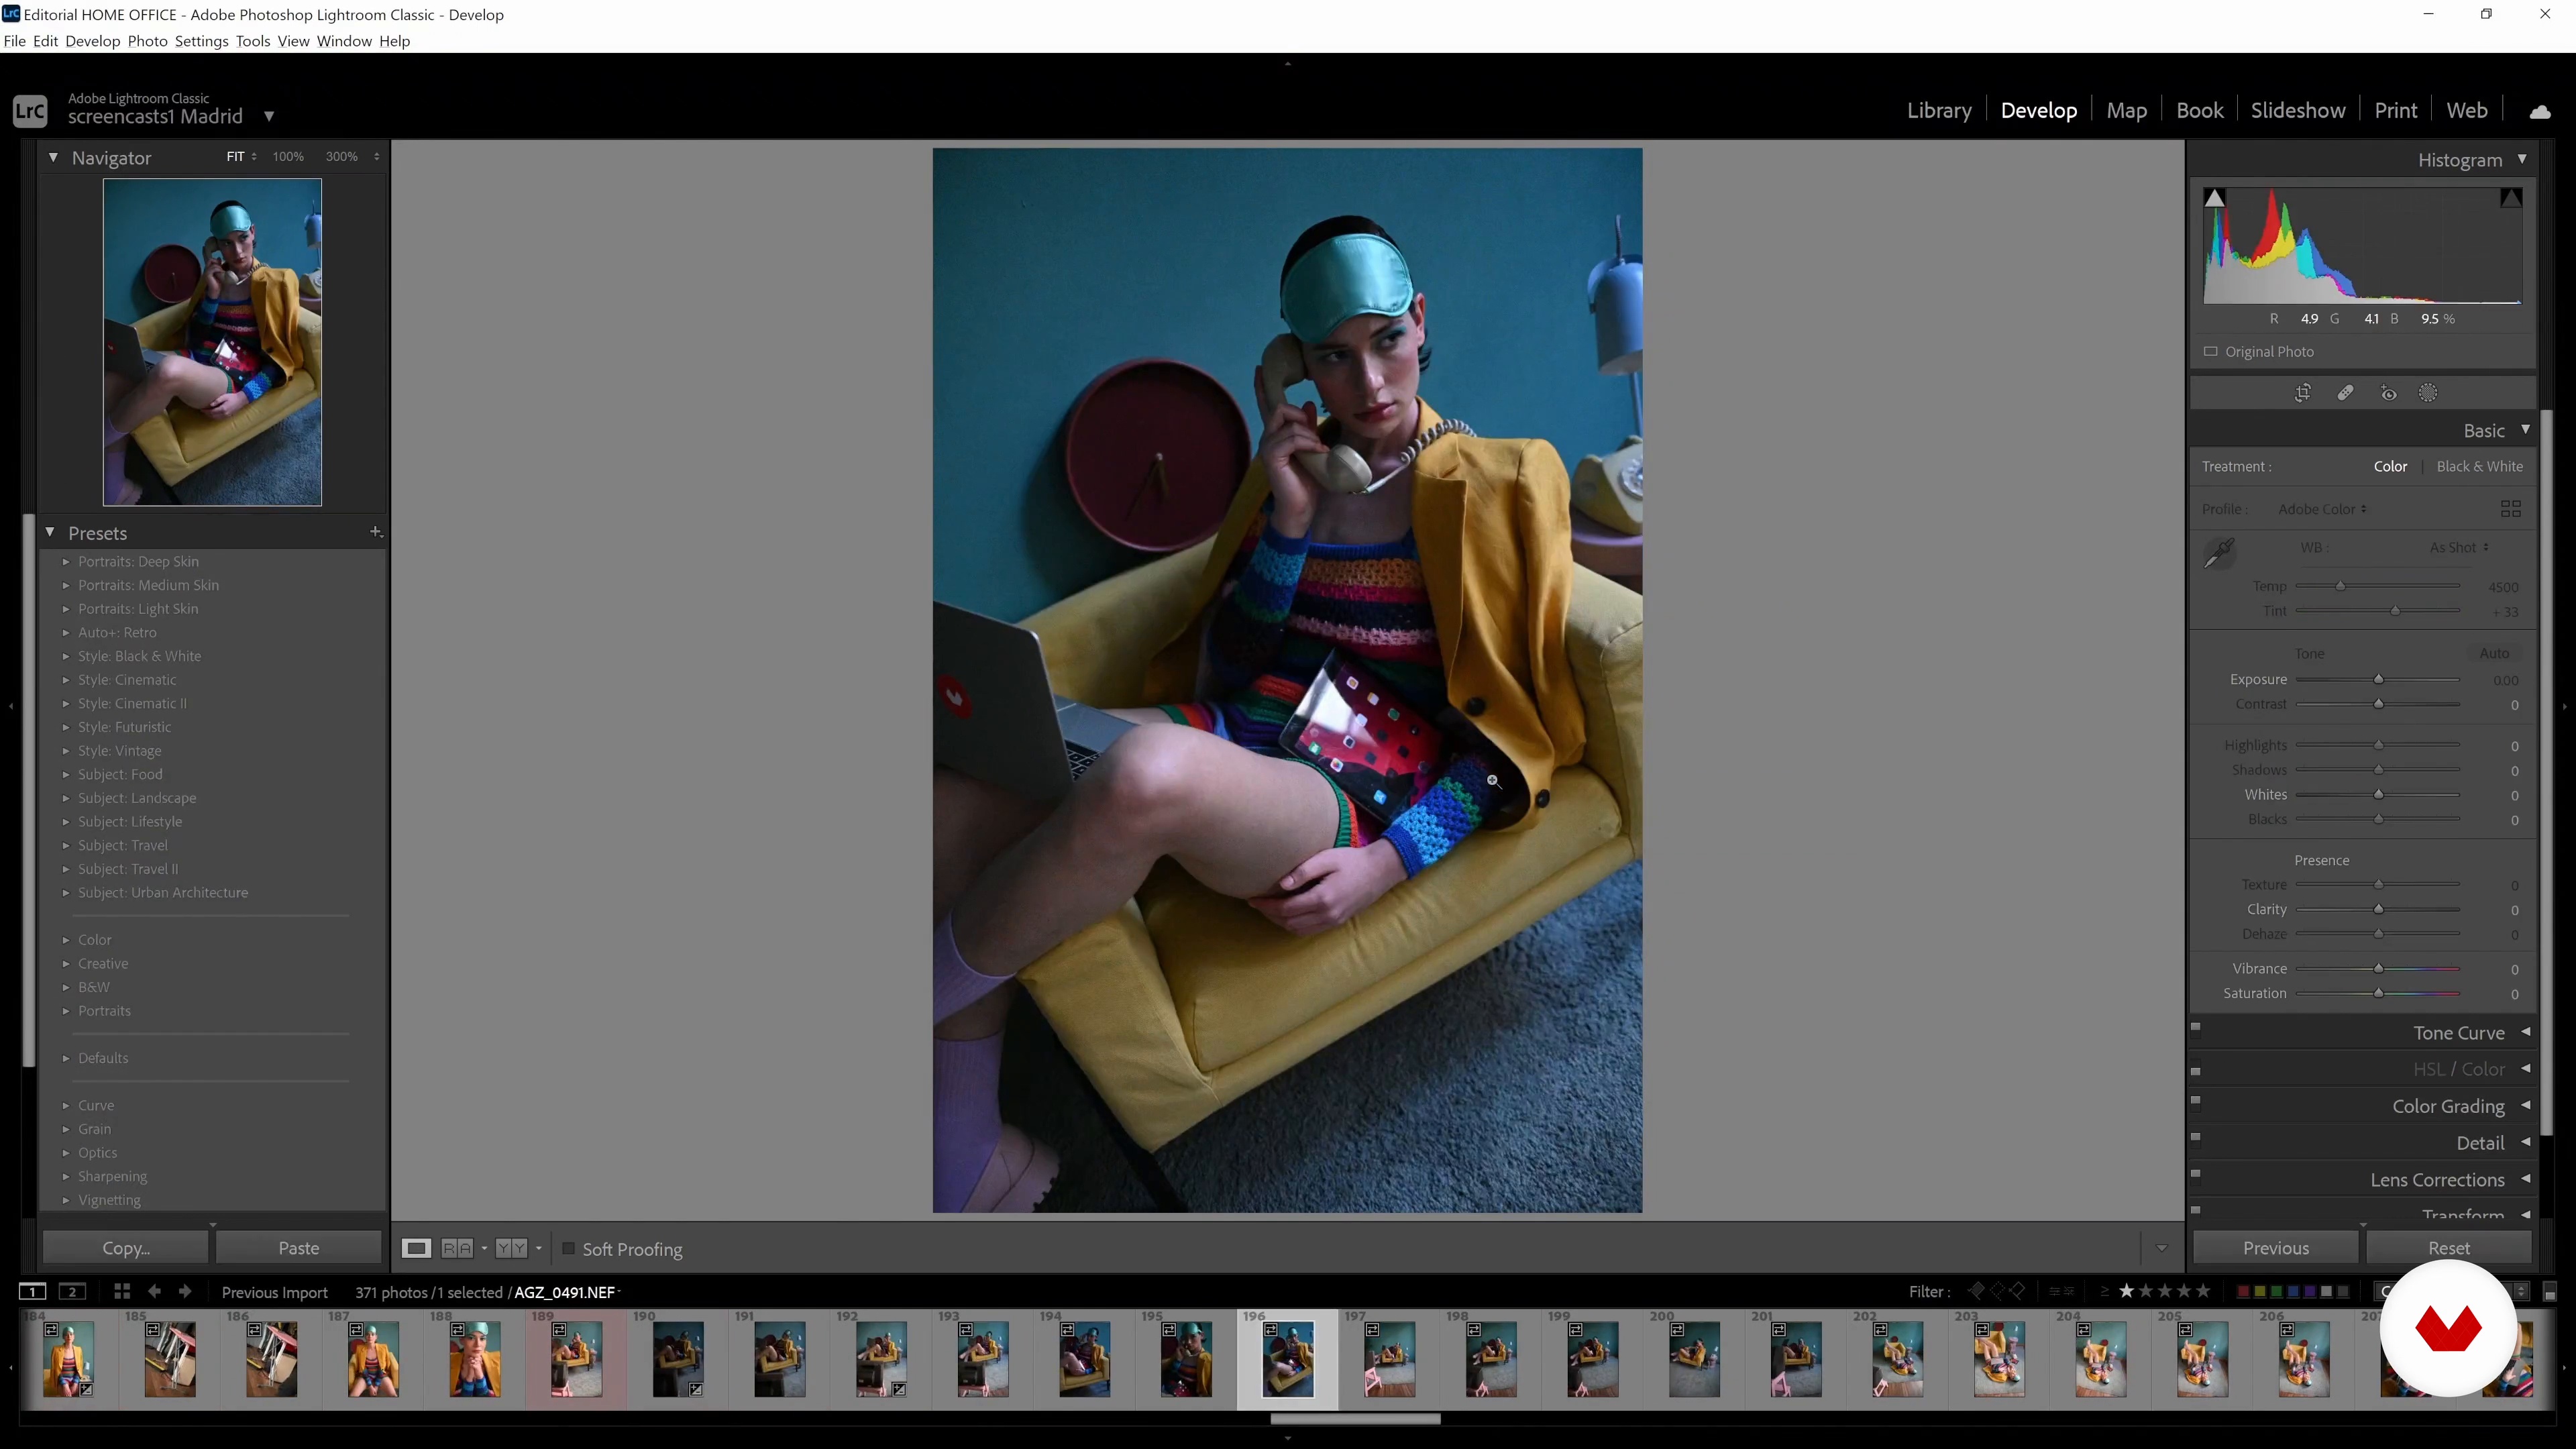
Once you have your images selected, you will learn to give the final touches to the series by giving it an aesthetic unit in your favorite editing program.
12m
image
18
Basic Post Production Settings 2
During this second part of the lesson, I will share with you some tricks to make unique final touches that give more power and strength to the photographic series.
13m
image
19
Build series sequence
The order in which you will present your series is important in order to have a visual impact from start to finish. During this lesson you will learn how to sequence this series.
9m
image
20
output formats
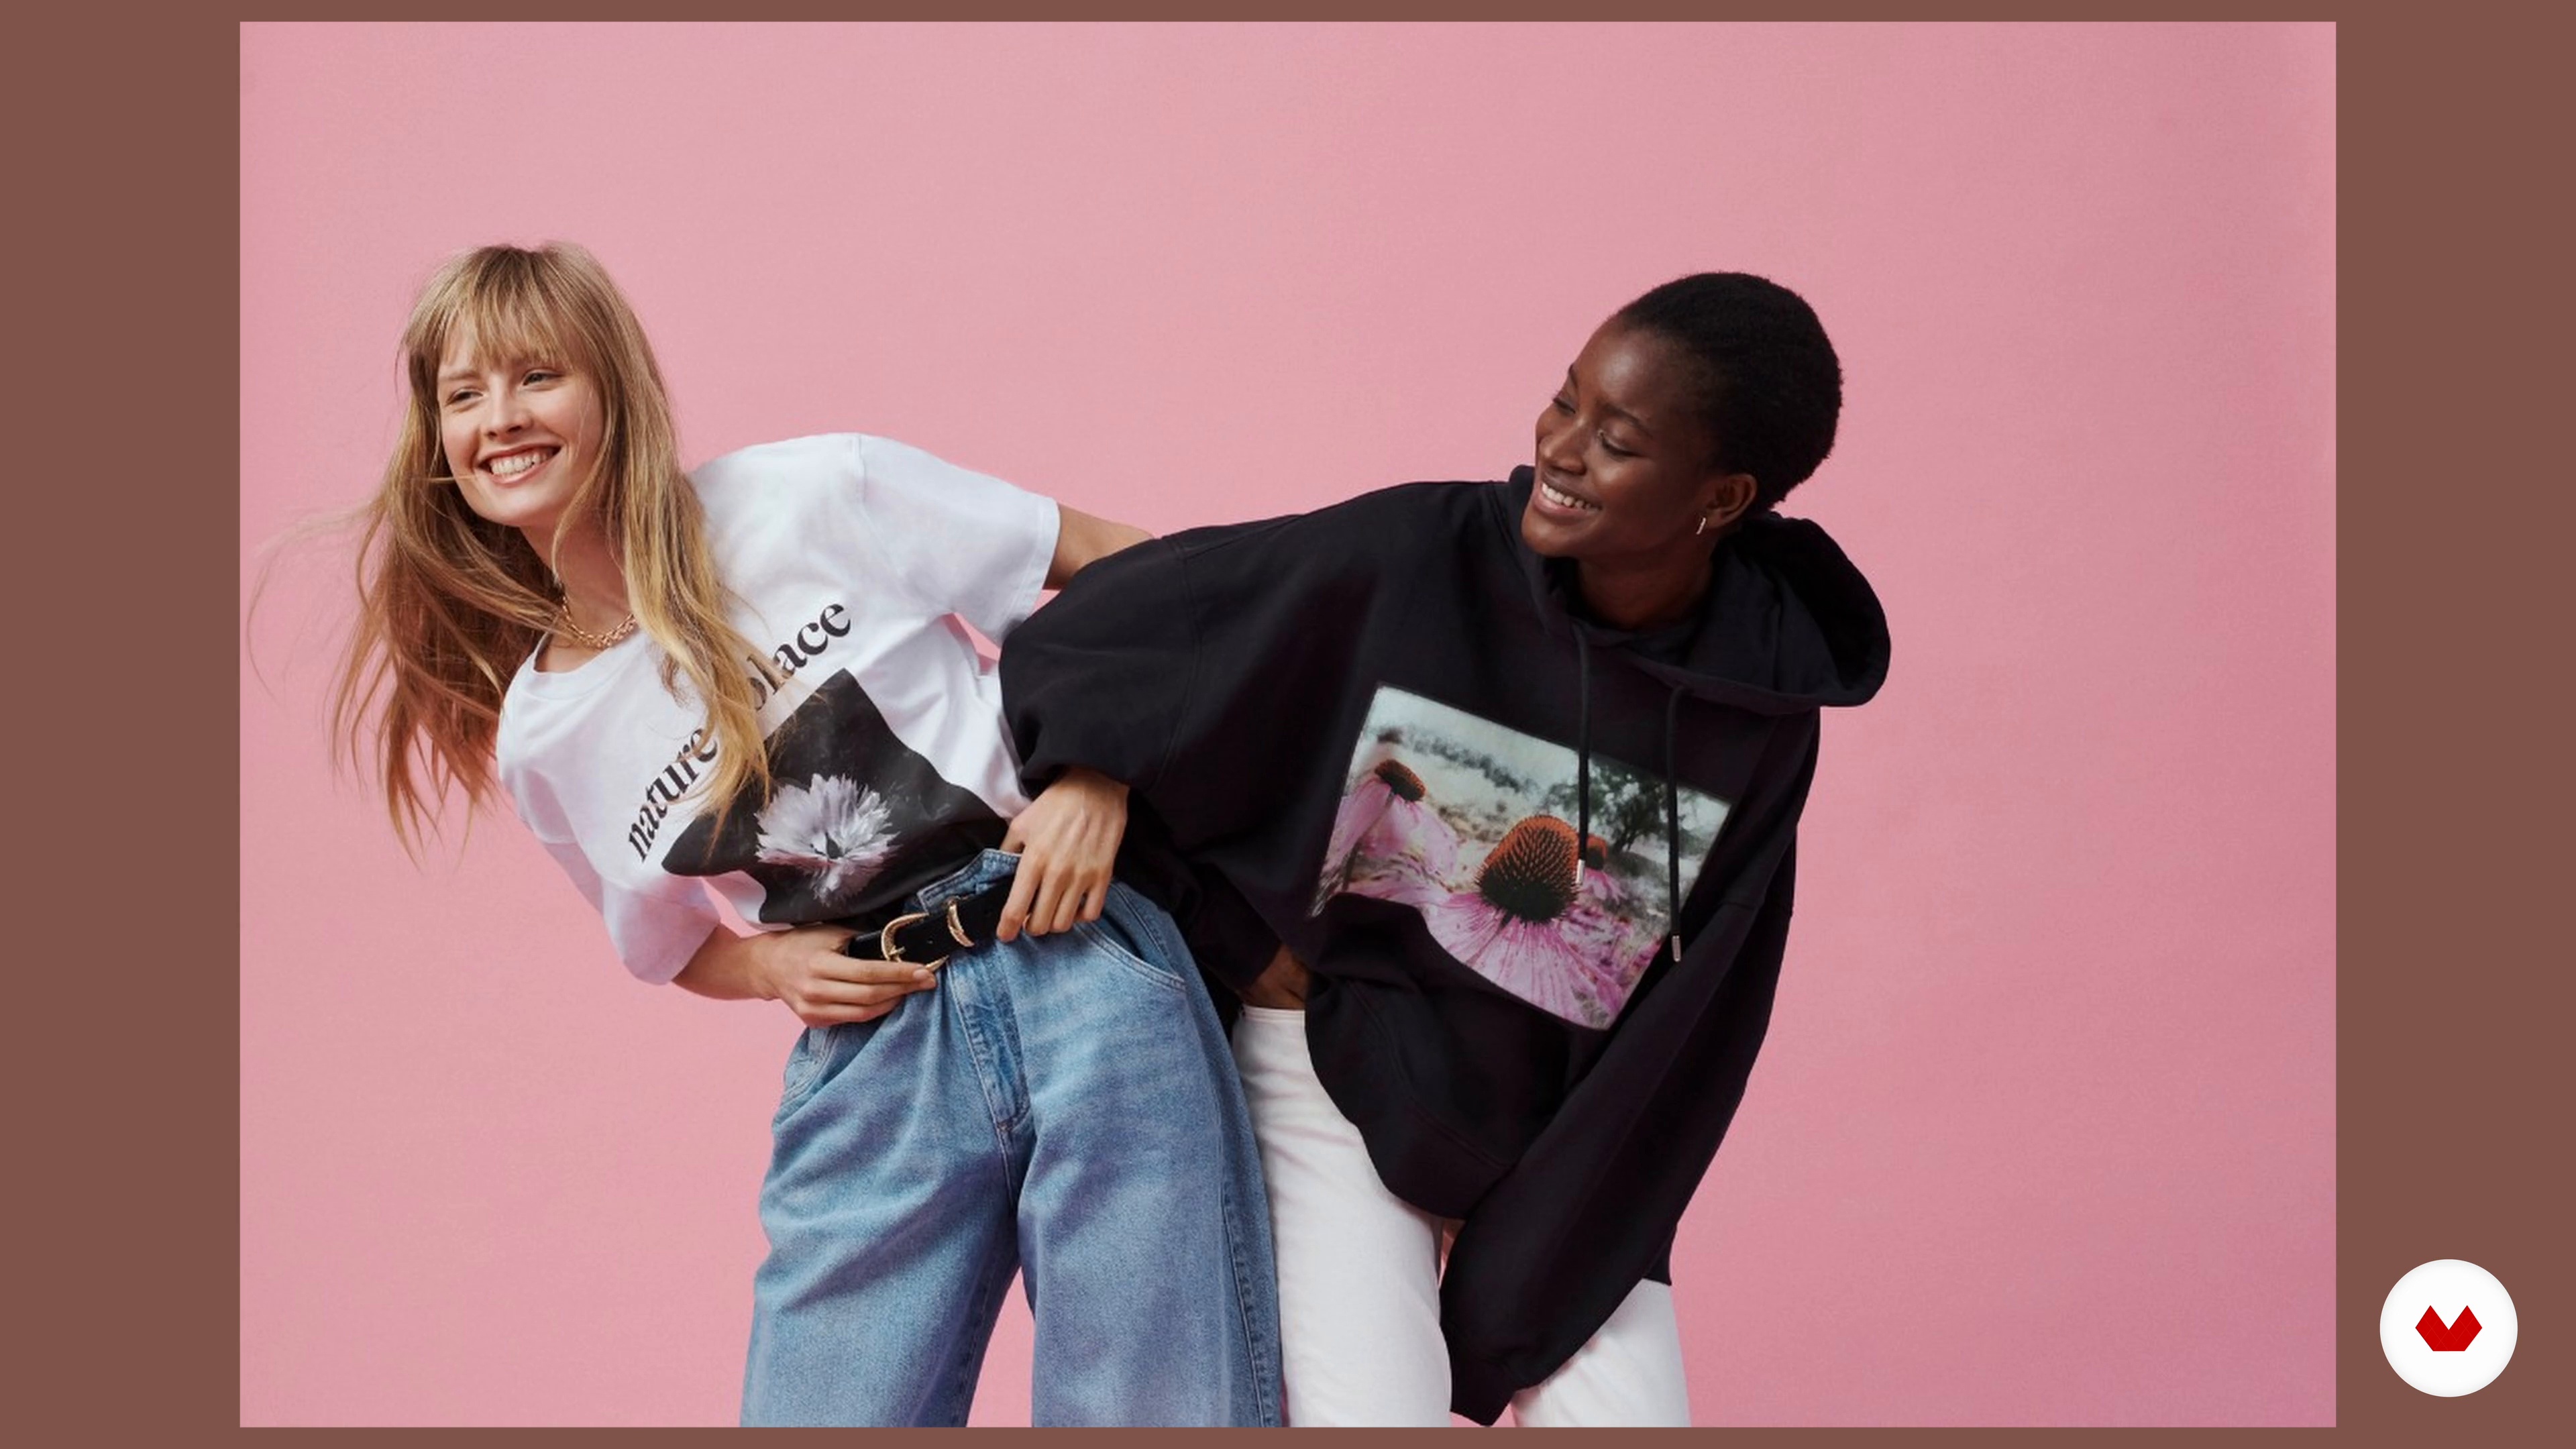
Where are you going to present this project? Now that you have finished the series, you are going to see the different output formats, both personal and commercial.
5m
image
4
Image Bank
I will start by teaching you the importance of having a reference image bank, first for you, of what you like, what inspires you, what you imagine yourself doing and what we can eventually do.
4m
image
5
Mood board
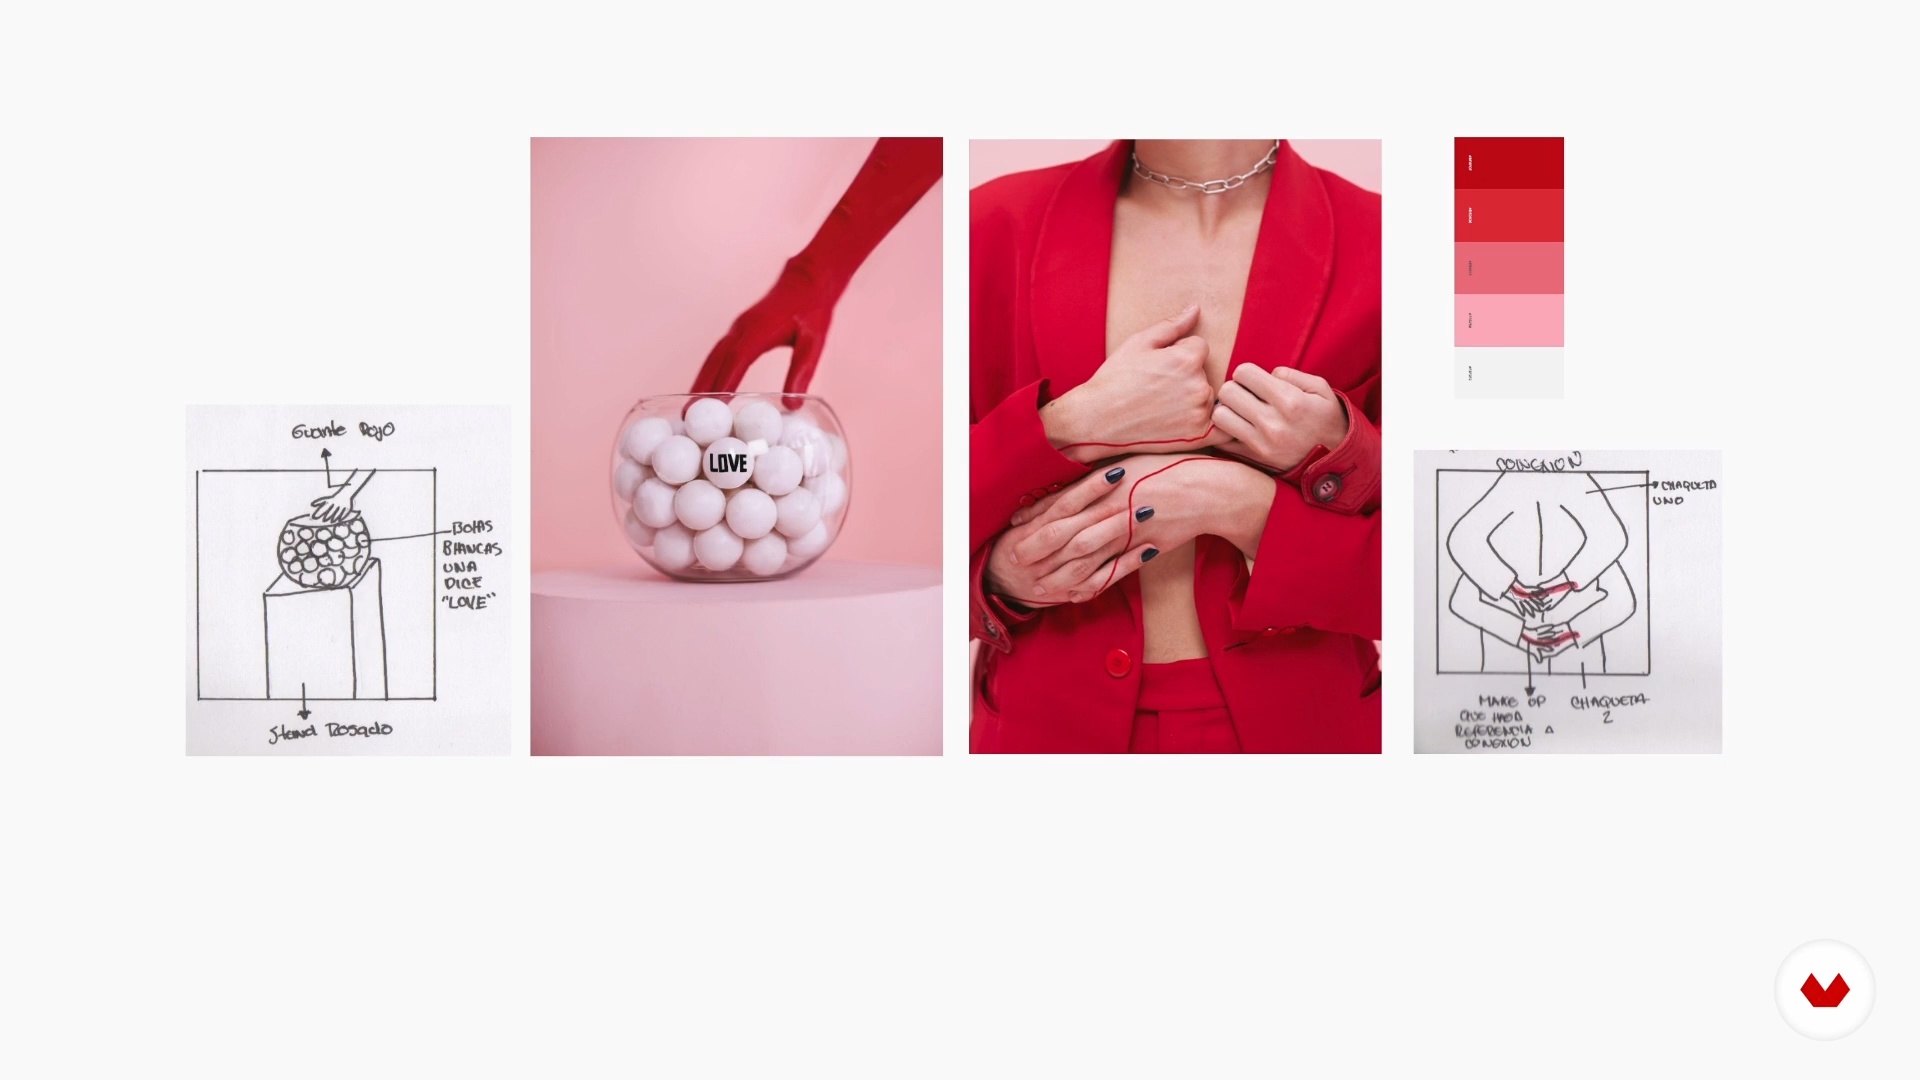
In this lesson I will teach you how to make an mood board for a client or a project. I will show you how I do it step by step, to organize the ideas, the images and all the important variables that you must socialize with the client and with your work team.
9m
image
6
Color palette
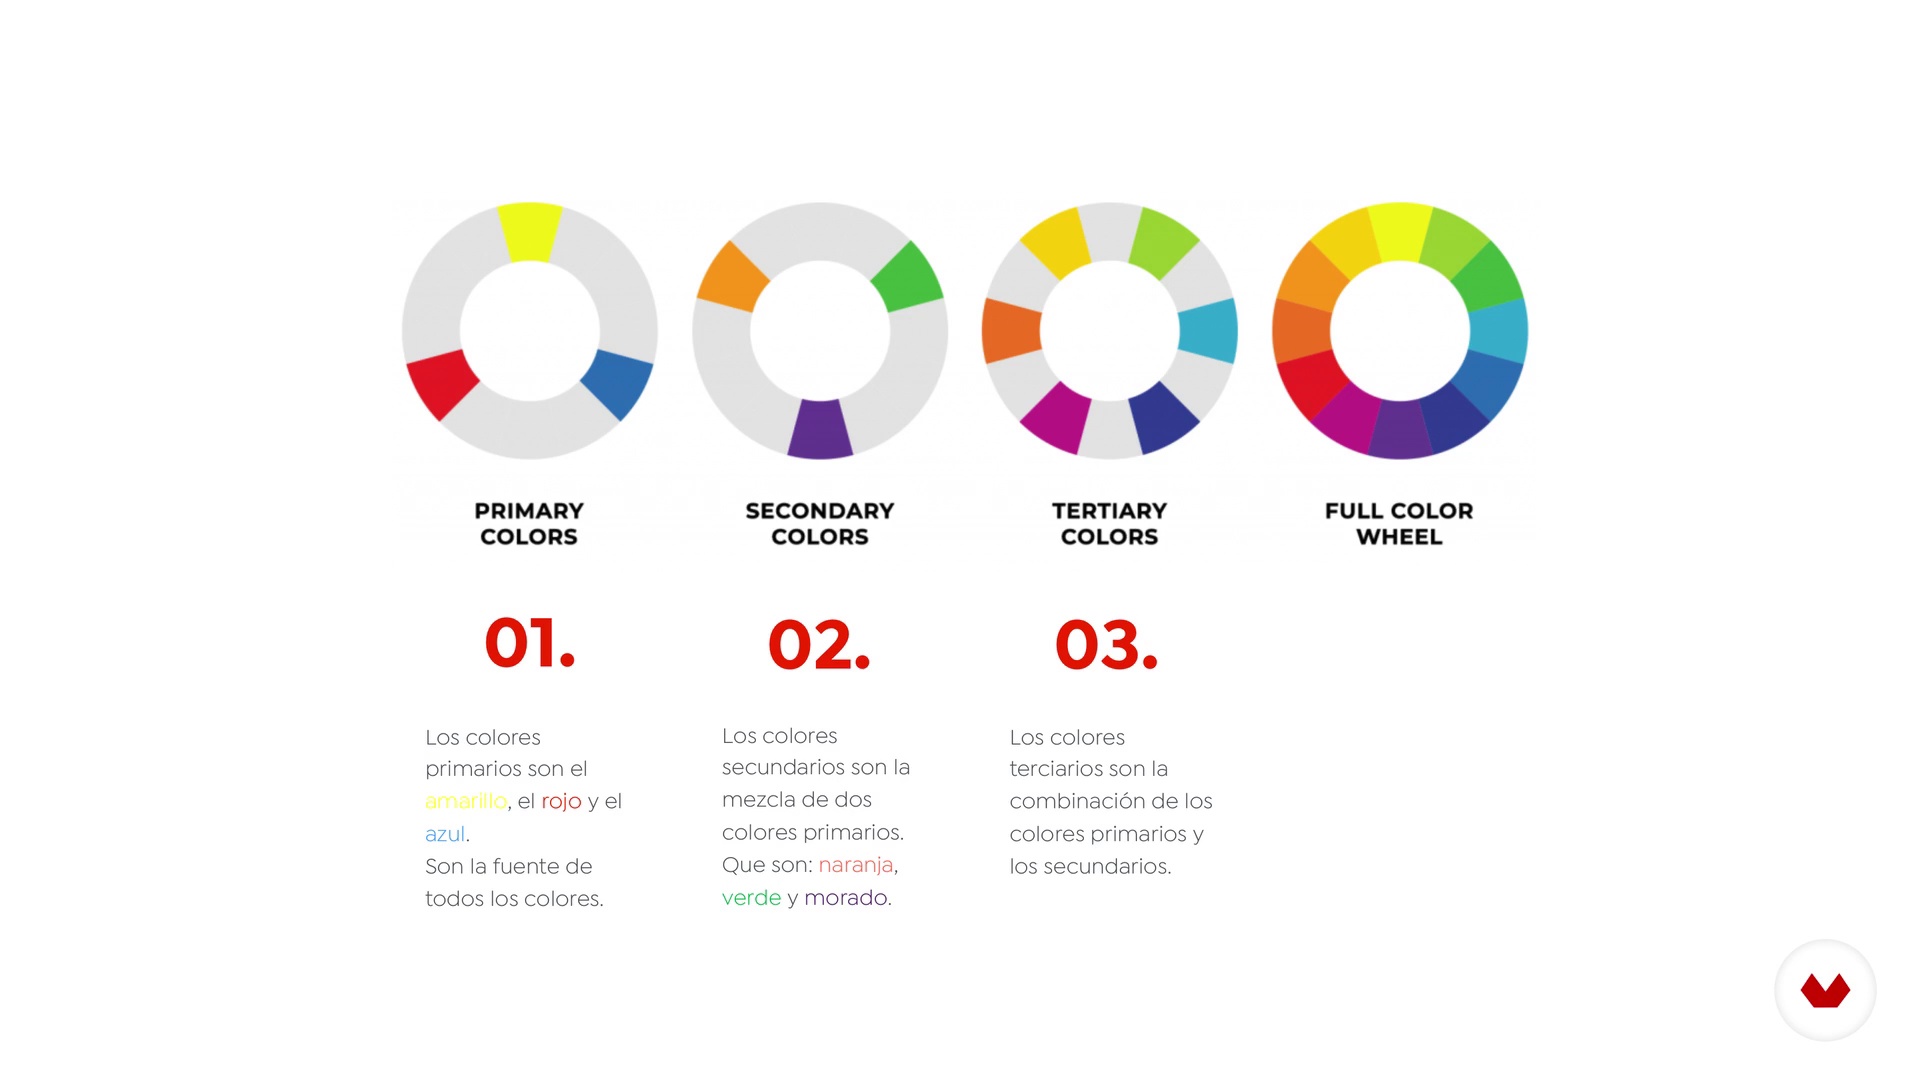
It is time to choose a variable to direct our project, in my case color is that characteristic that shapes my portraits. Here I will teach you how to develop a color palette from scratch.
8m
image
7
The photographic equipment
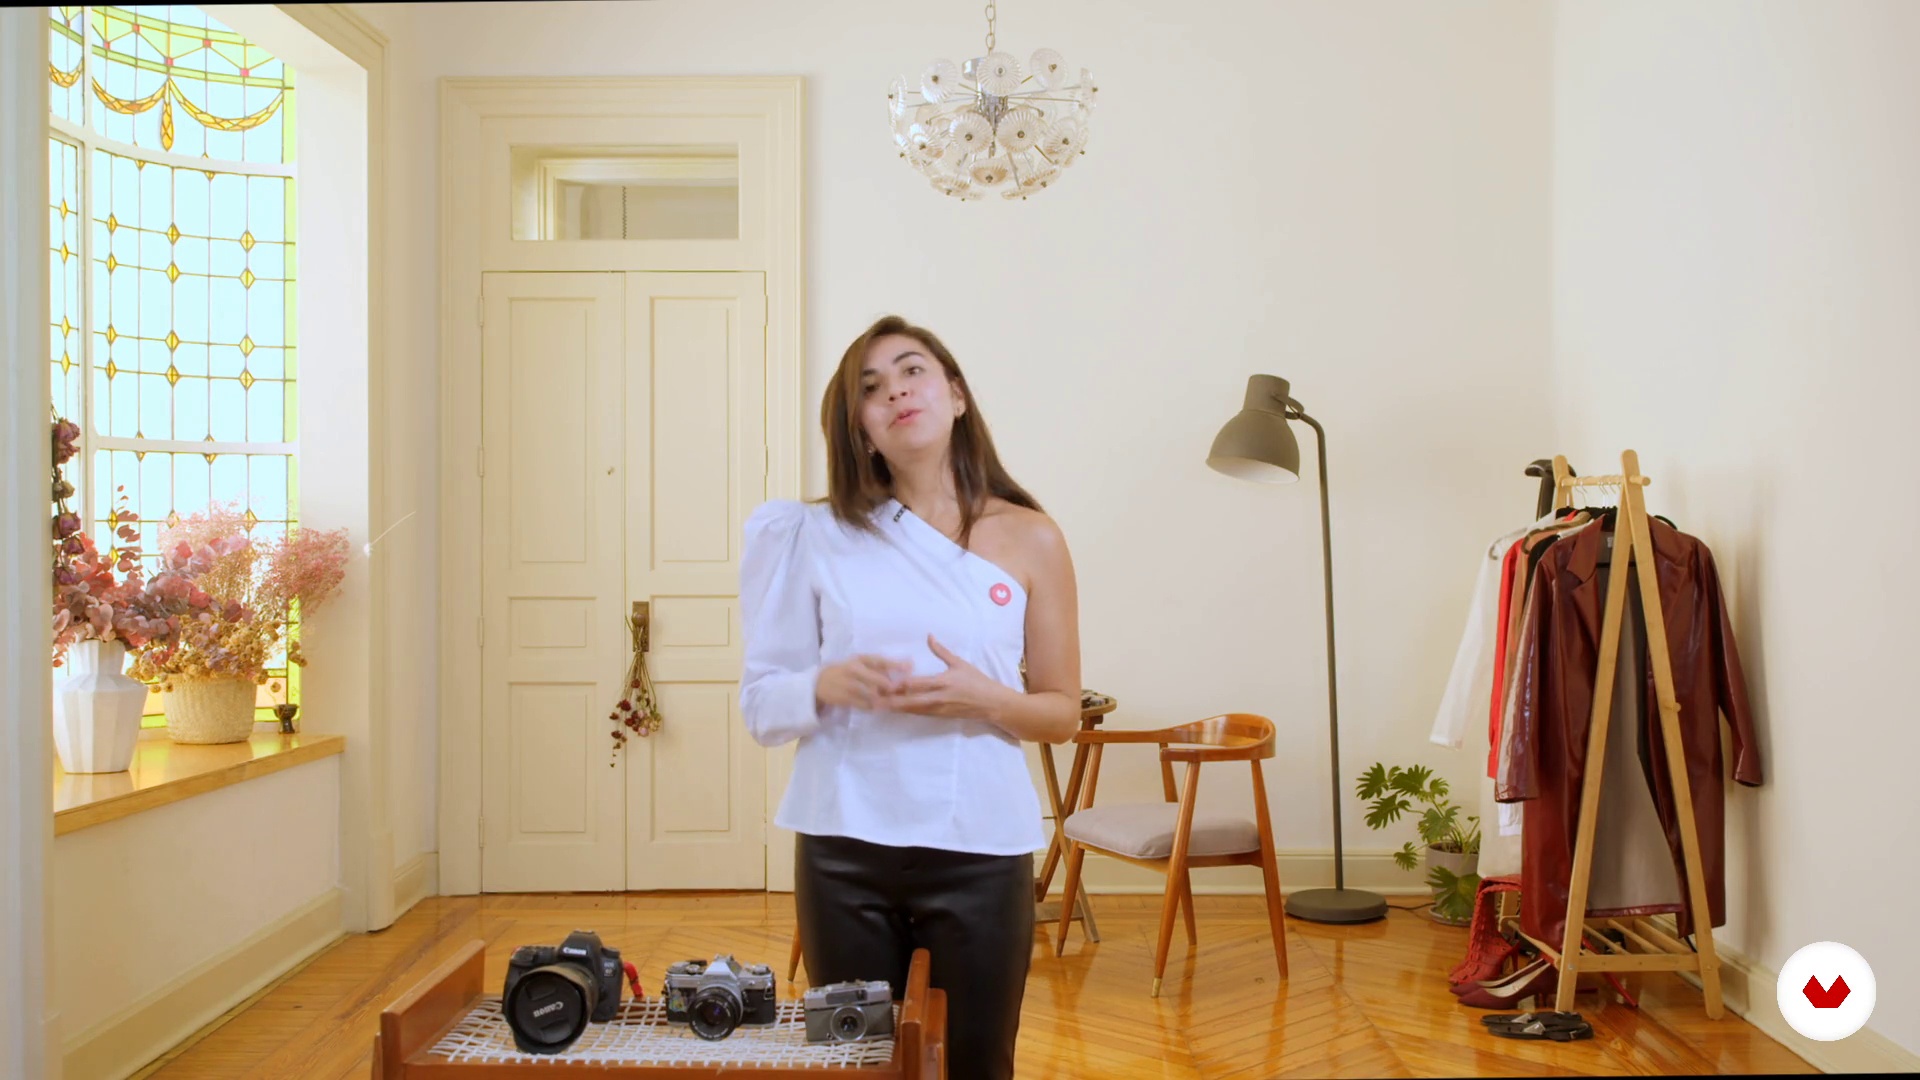
Let's talk about our photographic team, here I will tell you the essentials that I take with me to my shootings in studio or on location.
6m
image
8
Art direction
In this lesson I want to give you the best tips of recursion to create homemade photography sets but that look super professional. In my portfolio I have photos of campaigns and l ookbooks for clients with funds such as fabrics, rugs, curtains or papers. Our goal will be to create an set to match with a background and props easily accessible.
4m
image
9
Professional portrait in natural light
To begin with, I will teach you how to use our most essential source of light: natural light. So that we can take advantage of your best moments and know how to respond to the changes and complications that may arise. We will try to isolate our environment or location from our result.
9m
image
10
Professional portrait with studio light
Finally I will show you three different studio lighting schemes for portraiture. We will start with a very basic lighting scheme of a light that surrounds our entire set, we will continue with a scheme of two lights for subject and background, and we will end with a scheme of three lights that aims to imitate natural light within our space or studio. I will also show you some ways to experiment using some props that will give us color effects like filters and jellies, or external lights like LEDs, lamps or flashes.
10m
image
11
Selection and development
In this lesson I will show you the variables that make me choose or discard the photos of my final projects. We will choose the best photos but we will take into account the most common technical errors to save some photos and correct them later. We will make a selection designed not only on the needs of our client but also on building a complete project for our portfolio.
19m
image
12
Common bug fixes
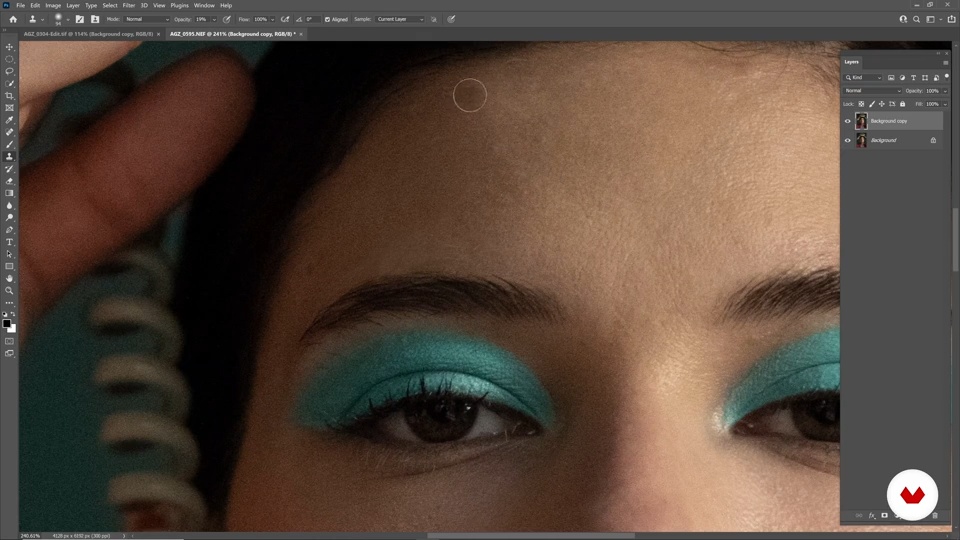
Now I will teach you how to correct three common mistakes that no one is exempt from making when taking photos. We will rely on Photoshop and Capture One to correct these errors and use photos that seemed discarded.
12m
image
13
Fine retouching, color and finishing
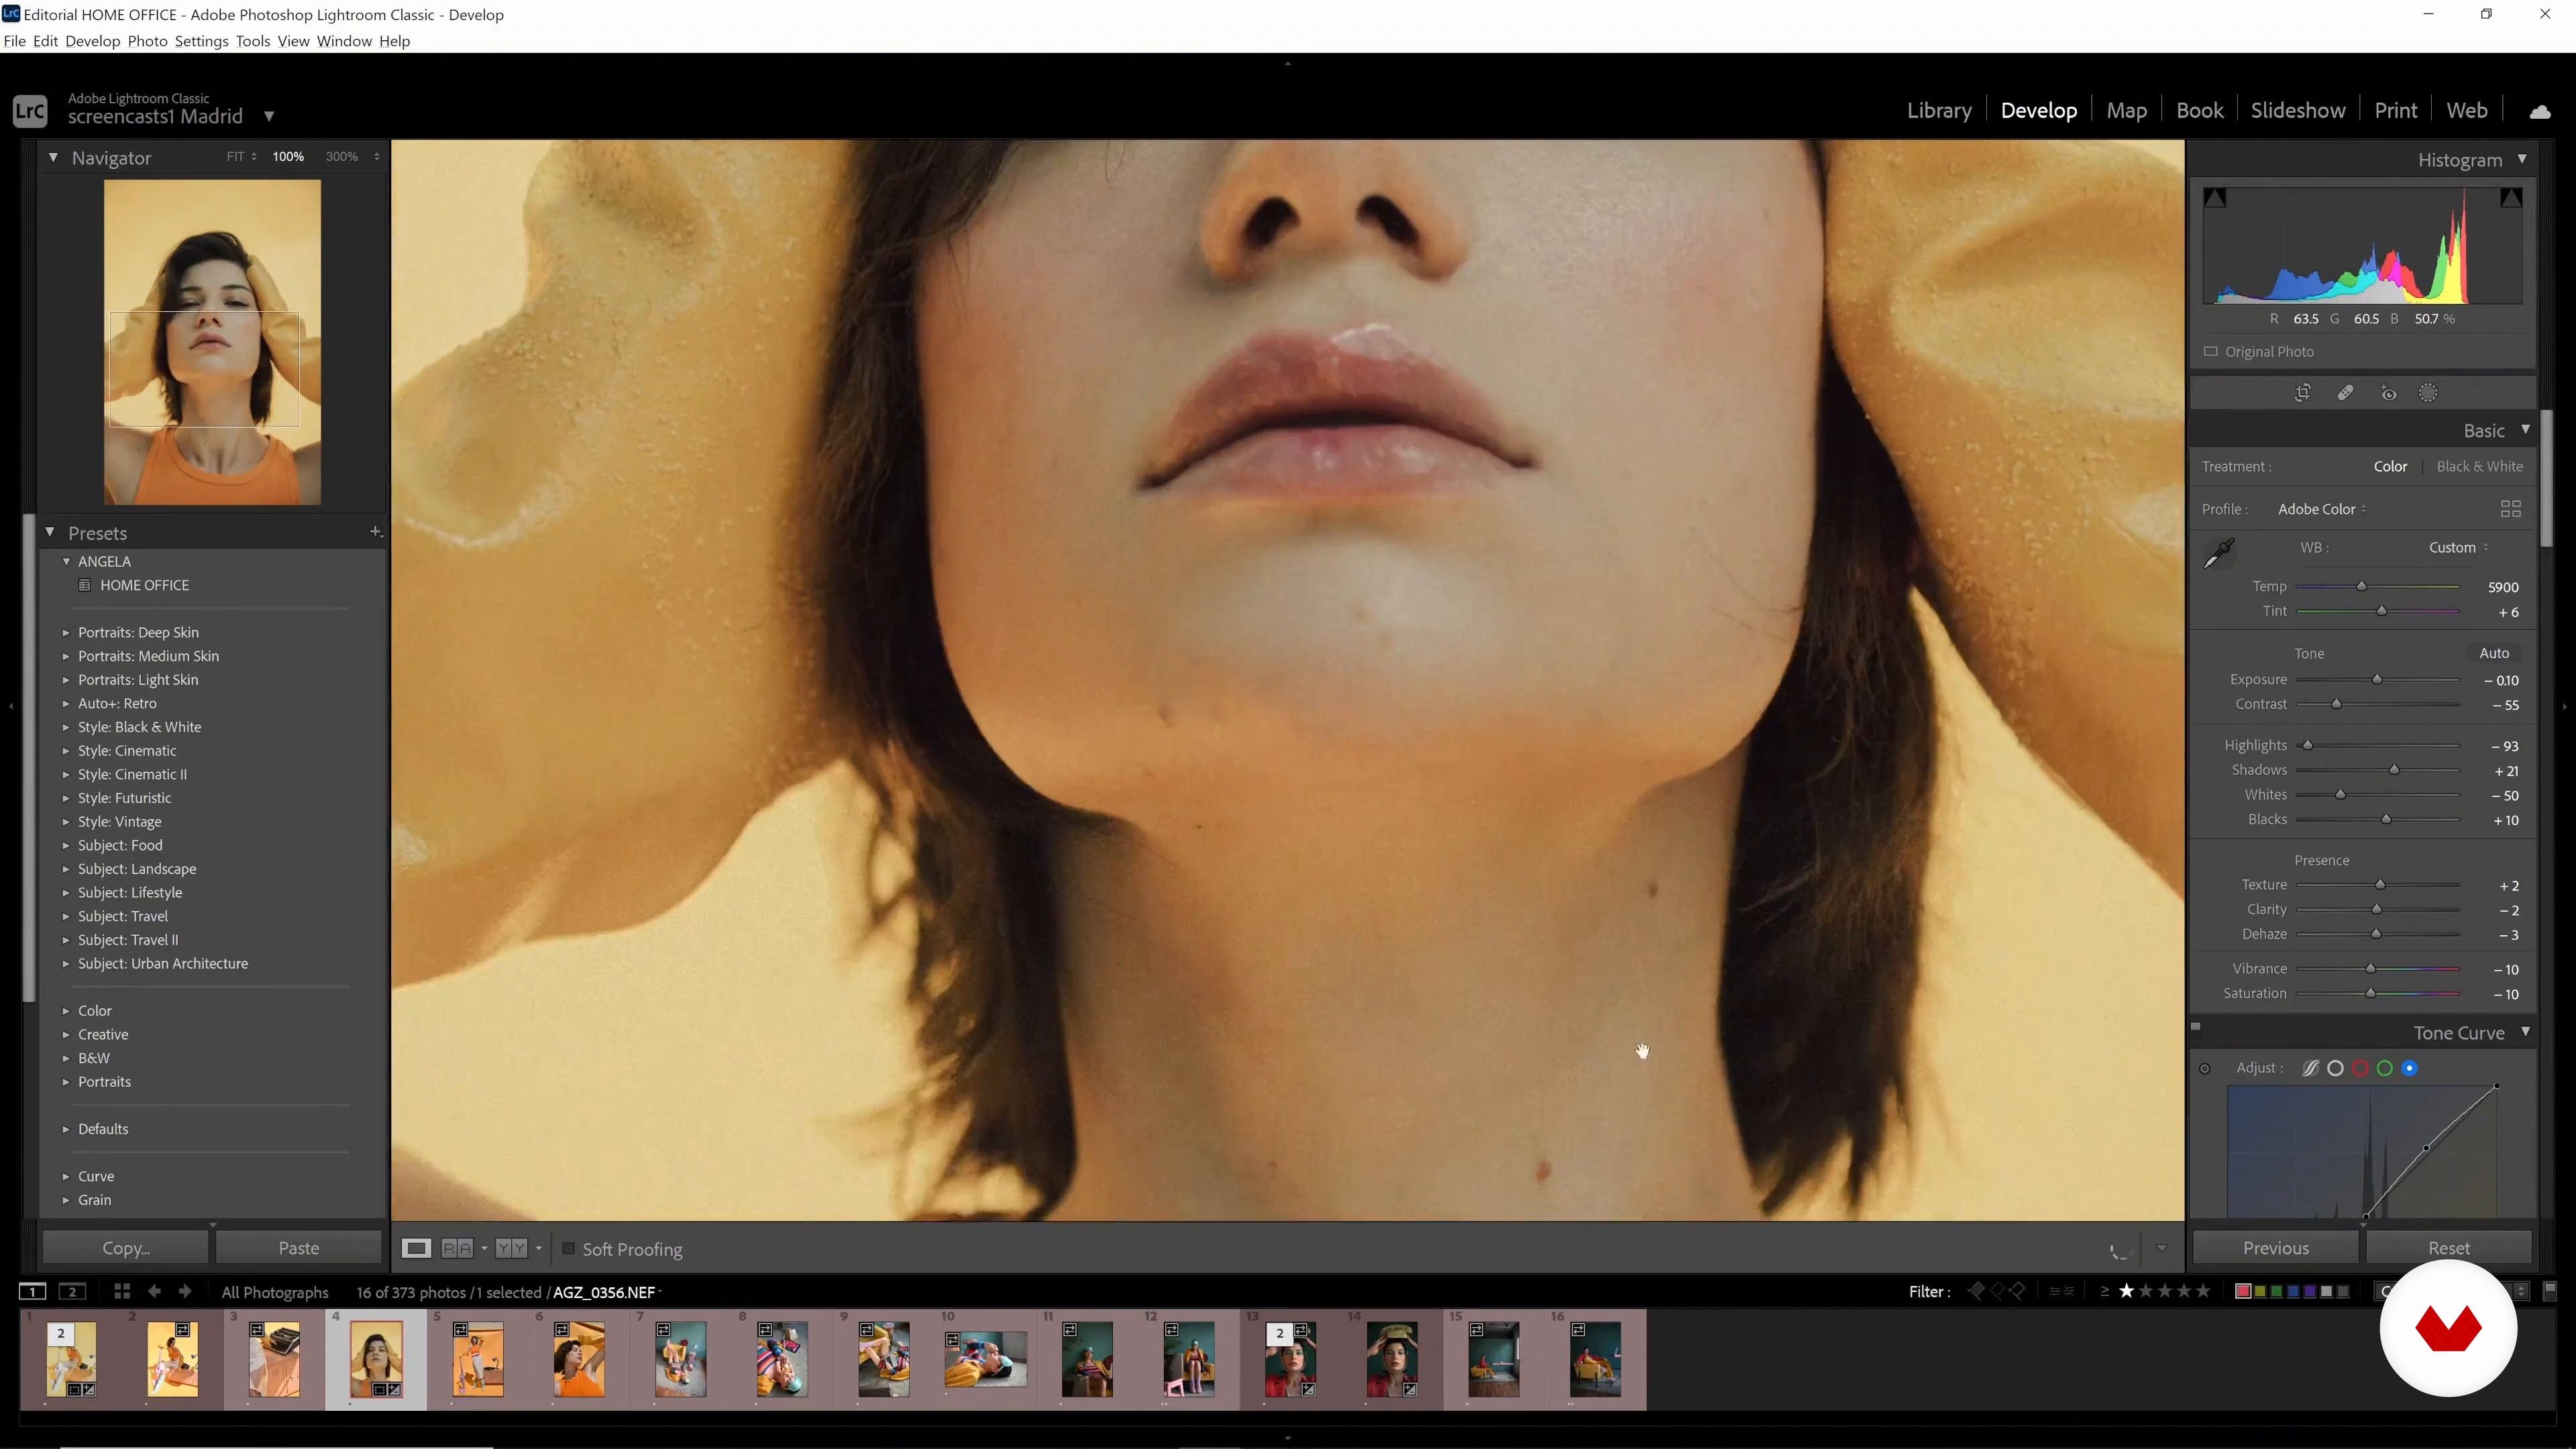
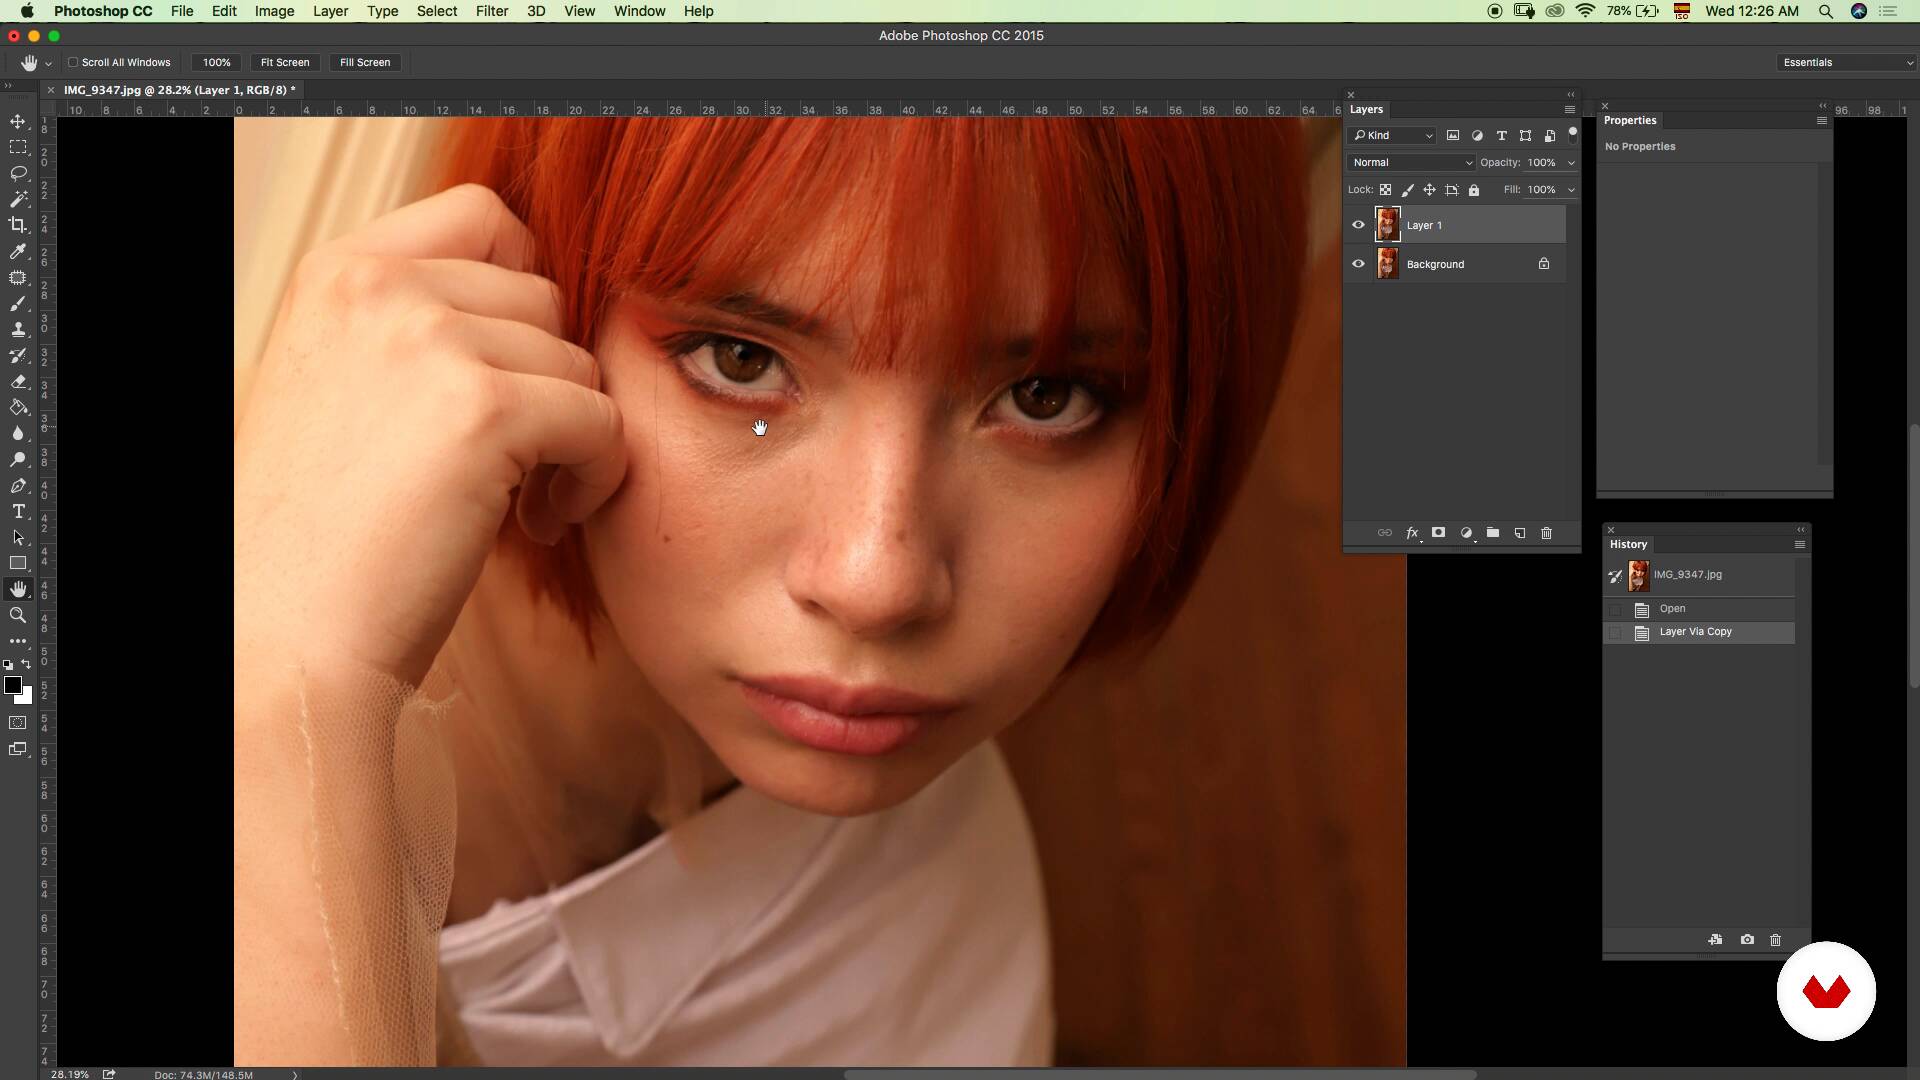
During this lesson you will learn the way in which I edit the skin in my portraits, there are common and correct ways to do it, but we can also find our own ways to achieve it that are closer to the results of your personal taste, in my case, conserving the naturalness and the real.
20m
image
14
Fine retouching, color and finishing 2
Throughout this second part I will show you one of my favorite ways to edit the skin, as it is extremely practical. This technique will help you to make some touch-ups without losing so much naturalness, shadows and lighting.
15m
image
3
What is fashion photography?
We are going to start the unit with a brief introduction to fashion photography. I will also explain the difference between a personal project and a client project.
4m
image
4
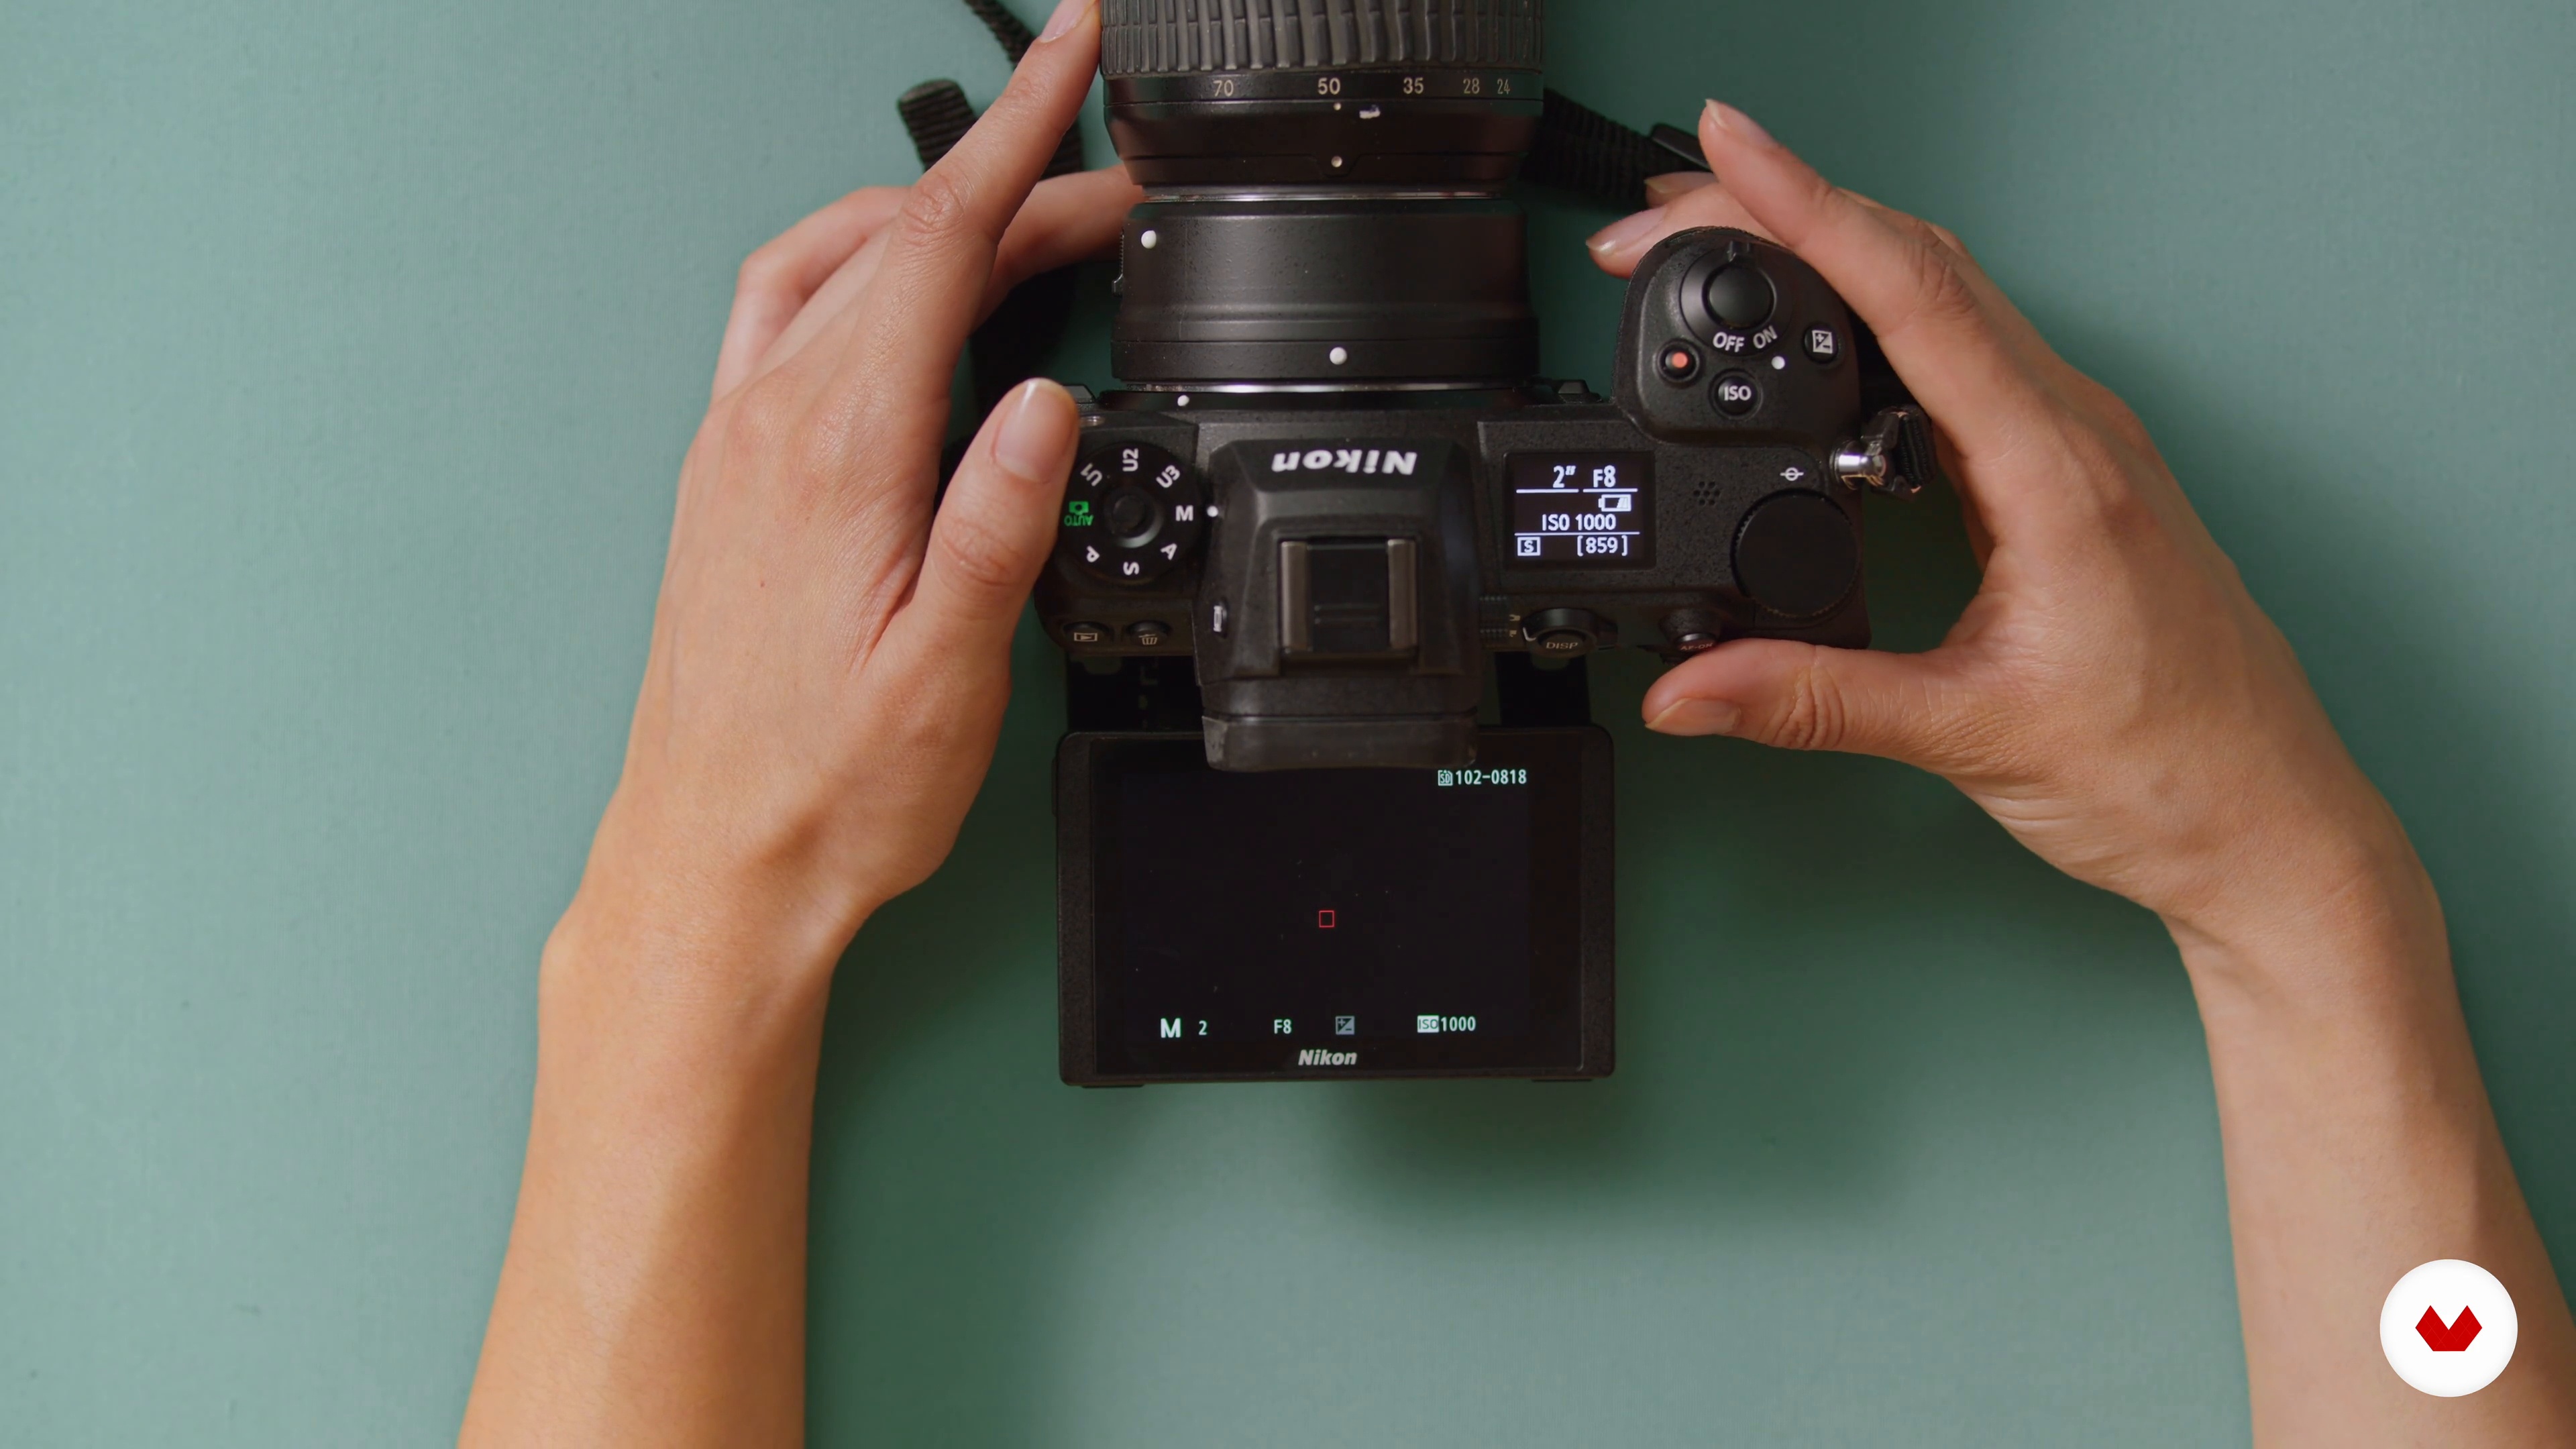
Use of the camera and photographic composition
So that you can get the most out of your photographs, I am going to explain theoretical concepts of digital camera management and photographic composition.
12m
image
5
Daylight
Knowing how to use light is essential when photographing. In this lesson I will talk about the theory of light and techniques that will help you use it to your advantage in your projects.
4m
image
6
Creation of the concept
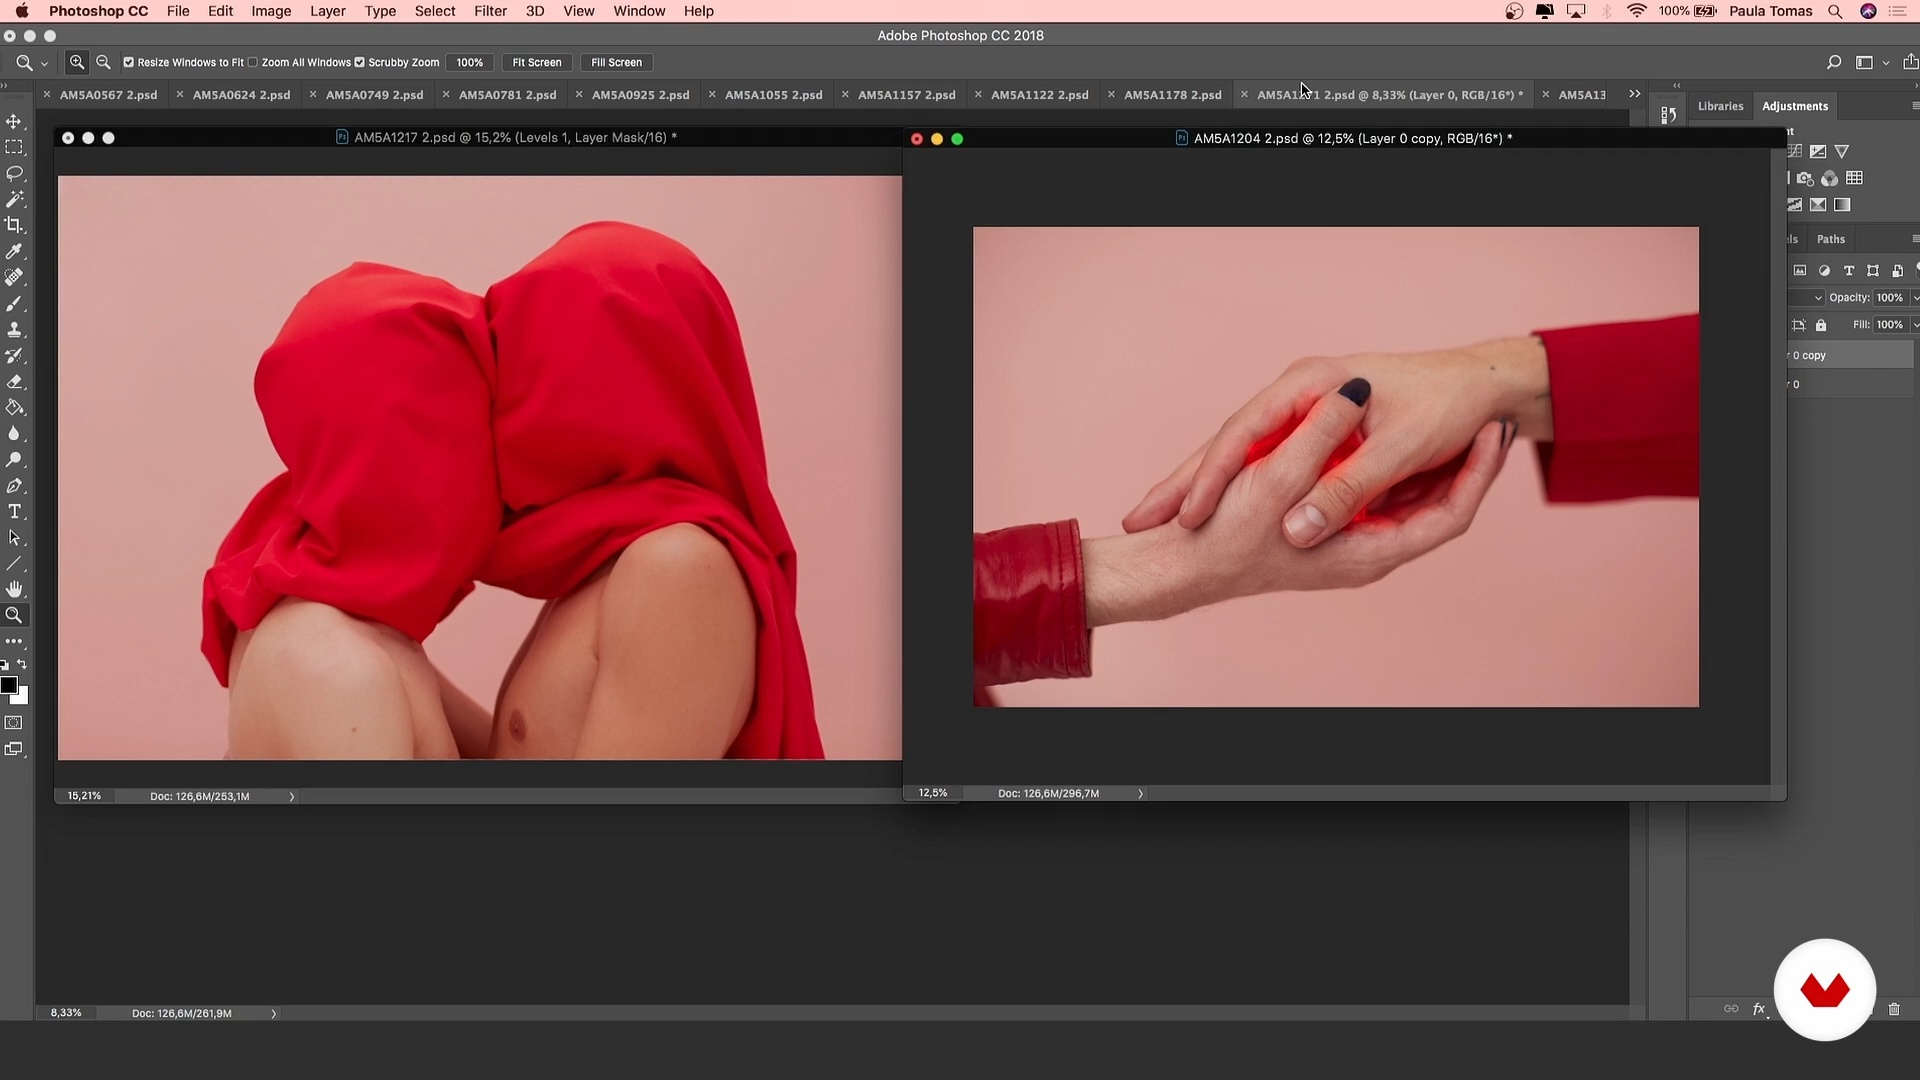
The fashion editorial revolves around the same theme or narrative thread: the concept. In this lesson I will show you how to find it and how to put your ideas on a mood board.
5m
image
7
Pre-production of the photo session
Before getting down to work with the shooting, you have to prepare all the details of the pre-production. In this lesson I will explain how to do it.
4m
image
8
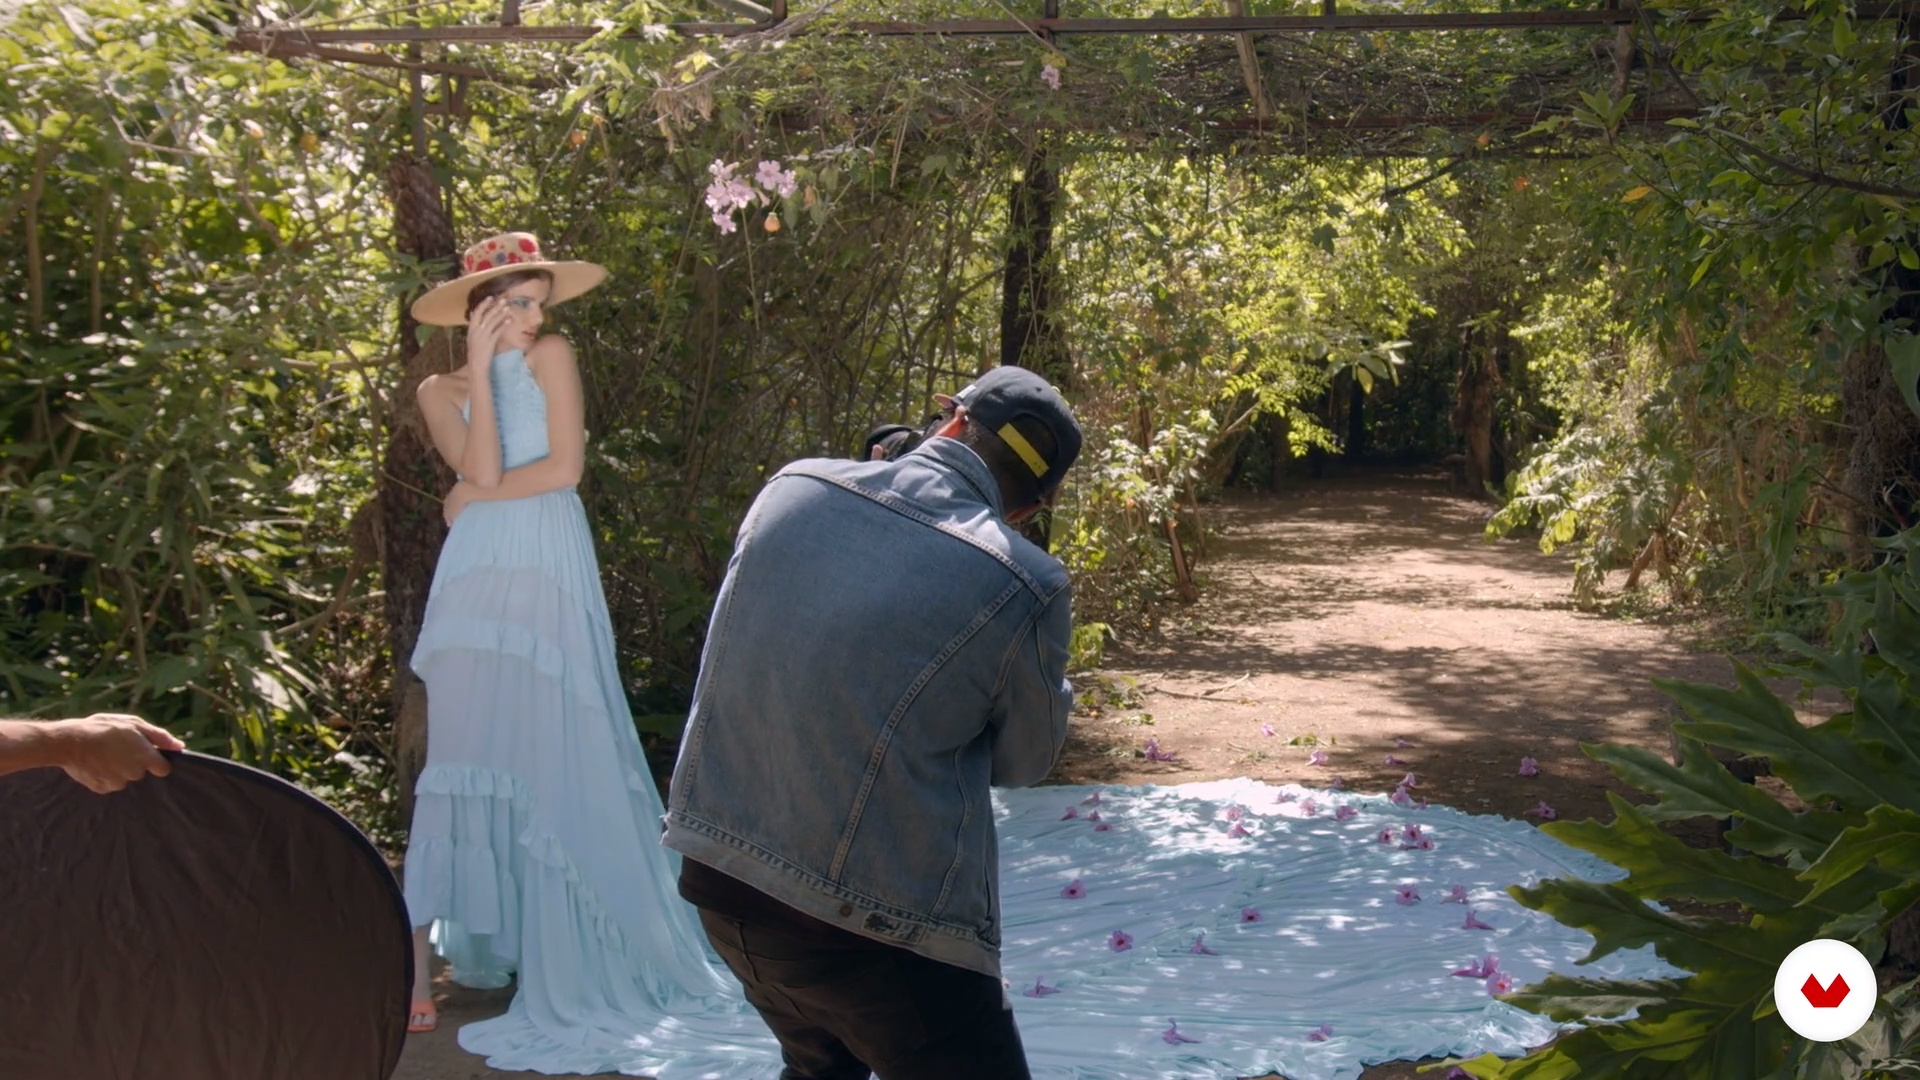
Outdoor natural light photography
It's time for the camera to kick in. I am going to explain how to shoot with natural light outdoors and I am going to give you several tips to direct your model.
8m
image
9
Indoor natural light photography
Finally, we are going to carry out the part of the session that we have planned to do with natural light indoors. We will apply everything learned in previous lessons.
7m
image
10
Selection 1
The post-shoot workflow is an important part of creating your project. In this lesson I will show you how I backup, select and organize my images in Lightroom.
11m
image
11
Selection 2
I continue selecting the photographs. Little by little I am refining the criteria until I choose the ones that I am going to finally edit.
11m
image
12
The basic retouching
Now I am going to give you tips to do a basic retouching in Photoshop of your selected images.
19m
image
13
Lightroom: color presets
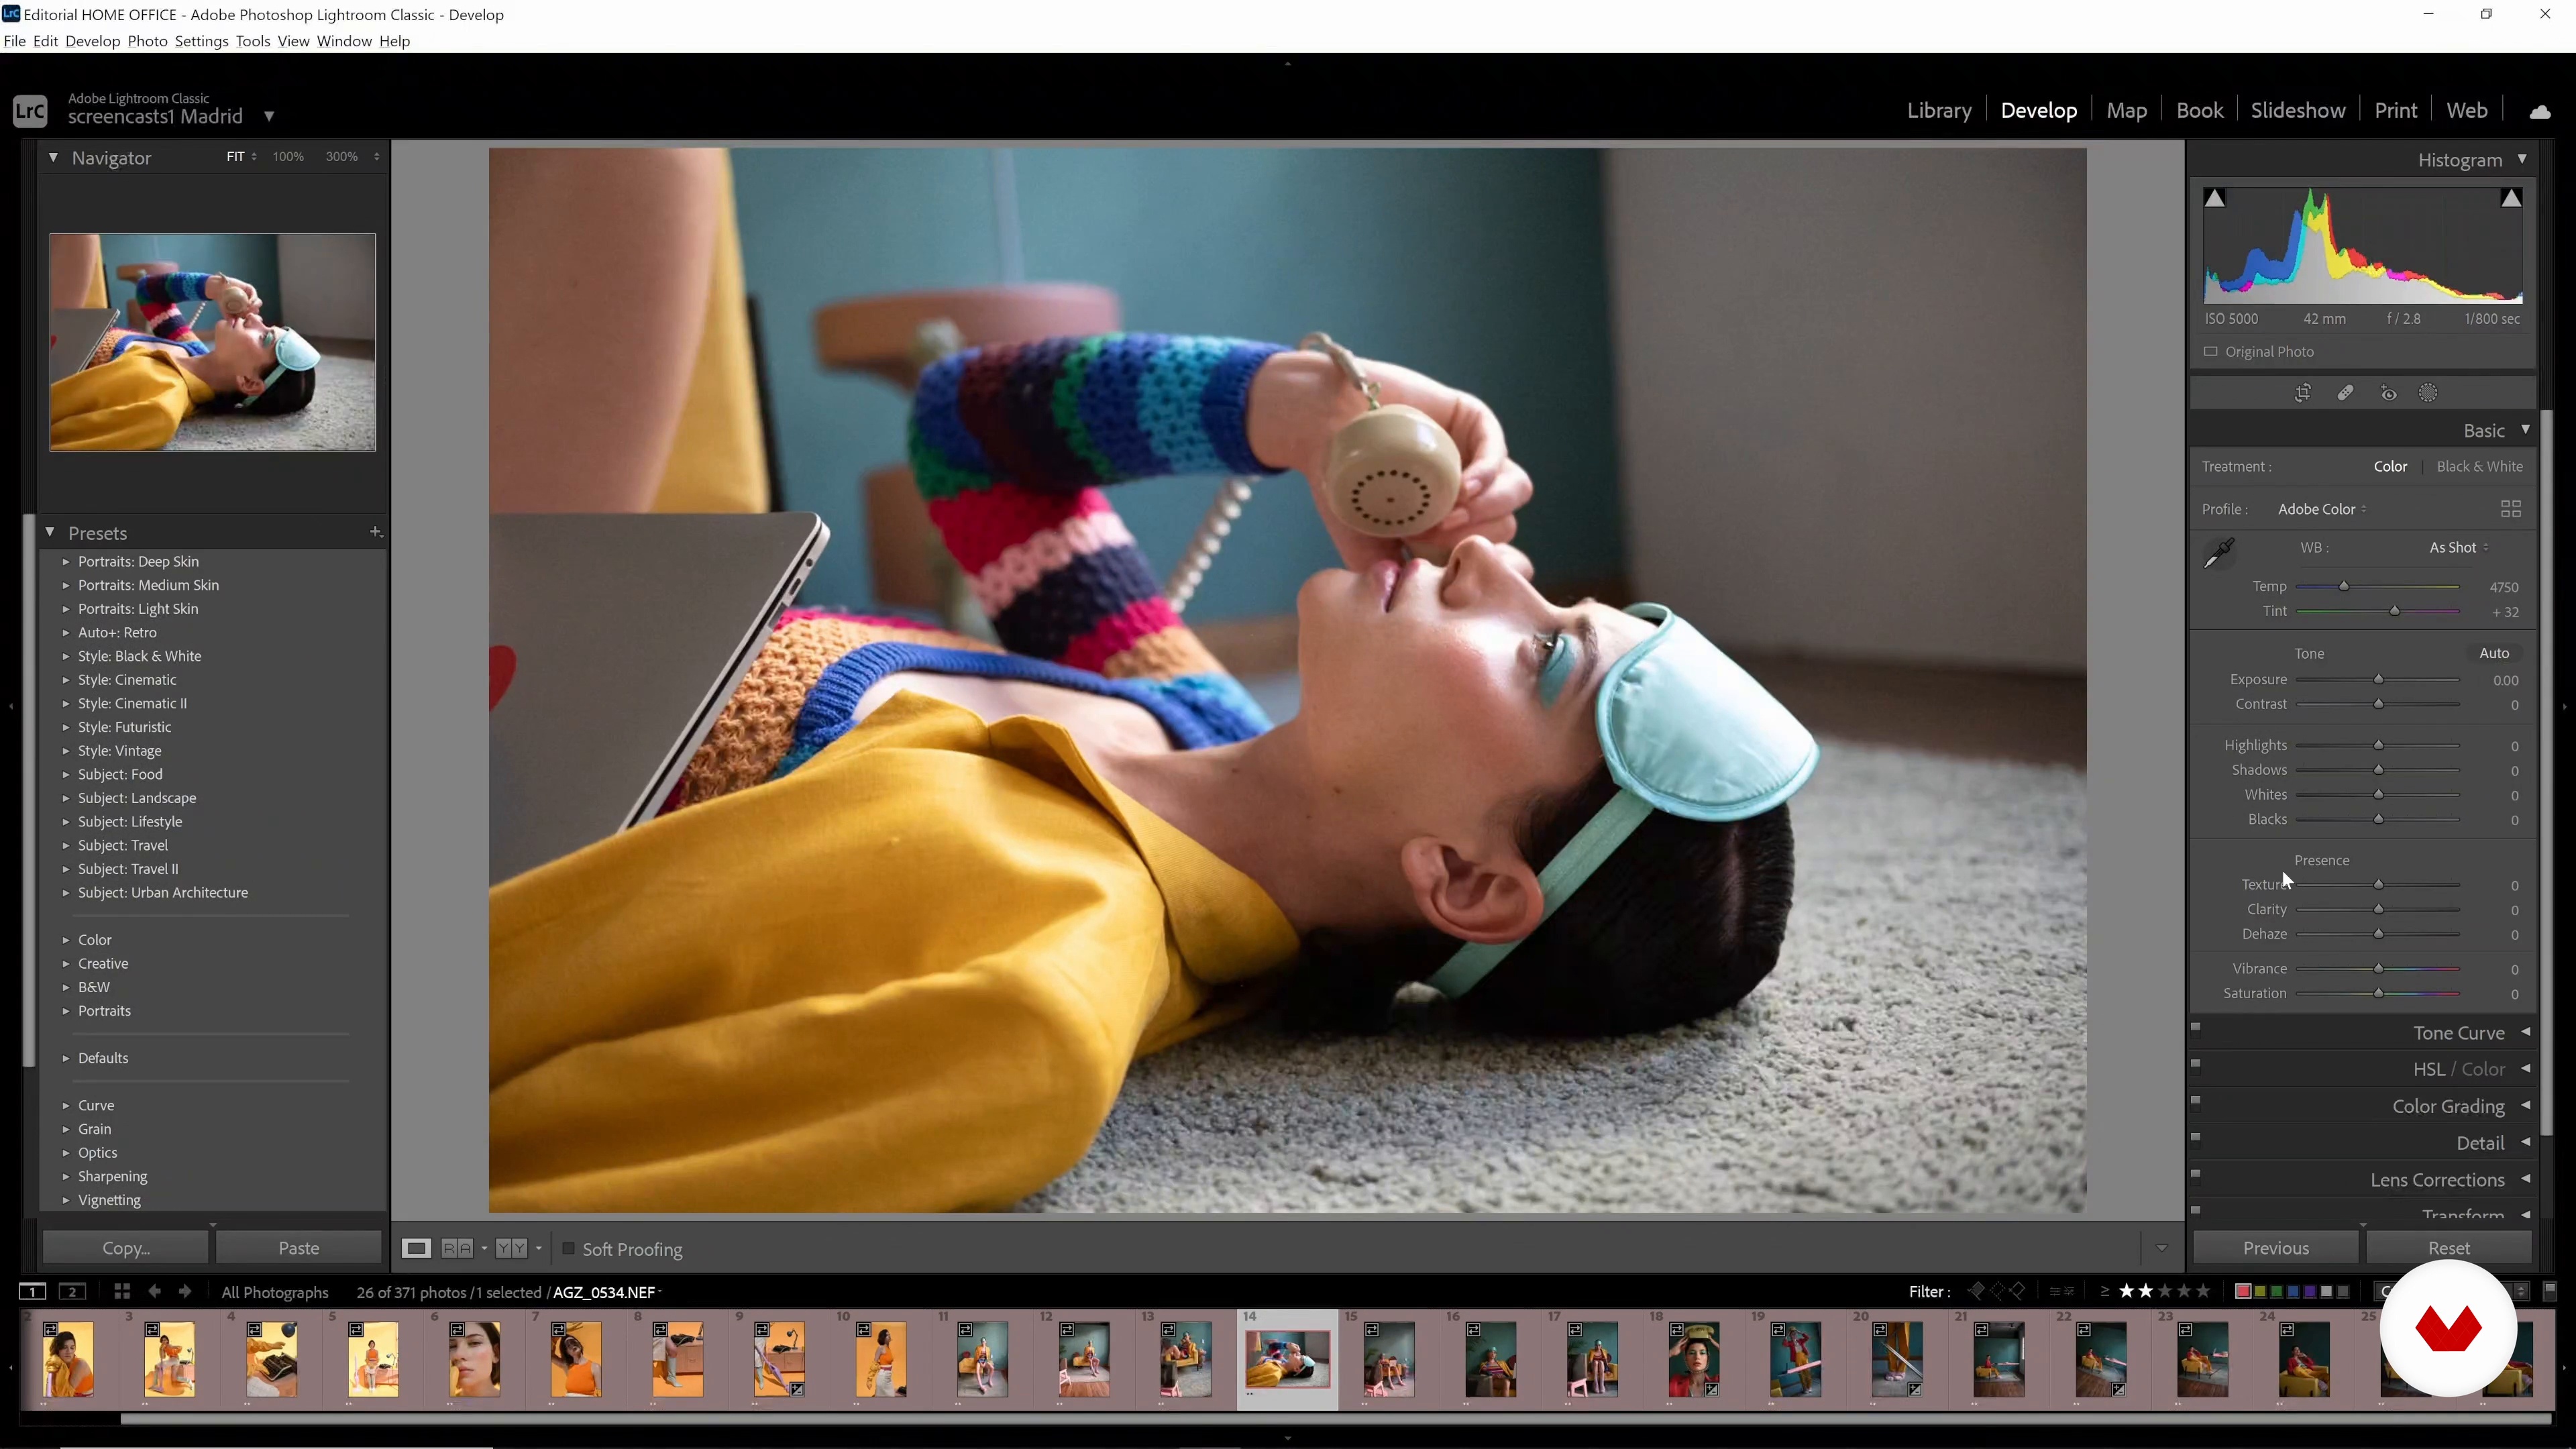
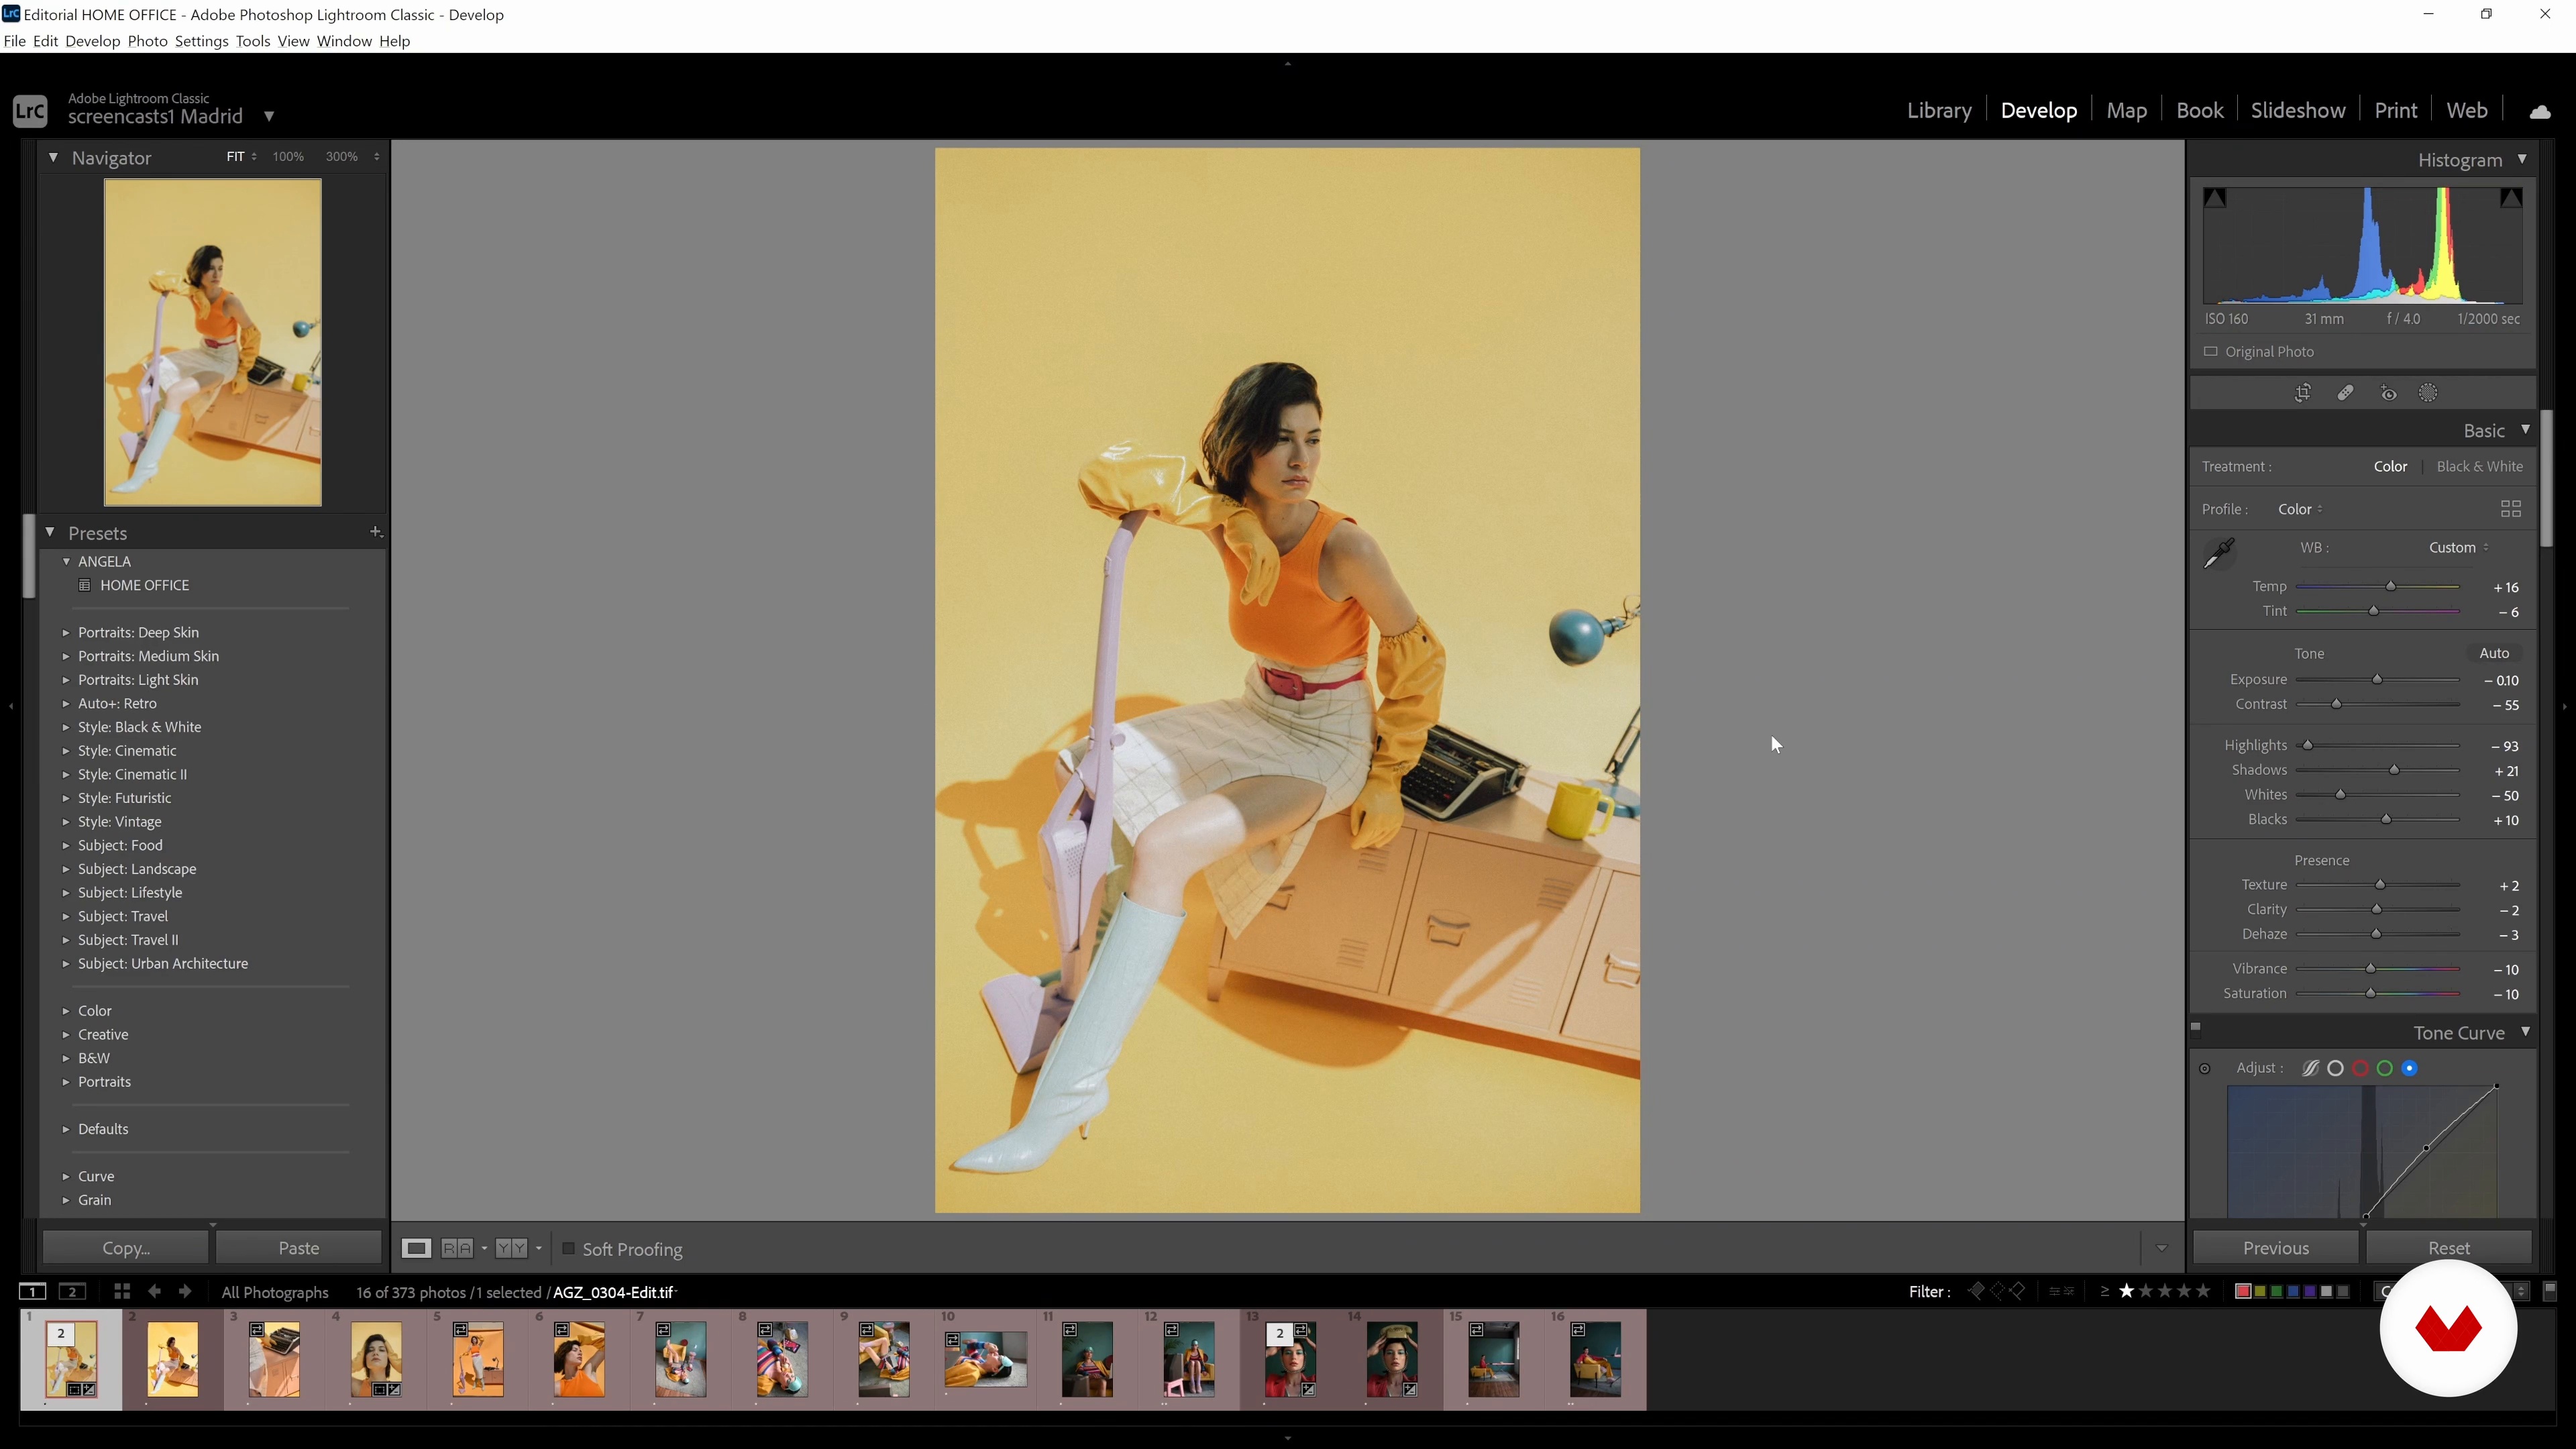
After having done a basic retouching in Photoshop, it's time to play with the color palette. In this lesson I will teach you how to touch up color in Lightroom and how to create presets.
19m
image
14
The final images
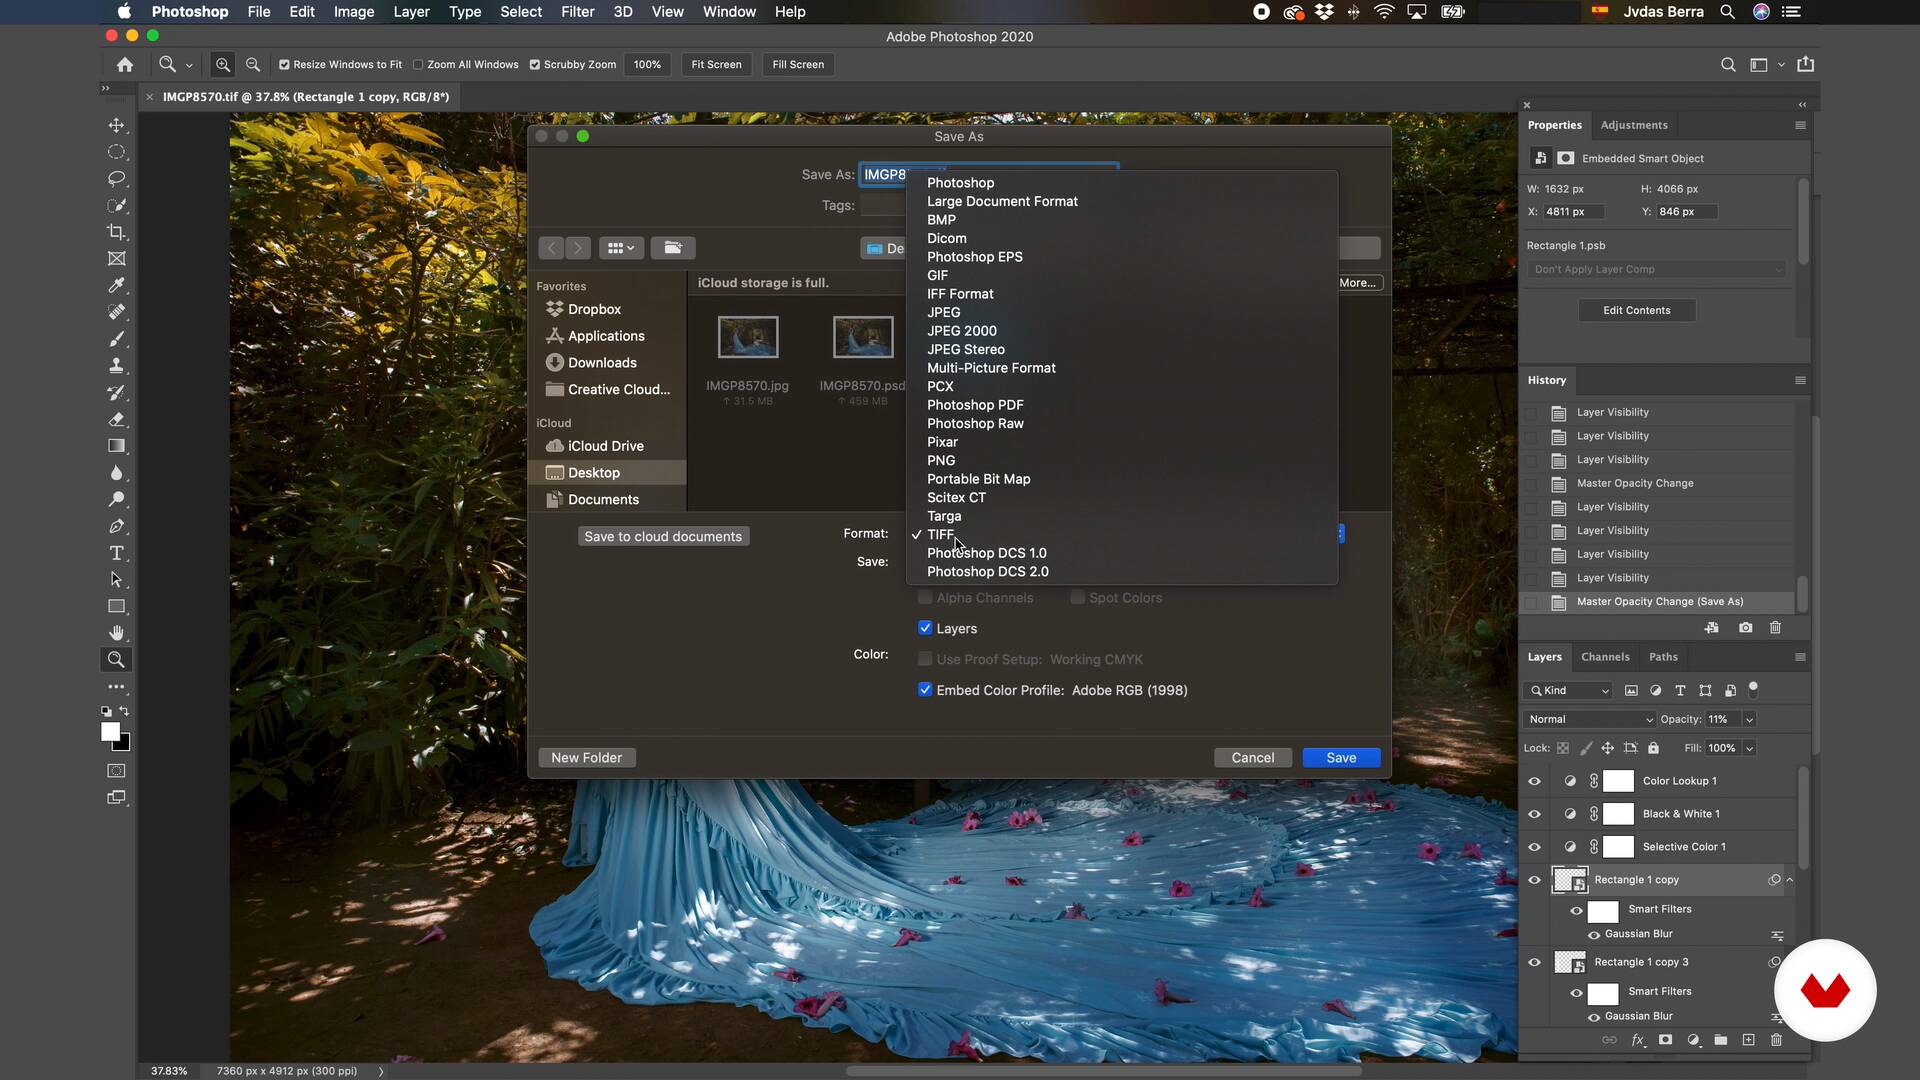
Saving your images in the best way for web and print use is essential to achieve the best quality. In this lesson I will give you some tips to achieve it.
3m
image
15
How to present your work professionally
You already have your photos, let the world know them! I will help you by giving you ideas to present your work in a professional way.
4m
image
4
How to conceptualize the editorial?
Do you have an incredible idea to take pictures and capture them in a fashion editorial and have it published in a magazine? In this lesson I will teach you how to land those ideas and how to face the position of publishing for a magazine when they have approached you or if you are looking for them.
12m
image
5
Assembling our mood board
In this lesson I will show you how I create a mood board to share with my team the idea of photographs I want to take, I will show you step by step how I do it and I will show you some of the websites I use as references.
10m
image
6
Scouting
Why is scouting important? ... In this lesson I will explain all the advantages of scouting to our location, I will give you some tips and considerations that have helped me a lot to (in addition to aesthetics) choose a location.
9m
image
7
Photographic equipment
We are almost ready for our shooting. In this lesson I will show you the minimum necessary equipment with which I work in location shootings.
7m
image
8
Preparations and considerations
In this lesson I will give you tips and considerations that I take into account just before starting a shooting. From the way I talk to my team, to how I transmit my ideas to the models.
9m
image
9
Shooting day
We have everything ready! Let's shoot!
14m
image
10
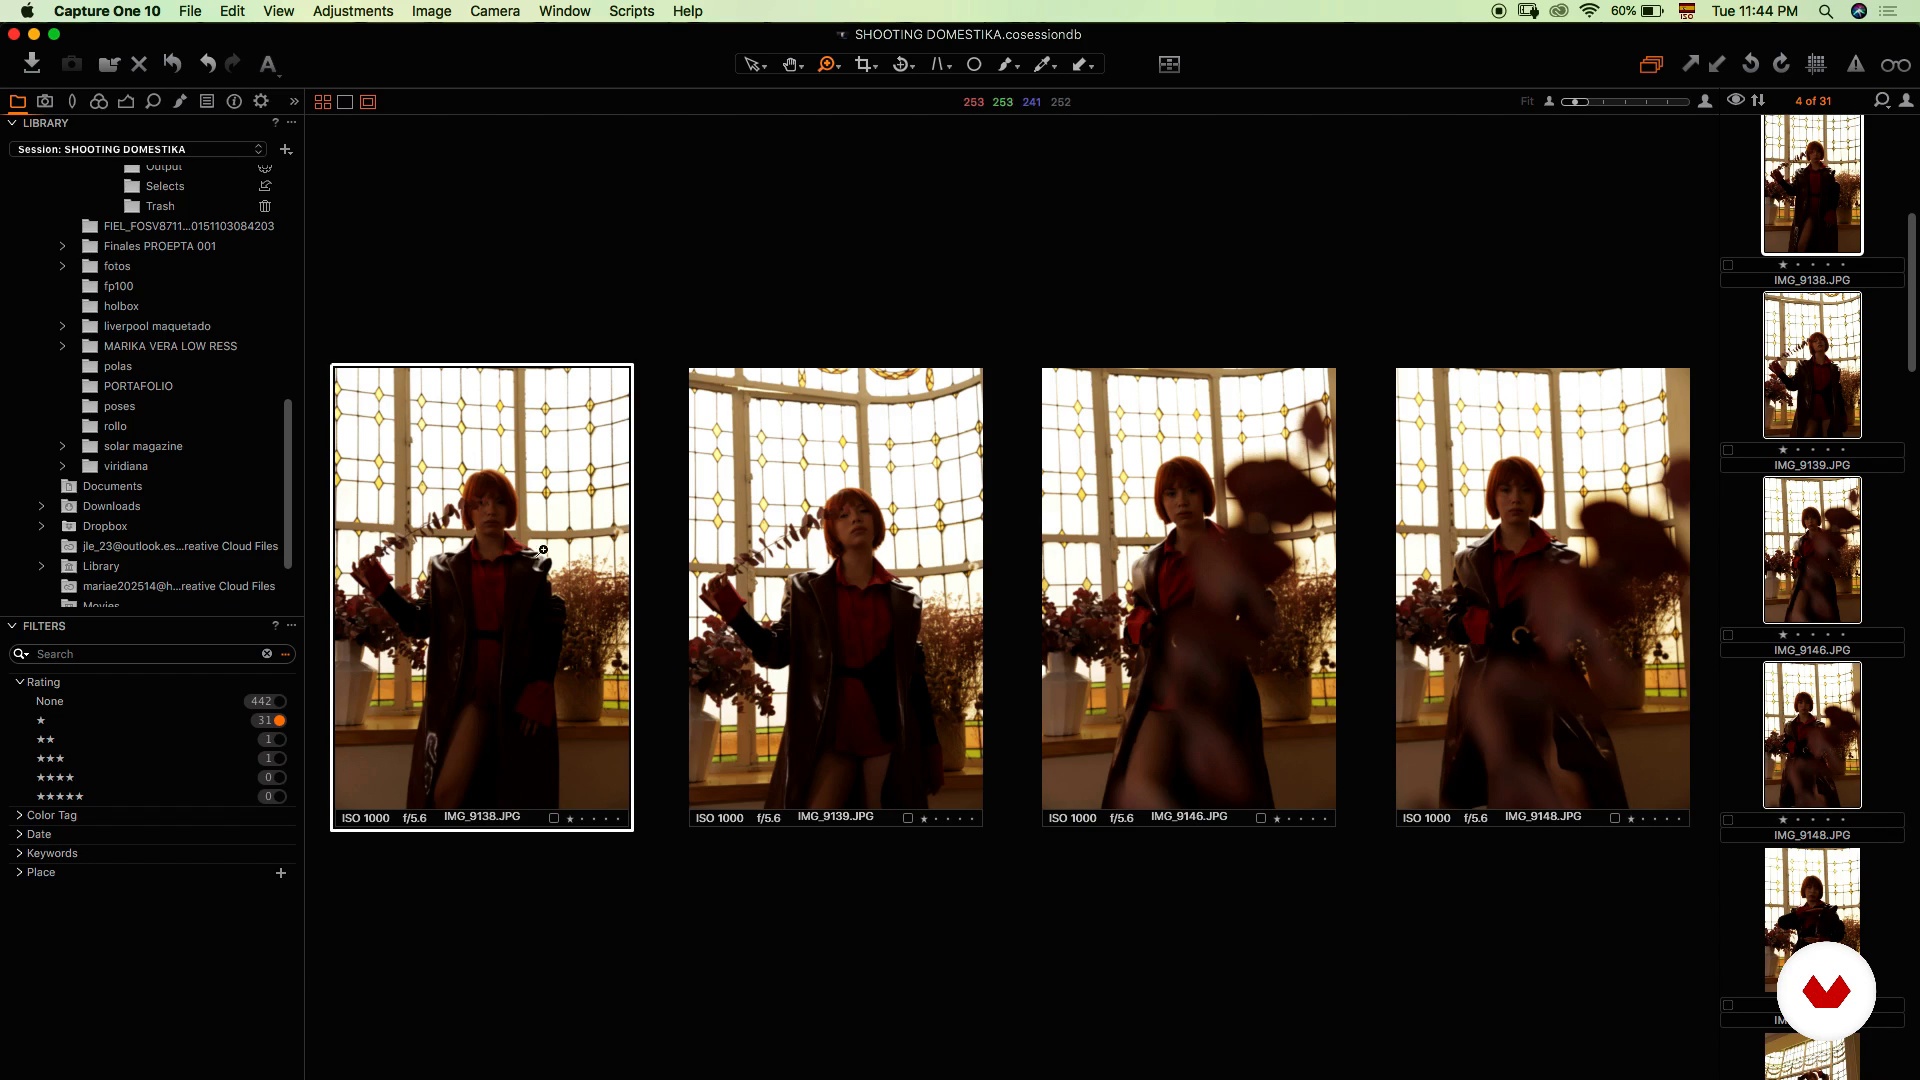
Selecting photos in Capture One
In this unit I will show you the criteria I use to select the photographs. Do you use capture one? I invite you to try it, it is a very complete and easy to use tool
19m
image
11
Mood and photo retouching.
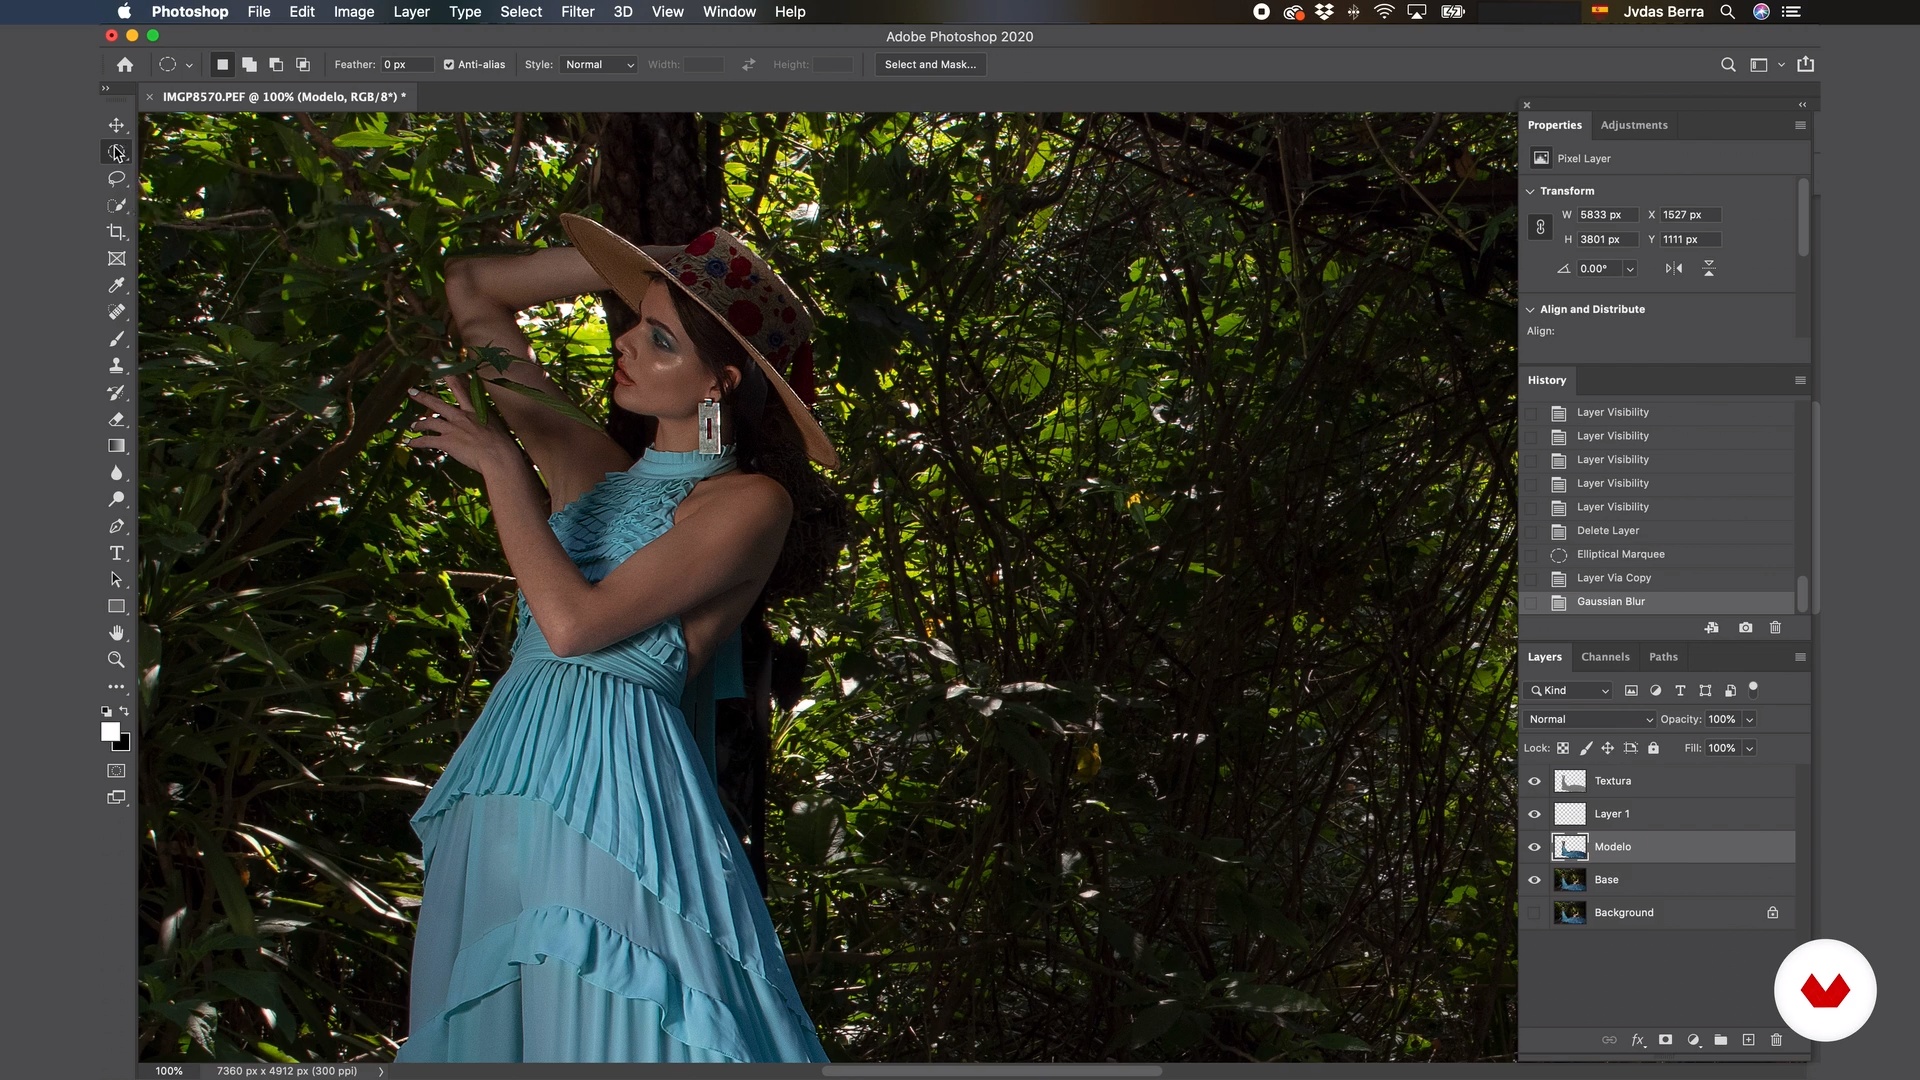
In this lesson I will show you in Capture One and Photoshop the way I usually give color, the mood the photographs will have, as well as the fine touch up.
20m
image
4
Style elements
Style is not something that is born from one day to the next, it is even something that I am still developing myself, but it is something that you can begin to understand once you know it exists. In this lesson you will begin to explore and look for the elements that define our style.
5m
image
5
Composition analysis: tips and techniques
In this lesson I will show you the seven types of frames that are used in photography and what you can use to identify your point of interest, in this way you can start to put together your composition.
3m
image
6
Mood board
Everything starts from an idea, and in this lesson I will begin by explaining the idea that I came up with for the shooting, as well as the process of creating the mood board .
4m
image
7
Choice of human team and how to work with everyone
In this lesson my goal is for you to learn how to select your talent team. You must understand that as photographers, models, stylist, makeup artist and hair artist also have their own styles and, depending on the result you are looking for for your project, it will be the profile of each of these members that you choose.
4m
image
8
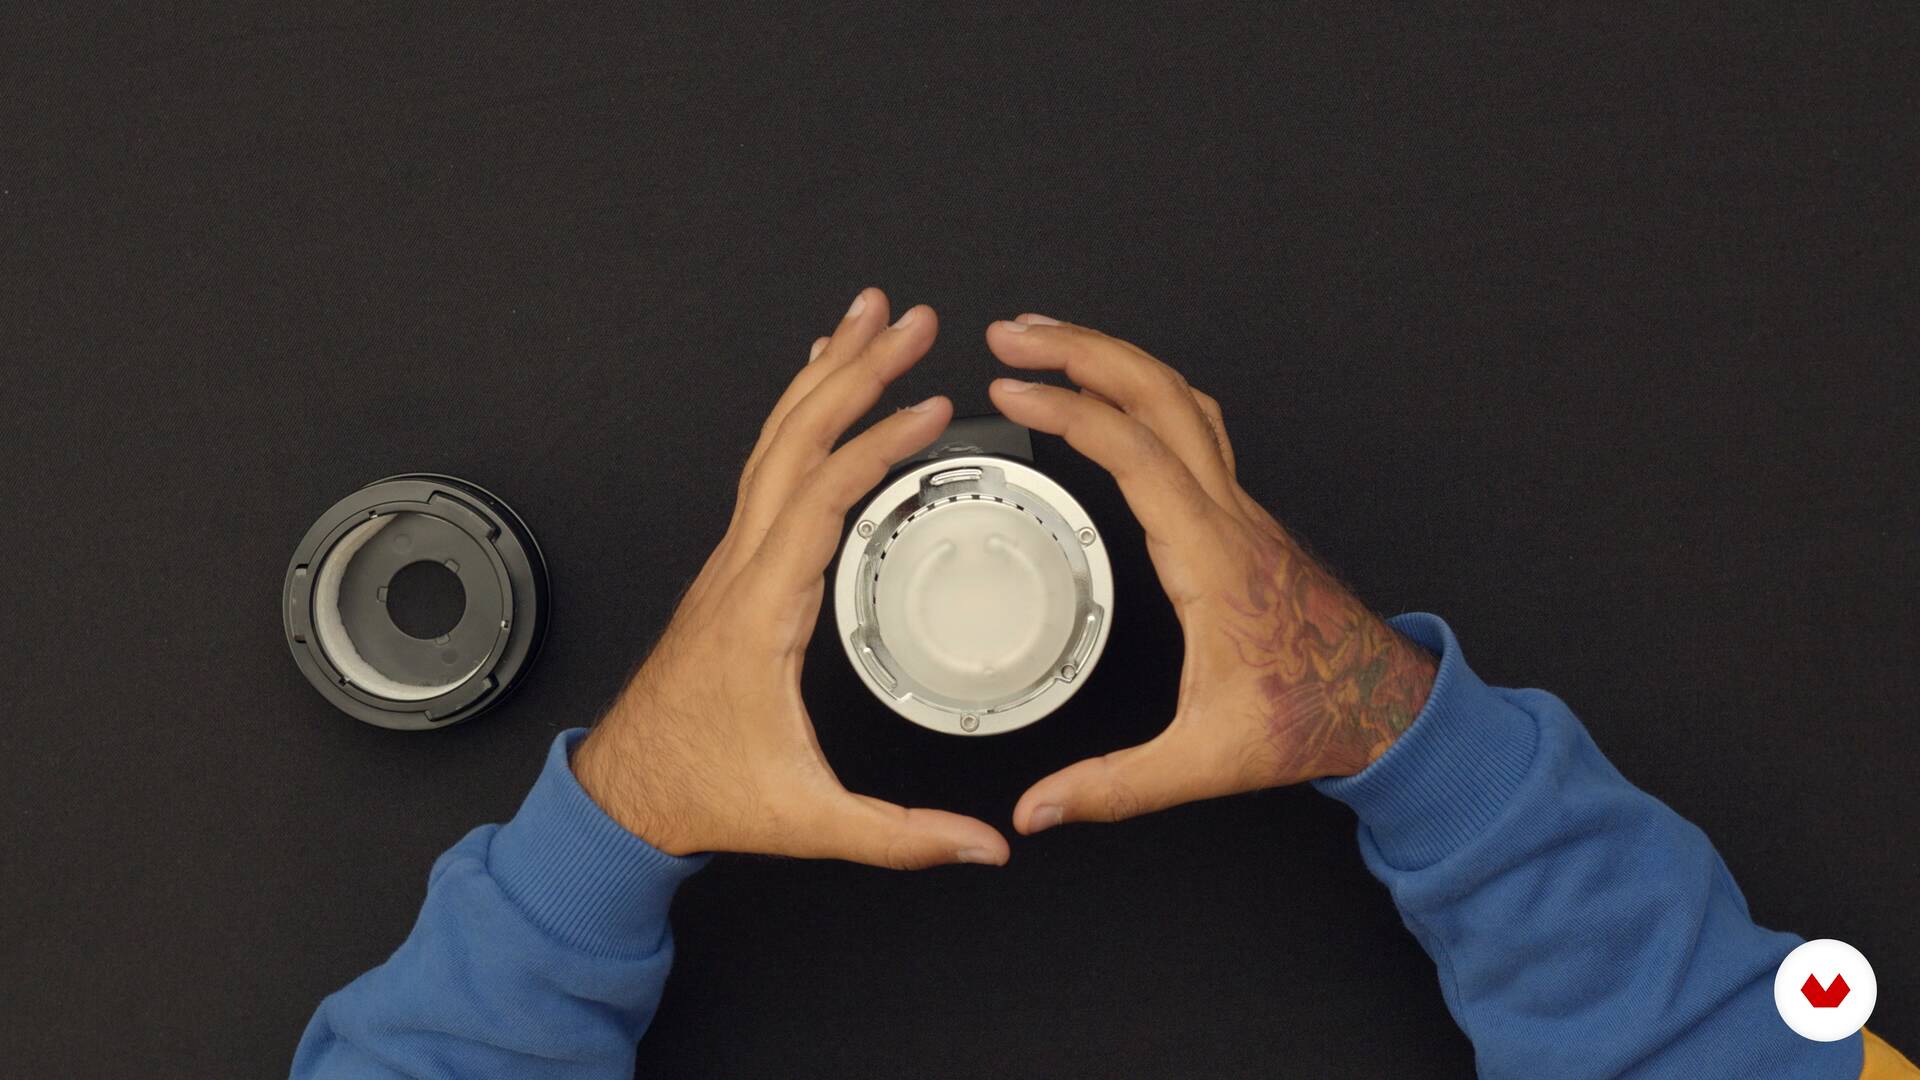
Photographic equipment
The tools you use are going to make a difference. In this lesson I showed you the photographic equipment that I will use for this production and I will explain why I have chosen it and why I think it is the best to achieve the impact that I seek in my work.
4m
image
9
Camera and lighting settings: natural light and bounce
In this lesson I will explain what photography is as a whole, and the different factors necessary to create it; We will start from how a frame is prepared to how light is handled and understood. We will do some exercises with natural light and bounces.
5m
image
10
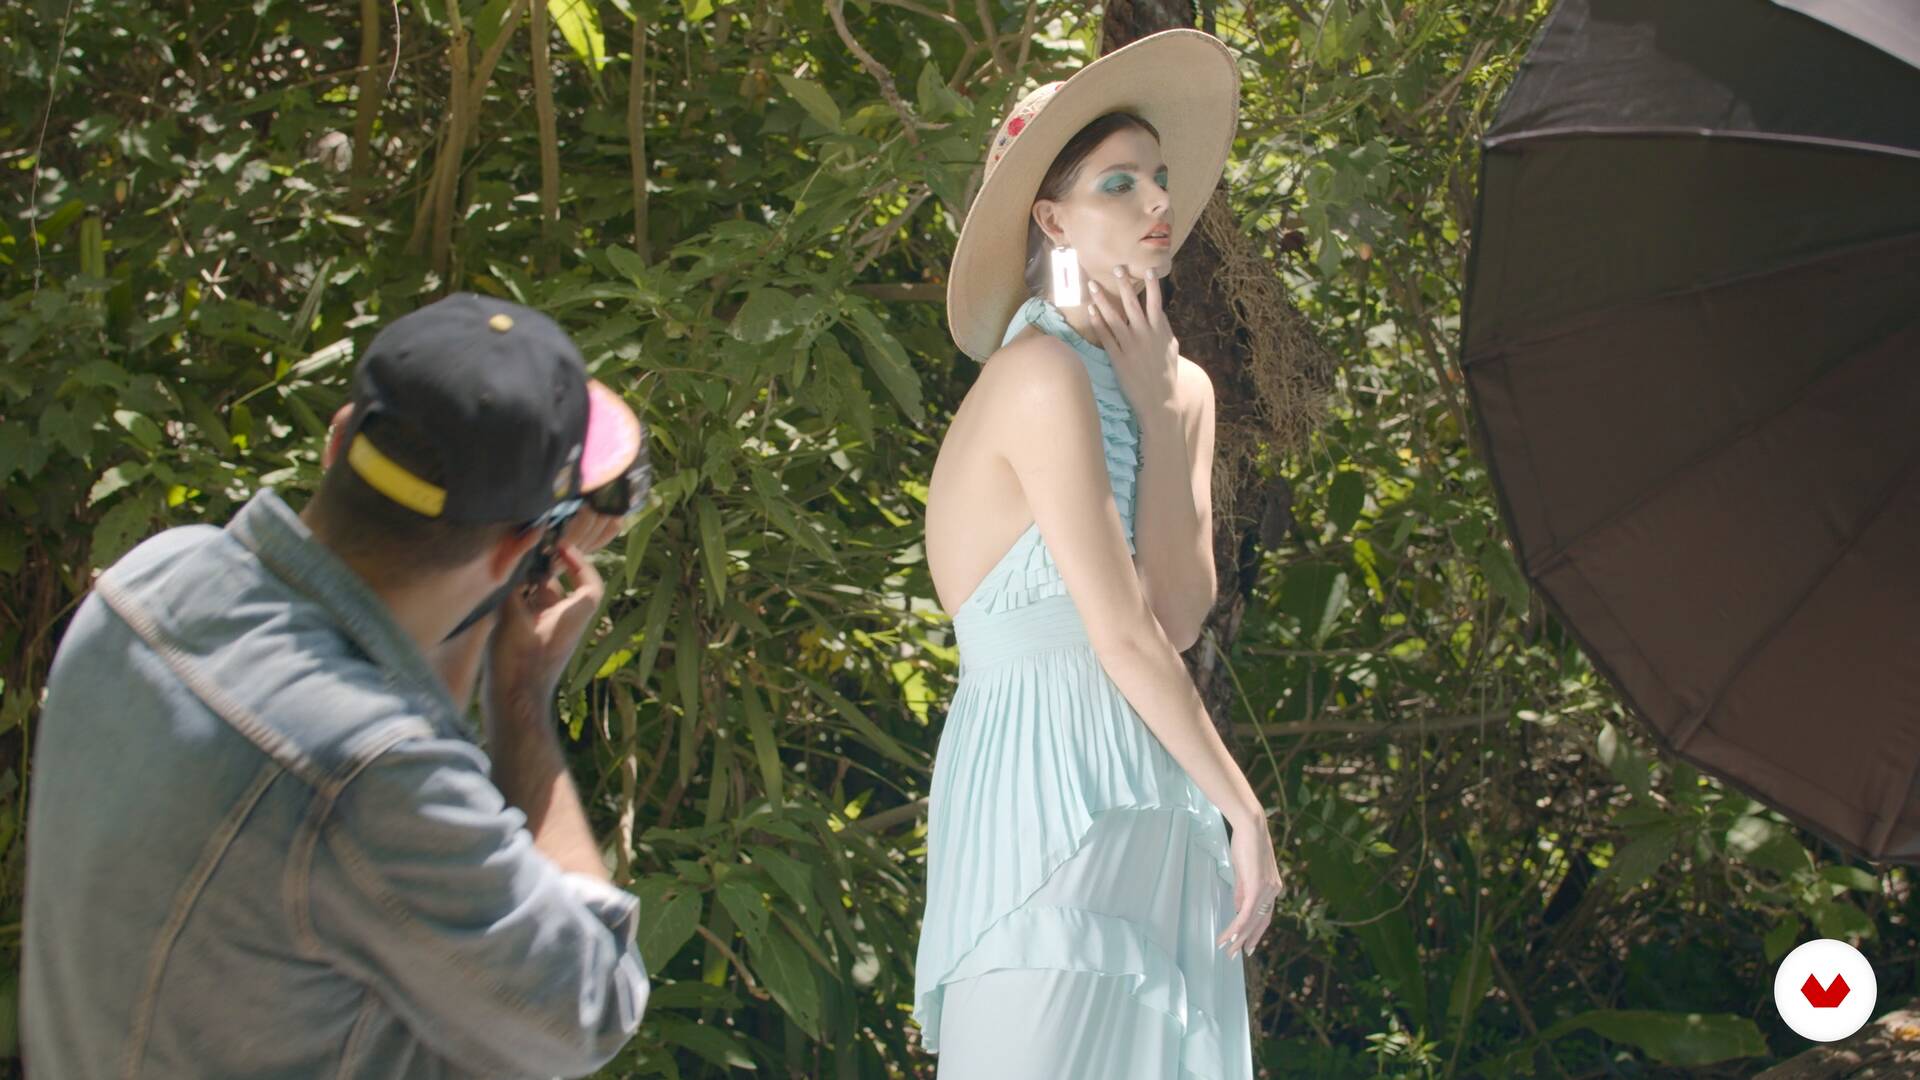
Camera and lighting settings: natural light and flashes
It is important that you know that natural and artificial light are not fought, in this section I will show you how with the correct settings , you can use flash light outdoors to create an effect that, although not looks natural, adds high impact to our photography.
4m
image
11
Direction of models
I have always been adept at exalting my subject during a photoshoot , trying to give it the highest importance and perfection possible. The best trick to break the ice with your model, if you have not been able to have the opportunity to start a conversation with her before, is to ask her to have something in her head at the moment of each pose, a thought, a feeling, a memory.
9m
image
12
Revealed in Camera Raw
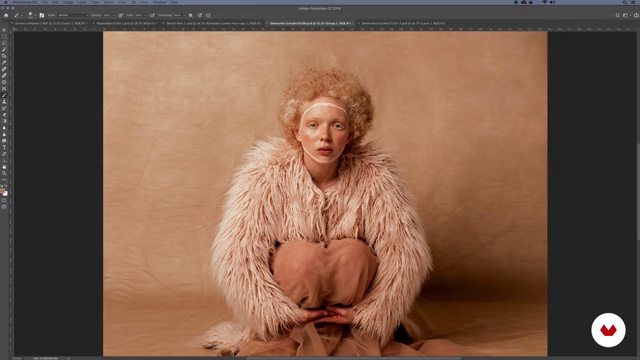
This is the first phase of post-production, choosing which are your final photos is one of the most difficult parts. For my part, I try to find the photographs that most take me back to the rhythm I had during the photoshoot , I look for a flow of movement.
12m
image
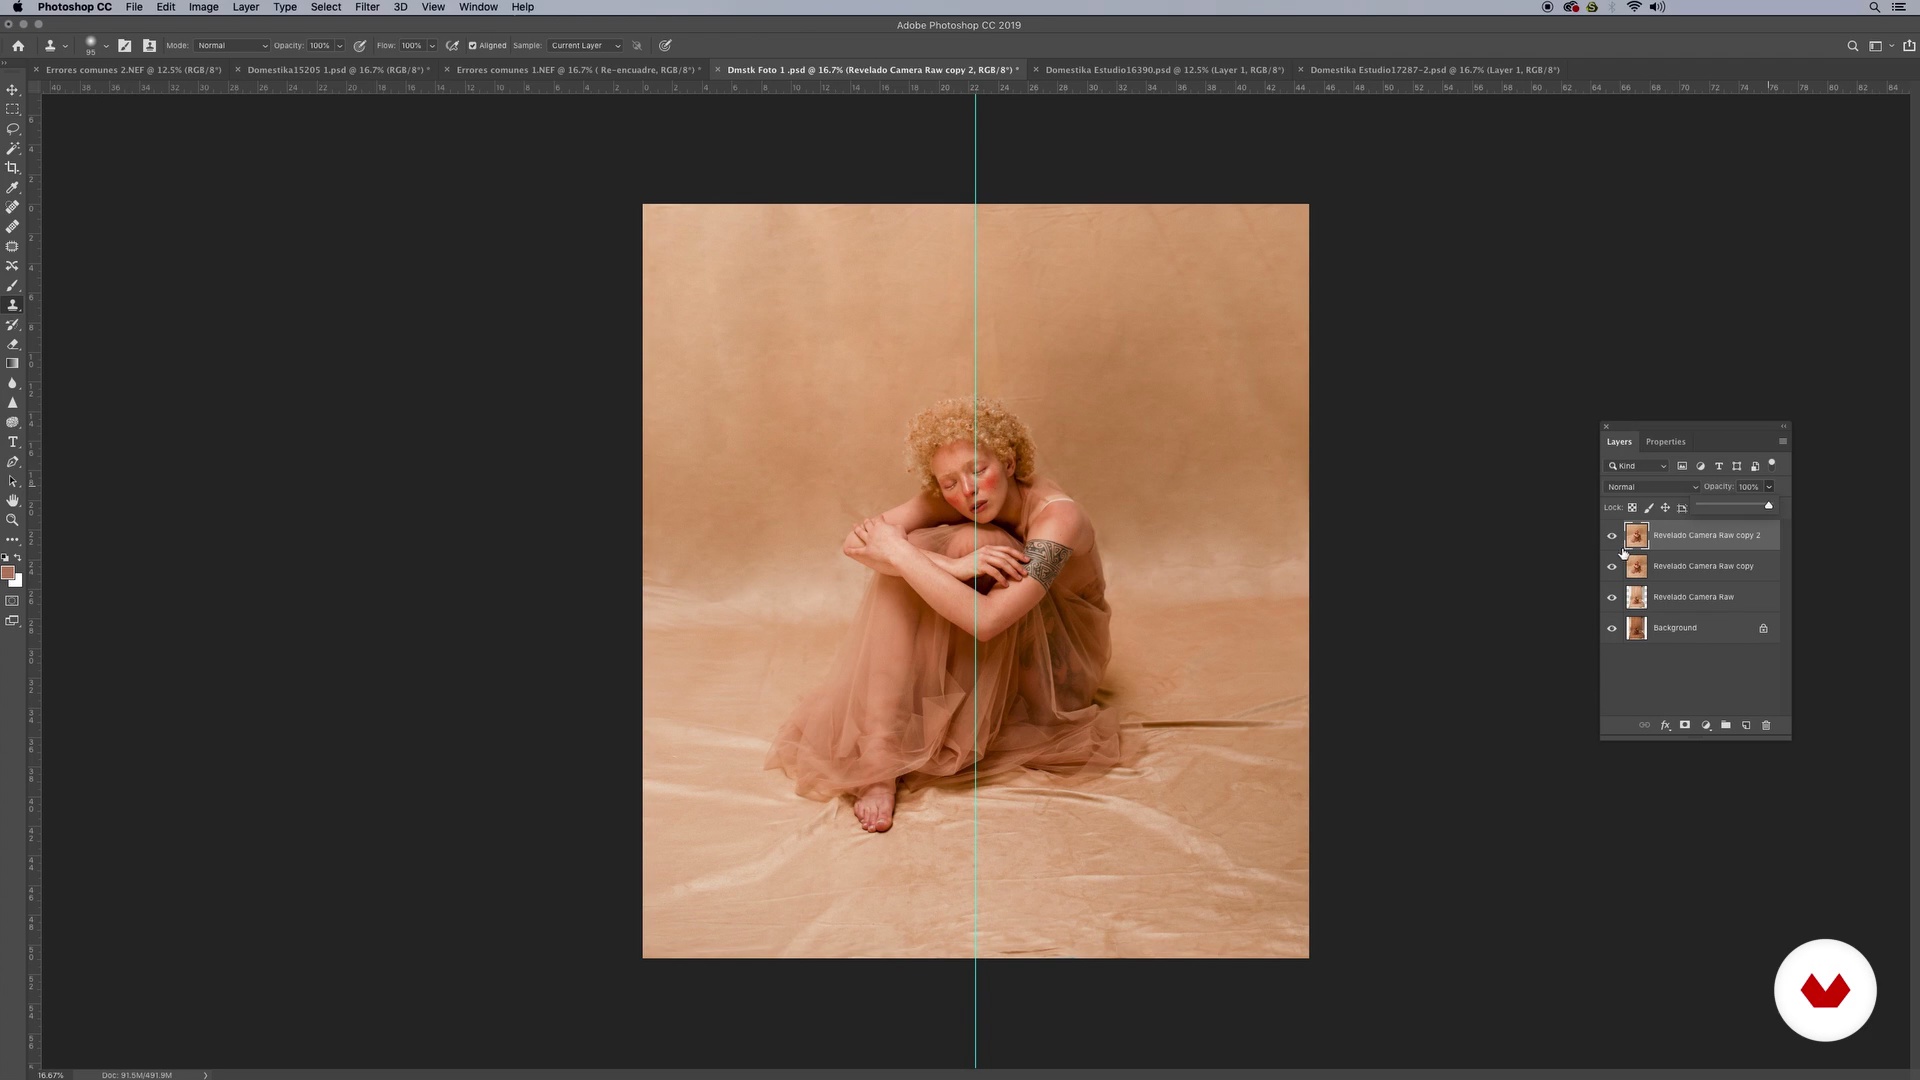
13
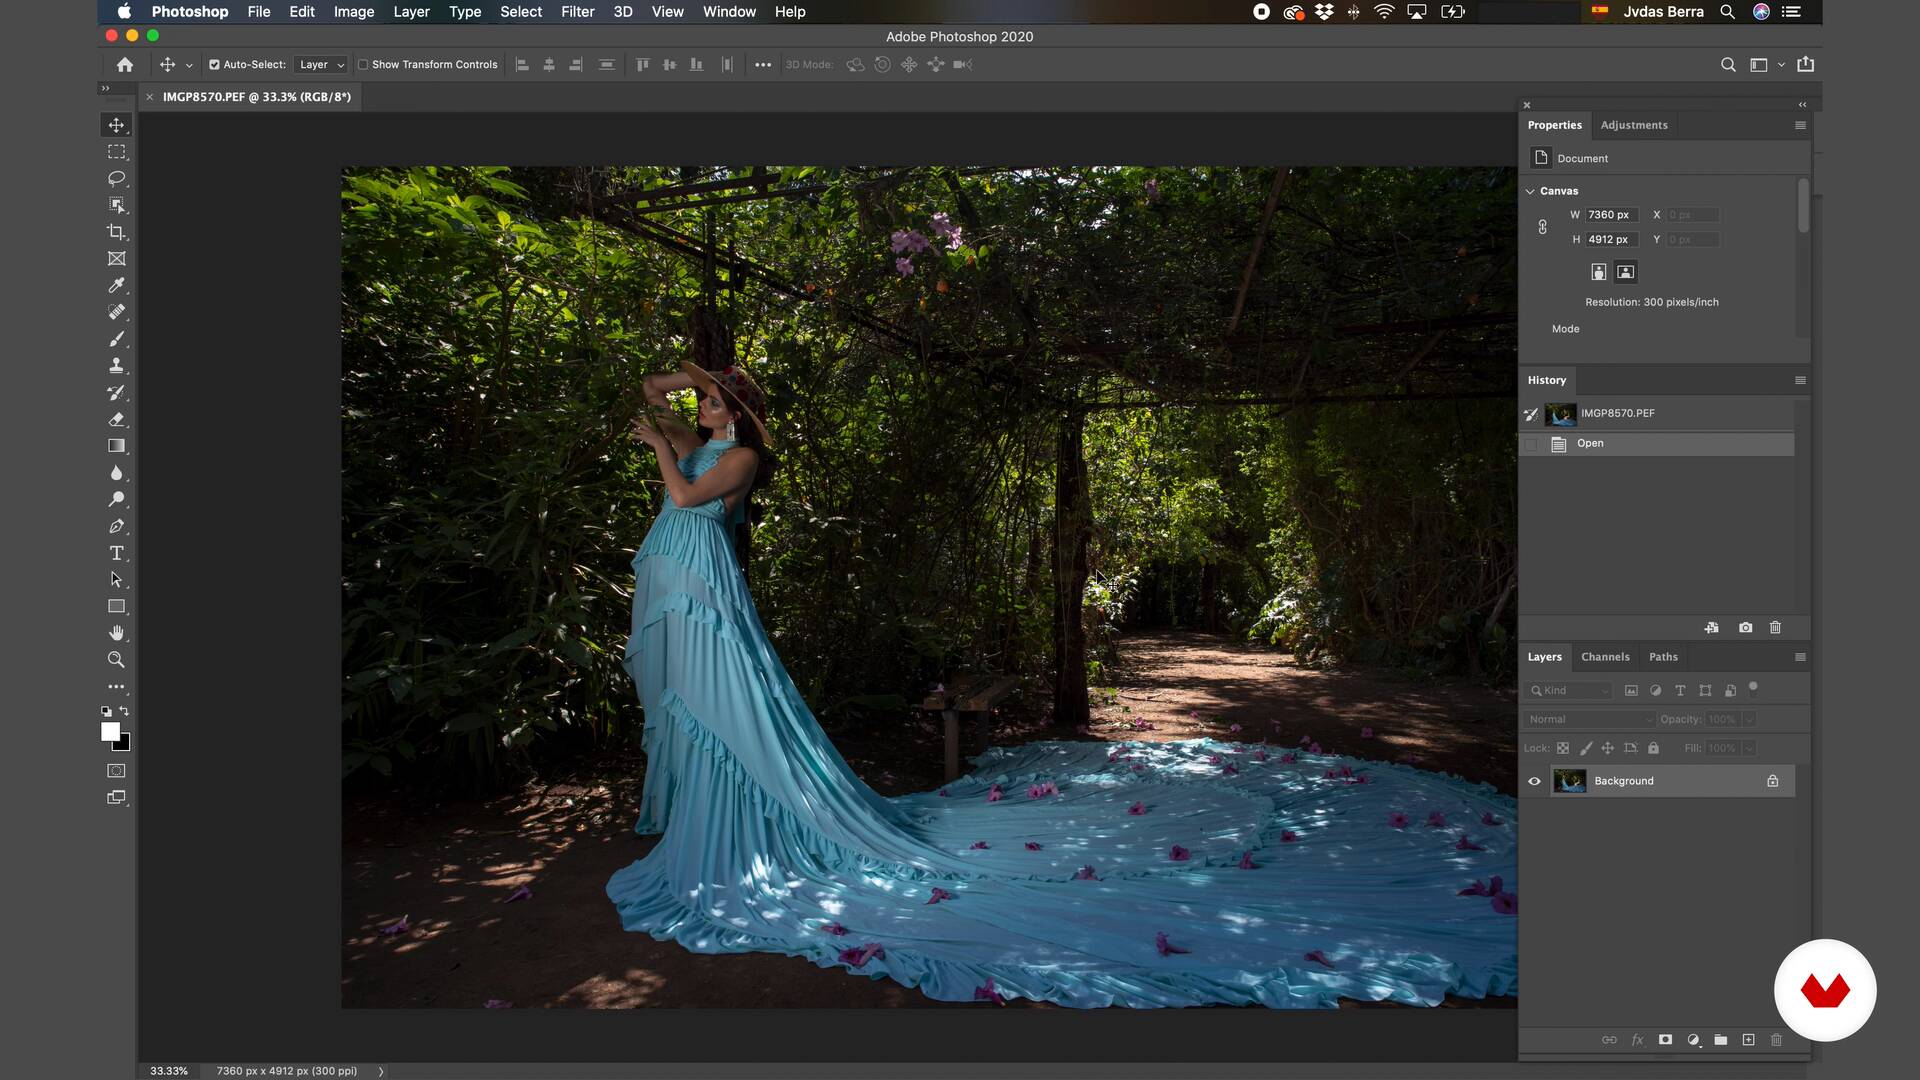
Photoshop workflow
With the Adobe Photoshop tool we can do anything we can think of, you mark the limit yourself! During this lesson, I will show you some of the tools that I use the most to make my work shine.
3m
image
14
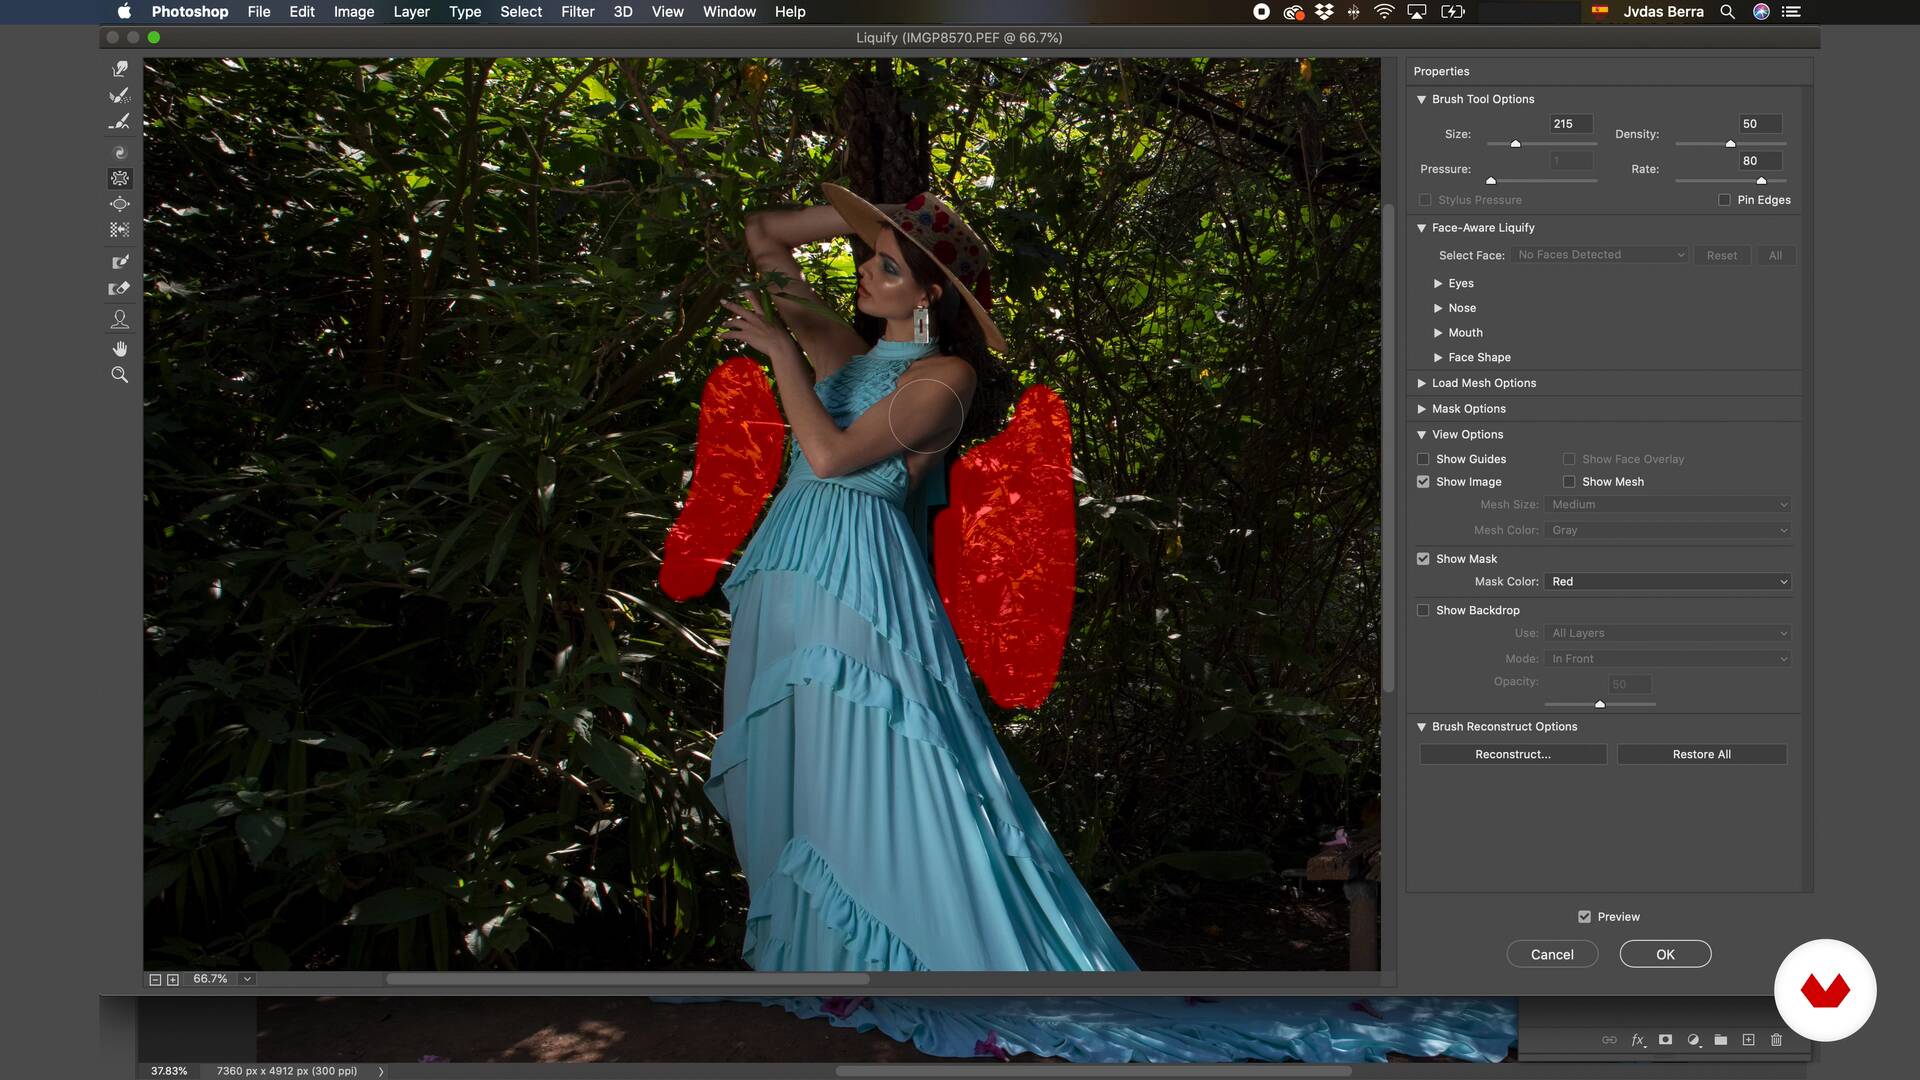
Cleaning, silhouettes and textures
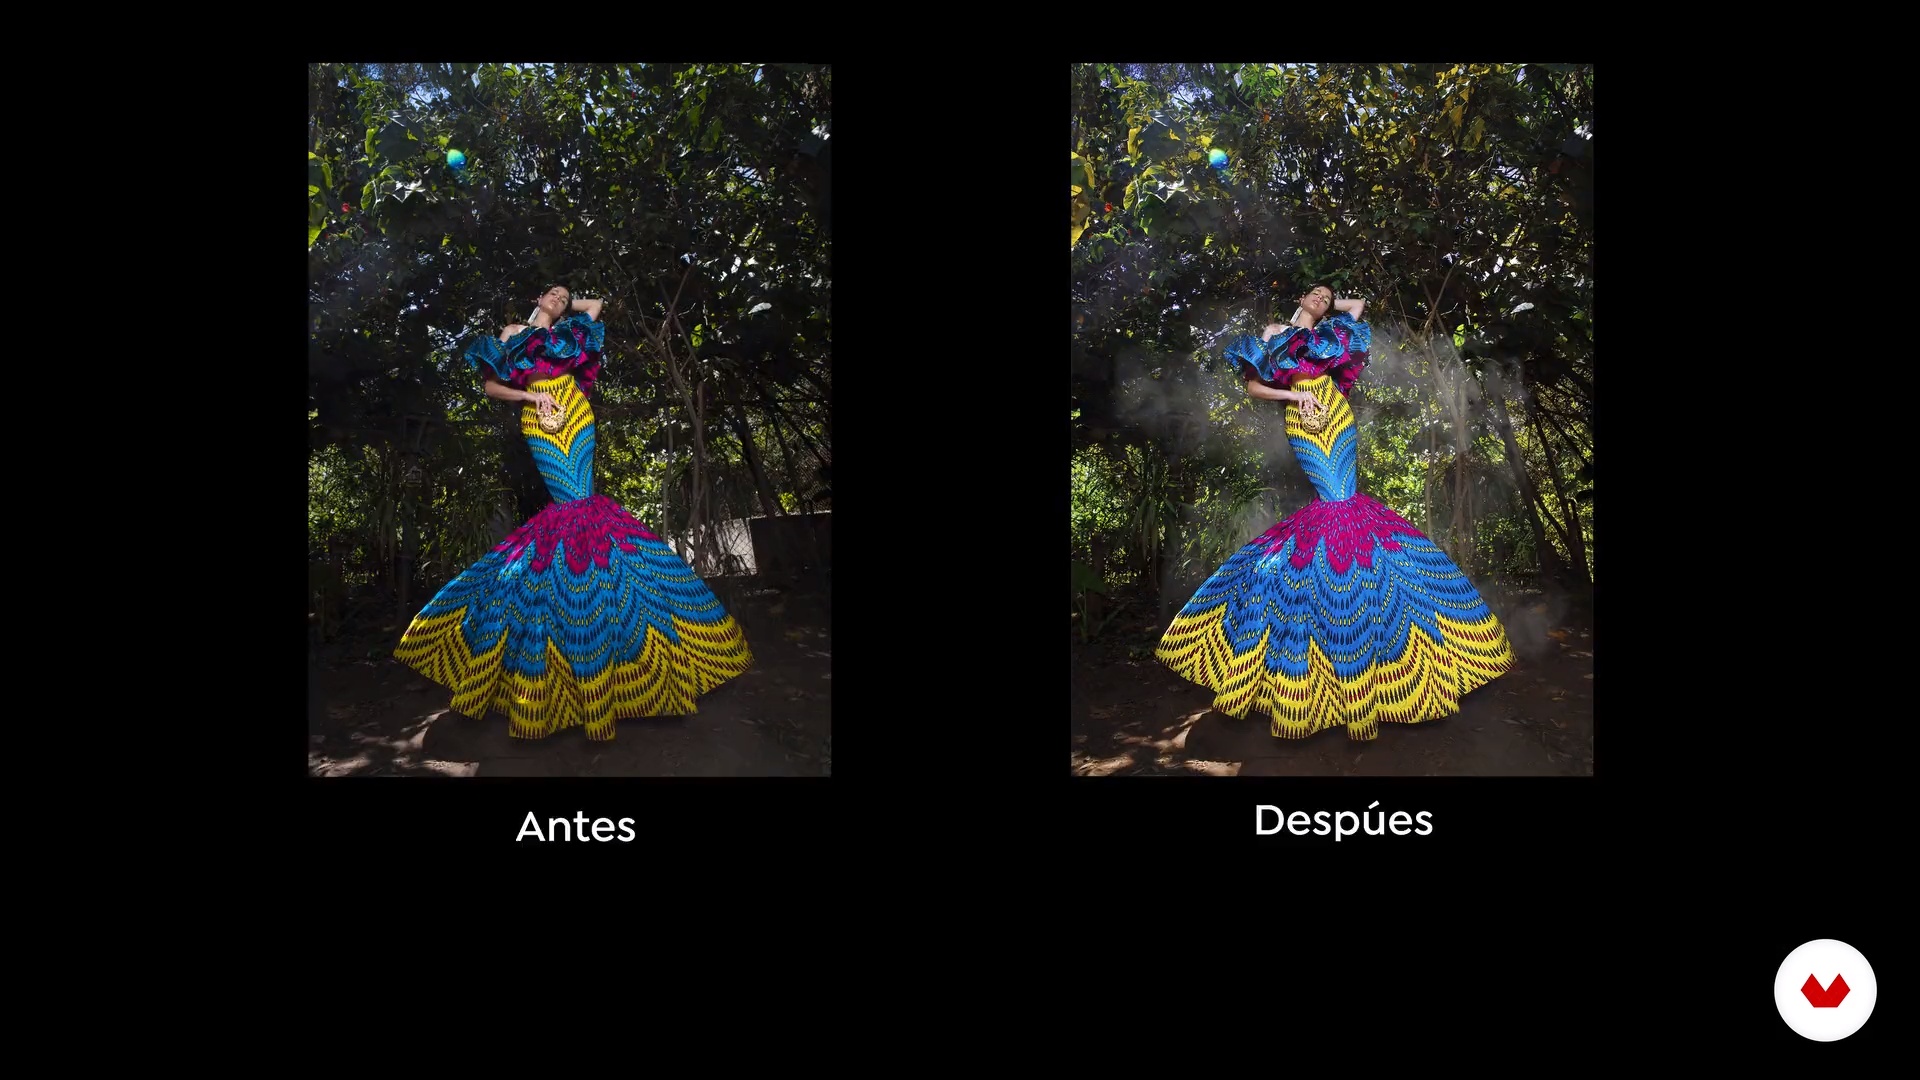
In our photographs we can do things from creating new worlds, altering environments, correcting and changing colors, modifying textures, retouching the skin and deforming whatever we want. In this lesson you will learn to take care of visual cleanliness and define silhouettes.
20m
image
15
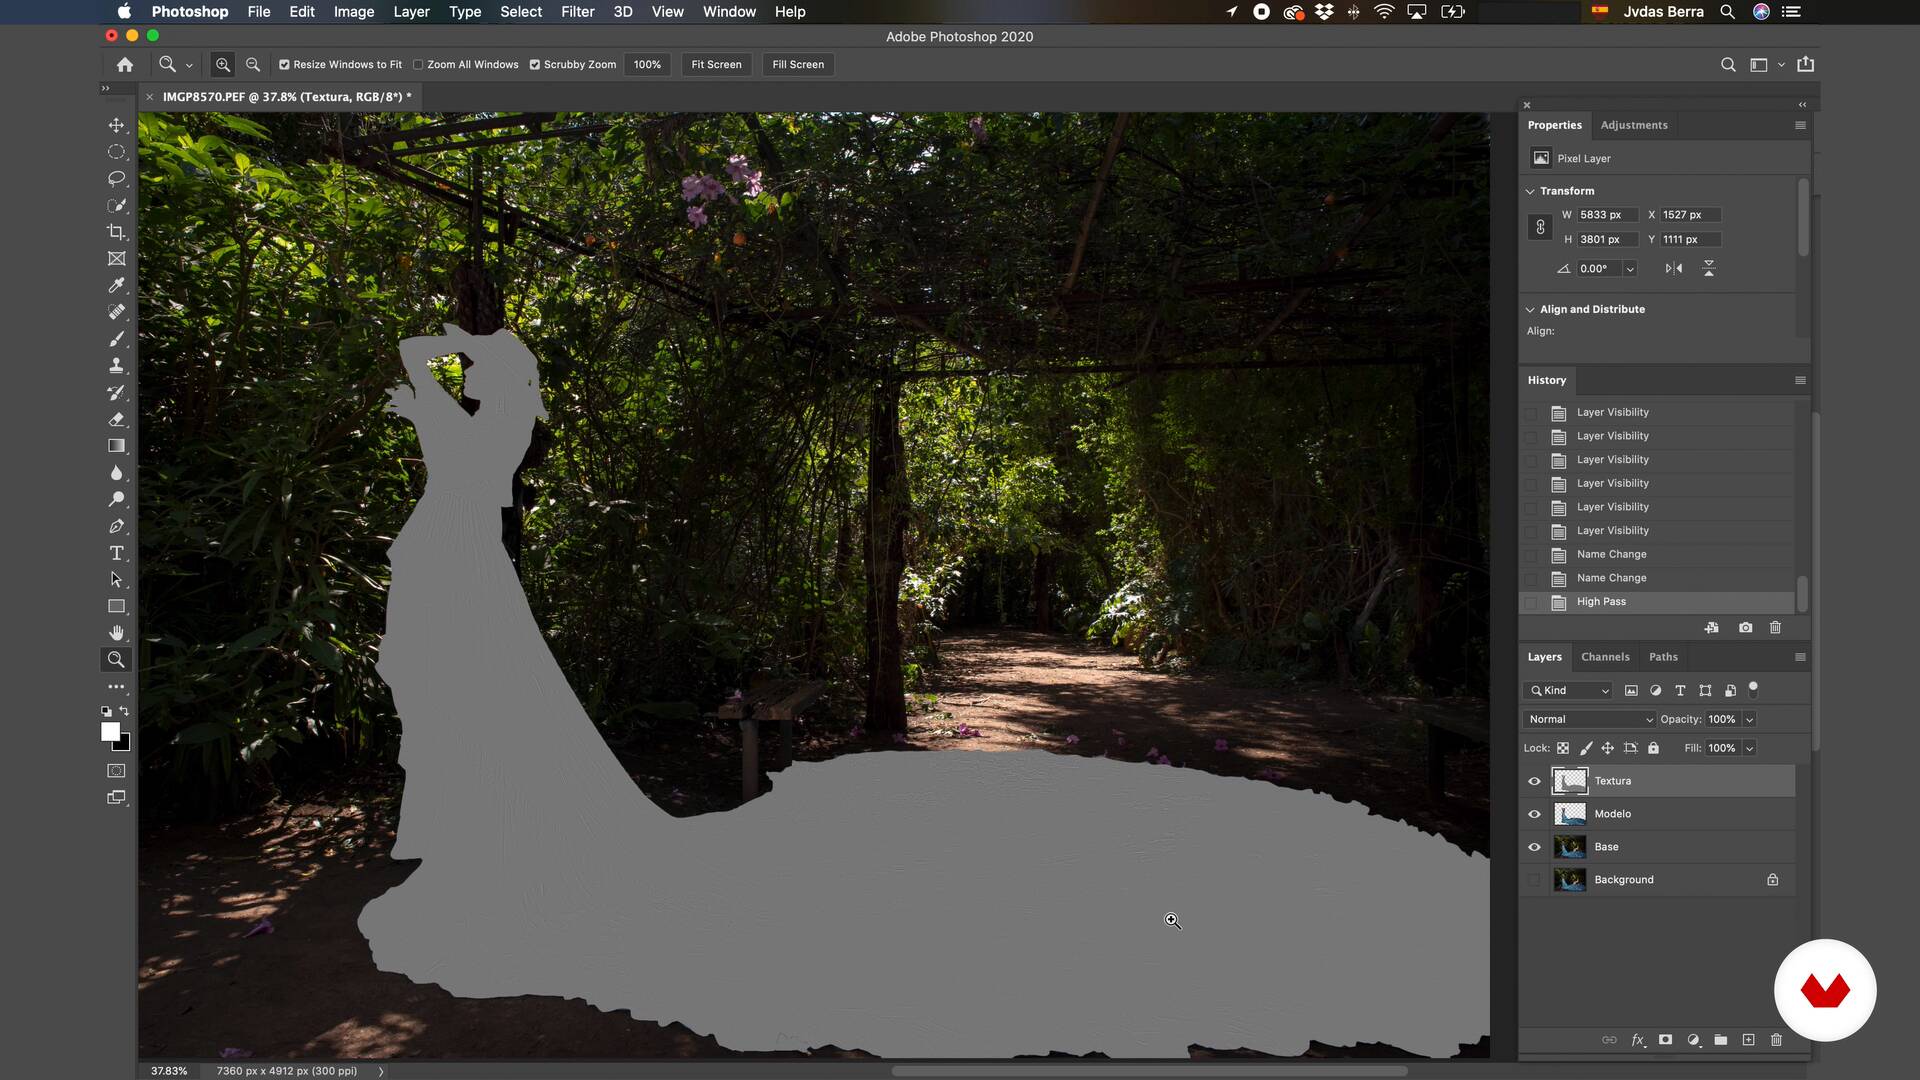
Cleaning, silhouettes and textures 2
During this second part you will learn to mark the textures of your photography and separate your subject from the environment to handle a three-dimensionality in your work.
4m
image
16
Skin retouching, color correction and filters
I have a method of skin retouching and color correction that are very effective, fast and comfortable to do at the same time. In this section you will know what is my way of perfecting the skin and taking care of the colors in your photographs.
17m
image
17
Skin Retouching, Color Correction and Filters 2
Generating high-impact photos is easier than you think. Now you will learn how to generate these types of photographs by applying a few last touches, in this way you will achieve incredible results.
12m
image
18
Export for different uses
Once you have it ready, we will proceed to export the image, we have several formats that serve us for different options.
3m
image
19
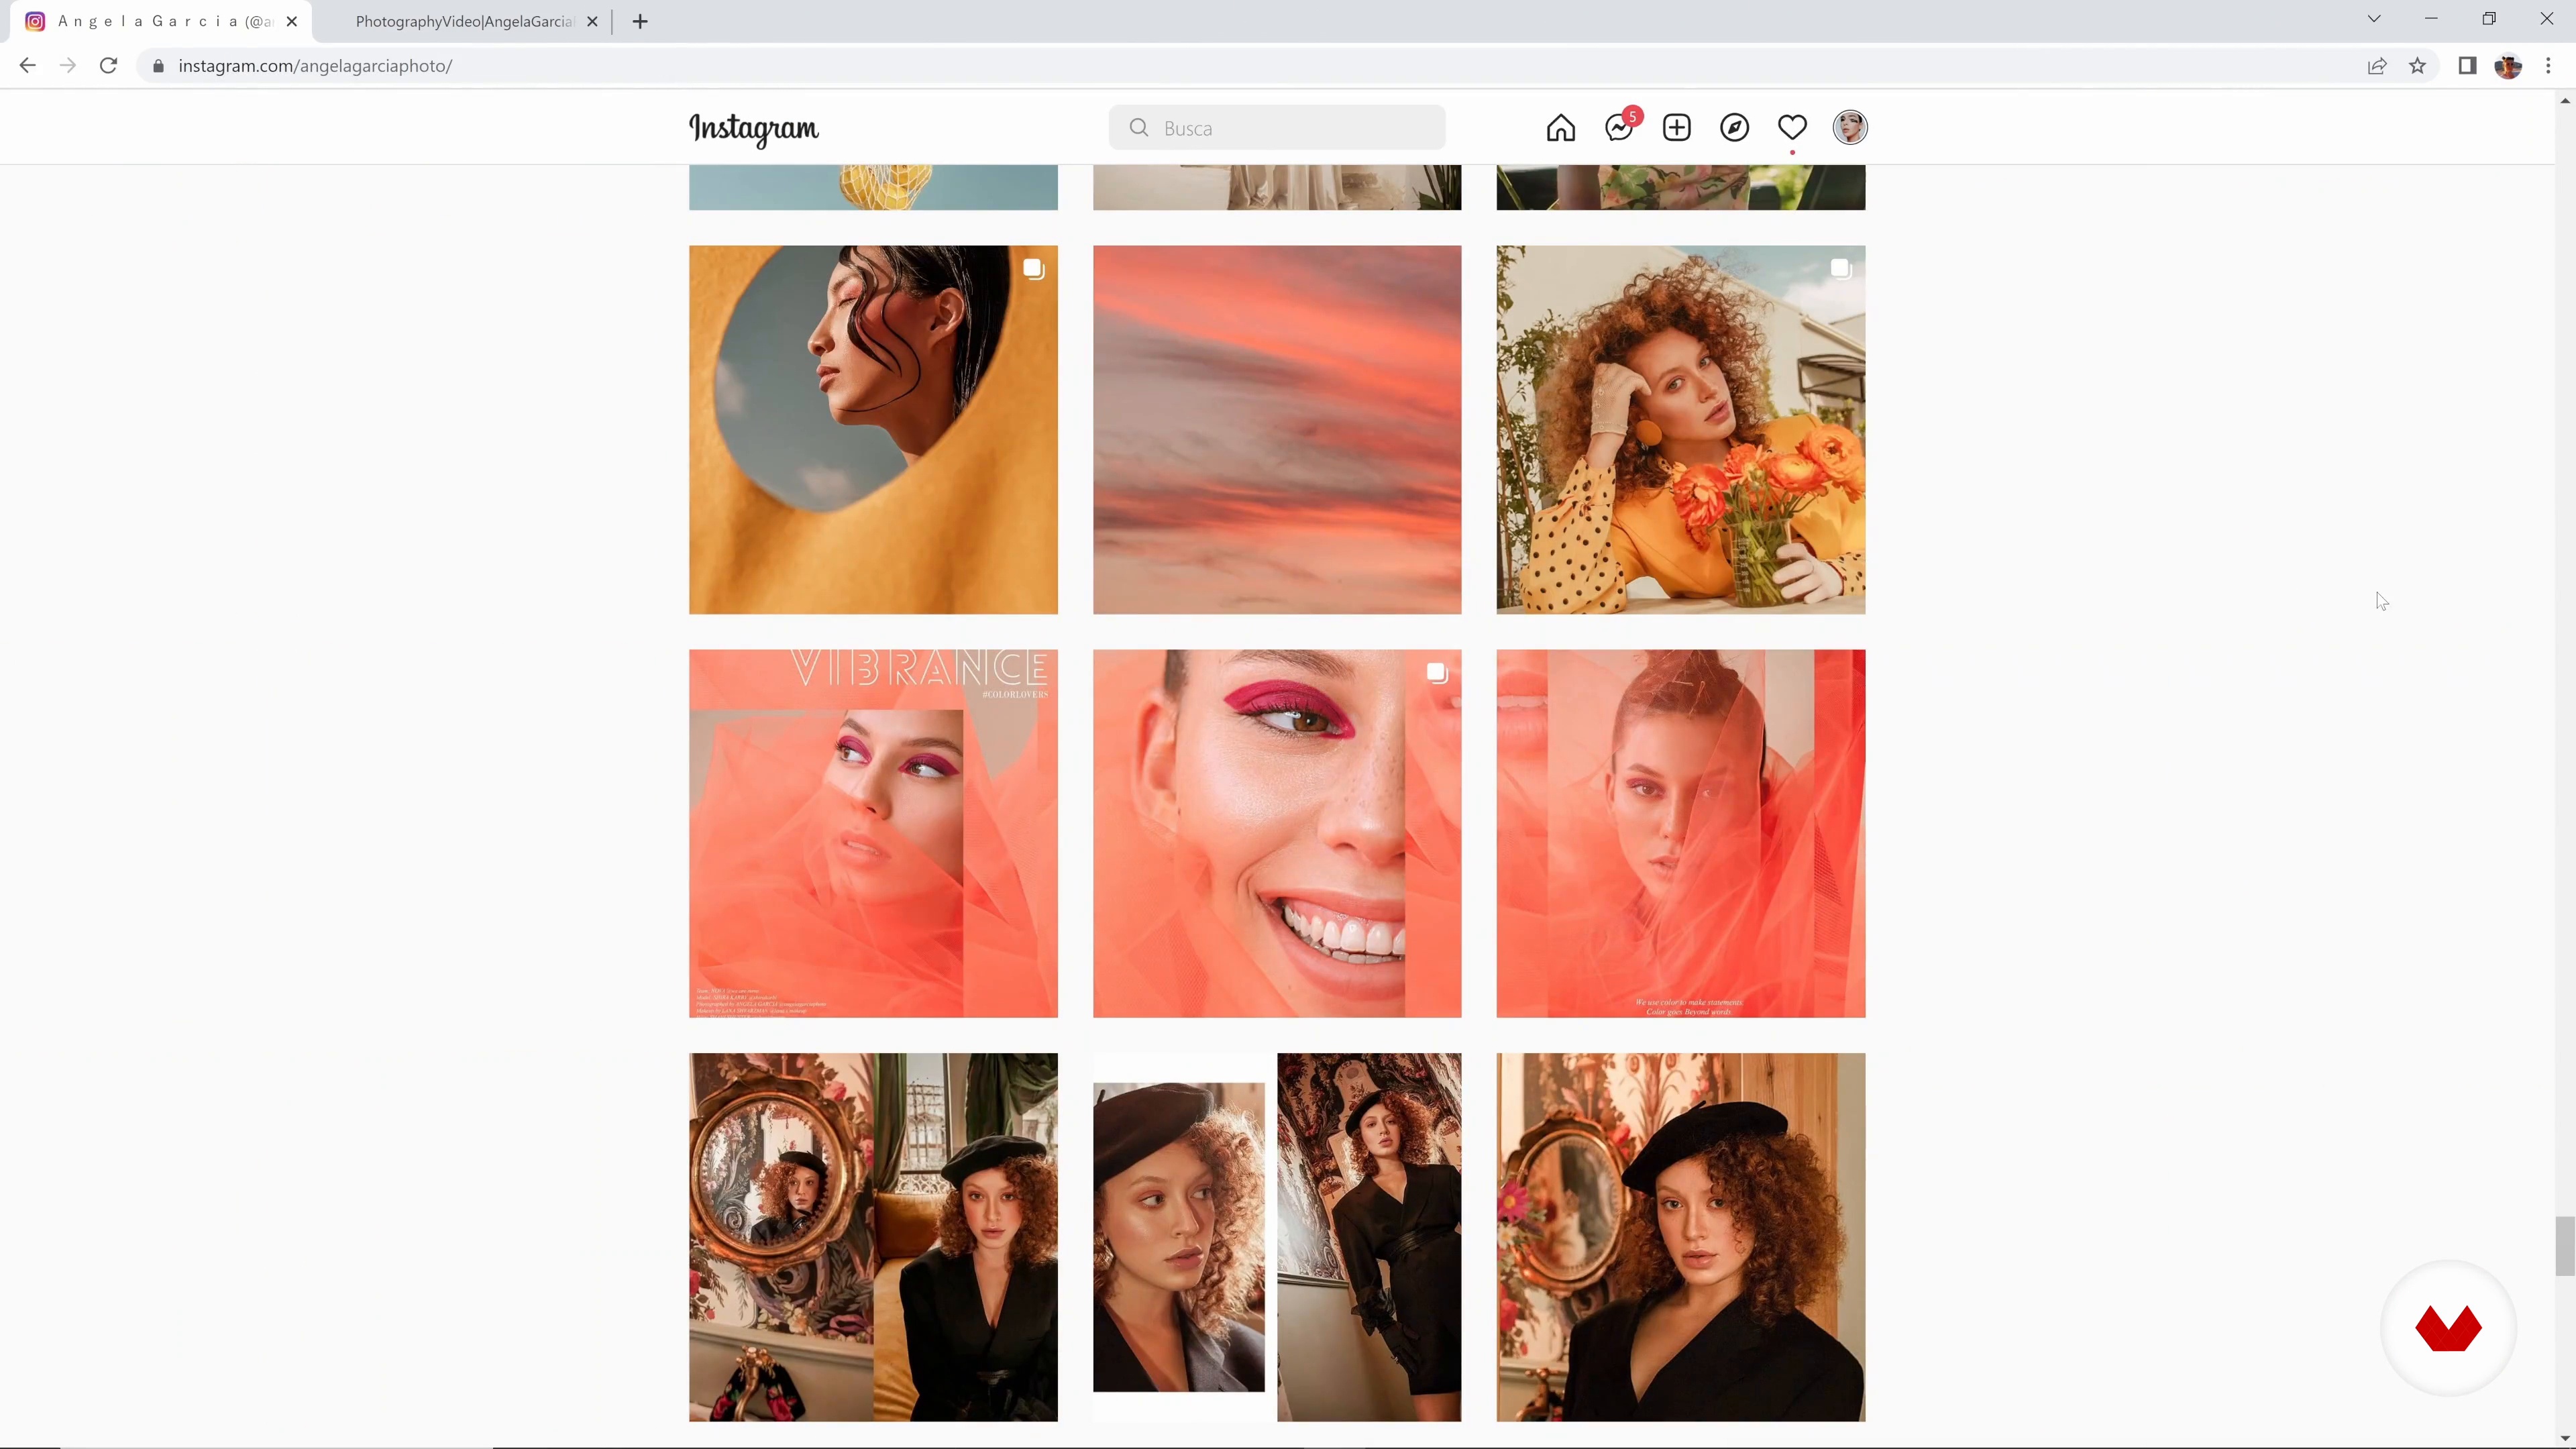
Platforms and dissemination of work
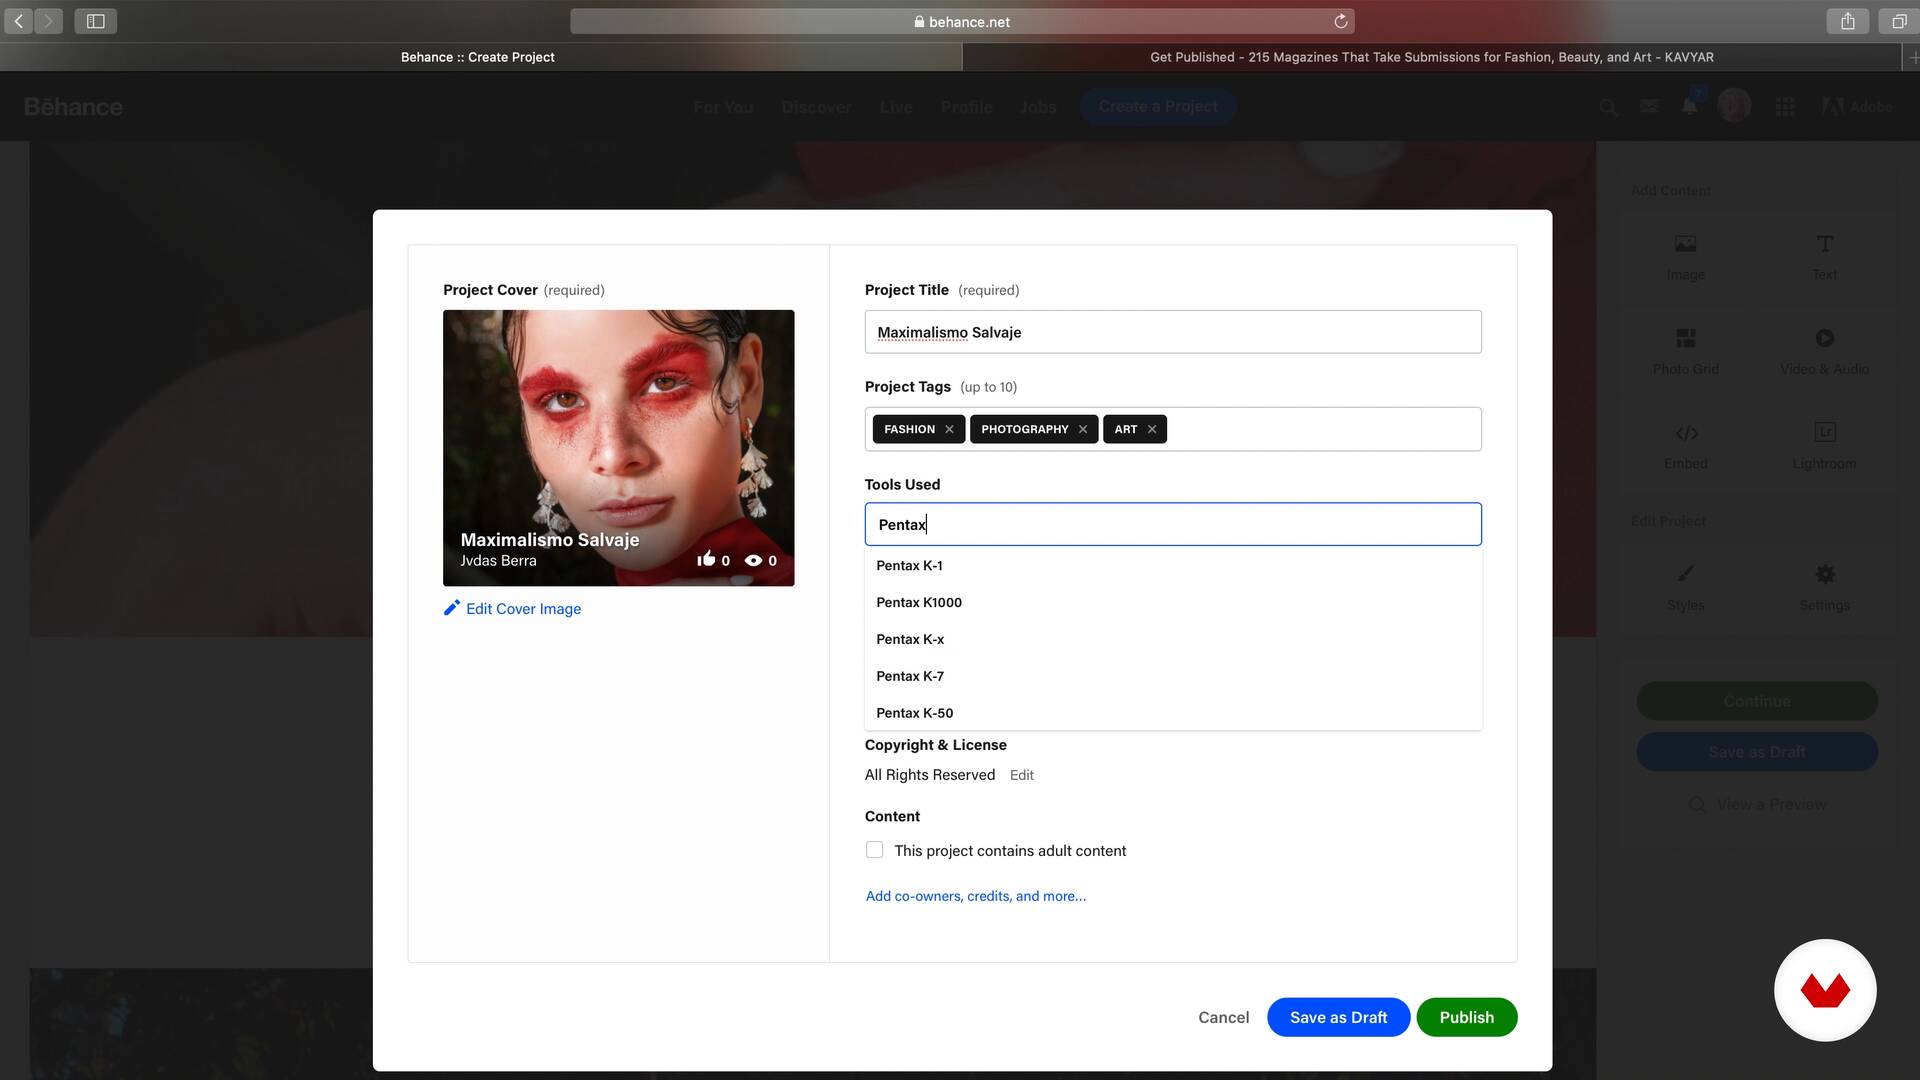
It is important to put together your portfolio, show it and publish it, so this lesson is very valuable, it is useless to do a good job and have it saved. Now you will learn how to put together that unforgettable portfolio.
5m
  • 10 students
  • 72 lessons (11h 28m)
  • 85 additional resources (32 files)
  • Online and at your own pace
  • Audio: Spanish, German, English, Spanish (Latam), French, Italian, Dutch, Polish, Portuguese, Turkish
  • Spanish · English · Portuguese · German · French · Italian · Polish · Dutch · Turkish
  • Level: {beginner: "Beginner", intermediate: "Intermediate", advanced: "Advanced"}
  • Unlimited access forever

What is this course's project?

The course's culminating project consists of creating a fashion editorial with an artistic and narrative focus, integrating learned techniques to develop a conceptual narrative, plan production, and create a cohesive, professionally edited photographic series of 8-12 images.

Who is this specialization for?

Photographers passionate about fashion and editing who wish to delve deeper into advanced visual storytelling techniques. Creative professionals looking to improve their photography skills and build an impactful portfolio, both artistically and commercially.

Requirements and materials

No extensive prior knowledge is required. You'll need a camera, basic lighting equipment, and access to editing software. Basic knowledge of photography and creativity is helpful. A comfortable workspace is recommended for developing projects.

Select to get to know your teachers in this specialization course
Read more ↓

What to expect from this specialization course

  • Learn at your own pace

    Enjoy learning from home without a set schedule and with an easy-to-follow method. You set your own pace.

  • Learn from the best professionals

    Learn valuable methods and techniques explained by top experts in the creative sector.

  • Meet expert teachers

    Each expert teaches what they do best, with clear guidelines, true passion, and professional insight in every lesson.

  • Certificates
    Plus

    If you're a Plus member, get a custom certificate for every specialization course. Share it on your portfolio, social media, or wherever you like.

  • Get front-row seats

    Videos of the highest quality, so you don't miss a single detail. With unlimited access, you can watch them as many times as you need to perfect your technique.

  • Share knowledge and ideas

    Ask questions, request feedback, or offer solutions. Share your learning experience with other students in the community who are as passionate about creativity as you are.

  • Connect with a global creative community

    The community is home to millions of people from around the world who are curious and passionate about exploring and expressing their creativity.

  • Watch professionally produced courses

    Domestika curates its teacher roster and produces every course in-house to ensure a high-quality online learning experience.


FAQs

Domestika courses are online classes that allow you to learn new skills and create incredible projects. All our courses include the opportunity to share your work with other students and/or teachers, creating an active learning community. We offer different formats:
Original Courses: Complete classes that combine videos, texts, and educational materials to complete a specific project from start to finish.
Basics Courses: Specialized training where you master specific software tools step by step.
Specialization Courses: Learning paths with various expert teachers on the same topic, perfect for becoming a specialist by learning from different approaches.
Guided Courses: Practical experiences ideal for directly acquiring specific skills.
Intensive Courses (Deep Dives): New creative processes based on artificial intelligence tools in an accessible format for in-depth and dynamic understanding.

All specialization courses are 100% online, so once they're published, specialization courses start and finish whenever you want. You set the pace of the class. You can go back to review what interests you most and skip what you already know, ask questions, answer questions, share your projects, and more.

The specialization courses are divided into different modules. Each one includes lessons, informational text, tasks, and practice exercises to help you carry out your project step by step, with additional complementary resources and downloads. You'll also have access to an exclusive forum where you can interact with other students, as well as share your work and your final project, creating a community around the specialization courses.

You can redeem the specialization courses you received by accessing the redeeming page and entering your gift code.

If you're a Plus member, when you complete a course you've purchased, you'll instantly get your personalized certificate. You can see all your certificates in the Certificates section of your profile. You can download your certificates as PDFs and share the link online. Learn more about certificates.

Specialization in Editorial Fashion Photography.  course by Domestika

Specialization in Editorial Fashion Photography

A specialization by multiple teachers
Berkeley, United States.
Joined April 2002
  • 10 students