
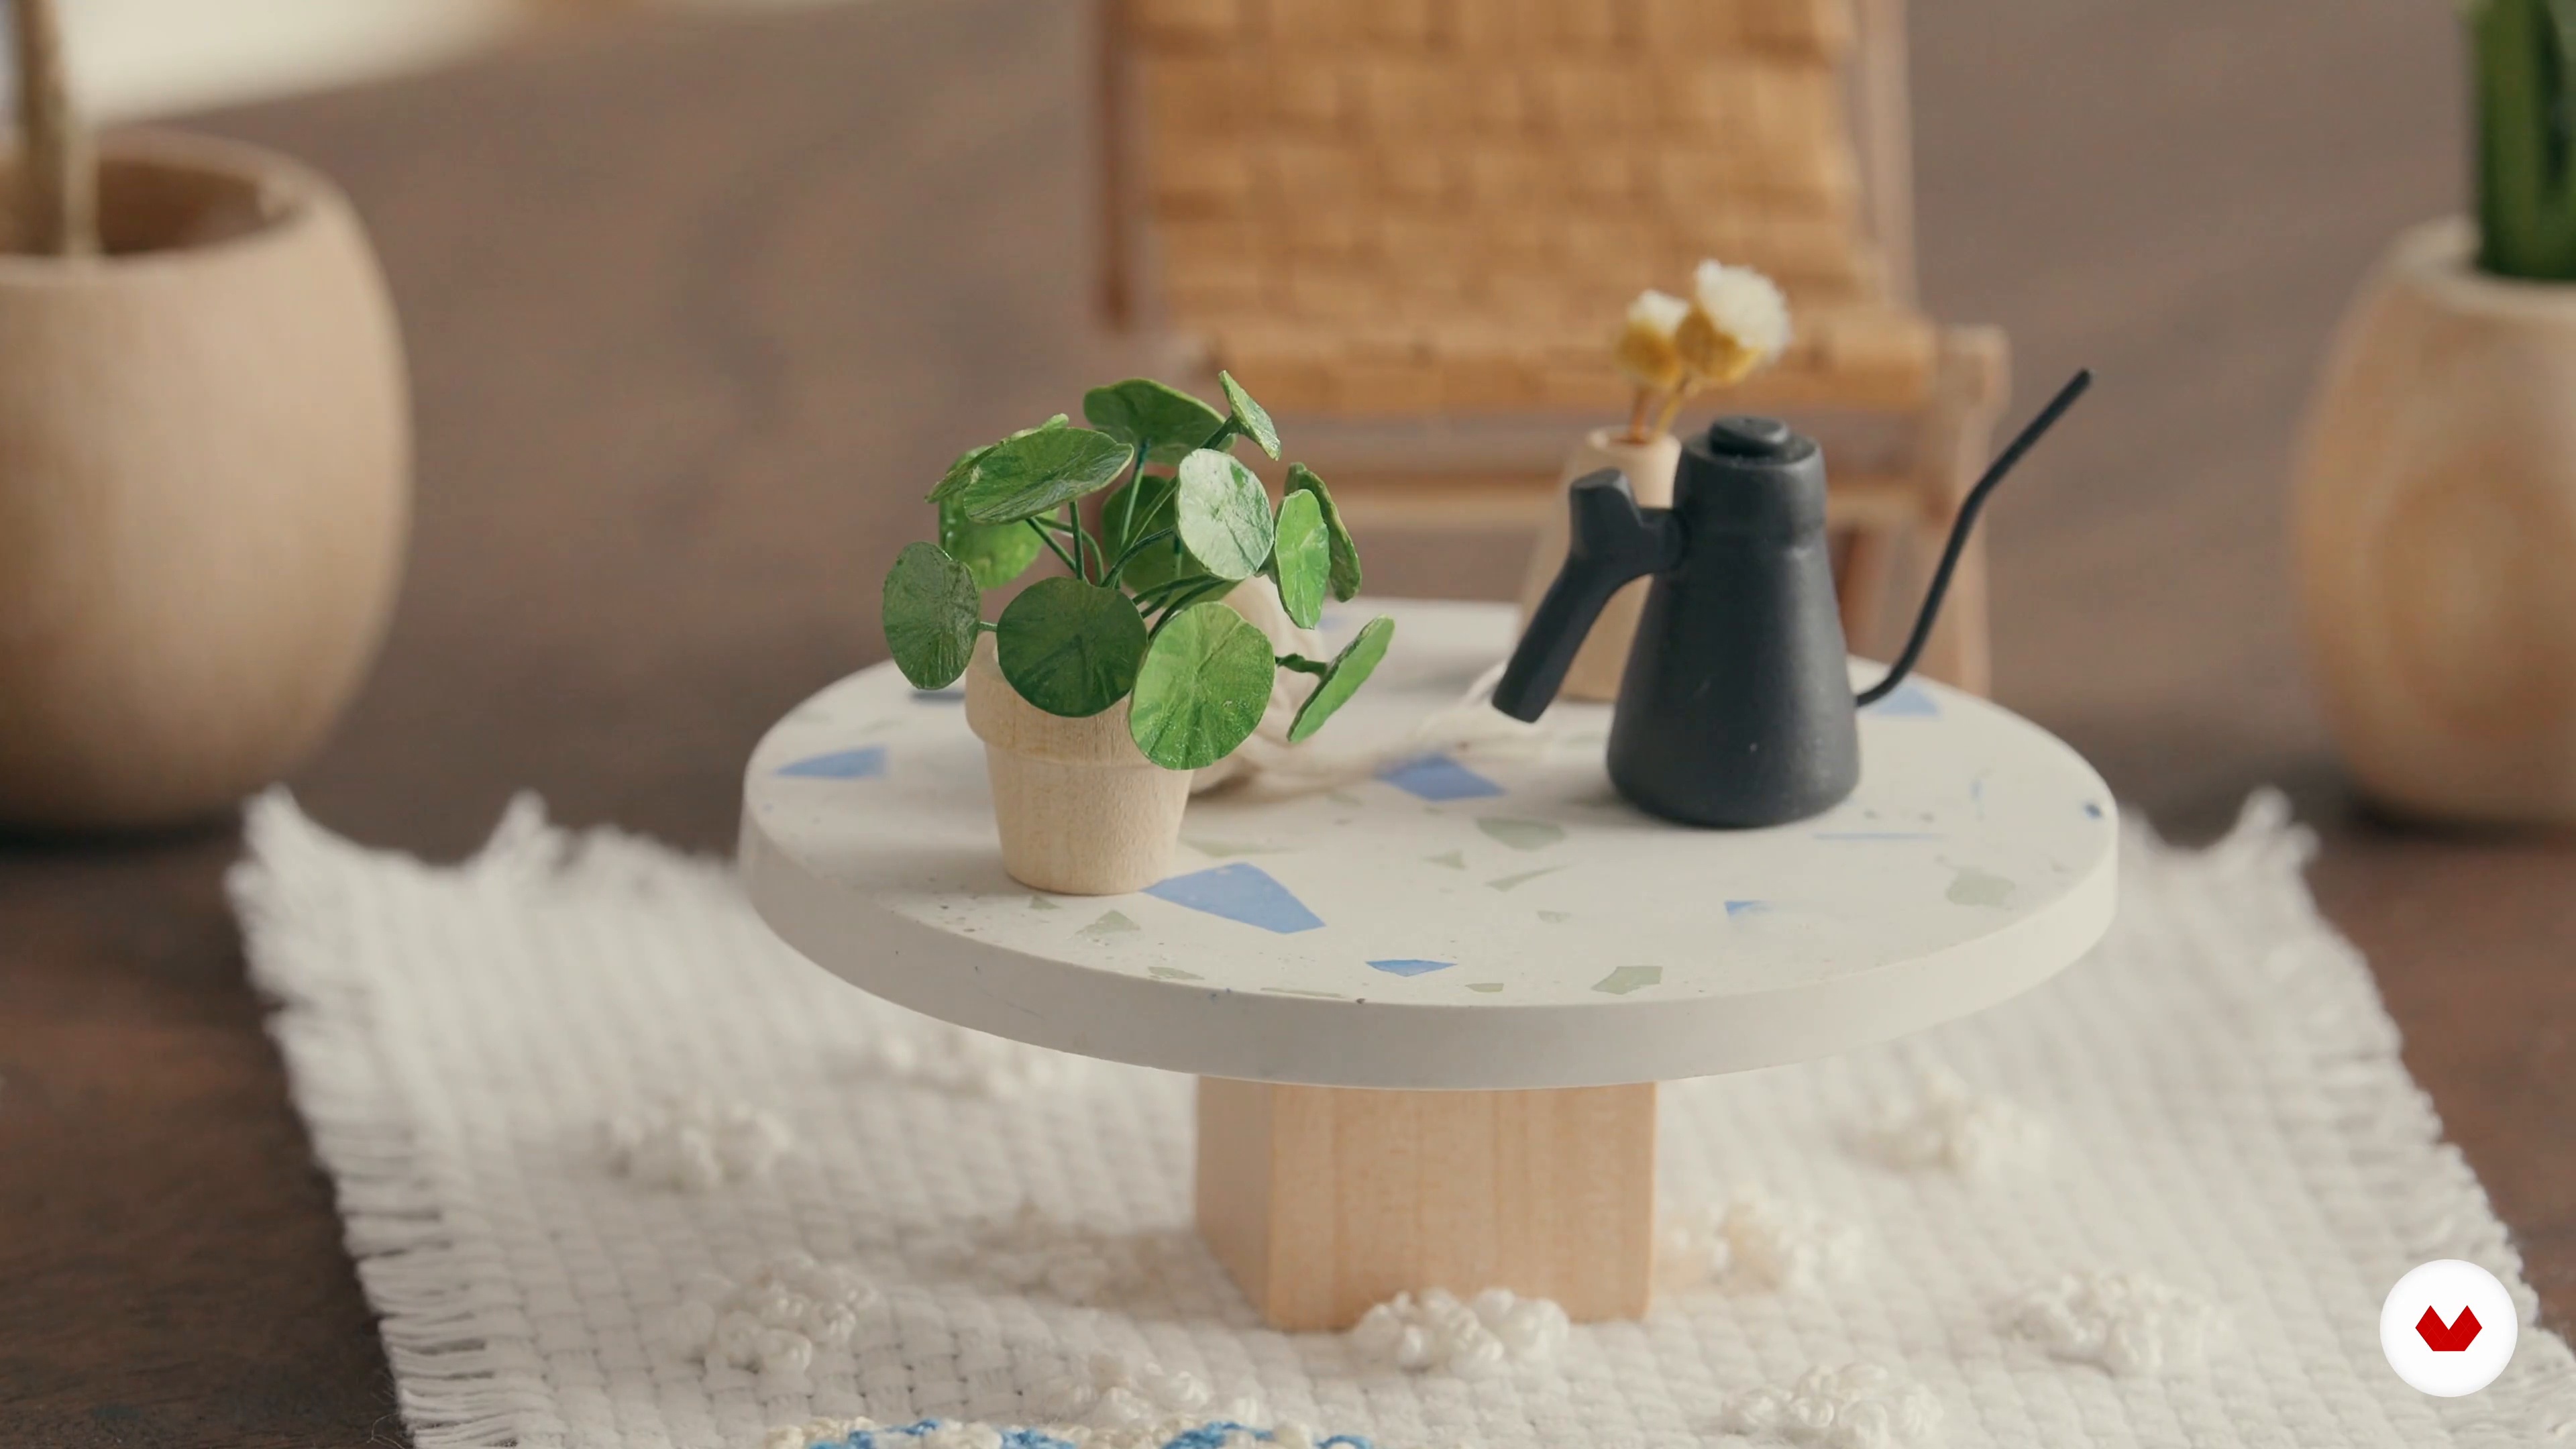
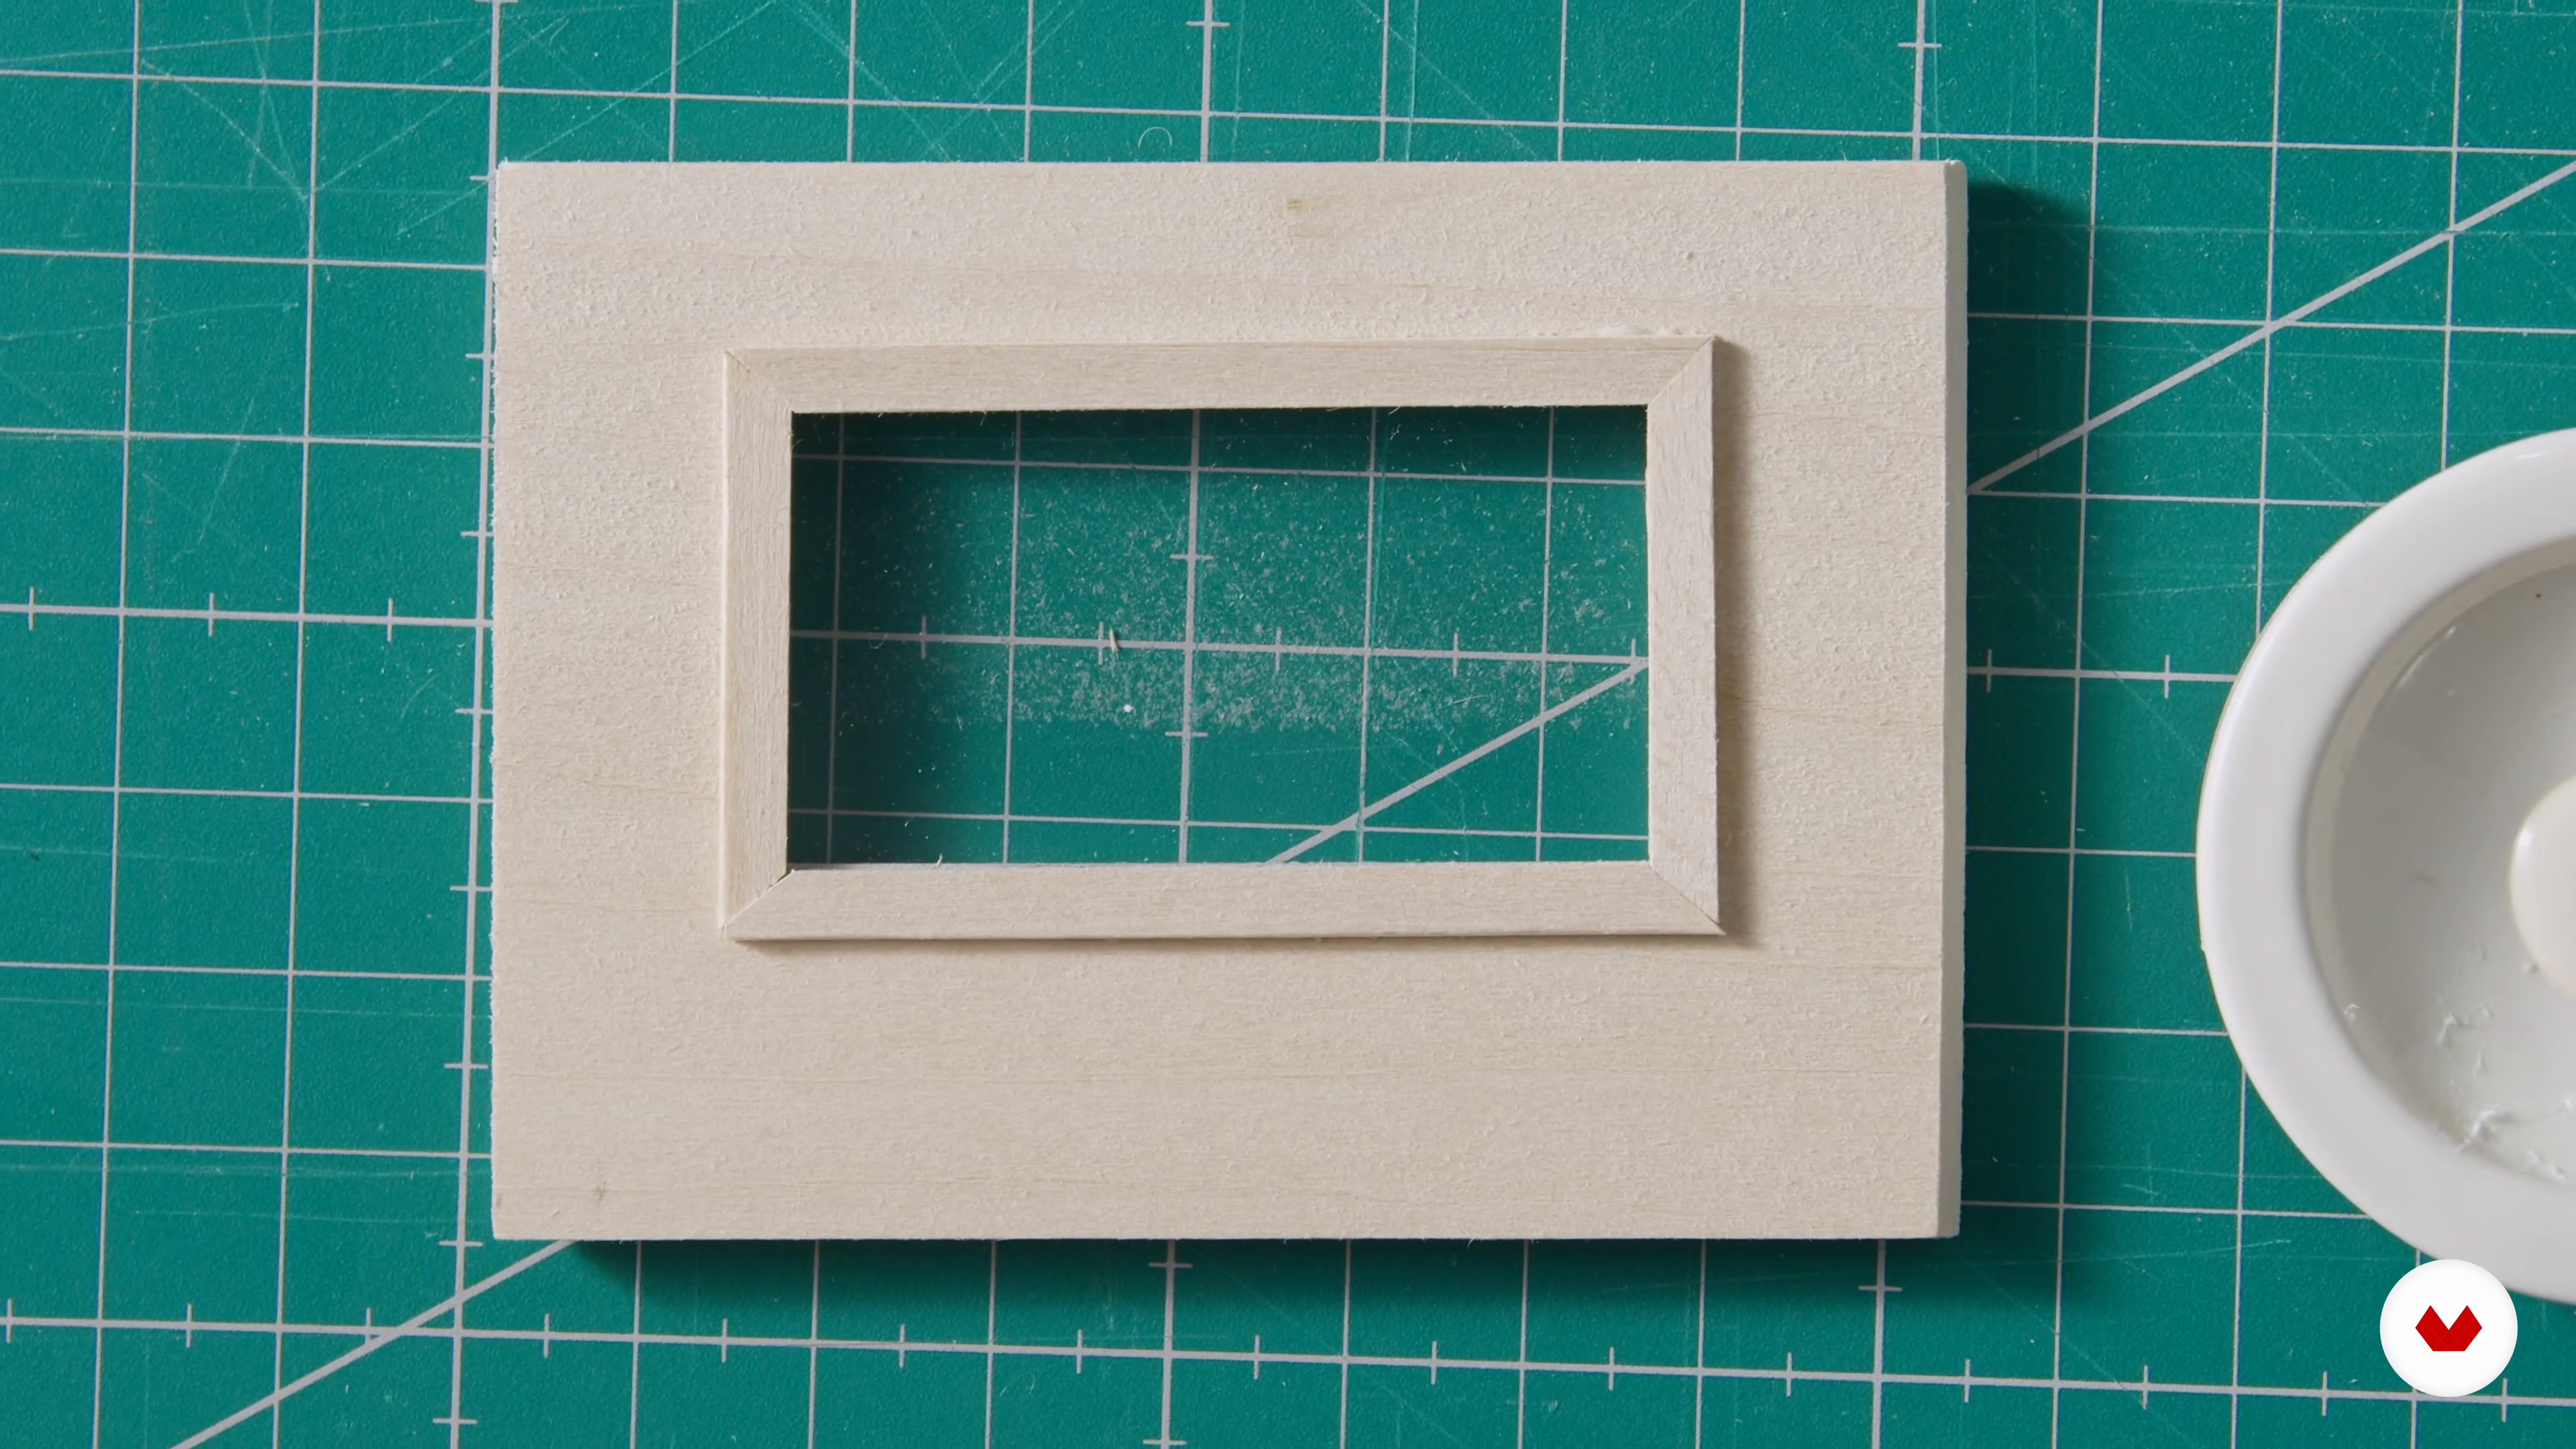
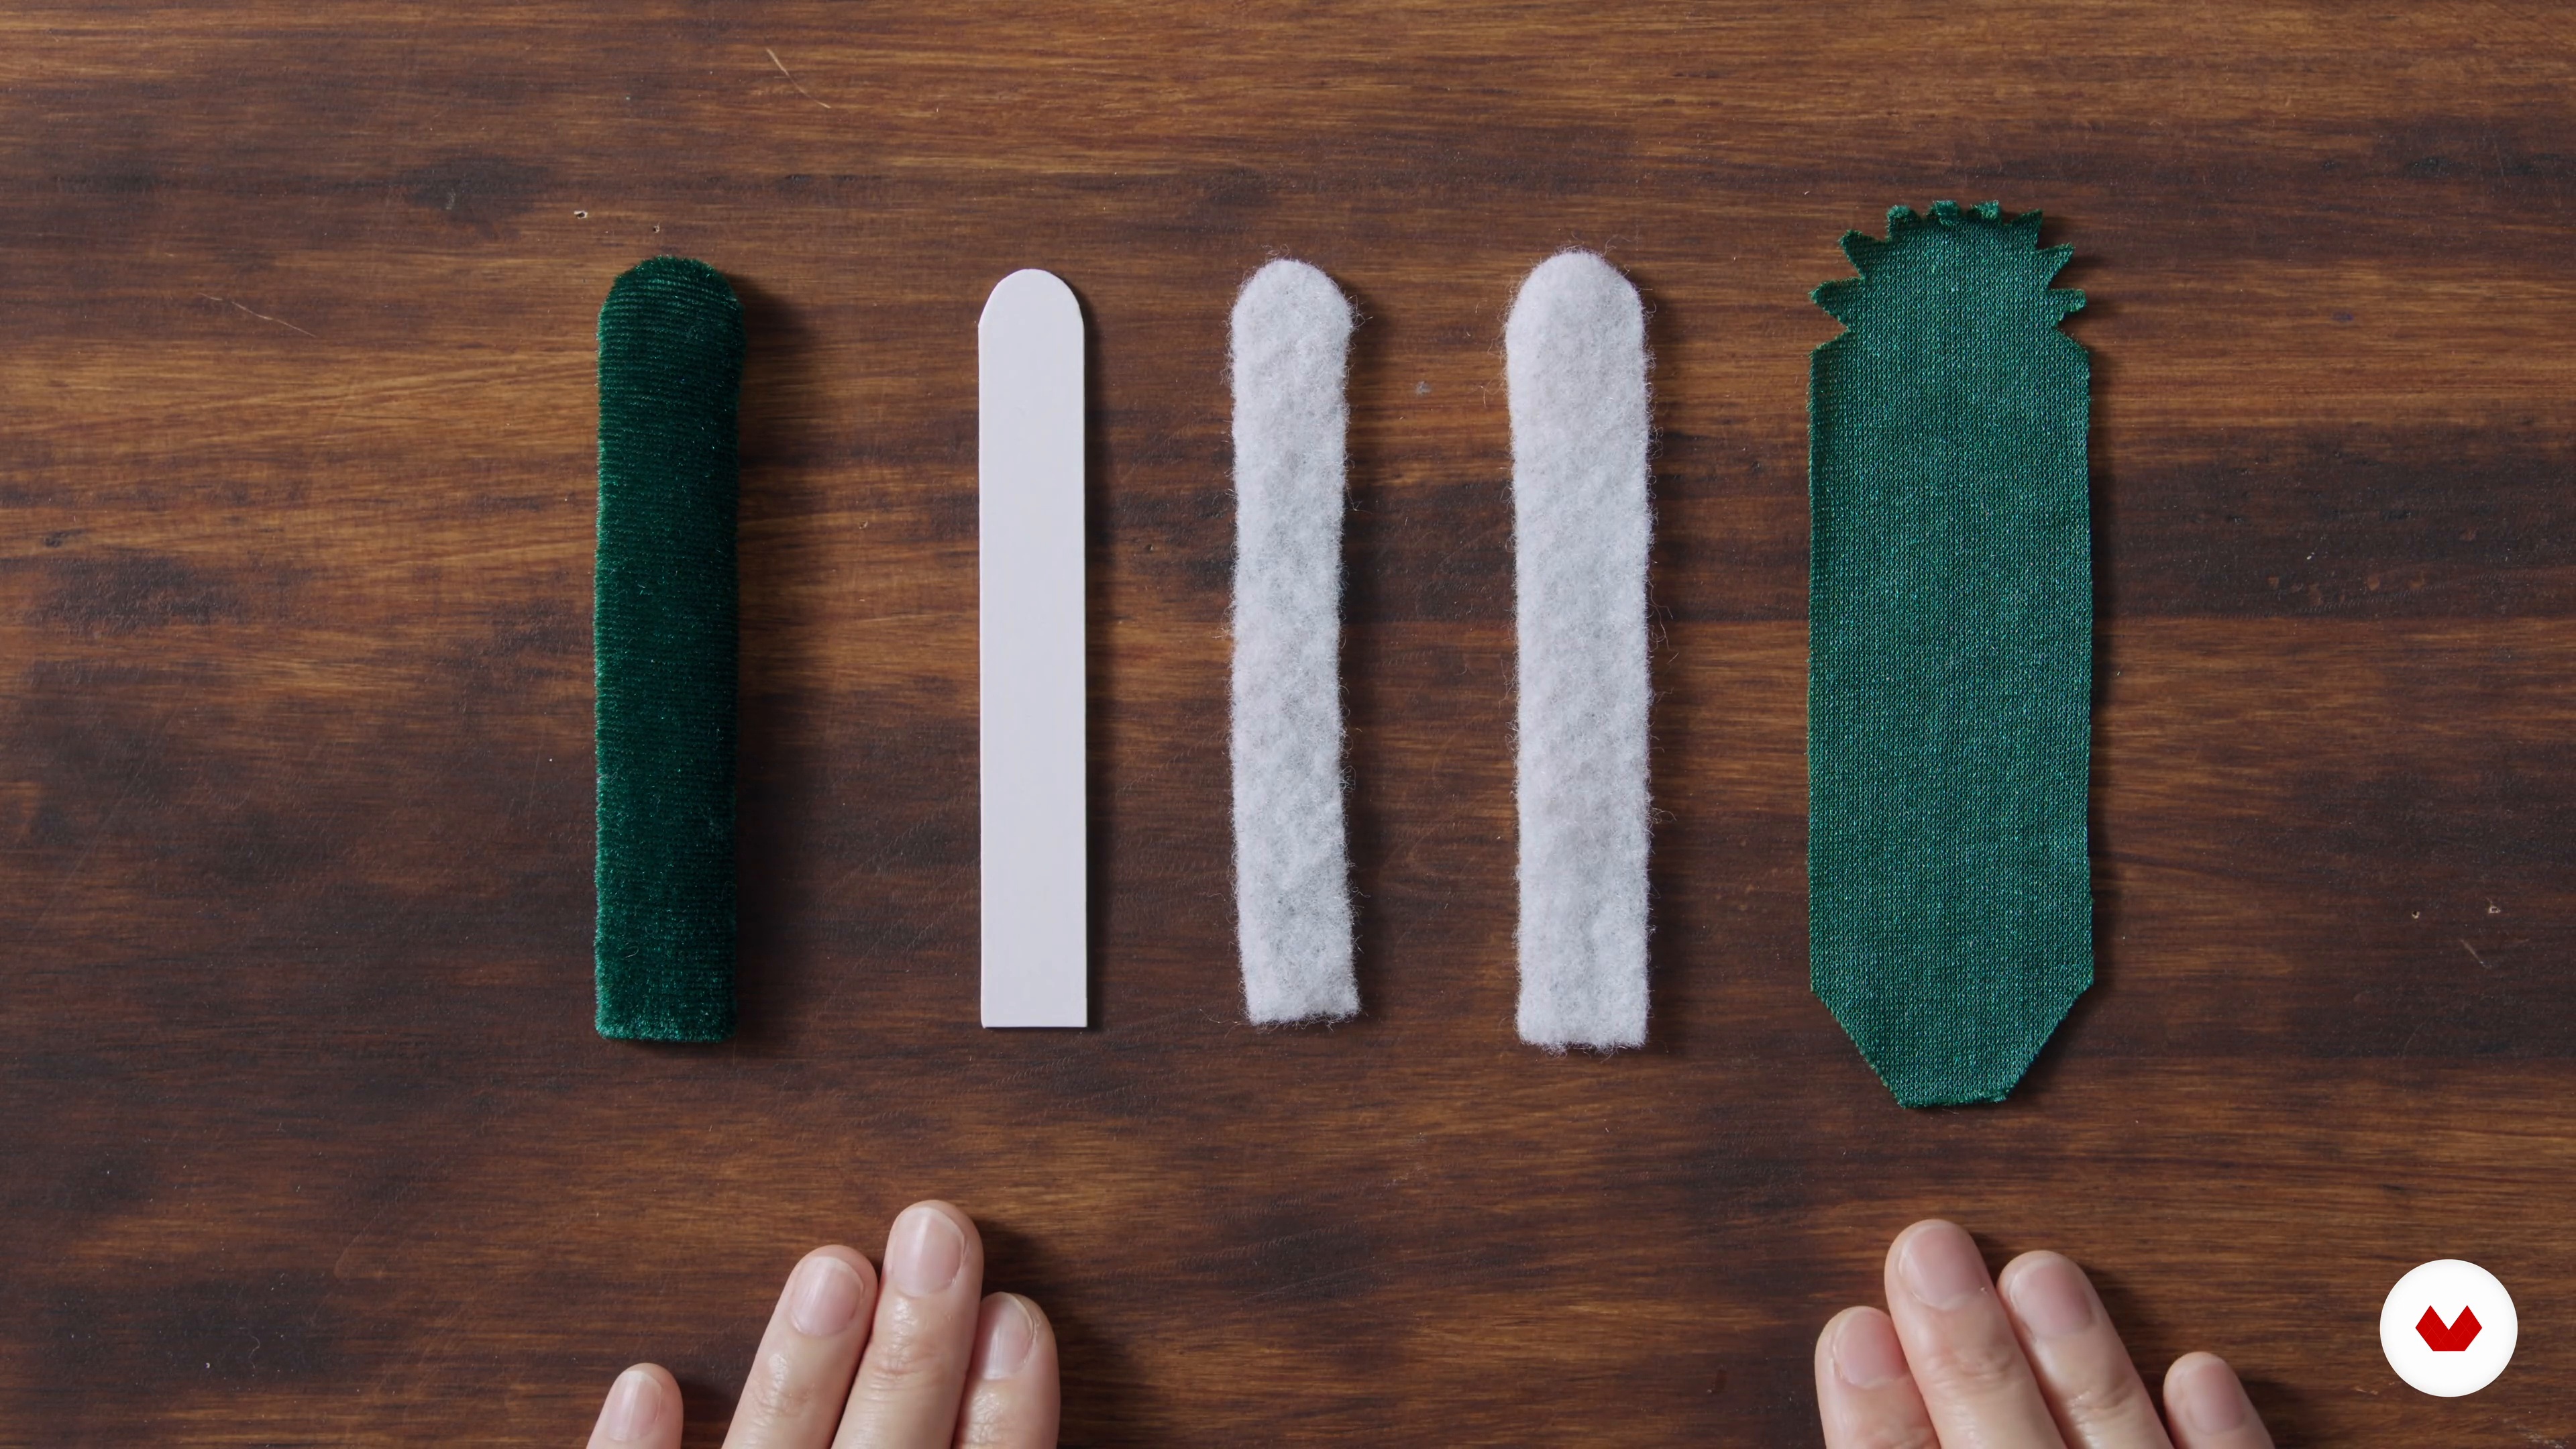
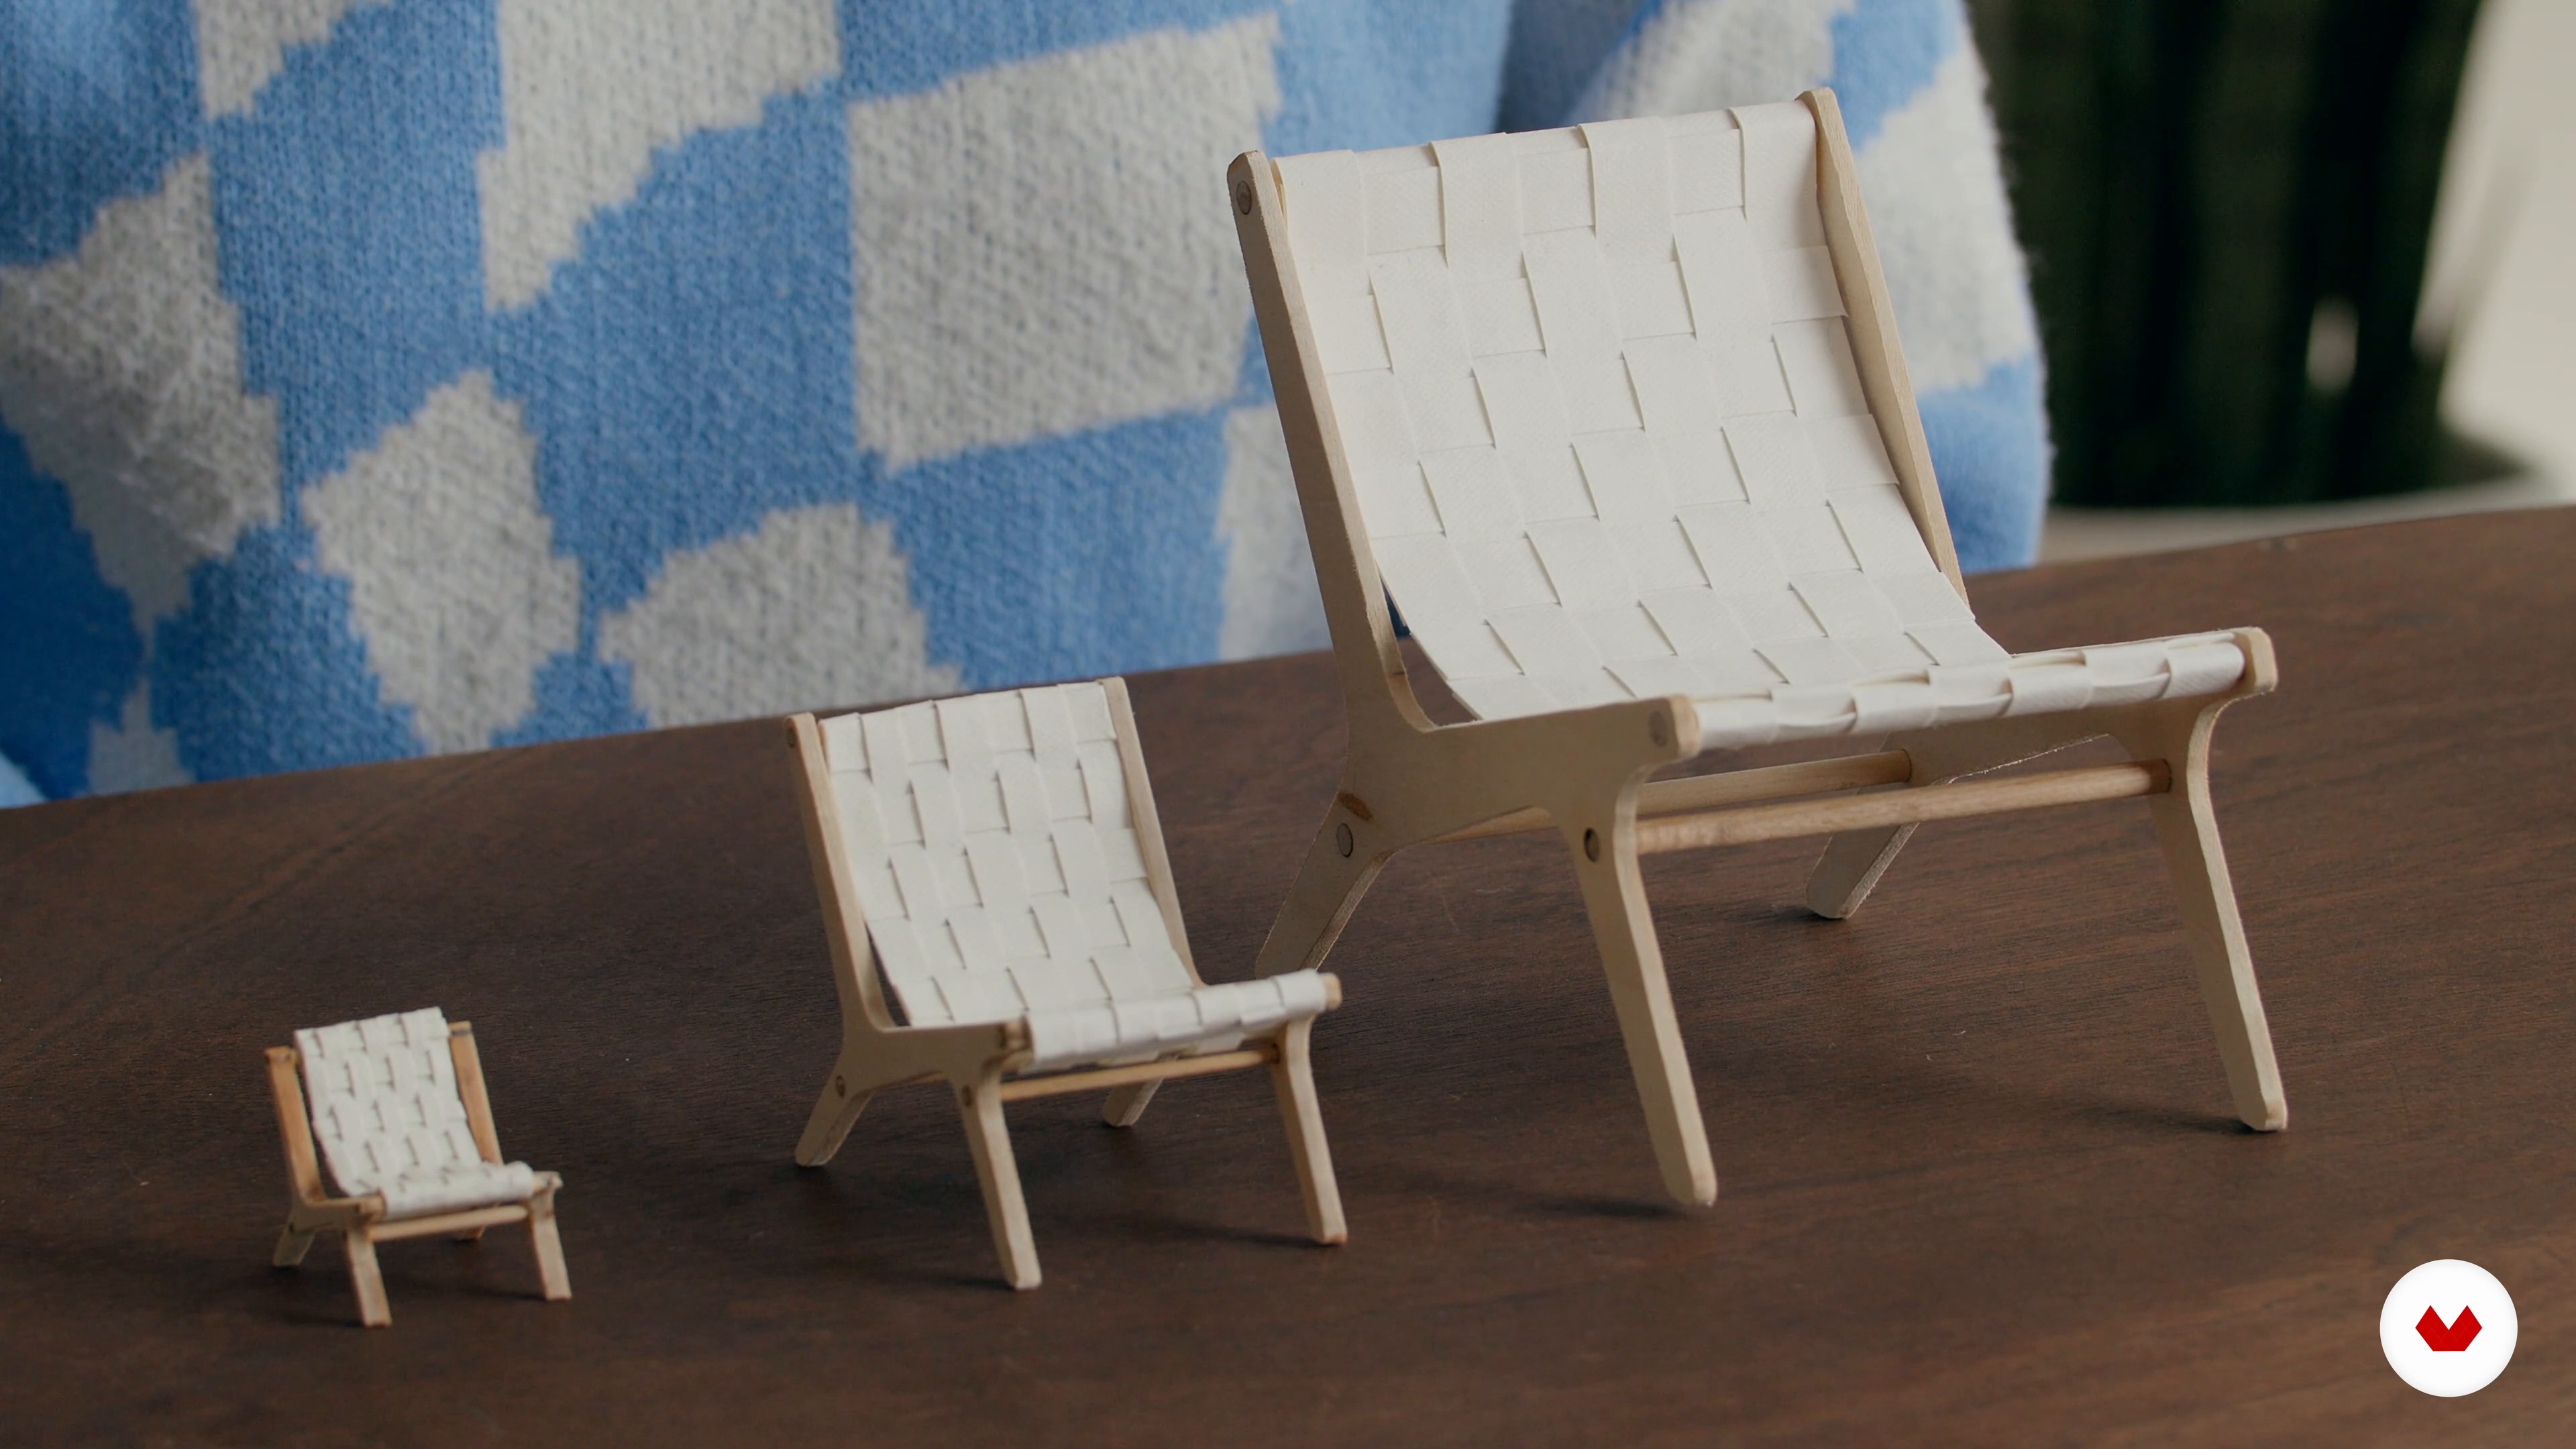
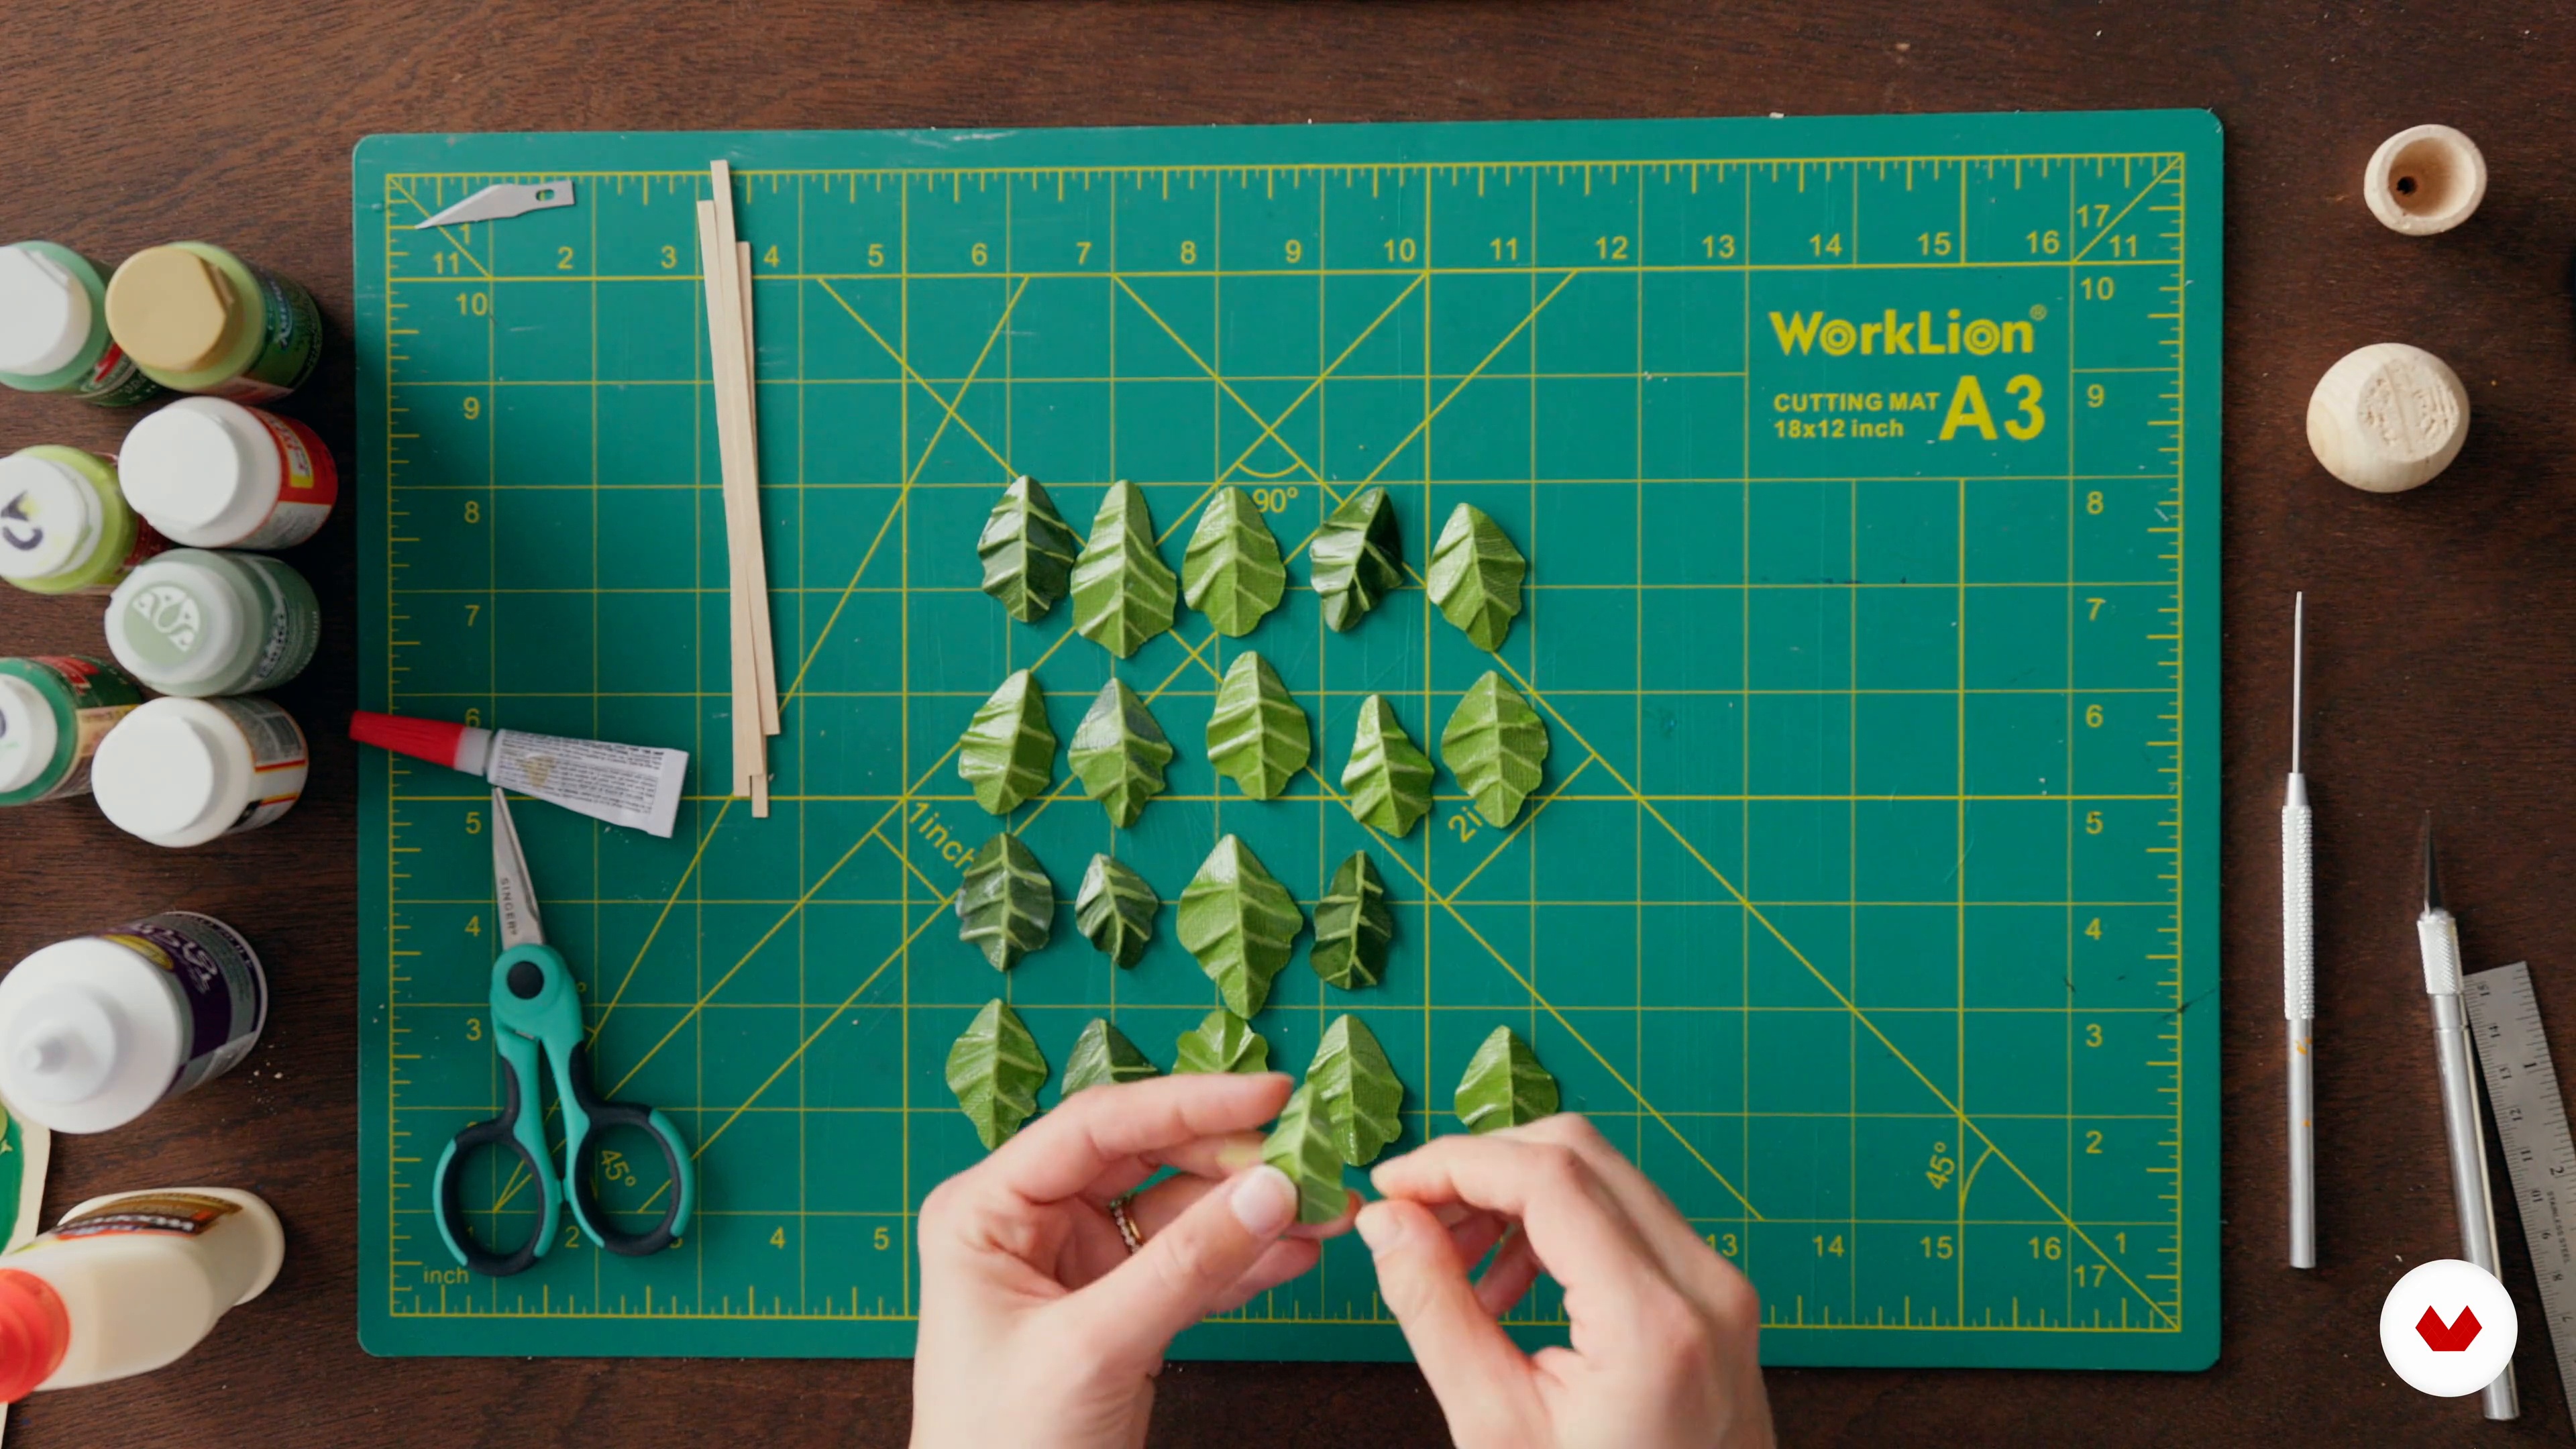
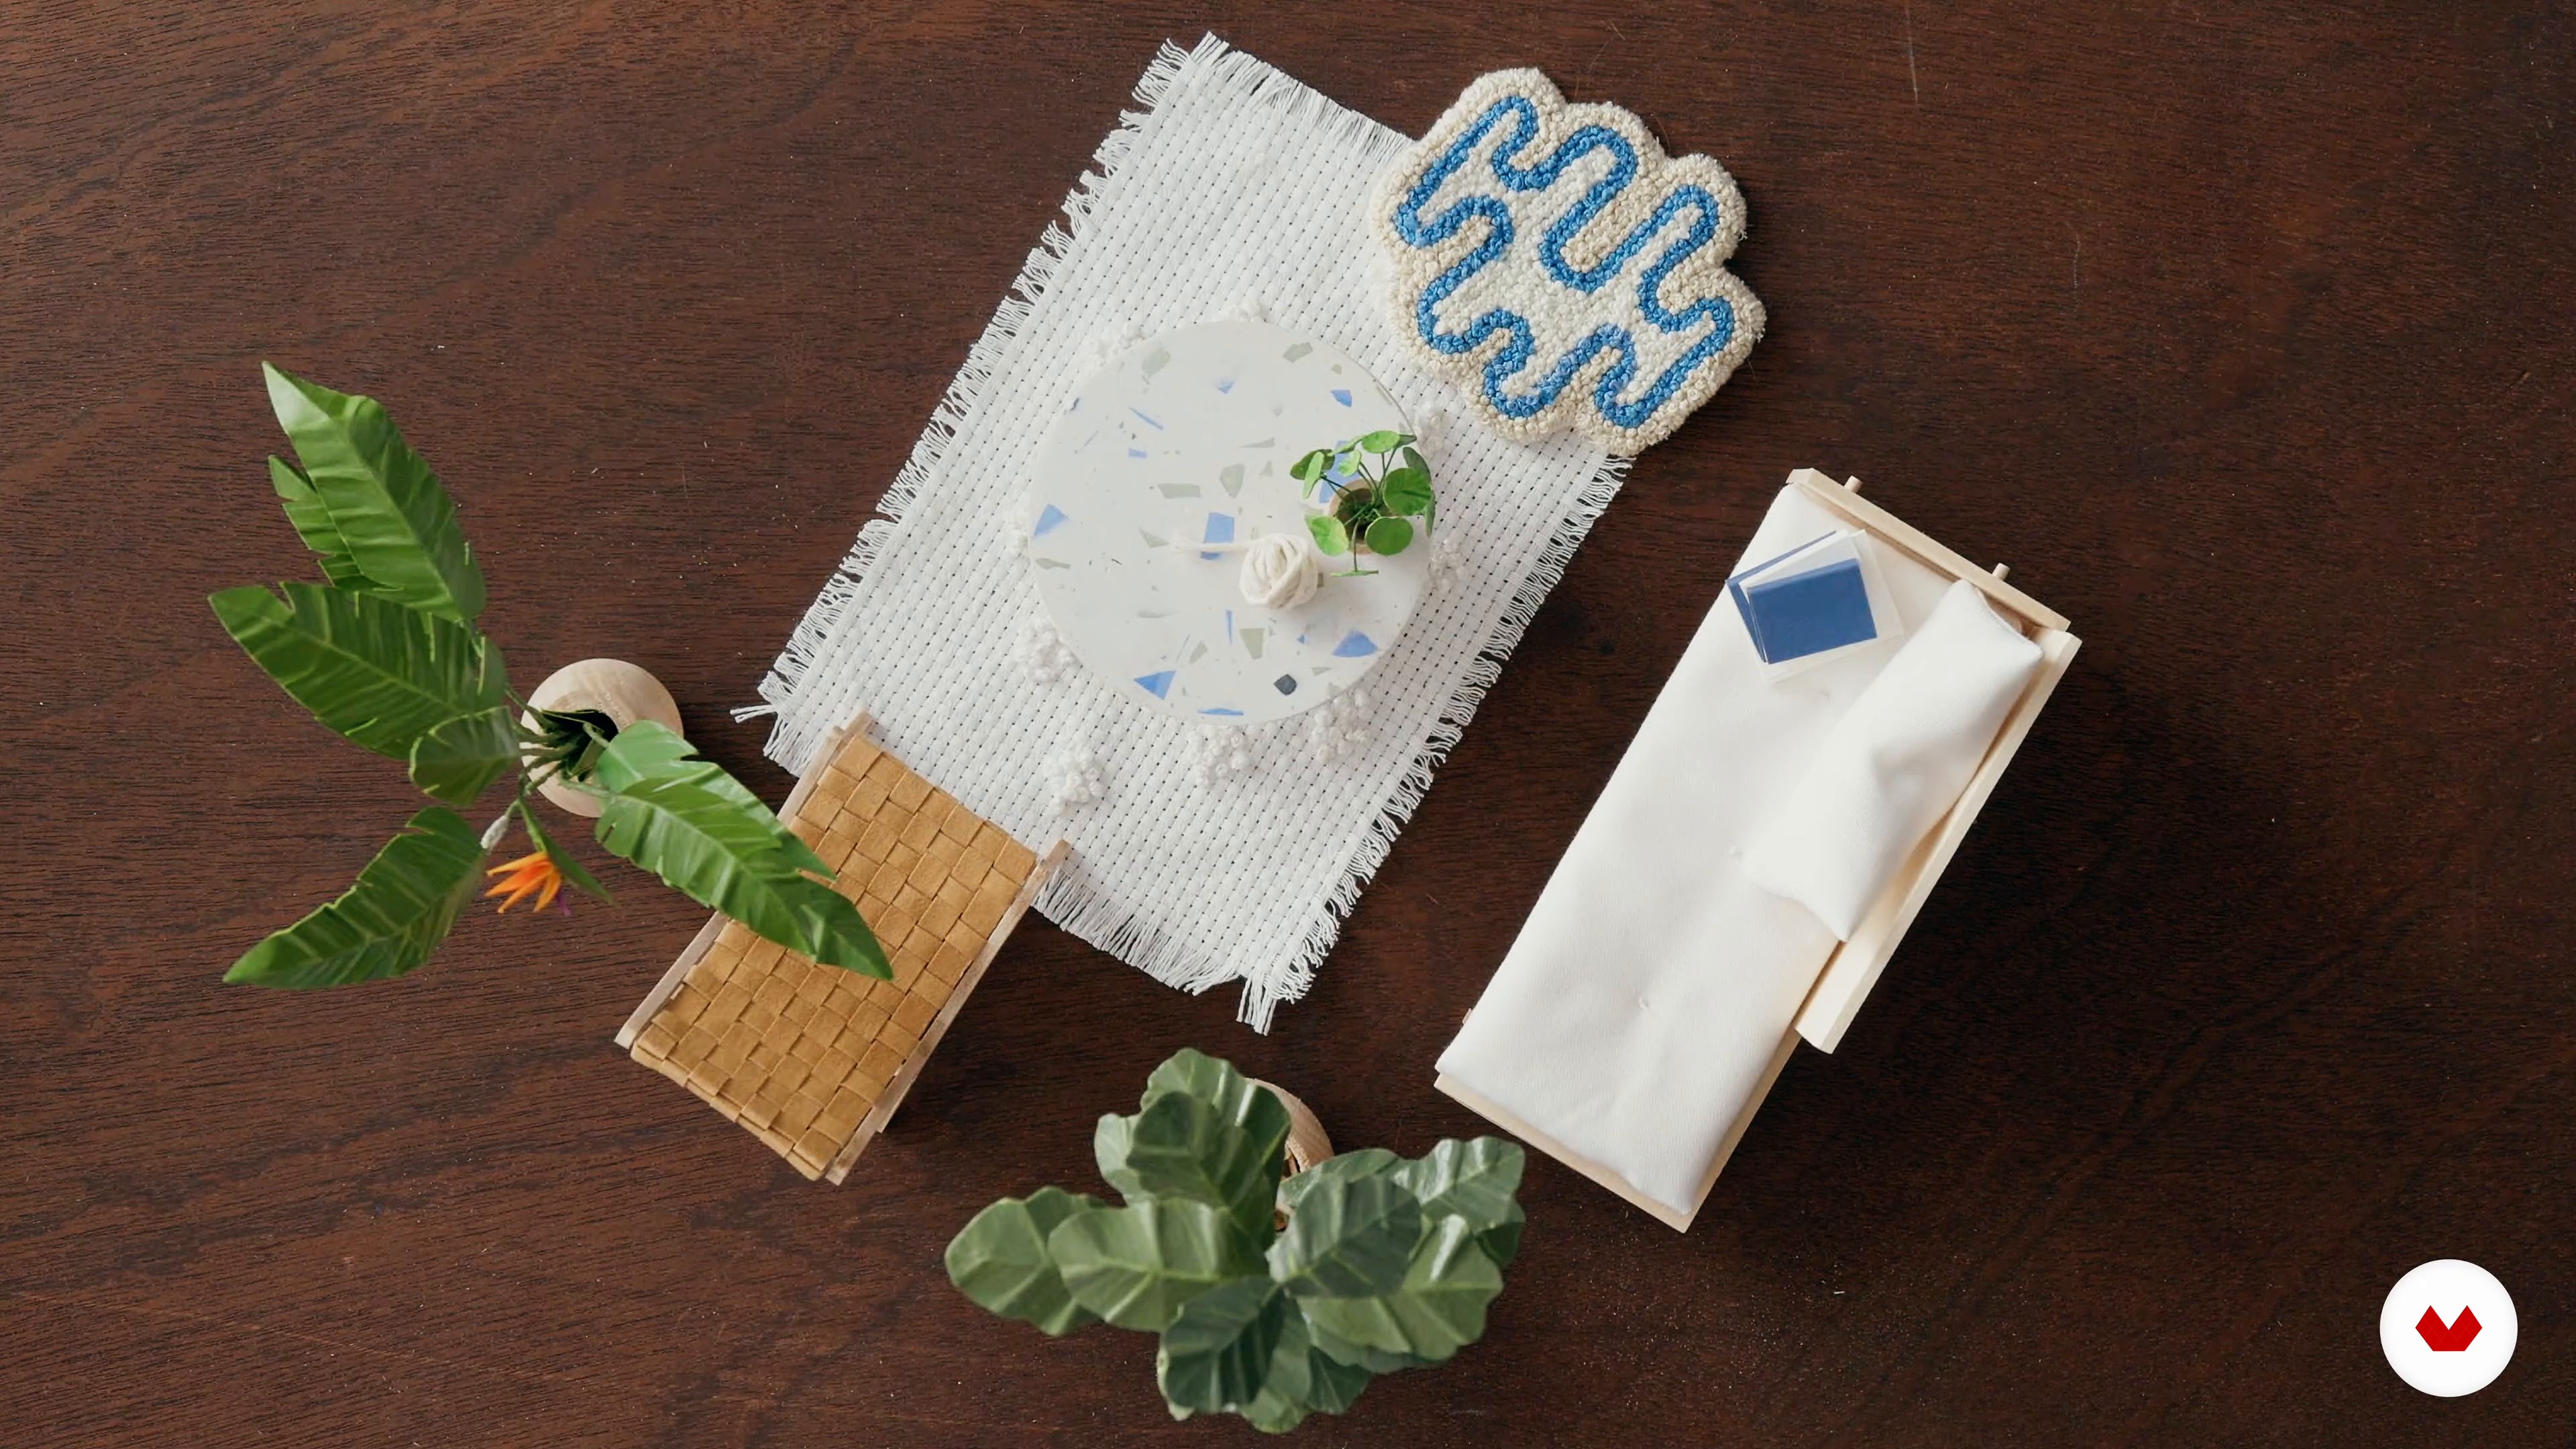
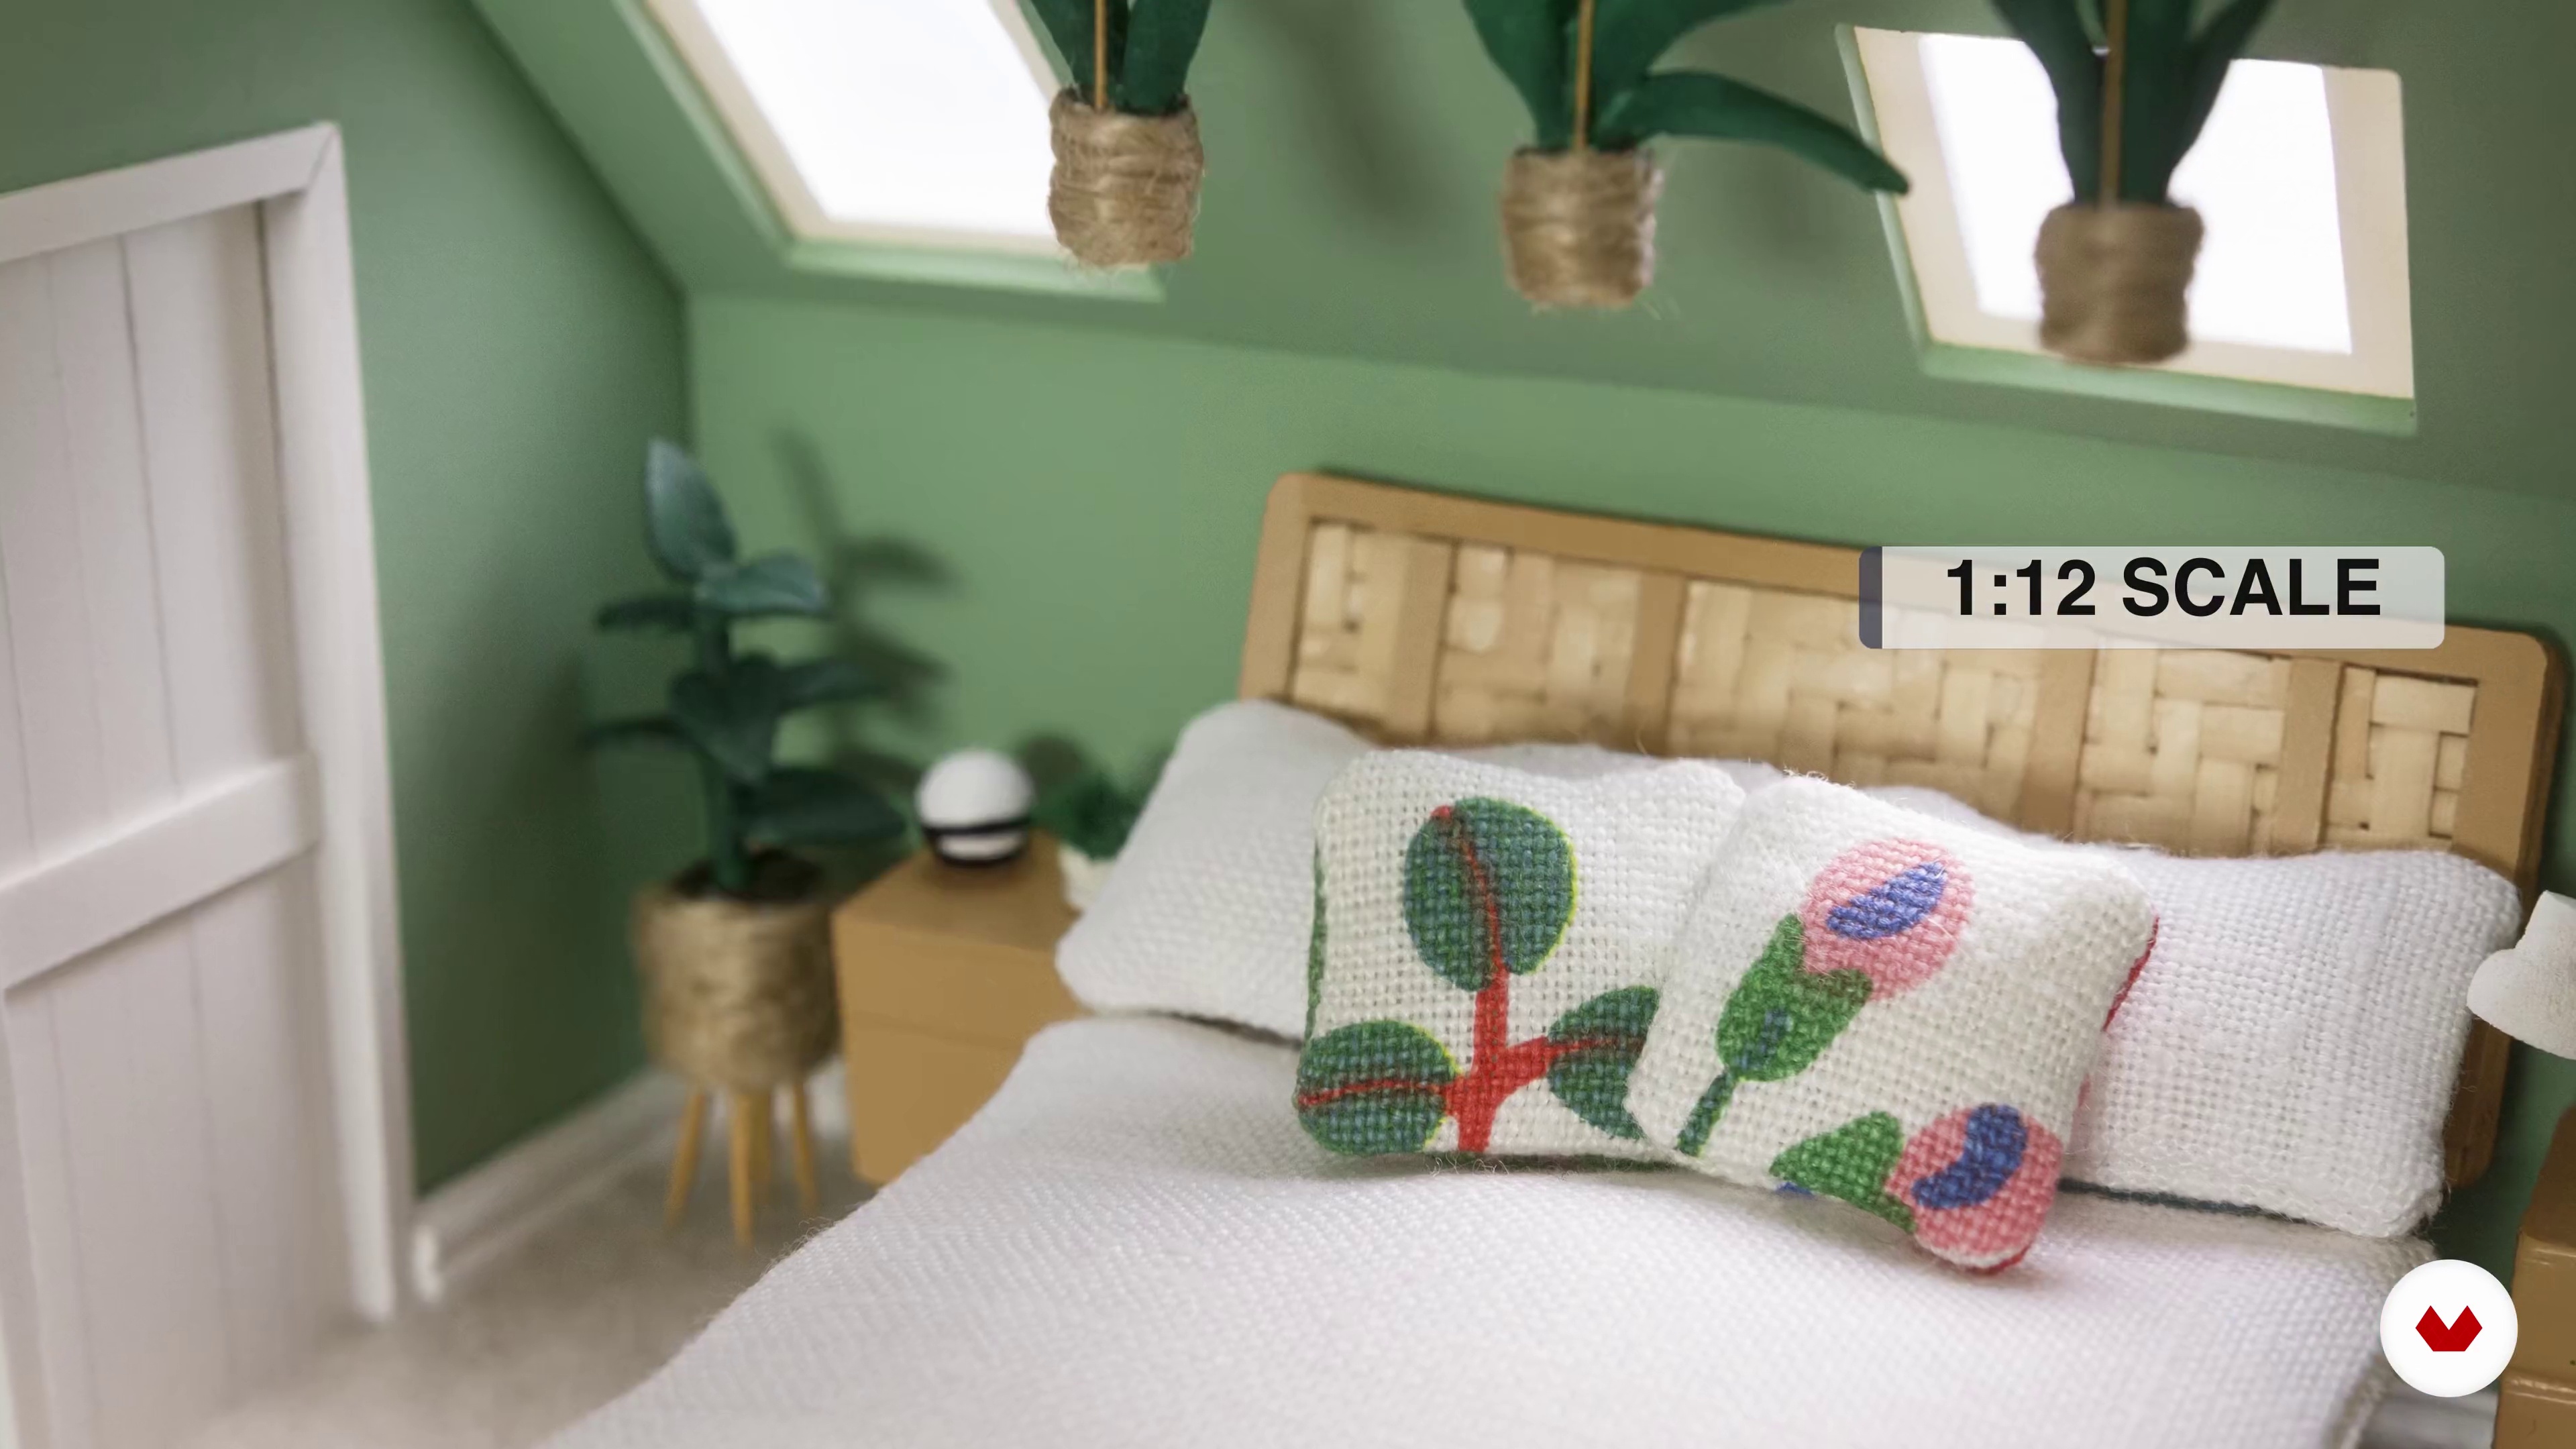
Learn to create miniature furniture, decor, and accessories using simple materials, focusing on handmade processes and scaling
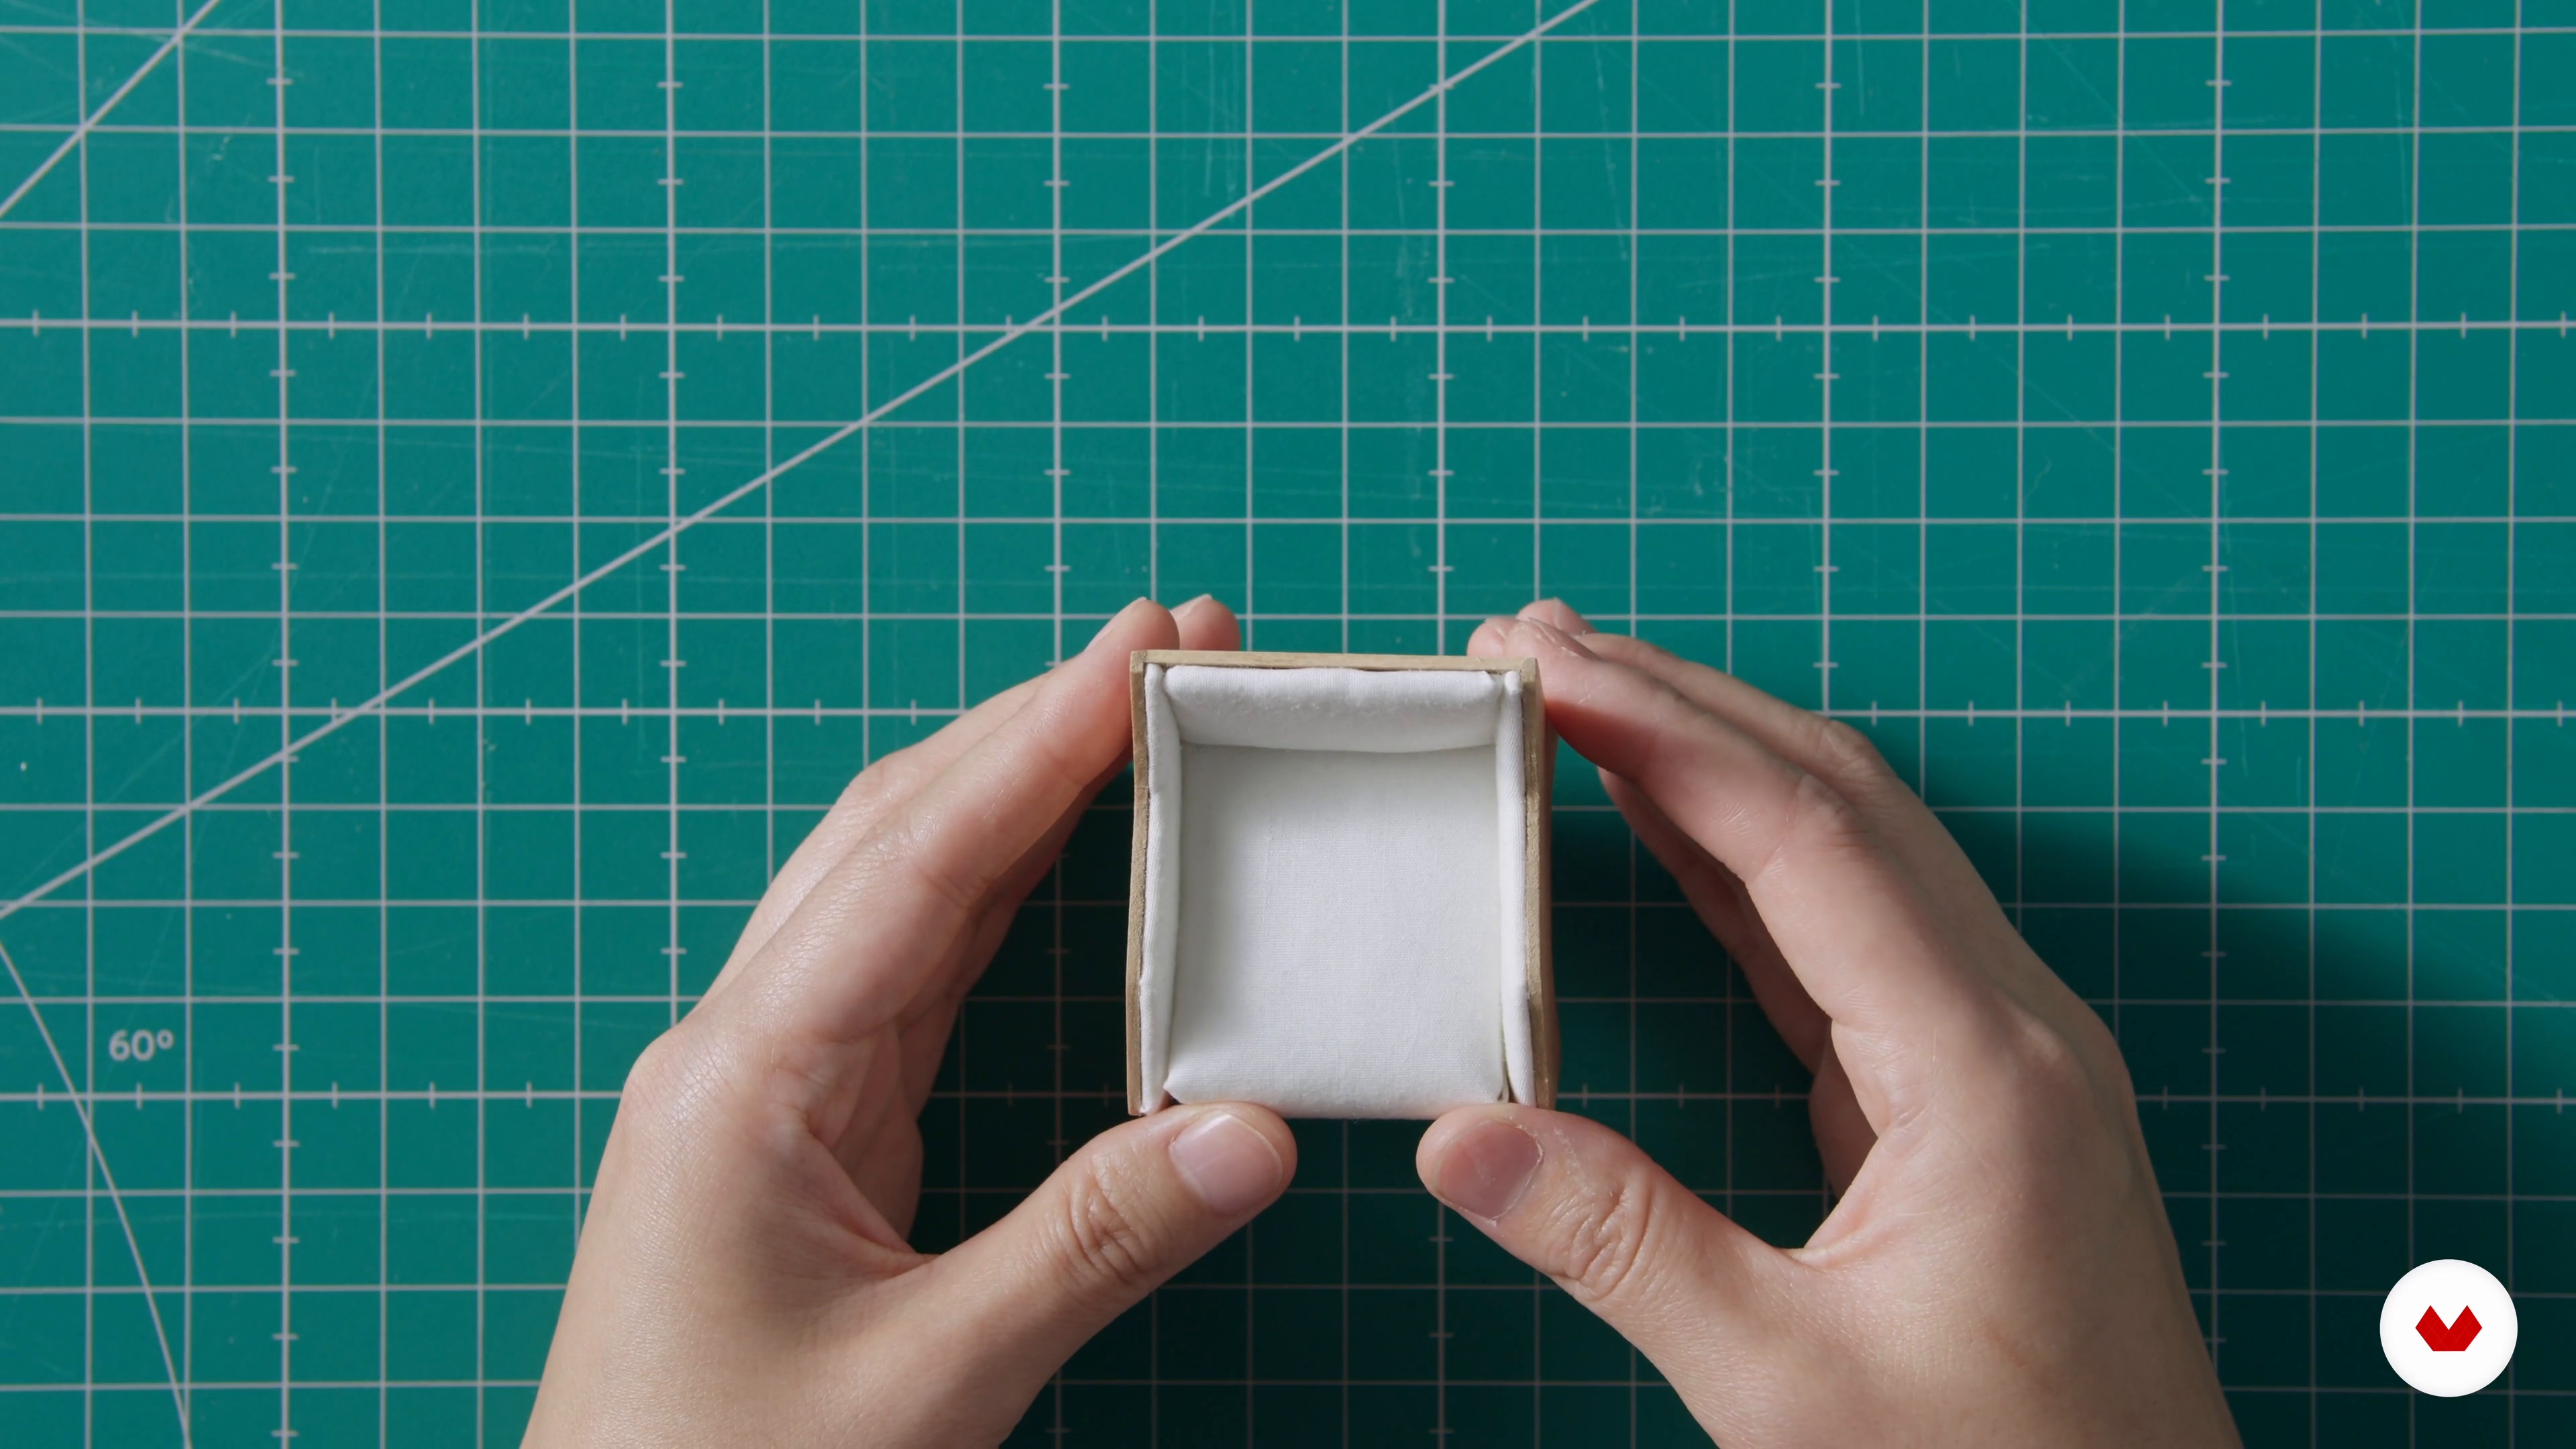
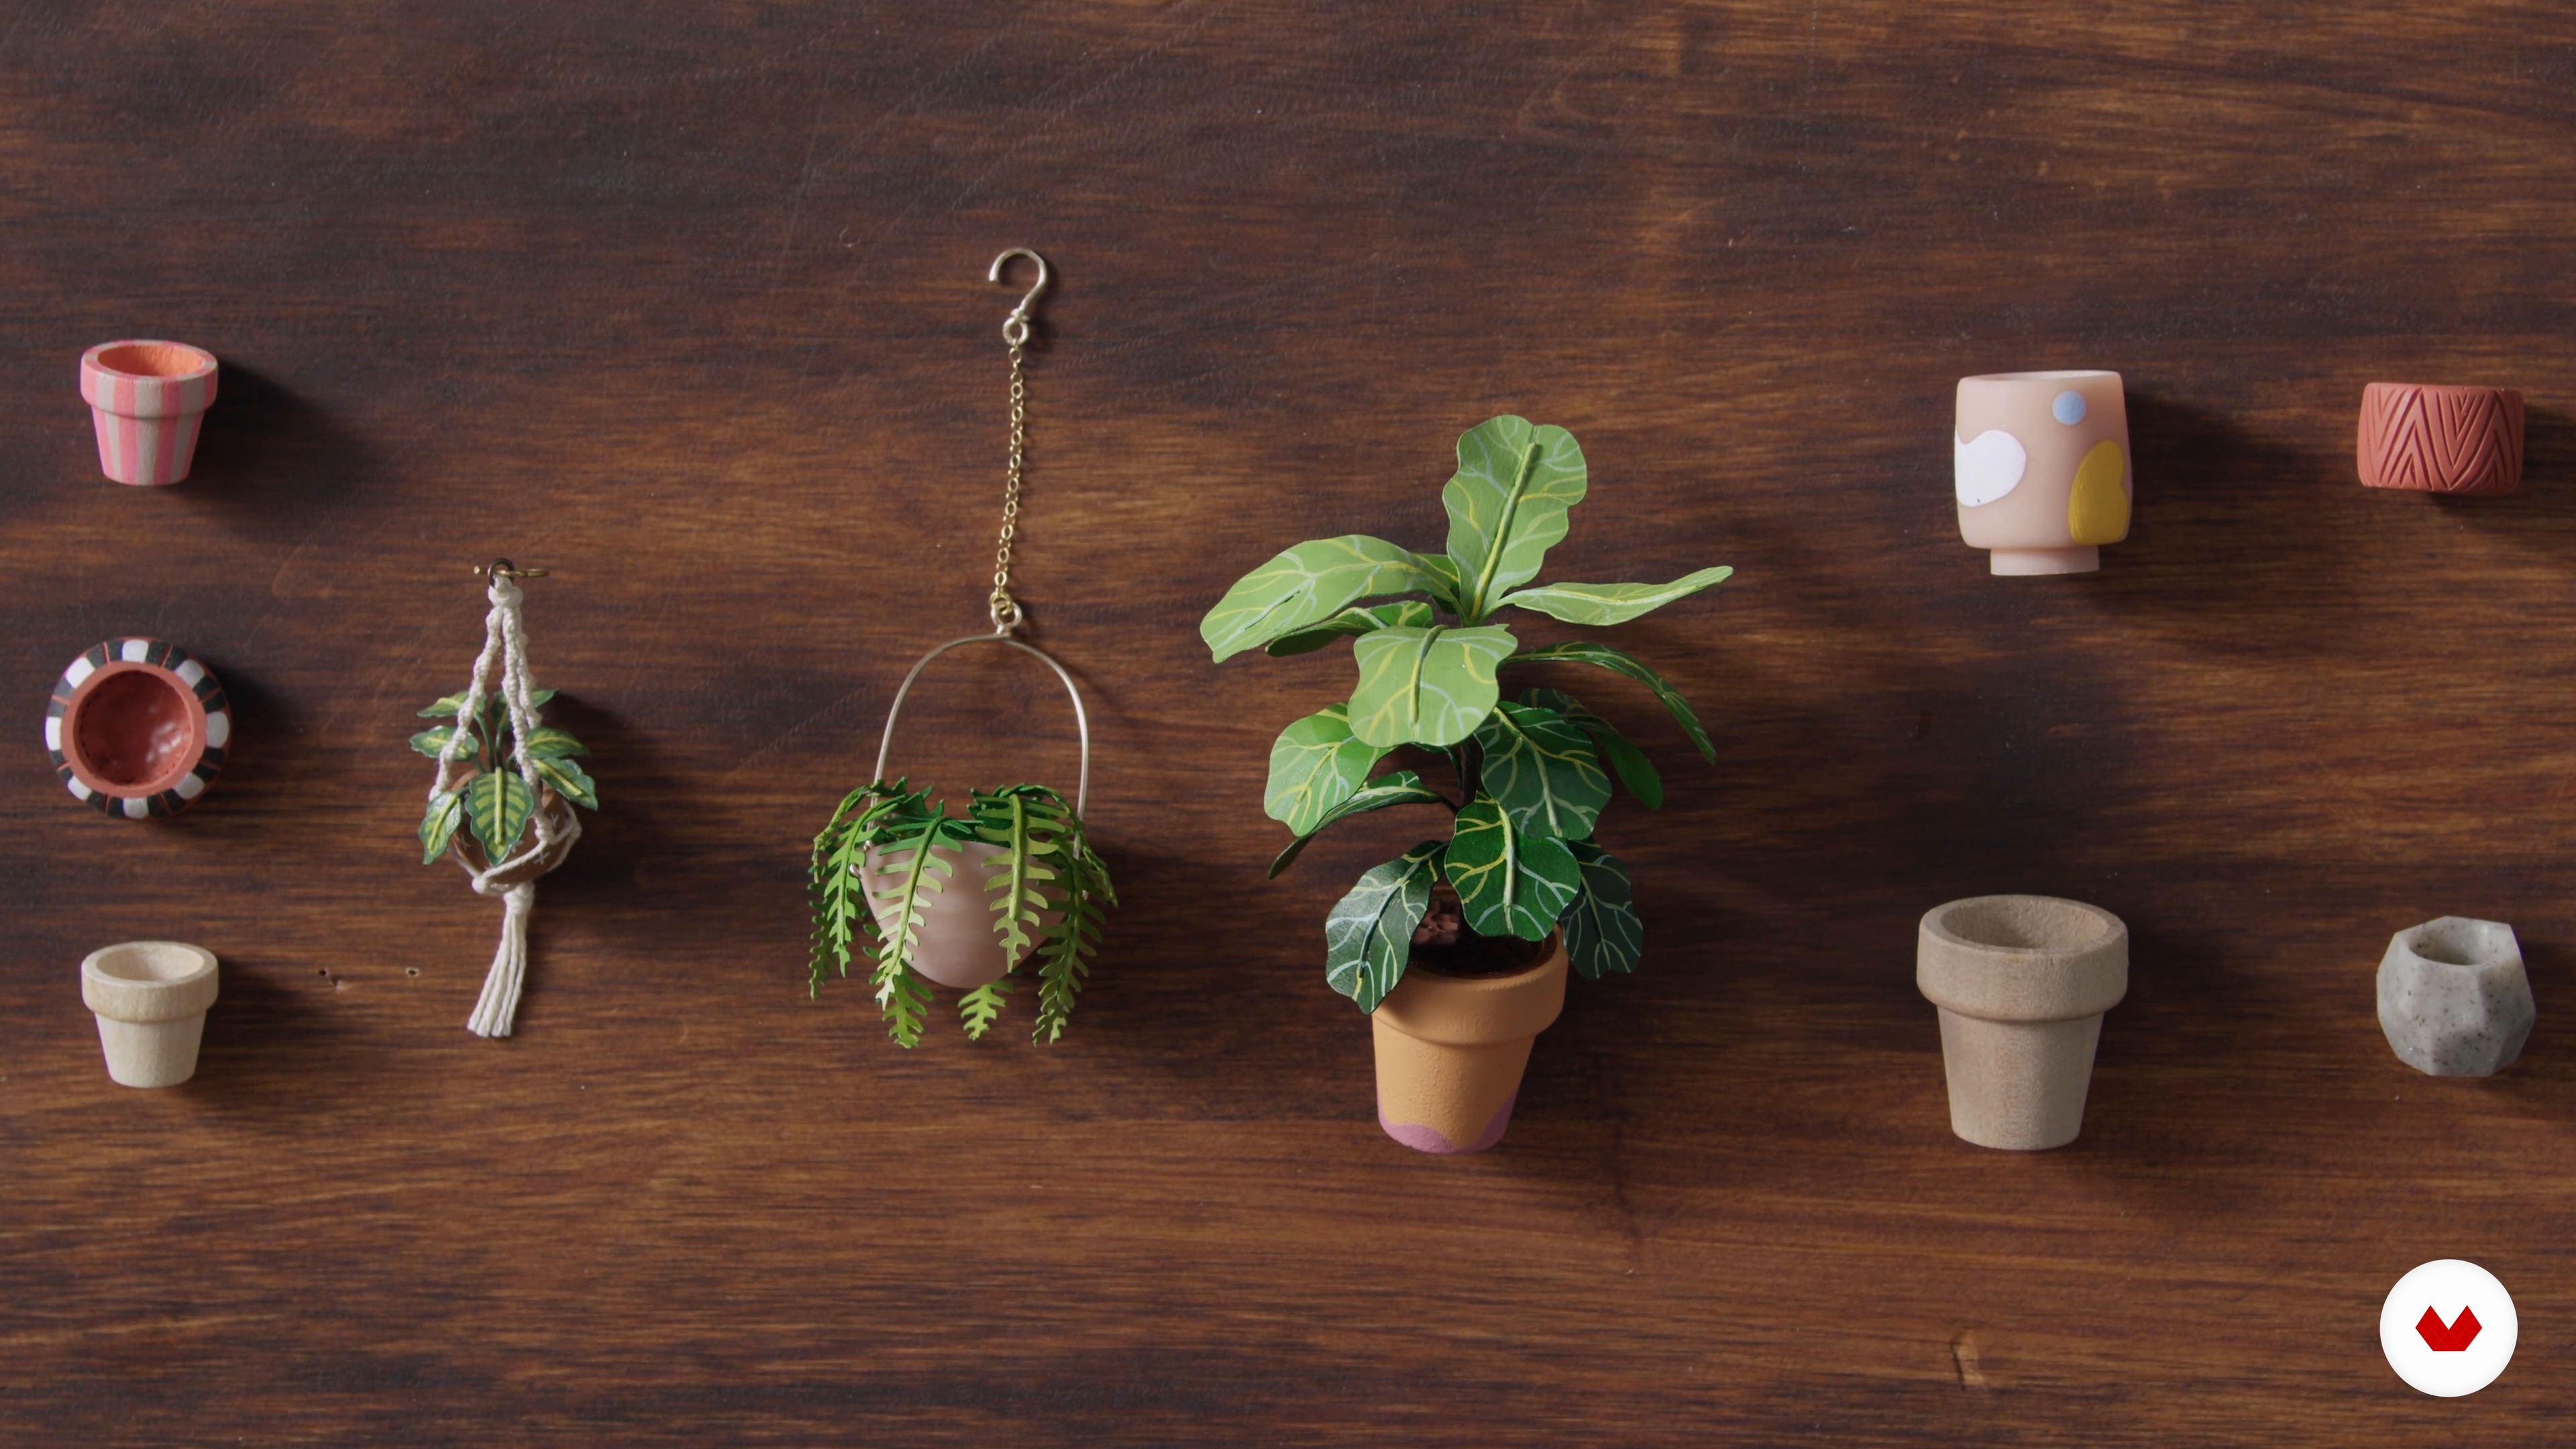
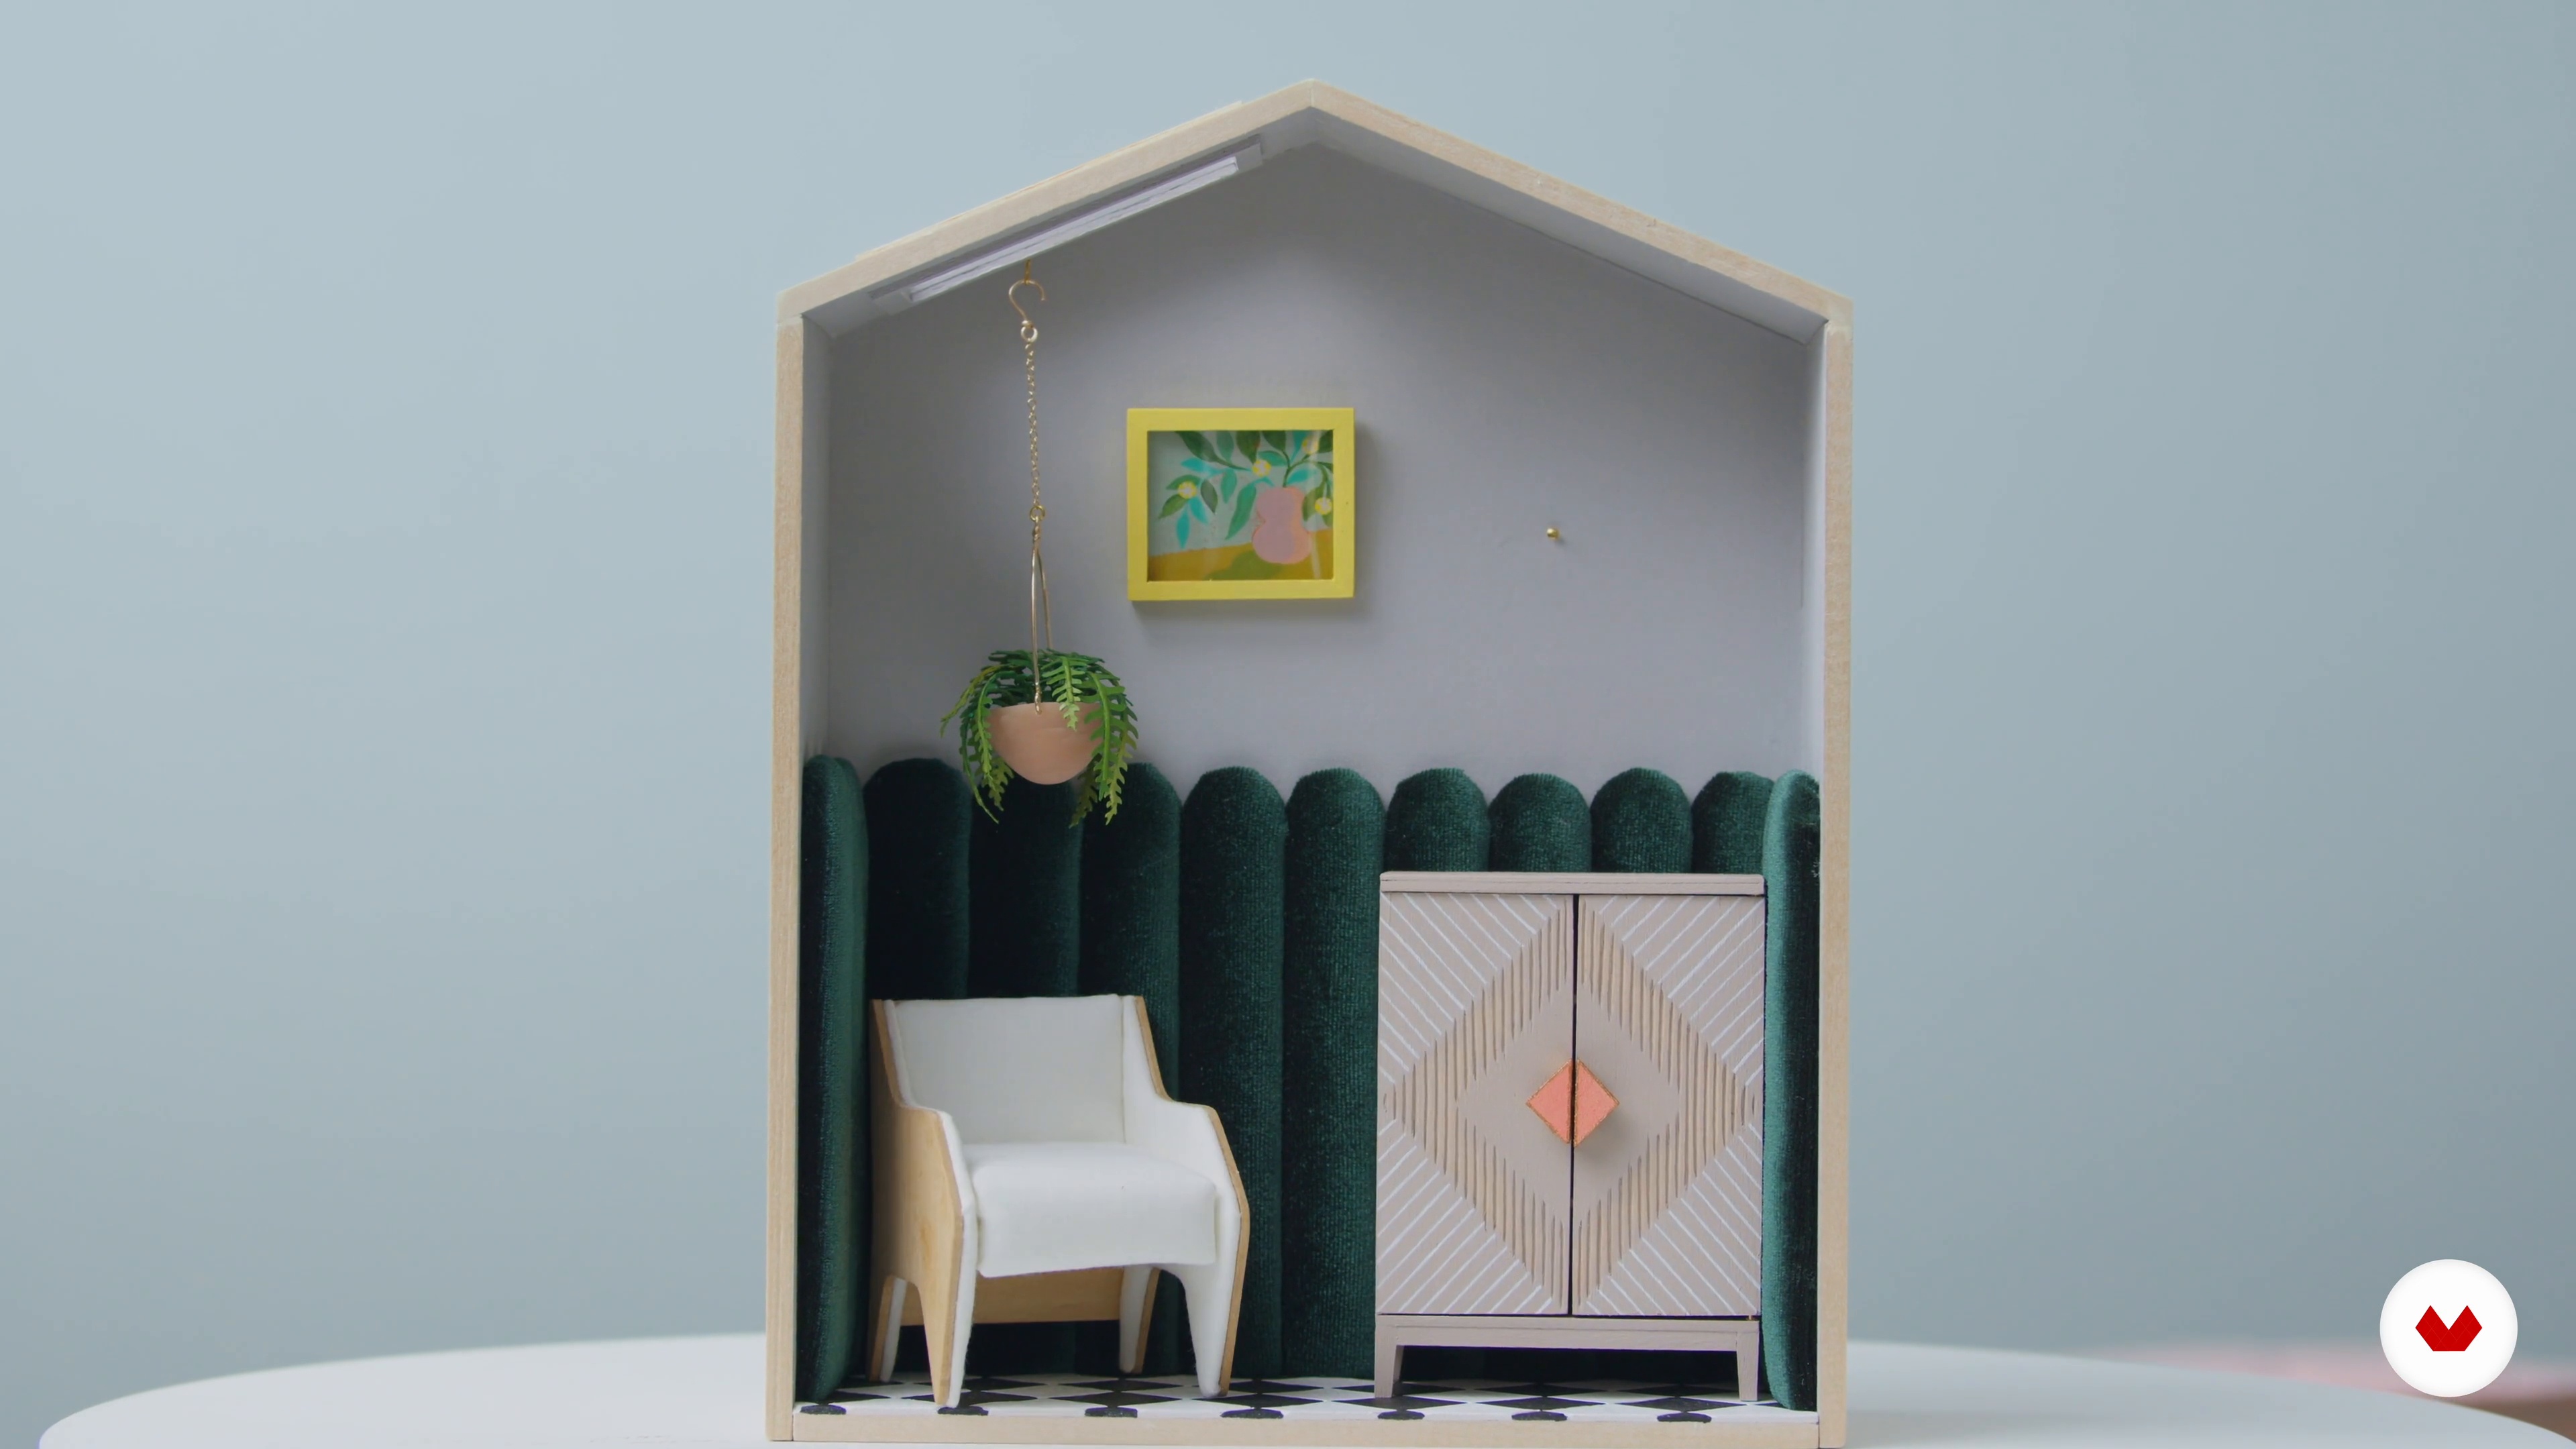
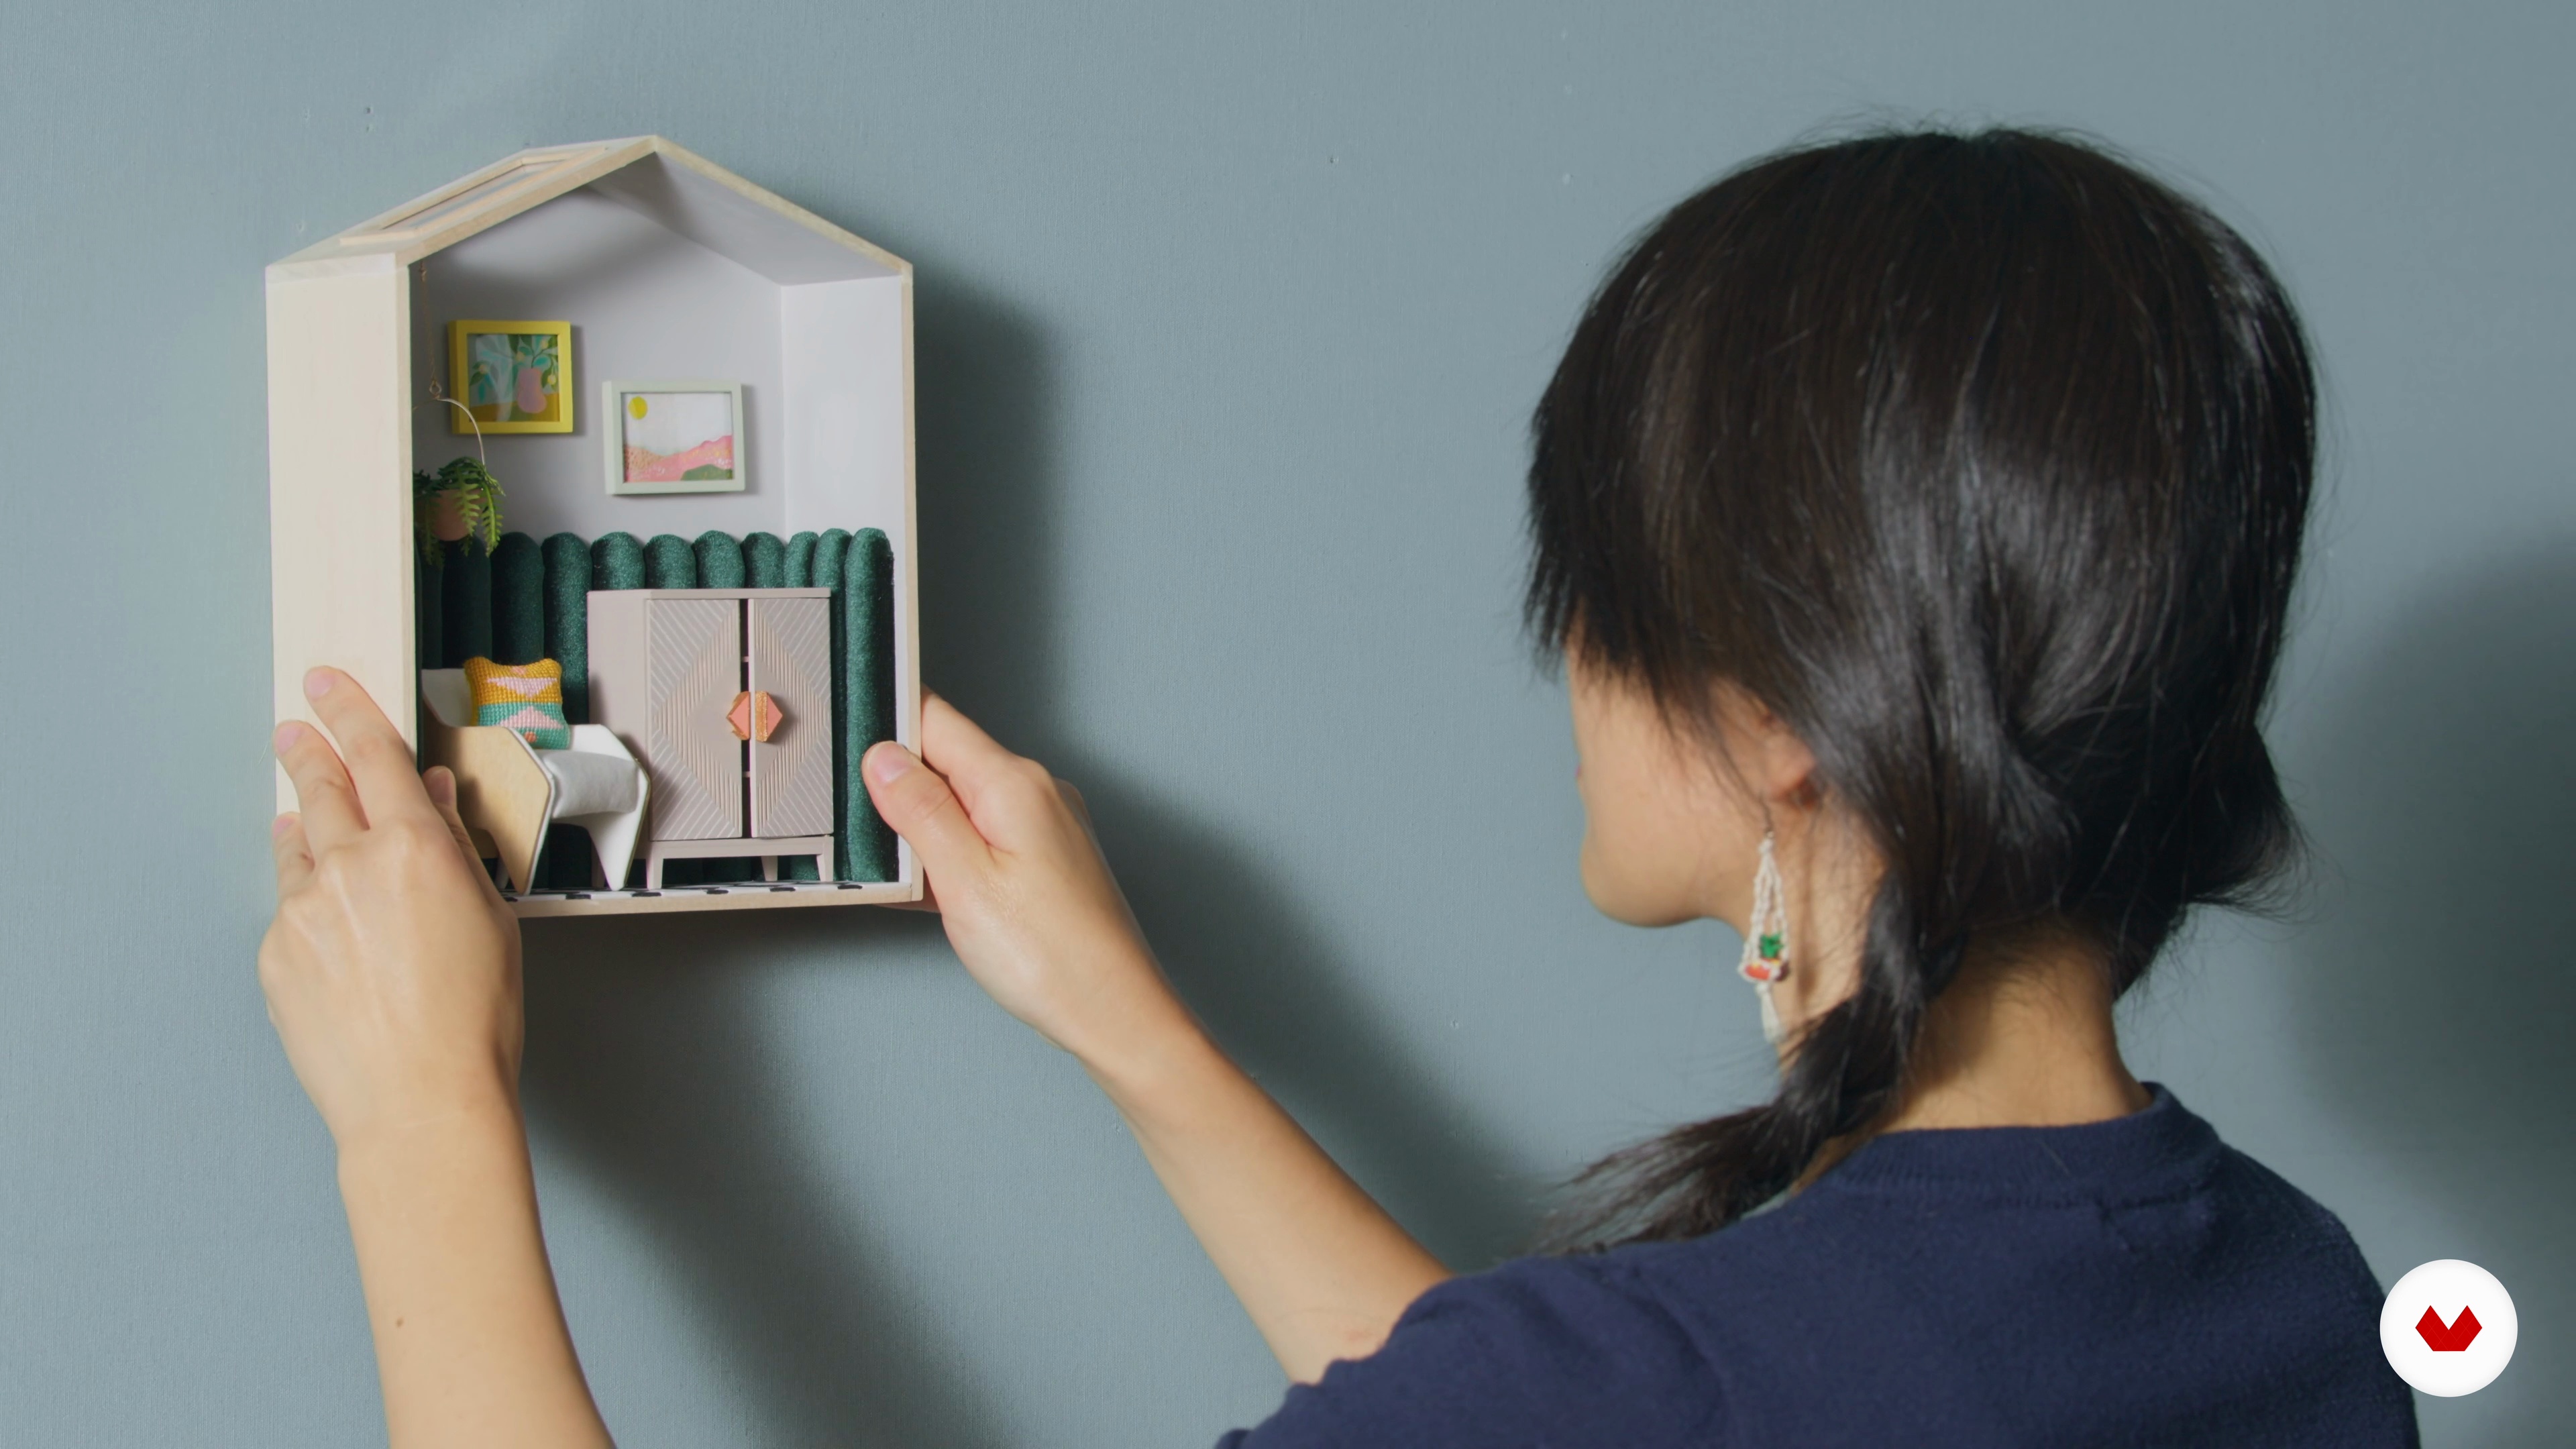
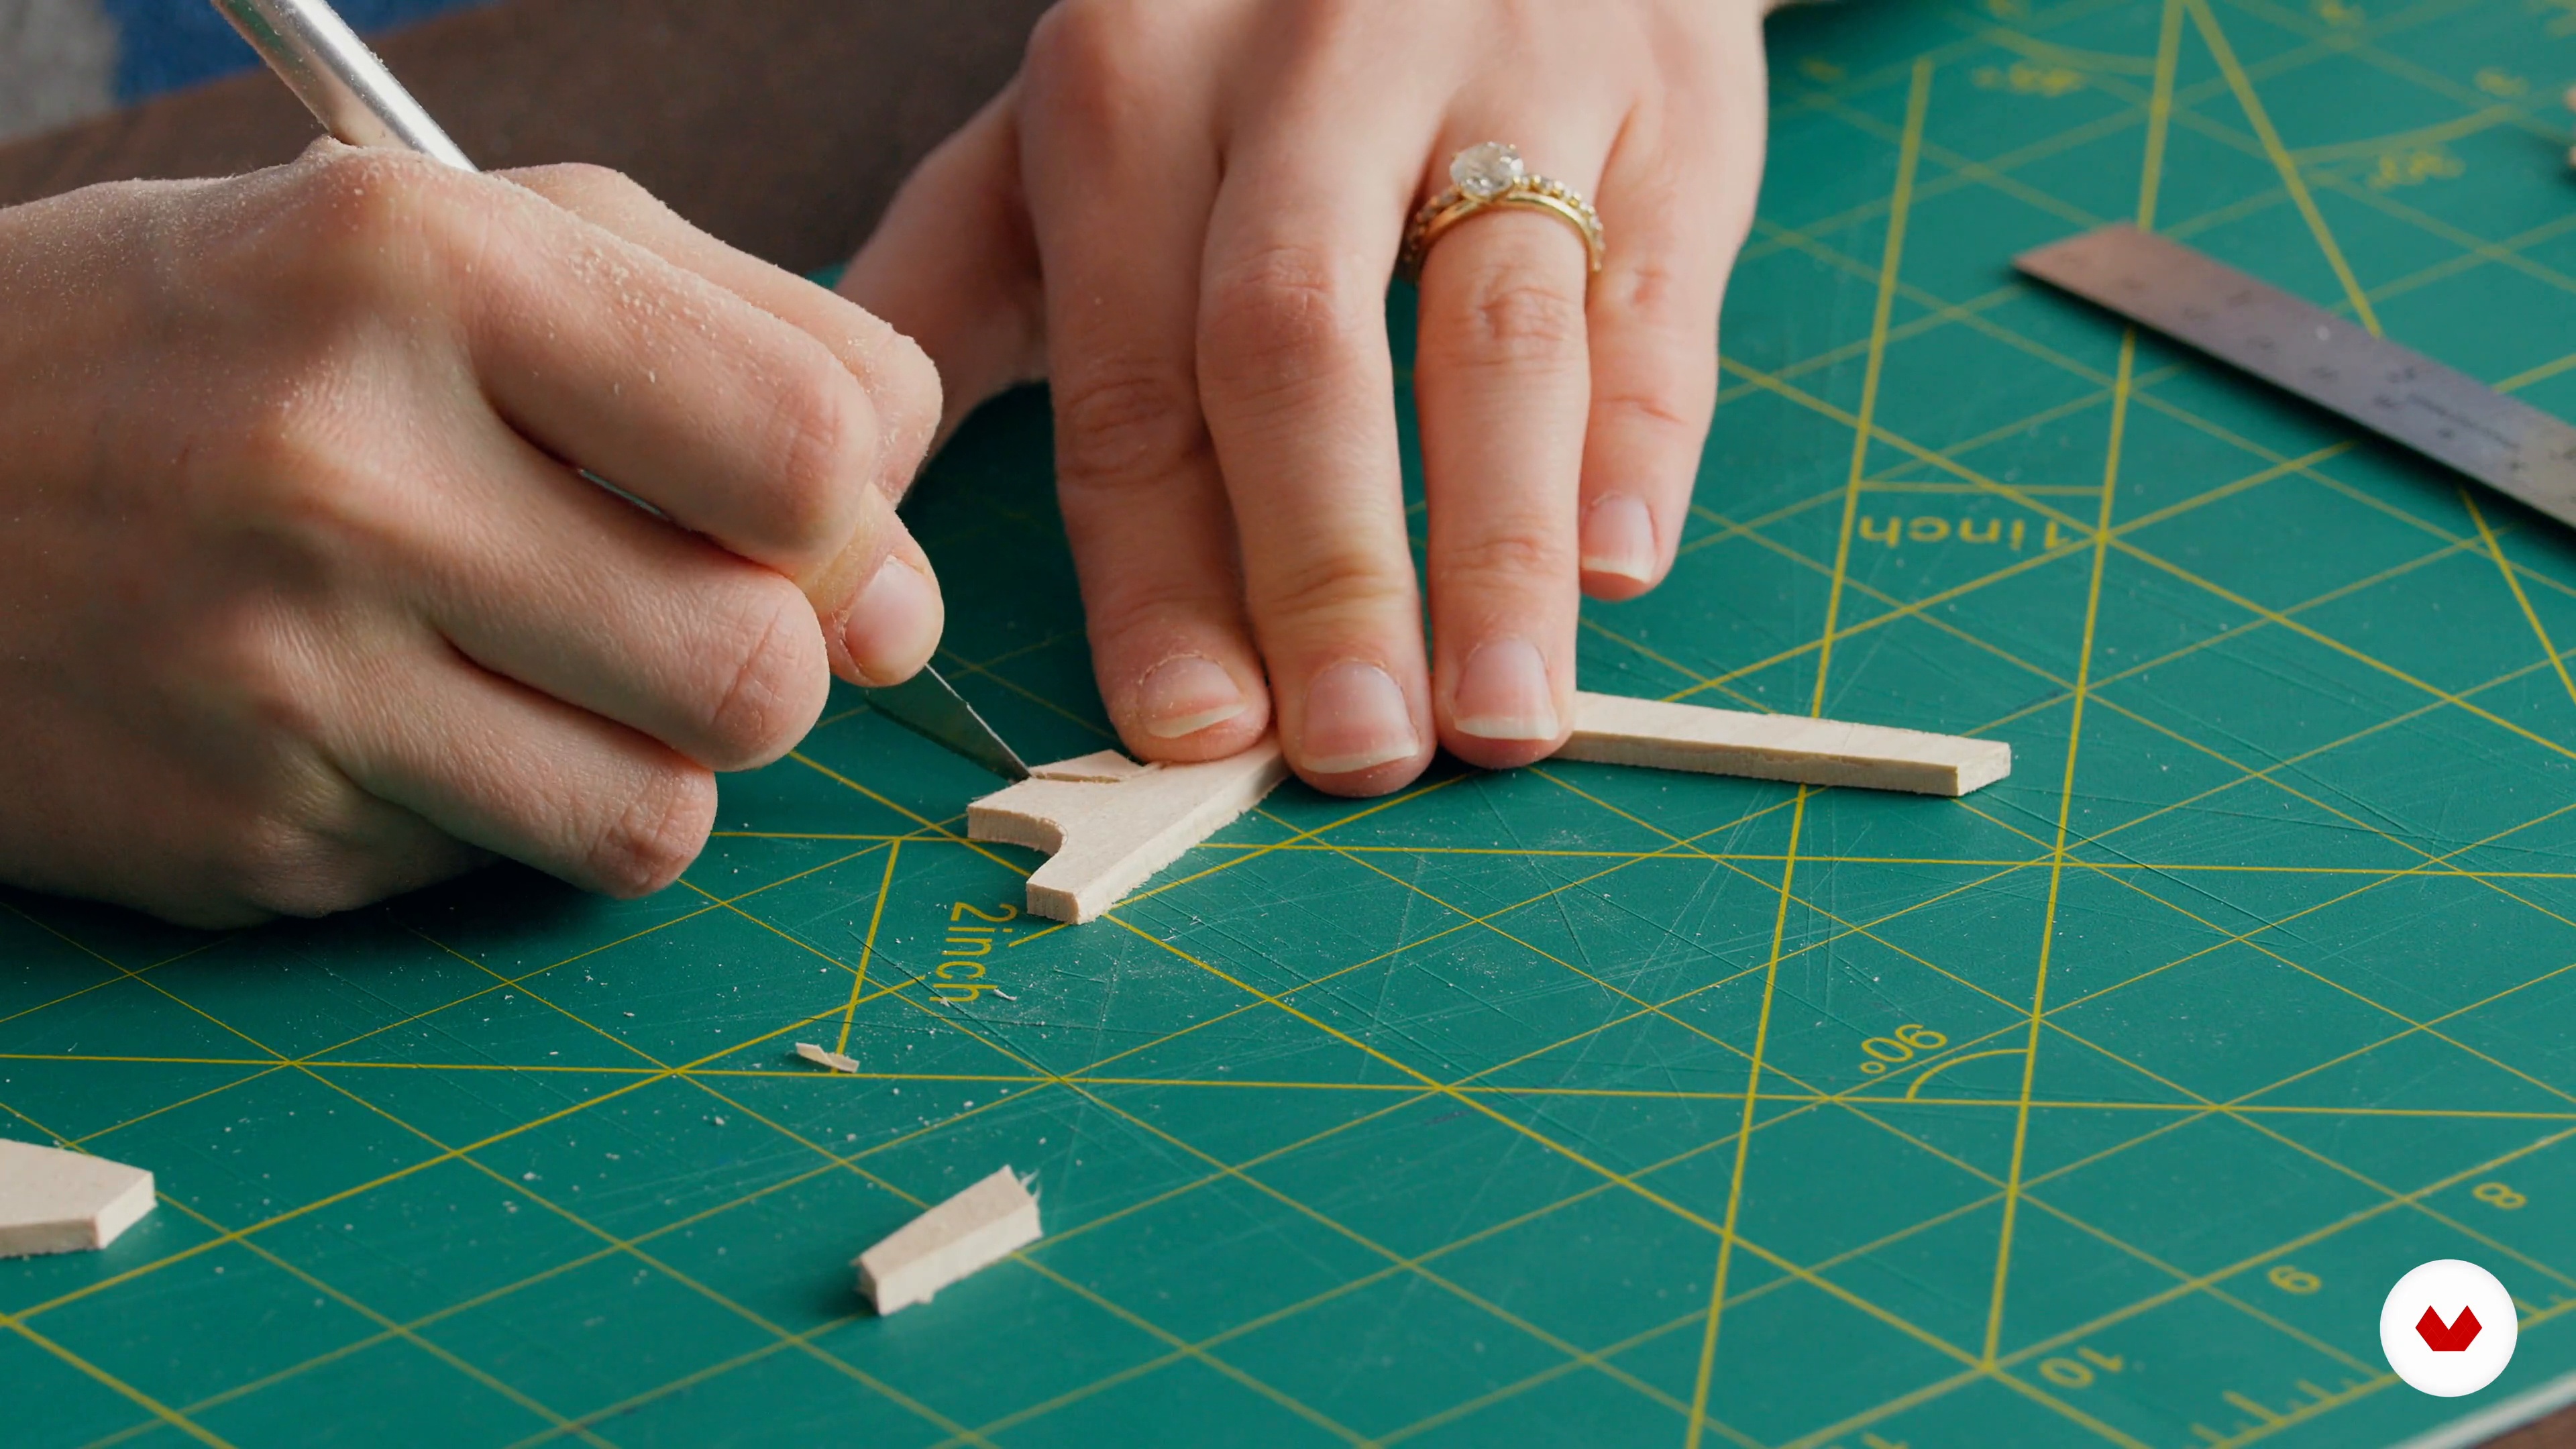
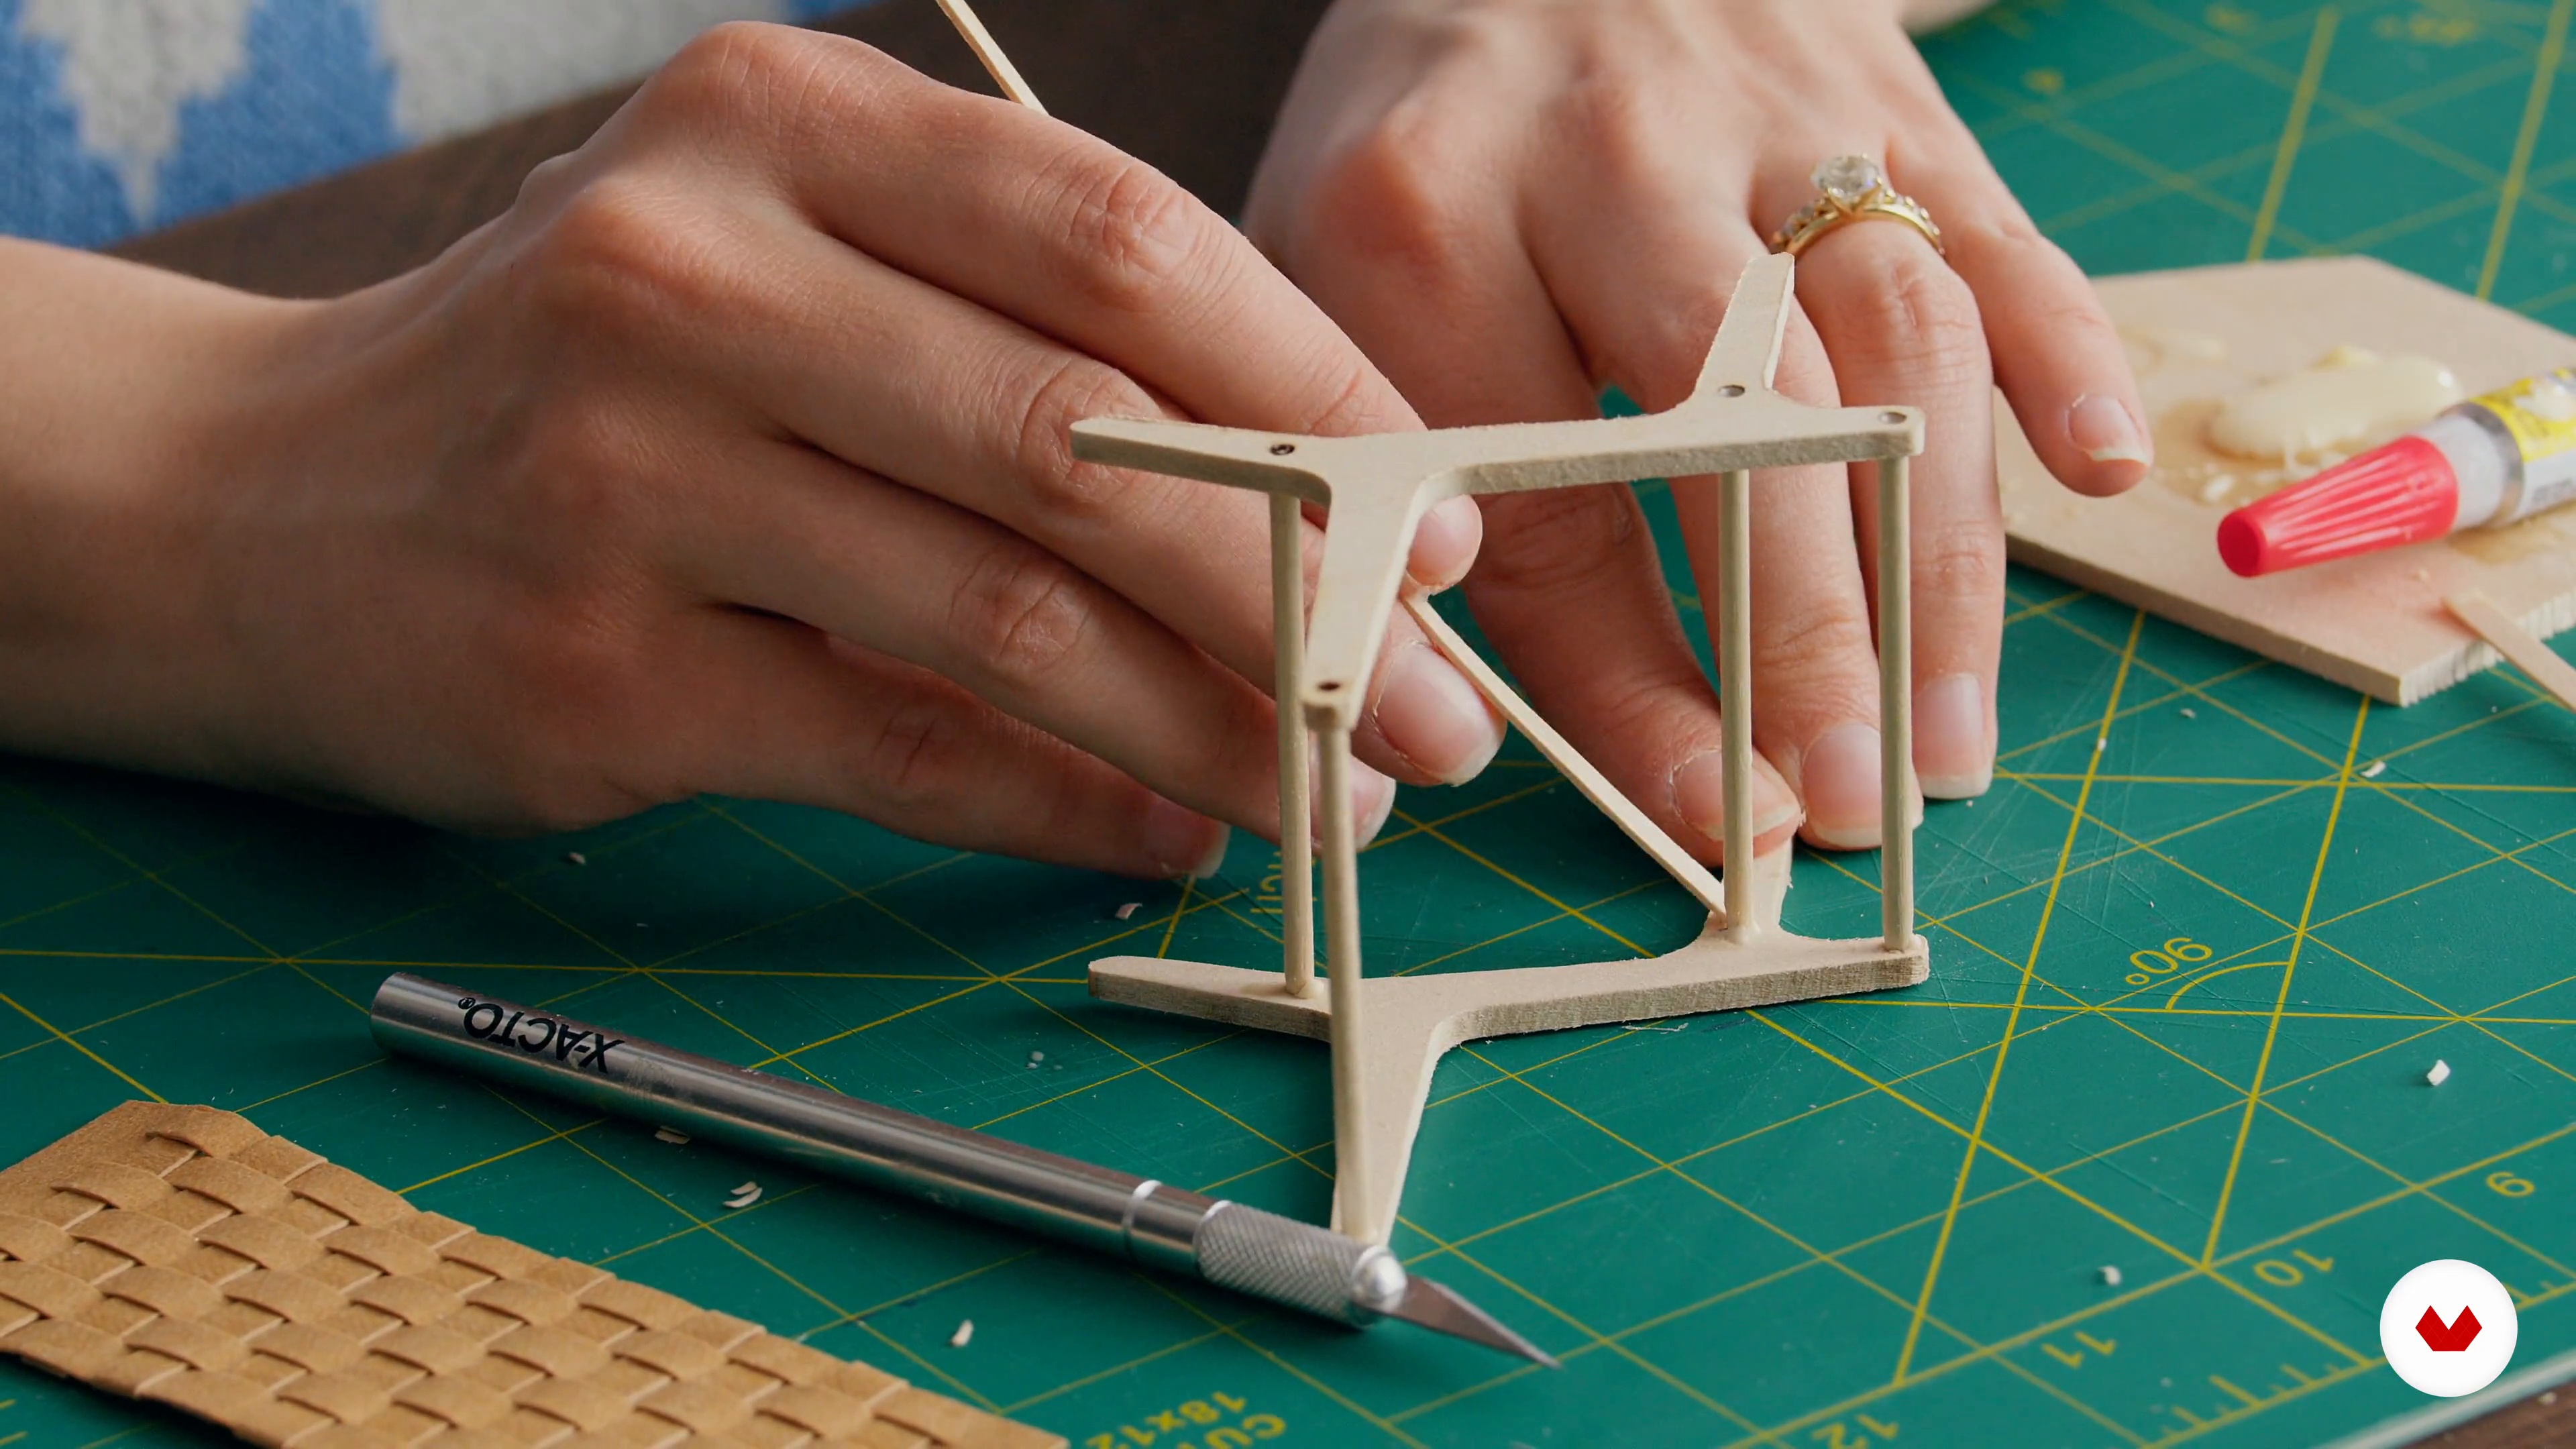
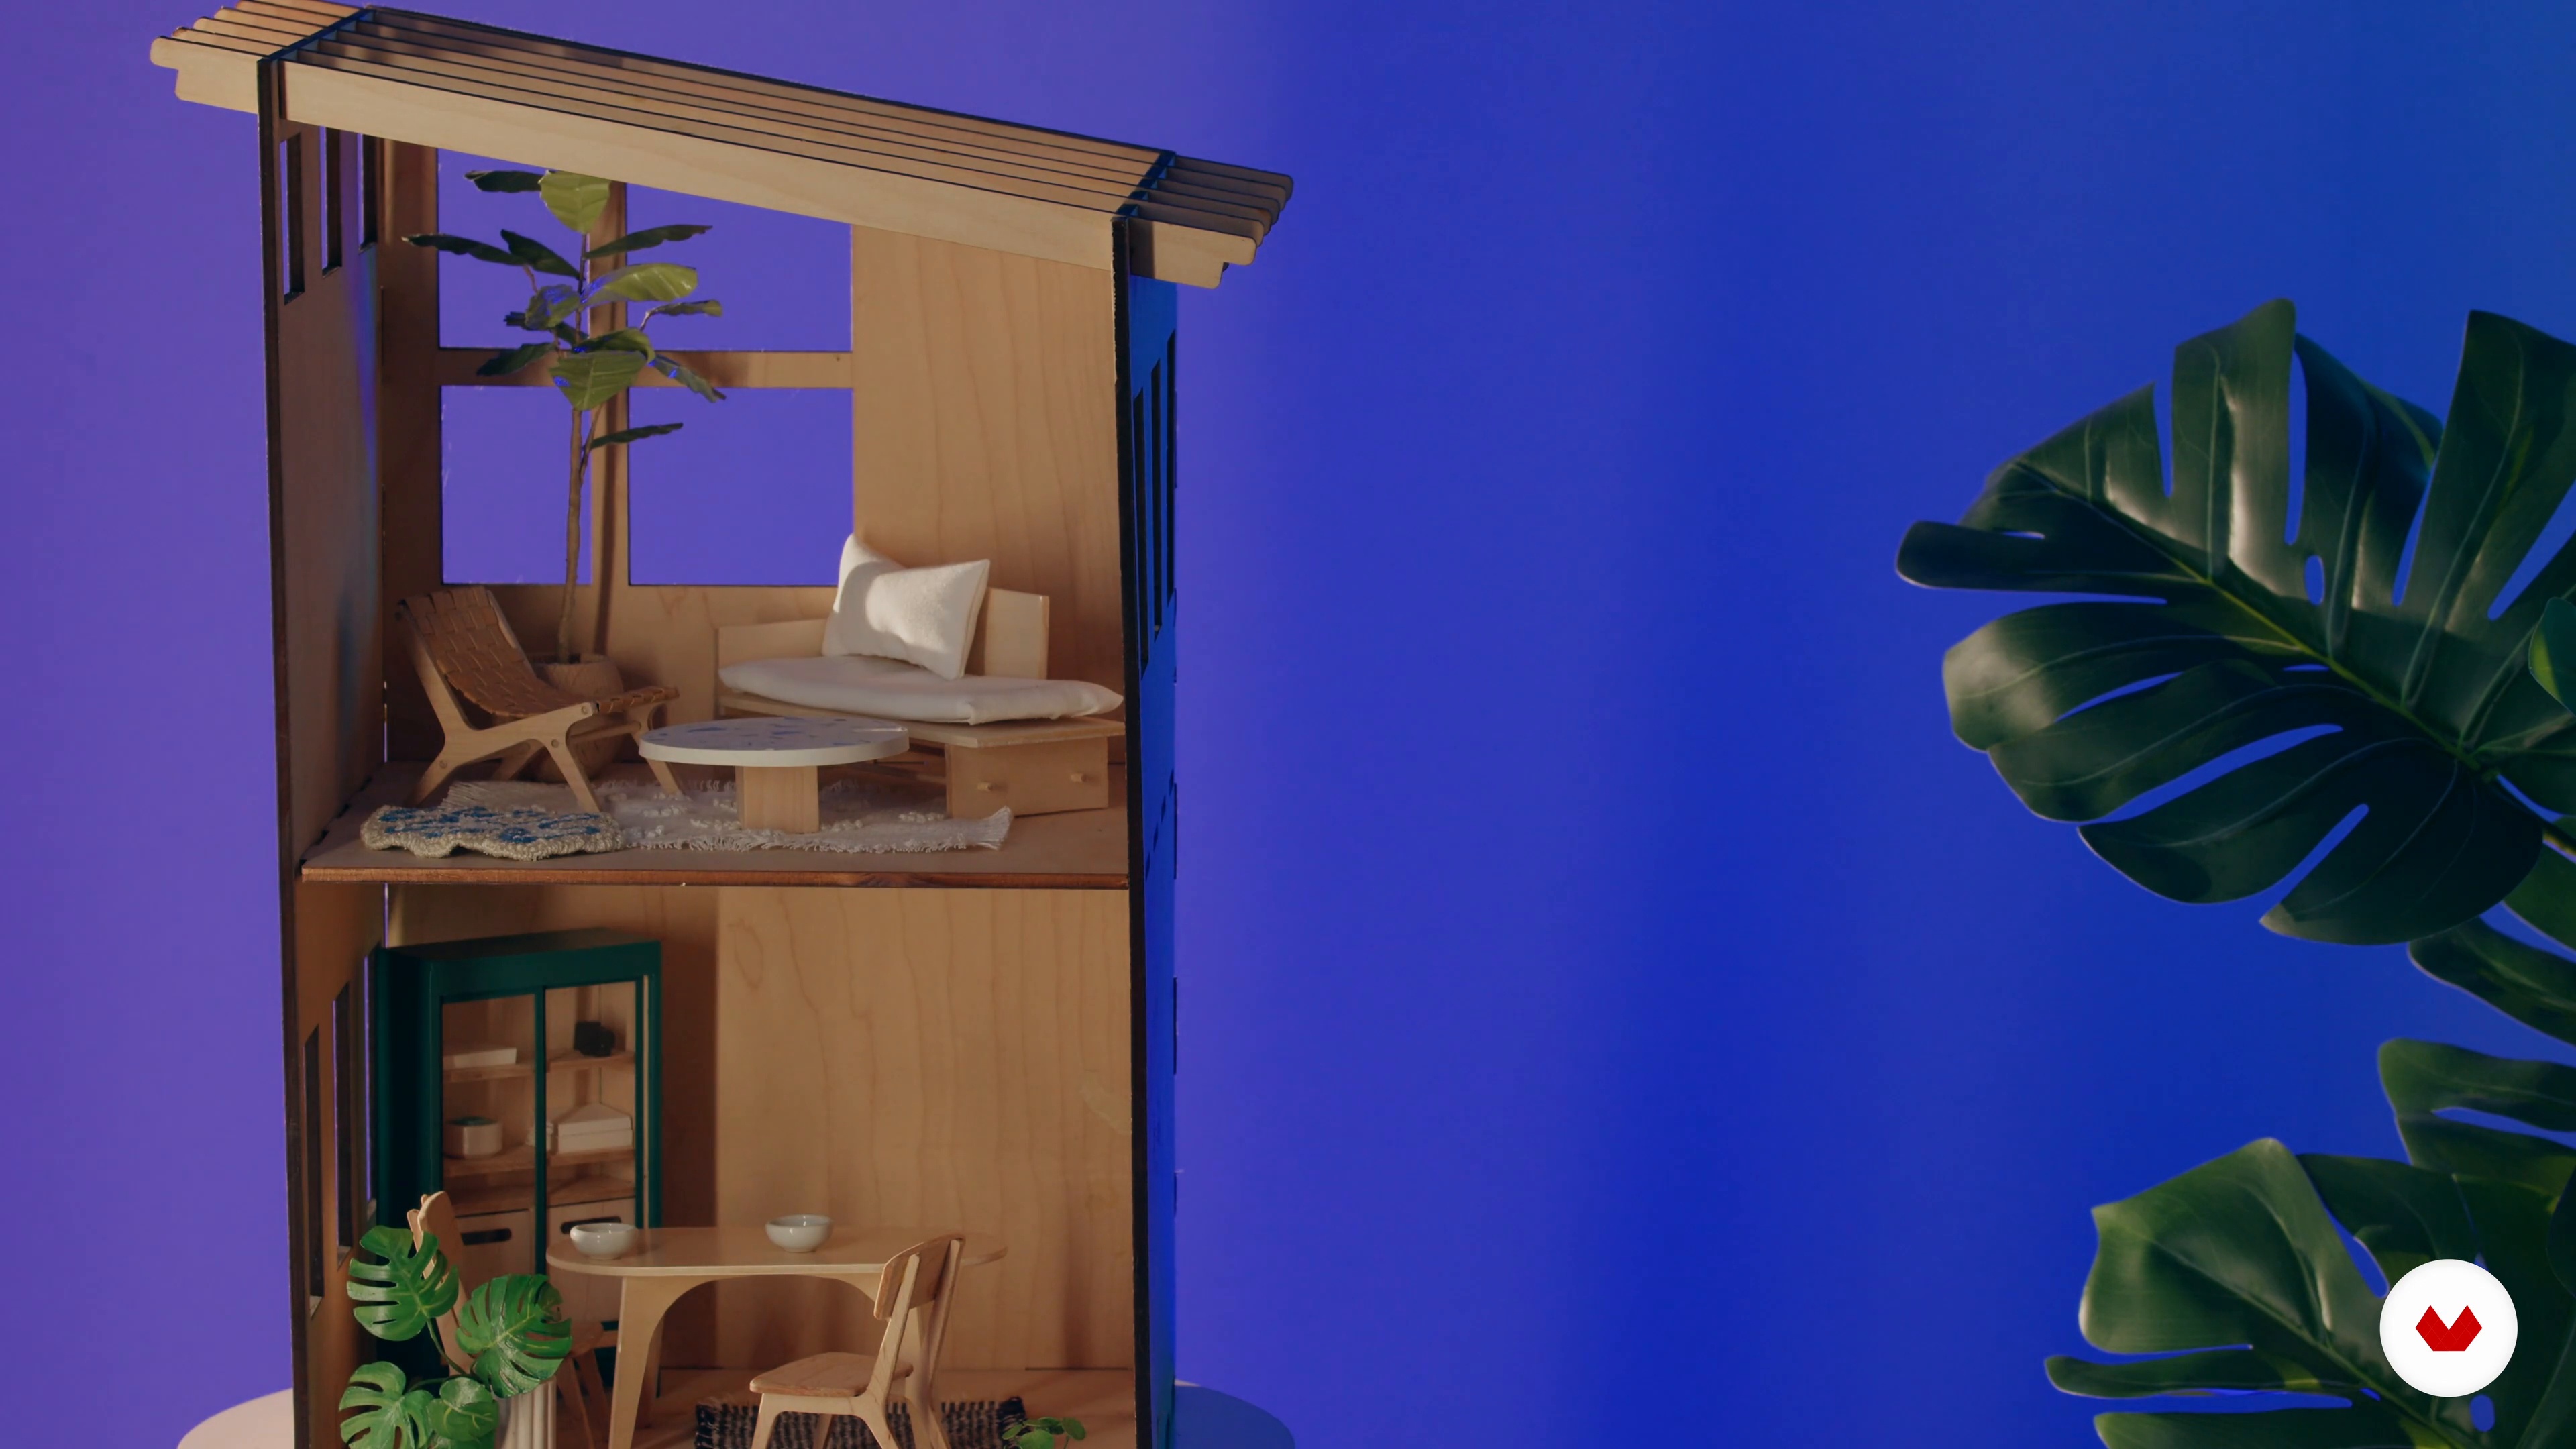
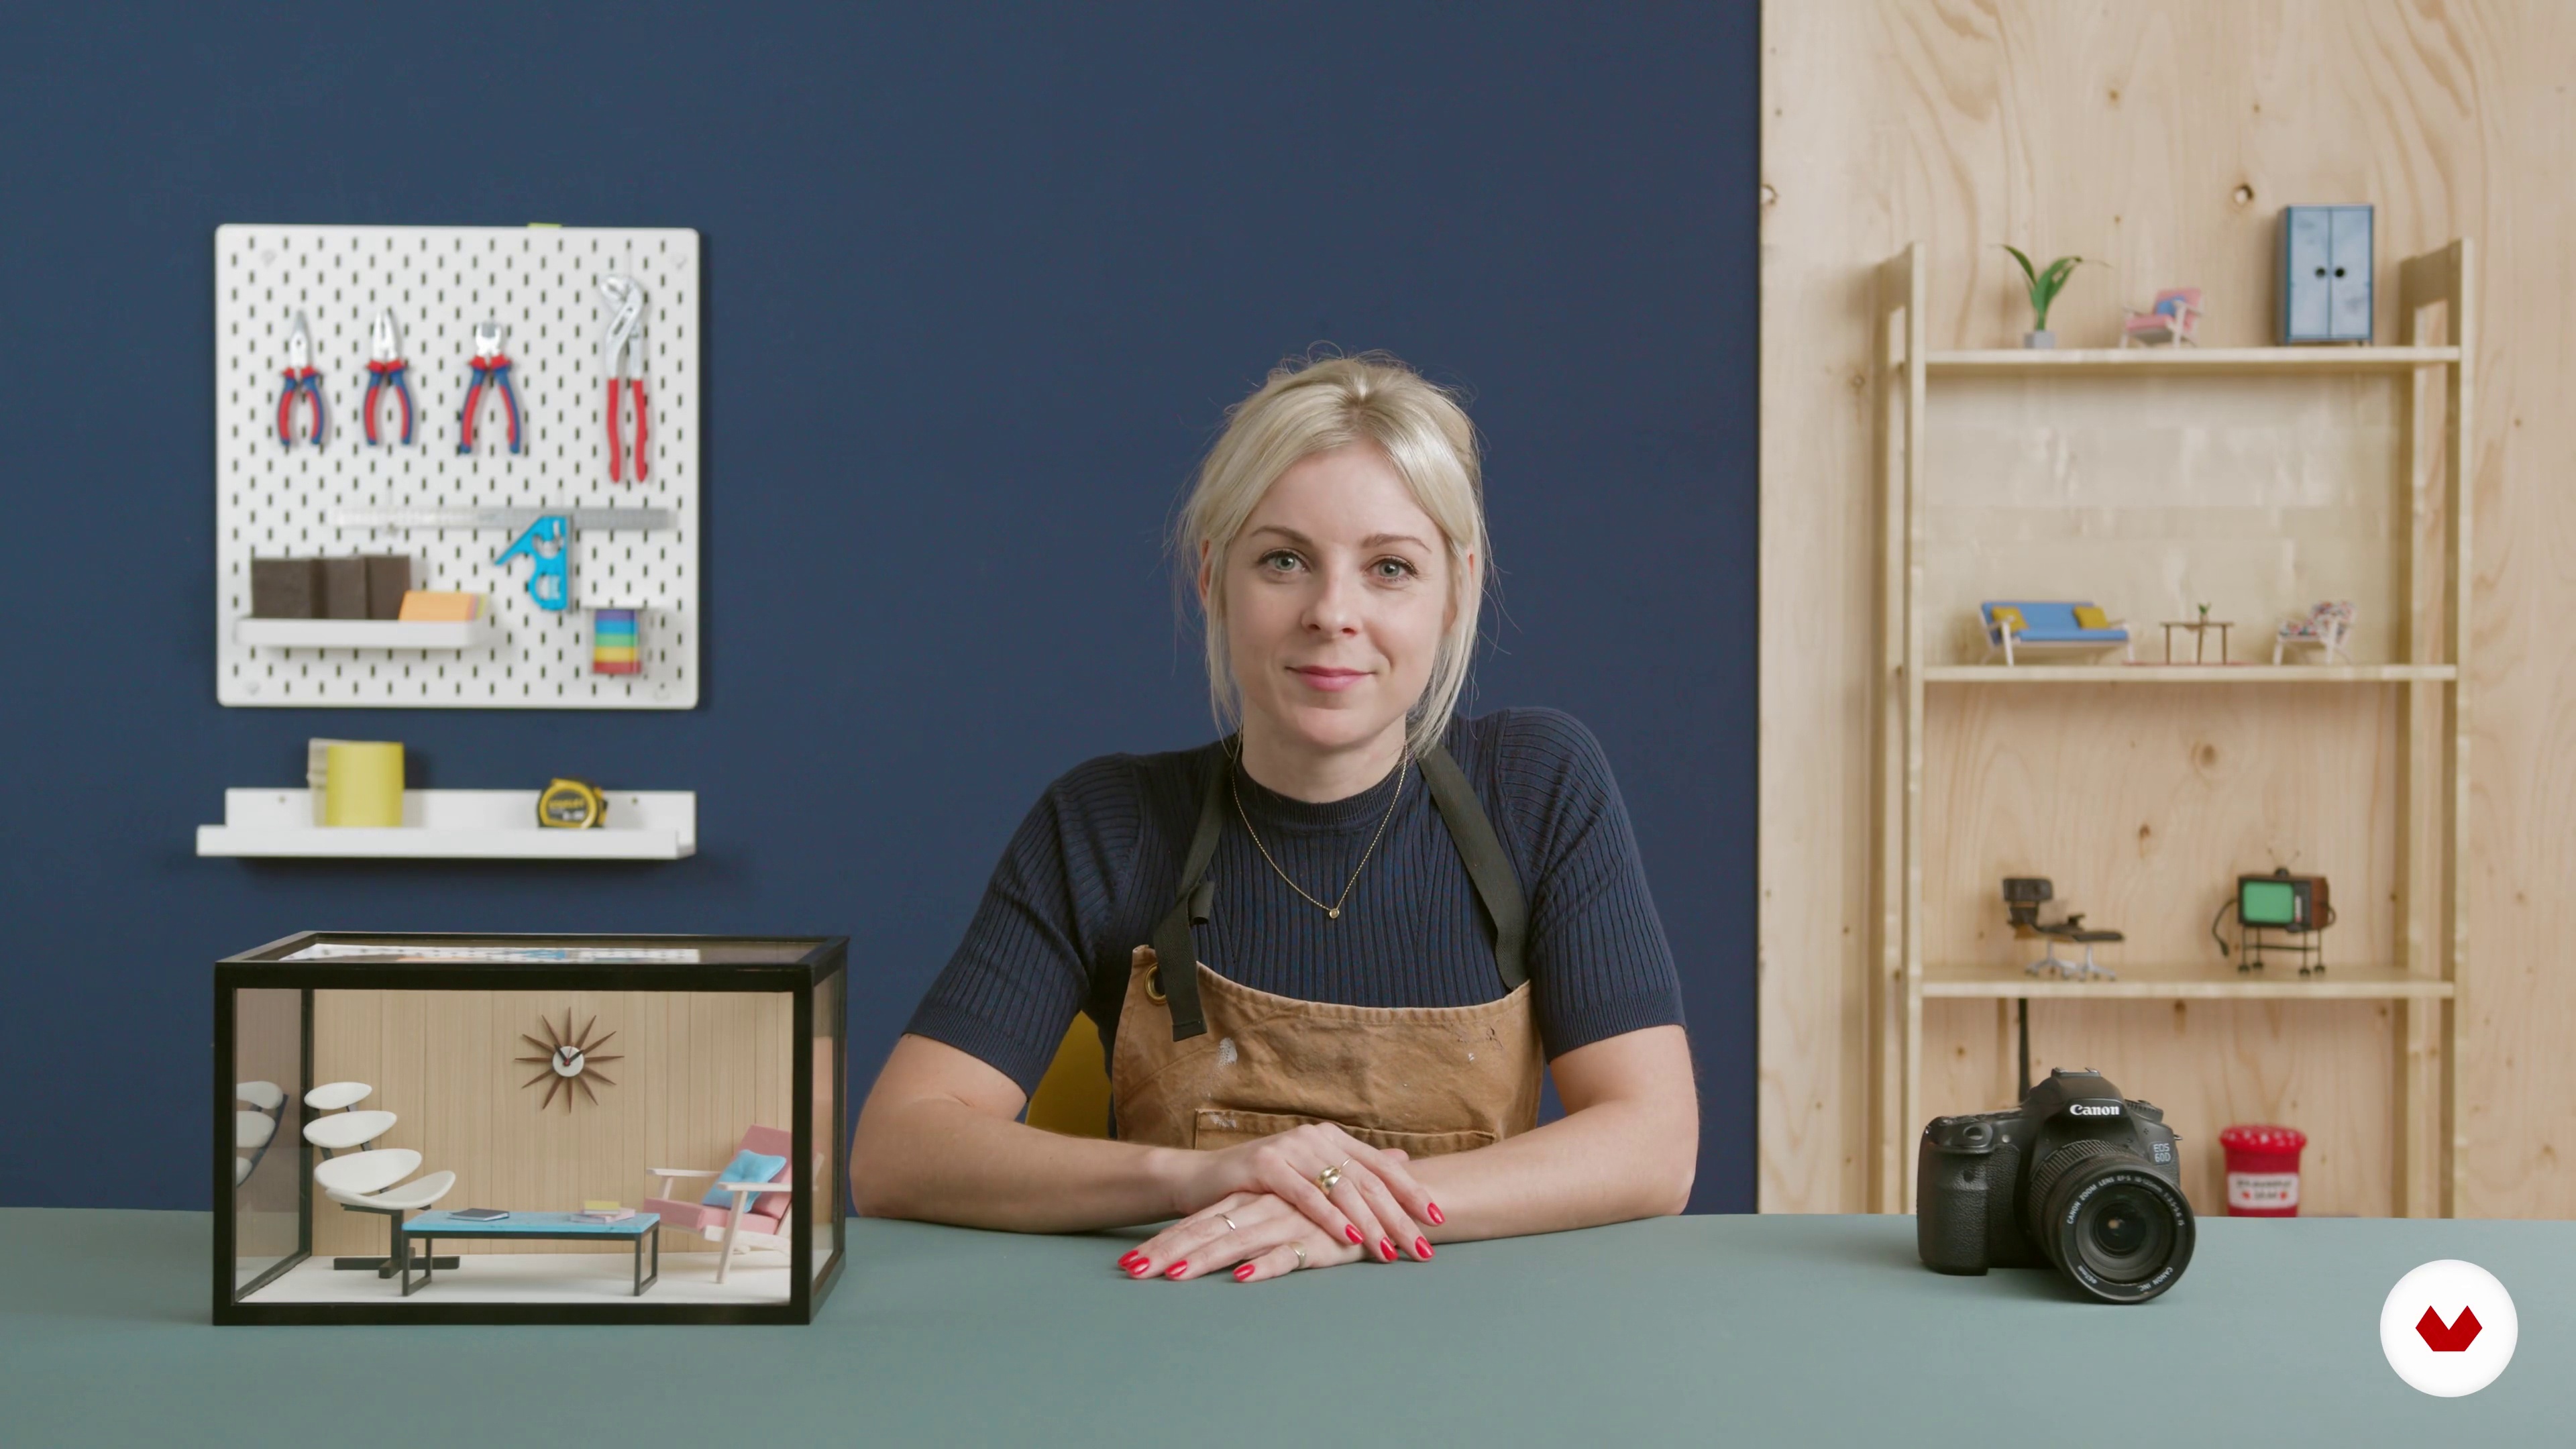
Embark on a creative journey into the world of miniature design and decoration, where five talented instructors guide you through the art of crafting tiny wonders. Dive into the intricate process of making furniture and accessories for miniature houses, exploring handmade techniques, painting, and scaling. With Chelsea Andersson, create stylish, modern dollhouse furniture and decor using accessible tools. Jessica Dance takes you further by teaching how to design entire miniature rooms, covering architecture, color schemes, lighting, and materials to build realistic spaces.
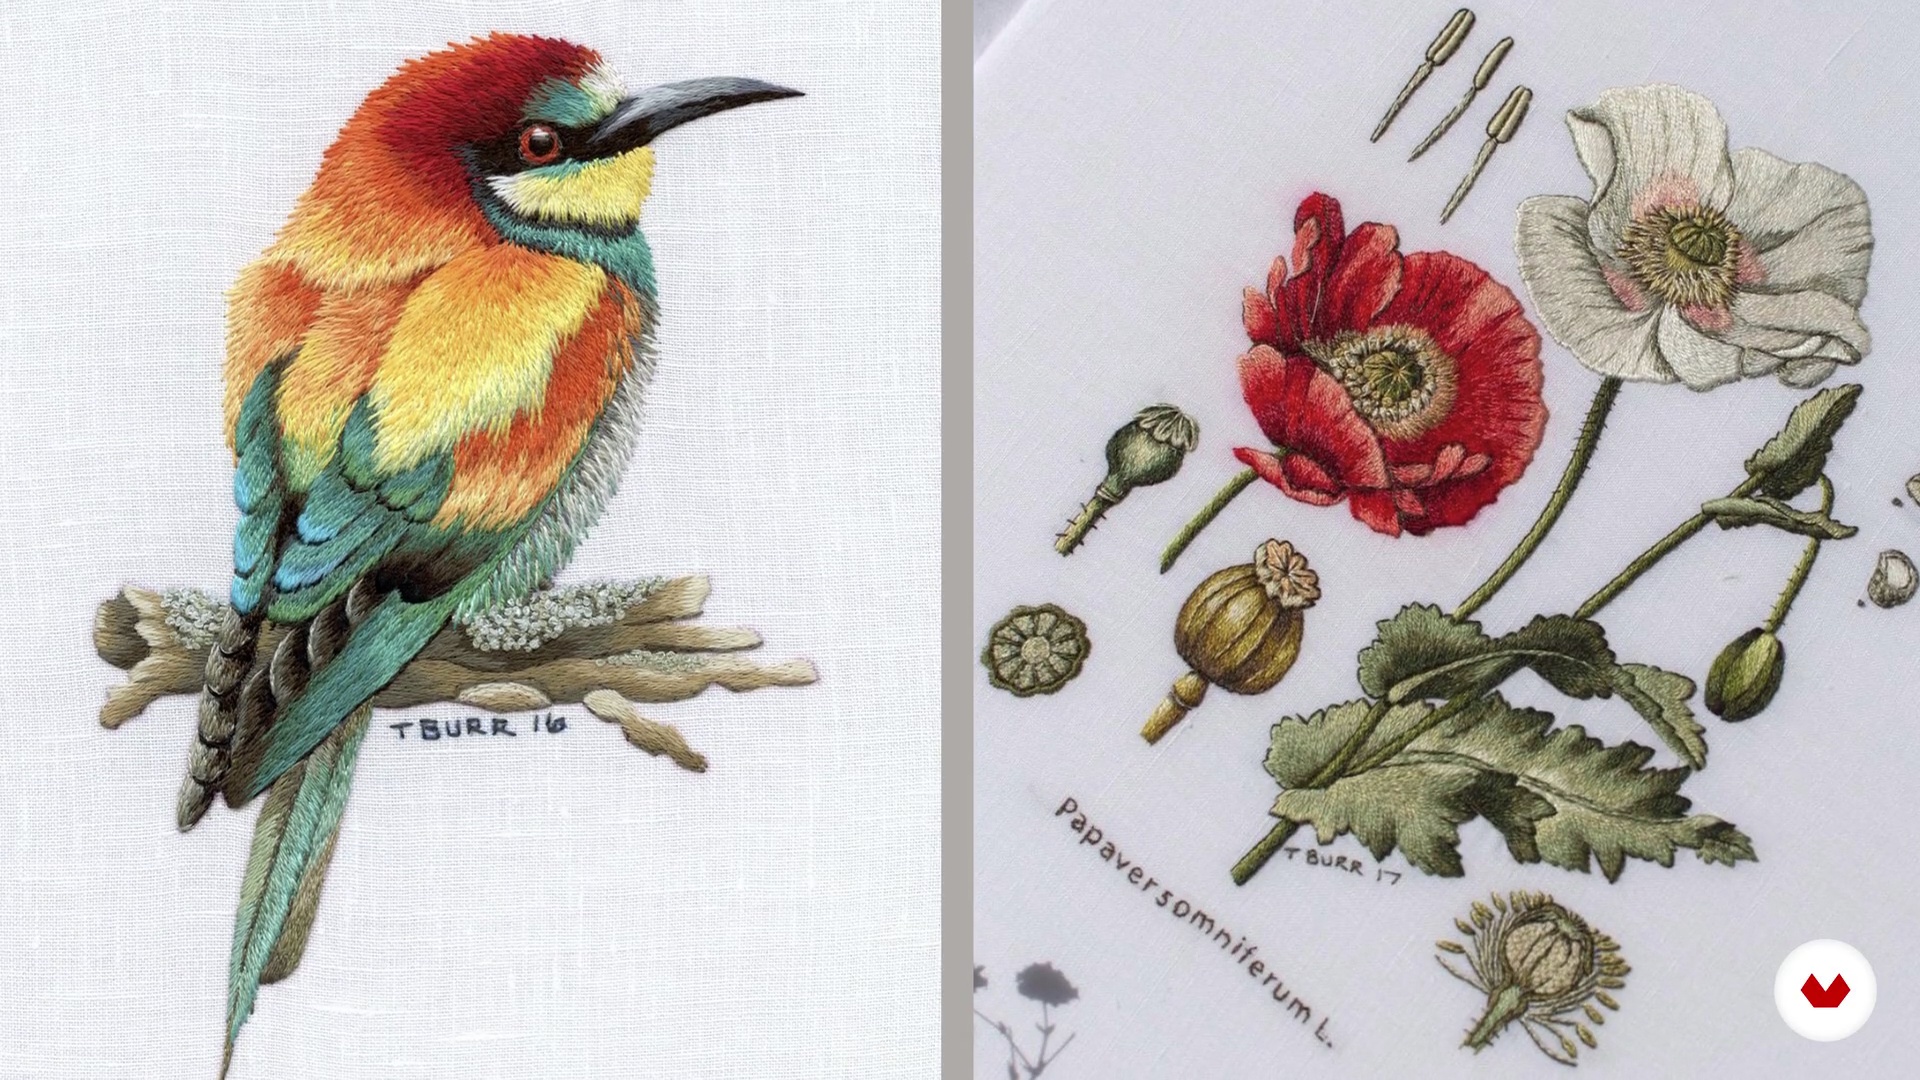
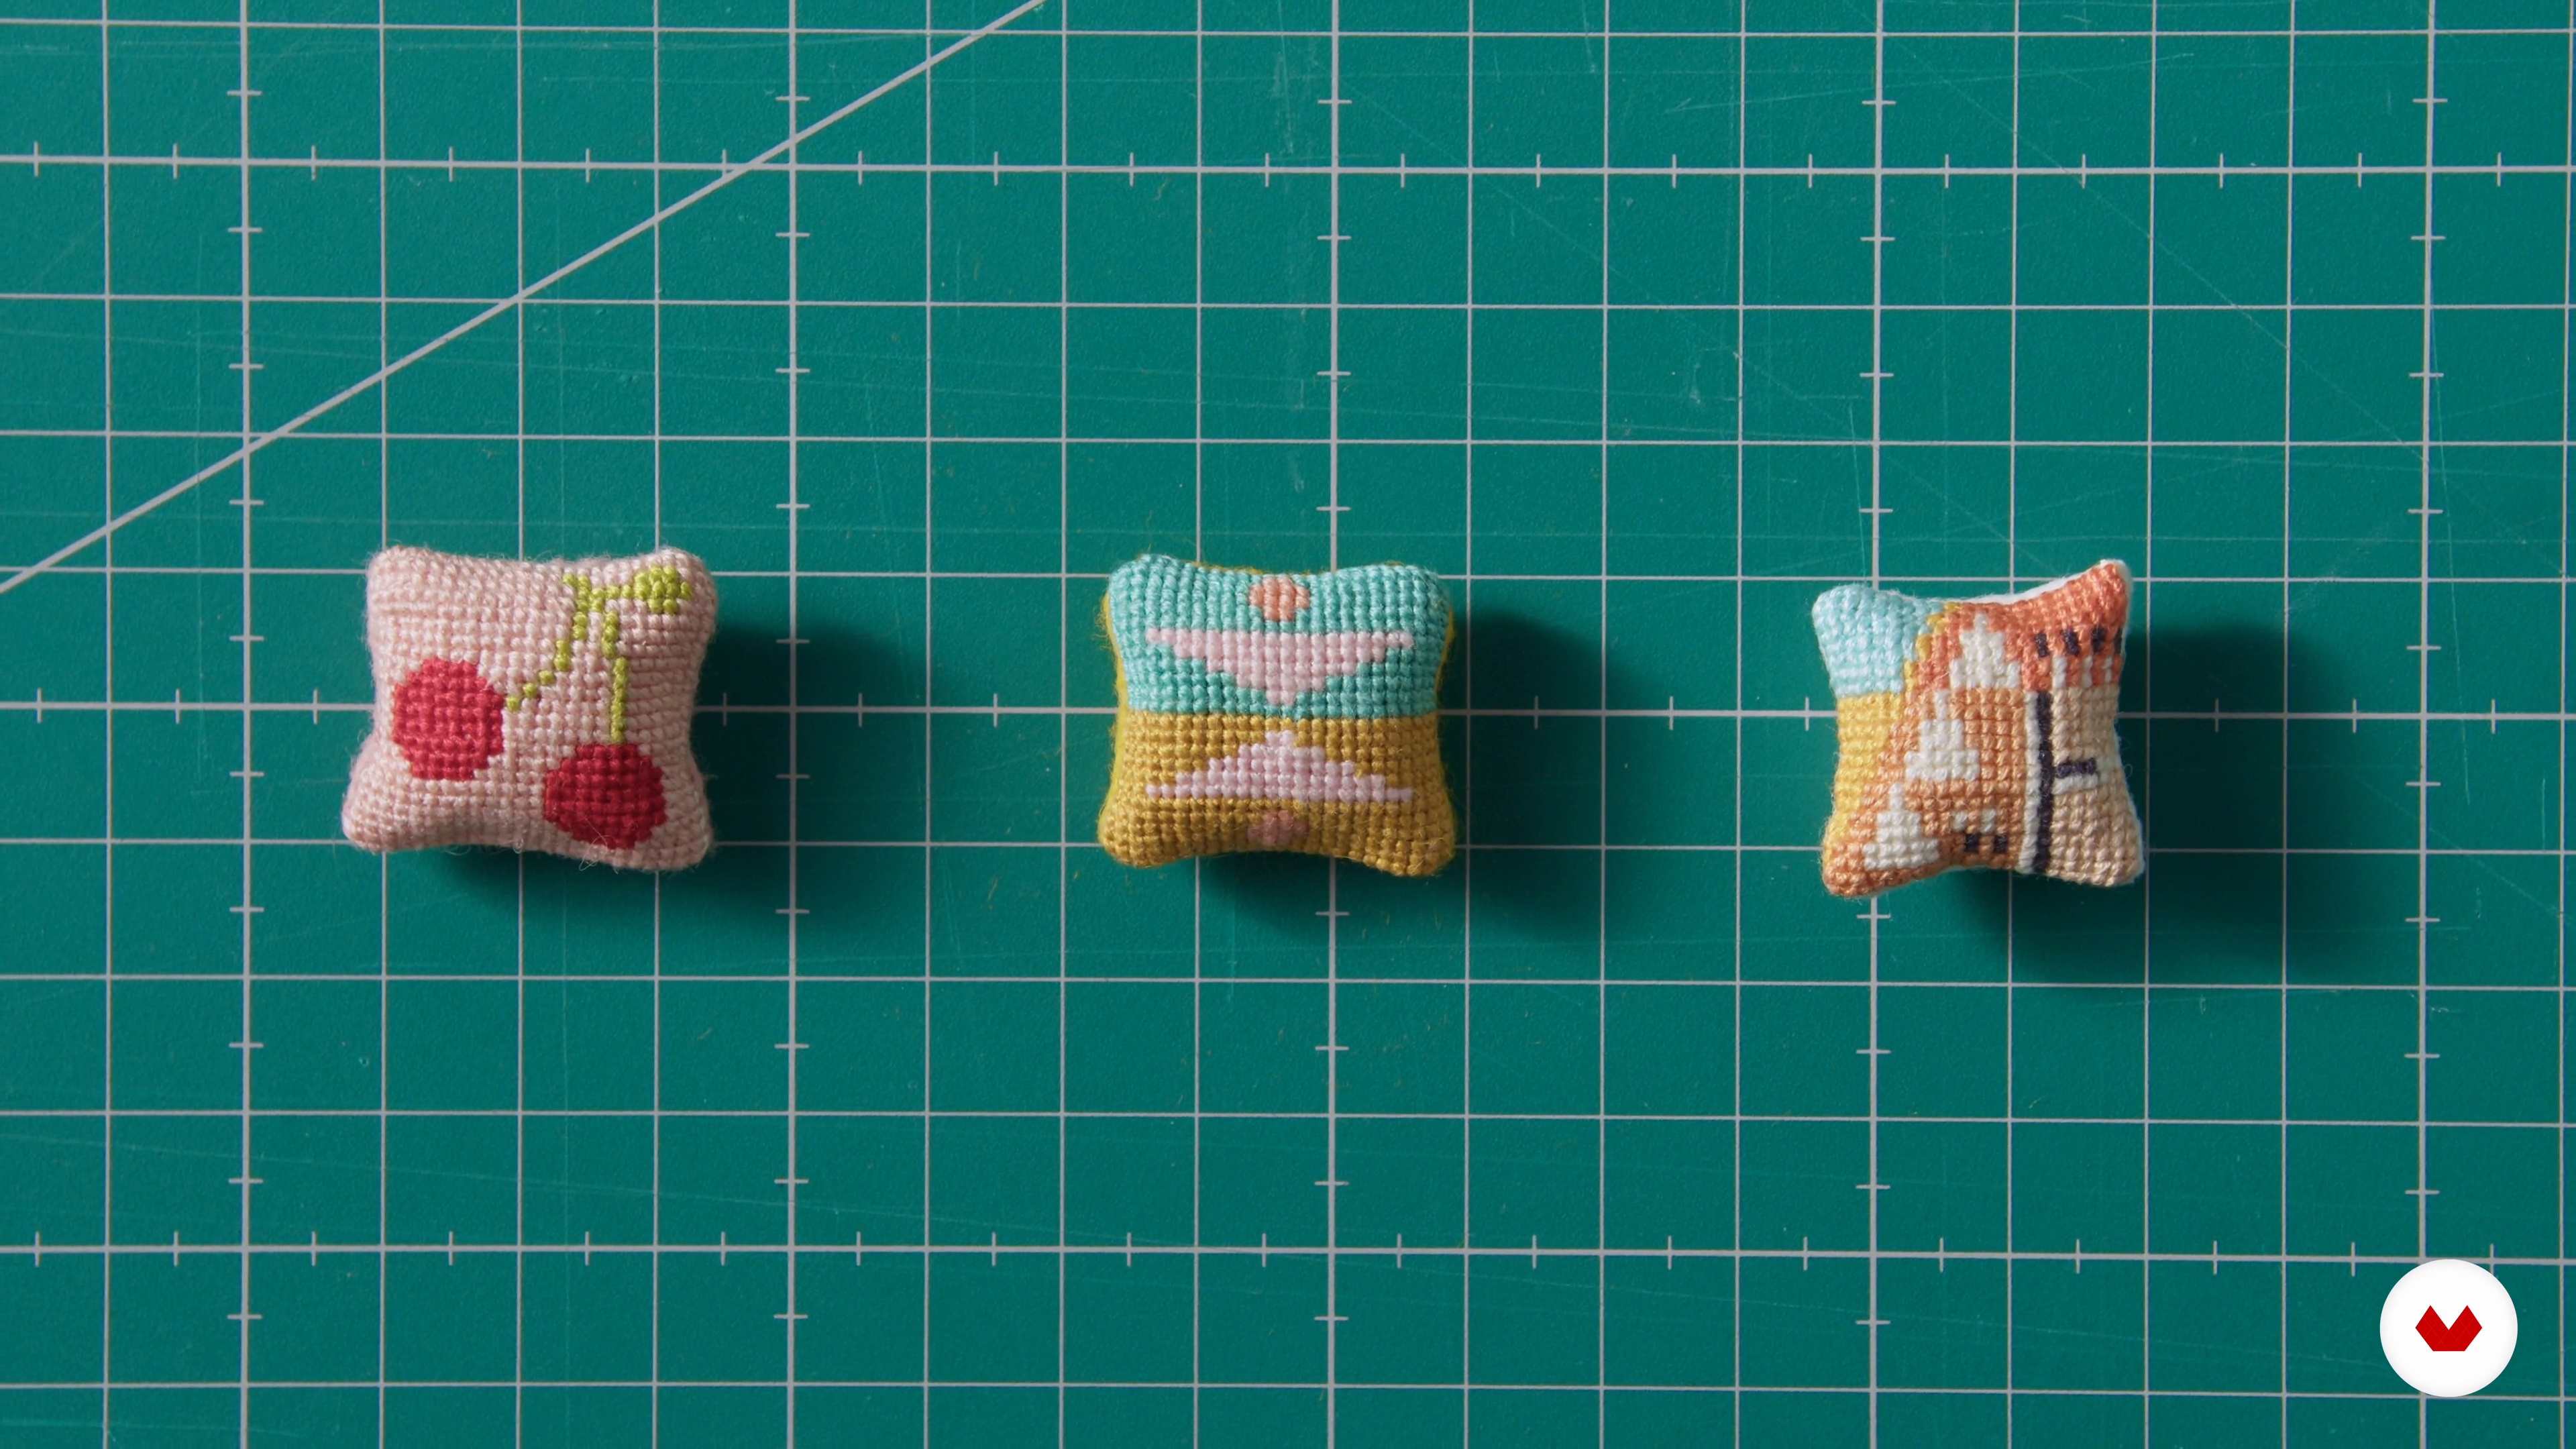
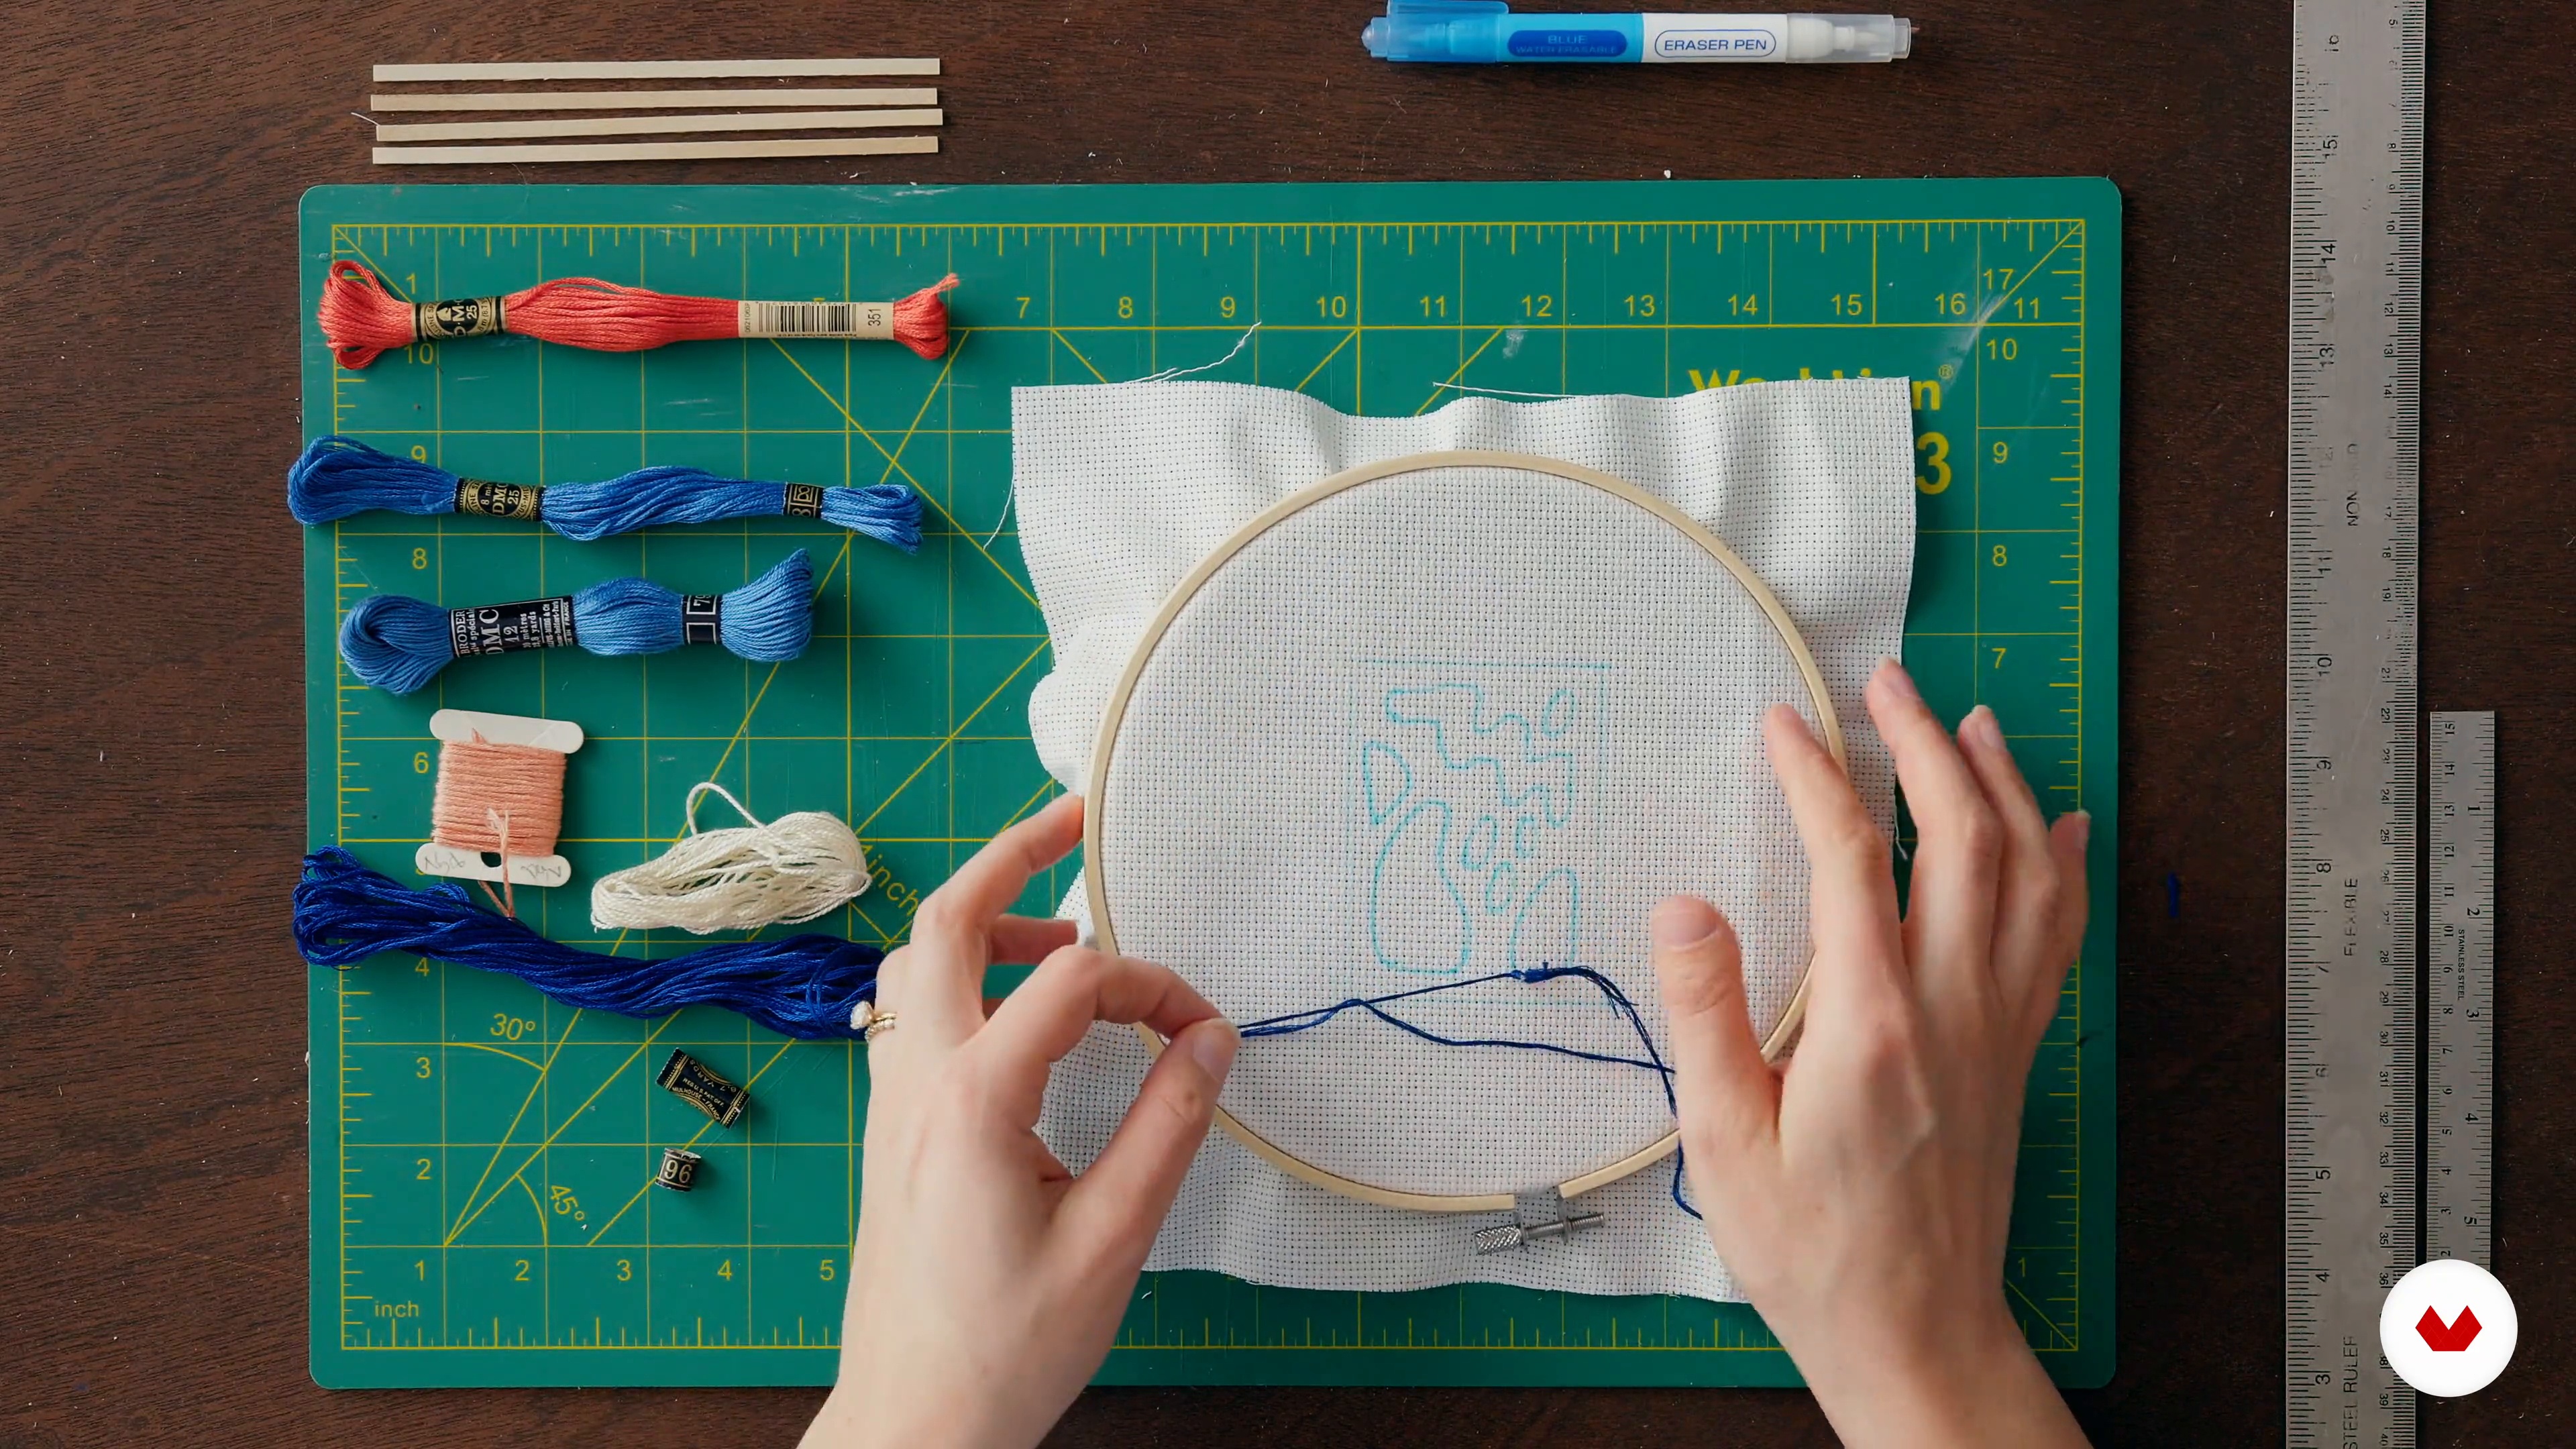
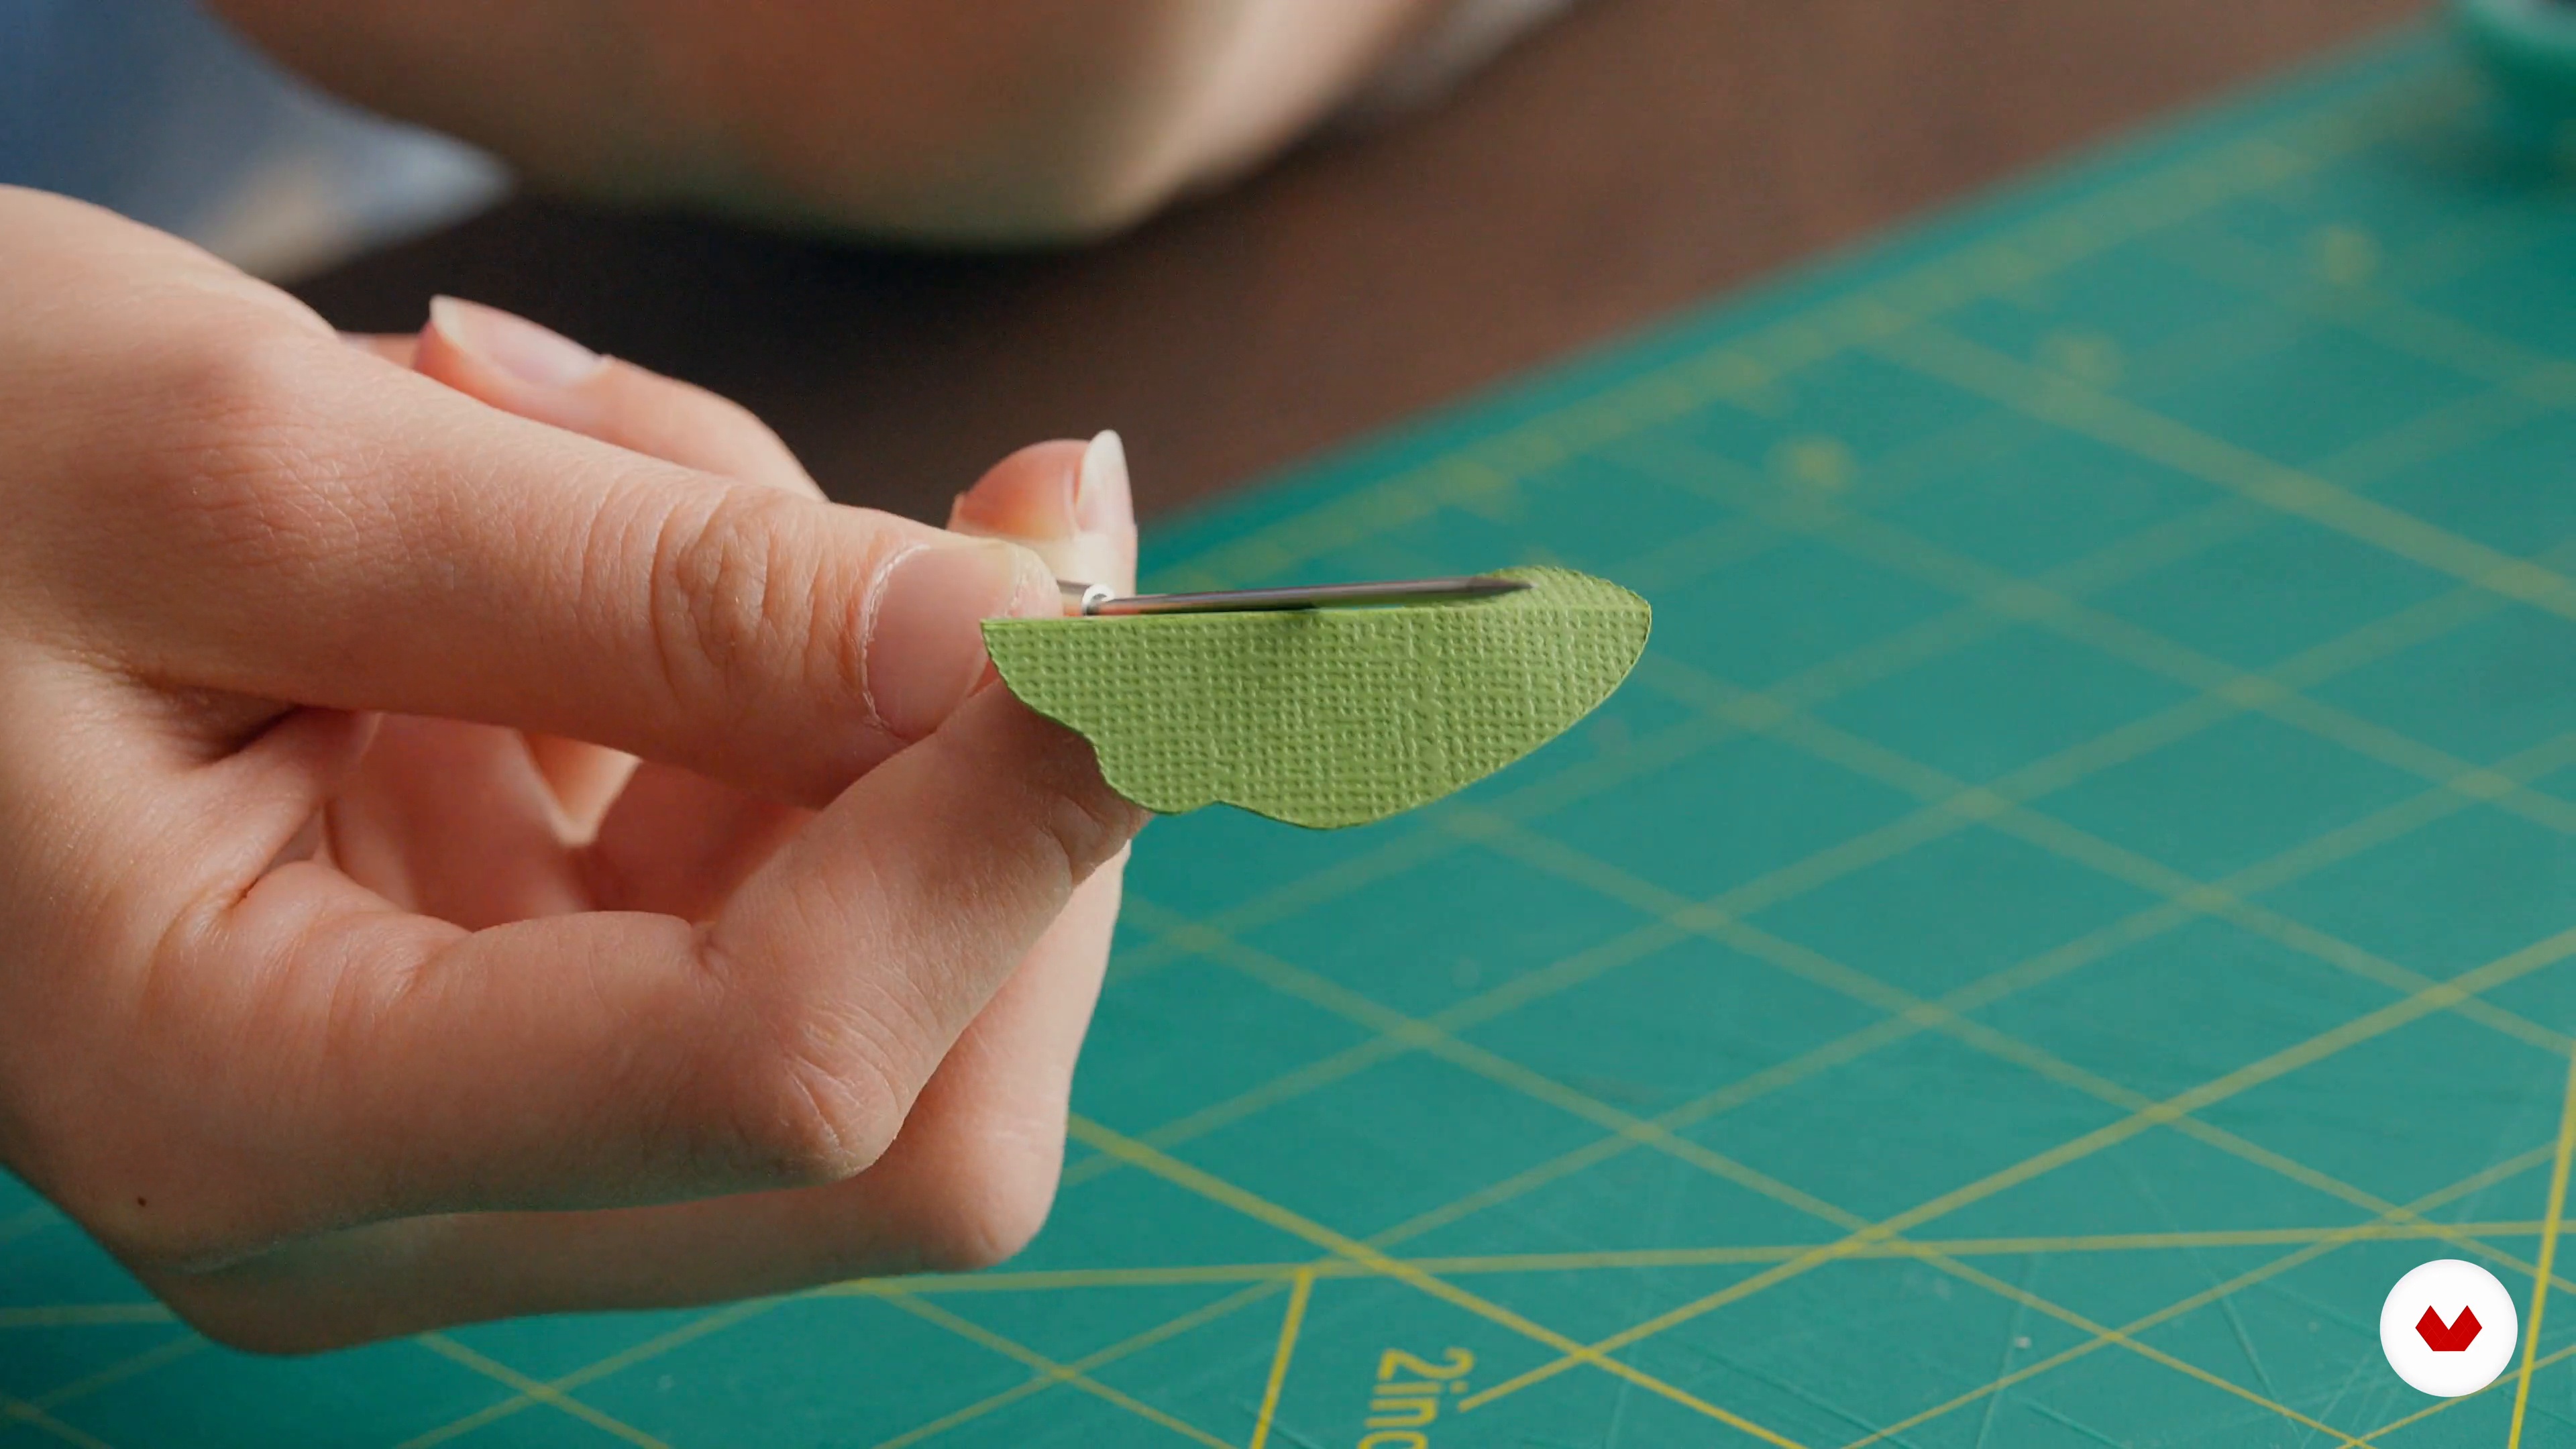
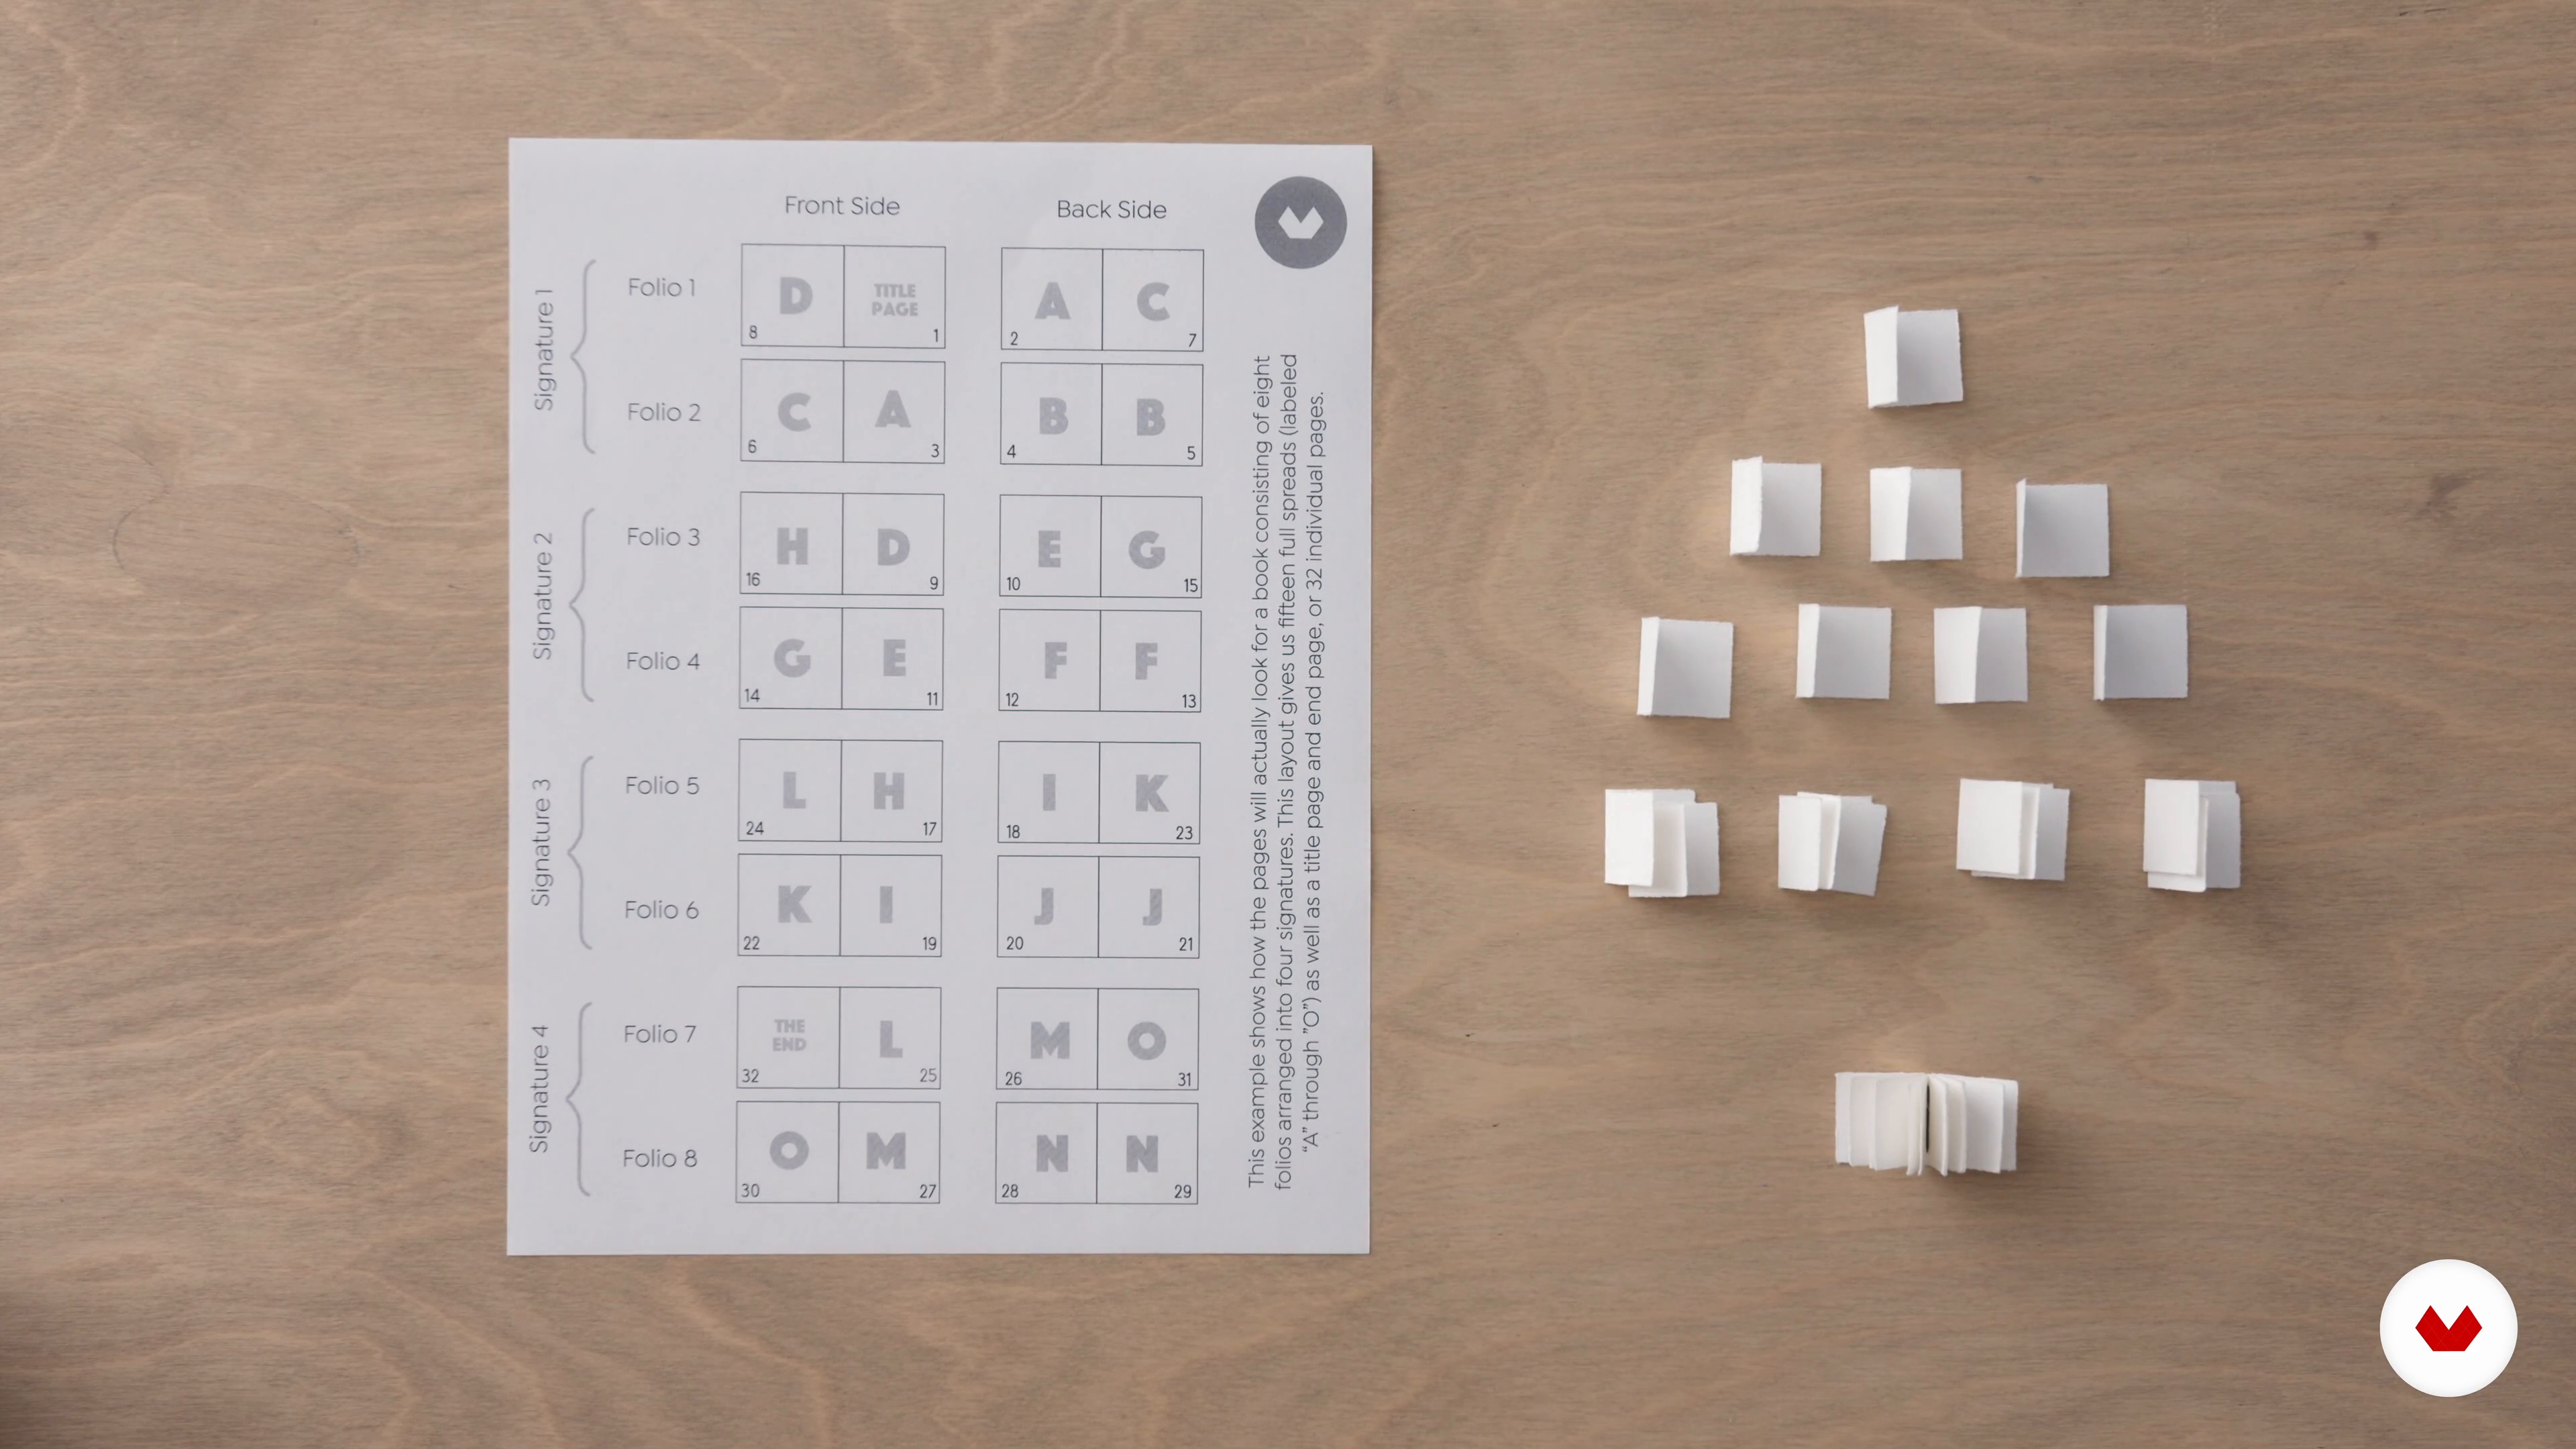
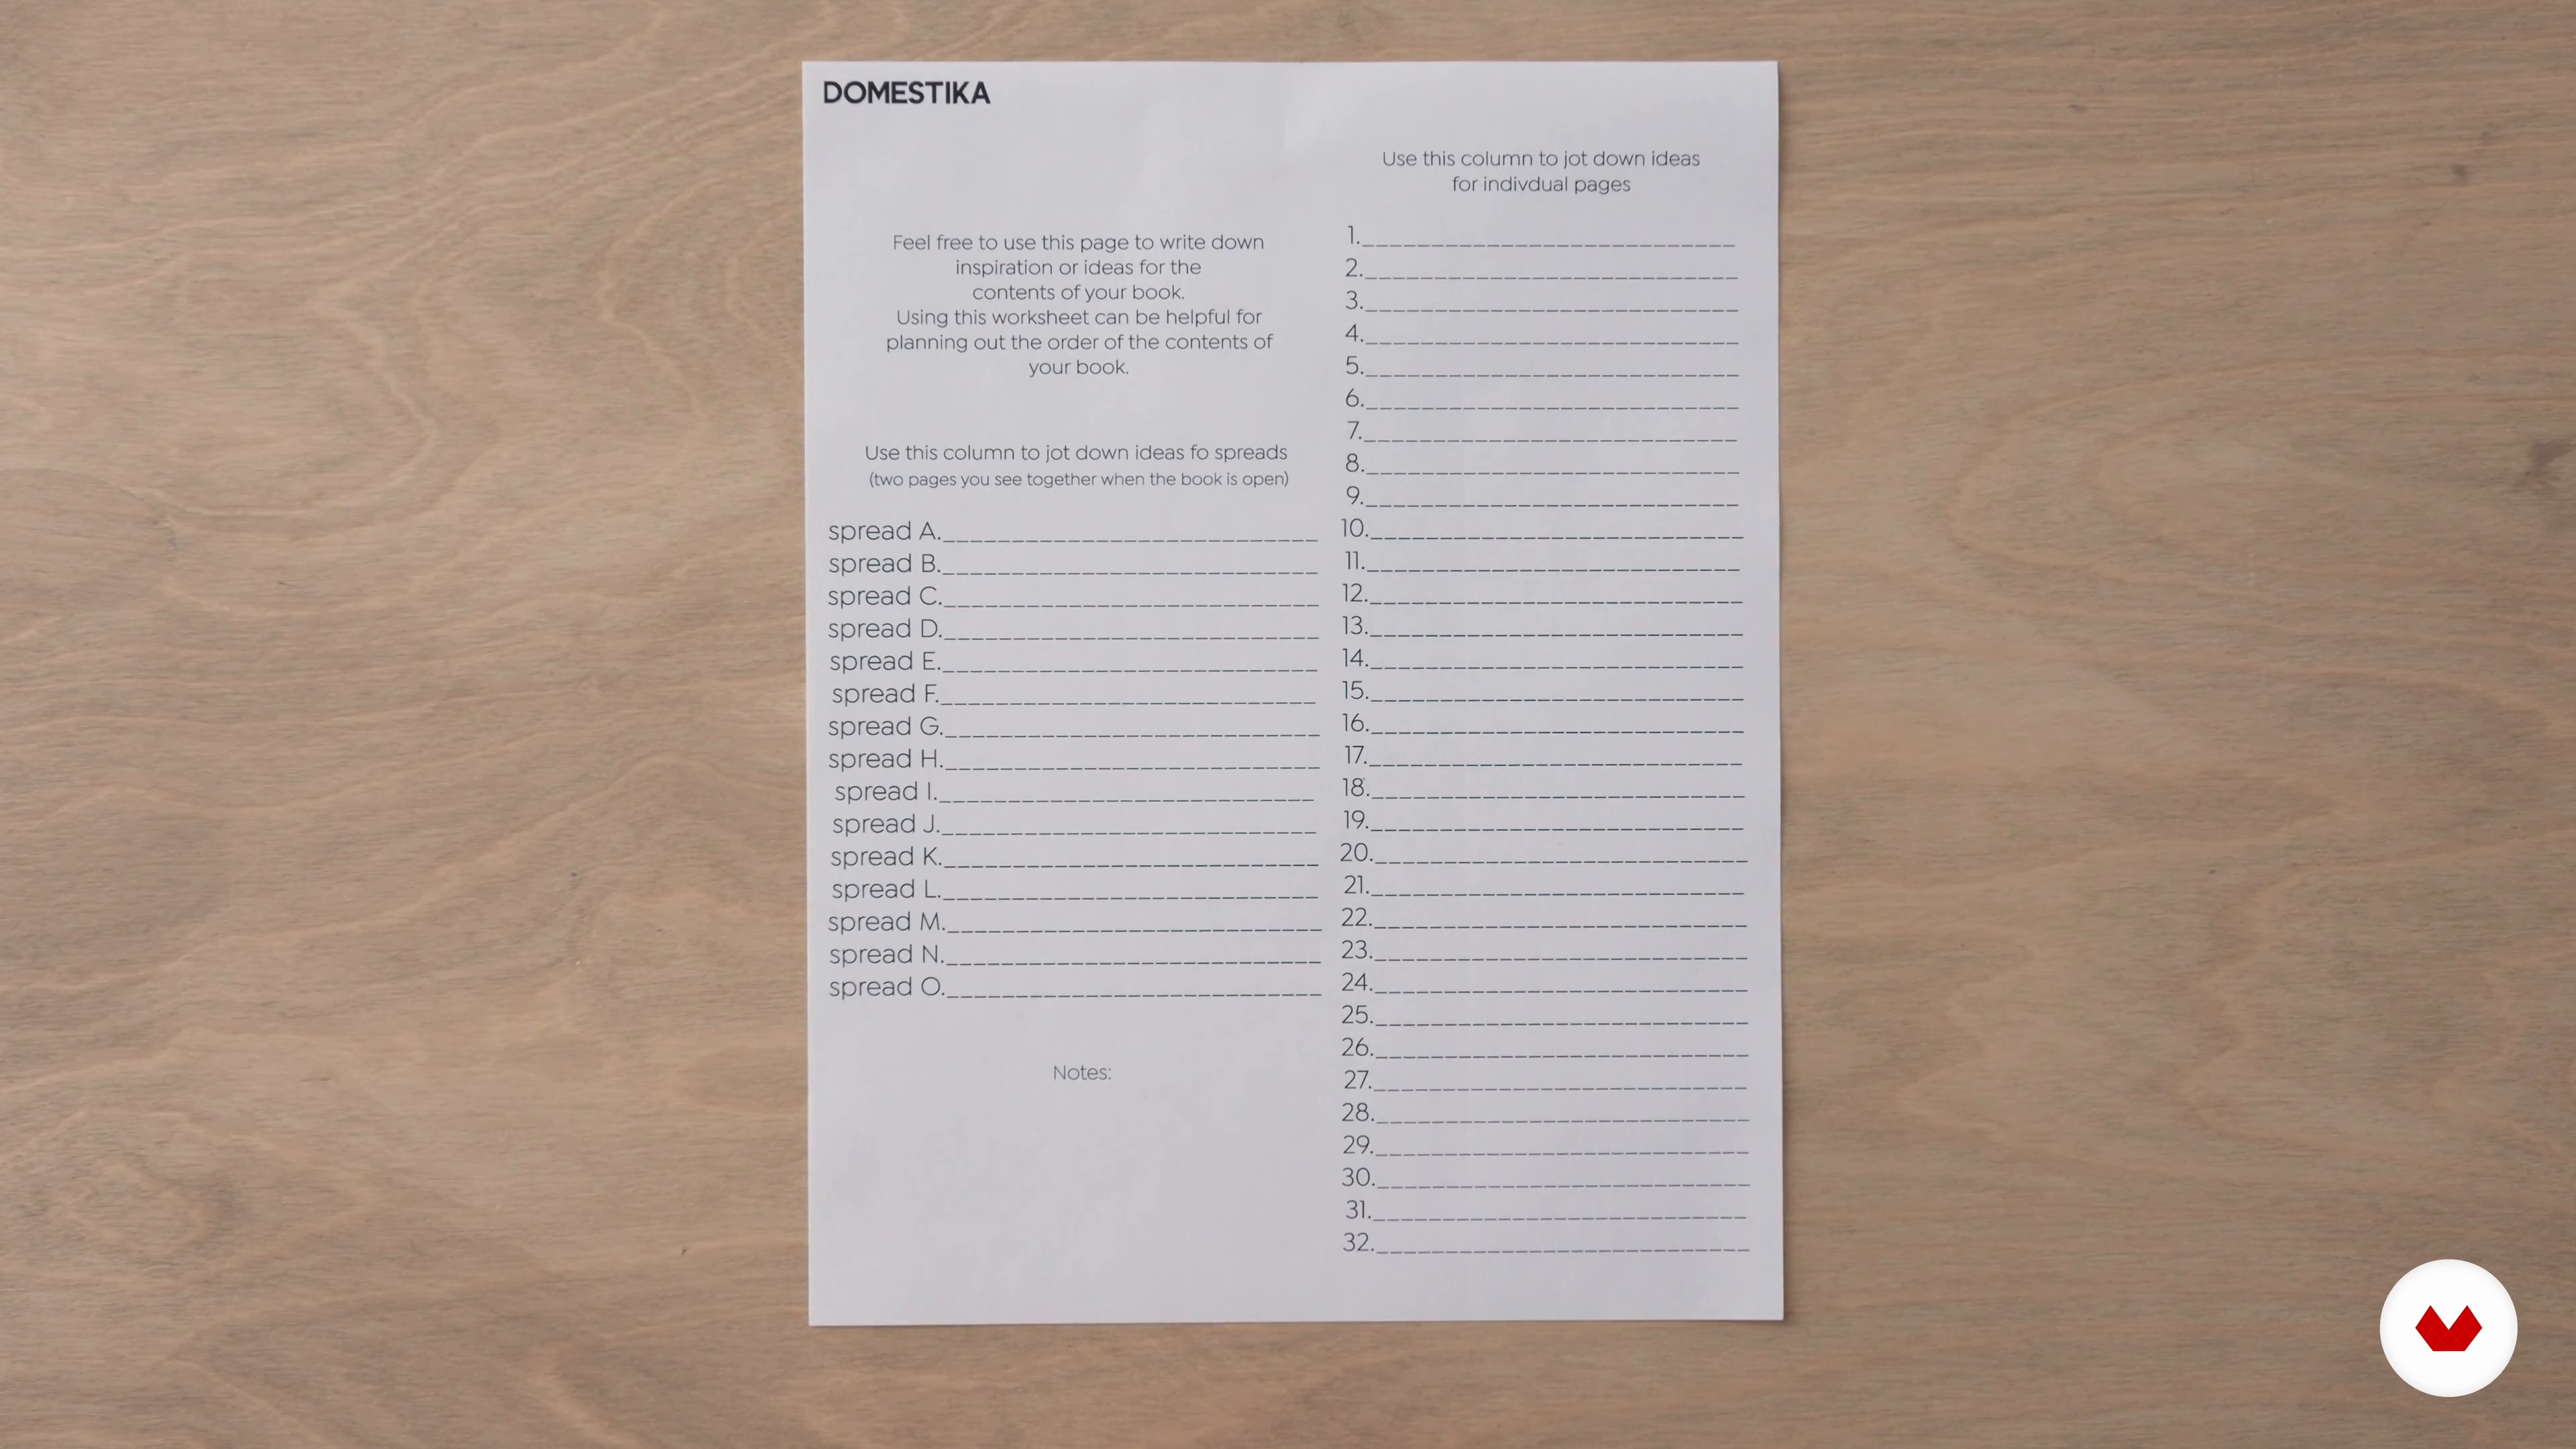
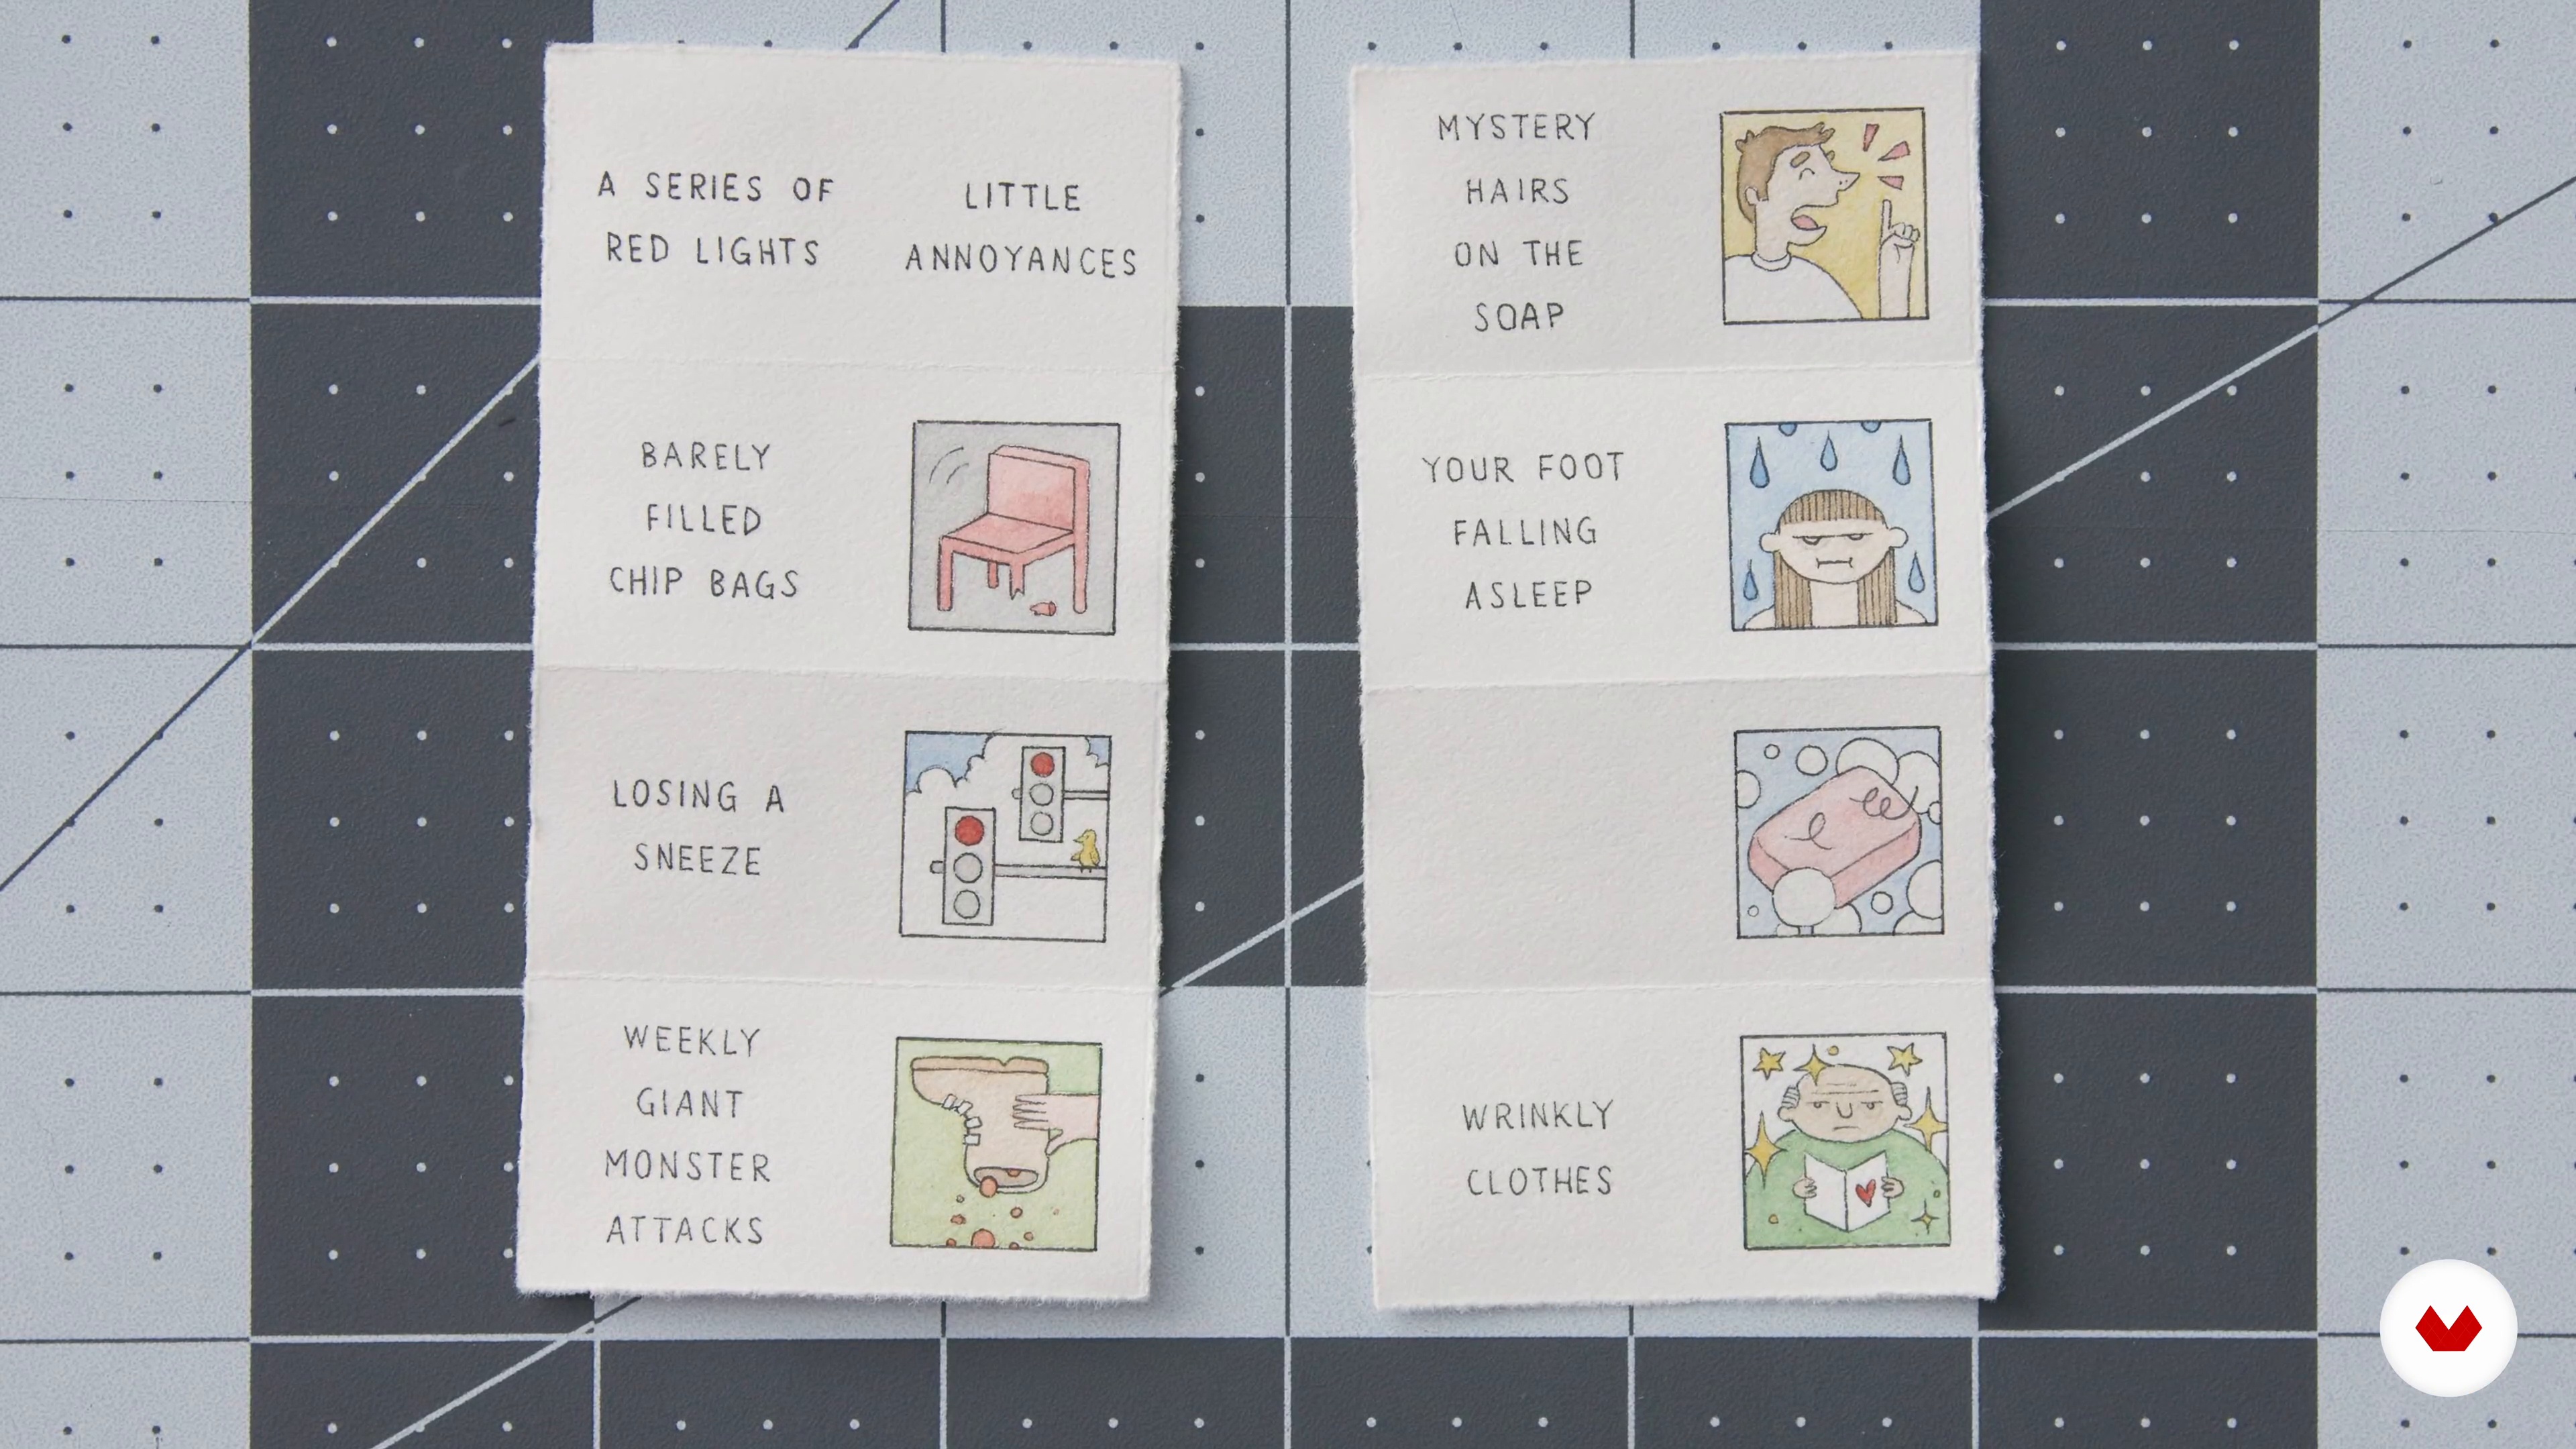
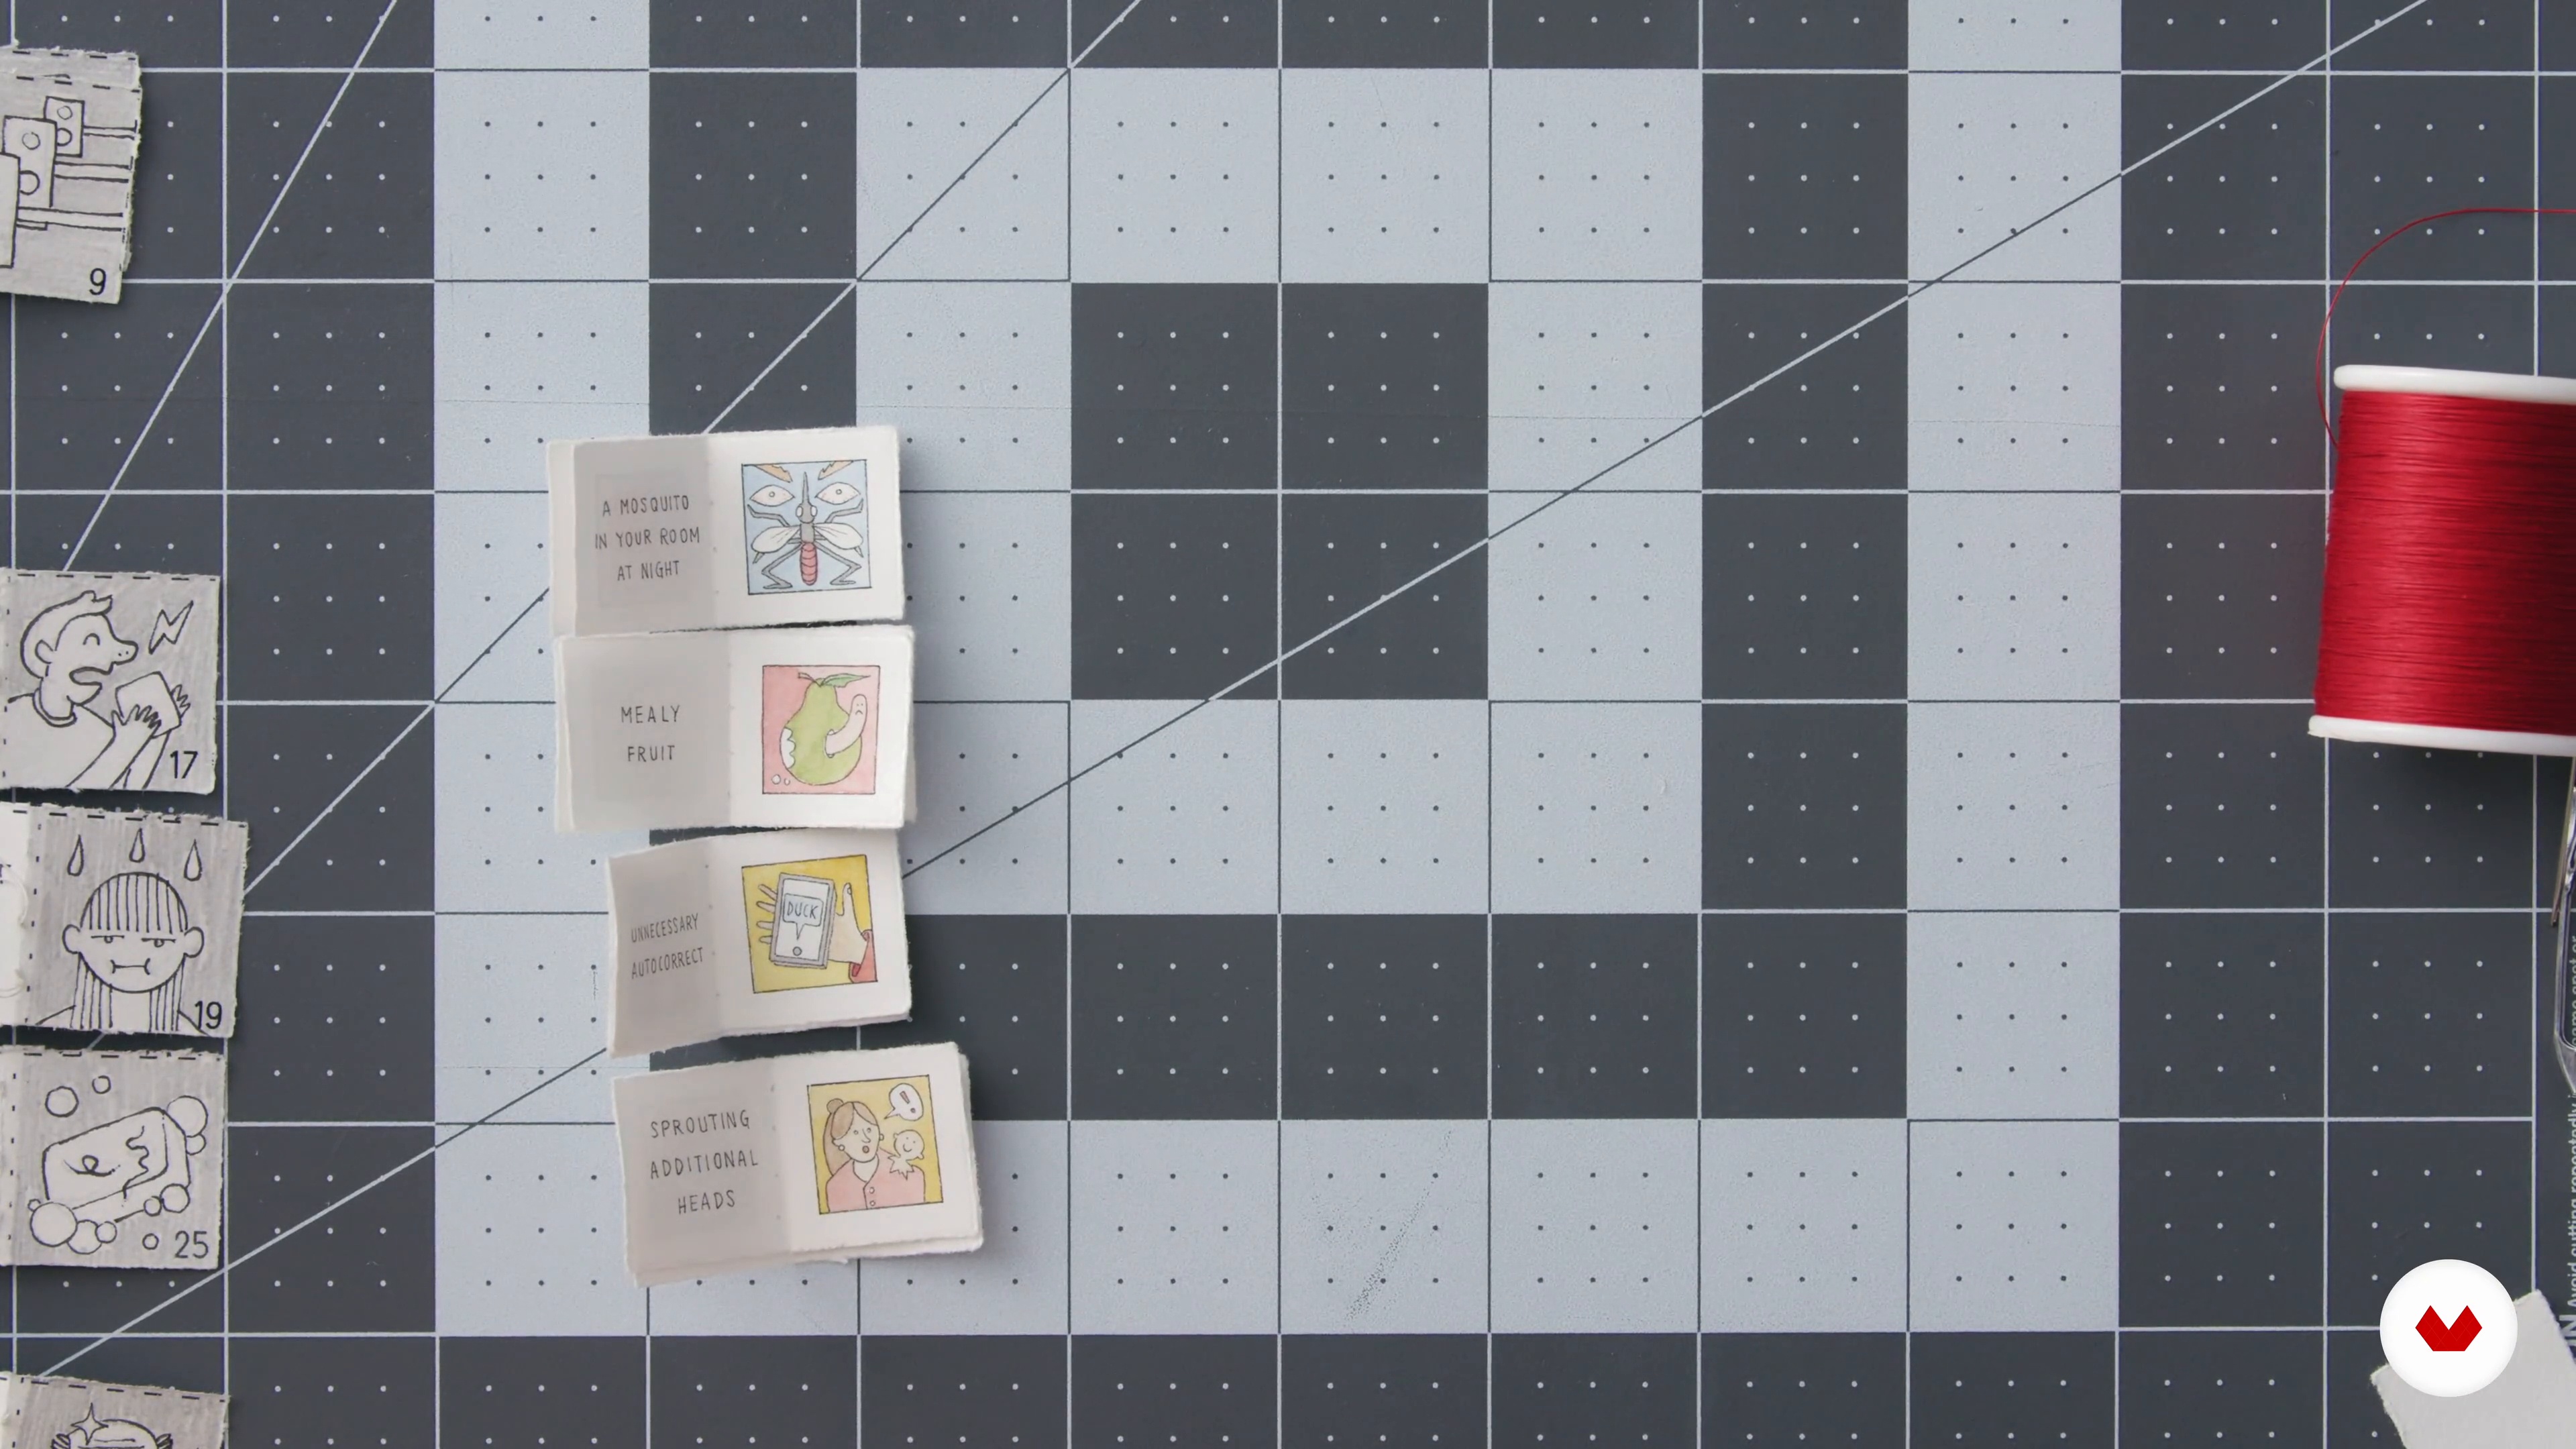
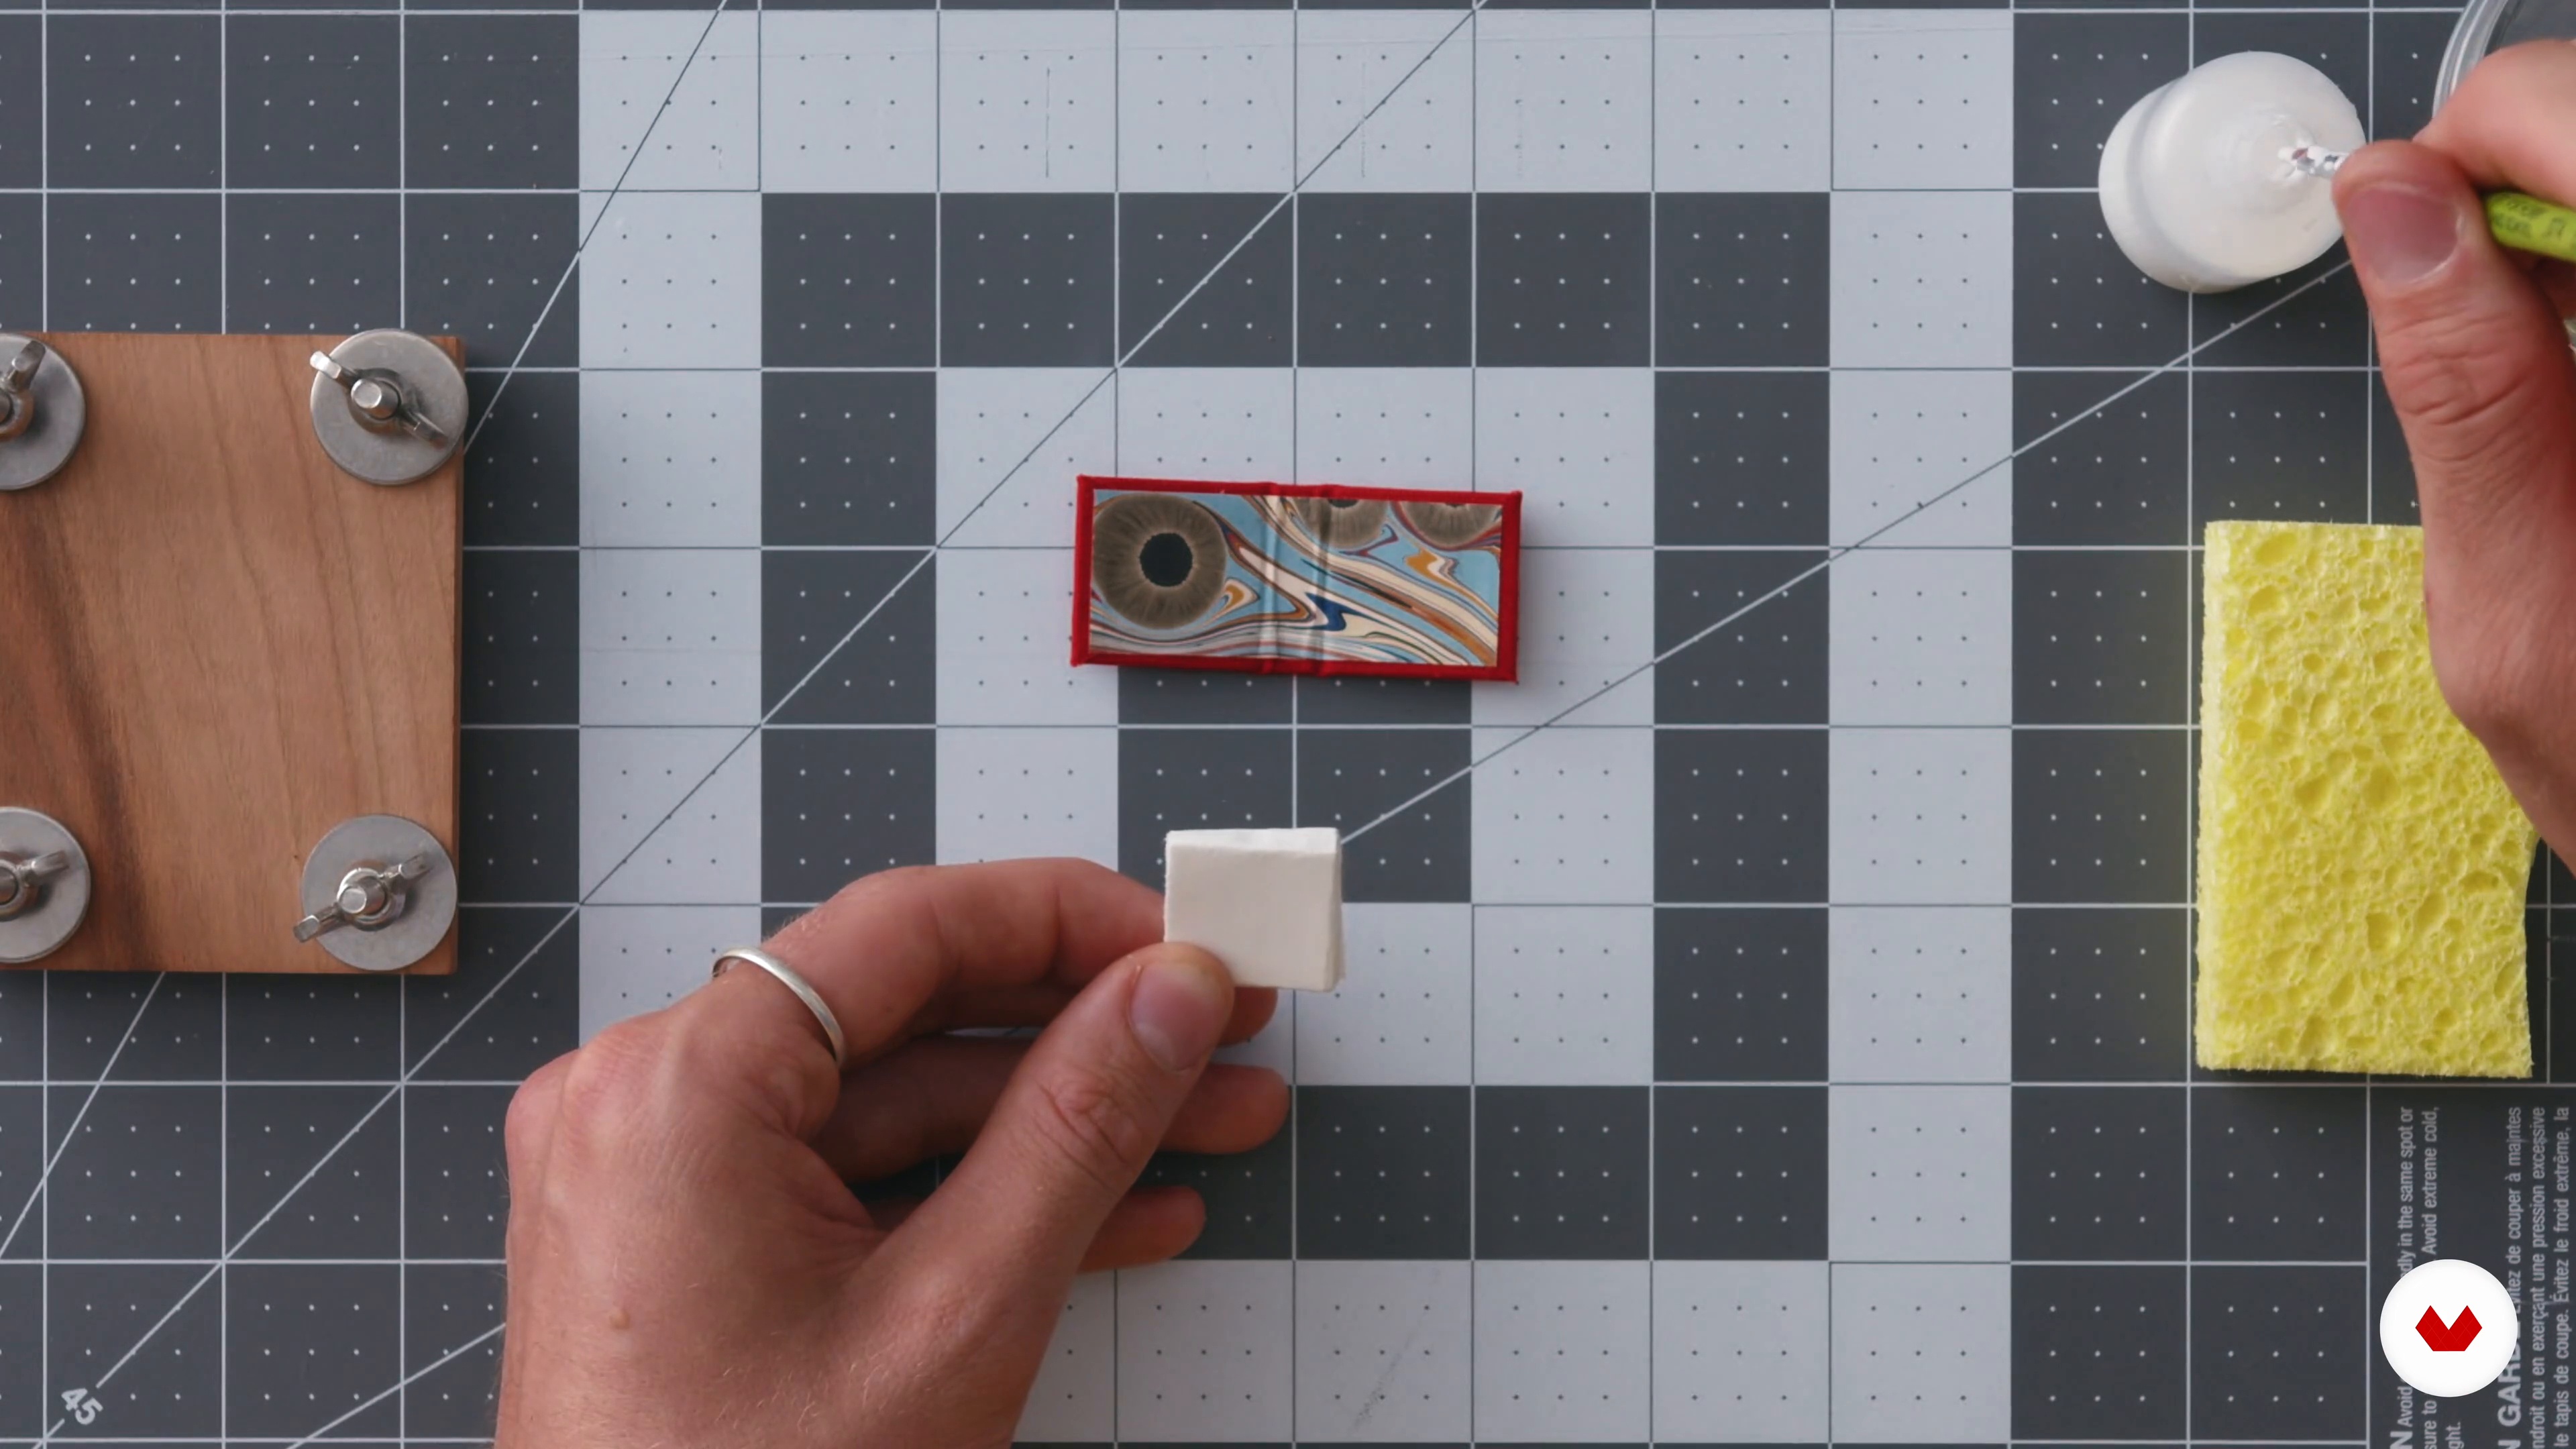
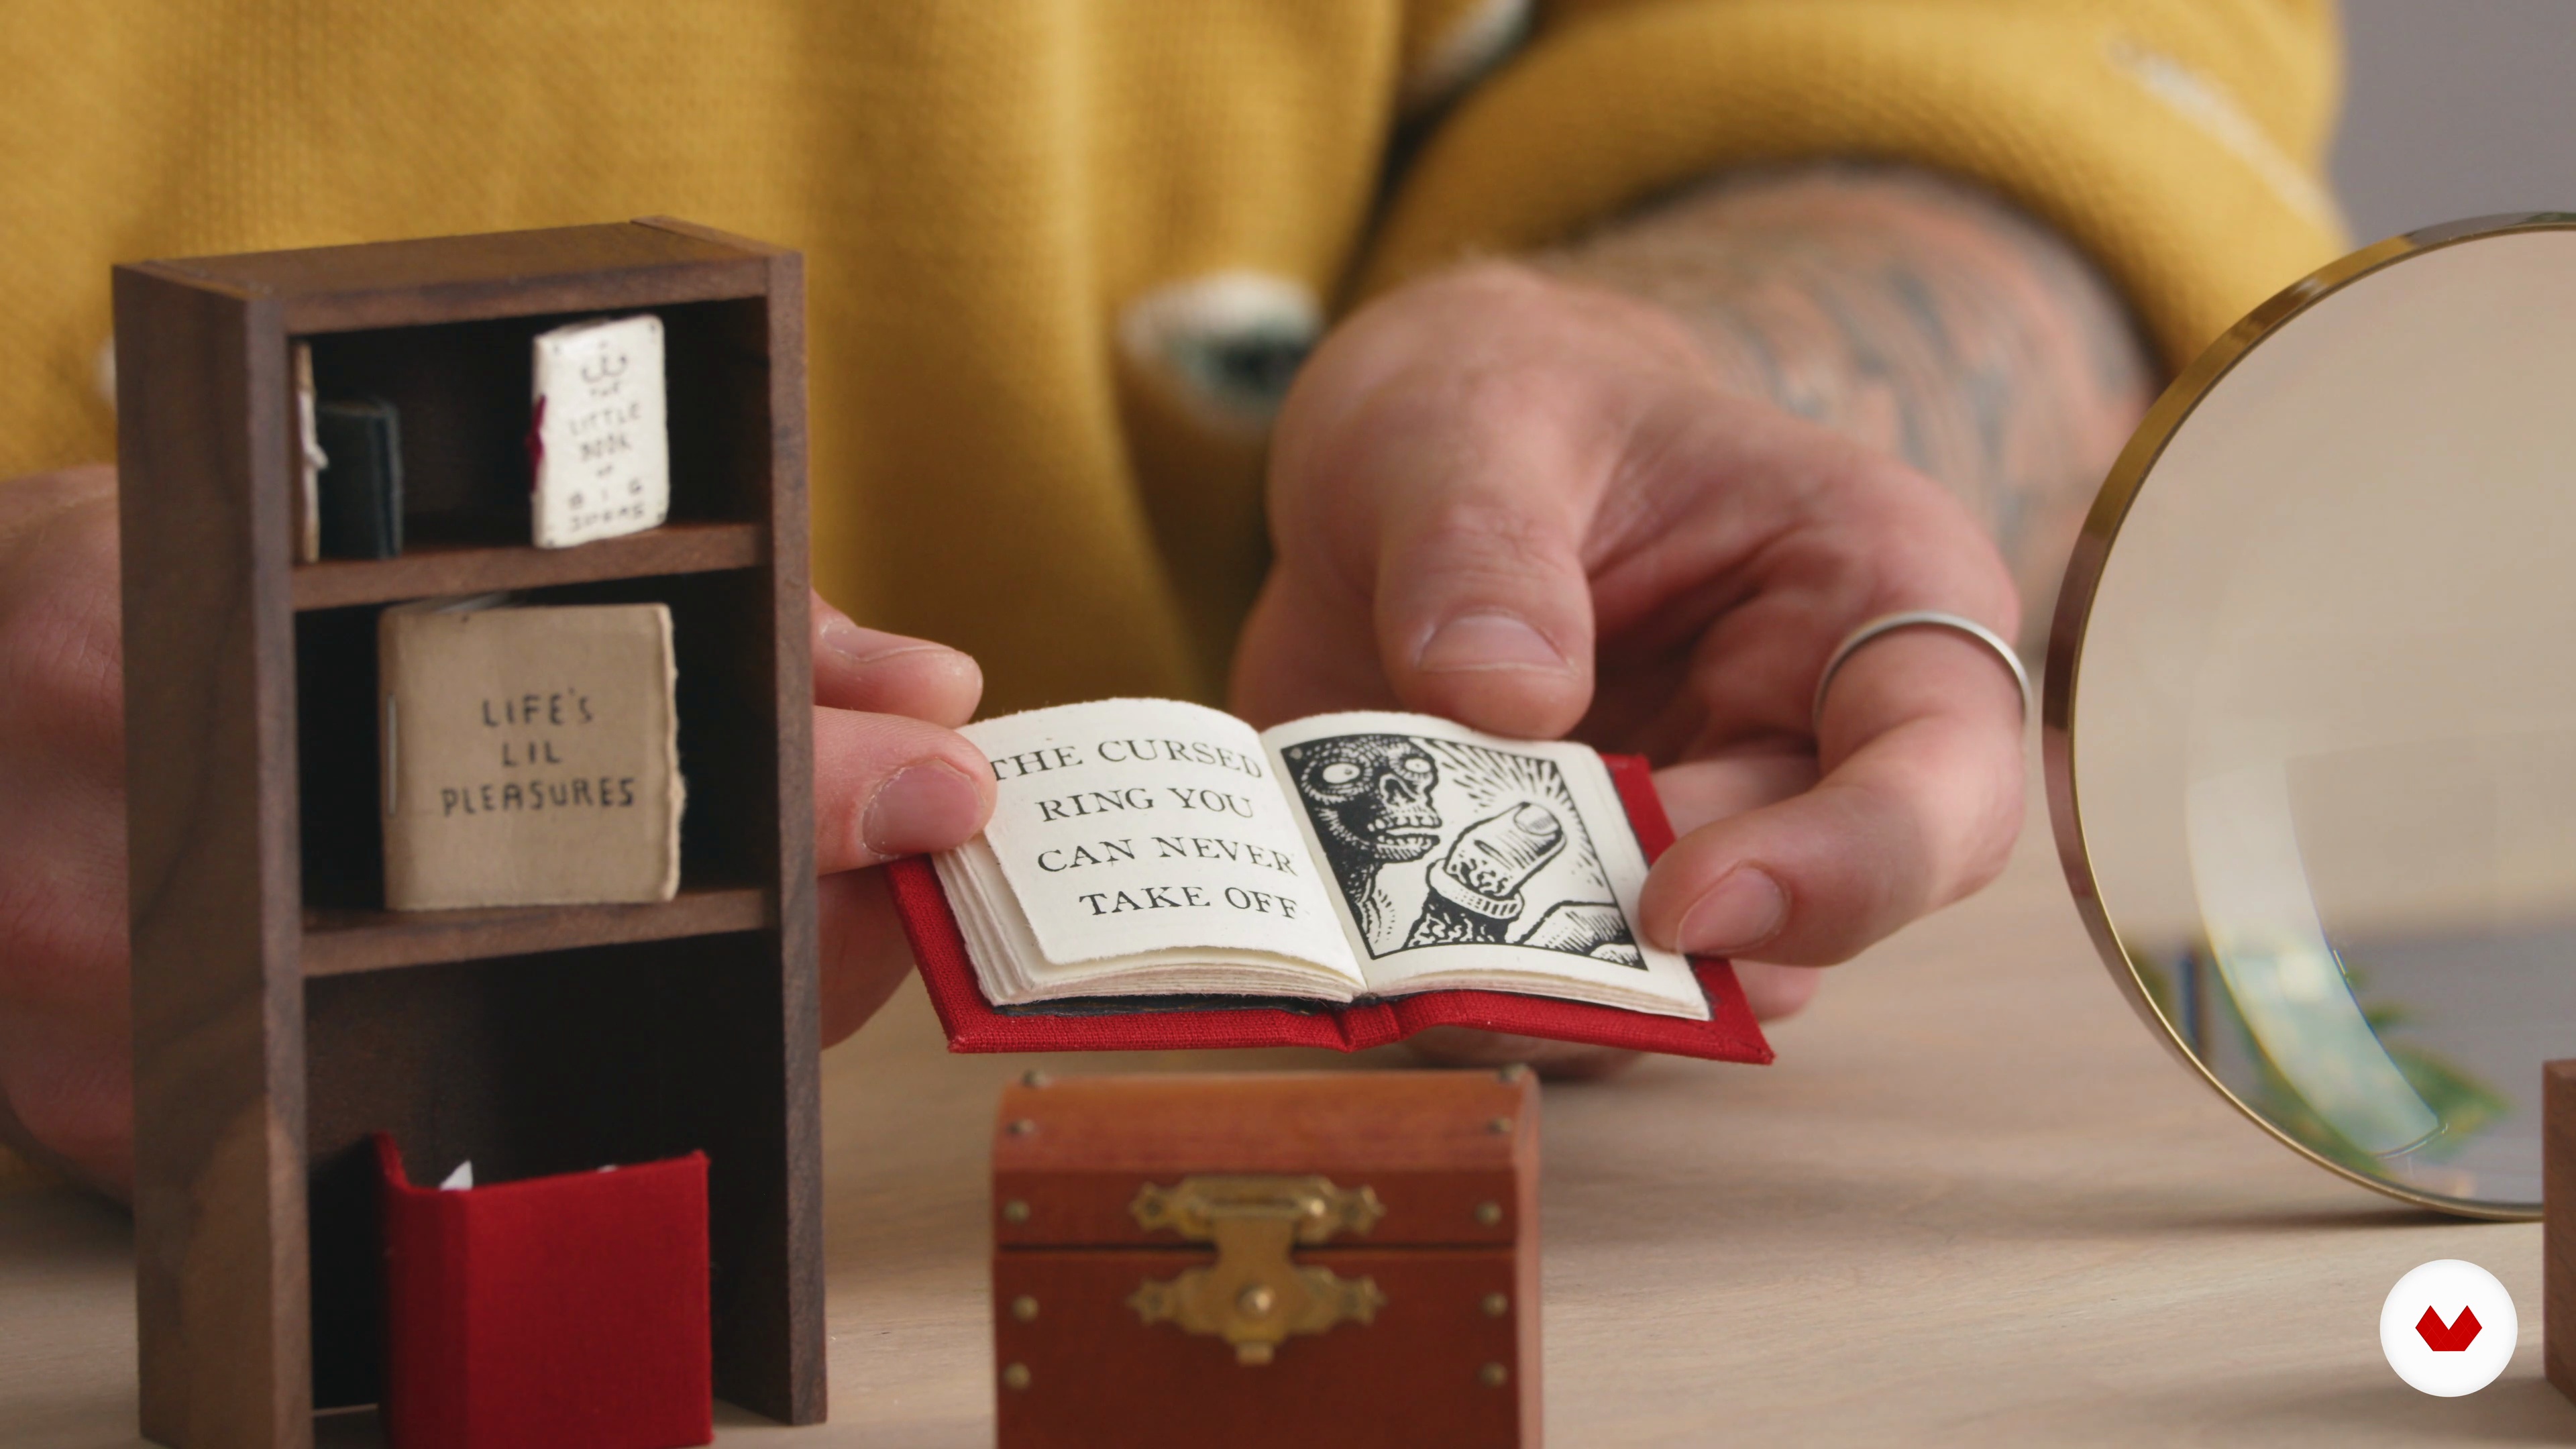
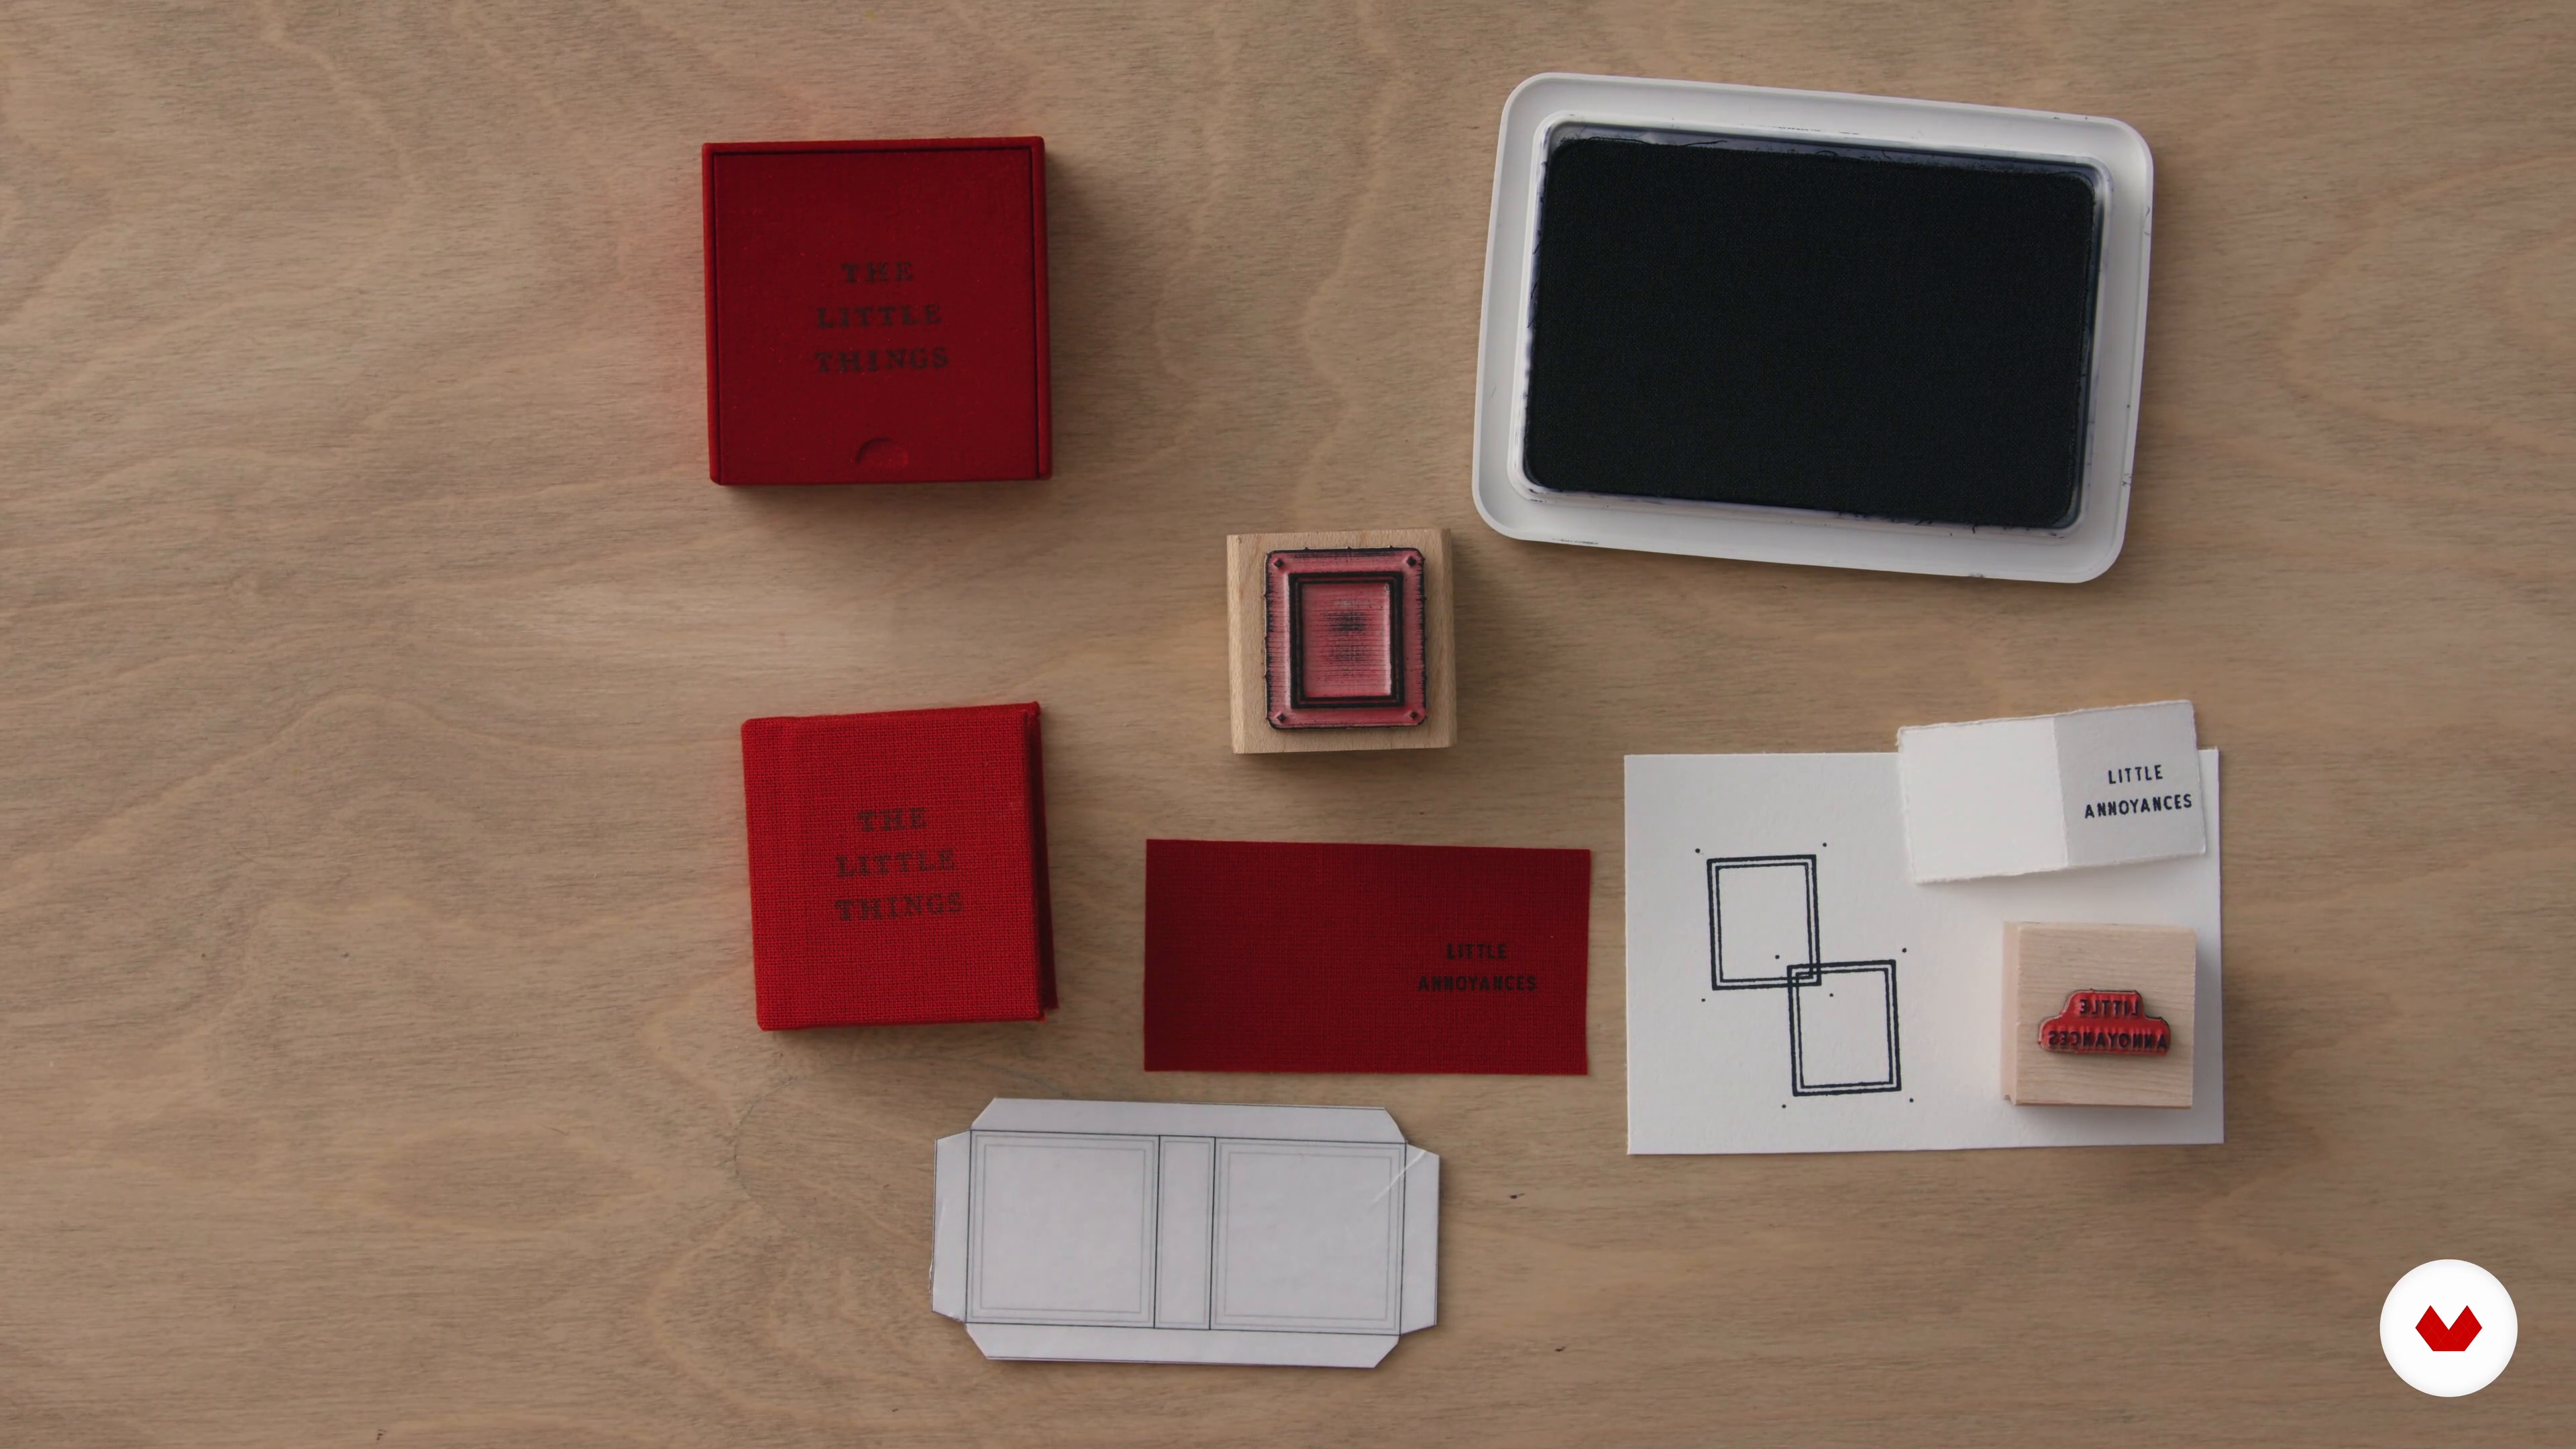
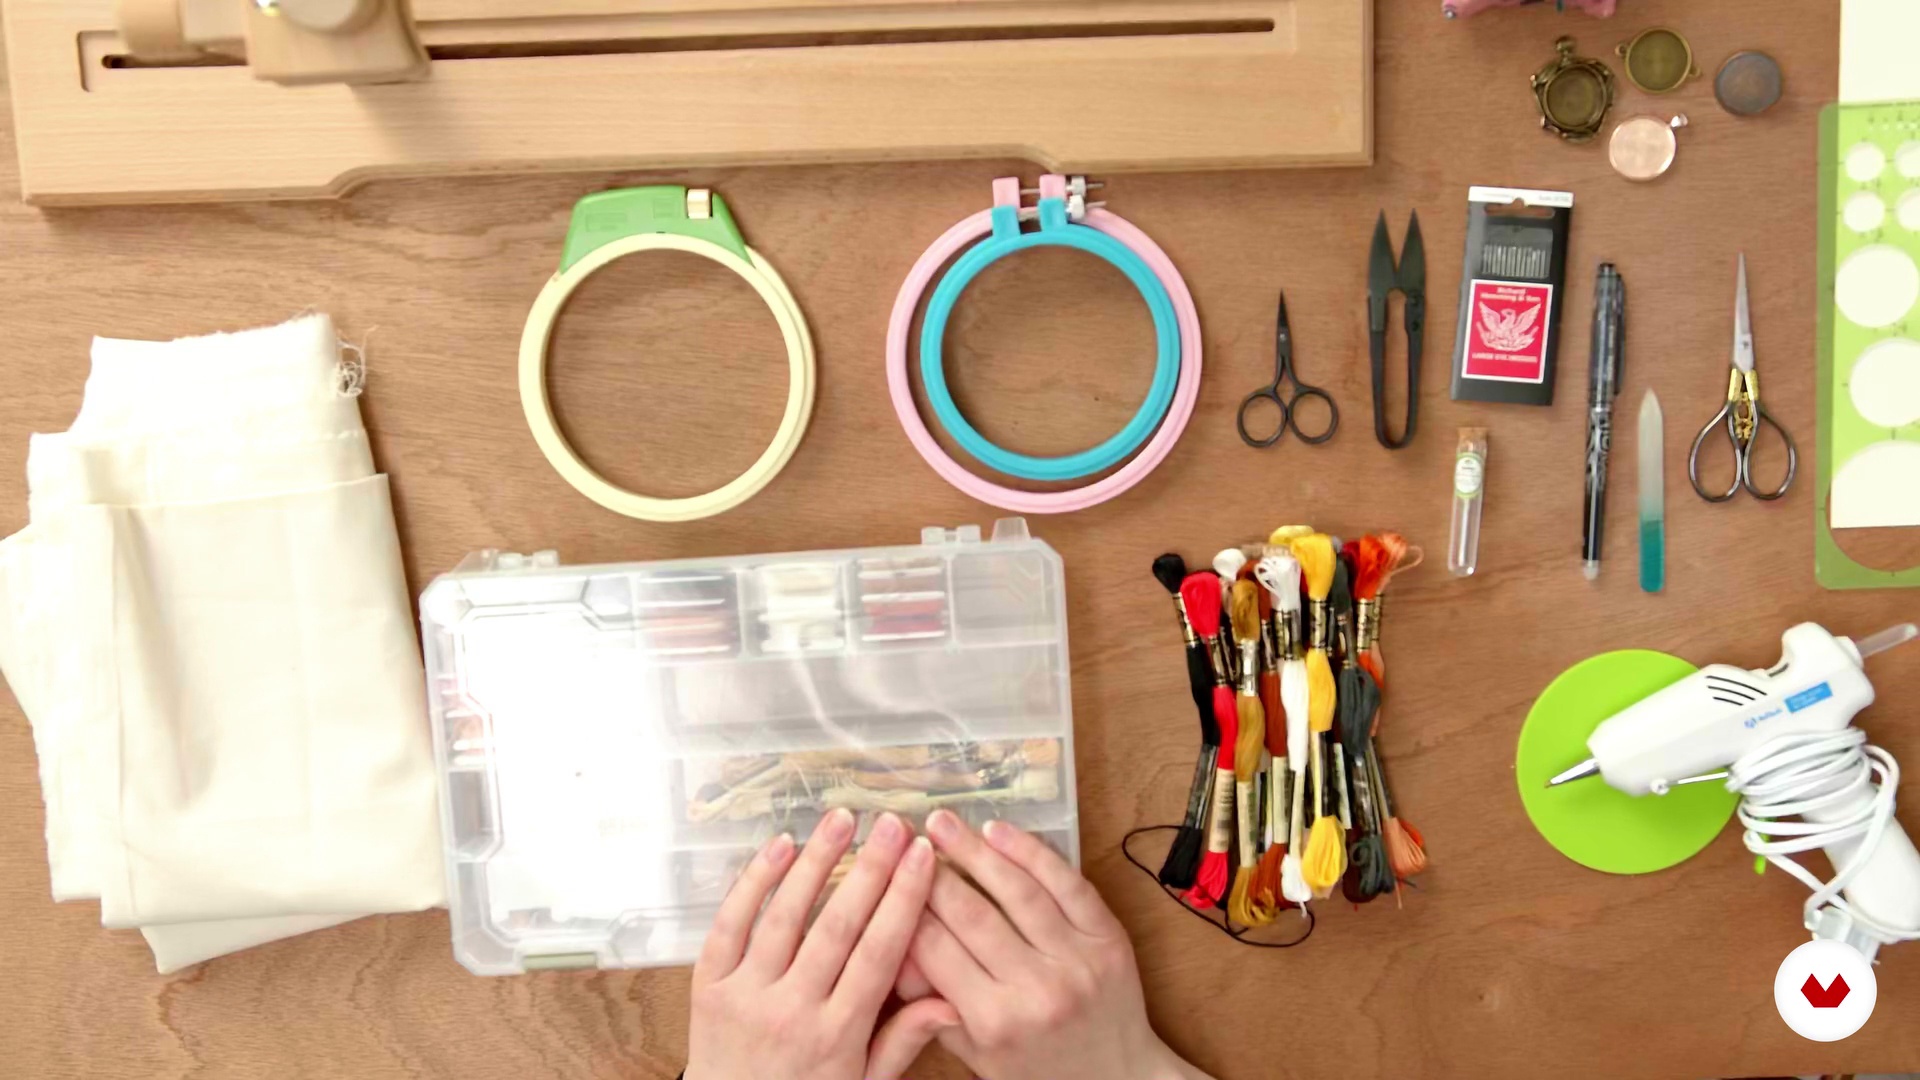
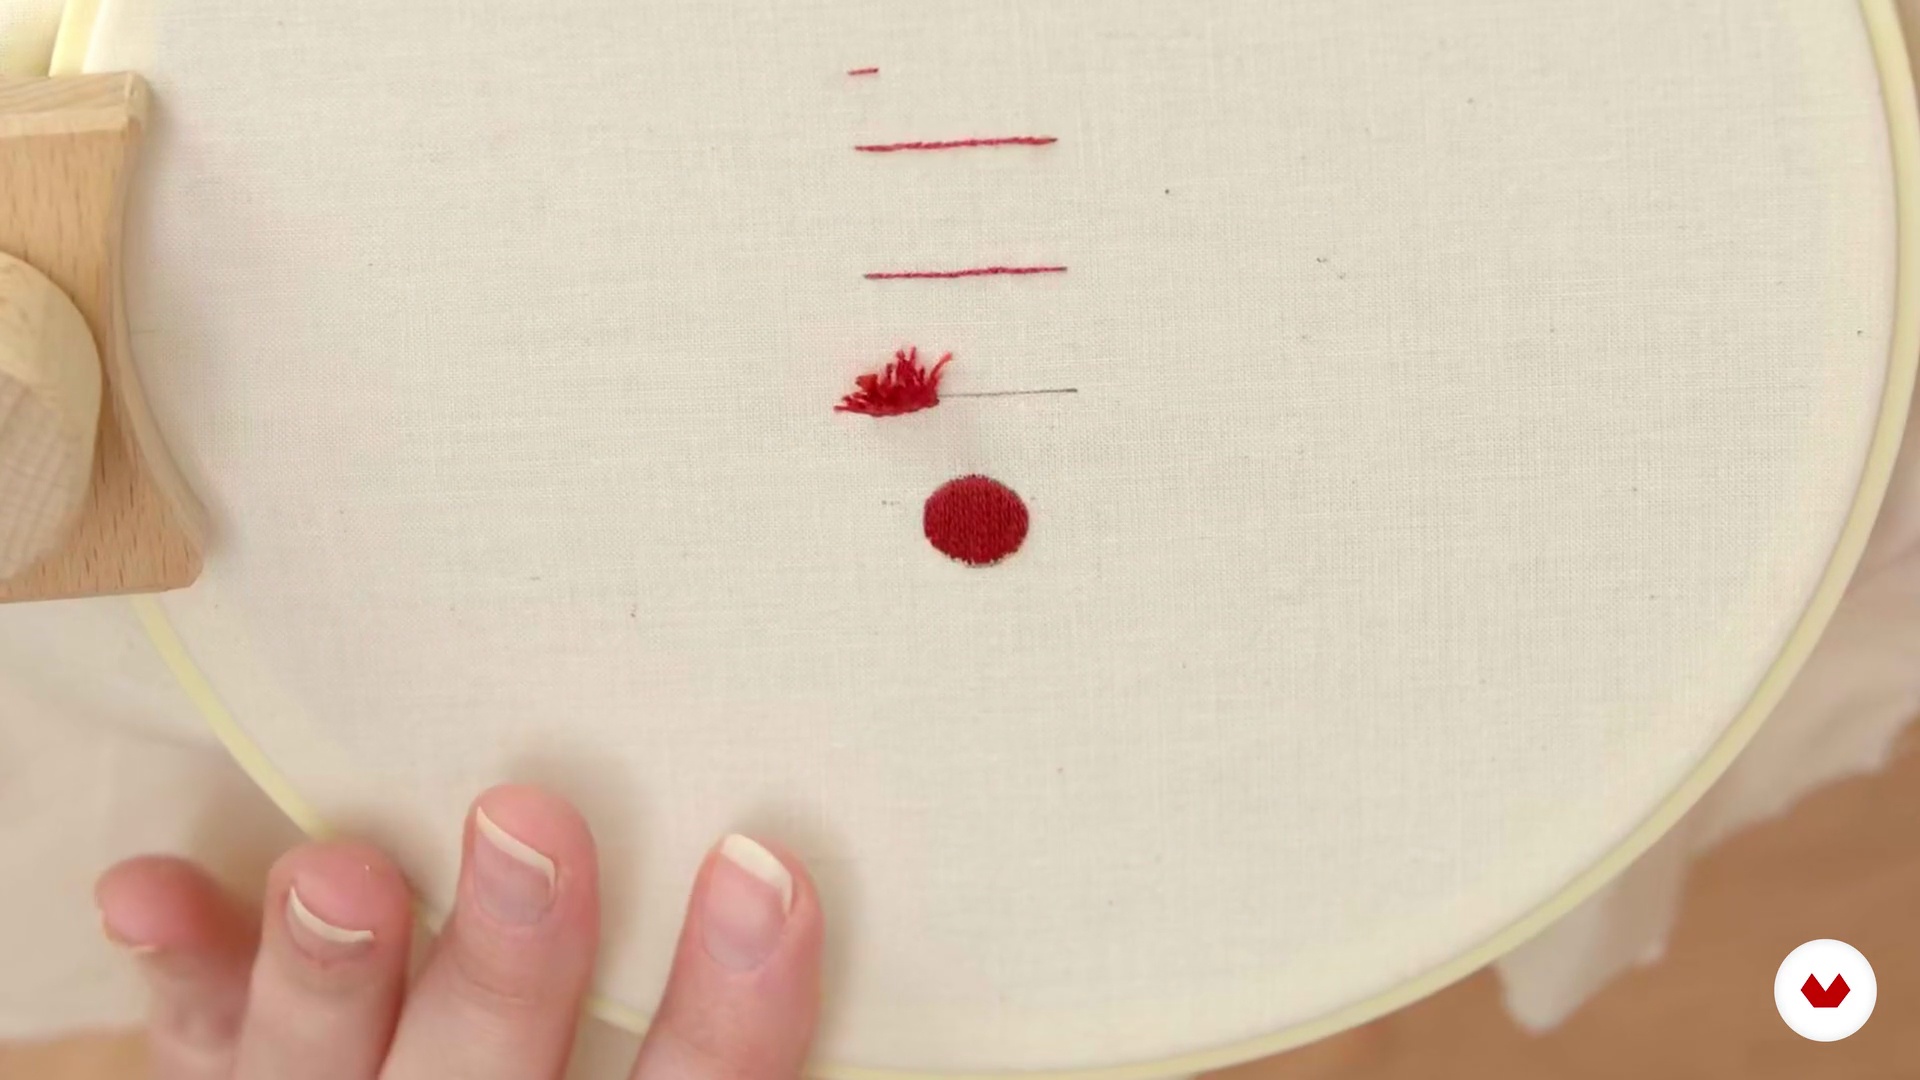
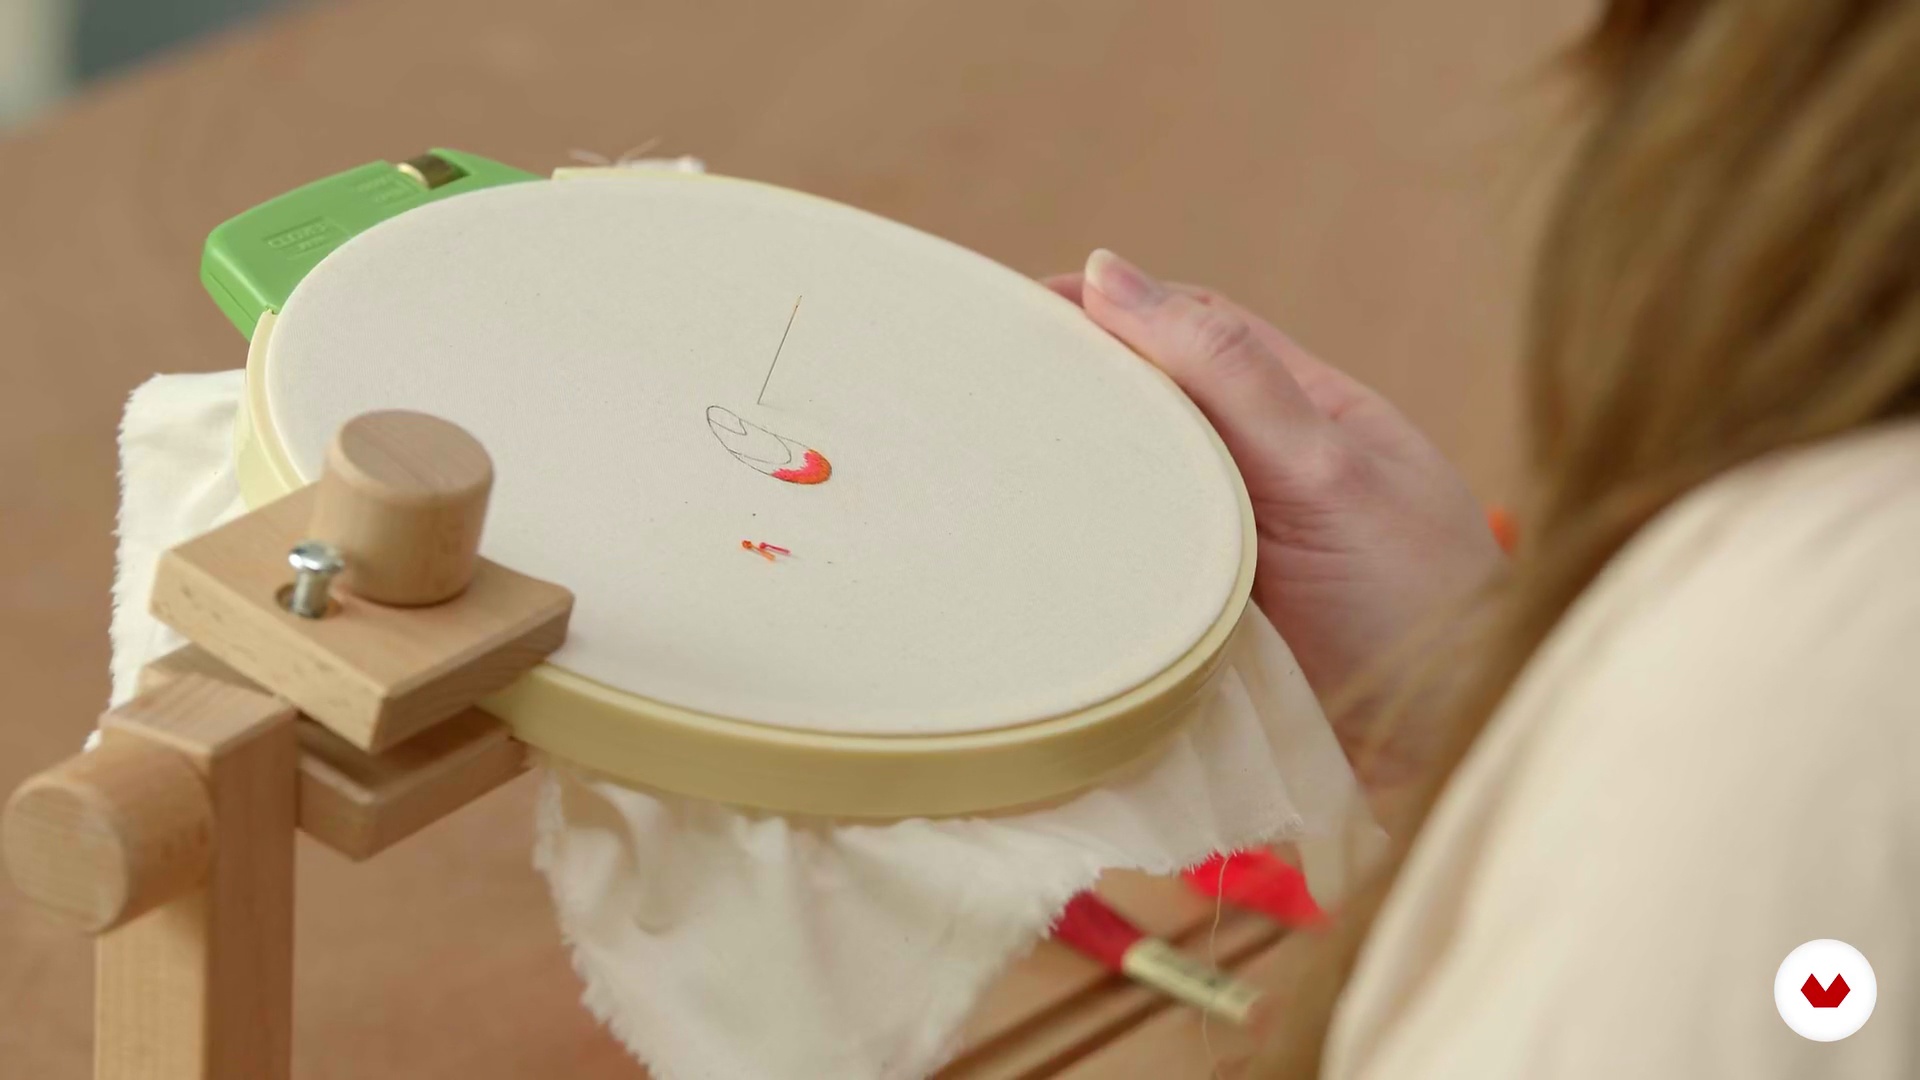
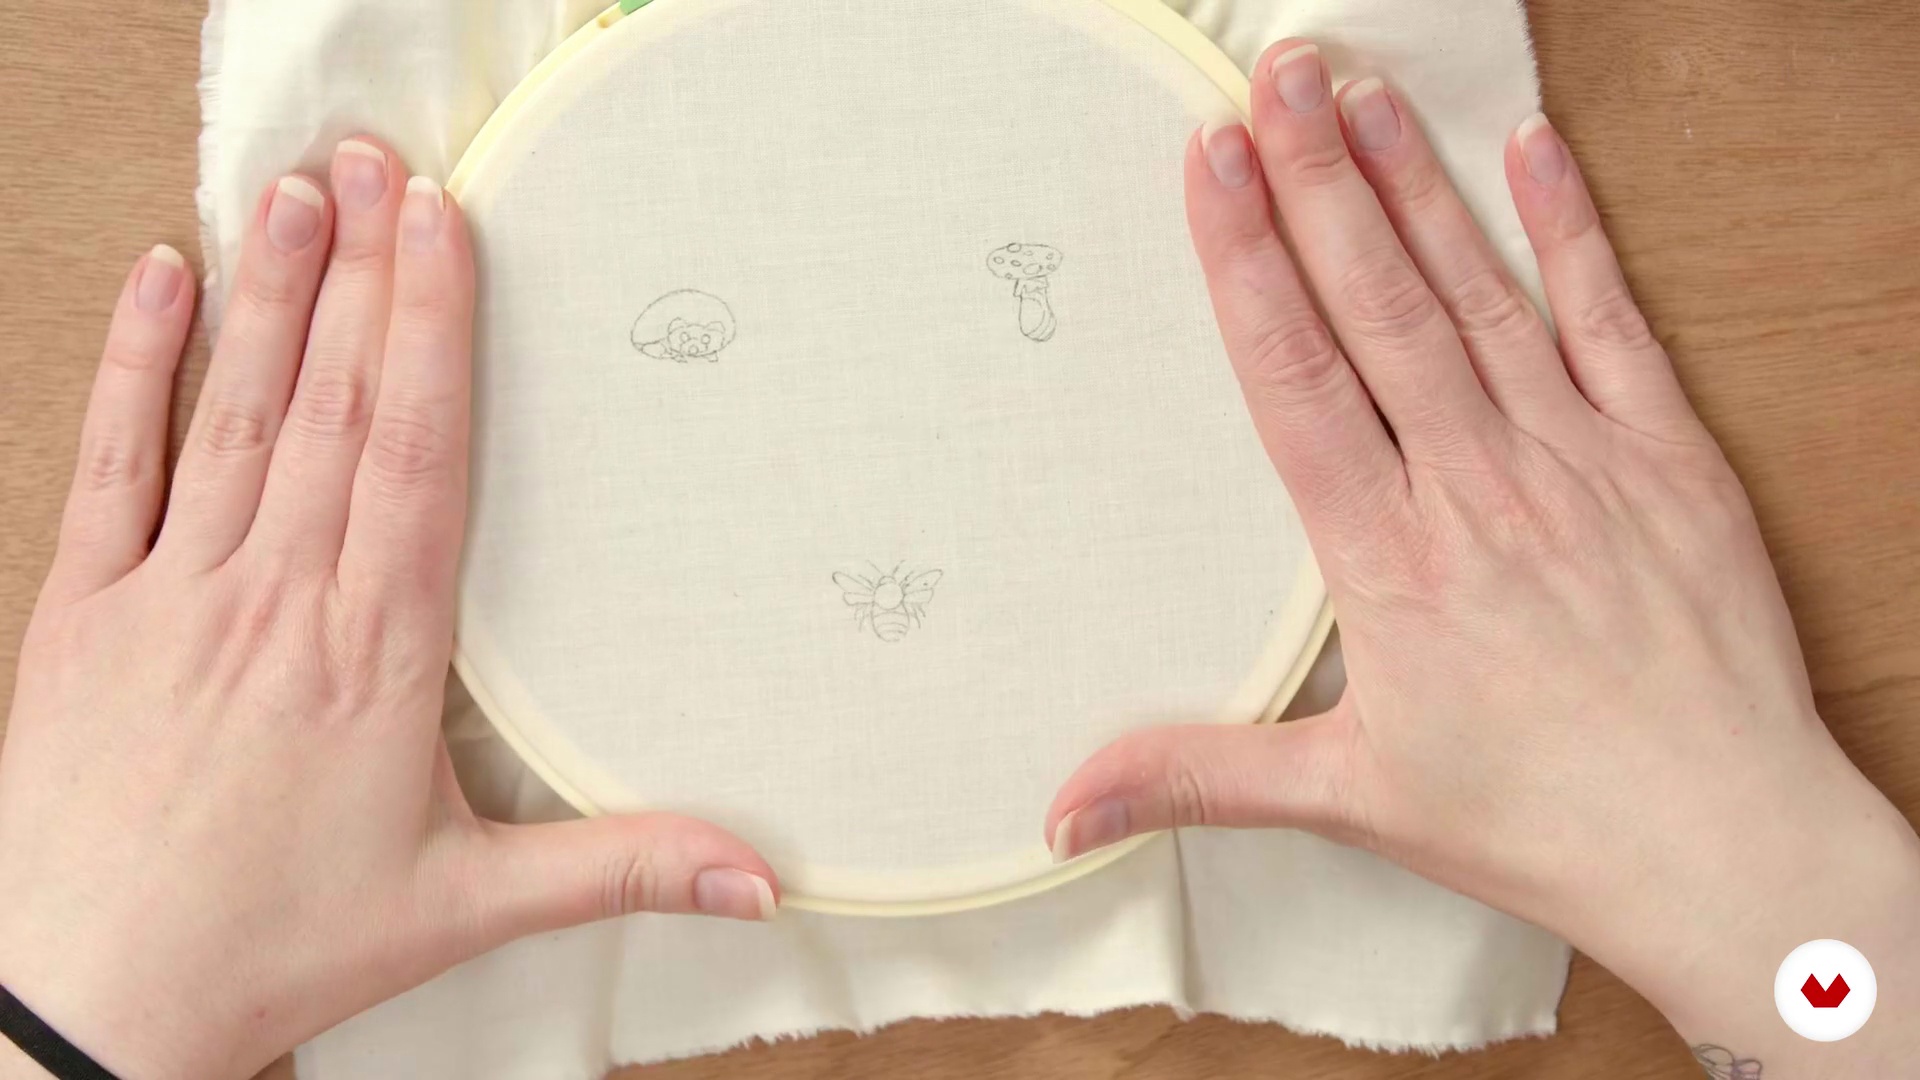
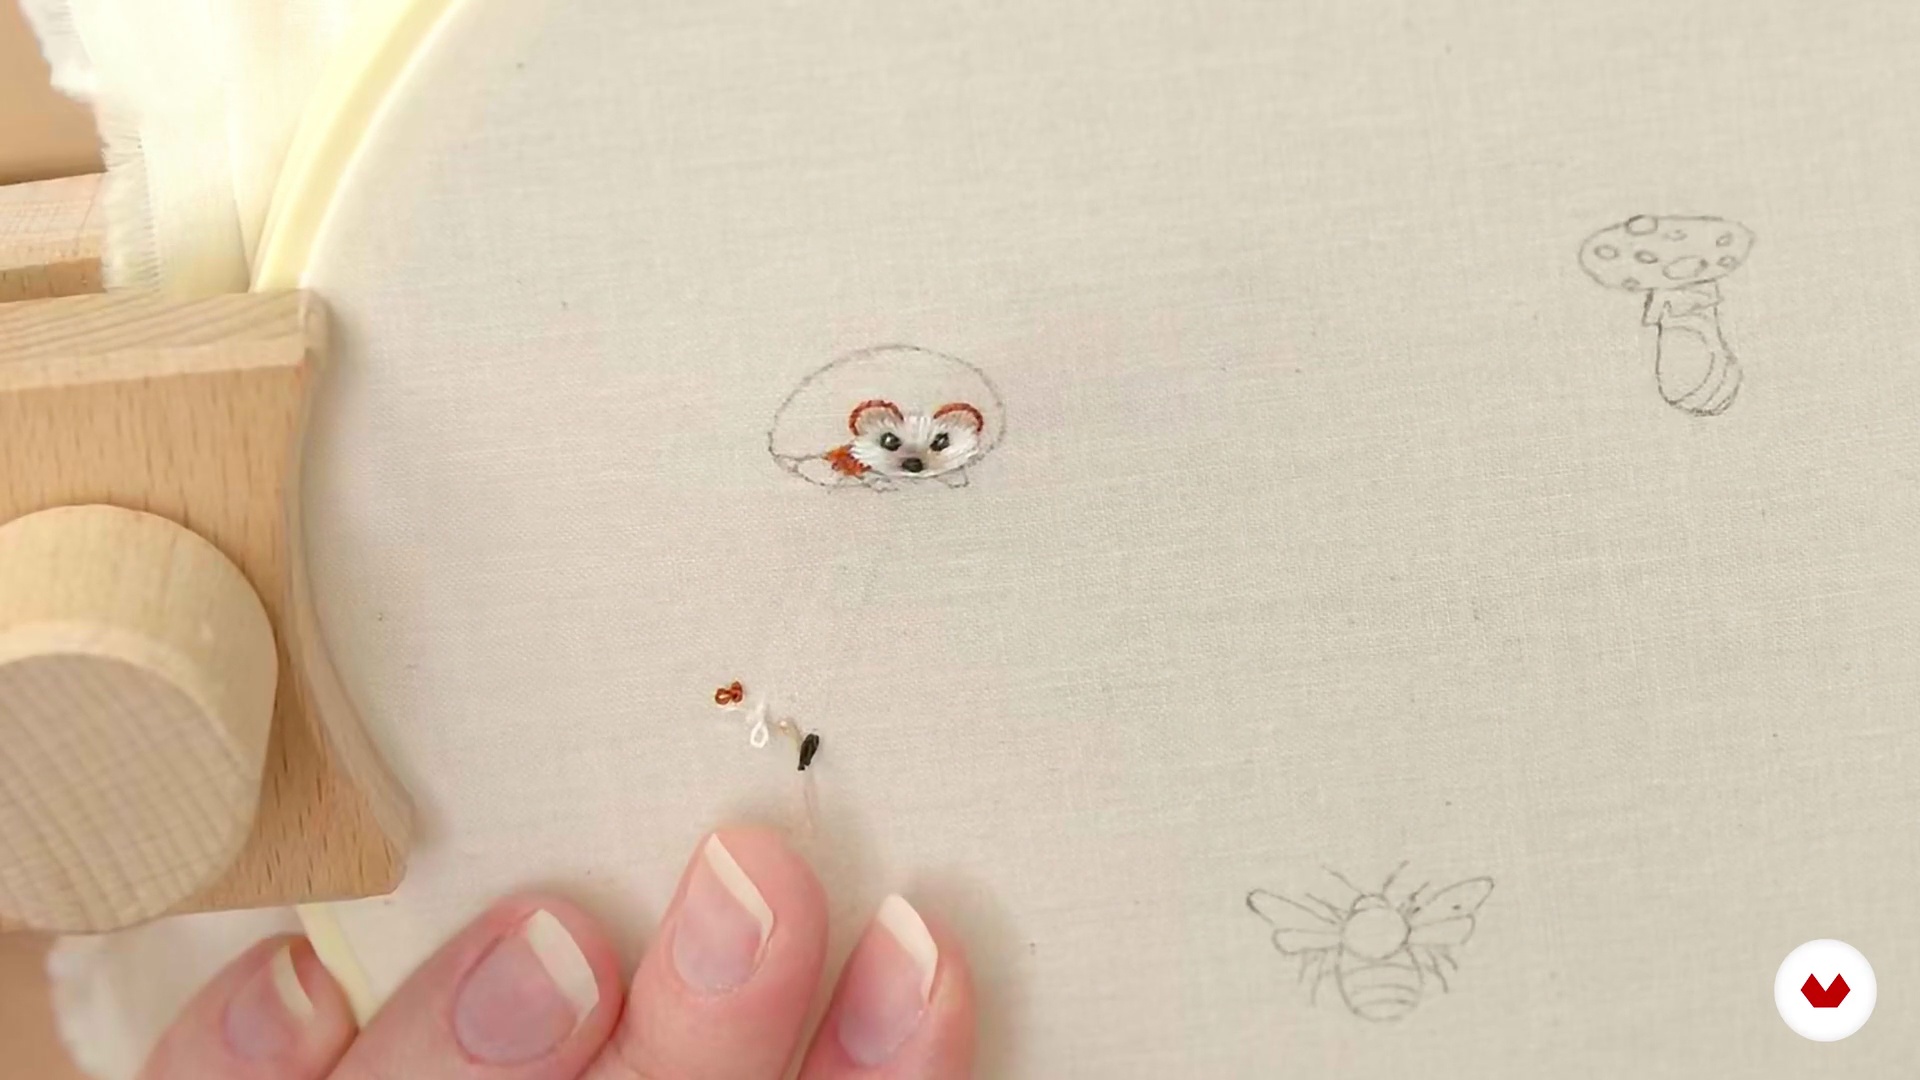
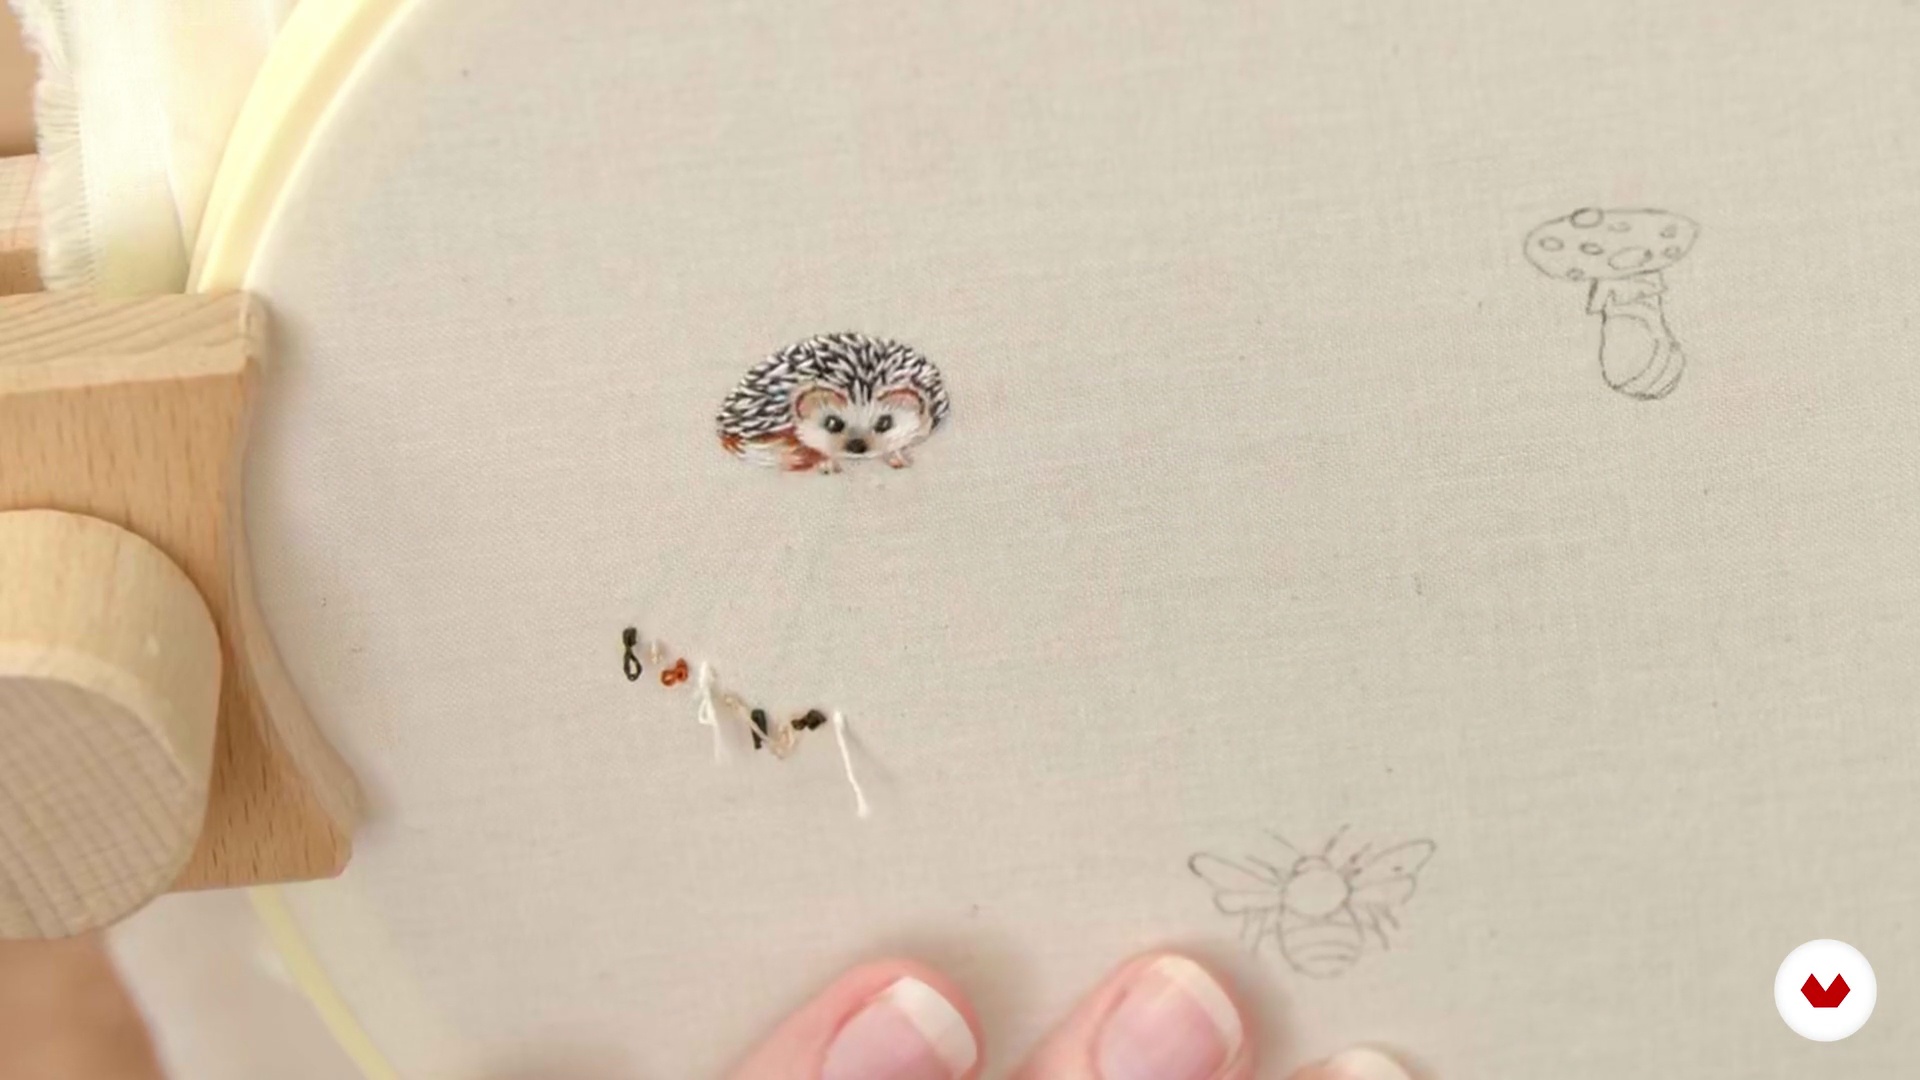
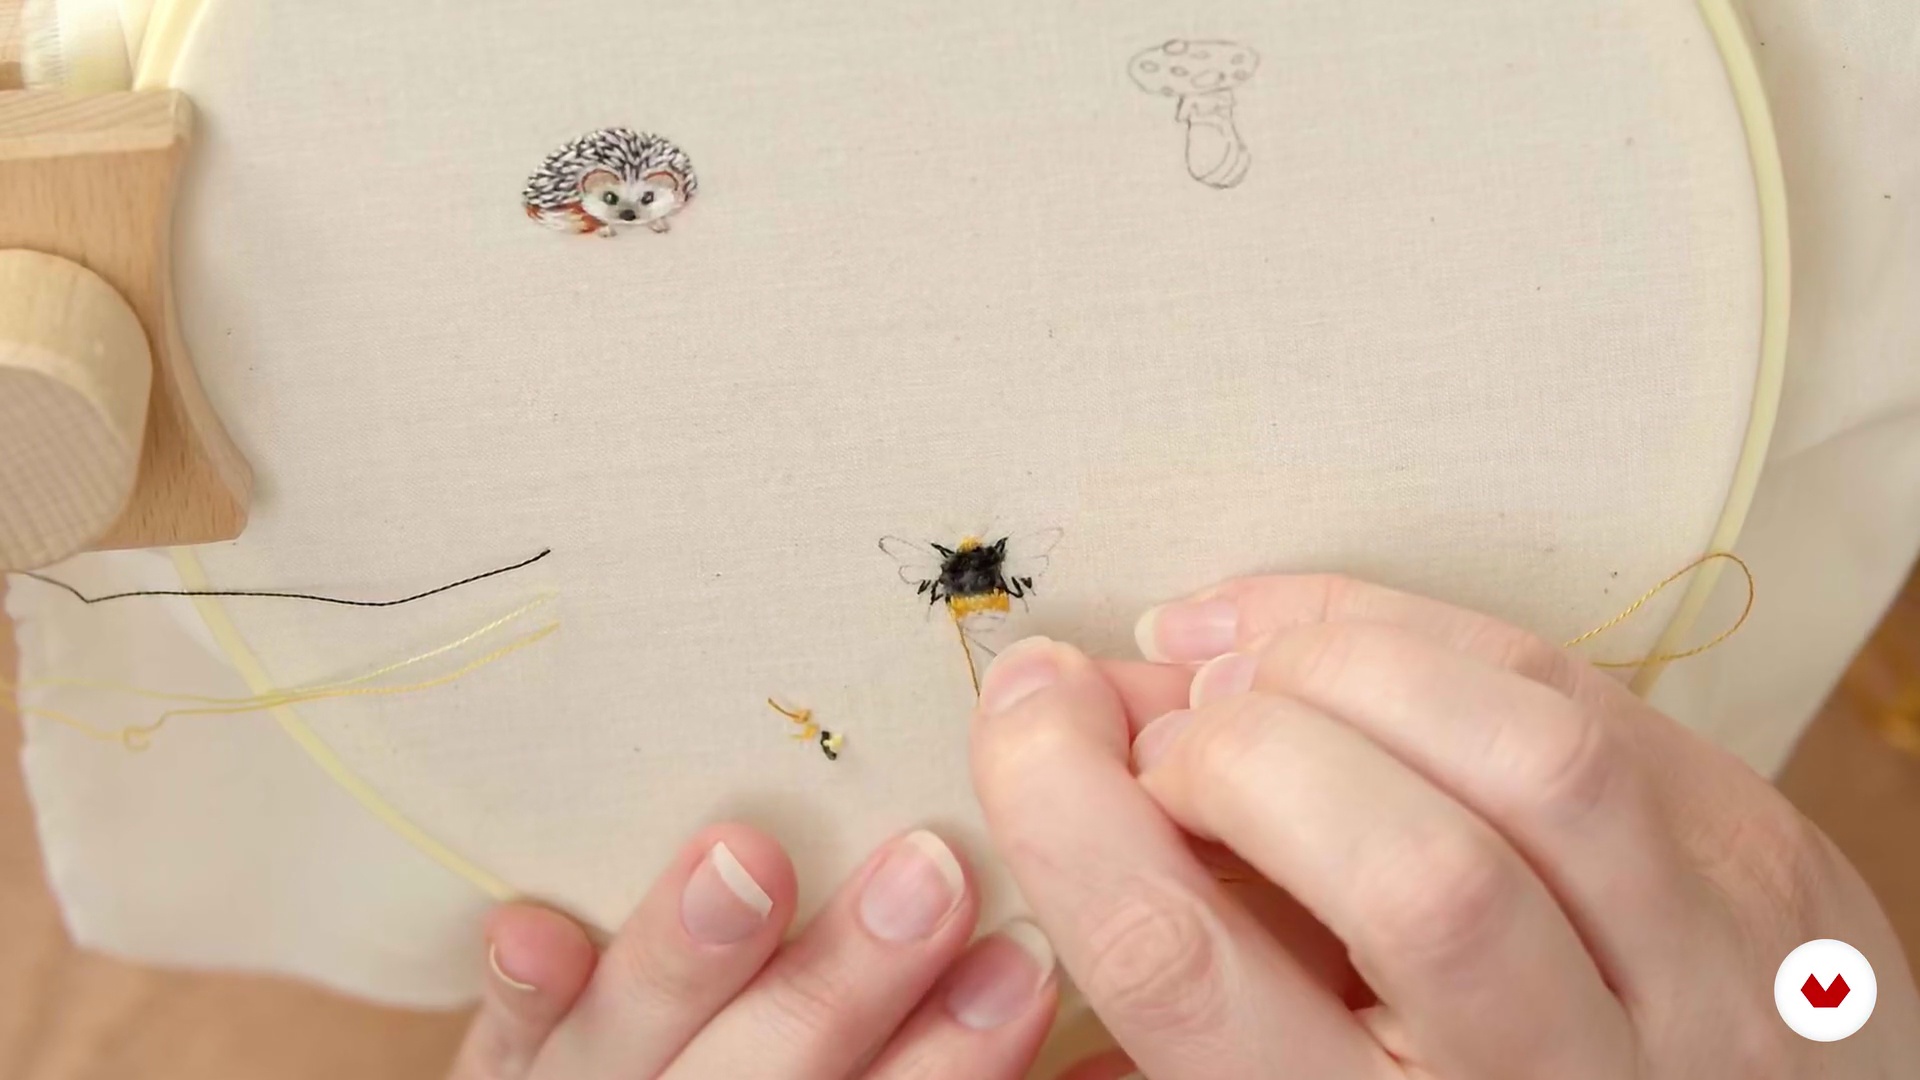
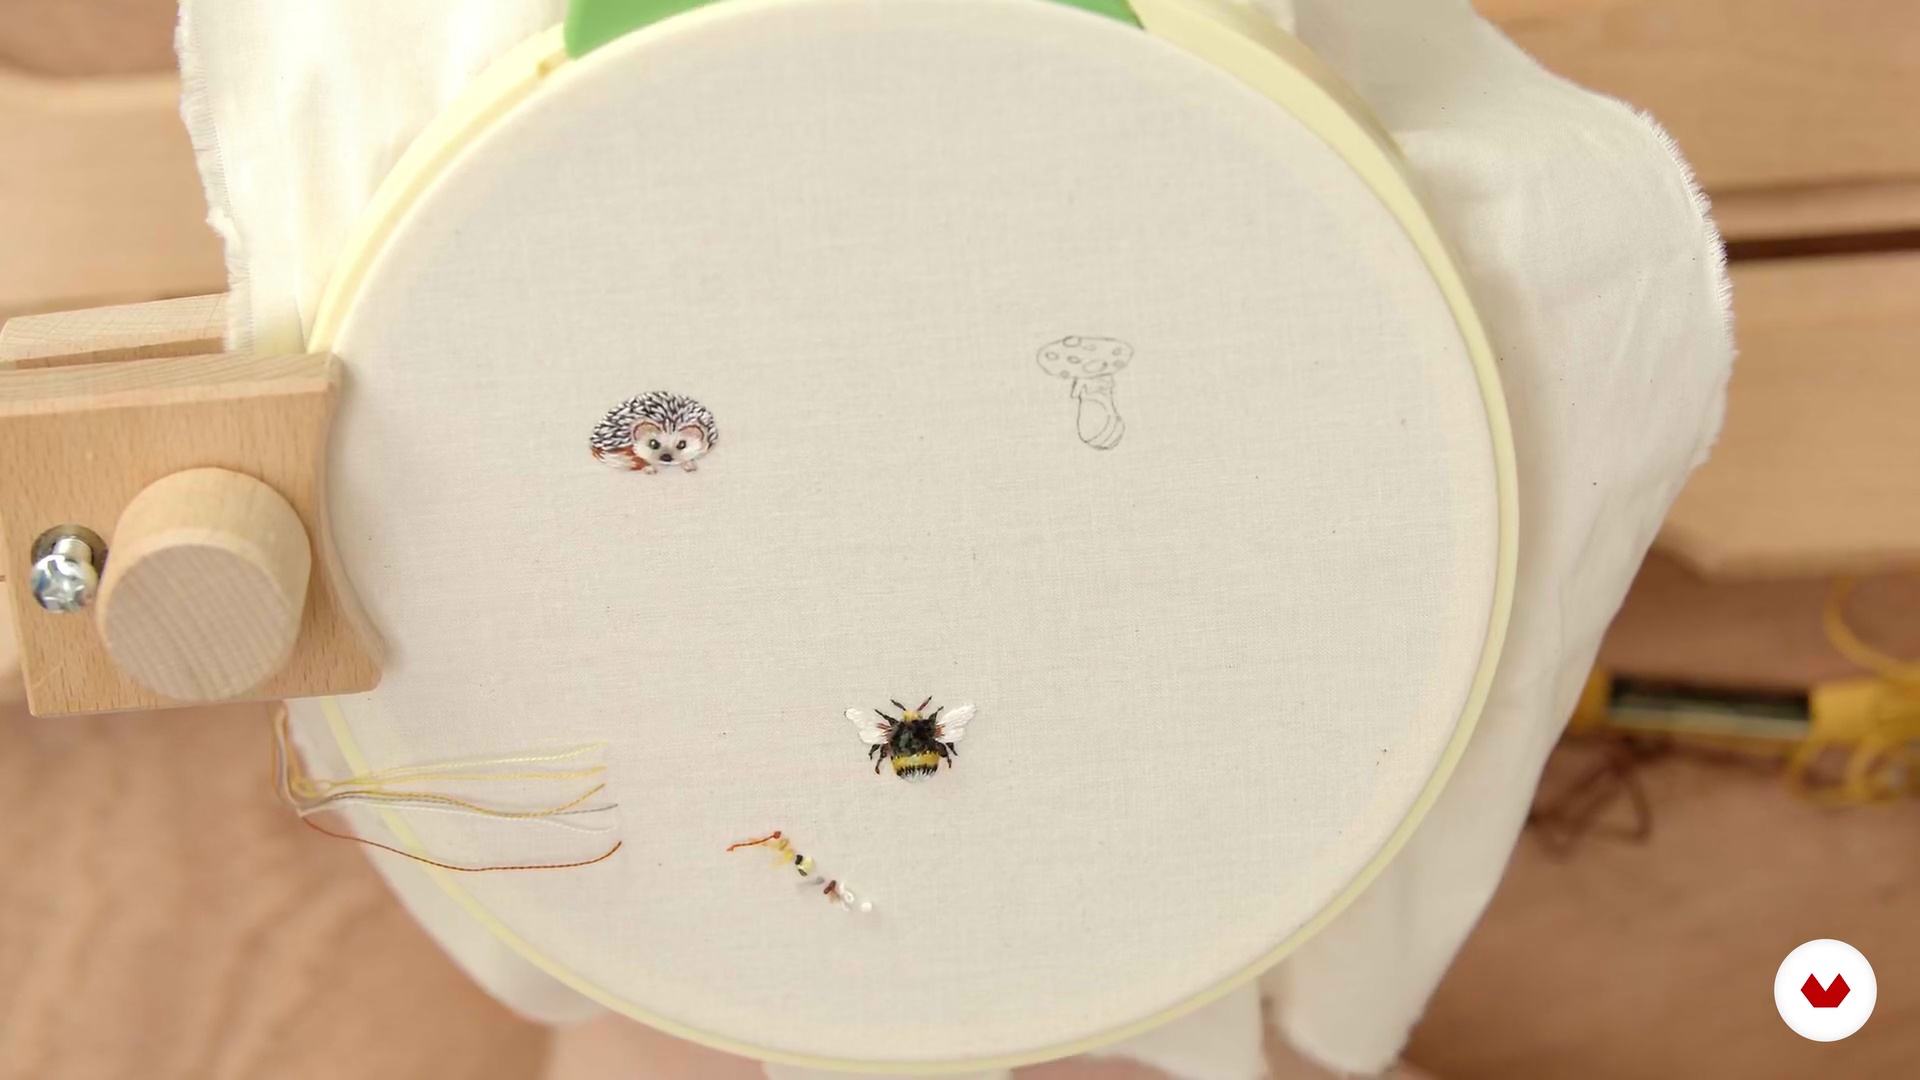
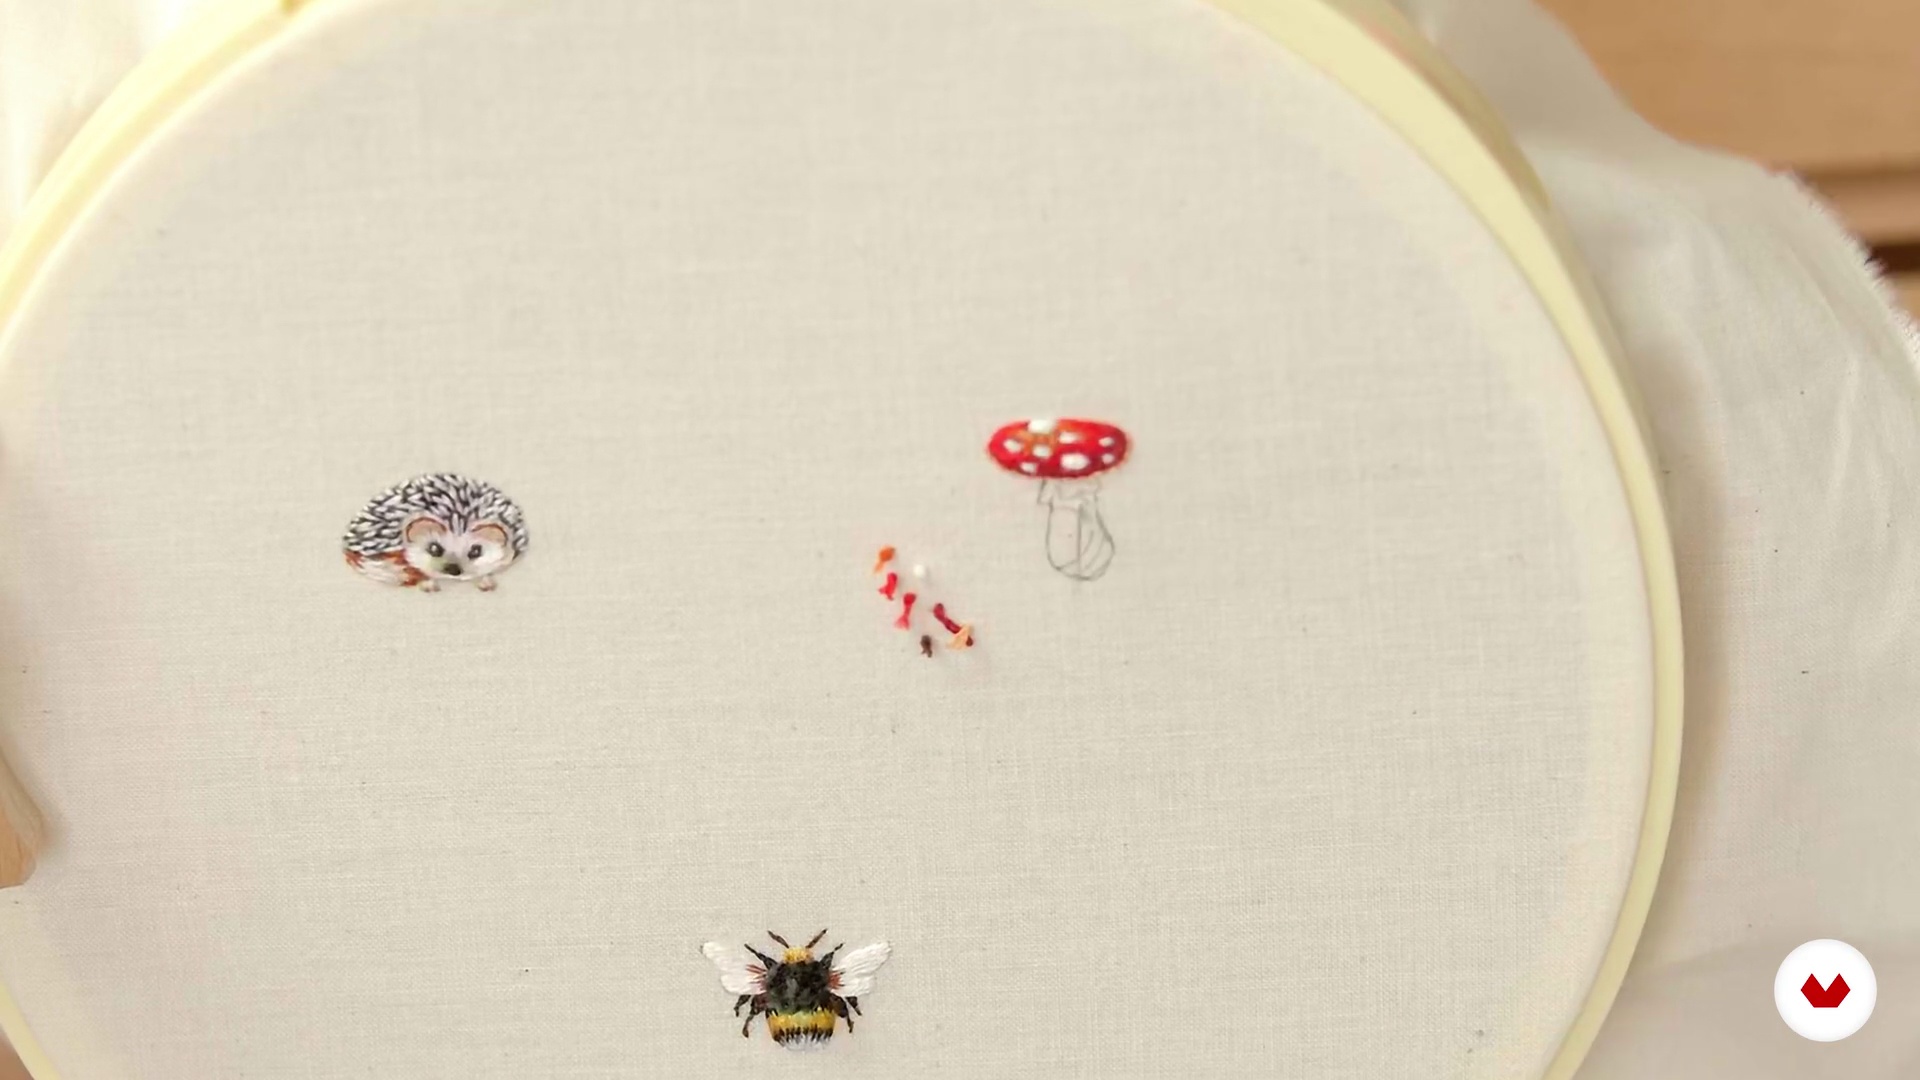
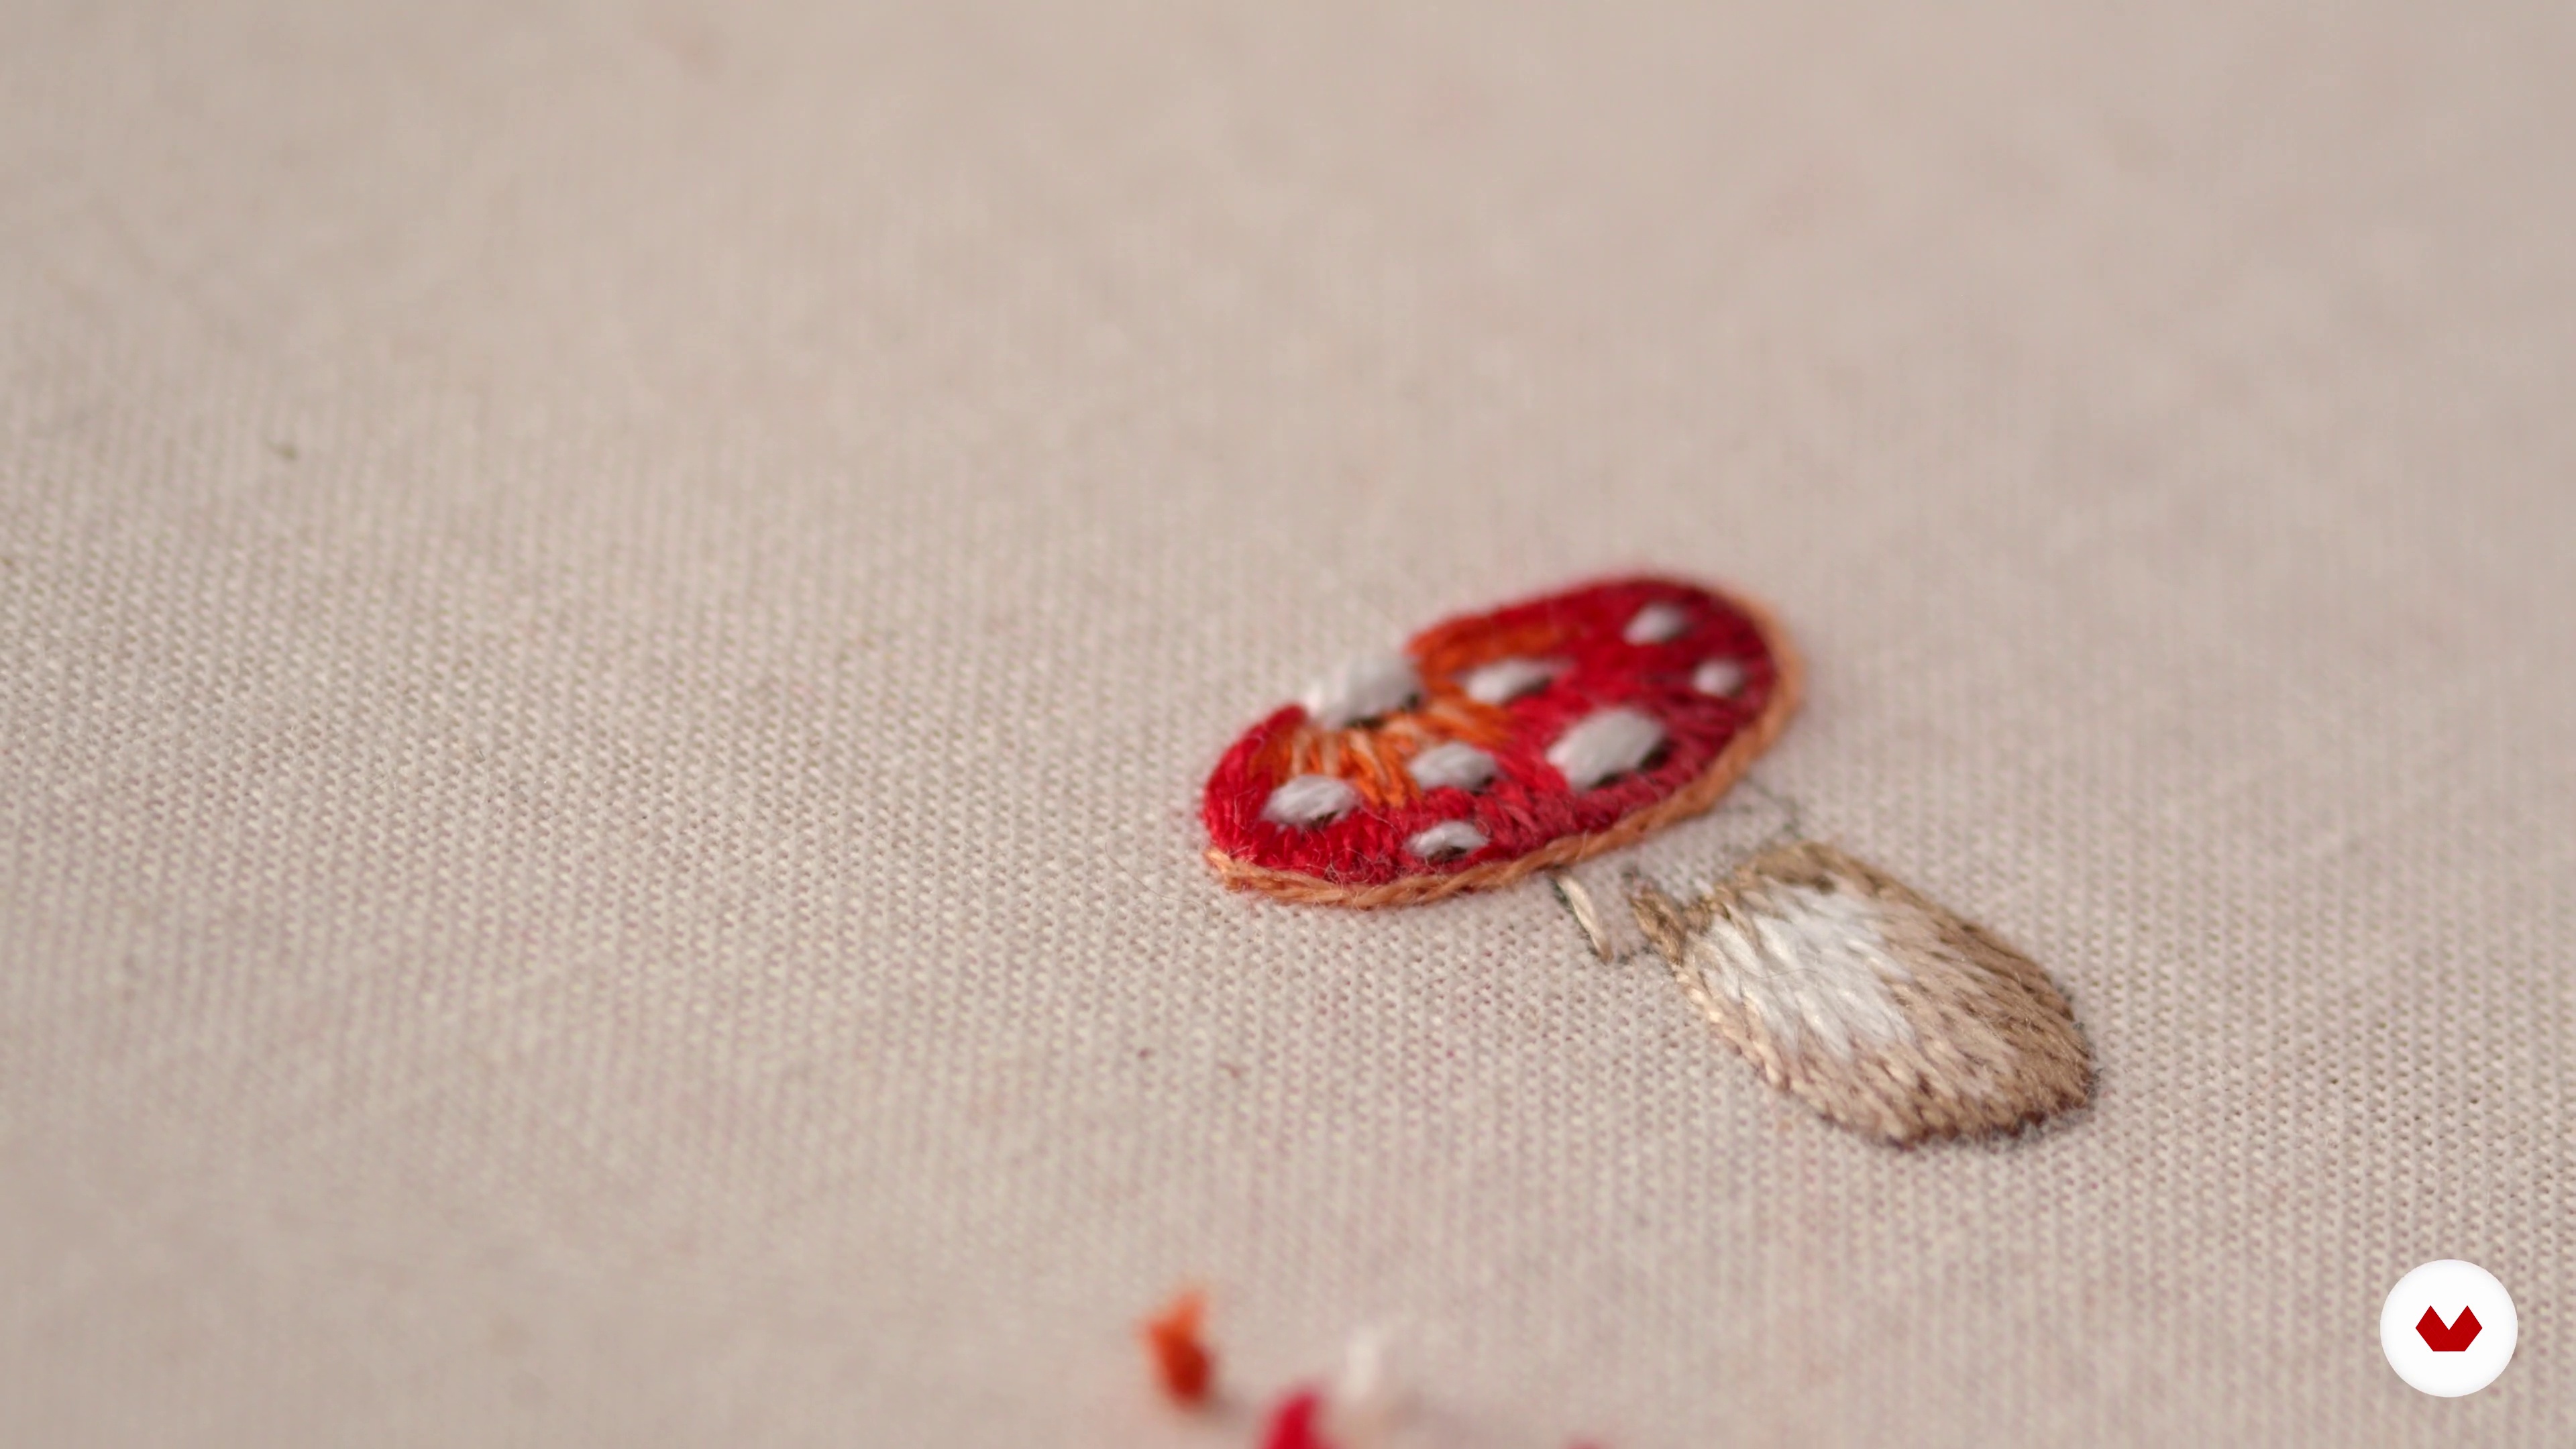
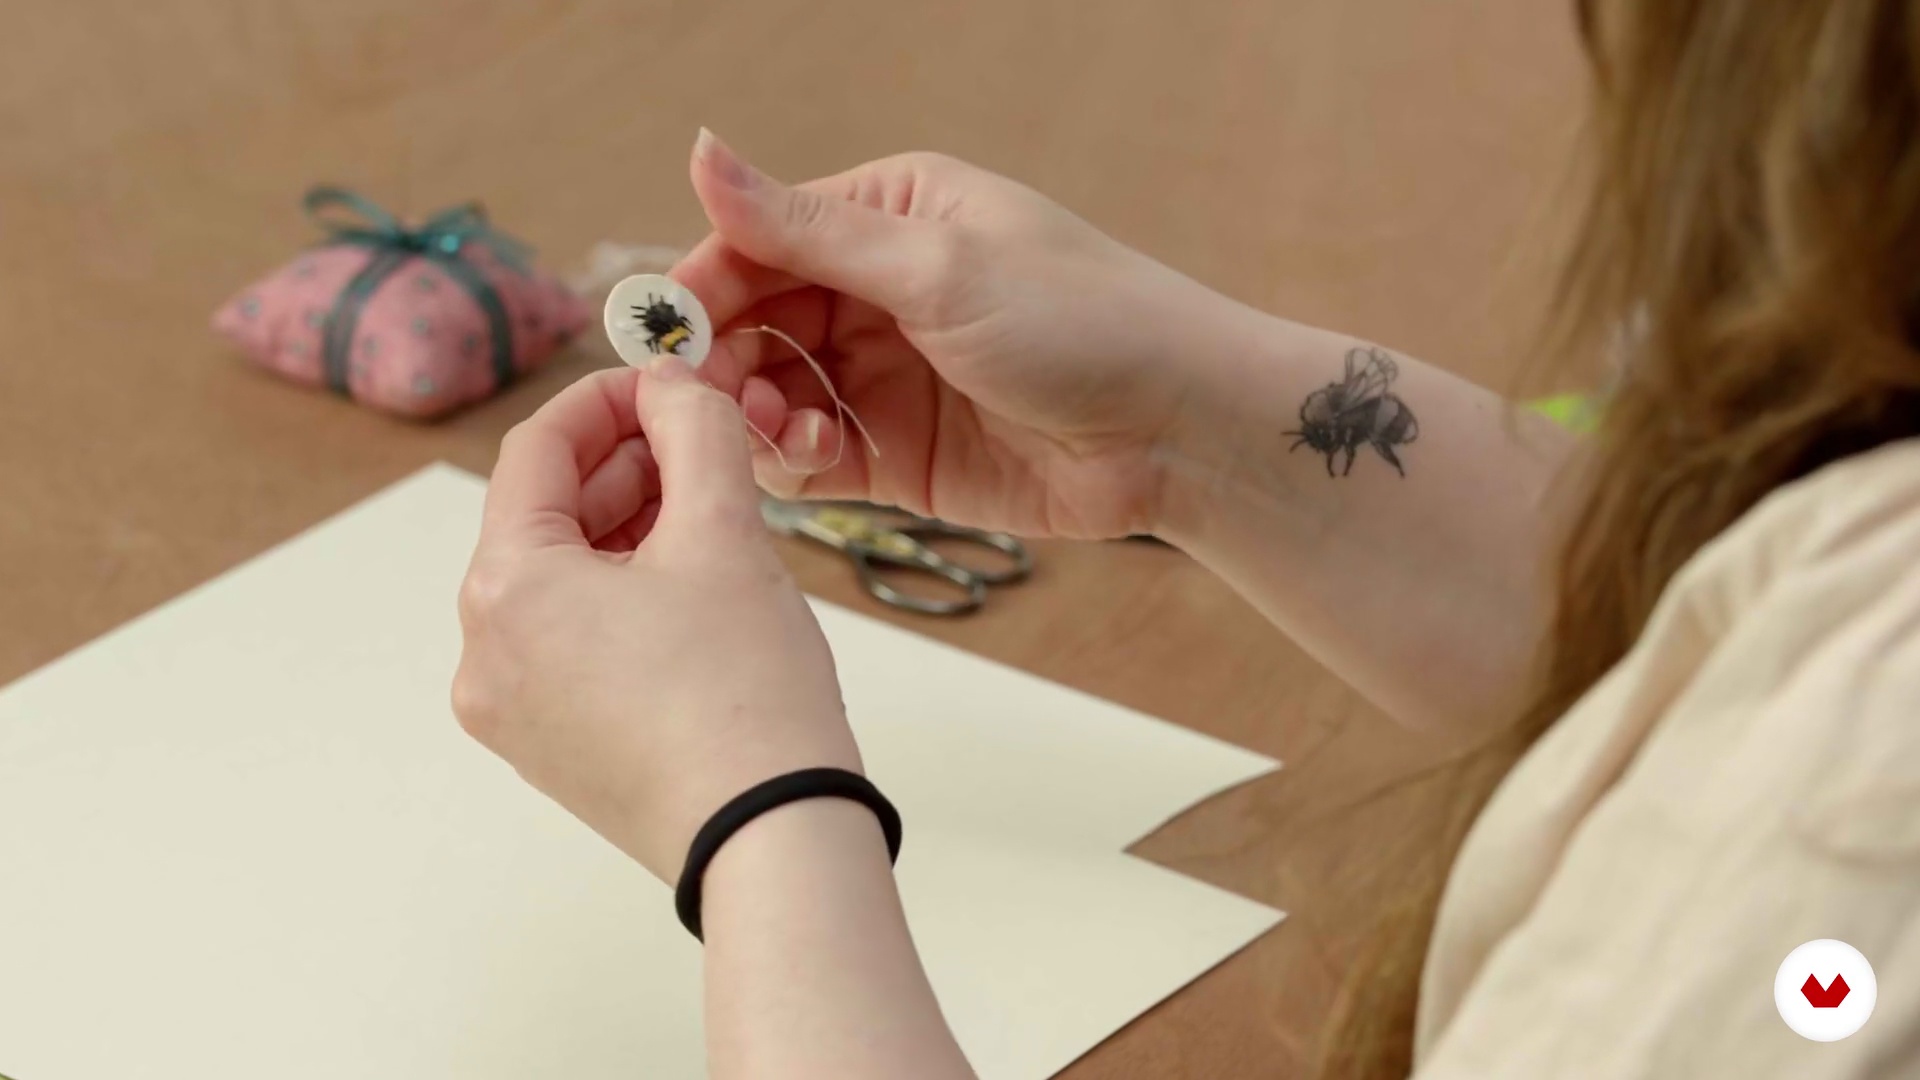
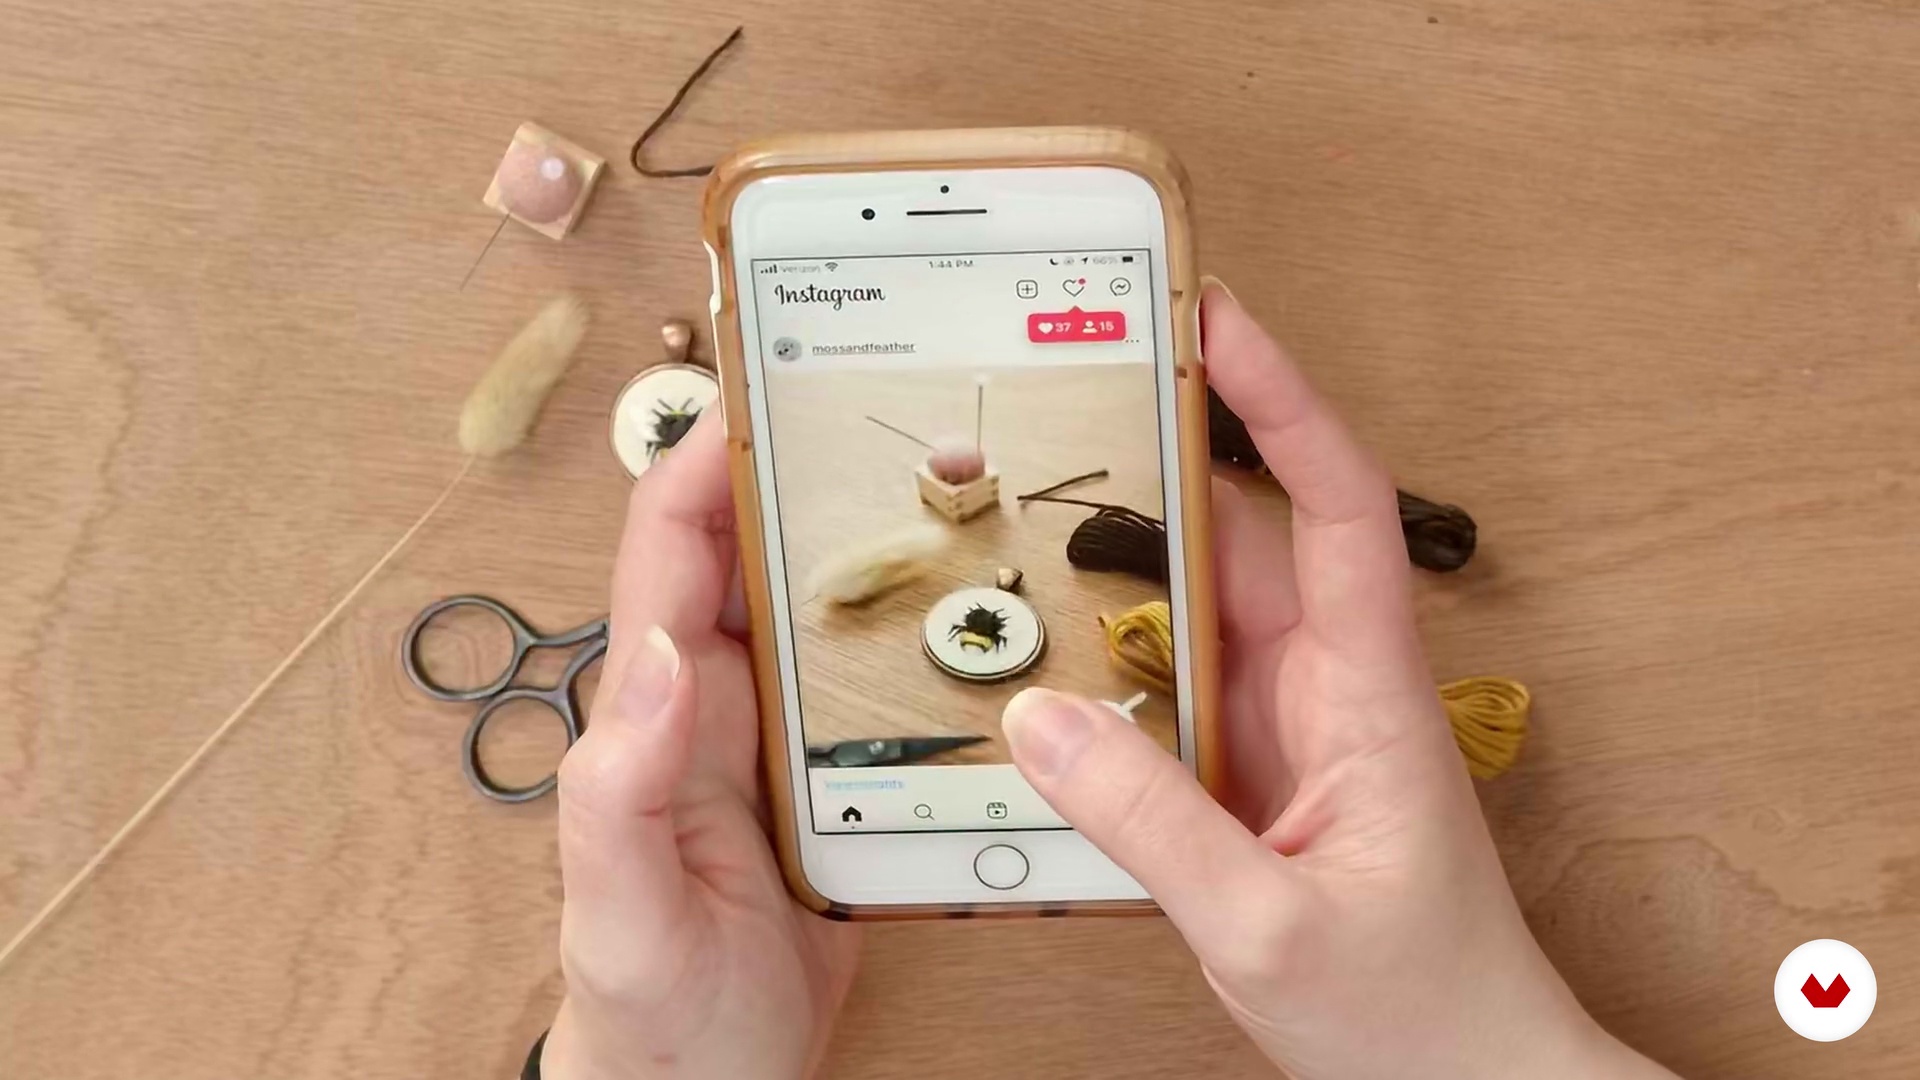
Expand your skills with Evan Lorenzen by discovering the delicate art of binding and illustrating miniature books, mastering handmade publishing techniques. Yulia Sherbak adds a touch of elegance with miniature needlework, transforming embroidered motifs into wearable jewelry or art objects. Each course encourages attention to detail, storytelling, and patience as you work on small-scale projects. The final project combines all these techniques to design a cohesive miniature scene, complete with architecture, furniture, decorative objects, and fine-detail accessories. Create a finished environment that reflects personal style and technical skill, perfect for display, portfolio, or gifting.
What will you learn in this specialization?


- 100% positive reviews (2)
- 440 students
- 88 lessons (14h 45m)
- 105 additional resources (38 files)
- Online and at your own pace
- Audio: English, German, Spanish, French, Indonesian, Italian, Dutch, Polish, Portuguese, Romanian, Turkish
- English · Portuguese · Italian · French · Spanish · German · Polish · Dutch · Turkish · Romanian · Indonesian
- Level: Beginner
- Unlimited access forever
What is this course's project?
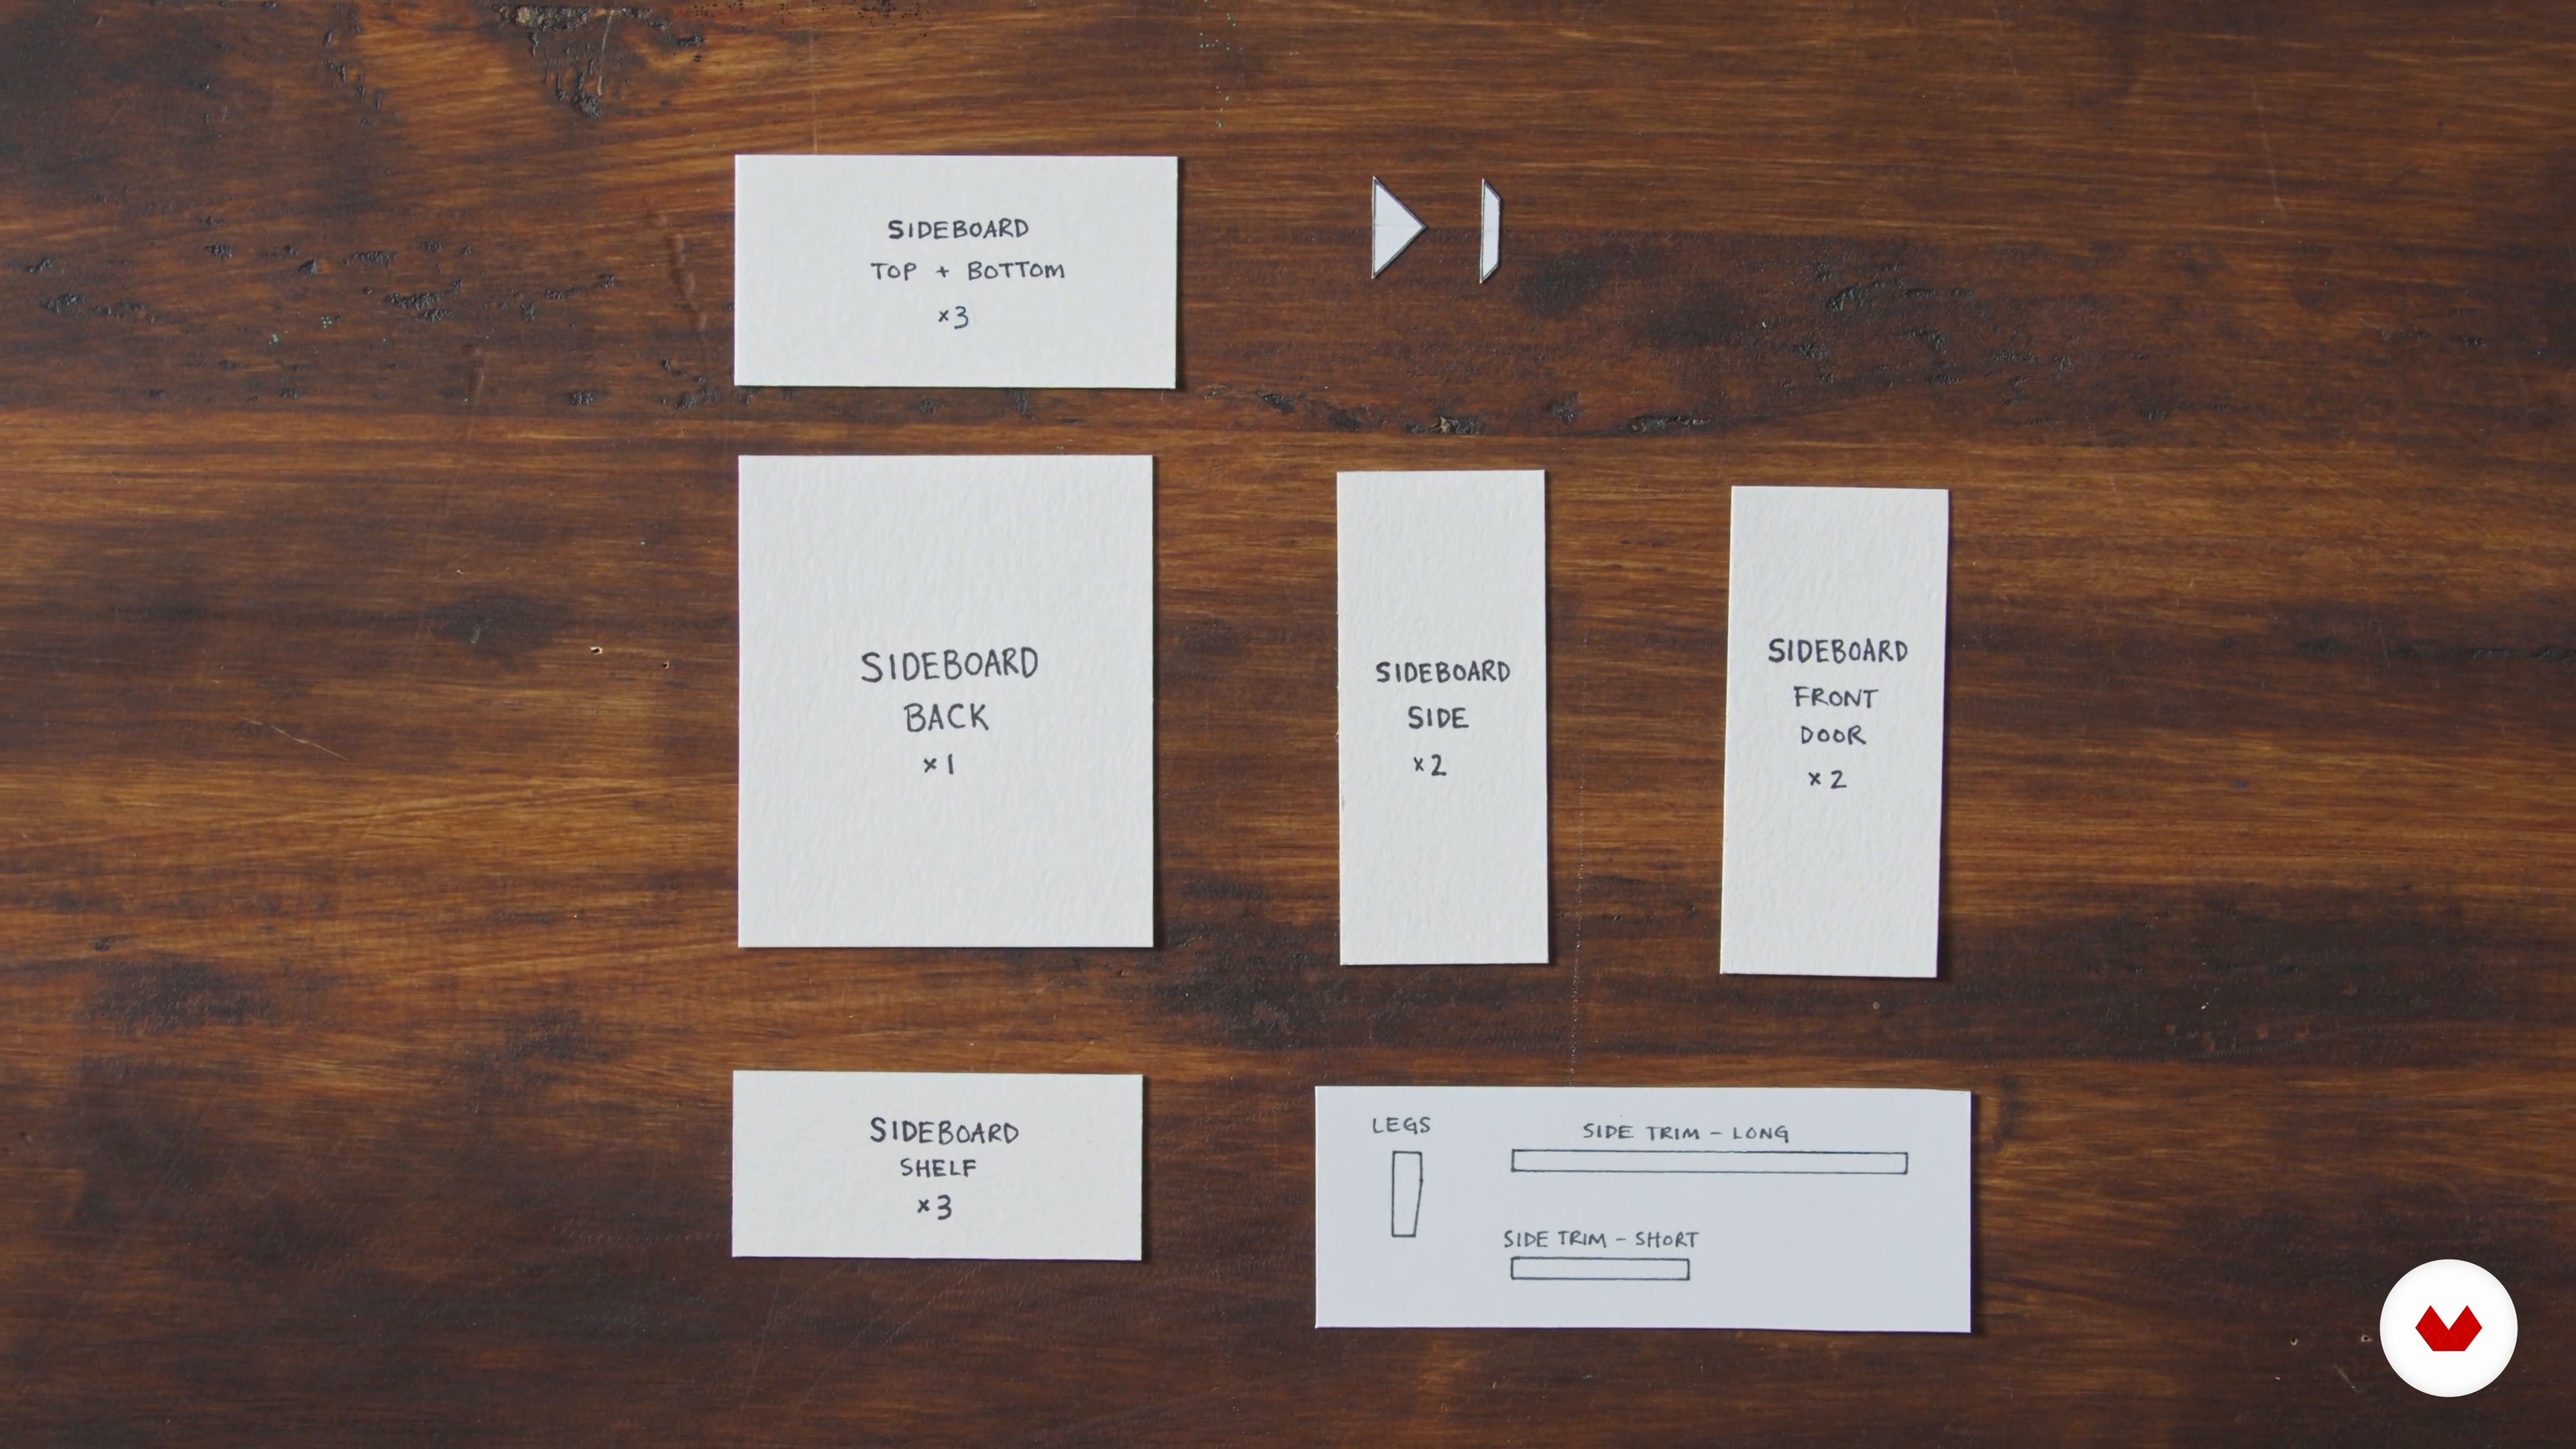
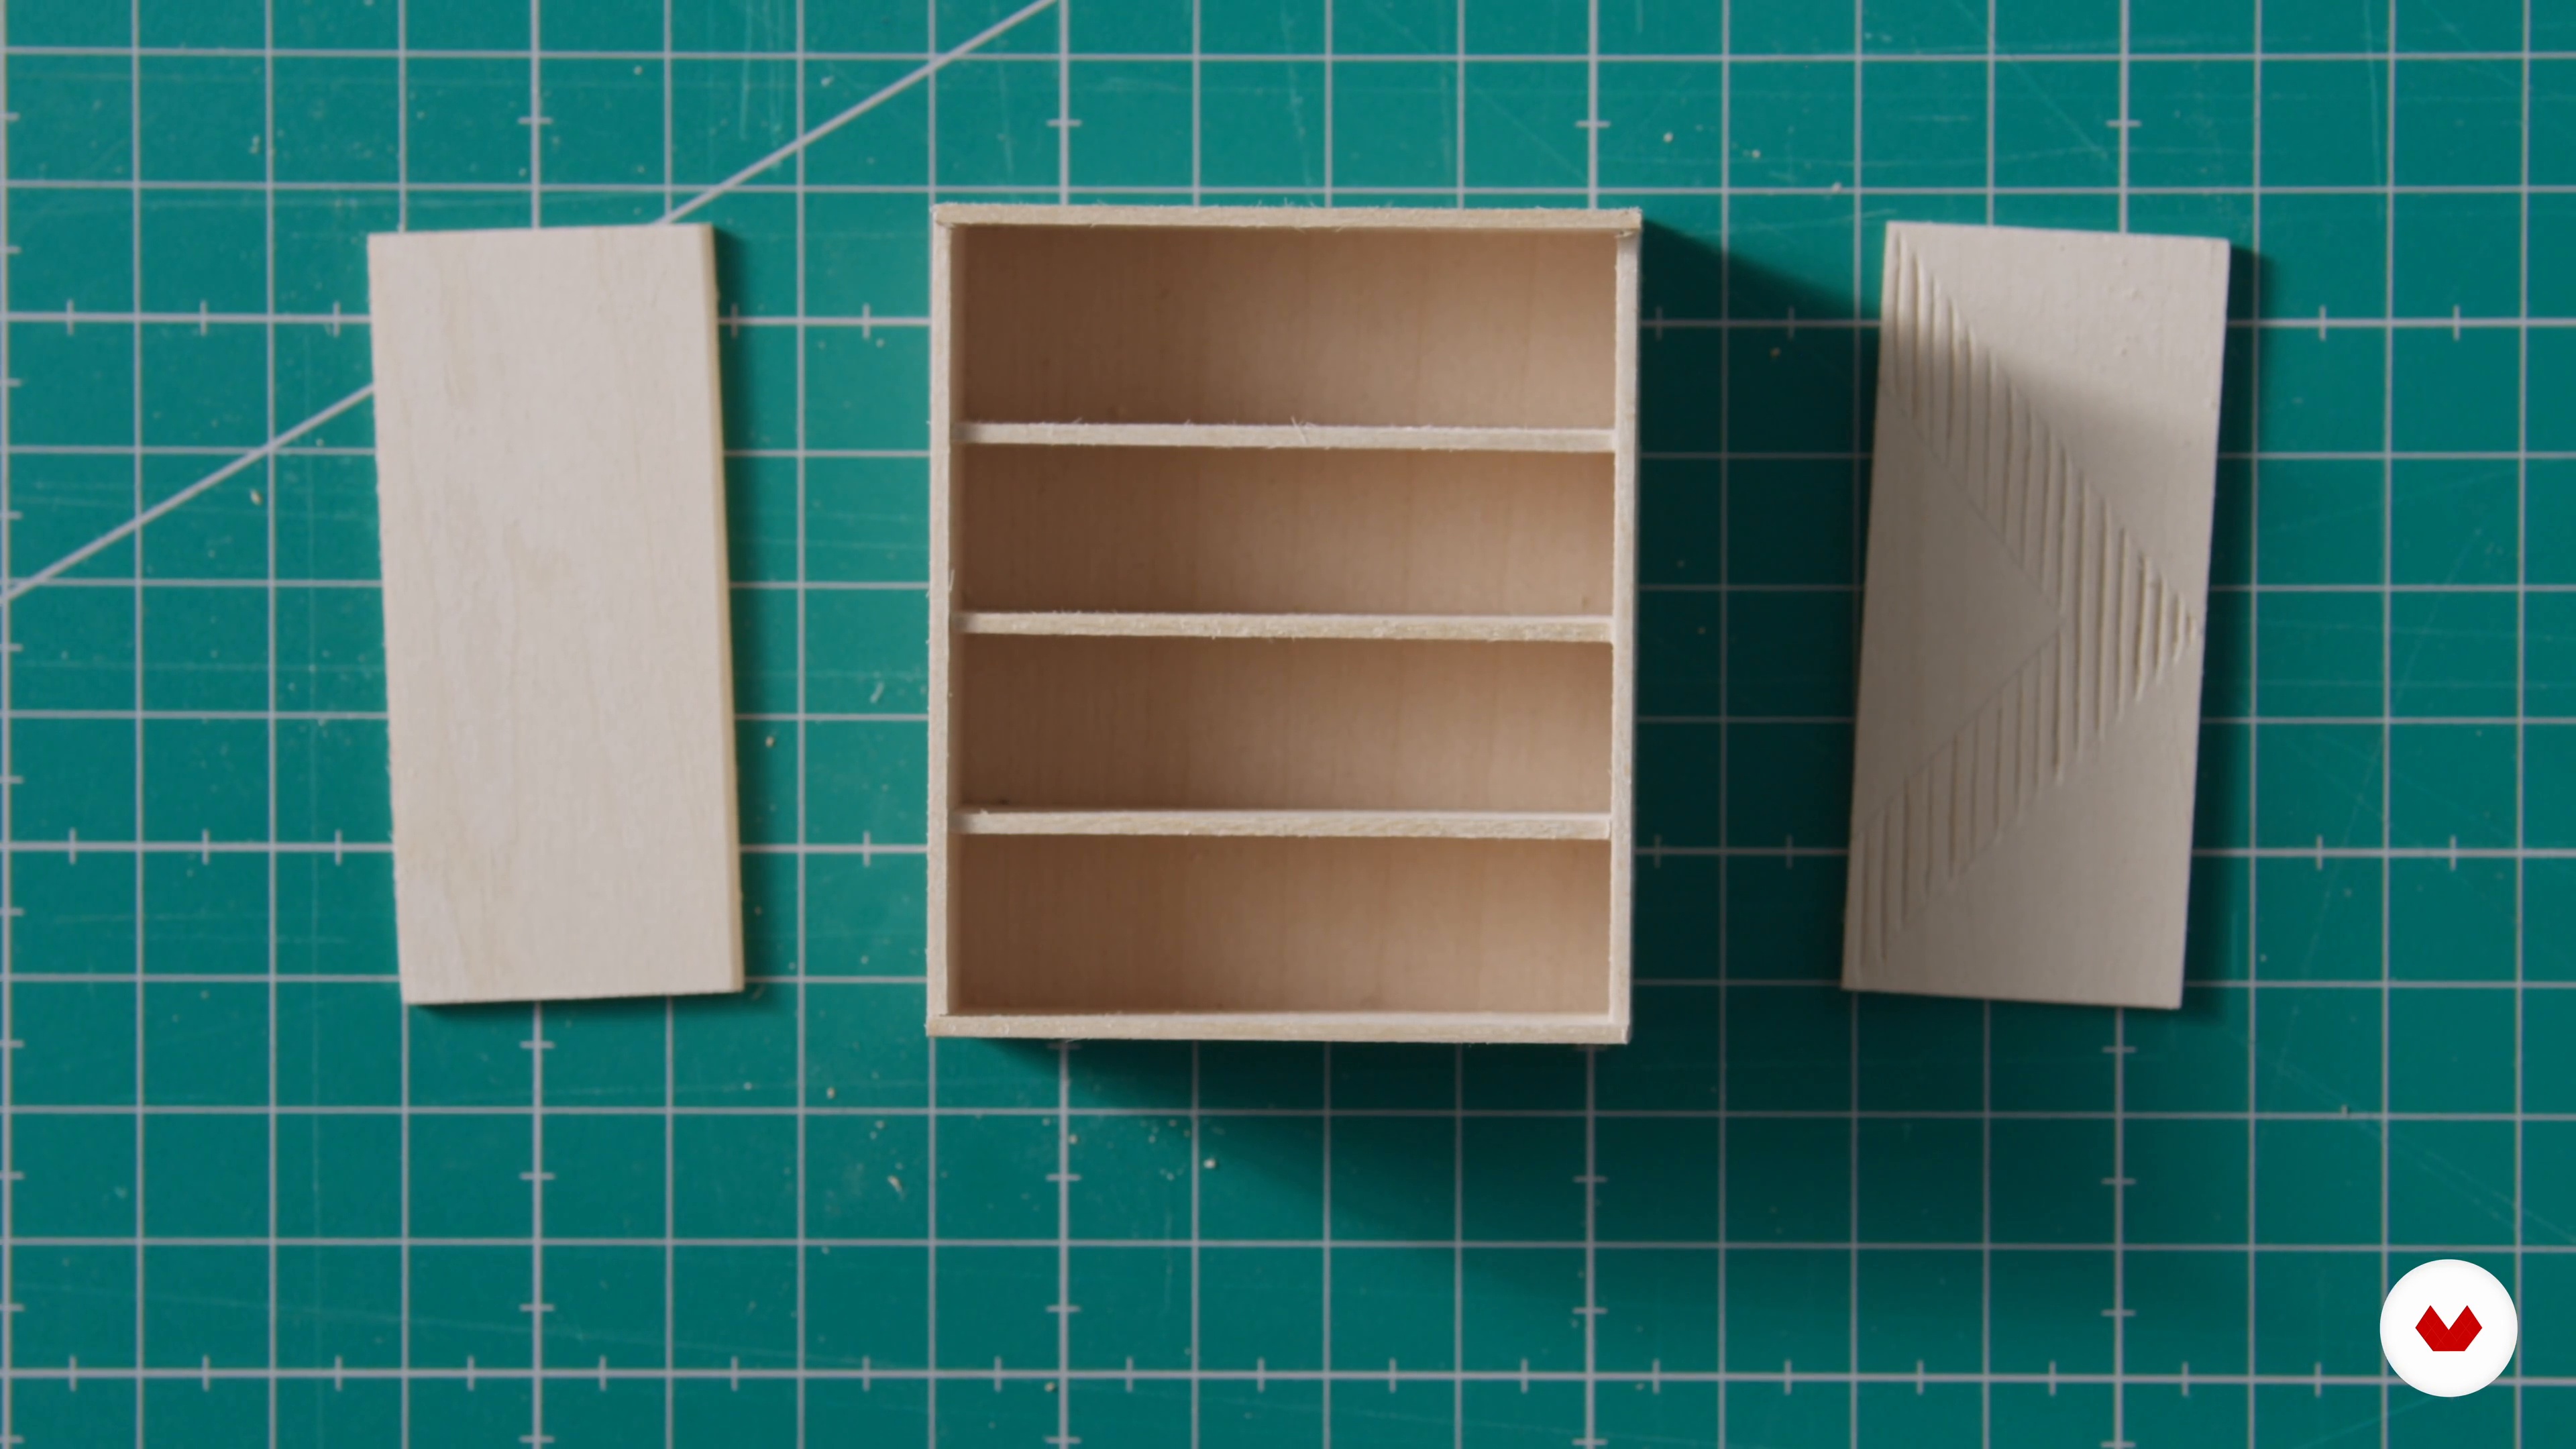
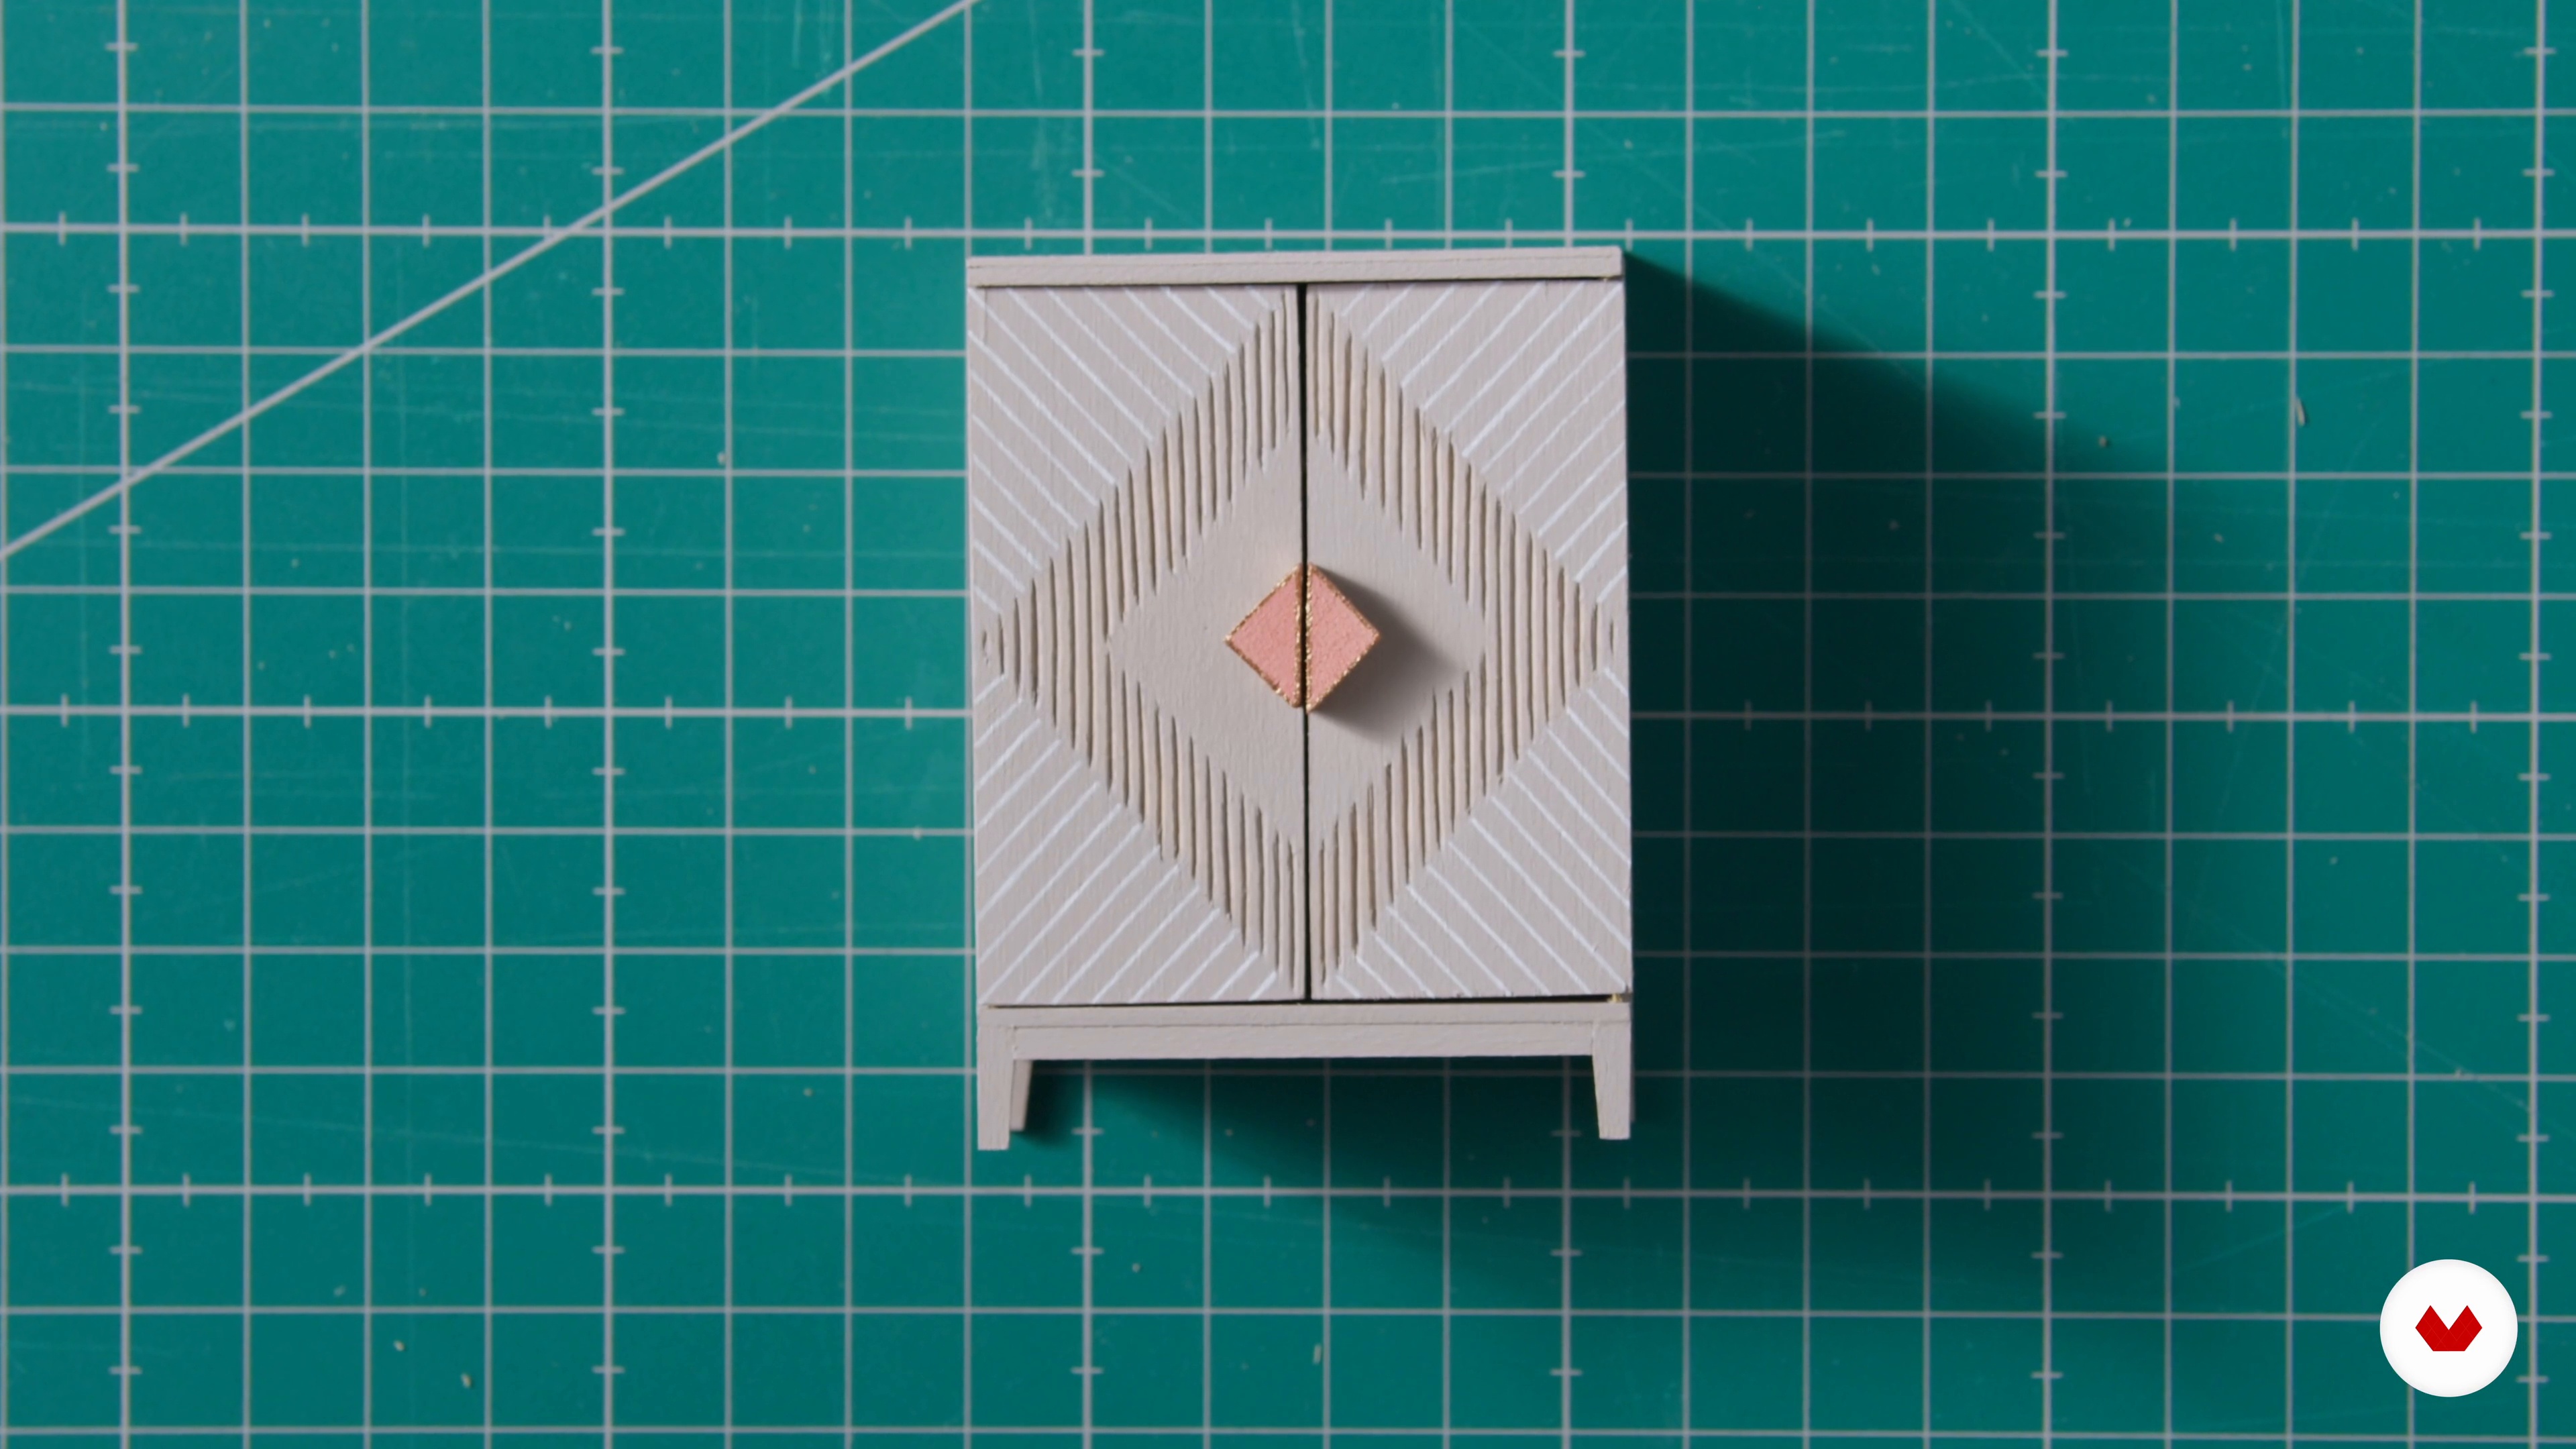
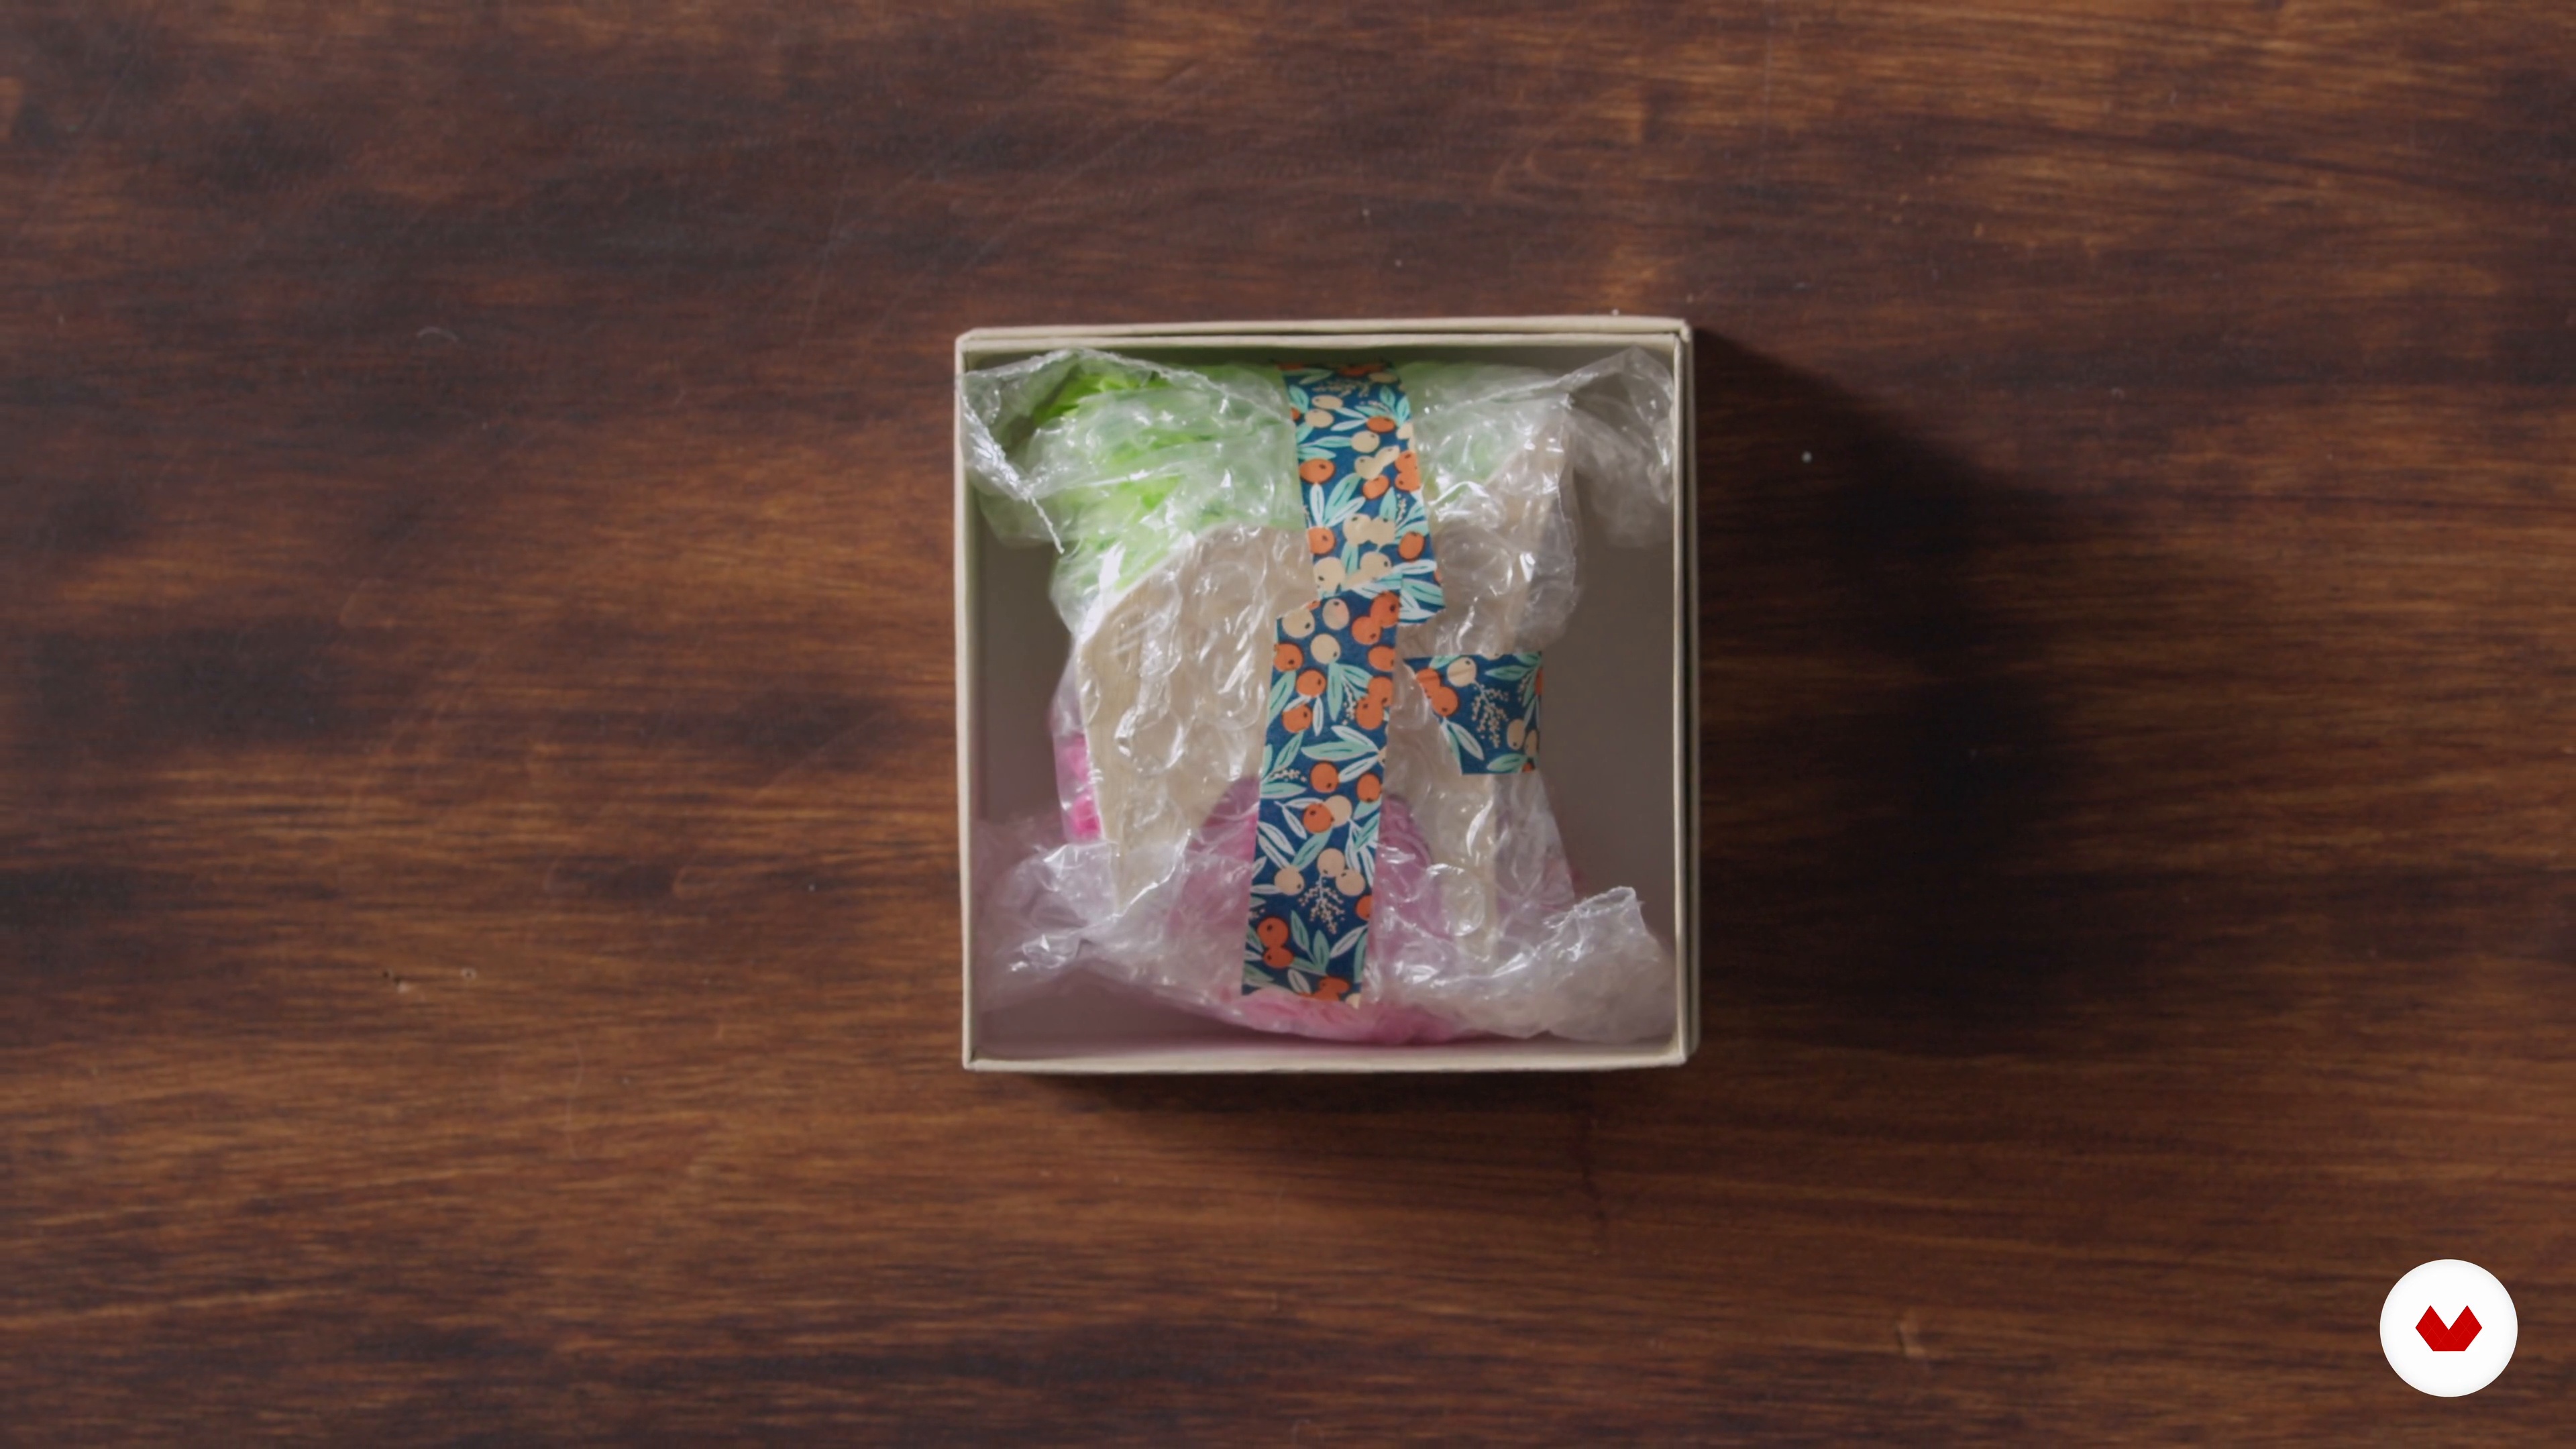
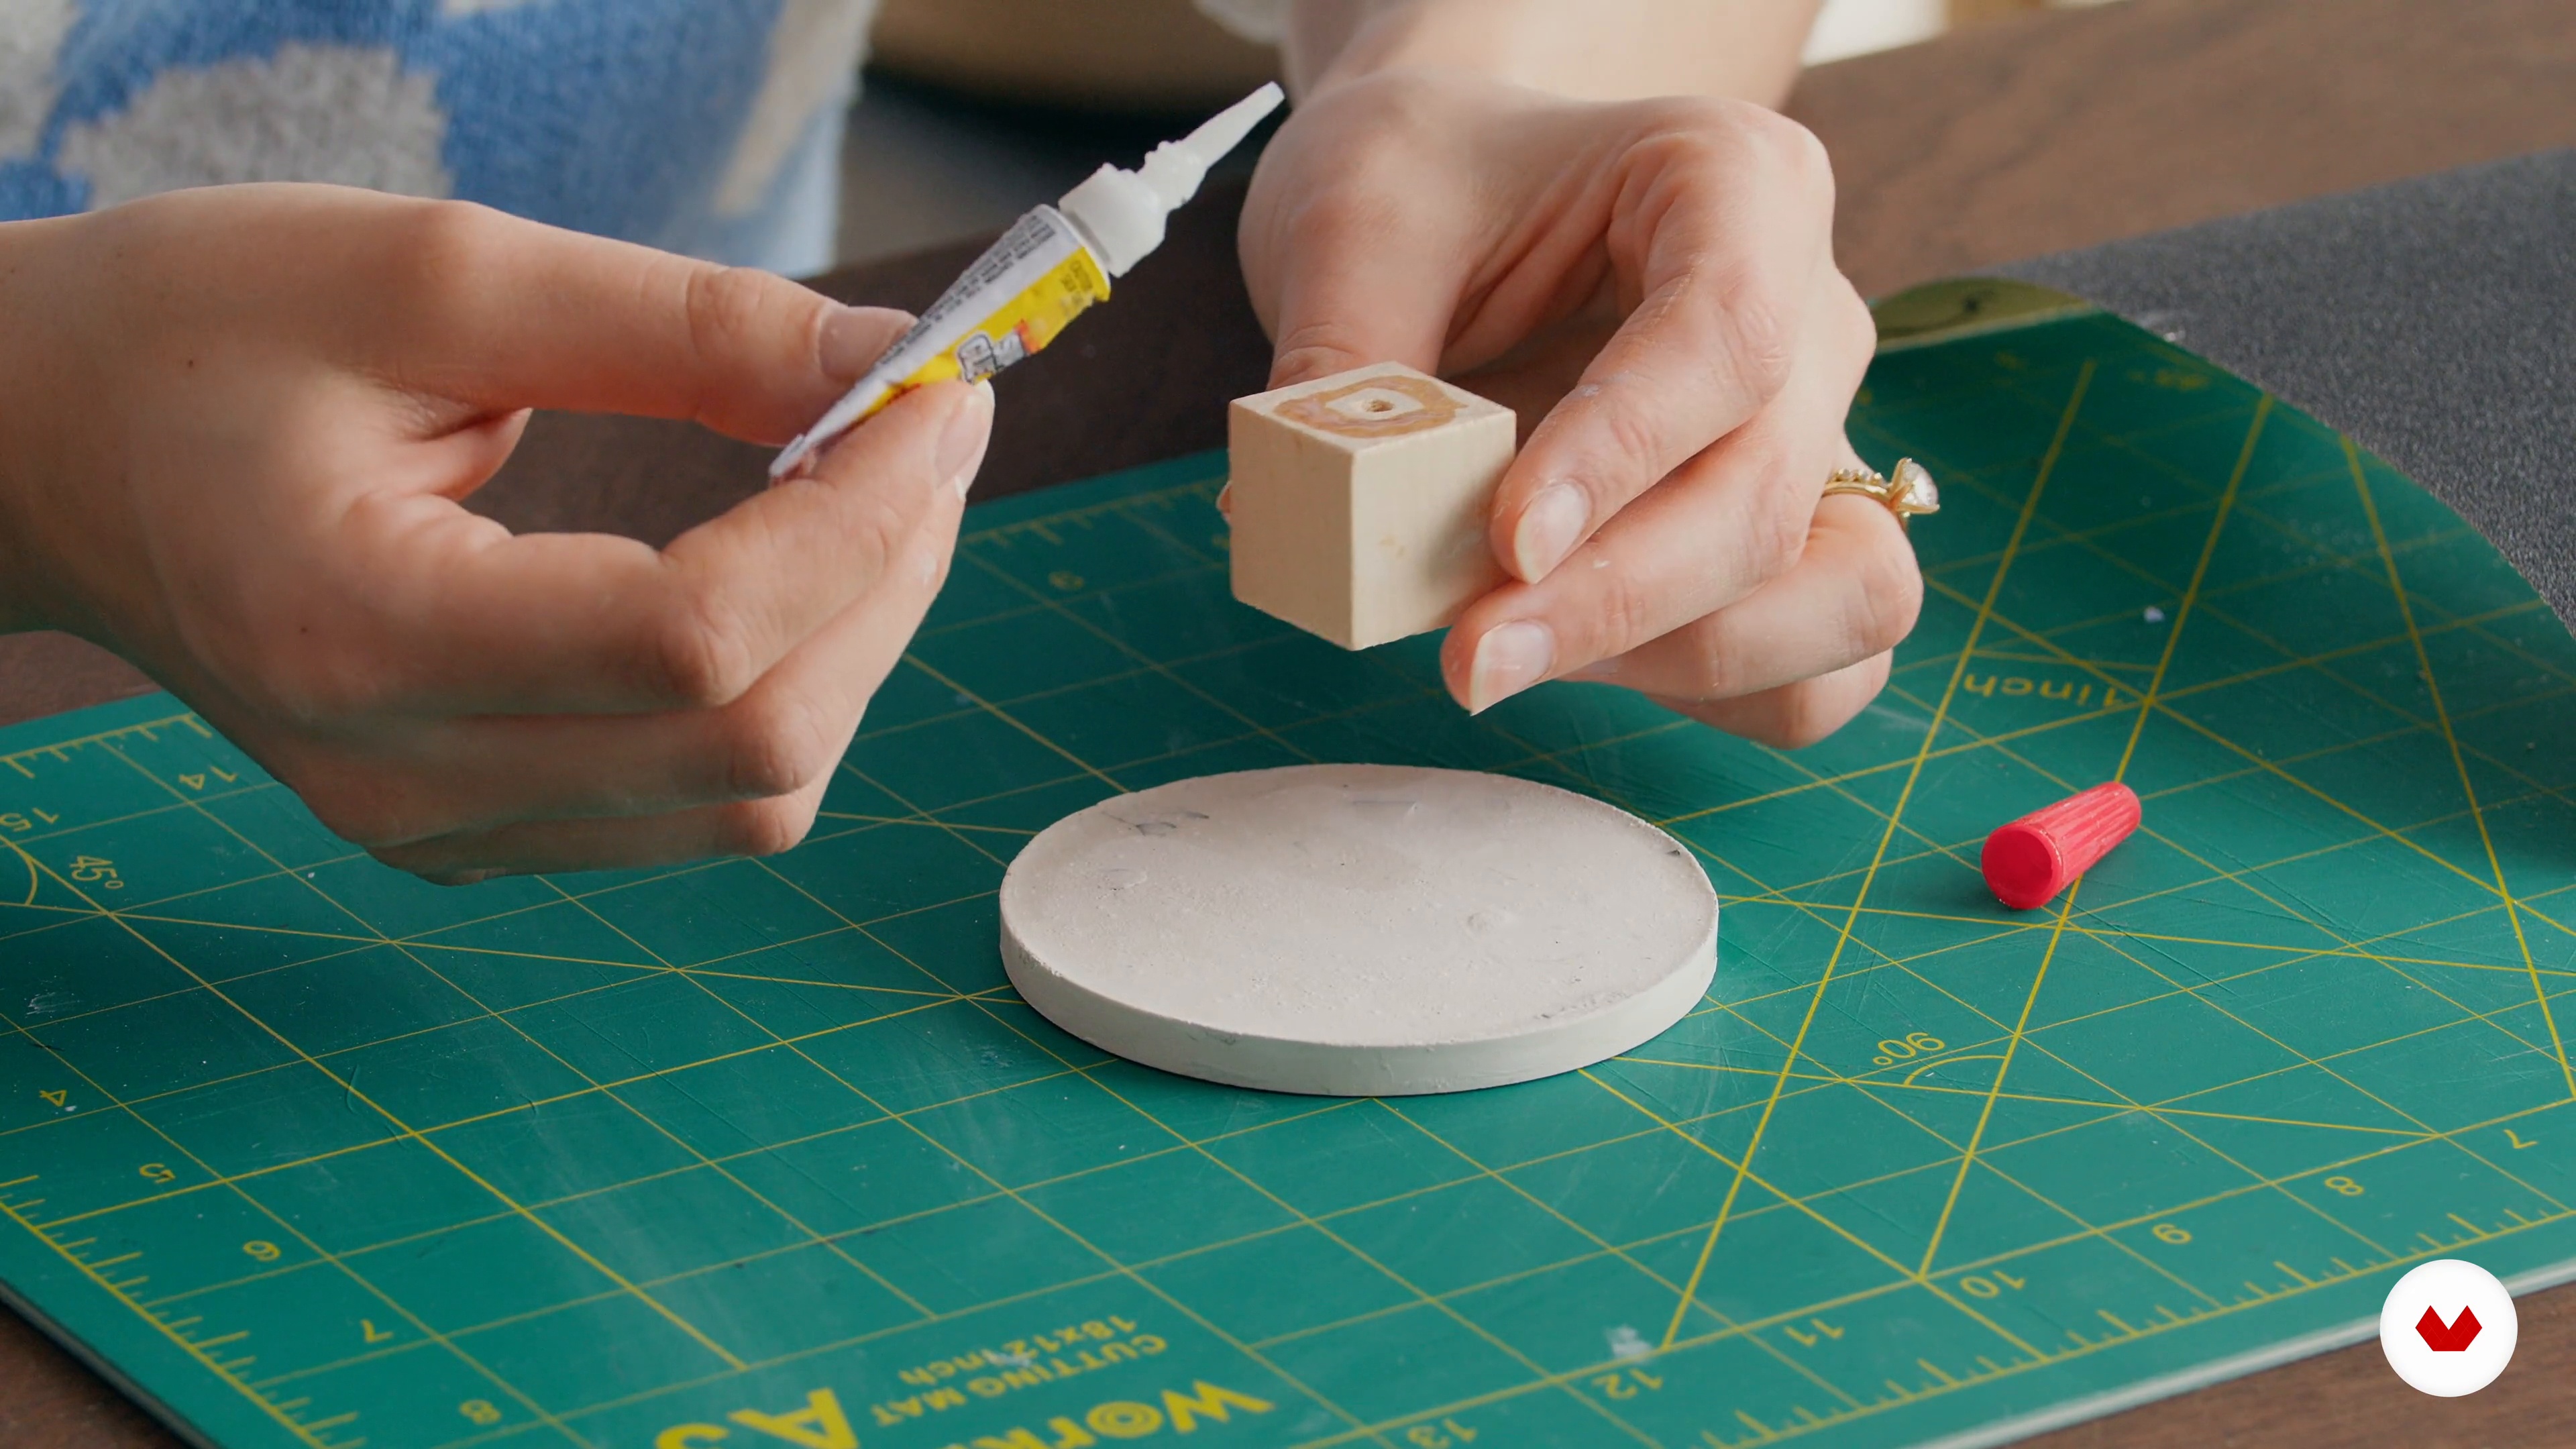
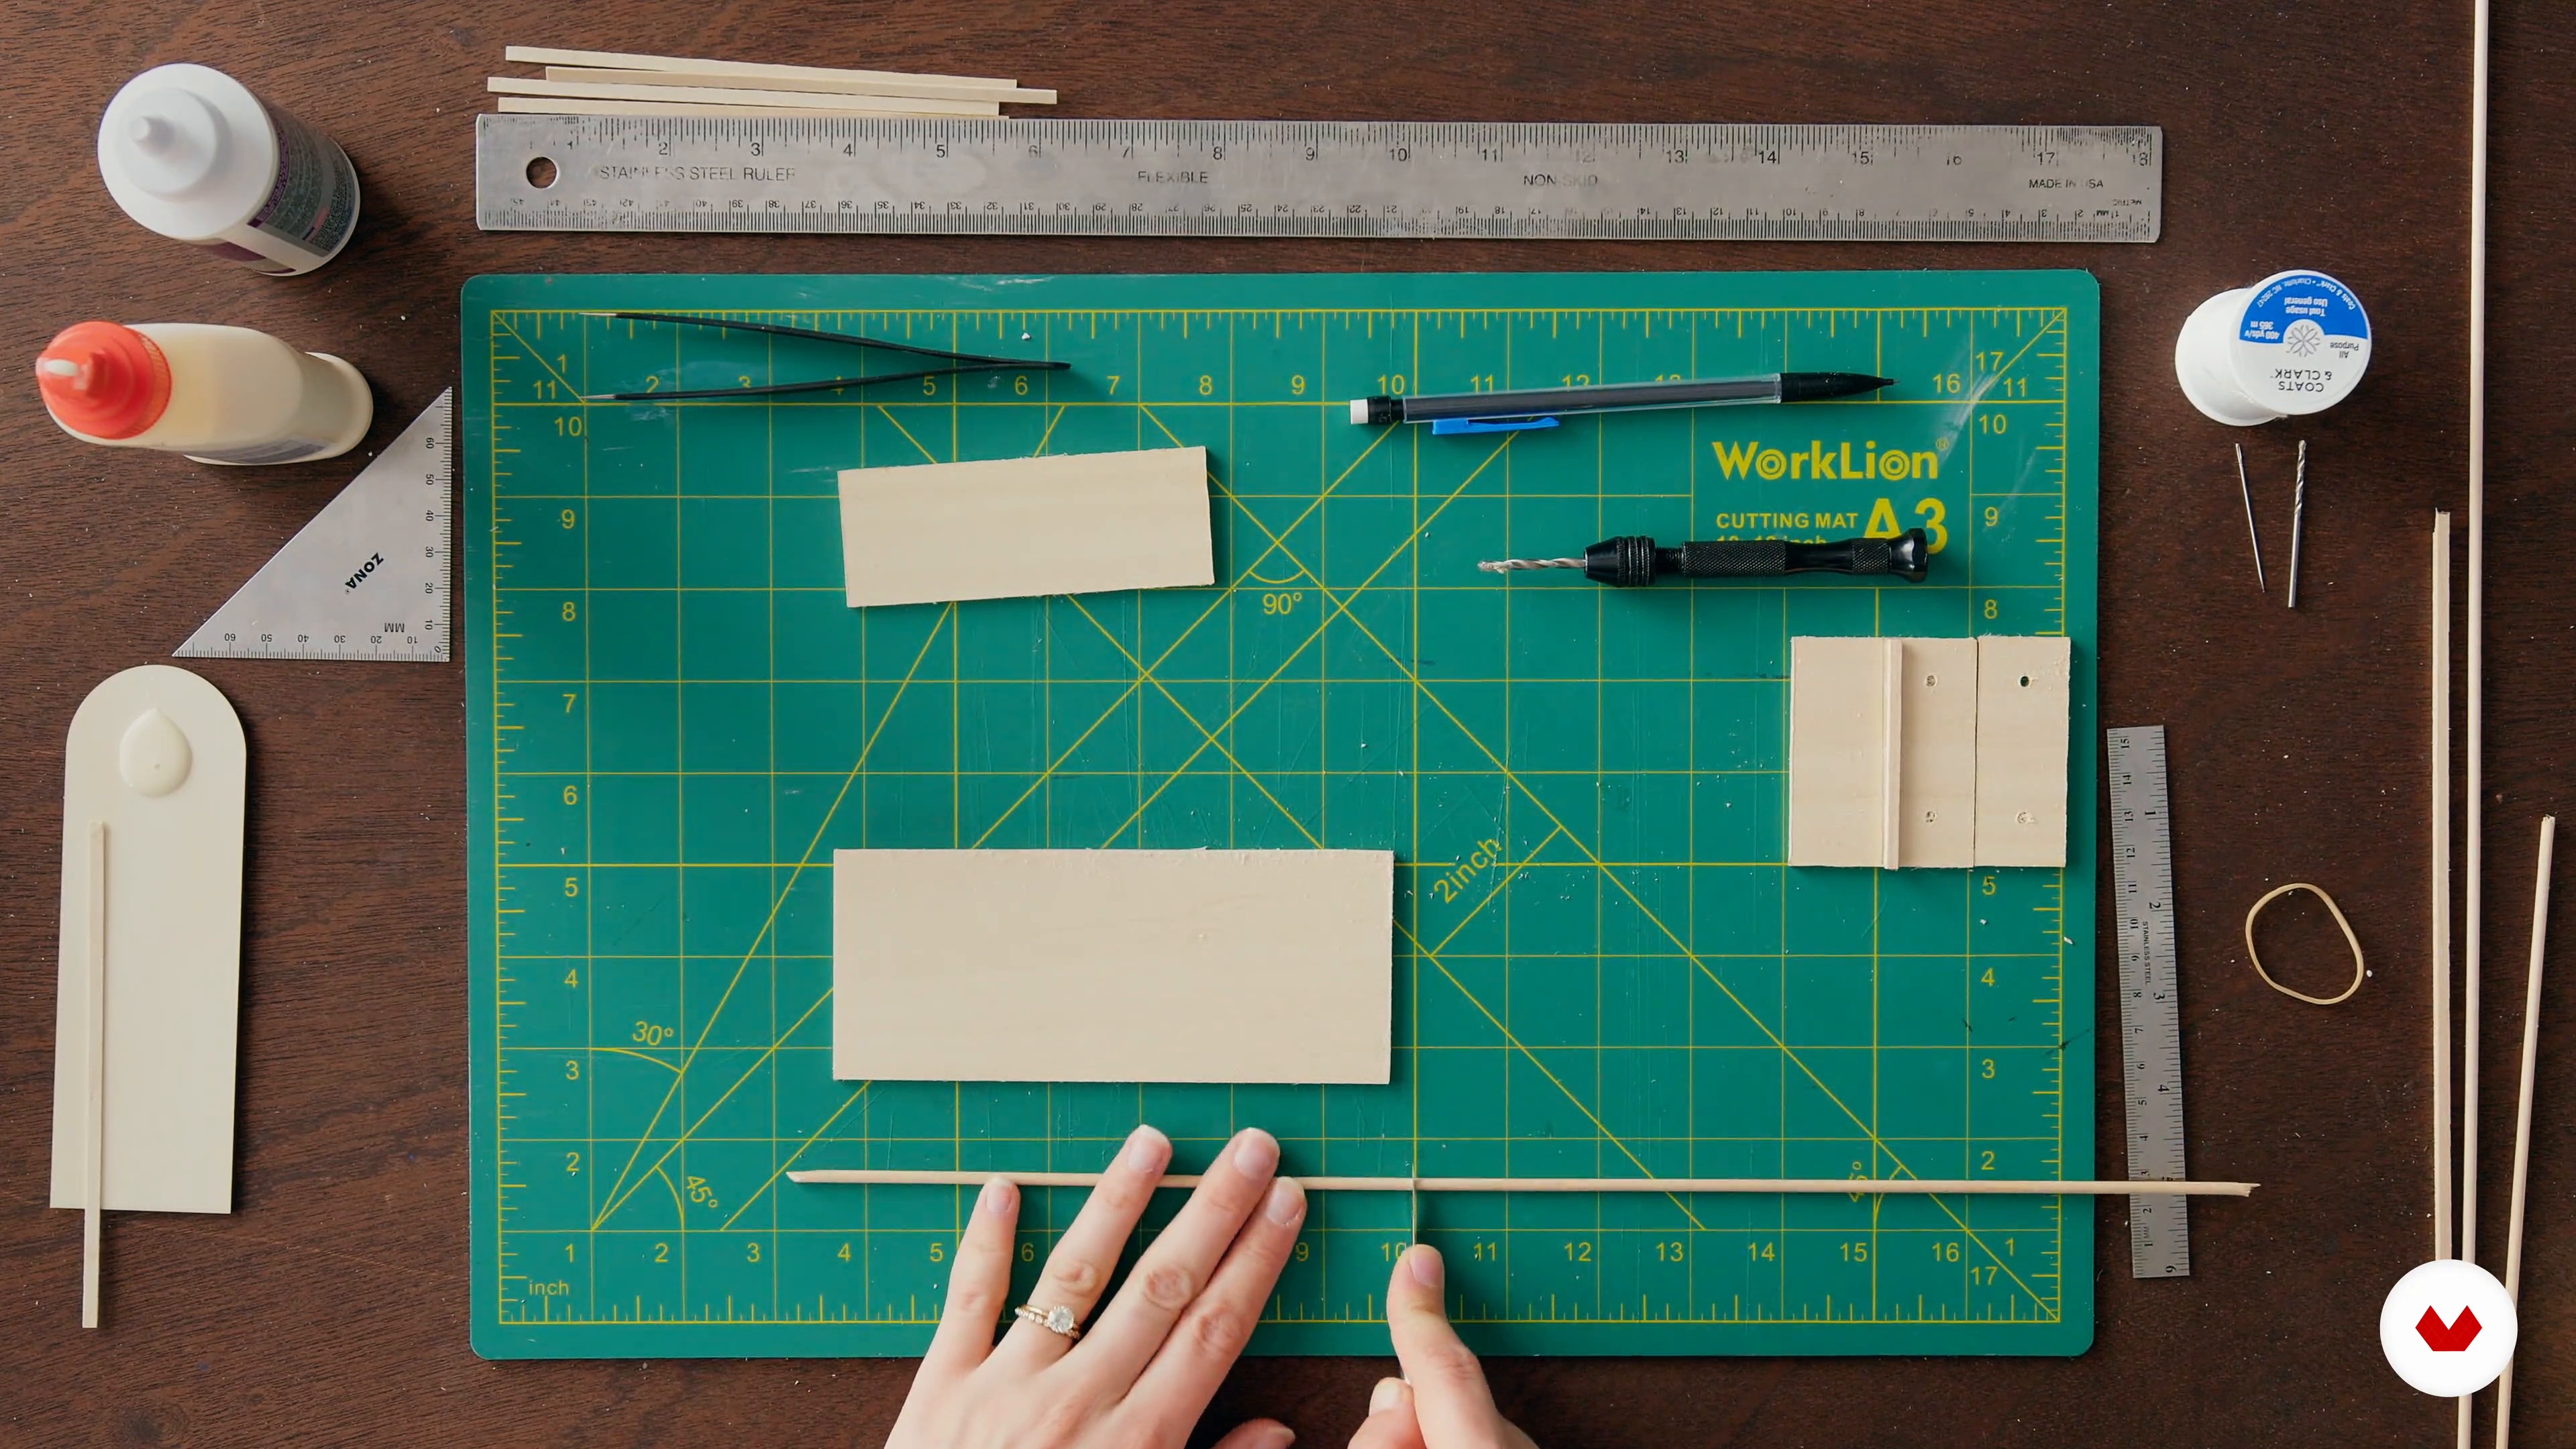
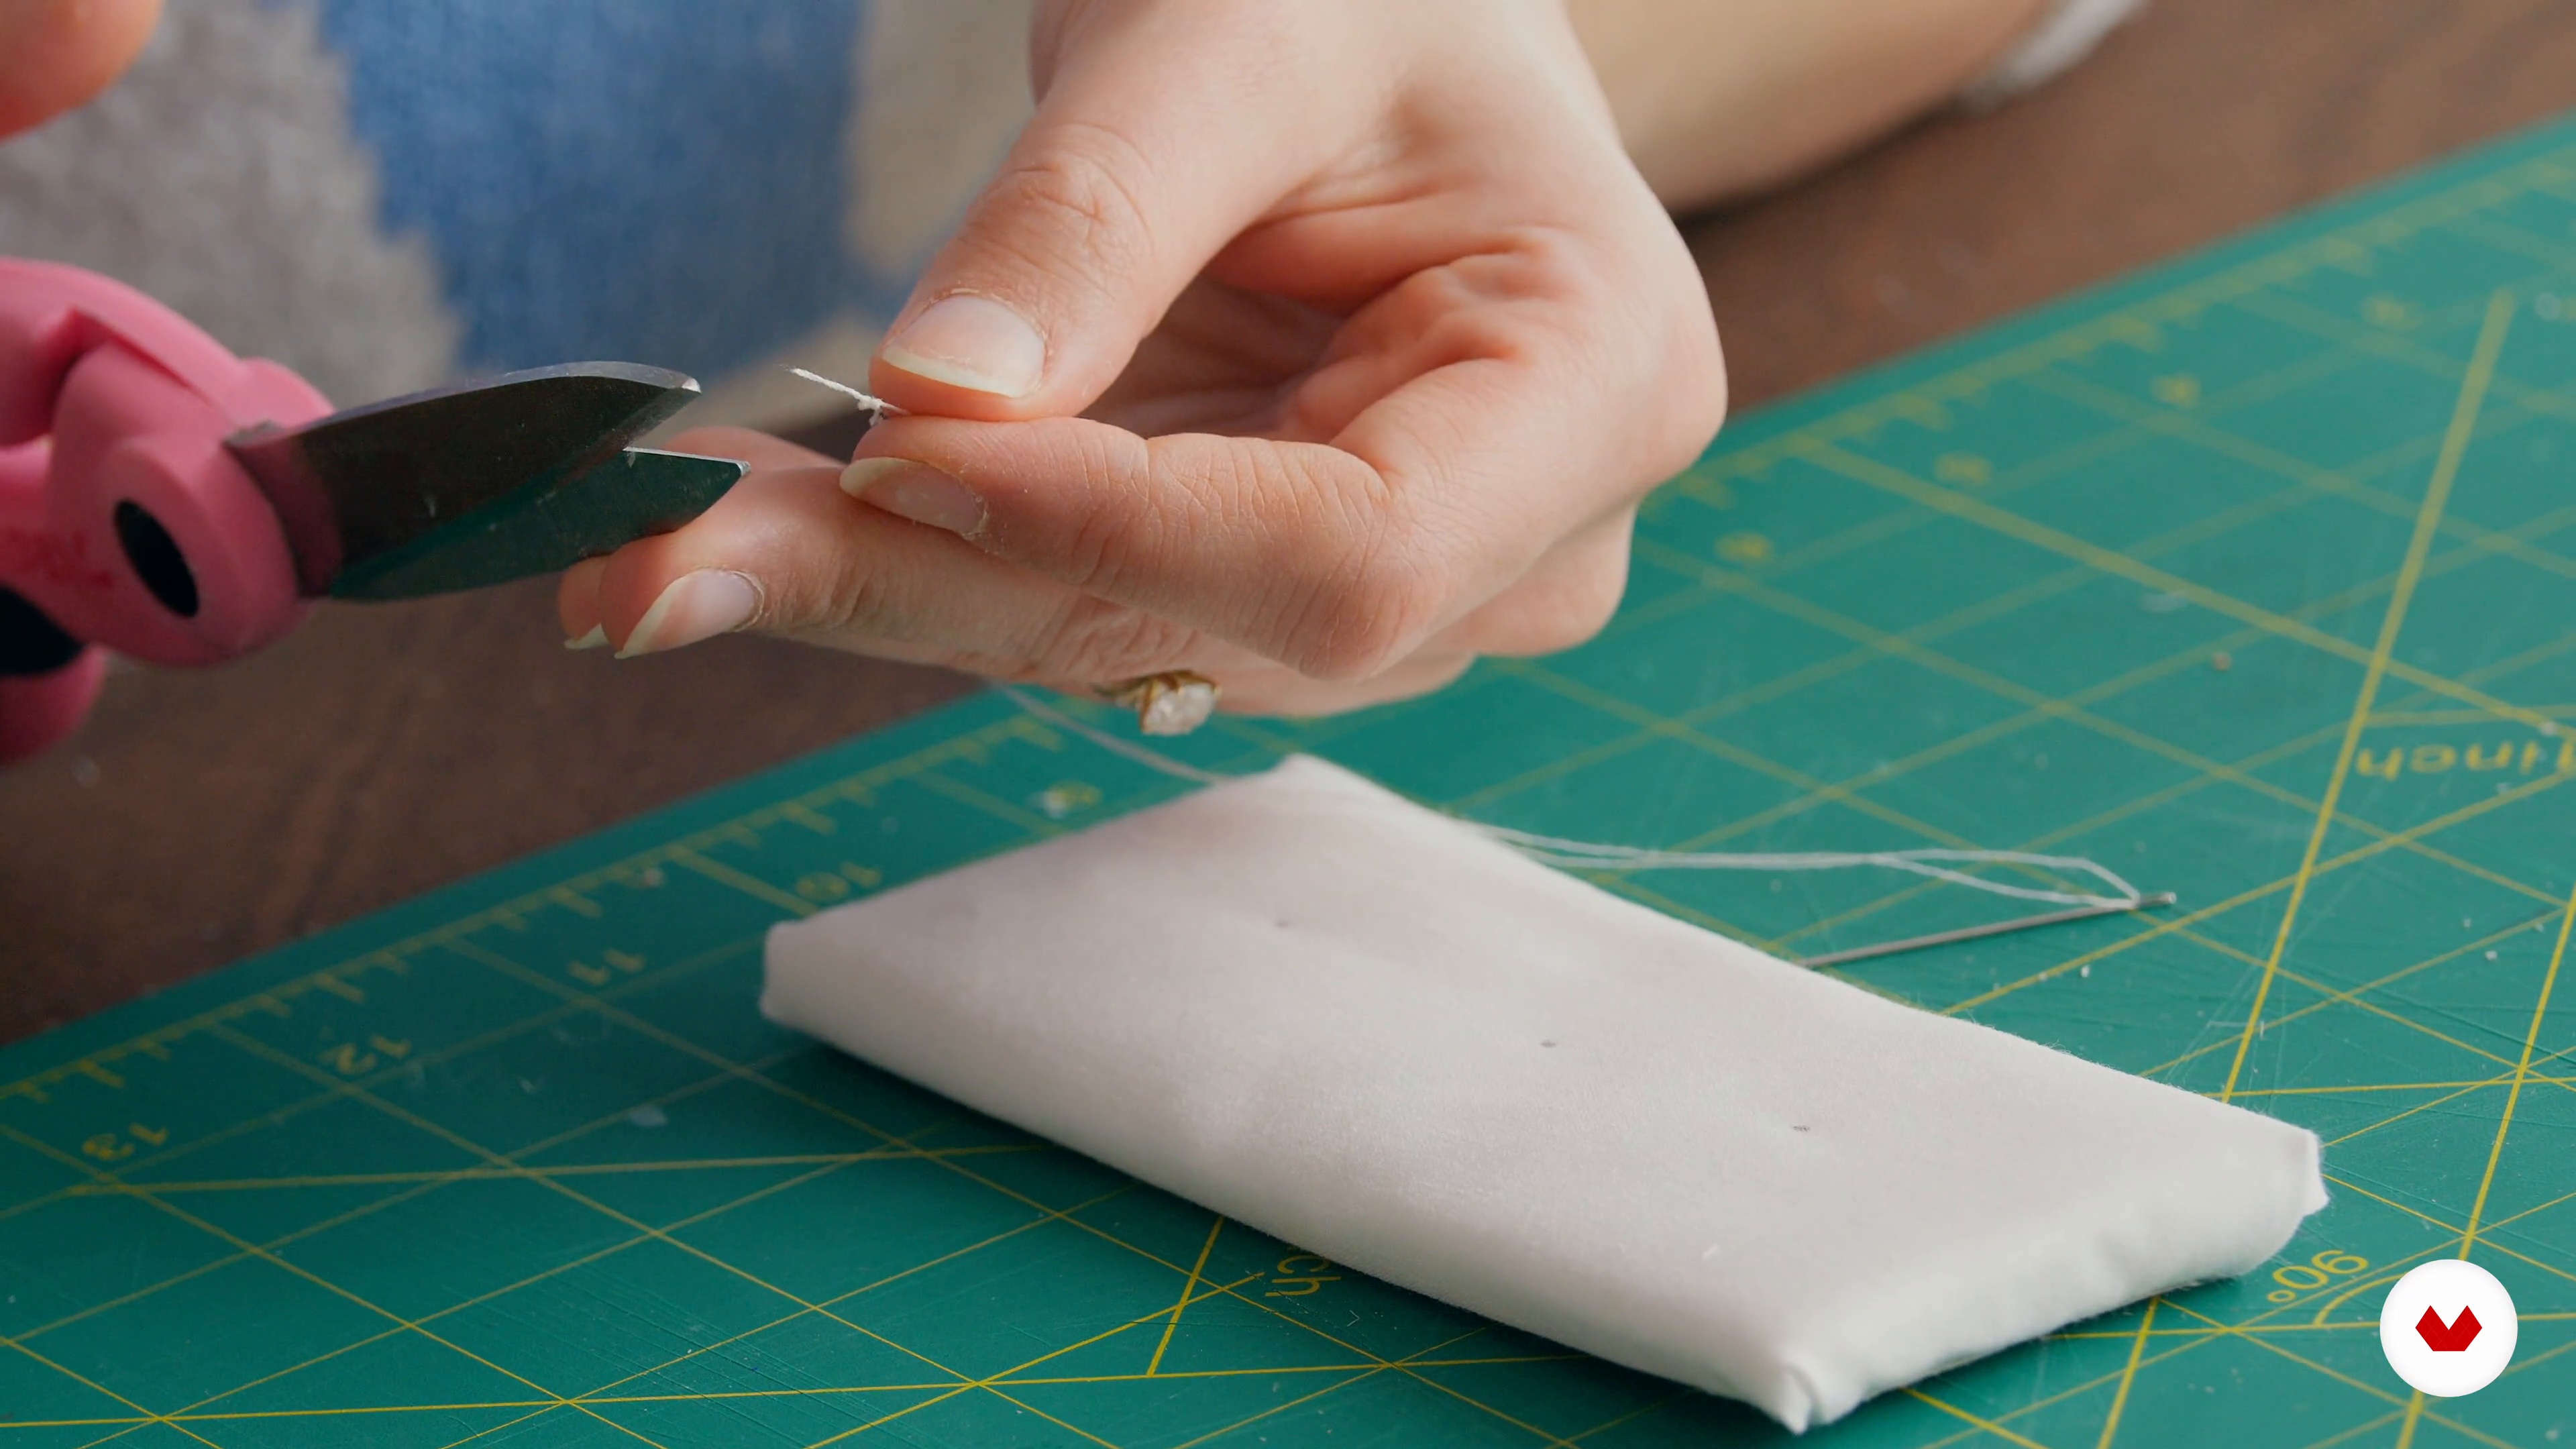
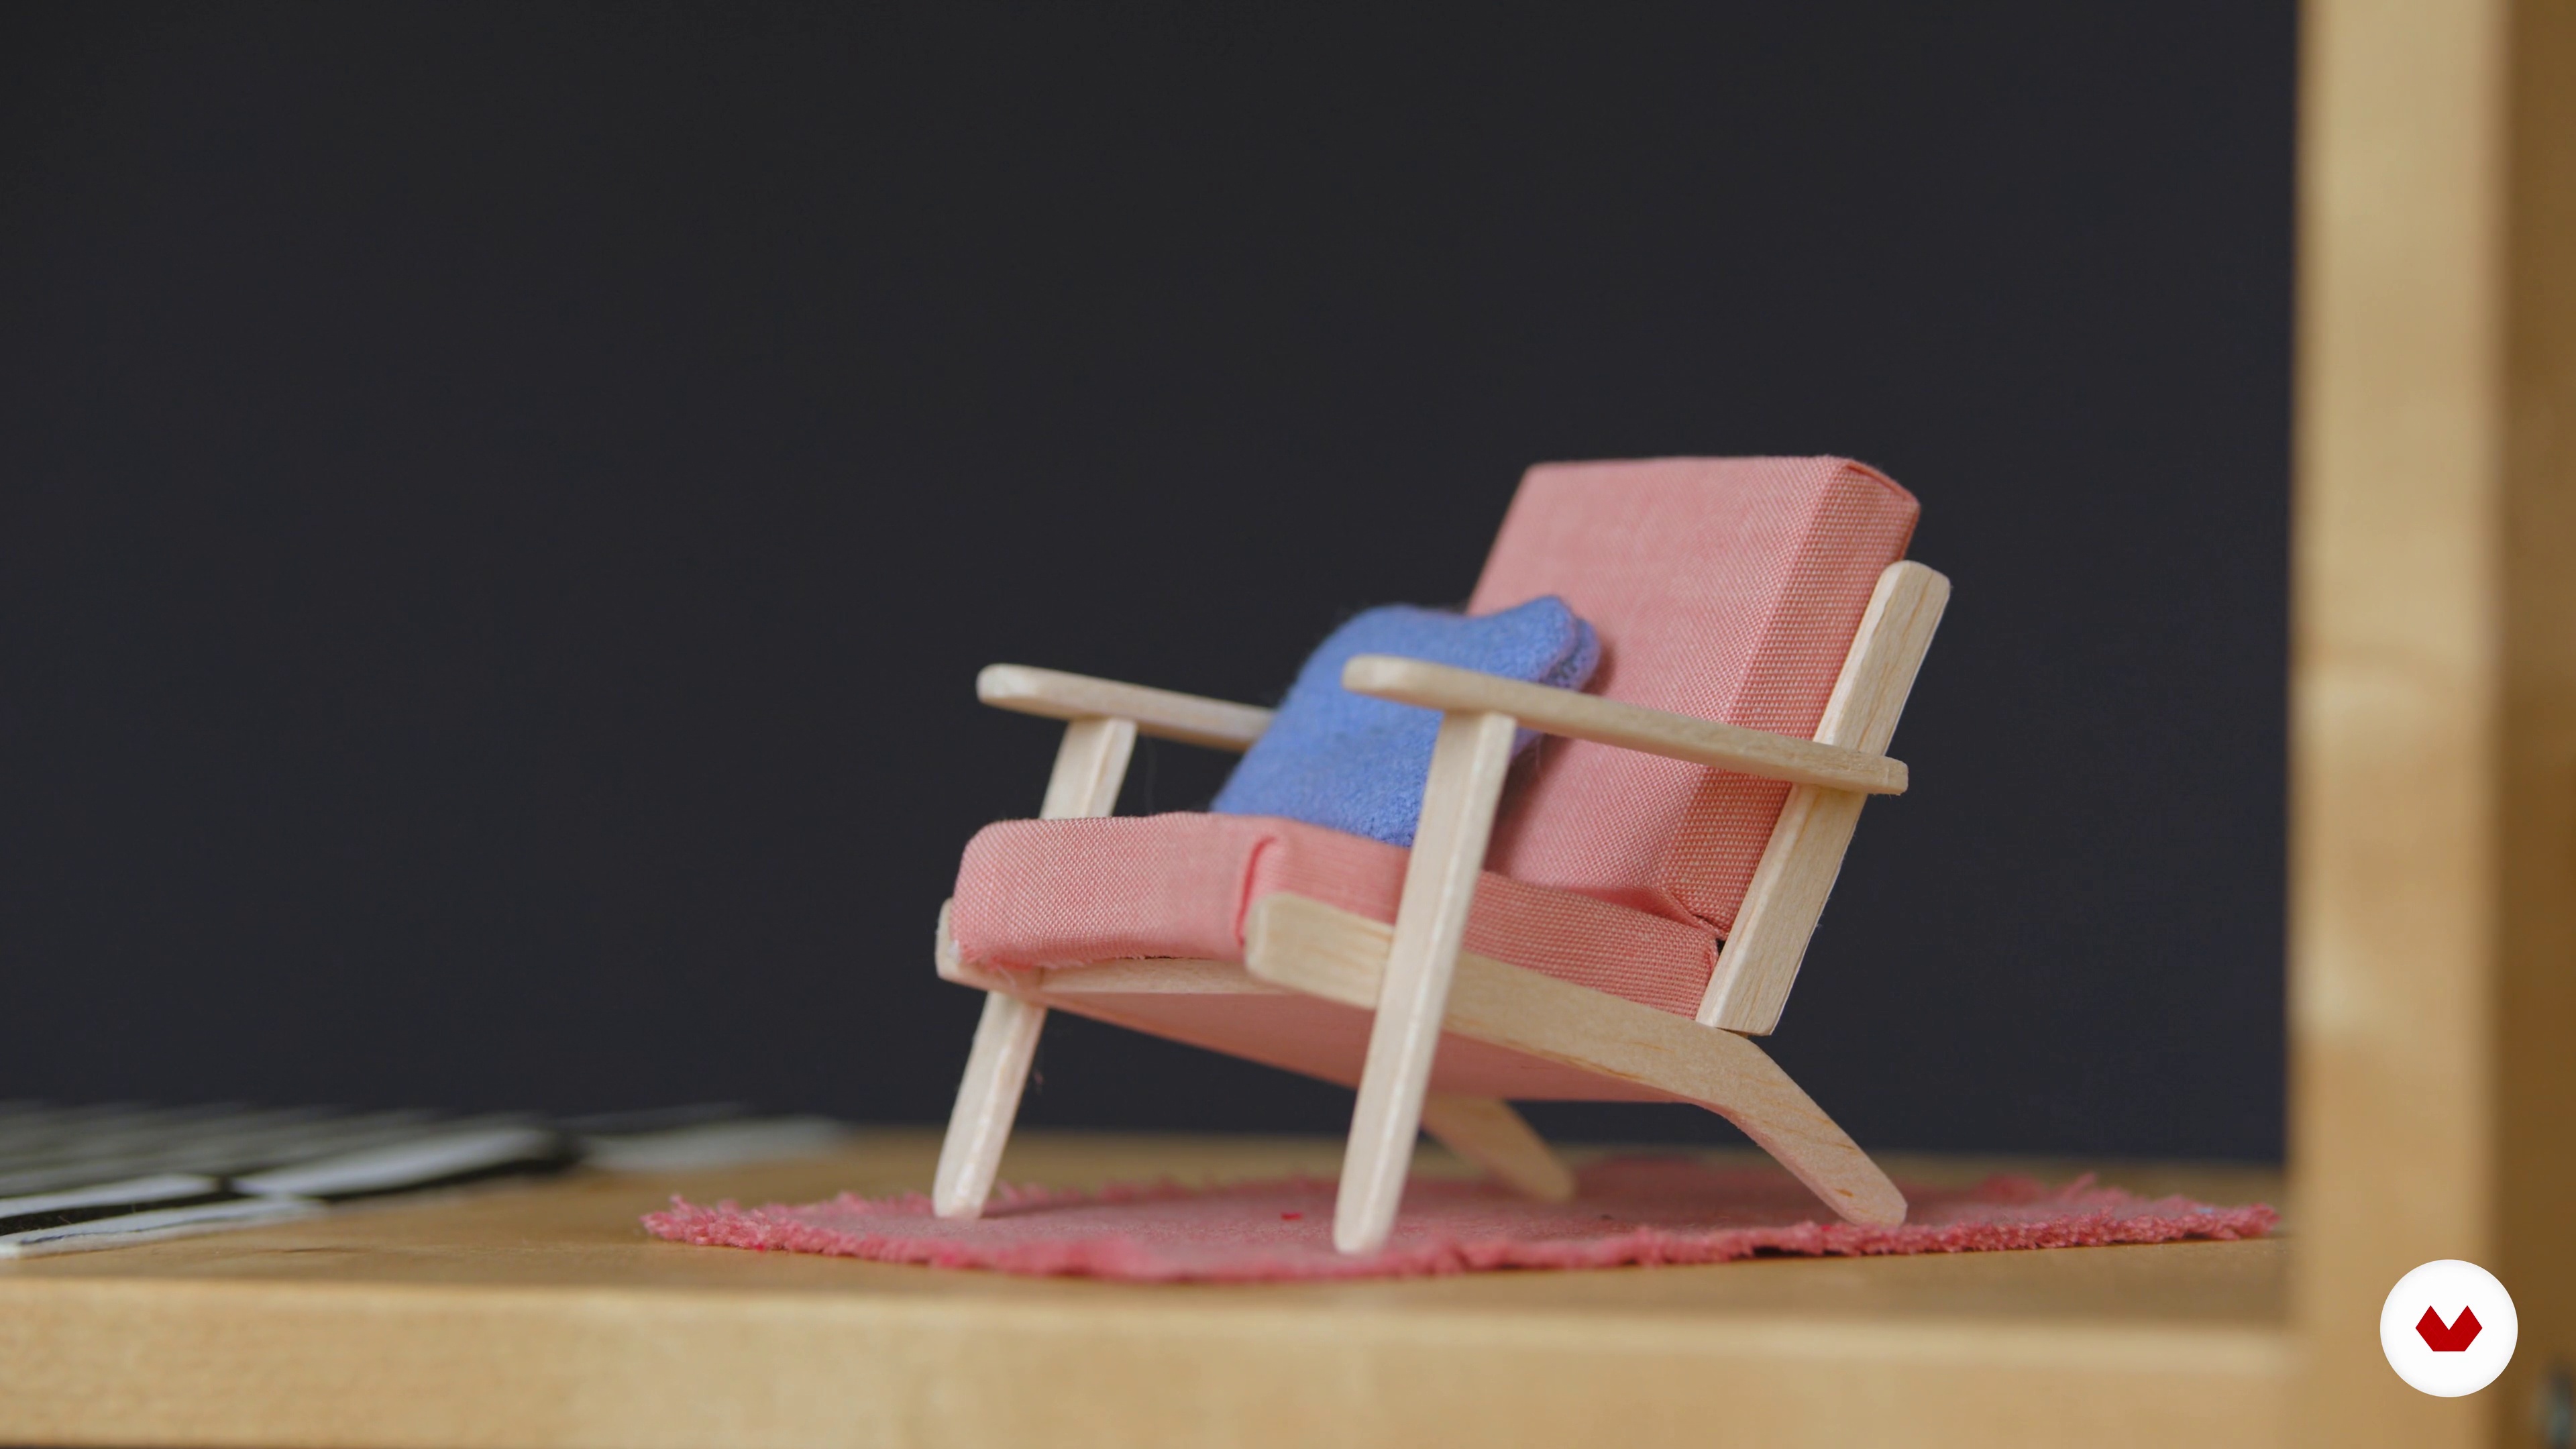
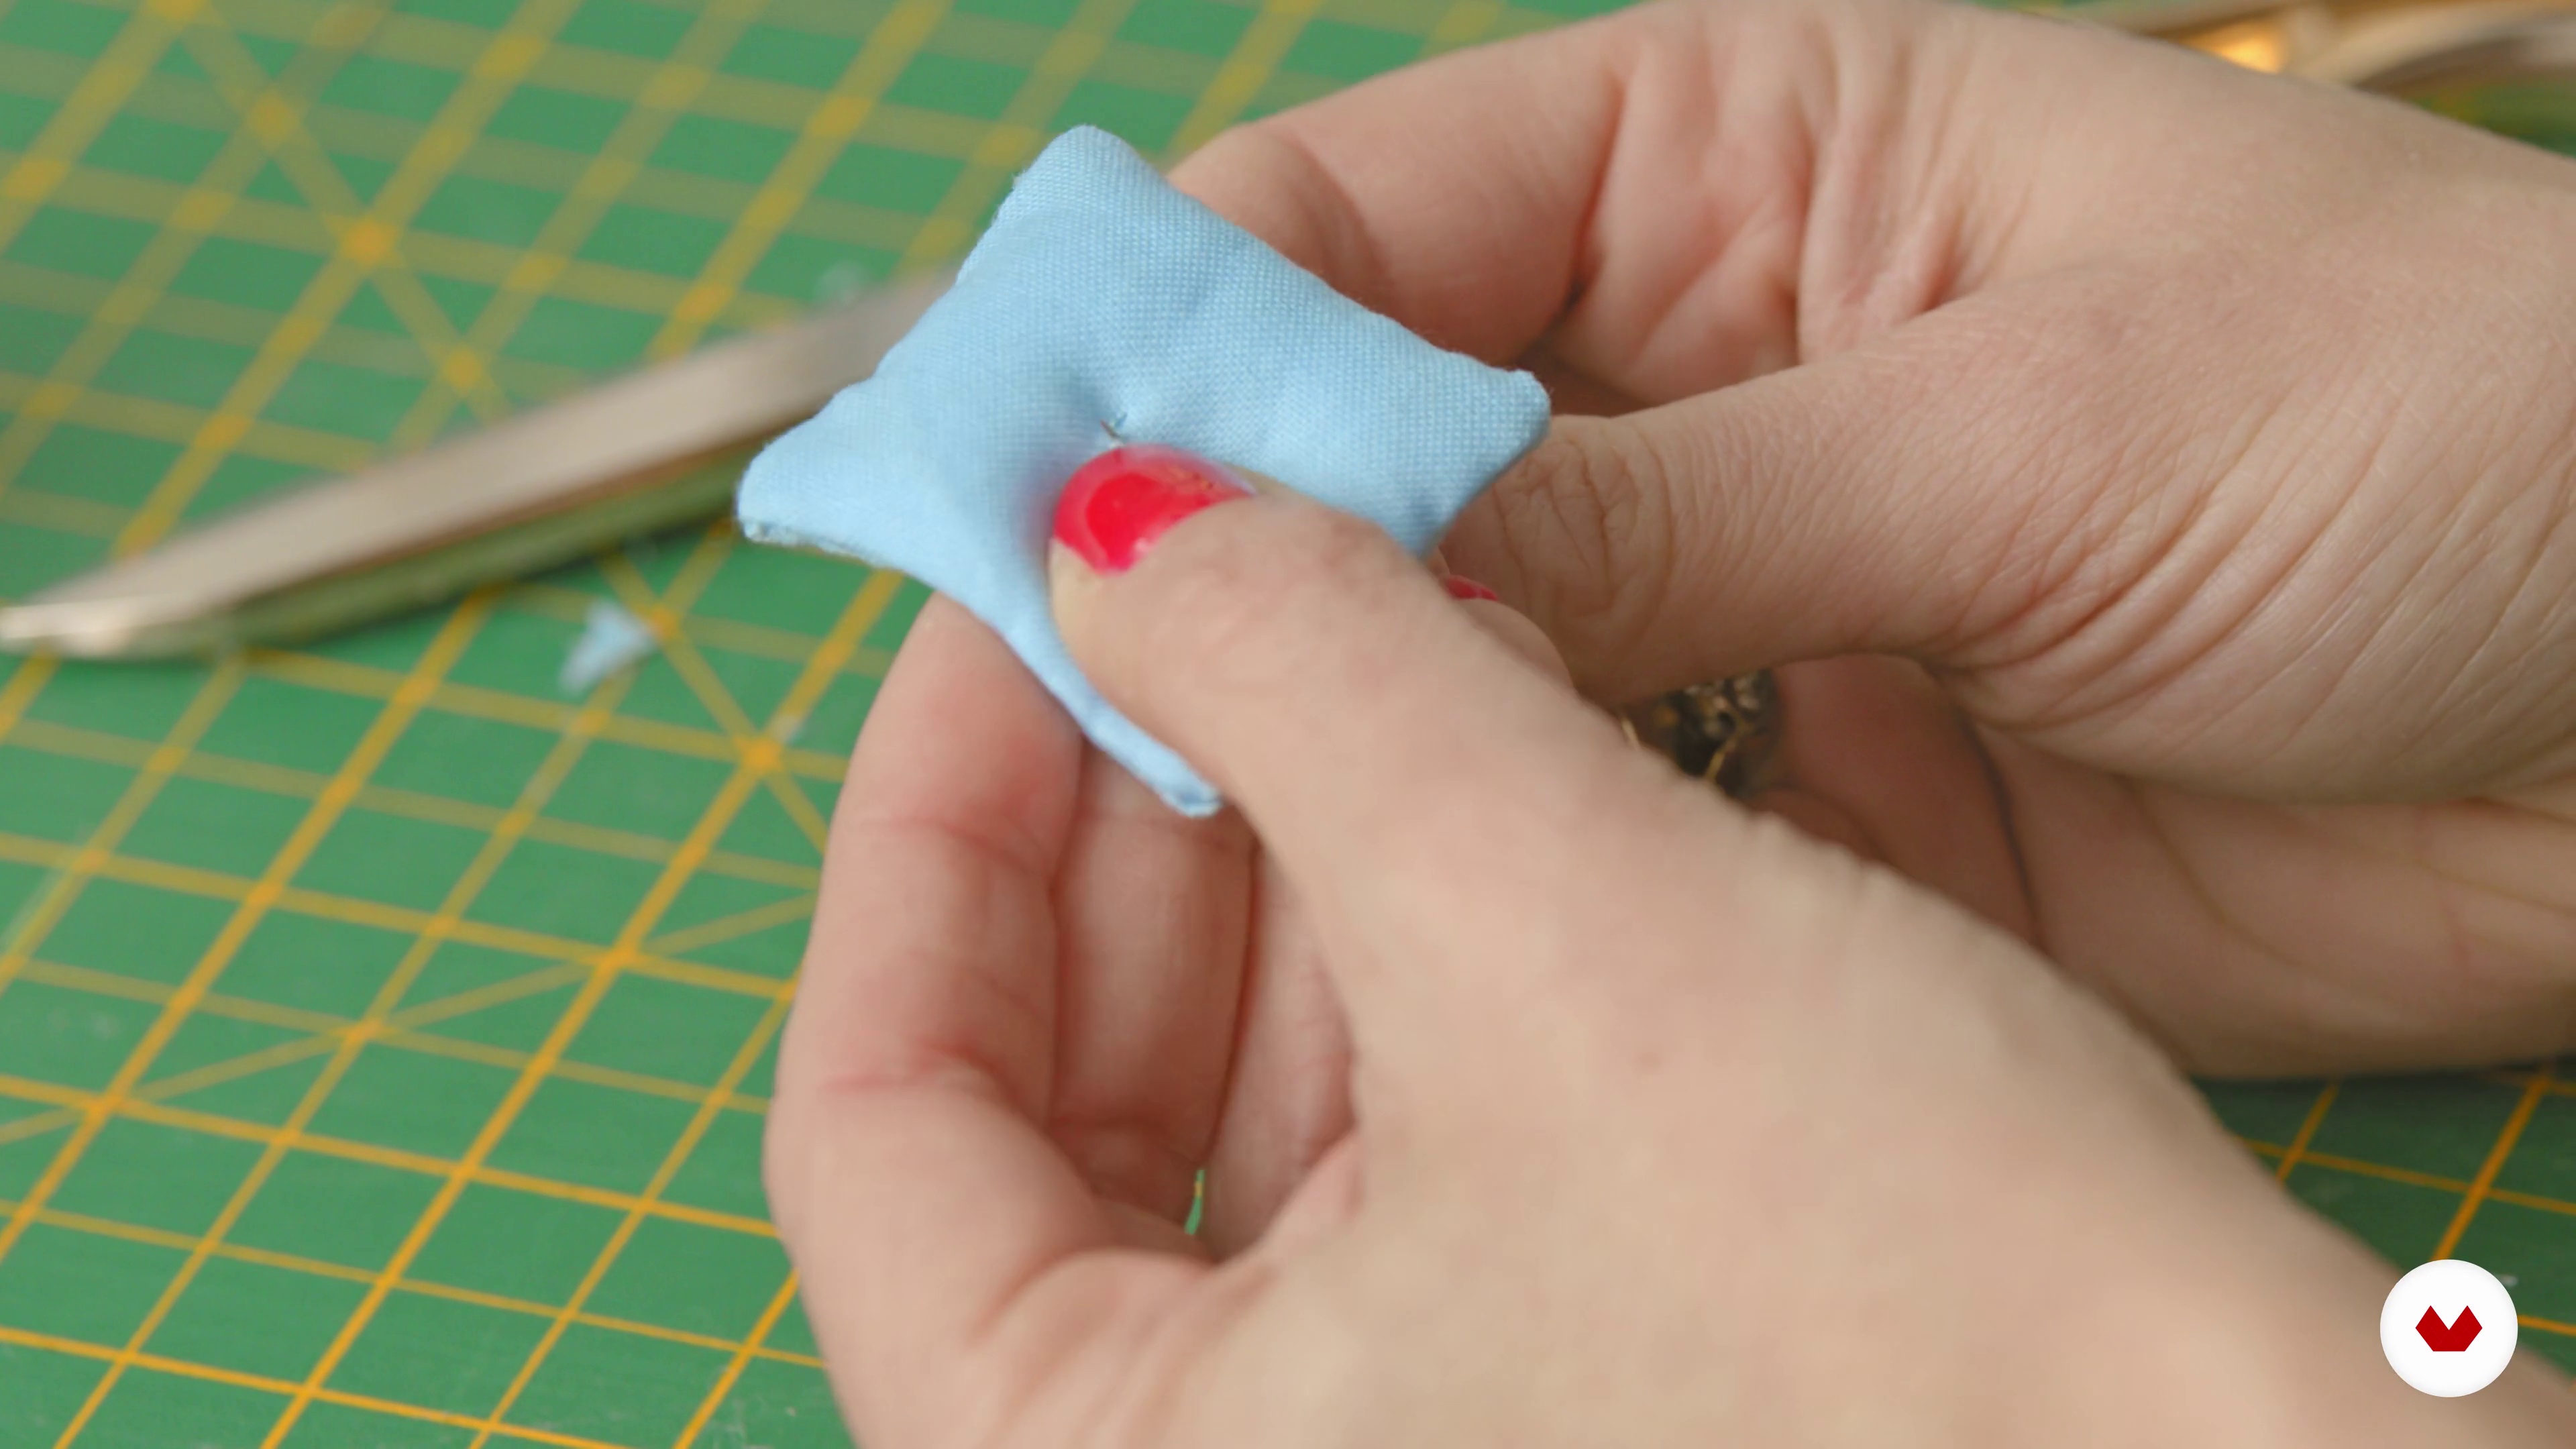
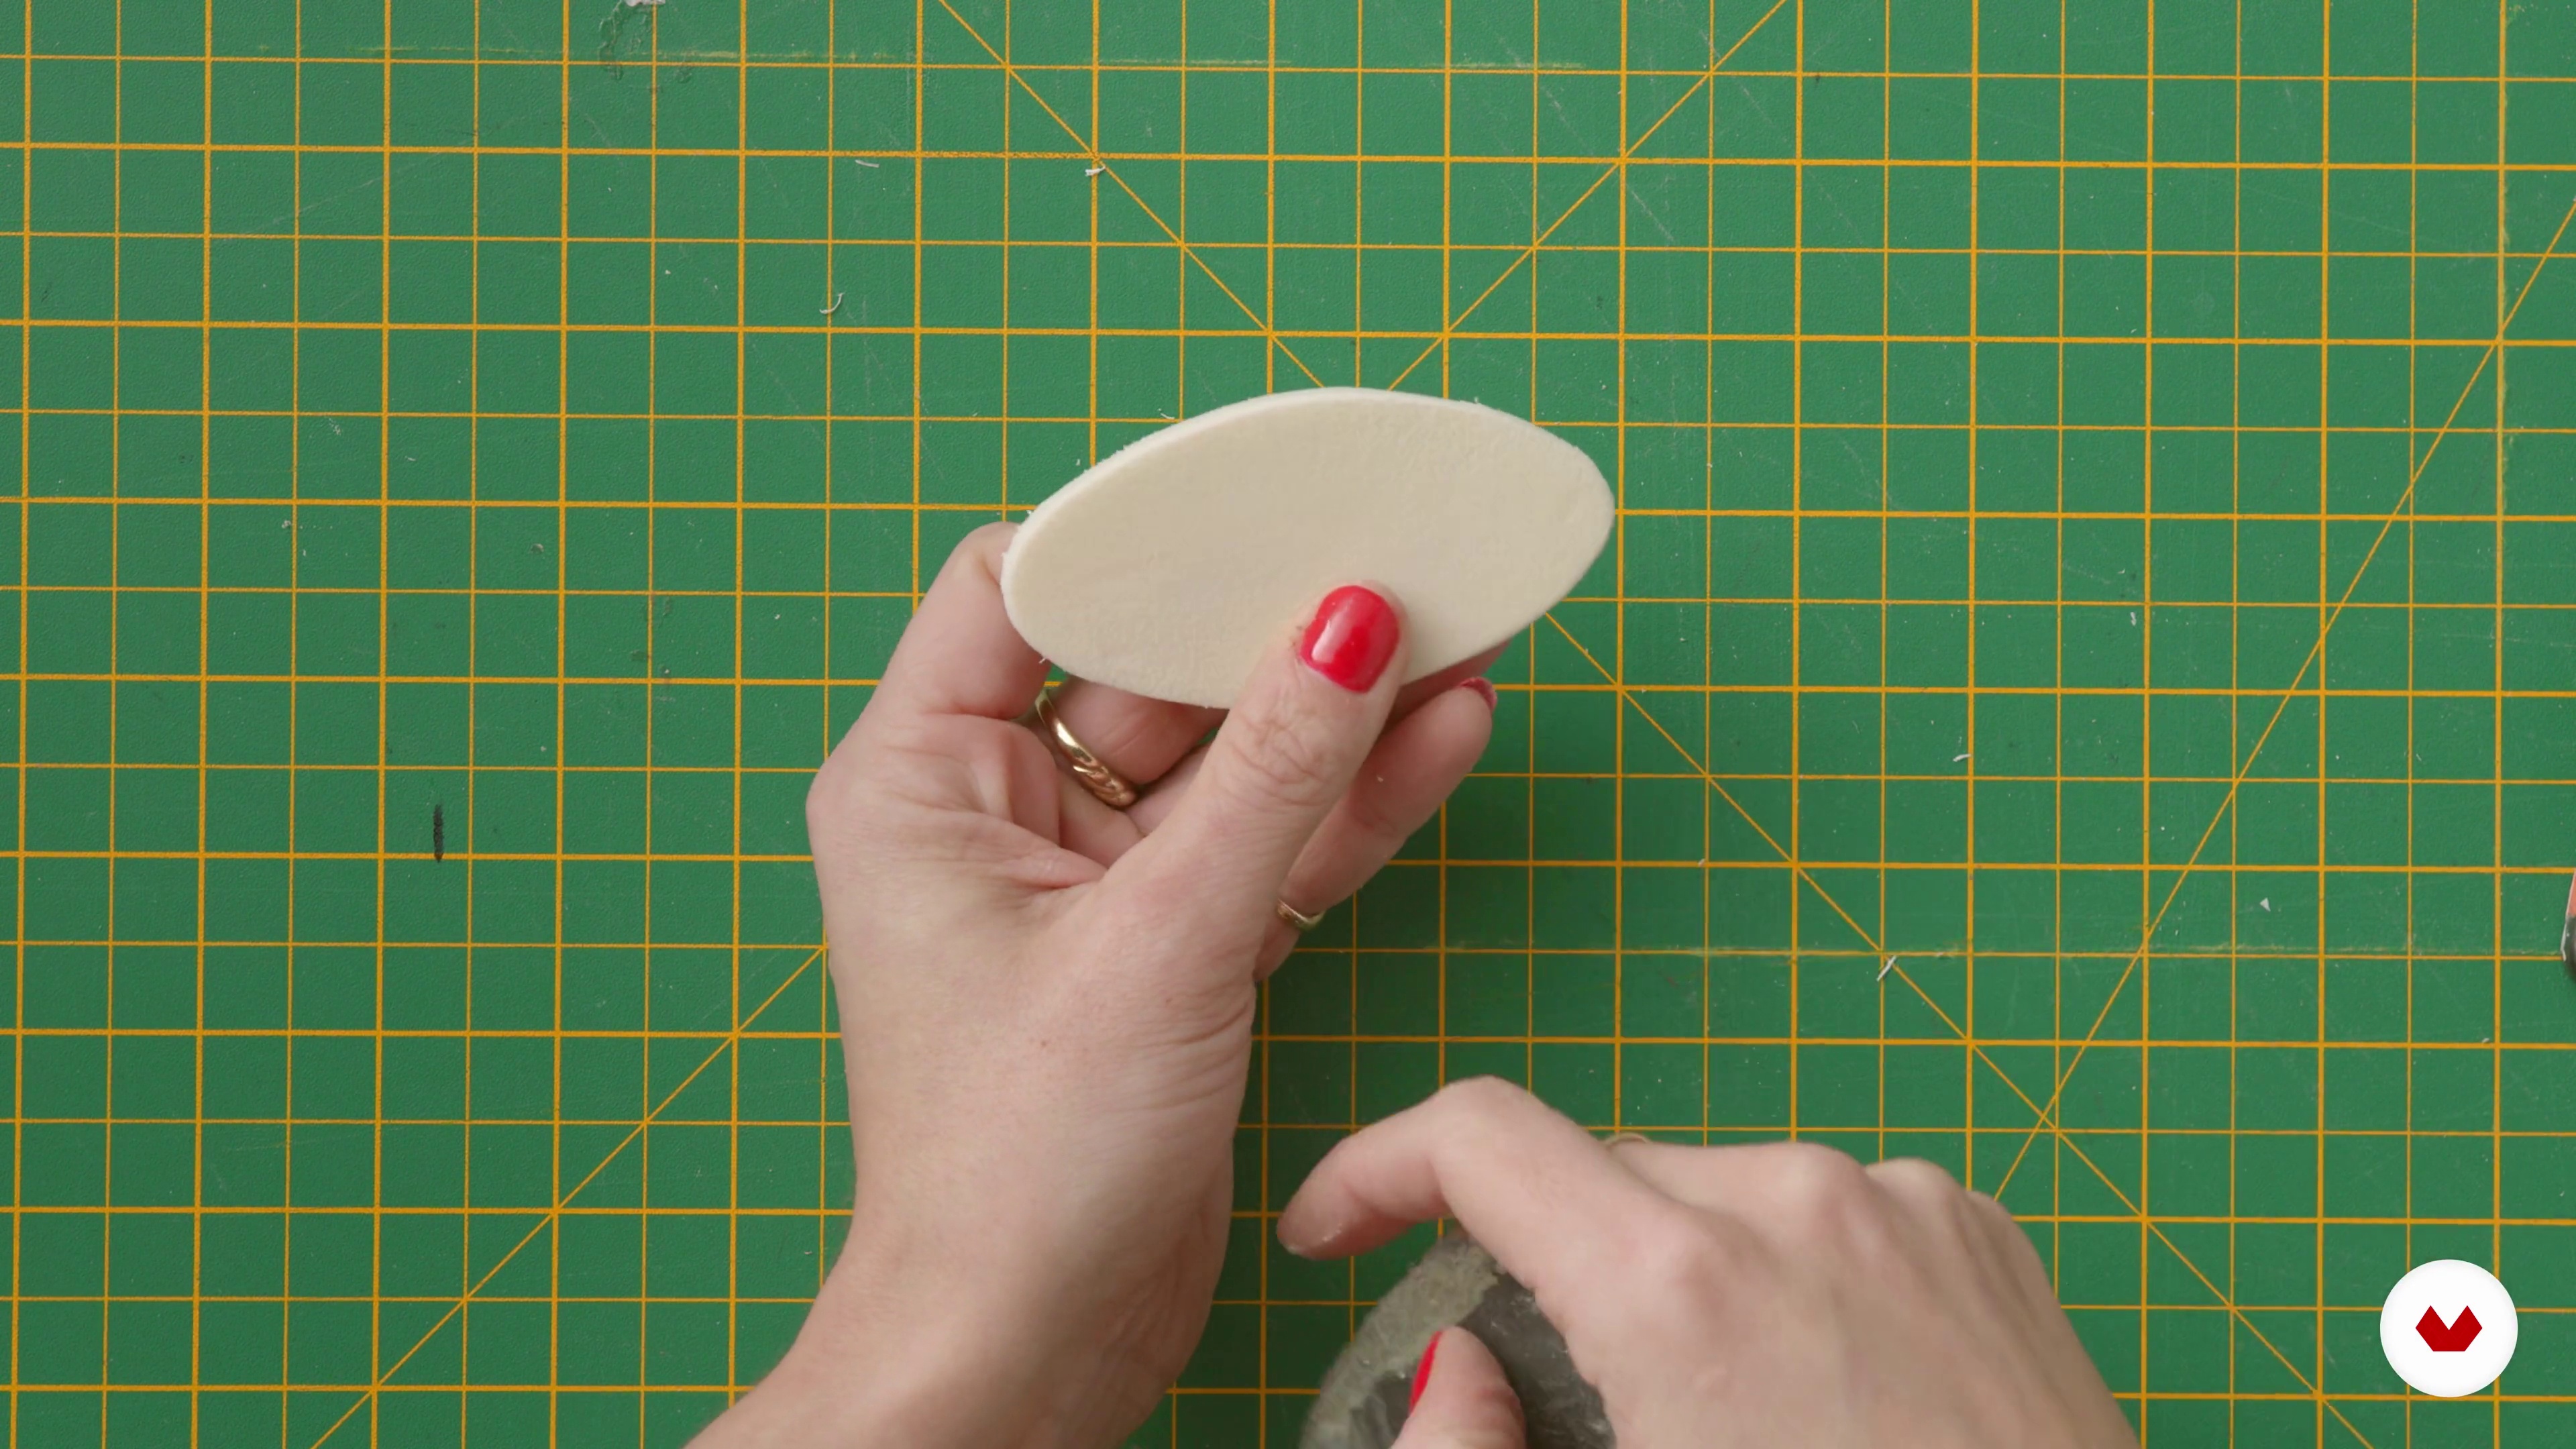
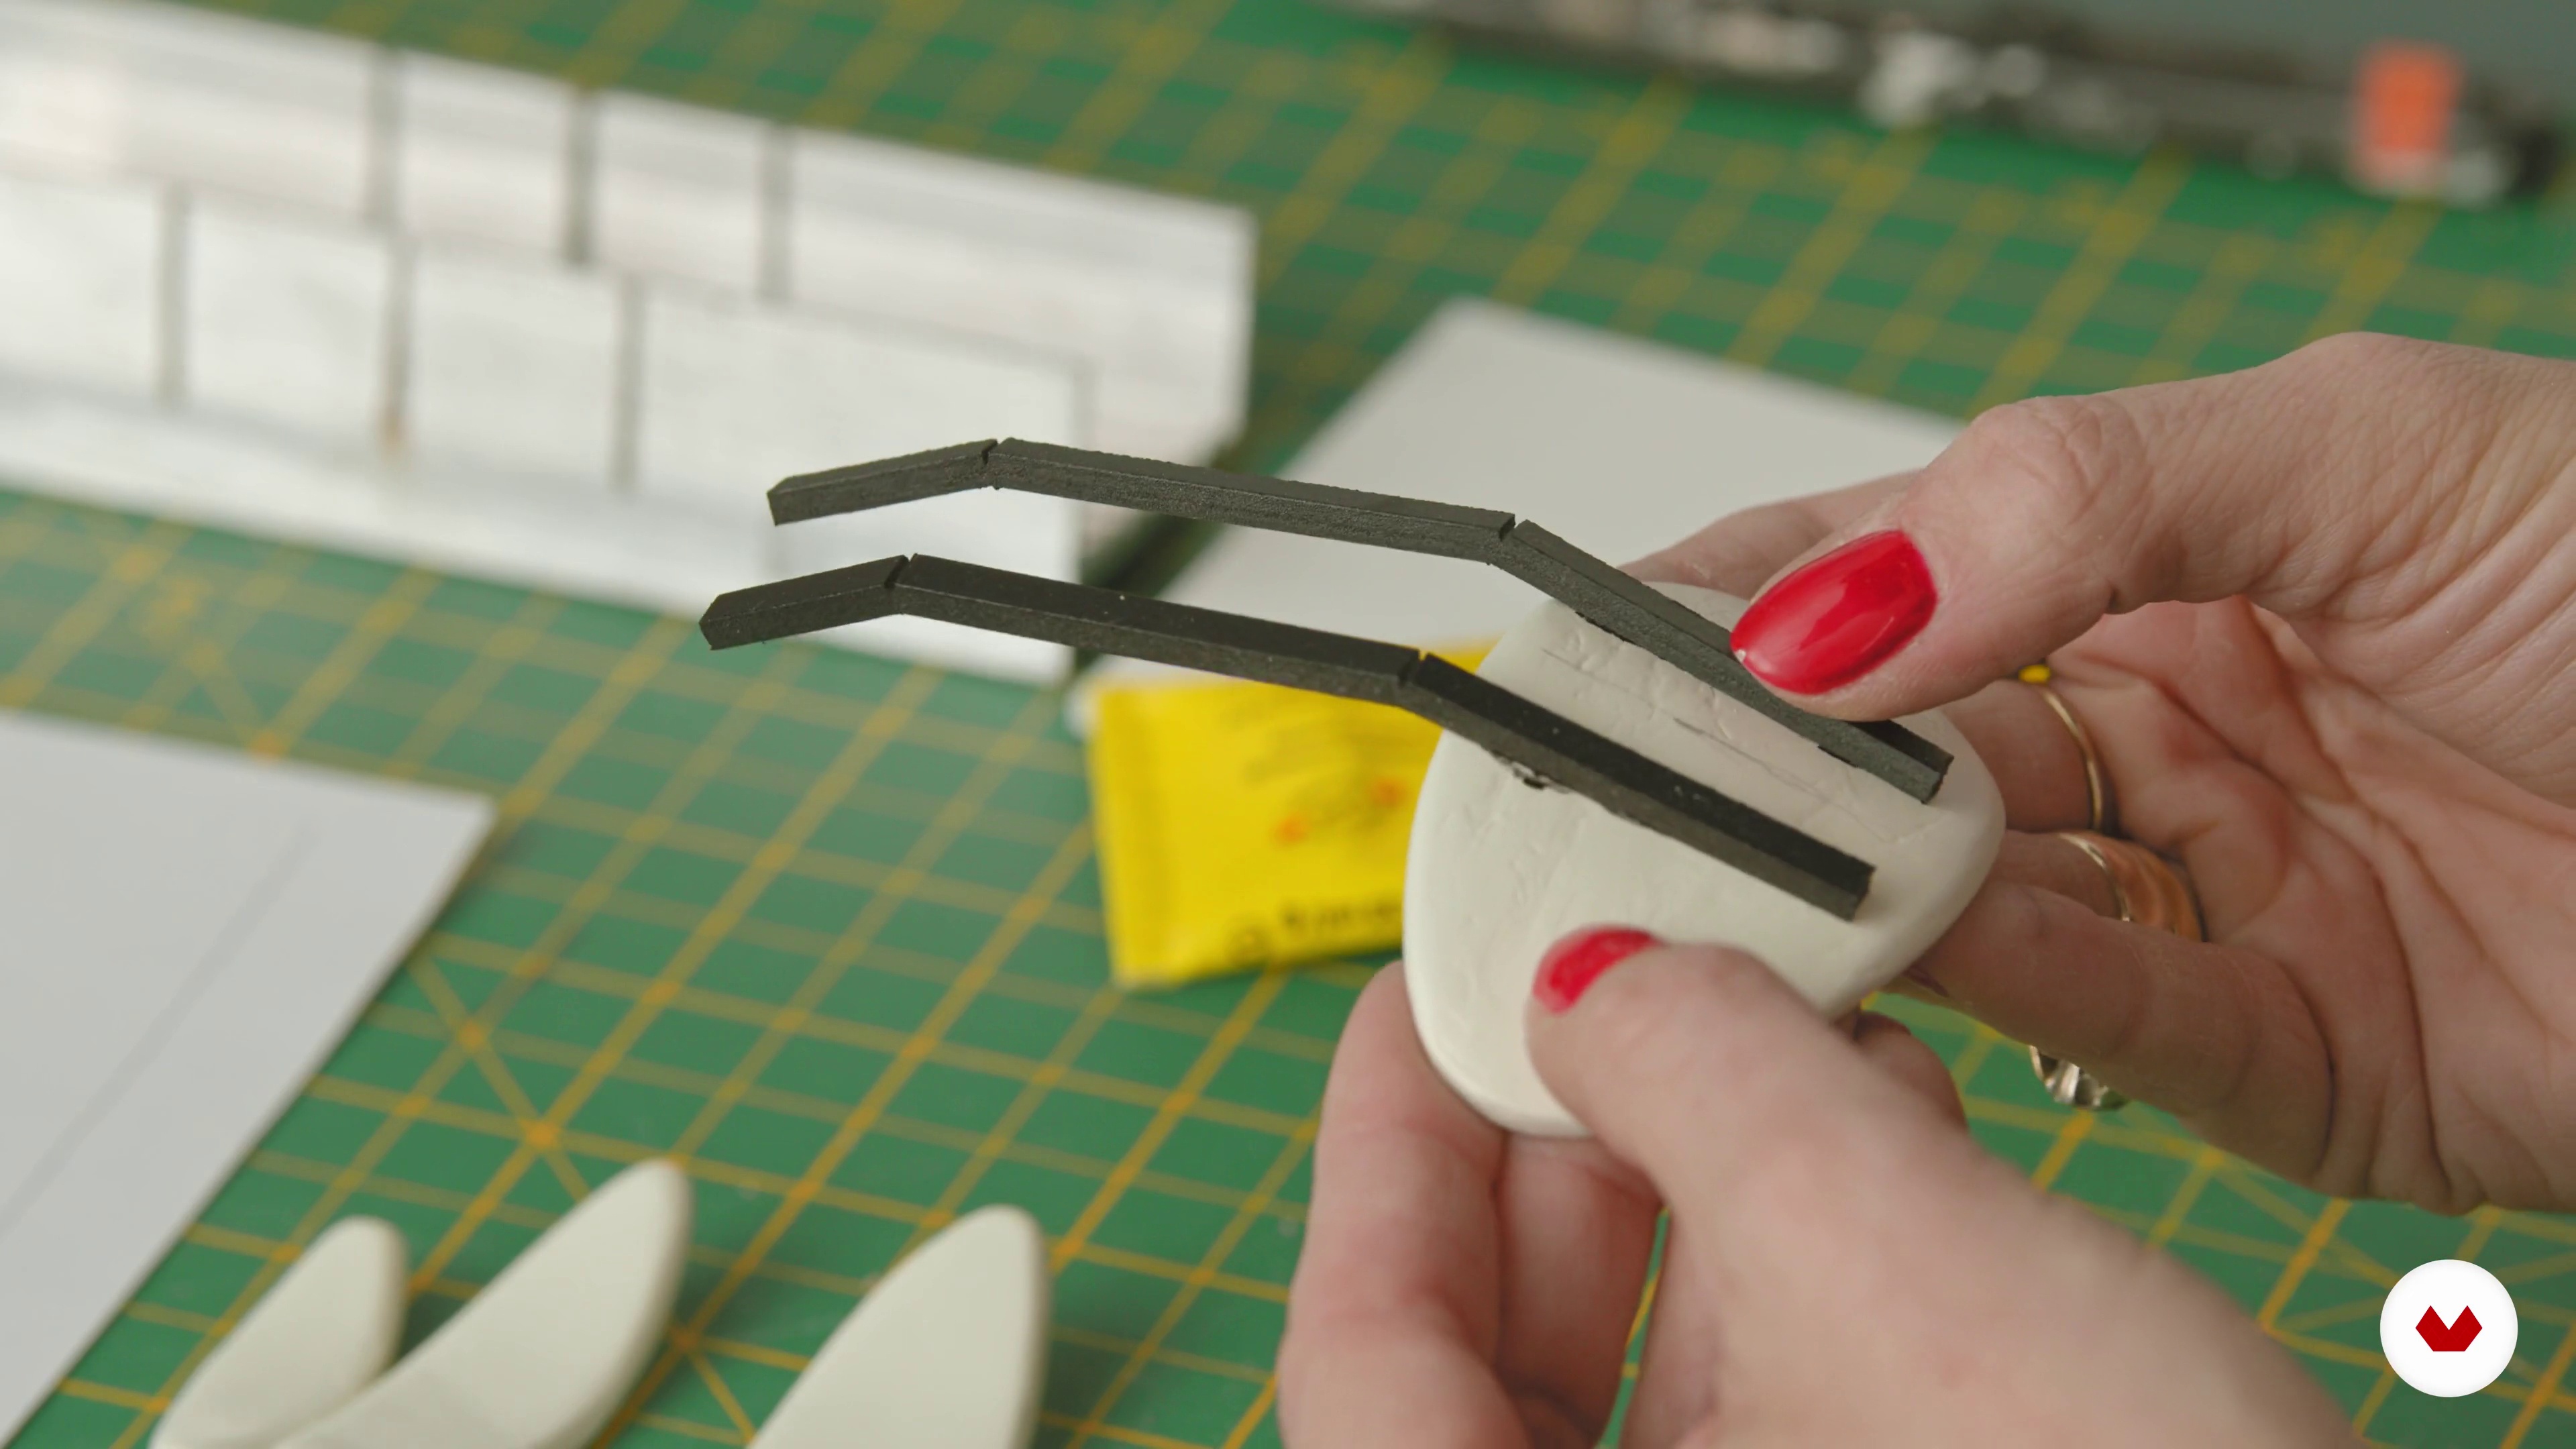
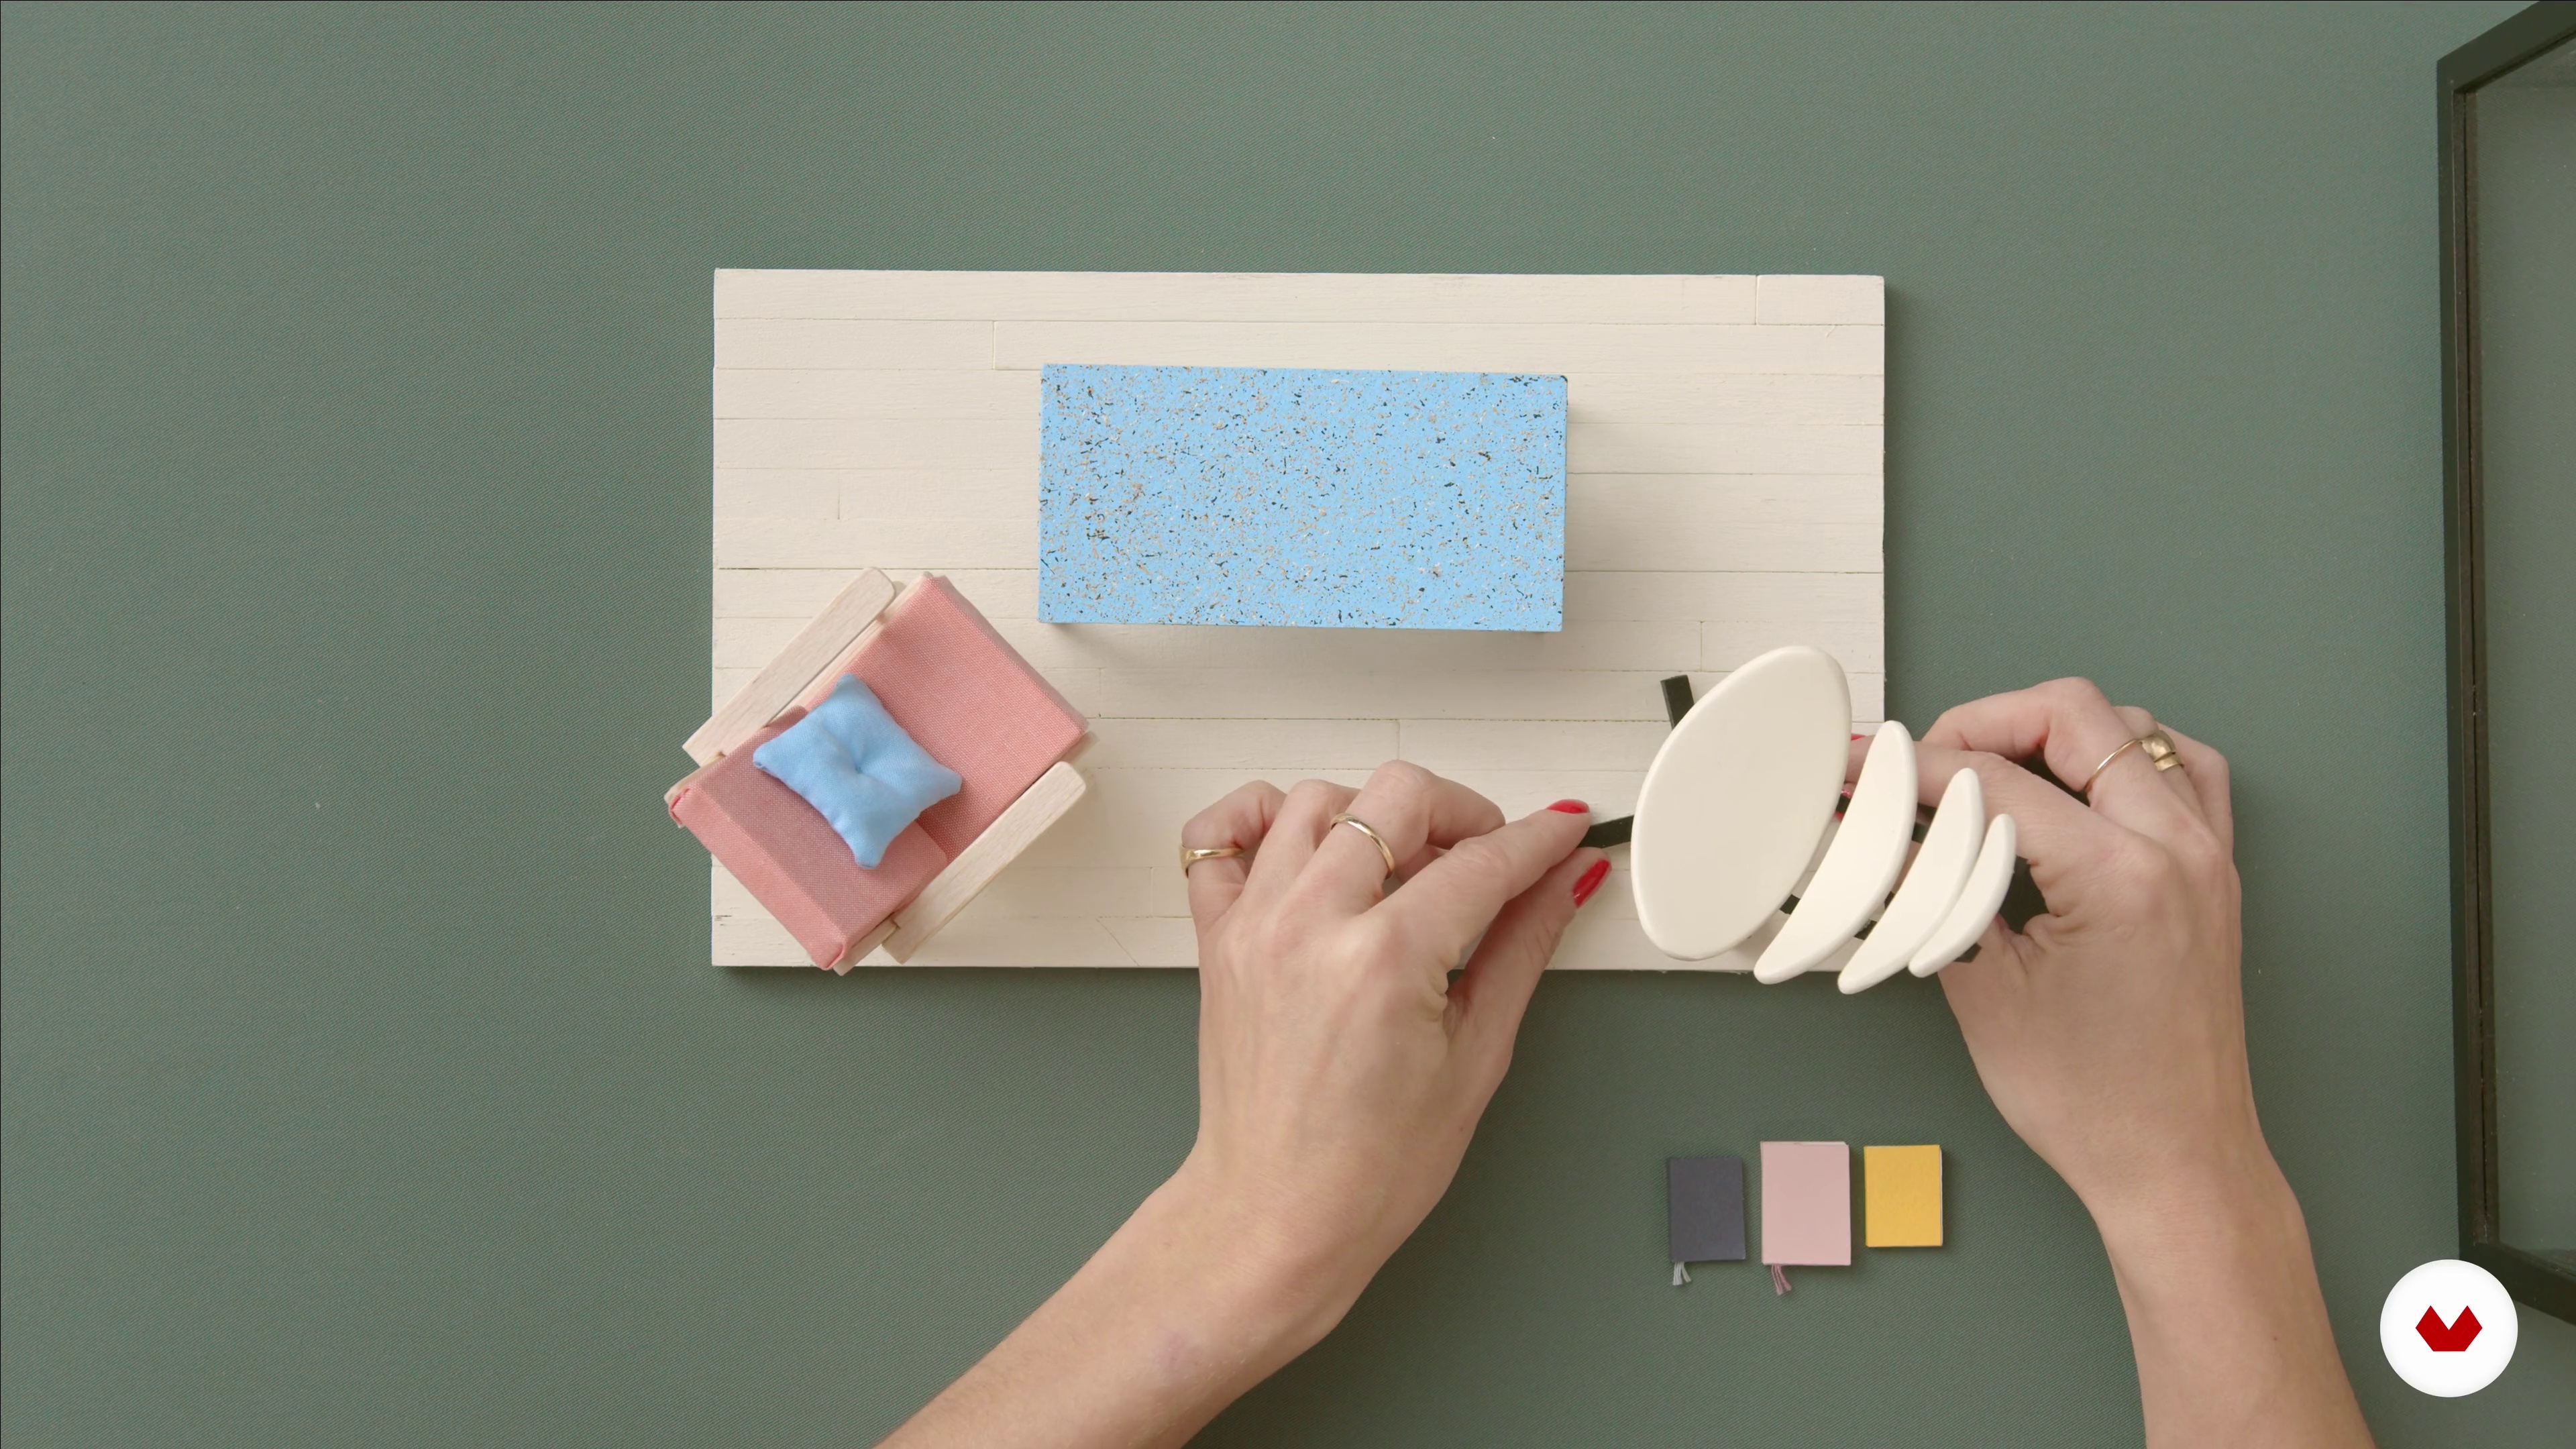
Craft tiny furniture and accessories to create a complete room setting for a miniature house, focusing on handmade processes, painting, and scaling. Decorate your own miniature space with 2–3 hand-crafted furniture pieces, showcasing personal creativity and style.
Who is this specialization for?
Creatives, designers, and hobbyists who enjoy crafting miniature-scale items will find this course ideal. It offers an opportunity to explore woodworking, embroidery, and illustration techniques while developing patience, storytelling, and attention to detail through small-scale projects.
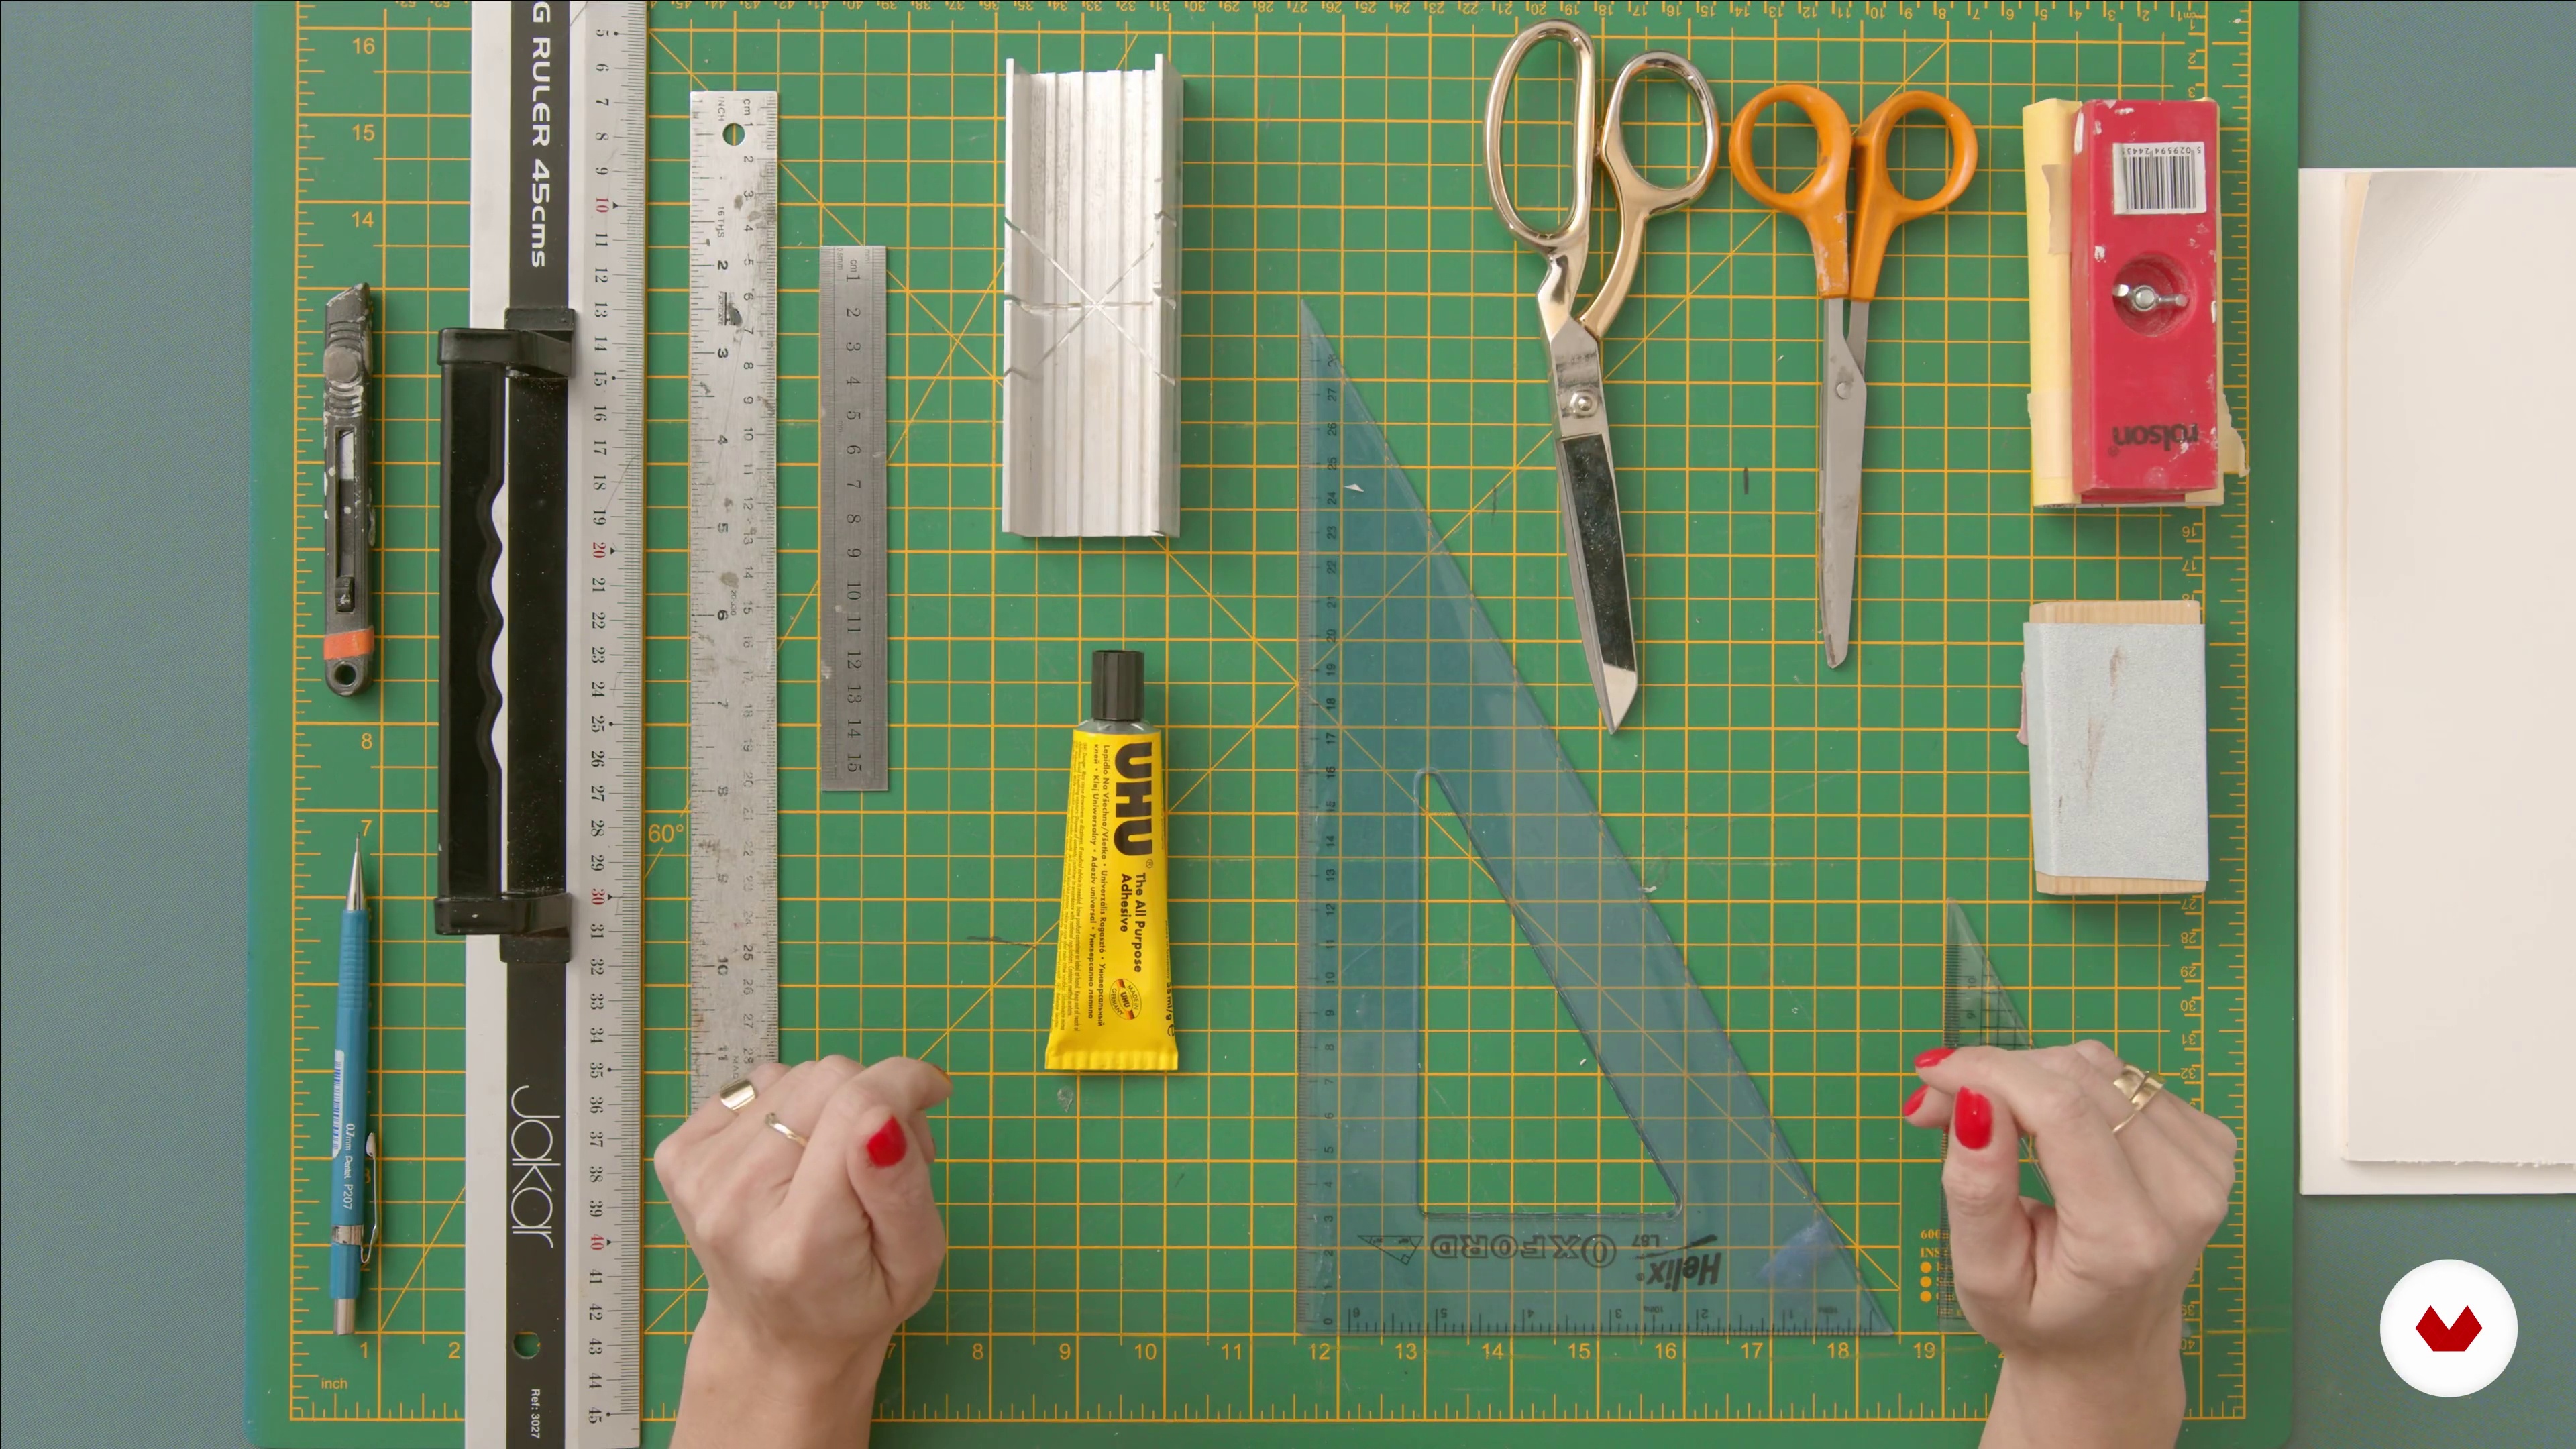
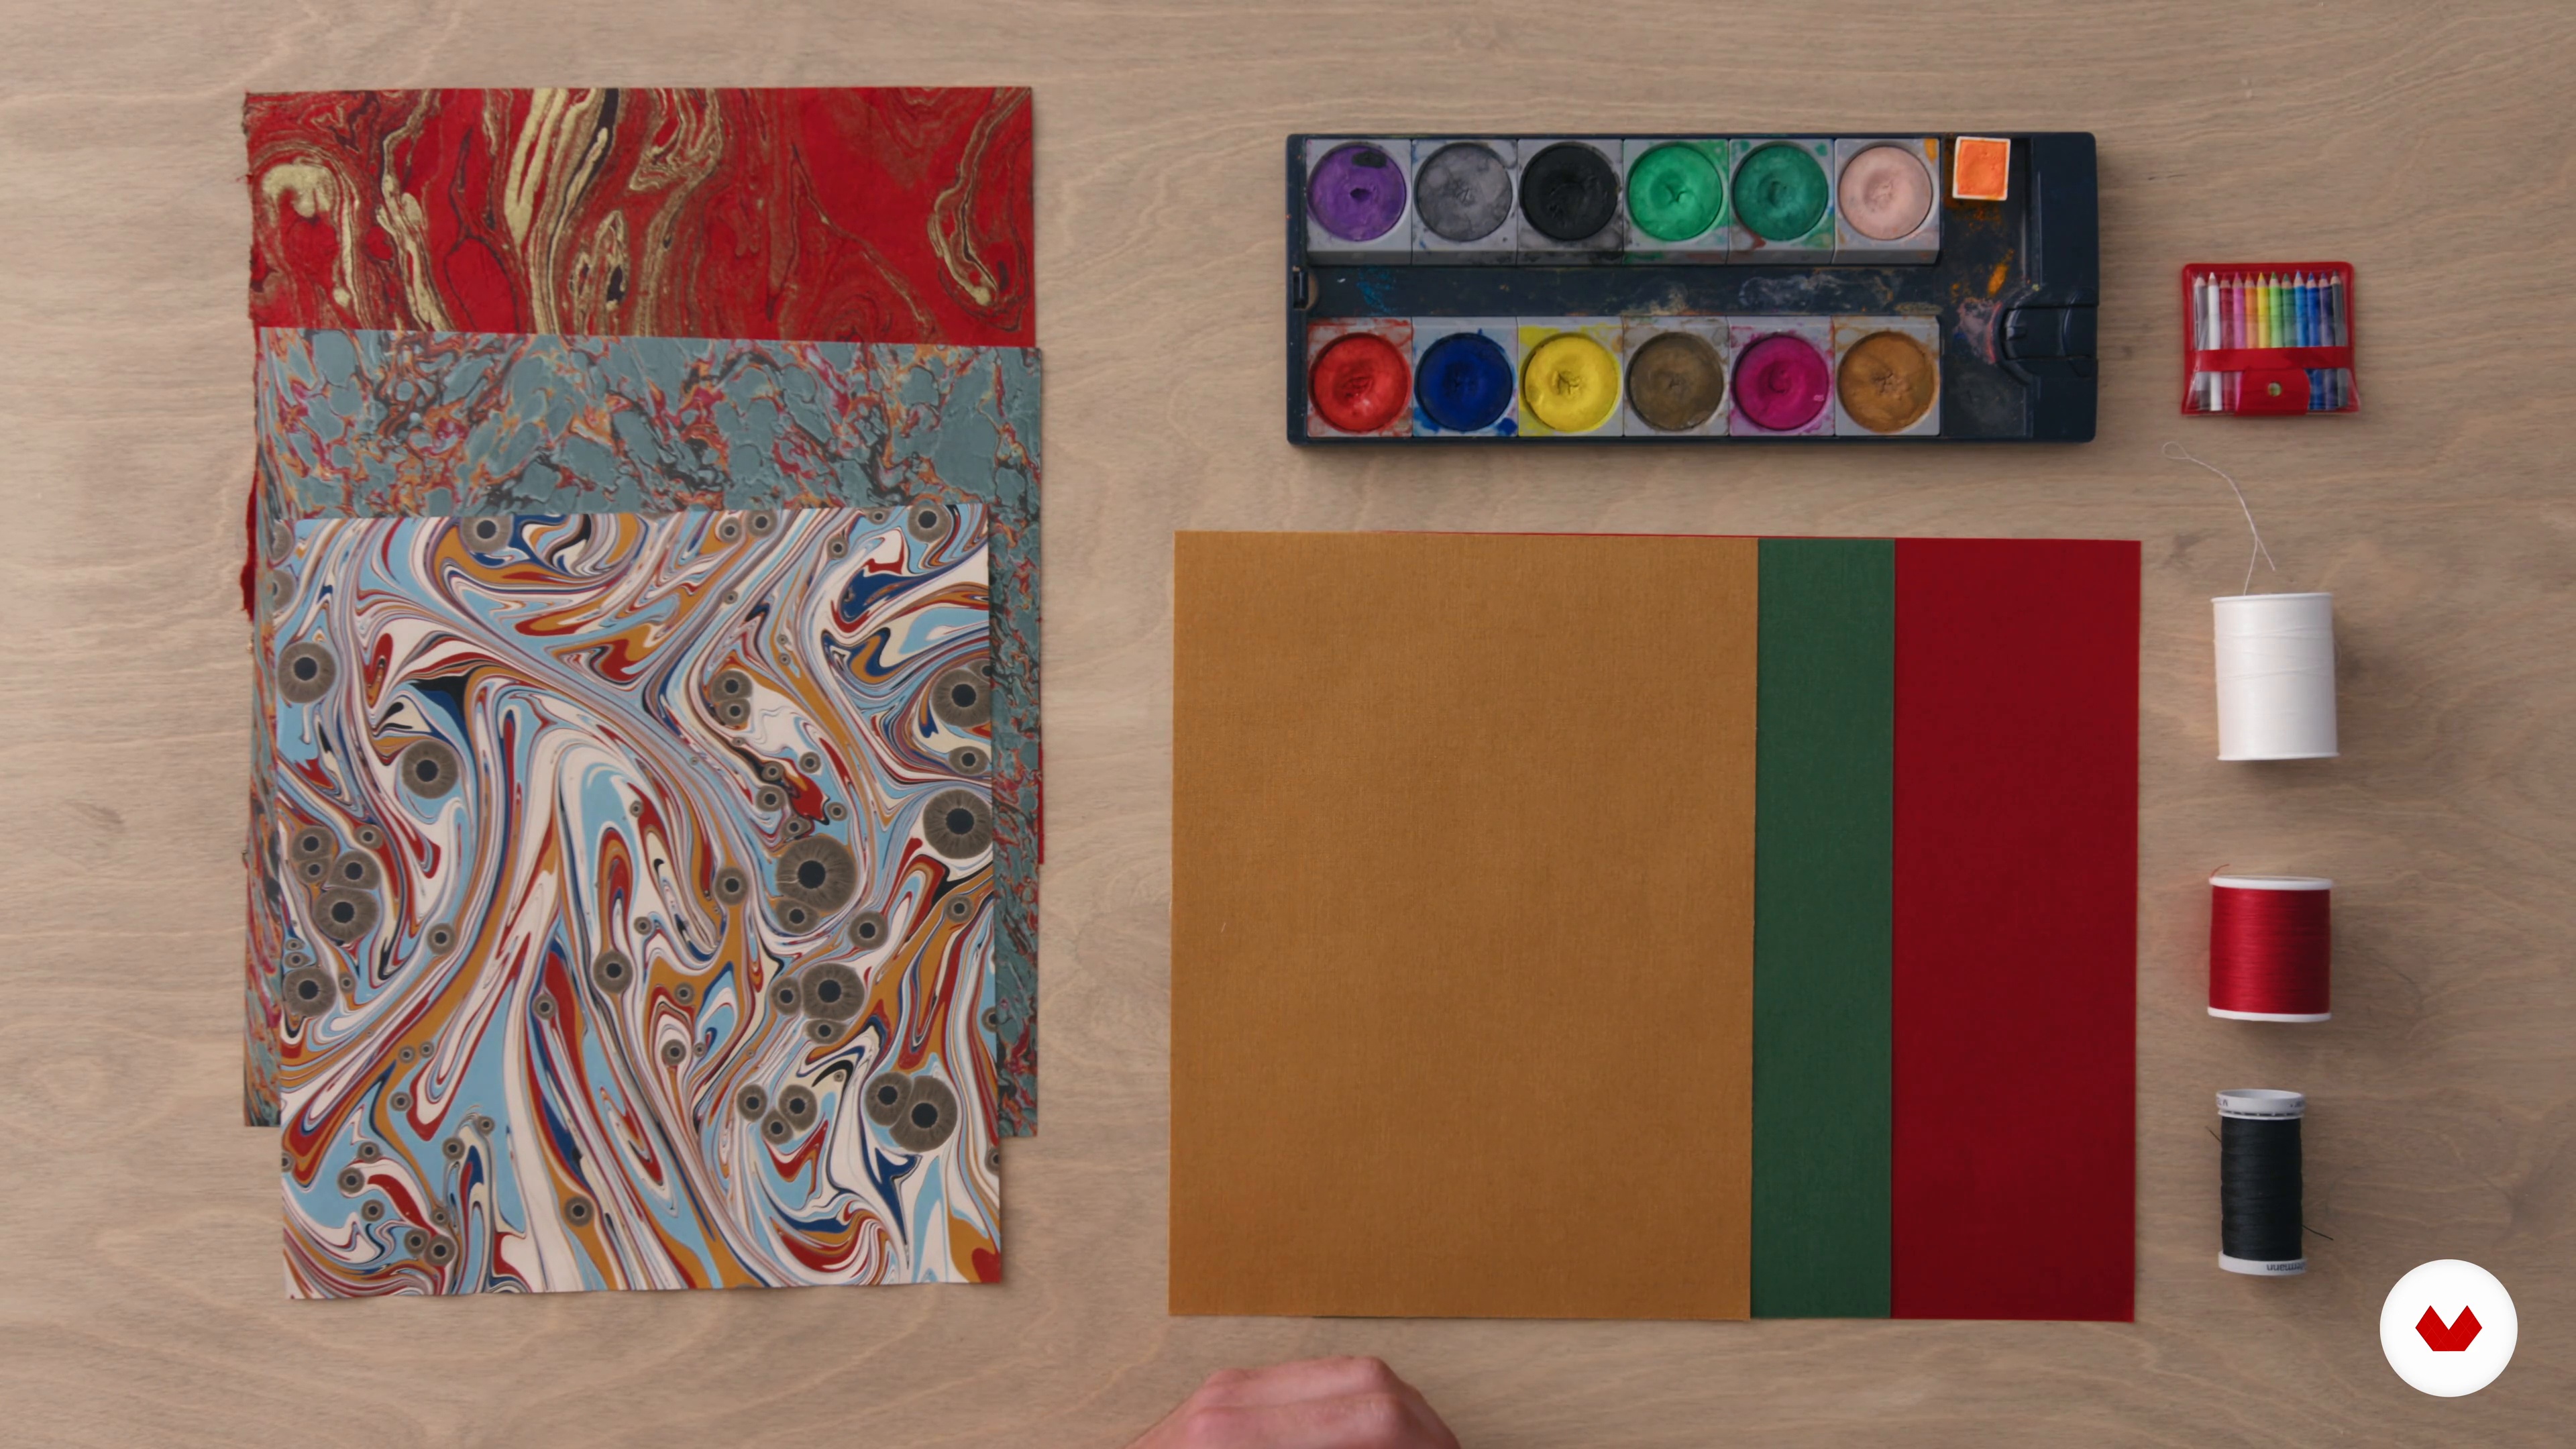
Requirements and materials
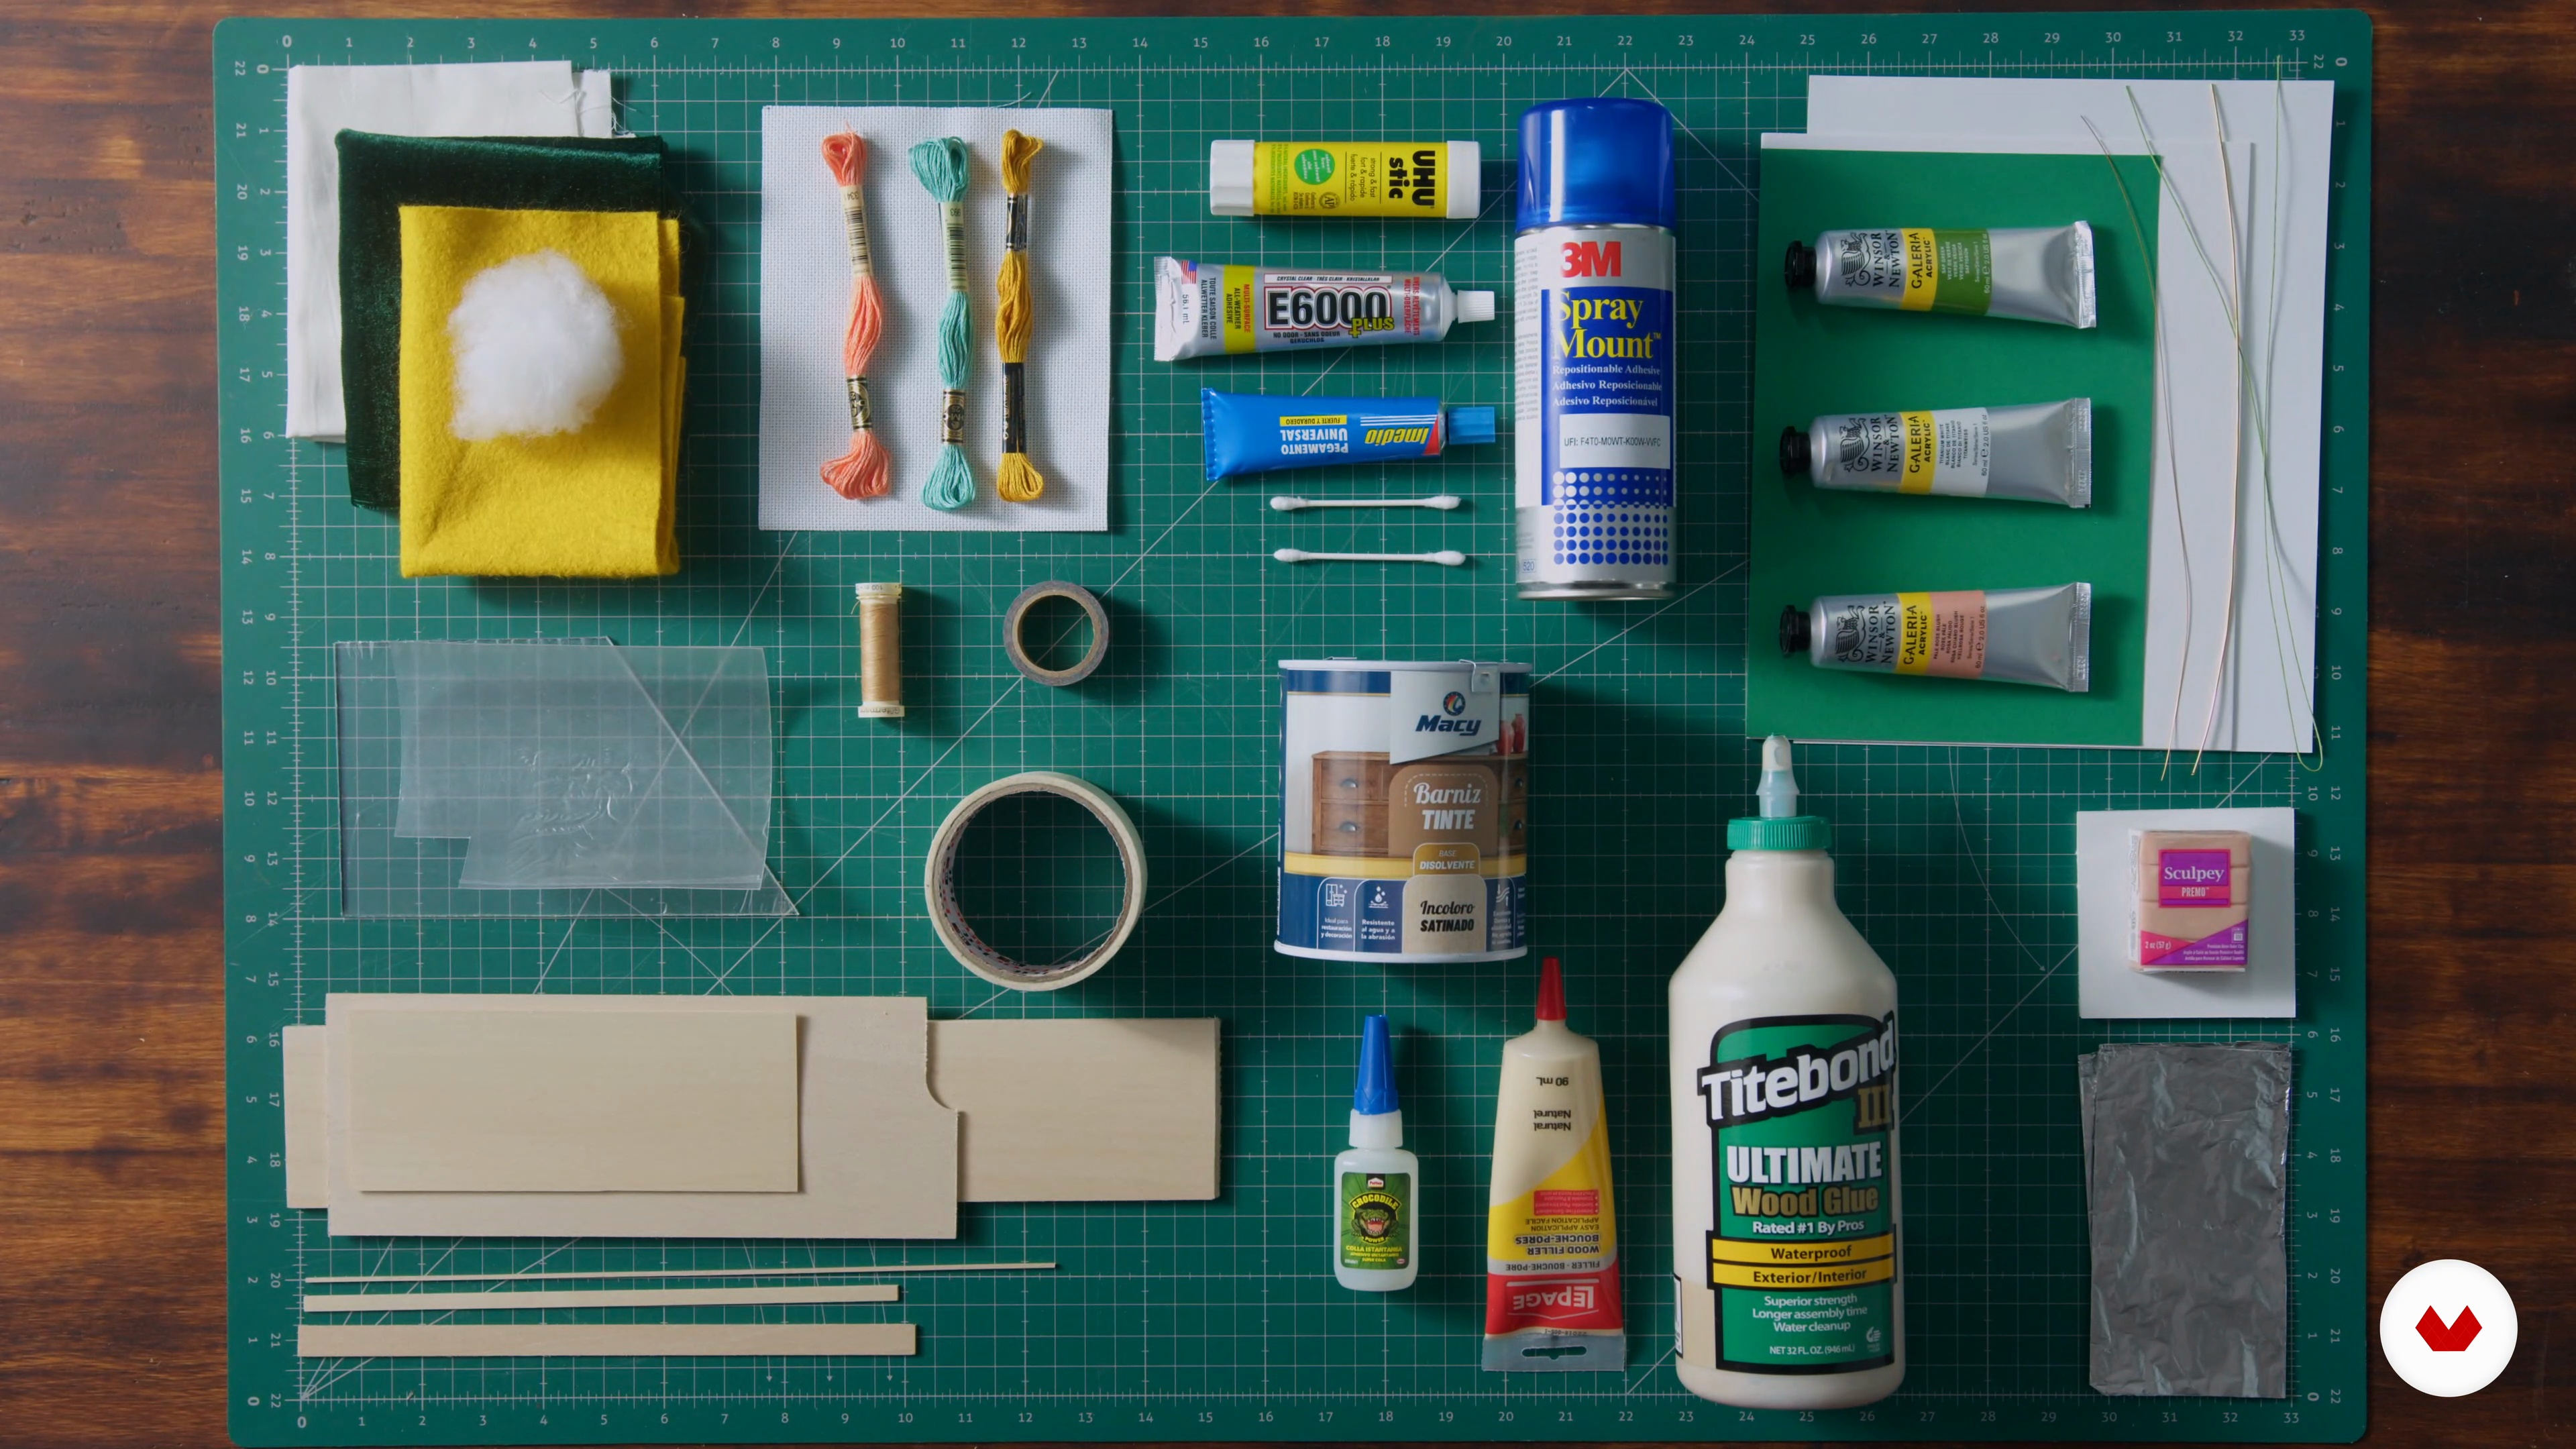
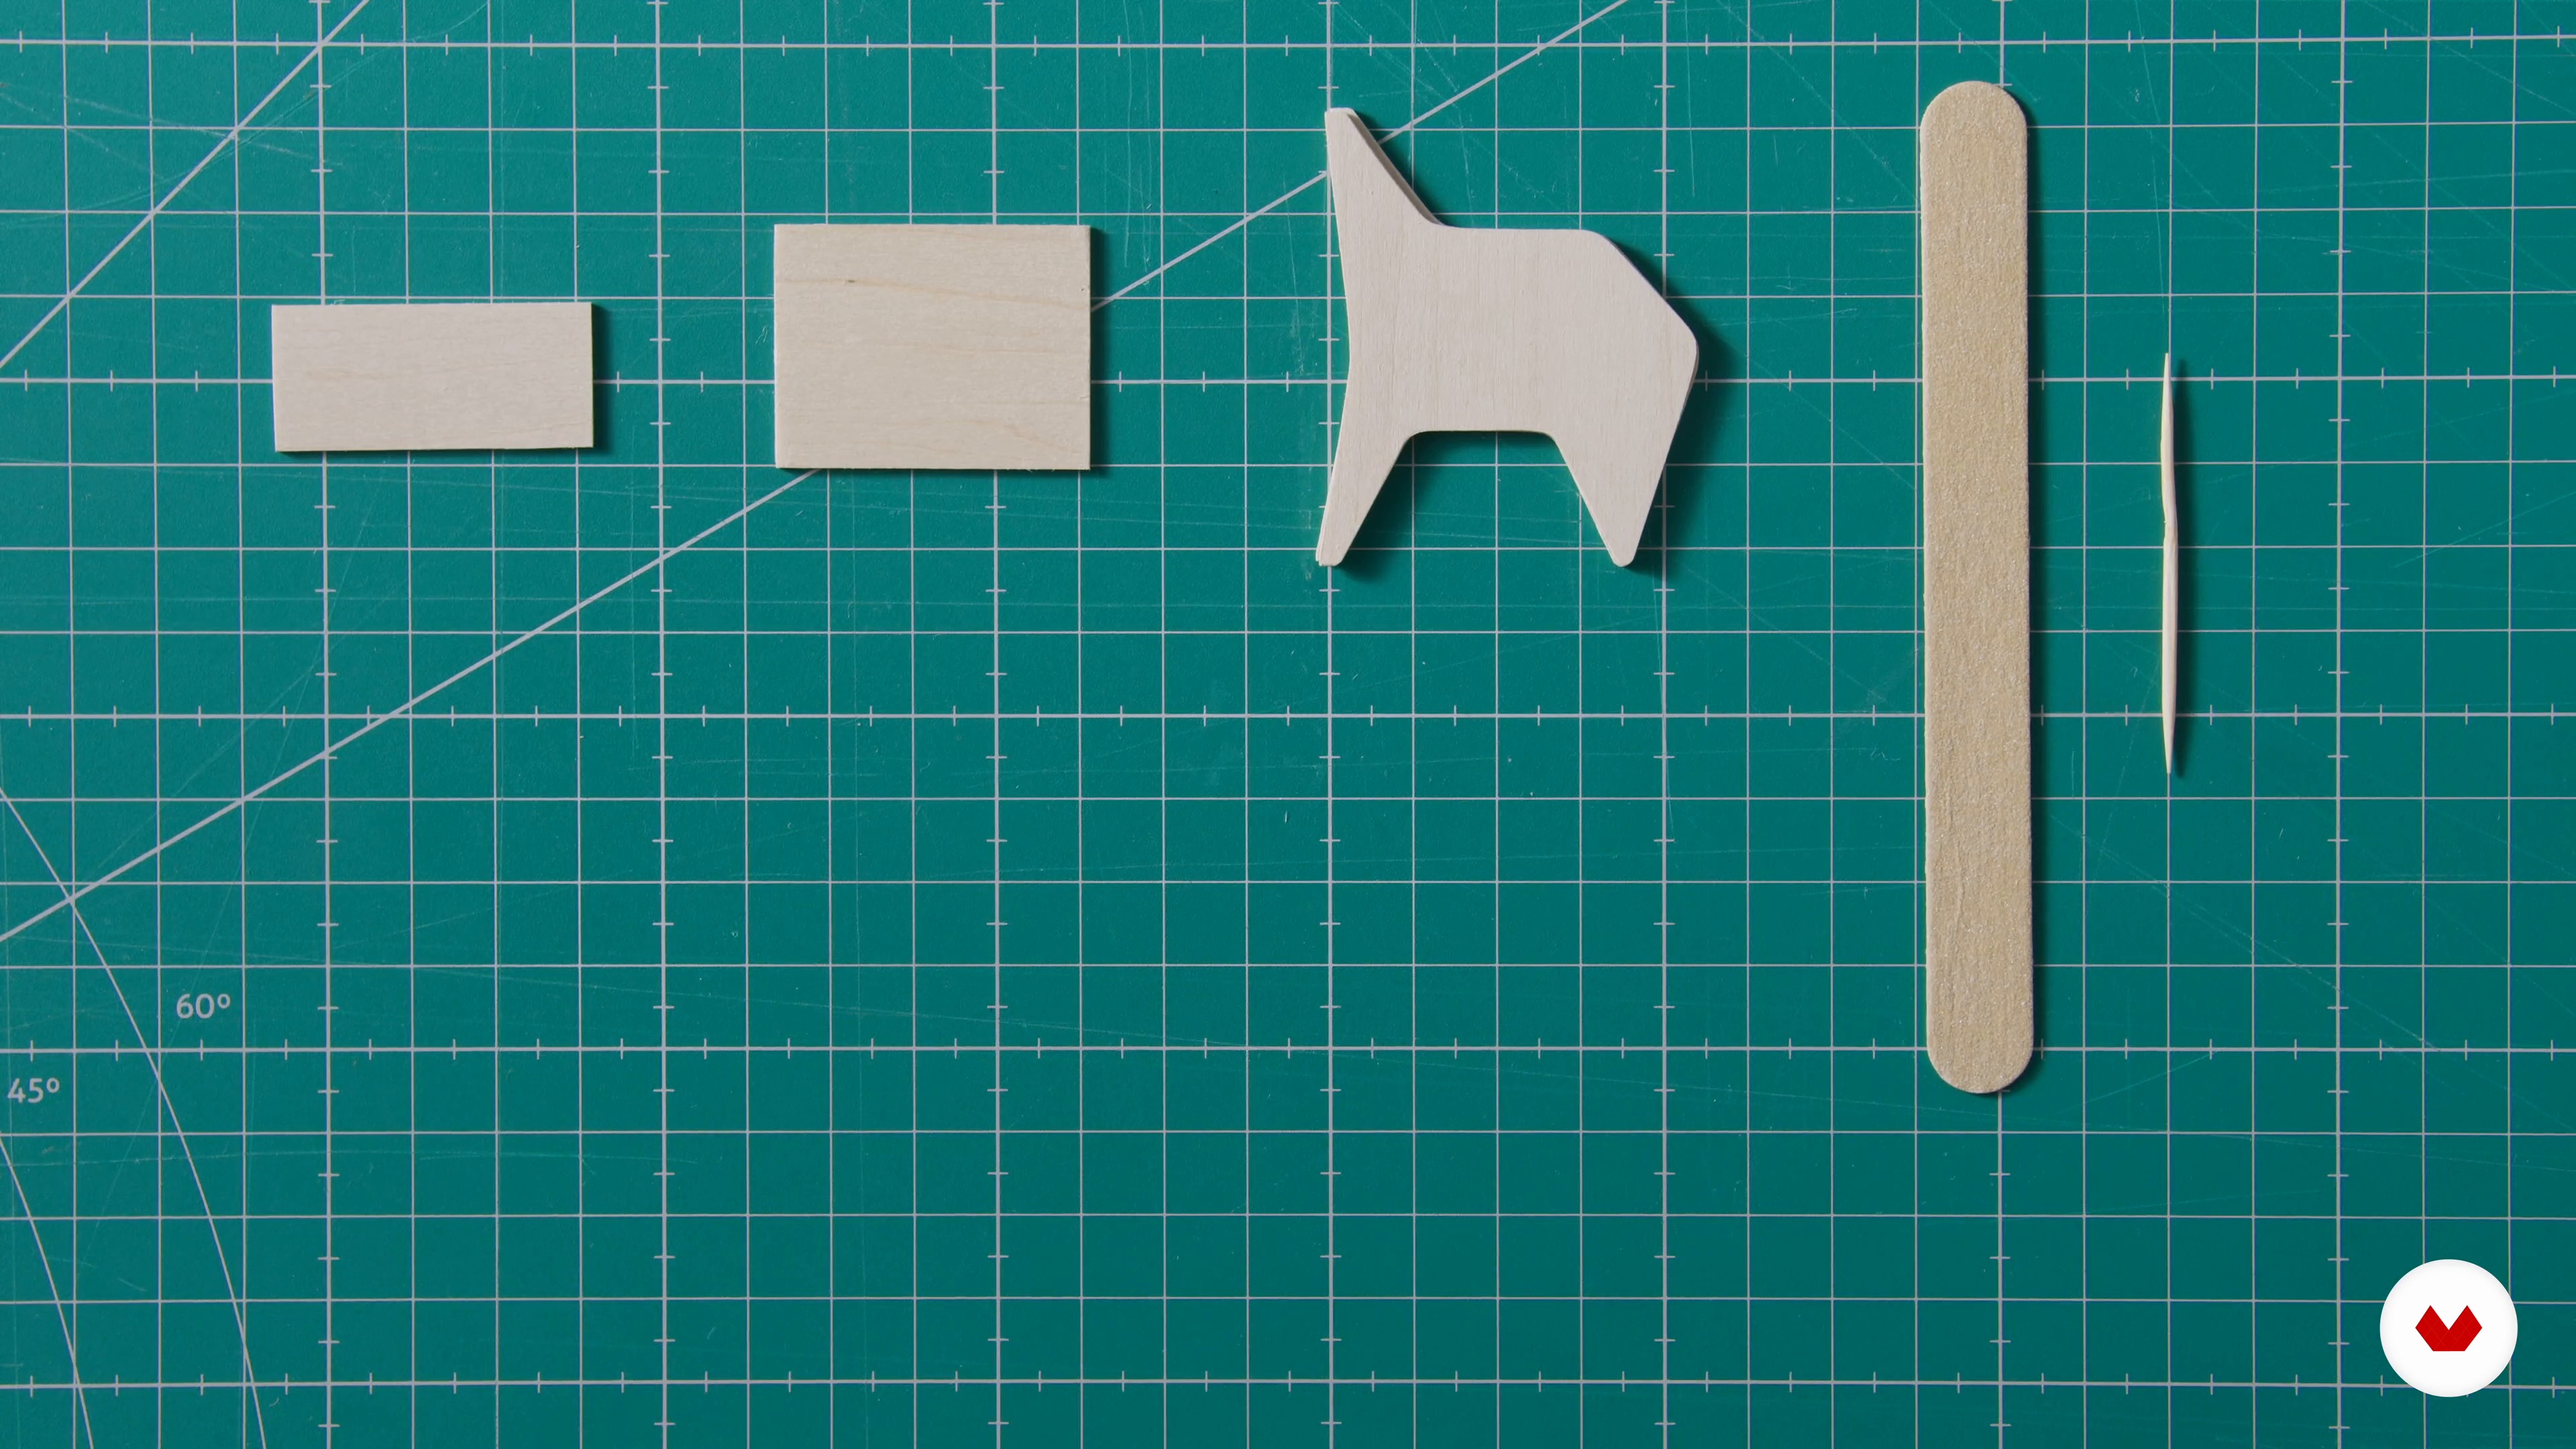
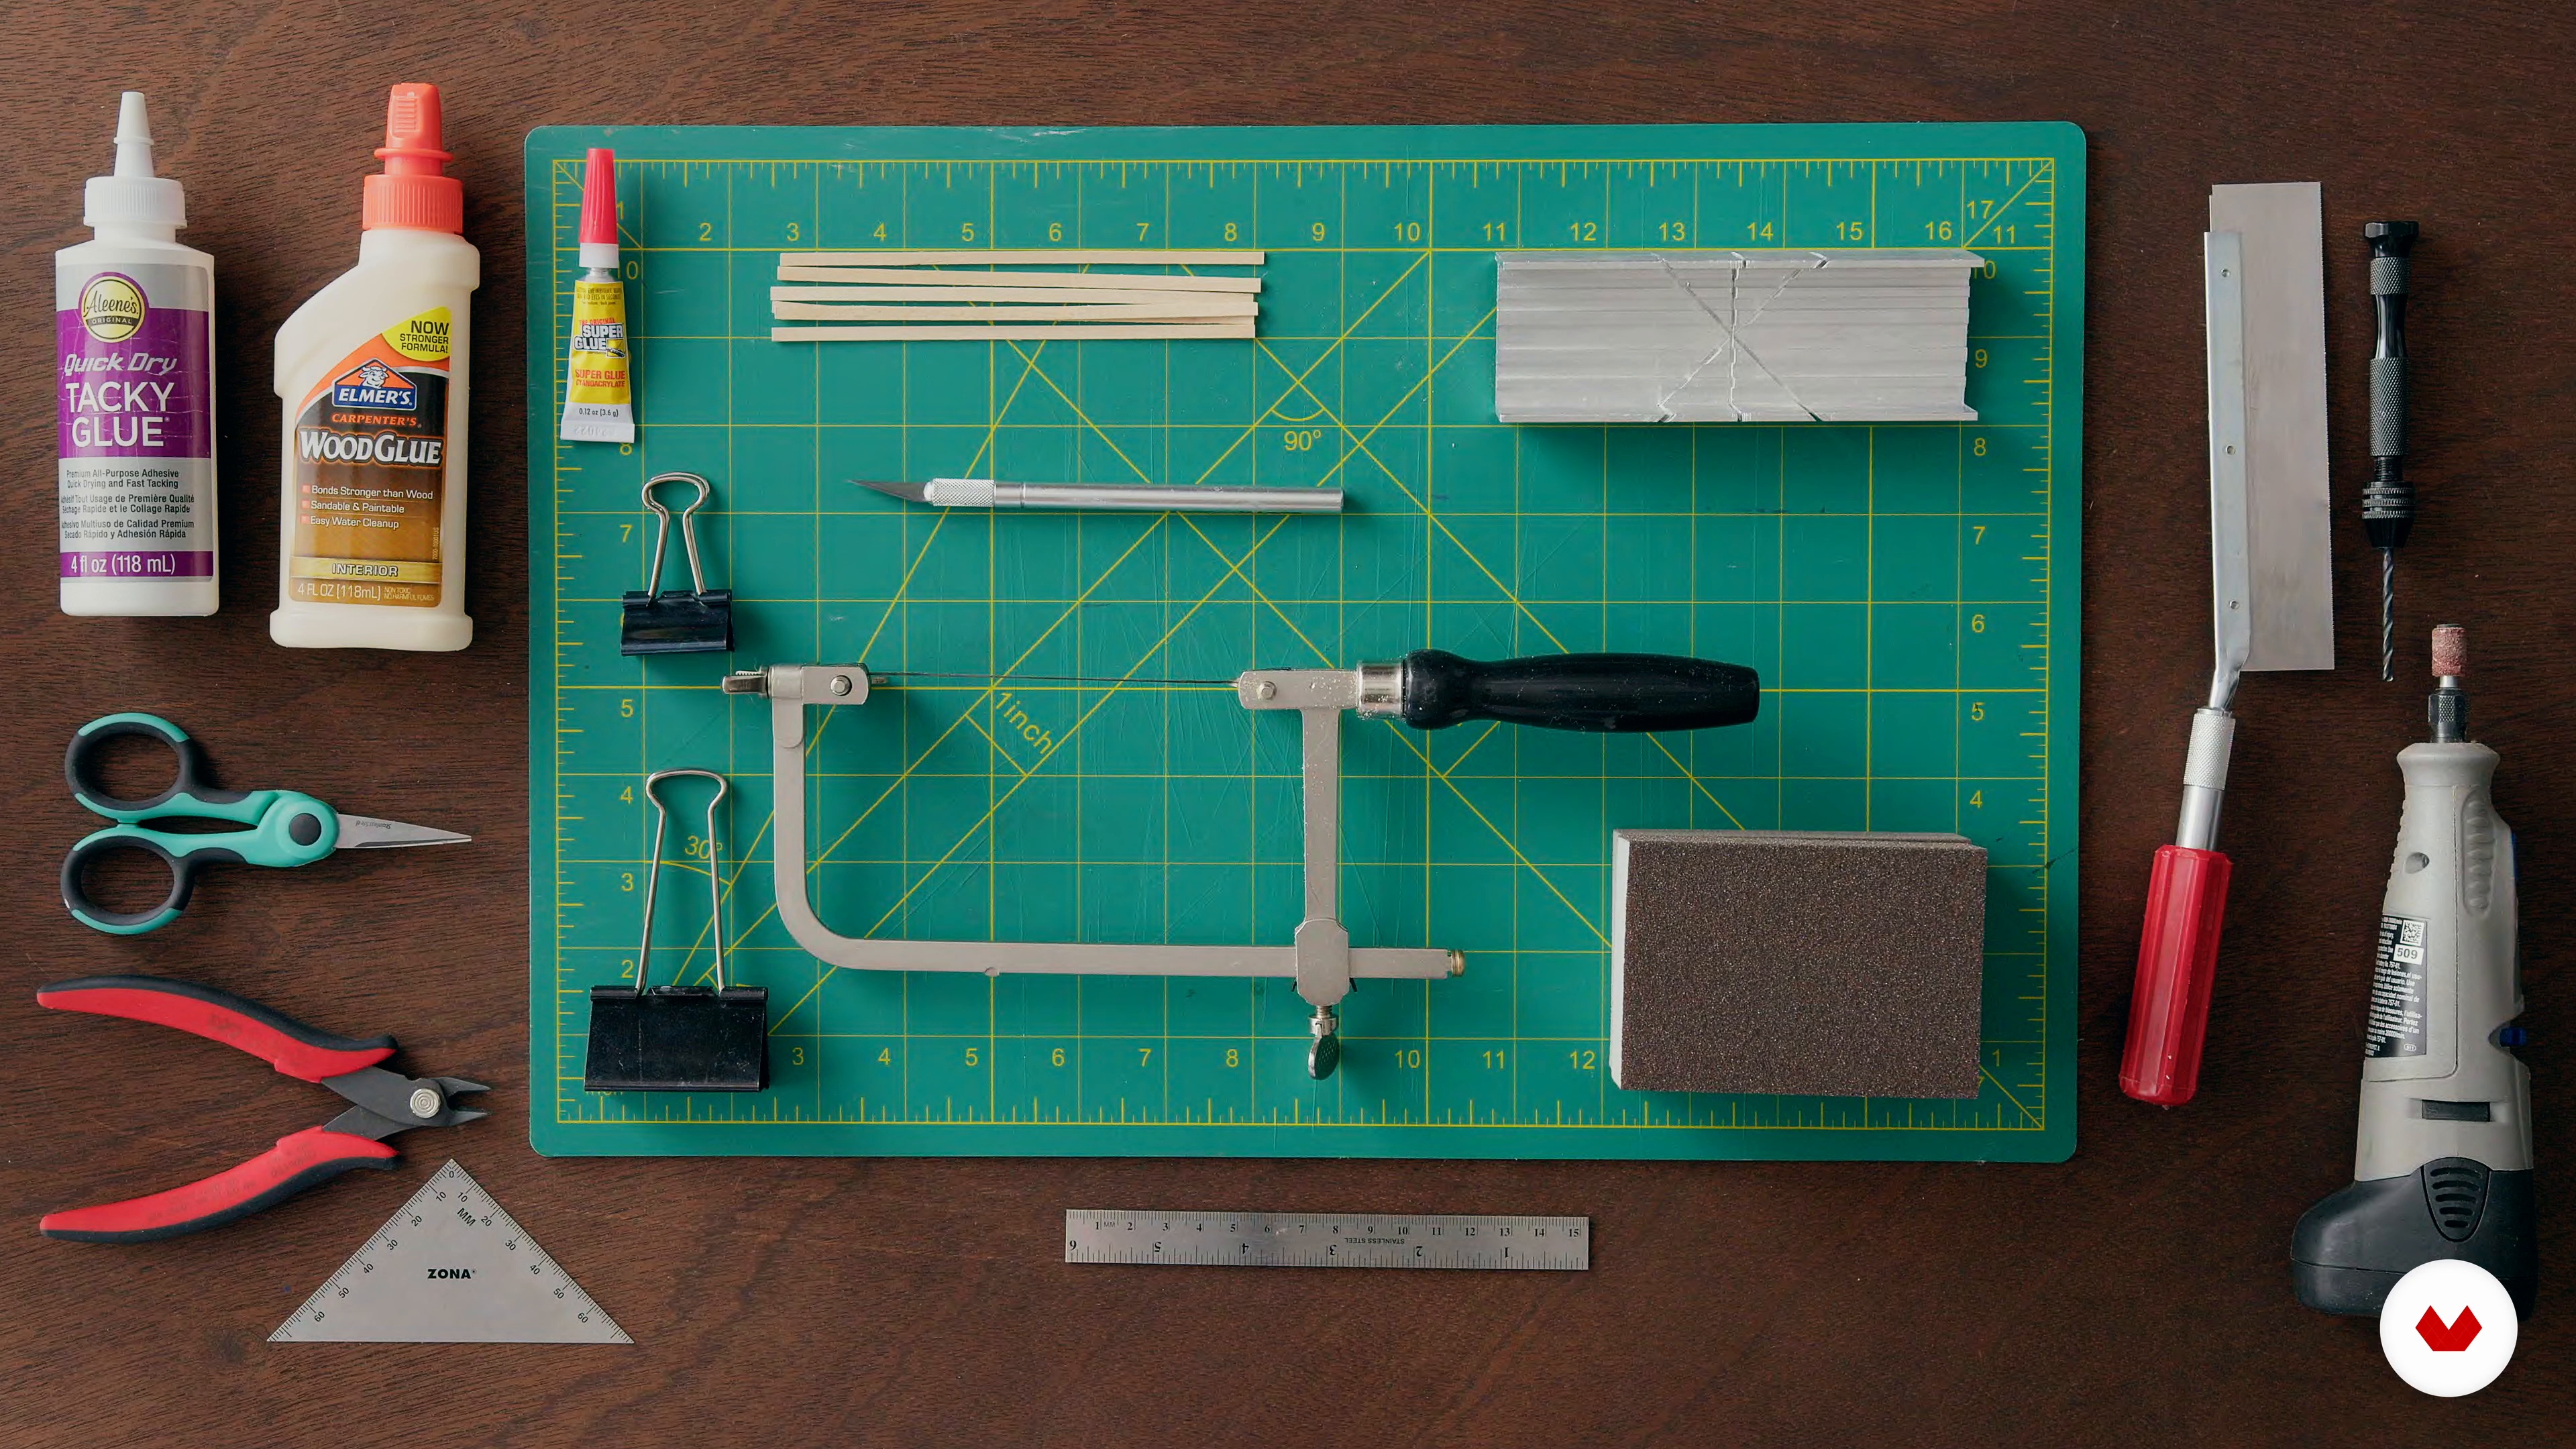
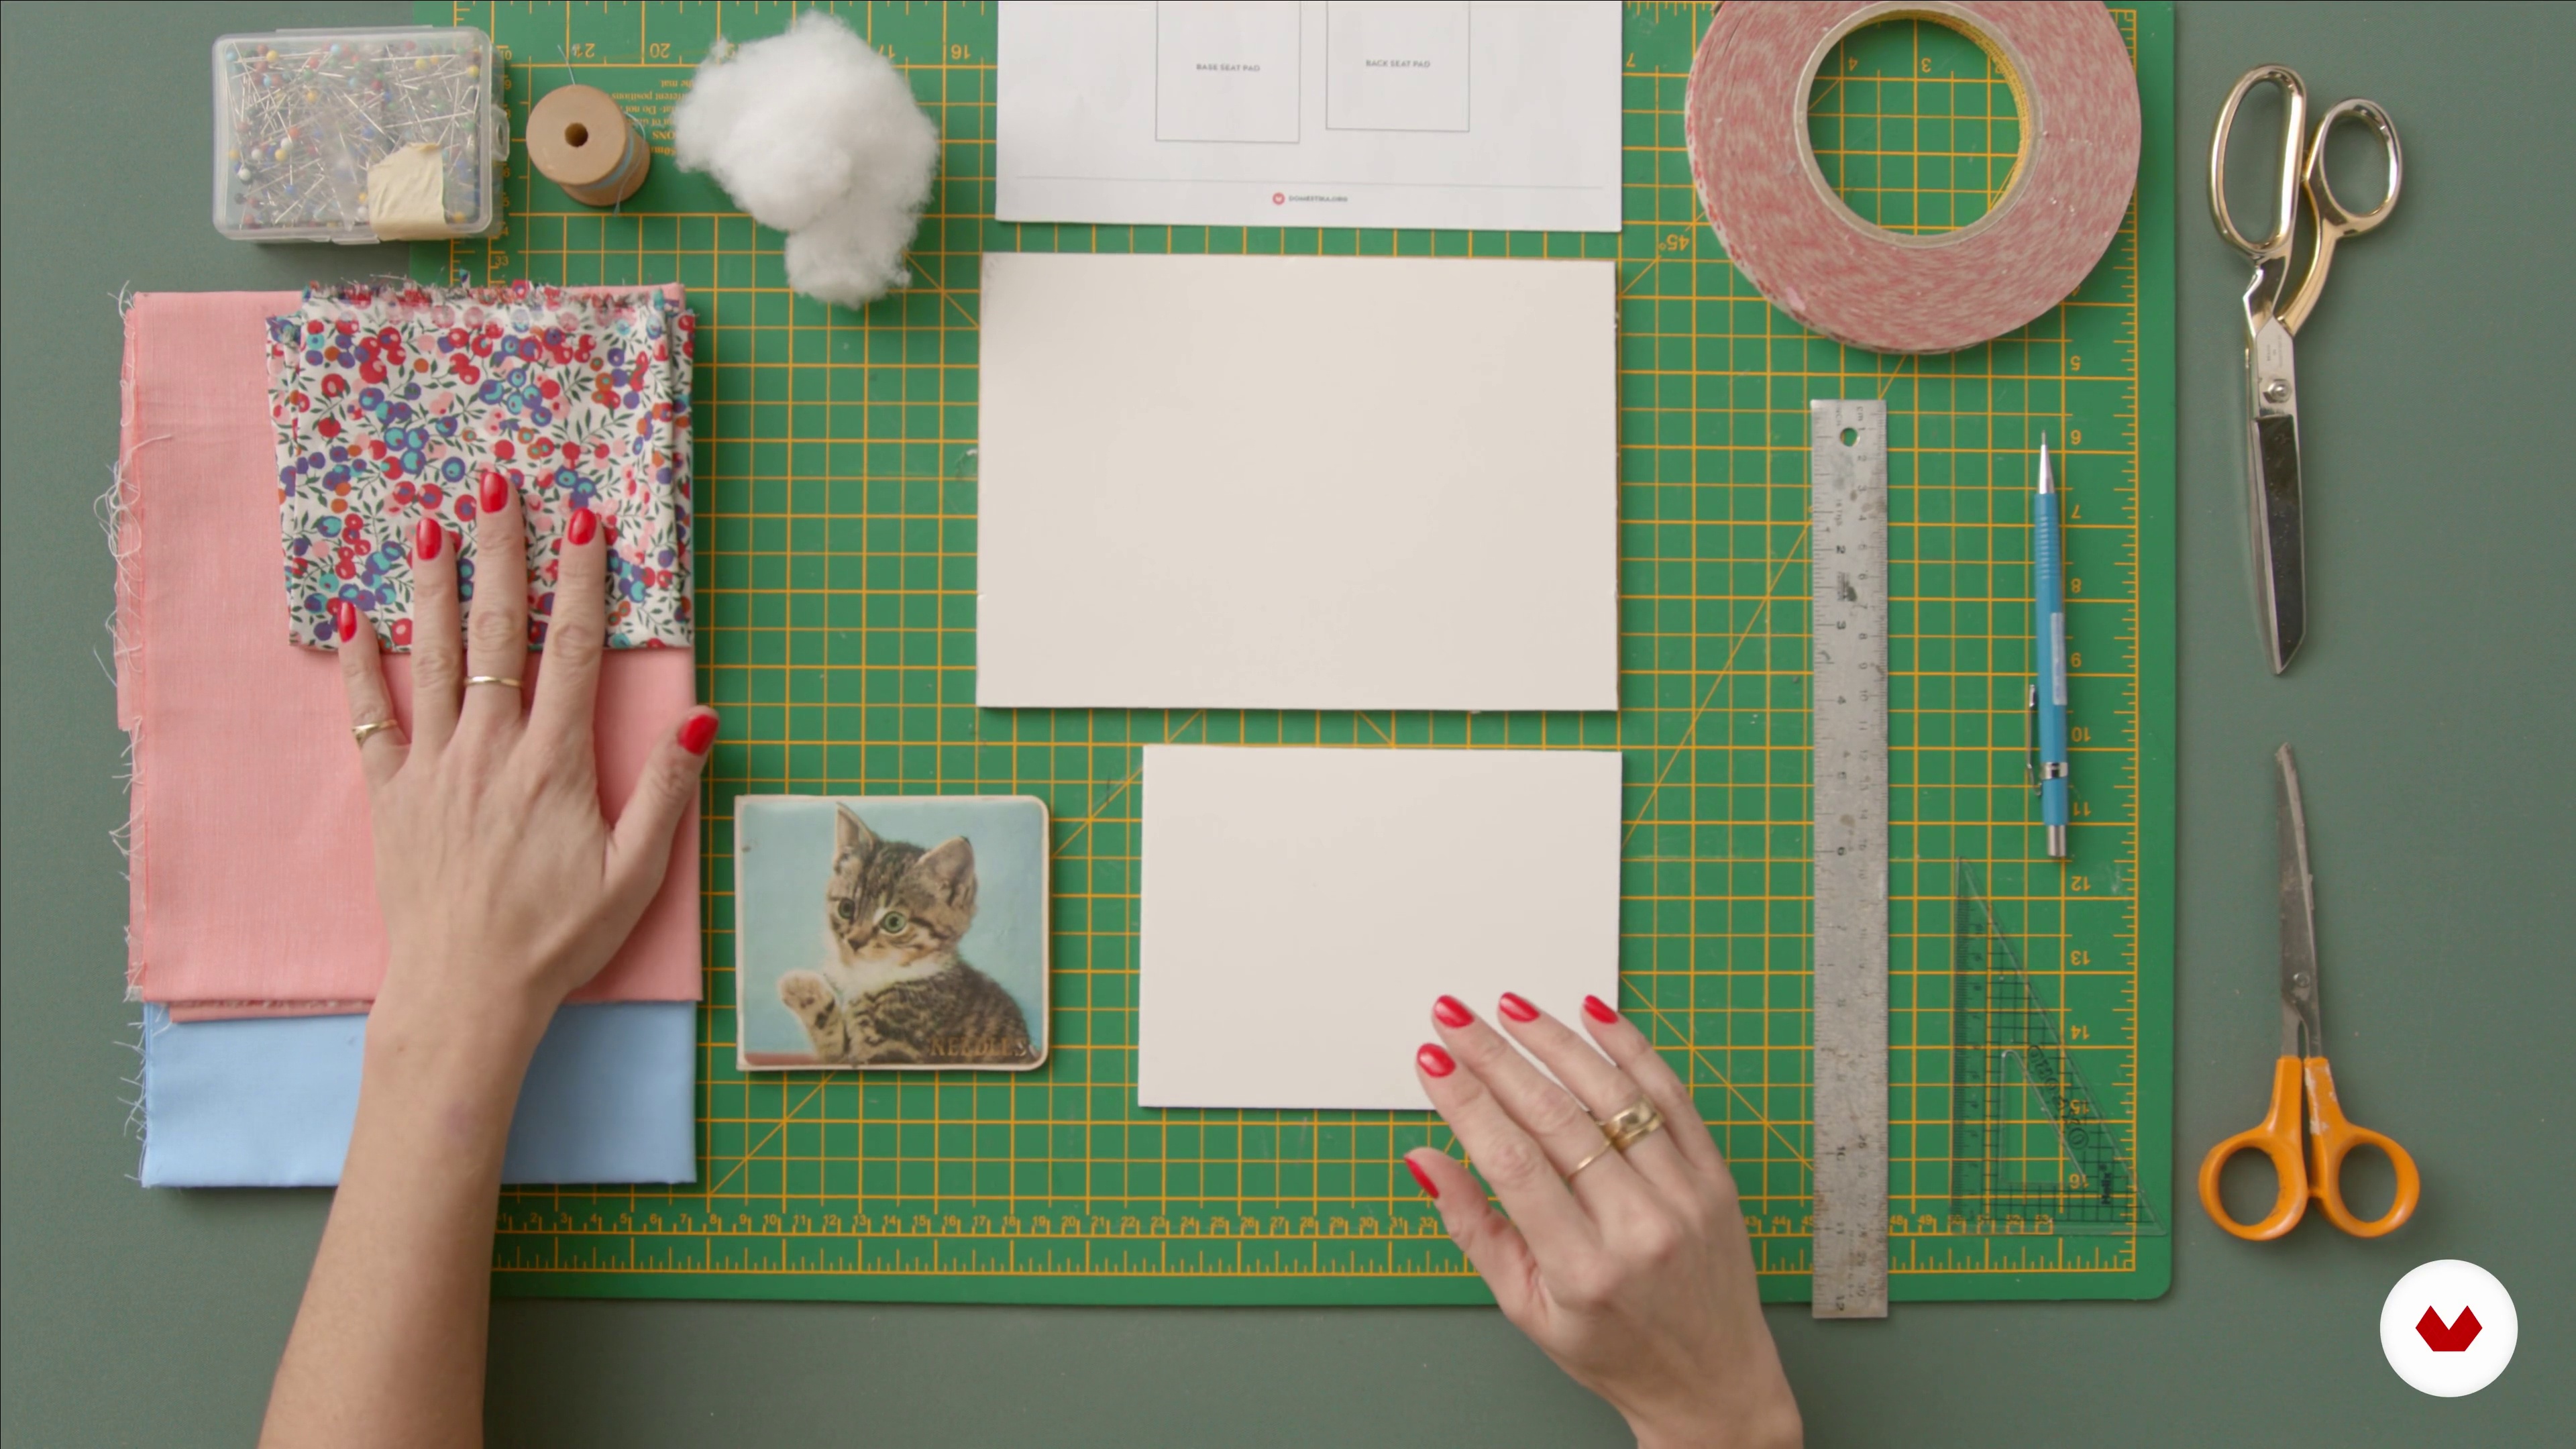
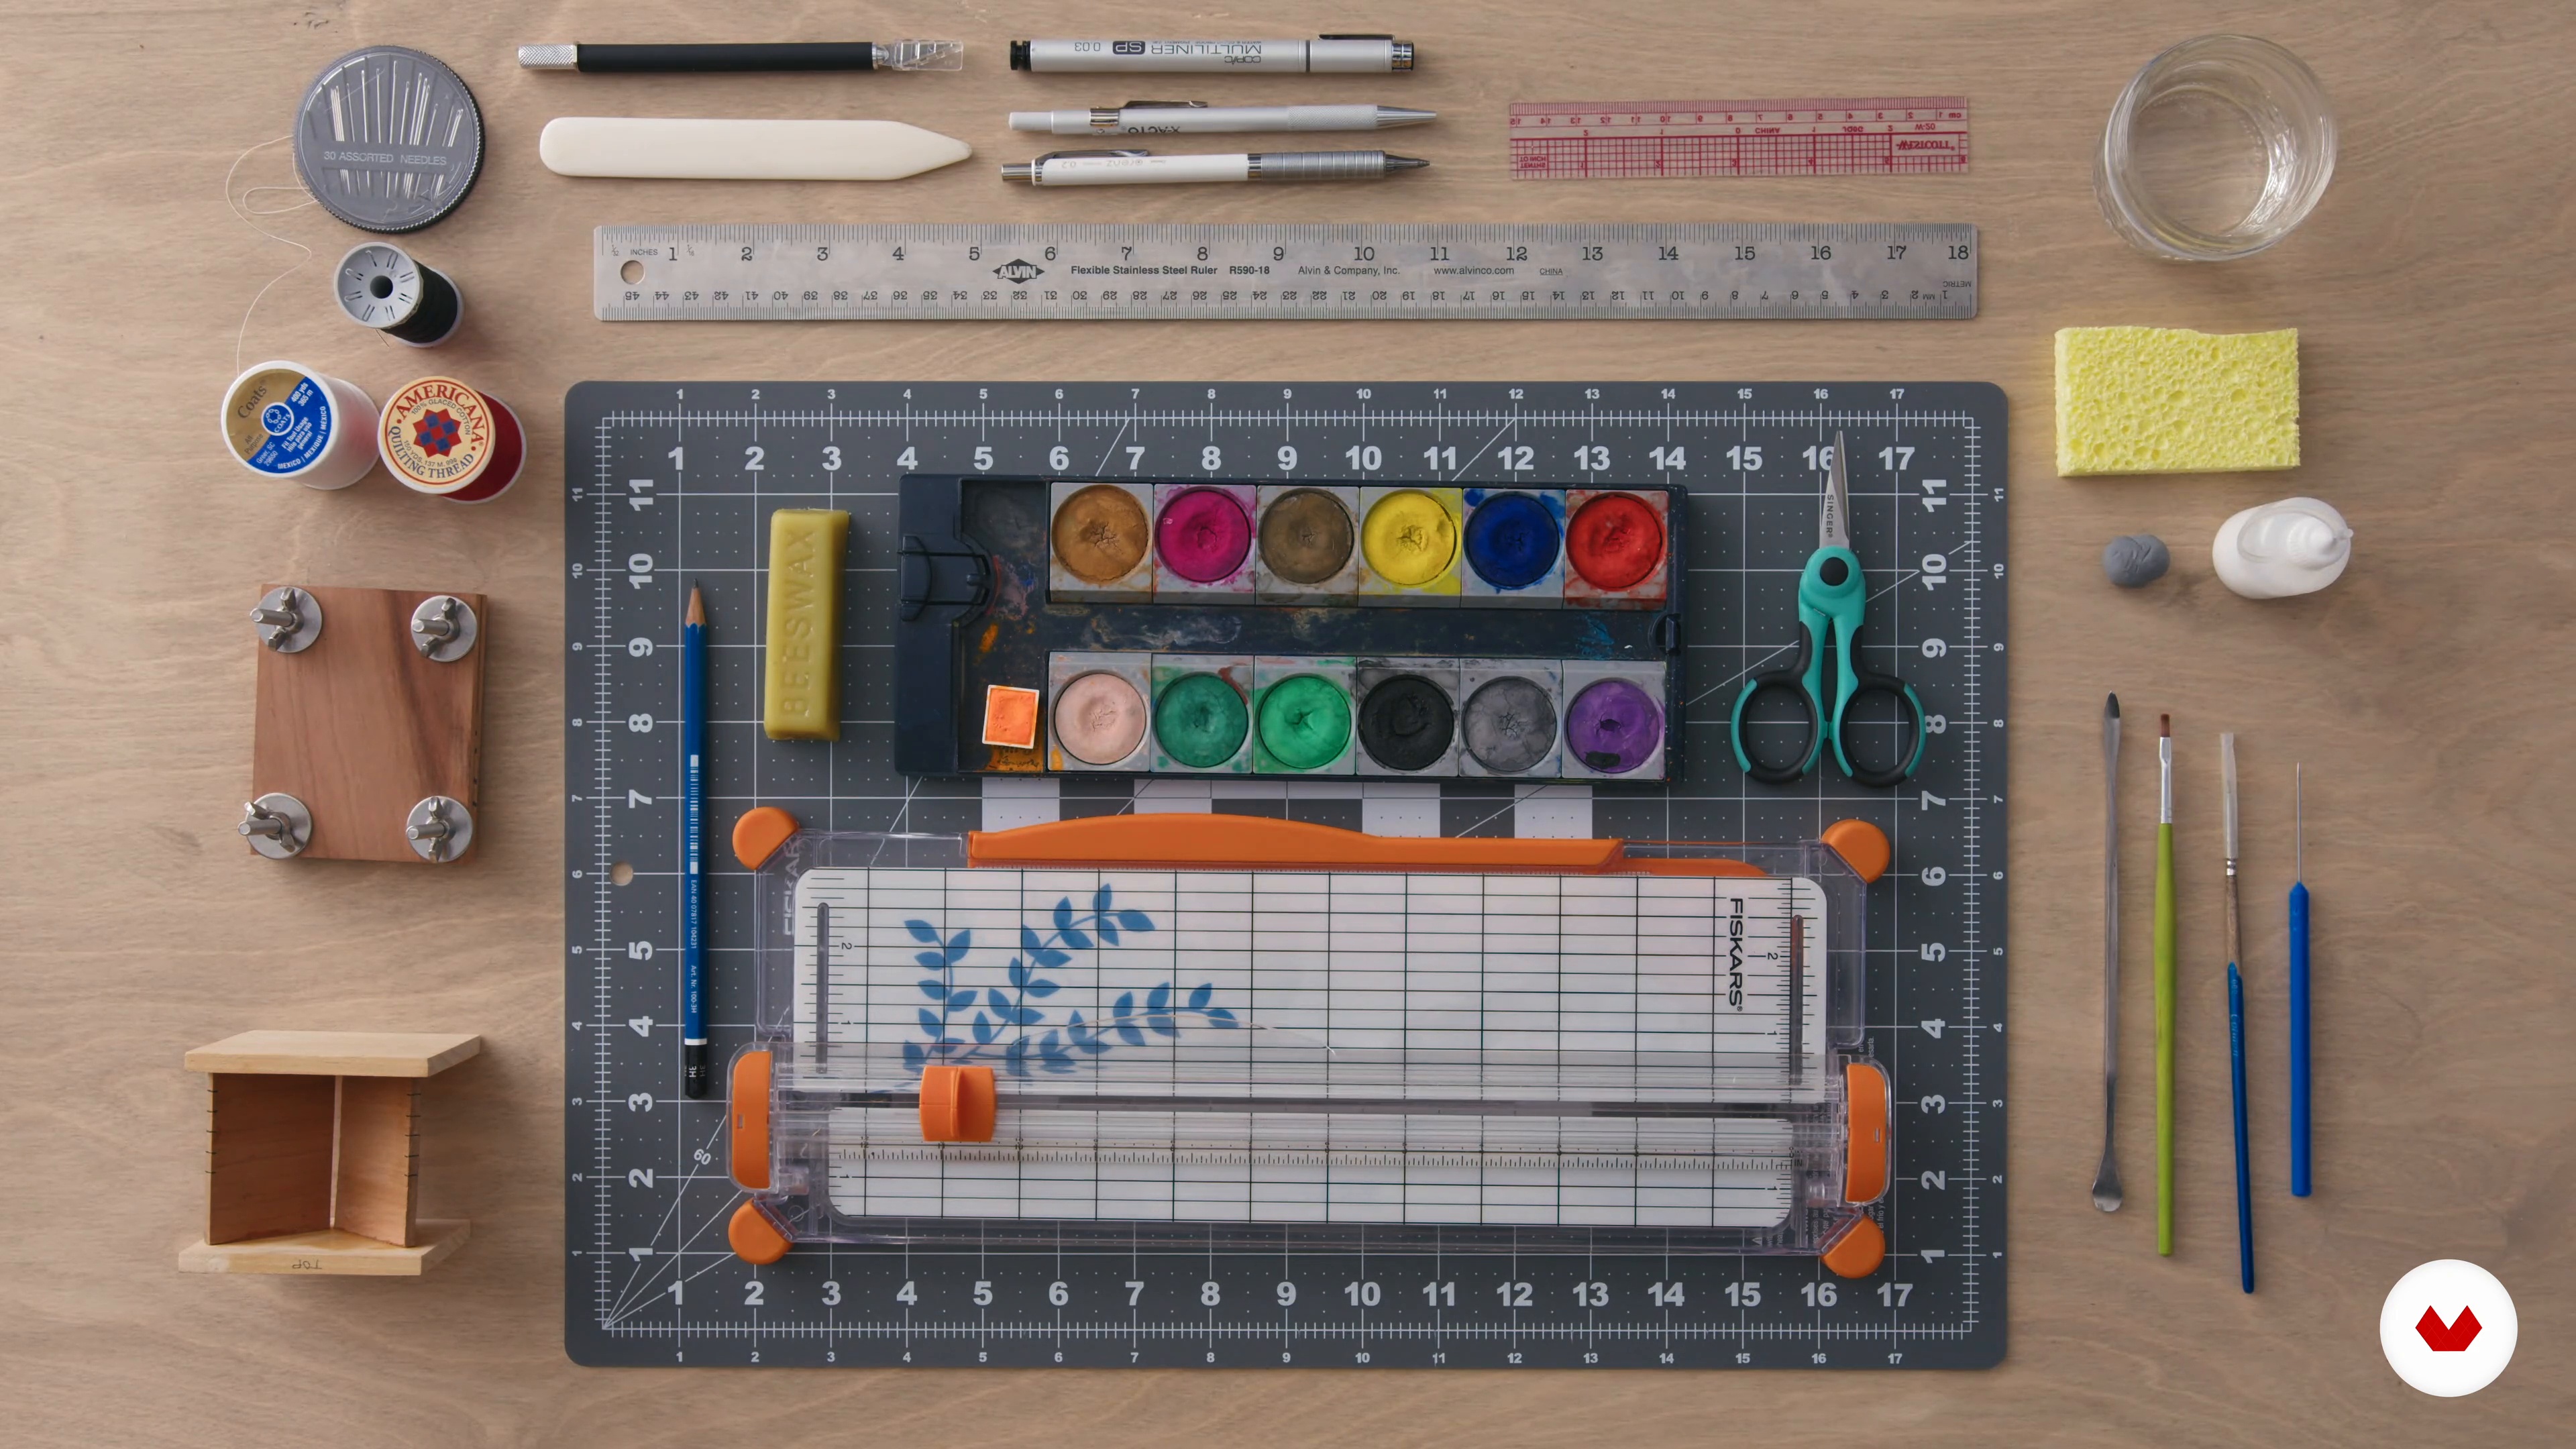
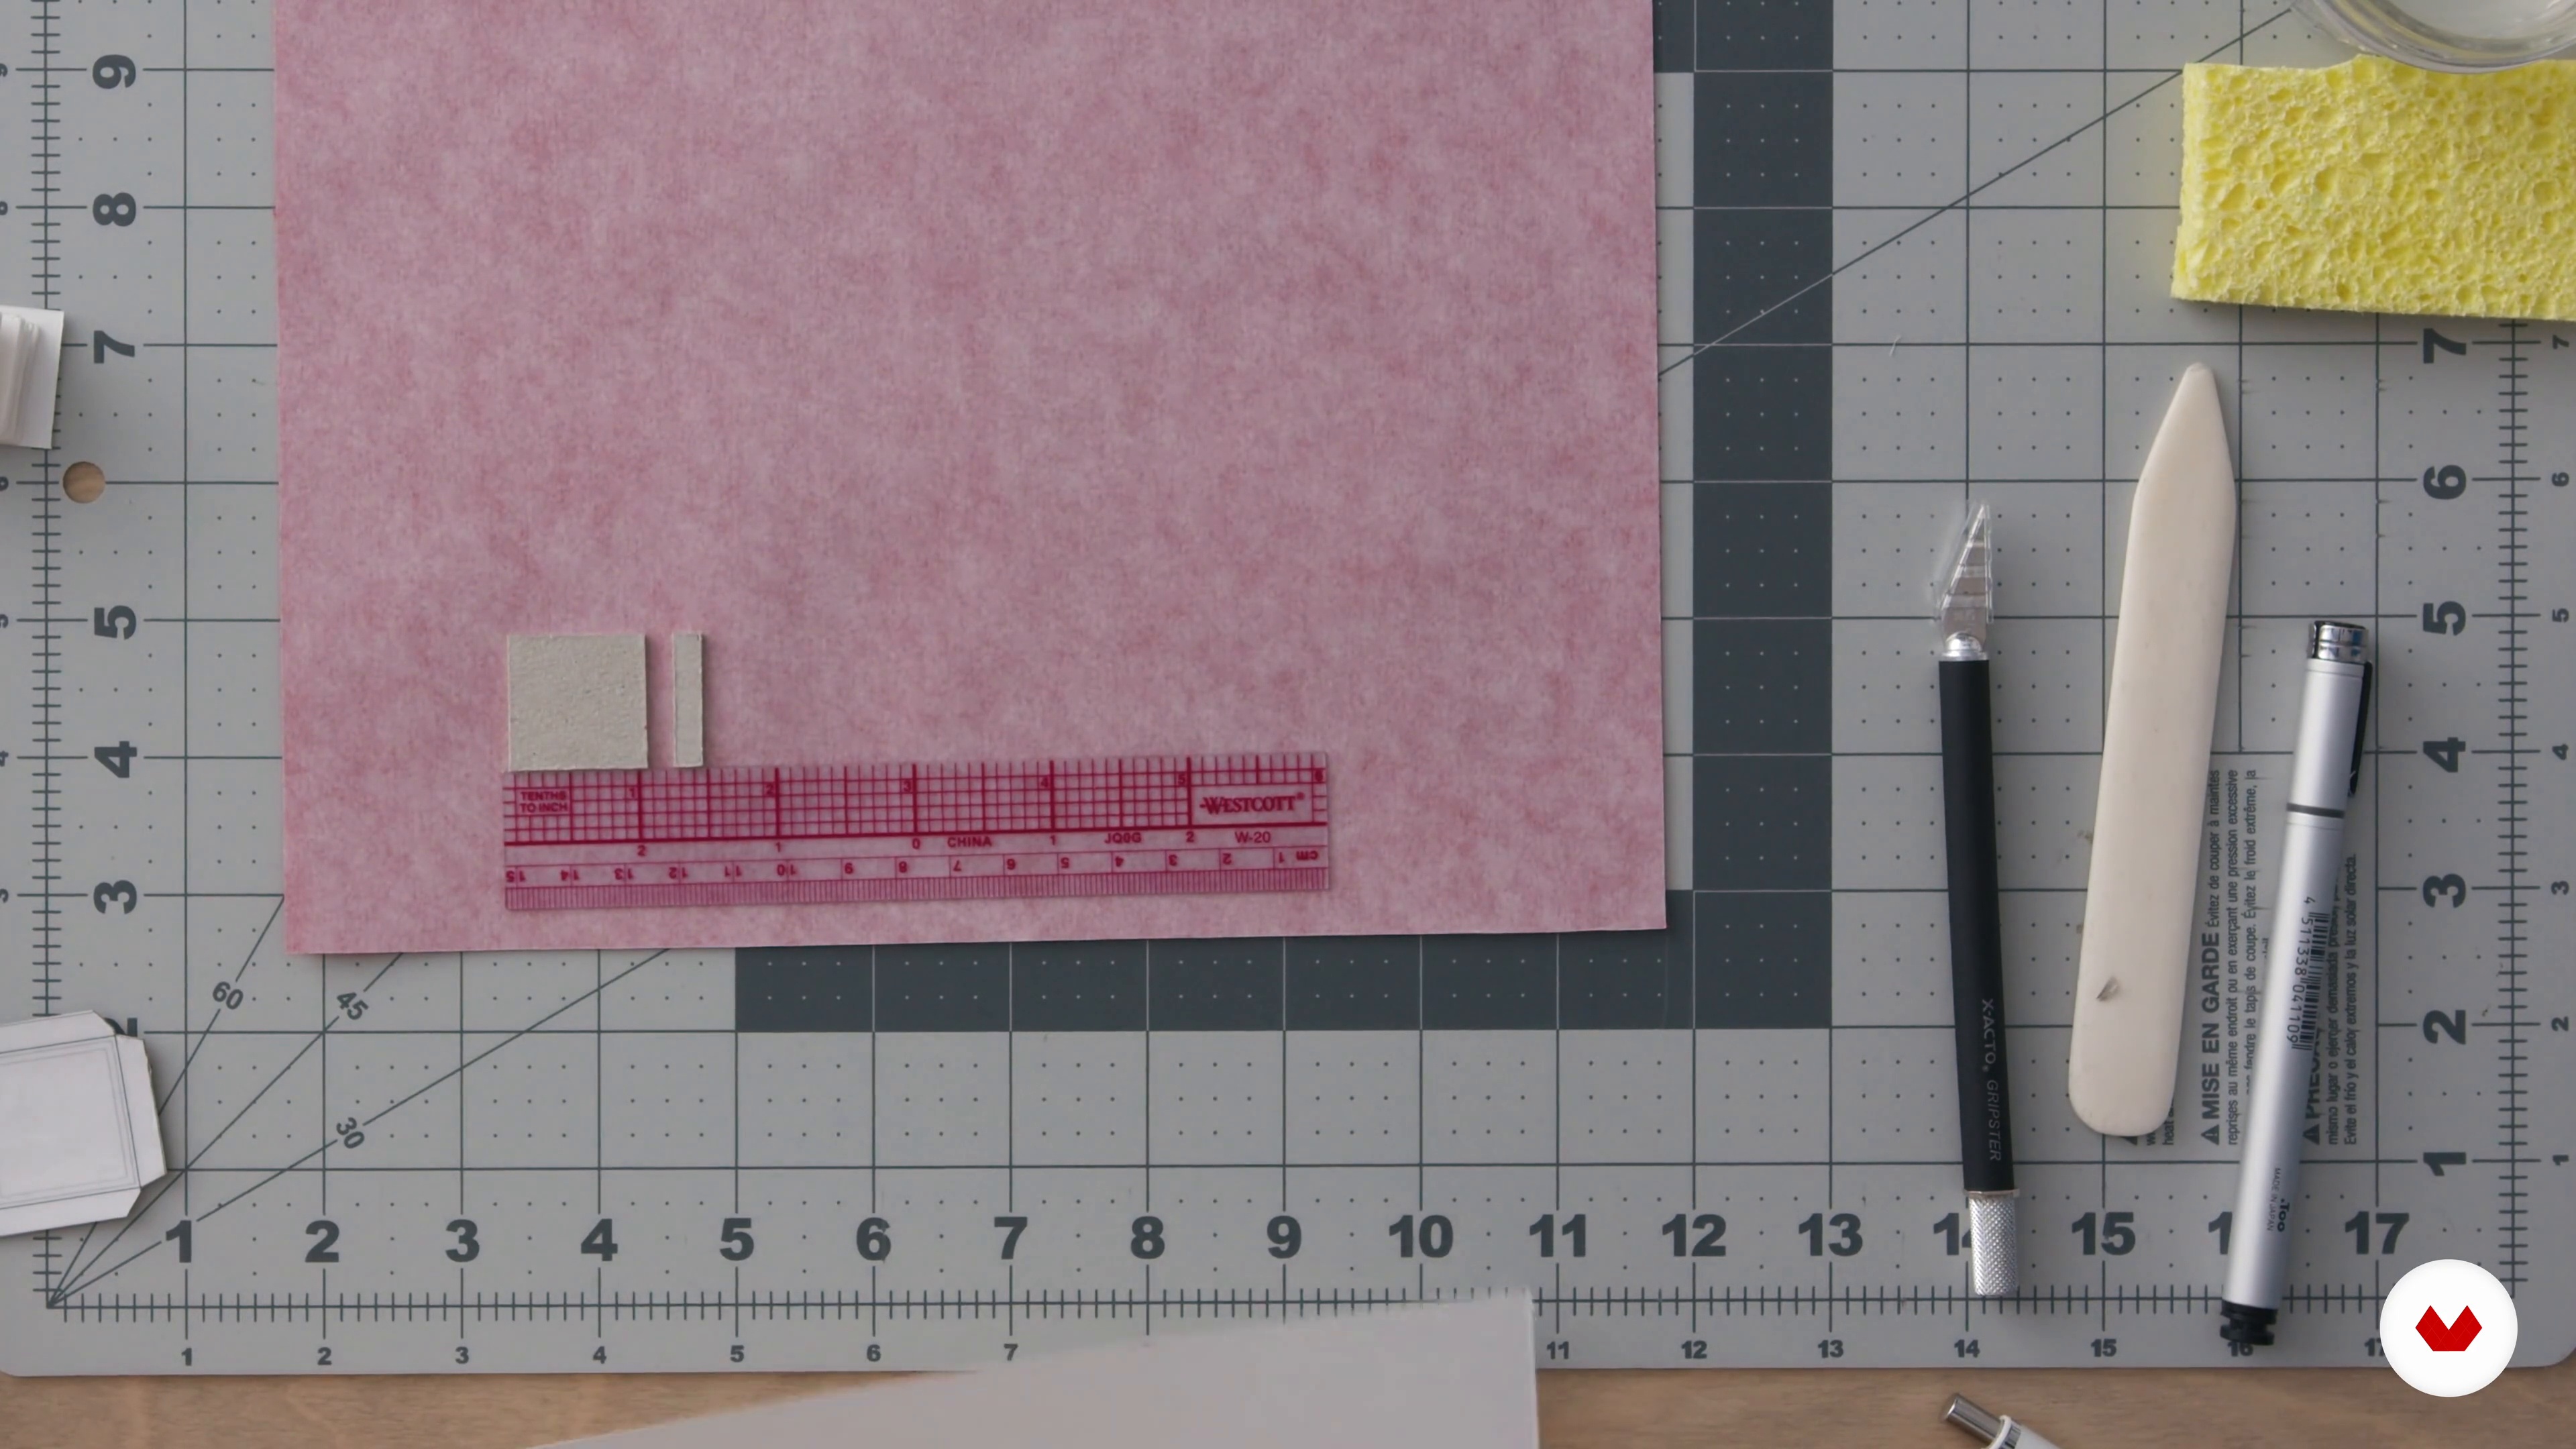
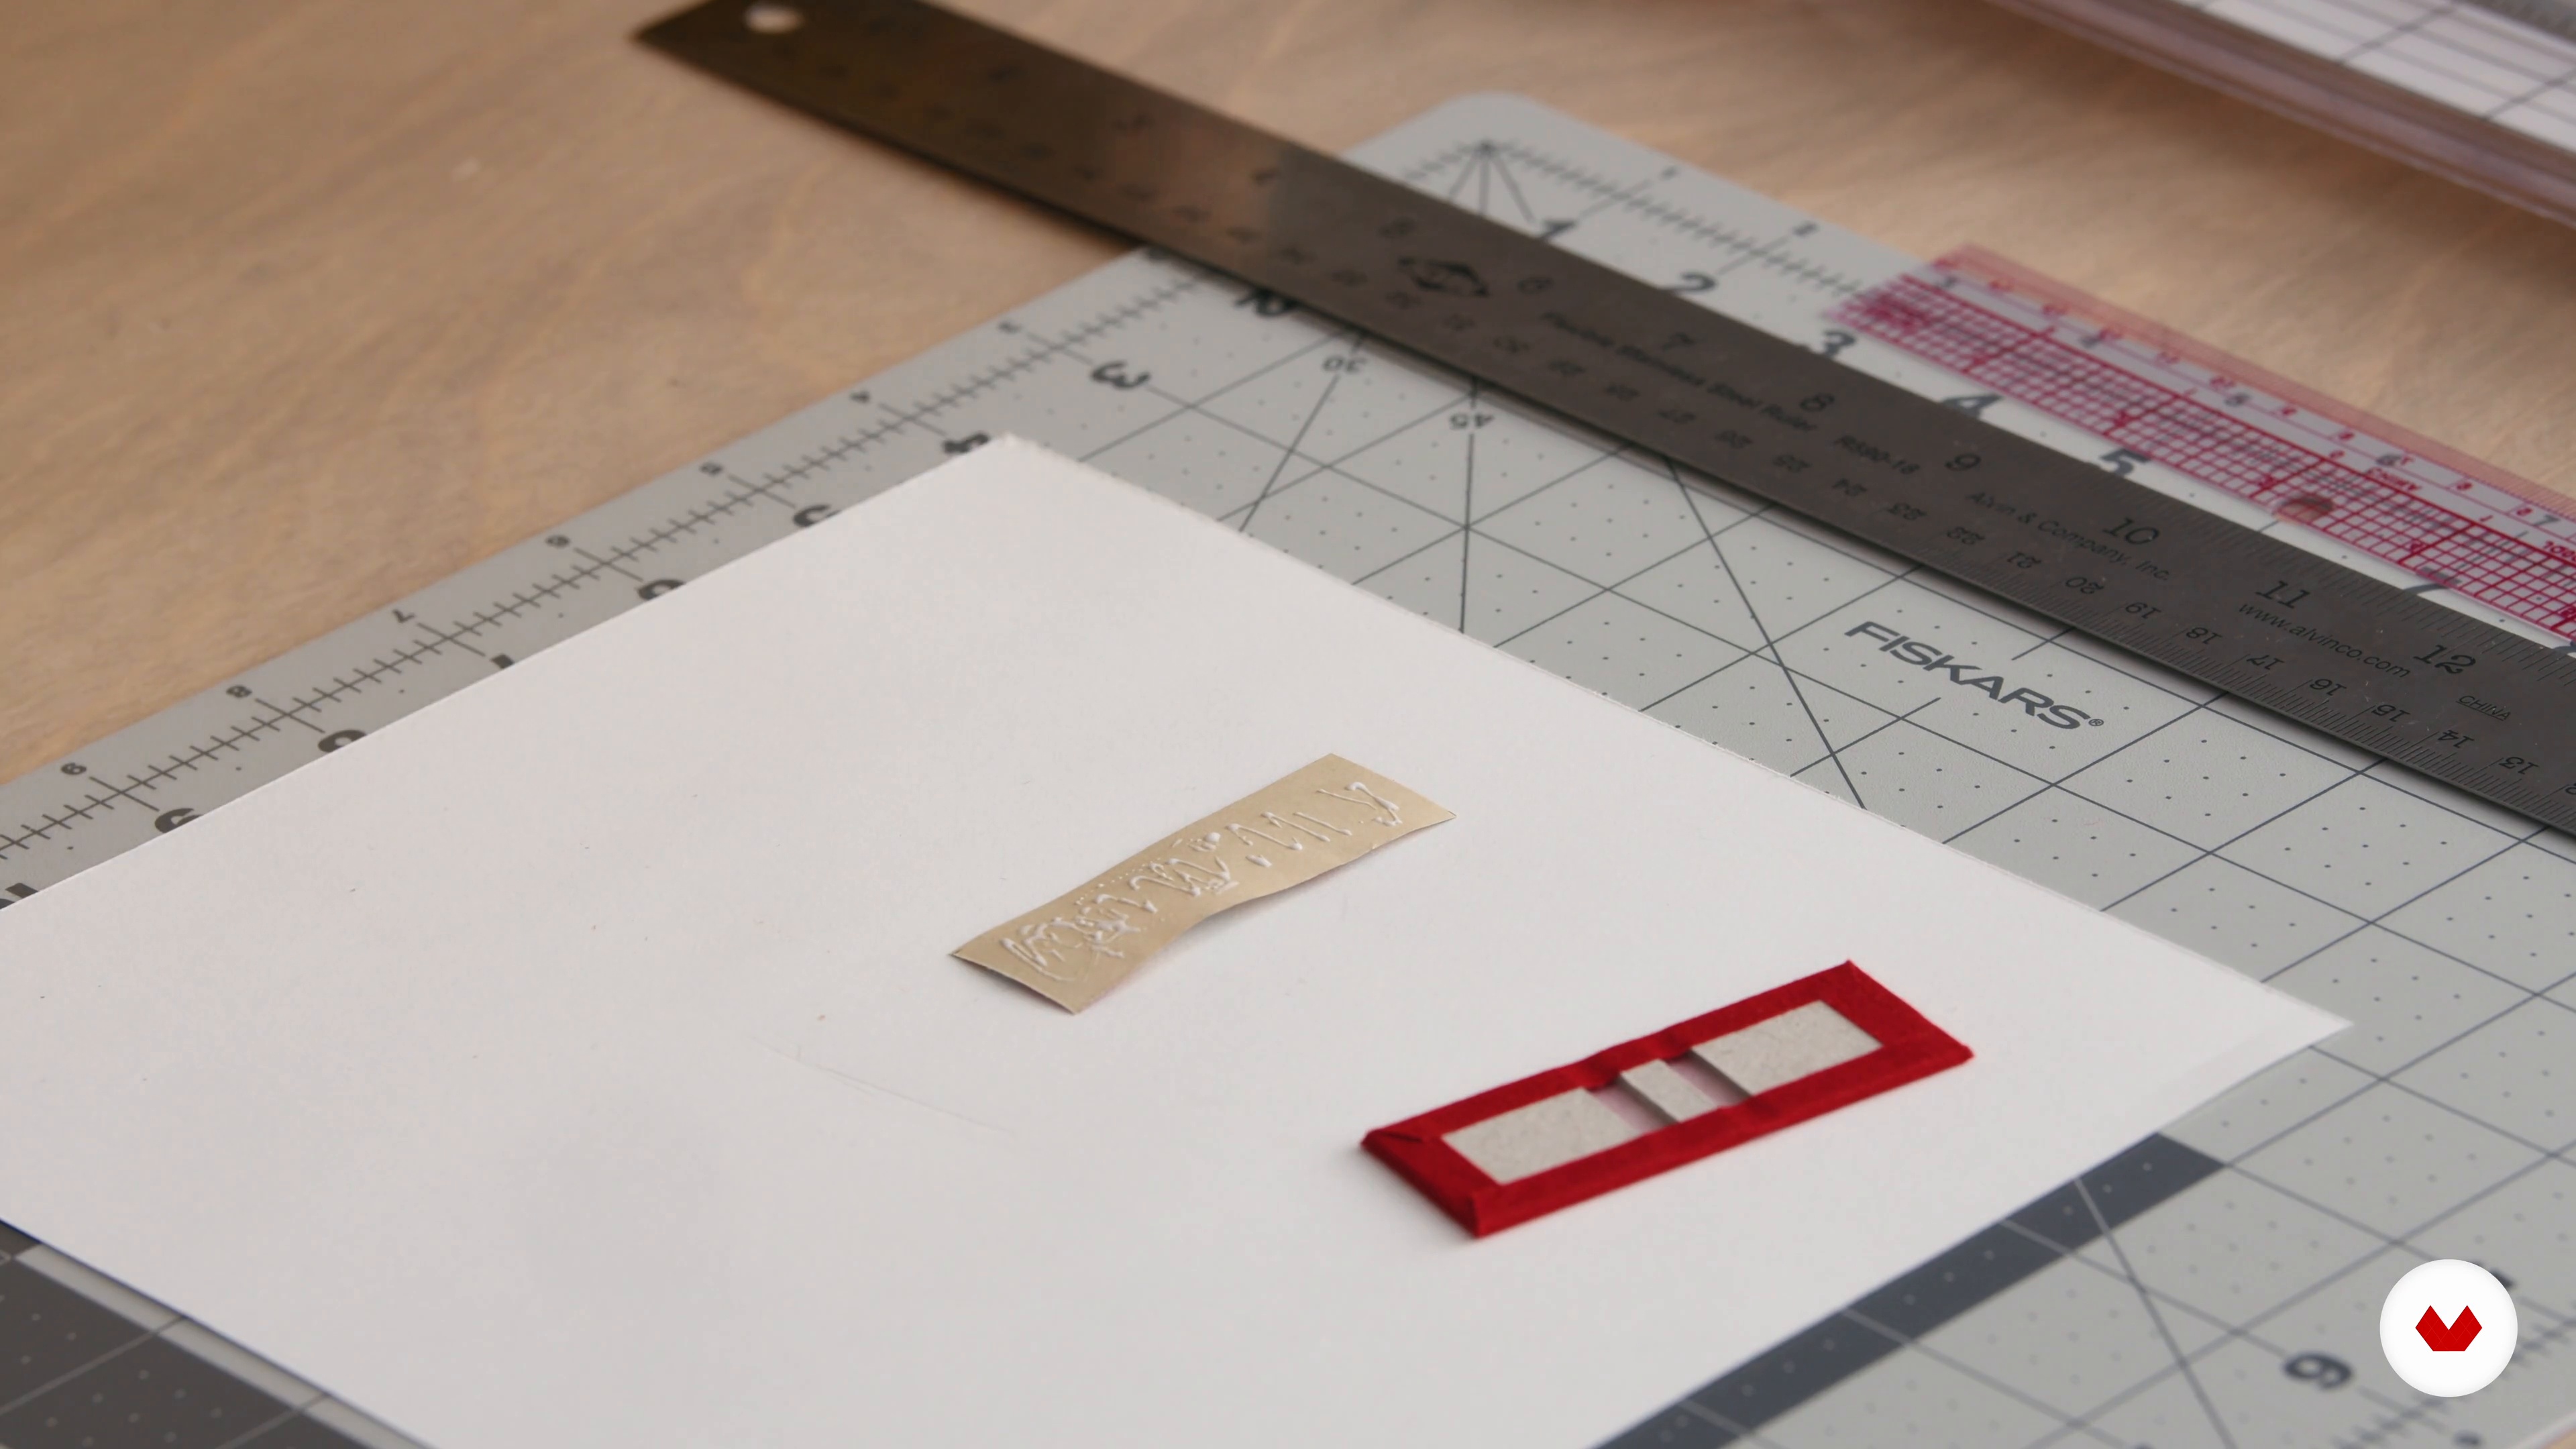
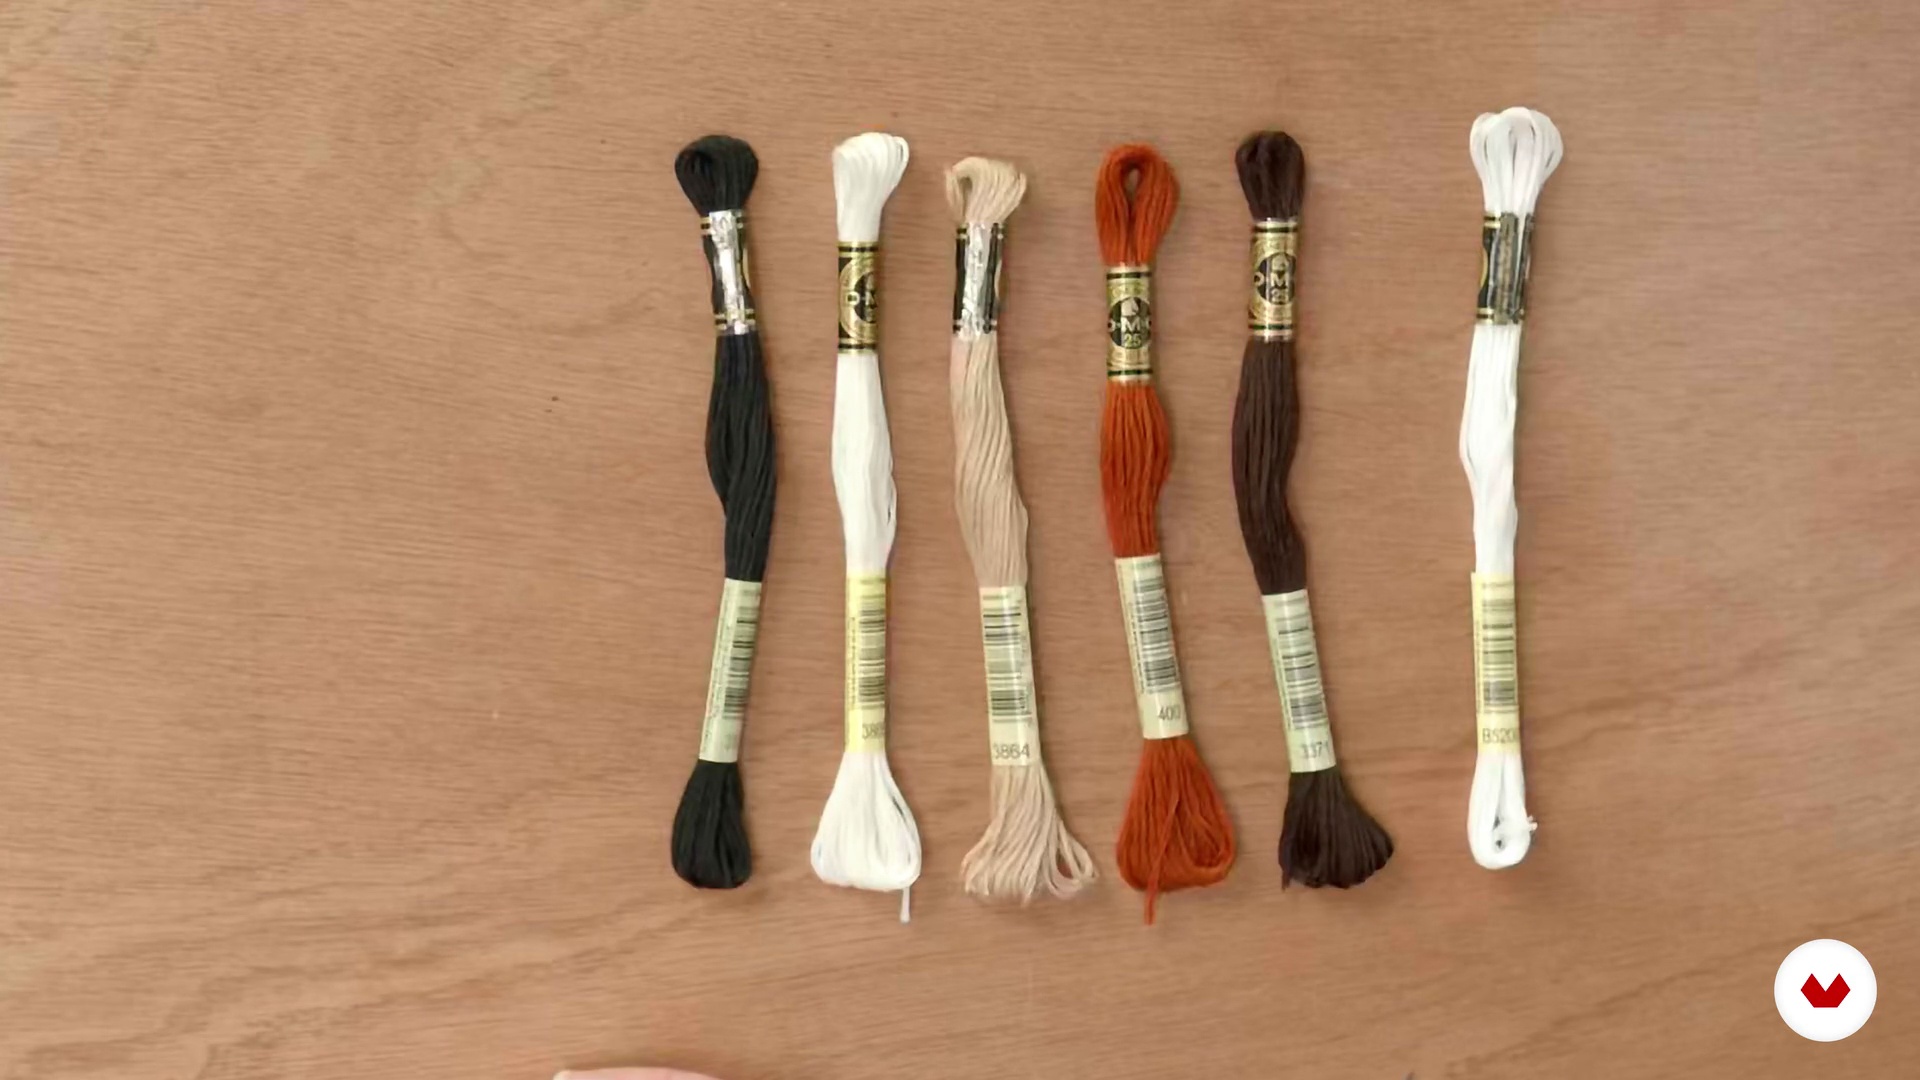
No extensive prior knowledge is required, just a passion for miniatures. Basic necessities include simple materials like wood, fabric, and paint, along with tools such as scissors and glue. A keen eye for detail enhances the creative process.


Reviews
What to expect from this specialization course
-
Learn at your own pace
Enjoy learning from home without a set schedule and with an easy-to-follow method. You set your own pace.
-
Learn from the best professionals
Learn valuable methods and techniques explained by top experts in the creative sector.
-
Meet expert teachers
Each expert teaches what they do best, with clear guidelines, true passion, and professional insight in every lesson.
-
Certificates
PlusIf you're a Plus member, get a custom certificate for every specialization course. Share it on your portfolio, social media, or wherever you like.
-
Get front-row seats
Videos of the highest quality, so you don't miss a single detail. With unlimited access, you can watch them as many times as you need to perfect your technique.
-
Share knowledge and ideas
Ask questions, request feedback, or offer solutions. Share your learning experience with other students in the community who are as passionate about creativity as you are.
-
Connect with a global creative community
The community is home to millions of people from around the world who are curious and passionate about exploring and expressing their creativity.
-
Watch professionally produced courses
Domestika curates its teacher roster and produces every course in-house to ensure a high-quality online learning experience.
FAQs
Yes, this course is designed for beginners and covers foundational techniques, materials, and tools needed to start model making and miniature furniture creation.
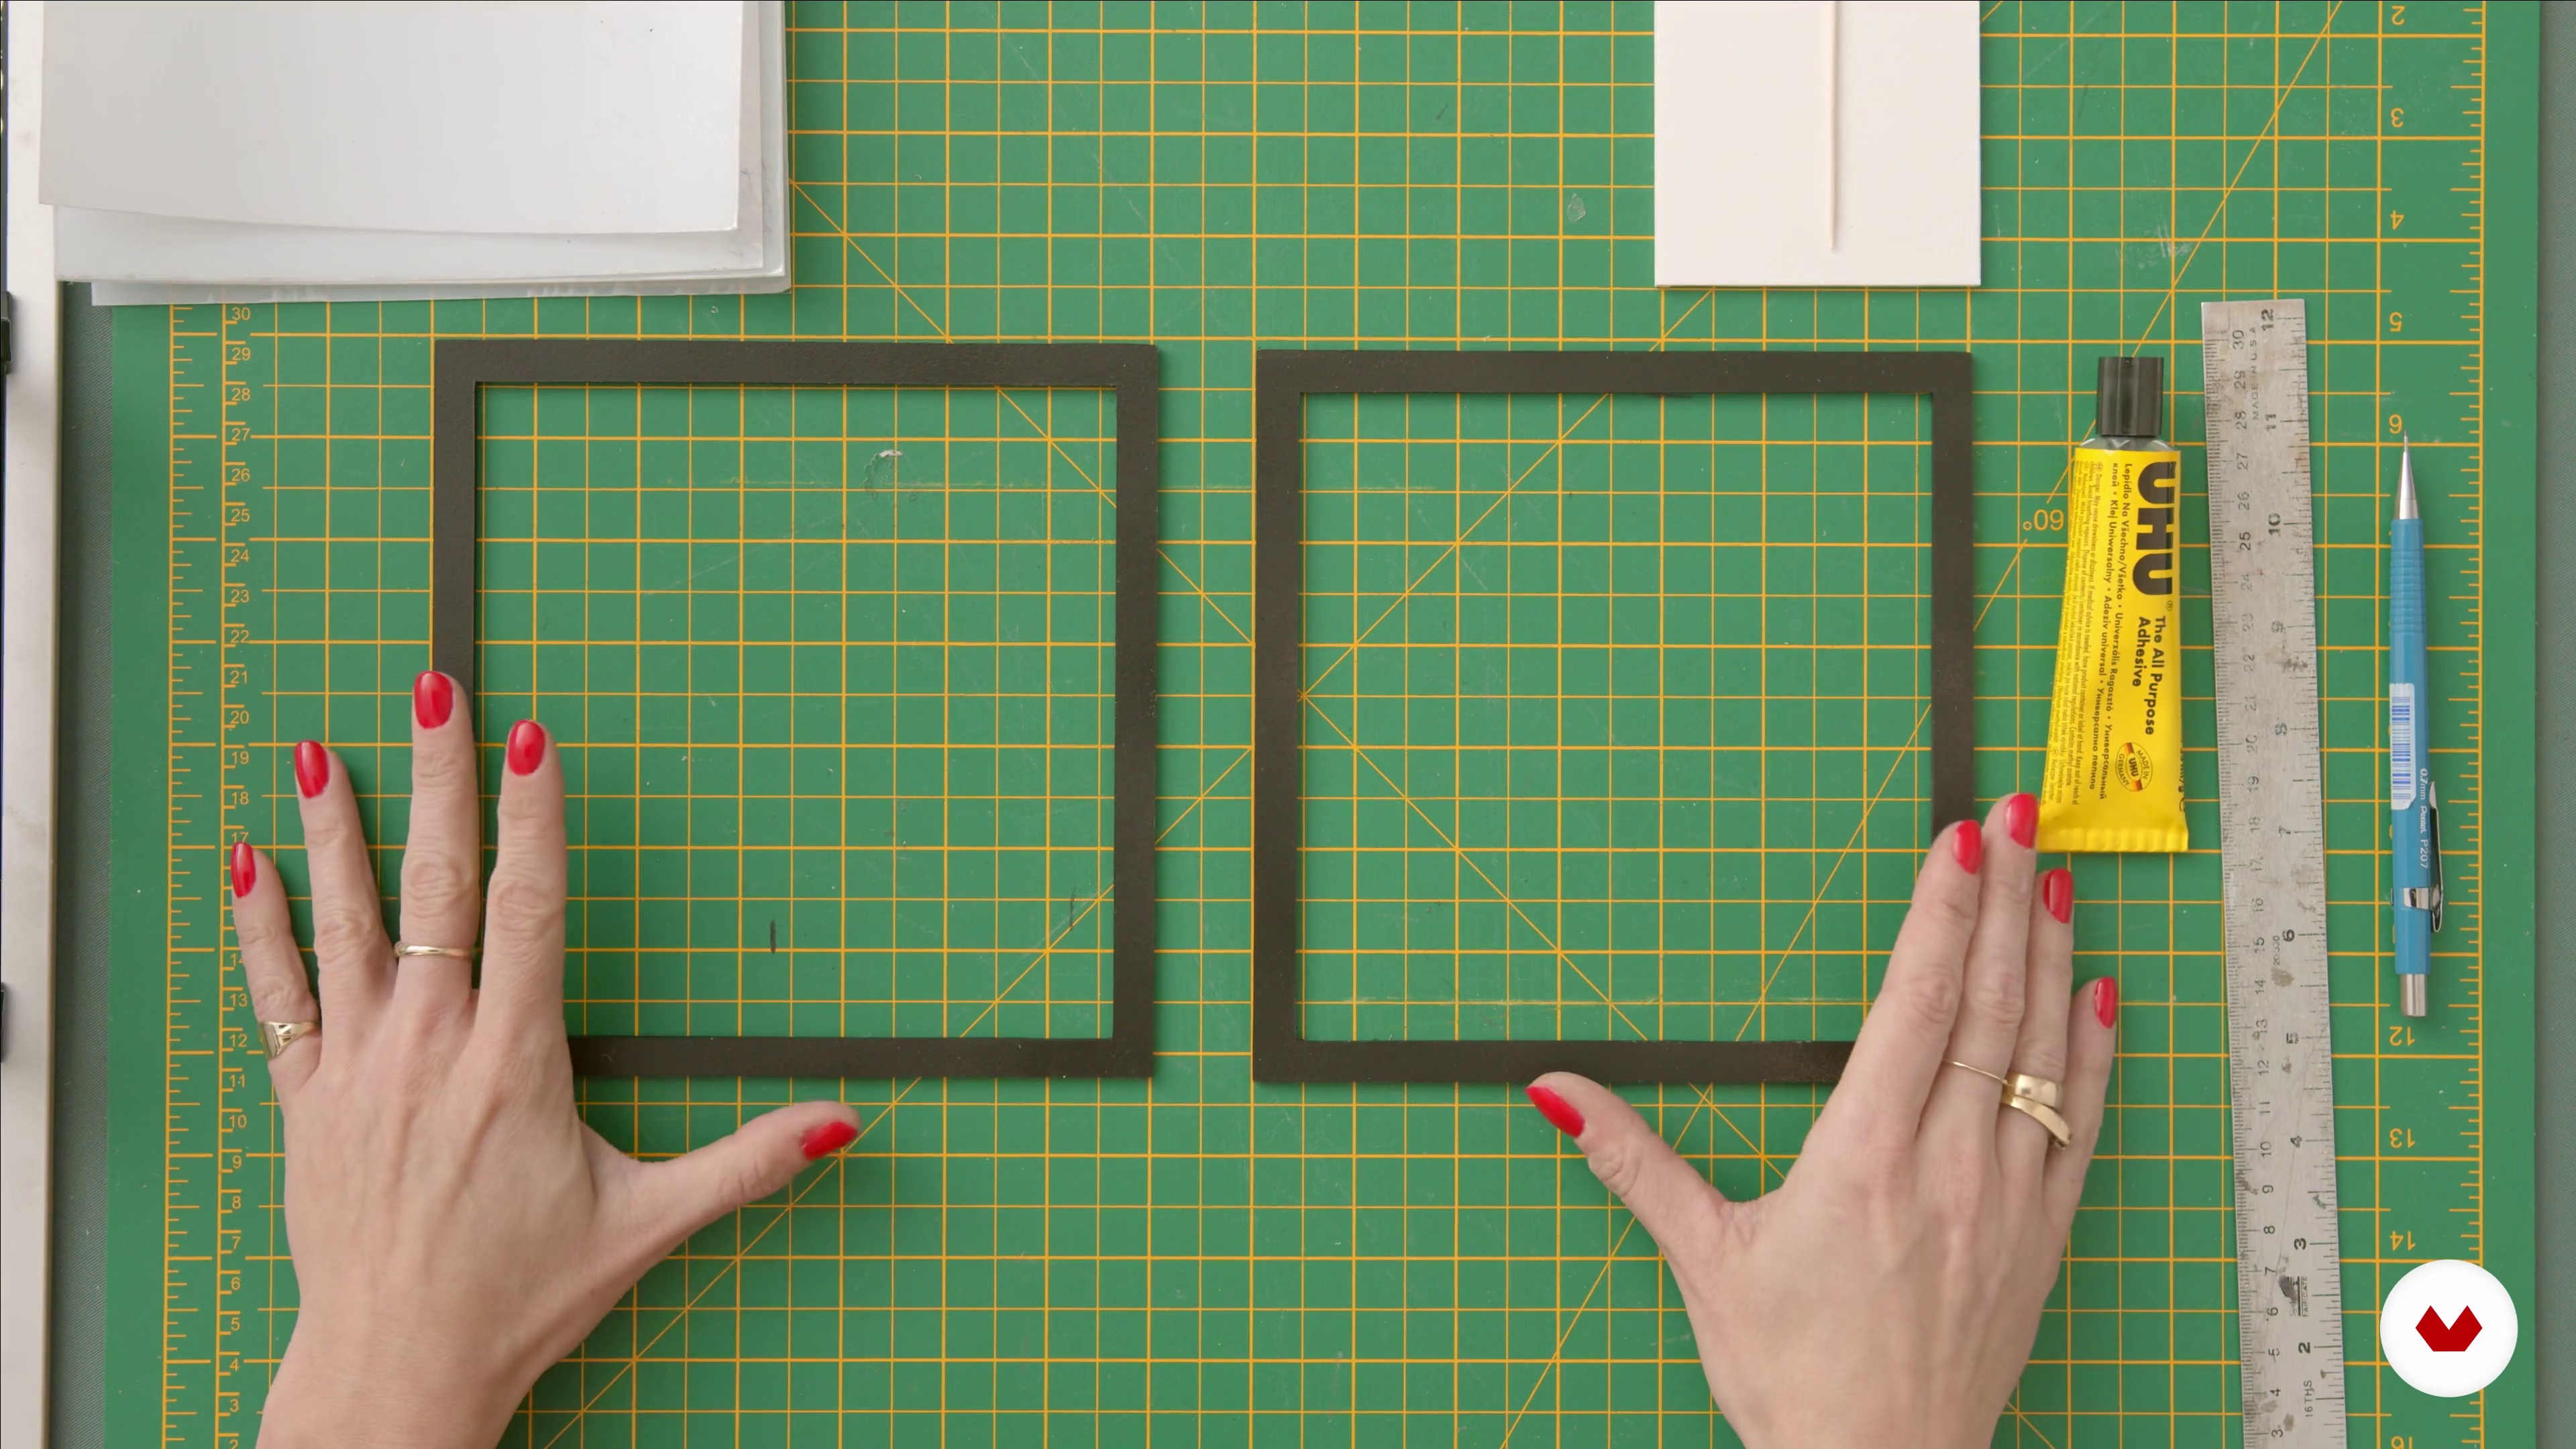
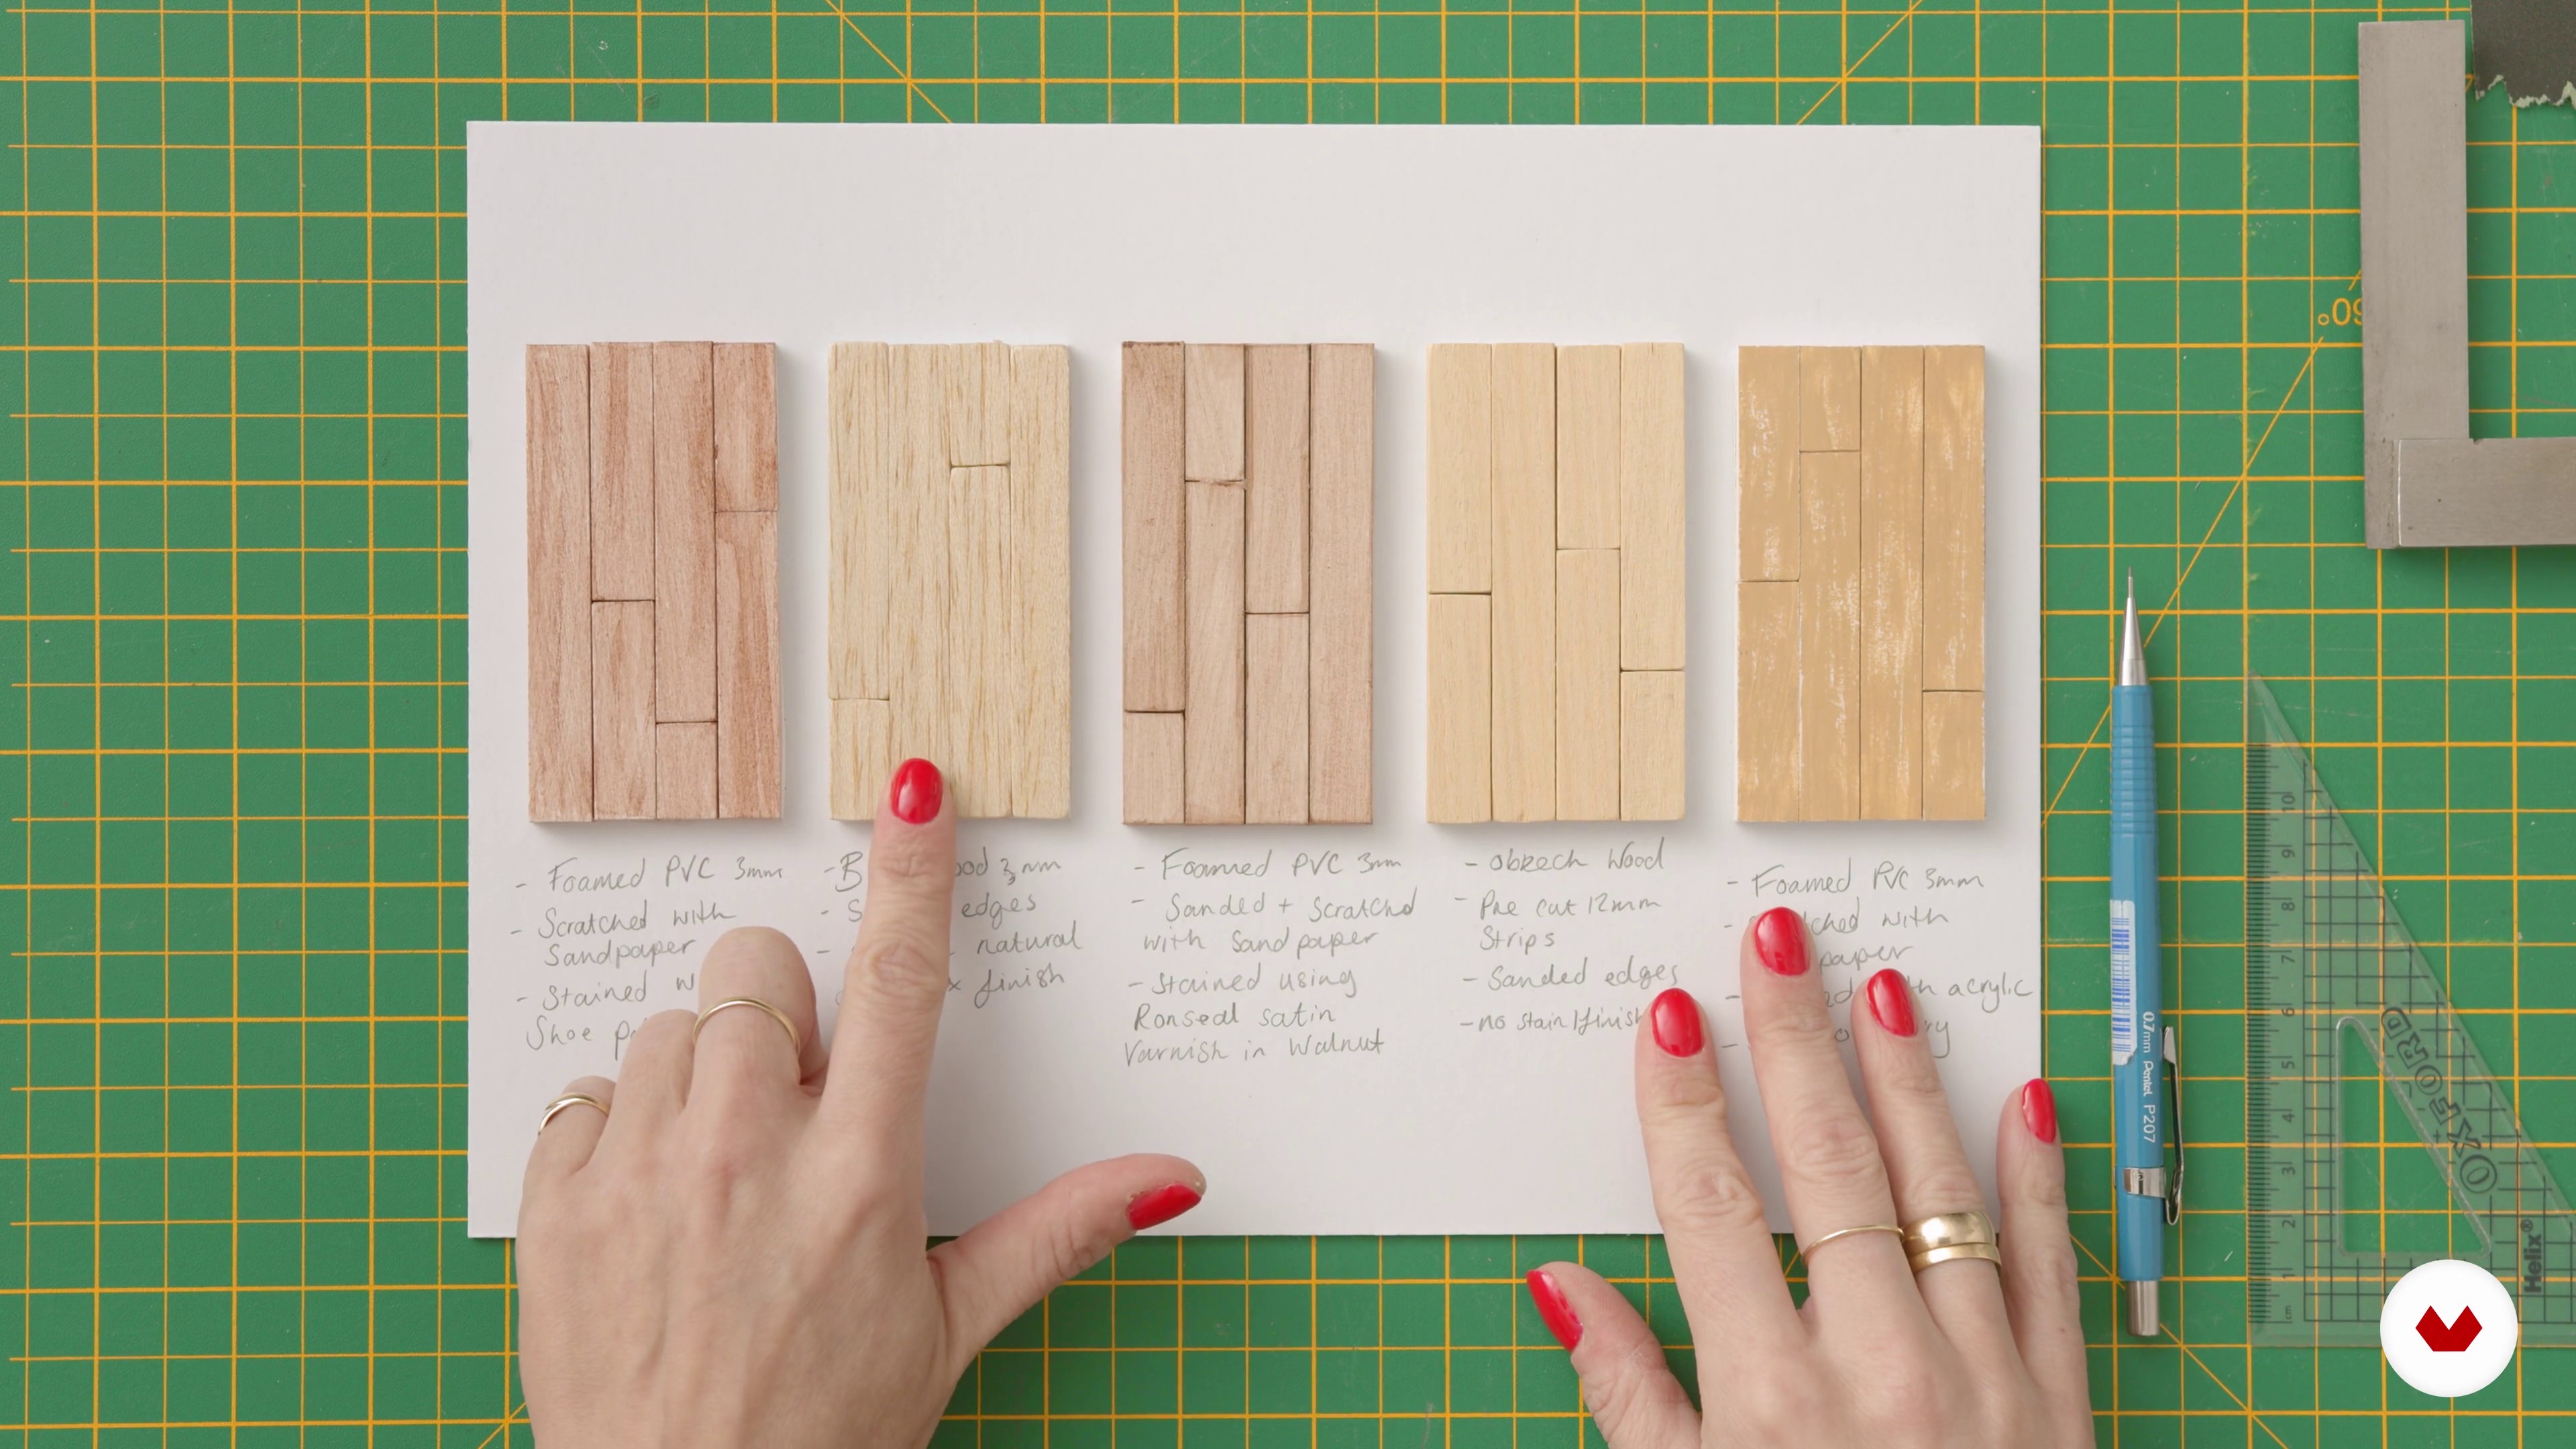
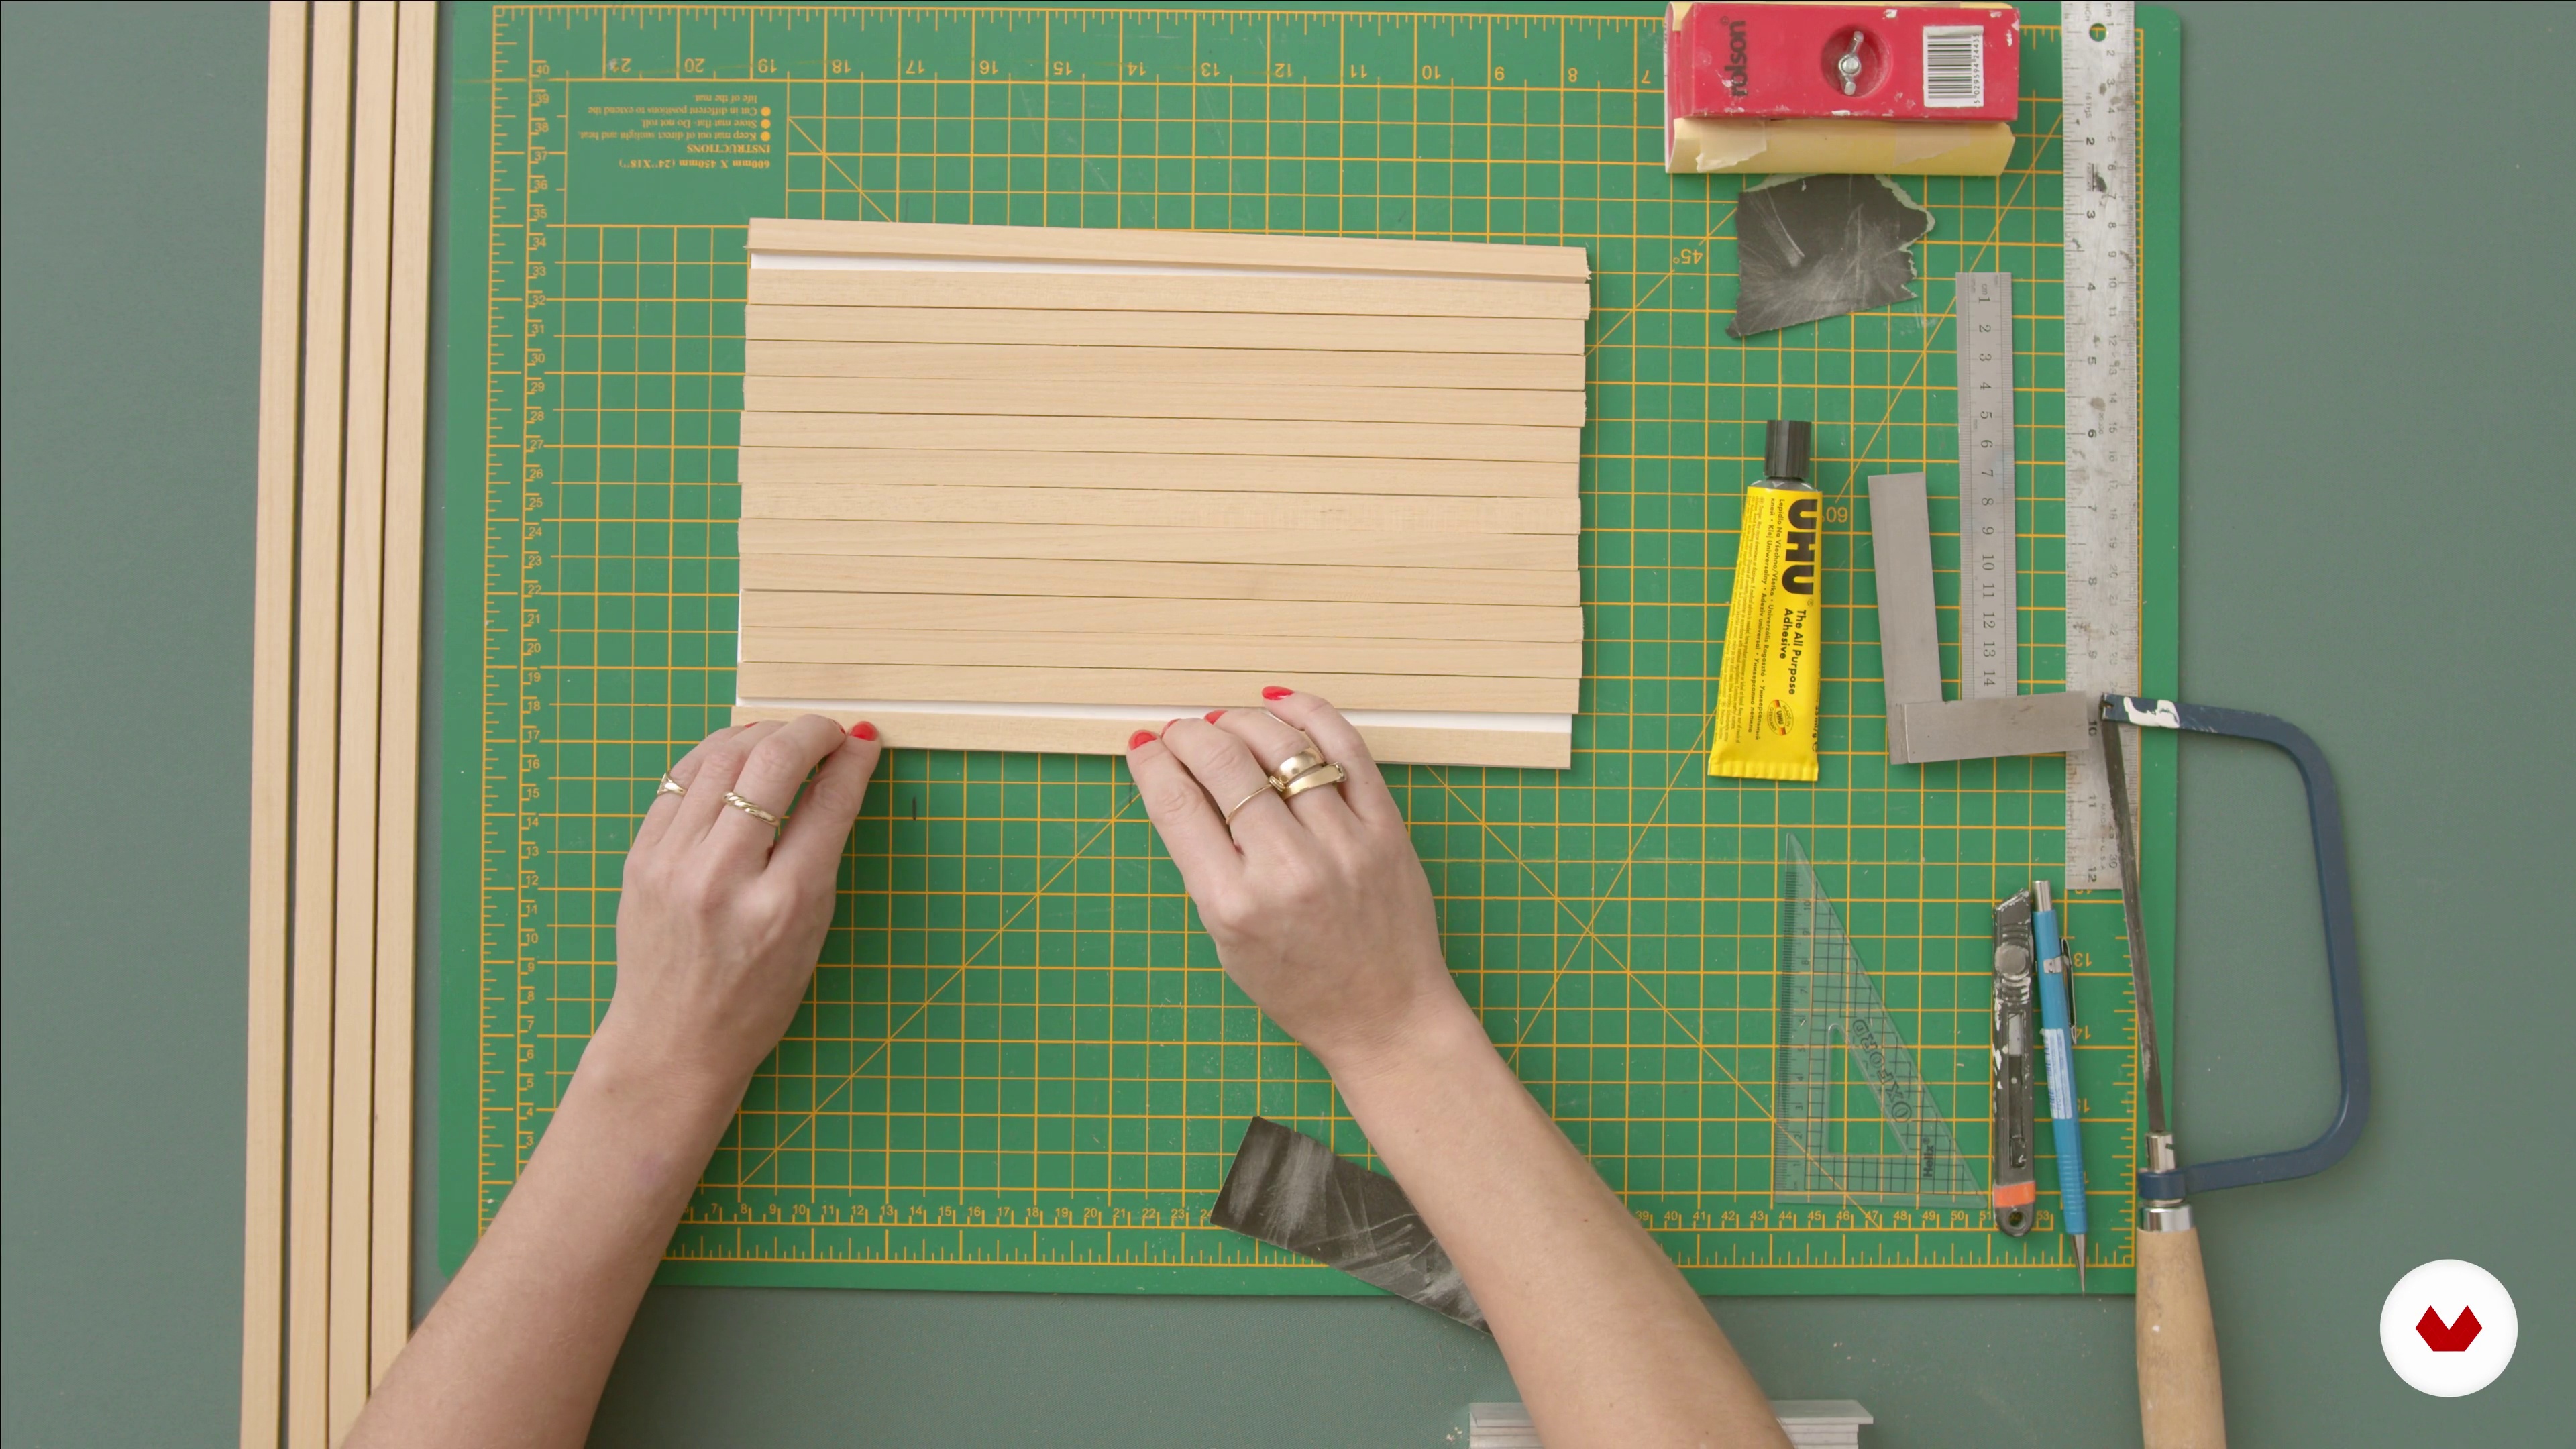
You’ll need basic materials like plasticine, Fimo clay, foam PVC, balsa wood, cutting mat, scalpel, sandpaper, set square, spray mount, glue, and a junior hacksaw. The course provides a detailed materials list.
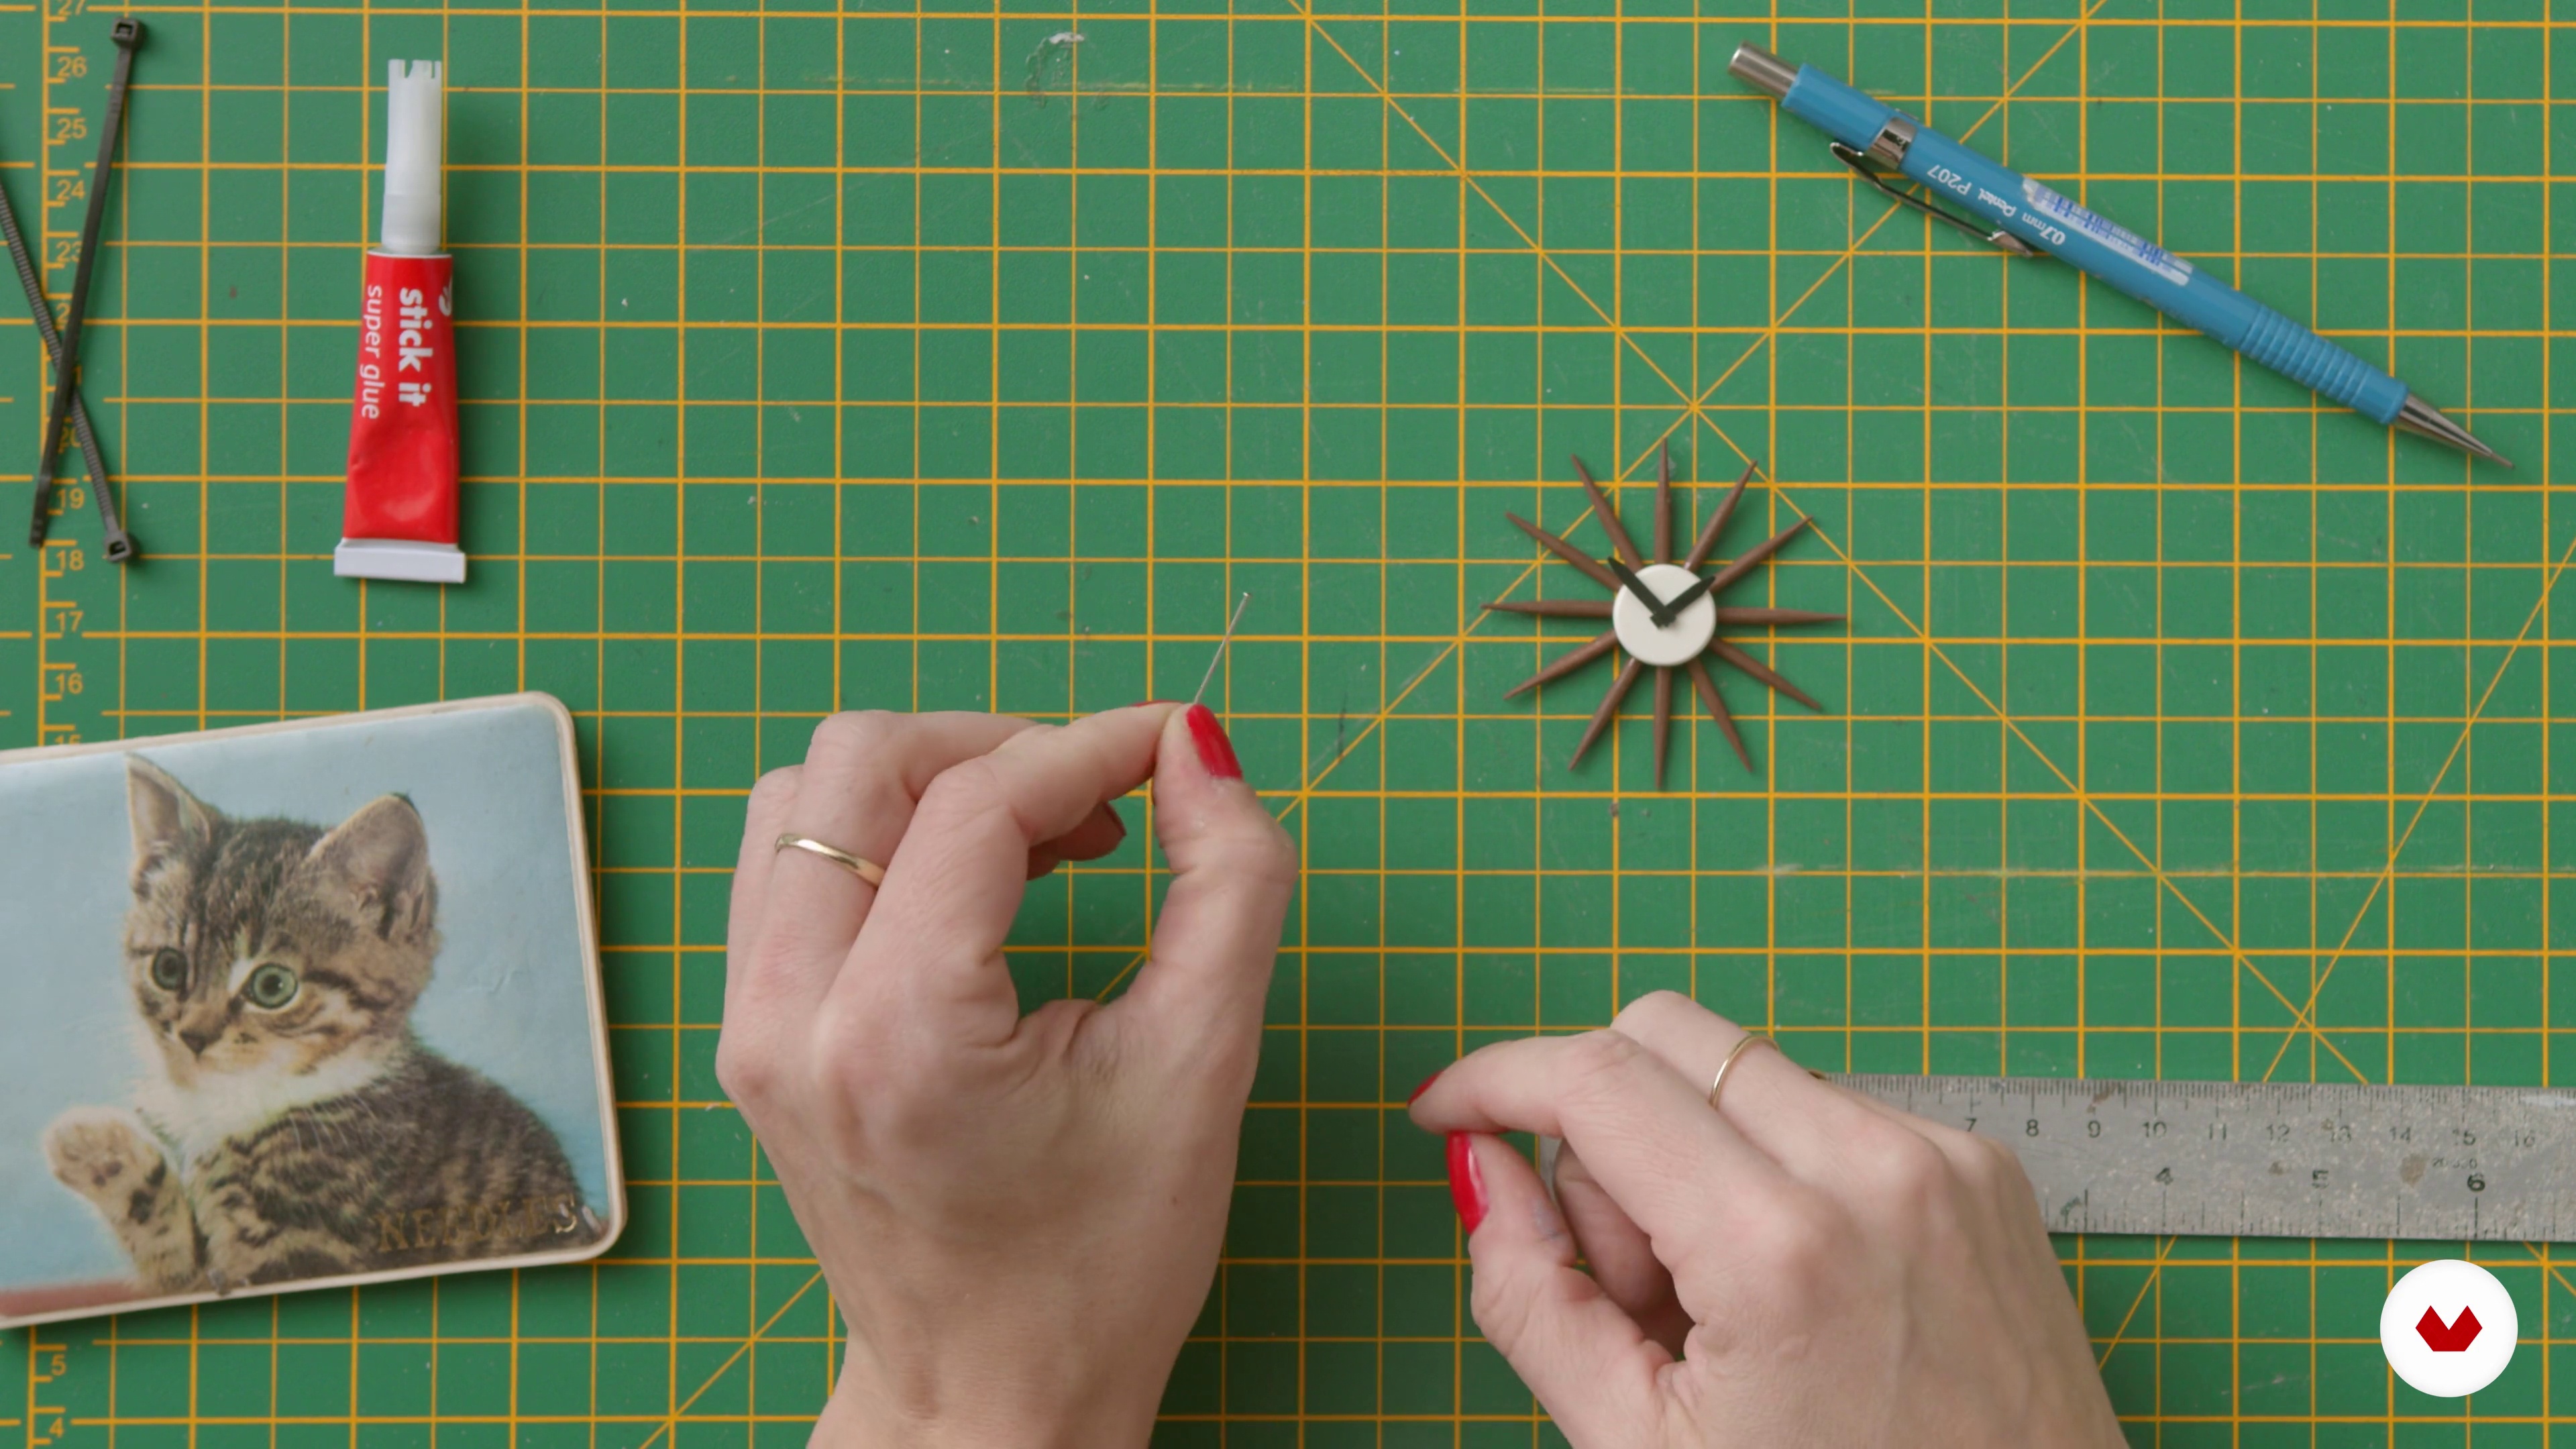
You’ll learn to build scale models, create miniature furniture, experiment with soft sculpture techniques, use specialty materials, and assemble detailed model components using safe and precise methods.
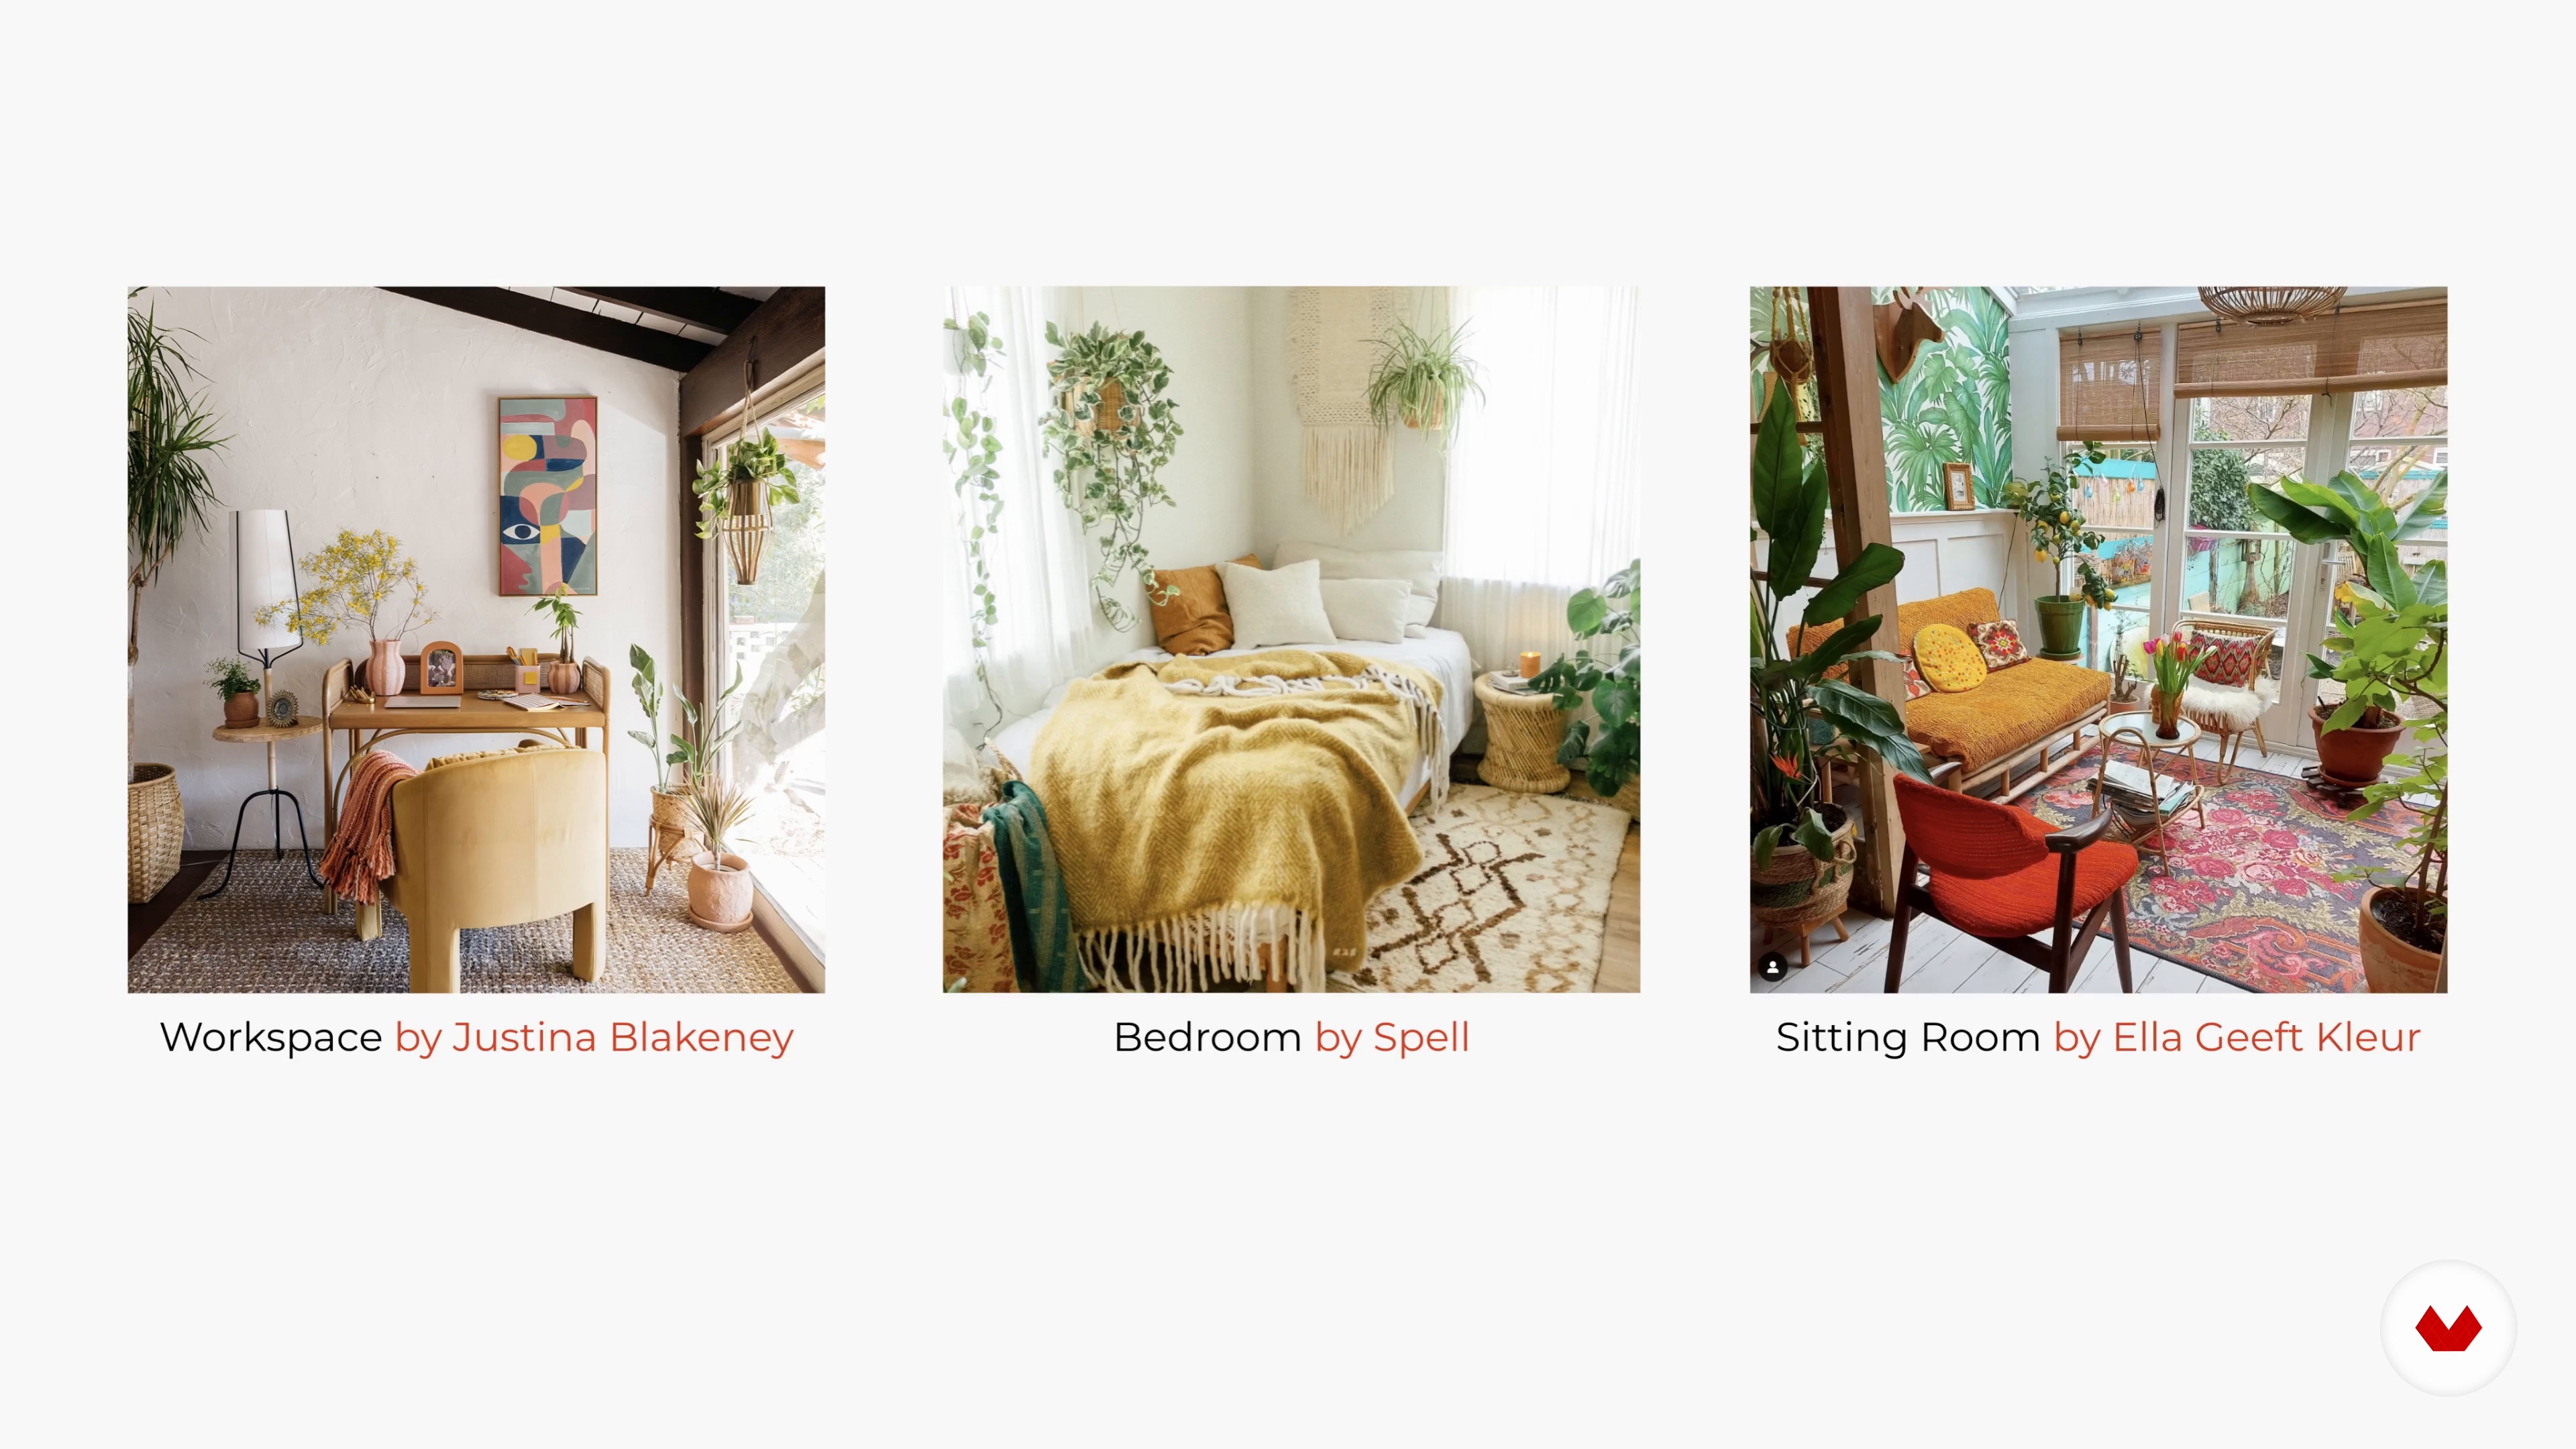
The course teaches you to collect reference images online, use Pinterest, and organize design ideas into digital or physical inspiration boards to guide your creative process.
No previous sculpting or design experience is required—this course starts with basics and gradually builds your skills in model making and creative techniques.
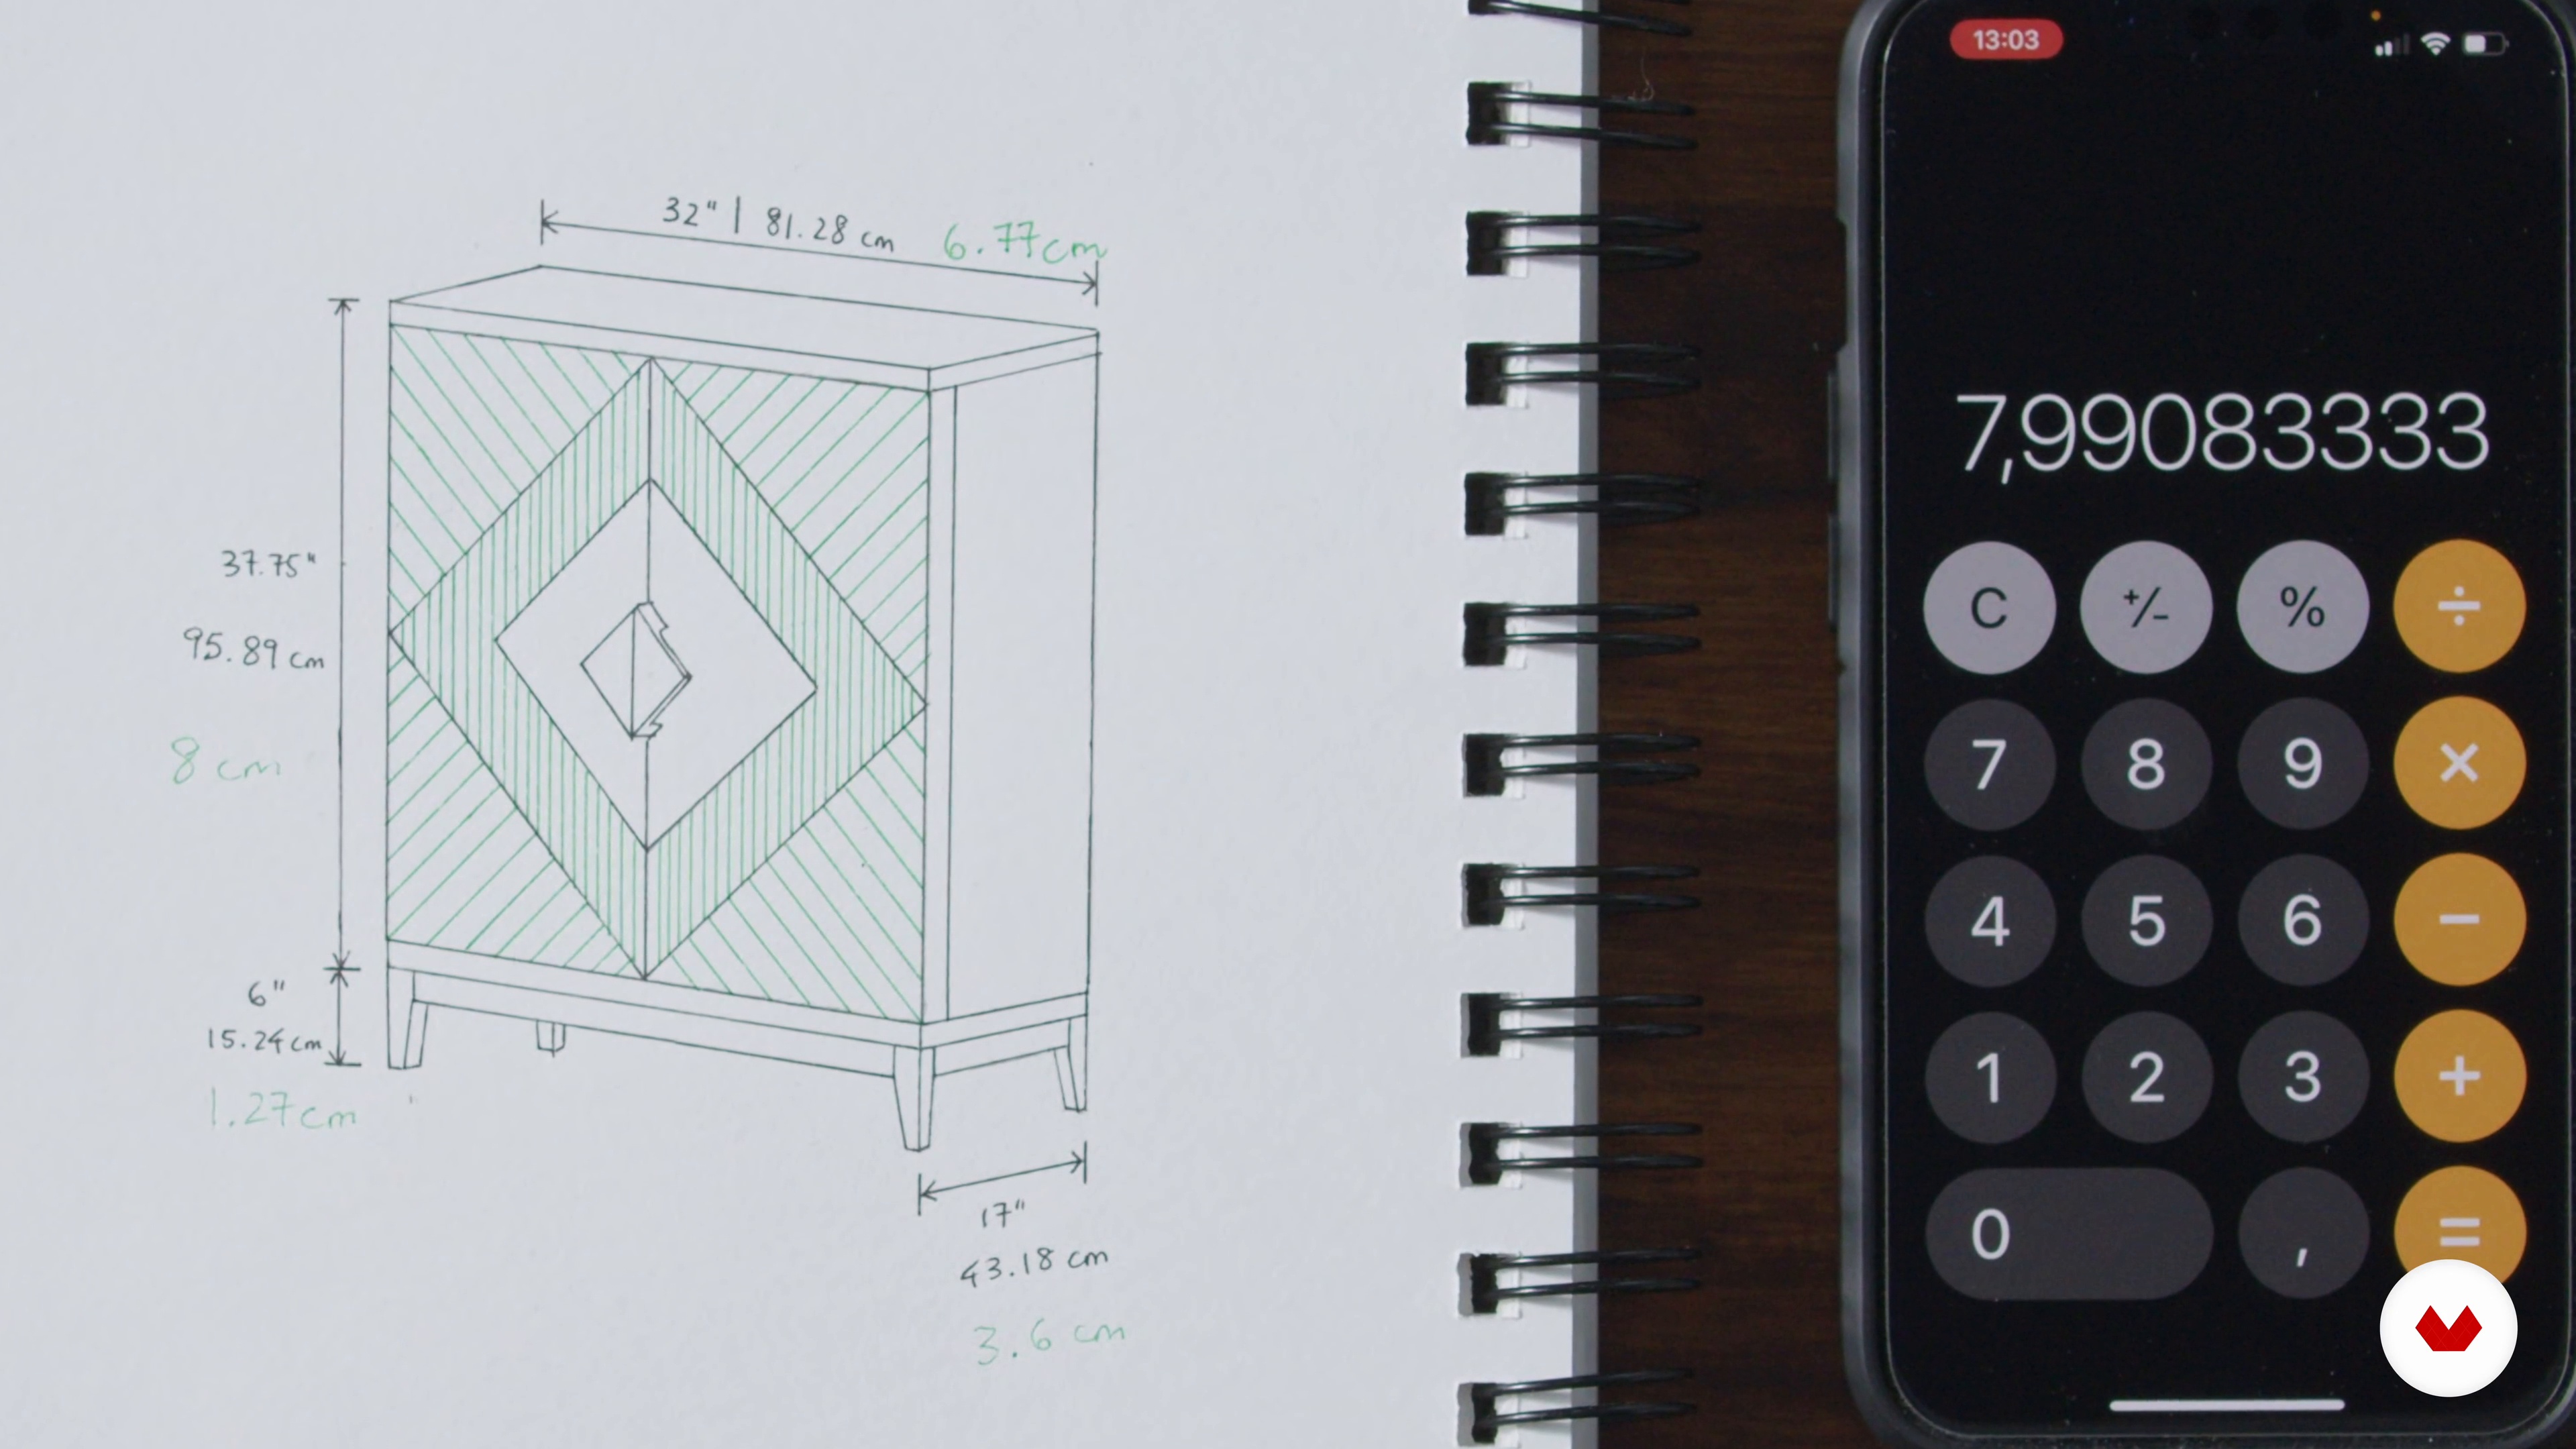
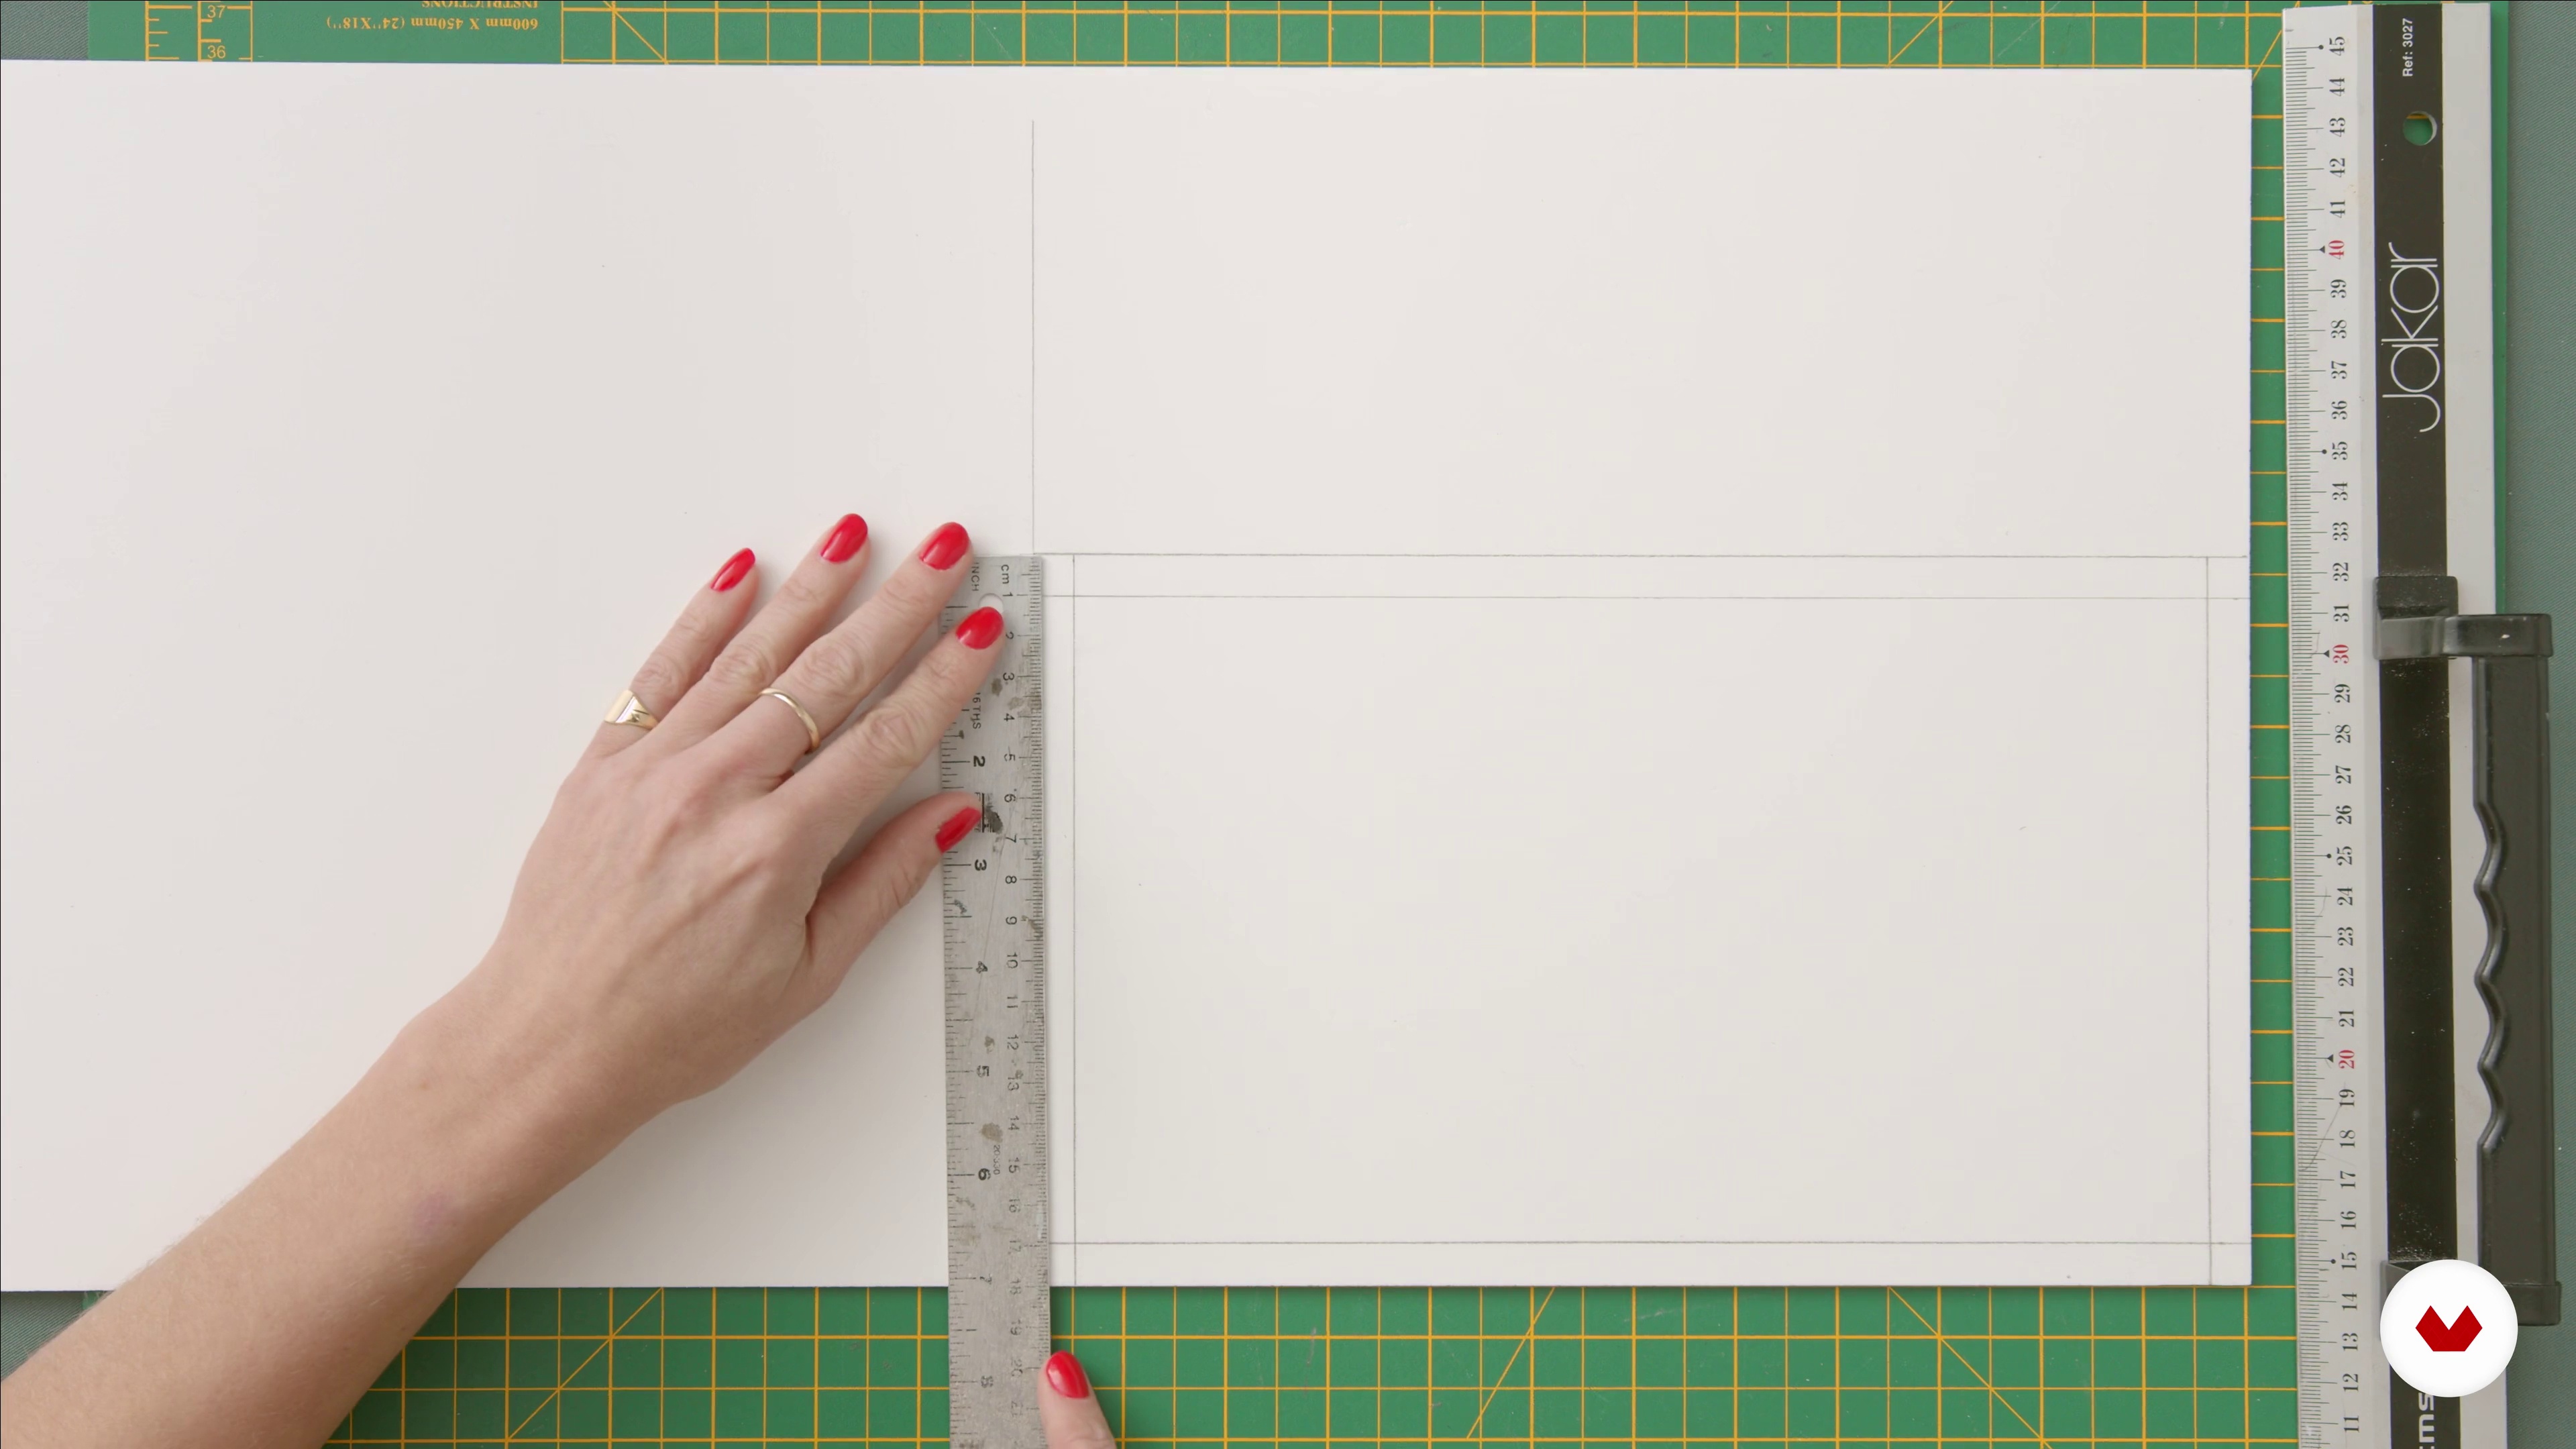
You’ll learn how to select appropriate scales, convert real-world dimensions, and make accurate 1:10 or custom scale models. The course explains scale calculation and its impact on design.
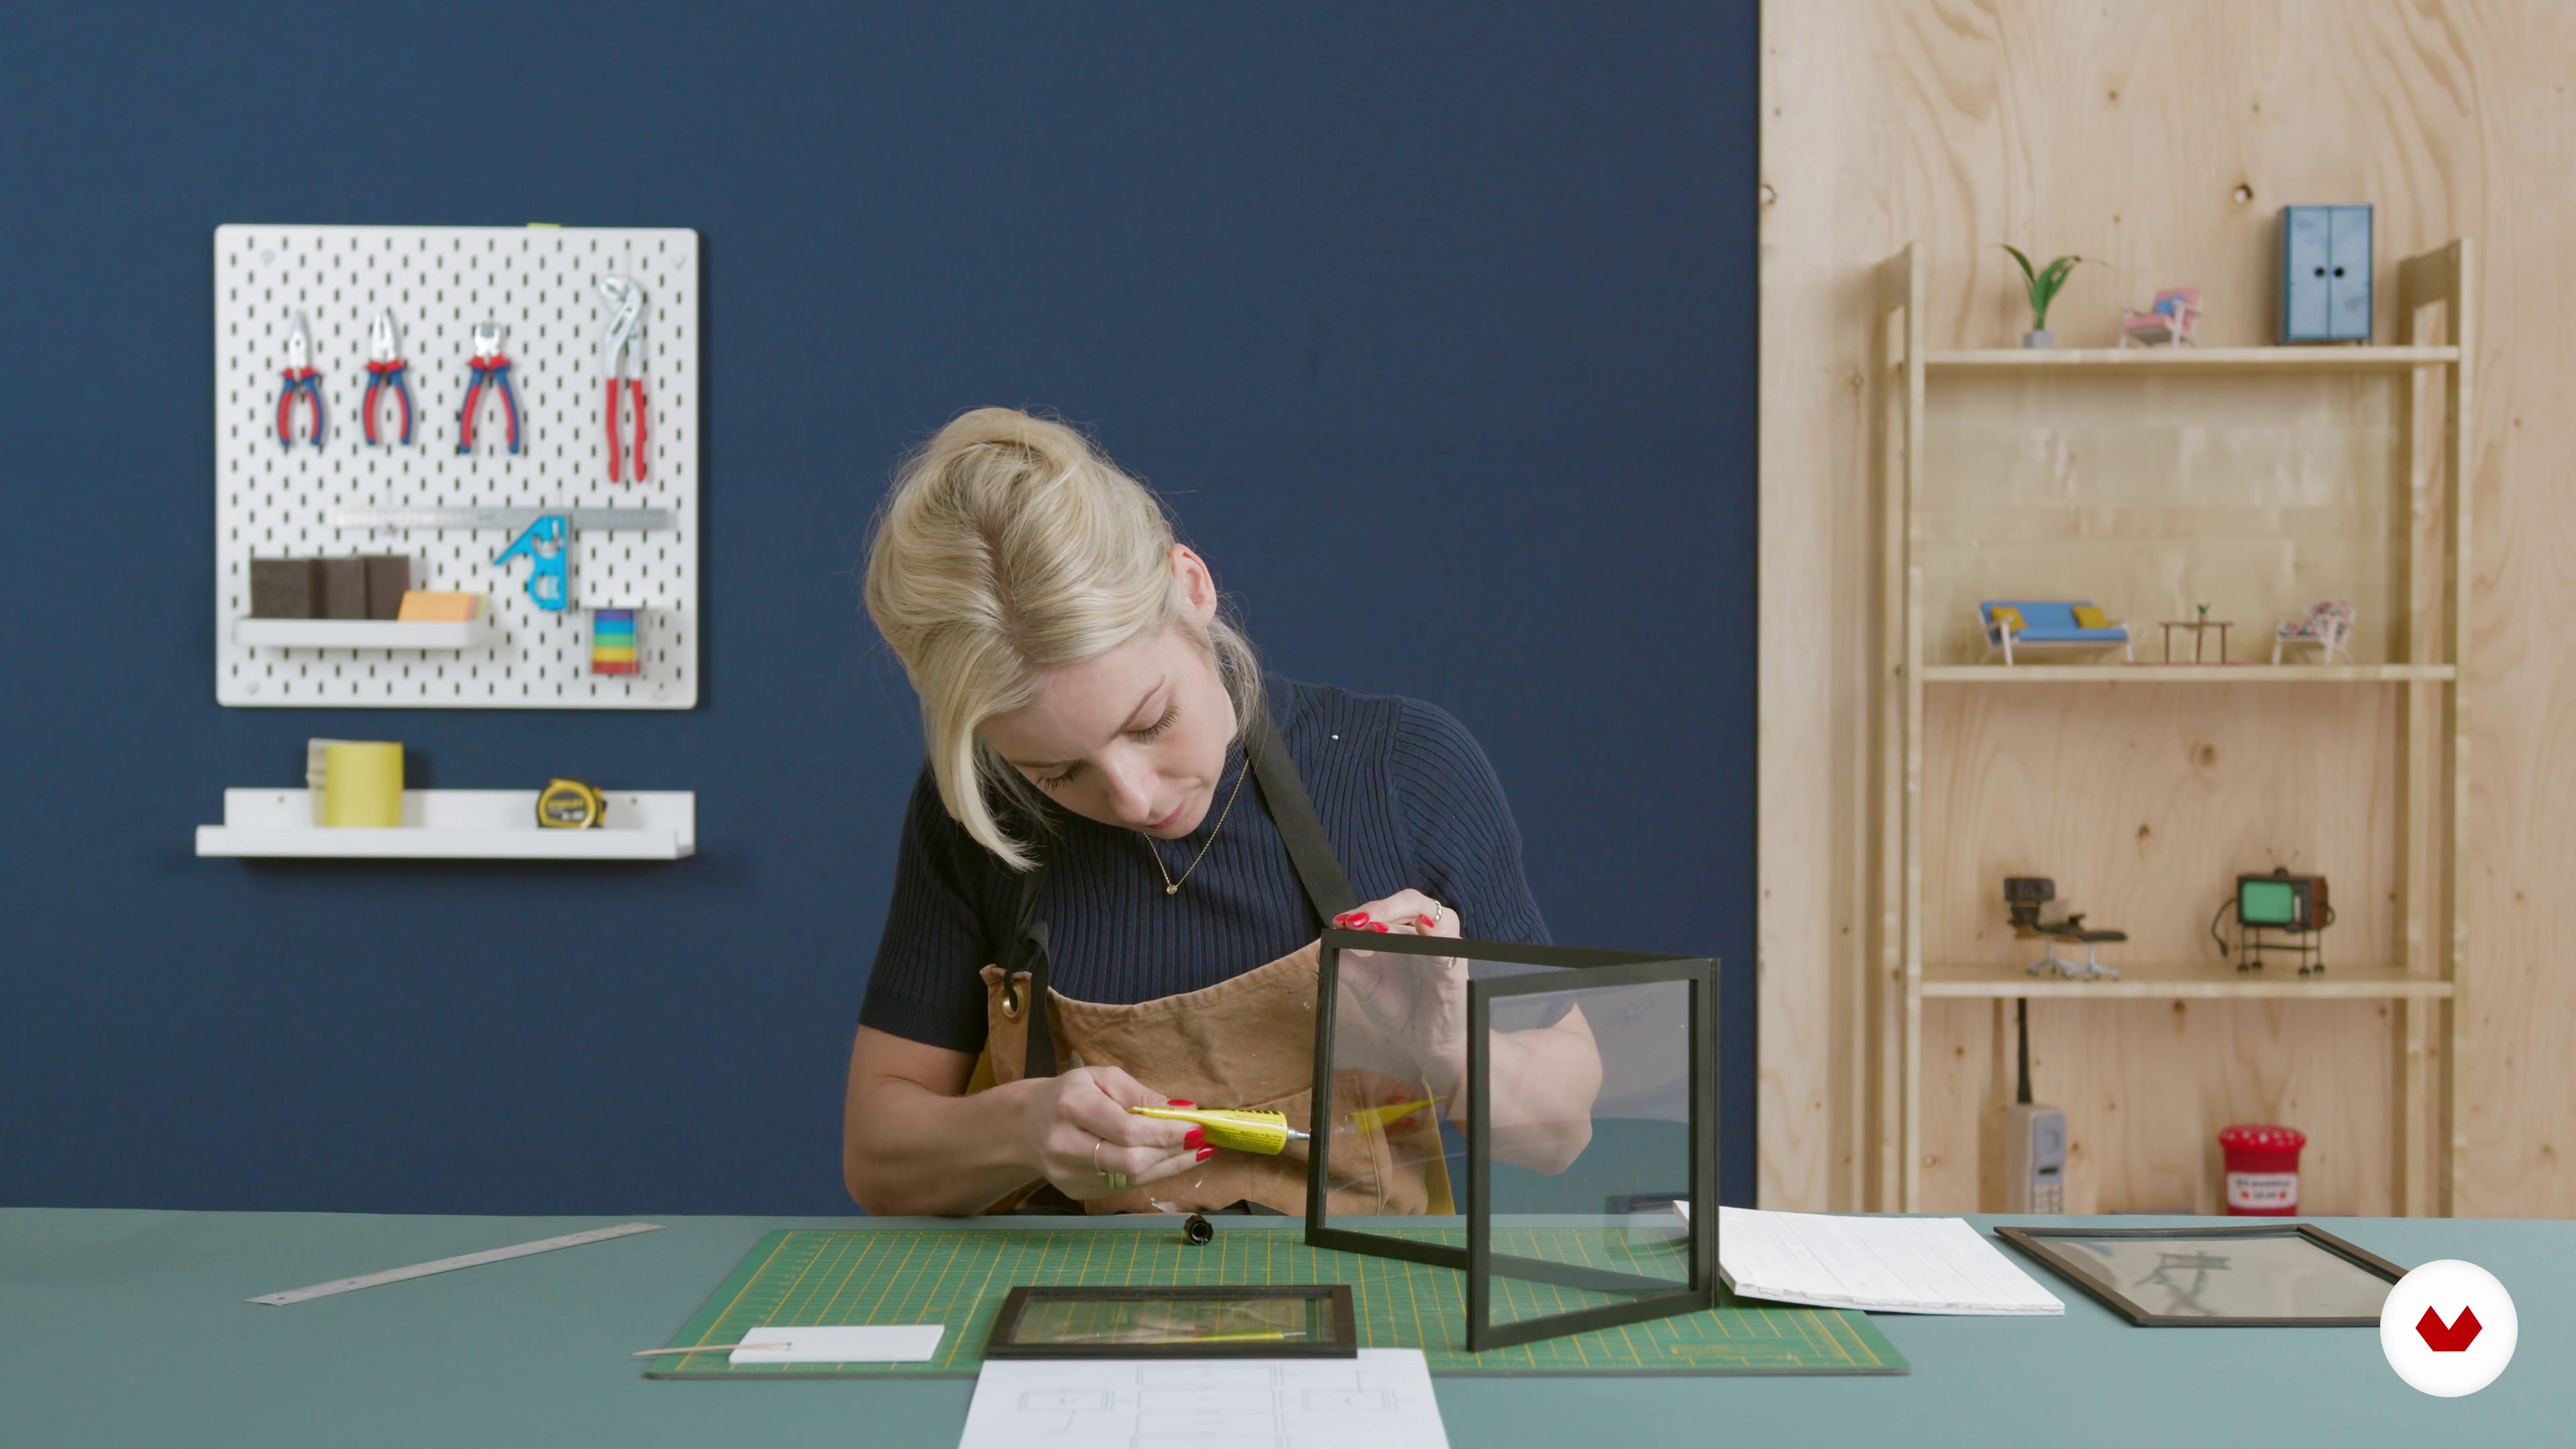
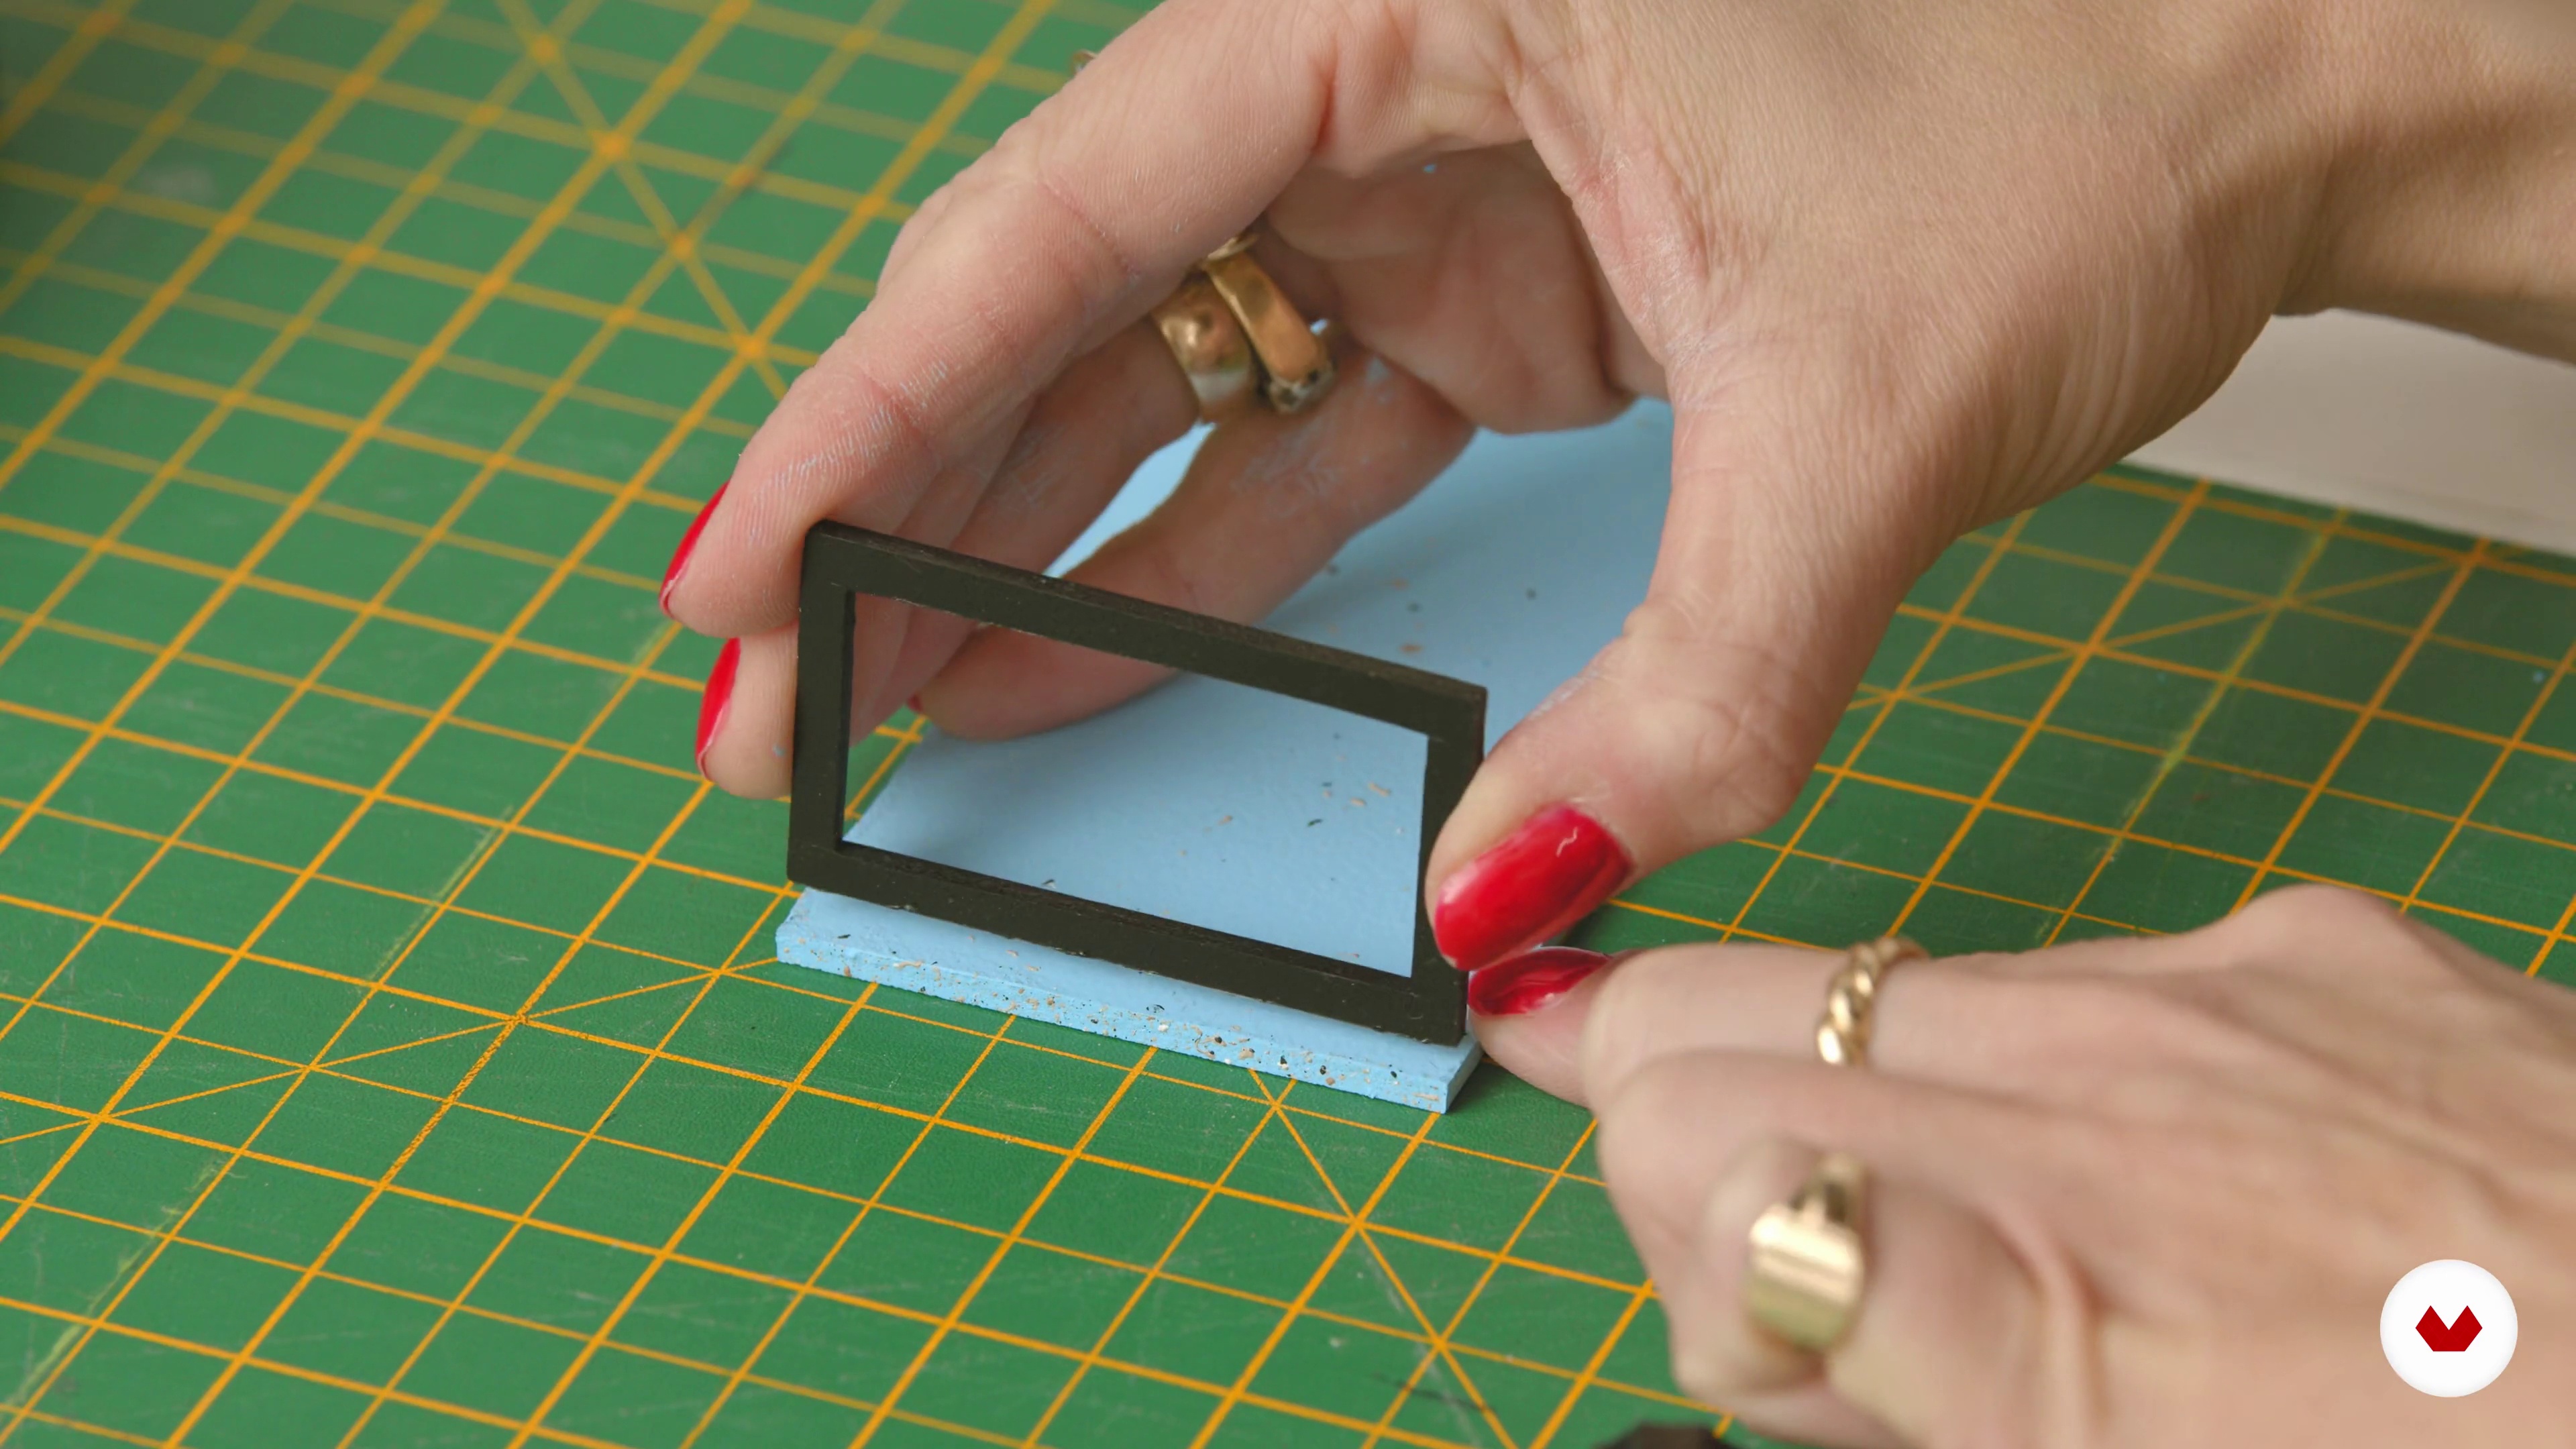
You’ll learn safe and effective cutting with scalpels and junior hacksaws, using set squares for accuracy, sanding PVC edges, applying glue, and assembling model windows and walls.

Estoy disfrutando enormemente este curso. ¡Tiene todo!, es genial.
Hasta donde llevo me ha gustado mucho, buenos profesores!