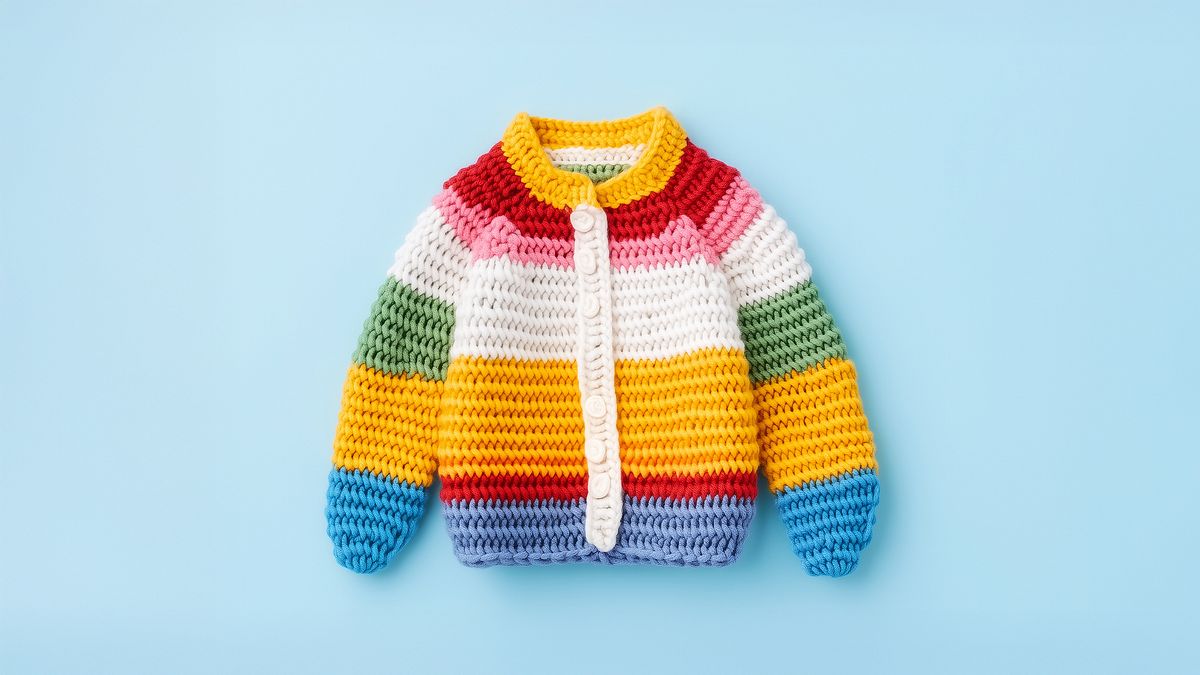

Design and weave crochet romantic garments using classic points and light structures for delicate finishes
Immerse yourself in the fascinating world of crochet and discover how to create unique and personalized garments. Through this specialization, you'll learn to master everything from basic techniques to advanced structures, exploring the richness of contemporary design. Learn to make romantic blouses with classic stitches, cozy socks with specialized techniques, and colorful floral sweaters. The expertise of Alelí Deco Crochet, Alimaravillas, Relmü Tejidos, Estefa González – Santa Pazienzia, and Laura Carmona – SusiMiu will guide you every step of the way.
Develop your skill in combining textures and colors, creating modern and functional garments that reflect your personal style. Using top-down techniques, you'll be able to design seamless pieces that fit your body perfectly. Dare to experiment with color palettes and patterns, creating visually striking garments. Whether you're looking to learn from scratch or perfect your skills, this training program offers you the tools you need to become an expert in the art of crochet. Transform your ideas into unique creations with the support of these talented professionals.
What will you learn in this specialization?
 1
1Introduction
In this lesson, you'll delve into the world of crochet as an art, a history, and a way of life. We'll discuss the power of weaving stories with every stitch, celebrate authentic creativity, and discover how a tiny hook can open up a universe of endless possibilities.
2m
 2
2Influences | Alelí Deco Crochet
Inspiration can come from anywhere; for me, it's been people and books. I'll show you who has inspired me to create my work. I'll also tell you how I discovered a world full of possibilities by learning to knit.
3m
 3
3Influences | Alimaravillas
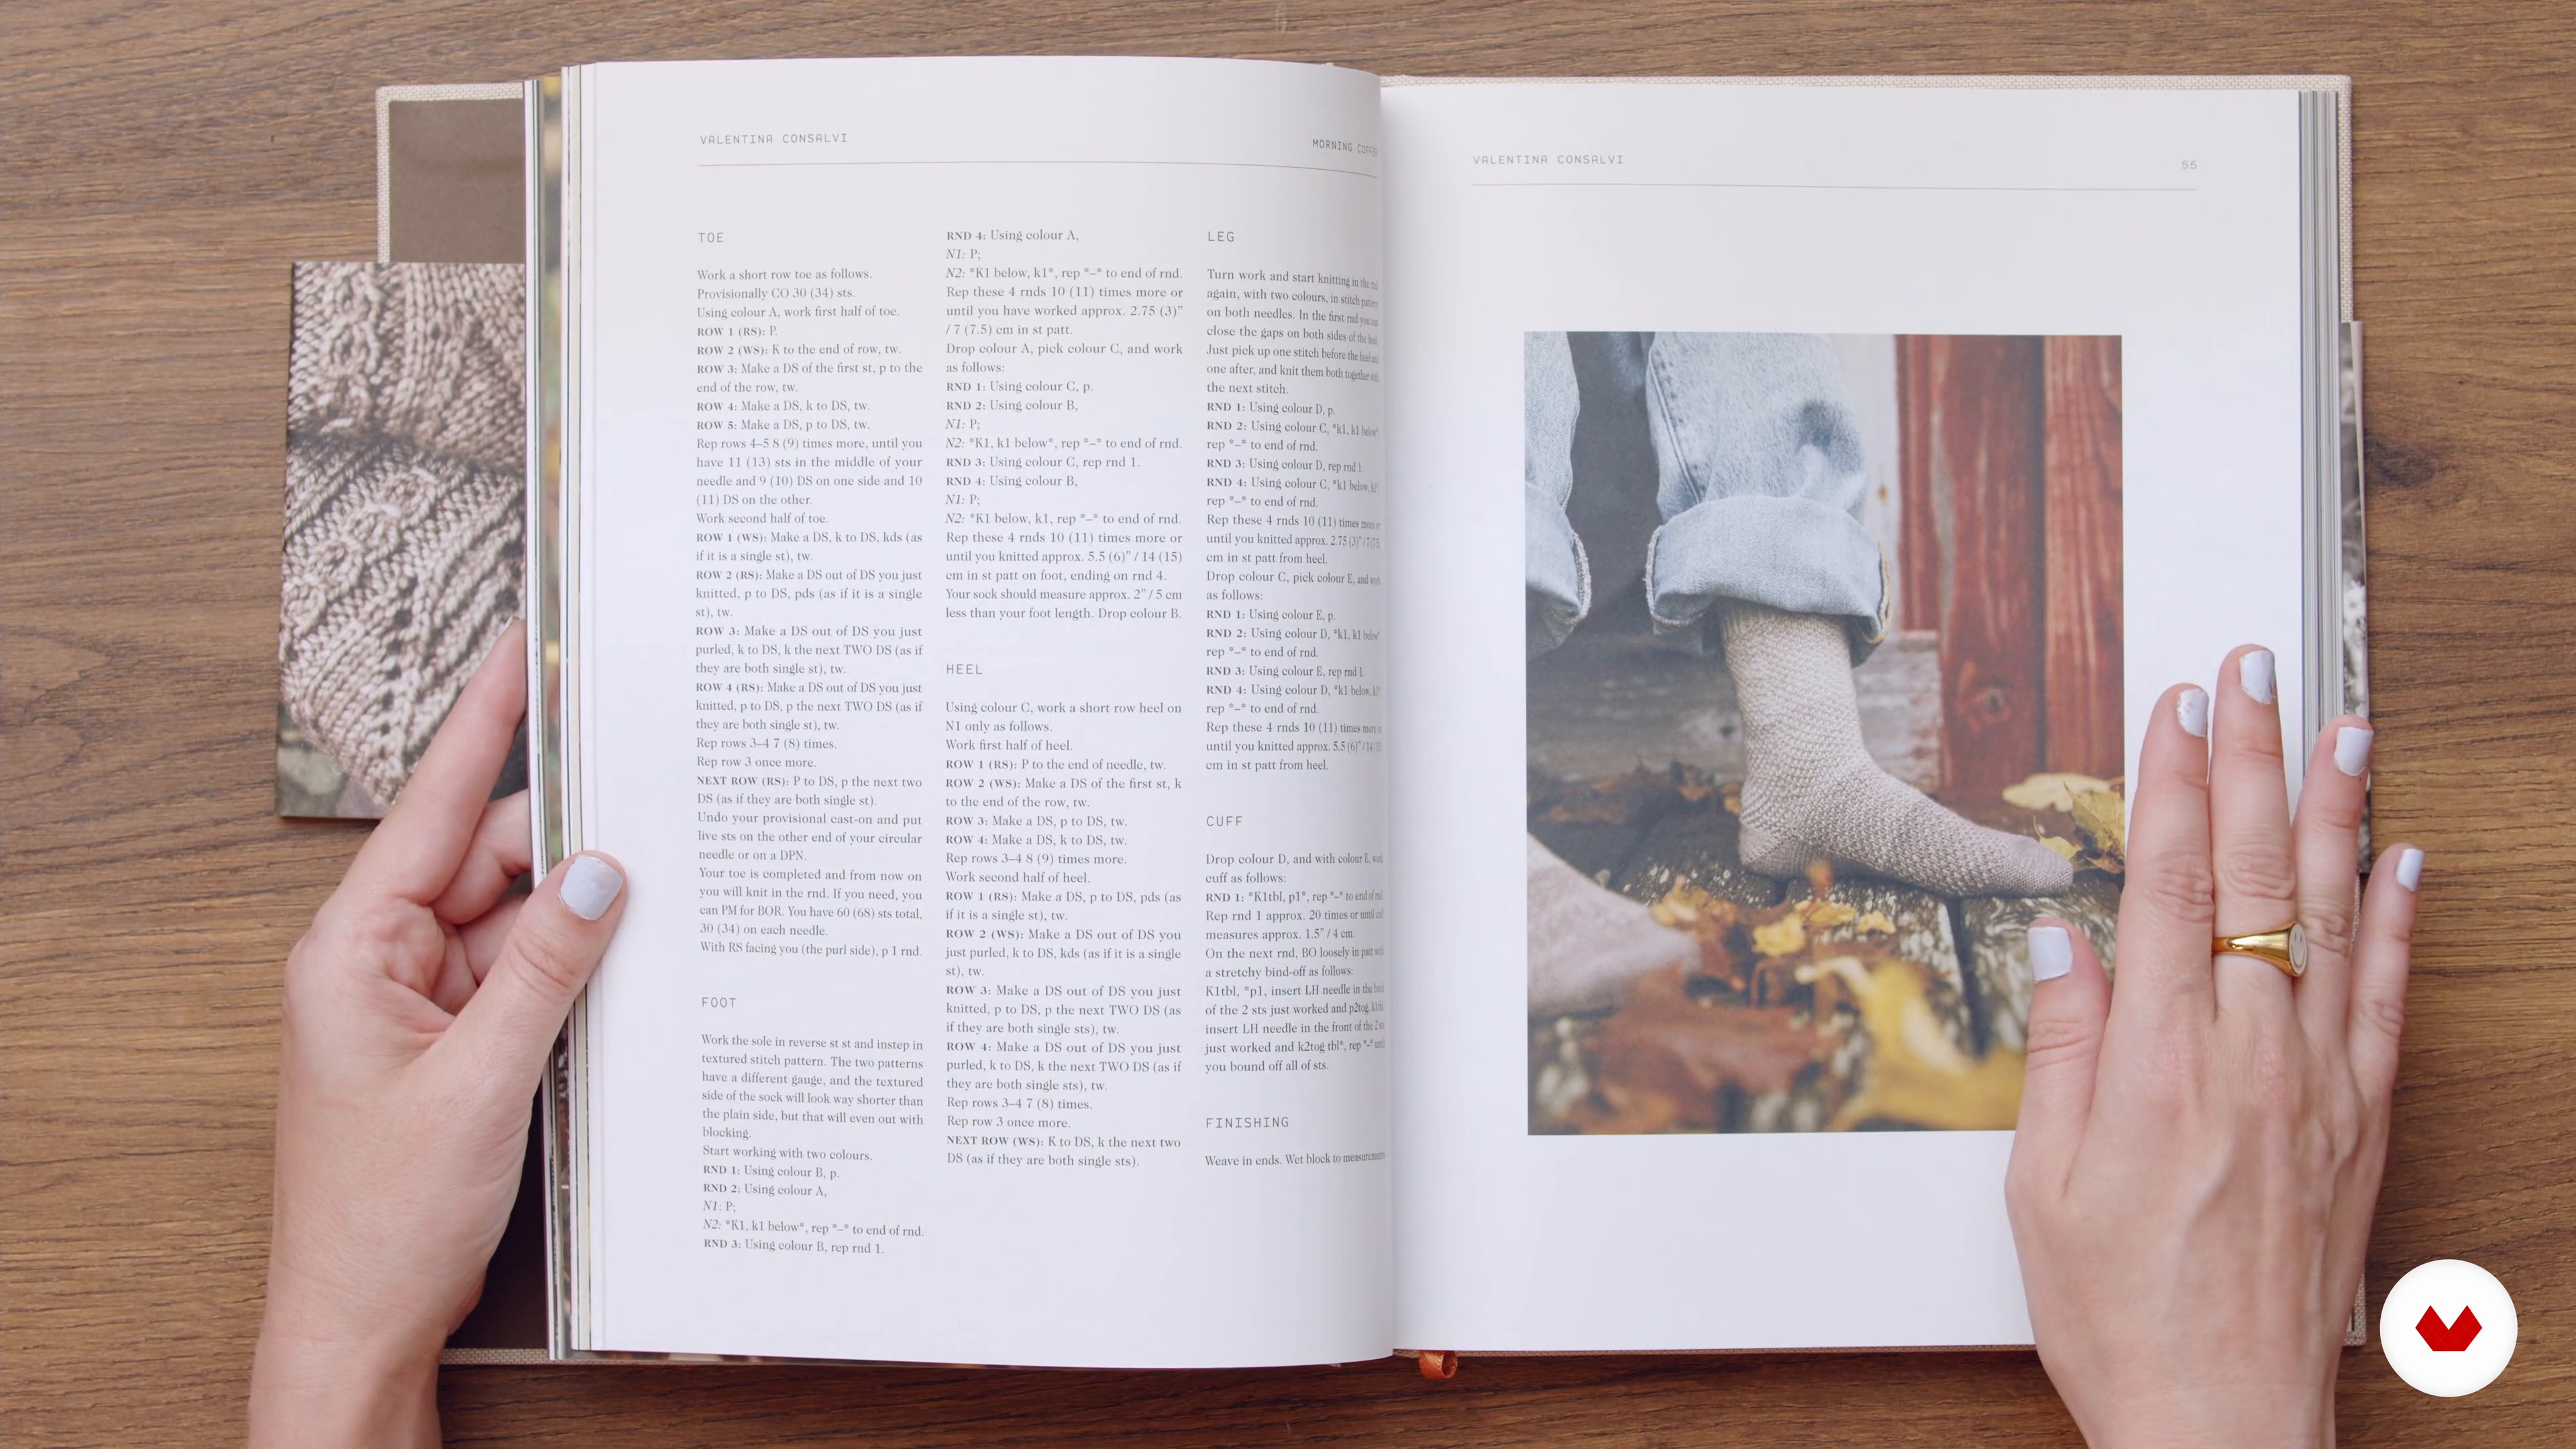
My inspiration comes from my passions, my desires, and my hobbies. I'm in love with Lifestyle , urban and rural life, graffiti and art. I'm a huge fan of baroque, minimalism, and letters. I like boho and Nordic styles. In short, I don't turn my nose up at anything and I love diving into what I crave. That's where my creative processes sometimes come from. I put them together, I expose them, and I merge them. Let's see what comes out. And something good always comes out.
5m
 4
4Influences | Alimaravillas
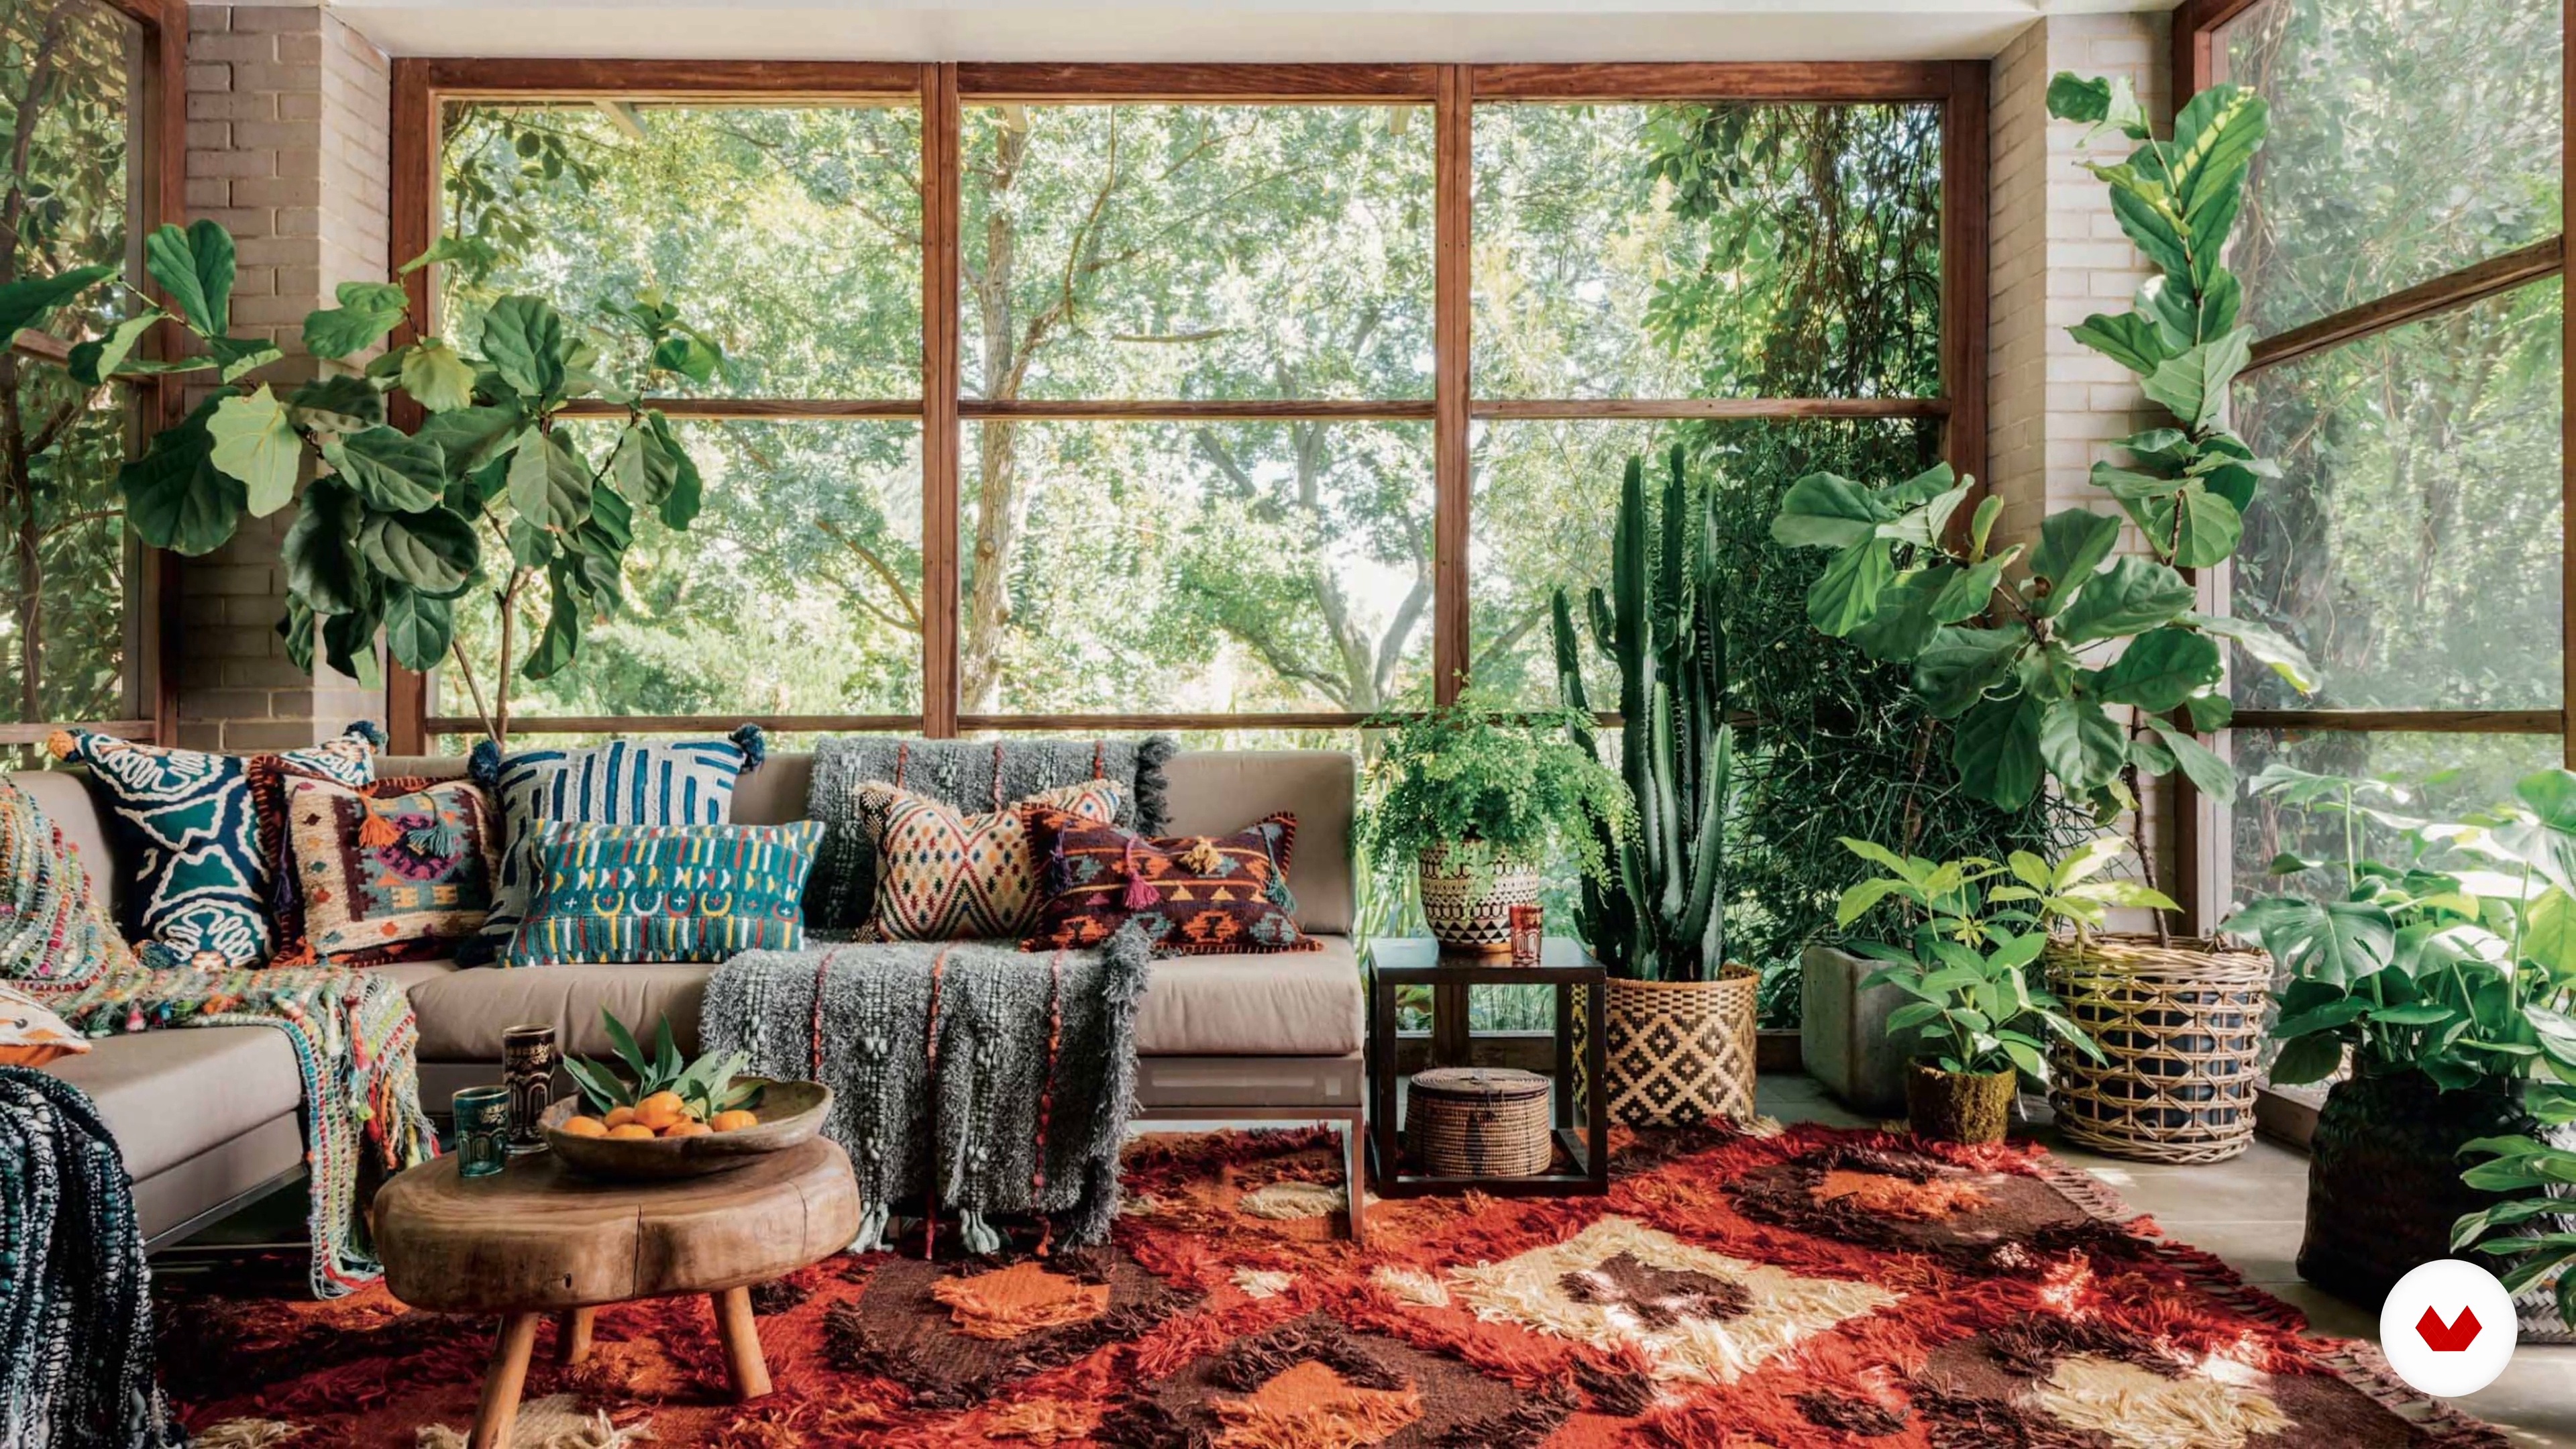
I've always been very clear that my inspiration comes from my passions, from the world around me. From the design of the objects I use every day to the series and music that accompany my knitting. I have a very particular way of understanding the universe, which is actually quite general. Because, in my opinion, no one is special; we are all exactly equally special, and I'm sure my inspirations are very similar to yours.
5m
 5
5Influences | Relmü Tejidos
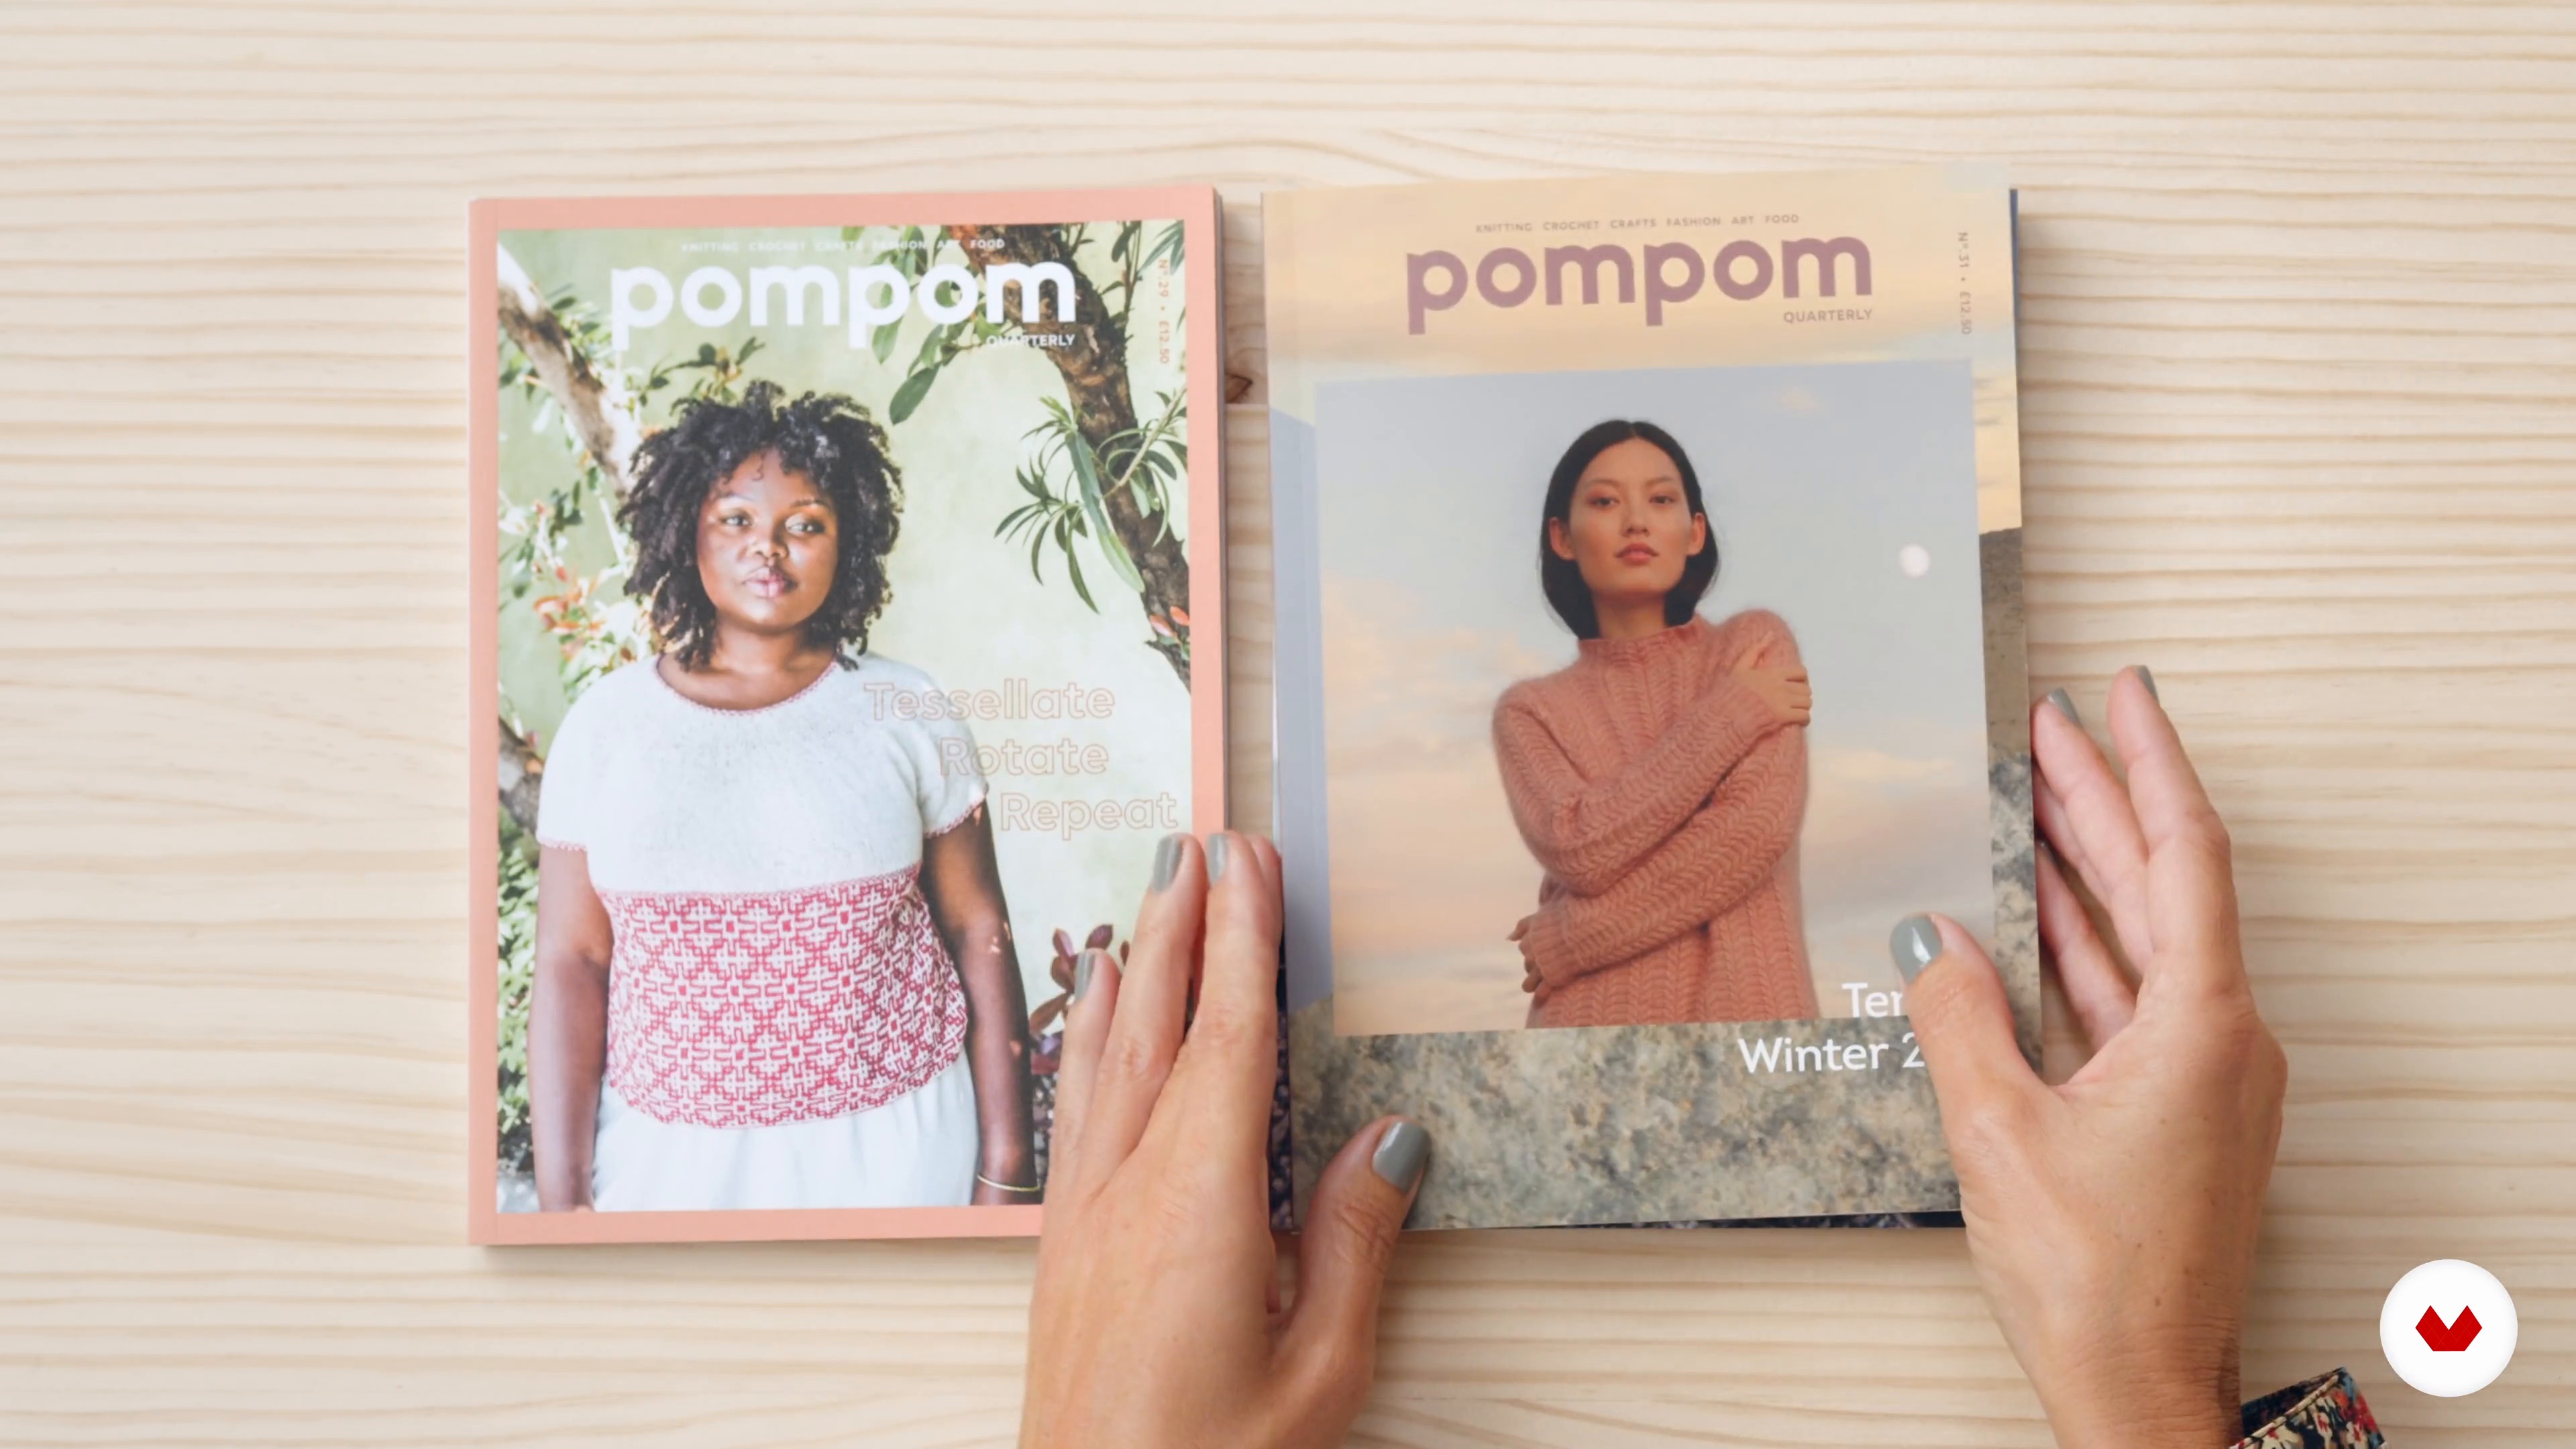
What's my source of inspiration? Here, I'll introduce you to the world that inspires me, to what lies behind each knitted garment. Join me!
4m
 6
6Influences | Estefa González
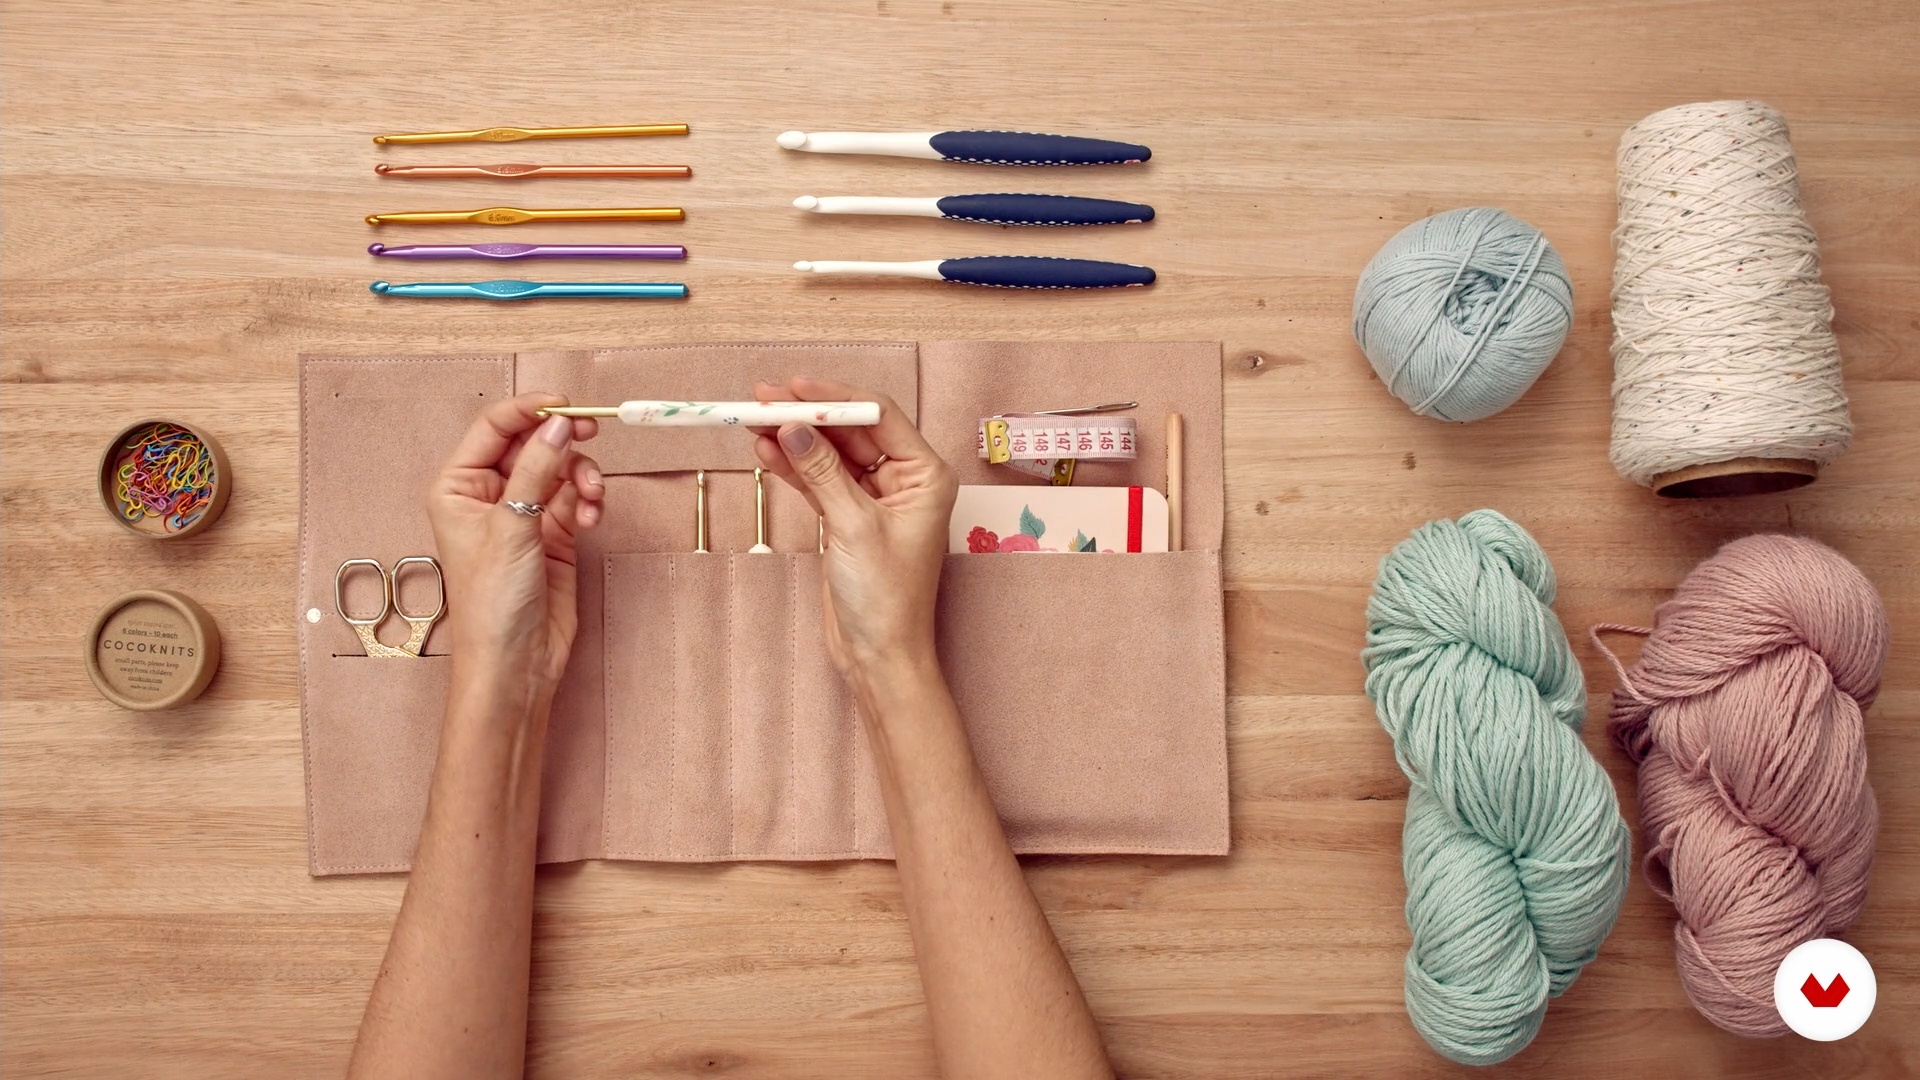
Next, I'm going to tell you about my influences and how I get inspired when designing a new crochet project.
5m
 3
3Crochet tools and bag
I'll tell you about the essential materials for knitting, as well as the different yarns, the variety of crochet hooks, and other materials that will help you complete your project.
3m
 4
4Basic stitches: chain stitch and single crochet
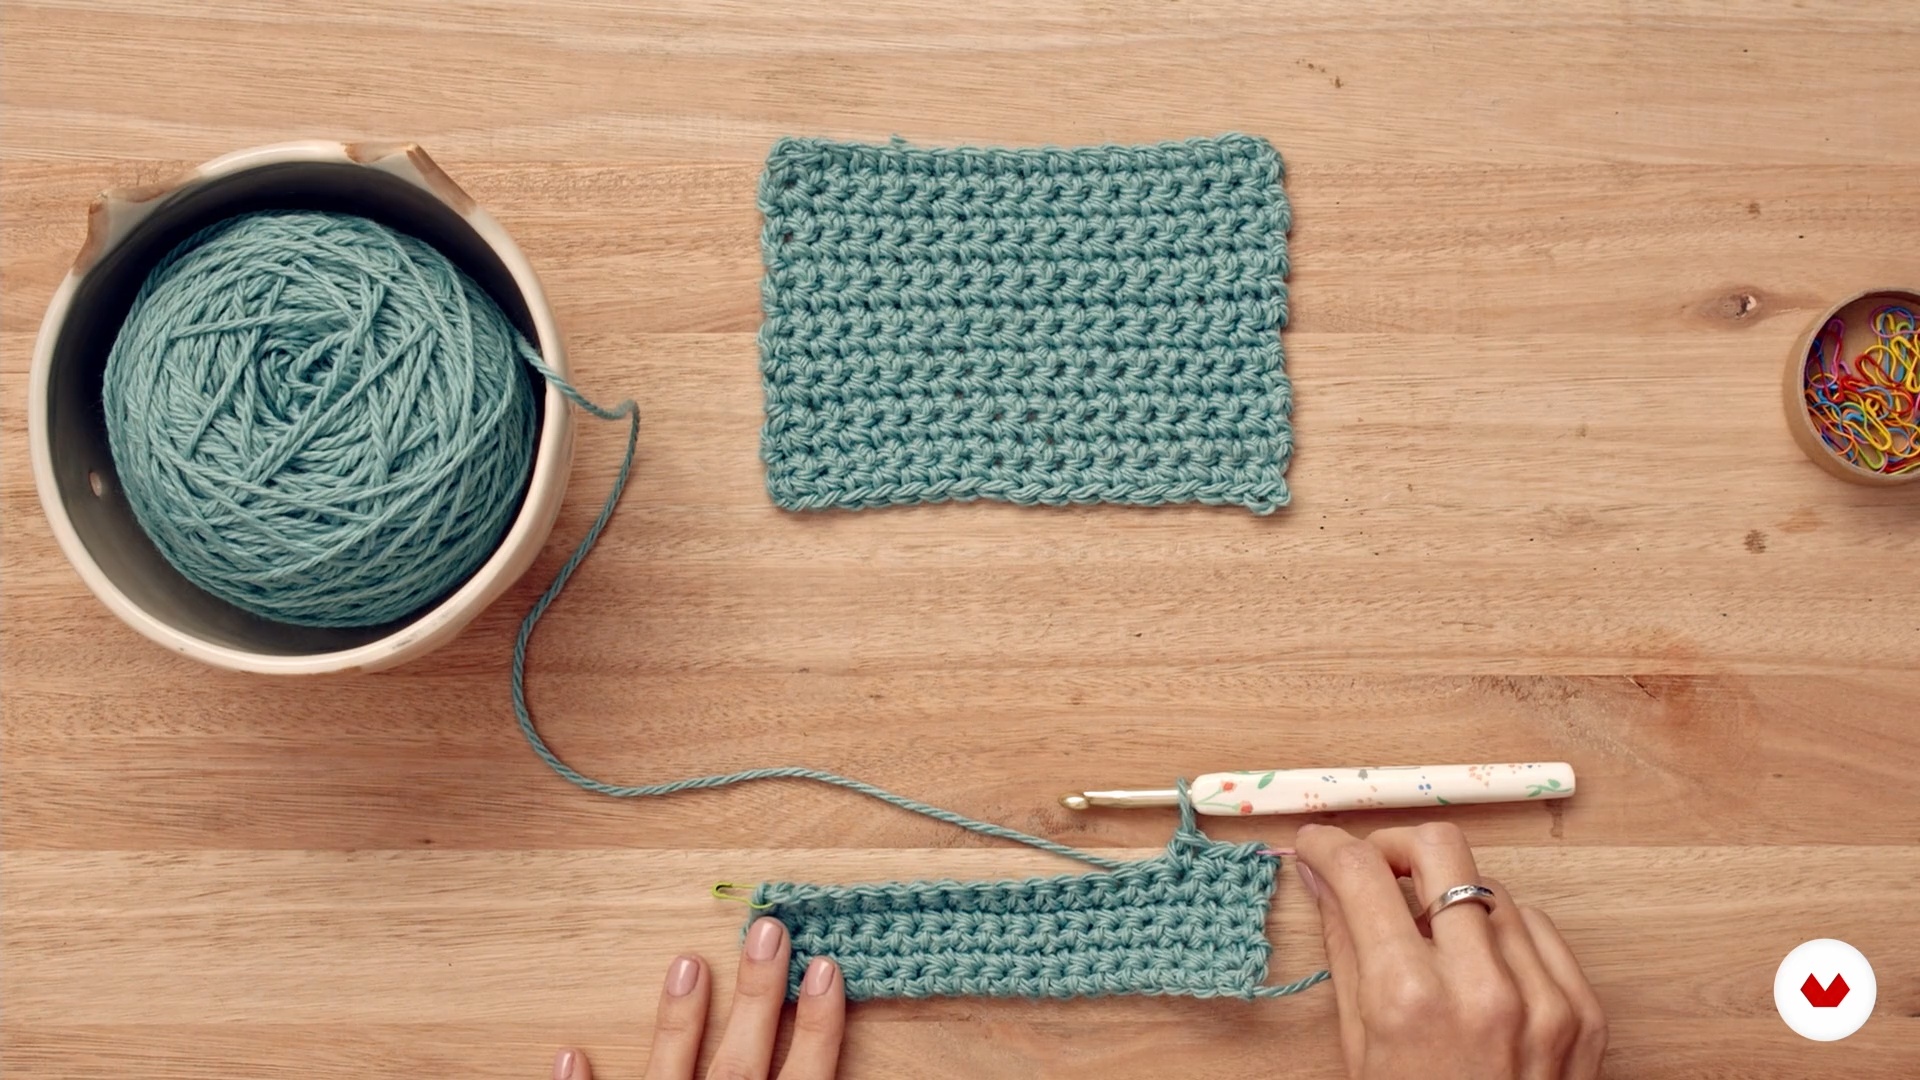
You'll learn to knit two basic and fundamental crochet stitches: chain stitch and single crochet. I'll also teach you how to read and interpret simple charts. Finally, I'll share some tips for making your first stitches.
12m
 5
5Basic stitches: double crochet
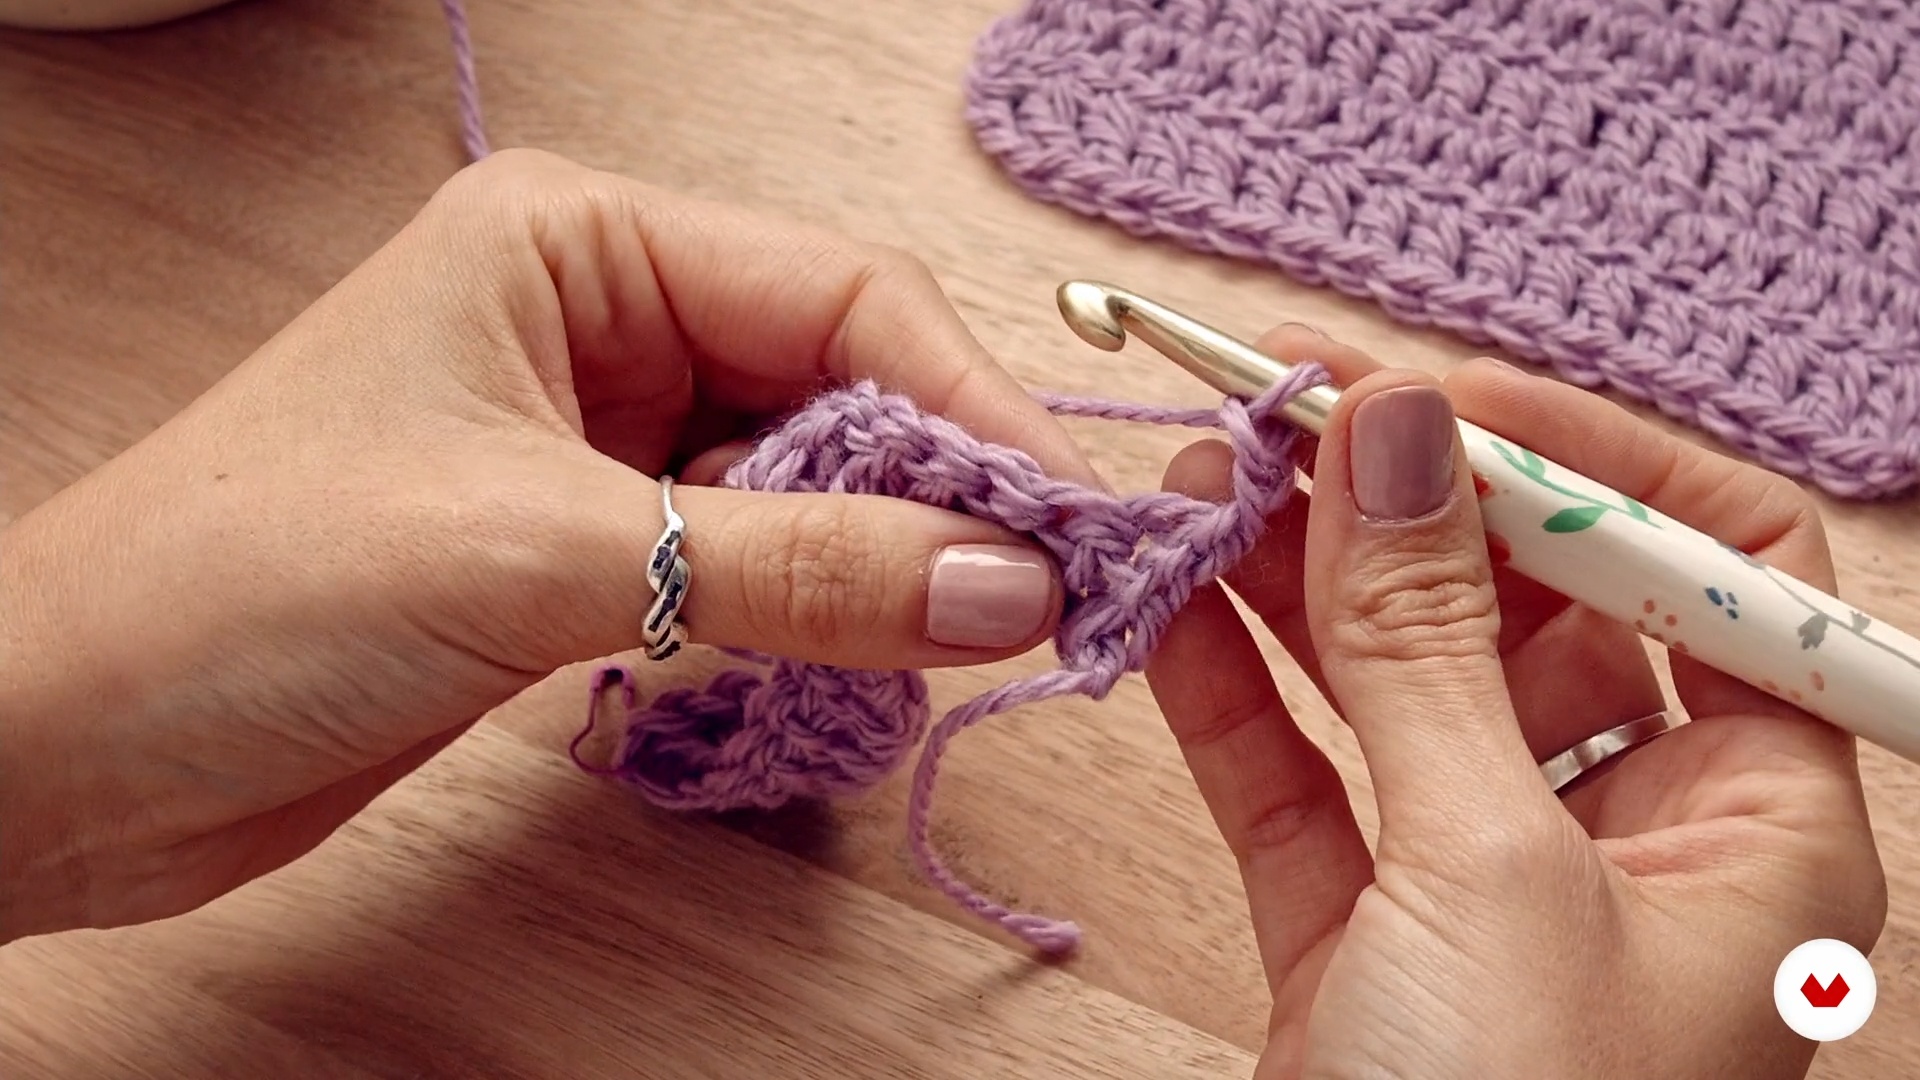
You'll learn how to knit a basic and well-known stitch: the double crochet stitch. I'll teach you how to read and interpret the chart for this sample.
9m
 6
6Fantasy Stitch: V-Stitch
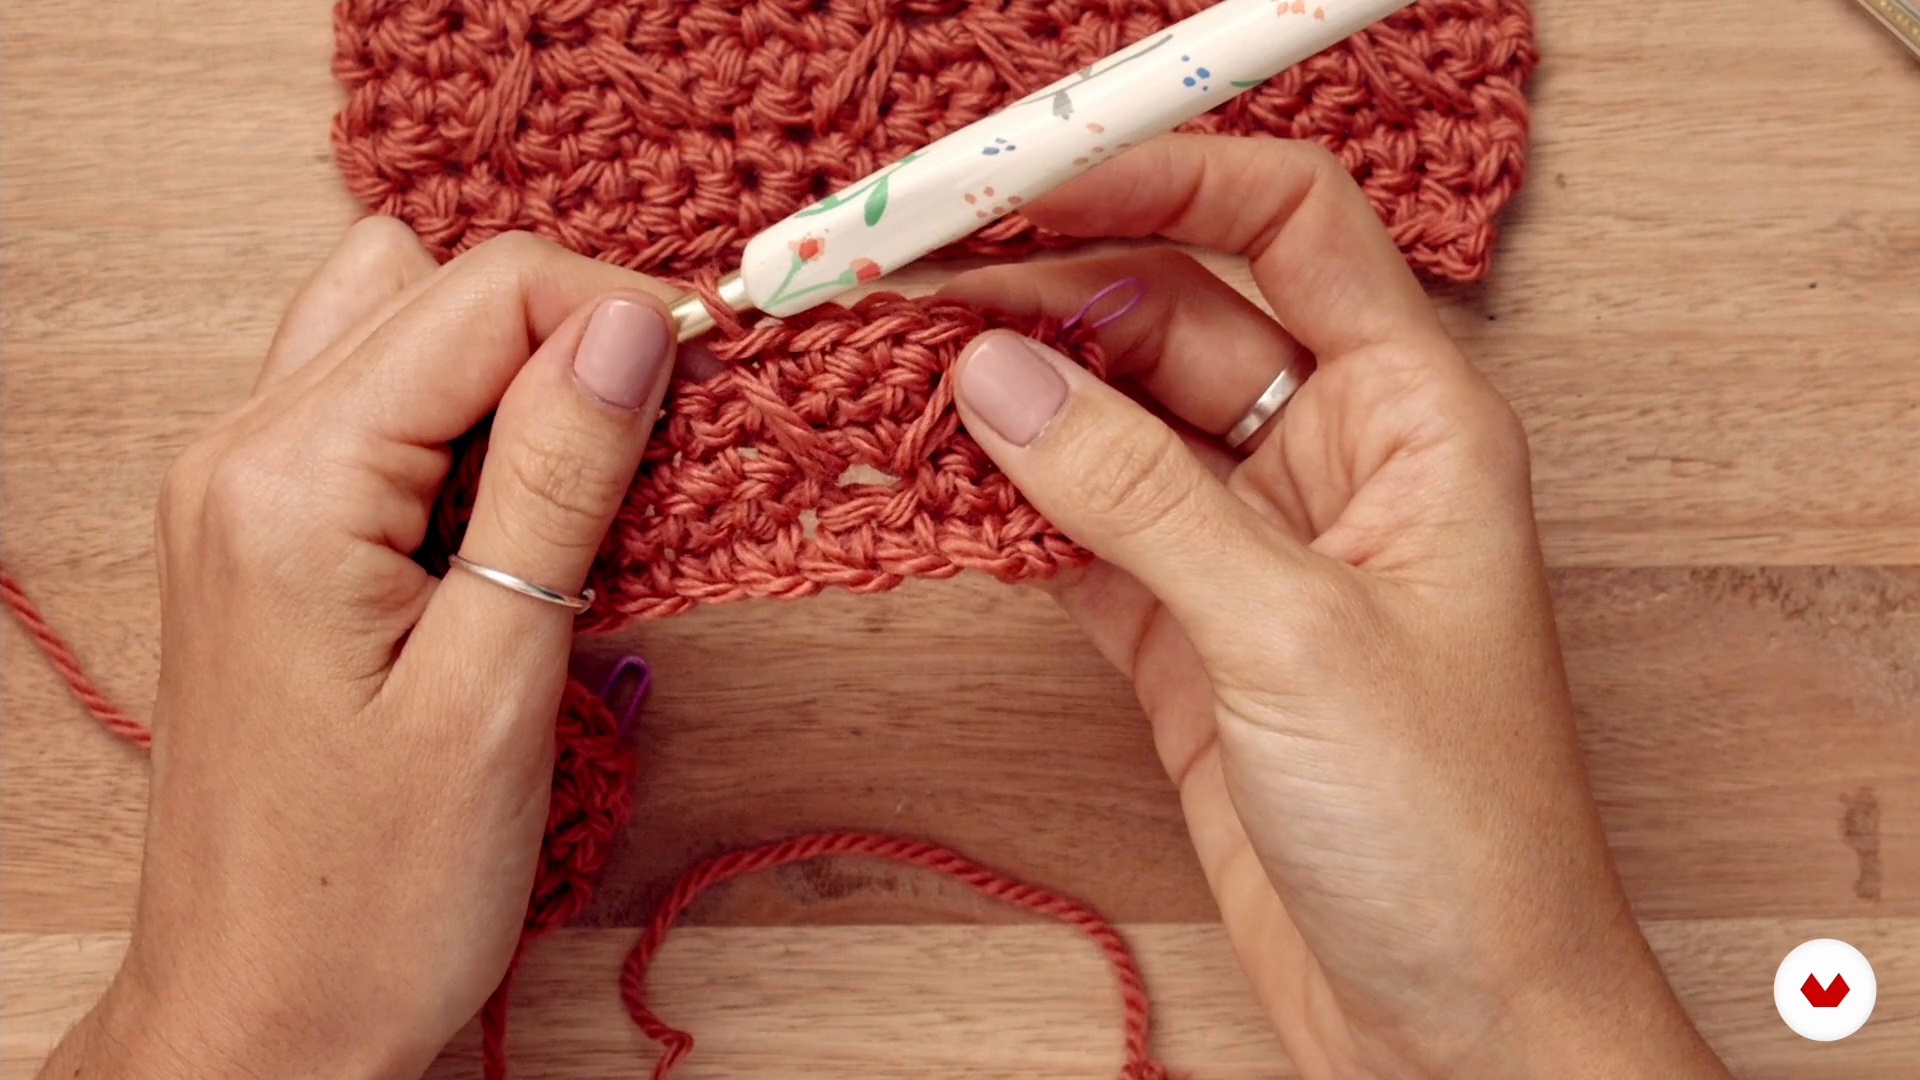
Now I'll teach you how to combine two basic stitches: chain stitch and half double crochet, to create a new fancy stitch: flying birds. This fancy stitch is the one you'll use in the final project of the course.
17m
 7
7Fantasy stitch: seed stitch
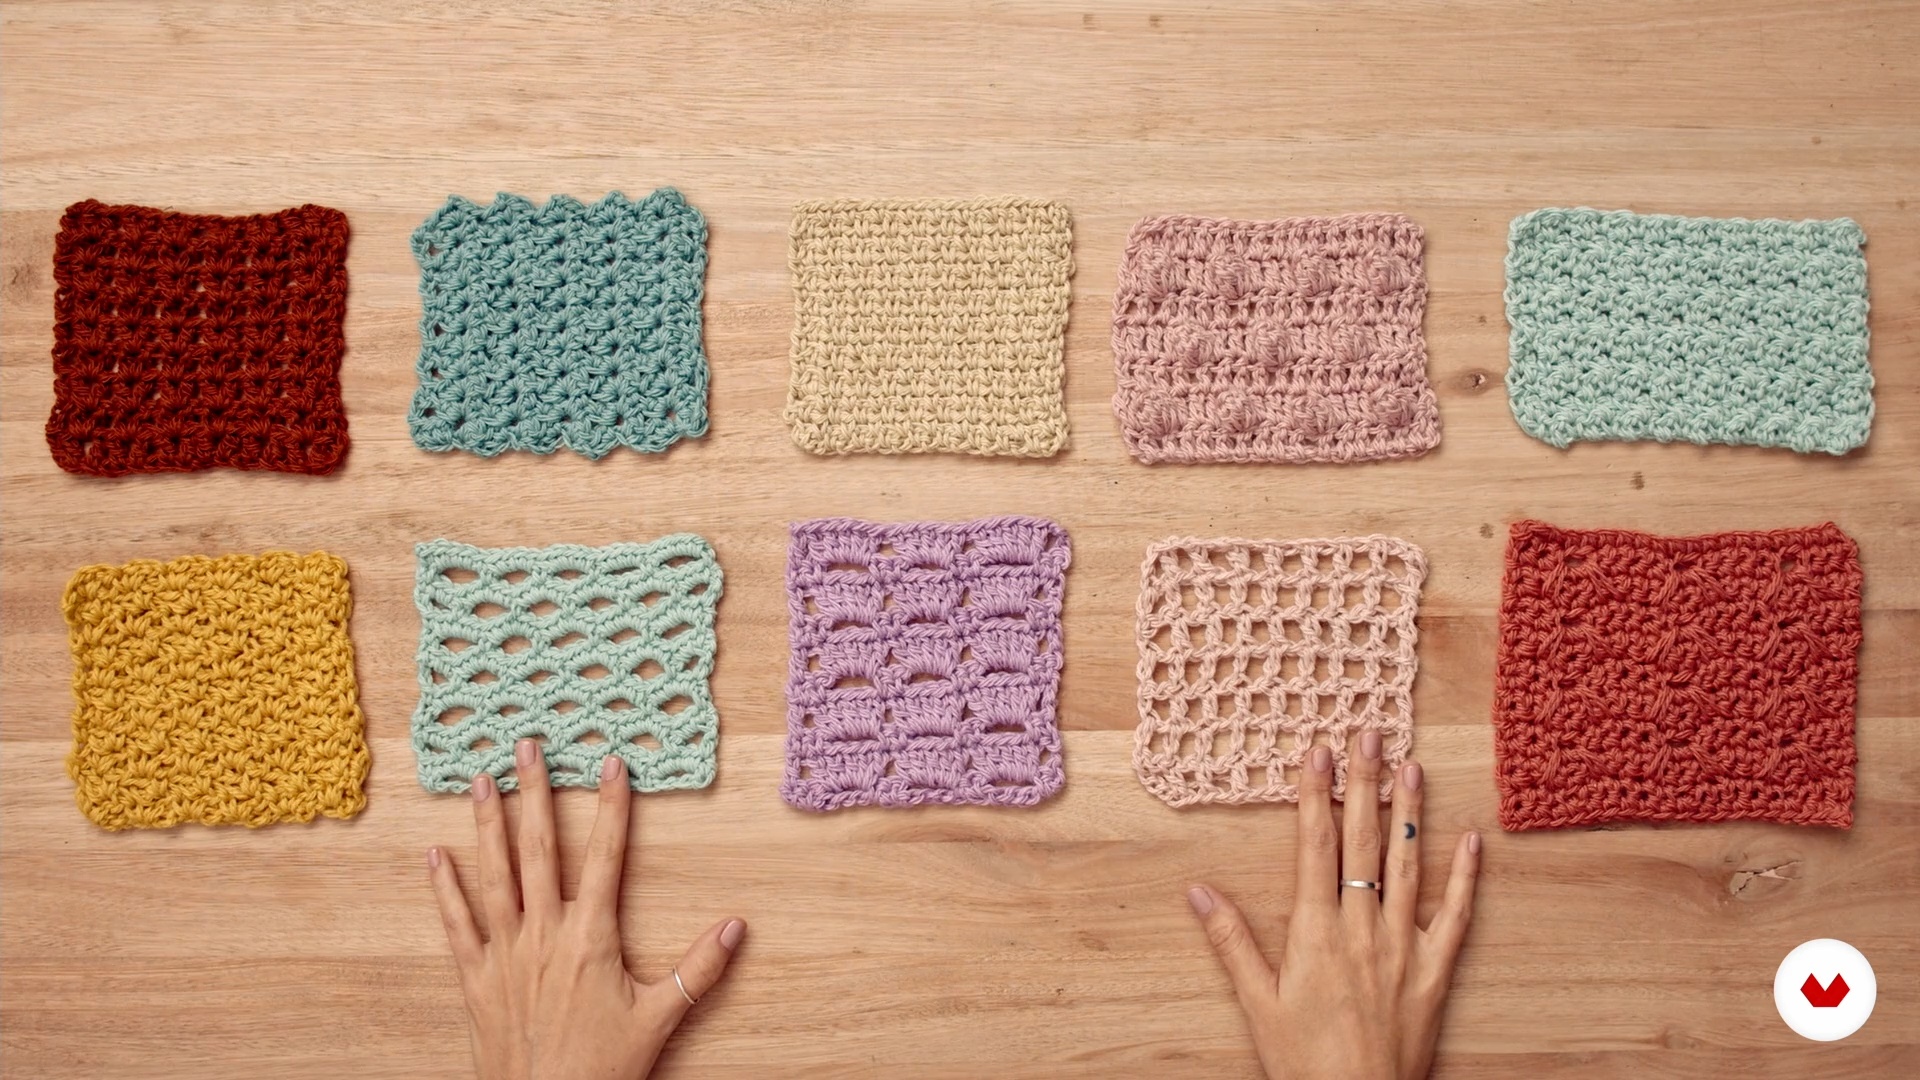
It's time to take it to the next level. To do this, I'll explain how to combine two basic stitches: single crochet and double crochet. This combination will help you create a new fancy stitch: moss stitch. You'll use this fancy stitch to make your cardigan.
11m
 8
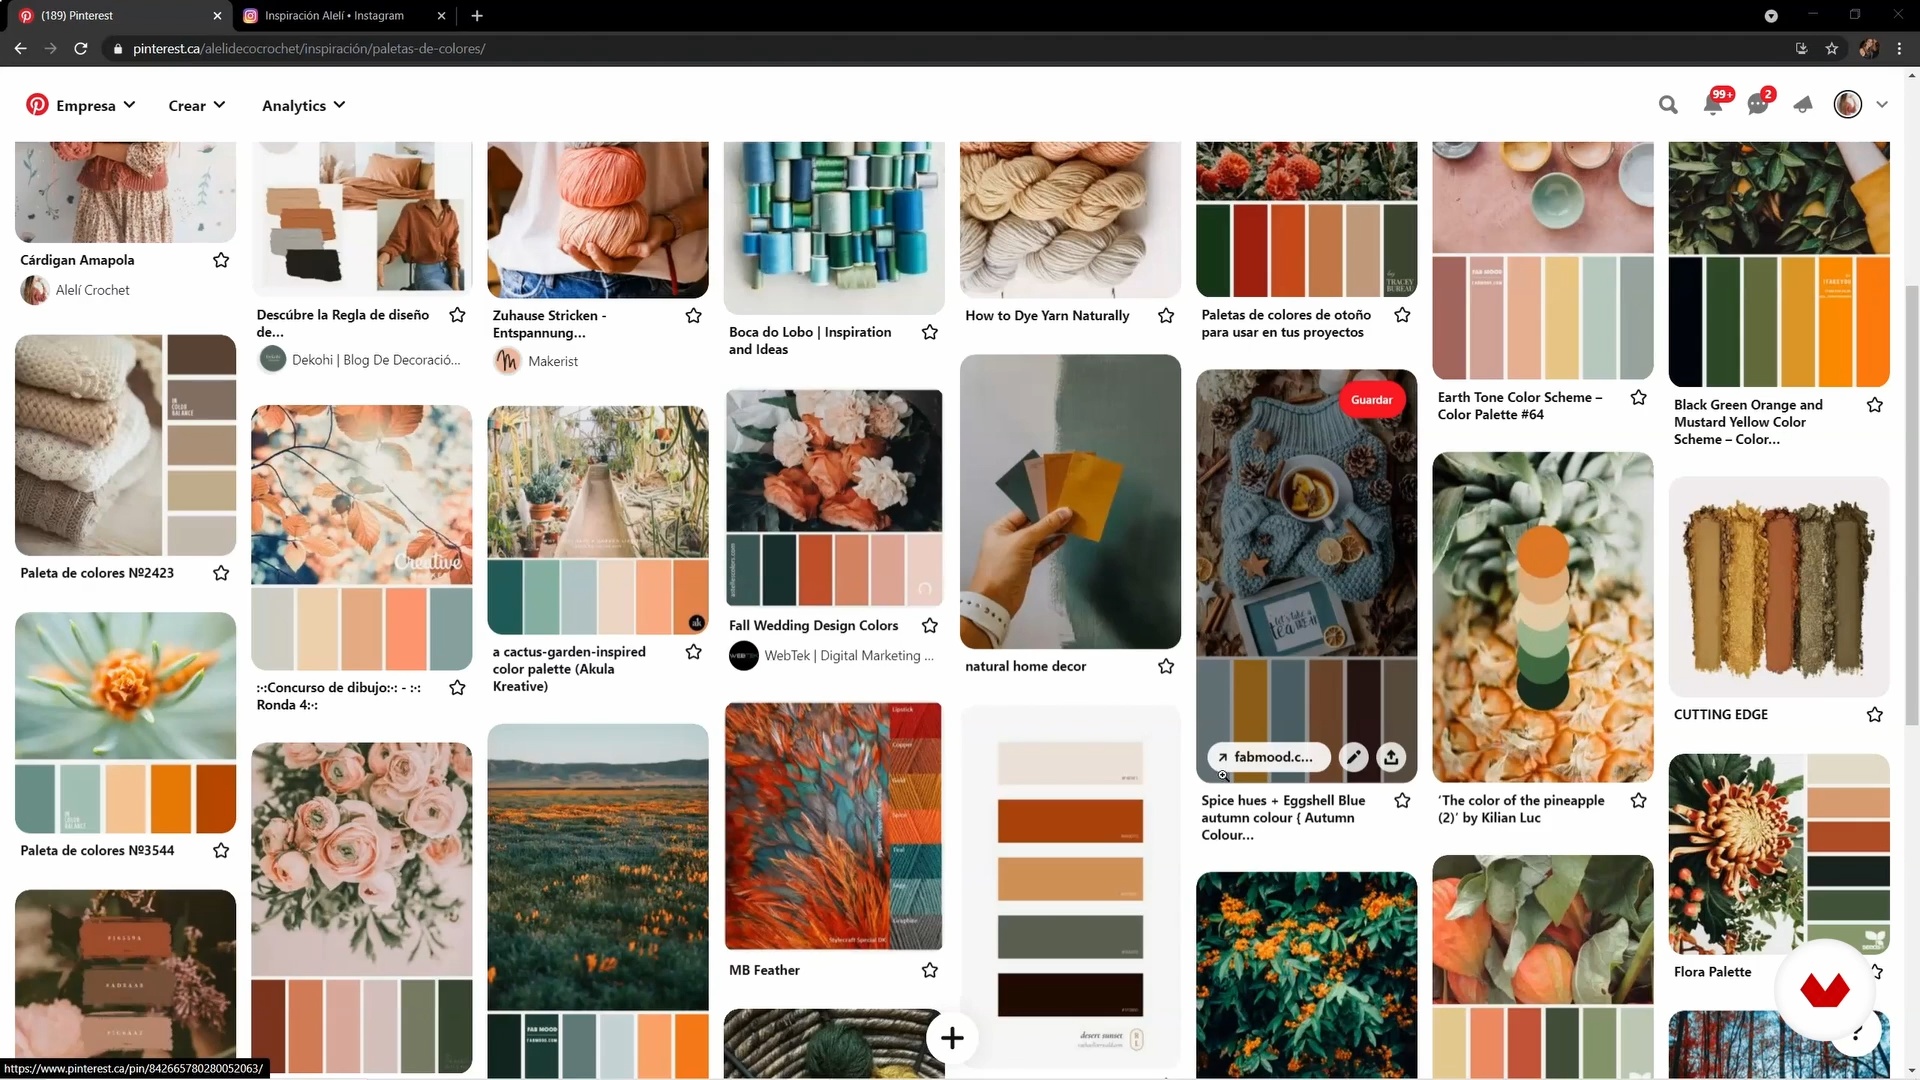
8Mood board
In this lesson, I'll show you how to create a mood board, a fundamental tool when creating. I'll tell you what inspires me and, in particular, what inspired me to create the final project for this course.
13m
 9
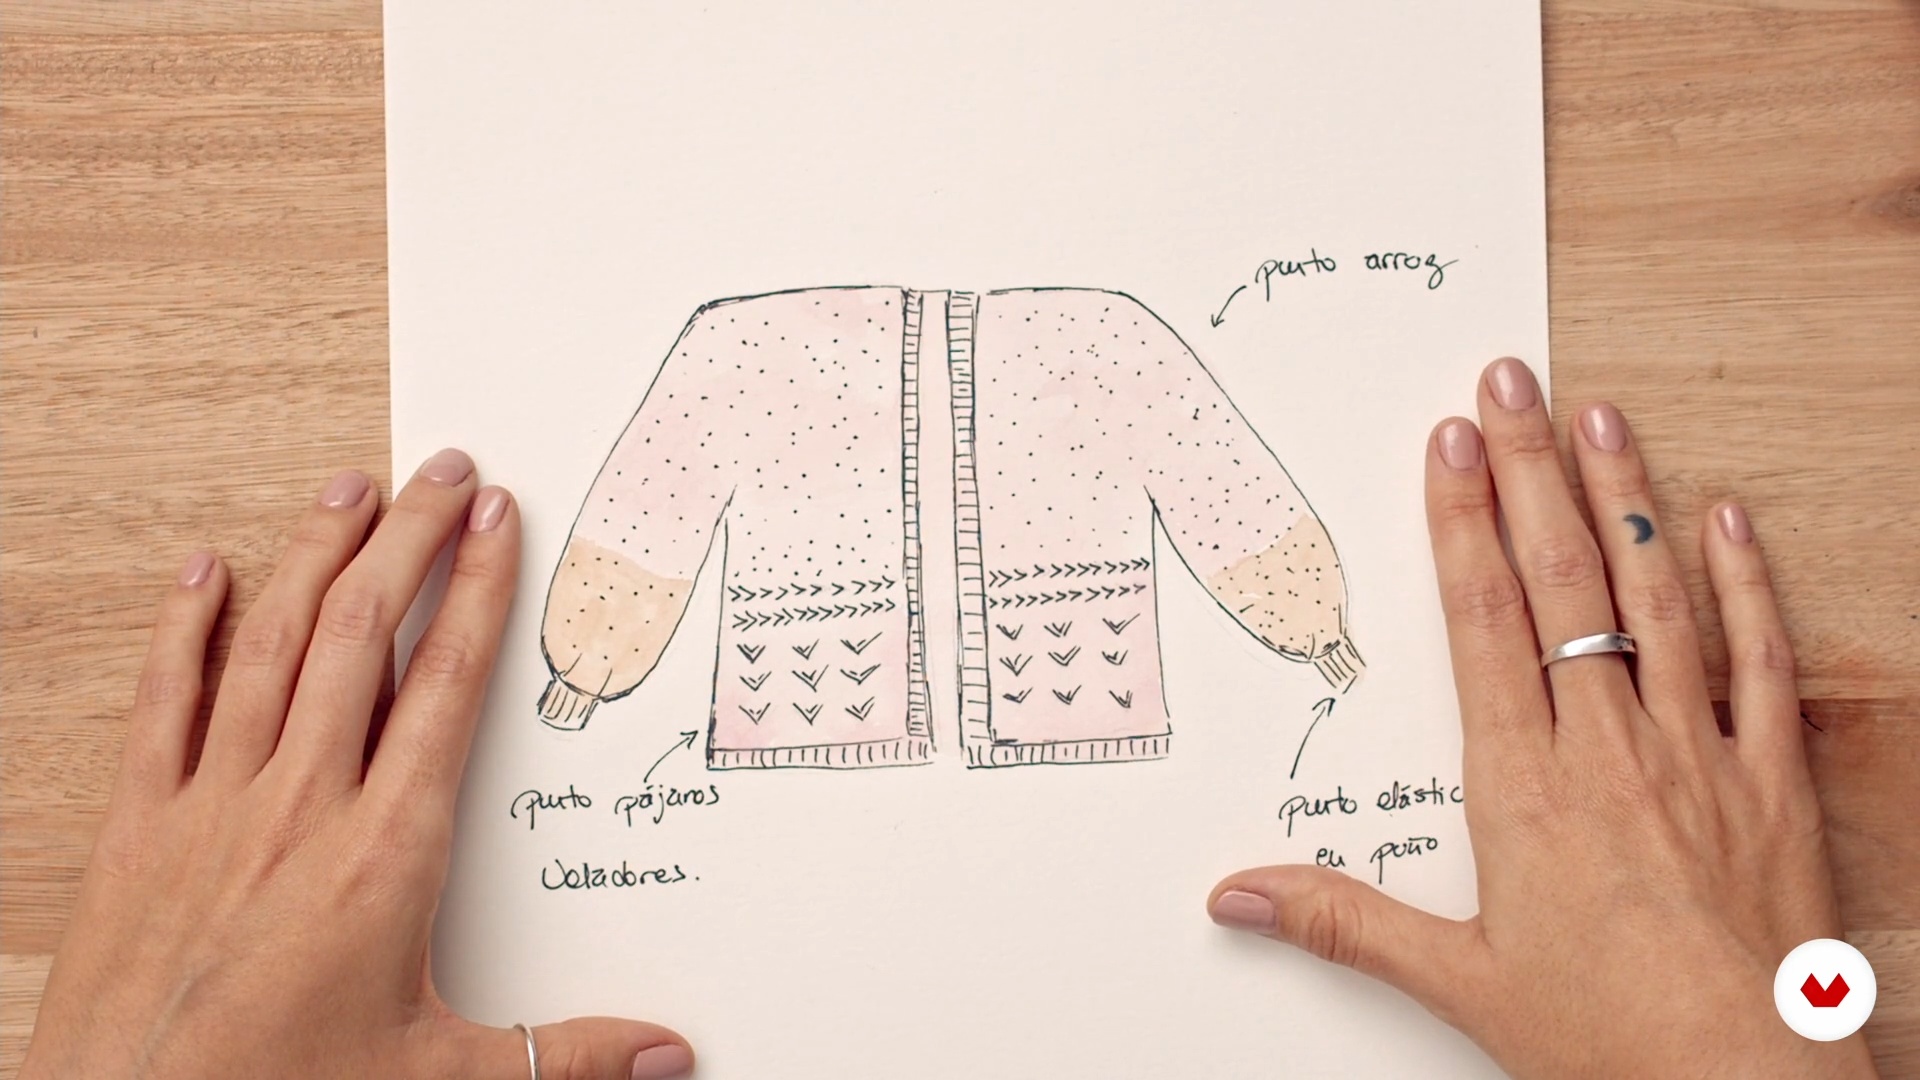
9Sketch and measurements
You'll learn how to sketch the cardigan, and I'll explain its shape. I'll also tell you which stitches you'll knit for each piece. You'll learn how to take your body measurements to knit the cardigan in your size.
6m
 10
10Crochet and join the back and front 1
Now you'll apply all the stitches you've learned in this course! I'll teach you how to join two fancy stitches easily and simply to form a single texture. You'll apply this texture to the back and front of the cardigan.
10m
 11
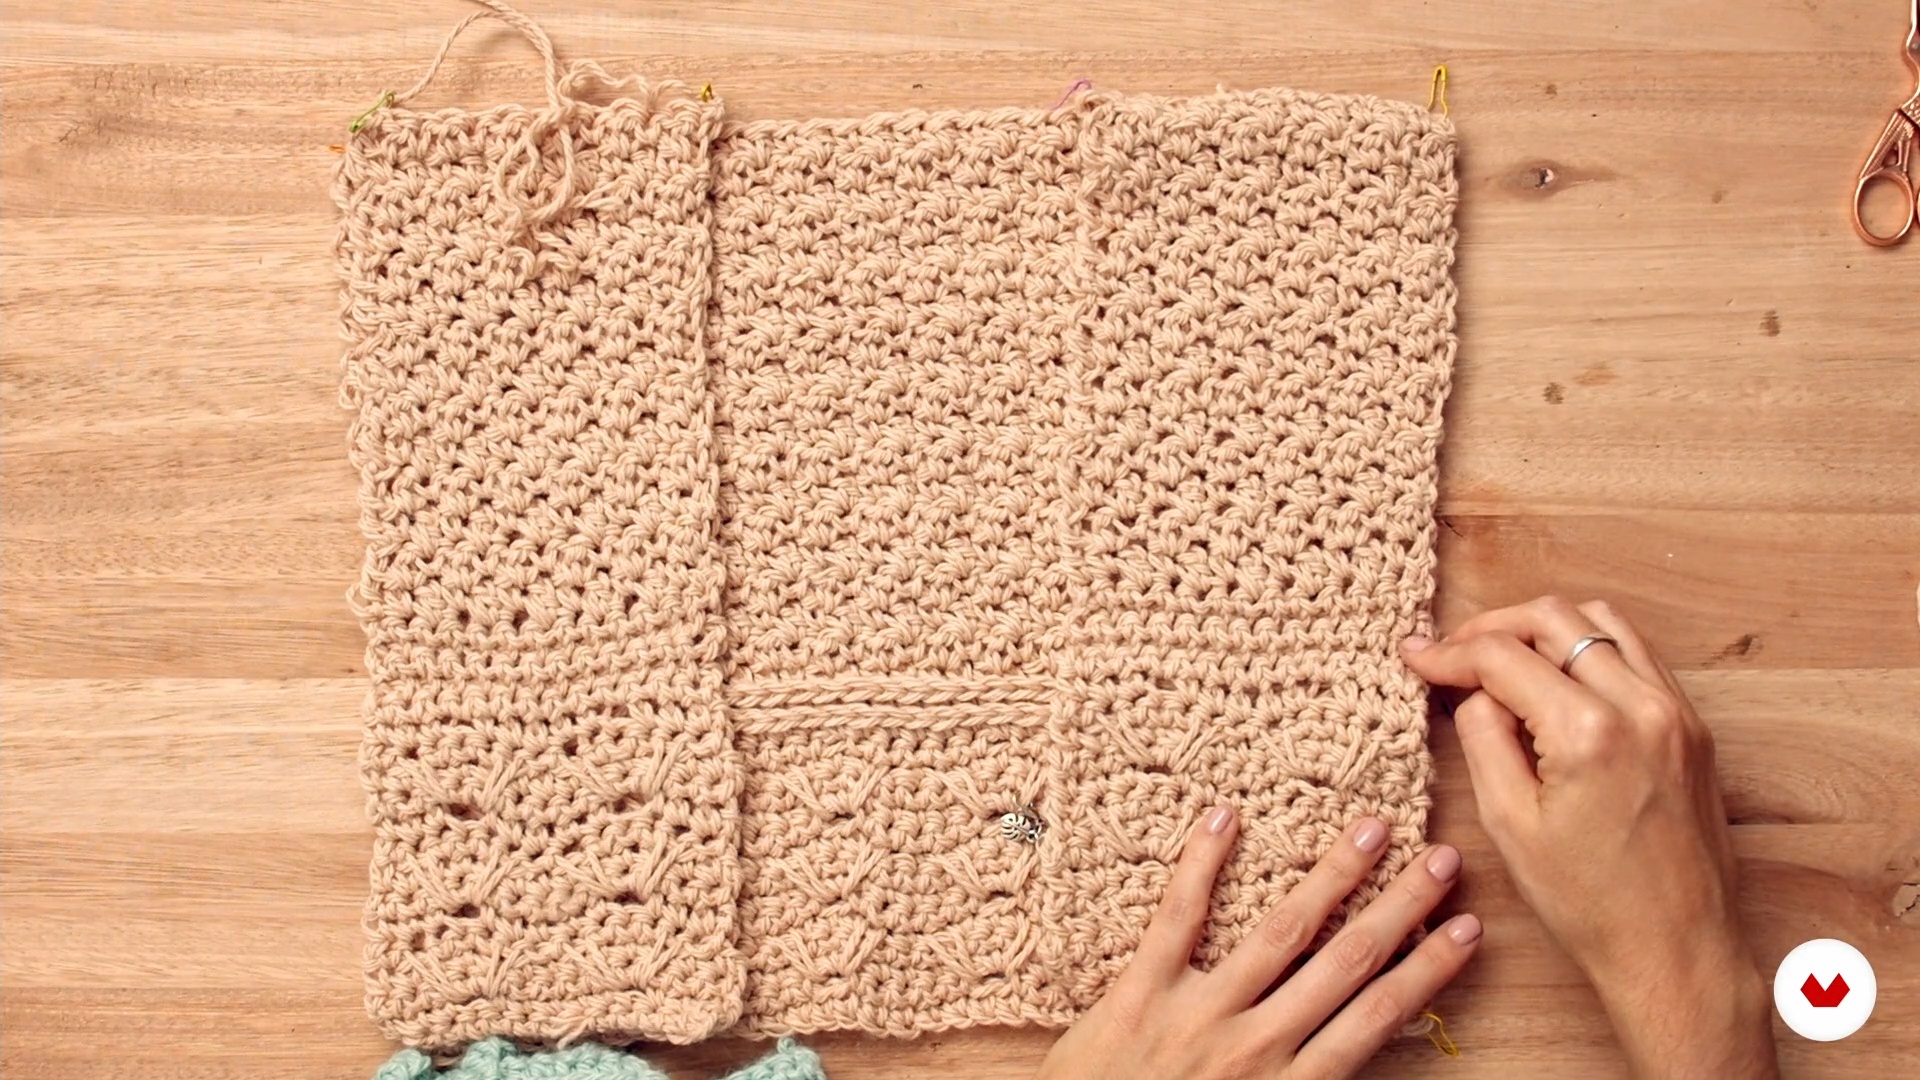
11Crochet and join the back and front 2
I will continue by showing you how to knit the back and front of your cardigan.
10m
 12
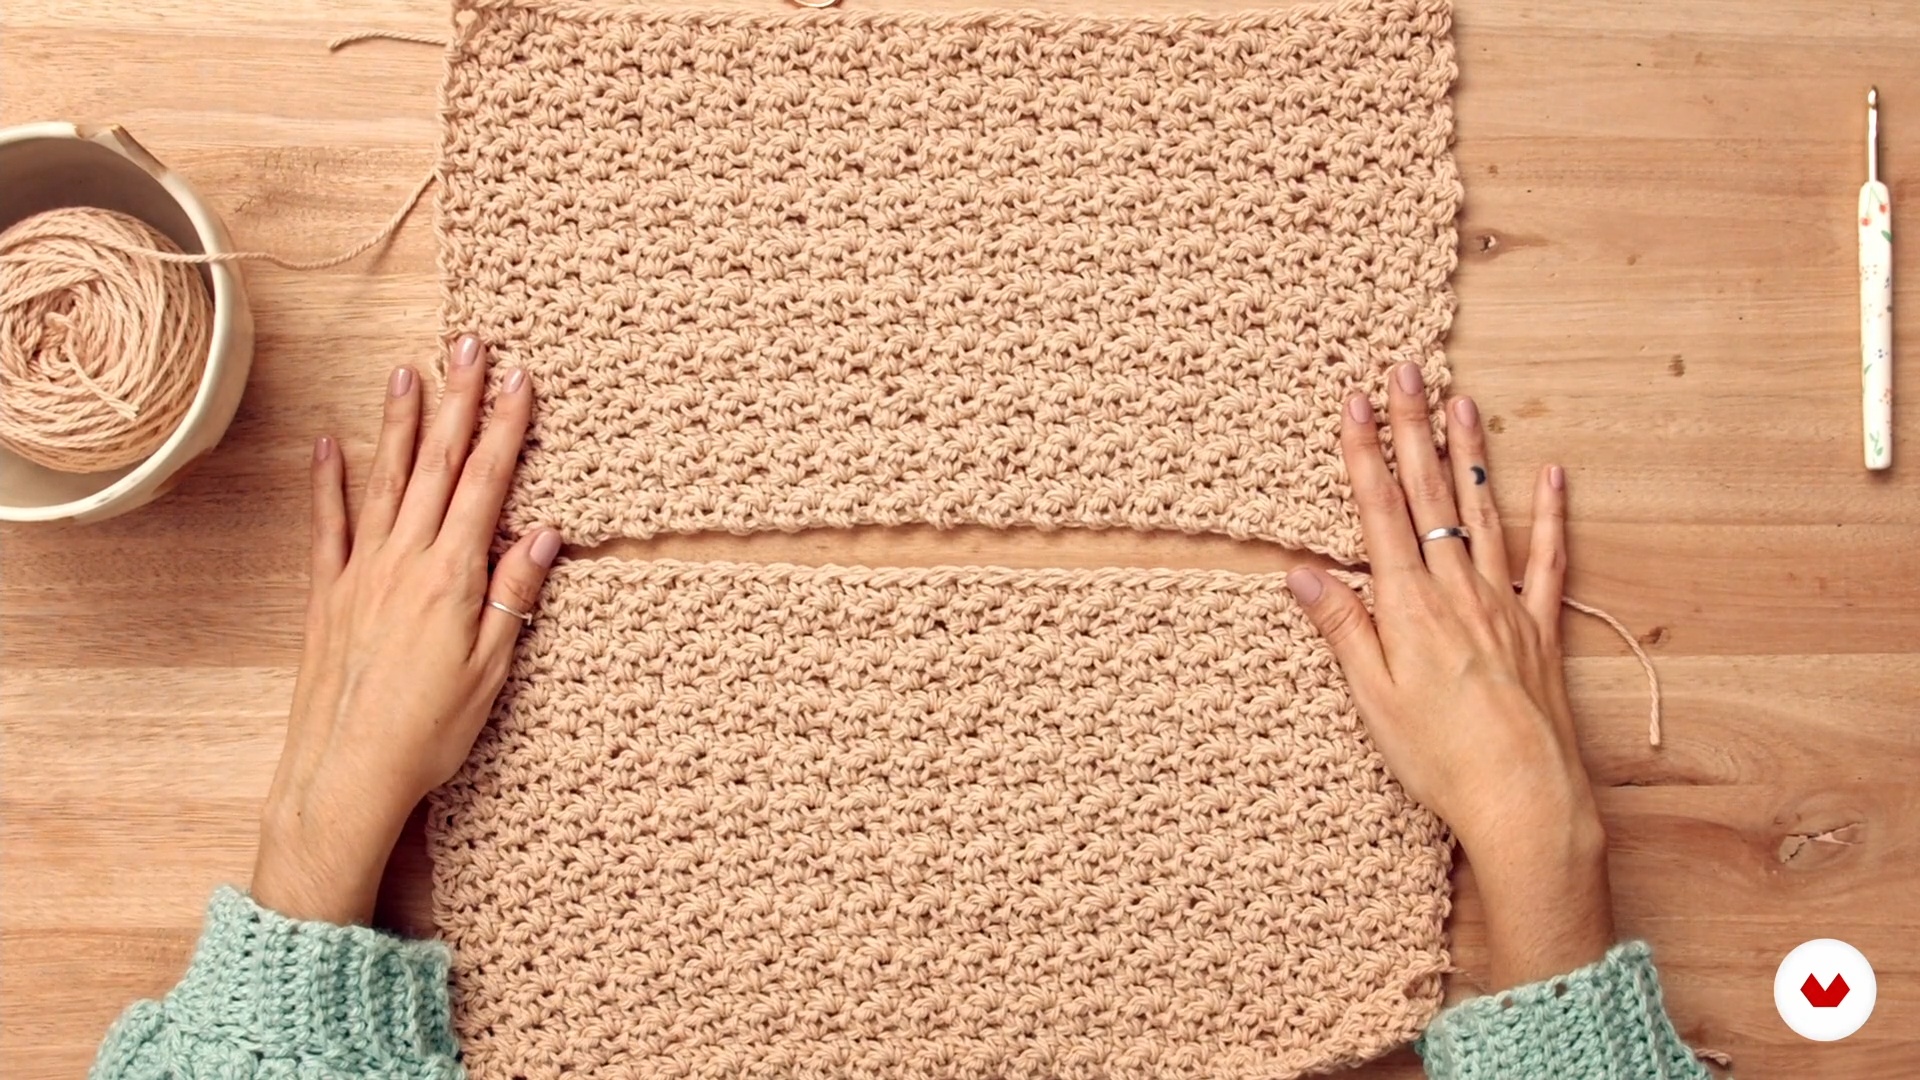
12Crochet the sleeves
In this lesson, I'll teach you how to knit the sleeves of your cardigan.
3m
 13
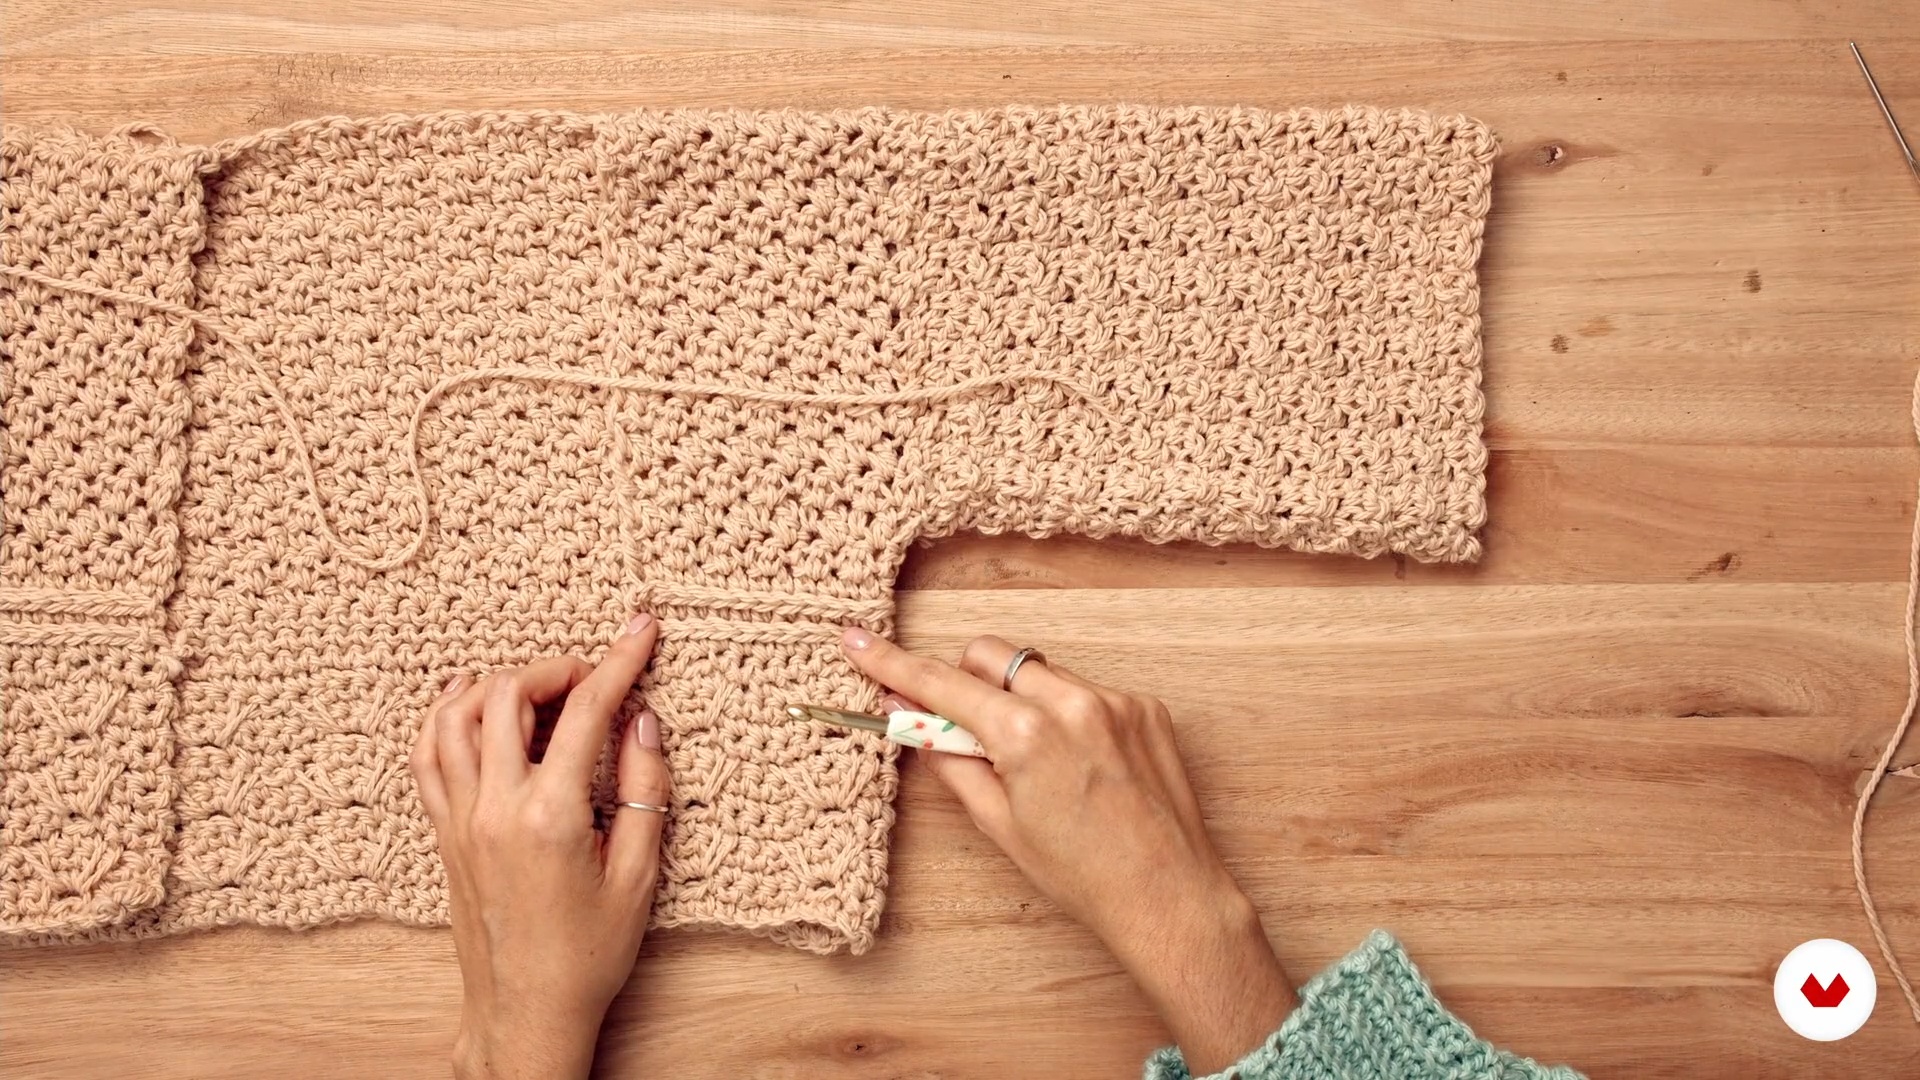
13Join the sleeve and crochet the cuffs
Now you will learn how to assemble the sleeves, and I will also teach you how to knit the cuffs.
15m
 14
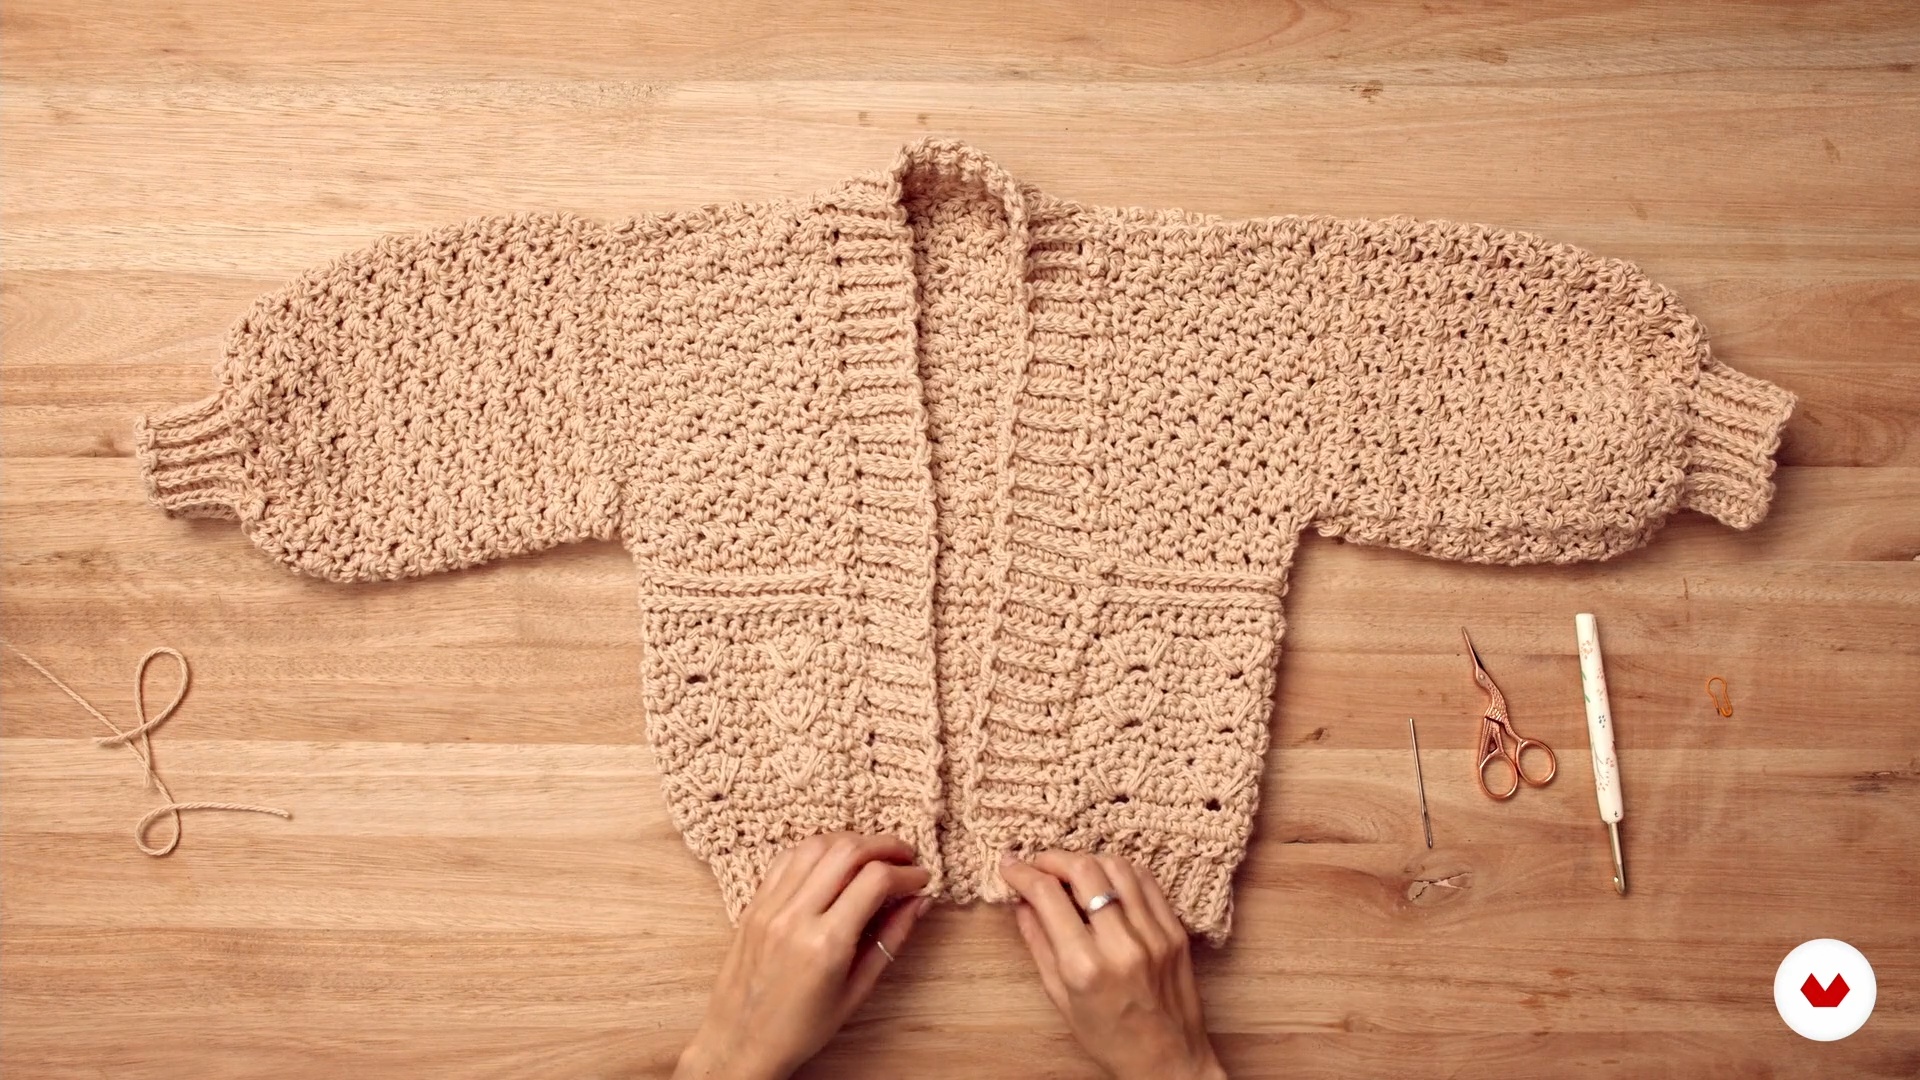
14Crochet the hem and waist
You'll see how to knit a combination of slip stitch and half double crochet to finish the front and waistband. It's a similar process to the one I taught you earlier for making the cuffs. By the end of this lesson, you'll be able to see what the finished cardigan looks like.
16m
 4
4Materials and tools
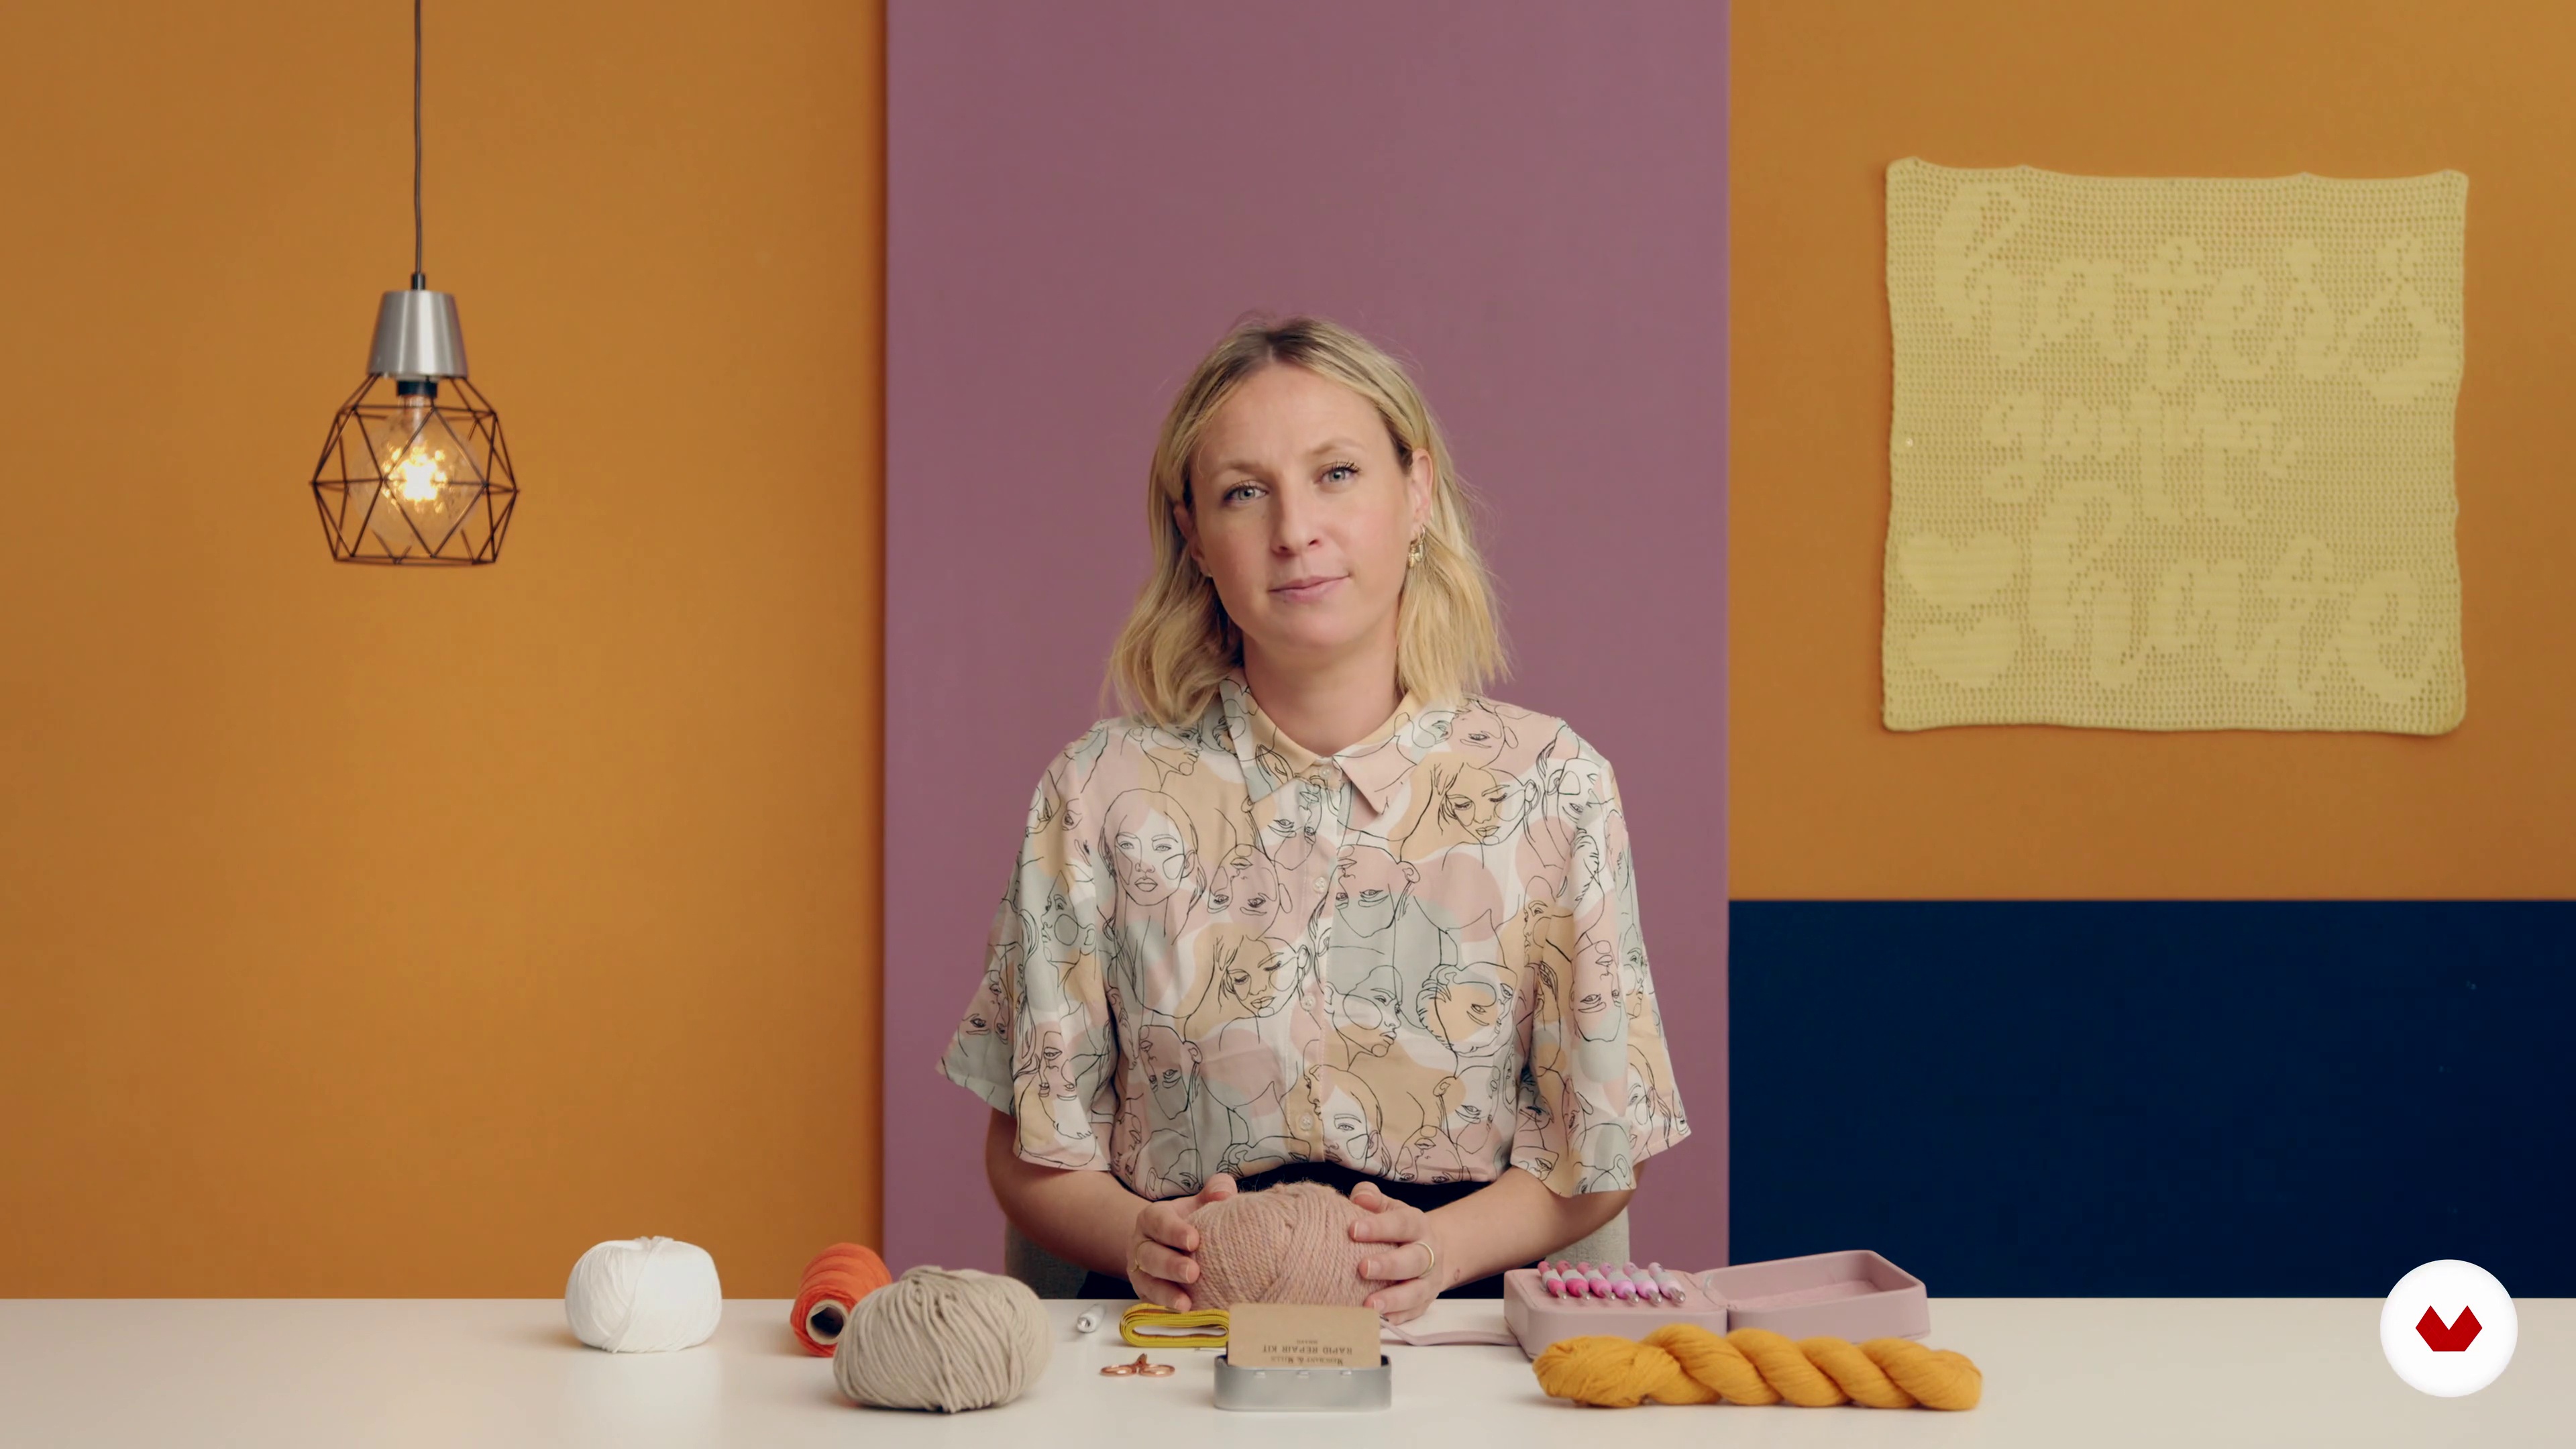
To crochet, we need crochet hooks or crochet needles. They come in all colors, shapes, and sizes. With or without handles. Personally, I prefer those with handles because I find the grip is more precise and my hand tires much less. Currently, I prefer to use a specific brand of crochet hook because I've noticed that they're the best for the stitches I've been making lately. All this is because these needles have a slightly sharper point than all the others, and when I work in slip stitch, where the tension tightens the fabric, it is appreciated.
7m
 5
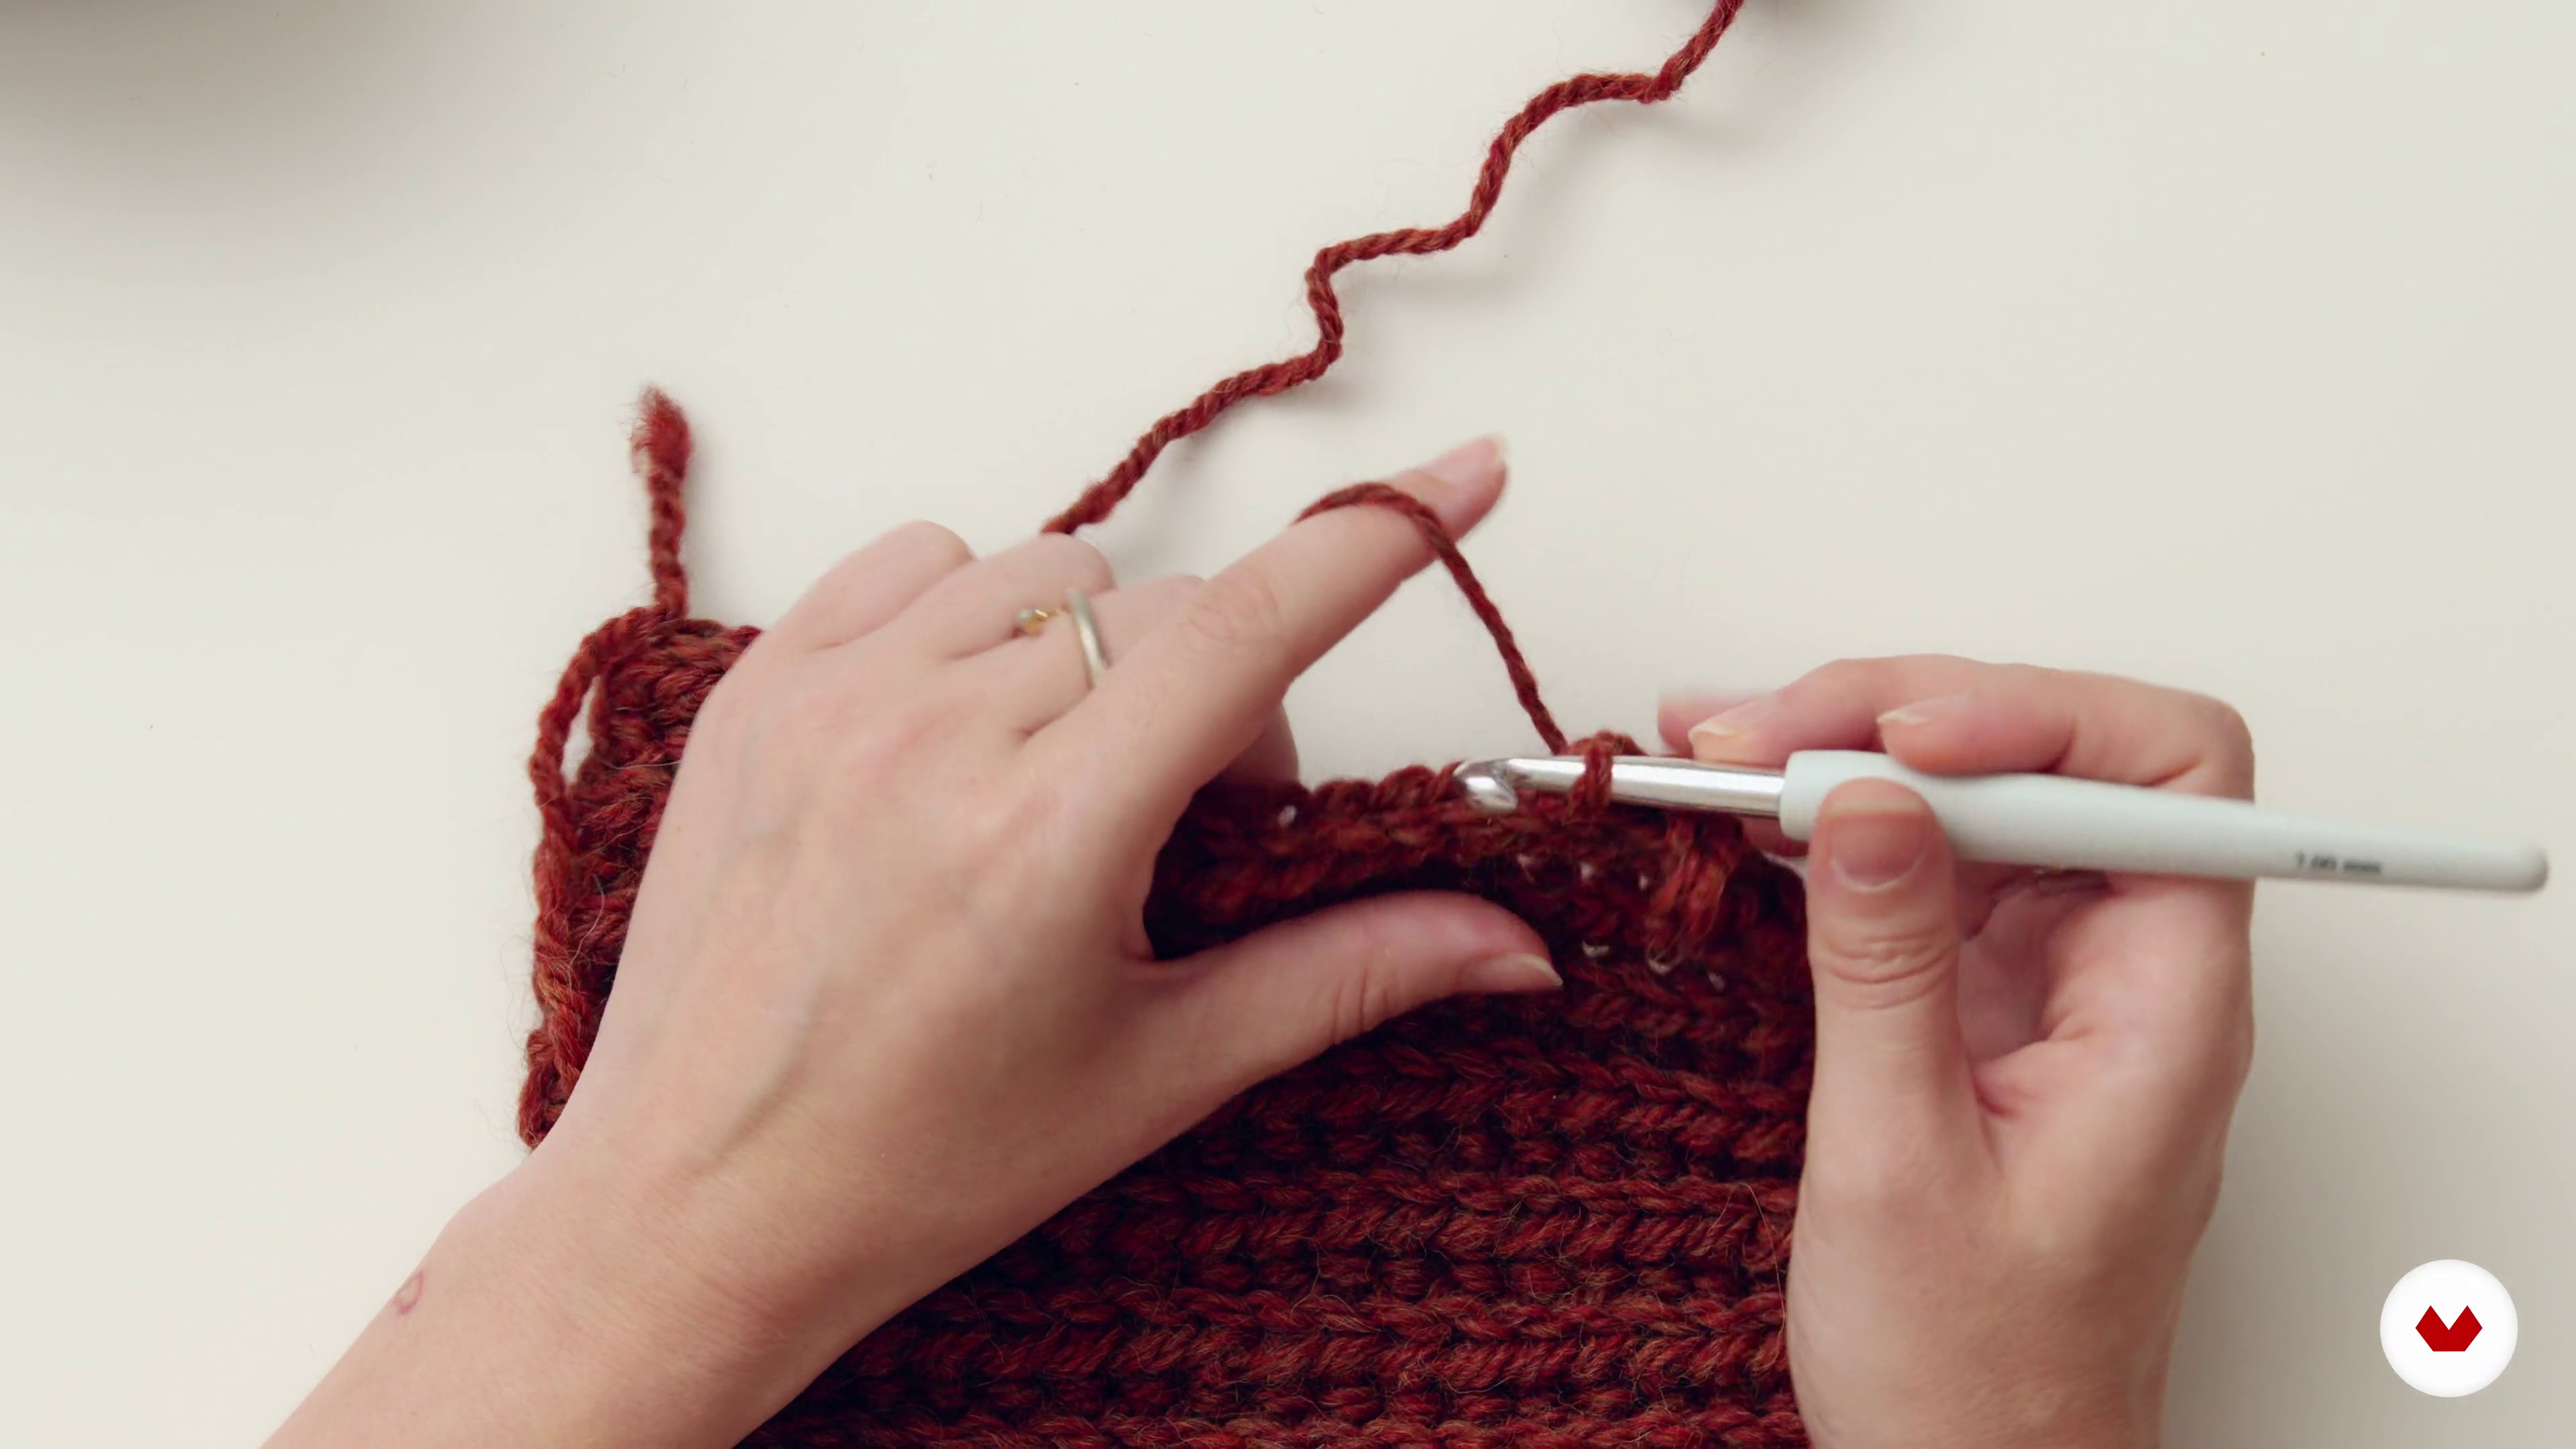
5How to grab the needle and and apply the proper tension
With the following video, I intend to convey to you all the important issues to keep in mind, which we sometimes forget because we do them out of habit.
5m
 6
6What is a sample
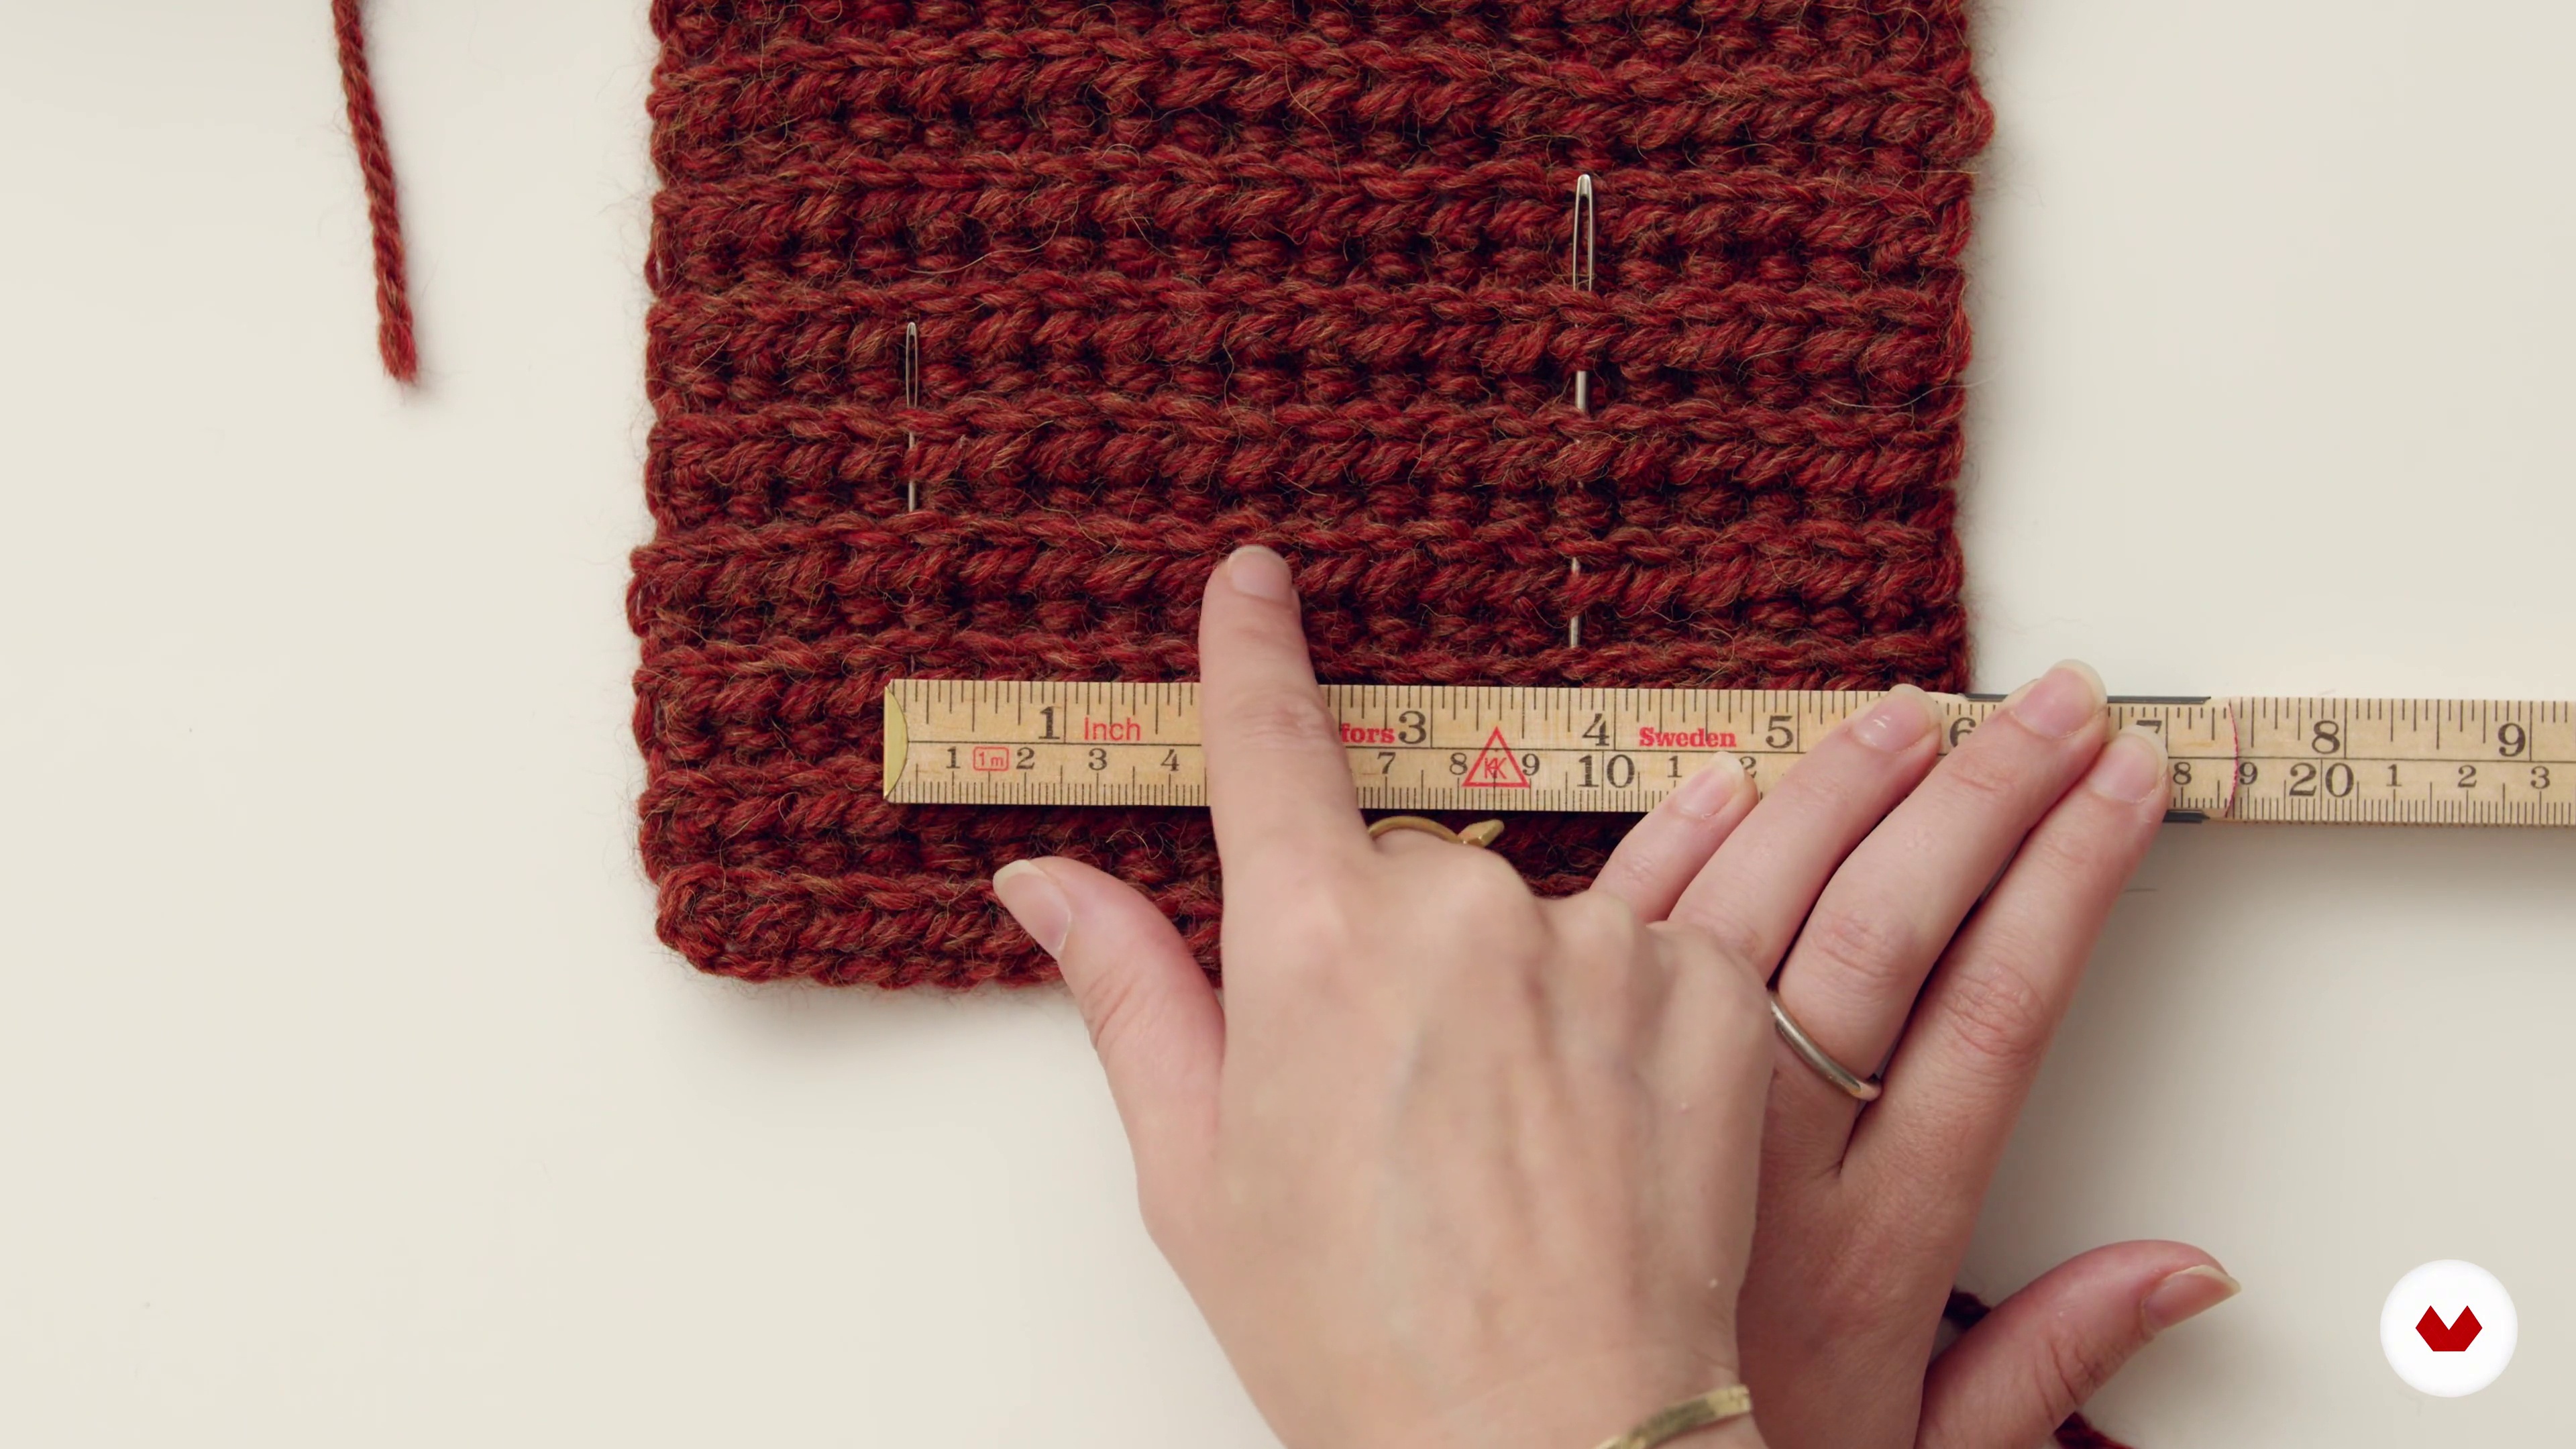
Next, let's learn what a sample is and what it's used for. Every garment starts with a sample. Thanks to it, we'll learn how the fiber we've chosen behaves and we'll be able to perform the necessary calculations to create our pattern. Pay close attention to this lesson because when we learn the basic stitches, we'll be doing a lot of sampling. That is, we'll be creating cute little squares.
6m
 7
7How to take our measurements
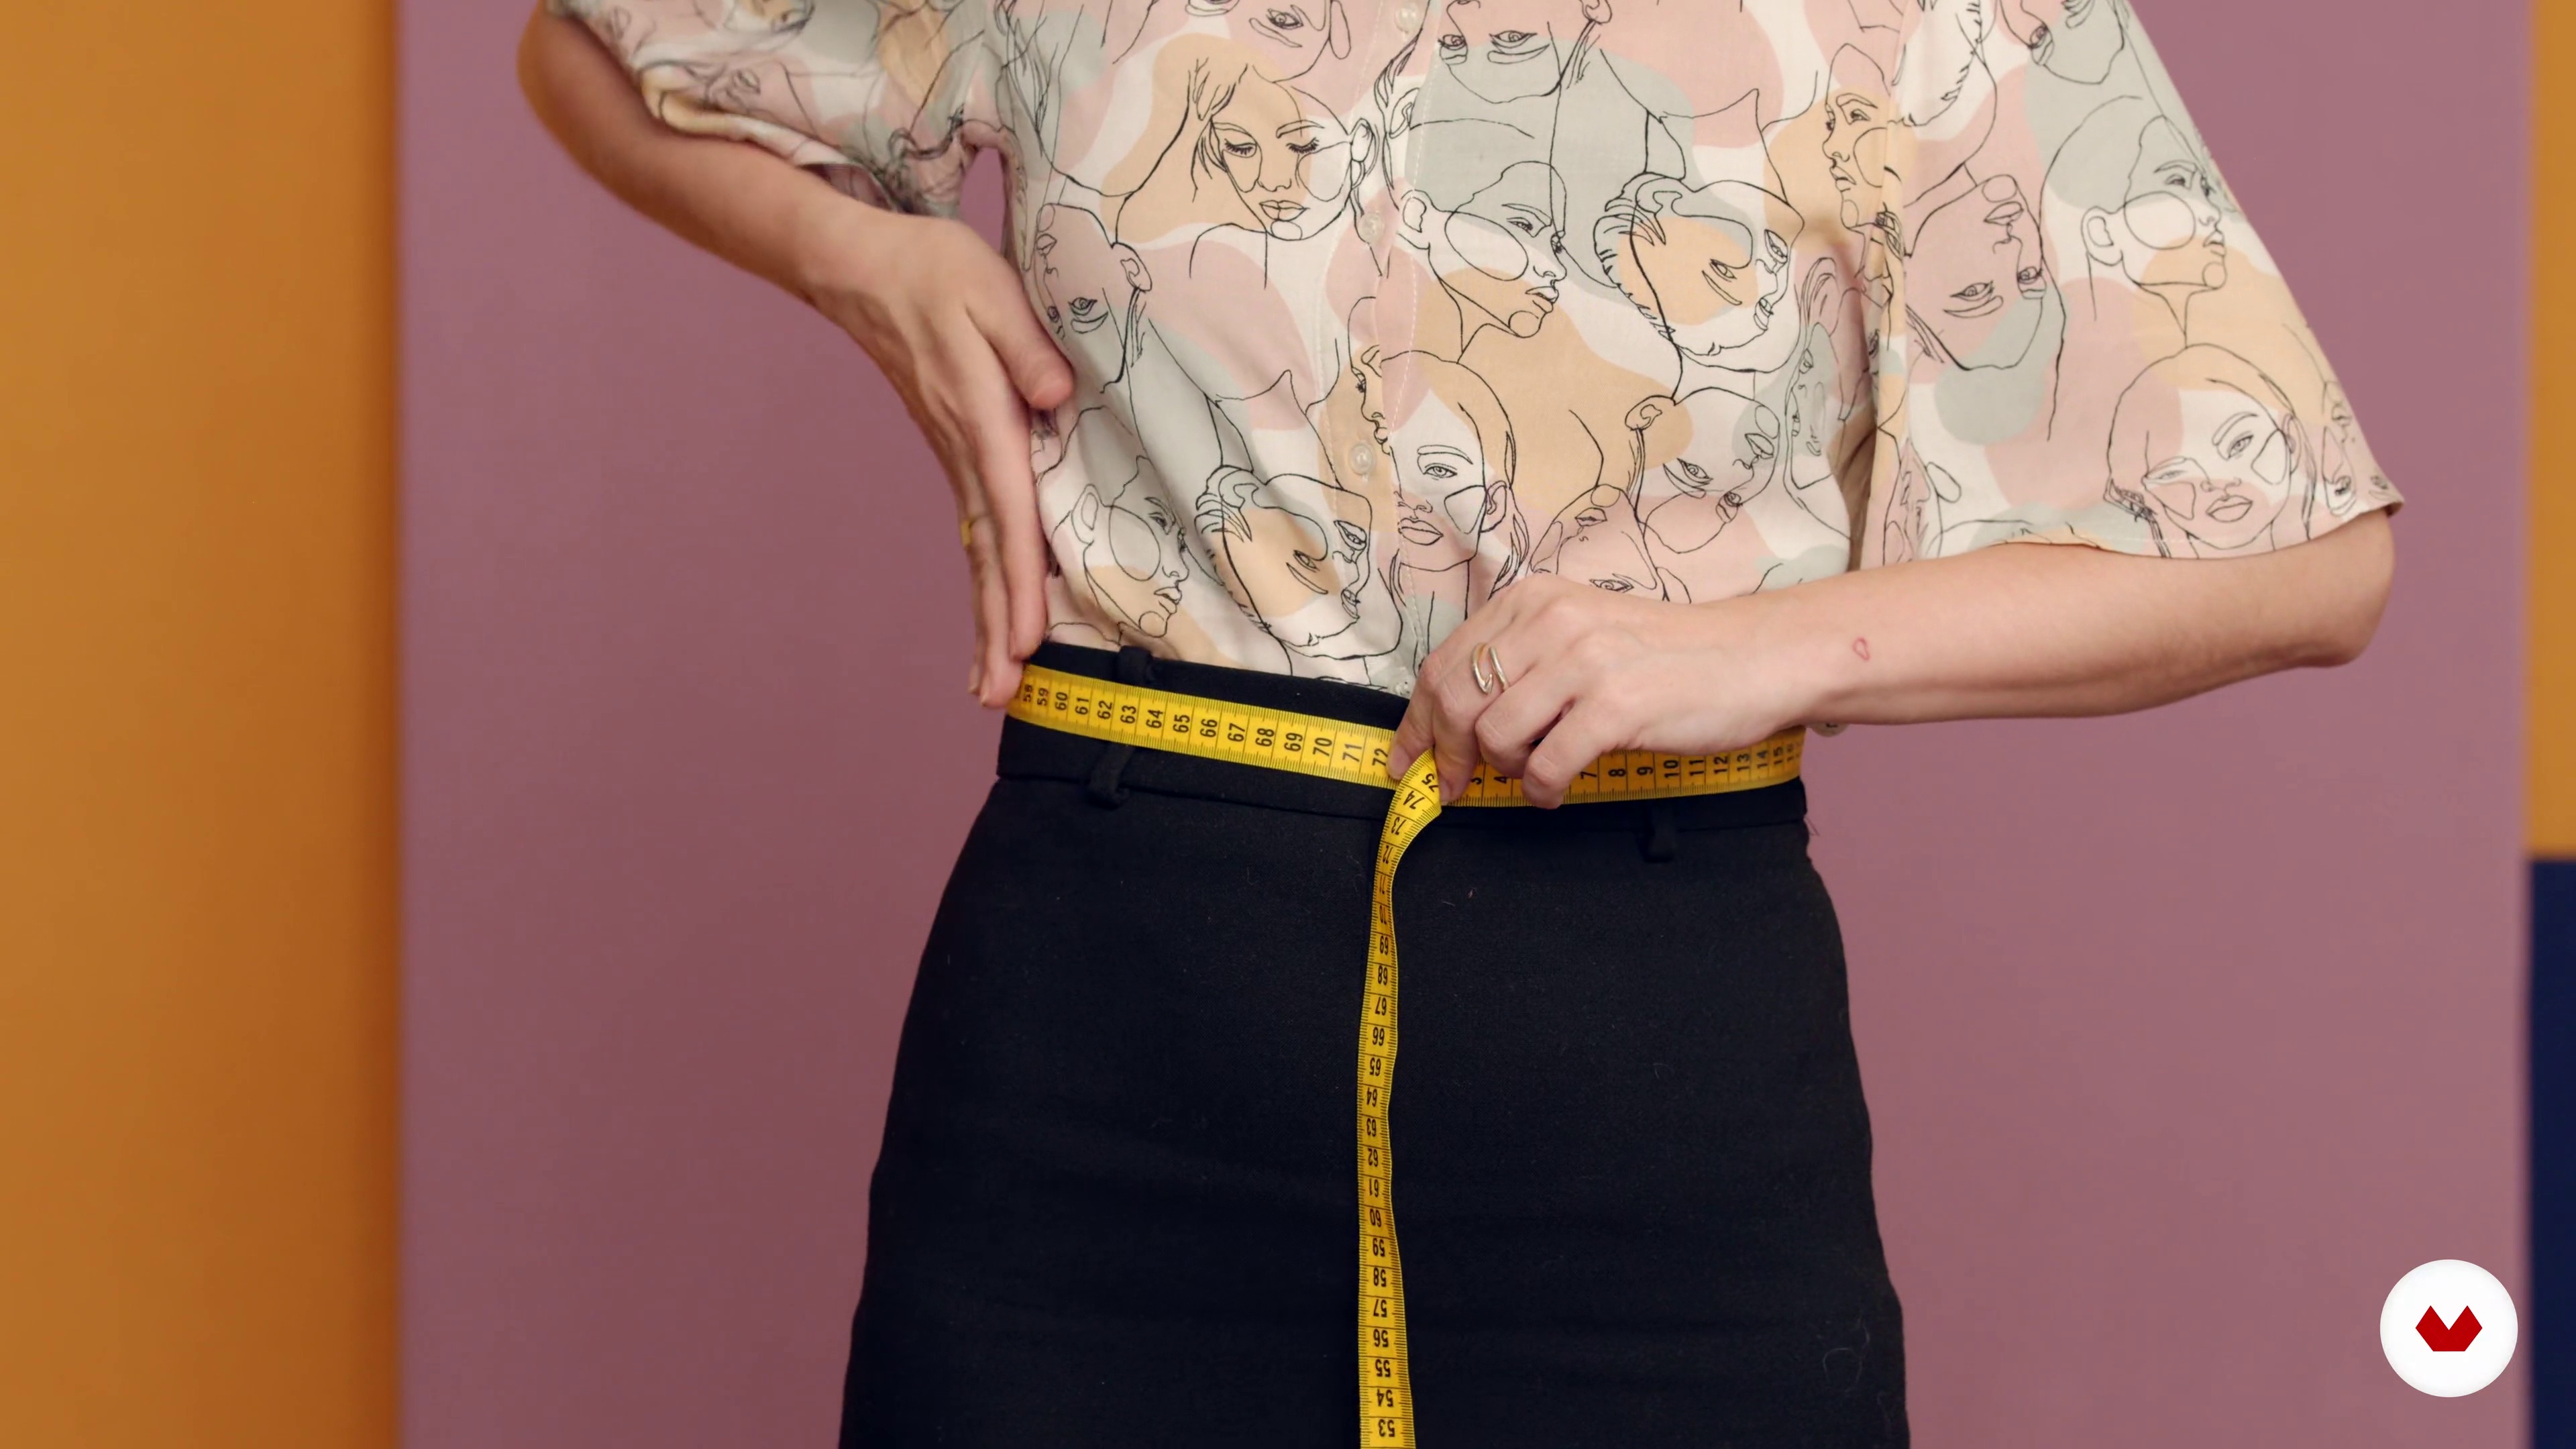
In this video, I show you how I take my measurements, without any help. Ideally, we'd have someone available to help us, but that's not always the case. Don't forget to grab your dressmaker's tape measure, a very long piece of string of any kind, a notebook, and a pencil. Let's learn how to take our measurements!
6m
 8
8Basic Stitches 1
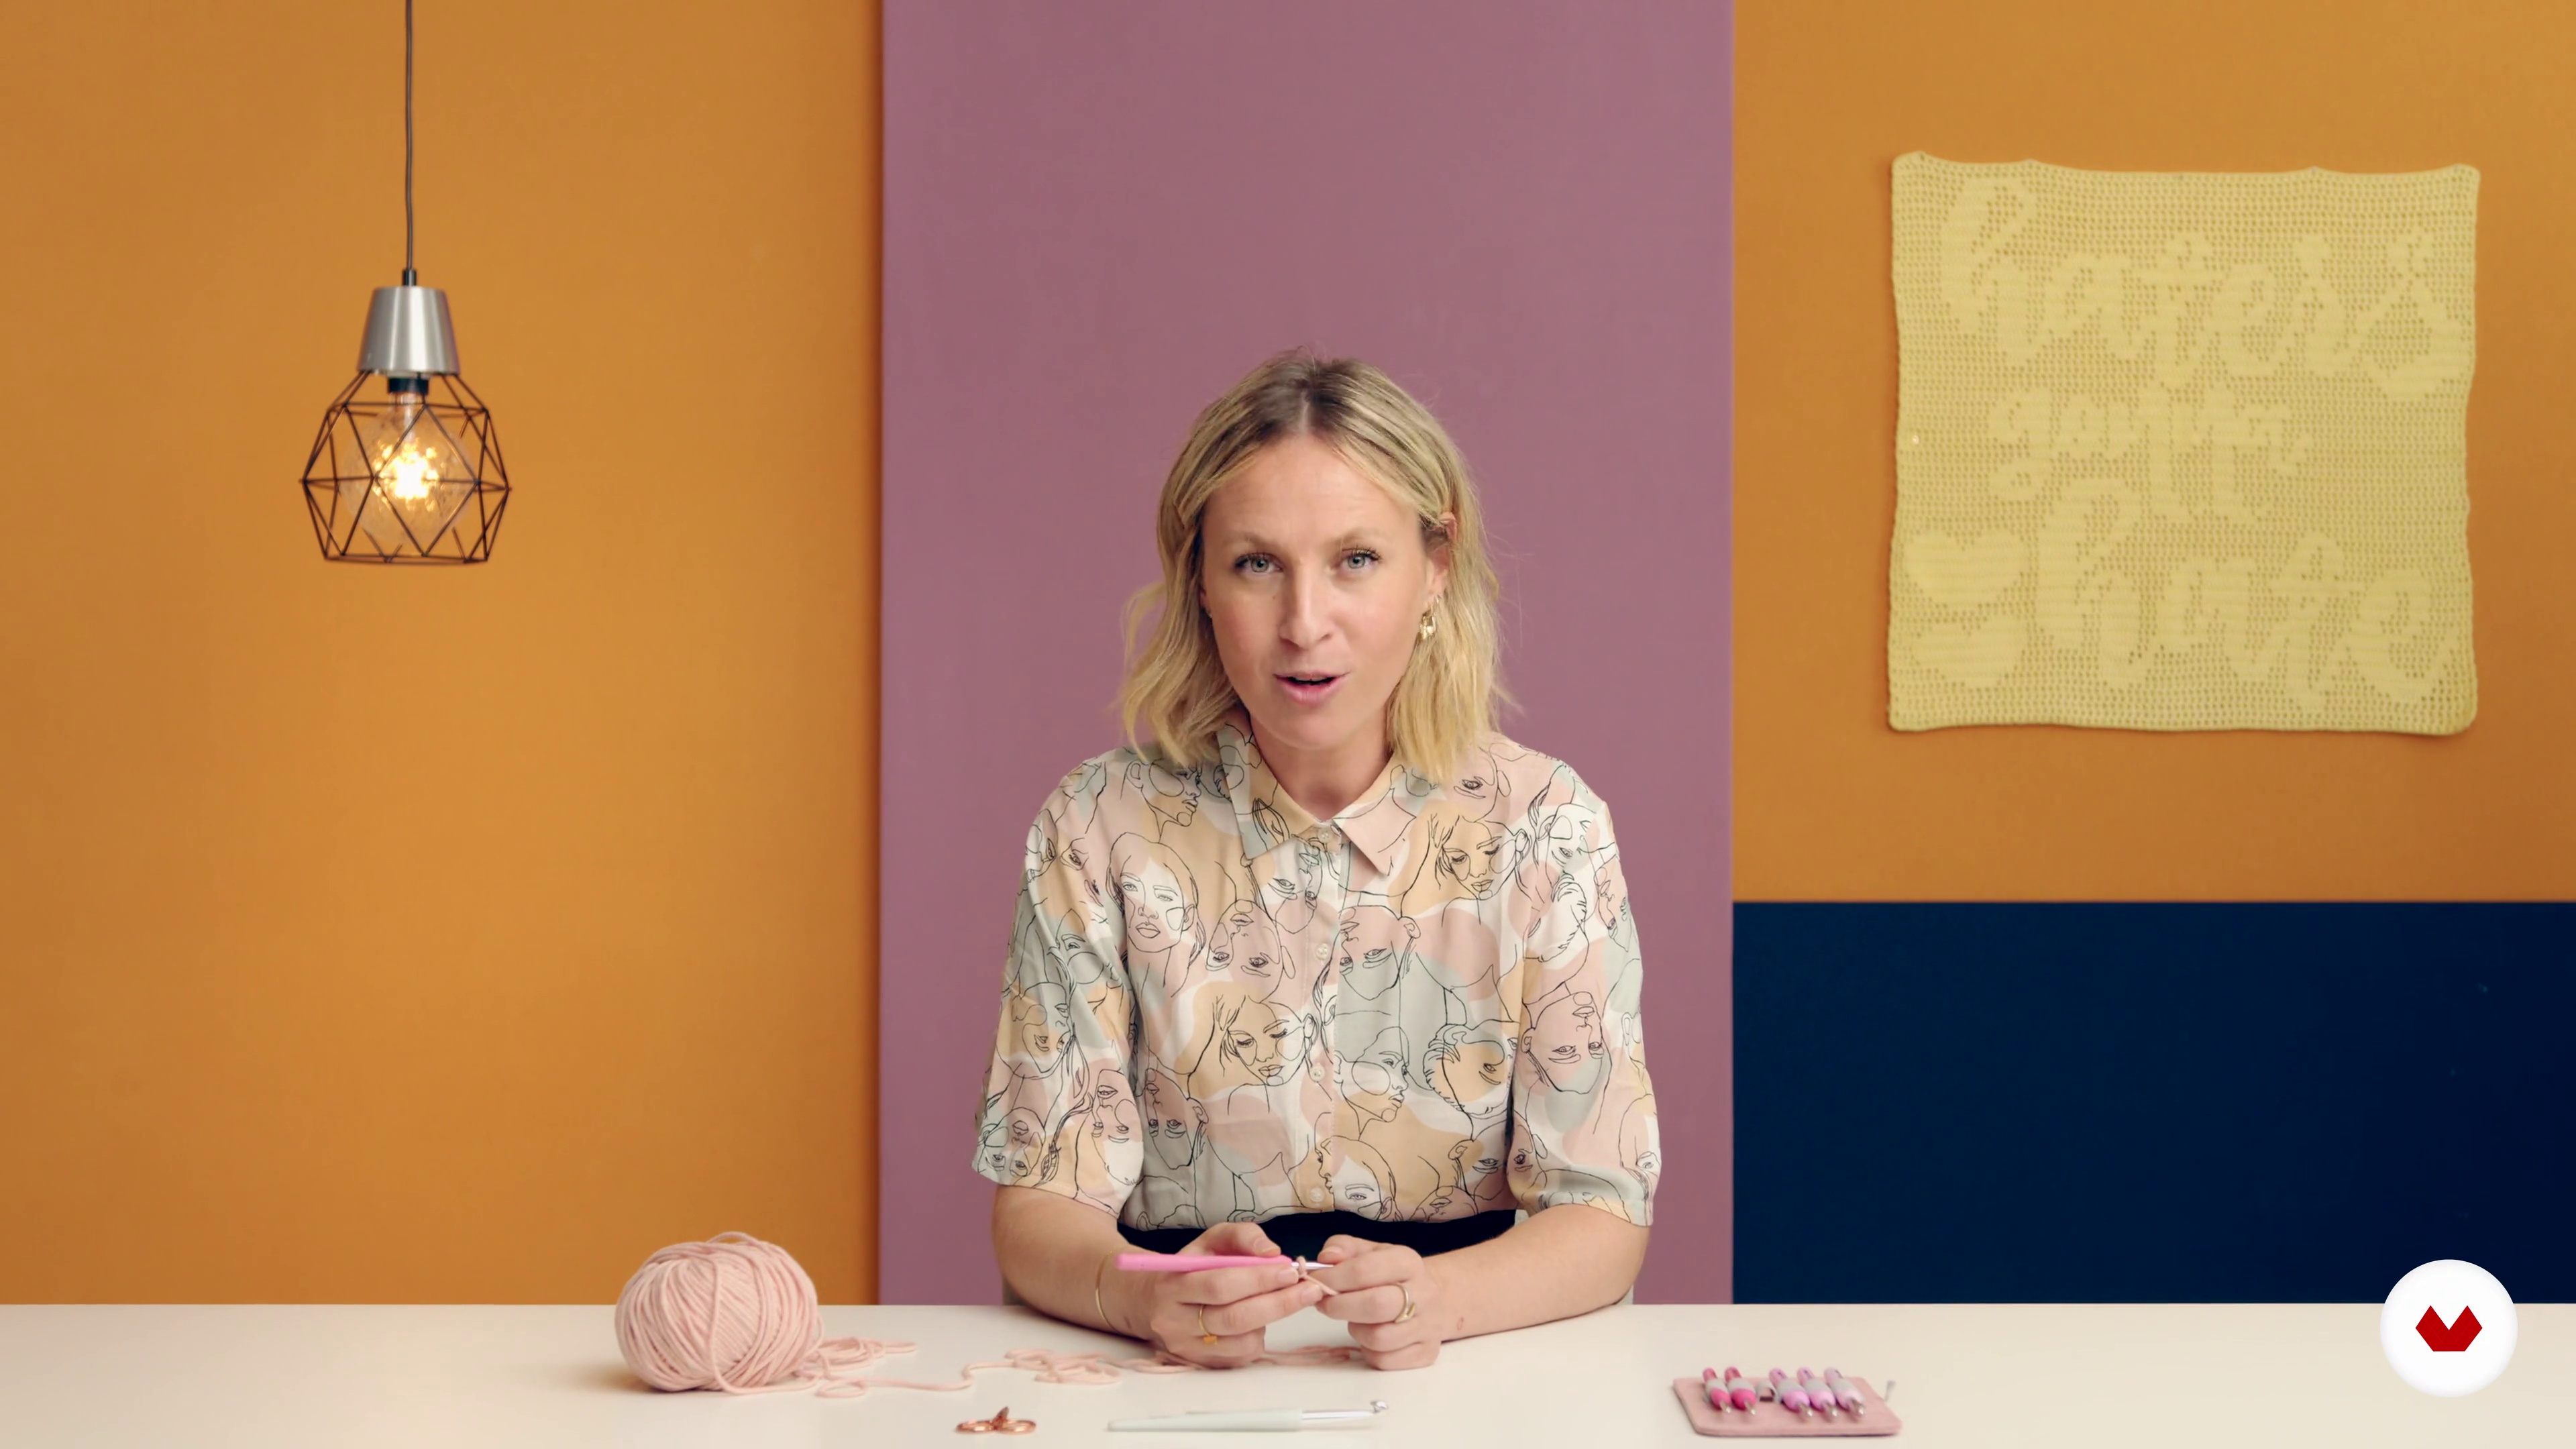
There are two essential steps that are often overlooked and overlooked. They should be your main allies, because the beauty and perfection of your project depend on them. Please take your time to watch these videos because the content I share is worth millions.
9m
 9
9Basic Stitches 2 (Part One)
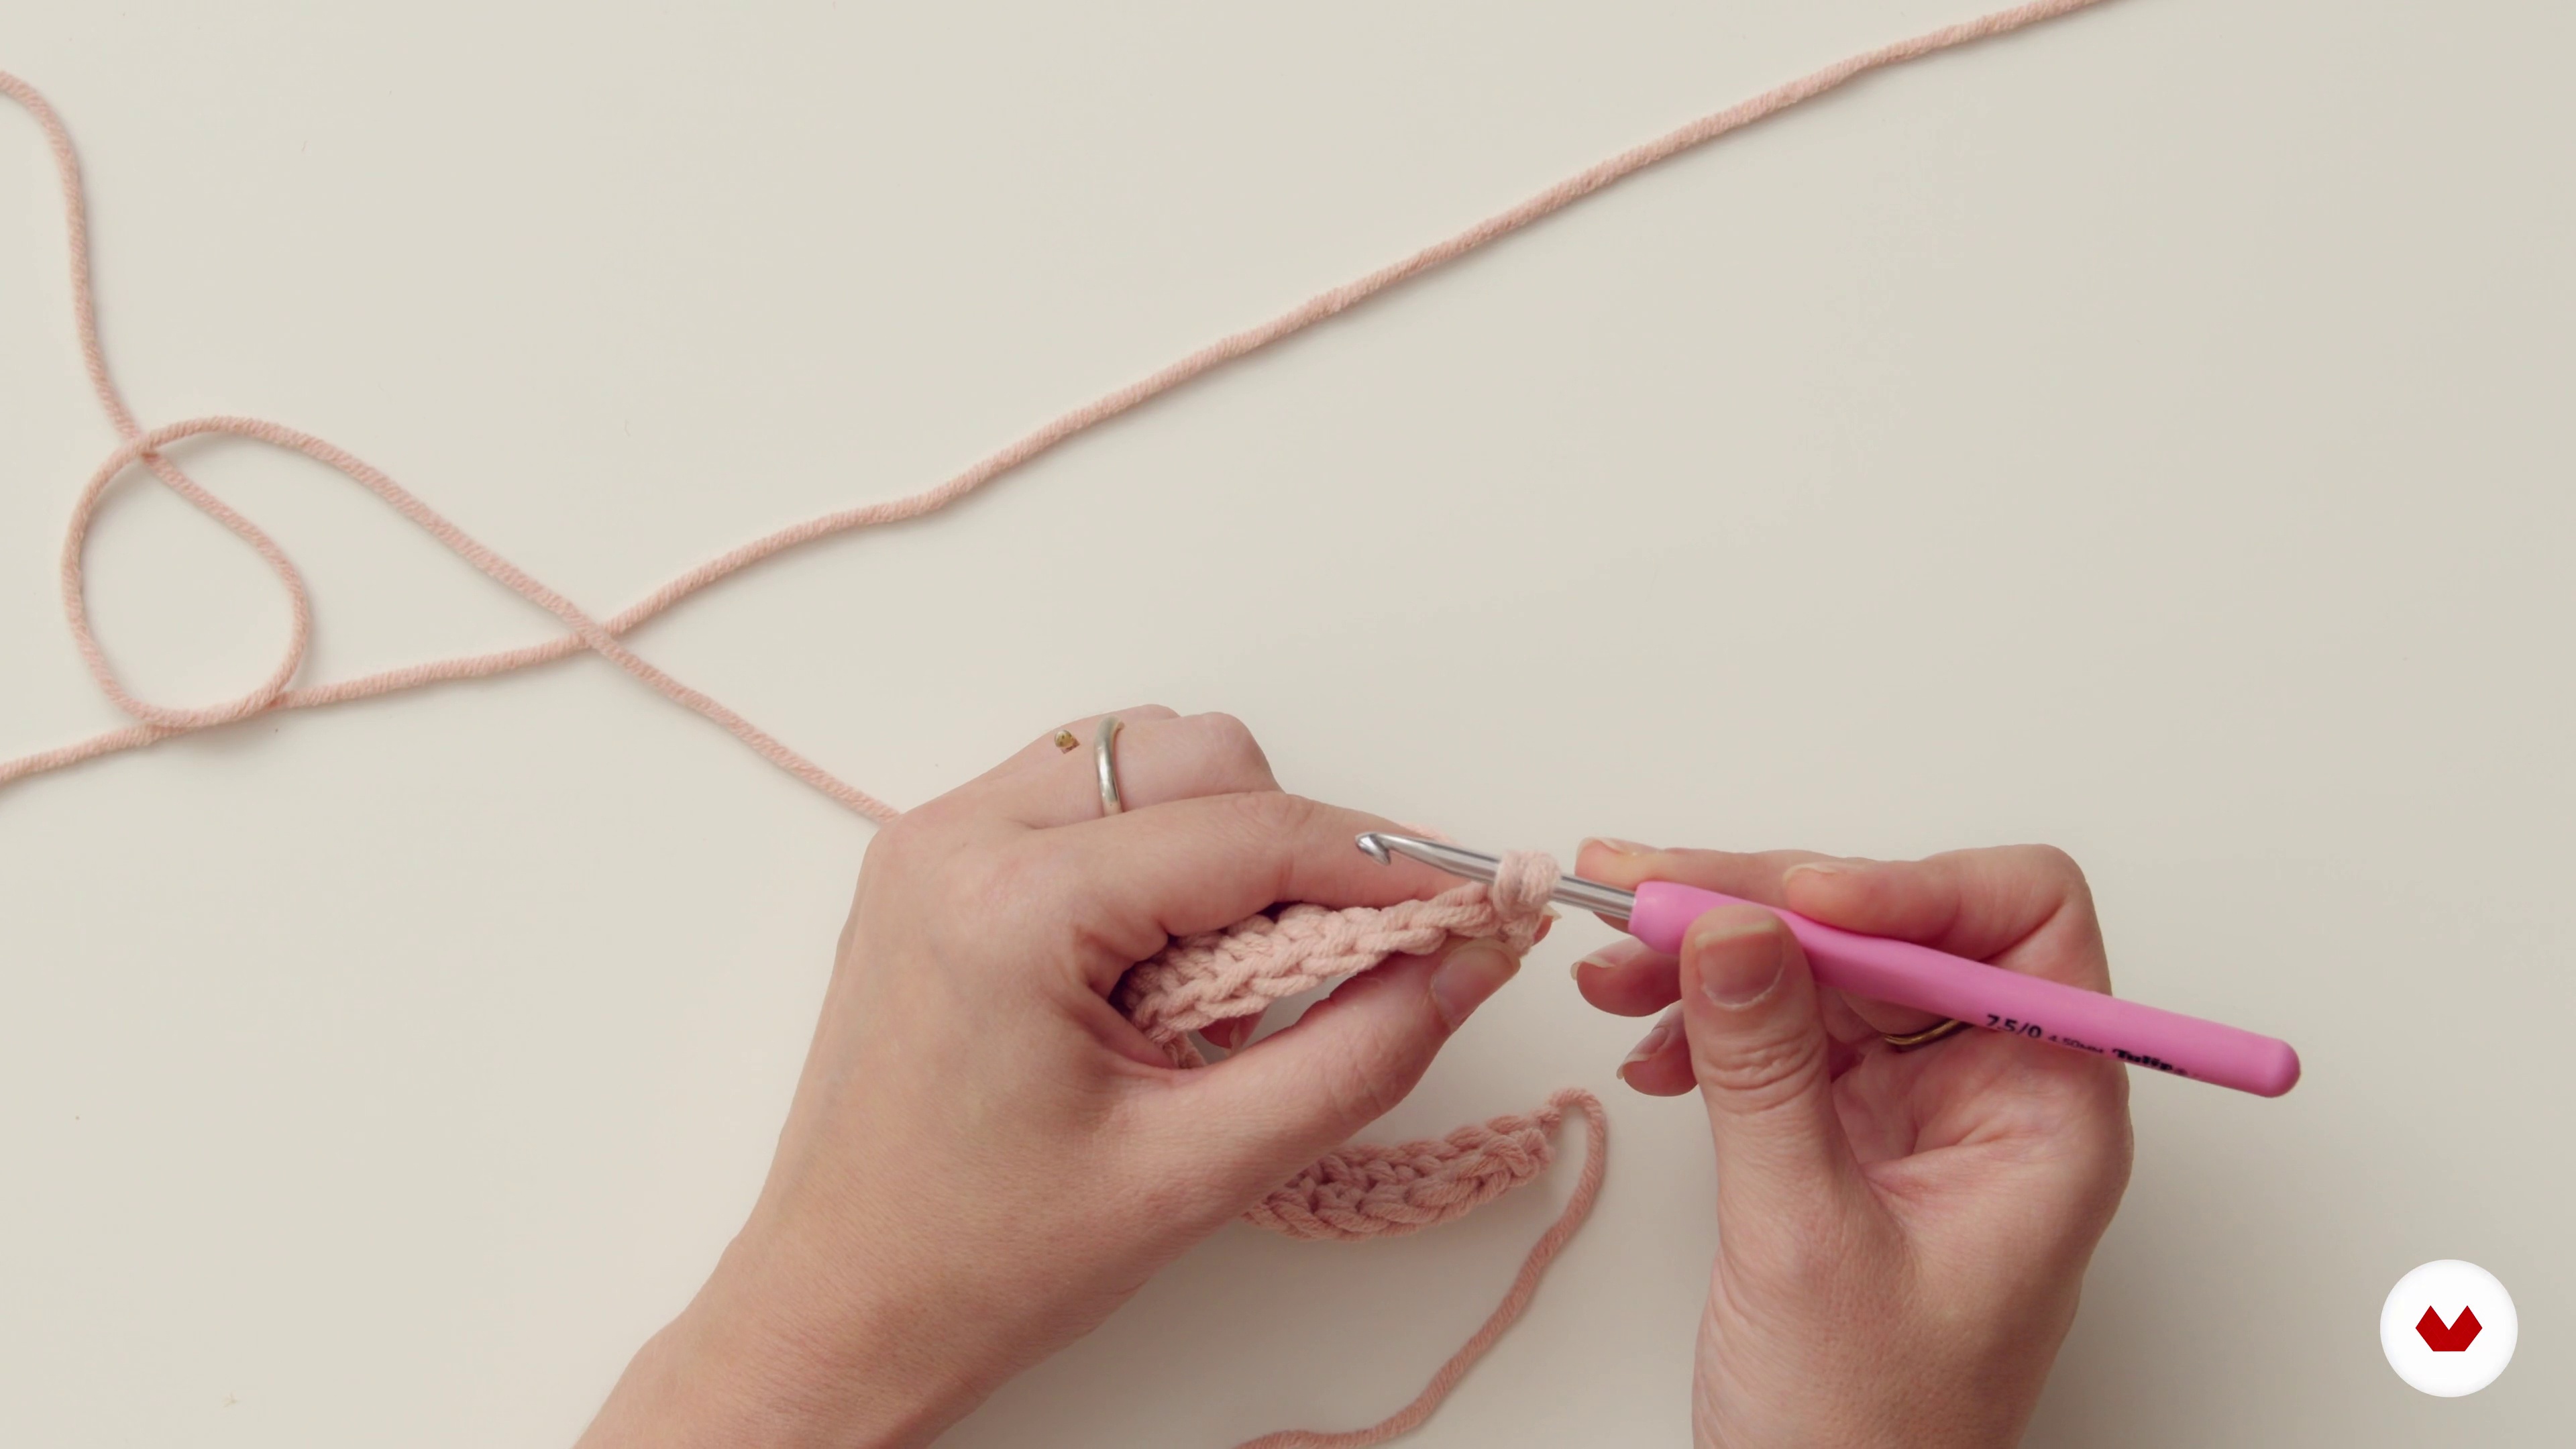
There are three main stitches in crochet : single crochet, half double crochet and double crochet. From them, we'll create the most varied and fun pieces. With just three! With these stitches, we can make amigurumis, which we create in 3D, or even clothing, including murals, quilts, bags, hats, jewelry...
18m
 10
10Basic Stitches 2 (Part Two)
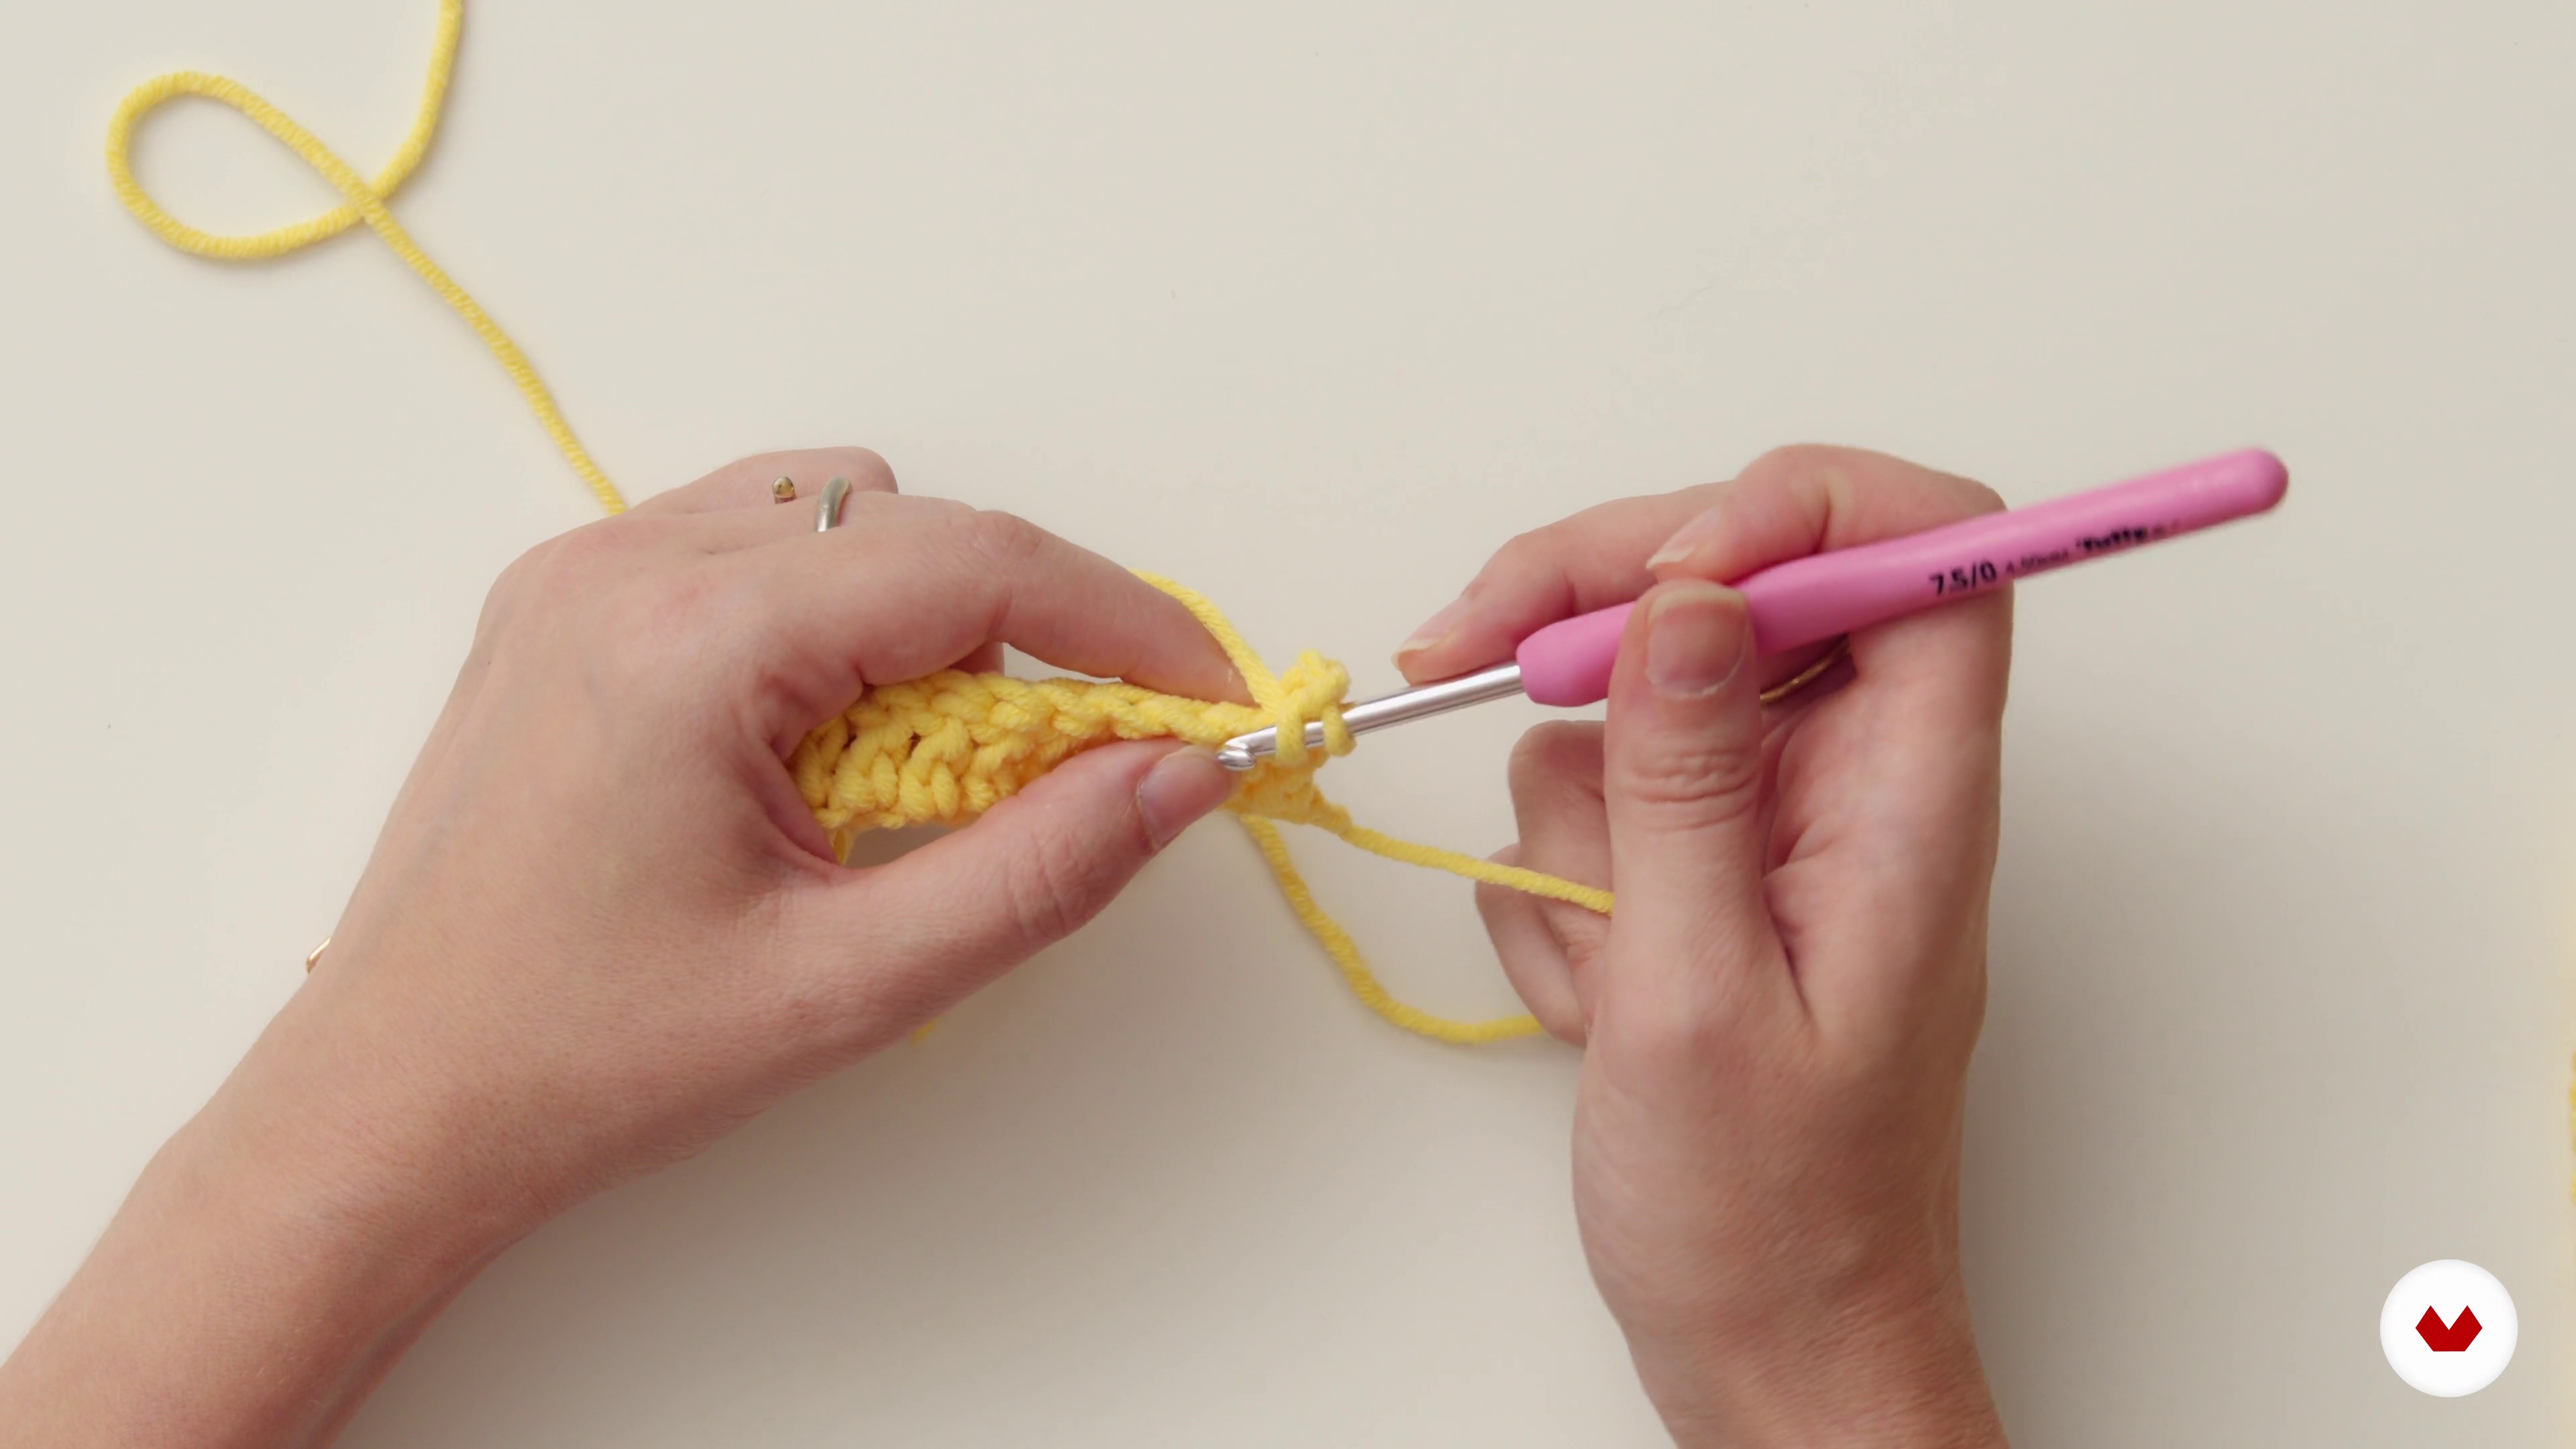
As I pointed out in the previous lesson, it's important to know the three fundamental stitches, since the way we distribute these stitches will be crucial to achieving certain effects. These three stitches are: single crochet, half double crochet and double crochet. Believe me, you'll end up loving them and enjoying them for millions of moments in your life. I promise we'll master them!
18m
 11
11Anatomy of the Stitch
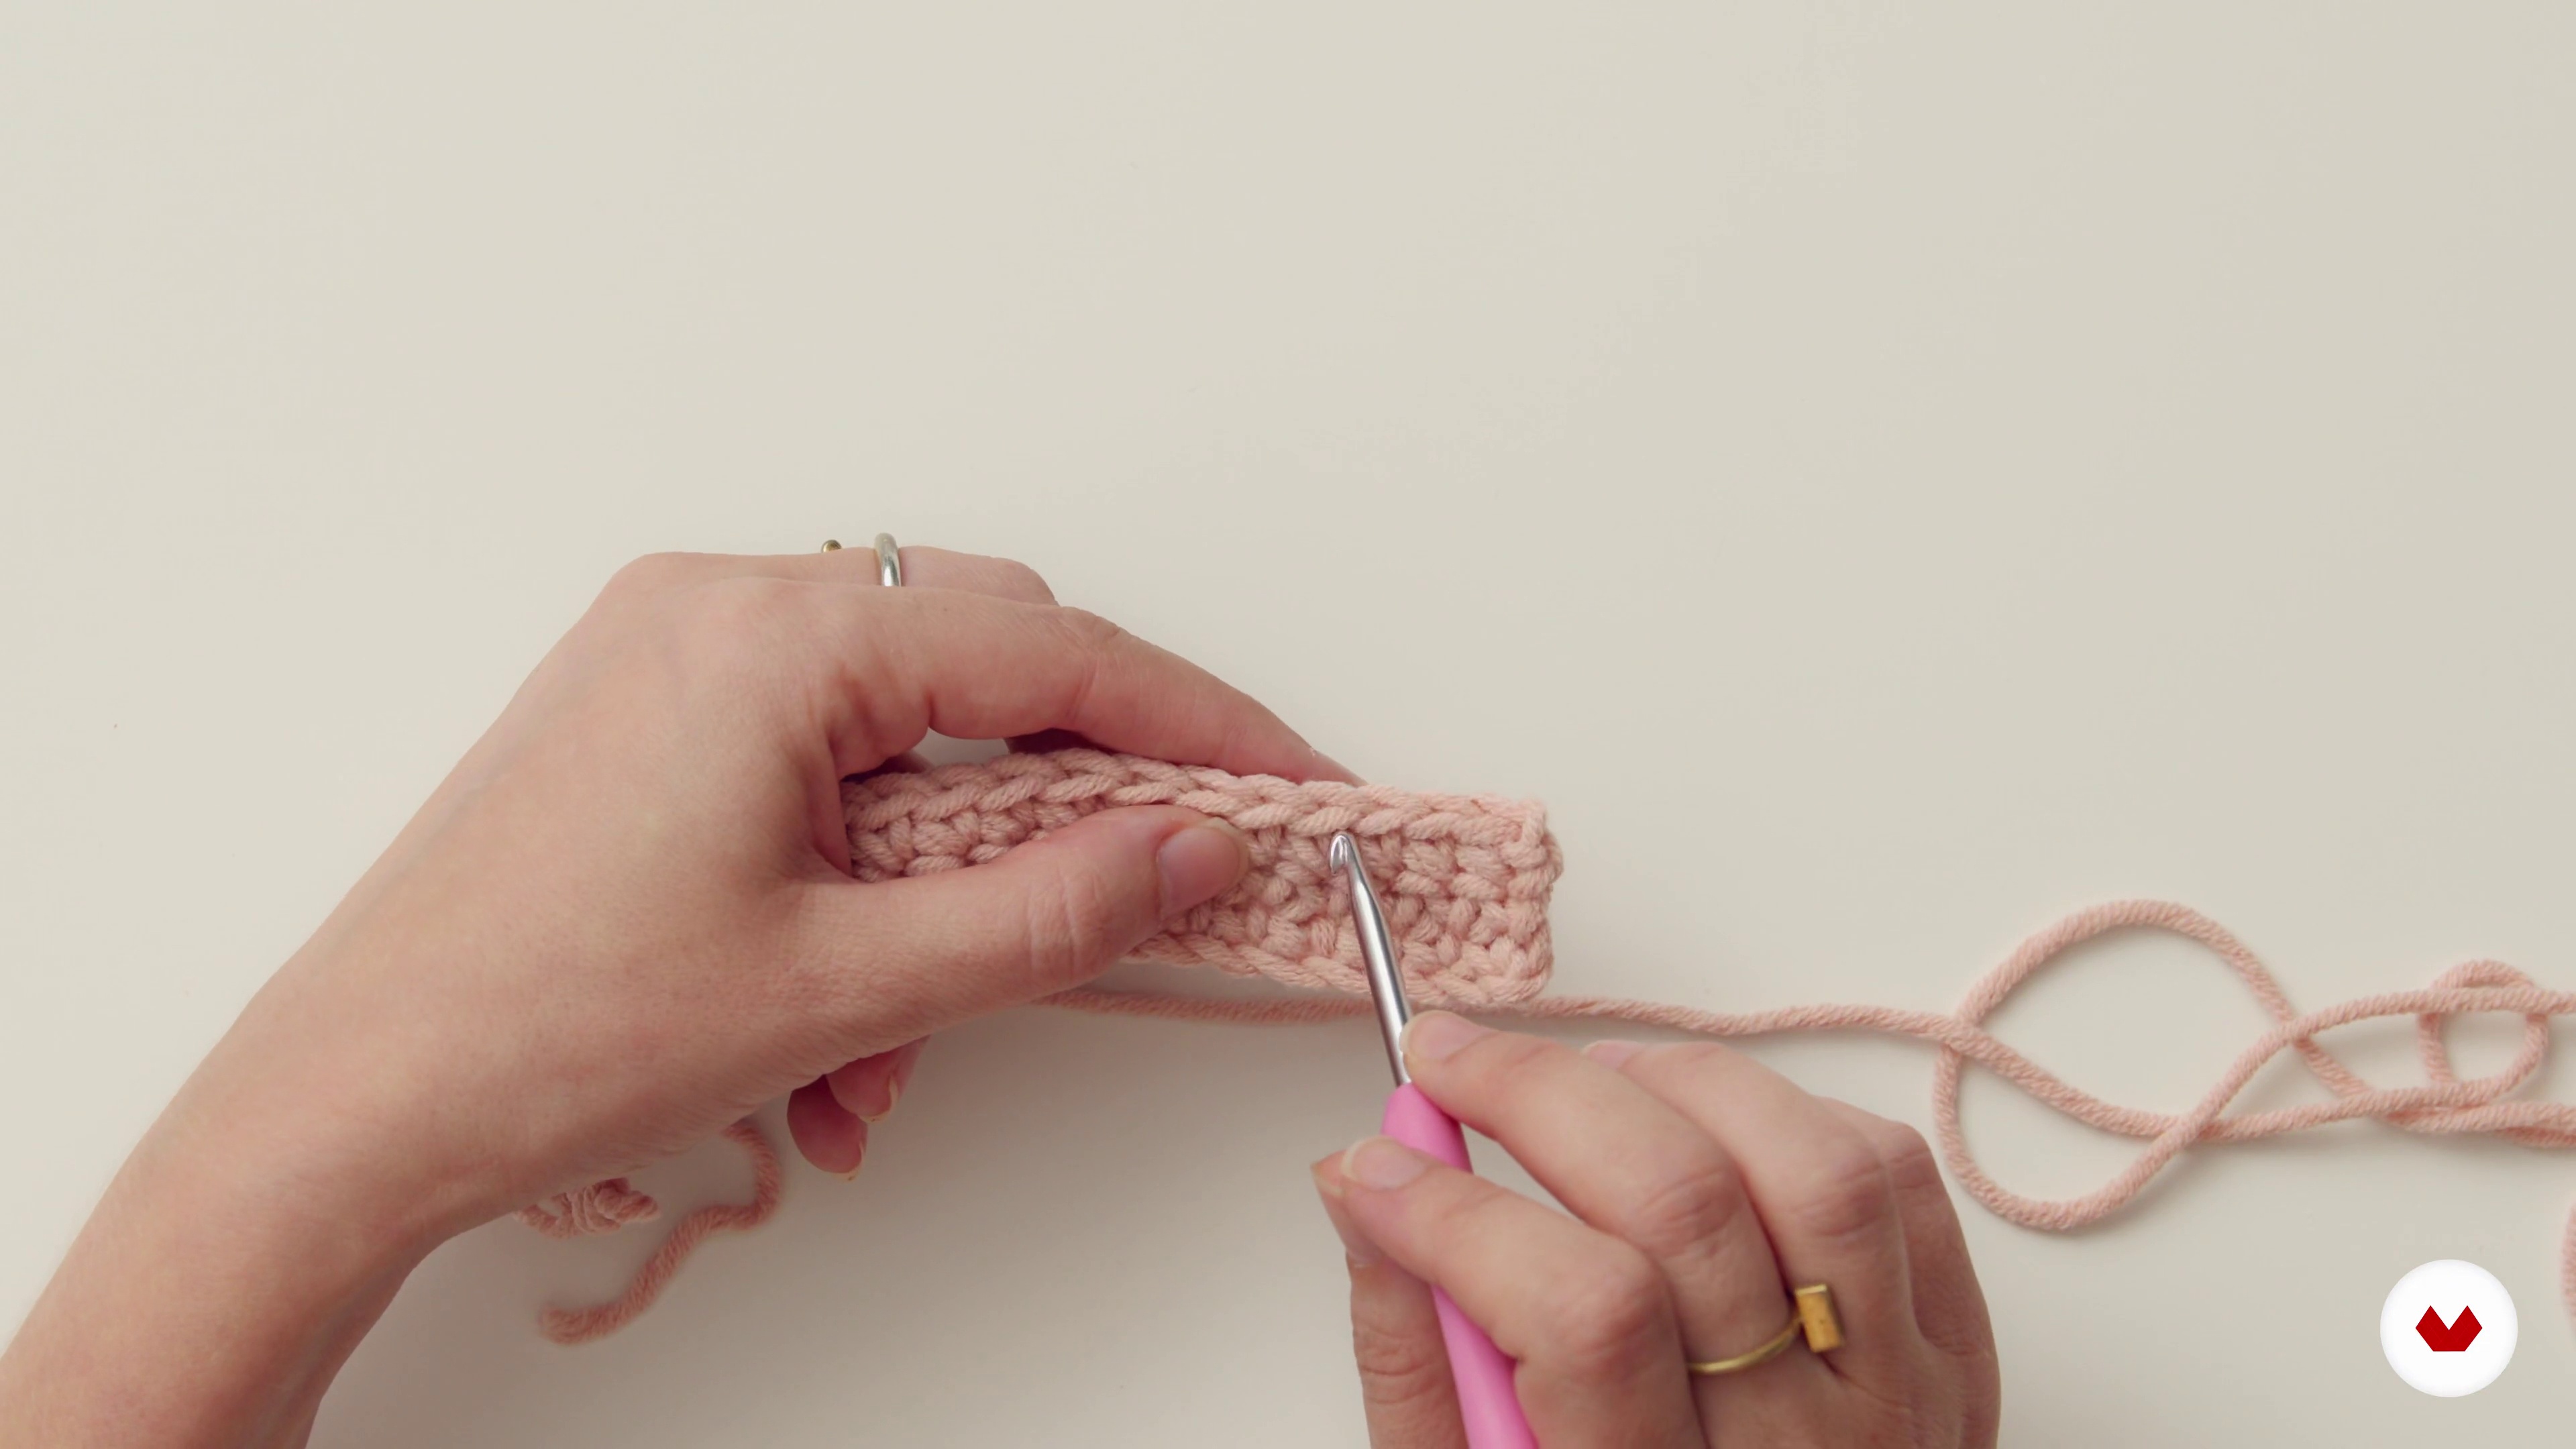
Don't be afraid to experiment with your needle. Some of the best things we've ever done started with a mistake. So, watch all the parts that make up a stitch in the video I've prepared for you and discover the endless textures we can achieve.
3m
 12
12Textures that mimic the two needles
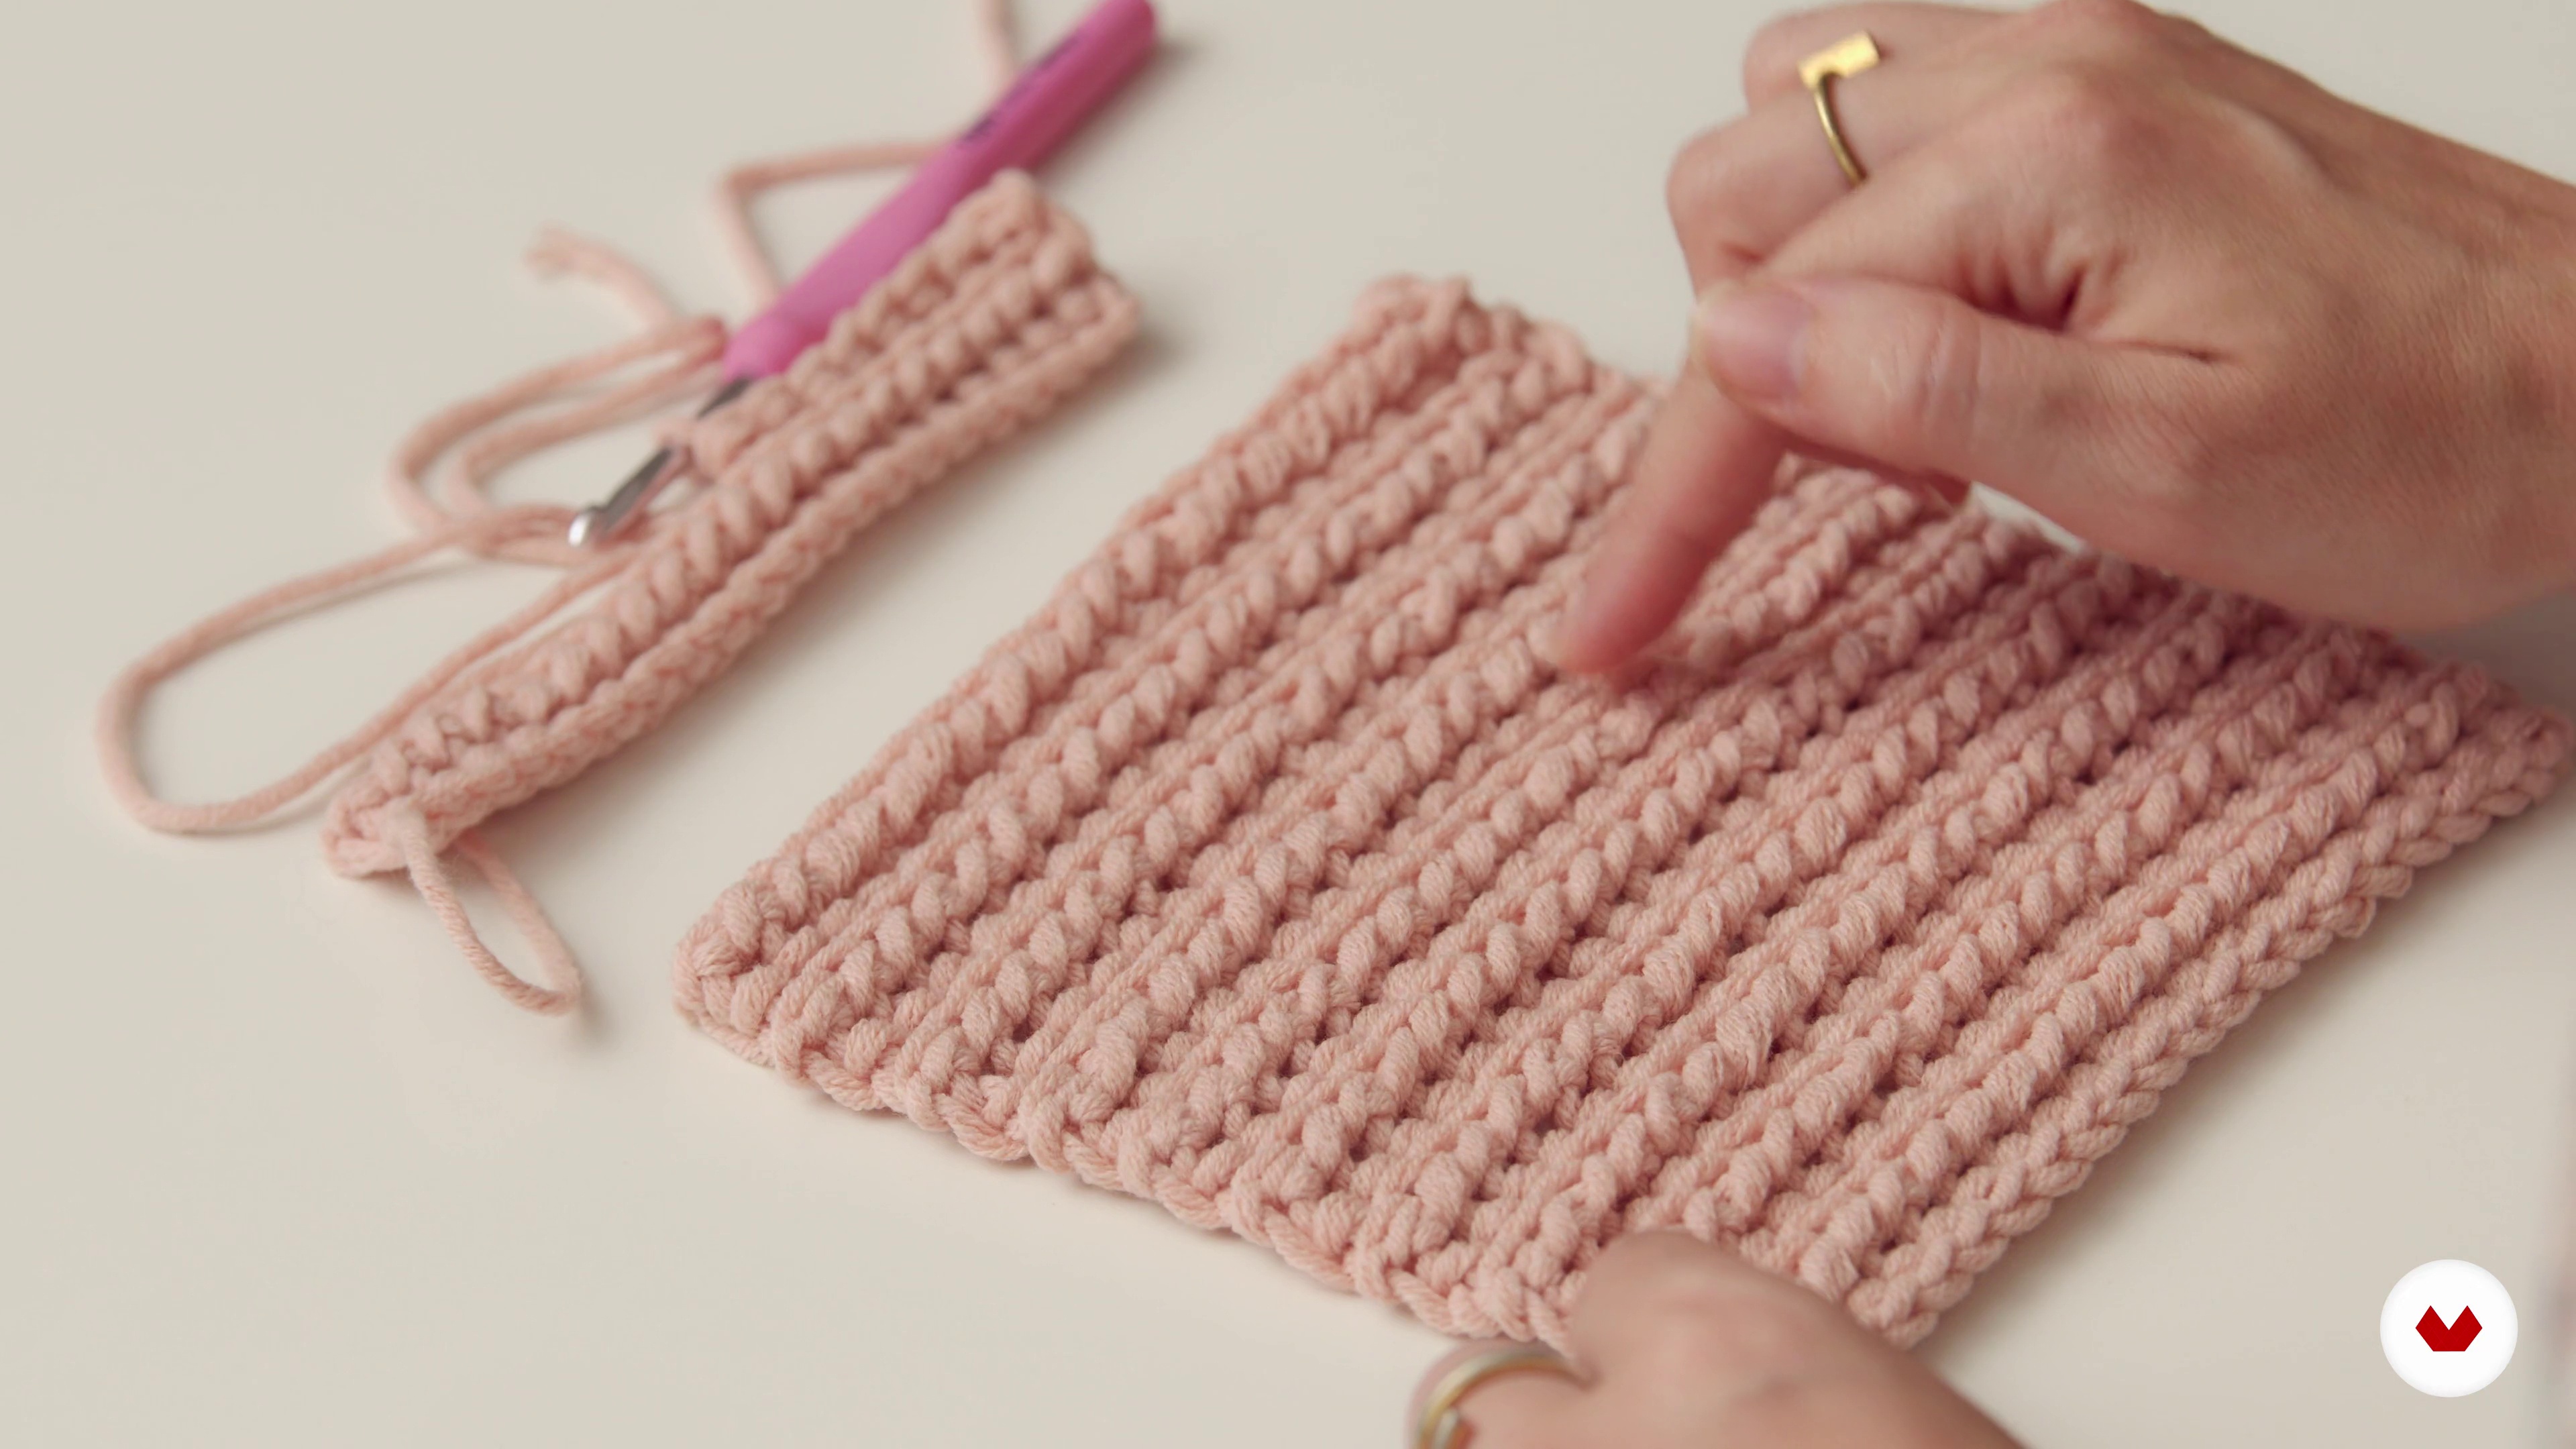
We've already learned the basic stitches. However, how we use these stitches, how we arrange them in our pattern, and the math we use are essential to achieving very different effects than what we're used to in the world of
13m
 13
13How to address the theory and turn it into practice
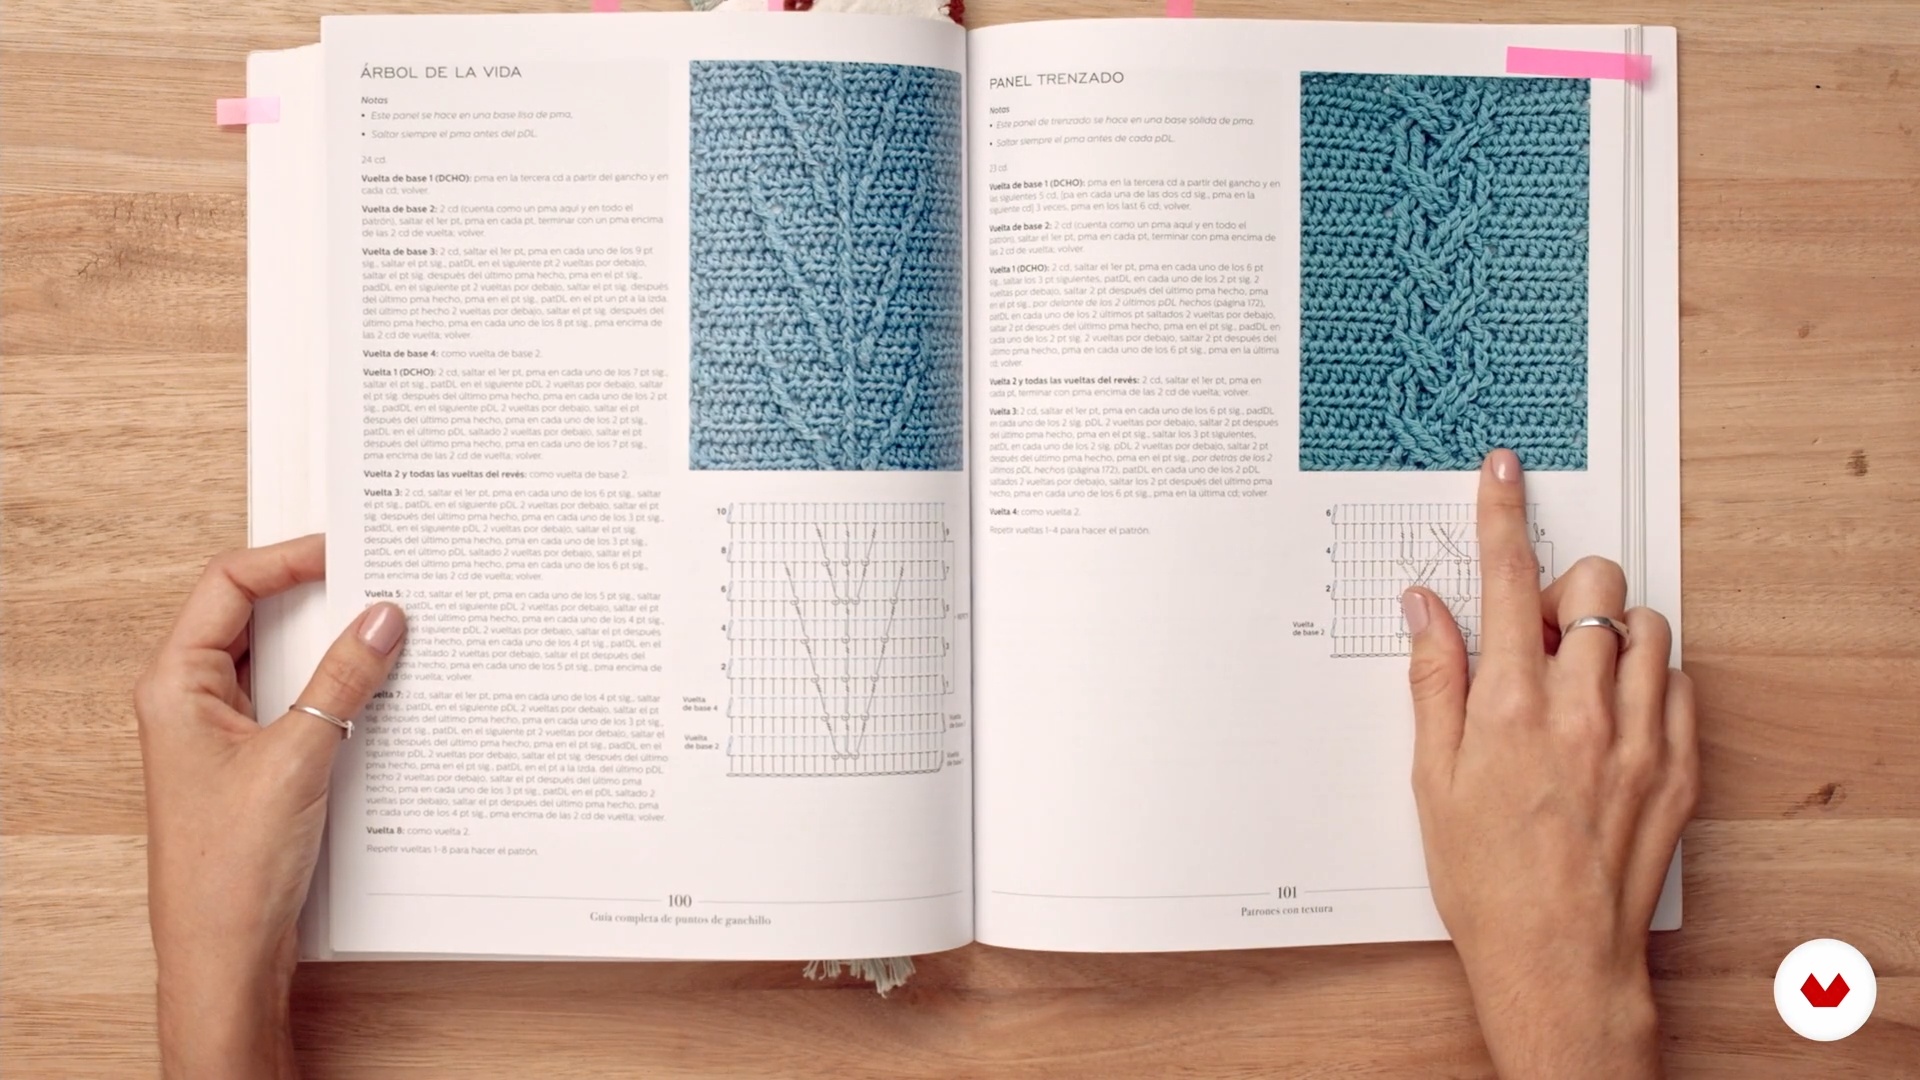
When faced with a designer's pattern, we must know how to follow it and, sometimes, read graphics. In this lesson I'm going to show you what they typically reflect and how we'll follow them. It's very important that you download the Hygge Sweater we'll be using in this course so that together we can build on it and create the different variations that will help us create our favorite sweaters, T-shirts, or cardigans. And best of all, I'll teach you how to read charts!
8m
 14
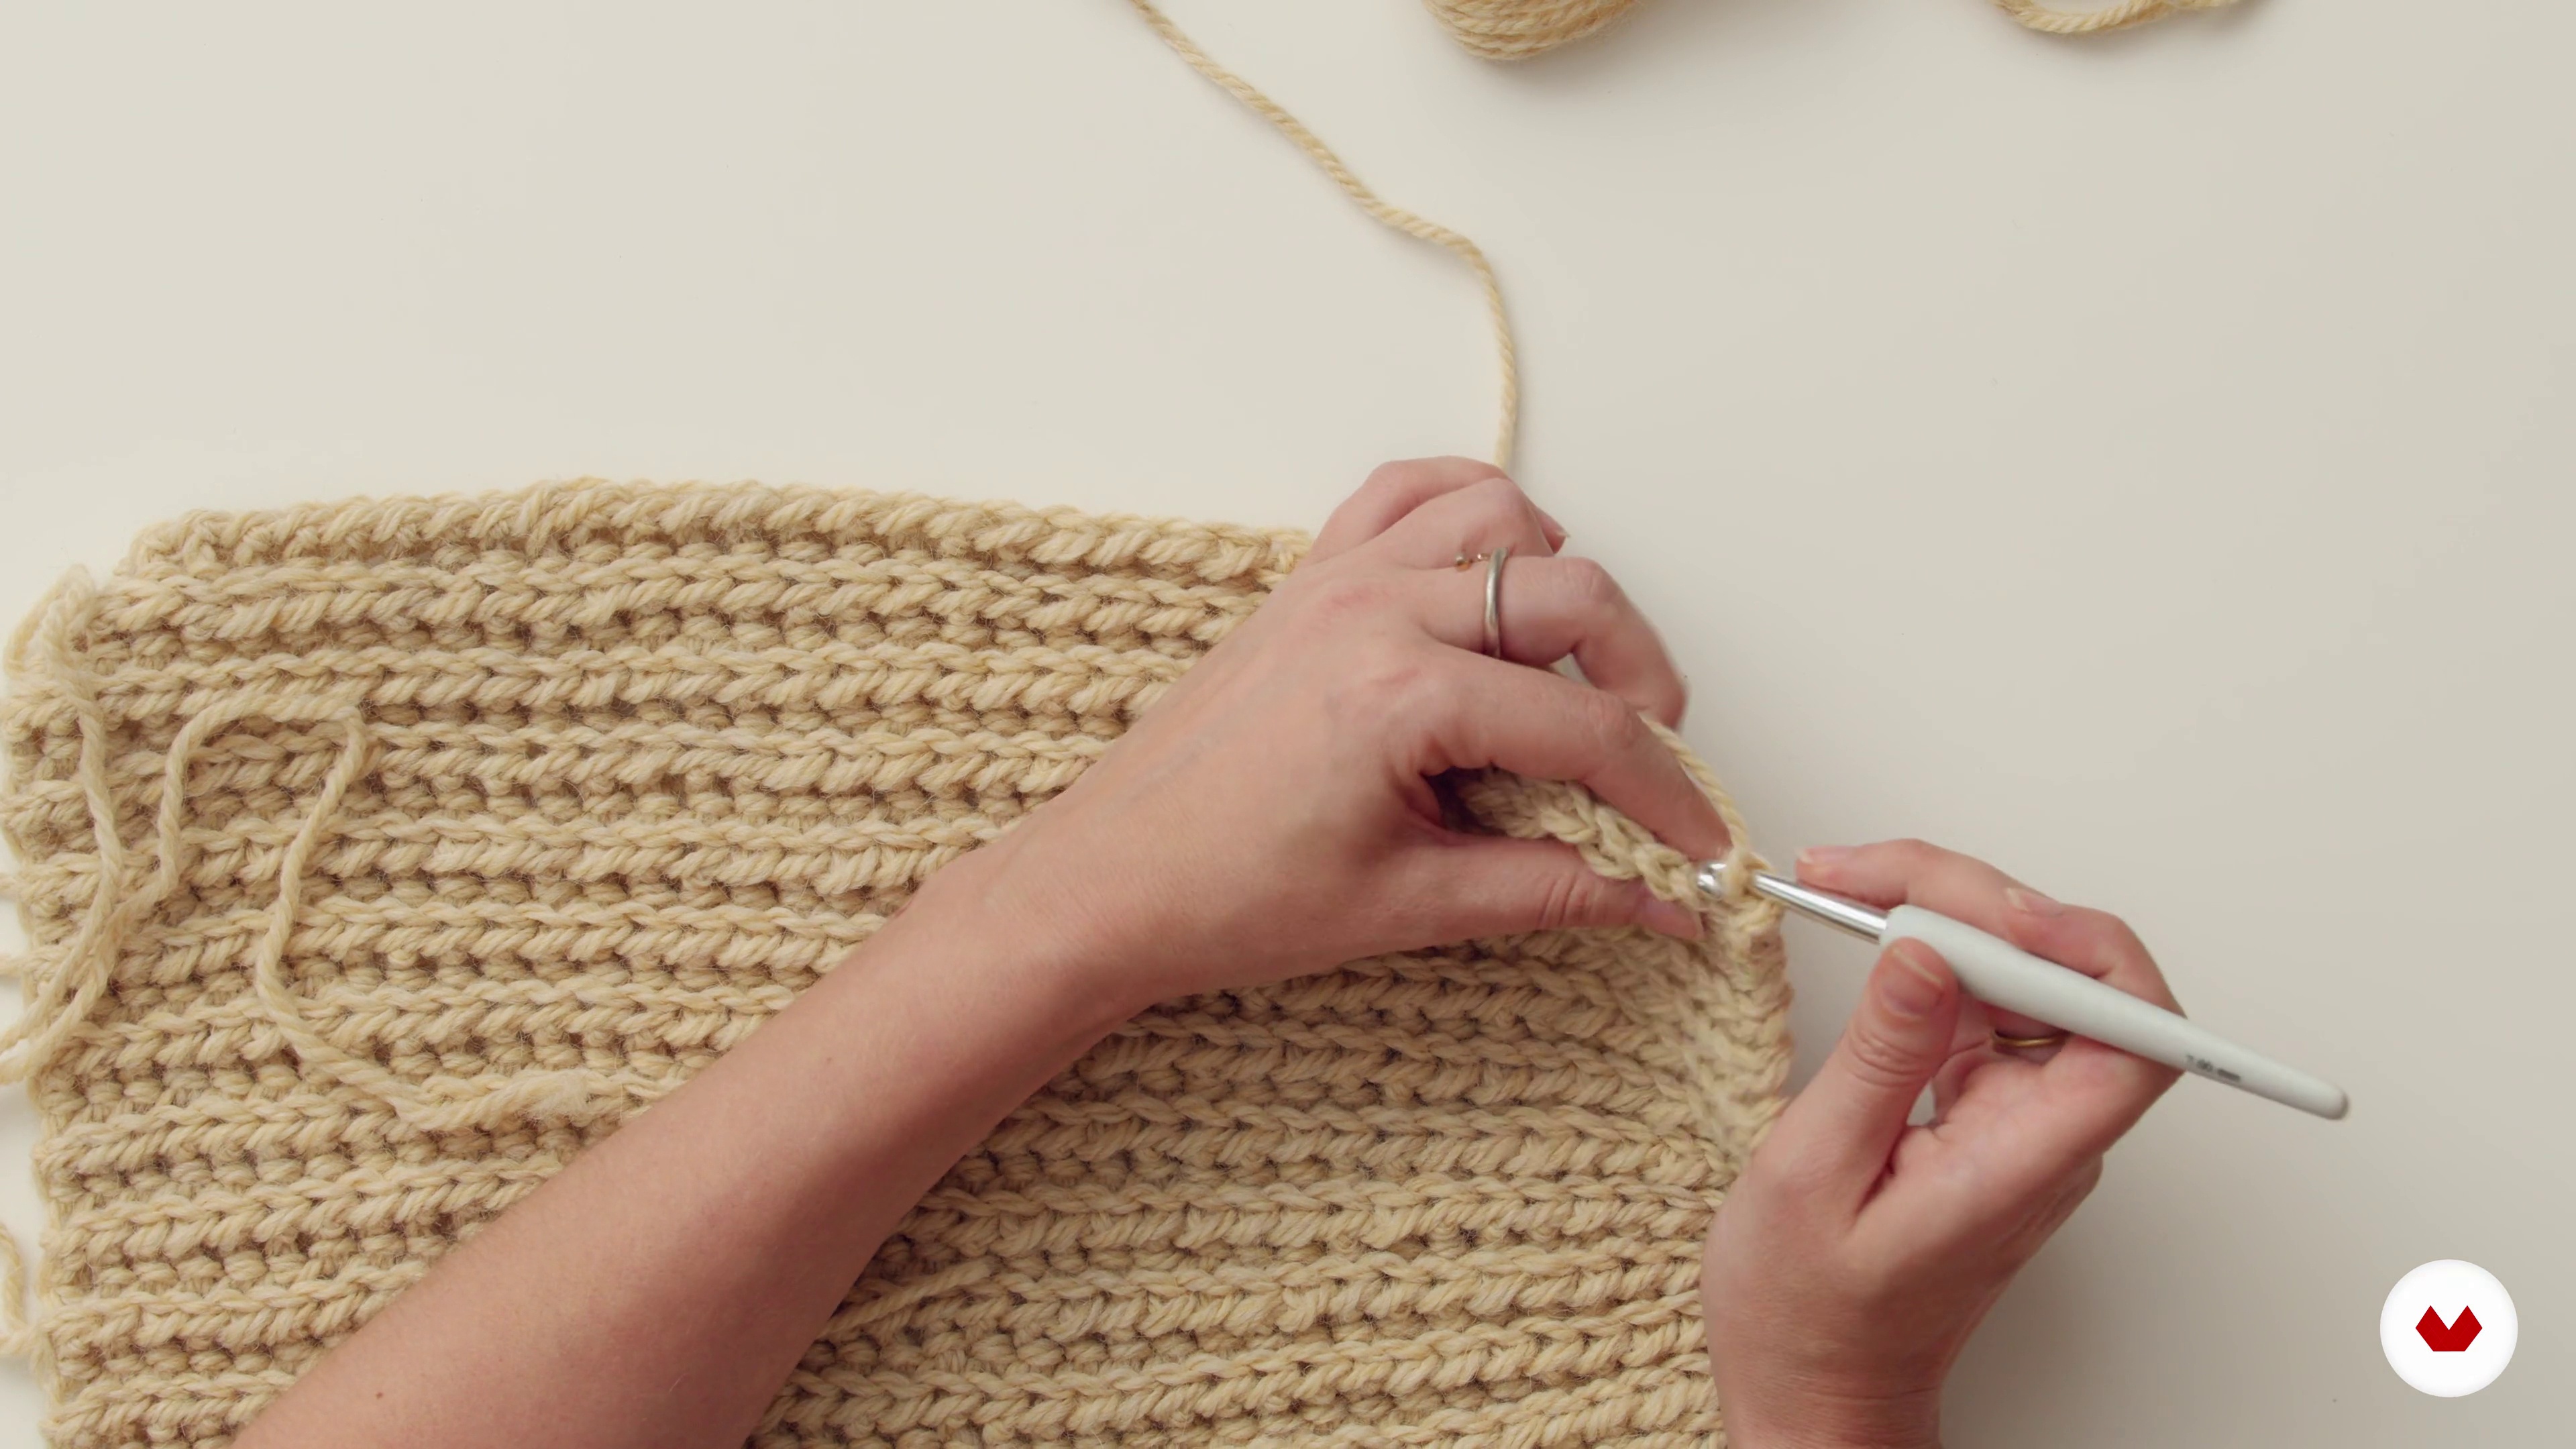
14Let's start with the easy part: Crocheting the back
Once we're familiar with what a pattern is and how to use it, it's time to start knitting. We'll start by knitting the back of the sweater, which is the easiest, because we'll be knitting a rectangle. It's by distributing the different stitches that the volumes are created and the magic of takes over.
12m
 15
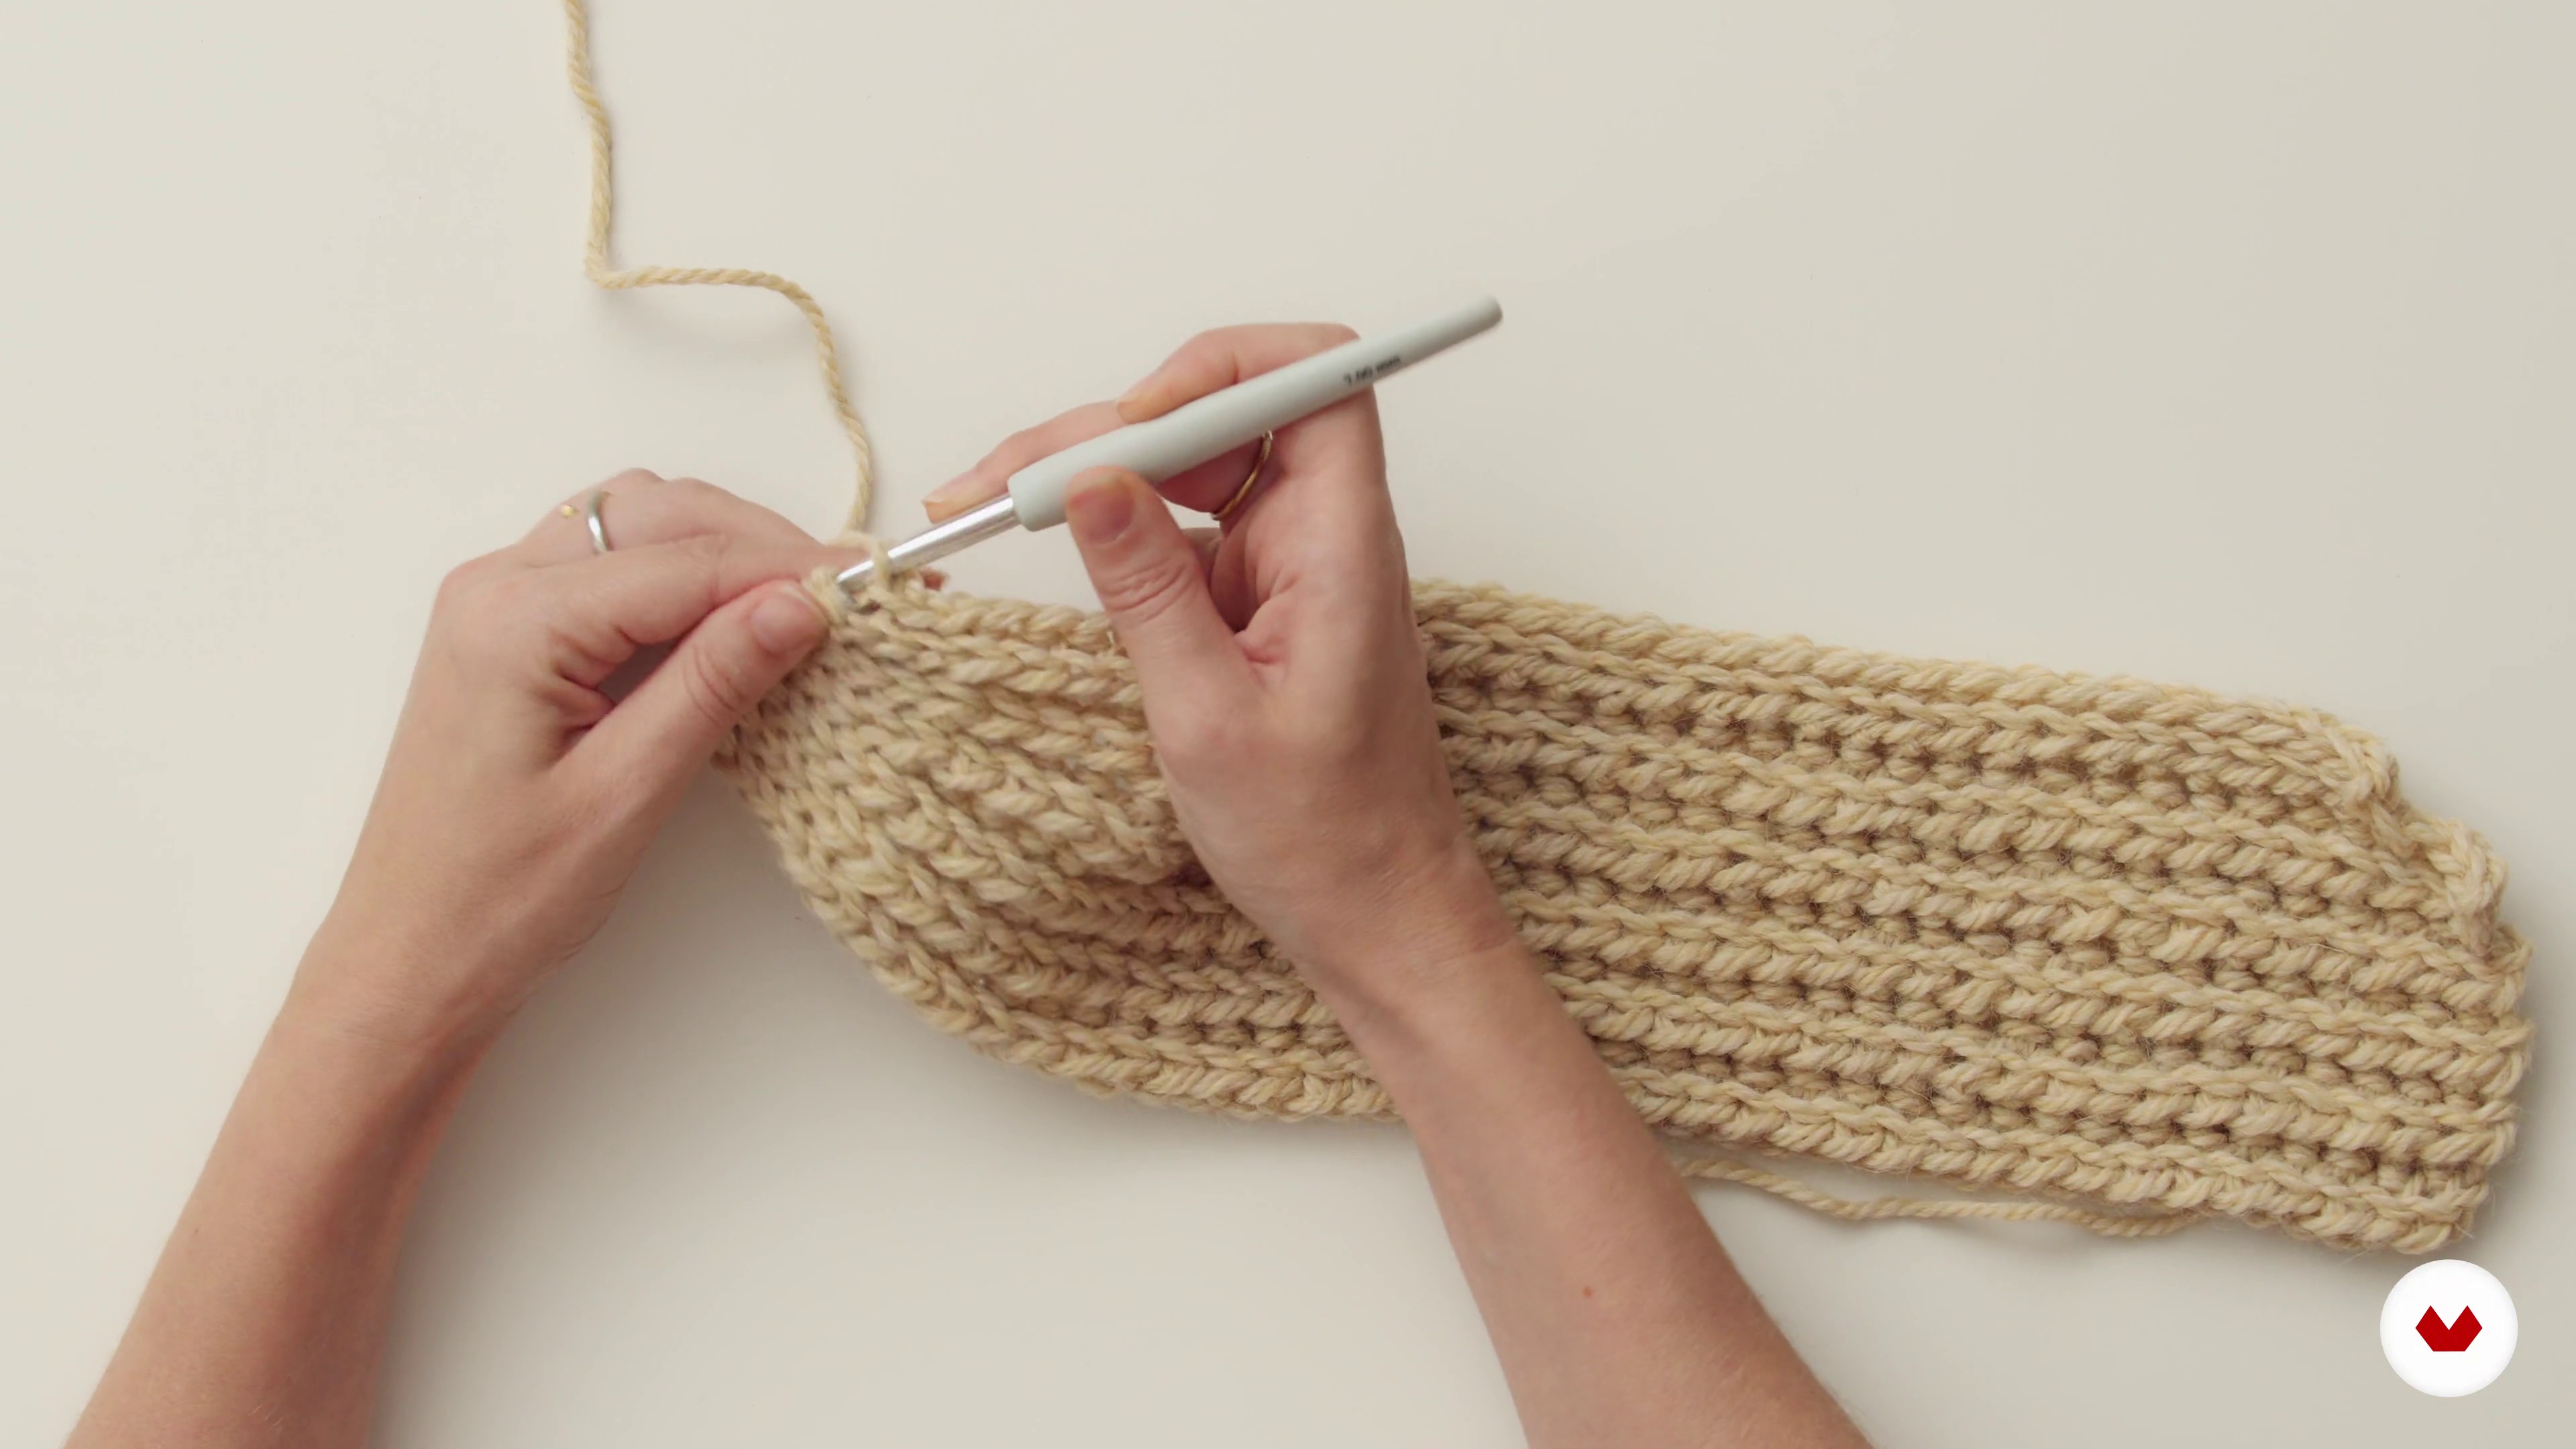
15One or two fronts? That is the question
In this life, decisions are extremely important, and depending on which path we choose, we will find ourselves facing different destinies. For that reason, and because in this art we decide our own paths, it's time to decide what you would like to knit: a cardigan or a sweater? Yes, friends, yes. Two possible designs in one course. In the following video I show you how to knit the front of the sweater, because it is more difficult, but if what you want is to knit a cardigan remember to have your pattern handy and knit the fronts following the instructions from the previous lesson, since what you will create are two basic rectangles.
19m
 16
16No Sleeves, No Project - Colorwork, creating worlds of color
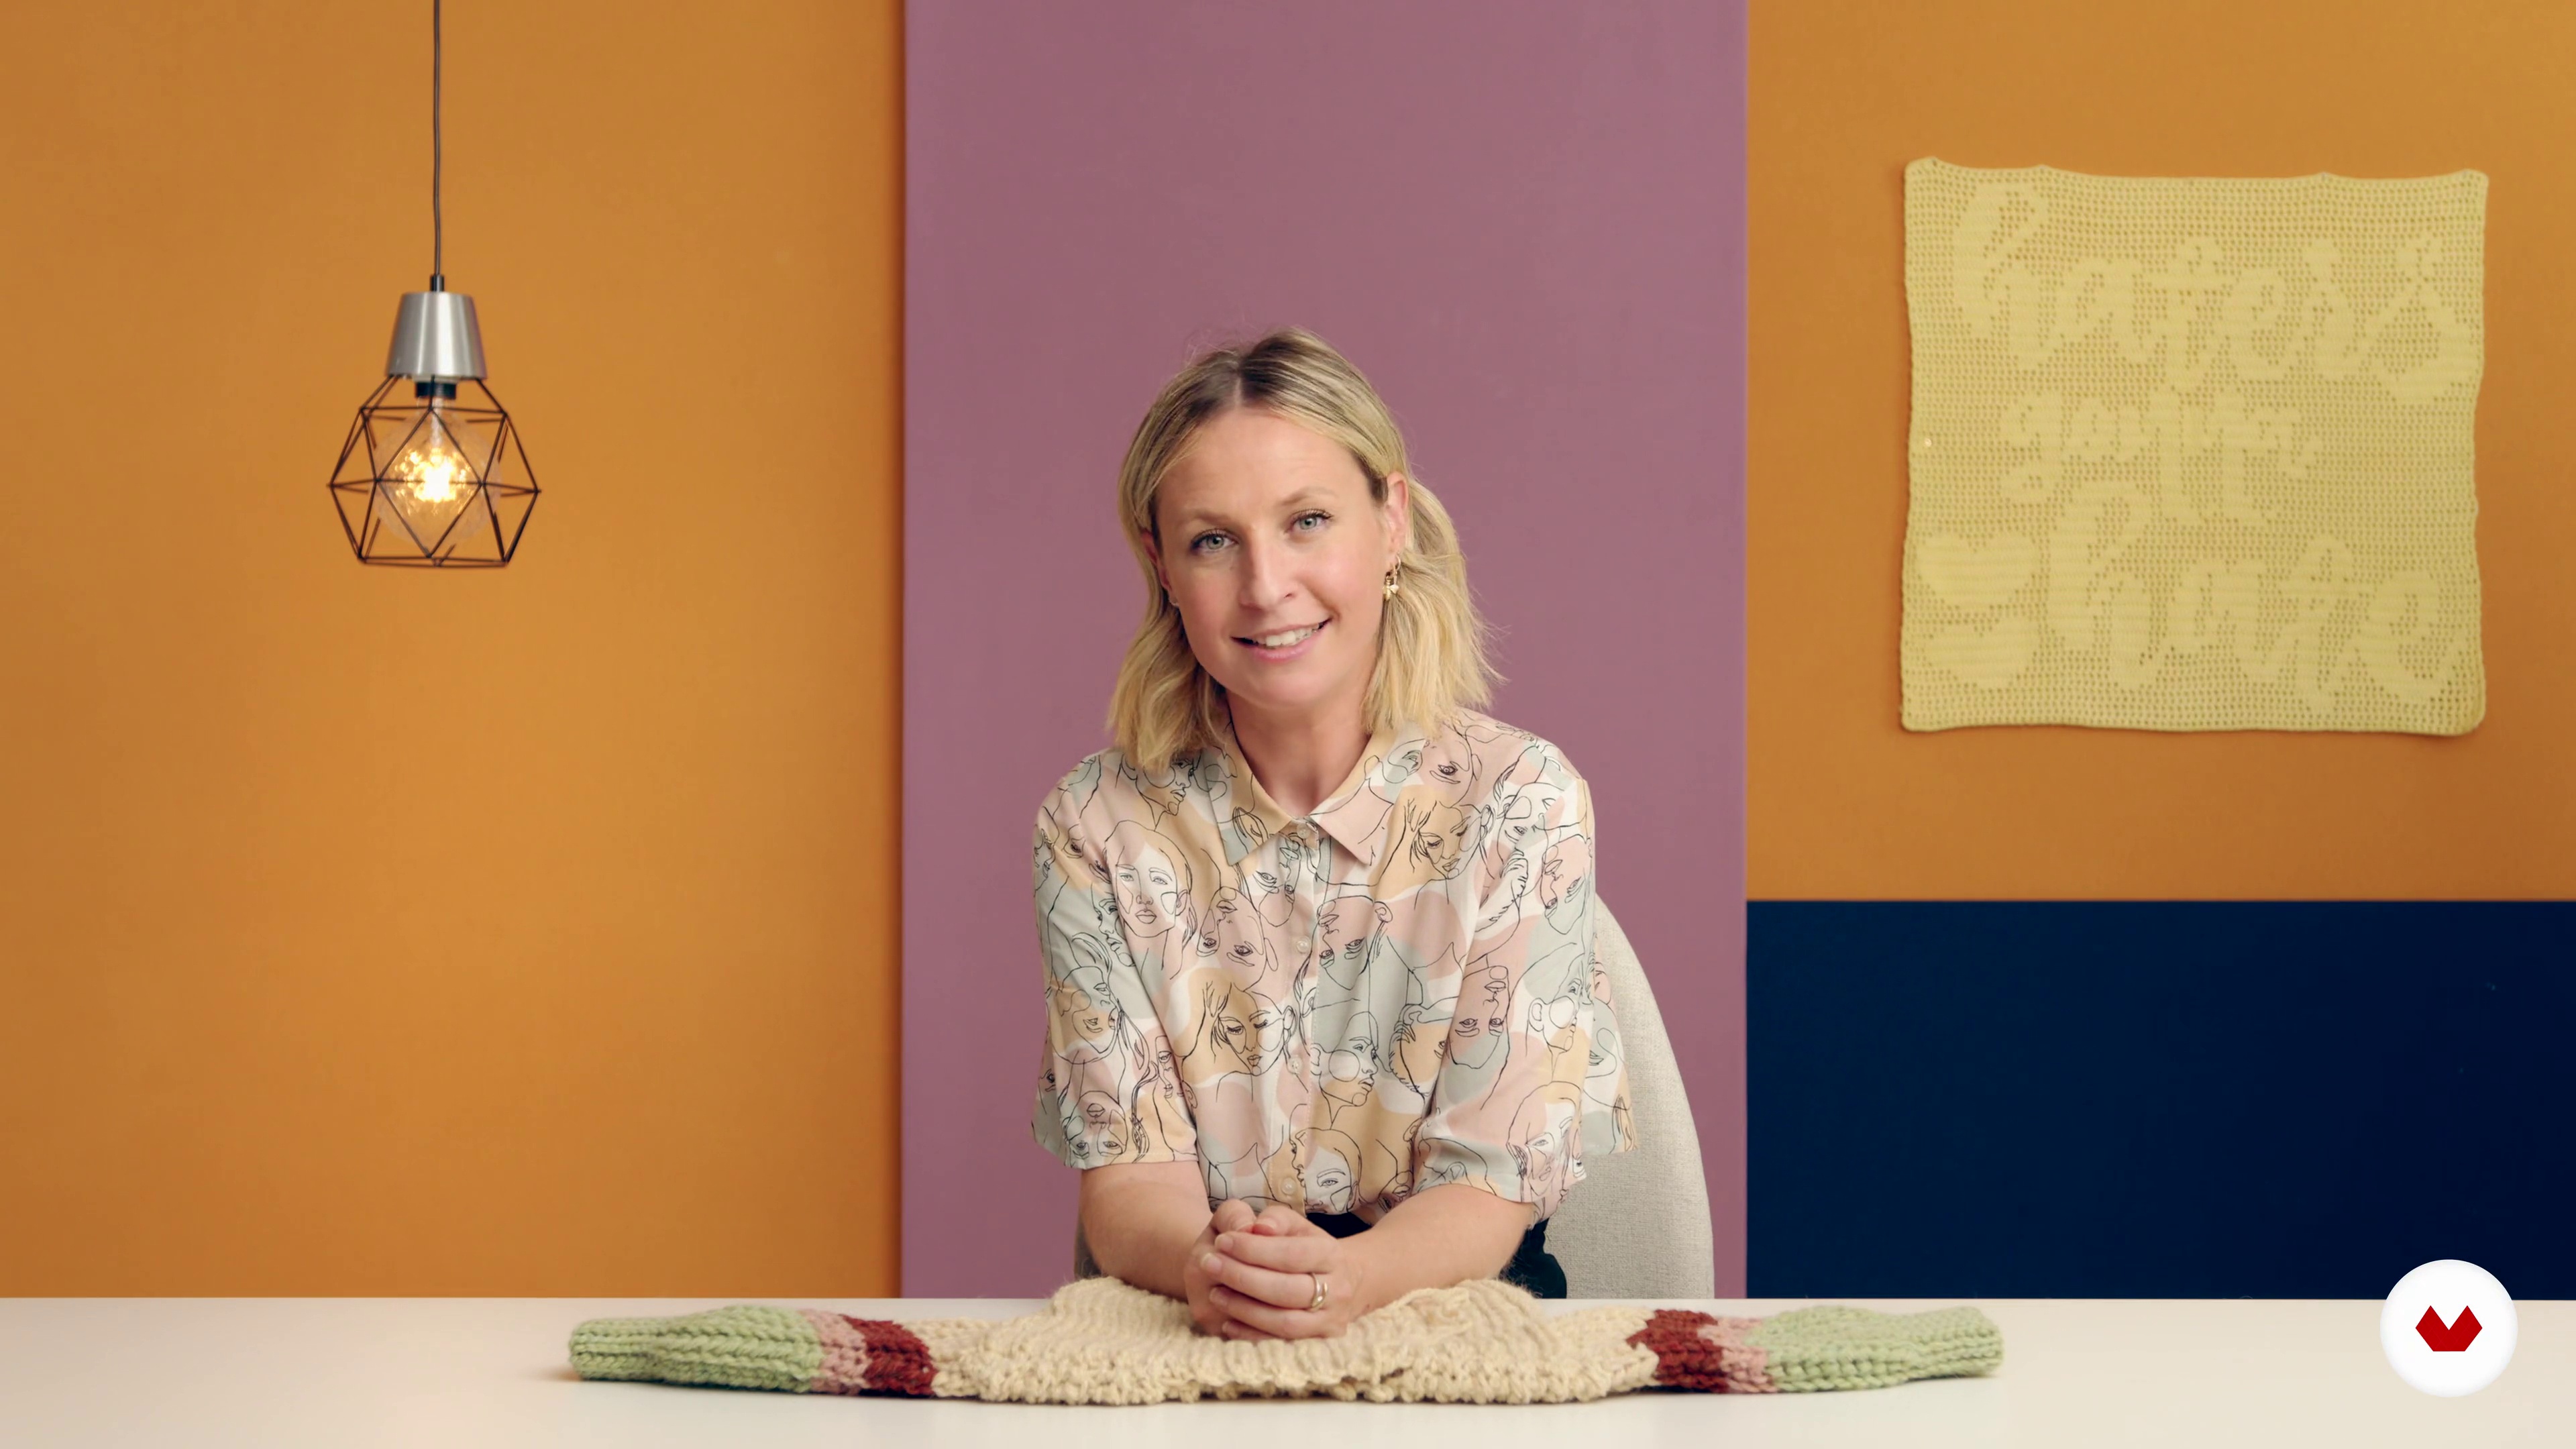
A basic pieced sweater usually consists of a back, a front, and two sleeves, which we then sew together. We've knitted both the back and the front(s), so now it's time to really jazz up our sleeves. These are usually exactly the same, and thanks to various modifications we can make, we can give the same pattern different styles. That's why I knitted them using the colorwork technique. is the use of different colors in a single project. Thanks to this technique we can create unique and distinctive pieces that will add a special touch to your creations. You'll break free from monotony while adding complexity to your final project. Are you up for it?
19m
 17
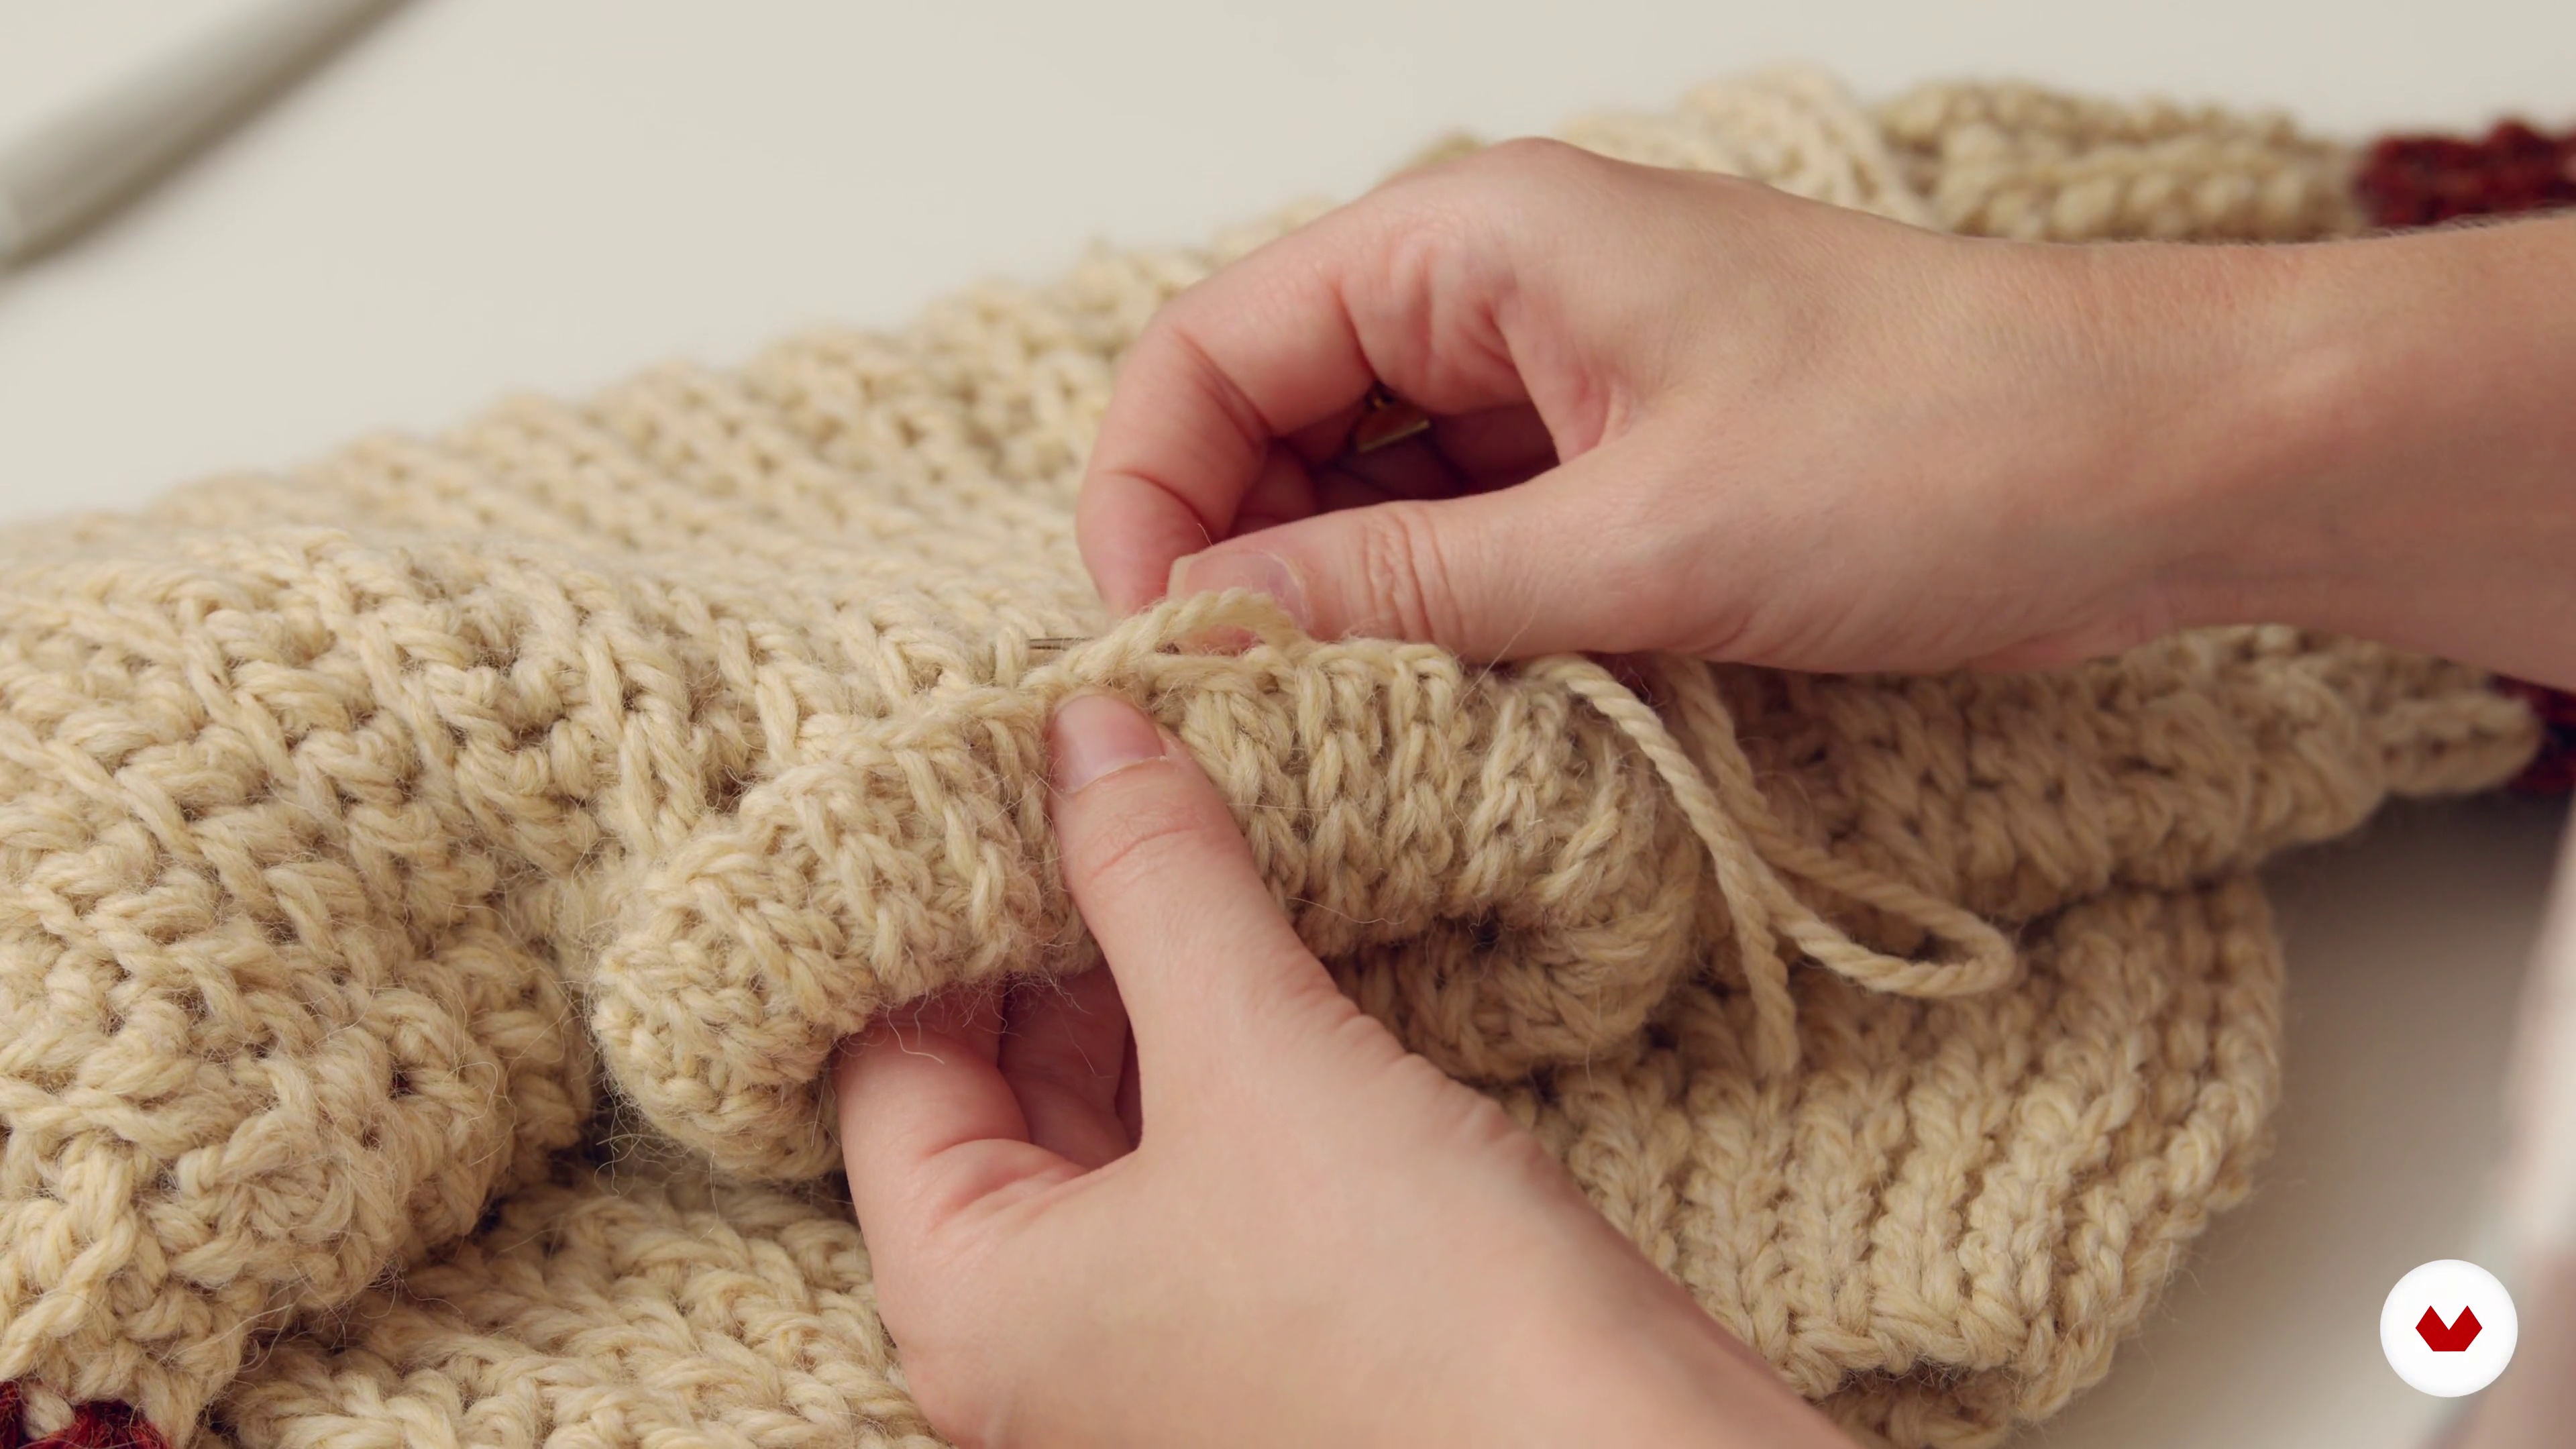
17Invisible seams
The highlight of a garment you've knitted is when we begin to sew it. I suggest you sit at a table, on the playlist we've created for this course, and channel all your positive energy through your knitting needle. Right now, we're going to learn how to sew perfectly to enhance the result and make the piece incredibly beautiful.
16m
 18
18Perfect finishes
We're not finished with our project yet. We've yet to finish the best part, which will give our garment that special, high-quality touch. Once we've finished making the edging or collar and tucking in all the loose threads, we can say we've knitted our first or cardigan, or designed our first crochet garment depending on your skill level. Congratulations!
18m
 3
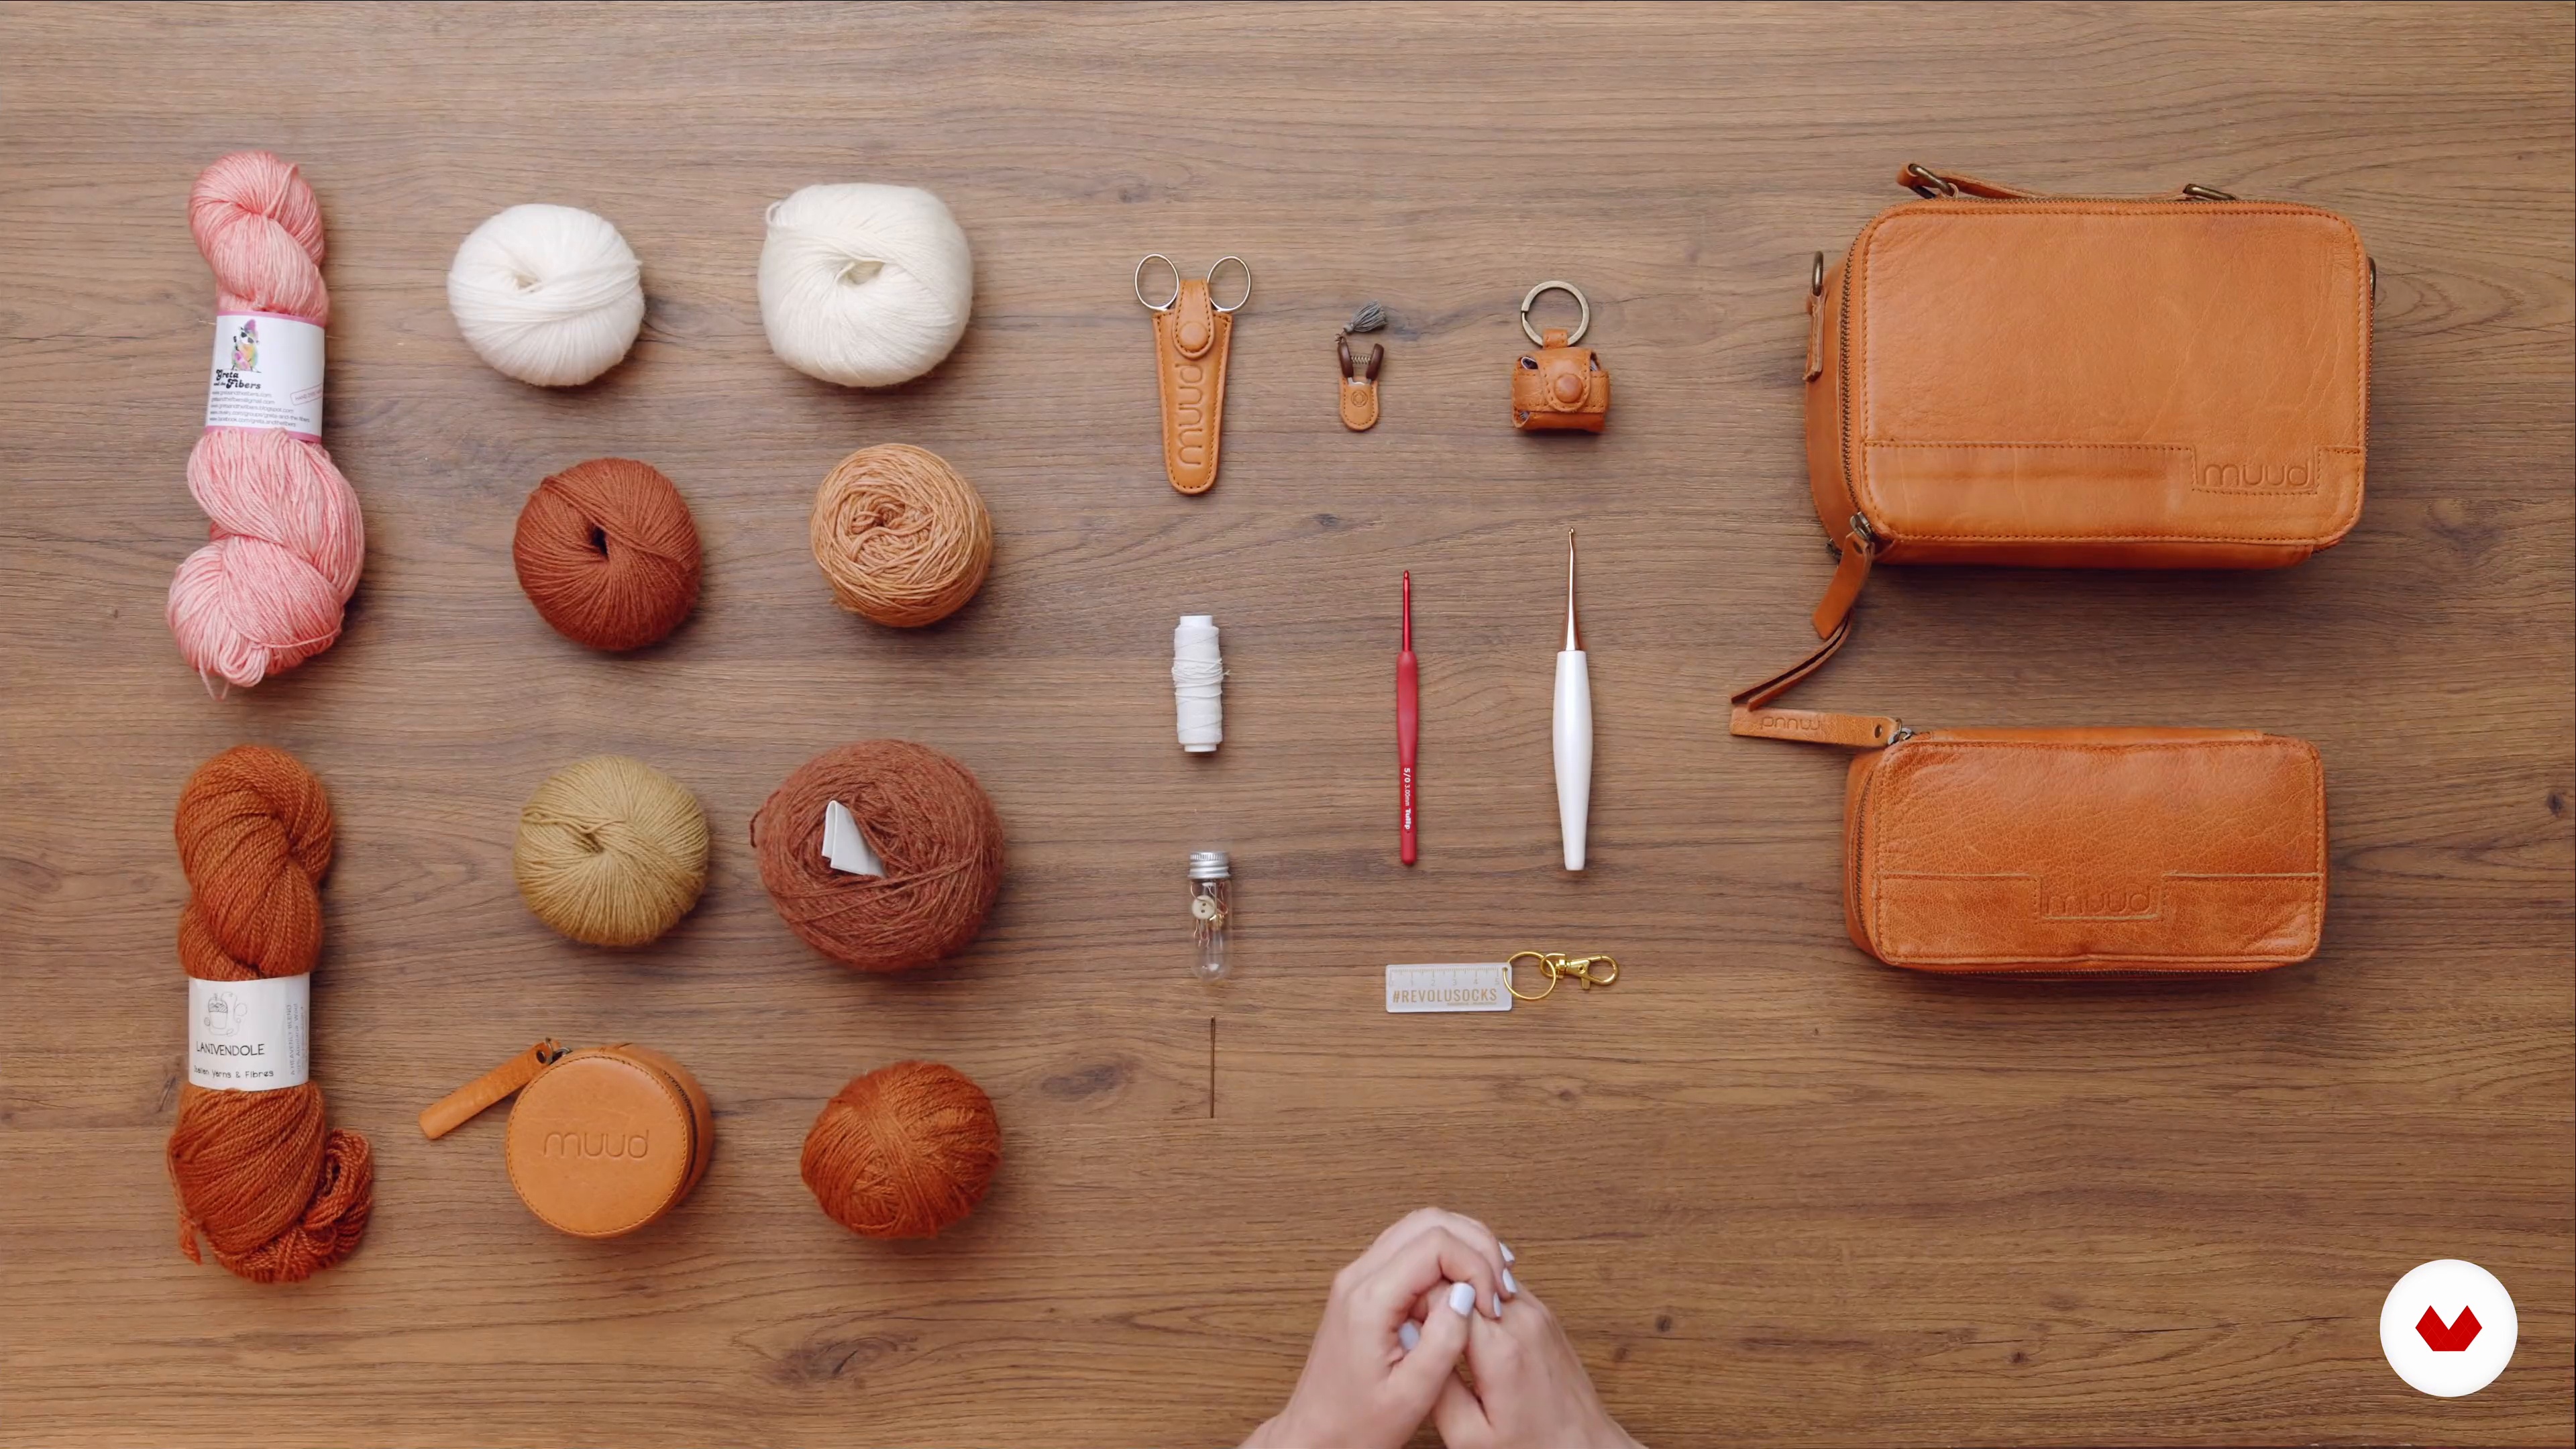
3Materials and tools
In this lesson, I'm going to show you the tools that will become your allies. I'm going to create two lists of materials for you: the first with the materials we'll need for sampling and practicing, and the second with the tools and materials you should always have in your sock bag.
14m
 4
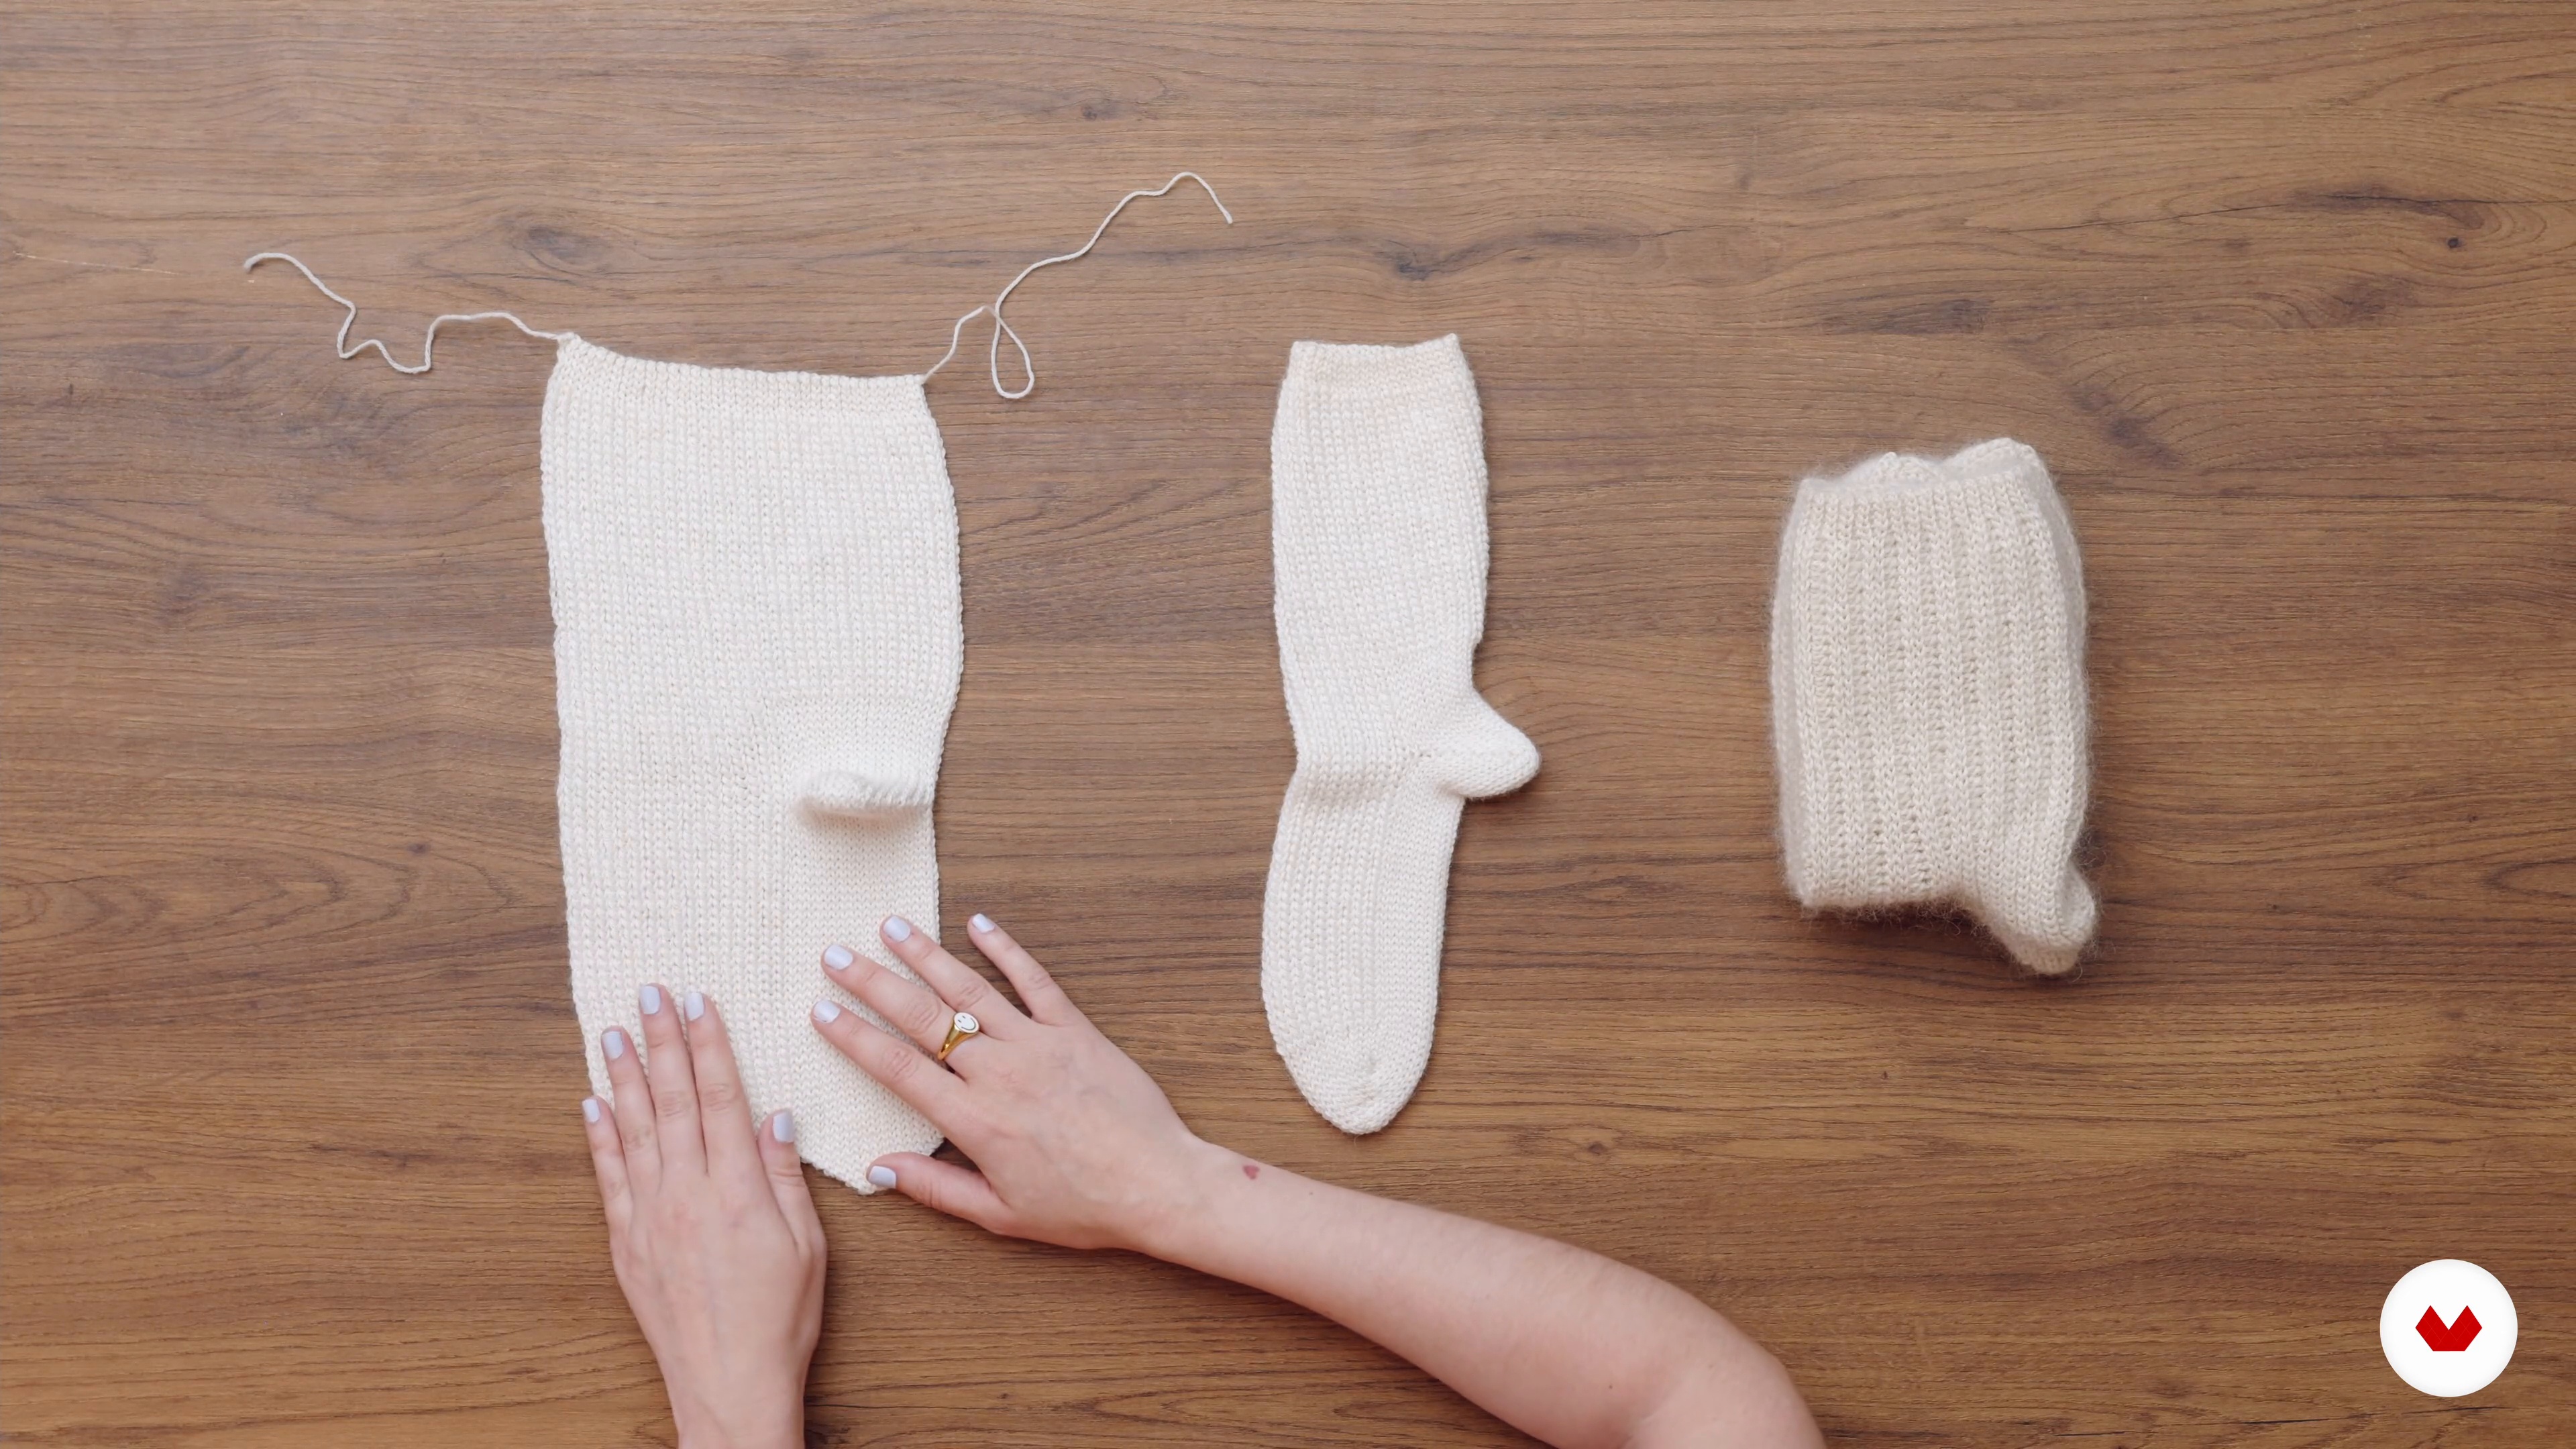
4Structure of a basic sock: view from above
It's very important that you have a general understanding of the structure of a sock. In this lesson, we're going to do a spatial reflection exercise. Put all your senses to work because we're first going to deconstruct it to understand the structure from a plane. That is, we'll approach the knitting in 2D, and then transform it into 3D with a few strategic stitches and a simple invisible seam. Come on, I'll let you in on the secret!
7m
 5
5Reading the pattern and choosing a size
Once you've fully understood what a sock looks like in general terms, let's learn how to choose the size and make decisions. We'll apply these to our knitting so we can create pairs of all the colors and textures. Grab your tape measure, paper, and pen, because you'll need them. The process we're going to follow has three stages. Hit "play" on the video; I promise I'll explain it to you so you can easily understand it.
8m
 6
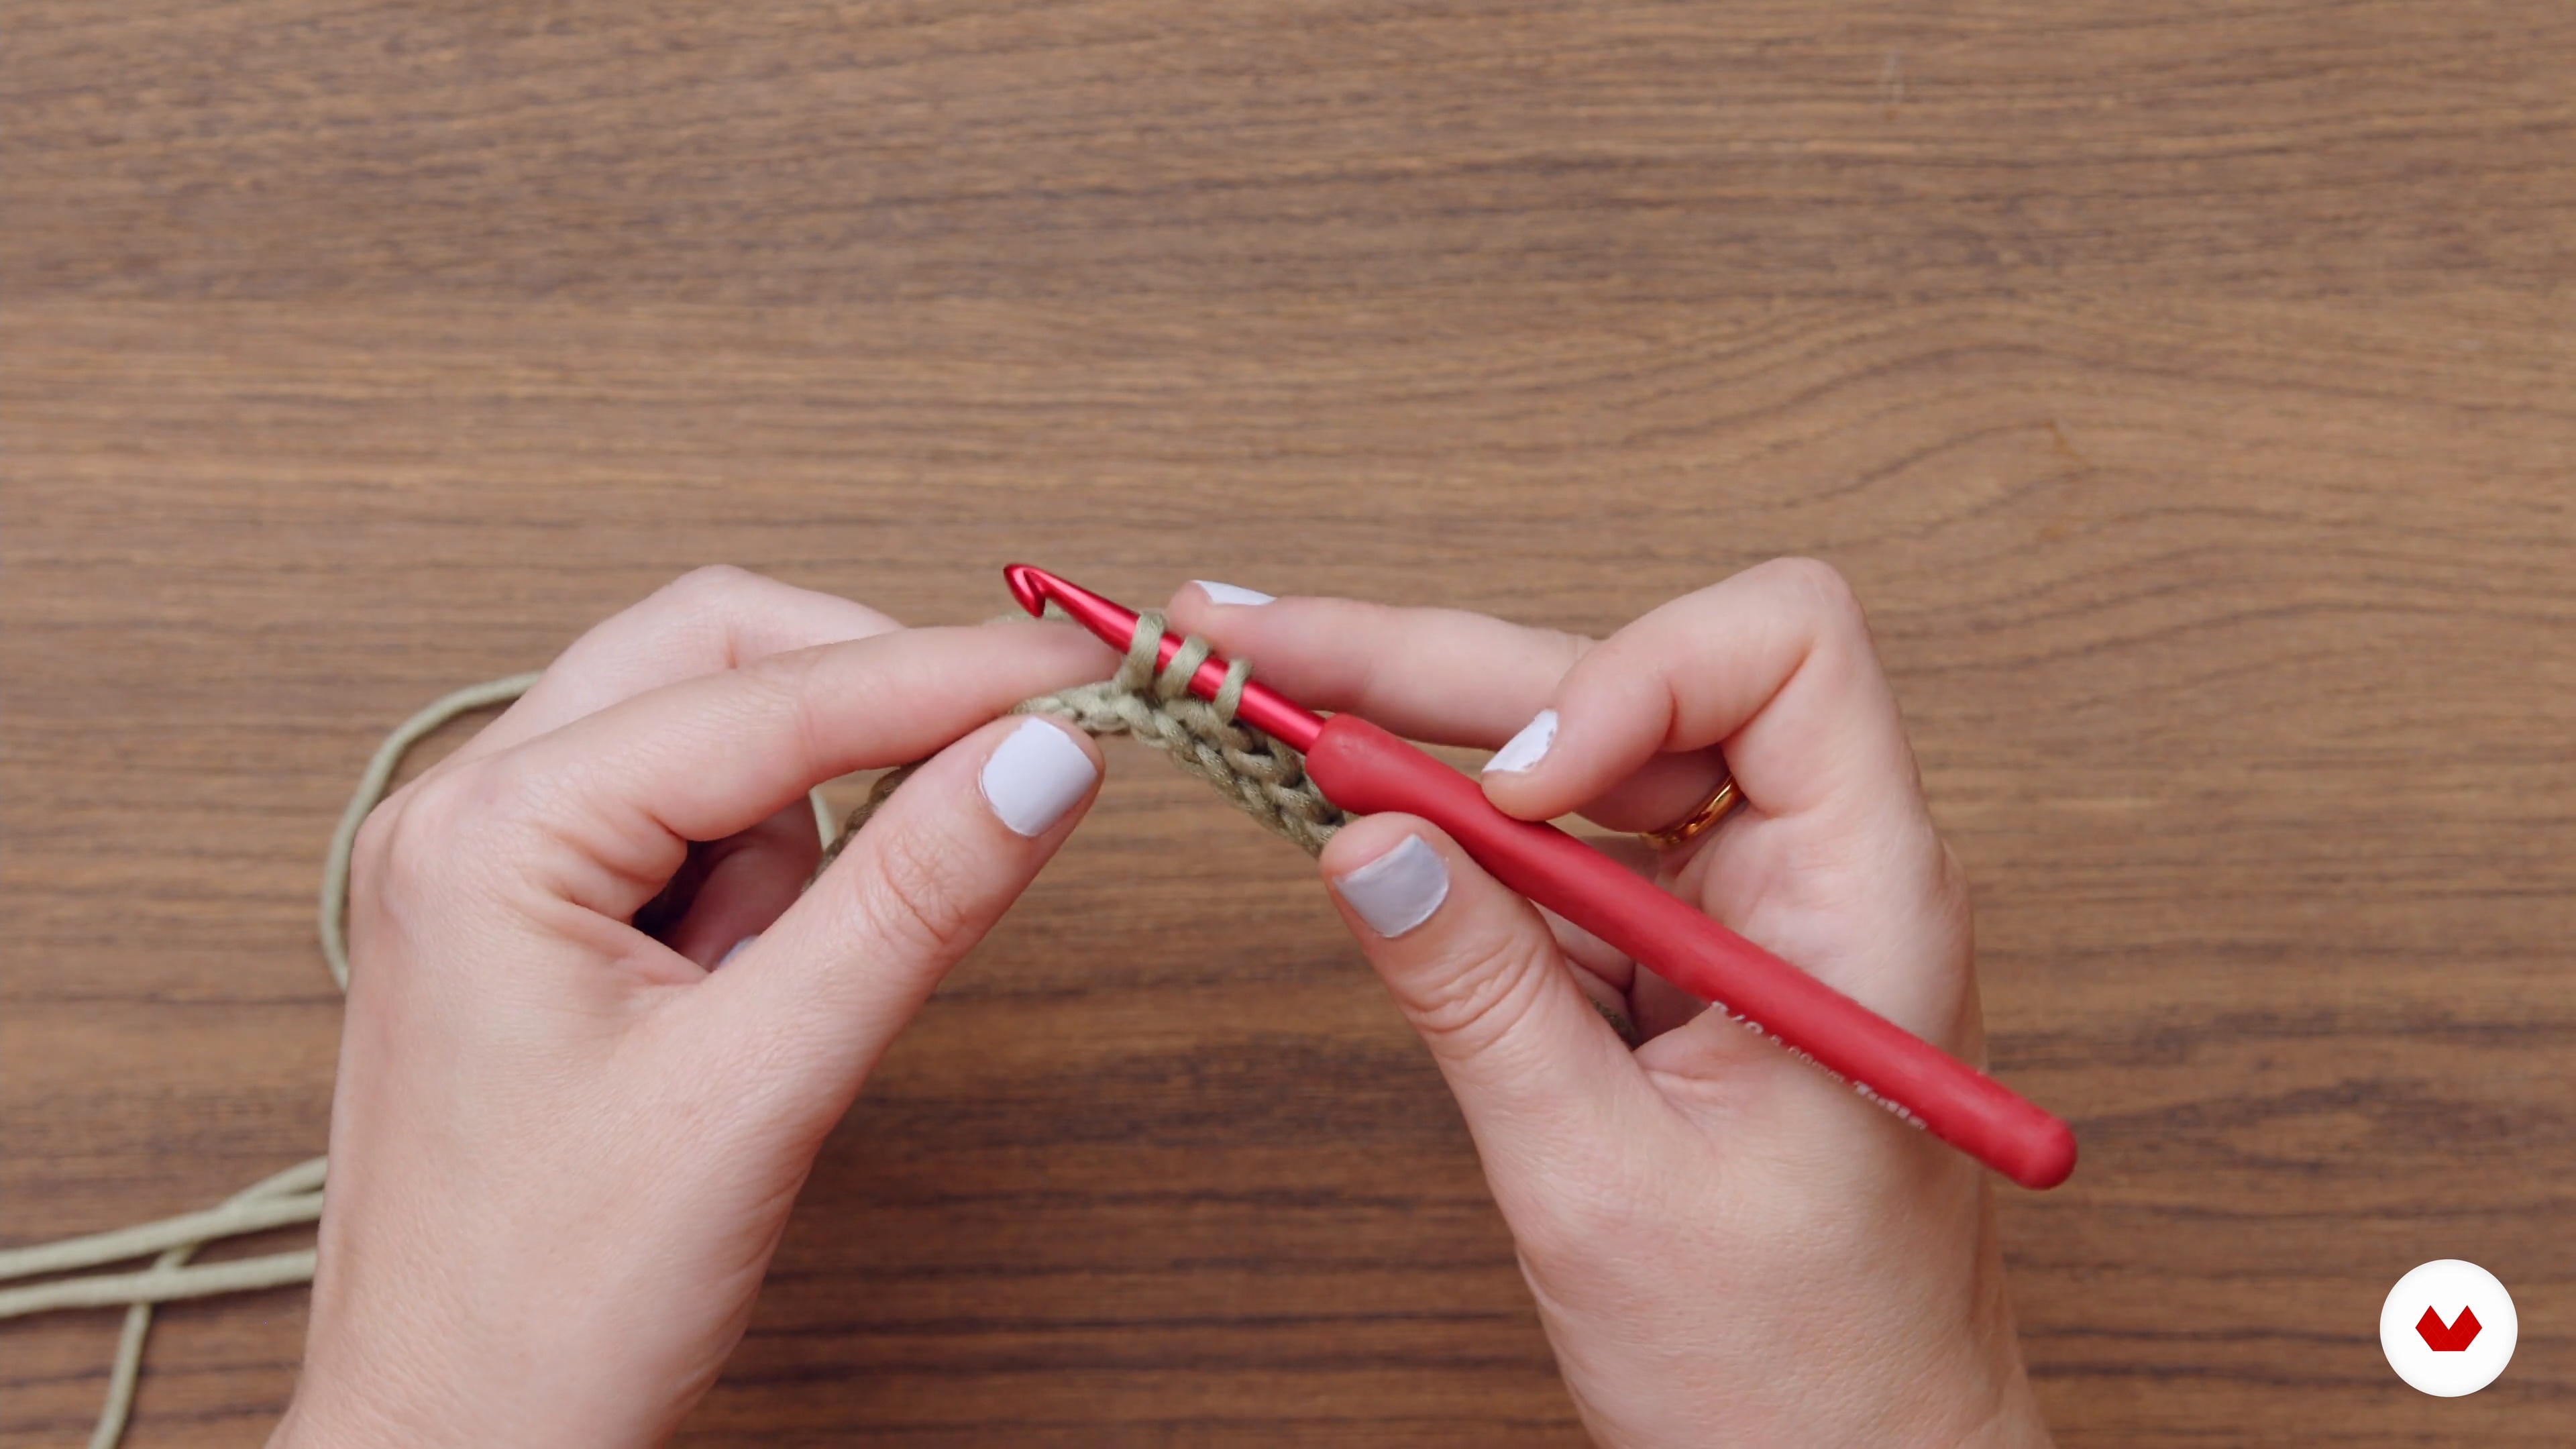
6Stitches needed to create a sock 1
In this course, I'll show you how to make socks with your crochet hook using textures that simulate the two needles. Thanks to the combination of these two details, the finished product is perfect, and making the socks is a real joy. Now that we've got a general understanding of what a sock pattern looks like, it's time to explain, one by one, the stitches we'll use in the different patterns. Shall we get started?
14m
 7
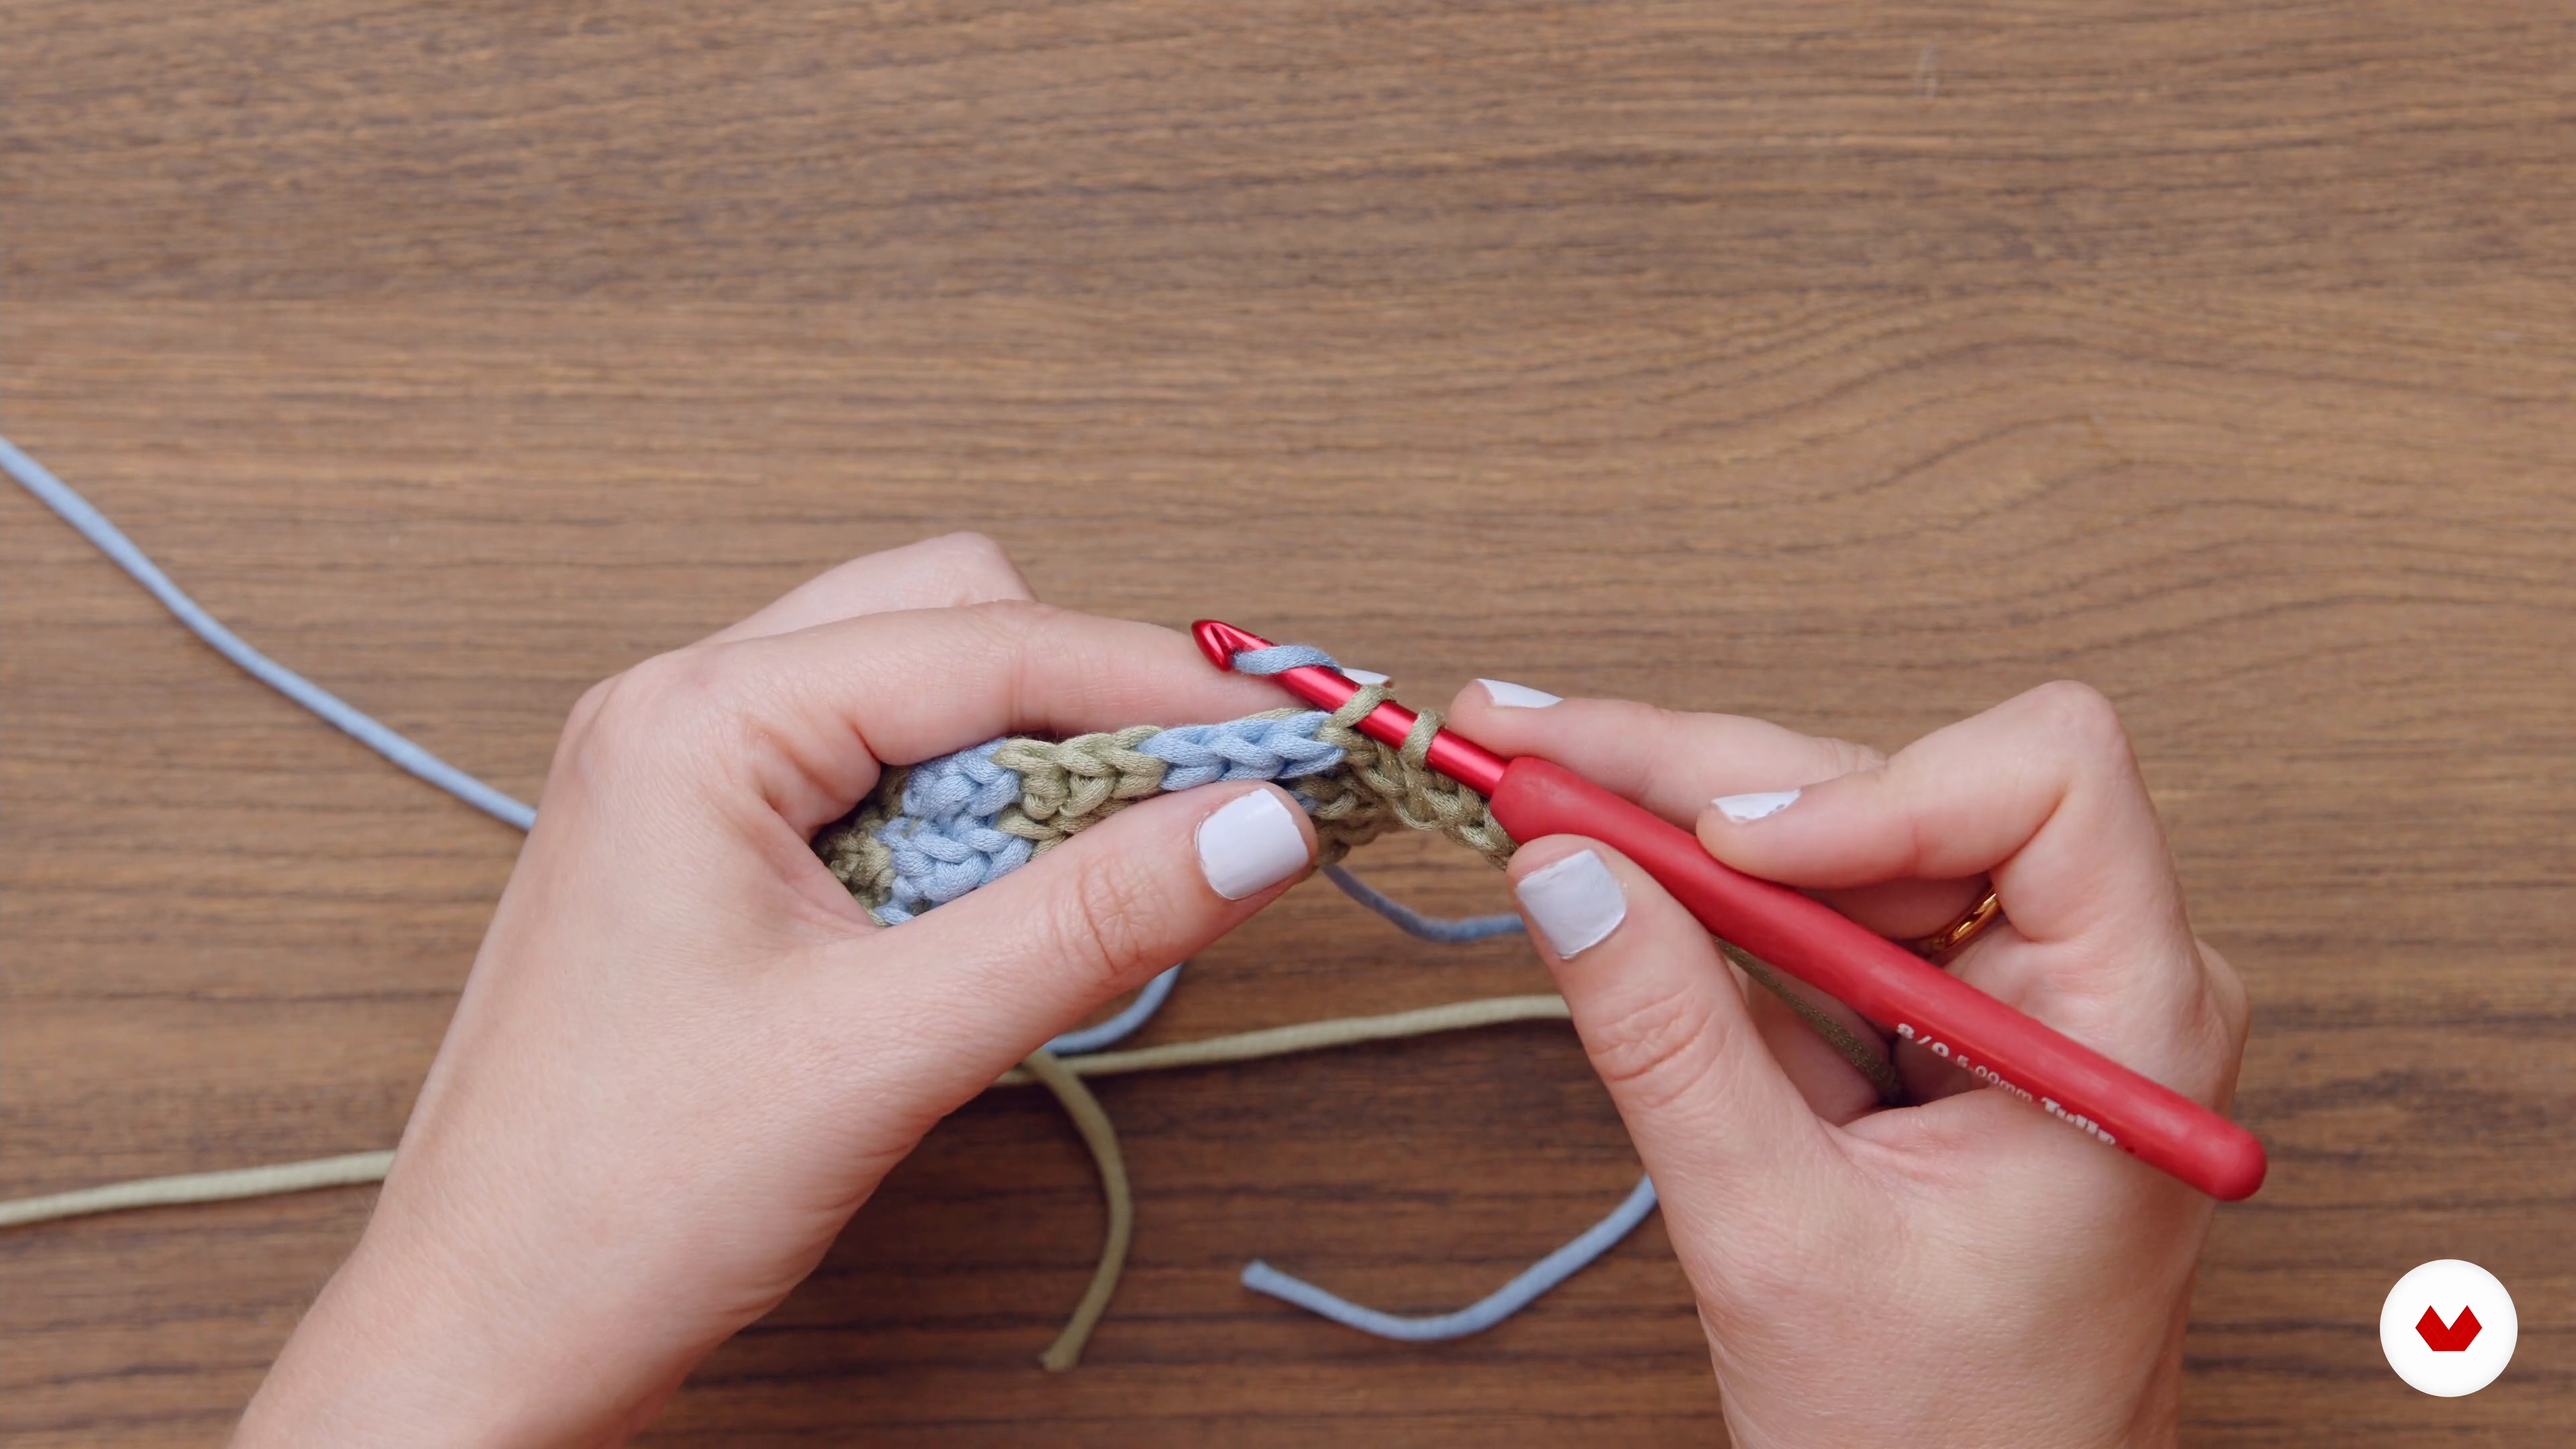
7Stitches needed to create a sock 2
We continue reviewing the different stitches that we can apply later to knit our sock.
13m
 8
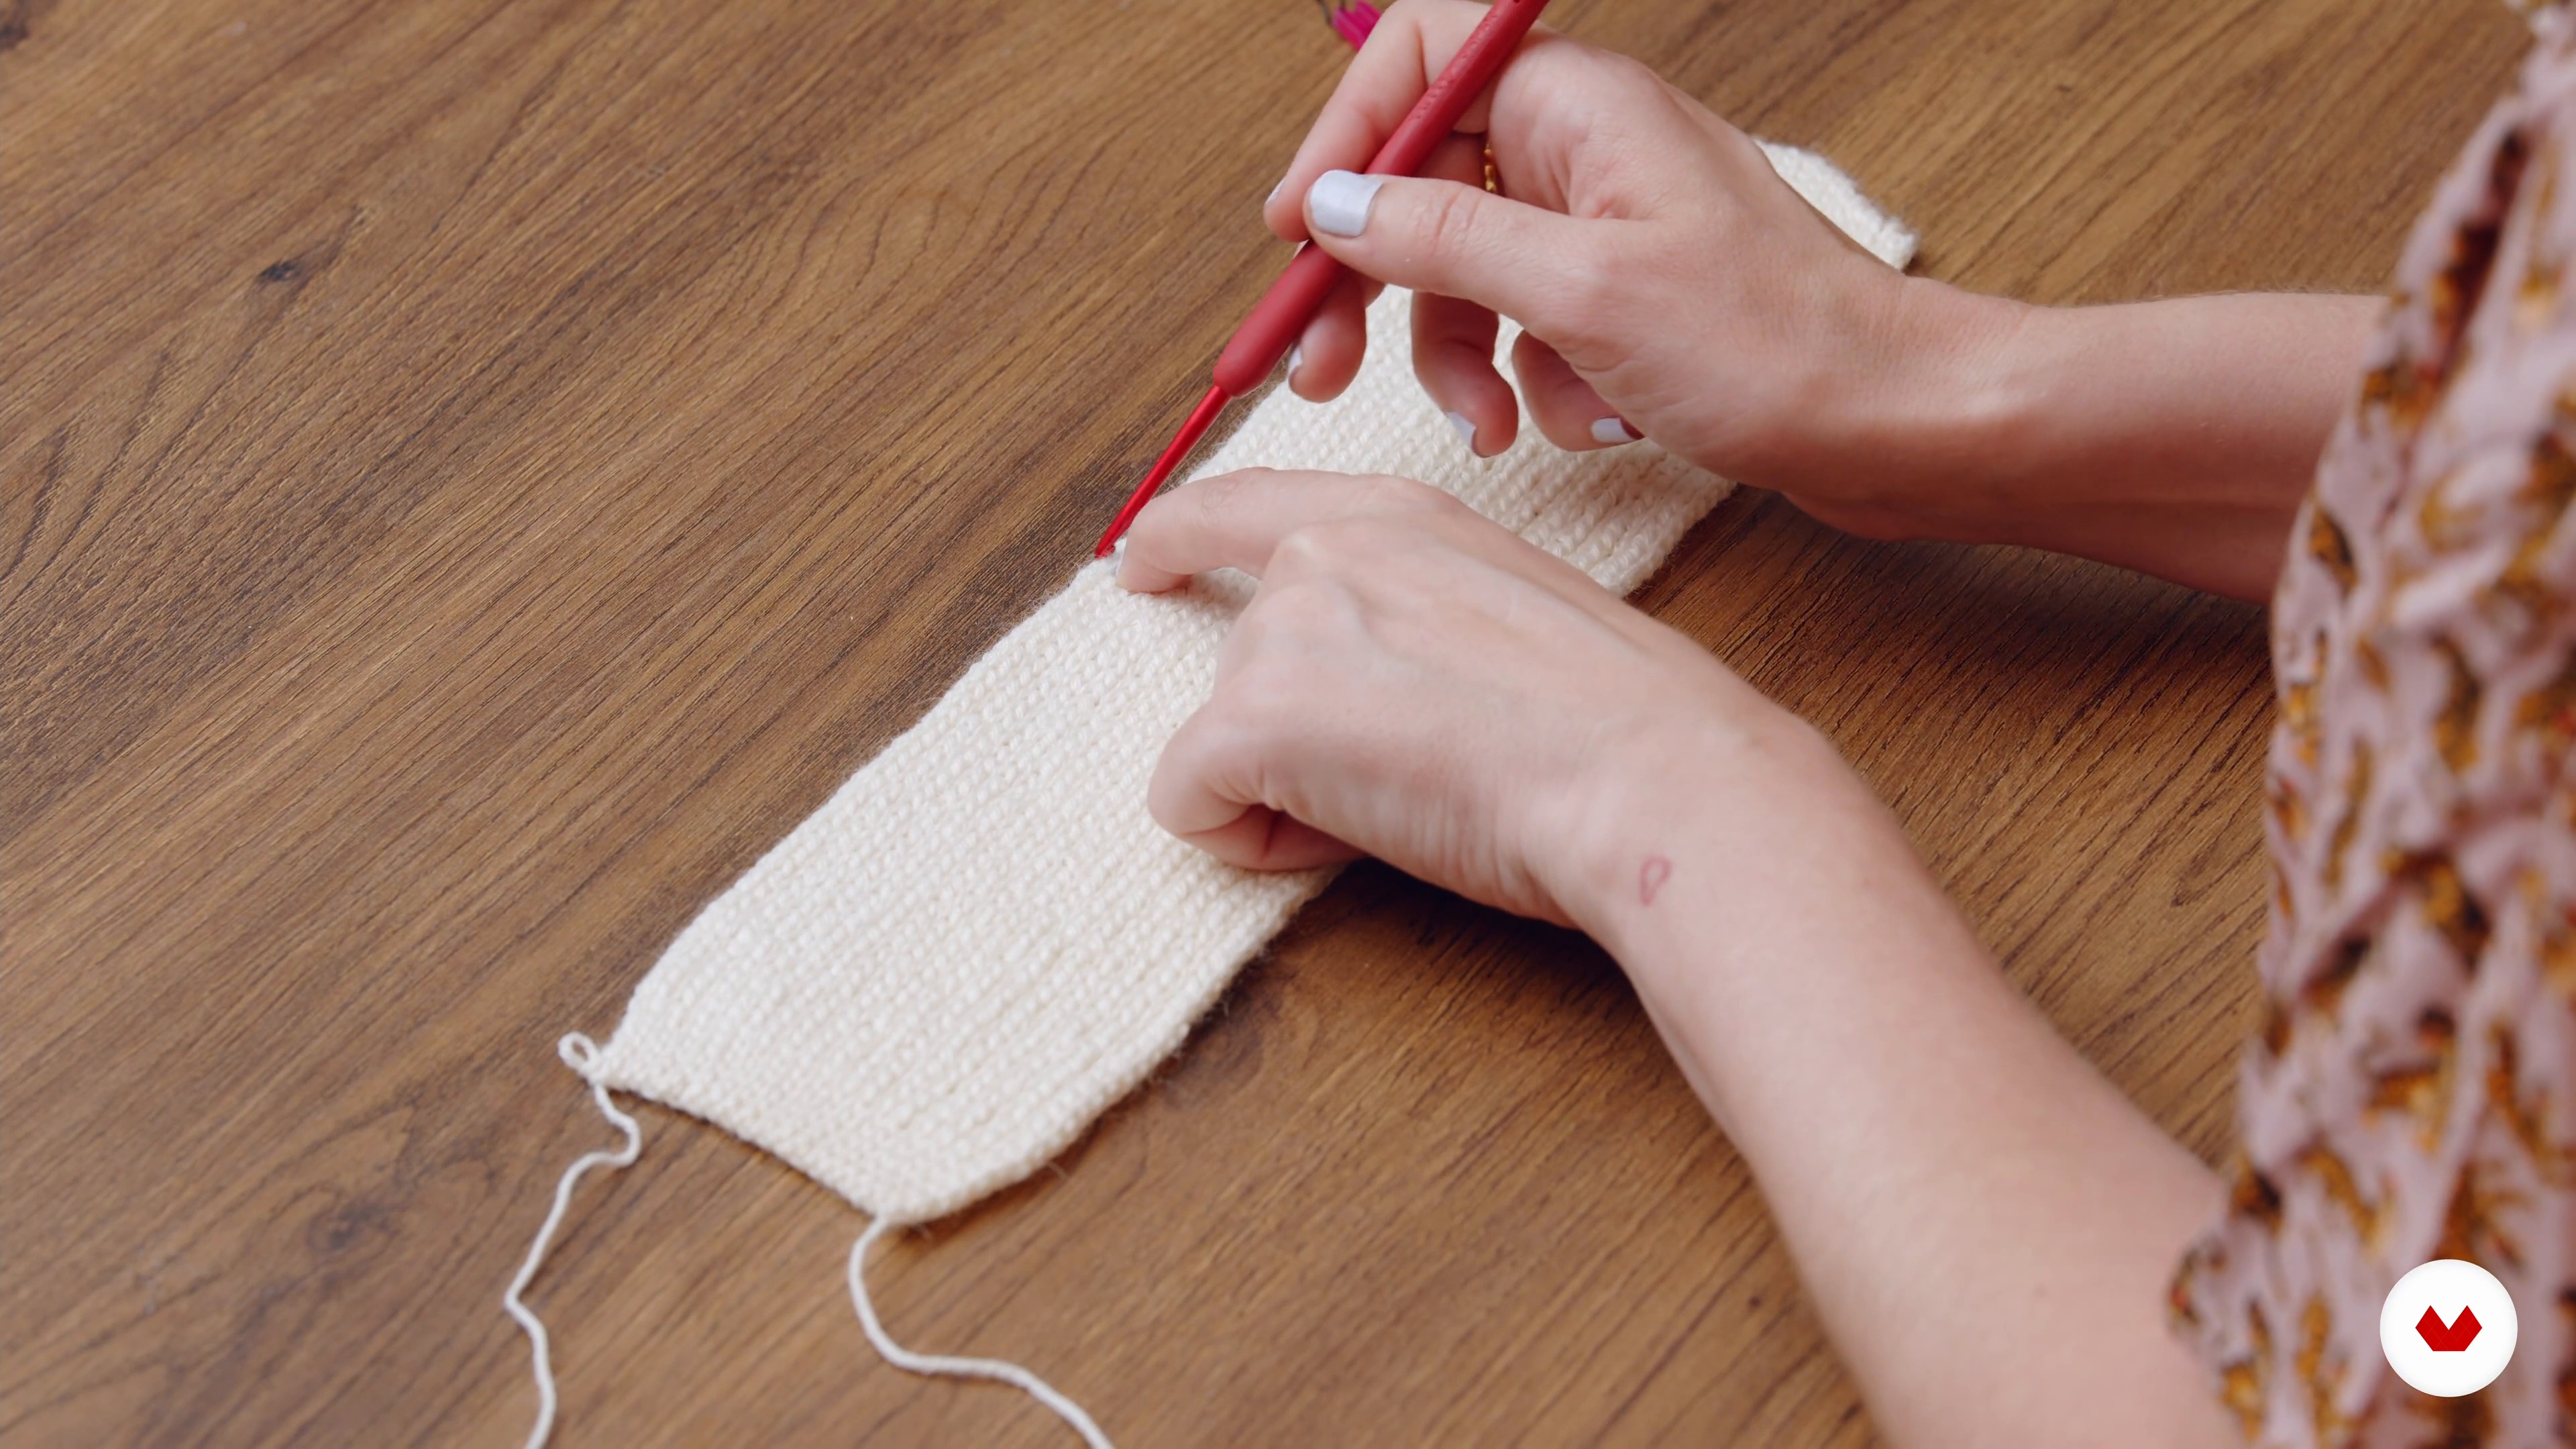
8Front of the sock: toe increases and decreases
As you can see in the pattern you created for your sock, we have a front and a back. The front is the front of our sock. In this lesson, I'll show you everything you need to keep in mind when making the front toe. We'll work with what I like to call long and short rows. This way, we'll increase and decrease, and the shape of our stitch will appear.
19m
 9
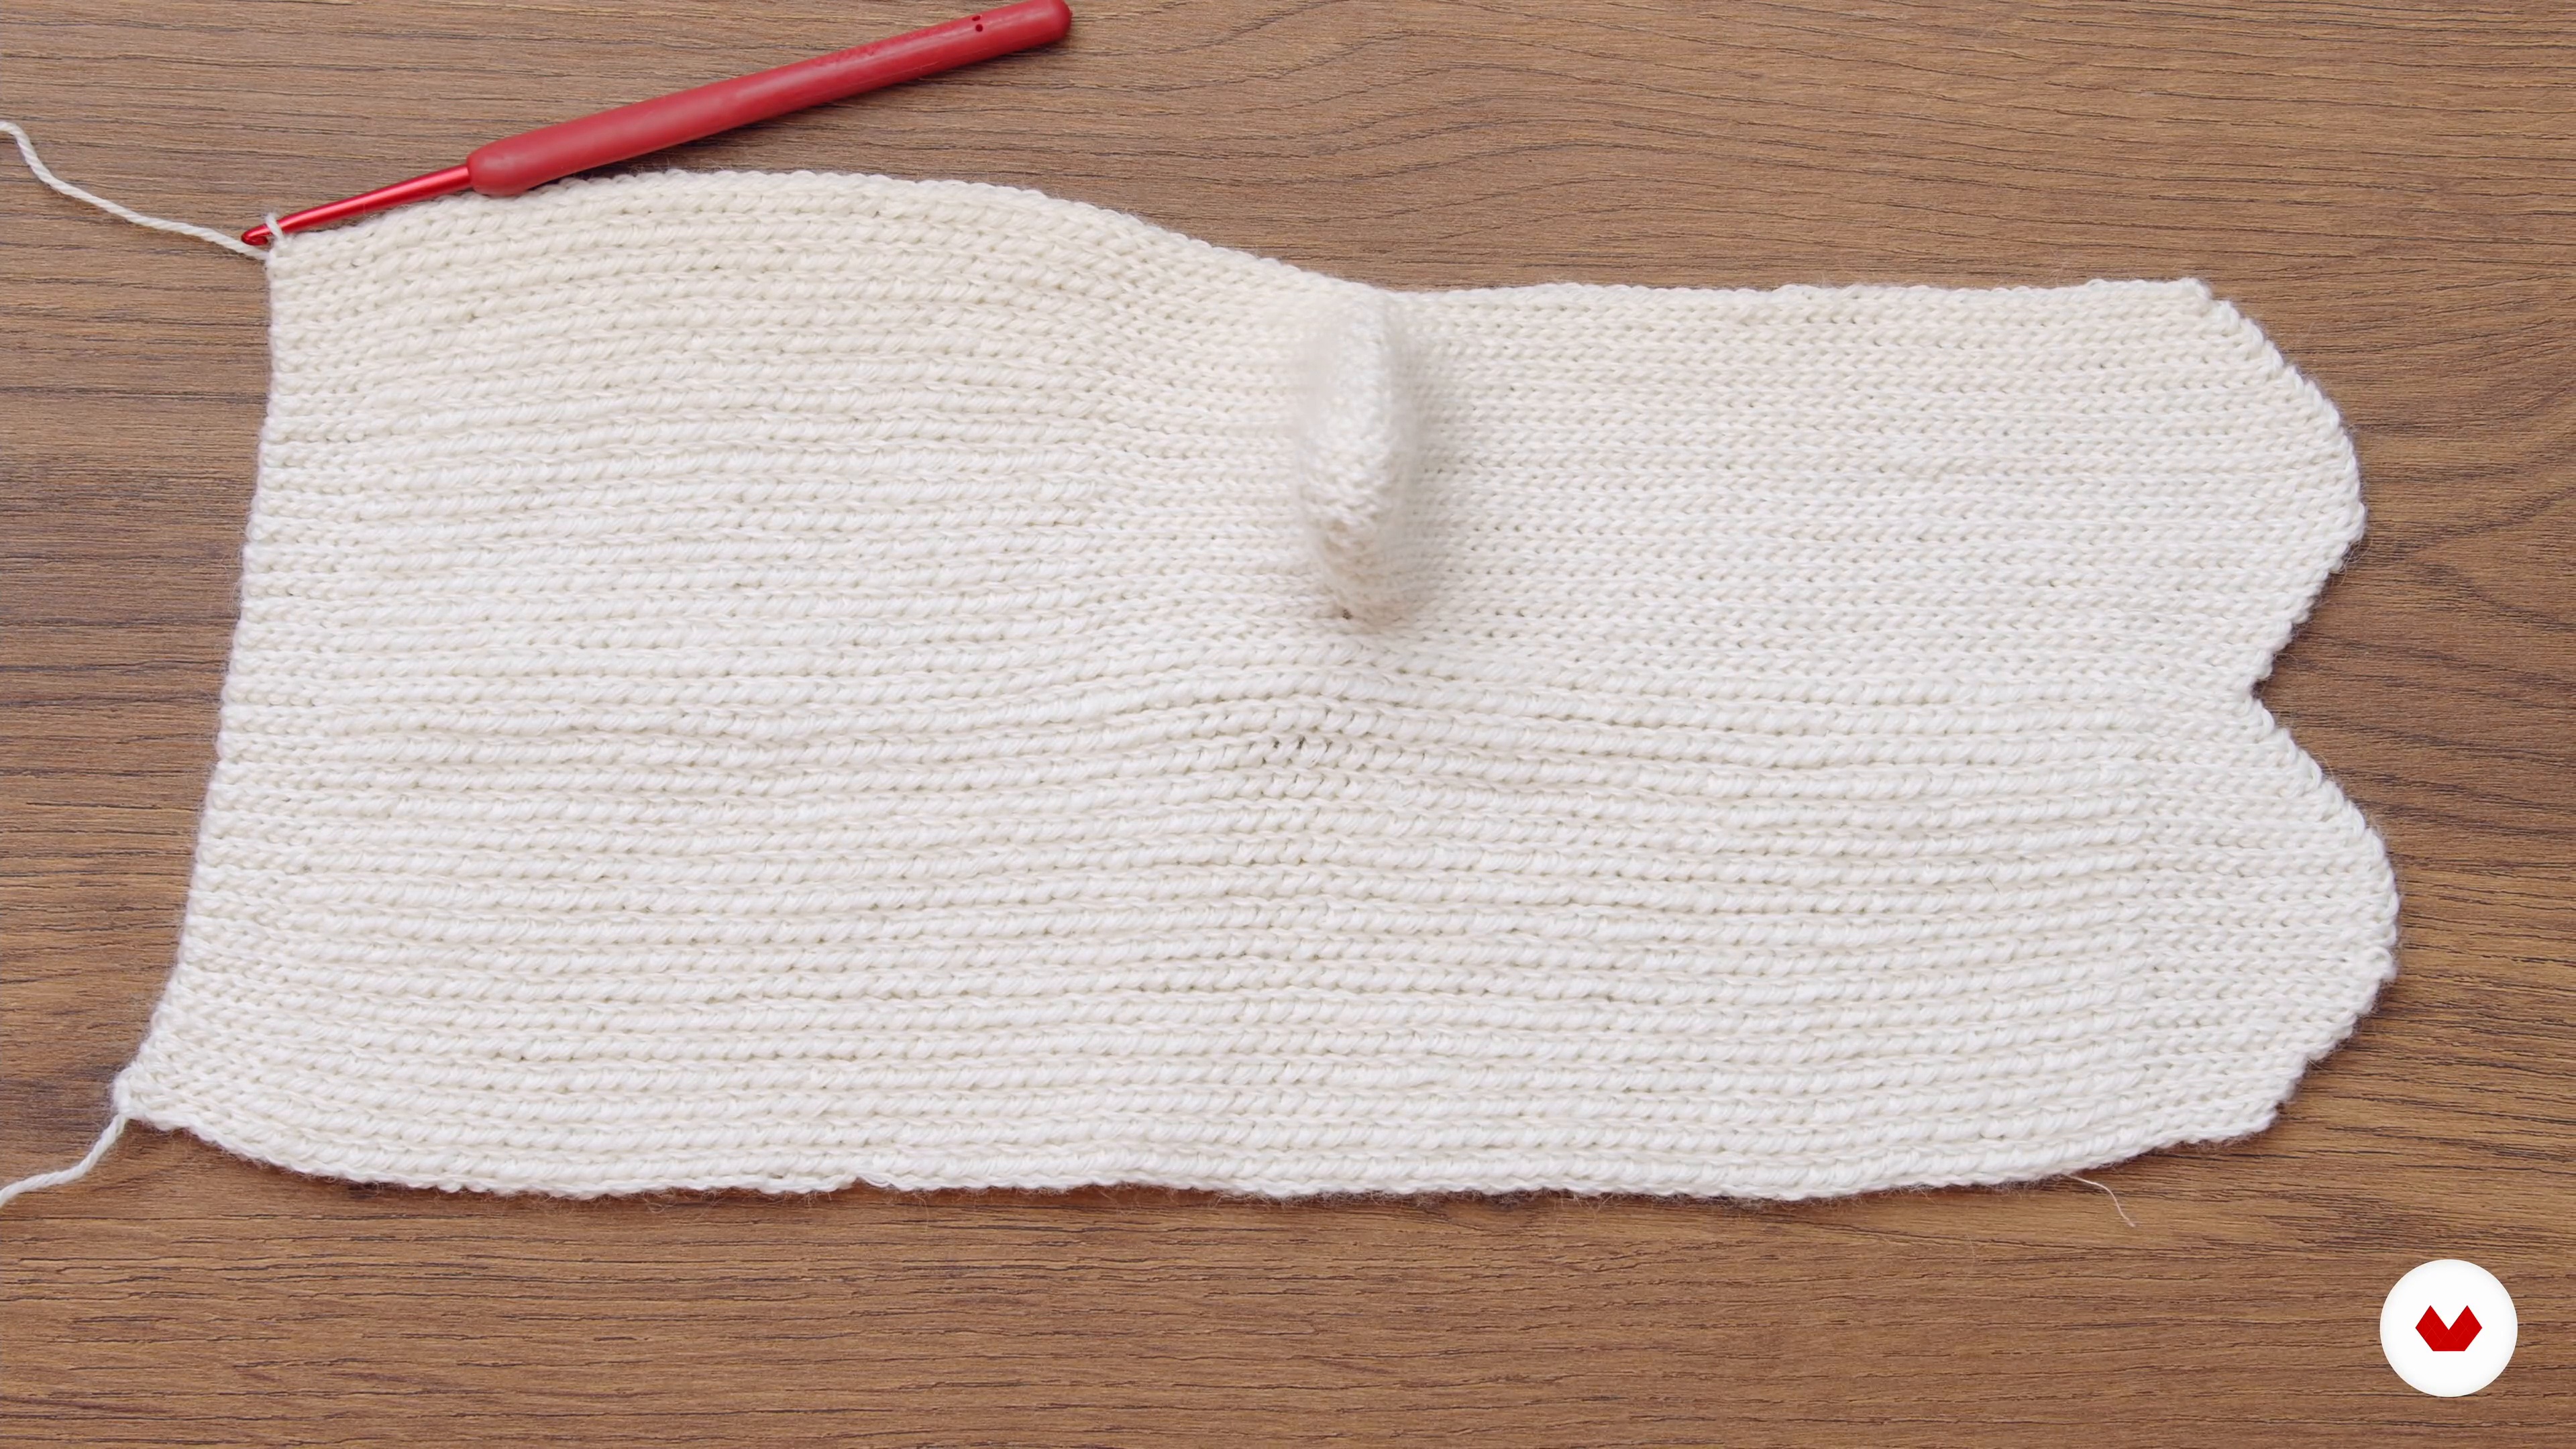
9Back of the sock: increases and decreases of the heel and toe
Once we understand how the toe is created, we must keep in mind that it must also be created at the back of the sock. However, at this back, we will also need to consider the space that will accommodate our heel. We will create this space using volumes; that is, we will play with a sequence of increases and decreases different from those used for the toe. With this play of increases and decreases, a kind of pocket will form within the fabric at the back of the sock, which acts as the heel.
18m
 10
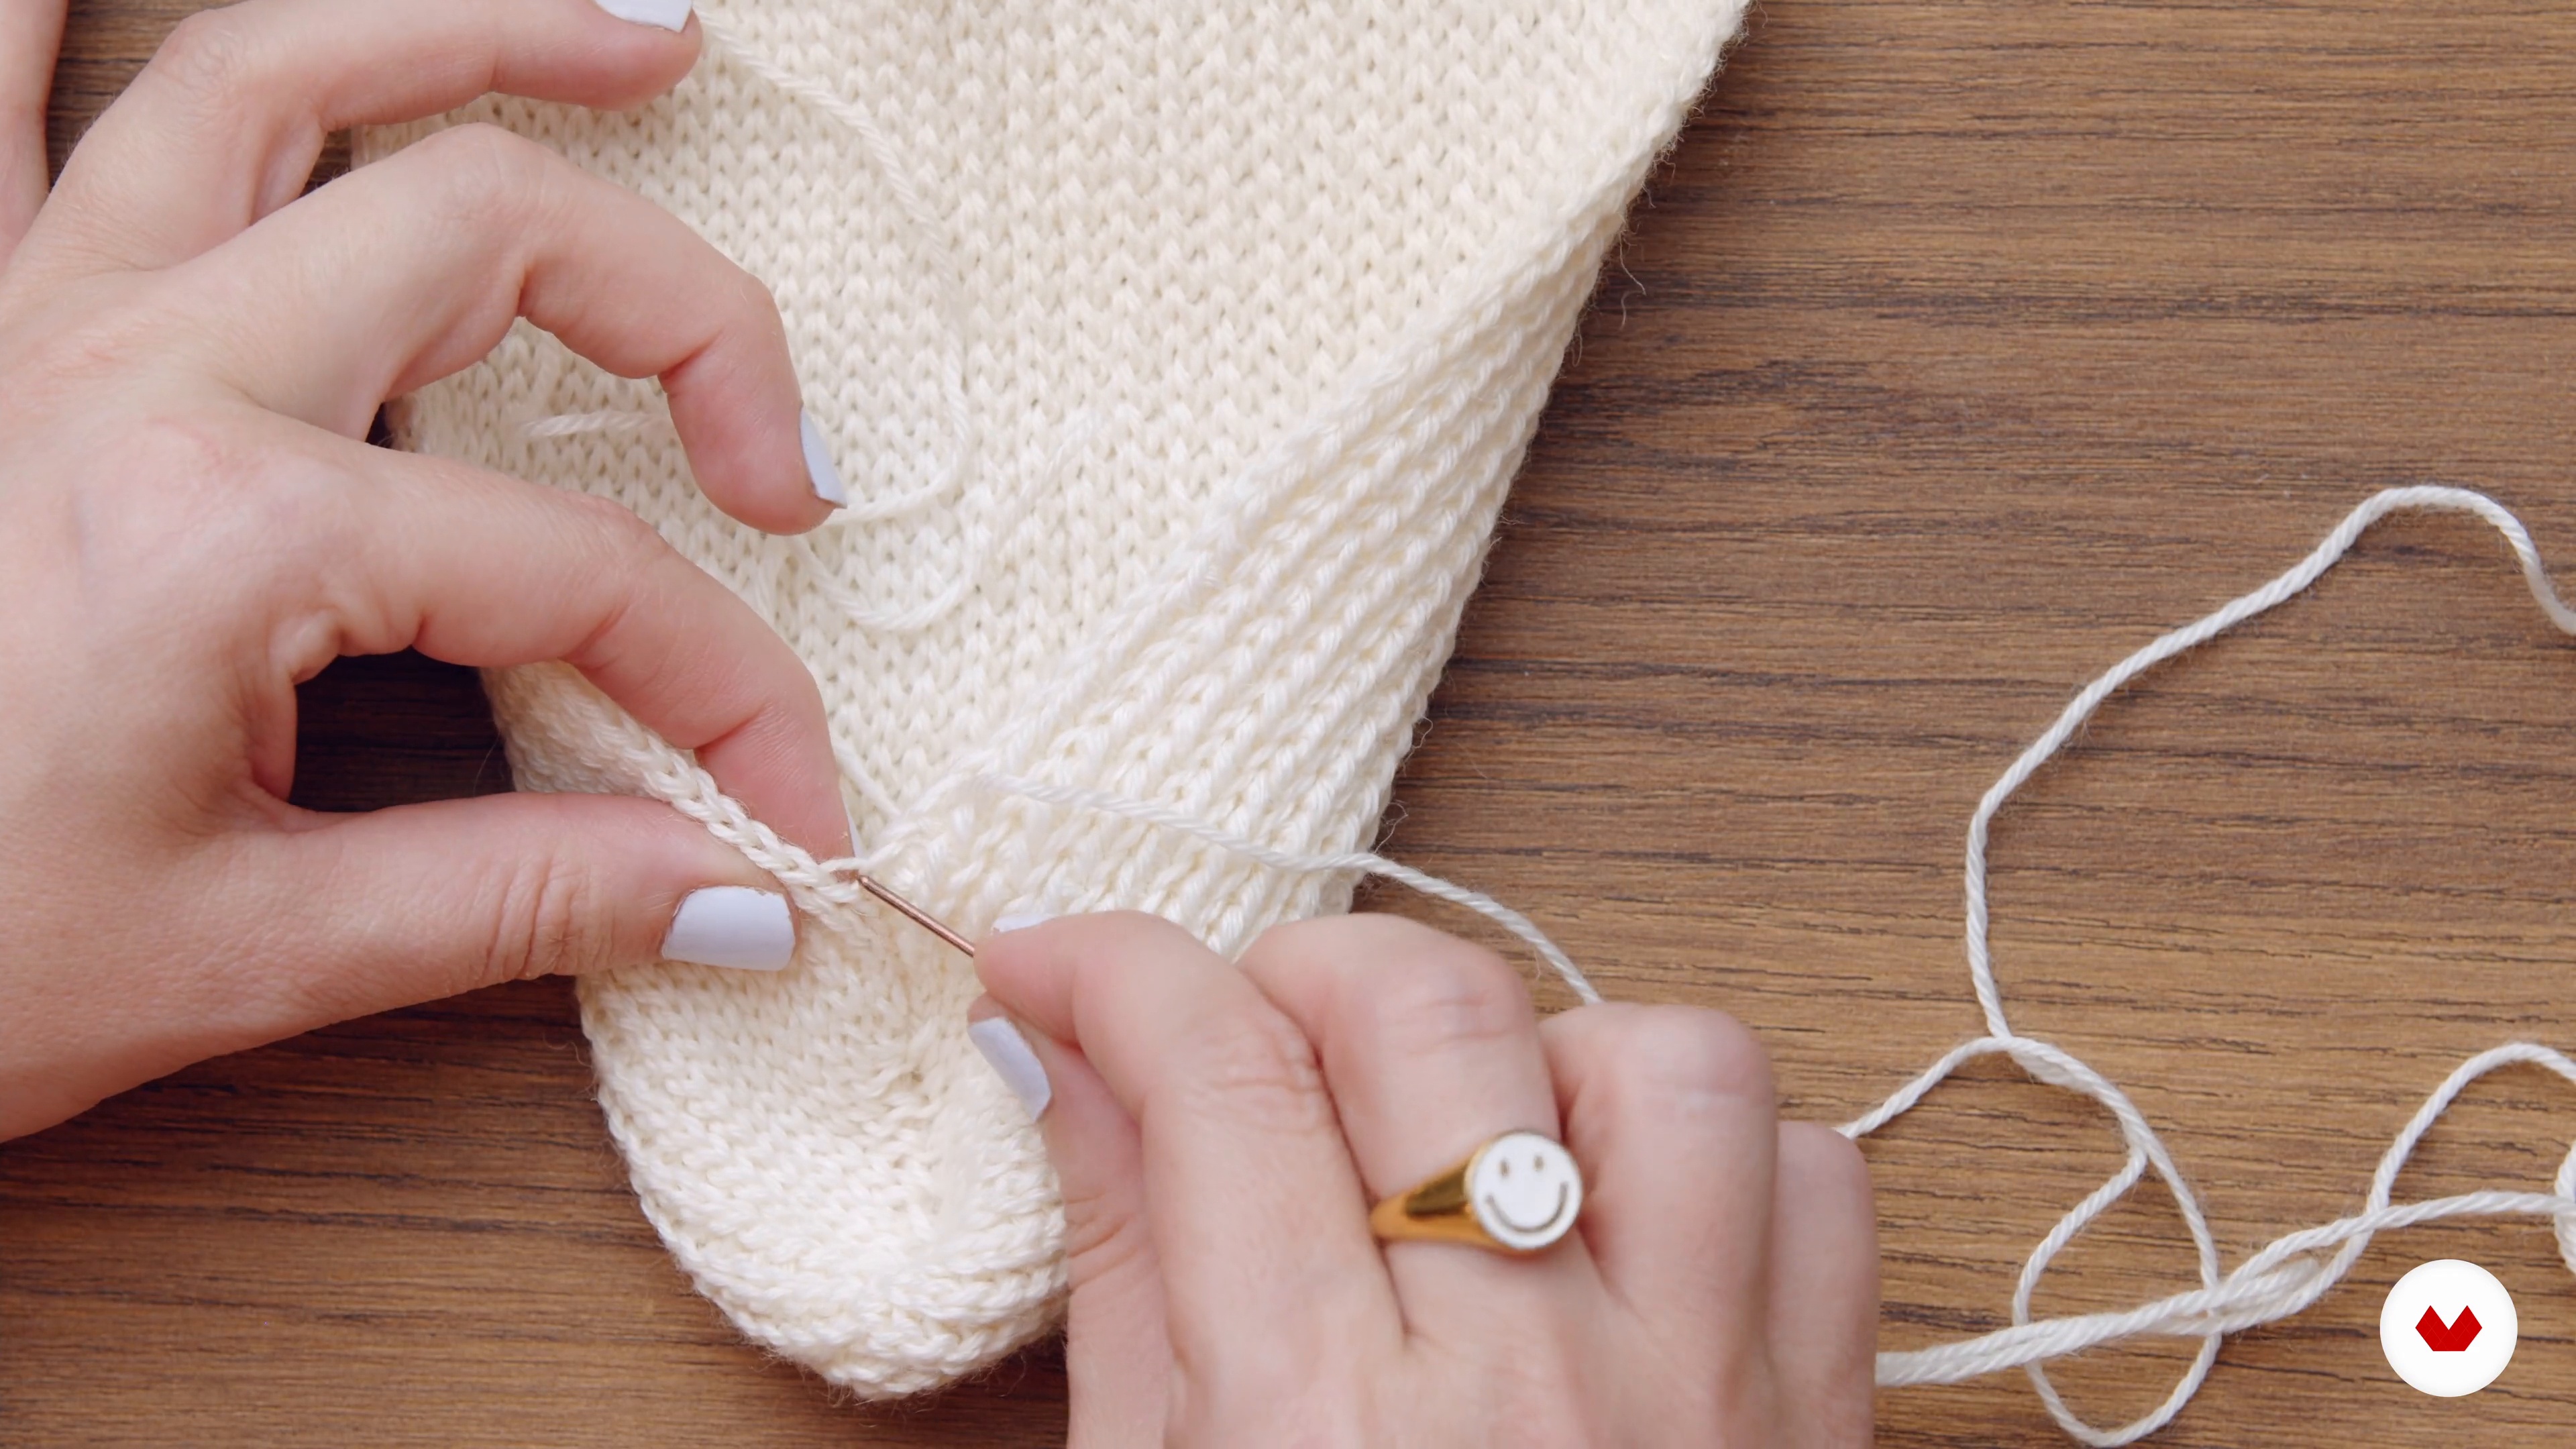
10Invisible seam: side and toe
It's time for the magic. I don't know if you can believe it, but we're not even halfway through the course and you can already knit a basic sock. From here to the moon! Get your magic wand in the shape of a sewing needle, your thimble, and cut a very long thread because we're going to become alchemists. Just like the real Kvothe, you're going to transform a flat 2D shape into a 3D one, and we'll do it all by making a beautiful invisible seam so no one will be able to tell where it is. Do you dare to let your power flow?
7m
 11
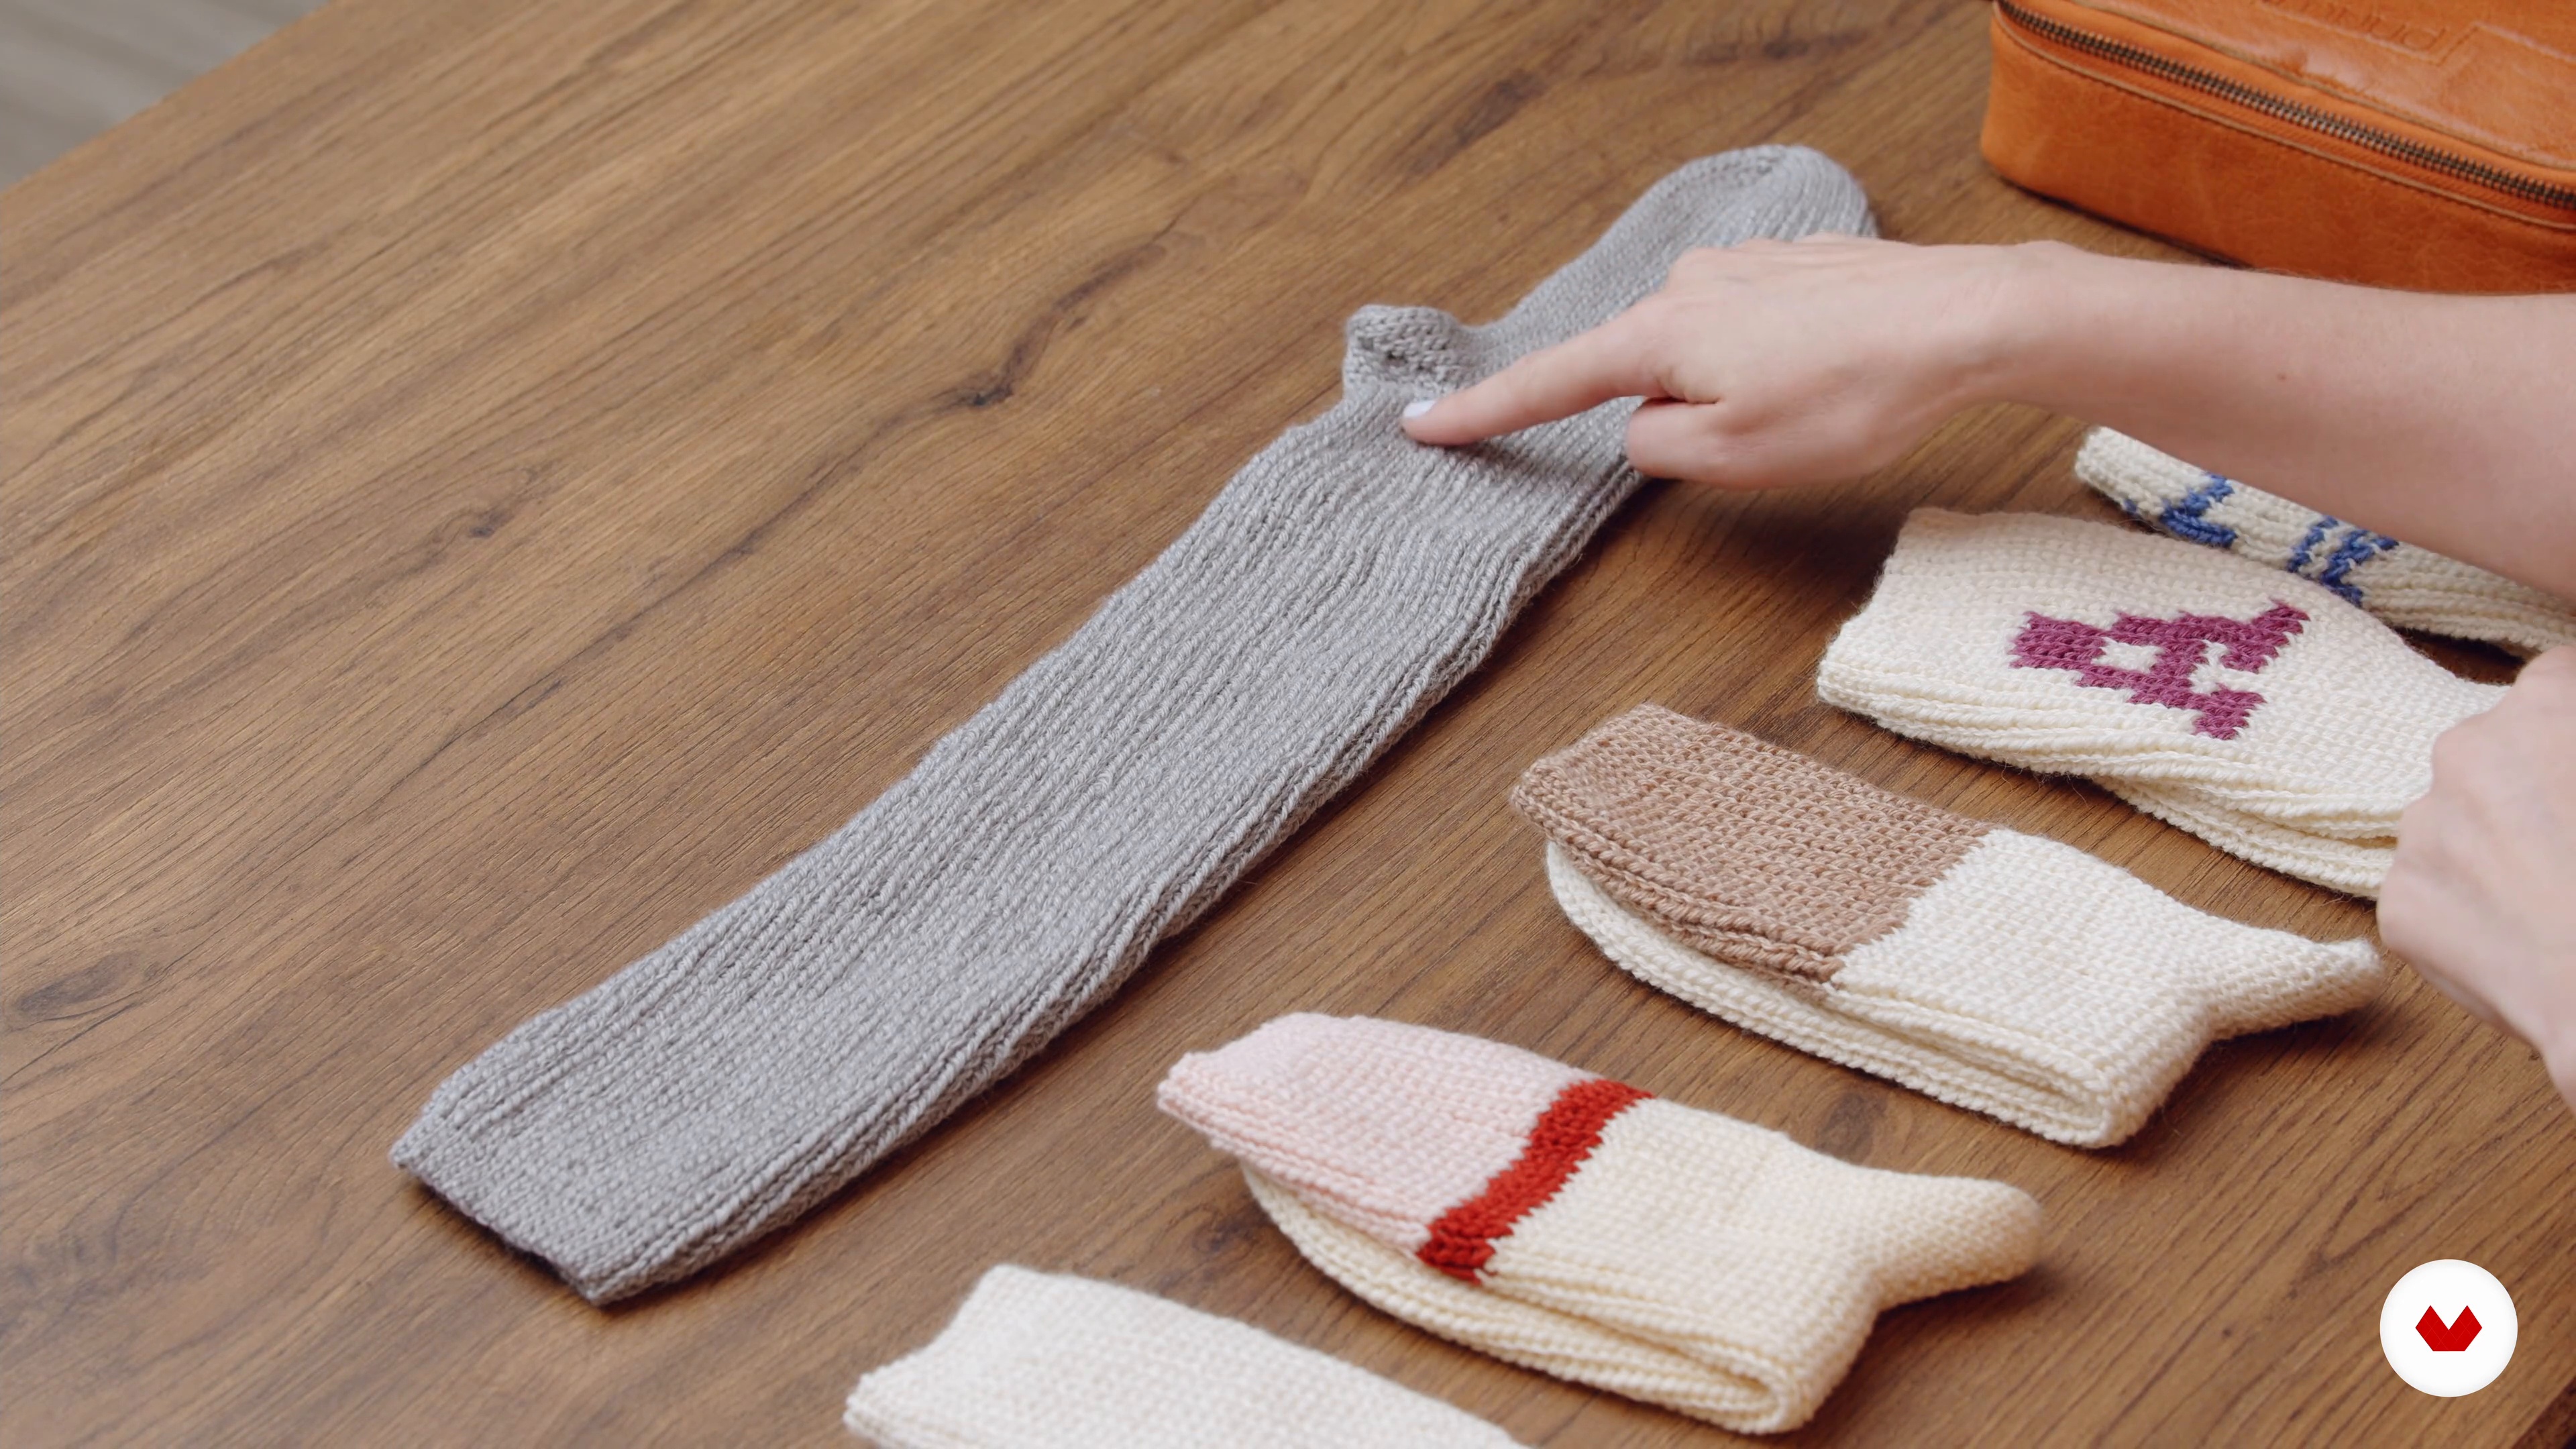
11Customization
I've already taught you everything you need to know to create any type of sock. So far, we've been internalizing the basics so you can now imagine a world full of possibilities. Can you imagine socks with your initials? Or with some cool sayings? Imagine a little bit of everything because in this lesson, anything is possible.
4m
 12
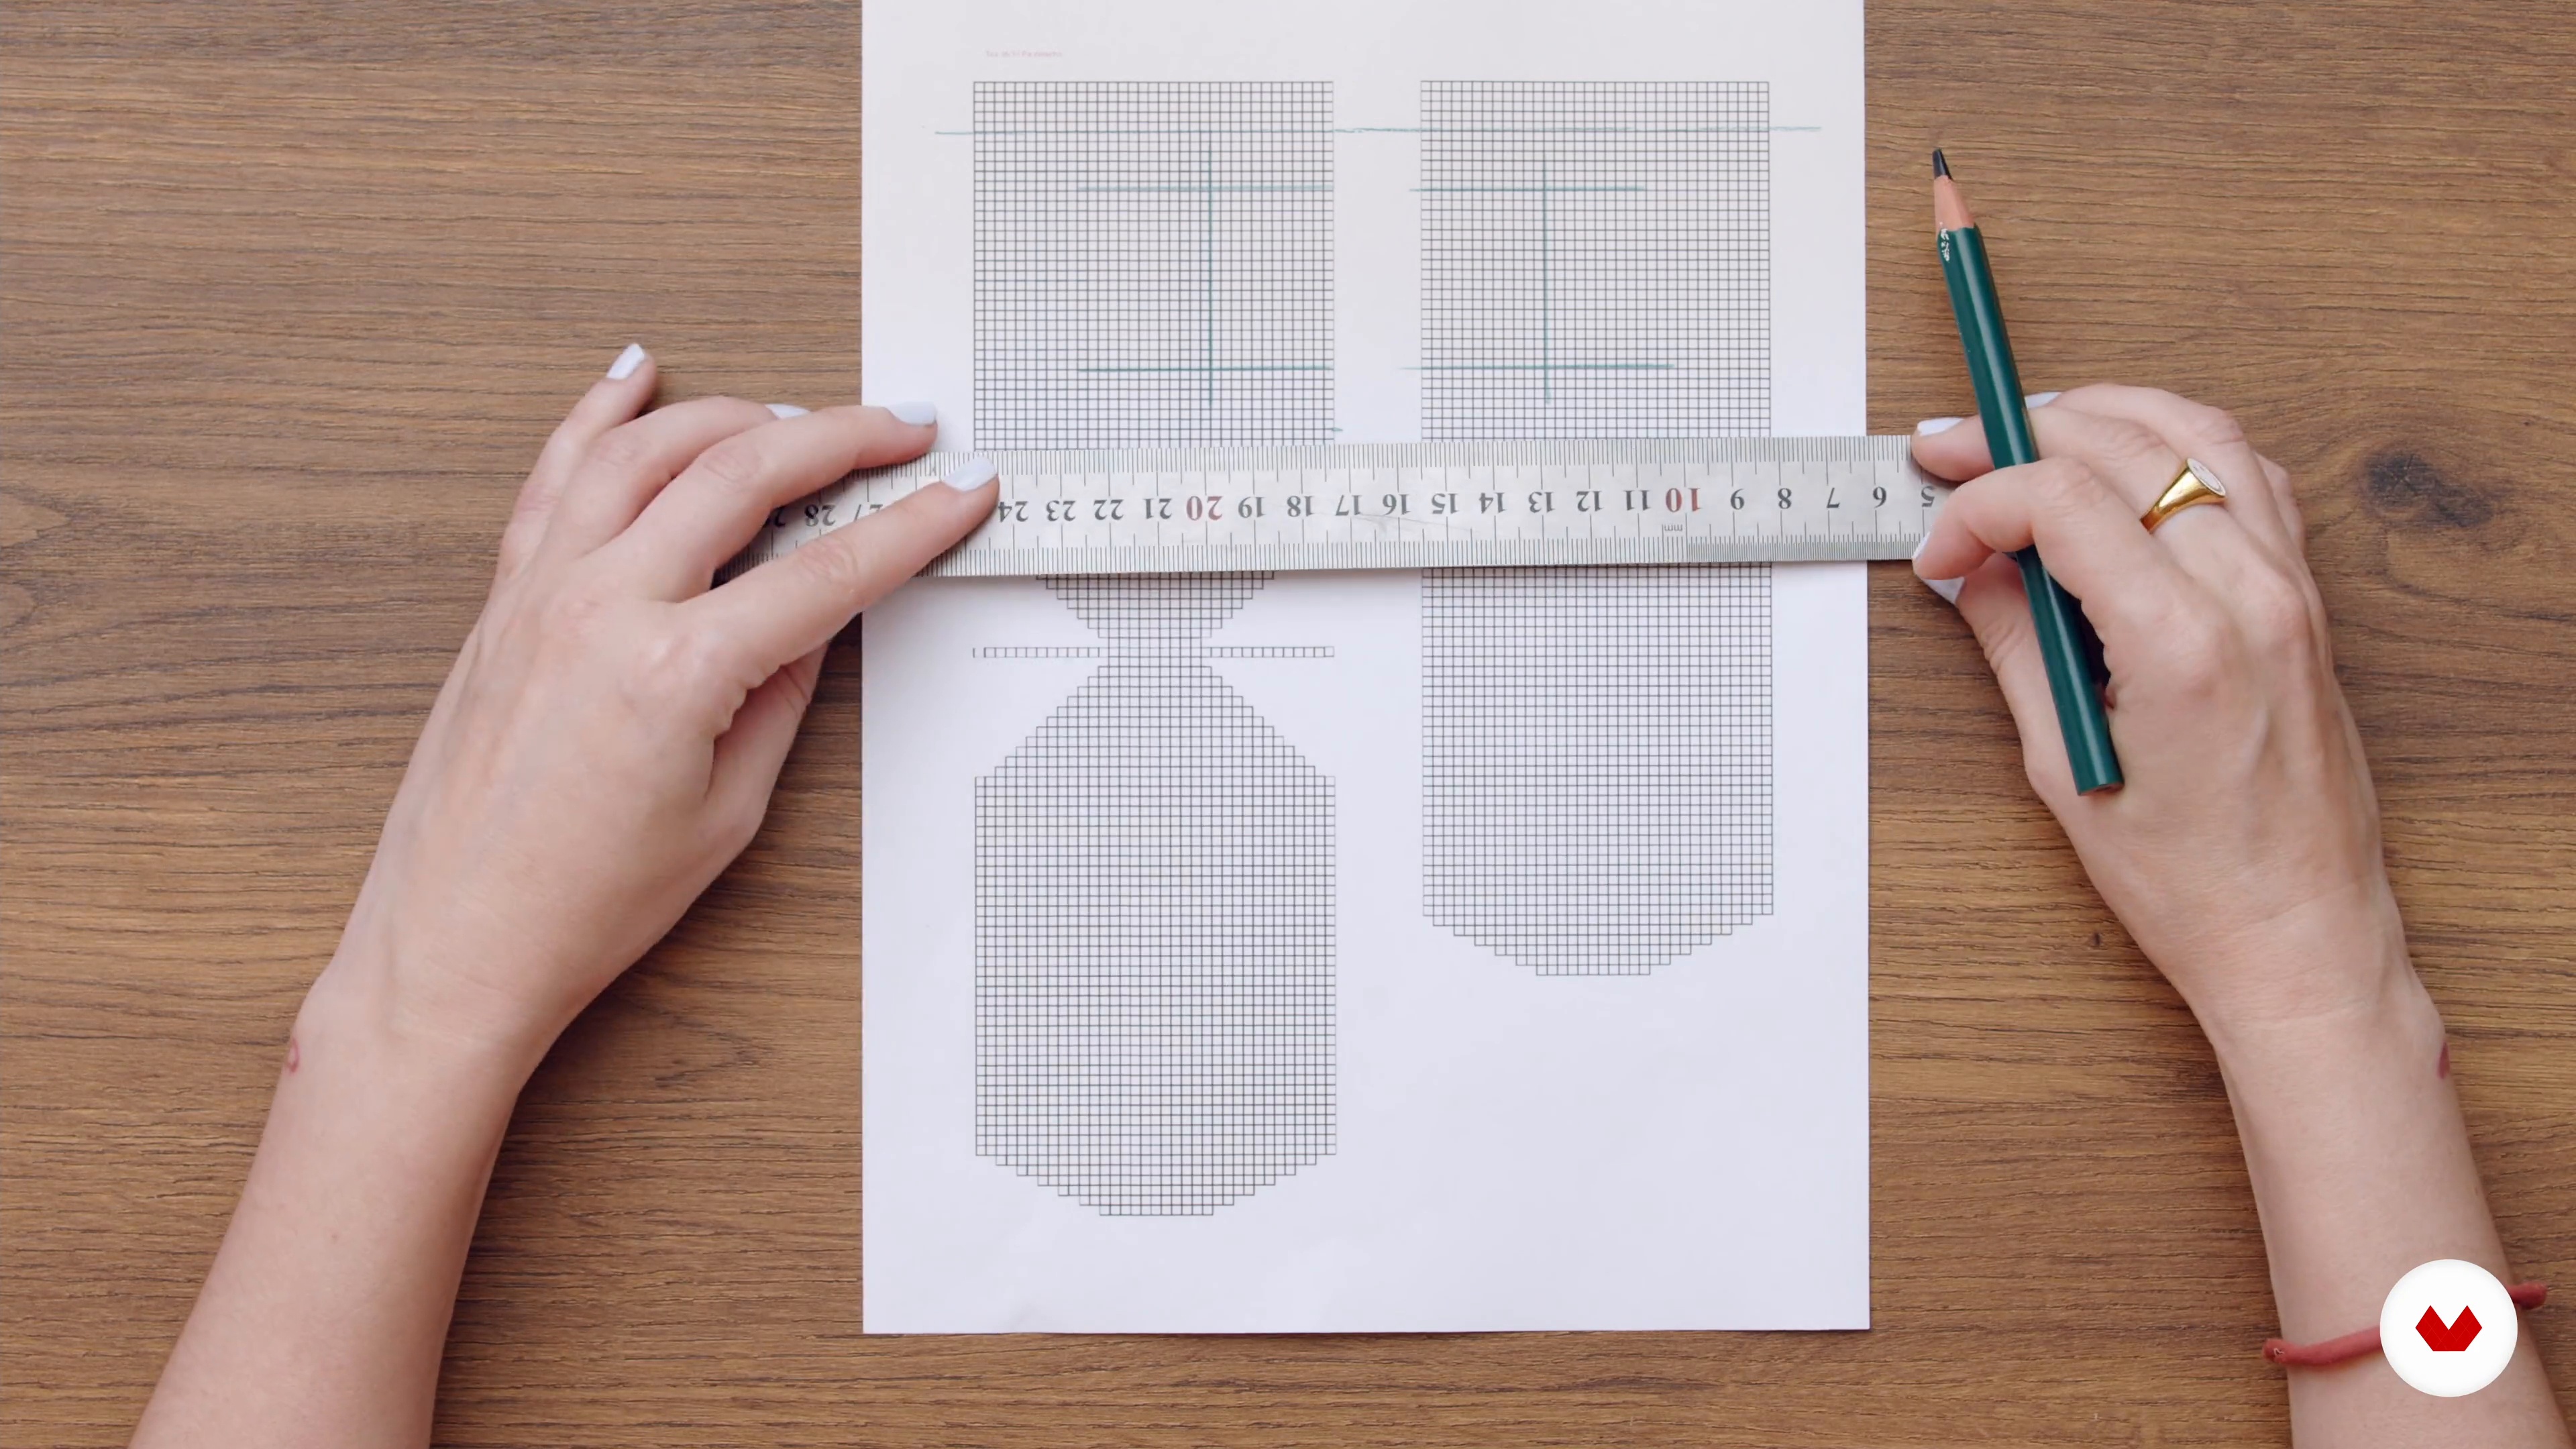
12Graphics design
Being able to put our initials on our socks is brilliant, and I truly believe it's an incredible gift for anyone. Can you imagine surprising the whole family this Christmas with such a thoughtful and special gift? Come on, I'll show you how we're going to add our initials to our socks! Go to the additional downloadable resources section and download your grid pattern because you're going to need it.
16m
 13
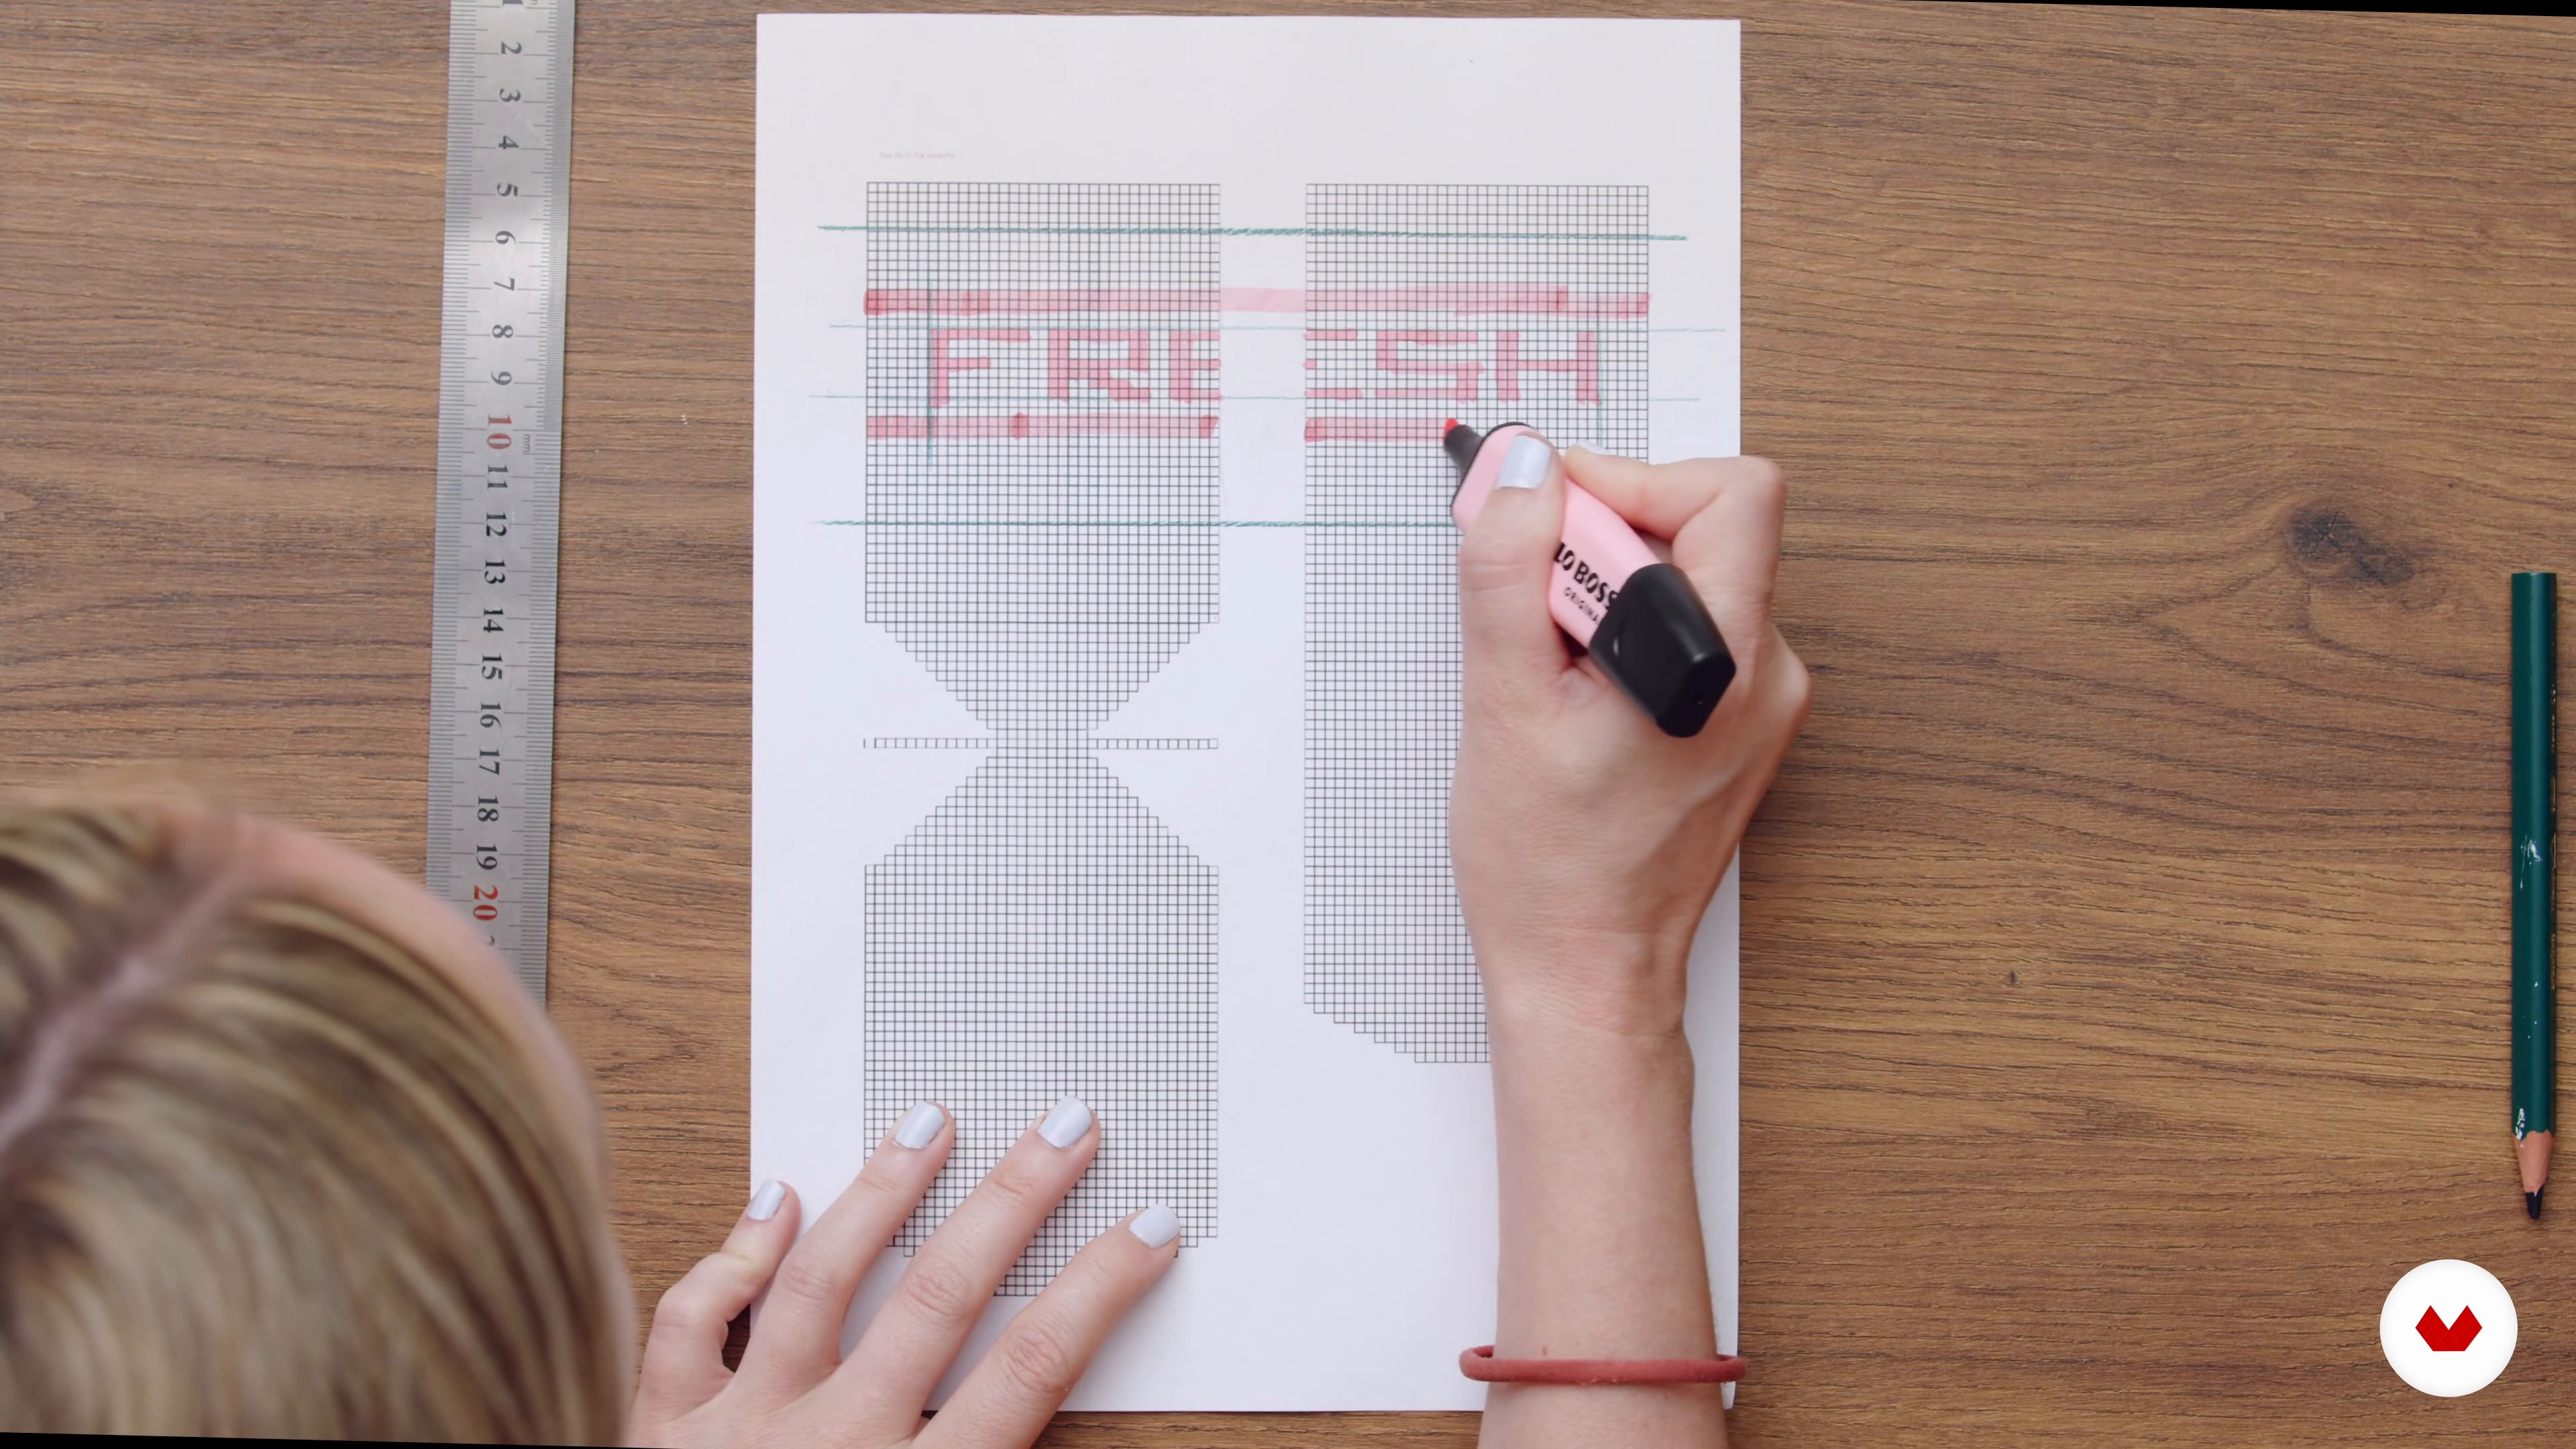
13Phrase design
If the initials were already a success, what about knitting phrases? This course is really cool, and your sock drawer is going to be a hit.
4m
 14
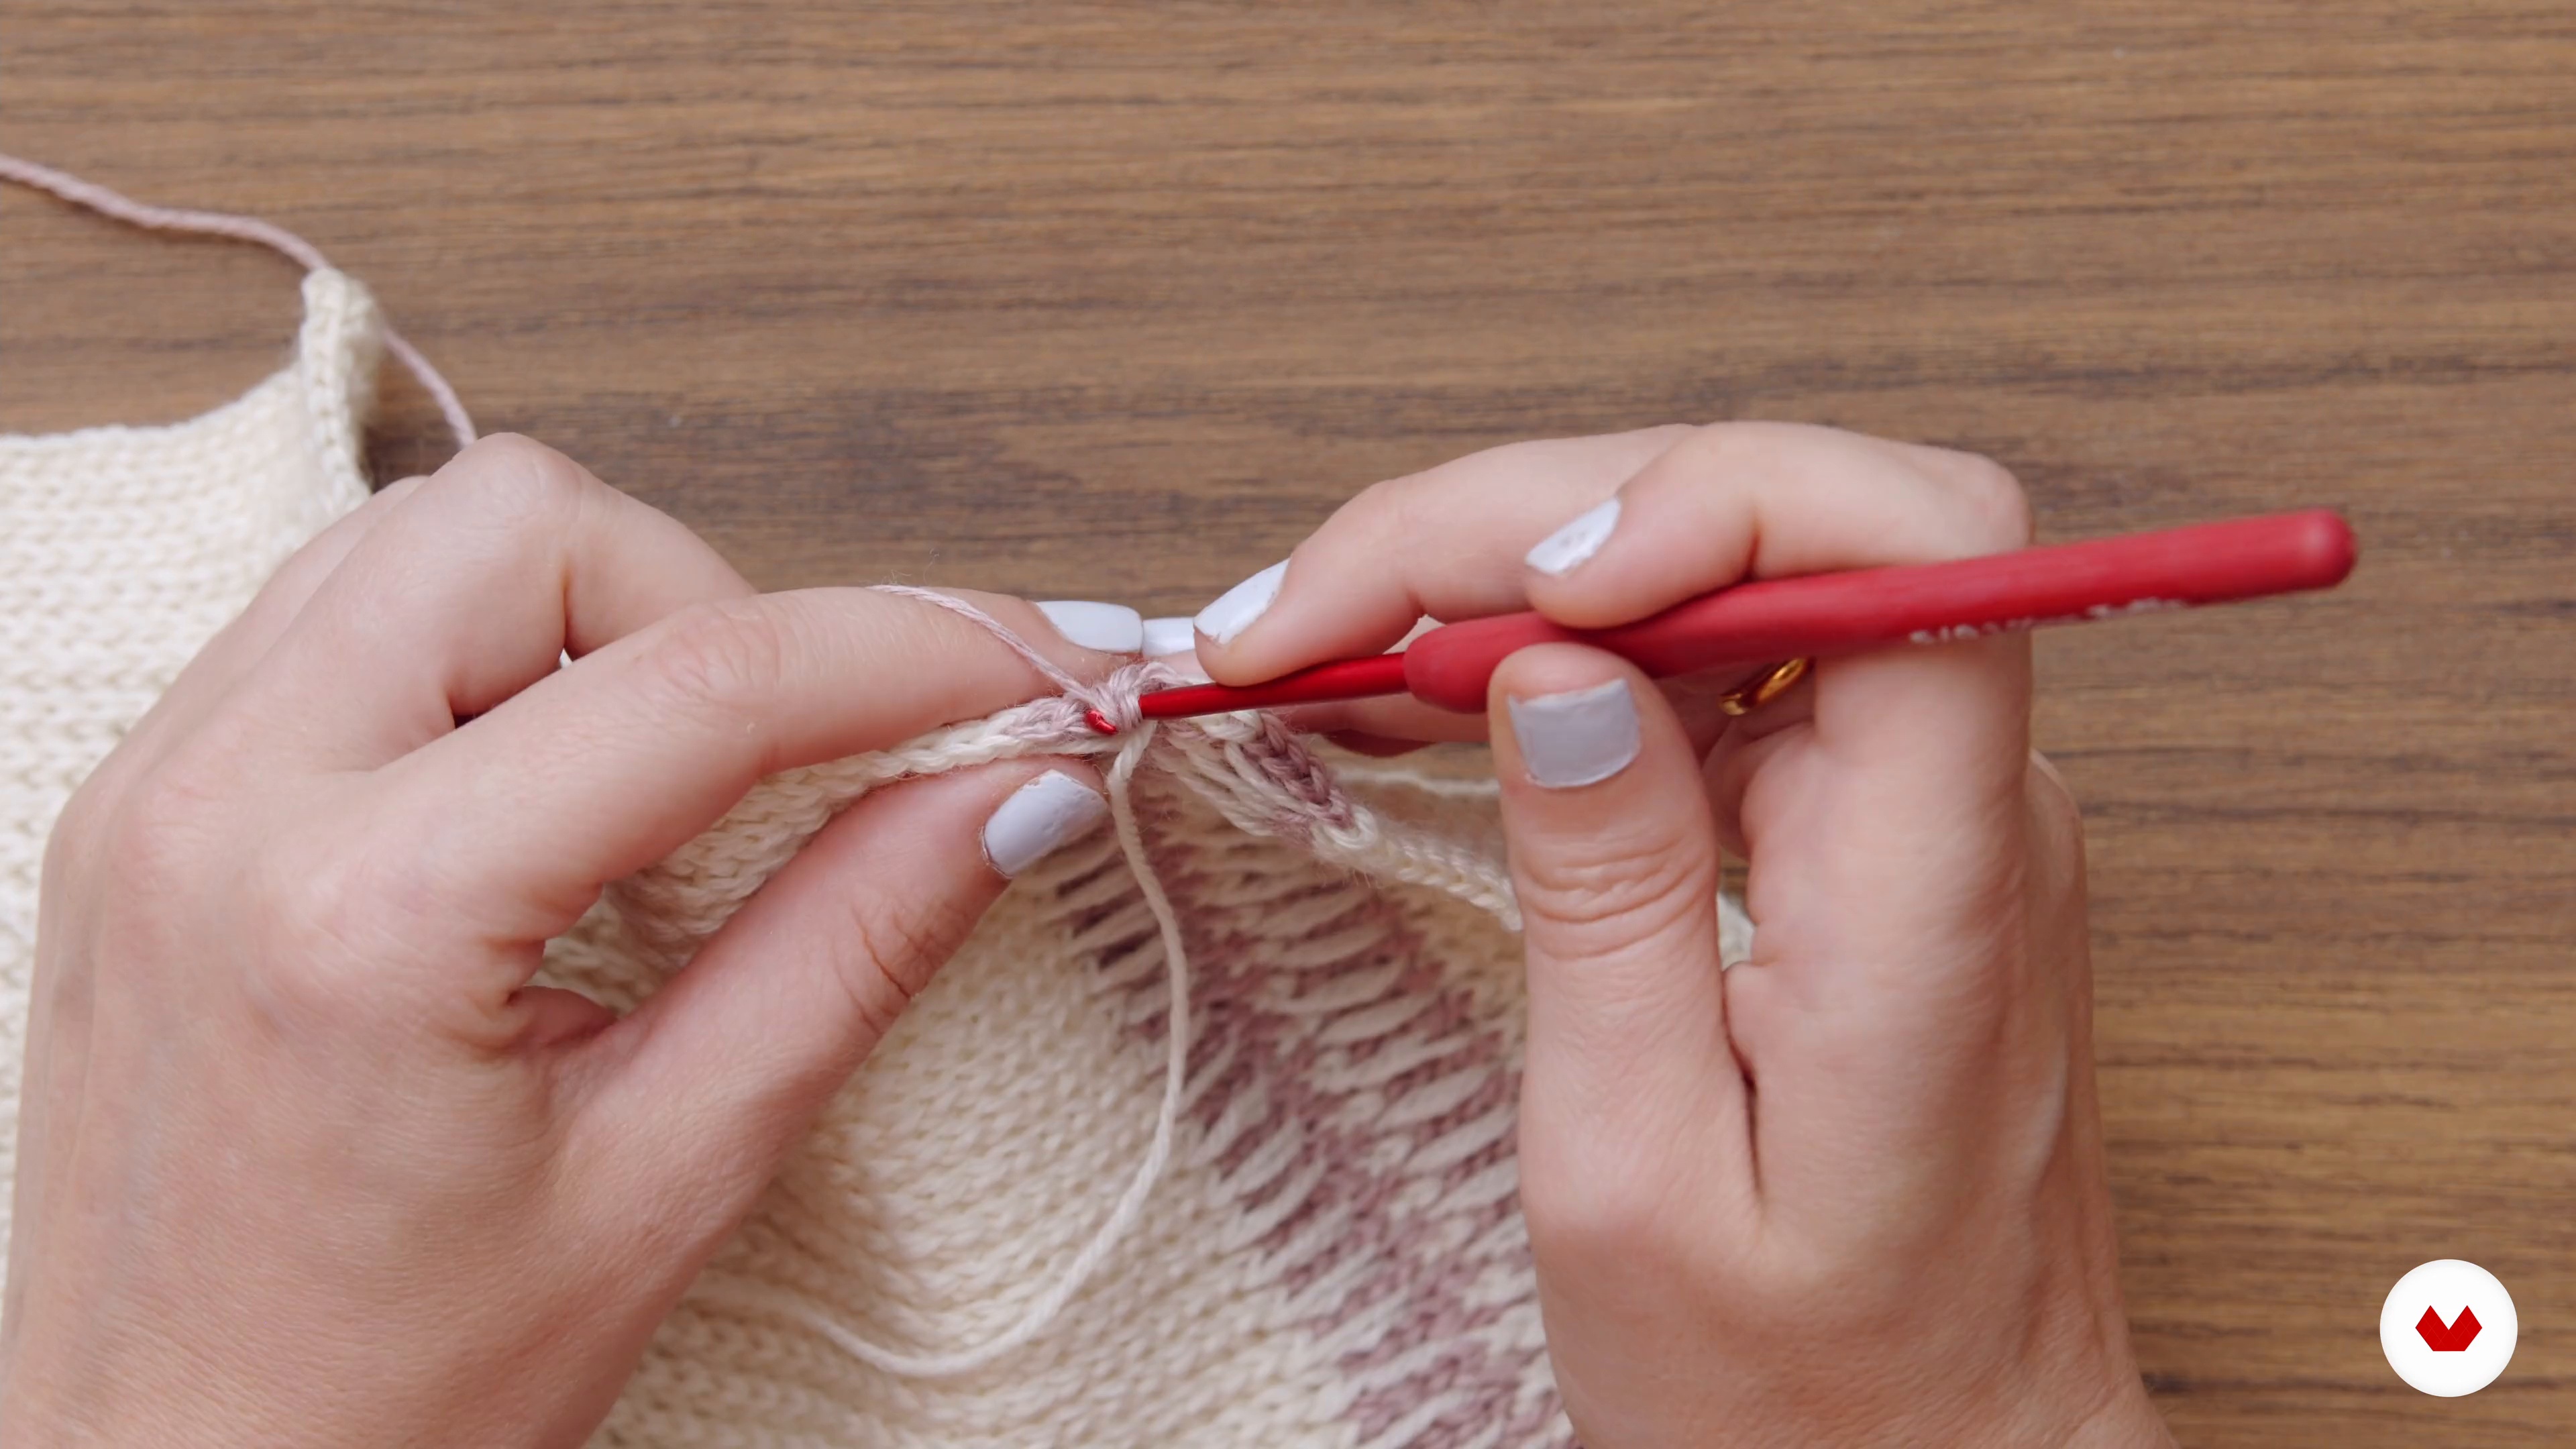
14Putting the theory into practice
Now that we have the chosen chart fitted into our pattern, let's start knitting it to see the result. Grab your needle and the yarn colors we'll be using. You might prefer to make mini balls of yarn that you won't need a lot of. Let's get to it!
7m
 15
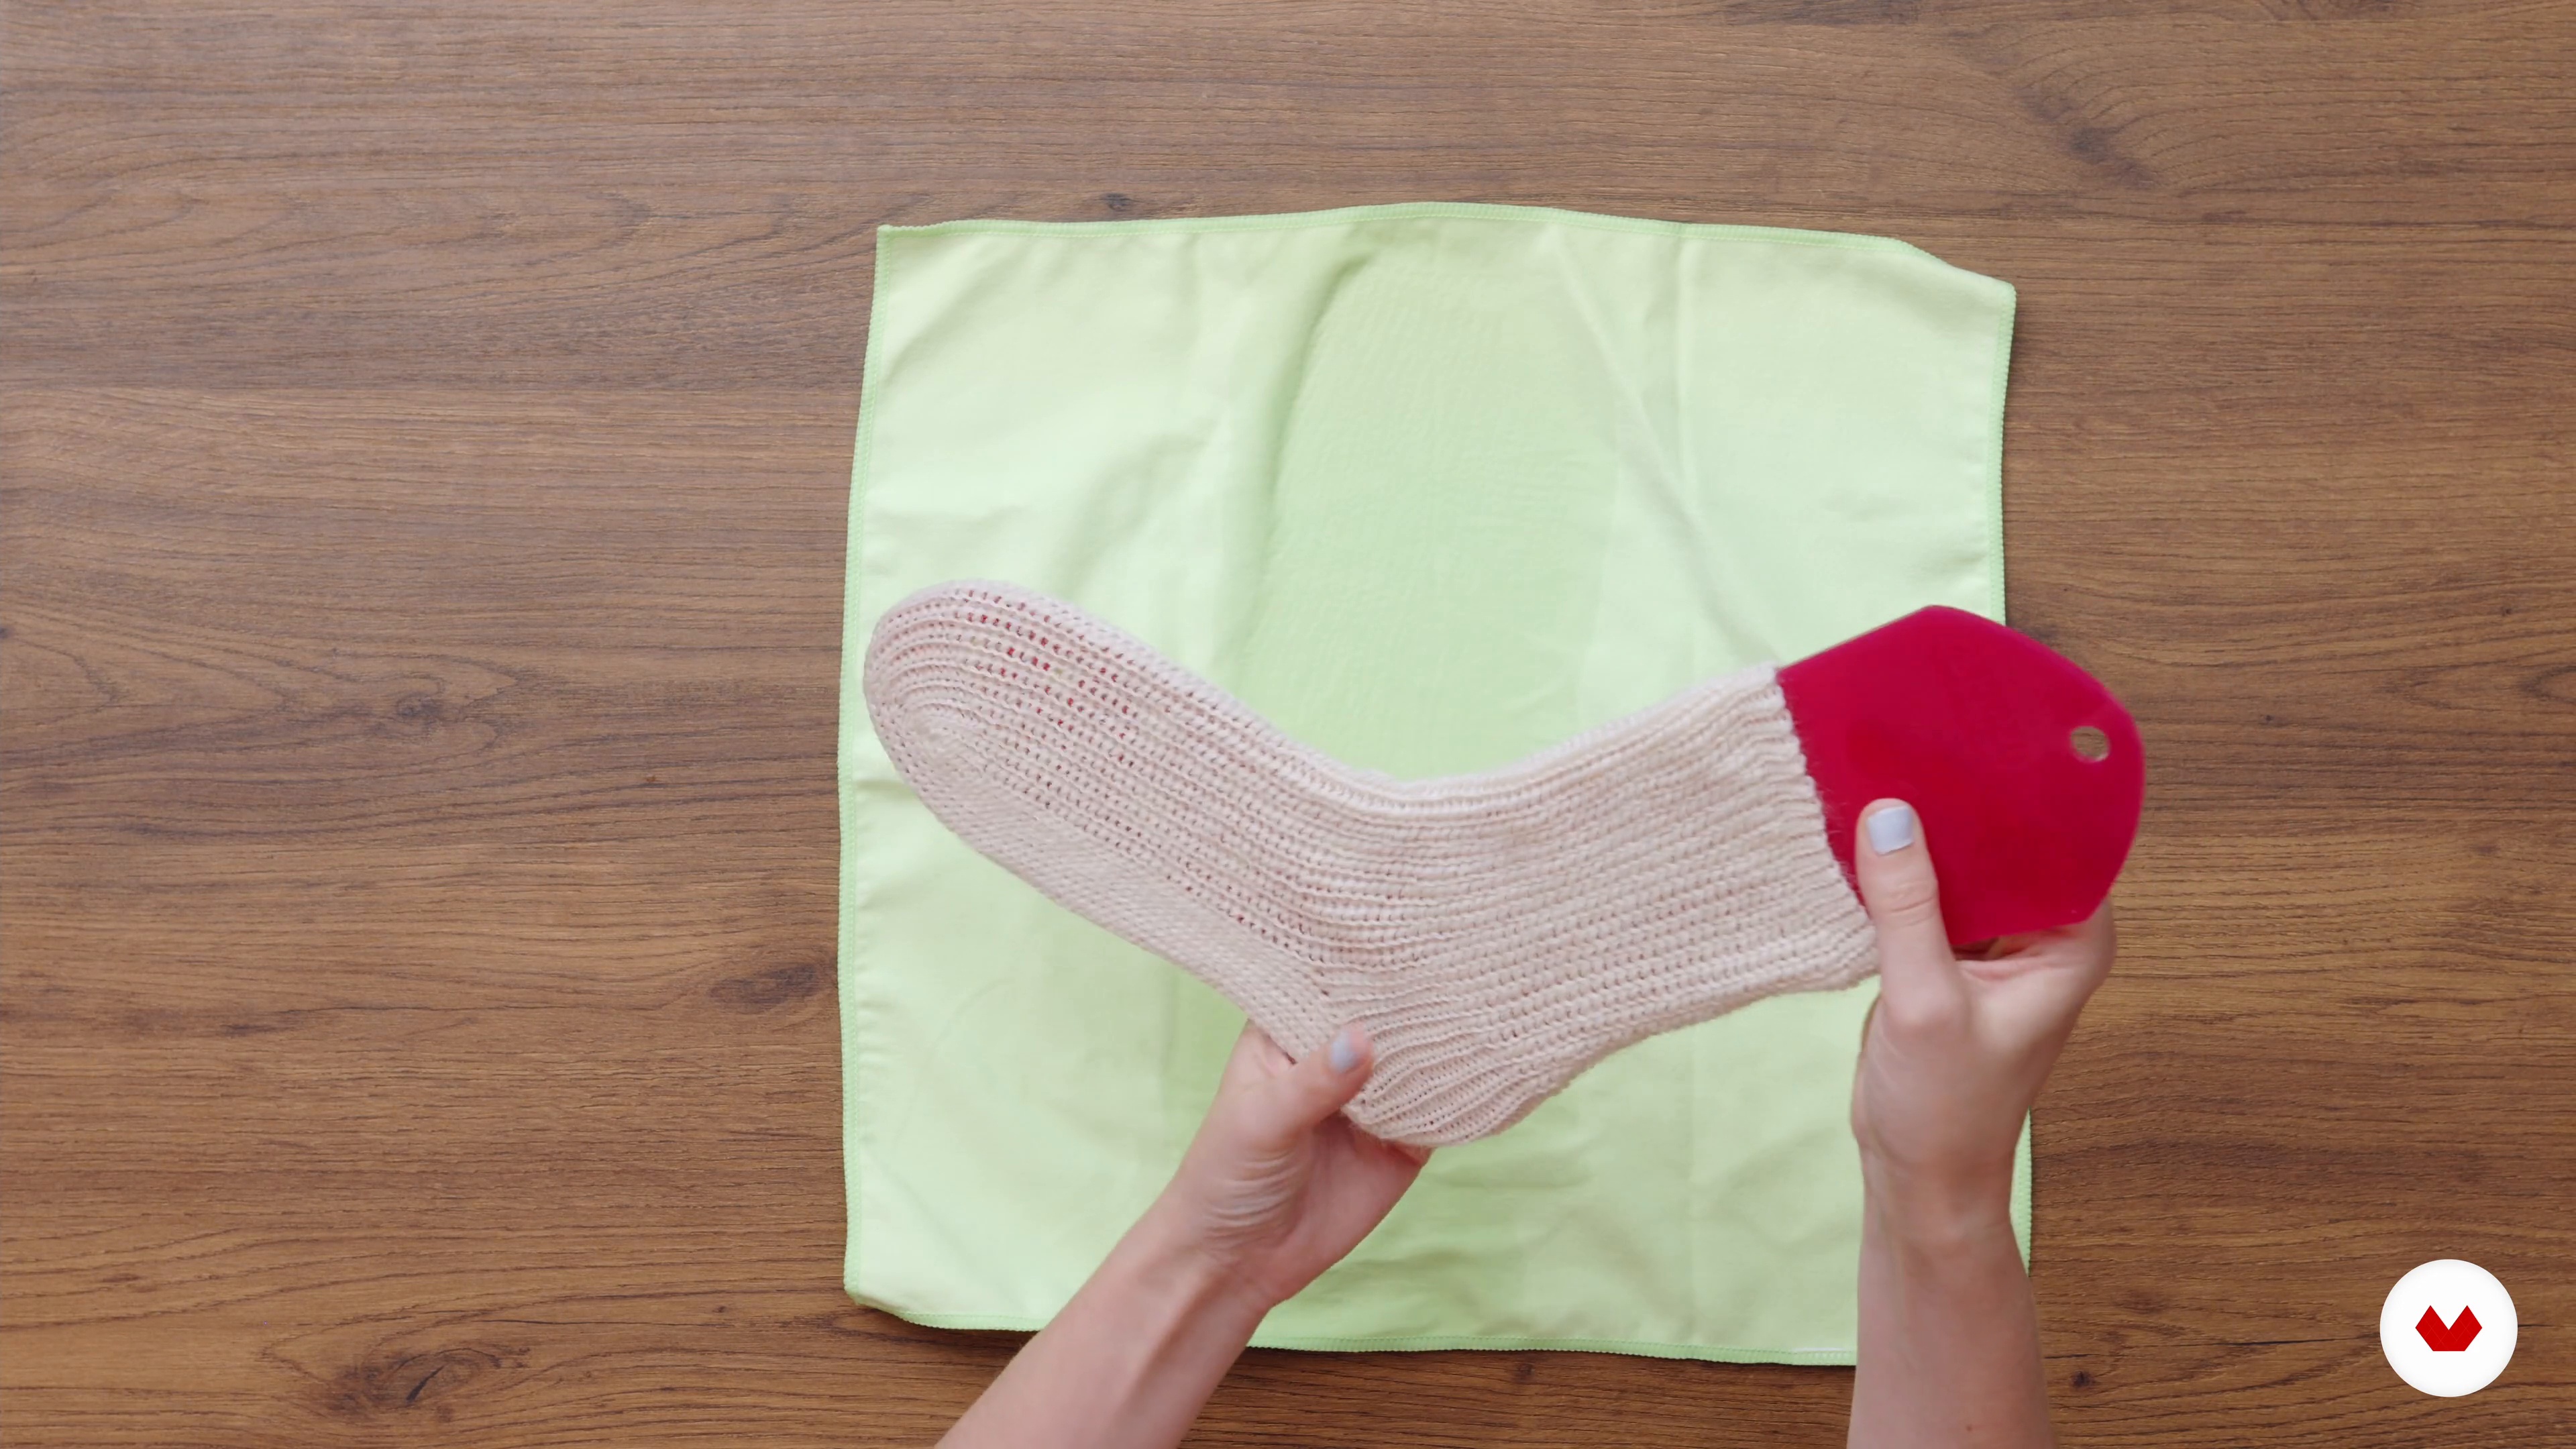
15Refit and lock
From previous courses, I know that one of the biggest fears is not knowing how to adapt a creation we've made. Although the pattern includes sizes from 34 to 43, I'll give you some tips that will help you know where to best increase or decrease rows or stitches to achieve the perfect socks for you. We'll also learn how to block our socks and discuss the benefits of this technique.
6m
 16
16Care and creation of your sock drawer
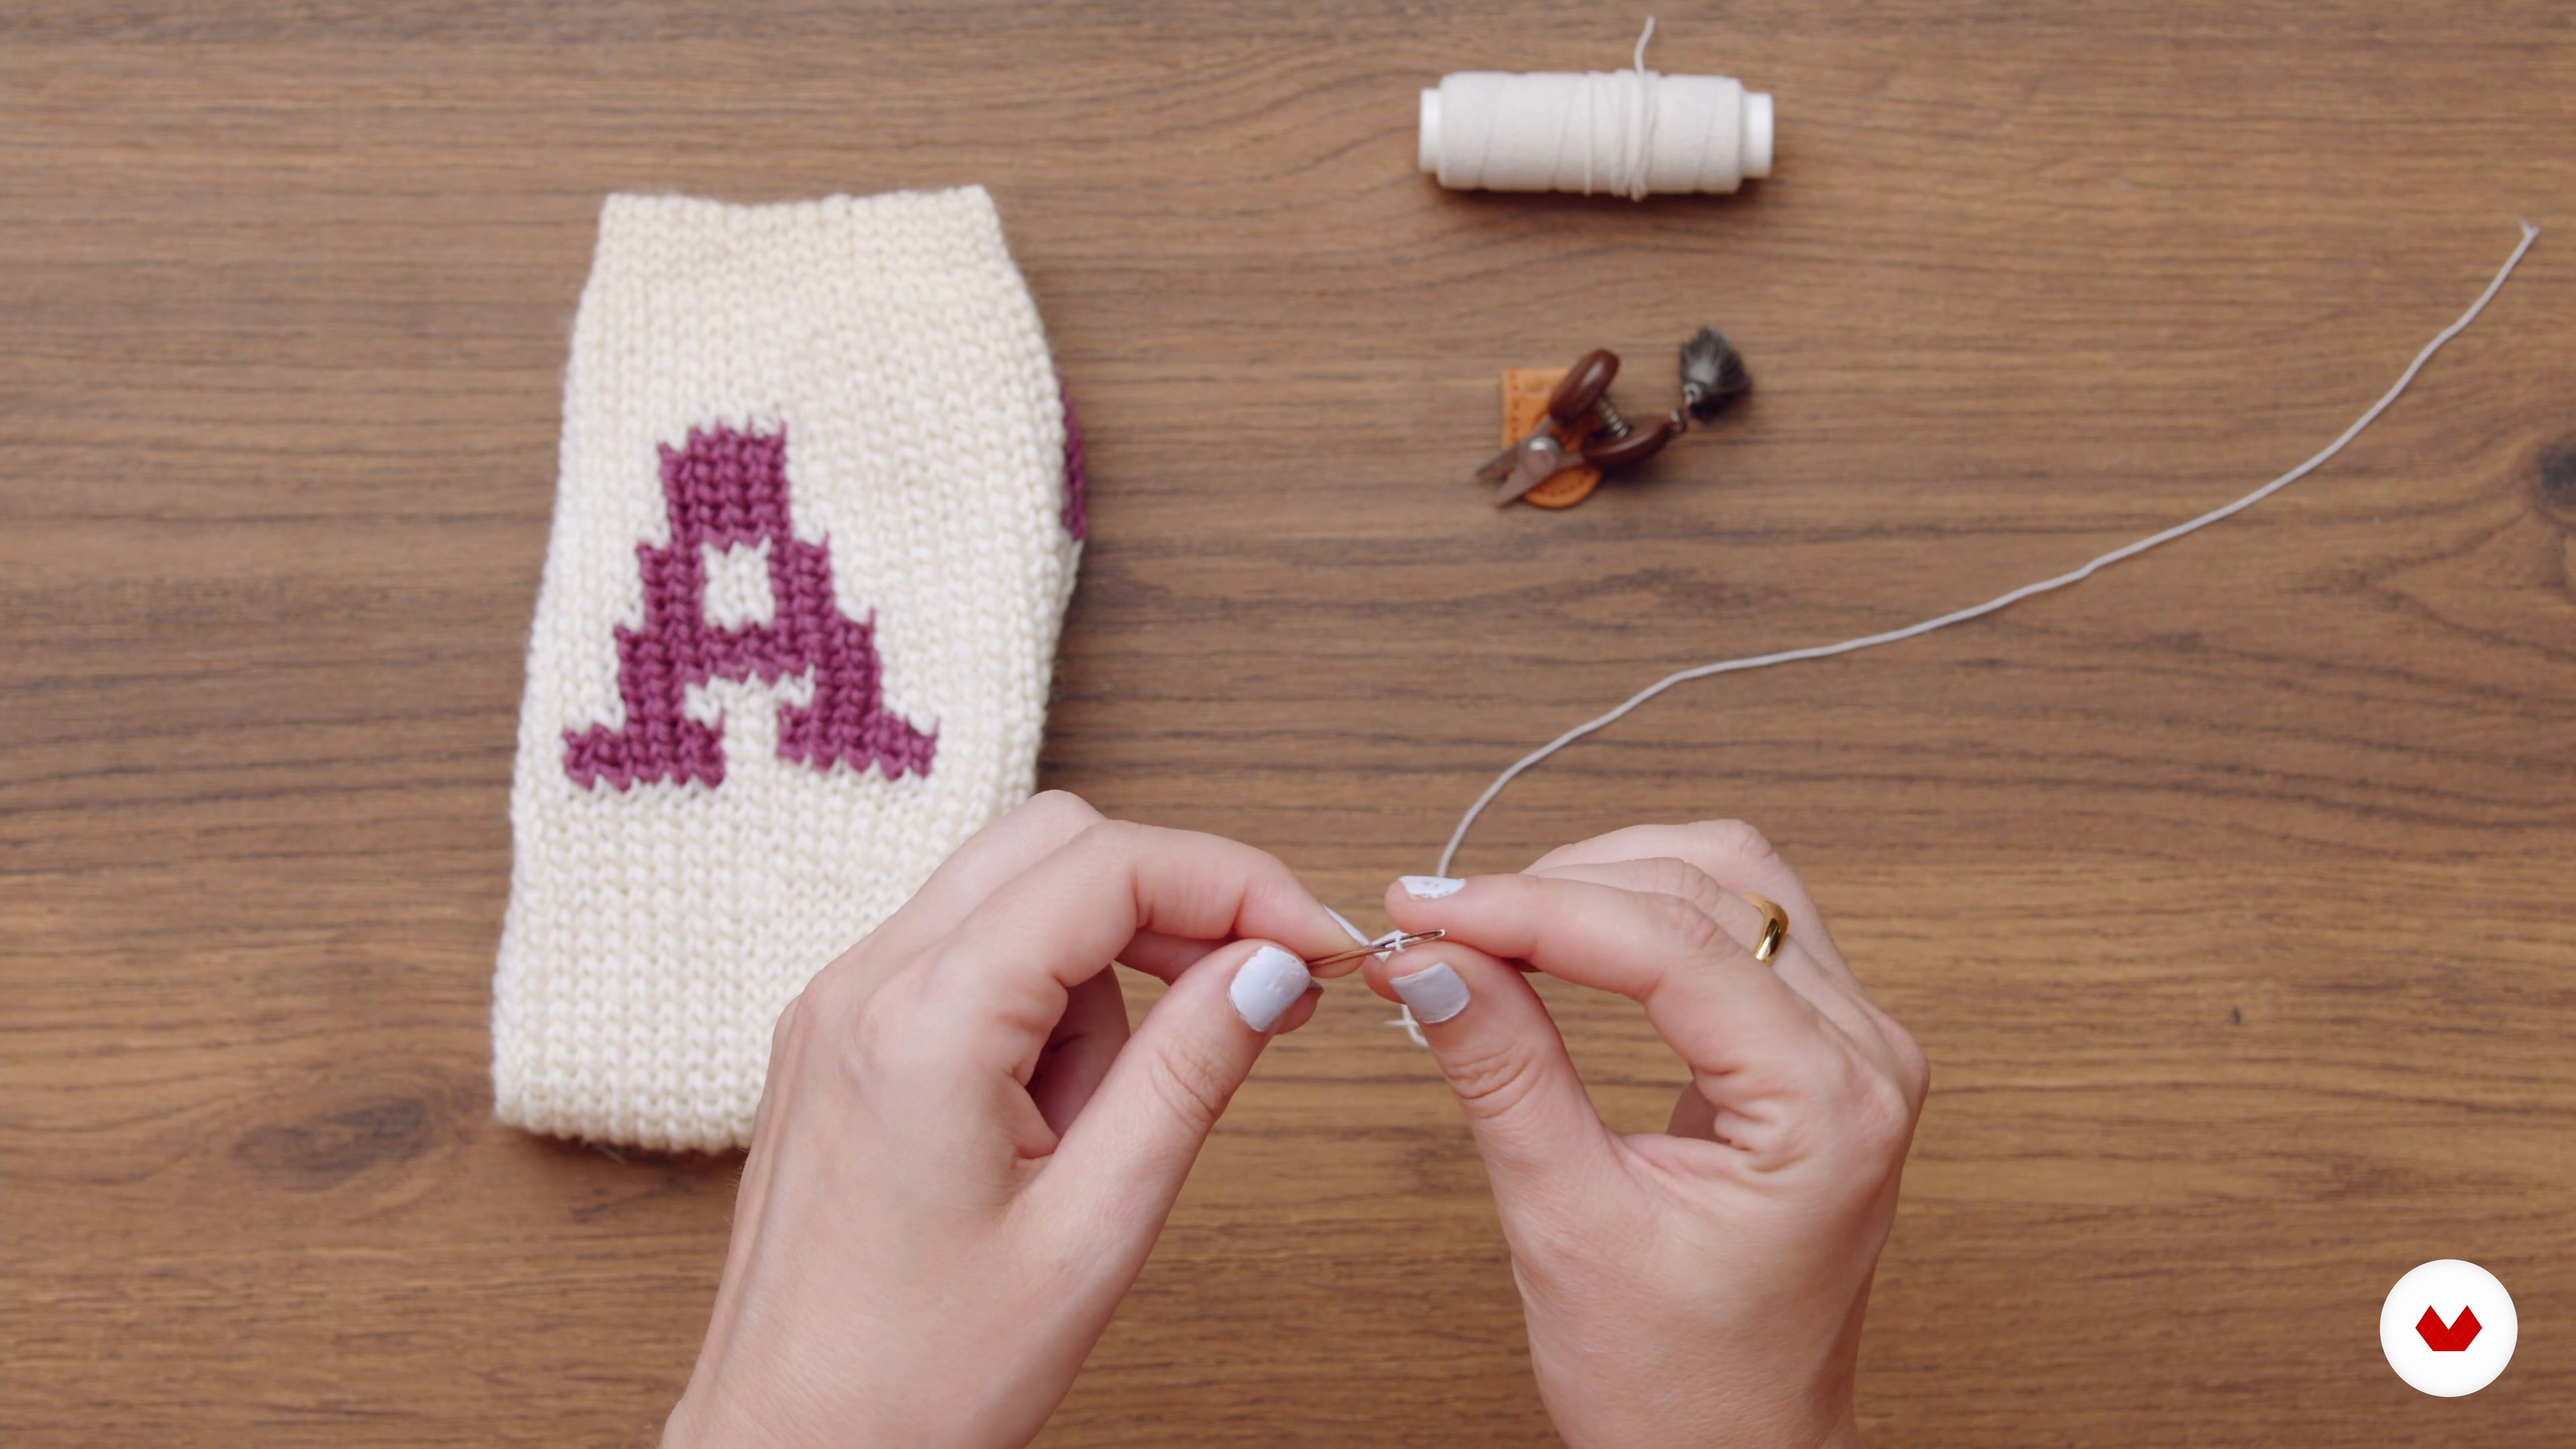
Caring for hand-knitted socks is very important, as their durability depends on it. It's normal for hand-knitted socks to need repairs from time to time, but this is an opportunity to reconnect with ourselves, our knitting past, and our inner knitting self. I'll show you how I enjoy these moments.
5m
 17
17Embroidering the socks
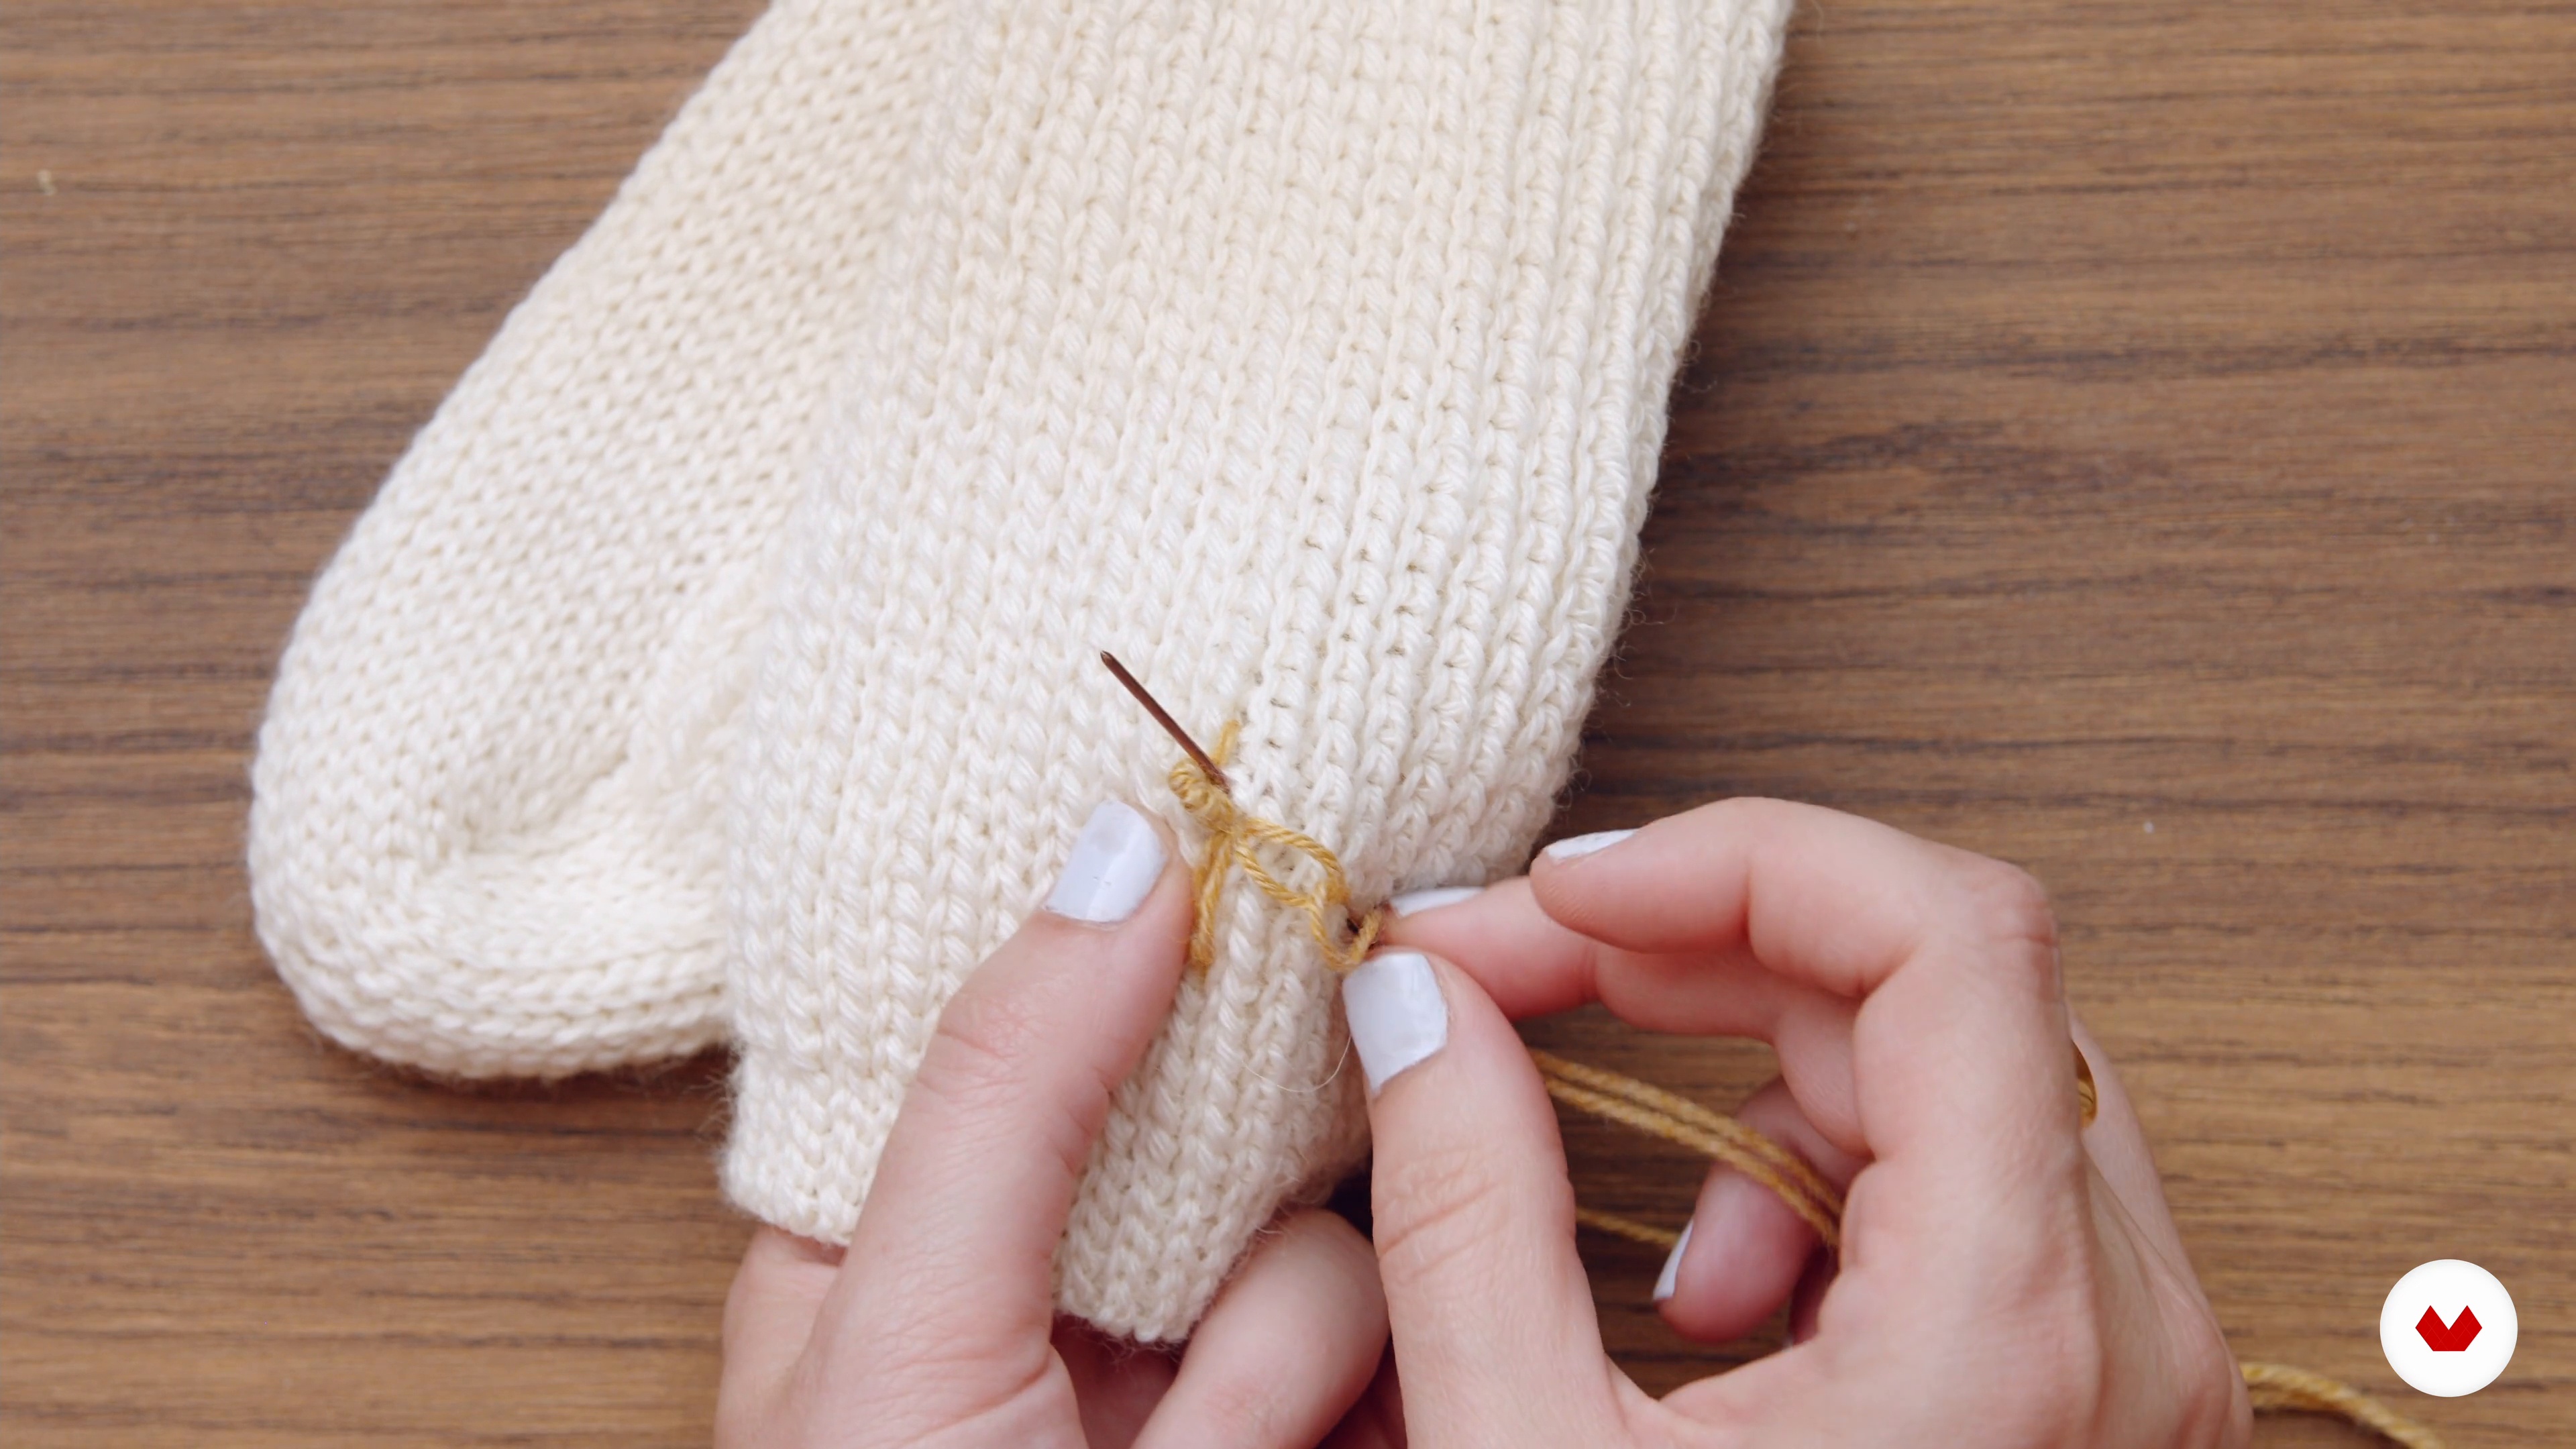
Embroidery on wool has become very popular lately, and this technique is the most popular on socks. I encourage you to learn different embroidery techniques and practice them on your hygge socks. Or take it a step further and create something different through colorwork and embroidery. I'll show you how I would embroider something simple, and then you decide.
5m
 3
3Introduction to the world of crochet
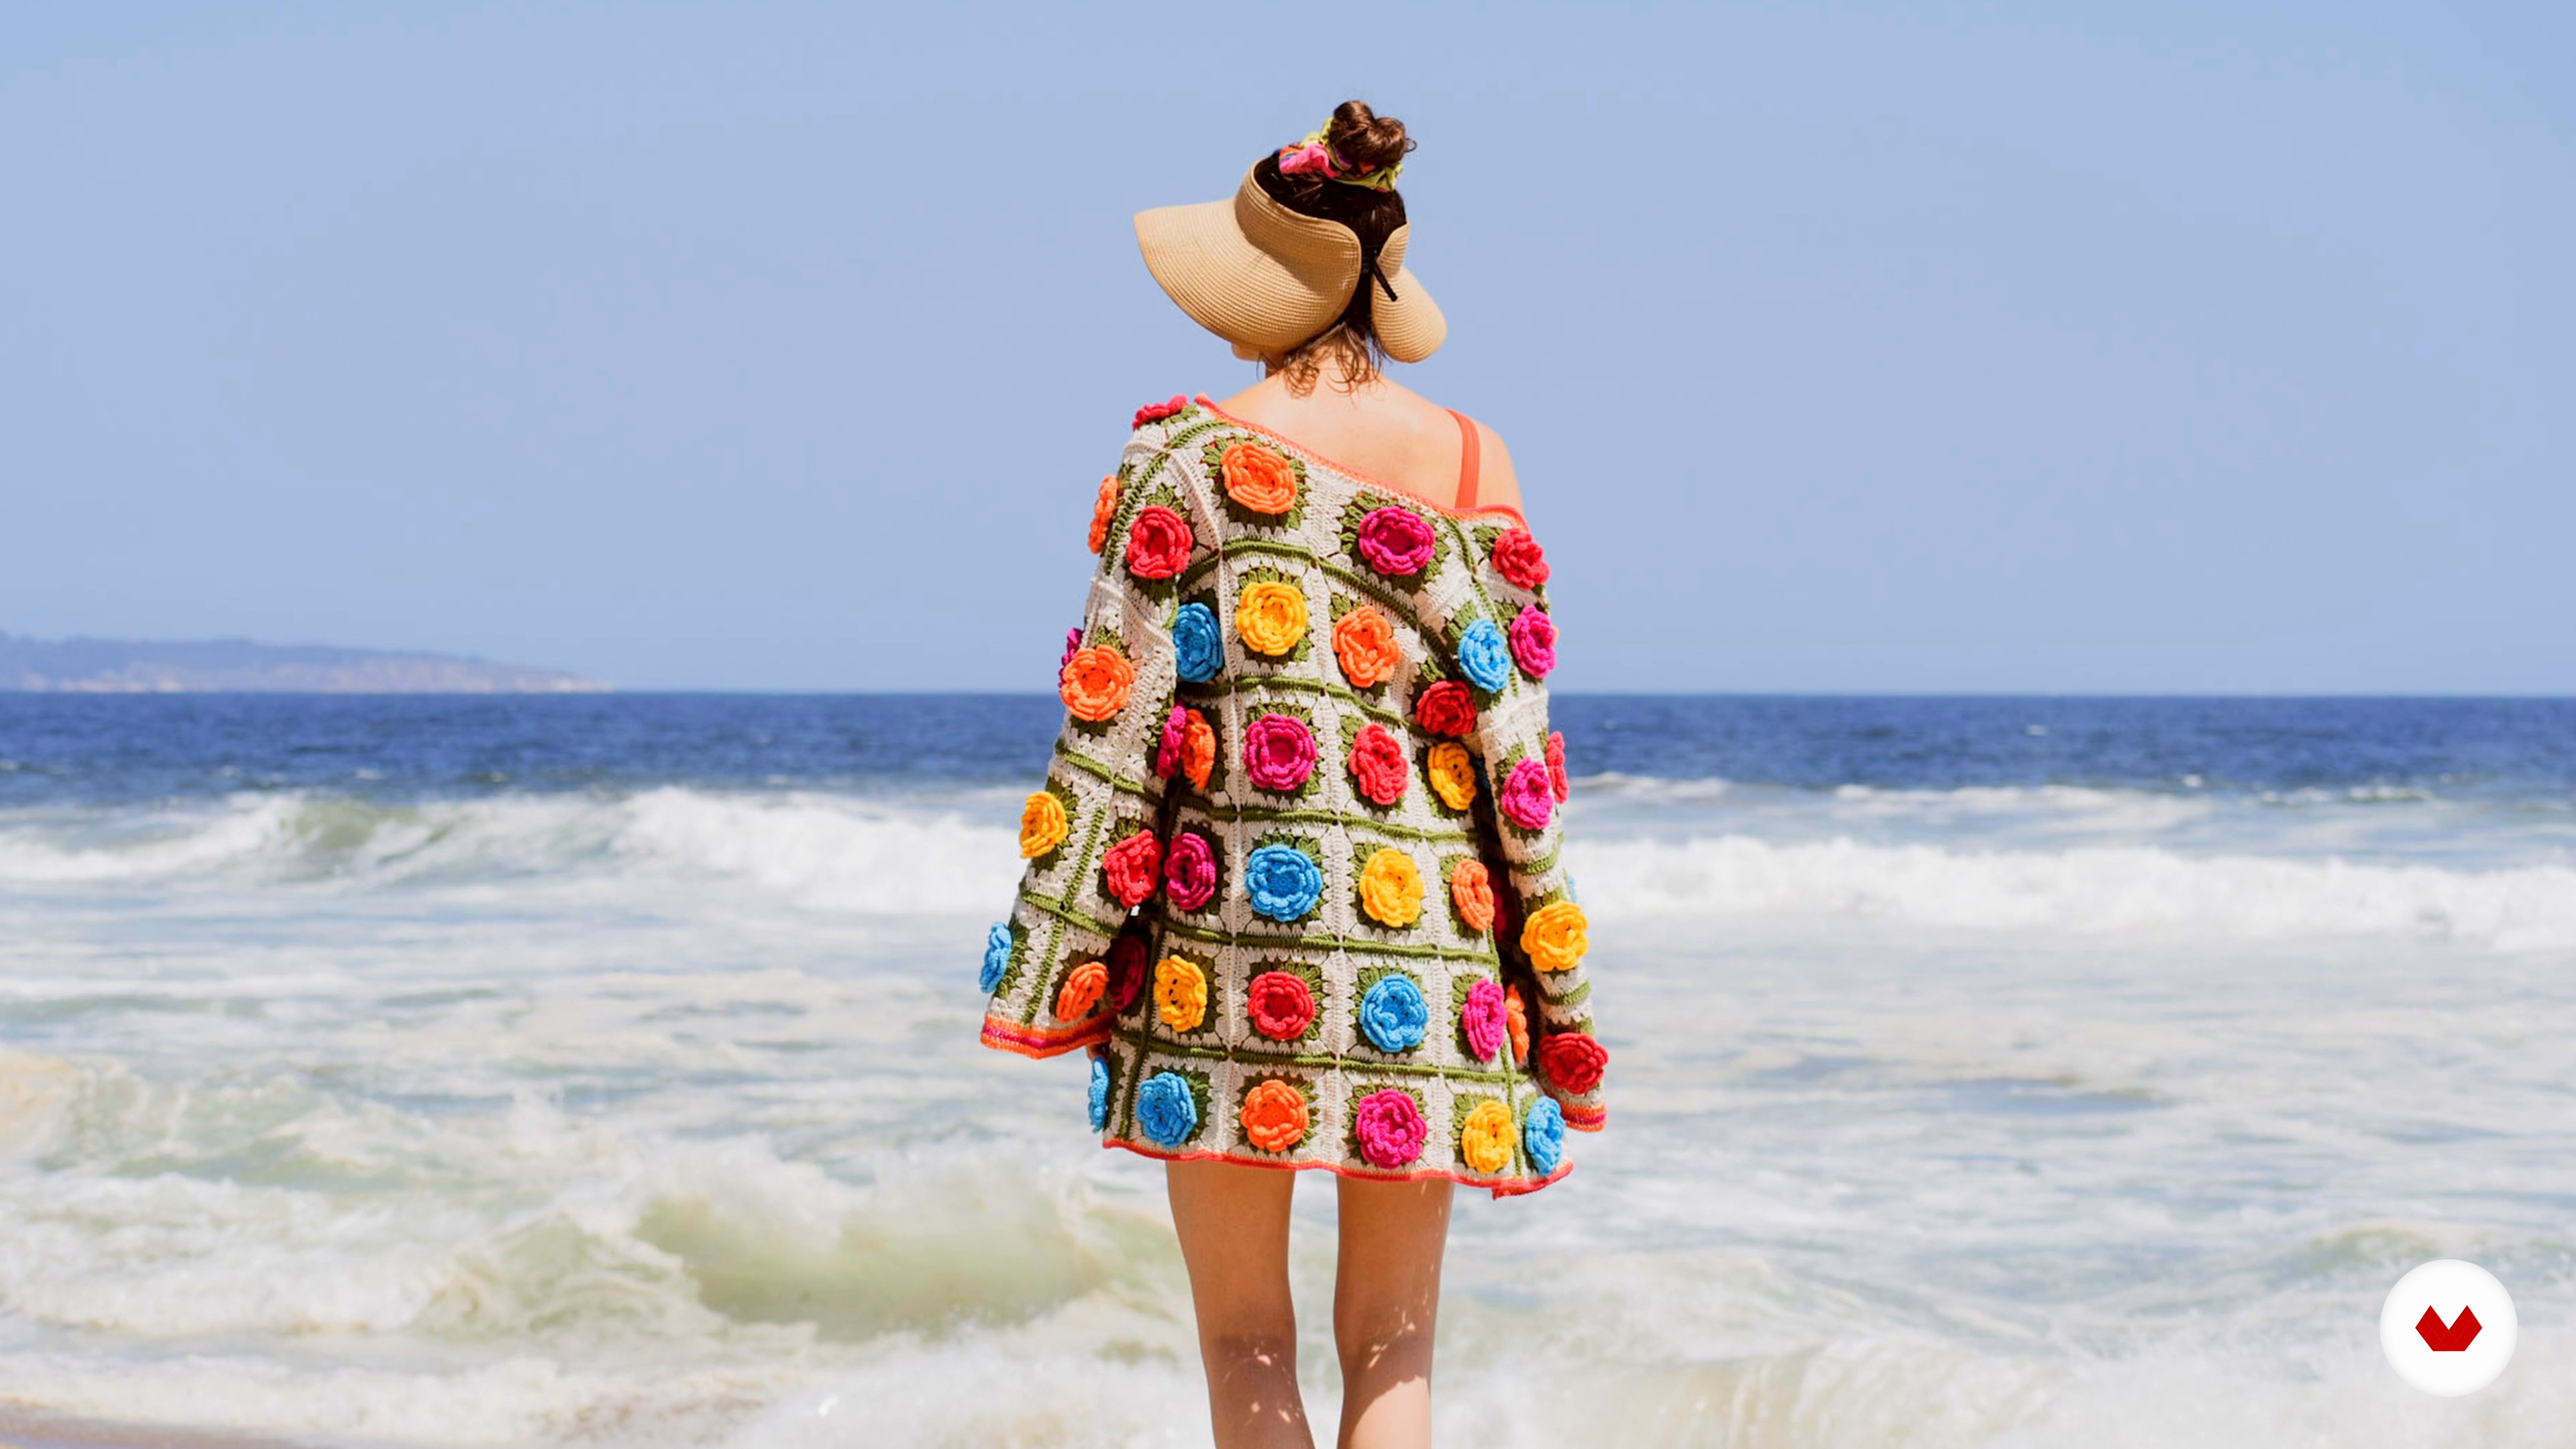
Let's dive into the world of crochet. What is it? What can we achieve with it? In this lesson, we'll cover all of this and a little more.
5m
 4
4Build your story
Now we're going to experiment with a creative process in which you'll create your own journey that will end in a sweater.
10m
 5
5Define colors for your sweater
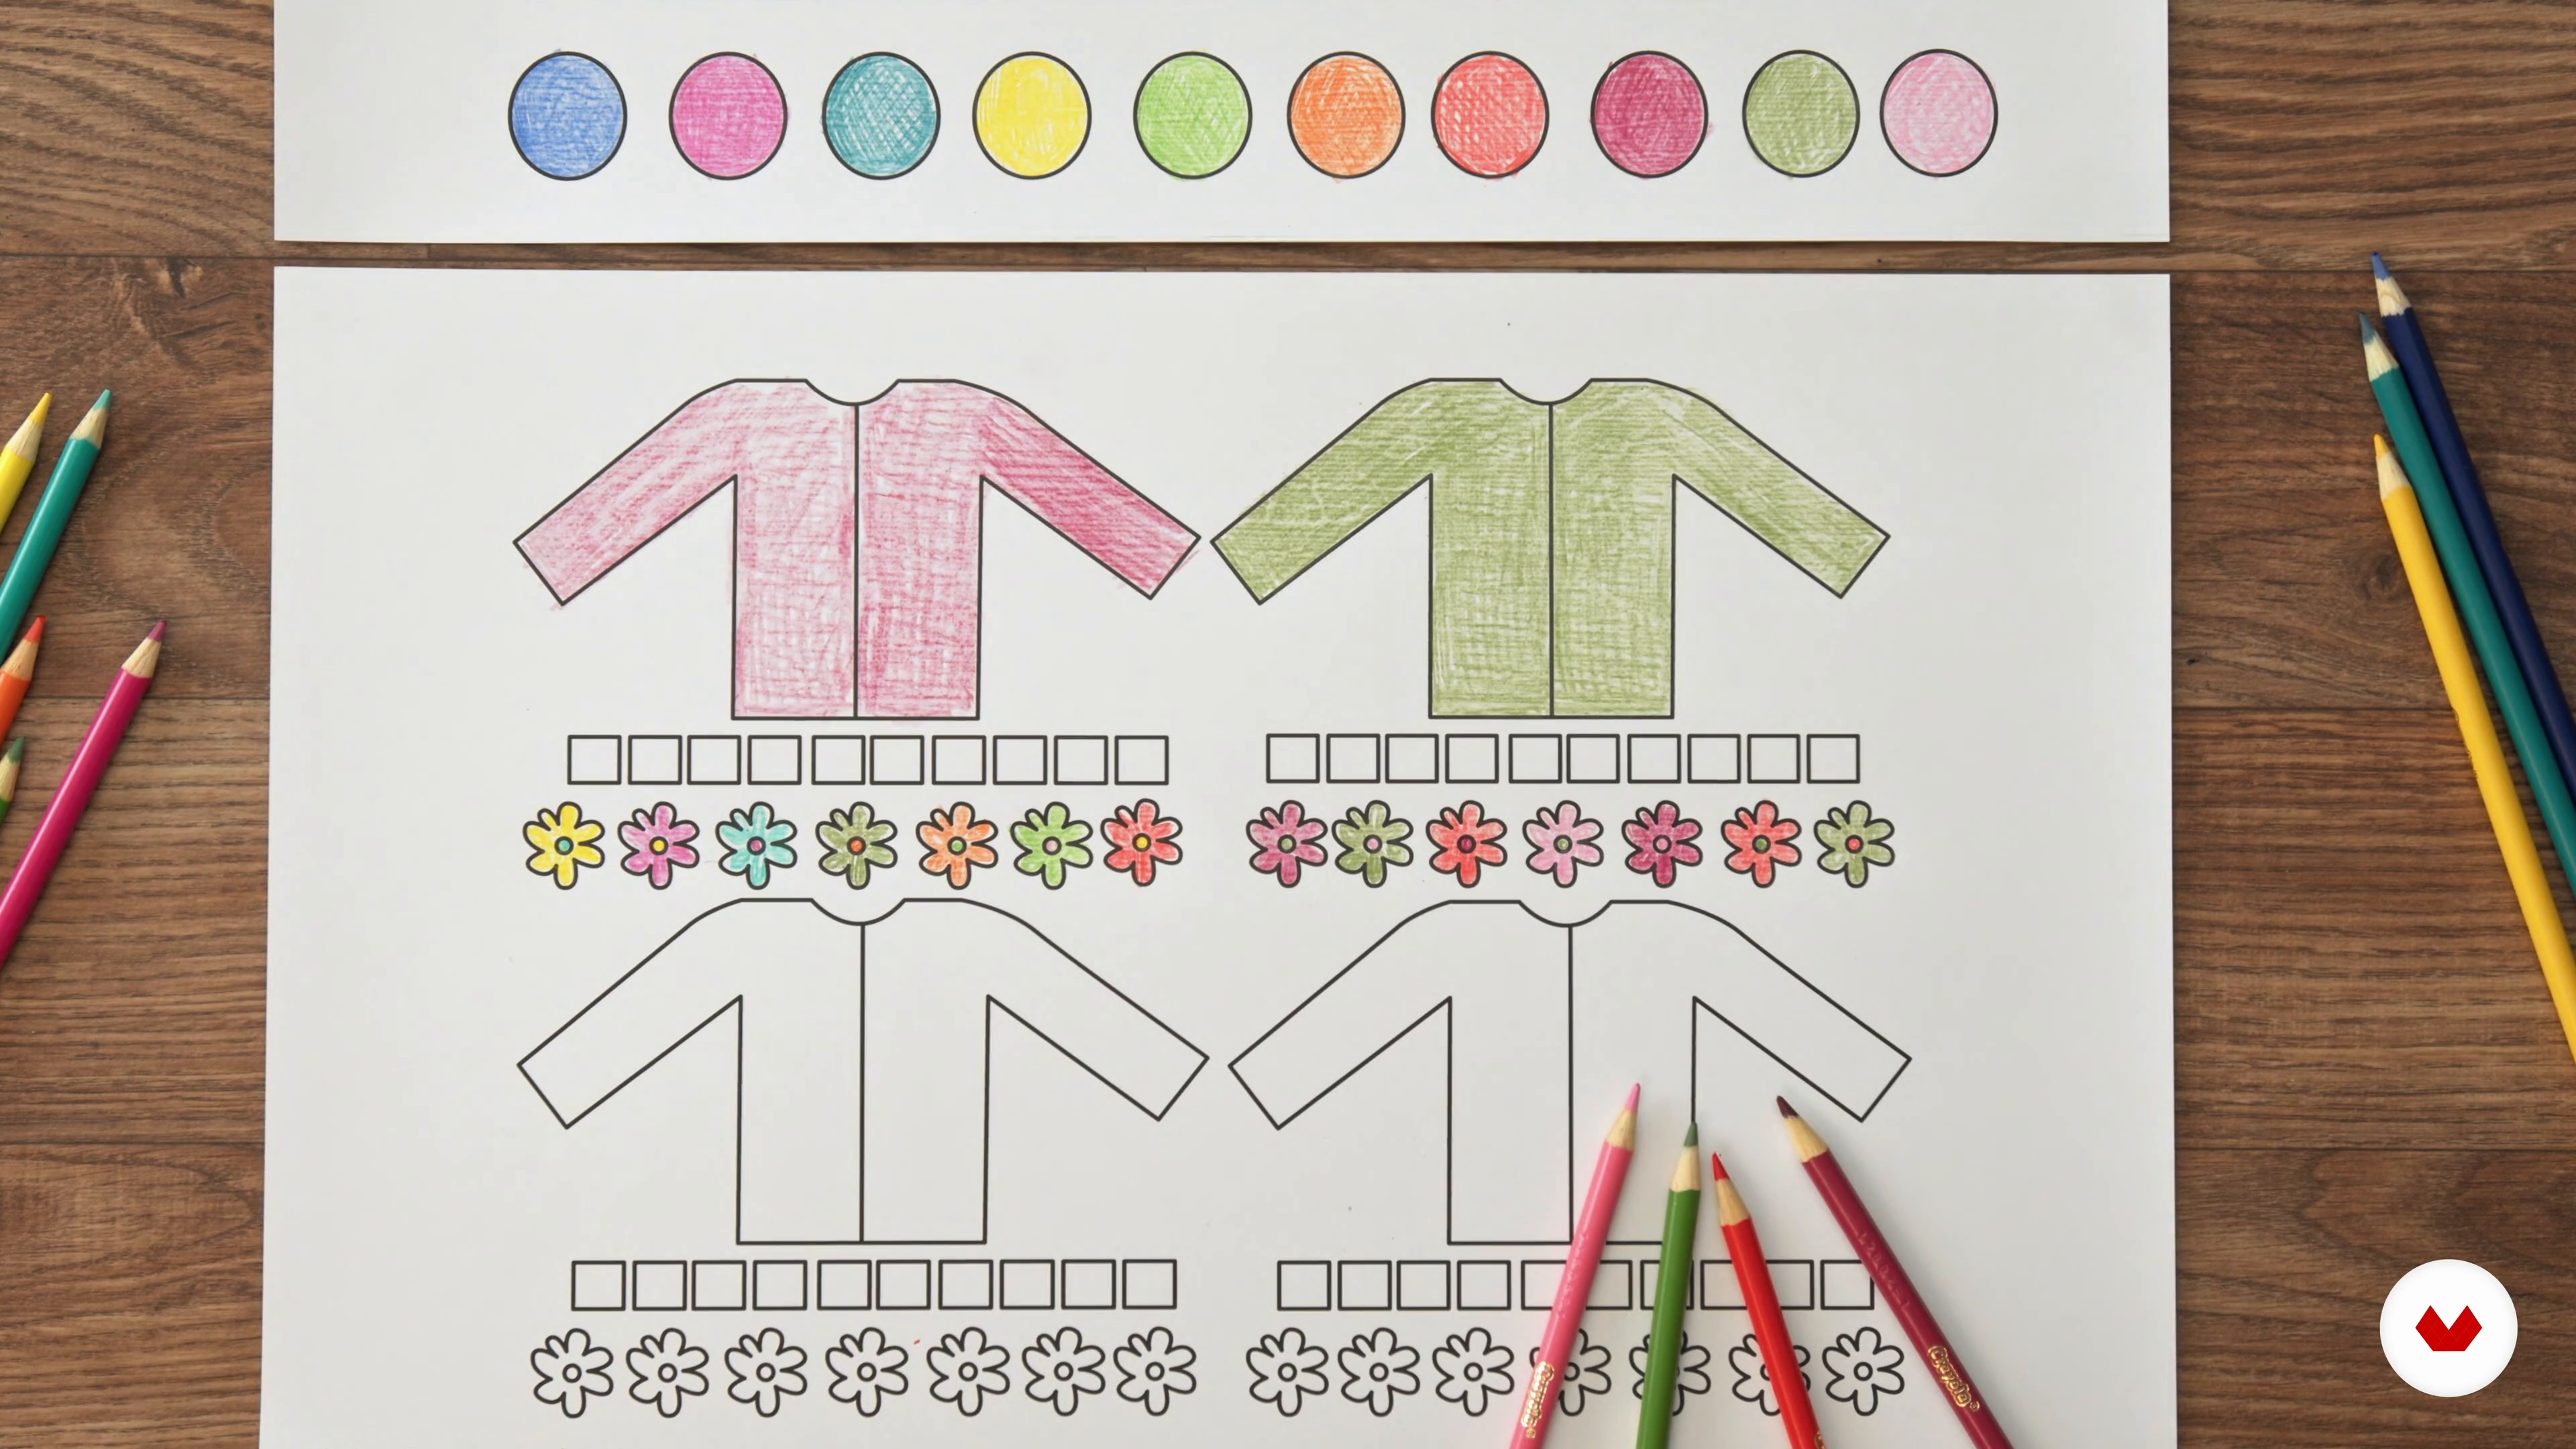
The next step is to define the color scheme you'll use for your project. I'll explain how to find inspiration and find the right colors.
7m
 6
6Final design and measurements
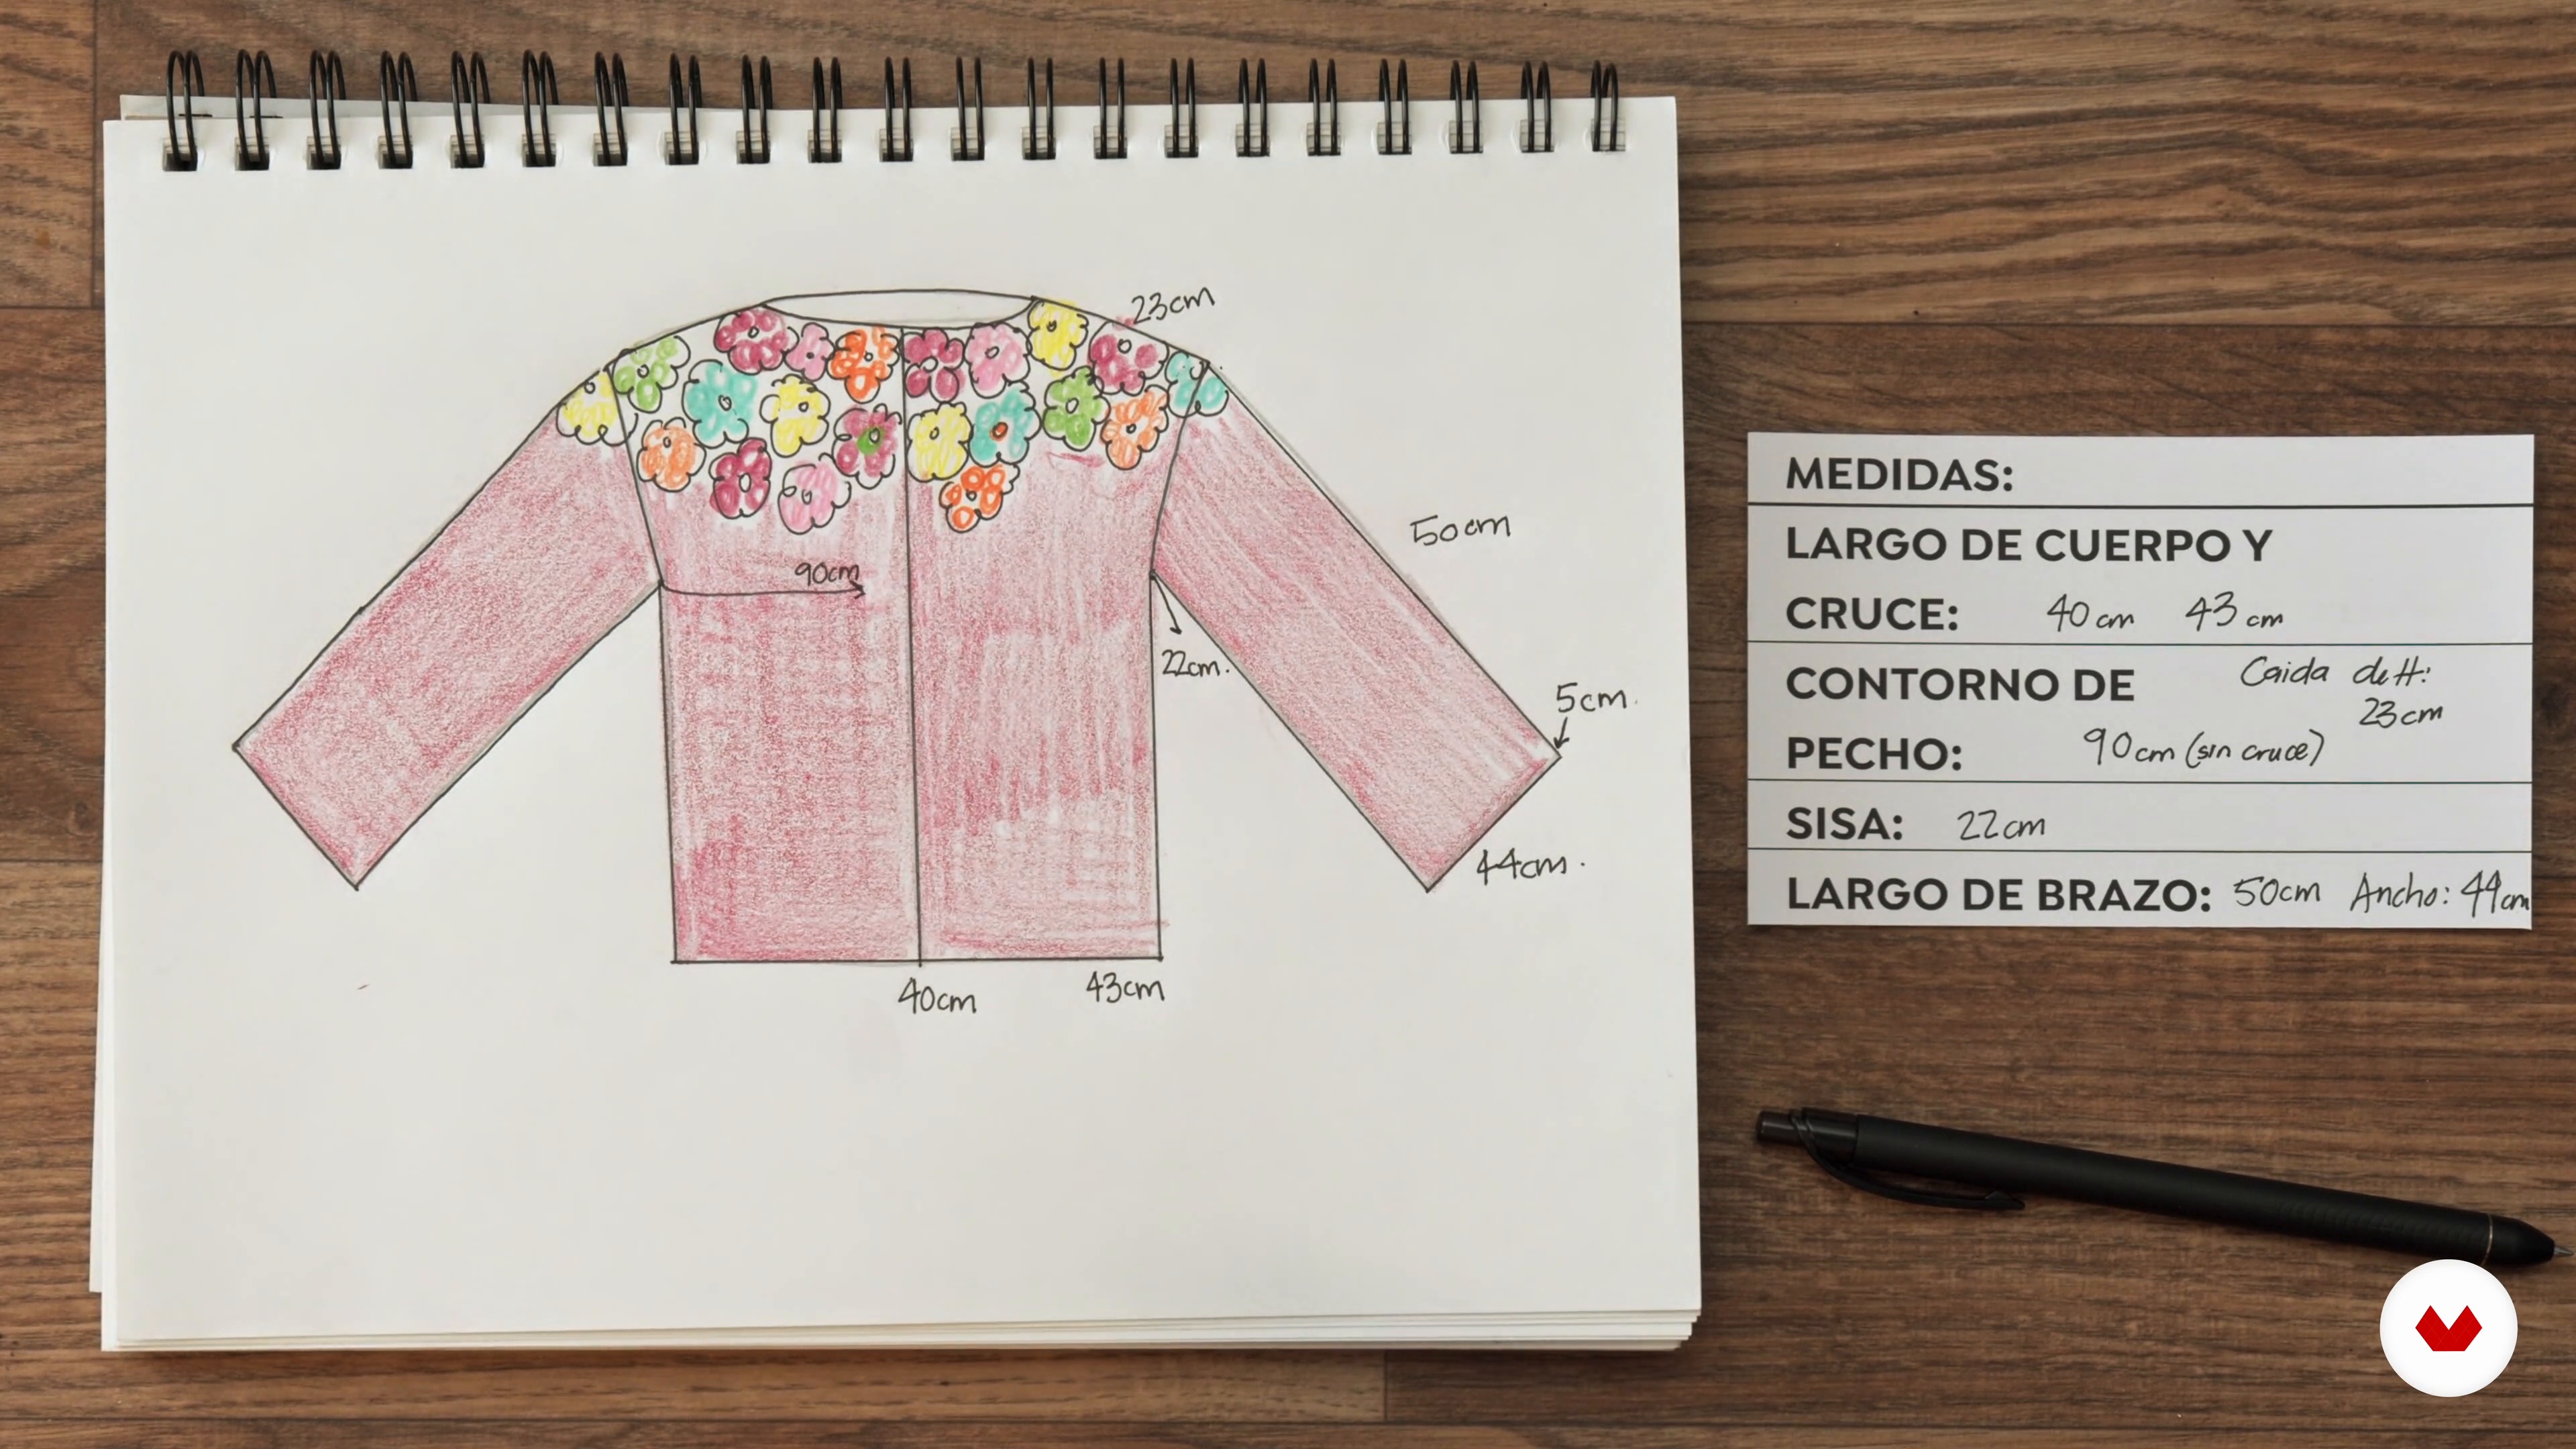
In this lesson, I'll show you how to define your final design. Then it's time to take measurements; I'll teach you my technique for taking exact measurements. Let's go!
8m
 7
7The materials
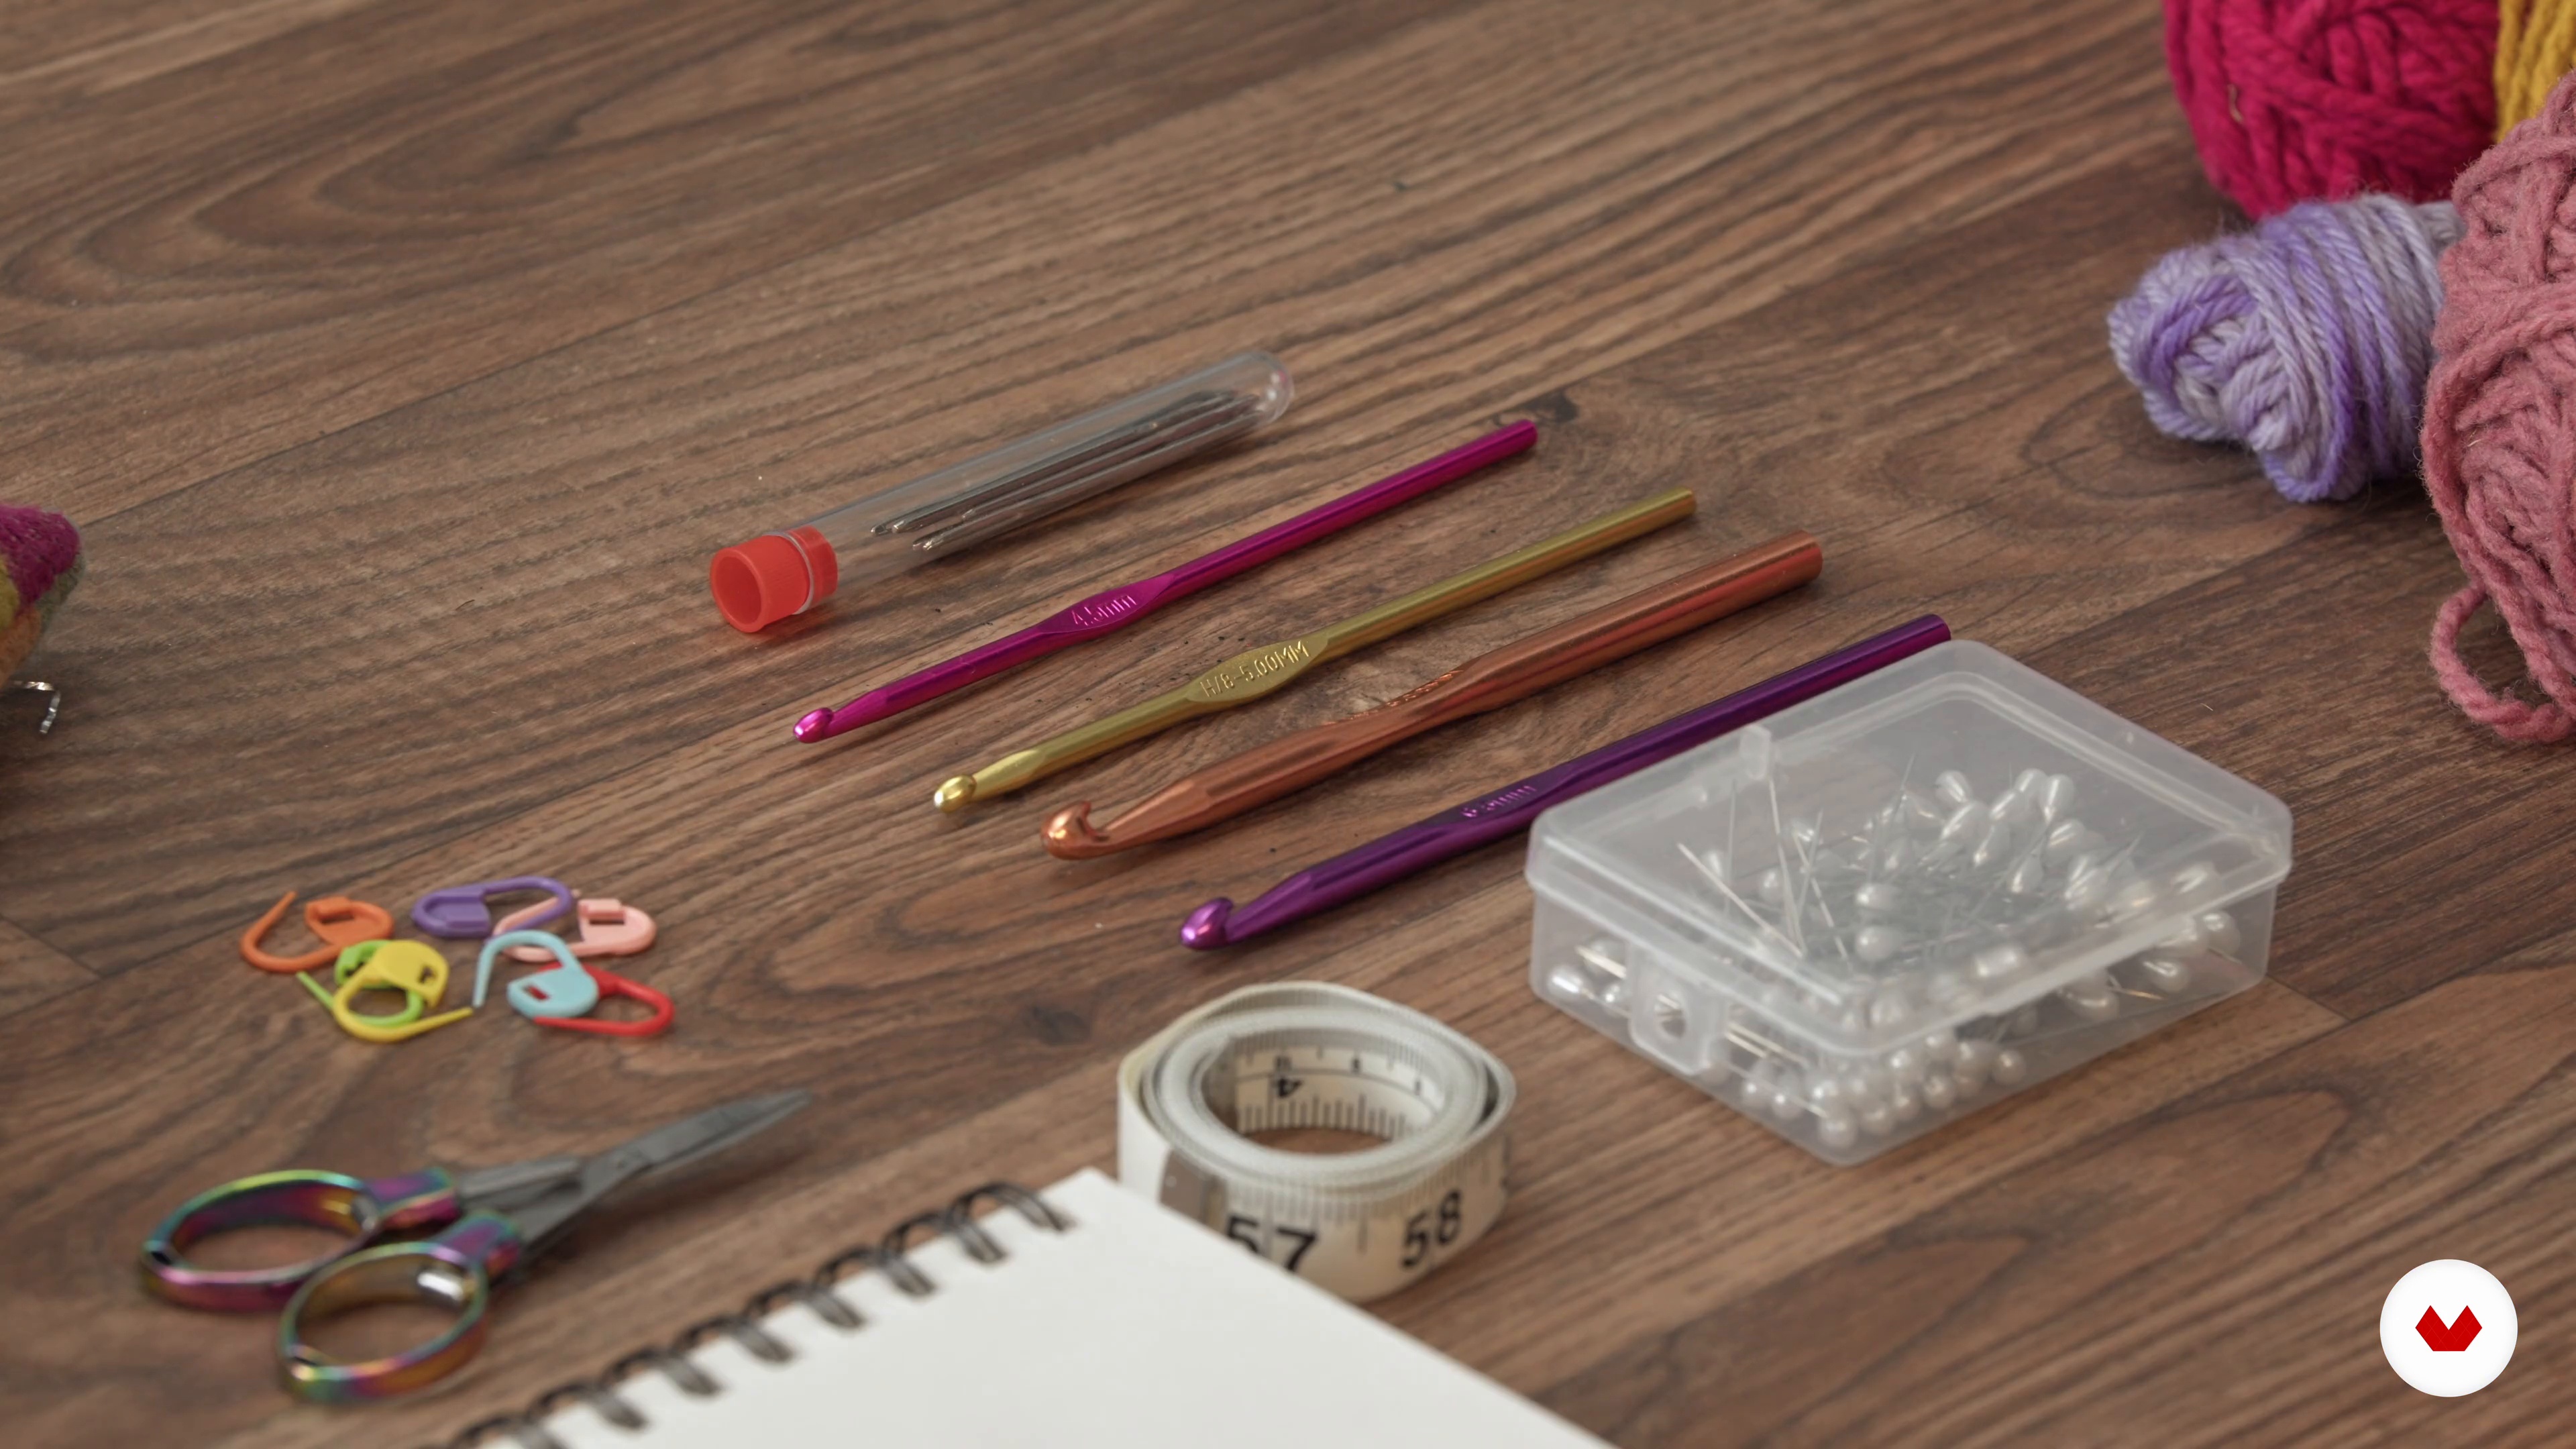
In this lesson, I'll show you all the materials we'll need to create the sweater. I'll show you the essentials and the ones you can choose to add your own personal touch.
6m
 8
8Practice your points 1
In this lesson, I'll introduce you to the stitches we'll be using to create the sweater. We'll cover the basic stitches and some more advanced ones.
17m
 9
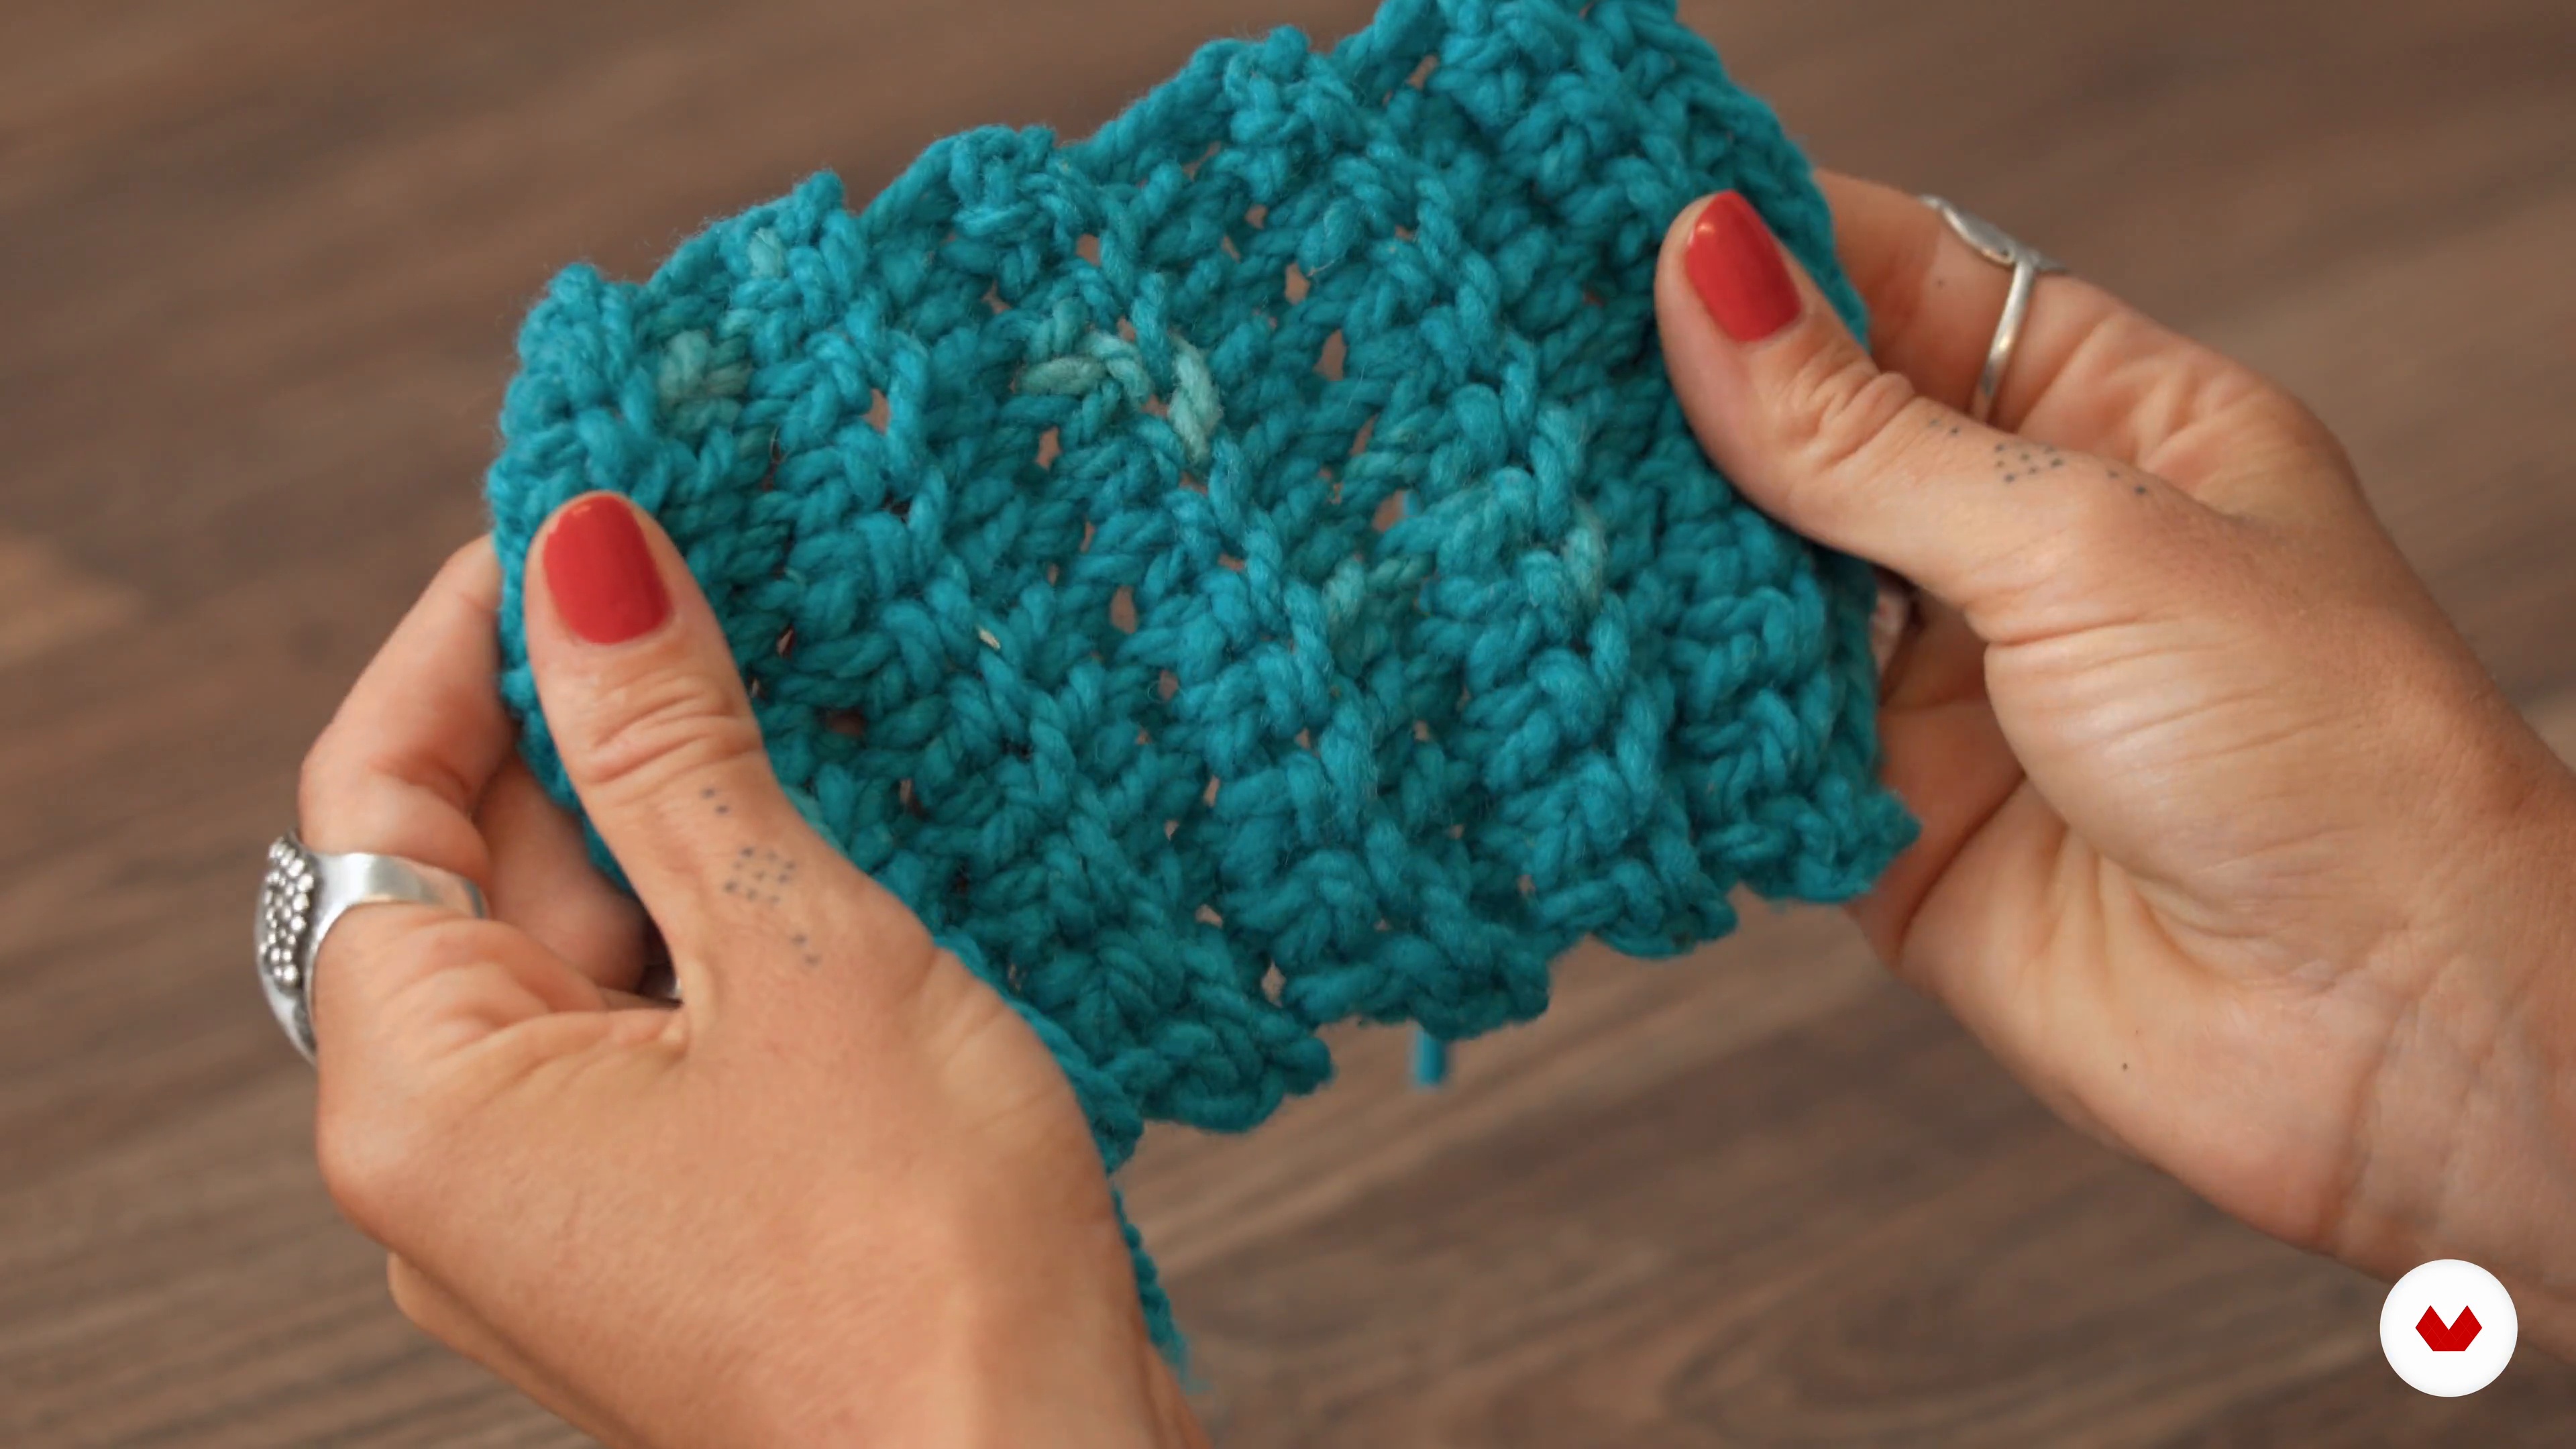
9Practice your points 2
We continue to explore different types of stitches. In this case, I'll teach you how to use the rib stitch. Remember to practice a lot before starting your project.
6m
 10
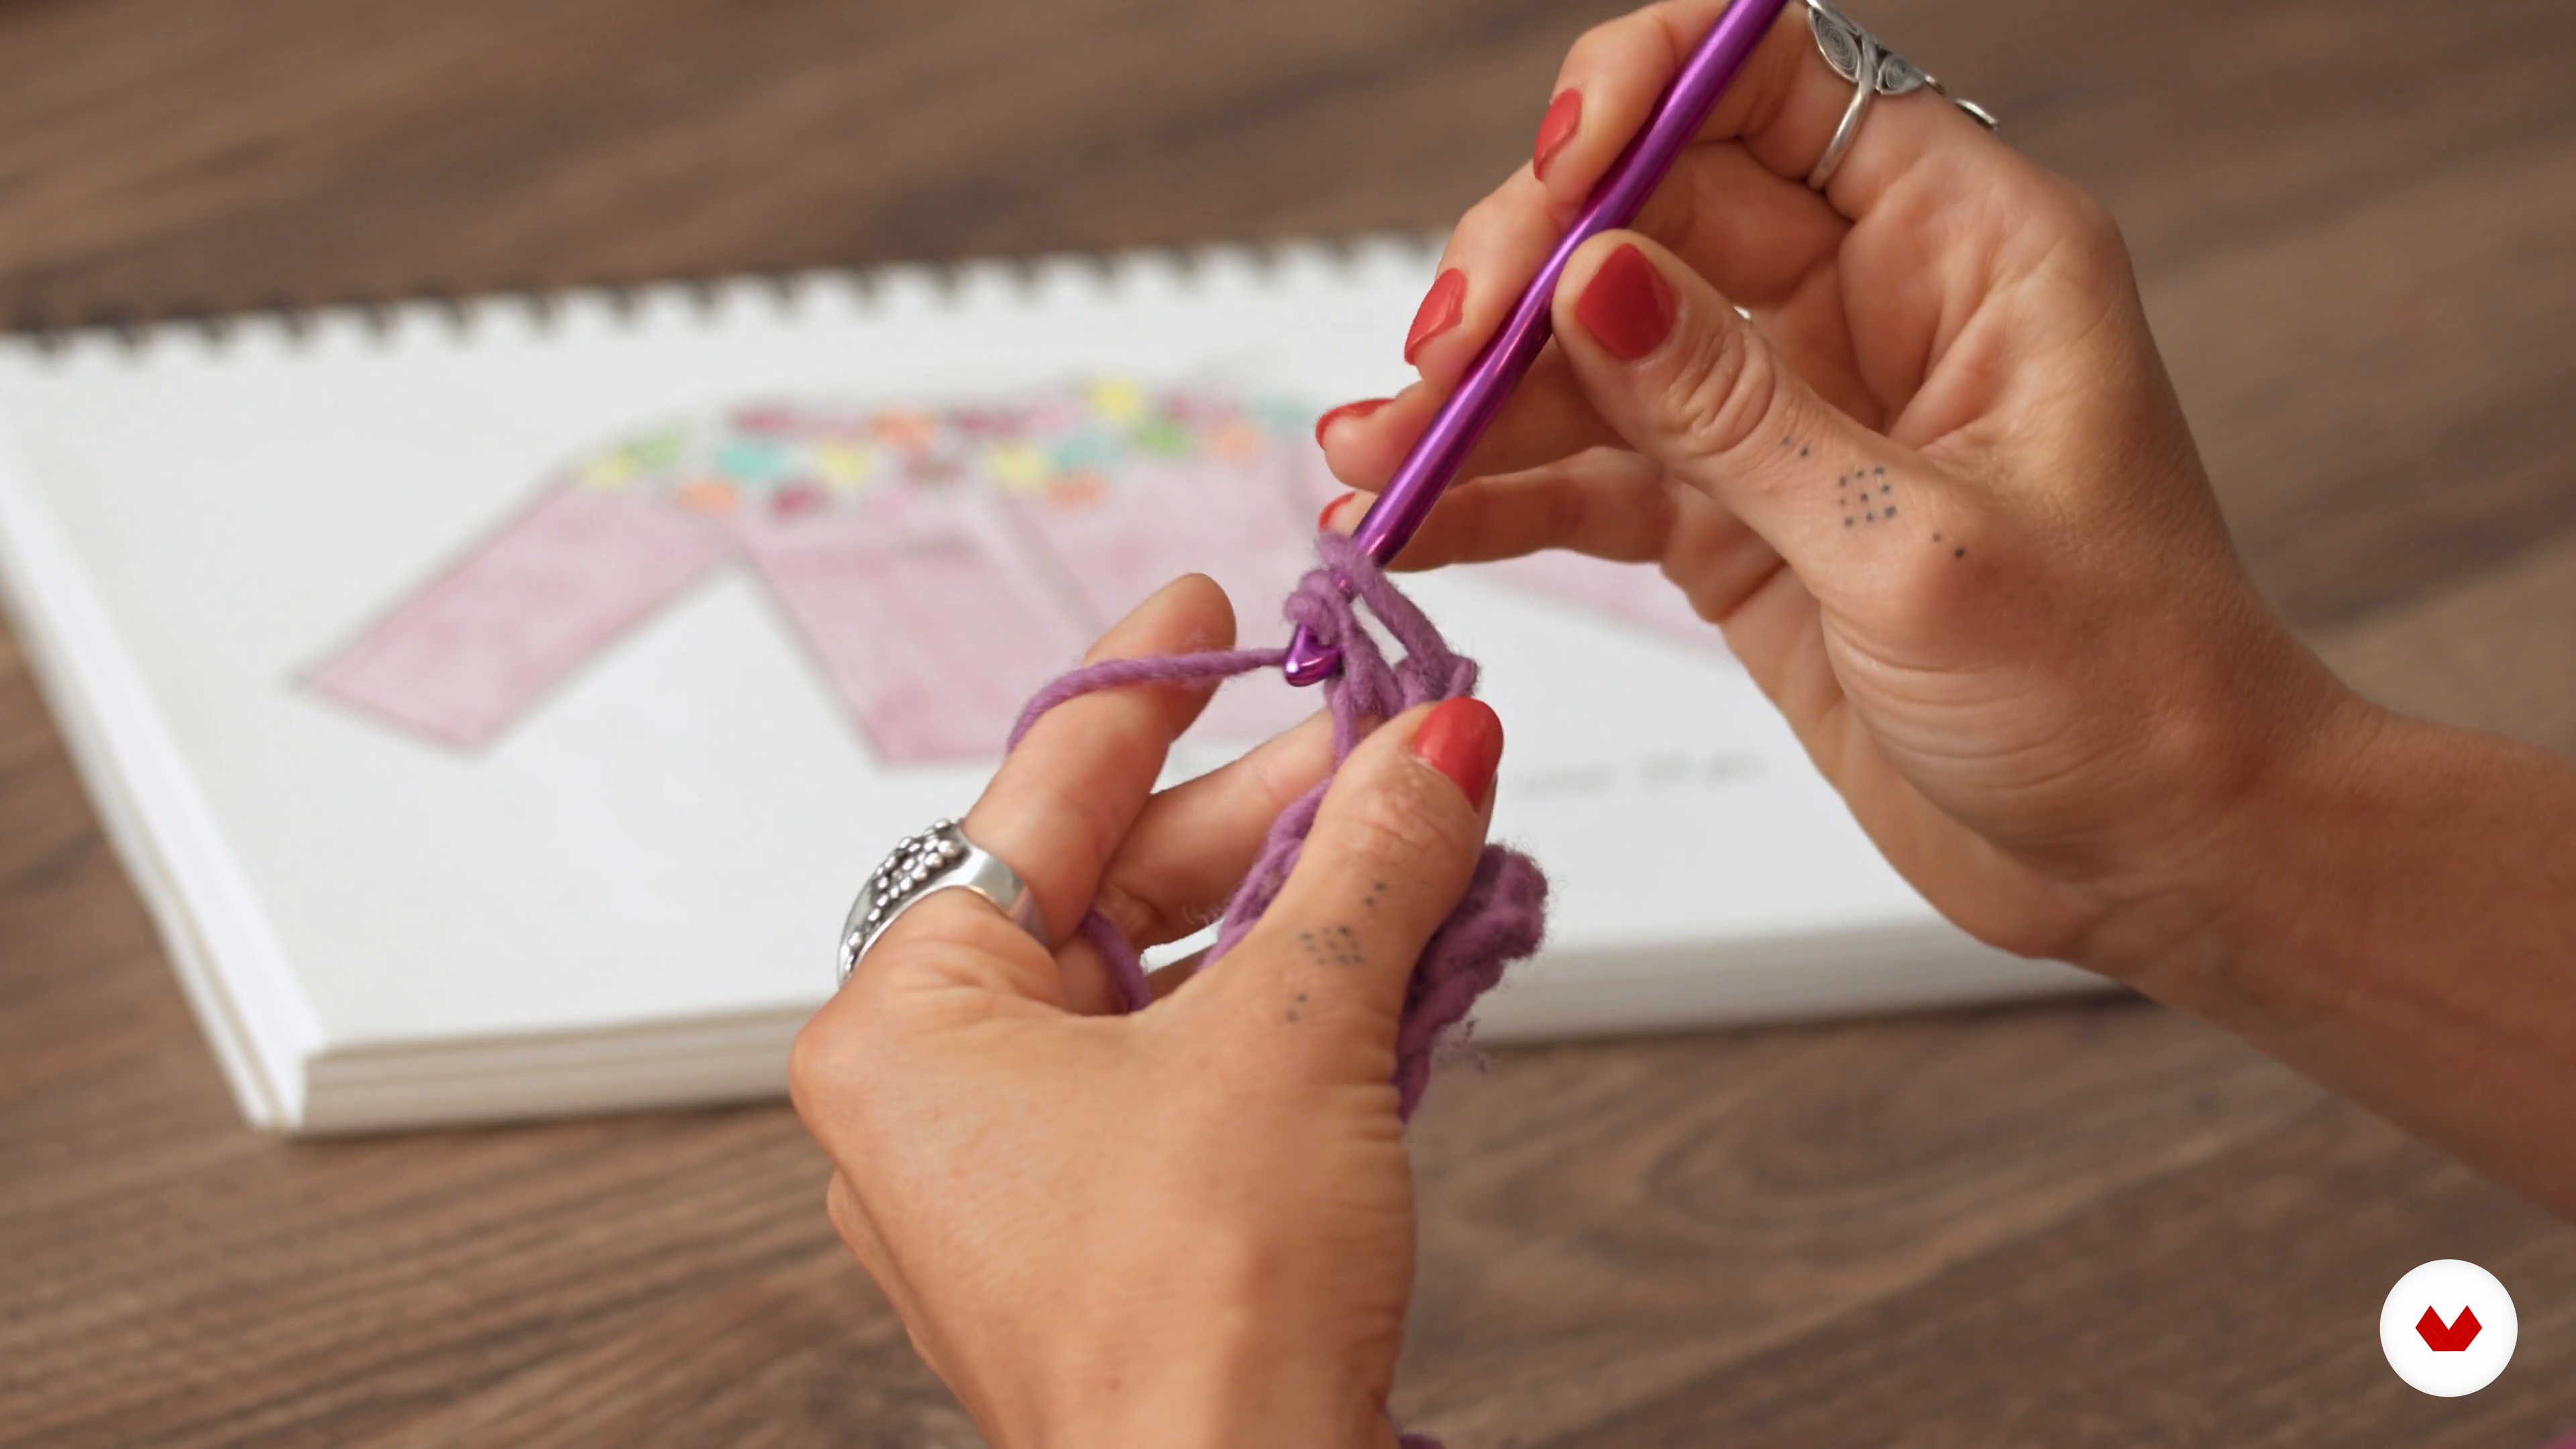
10Front, back and armhole 1
Let's knit! It's time to put your ideas down on the yarn. In this lesson, I'll show you how to knit your sweater, from the crossover through the front and back stitches, to the front and the edging to complete your sweater.
18m
 11
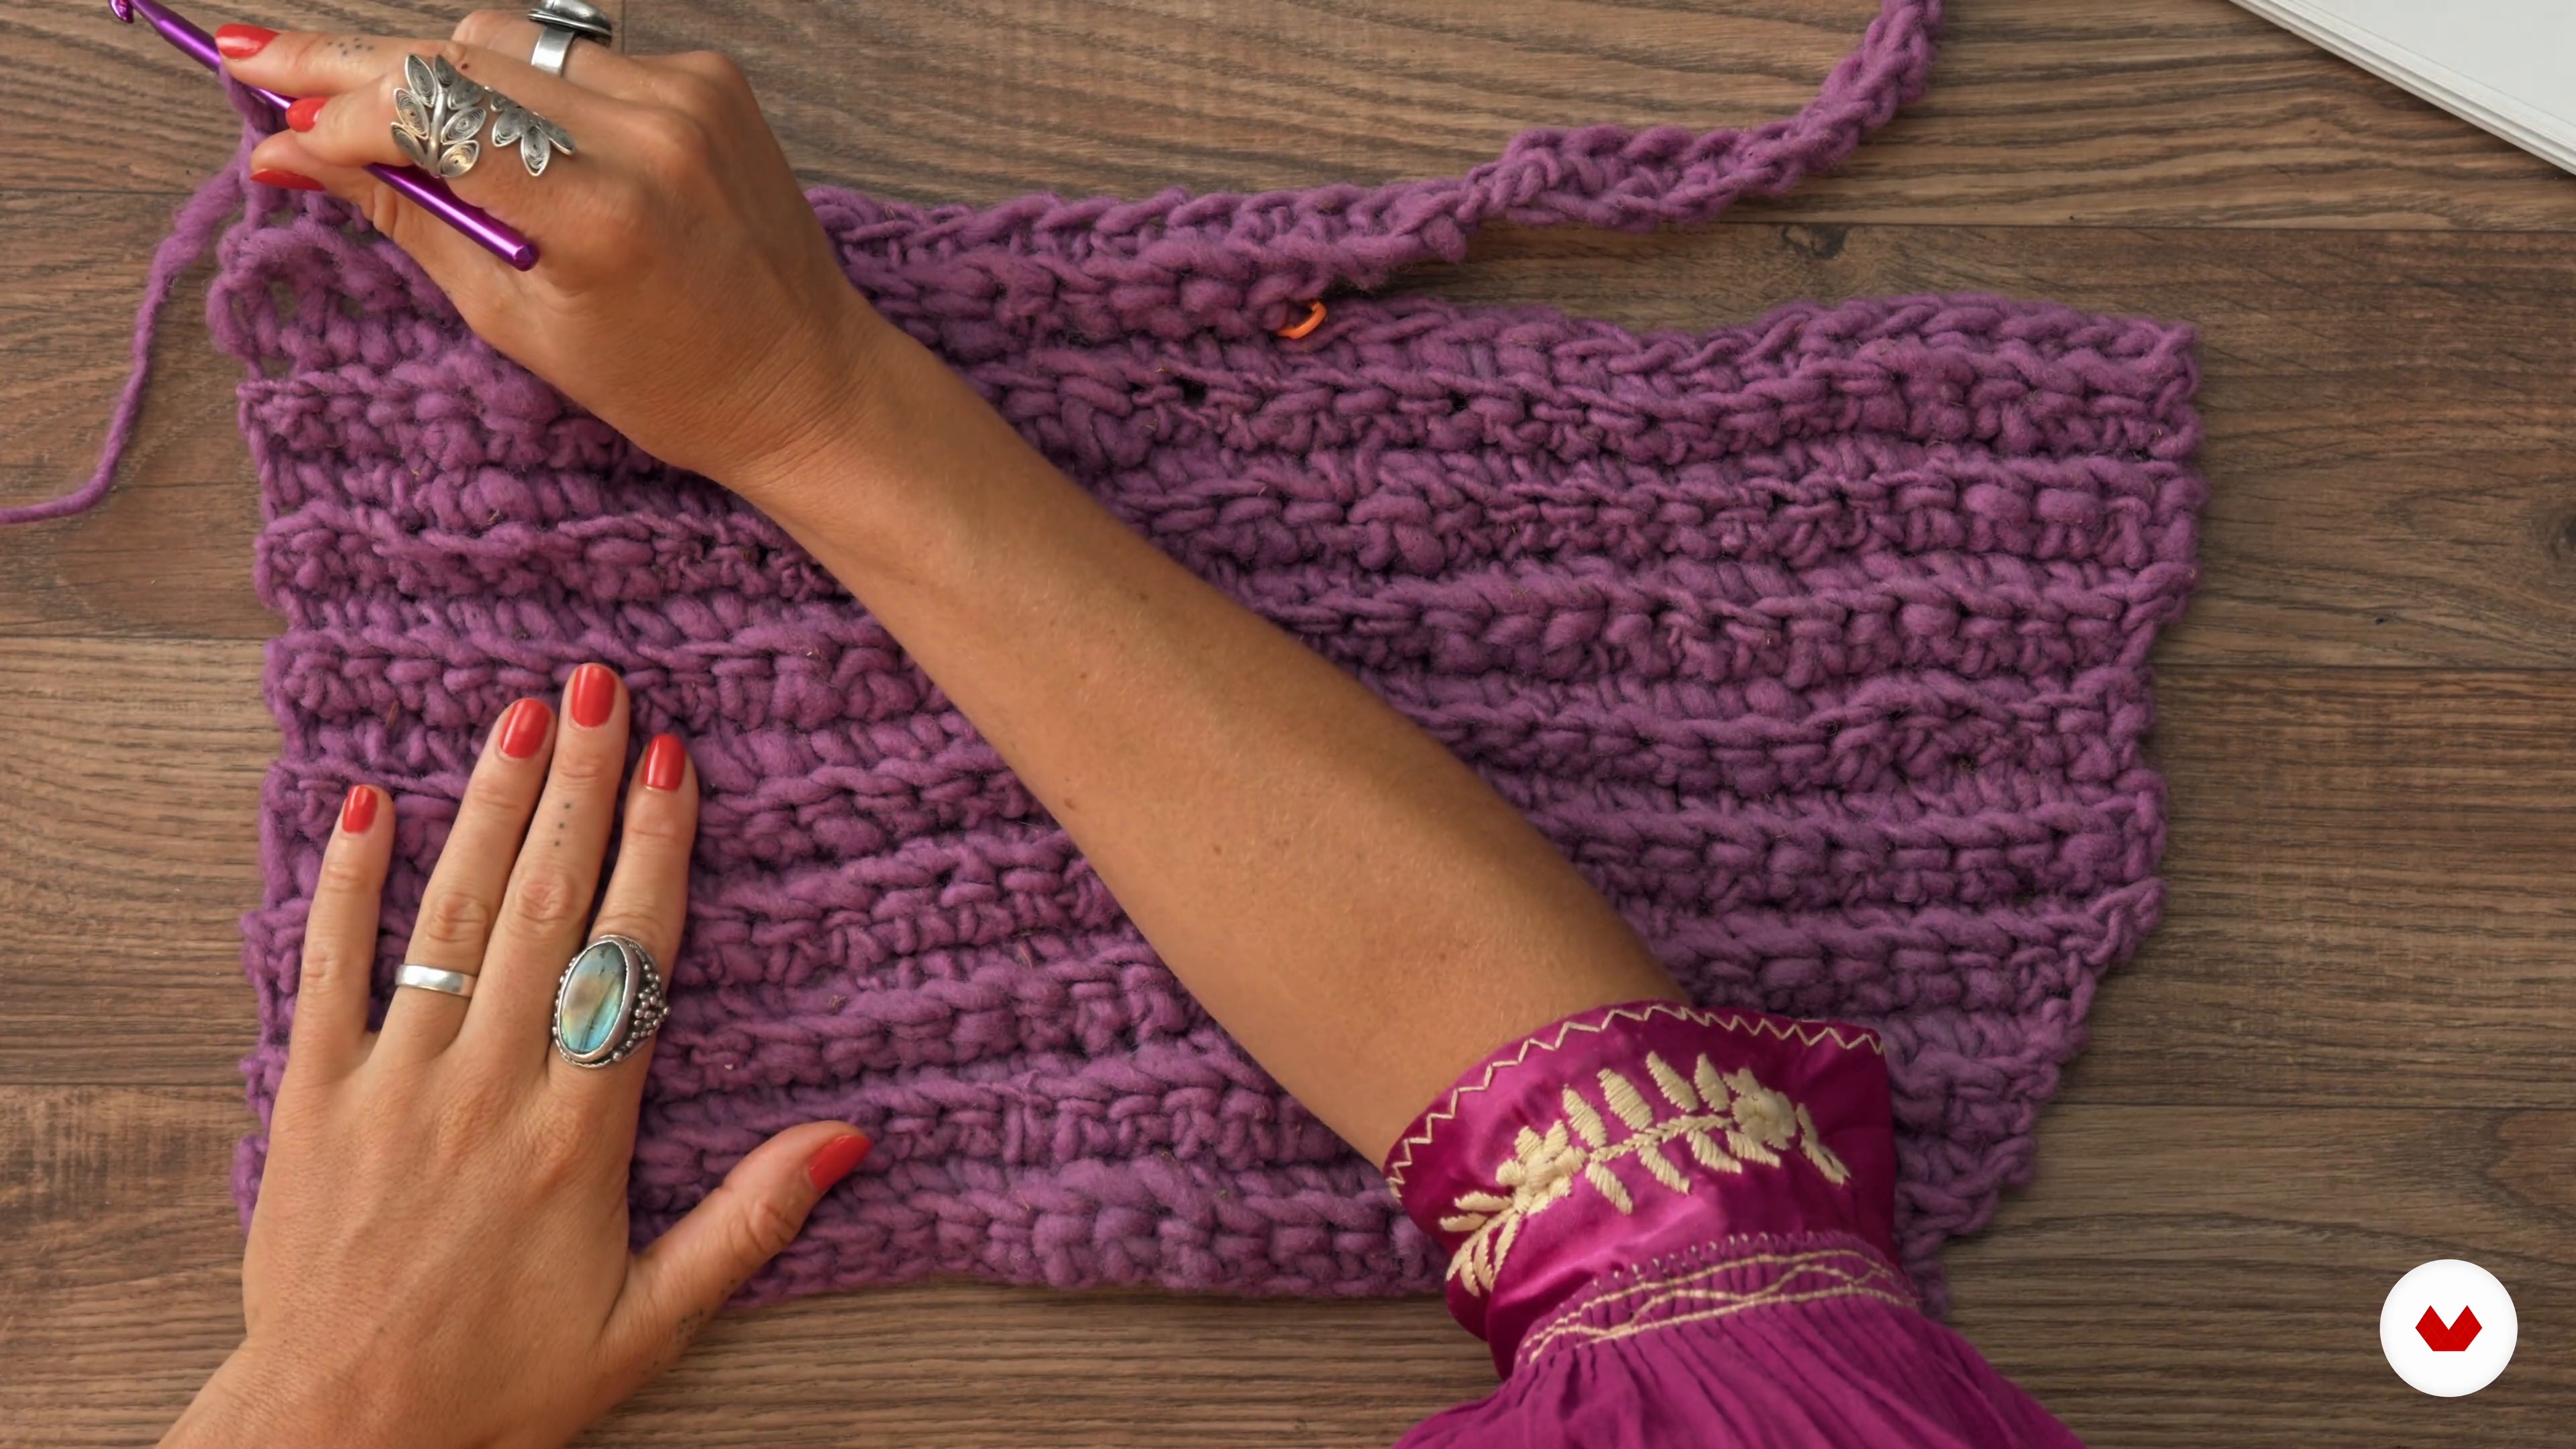
11Front, back and armhole 2
I continue knitting. Always remember to double-check the measurements so everything turns out as planned.
9m
 12
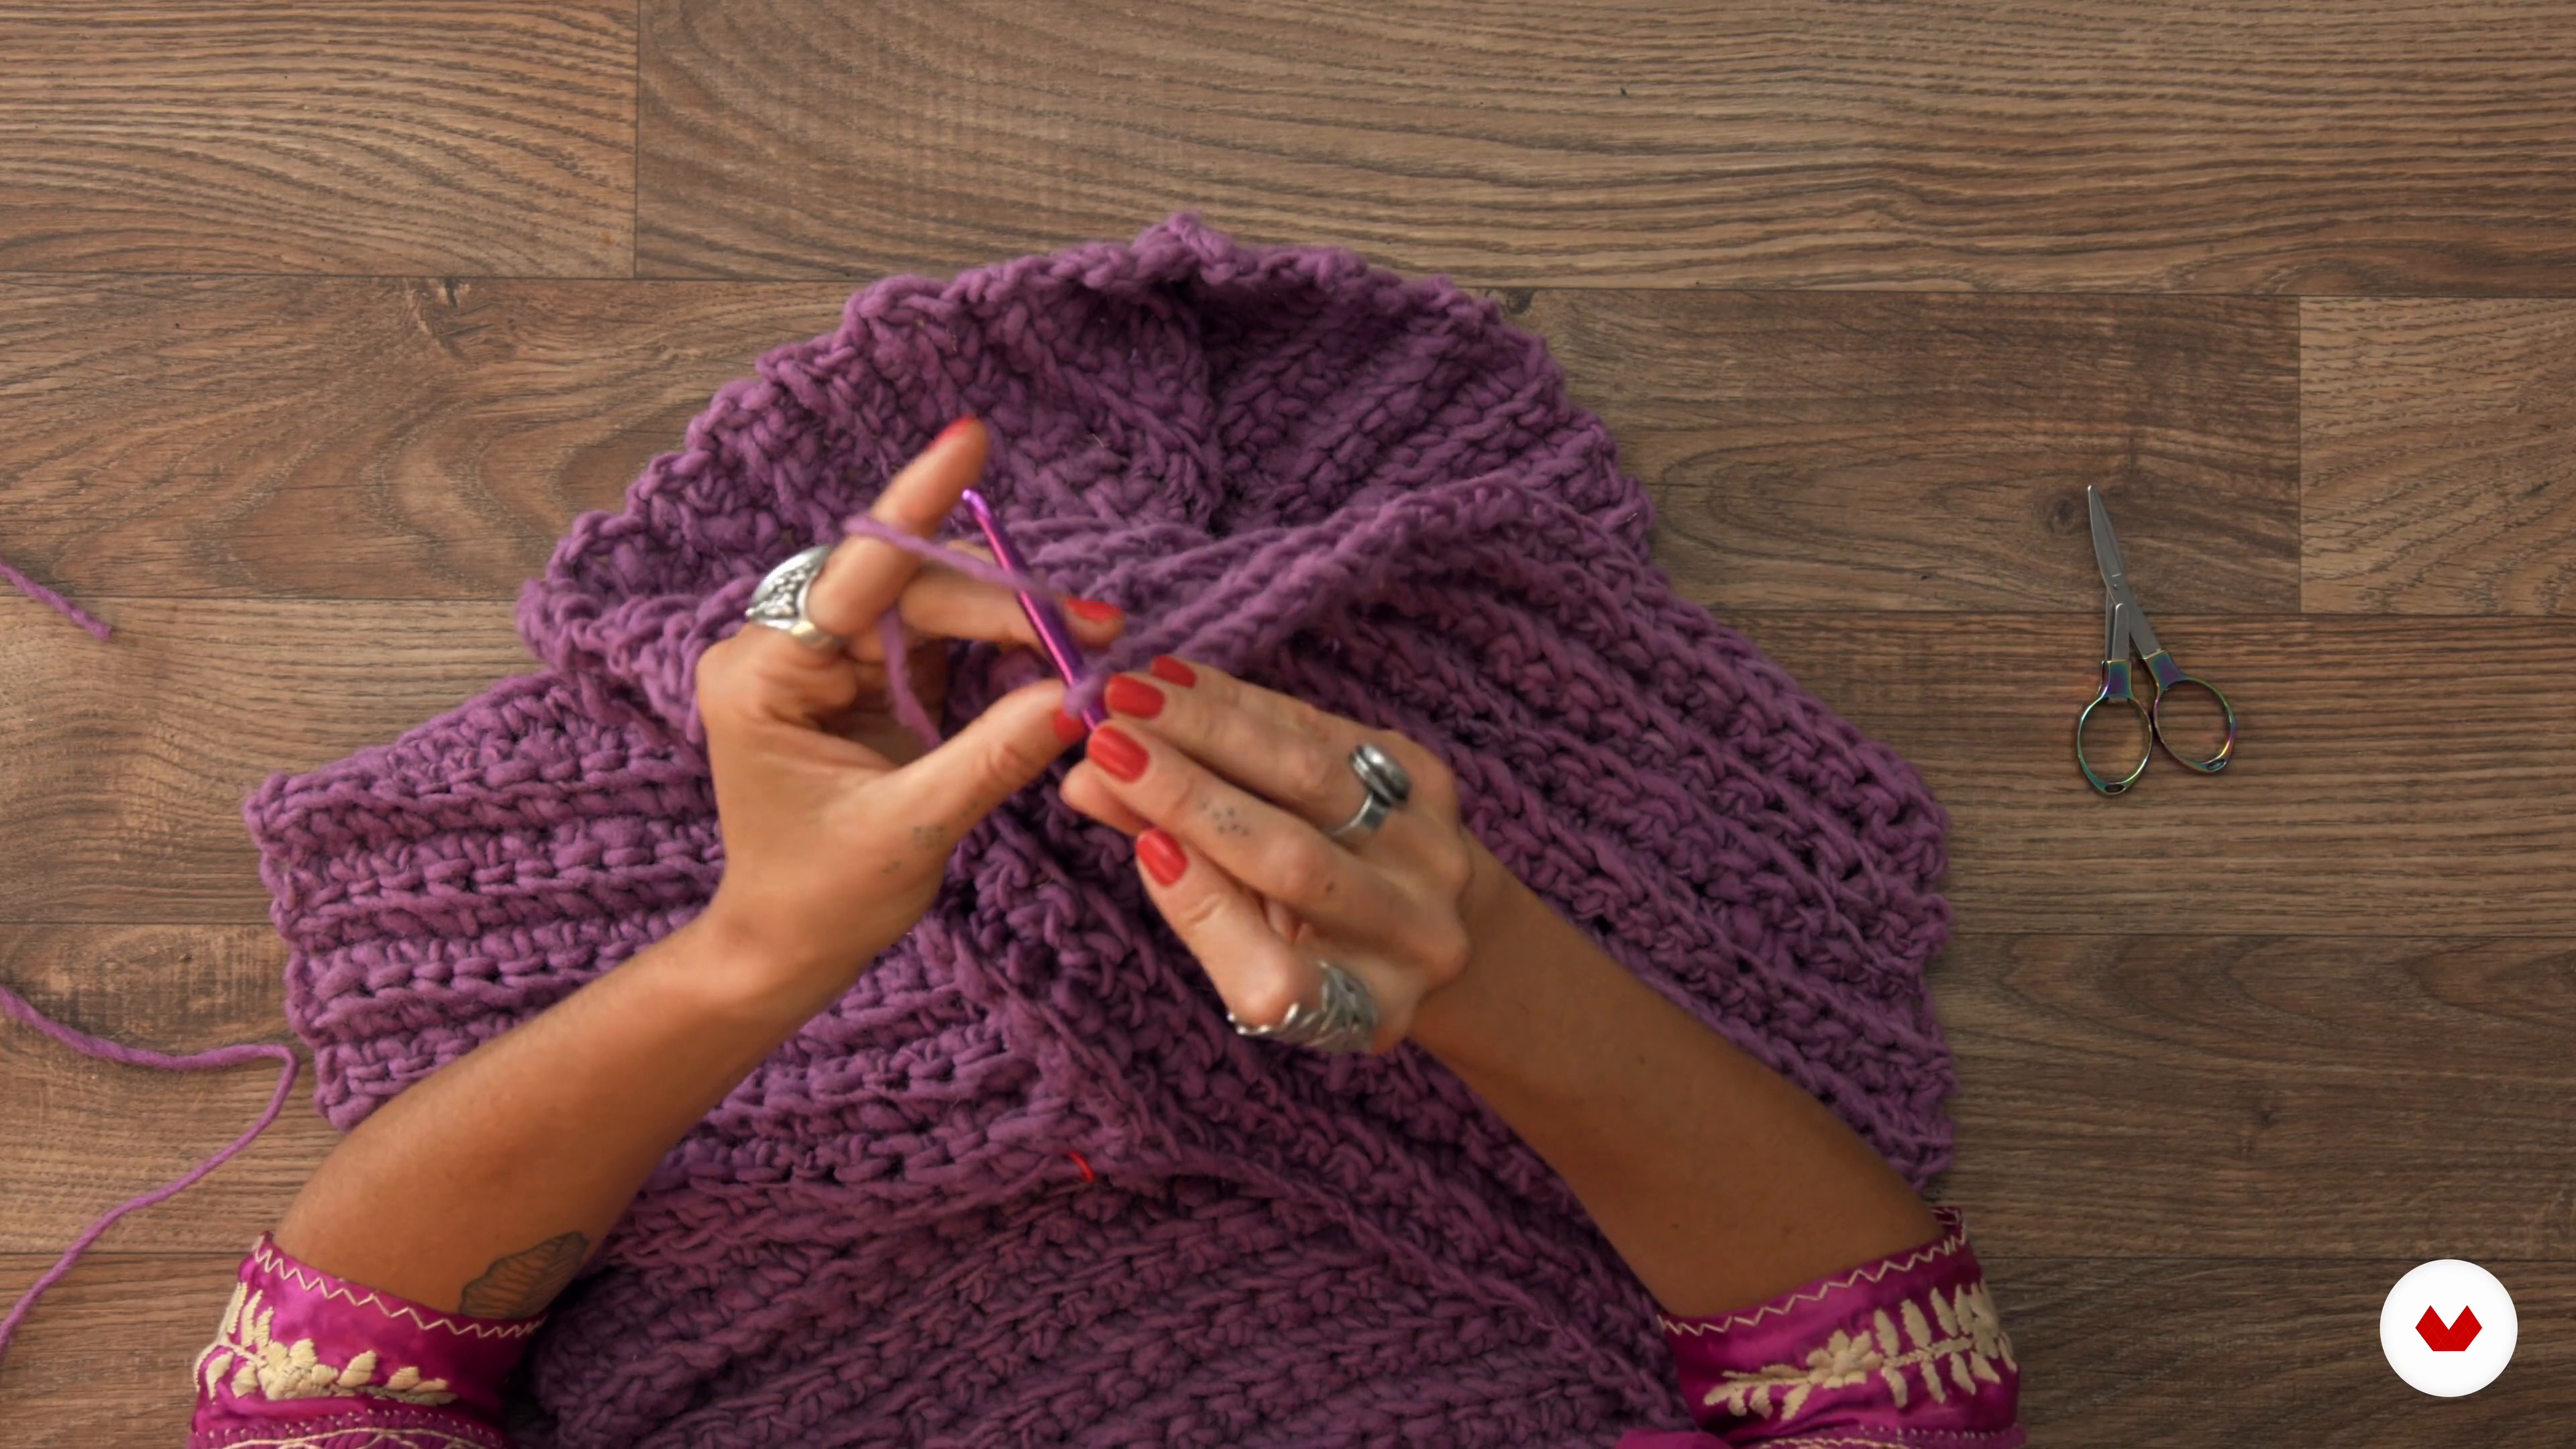
12Front, back and armhole 3
Little by little and step by step, I continue knitting until I finish the pieces of my sweater.
9m
 13
13Unions and terminations
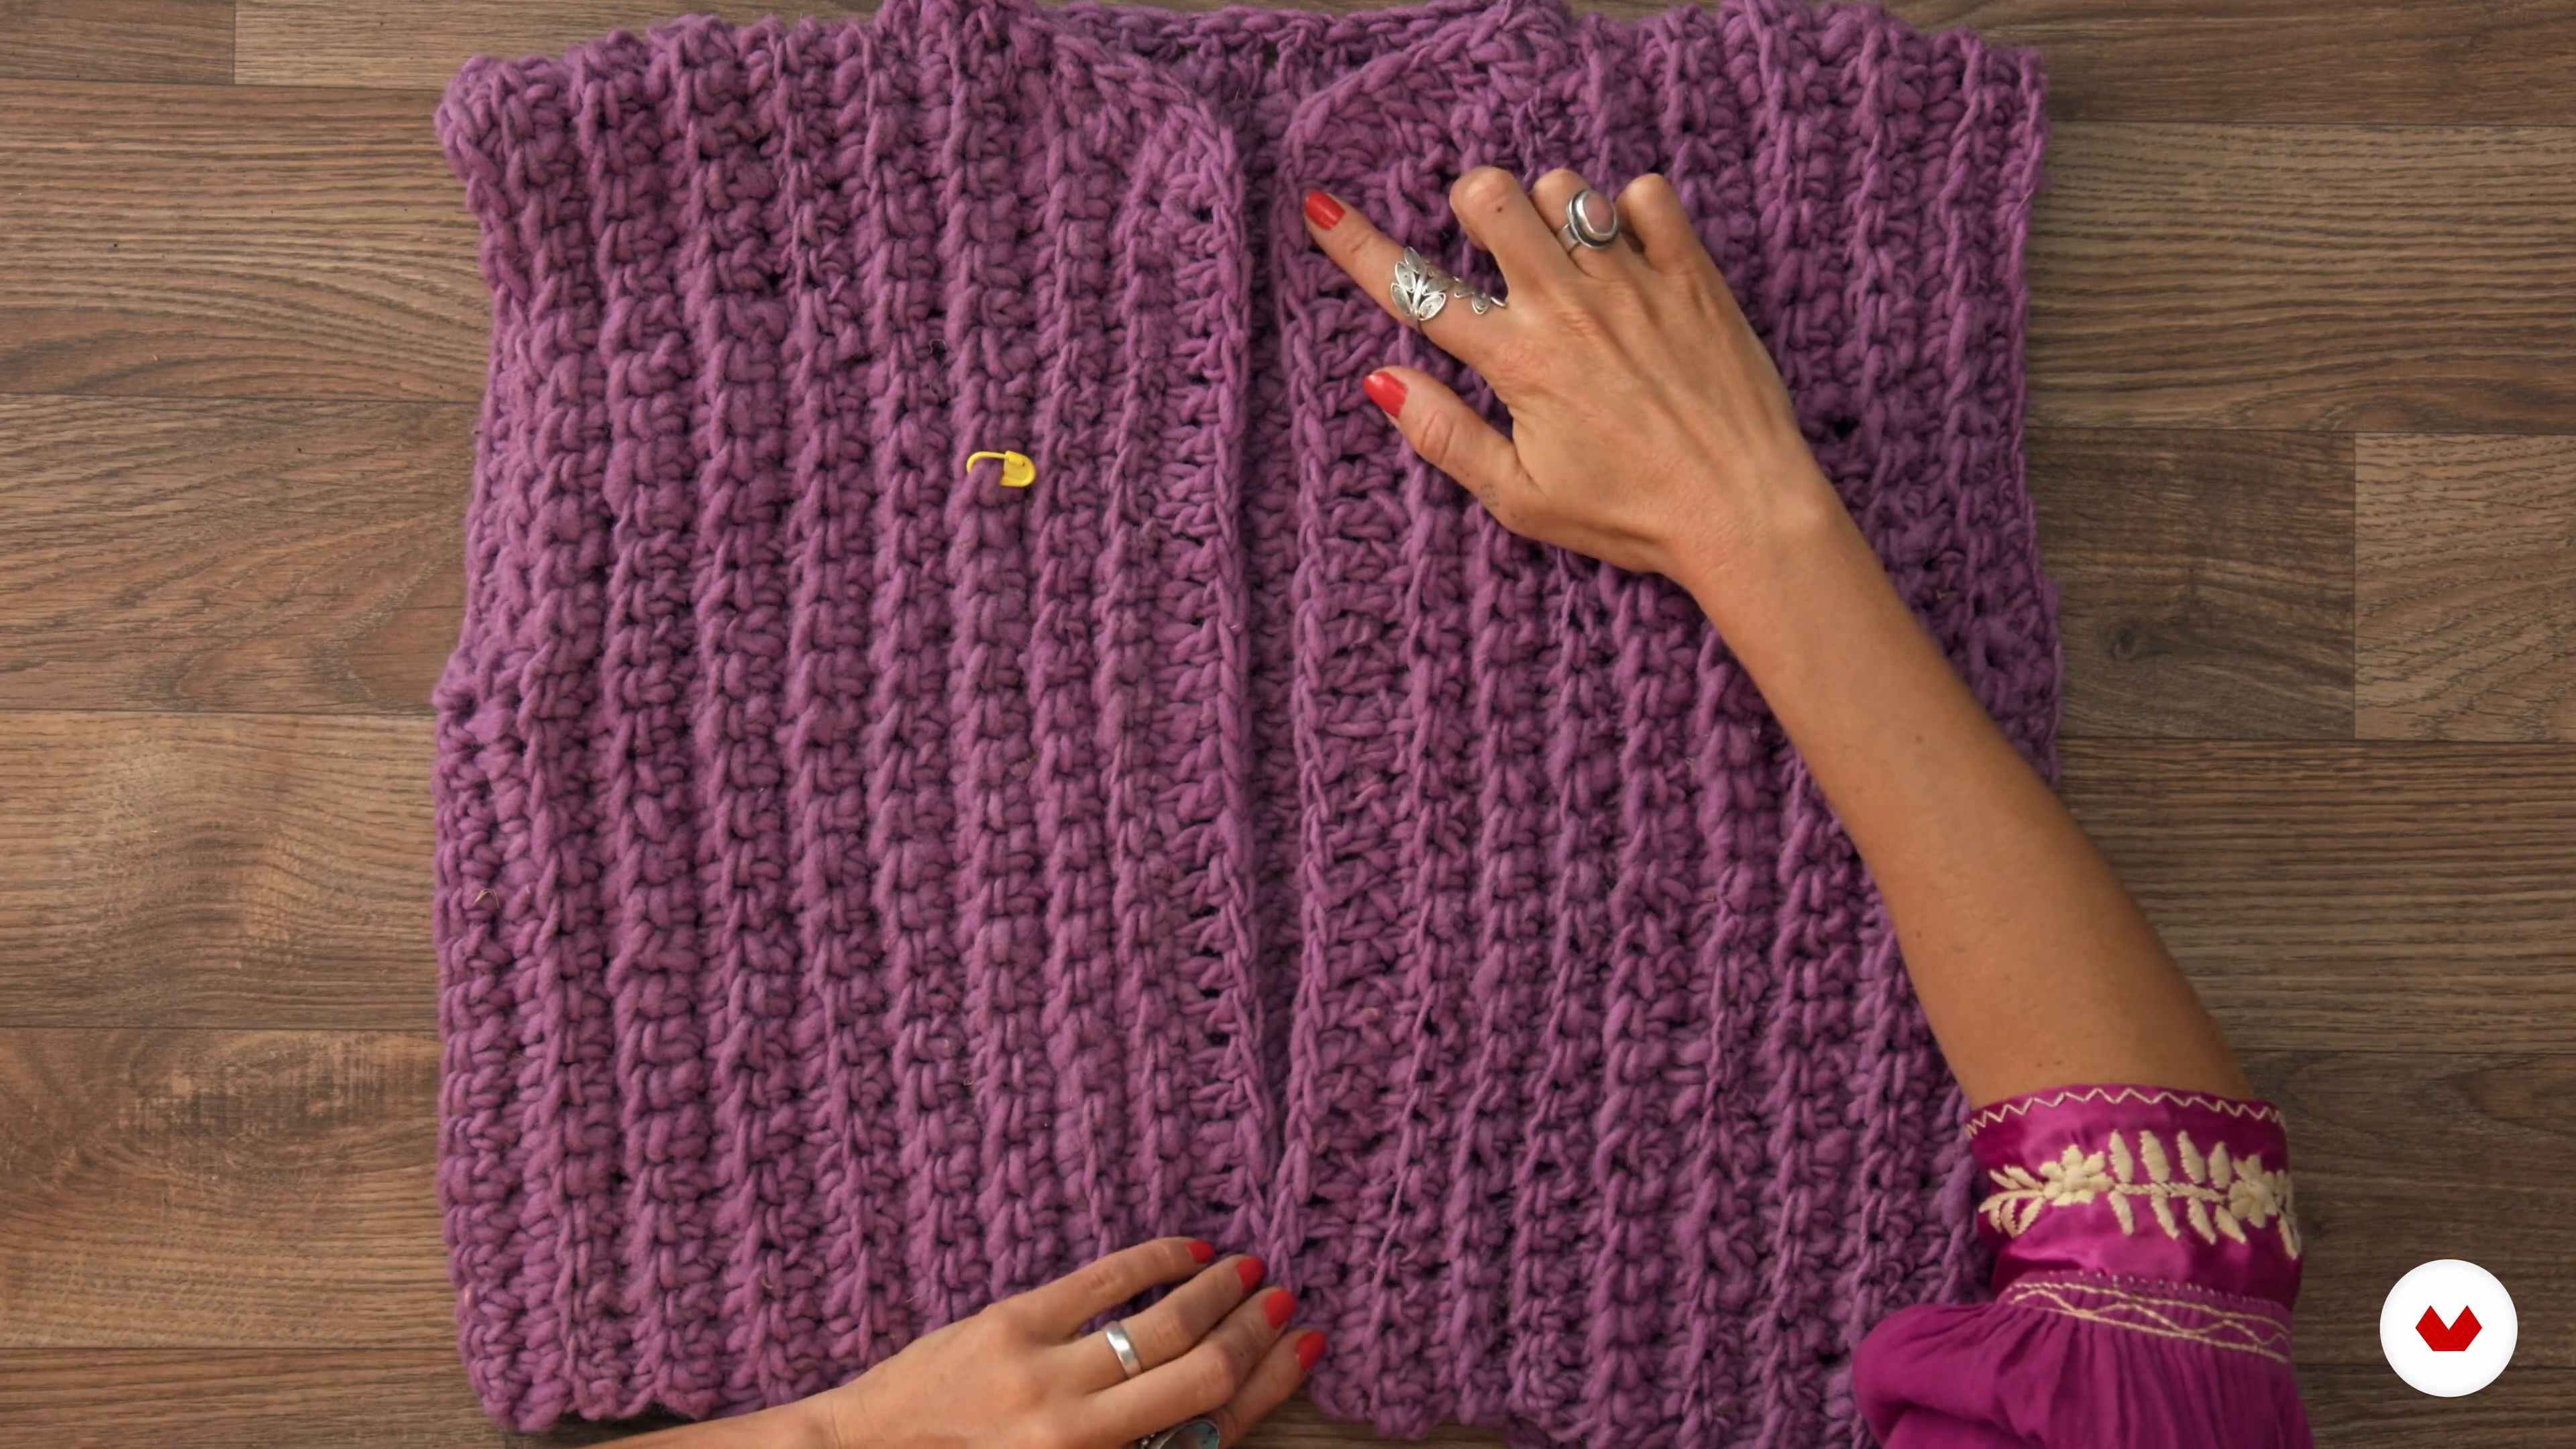
Since we've already finished the first step in the previous lesson, now I'll teach you how to join the shoulders and make the crossing and neck finishes.
19m
 14
14Sleeves and cuffs 1
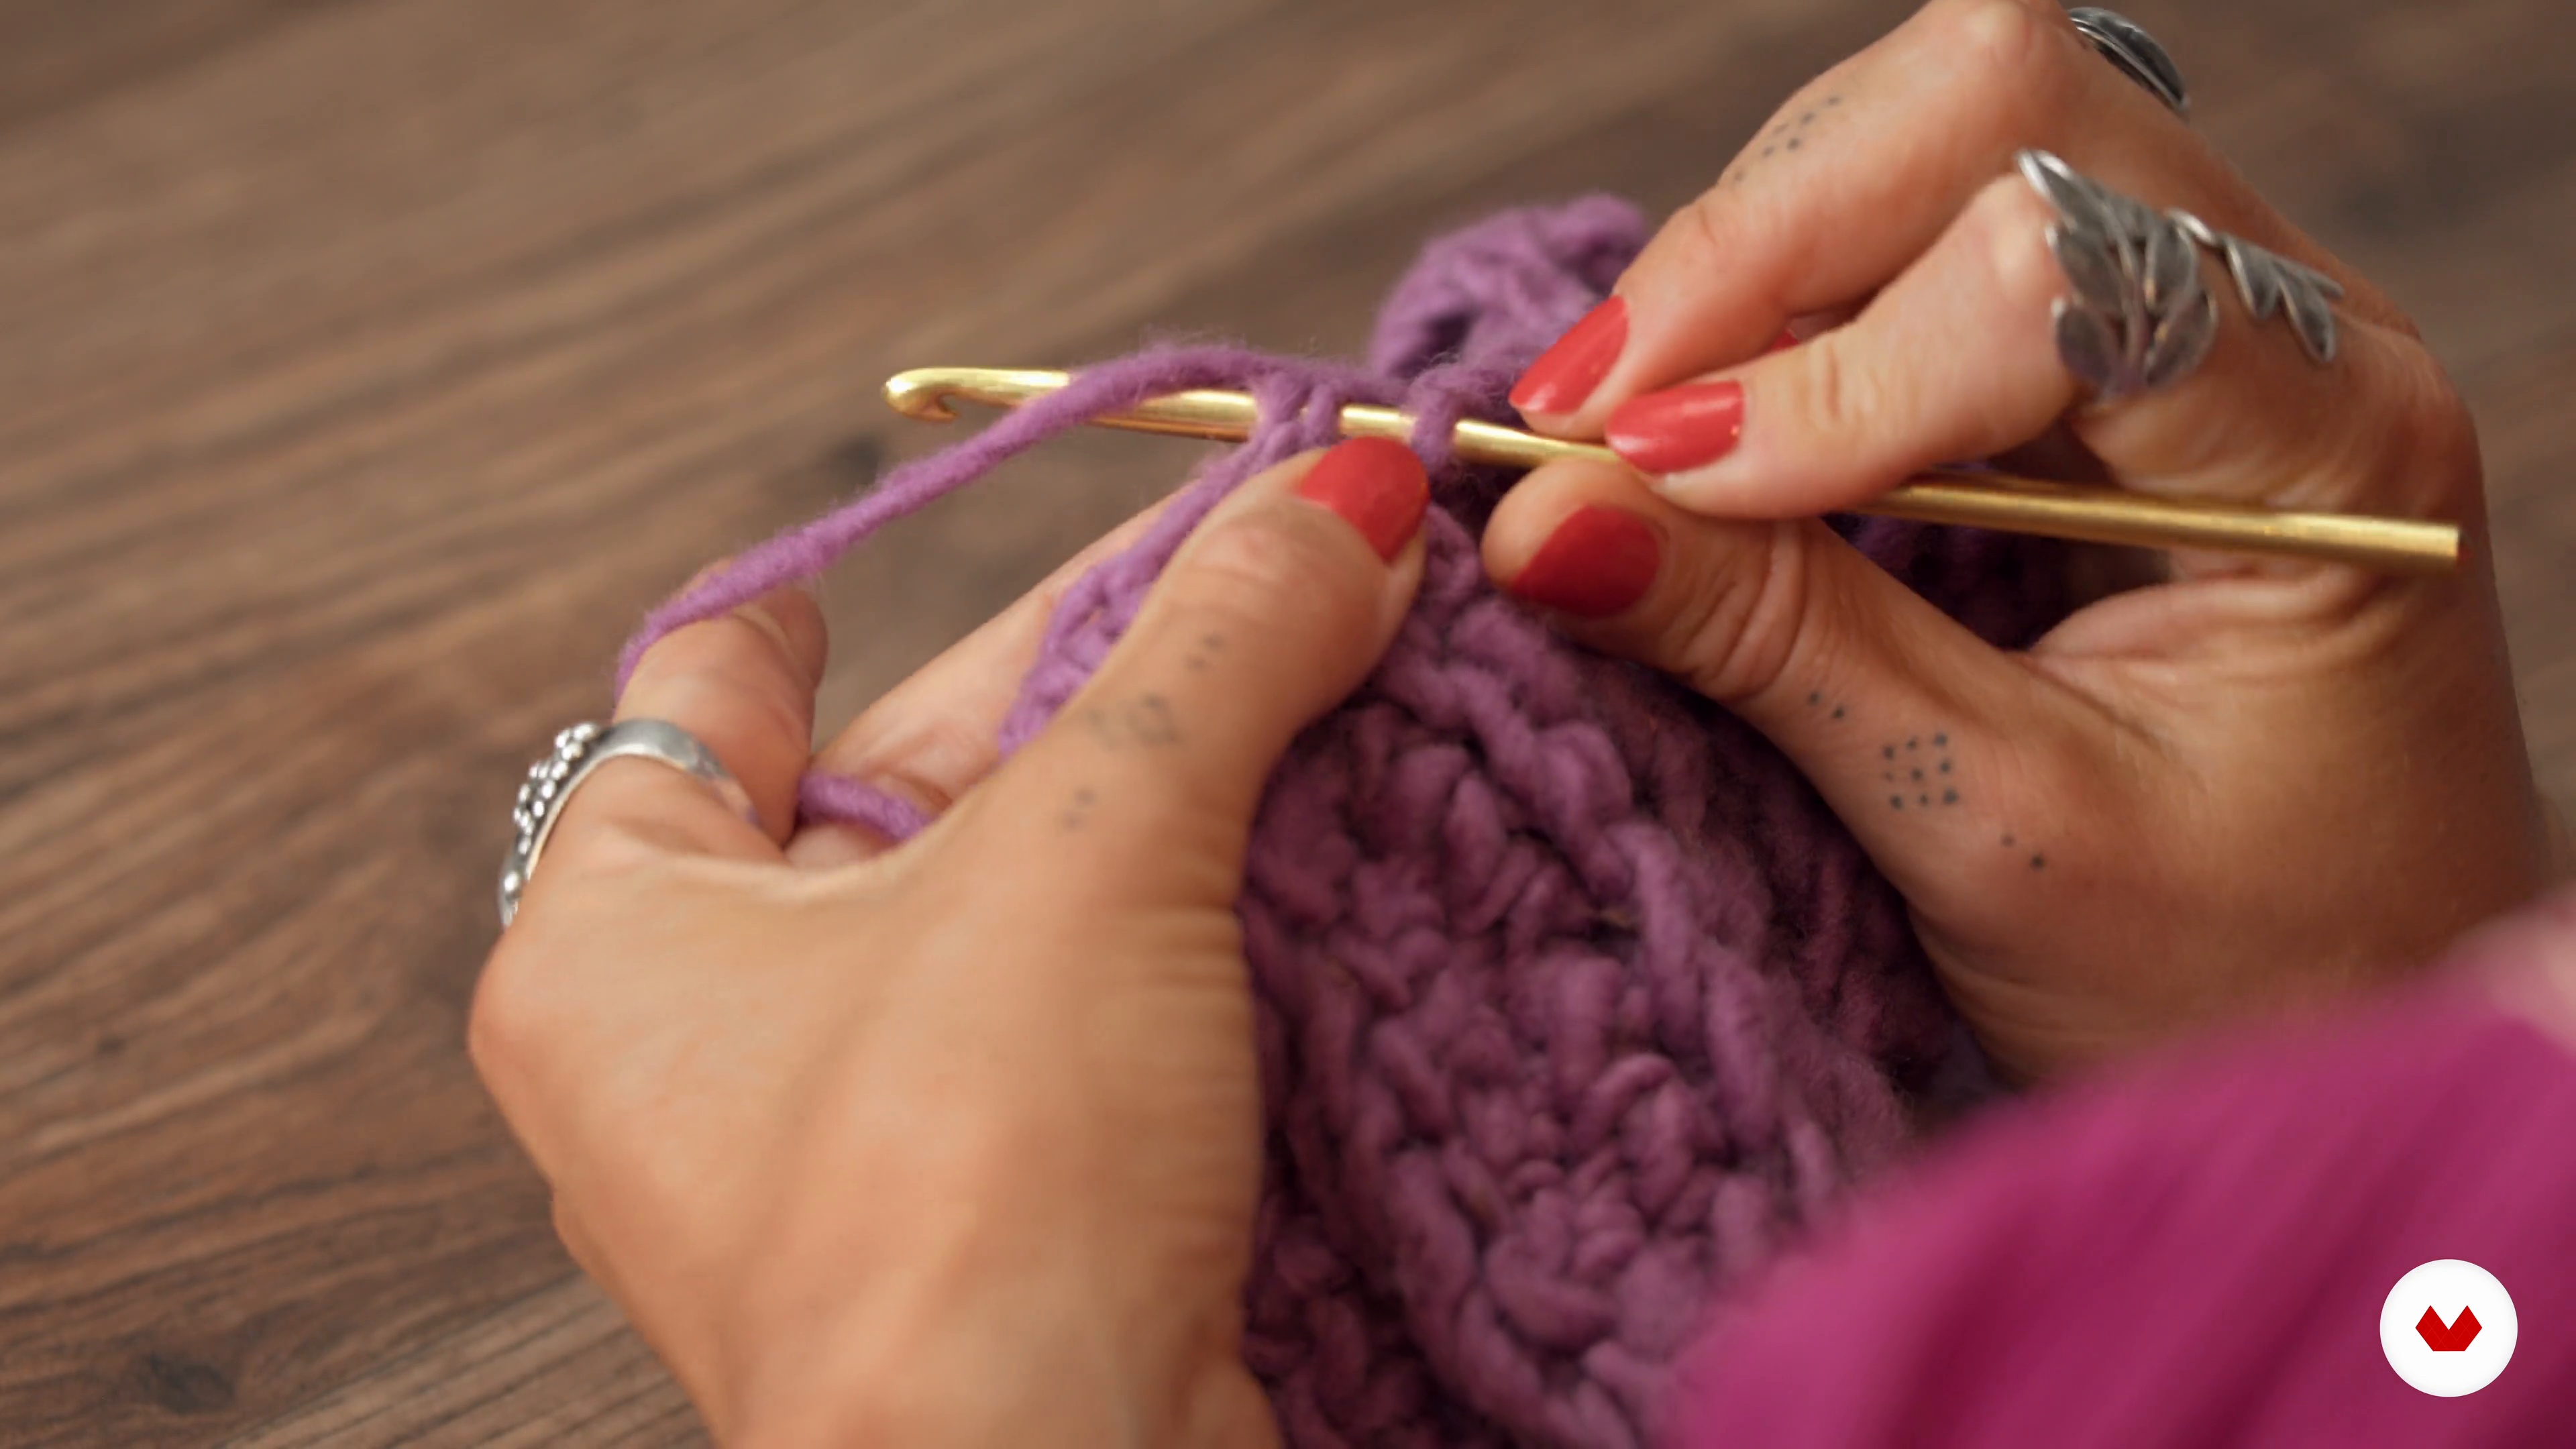
The sweater is getting closer to its final result. In this lesson, I'll explain how to make the sleeves and variations, and how to attach them to the vest I knitted.
17m
 15
15Sleeves and cuffs 2
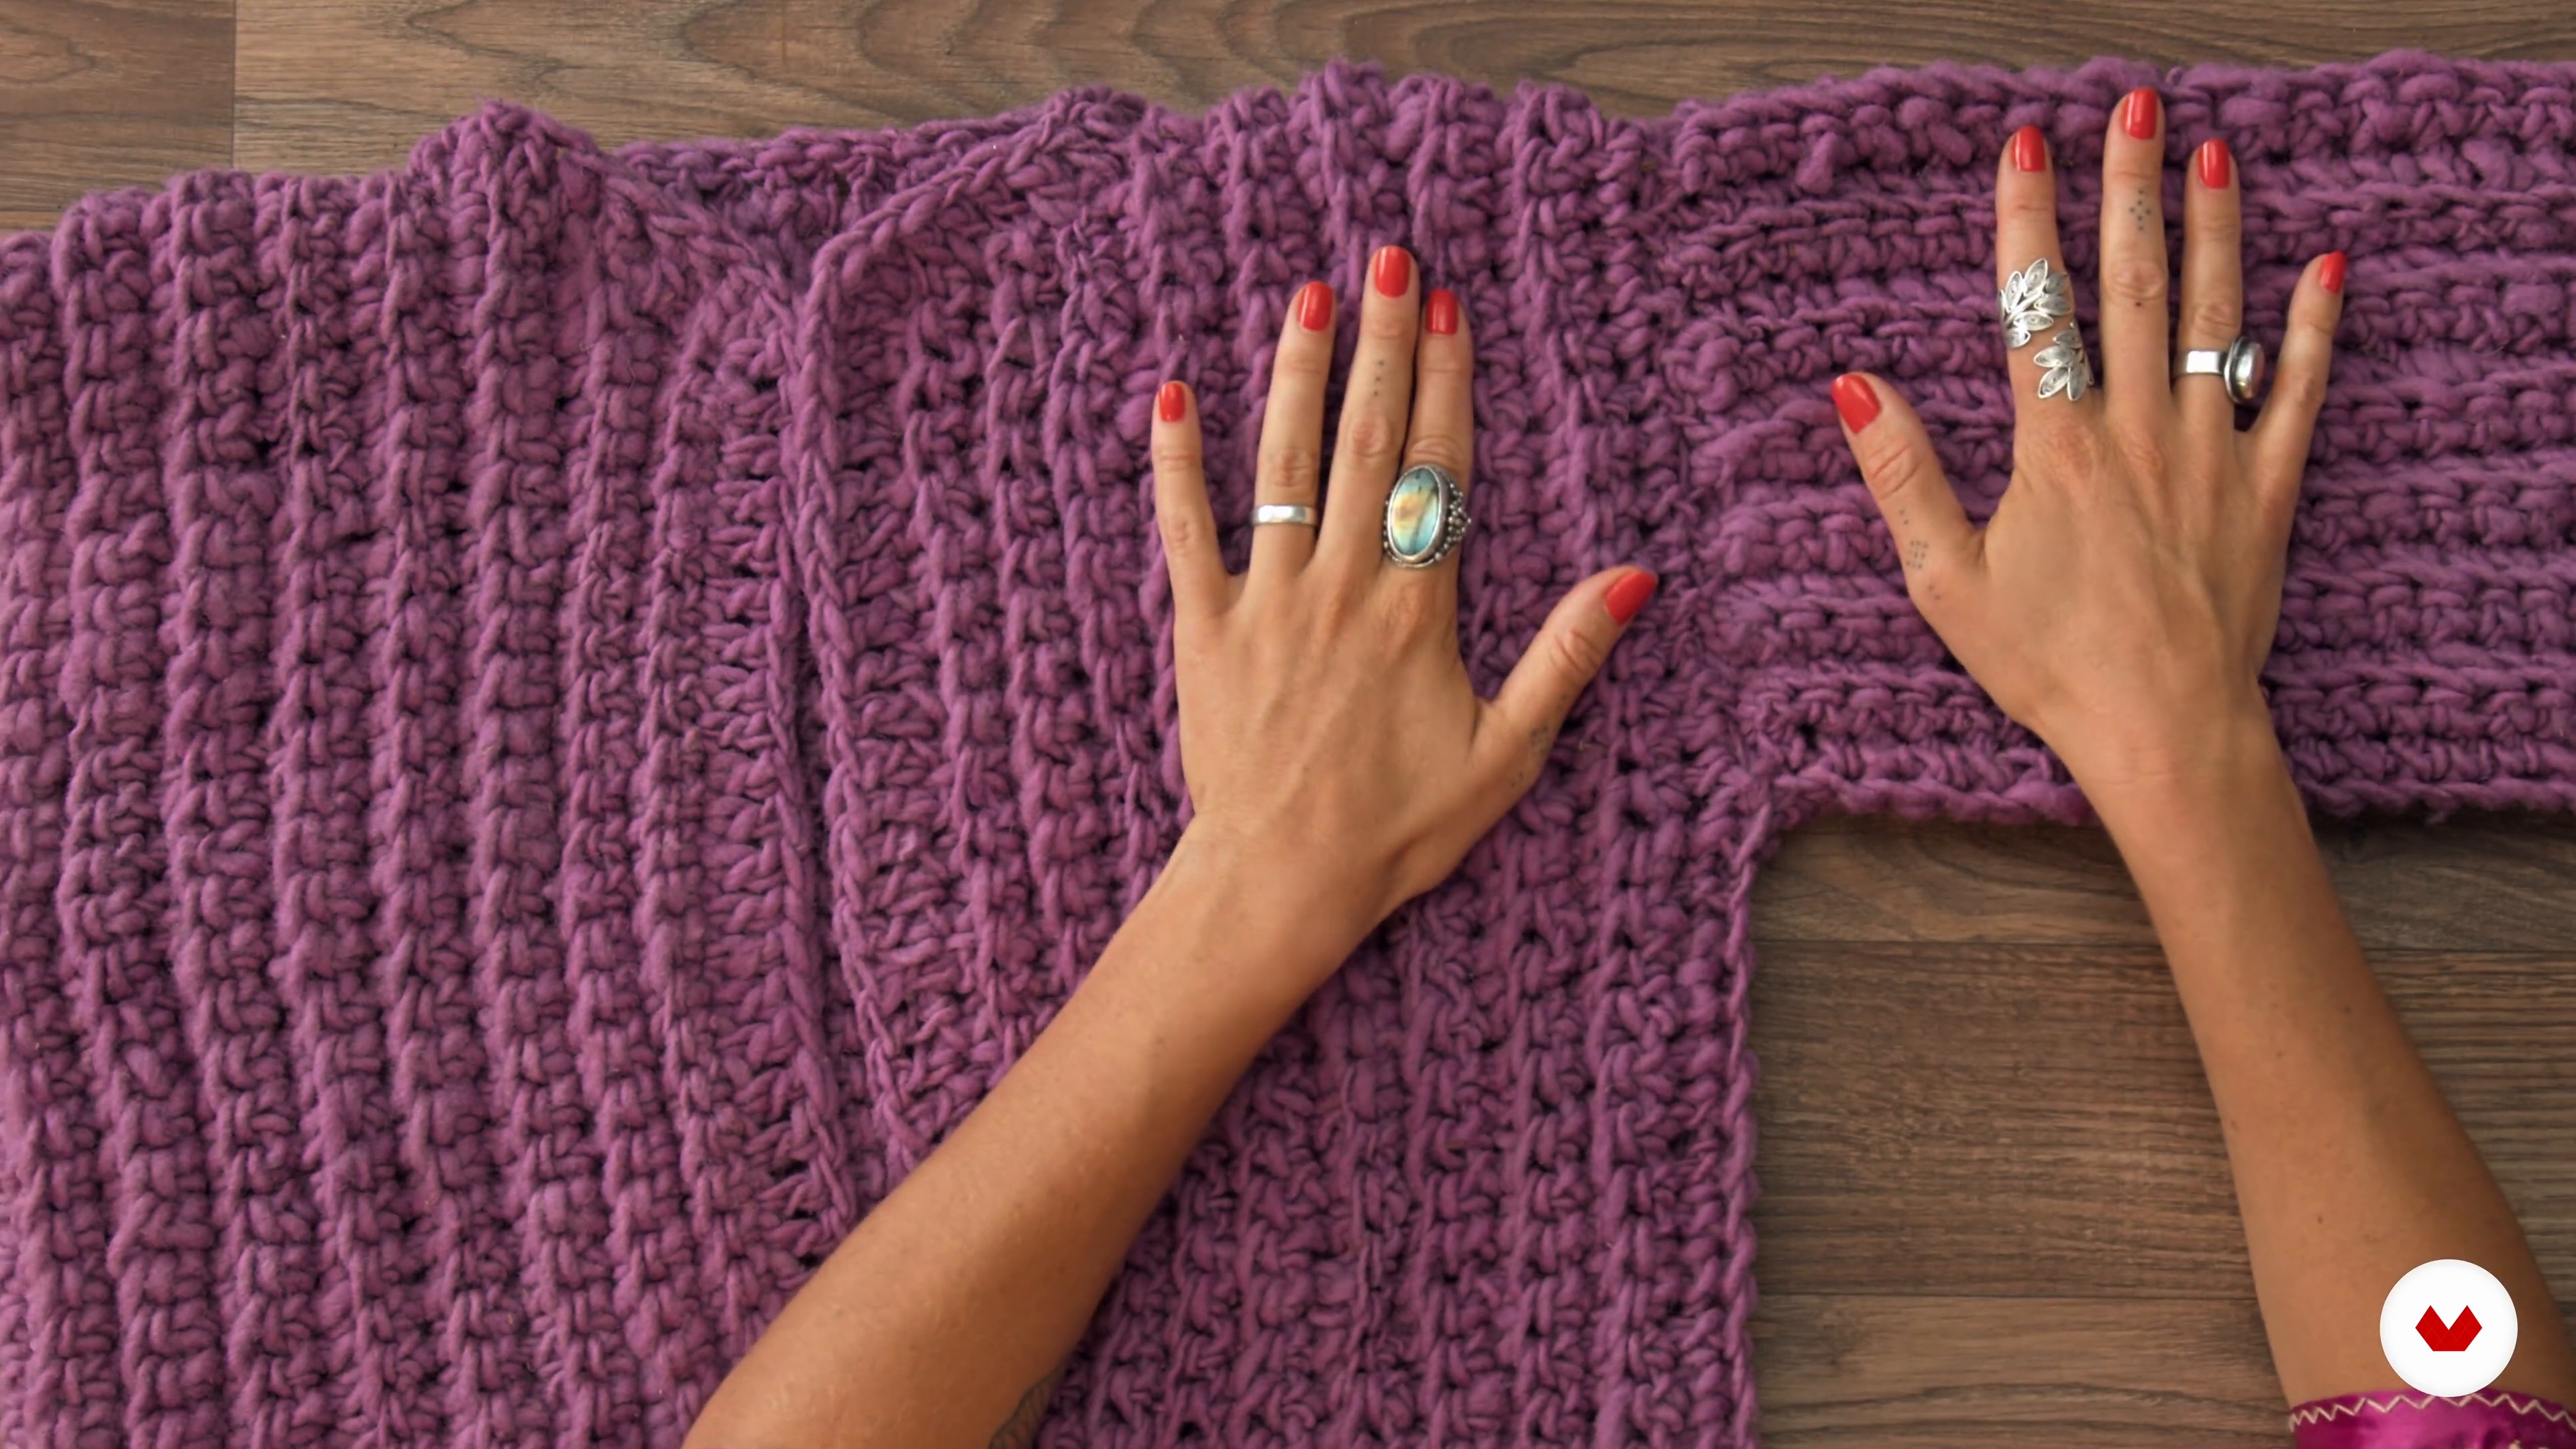
Once the sleeve is finished, I'll explain how to attach it to the base. Then it's time to work on the cuffs.
8m
 16
16Armed with flowers
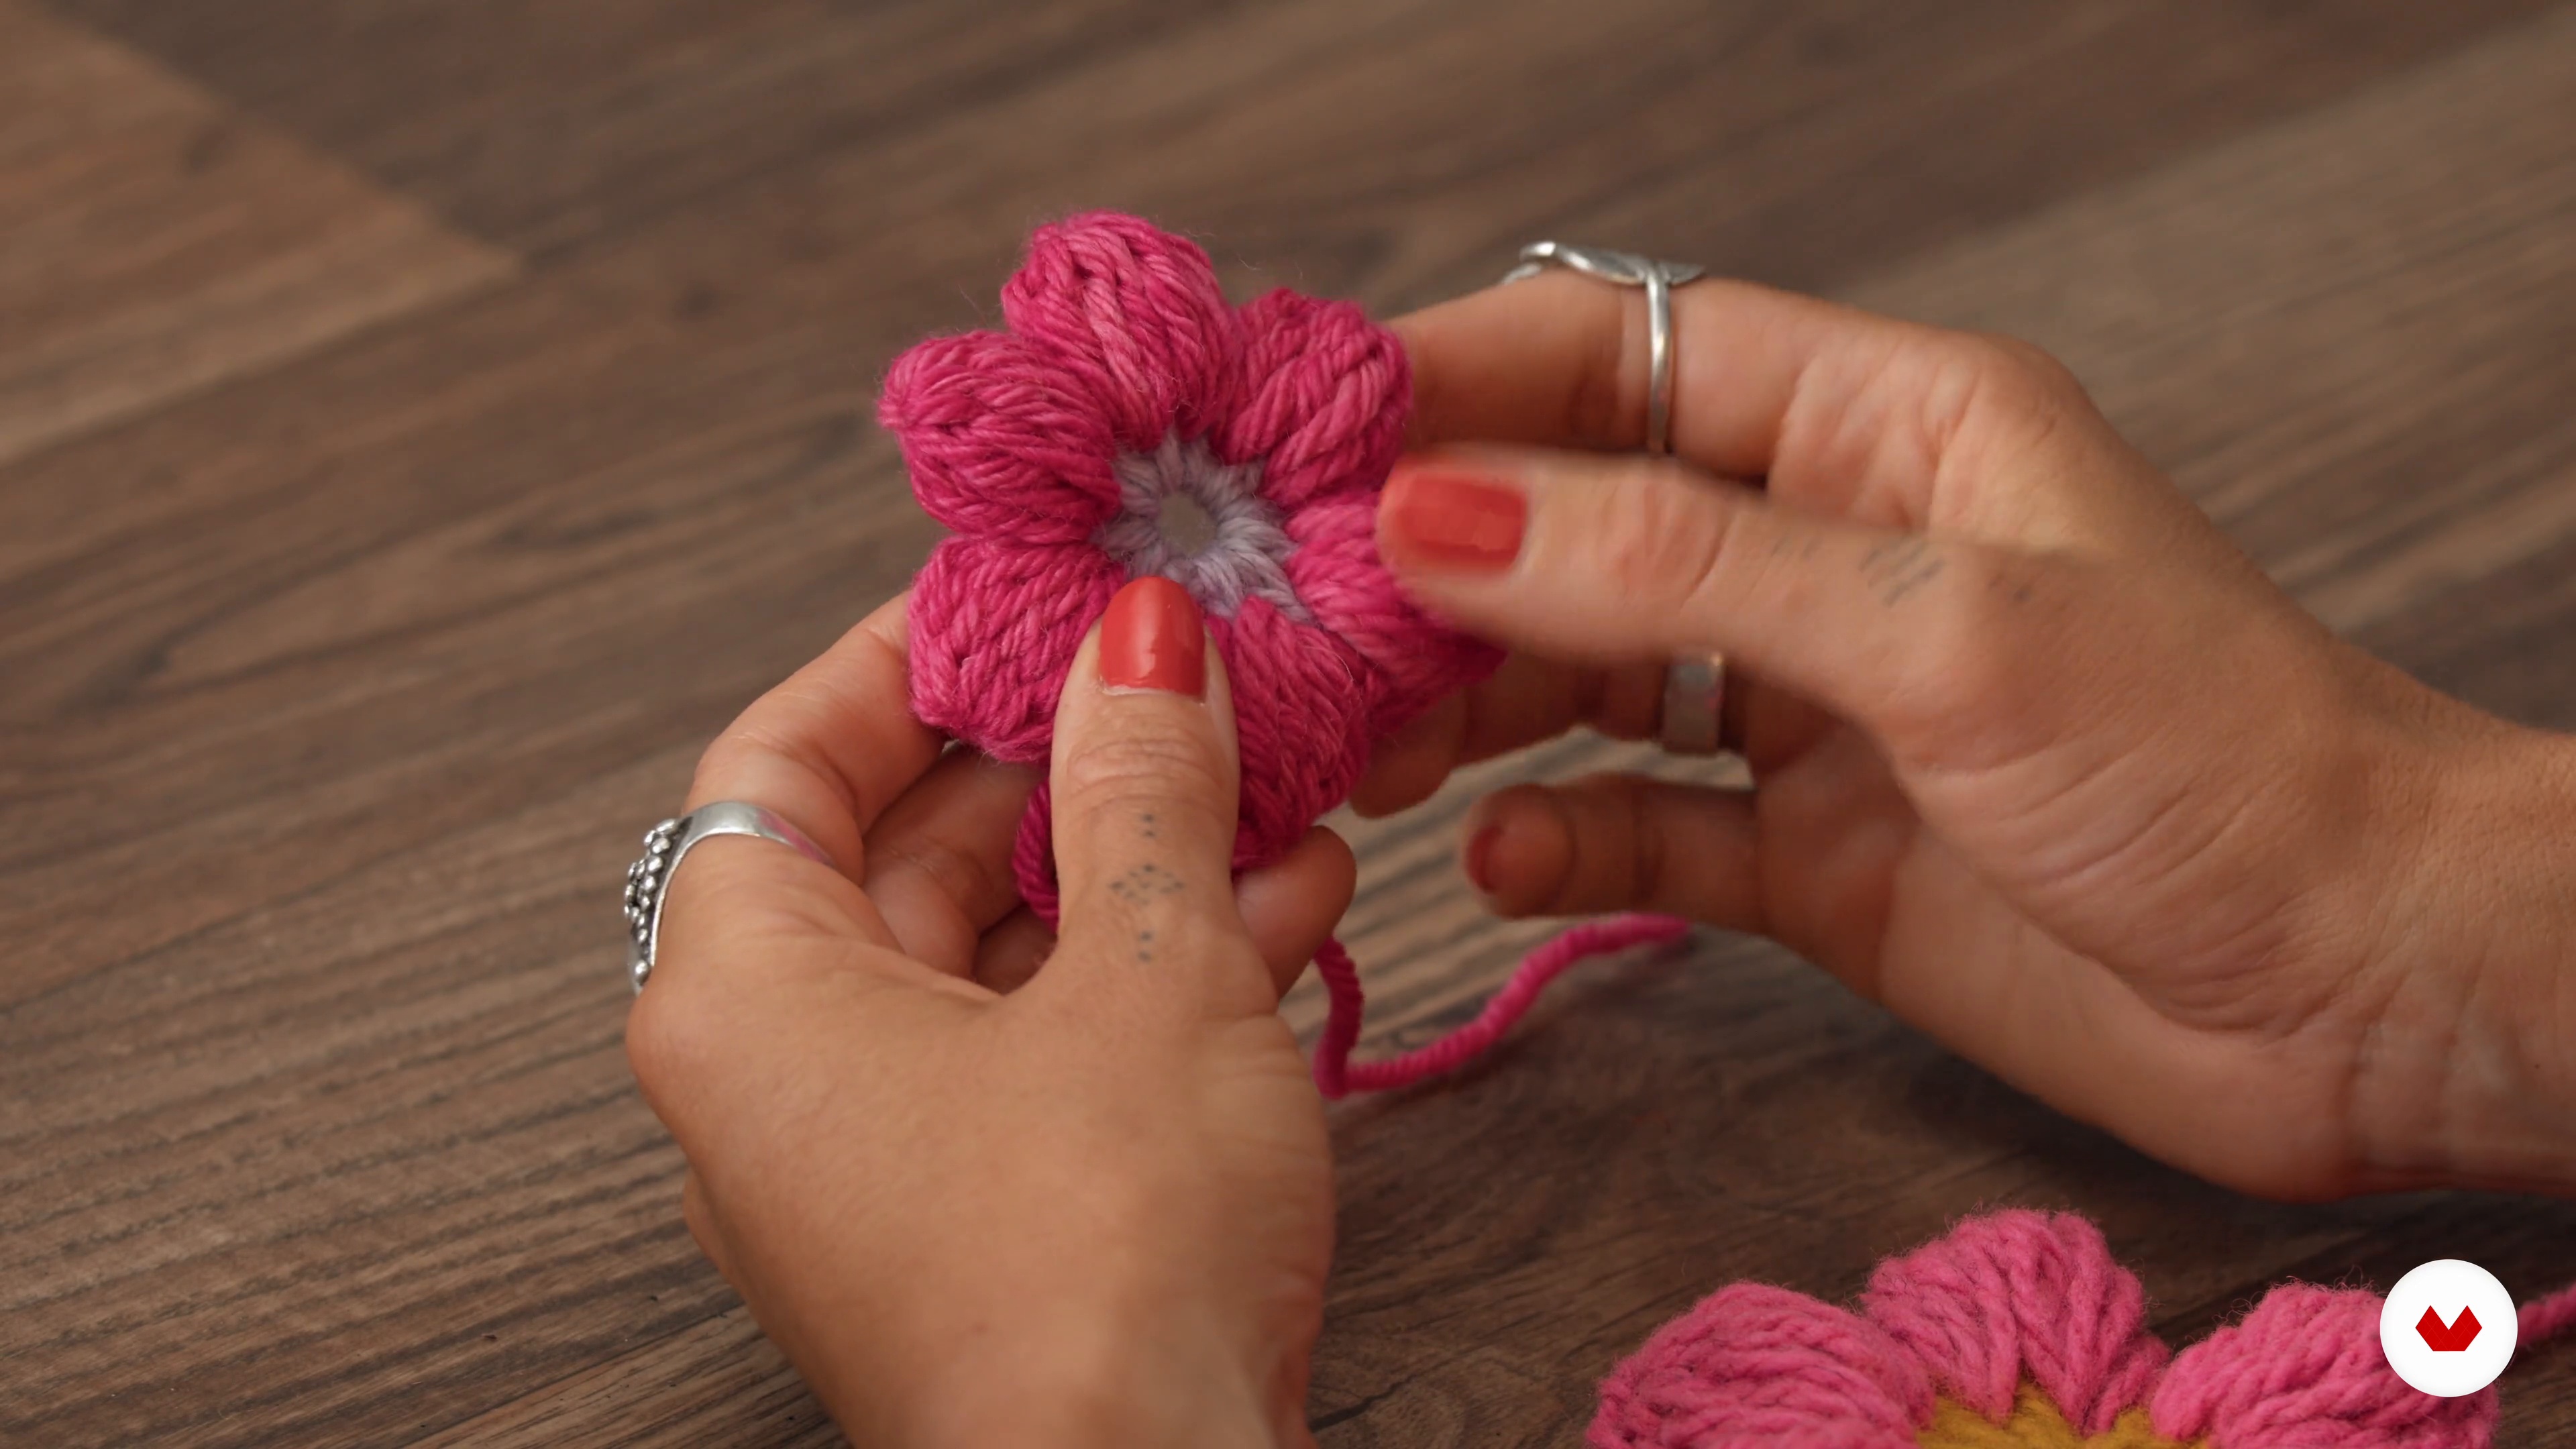
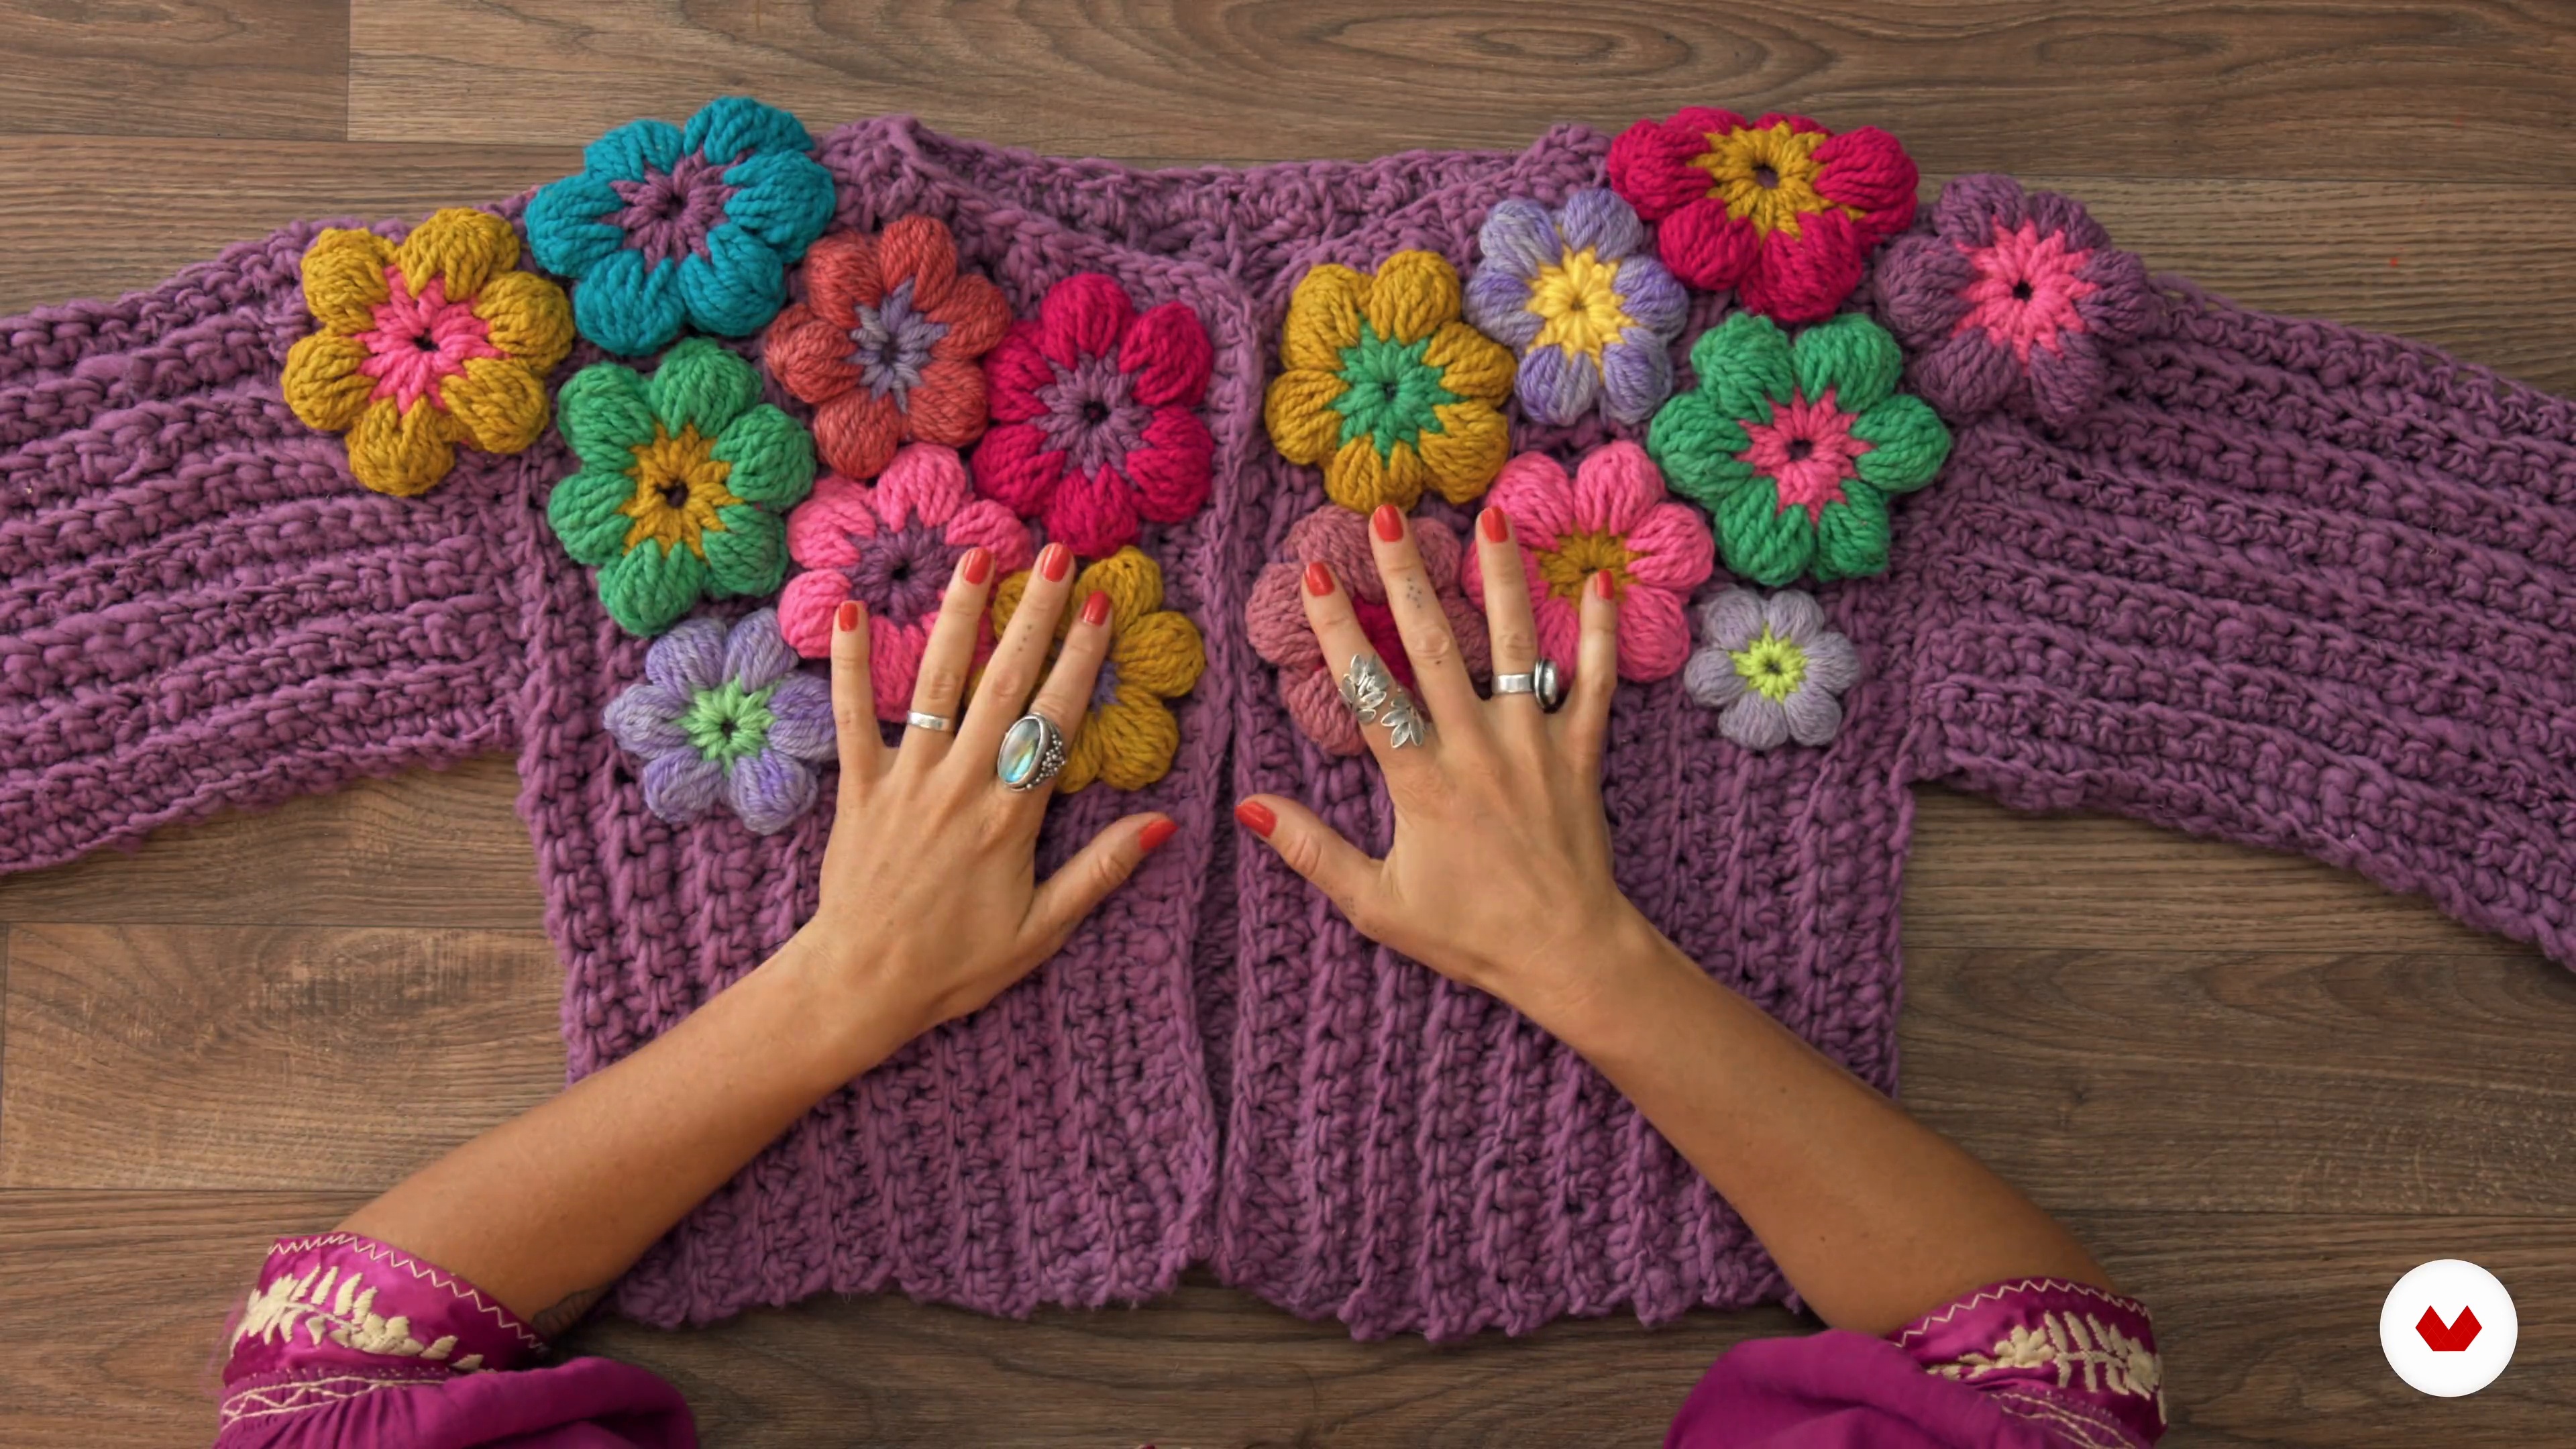
We've got the sweater ready, but we just need to add a touch of color. In this lesson, I'll show you how to crochet multicolored flowers.
16m
 17
17Flower applications
We're nearing the end of the project! All that's left is to position the flowers and then adhere them to the base.
10m
 18
18Wooden buttons
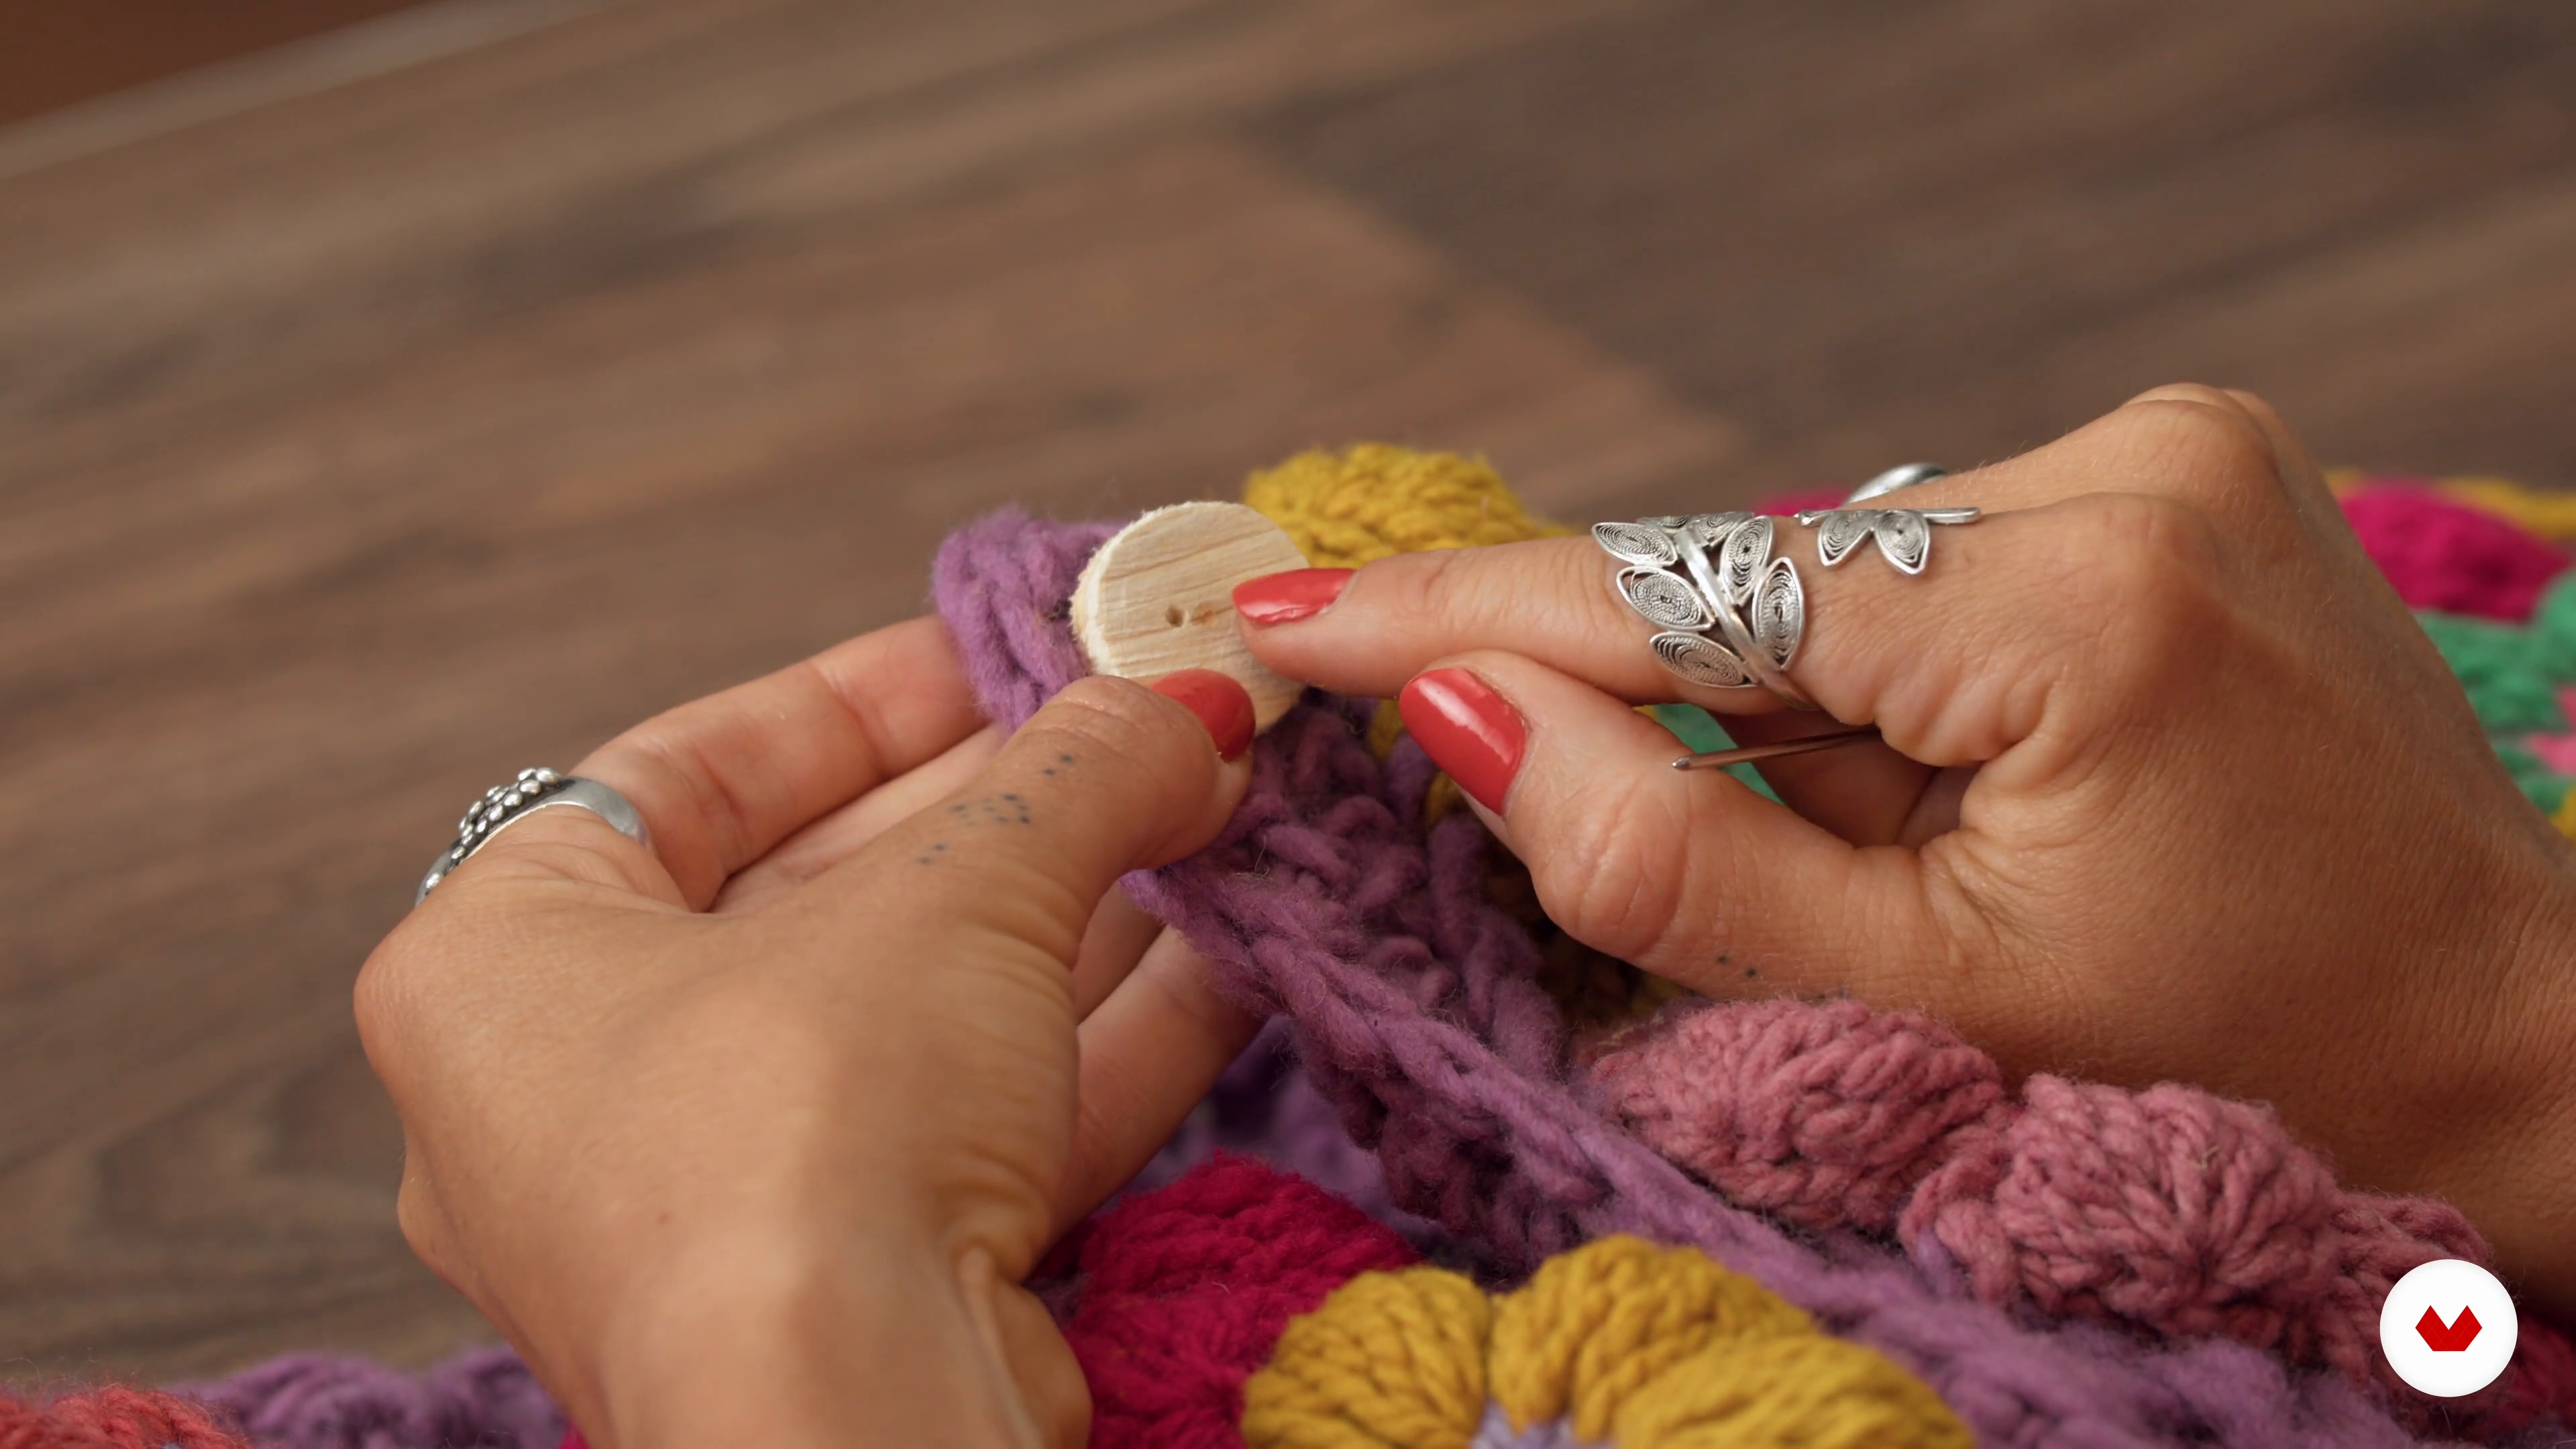
In this lesson, I'll show you my secret for making your own buttons. This way, you can give your creations an original and unique touch.
10m
 19
19Other applications of the technique
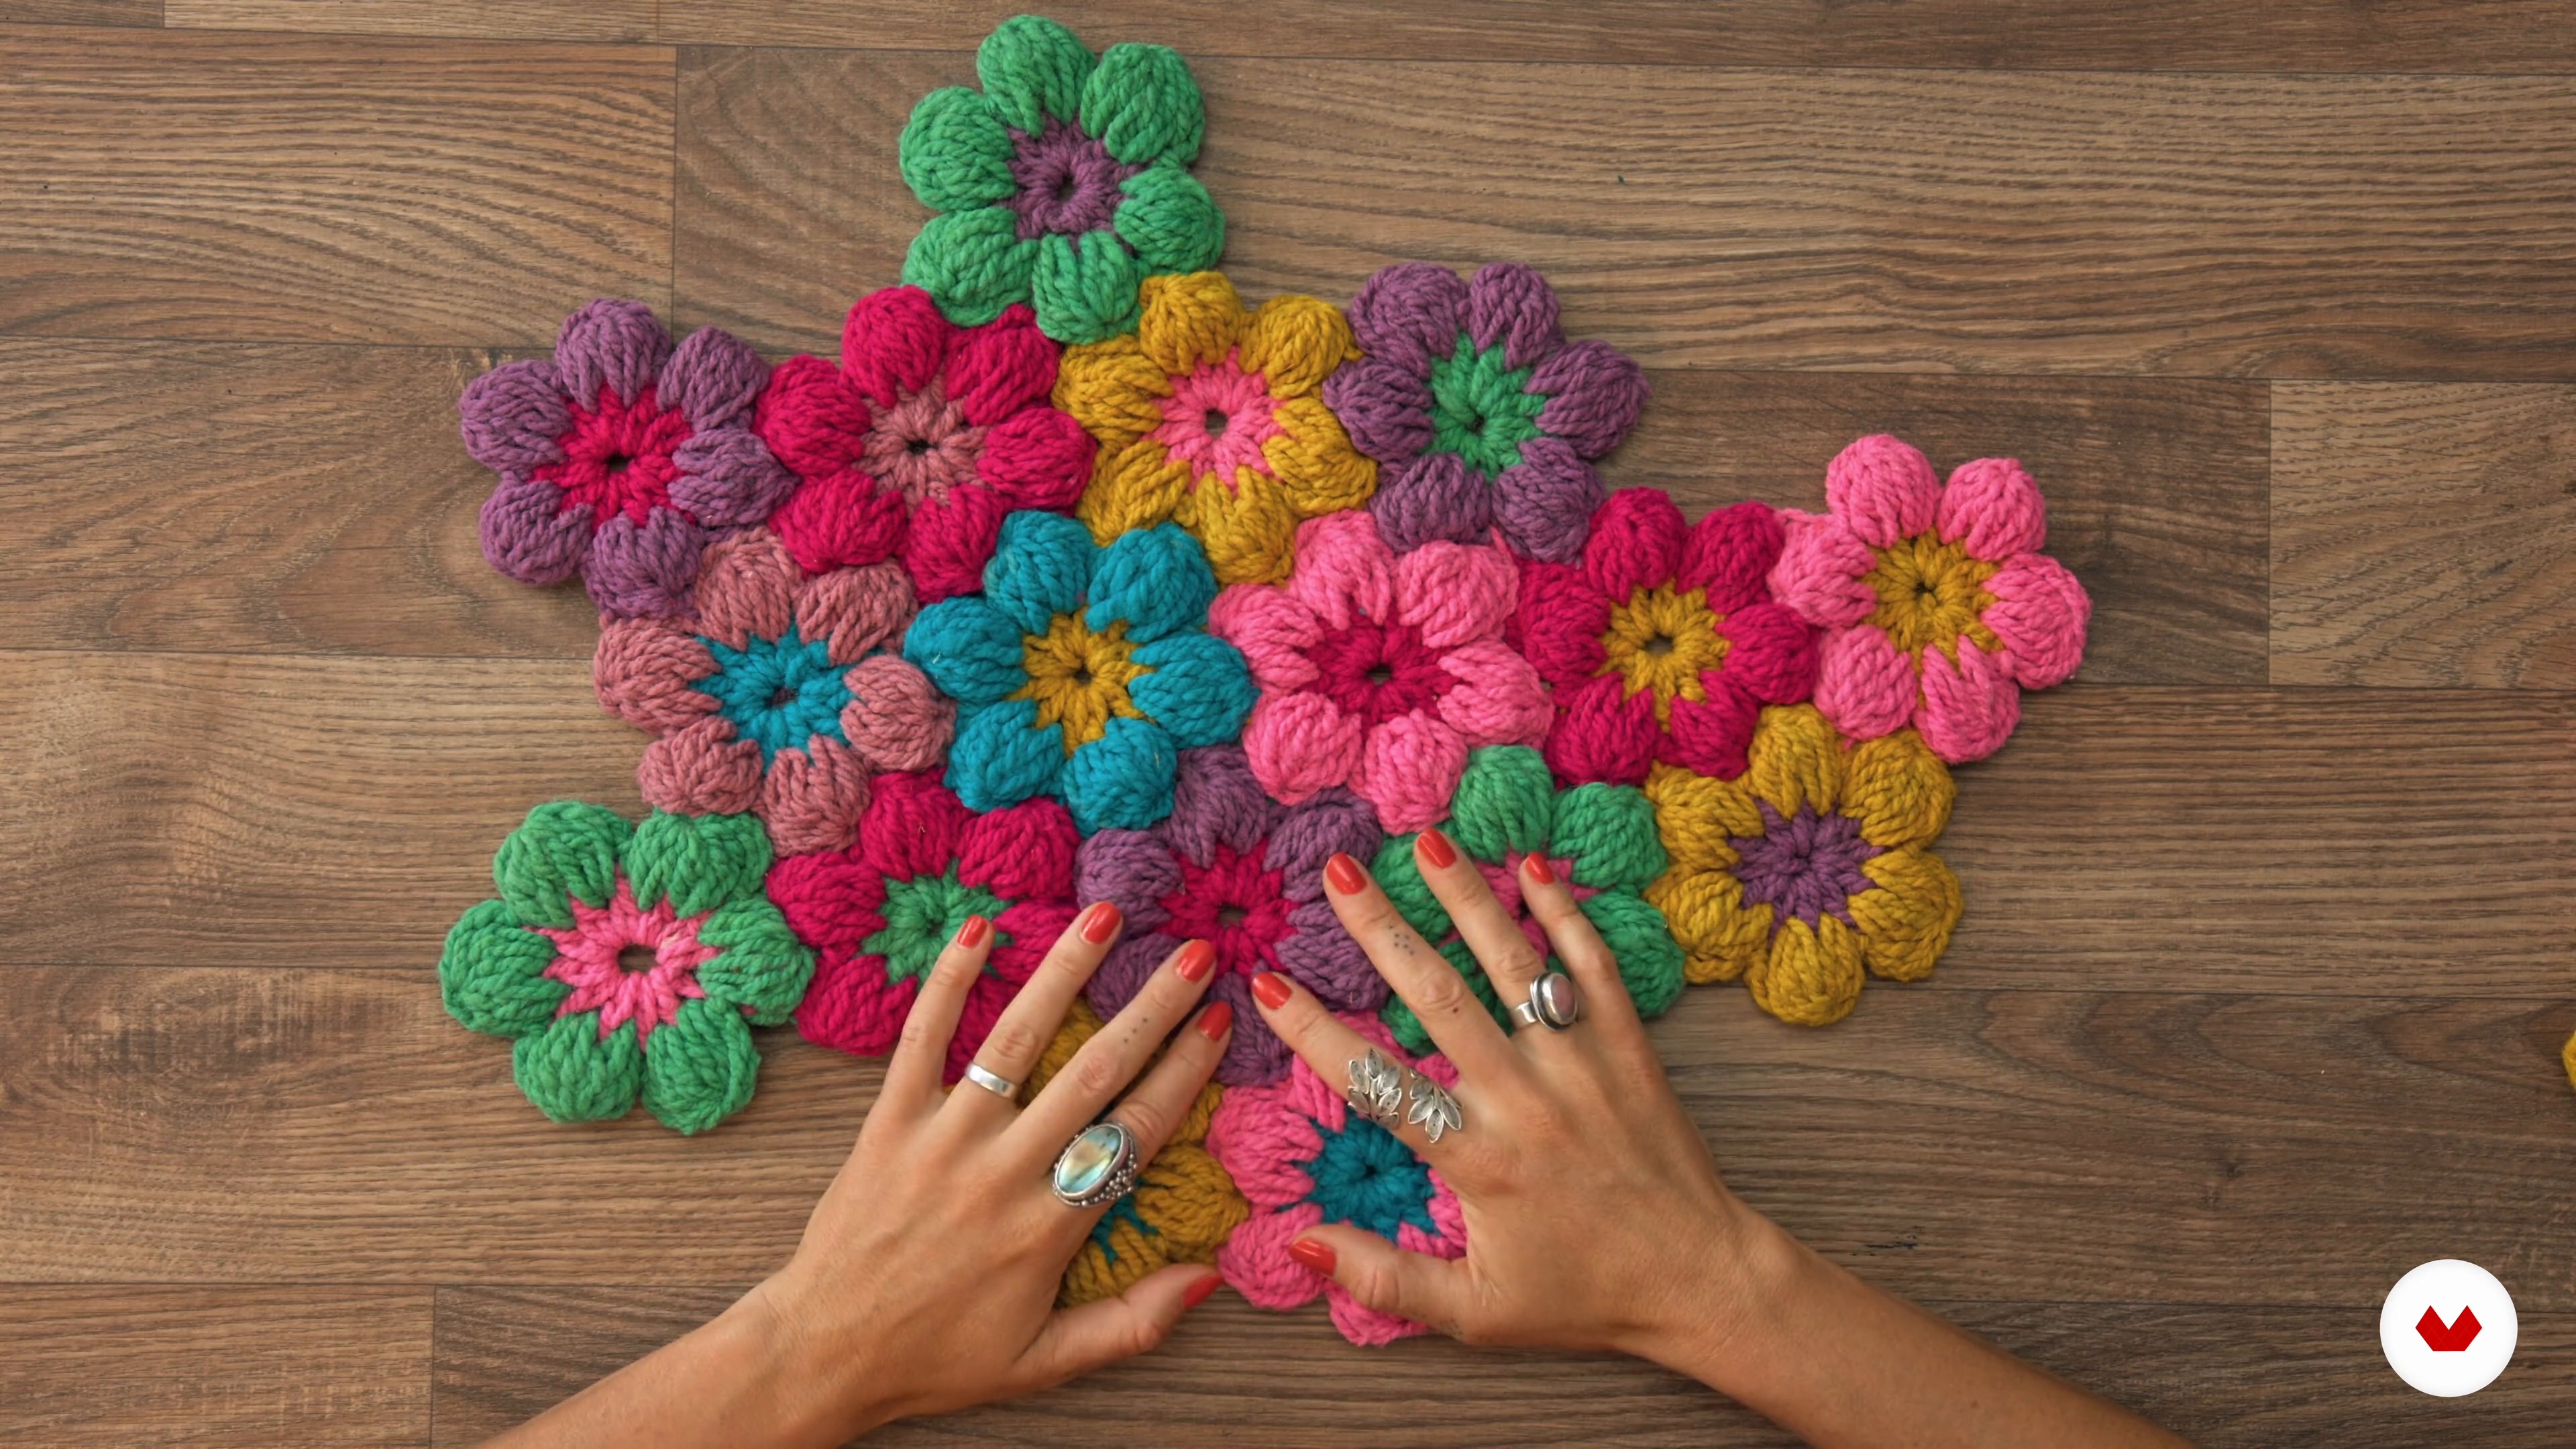
Now I want to show you how, using the flower technique, you can create many other garments and objects for you and your home.
3m
 20
20Responsible marketing
In this lesson, I'd like to share with you what truly motivates me to continue forever with my love for textiles and the rescue of the weaving craft.
5m
 3
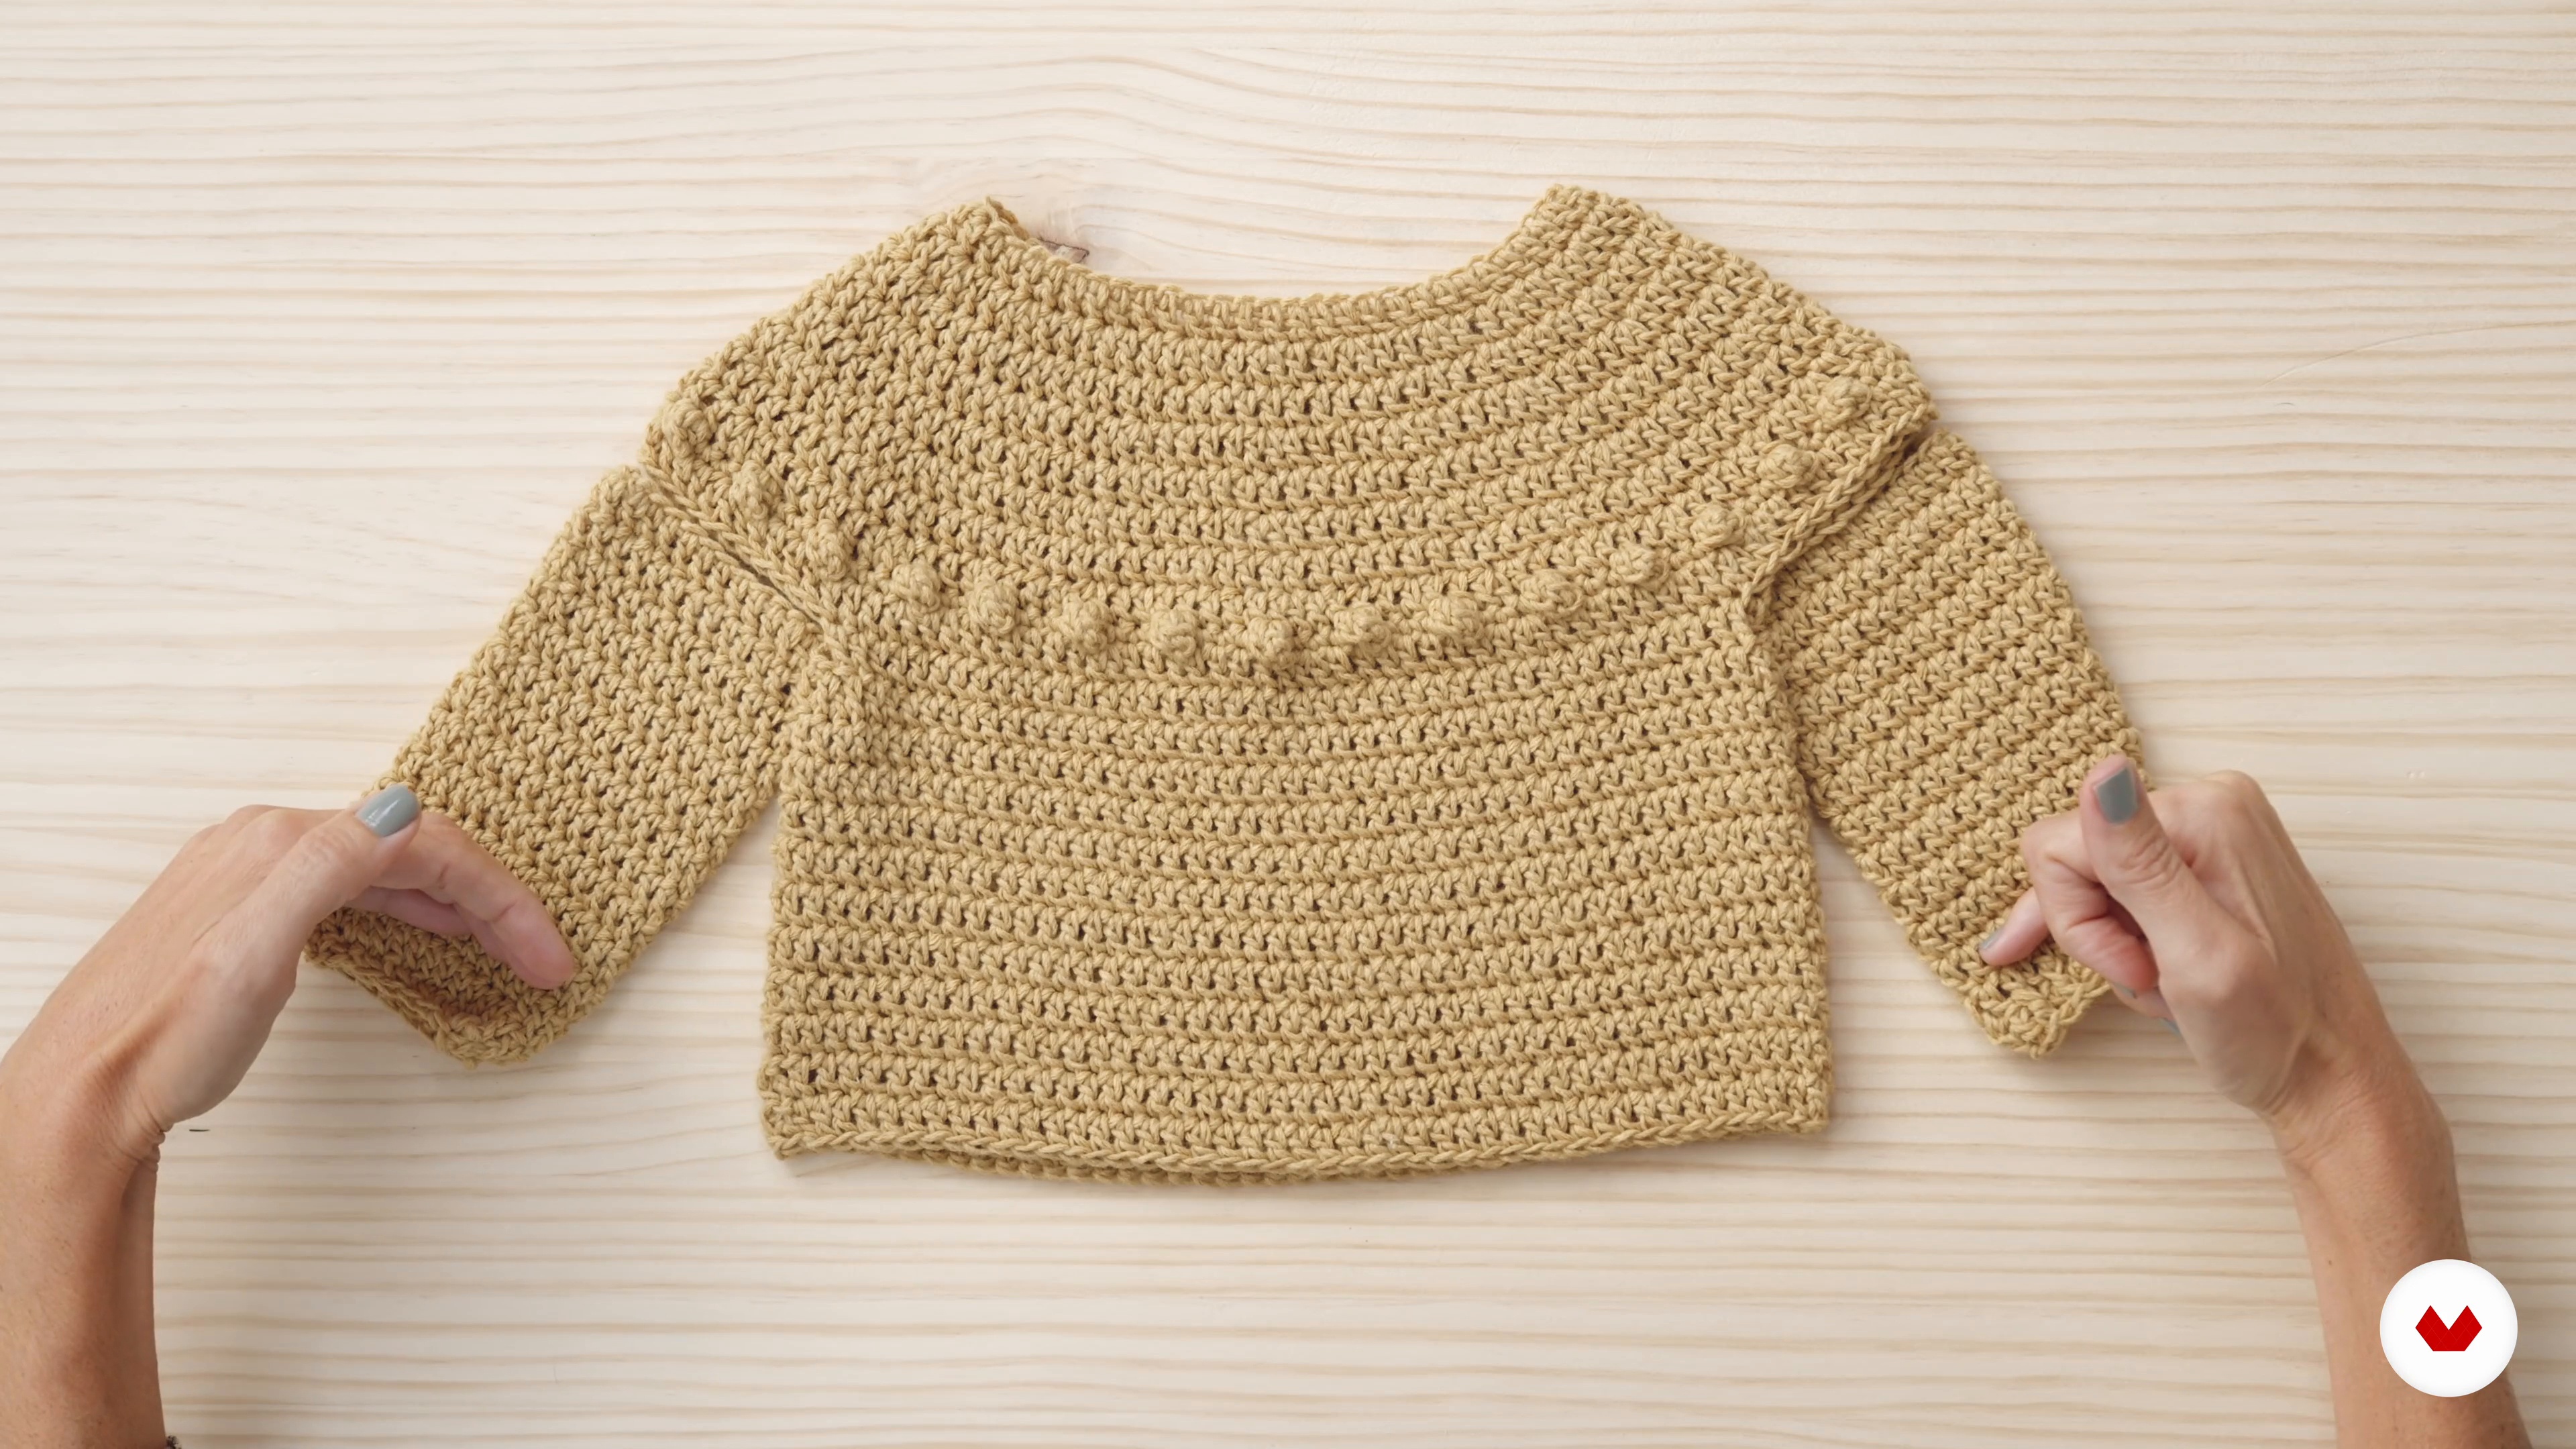
3Characteristics of a circular crochet sweater
For a crochet garment to turn out perfectly, you need to know its component parts. We'll do just that in this lesson.
3m
 4
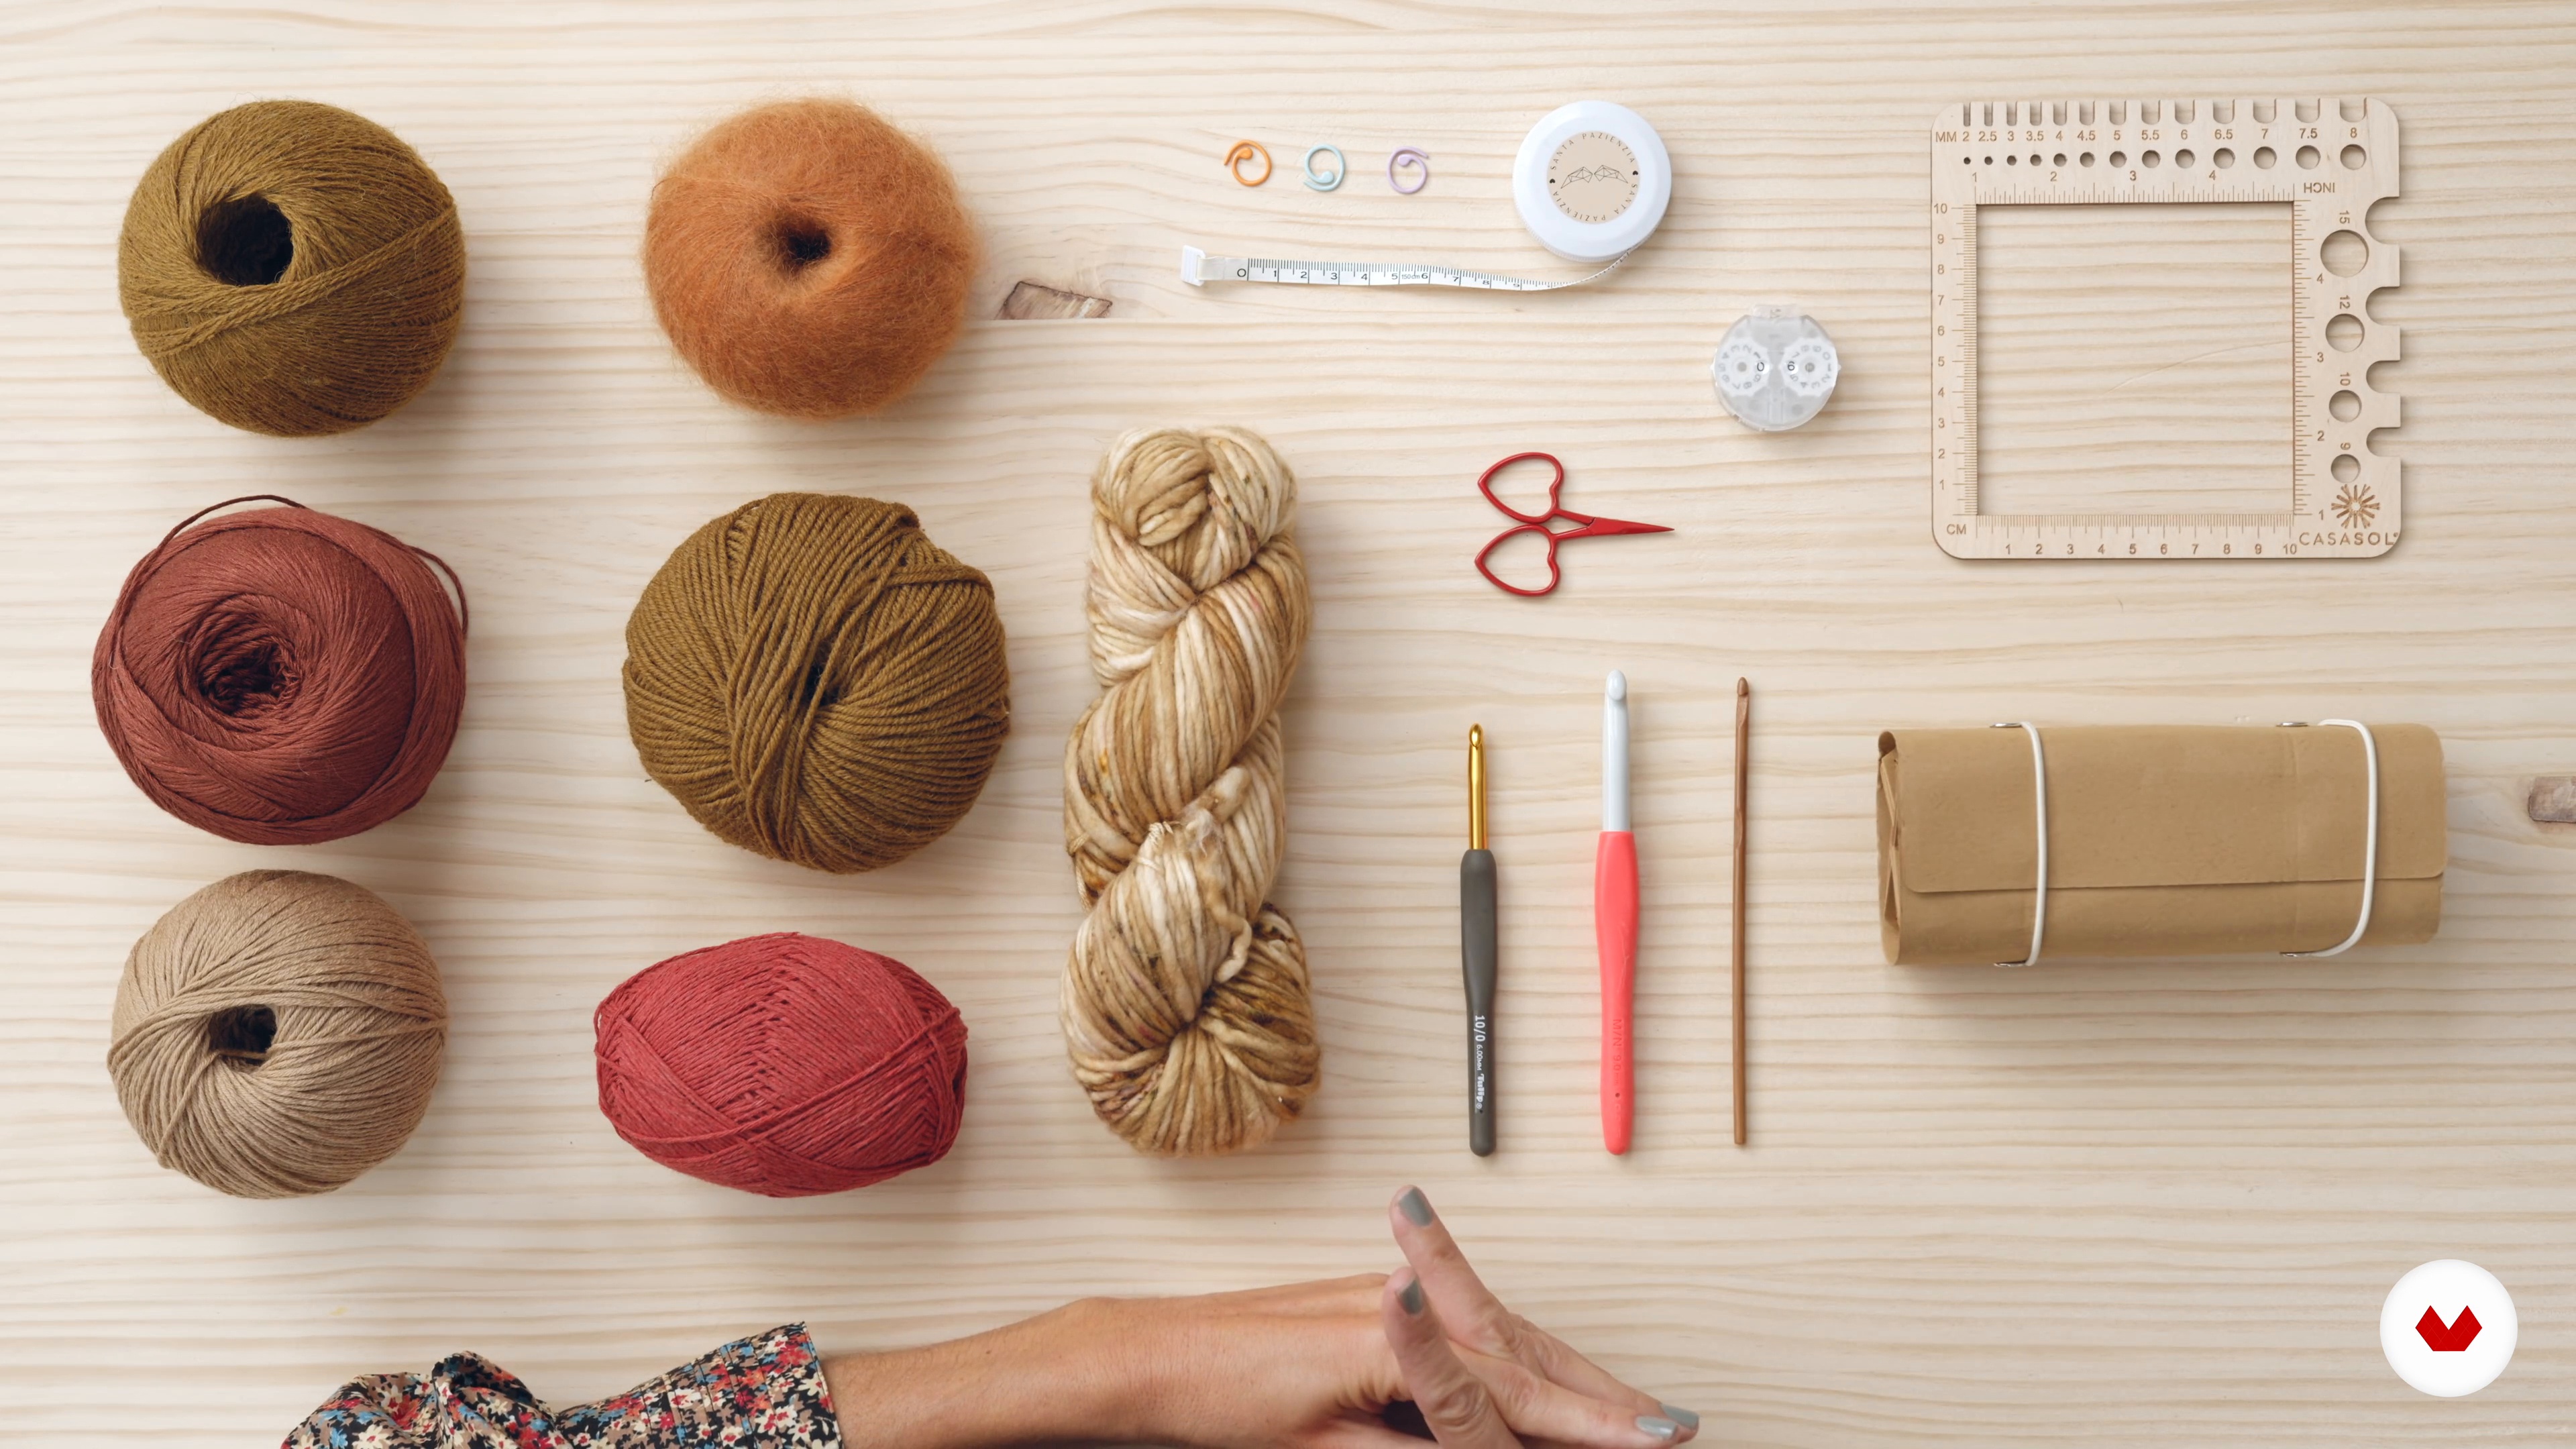
4Materials
Next, we'll delve into the types of materials that can be used to weave the final project we'll complete throughout this course.
10m
 5
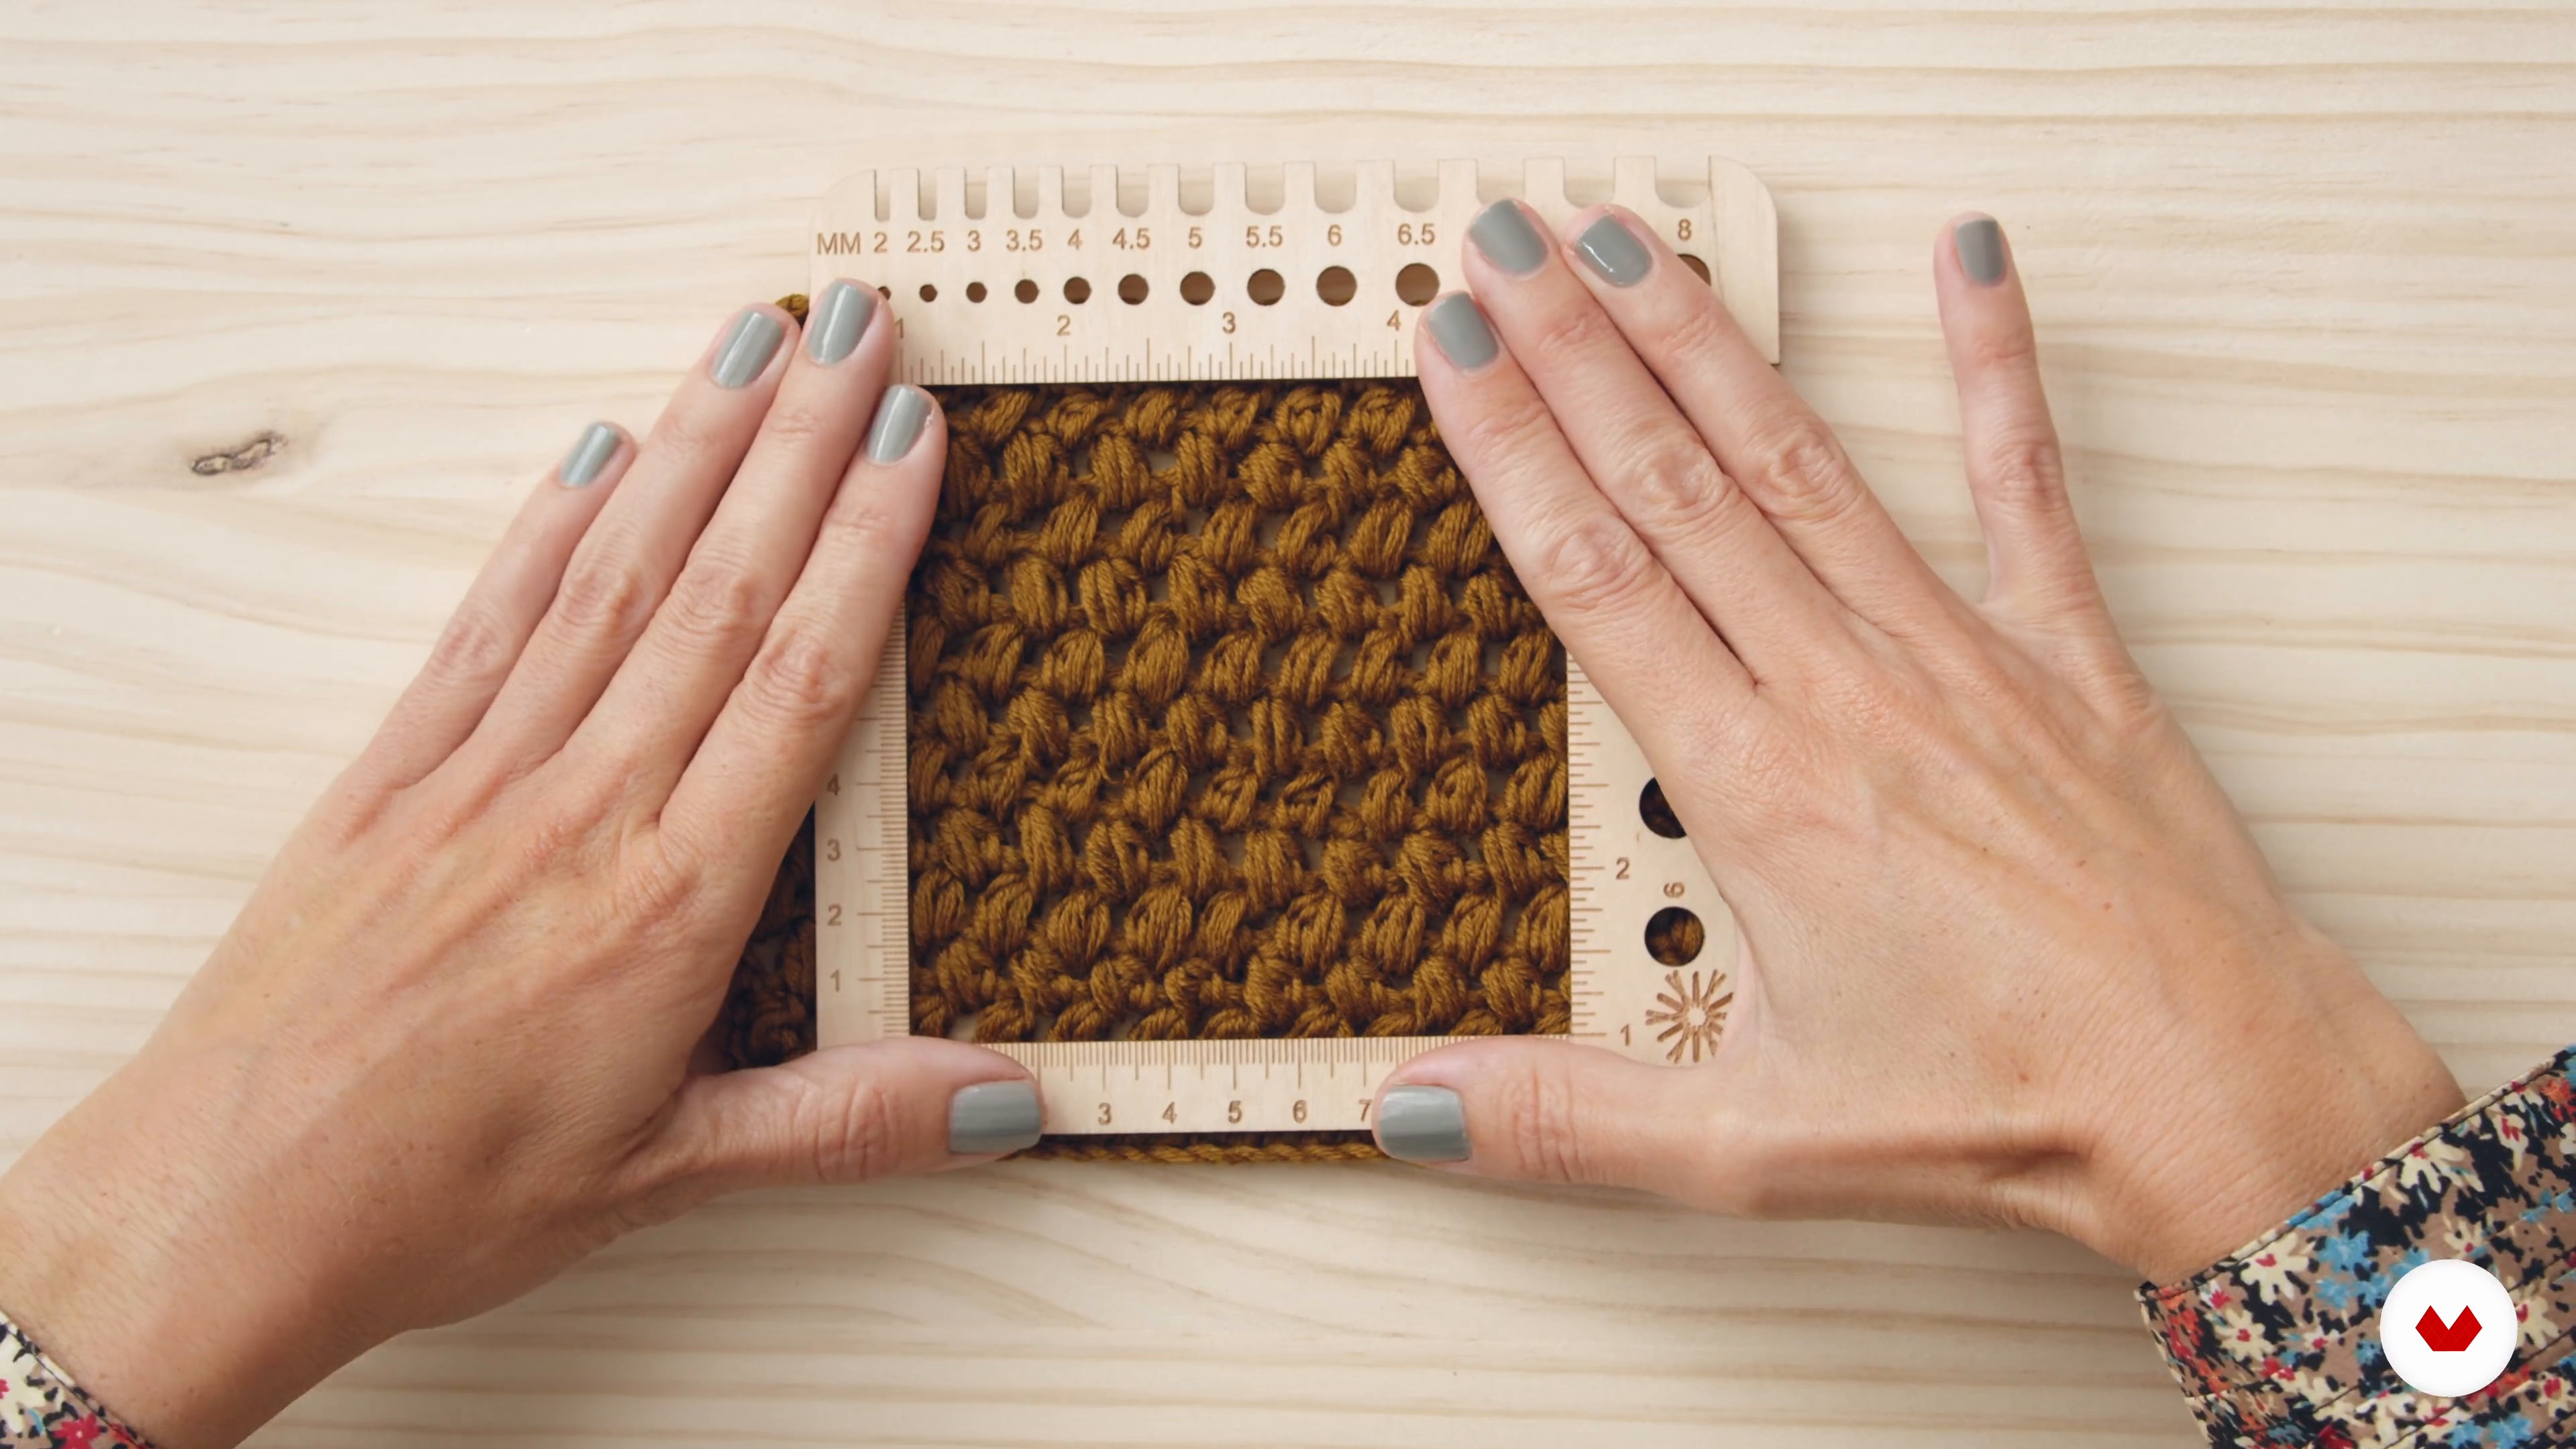
5The importance of the sample
To design a custom crochet garment, it's essential to knit a sample. In this lesson, we'll explore what it is and what it's used for.
6m
 6
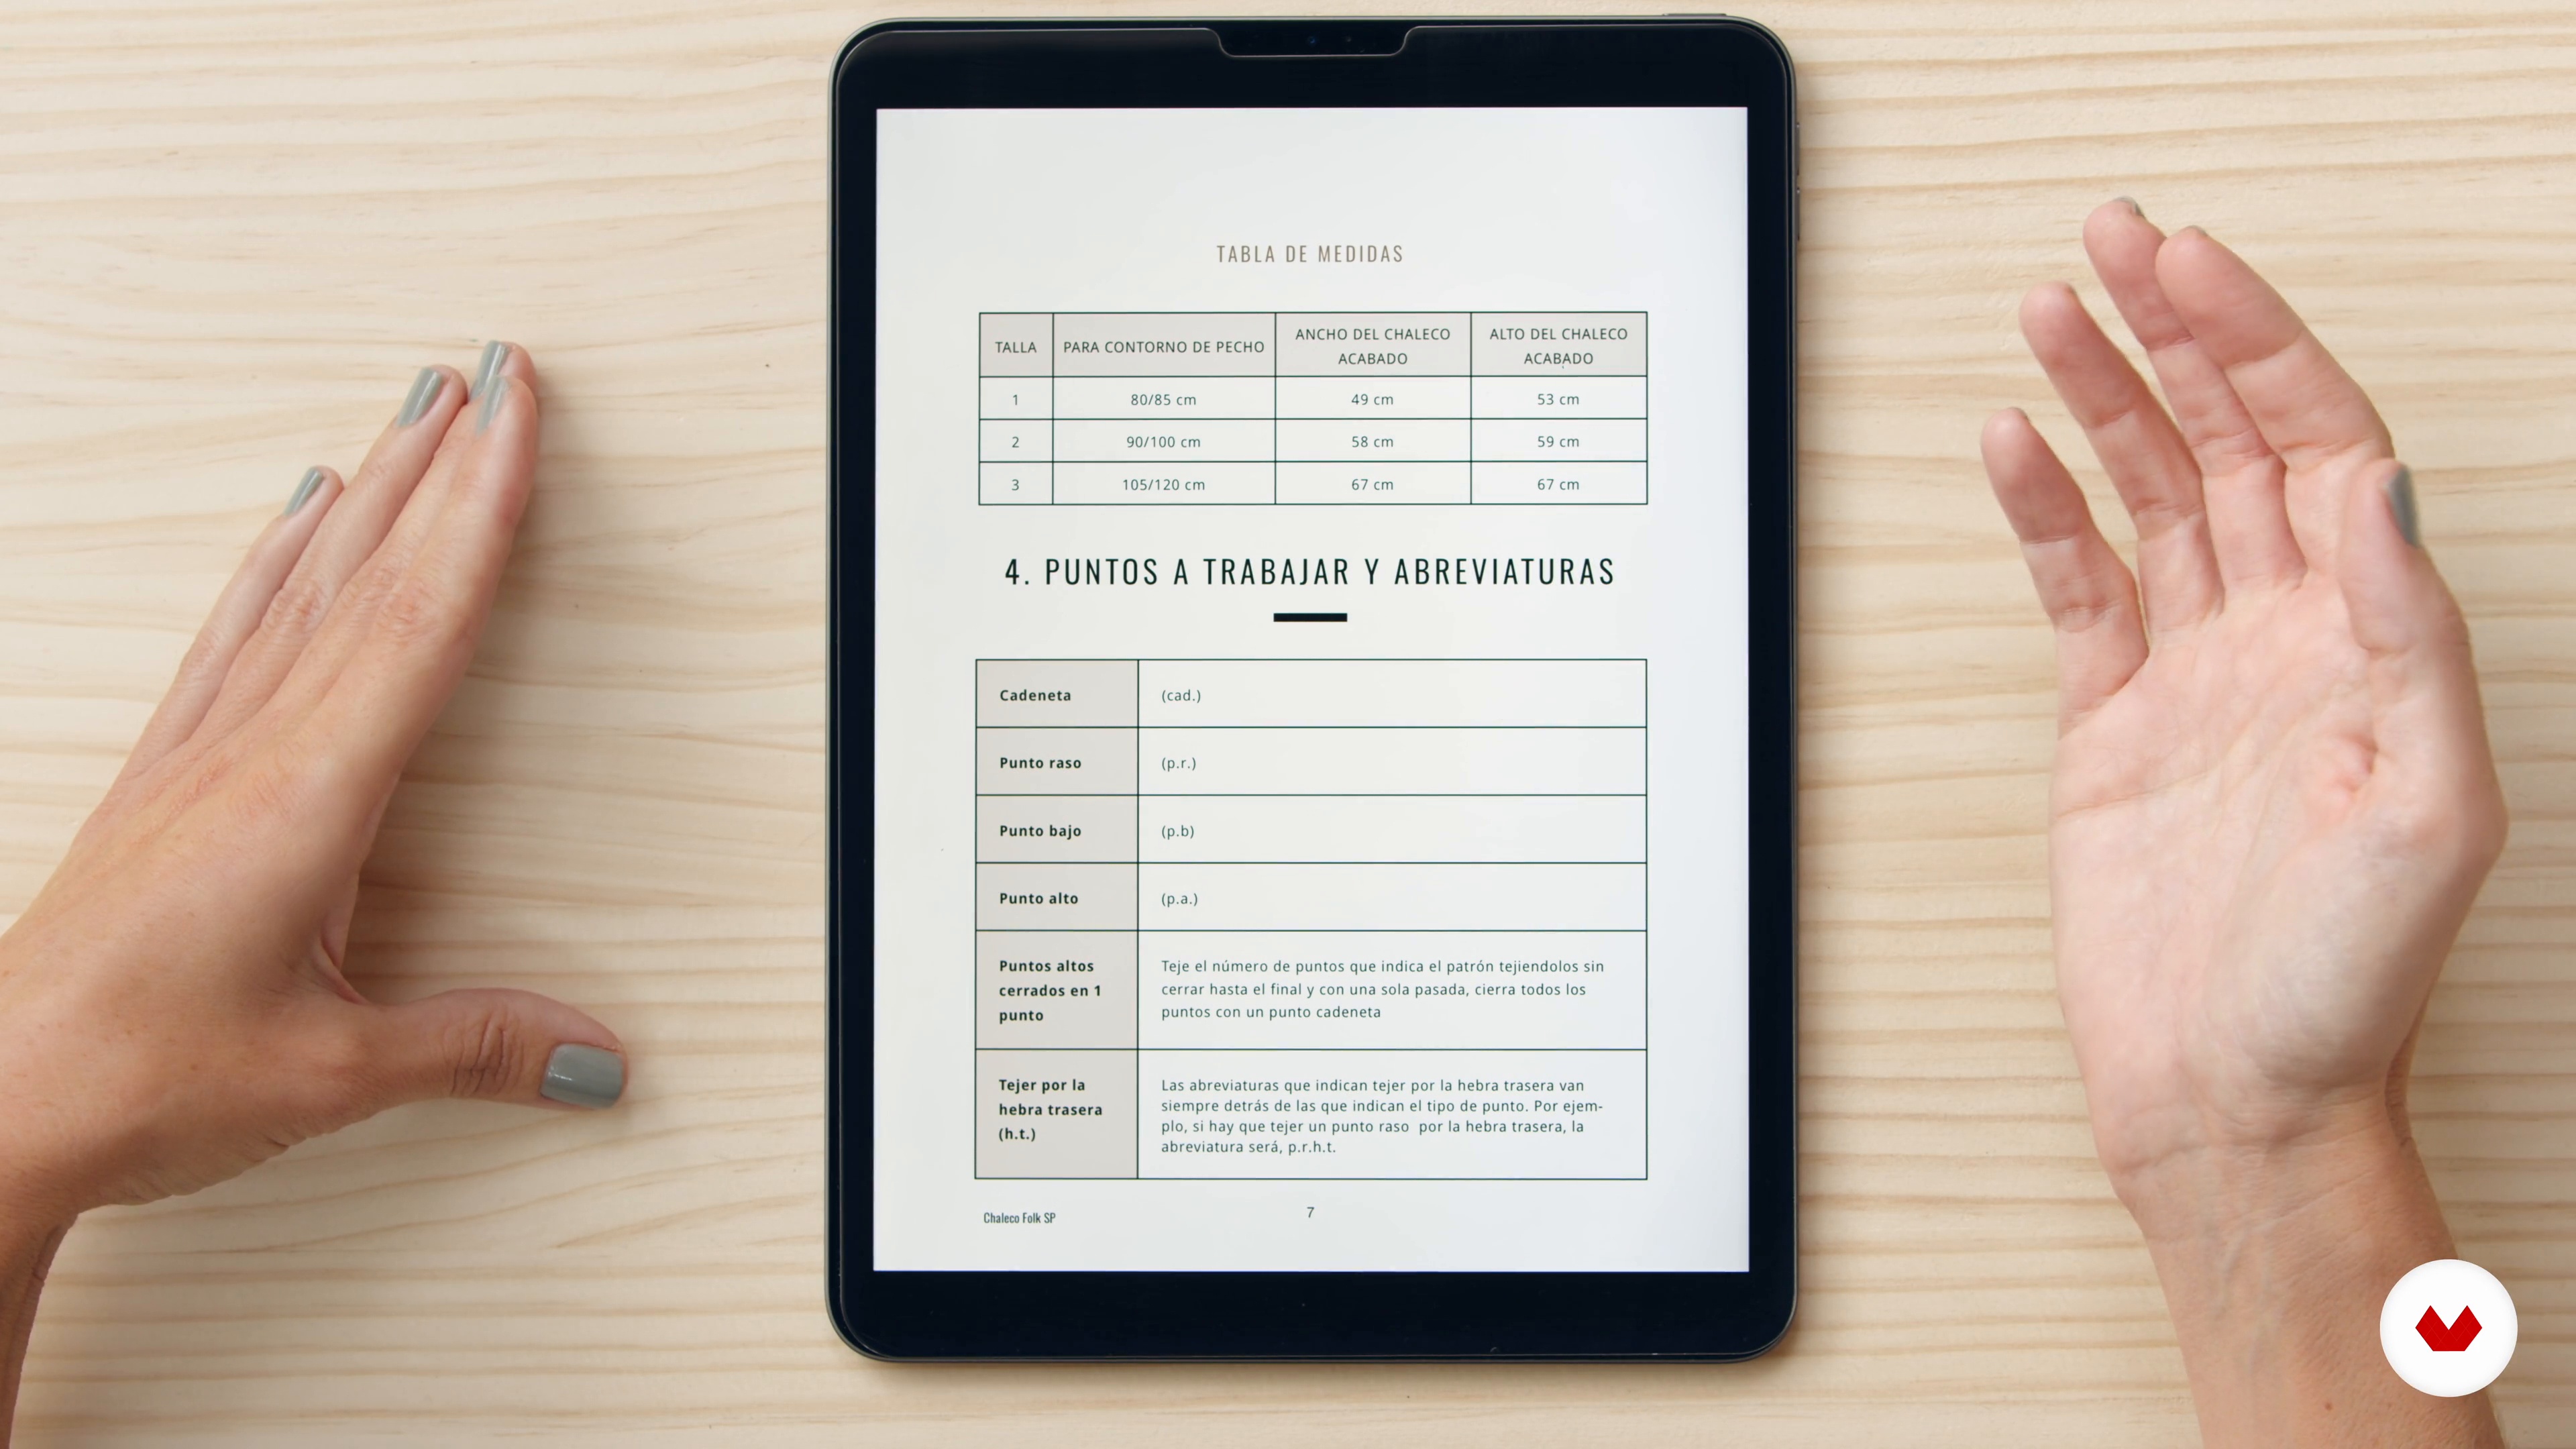
6How to write down your pattern in a professional way
Now I'm going to show you step by step everything you need to note down to transcribe a pattern professionally.
10m
 7
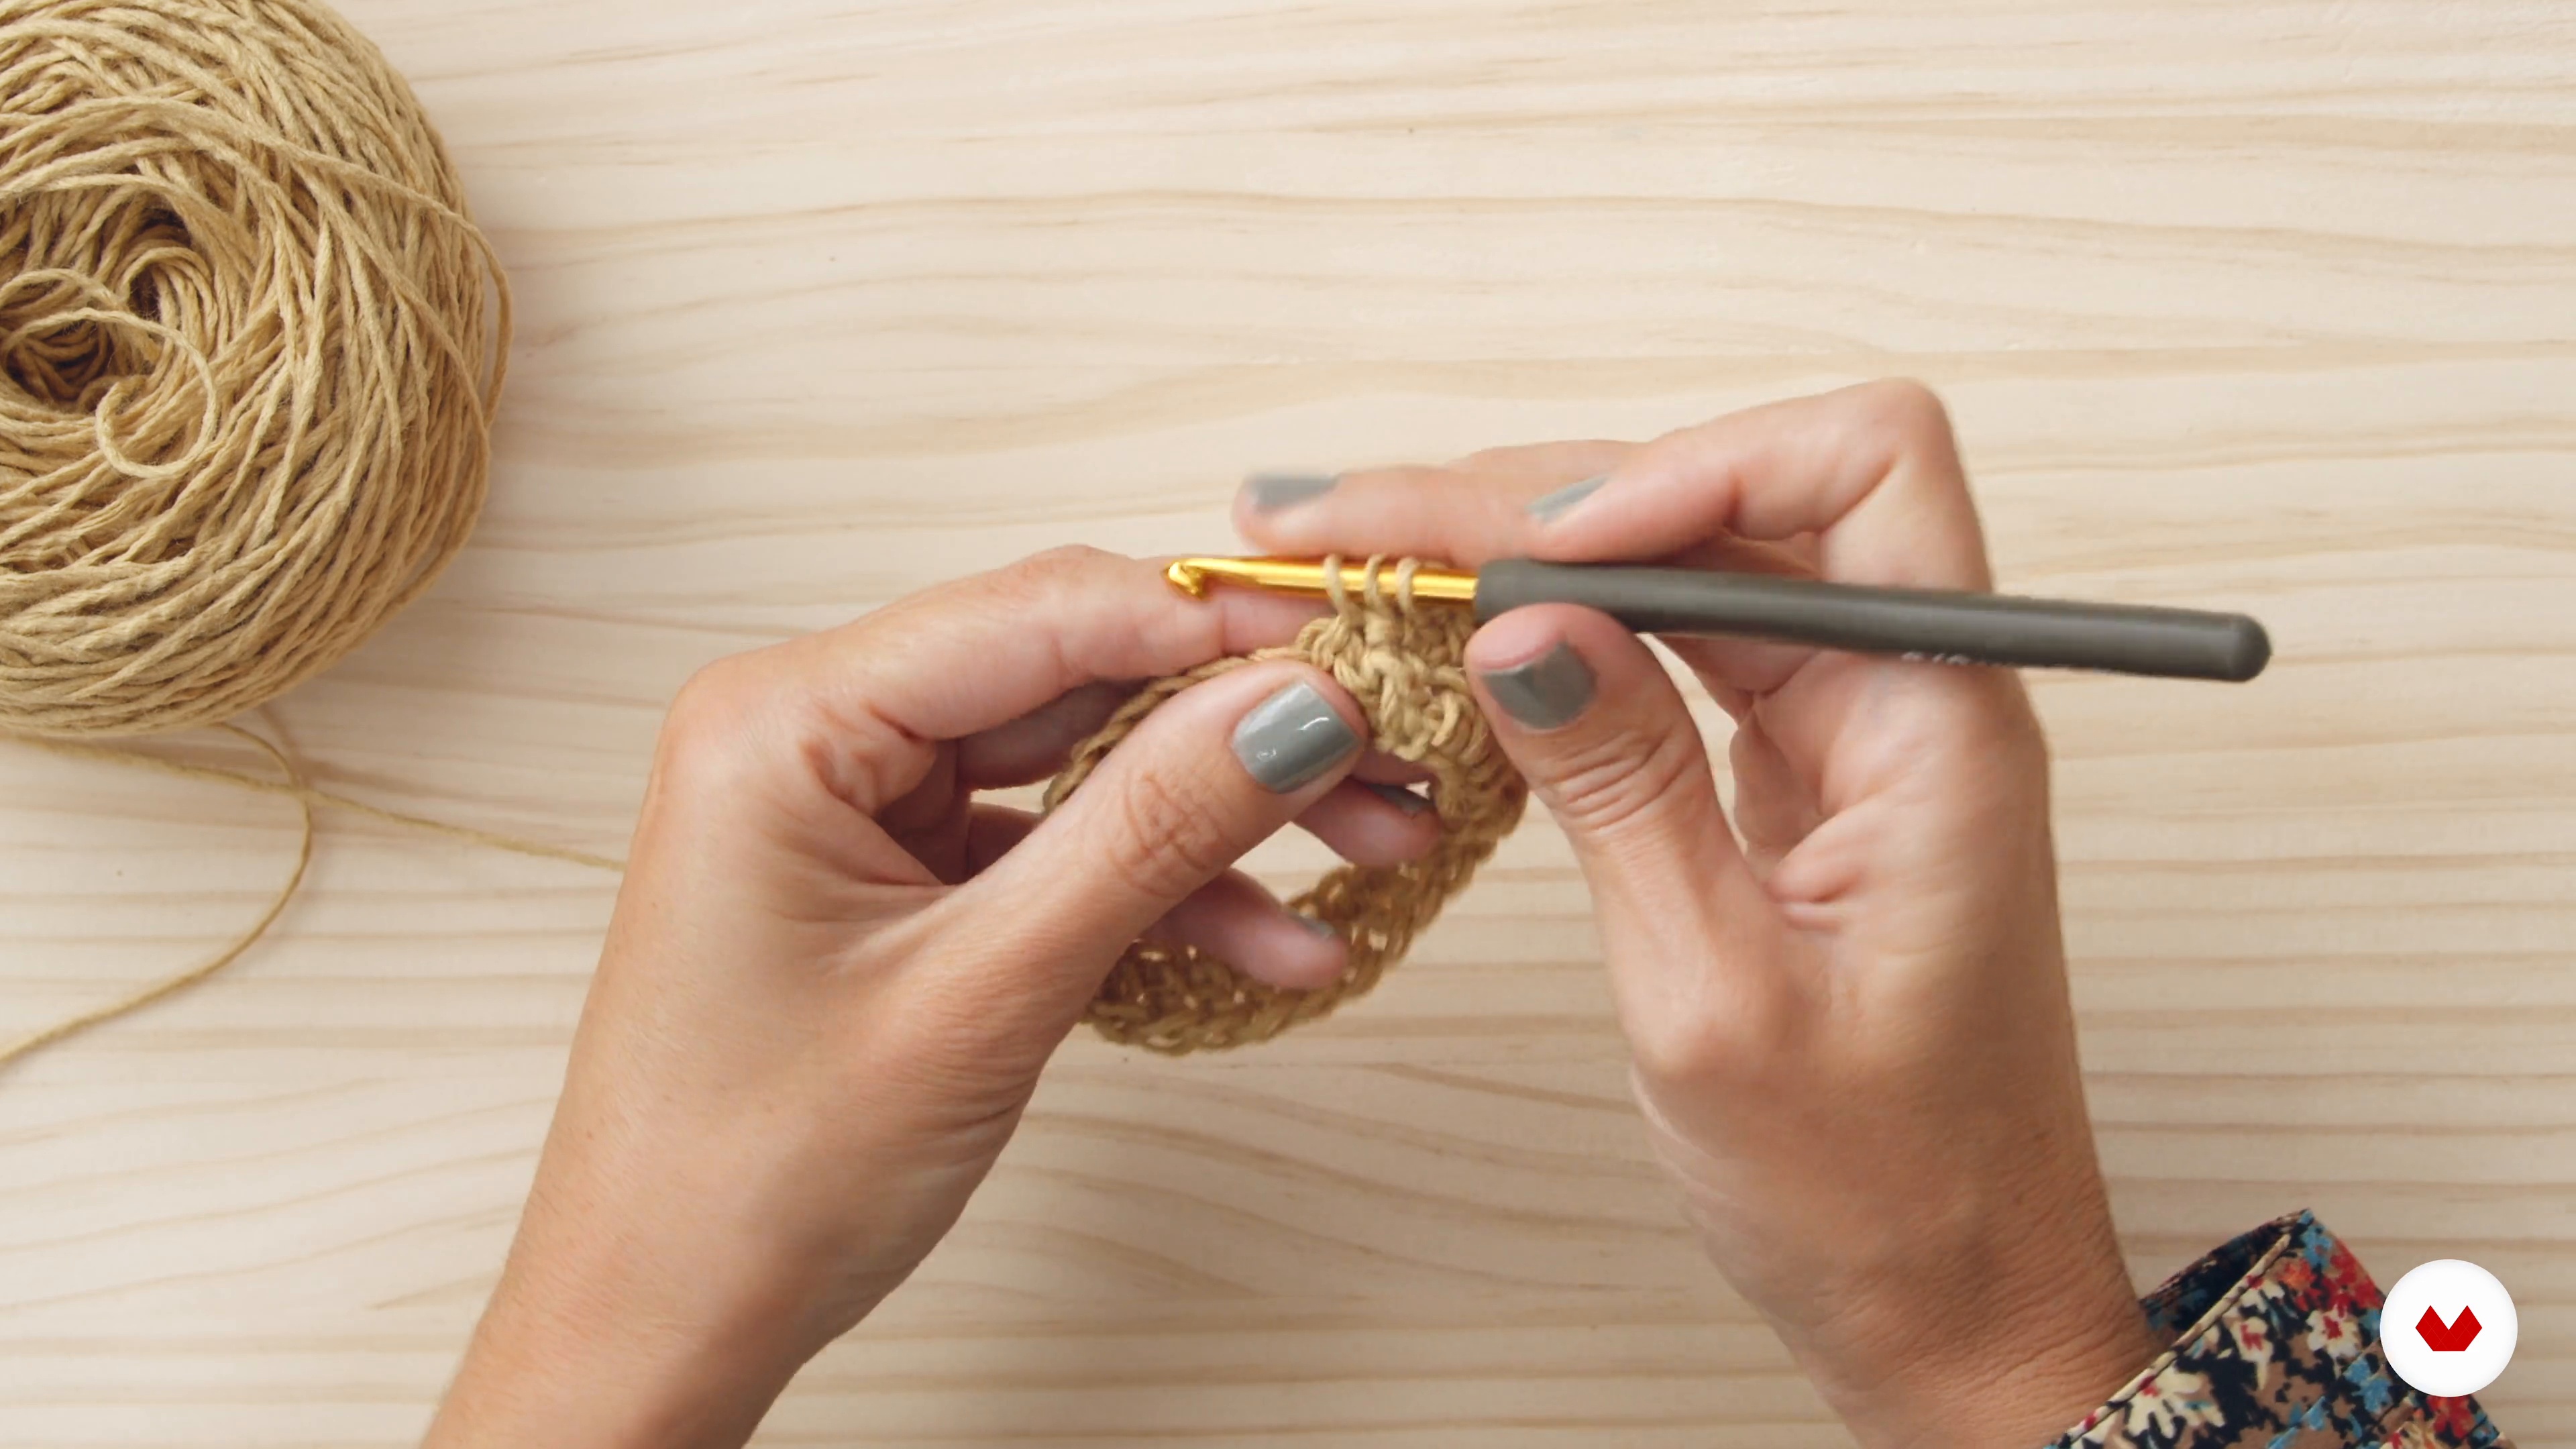
7Stitches for Crocheting in the Round
Ready? In this lesson, I'll give you tips for knitting in the round. It's time to practice basic and advanced crochet stitches!
19m
 8
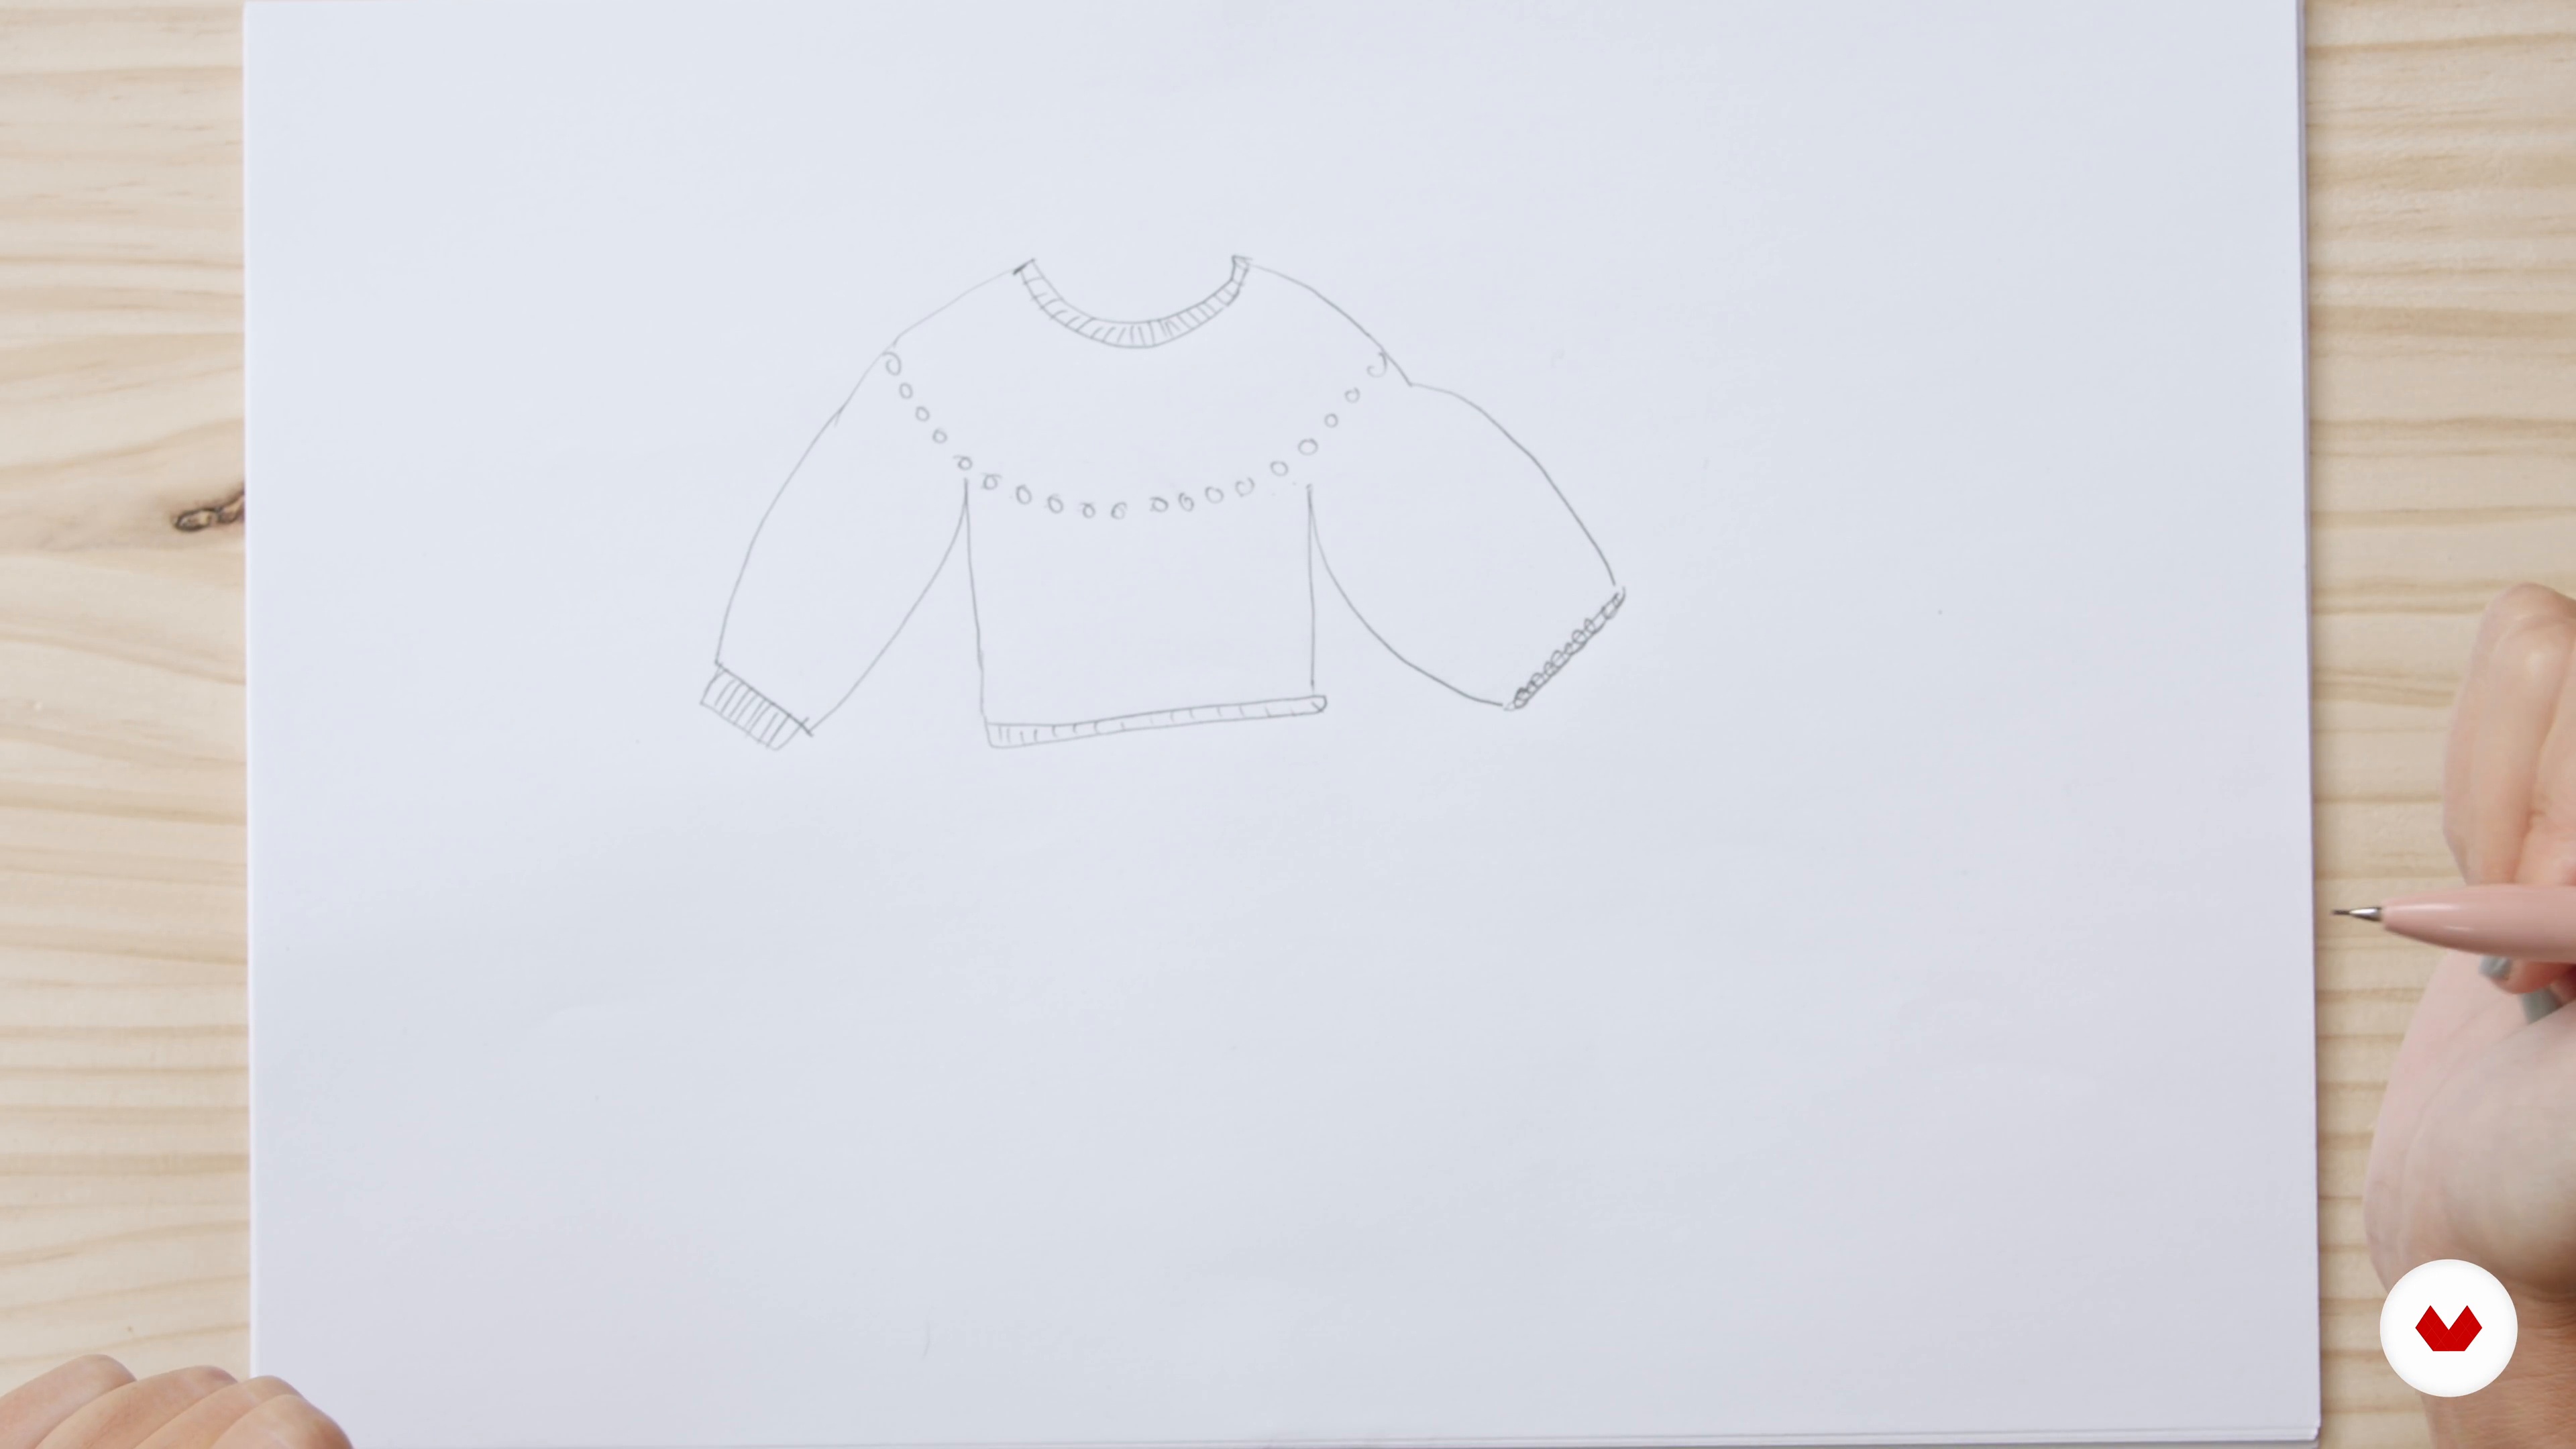
8The sketch
In this lesson, we'll work on a garment sketch. A simple drawing will help us bring our idea to life.
3m
 9
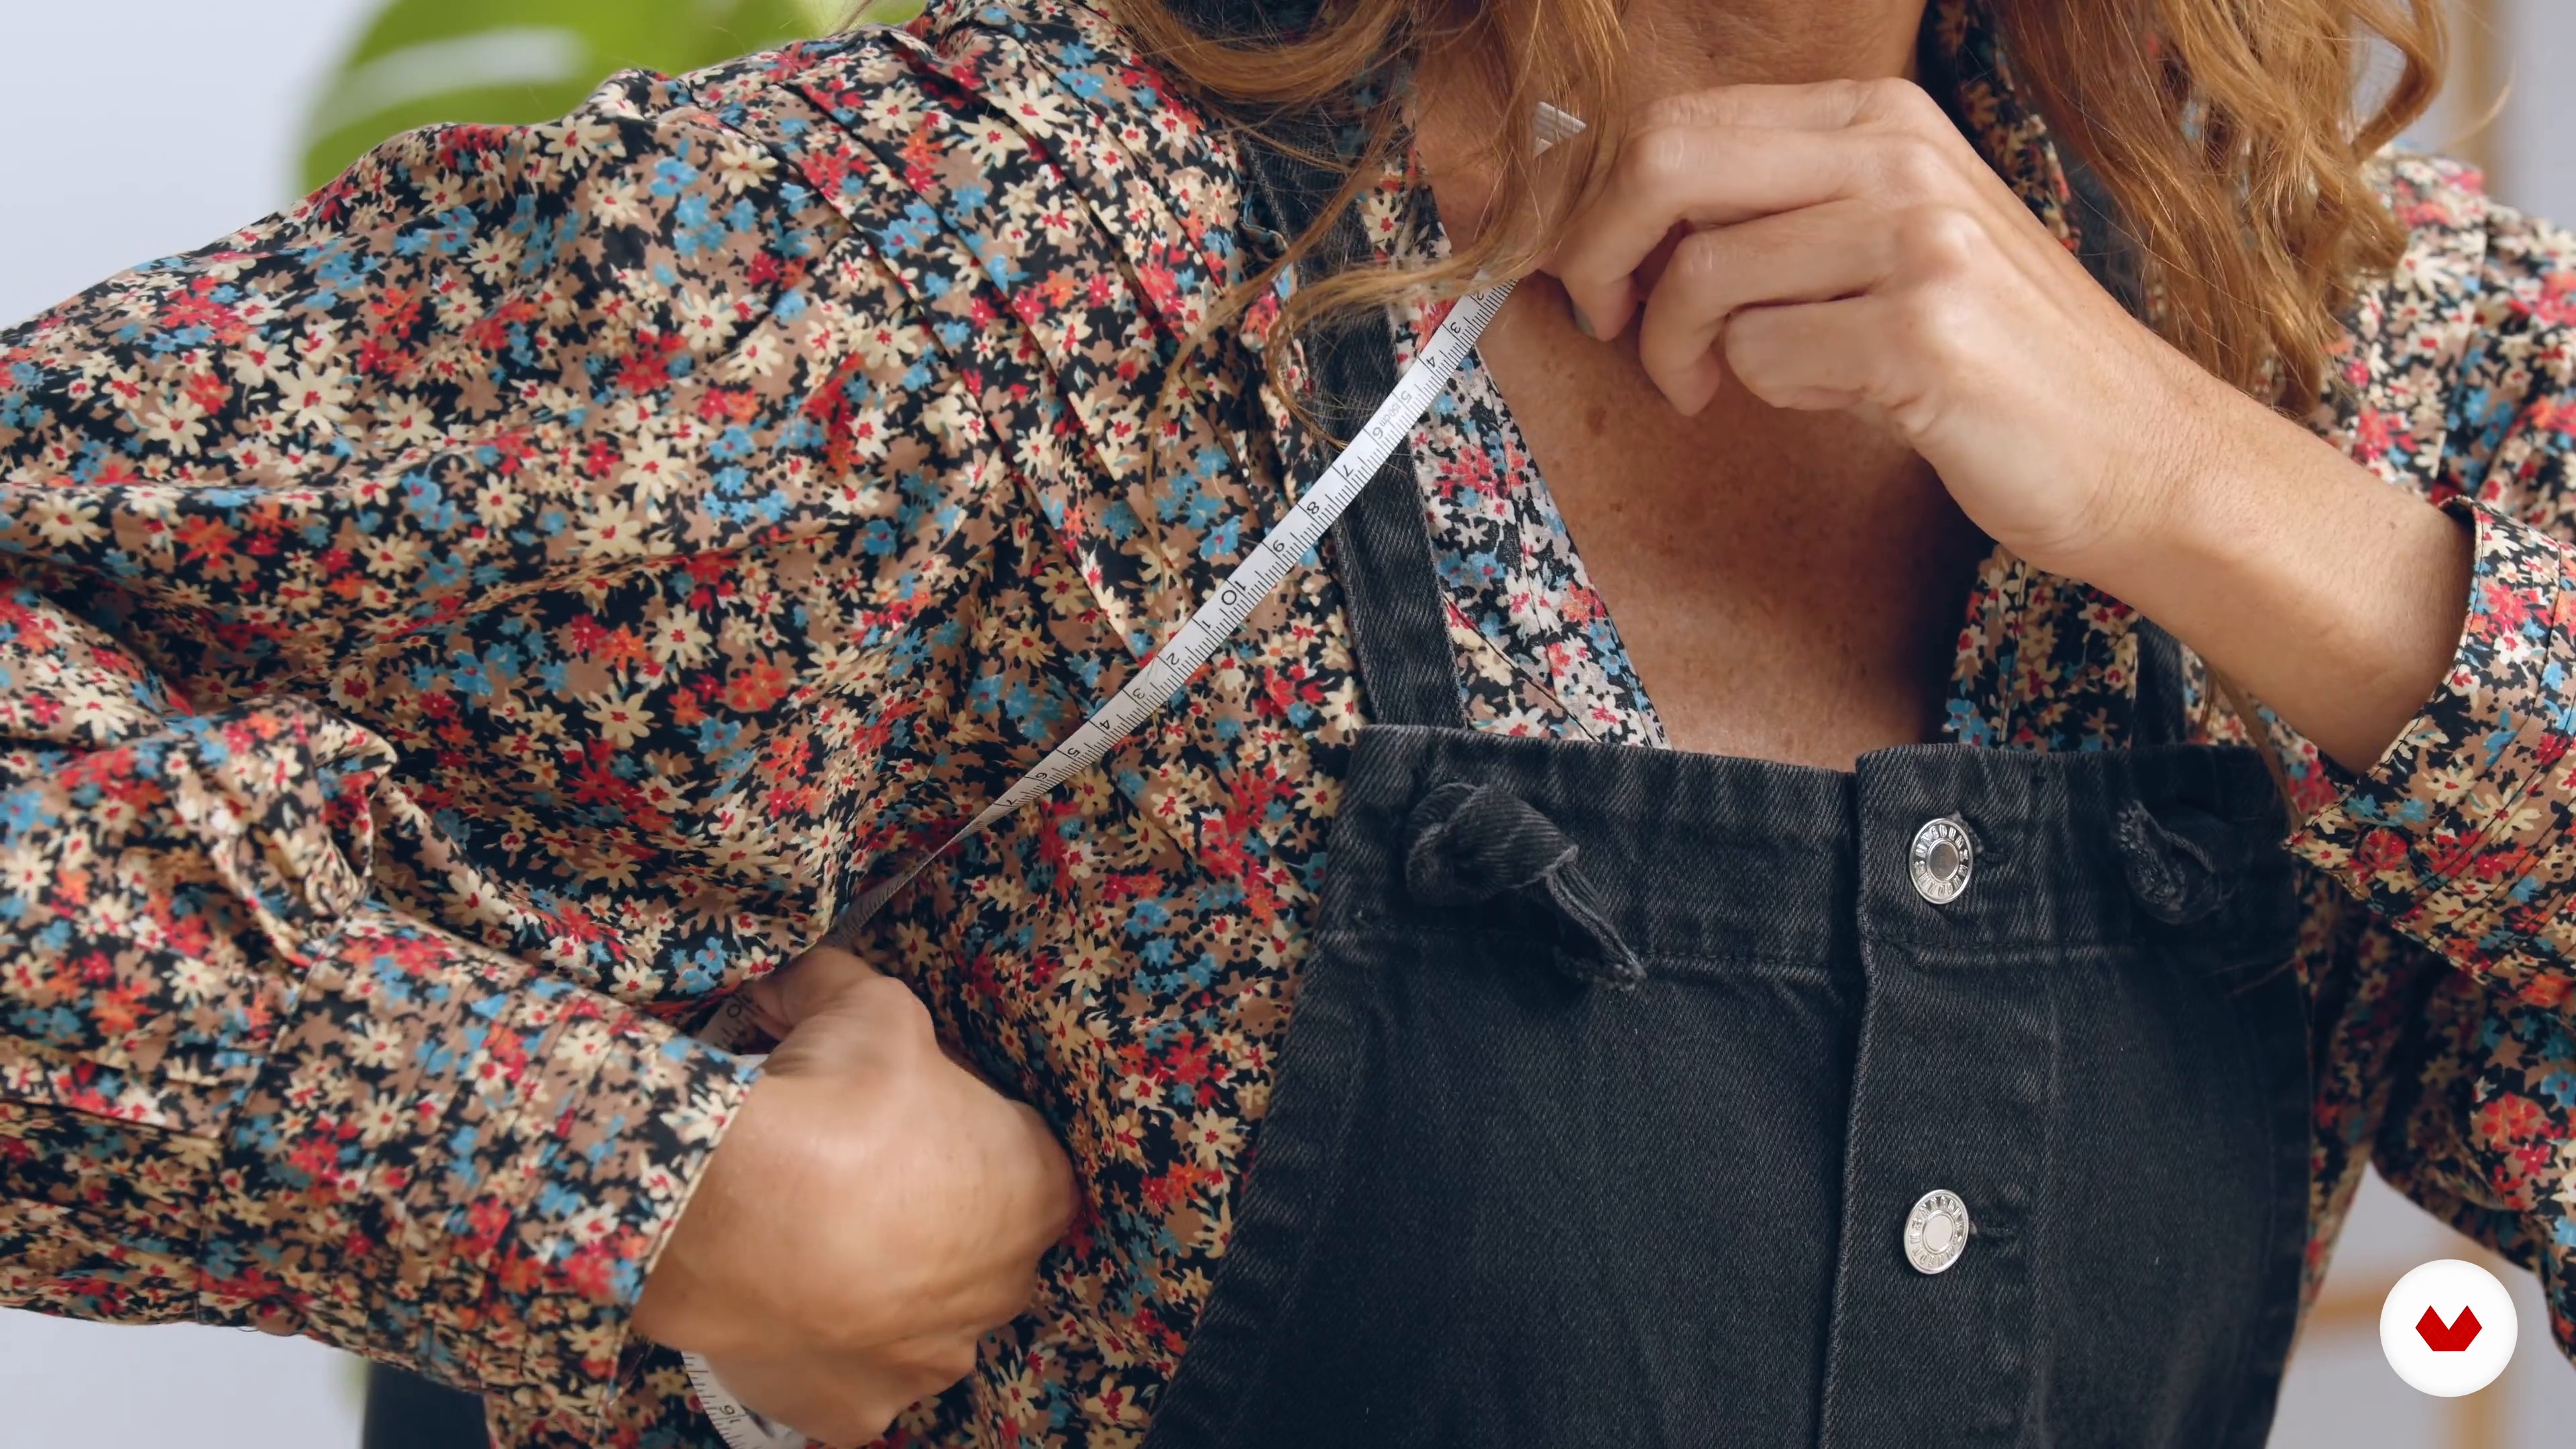
9How to take measurements
Next, I'm going to show you how to correctly take measurements to make your garment.
5m
 10
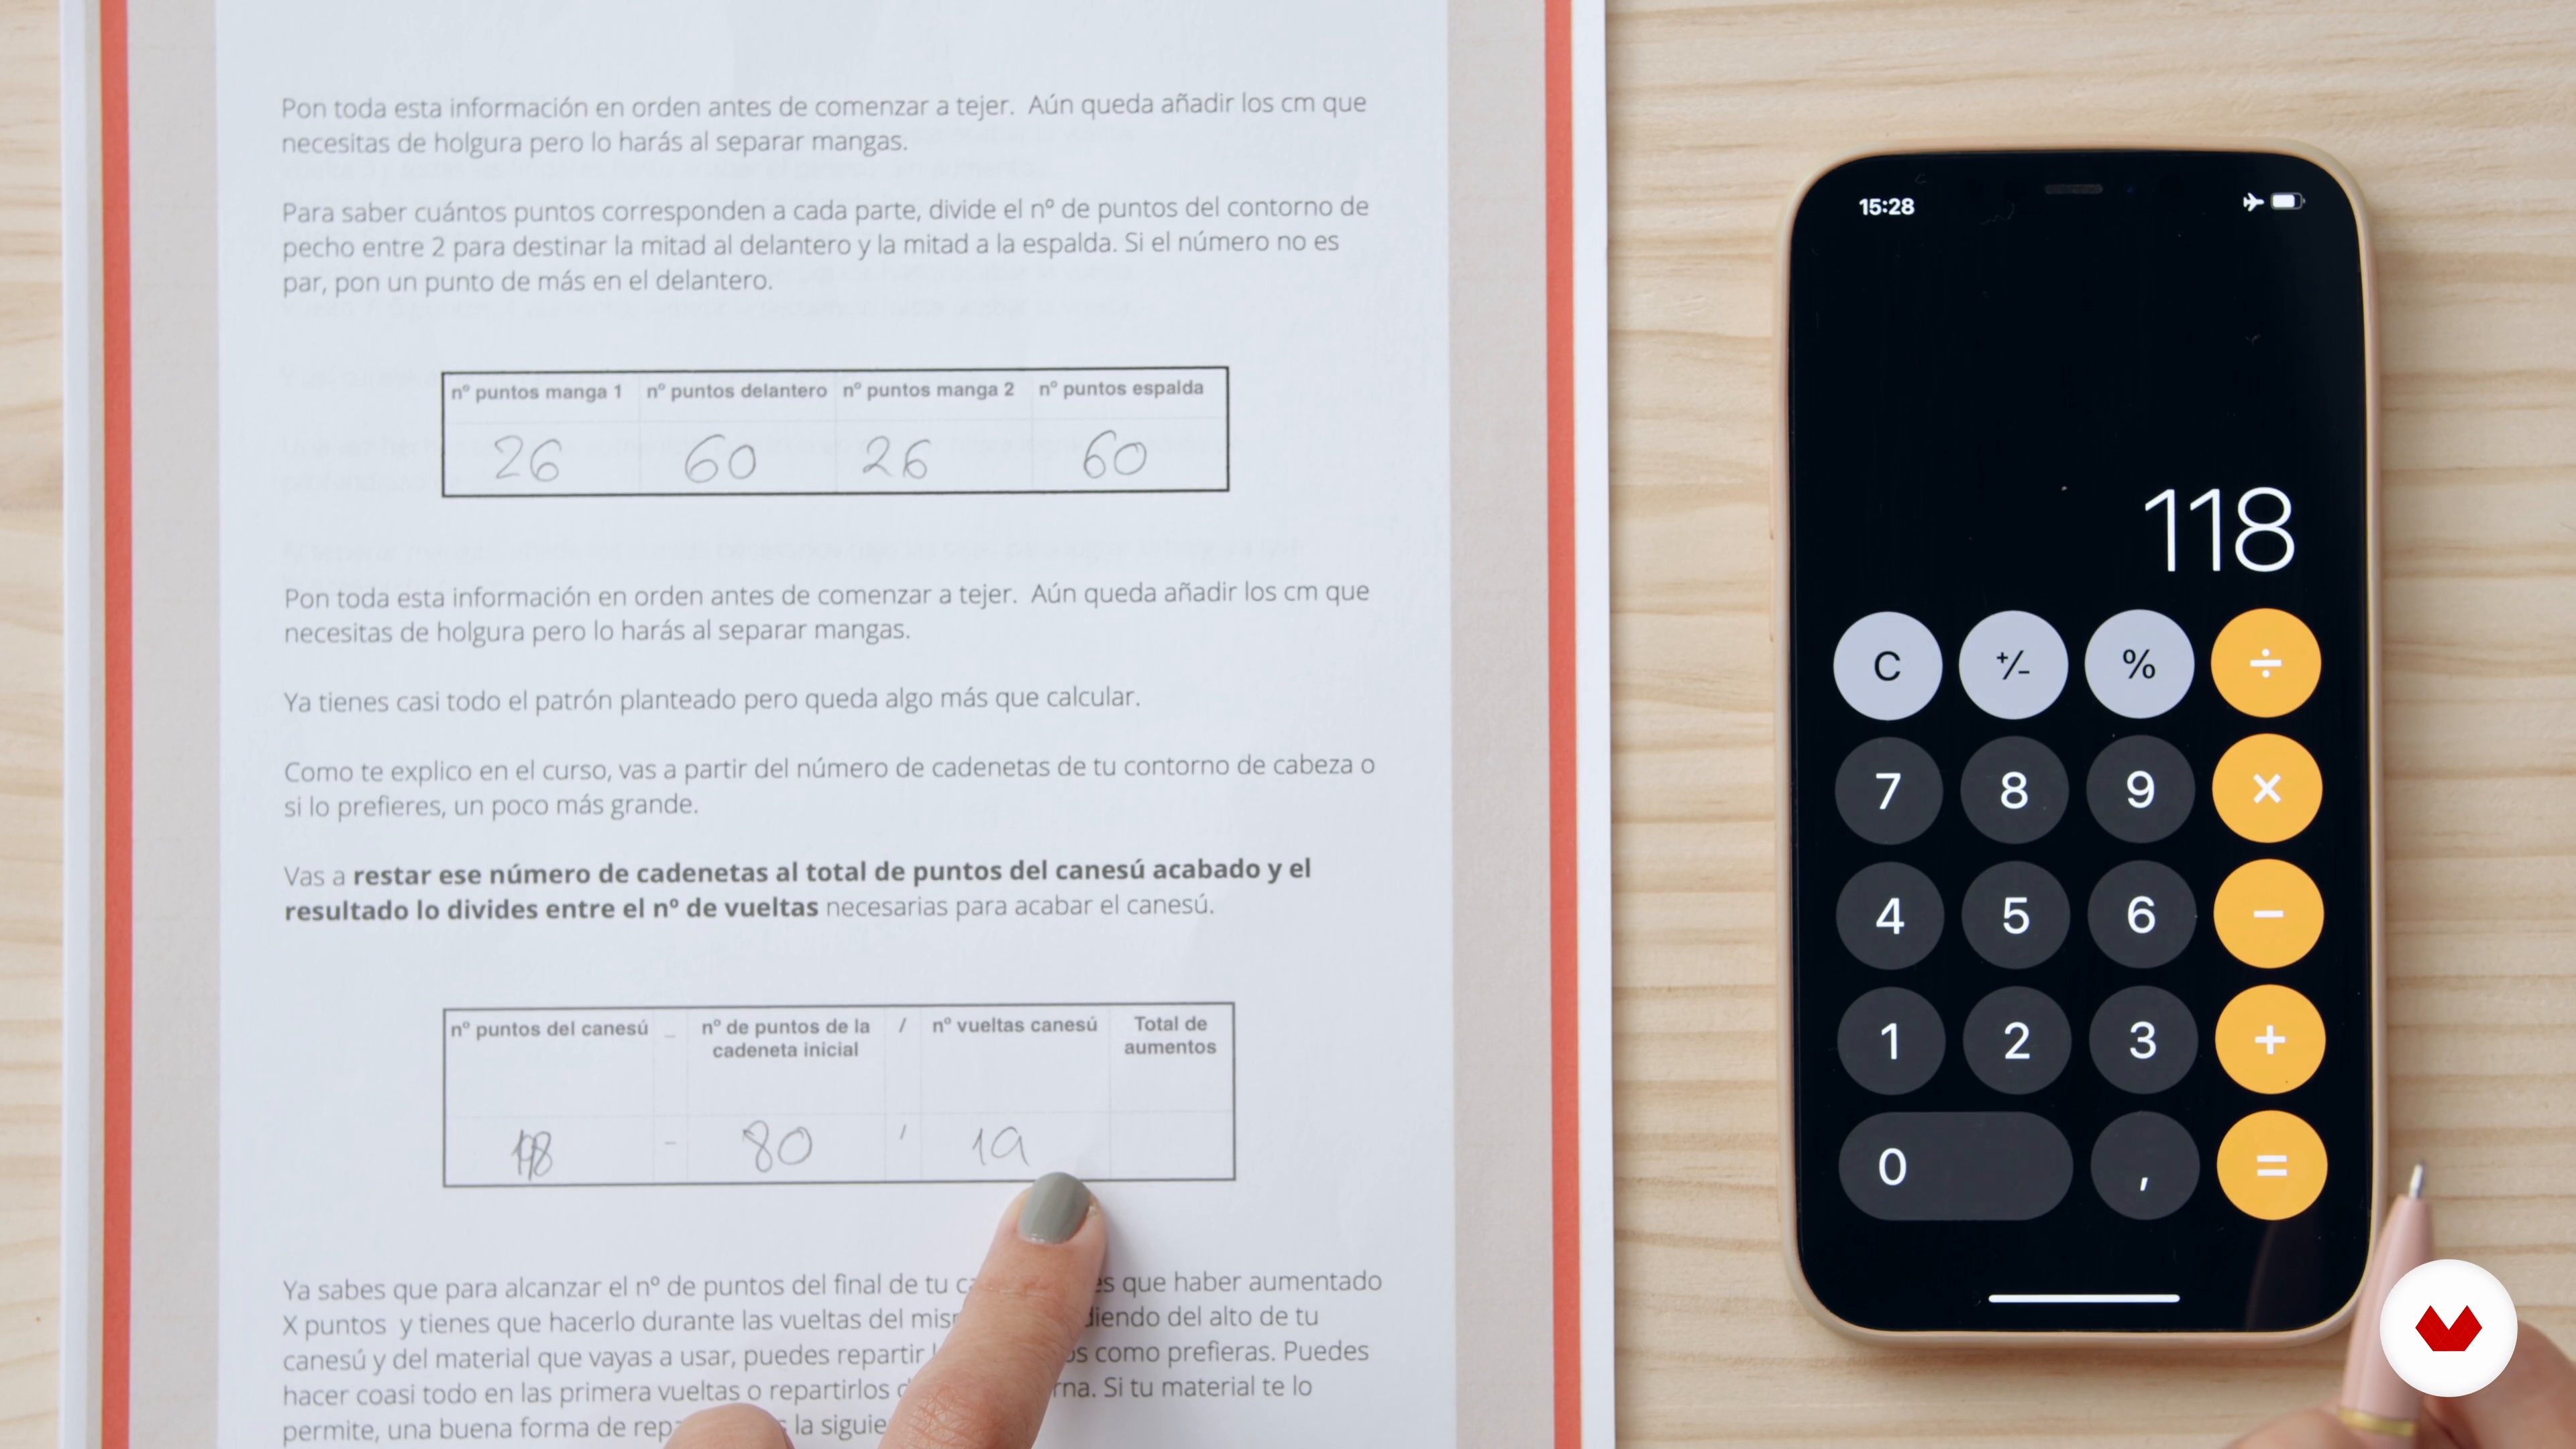
10Calculate points according to measurements
We now have the measurements and a sketch of the garment. Now it's time to transform that information into stitches and rows.
13m
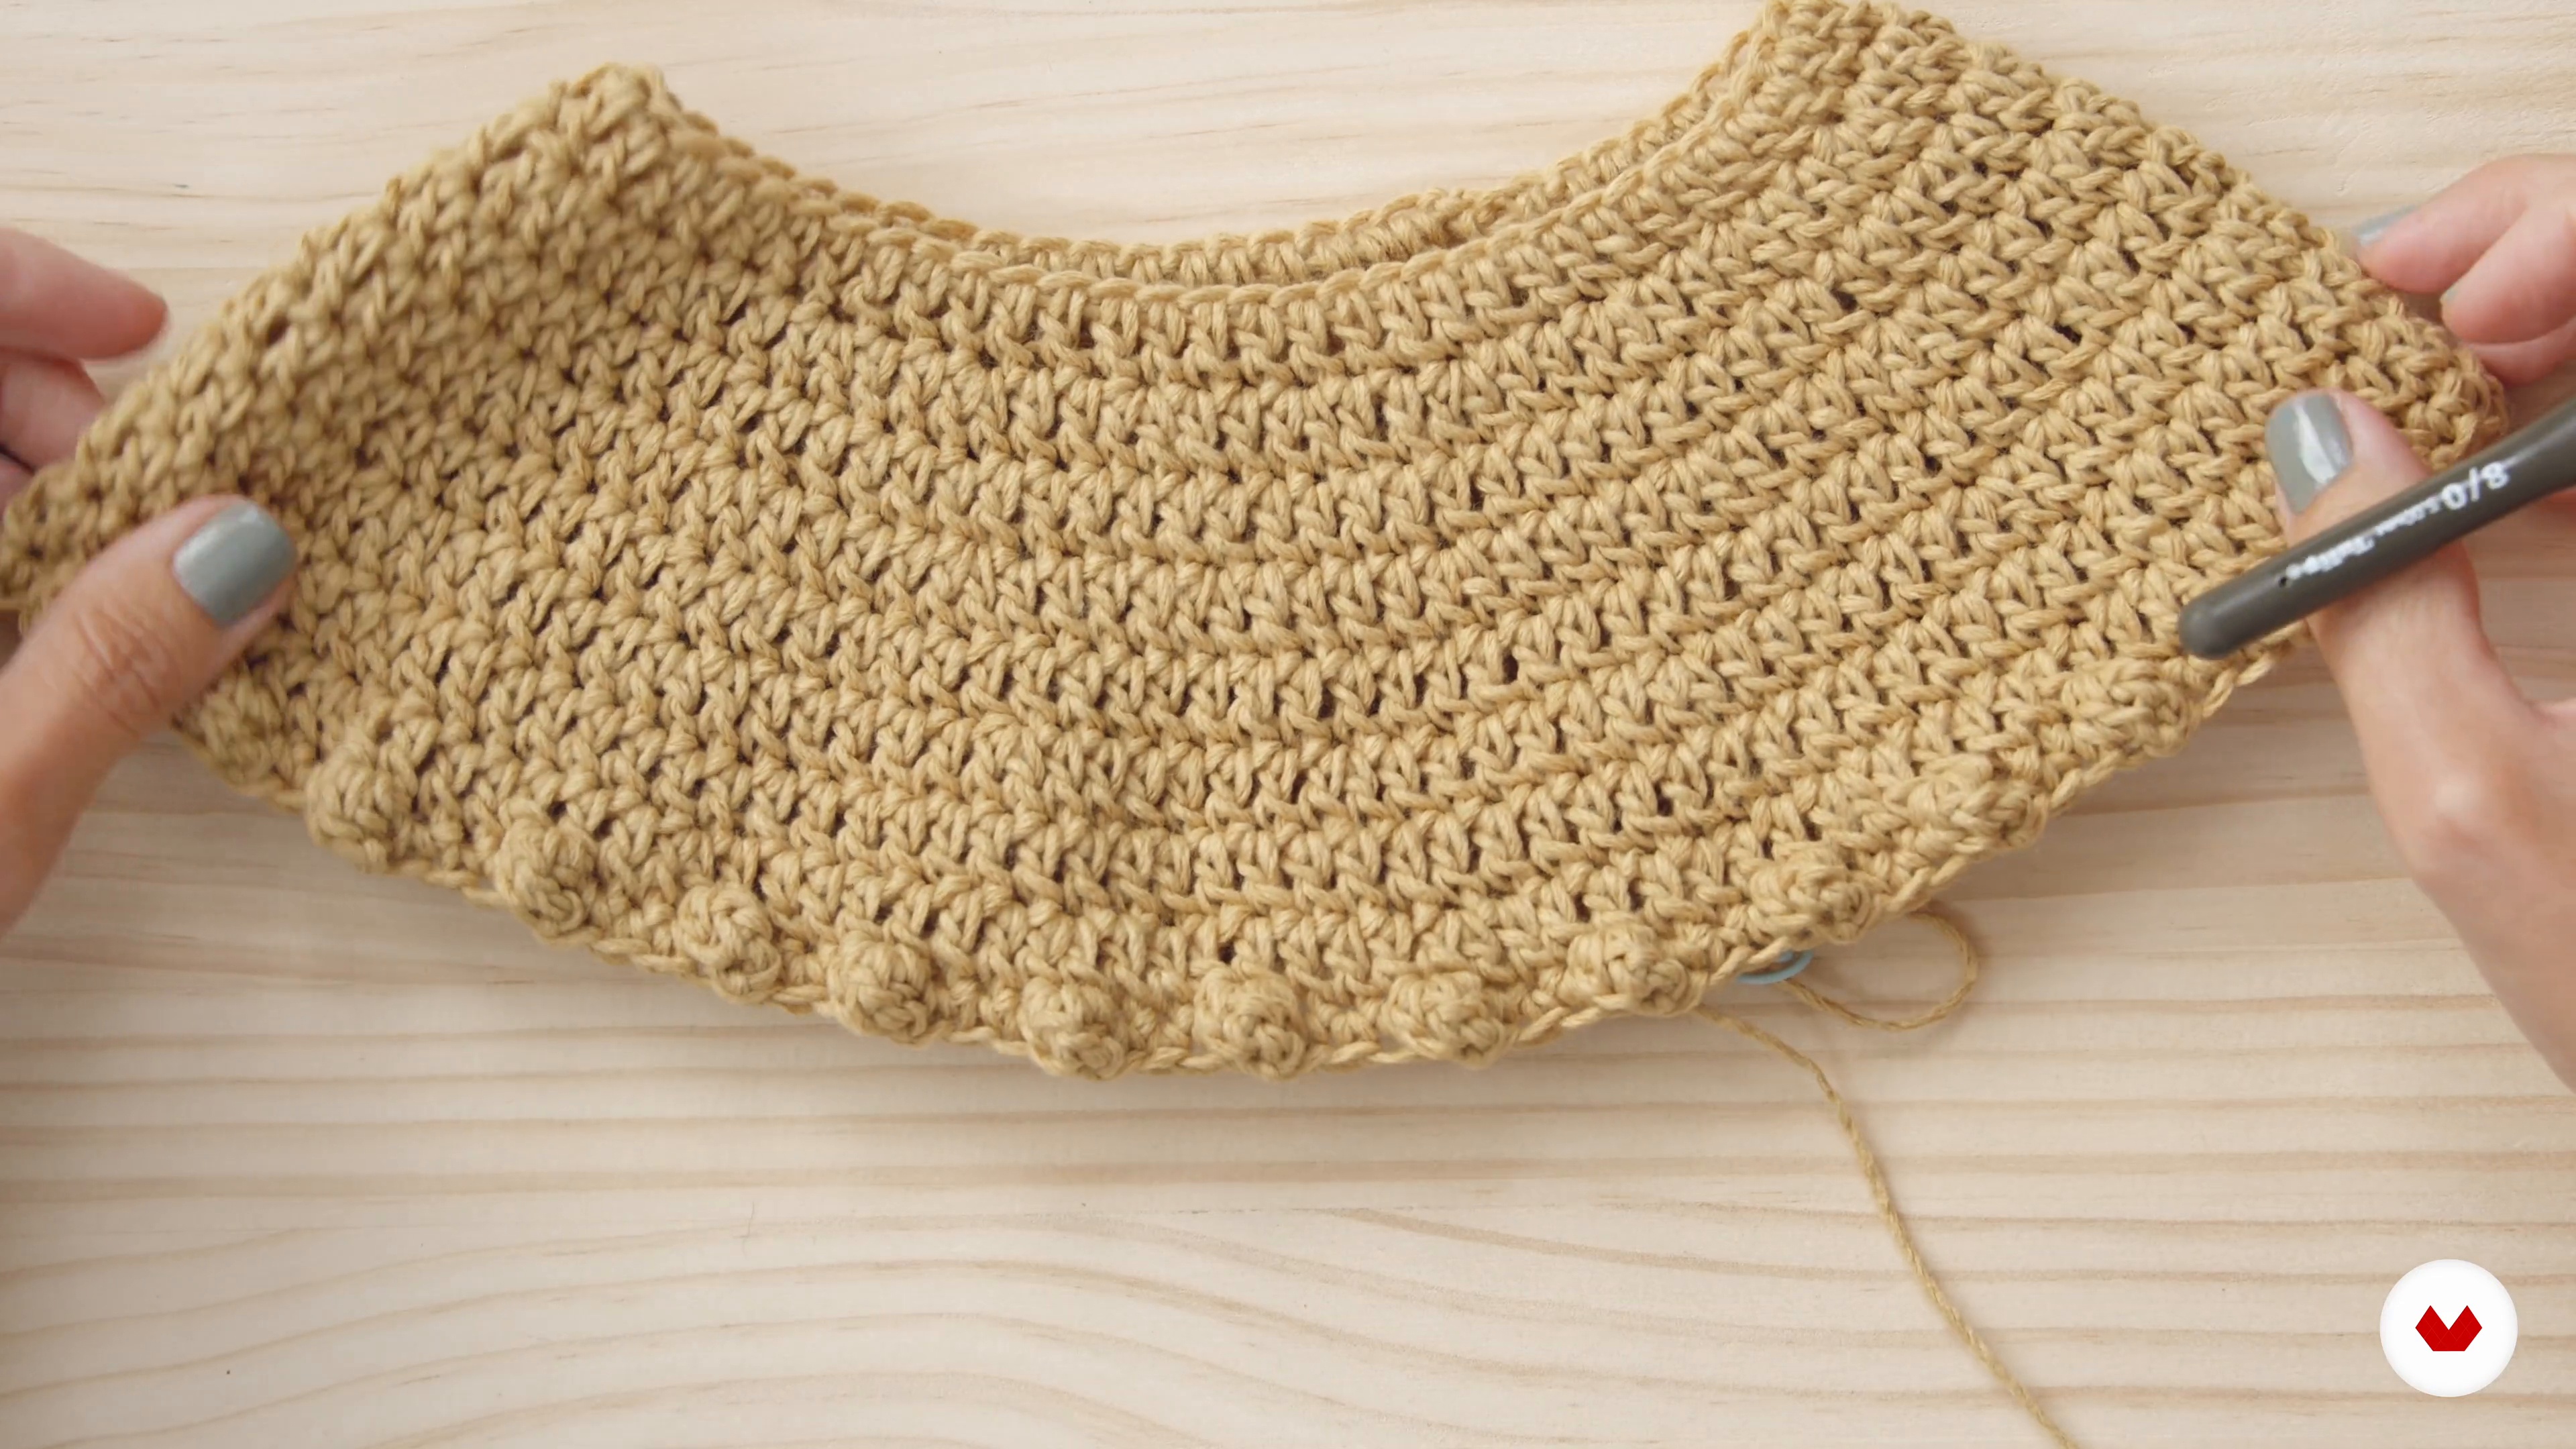 11
11The yoke
Let's get started knitting our project. In this lesson, we'll begin knitting the round yoke.
14m
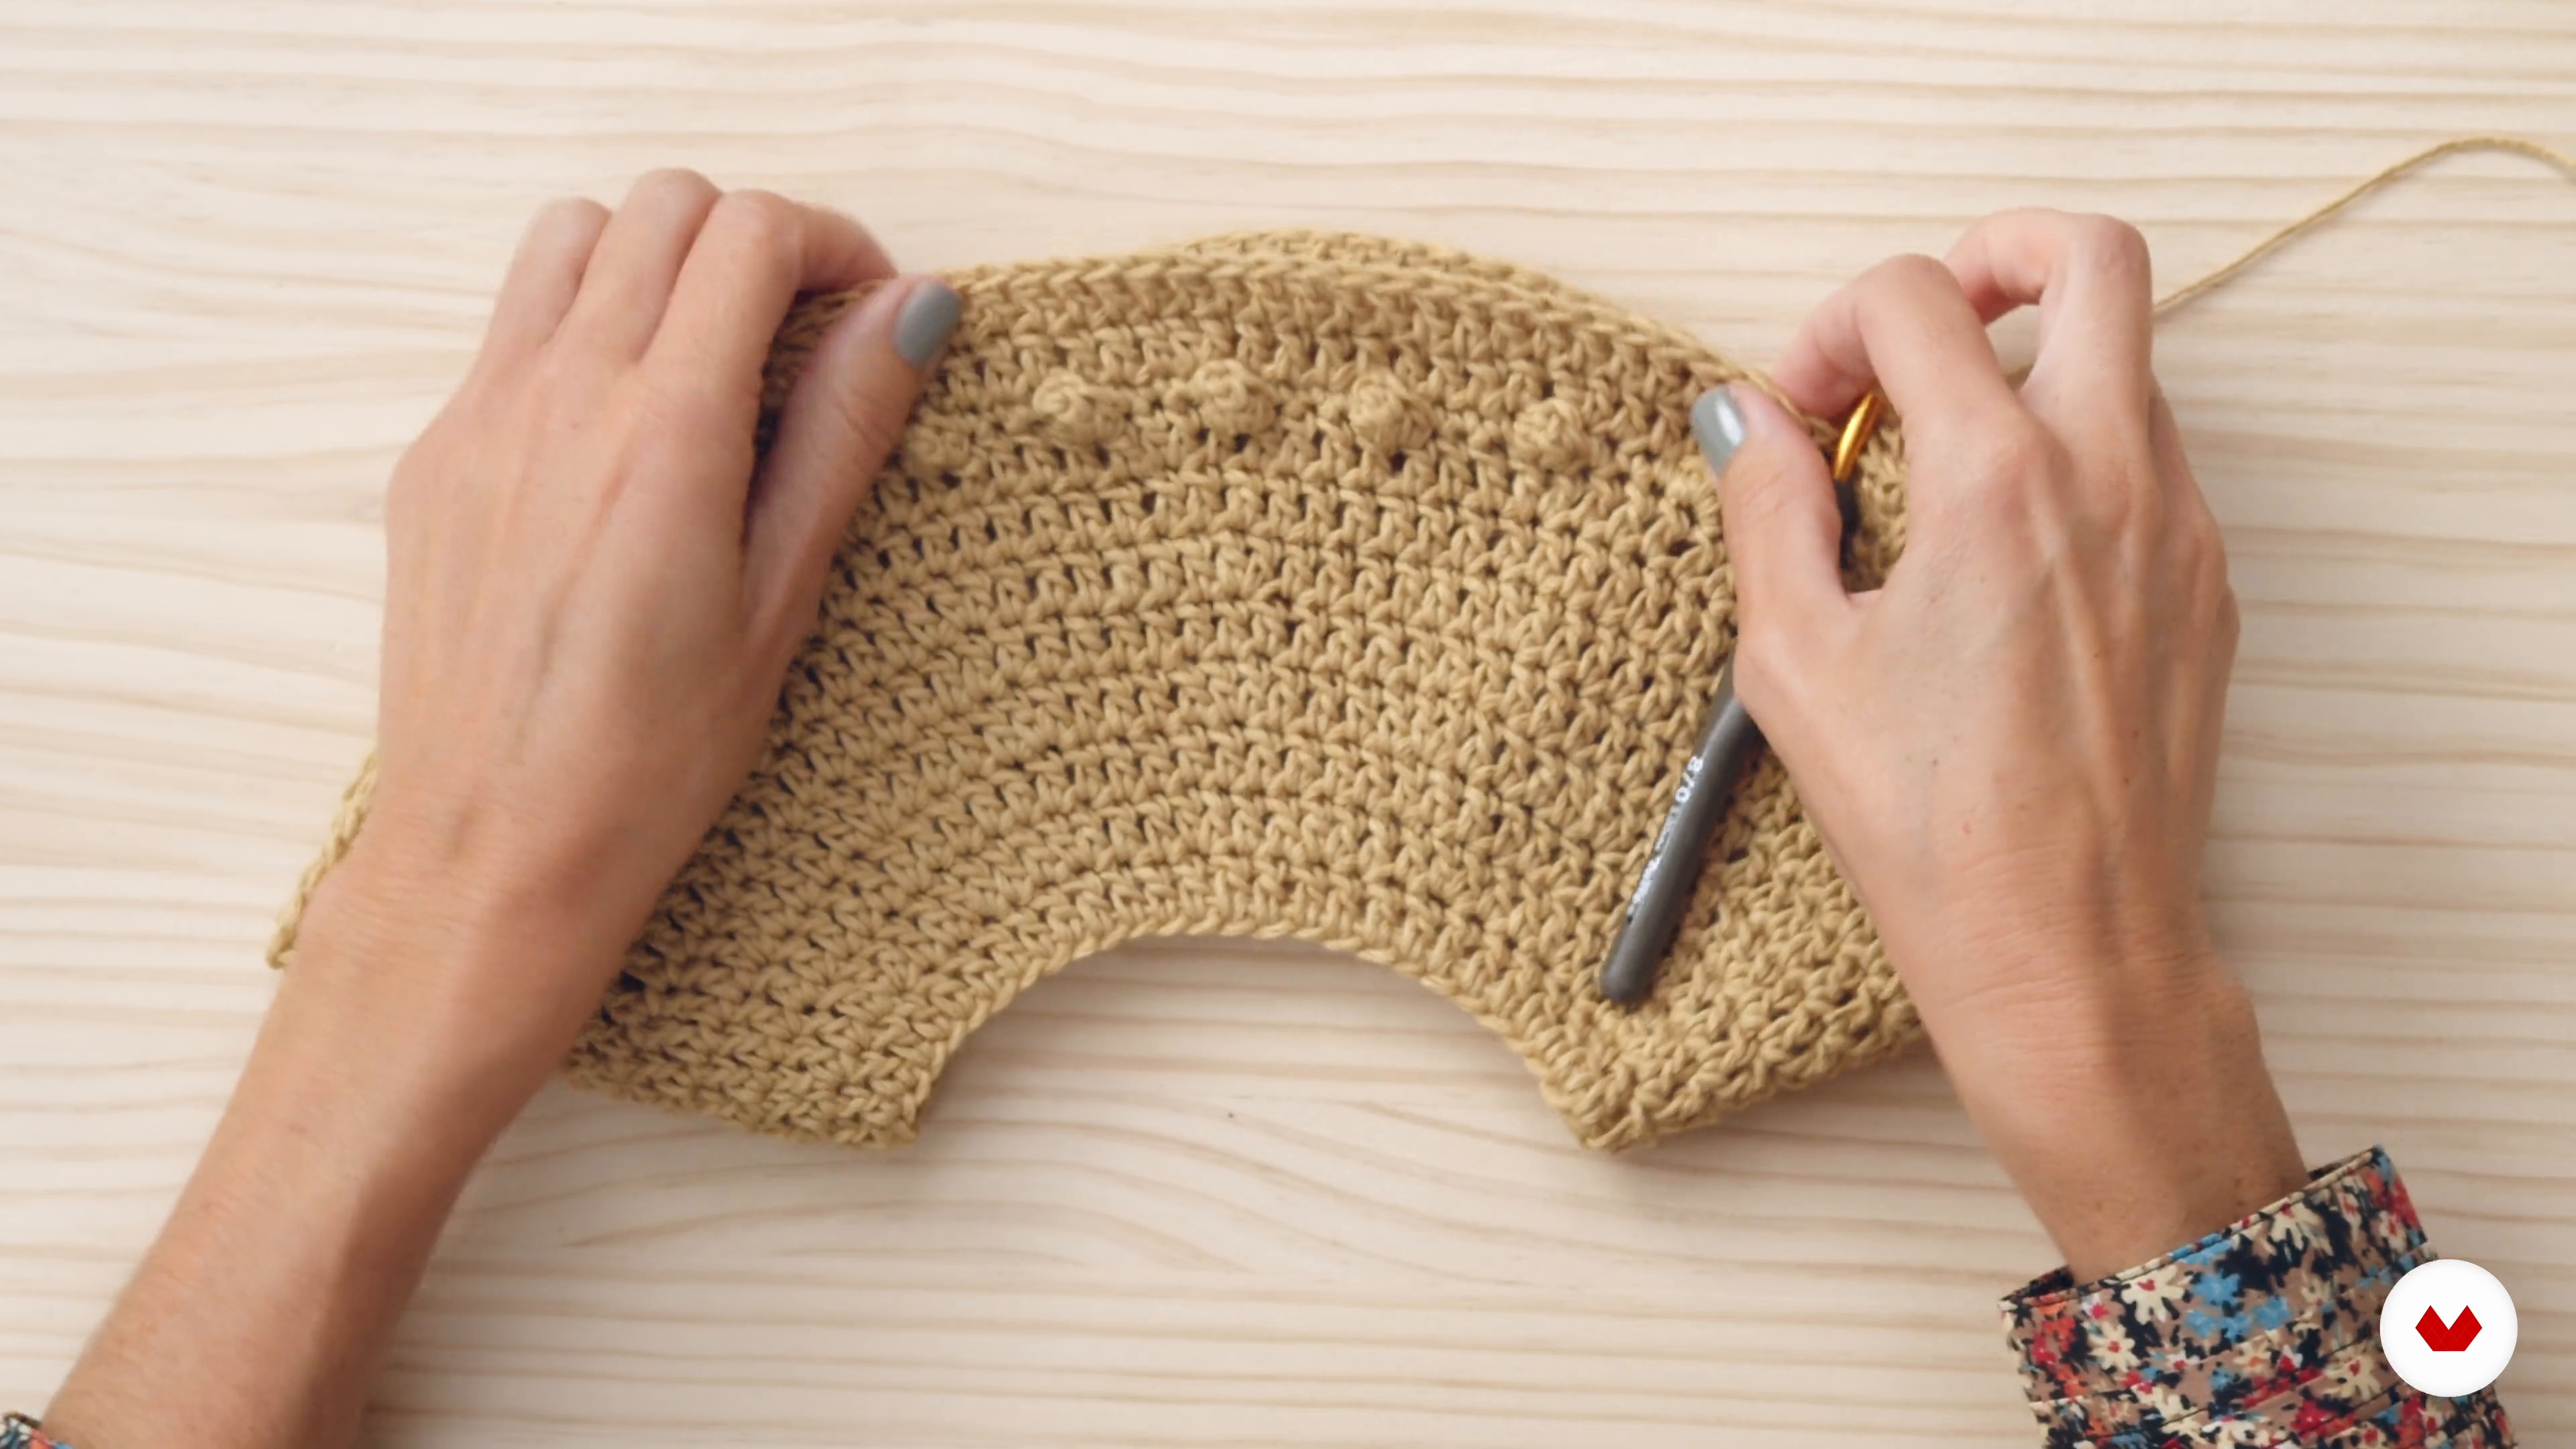 12
12Sleeve separation
Once the armhole depth is reached, it's time to separate the sleeves. Pay attention to the step-by-step instructions to understand the entire process.
4m
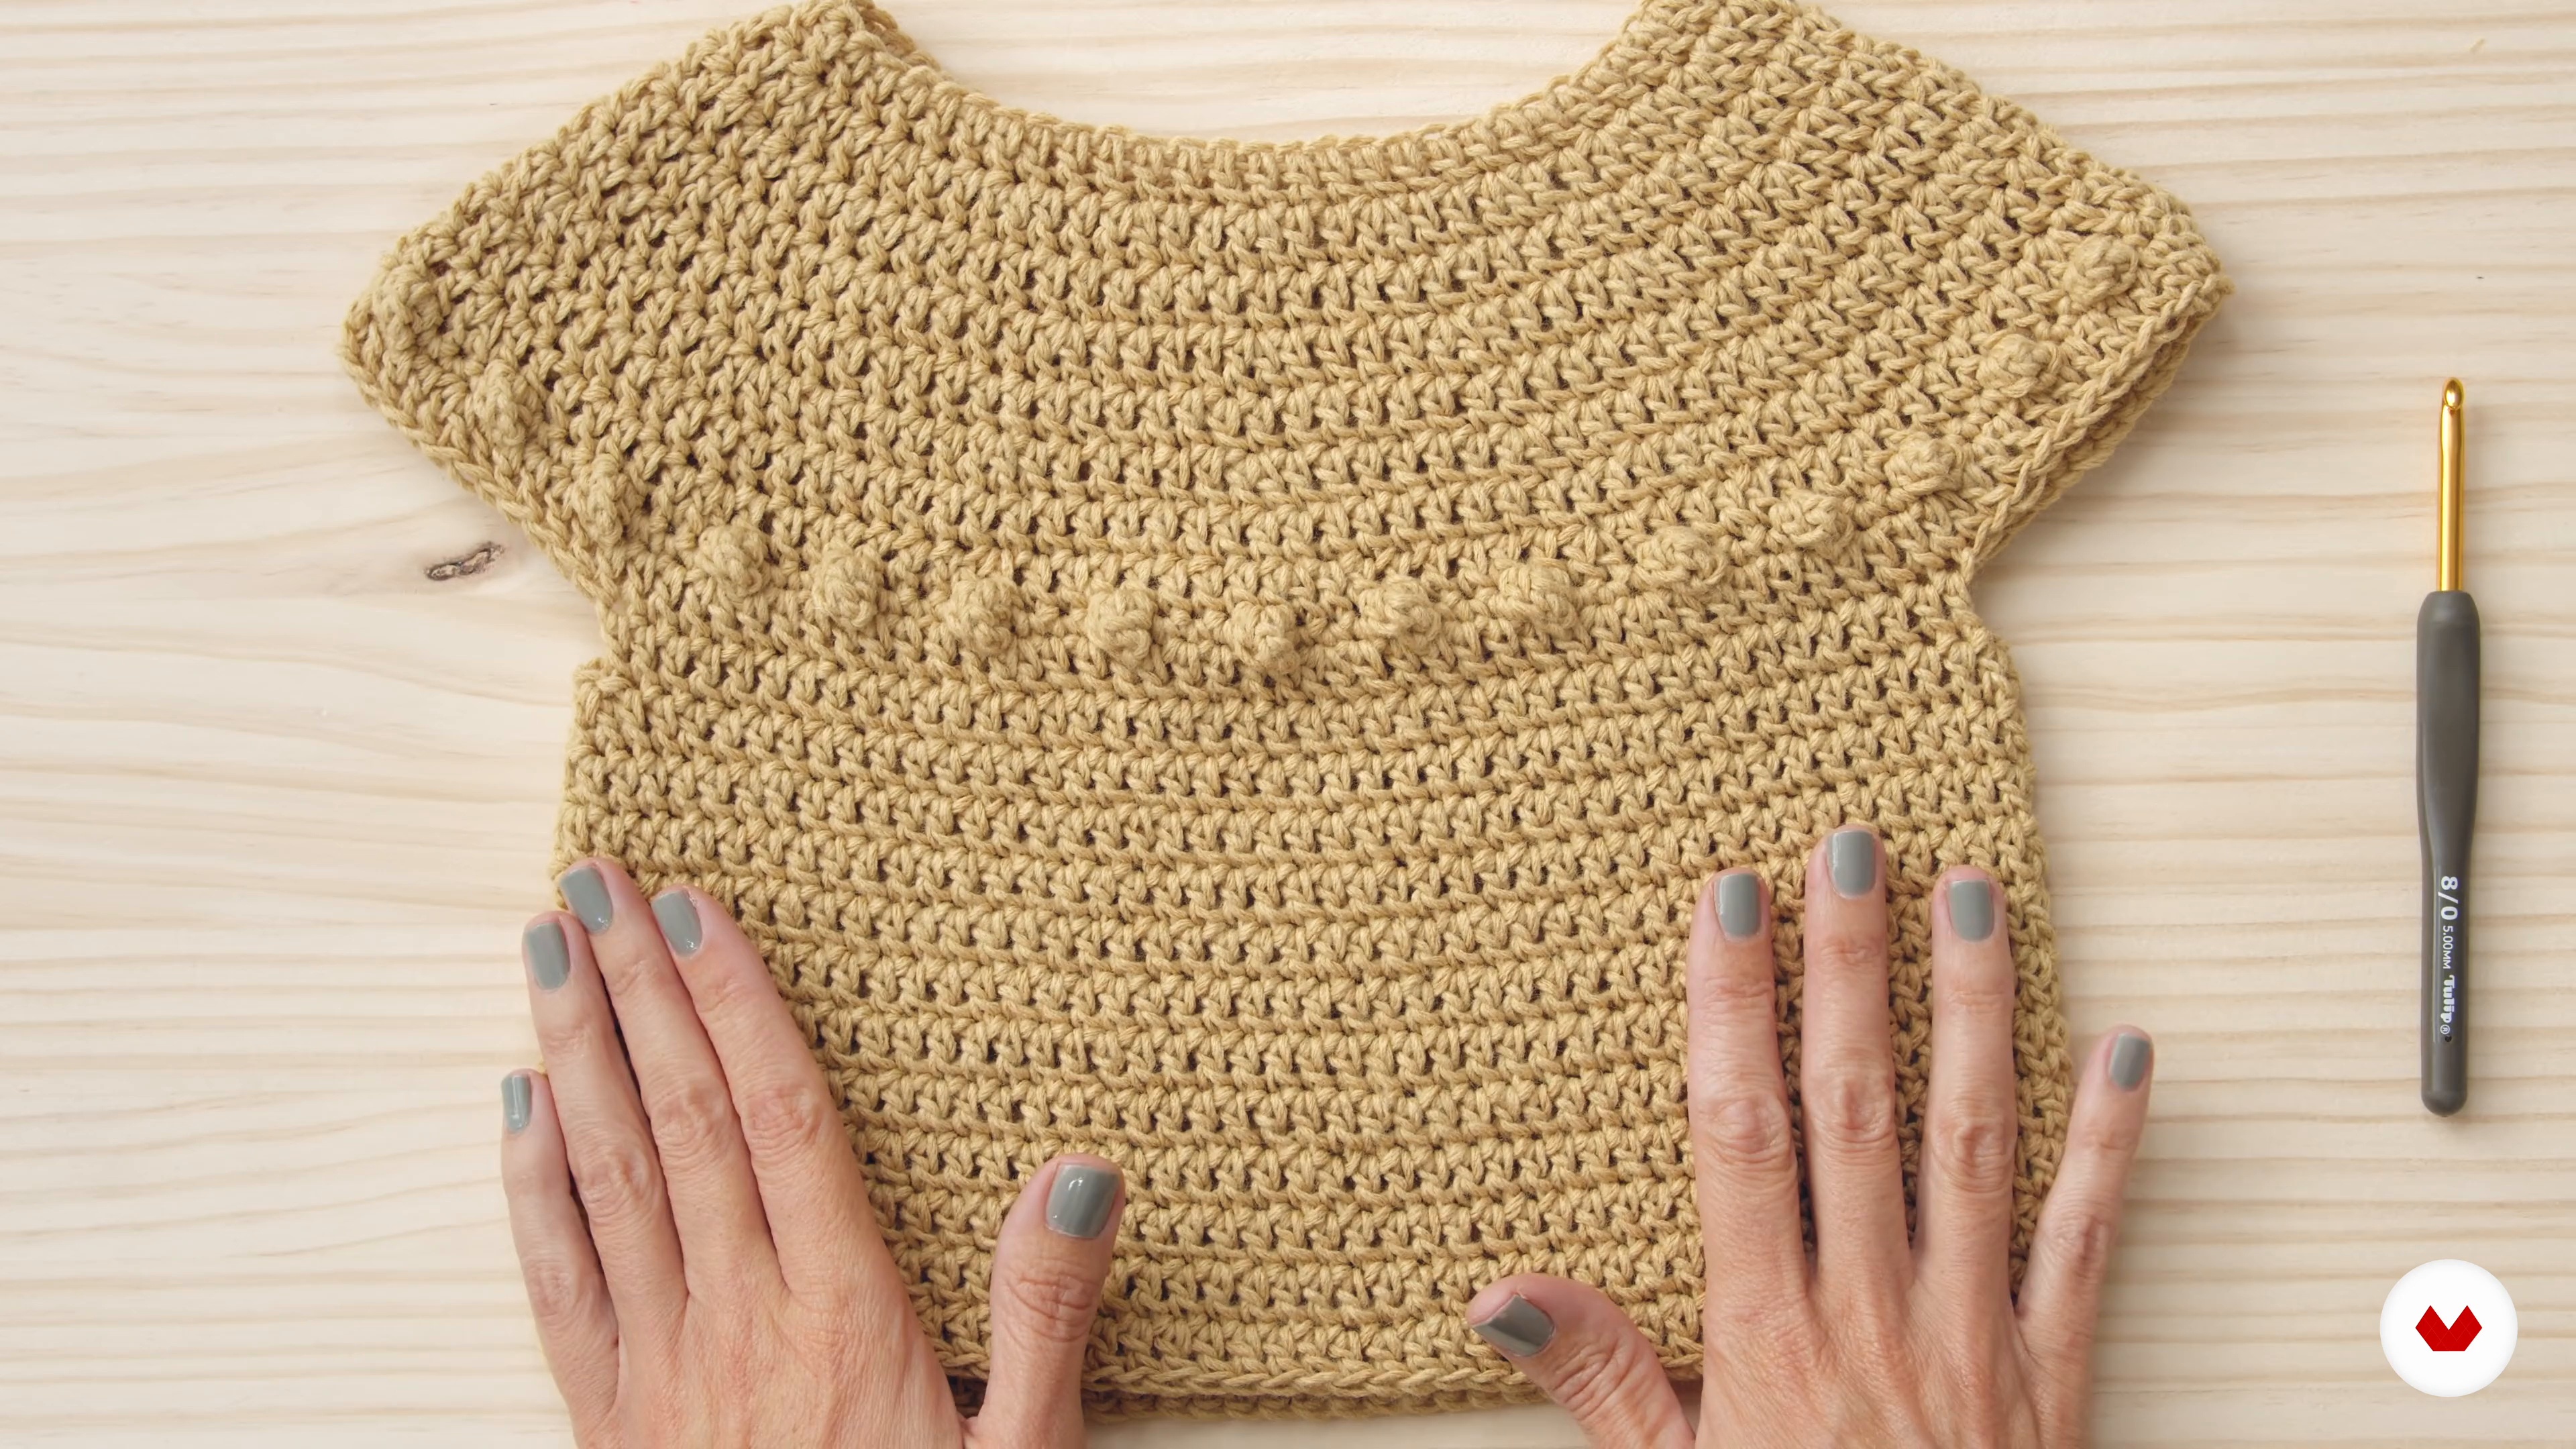 13
13Sweater length
After separating the sleeves, we continue knitting the entire length of the project. We'll do this until we reach the desired length, adjusting the width if necessary.
5m
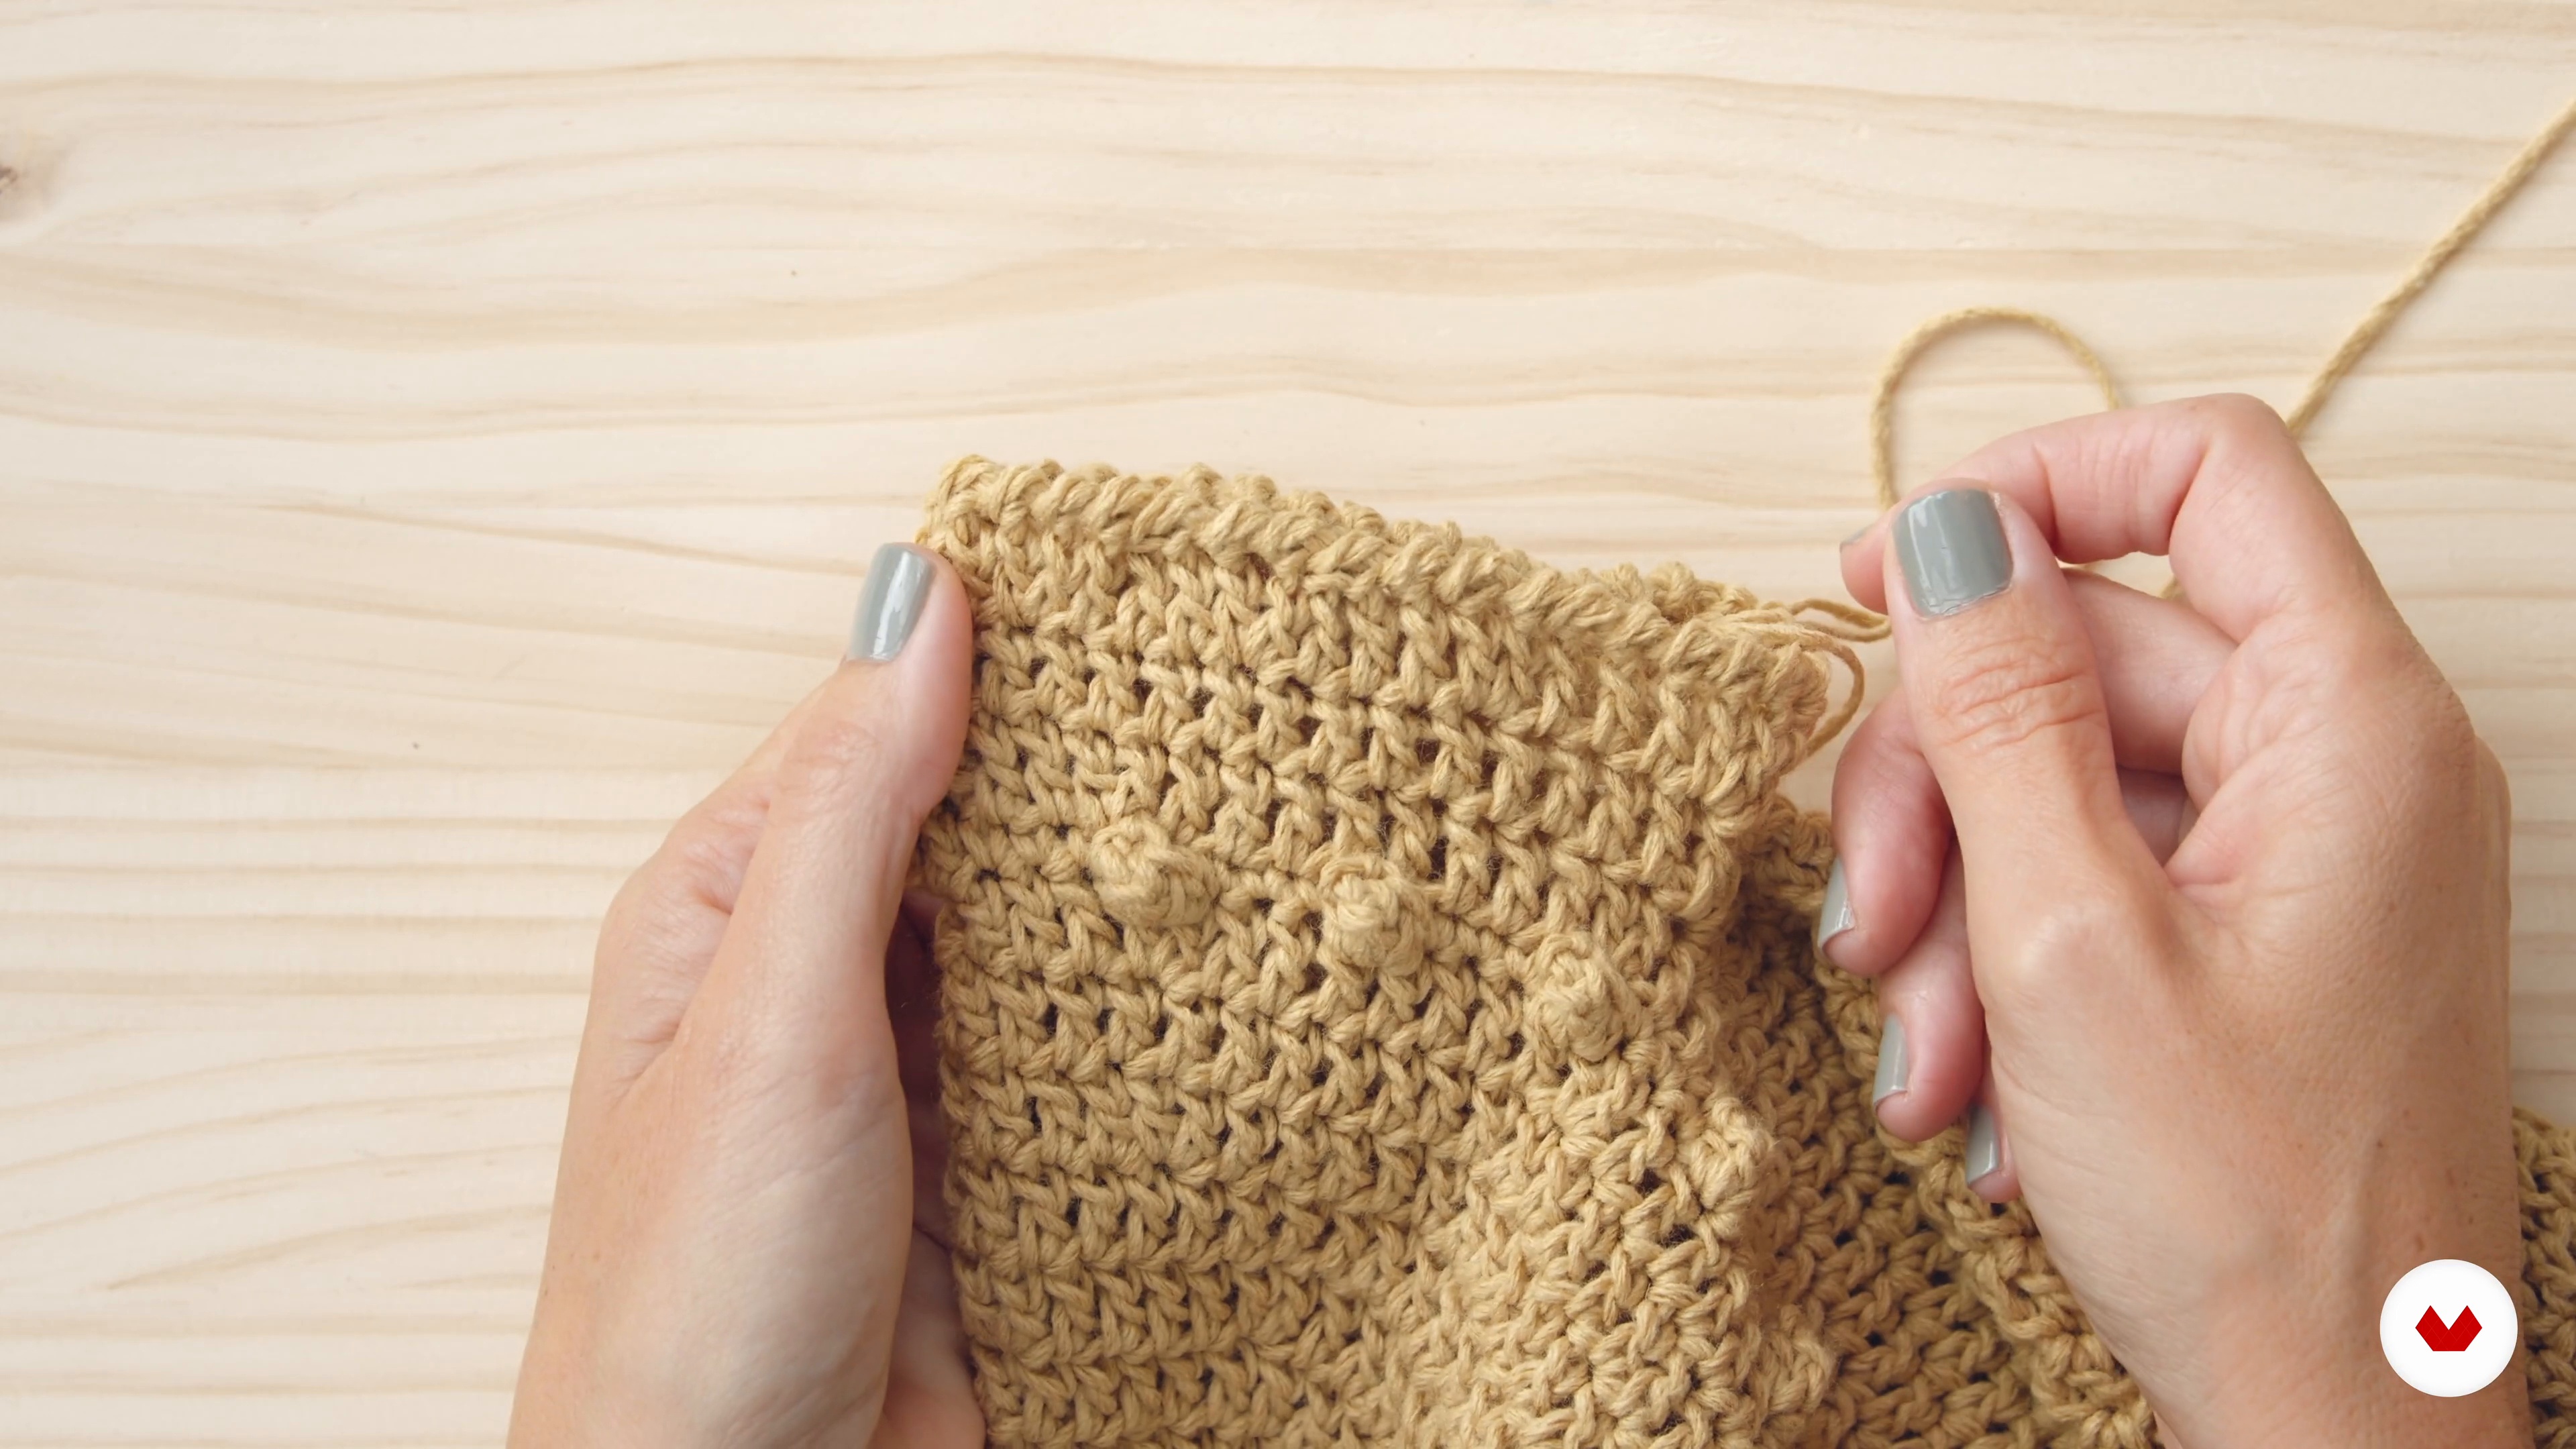 14
14Sleeves
Once we've finished knitting the body of our garment, it's time to knit the sleeves. In this lesson, I'll show you how.
20m
 15
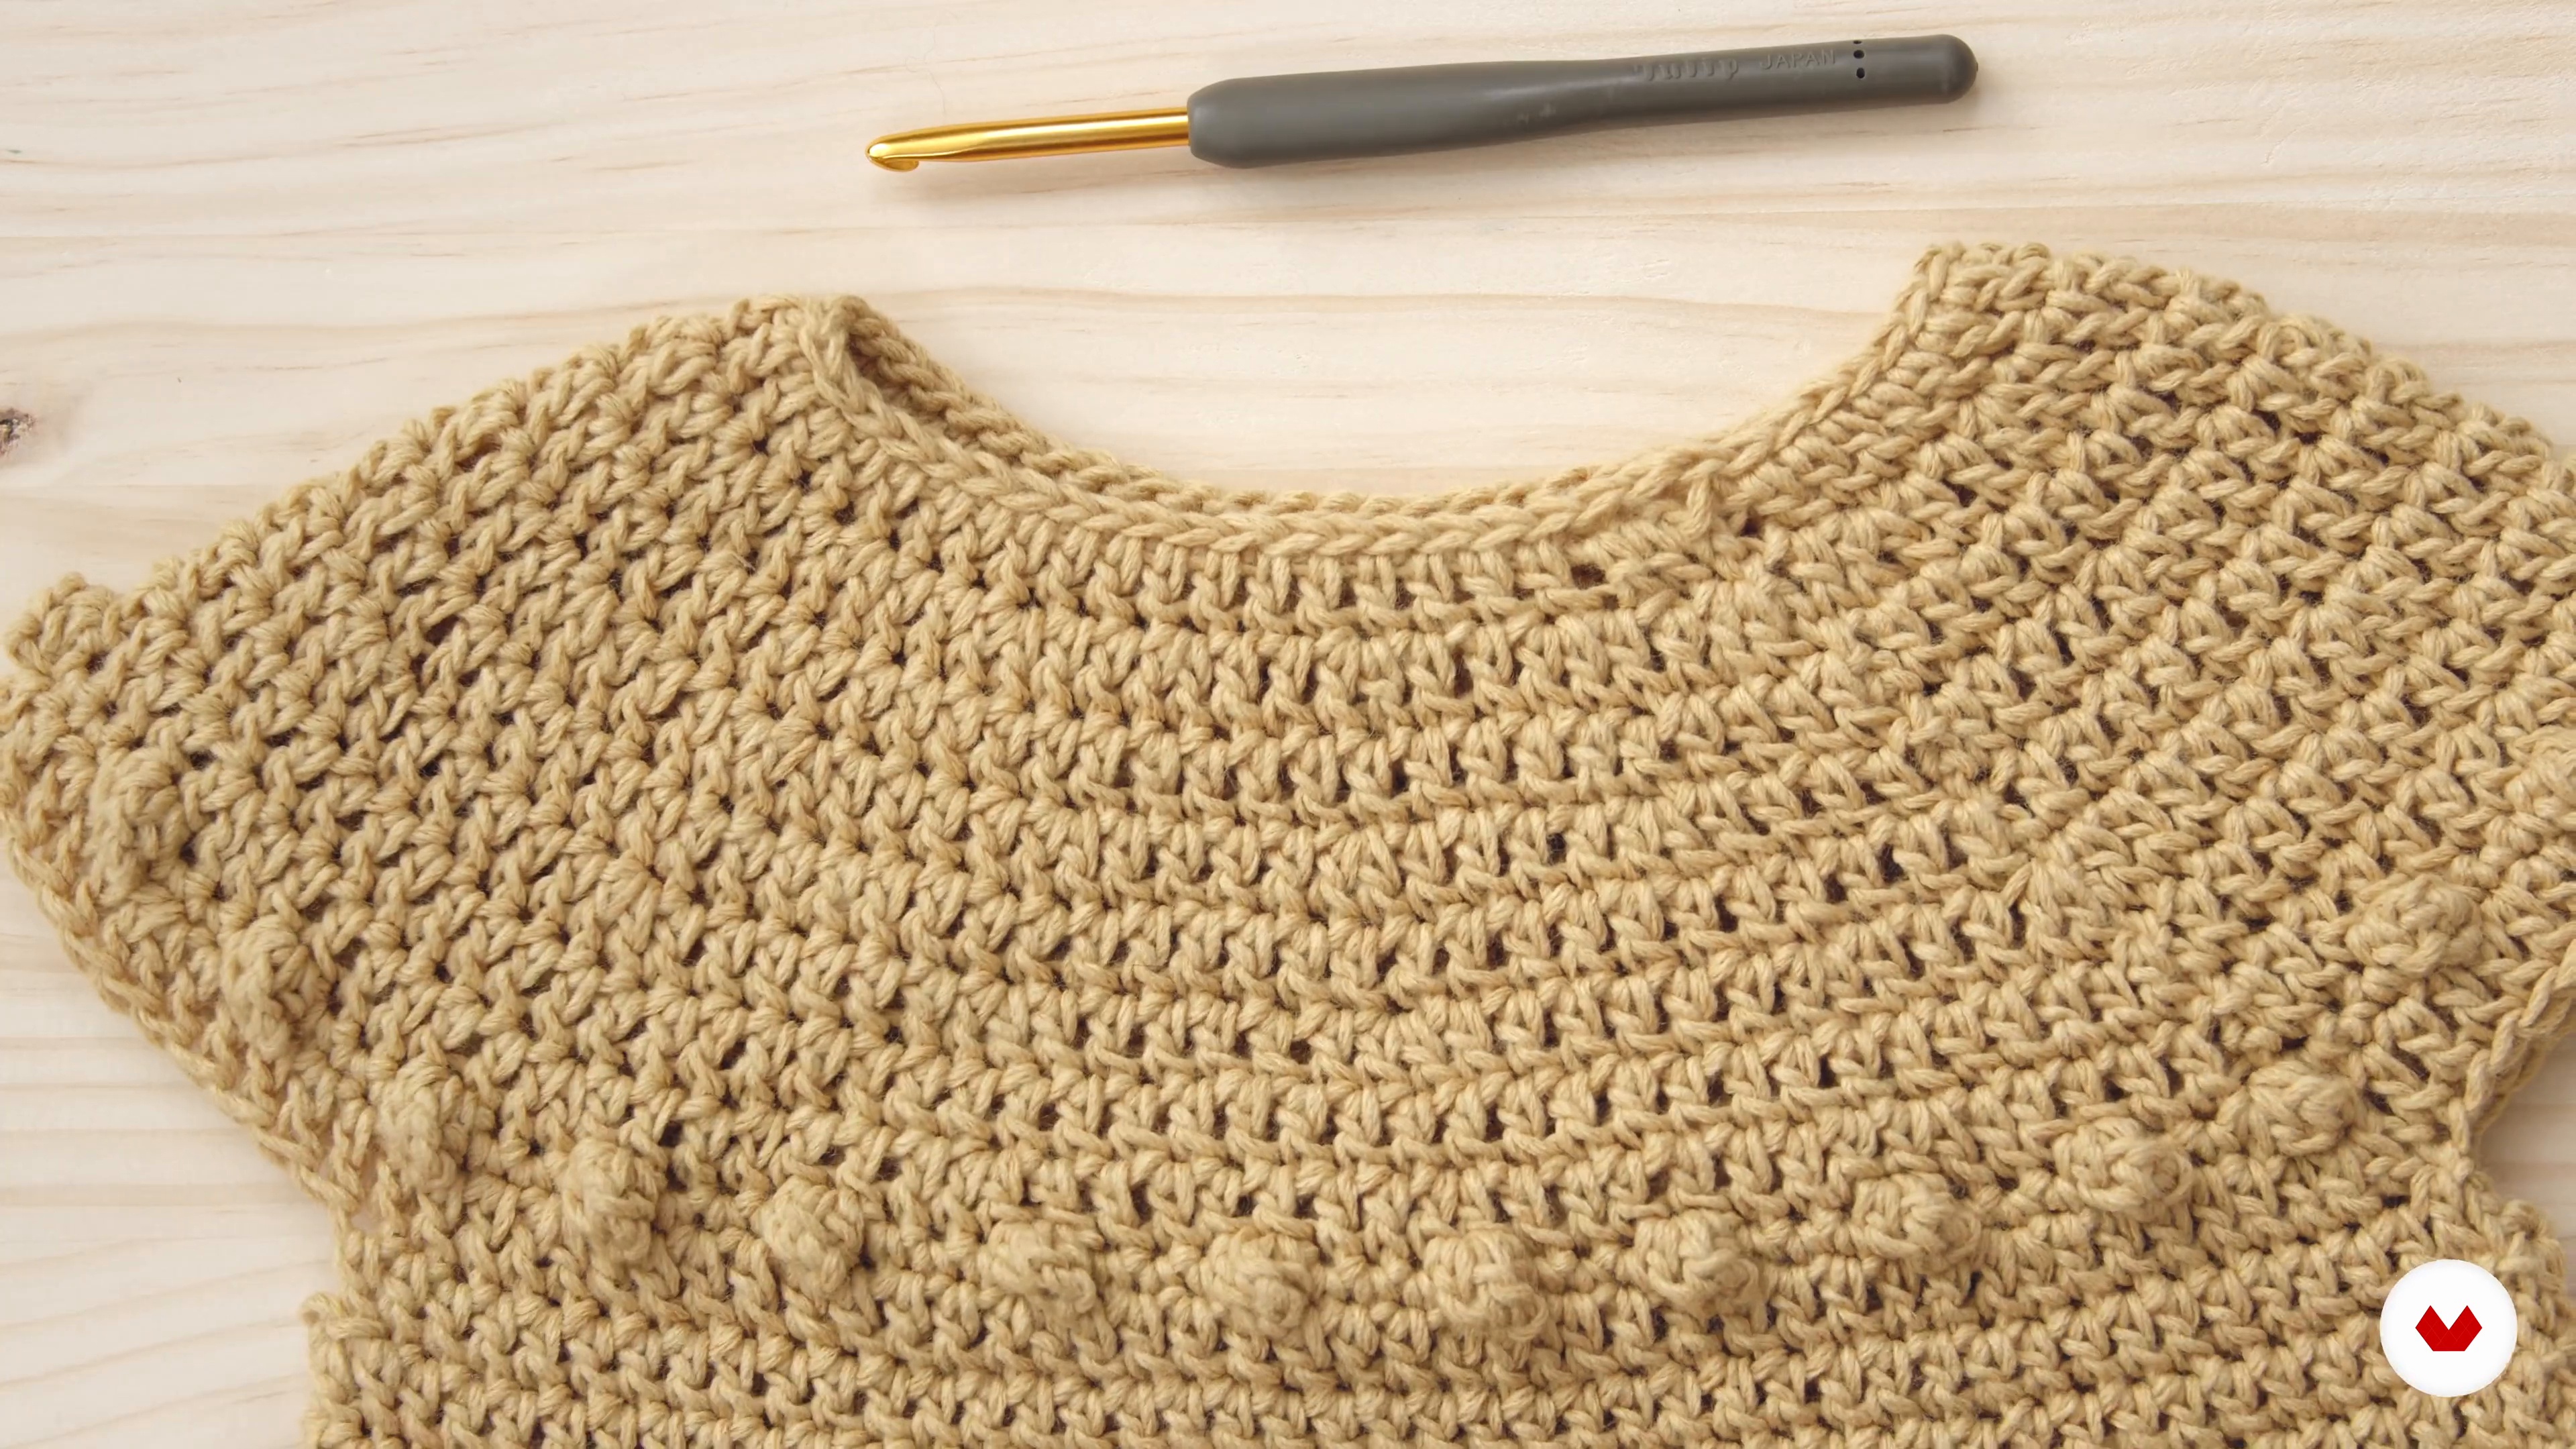
15The neck
The neck of the sweater will be the last thing we knit. I'll show you the different types of necklines we can make and I'll knit the neckline for my project.
7m
 16
16Reviewing and modeling the pattern
After finishing the garment, we have to make a clean copy of all our notes and begin drafting the professional pattern.
3m
 17
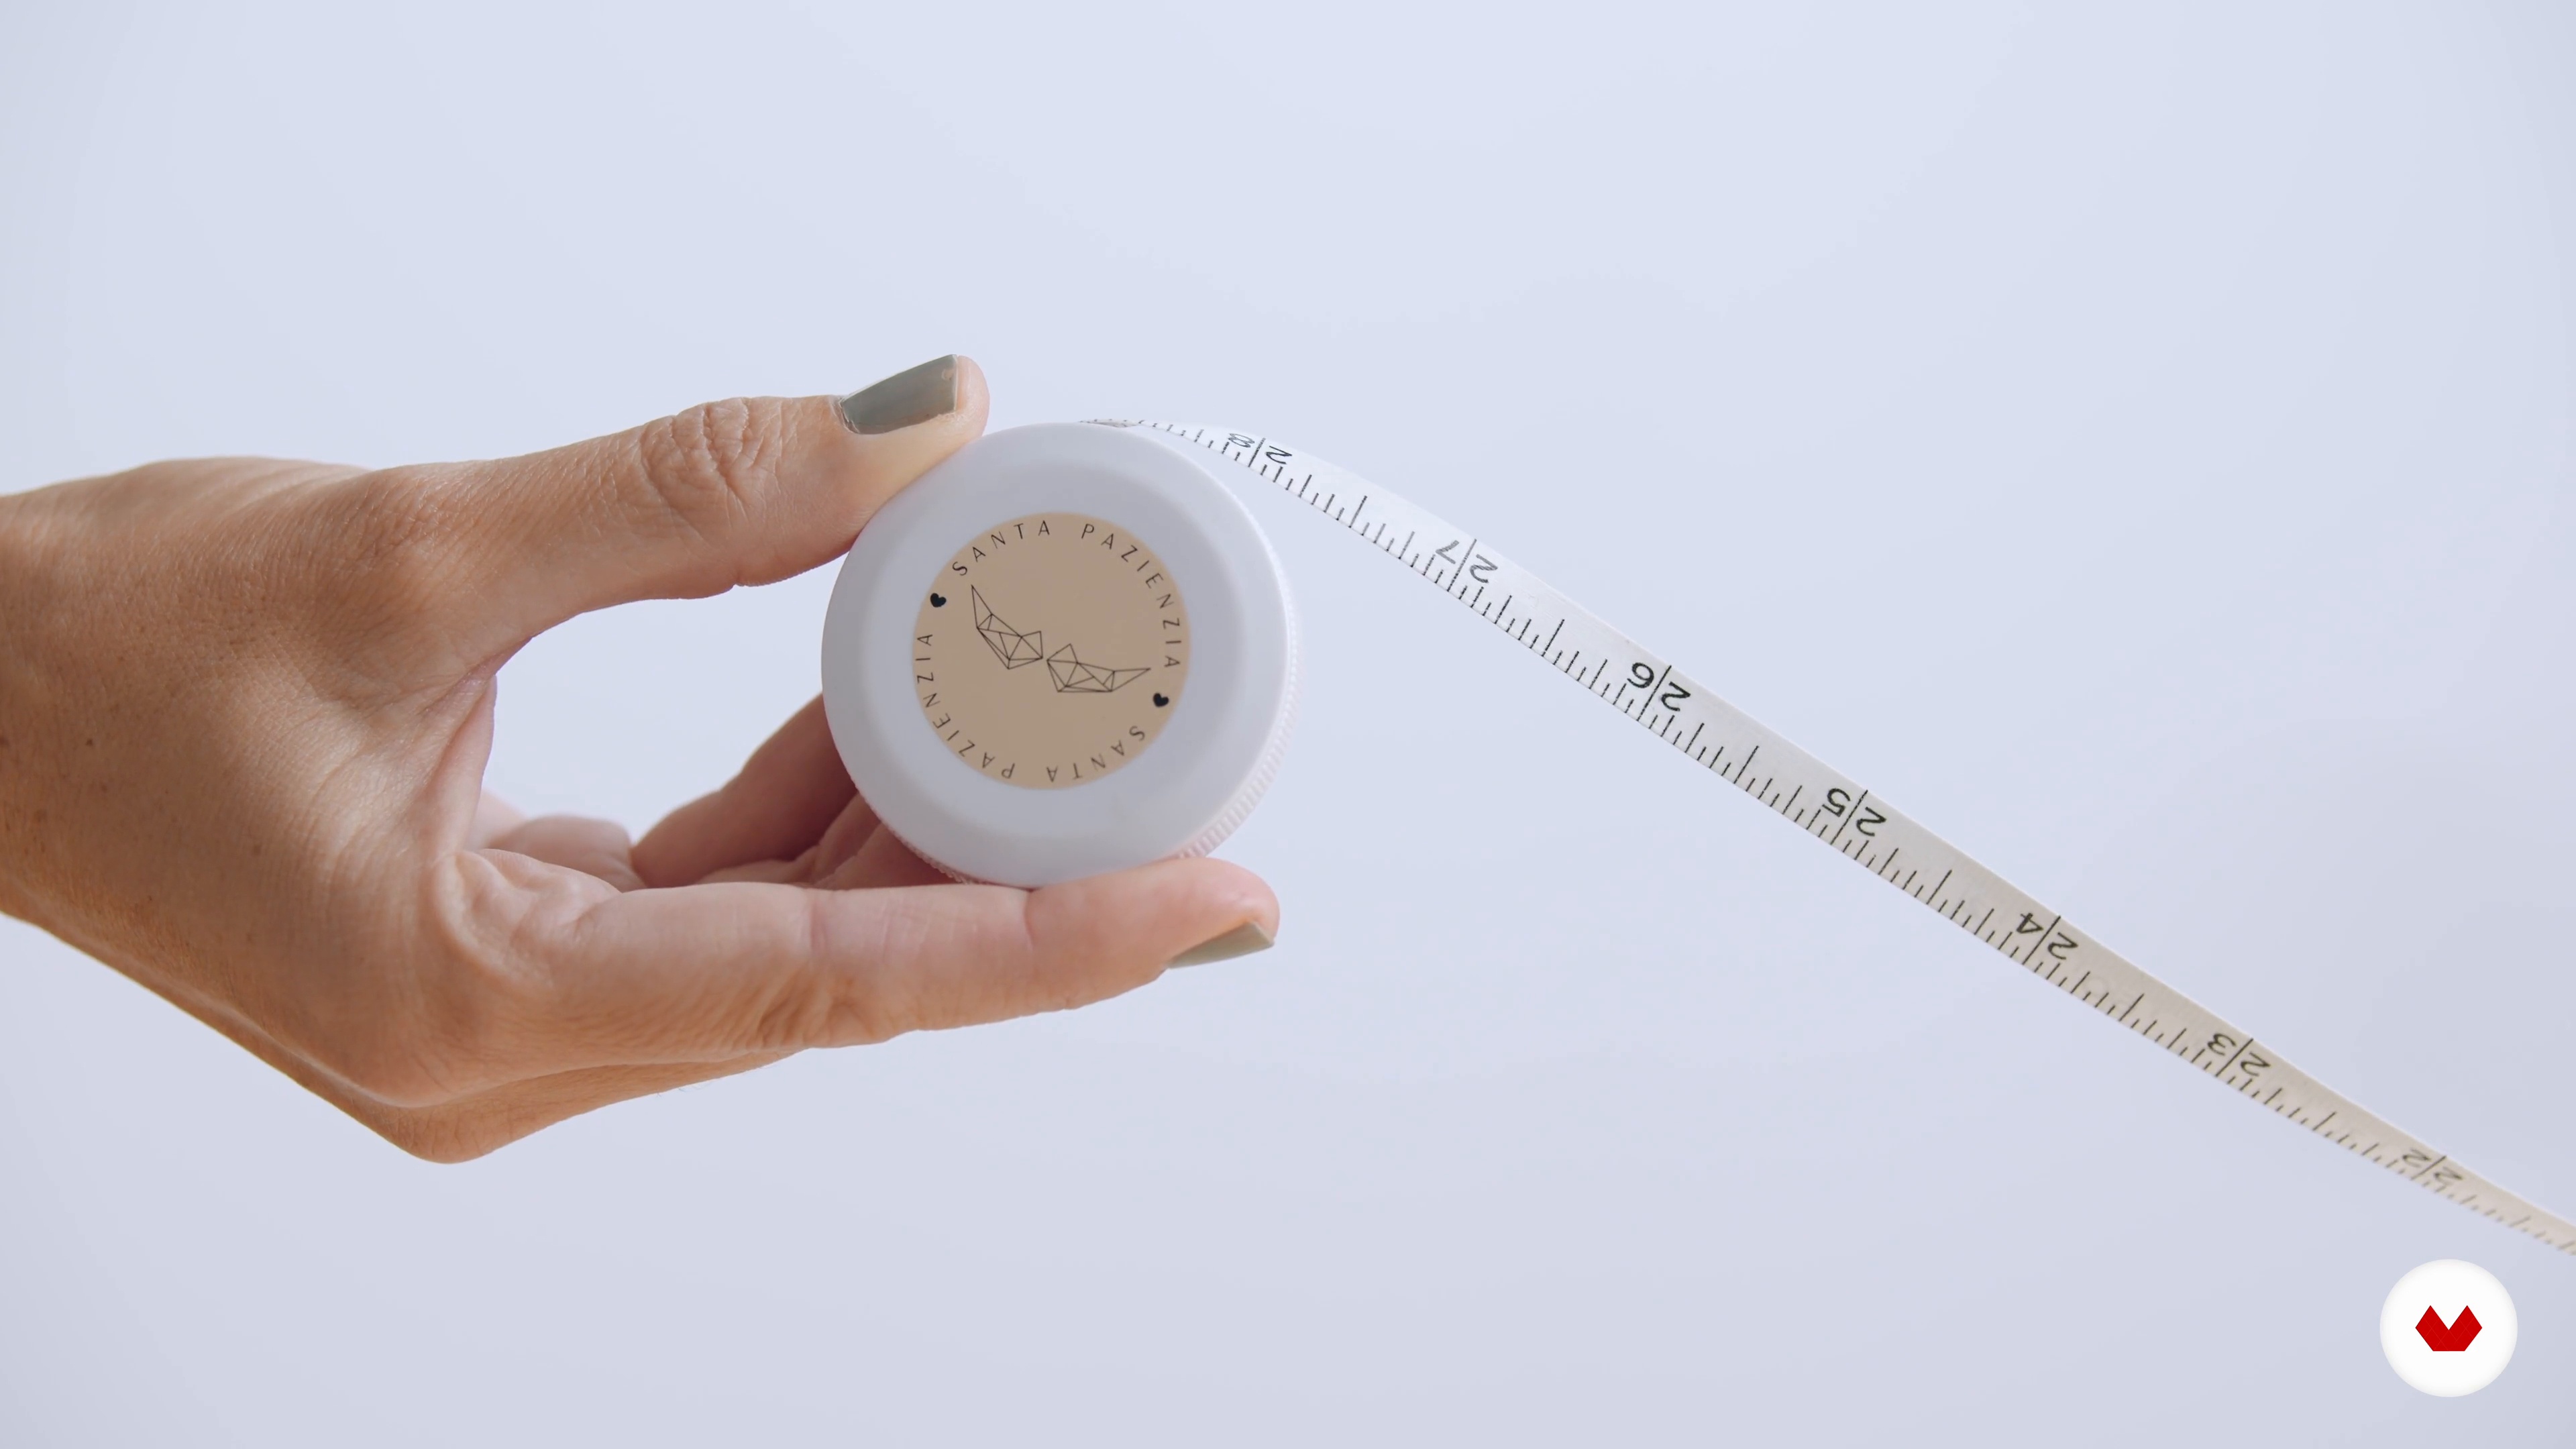
17Testing phase
Before going live, it's time to check your pattern for typos. In this lesson, I'll show you how to test a pattern and what a tester should contribute to your design.
4m
 18
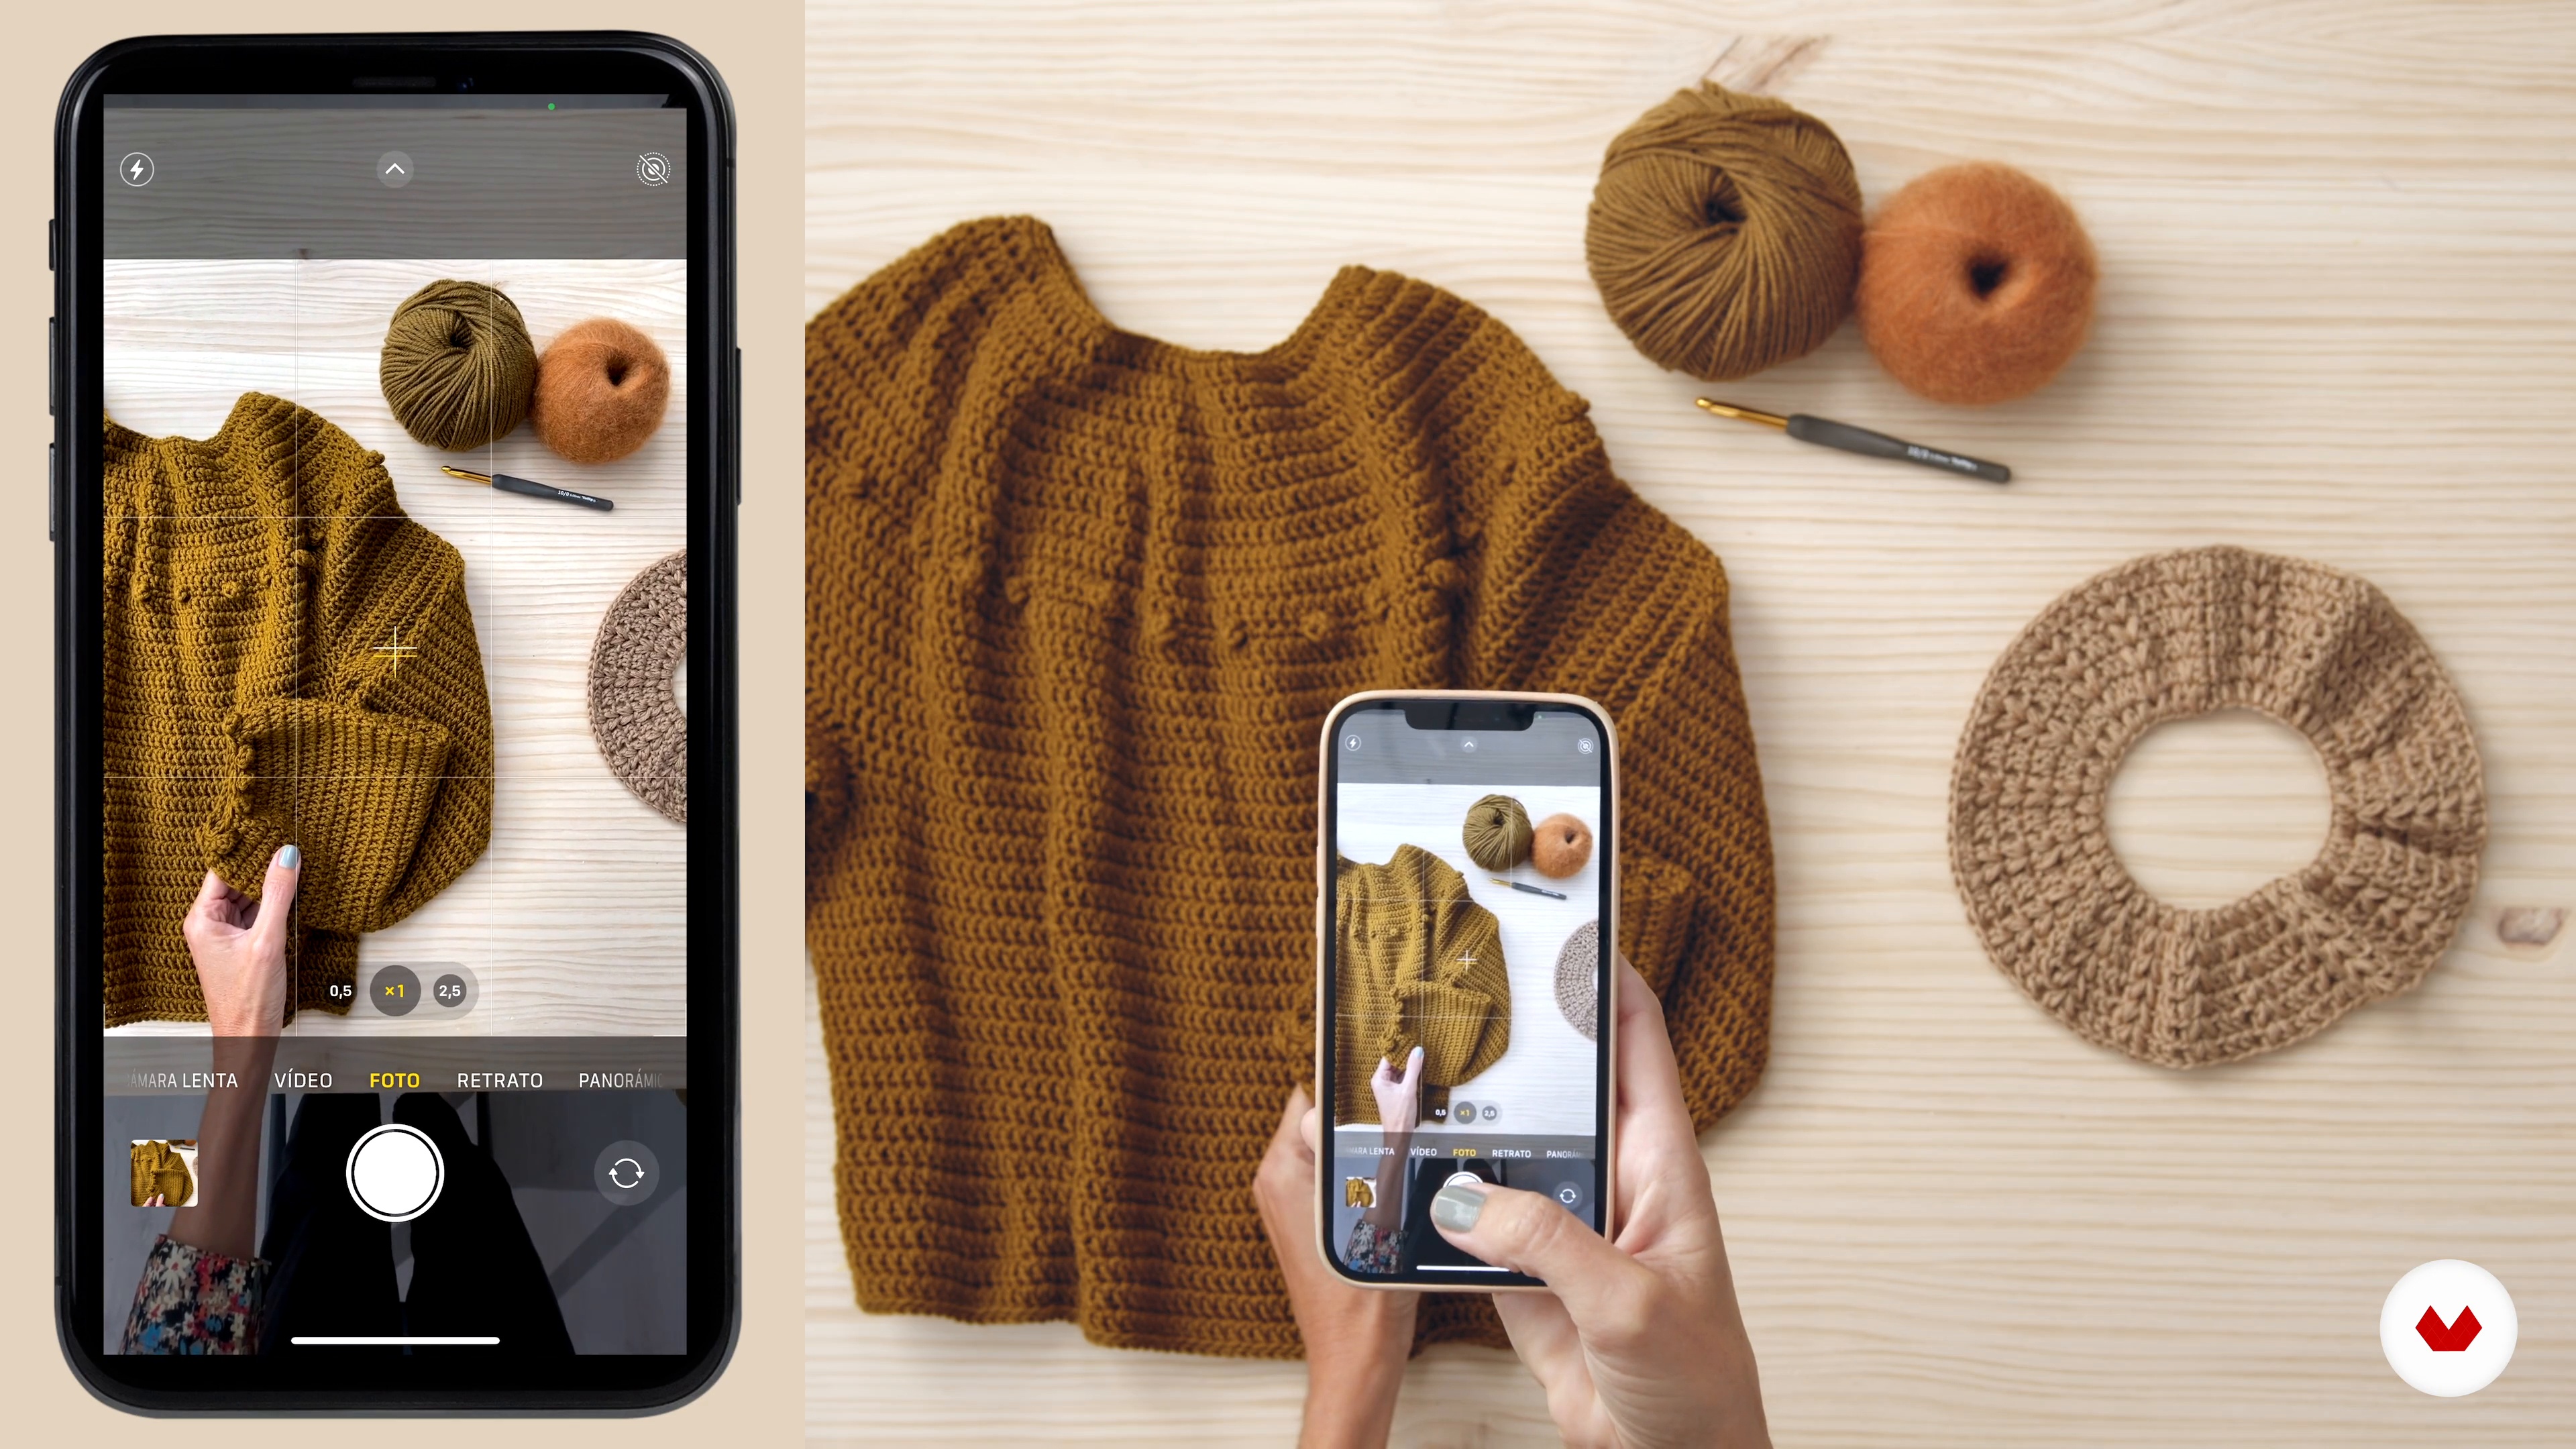
18Photographing the garment
After a great design project, it's time to capture the results with some great photographs. Let's get to it!
8m
 2
2Influences
Now I'm going to tell you about everything that inspires me in my daily life. I think it's difficult to define all my inspirations, but some of them include the people and beings I have around me, both locally and virtually, and their way of being with me. I'm also greatly inspired by the natural environment I live in and the rooms and their decor. And how could I forget my dogs, Lulú, Lolo, and Alvin, who keep me company all day!
6m
 3
3The Materials
To get off to a good start, in this lesson I'm going to talk about the materials every knitter should know. I'll explain in detail everything about crochet hooks and the materials and tools we typically use to knit.
7m
 4
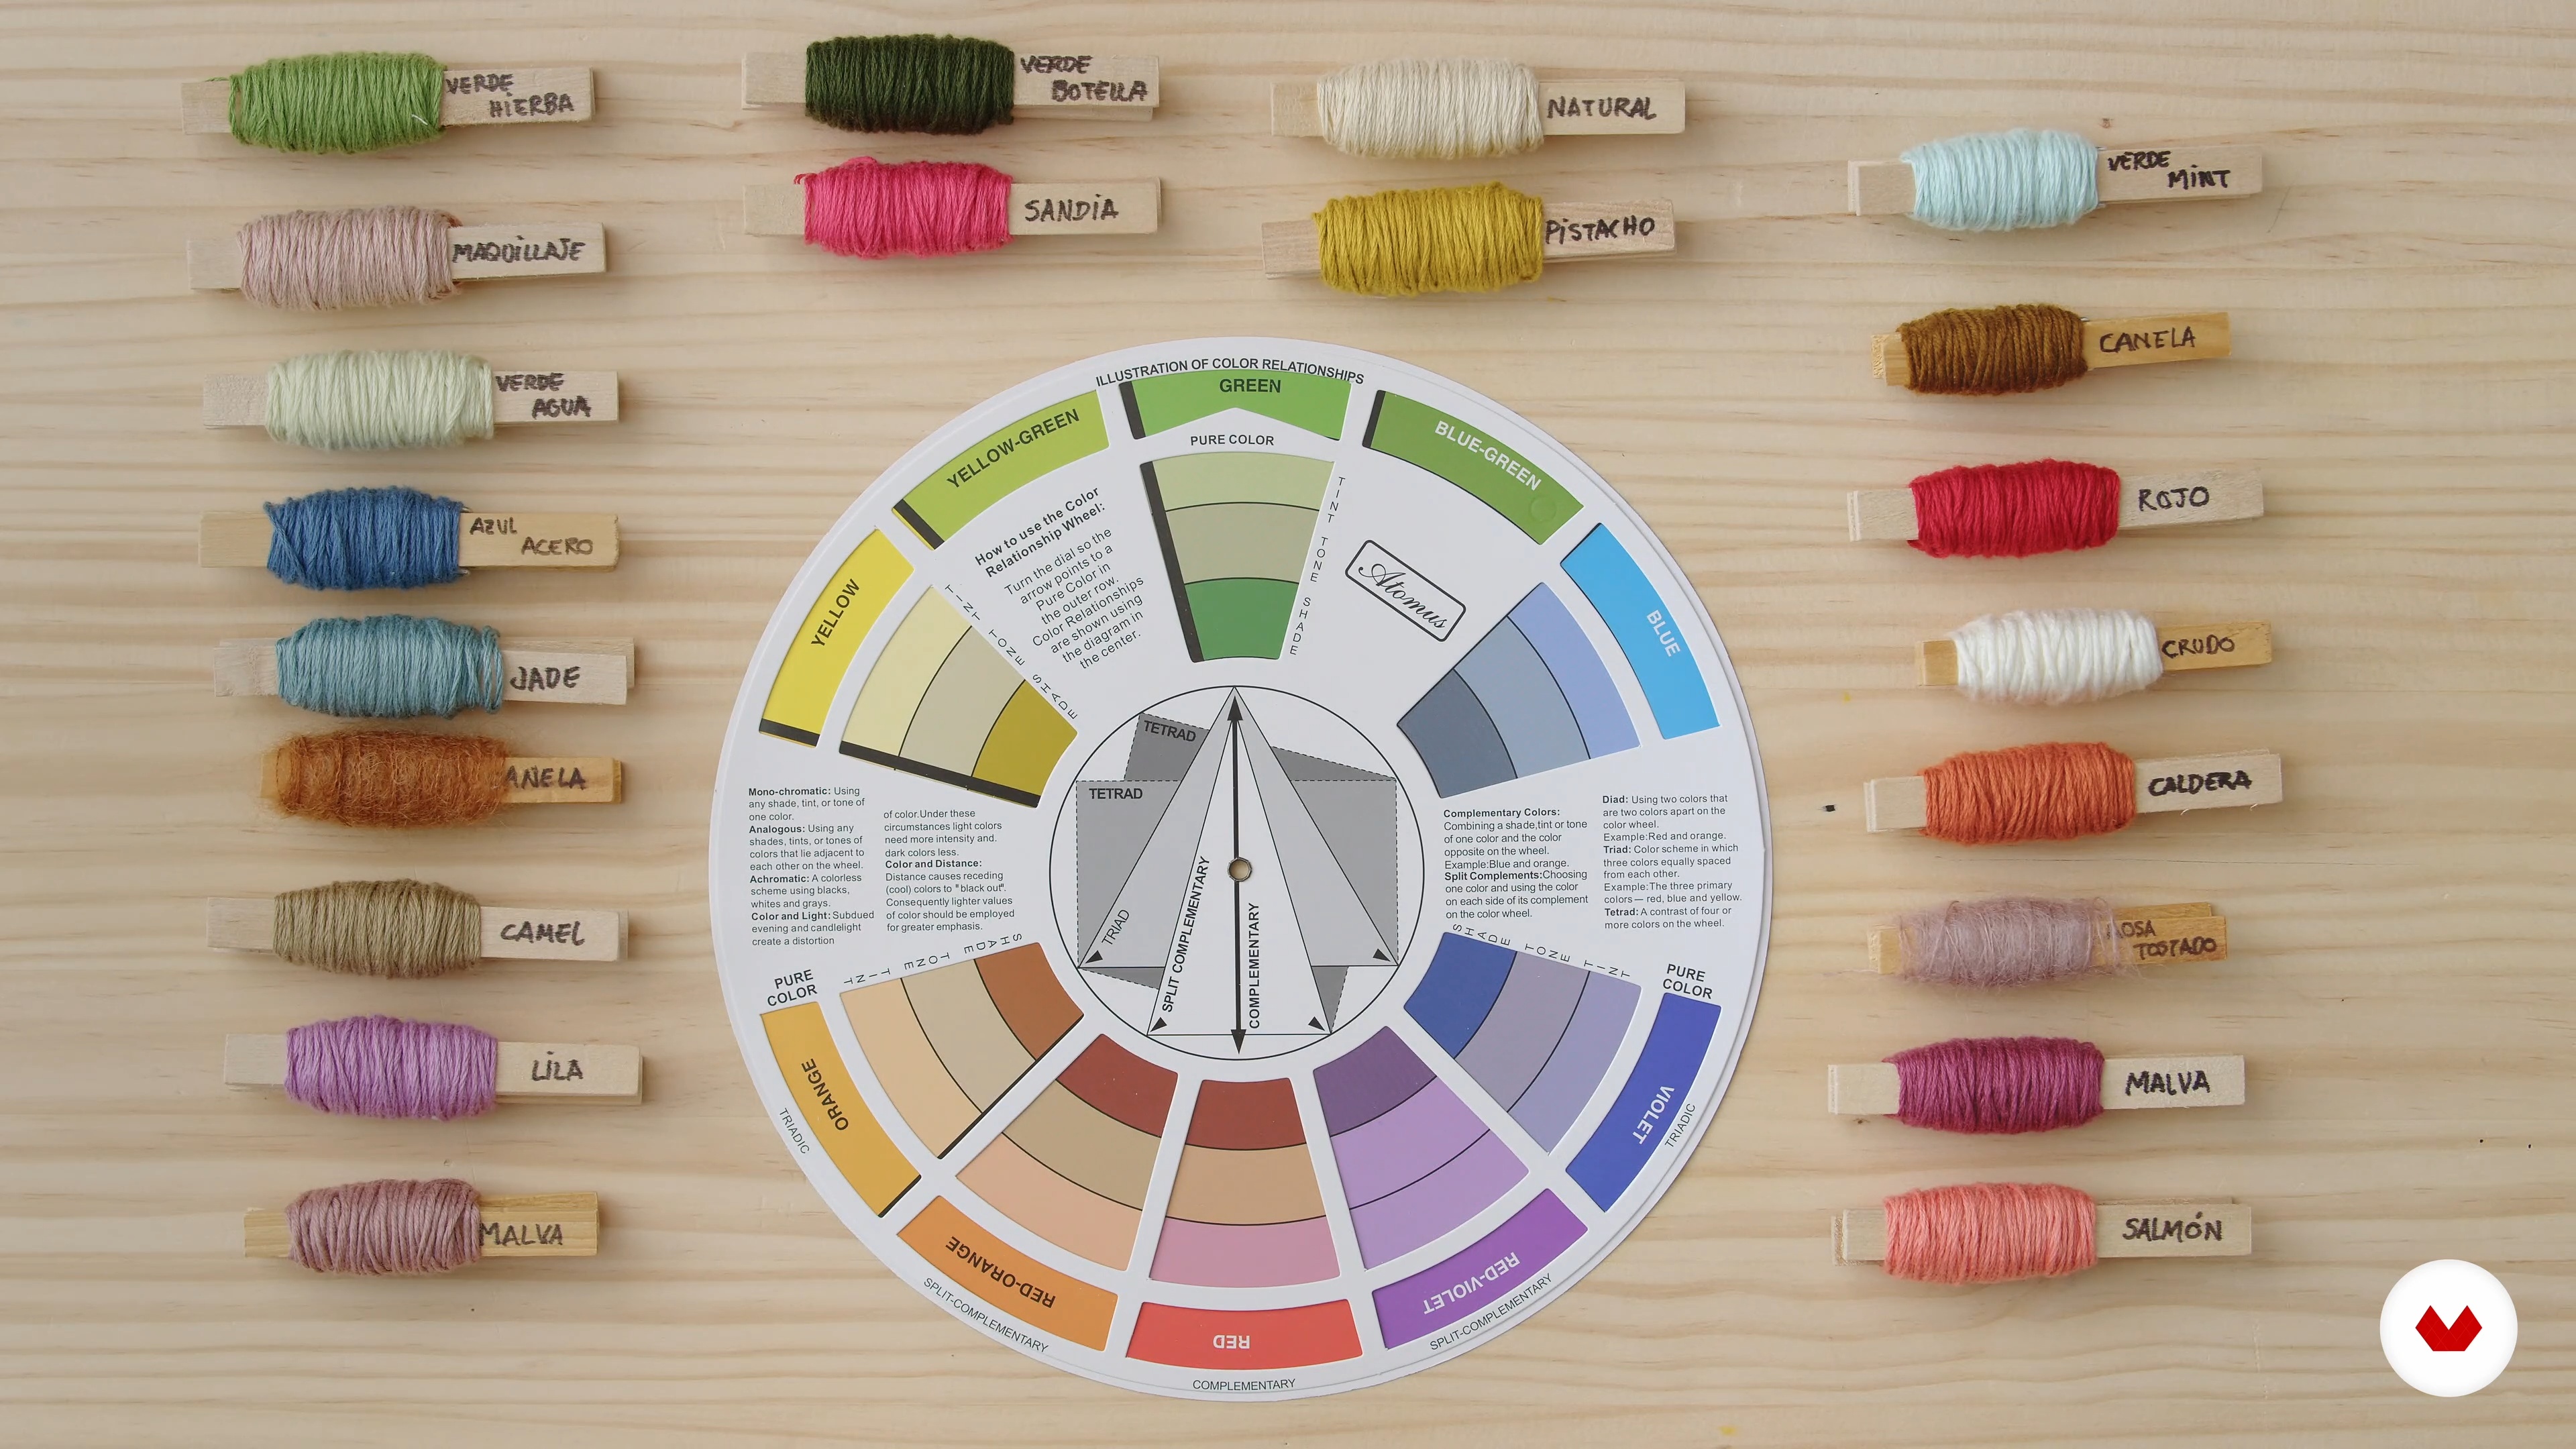
4The Basics of Color
In this lesson, I'll explain how choosing the color or colors of your garment influences the final result. I'll also help you find your color identity.
13m
 5
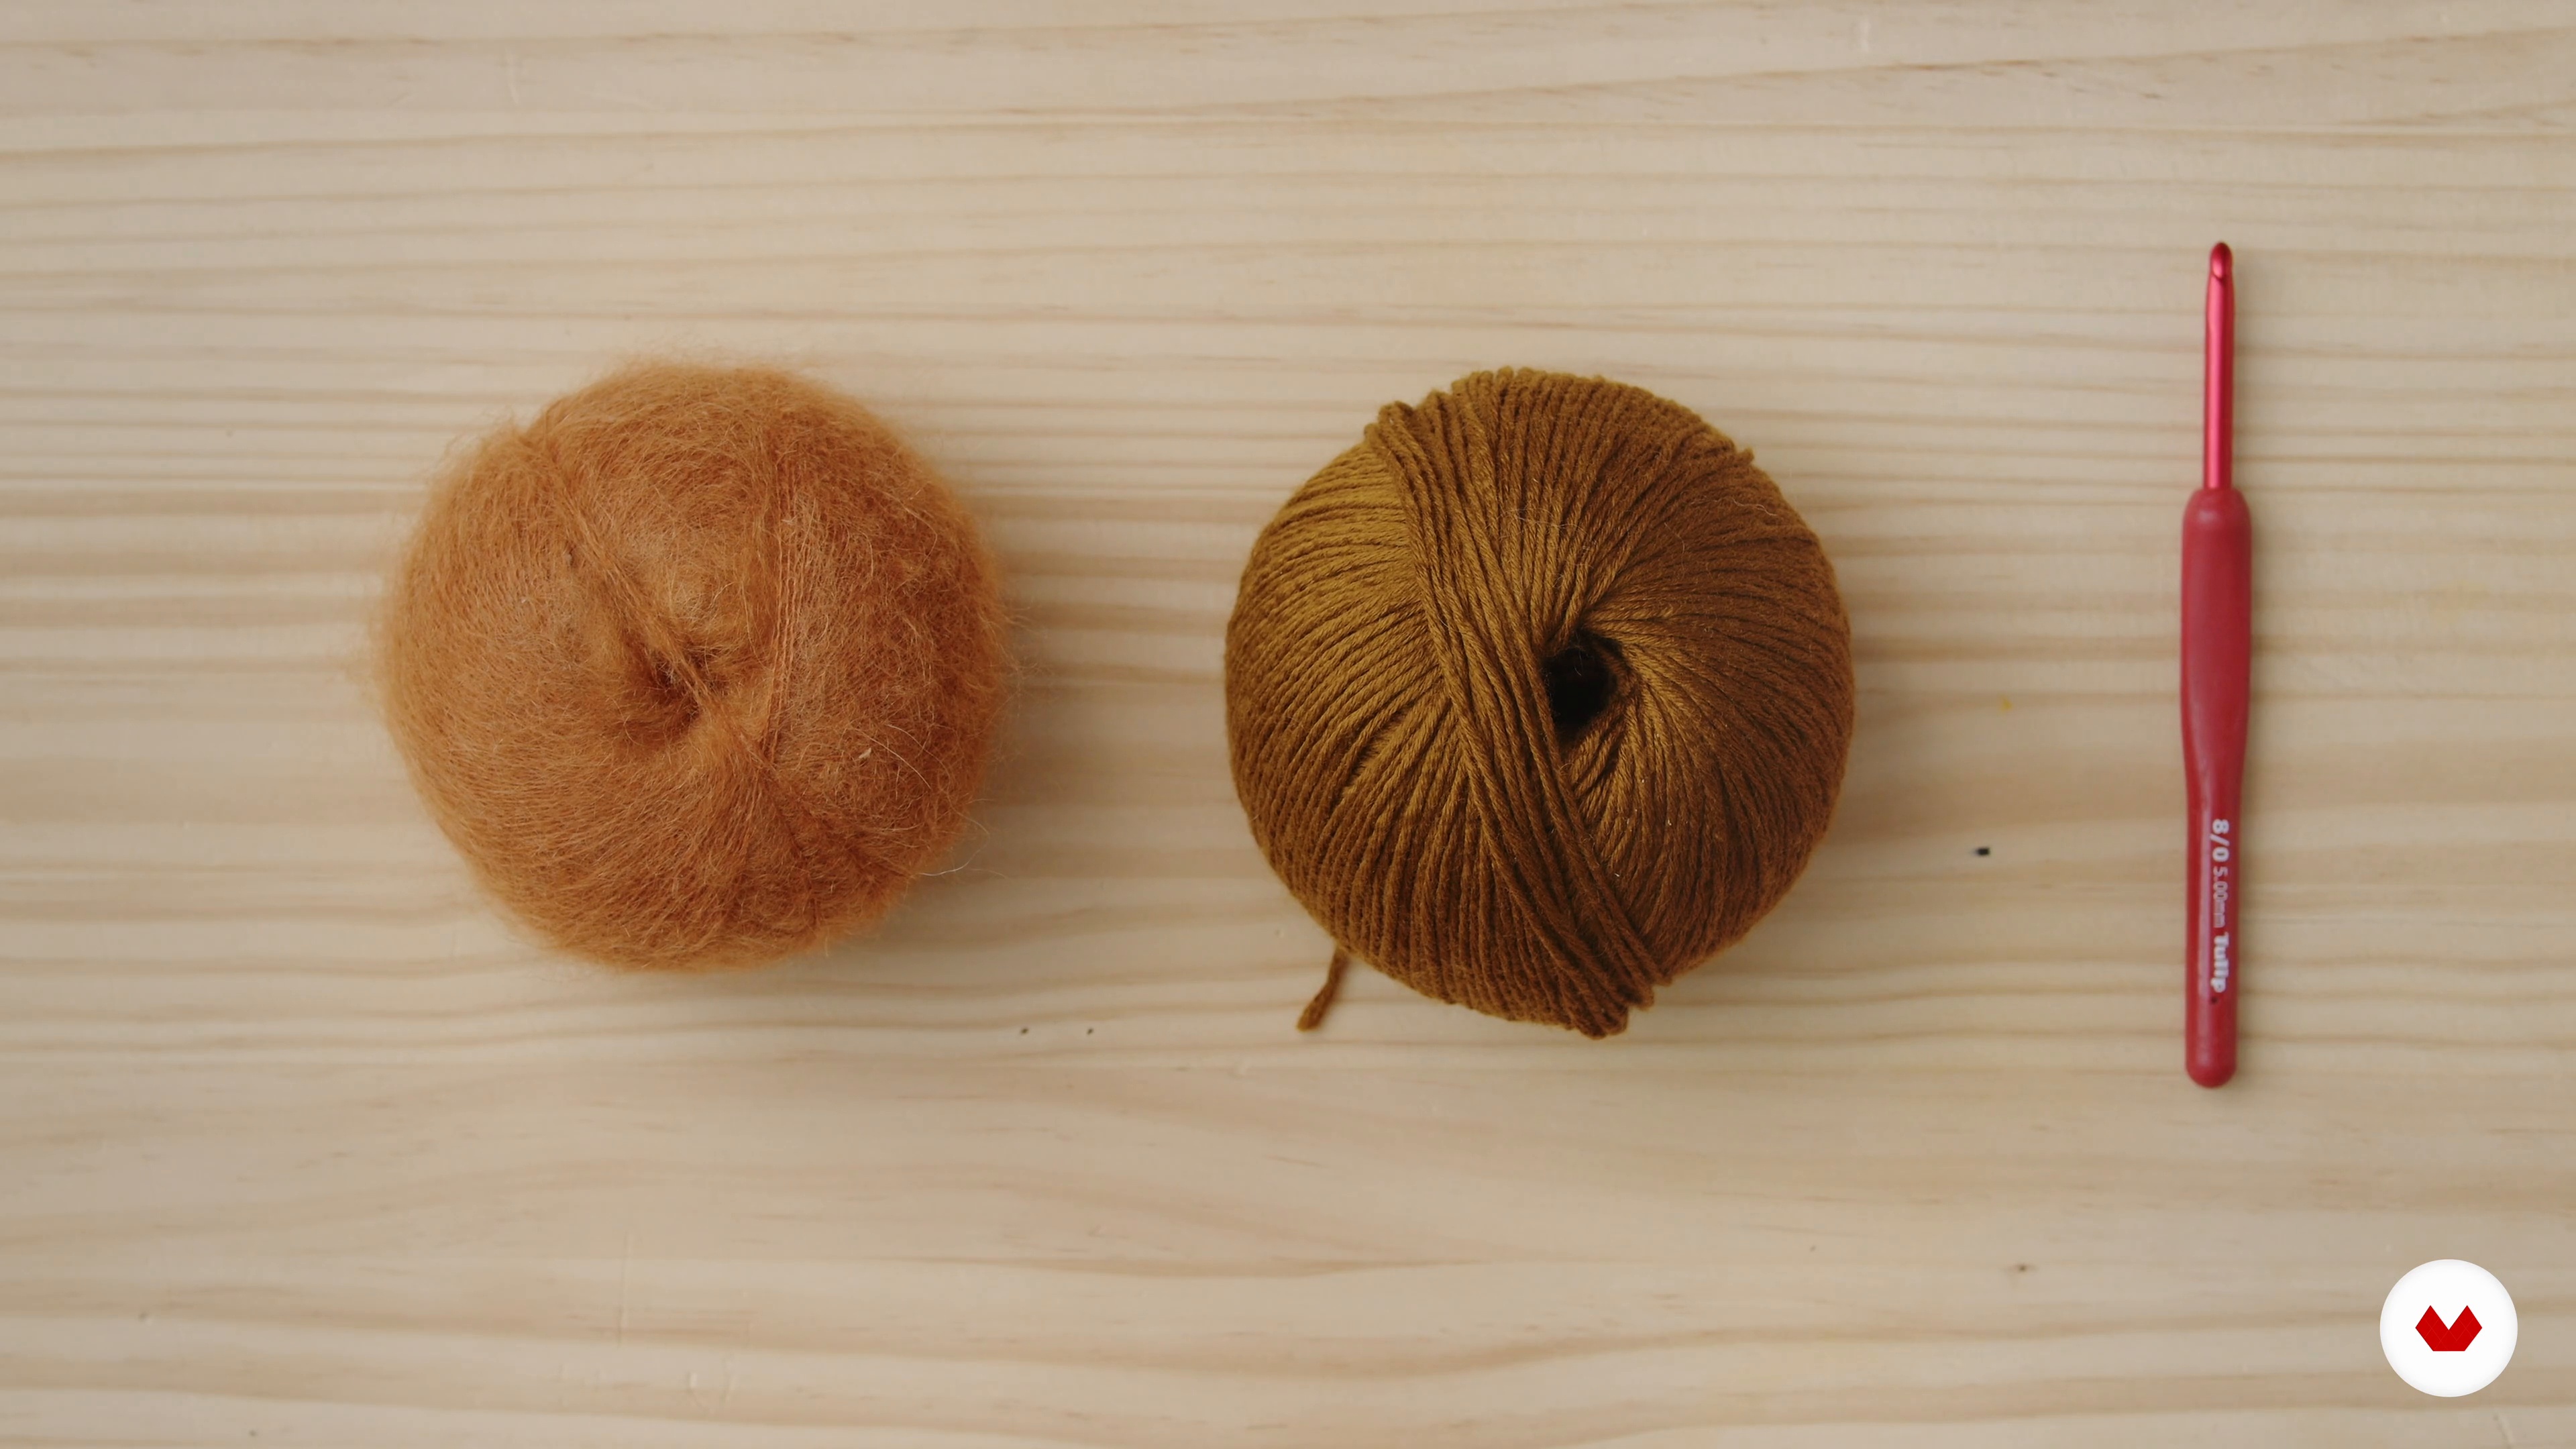
5Combine Fibers
The world of textures and colors is endless. Not only can you combine colors, but you can also add an extra touch to your project by combining different fibers and textures. In this lesson, I'll show you how to combine fibers to create new textures.
6m
 6
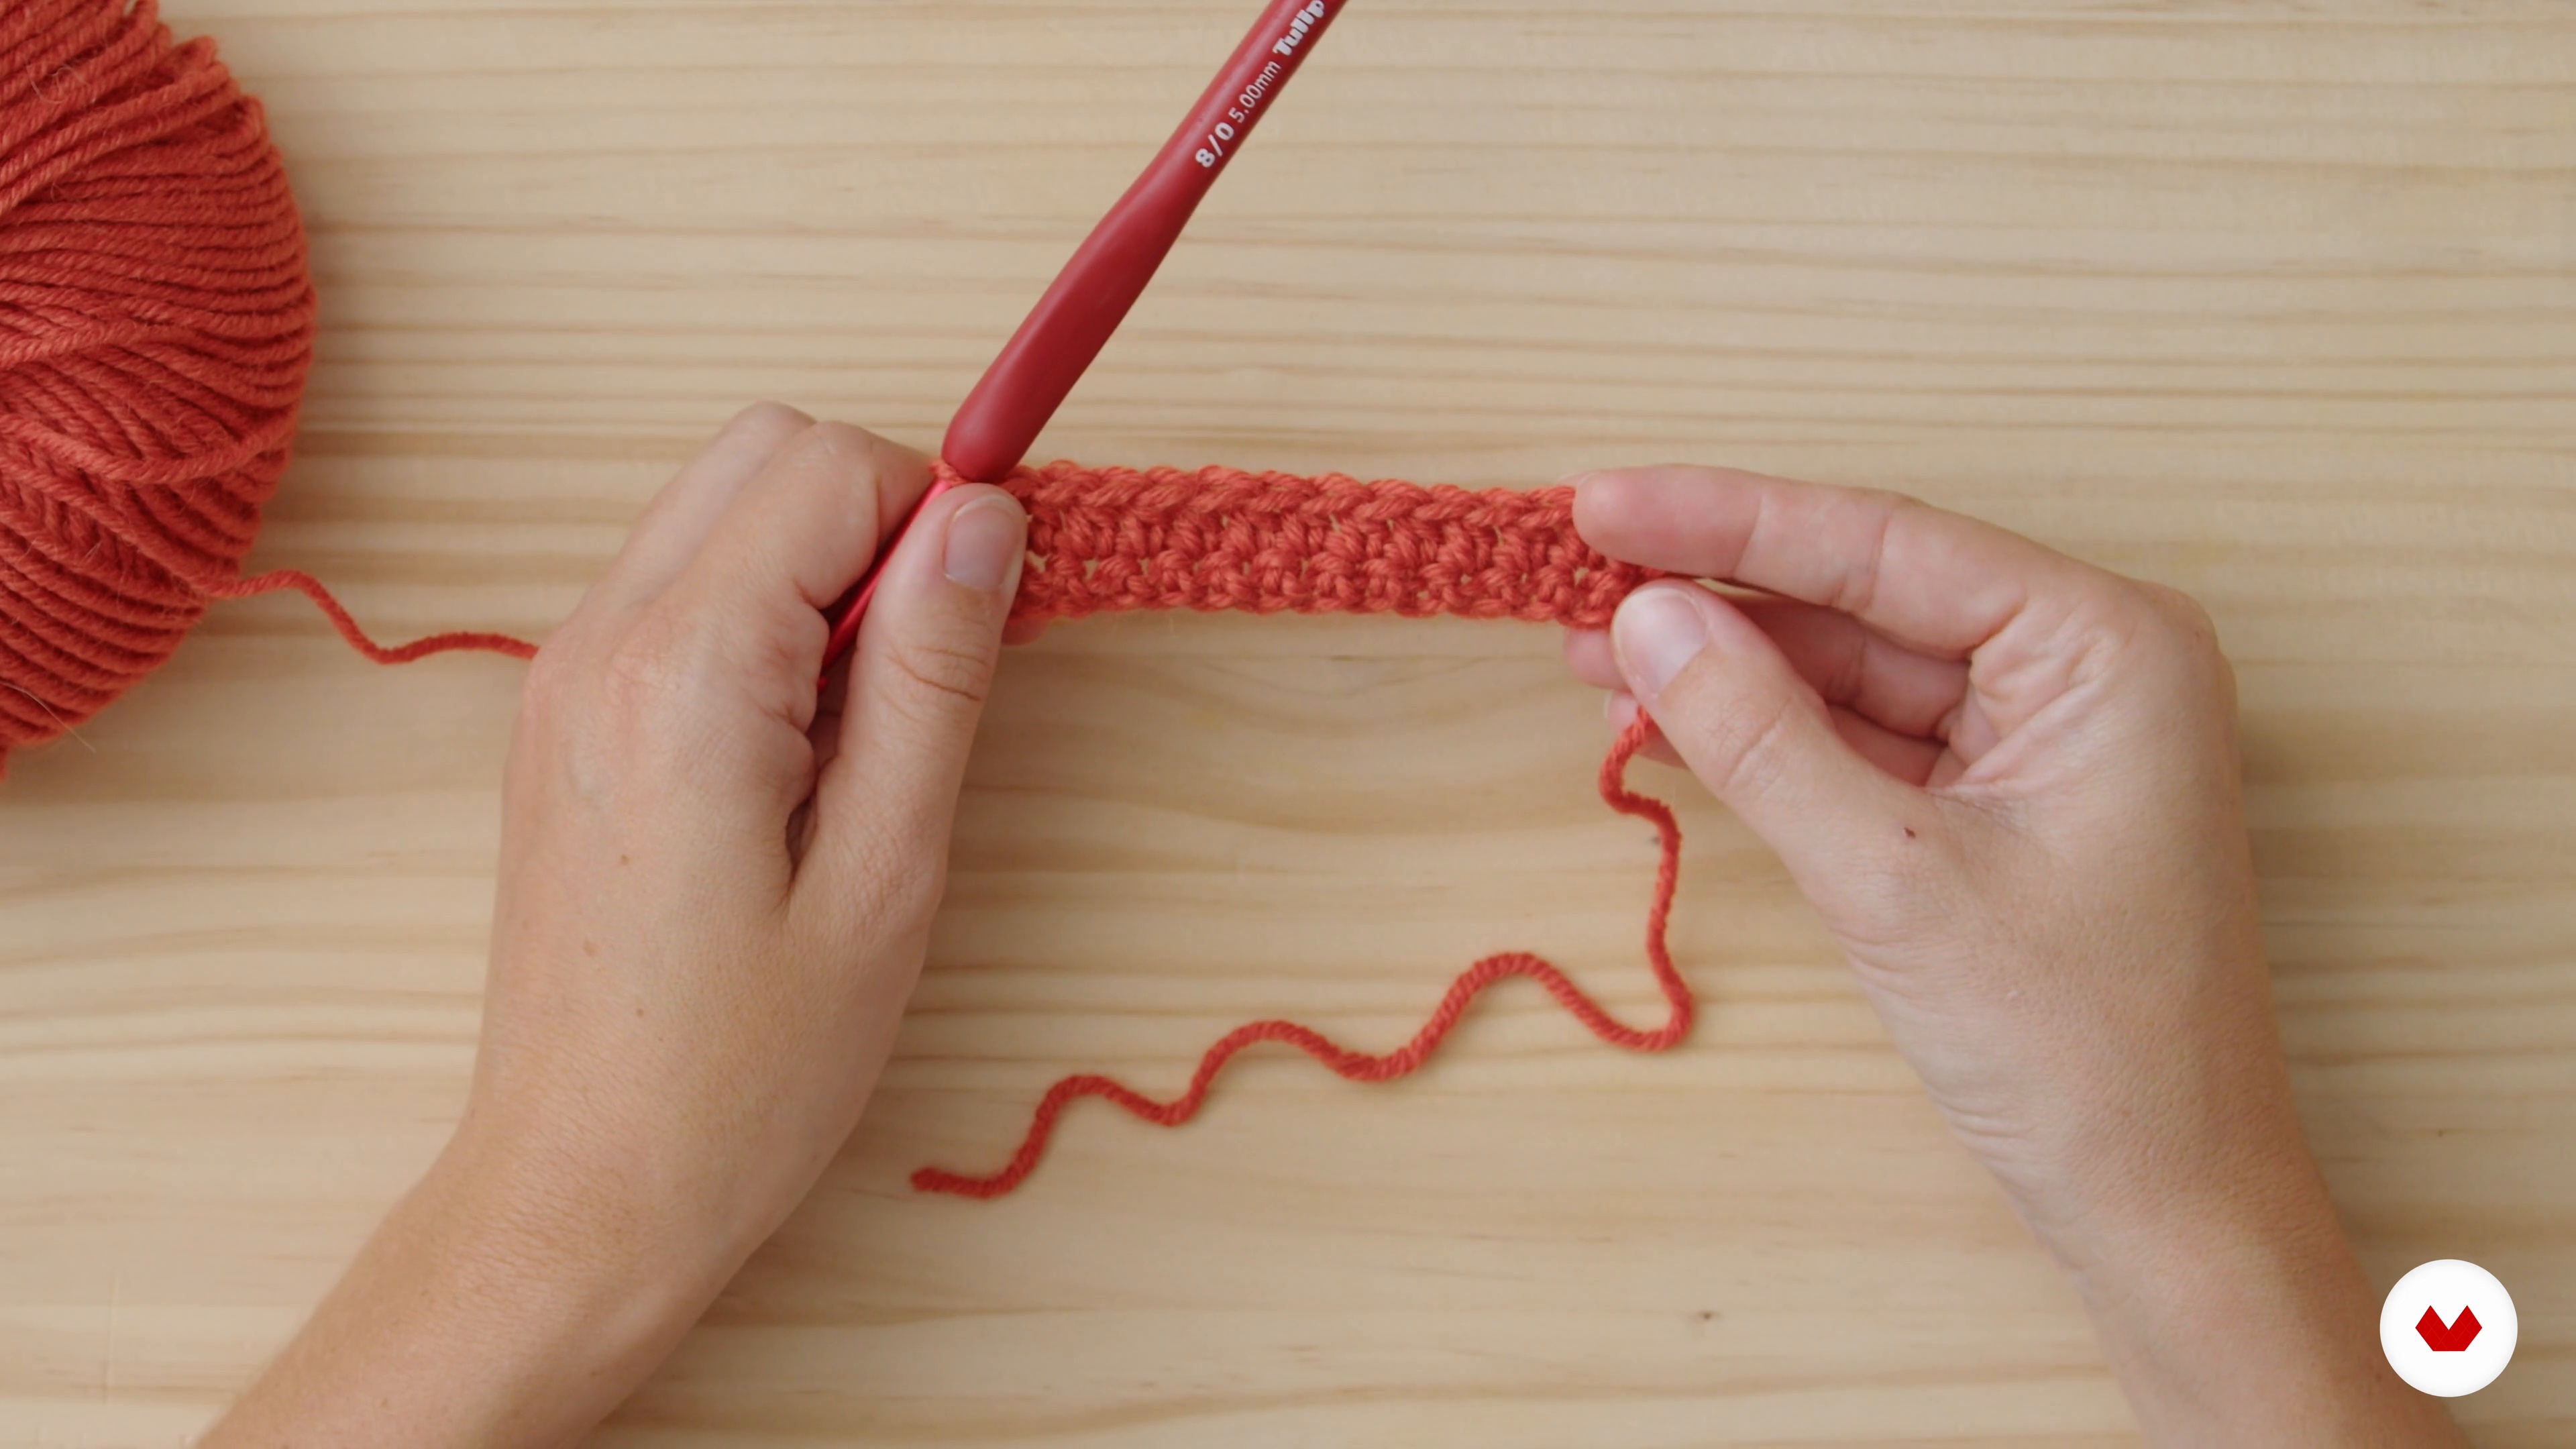
6The Basics
To begin, I'm going to show you how to work the basics of all stitches: the chain stitch and the slip stitch. I guarantee that, no matter what project you knit, you'll always need to use them. They're a staple of every knitter's wardrobe. To continue advancing, I'll also show you three other super-basic crochet stitches: the single crochet, the half-double crochet, and the double crochet. Let's get started!
16m
 7
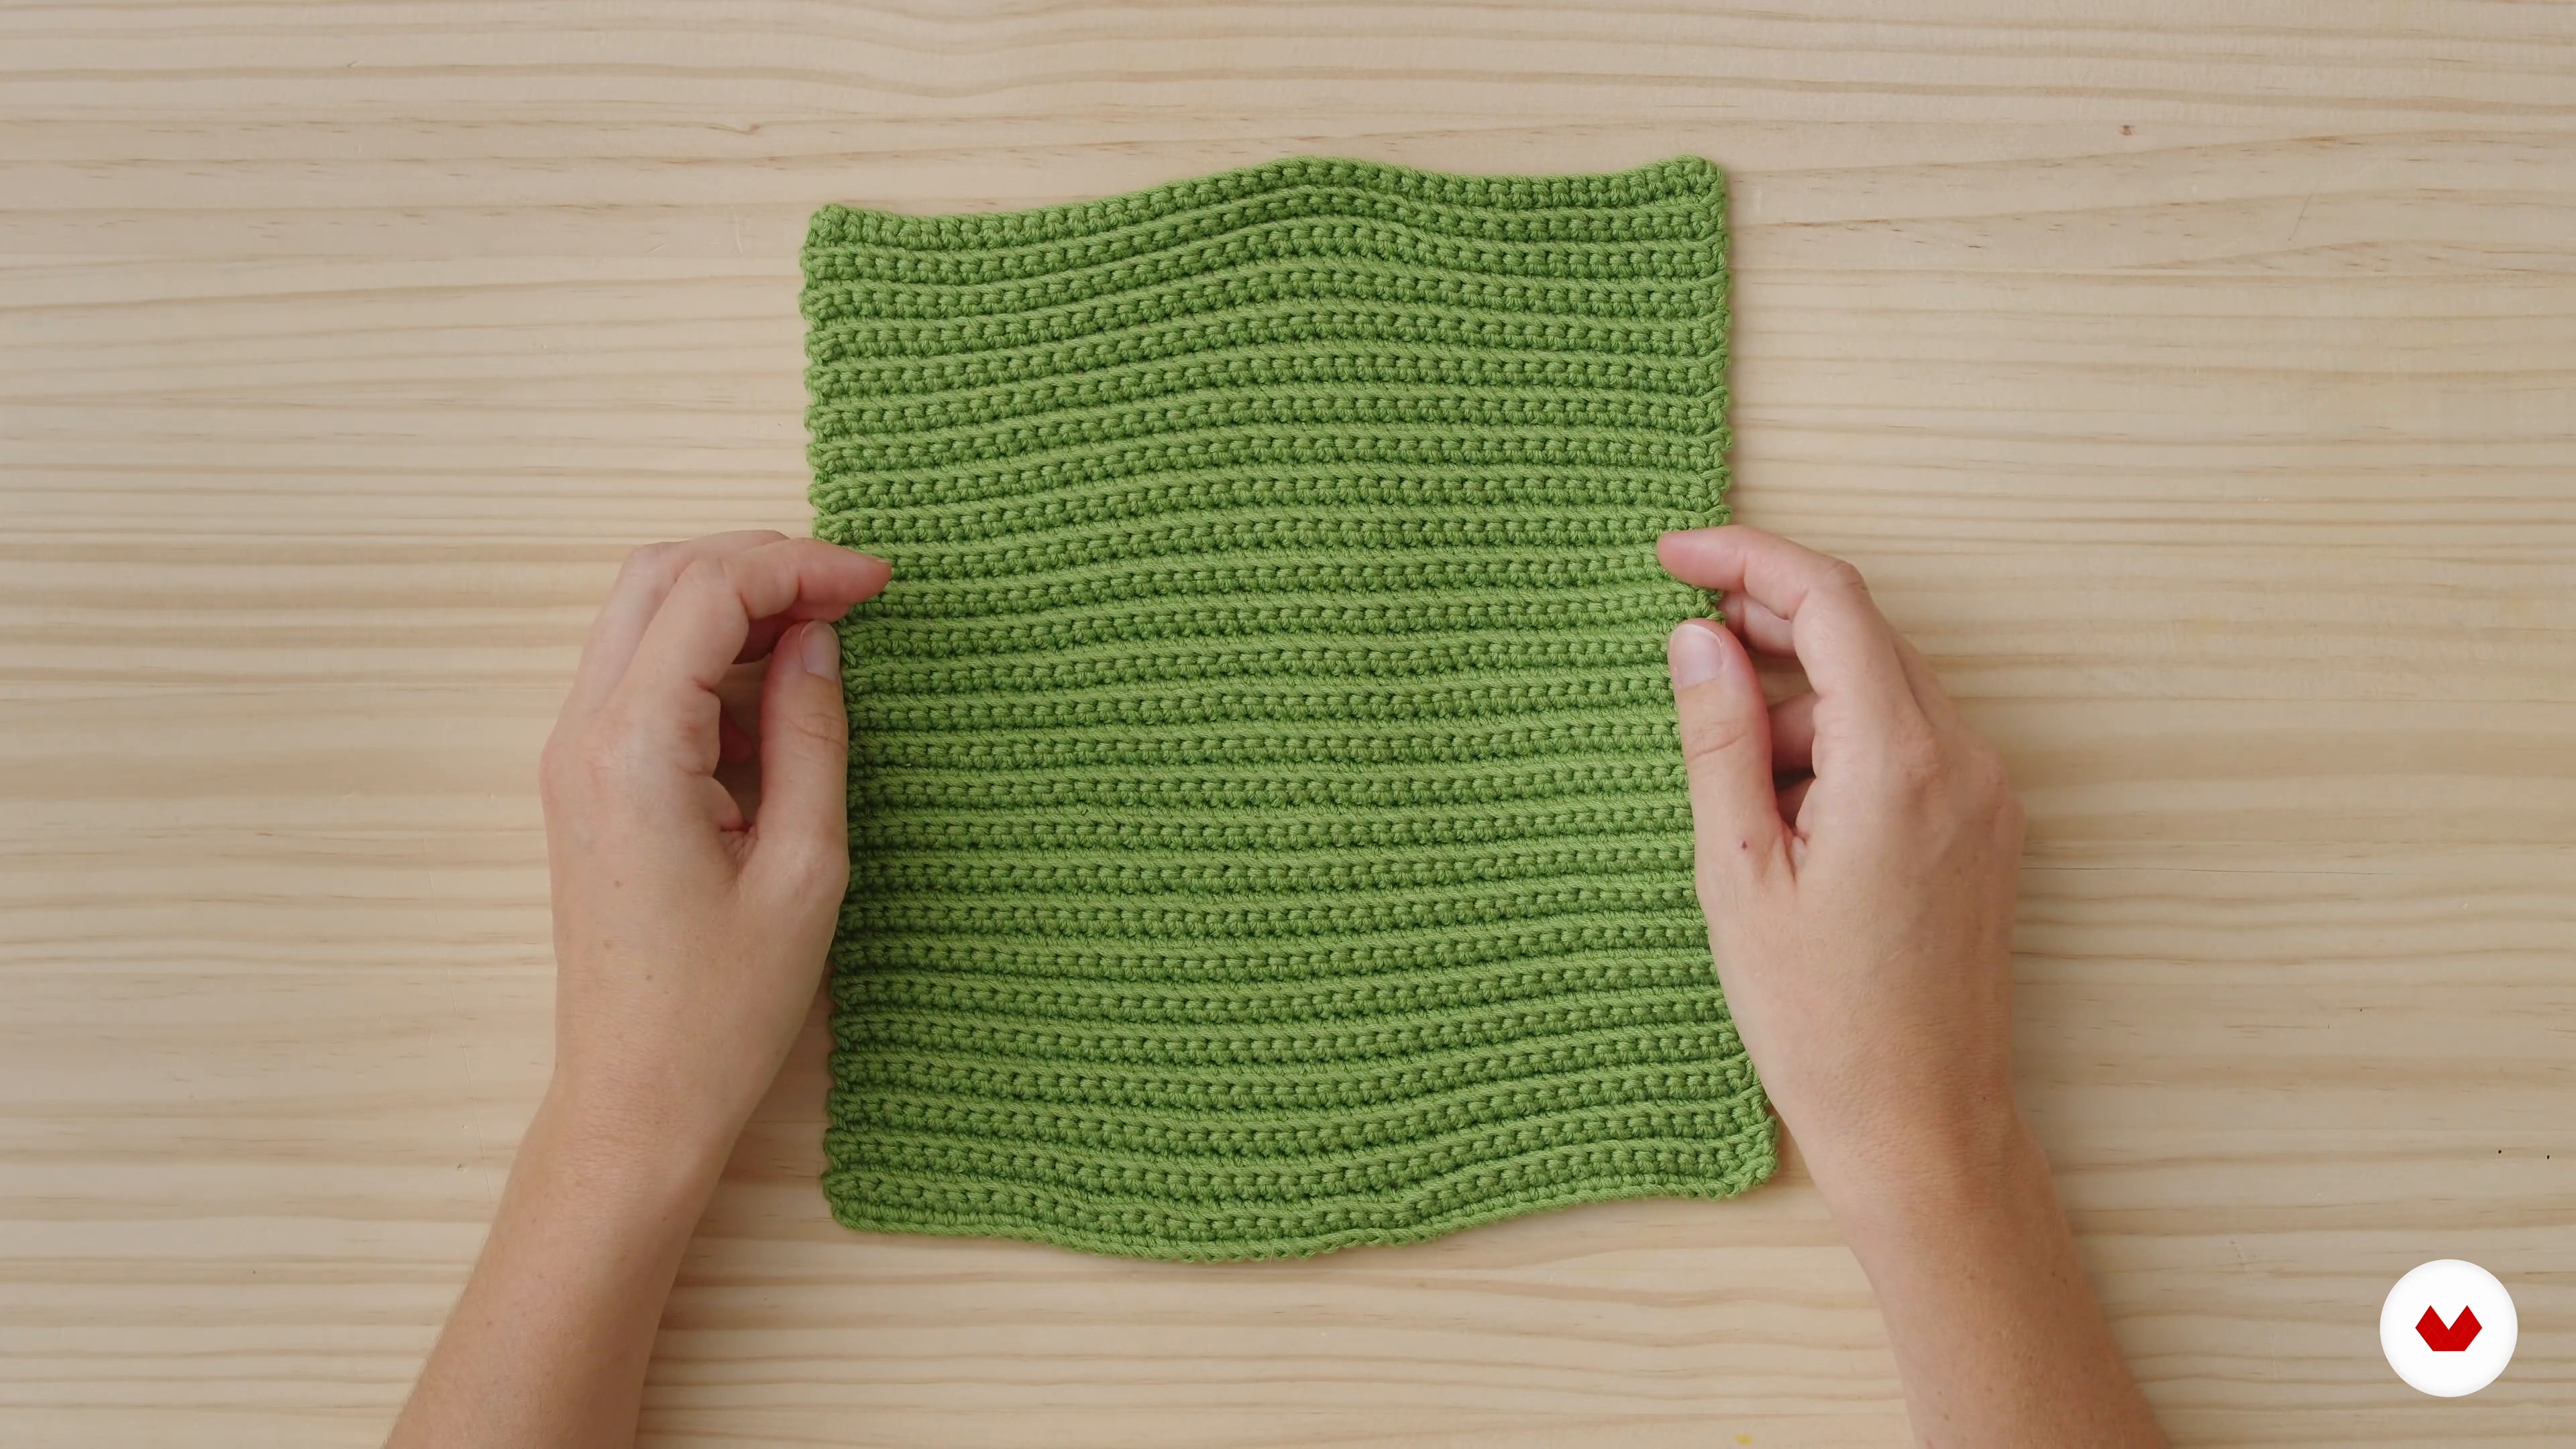
7How to Experiment with the Basics
Now that you know the most basic crochet stitches, it's time to experiment with what you've learned. In this lesson, I'll show you how even the simplest stitches can completely change their appearance simply by changing where you insert the stitches.
8m
 8
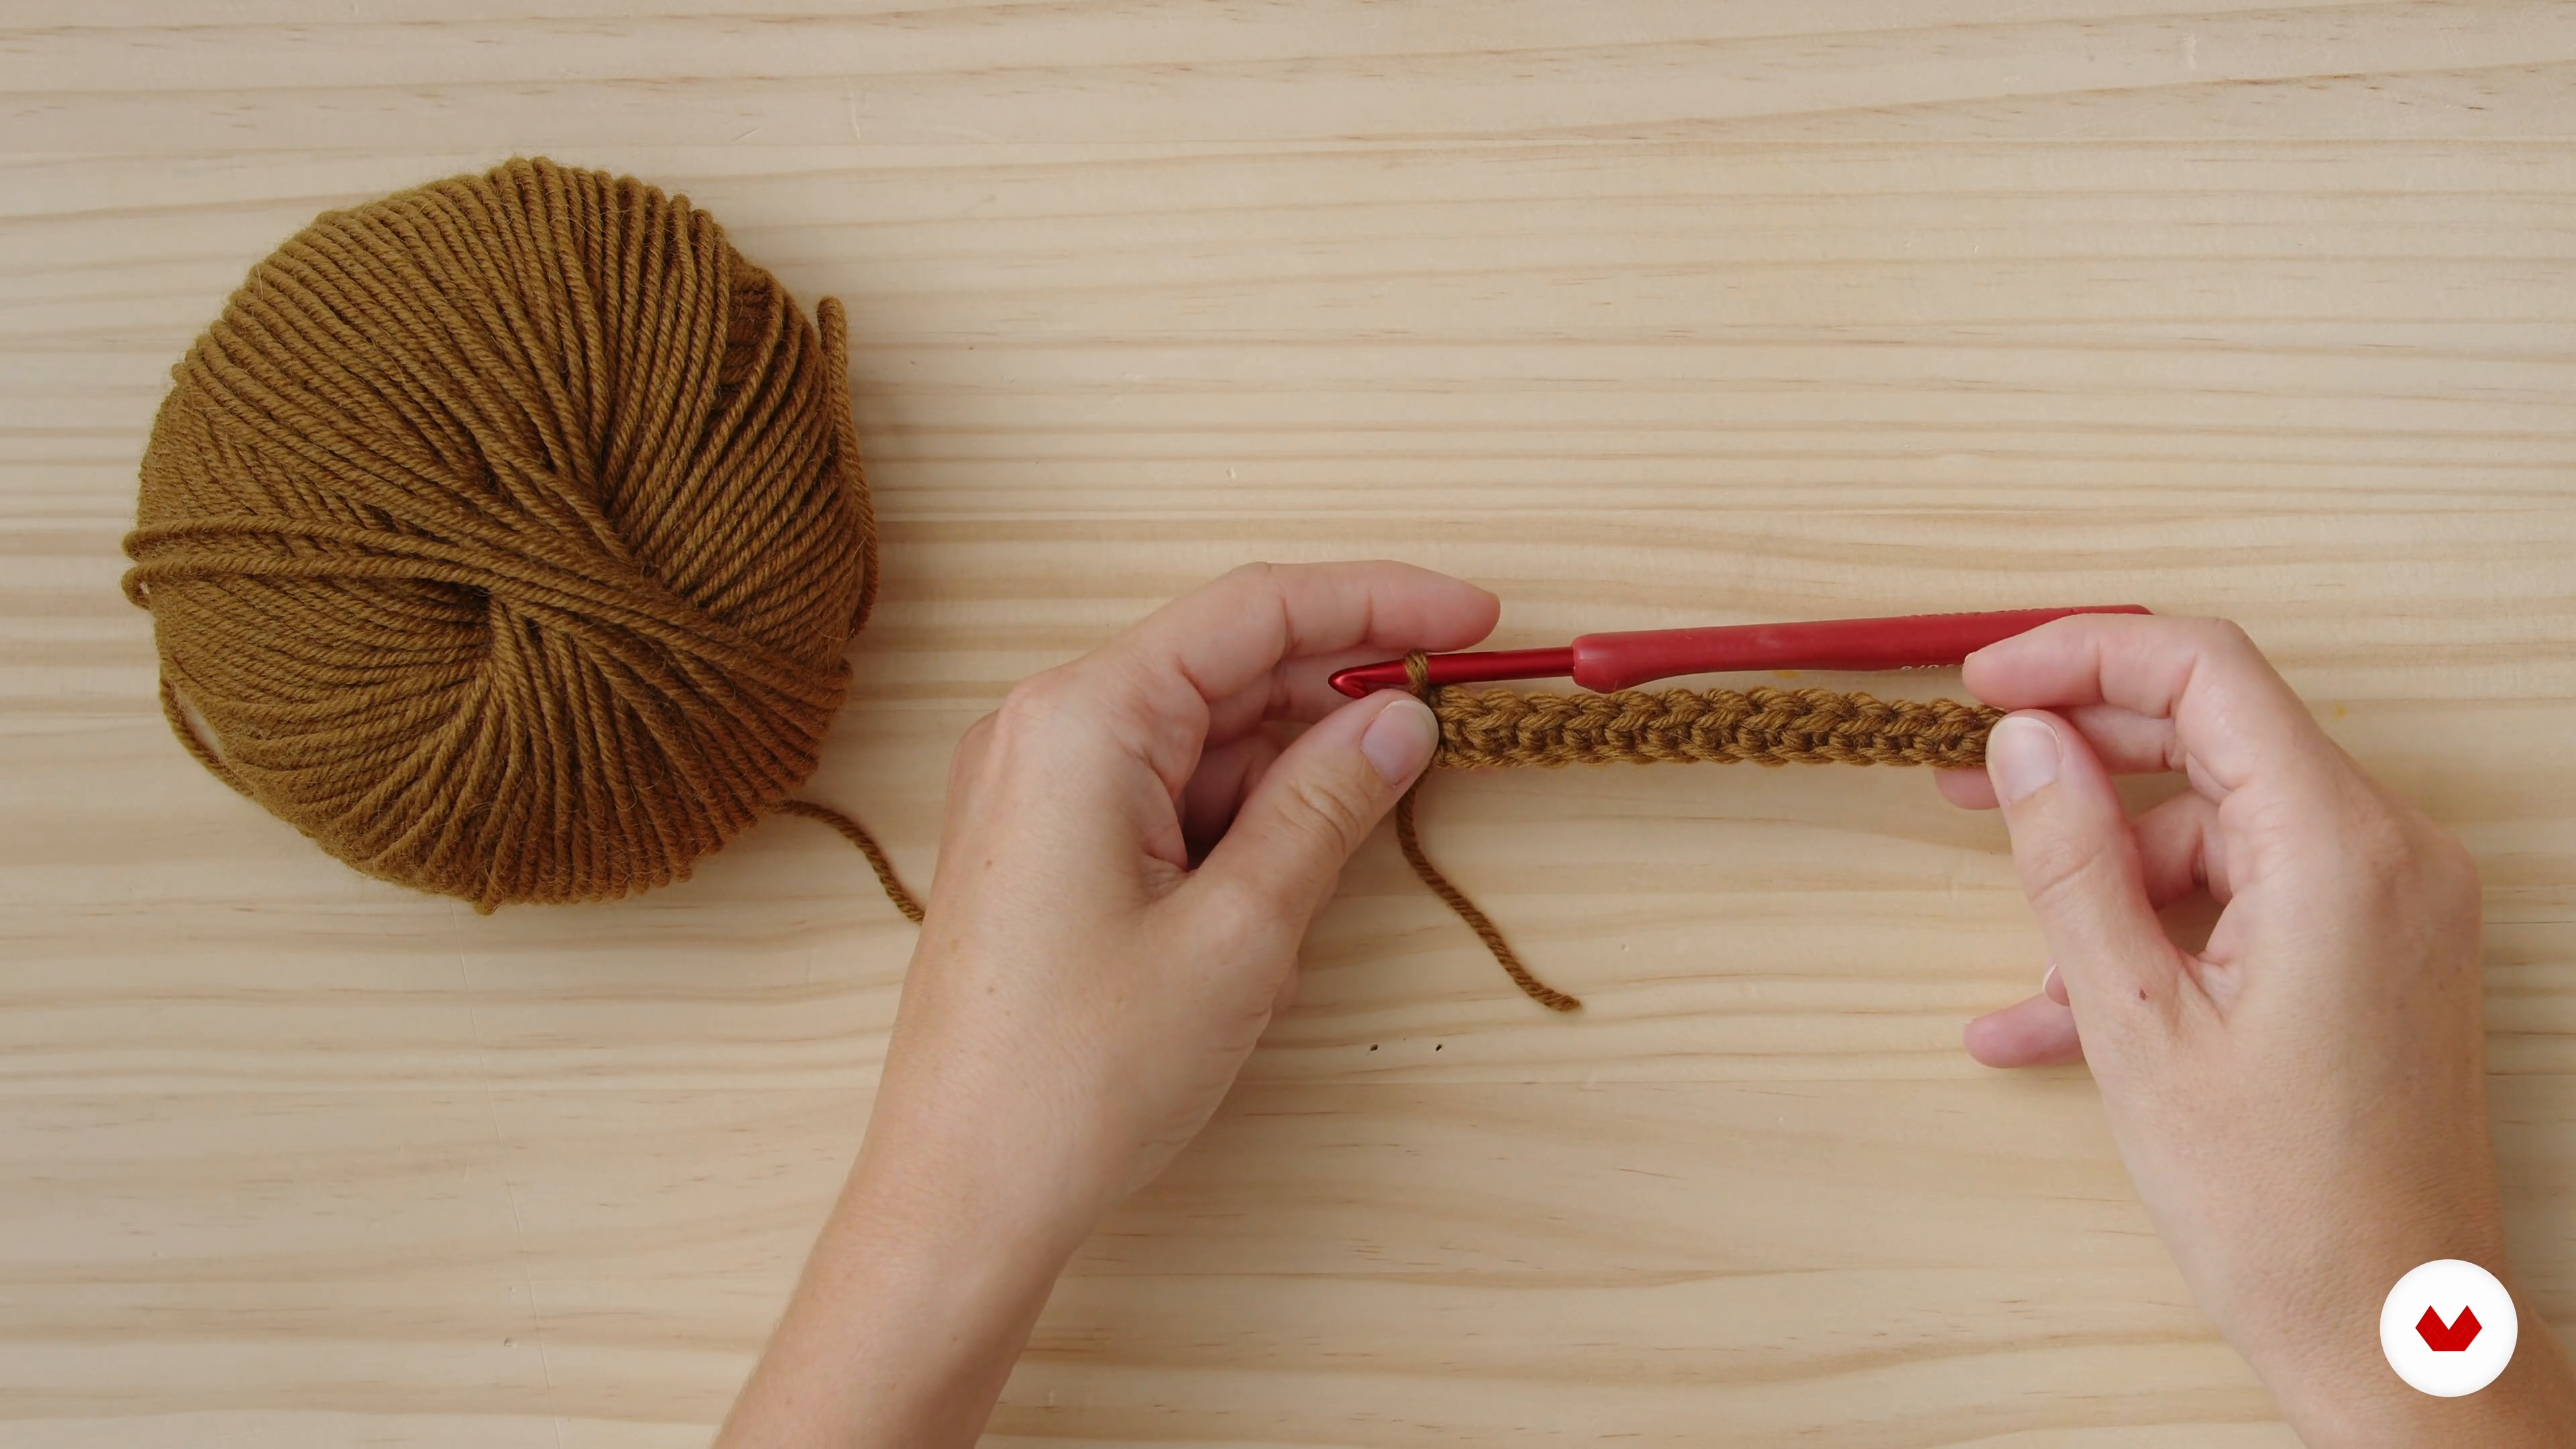
8Even Berry Knit Texture
Now it's time to try different combinations to create wonderful textures: the even berry stitch is one of them. By learning the slip stitch, the single crochet, and the half double crochet, you'll be able to create this beautiful texture.
13m
 9
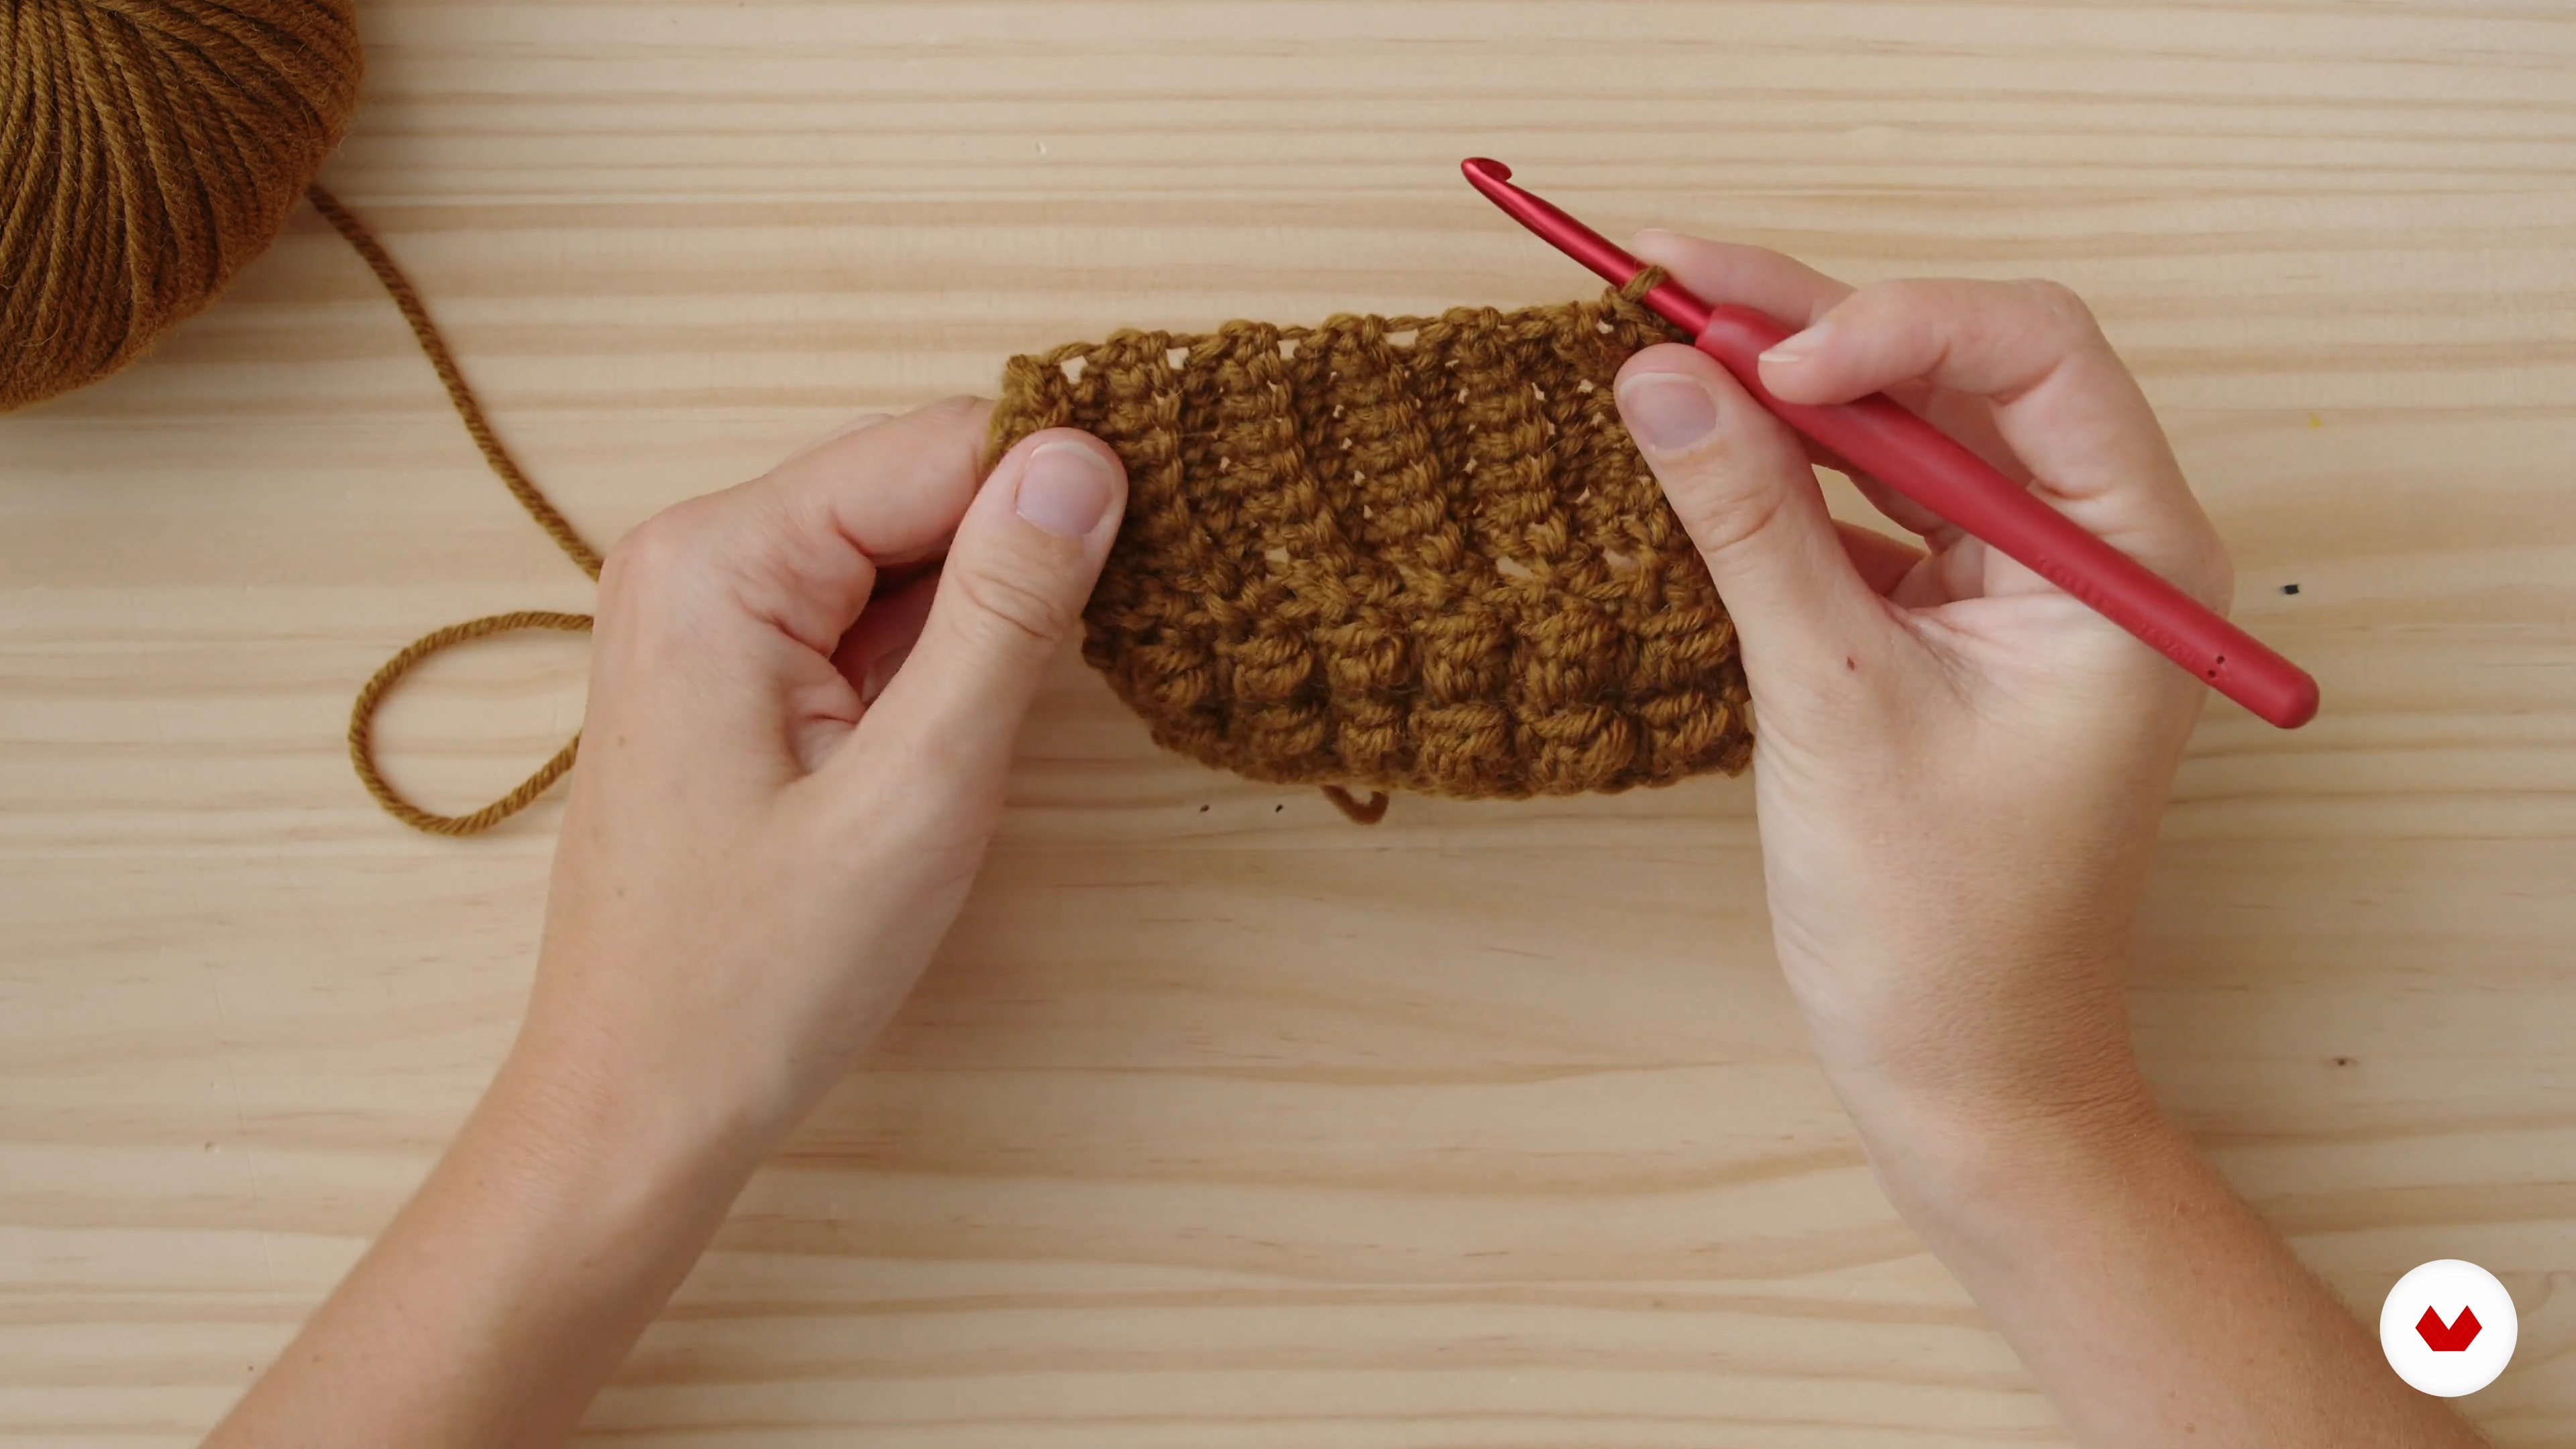
9Vertical Low Points Texture
The possibilities in the world of crochet are endless. In a project with horizontal stripes, it's also possible to break the rules and introduce a small vertical section that will break all the rules. Let's try it!
14m
 10
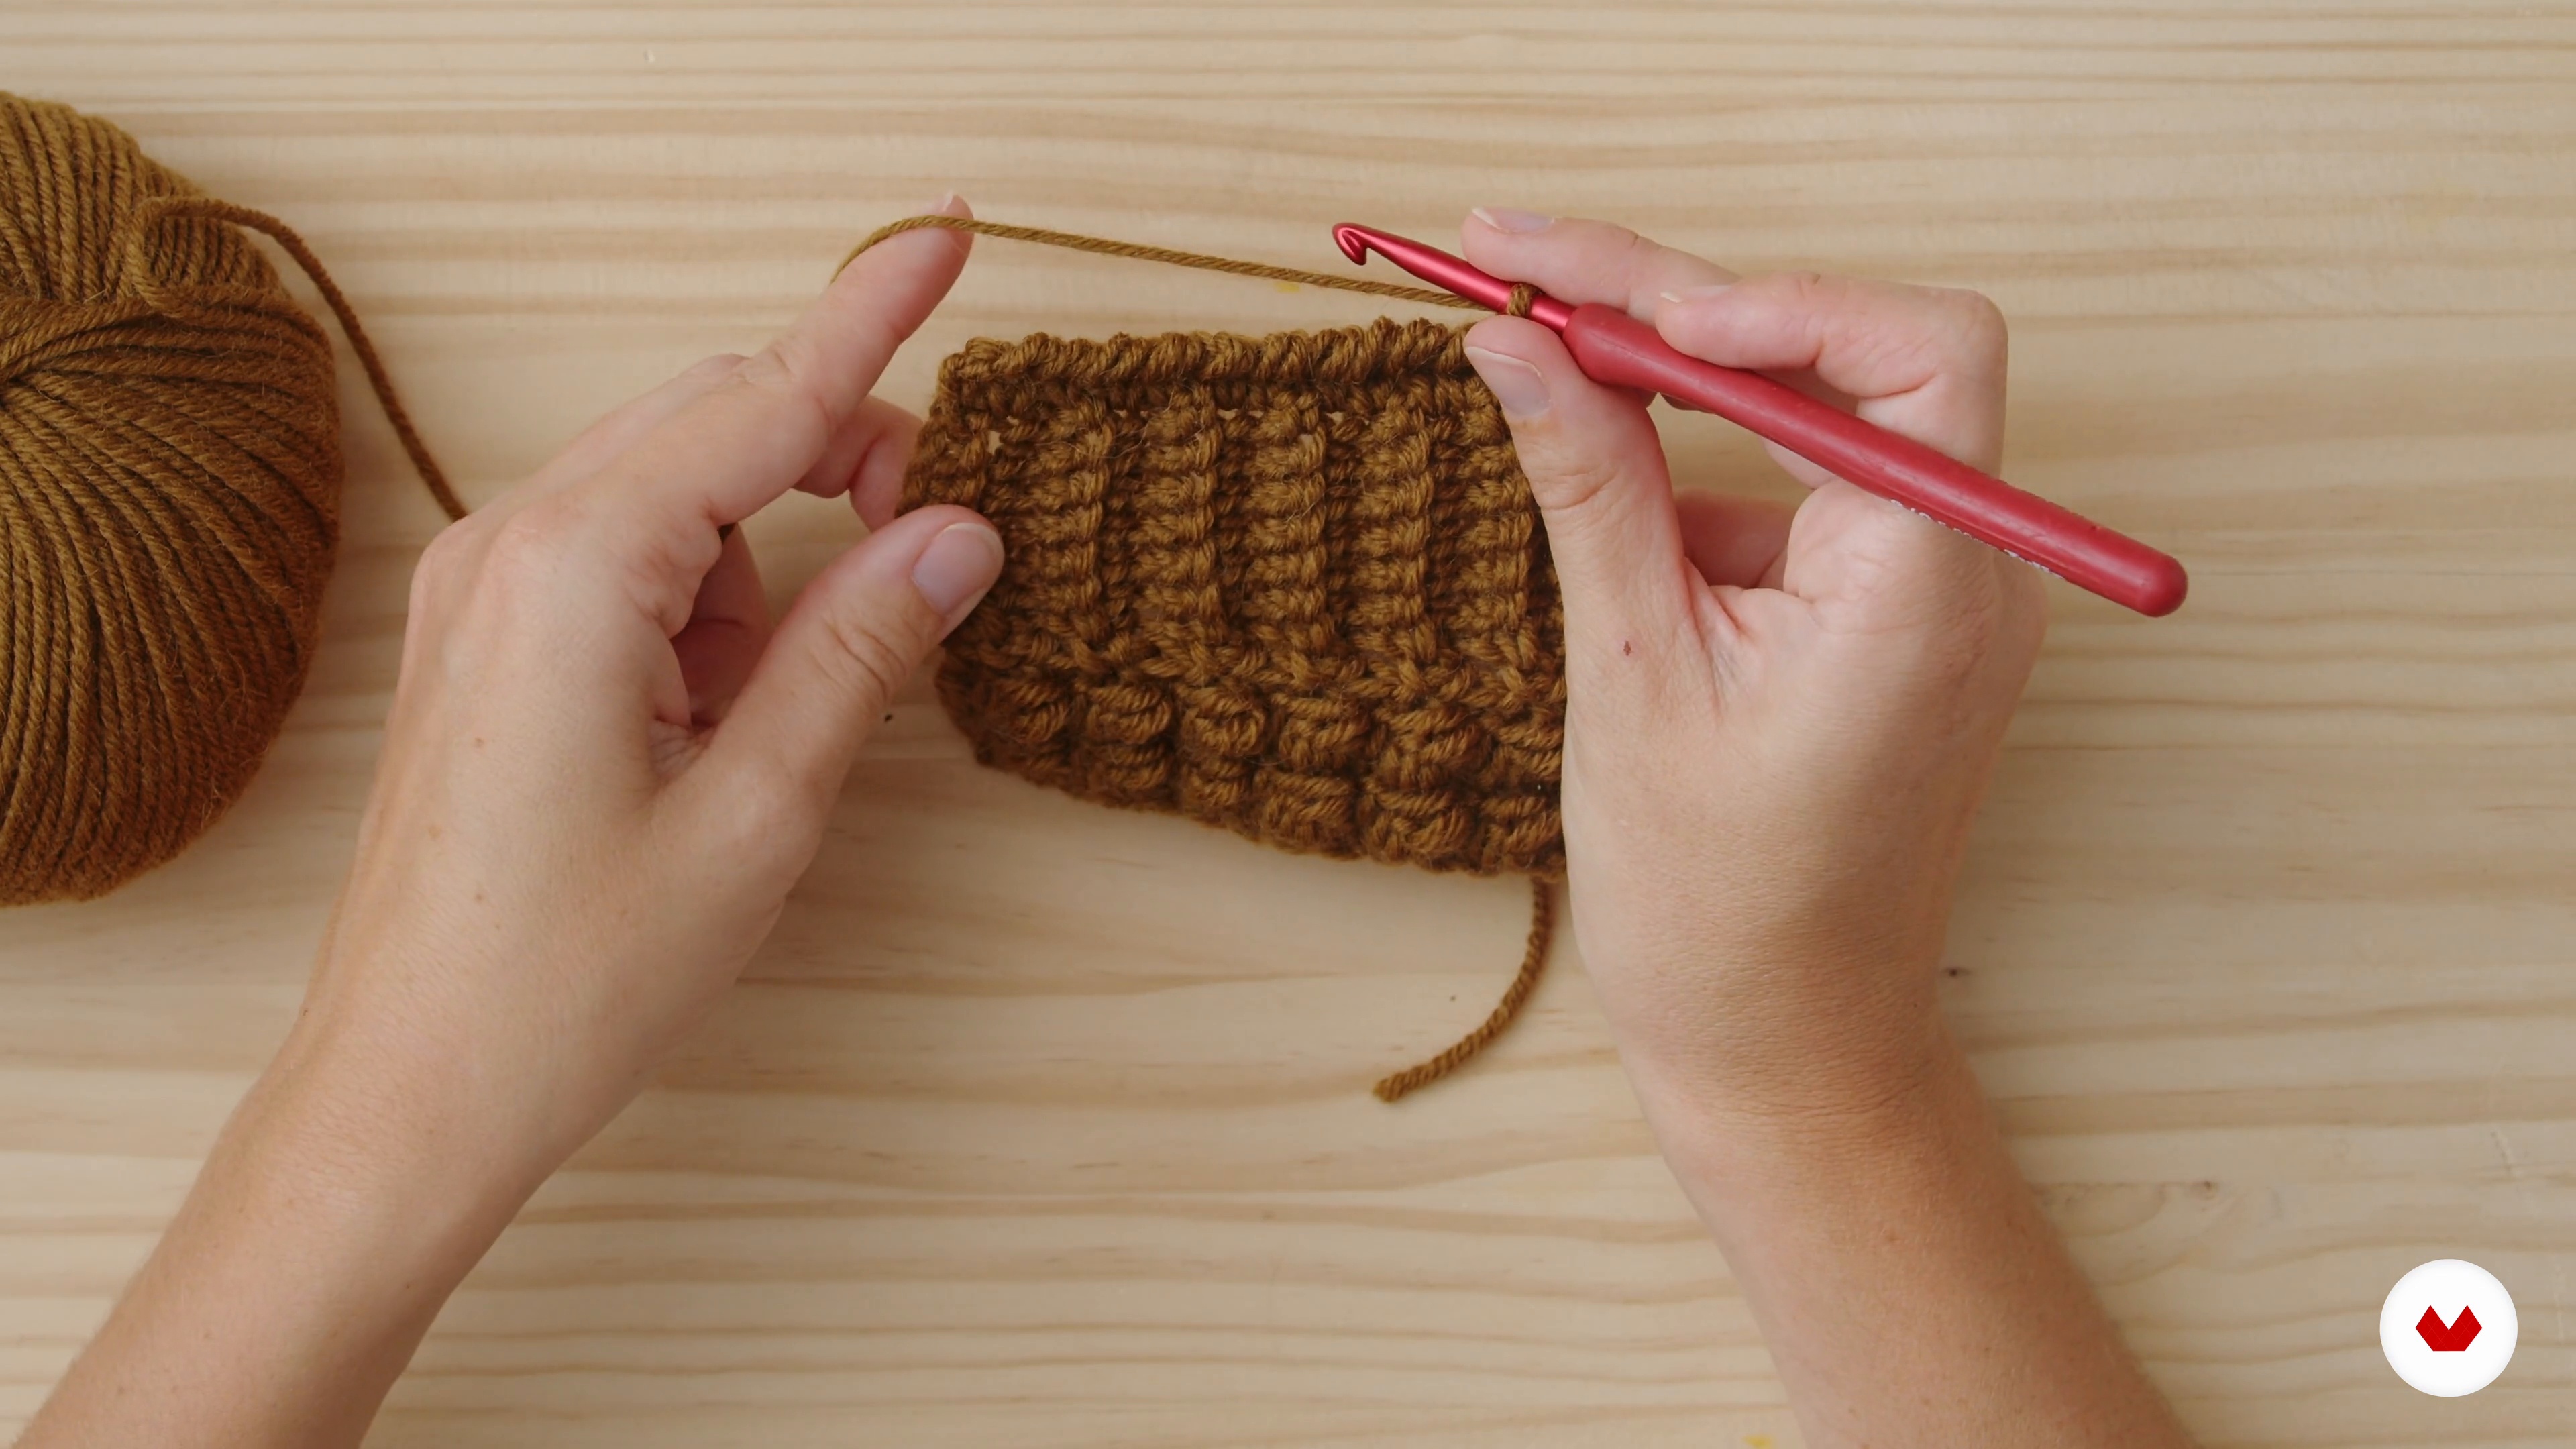
10Crab Stitch Texture
Can you imagine what it's like to knit in reverse? In this lesson, I'll show you. It's easier than you think. The resulting texture will create an incredible relief that will stand out above all else in your projects.
8m
 11
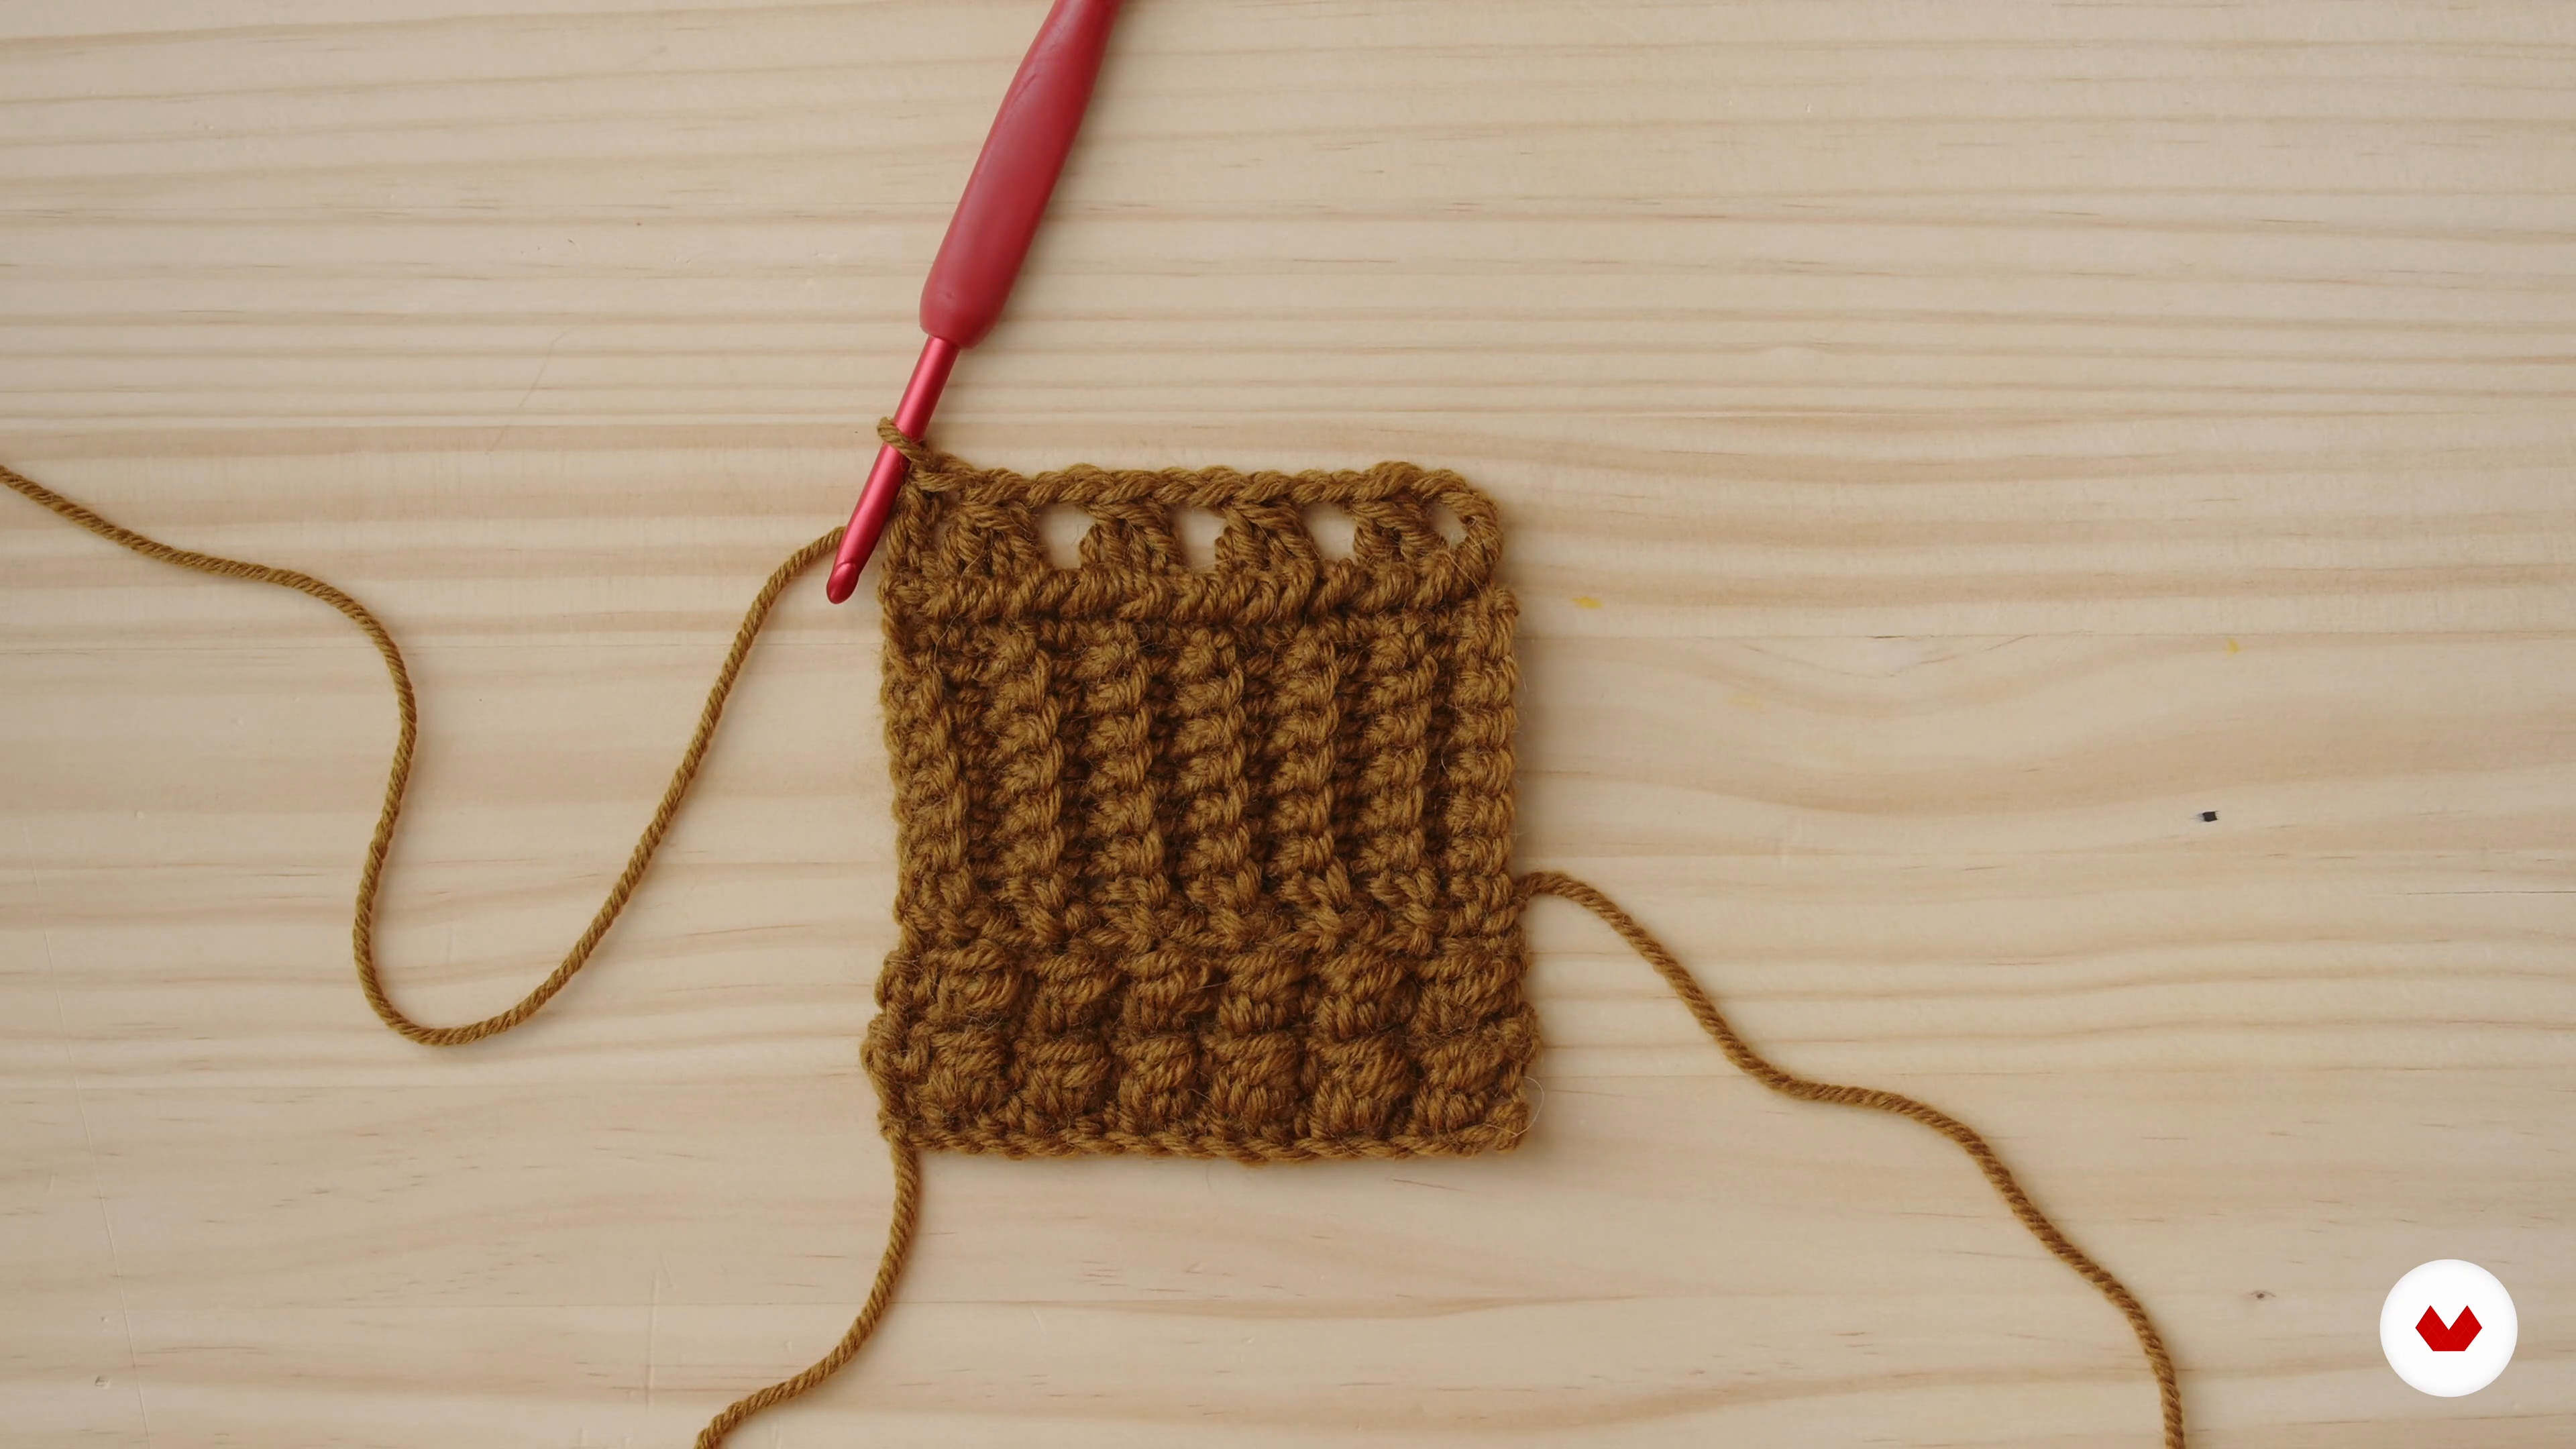
11Openwork Dots Texture
Lace stitches are a great ally for projects with very dense stitches. In this lesson, I'll teach you these stitches, and you'll see how they'll add lightness and a beautiful visual touch to your garment.
5m
 12
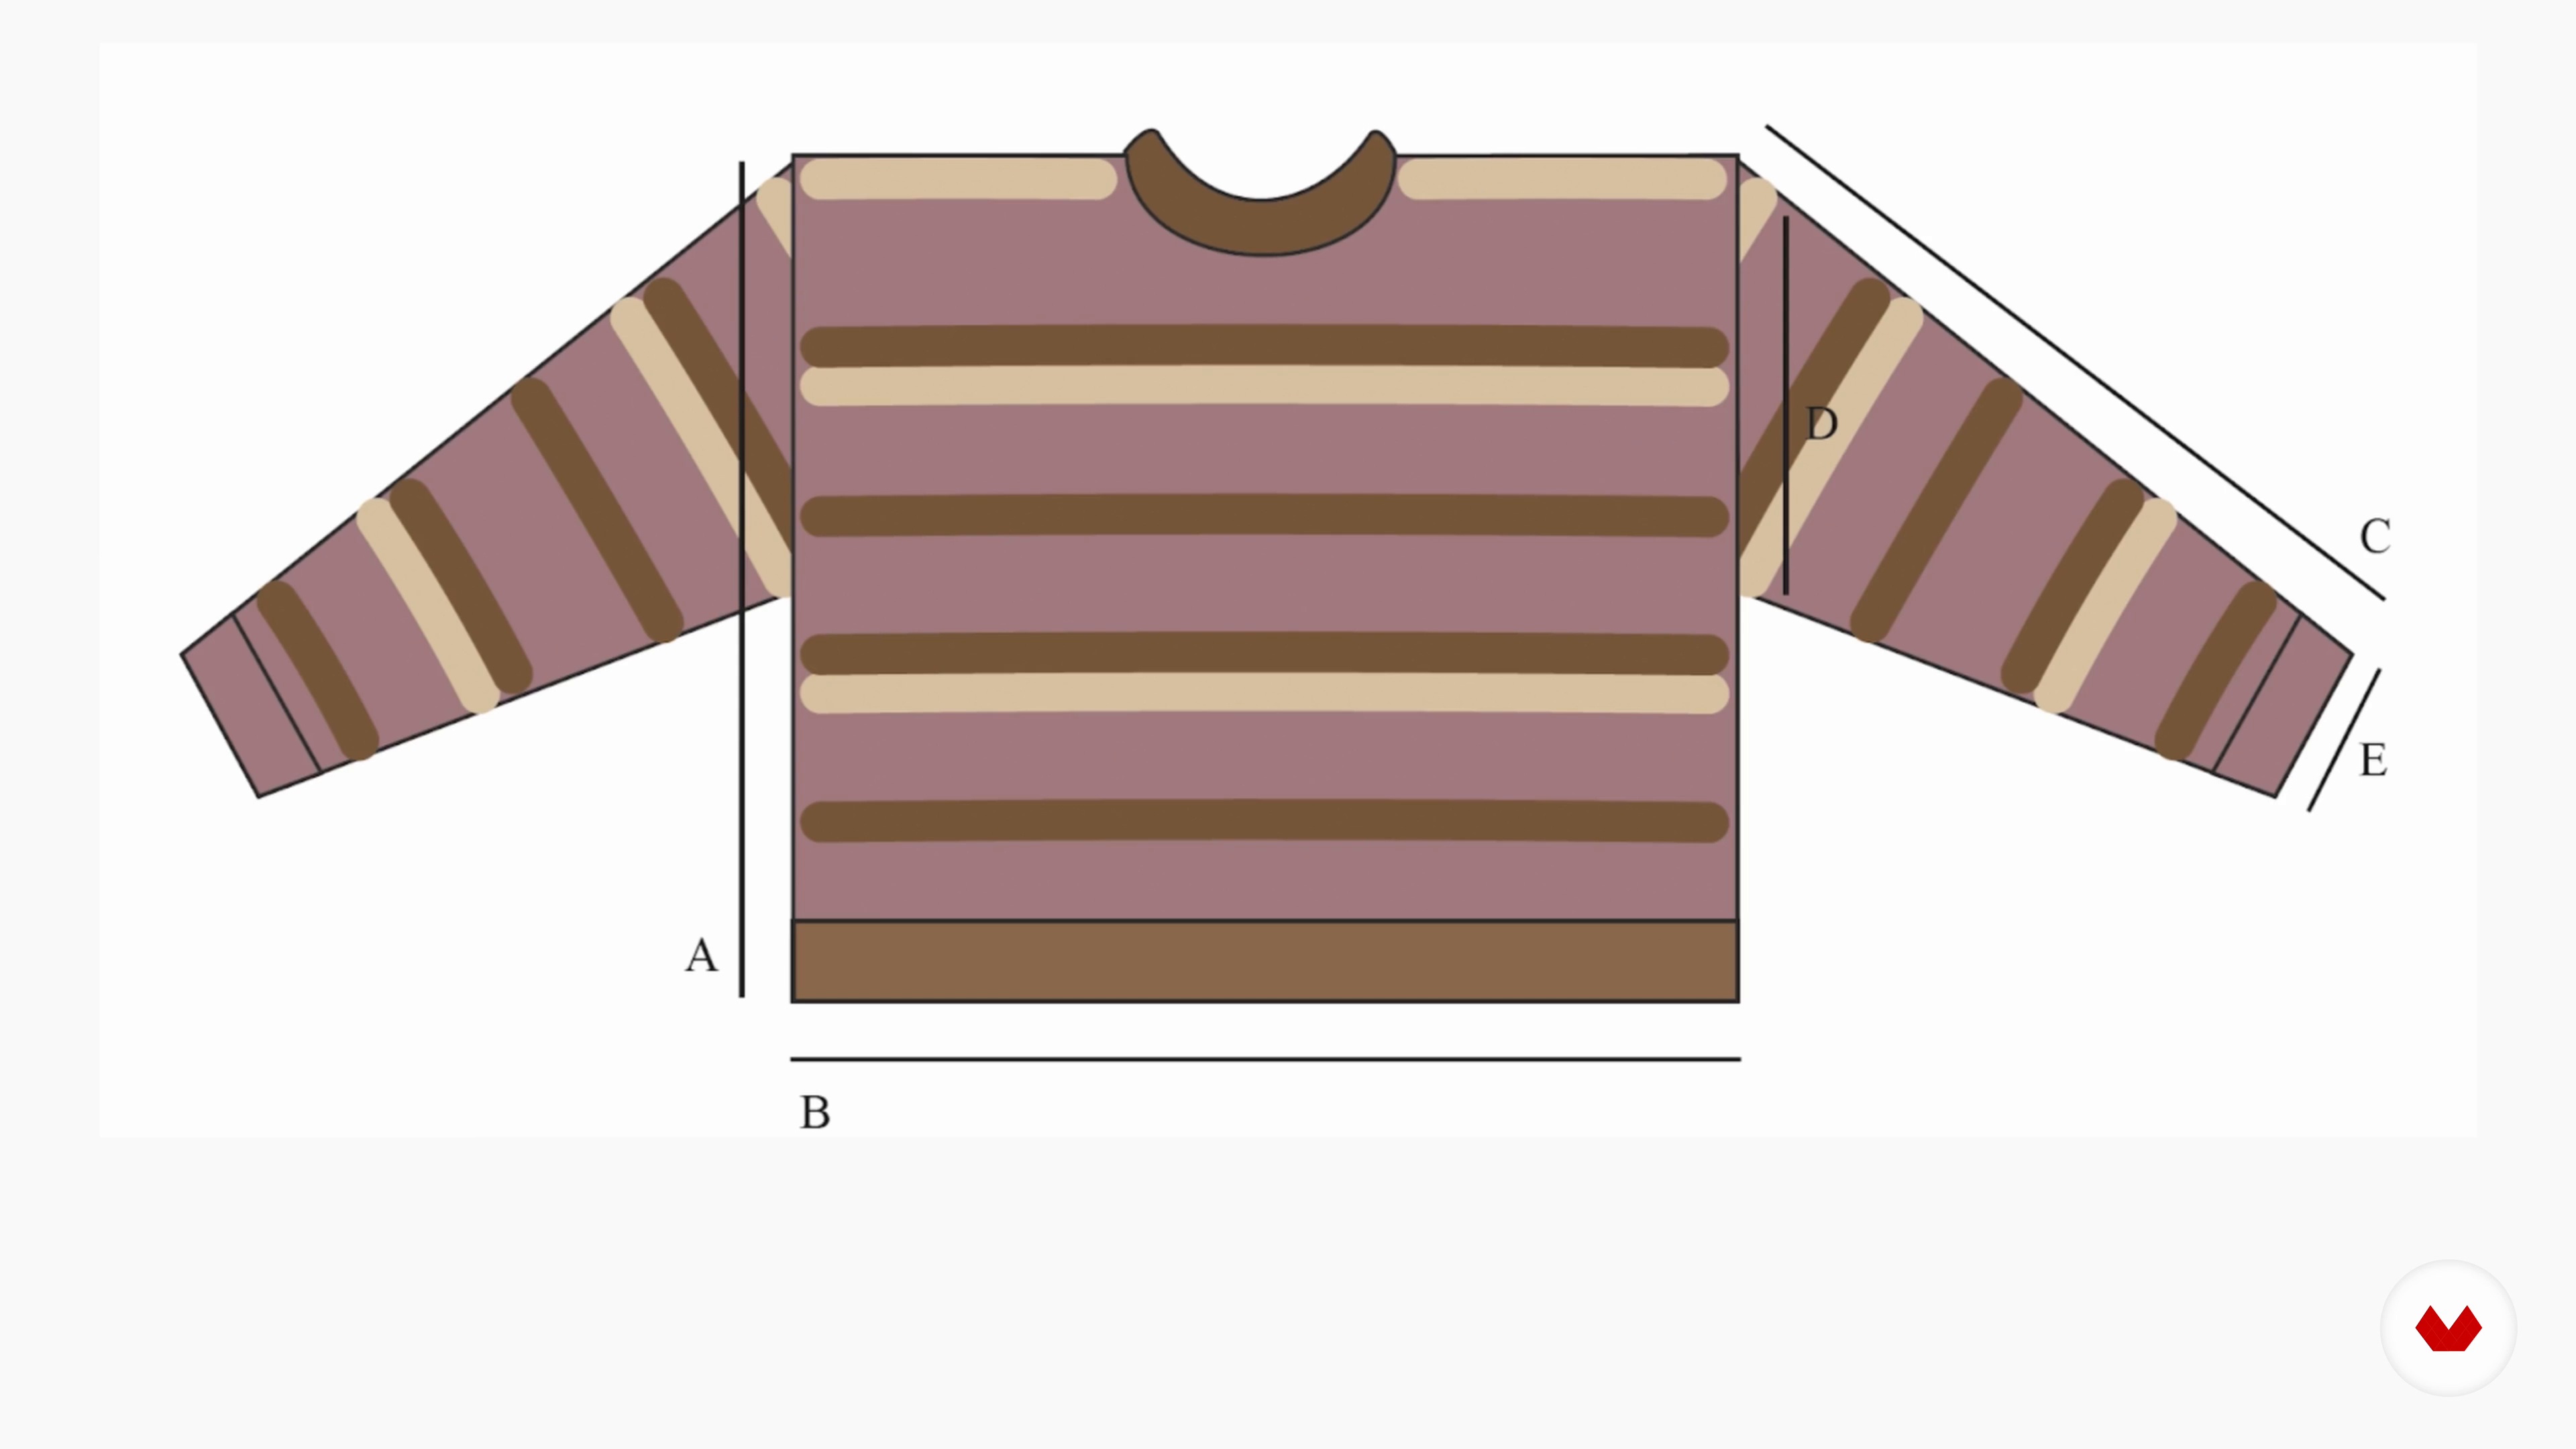
12Familiarize Yourself with the Pattern
The first step to starting to knit a pattern is to read it and internalize it. I'm going to show you and explain the content and each part of the Berry sweater pattern so you understand it perfectly. I recommend having the pattern in front of you, either printed or digitally, so you can see each part at the same time as me.
8m
 13
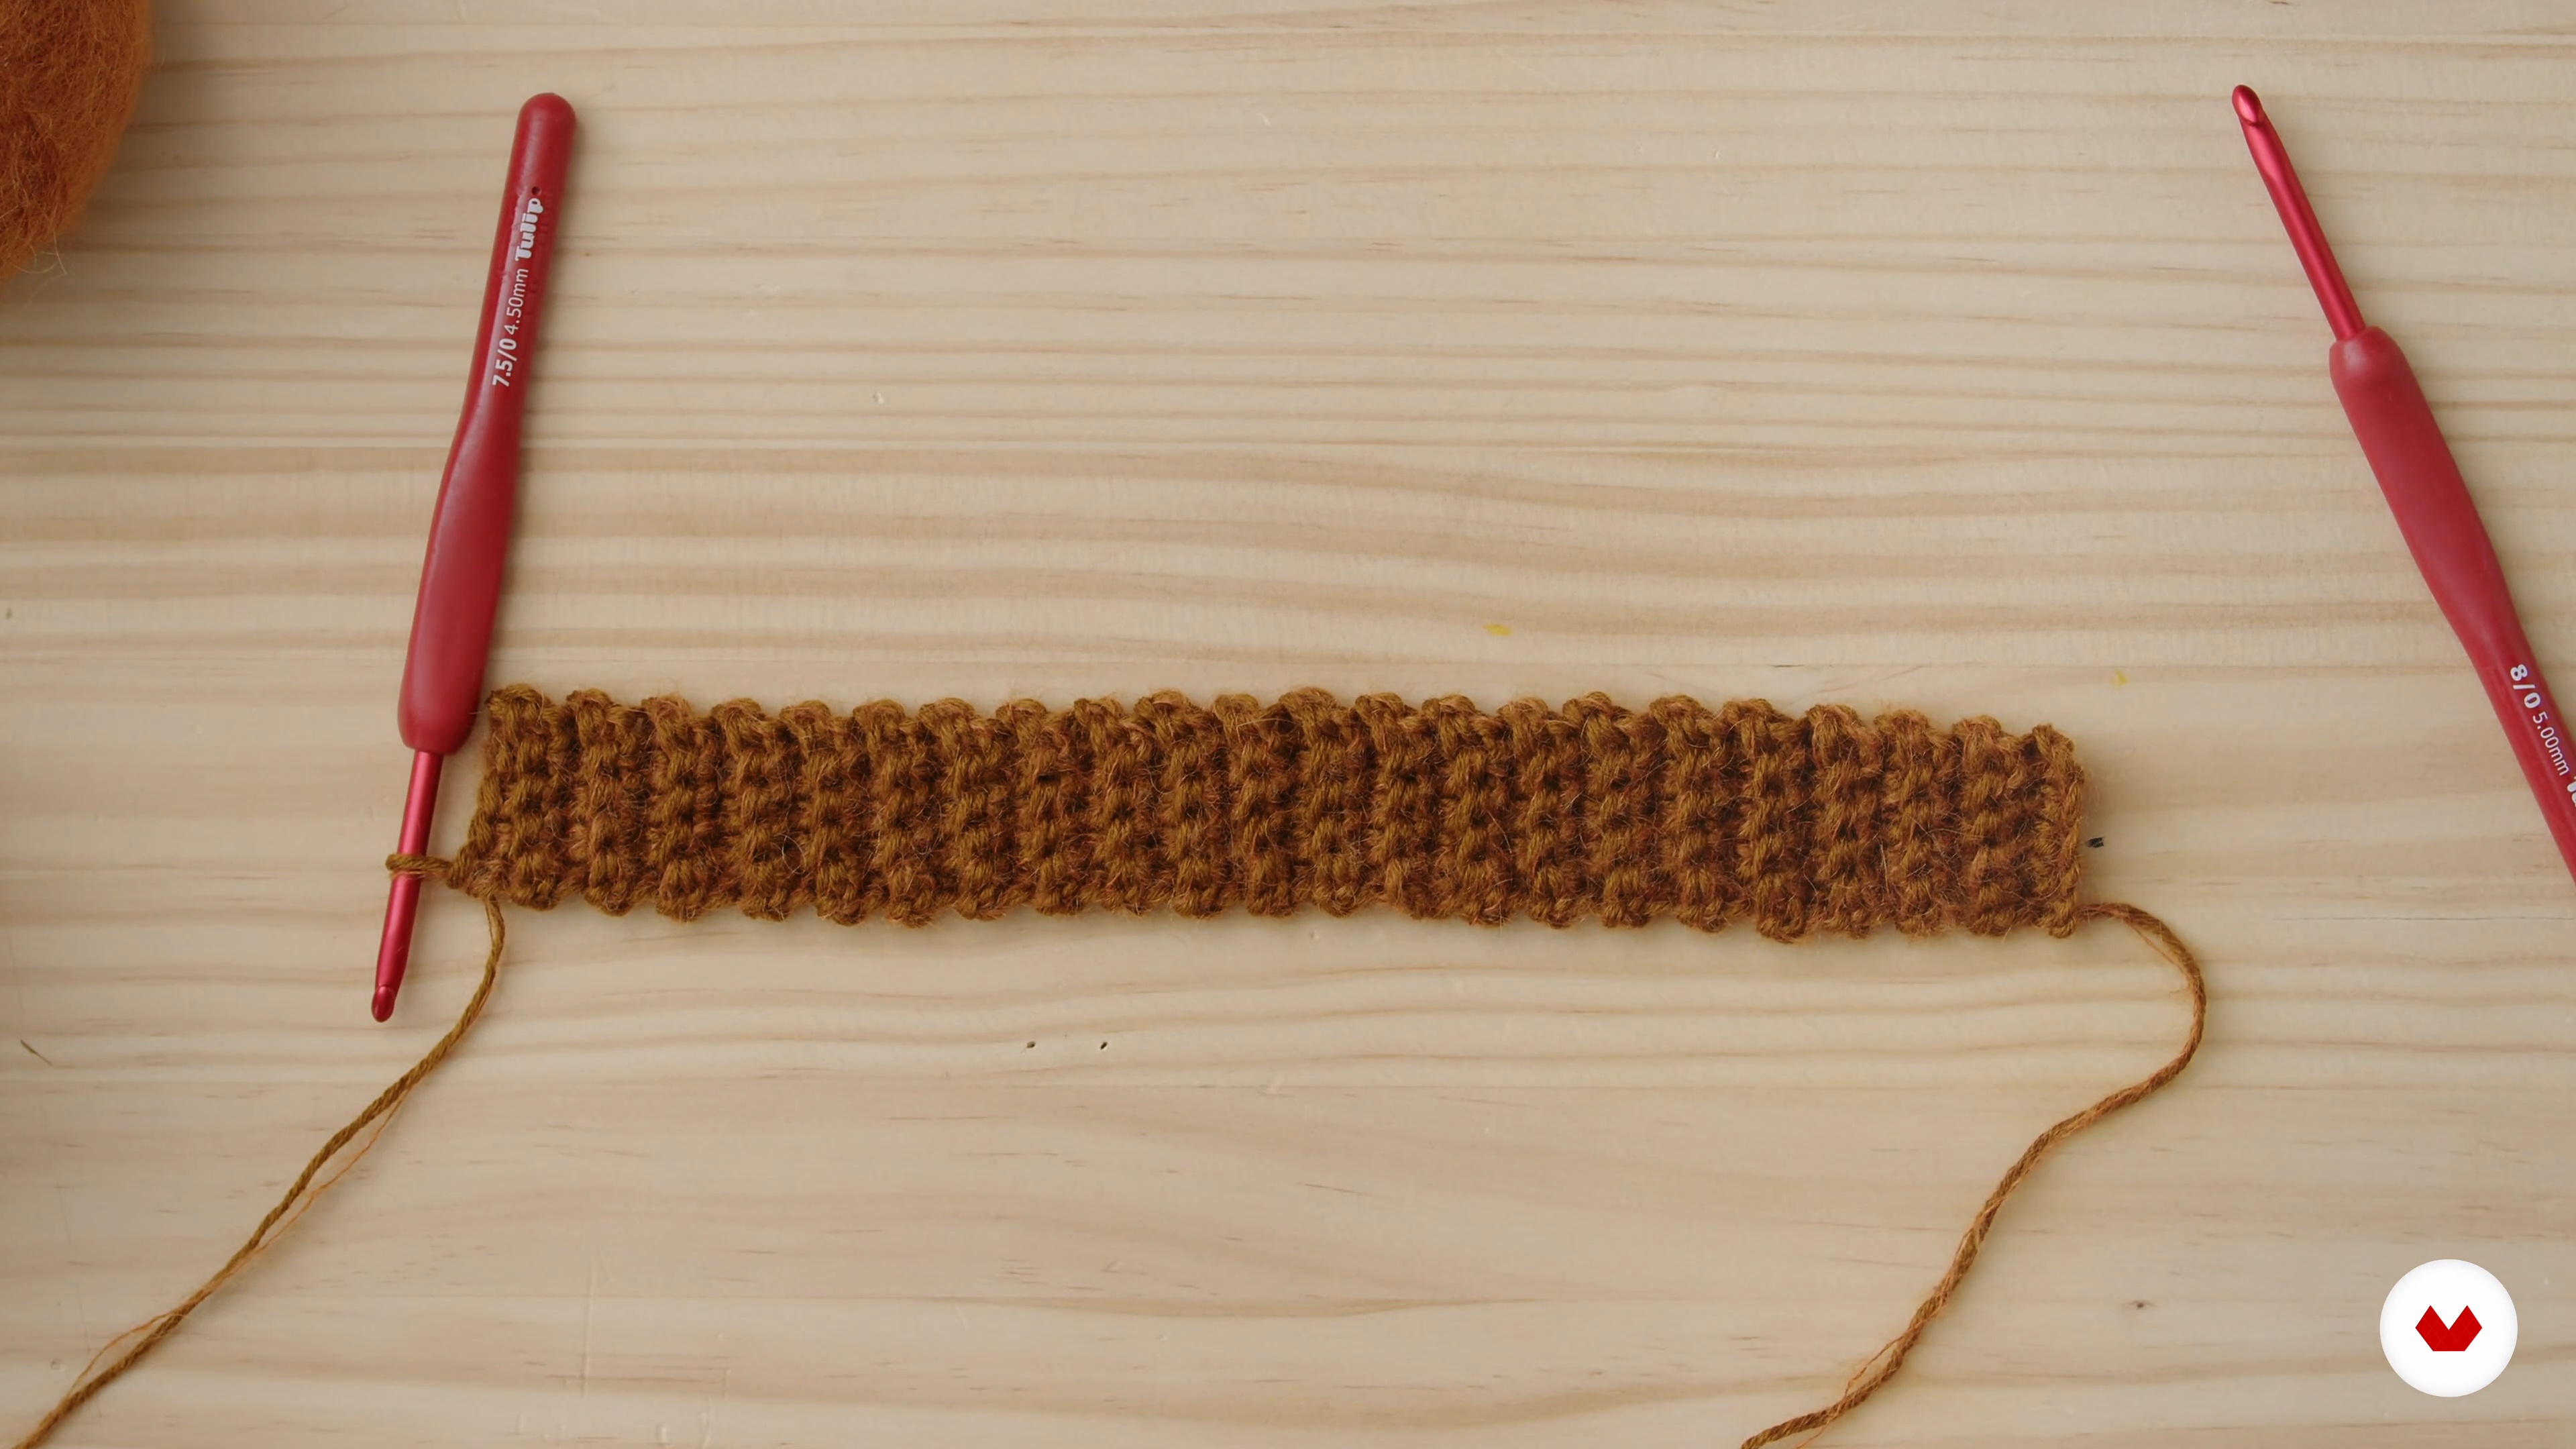
13Start at the Bottom: Elastics, Front and Back 1
Now, we'll begin knitting the course project. We'll apply everything we've learned so far, starting with the bottom rib. But before starting with the garment itself, I'll show you how to make a swatch measuring 10 x 10 cm. This swatch will be extremely important for any project, as it will help you calculate the stitches for your sweater if you want to use a different material. Next, we'll start knitting the front. Sit back and relax, because we're going to spend many hours knitting together. Let's go!
18m
 14
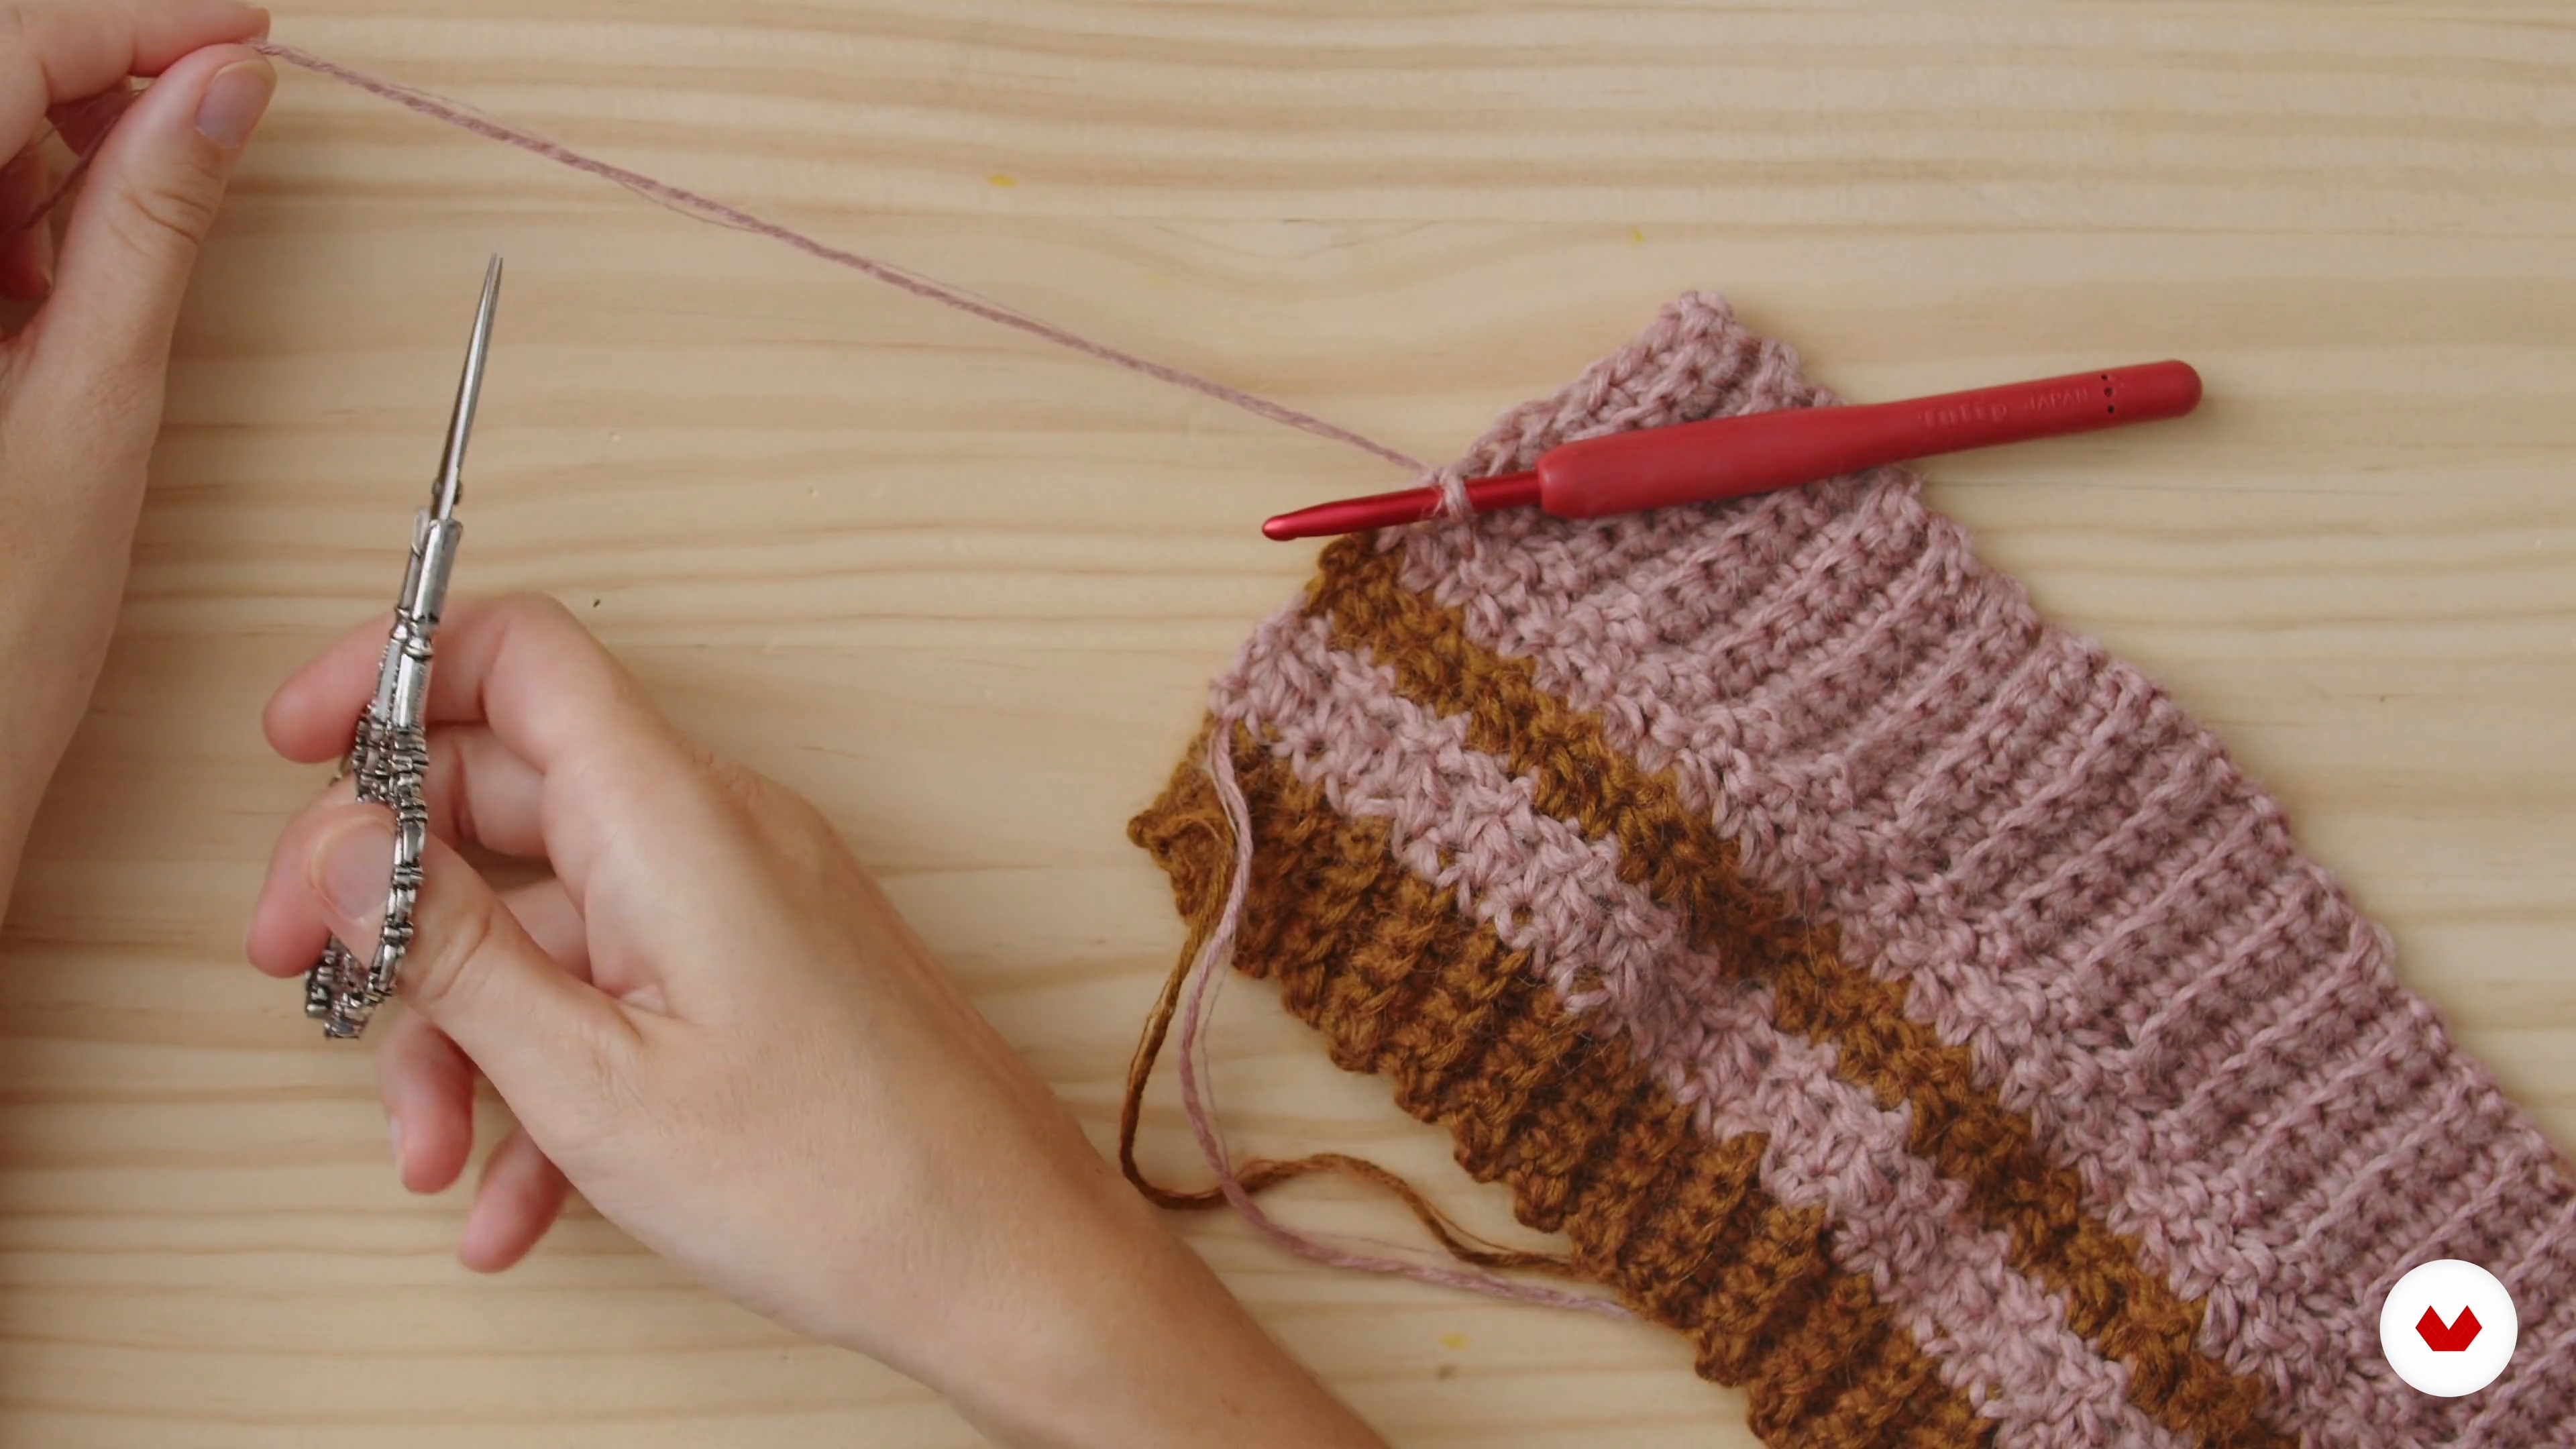
14Start at the Bottom: Elastics, Front and Back 2
Once the elastic and the first row of the front have been knitted, in this lesson I will continue knitting the remaining rows using the different colors I chose for the different sequences.
15m
 15
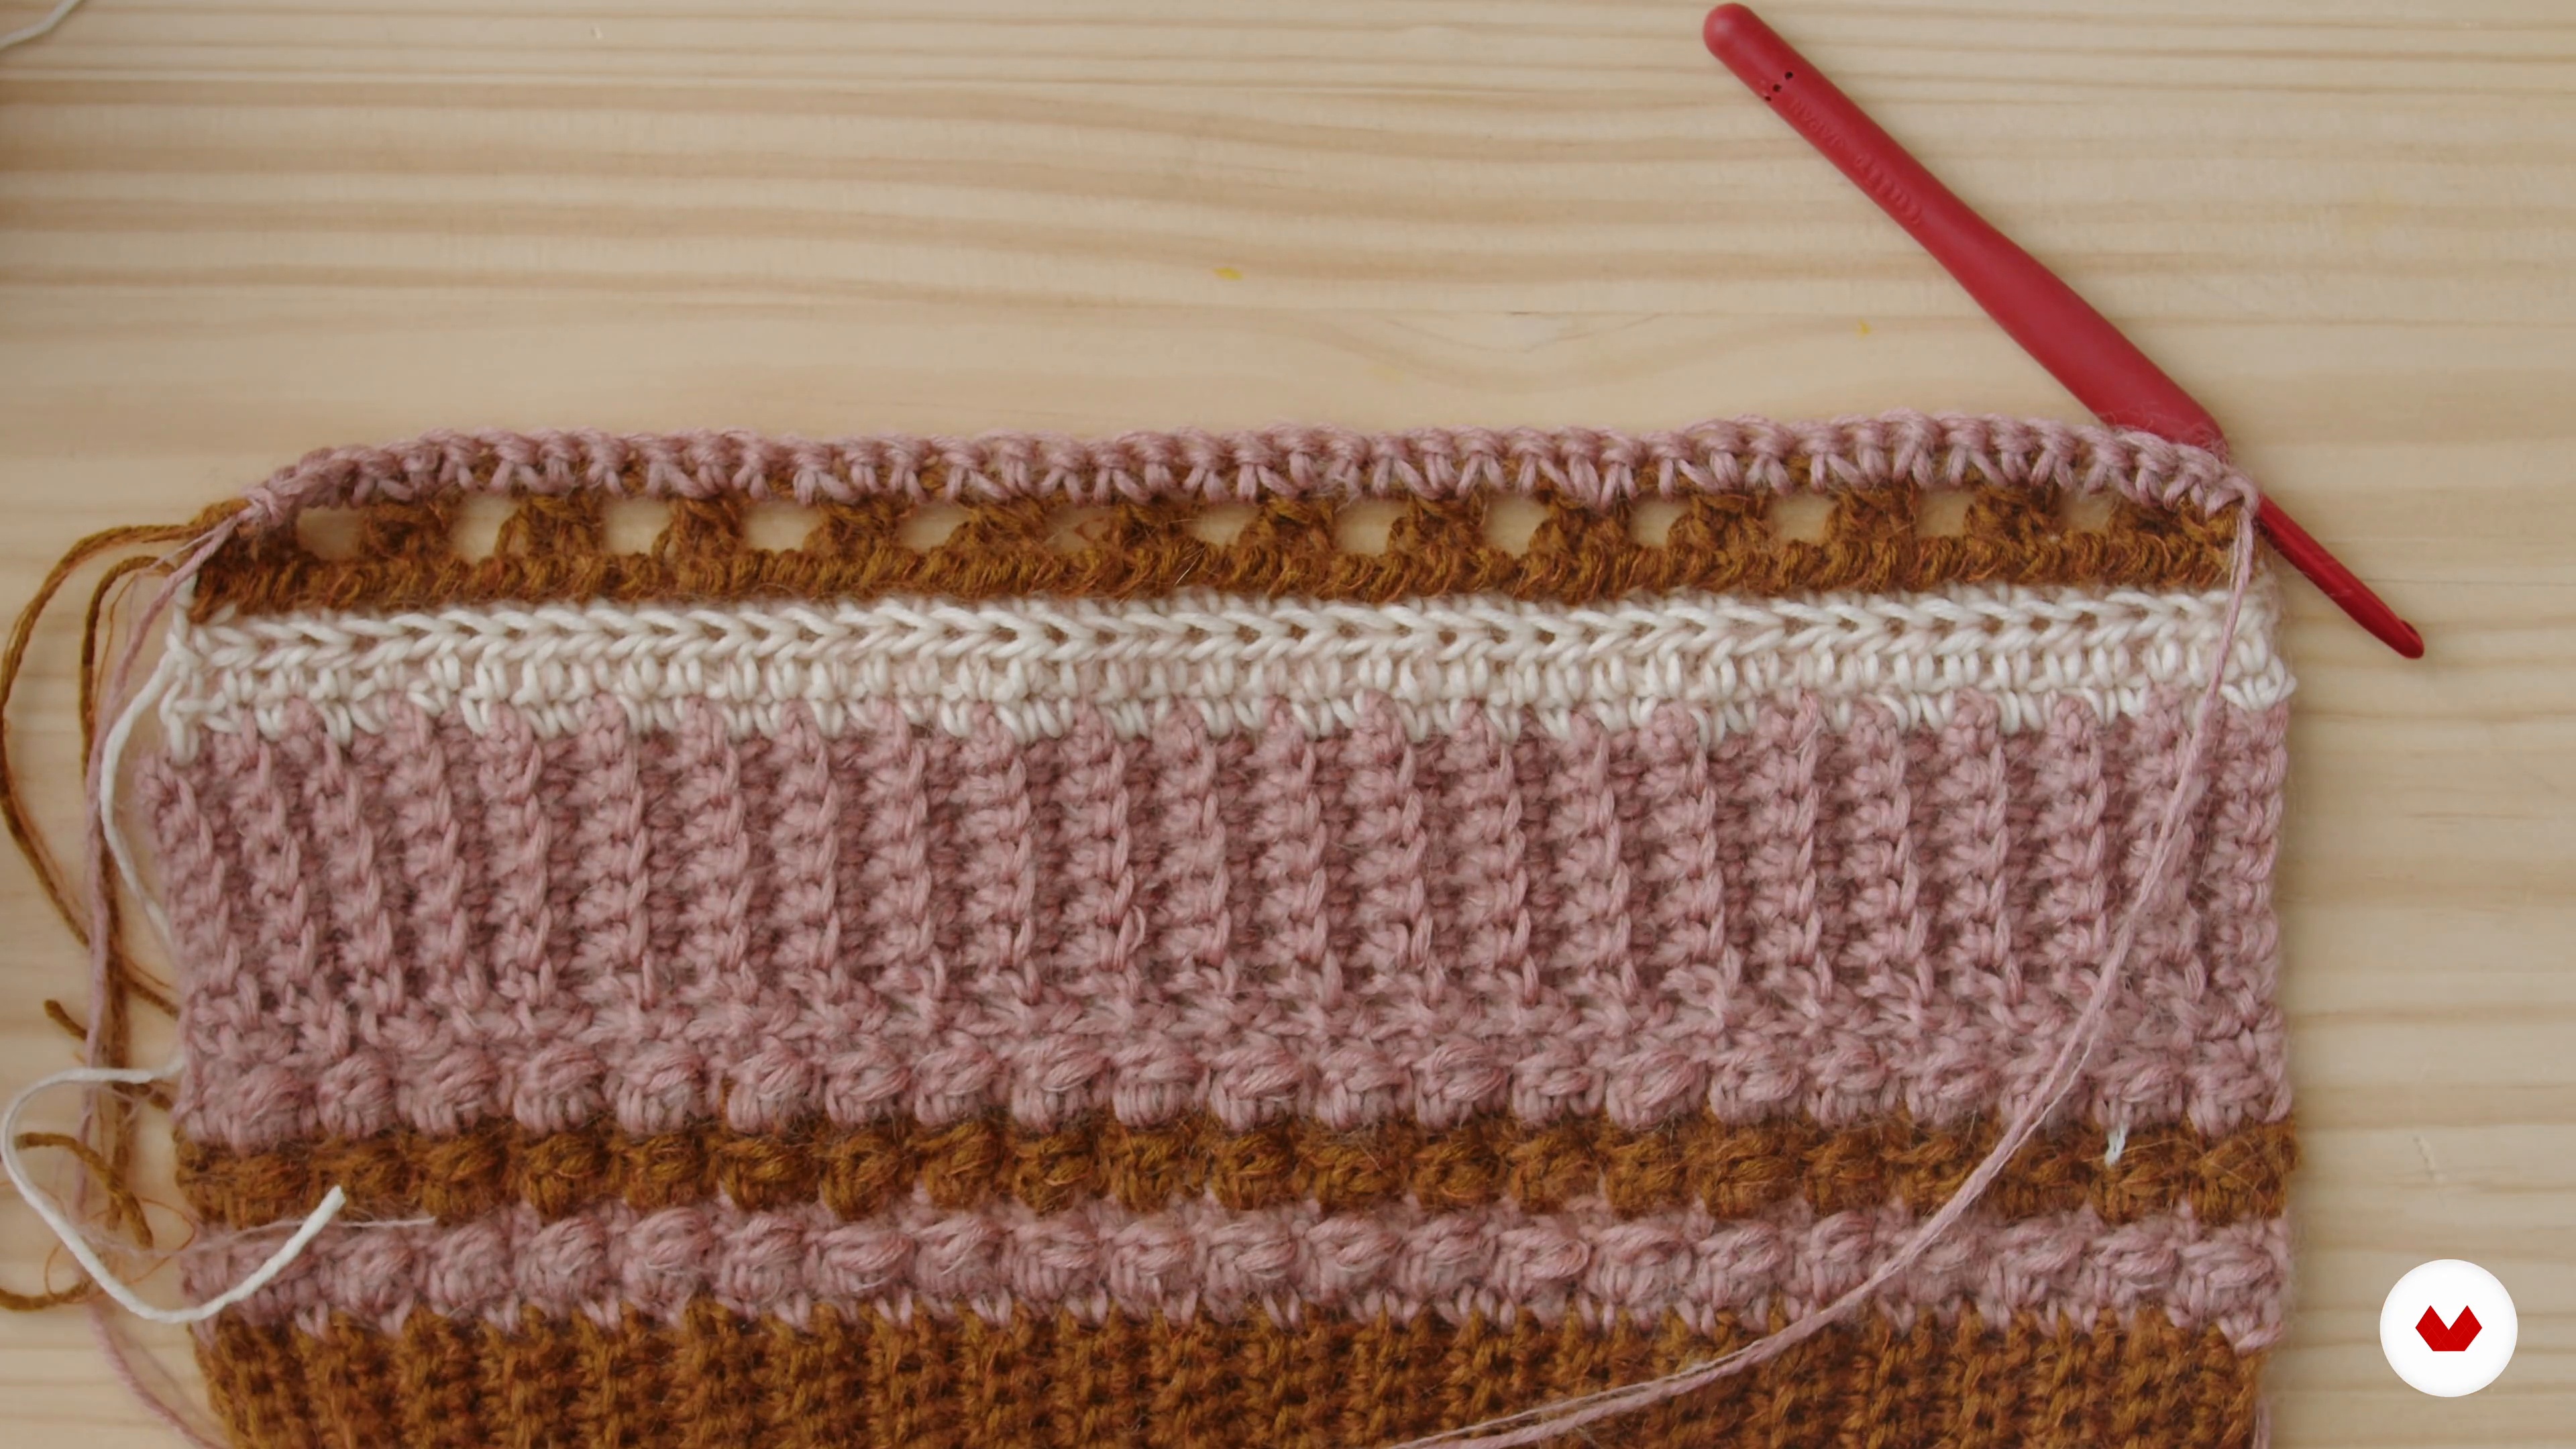
15Start at the Bottom: Elastics, Front and Back 3
Let's start with row ten of our sweater and work our way through the rest! In this lesson, we'll add the crab stitch and lace stitches. When I'm done with this section, I'll make the back piece, which will be almost exactly the same as the front piece. You'll see how the sweater takes shape!
12m
 16
16Neck Declines 1
Now it's time to start knitting the decreases for the neckline. First, I'll show you how to knit the decreases for the back piece. Let's get started!
11m
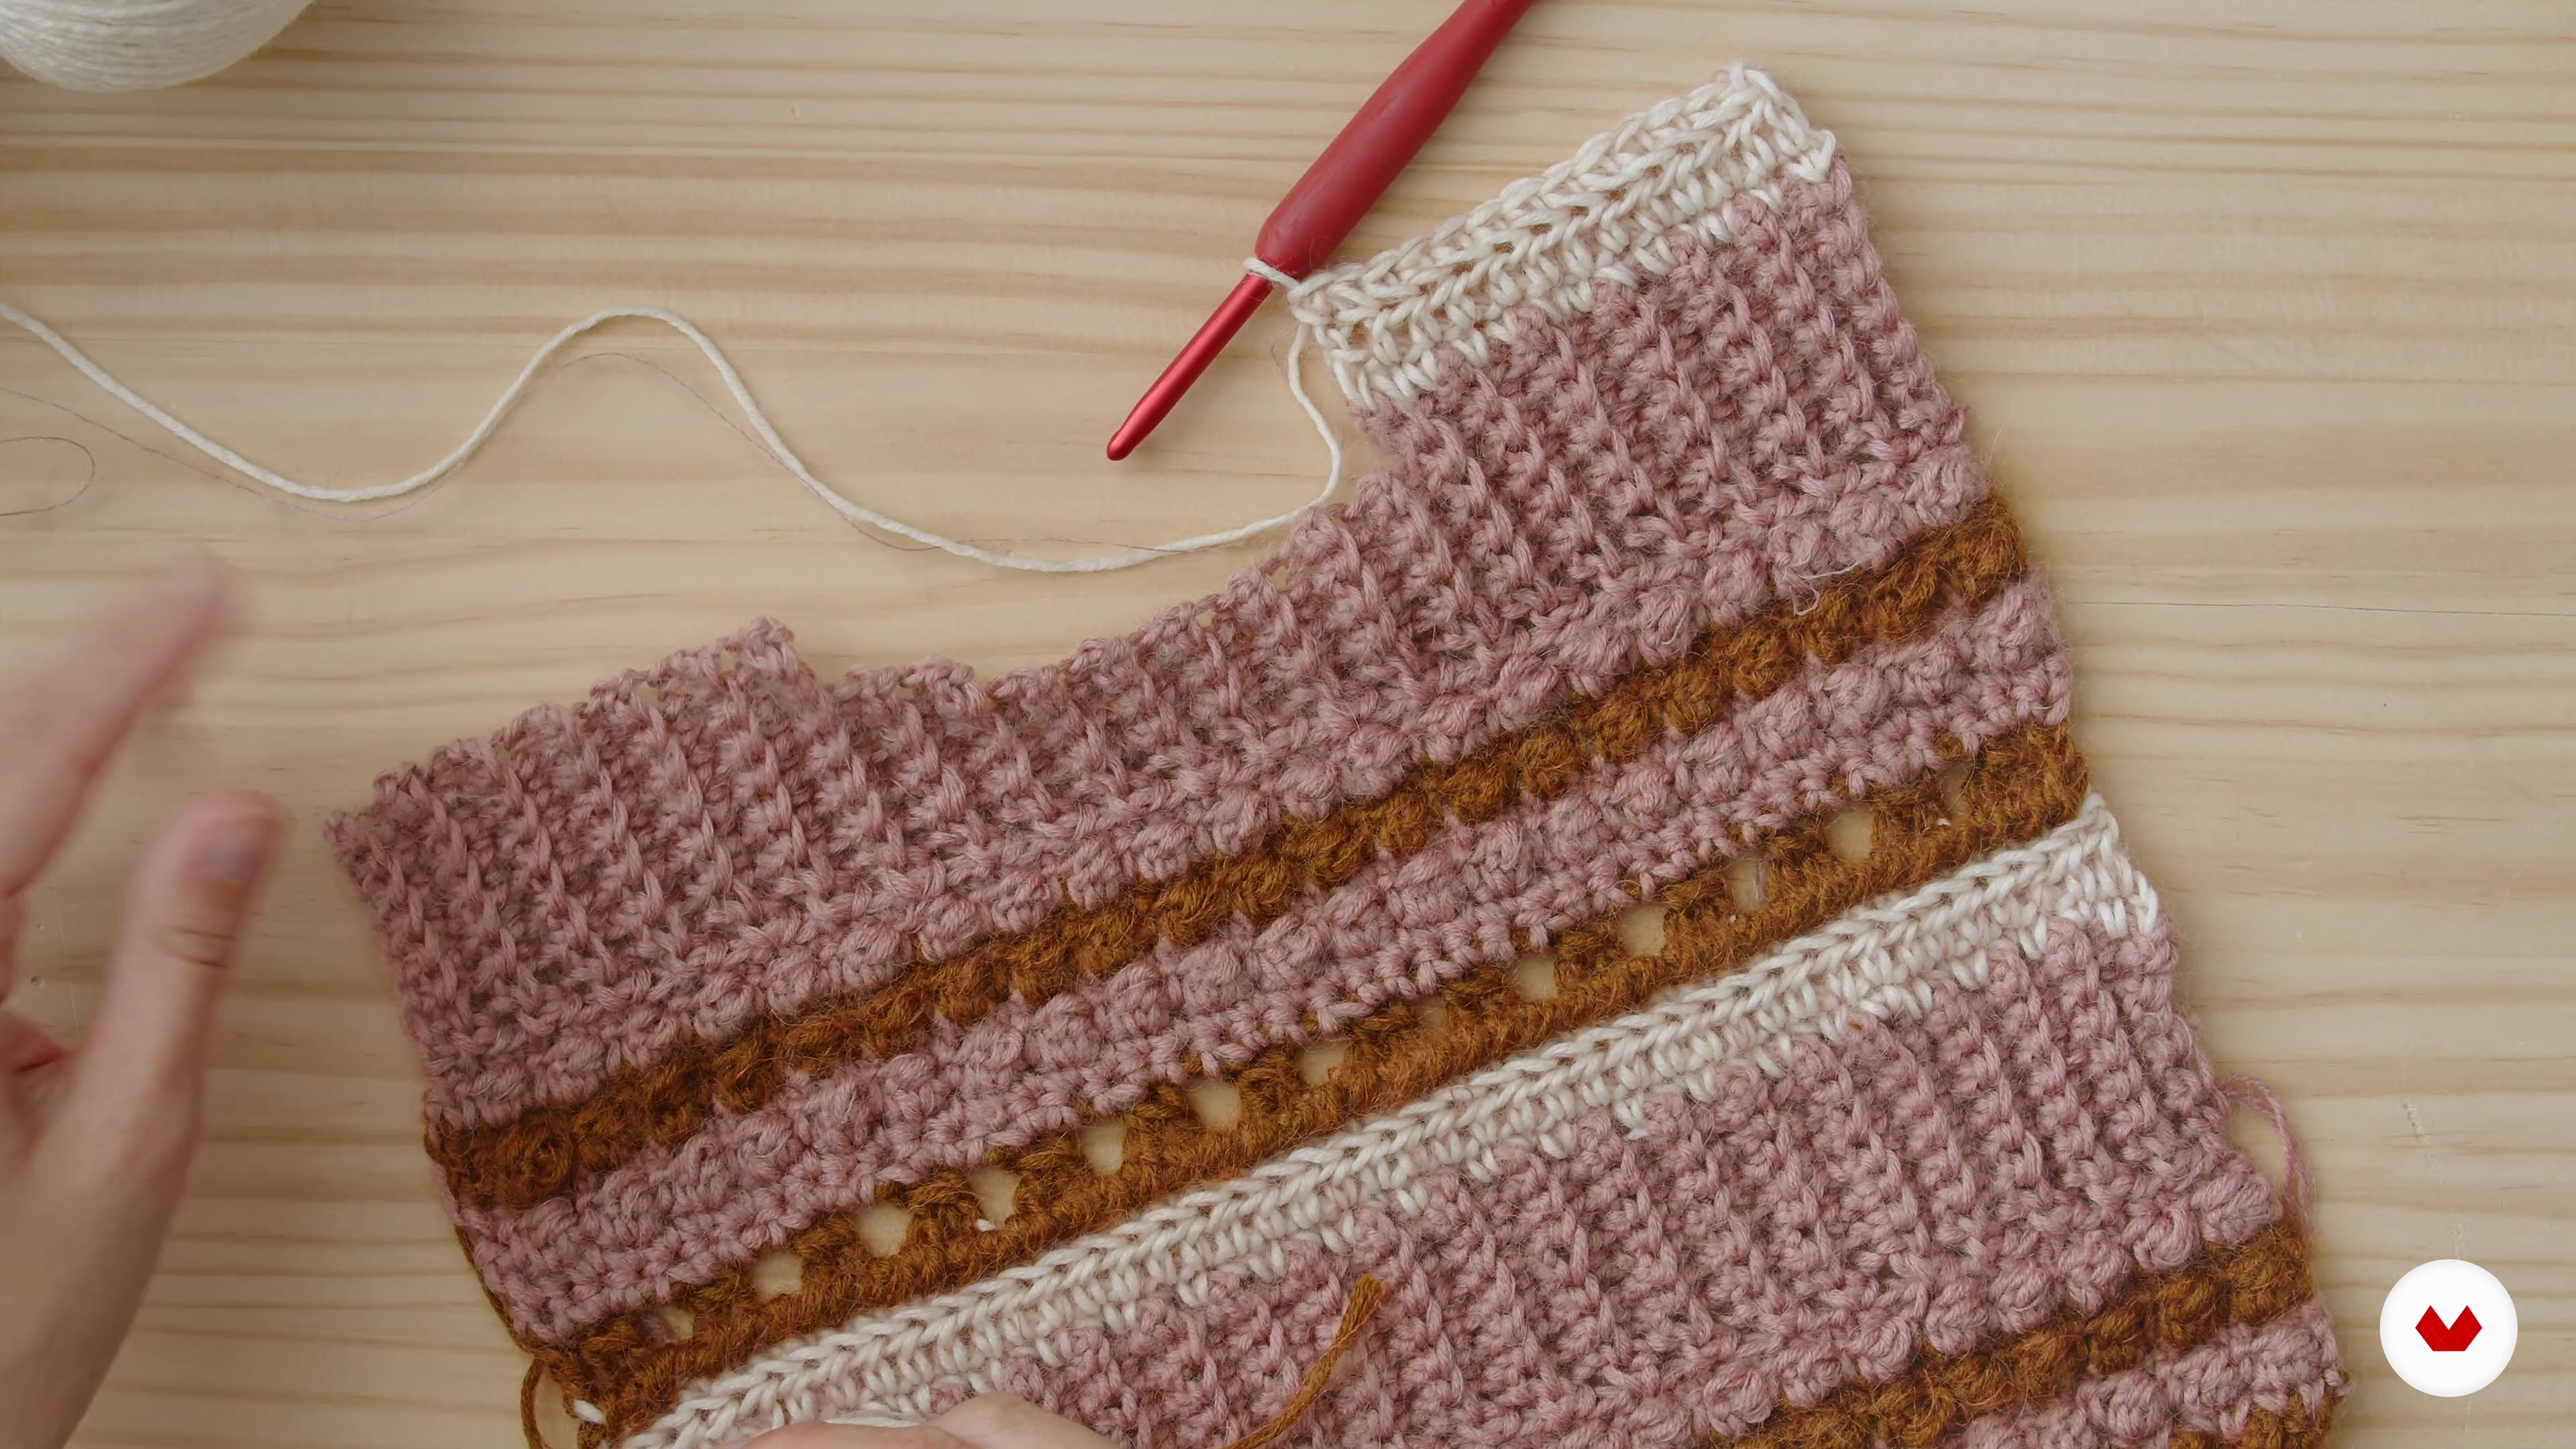 17
17Neck Declines 2
Now that I've finished knitting the decreases and formed the circular neckline, I'll make the final rows for the back of the sweater. Then, I'll explain how to make the decreases for the front, which will be very similar to the back, but with some slight differences.
11m
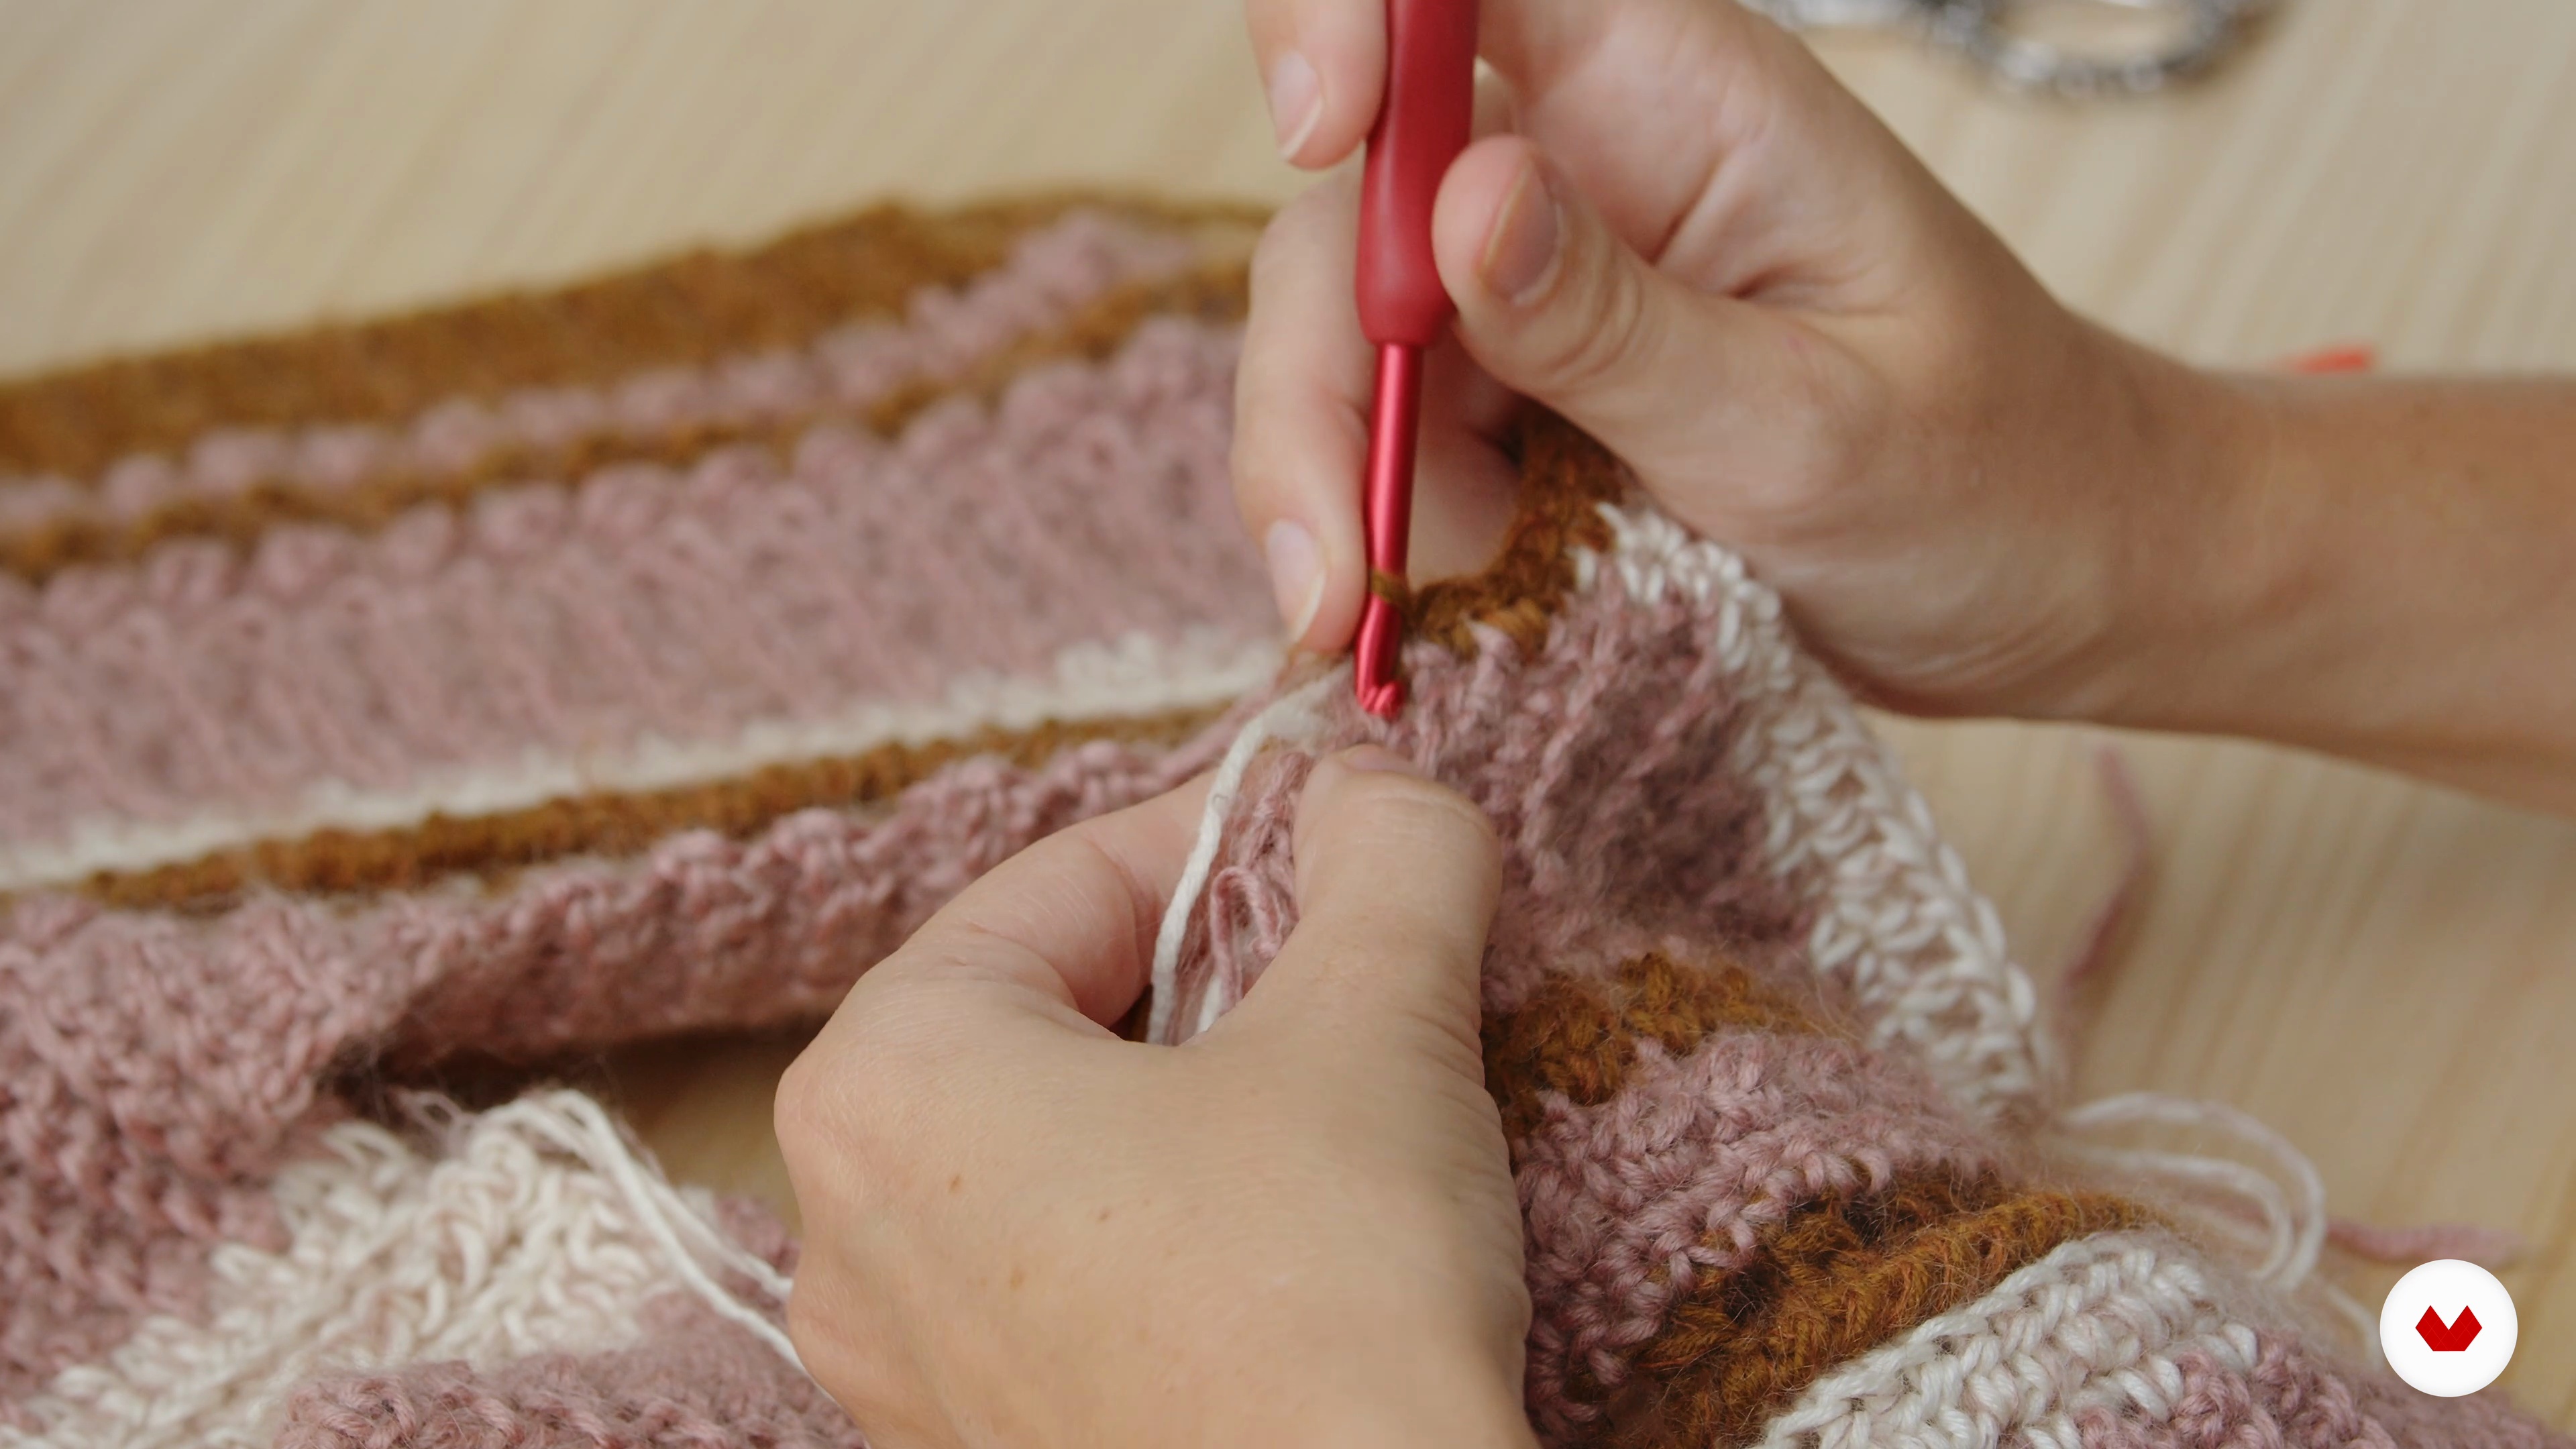 18
18Union of Front, Back and Neck
Once you've knitted the two main pieces of your sweater, the front and back, it's time to join them and shape the neckline. I'll show you how to knit the neckline using the same technique used in the vertical single crochet pattern, but in this case, I'll use the slip stitch. I'll also show you how to use the yarn needle to join the last part of the neckline.
17m
 19
19The Sleeves
We're now in the final stretch of the project! To finish the sweater, I'll show you how I'll knit the sleeves and how I'll add a super-stylish touch to the cuffs. As the final step in this unit, I'll join all the pieces together.
17m
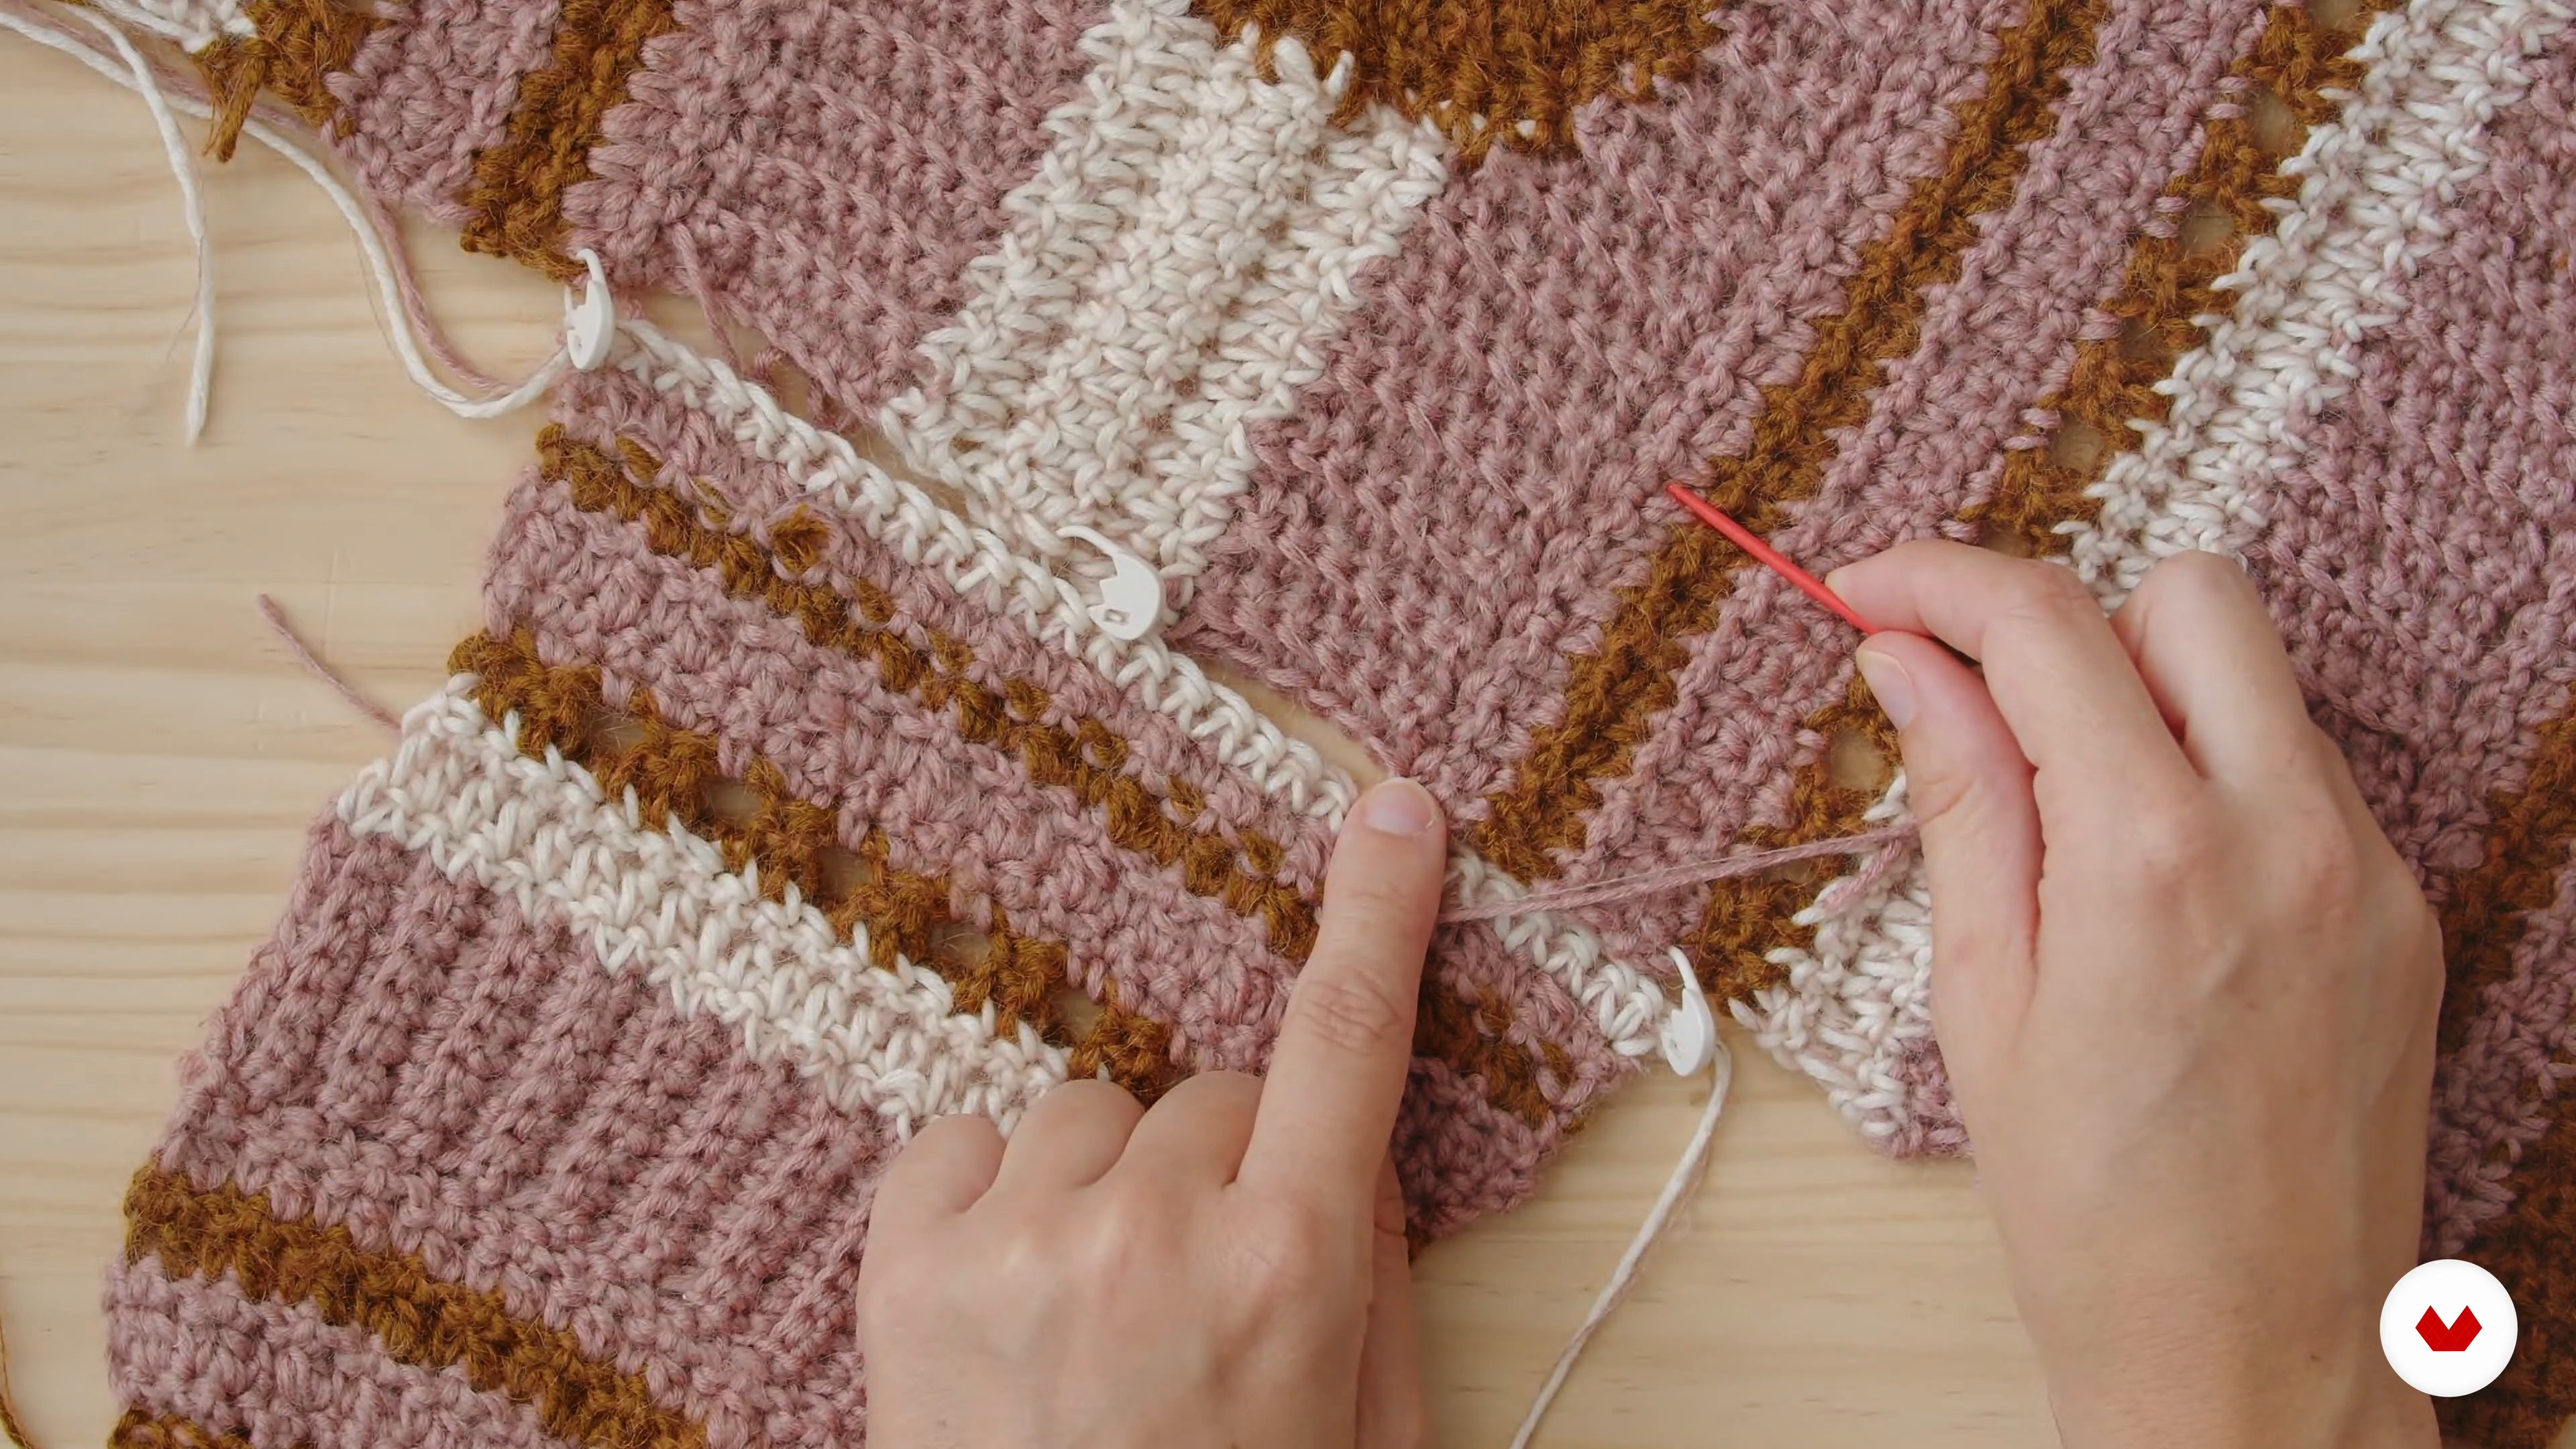 20
20Union of the Pieces
We're just a few minutes away from finishing our garment, although there are still a few essential steps left. The next step is to join the sleeves to the body. I'll also show you how to use markers to keep the piece in place. I'll also explain how to finish off all the loose ends with a tapestry needle, which will be very useful before joining all the pieces.
19m
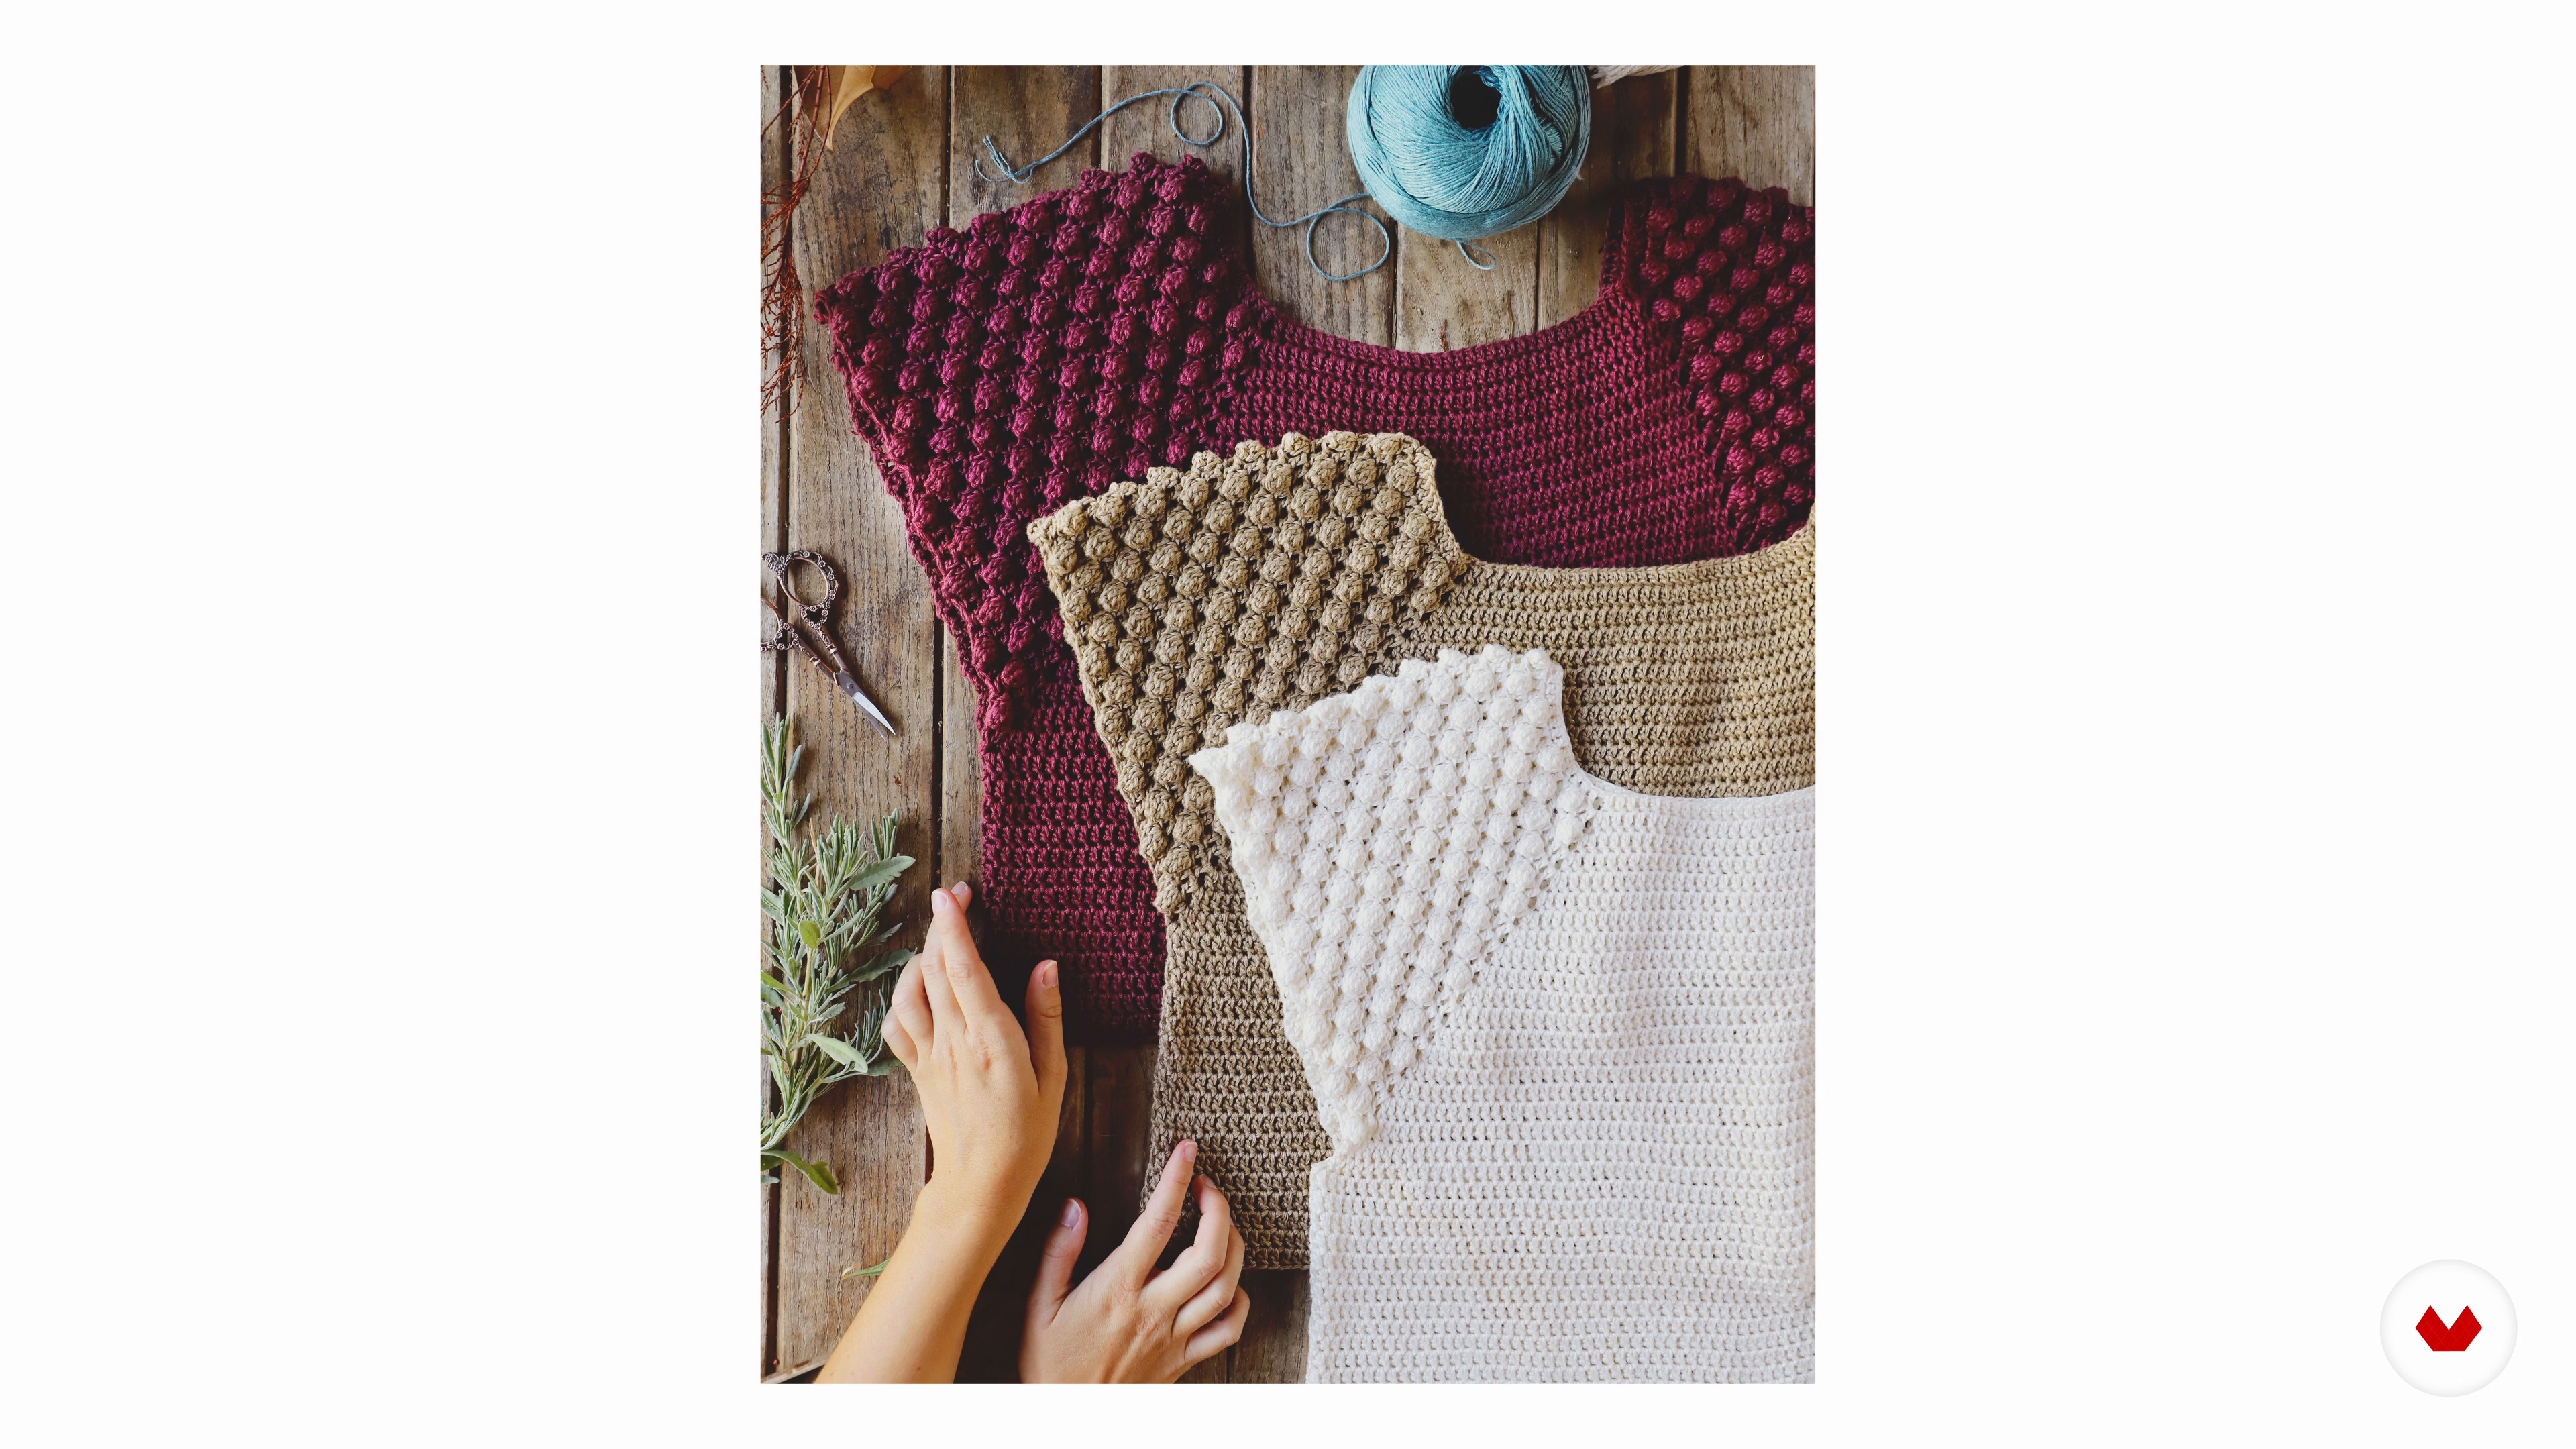 21
21Photographing for Social Networks
In this lesson, I'd like to show you some of my tricks for taking photos of your projects and making people fall in love with them online. You don't need the best camera in the world. Just use your phone and a few tips to get incredible photos.
3m
What is this course's project?
The project involves designing and crocheting romantic garments, using classic stitches and lightweight structures to achieve delicate and feminine finishes. You'll create a blouse or top with decorative details and a custom structure.
Who is this specialization for?
Crochet enthusiasts who want to take their skills to the next level by creating unique and personalized garments. Ideal for those interested in exploring advanced design, color, and texture techniques and creating modern and functional pieces.
Requirements and materials
No extensive prior knowledge is required, but it's important to know how to do basic crochet stitches. You'll need crochet hooks, yarns in various colors, scissors, and a measuring tape. With these materials, you can experiment and develop creative and modern projects.
Reviews
- sgimene6PLUS5 months ago
Curso bien explicado y muy práctico.
- 5 months ago
Me gustó mucho este curso por lo completo que es y los diferentes puntos de vista que tienen las diseñadoras.
- 6 months ago
Me parece excelente la combinacion de todos los conocimientos,, pues cada uno tiene tecnicas diferentes que enriguecen mi conocimiento
- 9 months ago
por el 20%
- 9 months ago
Specialisation courses are great as you can learn a lot from different teachers, some are for beginners and others are more advanced as you progress. Great for anyone who’s taken an interest in crocheting garments.
Select to get to know your teachers in this specialization course


What to expect from this specialization course
Learn at your own pace
Enjoy learning from home without a set schedule and with an easy-to-follow method. You set your own pace.
Learn from the best professionals
Learn valuable methods and techniques explained by top experts in the creative sector.
Meet expert teachers
Each expert teaches what they do best, with clear guidelines, true passion, and professional insight in every lesson.
Certificates
PLUSIf you're a Plus member, get a custom certificate for every specialization course. Share it on your portfolio, social media, or wherever you like.
Get front-row seats
Videos of the highest quality, so you don't miss a single detail. With unlimited access, you can watch them as many times as you need to perfect your technique.
Share knowledge and ideas
Ask questions, request feedback, or offer solutions. Share your learning experience with other students in the community who are as passionate about creativity as you are.
Connect with a global creative community
The community is home to millions of people from around the world who are curious and passionate about exploring and expressing their creativity.
Watch professionally produced courses
Domestika curates its teacher roster and produces every course in-house to ensure a high-quality online learning experience.
FAQs
You’ll learn how to design crochet dolls and garments, create volume using techniques like short rows, combine innovative colors, control tension, and use tools and fibers properly to achieve professional finishes.
Yes, this course is designed for intermediate learners. It’s perfect if you already know the basics of crochet and want to refine your skills, explore new styles, and create personalized projects.
You’ll need crochet hooks in various sizes, yarns and cottons of different thicknesses, stitch markers, a measuring tape, small scissors, a yarn needle, and skeins or balls of yarn depending on your project.
Amigurumis are 3D crocheted dolls. In this course, you’ll learn how to design them from scratch, build volume, and customize them with advanced techniques.
The needle and yarn thickness depend on the type of garment or amigurumi. You’ll learn how to choose both based on texture, drape, and the desired outcome for each project.
Yes, the course covers selecting color palettes and unconventional combinations inspired by urban trends and modern design resources.
Yes, you’ll learn how to use a measuring tape to take body measurements and adjust patterns by calculating stitches and rows, using ratios and swatches.