Specialization

Papercraft Specialization: Techniques for Three-Dimensional Designs

Explore artistic papercraft by creating three-dimensional compositions using cutting, assembling, and modeling techniques with paper and cardboard.

Specialization · 6 modules

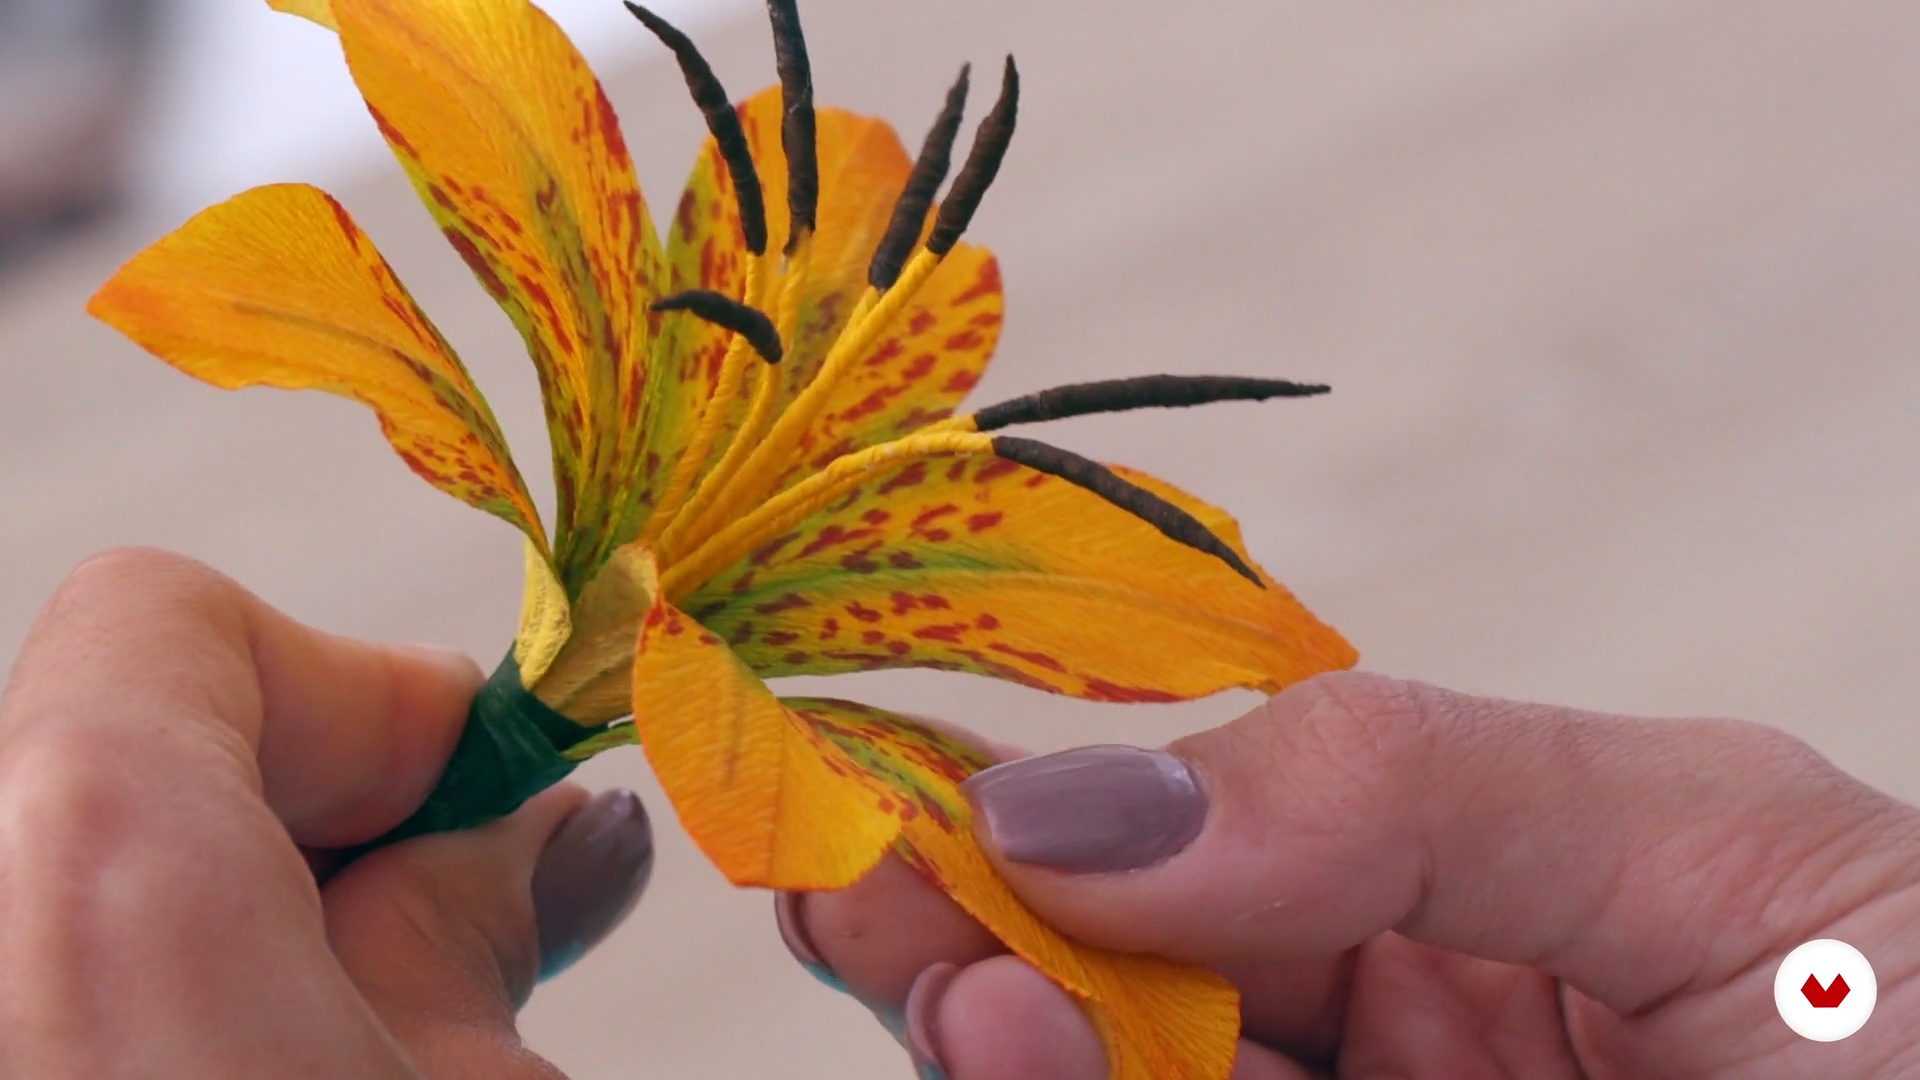
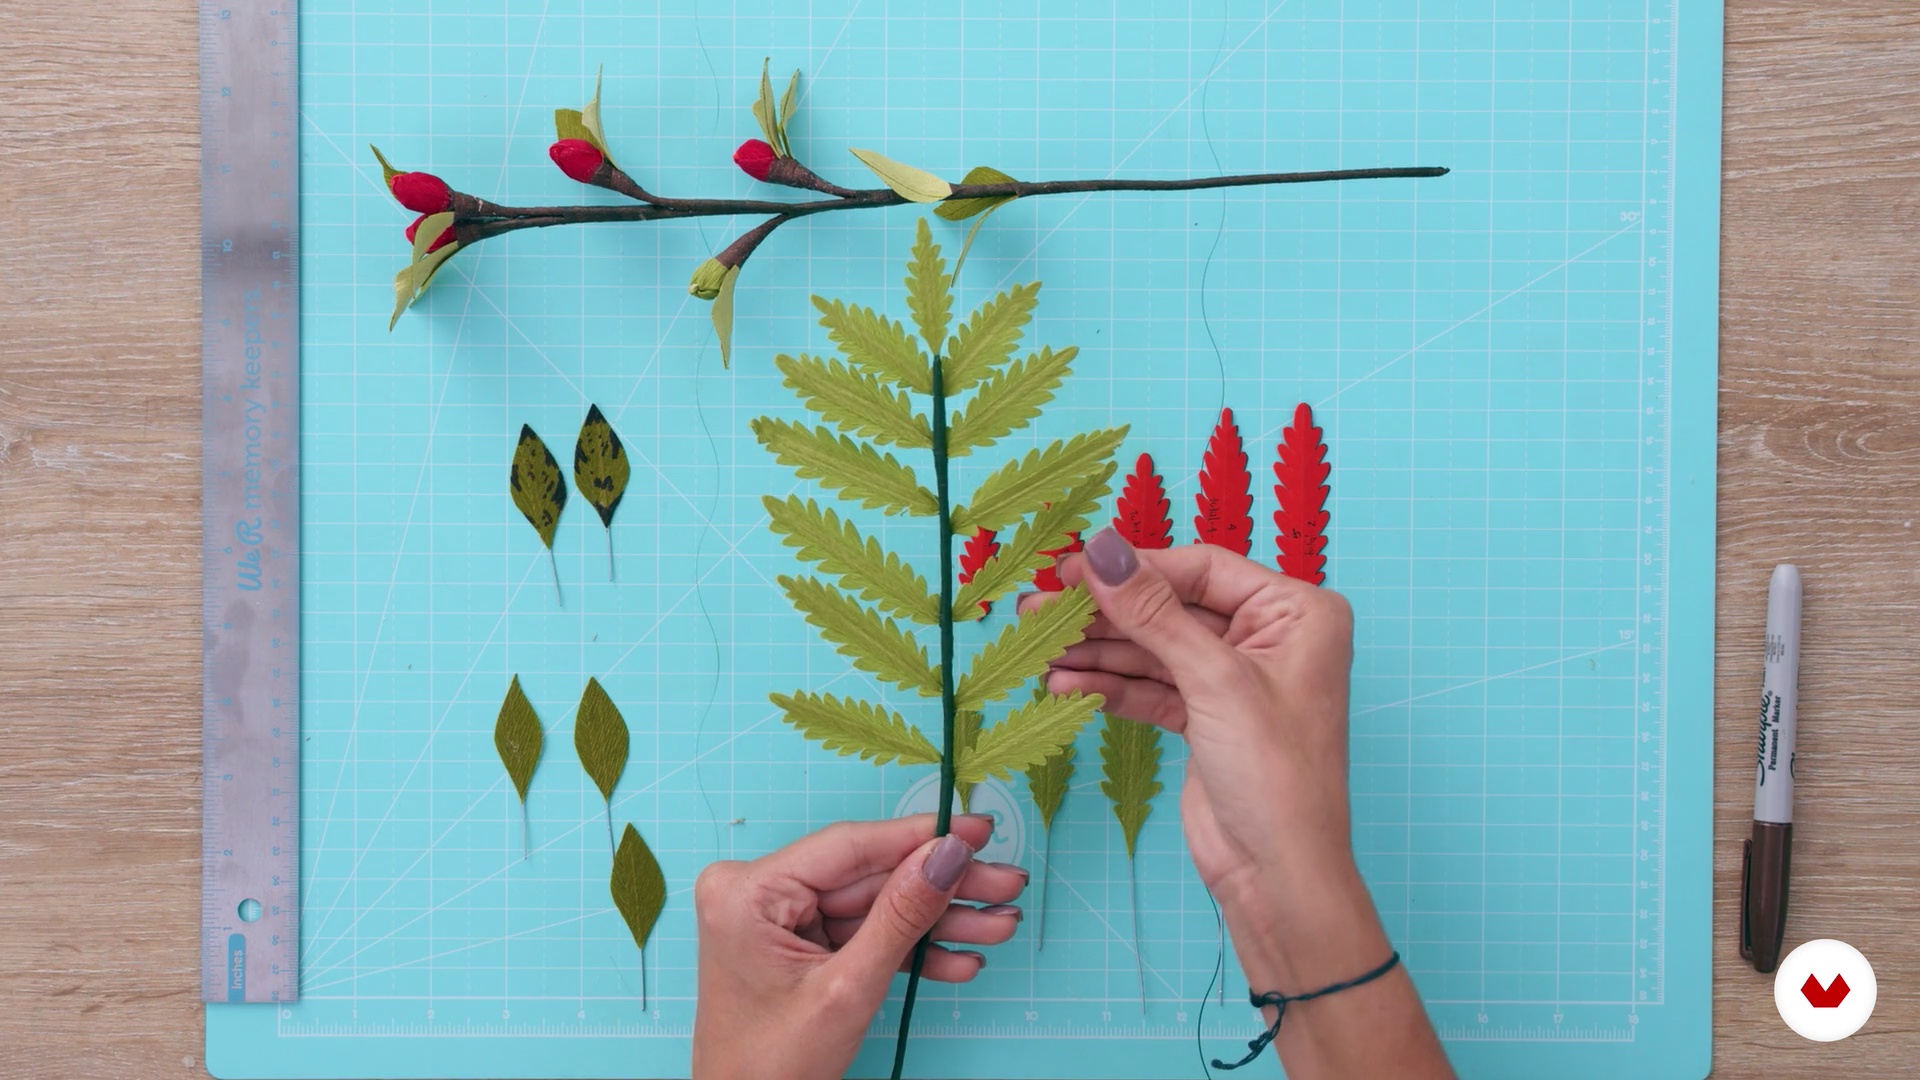
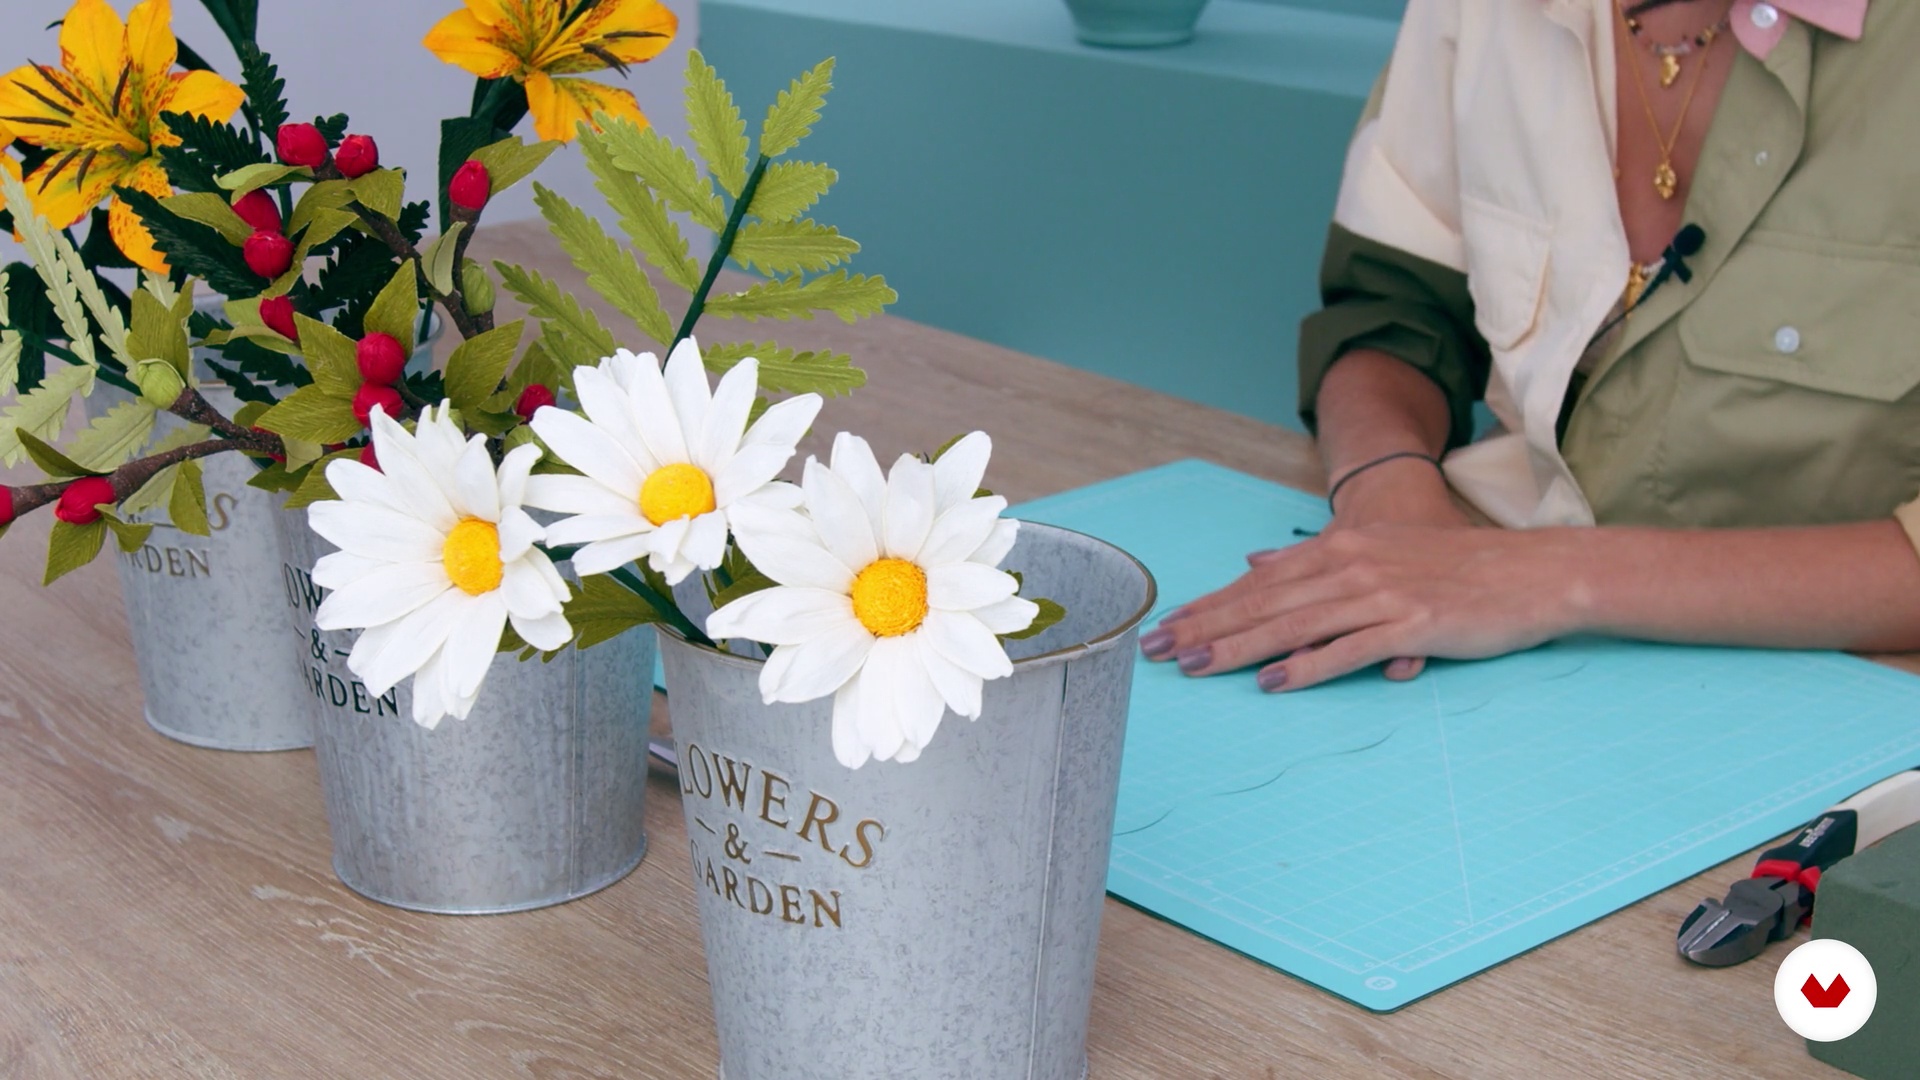
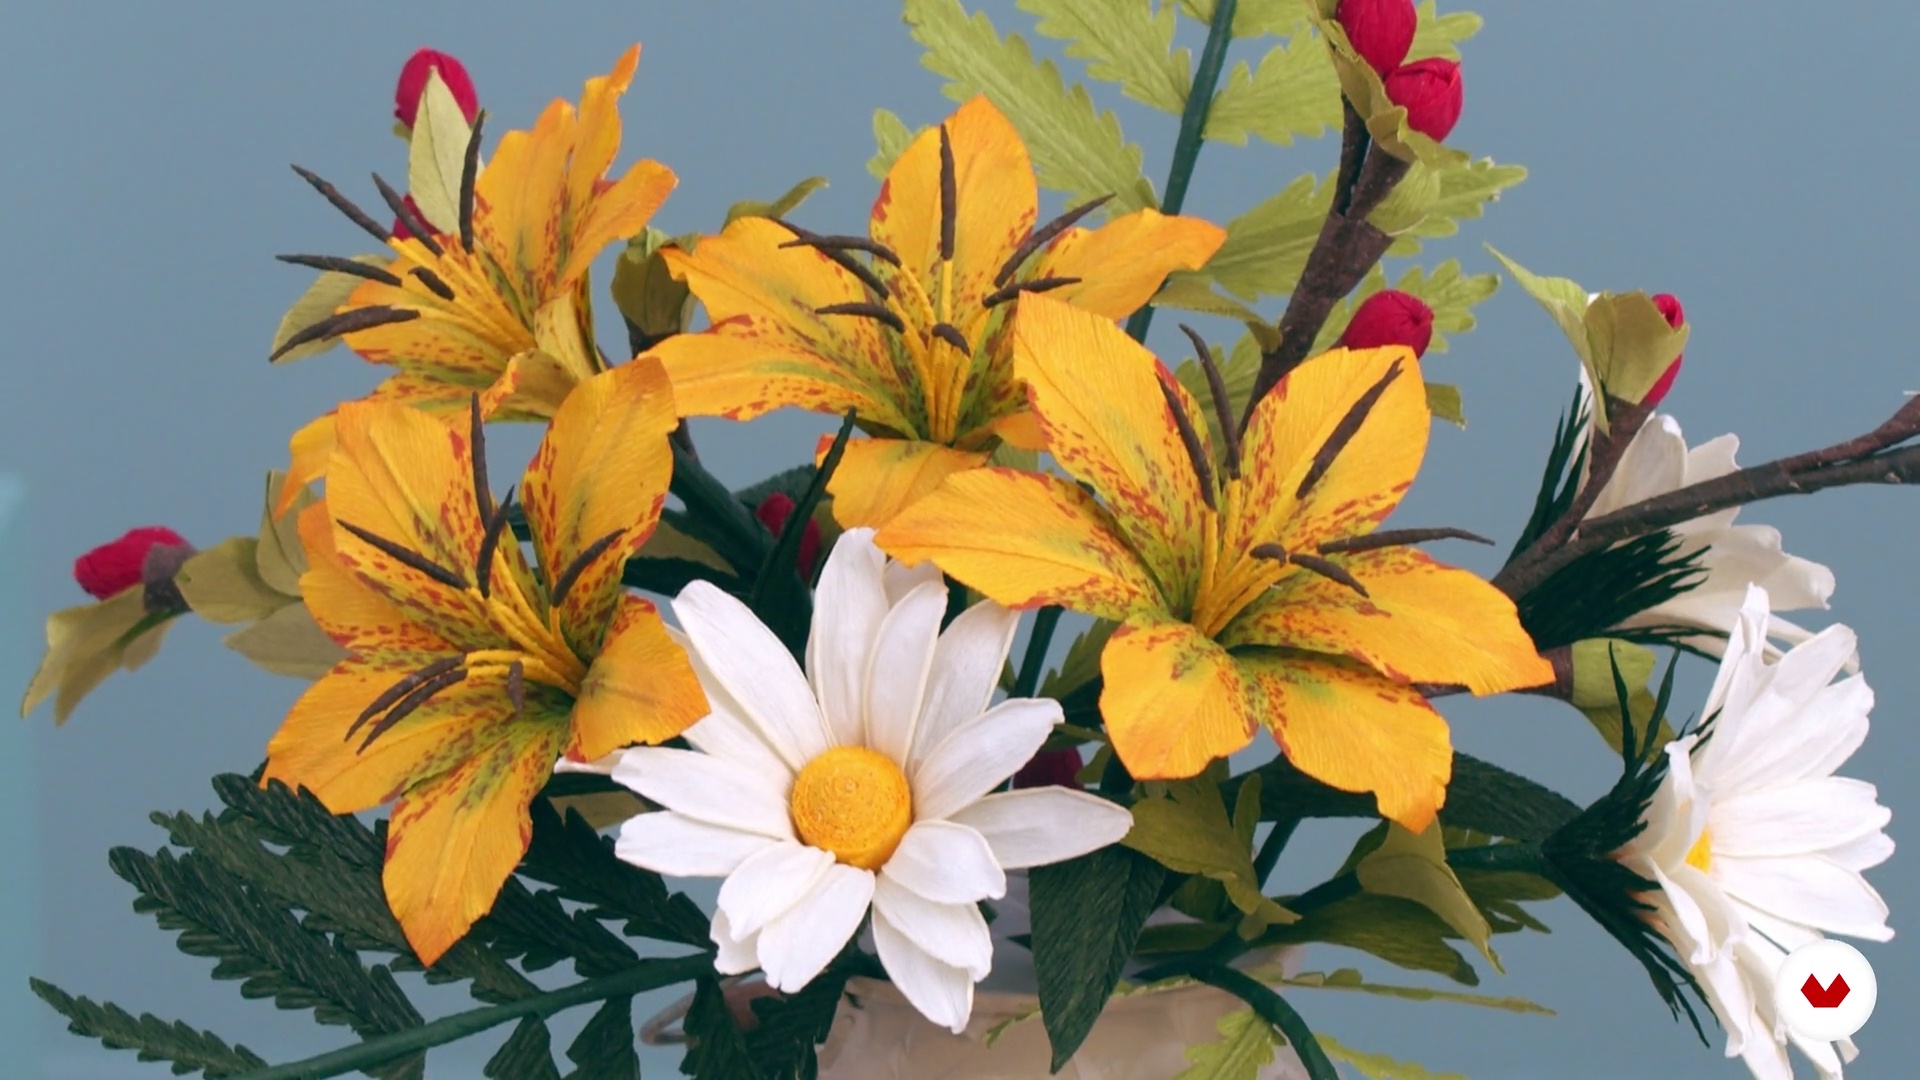
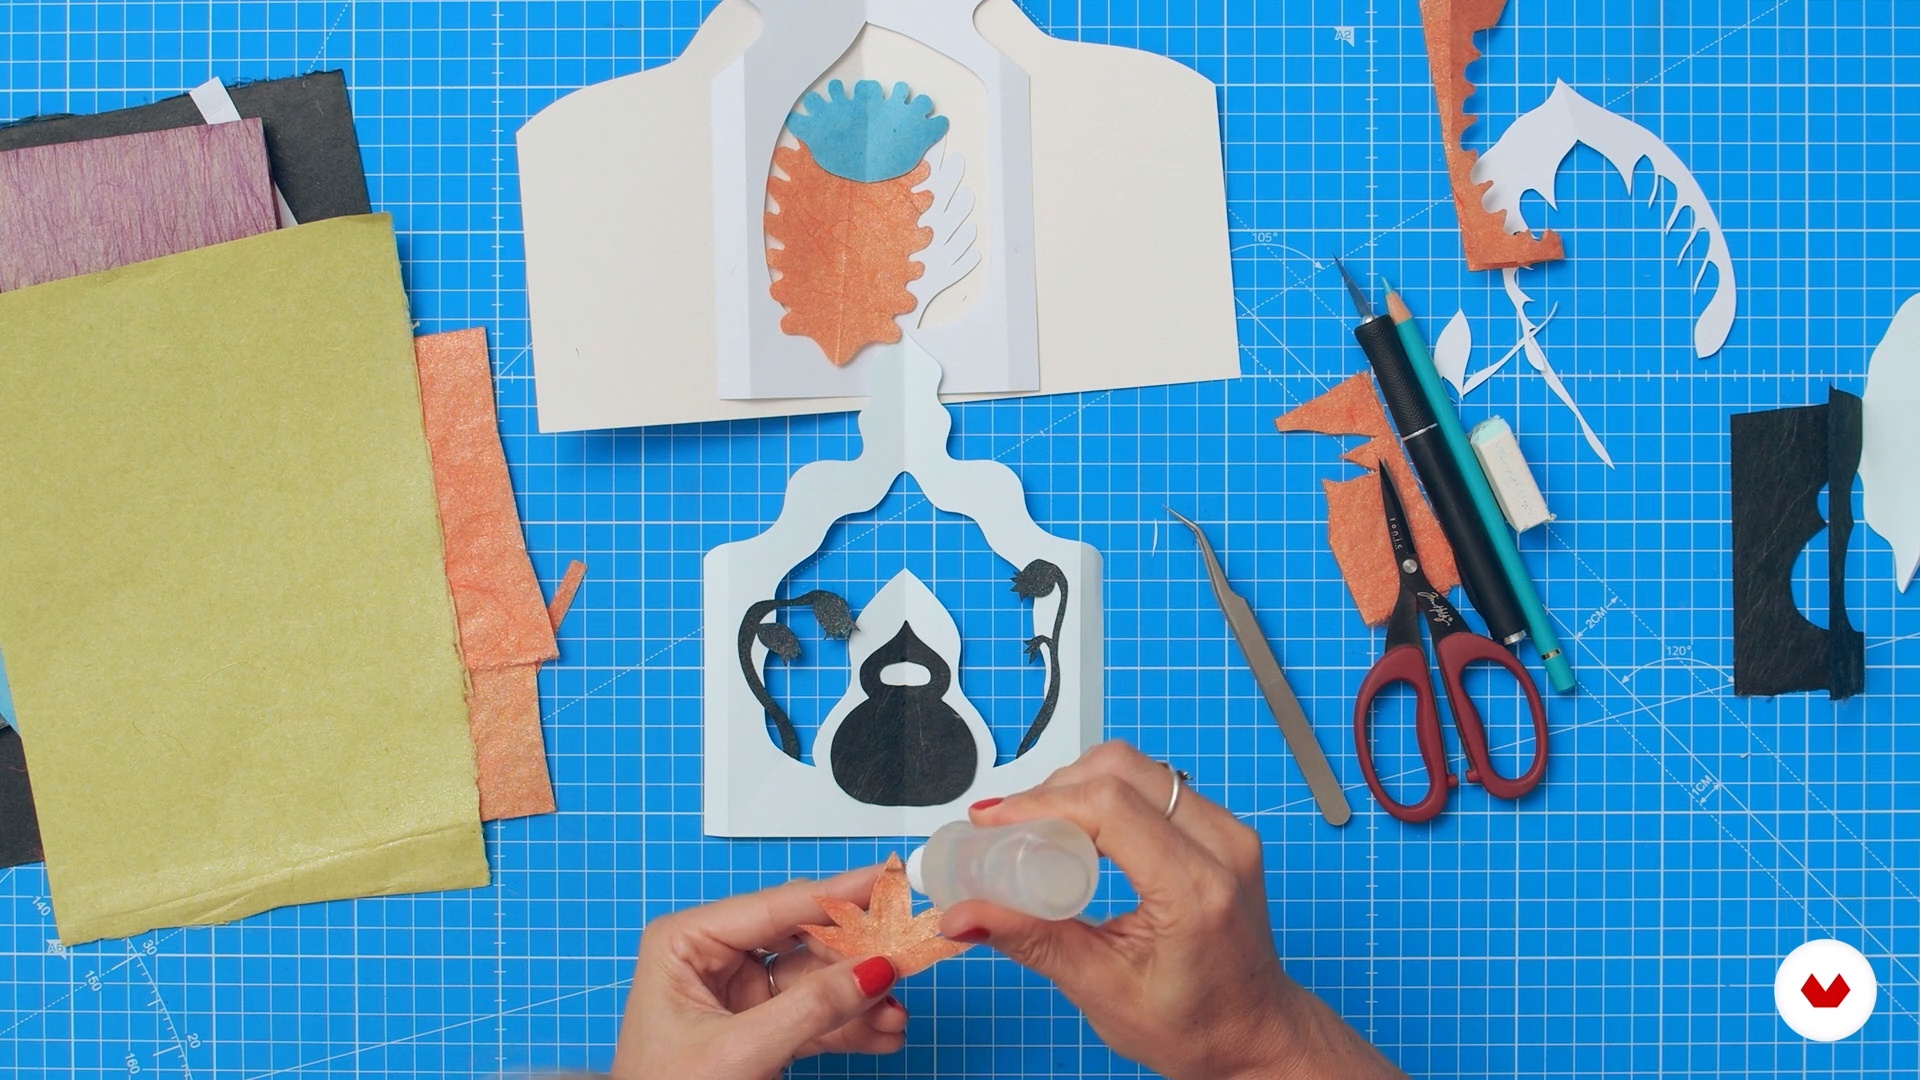
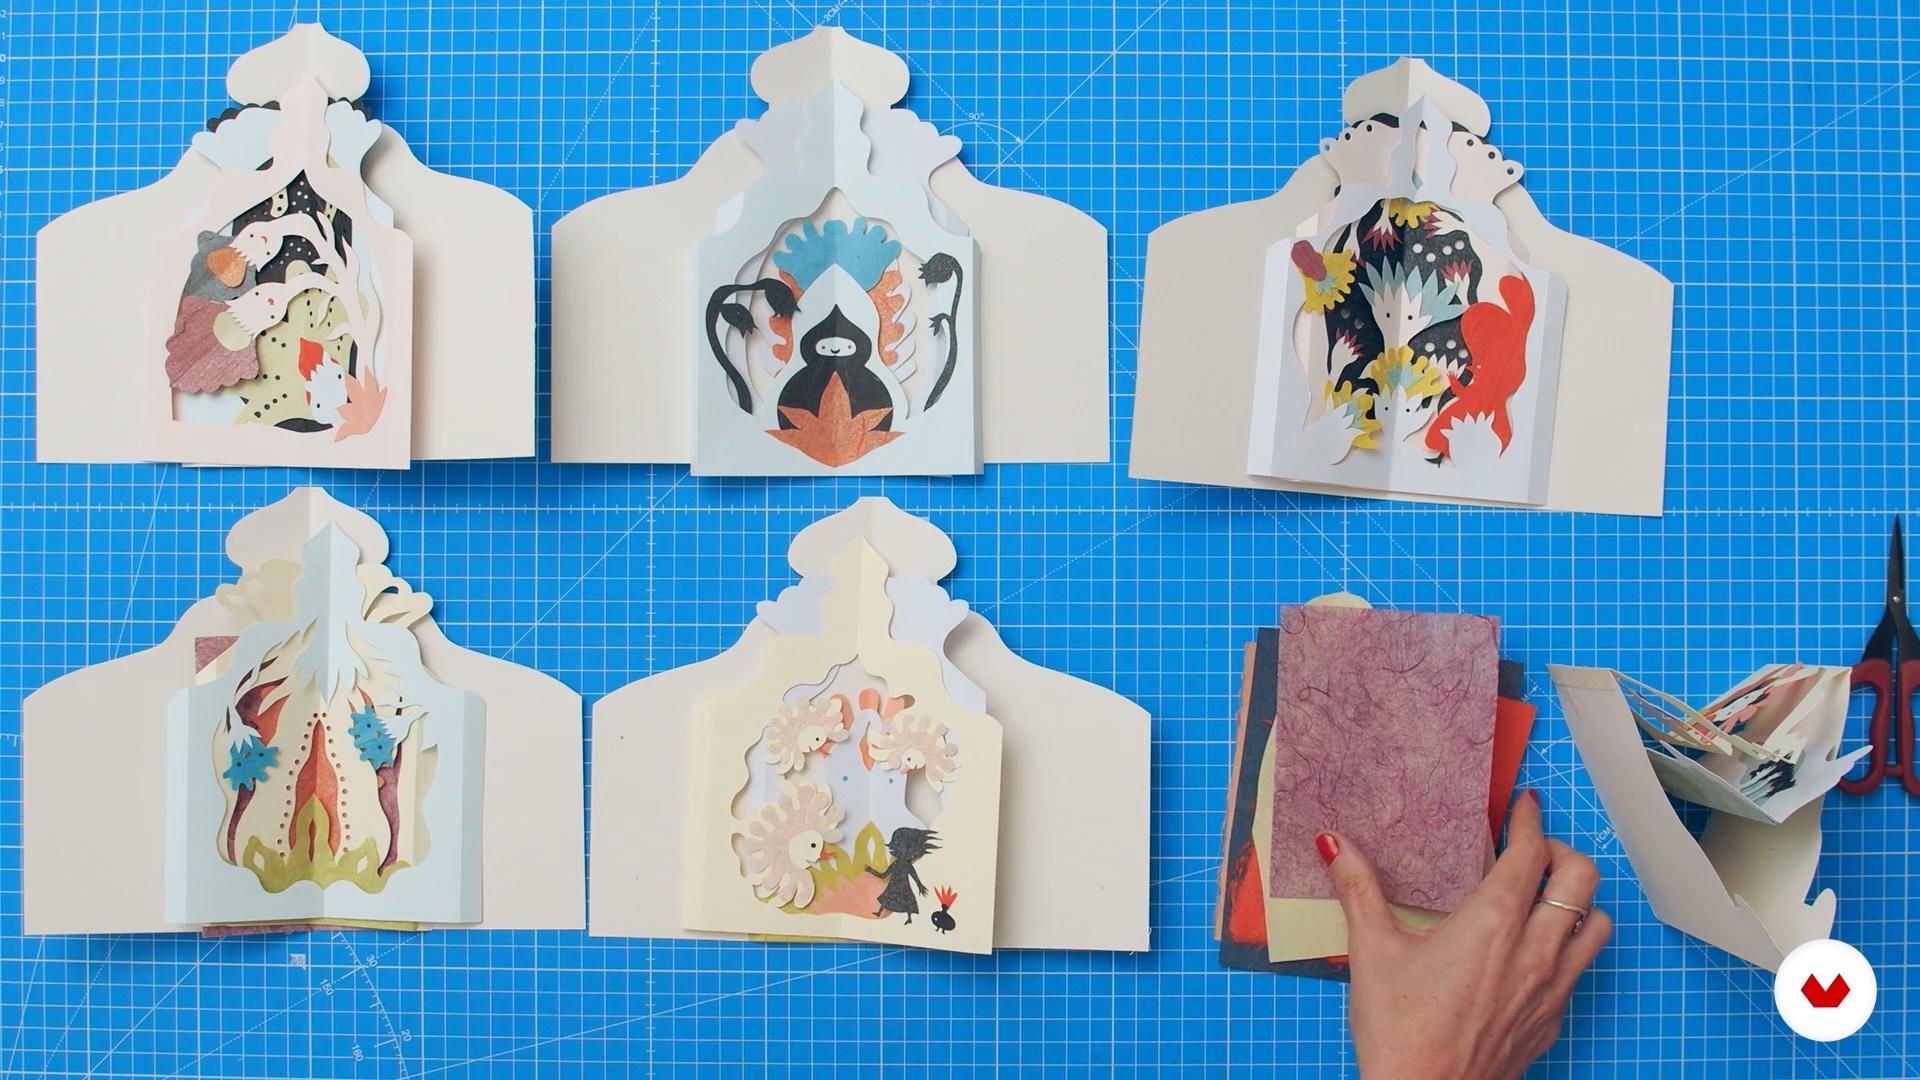
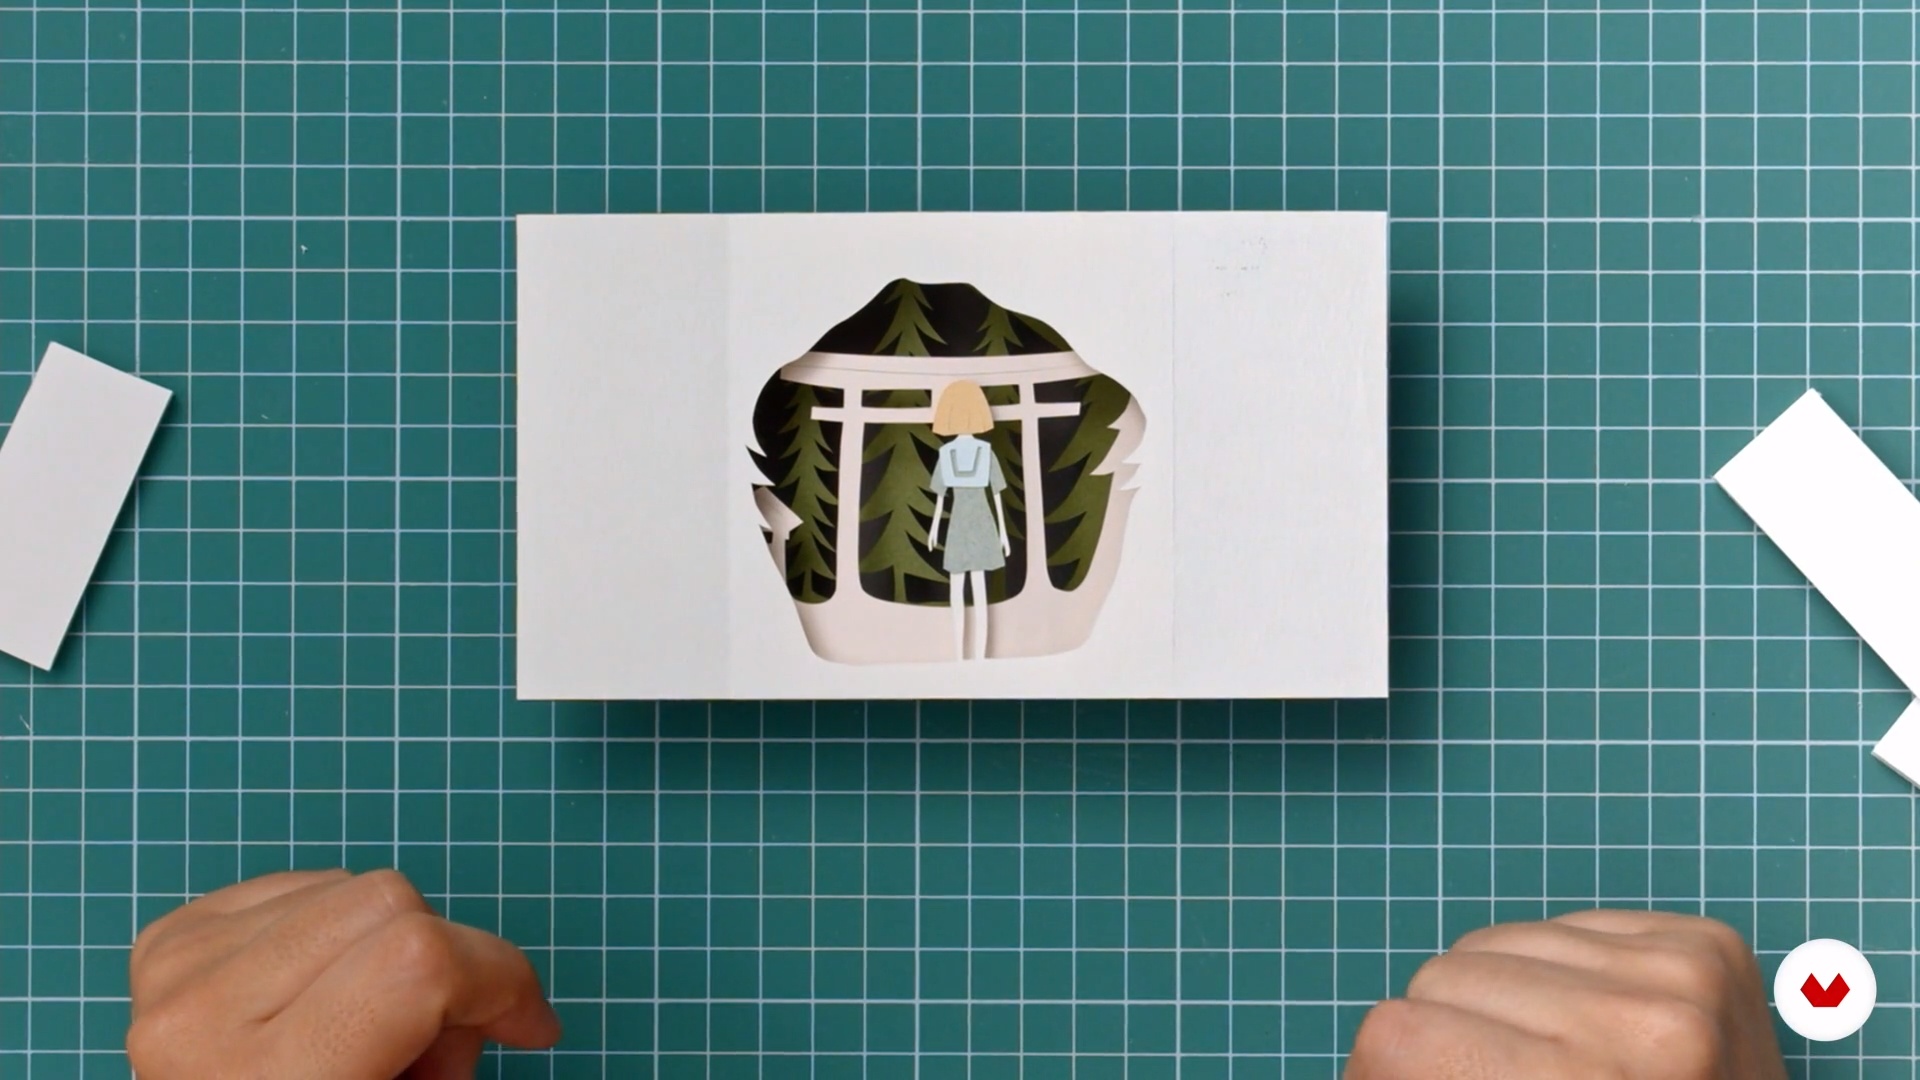
Explore the fascinating world of papercraft through a specialization that combines art, design, and creativity. Learn to transform paper, cardboard, and wood into three-dimensional compositions with a focus on visual storytelling. From layered portraits to hyperrealistic flowers, you'll discover how to bring your ideas to life using cutting, assembling, and modeling techniques. Each course, taught by experts such as Cristian Garrido, Ale Rambar, Manuela Maya, Paz Tamburrini, and Noe Arata, will guide you in developing unique skills that will expand your creative horizons.

Immerse yourself in final projects that will challenge your imagination and allow you to apply what you've learned in practical ways. Design three-dimensional illustrations, portraits with depth, handcrafted flowers, picture books, and visually striking scenes. Perfect your technique, play with color and perspective, and experiment with different materials to create works that capture the essence of contemporary papercraft. This specialization is an opportunity to develop a comprehensive understanding of the artistic possibilities of paper in modern art and design.

Read more ↓

What will you learn in this specialization?
A total of 6 modules and 81 lessons
A total of 16h 43m of vídeo lessons
Taught by 5 selected expert teachers
image
1
Introducción
You'll discover the poetic power of paper as a material and a message. Through botanical creations, sculptural forms, and pop-up books, you'll explore how cutting, folding, and assembling can tell stories, stir emotions, and connect with others—one sheet at a time.
2m
image
2
Influences | Cristian Garrido
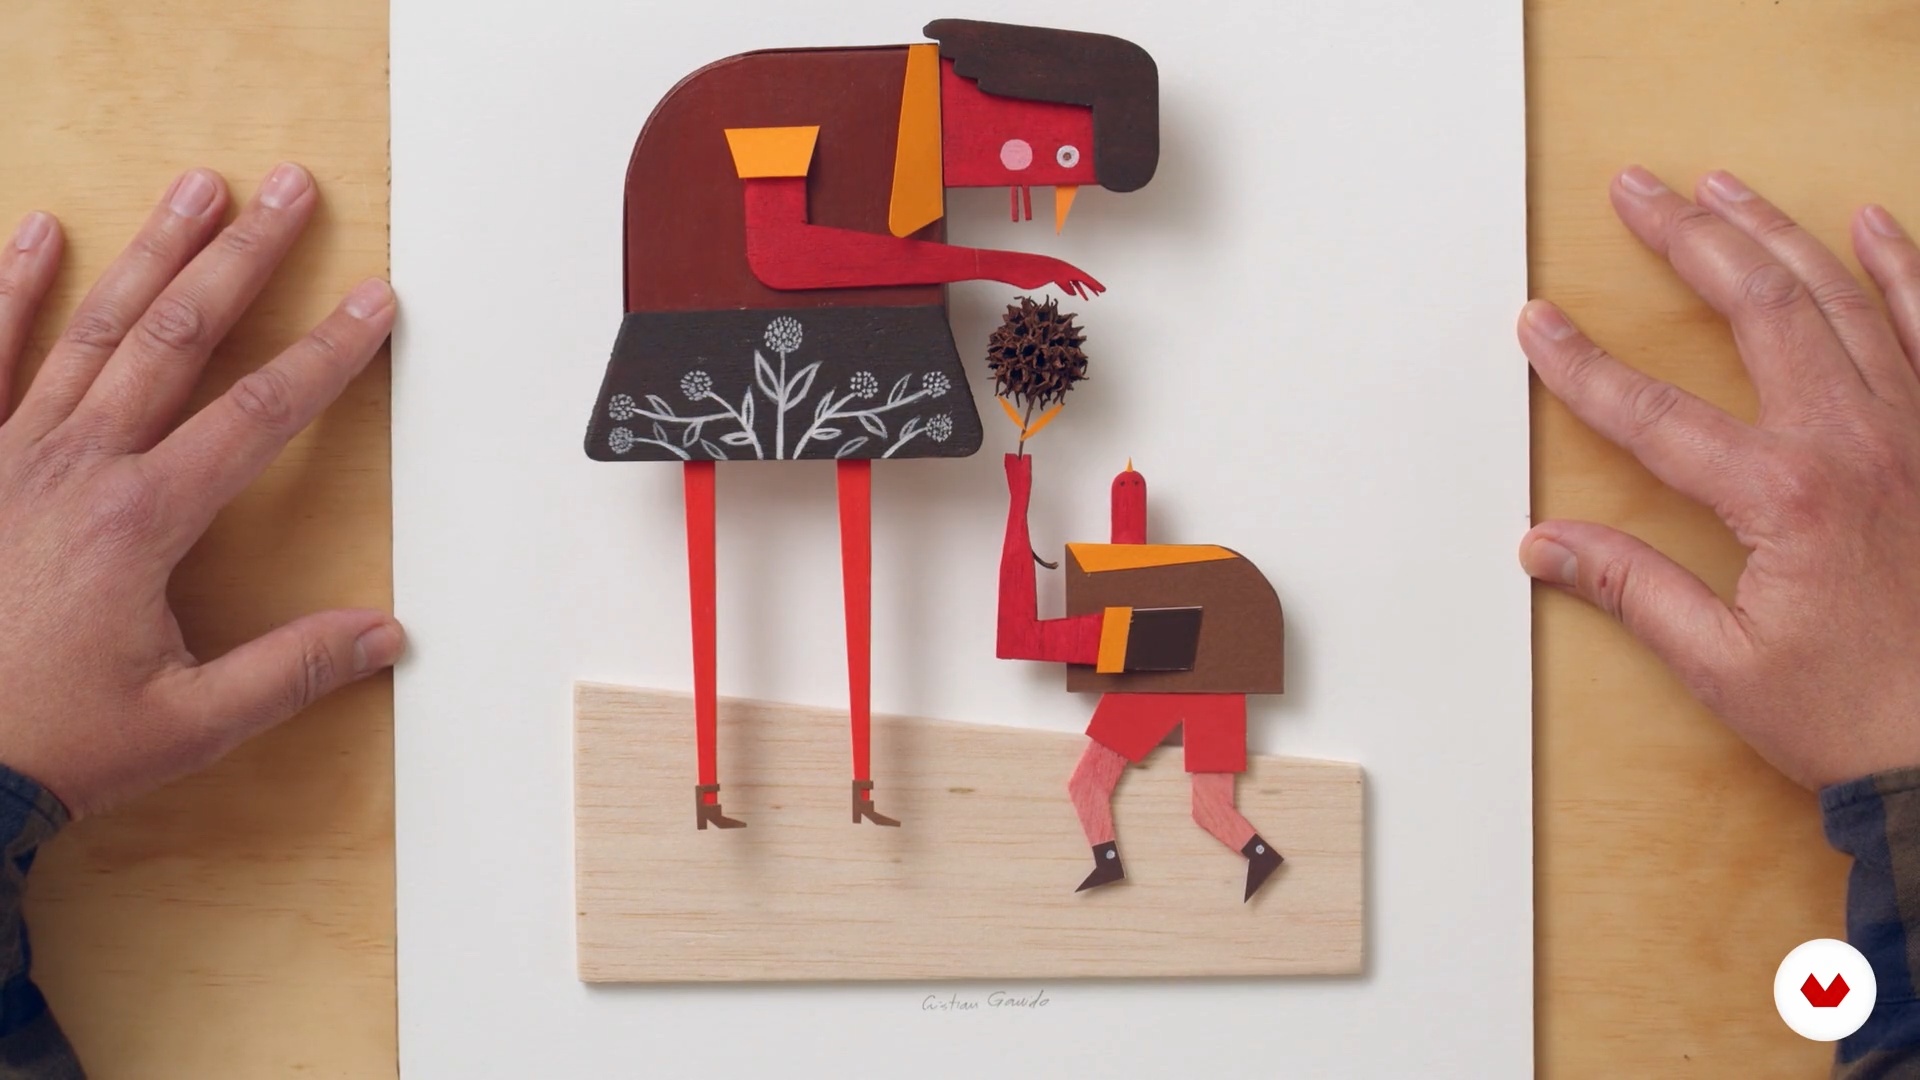
Now I will show you some references that have been of utmost importance to my work.
7m
image
3
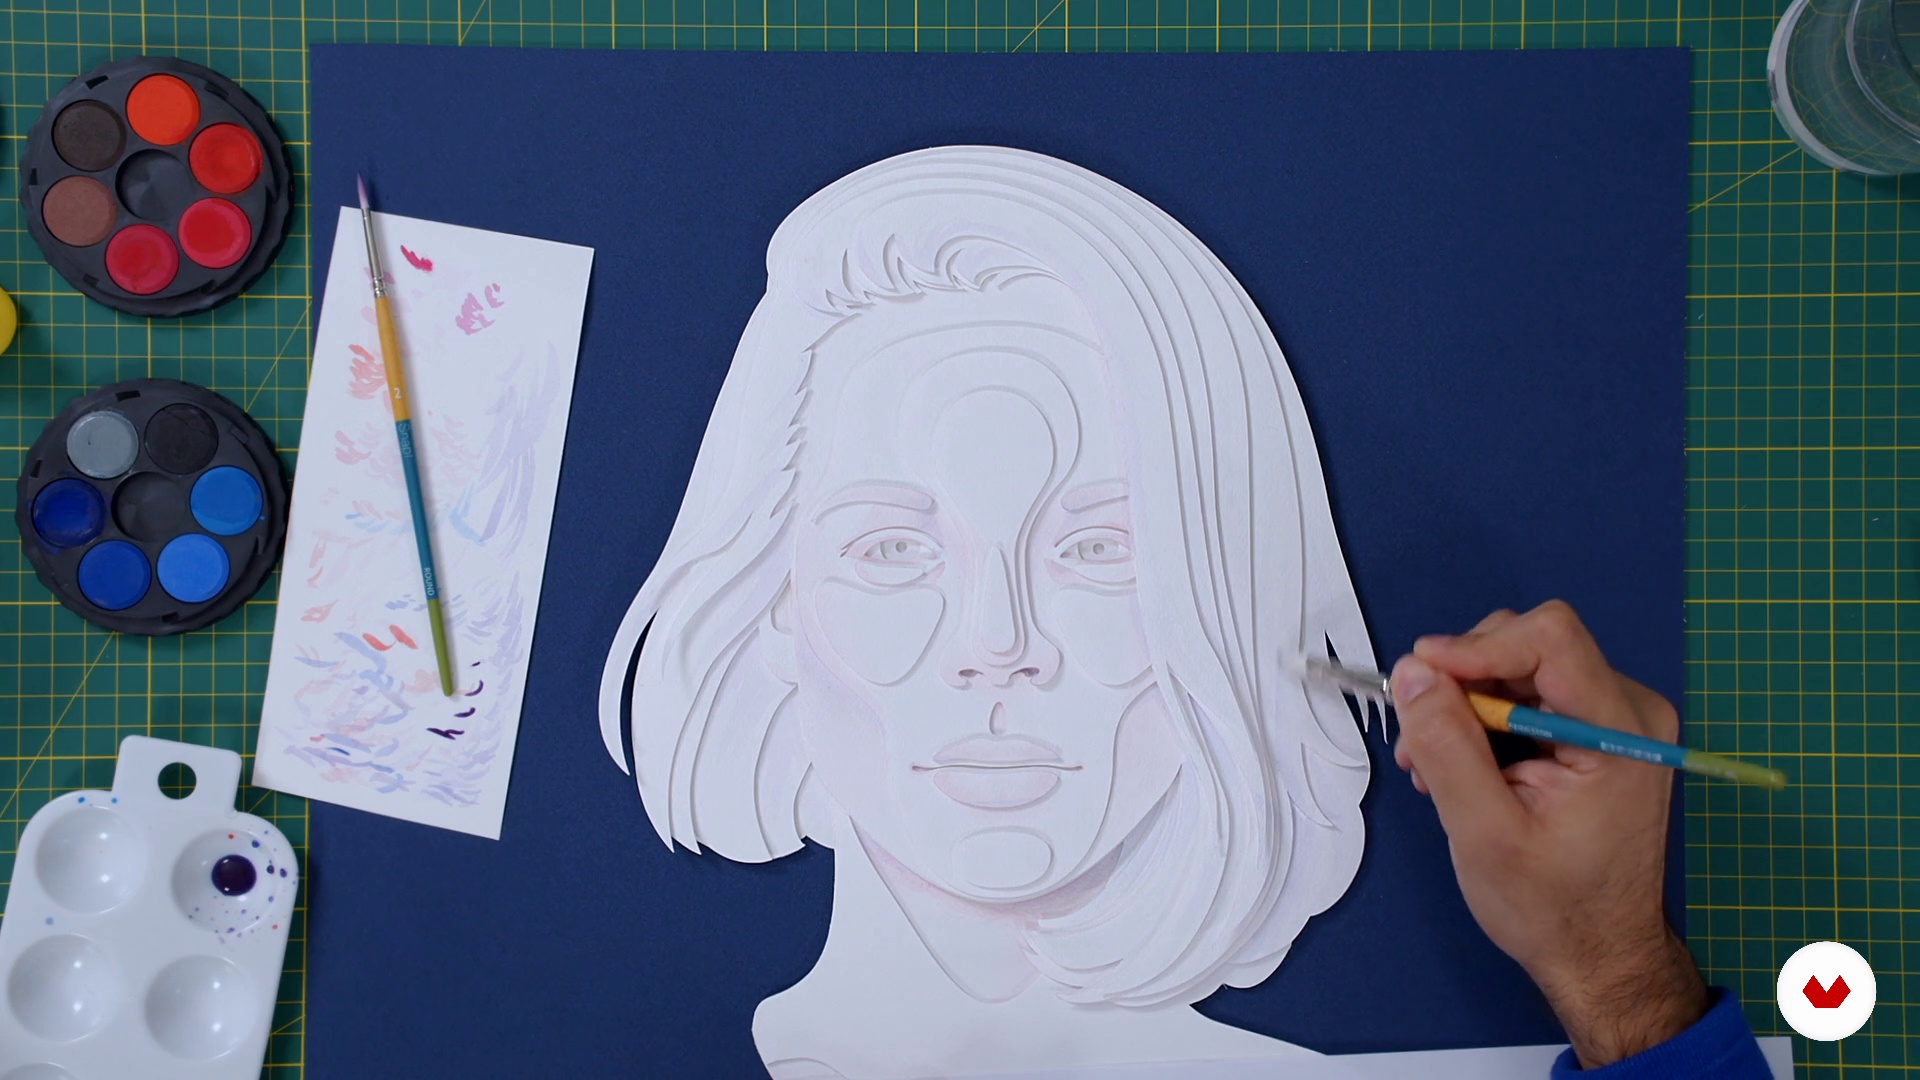
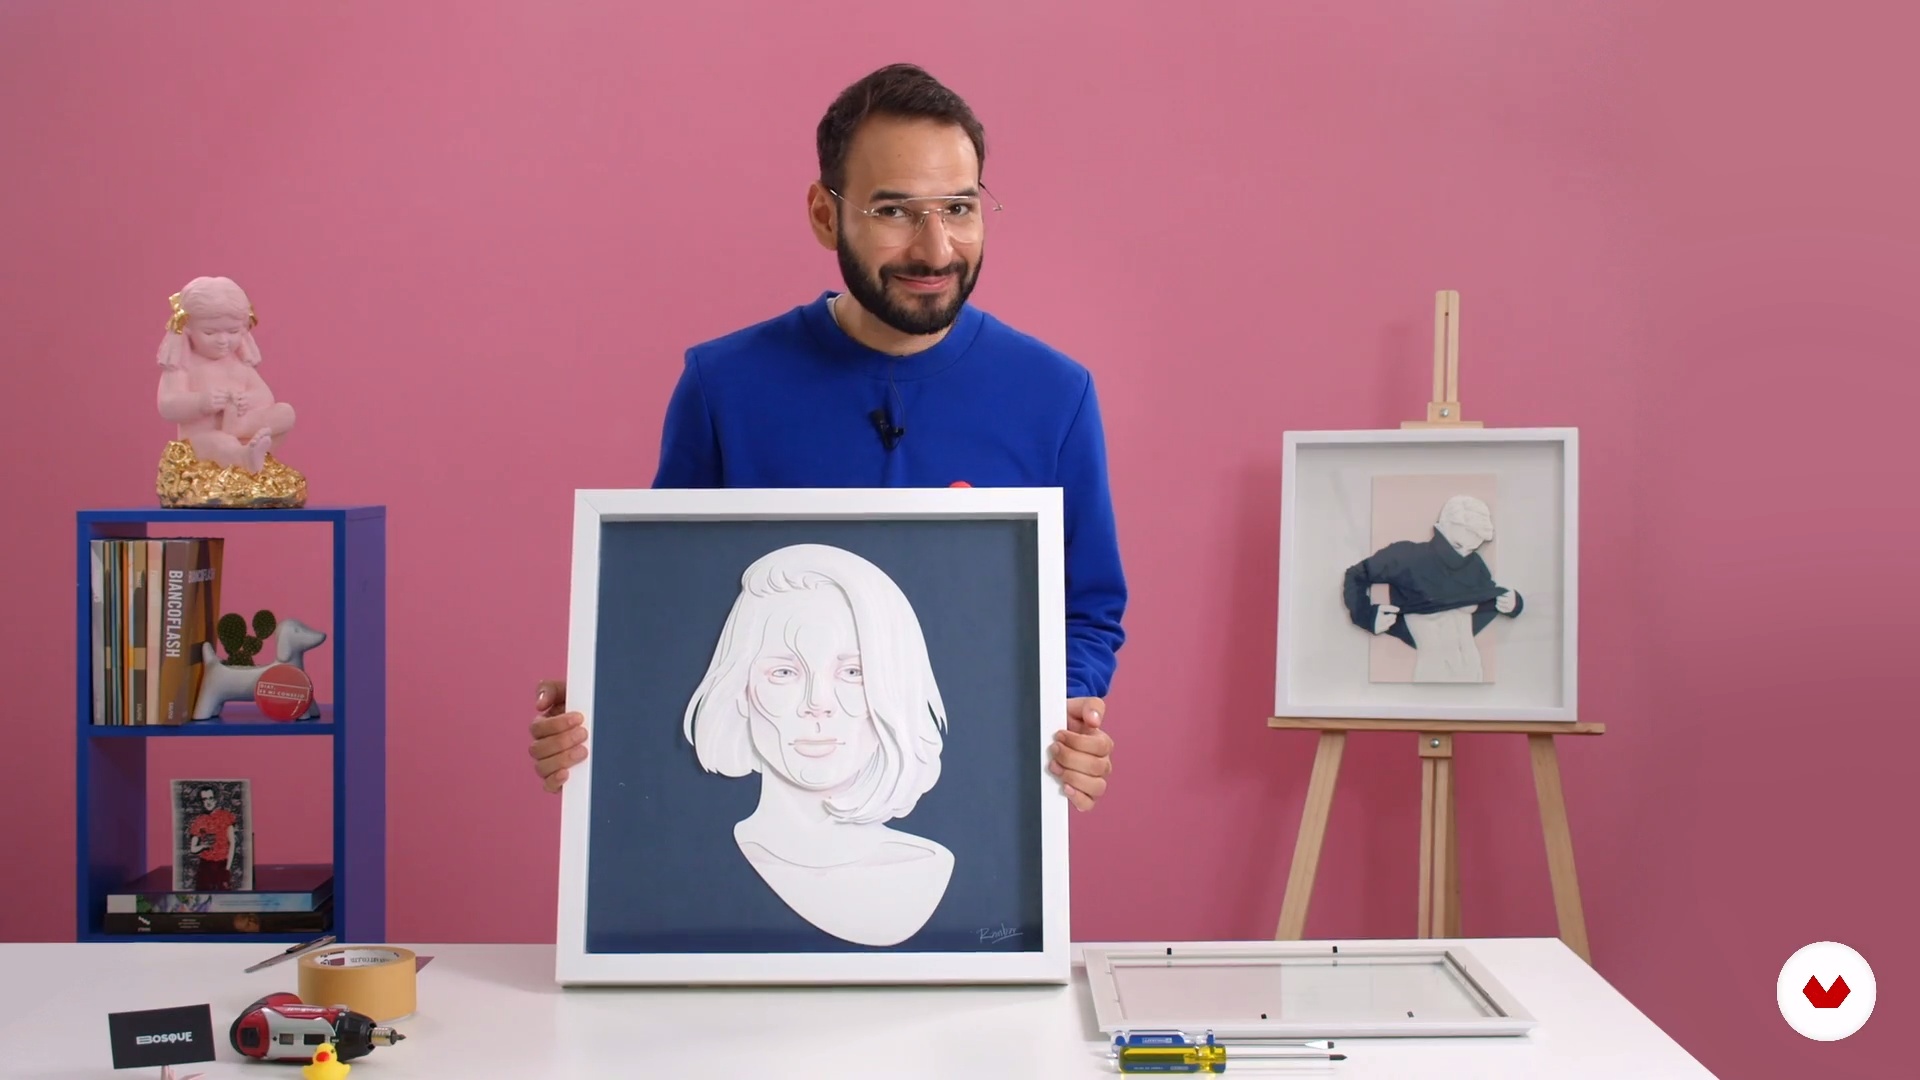
My artistic work | Ale Rambar
What is my position as an artist? What are my influences? What inspires me? I'll tell you all about this in this lesson.
5m
image
4
Influences | Manuela Maya
Now I want to tell you about my main sources of inspiration and influences. We'll take a look at the pages that have helped me fuel my passion and cultivate my ideas. We'll also explore some of the books and flower shops that I use daily to create the compositions and new flowers for La Fleuristerie.
7m
image
5
Influences | Paz Tamburrini
I'll give you a tour of the artists who have influenced me the most and continue to fill me with questions and inspiration.
14m
image
6
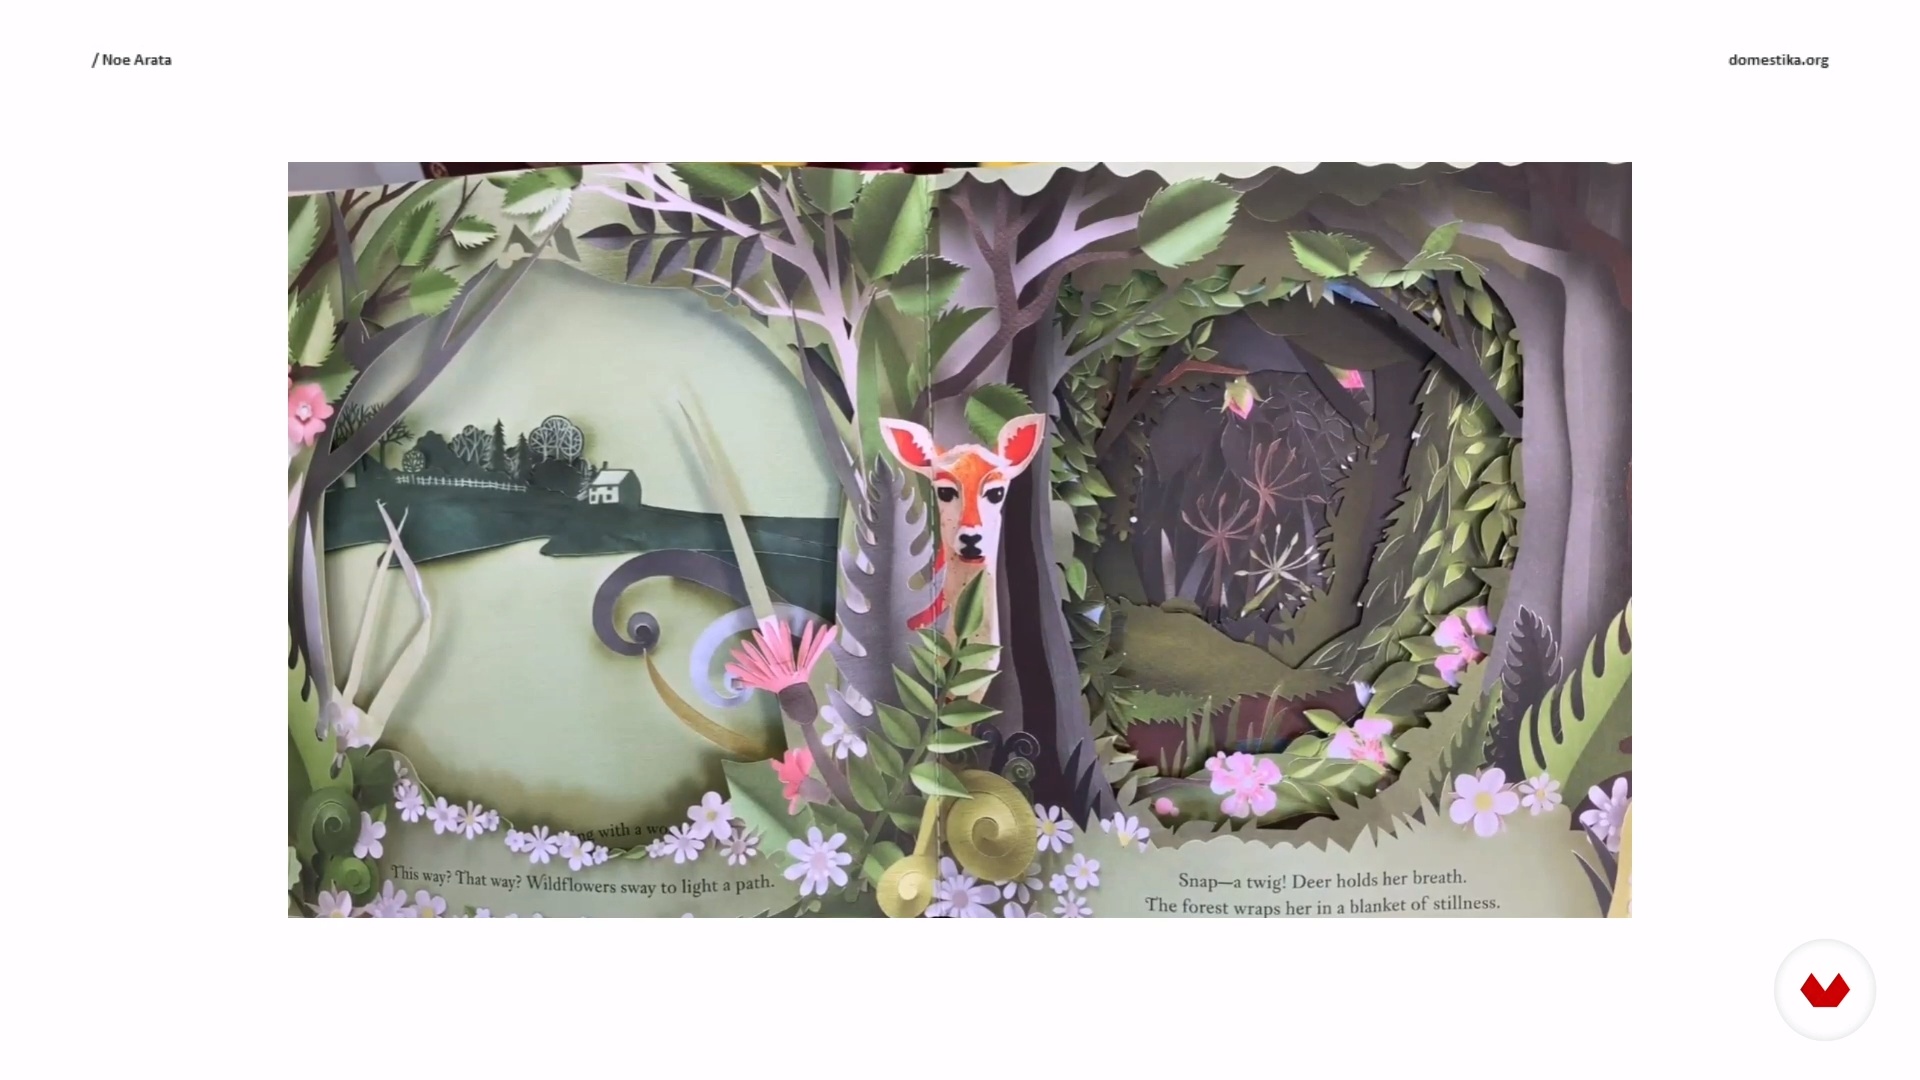
Influences | Noe Arata
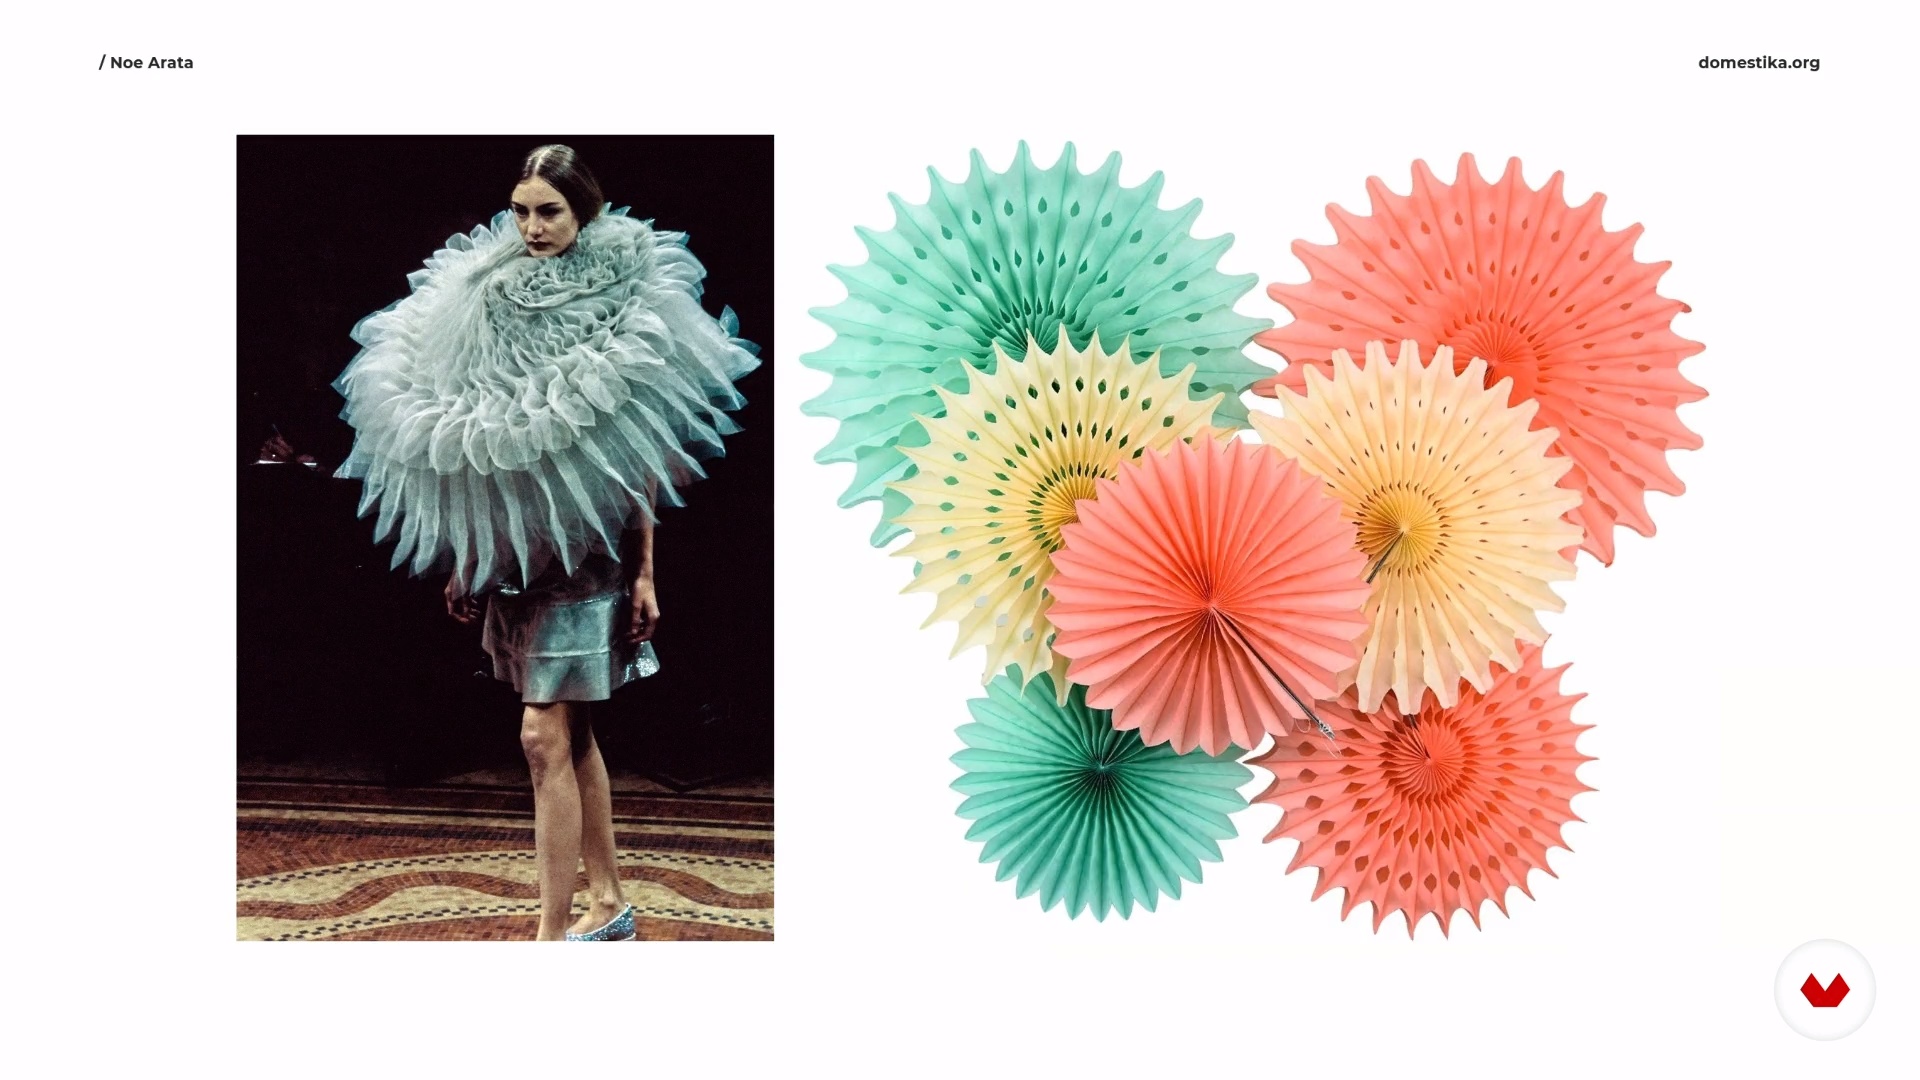
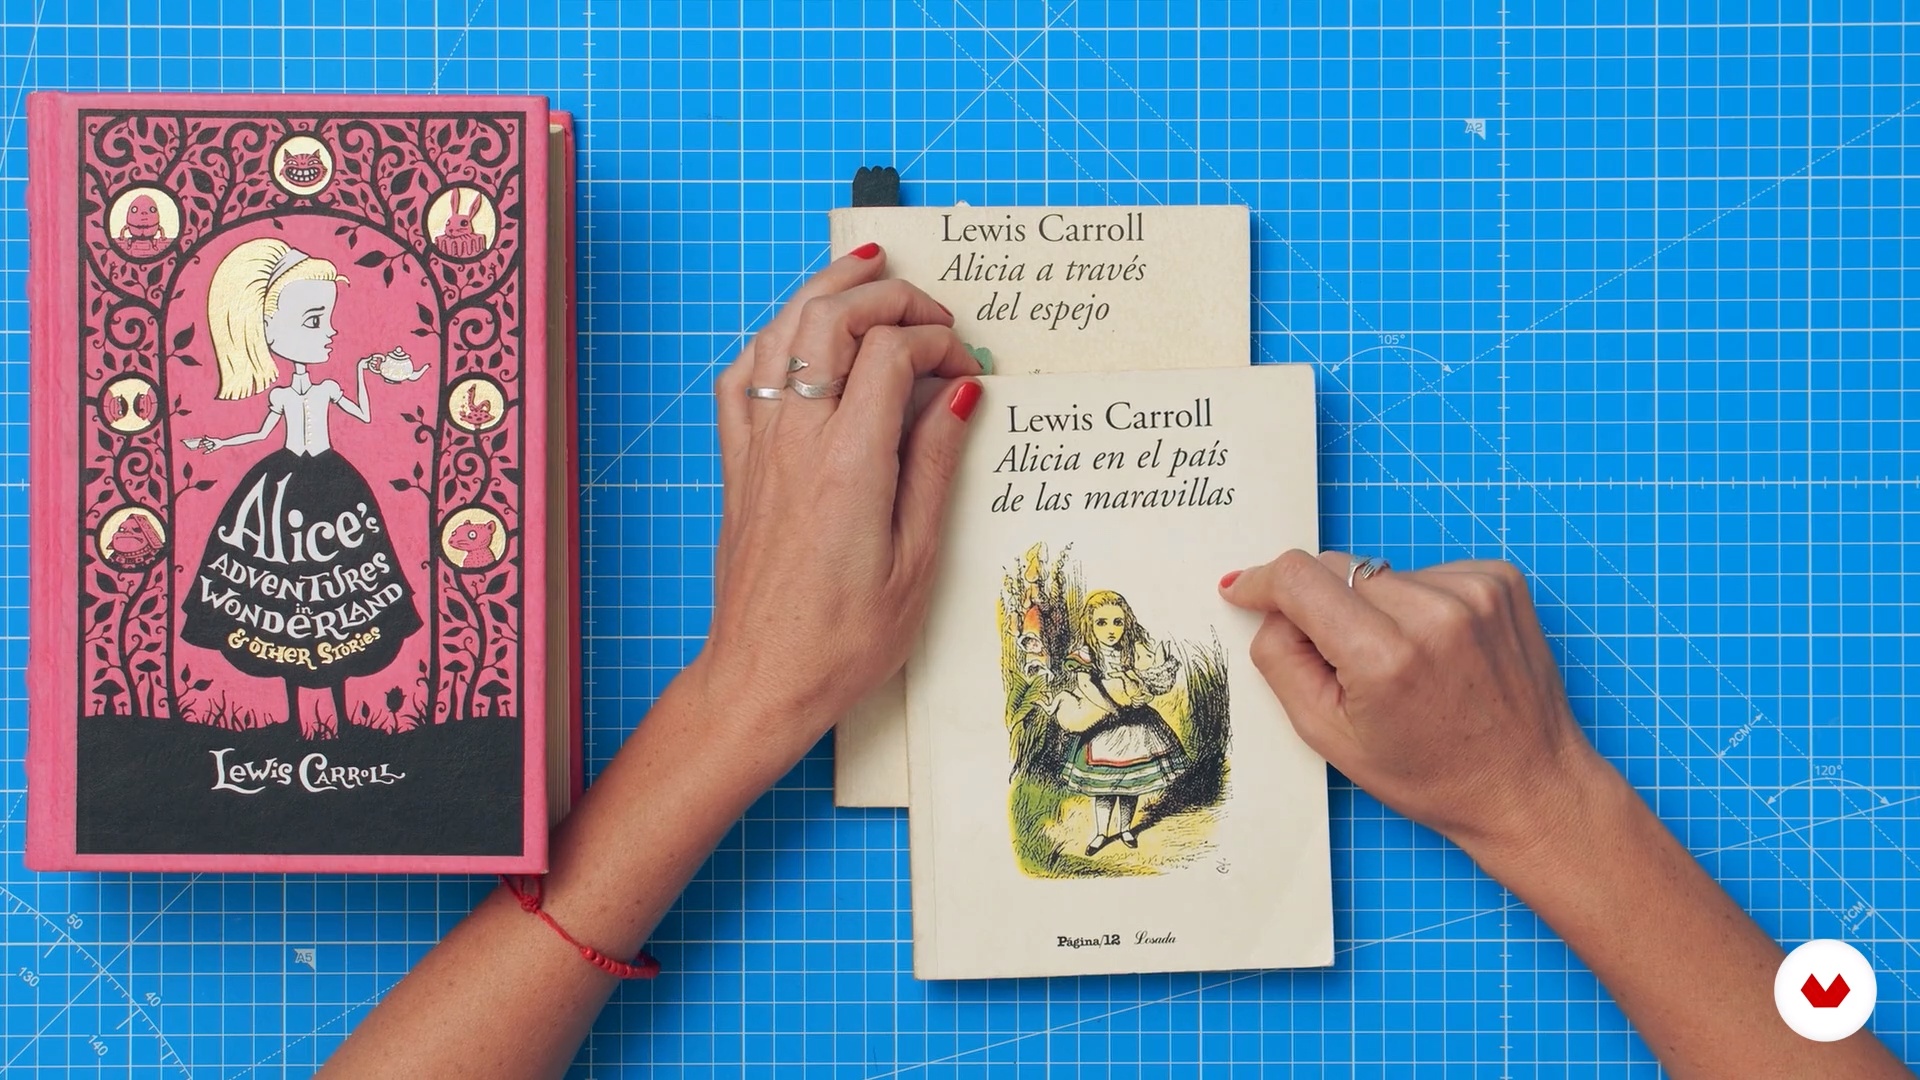
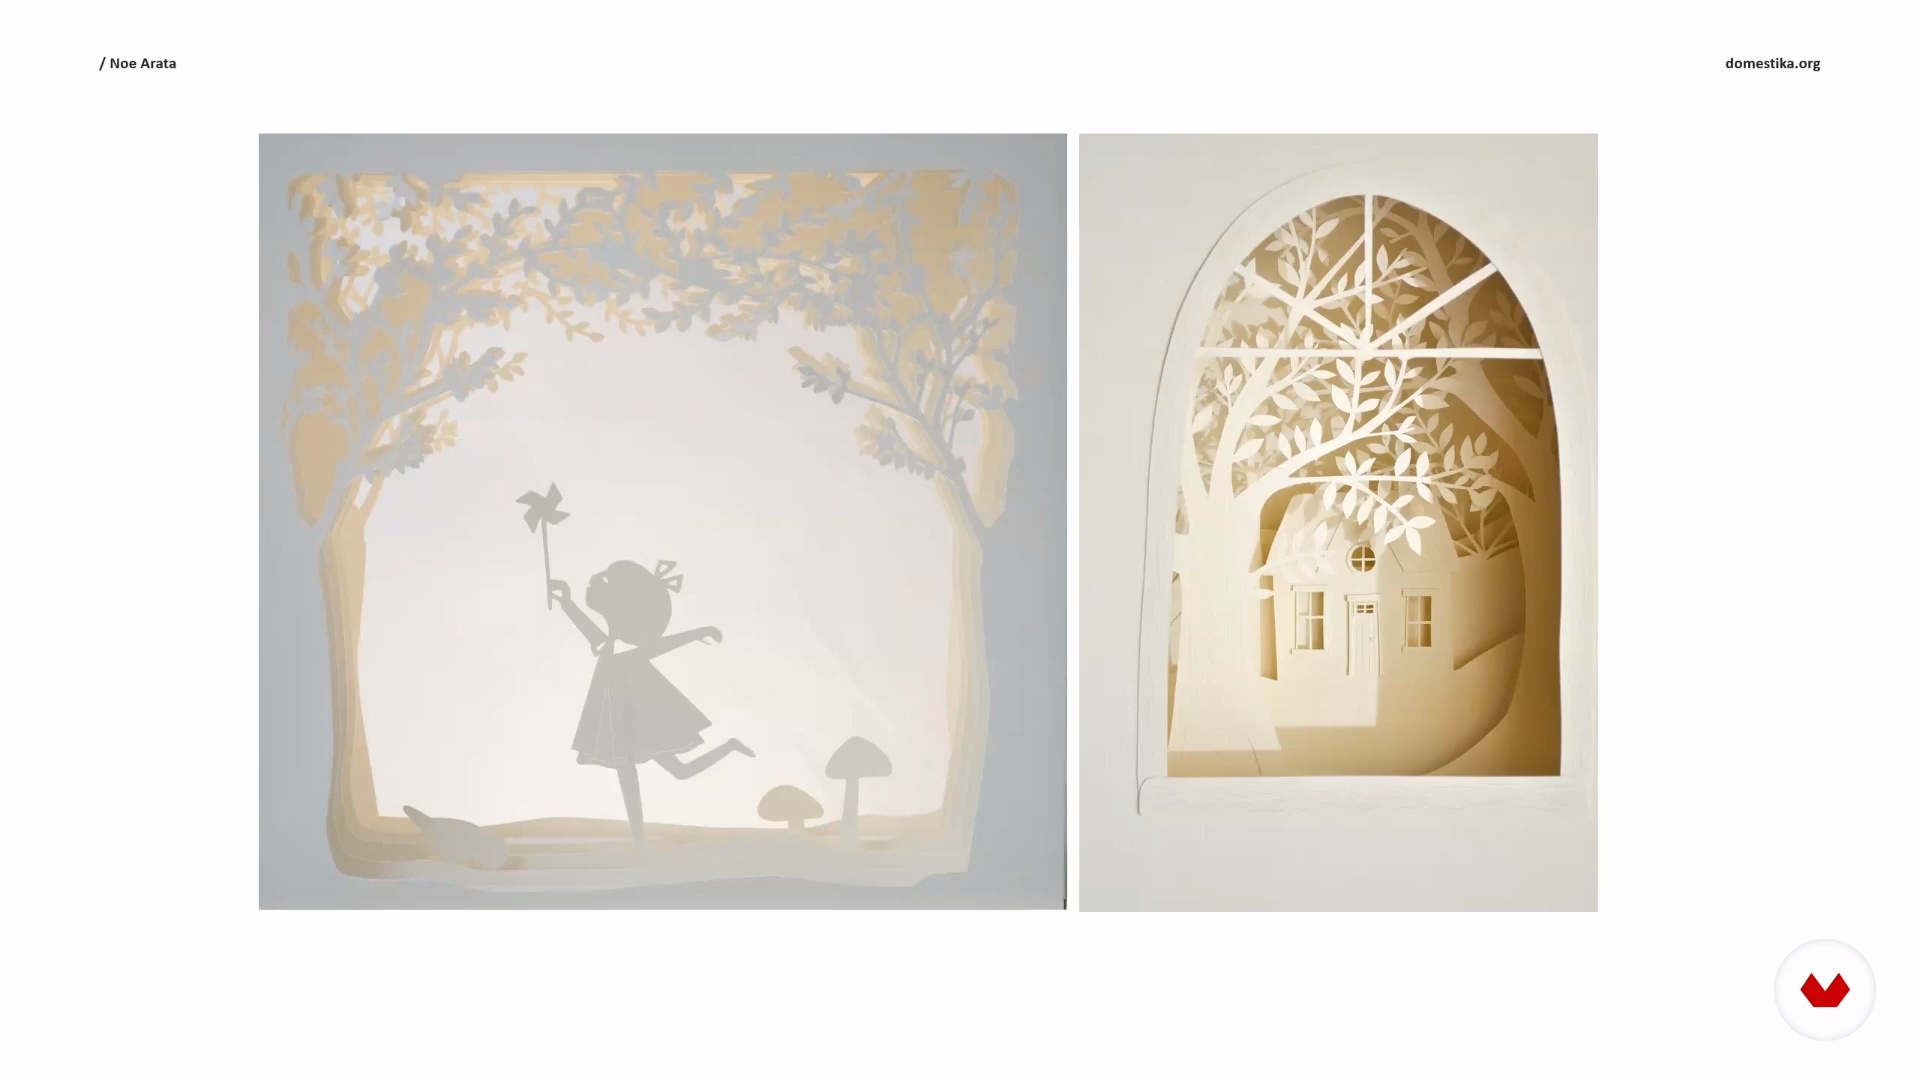
I'll tell you about the themes that most influence my papercraft: traditional children's stories, the work of Studio Ghibli, botanical illustration, and historical costume. I'll also introduce you to some paper artists and illustrators whose work has sparked my interest in papercutting, such as Rebecca Dautremer's Little Theatre and the pop-up books of Robert Sabuda and Aaron Carter. Finally, I'll also tell you about some of my inspirations, artists, and pioneers in papercrafting.
6m
image
3
Particularities of the technique
I'll start by explaining the technique through examples that illustrate how materials are added to a character's structure and how it is assembled piece by piece while you learn the logic of construction.
5m
image
4
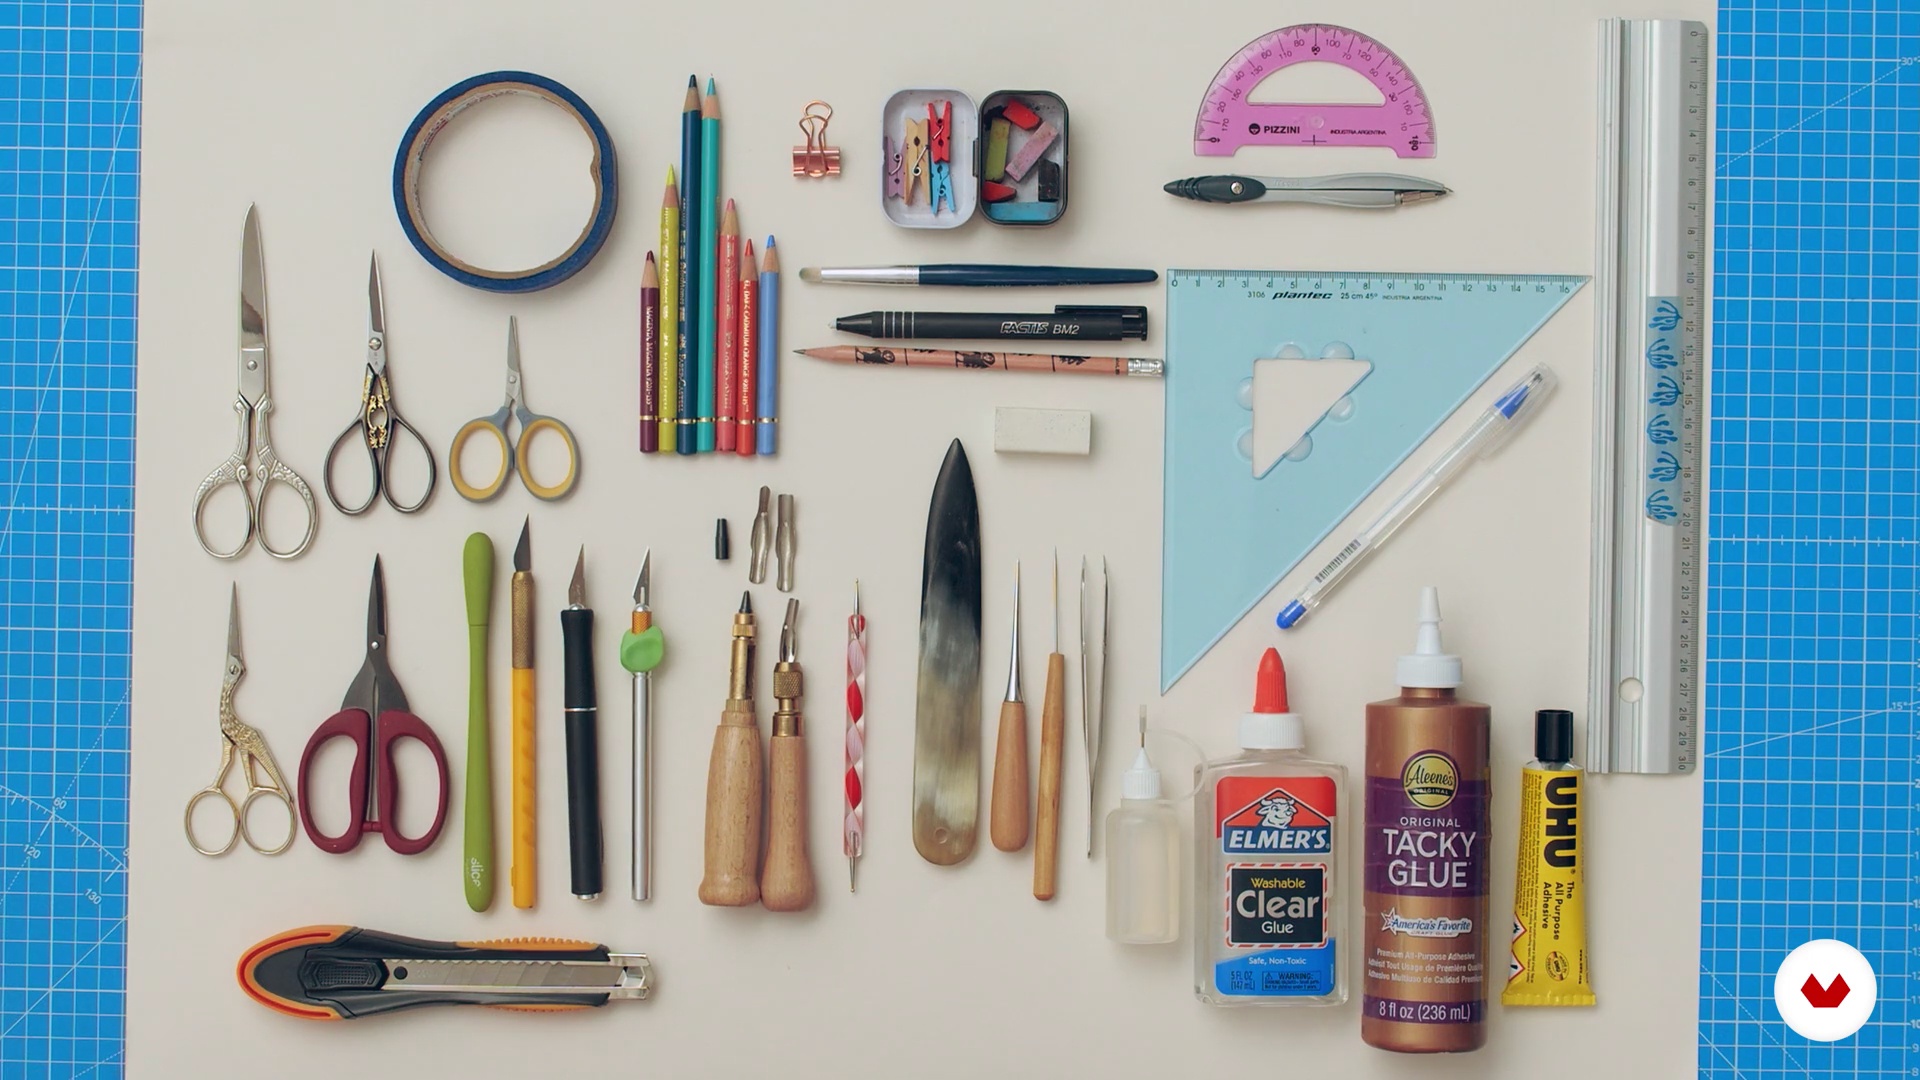
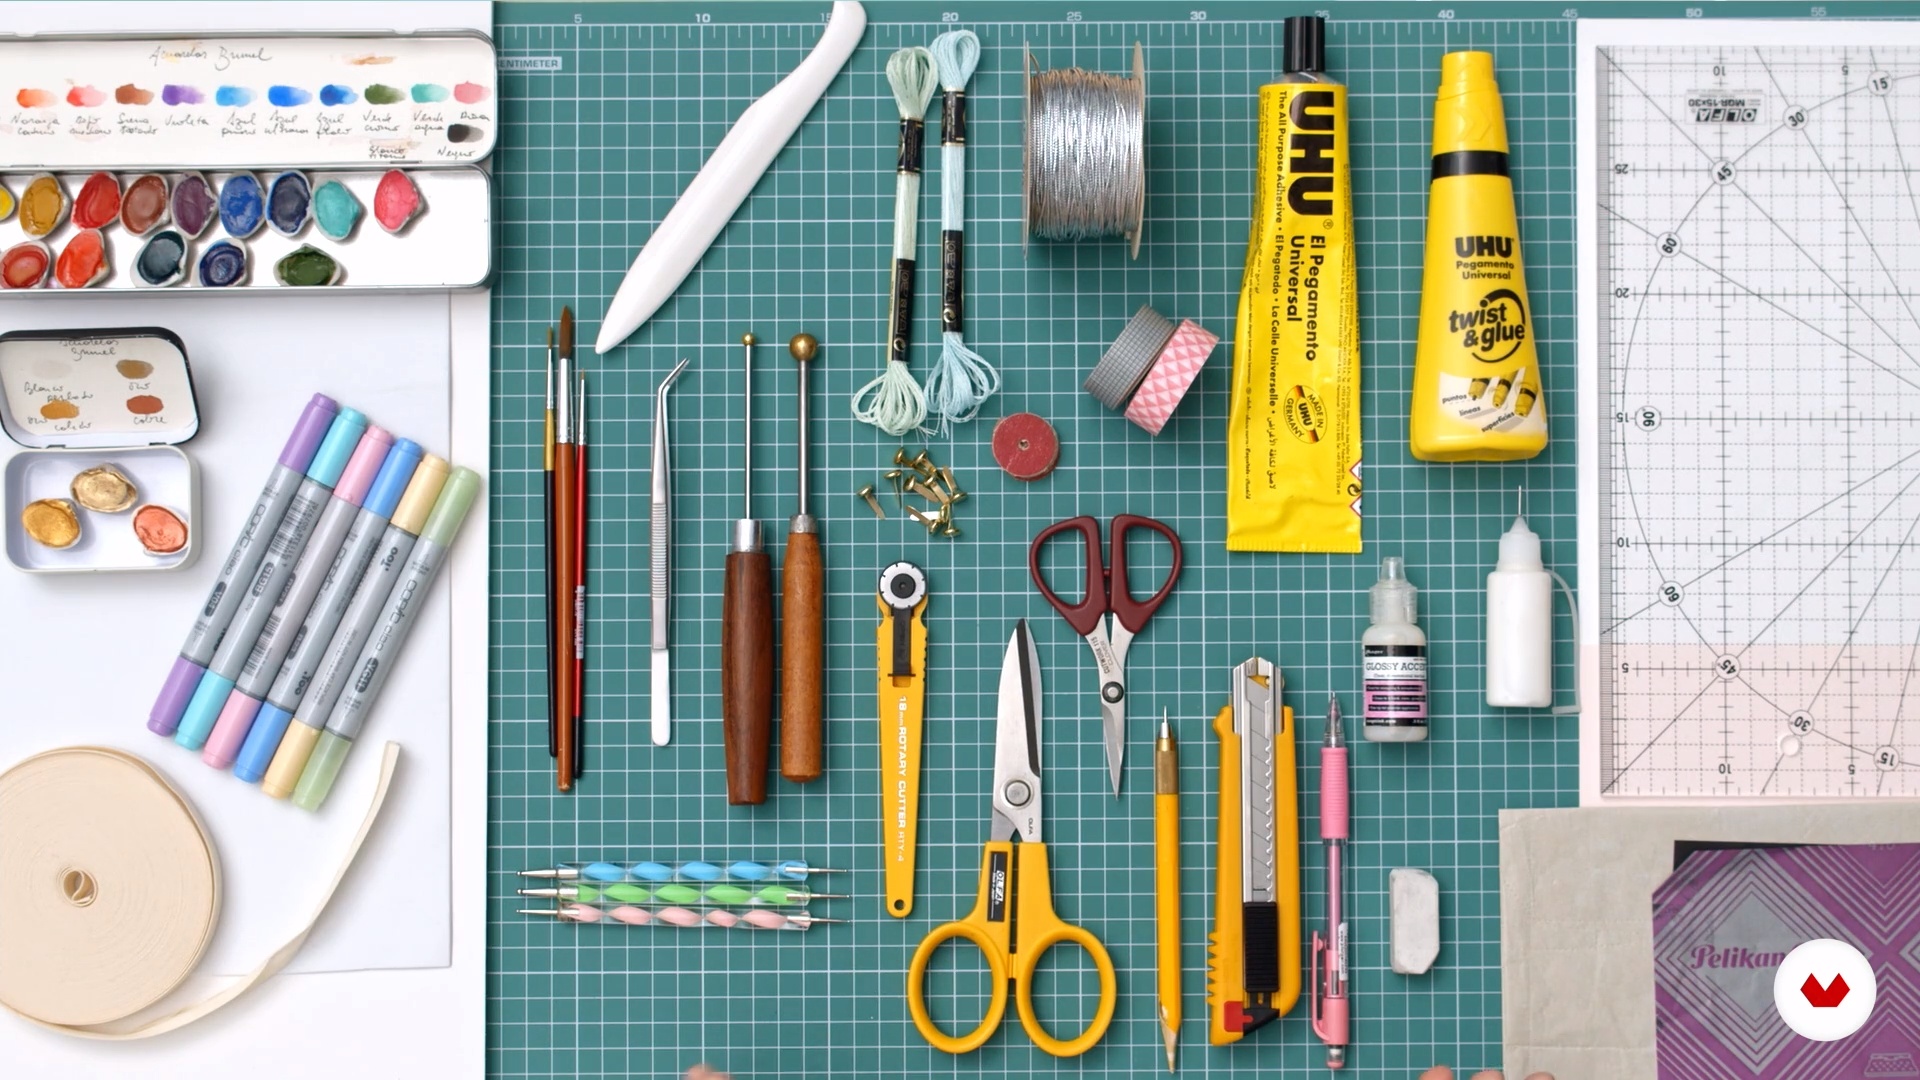
Materials and tools
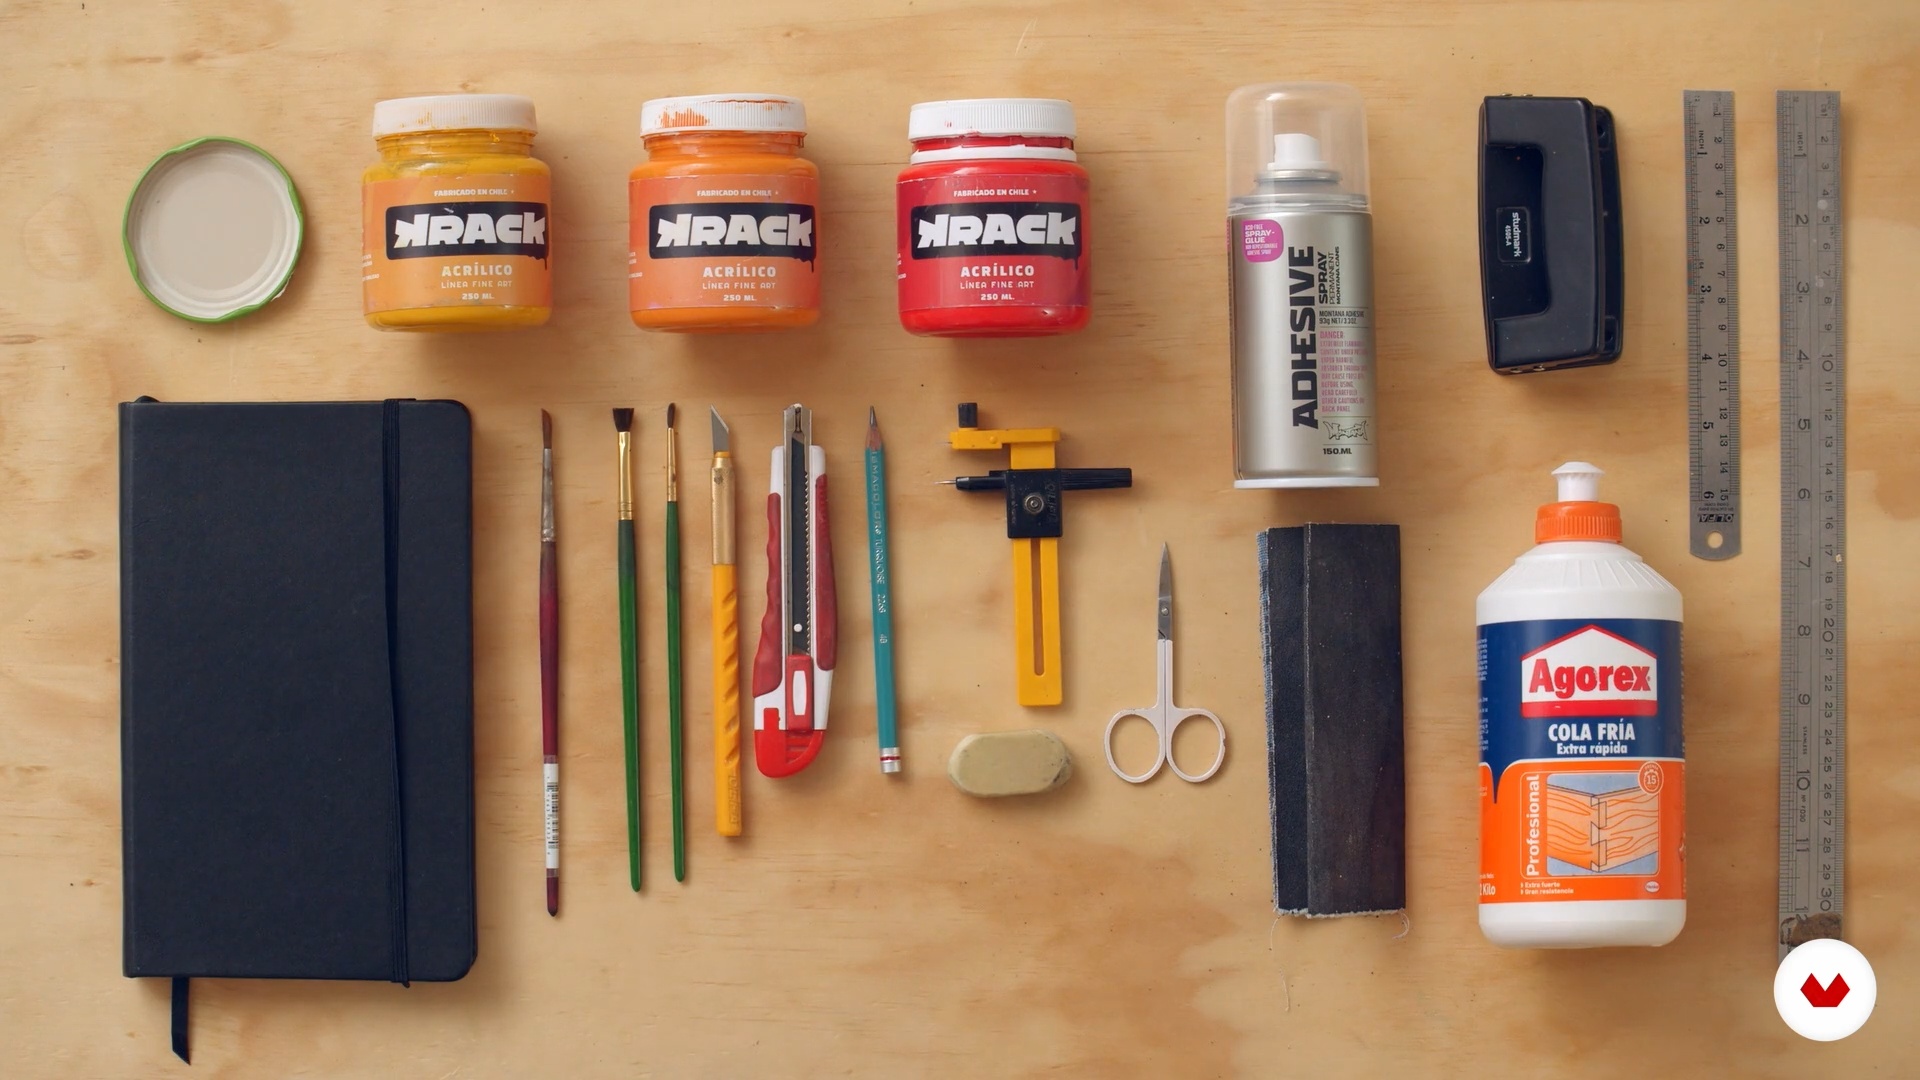
You'll learn all the materials and tools you'll need to develop the project. I'll also explain their uses and advantages so you can get the most out of them based on your project's needs.
6m
image
5
How i get inspired
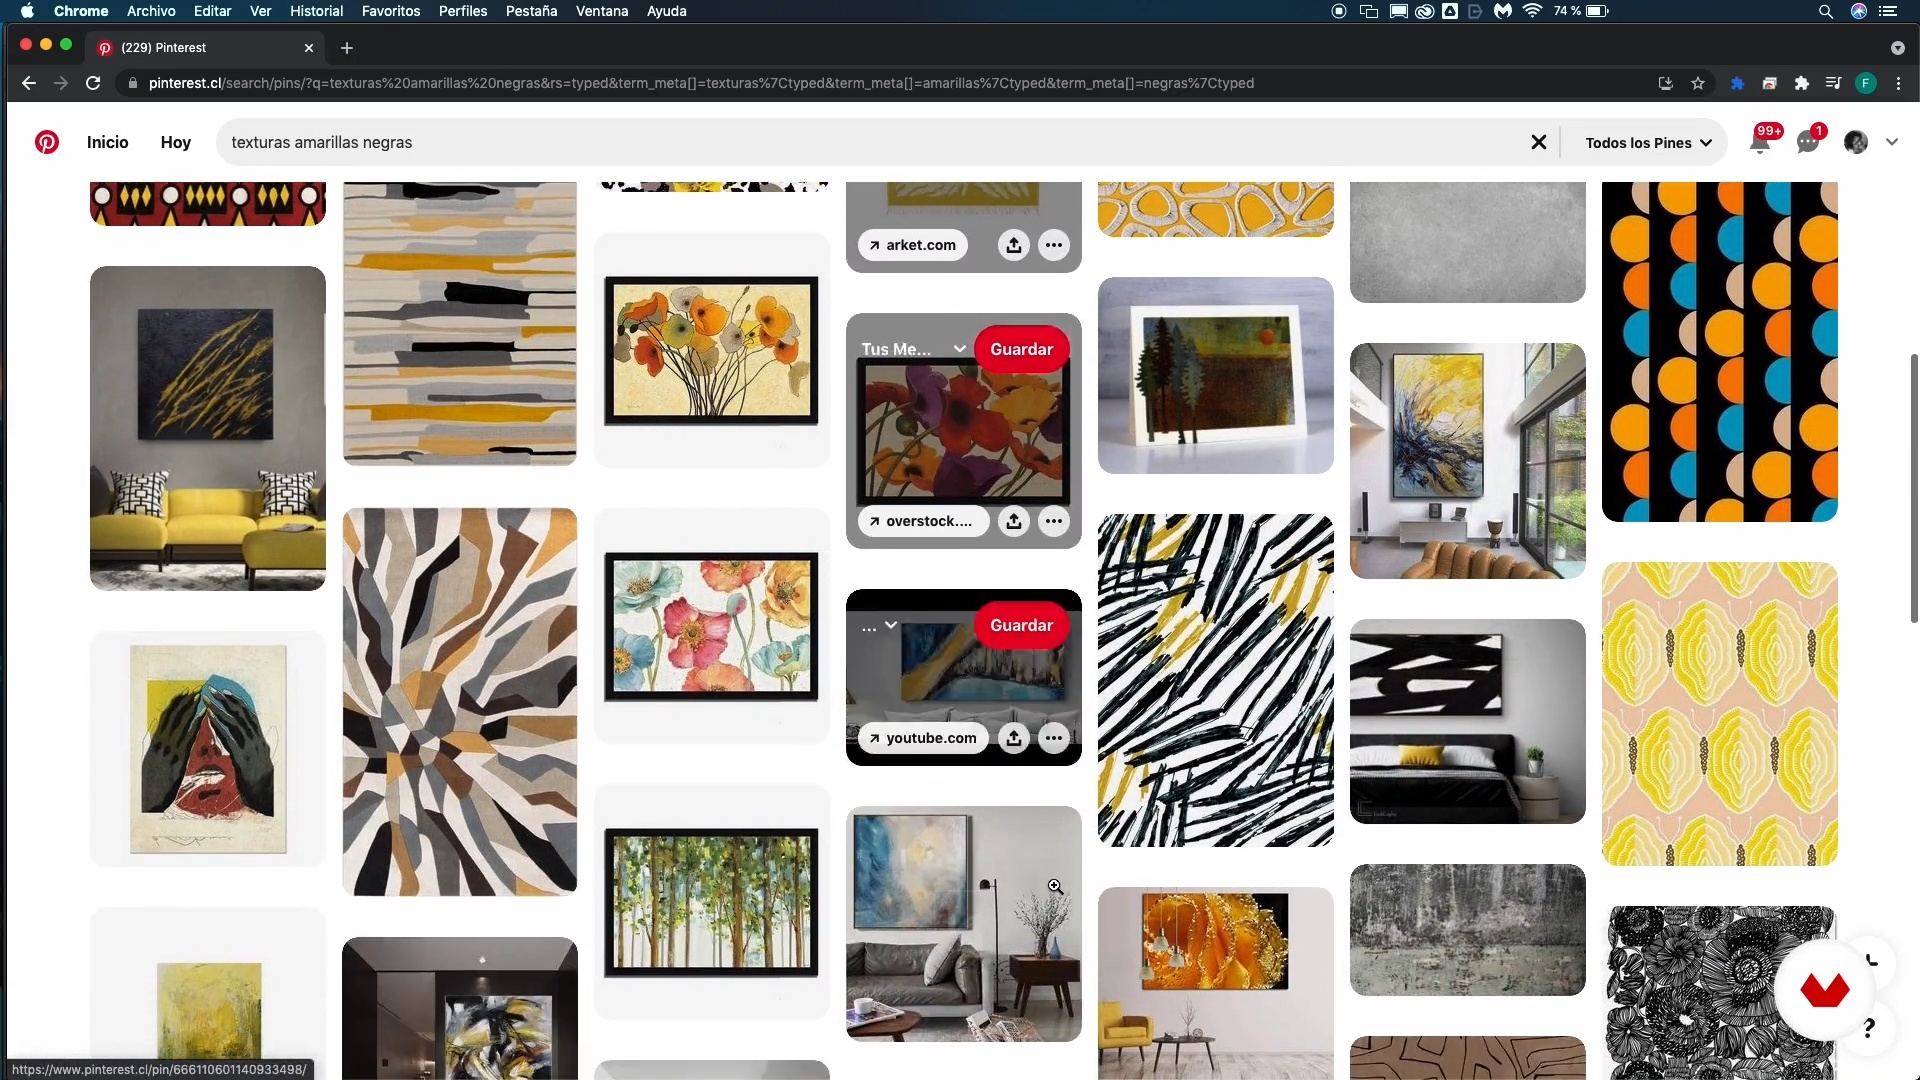
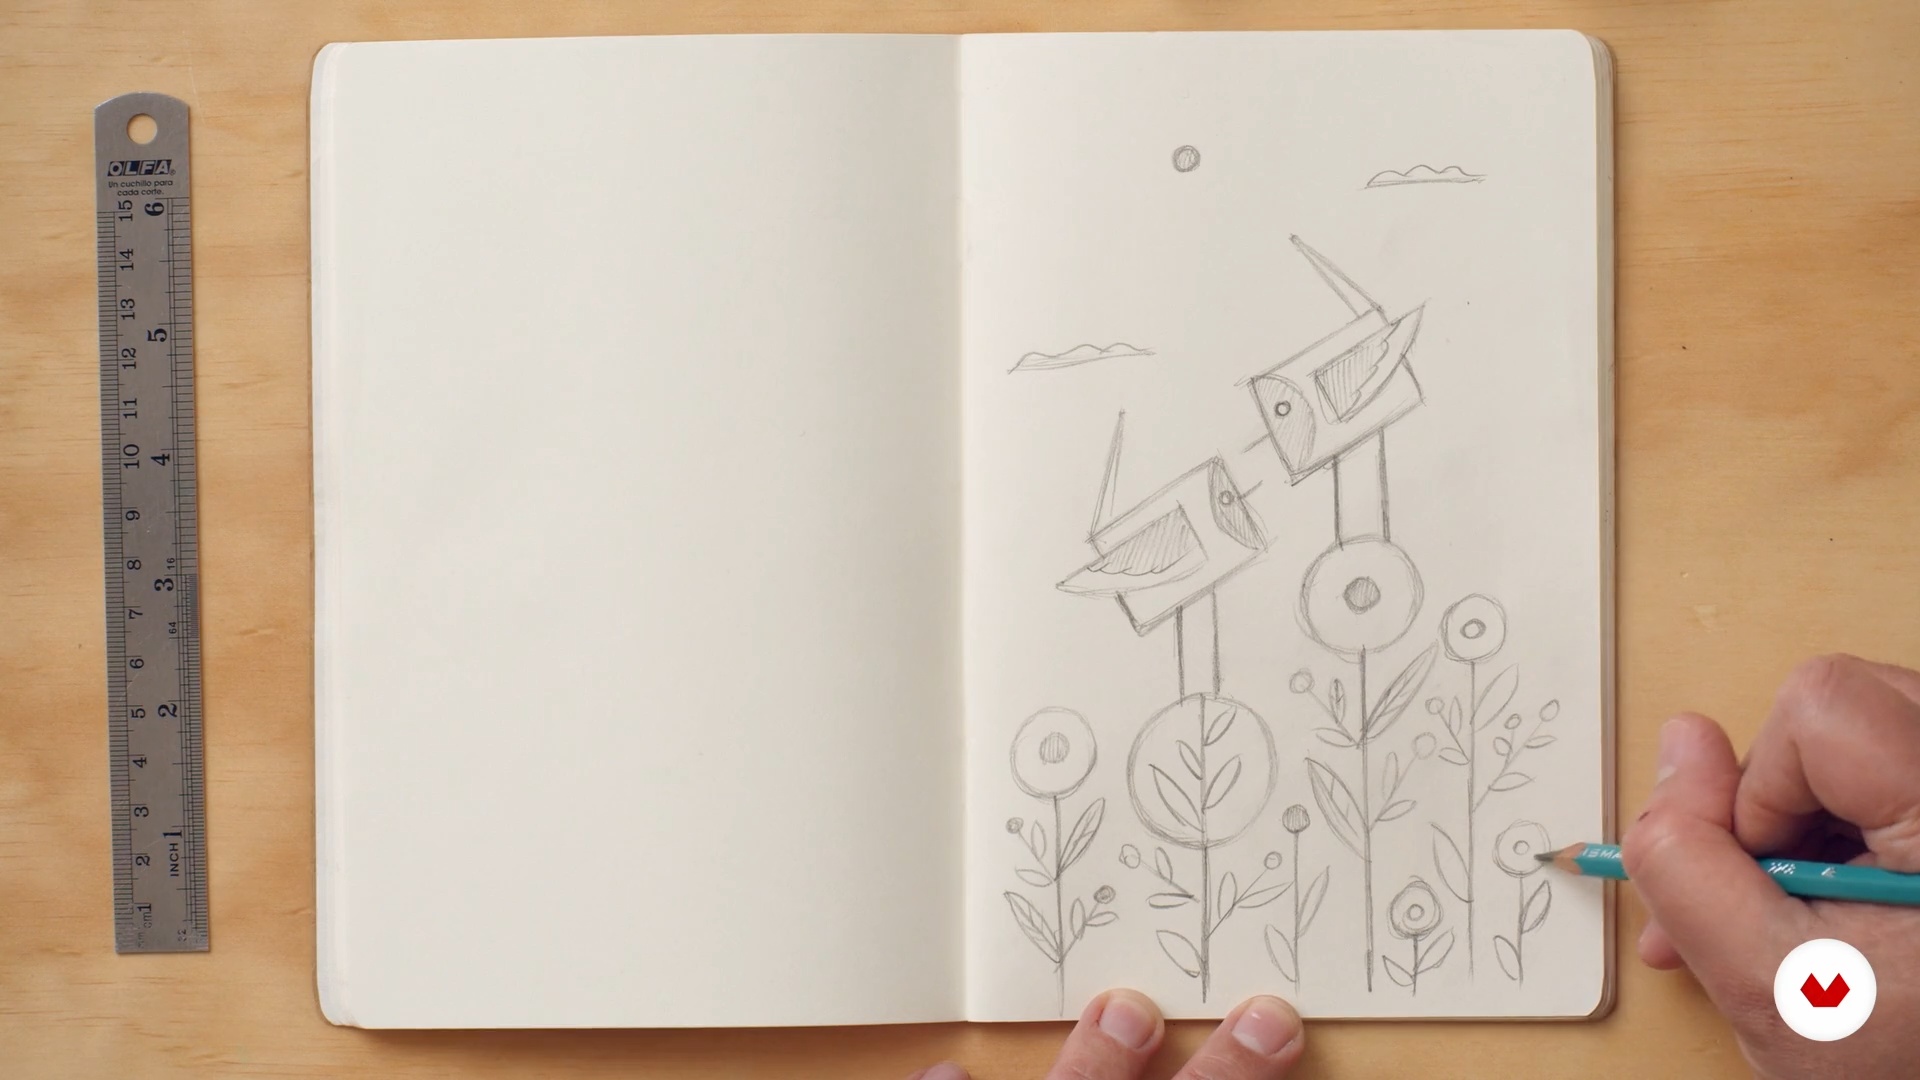
In this lesson, I'll share different ways to develop an idea. You'll also learn how to search for visual references and synthesize images based on geometric shapes to simplify your design.
16m
image
6
Sketches, materiality and colors
To begin, I'll explain how to develop a sketch based on a mood board. Then, you'll learn how to select the most suitable materials for the project. You'll learn how to work on creating a color palette based on materiality and color theory.
18m
image
7
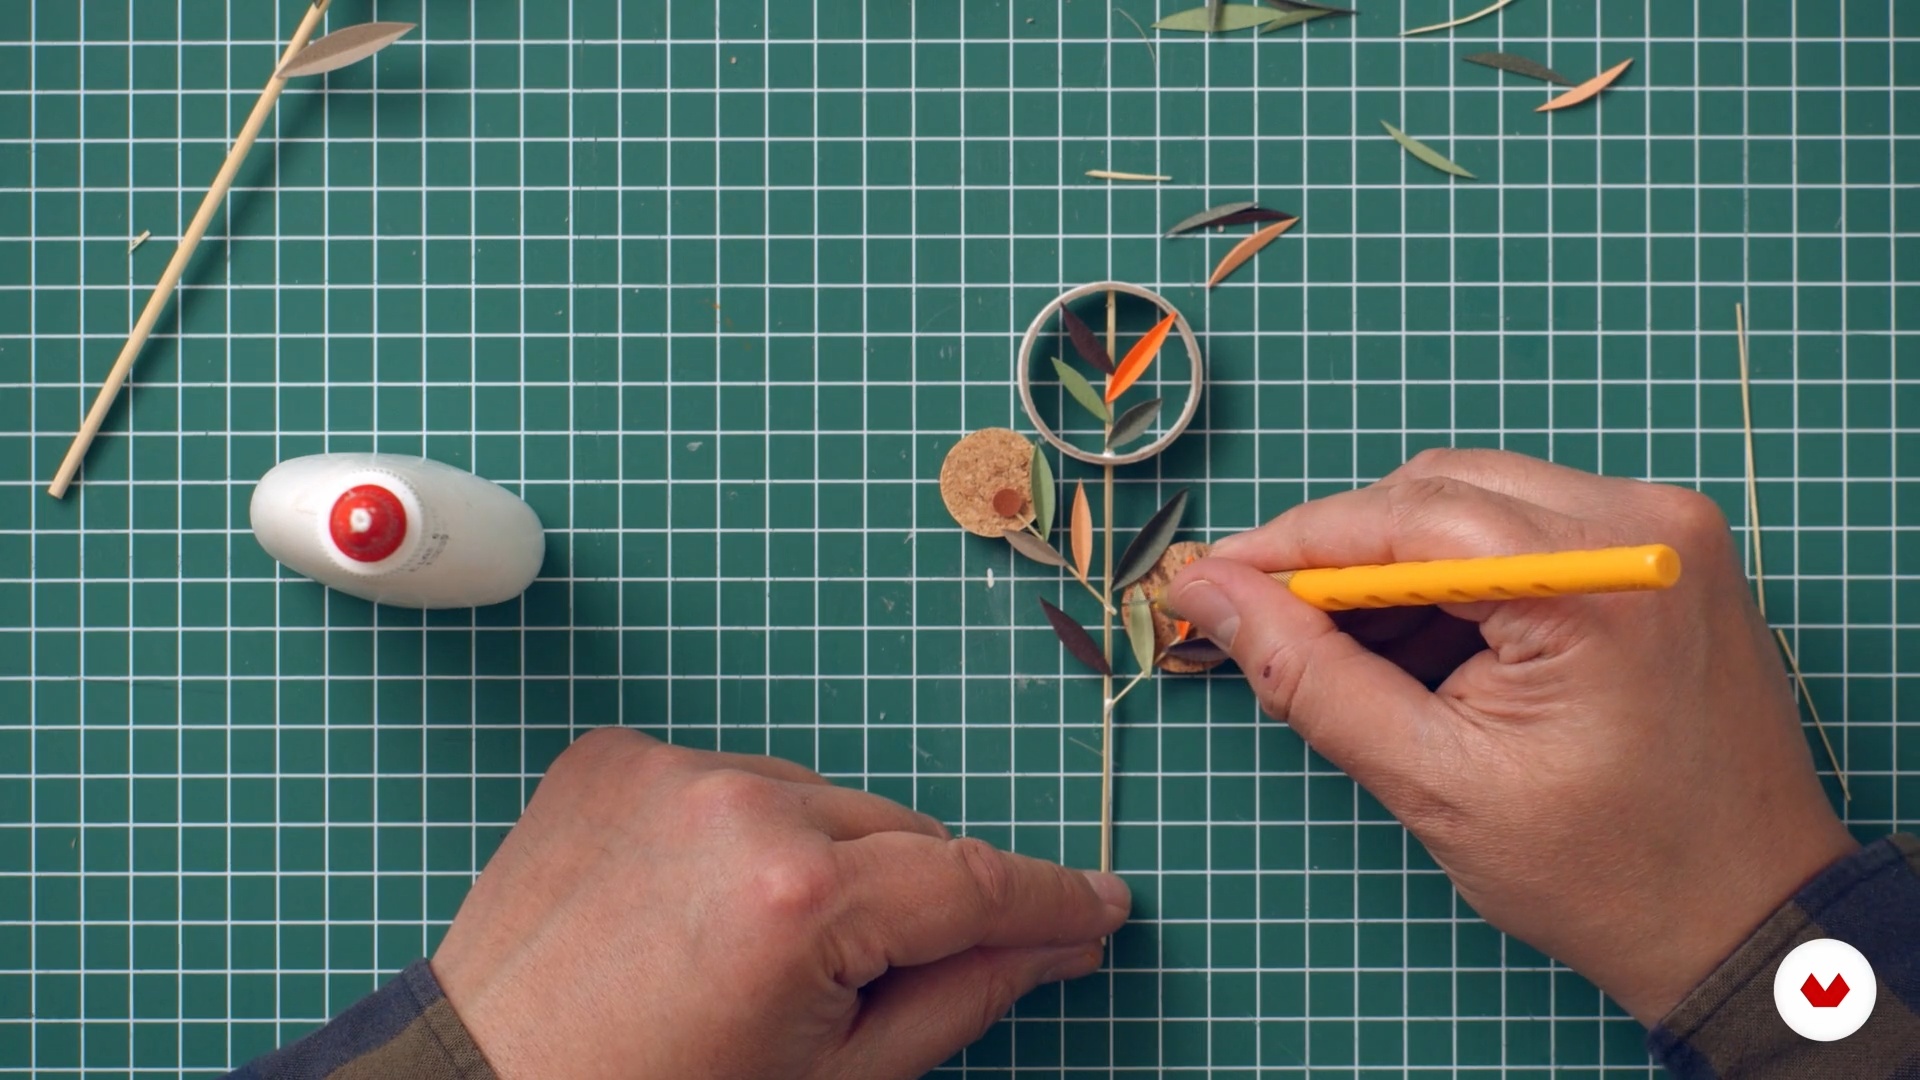
Build vegetation and environment 1
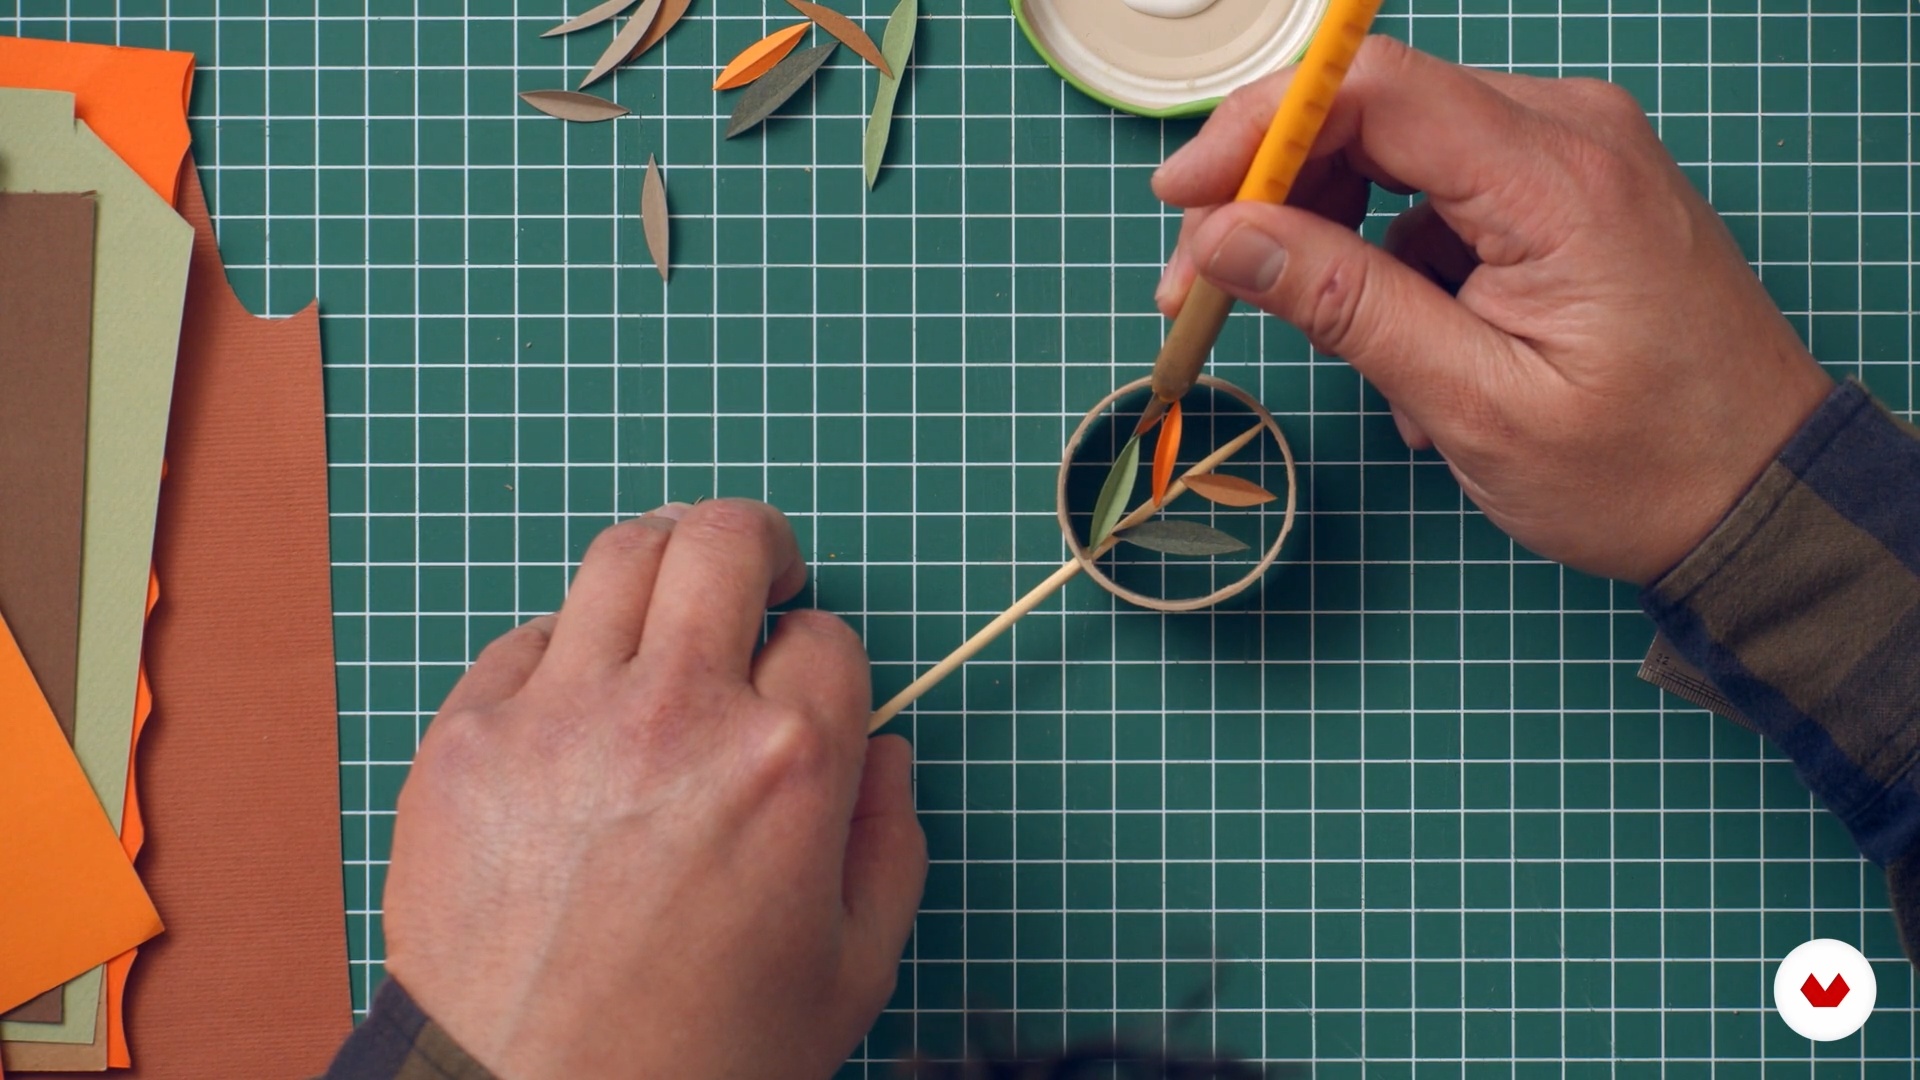
Before you begin building the project, I'll teach you some exercises to help you loosen up your hand. You'll also learn how to create different types of vegetation and surroundings.
17m
image
8
Build vegetation and environment 2
During this second part of the lesson, I'll show you another example of a tree you can create for your projects.
8m
image
9
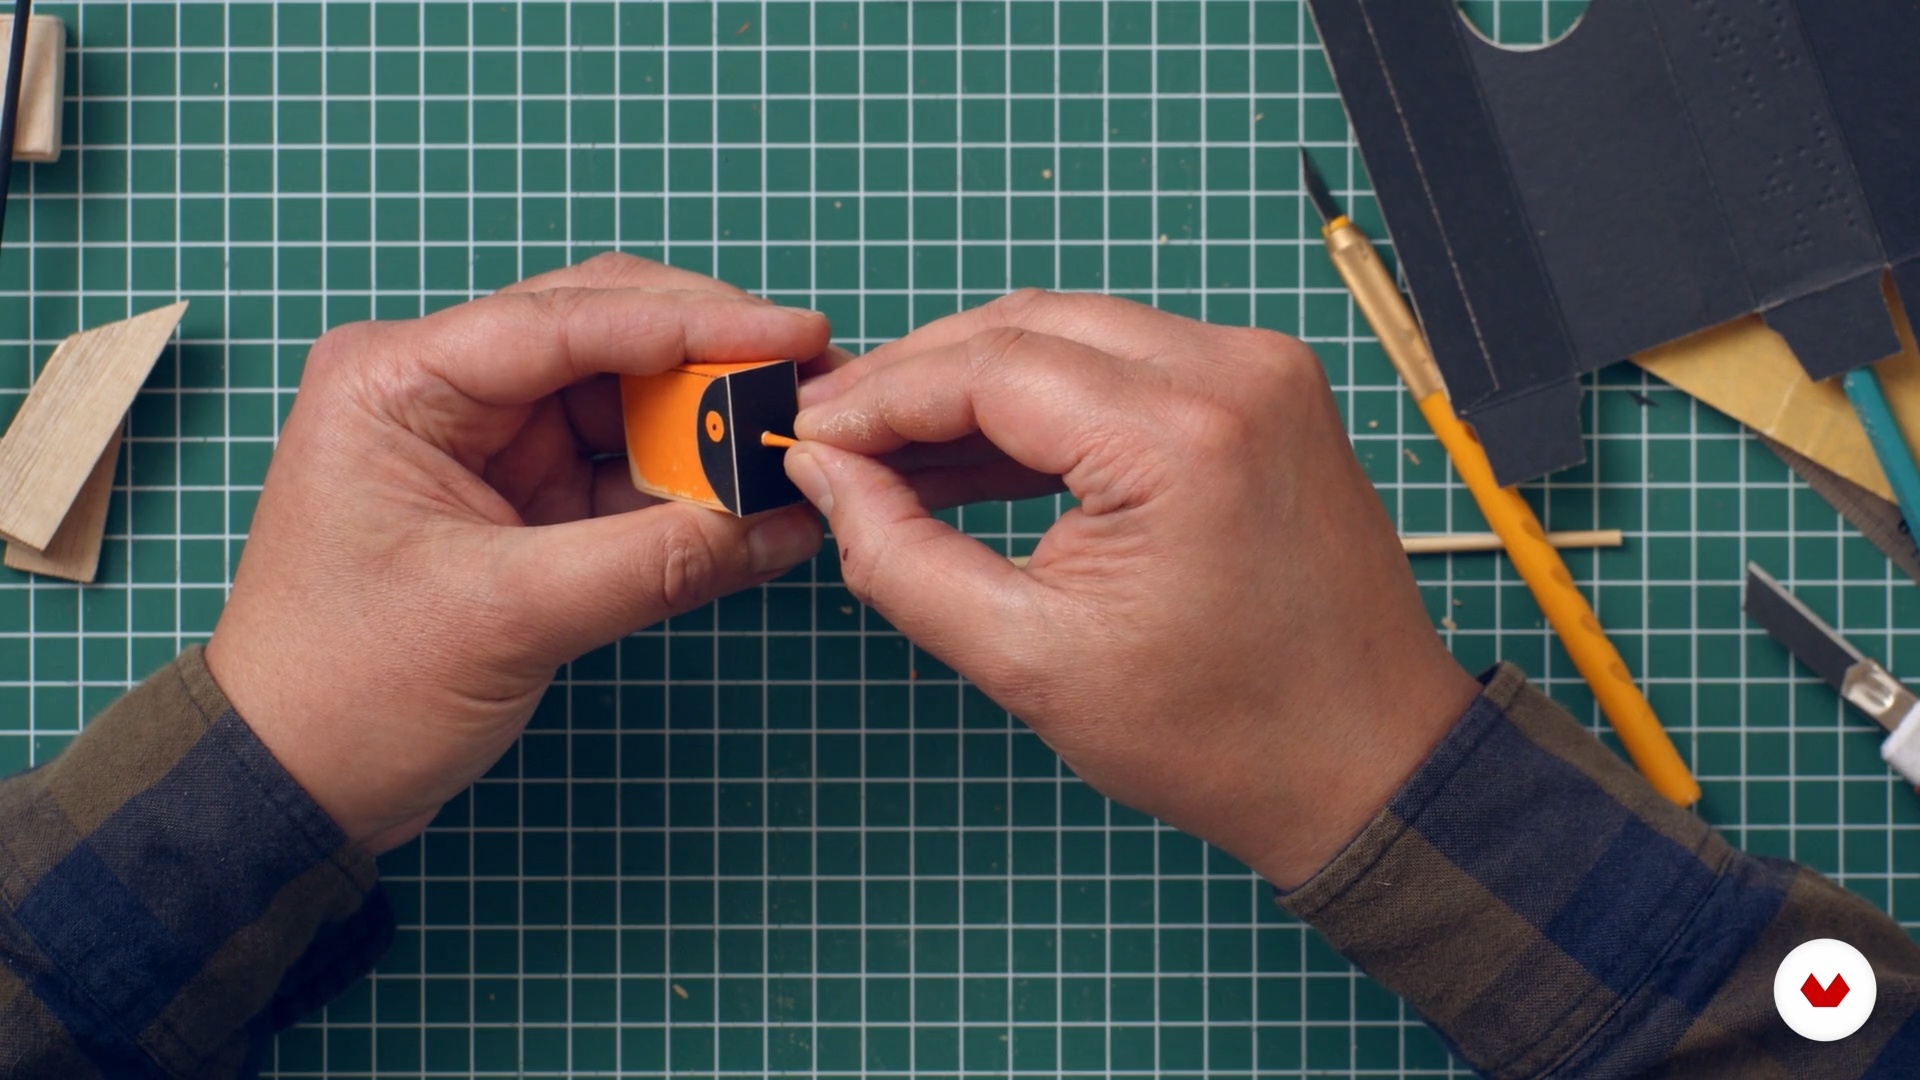
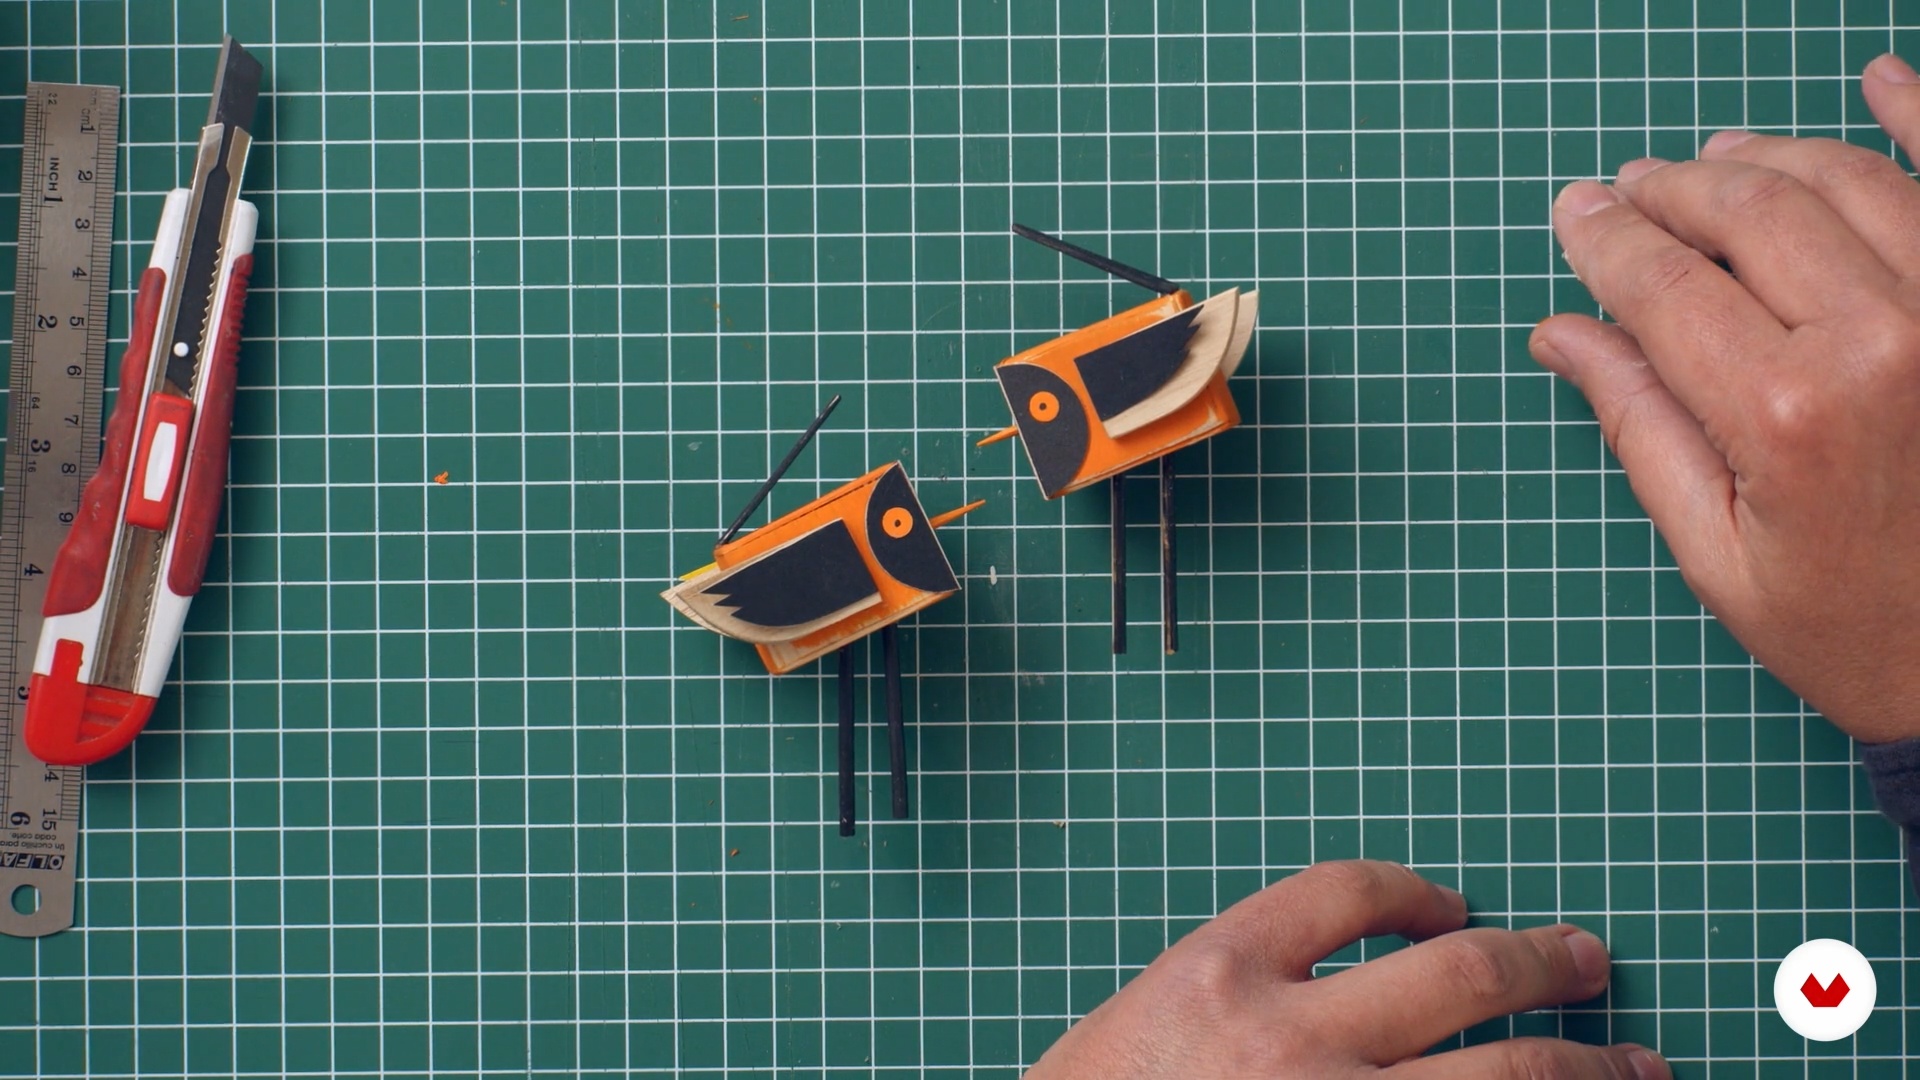
Cut and intervene pieces: birds 1
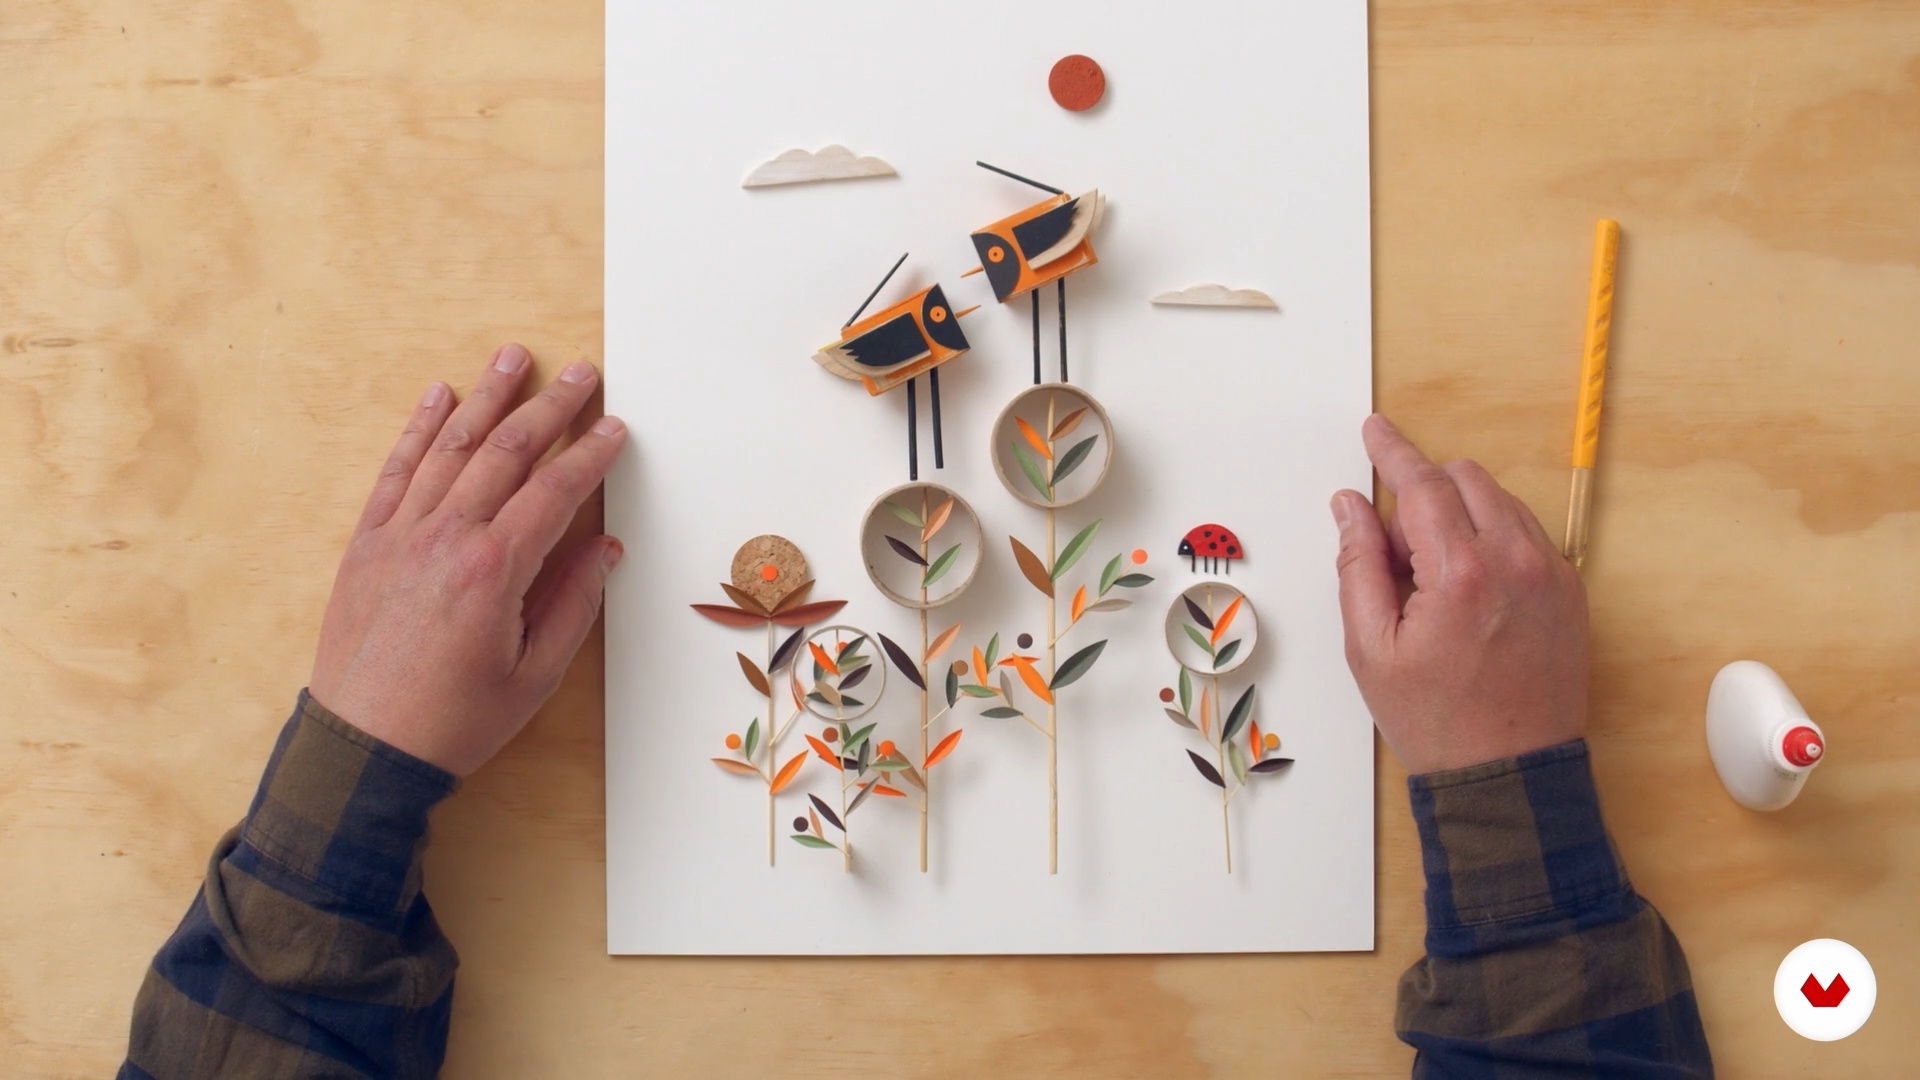
It's time to start cutting the pieces according to the final sketch. I'll show you how to assemble and present the final pieces in the sketch. In a nutshell, you'll learn how to start the project's protagonists: the birds.
18m
image
10
Cut and intervene pieces: birds 2
During this second part of the lesson, you'll see how to continue working on the bird's body. I'll show you how to build the front.
14m
image
11
Cut and intervene pieces: birds 3
Finally, you'll see how to finish assembling the birds by adding the wings and some details to give them volume. I'll also share some tips to avoid making a mess with glue.
12m
image
12
Cut and intervene pieces: environment 1
It's time to move on to creating the surrounding pieces that will welcome the protagonists of the final work. To begin, I'll show you how to develop the trees and flowers.
18m
image
13
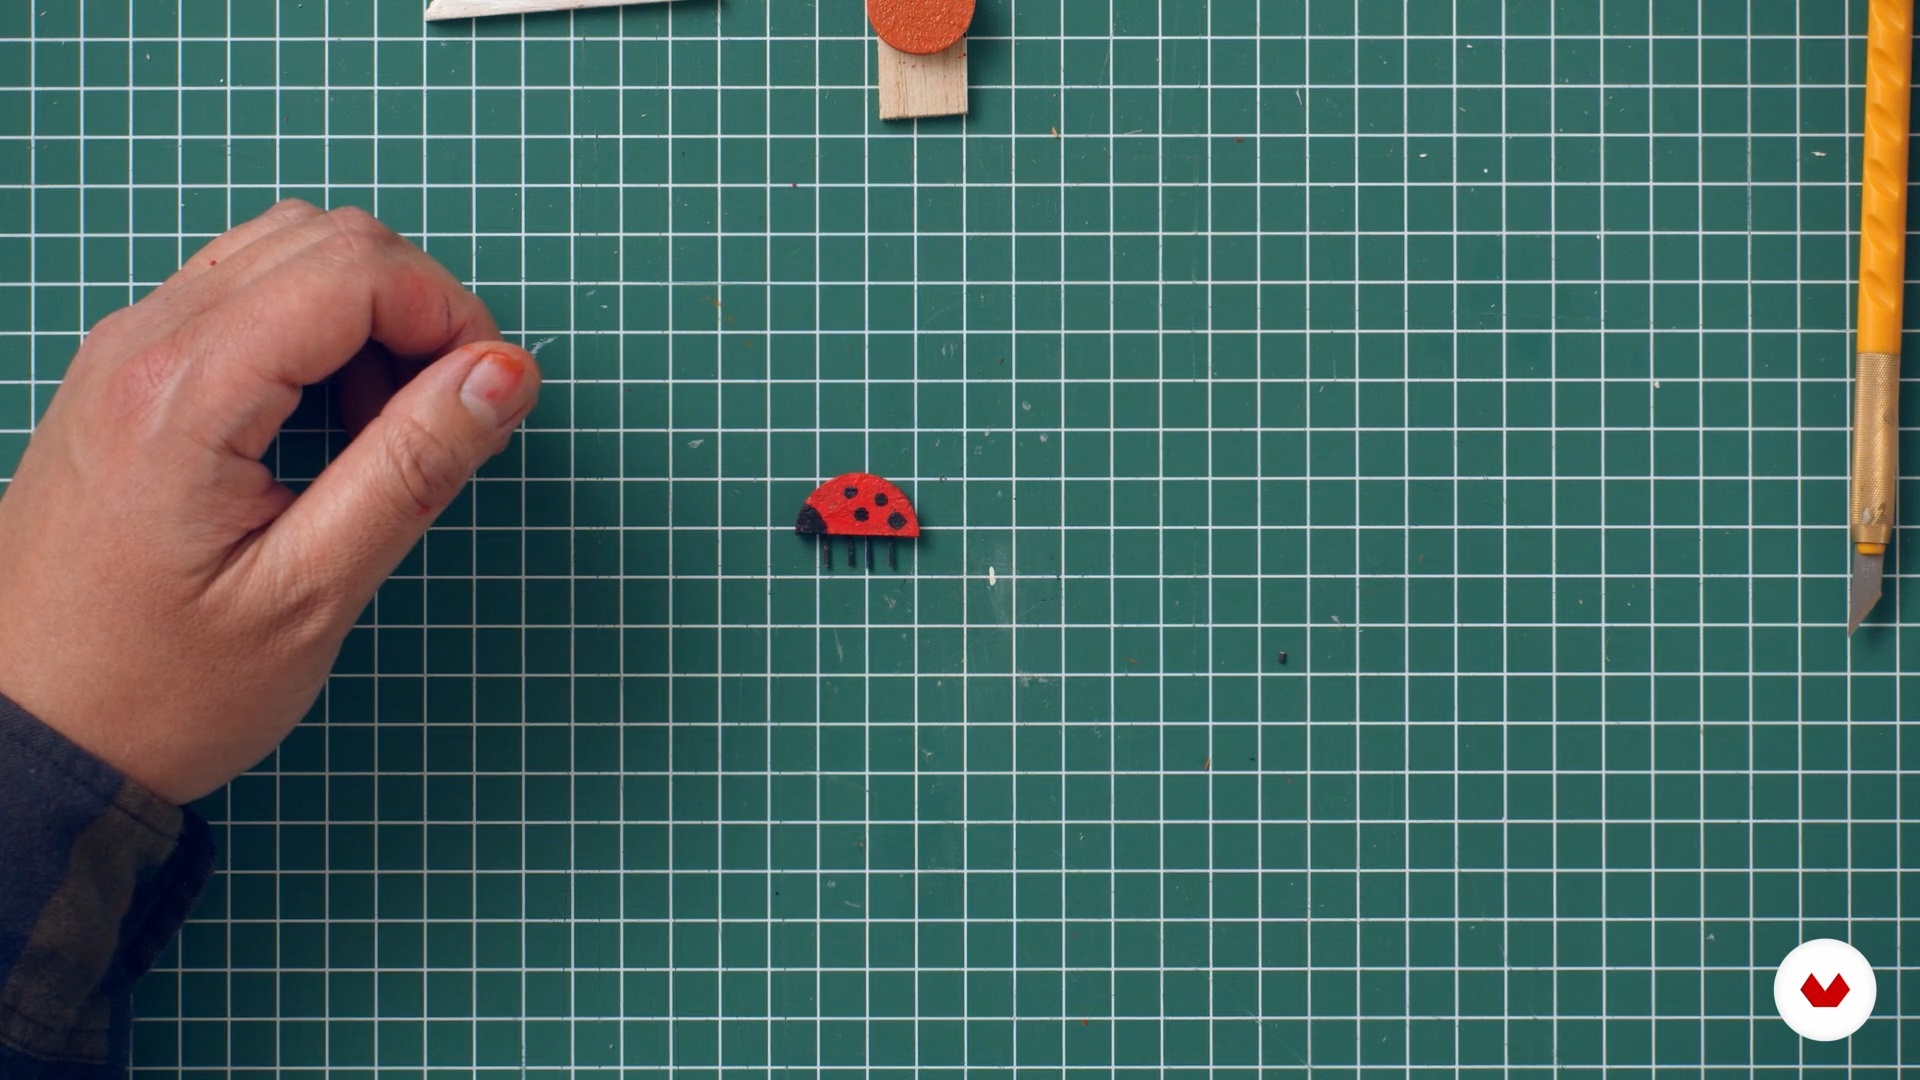
Cut and intervene pieces: environment 2
Next, you'll see how to create the rest of the elements. You'll learn how to make an insect, clouds, and the sun.
14m
image
14
Assemble the piece
Finally, you'll see how to assemble each part of the work. I'll show you how to glue the pieces together, how to color, and how to correct every detail. I'll explain how I'll present the elements in their final format before gluing them onto the base of the final work.
14m
image
15
Create the support
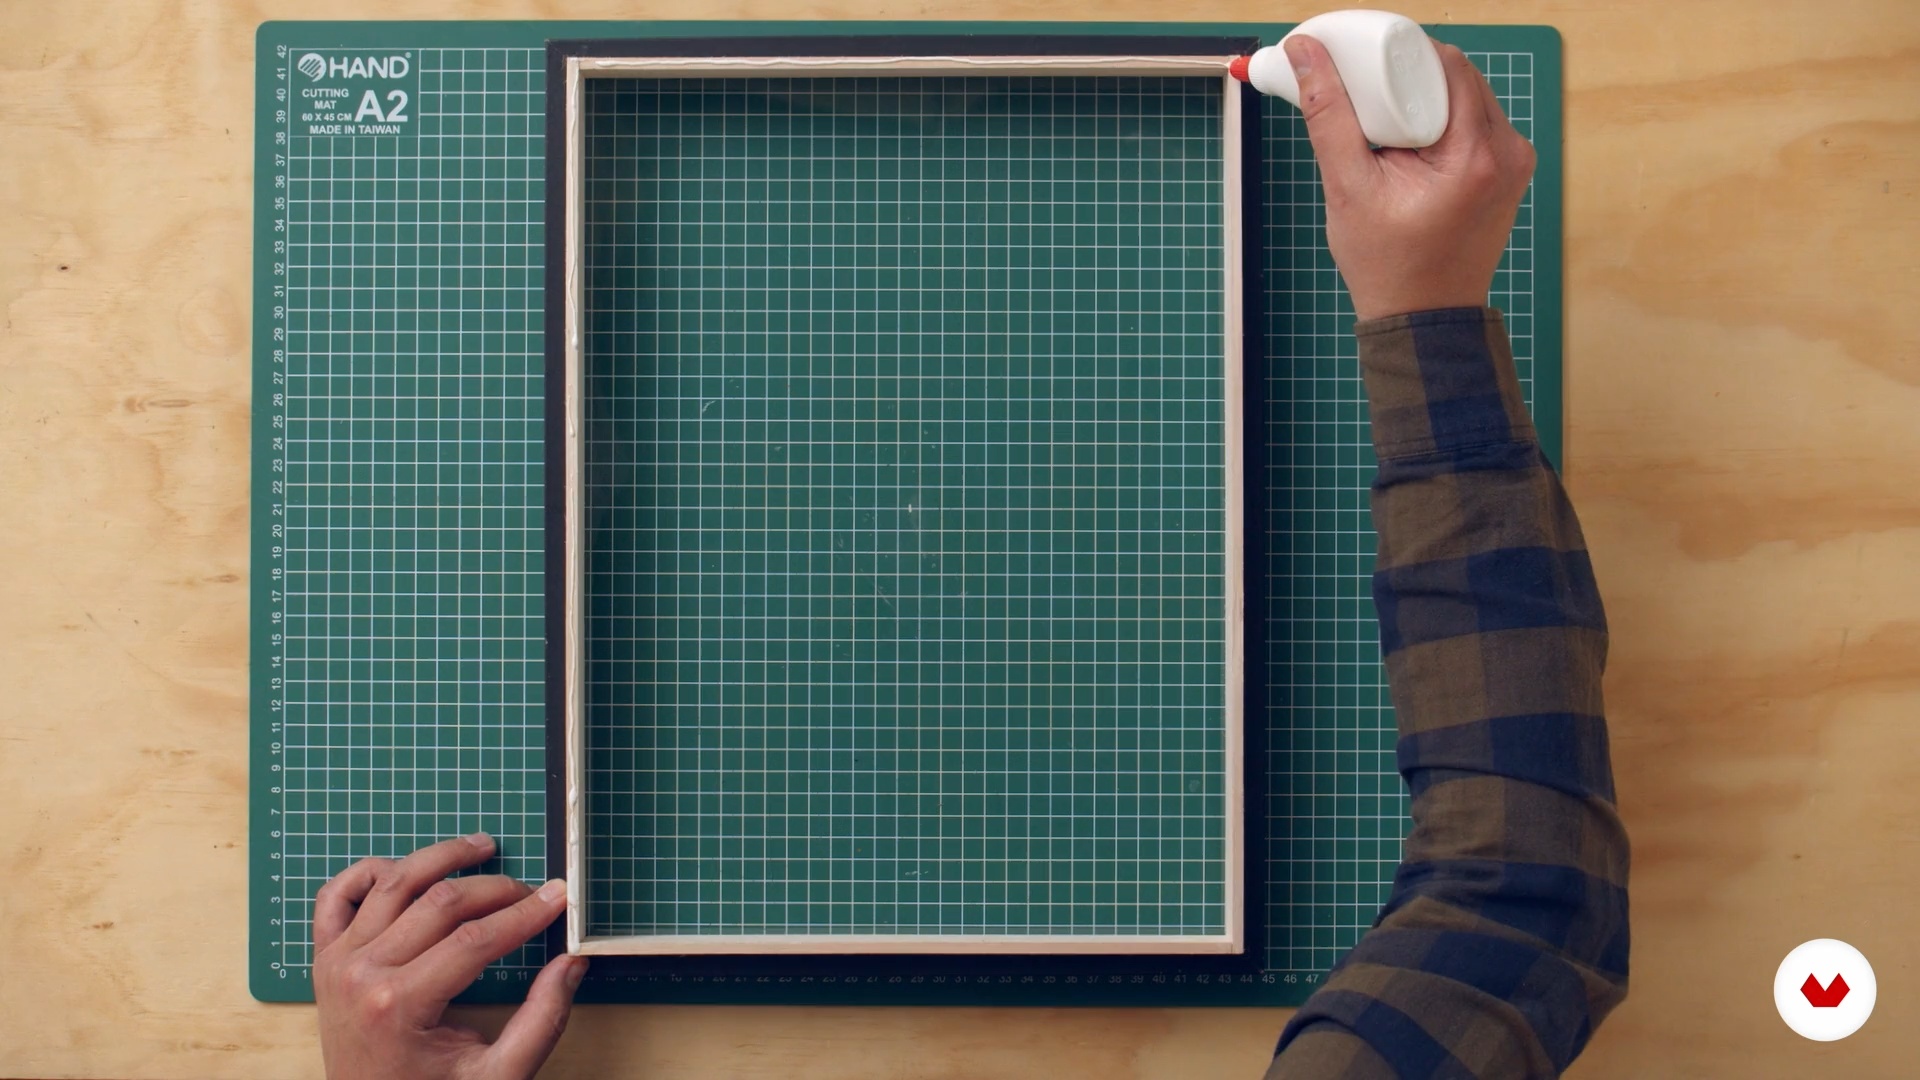
At this point, your illustration is complete. In this lesson, you'll learn how to create the support that will allow you to display your work.
13m
image
16
Care and other supports
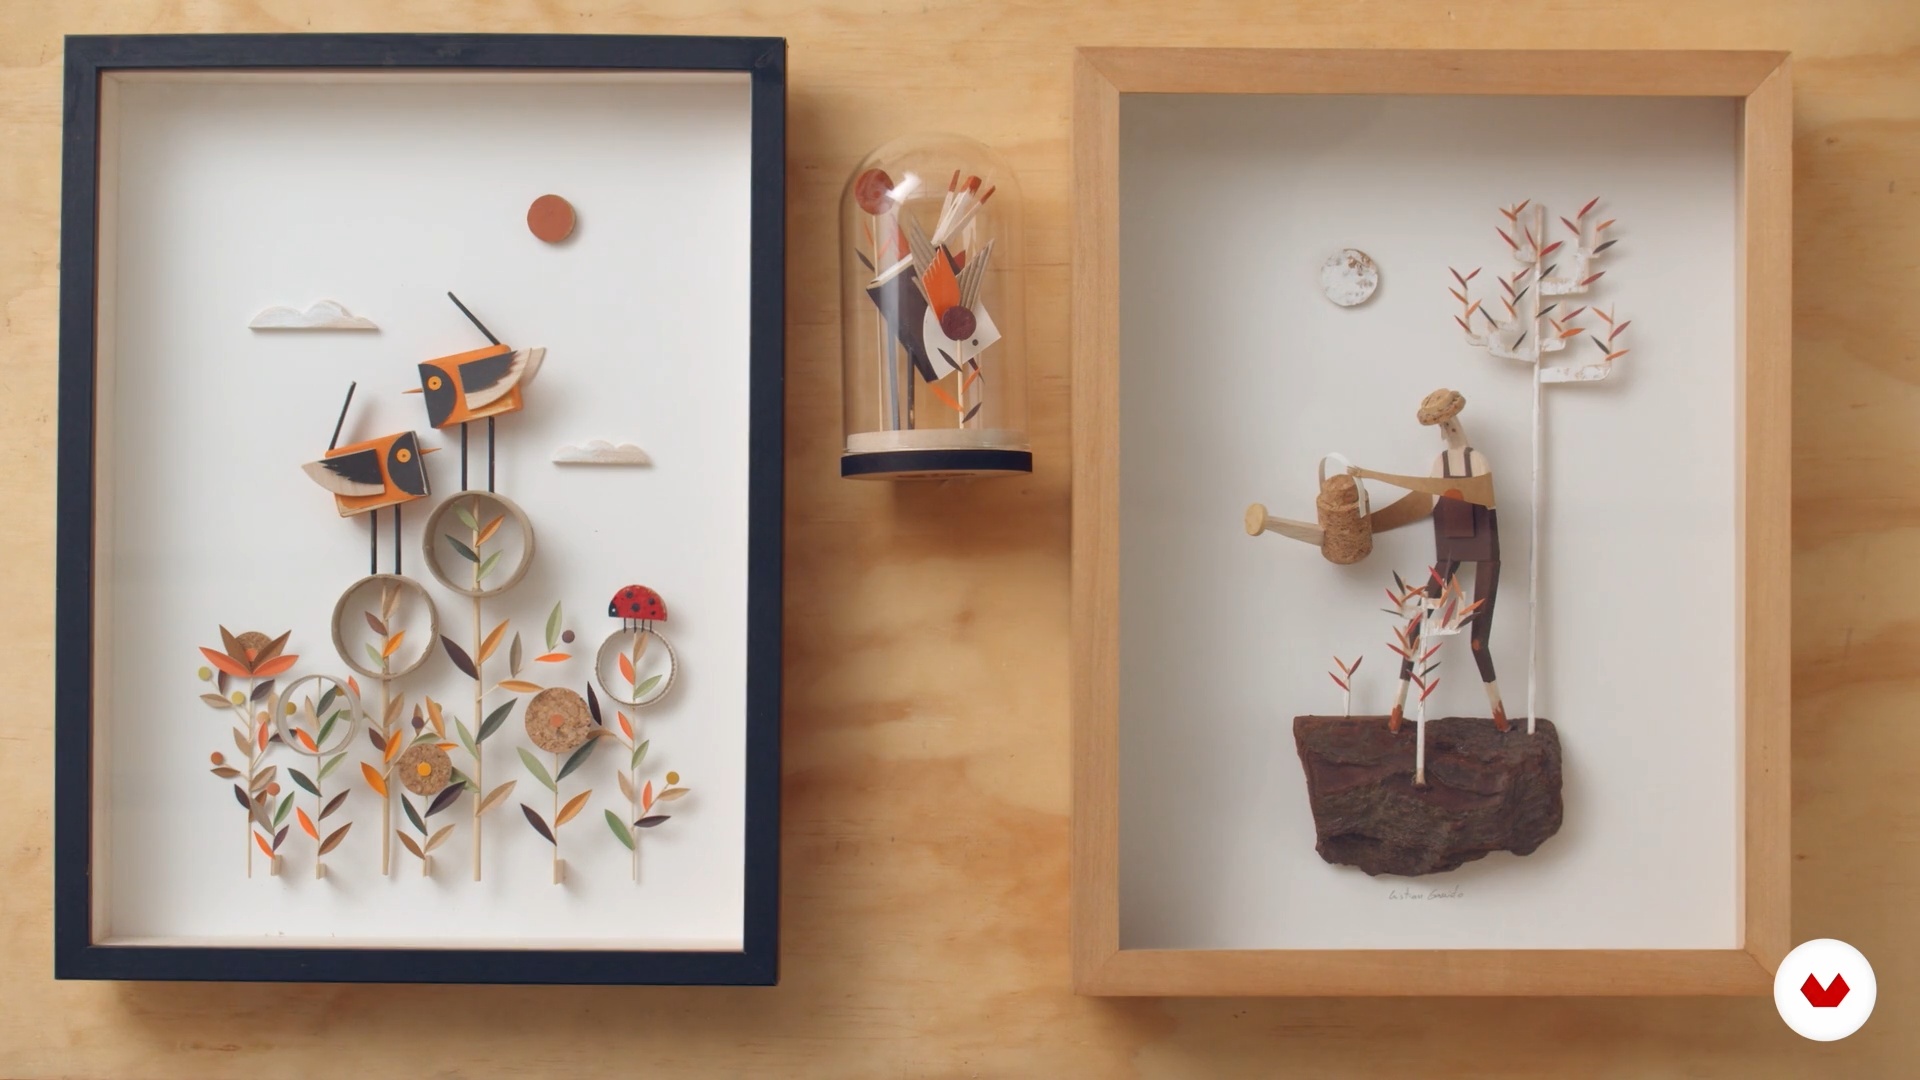
Finally, you'll learn about the options available for using this technique. I'll analyze other, more complex projects and other media beyond decorative ones, so you can fully utilize the technique's potential and volume.
2m
image
4
All on paper
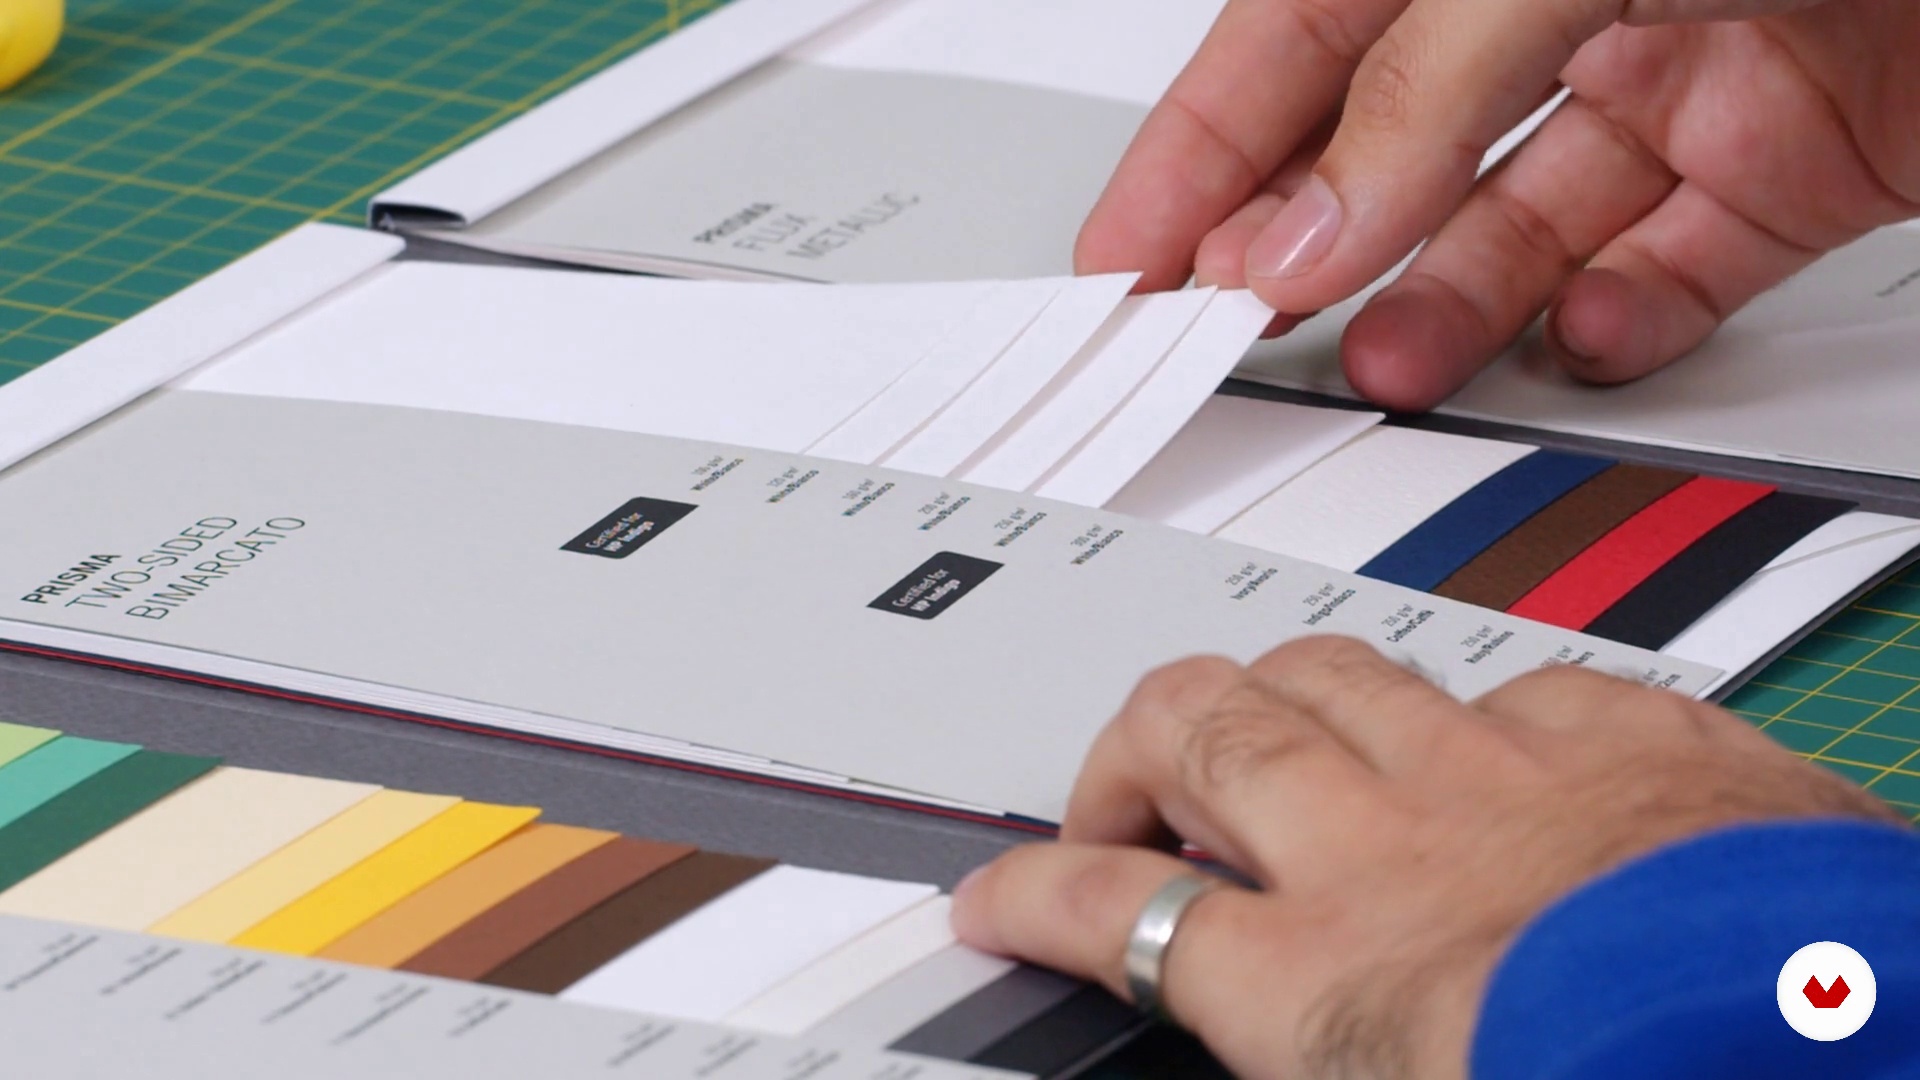
Here we will learn about the ideal types of paper and the tools we will use to complete our work.
8m
image
5
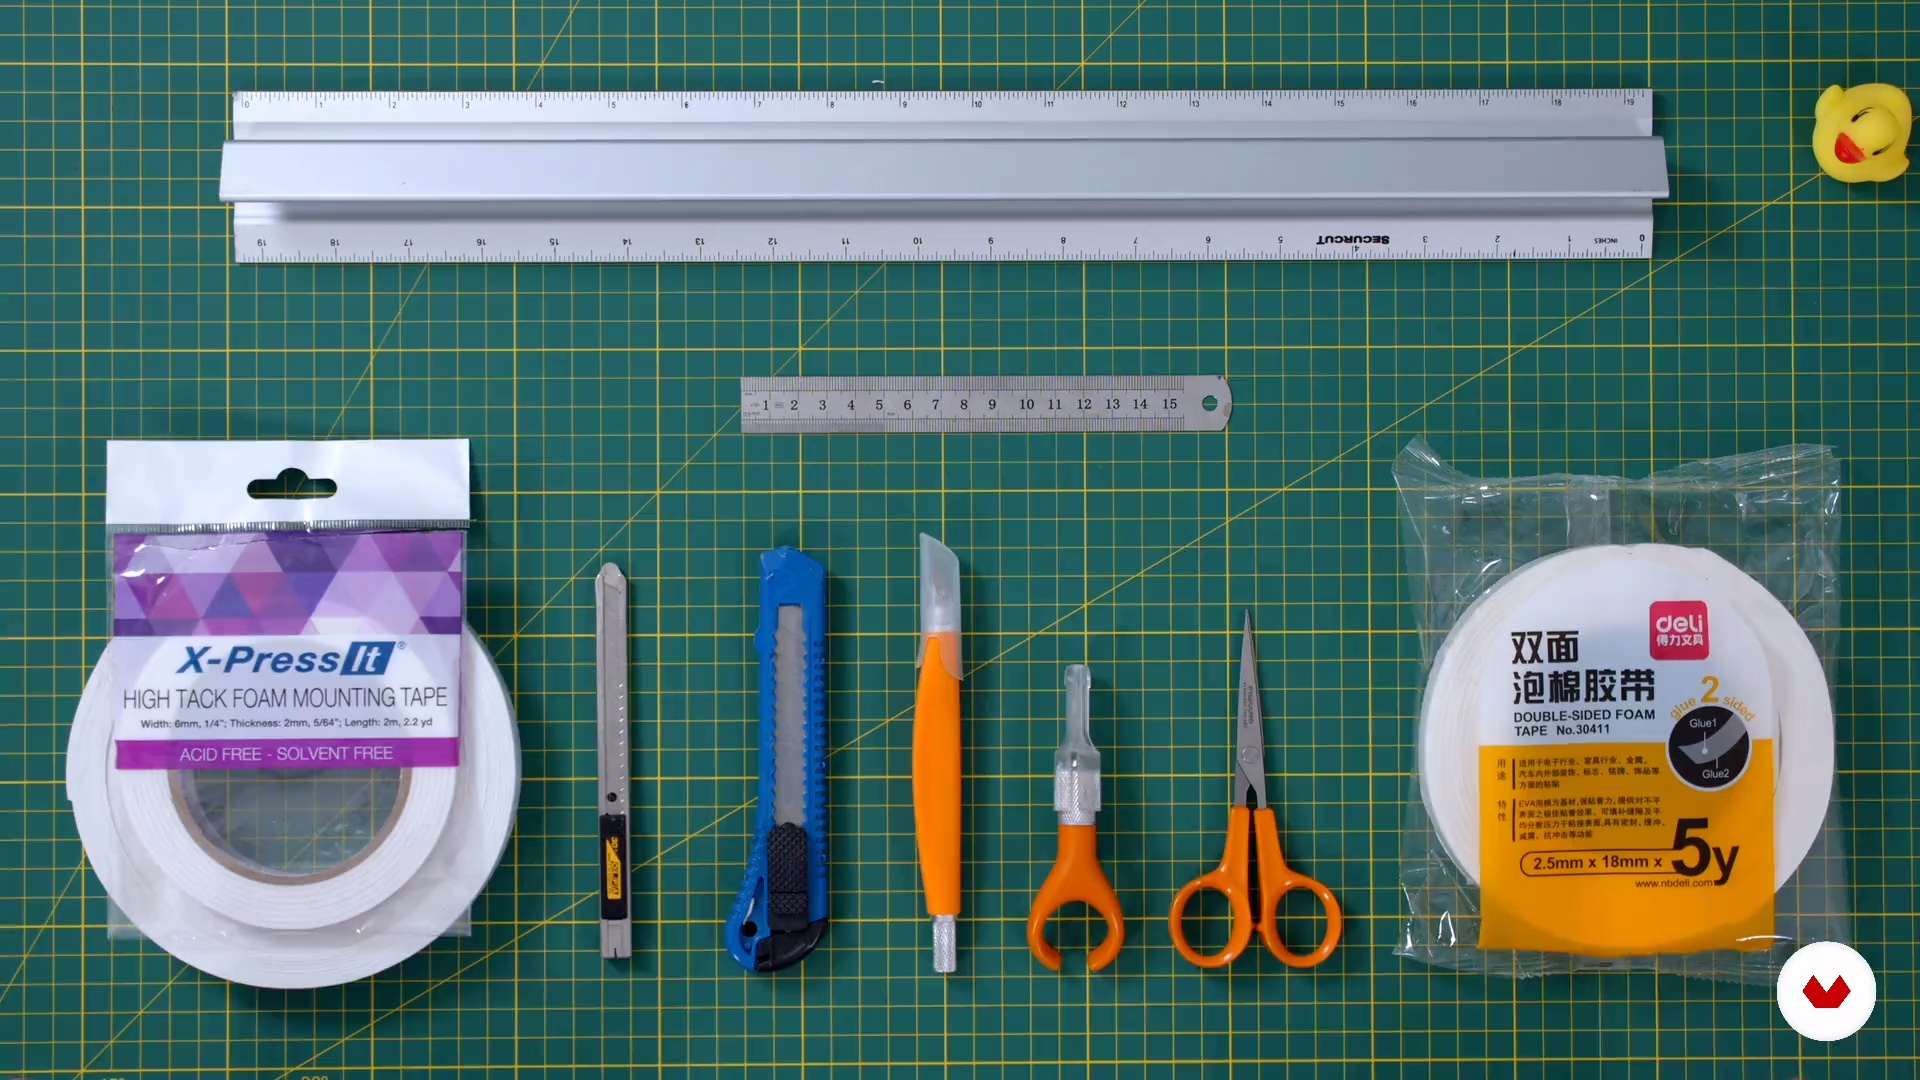
Tools: cutting and pasting
In this lesson, you'll learn about some types of cutting and gluing tools and which ones are ideal for this job.
6m
image
6
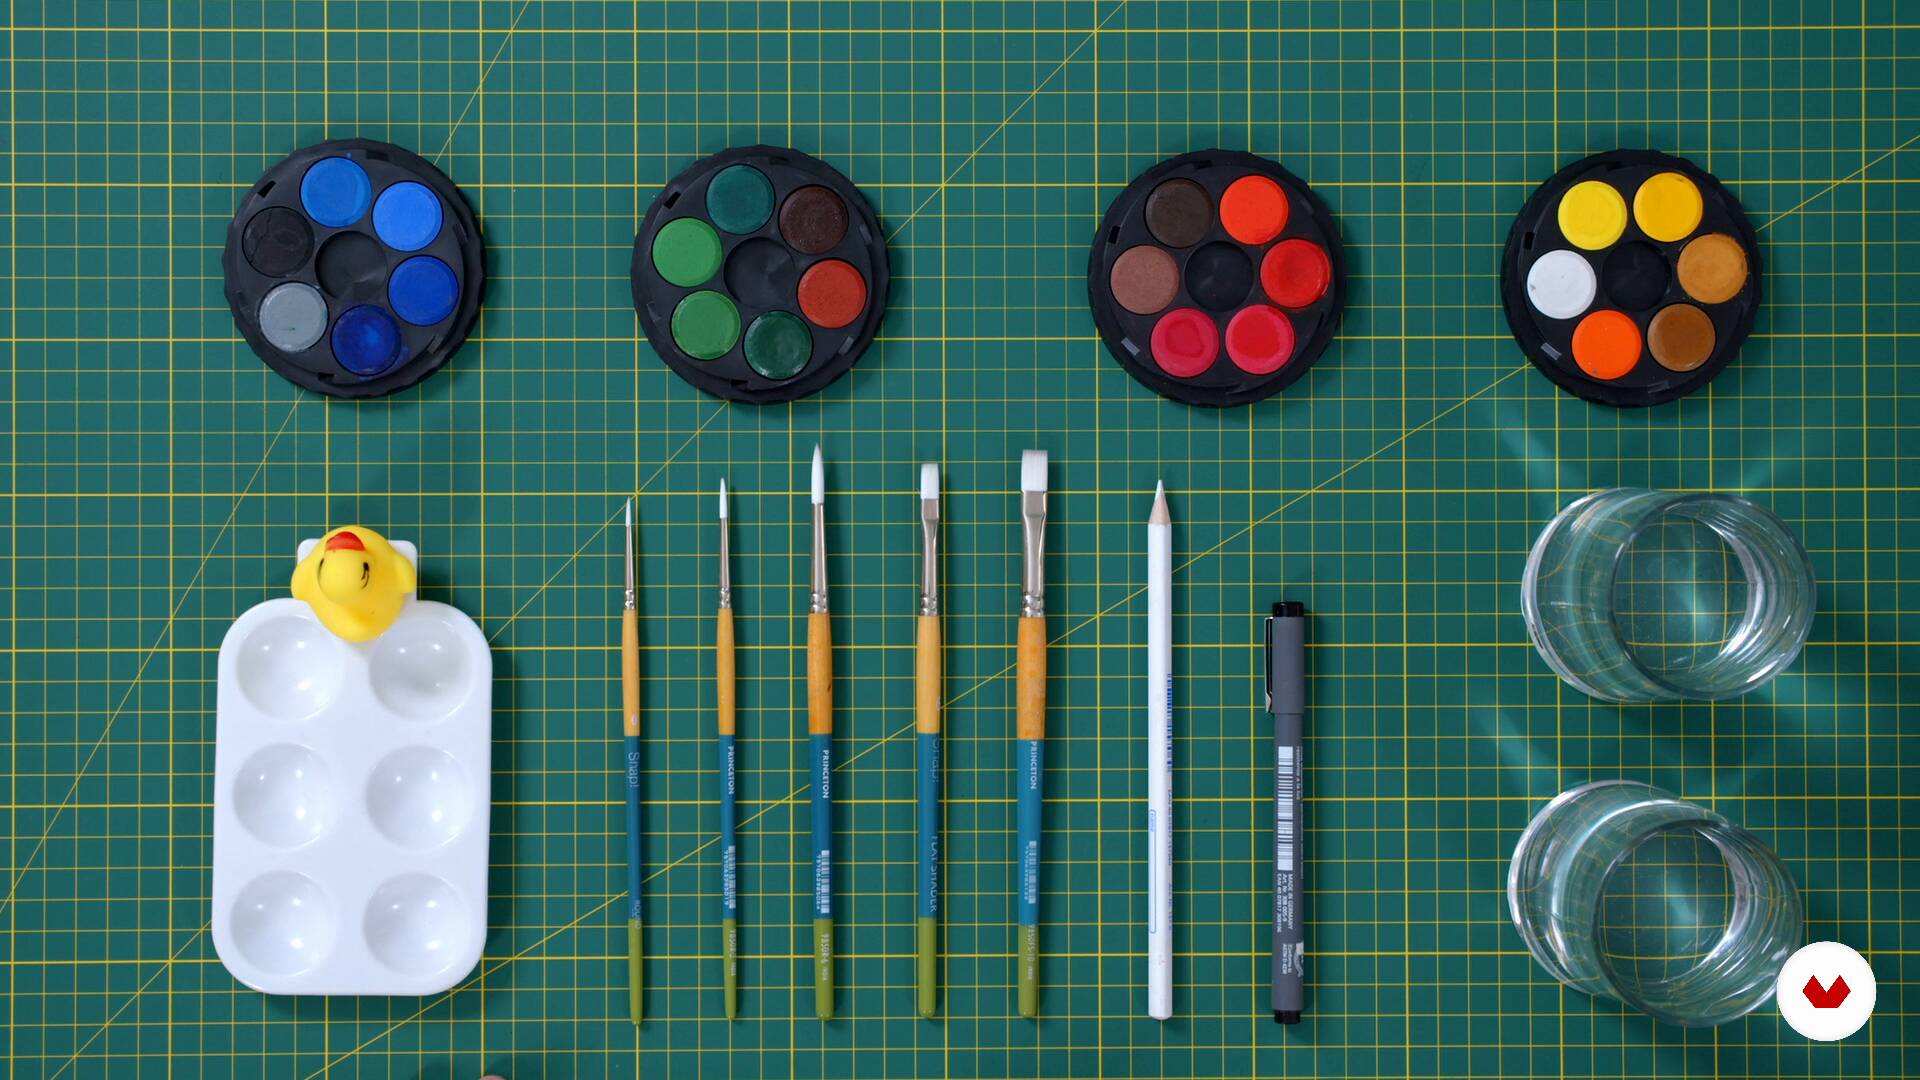
Materials: watercolor
In this course, we'll use watercolors to create our artwork. That's why, in this lesson, I'll tell you about my favorites, as well as the materials I need to use them.
2m
image
7
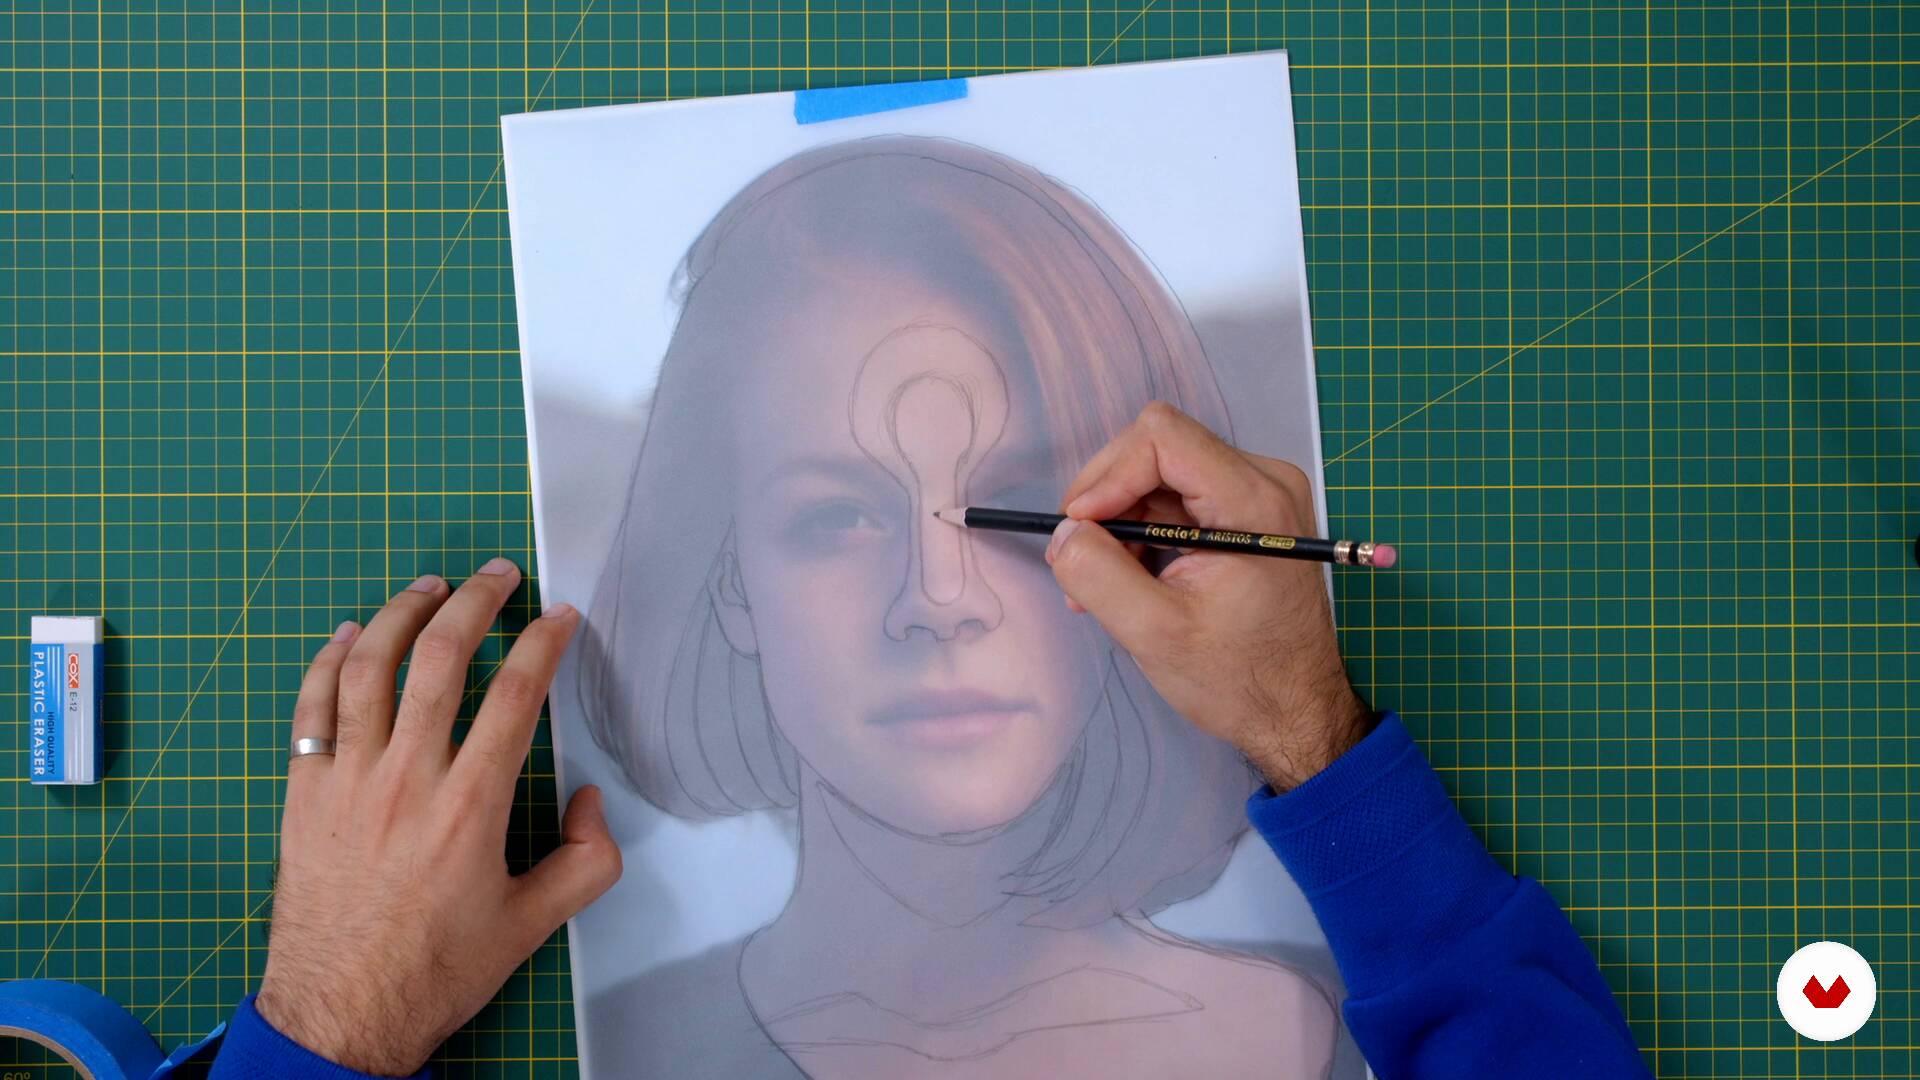
Drawing of the work 1
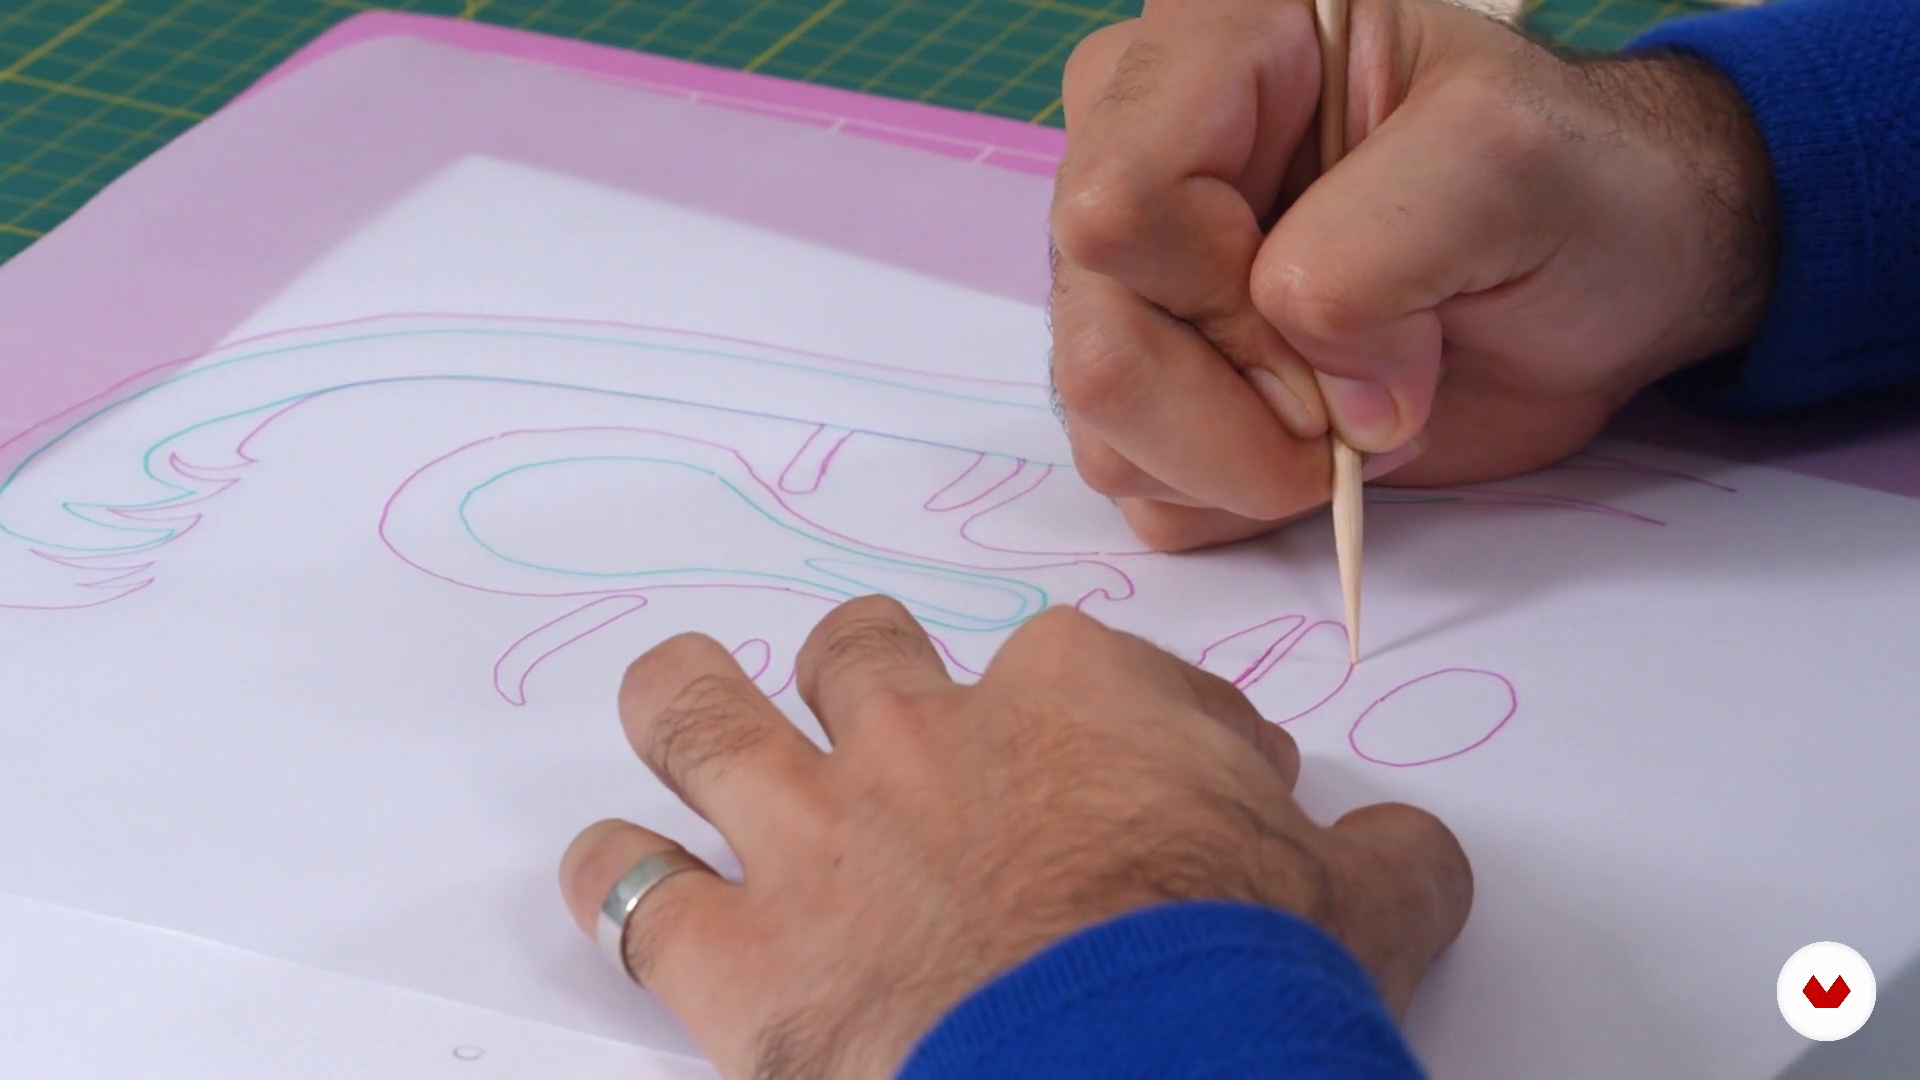
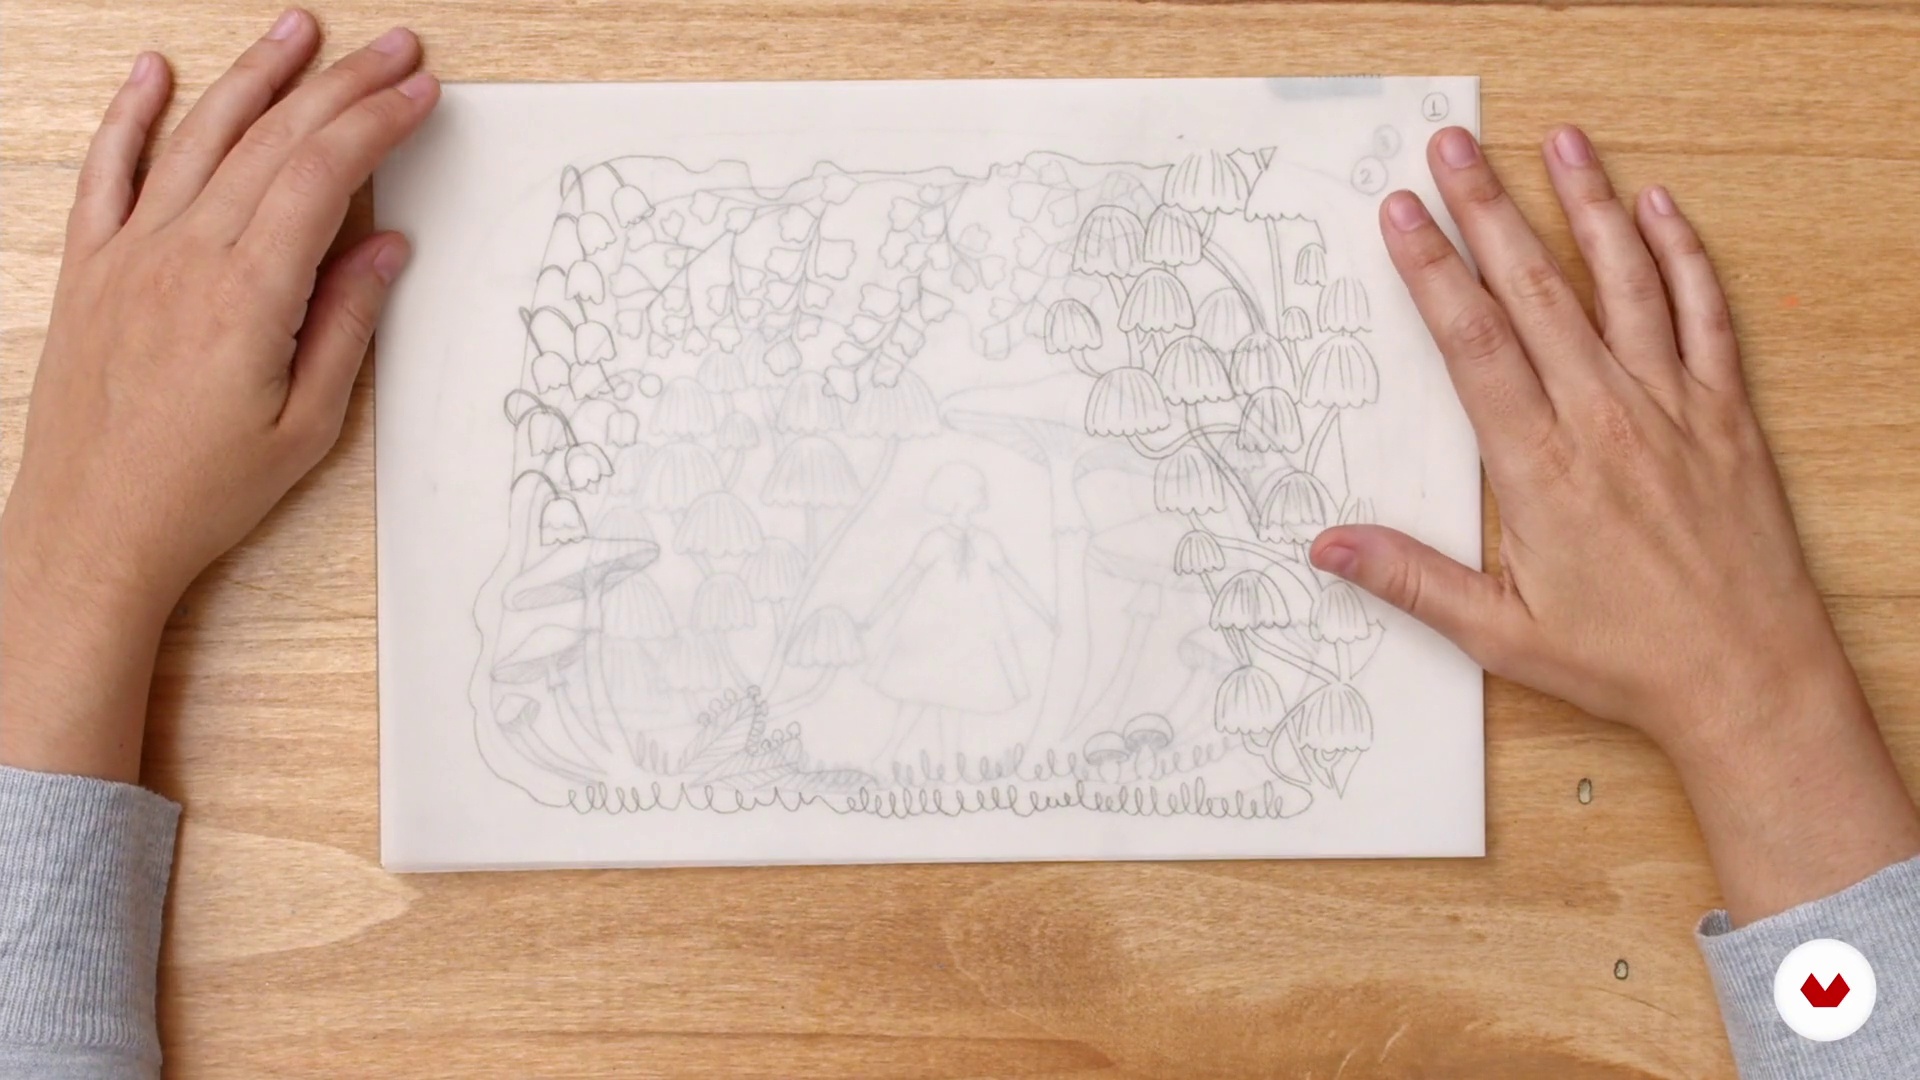
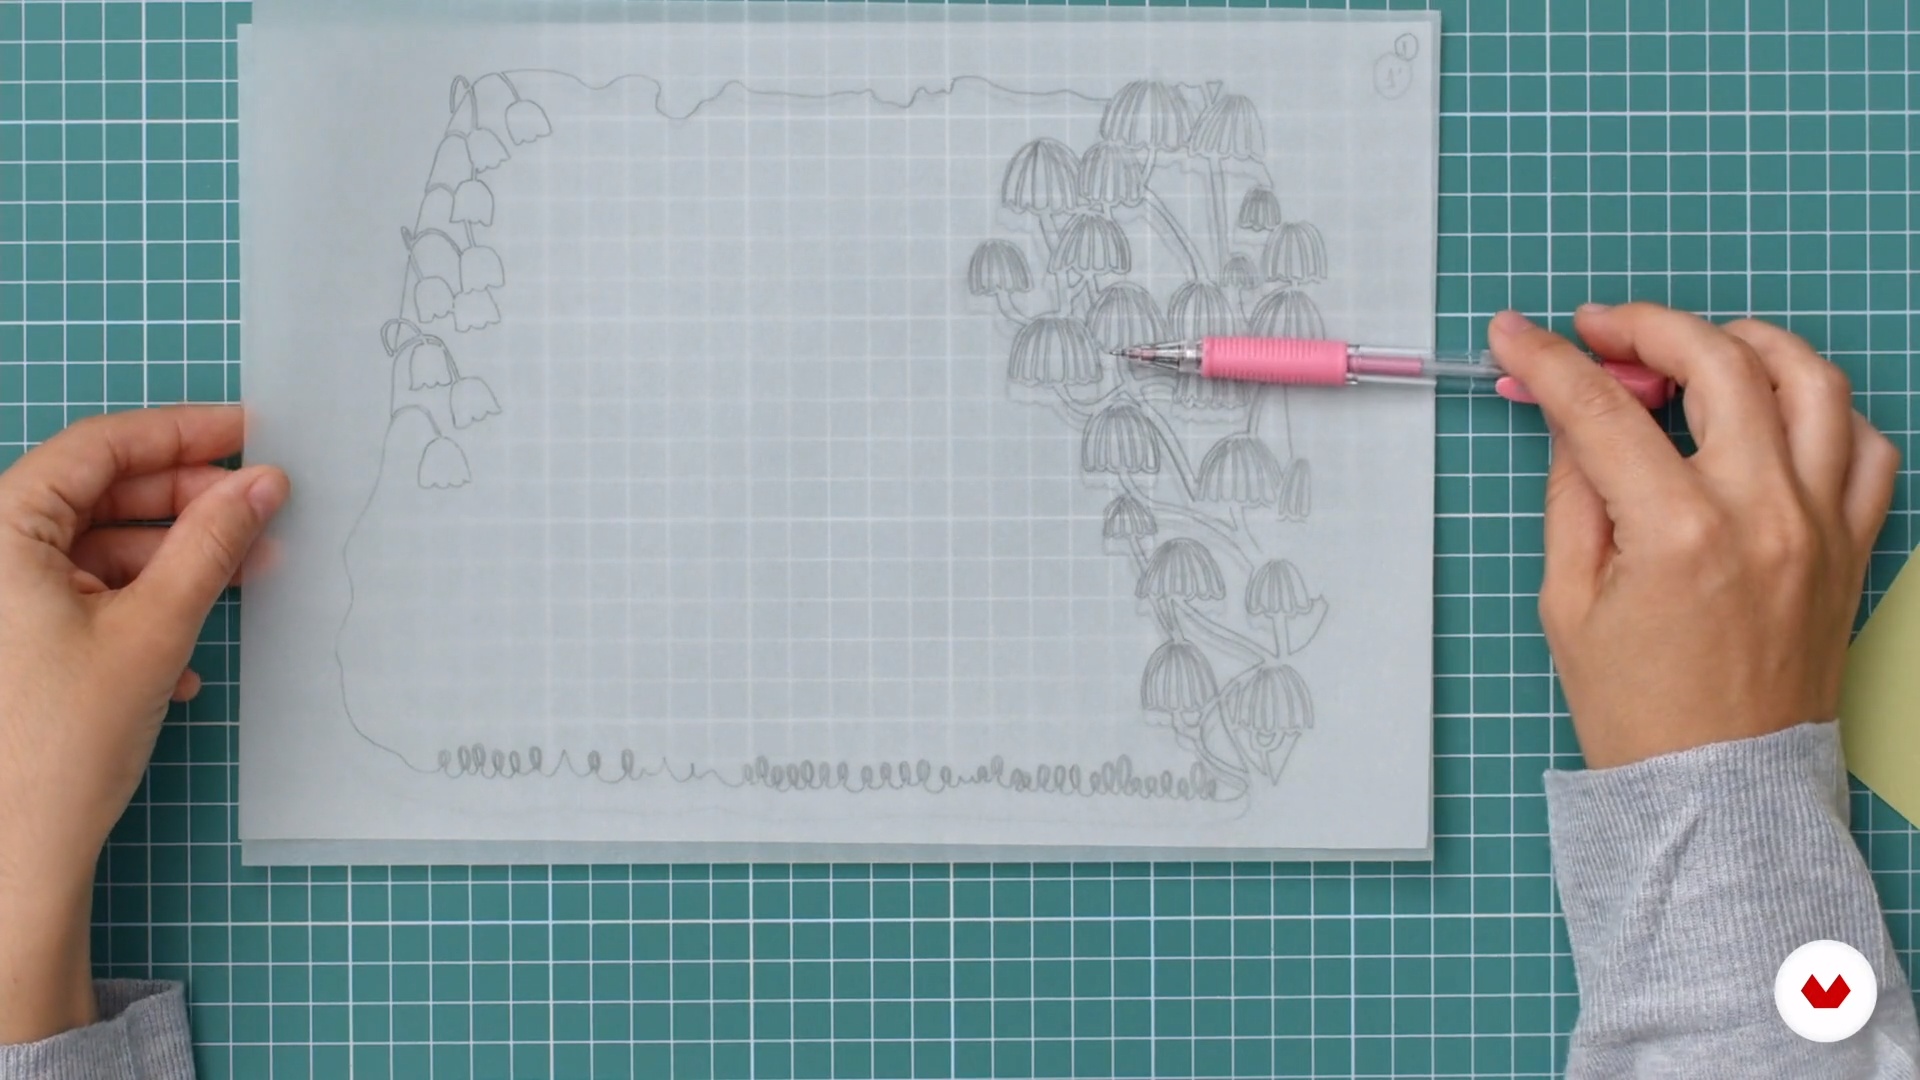
First, we'll draw the contour lines on parchment paper over the photograph. In this lesson, I'll explain how I create them, so you can be inspired to create your own works.
16m
image
8
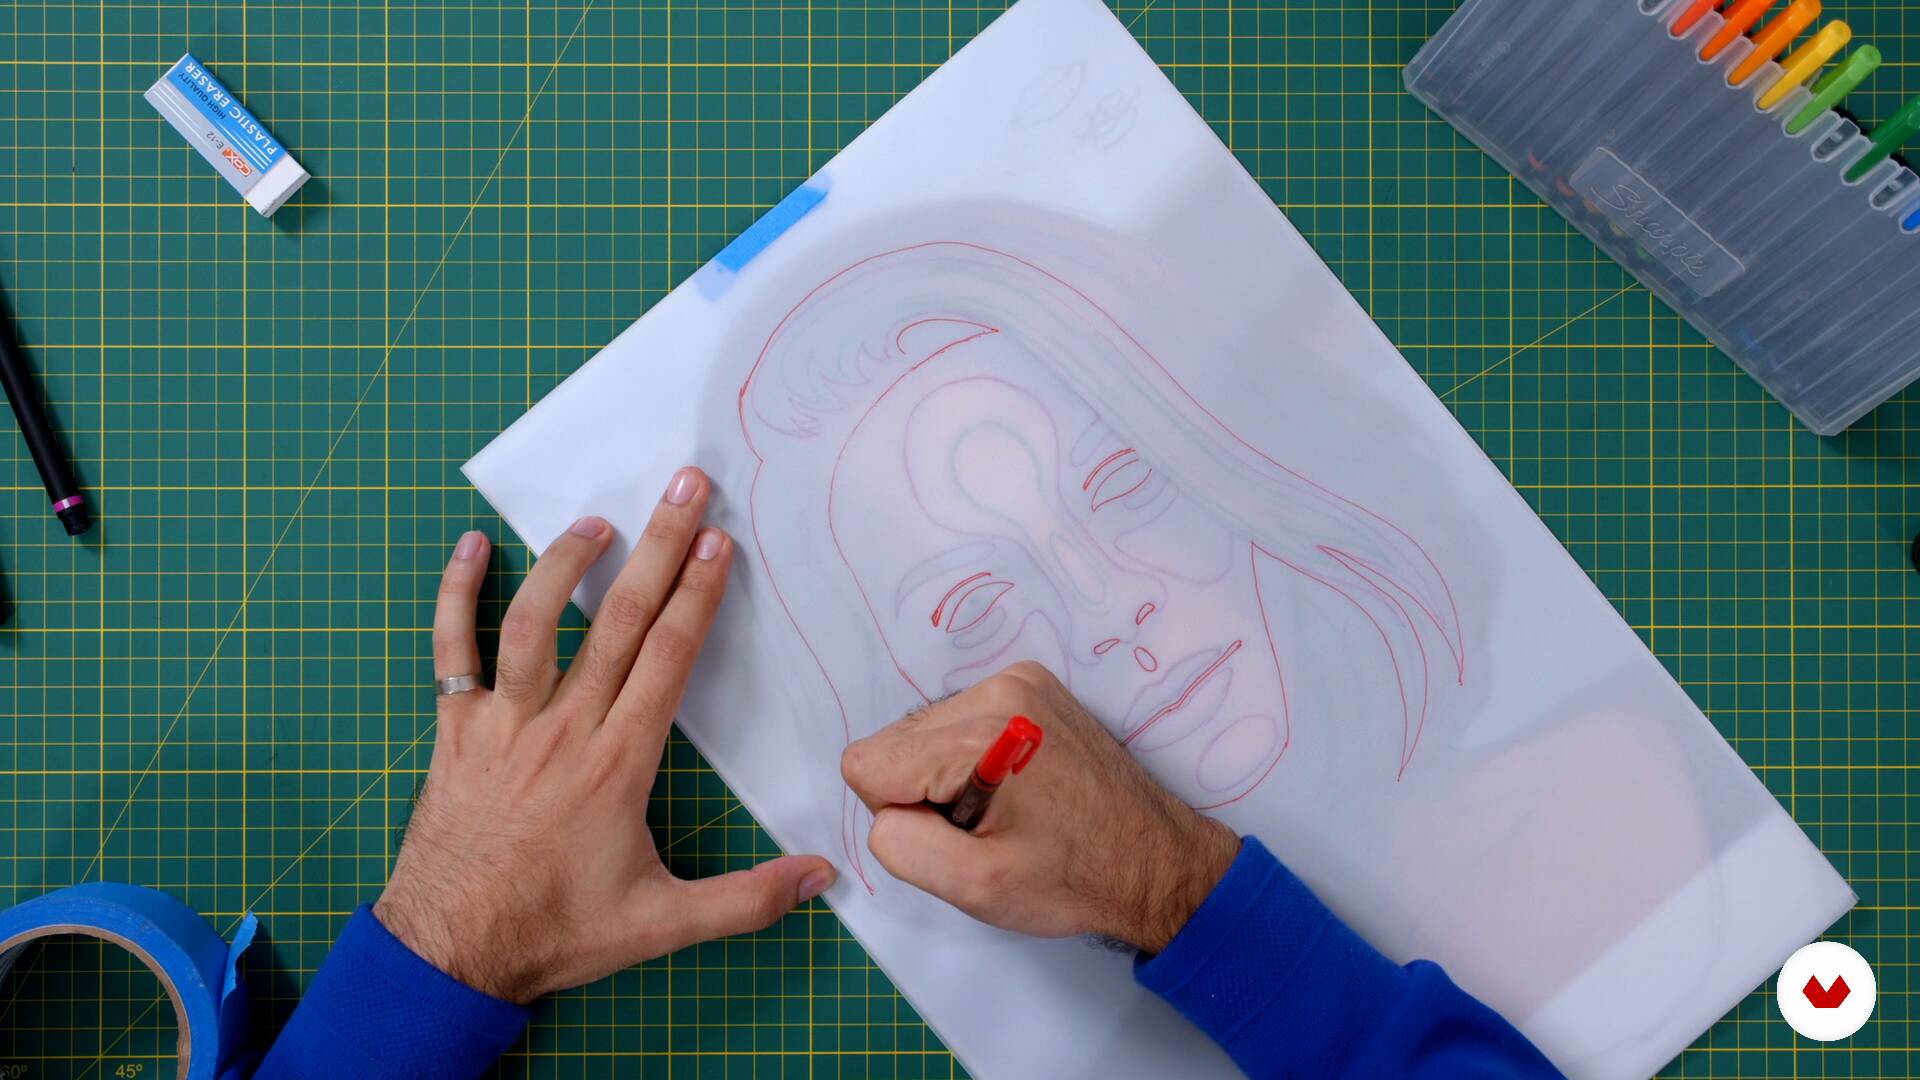
Drawing of the work 2
In this part we will draw each of the layers onto the parchment or transparent paper using the colored markers.
12m
image
9
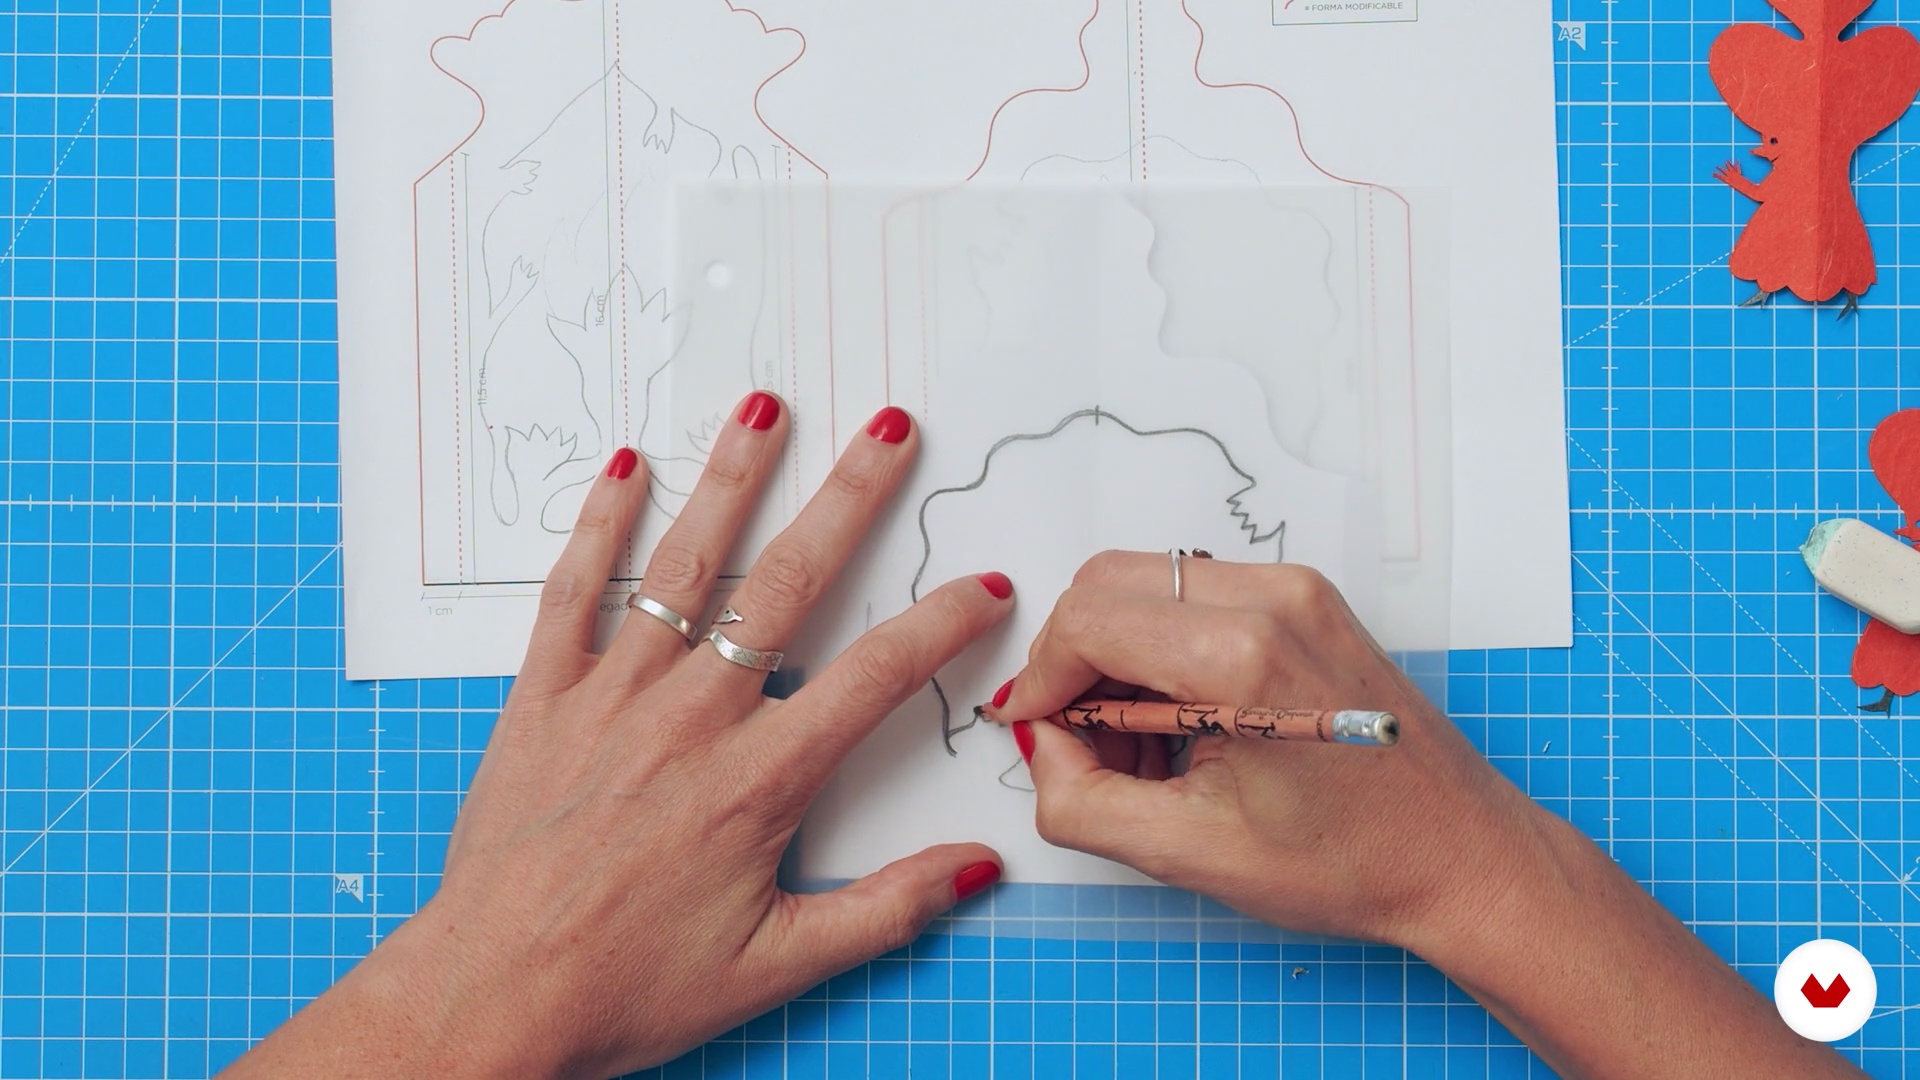
Traced on paper
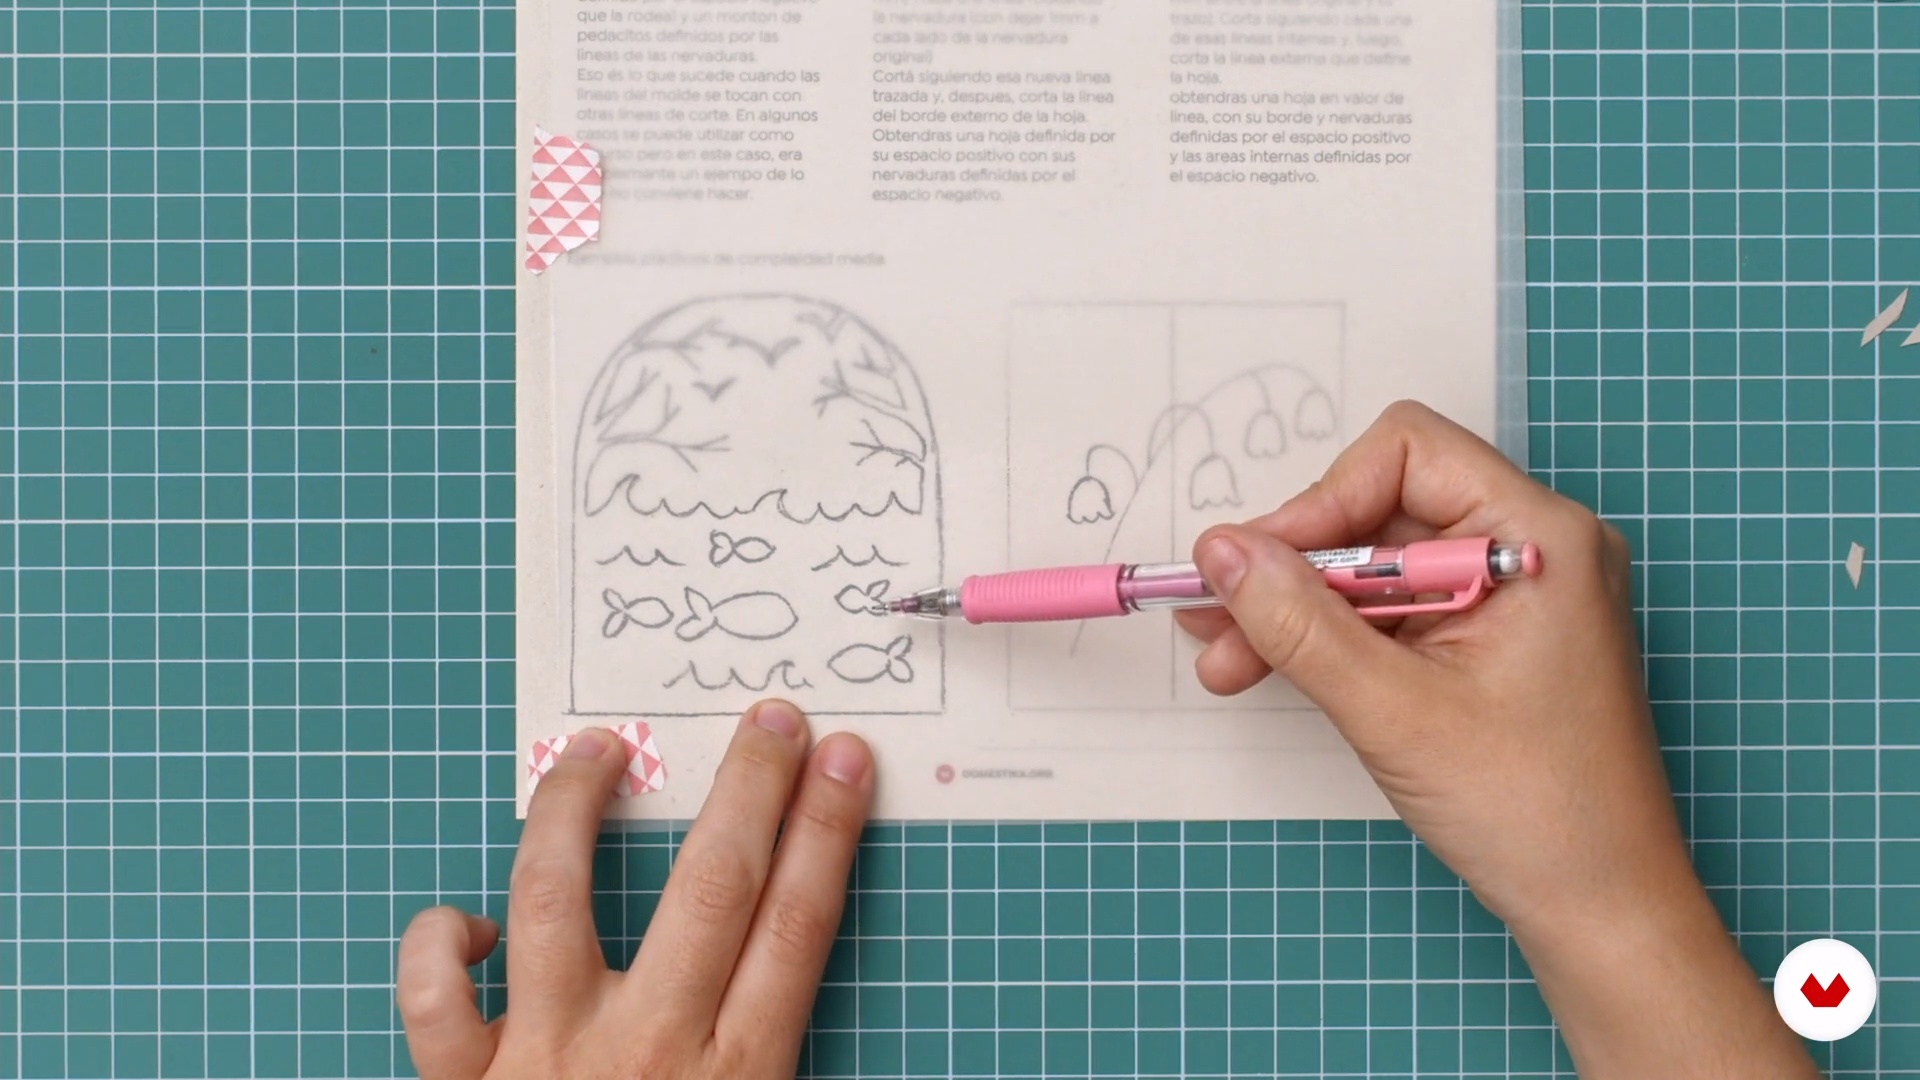
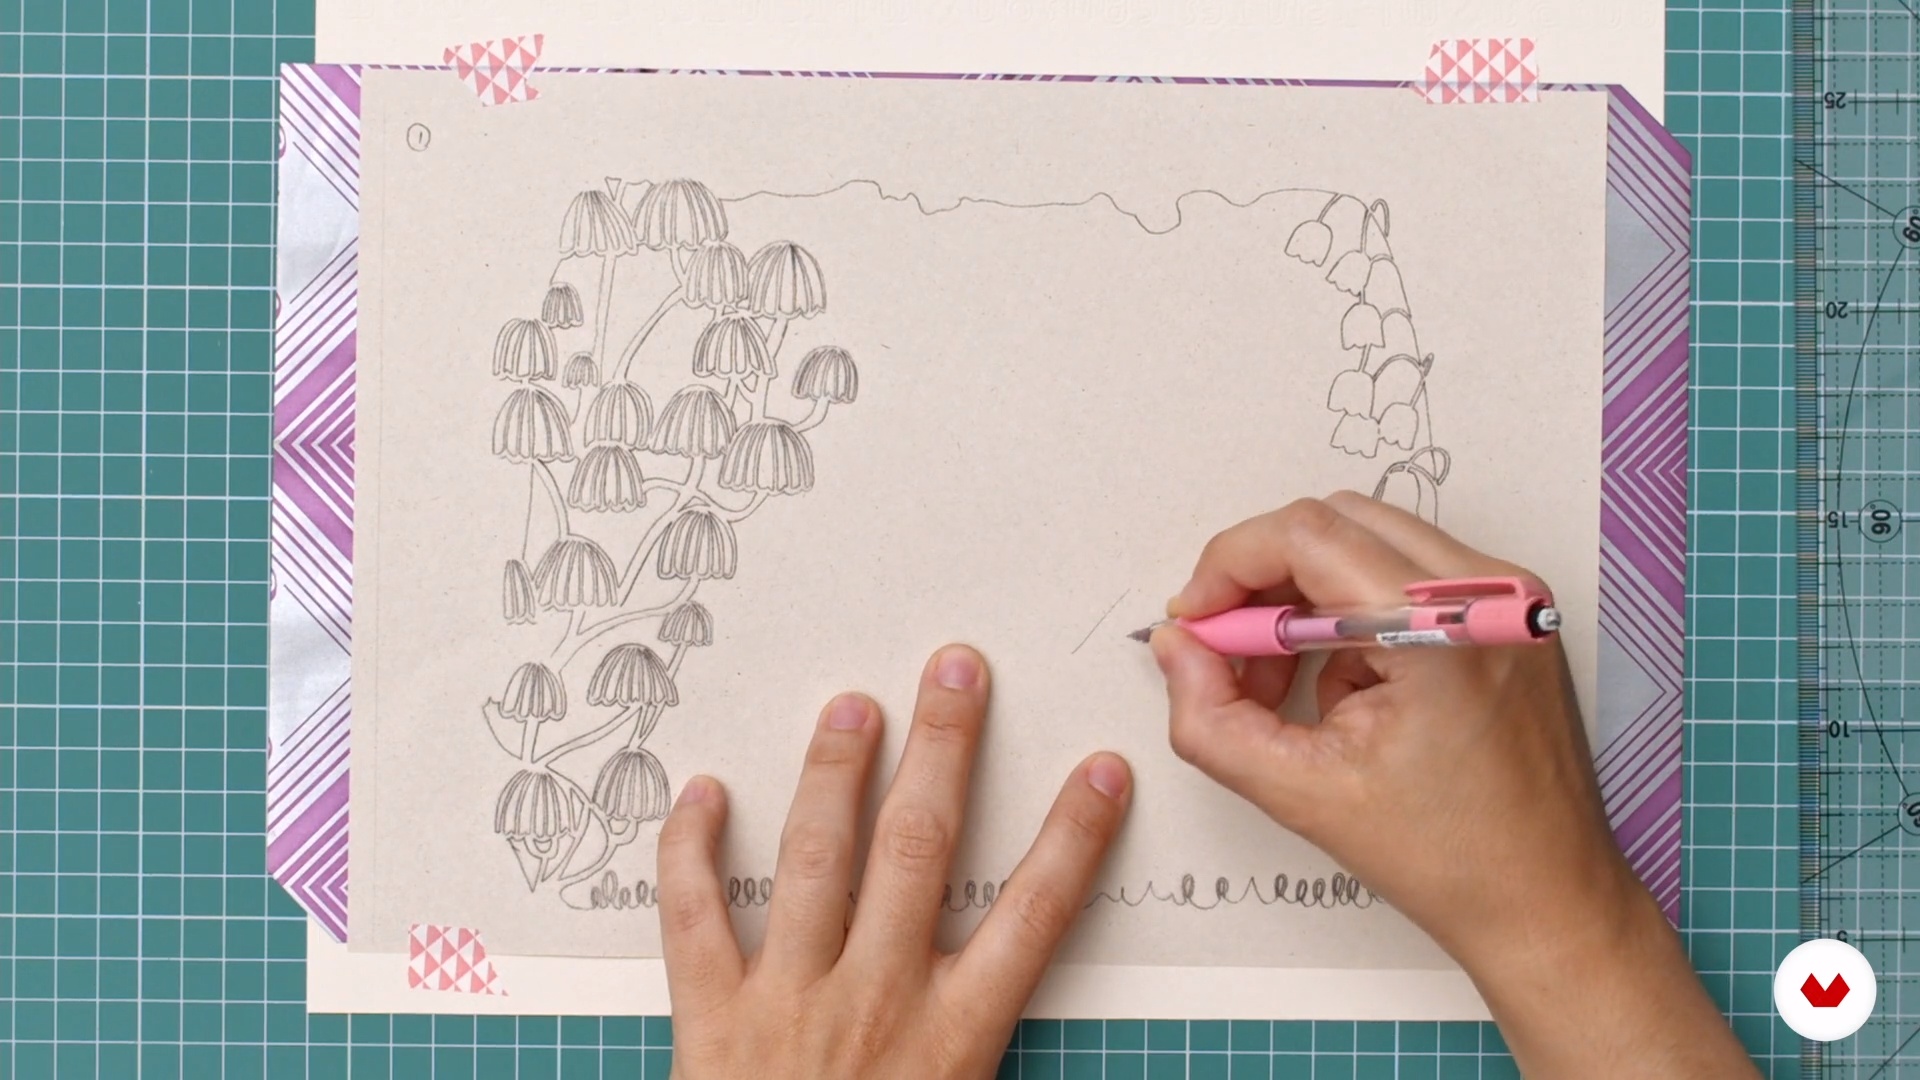
We'll transfer the contour lines from the parchment paper to the cutting paper. This is done by placing the parchment on top of the paper and using a blunt pencil or skewer to create the contour lines.
16m
image
10
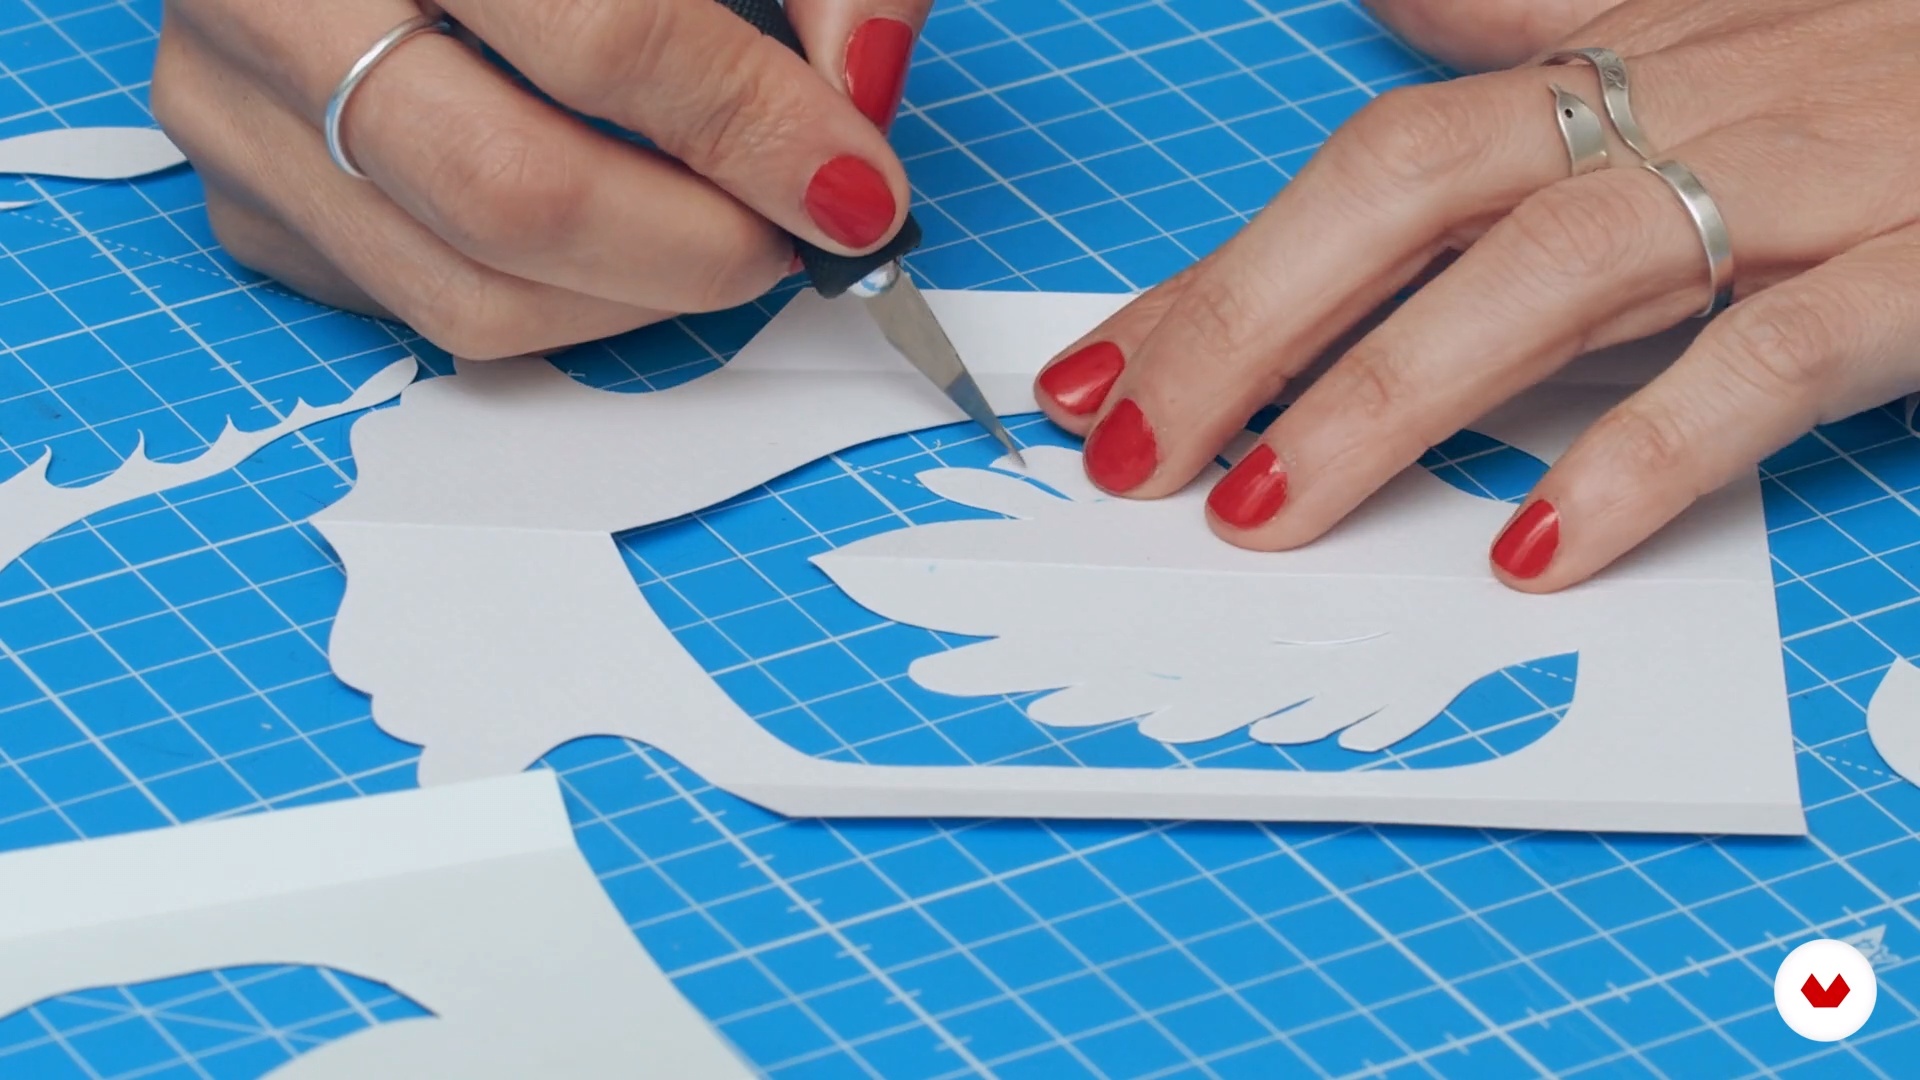
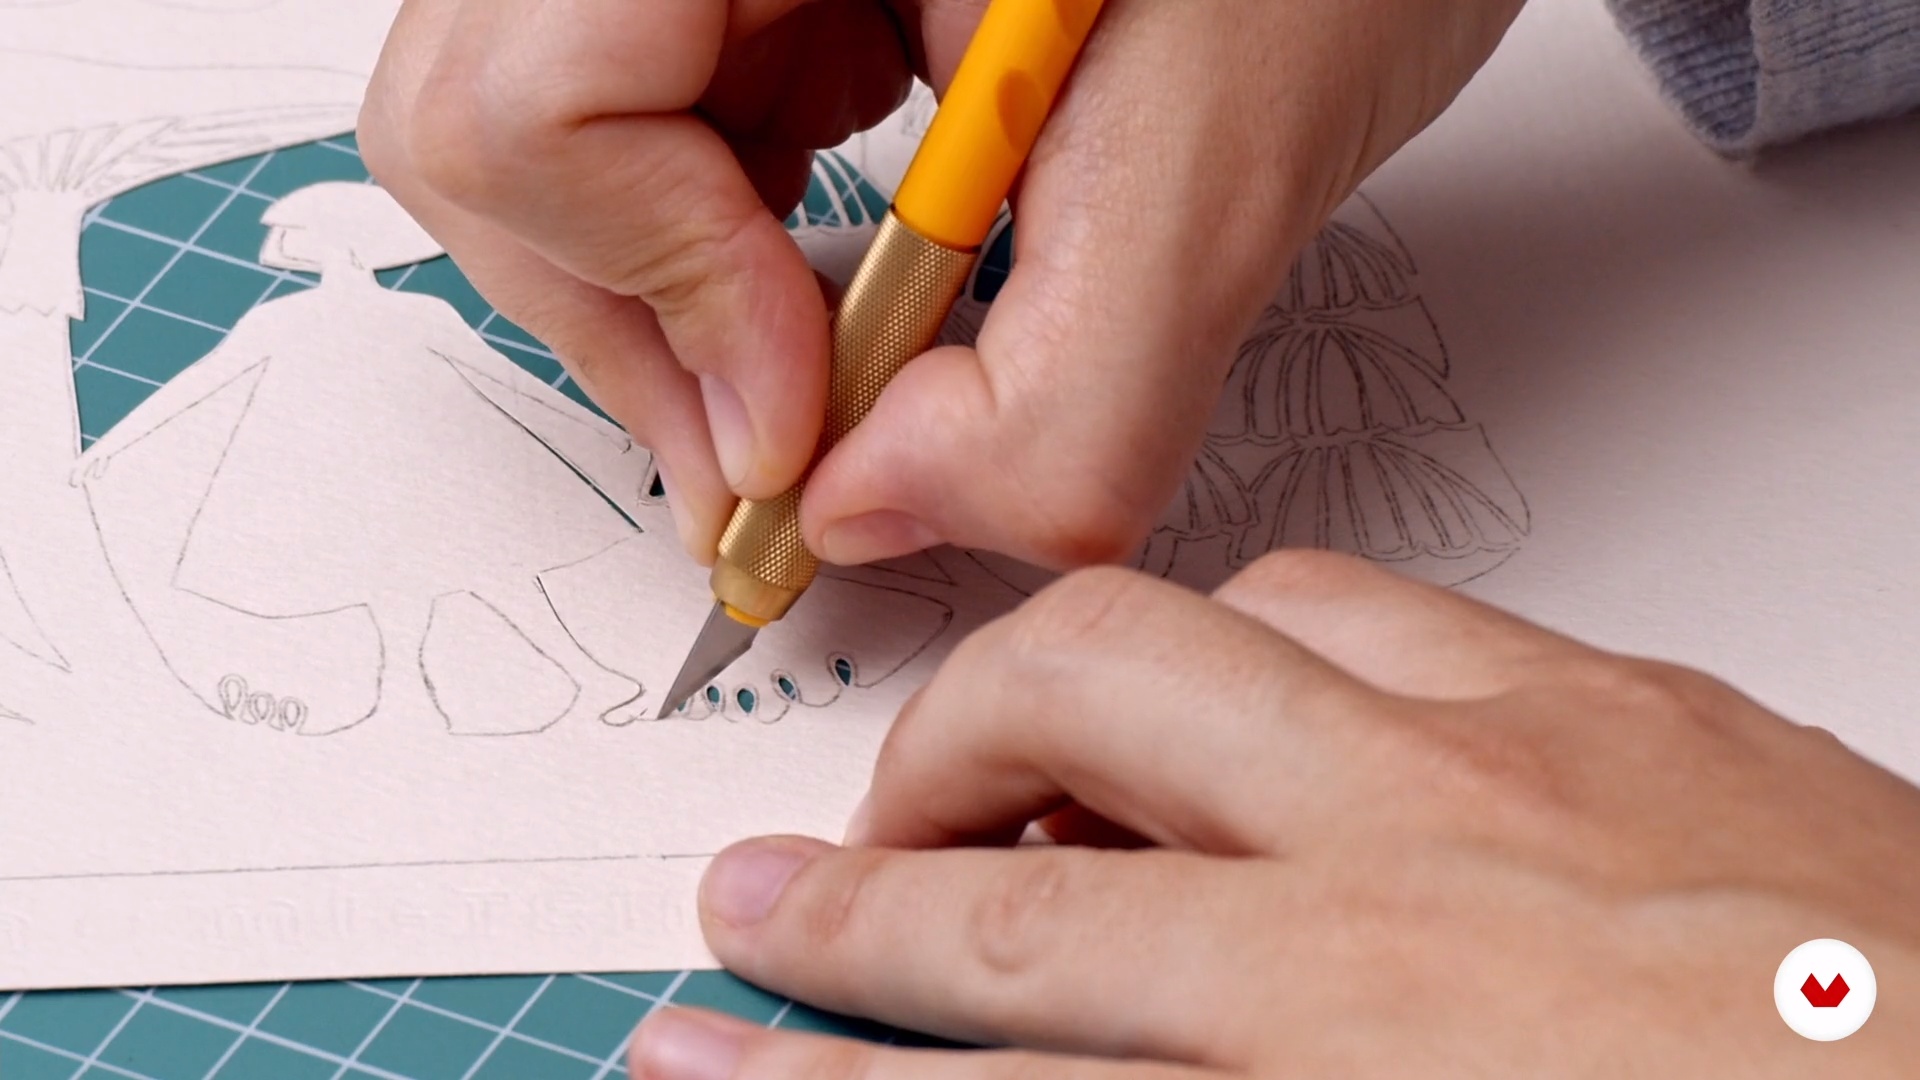
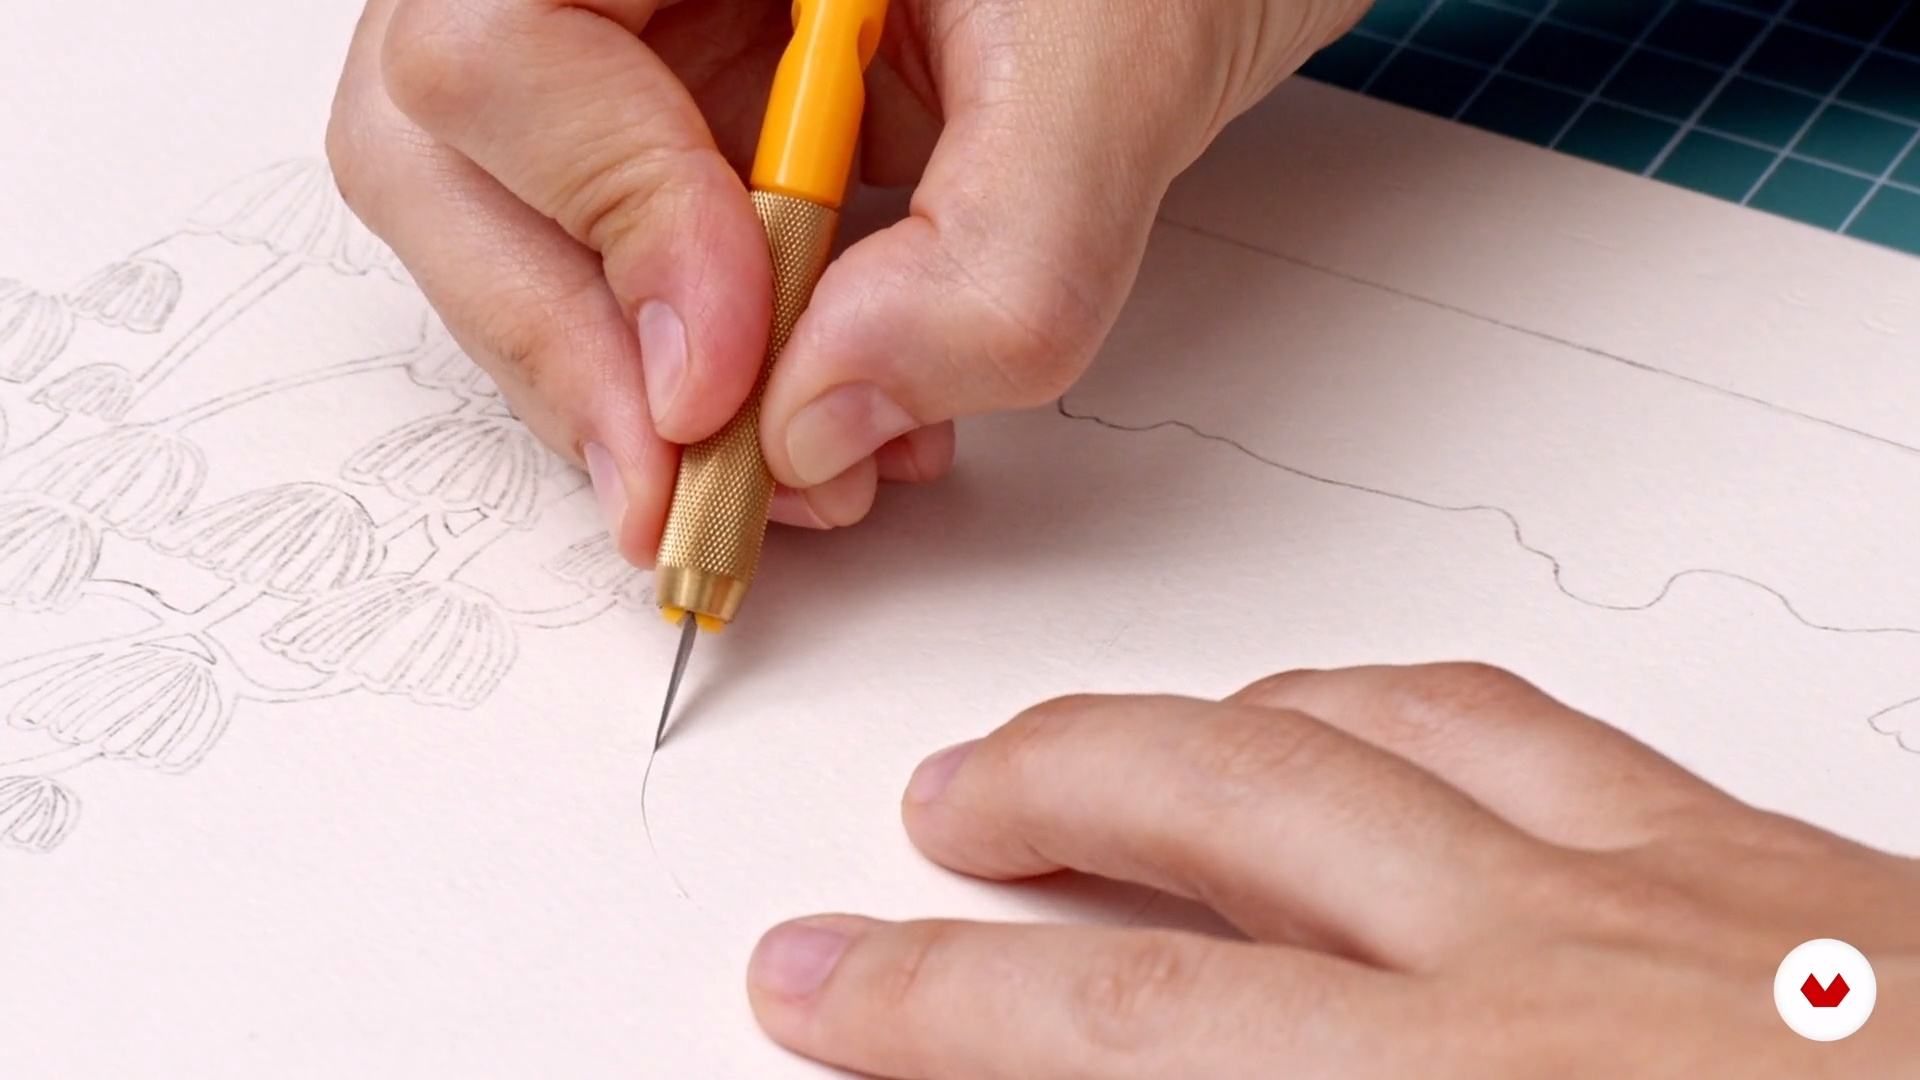
Paper cut
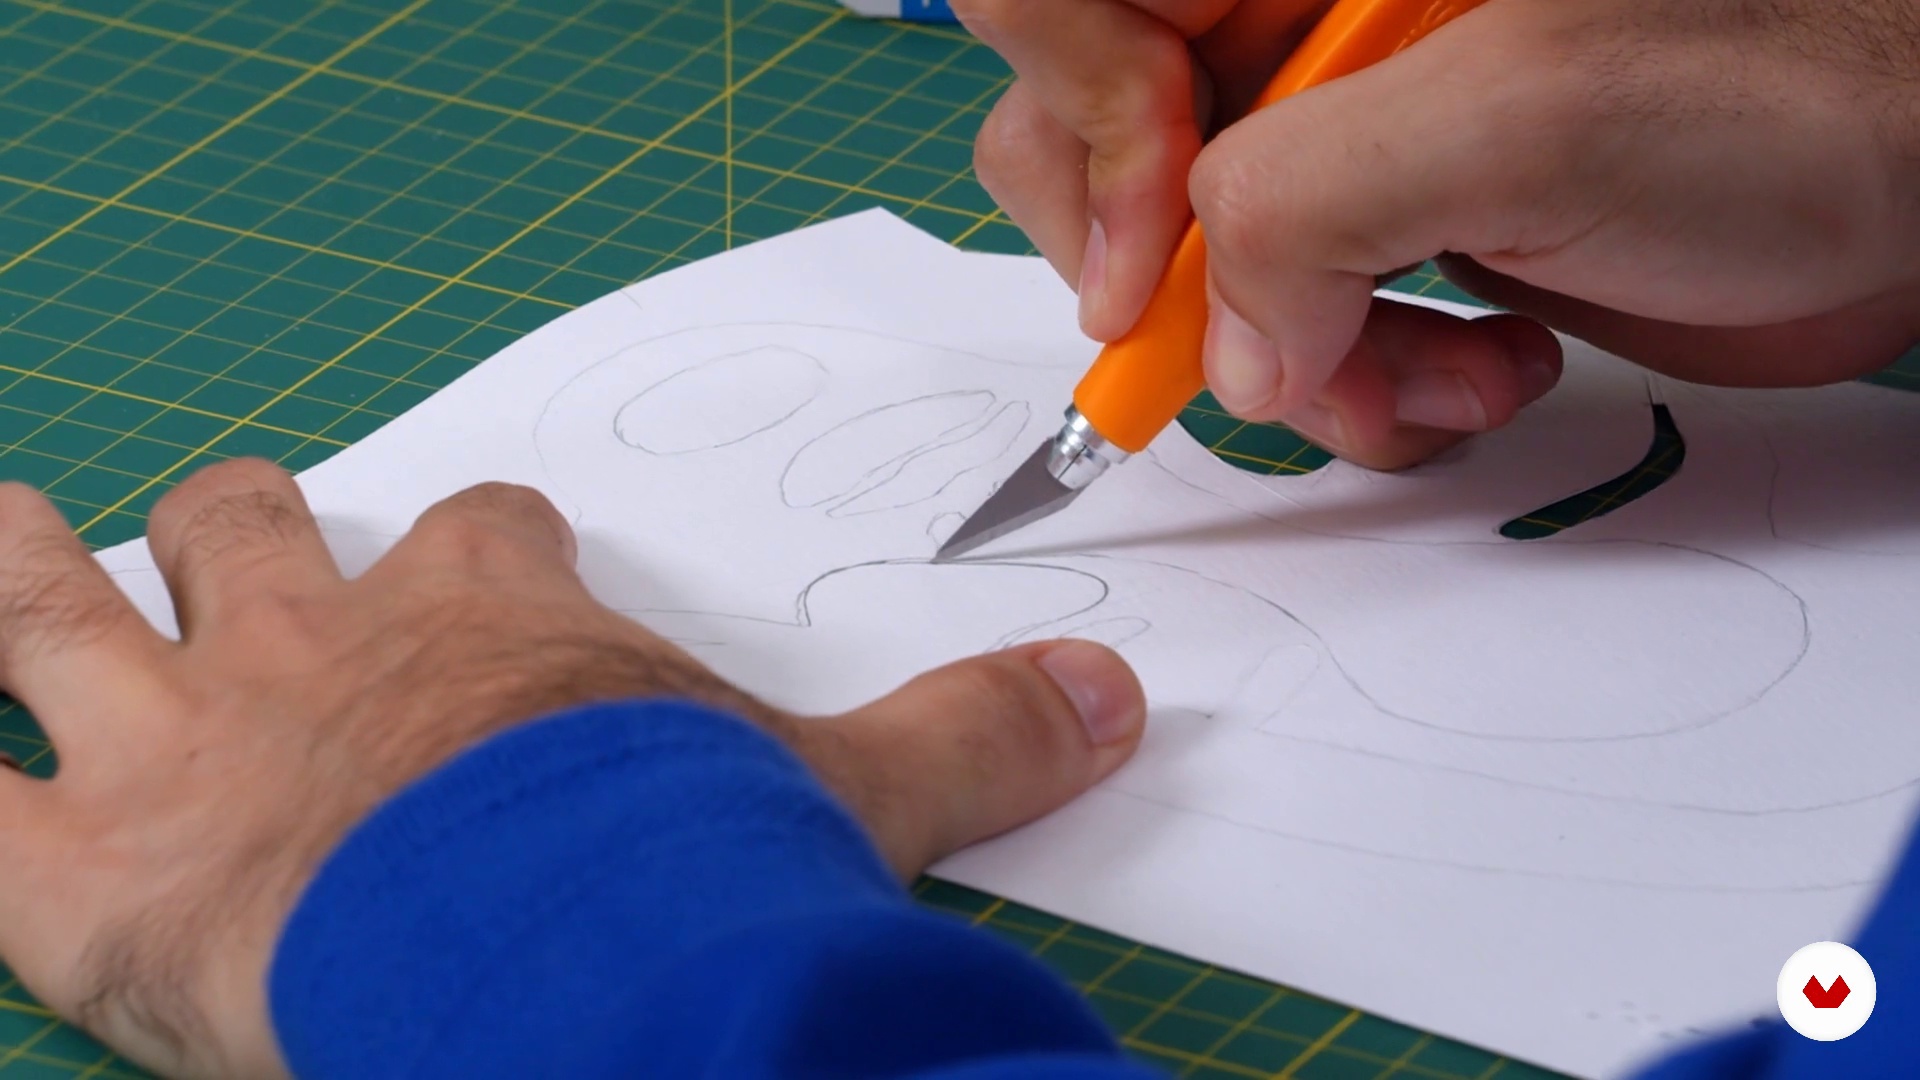
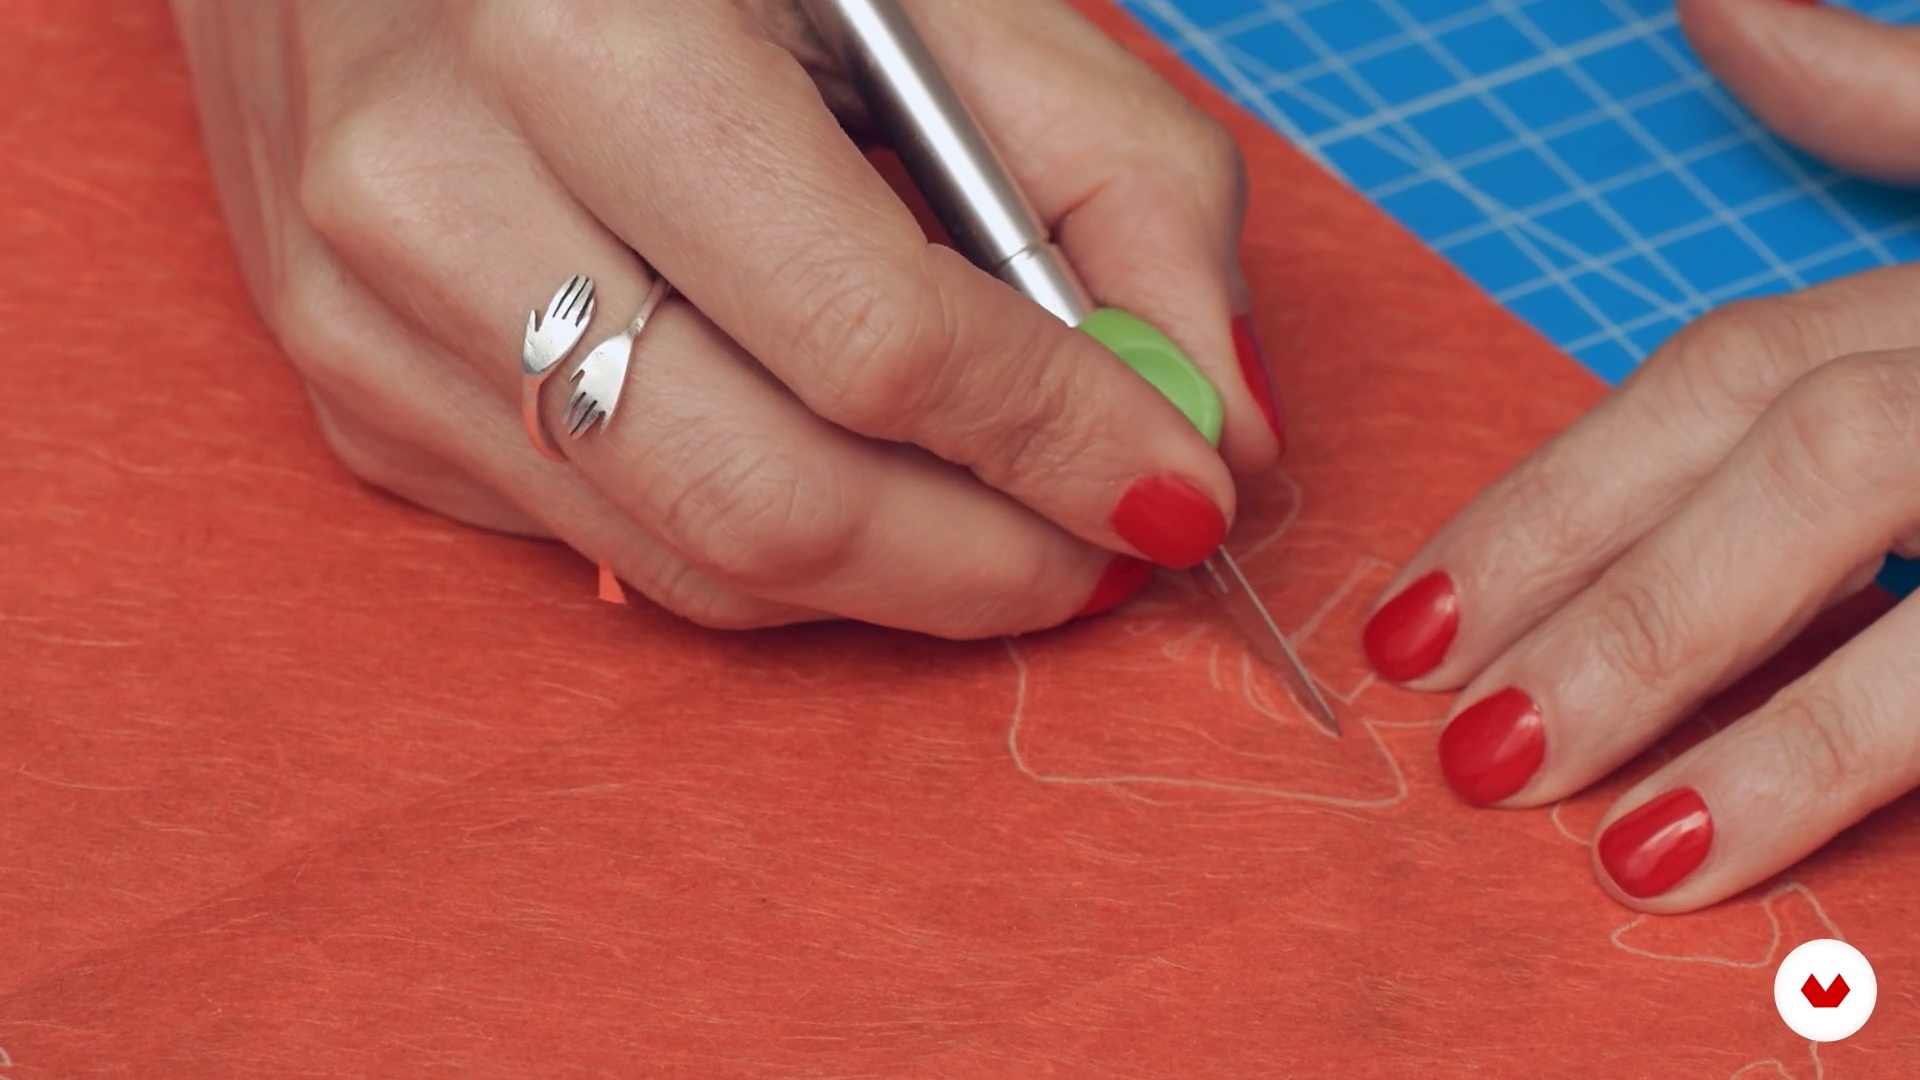
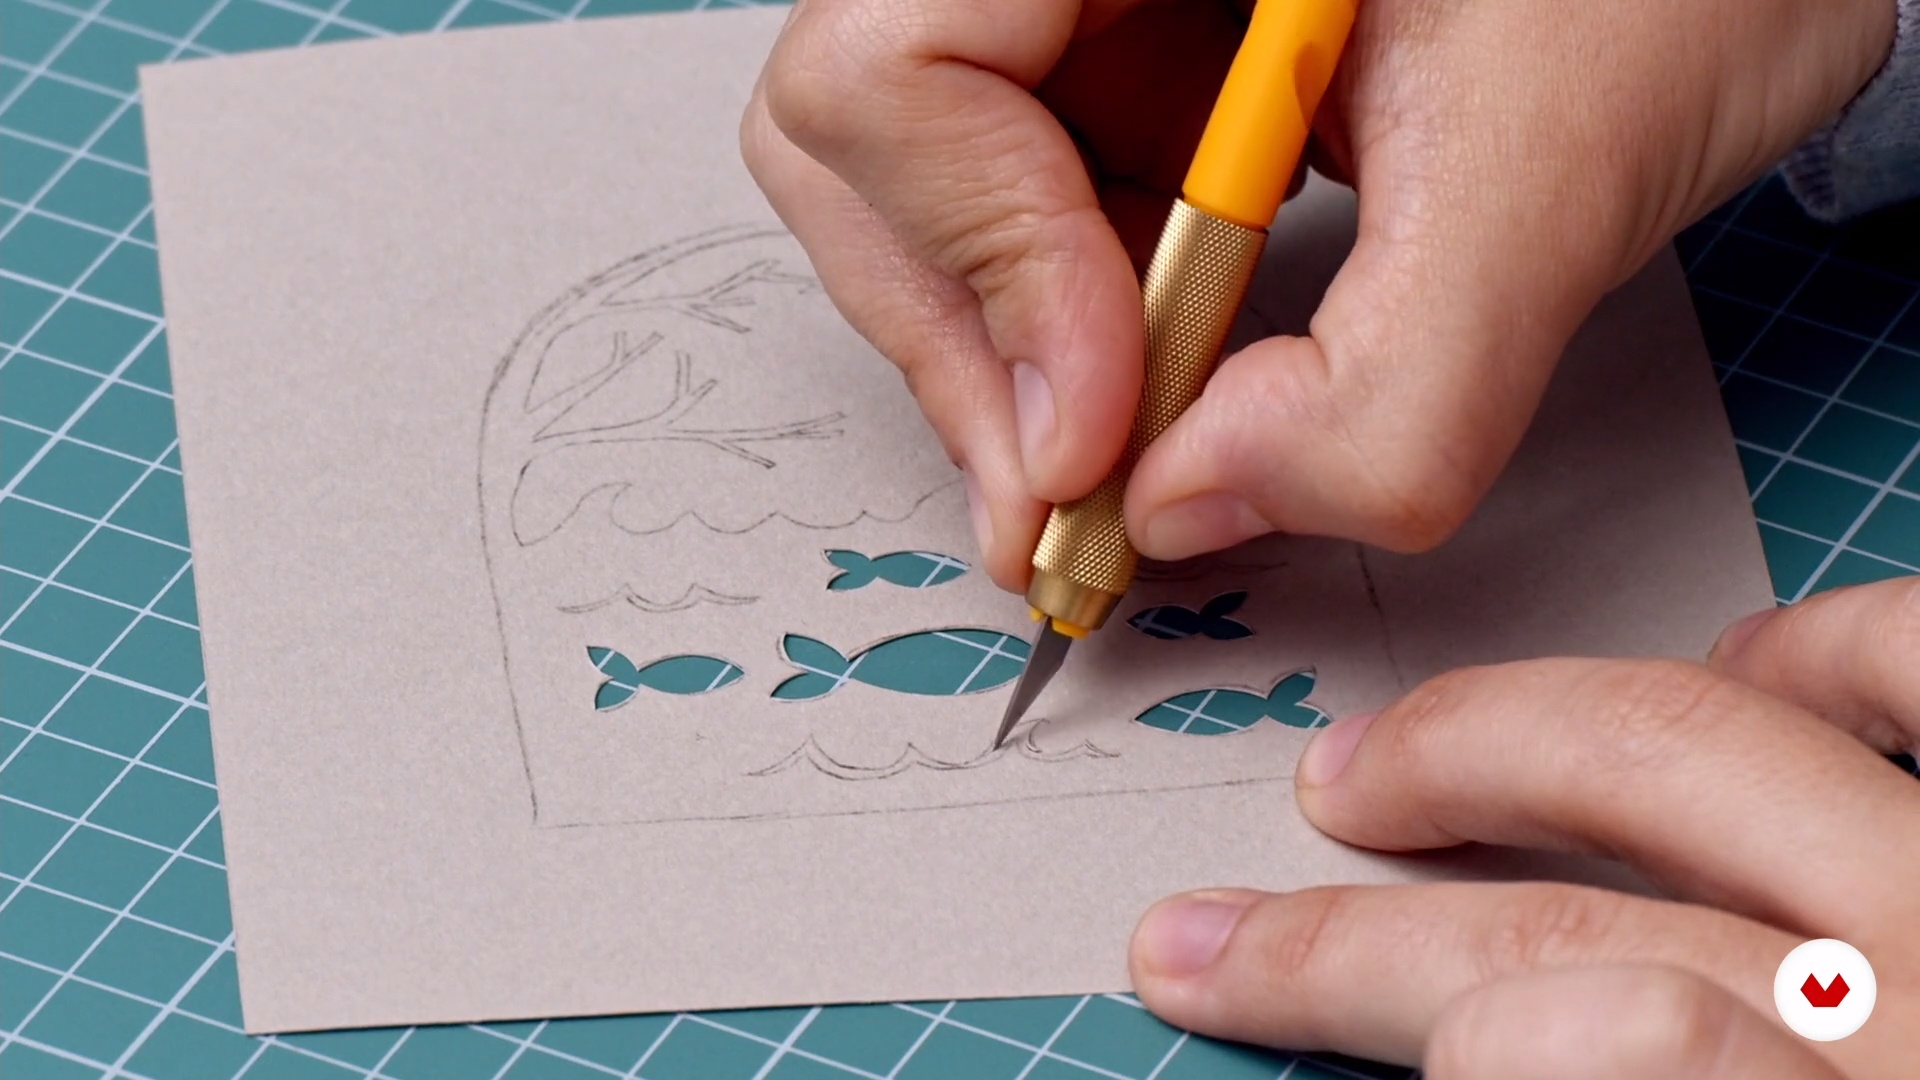
We'll cut our design out of paper using a craft knife. We'll cut each curve in parts, and I'll show you some paper-cutting tricks.
13m
image
11
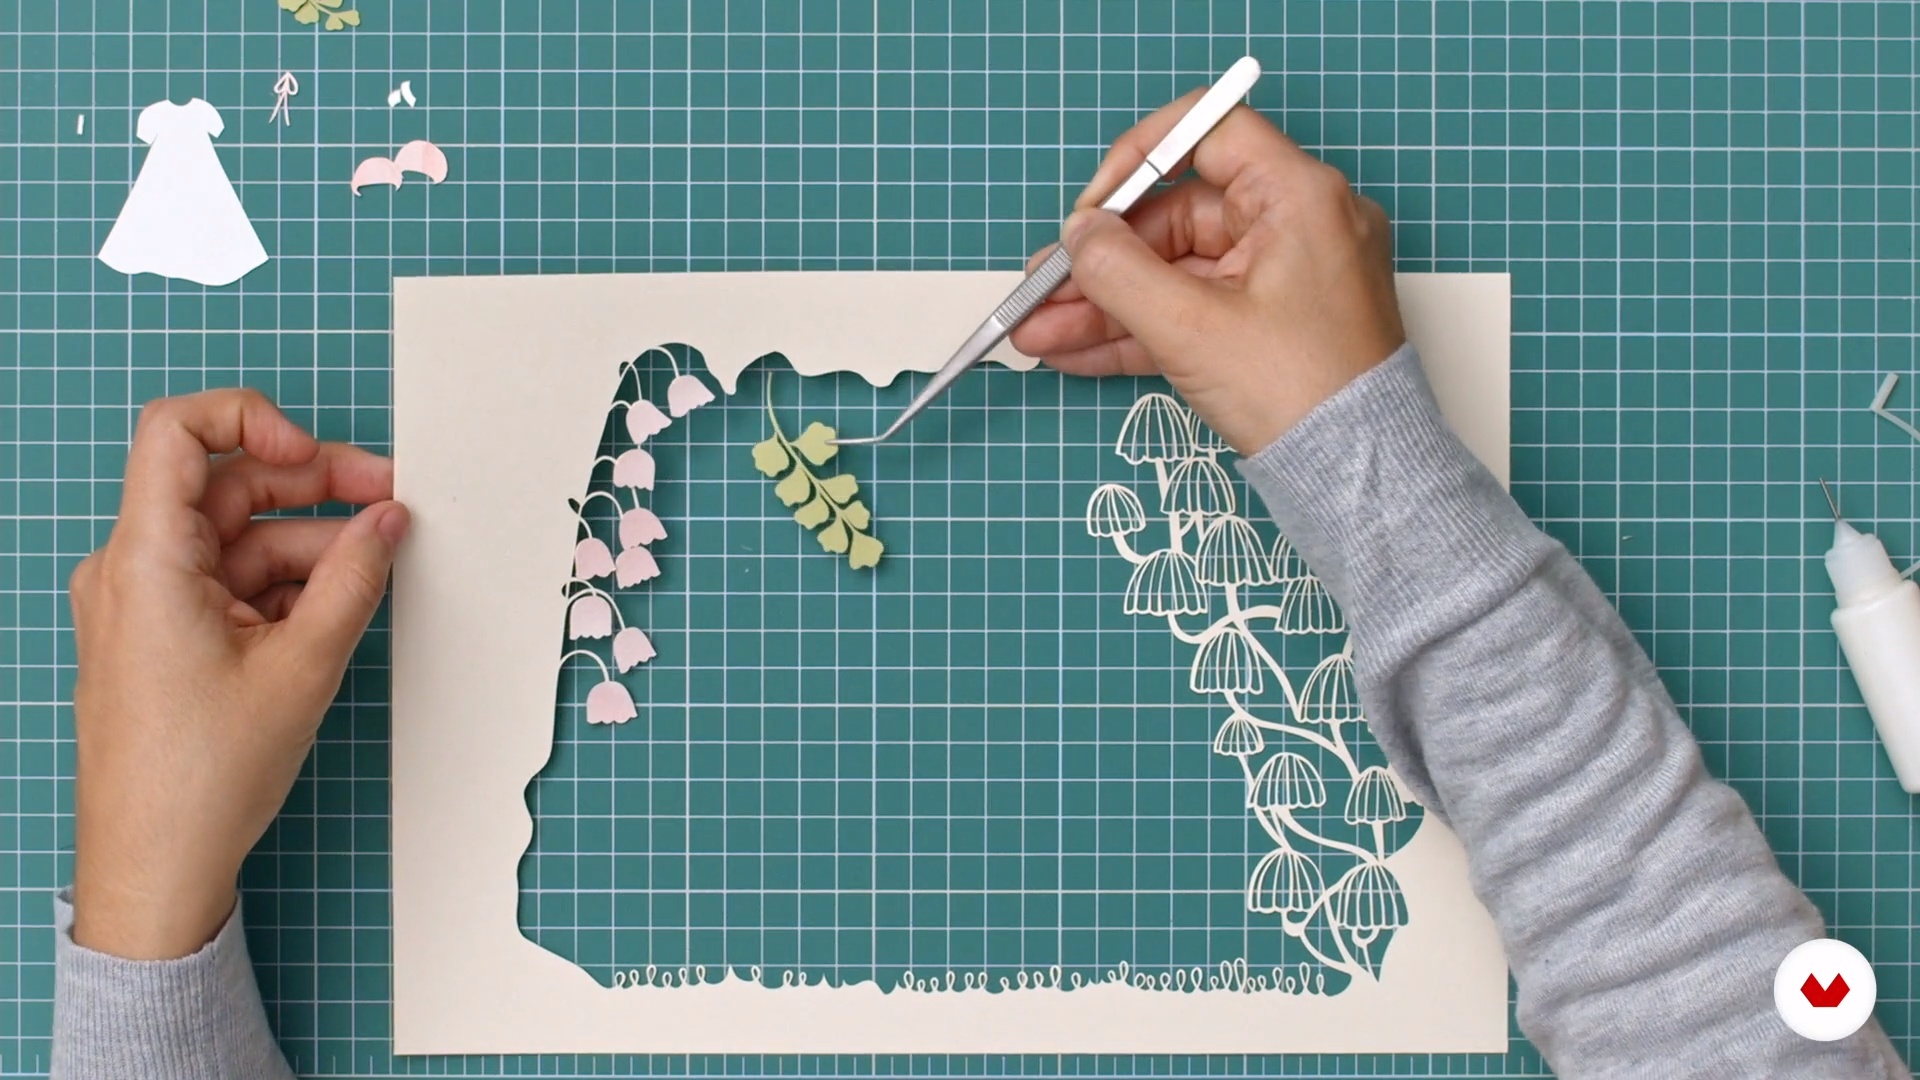
Bonding the layers
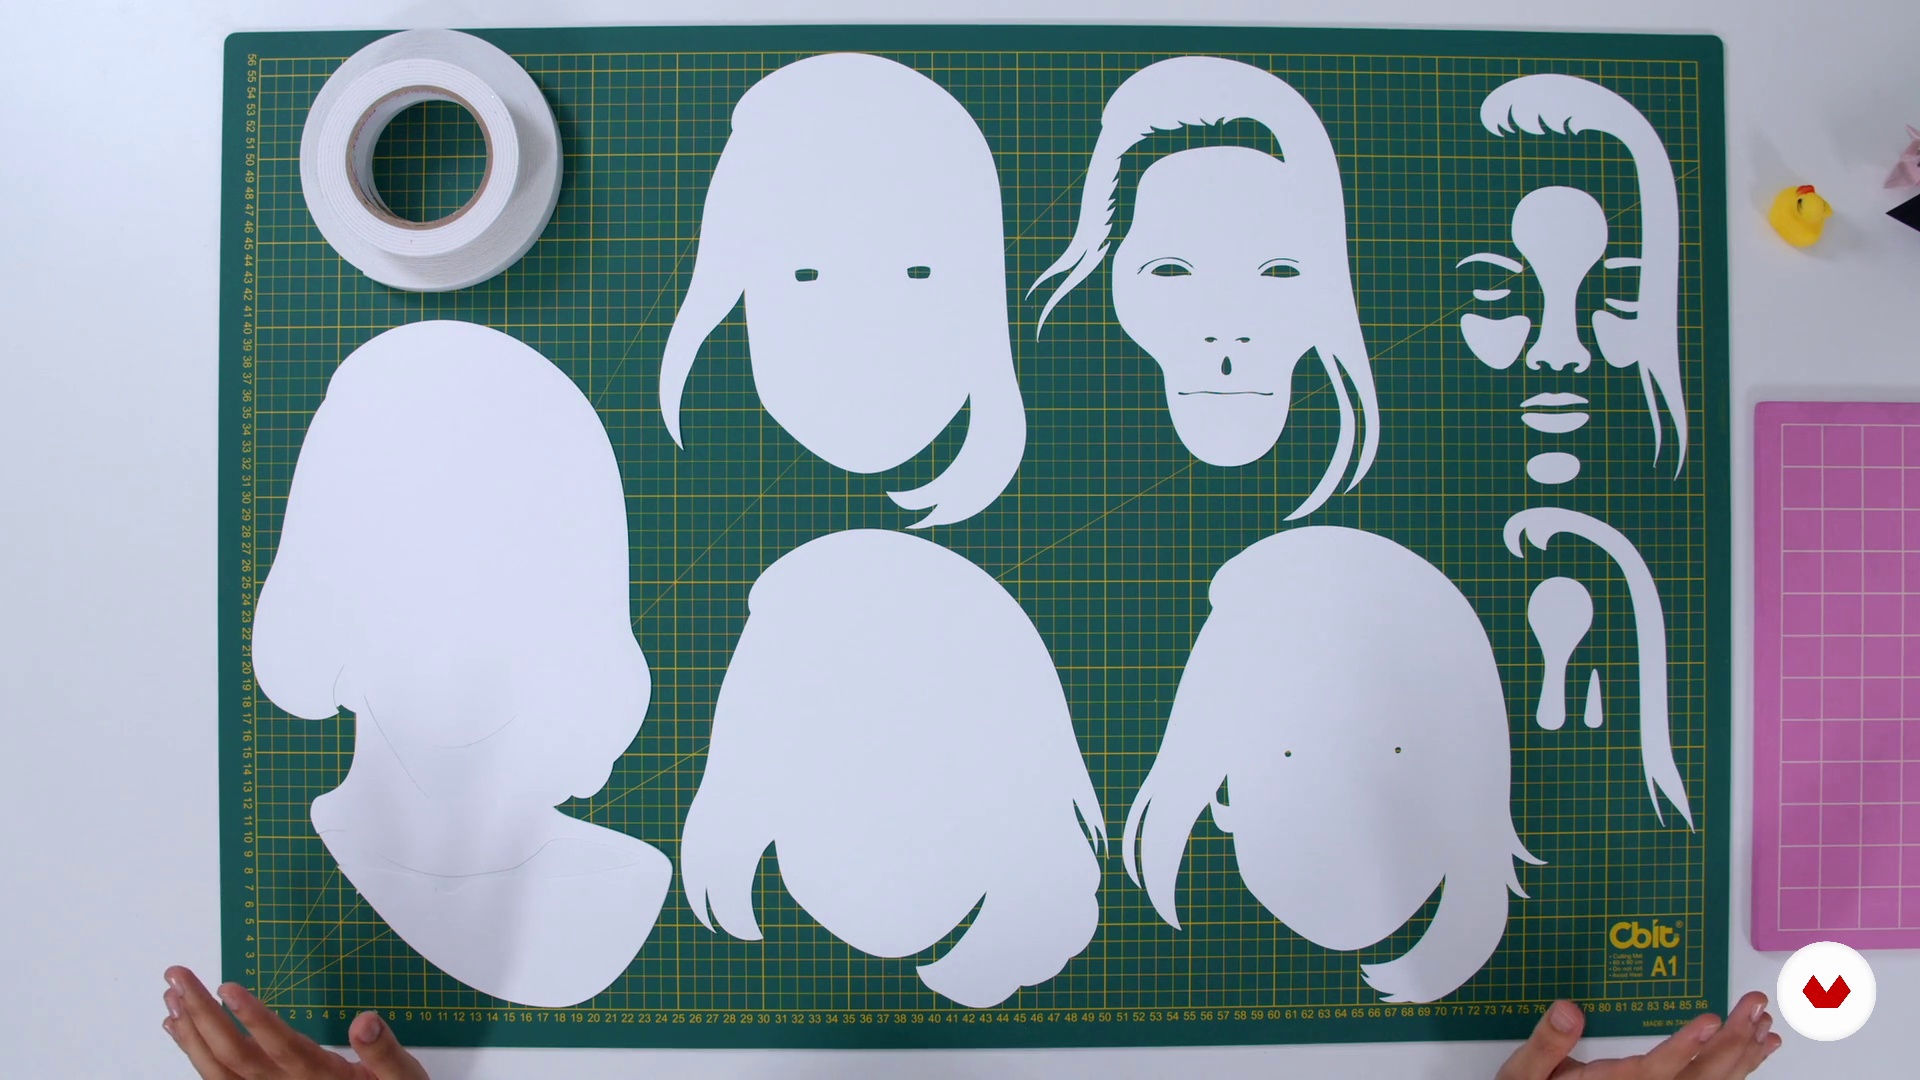
In this part, we'll glue our layers of paper together using double-sided tape. I'll show you tricks for gluing very large and very small pieces together.
18m
image
12
Painting your work (part 1)
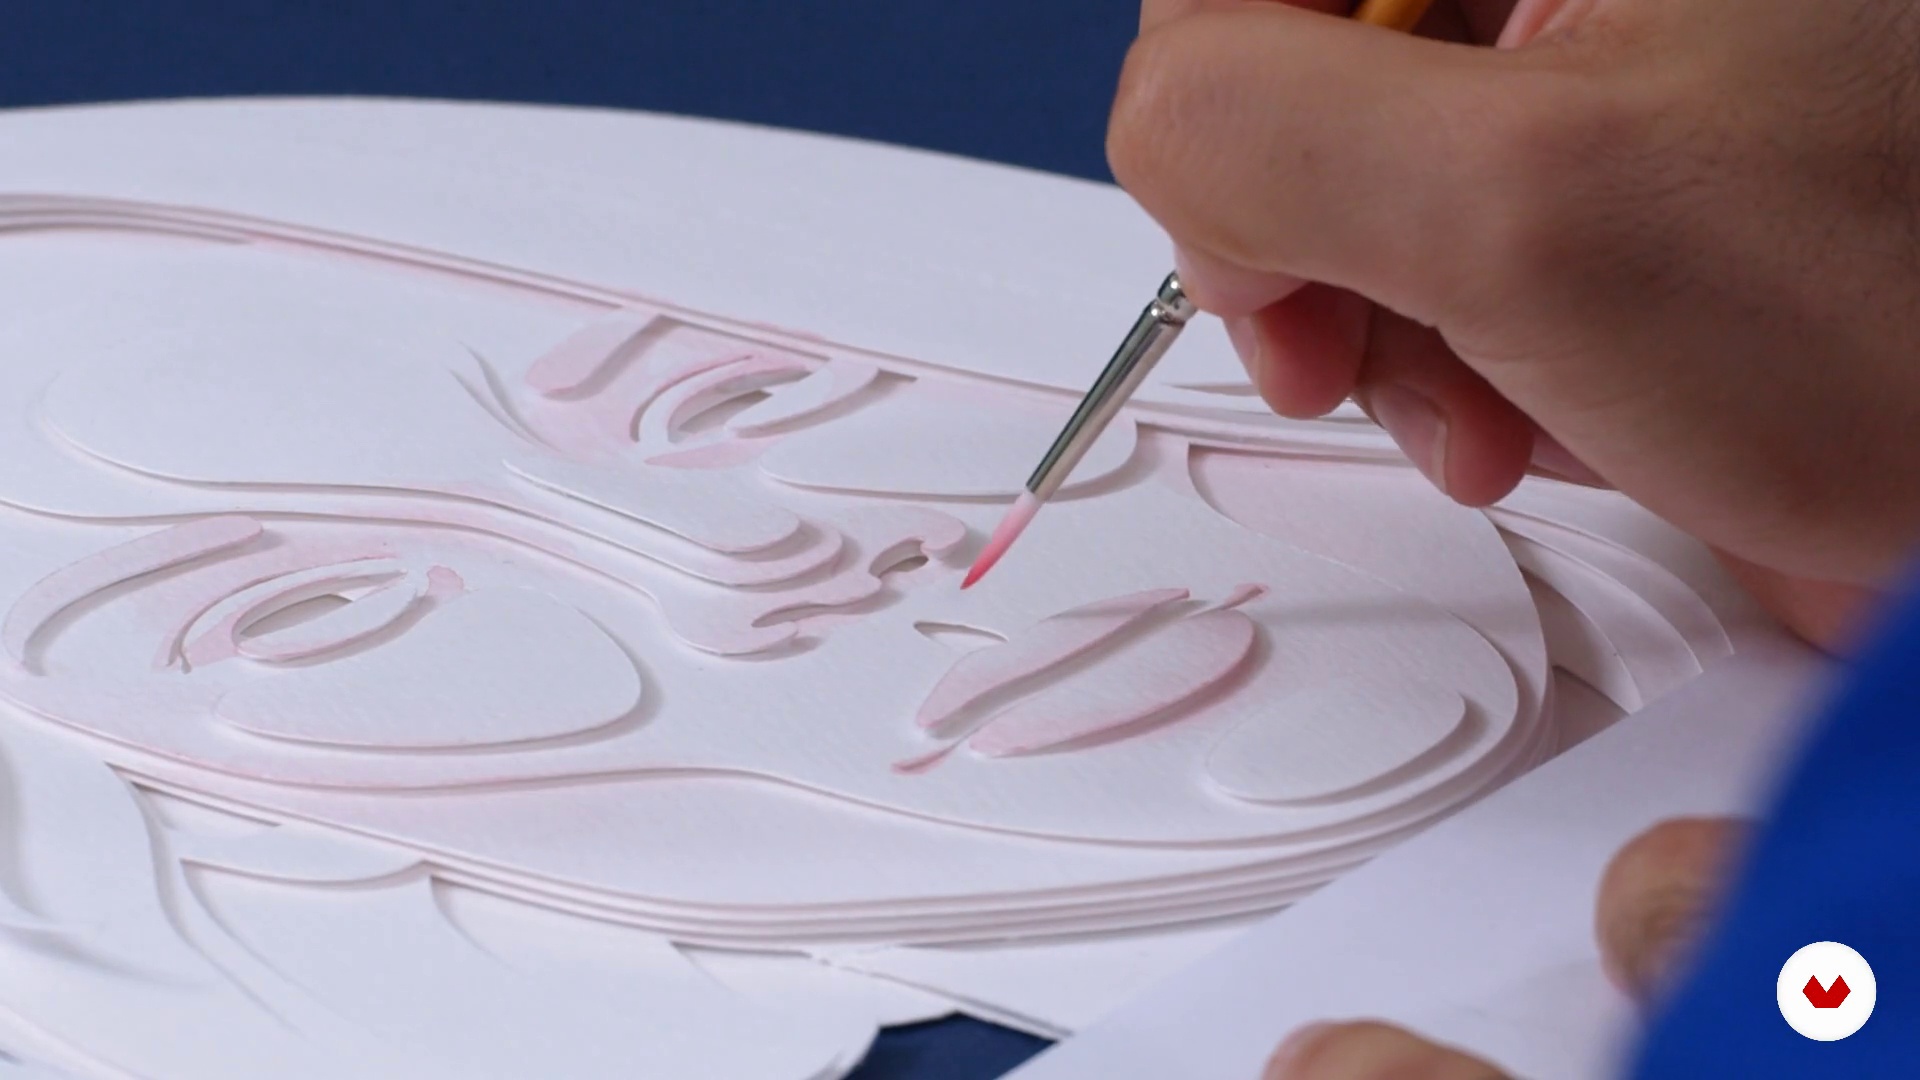
In this lesson, we'll paint our paper composition with watercolors. I'll explain how to paint between the layers and prevent them from curling in the water.
15m
image
13
Painting your work (part 2)
We continue adding touches of color and beautifying our work.
6m
image
14
Bonus track: Framed
So, we've finished our work. We've spent time cutting, pasting, and working on paper. How do we keep our work intact for as long as possible? In this lesson, I'll explain how to frame and protect our work so that it survives the passage of time.
7m
image
3
Natural References and Color Palette
In this lesson, we'll choose our references and search together on Pinterest, in books, in pictures, or in flower shops for the flowers we like most.
8m
image
4
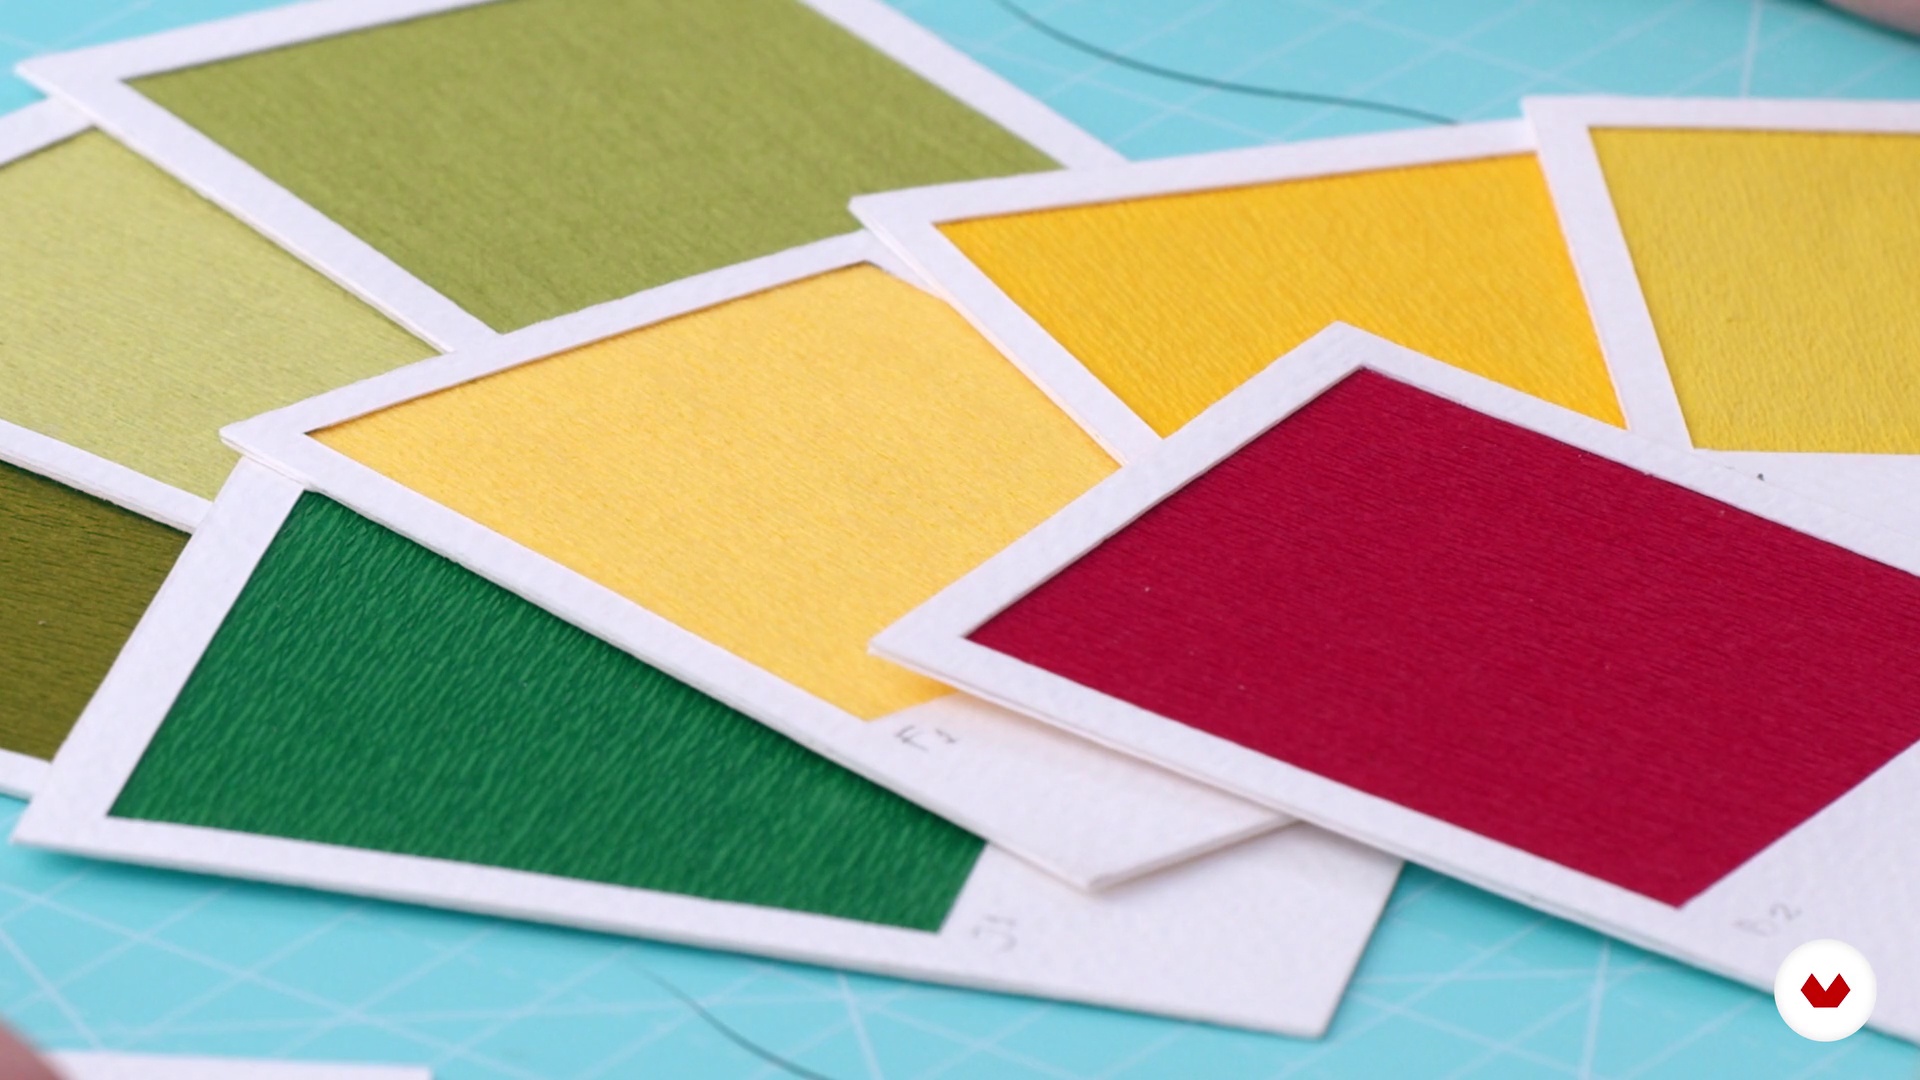
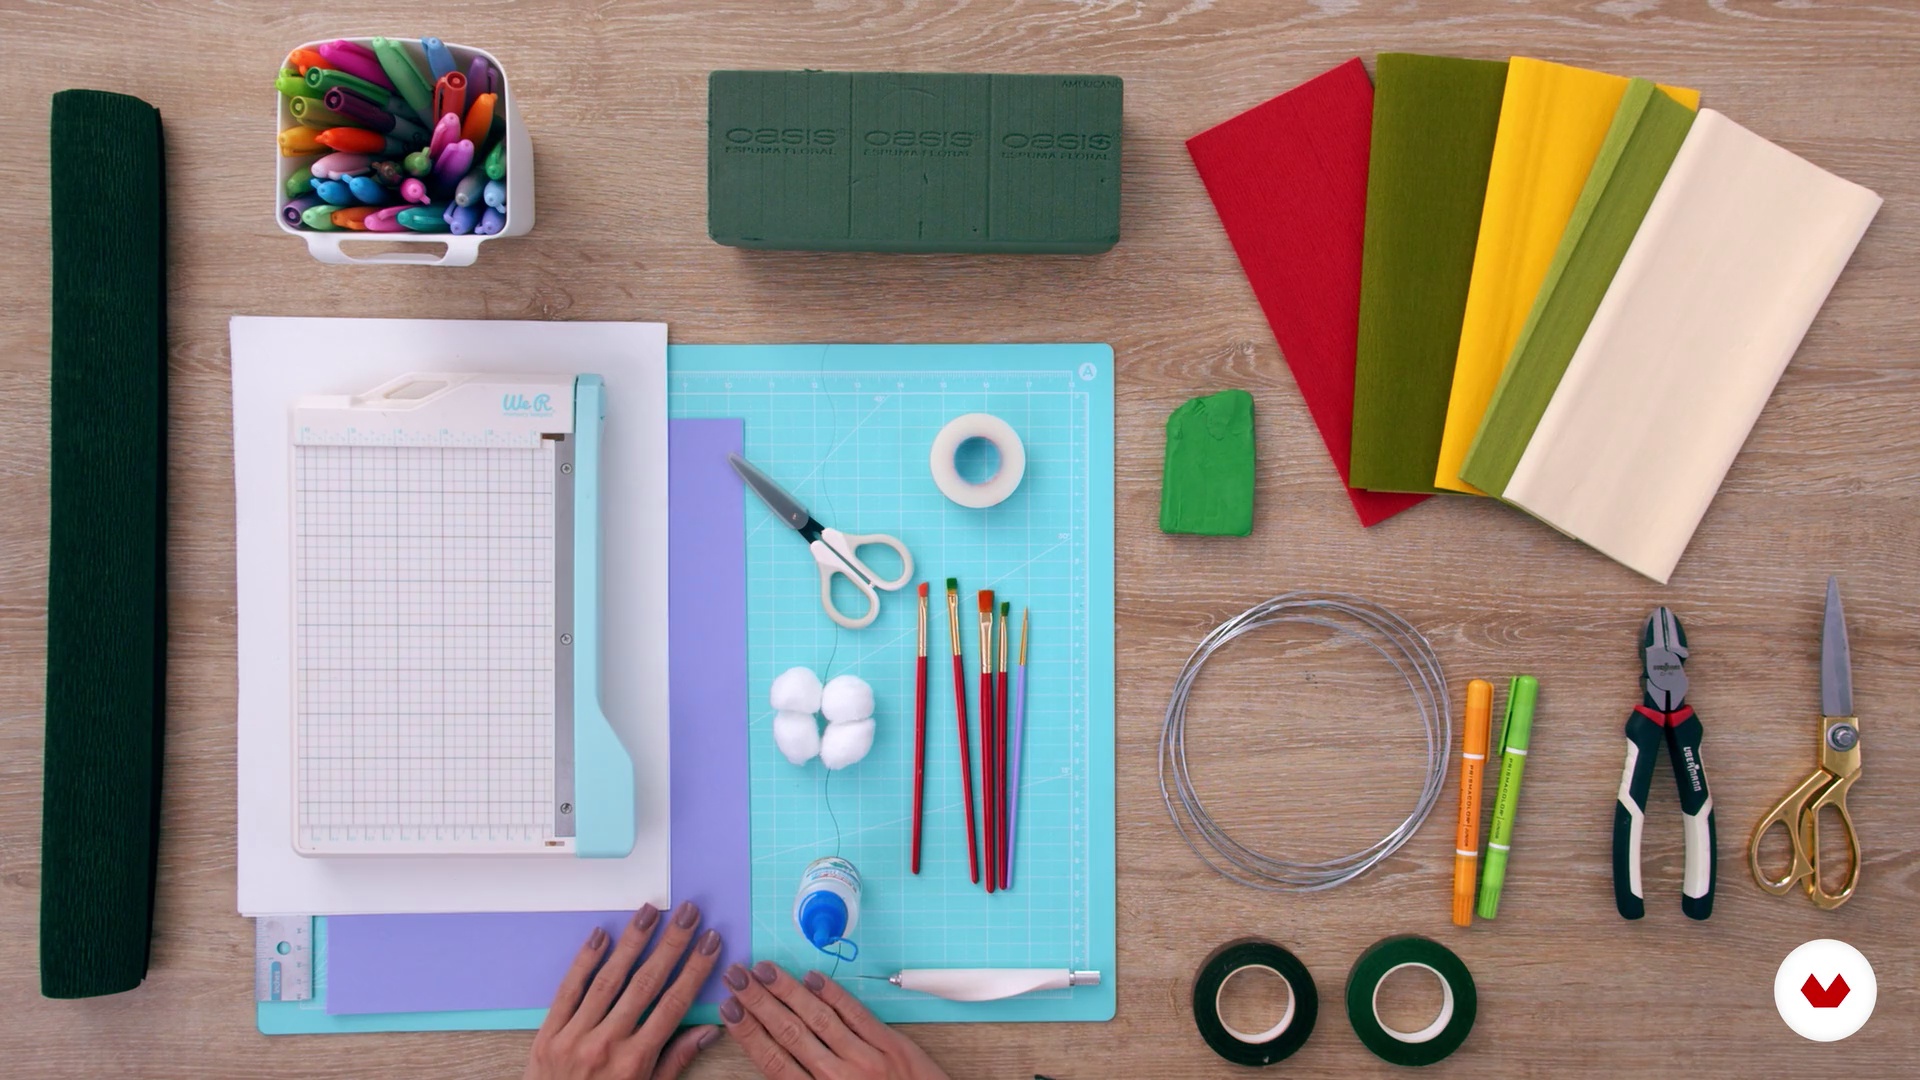
Materials to Make Paper Flowers
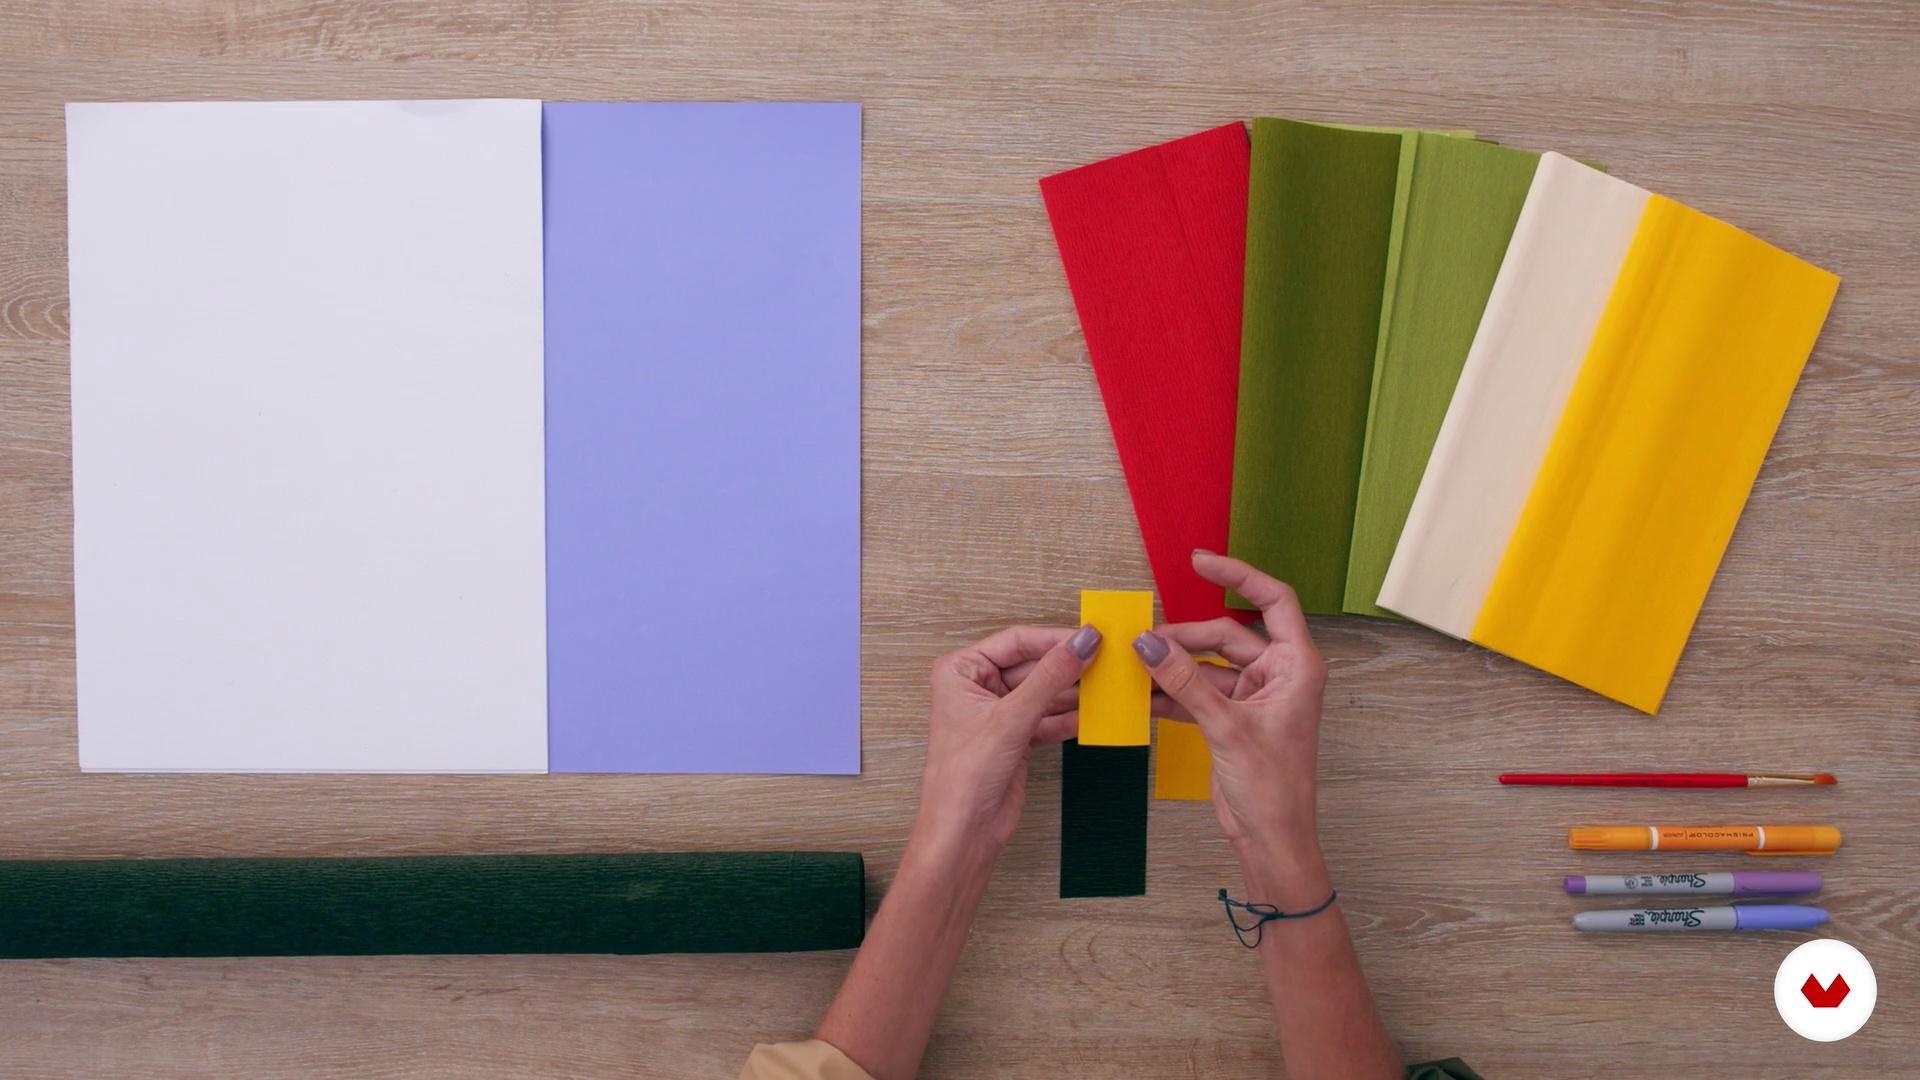
Now that we're inspired, I'll tell you what materials you'll need to get started creating, and I'll show you some additional items that might be helpful.
3m
image
5
Let's Talk about the Paper
Here I'll tell you about the characteristics you should look for in paper so you can keep them in mind when choosing it.
4m
image
6
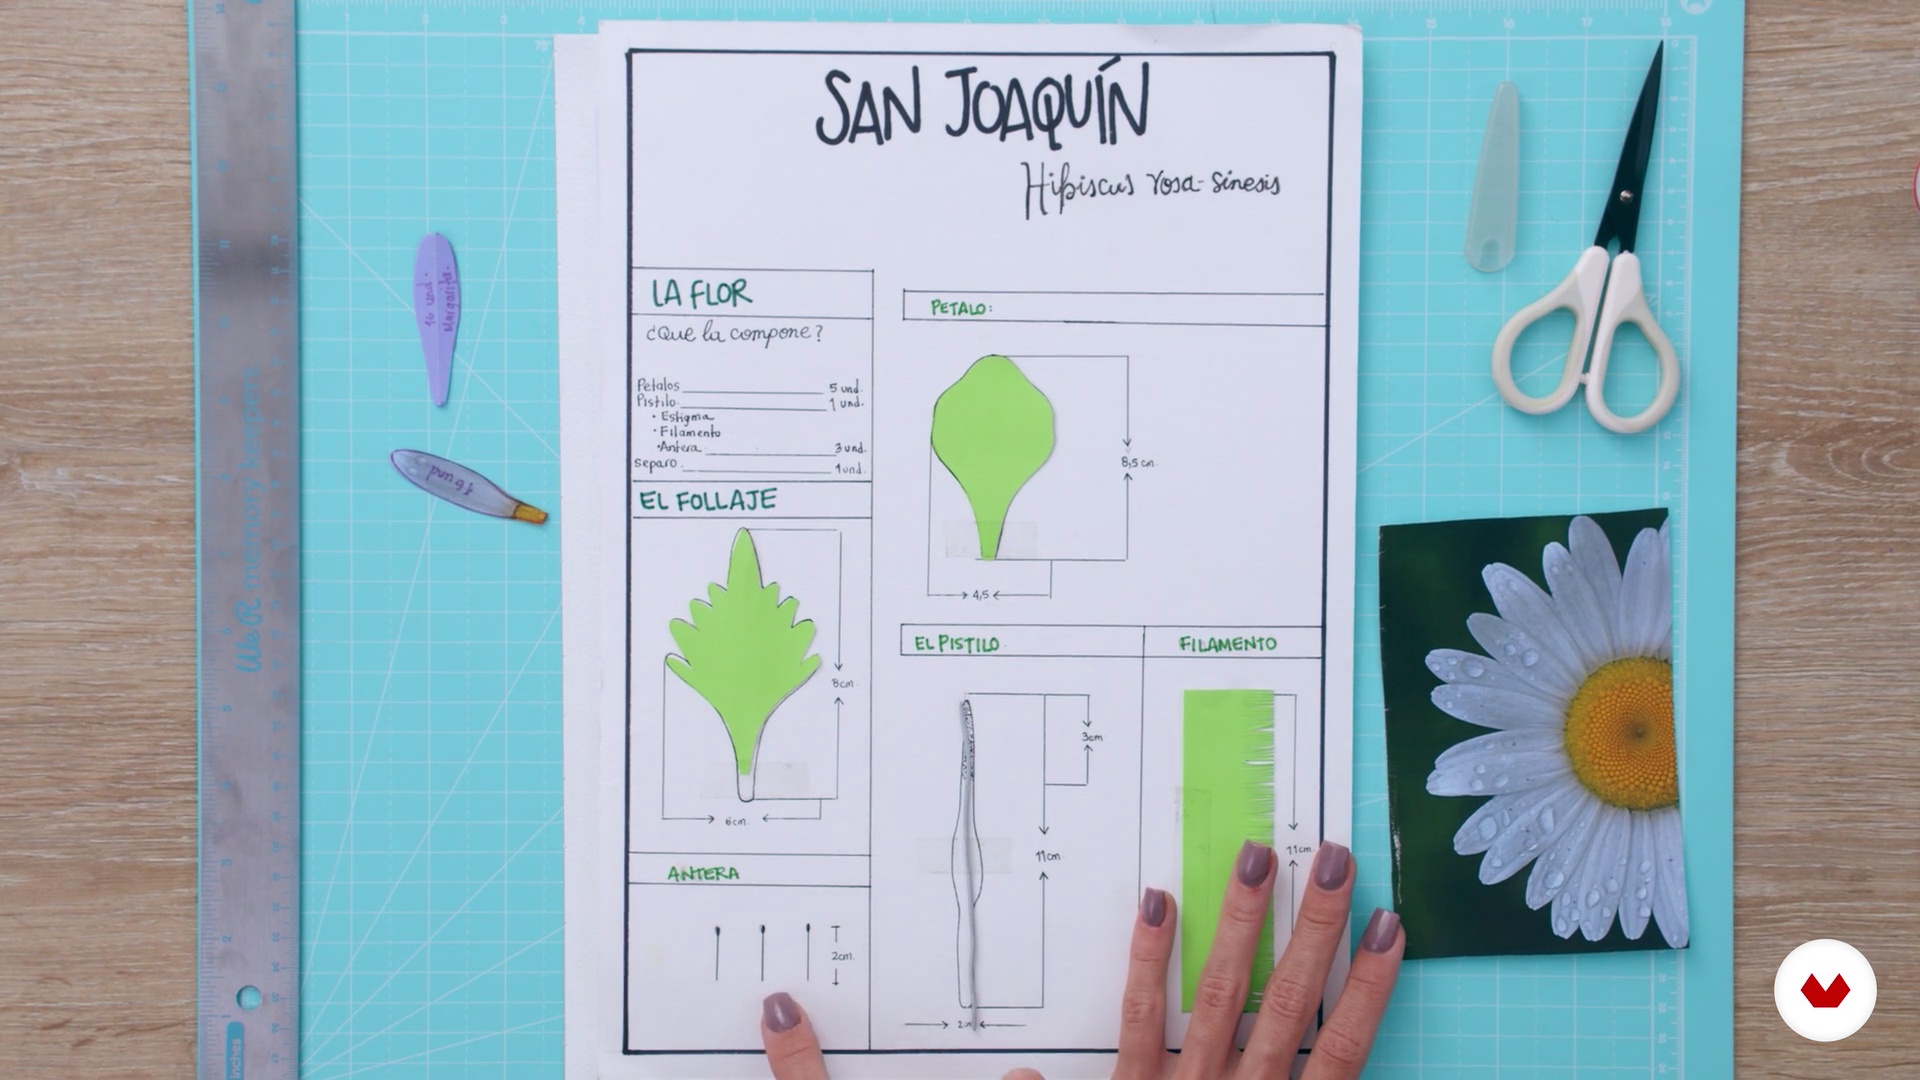
Botanical Template
Here you'll learn how to create the botanical template. We'll take out the templates and measure each part of the flower.
8m
image
7
Technique 1: Basic Technique and Assembly of the Daisy
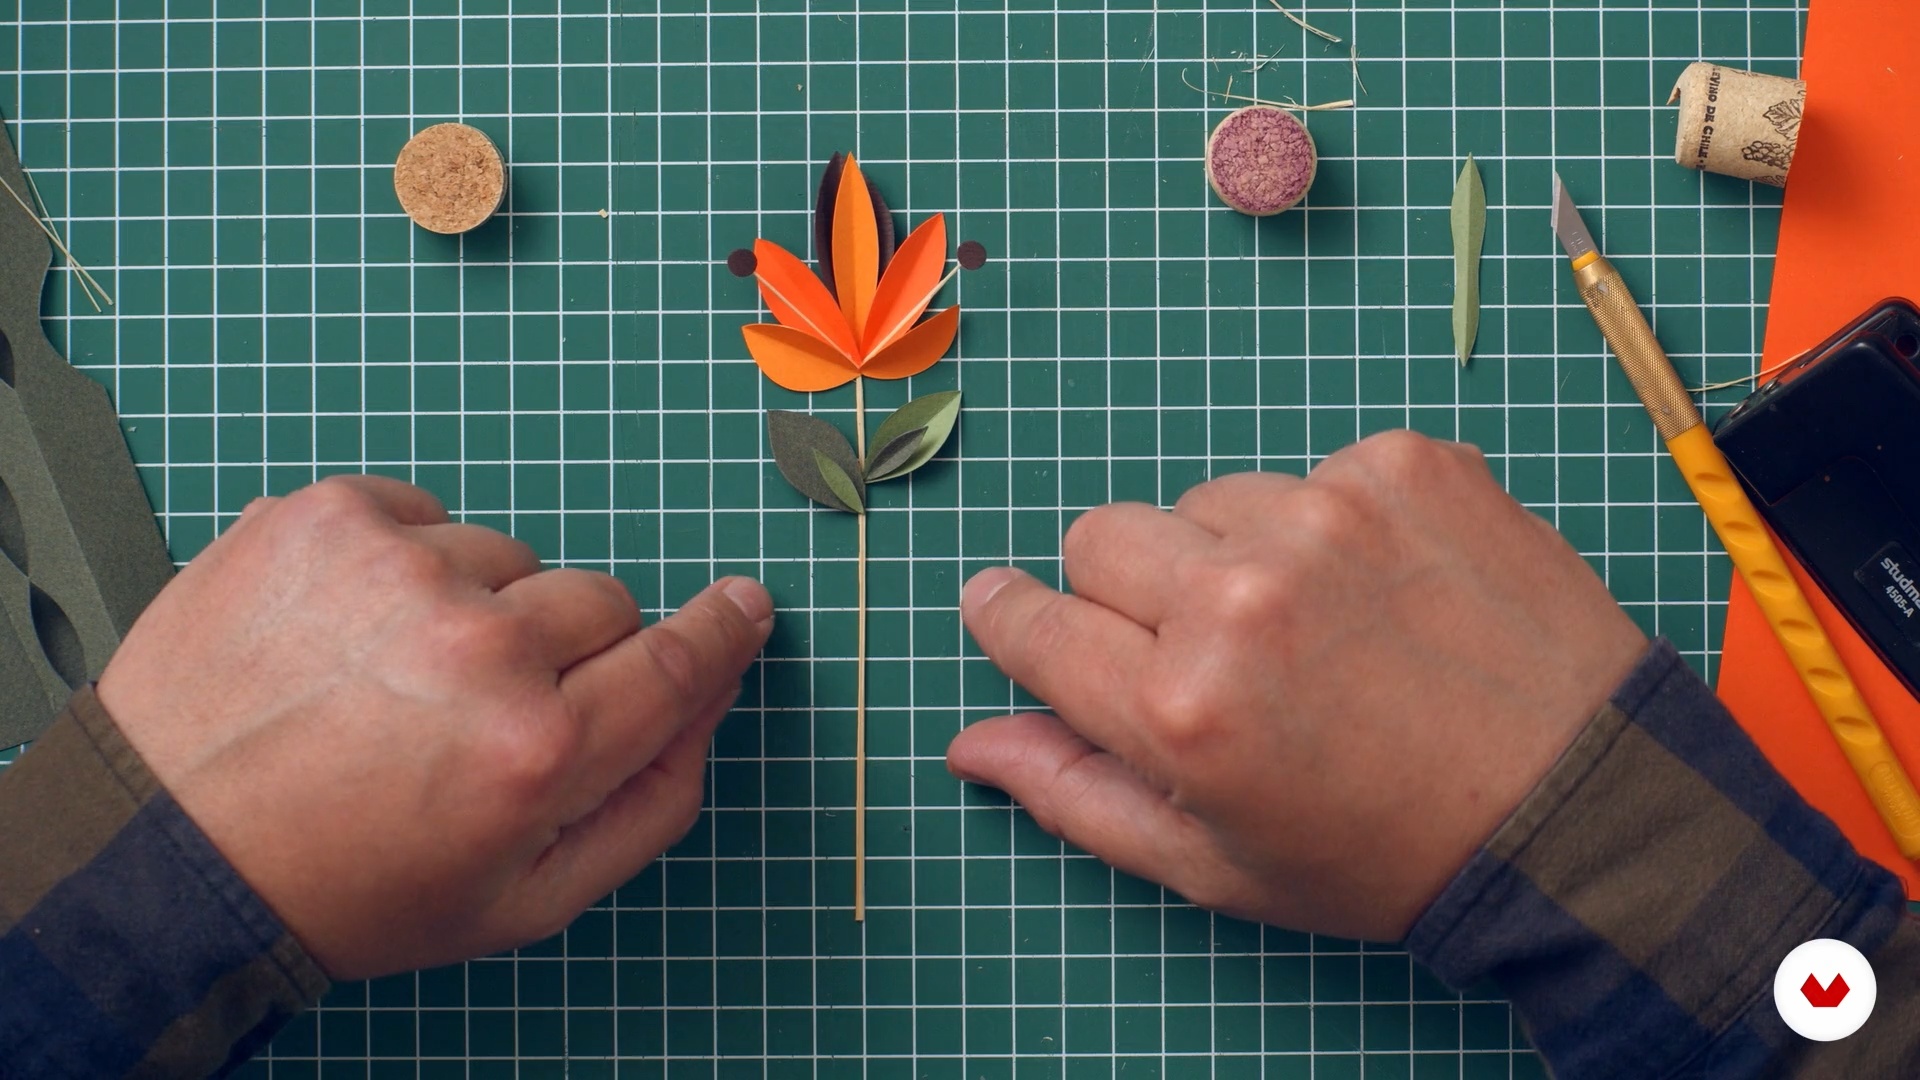
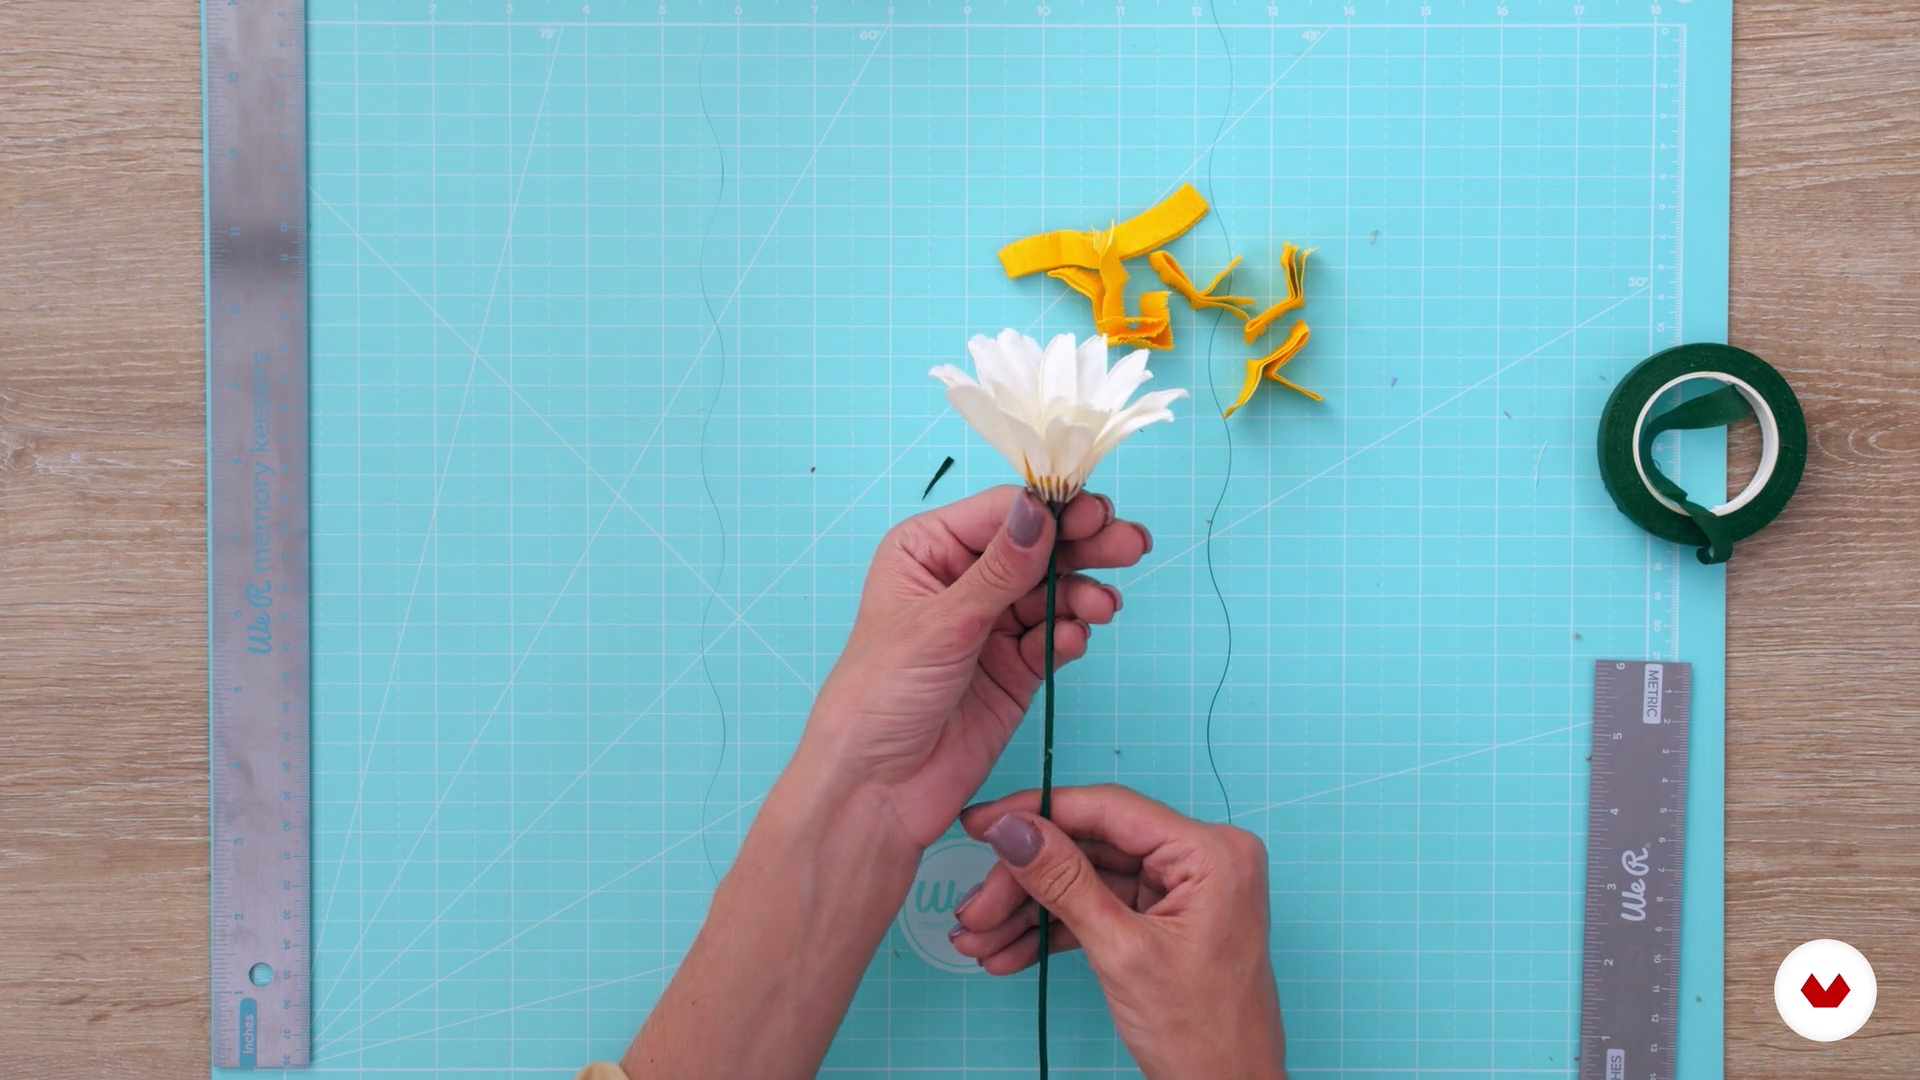
We'll start with the most basic paper flower technique. You'll begin to see how, petal by petal, we create the first type of flower.
18m
image
8
Technique 2: Intermediate Technique
Once you understand the basic technique, I'll show you a new procedure for making the flower that stars in our arrangement.
15m
image
9
Paint and Details
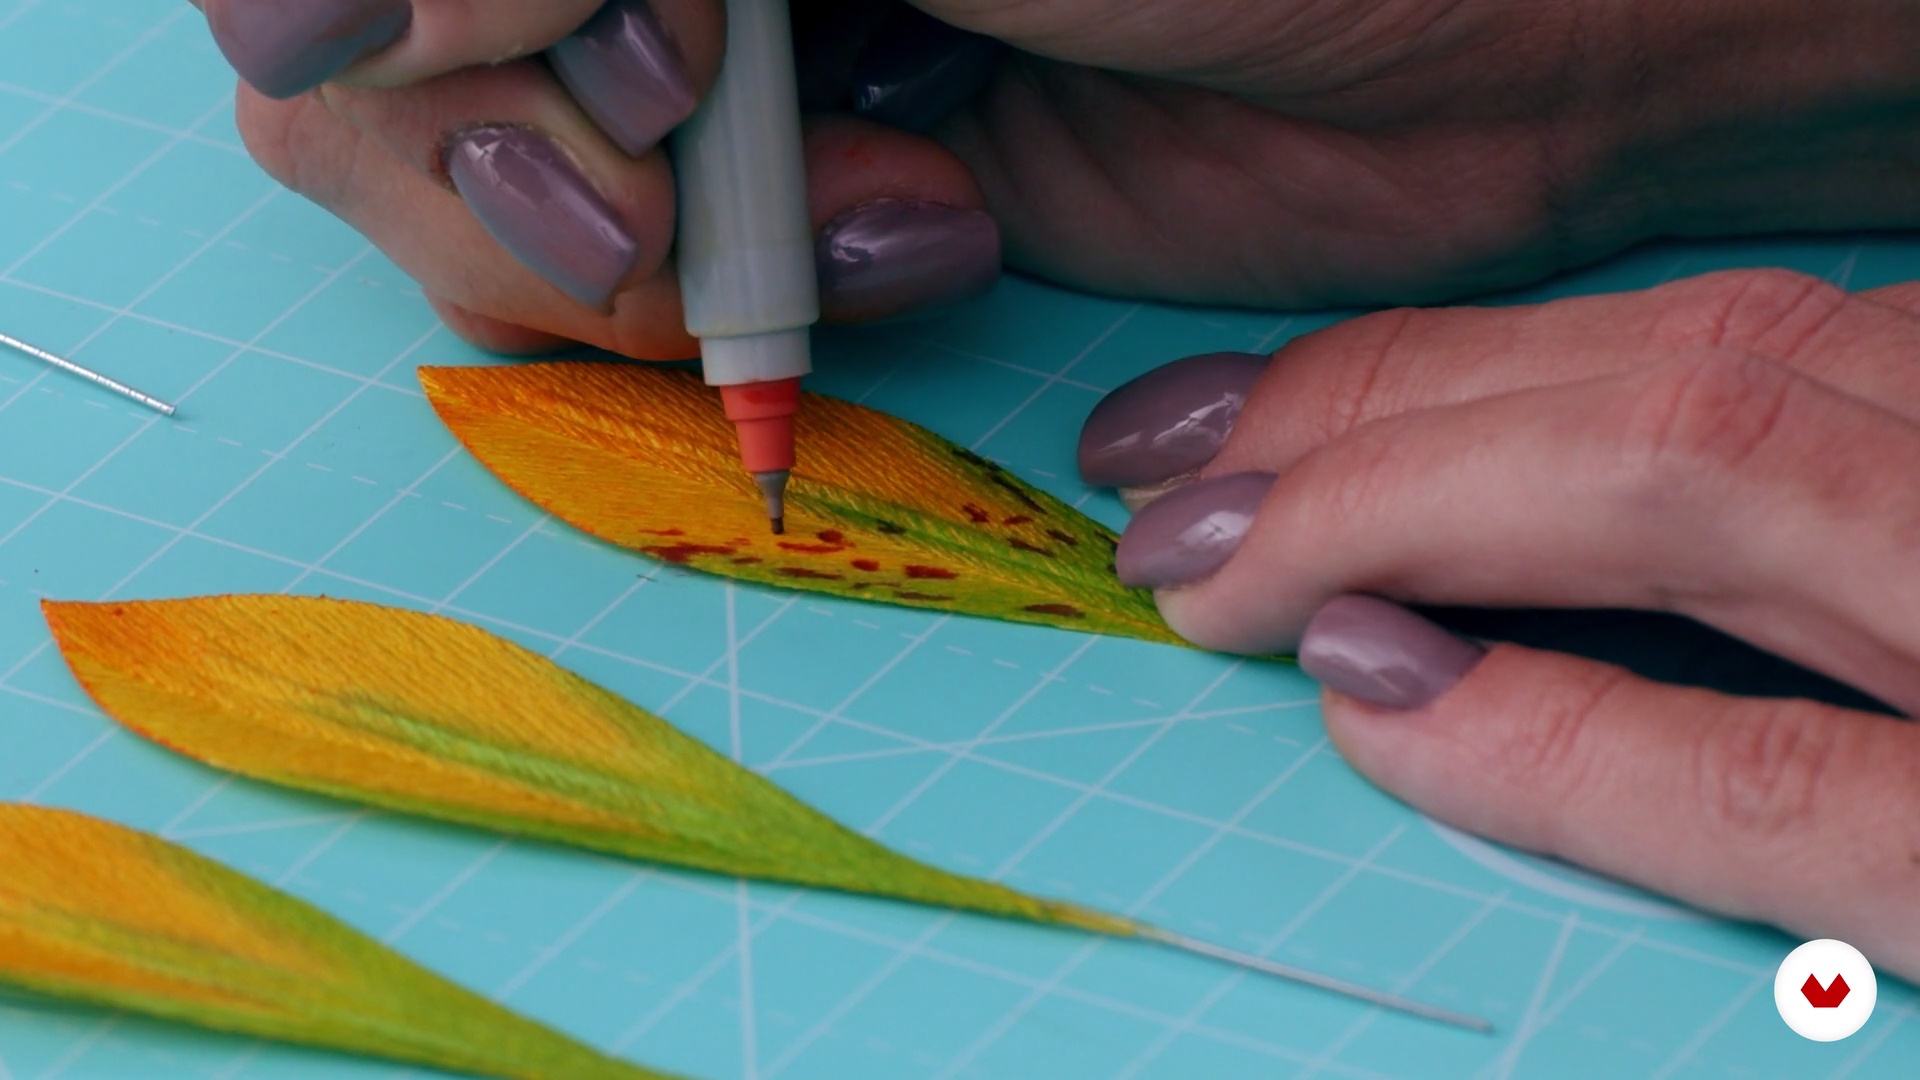
In this lesson, I'll teach you how to add color and detail to paper flowers. This helps us add texture, shadows, depth, and a realistic touch to our flowers.
6m
image
10
Assembly of the Protagonist Flower
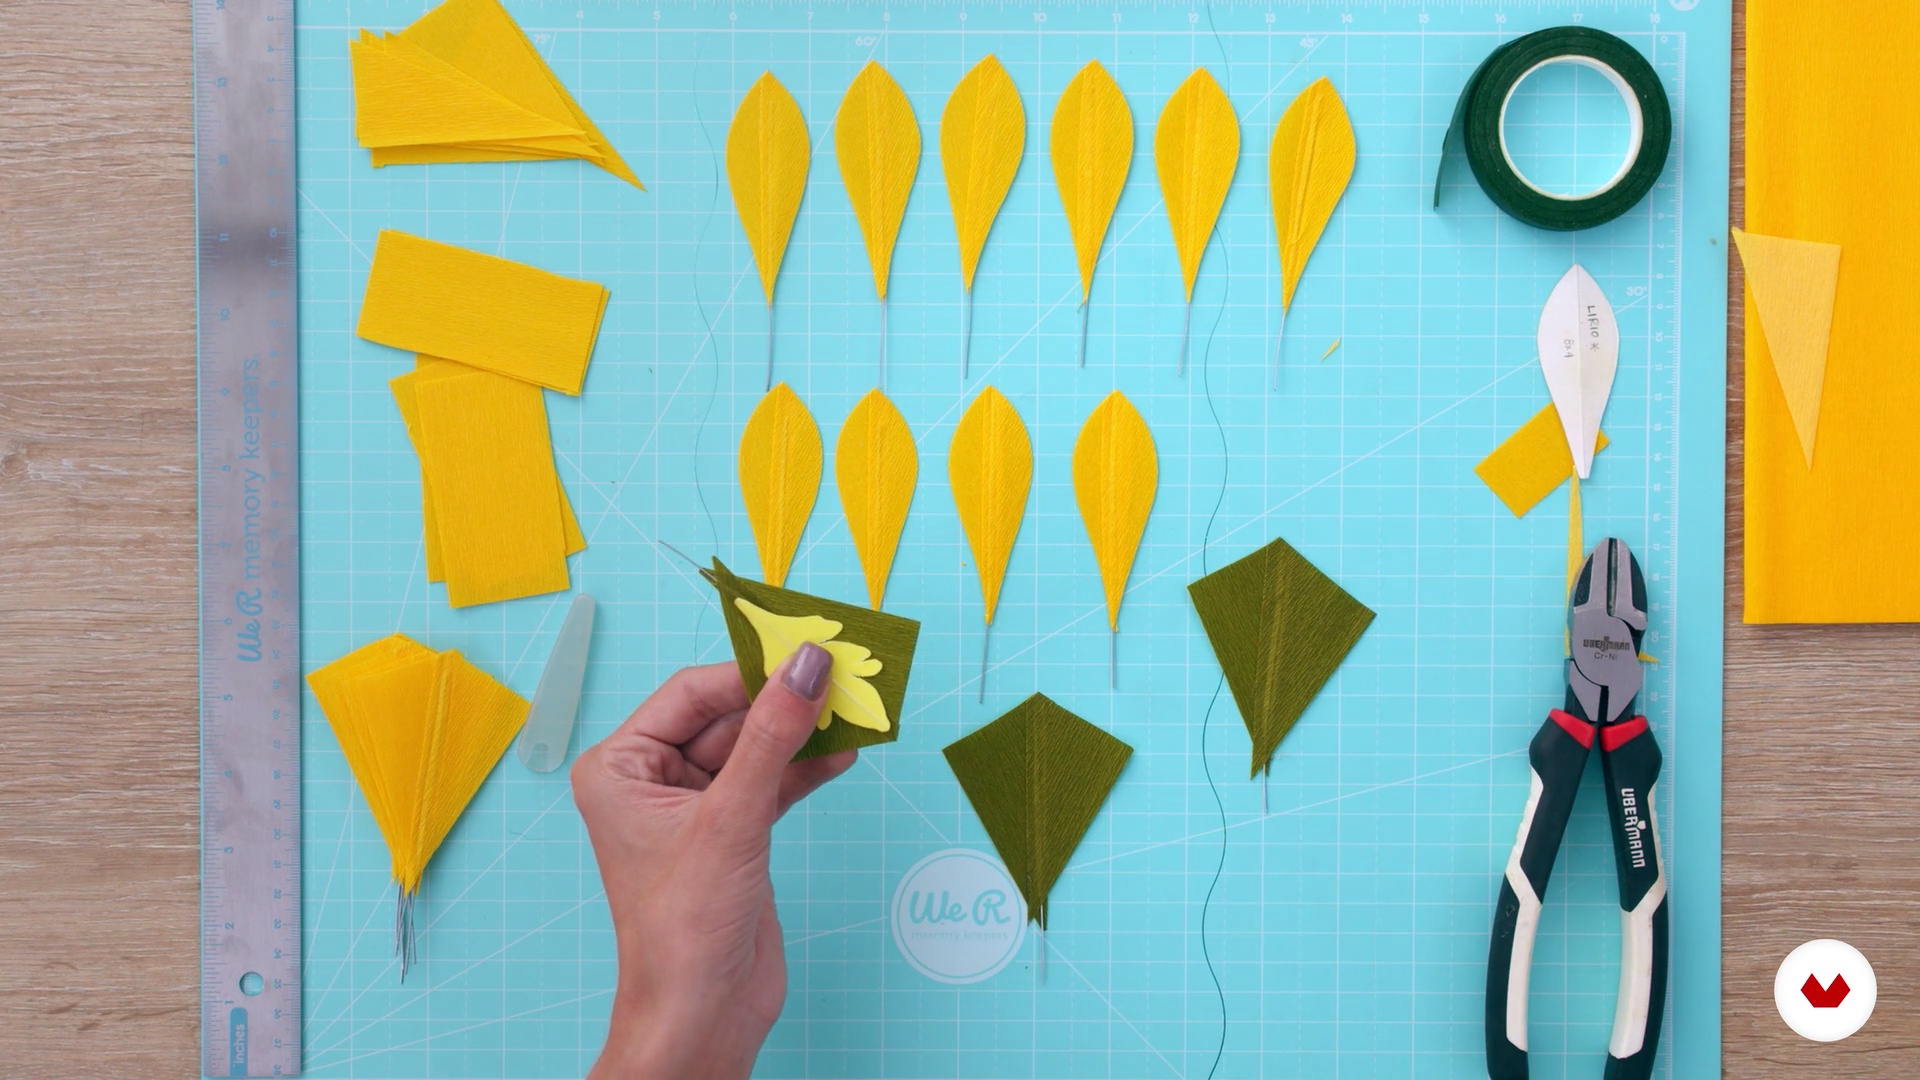
Little by little, our main flower is taking shape. In this lesson, I'll show you the assembly technique you'll use to join the petals of this other type of flower.
9m
image
11
Cocoons
Finally, I'll show you how to make the buds that will give an extraordinary touch to your final composition.
12m
image
12
Our Florist
In this lesson, I want us to organize the flower shop together. You can find containers and separate the flowers, foliage, and buds by species and size, so we can begin gathering the elements and arranging them in the arrangement. I'll also give you some floral arrangement tips.
5m
image
13
Let's Put Together the Project
Finally, we will create the project and you will see the result of your work.
5m
image
3
Materiality of the Book
One of the course's objectives is to help you discover great creative possibilities in the book object and in playing with paper. In this lesson, you'll see some ways to incorporate the medium for narrative purposes.
8m
image
4
Materials
You'll see what materials are needed to get started with paper and formats.
11m
image
5
Introduction to the Technique of Cutwork on Paper 1
You will learn the technique of paper cutout, and you will also learn the fundamental principles of this ancient art.
11m
image
6
Introduction to the Technique of Cutwork on Paper 2
You will continue learning about the paper cutout technique.
14m
image
7
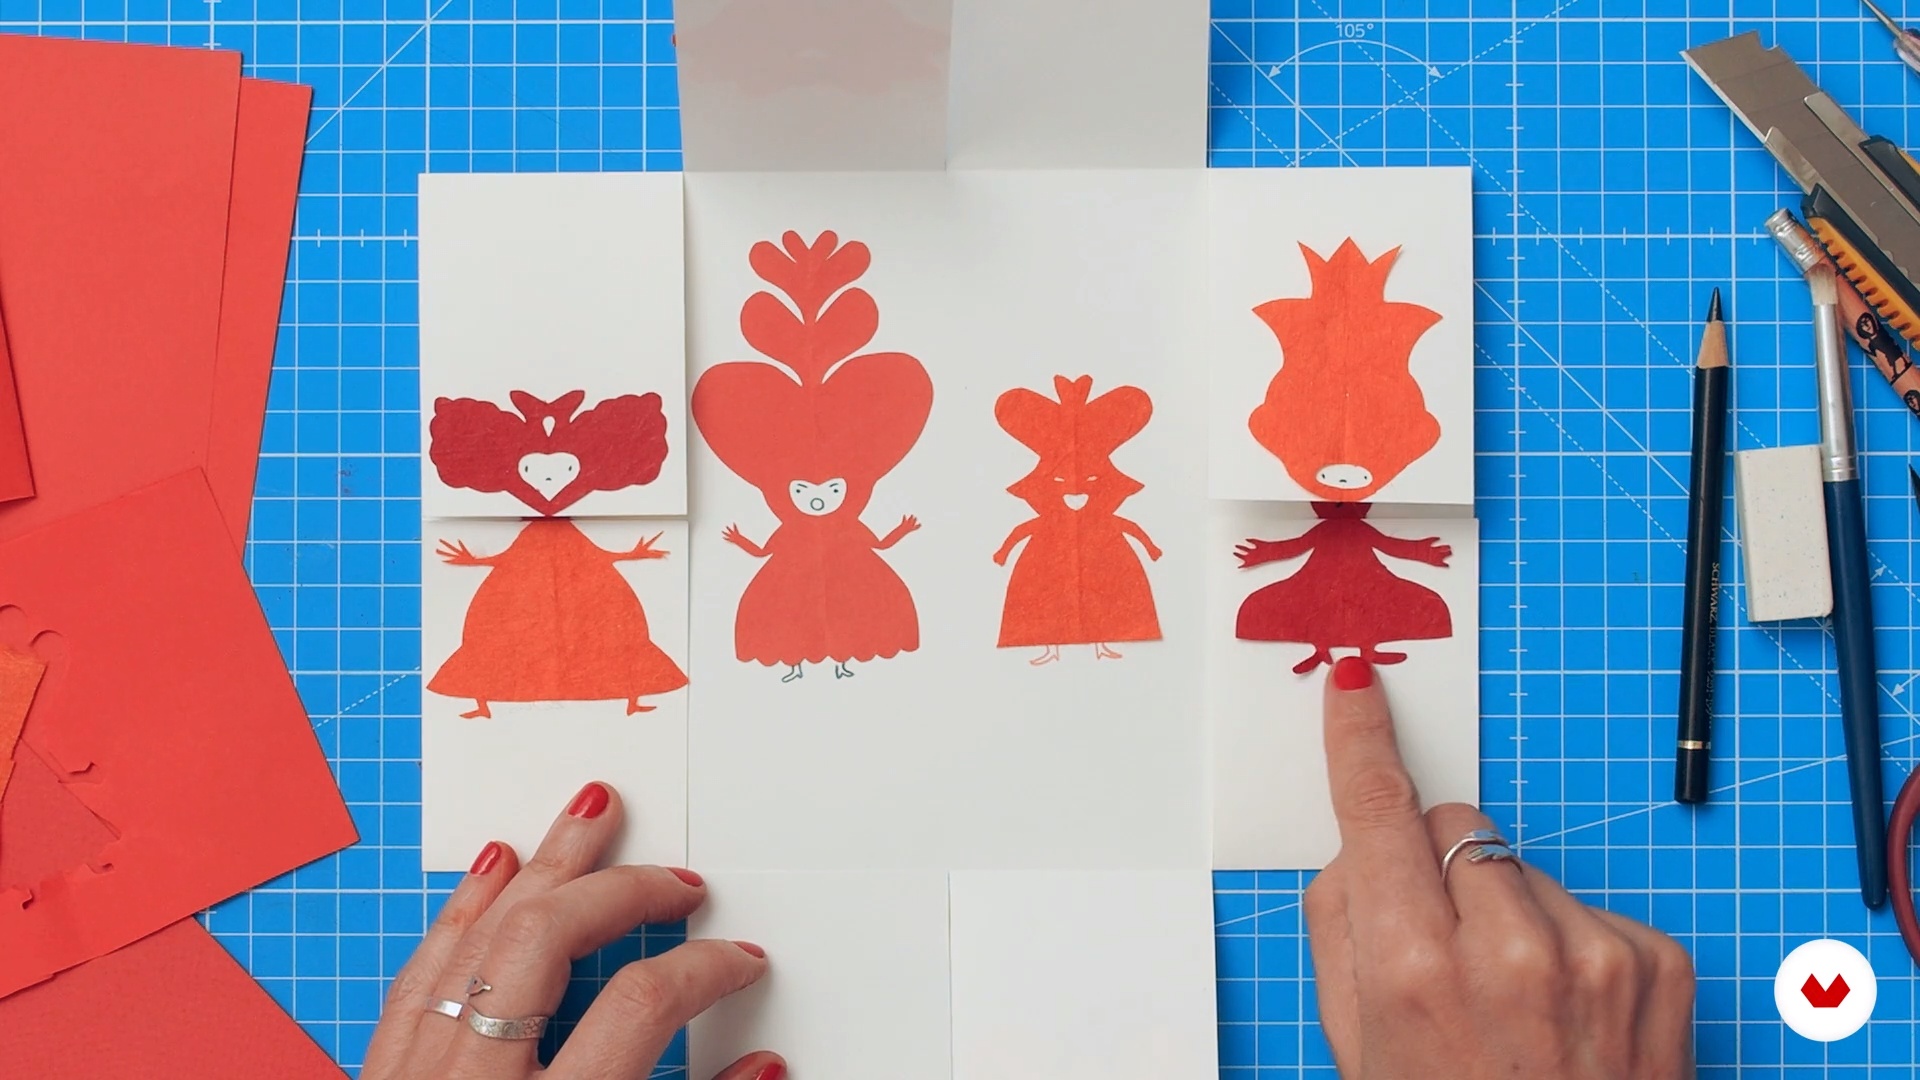
Harlequin Characters and Fanzine 1
I'll show you how to use the Harlequinade format to search for your characters.
15m
image
8
Harlequin Characters and Fanzine 2
You'll see a procedure similar to the one in the previous unit, but this time it will be to find another of the characters in the story.
9m
image
9
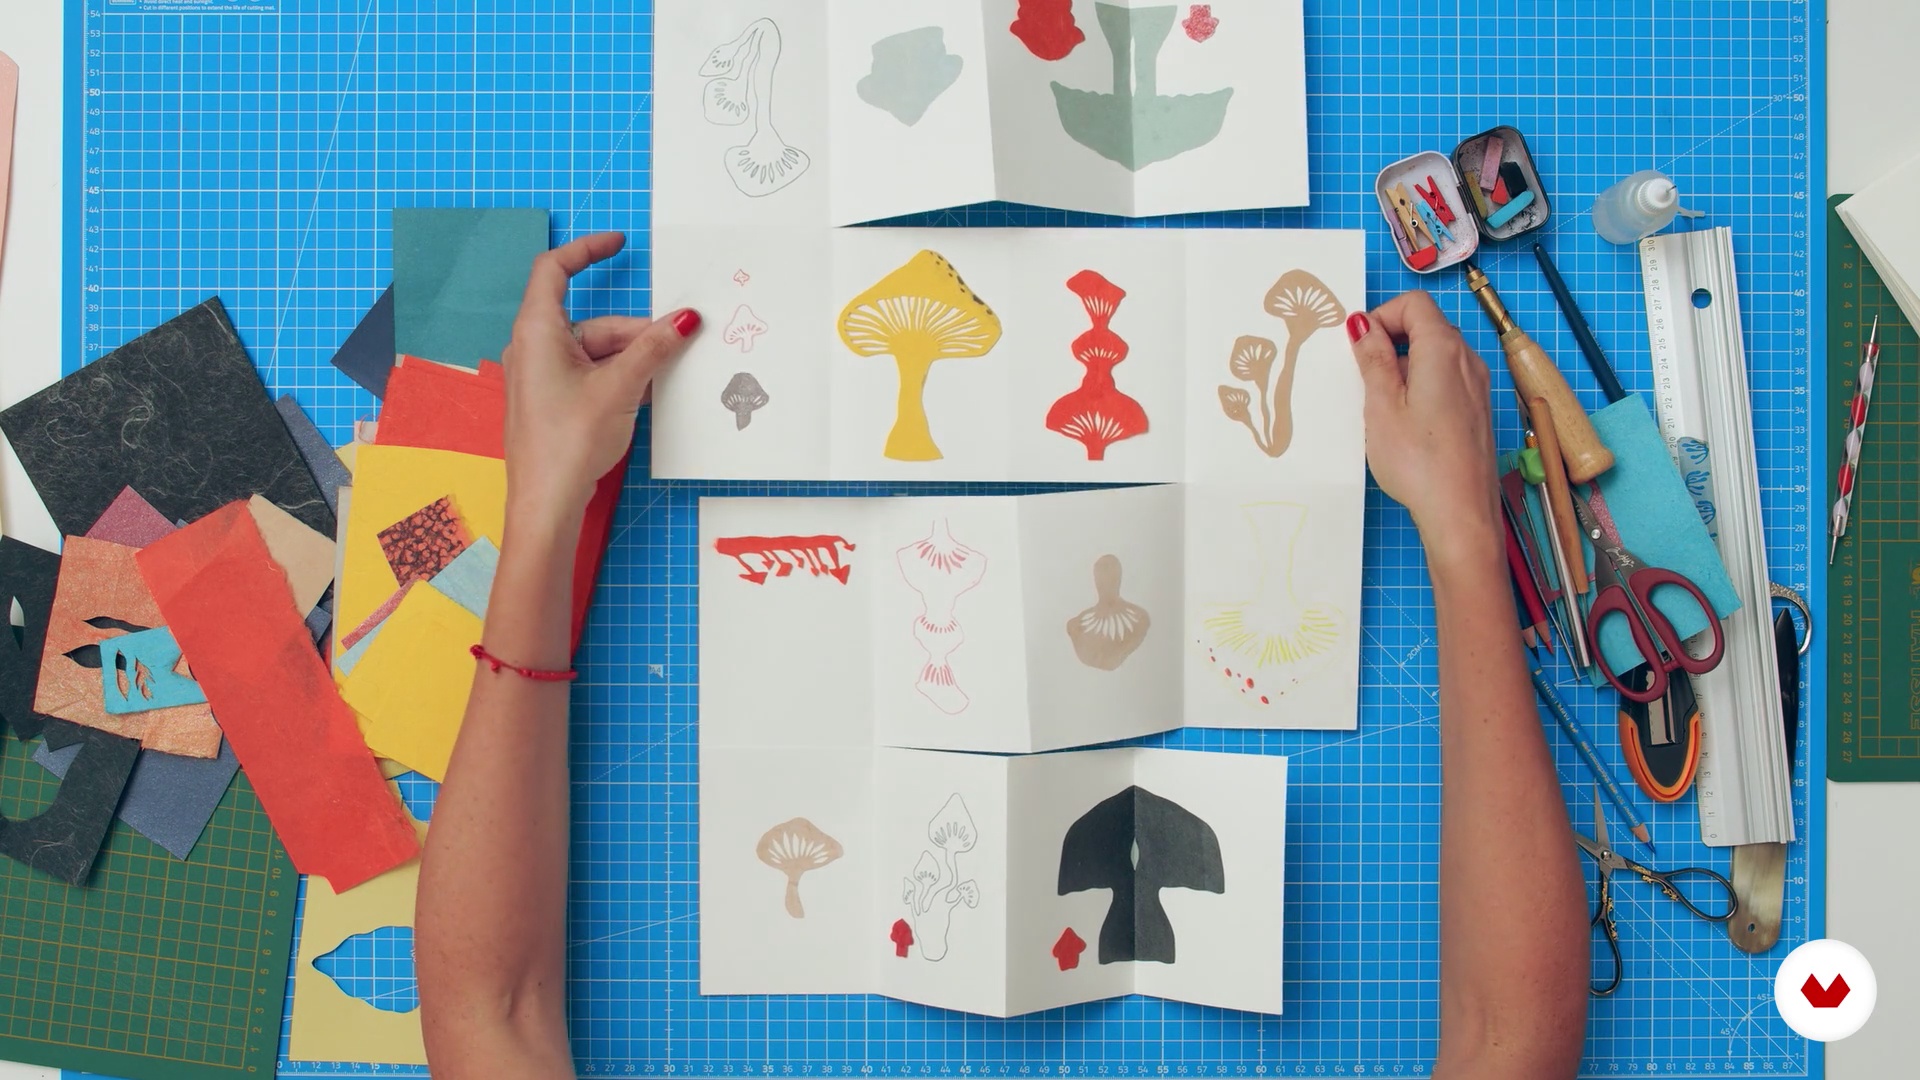
Environment or Scenery Elements 1
I'll teach you how to find the elements that give identity to the setting where the story takes place by exploring two fanzine formats.
11m
image
10
Environment or Scenery Elements 2
I'll show you how to create variants of the elements that will be part of the project.
12m
image
11
Combine Environment with Characters
You'll explore on a stage-like support that will allow you to move the pieces of your story around until you find the color, size, and climate relationships you like best.
15m
image
12
Choose Your Own Adventure
You've already created a ton of characters and elements of your setting, plus you've thought about colors, shapes, and how to create different atmospheres. Now, it's time to tell the story. You'll learn how to analyze the characteristics offered by the two carousel variants to determine which best captures the story you want to tell.
3m
image
13
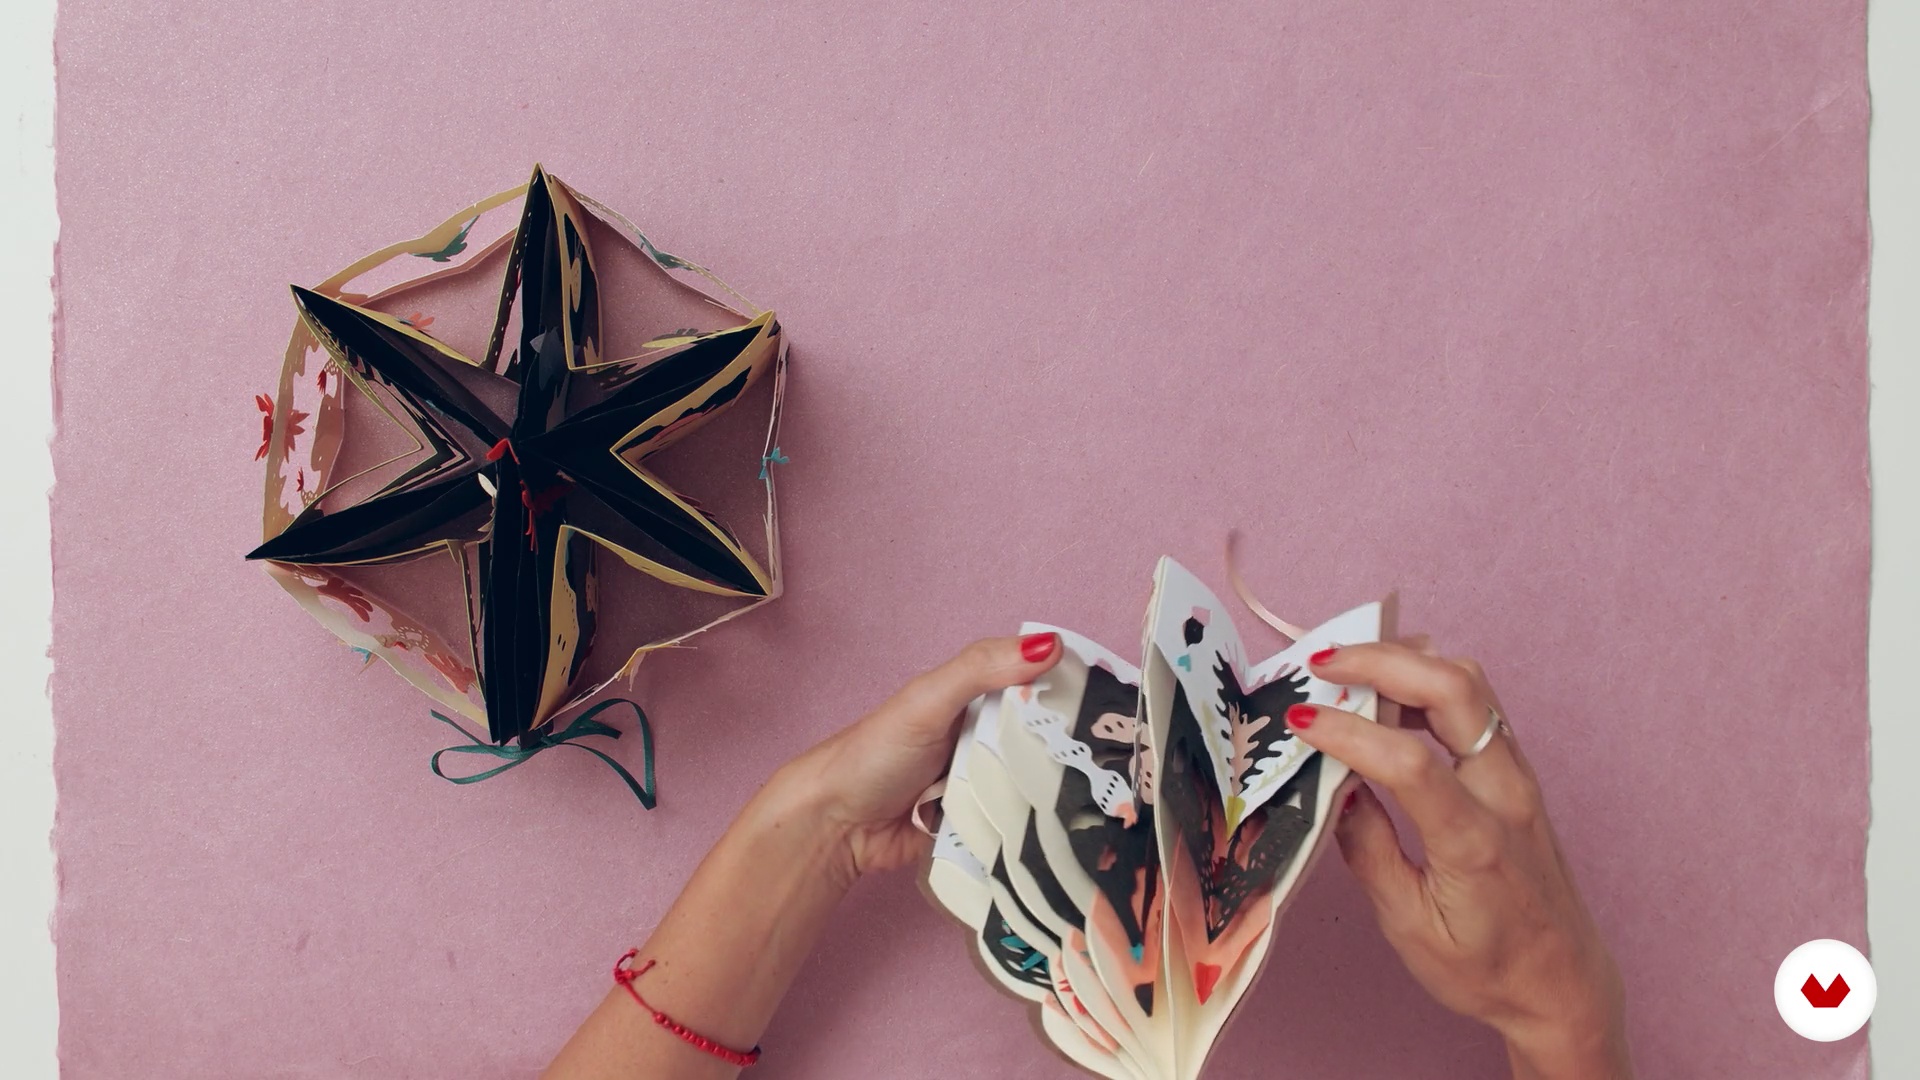
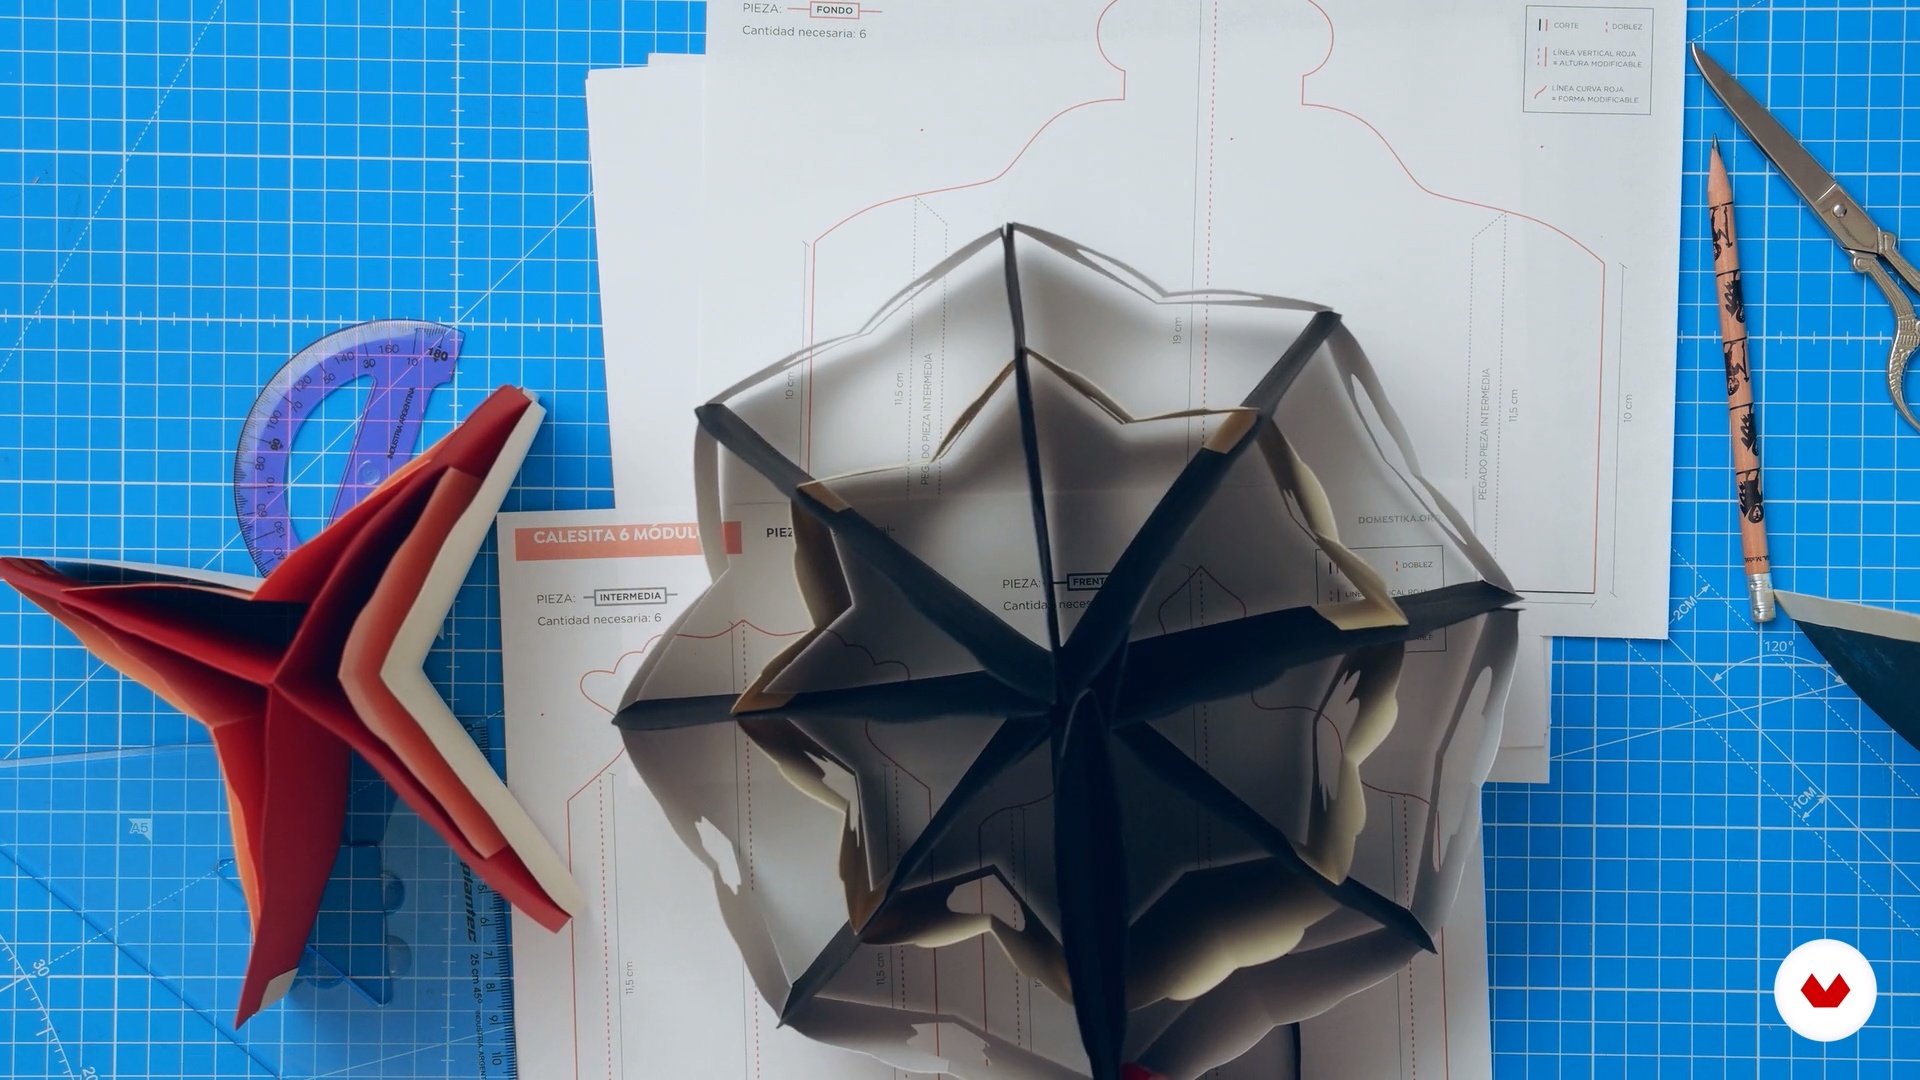
Modular Carousel
In this lesson, you'll learn the engineering process for building a modular carousel book. You'll determine the number of scenes you want to represent and what you need to do so.
8m
image
14
Illustrate the Carousel
You'll learn how to illustrate each segment of the diorama. I'll help you understand how images are conceived to compose multi-layered scenes.
17m
image
15
Let's Cut 1
You will see in detail the process of laying out each layer of the merry-go-round segments.
13m
image
16
Let's Cut 2
I'll show you how to glue the pieces you cut out for your merry-go-round.
15m
image
17
A Ride in a Carousel
You will see how each module and the entire merry-go-round are assembled.
19m
image
18
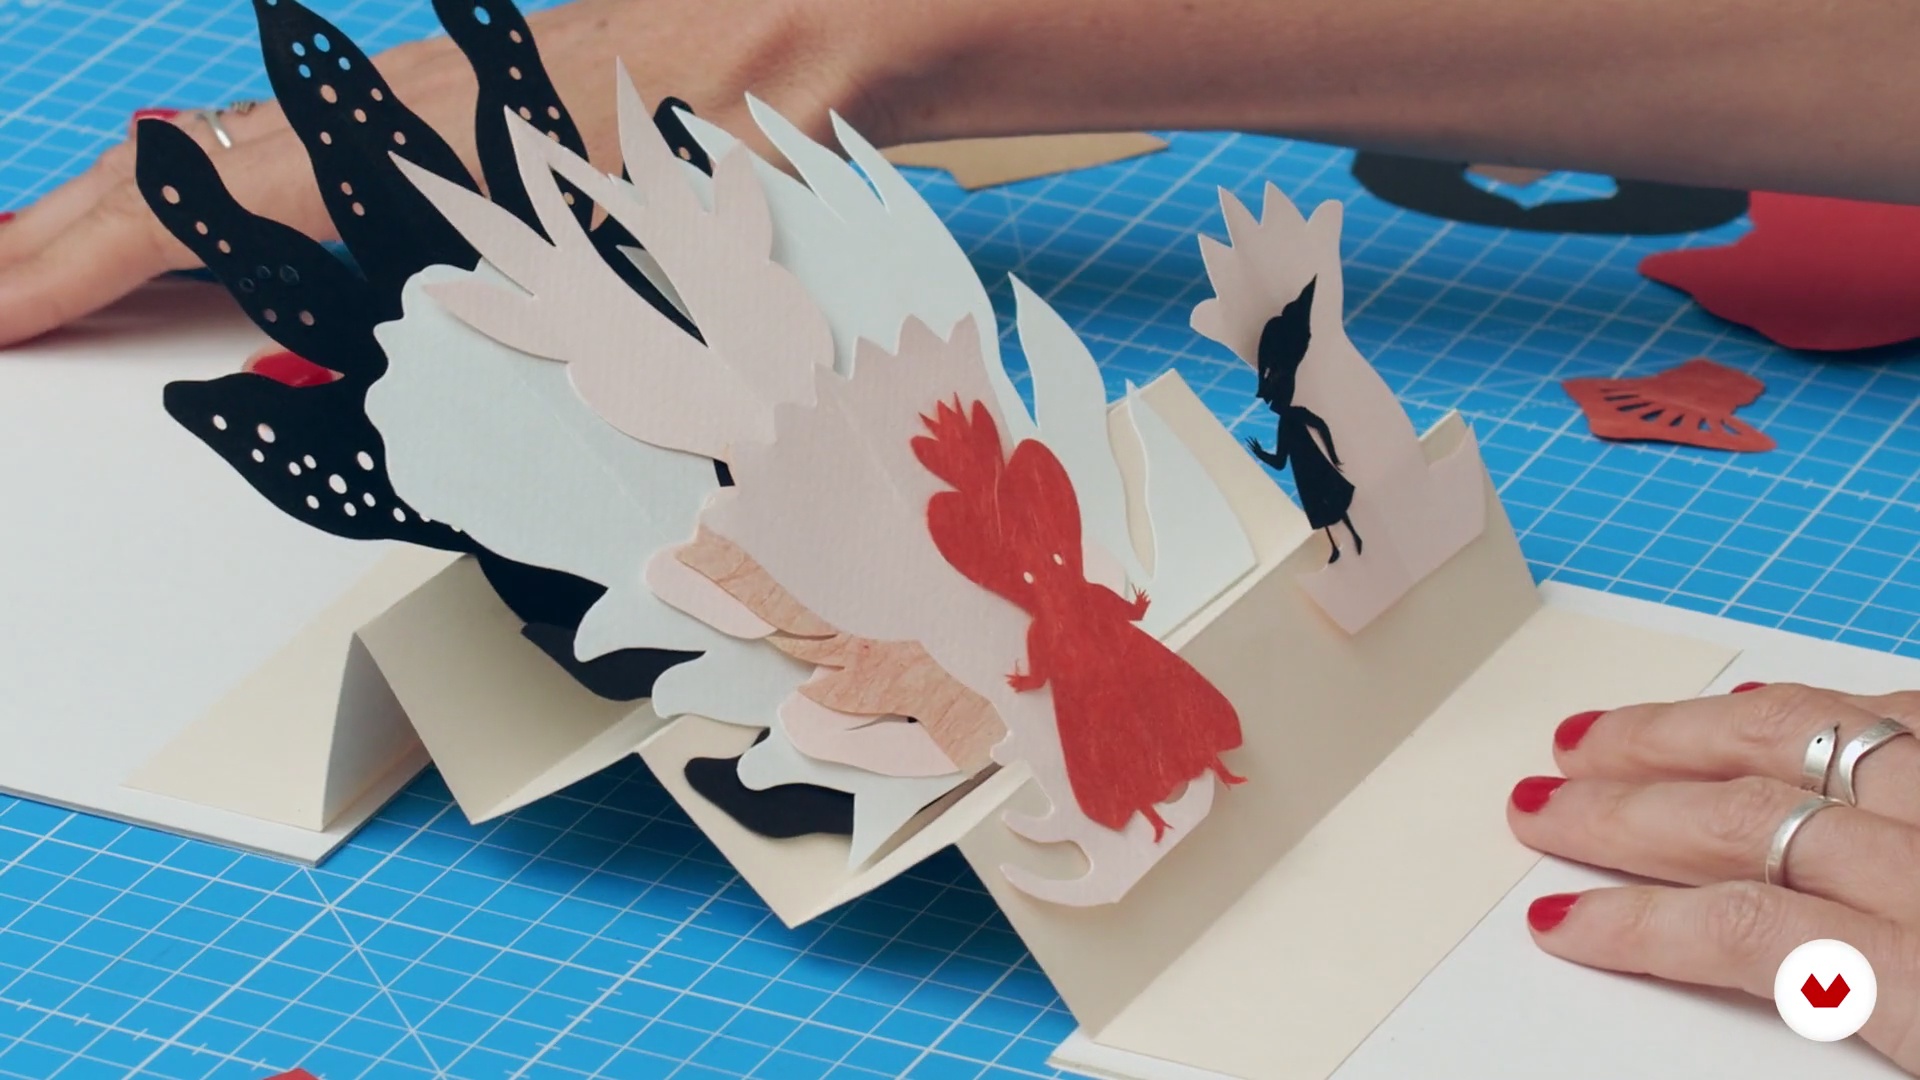
Pull-Out Carousel
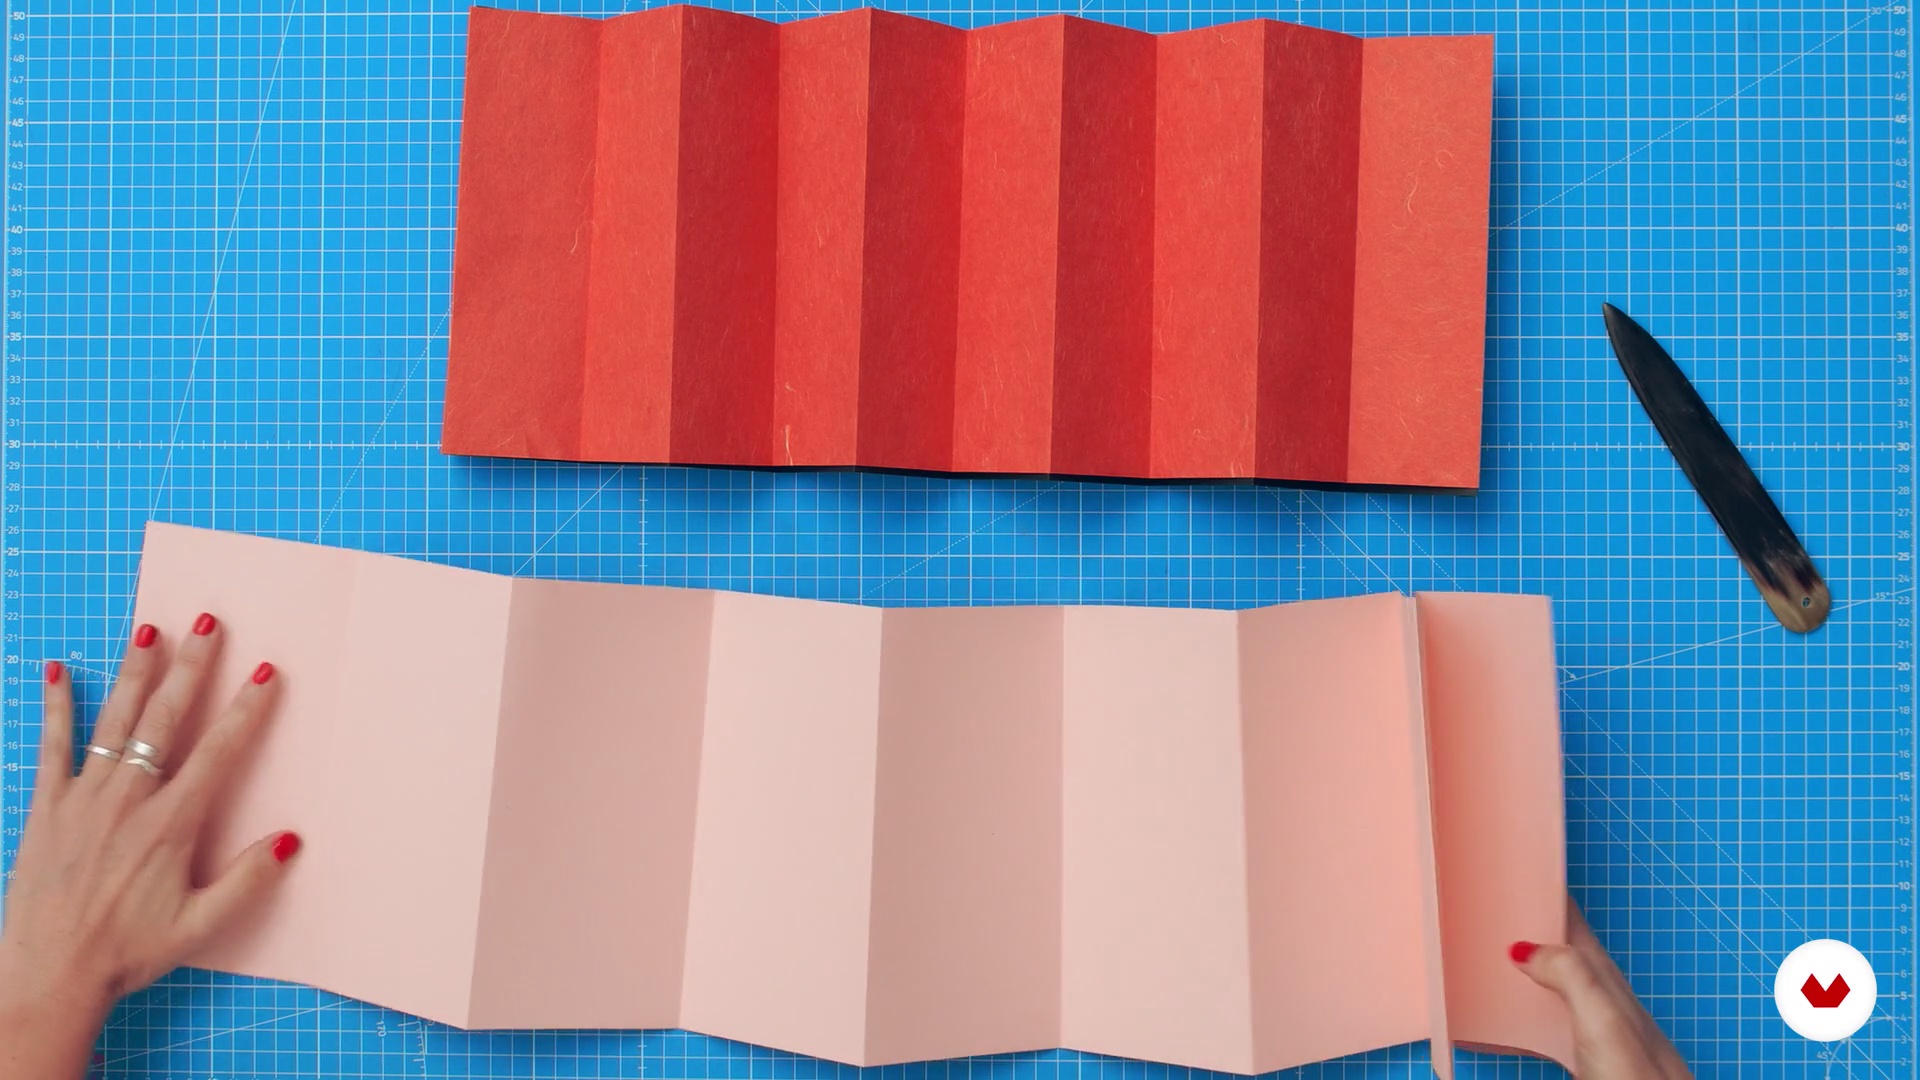
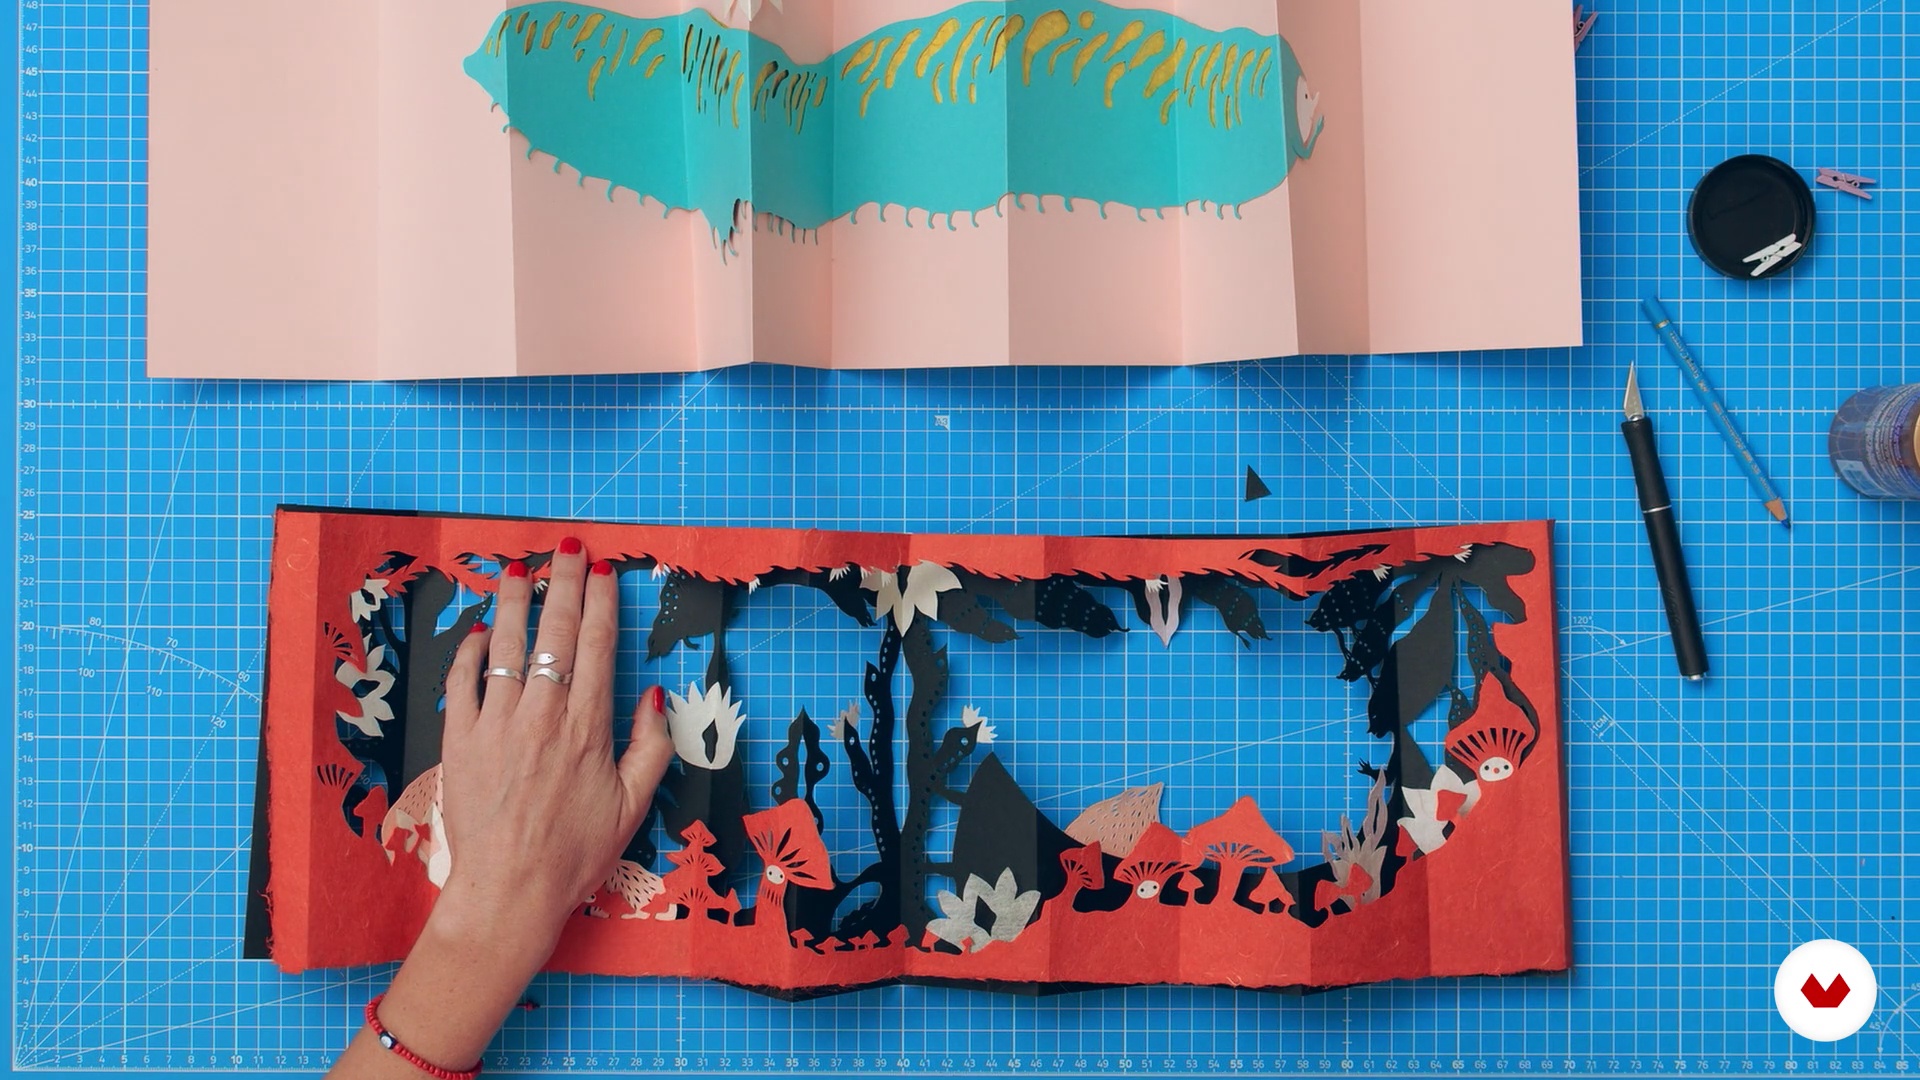
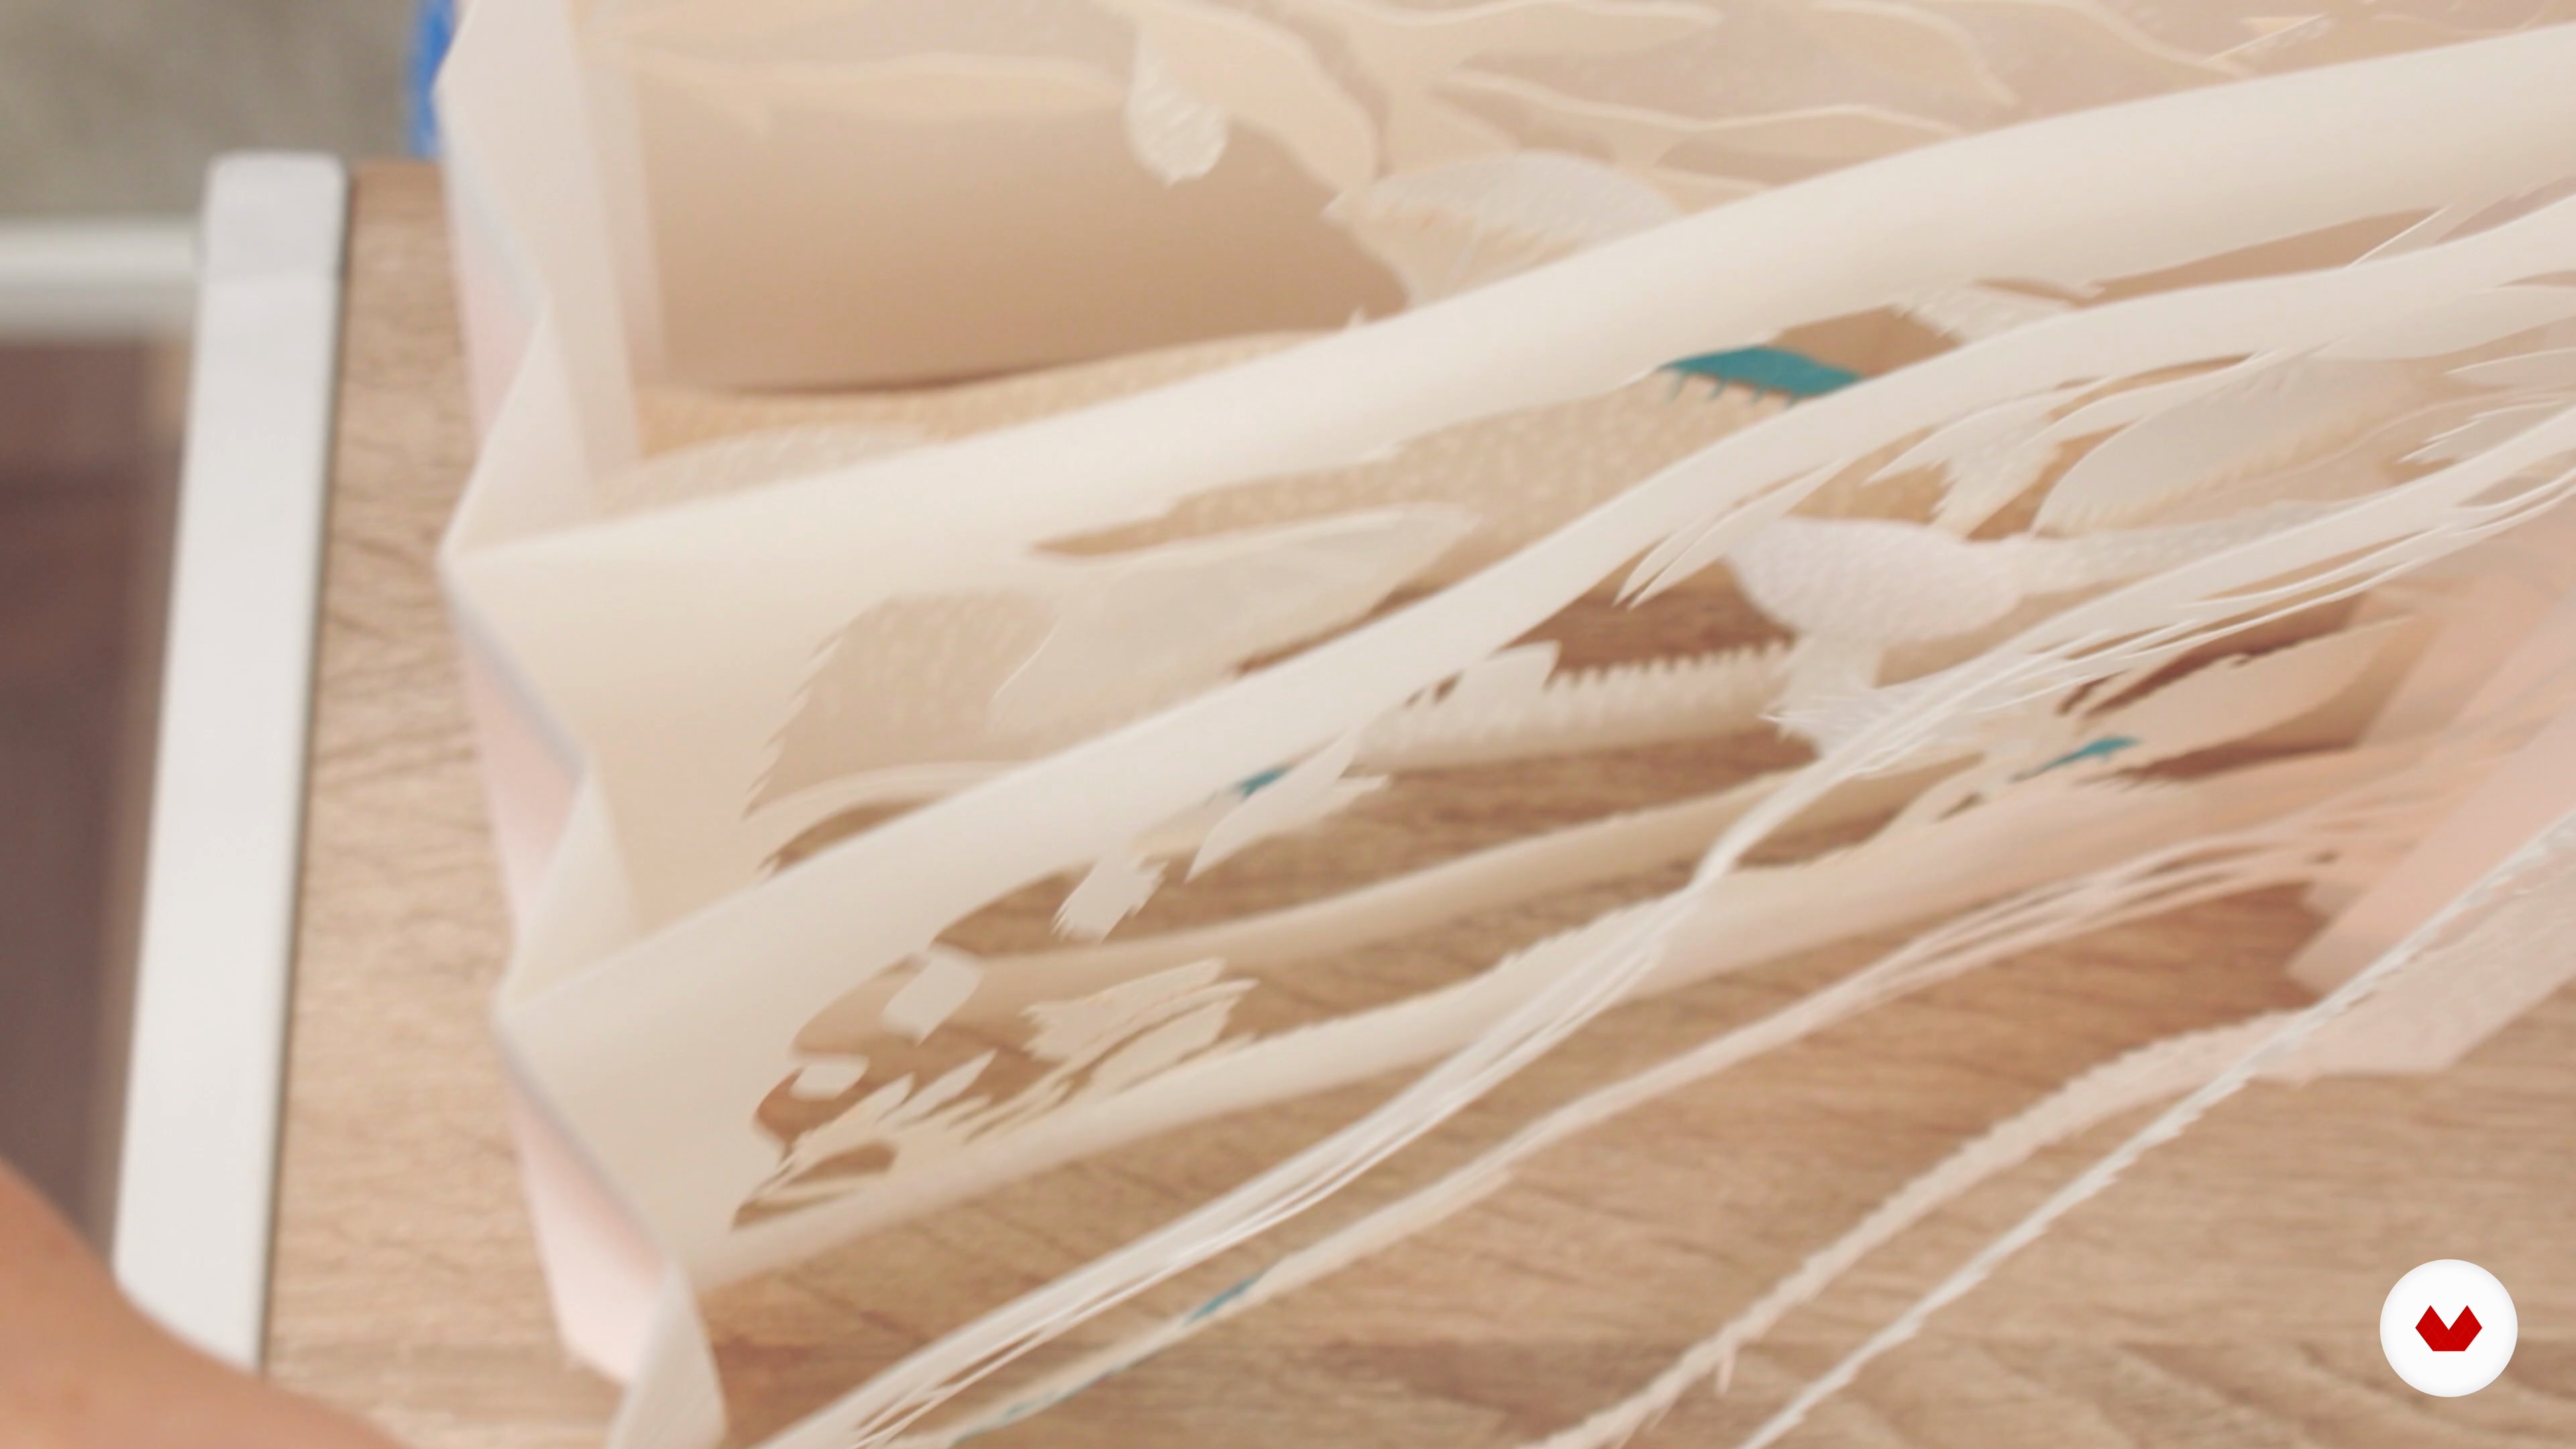
I'll show you how to build a fold-out merry-go-round book. In this model, the layers are made up of accordion-folded strips of paper that are gradually reduced to create air between them. This will enhance the sense of depth.
7m
image
19
Illustrate the drop-down carousel
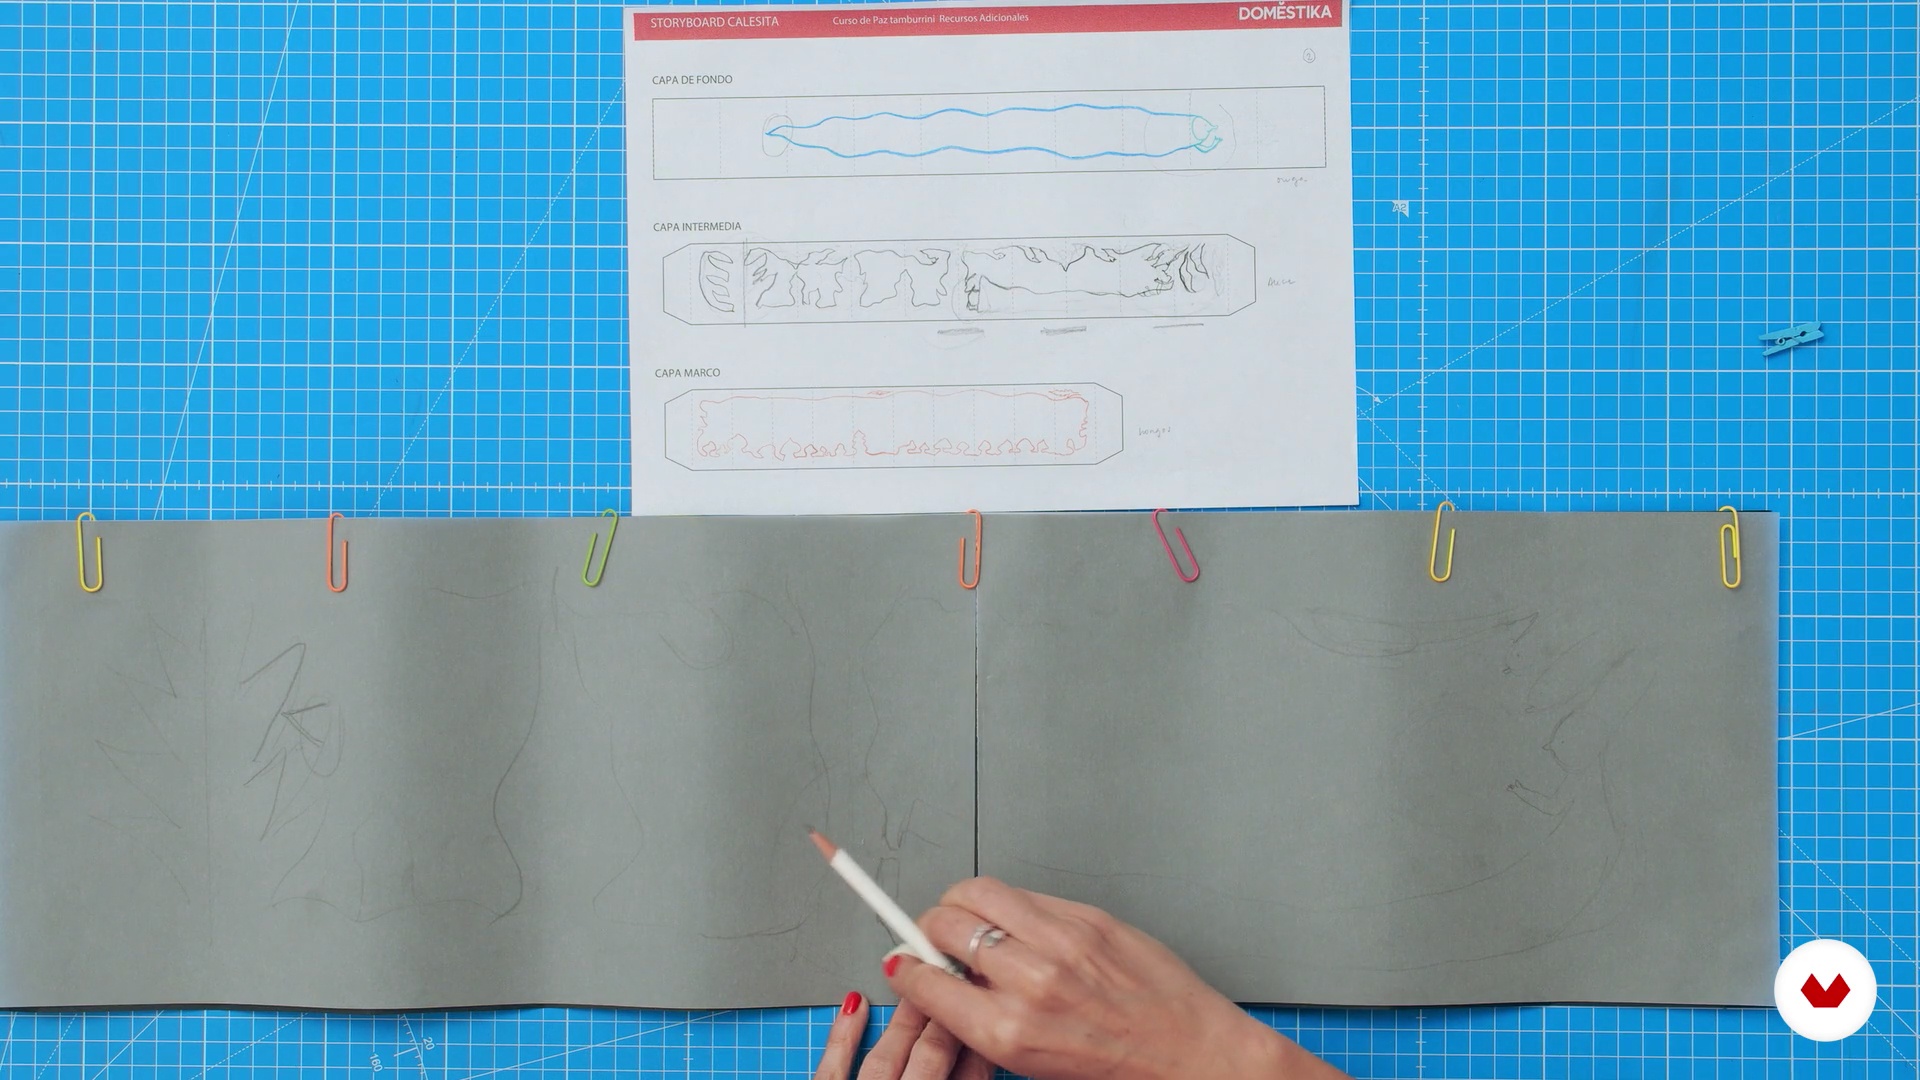
You'll learn how to illustrate accordion strips. I'll also explain how images are conceived to compose multi-layered scenes.
15m
image
20
Let's Pierce and Assamble the Carousel 1
I'll show you how to cut out the fold-out strips and show you a way to join all the pieces together to create the merry-go-round.
16m
image
21
Let's Pierce and Assamble the Carousel 2
You'll see all my openwork pieces, and I'll show you how to arrange them so they look their best. Finally, you'll see how to complete the final details of the merry-go-round.
17m
image
3
Materials and tools
In this lesson, I'll tell you which materials are essential for developing the papercut technique and which ones, while dispensable, can make your work easier.
15m
image
4
The papercut in the world
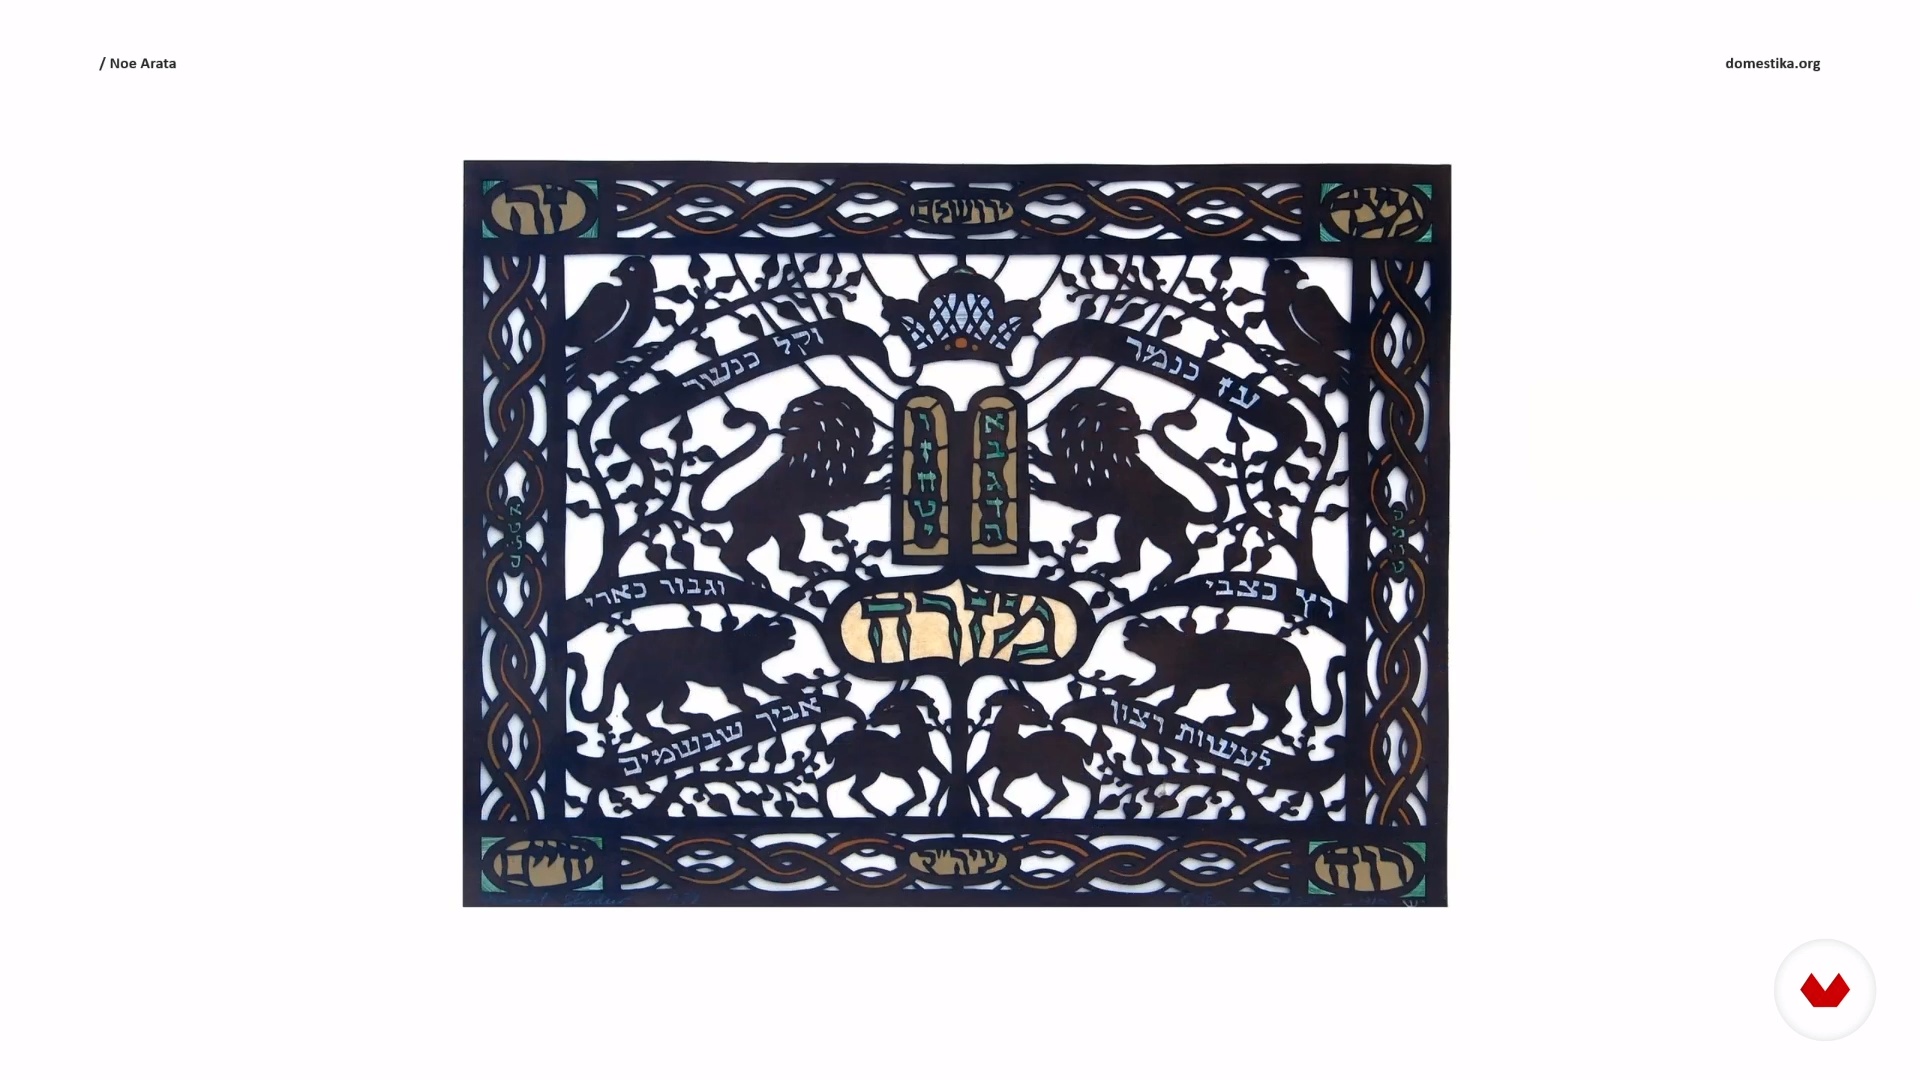
I'll tell you about some traditional papercut expressions from some parts of the world.
4m
image
5
The story
What can you do? What do you want to tell? What message do you want to share? Maybe you have a ton of ideas in your head that you want to bring to life, and choosing just one can be difficult. So, I'm going to tell you how I decide what I want to tell and how I choose to tell it.
10m
image
6
The layered scene
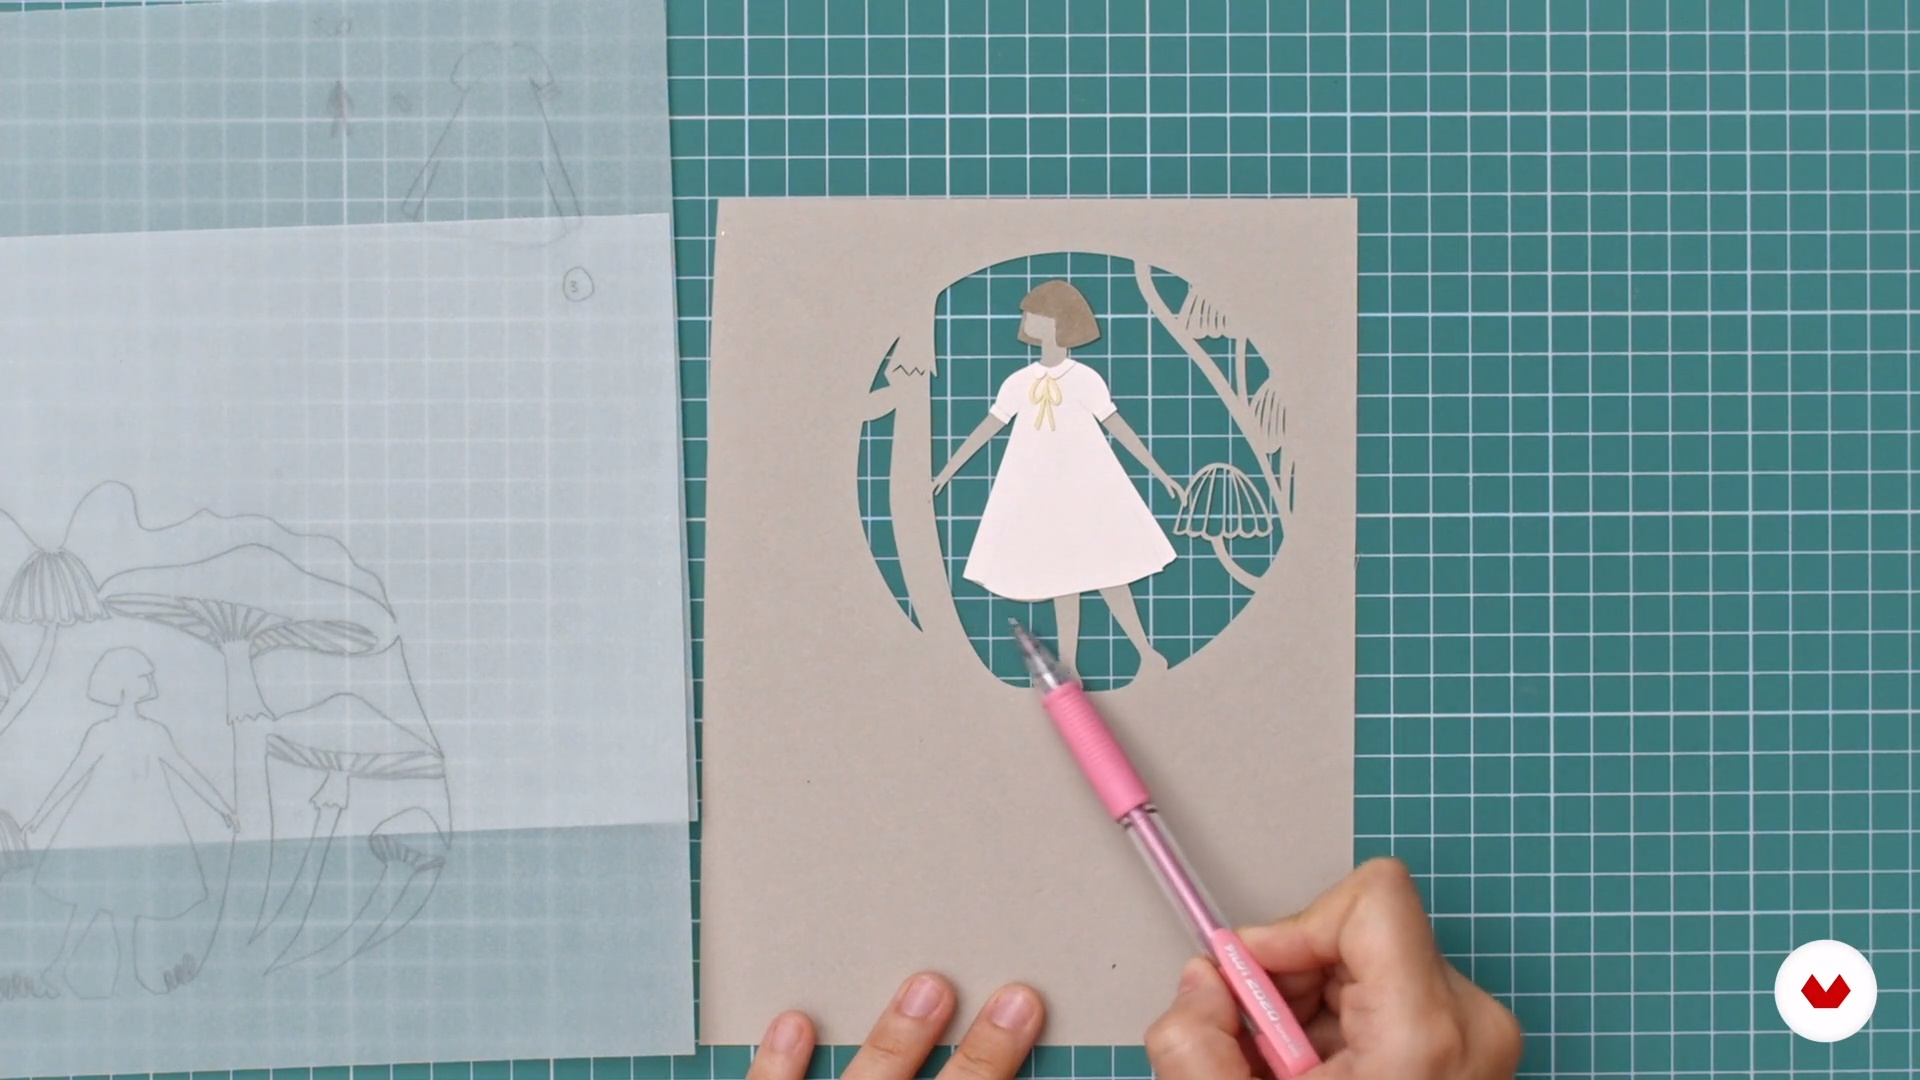
I'm going to show you what things I take into account when breaking down an image into different layers to generate a scene with depth.
12m
image
7
The language of papercut 1
I'll share several exercises with you that will help you understand the language of papercutting so you can then apply it to your final project.
14m
image
8
The language of papercut 2
It's very important that you know how to make cuts in different ways depending on their shape. I'll continue to teach you some detailed exercises so you can master the technique better.
15m
image
9
The final mold! 1
Now, I'll tell you how I finish defining the final mold using the resources learned in the previous lessons of this unit. So you can do the same with your own final project.
14m
image
10
The final mold! 2
You'll see how to finish the final mold. It's a time-consuming process, but it's worth it because even now it's important to pay attention to the details of your project.
16m
image
11
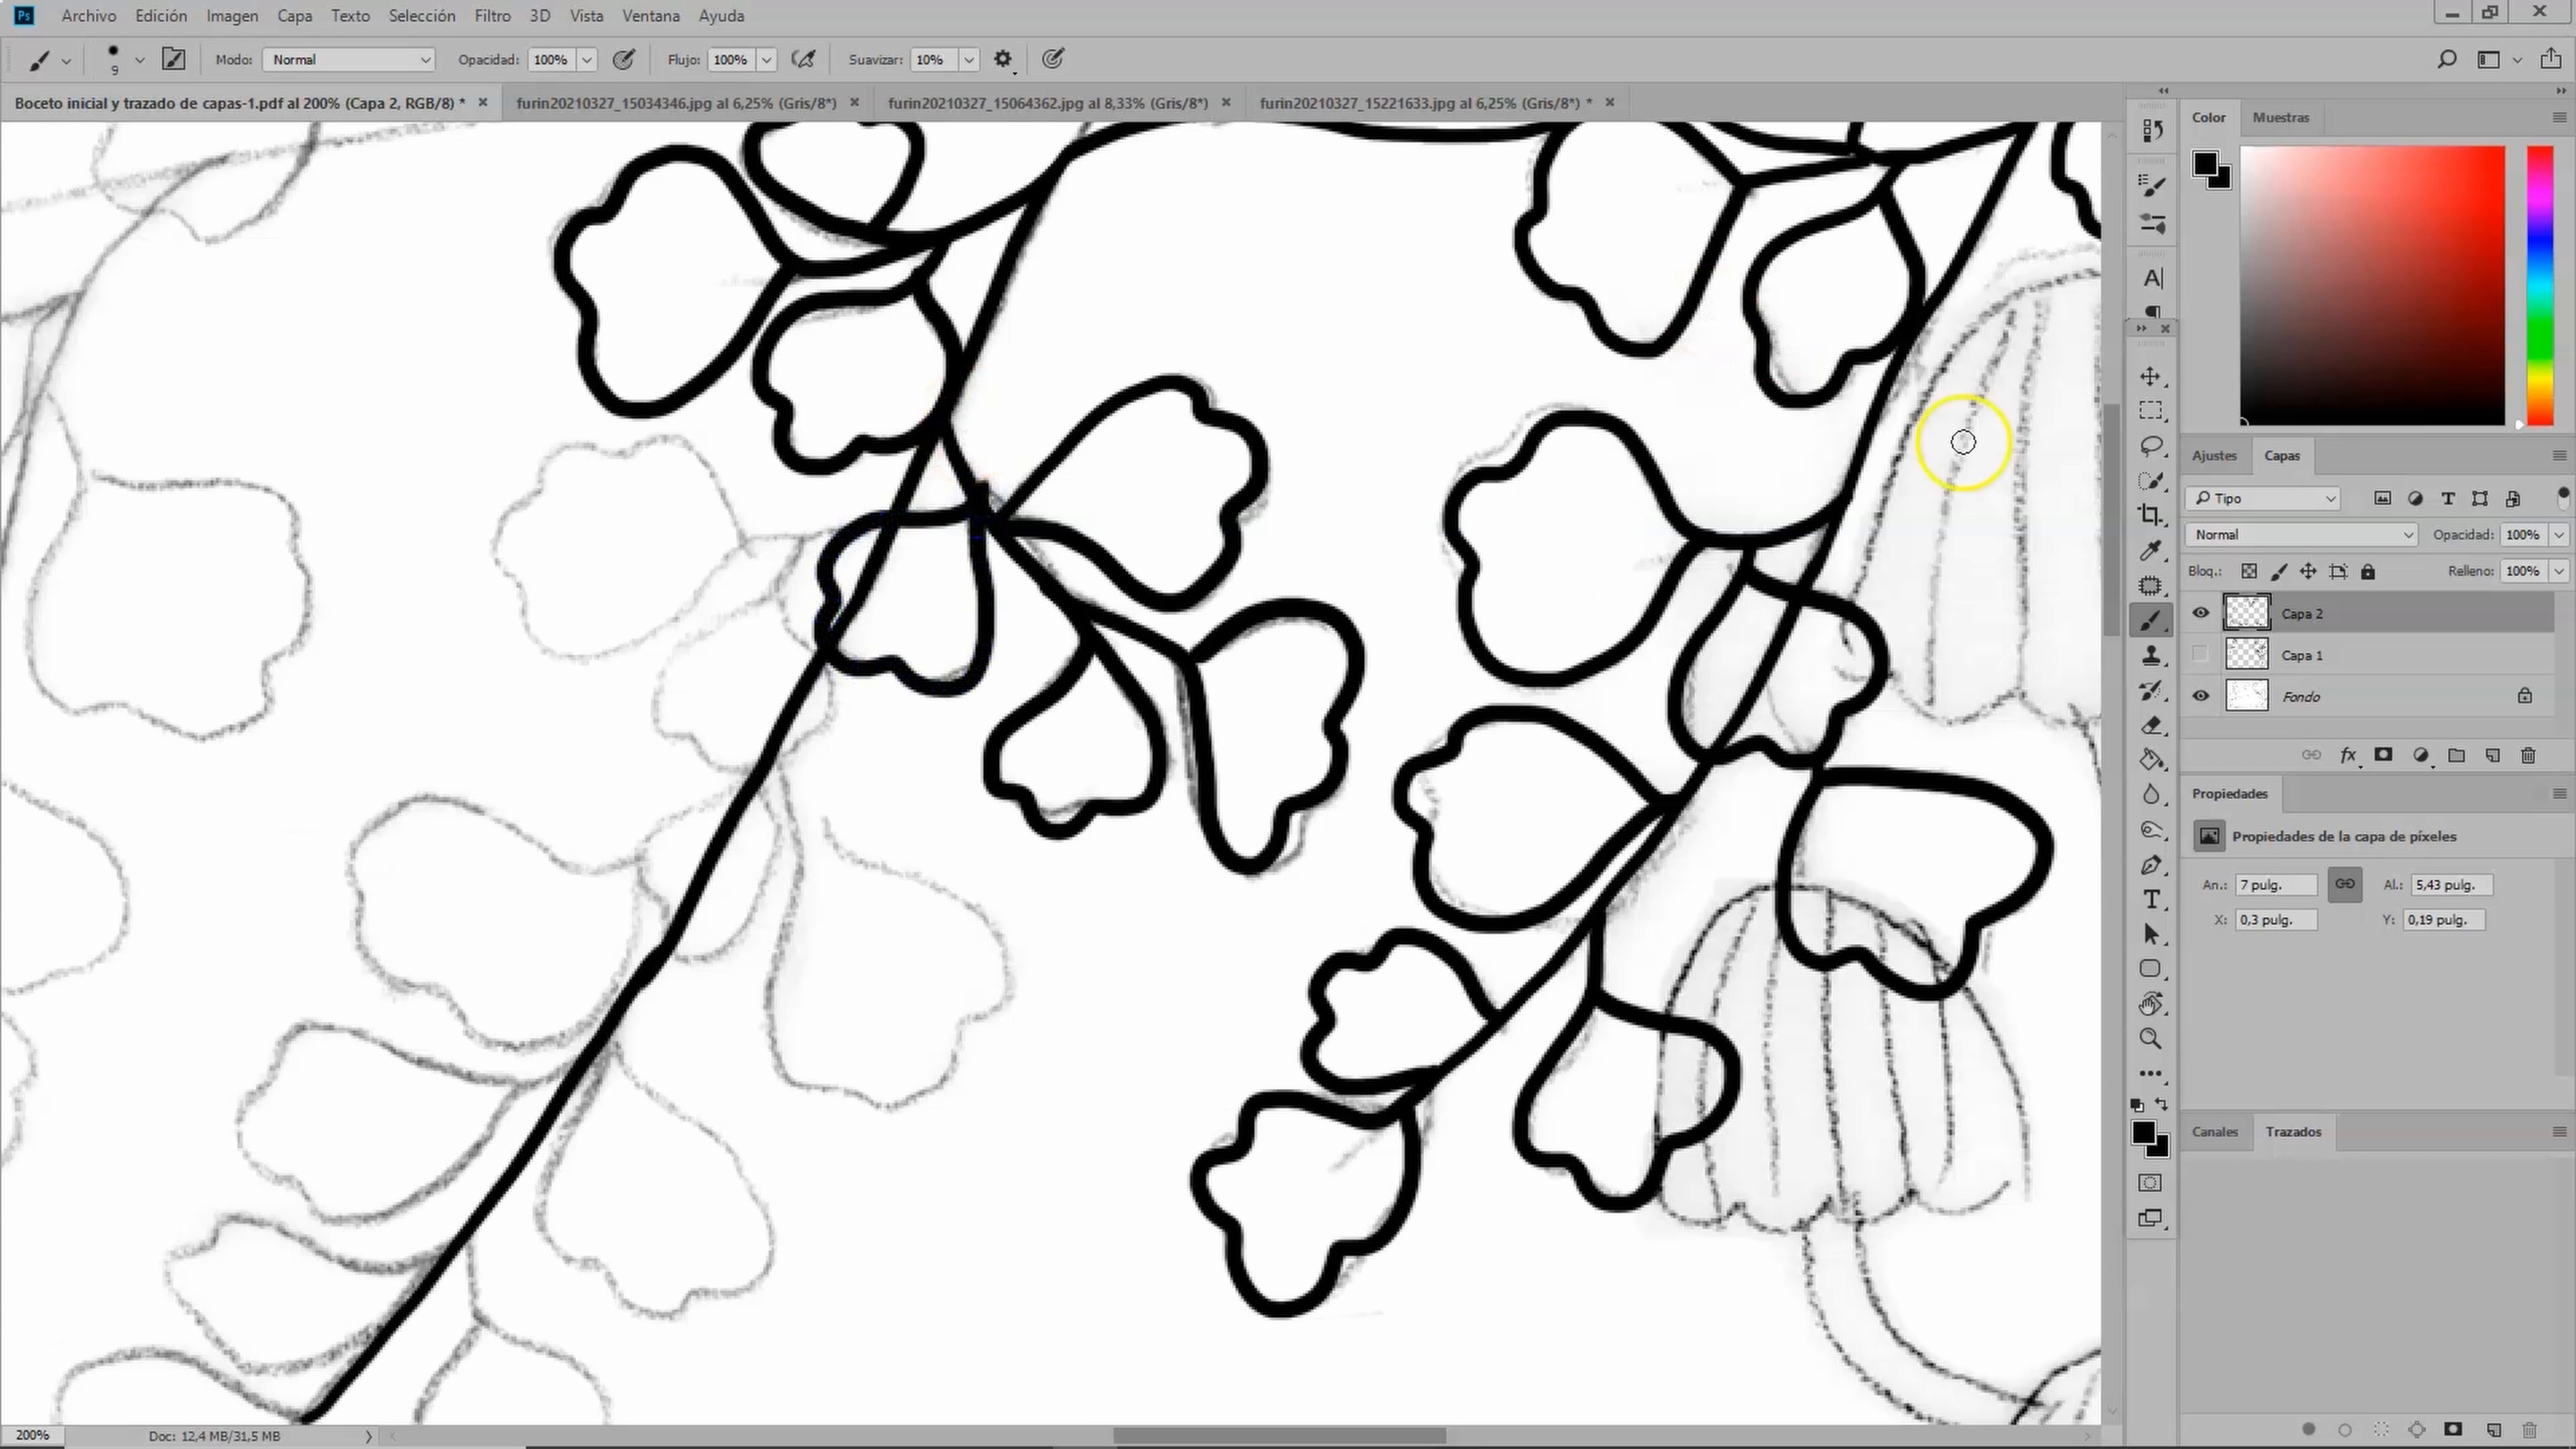
Transfer to cutting paper
In this lesson, I'll show you how to transfer the final patterns onto the paper on which the layers of the final project will be built.
17m
image
12
To Learn More: Layers to Mold
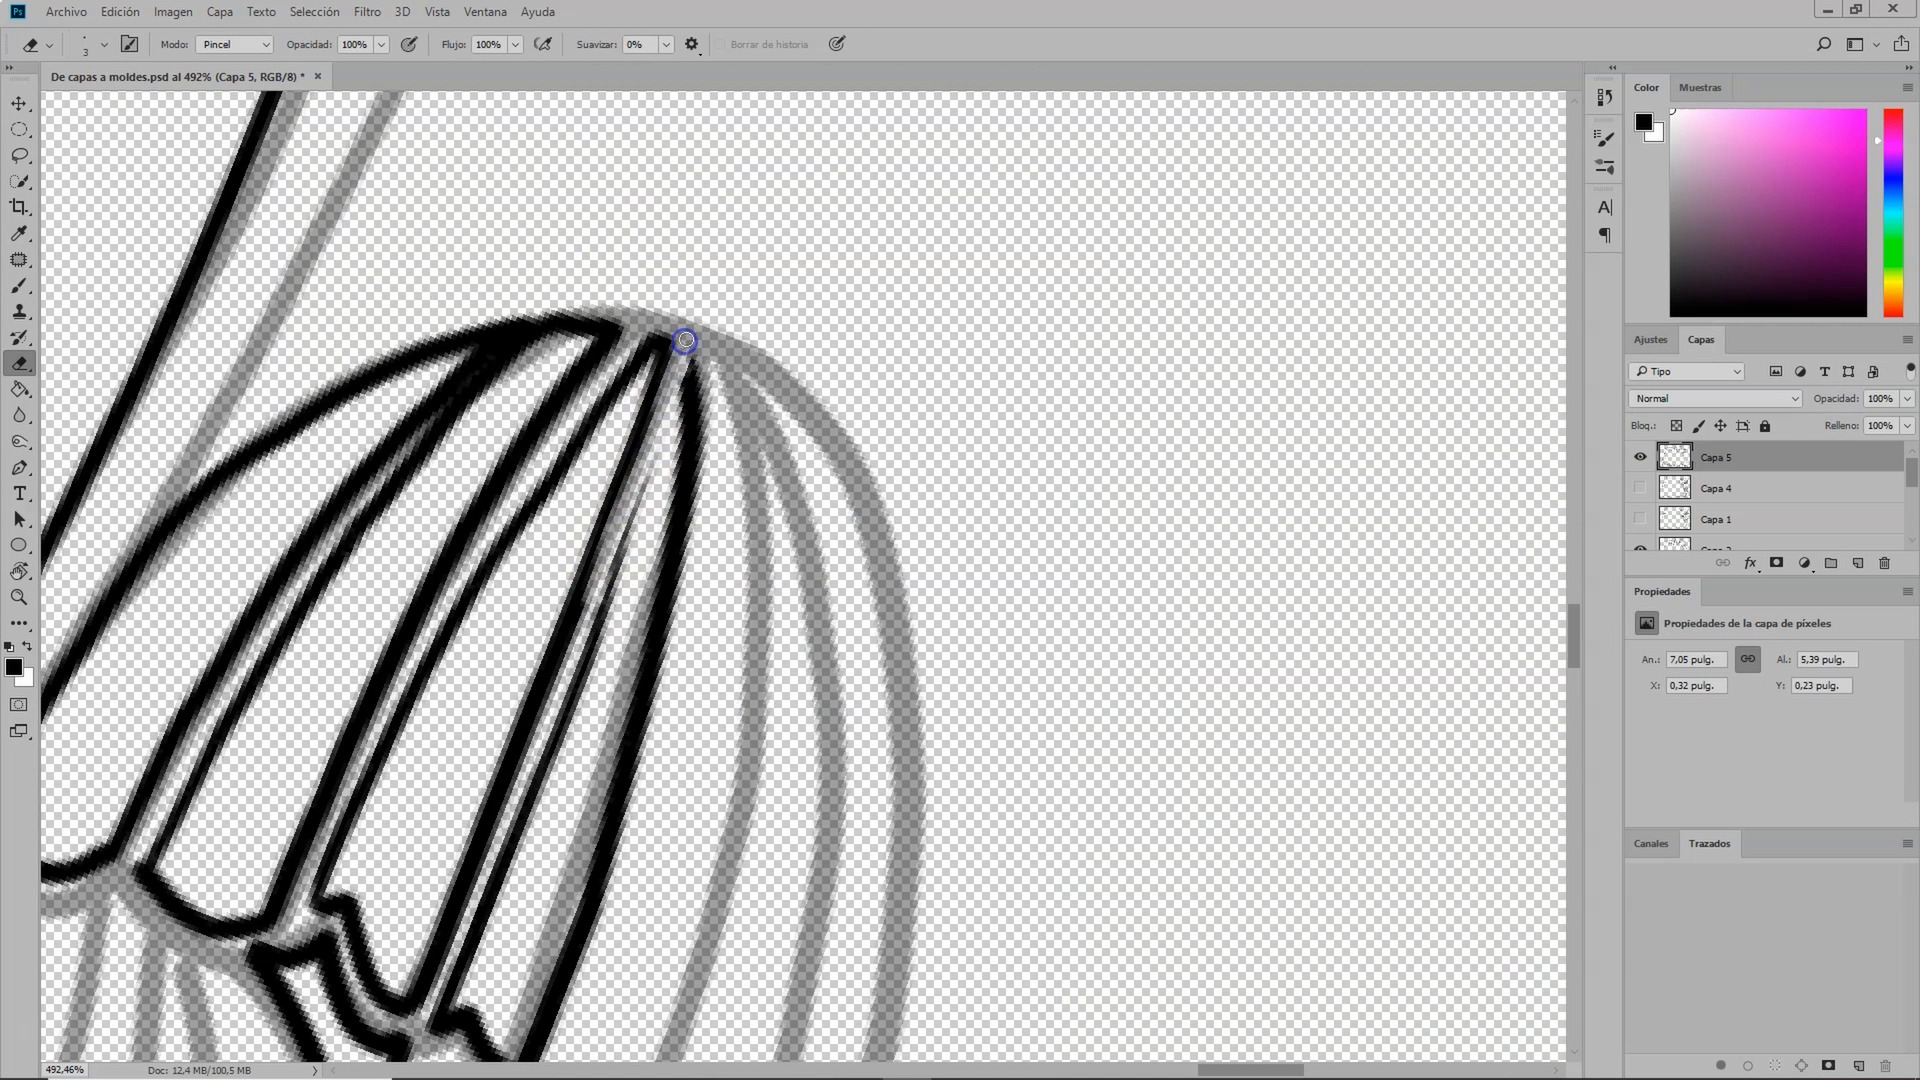
In this video, I show you another way to convert your layers into papercut templates using Photoshop and a graphics tablet. Remember, the options are endless! Choose the one you feel most comfortable working with.
28m
image
13
To Learn More: The Scene to Layers in Digital Format
In this video, I explain how to go from sketch to broken-down layers using Photoshop and a graphics tablet.
27m
image
14
Cutting technique: workspace and straight lines
In this lesson, I'll tell you about the features that make your workspace more comfortable when cutting. I'll also share the secrets to starting to cut straight lines and closed shapes.
19m
image
15
Cutting technique: curves
Now I'll explain the secrets to starting to cut open and closed curves. I'll also show you how to cut all the broken-down elements and how to glue them onto the openwork sheets.
18m
image
16
Cutting technique: extra elements and gluing
You'll see how to cut all the broken-down elements and I'll show you how to glue them onto the openwork sheets.
11m
image
17
Pop-up structure
The second most anticipated moment has arrived. You'll see how I build the folding structure on which the openwork layers will be mounted. Ready?
14m
image
18
External structure: Kamishibai 1
You'll see how I build the external structure inspired by Kamishibai boxes.
10m
image
19
External structure: Kamishibai 2
I'll finish teaching you how to put together this structure. This structure can help your work have a greater impact.
15m
image
20
Assembling the final piece
To start, I'll show you how to assemble all the pieces together to finish putting together the final folding scene.
19m
image
21
Alternative mounting methods
There's more than one way to do things. I'll show you a couple of definitive framing methods and tell you what to consider before having an openwork piece professionally framed.
17m
image
22
Possible applications of papercut pieces
What can you do with papercut art? The possibilities are more than you can imagine. I'll tell you about some of them and explain the different areas in which you can use this wonderful technique.
3m
  • 14 students
  • 81 lessons (16h 43m)
  • 104 additional resources (45 files)
  • Online and at your own pace
  • Audio: Spanish, English
  • Spanish · English · Portuguese · German · French · Italian · Polish · Dutch
  • Level: Beginner
  • Unlimited access forever

What is this course's project?

You'll create a three-dimensional illustration using layers of paper, cardboard, and wood, focused on a personal concept. You'll express depth and visual narrative through cutting, assemblage, and modeling techniques, combining materials to achieve a unique composition.

Who is this specialization for?

People with a passion for paper as an artistic medium, interested in papercraft techniques, three-dimensional design, and creating artistic compositions with paper and cardboard. This specialization is ideal for those seeking to explore their creativity in contemporary art.

Requirements and materials

No extensive prior knowledge is required. You'll need paper, cardboard, cutting tools, glue, and paint. A basic background in drawing is also helpful to facilitate the creation of compositions and explore the creative possibilities of papercraft.

Select to get to know your teachers in this specialization course
Read more ↓

What to expect from this specialization course

  • Learn at your own pace

    Enjoy learning from home without a set schedule and with an easy-to-follow method. You set your own pace.

  • Learn from the best professionals

    Learn valuable methods and techniques explained by top experts in the creative sector.

  • Meet expert teachers

    Each expert teaches what they do best, with clear guidelines, true passion, and professional insight in every lesson.

  • Certificates
    Plus

    If you're a Plus member, get a custom certificate for every specialization course. Share it on your portfolio, social media, or wherever you like.

  • Get front-row seats

    Videos of the highest quality, so you don't miss a single detail. With unlimited access, you can watch them as many times as you need to perfect your technique.

  • Share knowledge and ideas

    Ask questions, request feedback, or offer solutions. Share your learning experience with other students in the community who are as passionate about creativity as you are.

  • Connect with a global creative community

    The community is home to millions of people from around the world who are curious and passionate about exploring and expressing their creativity.

  • Watch professionally produced courses

    Domestika curates its teacher roster and produces every course in-house to ensure a high-quality online learning experience.


FAQs

Domestika's specialization courses are online classes that provide you with the tools and skills you need to complete a specific project. Every step of the project combines video lessons with complementary instructional material, so you can learn by doing. Domestika's specializations also allow you to share your own projects with other students, creating a dynamic course community.

All specialization courses are 100% online, so once they're published, specialization courses start and finish whenever you want. You set the pace of the class. You can go back to review what interests you most and skip what you already know, ask questions, answer questions, share your projects, and more.

The specialization courses are divided into different modules. Each one includes lessons, informational text, tasks, and practice exercises to help you carry out your project step by step, with additional complementary resources and downloads. You'll also have access to an exclusive forum where you can interact with other students, as well as share your work and your final project, creating a community around the specialization course.

You can redeem the specialization course you received by accessing the redeeming page and entering your gift code.

If you're a Plus member, when you complete a course you've purchased, you'll instantly get your personalized certificate. You can see all your certificates in the Certificates section of your profile. You can download your certificates as PDFs and share the link online. Learn more about certificates.
Papercraft Specialization: Techniques for Three-Dimensional Designs.  course by Domestika

Papercraft Specialization: Techniques for Three-Dimensional Designs

A specialization by multiple teachers
Berkeley, United States.
Joined April 2002
  • 14 students