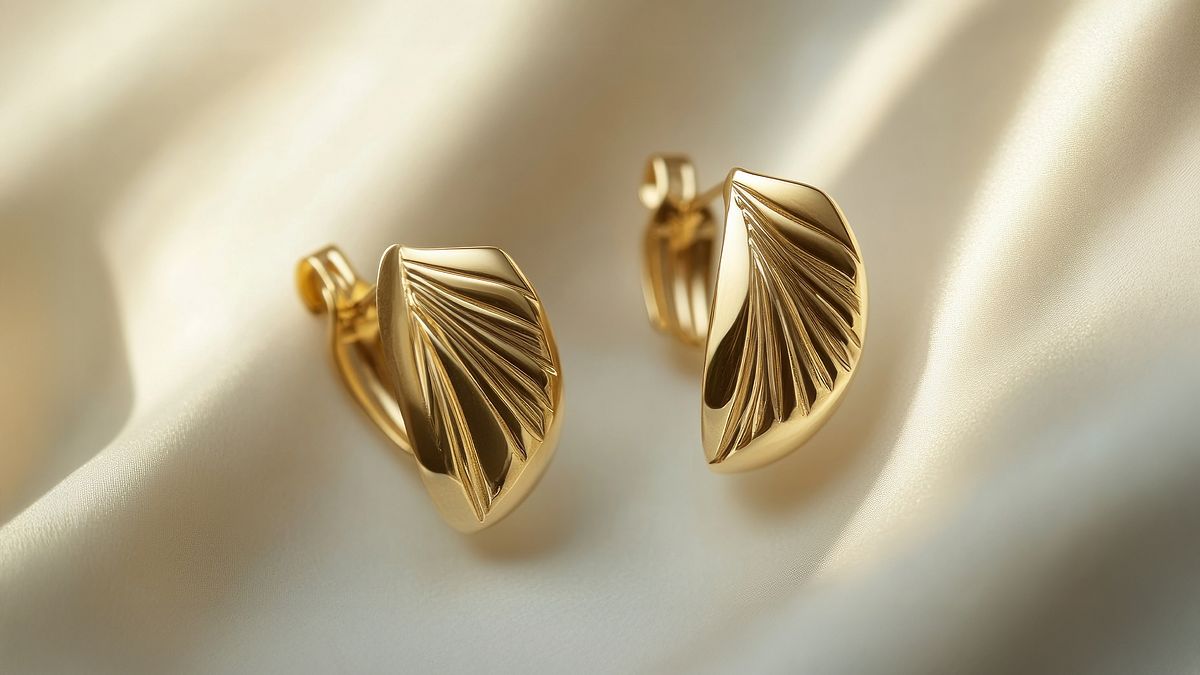

Explore metal jewelry techniques, from cut to finishes, to create unique and original custom pieces
Discover the fascinating world of jewelry through a series of techniques that will allow you to create unique and personalized pieces. Explore everything from design to metal jewelry making, using tools and techniques such as cutting, filing, soldering, and finishing. Plus, learn to shape and intertwine wire to create jewelry with organic and elegant shapes. Master the basic knots of macramé and combine them with beads and natural stones for a bohemian touch. With Maike Siegel, Maria Rosua, Fatto, Maria Constanza Bielsa, Vattea, Roxana Pardo, and Fibra Bohemia, you'll learn to merge creativity and technique.
Delve into the art of stone setting to secure and embellish your creations. Experiment with pigments and patinas on metal, achieving unique finishes through combinations of color and texture. Explore jewelry design with recycled beads and fabrics, applying textile manipulation techniques for innovative results. This tour will allow you to develop a personal style, combining traditional methods with experimental techniques. An opportunity for those who wish to innovate in the world of handcrafted jewelry, guided by experts in each technique.
What will you learn in this specialization?
 1
1Introduction
To begin, we'll discuss jewelry as a narrative art form with historical roots and a passion for craftsmanship. You'll explore intuitive processes, repurpose textiles, and use symbolism to create expressive pieces that connect personal identity with current issues.
2m
 2
2Influences / Vattea
In this lesson, we'll show you what inspires us and some of the inspirations we use to design our pieces.
8m
 3
3Inspiration and intuition / Roxana Pardo
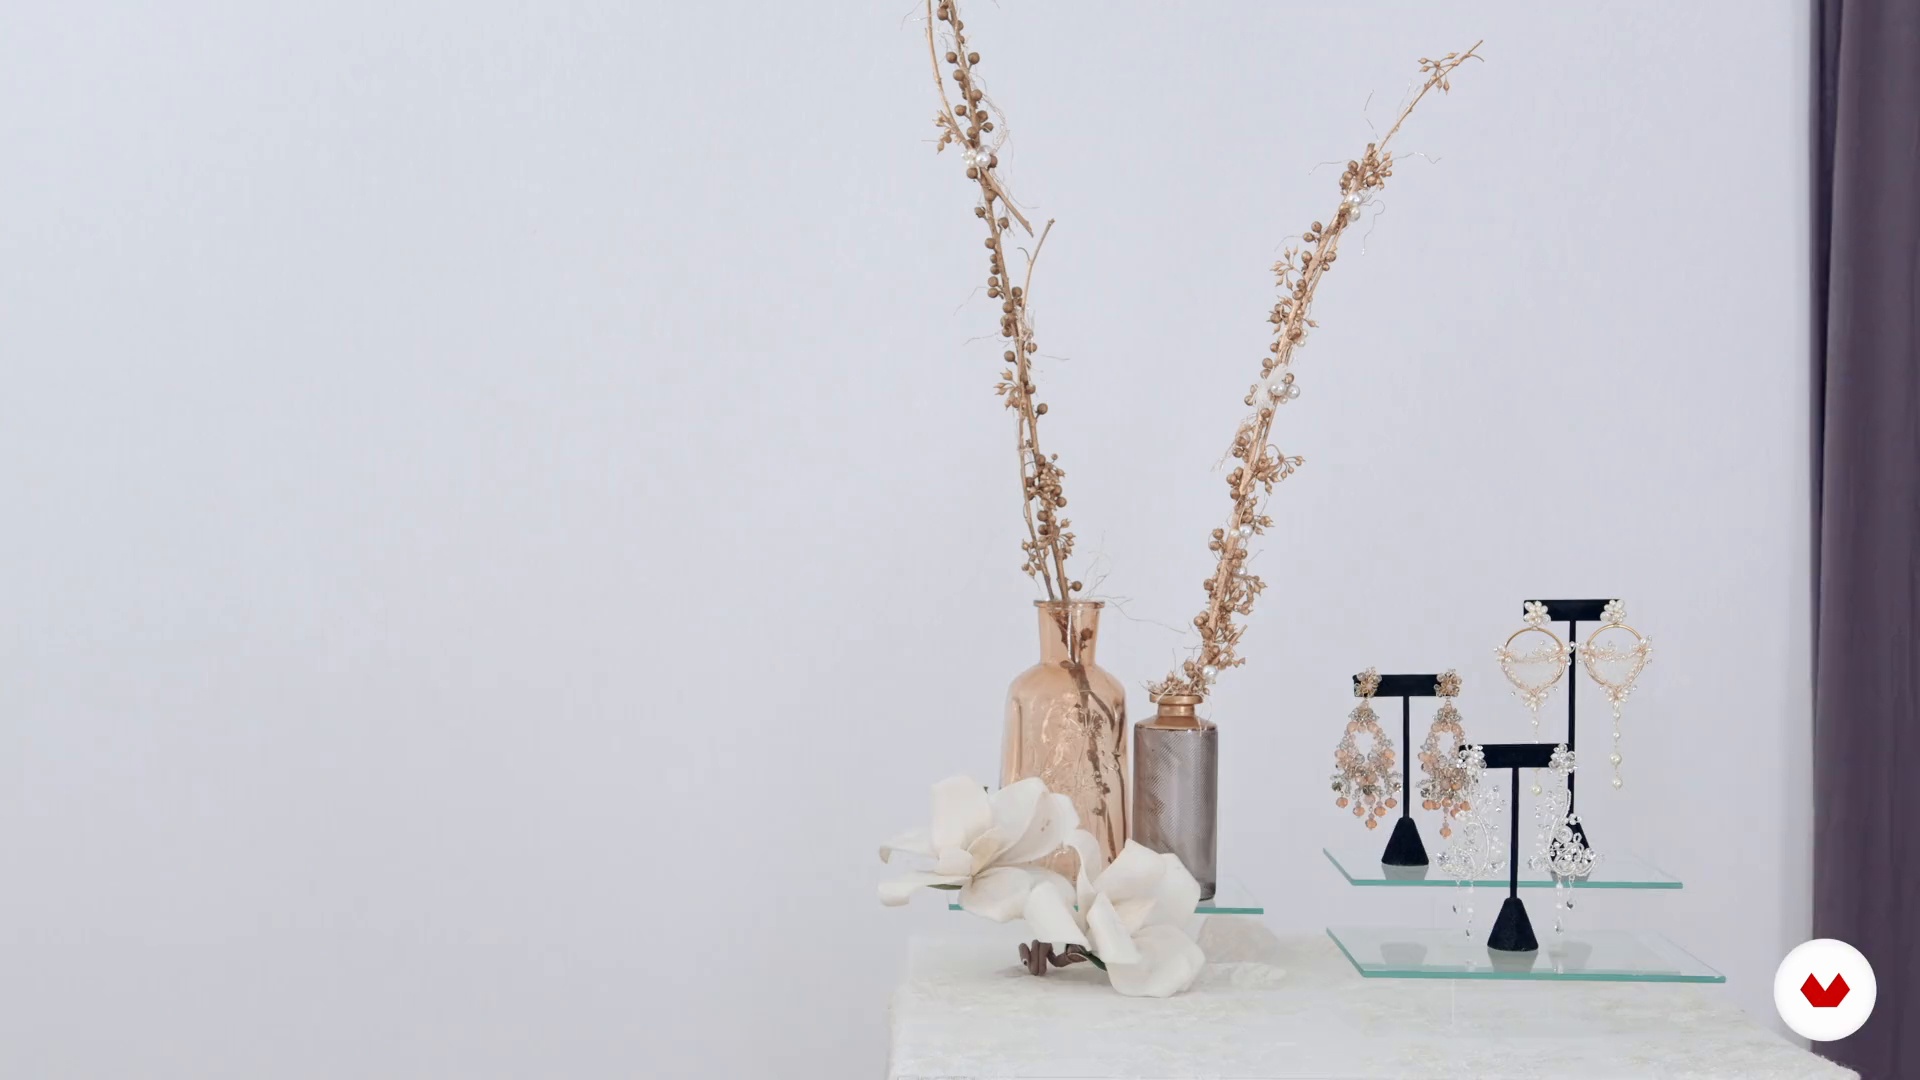
In this lesson, I want to share with you the influences that led me to create my brand 24 years ago. Everything can be a source of inspiration; I invite you to identify what drives your creativity.
1m
 4
4Influences / Fibra Bohemia
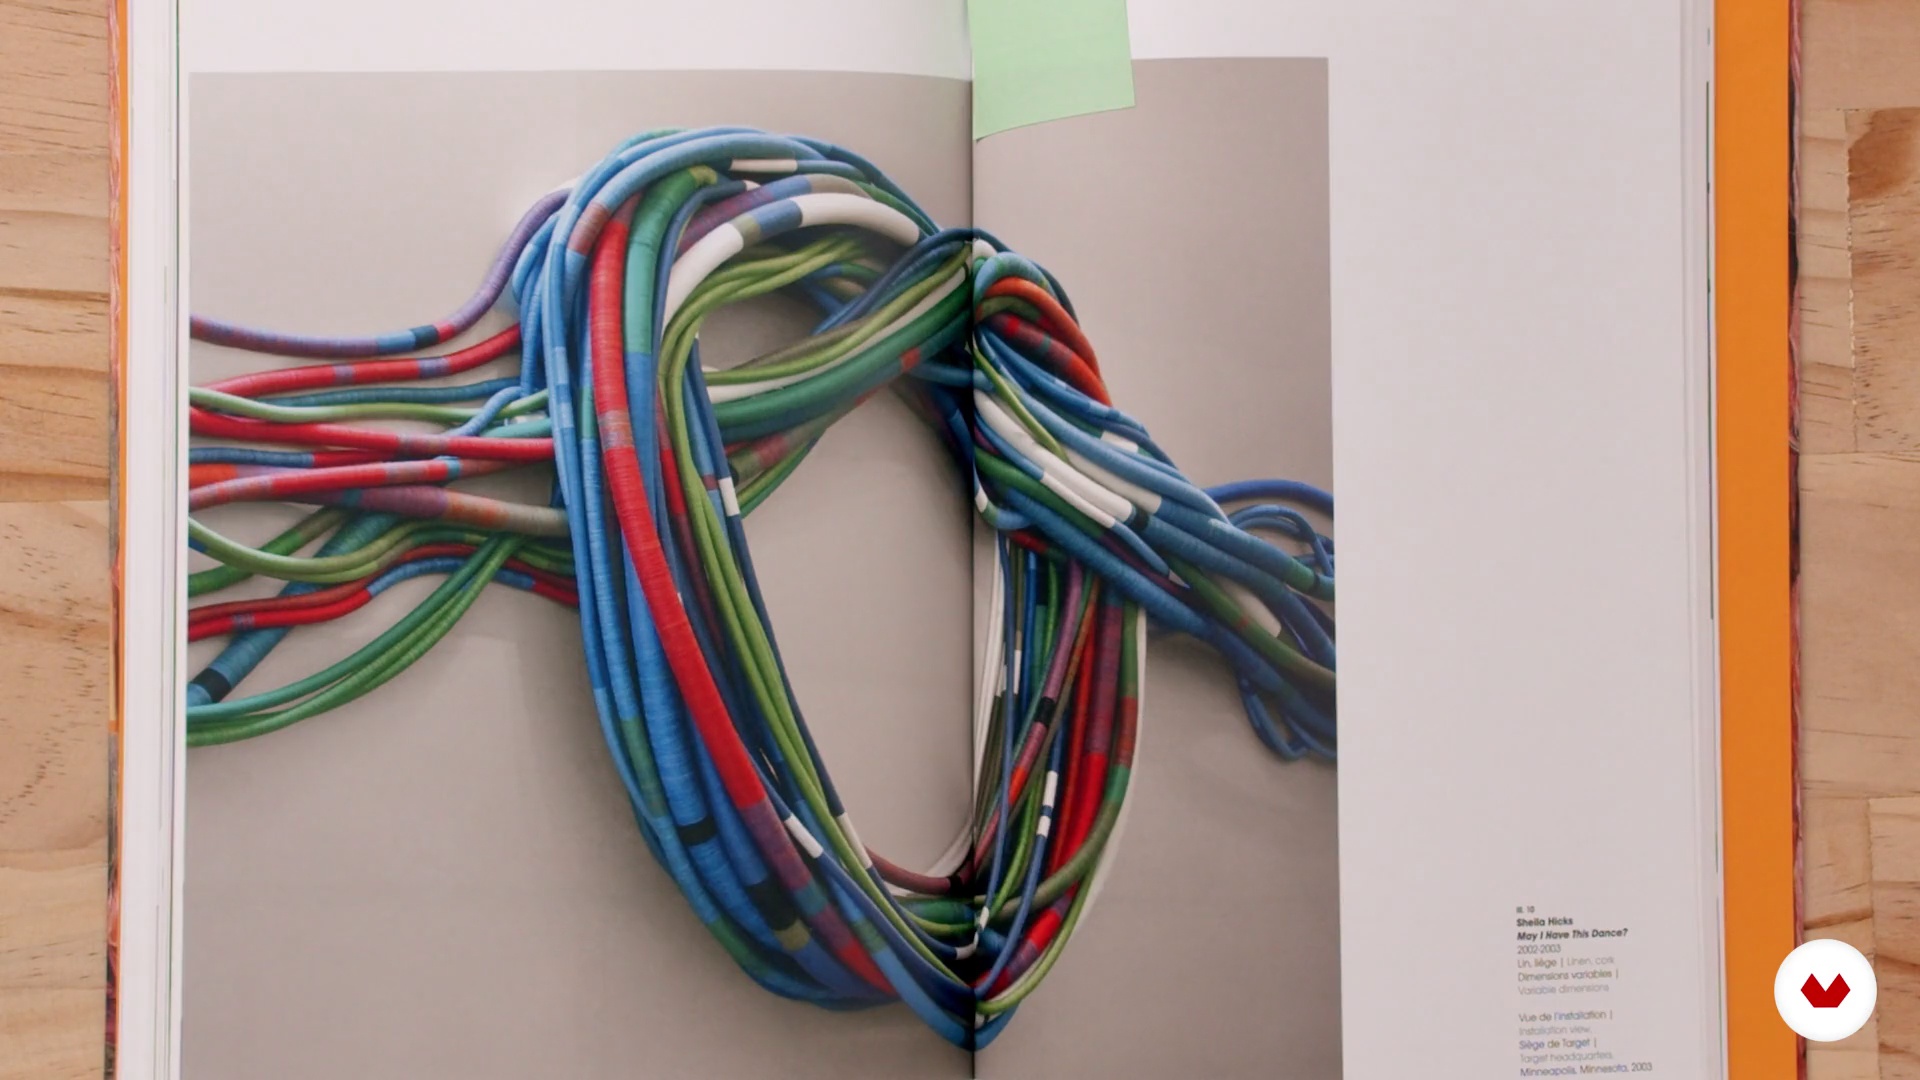
Now I'll tell you a little about my greatest influences. First, Sheila Hicks, an American textile artist who took textile art to another level, successfully uniting contemporary art with craftsmanship. Next, I'll tell you about Emily Katz, a modern macramé pioneer from Portland, Oregon, who founded Modern Macramé in 2014. She influenced my decision to dive into the world of knots. We'll also look at one of my main influences, Peru, the country where I live, famous for its looms and quipus, which, more than 5,000 years ago, were used by many cultures as communication systems.
5m
 5
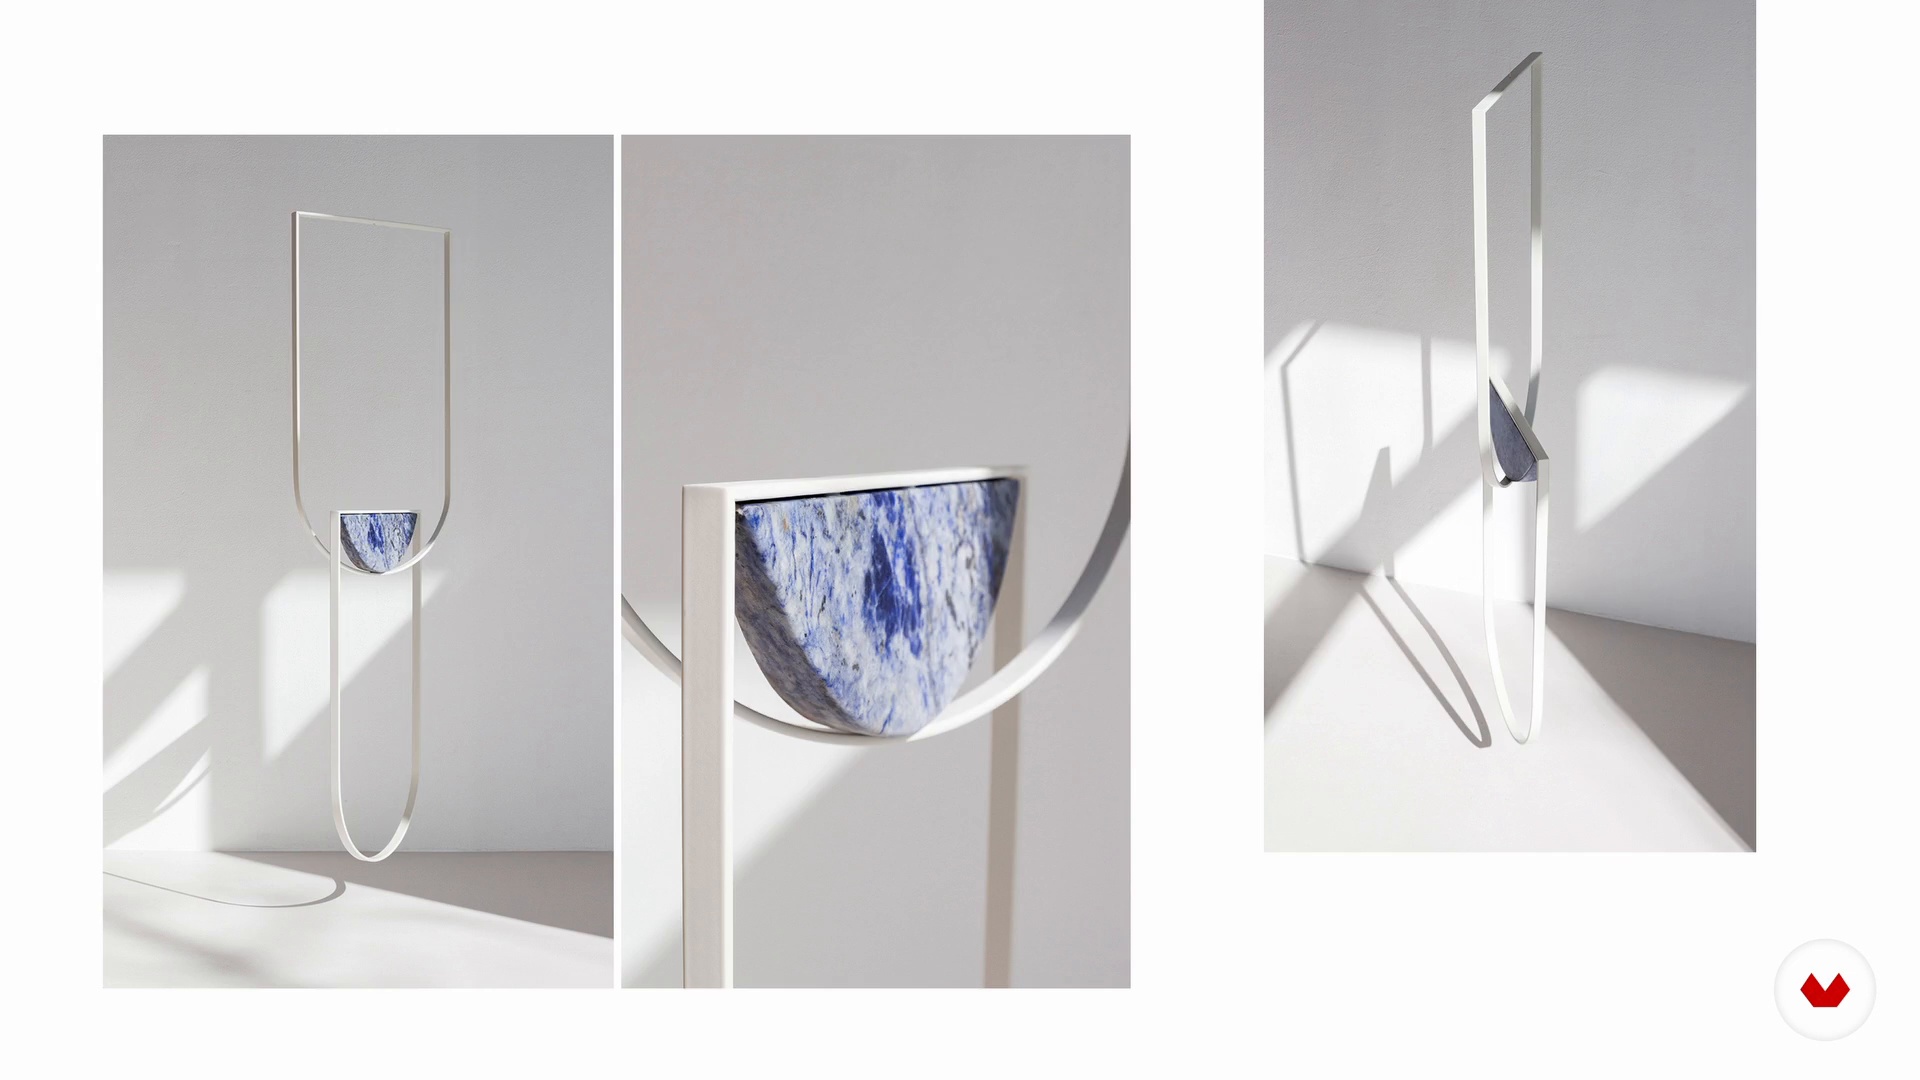
5Influences / Maike Siegel
Now I'll show you some artists who inspire me and what concepts or ideas I draw from them and seek to capture in the jewelry I design and make.
4m
 6
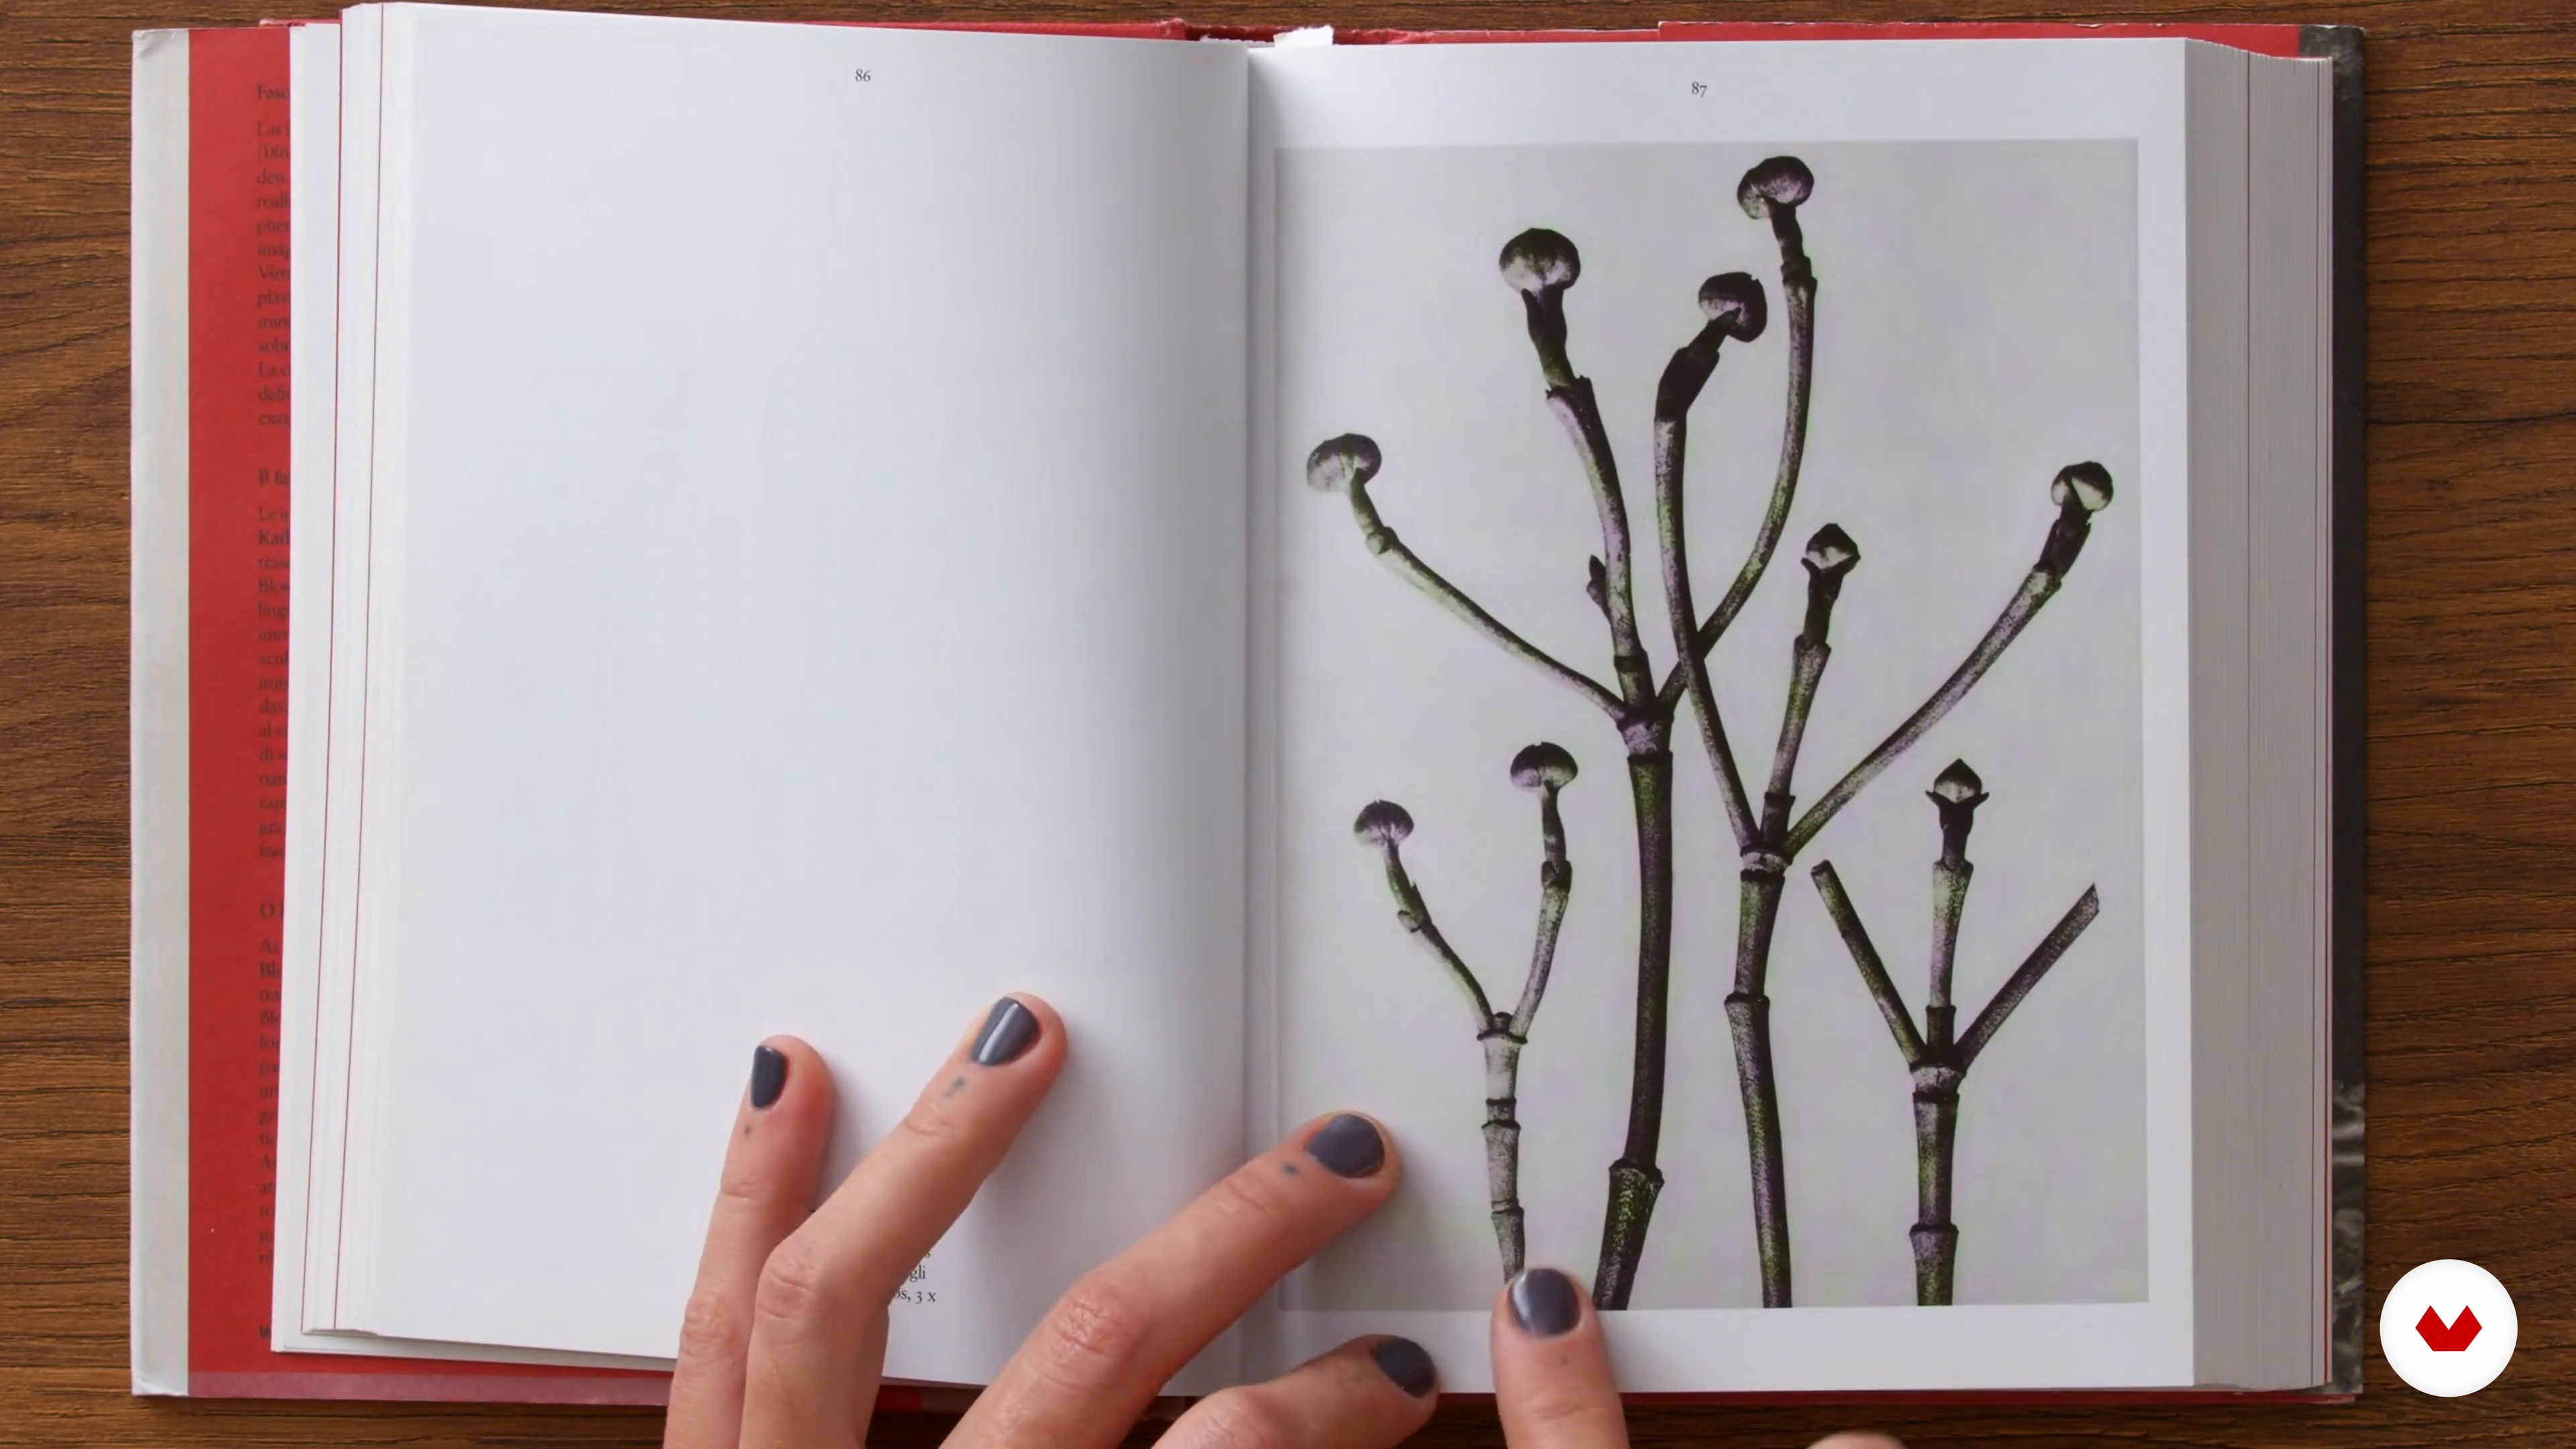
6Influences / Maria Rosua
Now I'm going to tell you what inspires my collections, who my go-to artists are, and what resources I use to bring my jewelry to life.
4m
 7
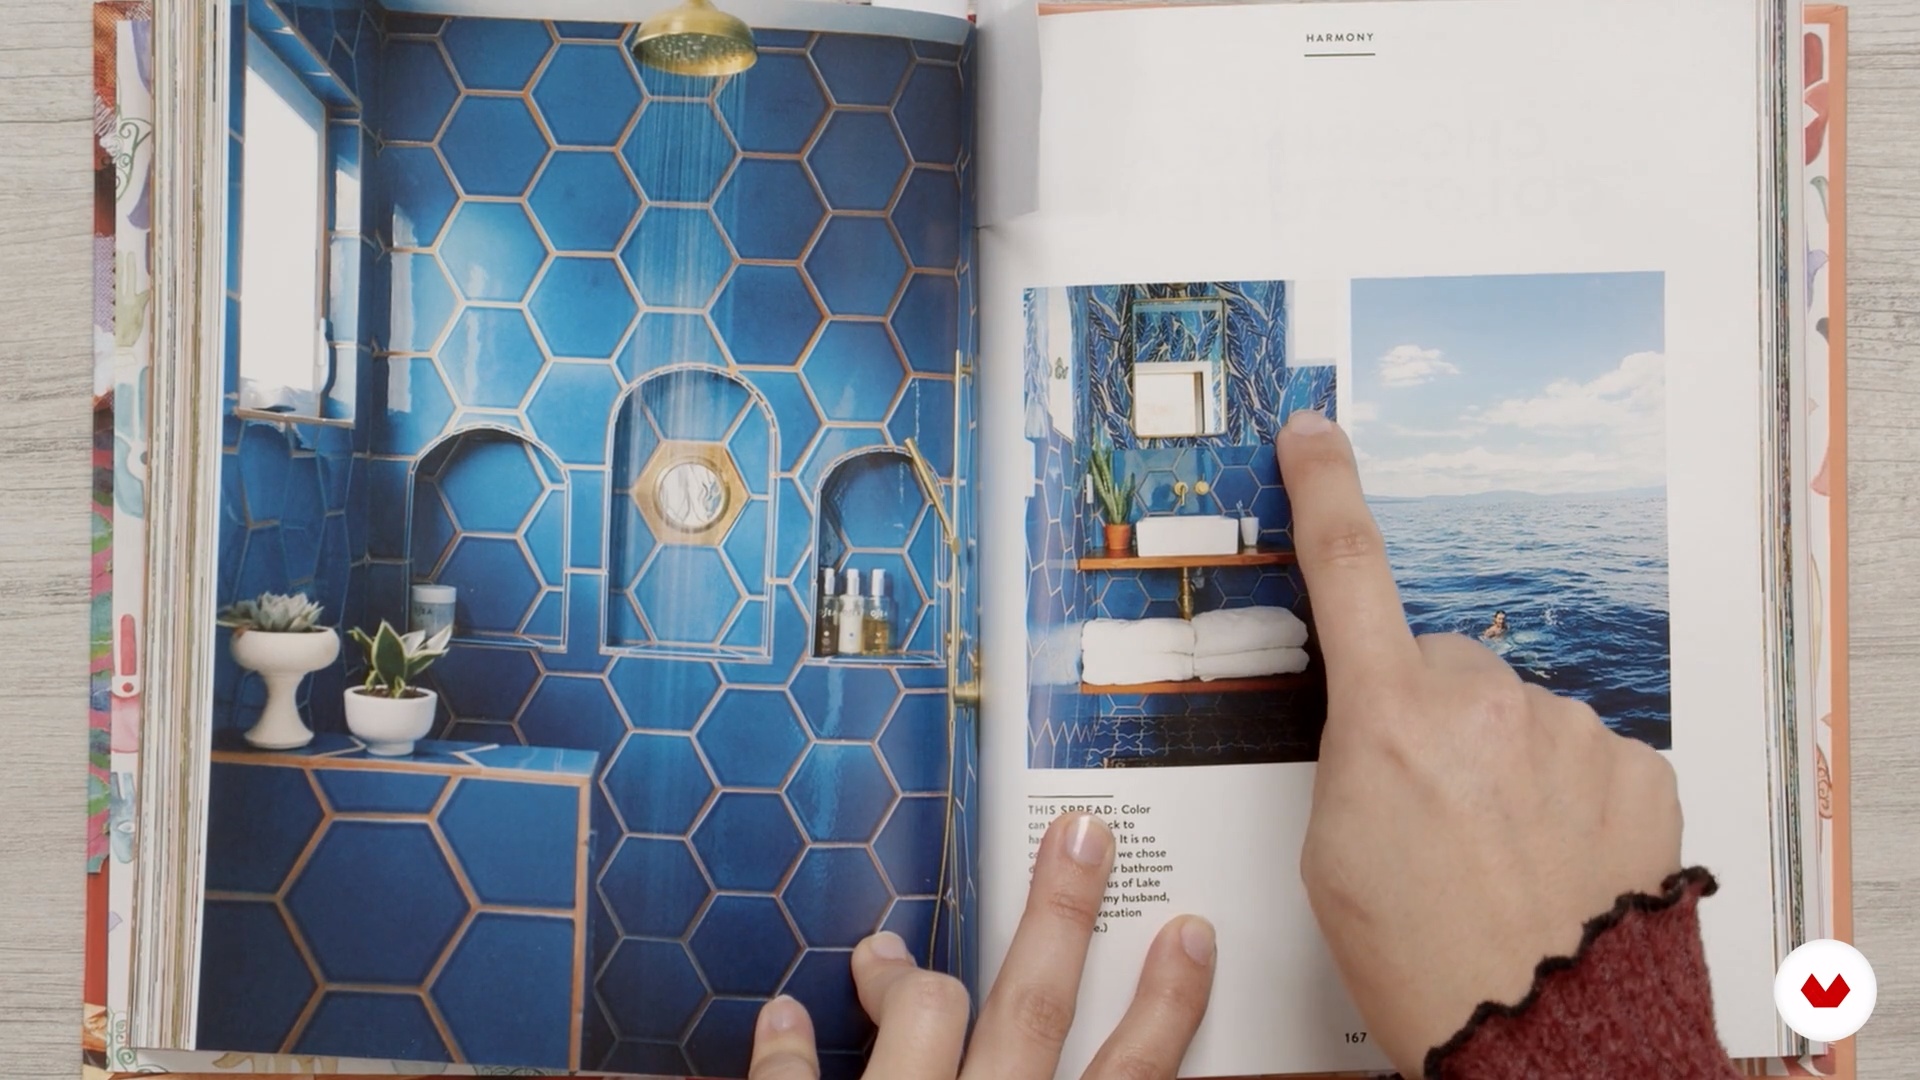
7Influences / Fatto
In this lesson, we'll teach you about our influences: the books and people we turn to to spark our creativity, and which can help you when you feel stuck or want to find new ways to breathe.
6m
 8
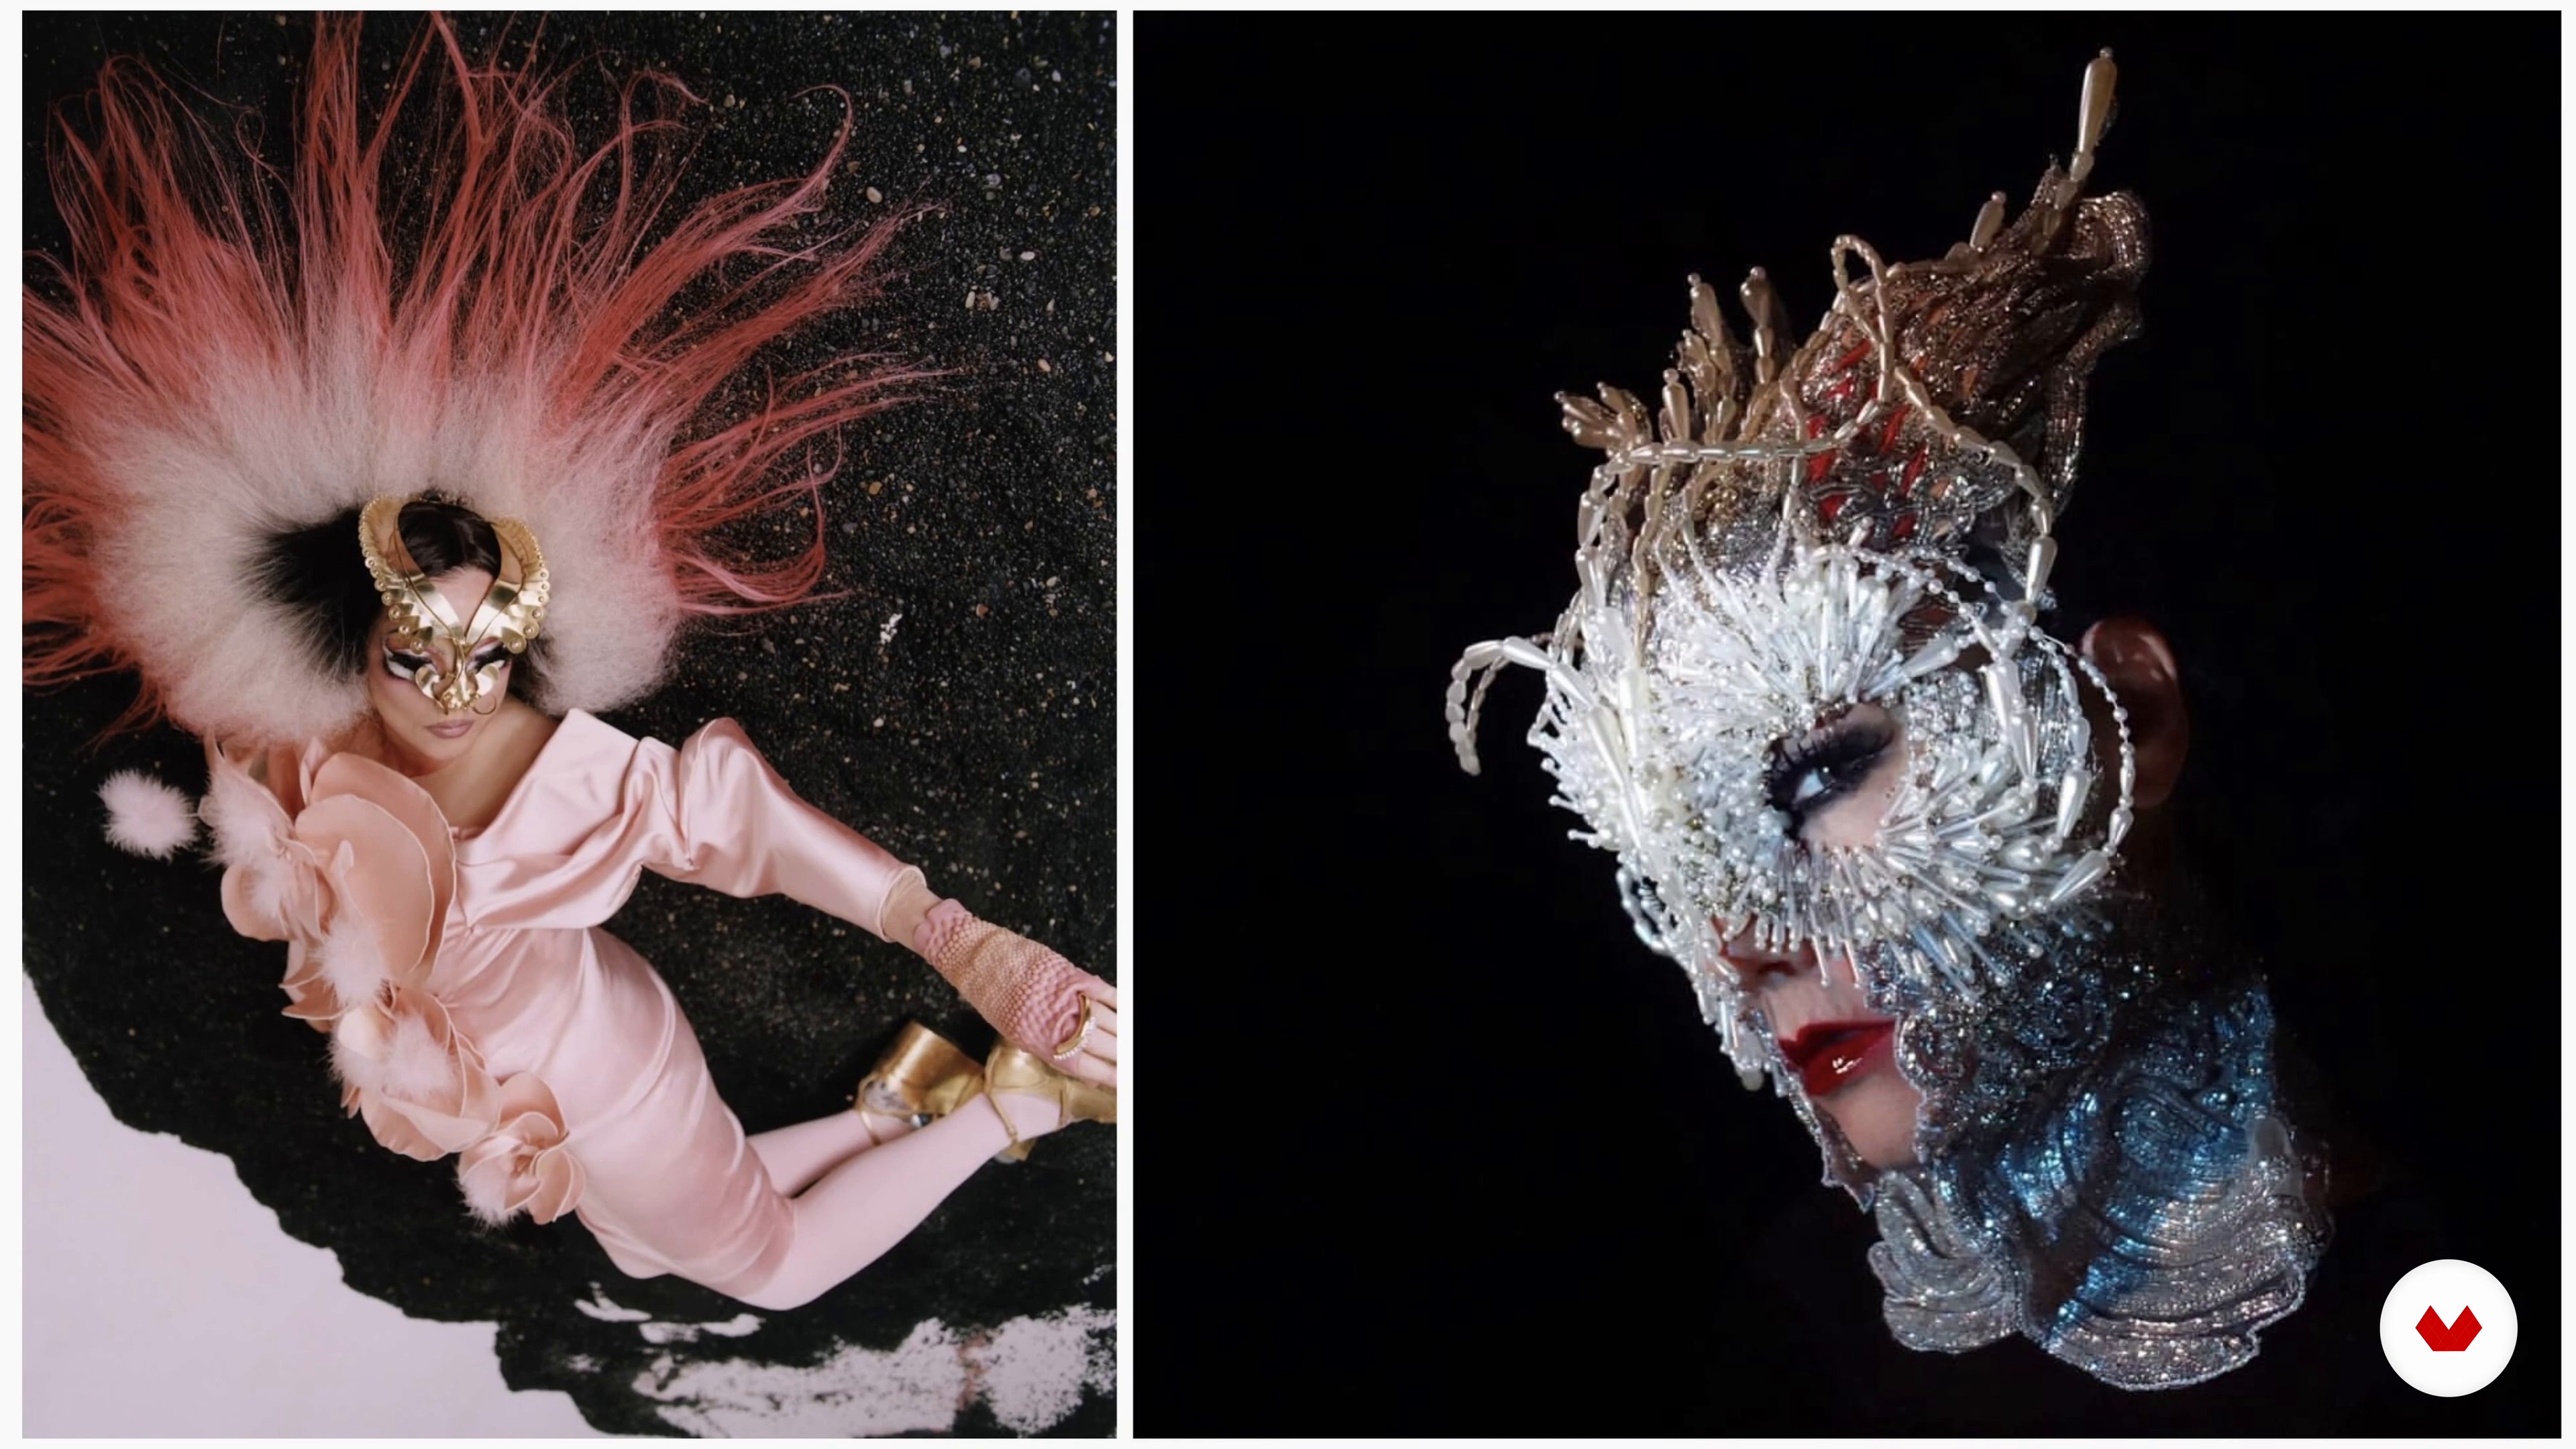
8Influences / Maria Constanza Bielsa
What inspires you? If you look around, there's bound to be more than one thing or person whose work captivates you and inspires new ideas. In this lesson, I'll share some of my influences with you.
6m
 3
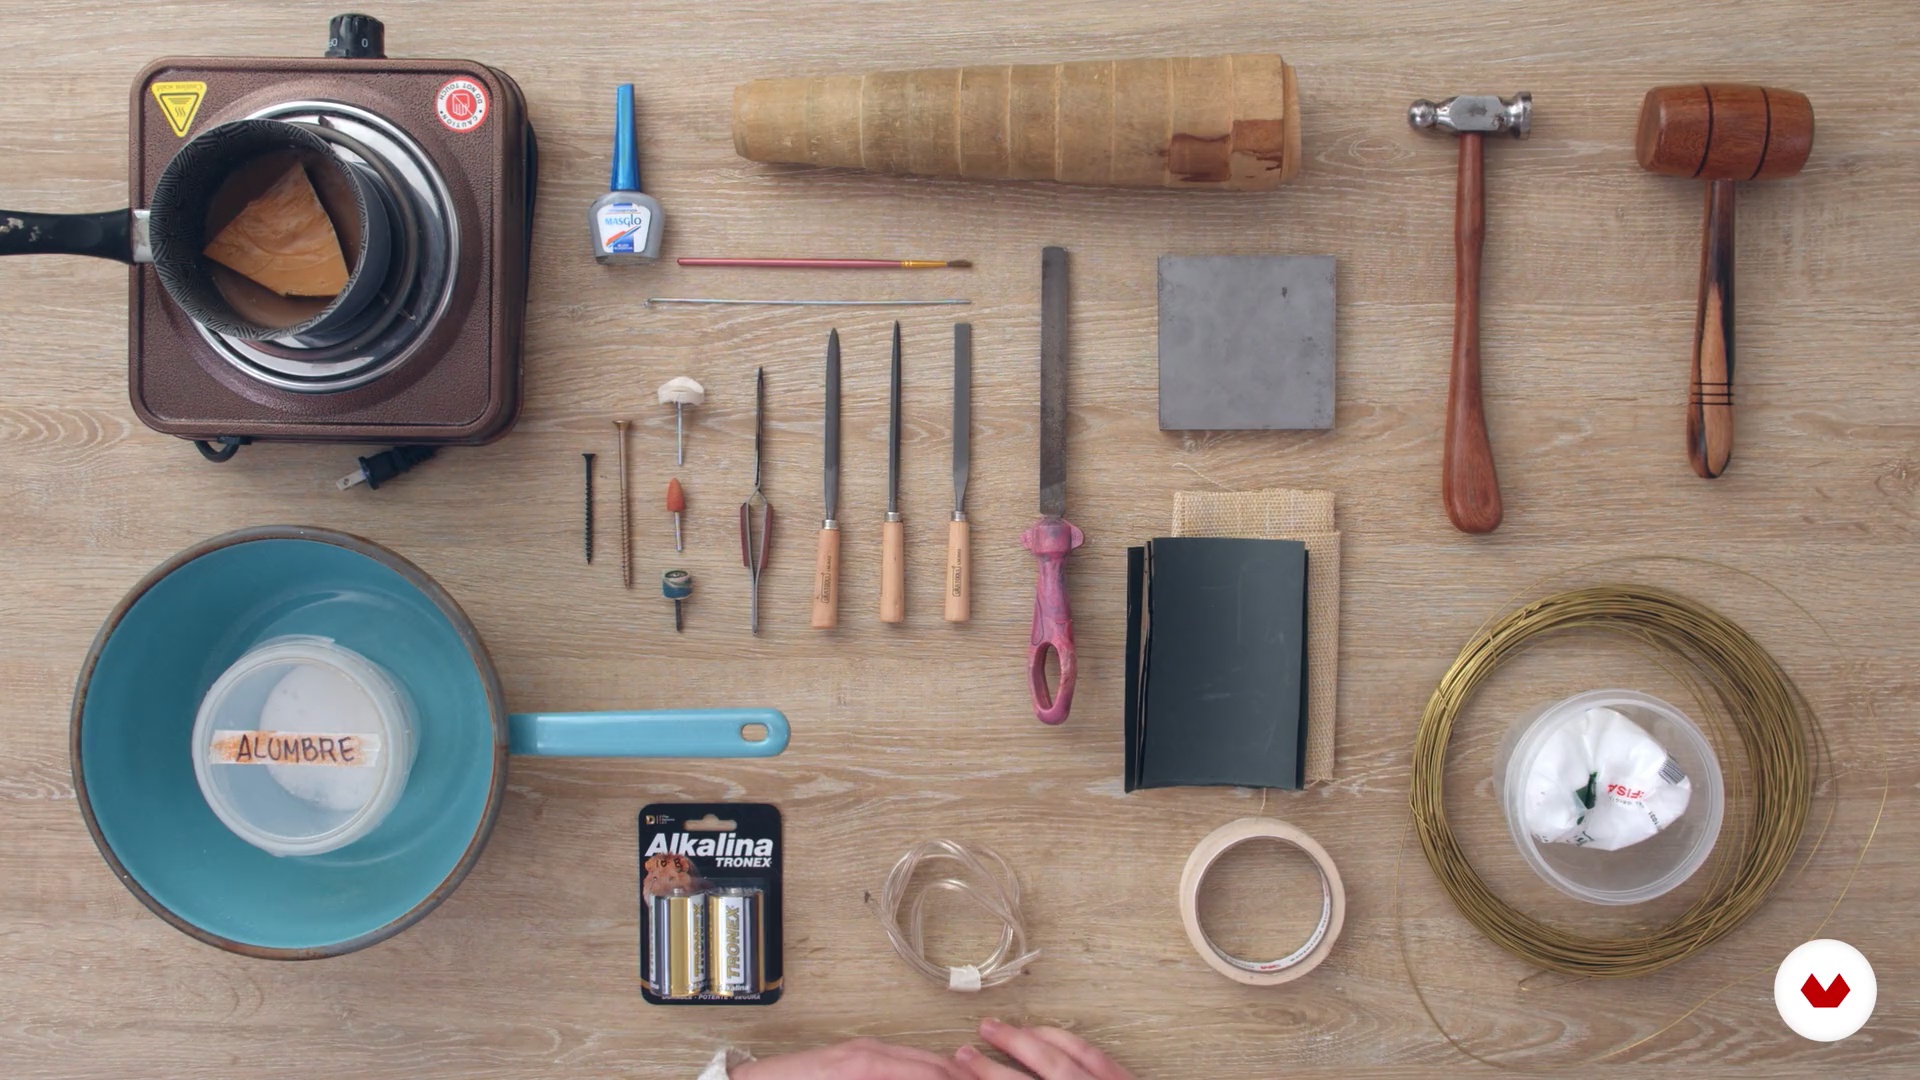
3Tools and materials
In this lesson, we'll show you the metals and tools you'll need and how to organize your workspace to start creating.
8m
 4
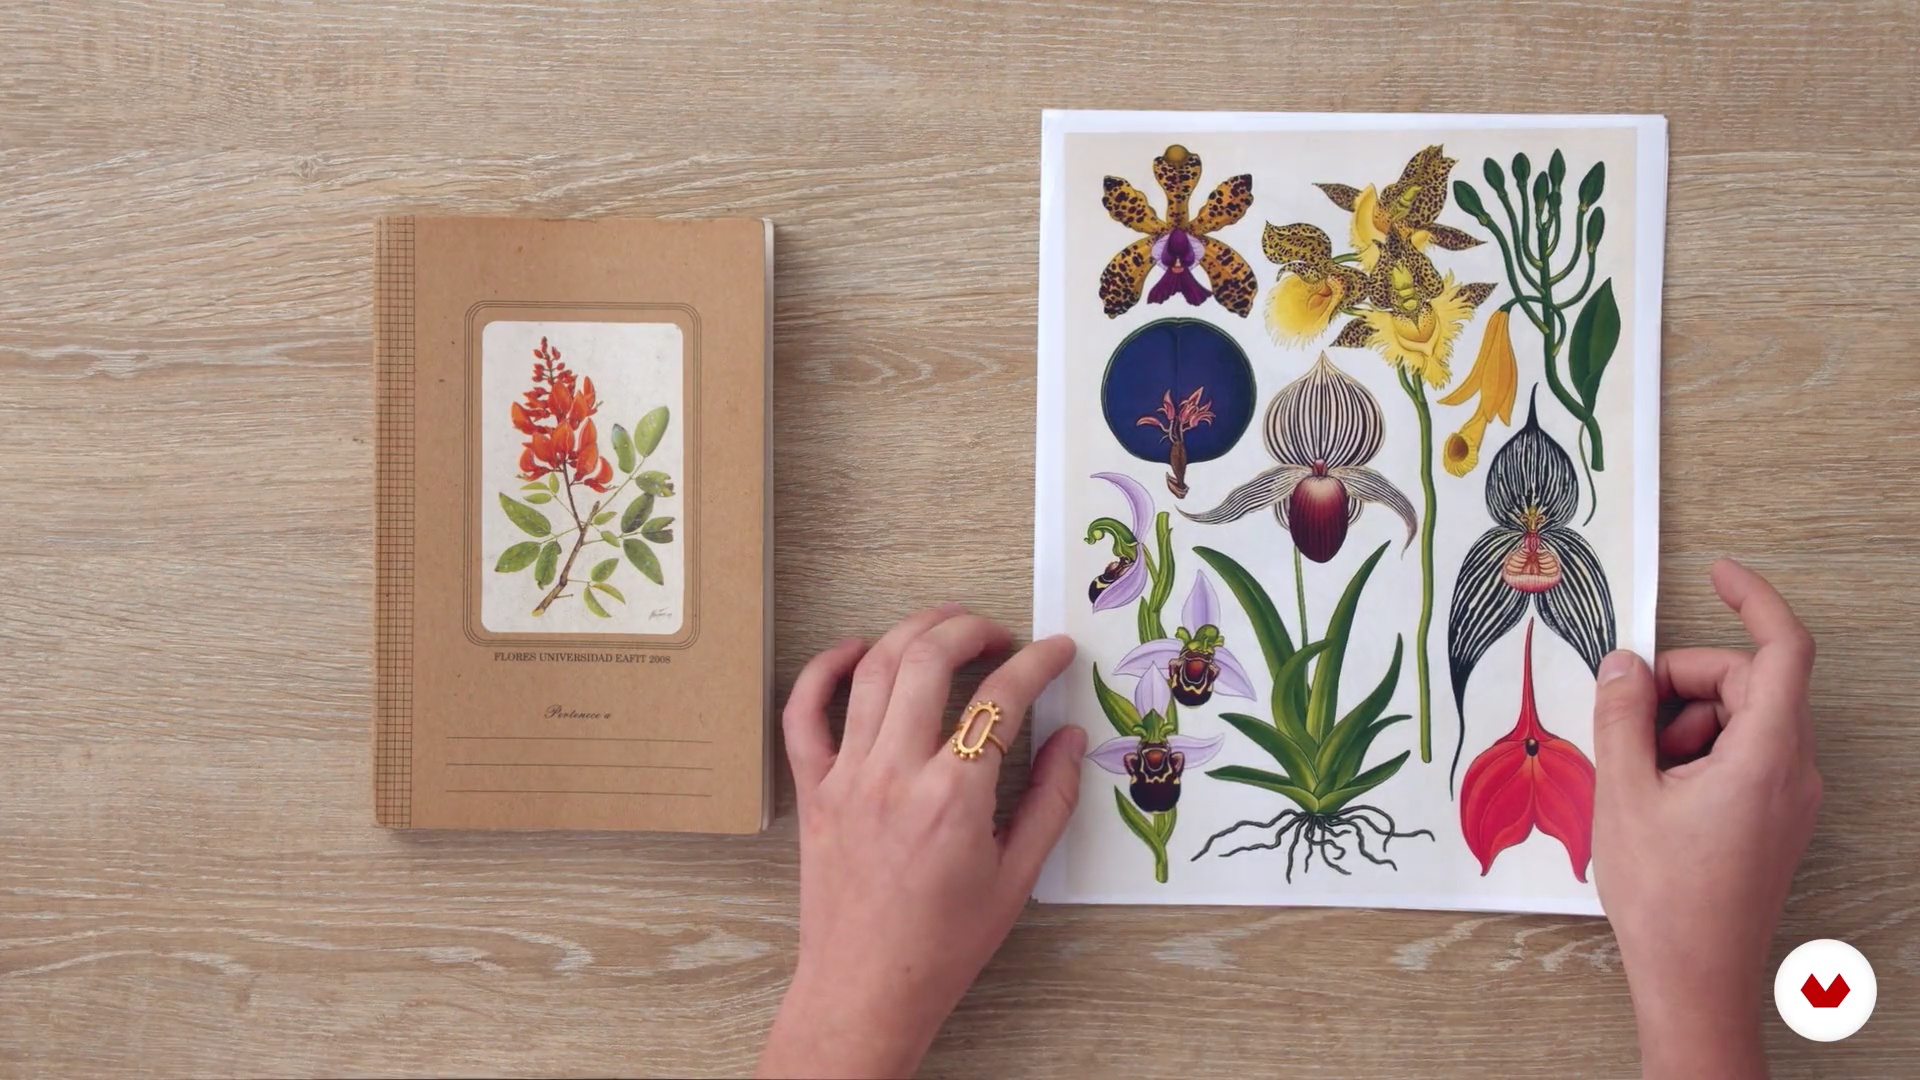
4Mood board and sketch
It's time to create! Here we'll select the images that inspire us to create the mood board. We'll show you how we begin conceptualizing a collection by making the initial sketches.
13m
 5
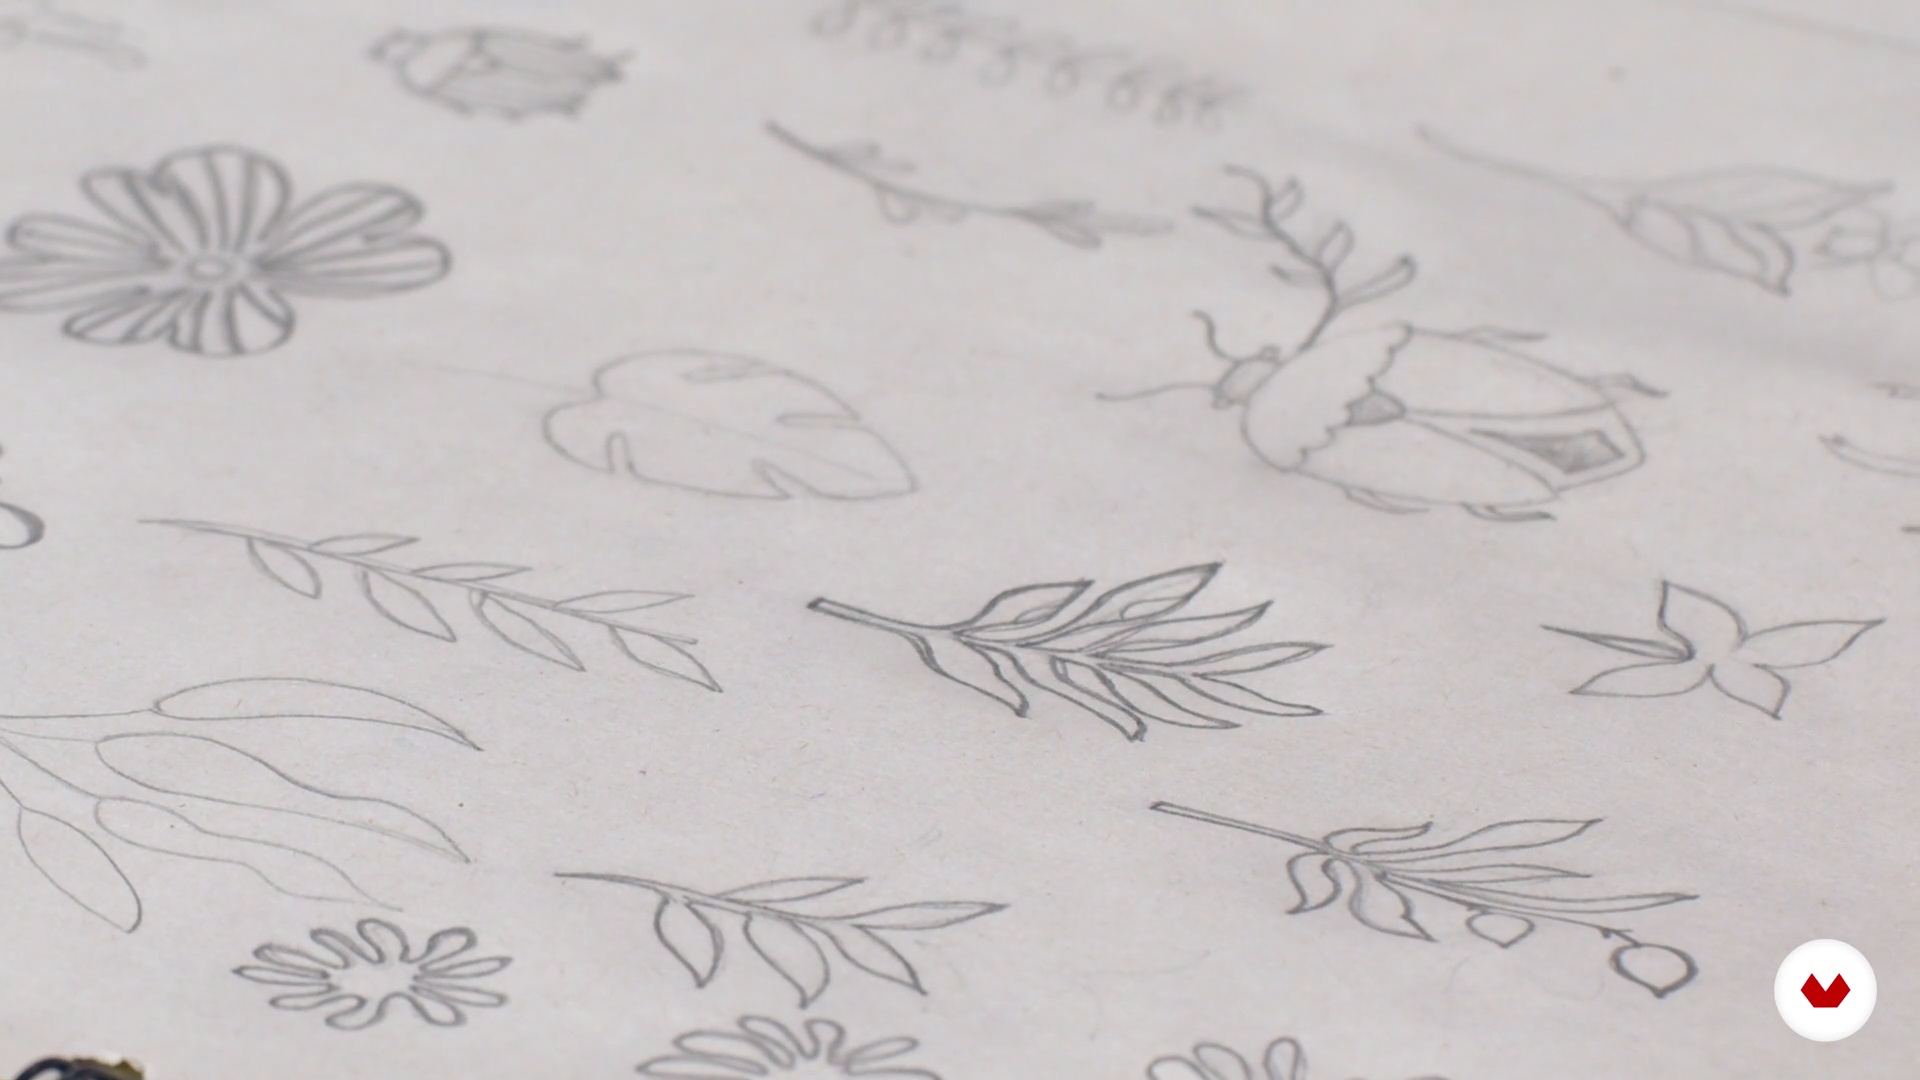
5Bringing our collection to life
It's time to choose the pieces for the collection and start defining their sizes and shapes.
3m
 6
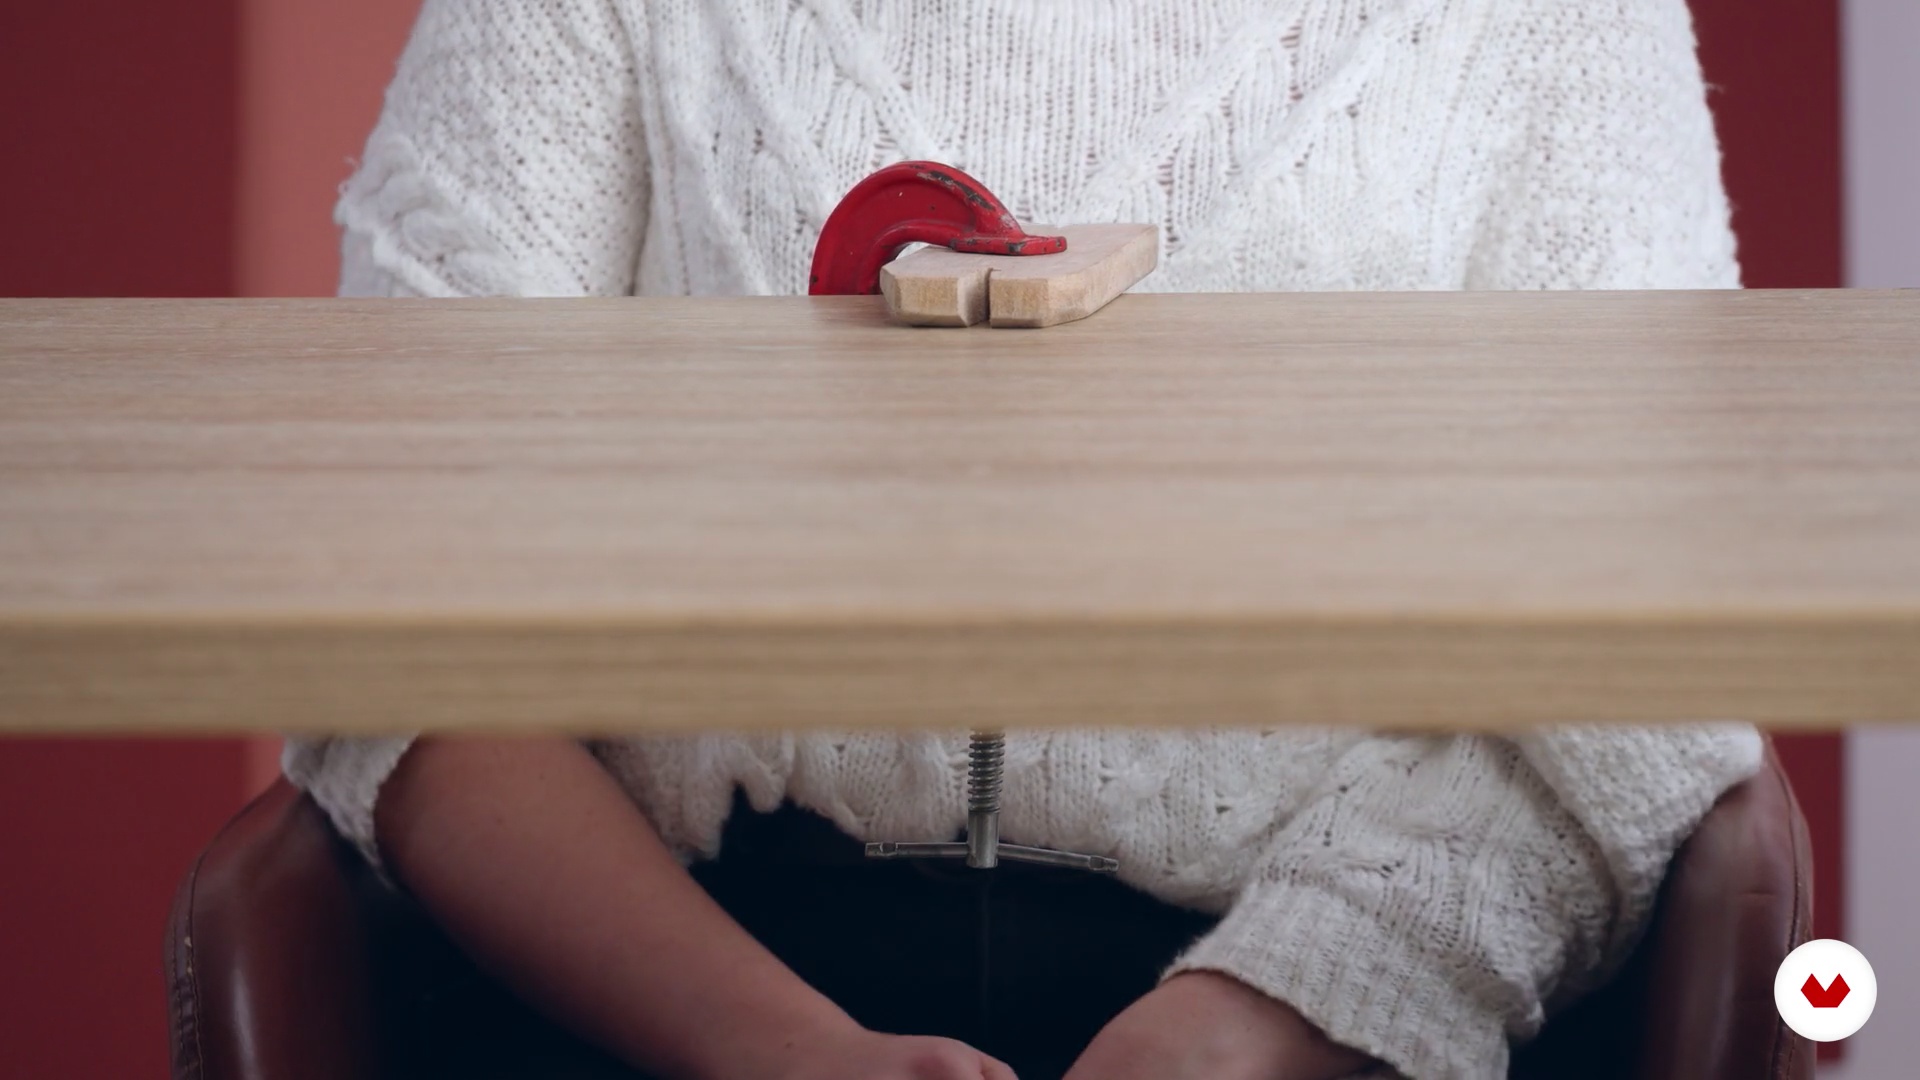
6Preparation of materials and equipment
We'll teach you how to prepare the metal sheets for gluing the templates, what blades you might need, and how to install the blade line and lubricate it for a better cut.
8m
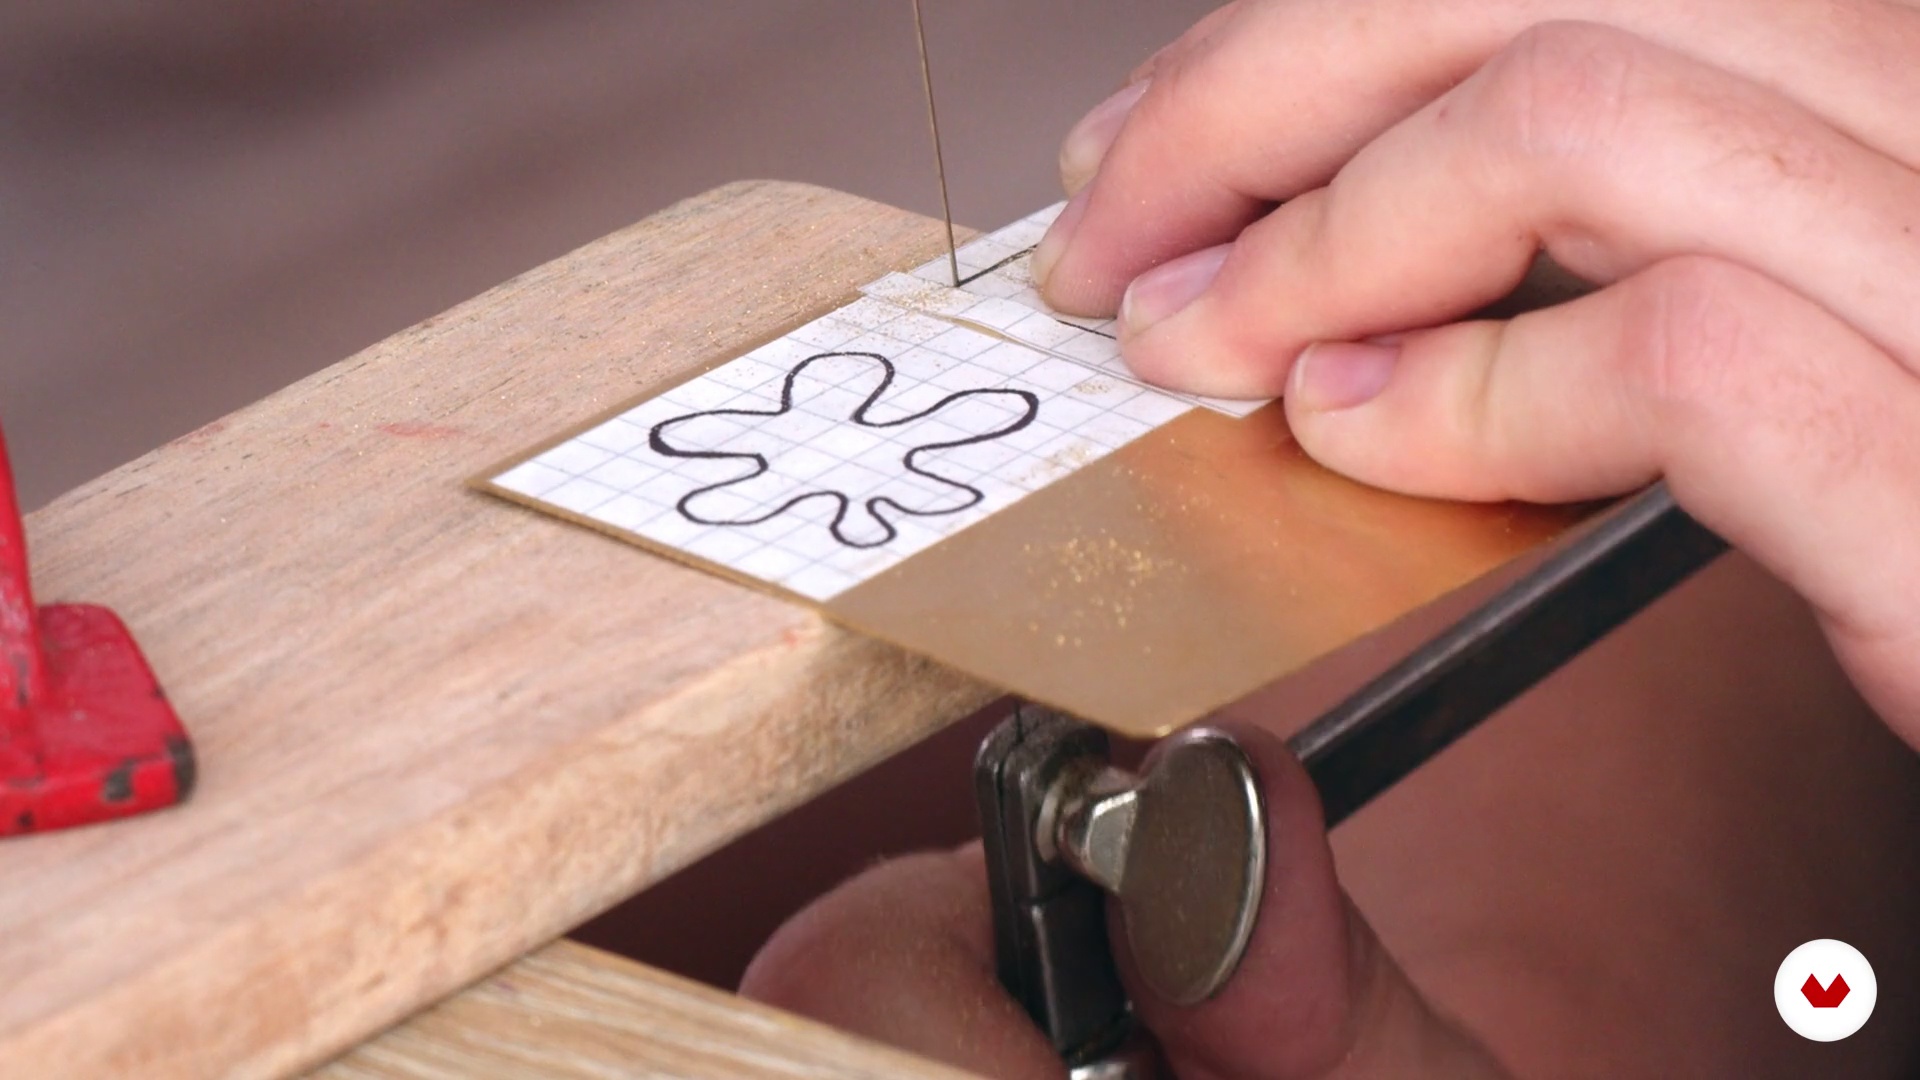 7
7Learning to use the hacksaw
Before you cut your final pieces, it's best to practice with basic pieces to gain confidence and familiarize yourself with the tools. Here's how to do it.
13m
 8
8Draft parts 1
With the jigsaw, jigsaw, and templates ready, it's time to start jigsawing and start letting your pieces take shape.
16m
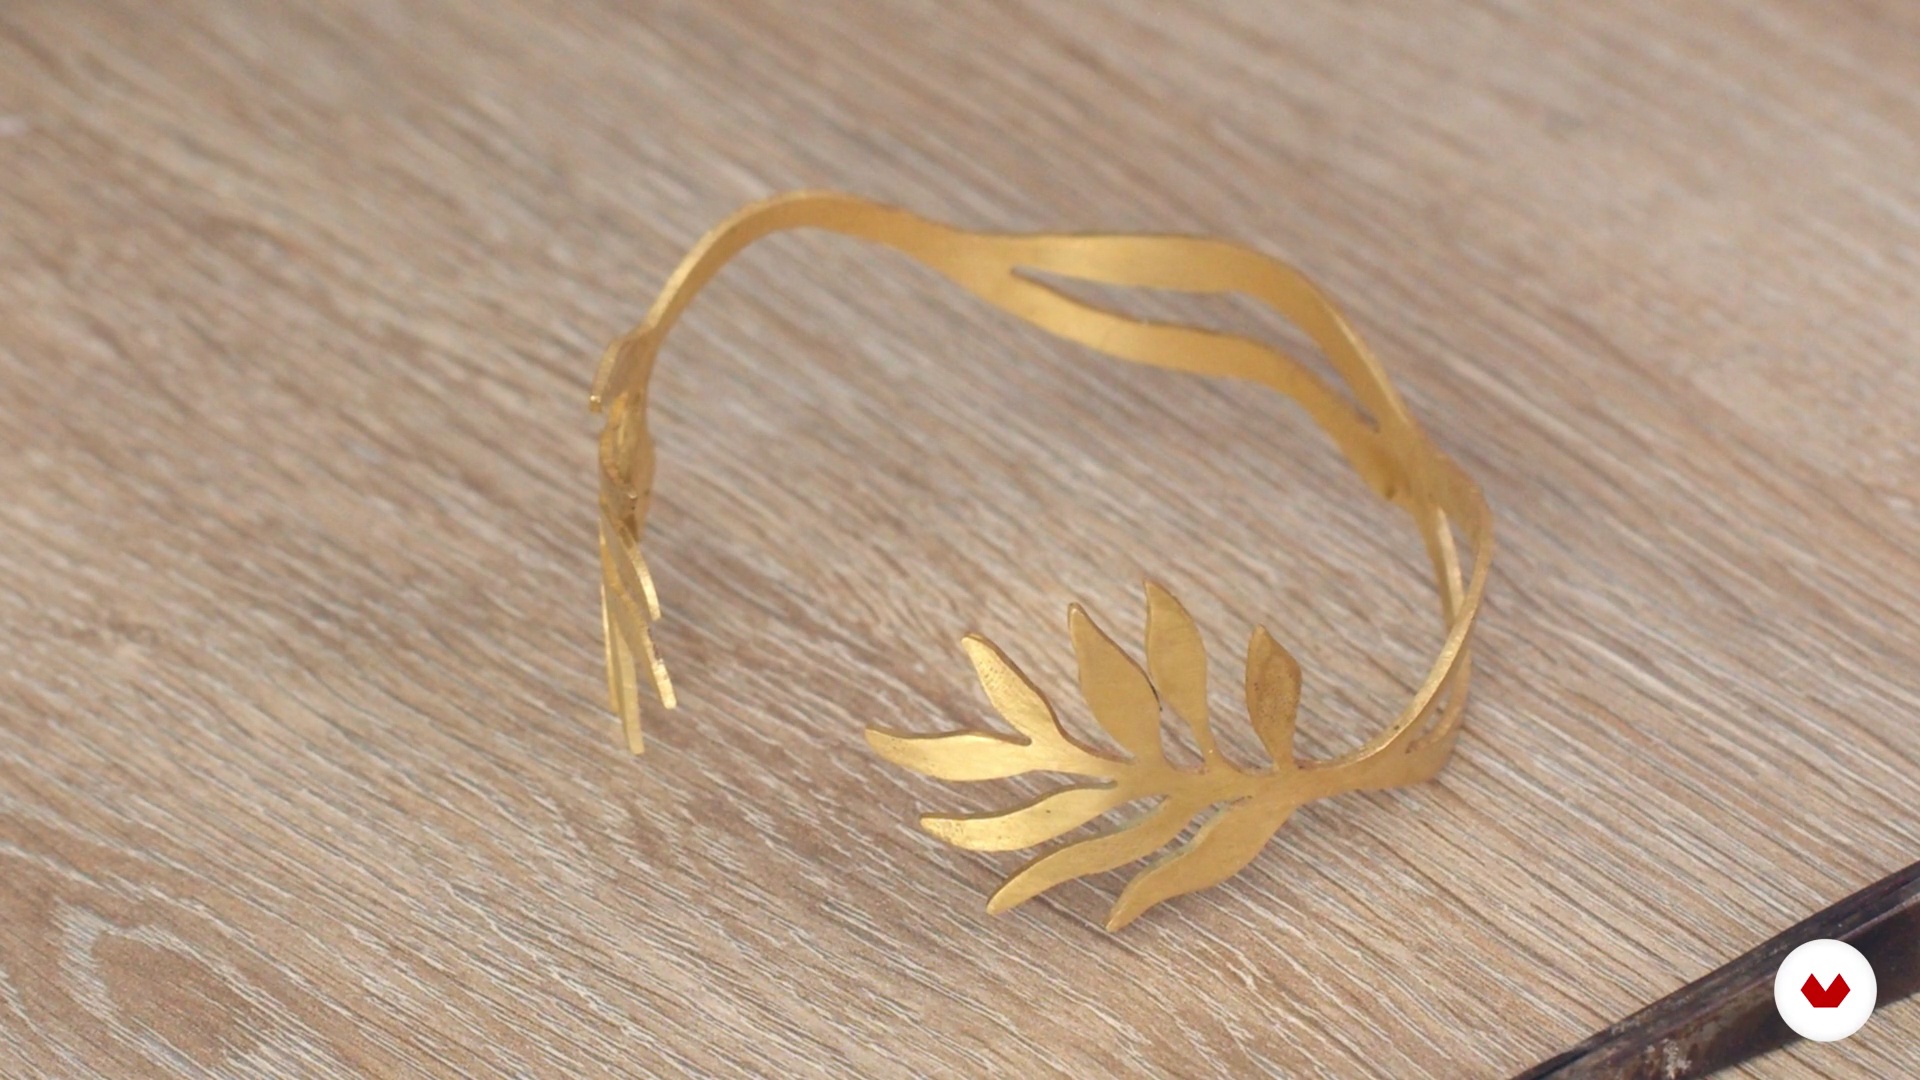 9
9Draft pieces 2
Now we'll shape the piece, then polish and clean it. We recommend reviewing the attached documents; there you'll find a template that will help you make your ball and shape your bracelet.
9m
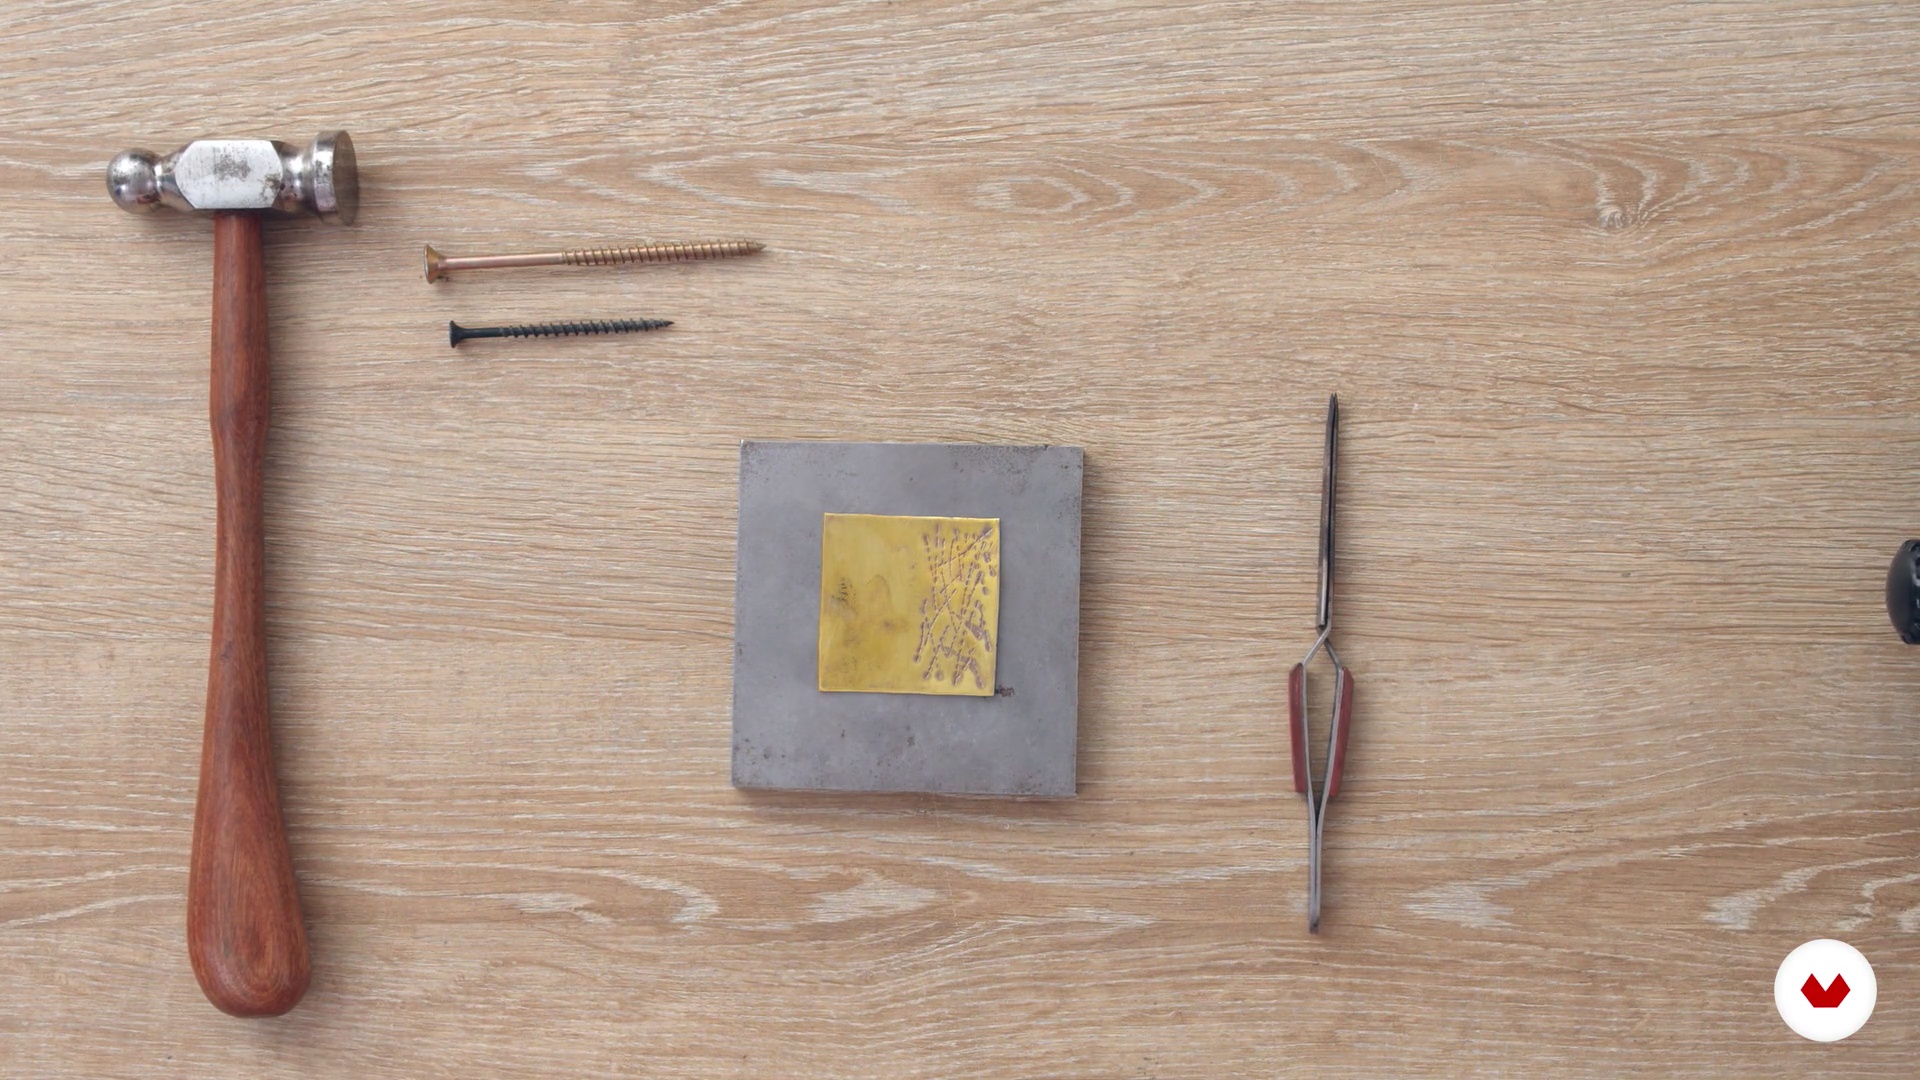 10
10Preparation of parts for engraving
Once the pieces are openwork, you can further customize them. We'll teach you basic engraving techniques with extensive applications. In this lesson, we'll get everything ready to engrave the pieces.
9m
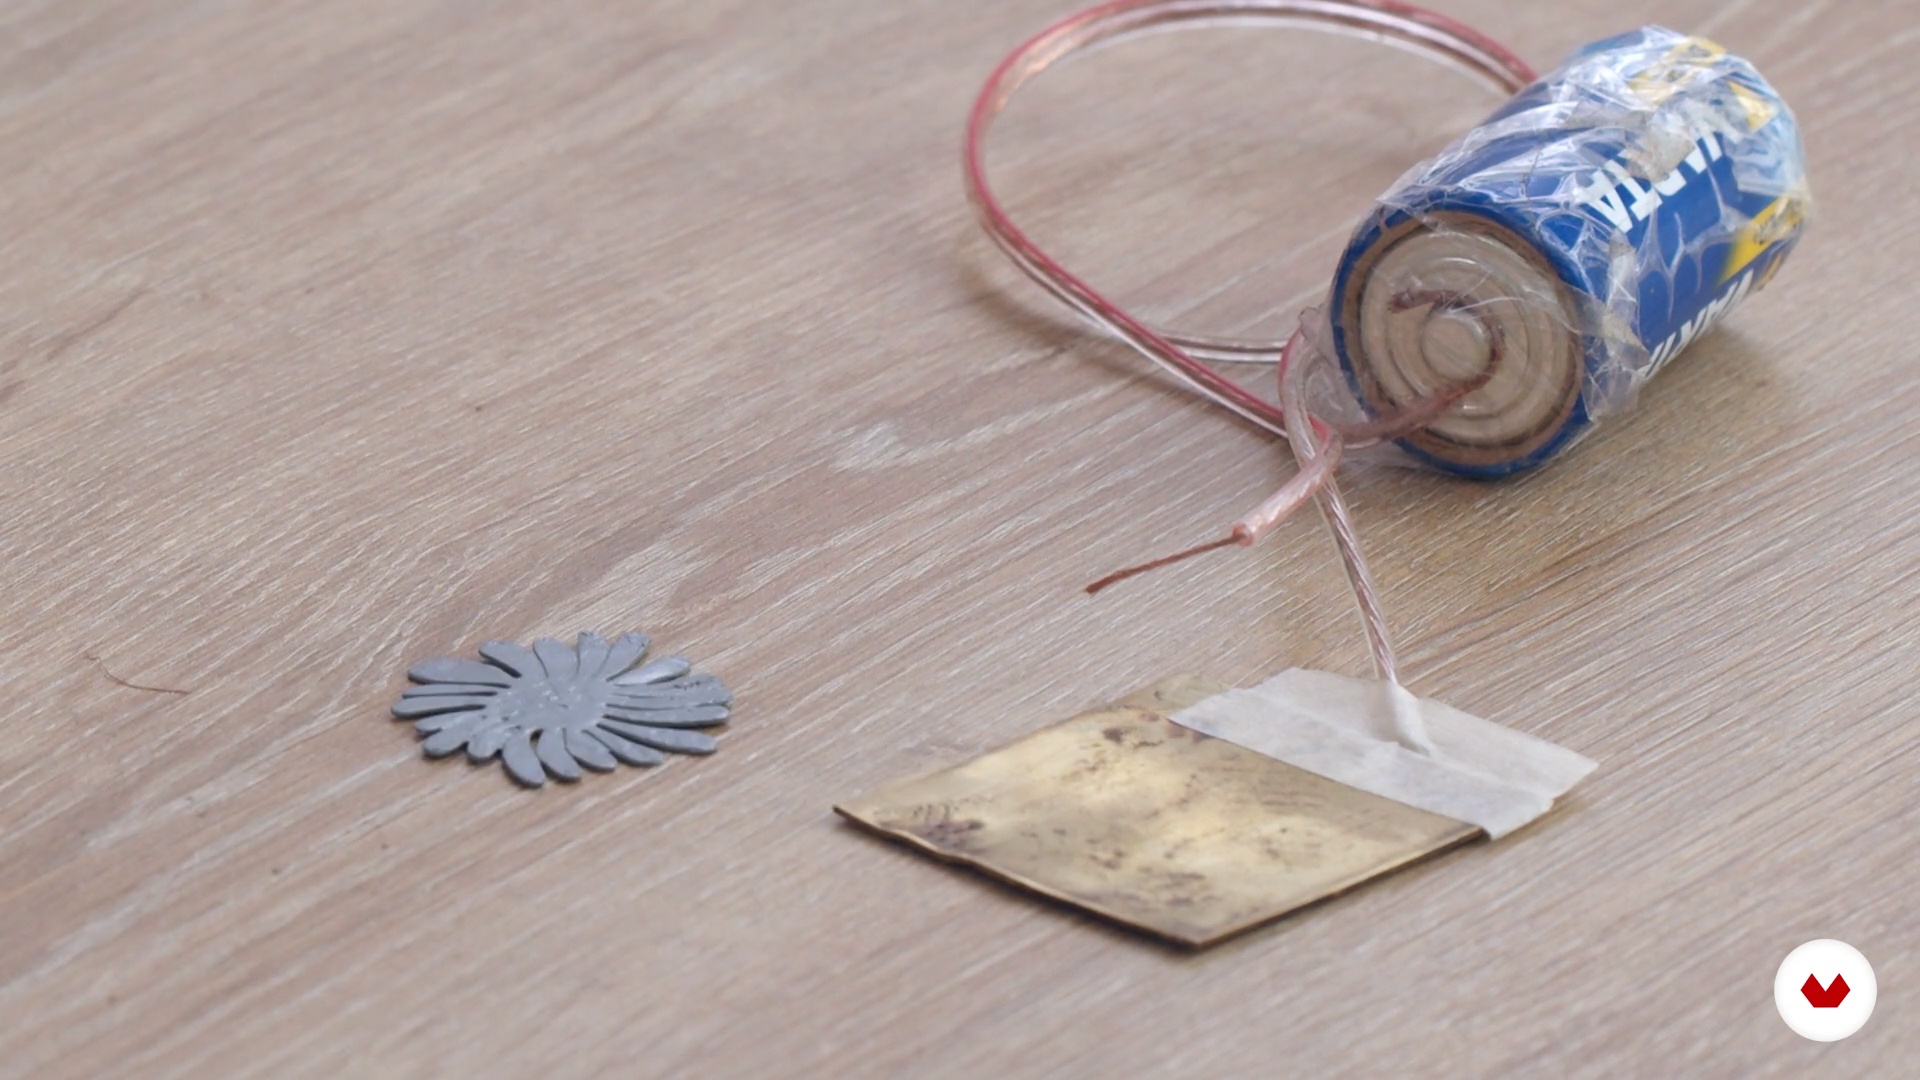 11
11Preparation of the circuit and engraving of the parts
Here you'll learn how to create the circuit and engrave it. We'll explain why engraving is a great way to personalize your pieces.
11m
 12
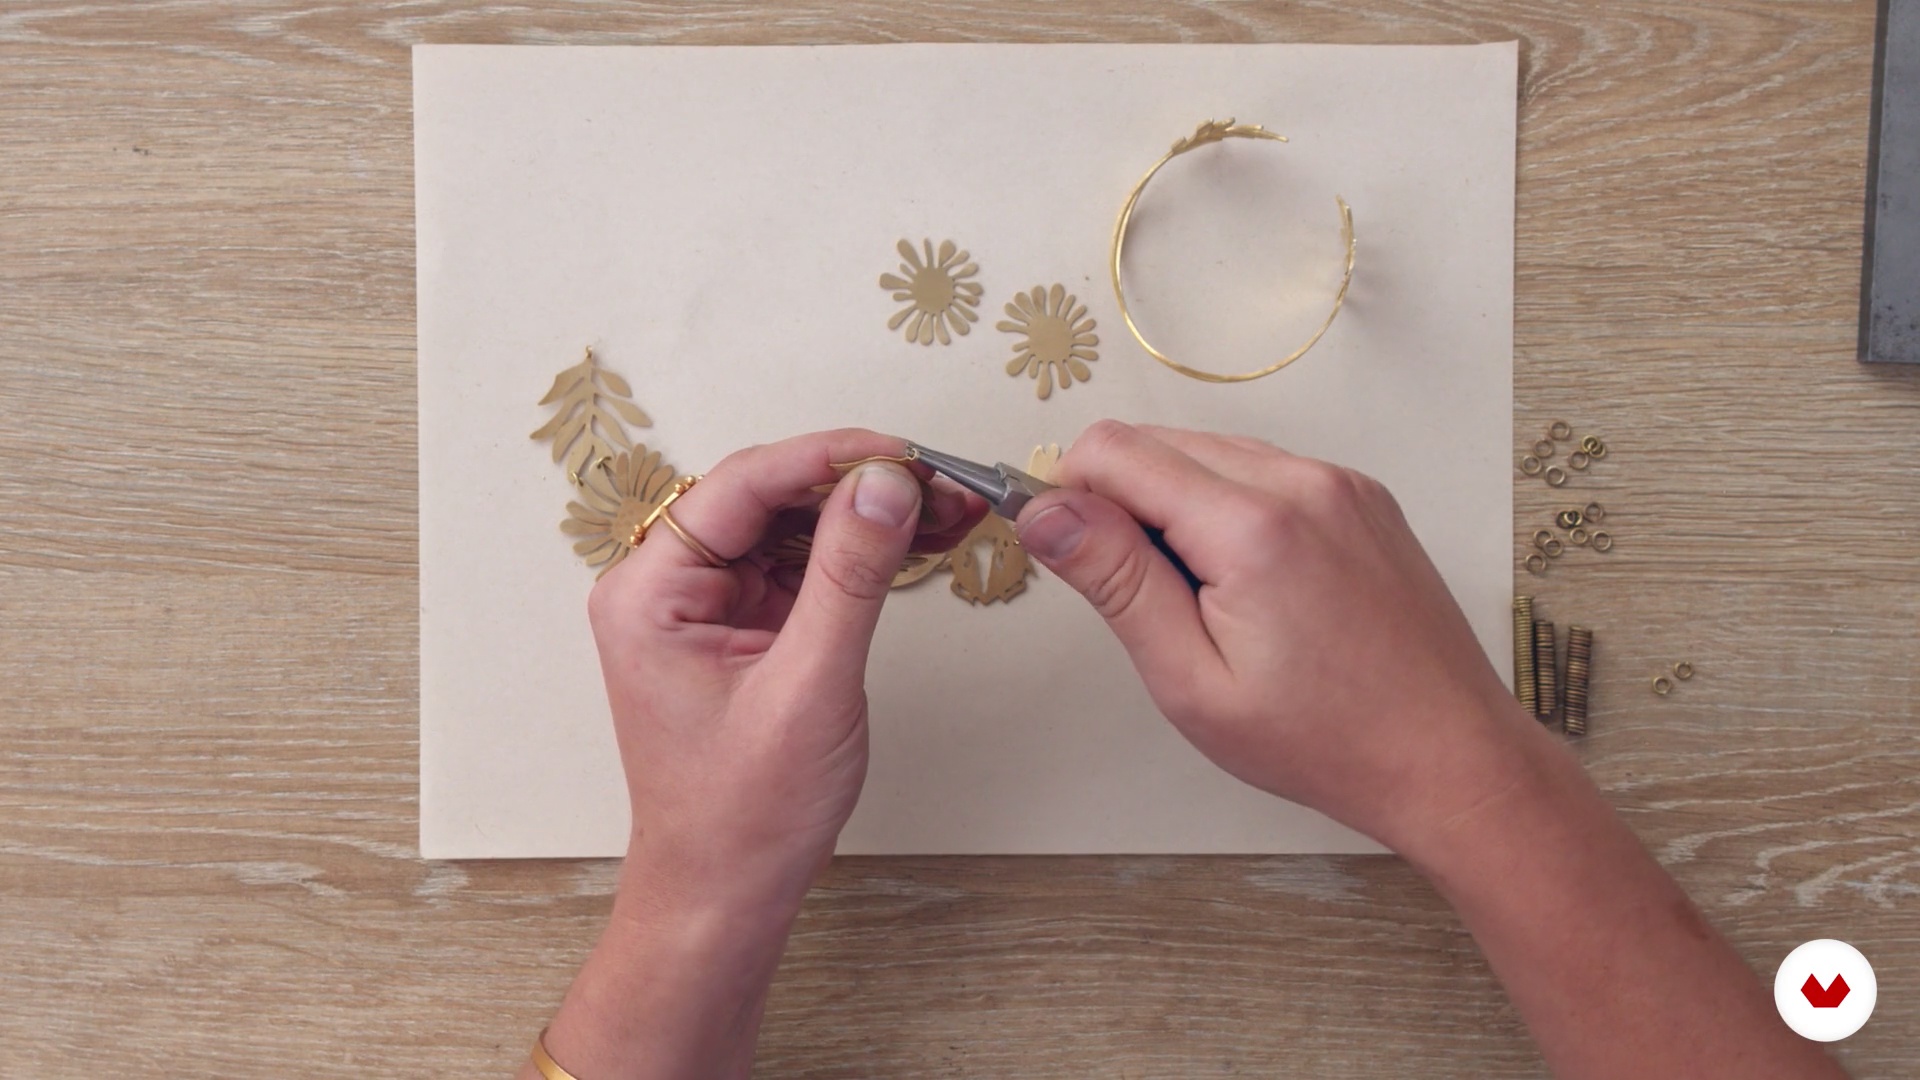
12Hooks, rings and assemblies
Here you'll learn how to make earring hooks and jump rings to assemble different pieces. With these accessories, you can create more elaborate designs.
18m
 13
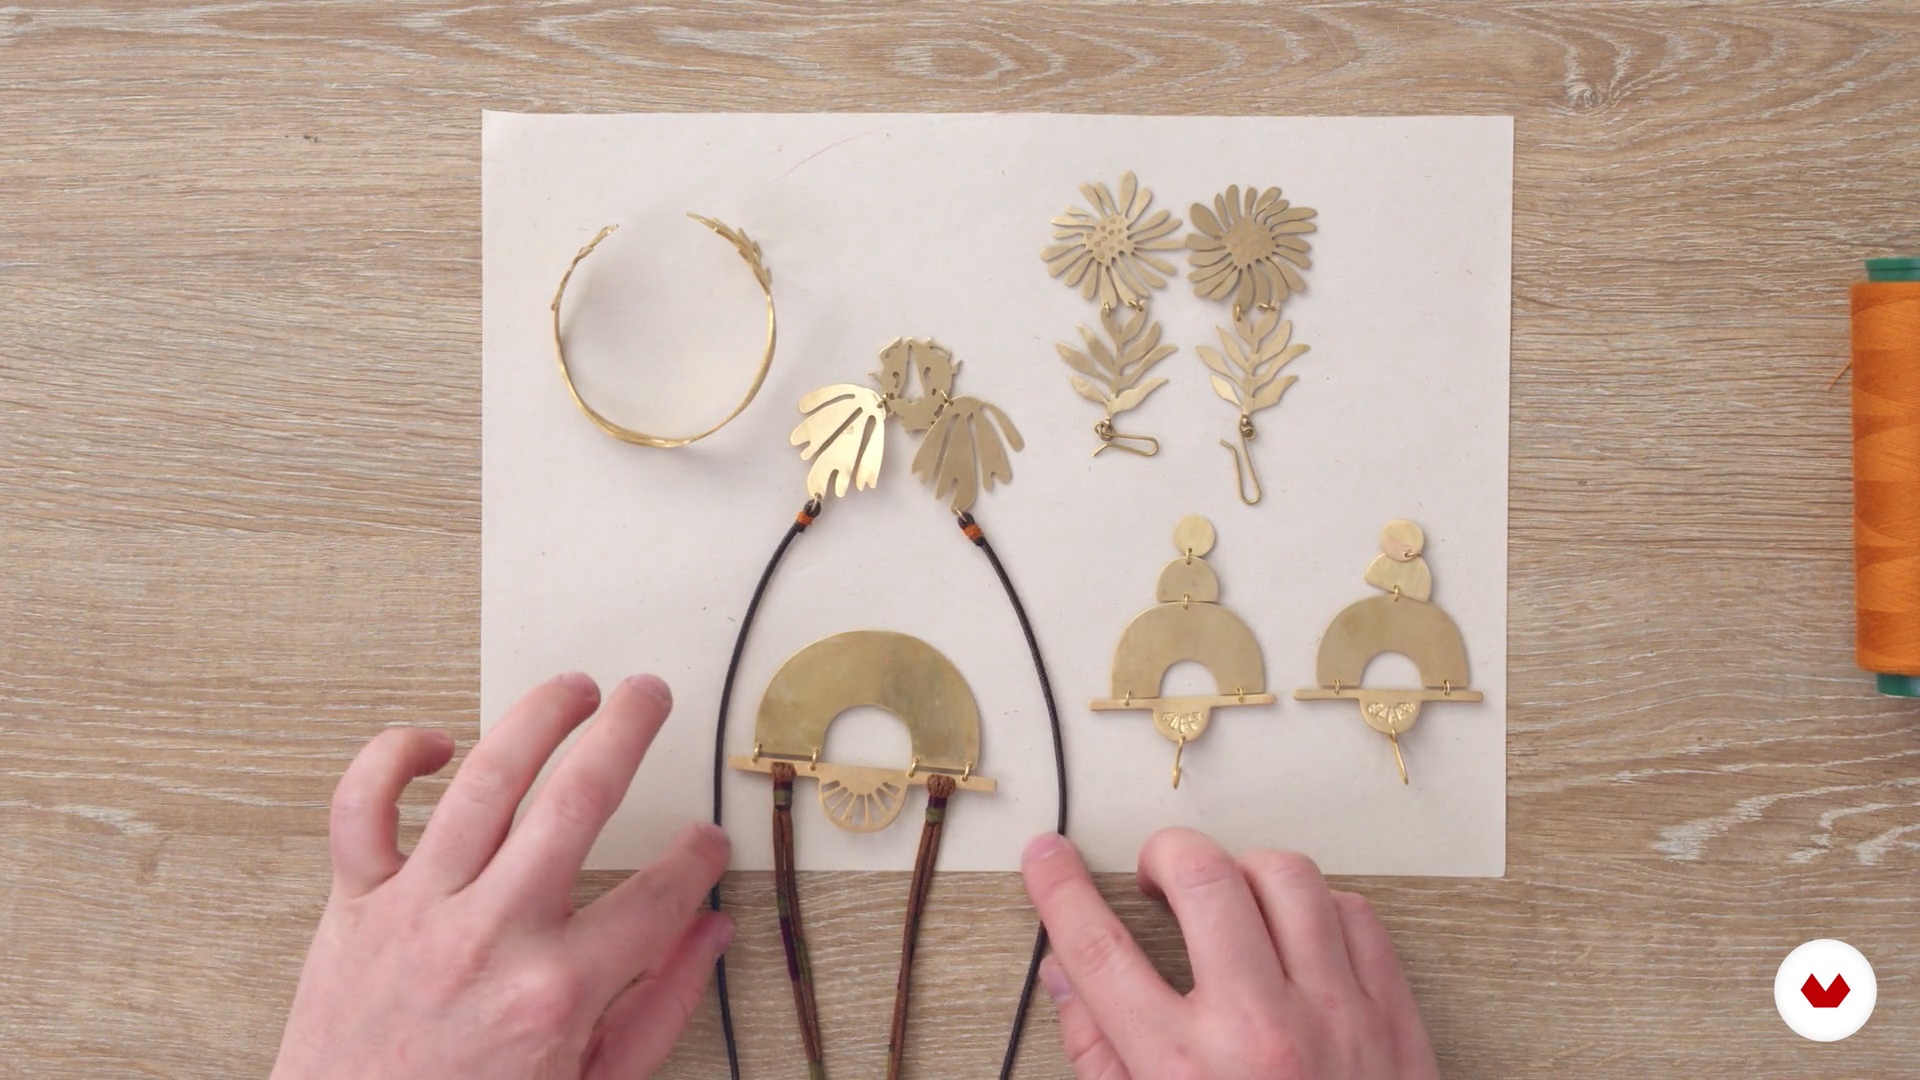
13Other materials to complement your pieces
We'll show you how you can complement your pieces using other materials.
11m
 3
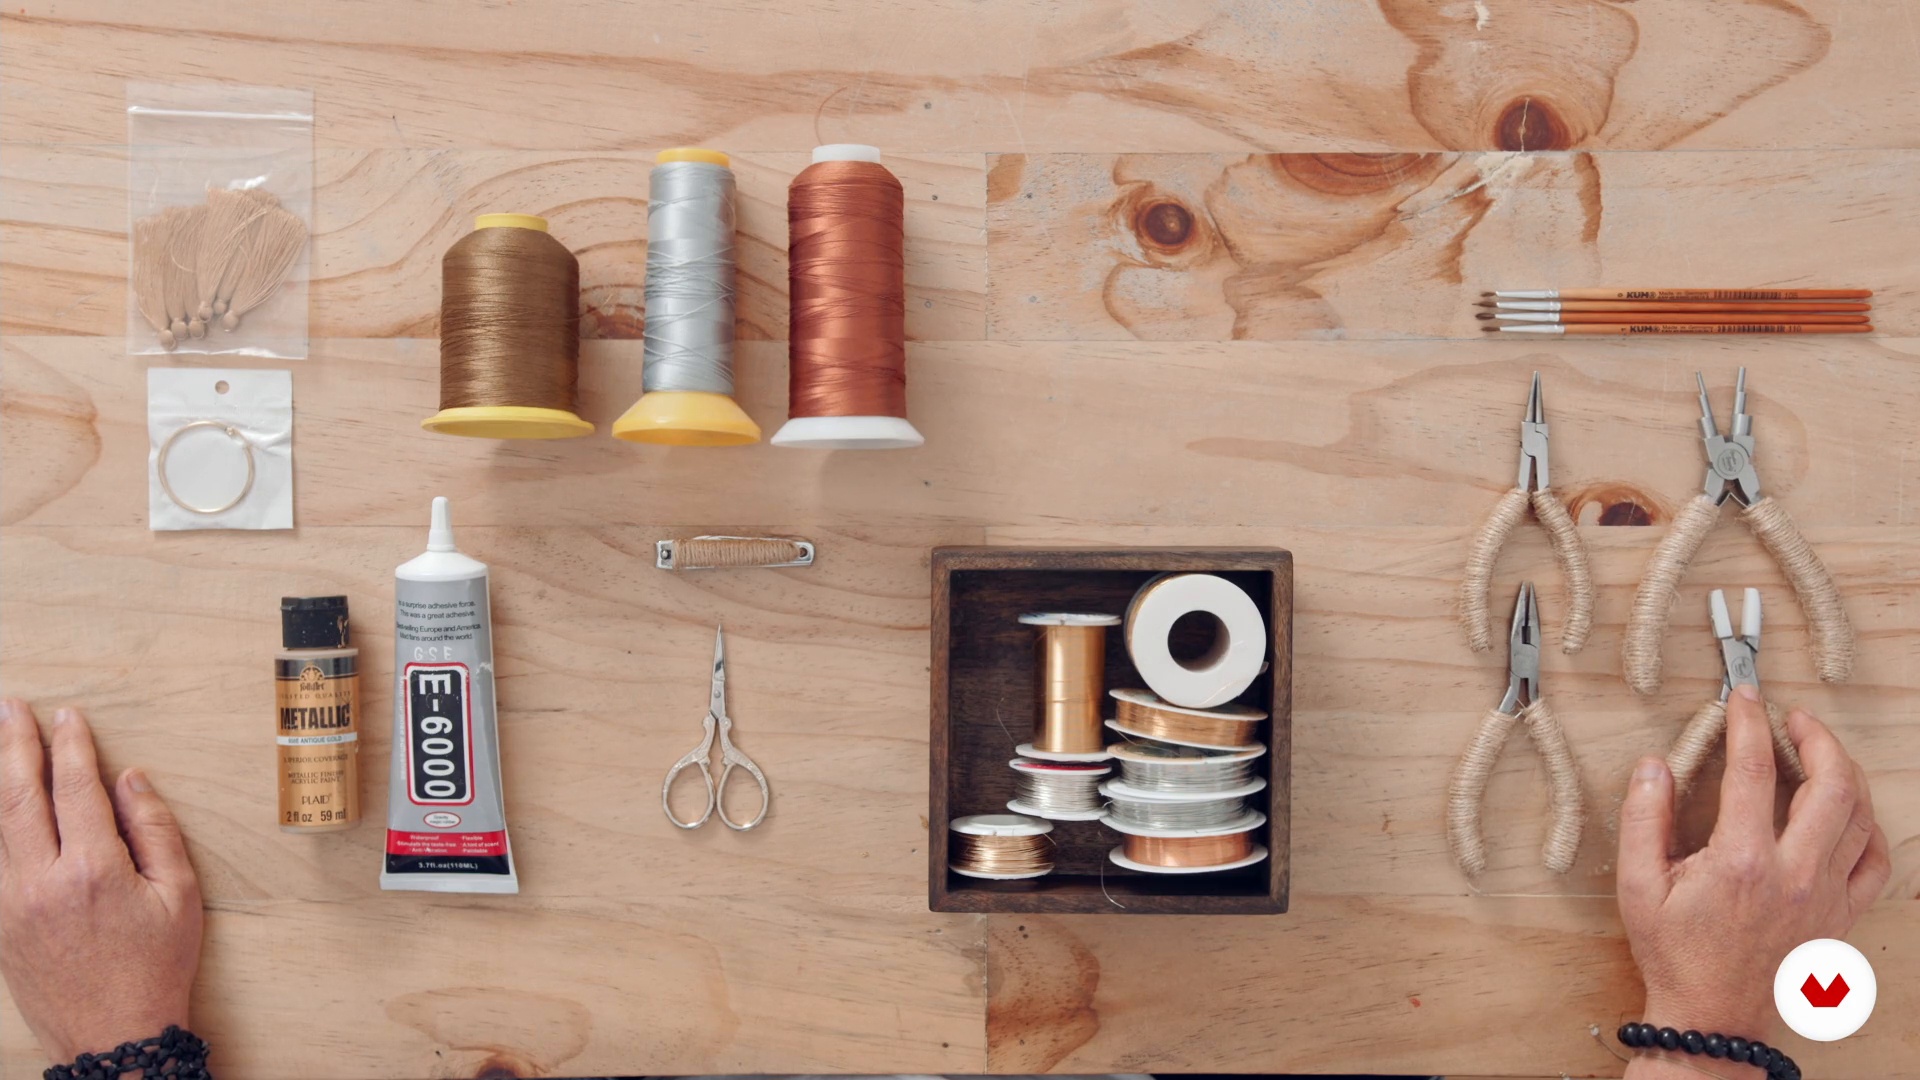
3Materials and tools
I'll talk to you about choosing materials and tools to develop the techniques you'll learn in this unit and to develop your pieces.
1m
 4
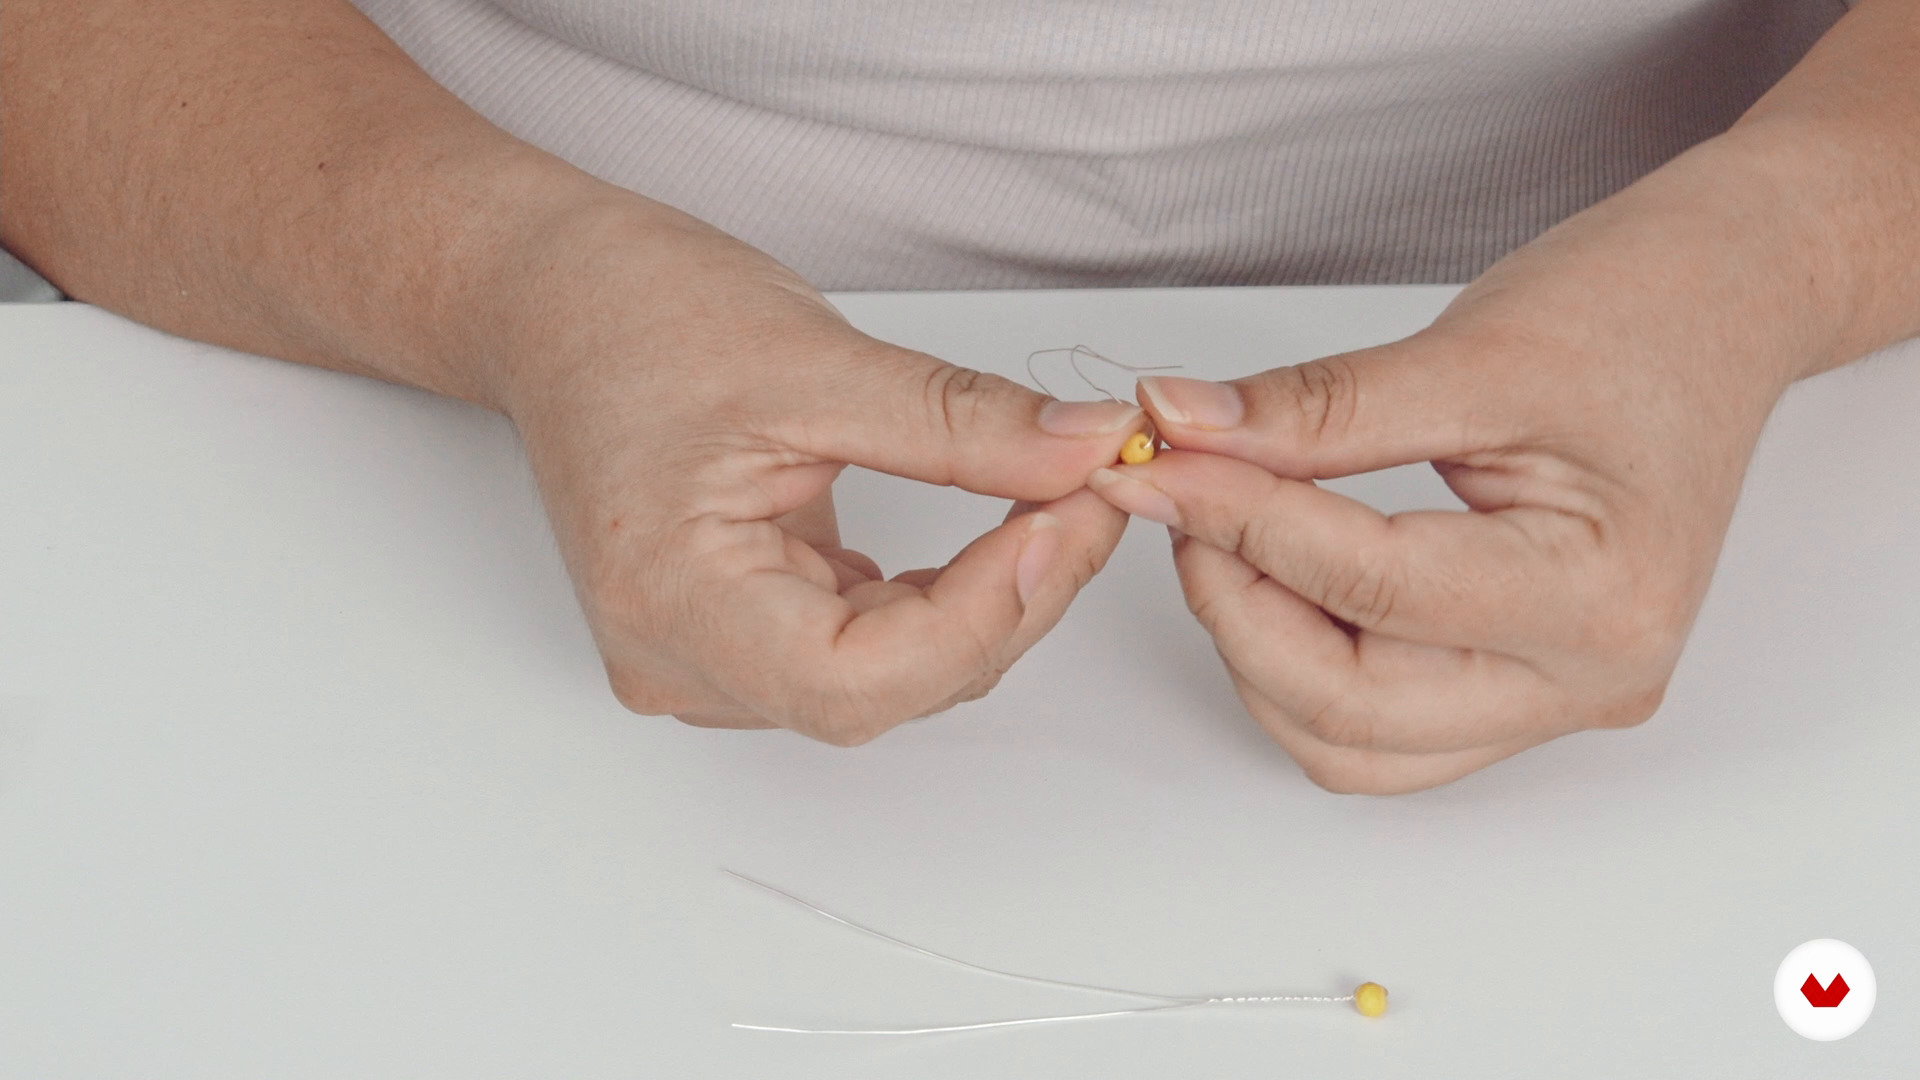
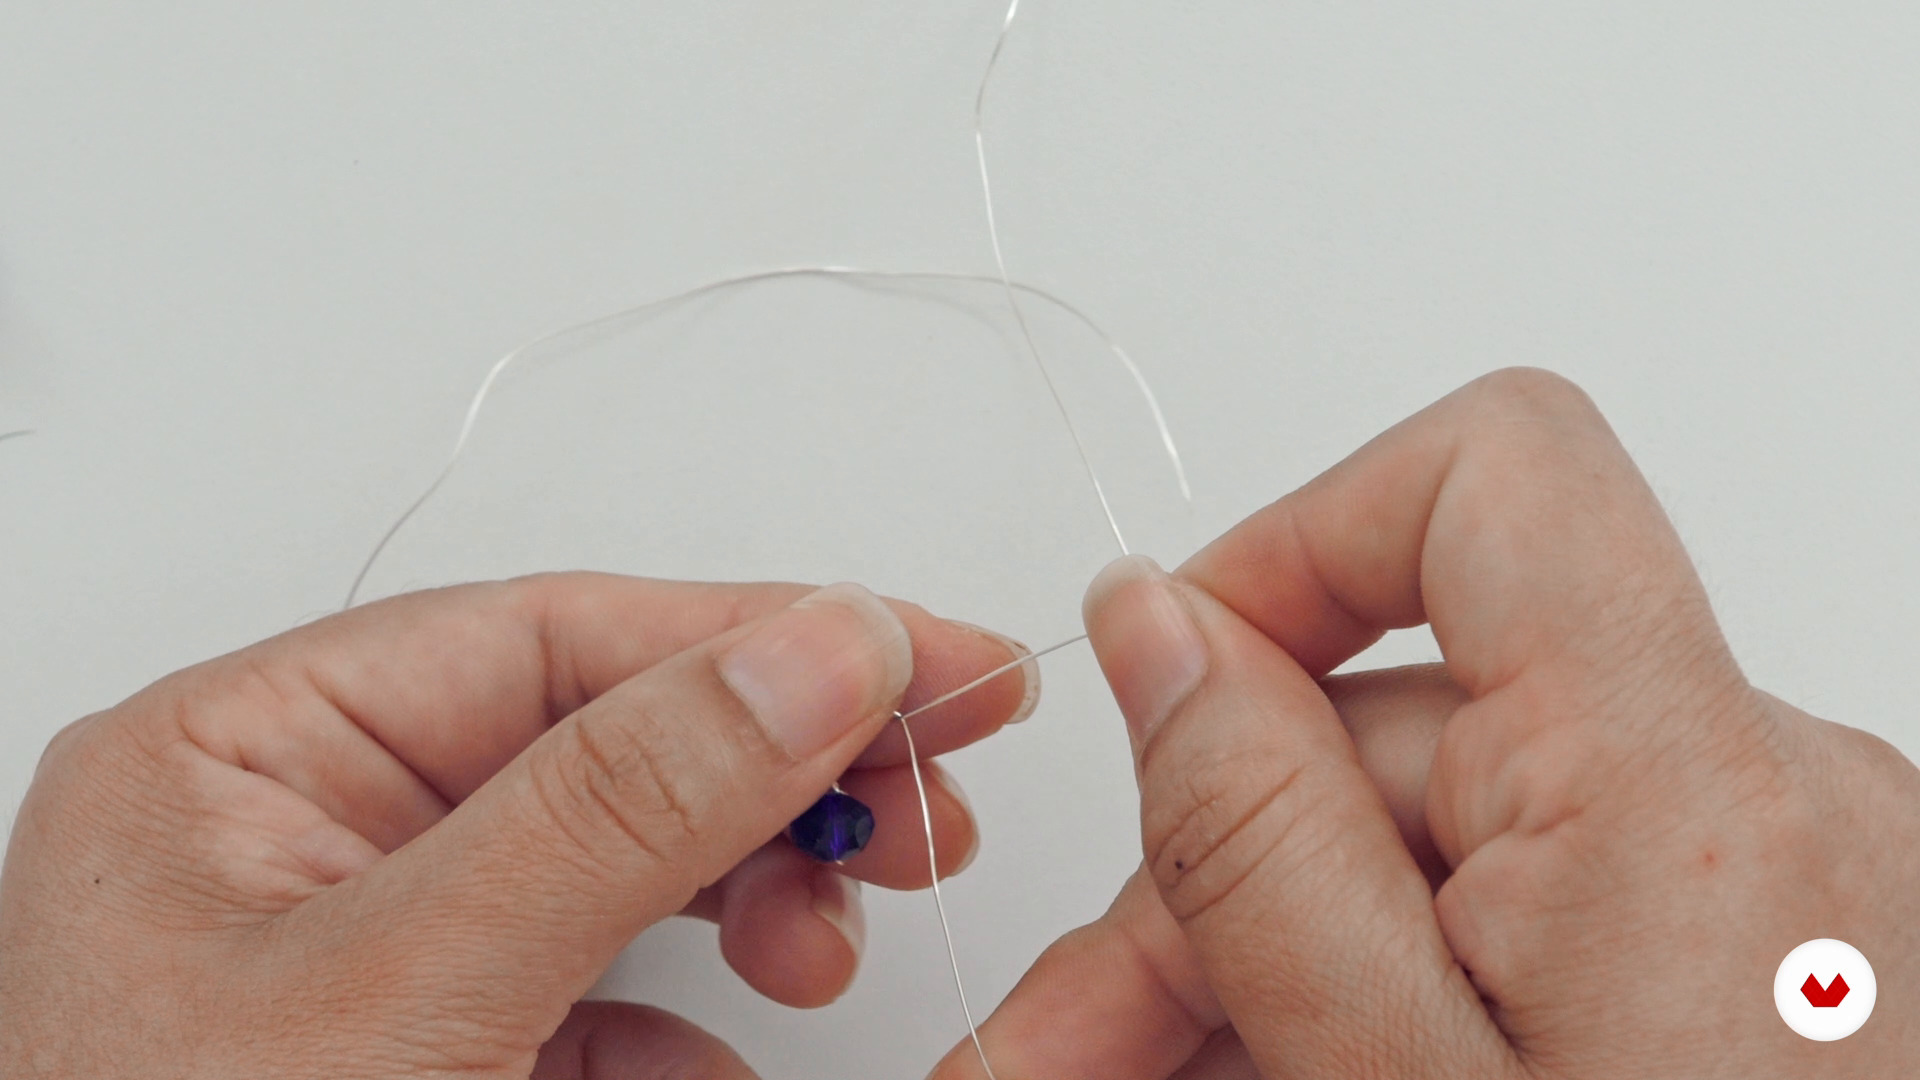
4Slip on with lacing and wire twist
In this lesson you will learn the two main wire wrapping techniques: wire sliding with loop and twisting.
2m
 5
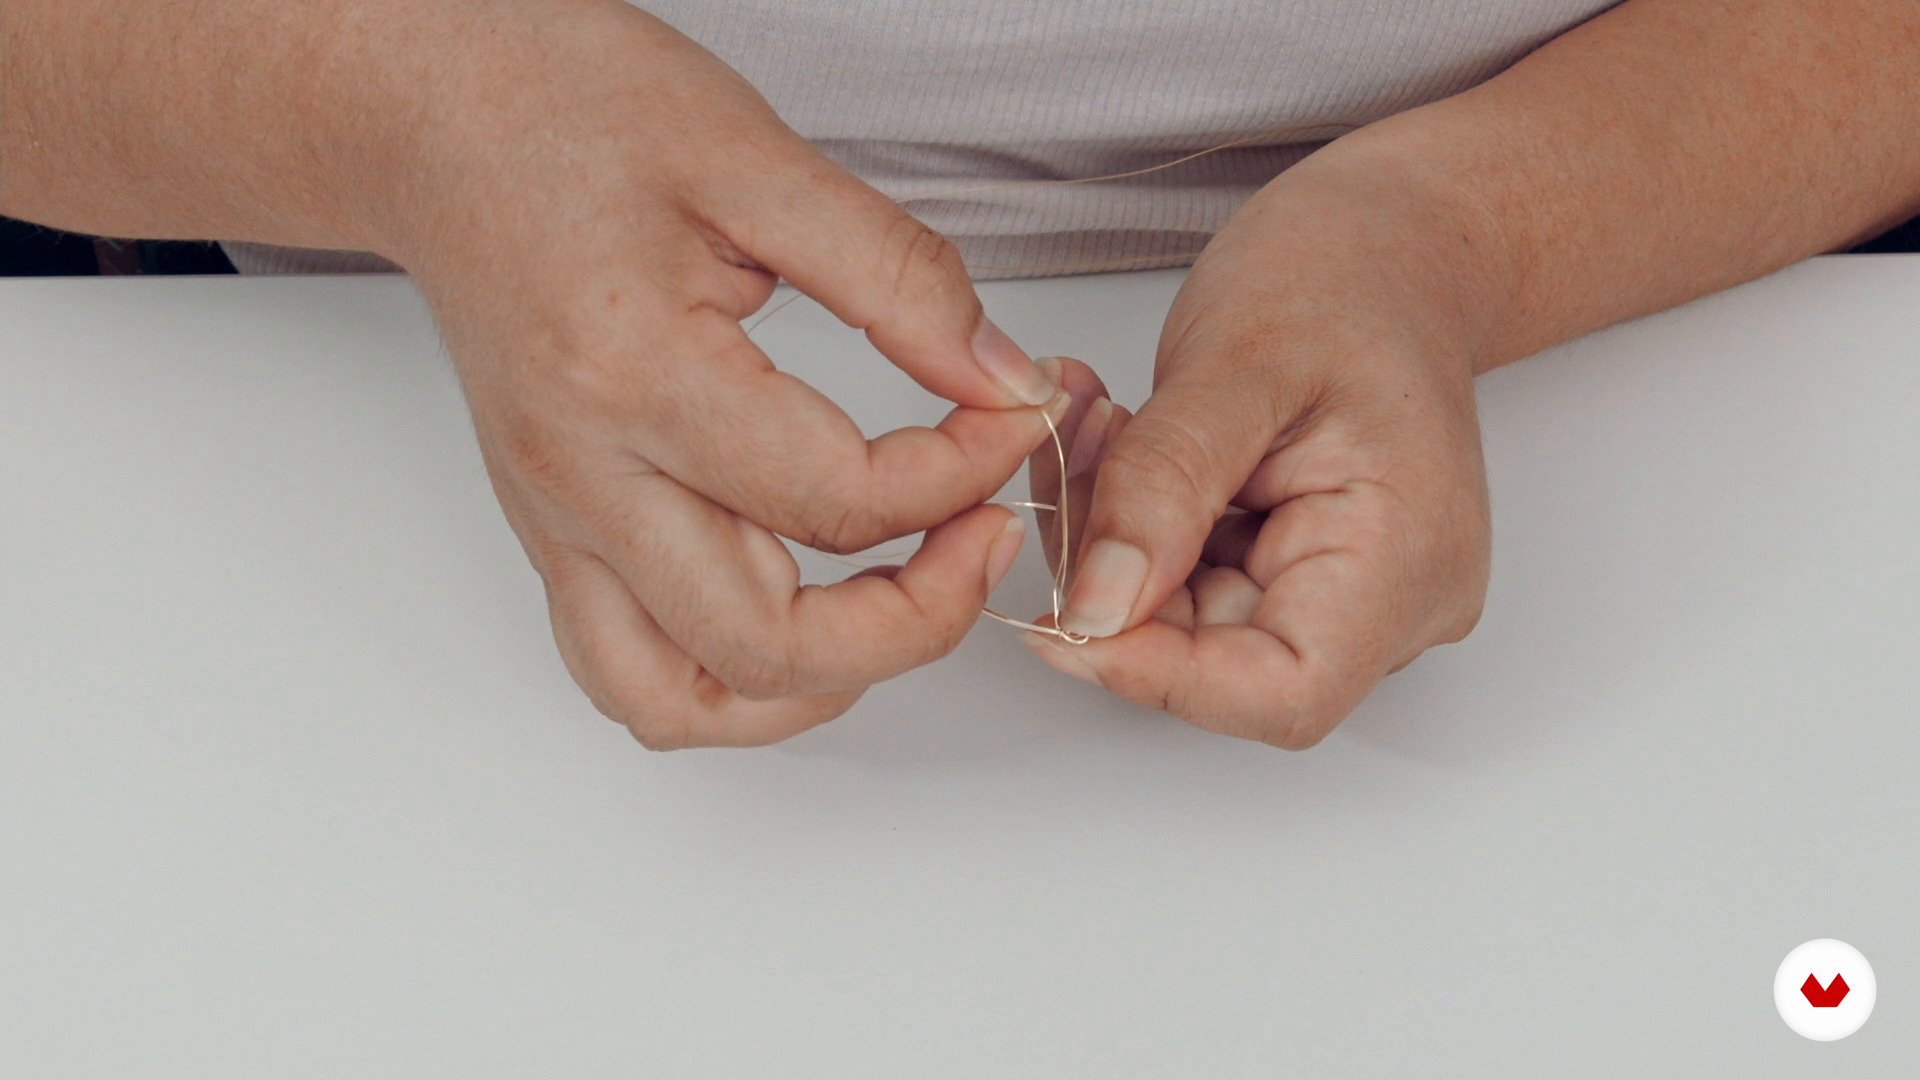
5Armed with flower and bead antenna
Now you will learn how to use both techniques to assemble a basic piece.
8m
 6
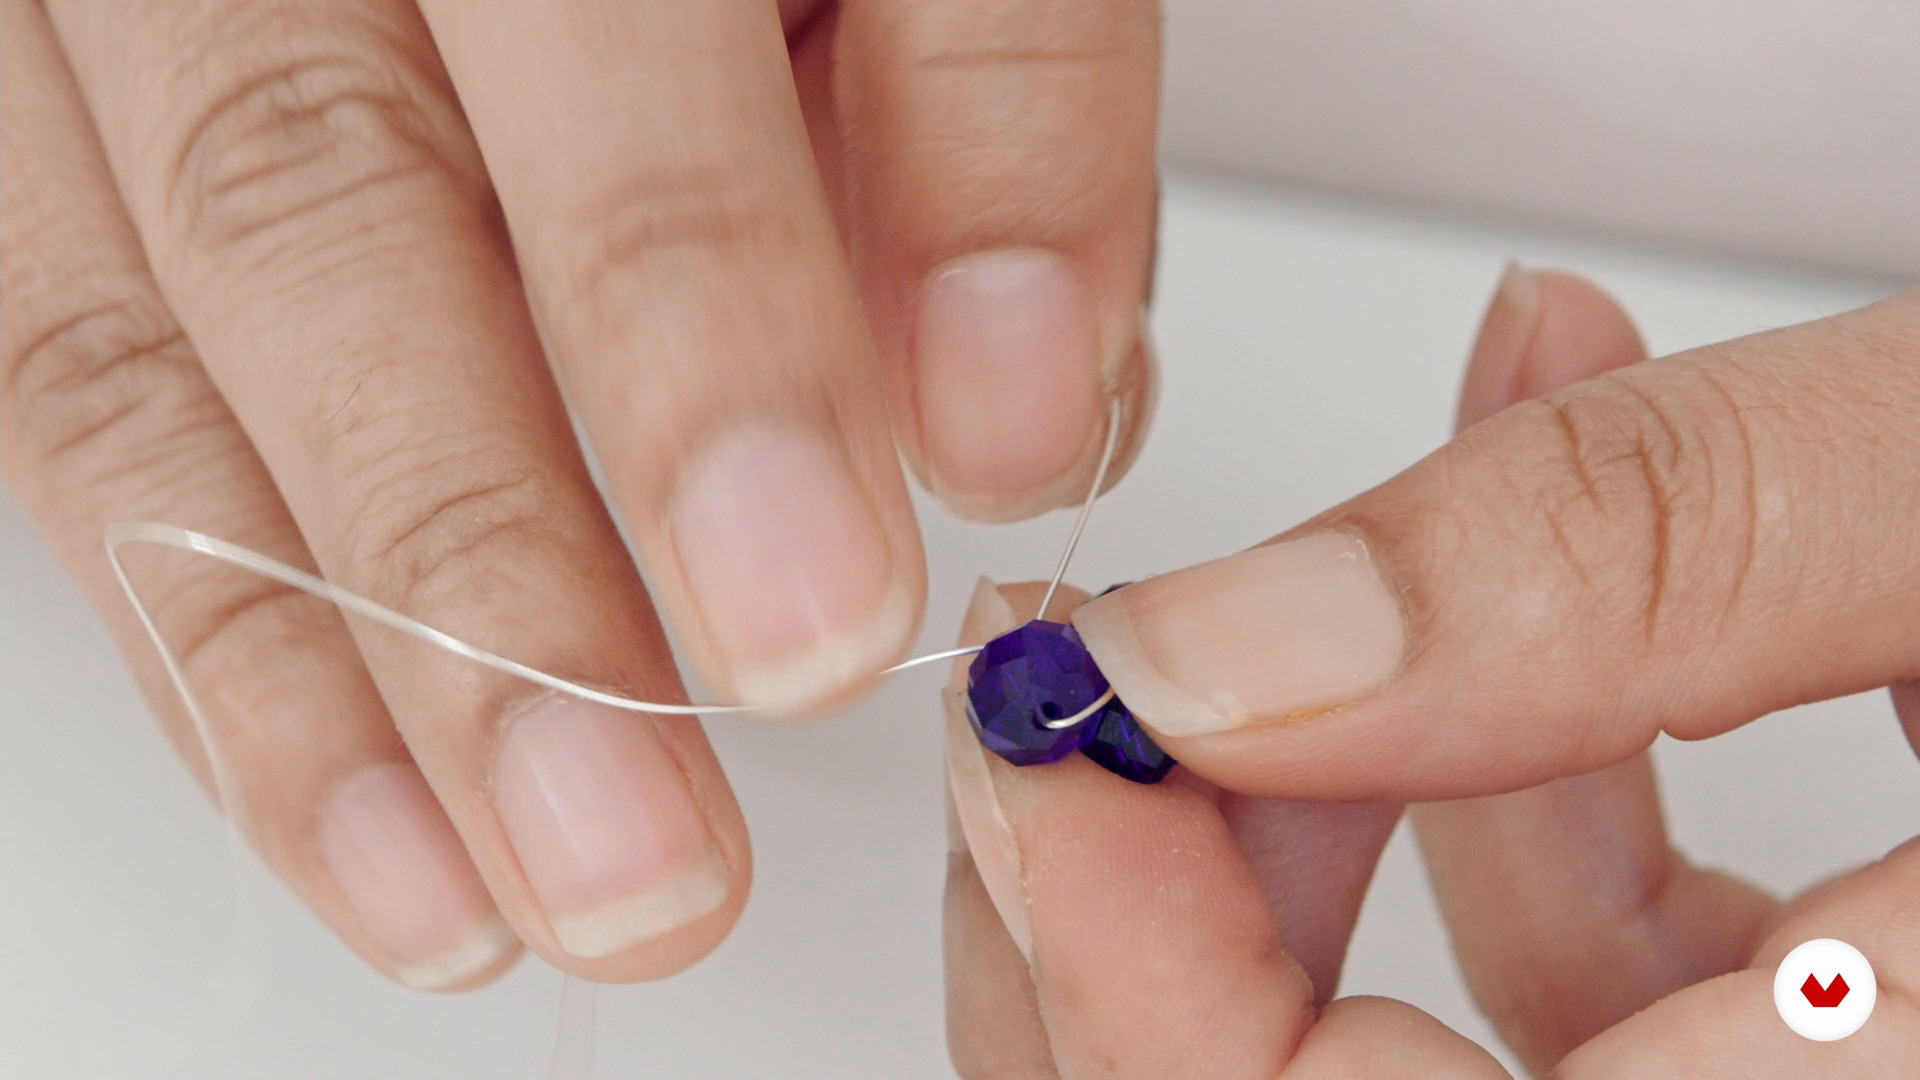
6Hoop creation with wire
Twenty-four years ago, we didn't have the ease of finding such a wide variety of items as we do now. That's why I enjoy developing pieces from scratch. In this lesson, you'll learn how to make a wire ring.
5m
 7
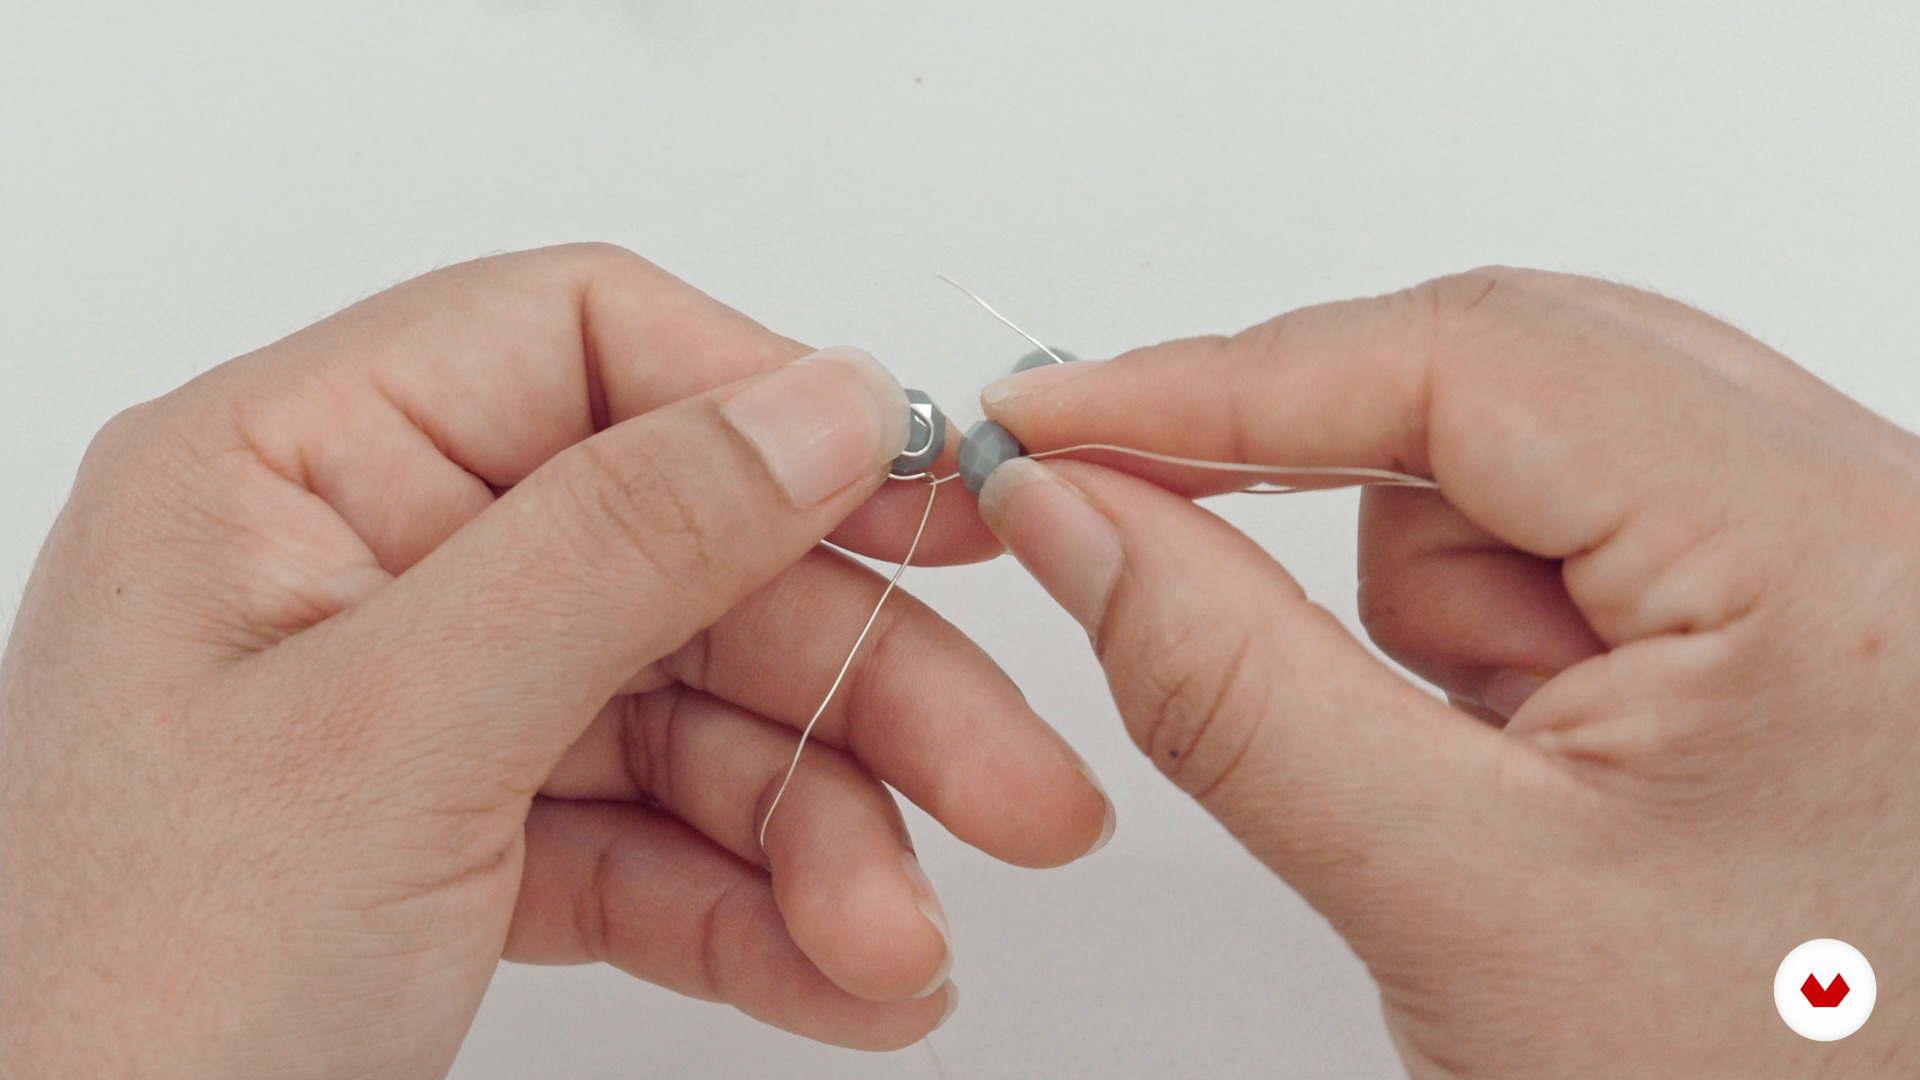
7Decorative slip
I'm going to teach you the first decorative technique: decorative wire sliding.
3m
 8
8Decorative spiral
Now I'm going to teach you how to make the decorative spiral, it's a technique that will enhance the Murano or stone.
3m
 9
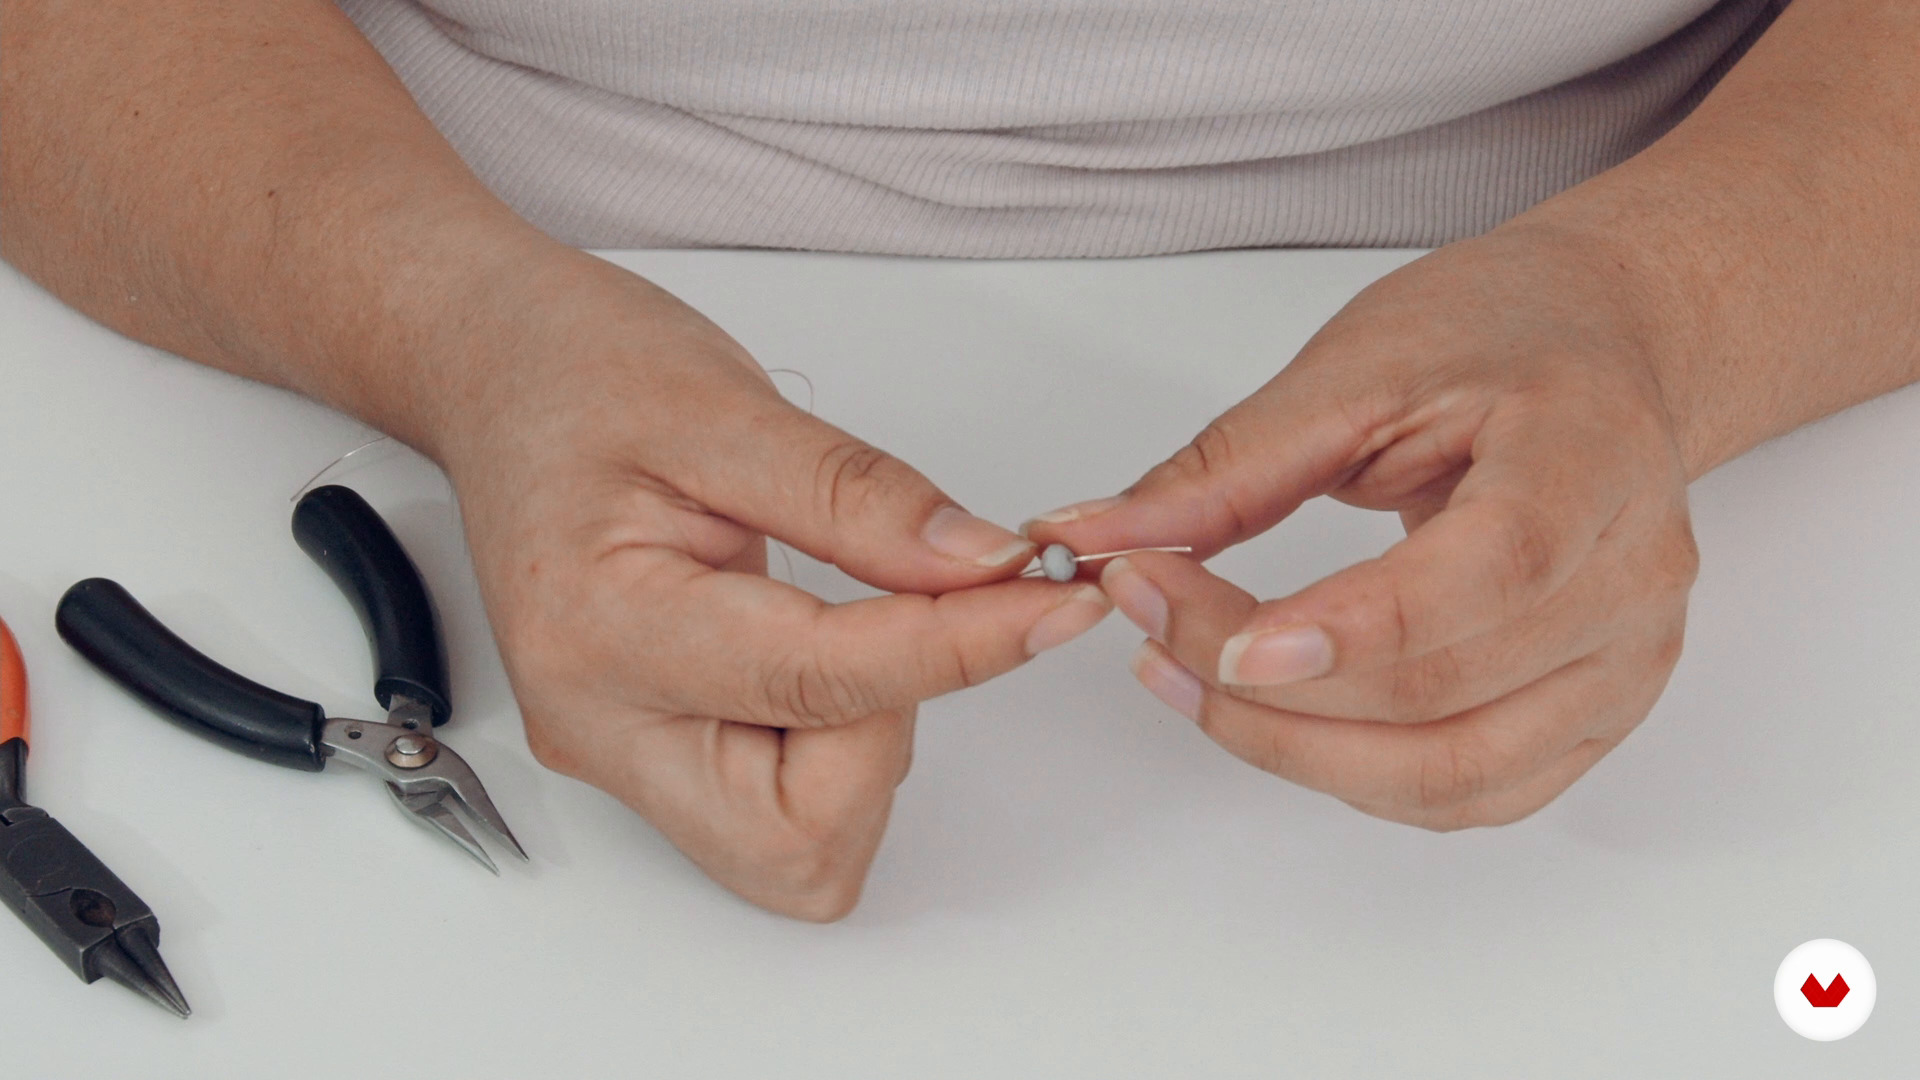
9Setting, creeper and branch assembly
In this lesson, you'll learn more decorative techniques: crimping and vine-like vines. By combining the two, you can complete a branch arrangement.
13m
 10
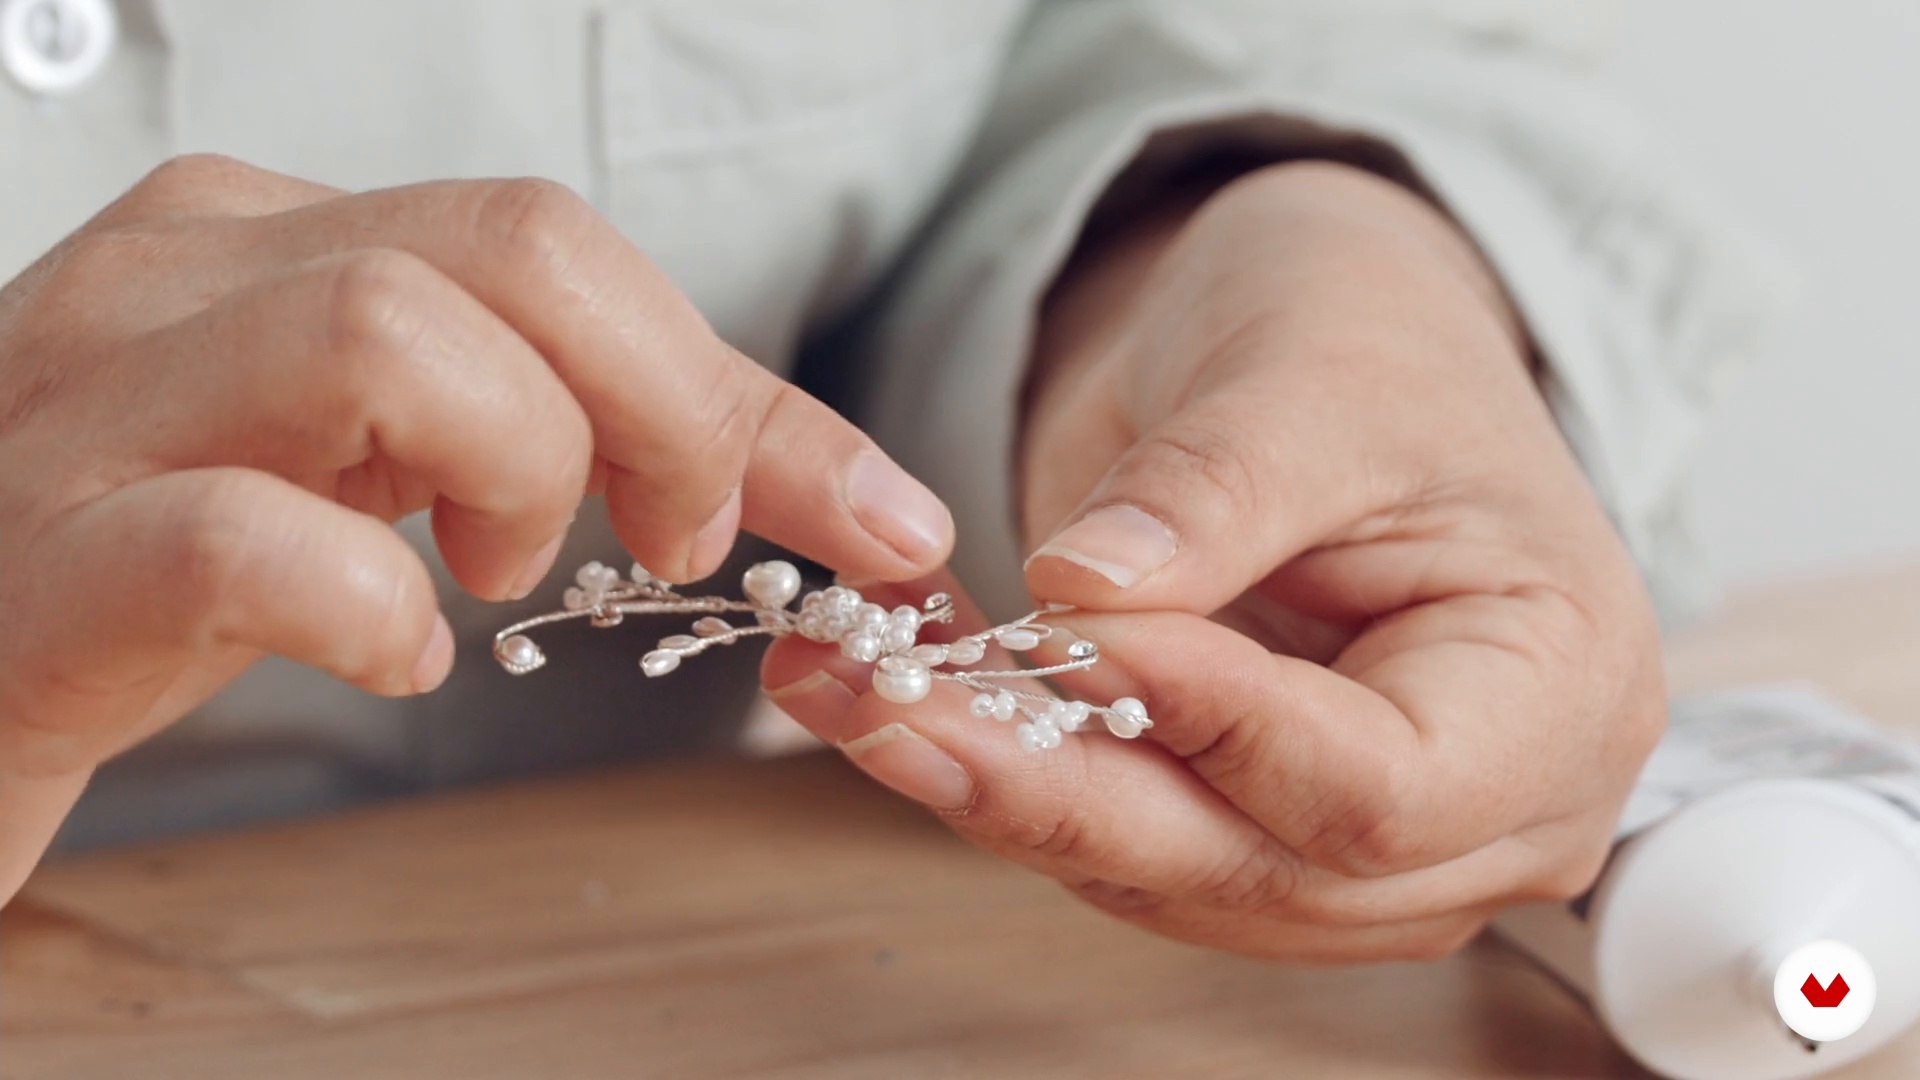
10Creation of tassels and glitter glue
Details elevate any design. So, I'll show you how to complement your piece with sparkles and tassels.
6m
 11
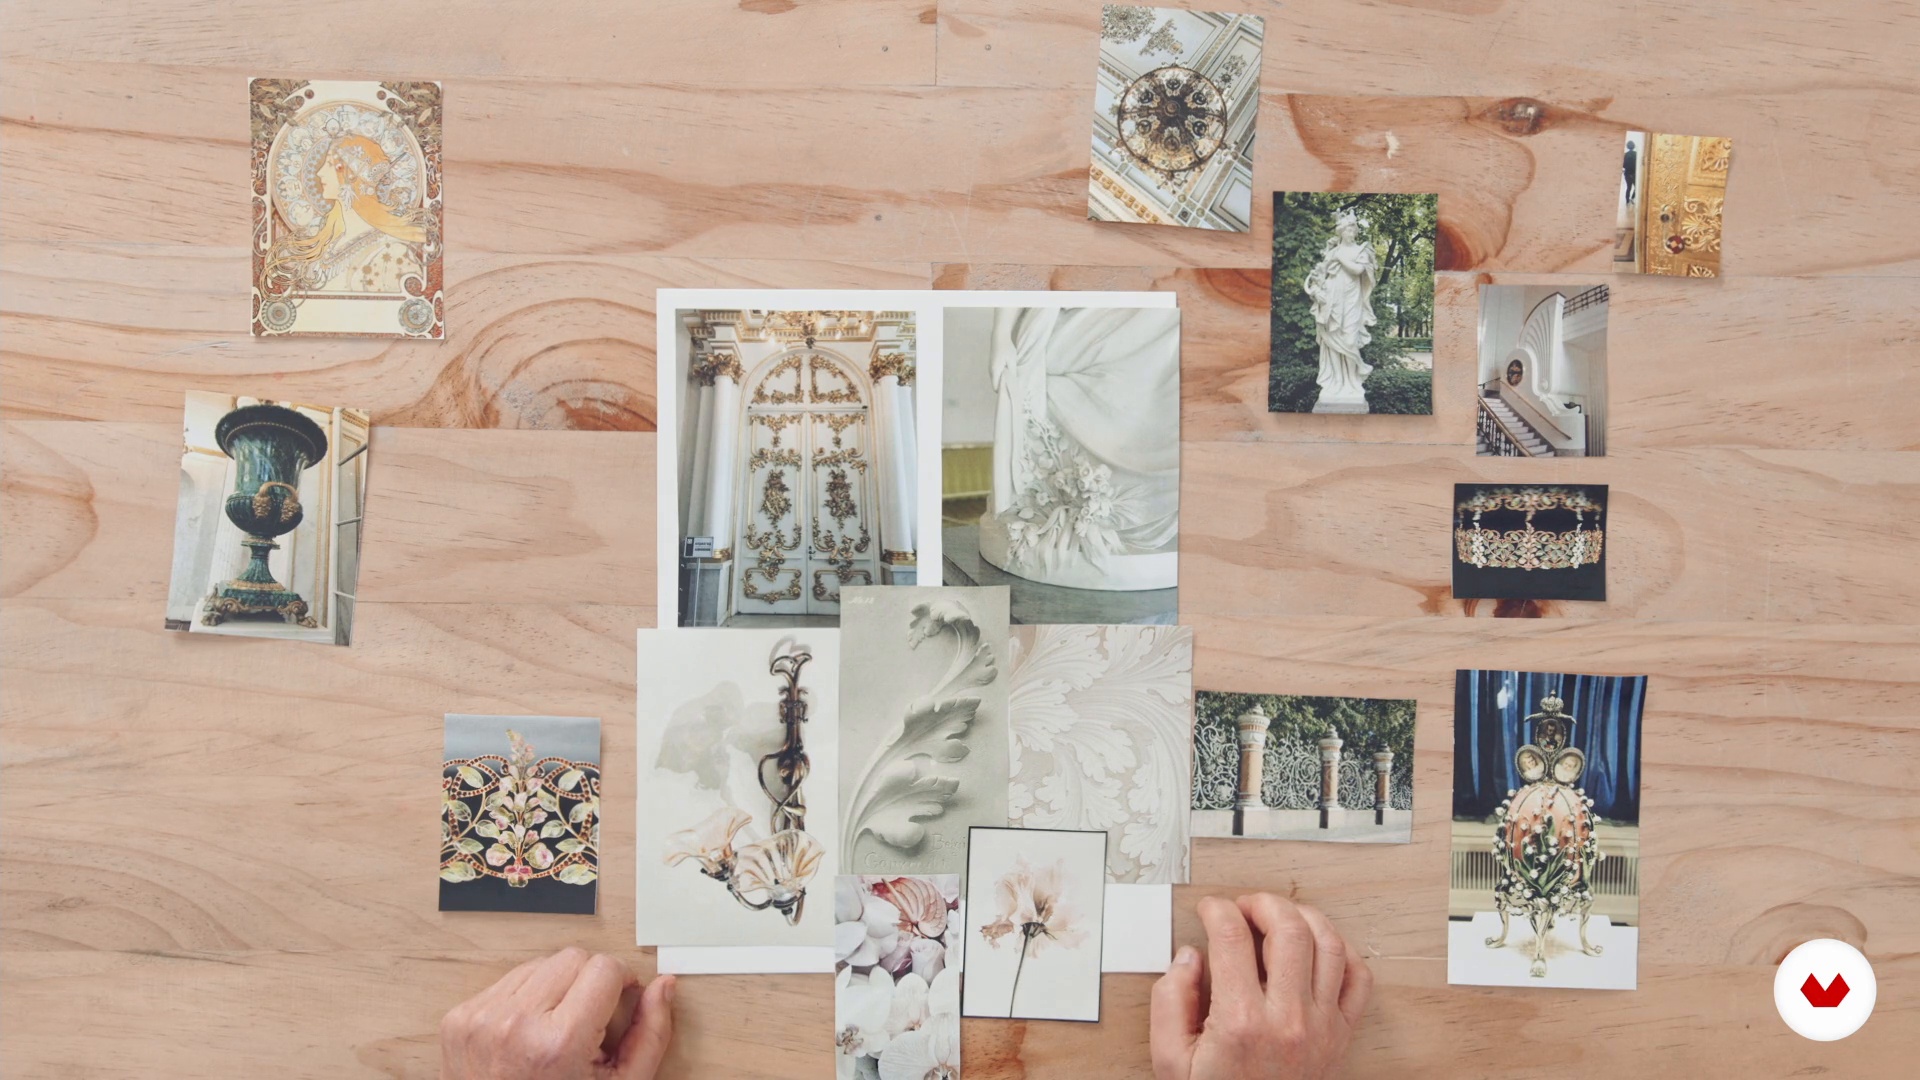
11Elaboration of mood board and concept
I'll show you how to create a mood board that brings together images that convey what you want your collection or brand to communicate. Look for colors and textures that speak to you.
2m
 12
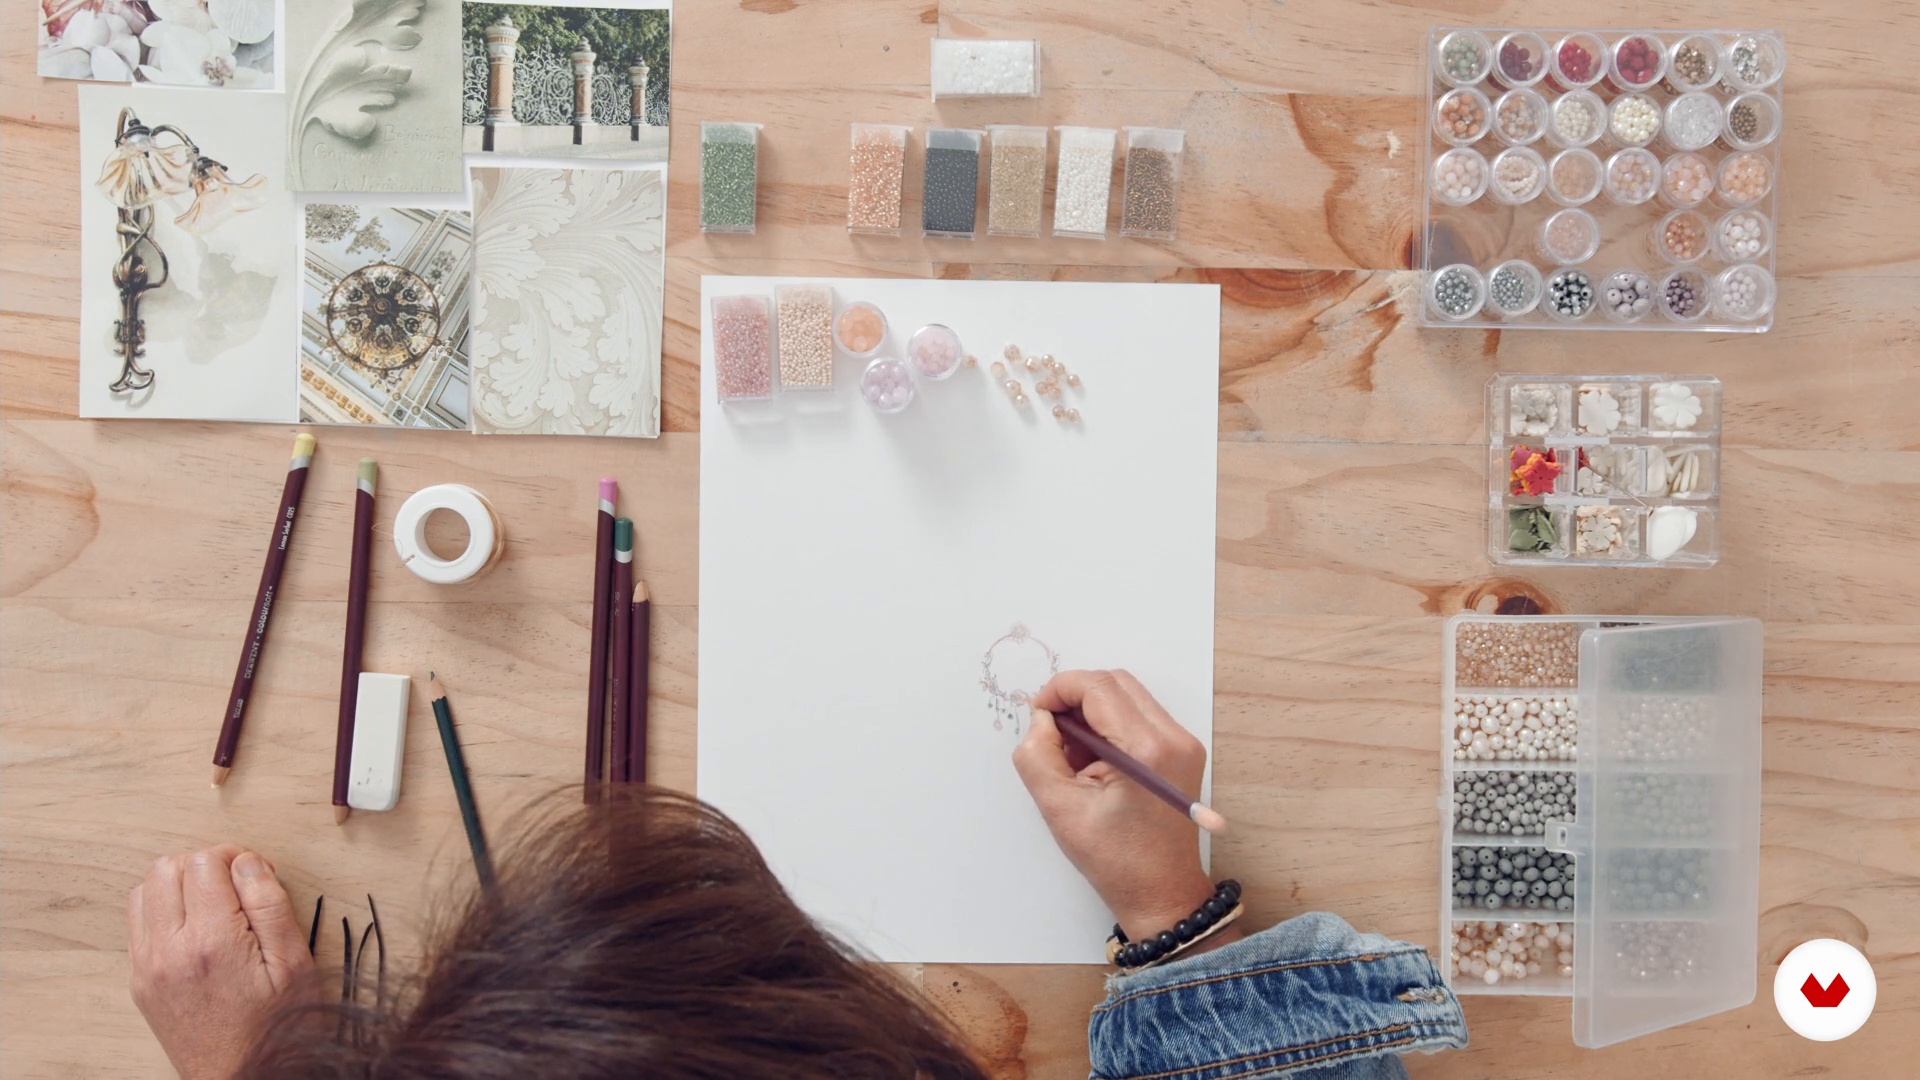
12Design from material
In this lesson, I'll discuss the different possibilities, considering the material's characteristics. I'll teach you how to design intuitively using the benefits that wire offers by integrating concepts and mood boards.
4m
 13
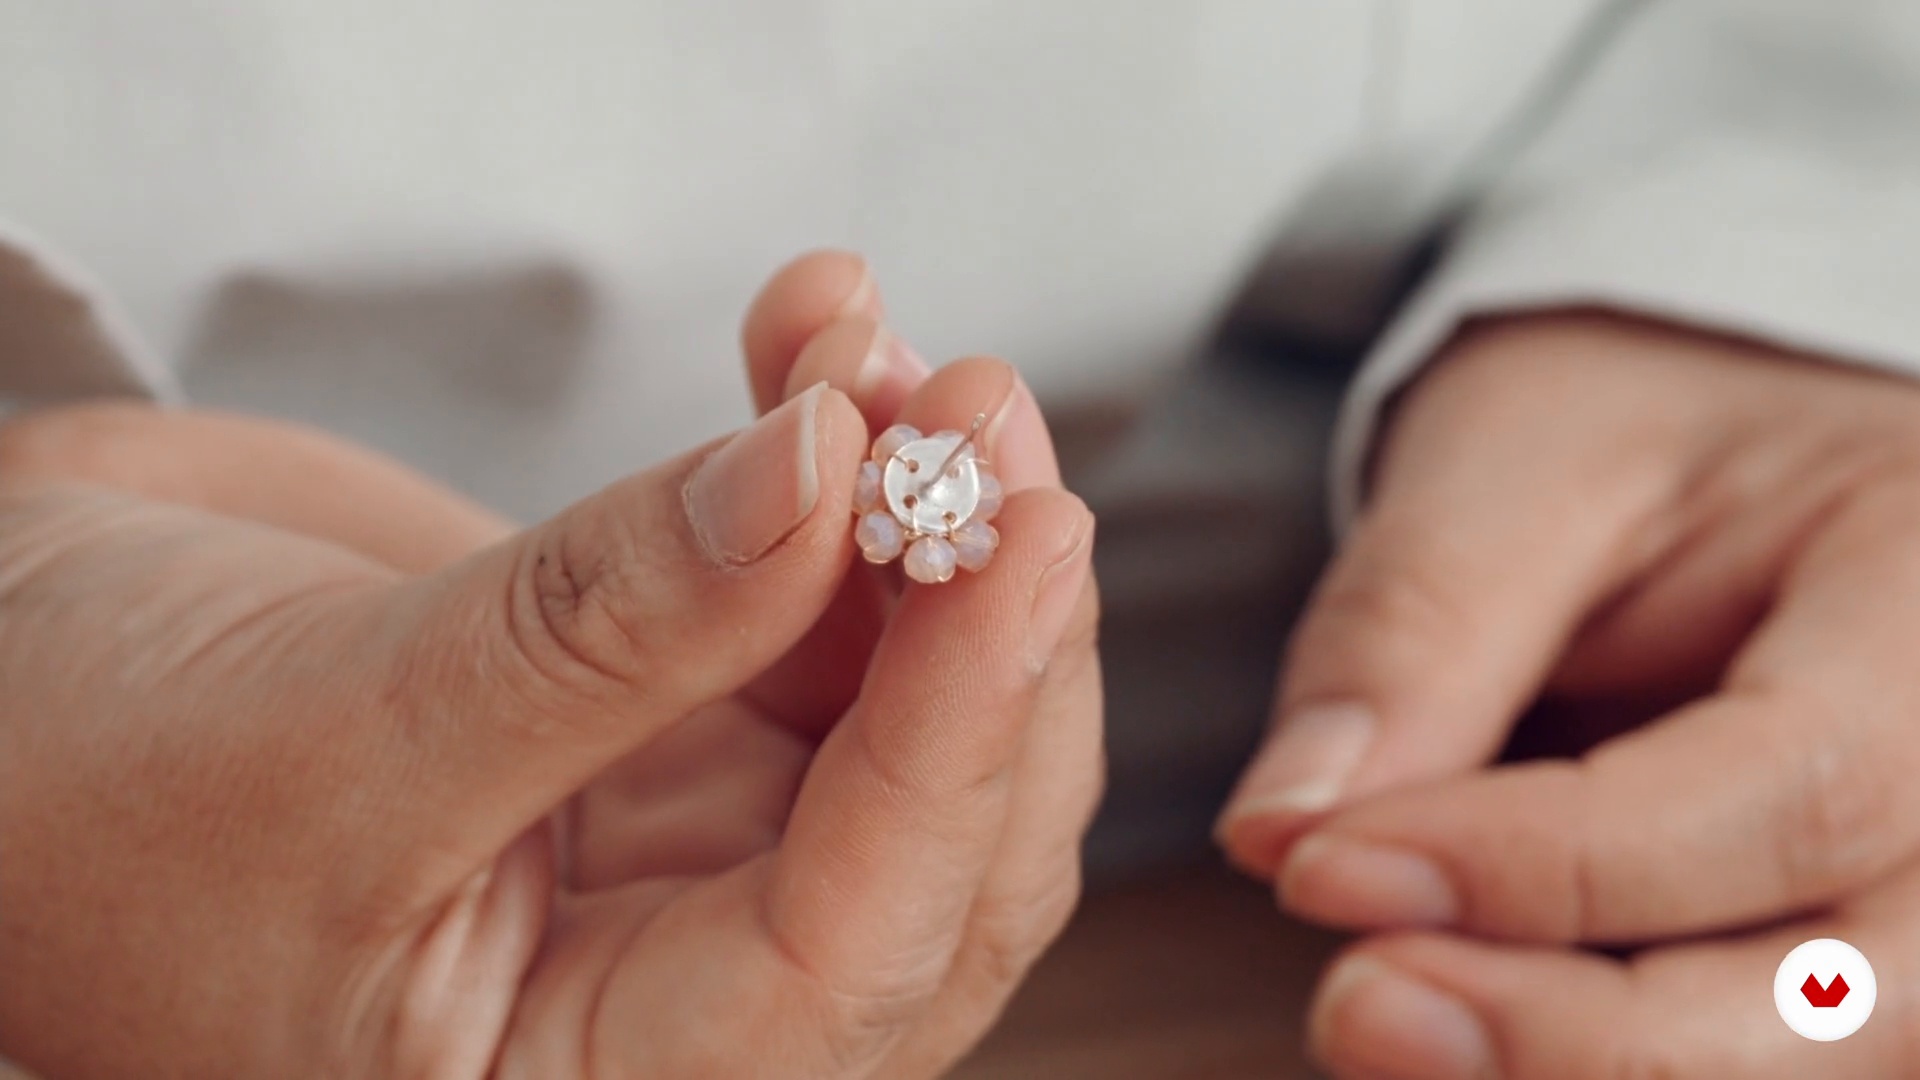
13Small earring and back finishes
Here you'll learn the steps you need to follow to finally turn the wire into basic earrings. You'll also see the finishing touches afterward.
9m
 14
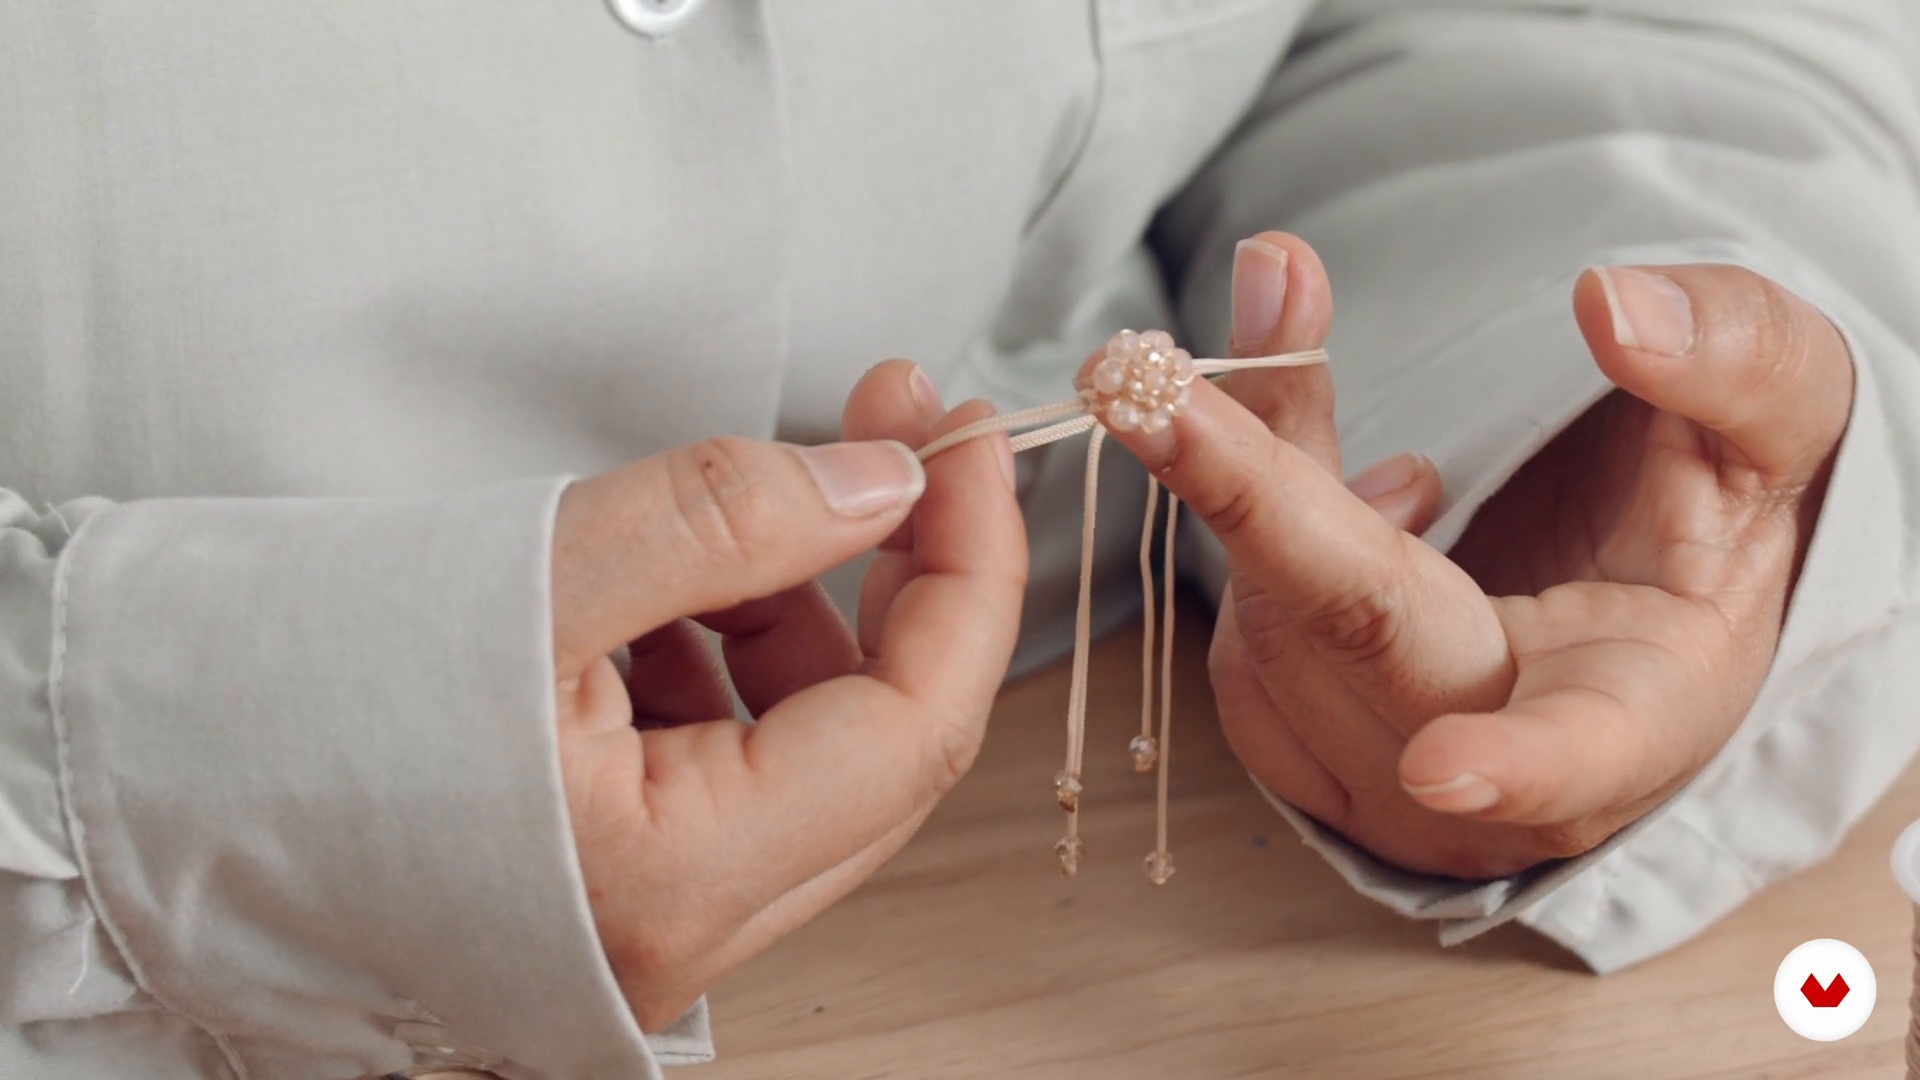
14Bracelet
To complement your collection, in this lesson, you'll learn how to make a basic bracelet.
10m
 15
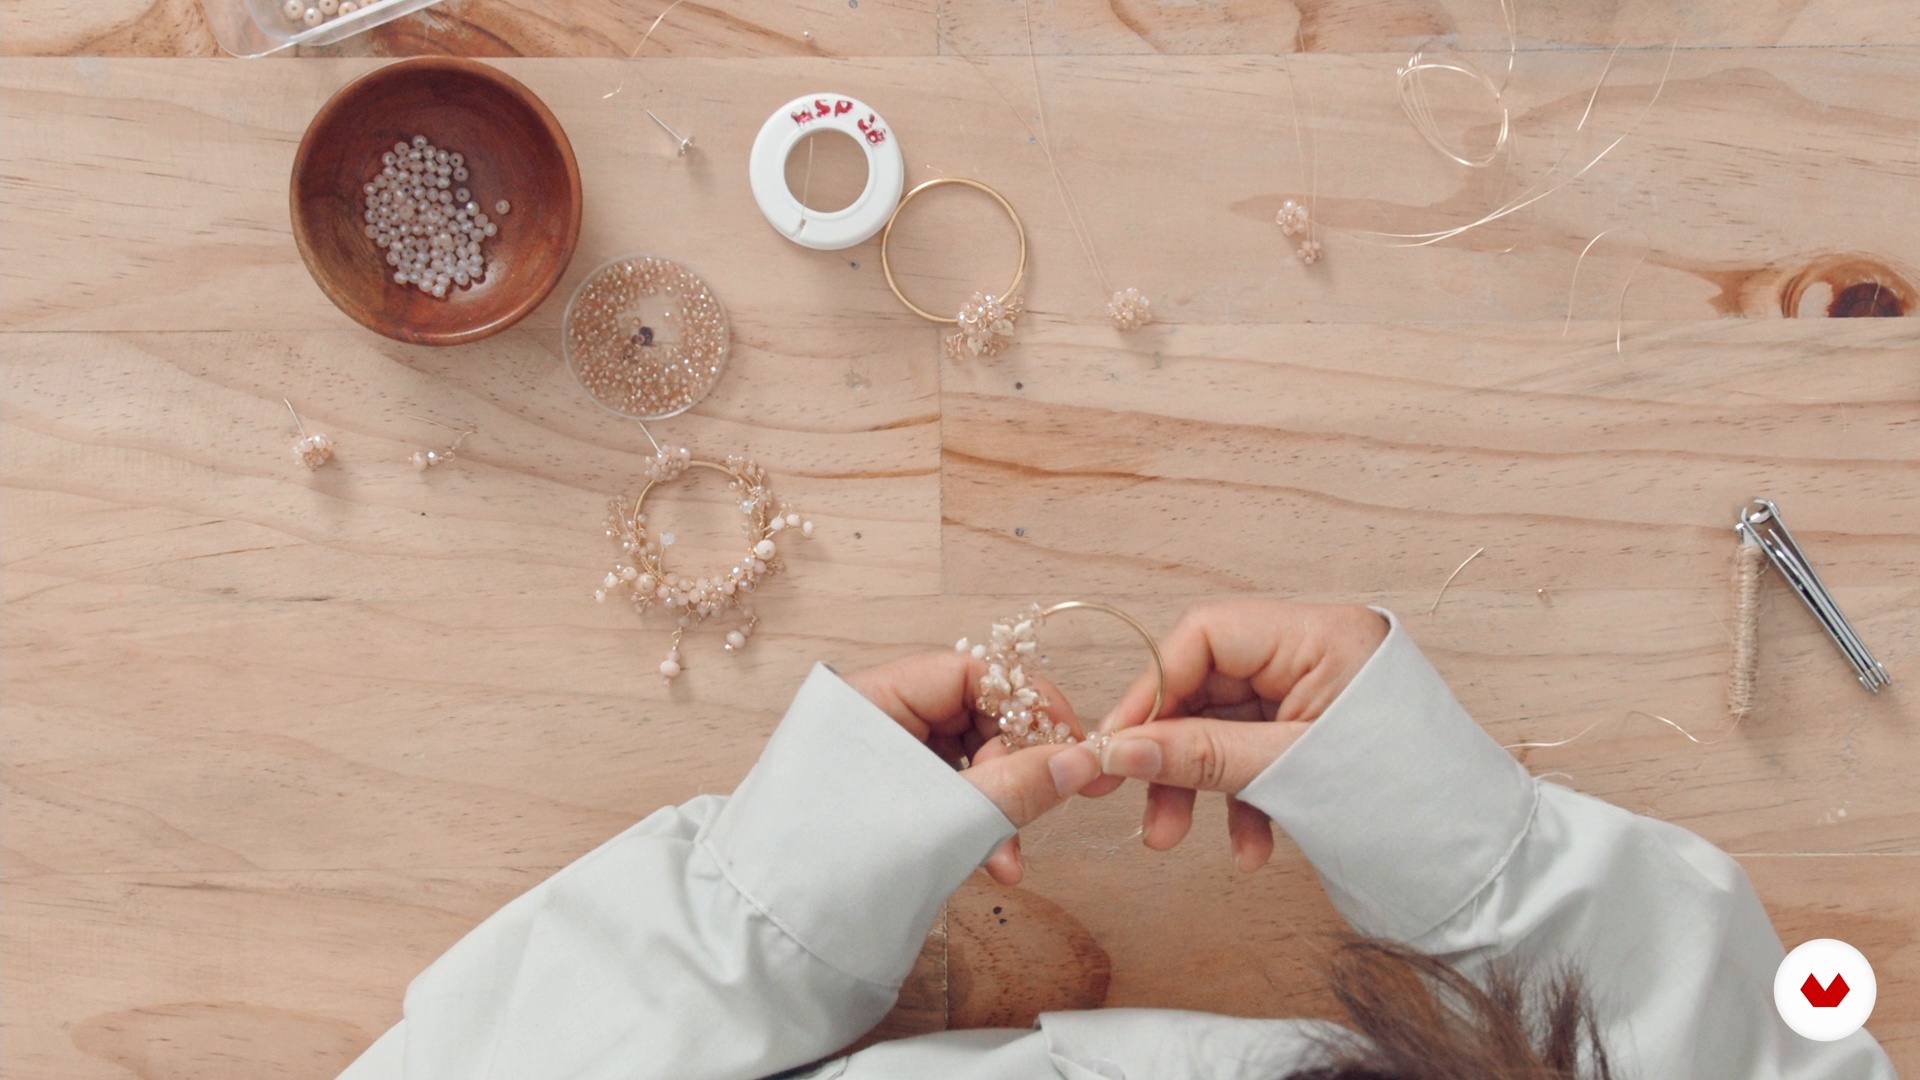
15Large earring and final structures 1
Now I'll show you the structures to turn basic earrings into large pieces.
18m
 16
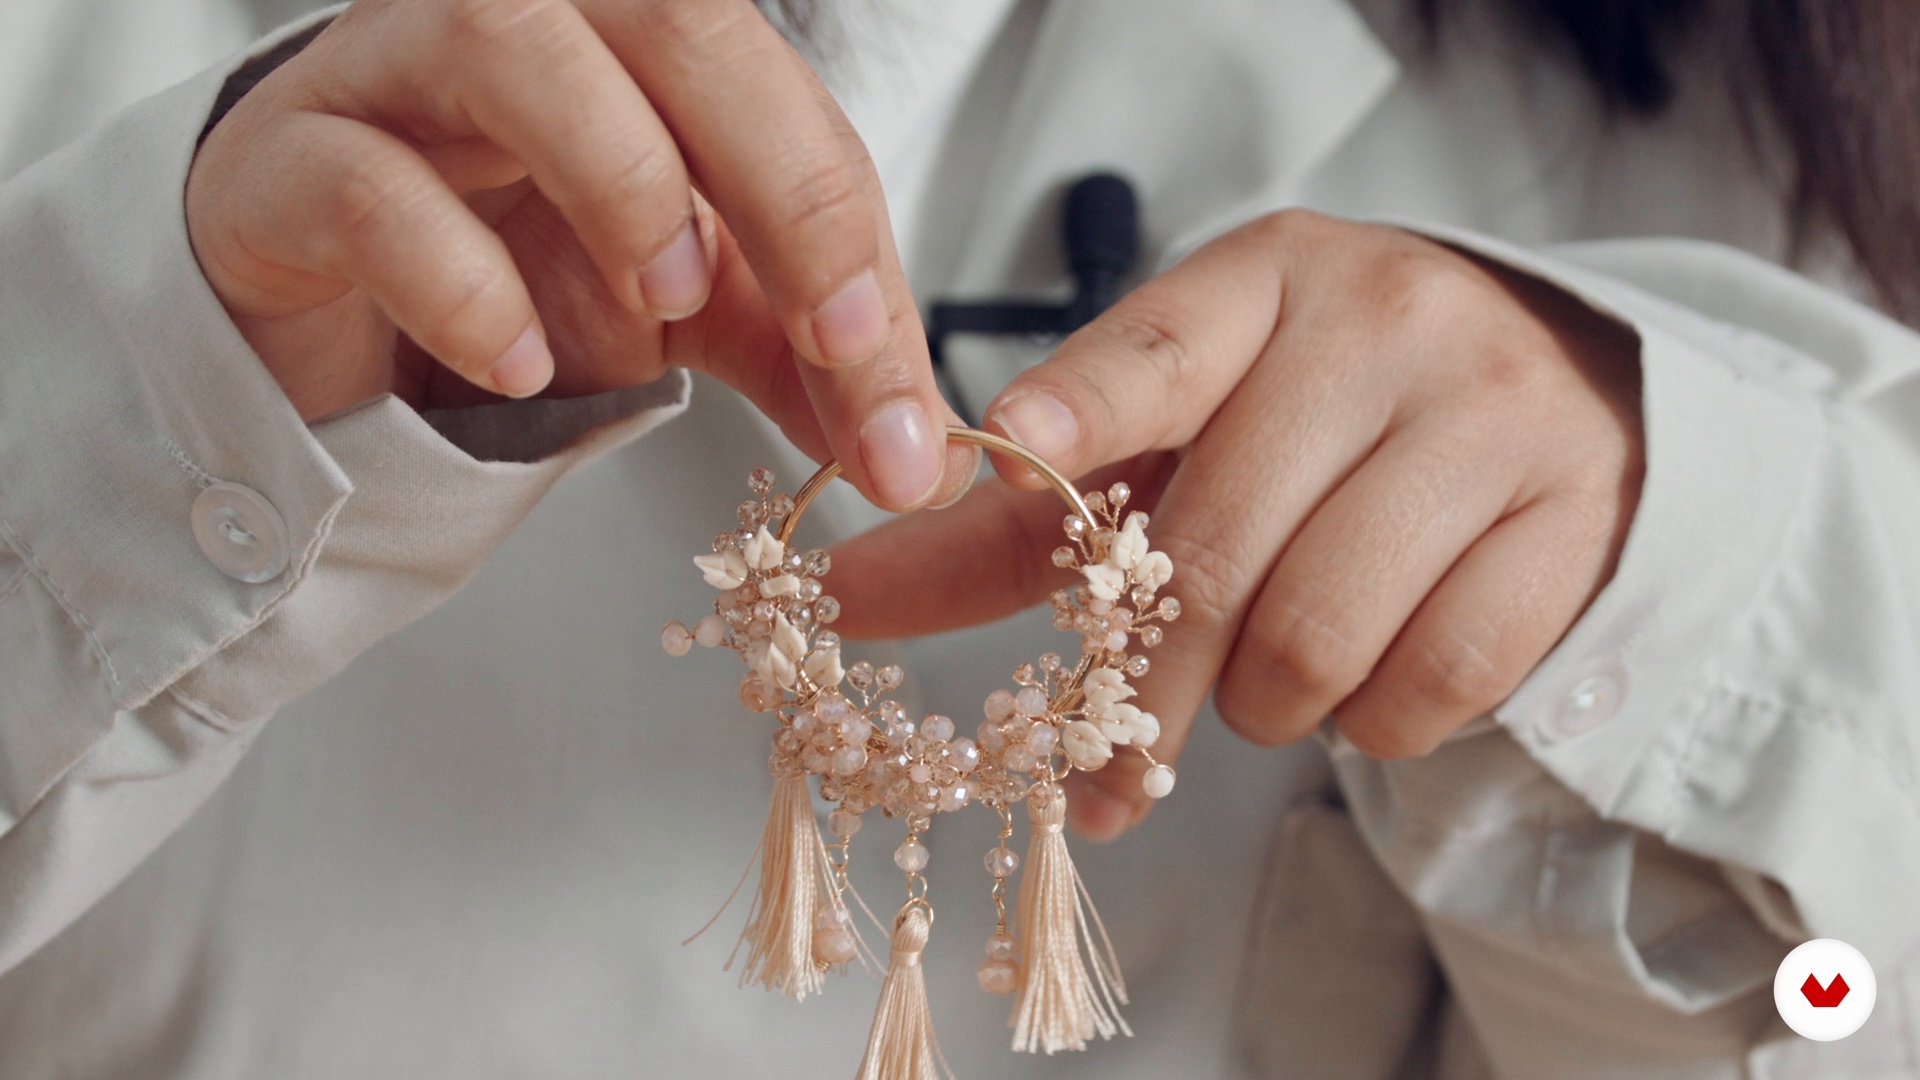
16Large earring and final structures 2
Now I'll finish assembling the base of the hoop and add pendants.
18m
 17
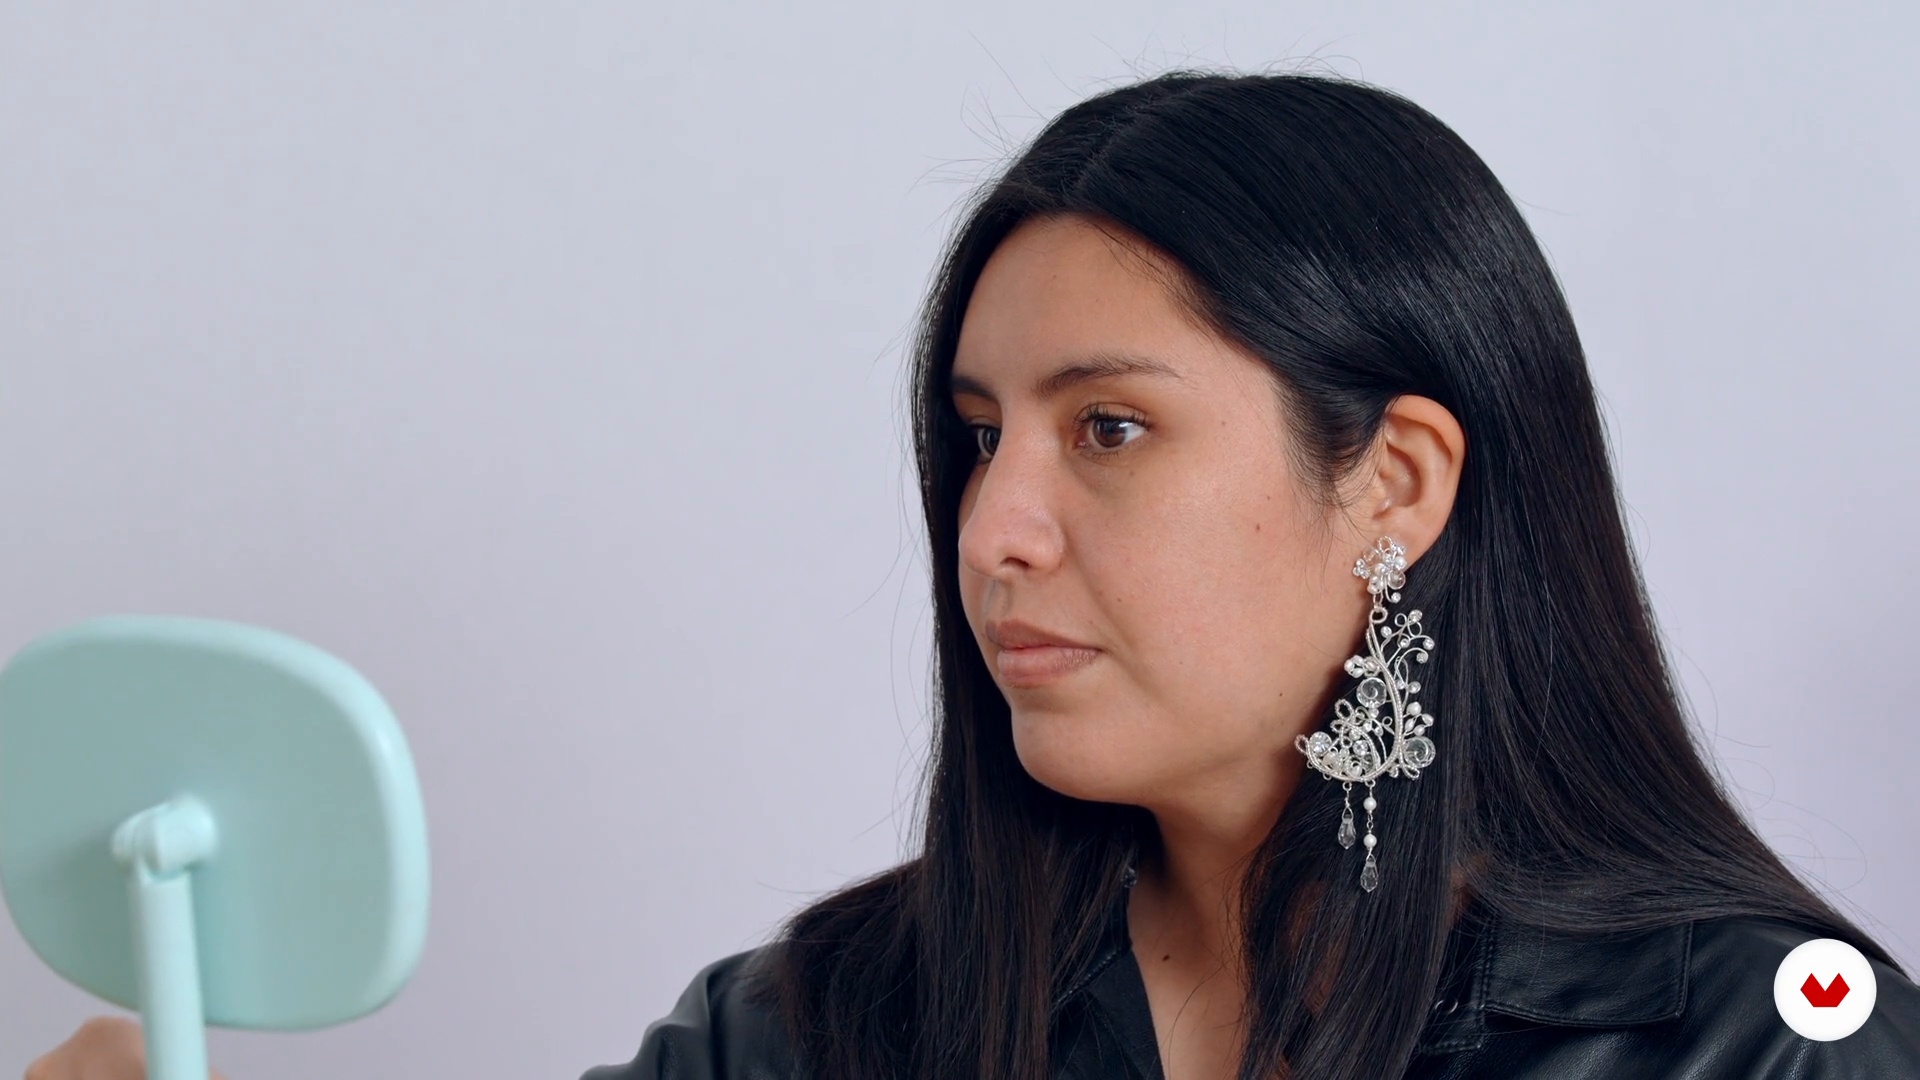
17The art of attending
I'm excited to share with you some of the ways I've learned to counsel my clients. I'll show you how to use your creativity and intuition to serve them.
3m
 4
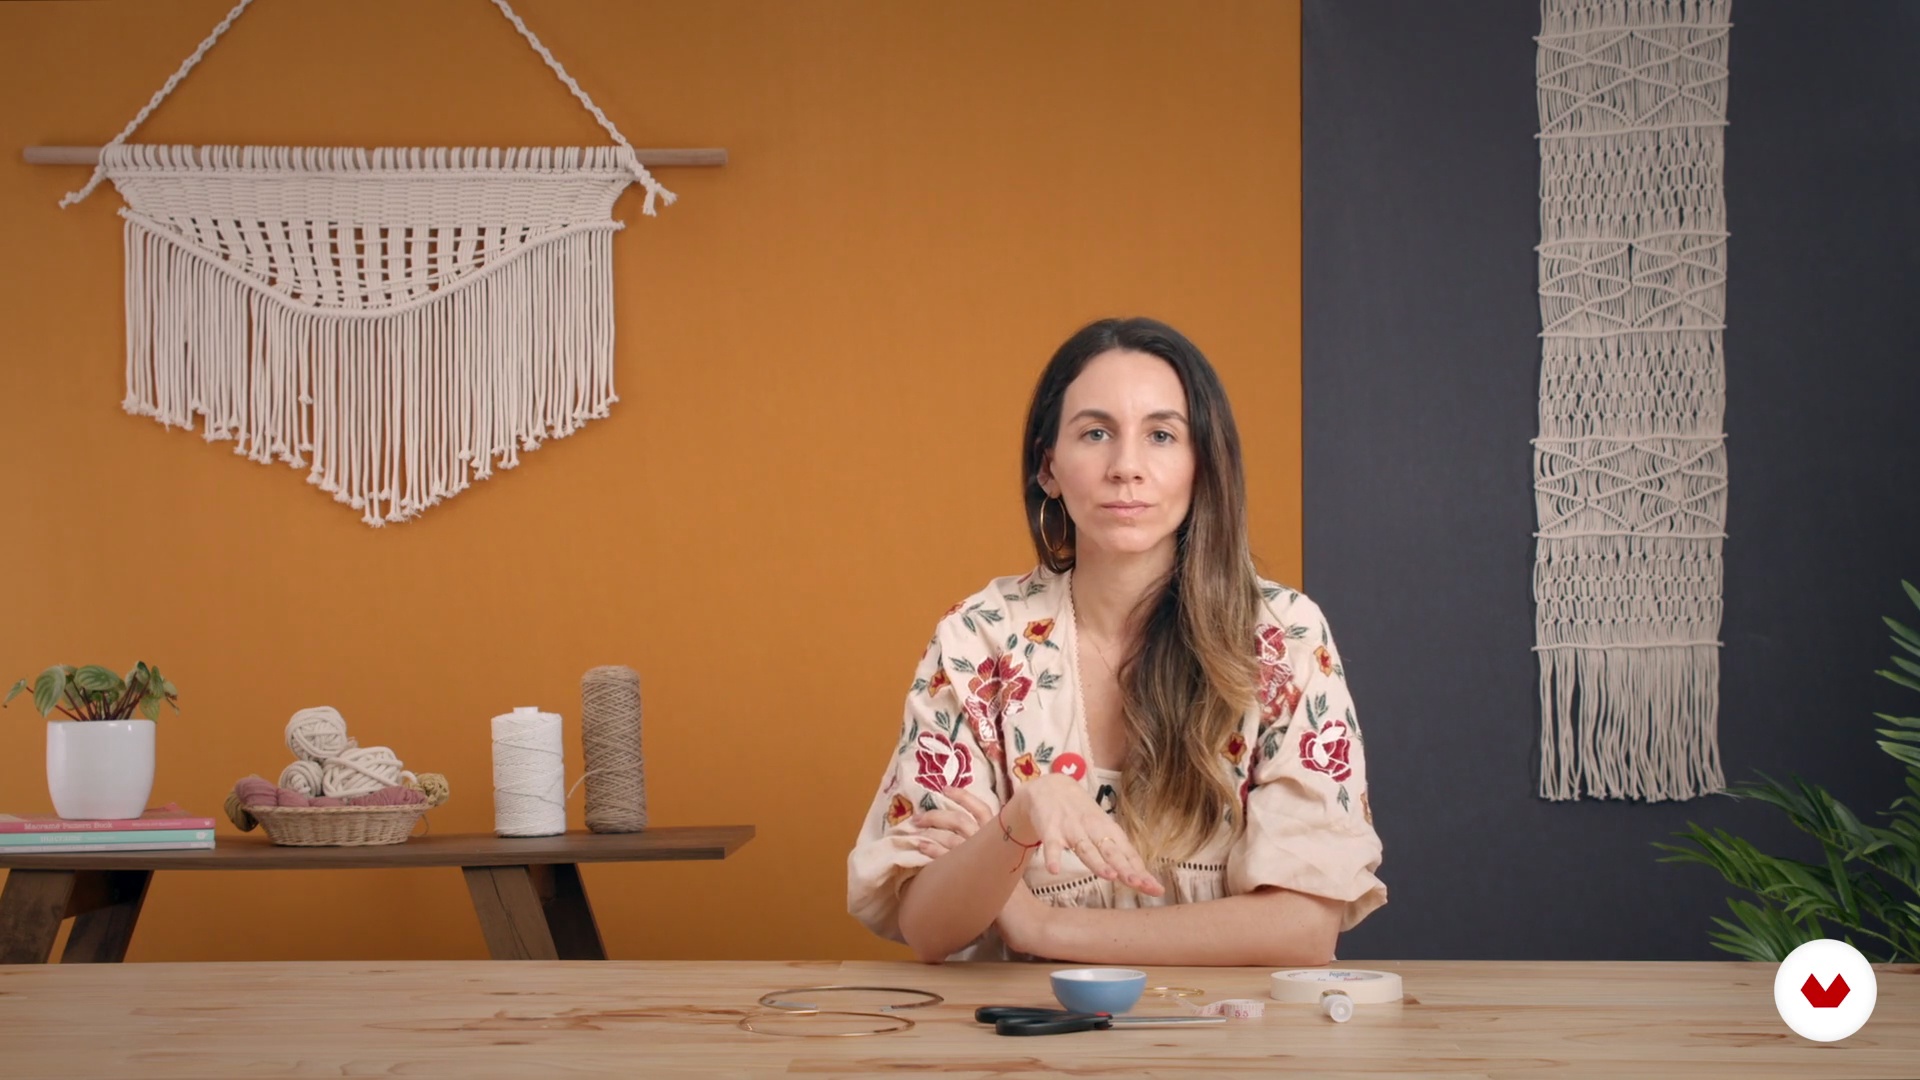
4Materials and tools
In this lesson, I'll show you all the materials we'll be using for these three projects. I'll explain each one step by step and tell you where you can find them. For this project, we'll use 1.5 mm waxed cotton cord in the color of your choice (you can choose from a variety of colors), two 6 cm diameter rings (gold or silver), gold beads, , a measuring tape, masking tape, glue ( ), and paper and a pen to draw our sketches. Finally, I'll show you different cords that can be used and some variations that can be given to the accessories.
4m
 5
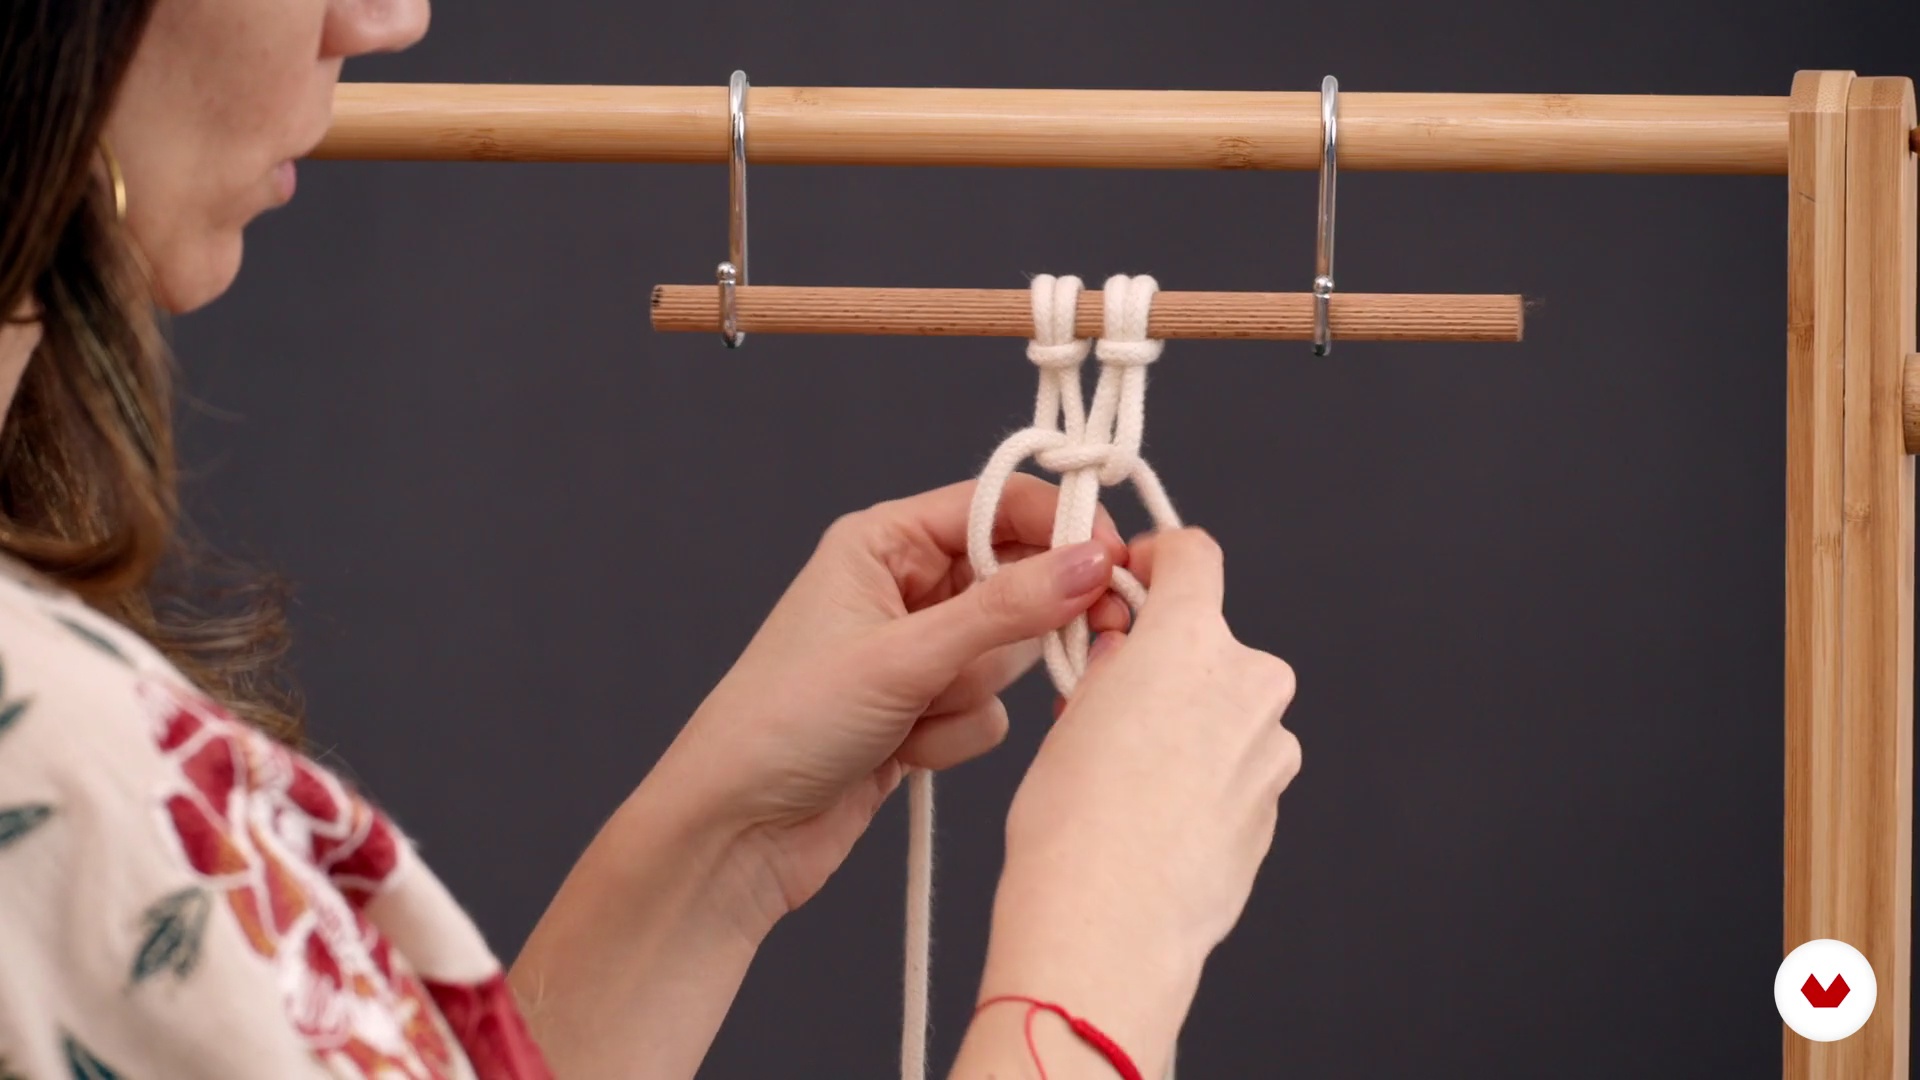
5Lark knot and flat knot
In this lesson, I'll teach you basic macramé knots, such as the lark's head knot and the flat knot, each with its own variations. I'll explain the knots using thicker cord to make it easier for you to visualize, as the cord we'll be using for the jewelry pieces is very thin and can be difficult to understand.
12m
 6
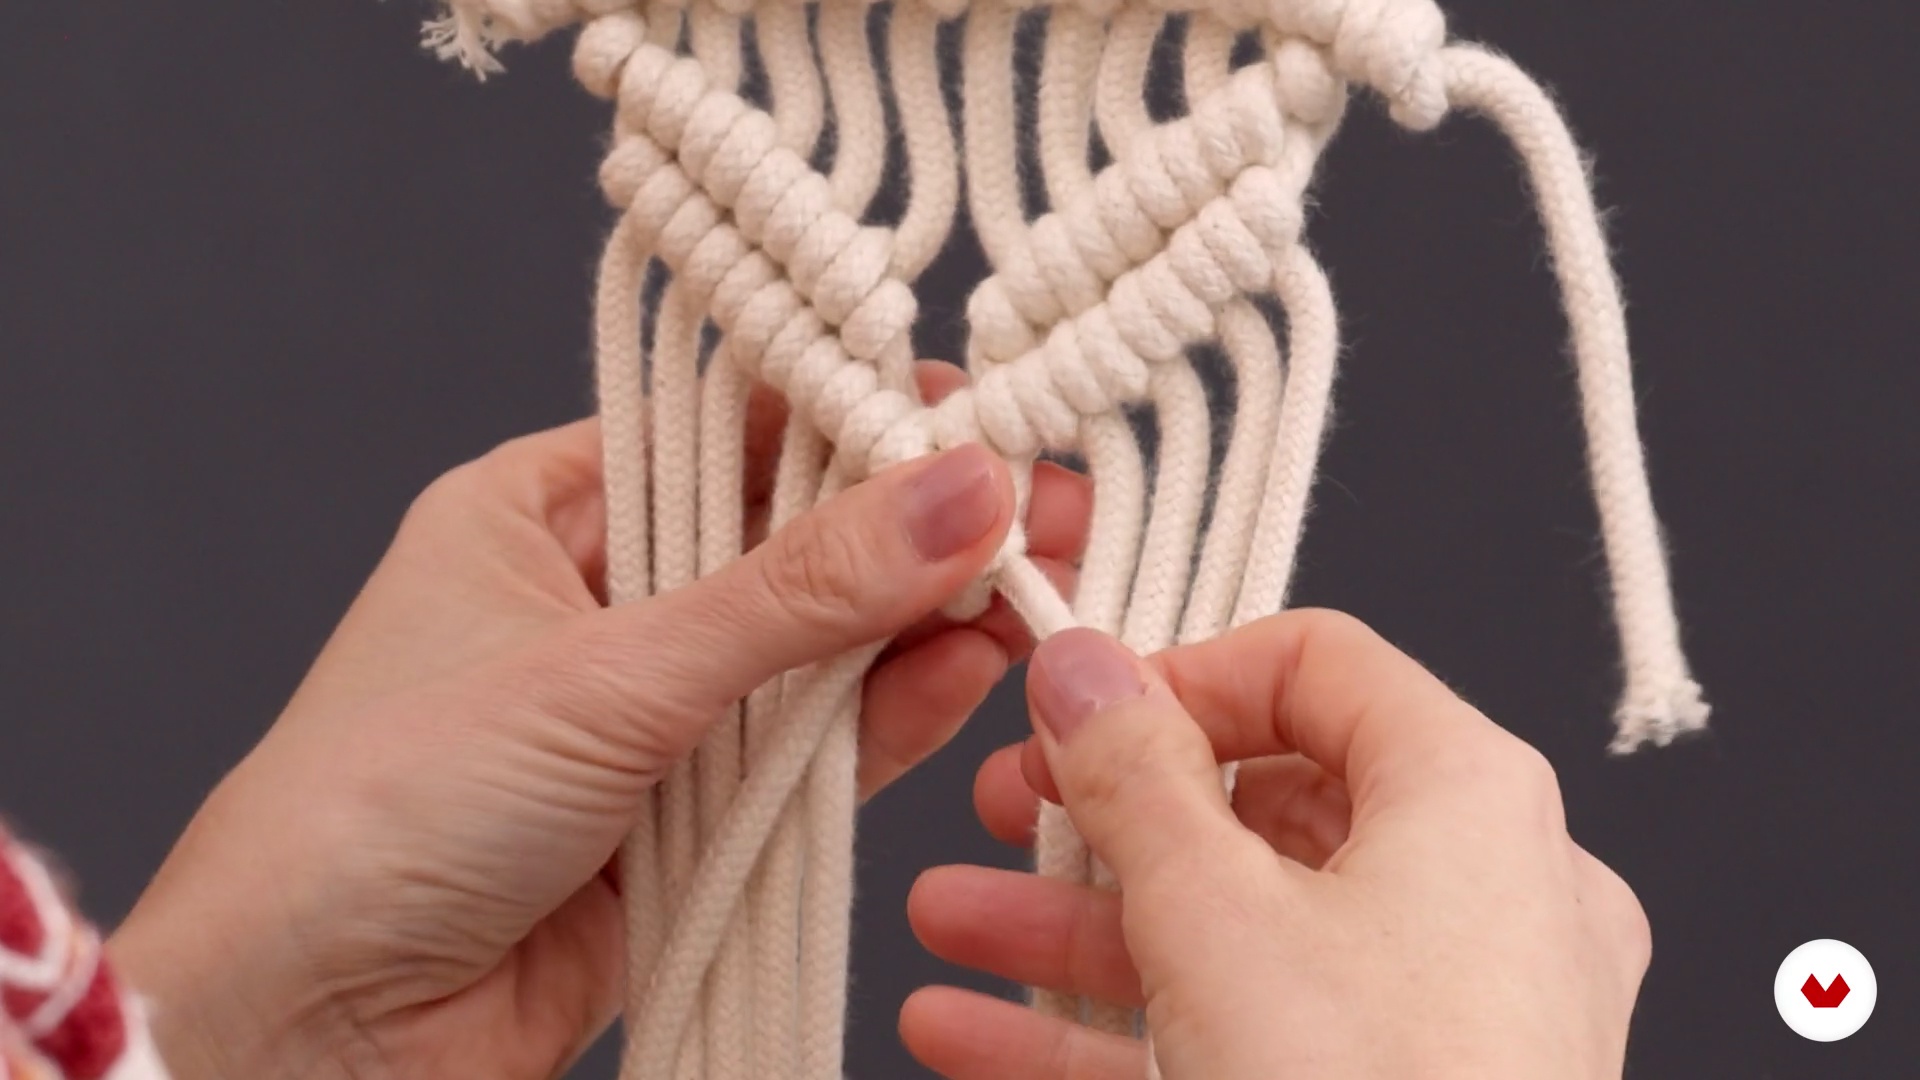
6Scallop knot 1
In this section, I'll teach you the scallop knot and each of its variations. You'll learn the horizontal scallop knot, the diagonal scallop knot, and how to create shapes with this type of knot, whether they're diamonds, crosses, or other shapes.
10m
 7
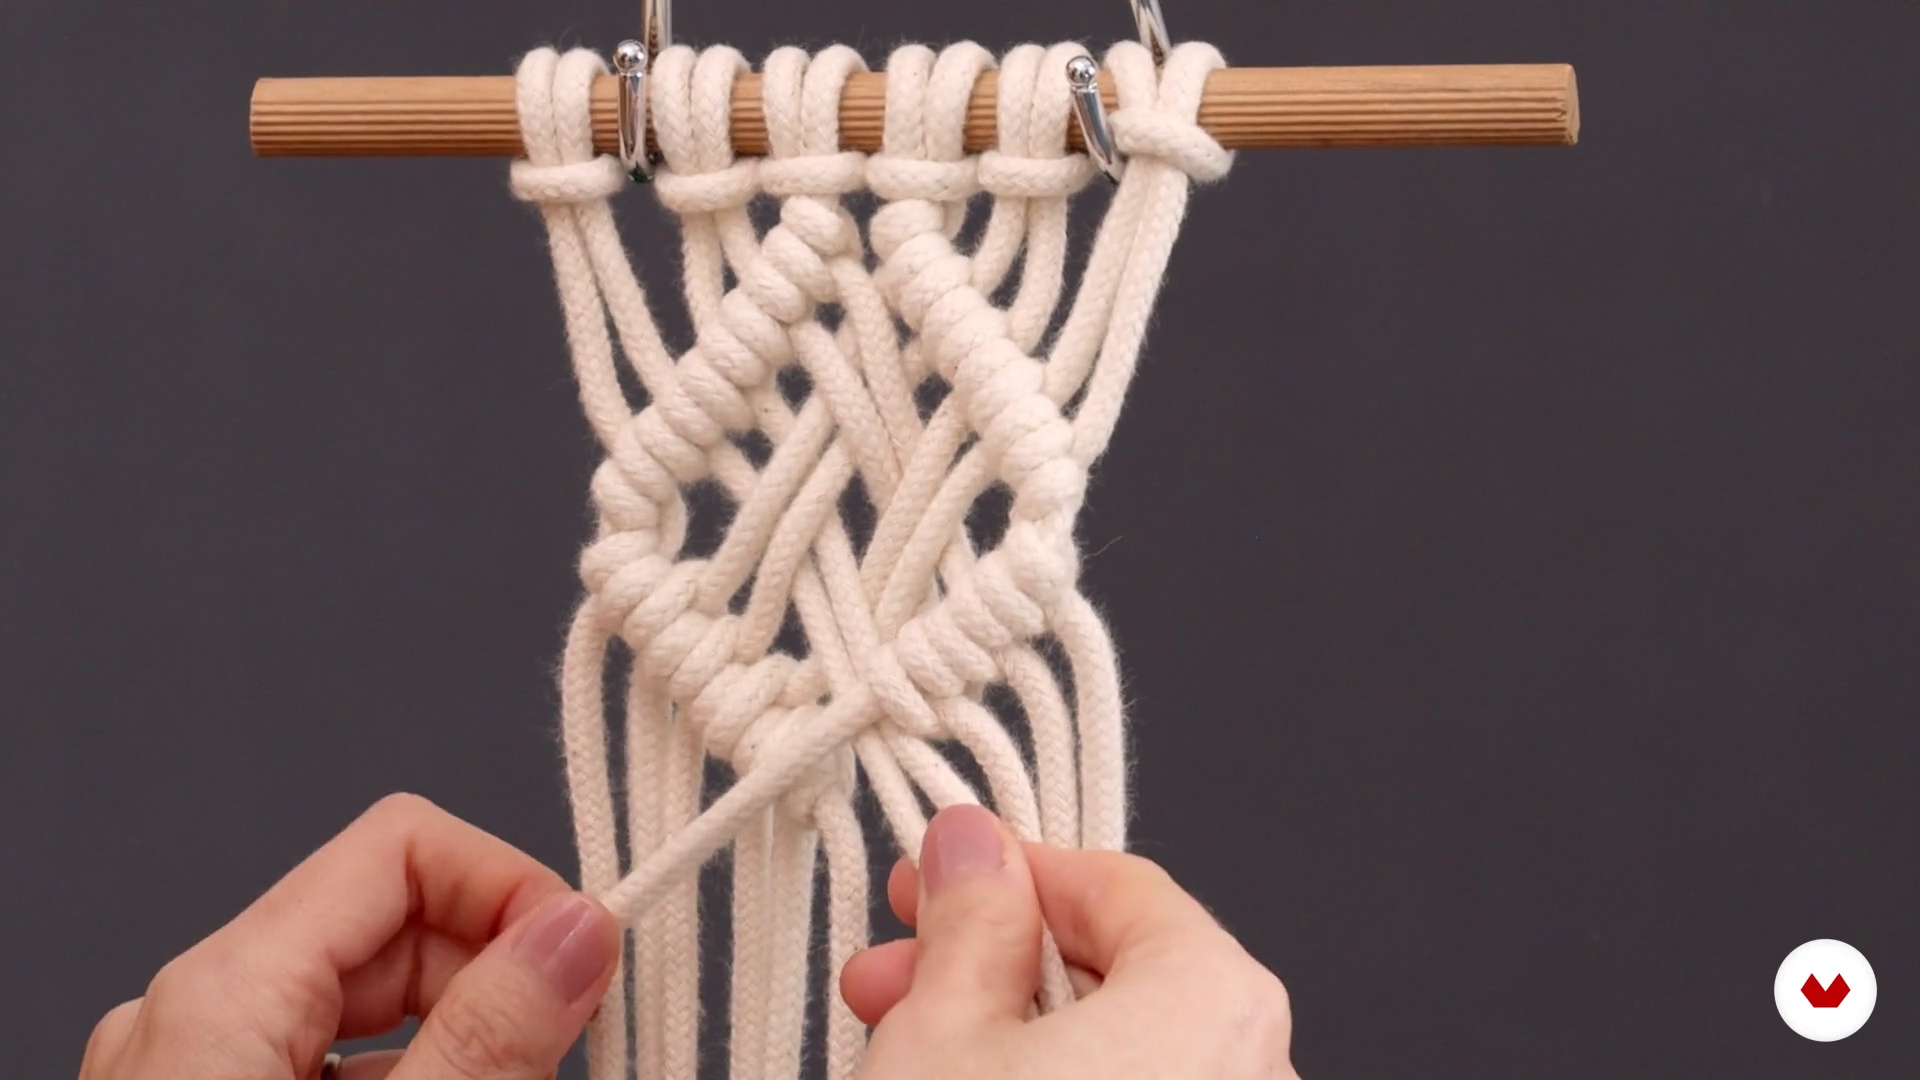
7Scallop knot 2
We continue learning how to use the festoon knot, this time in a diamond shape.
11m
 8
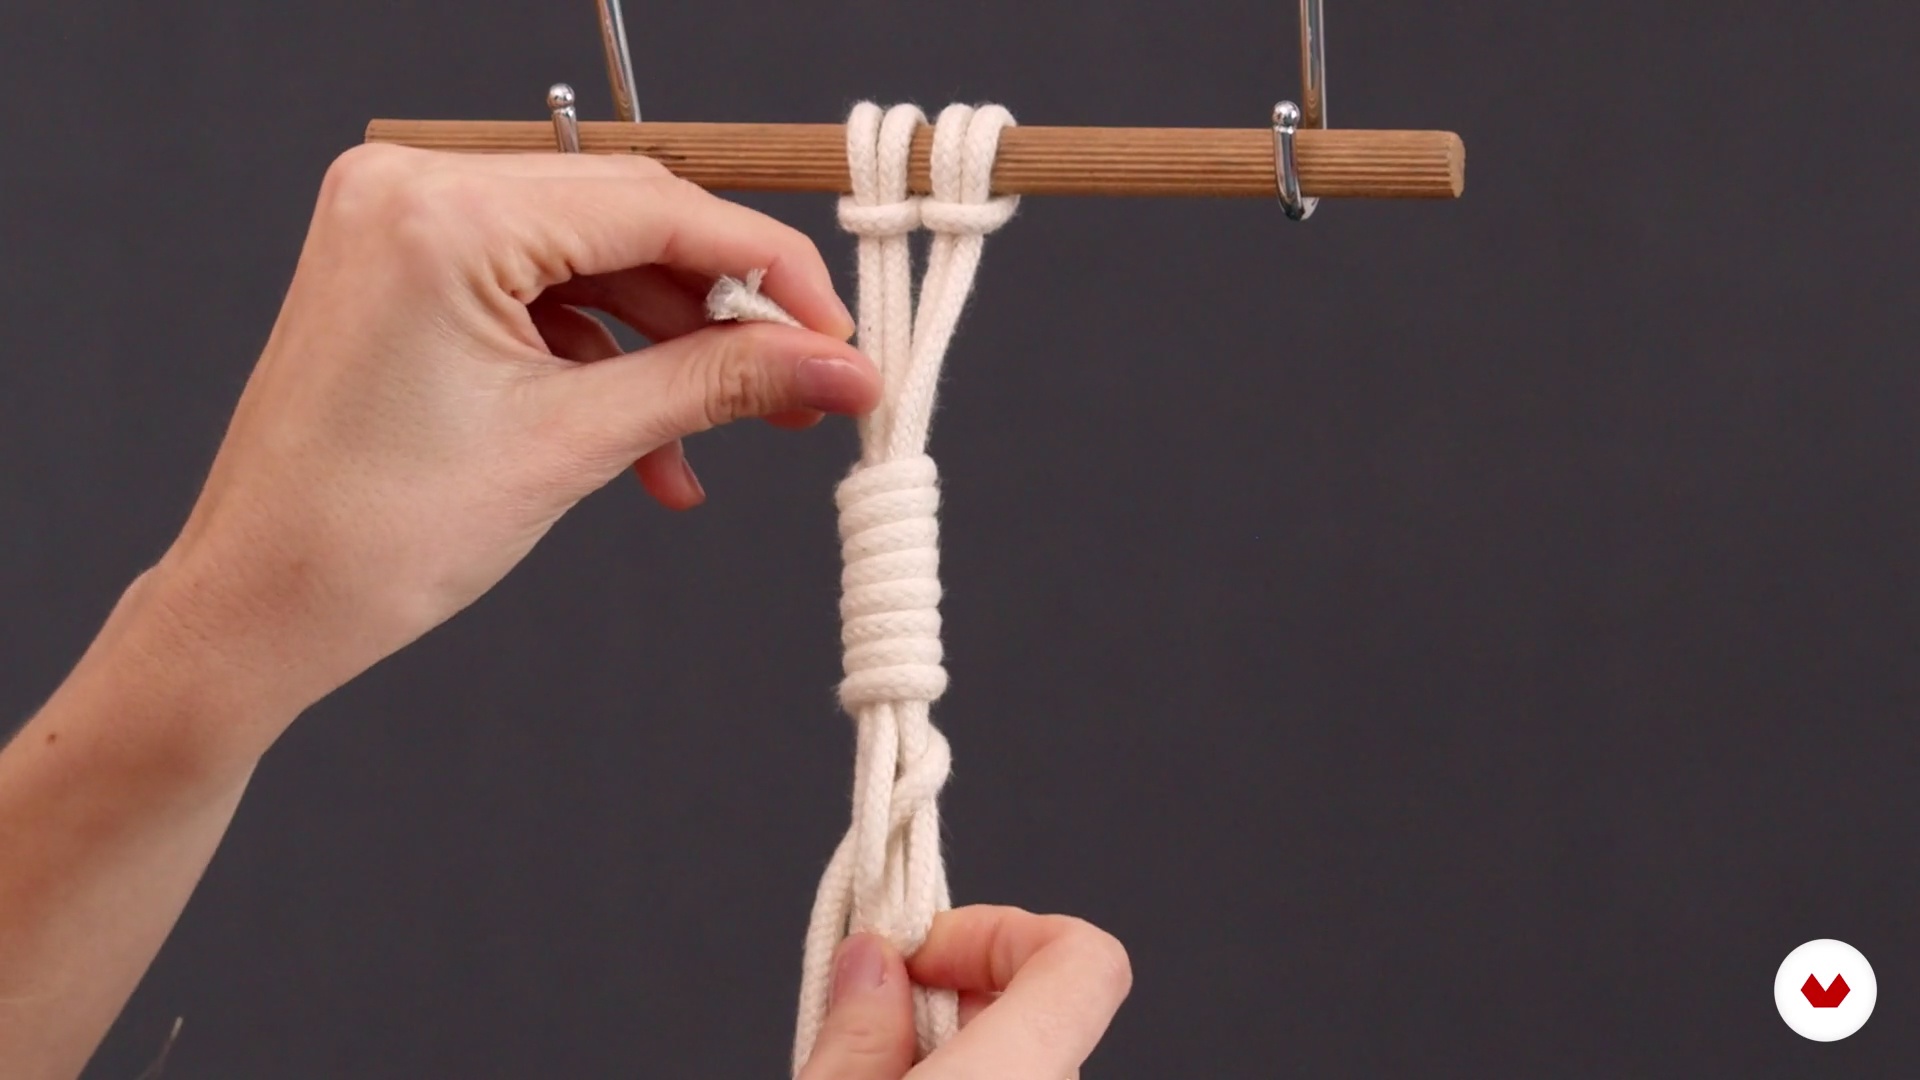
8Closing knots
In this section, I'll teach you how to tie knots for some pieces. One will use the flat knot we saw in the previous lesson; we'll use it to create the necklace closure. Another will be the magic knot to join the strands into the earrings when we finish tying.
2m
 9
9Designing our pieces
In this lesson, I'll show you how I draw sketches before starting to create a piece; this will serve as a guide when tying. I'll also explain how I calculate how much rope to cut. We'll draw sketches of the three pieces we'll create. The idea is that you can use these to create your own designs for future projects.
5m
 10
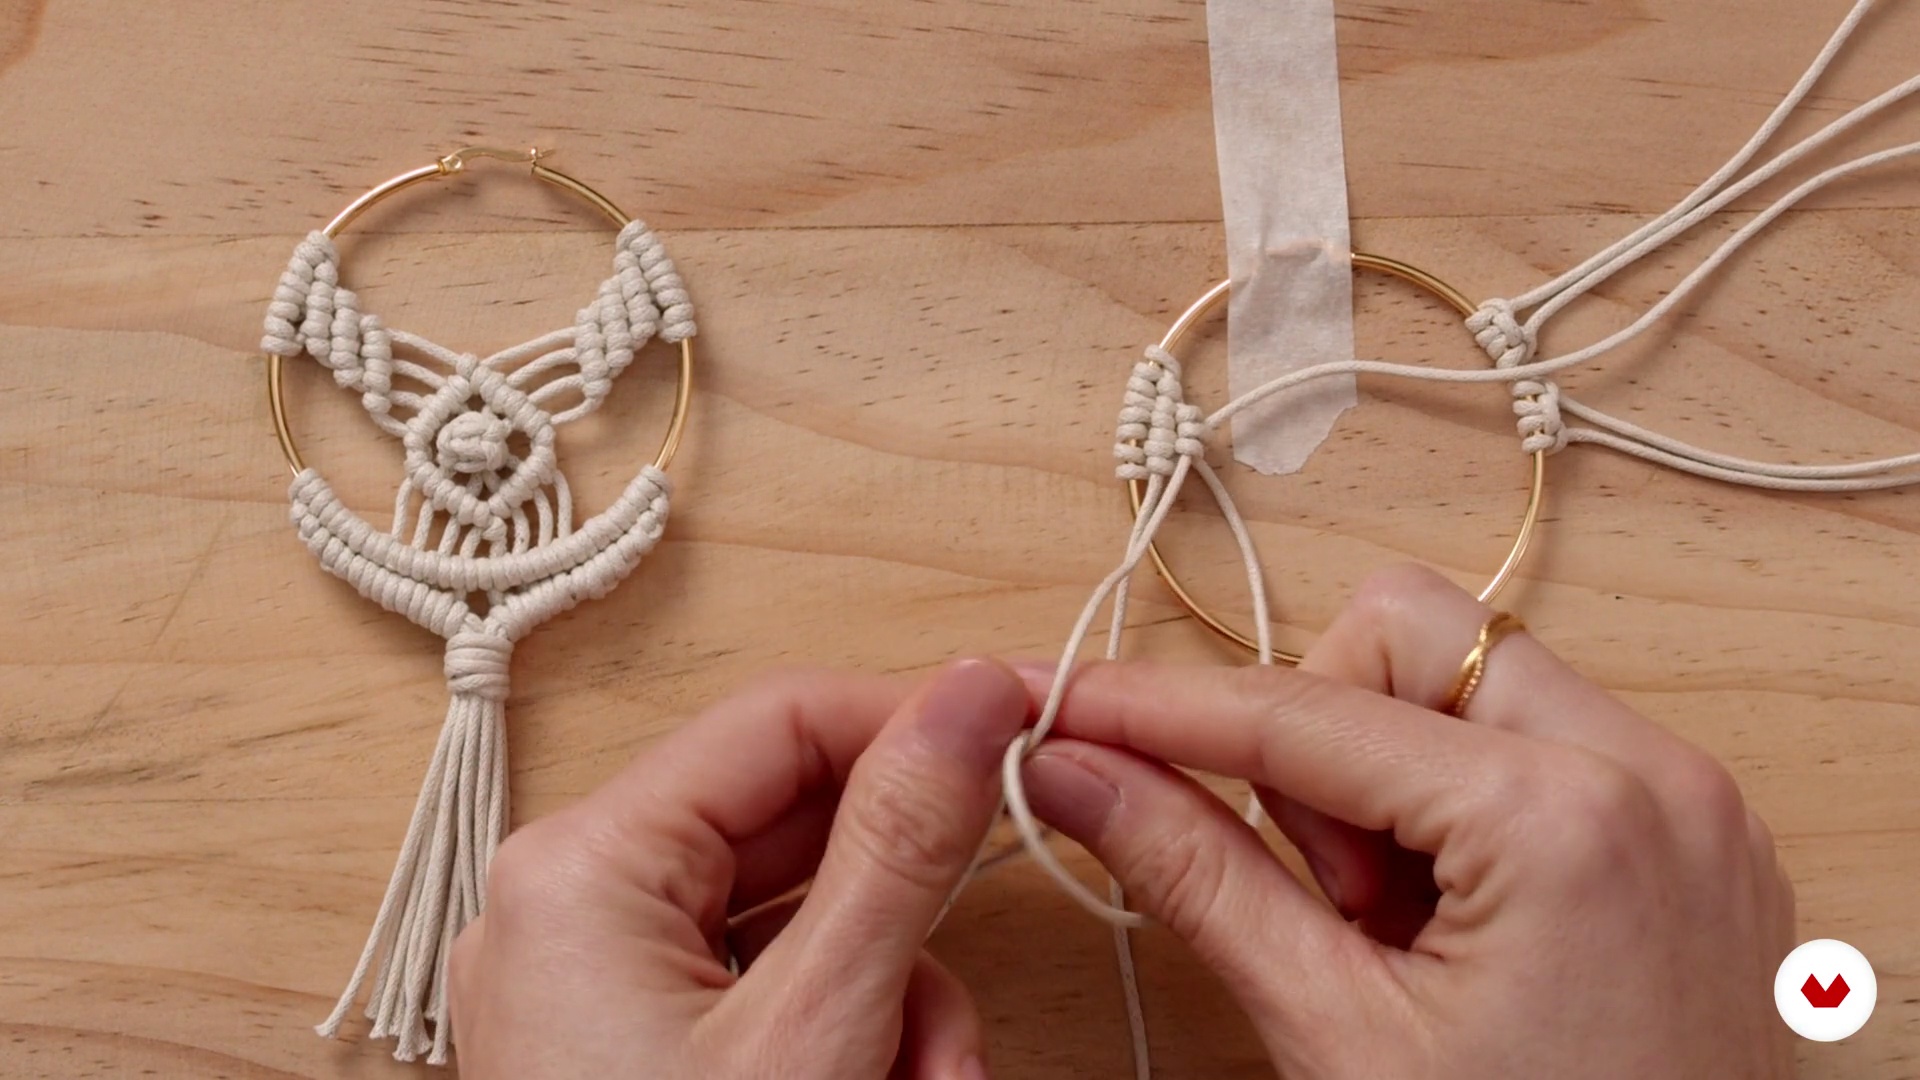
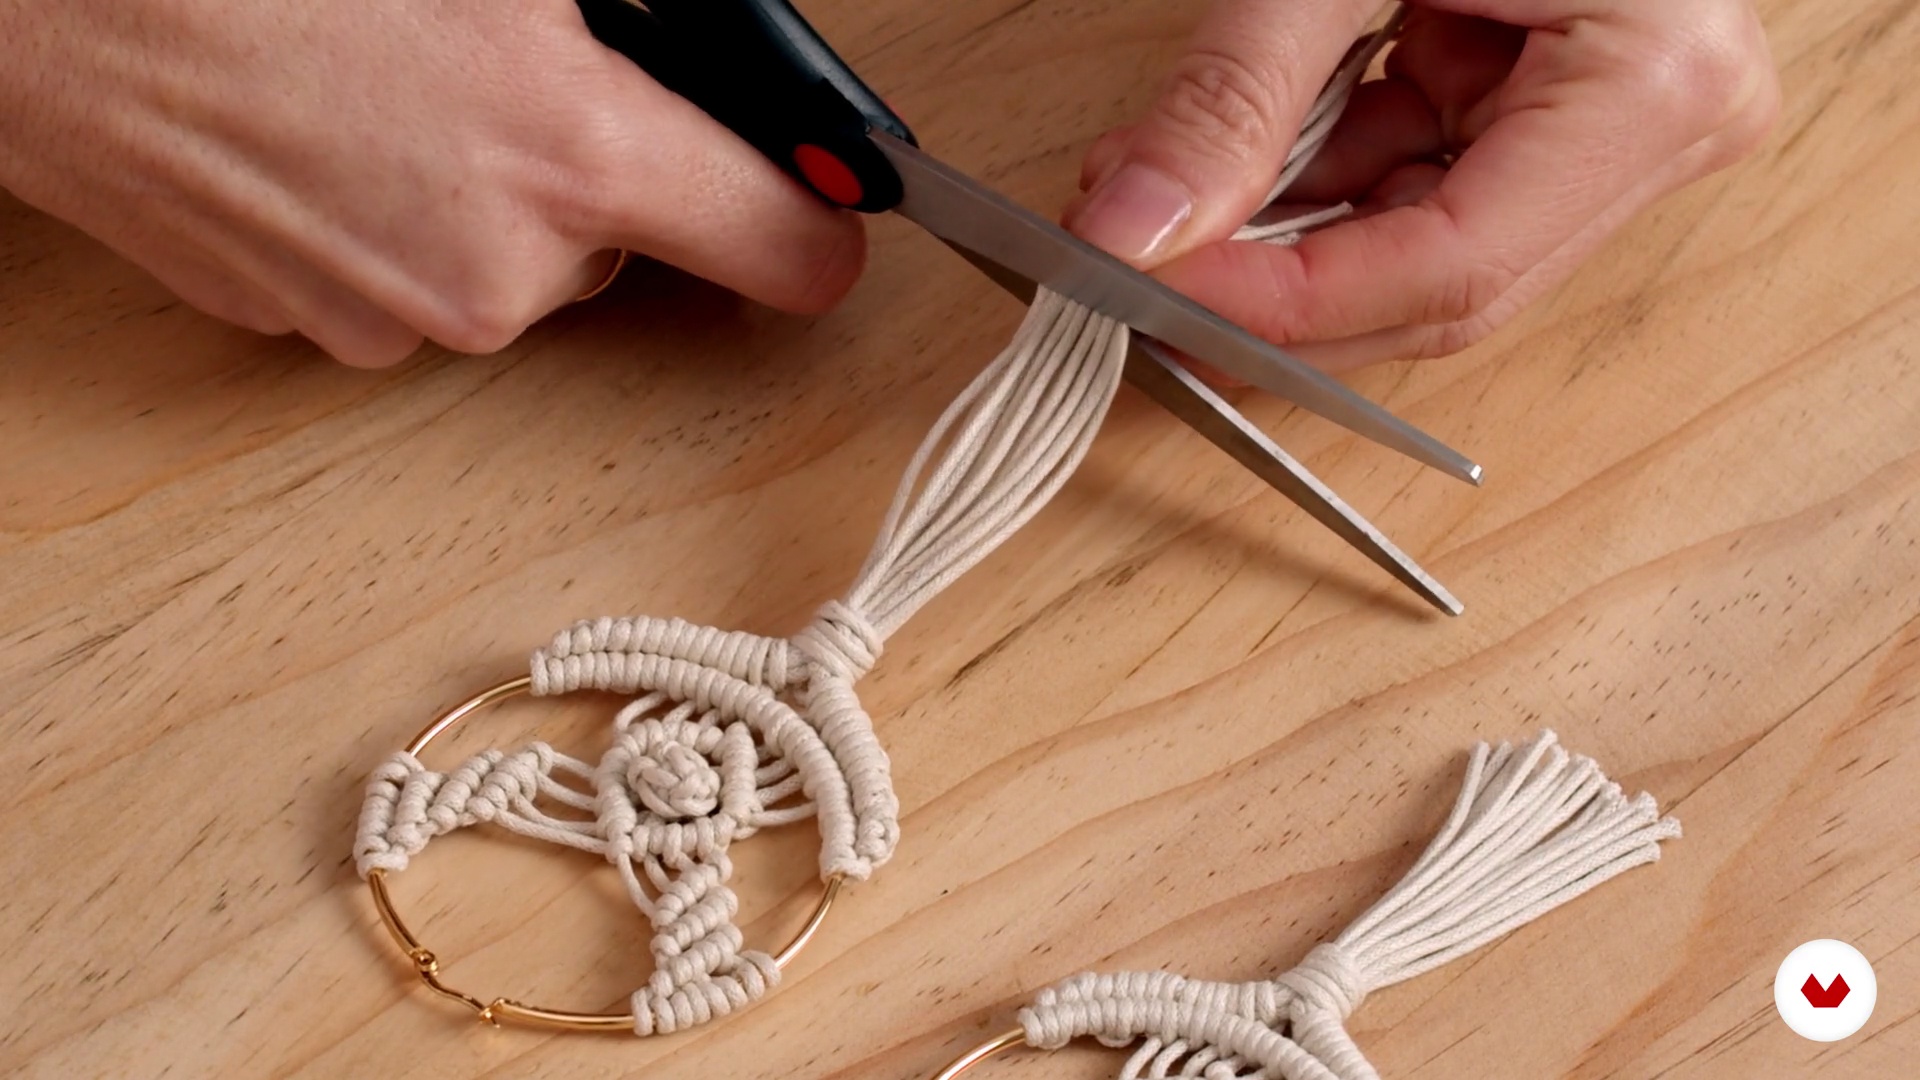
10Creating earrings 1
After designing our pieces, we'll begin creating the earrings. To do this we'll need scissors masking tape, a tape measure, jump rings, and waxed cotton cord in the color of your choice. If you'd like, you can also mix colors in a single piece. We'll start by cutting our and placing them on the ring to begin tying. You can tape the ring to the table with masking to prevent it from moving too much and to make tying it easier. First, we'll cut the strips of waxed cotton cord and then assemble them. Then, we'll begin tying them.
13m
 11
11Creating earrings 2
We continue working on the final details of the earrings we are creating.
8m
 12
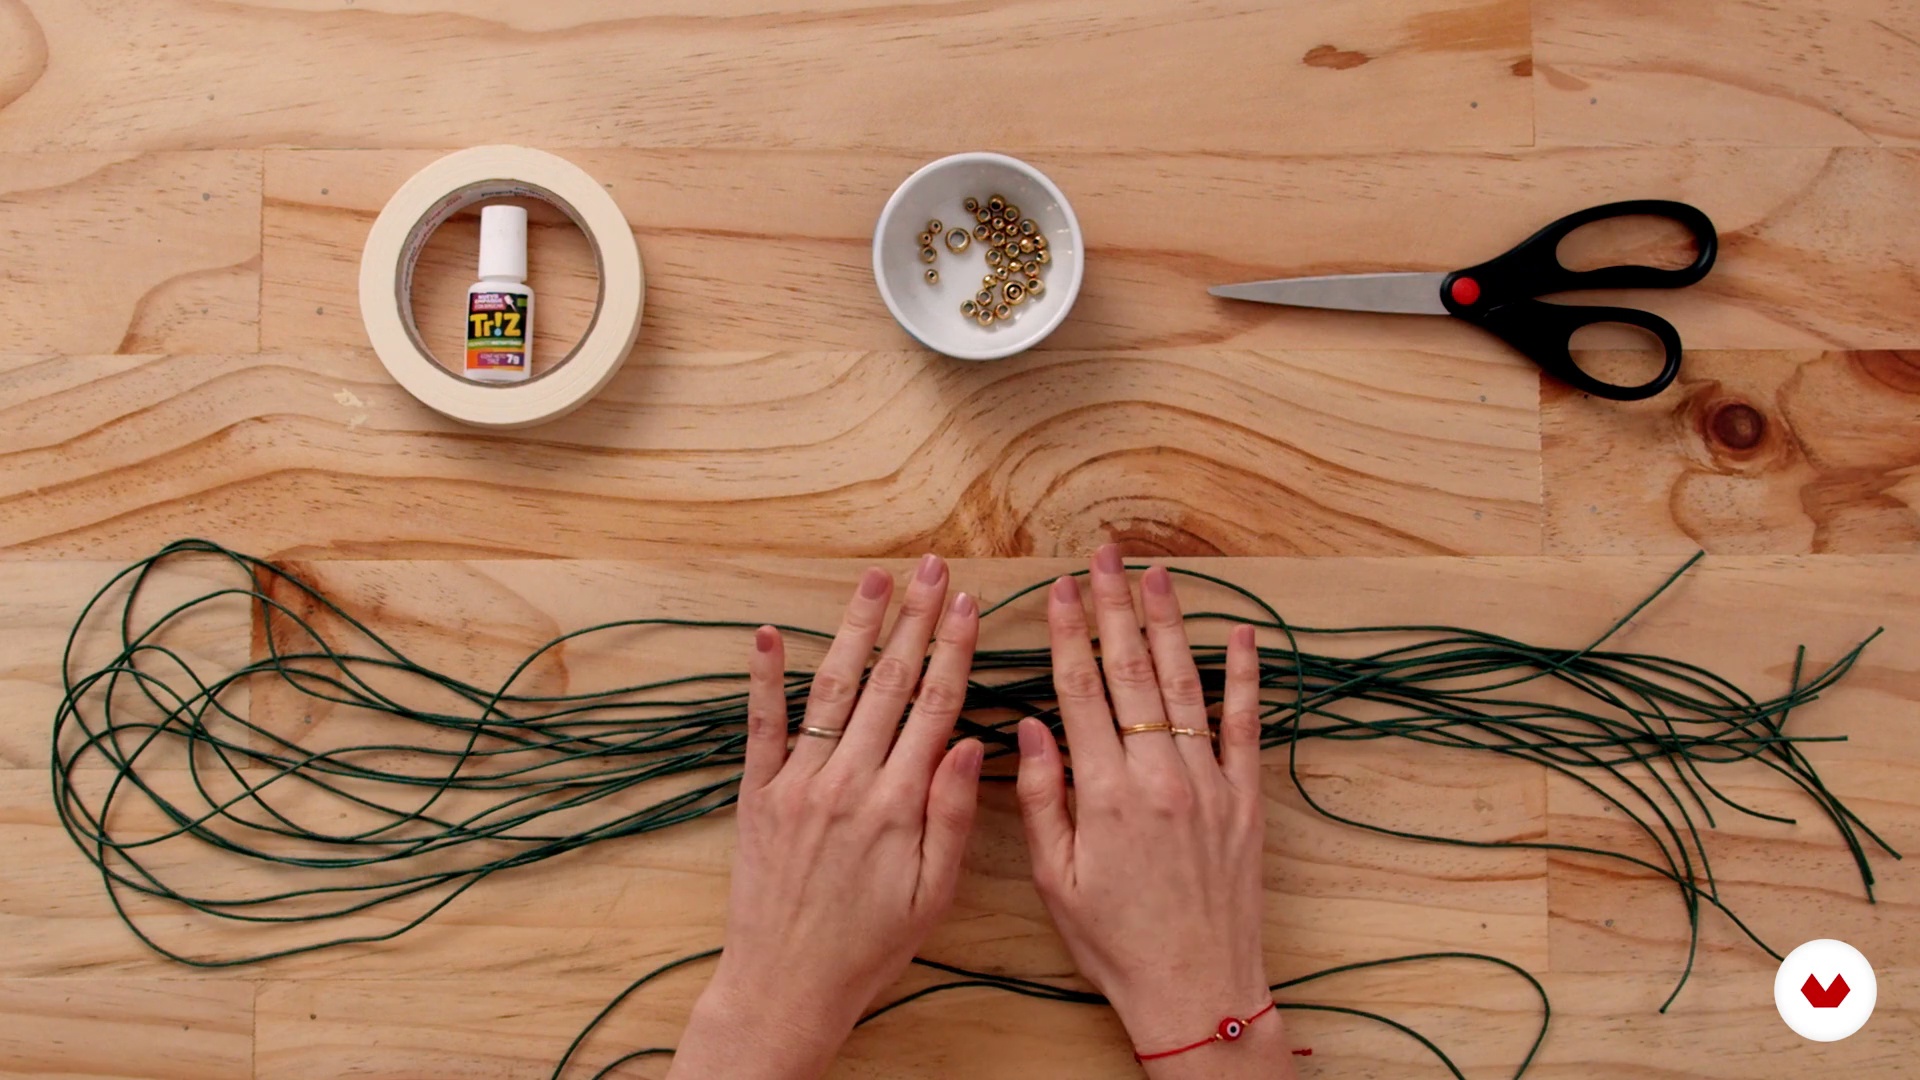
12Bracelet creation 1
Once you've finished creating the earrings, we'll move on to making the bracelet. To do this we'll need the gold beads, scissors, masking tape, measuring tape, glue, and waxed cotton cord in the color of your choice. If you'd like, you can also mix colors in one piece. We'll start by cutting our strips and placing them on a 50cm strip with the lark's head knot on a 50cm long strip to begin tying. You can stick the strip to the table with masking to prevent it from moving too much and to make it easier tie. First, we'll cut the strips of waxed cotton cord and then assemble them. Then, we'll begin tying them.
12m
 13
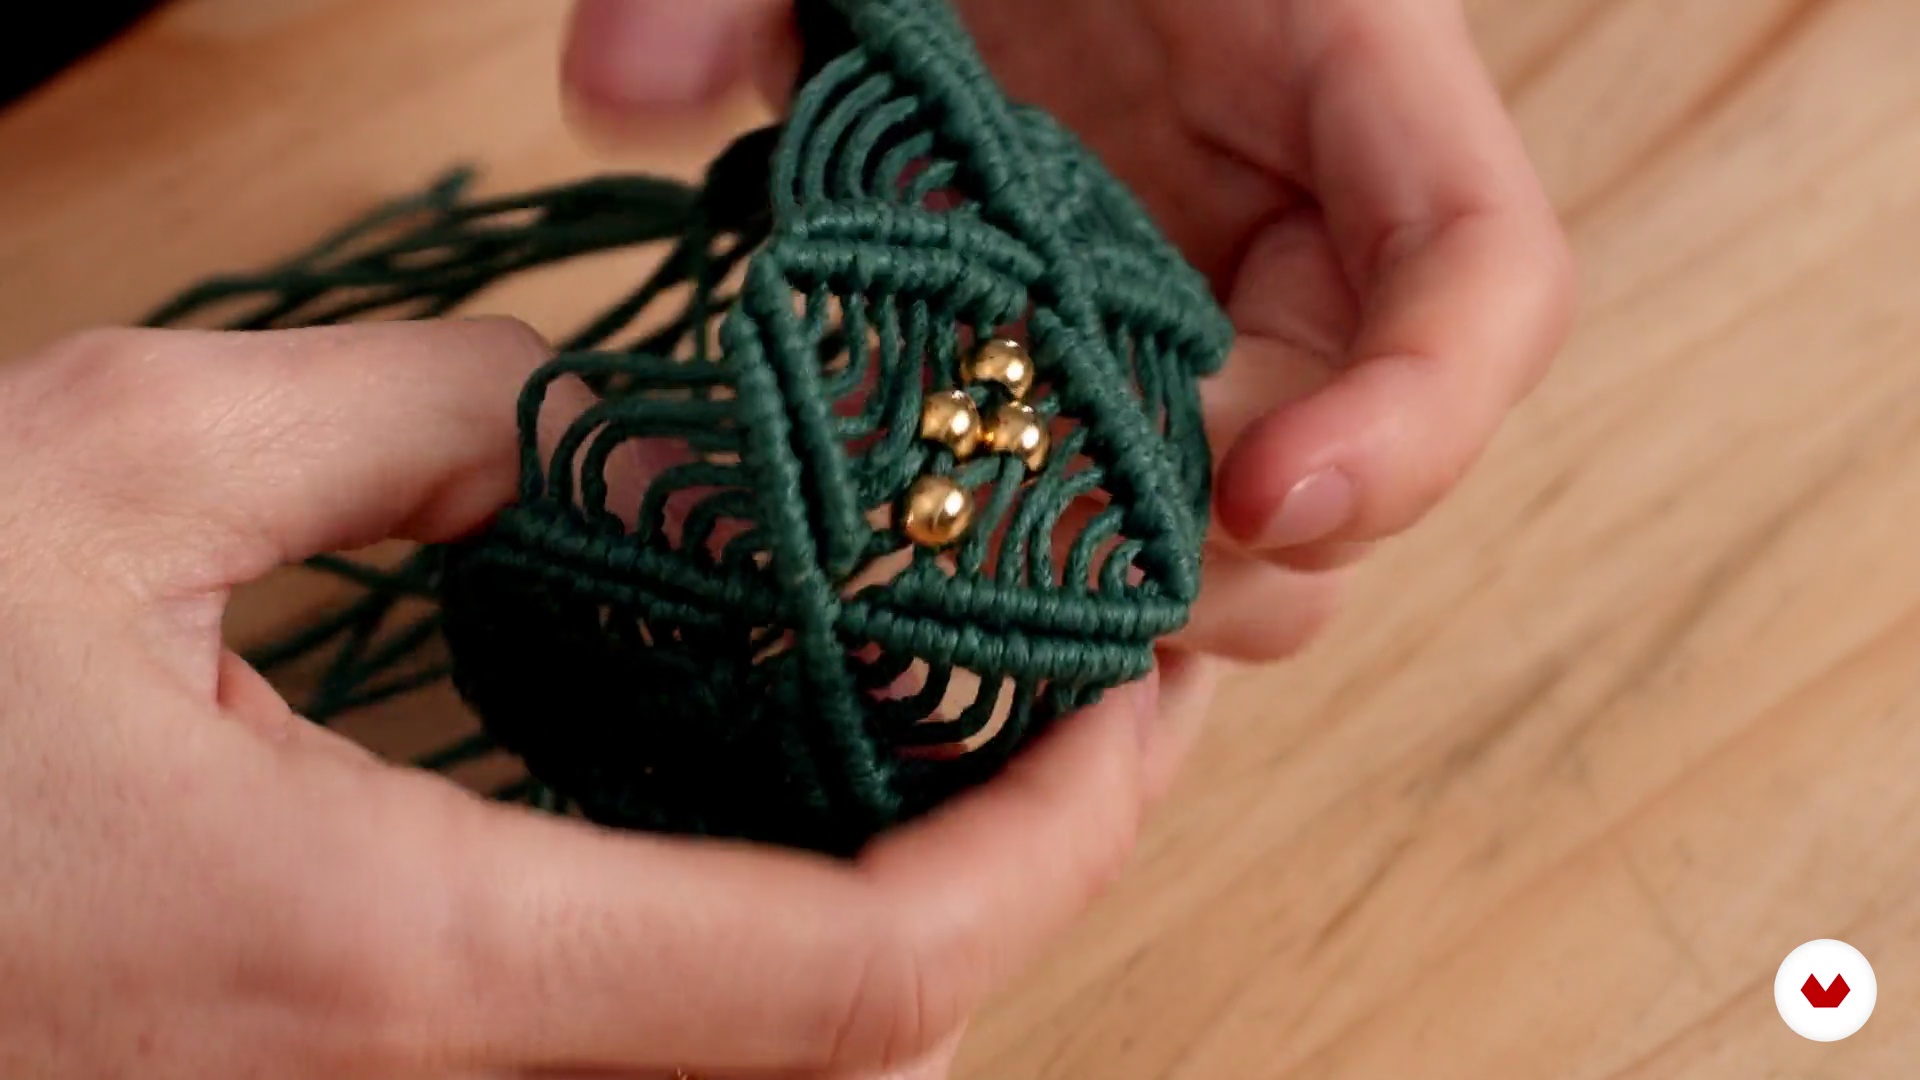
13Bracelet creation 2
We continue learning the steps necessary to make our bracelet.
7m
 14
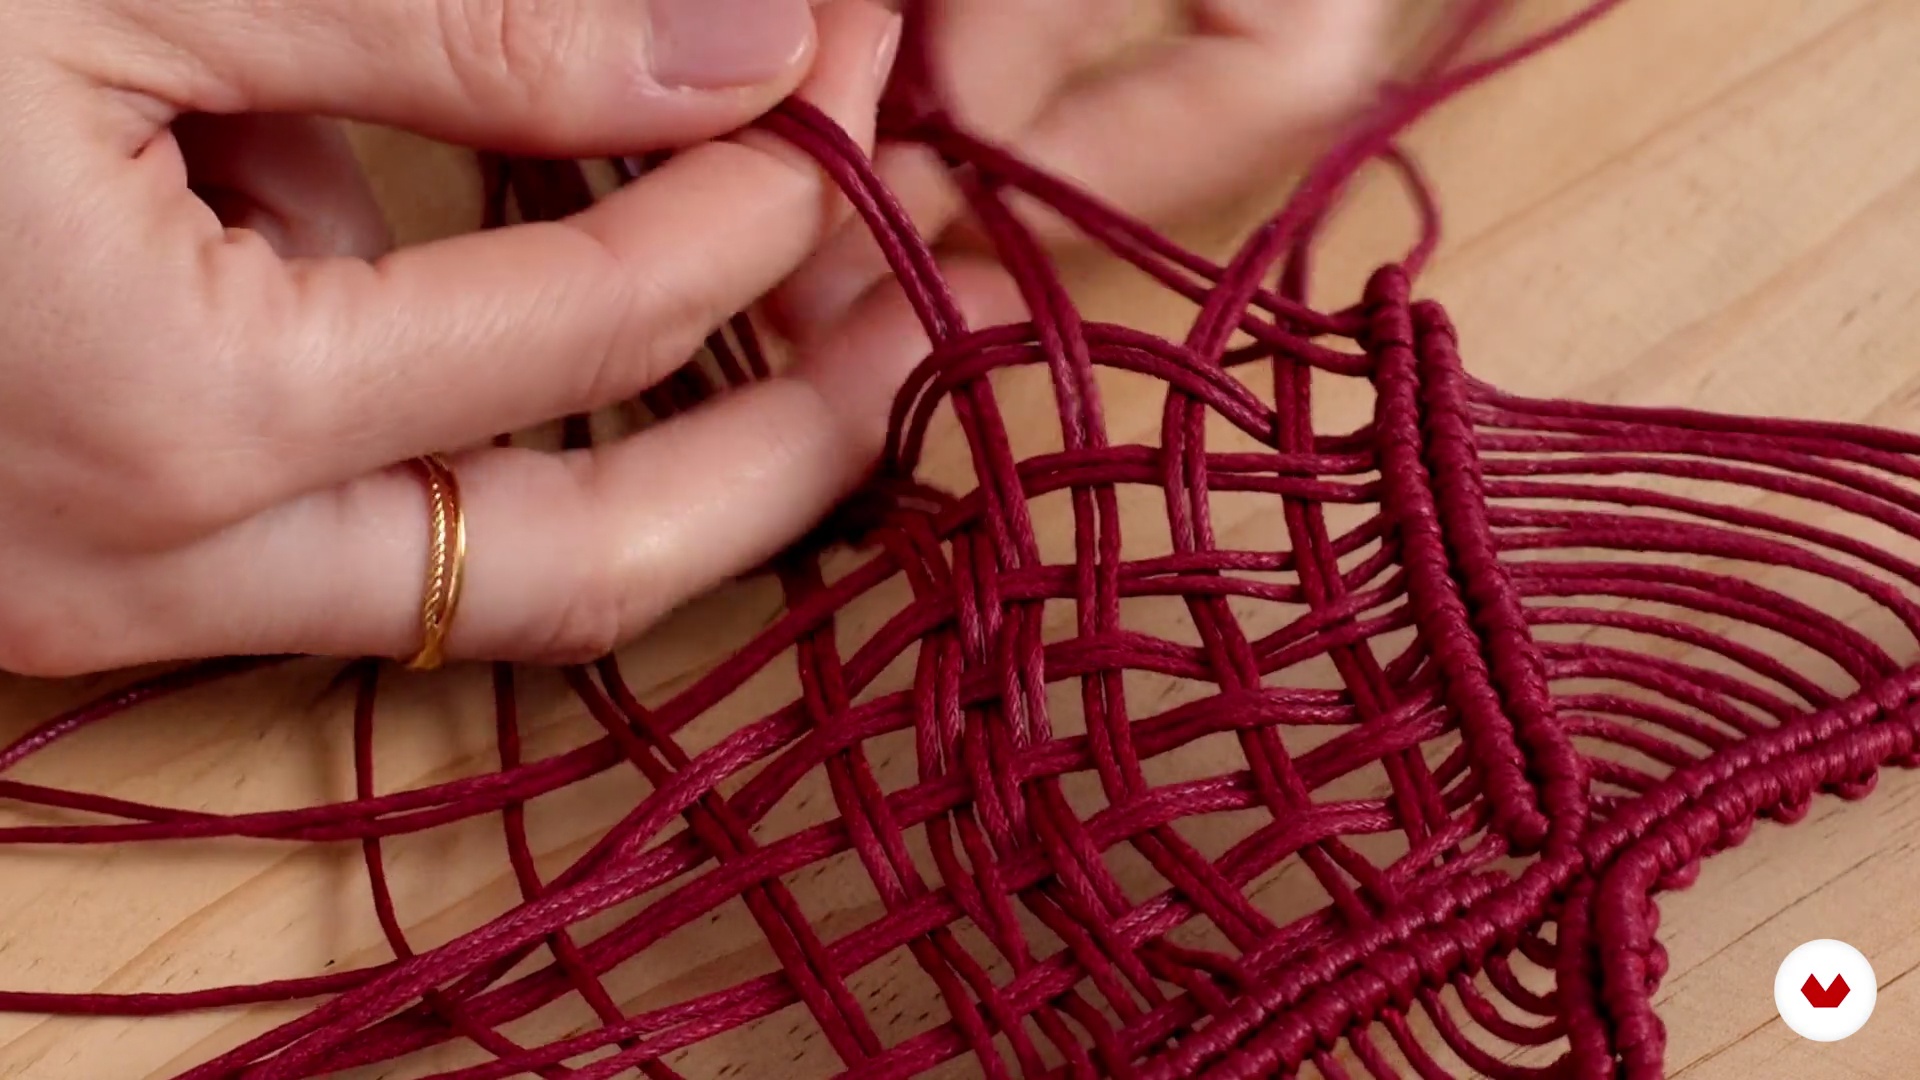
14Necklace creation
Once you've finished creating the bracelet, we'll move on to the larger piece: the necklace. To do this we'll need the gold beads, scissors masking tape, a measuring tape, glue, and waxed cotton cord in the color of your choice. If you'd like, you can also mix colors in a single piece. We'll start by cutting our strips and placing each of them with the lark's head knot on an 80 cm long strip to begin tying. You can tape the 80 cm strip to the table with masking to prevent it from moving too much and to make it easier tie. First, we'll cut the strips of waxed cotton cord and then assemble them. Then we'll begin tying them.
13m
 15
15Parts maintenance and cord dyeing
In this lesson, I'll explain how to care for your pieces so they don't deteriorate. I'll also briefly teach you some natural dyeing techniques that will help you if you end up using another type of cord for your pieces.
2m
 16
16Other Macrame Applications
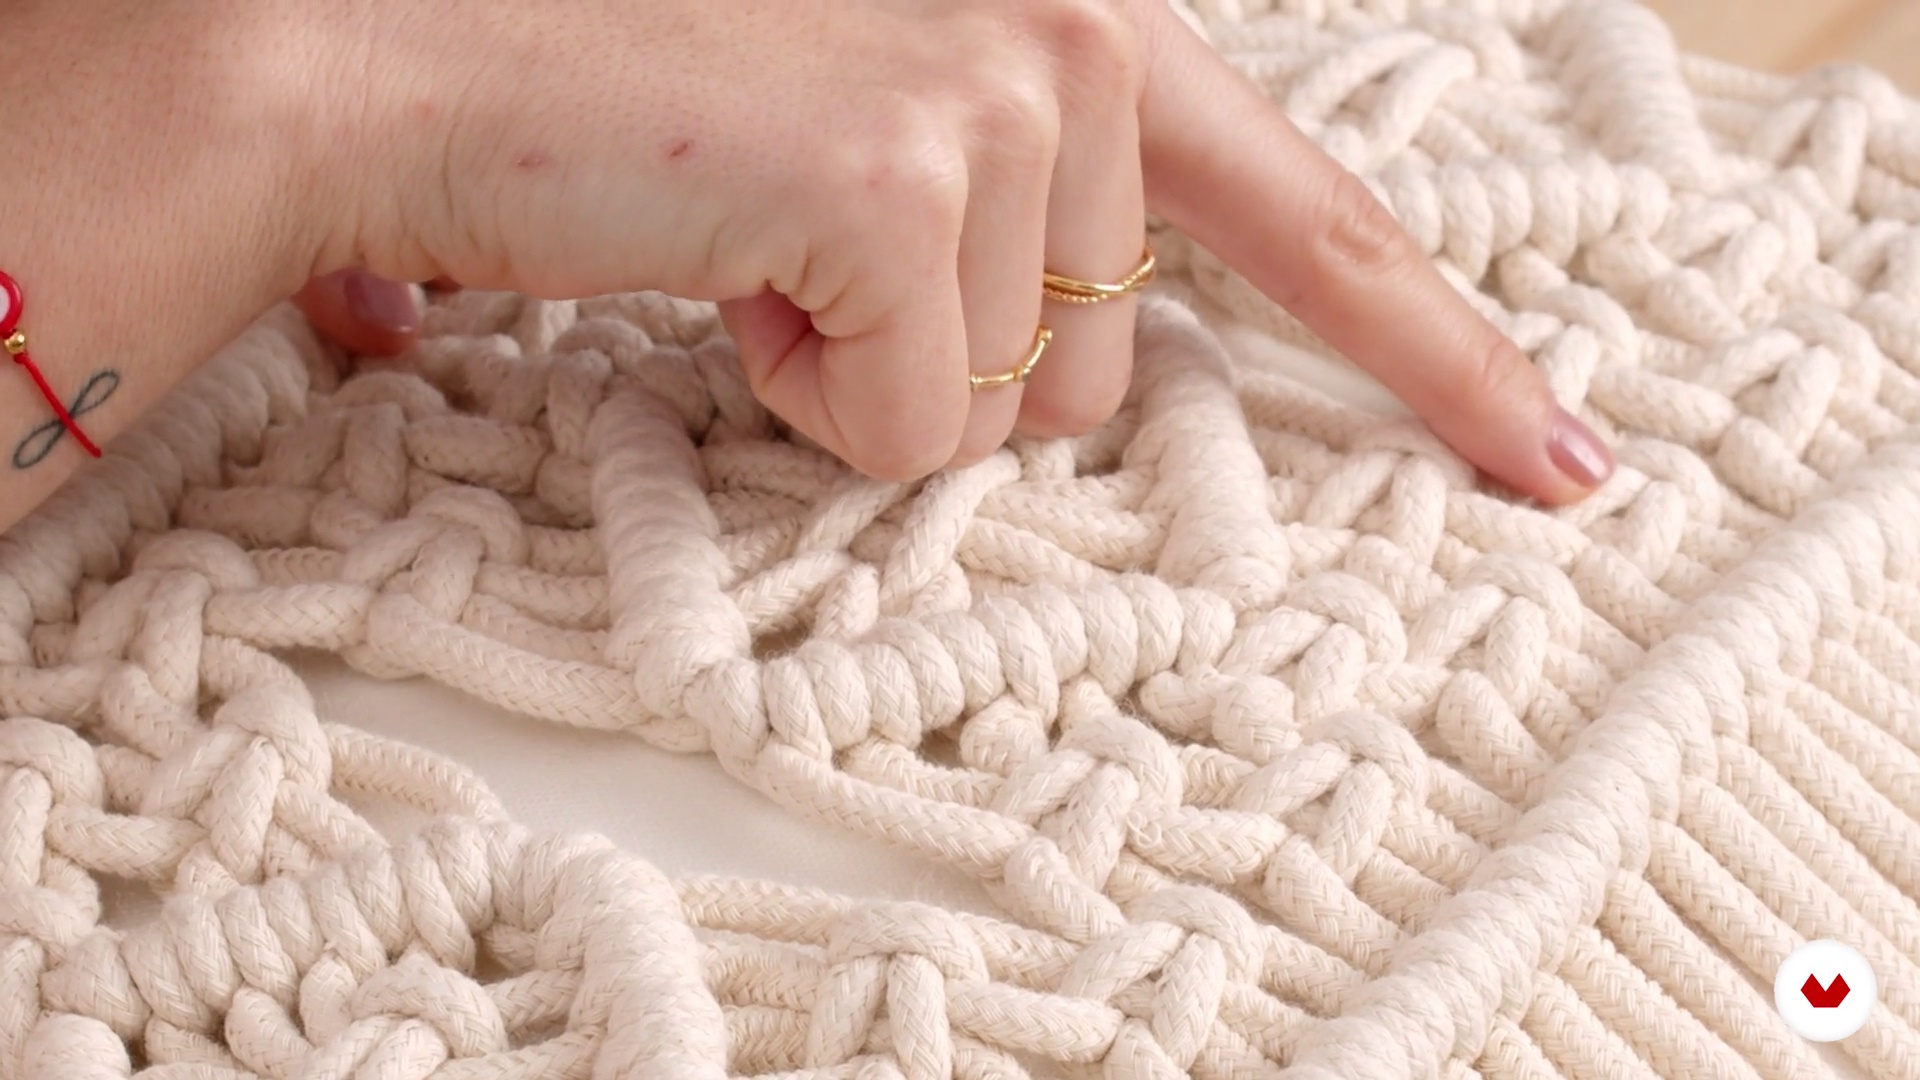
In this lesson, I'll explain all the applications of macramé (for decorative pieces, accessories, clothing, and more) so you can see how this technique has no limits.
6m
 3
3The Metals
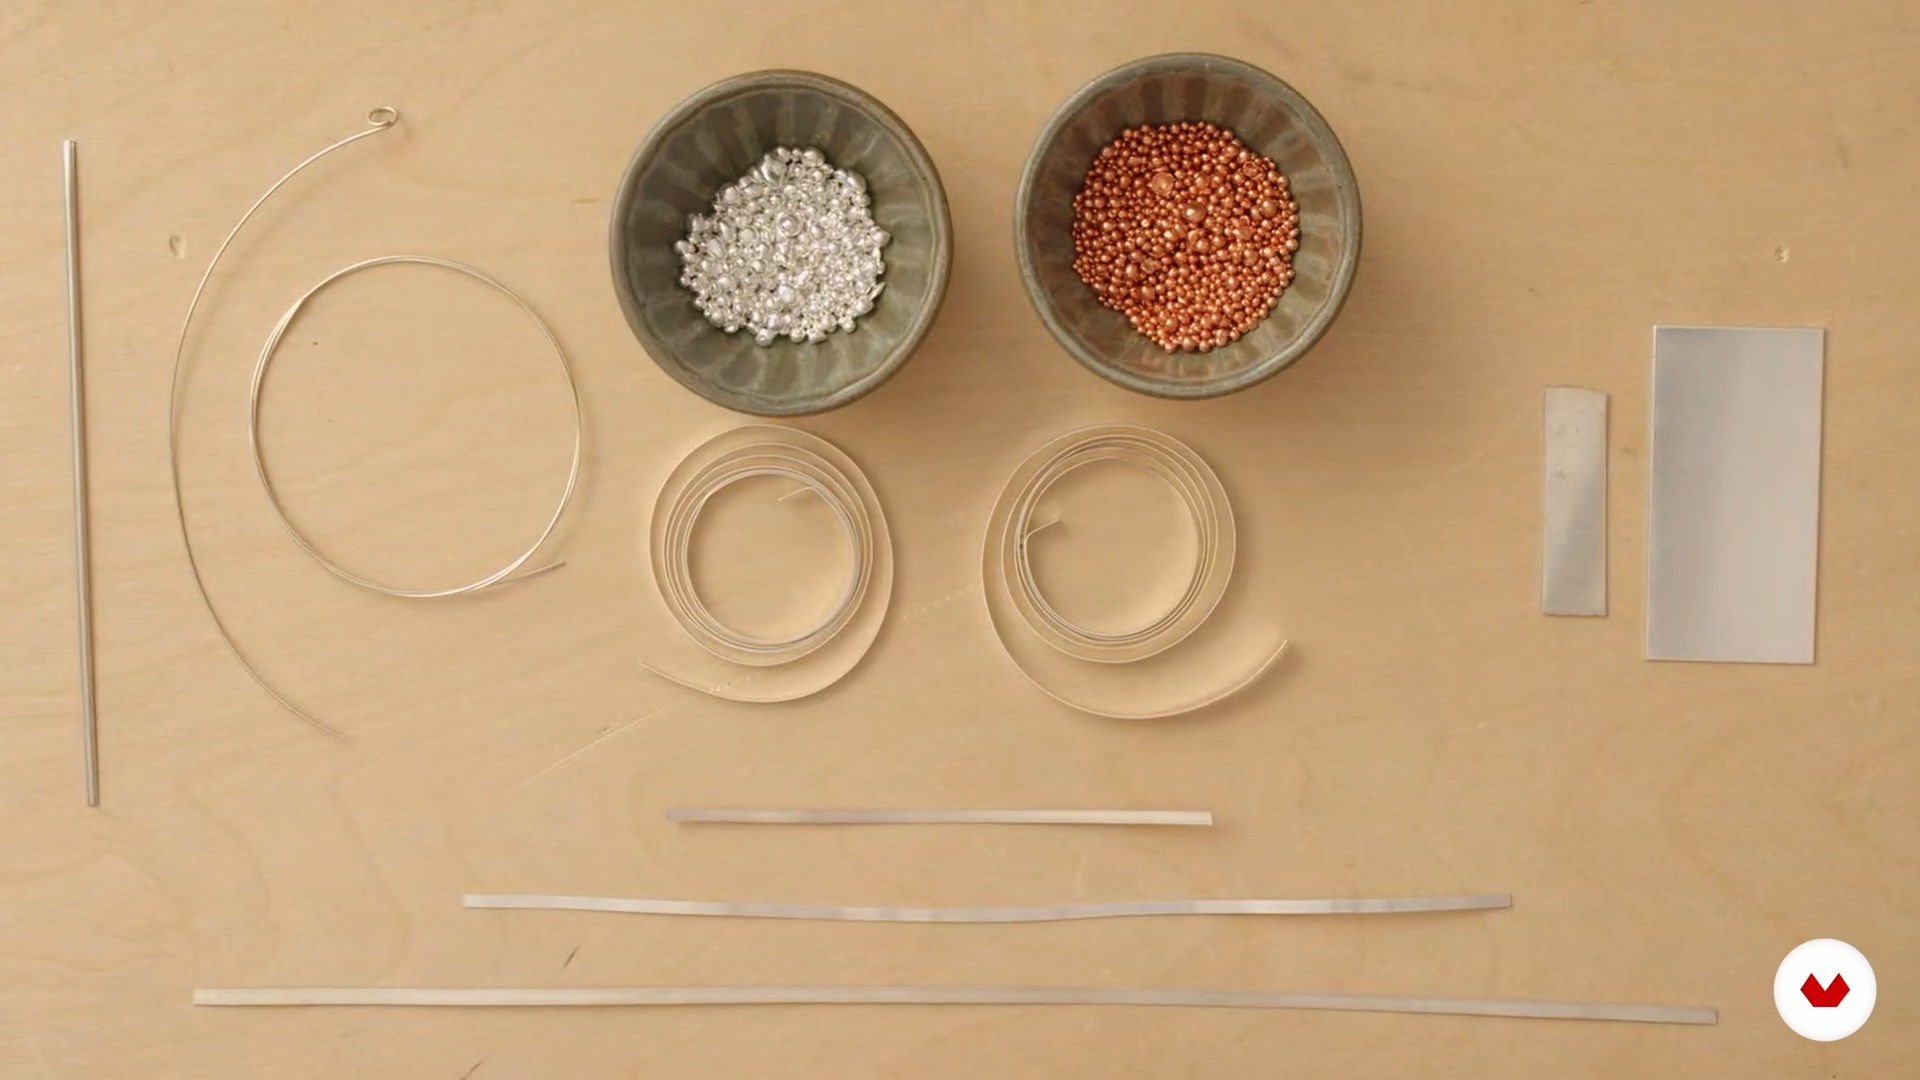
Let's start with the basics! In this lesson, I'll talk about the metals used in jewelry—especially silver—the most commonly used alloys in jewelry, and their applications.
8m
 4
4The Stones
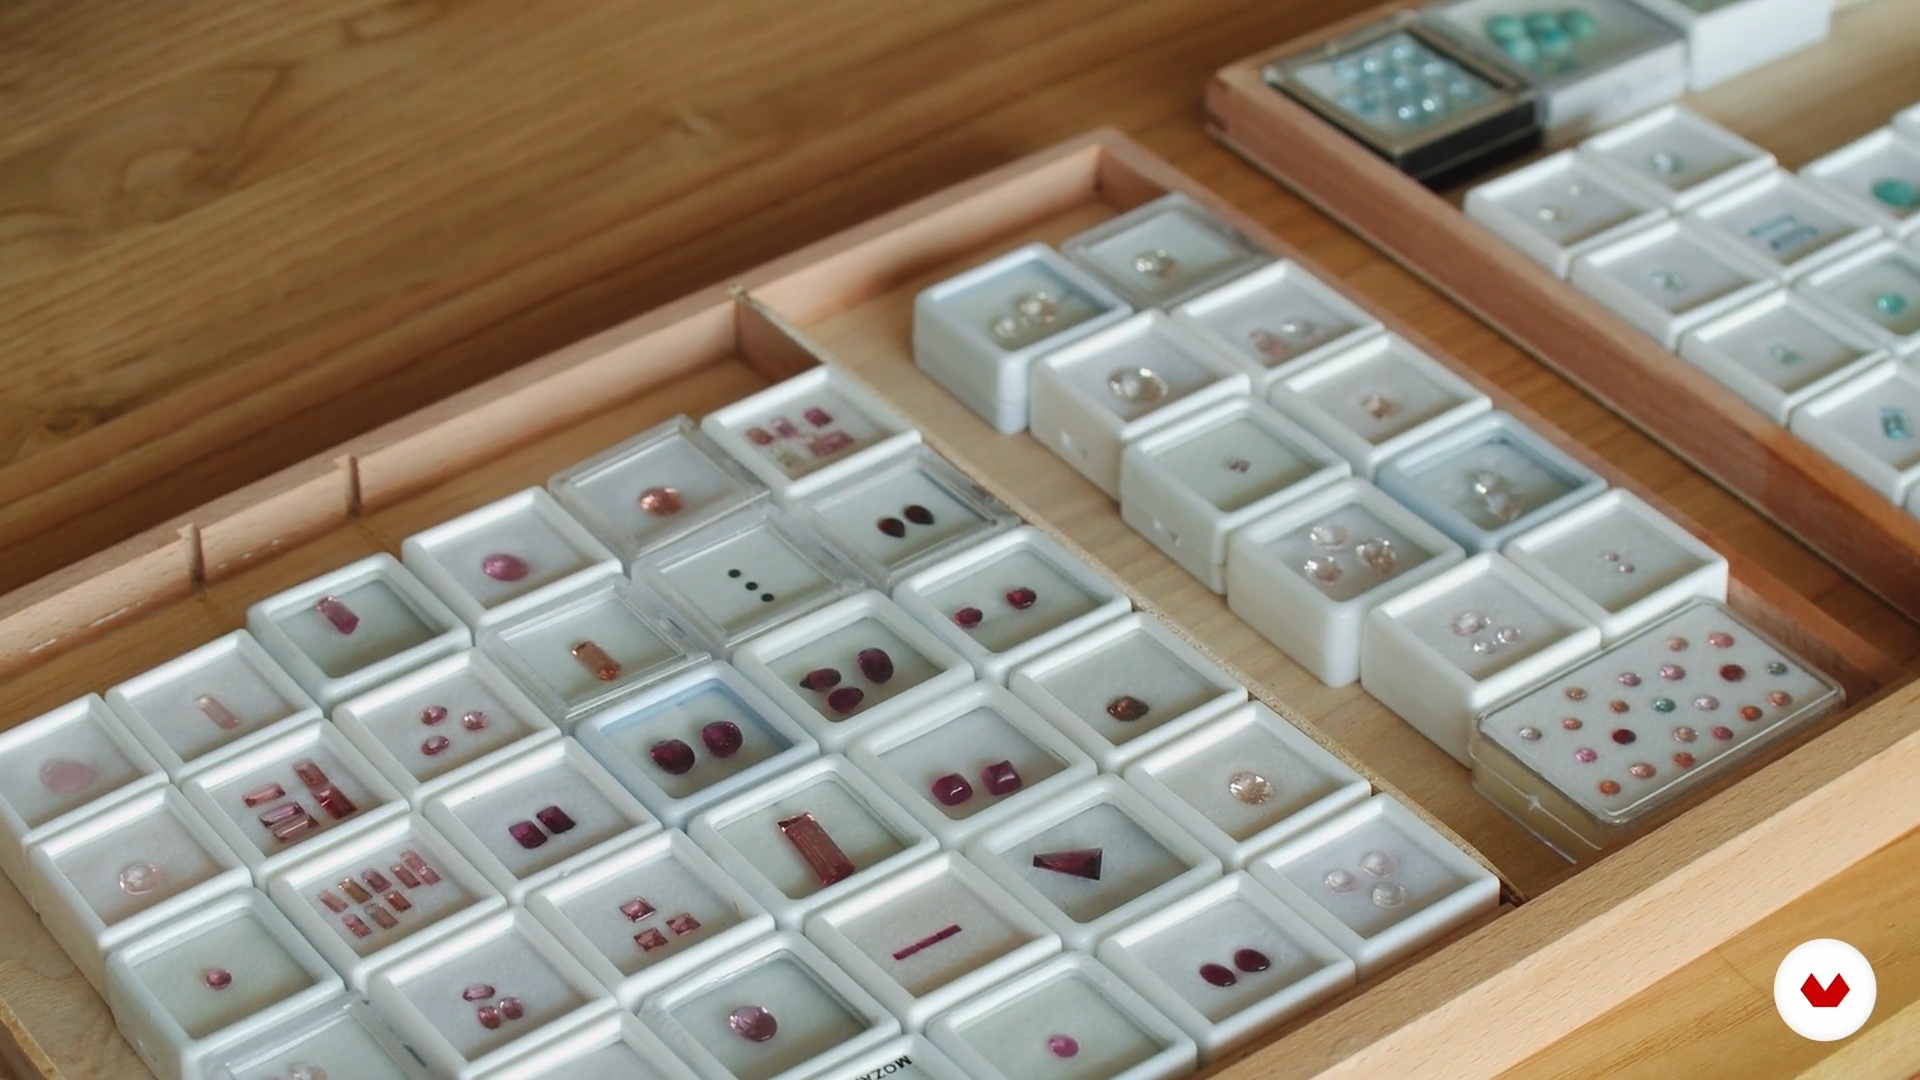
Now I'll talk to you about stones in jewelry, different types and classifications, as well as their characteristics, shapes, and main differences.
5m
 5
5Working with Solder
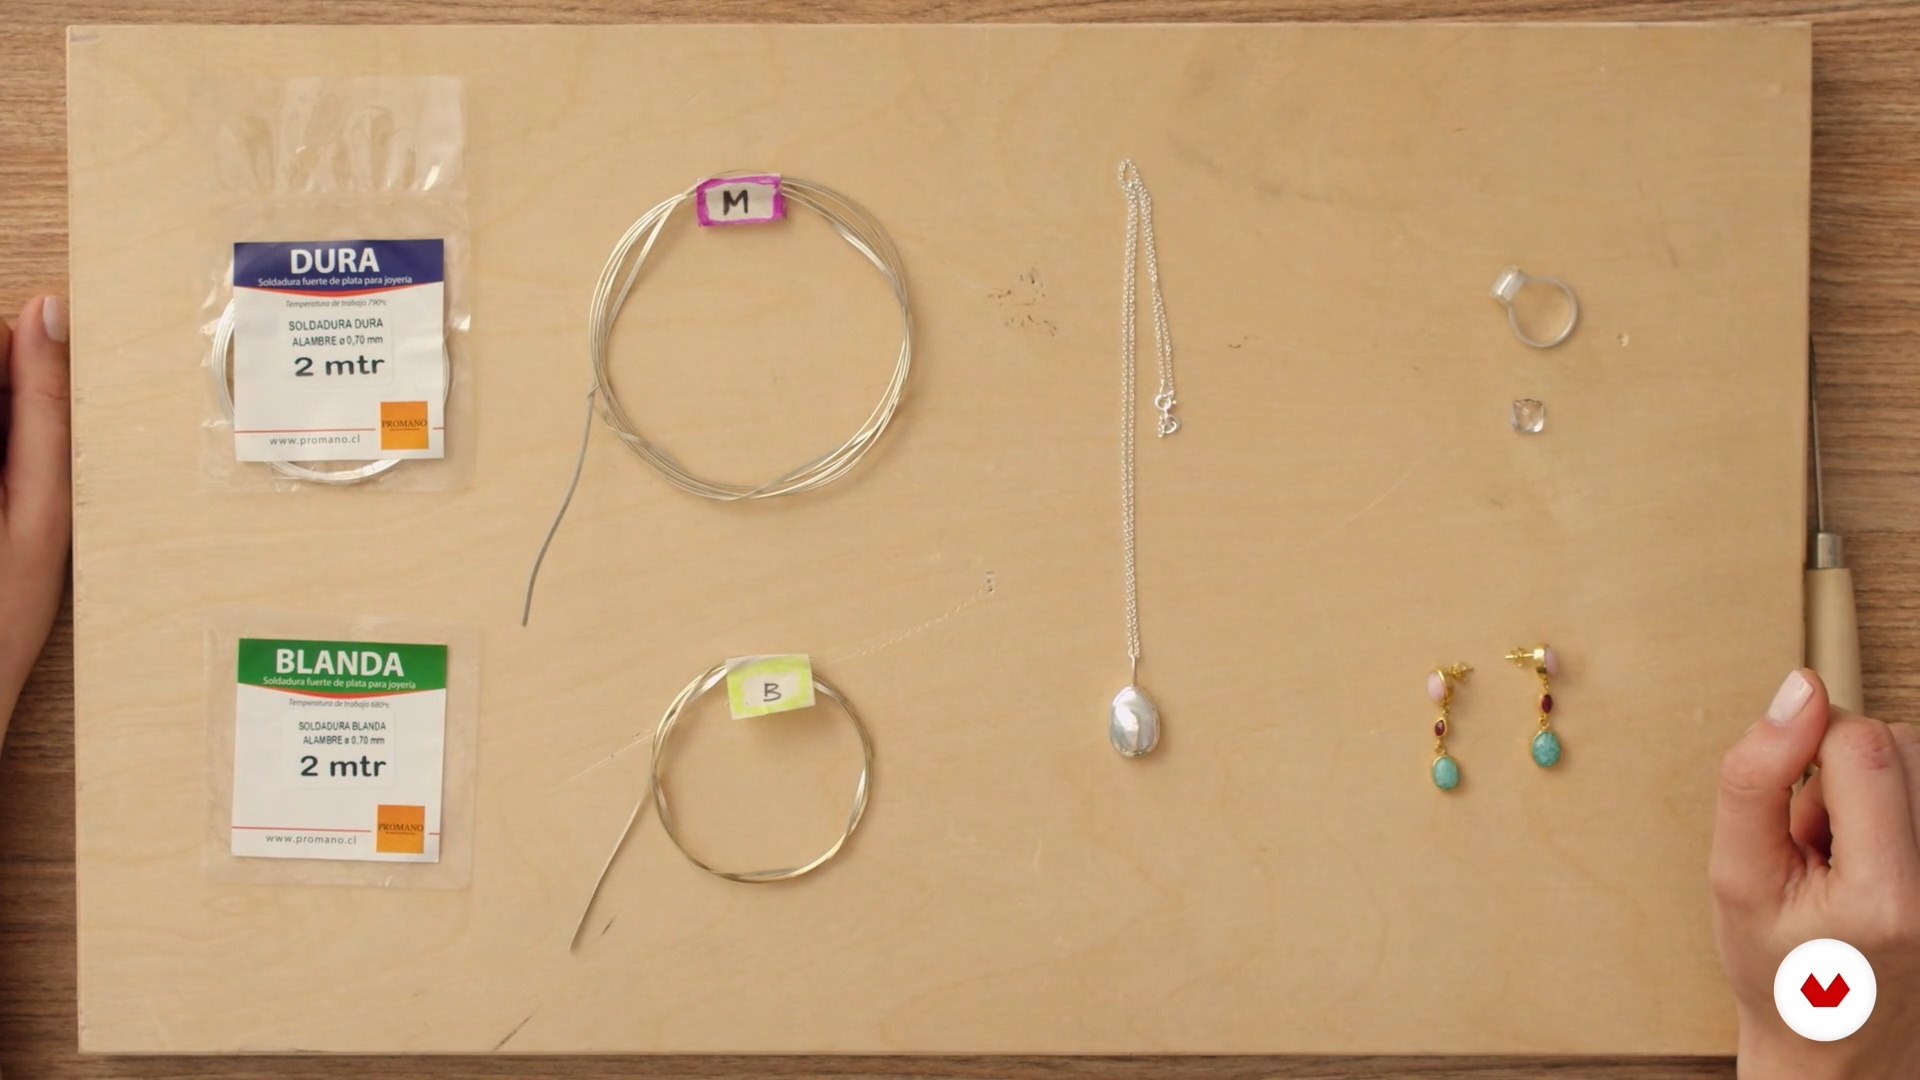
In this lesson, I will review the basics of welding, how it works, what types of welding exist, and considerations when using it.
4m
 6
6Introduction to Stone Setting
Here I'll talk to you about jewelry setting, what it is, and what type of setting you'll be using in your course project.
4m
 7
7Inspiration for a Collection
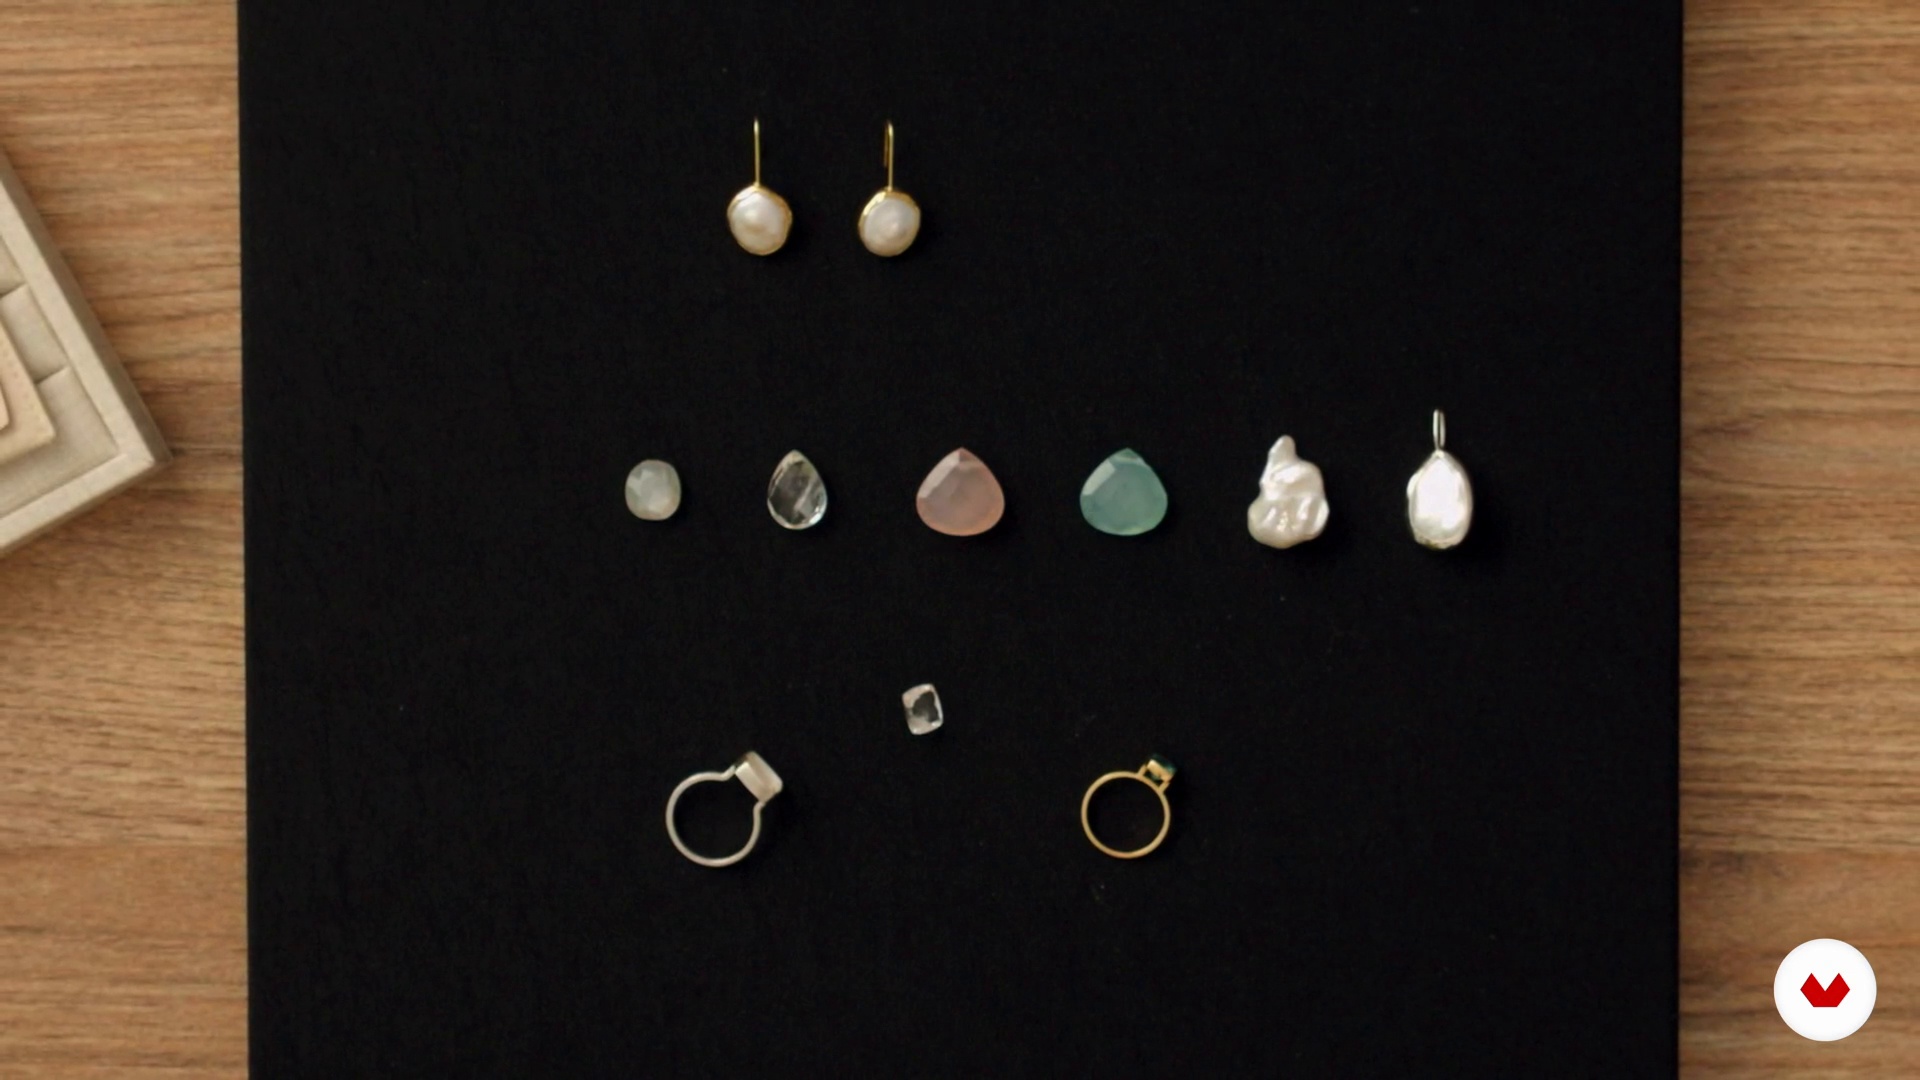
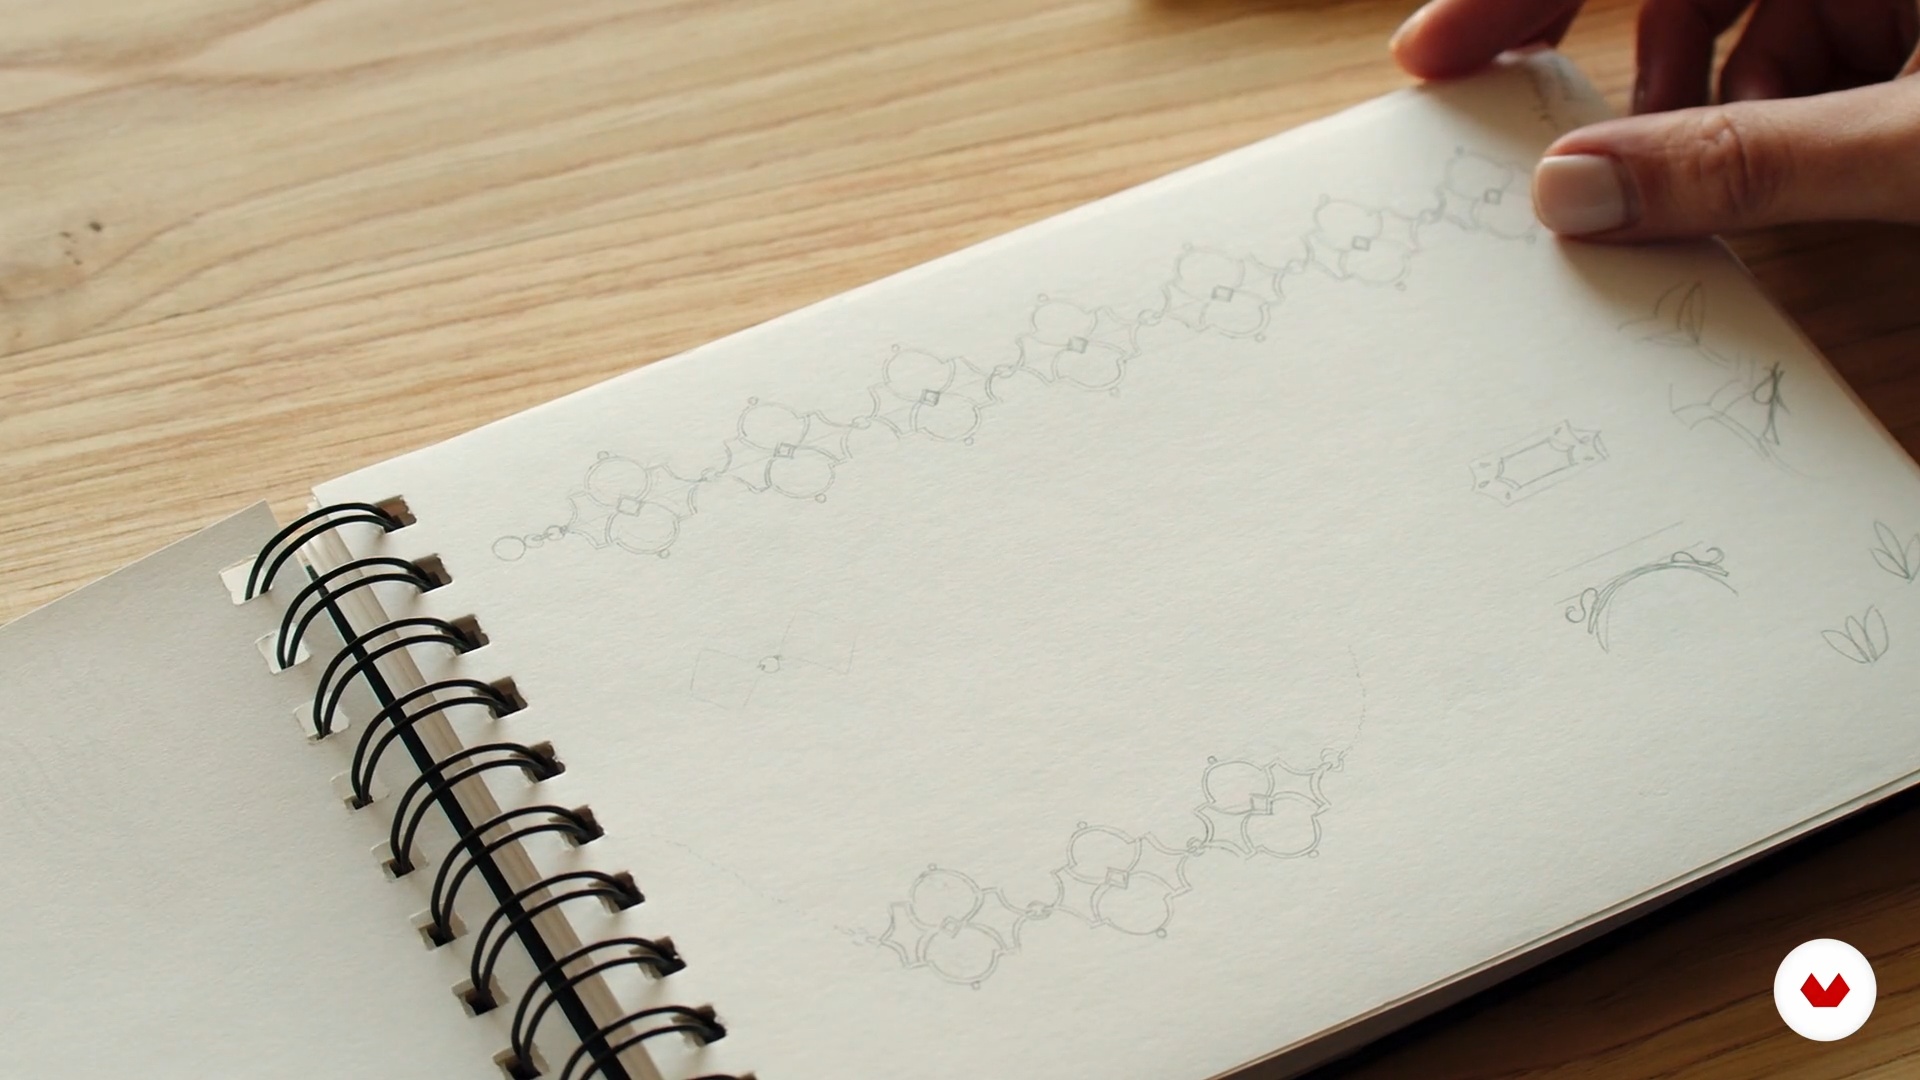
You now have the basic knowledge of metals, stones, and welding. In this lesson, I'll tell you how I get inspired to create a collection, show you part of my personal stone collection, and share my tips for planning a collection. I'll also tell you about the collection I'll create as a course project and everything you can do with your own.
4m
 8
8Materials and Tools
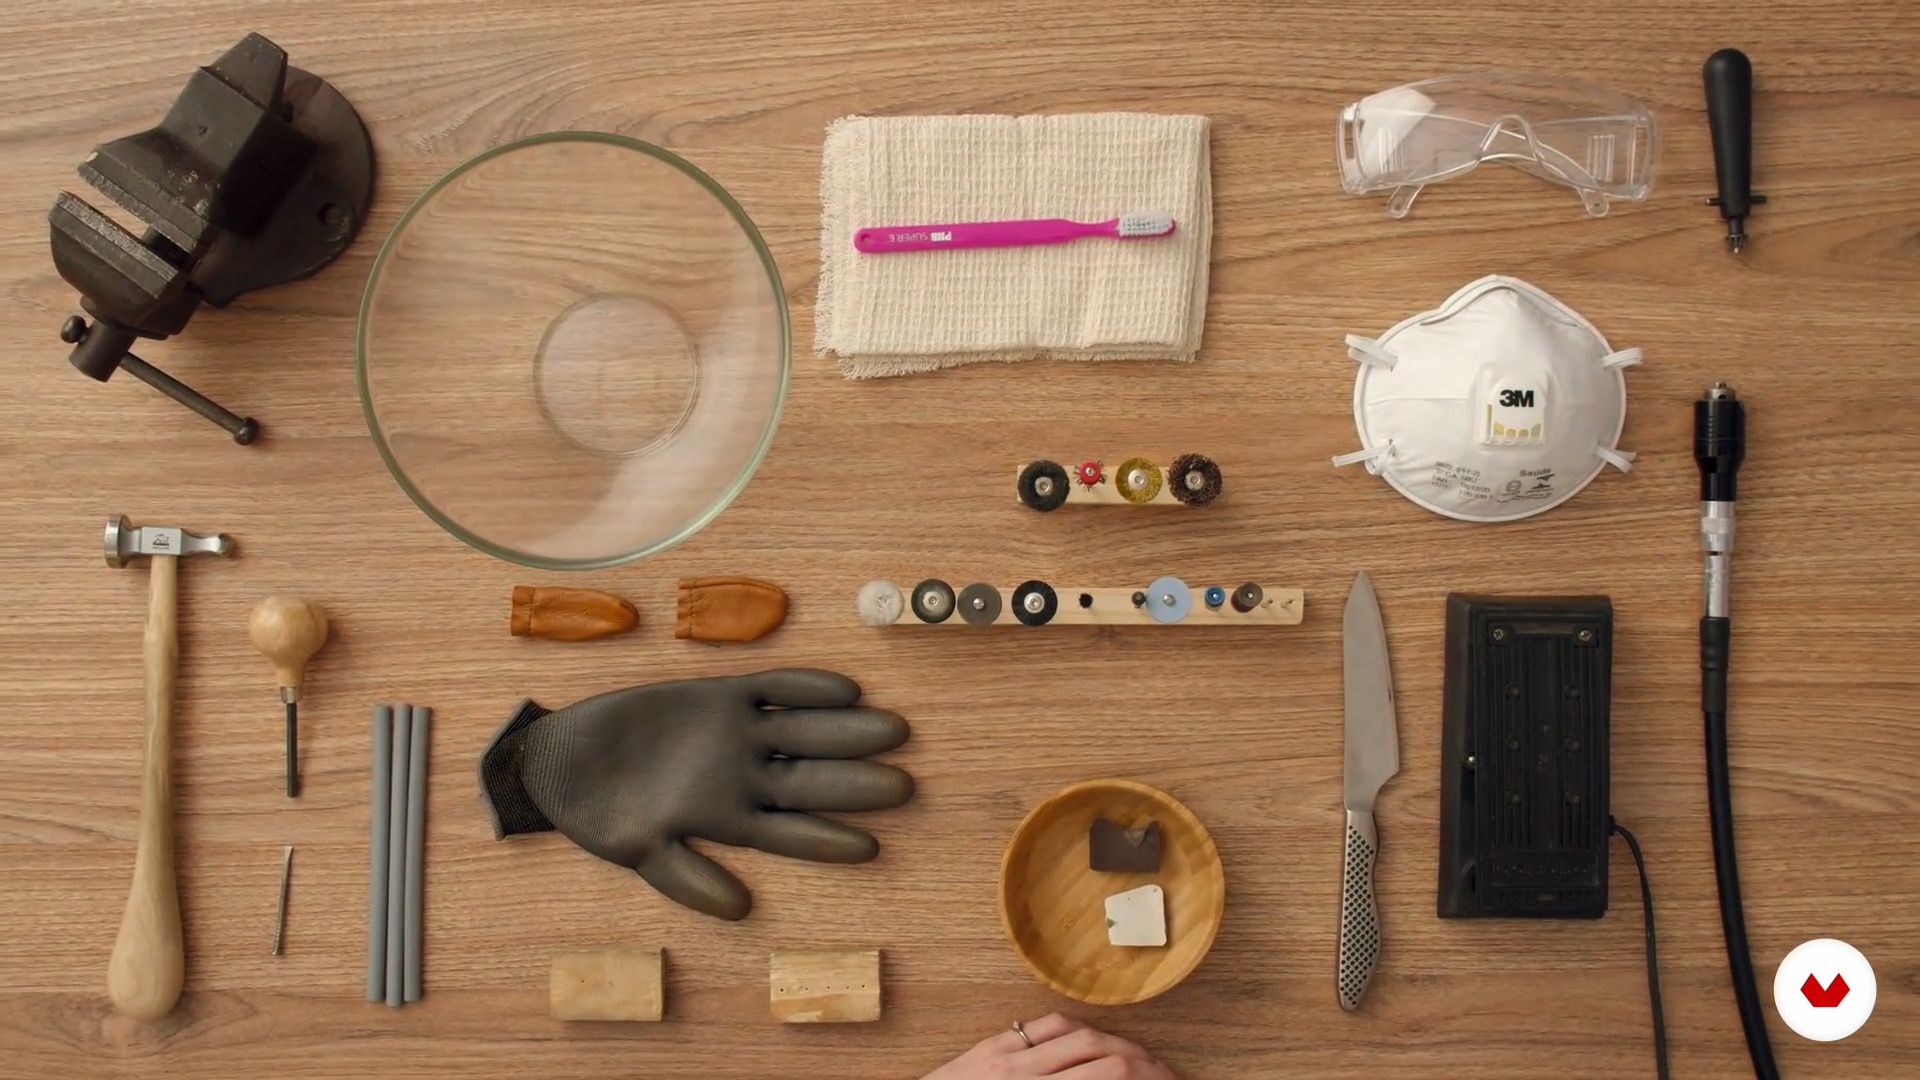
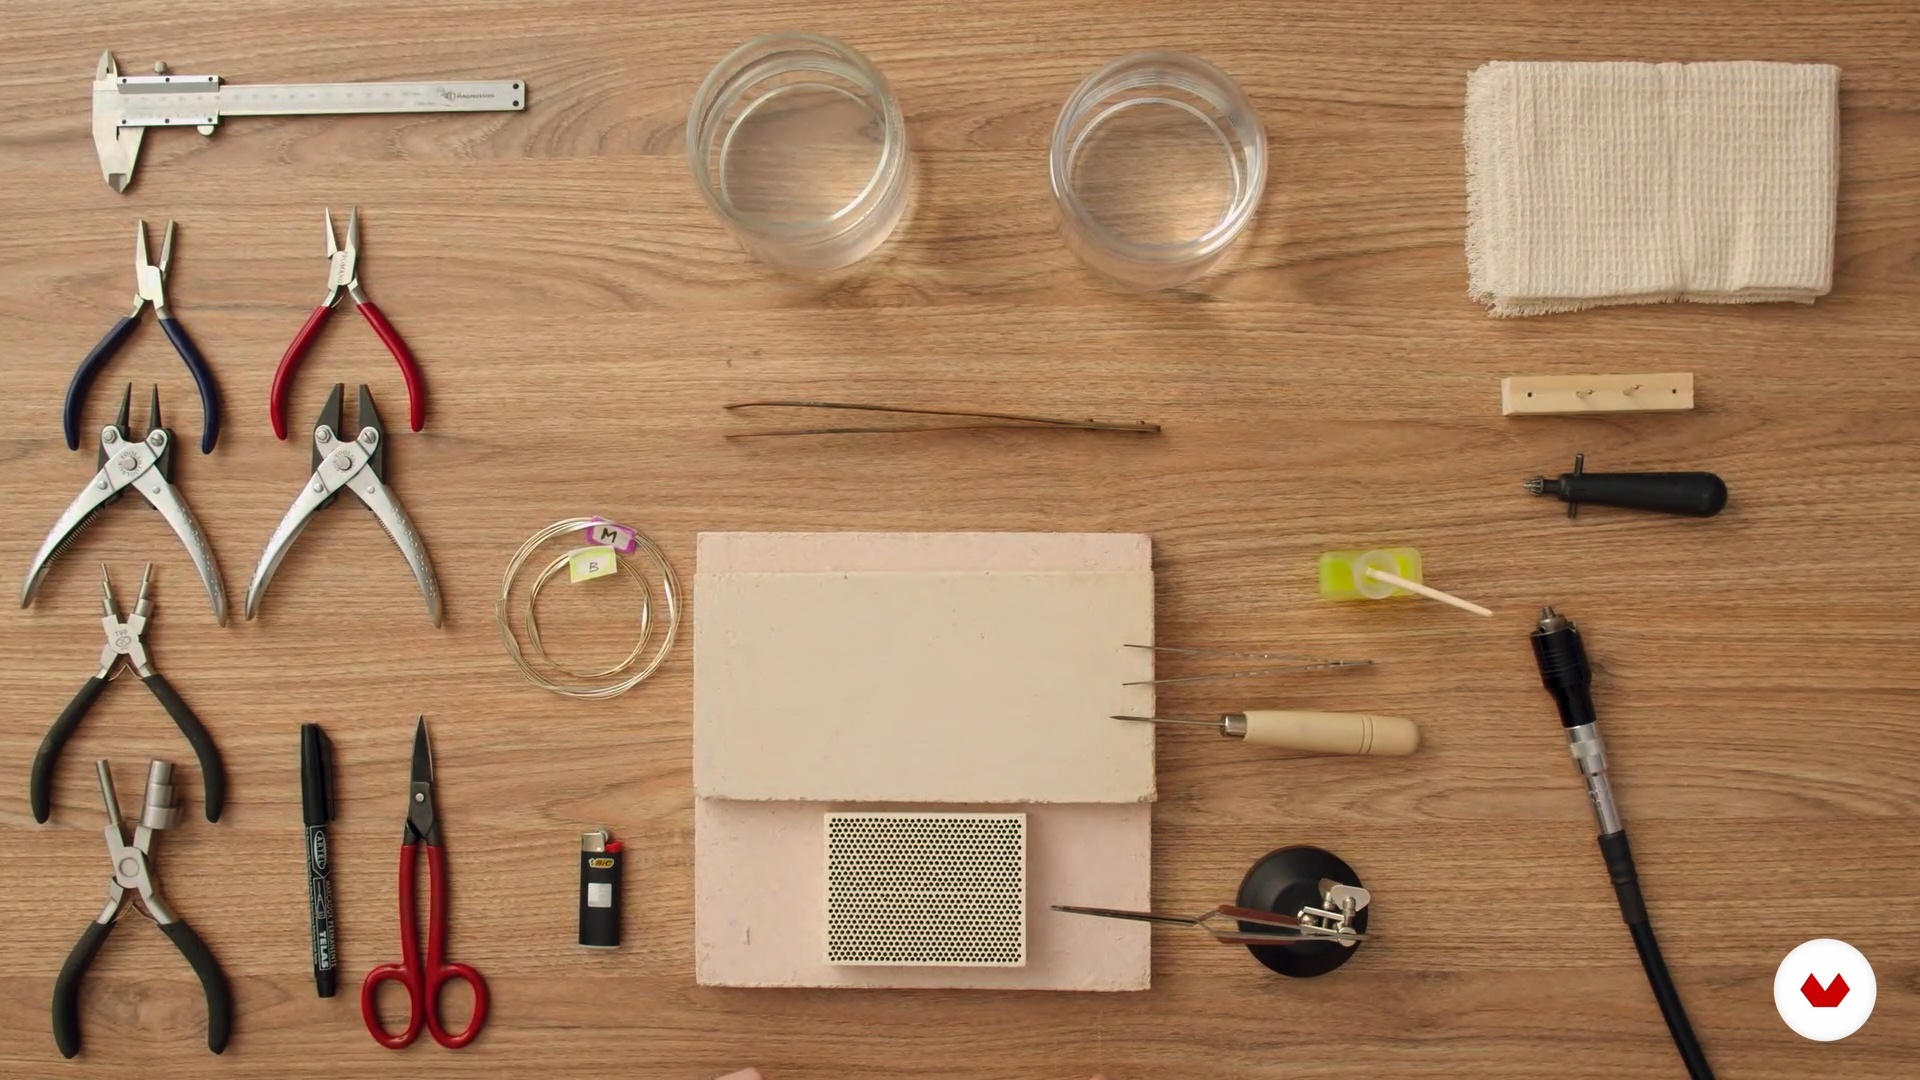
In this lesson, I'll show you the materials and tools you'll use in your project, as well as some possible alternatives.
14m
 9
9The Working Area
In this lesson, I'll set up my workspace and show you how to arrange everything according to each work phase. There are several tools for different processes, so having them organized will help you work more smoothly and comfortably.
11m
 10
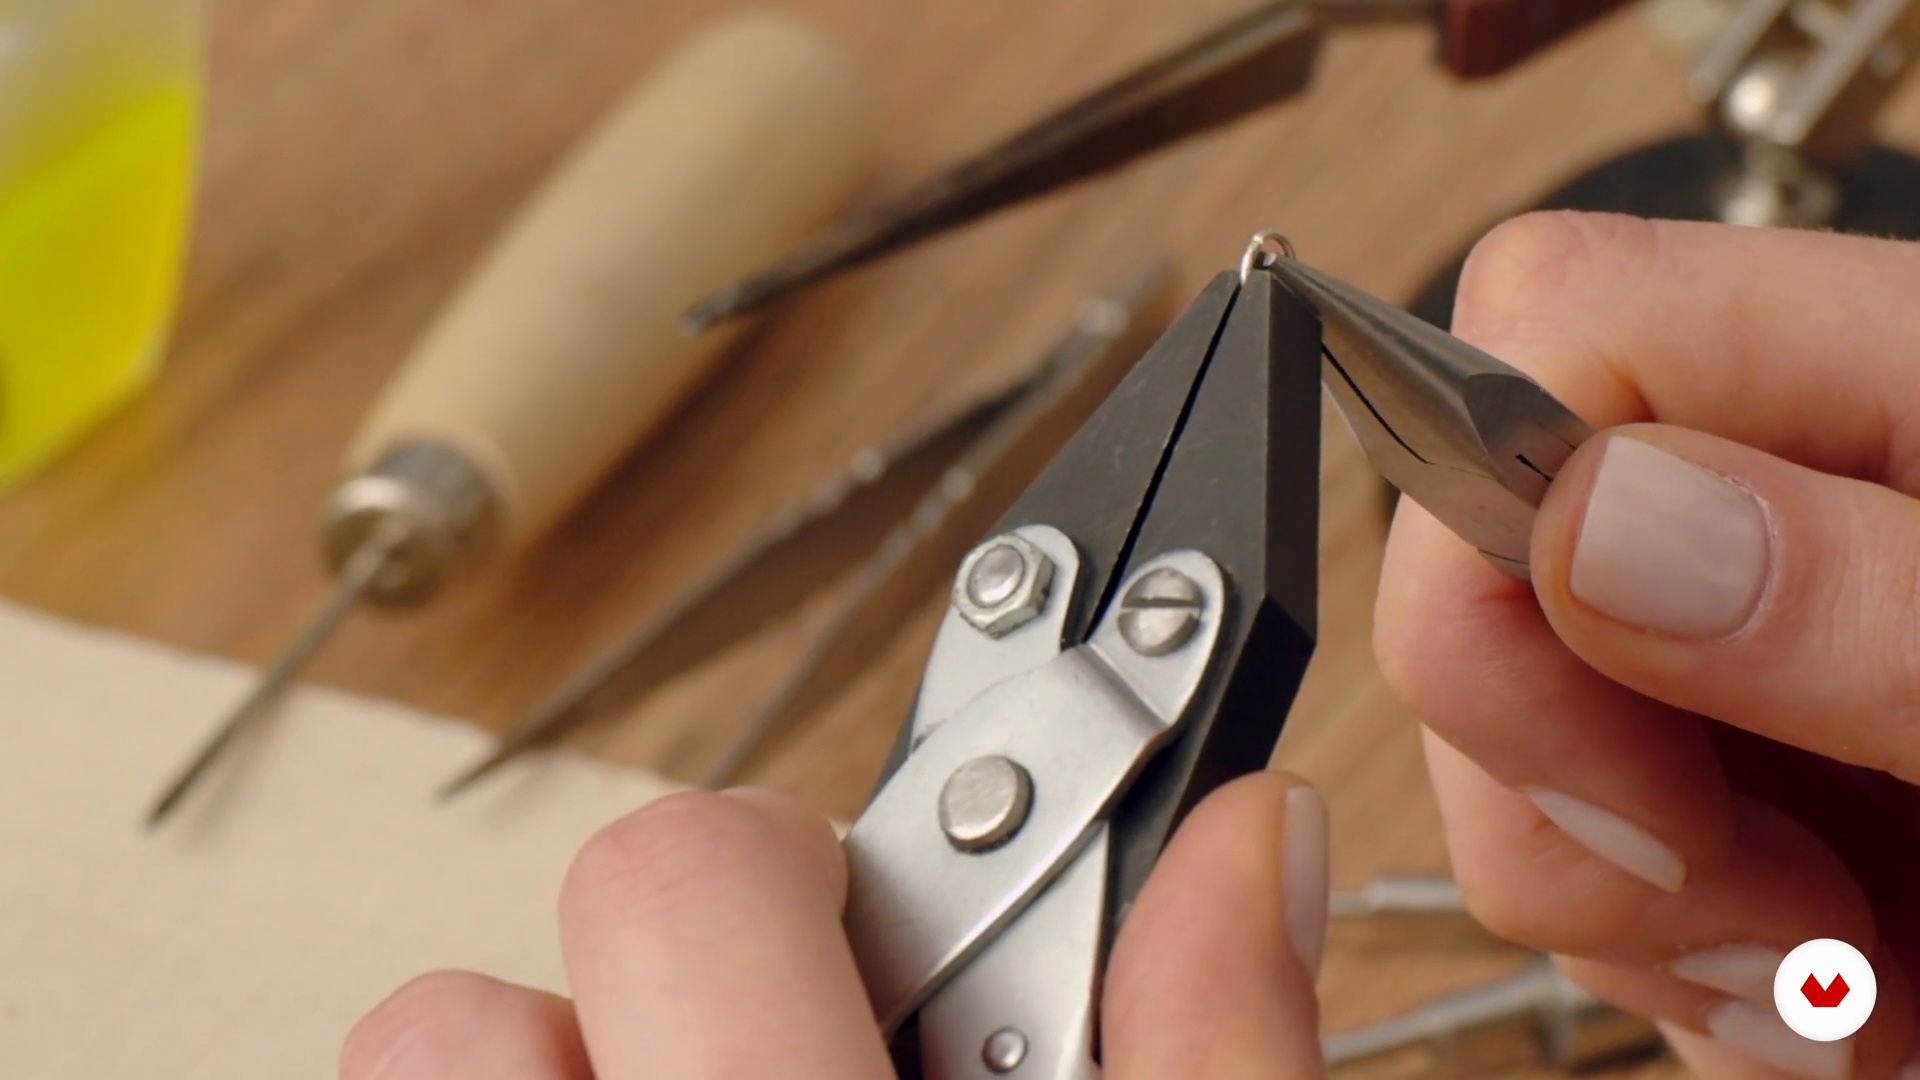
10Working with Metal
Now you'll see how metal behaves when worked and folded. You'll also learn what metal annealing is, what it's used for, and how to do it.
12m
 11
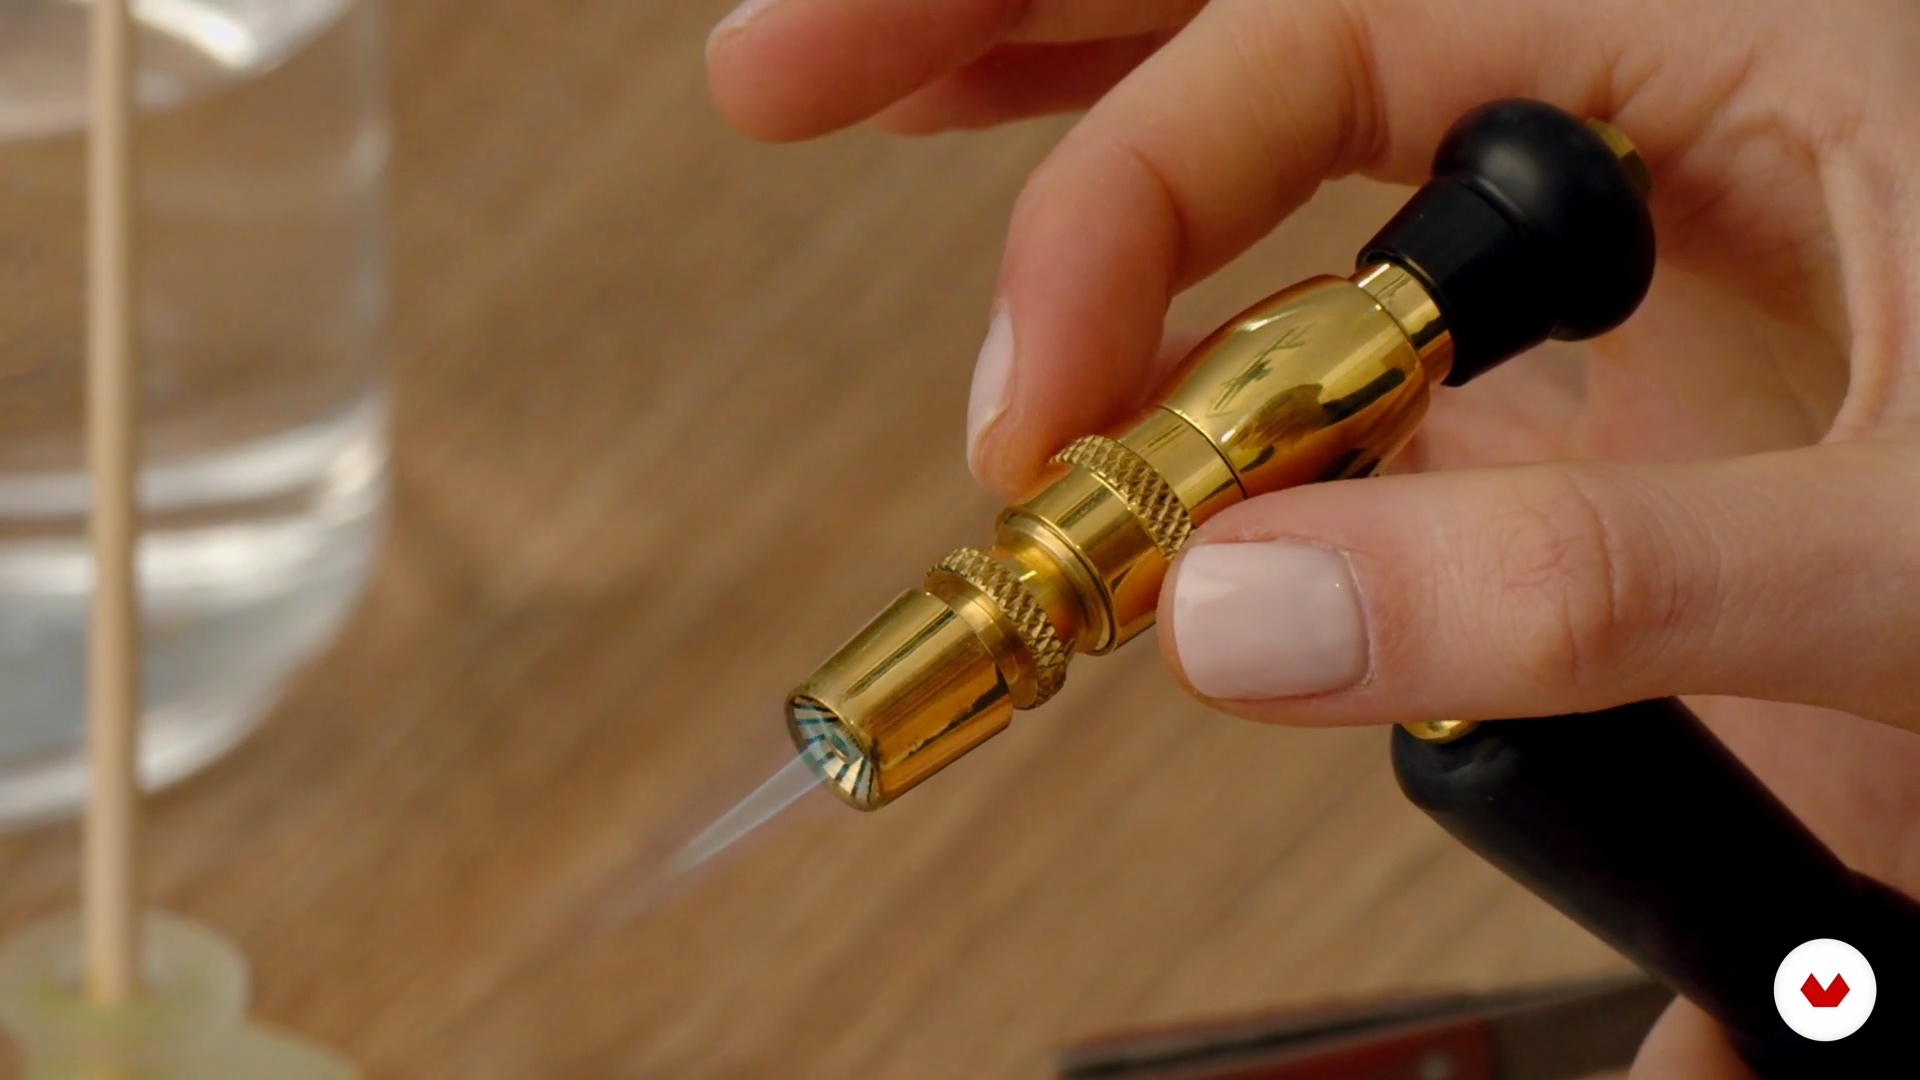
11Soldering Practice
Are you ready to weld? Here you'll learn the welding technique in detail and the points to keep in mind for proper execution. I'll also provide practical welding exercises.
14m
 12
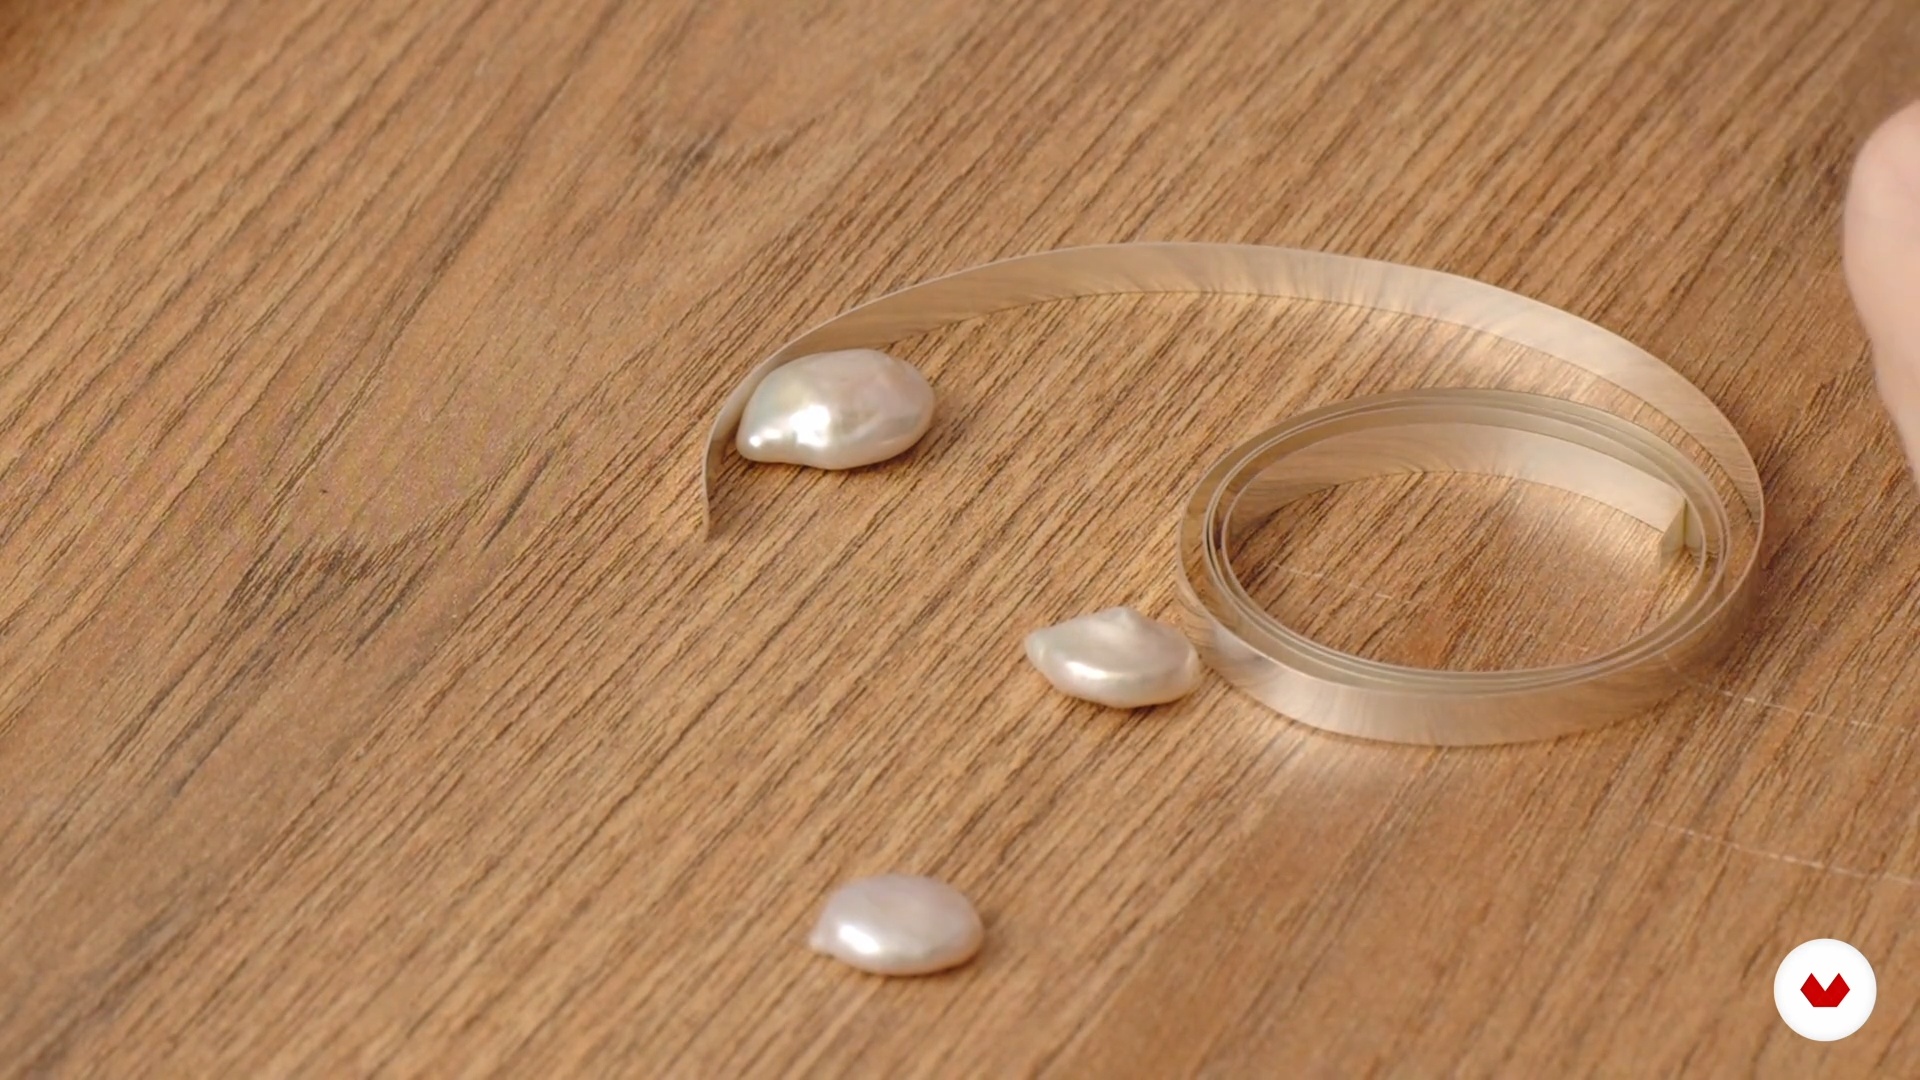
12Bezels and Soldering Pieces 1
Using the technique you already know, you can form and solder all the bases for the jewelry pieces you'll make. Now I'll go over bezel shaping and how to determine their correct height, as well as the different soldering techniques for each piece.
20m
 13
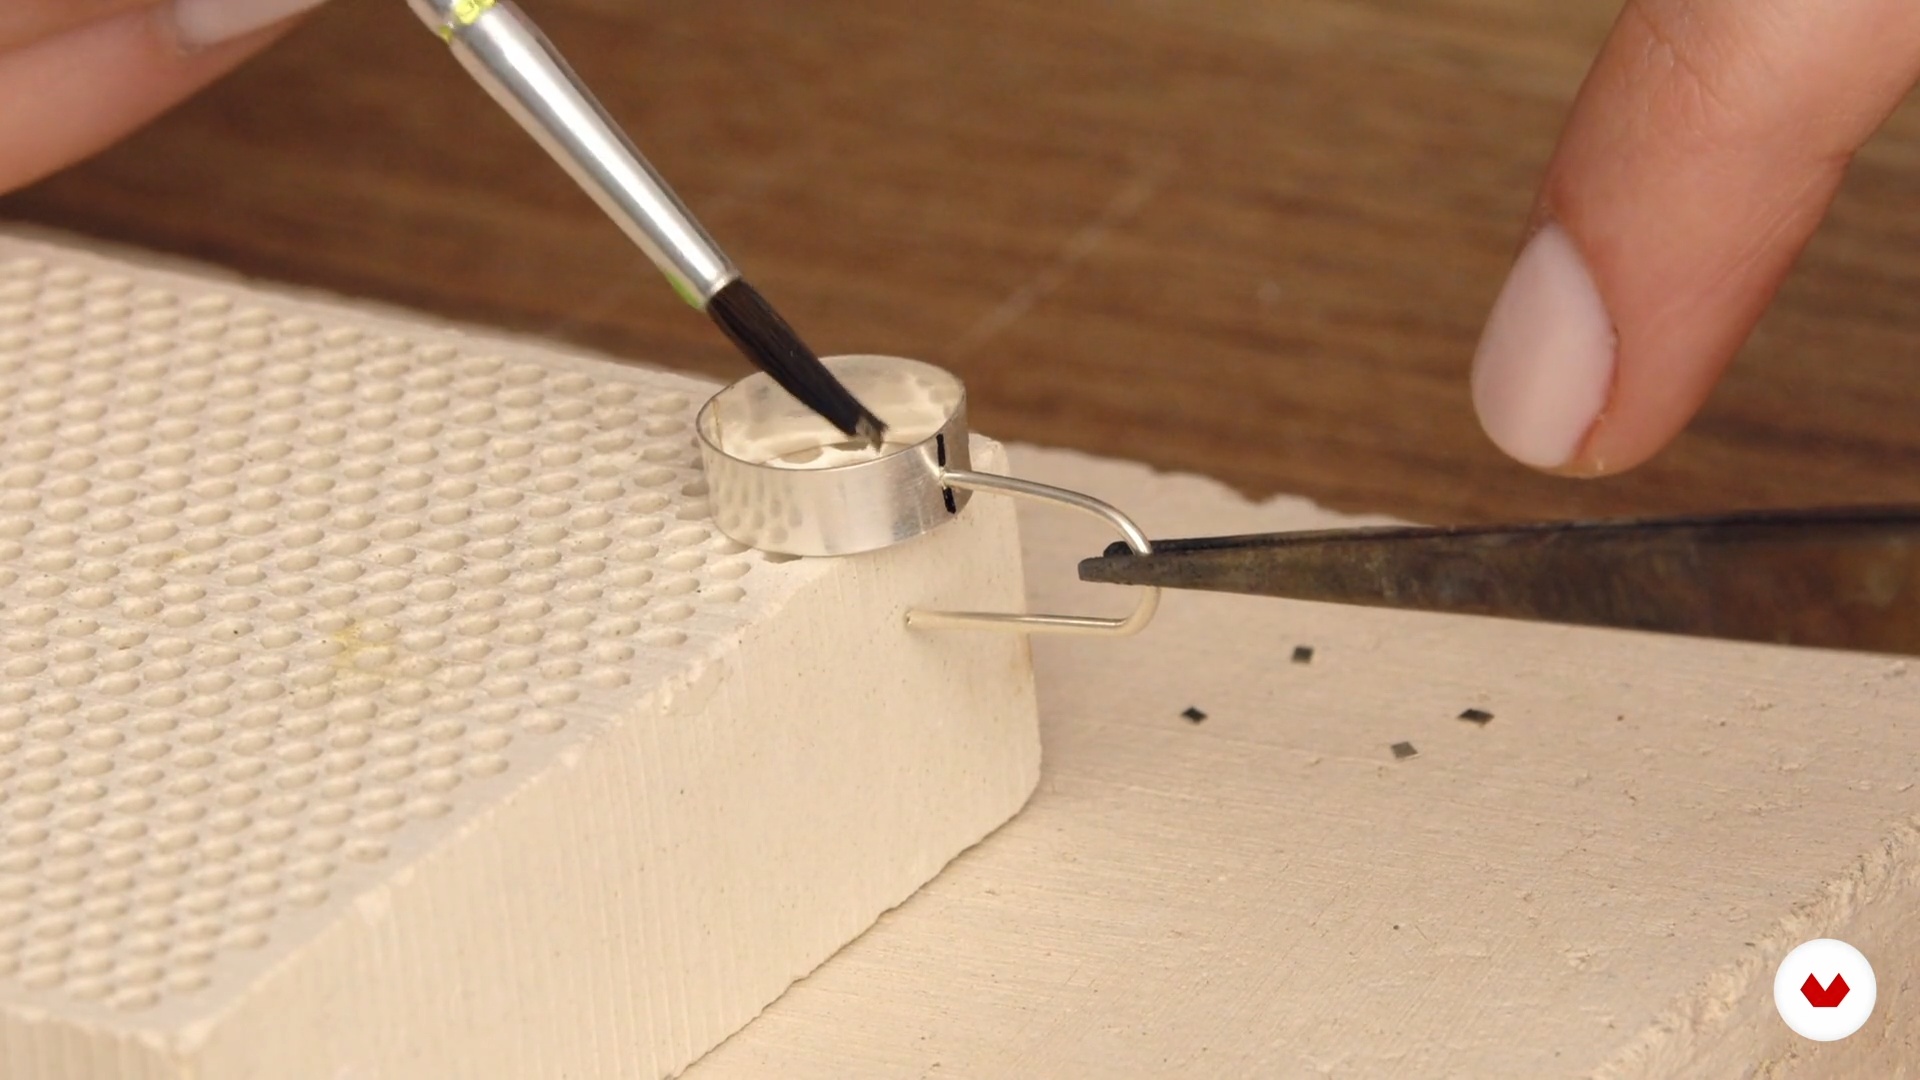
13Bezels and Soldering Pieces 2
I've already calculated the ideal bezel height, shaped them, and soldered all the bezels I constructed with medium solder. After cooling them in water and letting them dry, it's time to reshape them with the pearls. Then, I'll continue assembling the jump rings and earring hooks and perform the final soldering of each piece. Finally, I will soak all my pieces in the bleaching bath for a few minutes until they are completely white and stain-free.
16m
 14
14Settings 1
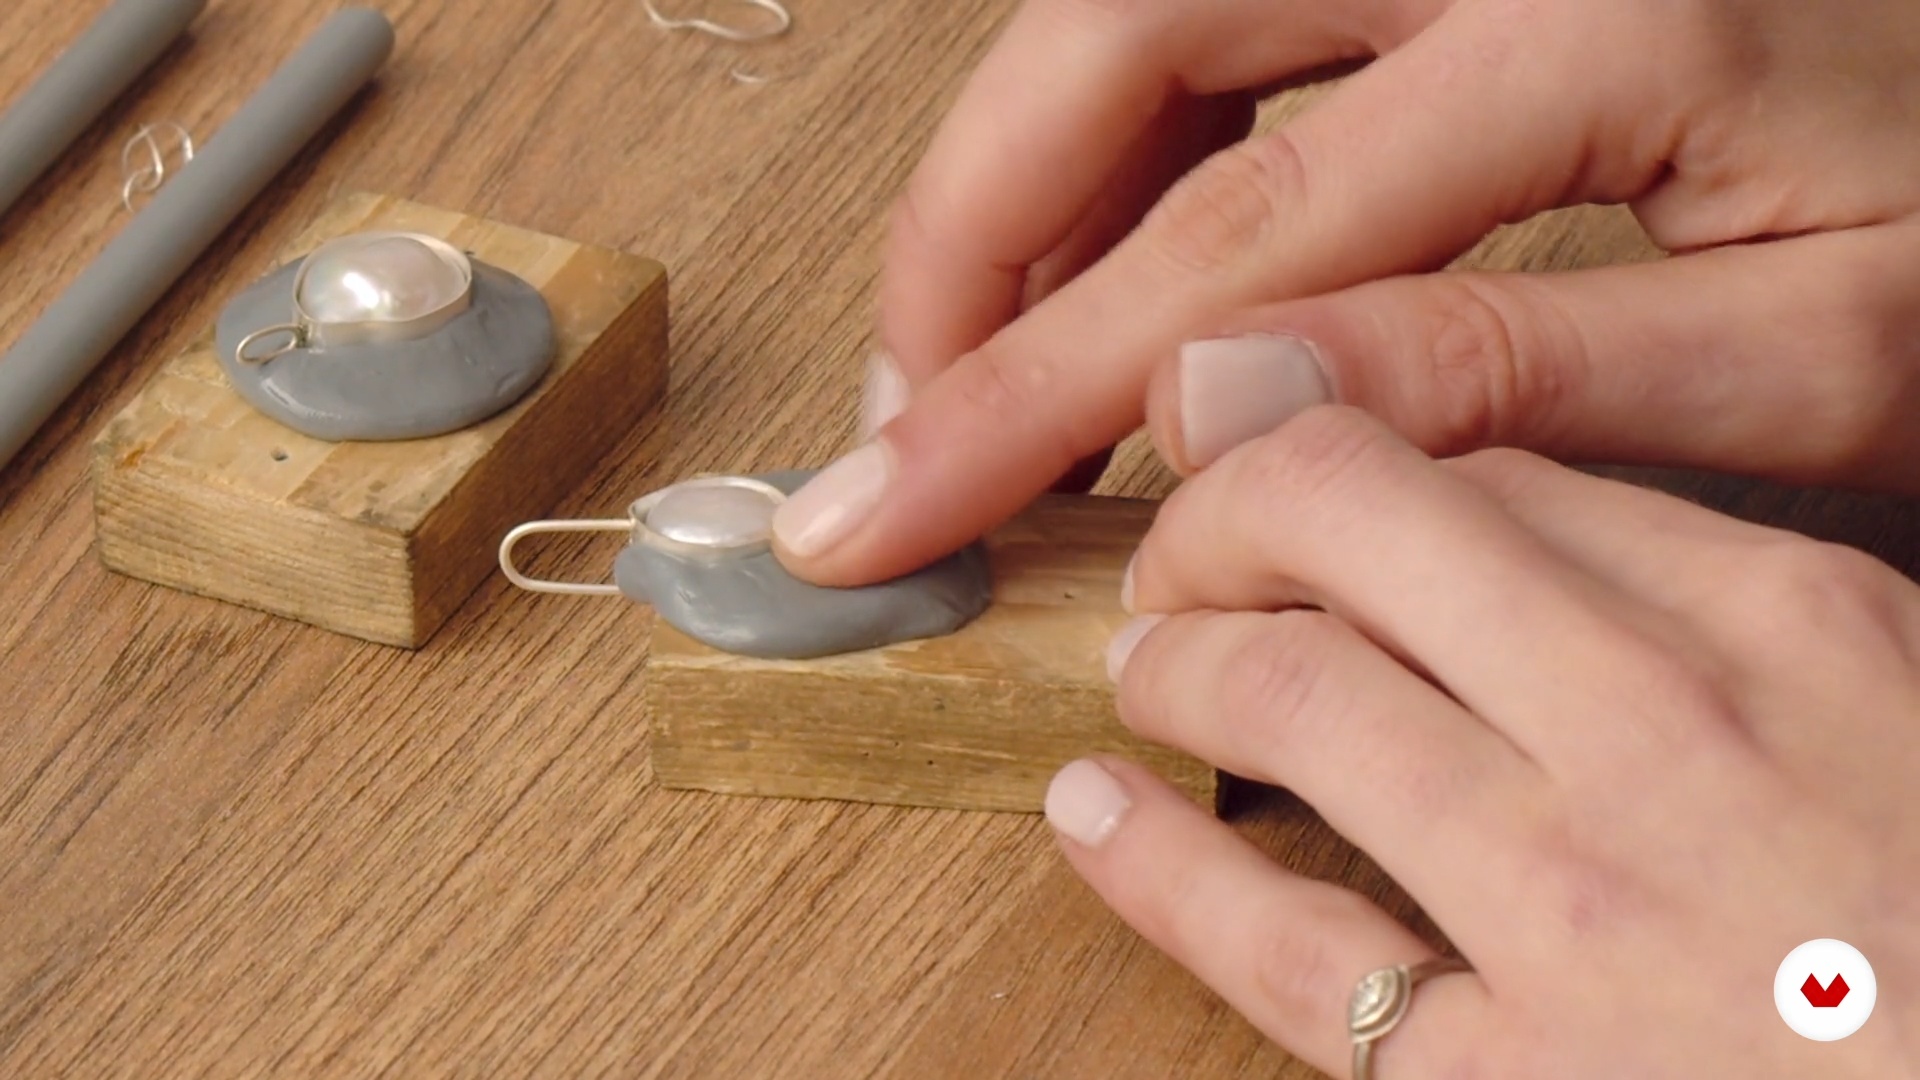
In this lesson, I will set the stones for each structure I built in the previous unit. First, I'll show you how to adjust the height of the bevels and trim them with scissors if there's any excess. Then, on a piece of wood, I'll fix the piece with the pearl inside into the putty.
9m
 15
15Settings 2
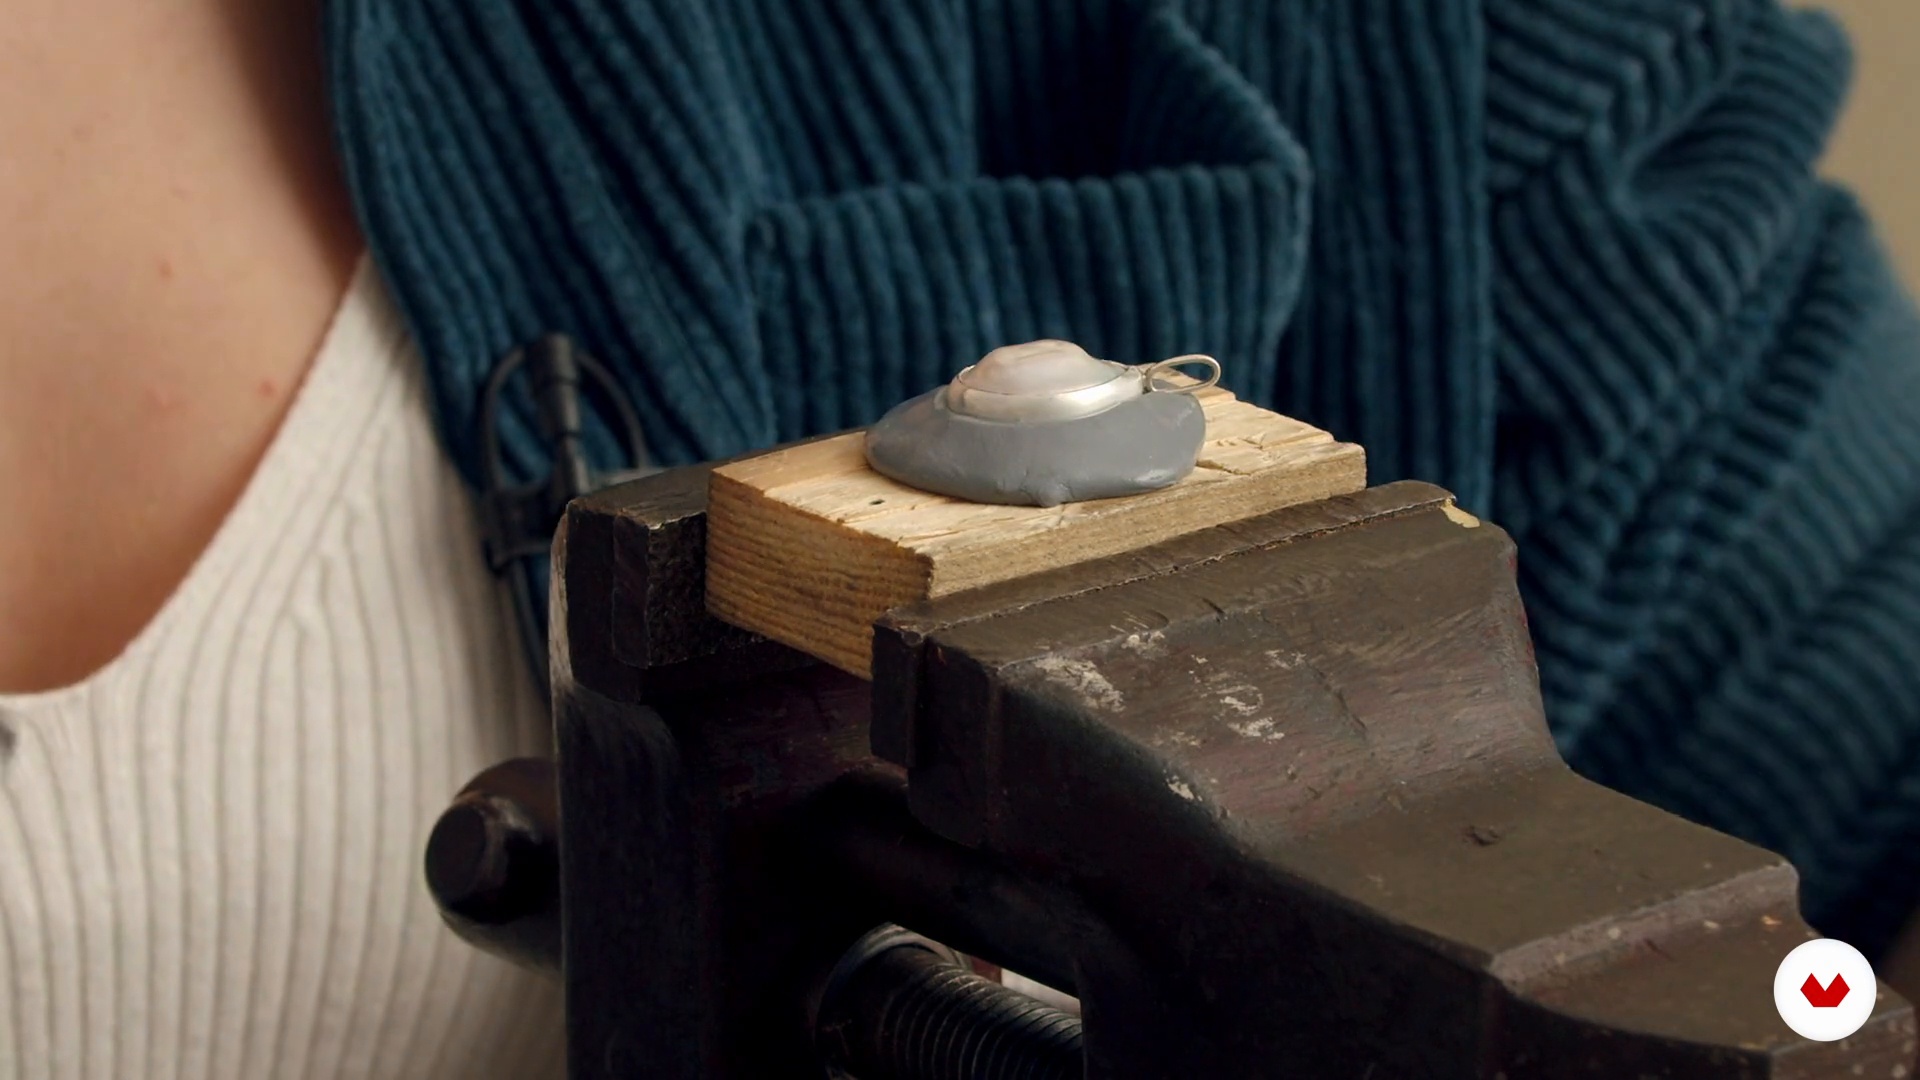
Once the pieces are firmly attached to the cooled putty, it's time to set them. First, I'll clamp the piece of wood with the putty in the vice so it's tight and won't move. Then, using a chisel and hammer, I will proceed to push the edges, gently tapping them so that they go down onto the stone.
13m
 16
16Finishes and Polishing
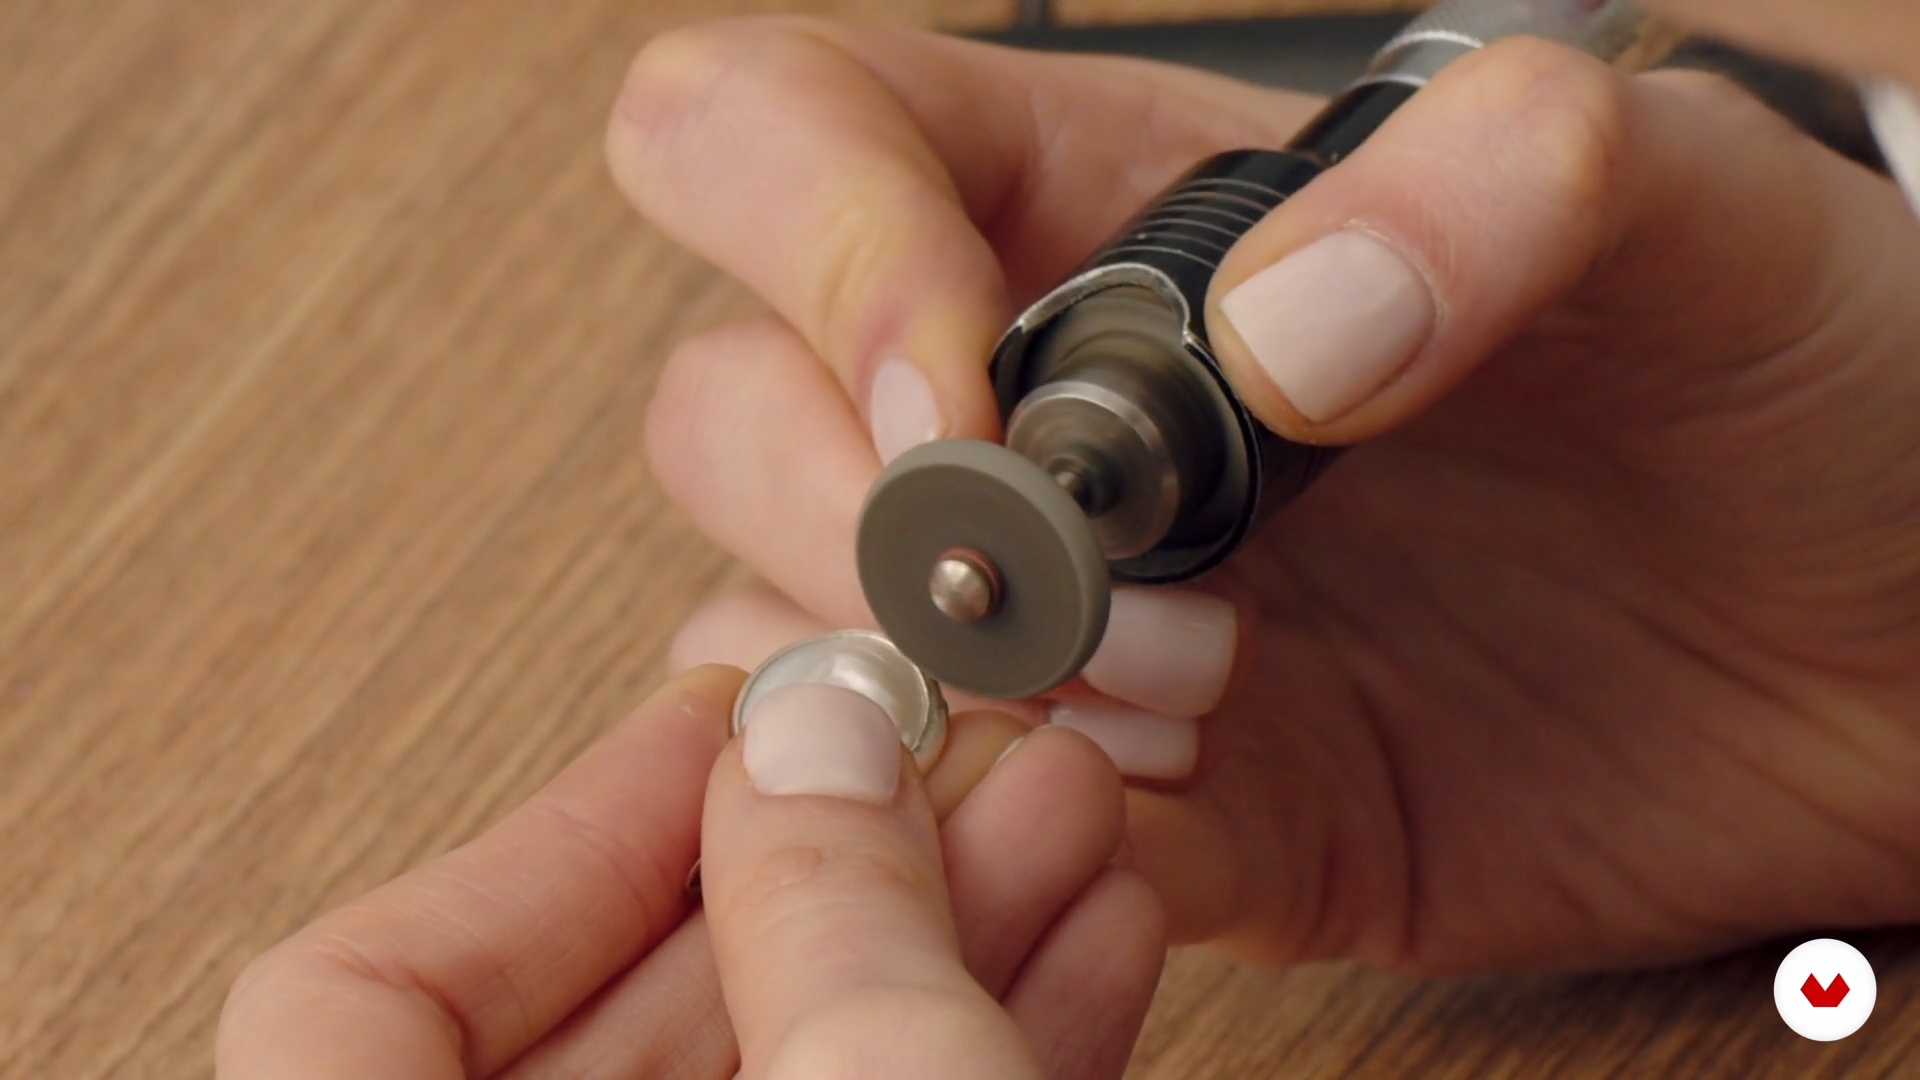
Here, I'll show you how to finish the pieces, how to make the final touches, and what tools and materials you'll use in the final stage. There are many finishing and polishing options, but I'll show you the one I use to achieve a brilliantly polished finish and introduce you to other options for you to experiment with.
17m
 3
3Work tools
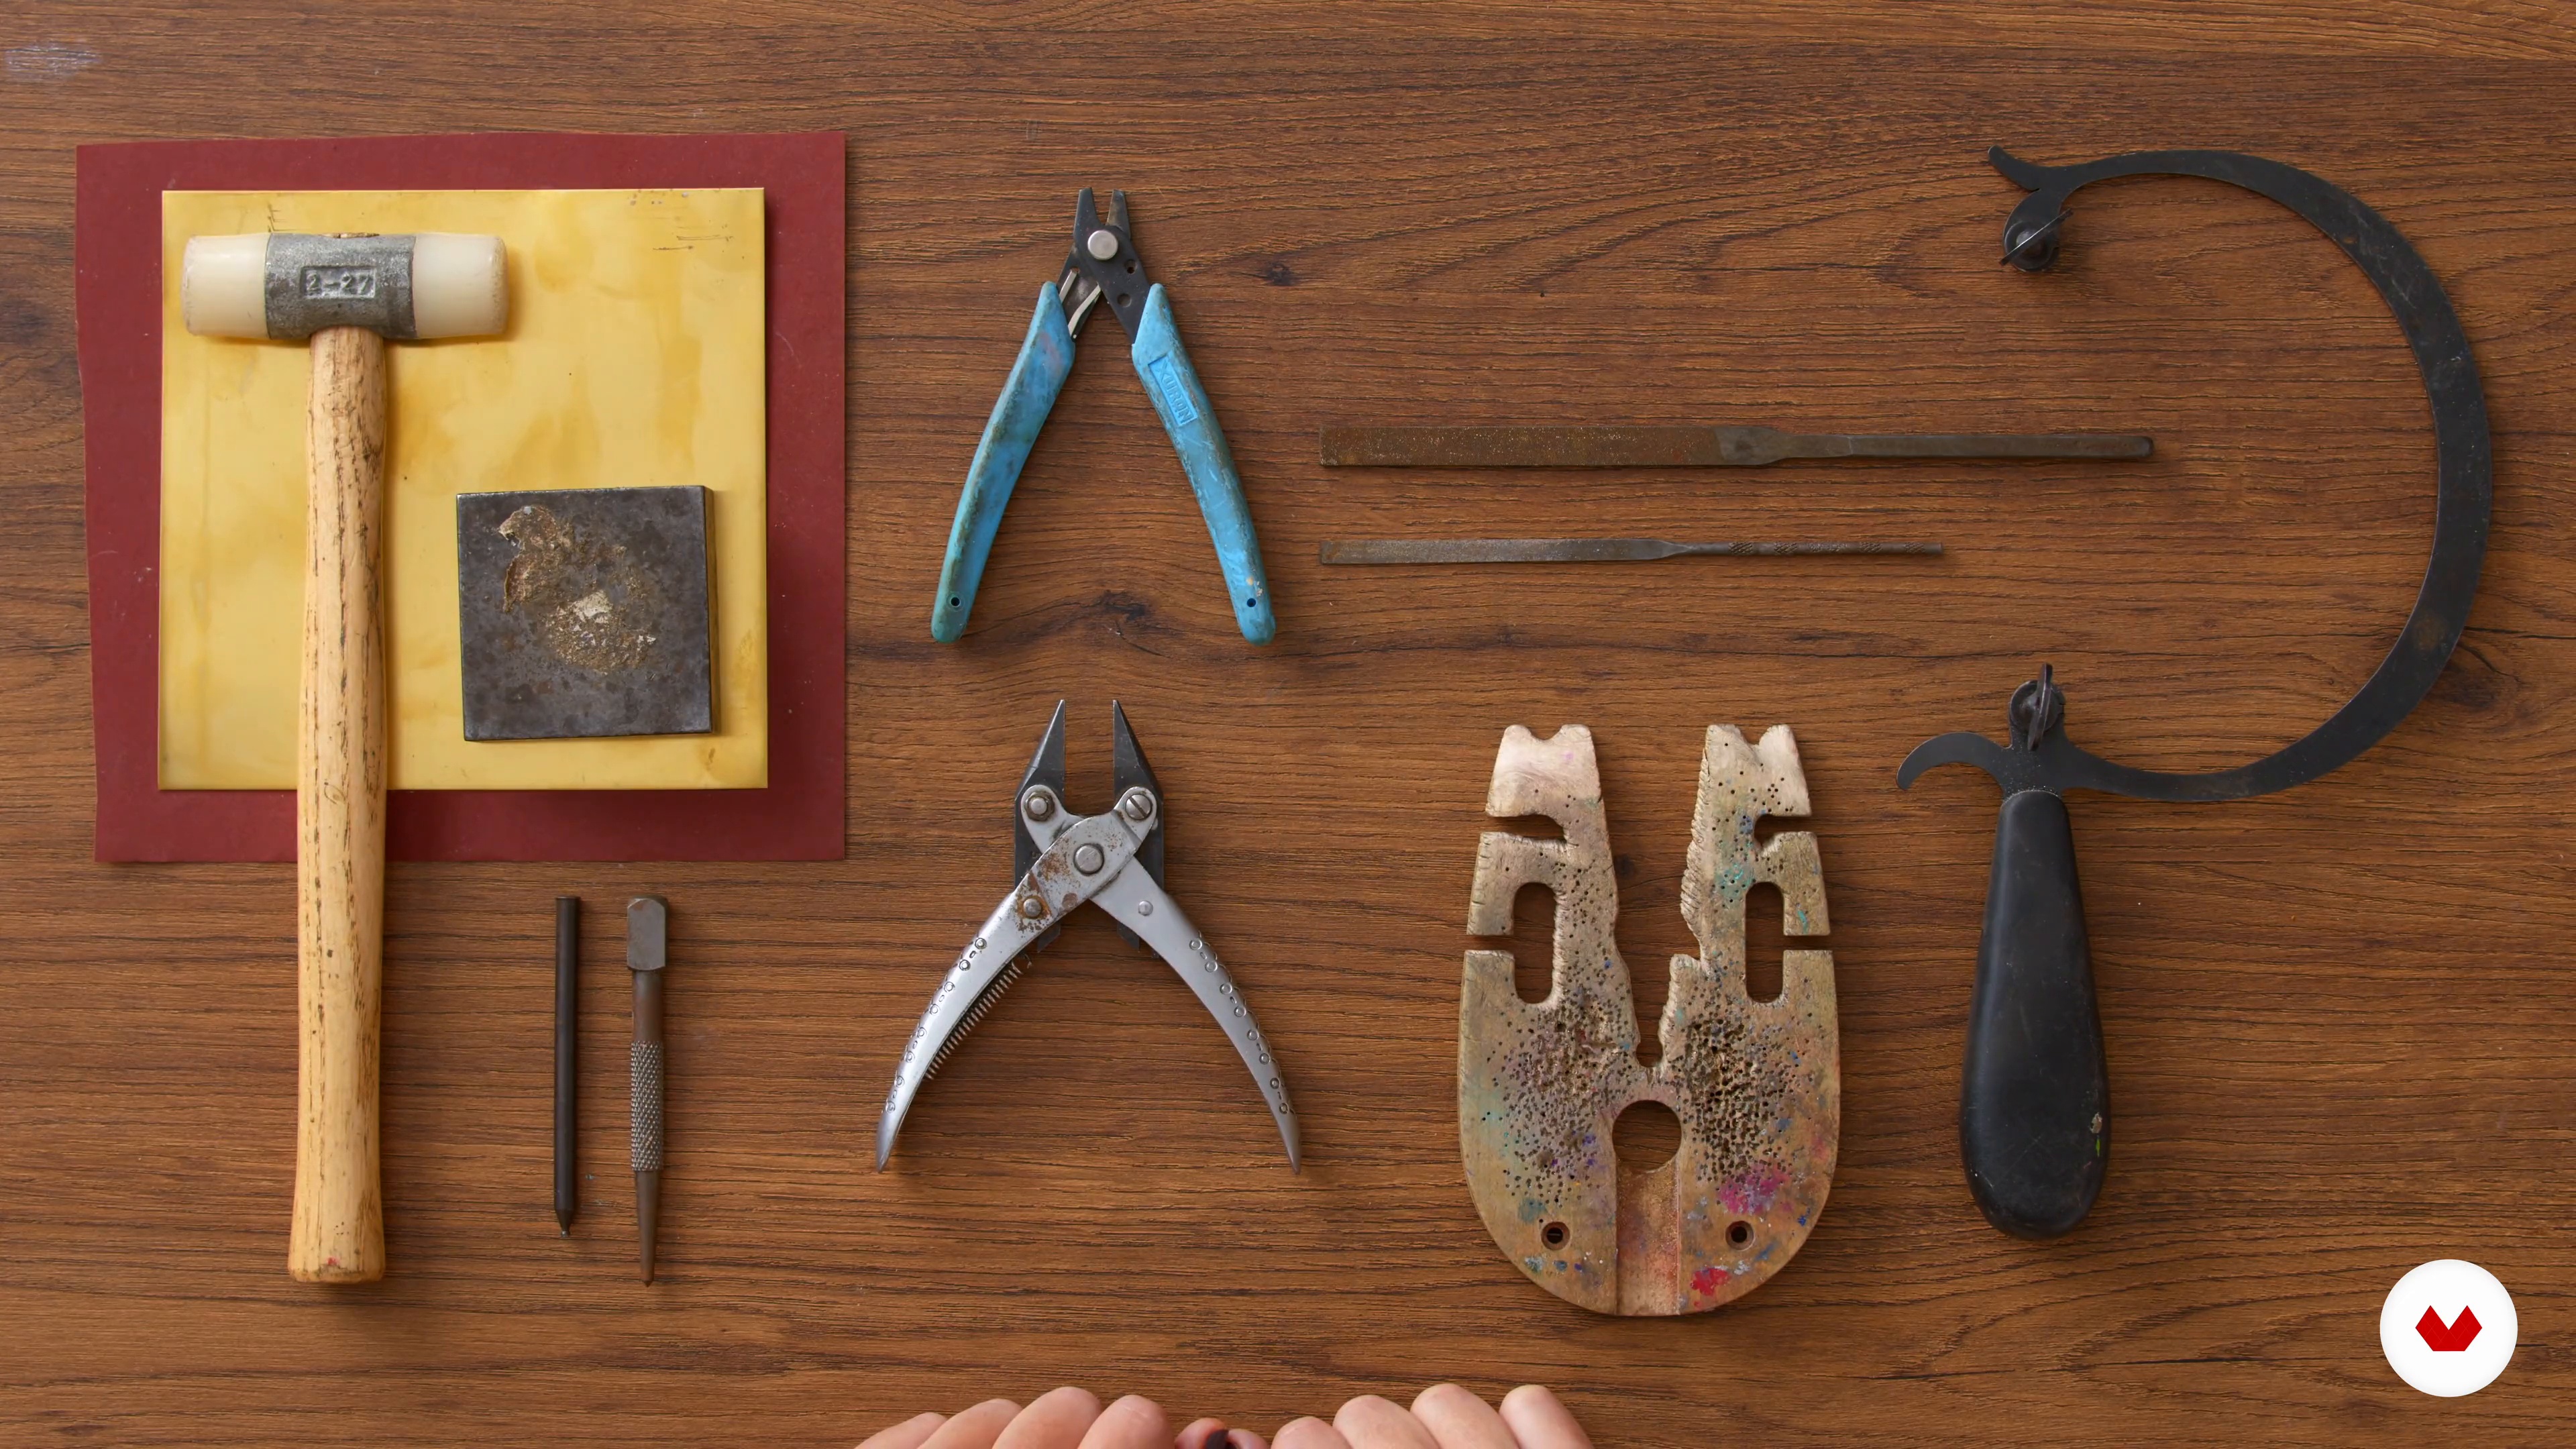
In this lesson, I'll show you the tools we'll be working with throughout the course. I'll also talk about the course project and the necessary maintenance throughout the entire creation process.
4m
 4
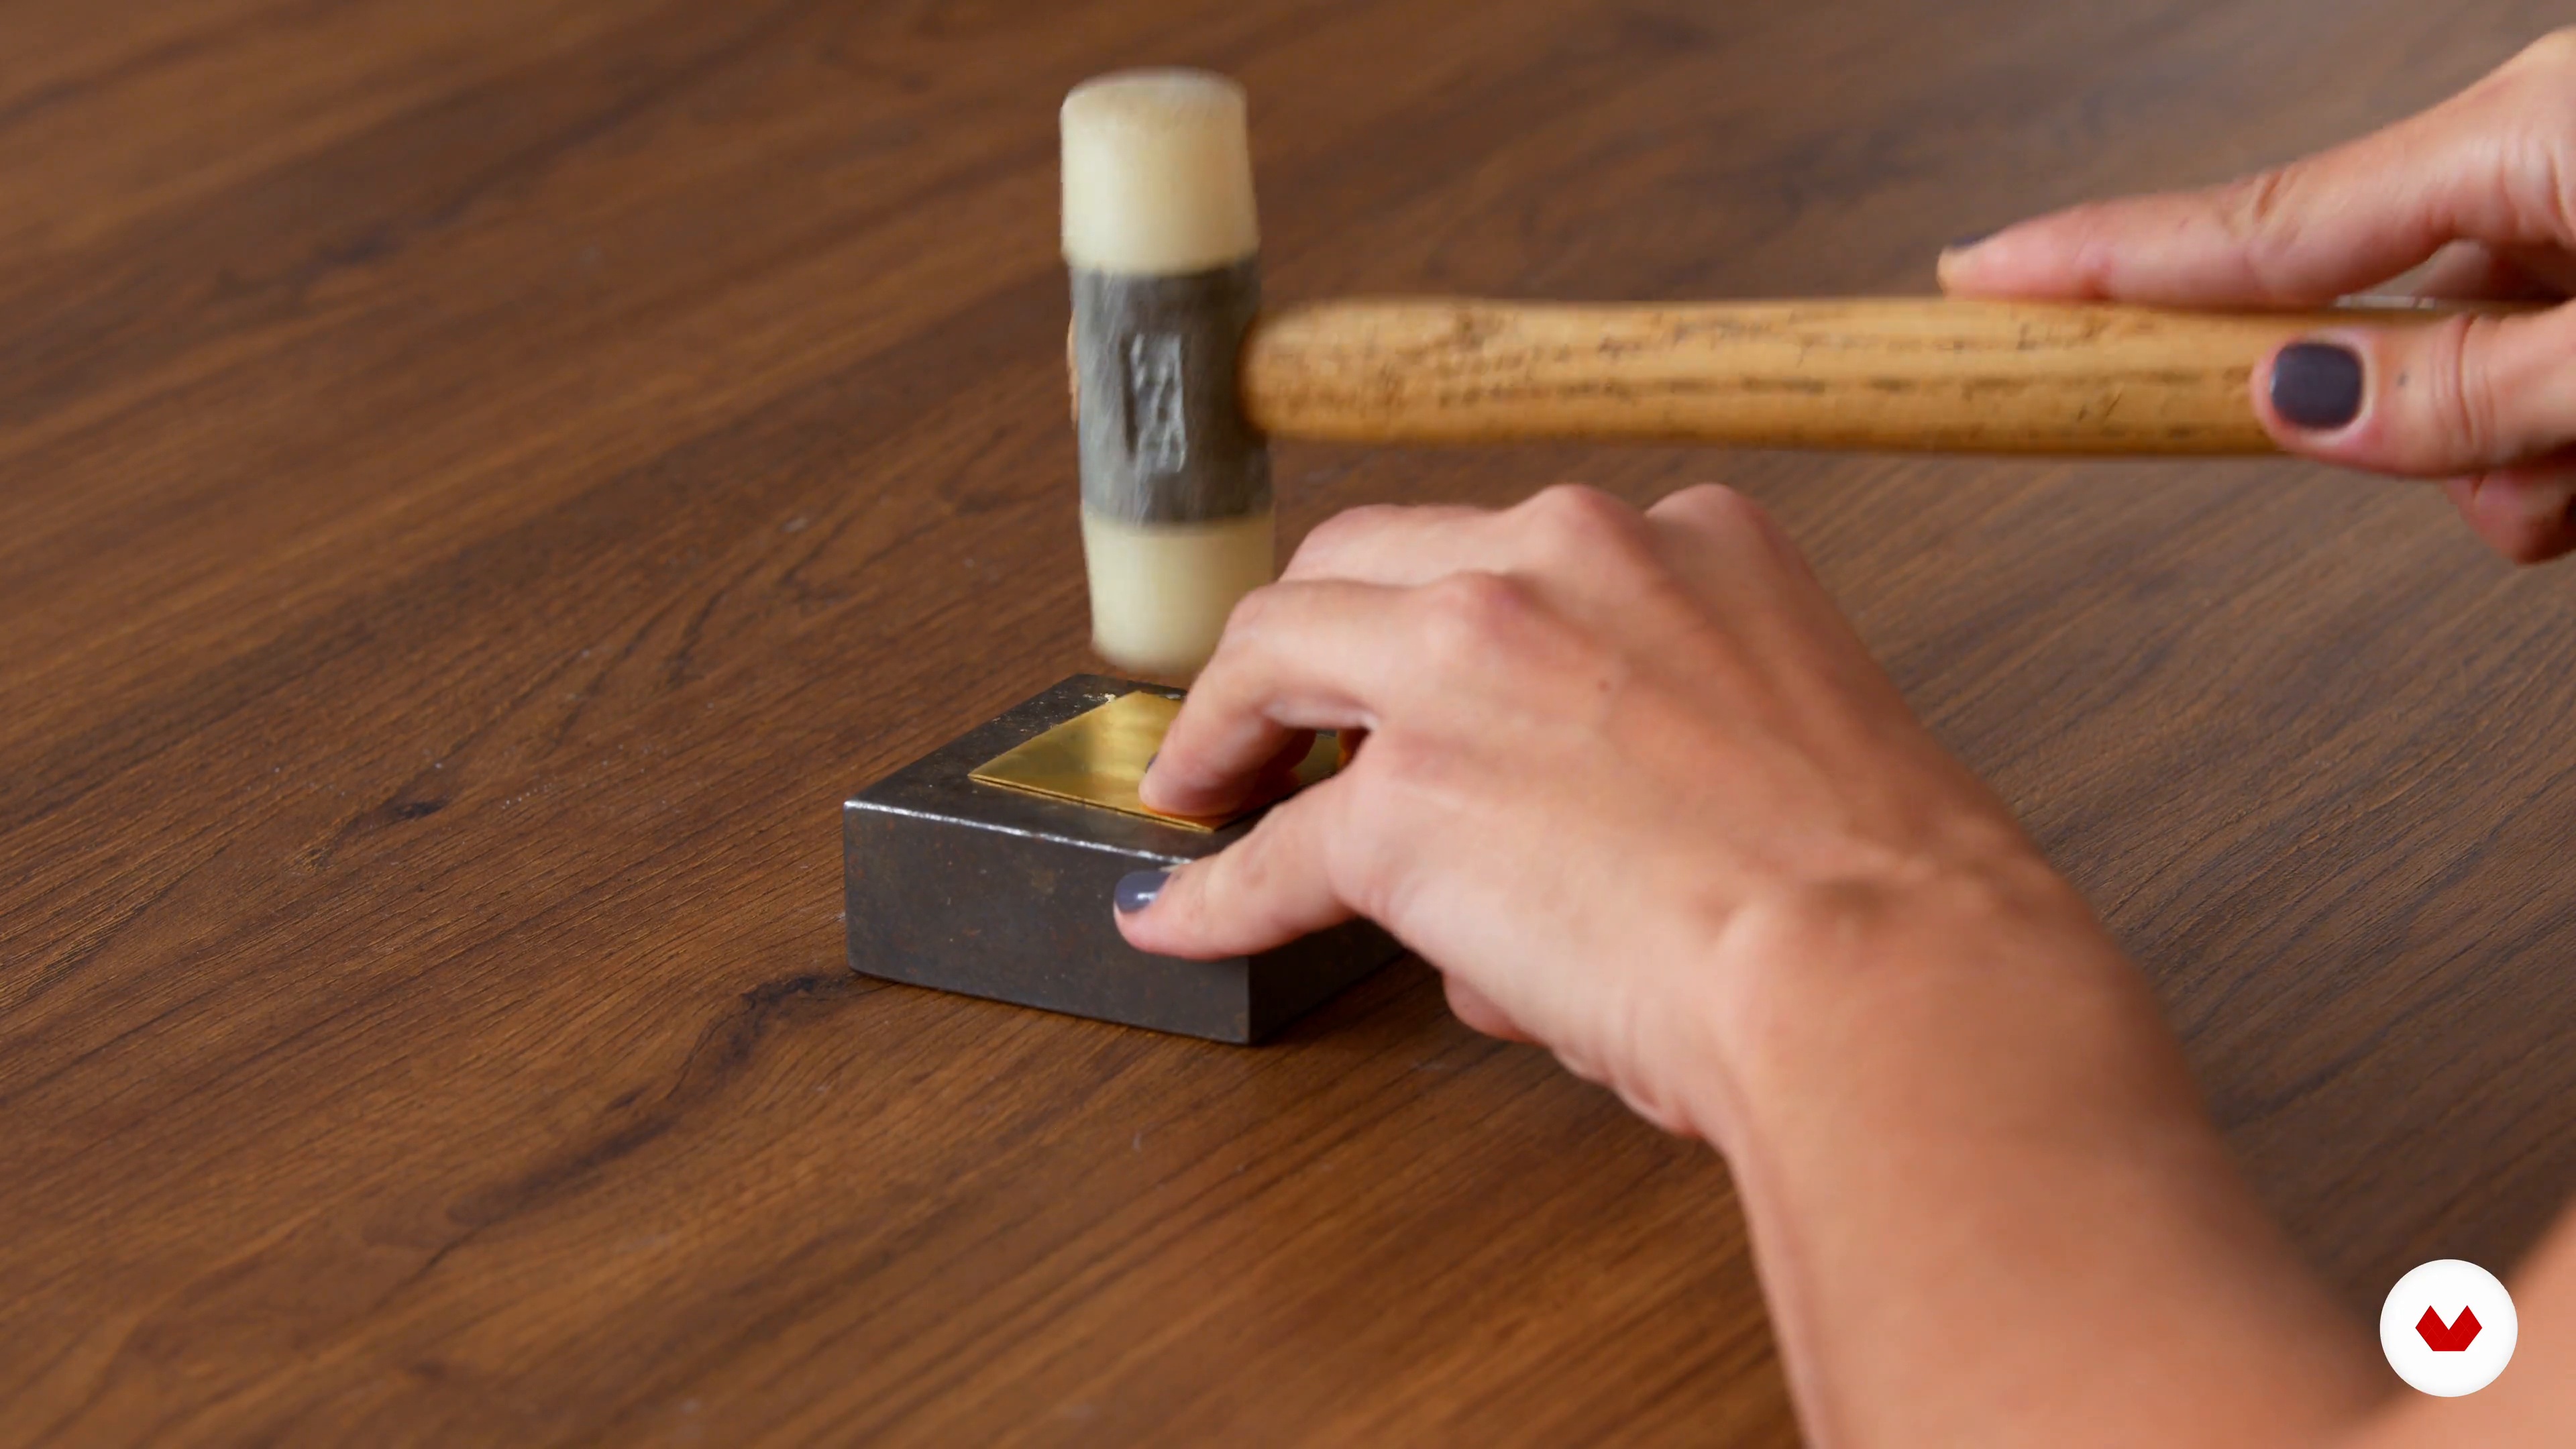
4Preparing Metal for Painting: Cutting Simple Shapes
Let's start preparing the color swatch. I'll explain how to cut the metal with scissors, how to flatten and sand it, and how to get it ready for coloring. I used square shapes, but you can adapt it to your taste and creativity.
4m
 5
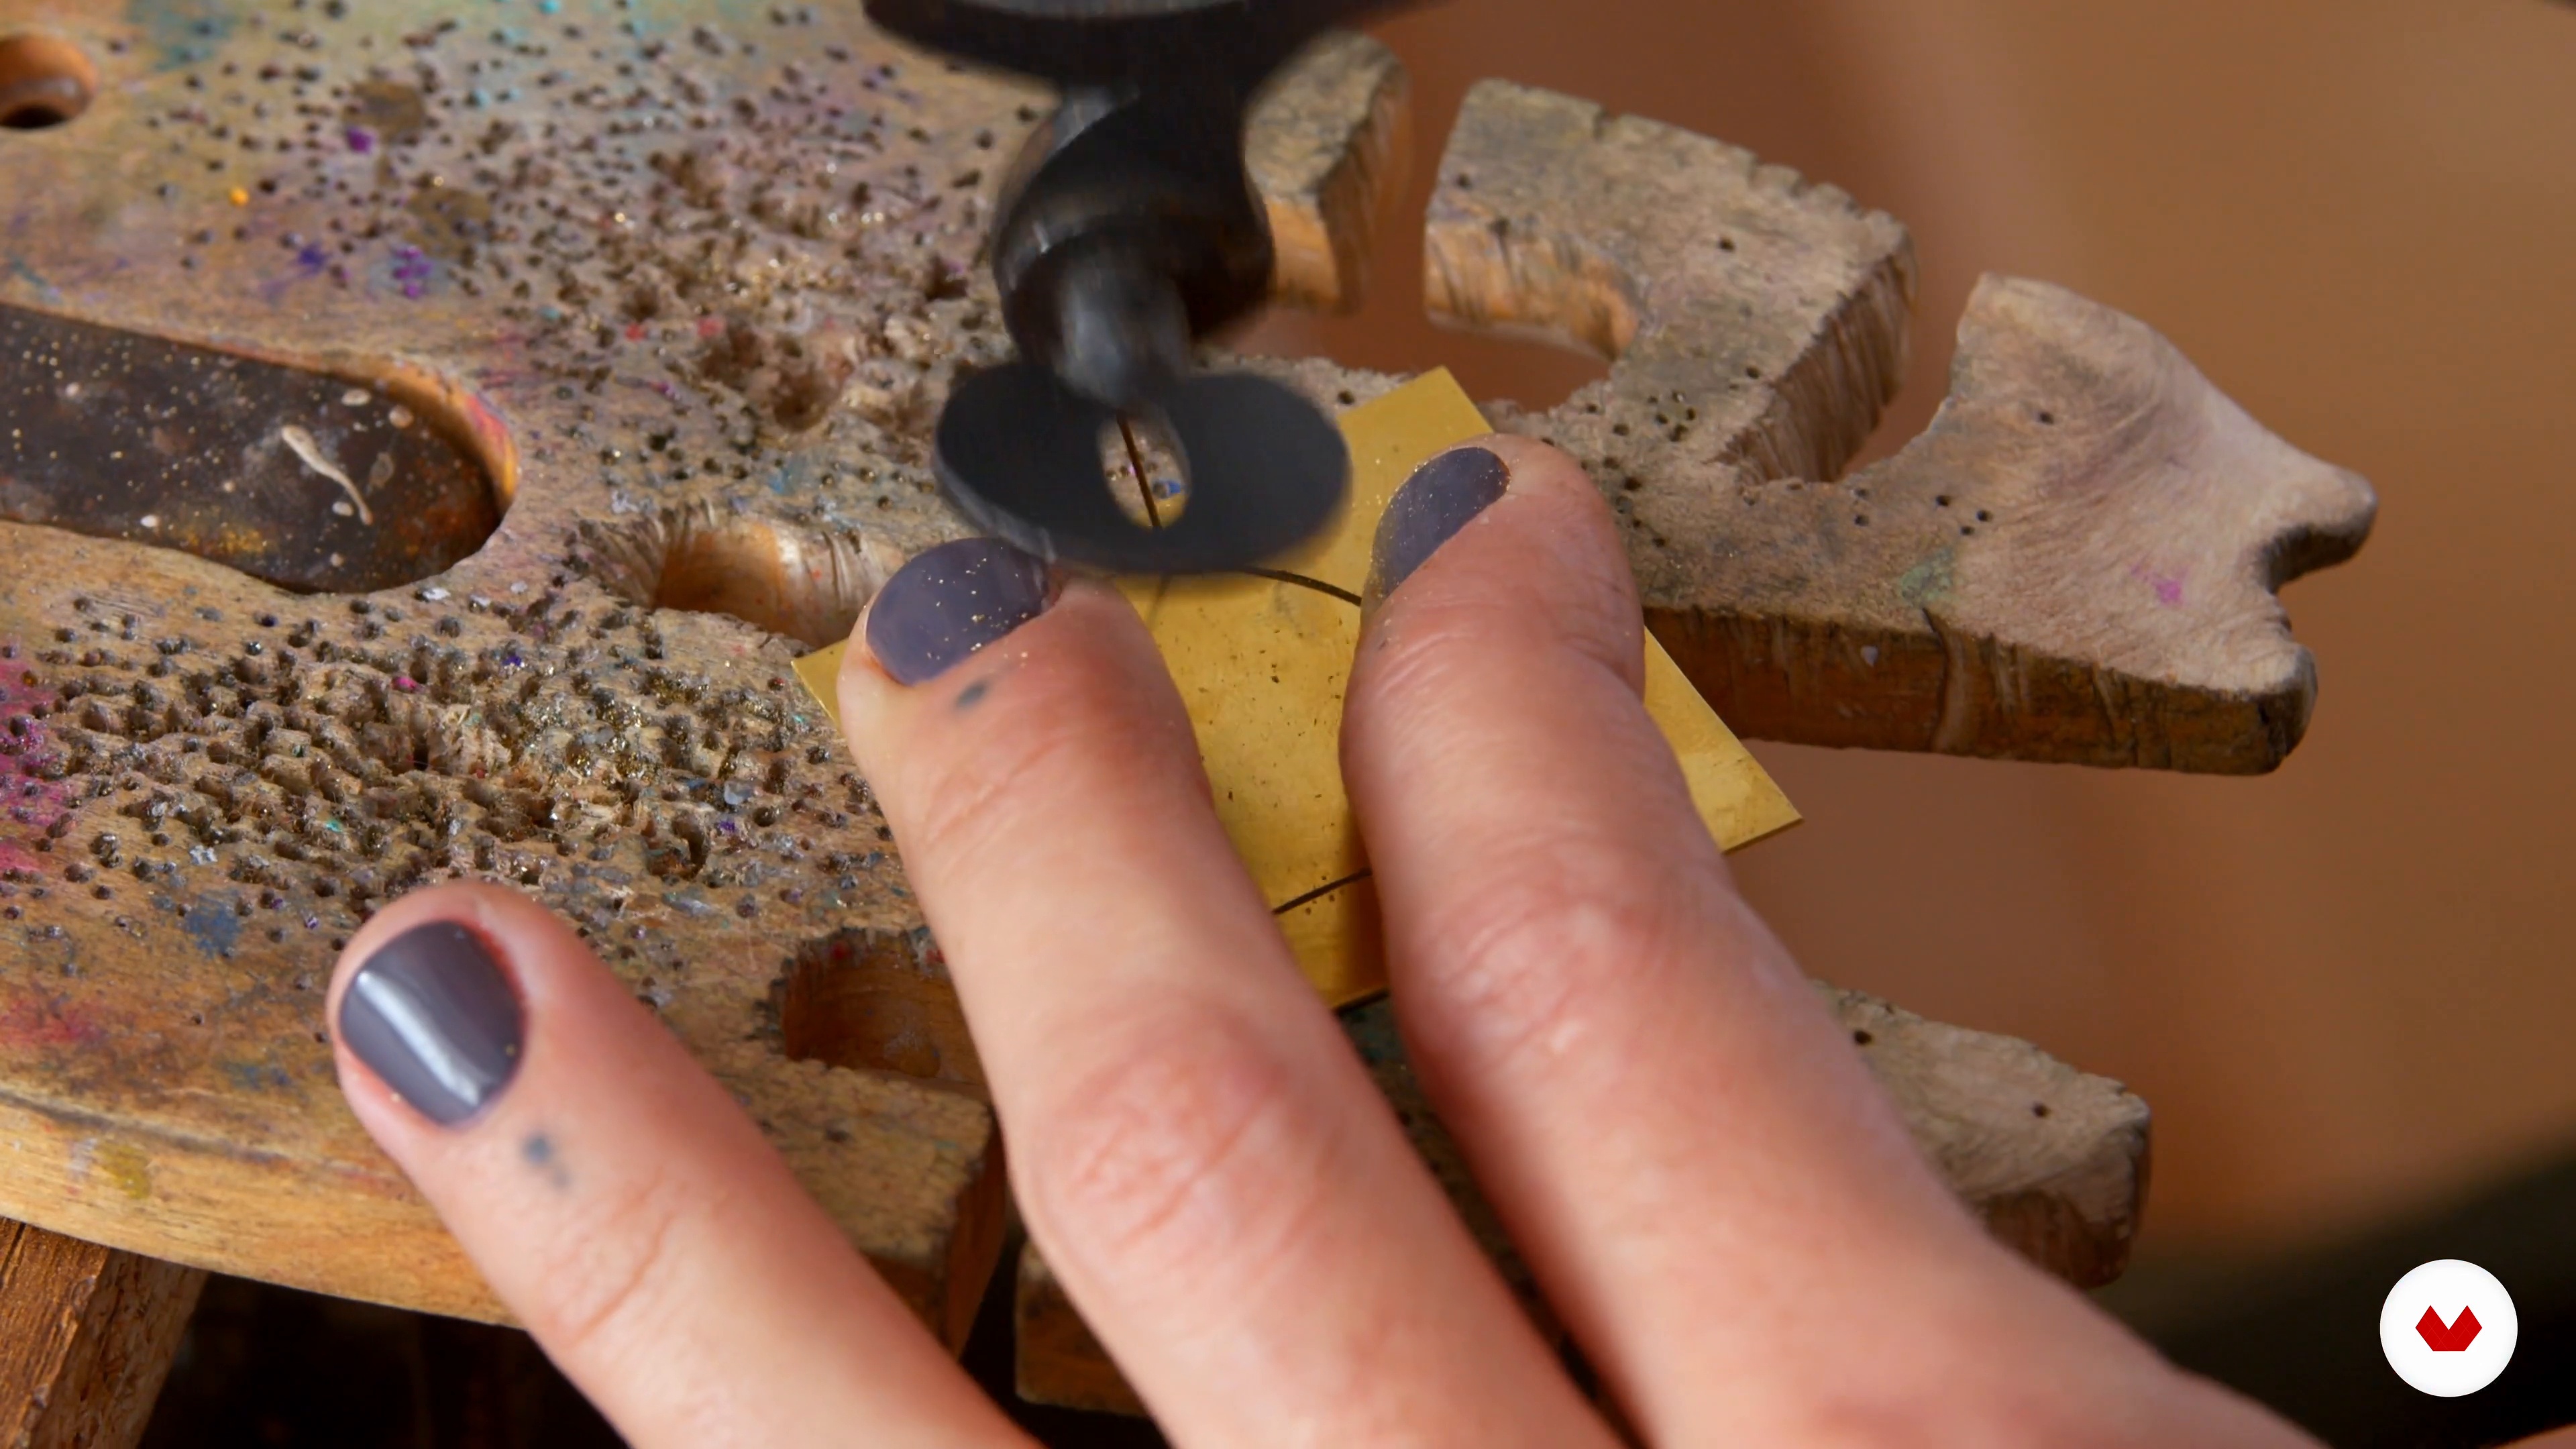
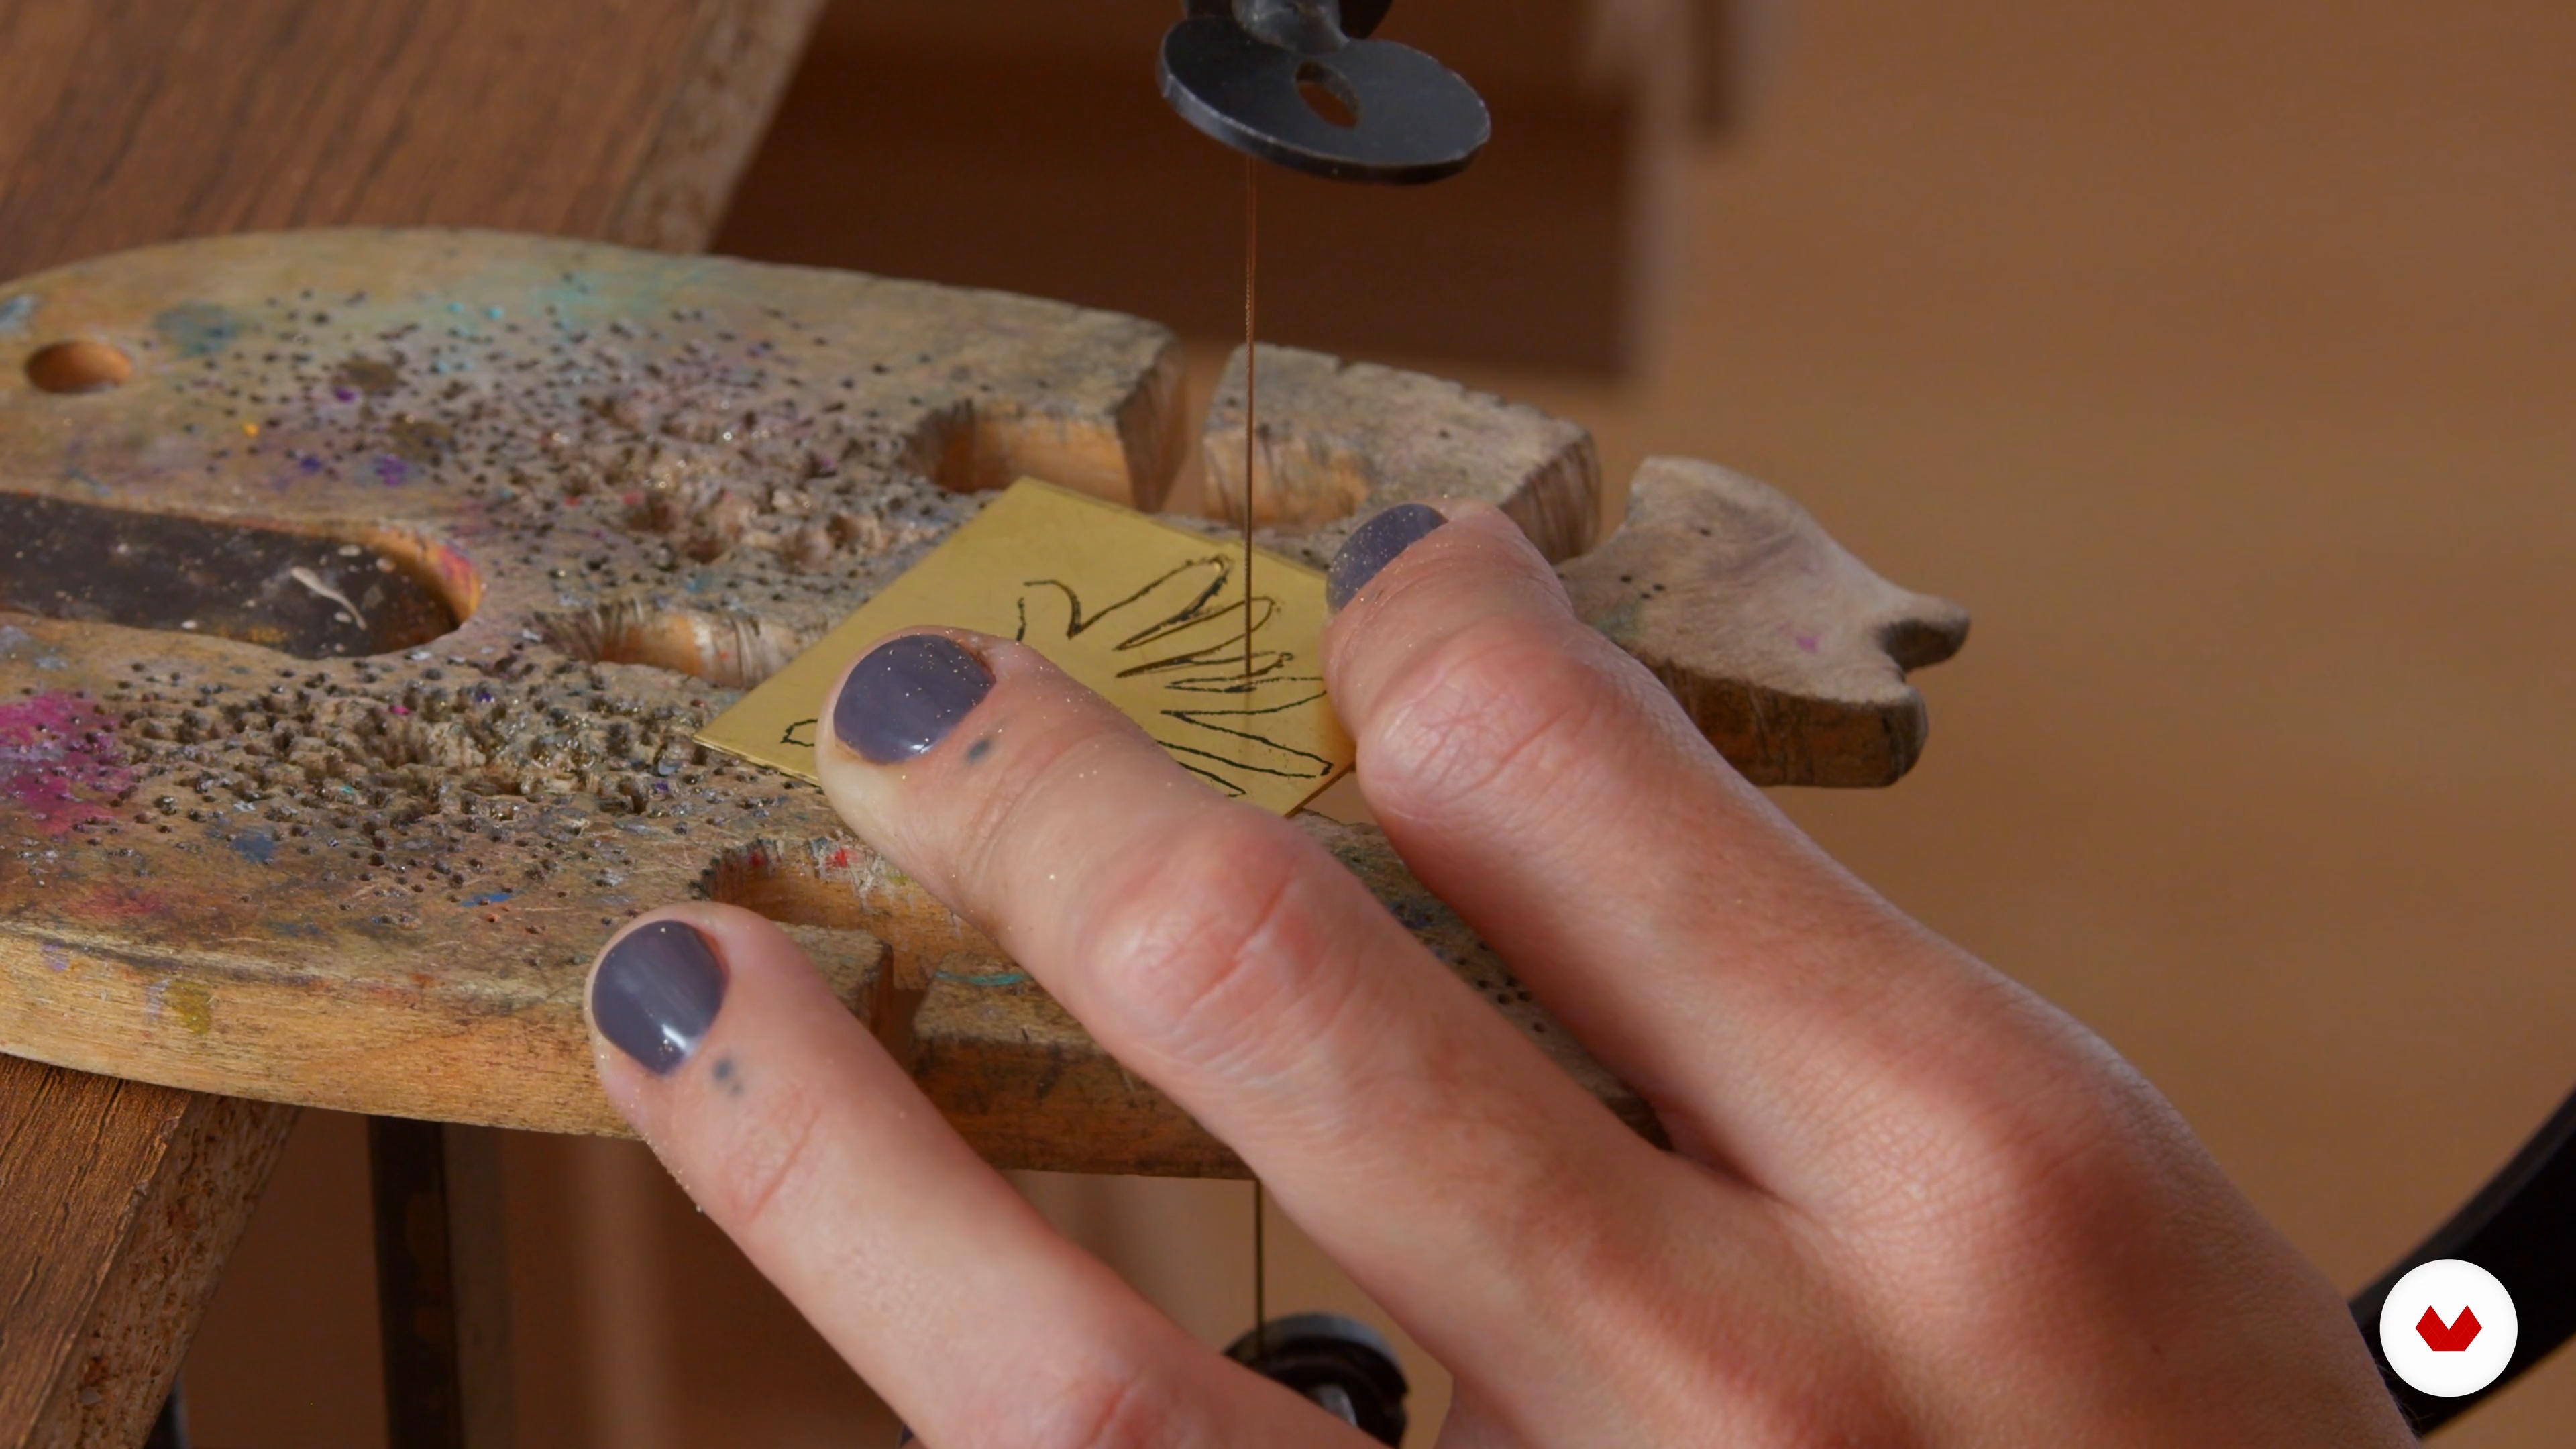
5Openwork
In this lesson, you'll learn how to work with a jigsaw. I'll show you how to set up and use the tool. We'll use the micromotor to drill holes in the sheet metal. The possibilities are endless; as you gain experience, you'll be able to draw anything you want on the metal.
6m
 6
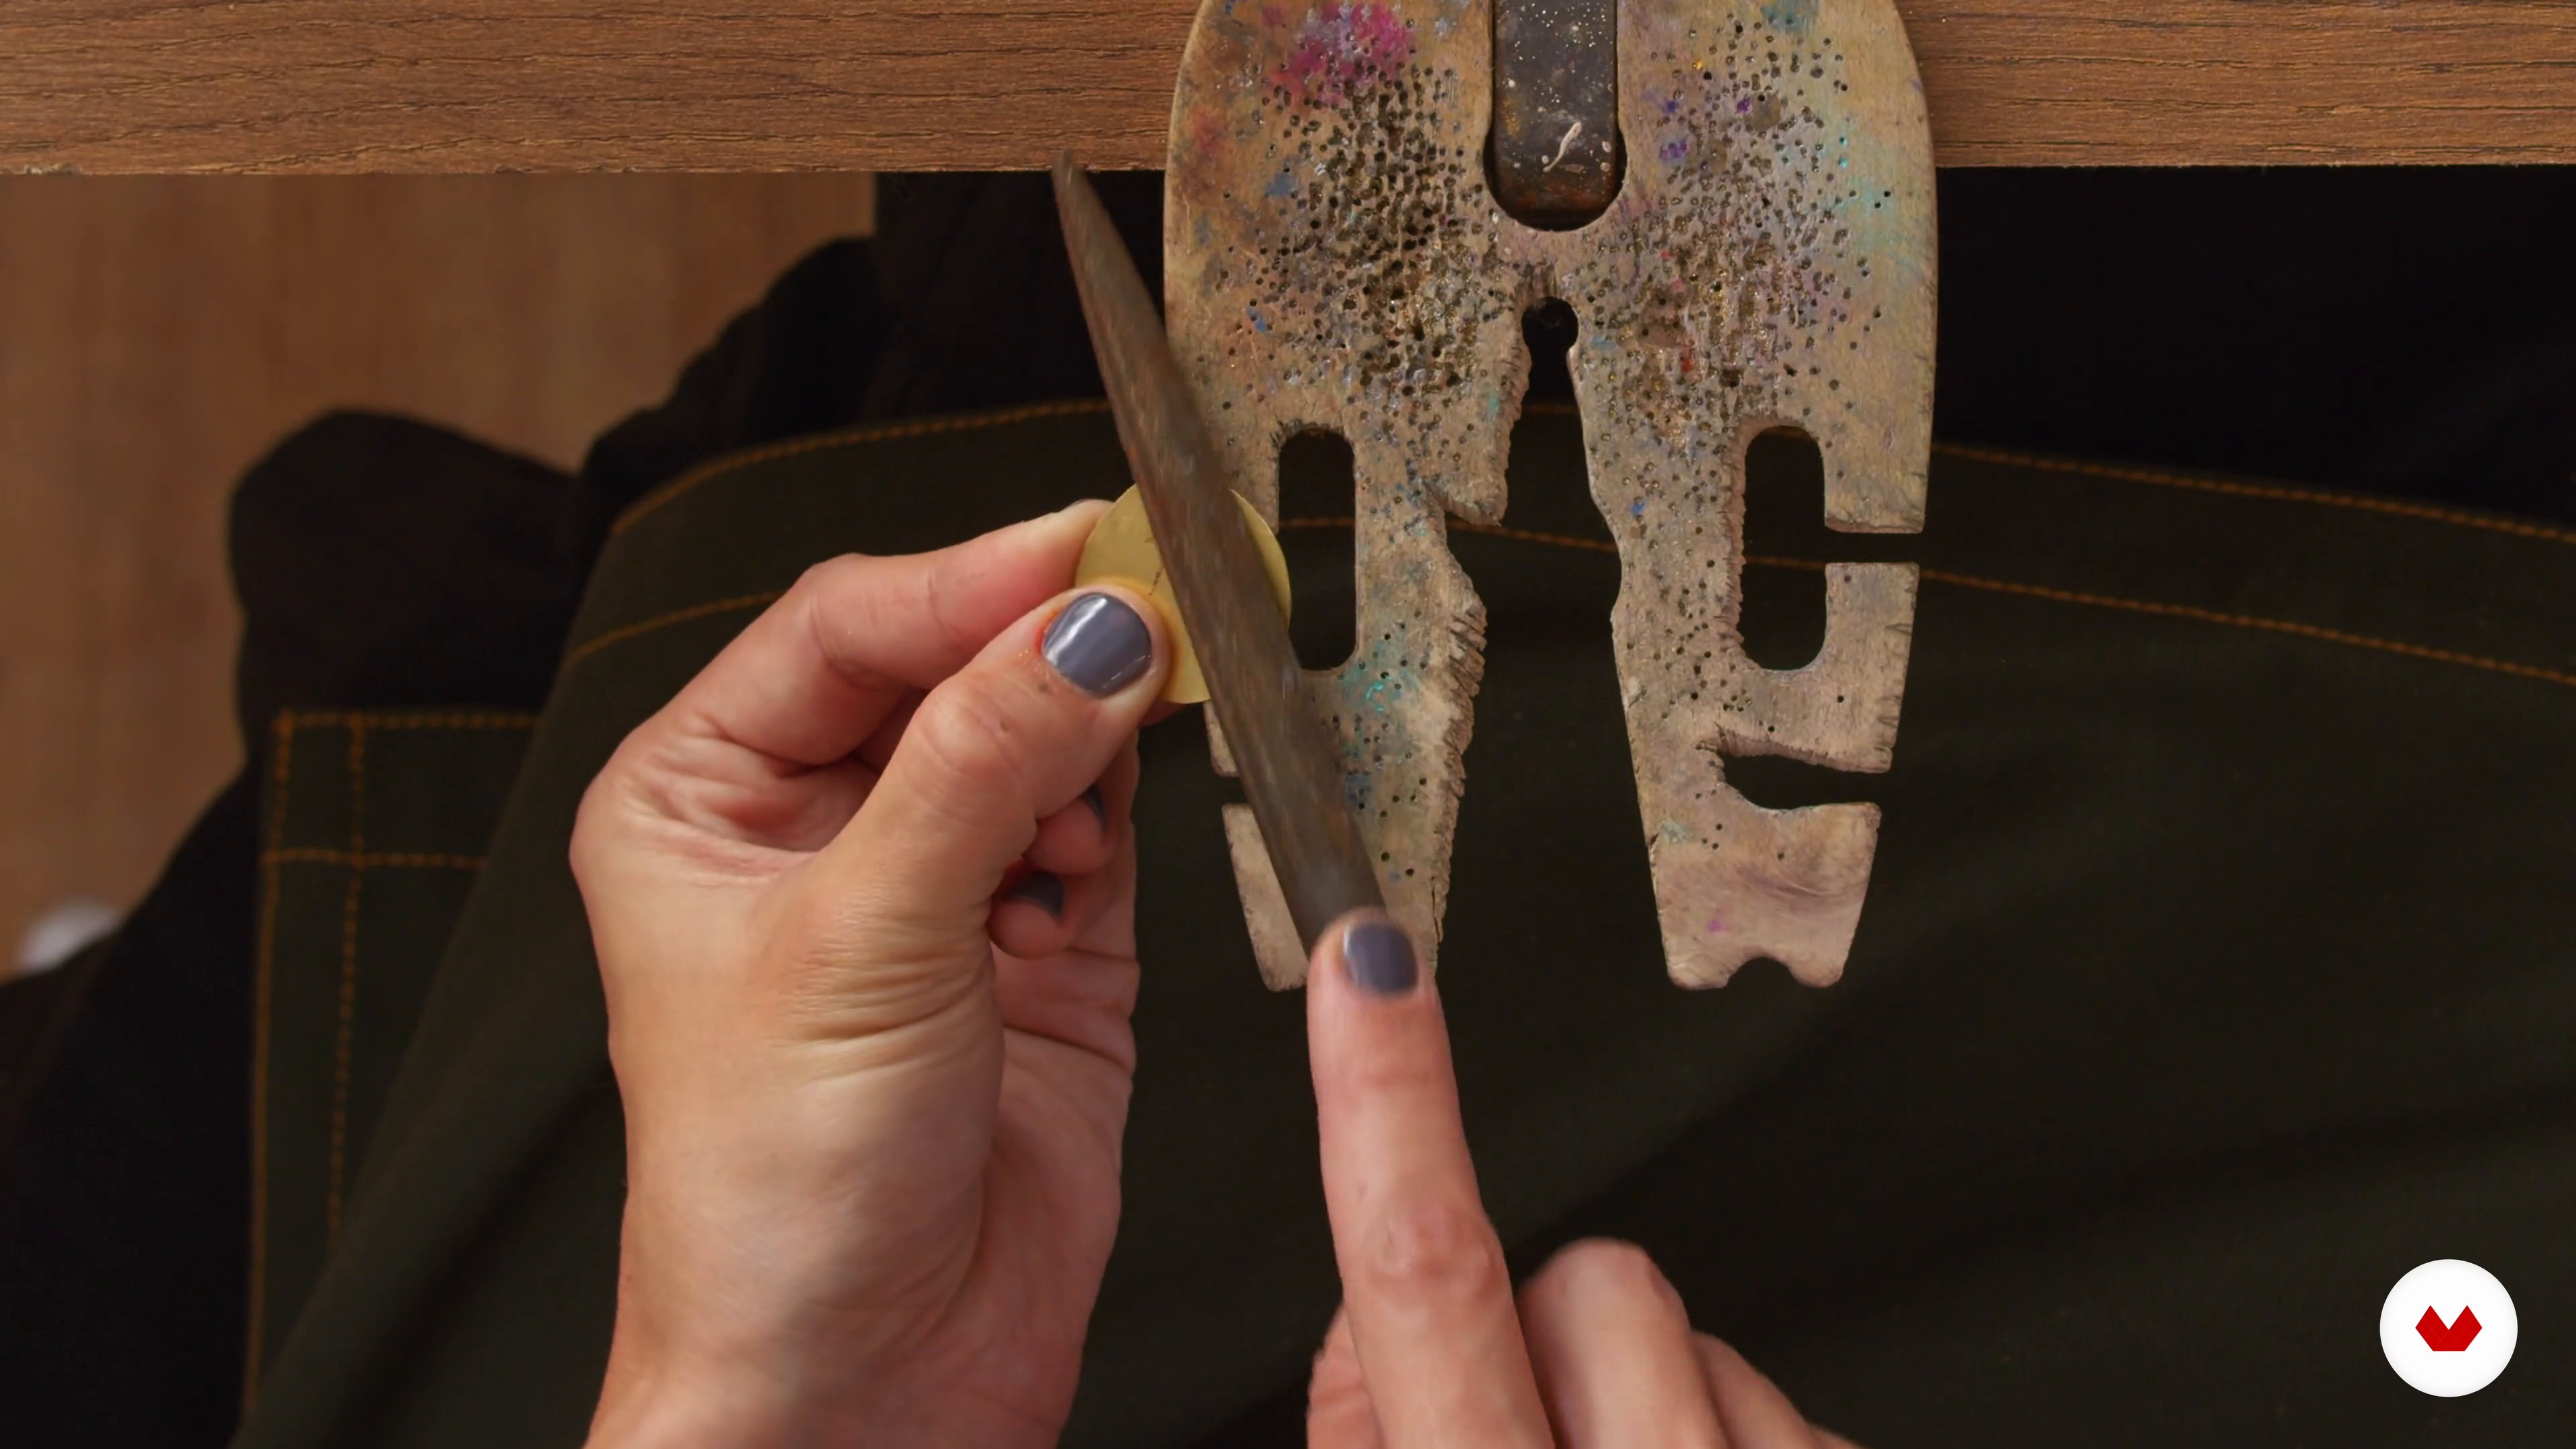
6Filing of the edges
Once you have the openwork piece, it's time to smooth it out and take care of the details. In this lesson, I'll teach you how to file down imperfections, sand with sandpaper, and get the piece ready for coloring and finishing.
3m
 7
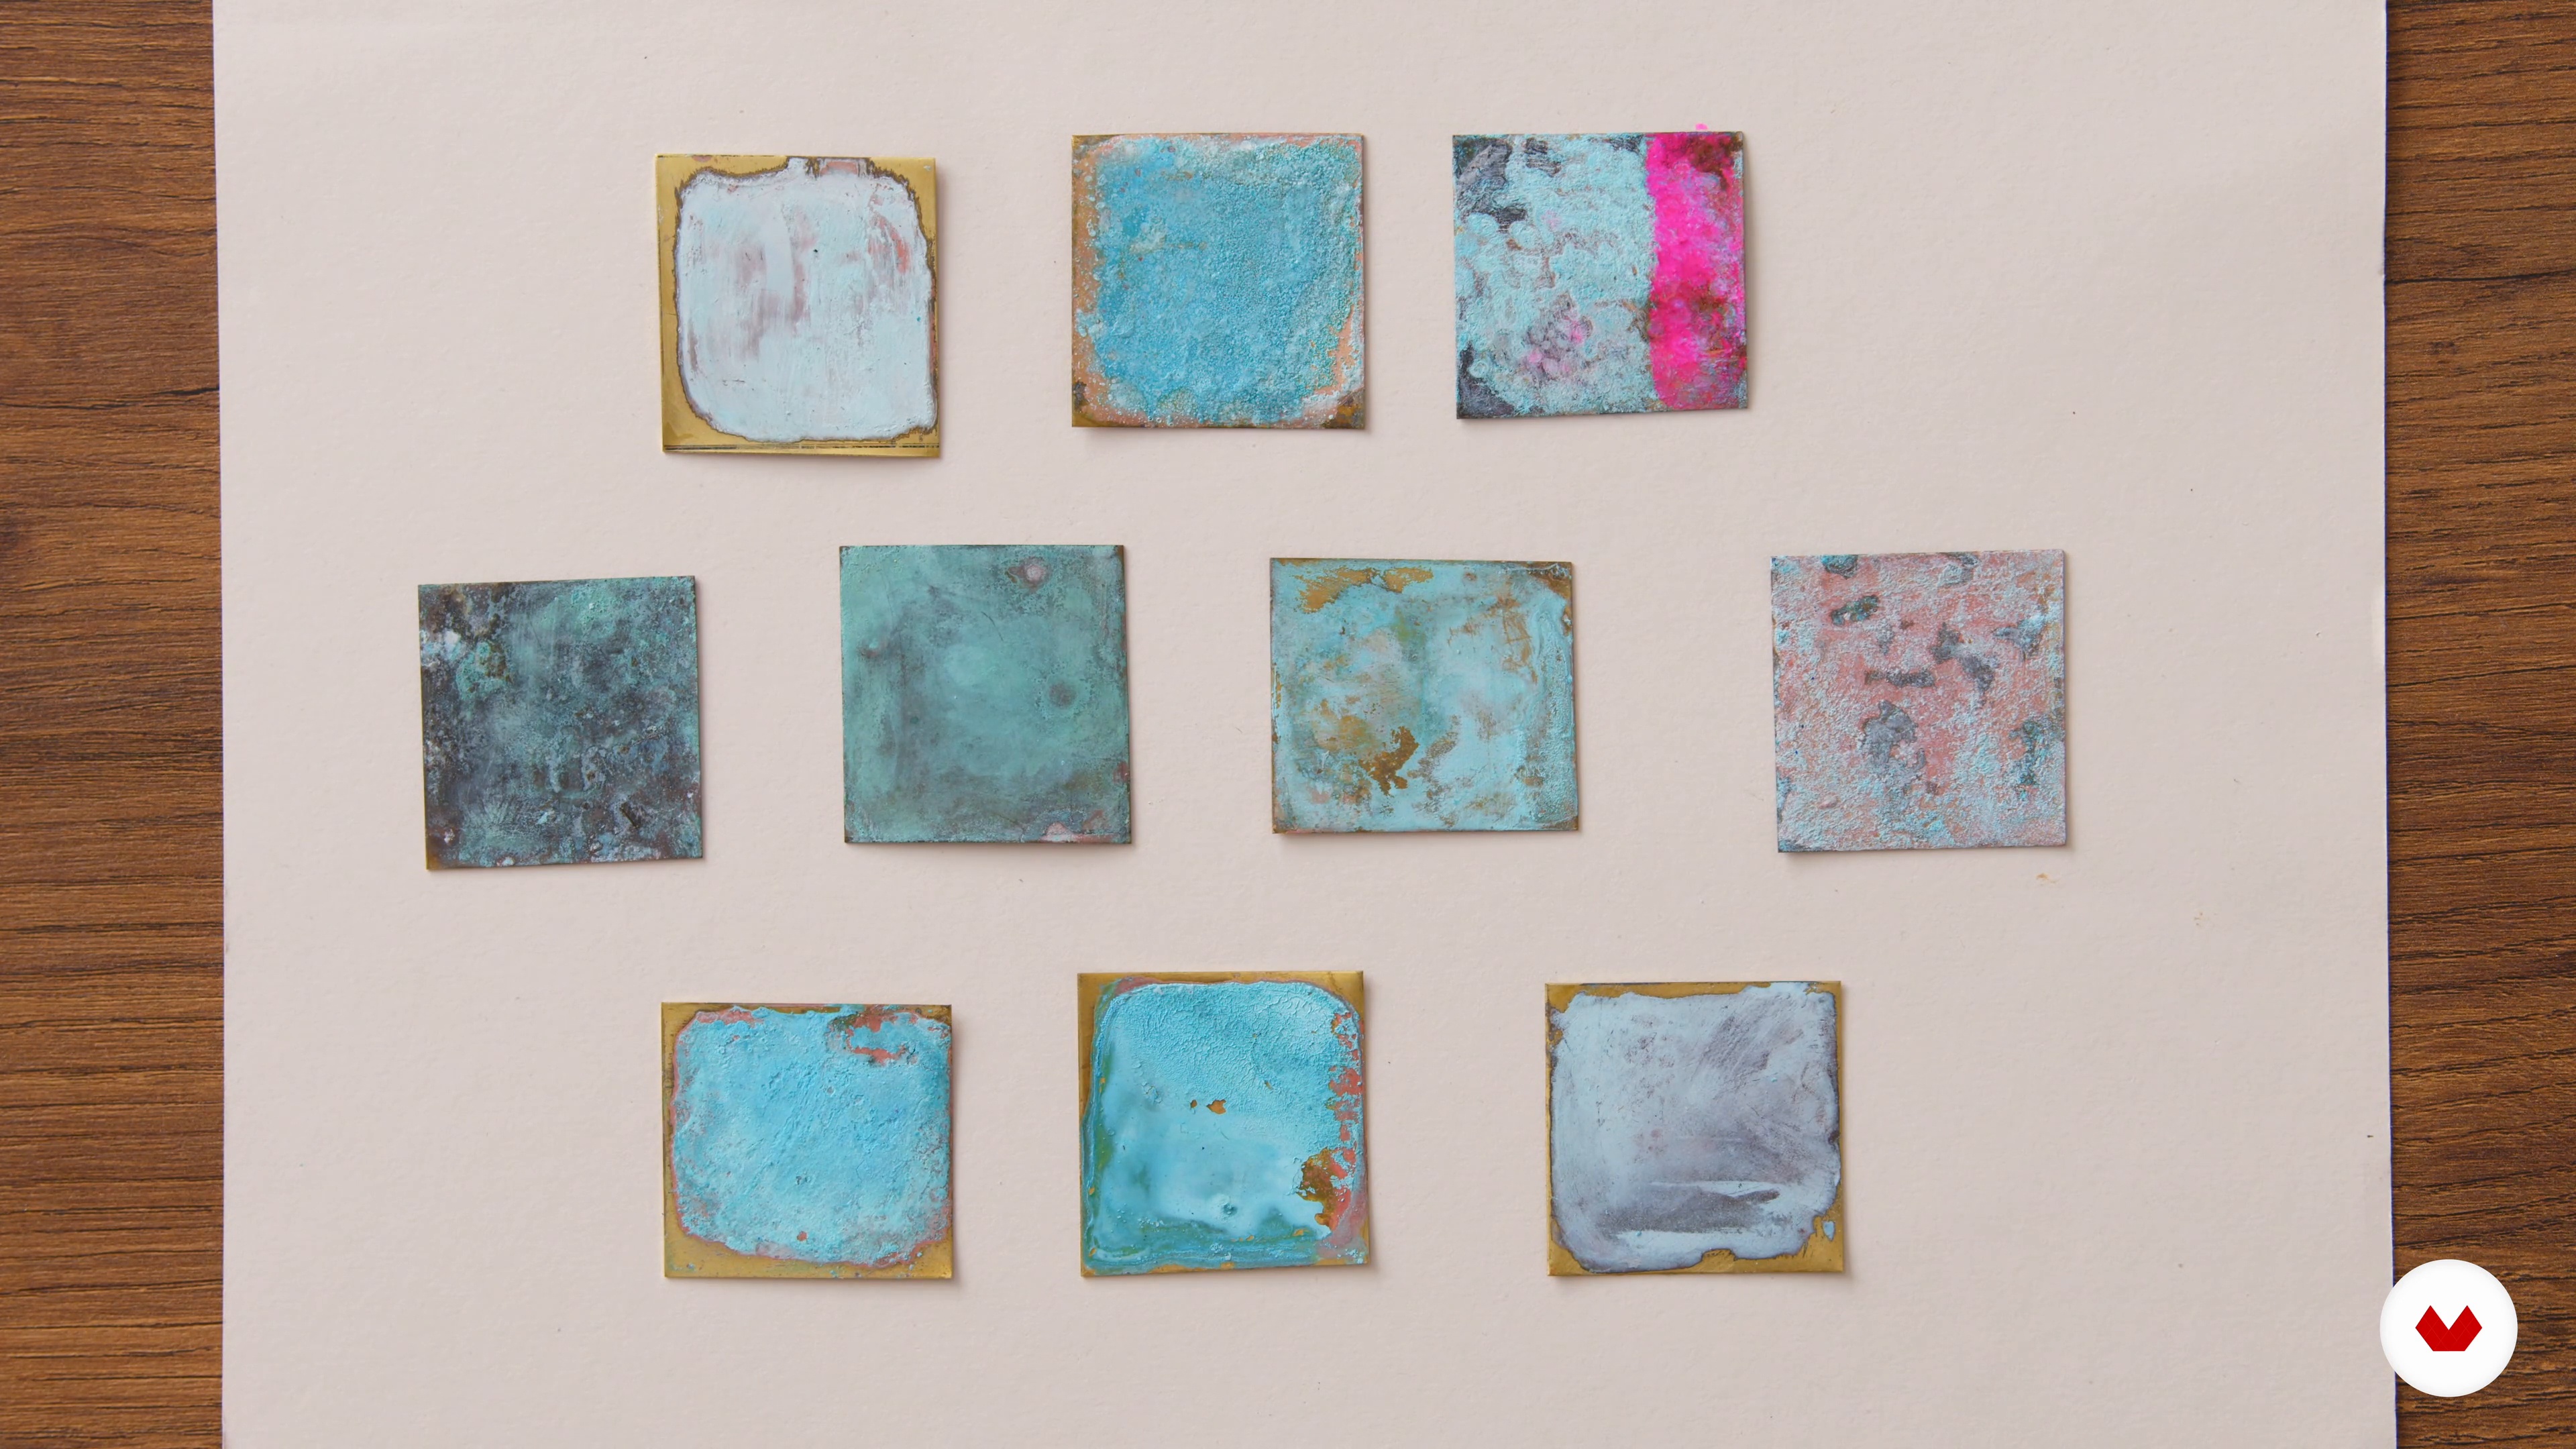
7Homemade patina: green and blue
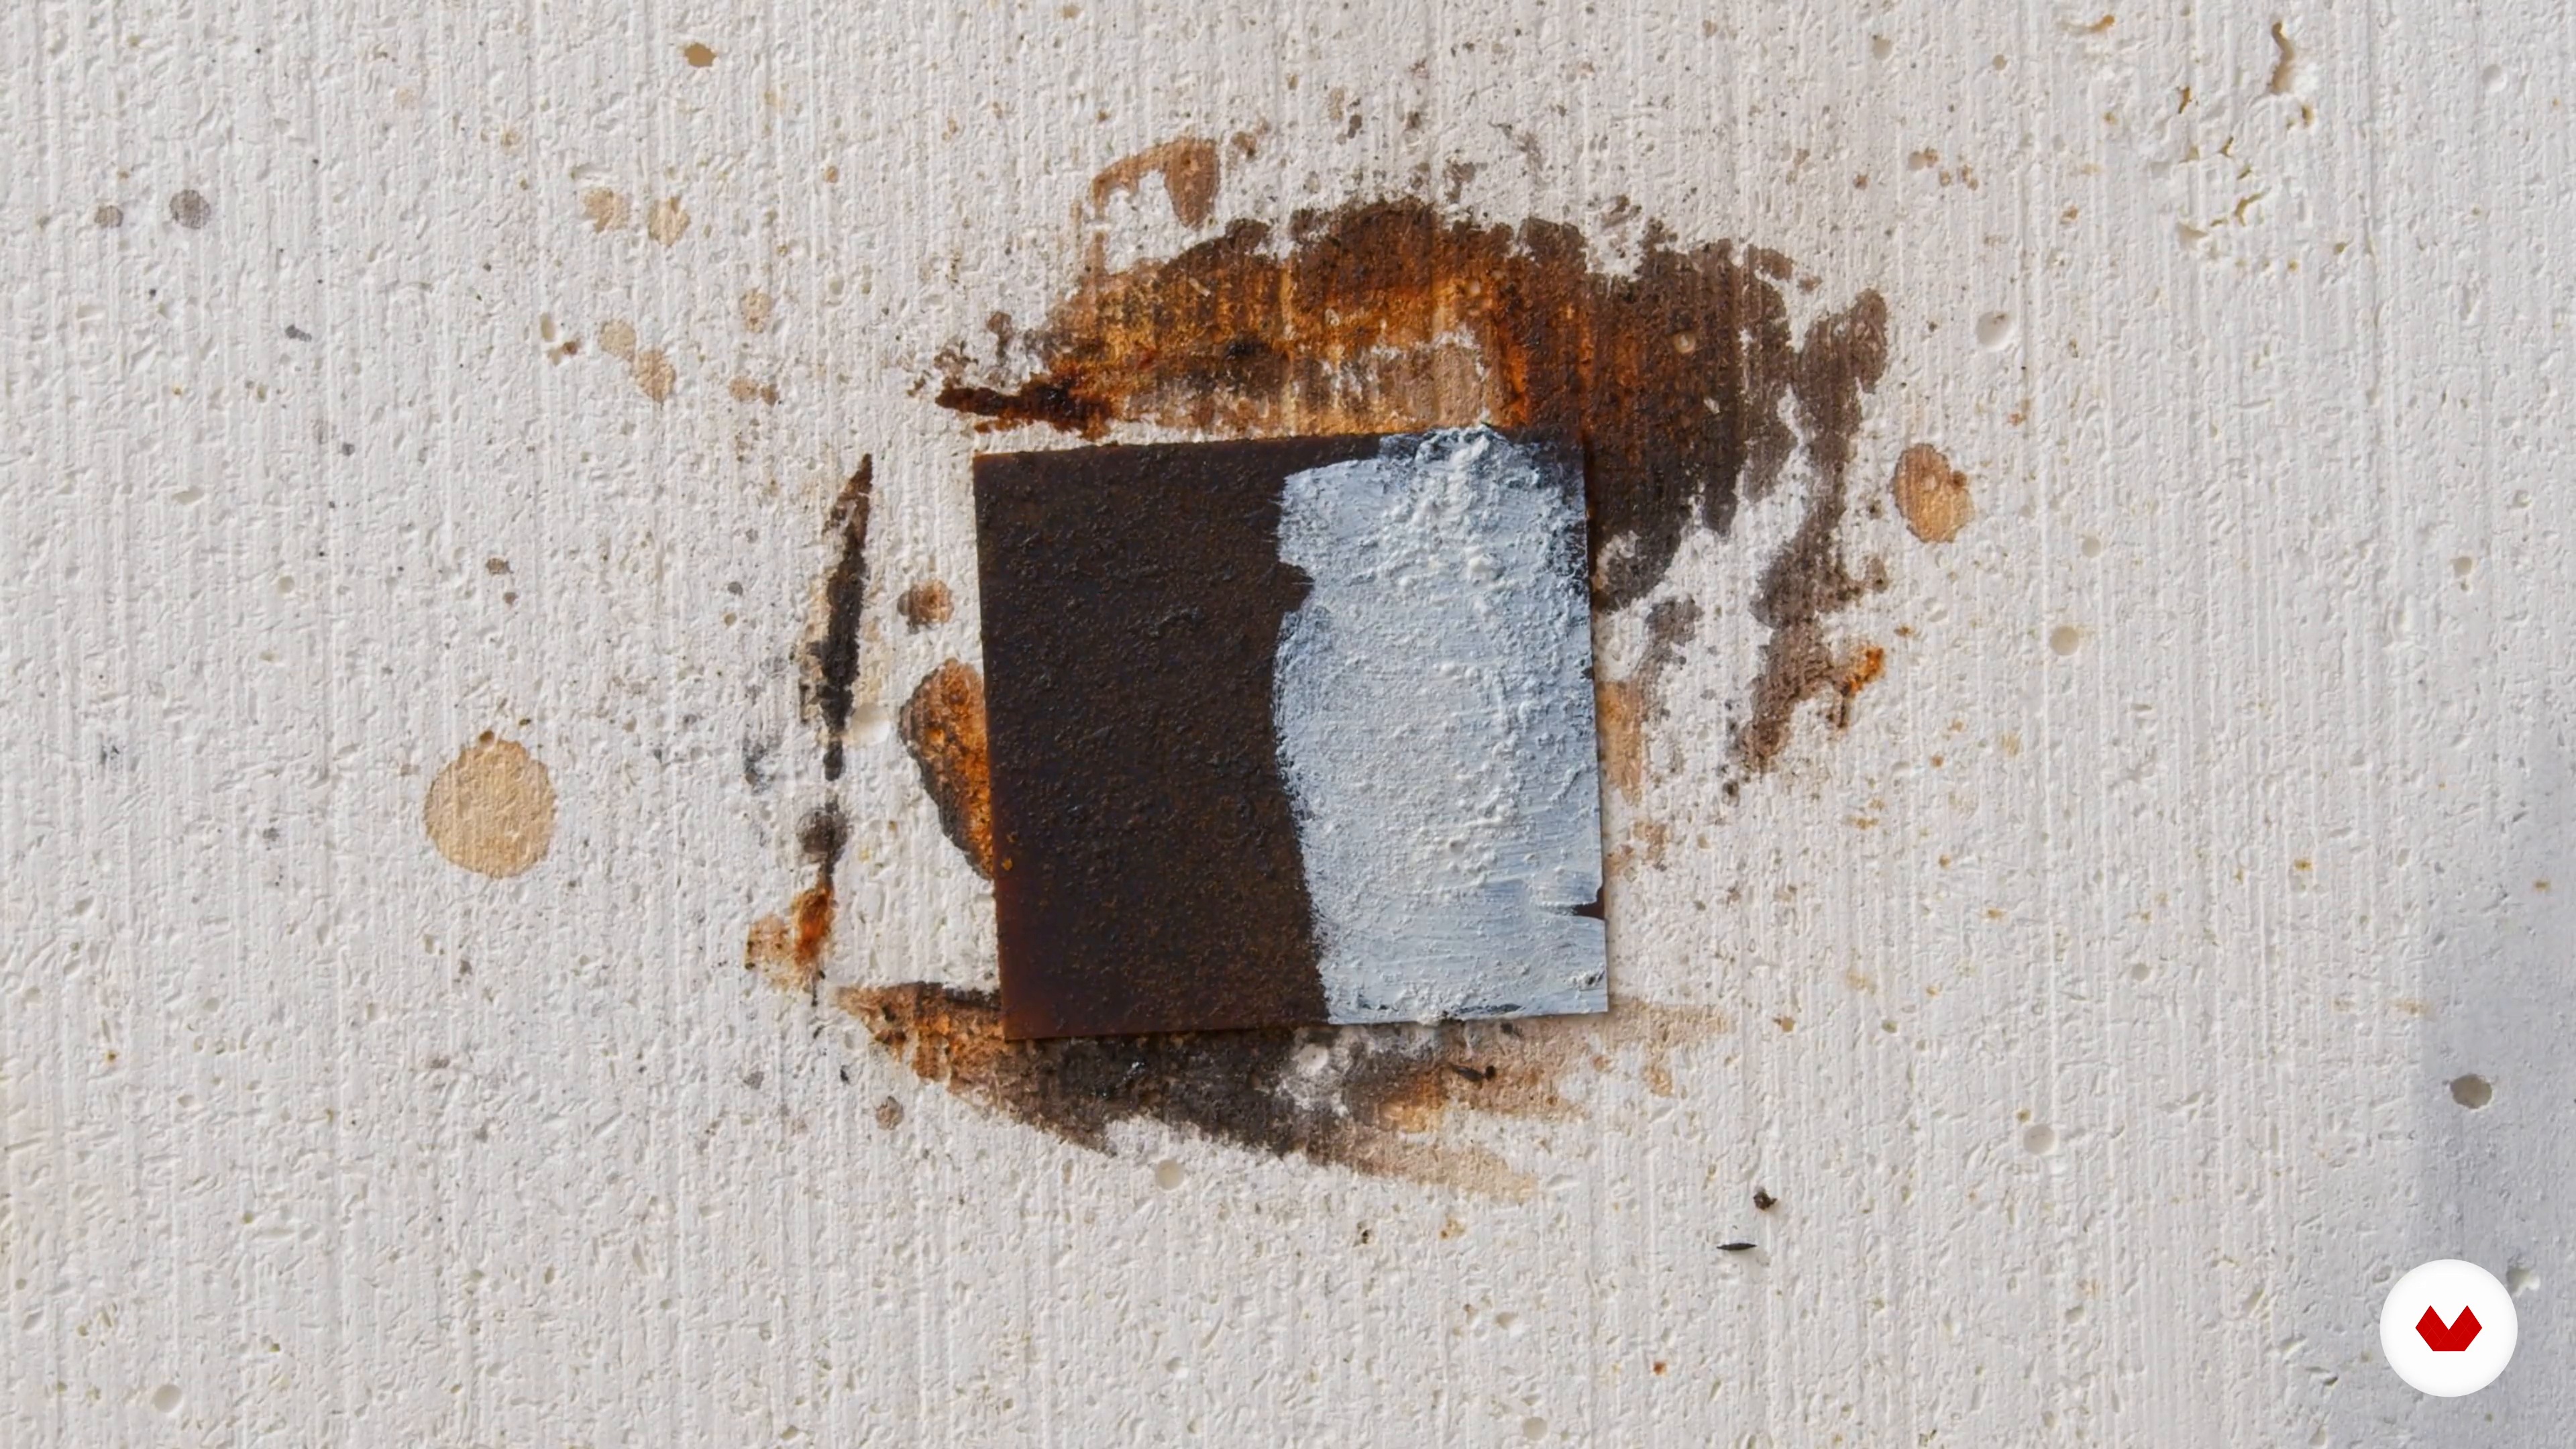
In this lesson, you'll learn how to create three types of homemade patinas using different chemical compounds to achieve green and blue tones. We'll apply the patinas to the previously prepared metal samples and learn how to combine the patinas with pure pigments. Remember something very important: we should never mix ammonia with bleach.
8m
 8
8Homemade patina: blacks and browns
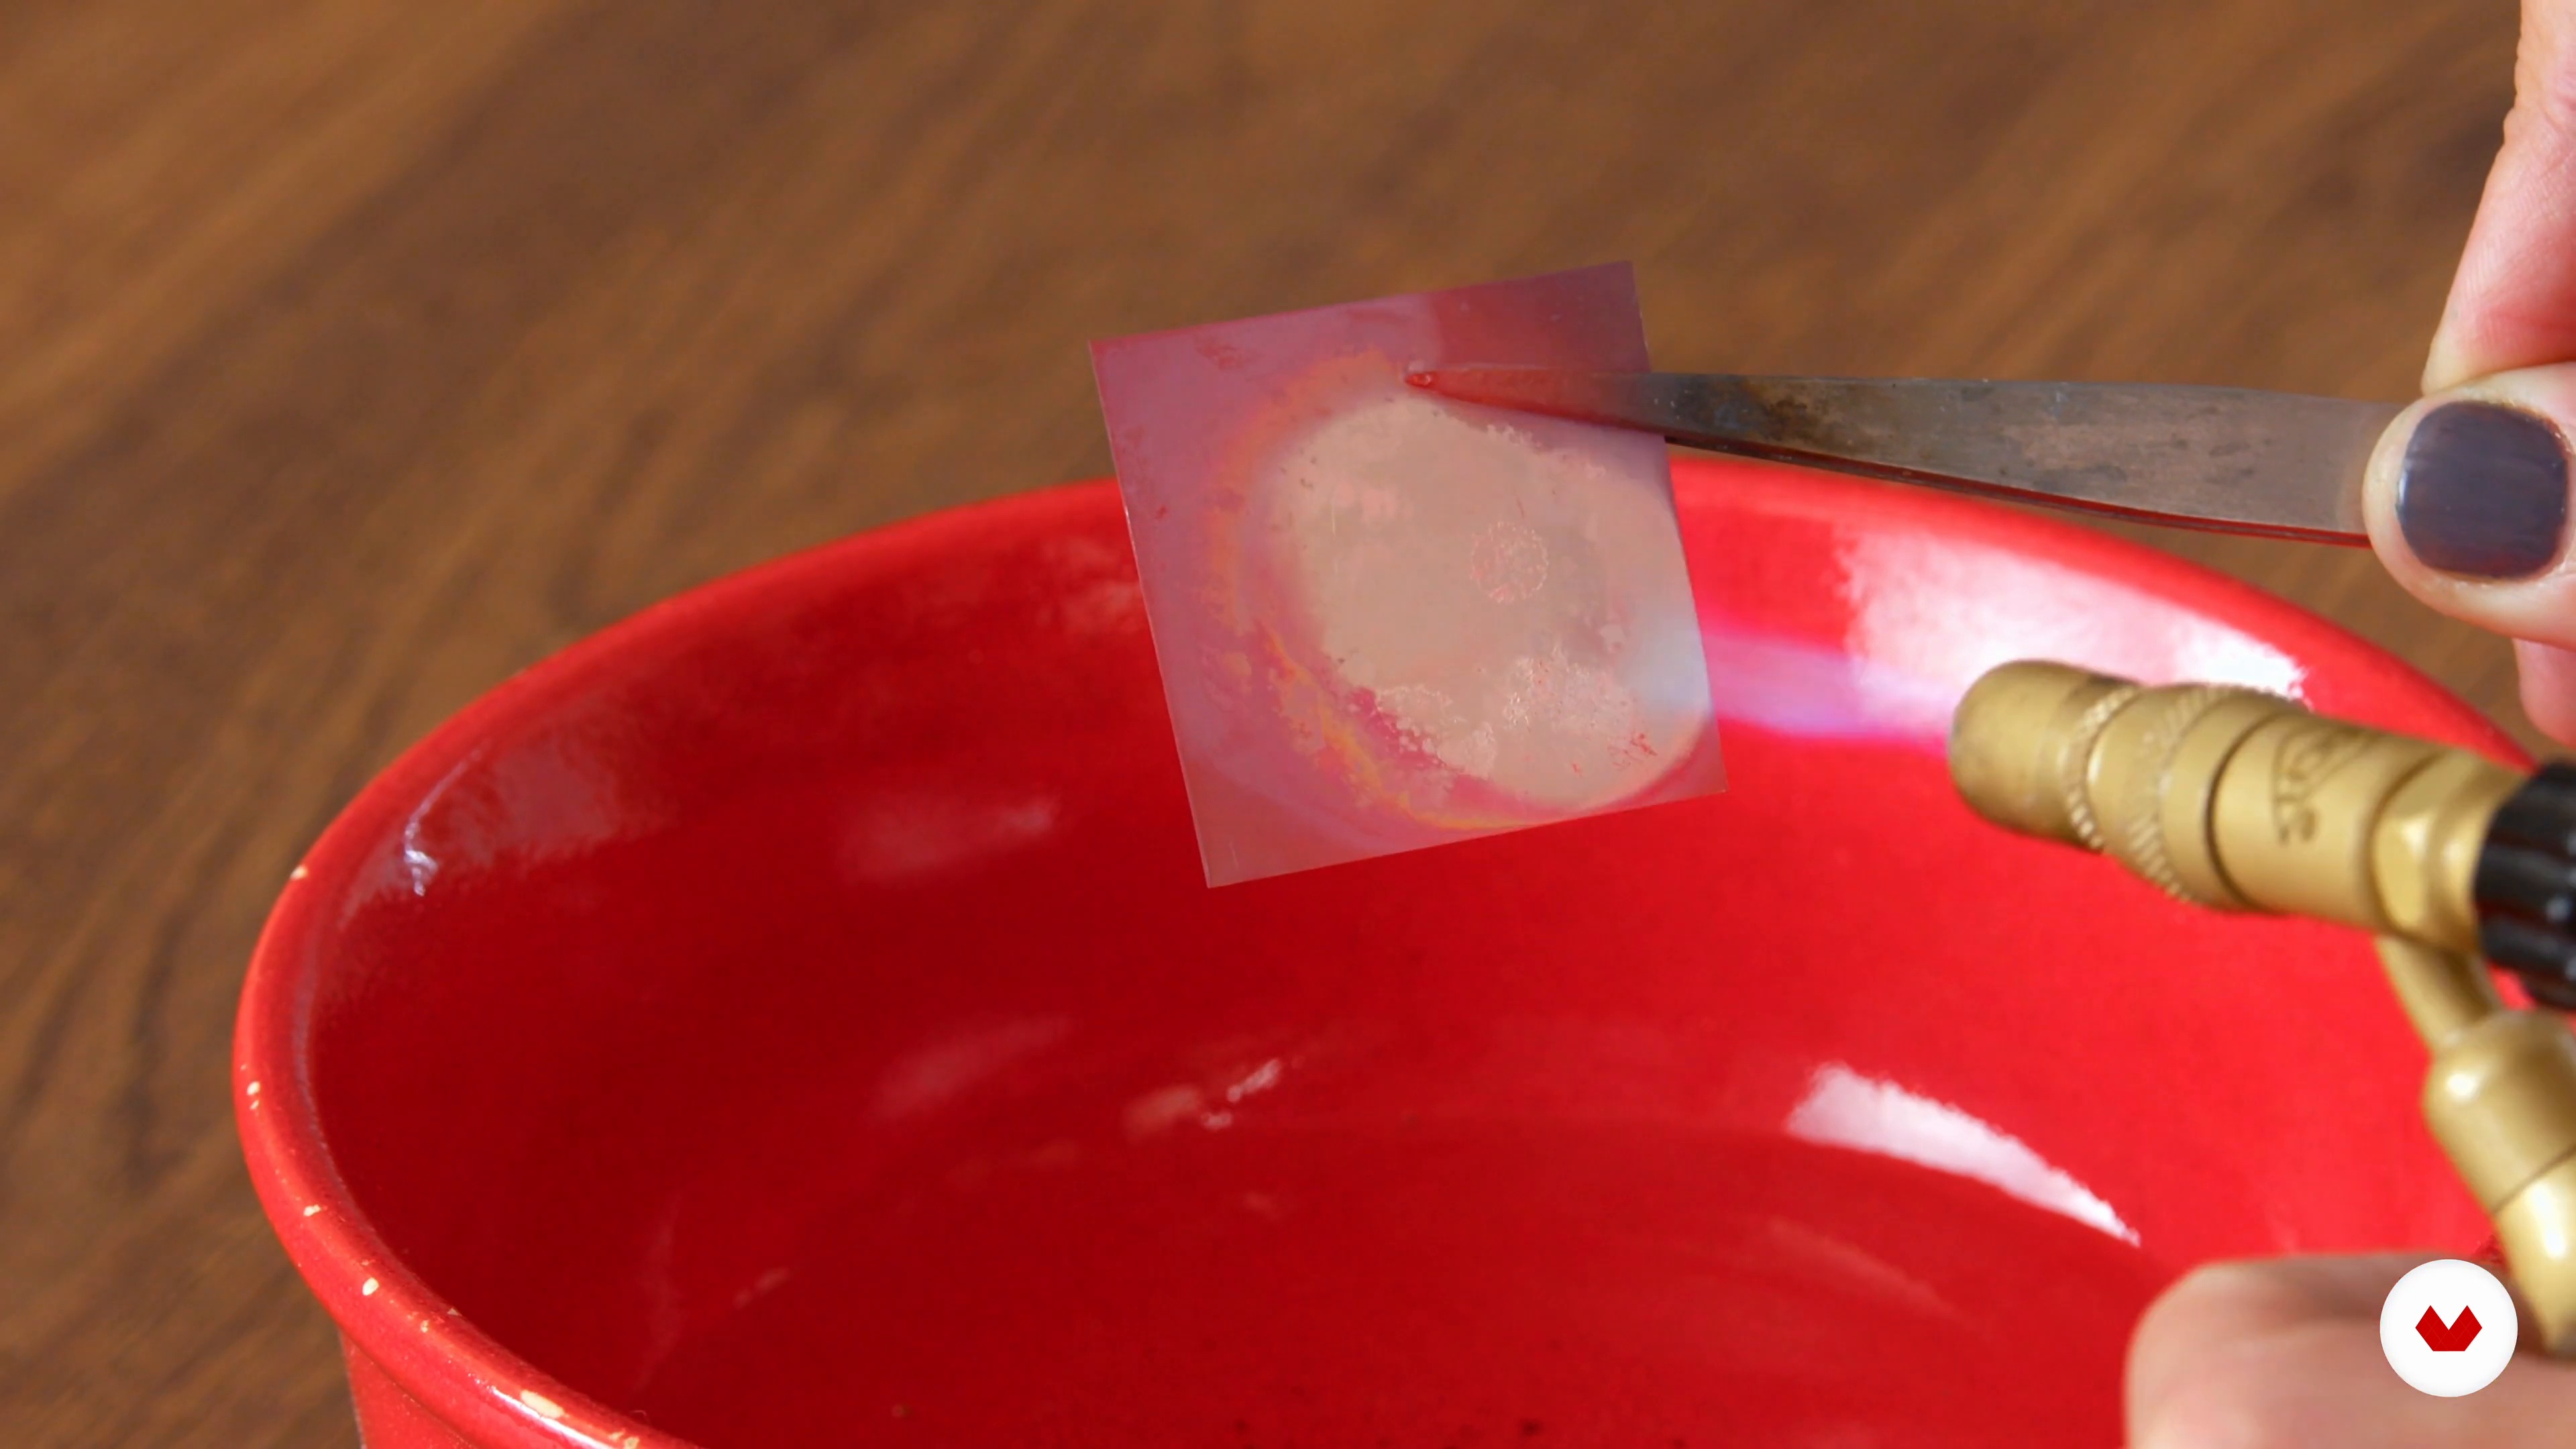
Now I'm going to explain how to create homemade black and brown patinas using items we have in our kitchen. We'll use garlic, tomato, lemon, and acrylic paint.
8m
 9
9Homemade patina: red
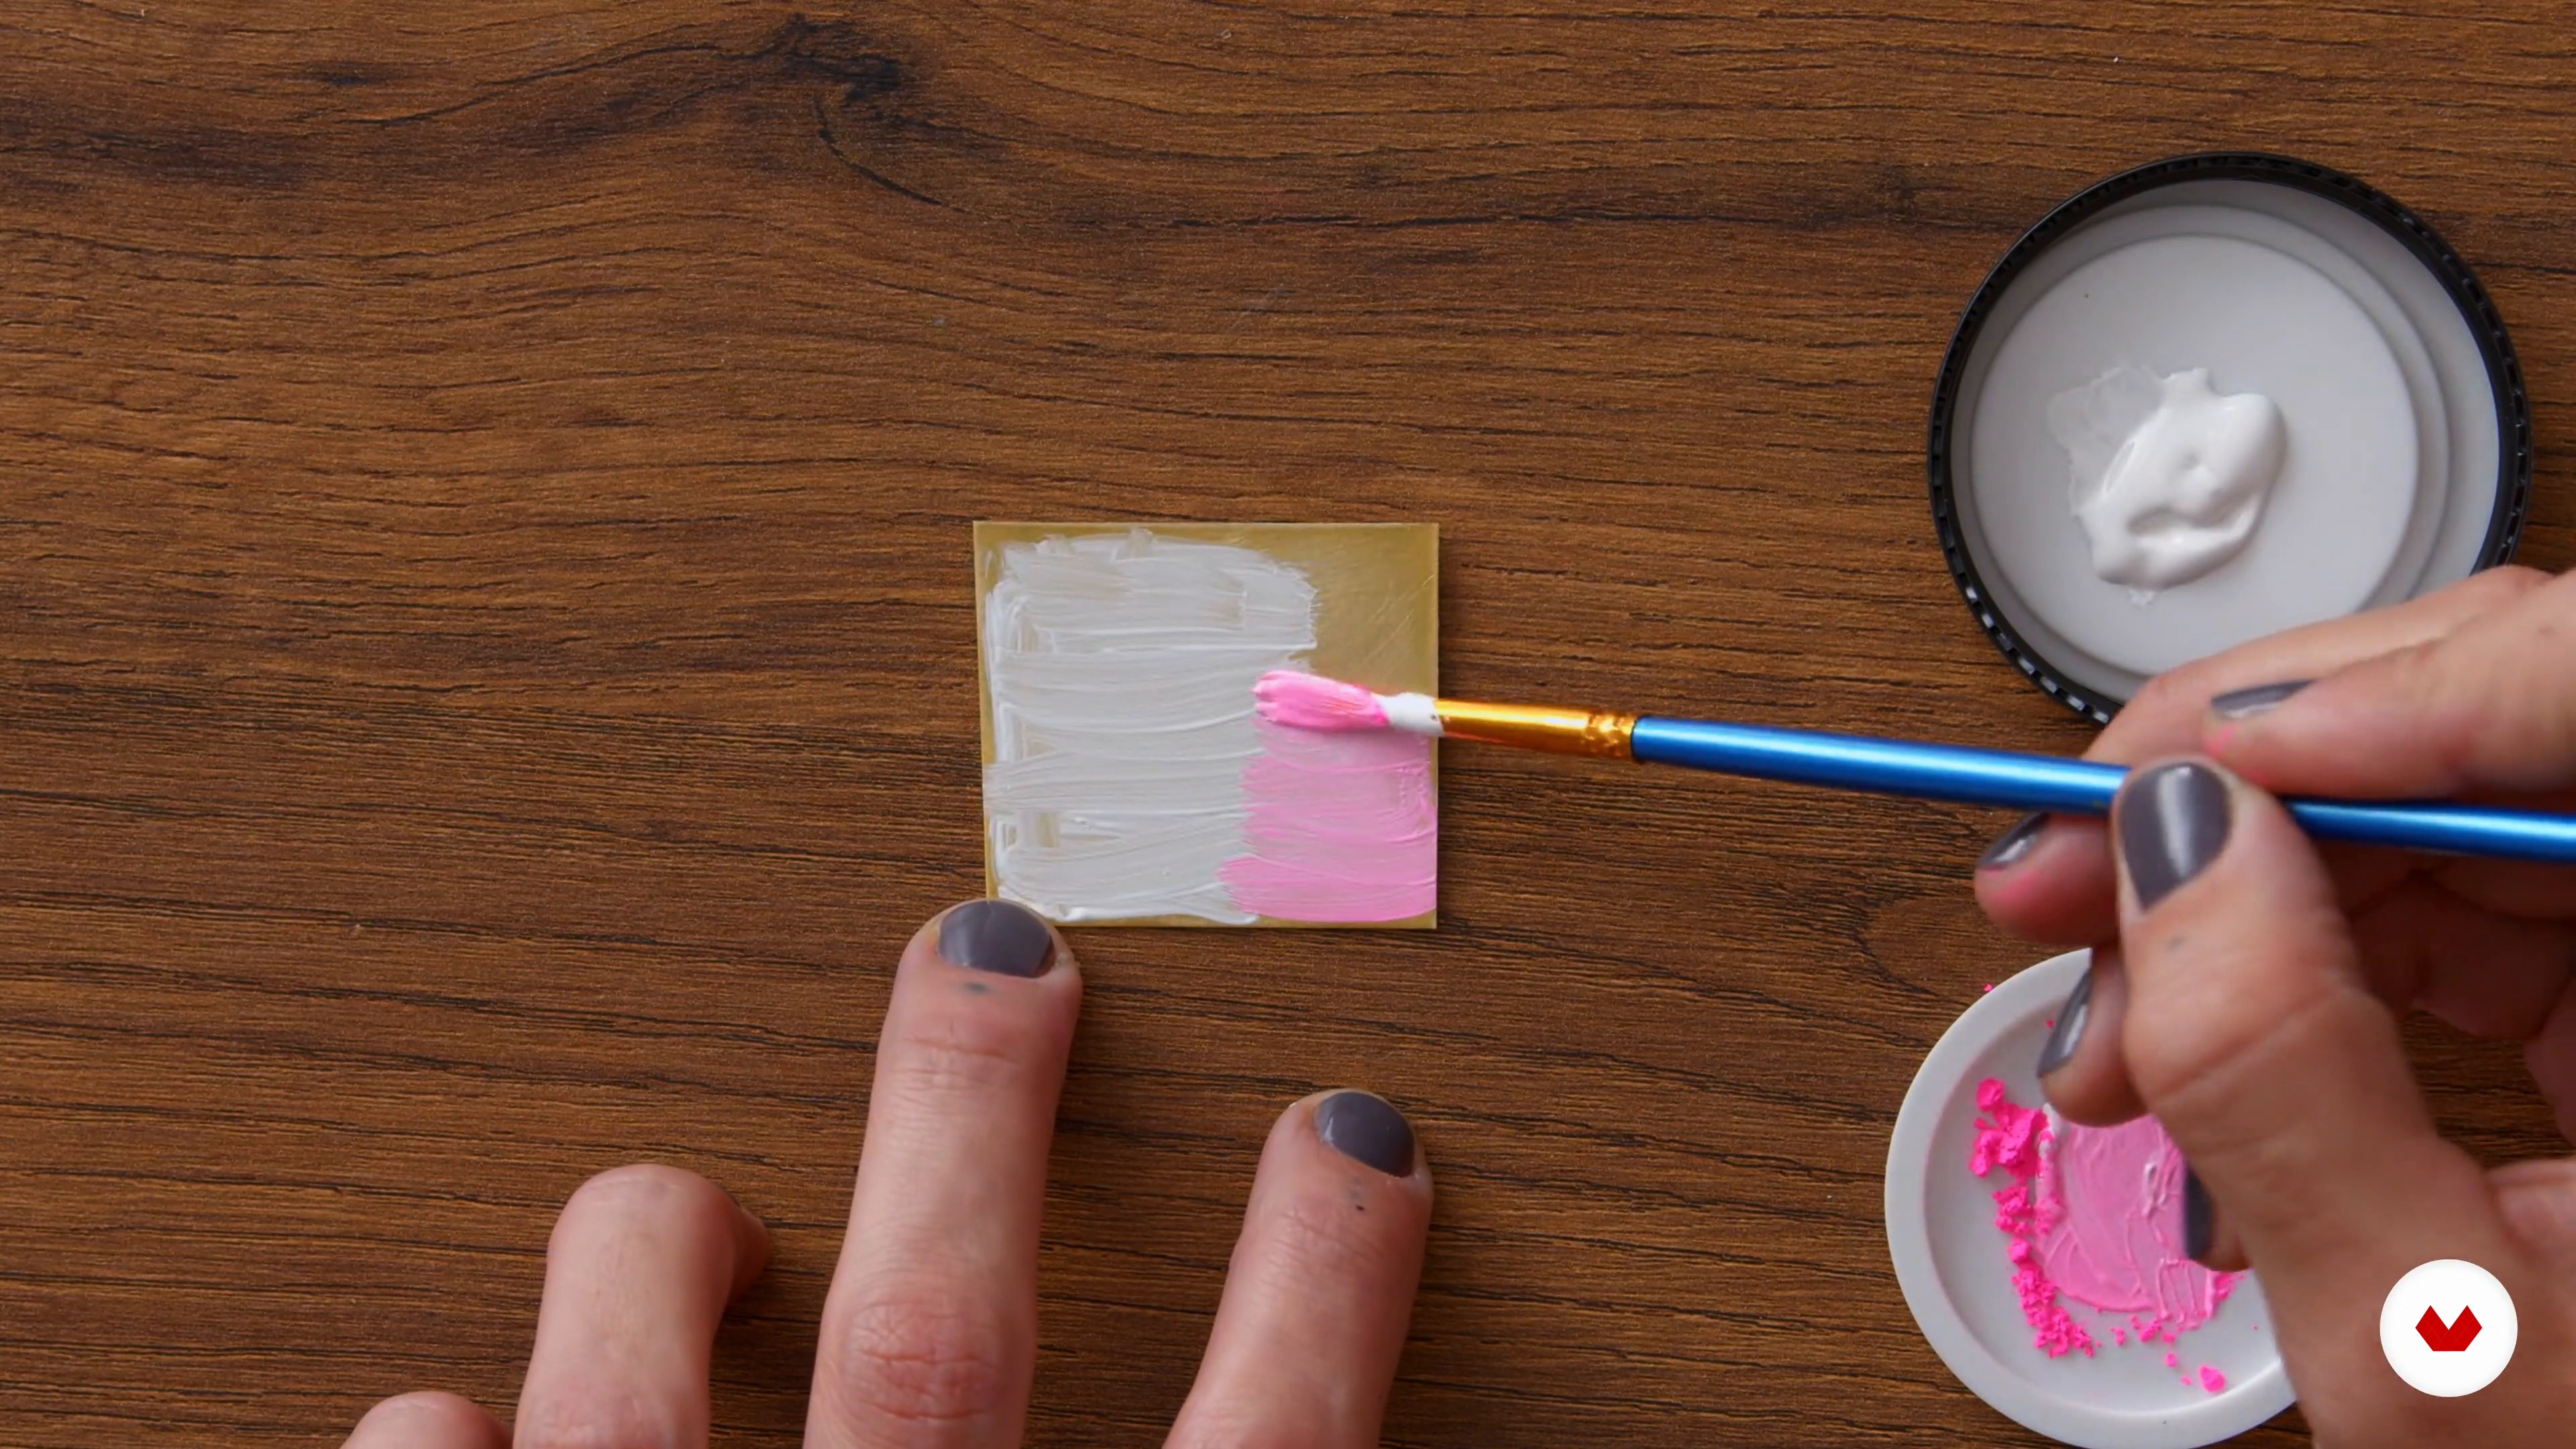
In this lesson, we'll work with fire on copper plates. We'll heat the metal to create shades ranging from red to violet. You'll also learn how to polish the piece to enhance the tones.
2m
 10
10How to work with industrial patina
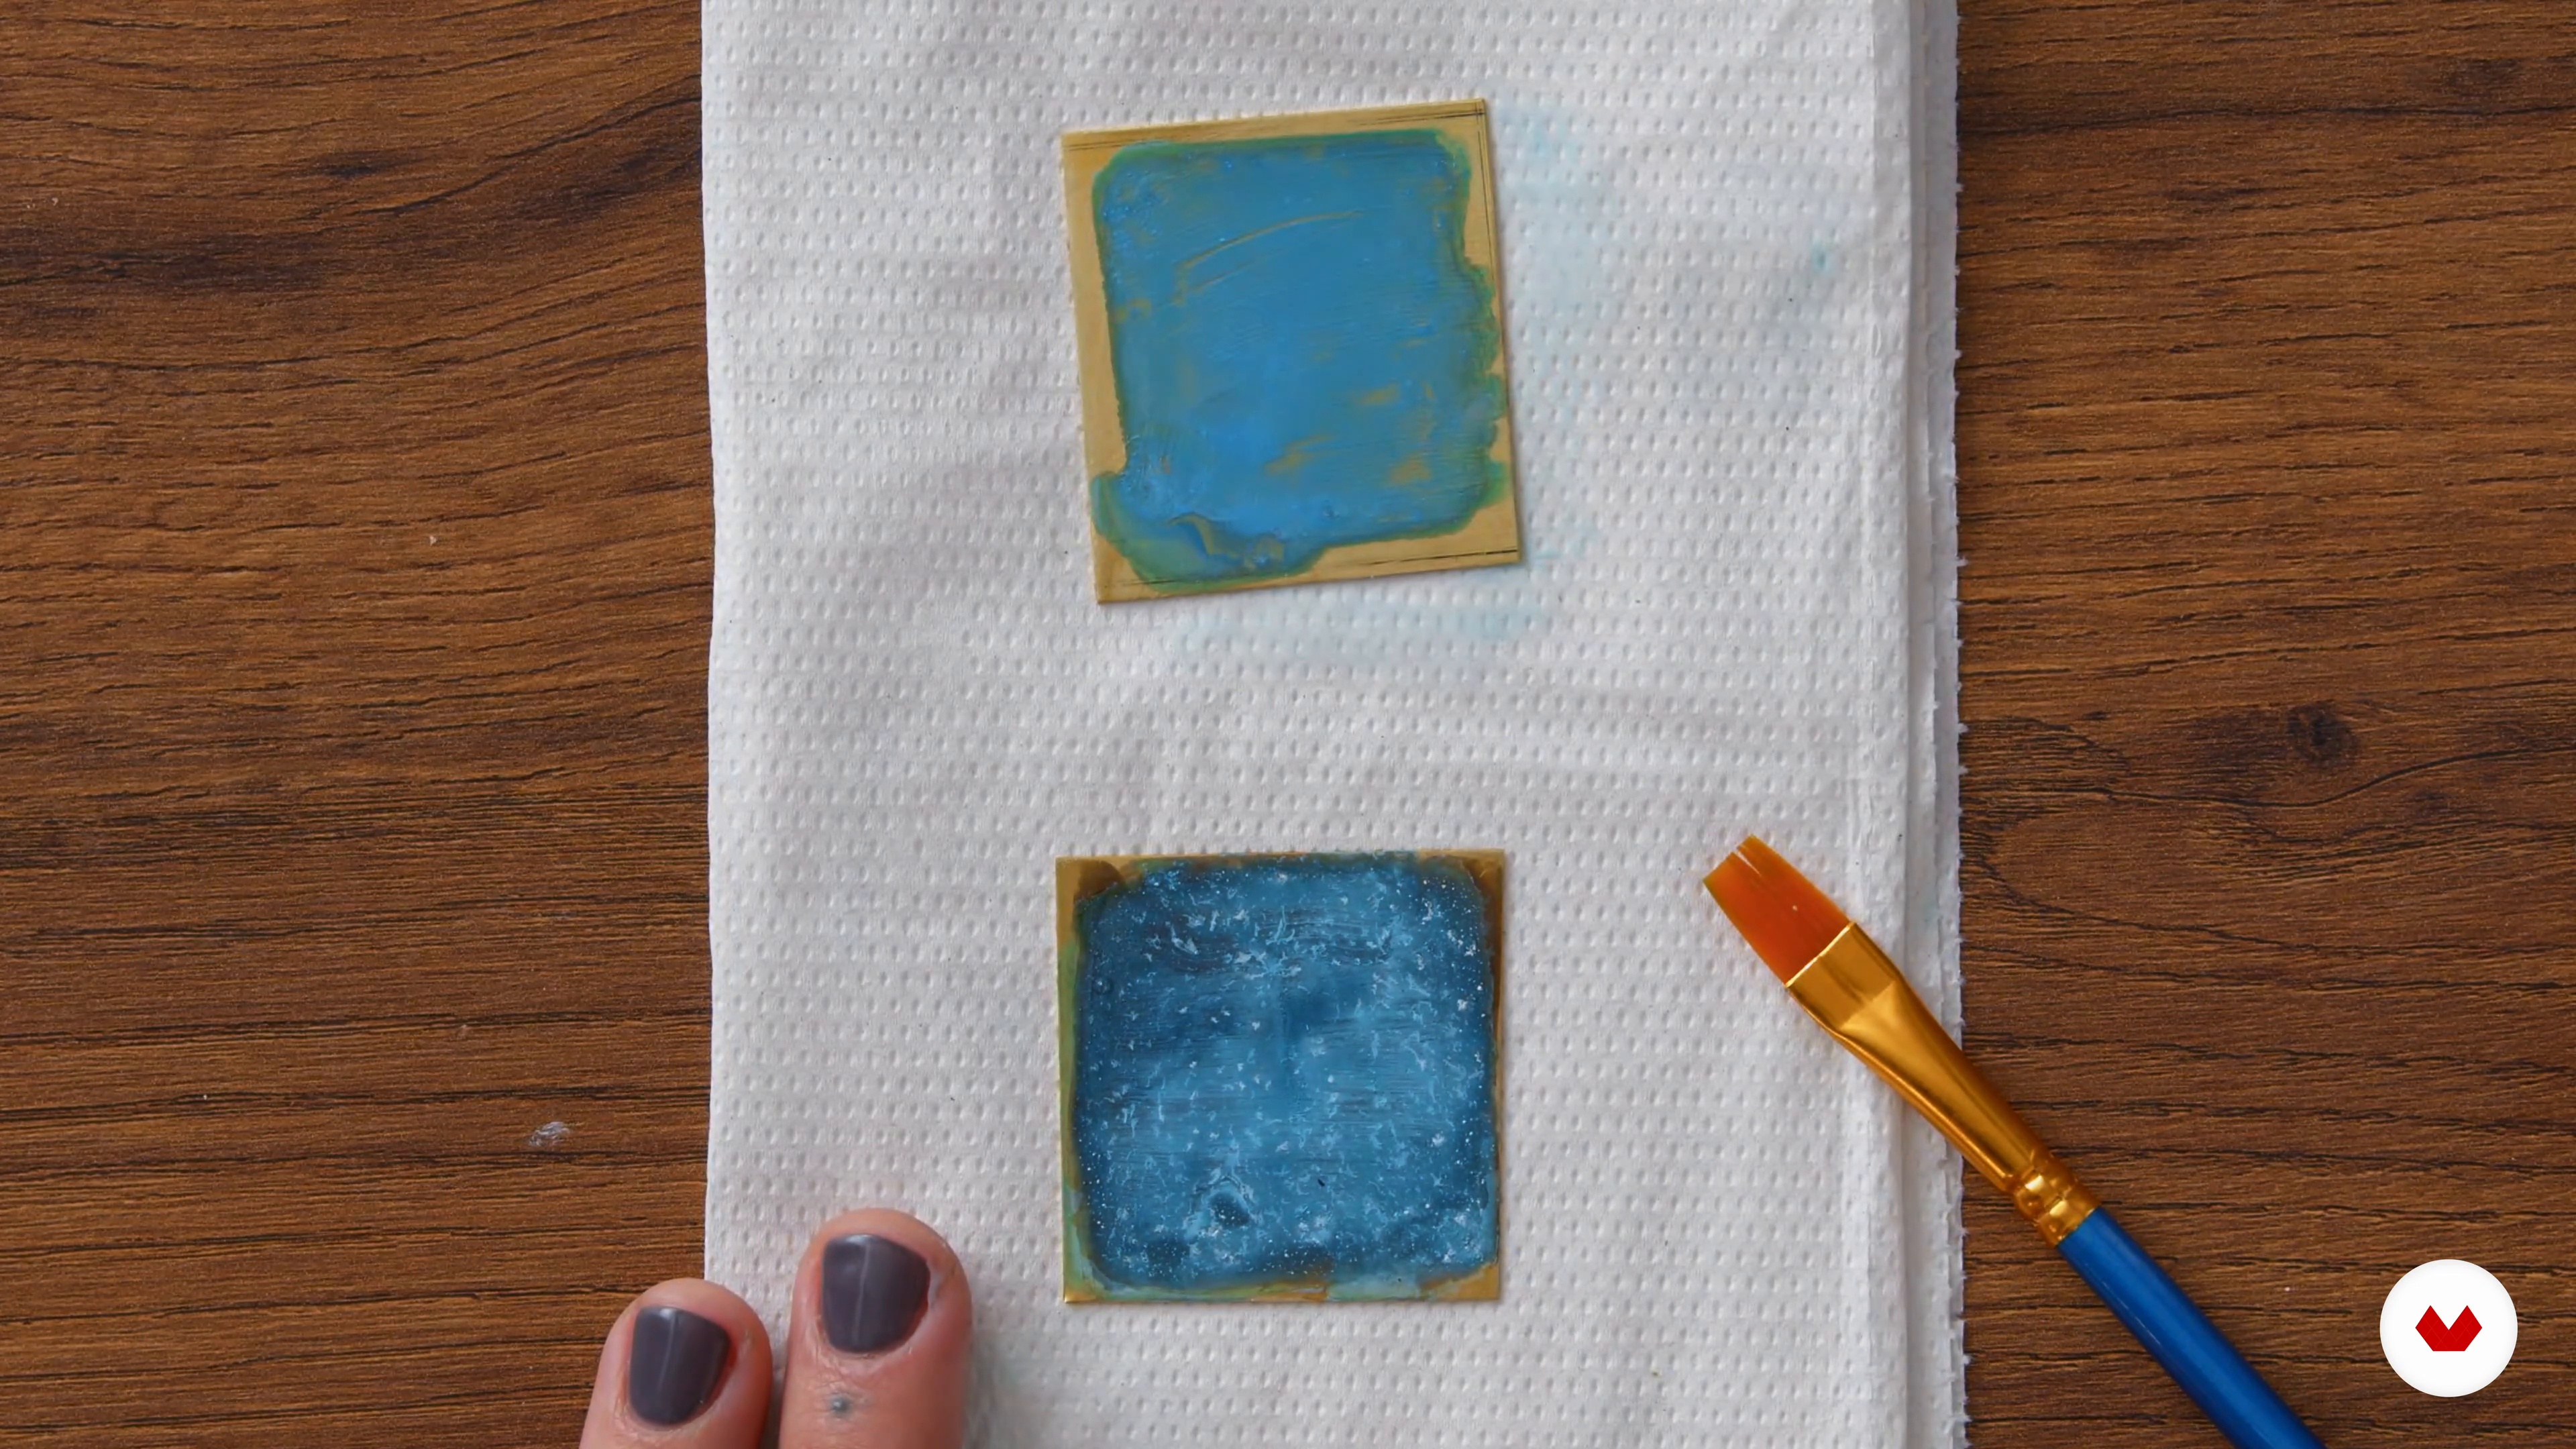
Let's move on to a different topic. In this lesson, I'll show you some of the industrial patinas I use in my workshop and how to apply them to metal. I'll also show you how you can combine them.
6m
 11
11Varnishes and waxes
Finally, I'll explain how to apply patina to metal. We'll use waxes and varnishes to achieve a beautiful finish.
3m
 12
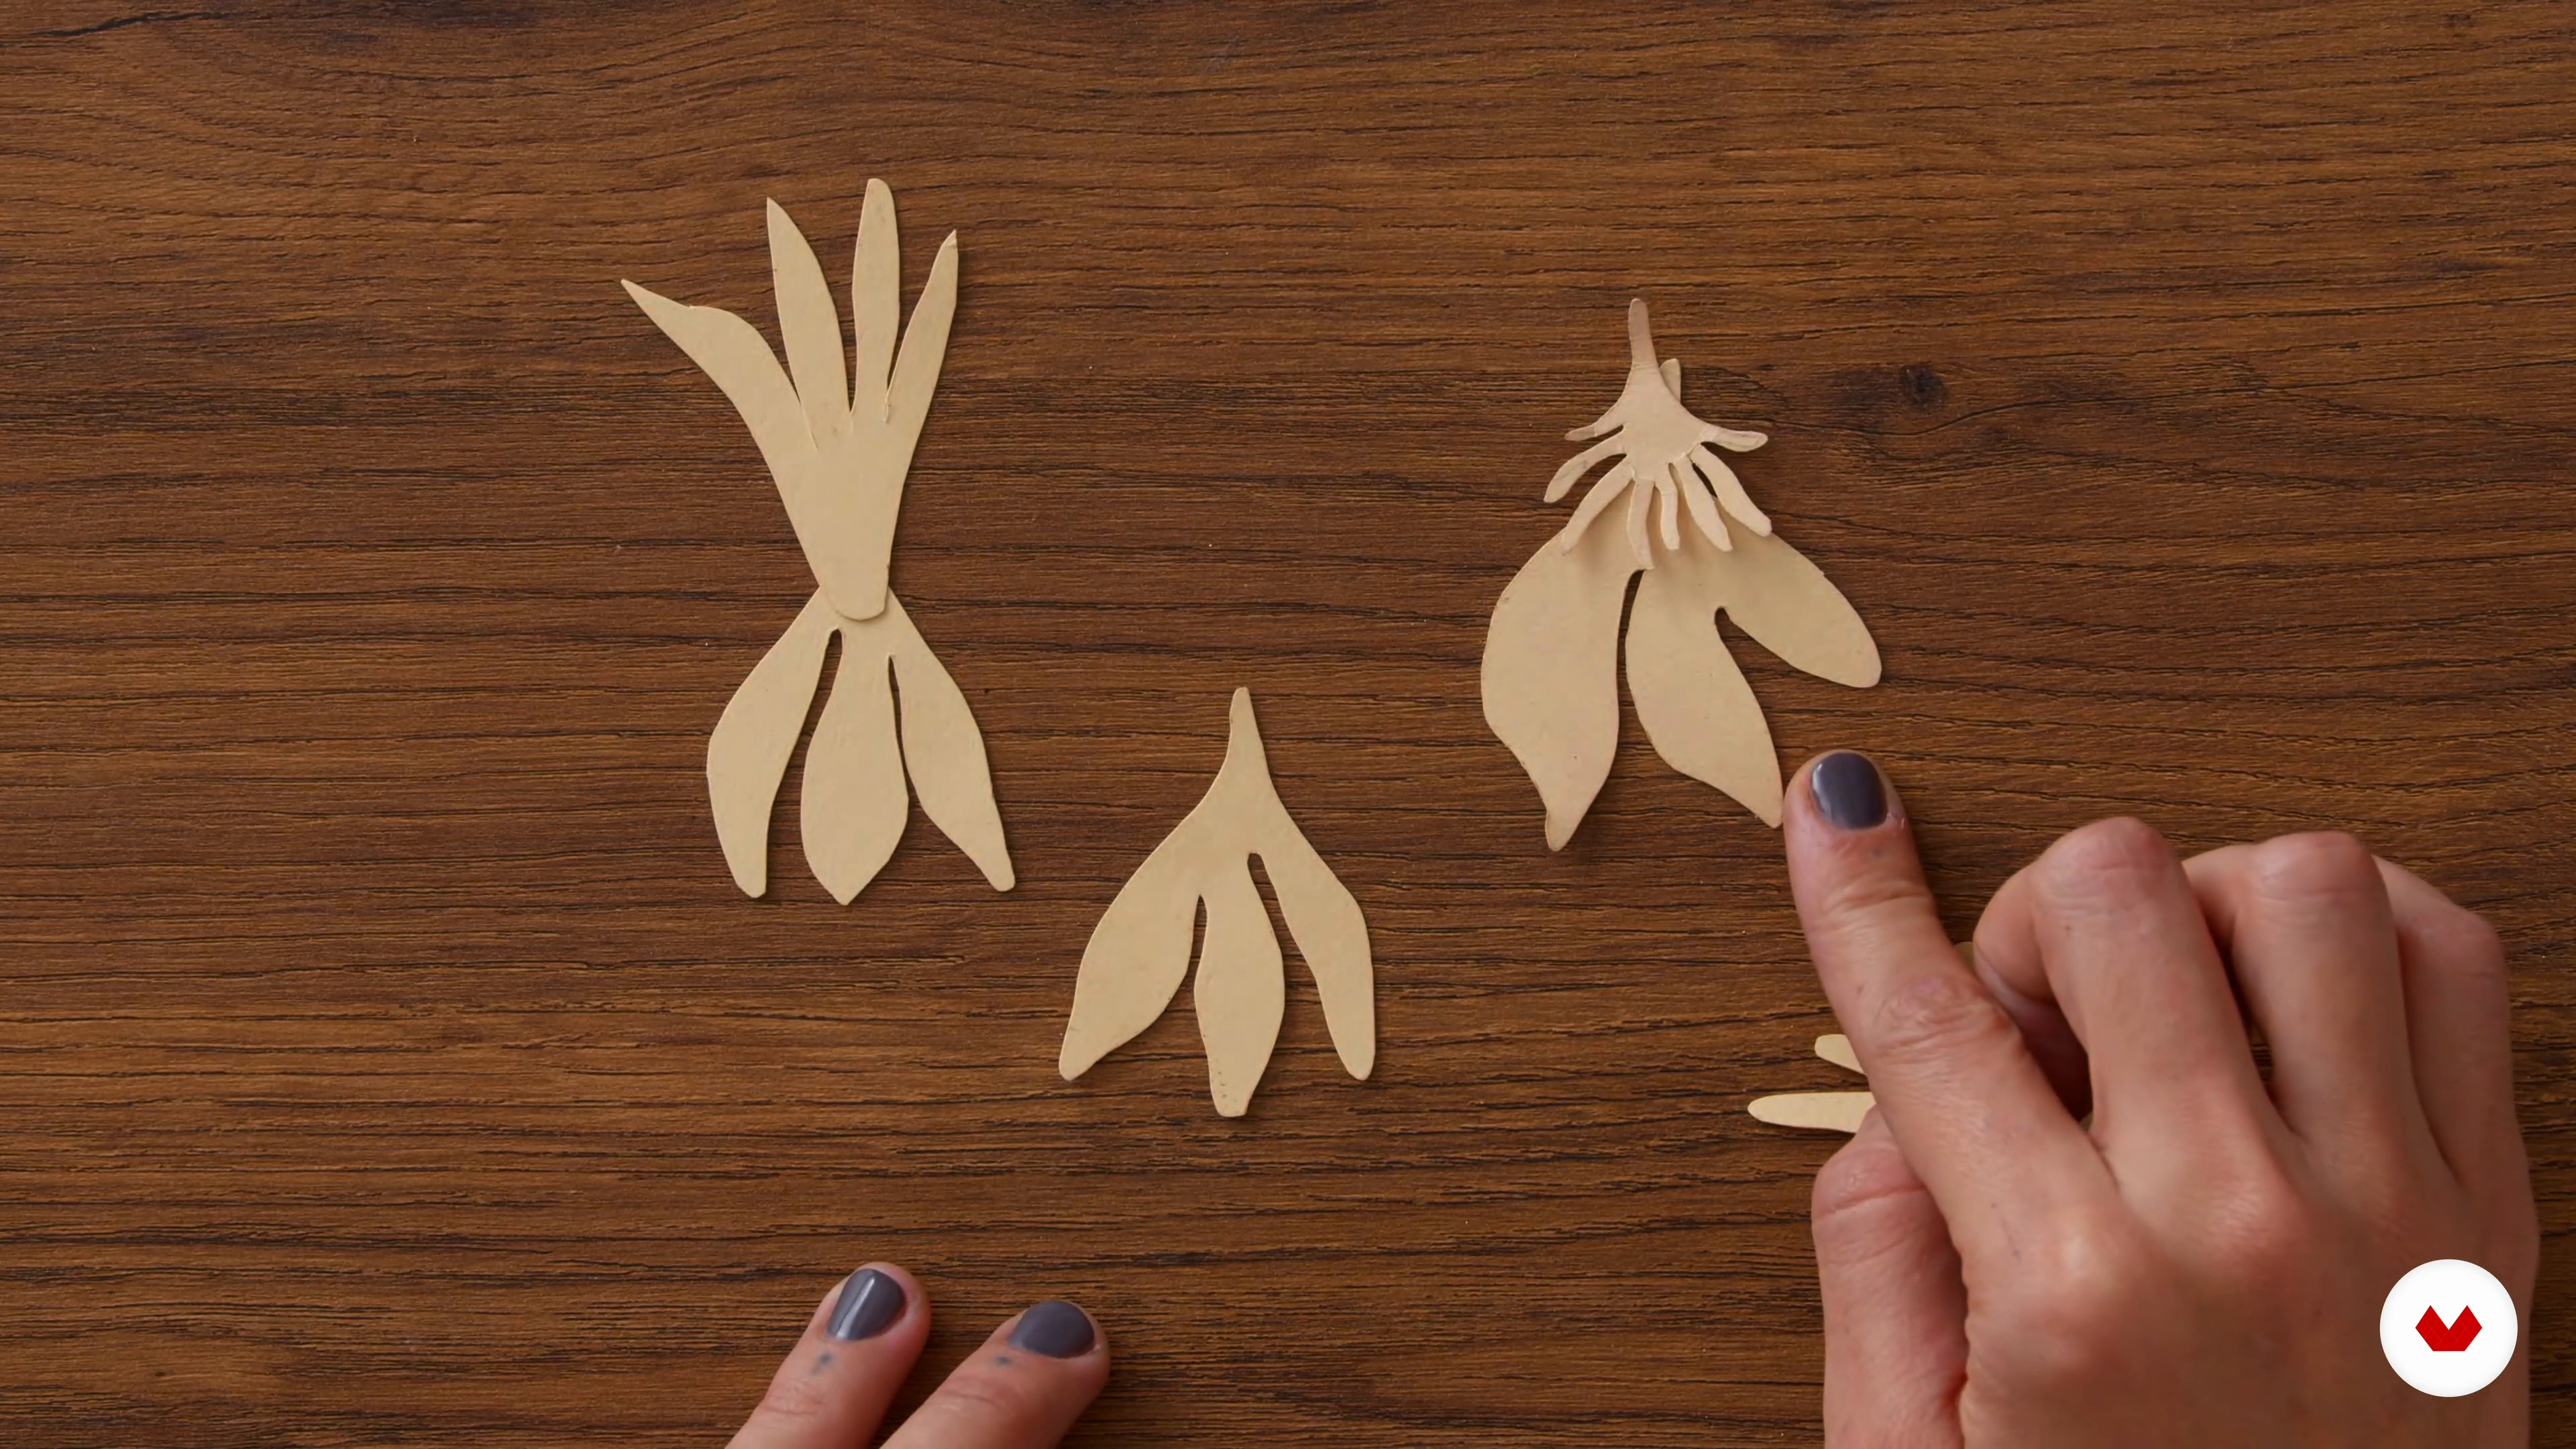
12Search for inspiration and choose a design
In this lesson, you'll explore some illustrated books and natural elements that I use as inspiration for developing my designs. I invite you to find your own references to develop your own style. First, you must choose a shape and trace it onto blank paper, exploring different options. Then, you'll transfer the chosen shape to cardboard and try out different variations until you arrive at the final design.
3m
 13
13Drawing on metal
Now we'll use the molds for the final design and walk through the metalwork process. During this process, we'll need to prepare the metal with files and sandpaper.
4m
 14
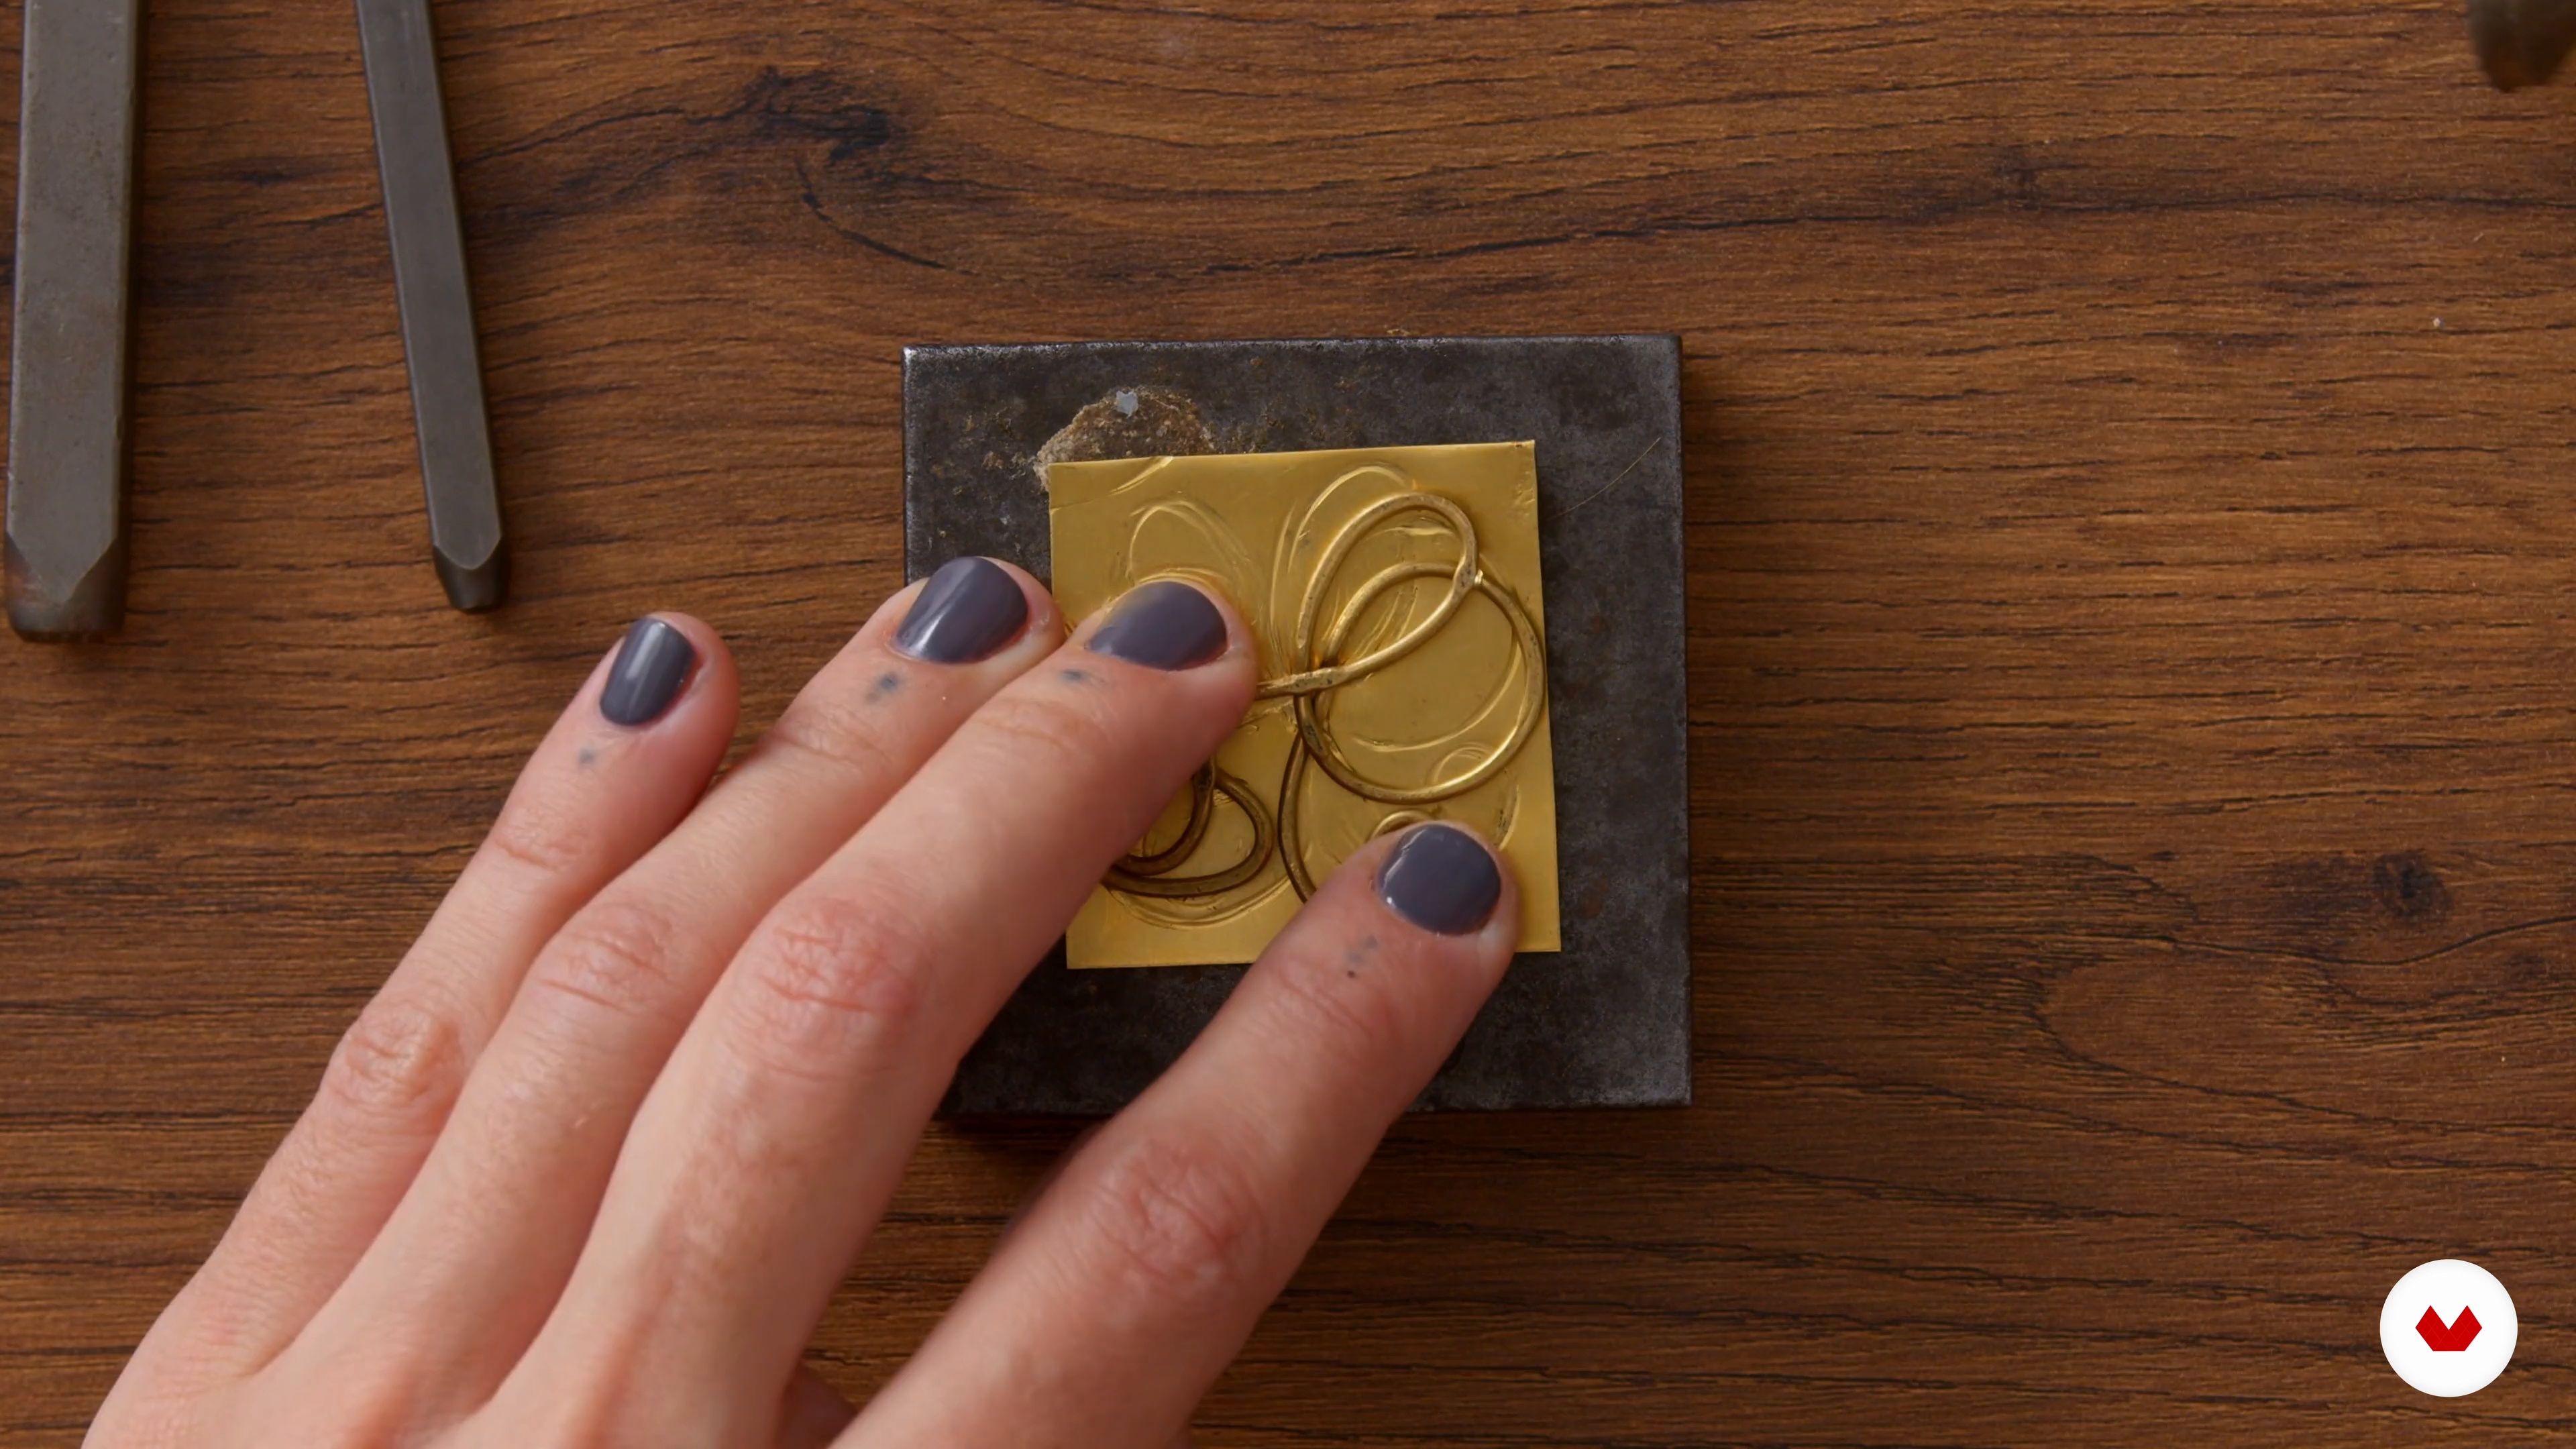
14Textures
In this lesson, I'll teach you how to give your designs more character and strength using different texture techniques. We'll use punches, hammers, nails, and wire. You'll also learn how an electric engraver works so you can draw on sheet metal.
8m
 15
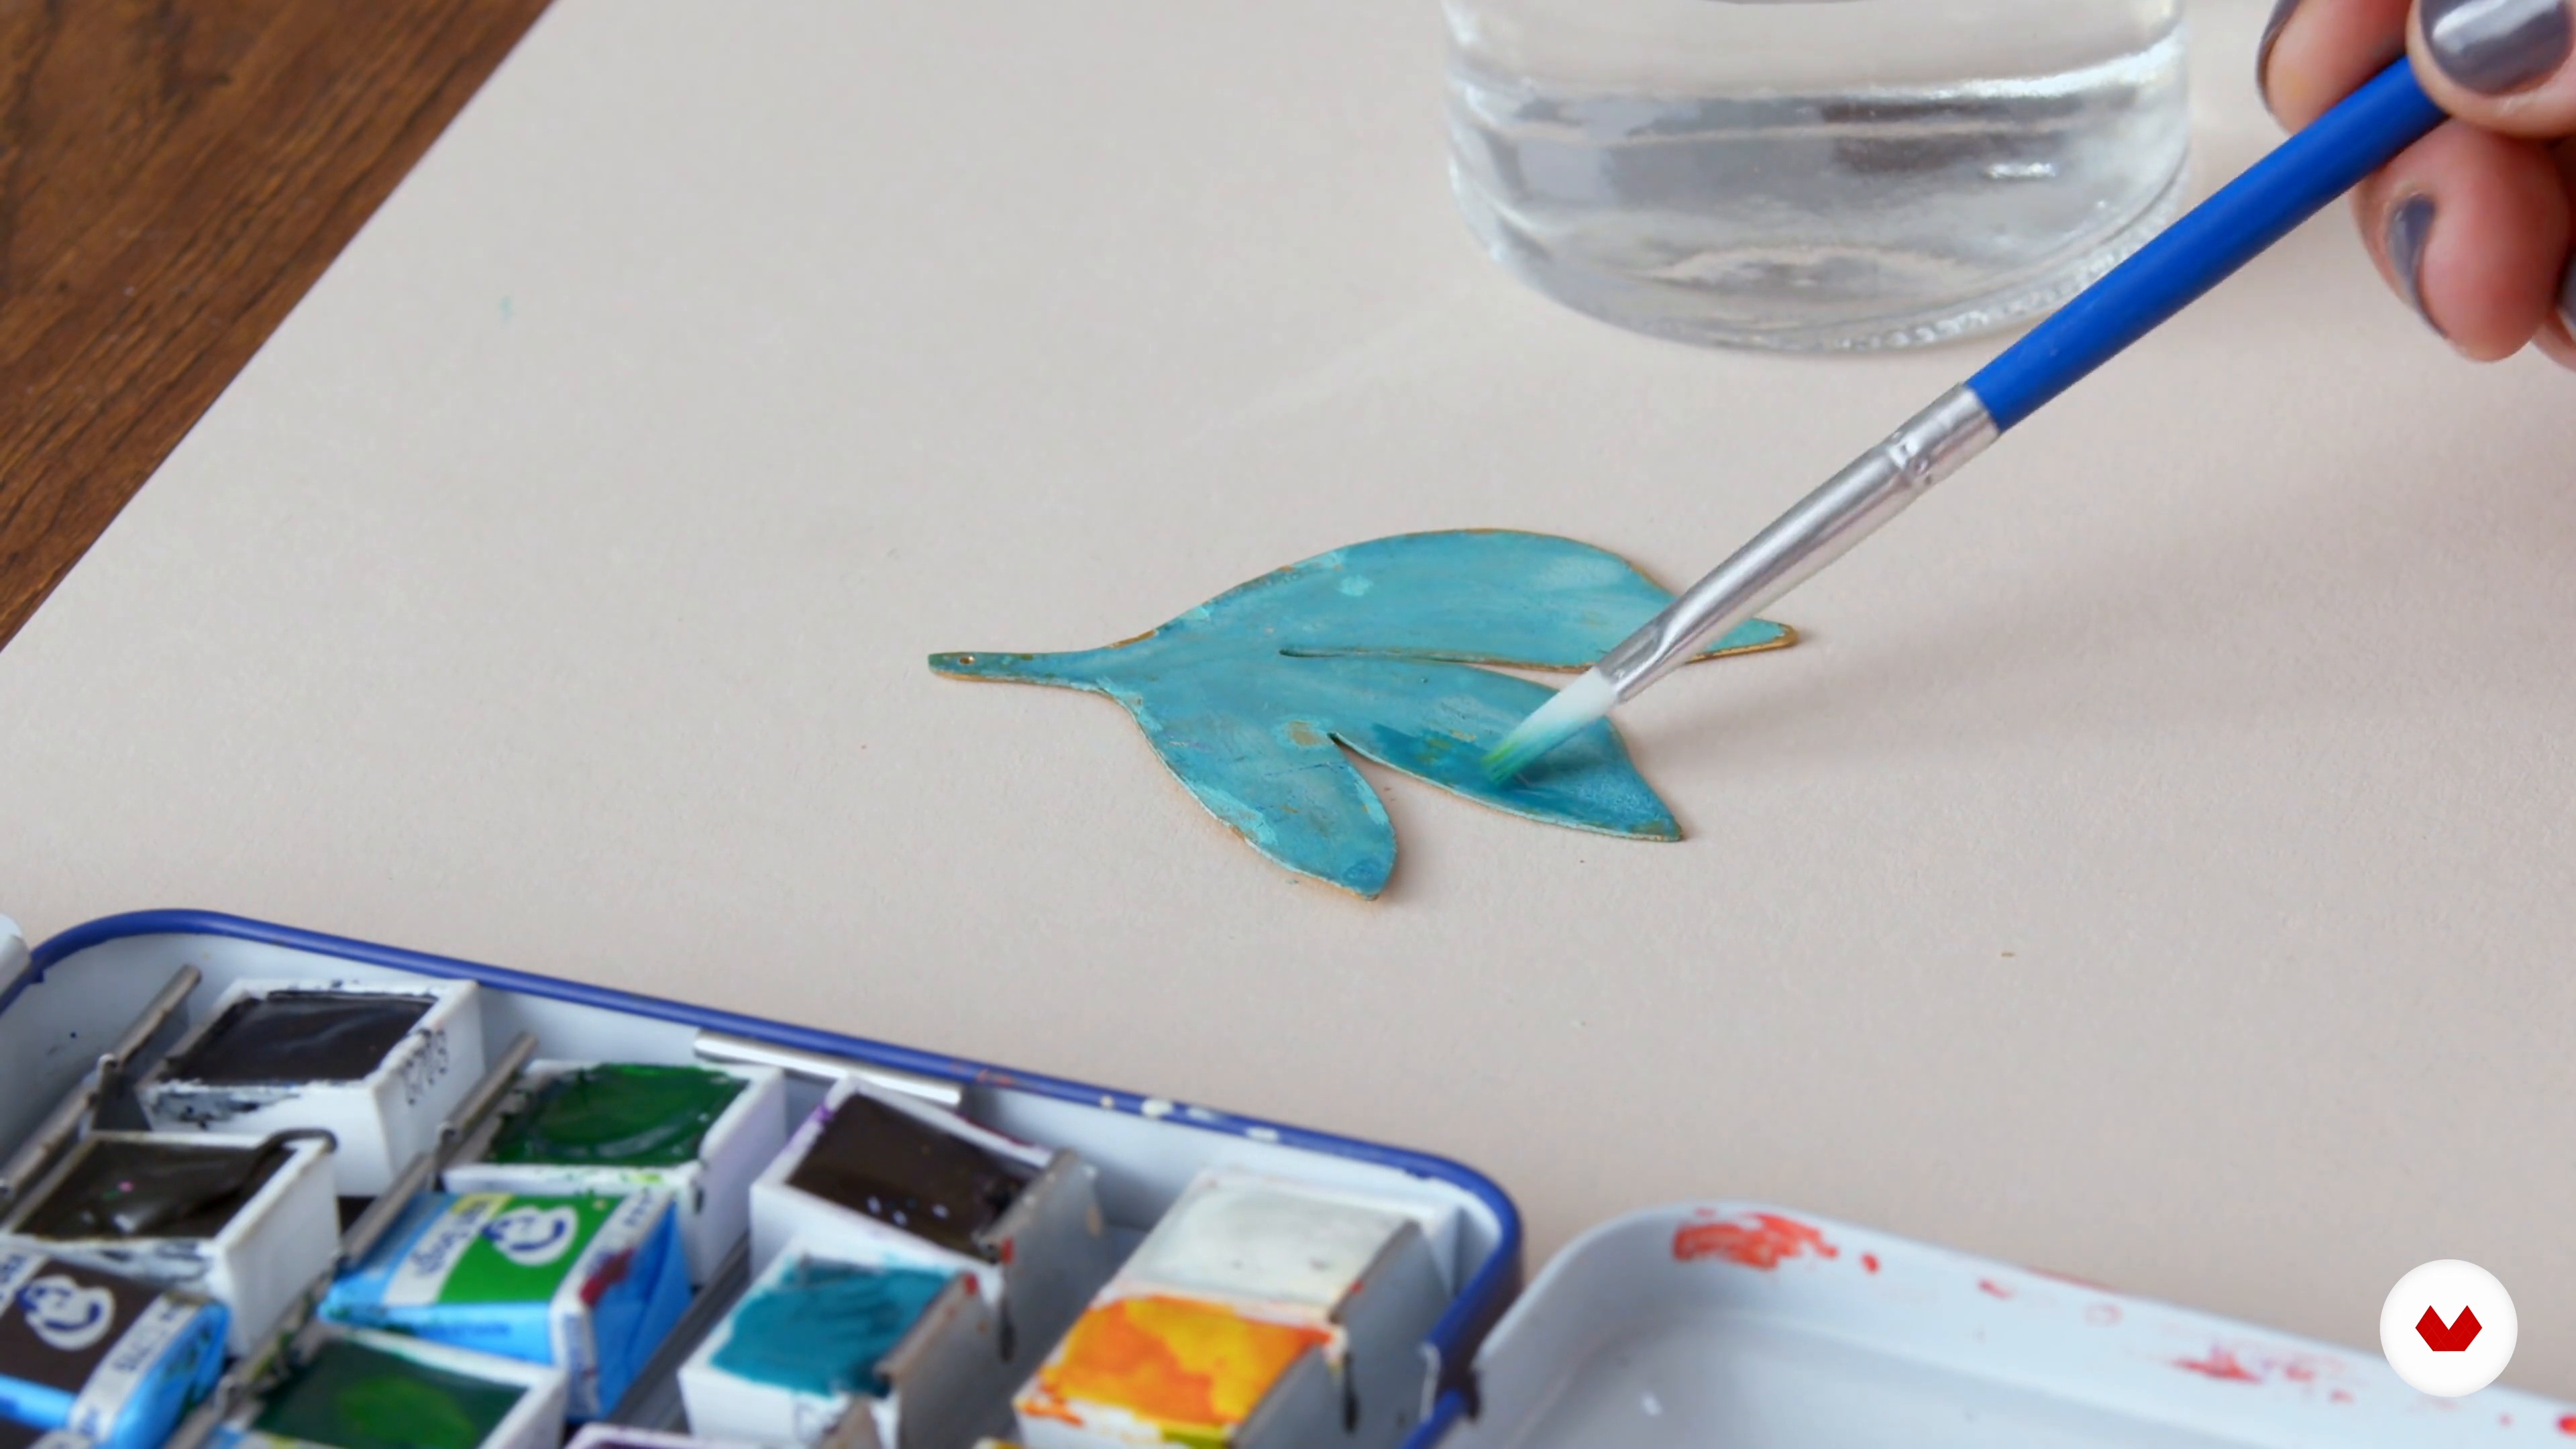
15Color application with acrylics, watercolors
It's time for color. In this lesson, we'll choose one of the techniques we learned in the previous unit and apply it to our final piece.
4m
 16
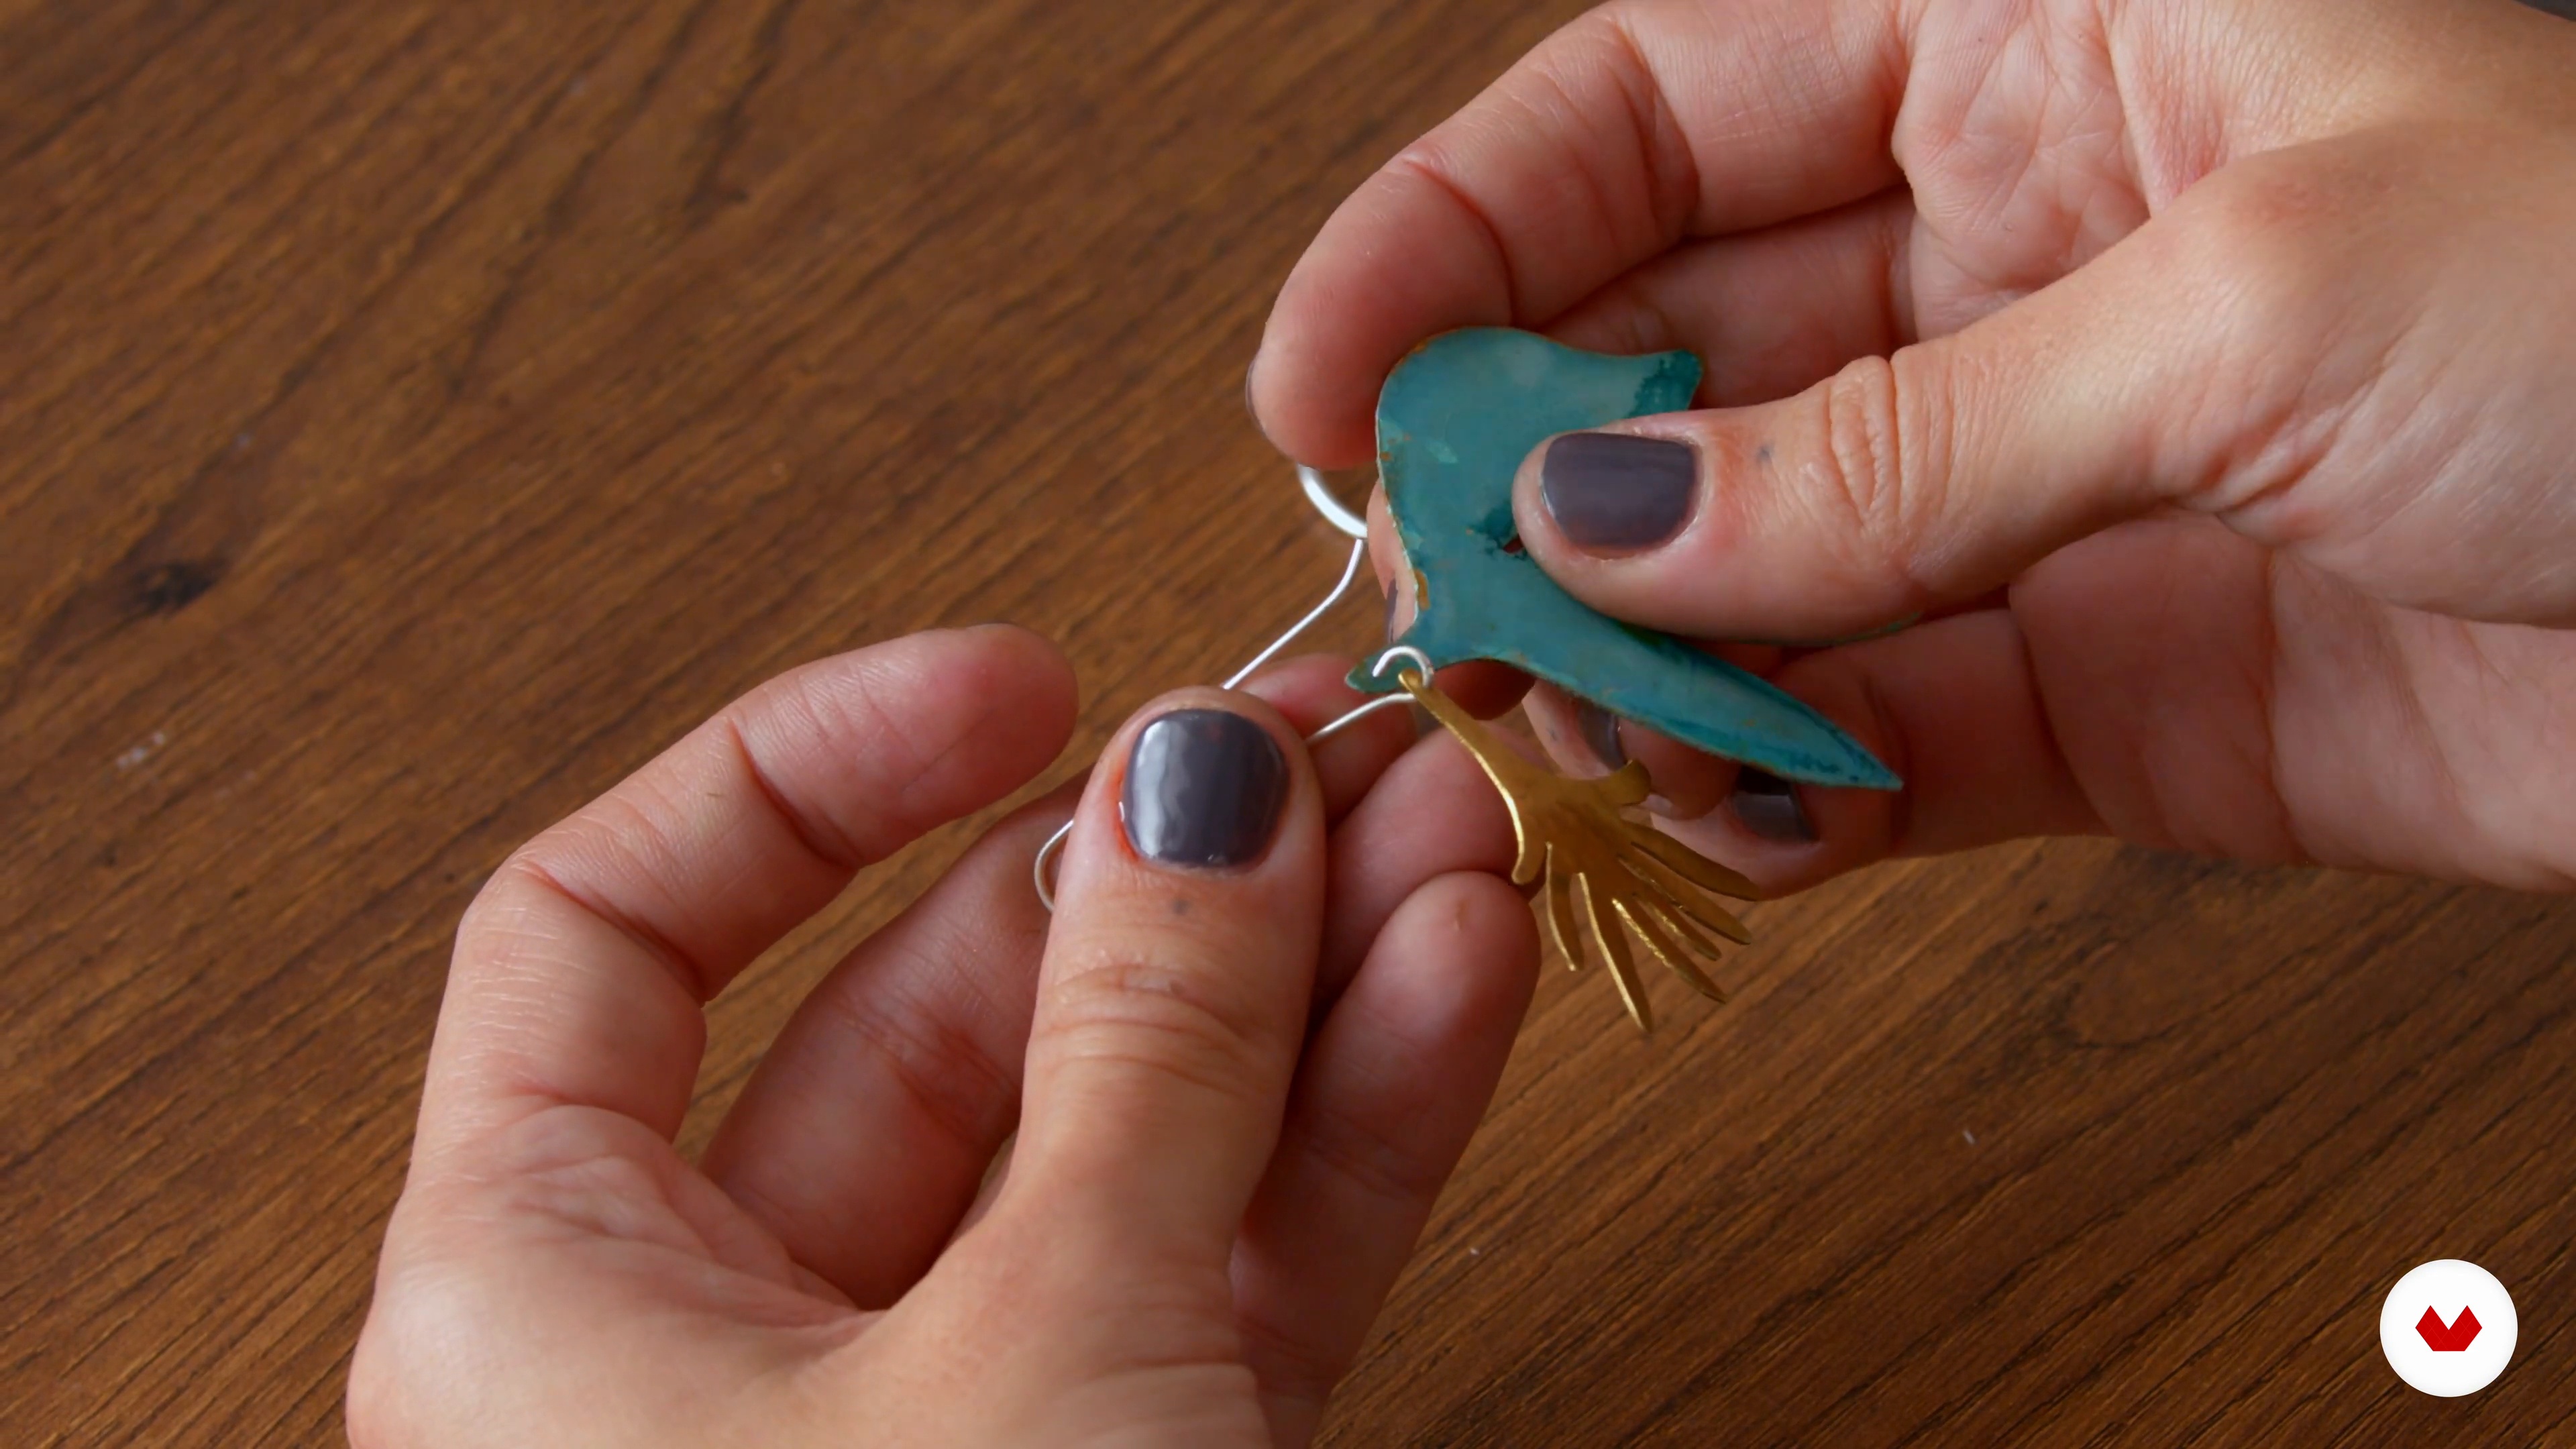
16Final assembly of the piece
Once you've painted your jewelry, it's time to get started on the final step of the process: the final assembly.
4m
 17
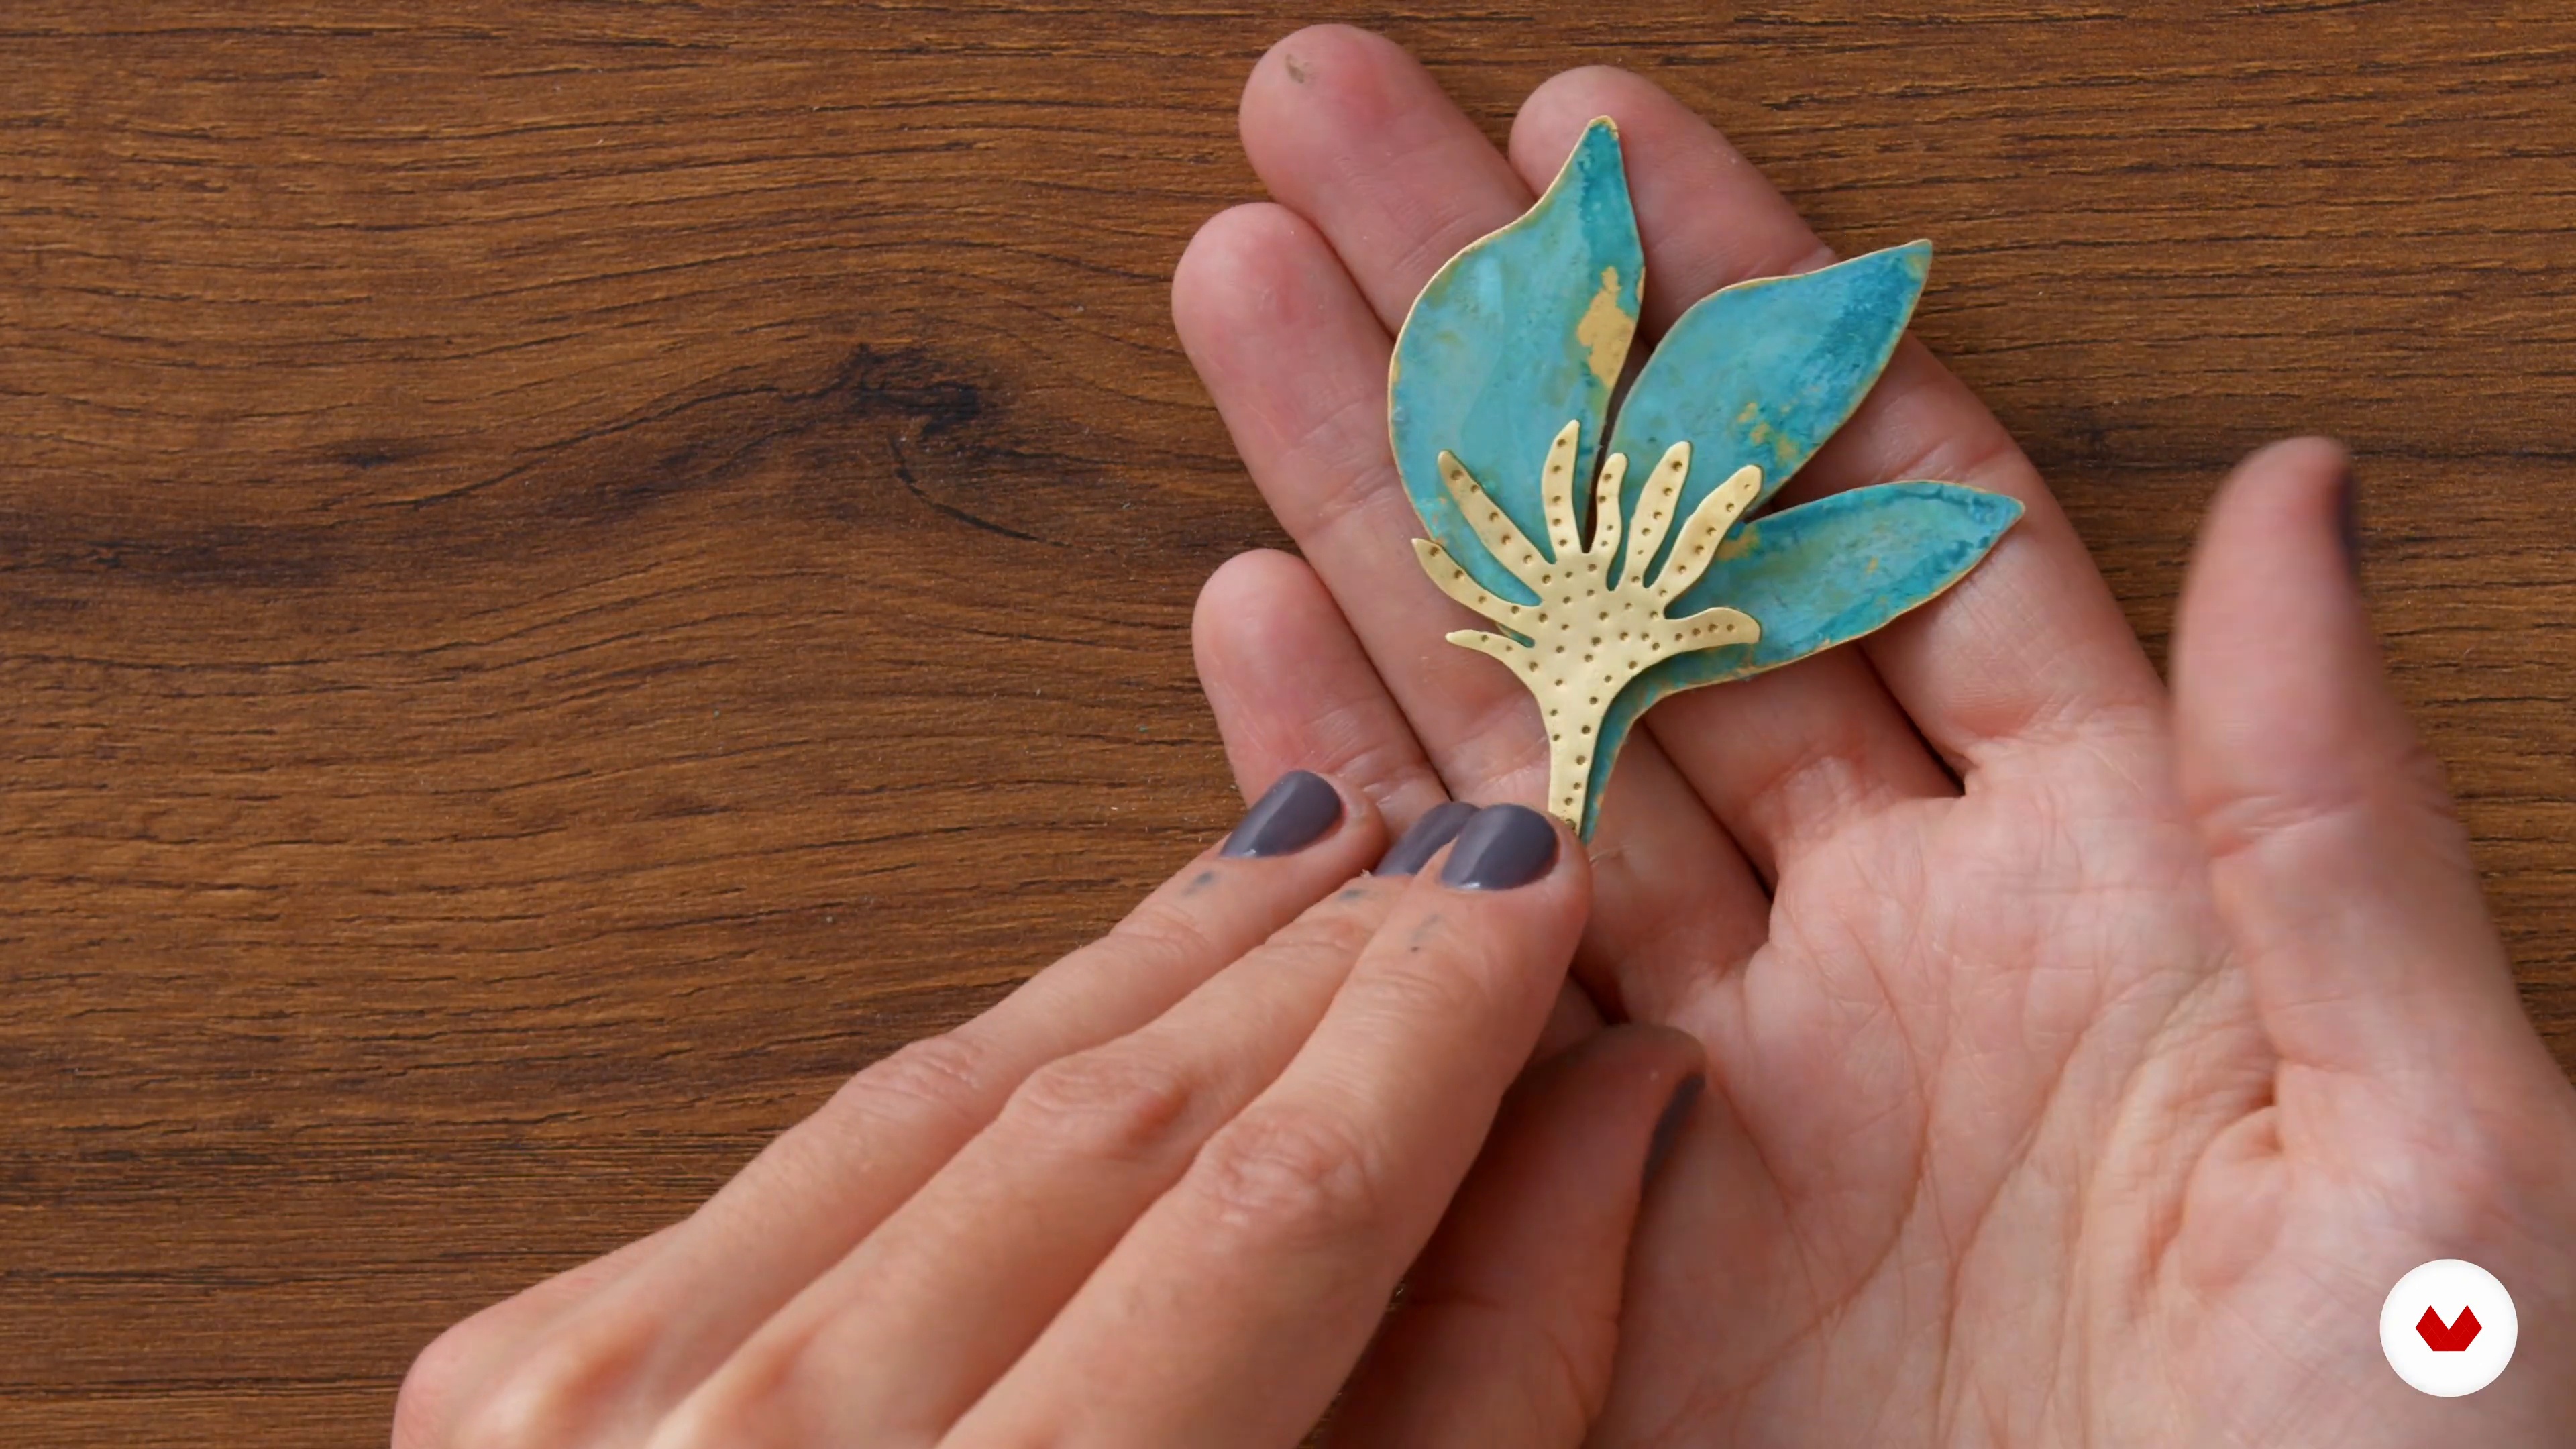
17Polishing and final touches
In this lesson, we'll finish the jewelry so it's ready to wear. It's important to pay attention to the details so the piece stands out and looks flawless.
3m
 18
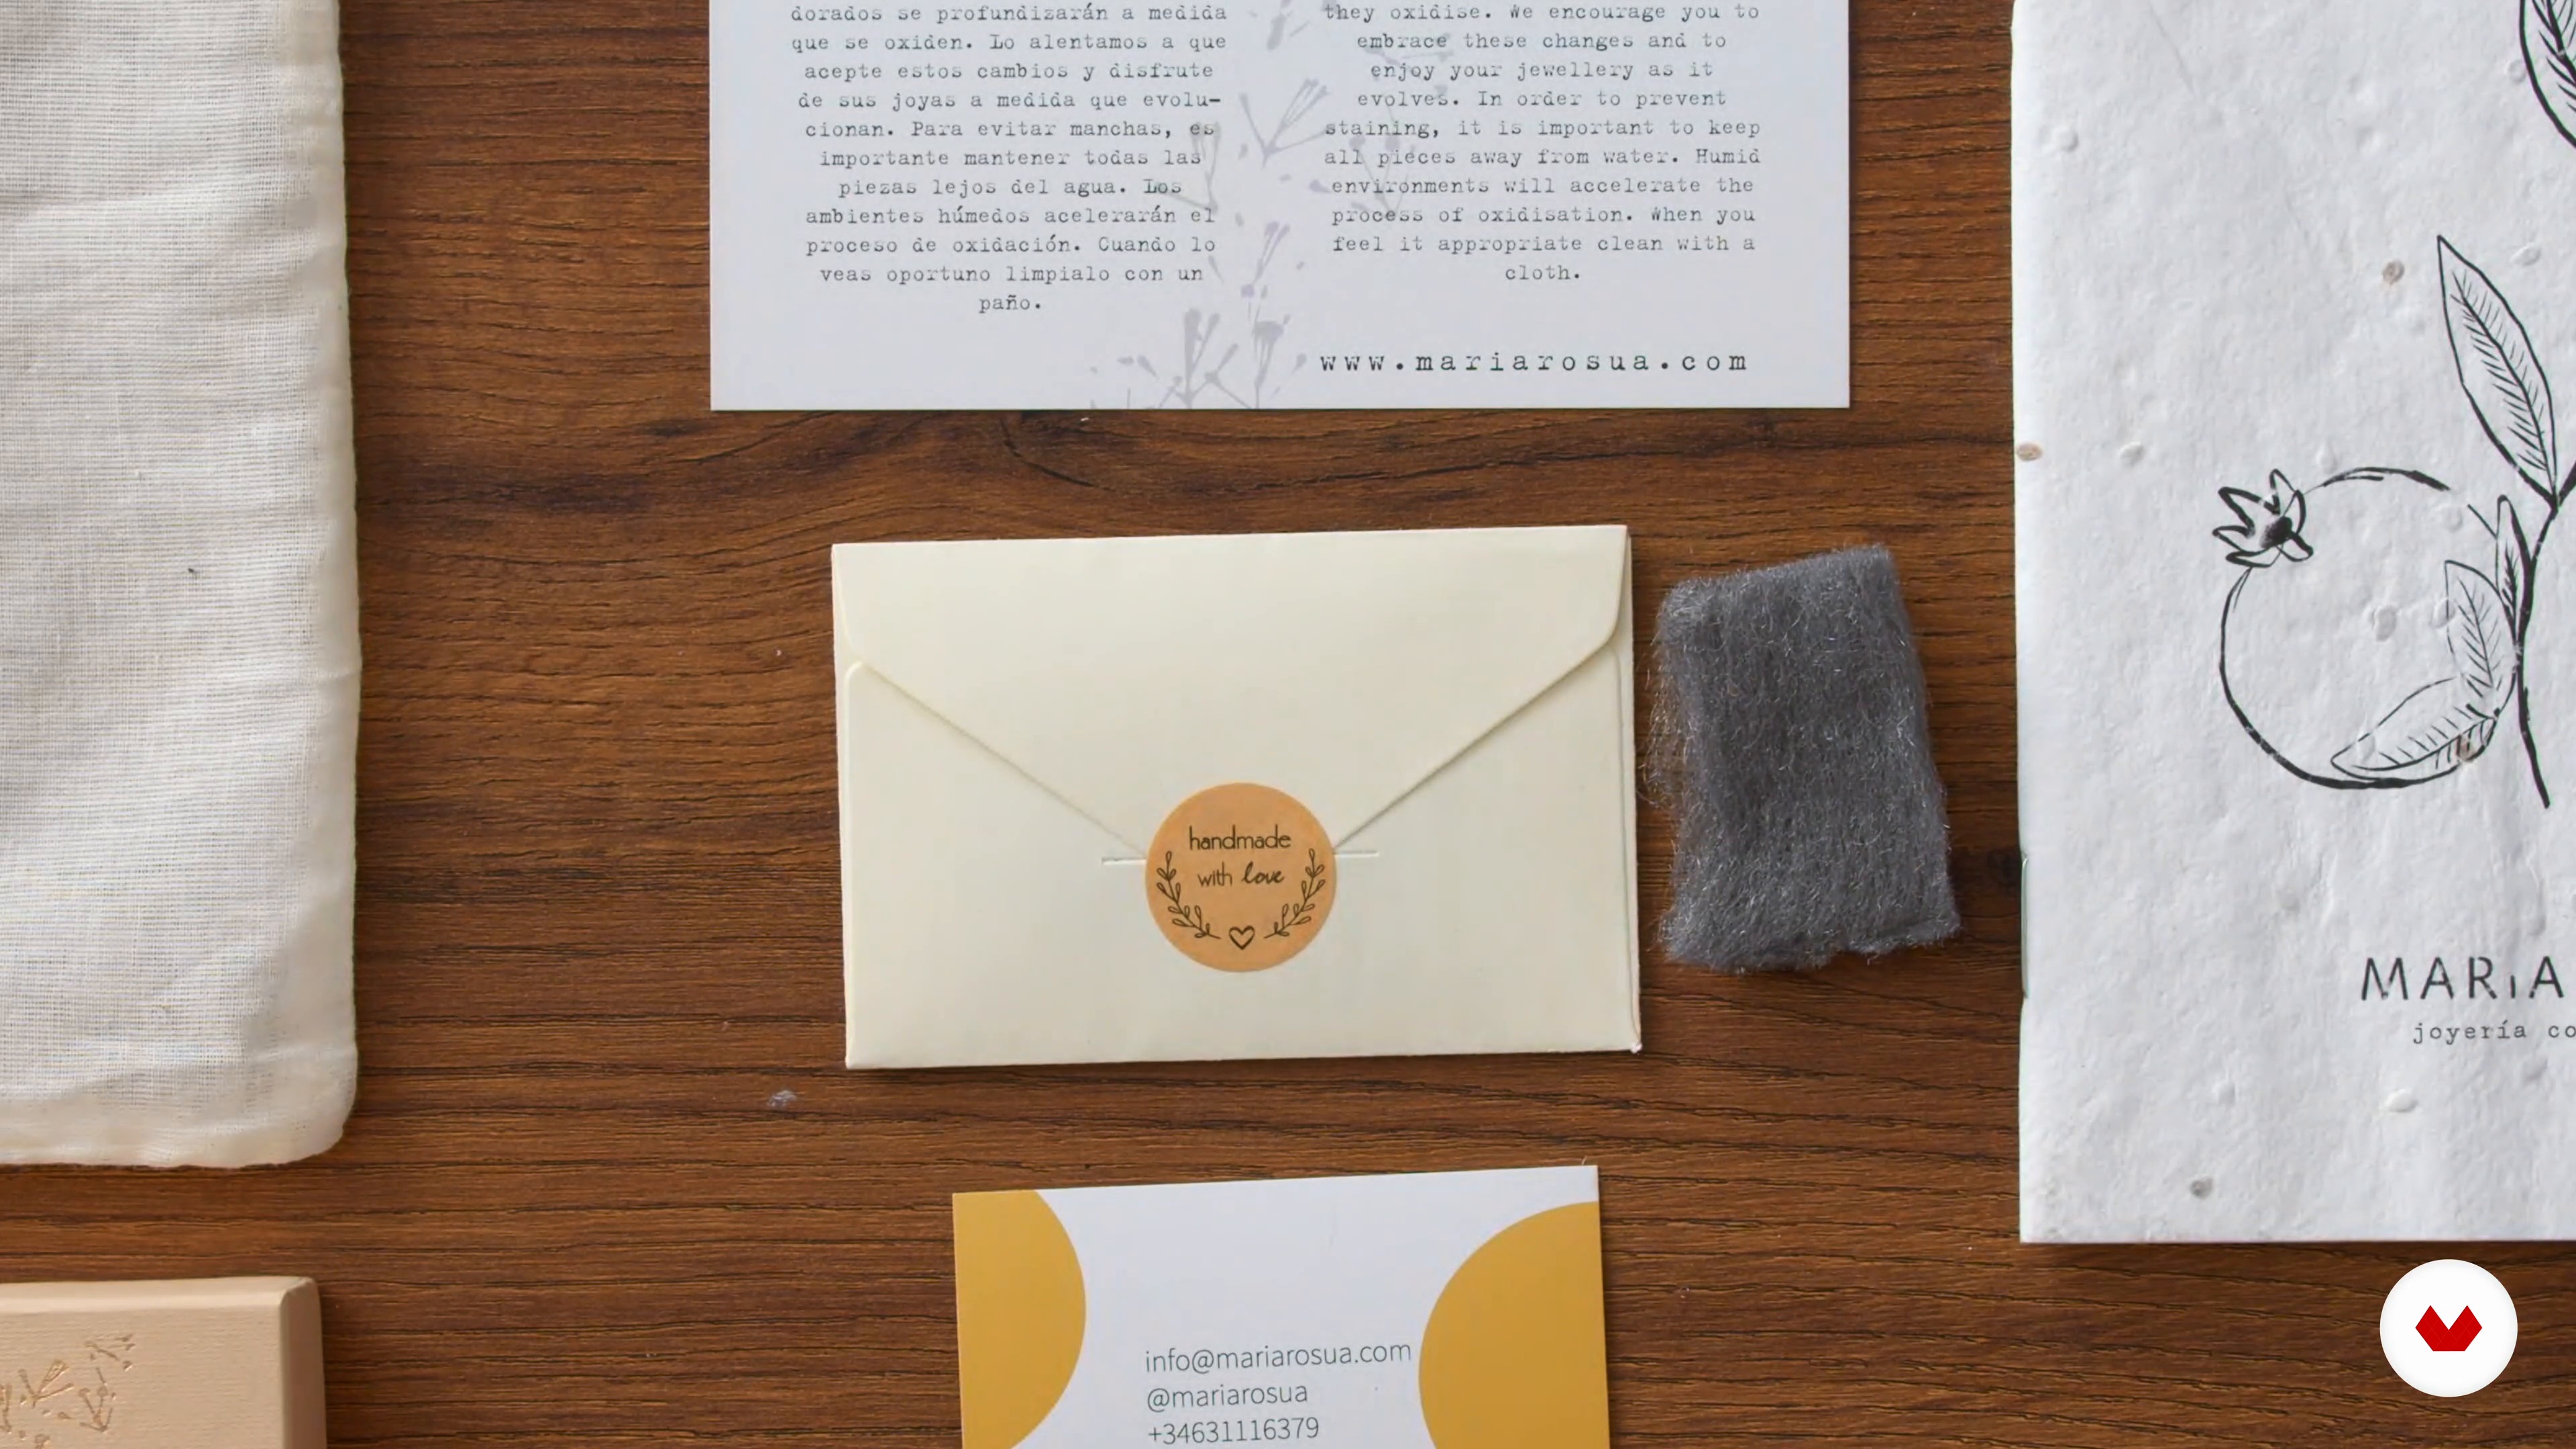
18Accessories and packaging
Now I'm going to show you the packaging I use for my jewelry. I recommend starting with items you have on hand, such as fabrics and recyclable boxes, and drawing or printing your own thank you cards. Every detail in the packaging will add warmth to your jewelry.
1m
 19
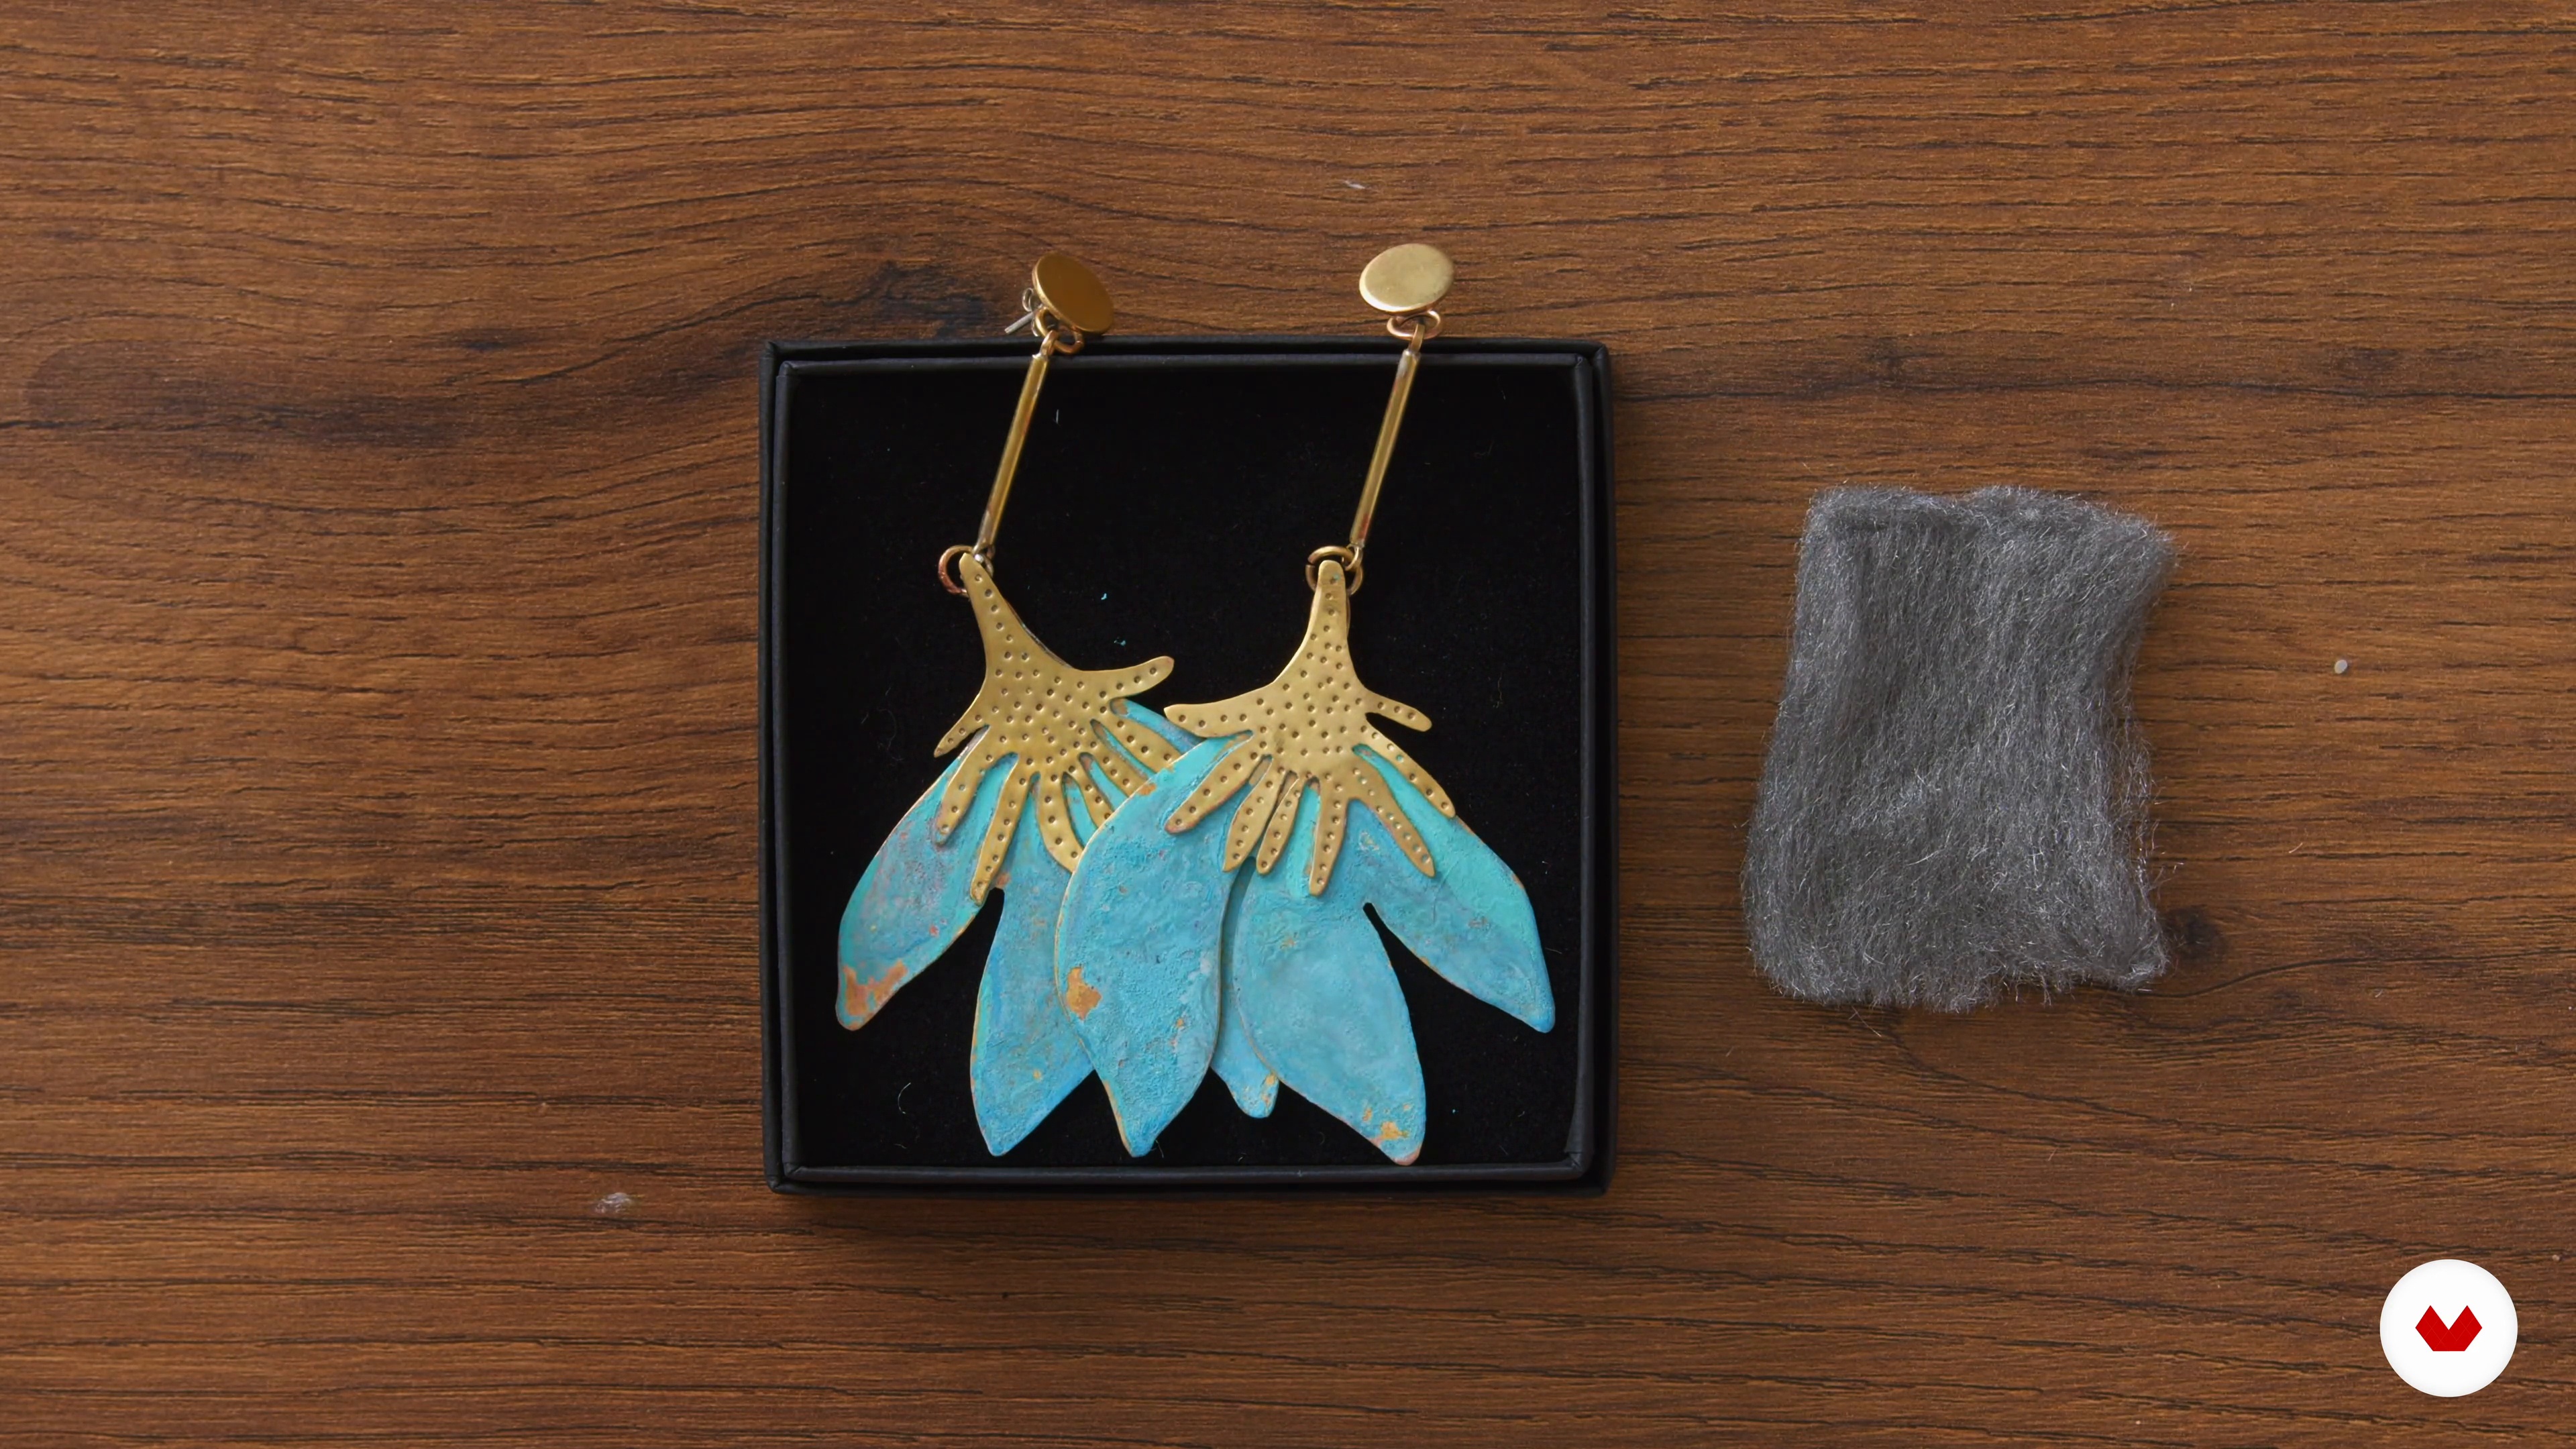
19Advice on care
In this short lesson, I'll talk about brass and its care, as well as how to restore its shine over time. Keep in mind that patinas and pigments are superficial and should be cared for, not soaked. Understand that they change over time.
2m
 20
20How to share your projects
Finally, I'm going to tell you about the different communication channels I use to showcase and share my work.
3m
 4
4Materials
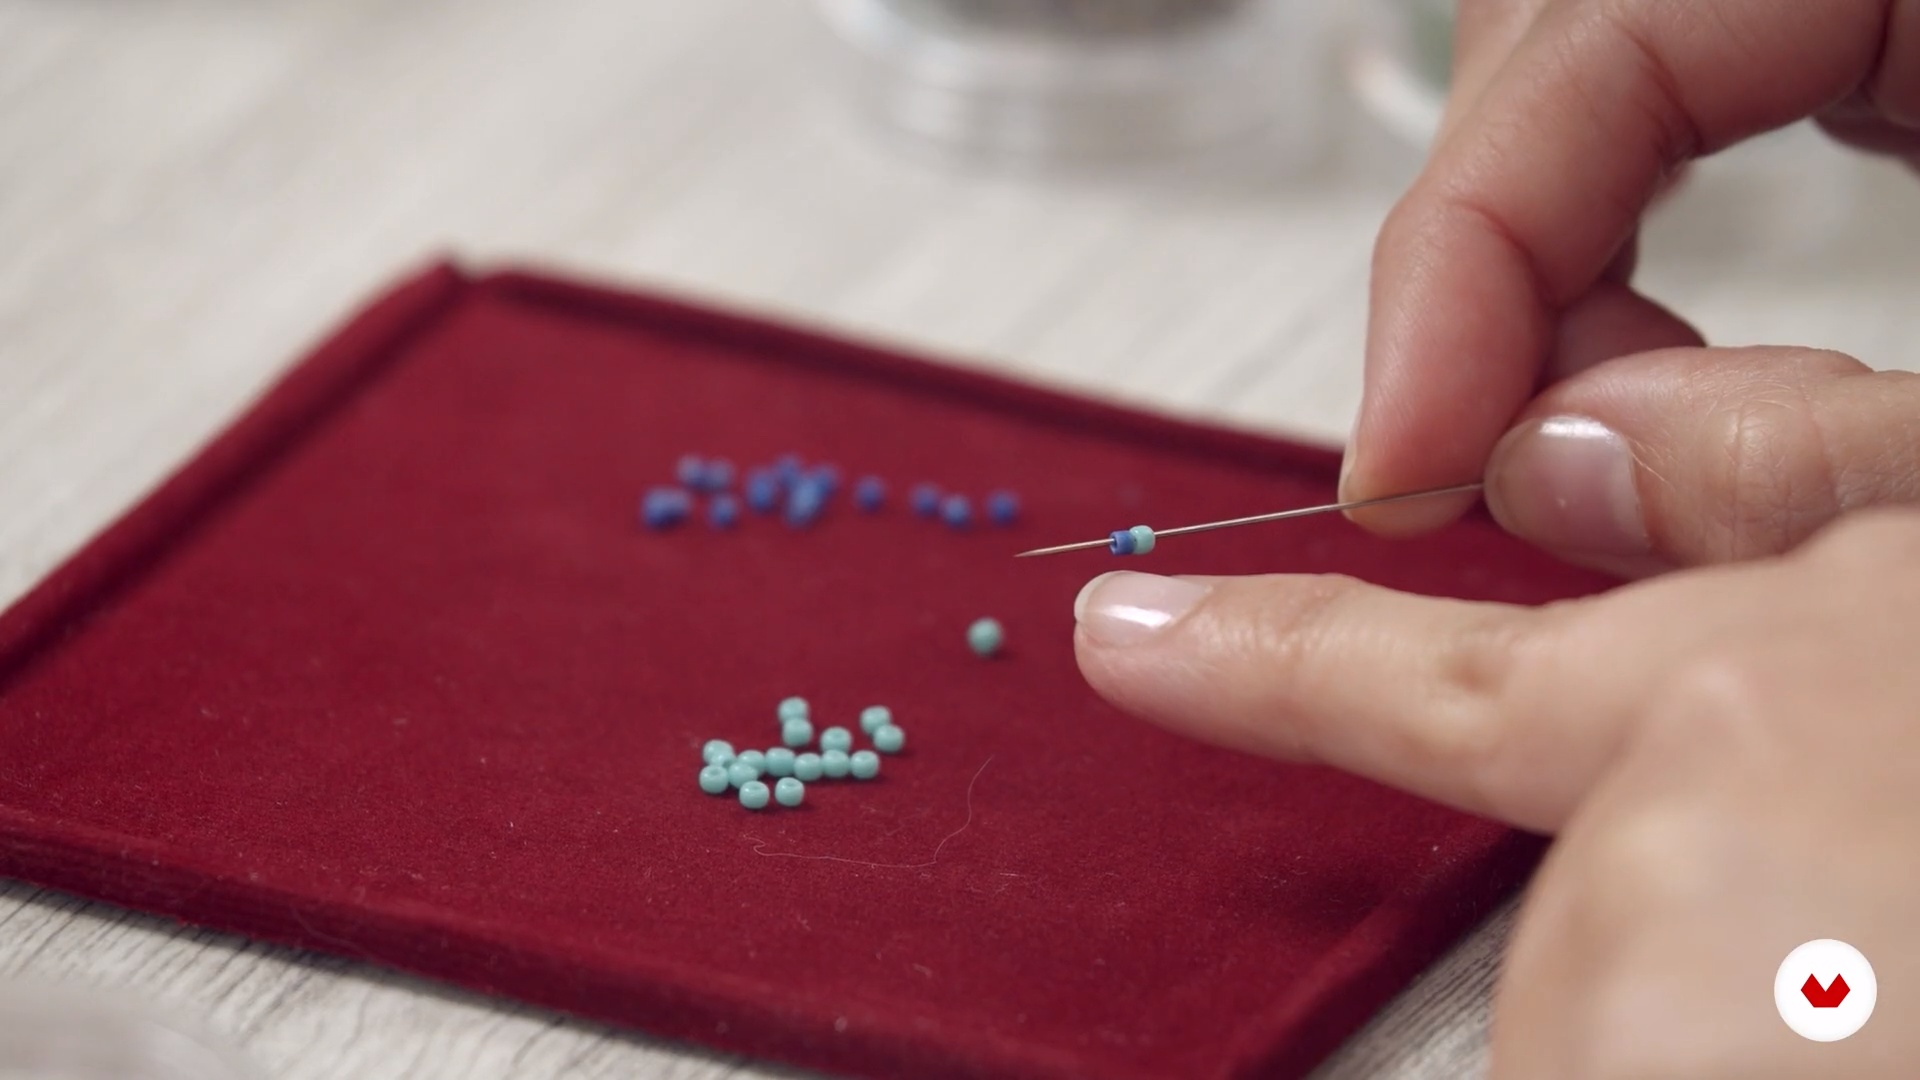
Before we get started, in this lesson I'm going to tell you about the materials you'll need to complete the final project for this course.
6m
 5
5Tools
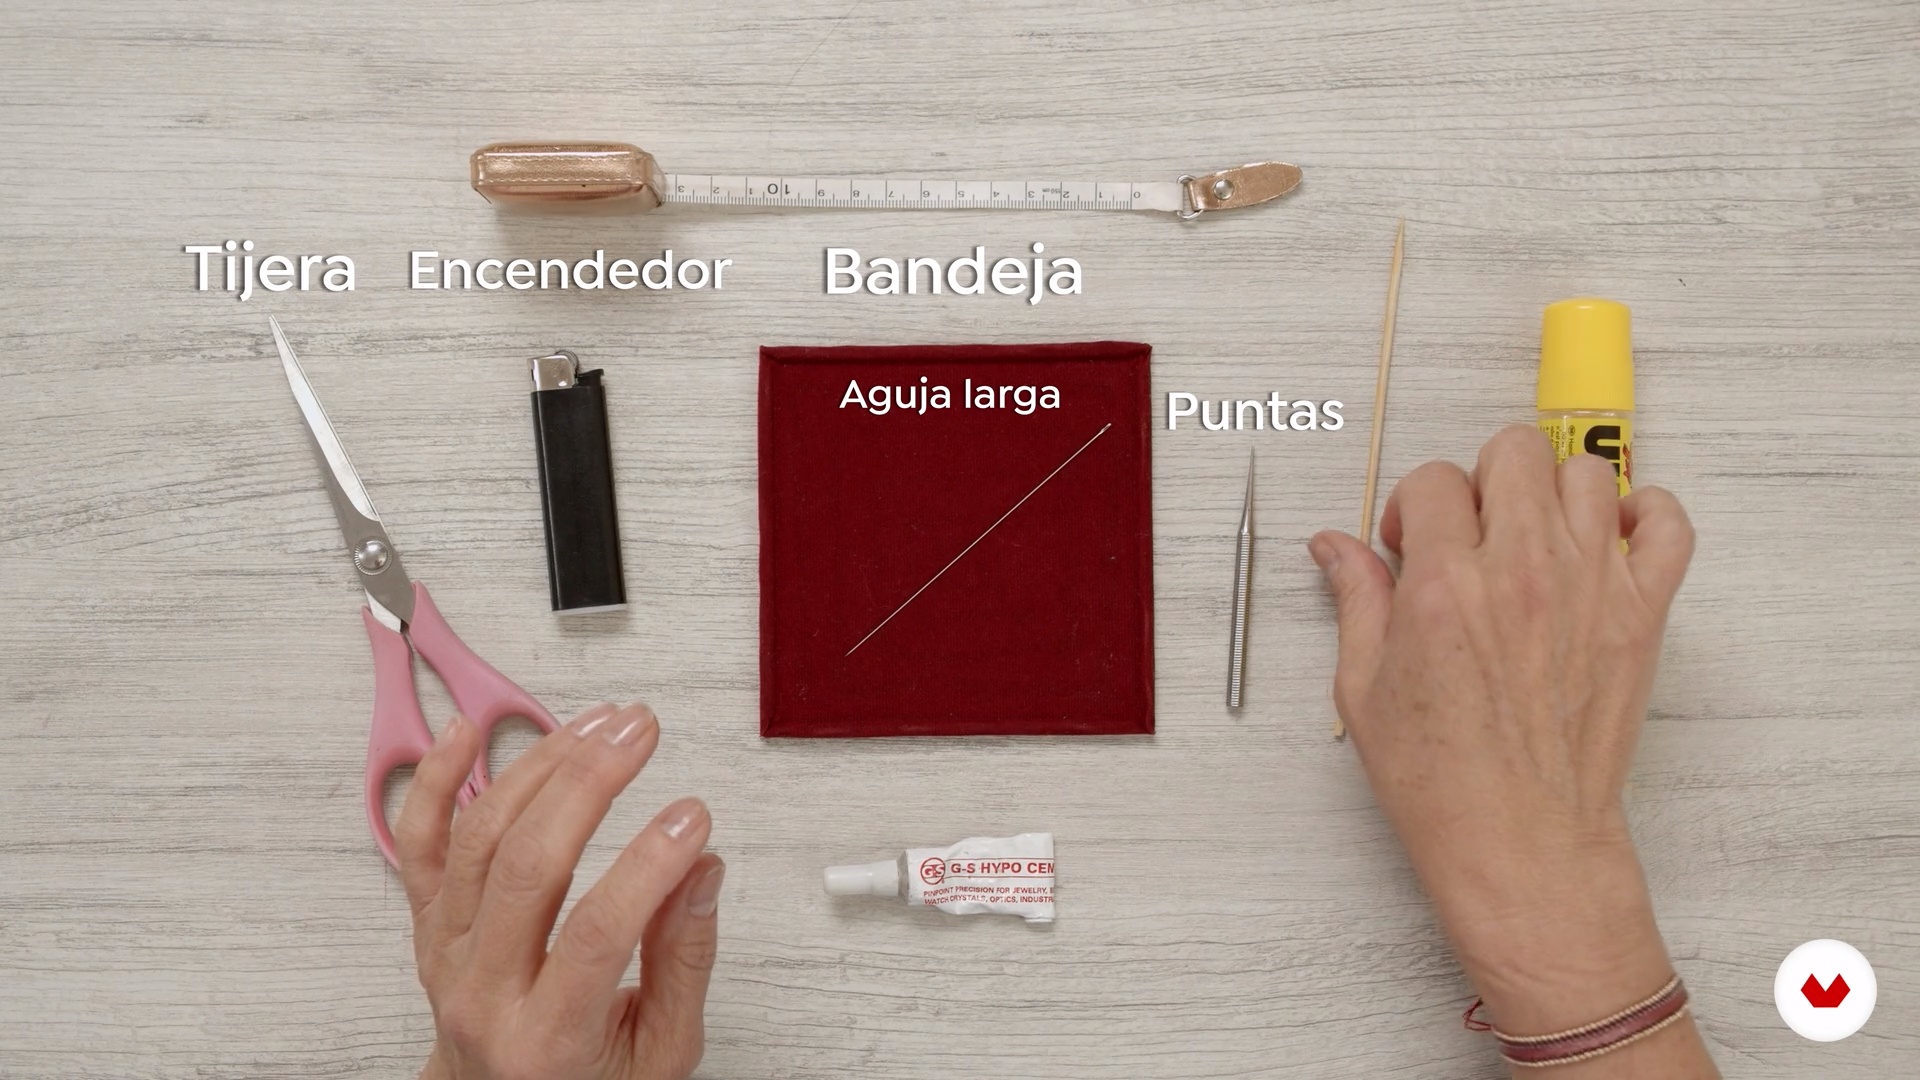
In this lesson, we're going to show you the tools we're going to use to make the bracelet.
3m
 6
6Loom
In case you find it difficult to find a loom, in this lesson we will teach you how to make one using very easy-to-find materials.
2m
 7
7Color and shine
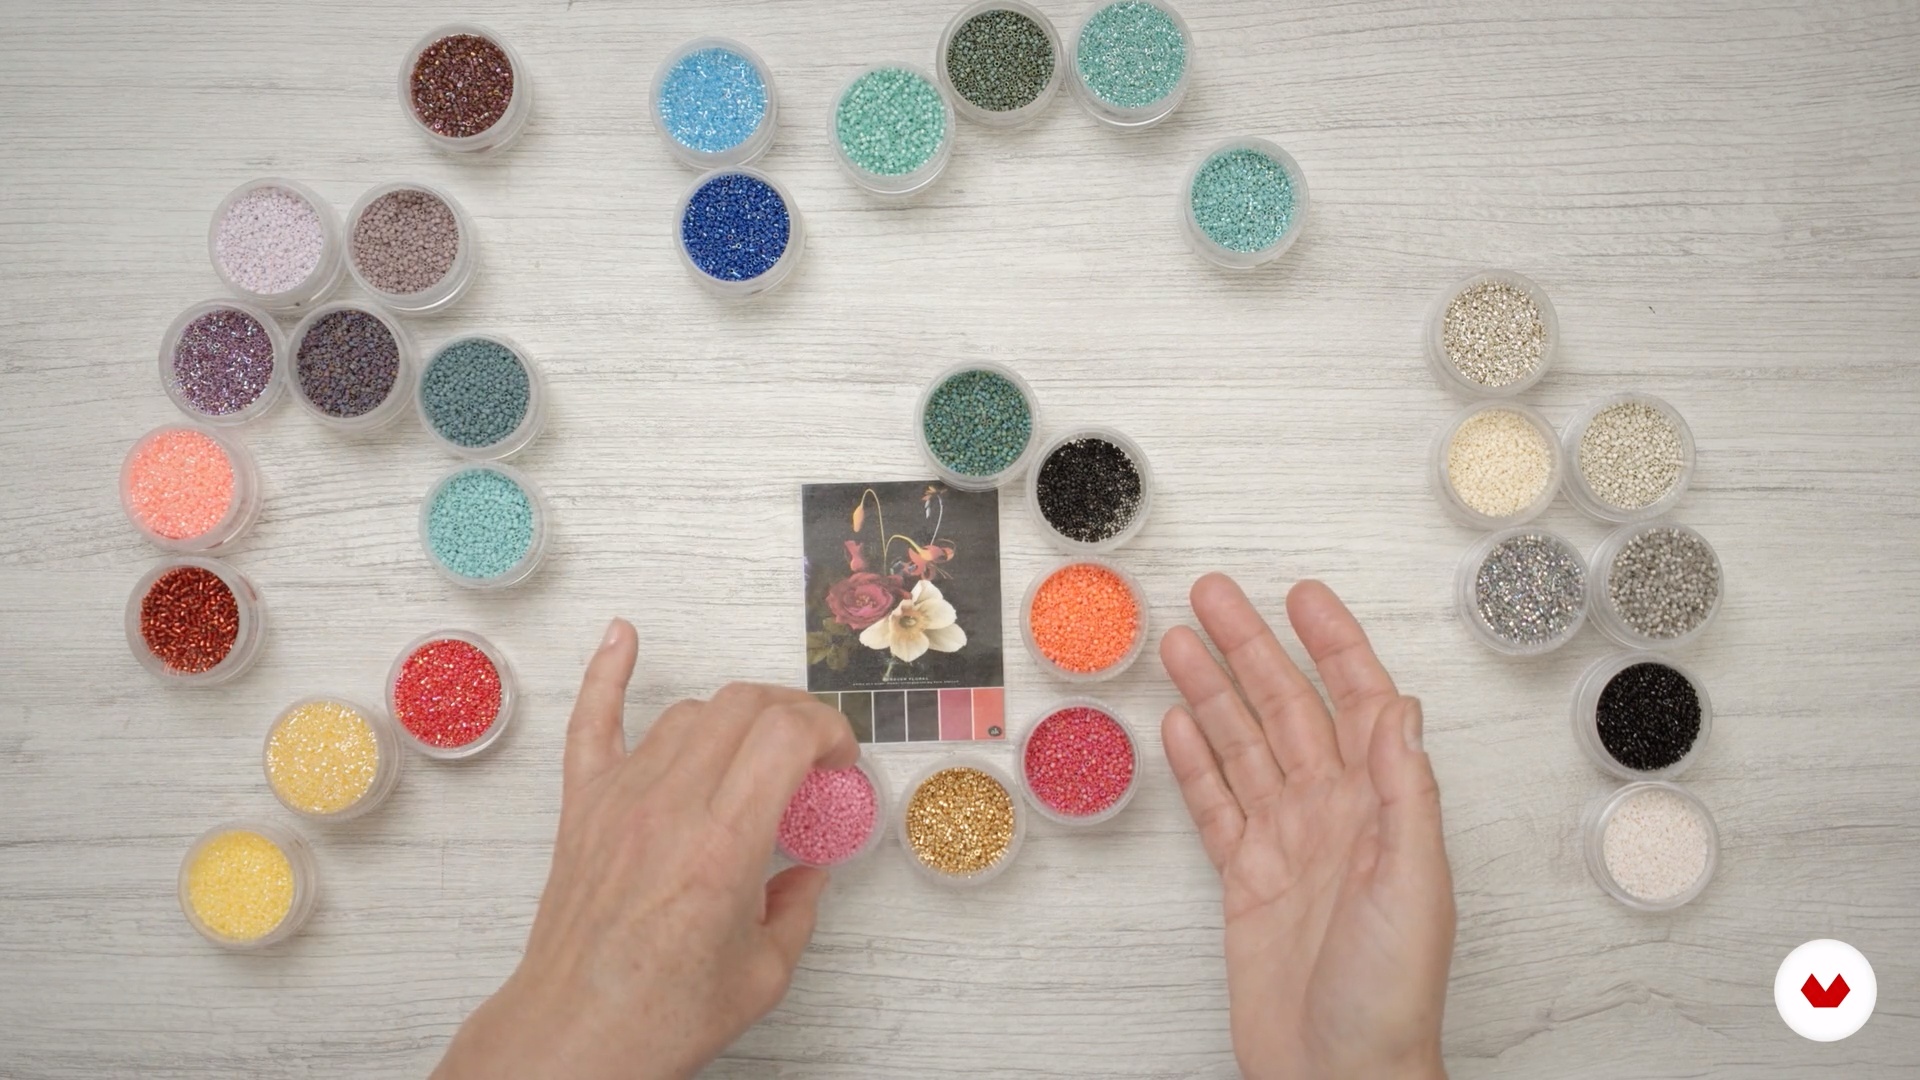
In this lesson, as a preliminary step to creating our designs, we're going to show you how we use color.
8m
 8
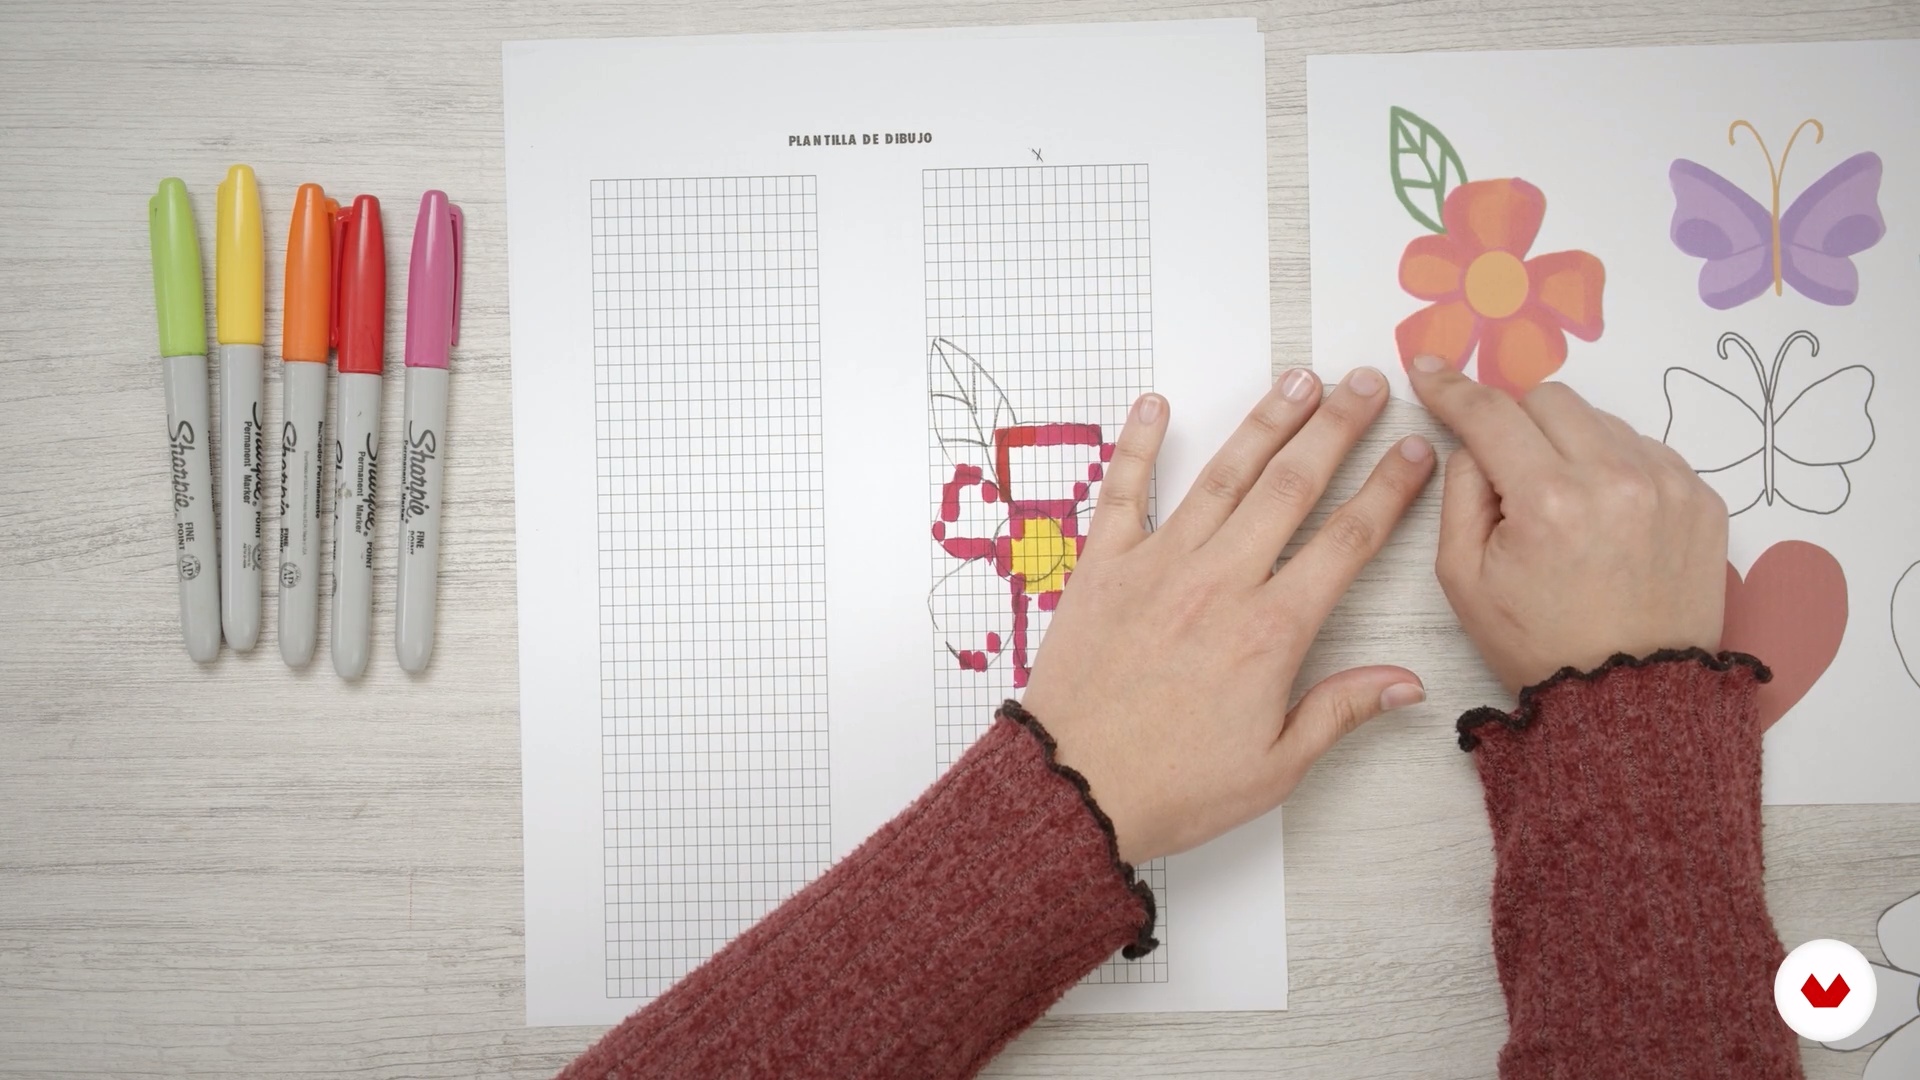
8Design from an image
In this lesson, we'll start with design, and we'll teach you how to do it using a specific image.
12m
 9
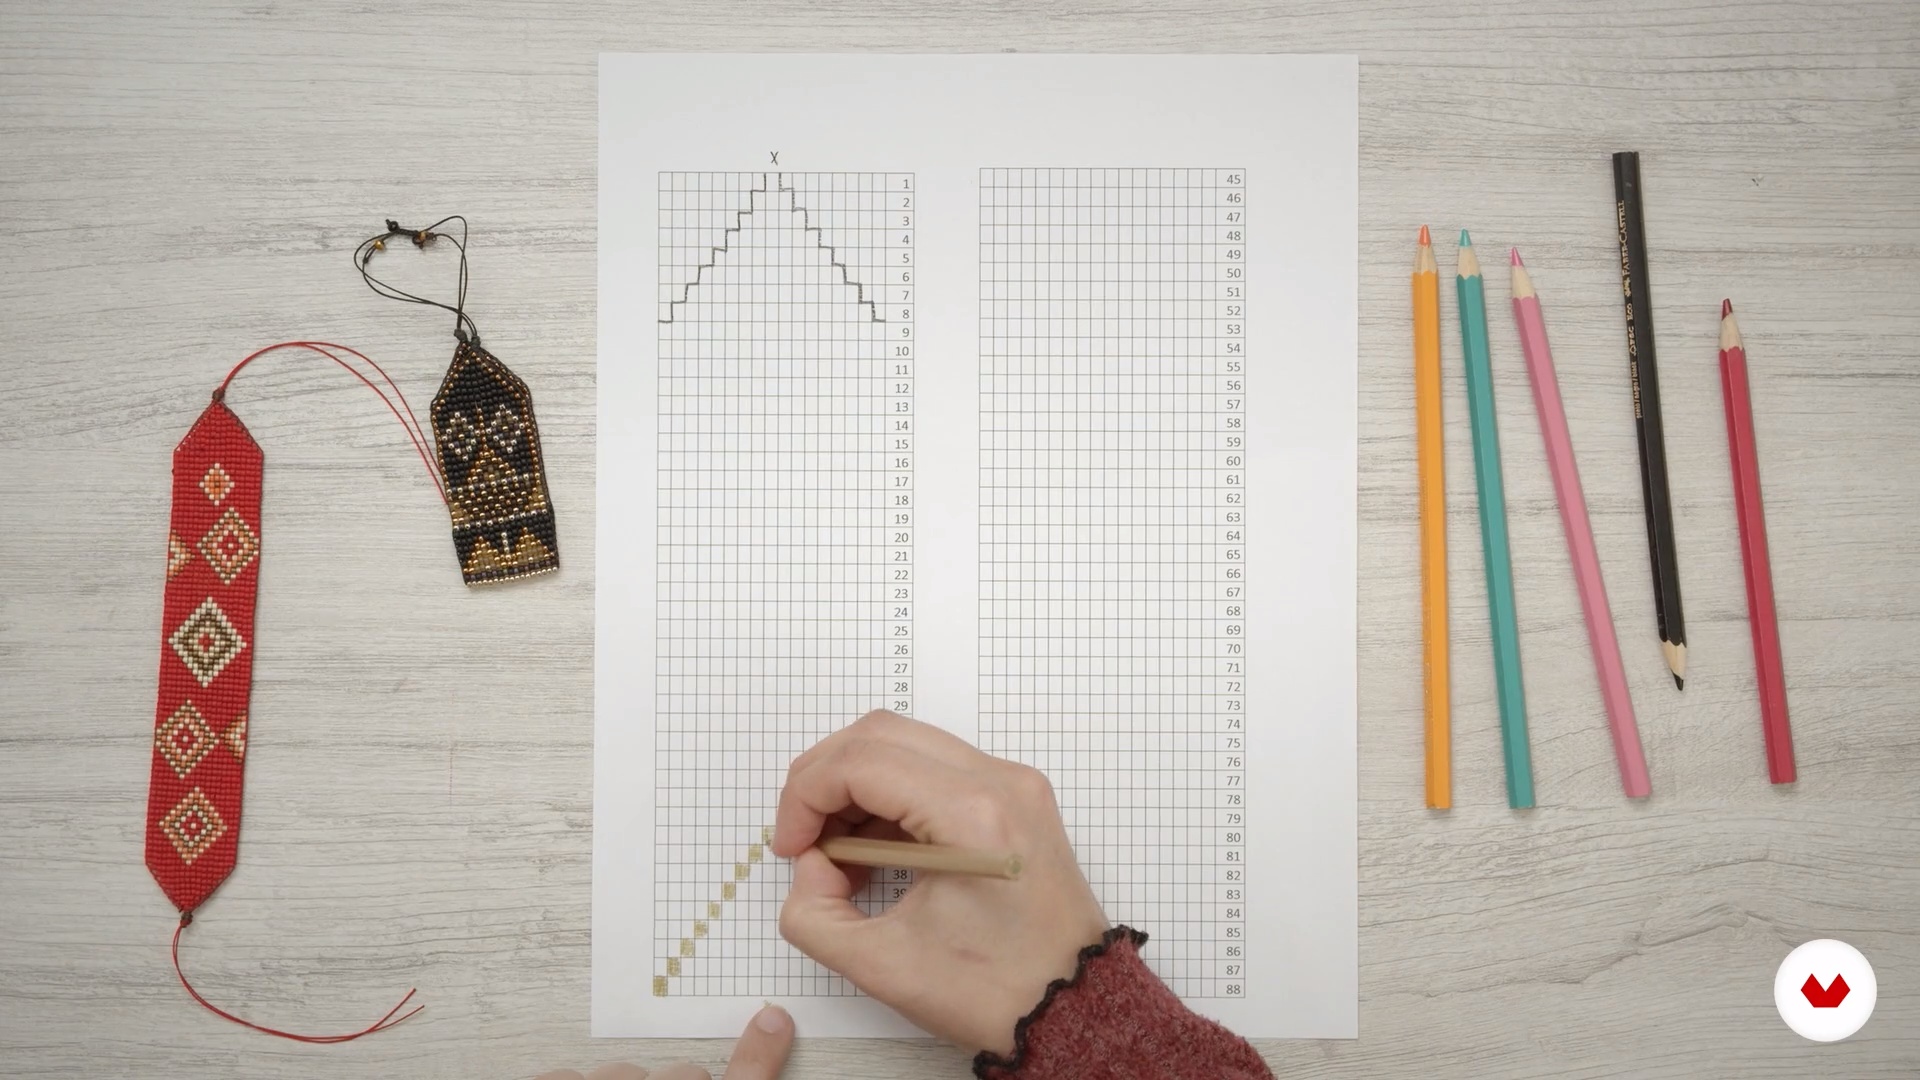
9Symmetrical design from template
In this lesson, we'll teach you another way to design your pattern, and it involves using diagonals and straight lines on a template.
7m
 10
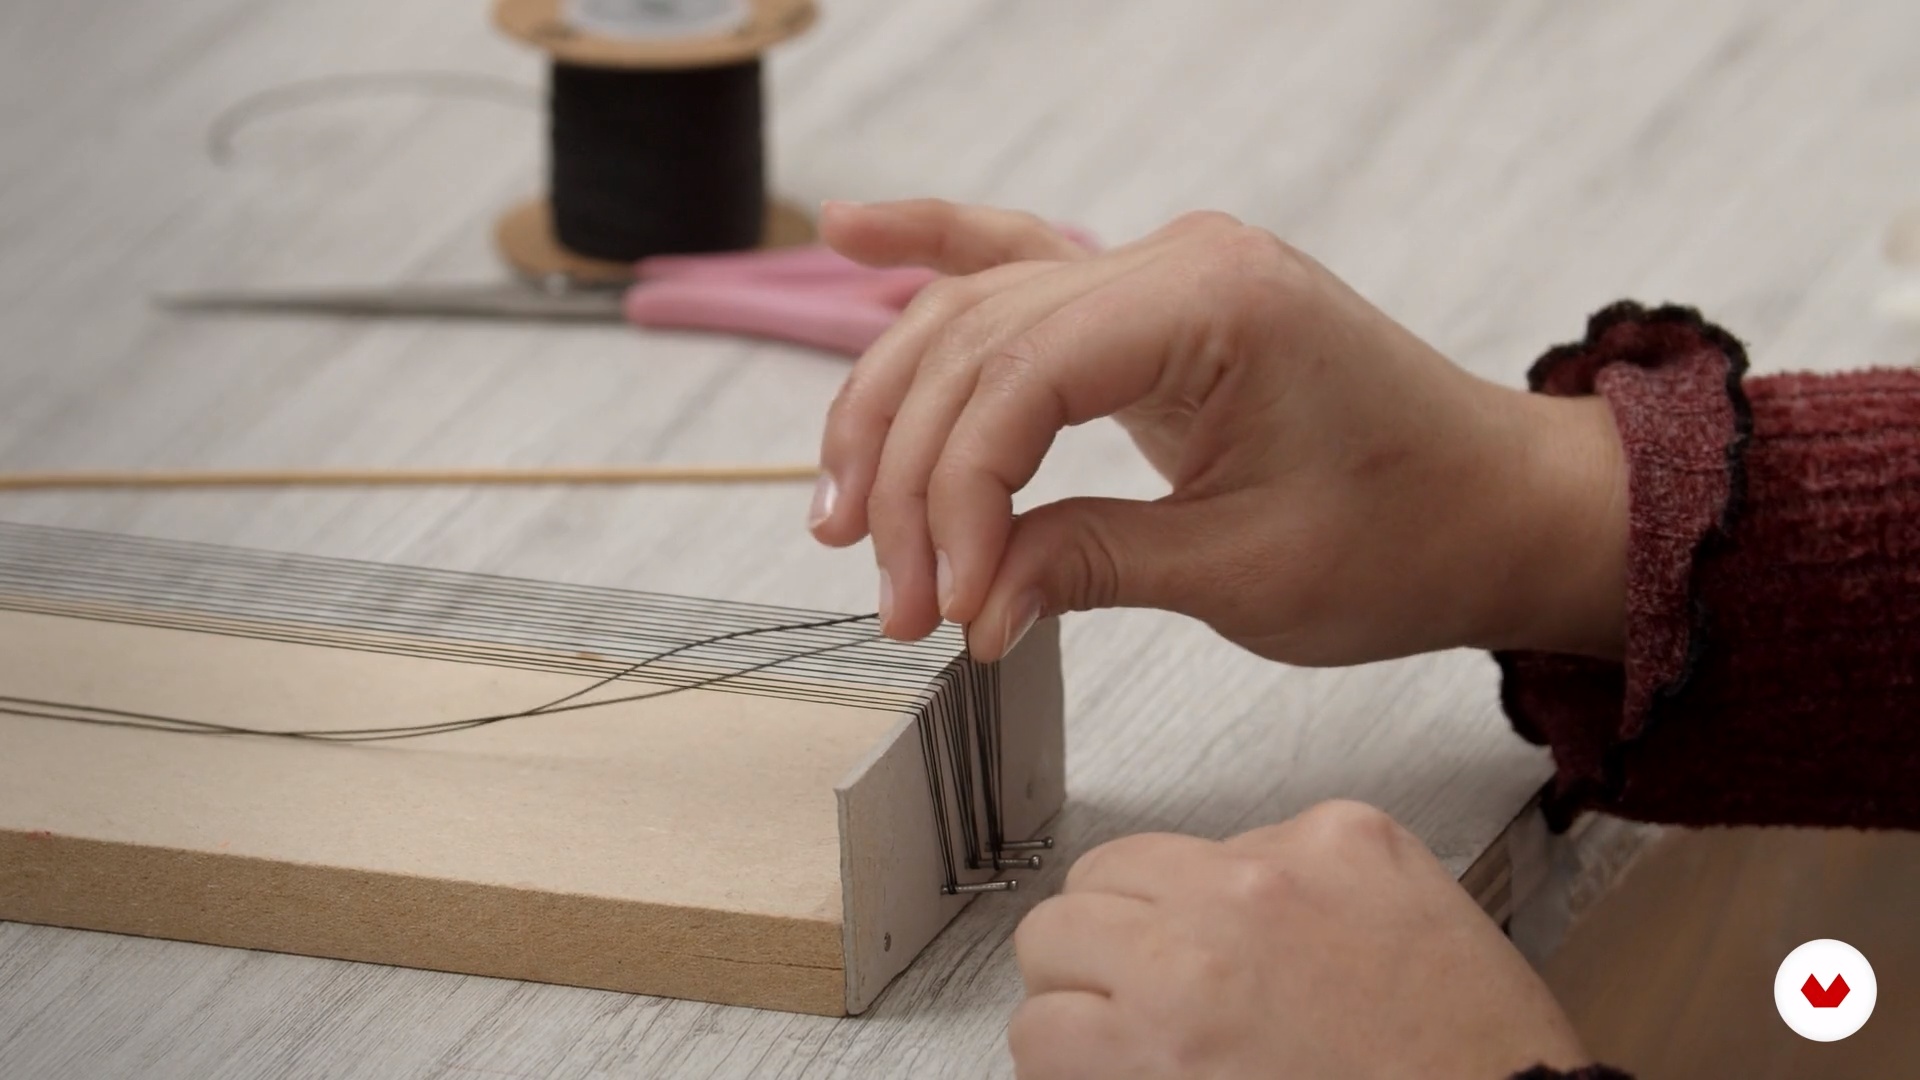
10Assembling the skeleton loom
In this lesson, we'll show you step-by-step how to create a loom that you can use in your final project.
13m
 11
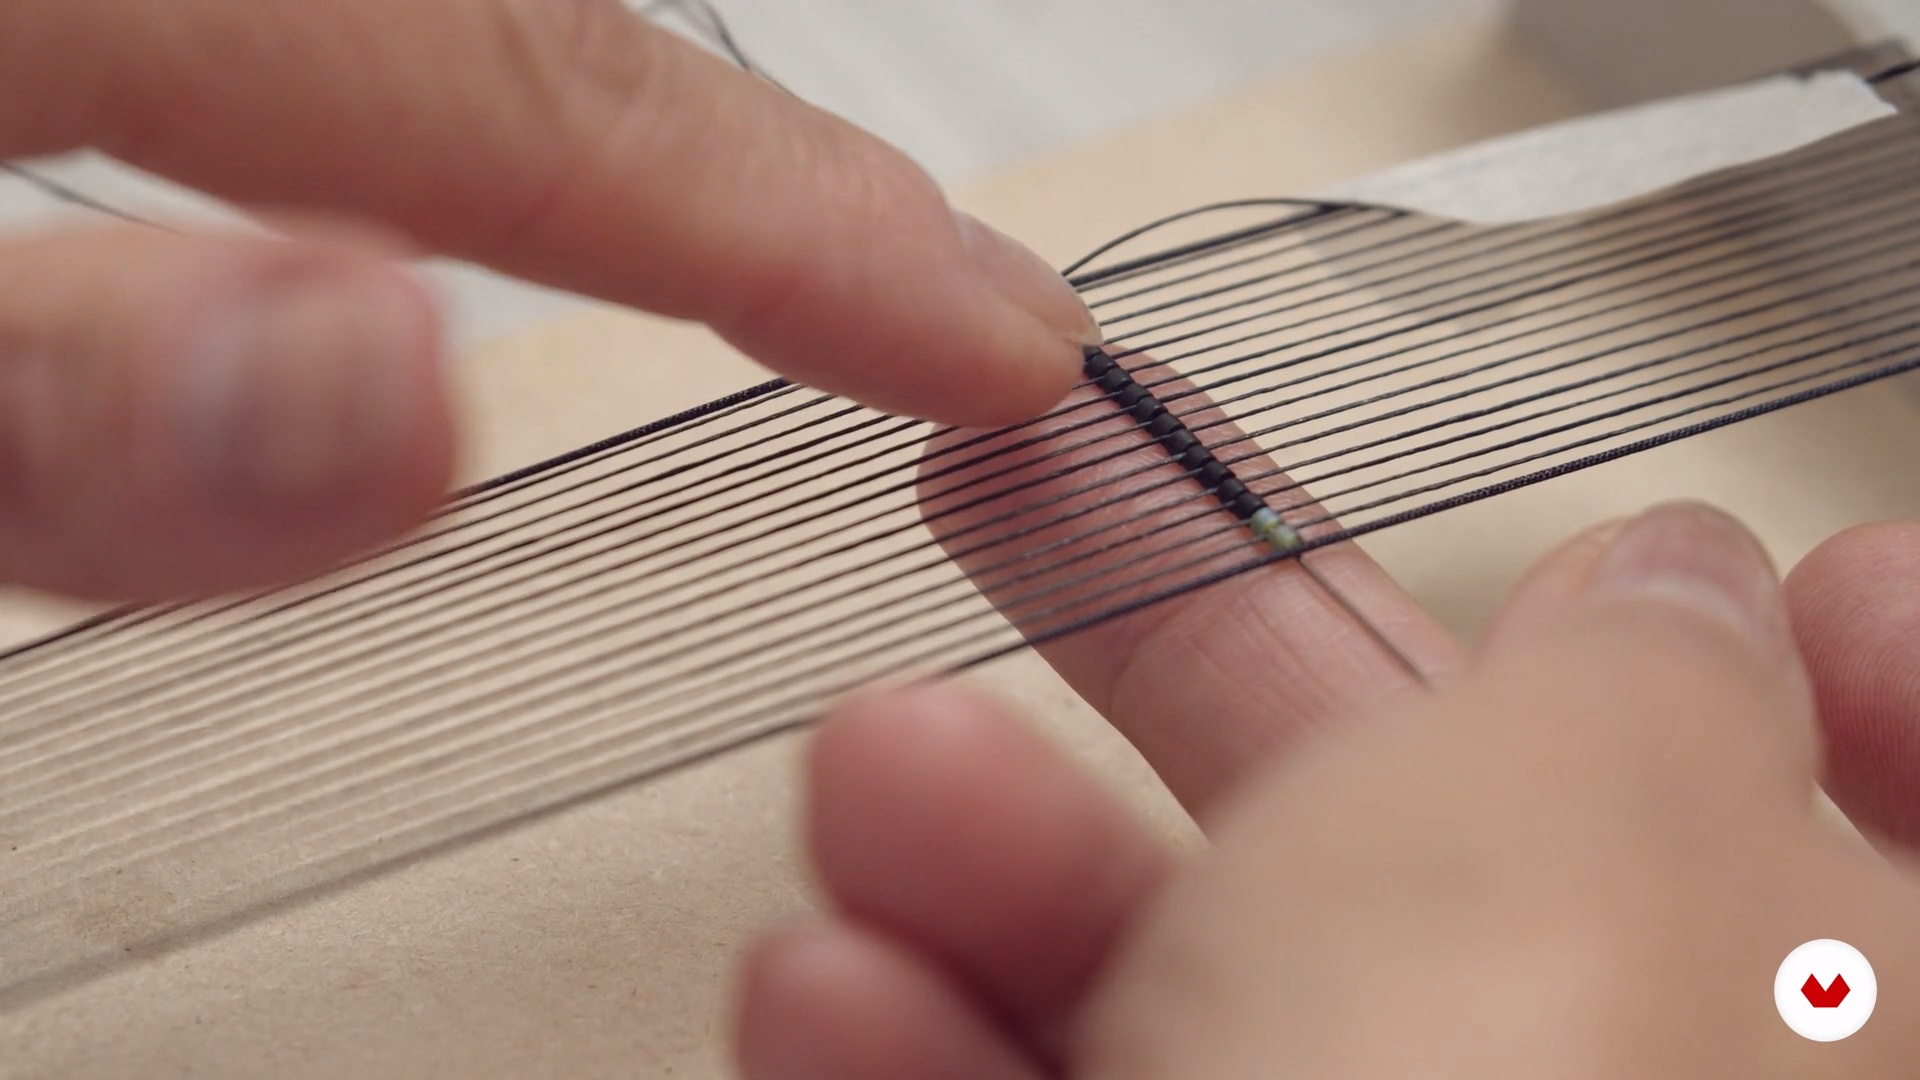
11Tissue
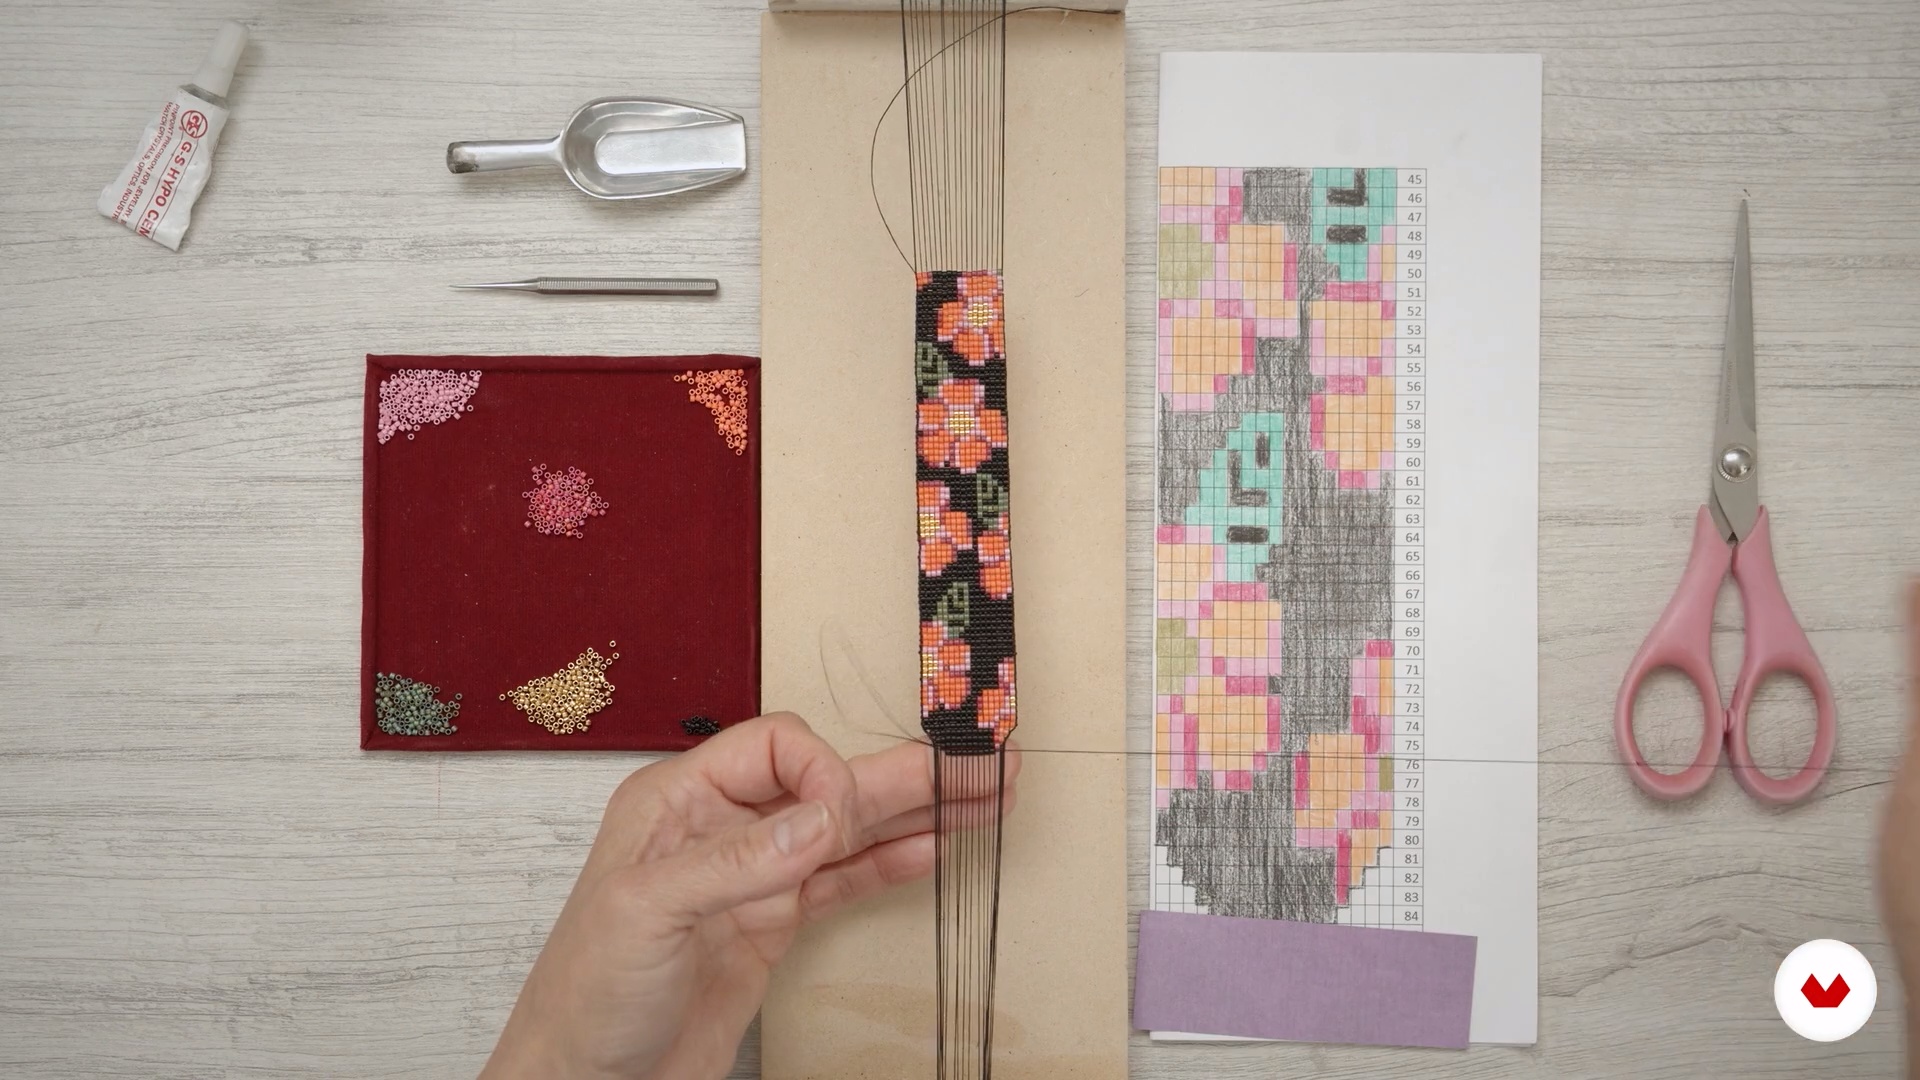
We're at the longest but most fun part! In this lesson, we'll show you how to weave your bracelet.
17m
 12
12Weaving completion
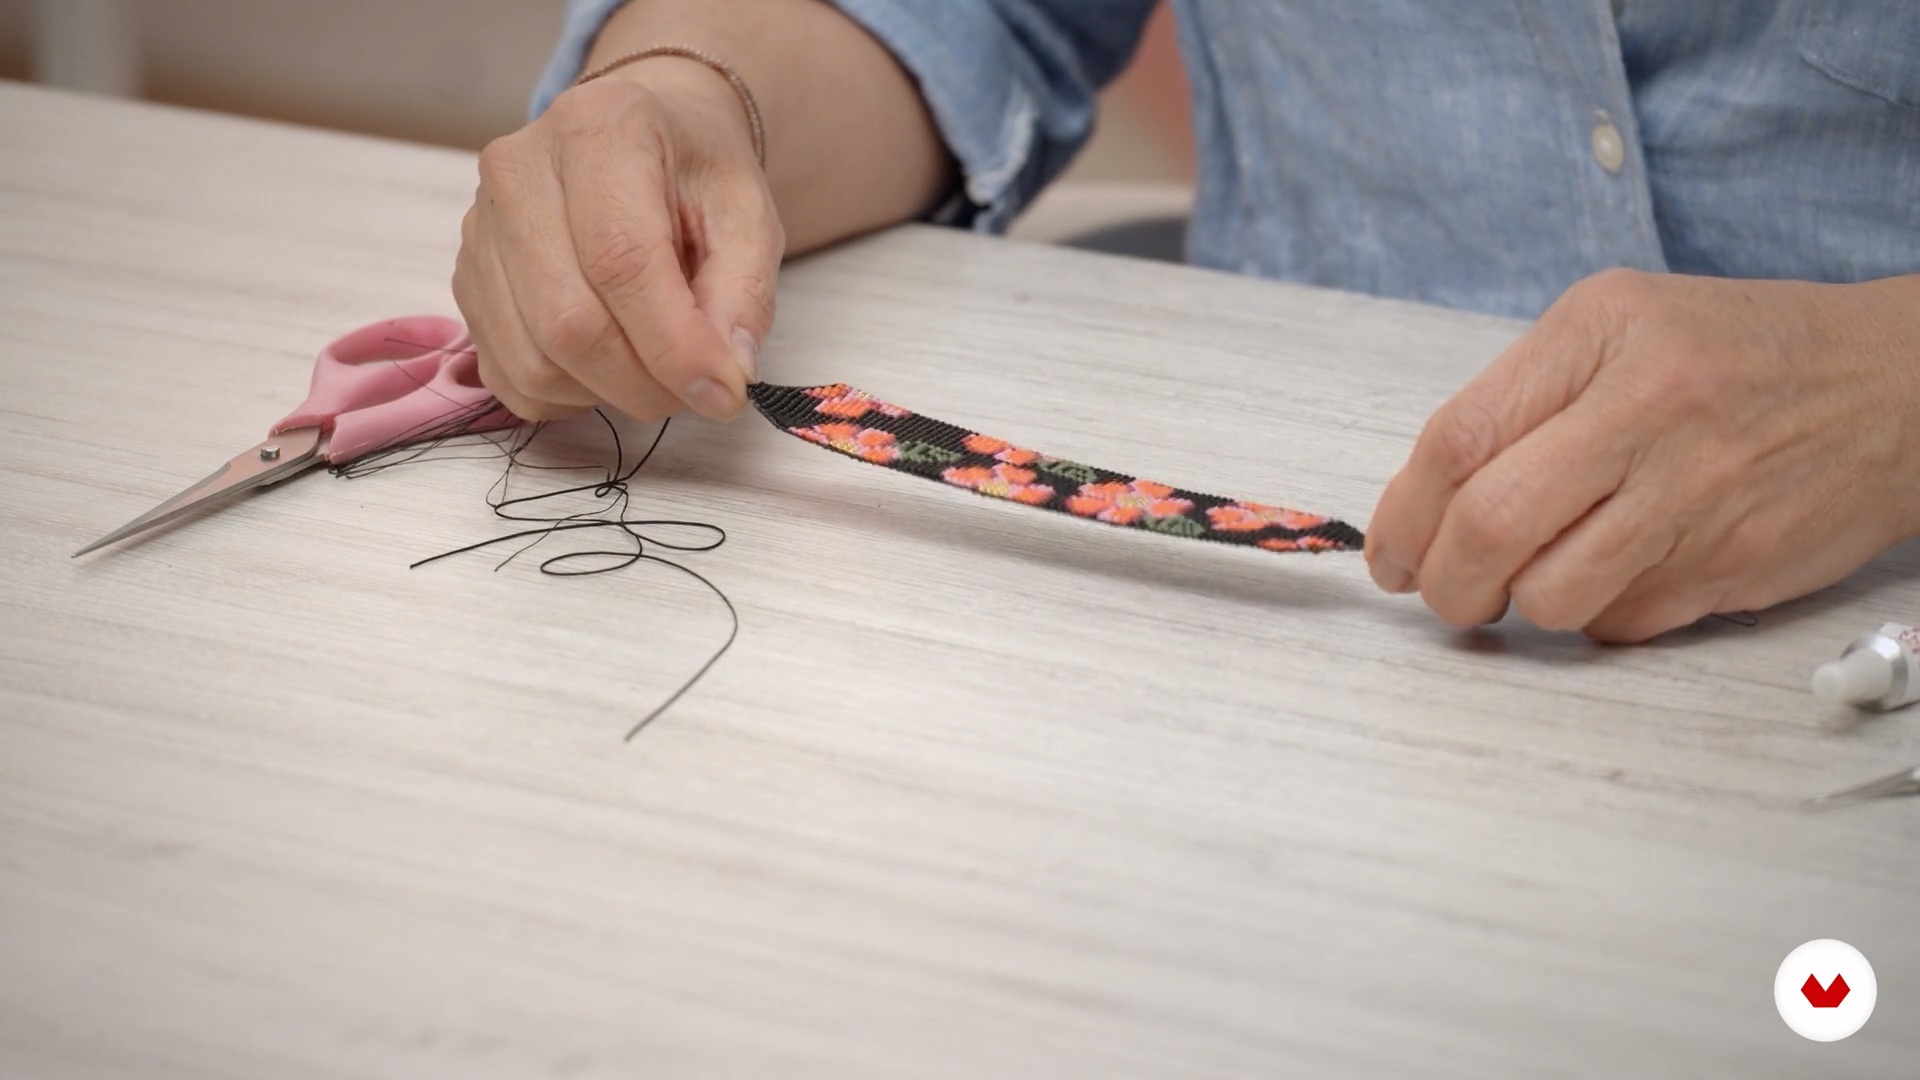
Now that we've finished weaving the main structure of the bracelet, in this lesson we'll show you how to weave the funnels, which are the final parts of the bracelet.
8m
 13
13Bracelet terminations
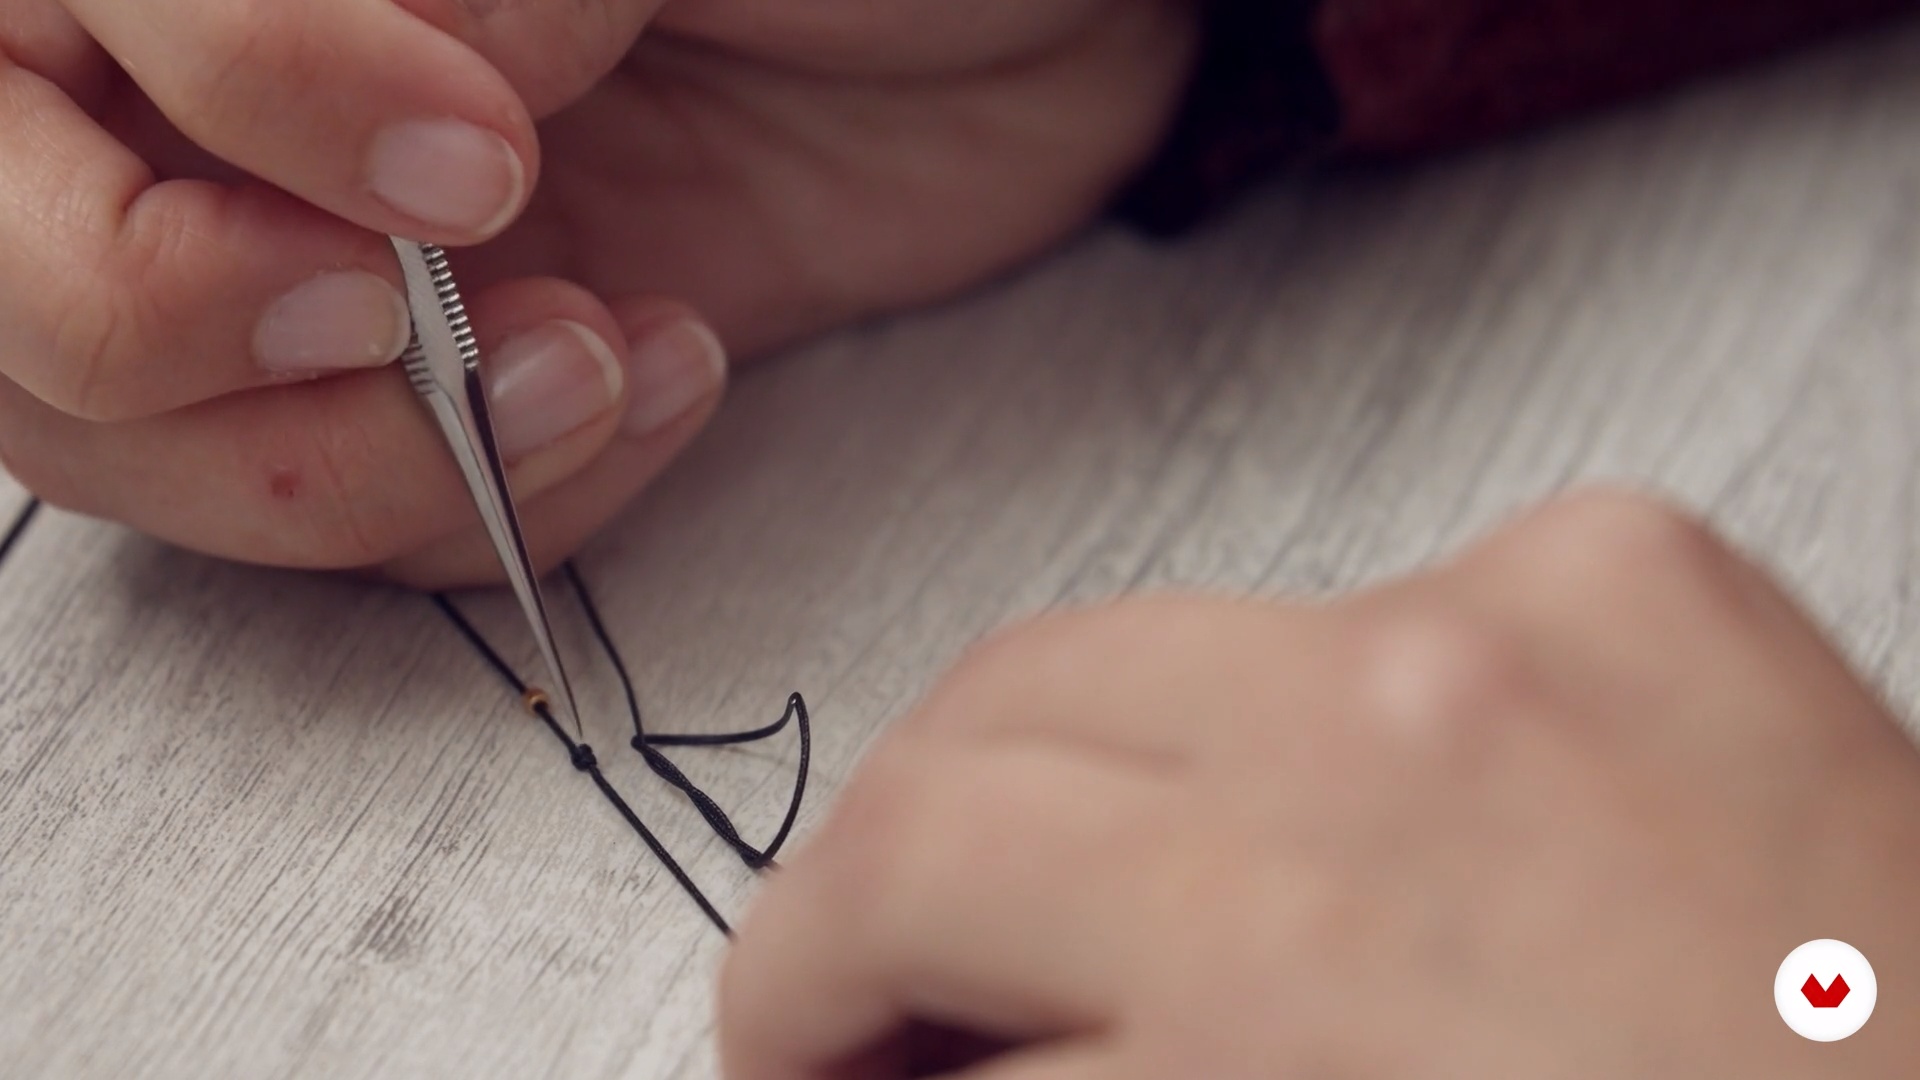
The final details are crucial to ensuring the quality of our project. In this lesson, we'll teach you how to finish the bracelet.
3m
 14
14Slipknot
This is the final stage of making the bracelet, and a very important one at that. We're almost done with the project!
11m
 15
15Learn to take care of your bracelet
In this lesson, we'll give you our best tips for caring for your bracelet in the future. We hope you find them helpful!
2m
 16
16Packaging
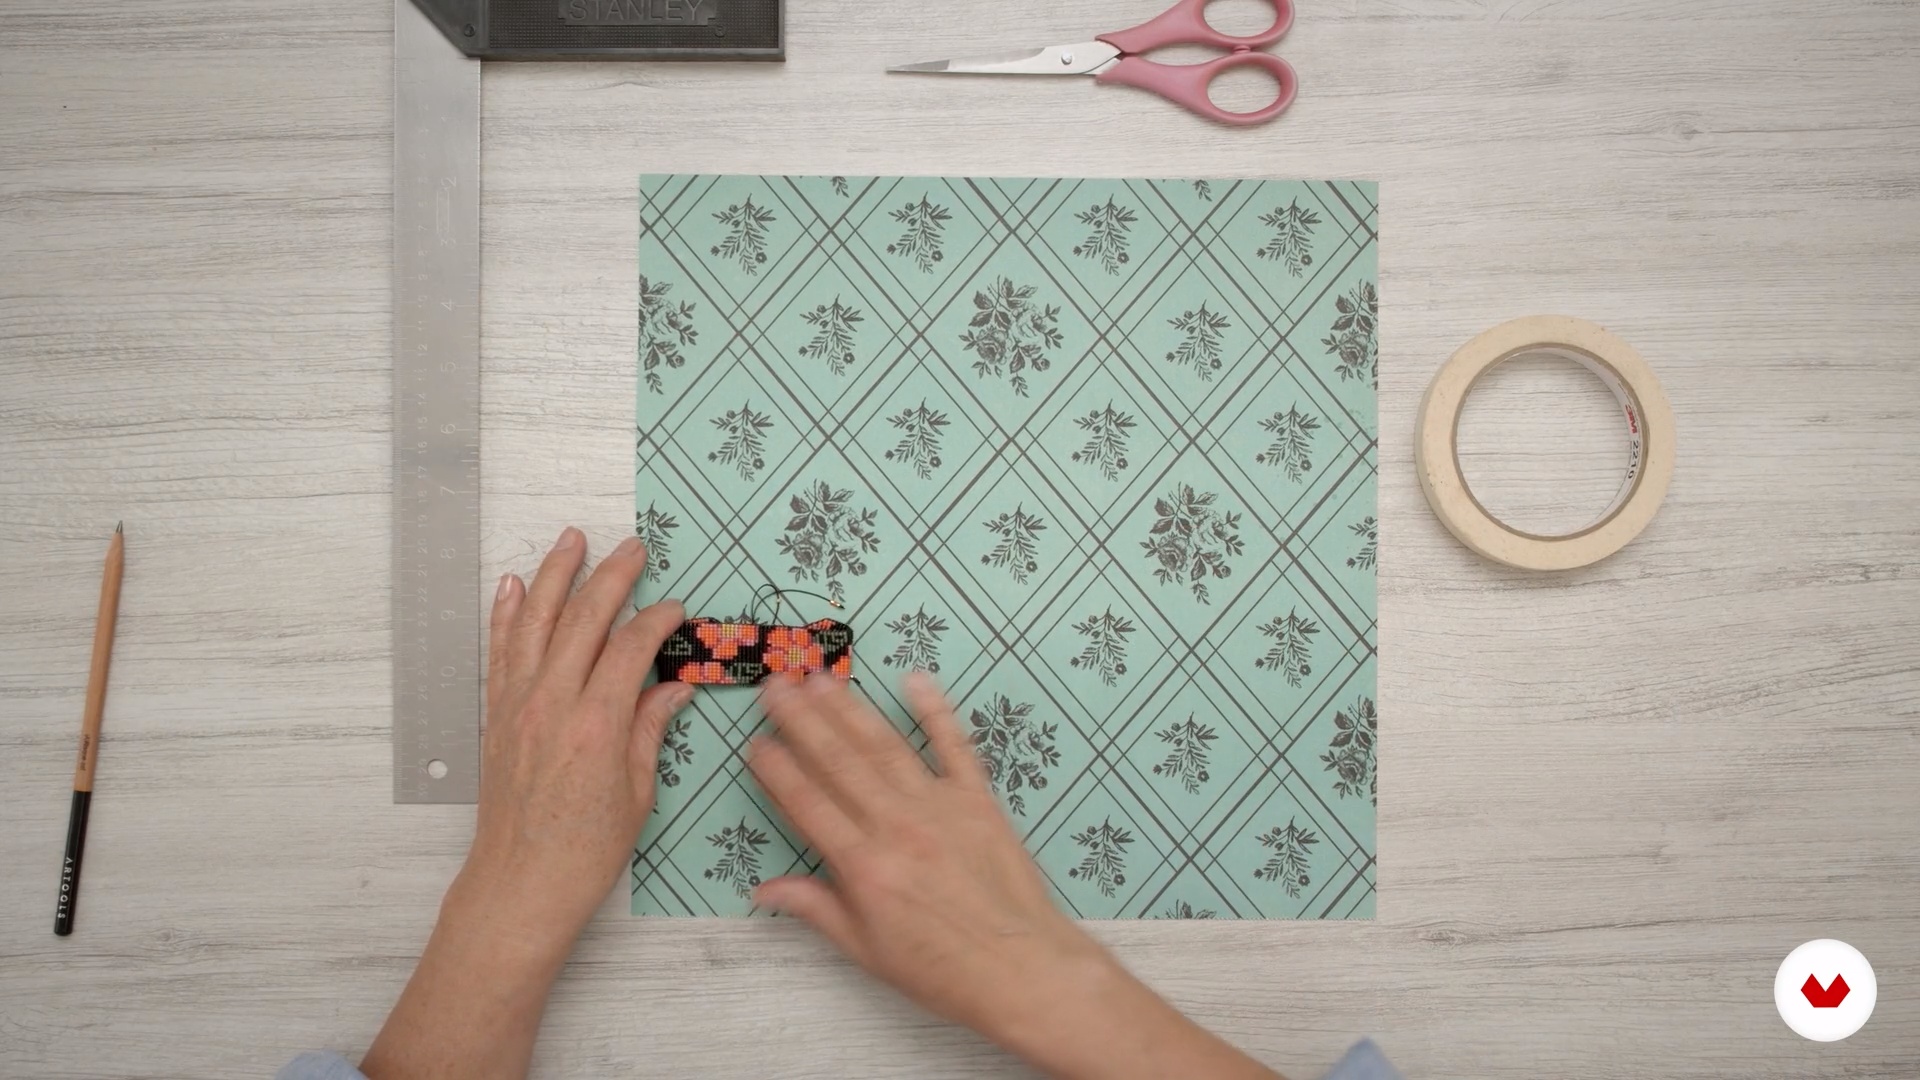
We're almost done with the course! In this lesson, we'll show you how to make a simple yet beautiful packaging for our bracelet.
5m
 3
3Introduction to contemporary and signature jewelry
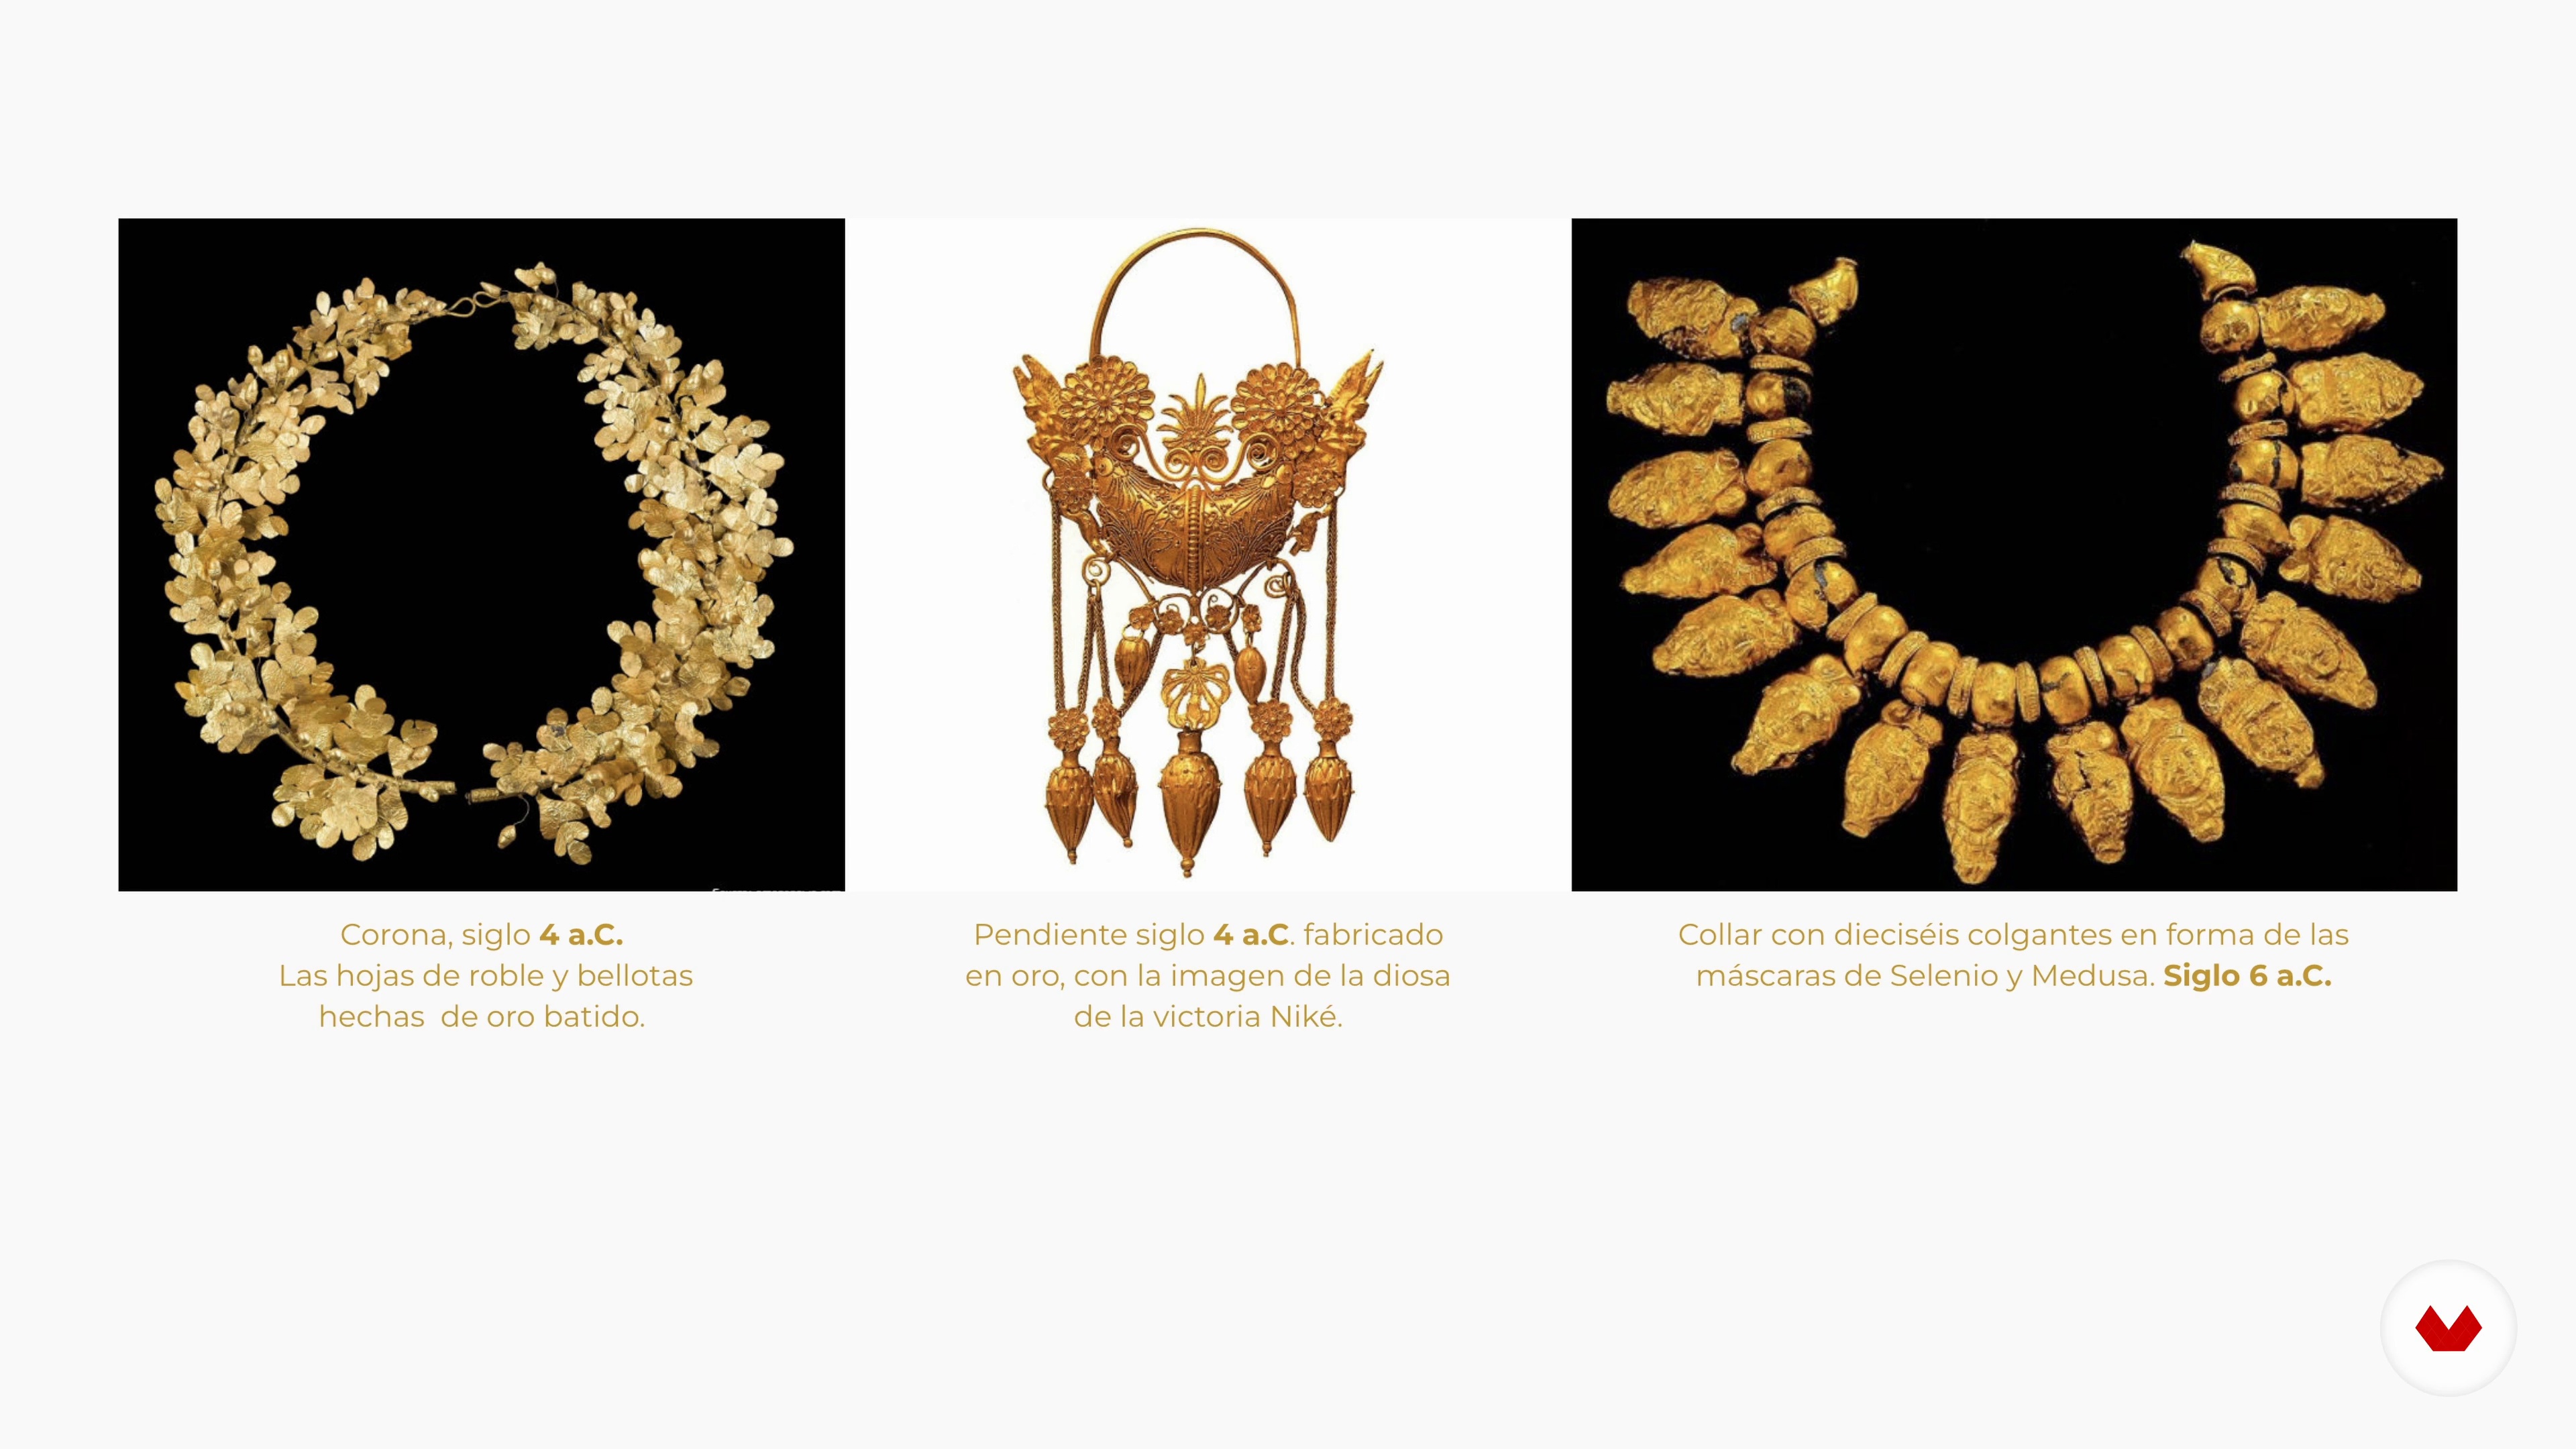
I invite you to unleash your creativity and explore the possibilities of giving unused textiles a new lease on life, transforming them into "new luxuries" or "luxuries of the future." But first, it's important to take a historical look at jewelry throughout time.
14m
 4
4Crisis in the textile industry
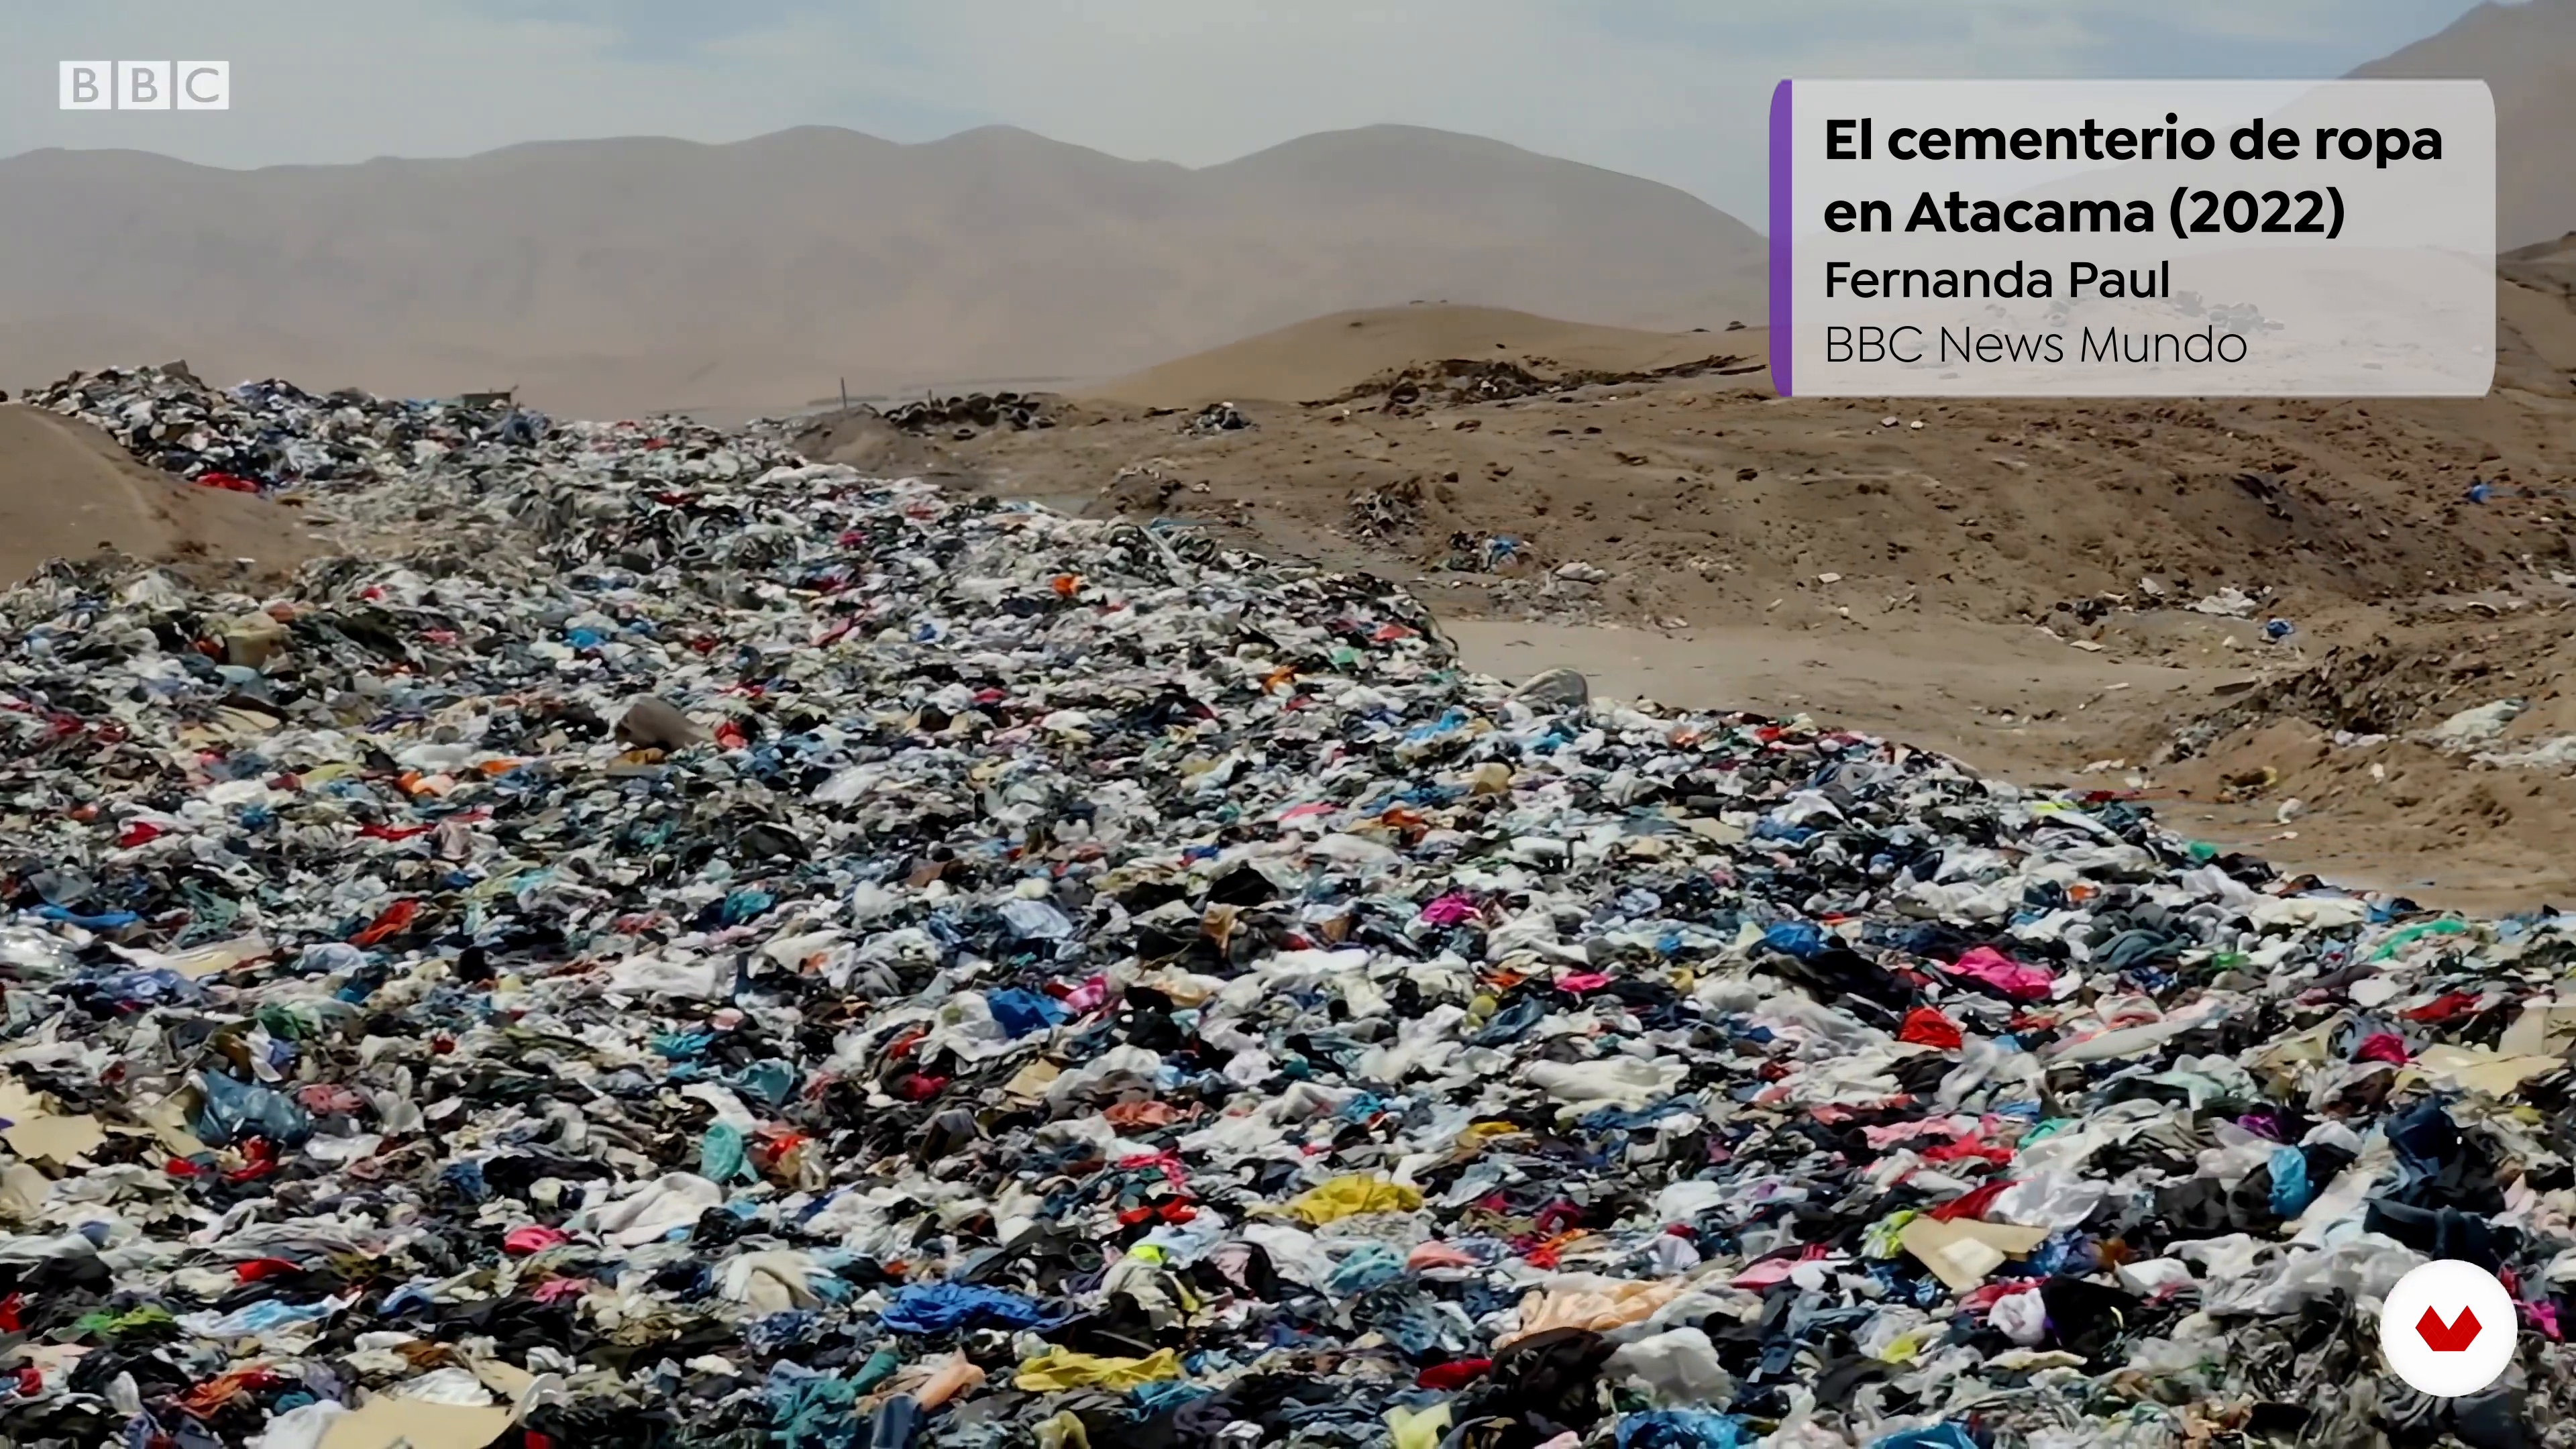
The textile industry is the second most polluting industry after oil. It's a huge environmental problem, and from a social and political perspective, it has an enormous cost. In this lesson, I'll talk about this issue. I'll also explain what local design is all about through examples.
6m
 5
5Materials and Tools
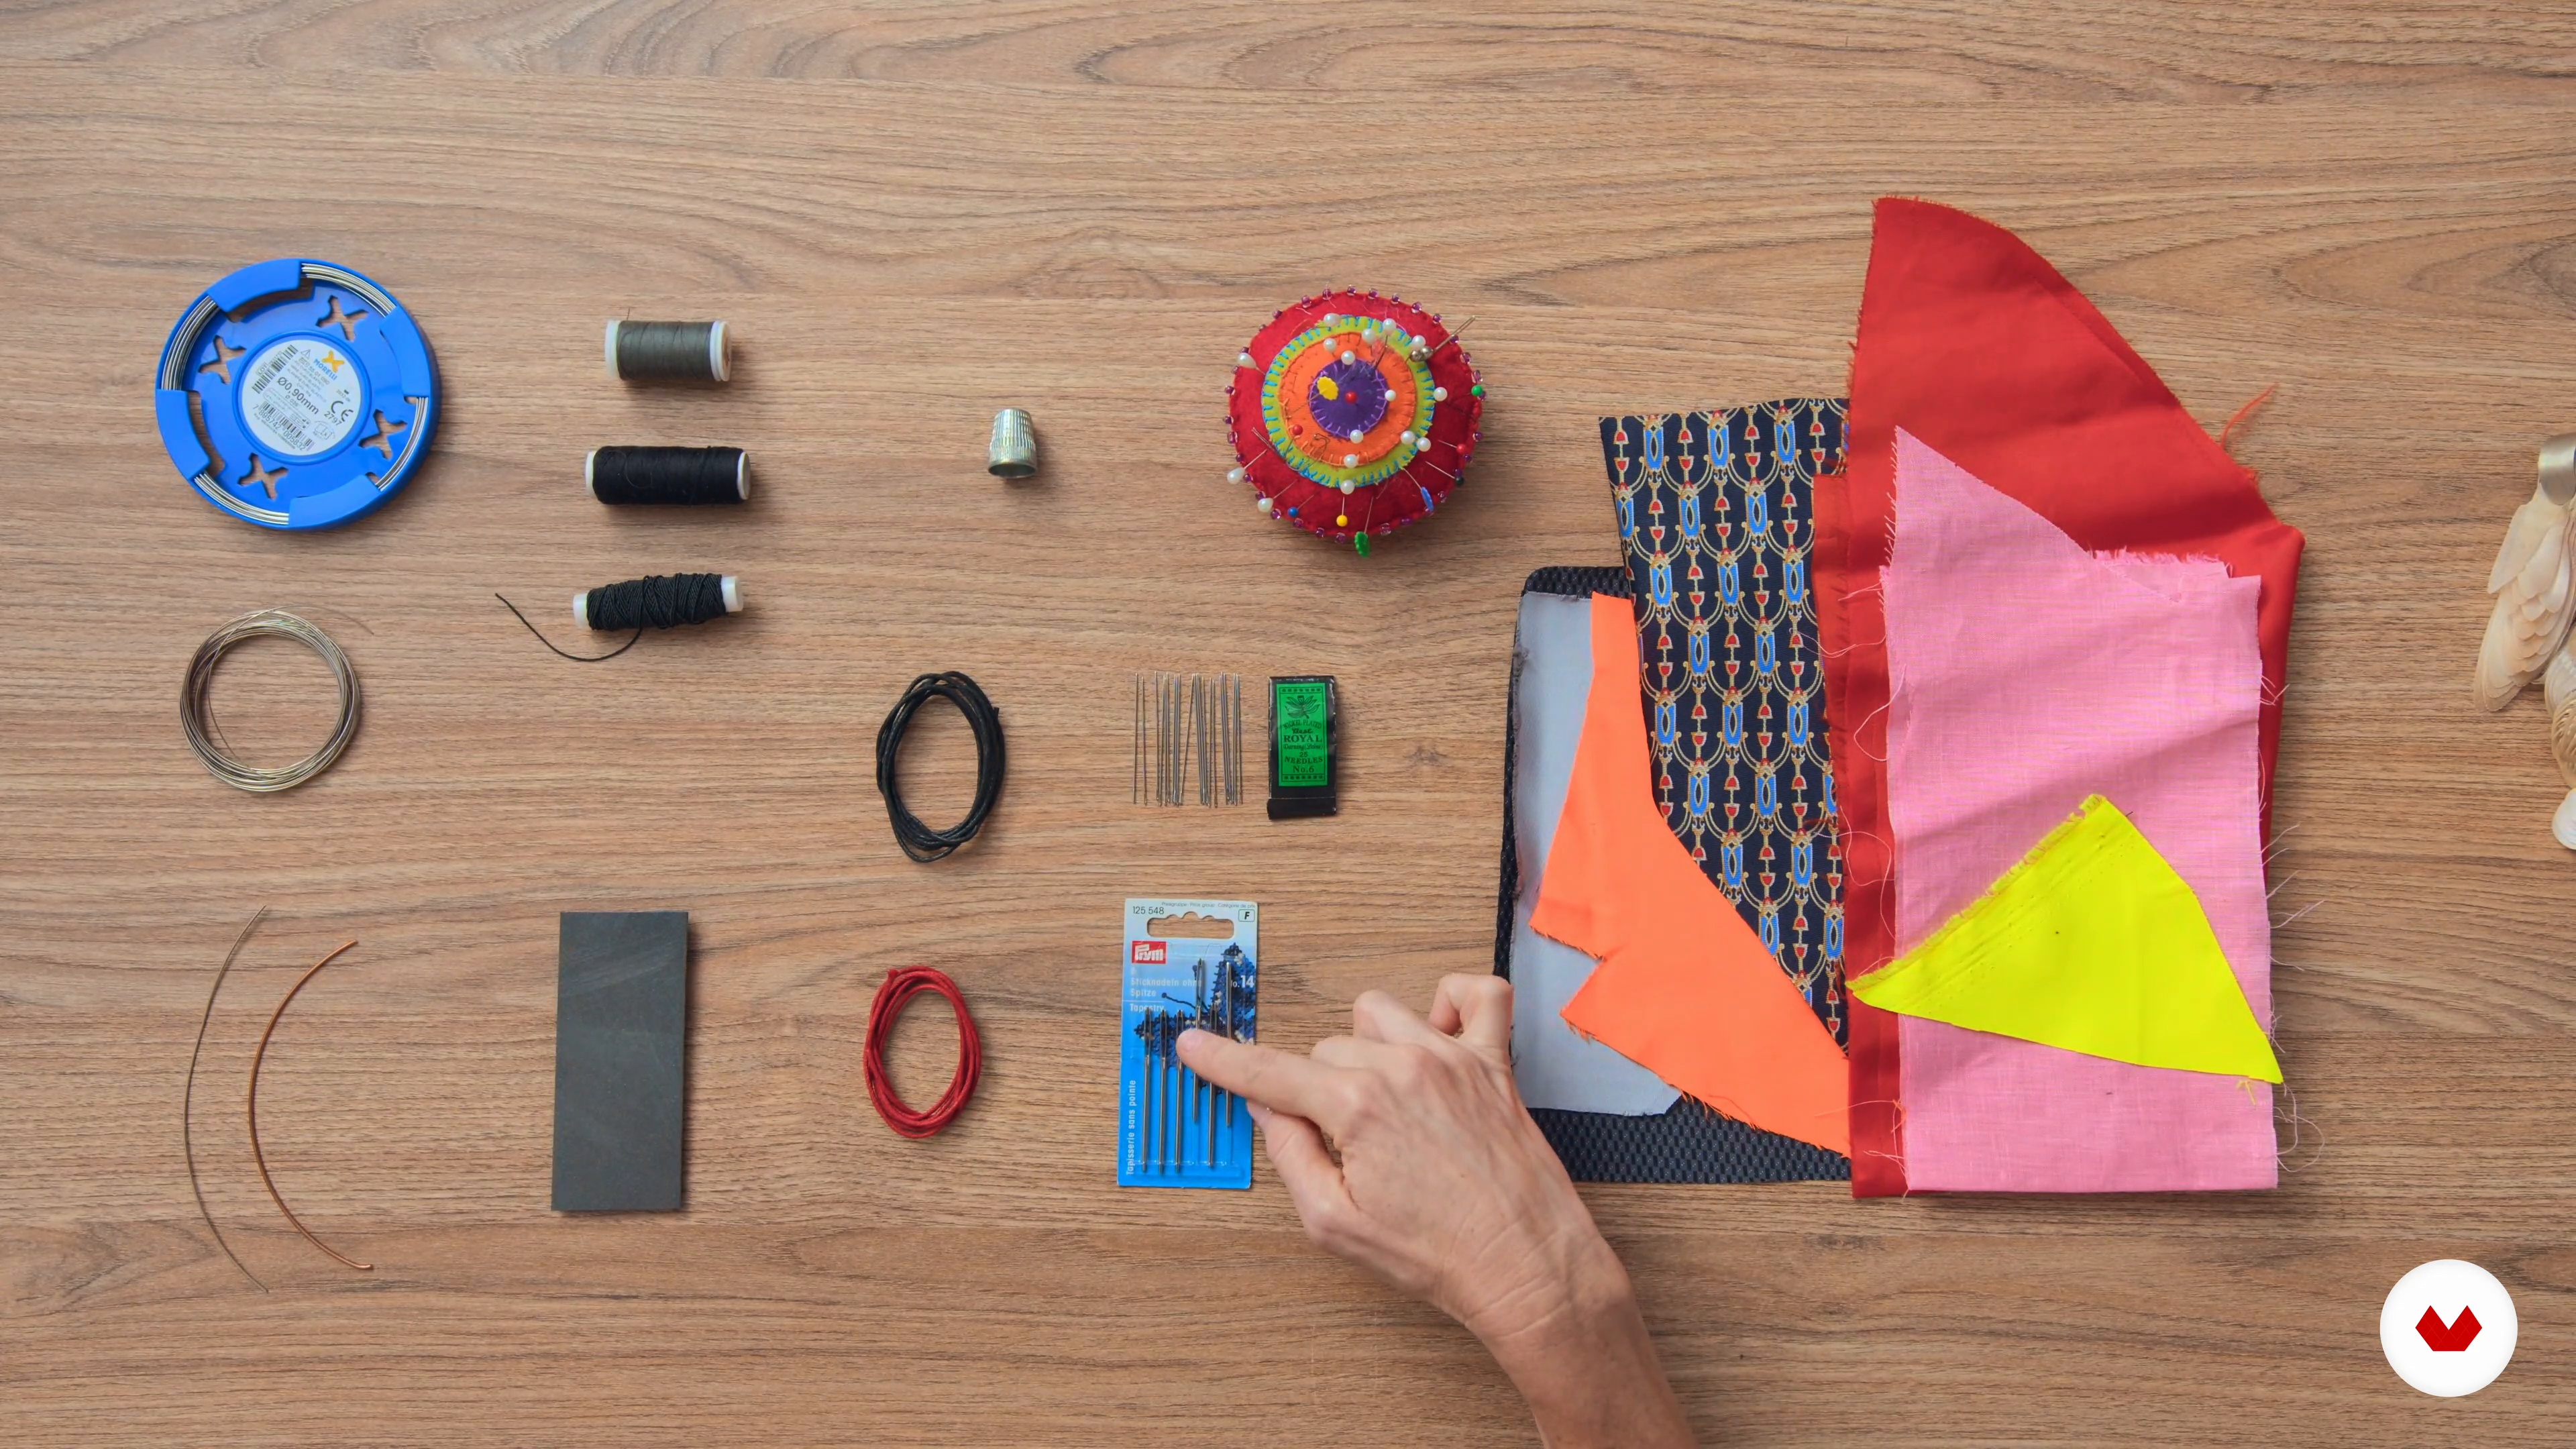
Now you'll see the tools you'll use to create your signature jewelry pieces. You'll also learn about some suggested fabrics for the project, their composition, and characteristics.
8m
 6
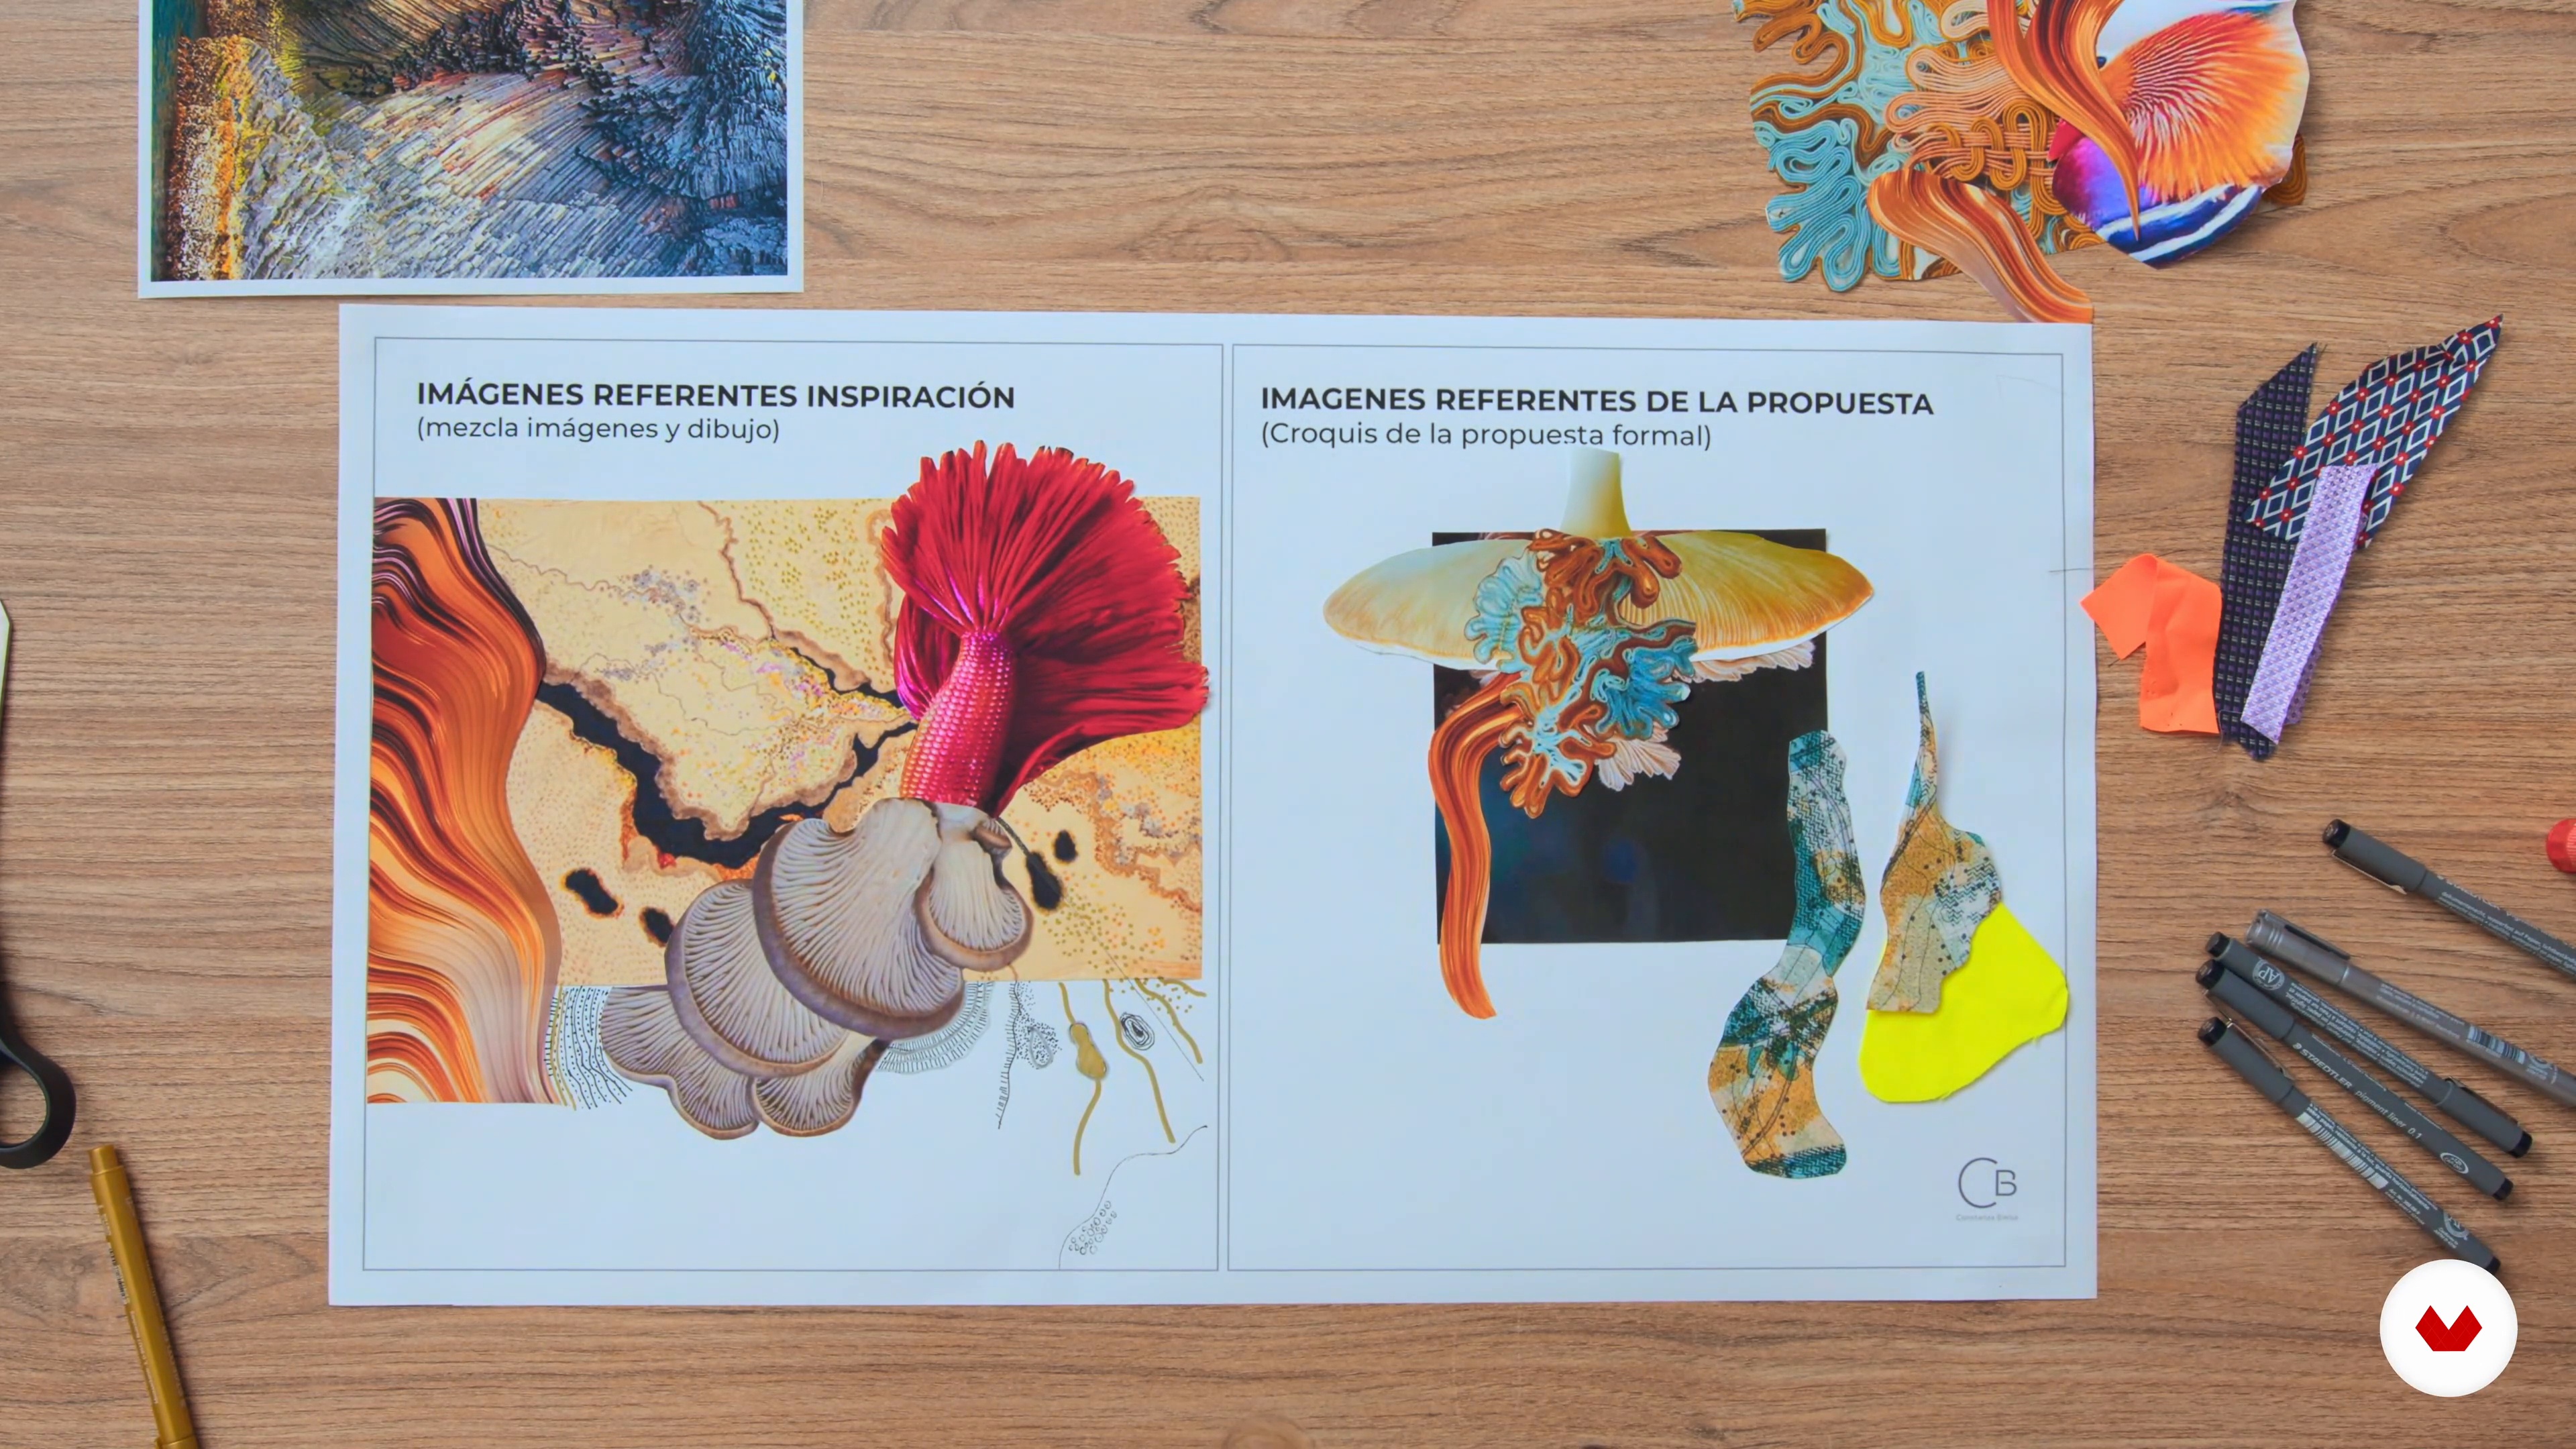
6Search and organization of referents 1
I'll start by showing you how to organize and collect references that are of personal interest to you. This process will be of great help to you as you work with shapes, colors, and concepts that you'll apply to the creation of your pieces.
13m
 7
7Search and organization of referents 2
During this second part of the lesson, I'll show you how you can organize your ideas with all the references you saved earlier. I'll also discuss the importance of combining your own images and drawings to create unique and personal pieces.
16m
 8
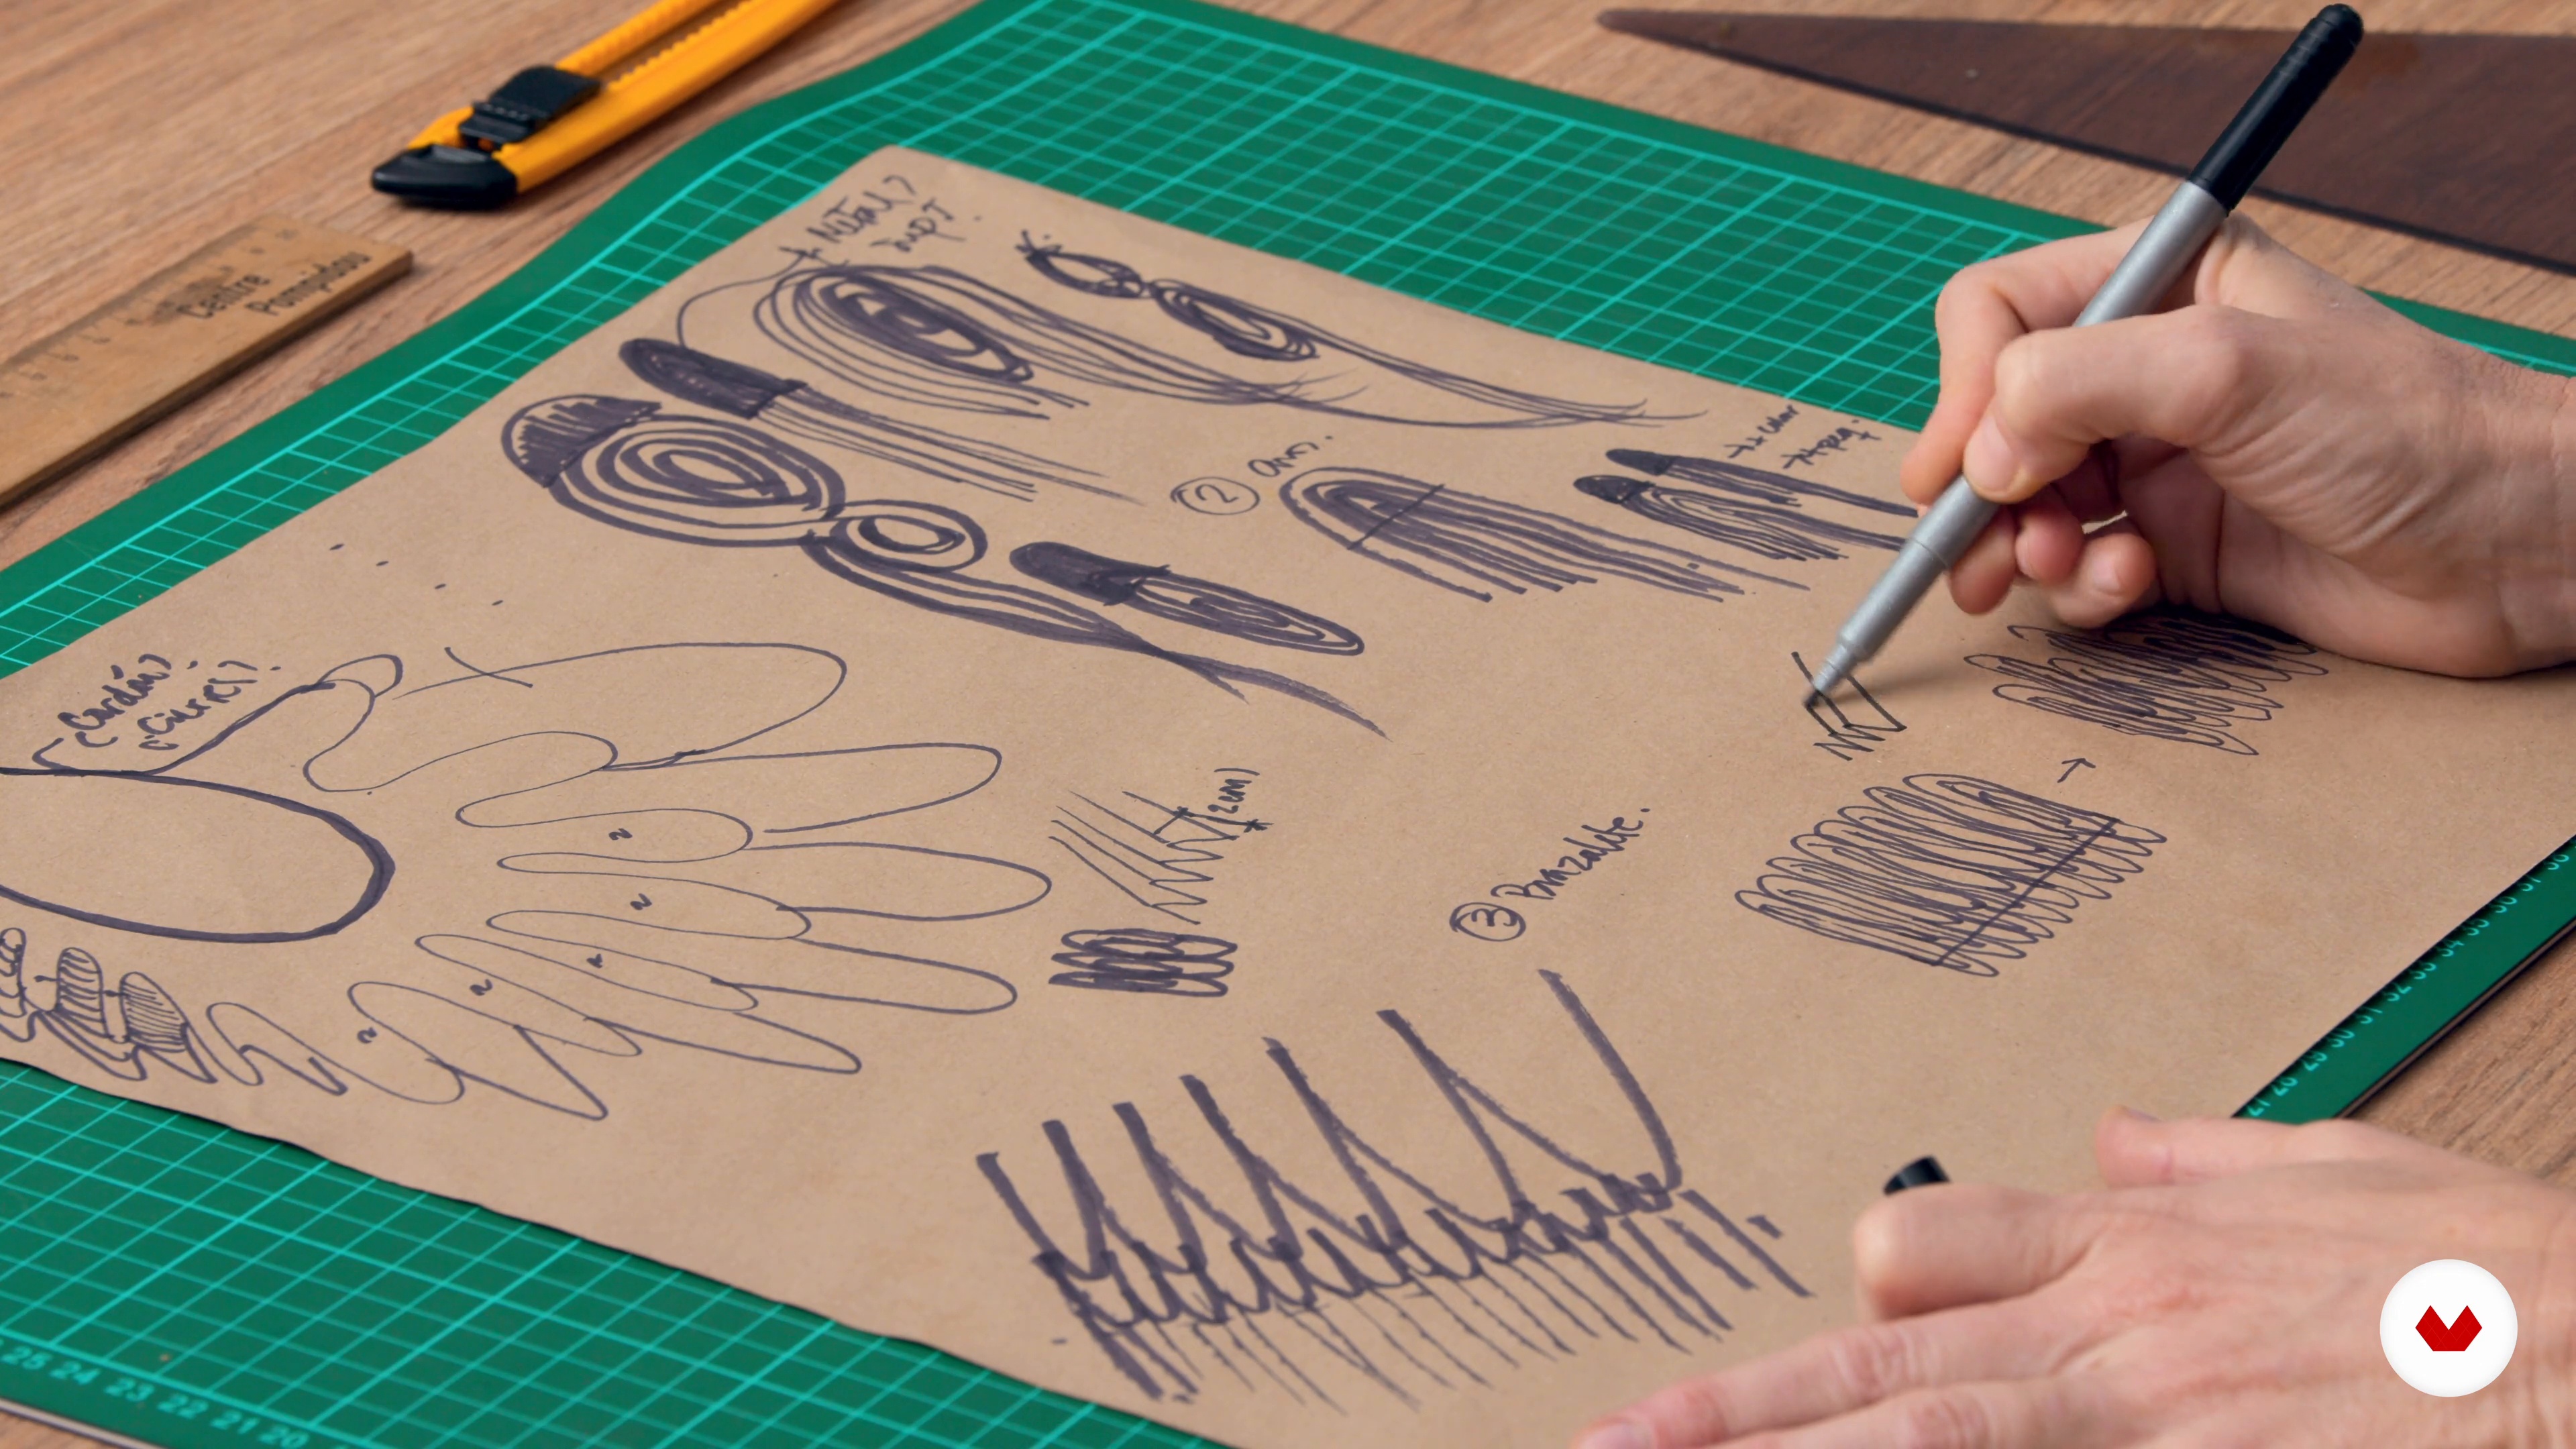
8Drawings, sketches and molds 1
In this lesson, you'll learn how to work with drawings and create sketches that will serve as the foundation for developing your molds.
10m
 9
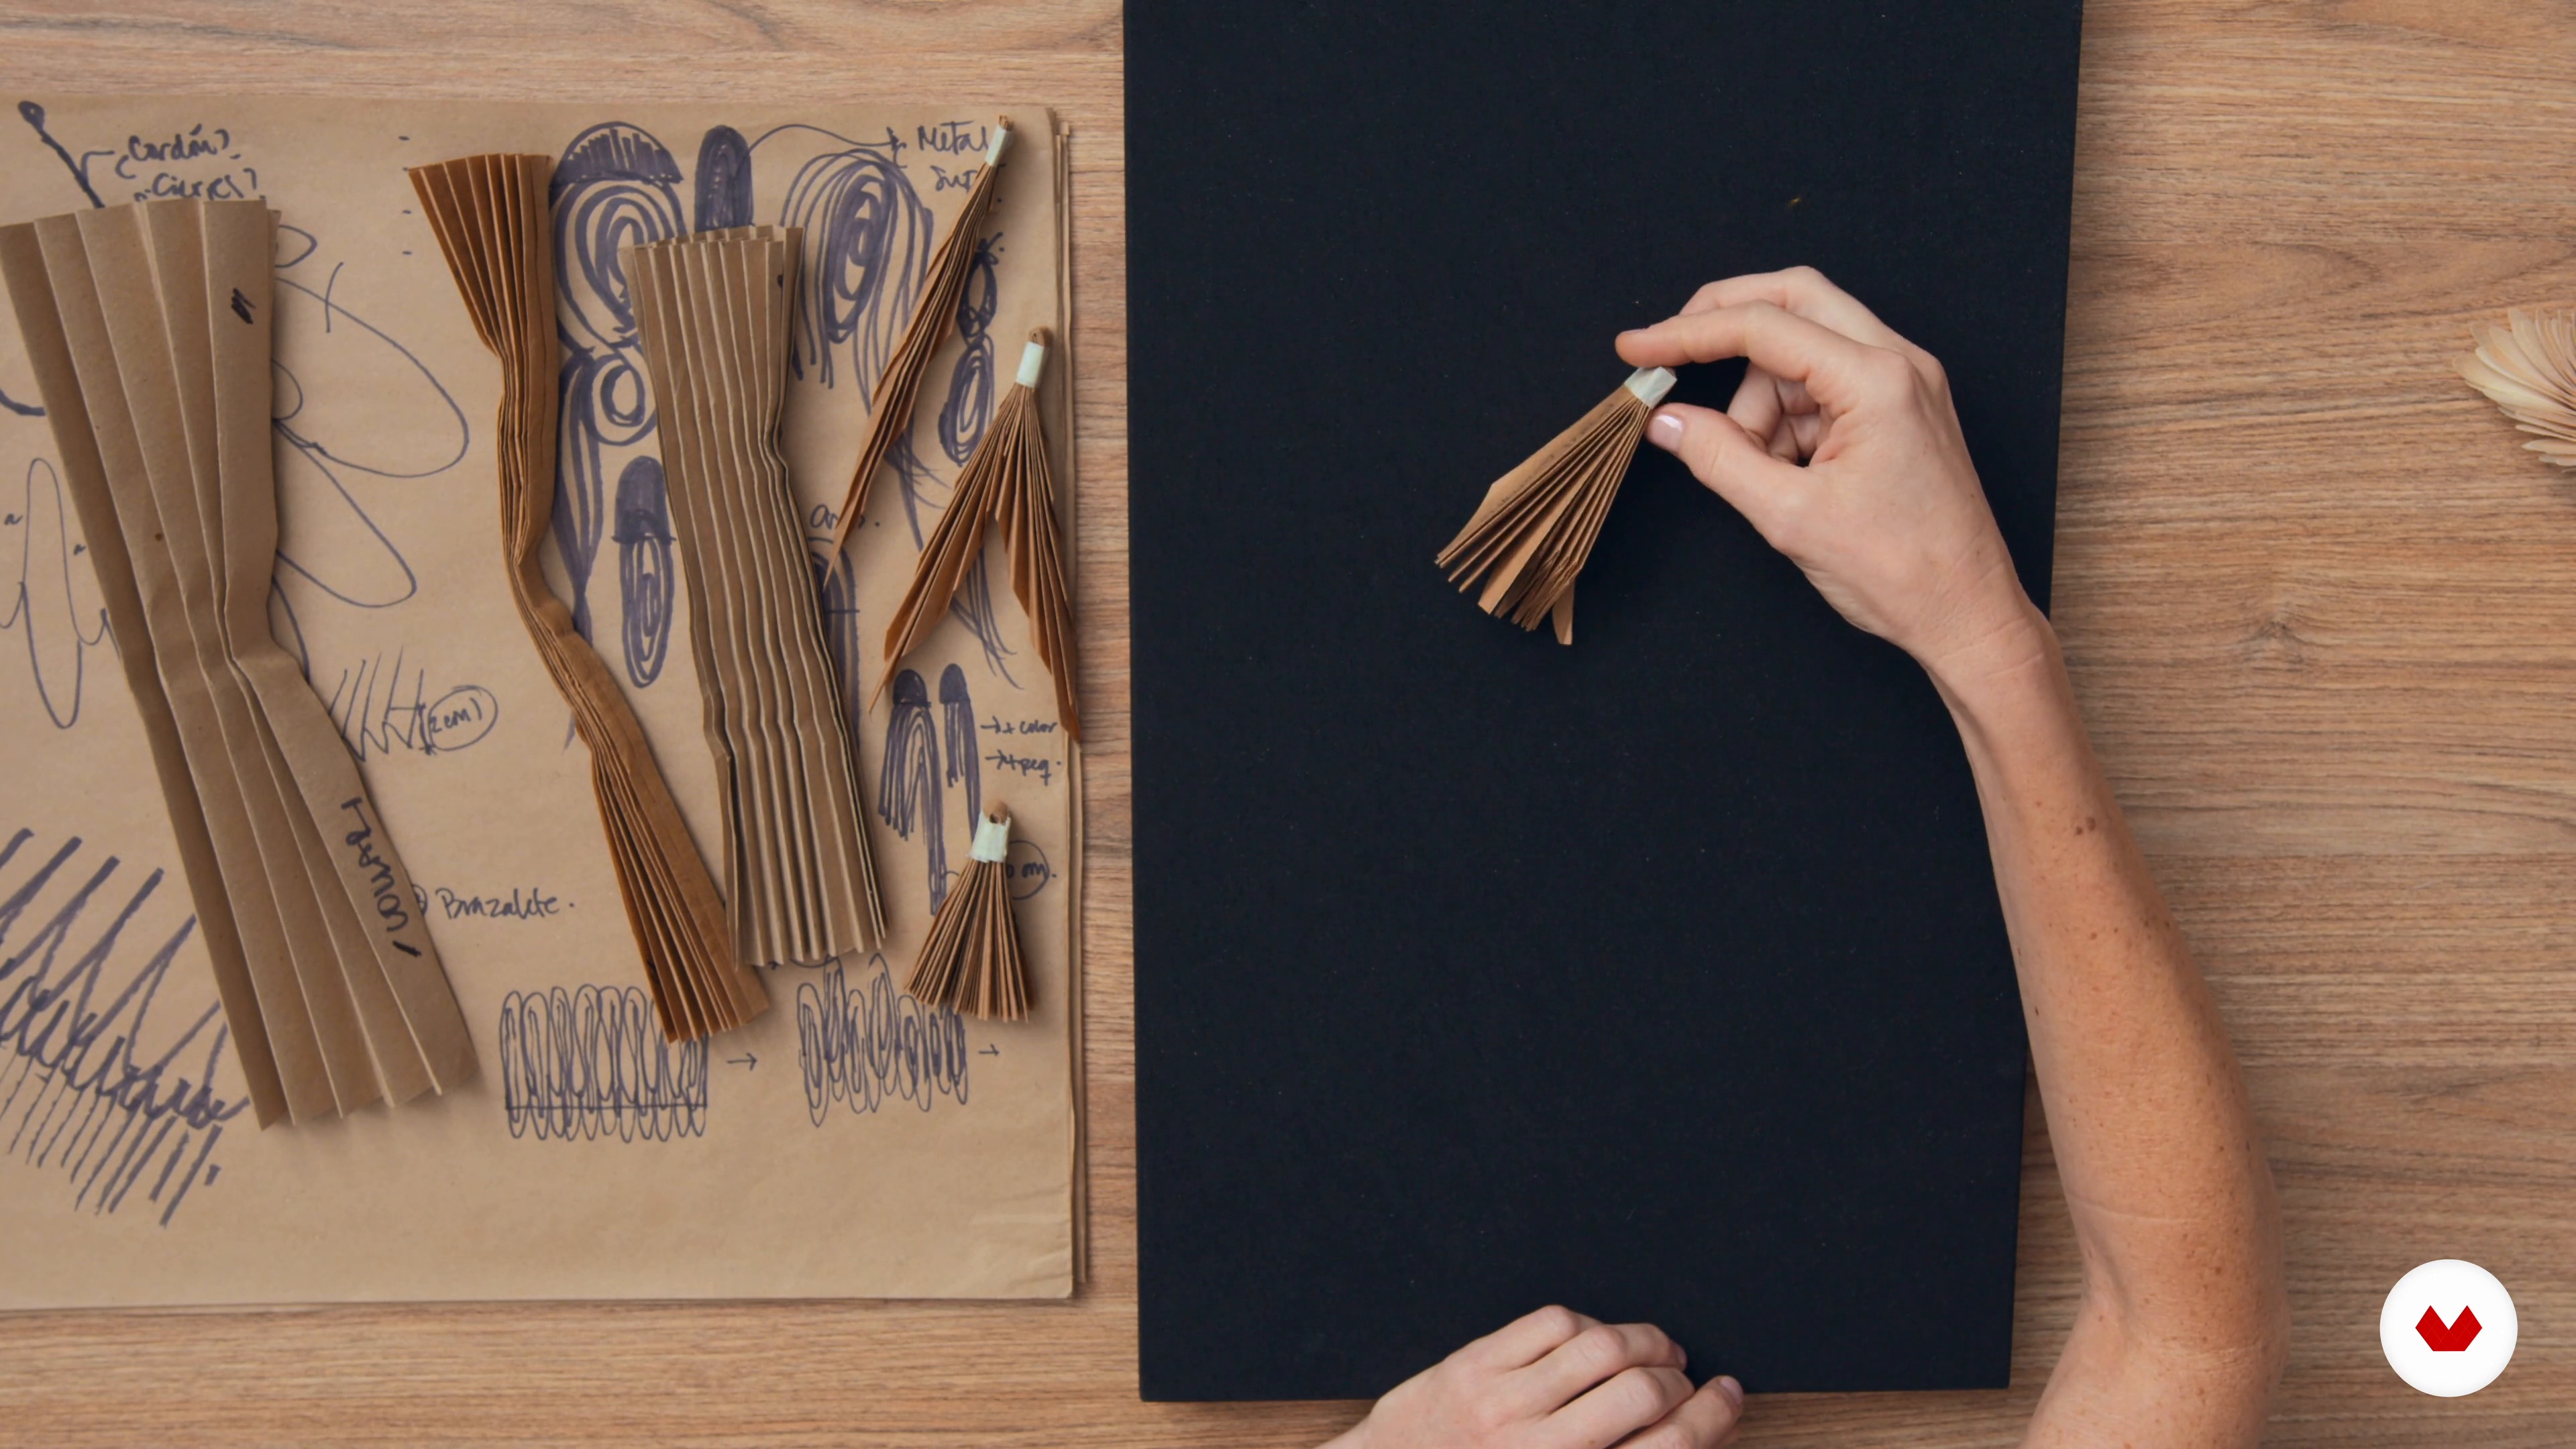
9Drawings, sketches and molds 2
Once the sketches are ready, I'll show you step by step how to create the mold for your pieces. I'll share the best tips so you can make them quickly and easily.
12m
 10
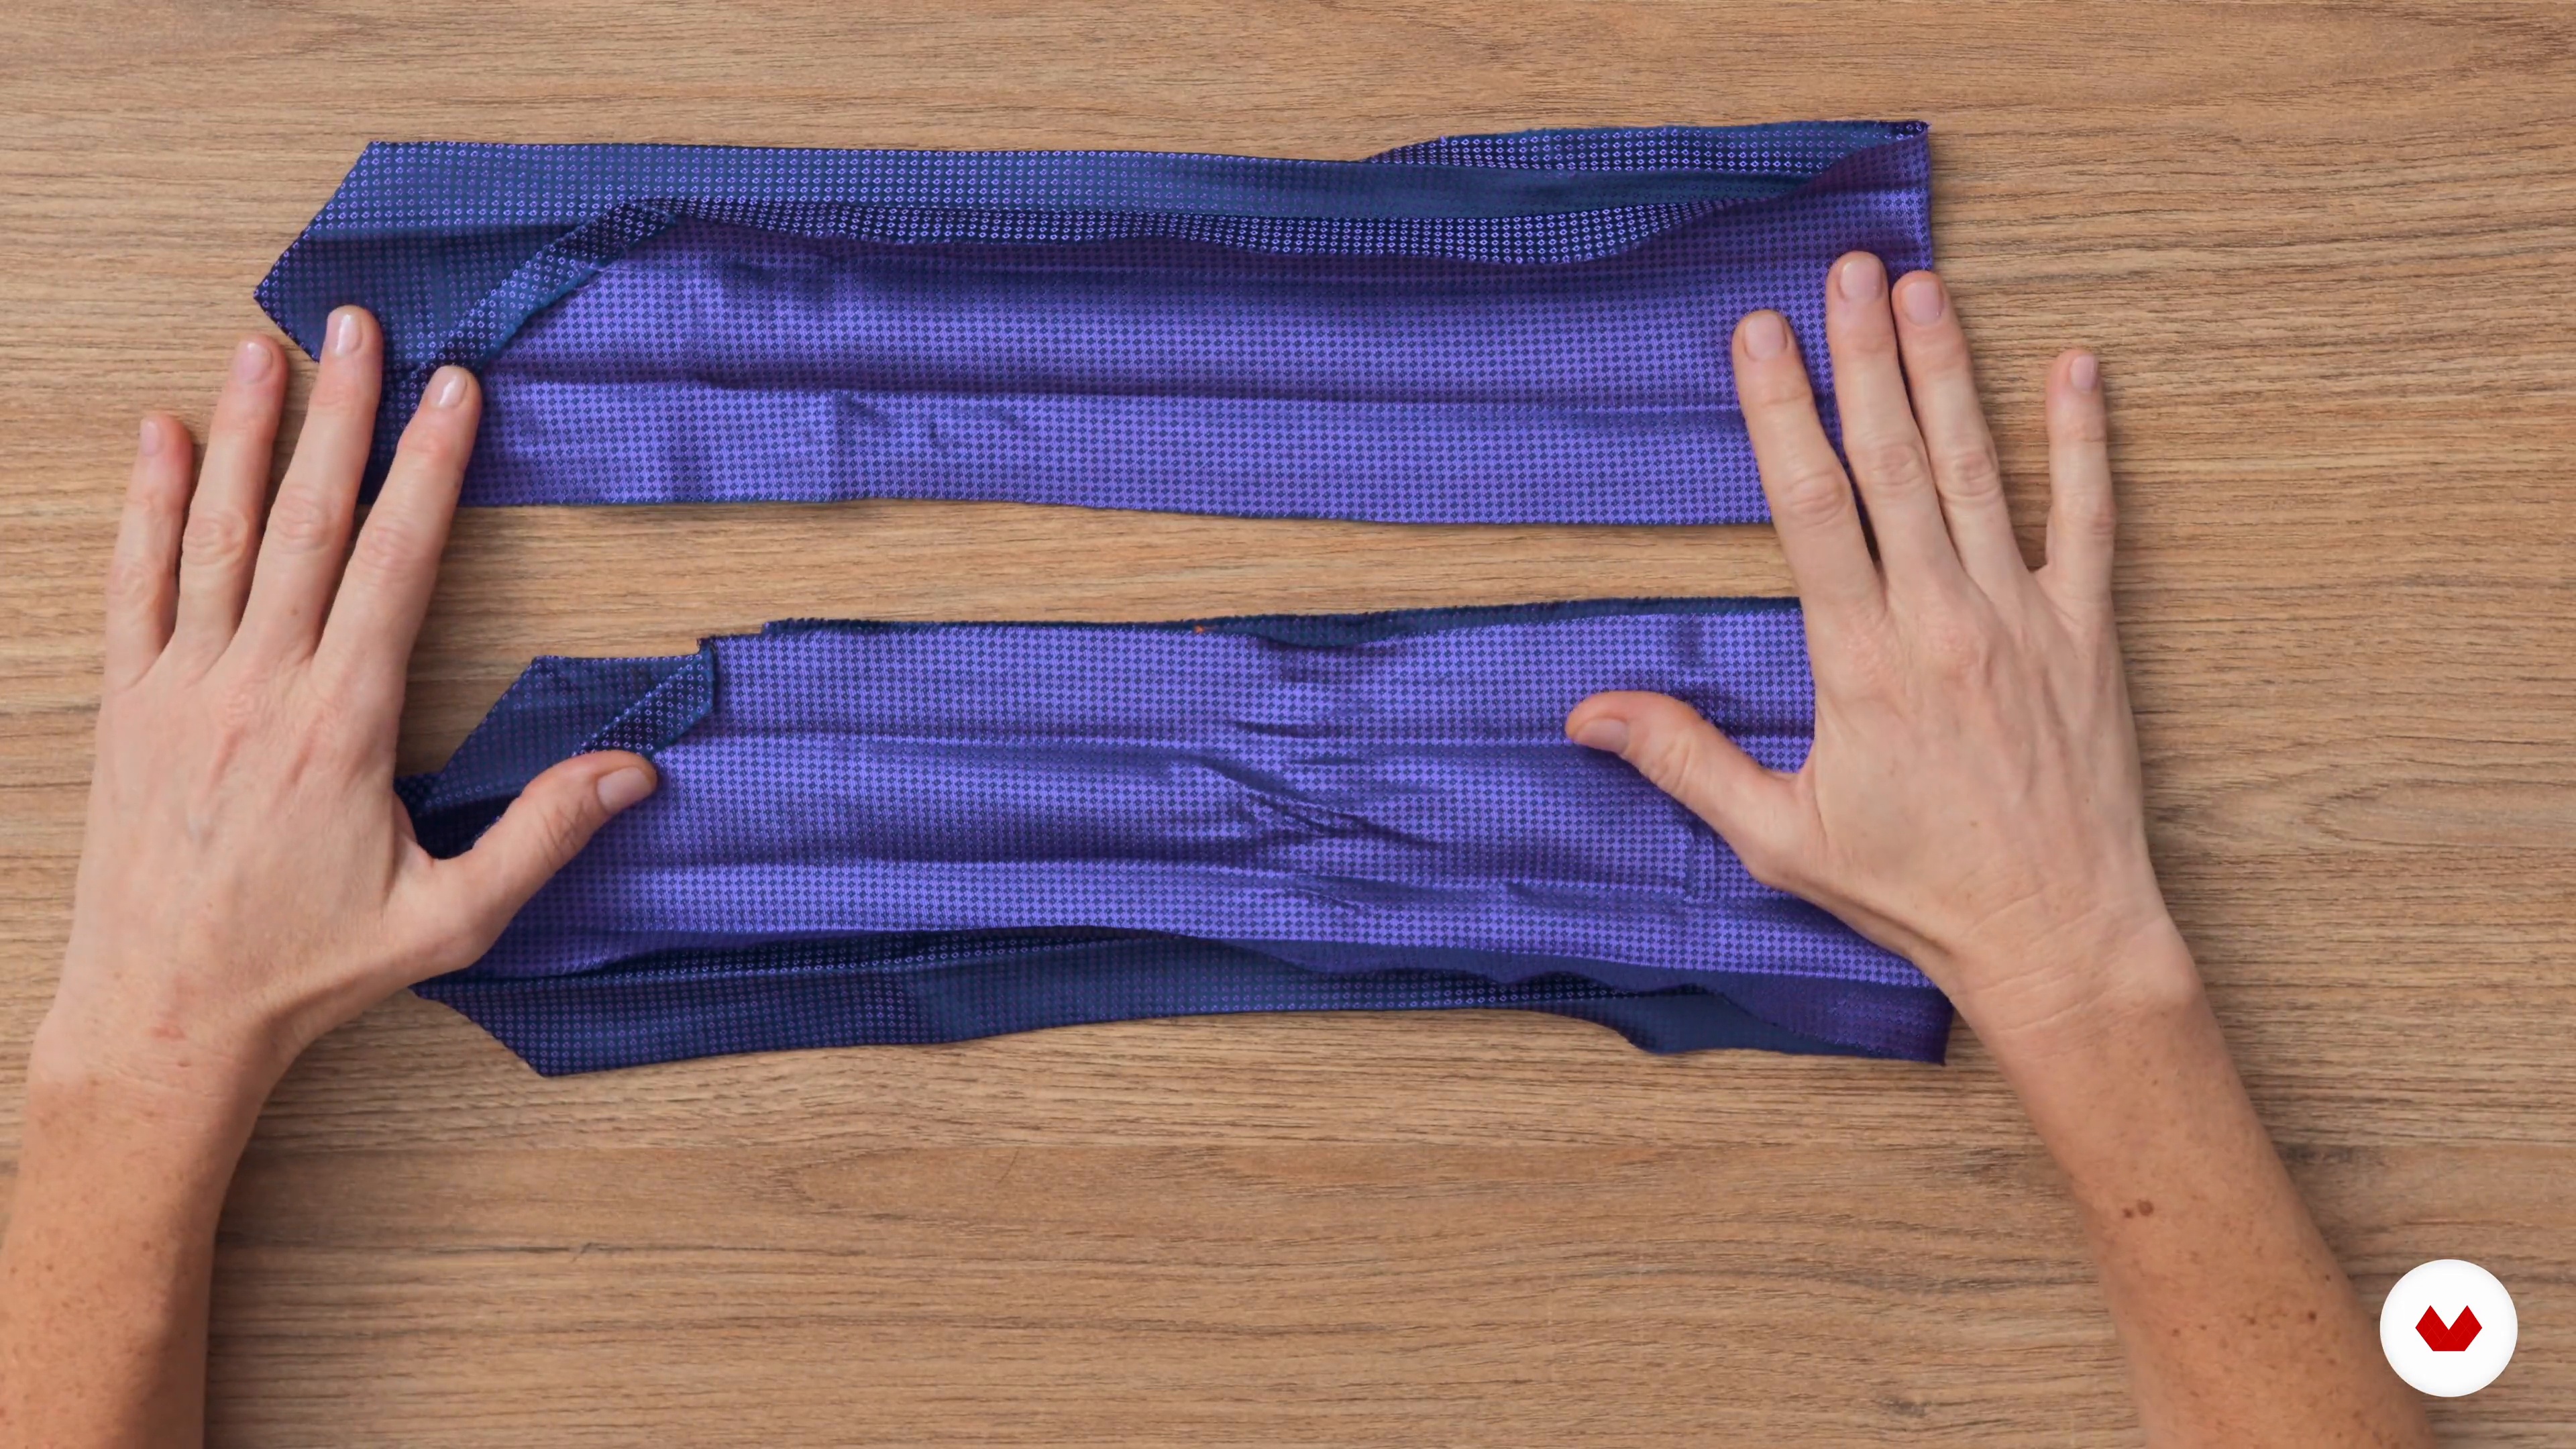
10Preparation of textile surfaces and creation of the color palette
You'll learn how to work with discarded ties, as they can be used to create a variety of textures and colors to create a color palette.
11m
 11
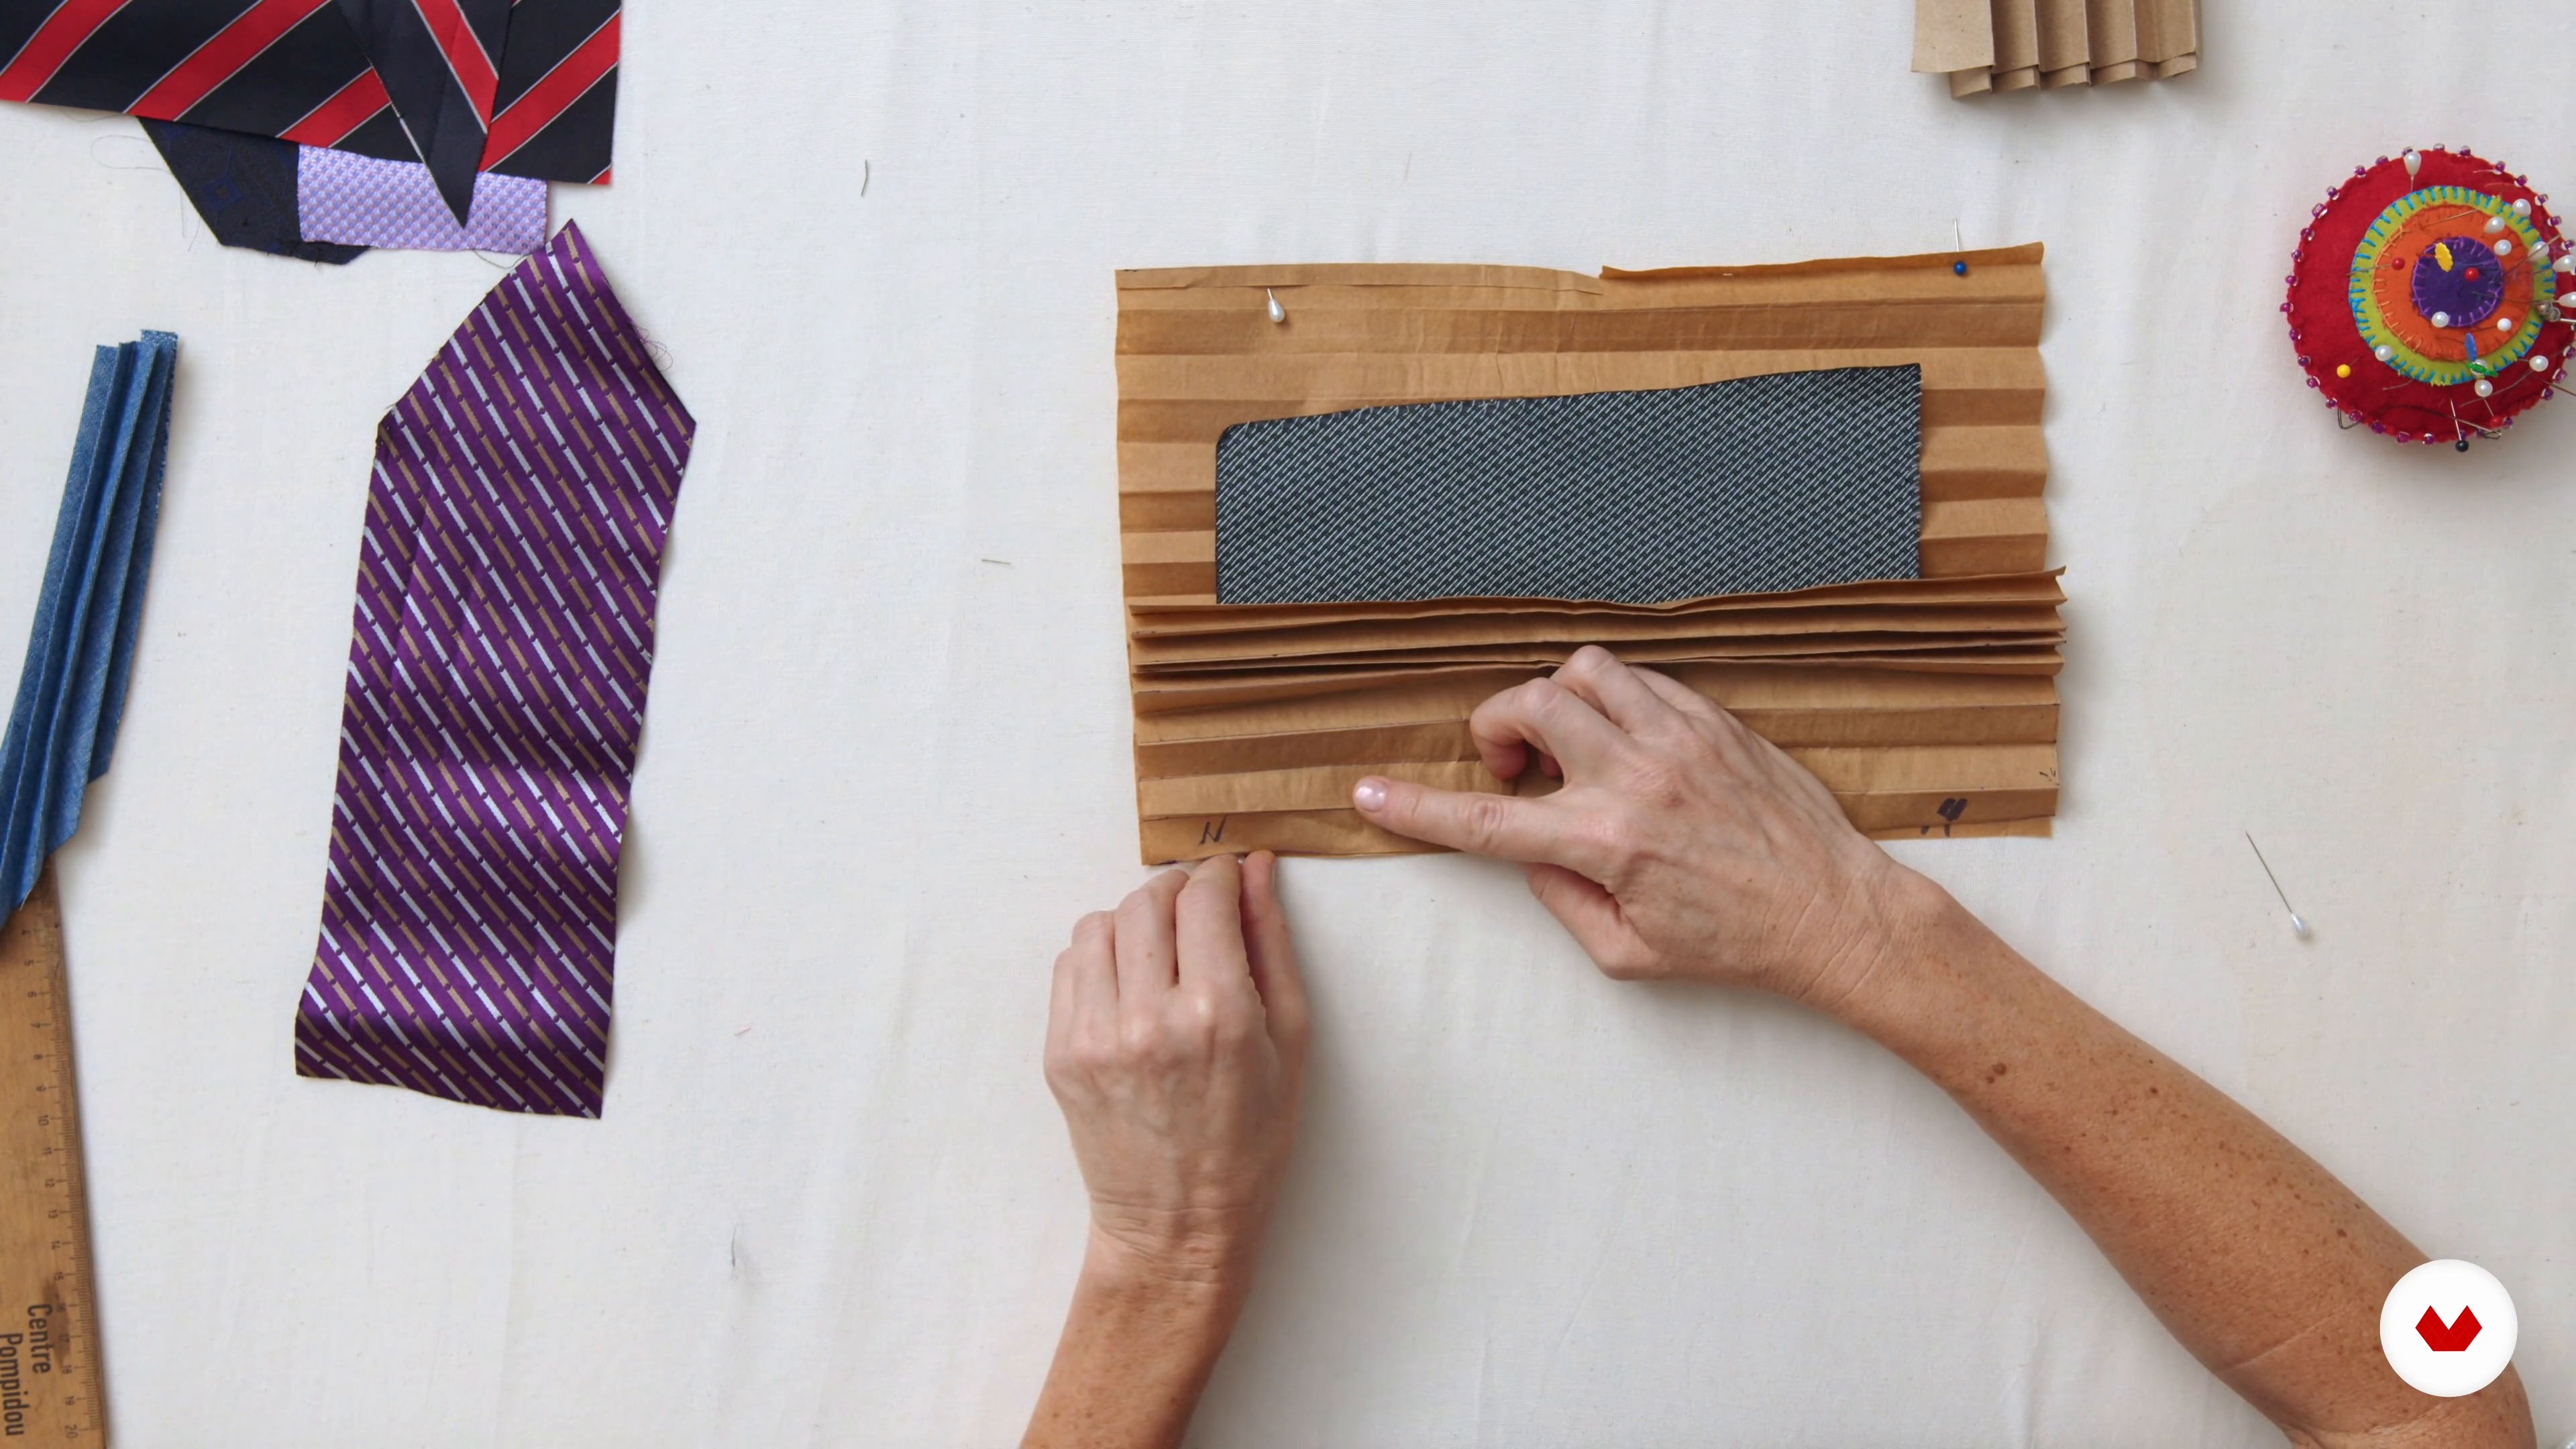
11Folds
To begin, you'll learn how to create folds in fabric on a paper template to begin creating your pieces.
19m
 12
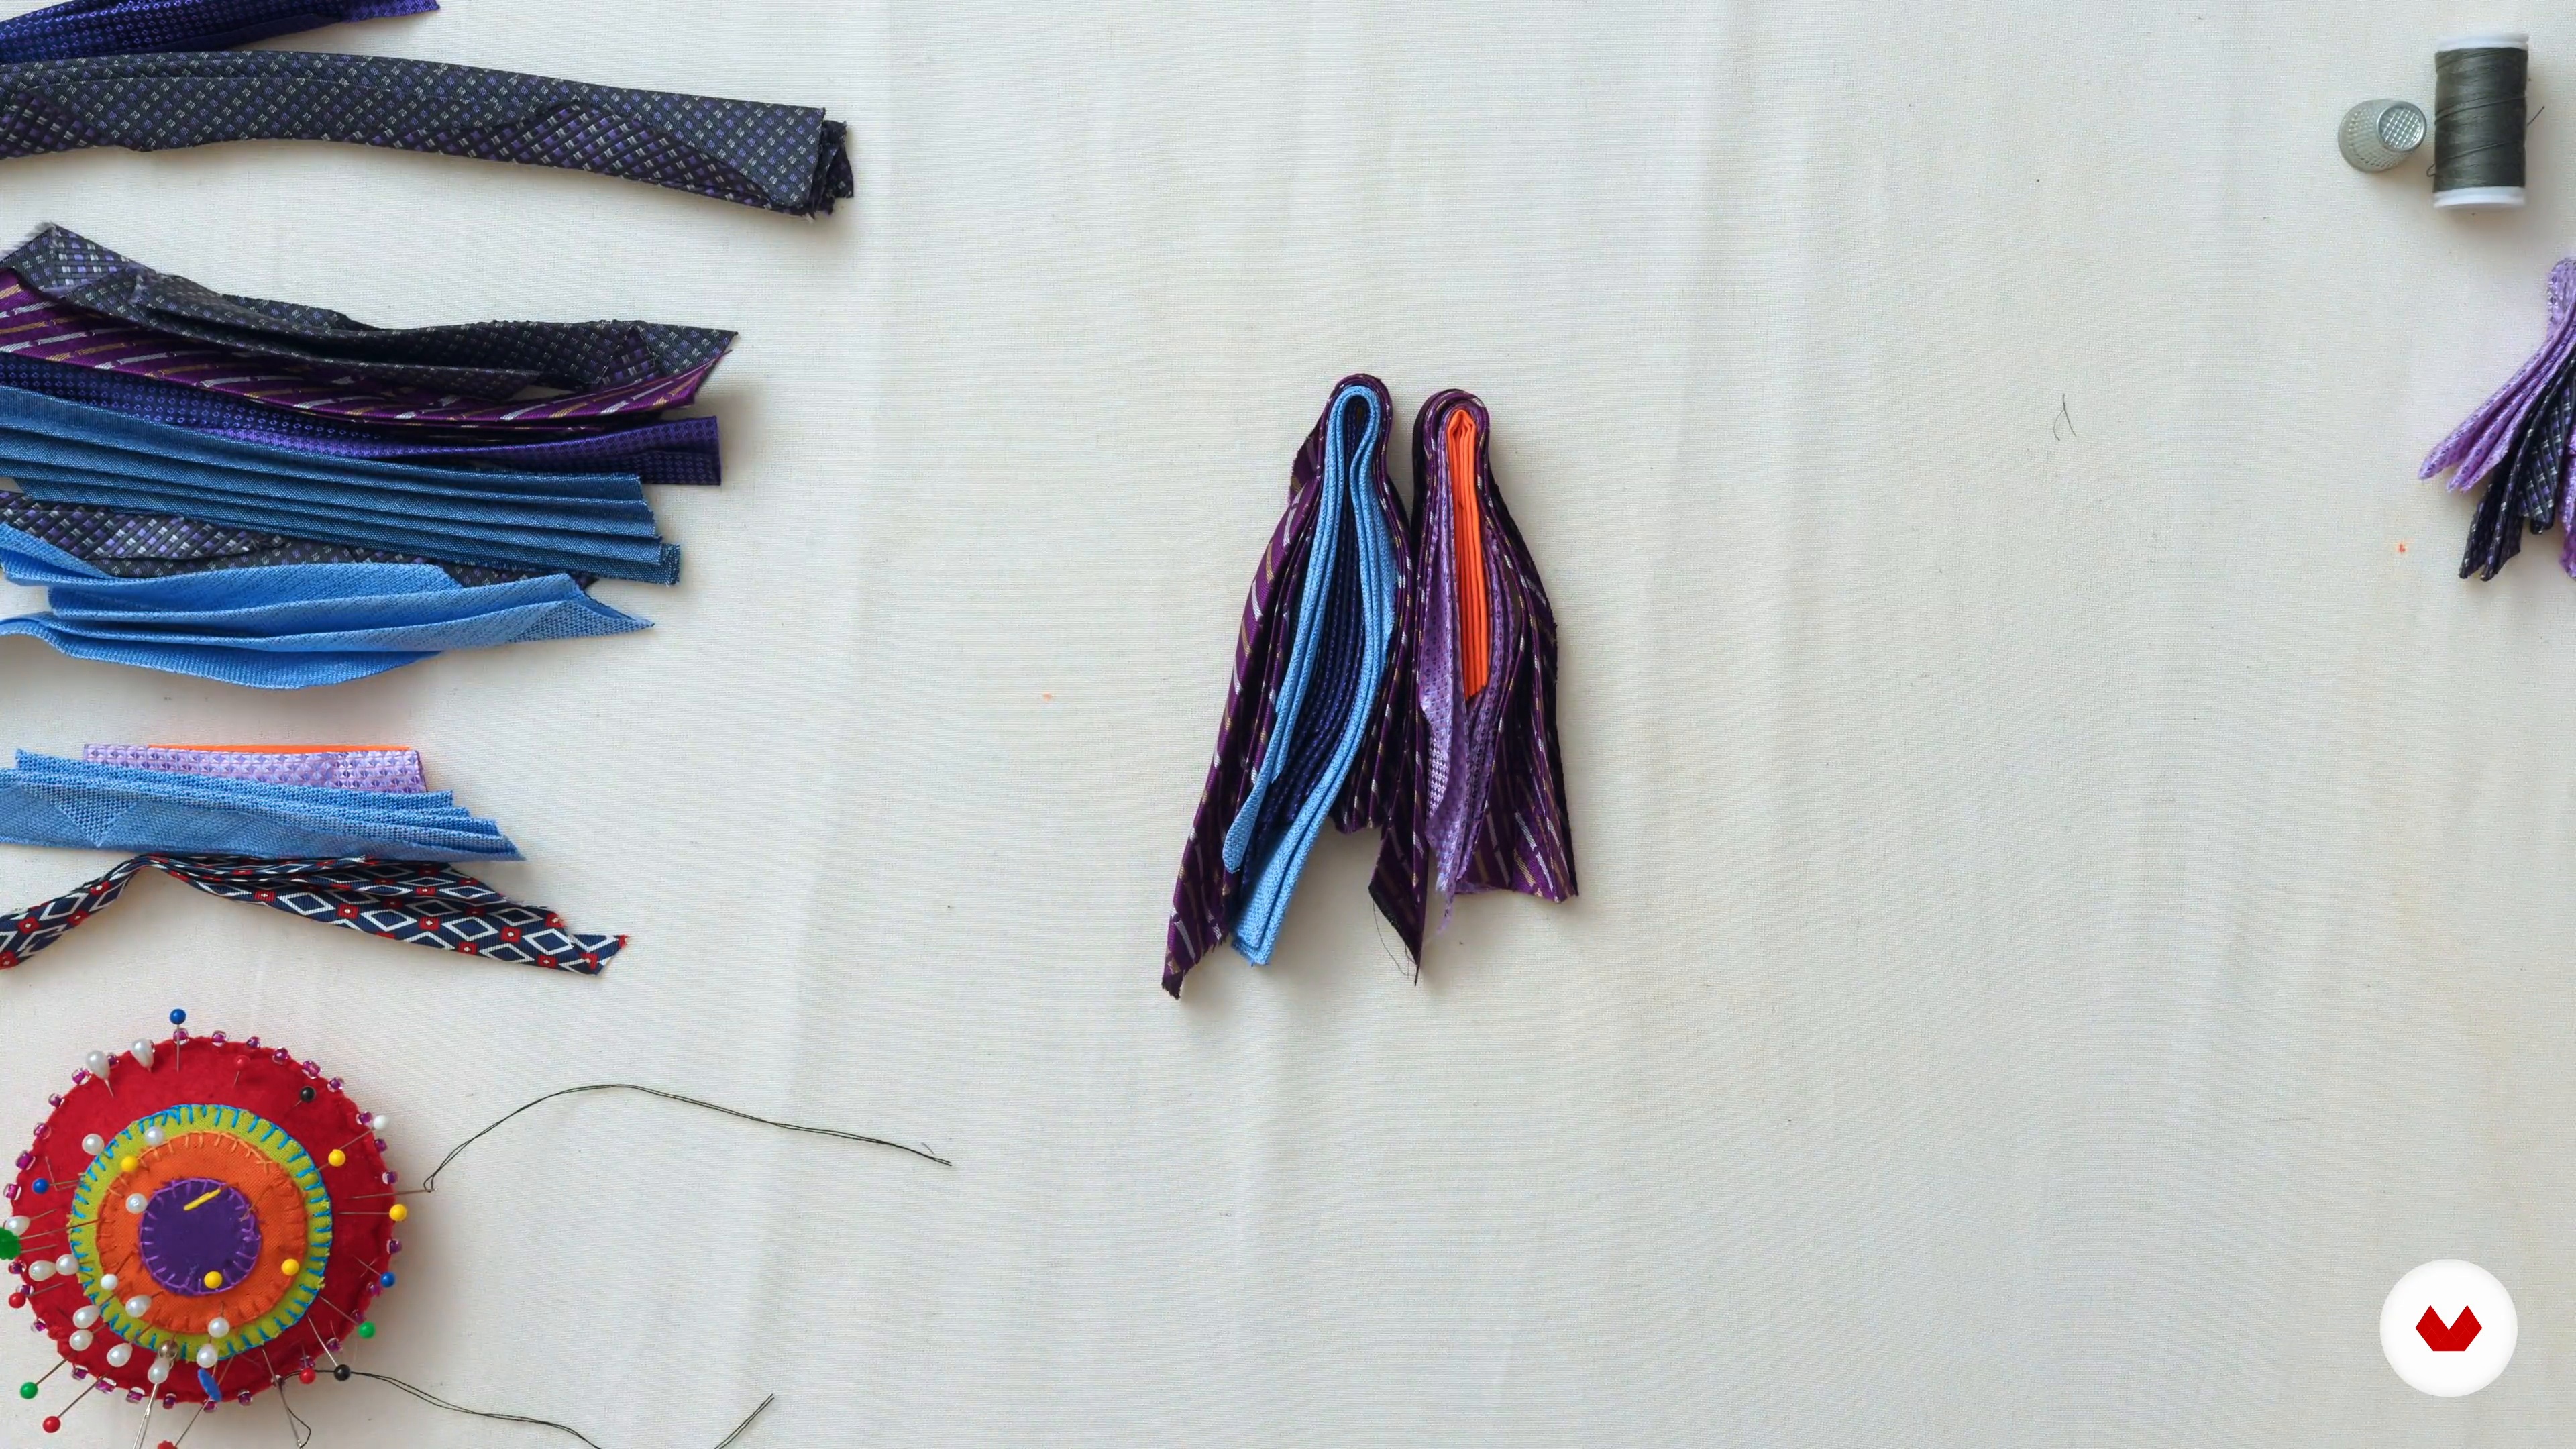
12Module creation
Now I will explain how to apply the techniques learned in the previous unit to compose volumes from the proposed geometric patterns.
19m
 13
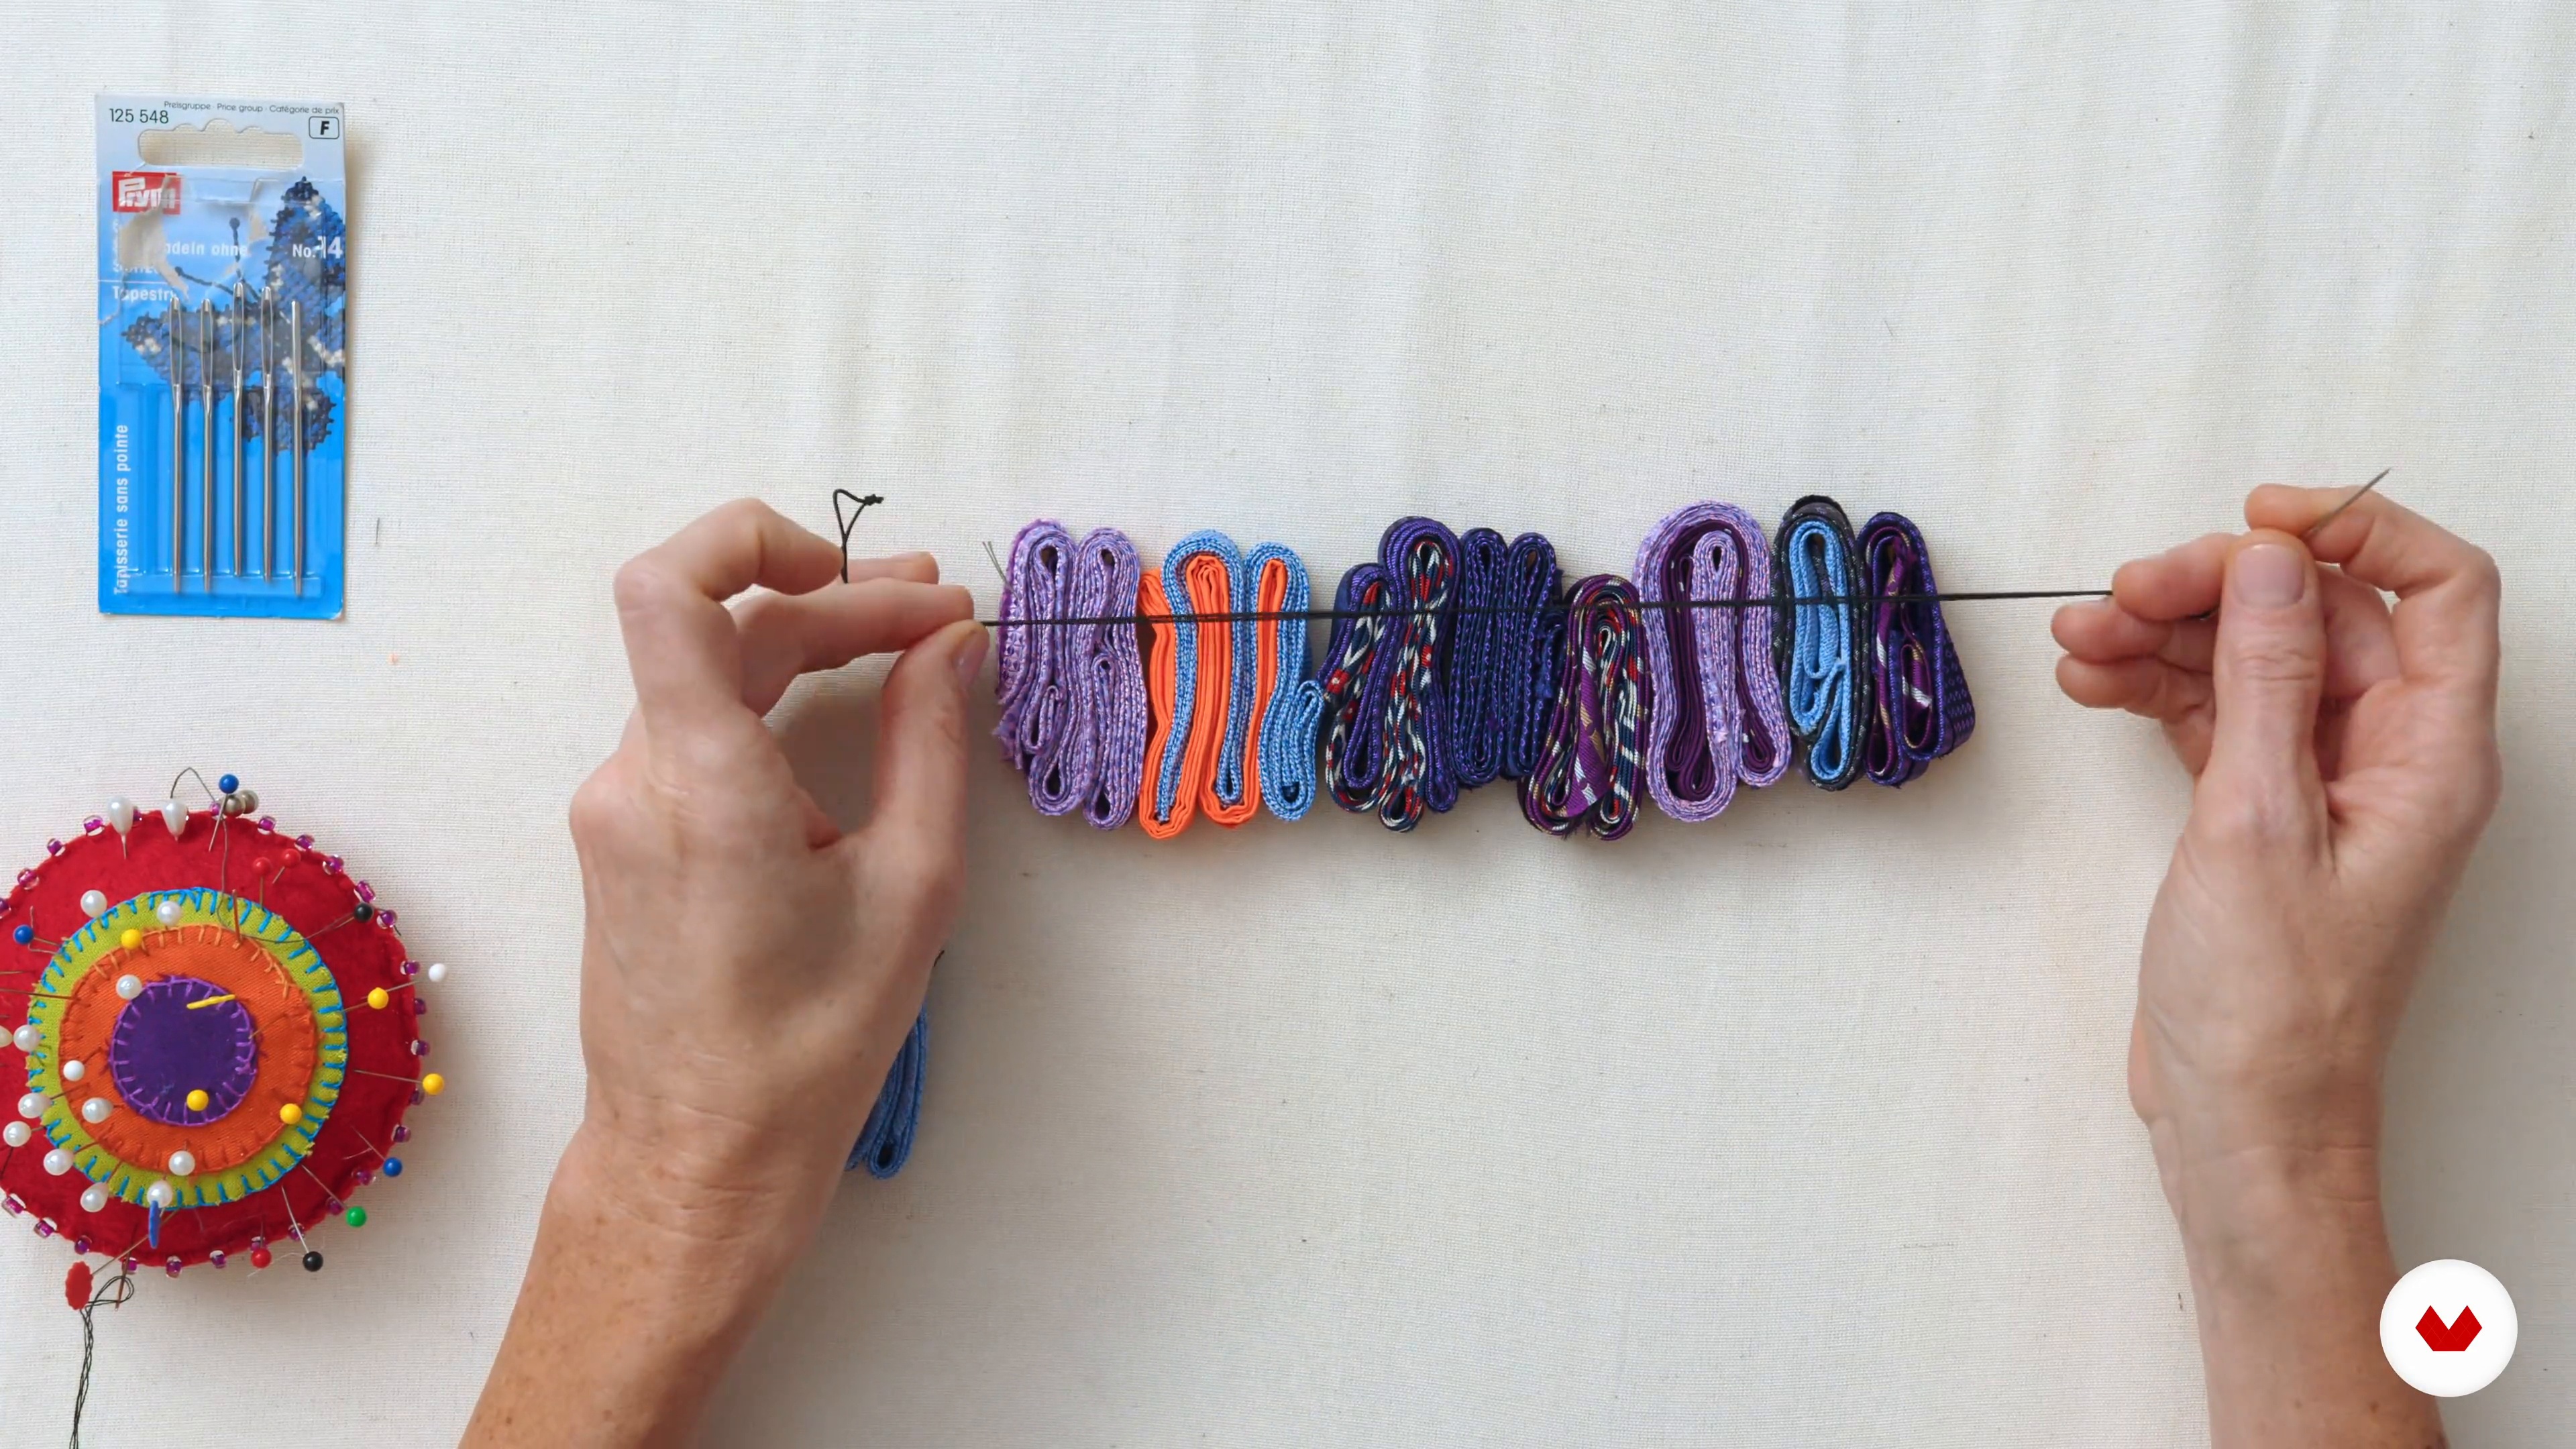
13Volumetric composition
In this lesson, I will teach you how to compose through samples and experiments carried out in previous lessons.
18m
 14
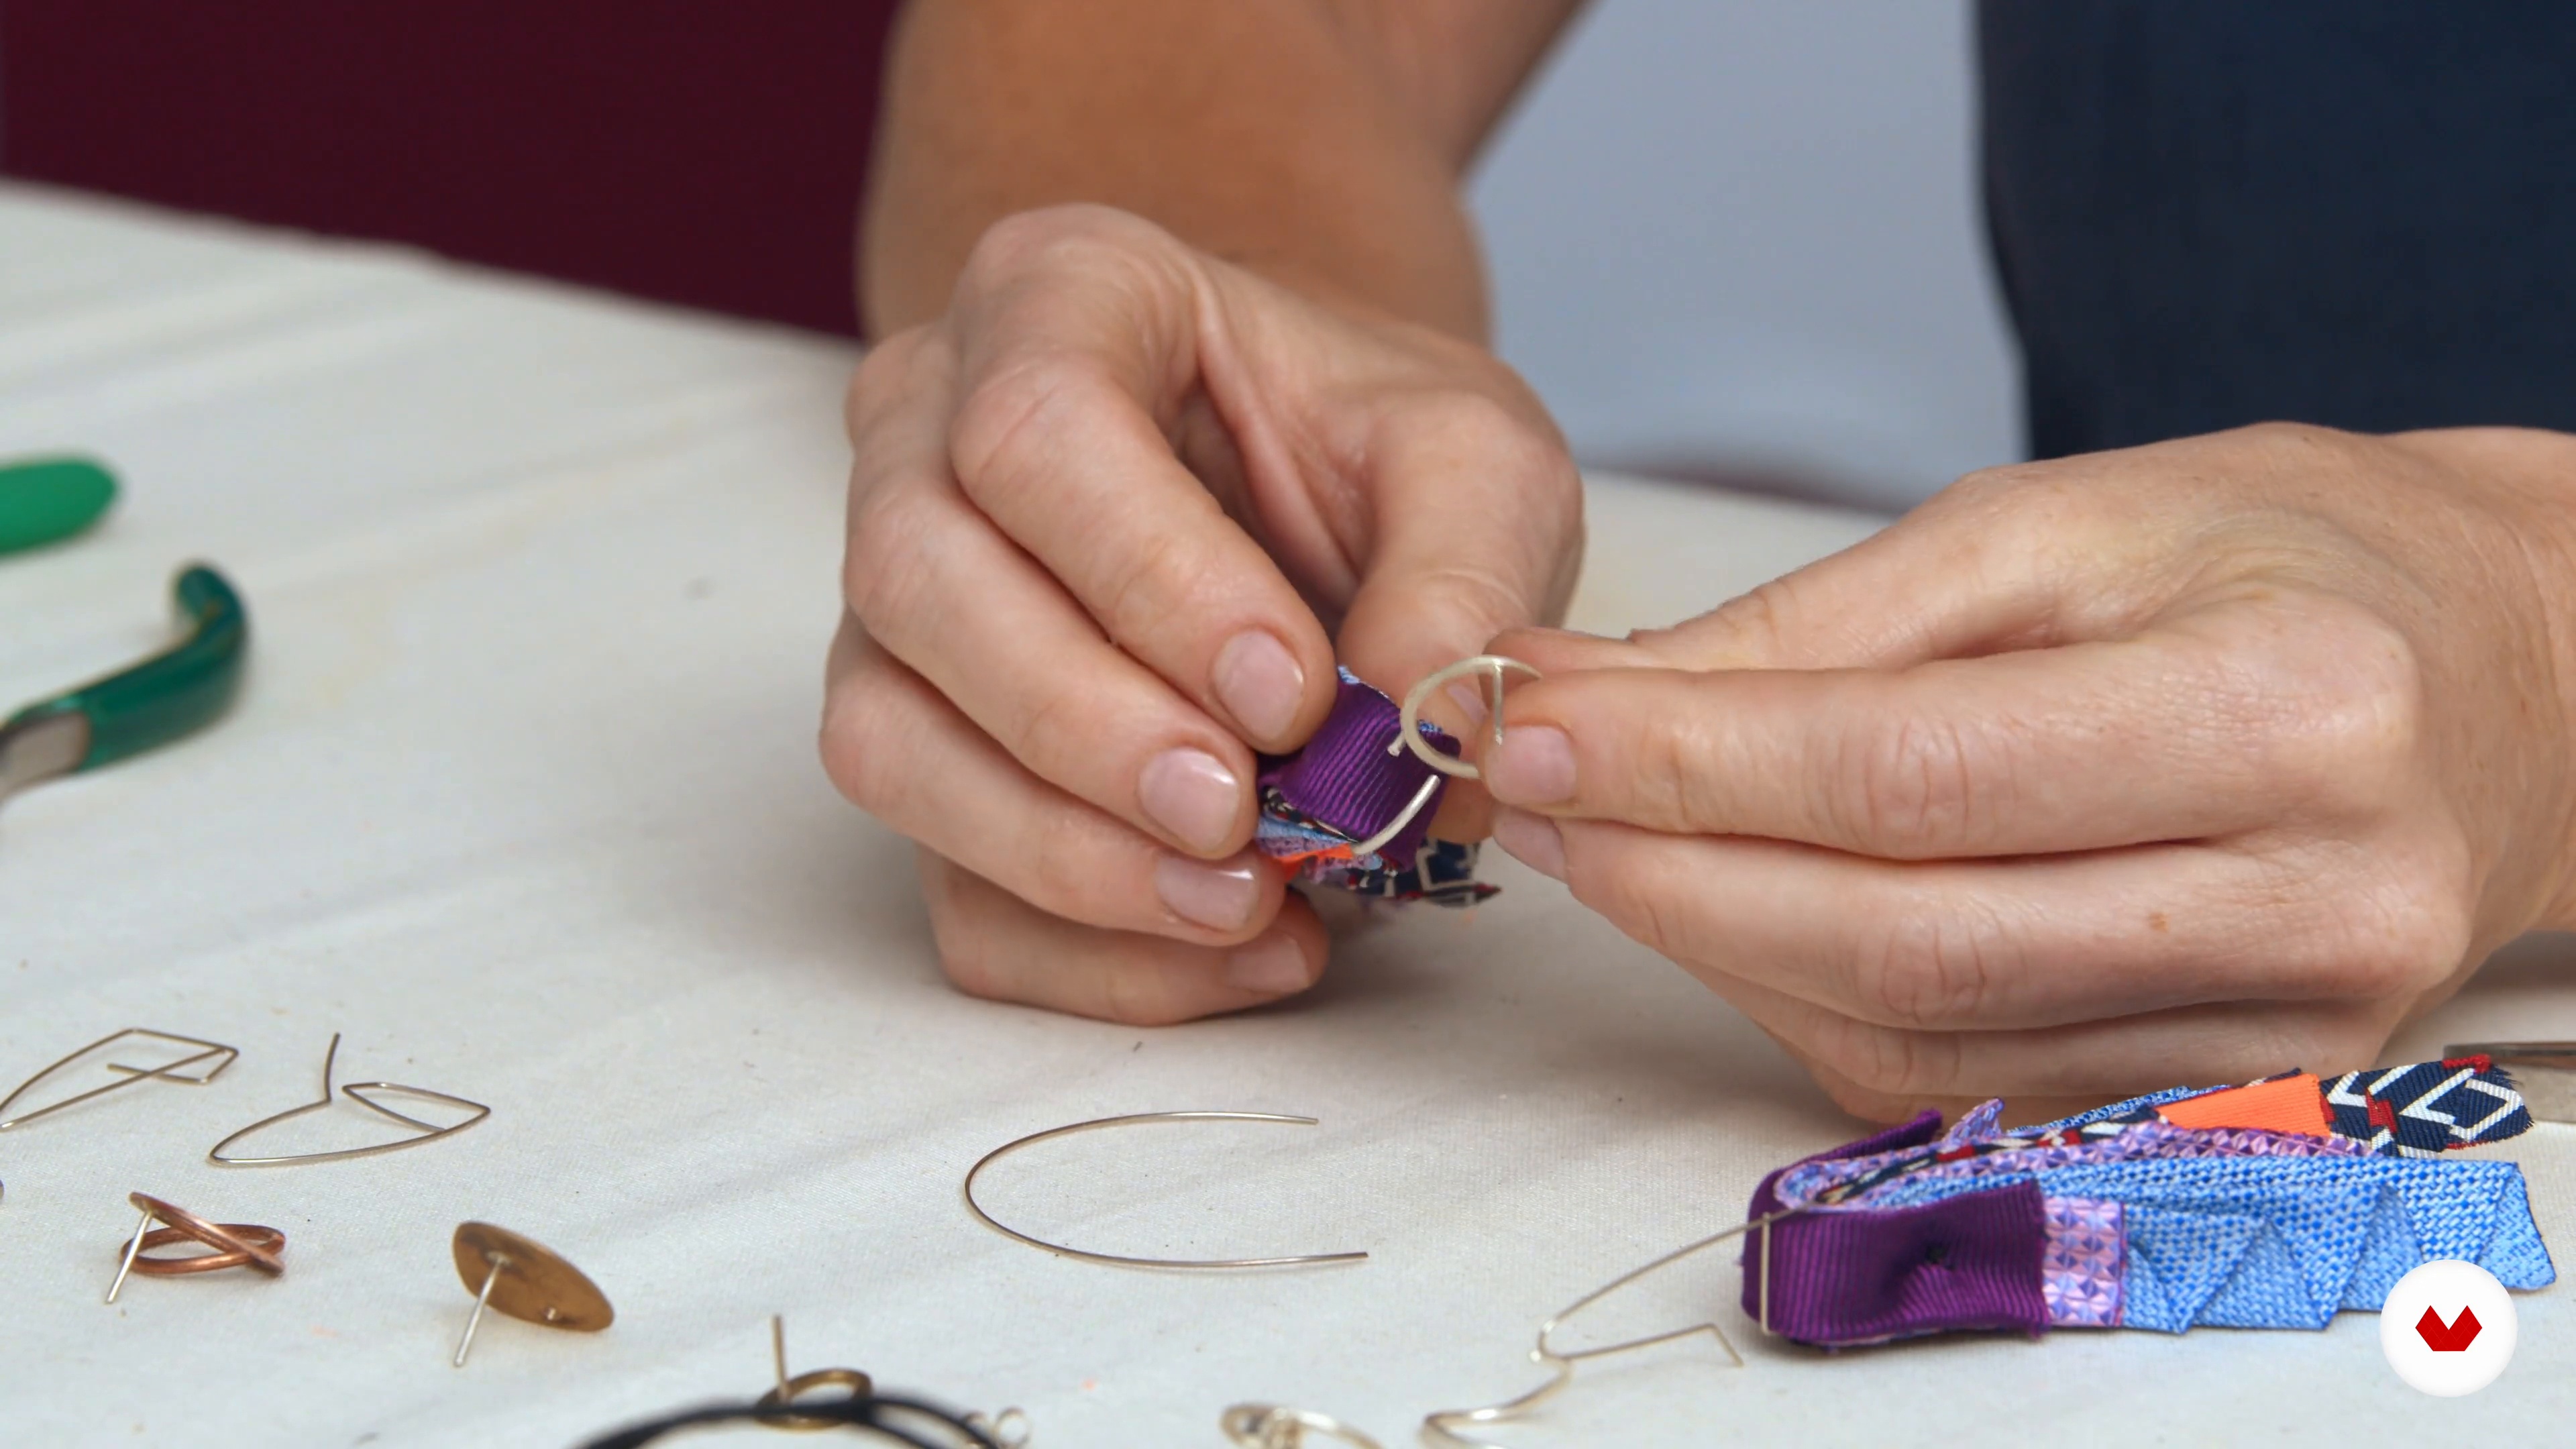
14Terminations and closures
In this lesson, you'll learn how to work on finishing touches. I'll explain how to complete the closure to ensure your creations are functional and consistent with the design.
15m
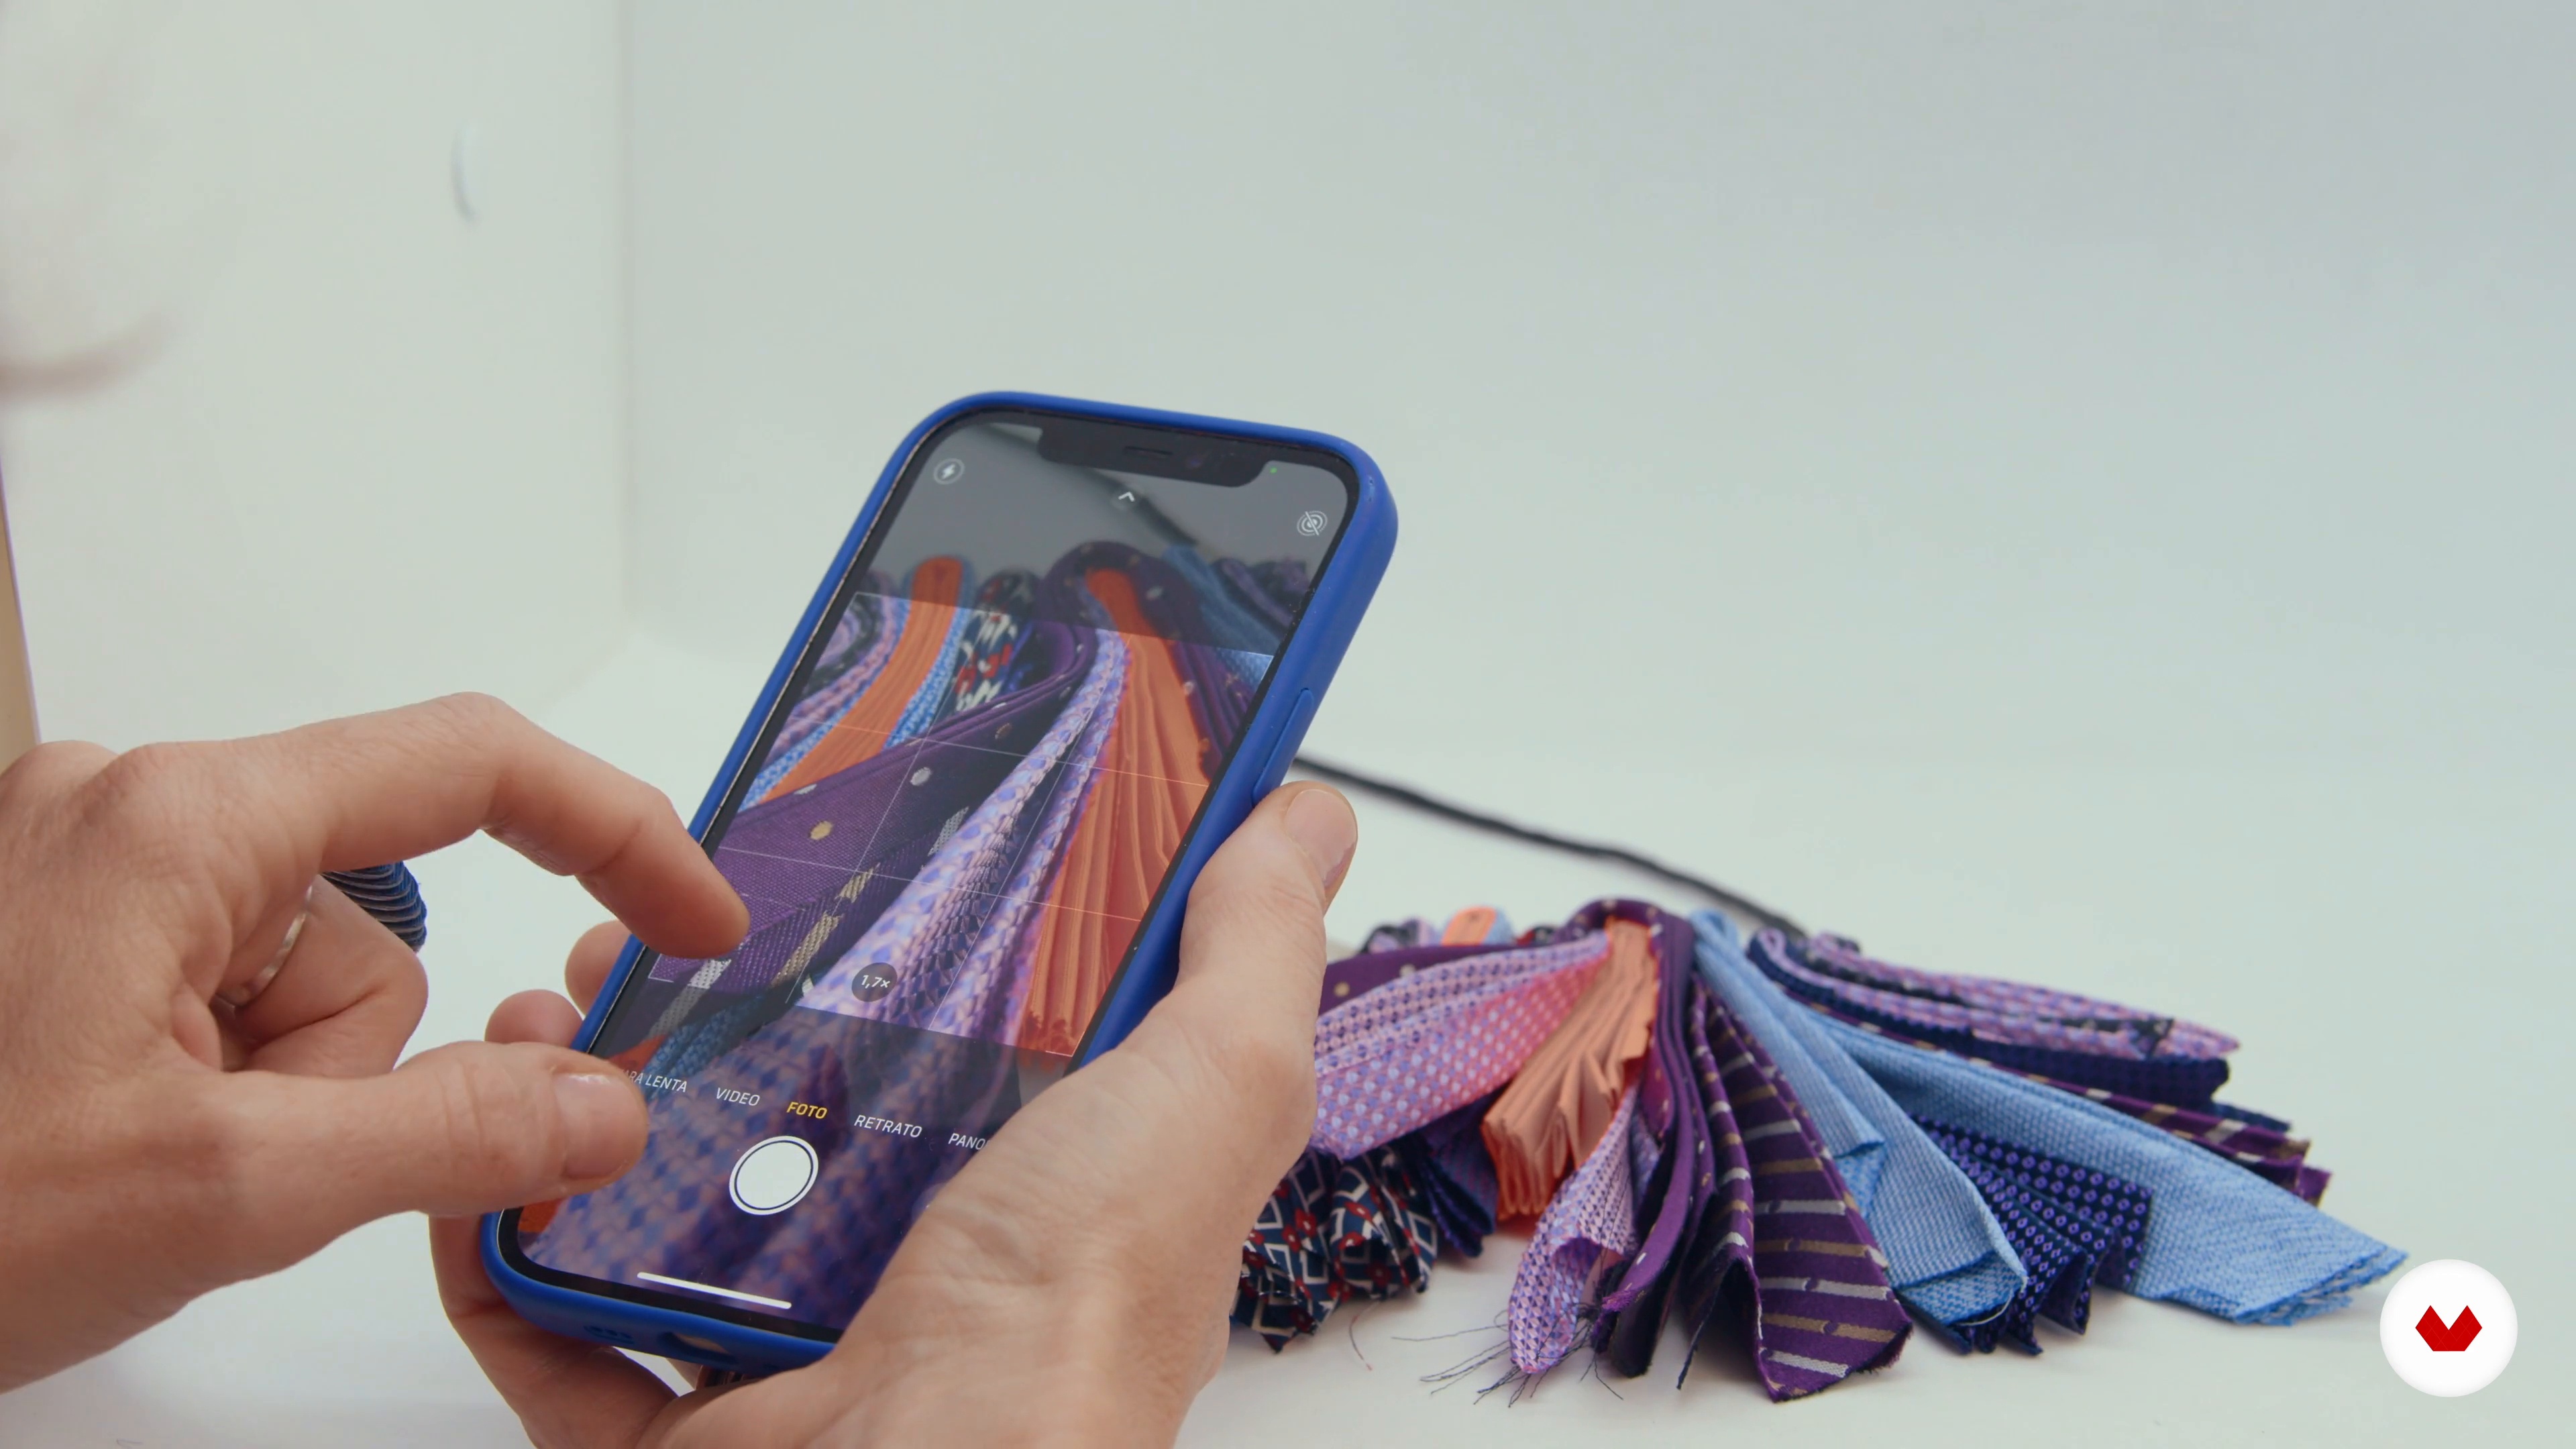 15
15Make a photographic record of your creations
You'll learn how to create a visual record through photographs taken with a neutral background. I'll also show you how to create images you can use for social media or to share your course project results.
4m
What is this course's project?
Creation of a piece of metal jewelry using cutting, filing, welding, and finishing techniques.
Who is this specialization for?
Ideal for jewelry design enthusiasts and professionals who want to explore innovative and traditional techniques using metal, wire, macramé, and more. Perfect for those looking to express their creativity and develop unique pieces with a personal and contemporary touch.
Requirements and materials
No extensive prior knowledge is required. Basic jewelry tools such as pliers, pliers, and fine files are recommended. Materials such as wire, beads, stones, and metal are essential for exploring the techniques taught and creating unique, personalized pieces.
Reviews
- 2 months ago
Genial para inspírate y aprender técnicas nuevas
- 9 months ago
cuso maravilhoso que me oferece muitas oportunidades para meu aprendizado e empreendimento.
- 1 year ago
A complete course to set you off making jewelry. Never heard of salt method for engraving/etching. Love that they include this as it is enviromentally friendly. Will be trying this.
Select to get to know your teachers in this specialization course


What to expect from this specialization course
Learn at your own pace
Enjoy learning from home without a set schedule and with an easy-to-follow method. You set your own pace.
Learn from the best professionals
Learn valuable methods and techniques explained by top experts in the creative sector.
Meet expert teachers
Each expert teaches what they do best, with clear guidelines, true passion, and professional insight in every lesson.
Certificates
PLUSIf you're a Plus member, get a custom certificate for every specialization course. Share it on your portfolio, social media, or wherever you like.
Get front-row seats
Videos of the highest quality, so you don't miss a single detail. With unlimited access, you can watch them as many times as you need to perfect your technique.
Share knowledge and ideas
Ask questions, request feedback, or offer solutions. Share your learning experience with other students in the community who are as passionate about creativity as you are.
Connect with a global creative community
The community is home to millions of people from around the world who are curious and passionate about exploring and expressing their creativity.
Watch professionally produced courses
Domestika curates its teacher roster and produces every course in-house to ensure a high-quality online learning experience.
FAQs
Macramé is a knotting technique using natural fibers to create decorative patterns. In this course, you'll learn to make wall hangings, accessories, and contemporary pieces using both traditional and modern knots.
This is an intermediate-level course, perfect if you already know basic knots or textile crafts and want to refine your skills and explore new applications.
You'll need waxed cord, leather strips, natural fibers like cotton or jute, a tape measure, decorative beads, glue, and scissors. Having cords in various thicknesses is recommended.
You'll learn the lark’s head knot, square knot and its variations, horizontal and diagonal festoon knots, spiral knot, magic knot, plus techniques for making diamonds, triangles, and advanced geometric patterns.
Yes, the course covers specific techniques for designing and assembling necklaces, bracelets, and earrings—from calculating the needed cord length to decorative closures and final assembly.
The course teaches you how to pick the right cord thickness based on the accessory type, desired design, and strength needed, so your pieces are both durable and visually appealing.
Yes, detailed, step-by-step guides are included for tying festoon, square, magic knots, and closure techniques for different projects.