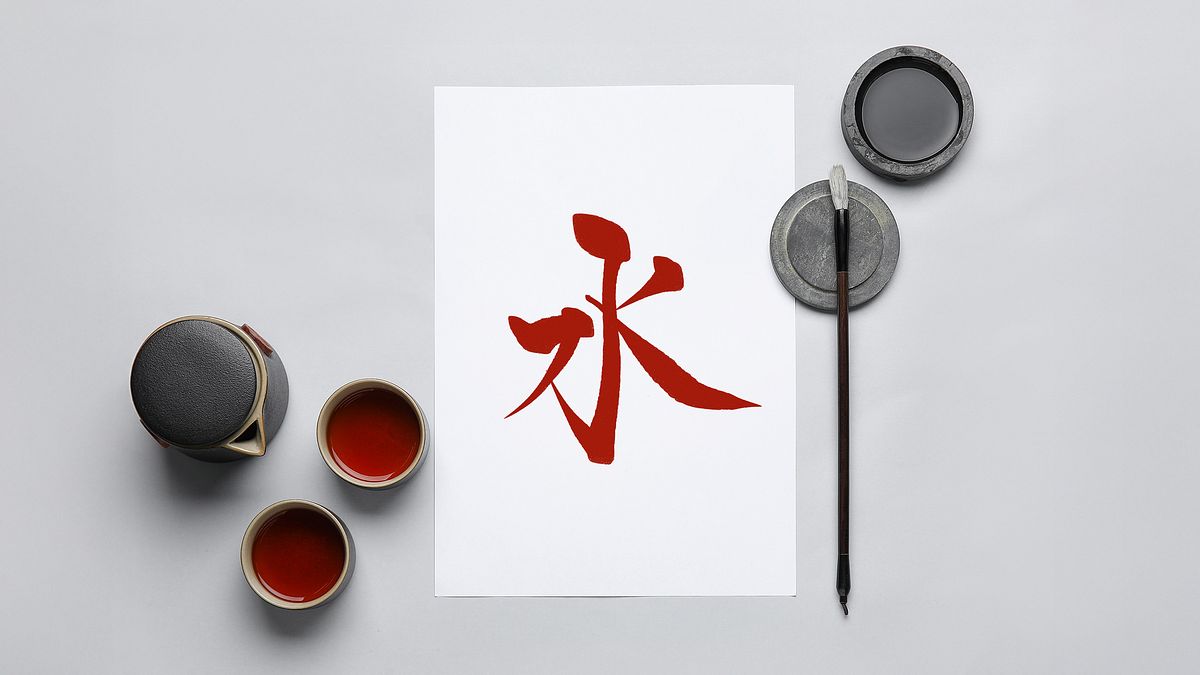

Explore modern calligraphy techniques, expressive lettering styles, and creative compositions to develop your own calligraphic style
Embark on an inspiring journey through the world of calligraphy with courses taught by Mathilda Lundin, Carol Fountain Nix, Rie Takeda, Maaida Noor, Thomas Lam, and Allison Barklay. This specialization offers a rich exploration of diverse calligraphic styles, from the fluid dynamics of modern lettering to the intricate beauty of traditional scripts across cultures. Engage in the creative process of transforming words into art, experimenting with various tools, strokes, and compositions to develop a unique calligraphic style that speaks to your artistic vision.
Delve into the poetic potential of calligraphy, learning to balance text with visual elements to convey deeper meanings. Discover the meditative aspects of Japanese Shodo, the structured elegance of Chinese characters, and the rhythmic flow of Arabic Maghrebi script. Experience the historical and artistic significance of Hebrew calligraphy, exploring both traditional and contemporary approaches. Each course culminates in a final project that allows for personal expression, applying newly acquired skills to create beautiful, meaningful pieces. This specialization ensures a comprehensive learning experience, guiding you through the captivating world of calligraphy while celebrating its cultural diversity.
What will you learn in this specialization?
 1
1Introduction
In this course, you will explore calligraphy as both an ancient tradition and a modern art form. By practicing rhythmic movement and form, you'll develop muscle memory while experimenting with diverse cultural styles to shape your unique visual voice through each expressive stroke. Let's dive in!
1m
 2
2Influences / Mathilda Lundin
Here, I will share some of the many calligraphers and lettering artists that have influenced my work. I will discuss what it is about their work that excites and inspires me. Whether that's their mindset and approach to calligraphy and lettering or their awe-inspiring, flourishing work.
8m
 3
3Influences / Carol Fountain Nix
As a lover of letters and words, I'm most influenced by artists who use them. I particularly enjoy the ways in which artists use words, often codes, to relay meaning and association.
3m
 4
4Influences / Rie Takeda
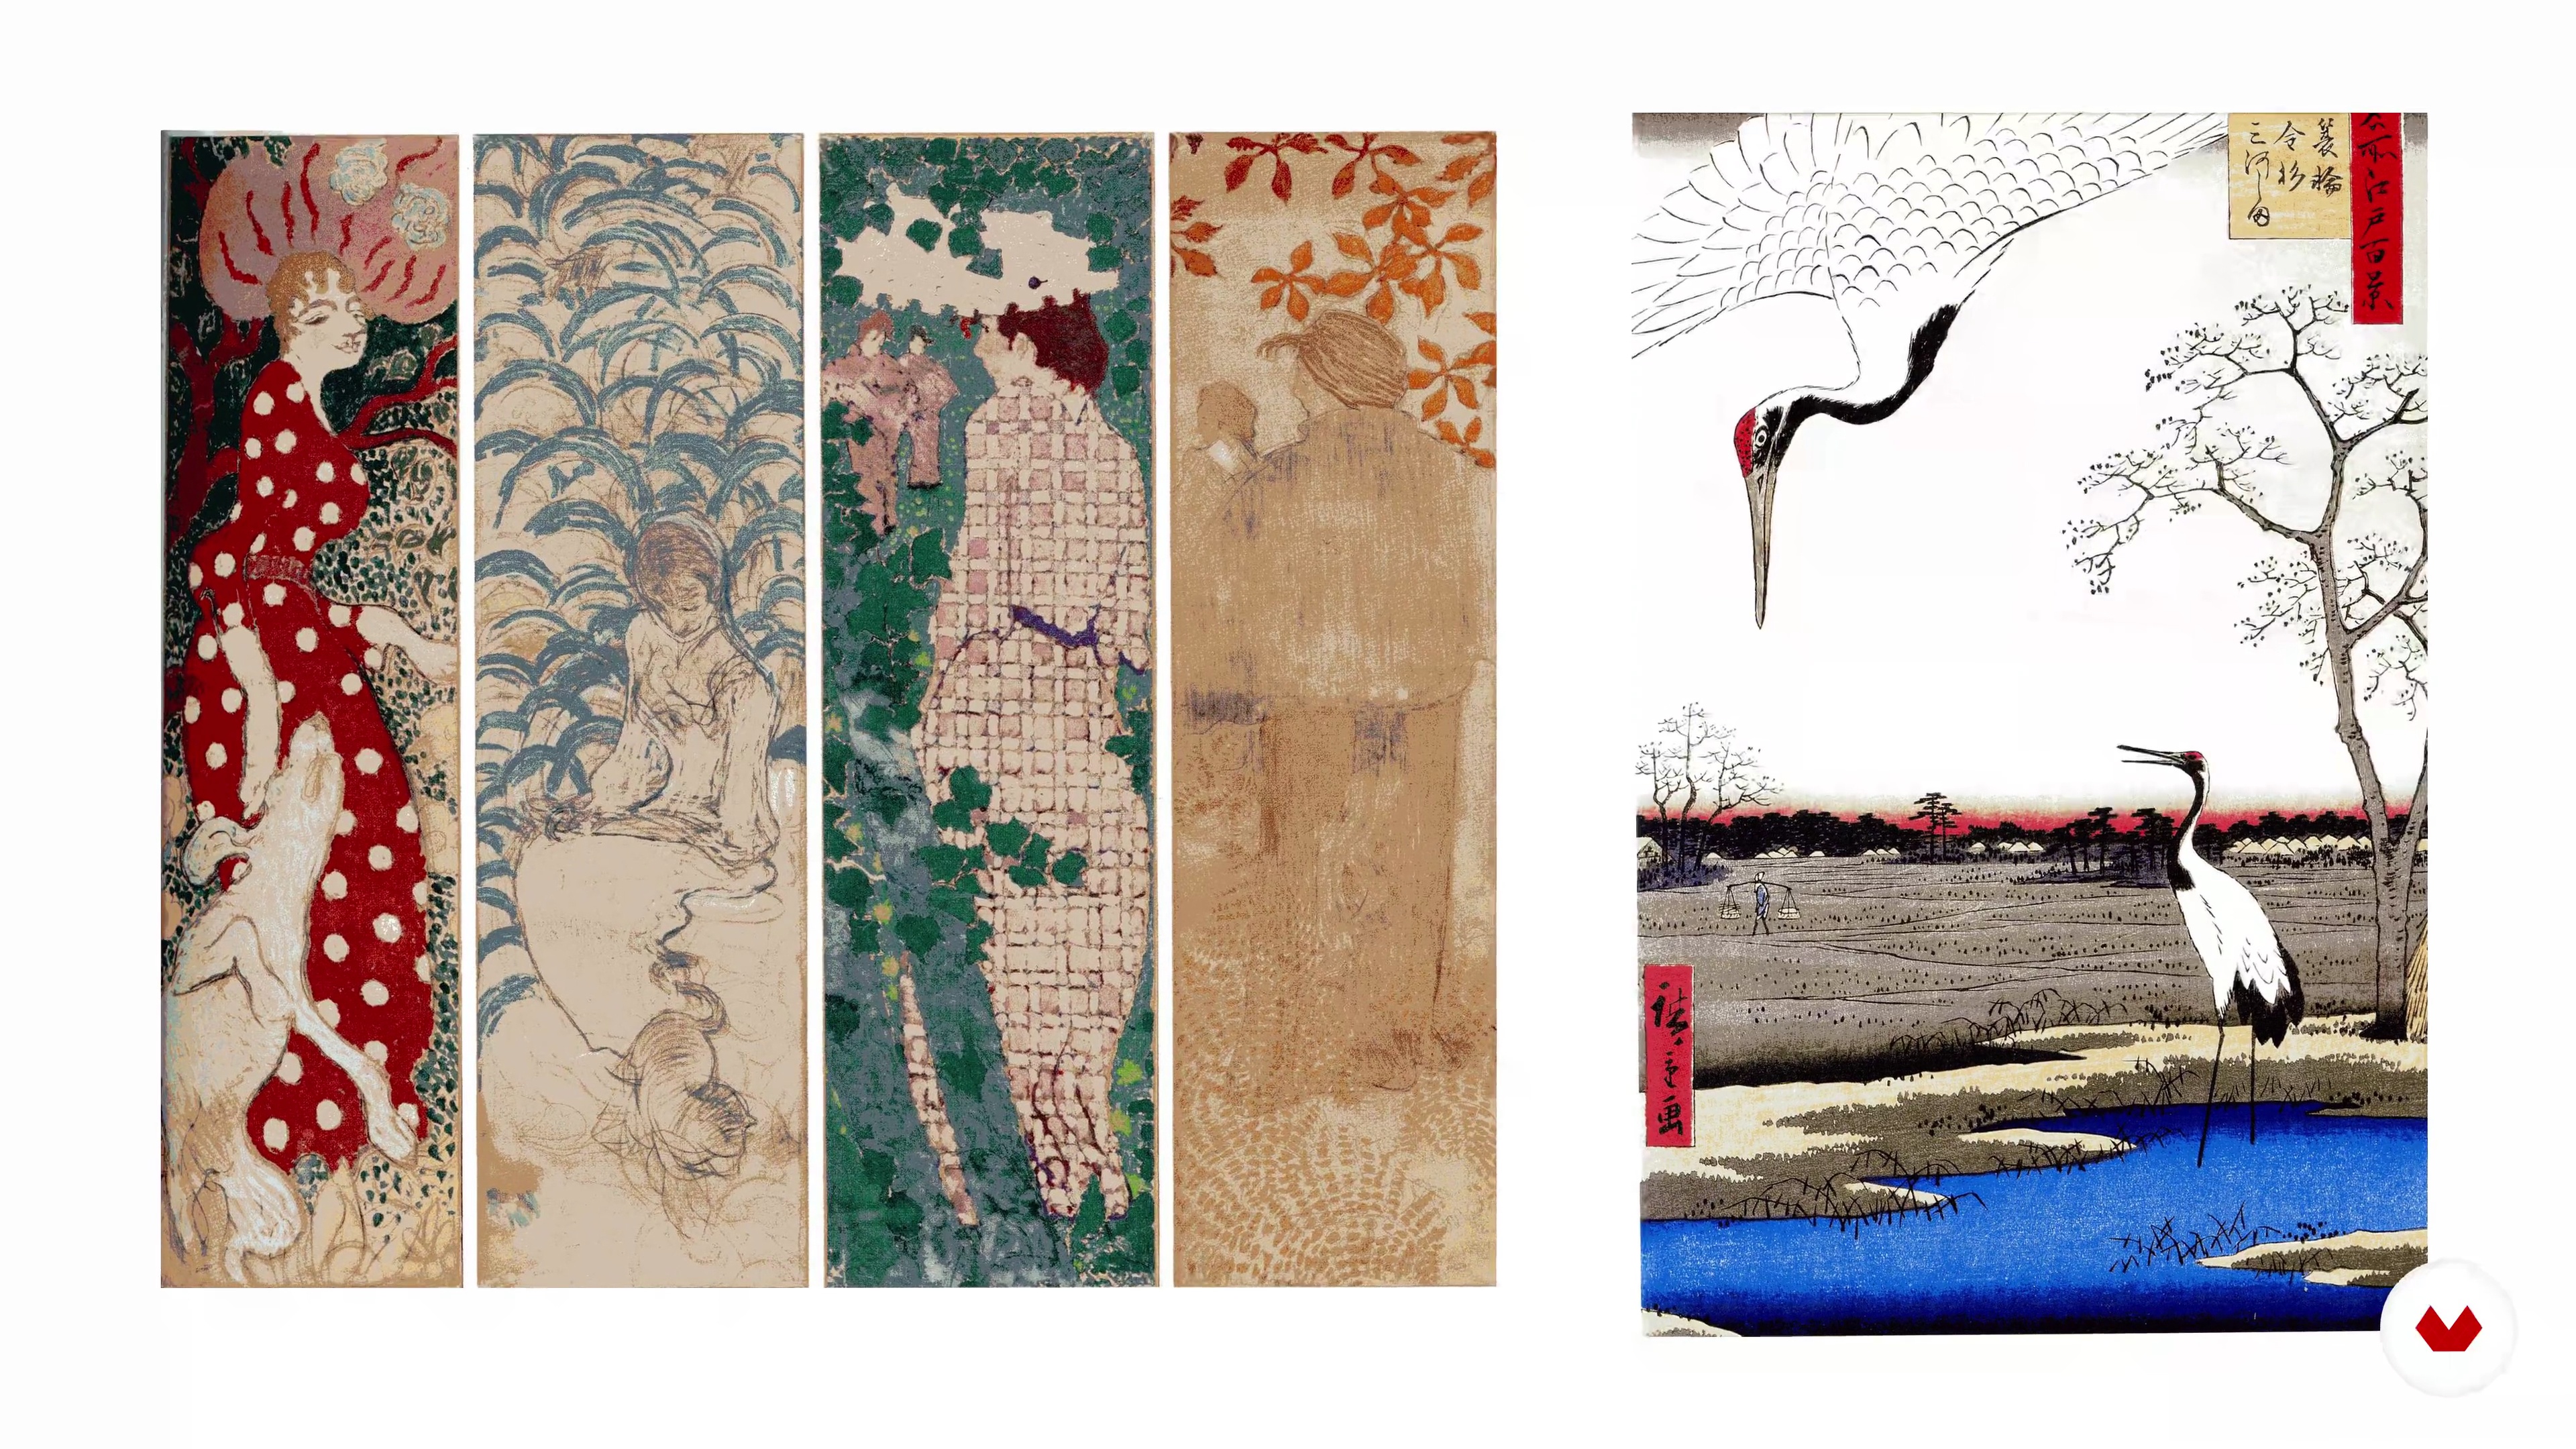
Now, I will present and talk about my artistic influences and inspirations as a creator also as a Shodo teacher. I believe that sharing my insider information would help and positively inspire you throughout this learning process and self-rediscovering journey.
4m
 5
5Influences / Maaida Noor
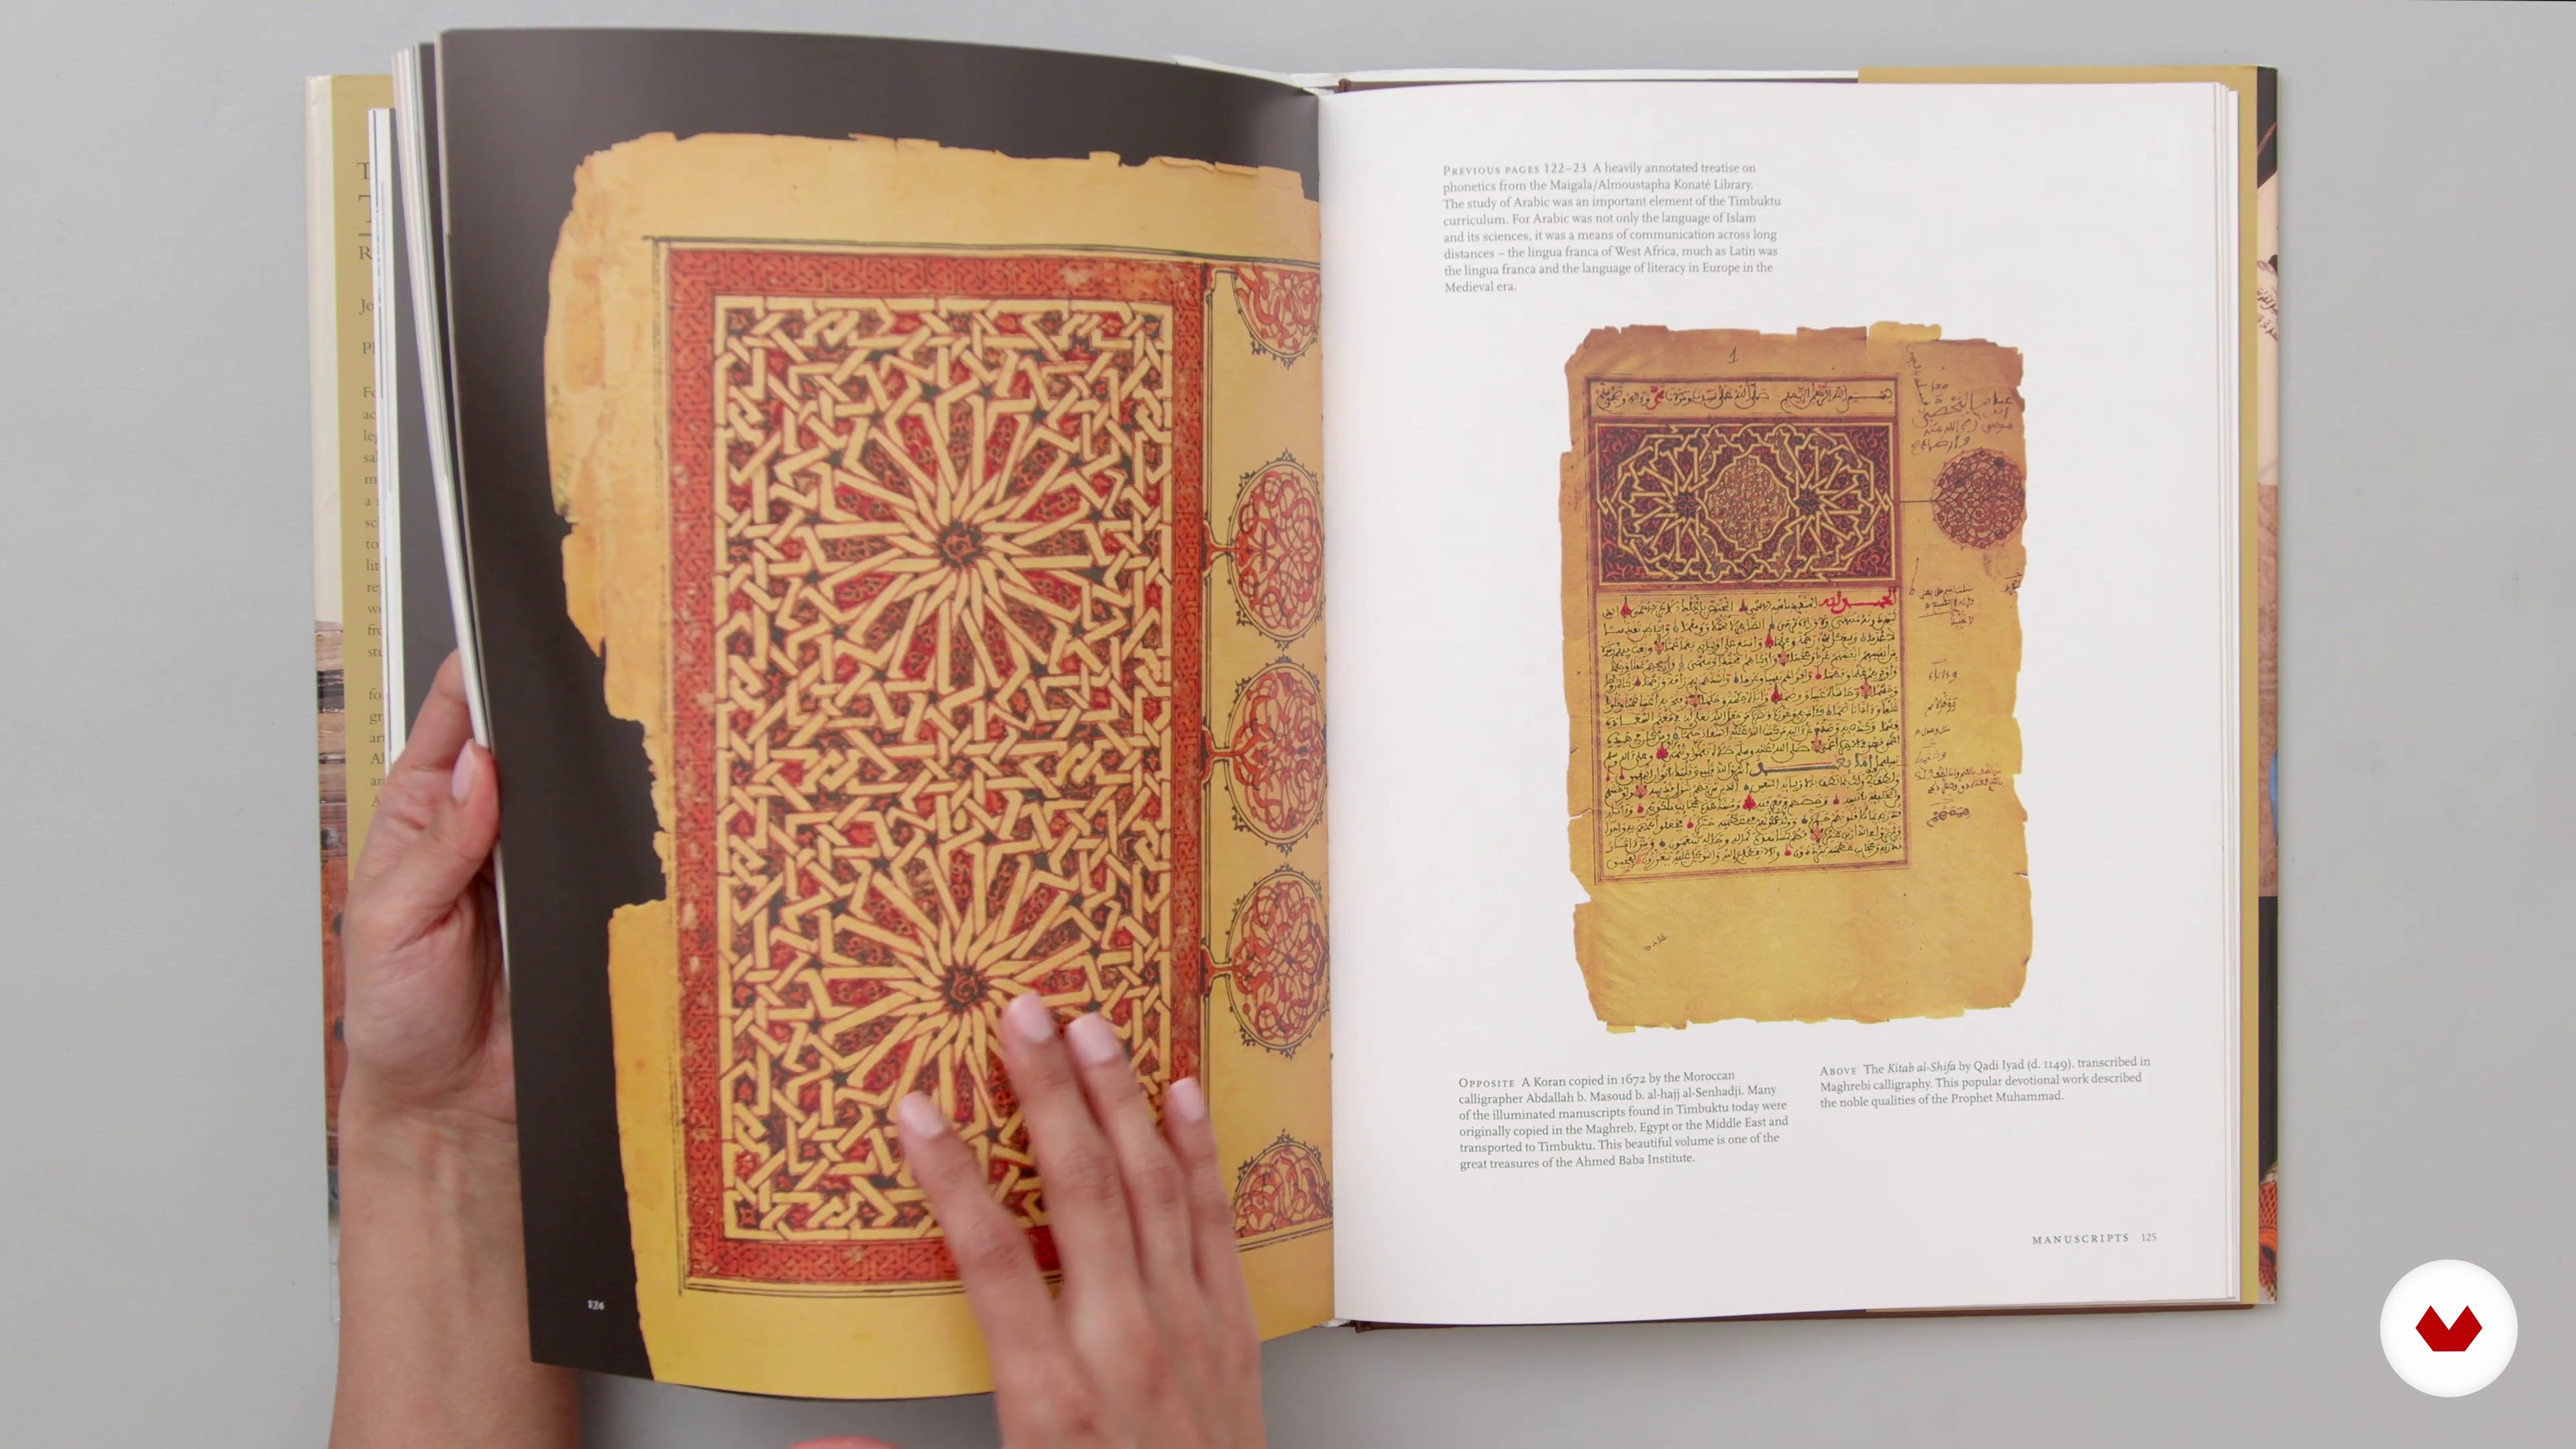
Here I am going to share the sources from where I draw my inspirations. My biggest sources of inspiration are my culture, poetry, nature, travel, books, manuscripts, and my teachers.
12m
 6
6Influences / Thomas Lam
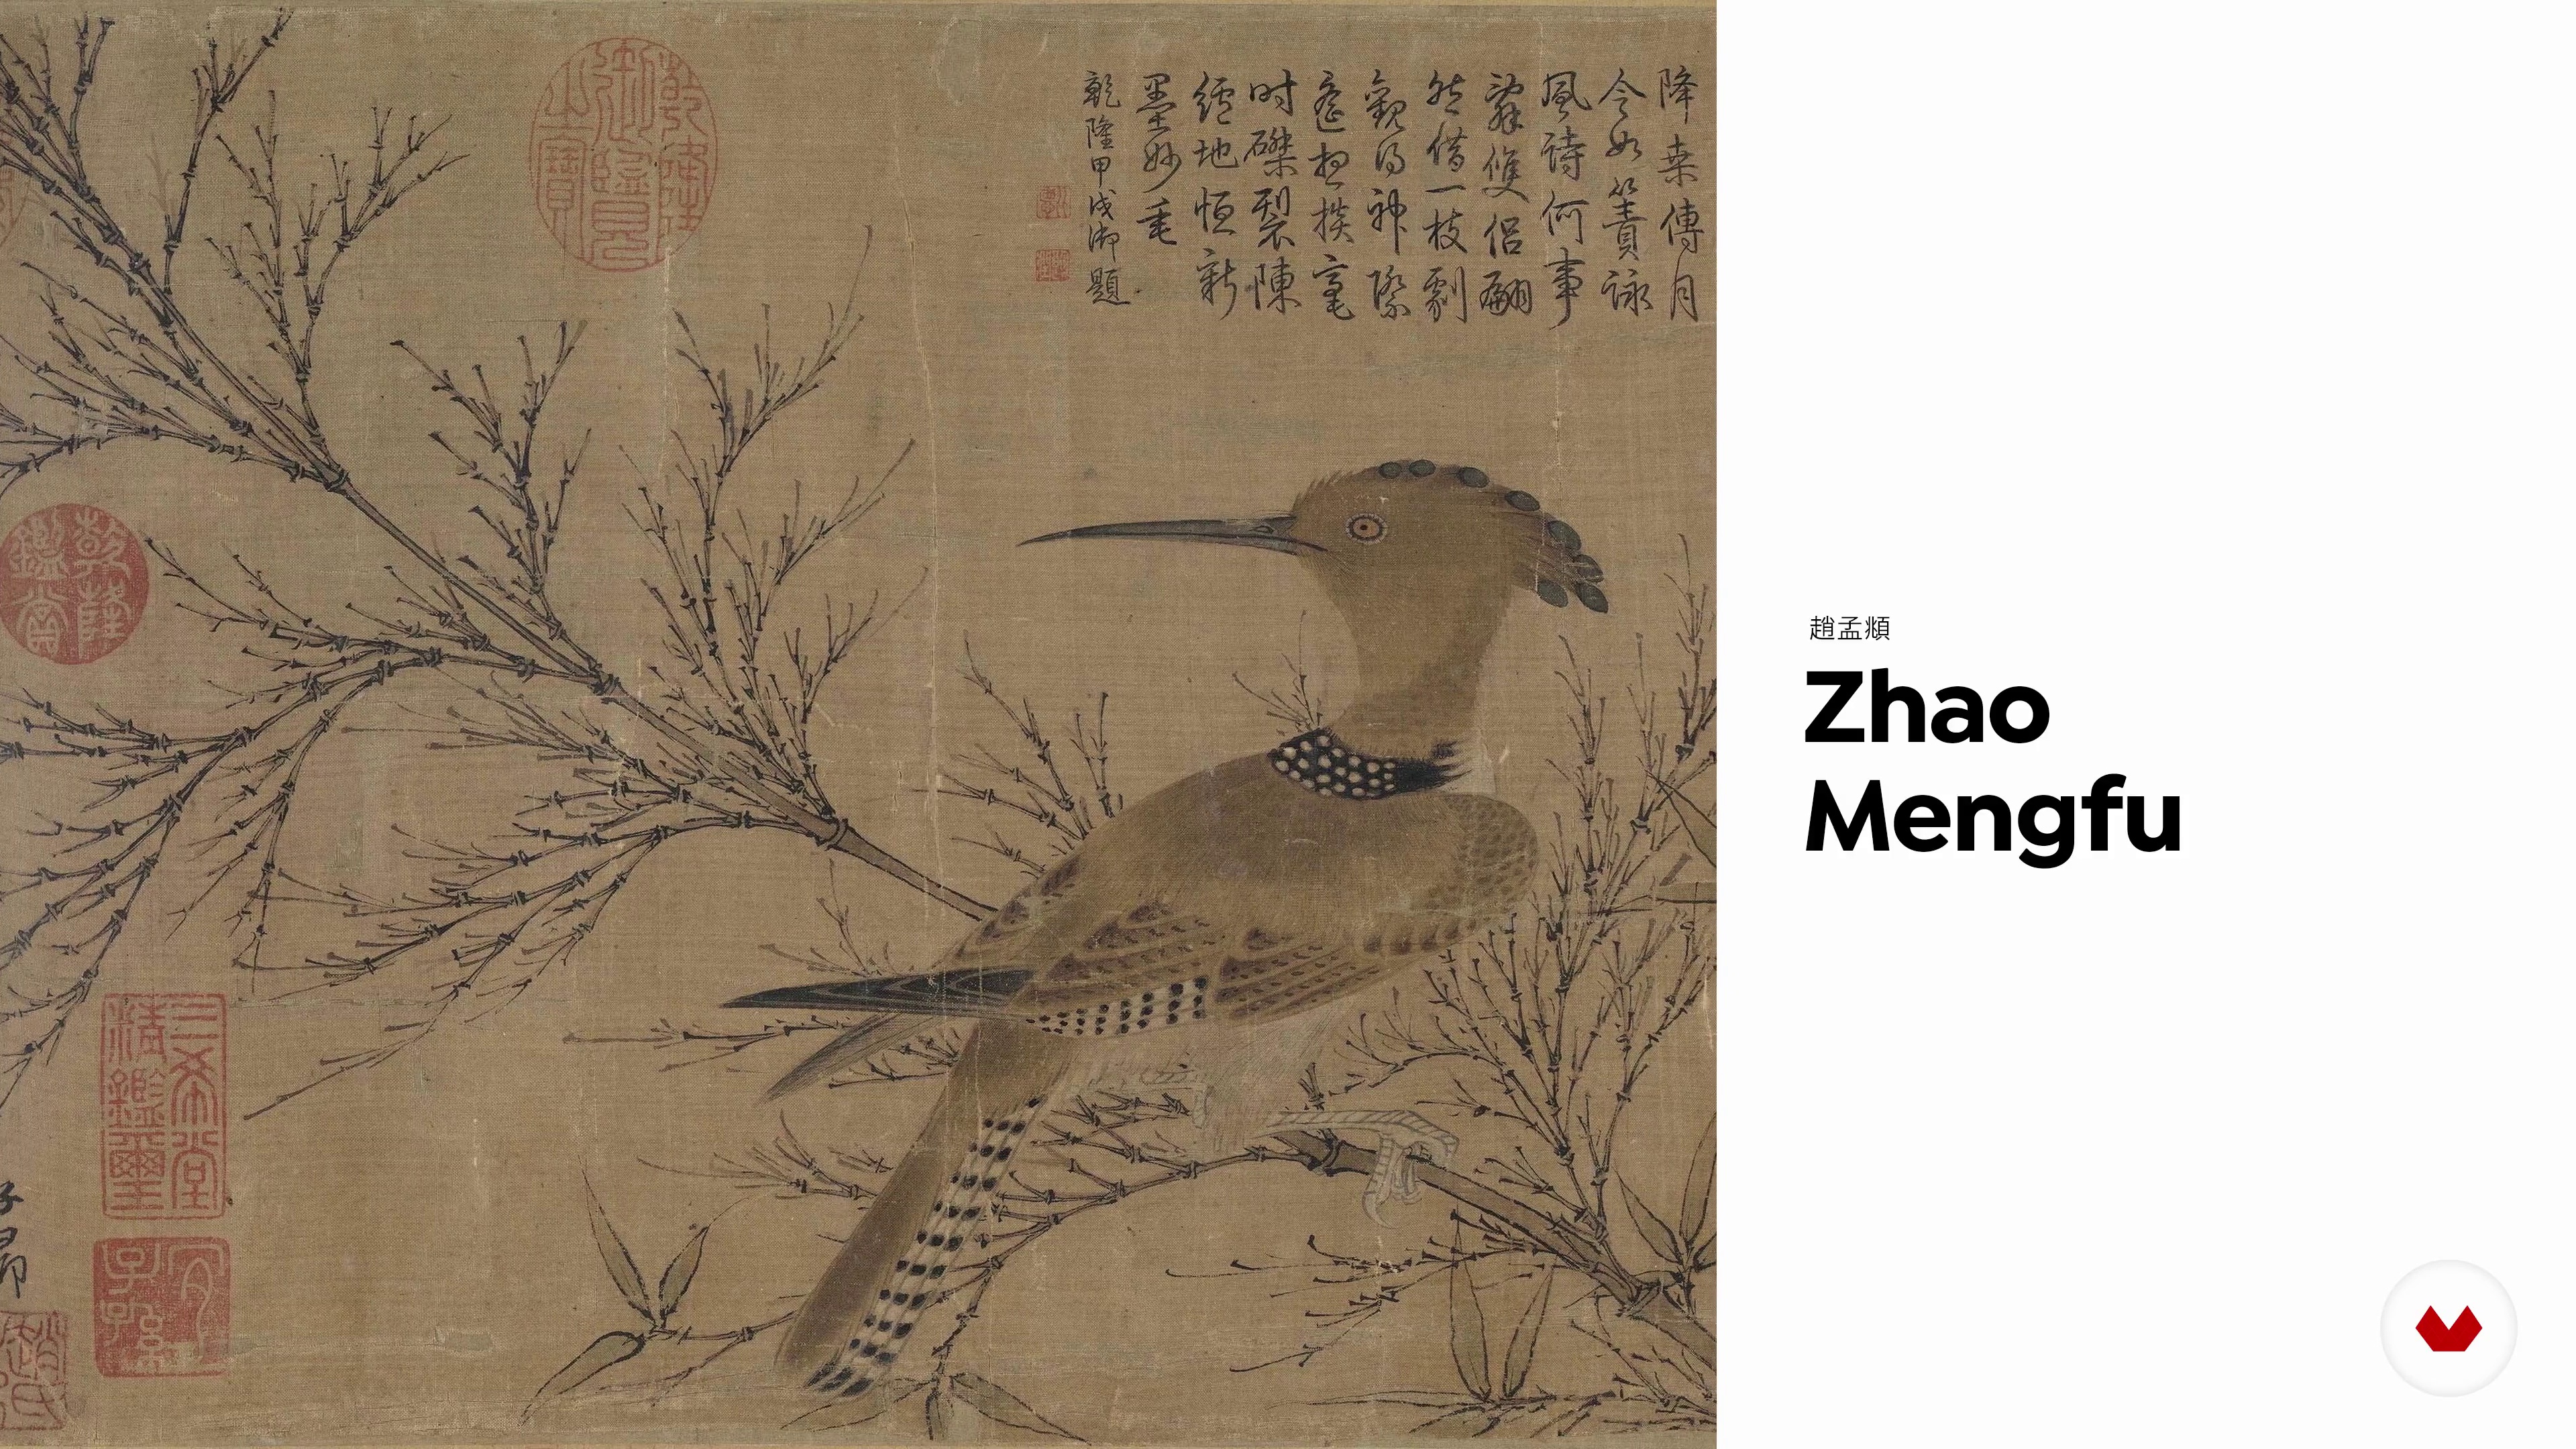
In this lesson, I will tell you about the influences that inspire my calligraphy style, including my favourite artist and two Chinese masters that I admire.
2m
 7
7Influences / Allison Barklay
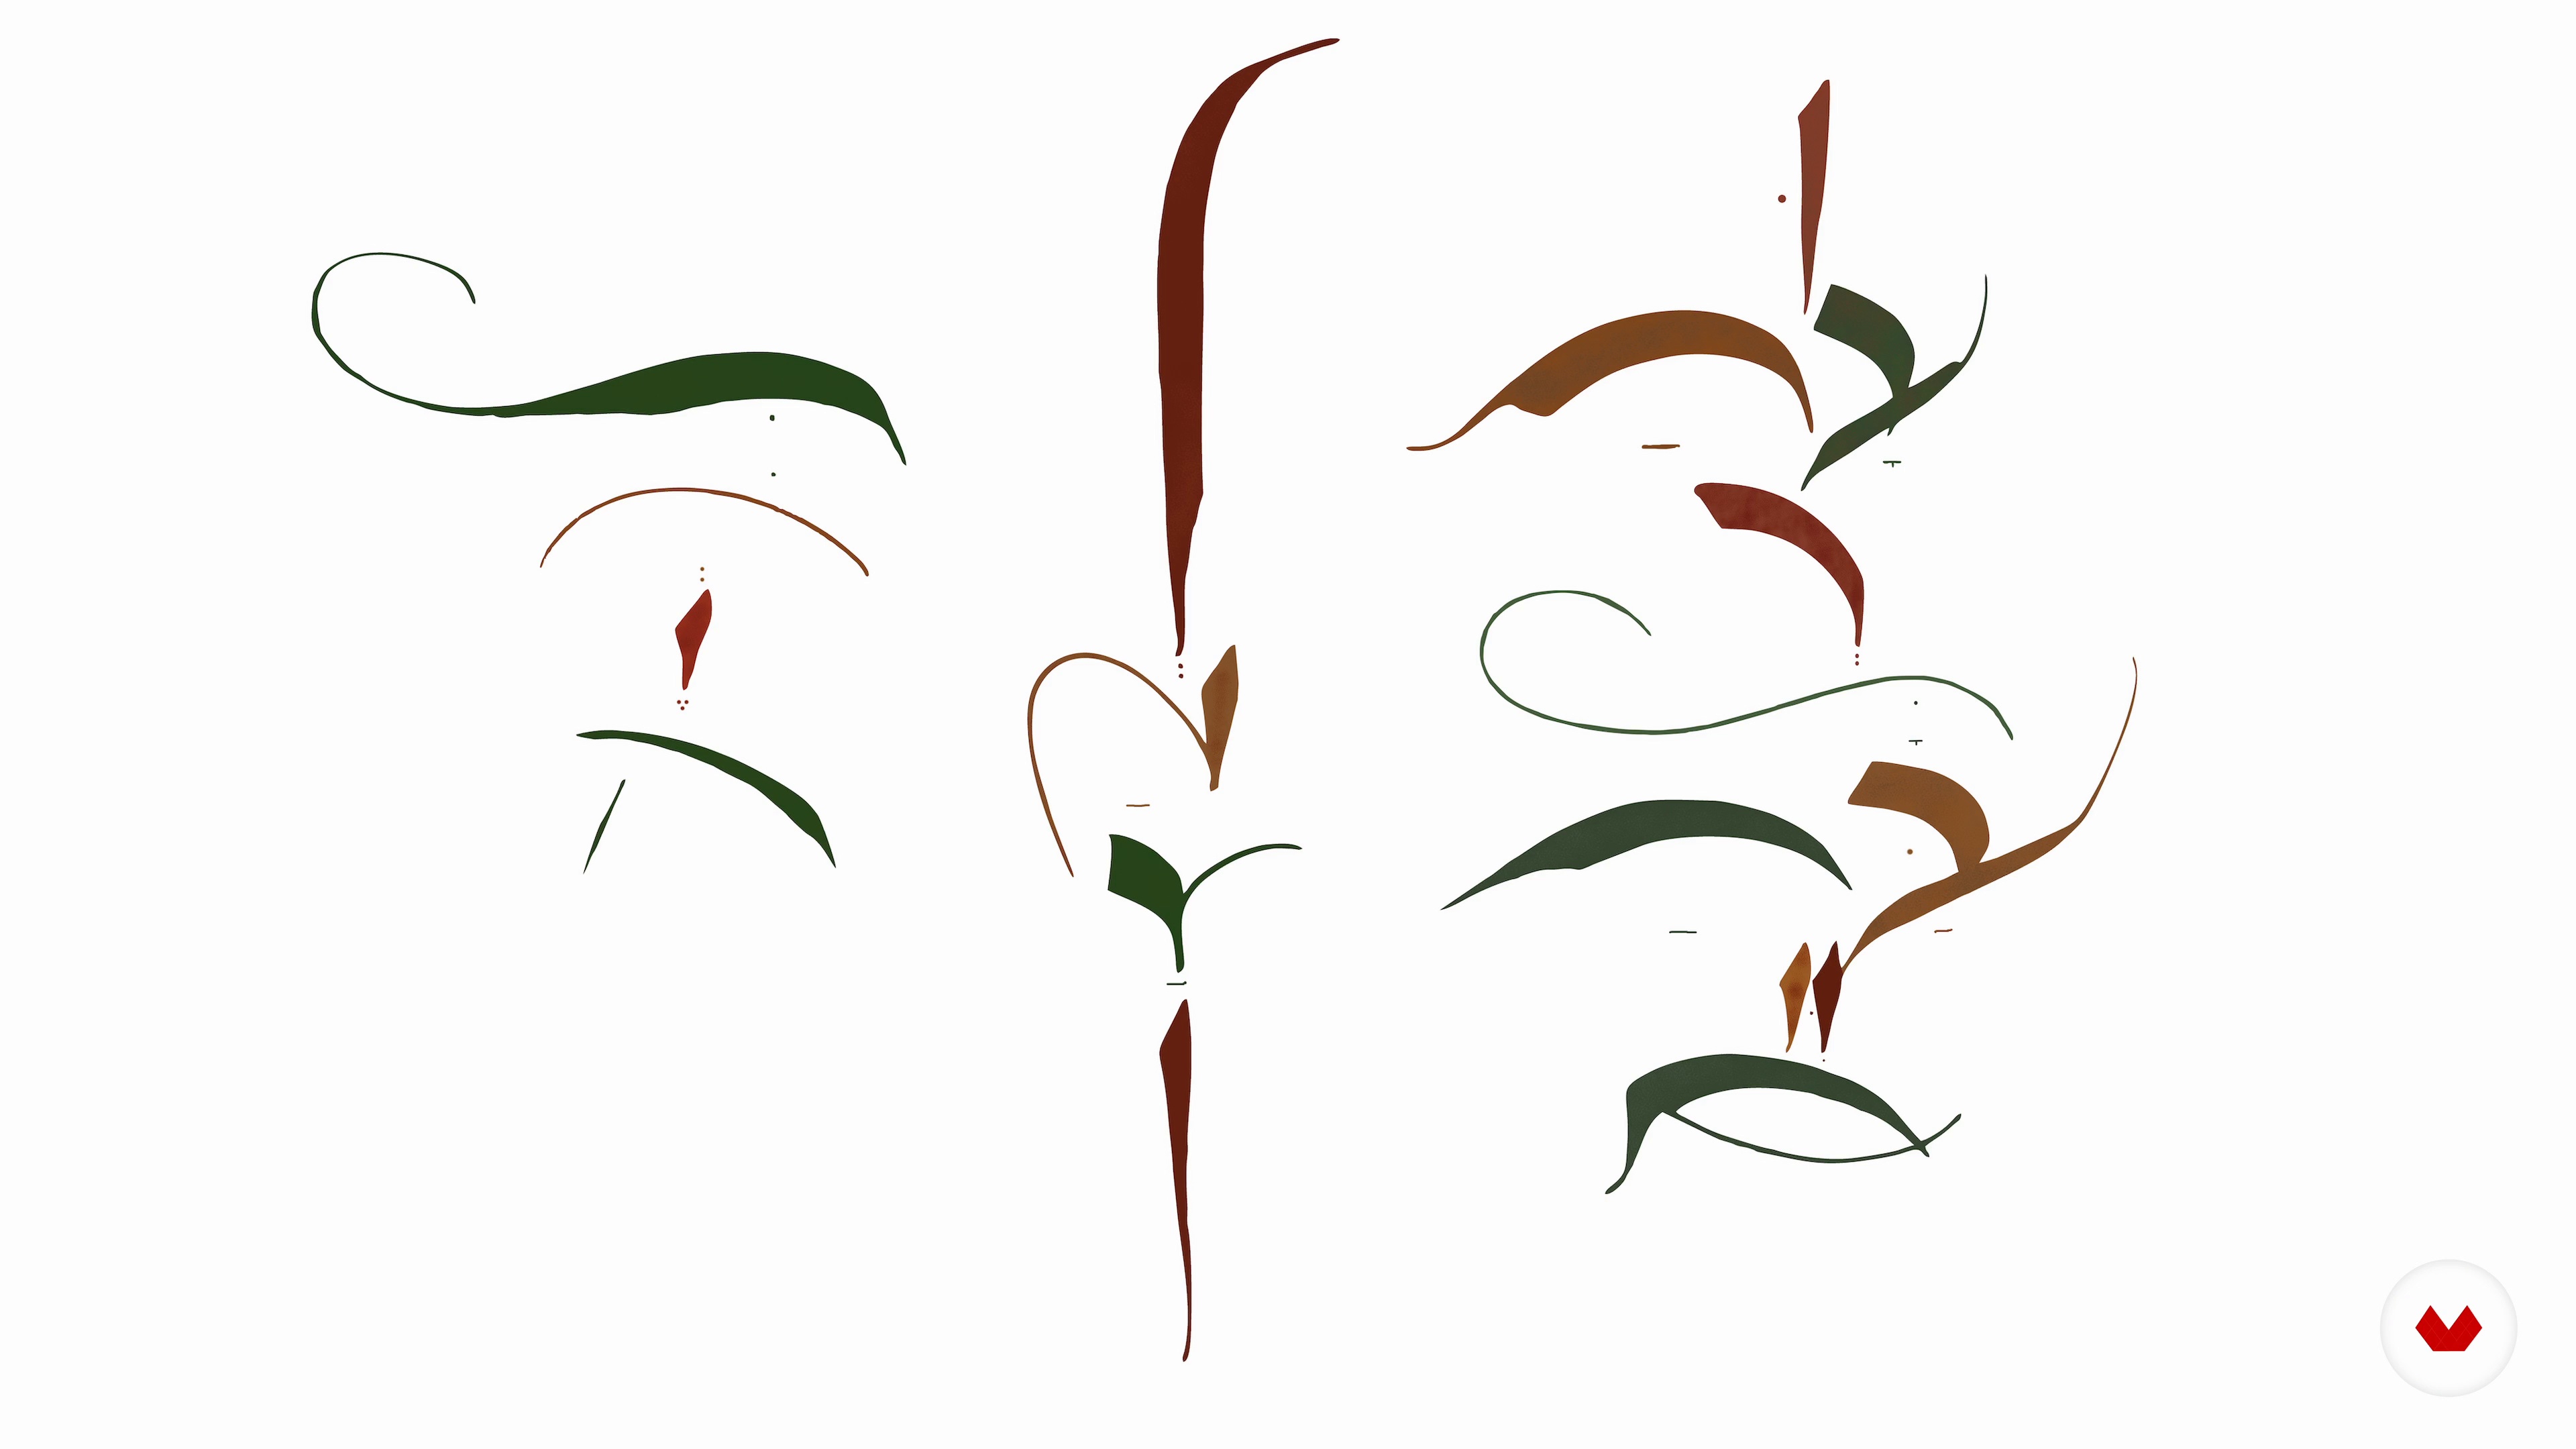
All my influences are coincidental. Although, there is no such thing as a coincidence! In art school, I encountered a very gentle teacher who was a master of colour. Later, in a seminary, I encountered the idea that the entire universe was whispered into existence by the manipulation of the Hebrew alphabet. These building blocks of the world have names, shapes, numbers, personalities, and stories behind them which we unlock when we write. The spirit of the letters is a beautiful force of nature for you to discover.
7m
 1
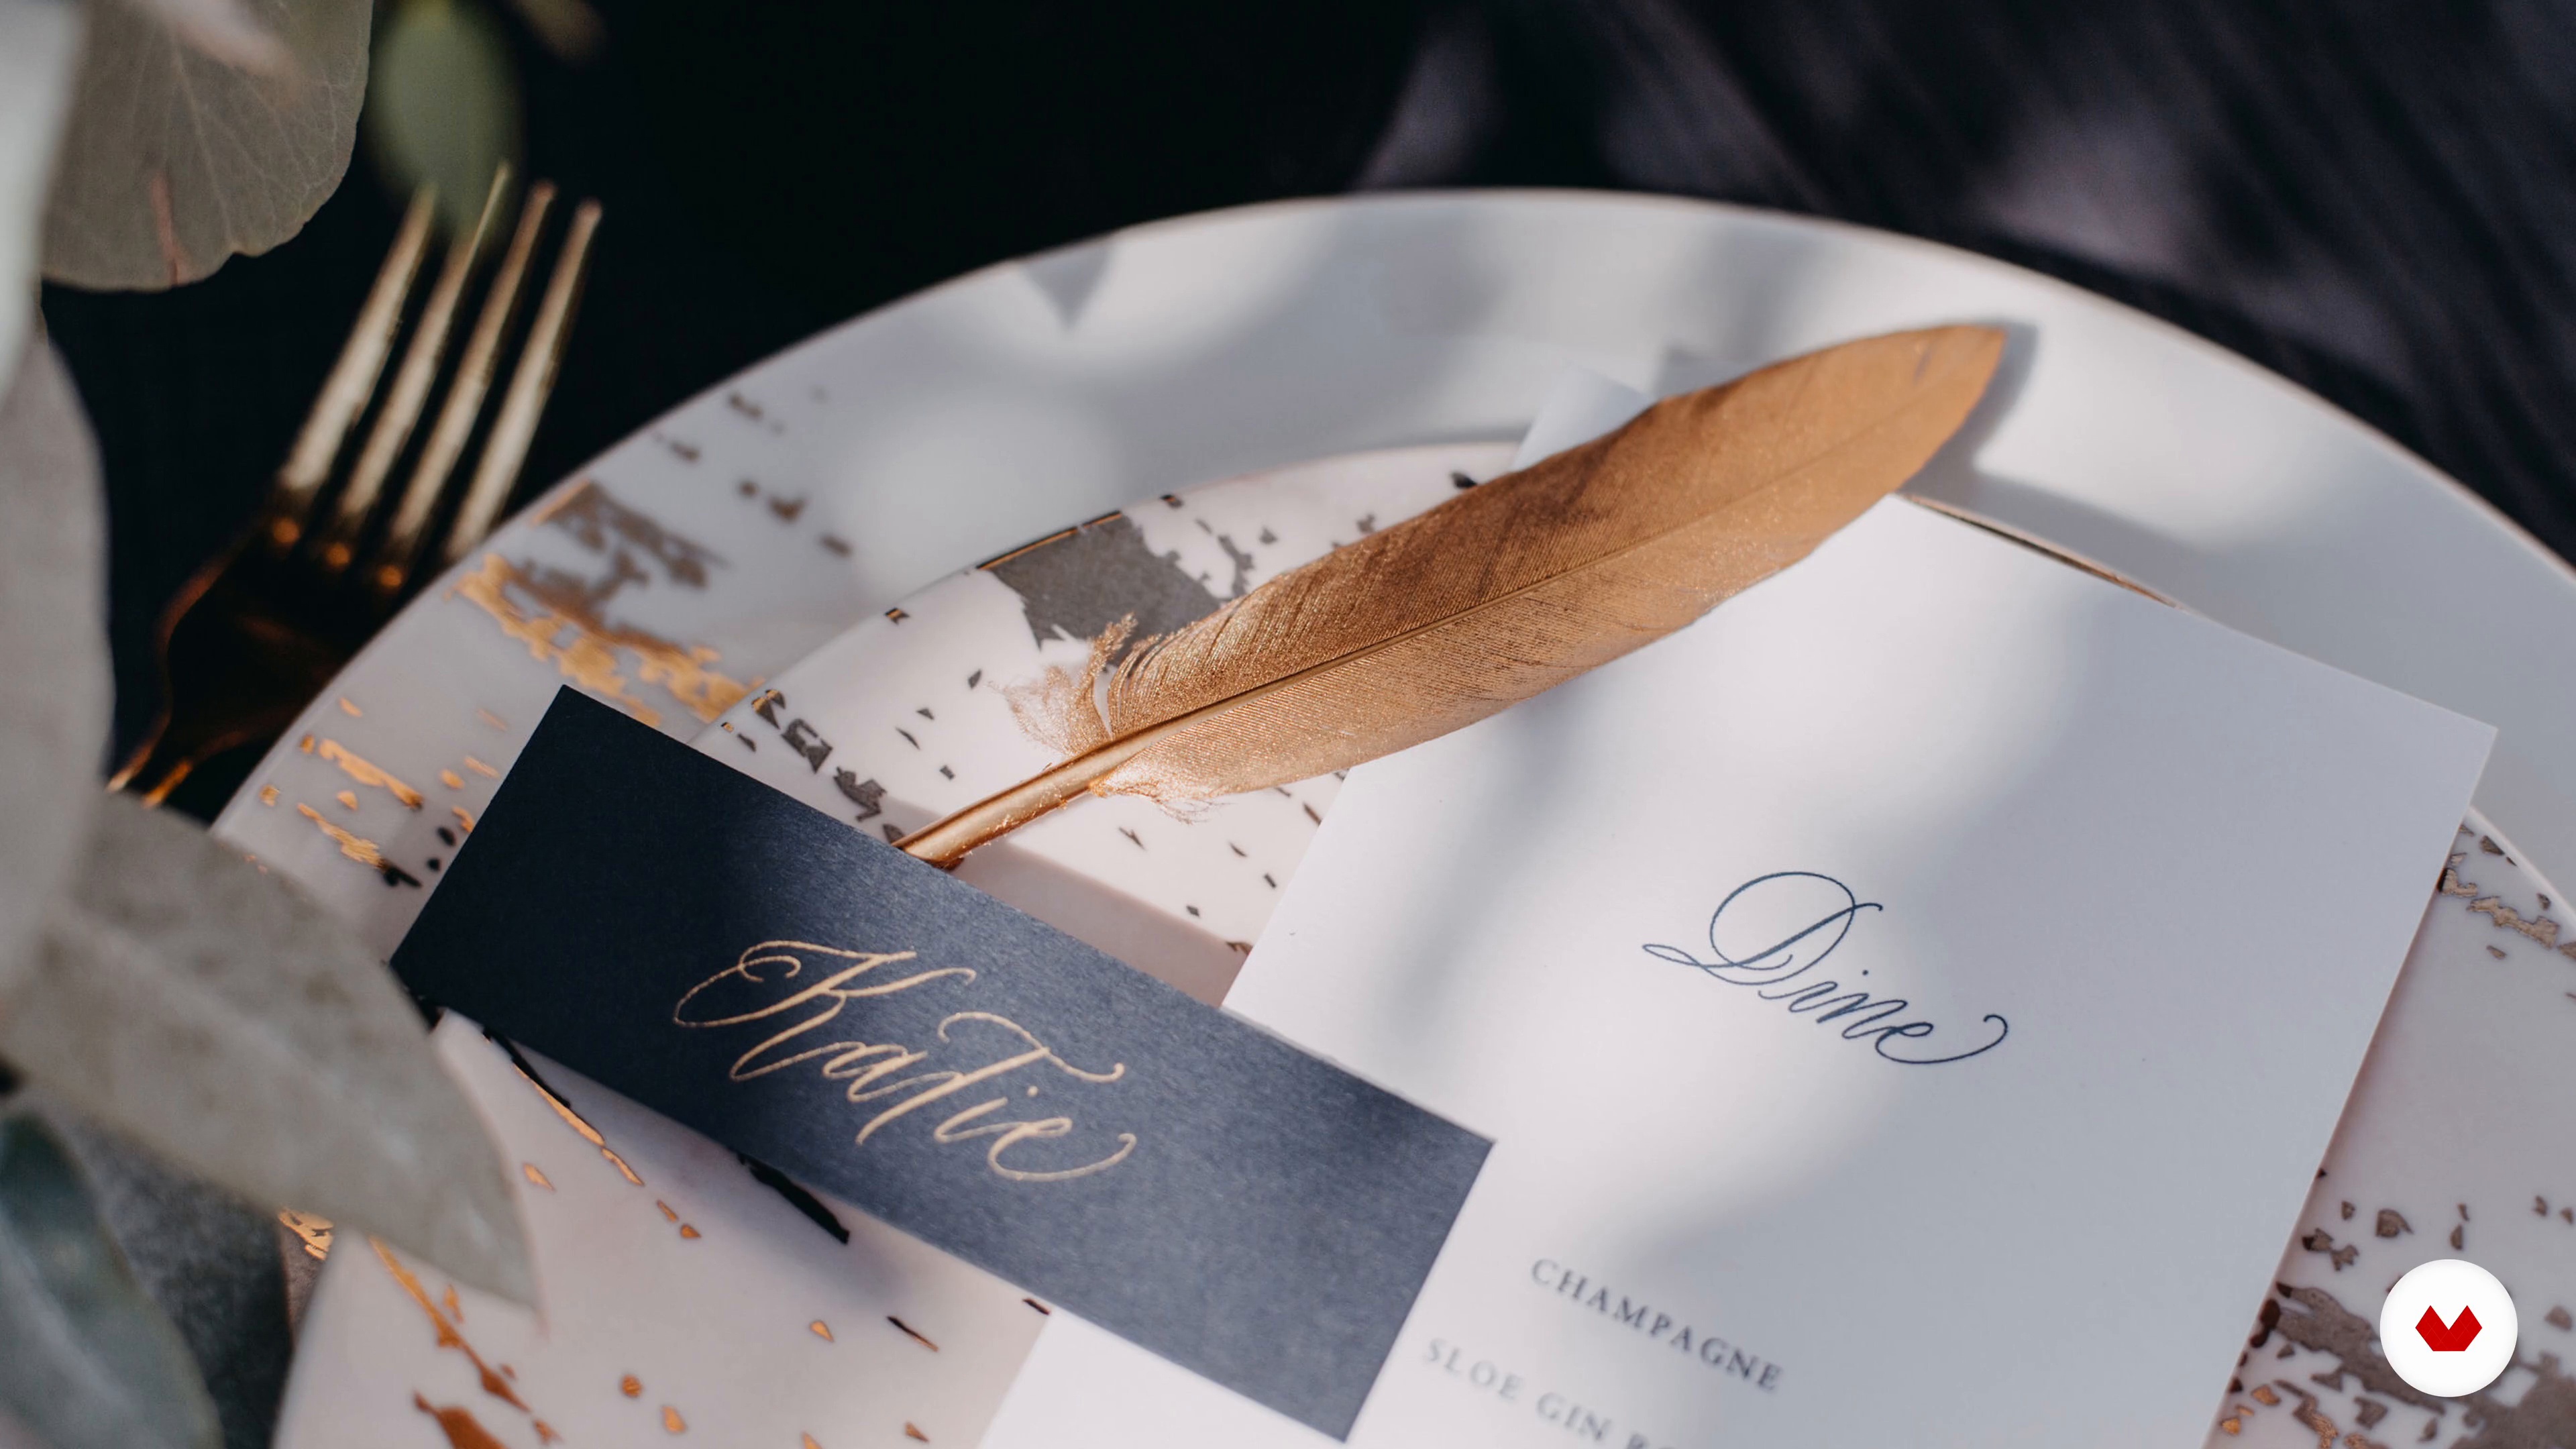
1What Is Modern Calligraphy?
In this lesson, I will introduce you to the concept of modern calligraphy.
4m
 2
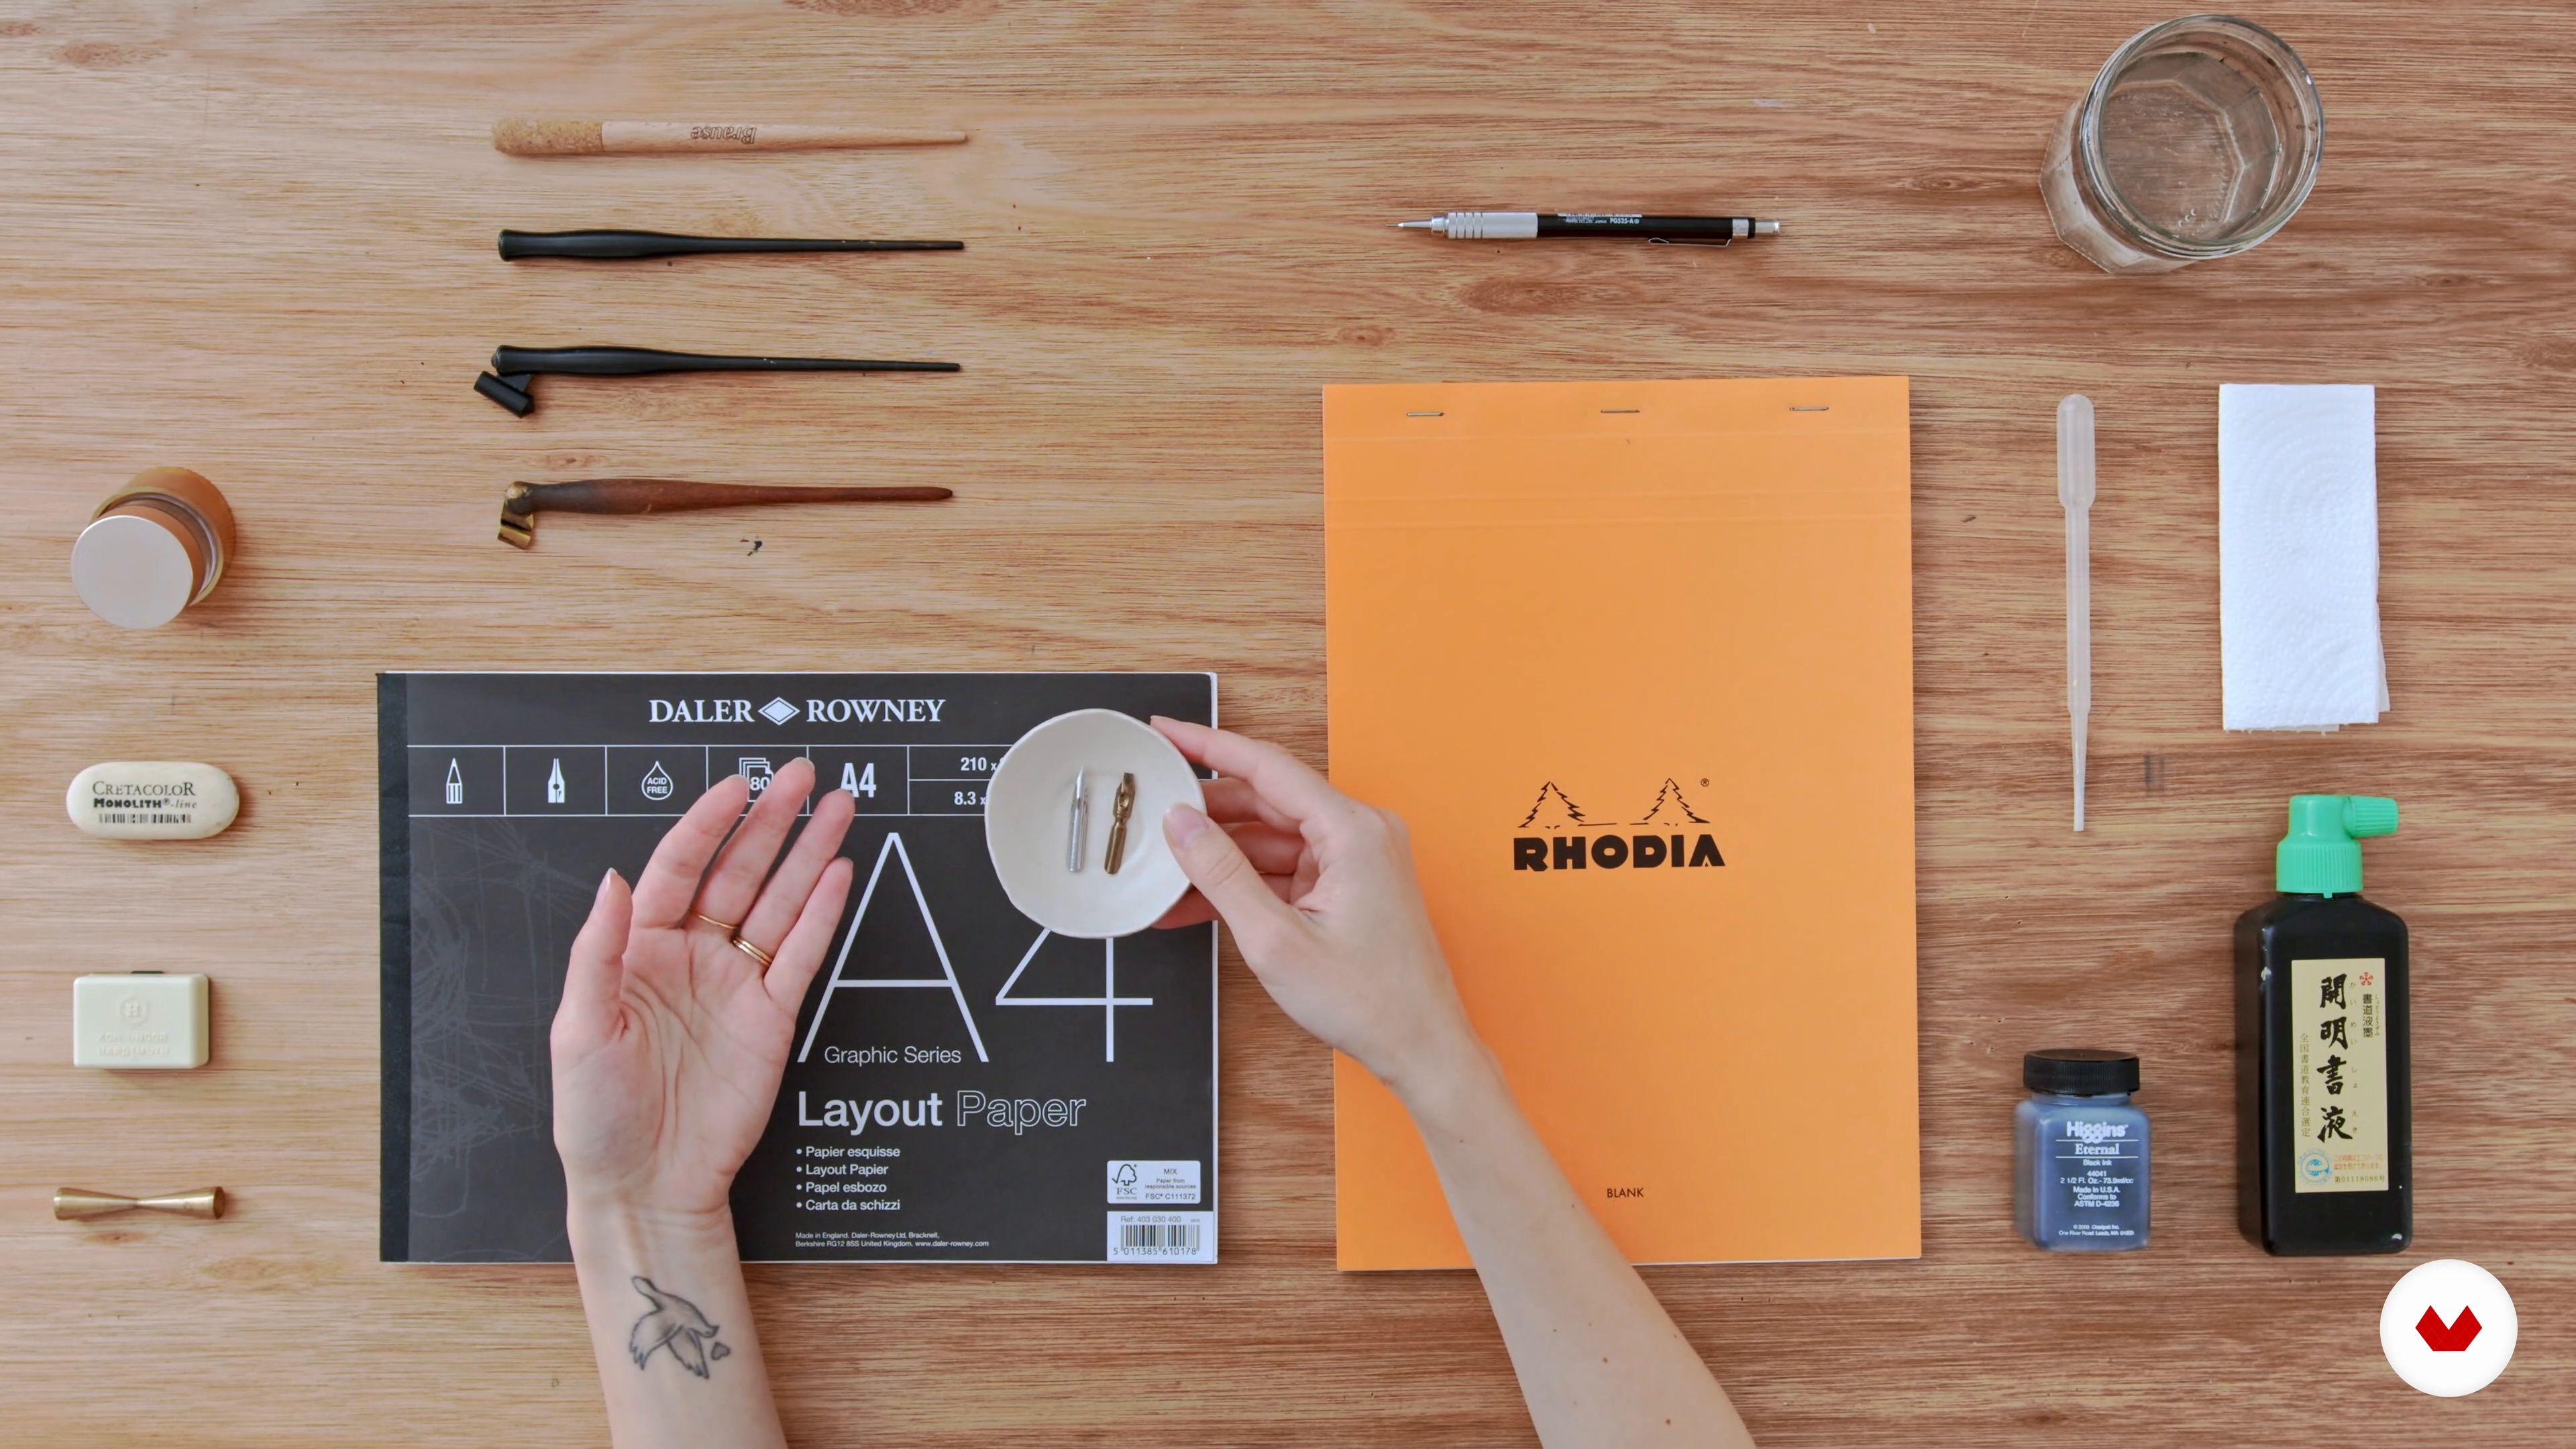
2Materials and Tools
Next, you will discover the tools you need for calligraphy and how to set them up for a successful practice.
9m
 3
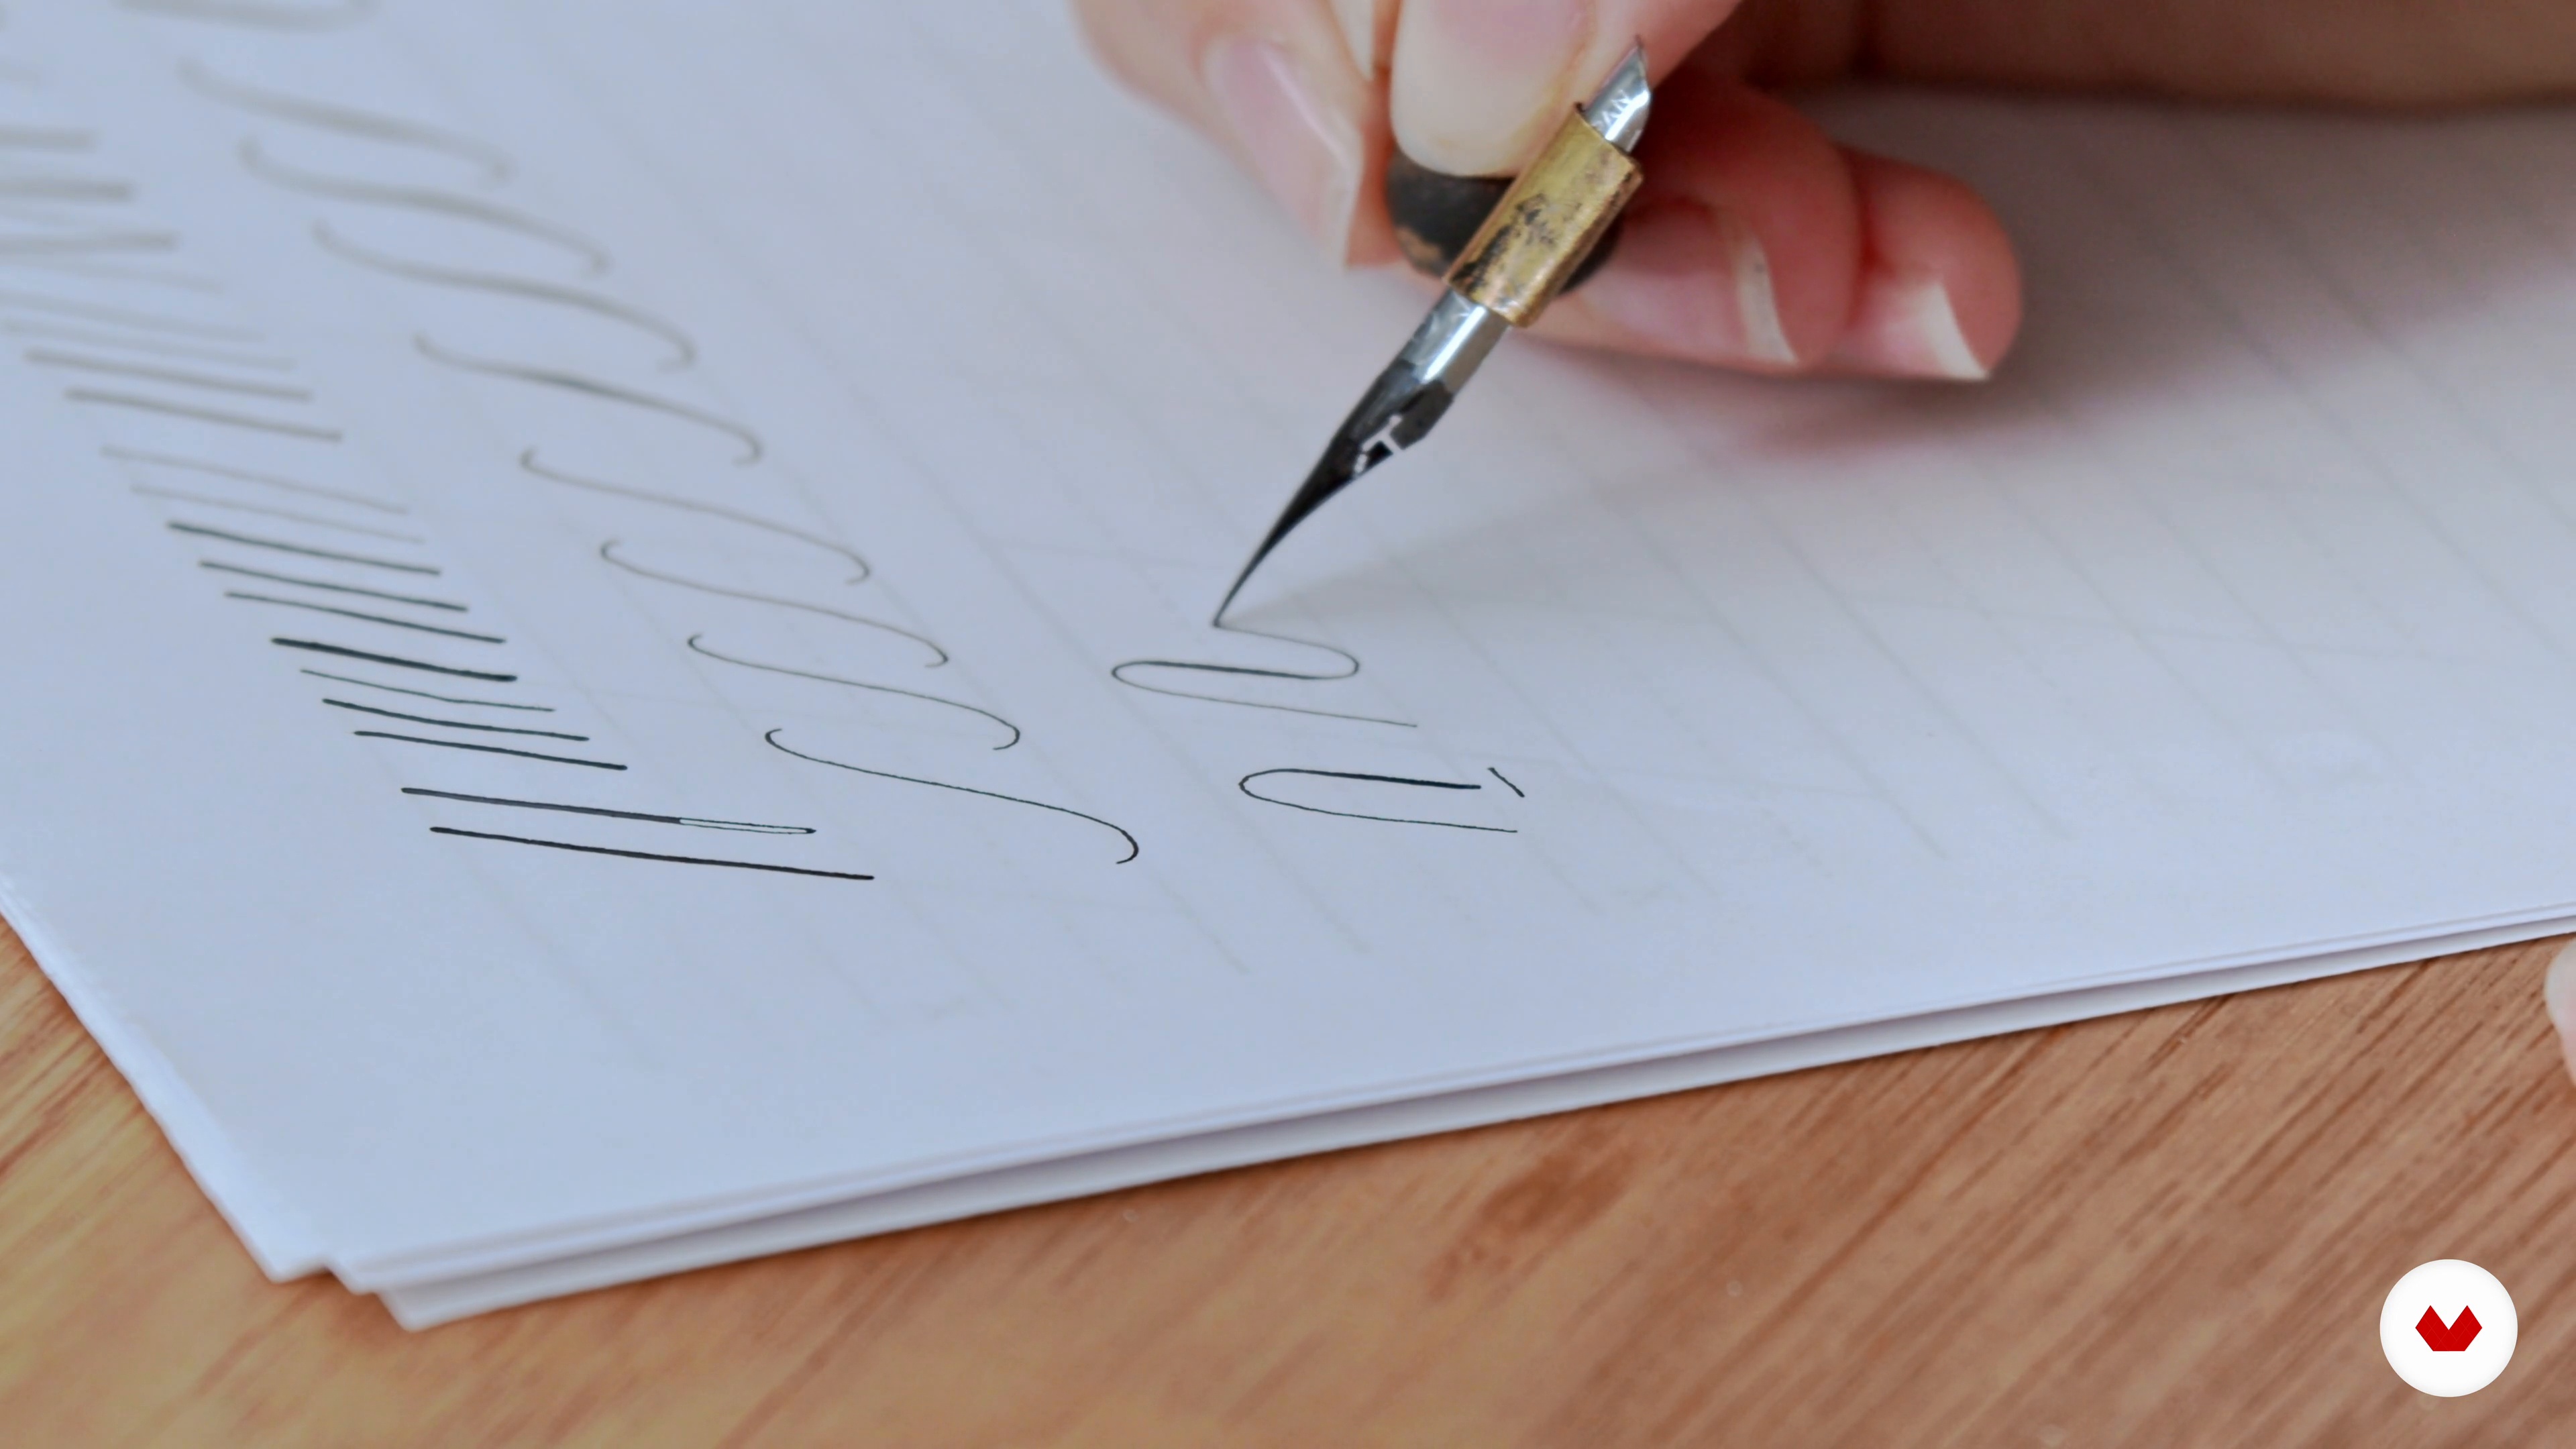
3Warming up Your Hand with Basic Strokes
Now that you have your equipment ready, you will start to warm up your hand by creating your first brushstrokes with your nib and ink.
20m
 4
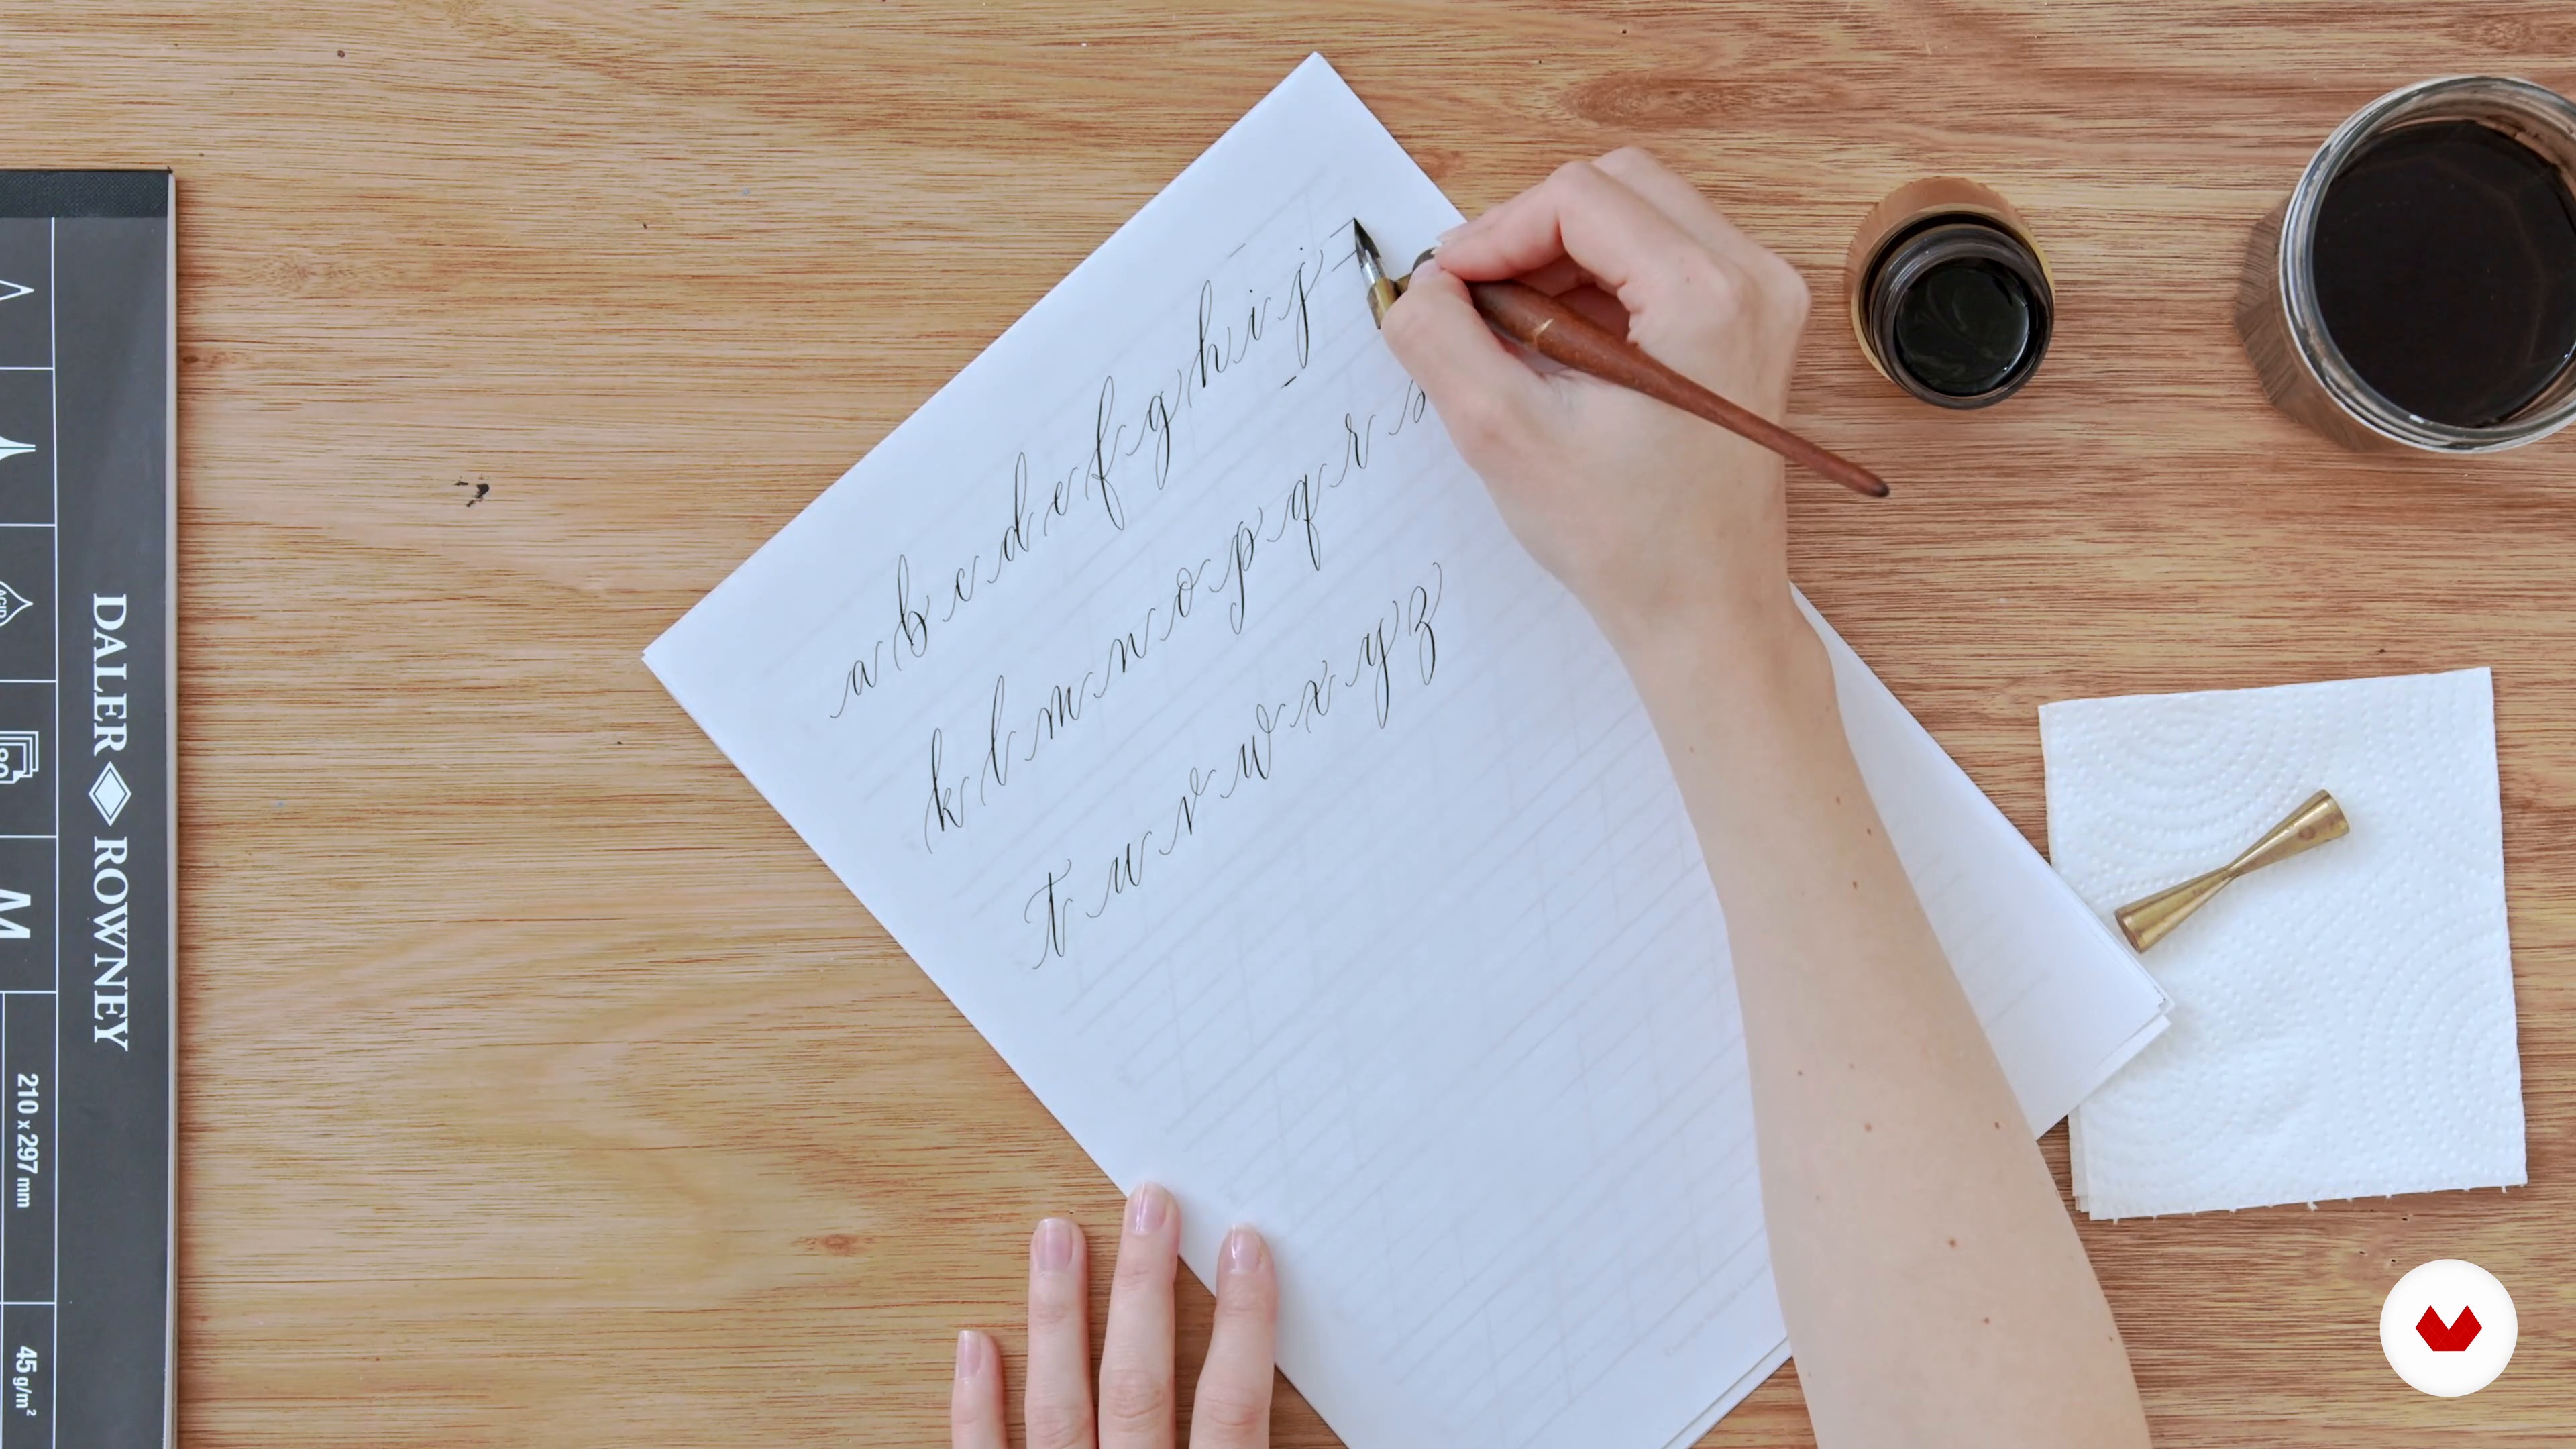
4Lowercase Letterforms
It’s time to move on to letters! In this lesson, you will learn how to create lowercase letterforms. I will demonstrate each letter, showing how to construct the letters in a series of brushstrokes.
8m
 5
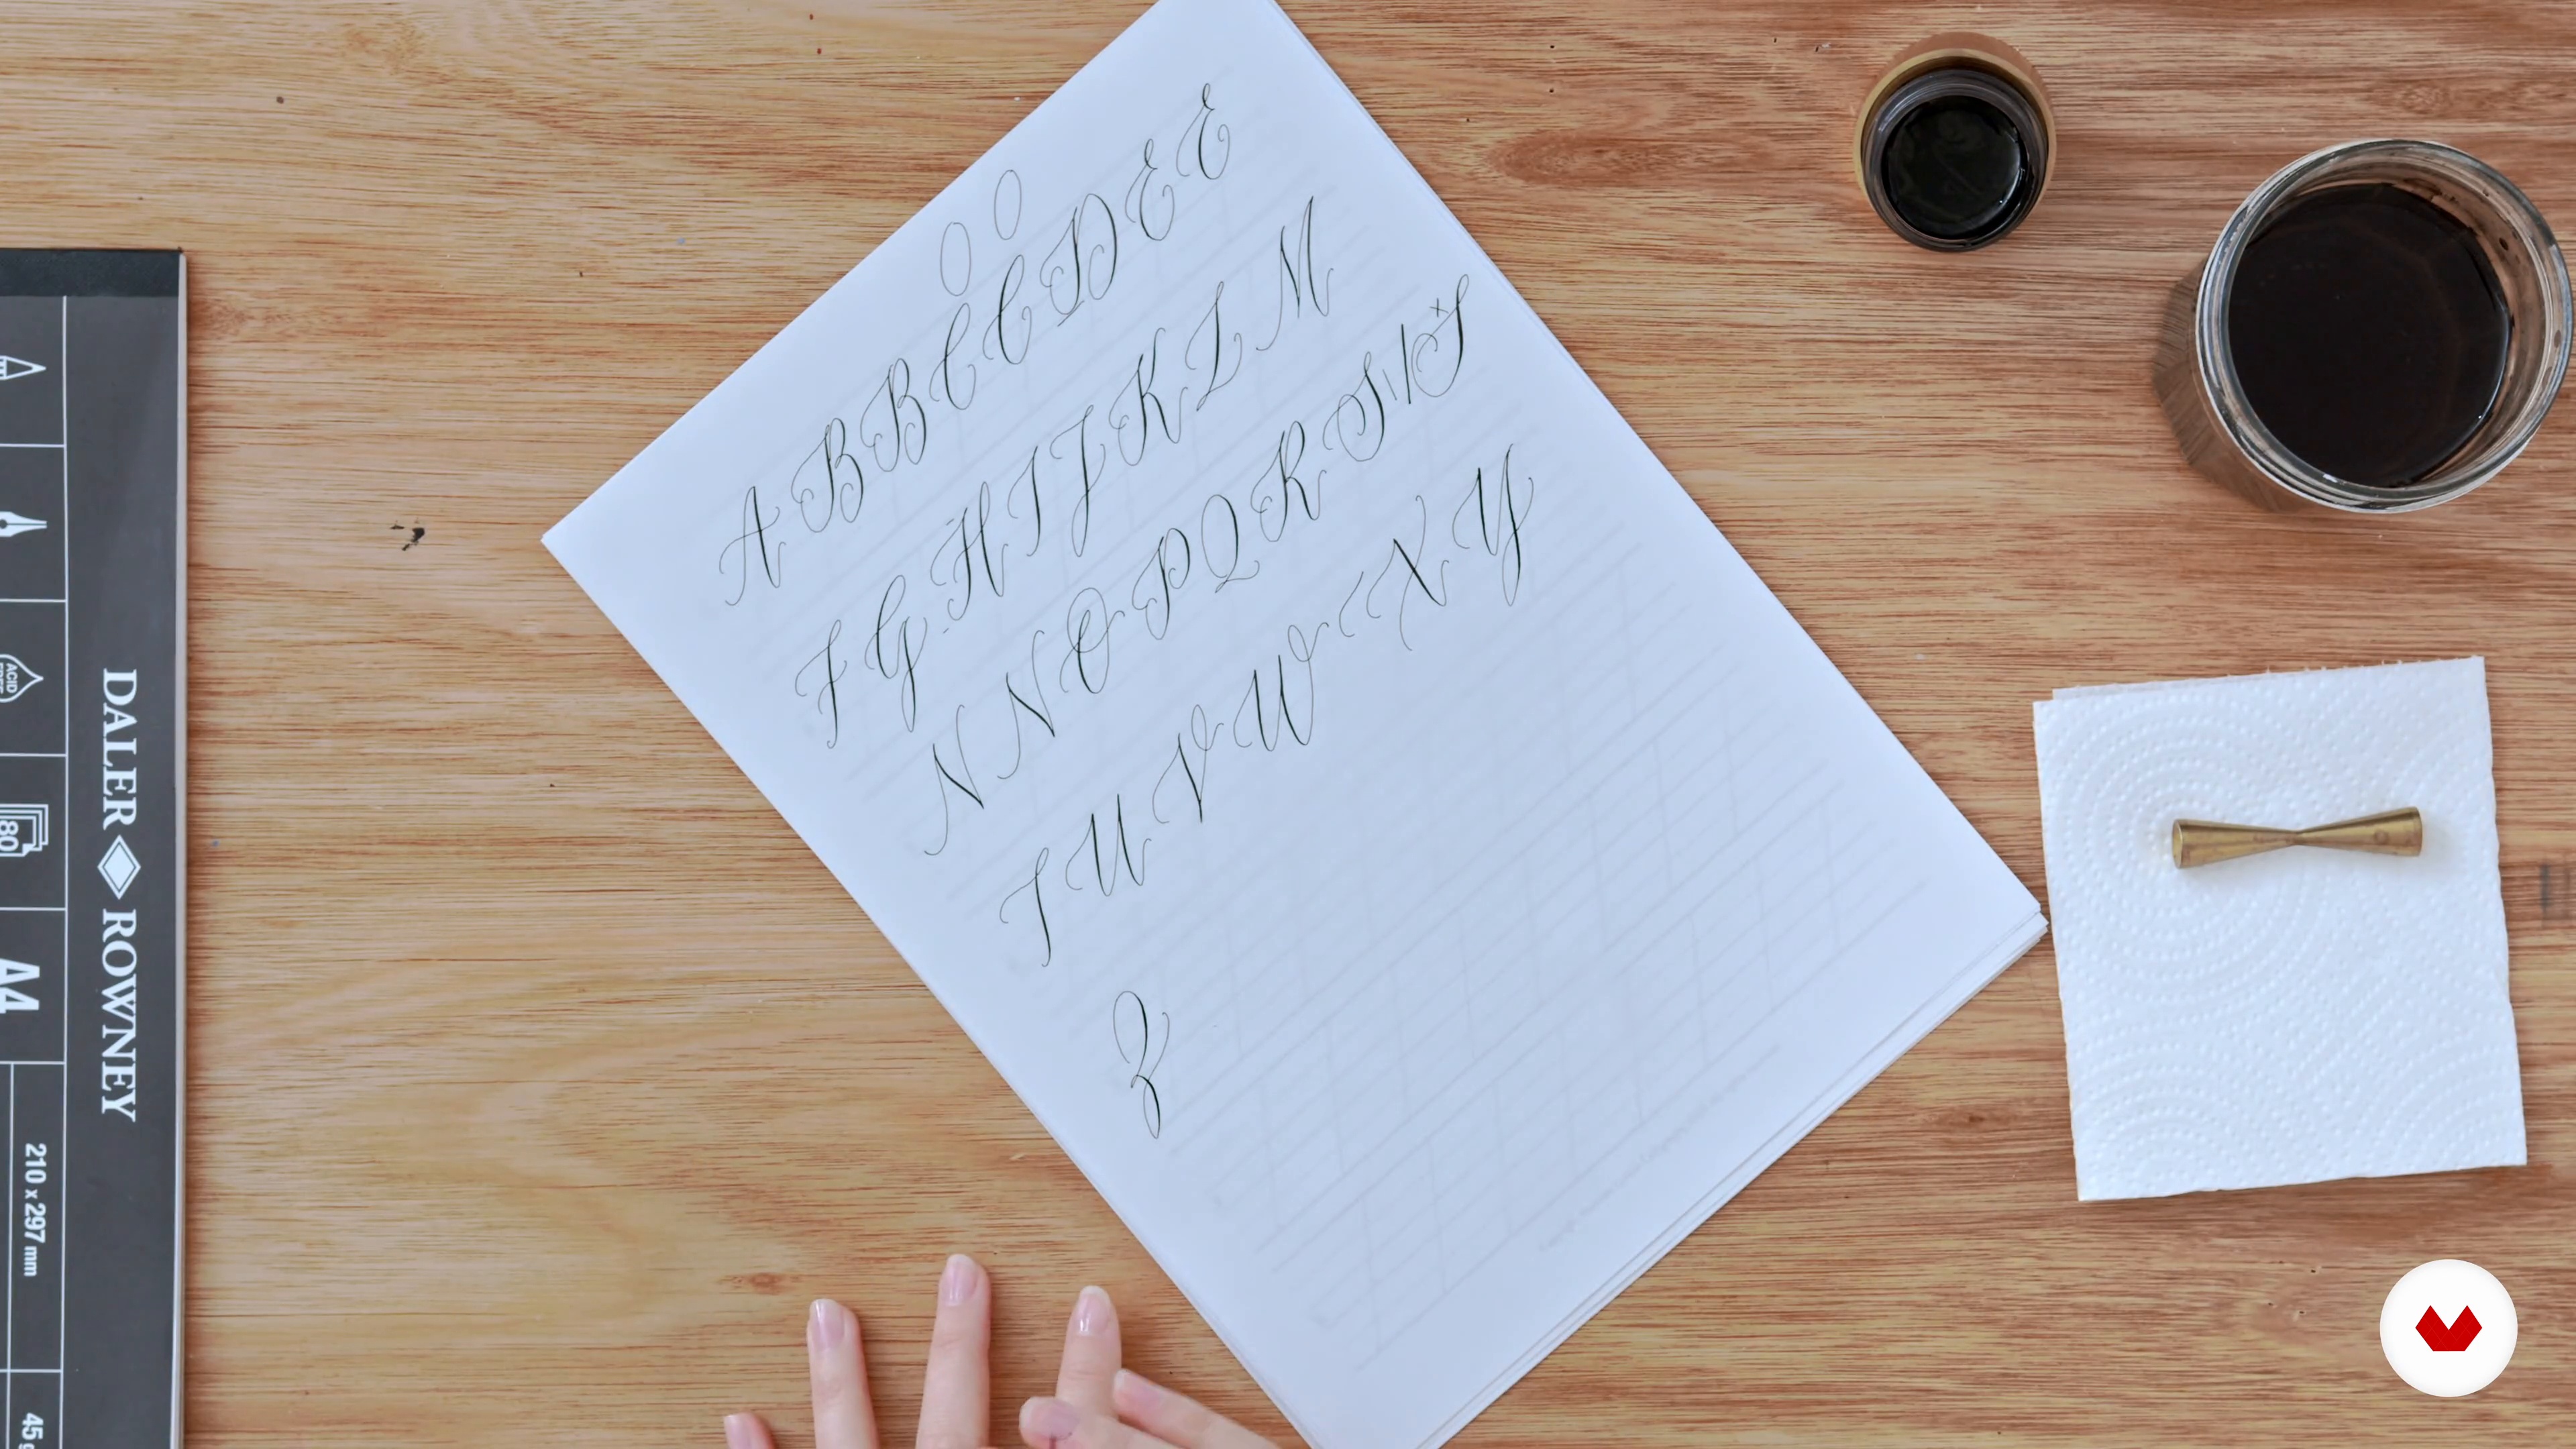
5Uppercase Letterforms
Now, I will introduce you to uppercase letterforms.
10m
 6
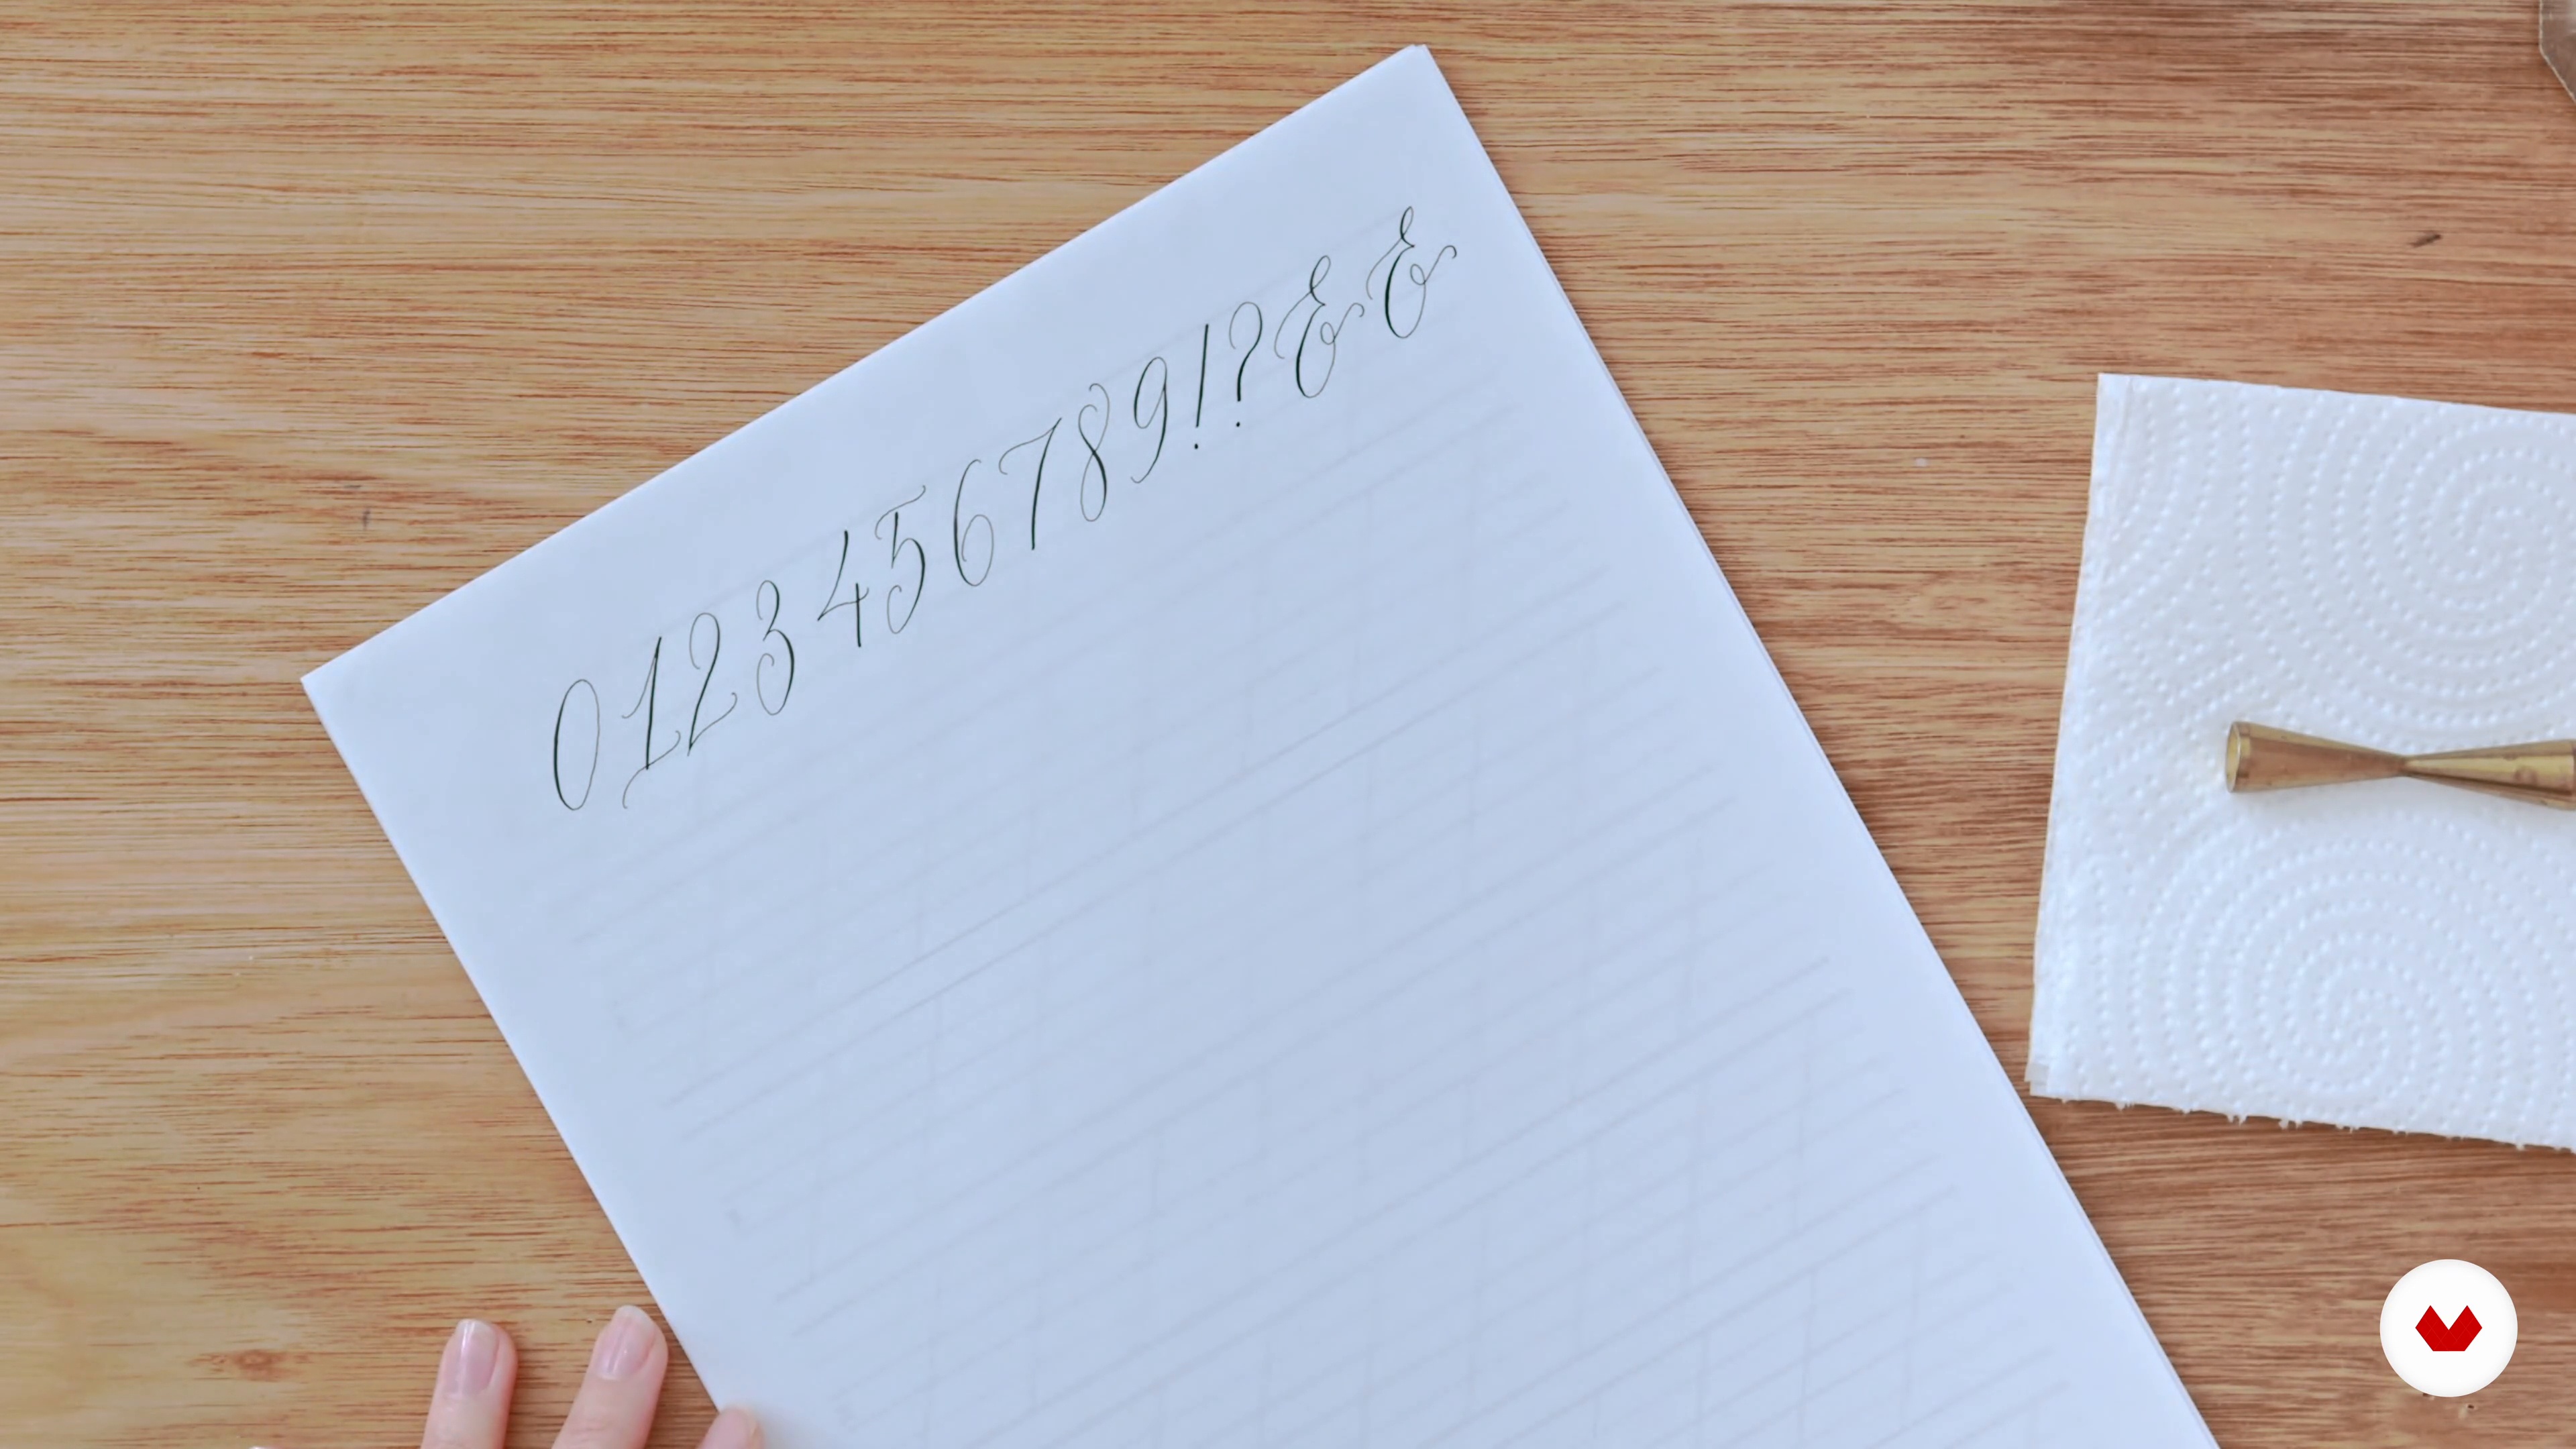
6Numbers and Symbols
In this lesson, you will learn how to do numbers and a couple of symbols with your nib. In some compositions, these can be as important as the letters. So let's make sure you can do them beautifully.
3m
 7
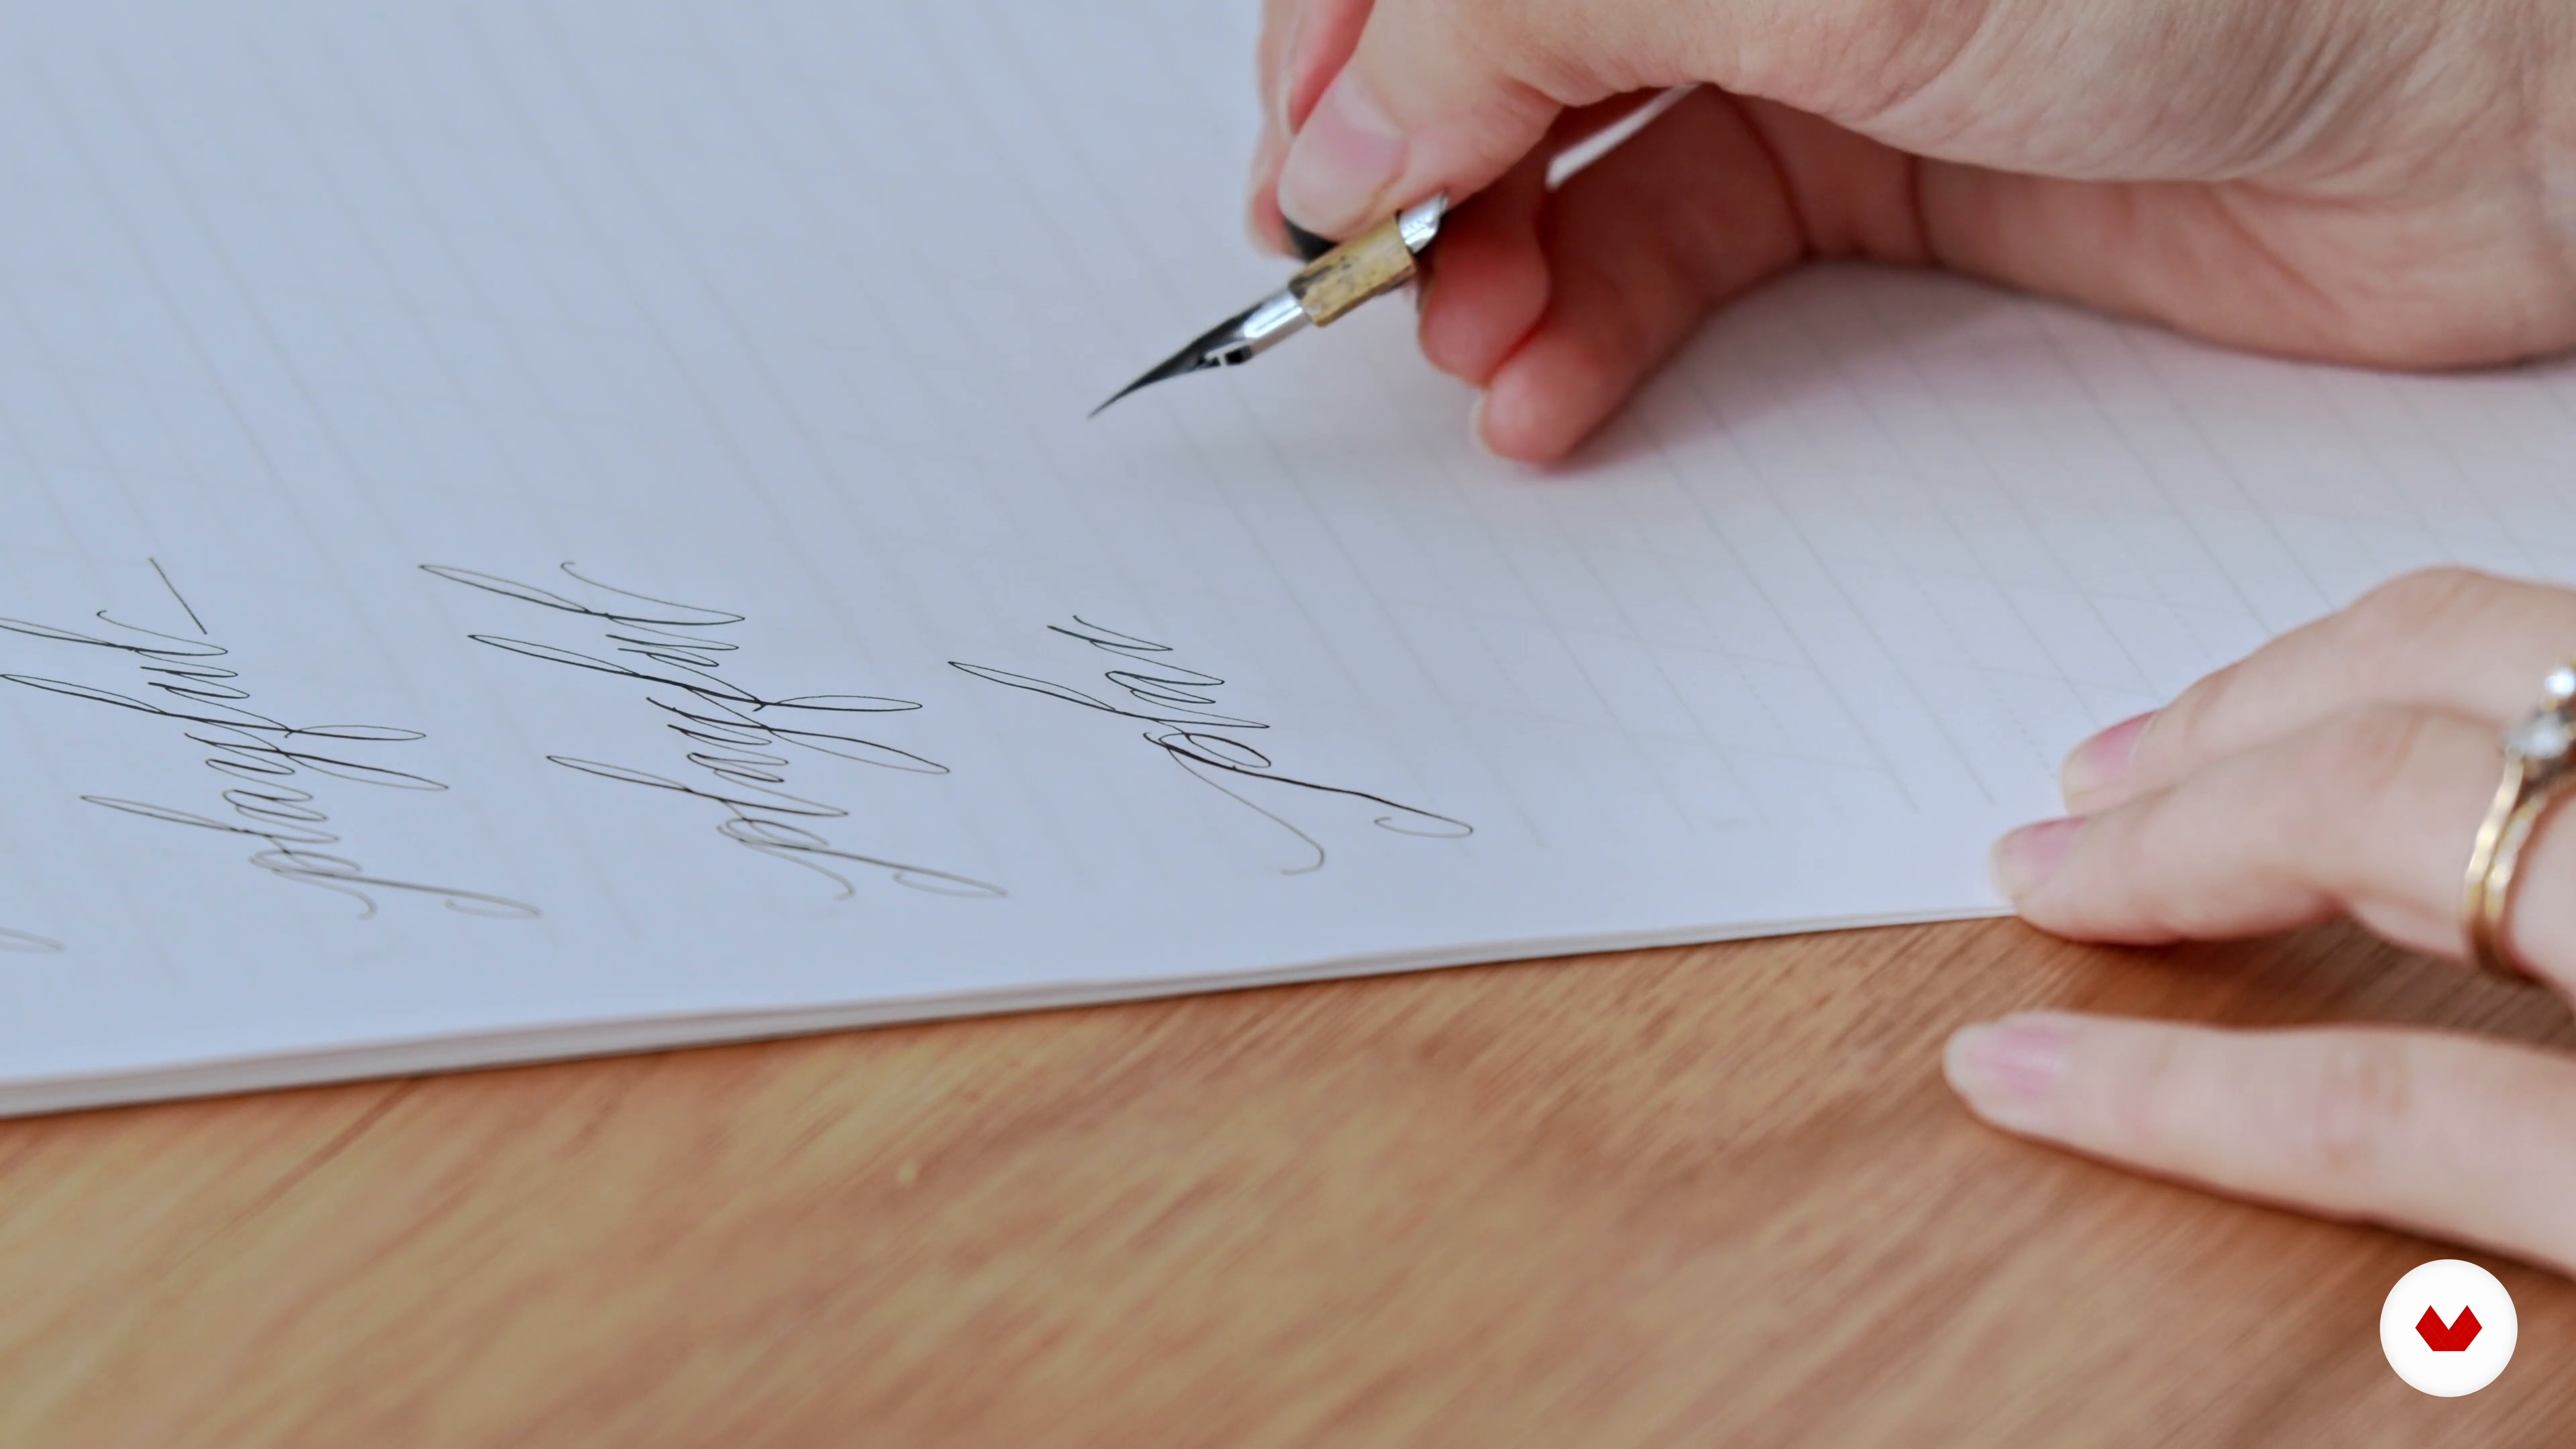
7Joining It up to Create Beautiful Words
To end this unit, we will start putting it all together to create beautiful words. I will show you how to connect your letters paying close attention to proportions and harmony in the spacing. I will also discuss some tricks for adding a more modern feeling and expression to your words.
12m
 8
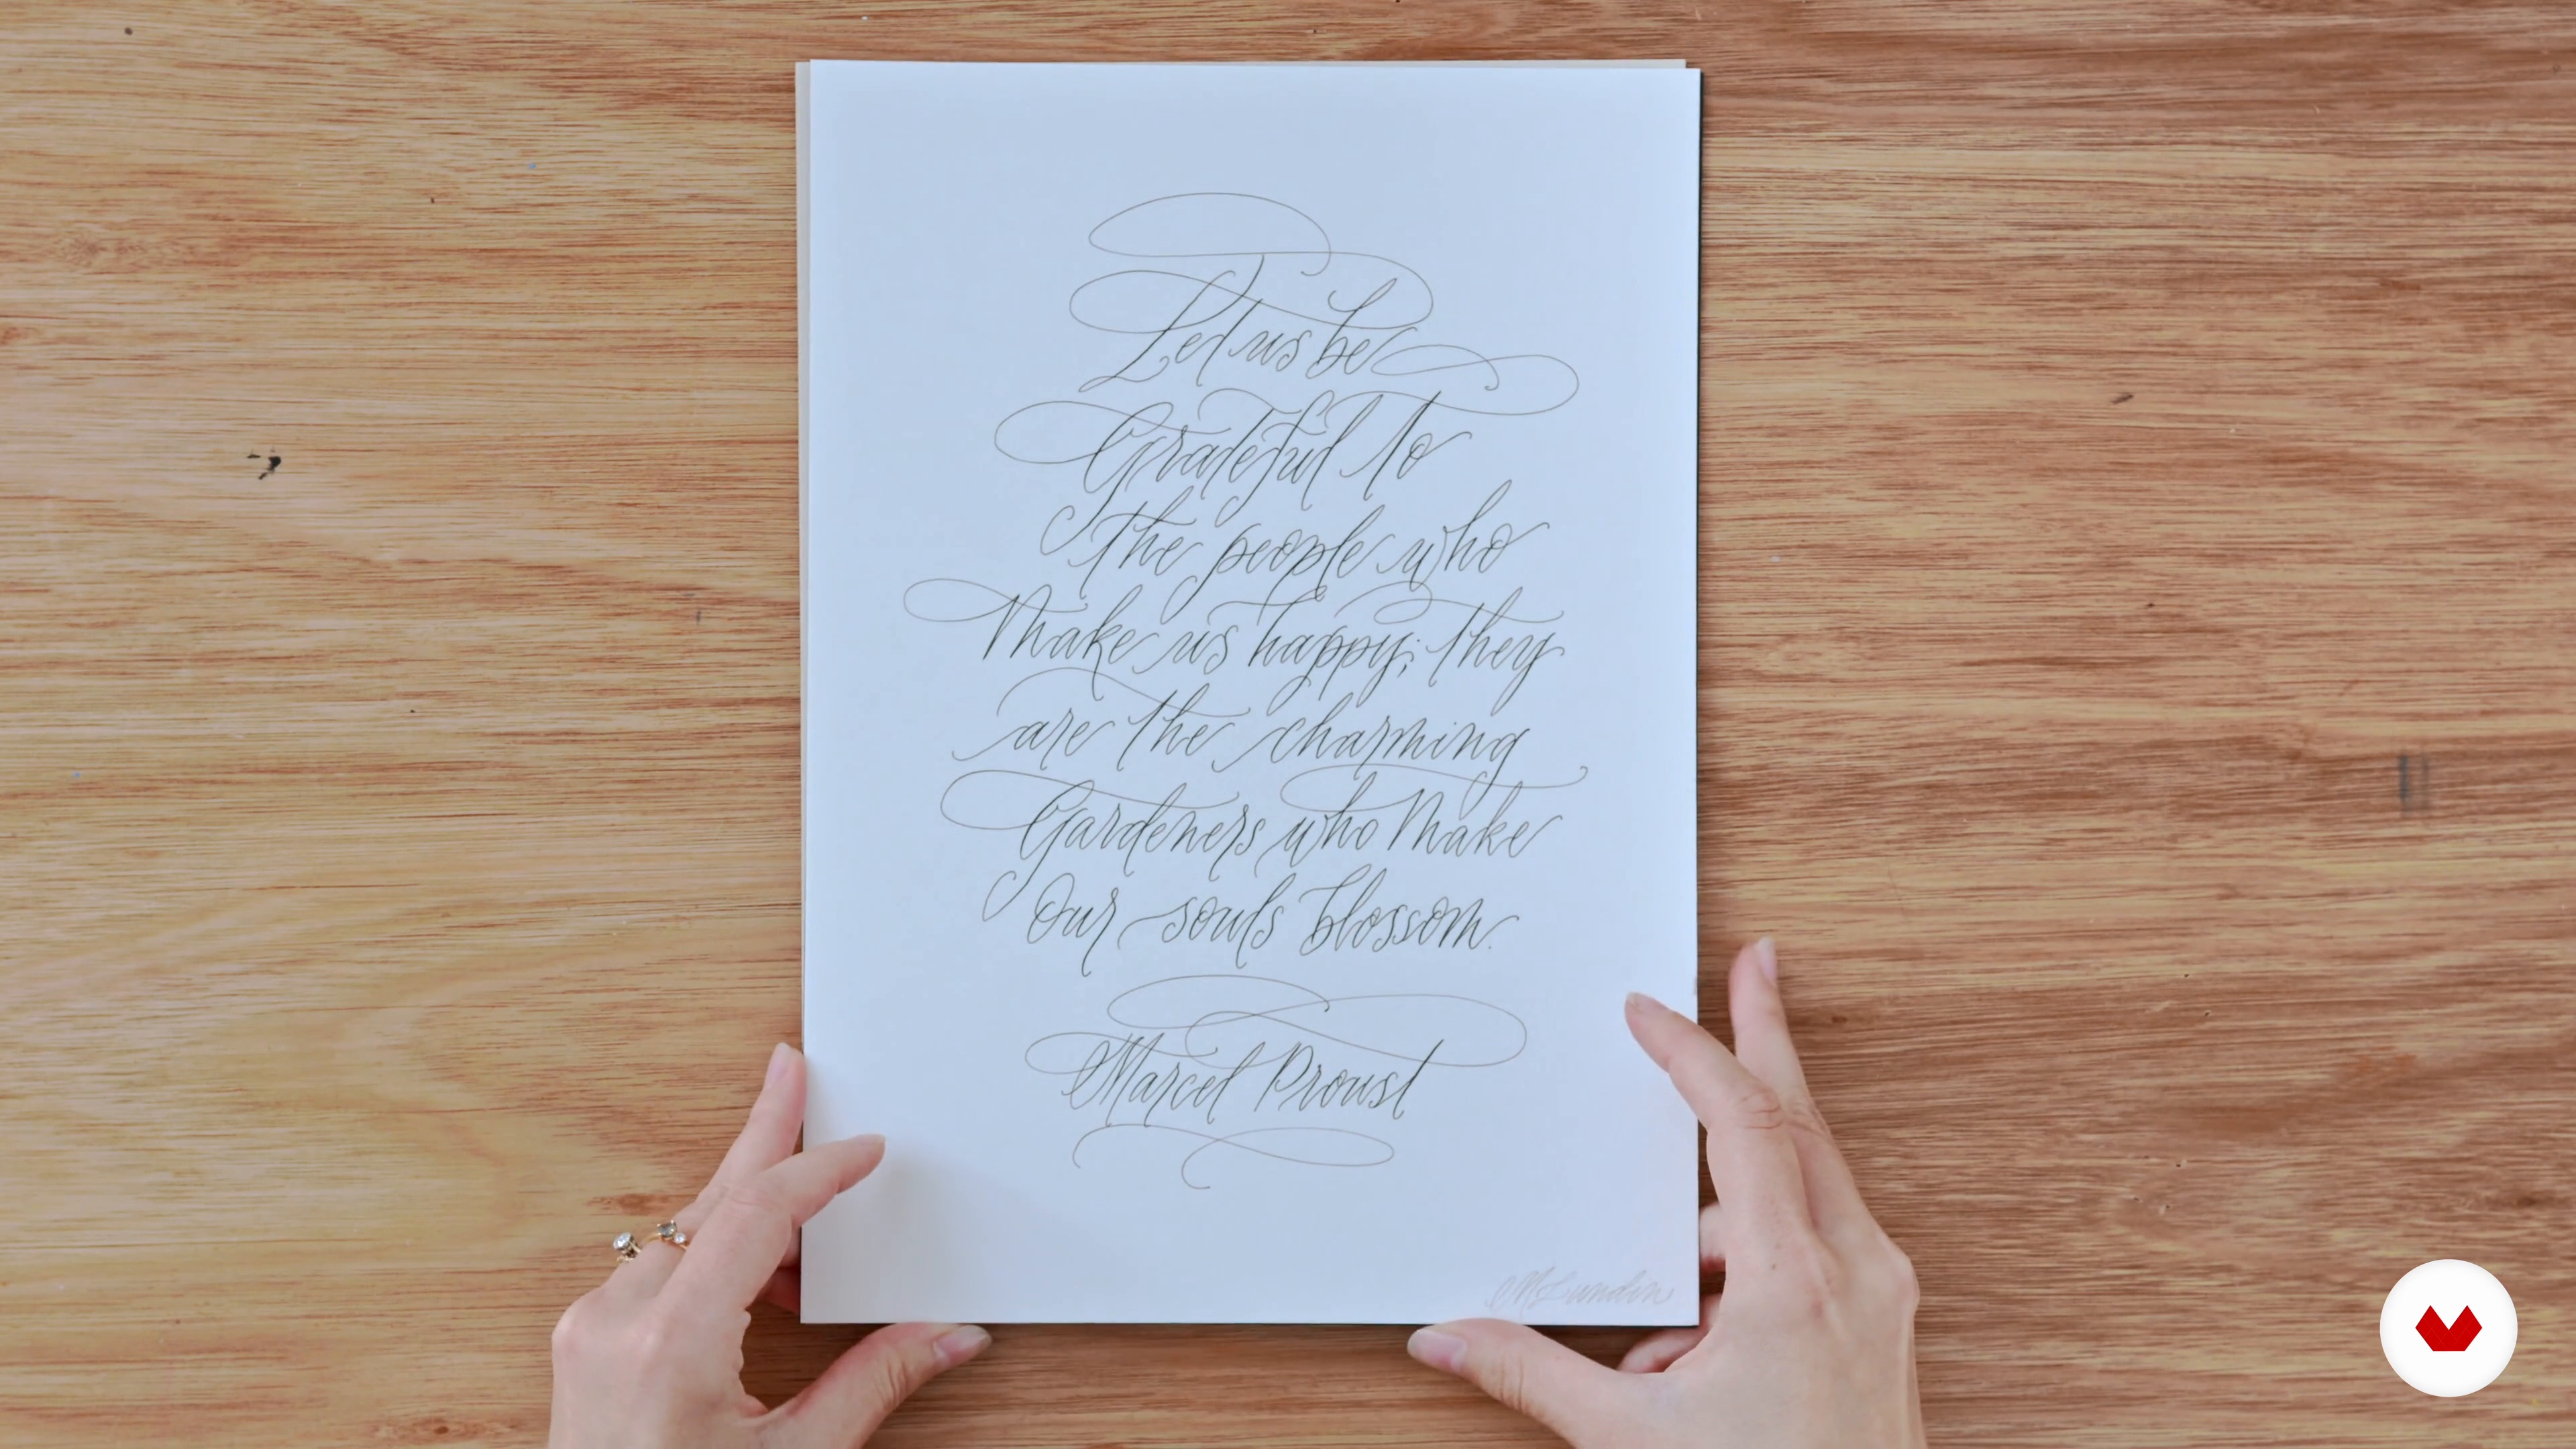
8Choosing a Quote to Inspire Your Design
The best calligraphers start by finding words that will inspire and move us. This art is about expressing a feeling or message through beautiful letters. In this lesson, I will share my thoughts on creating a little collection of phrases you love and how the wording can help inspire the final layout and colour choices of your artwork.
6m
 9
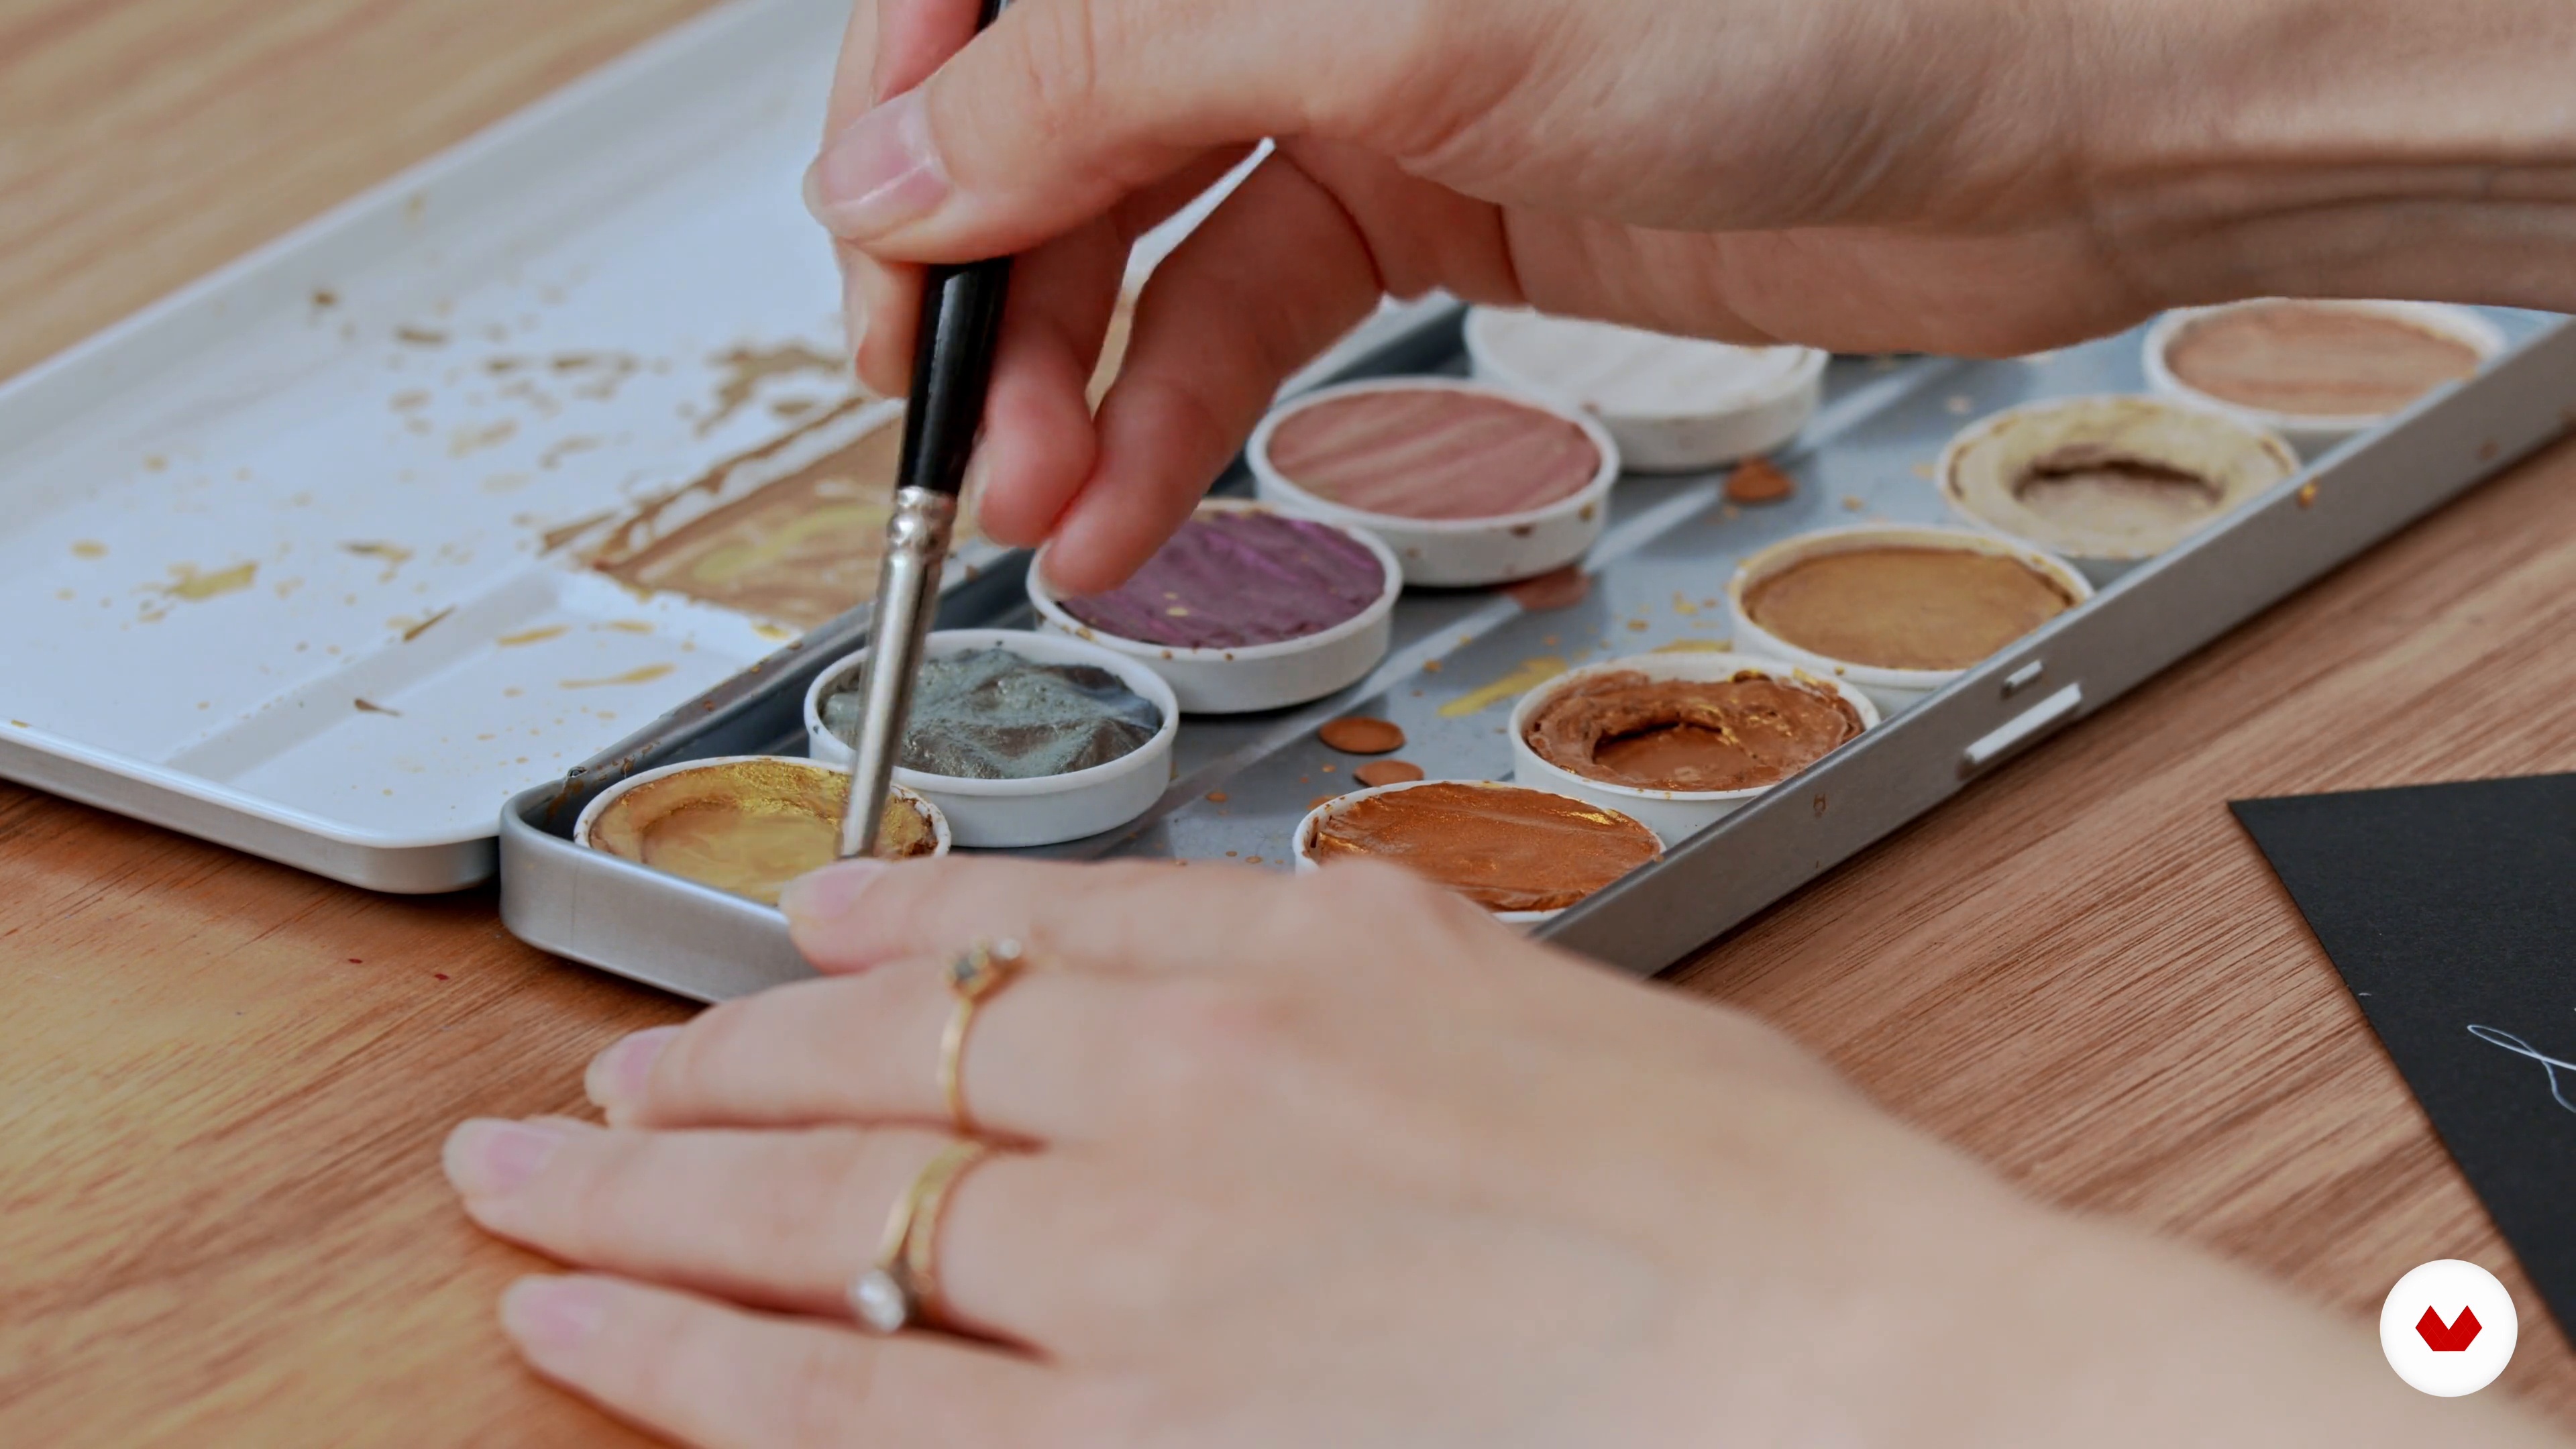
9Exploring Inks and Beautiful Papers 1
When it comes to calligraphy, there’s so much room to experiment with different inks and papers. Here, I will guide you through the different types of inks and nibs I like to work with. I will also teach you how to use gouache and metallics from a palette with your nib.
16m
 10
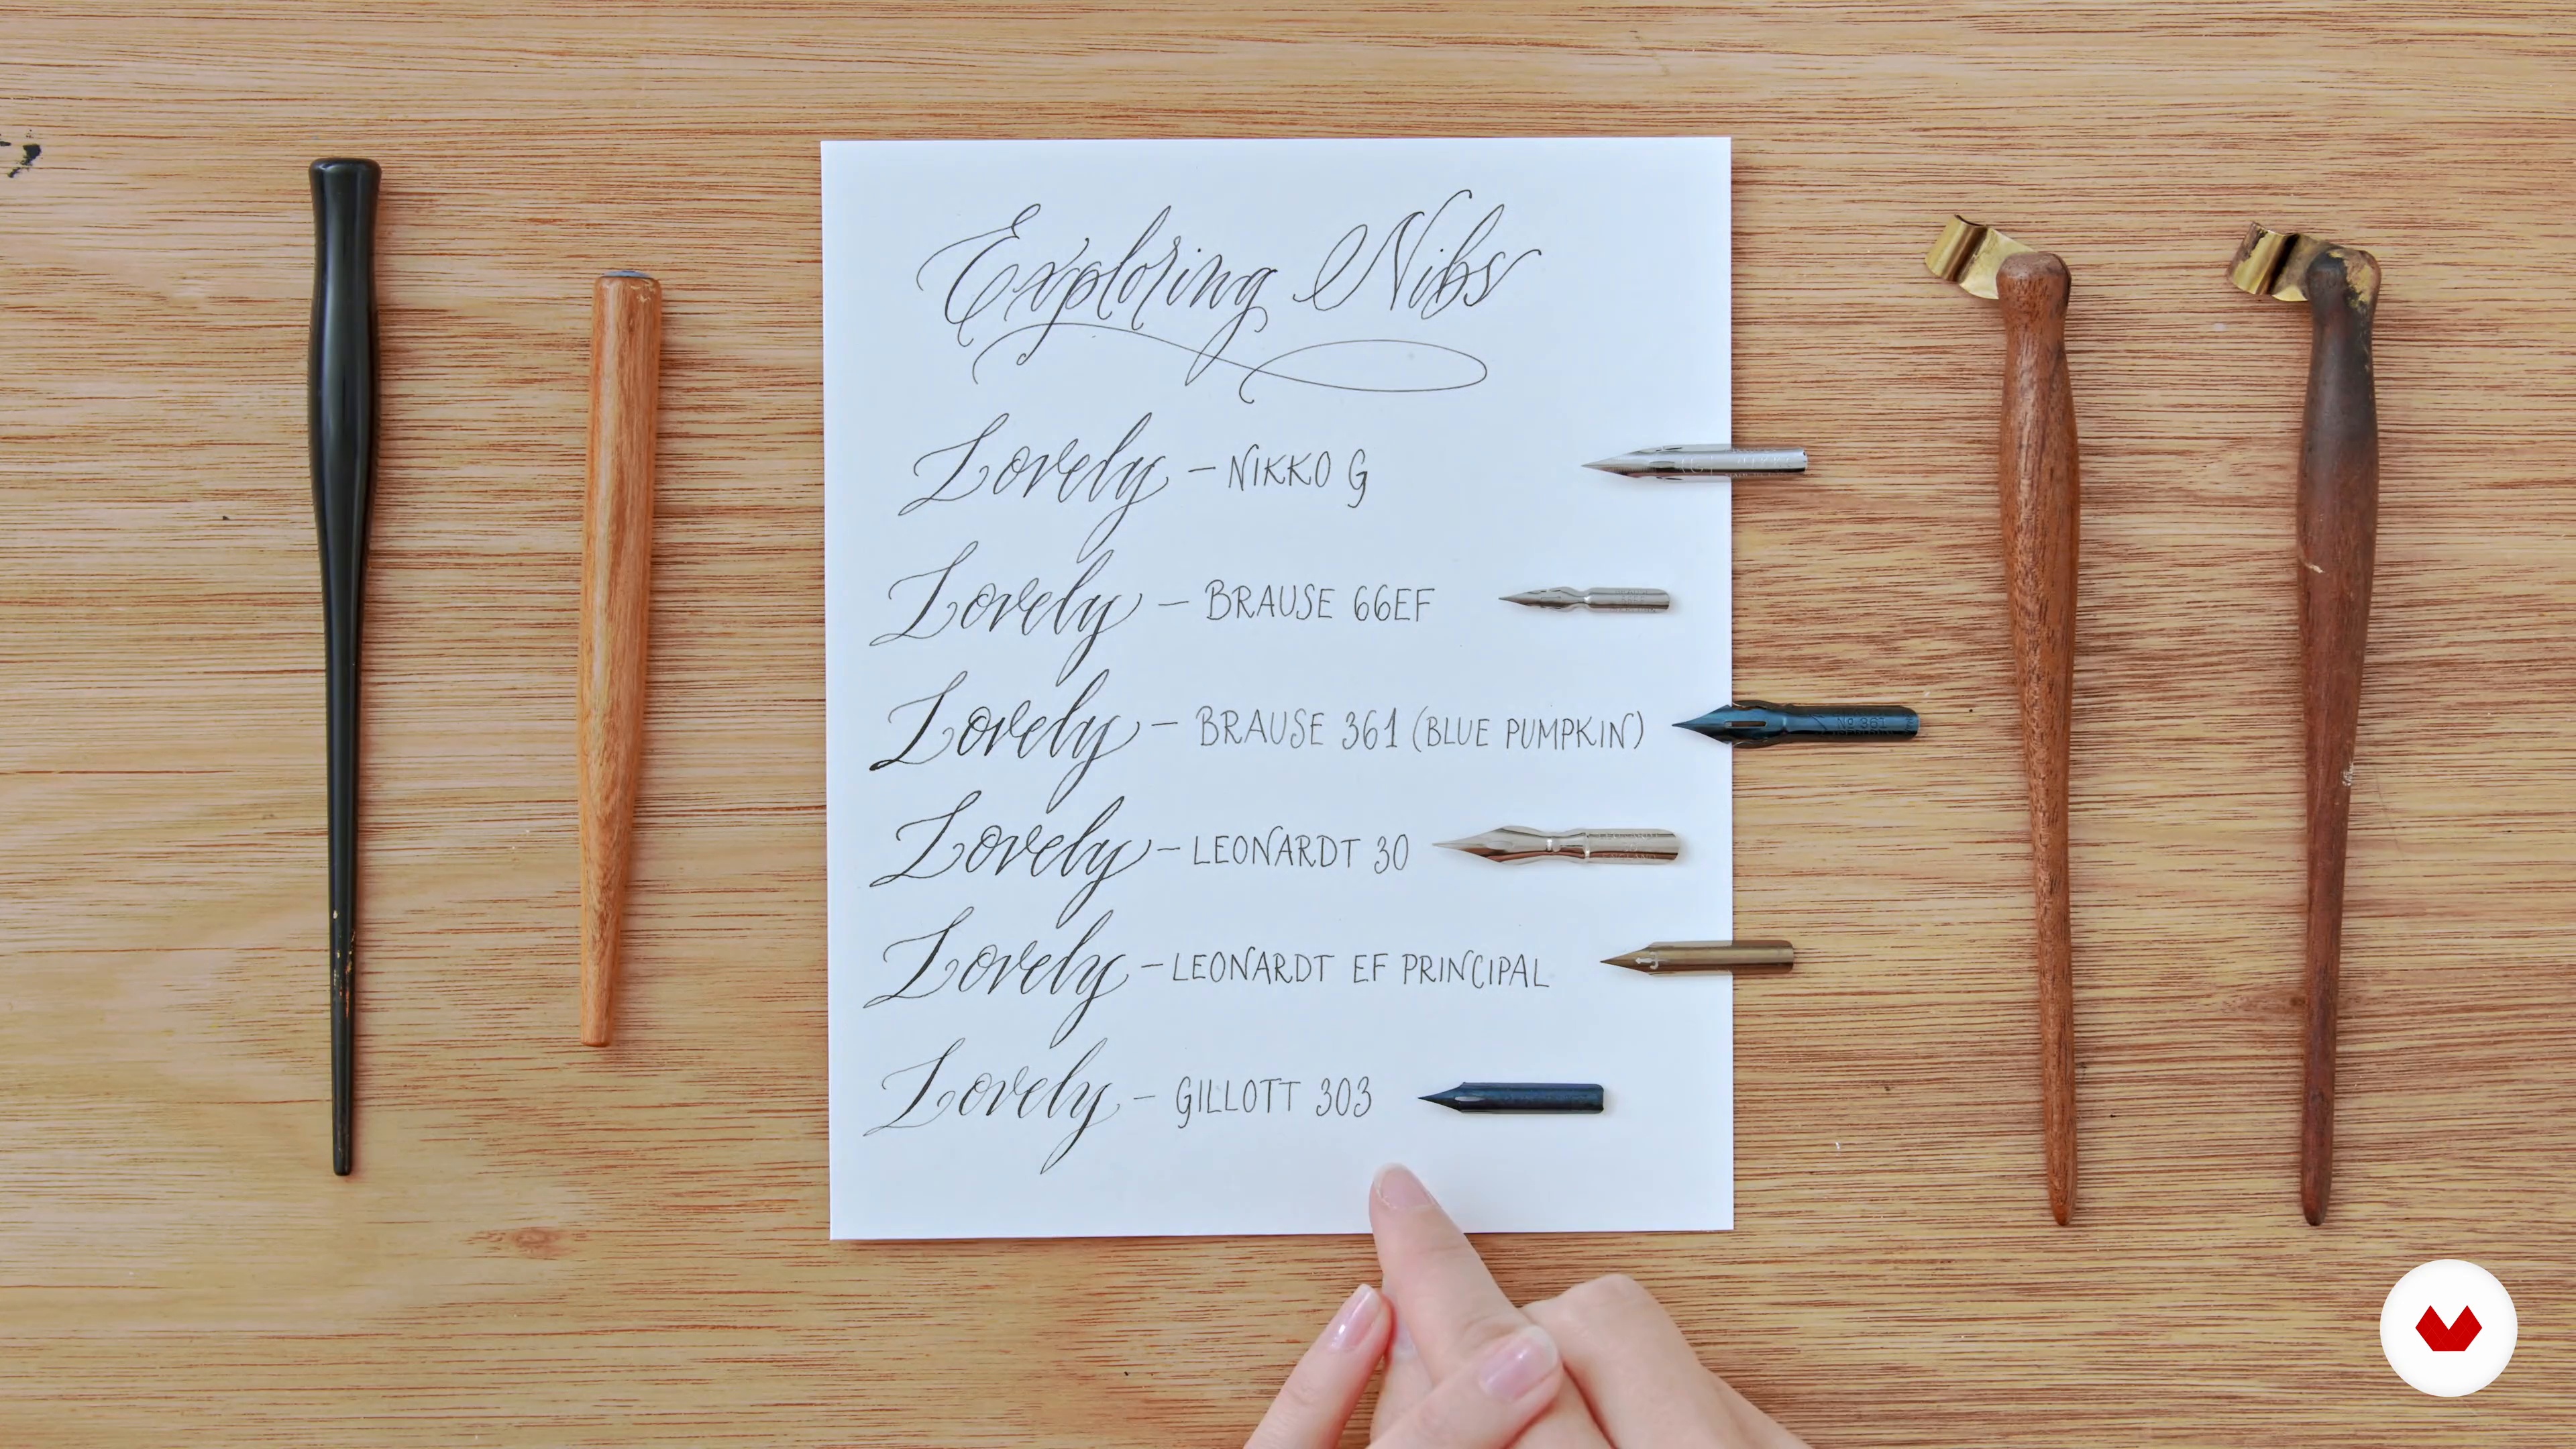
10Exploring Inks and Beautiful Papers 2
In this lesson, I will finish explaining my preferred nibs and their properties. Then, I will move on to paper.
10m
 11
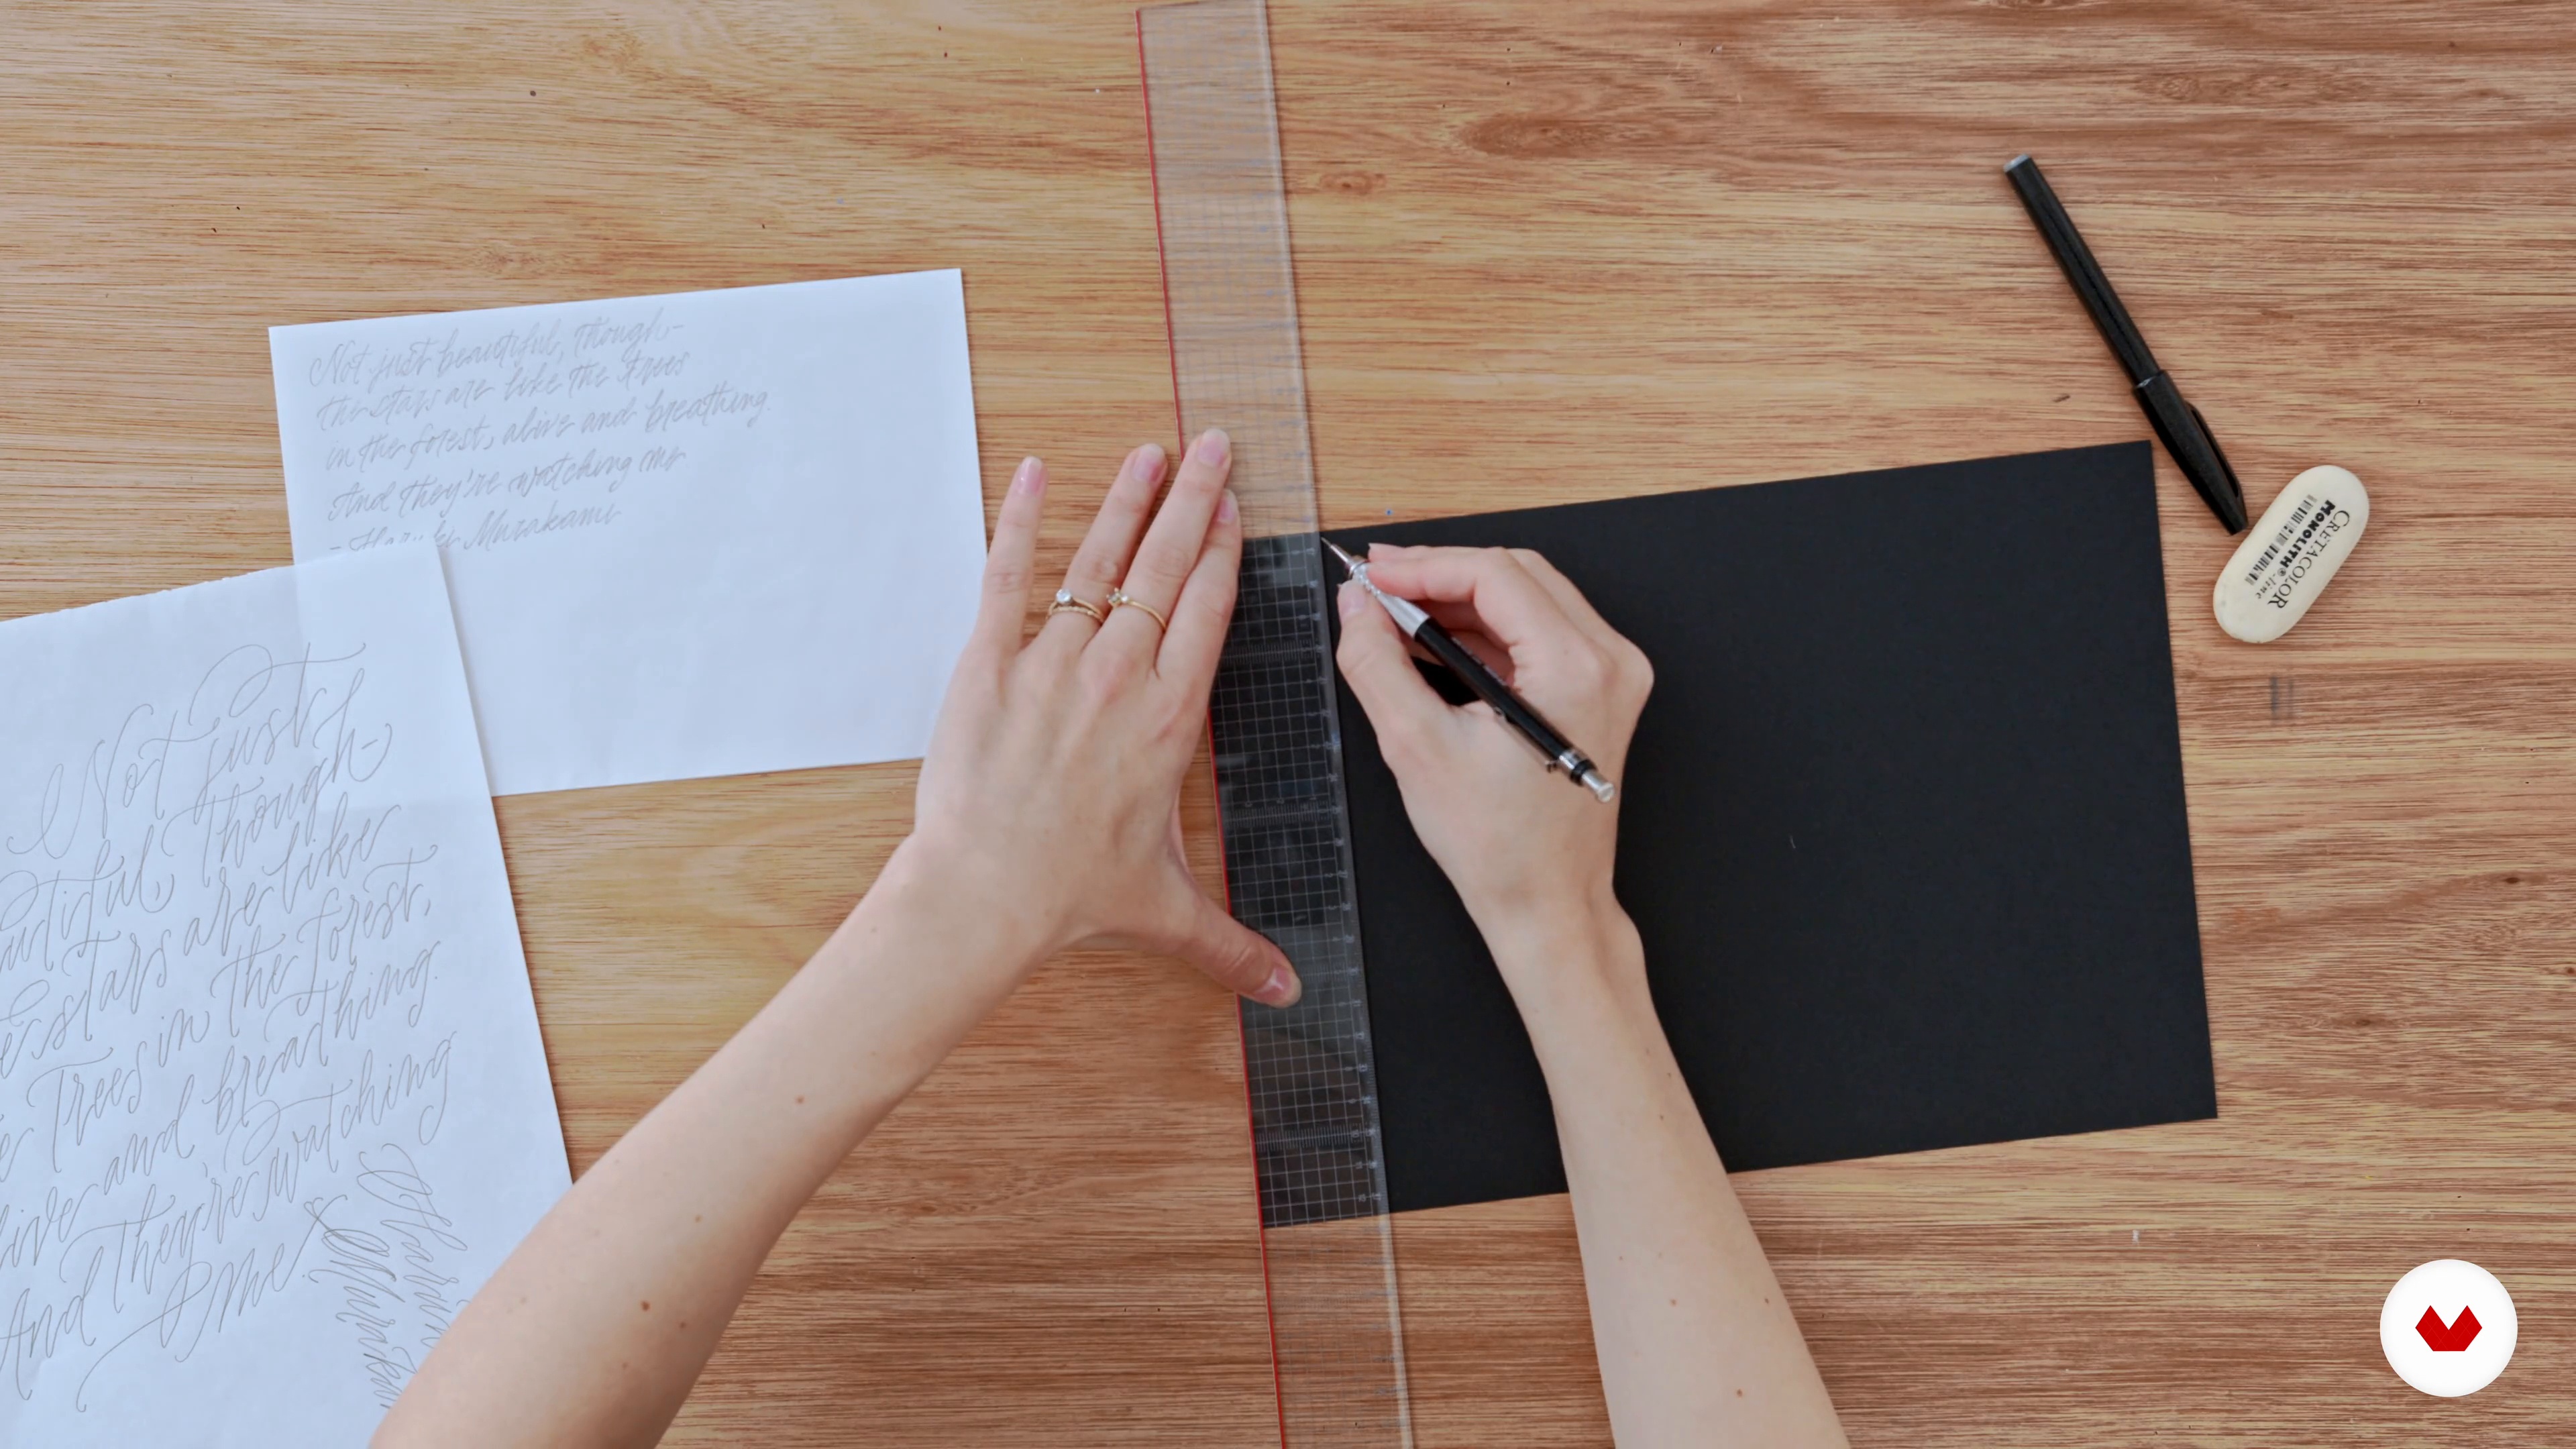
11Sketching Your Composition
Next, I will guide you through how I sketch the composition for my final artwork.
17m
 12
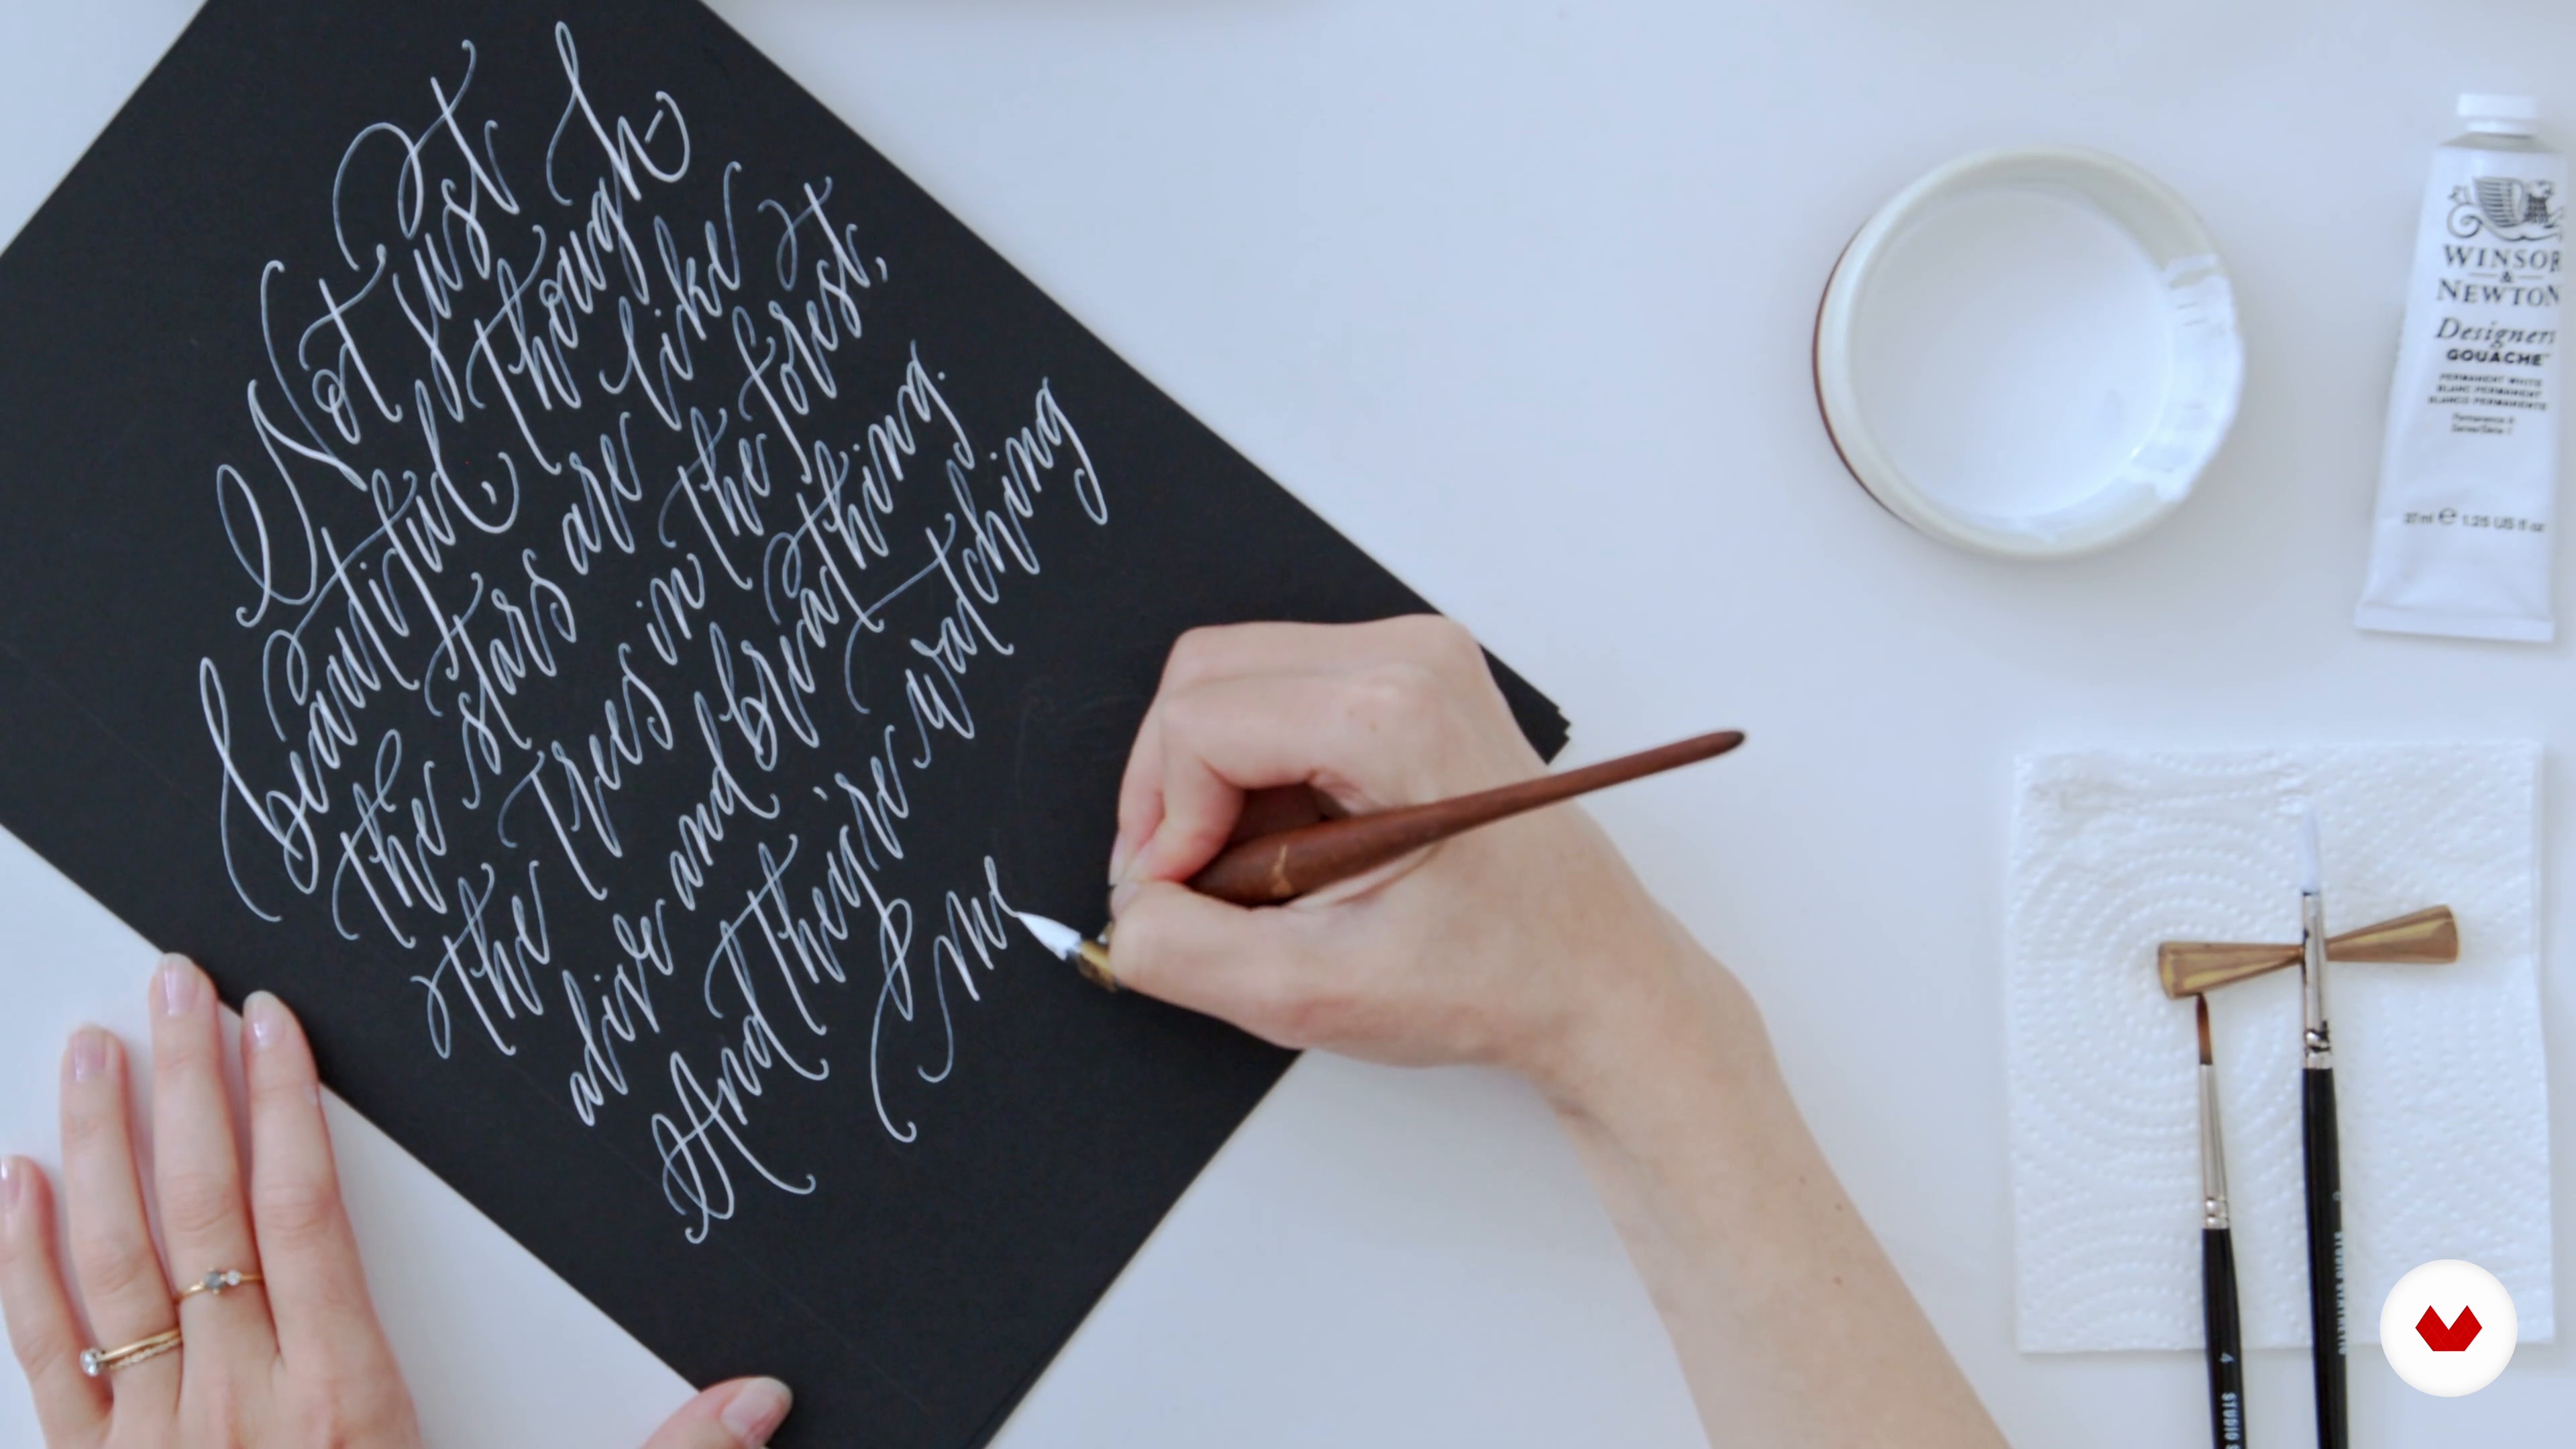
12Creating and Refining Your Artwork with Ink
Now it’s time for the most exciting part: creating your final artwork with your nib and ink! At this stage, you're welcome to use the ink you've been practising with. But, I personally love the possibilities for experimentation that open up when you know how to use gouache and metallics. So in this lesson, I will demonstrate how to use these in the creation of my artwork.
19m
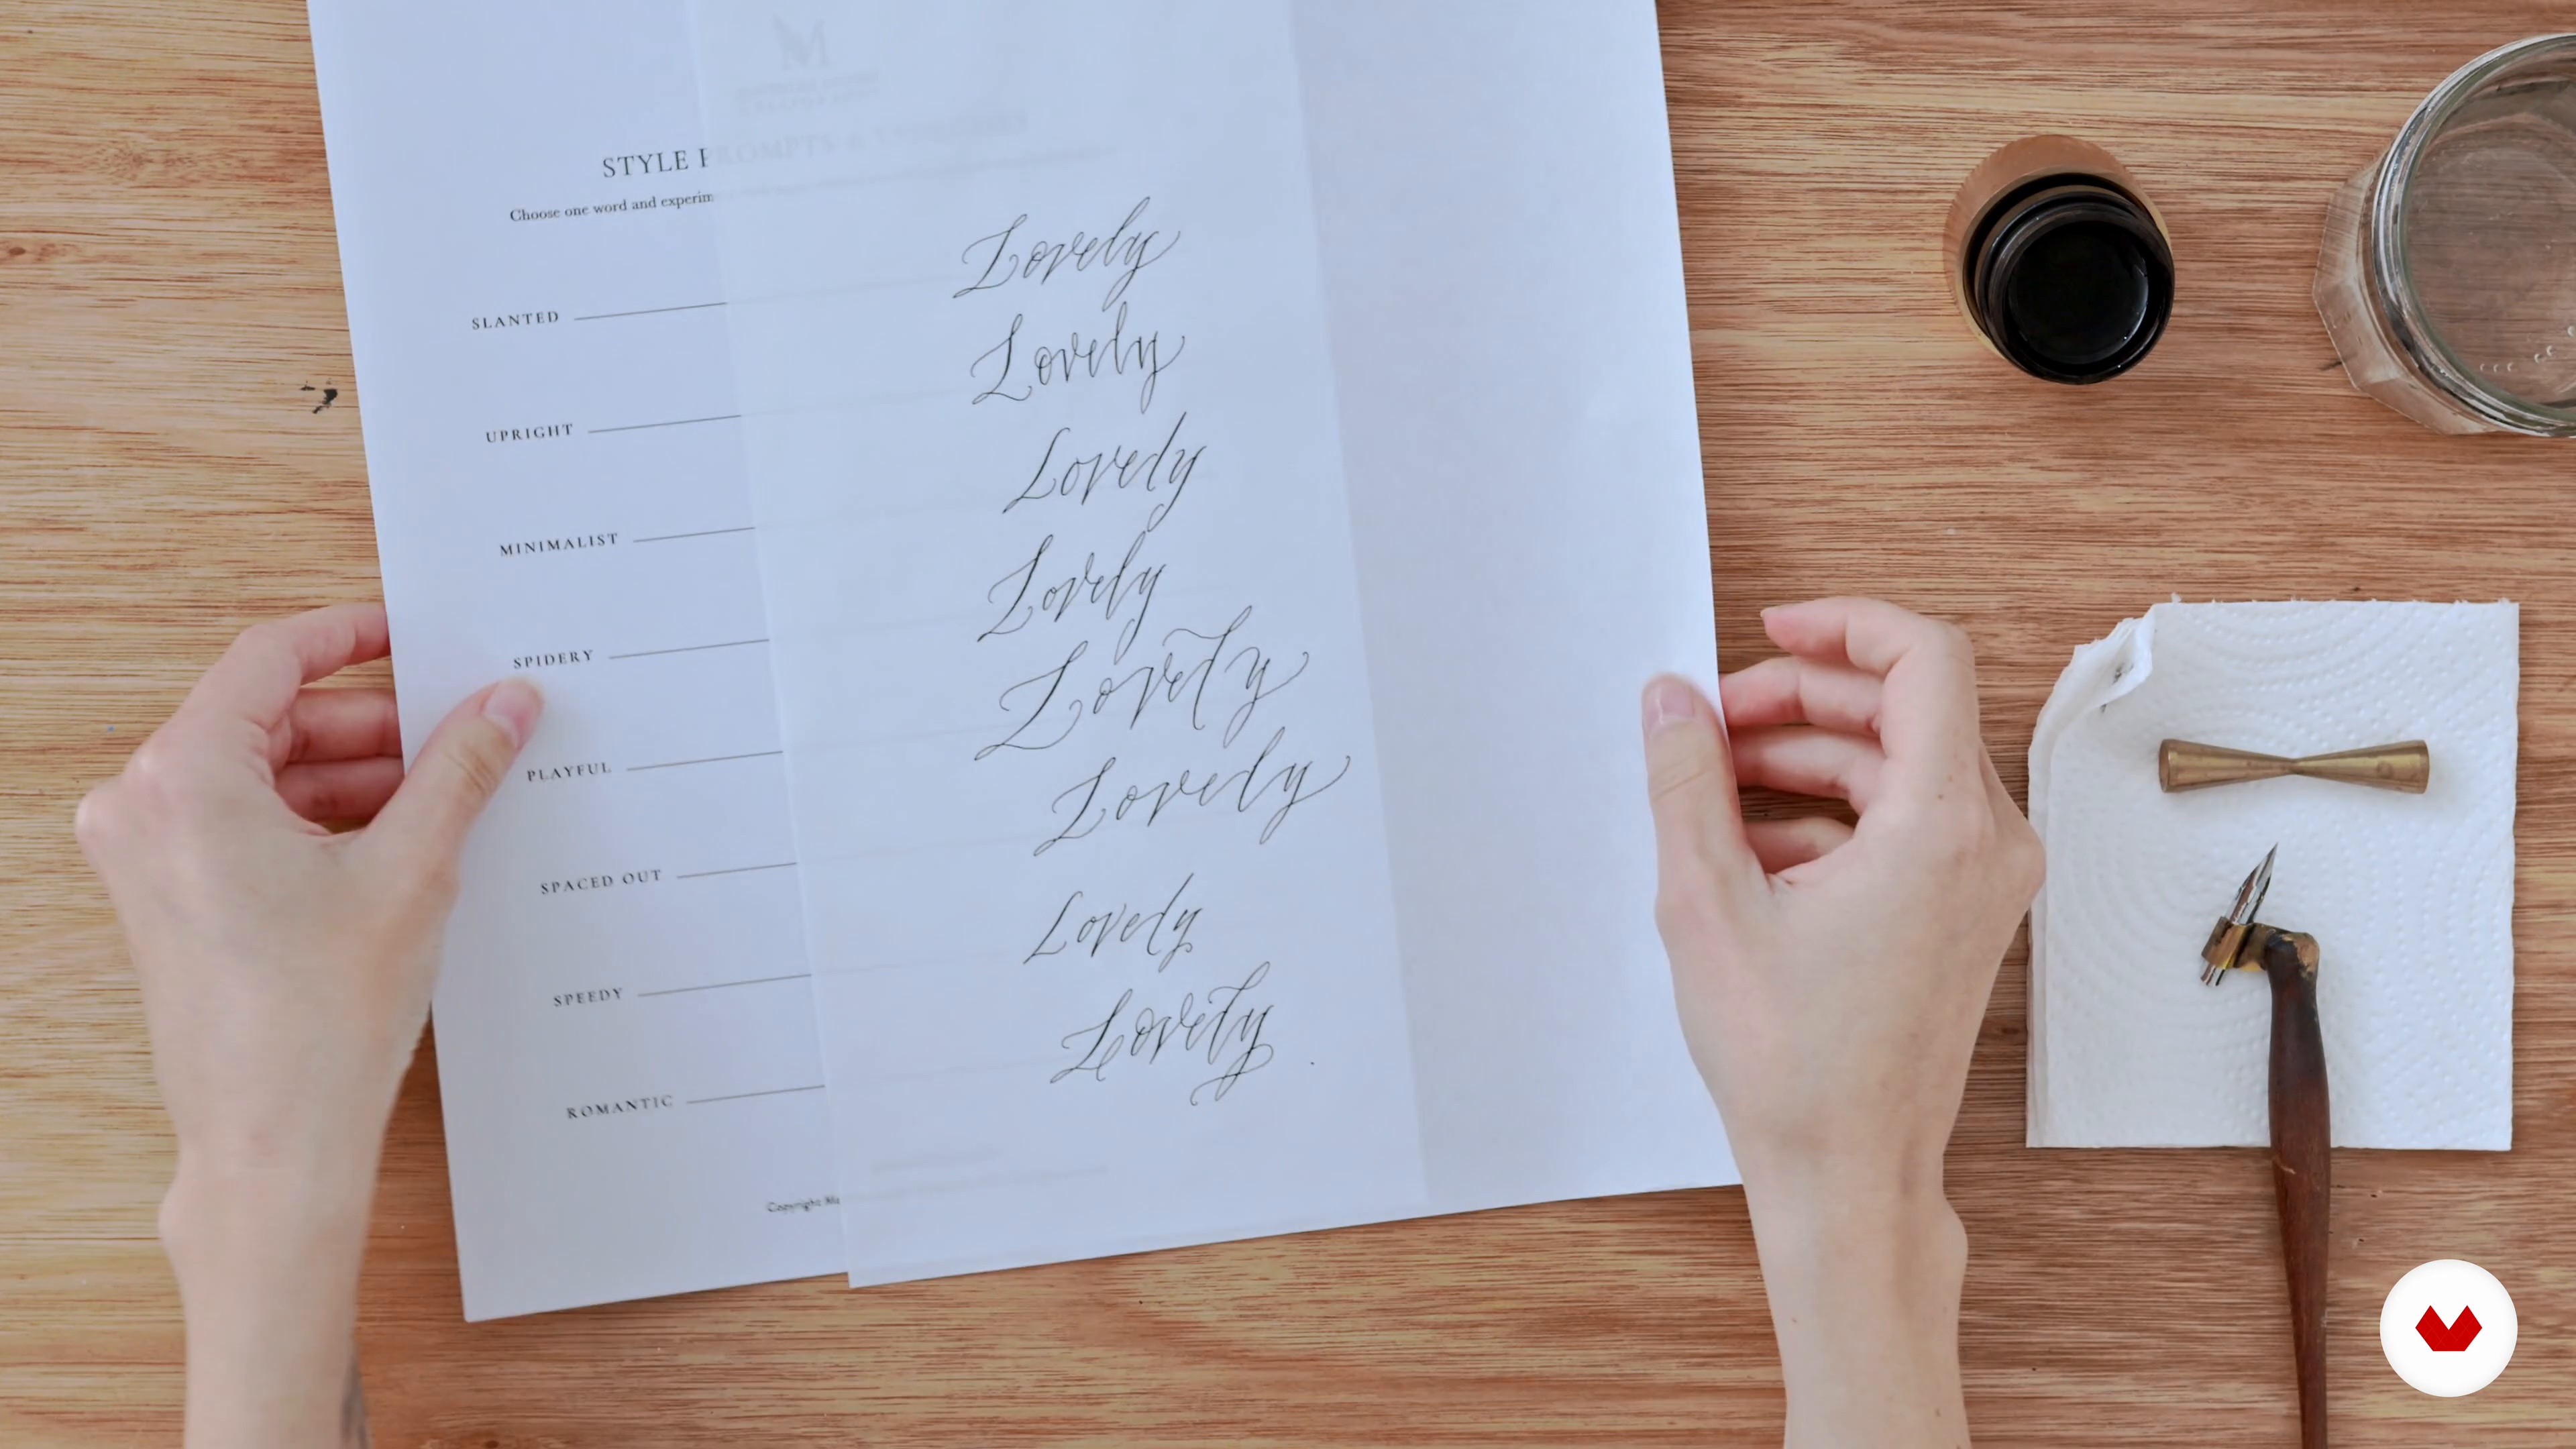 13
13Exploring Your Style
In this lesson, I will demonstrate some techniques to mix up the style of your calligraphy. You will learn exercises to begin exploring your own style.
15m
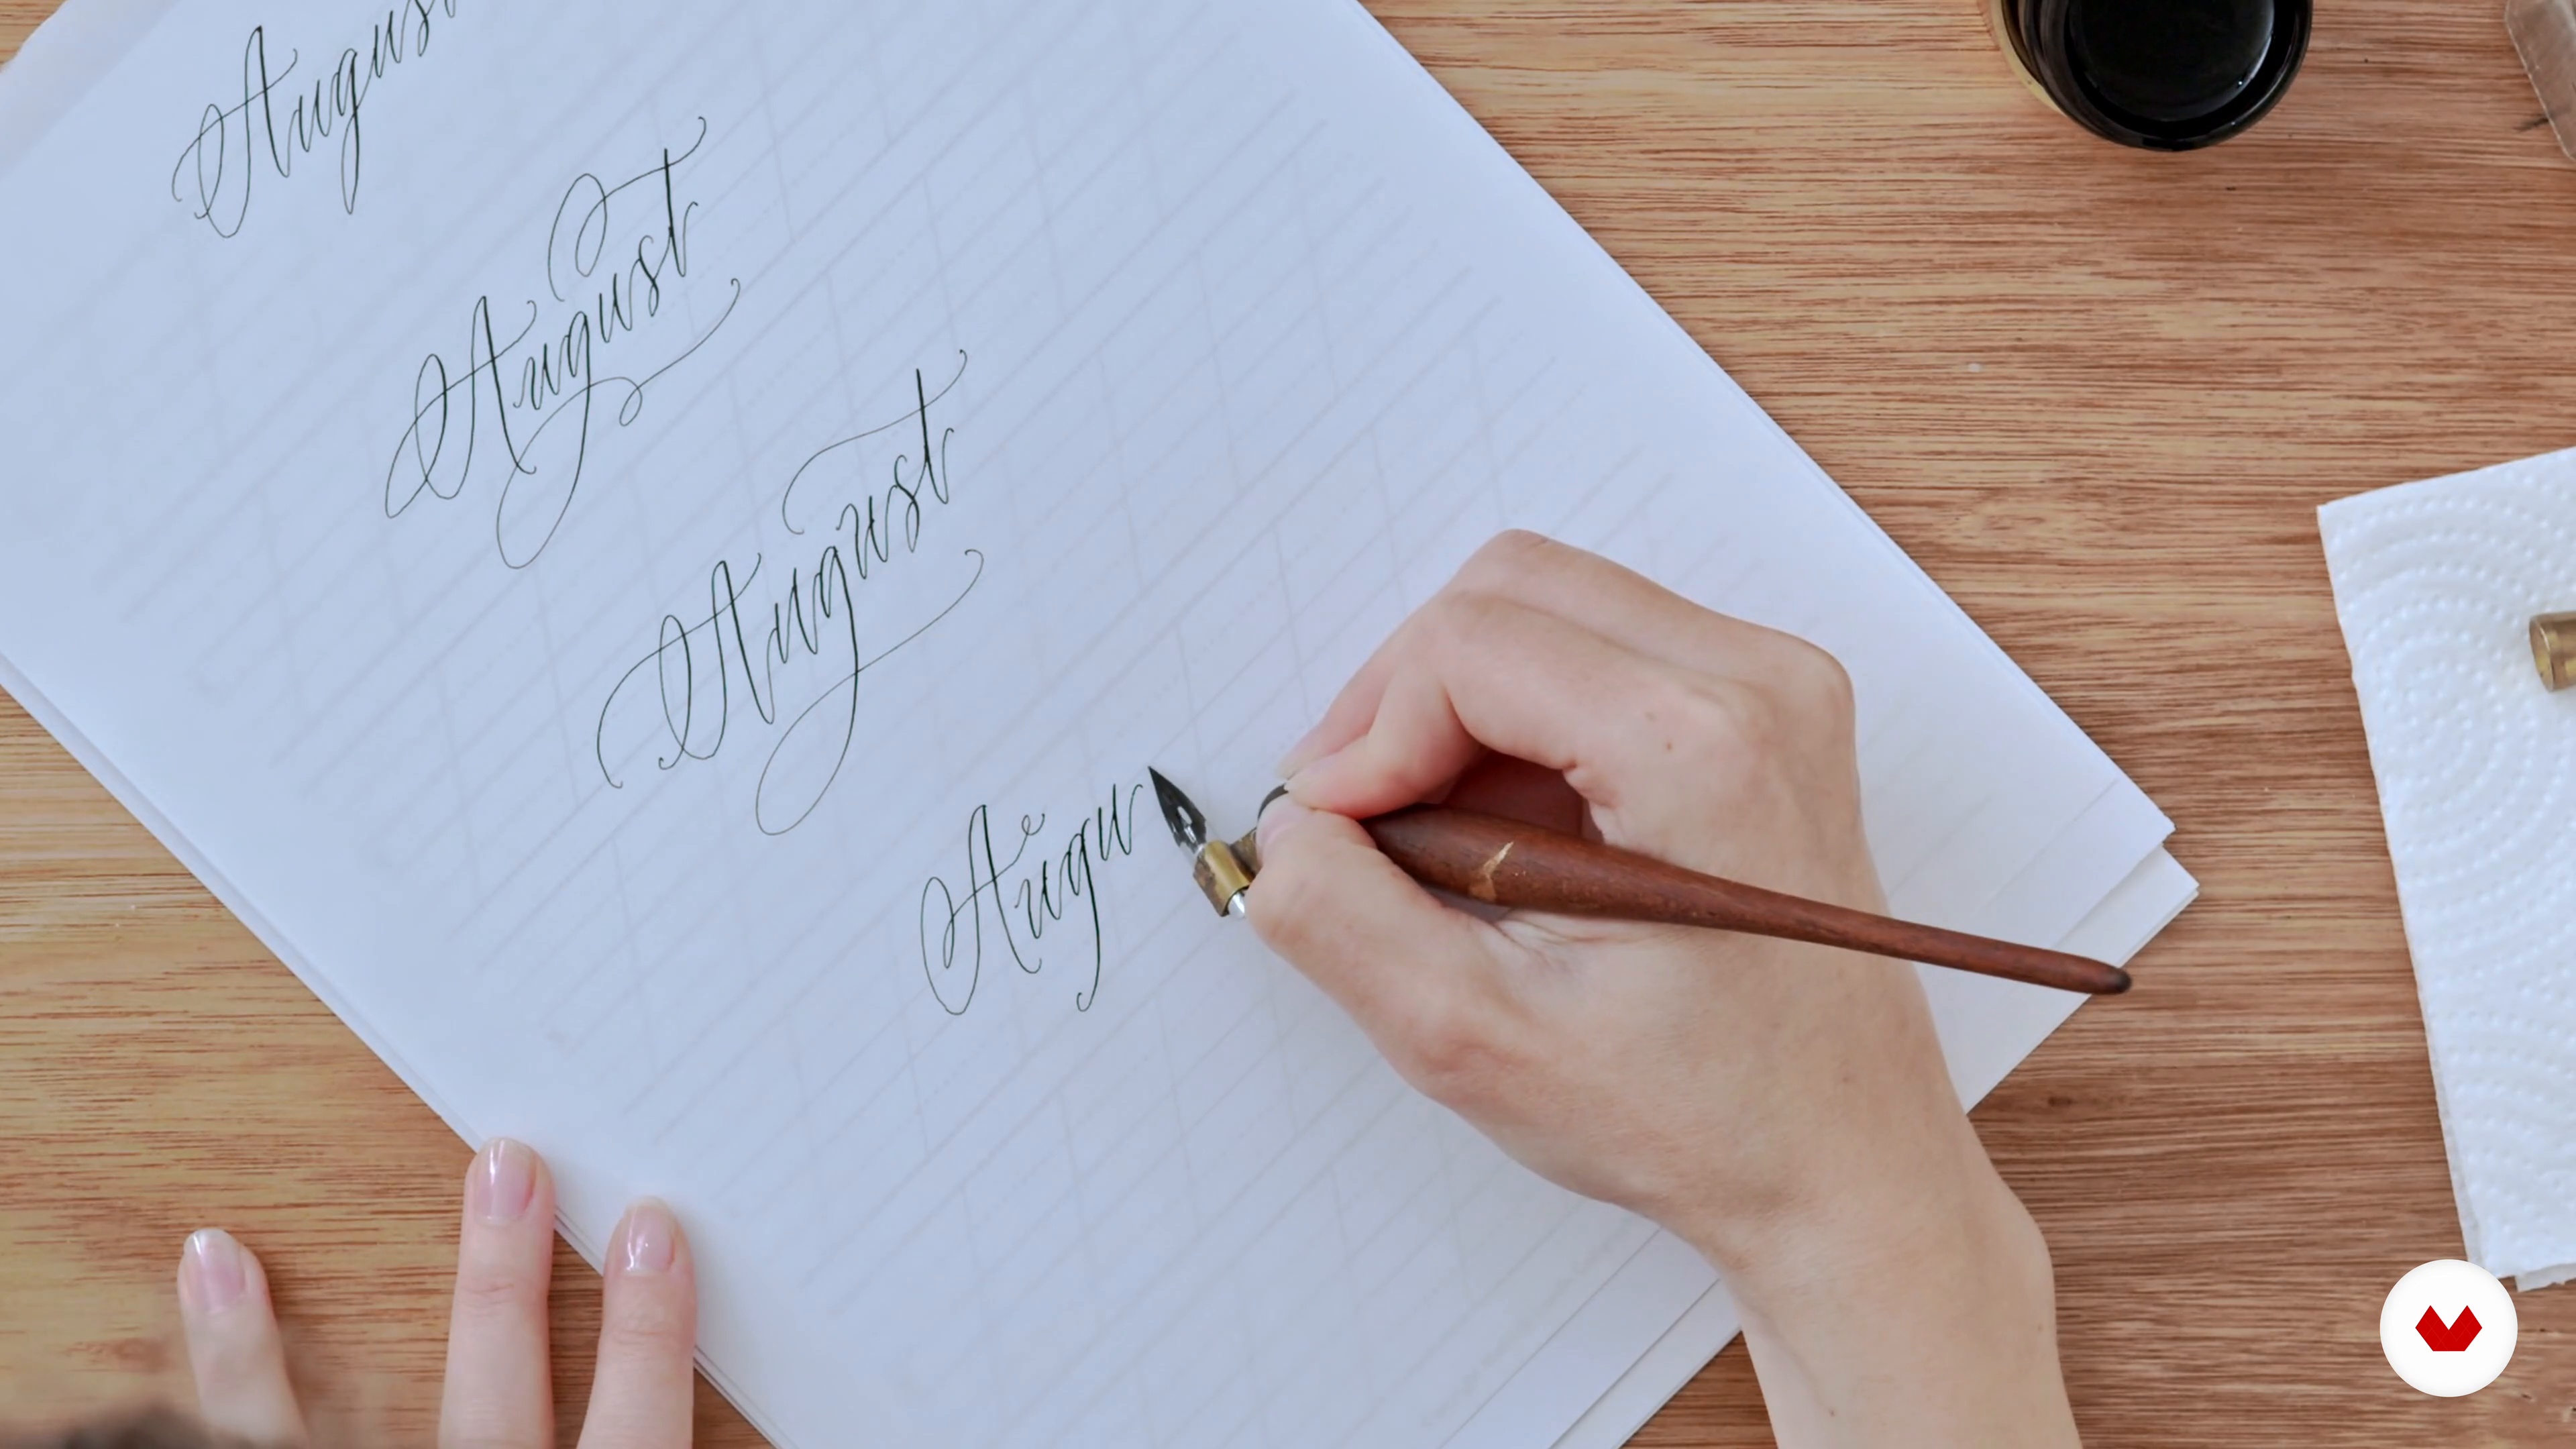 14
14Introduction to Modern Flourishing Techniques
Flourishes can add a lot of elegance and fun to your work, but they can also be tricky to get the hang of. To support you in this process, I will explain some modern flourishing exercises to help you build up your control and confidence to create beautiful flourishes.
16m
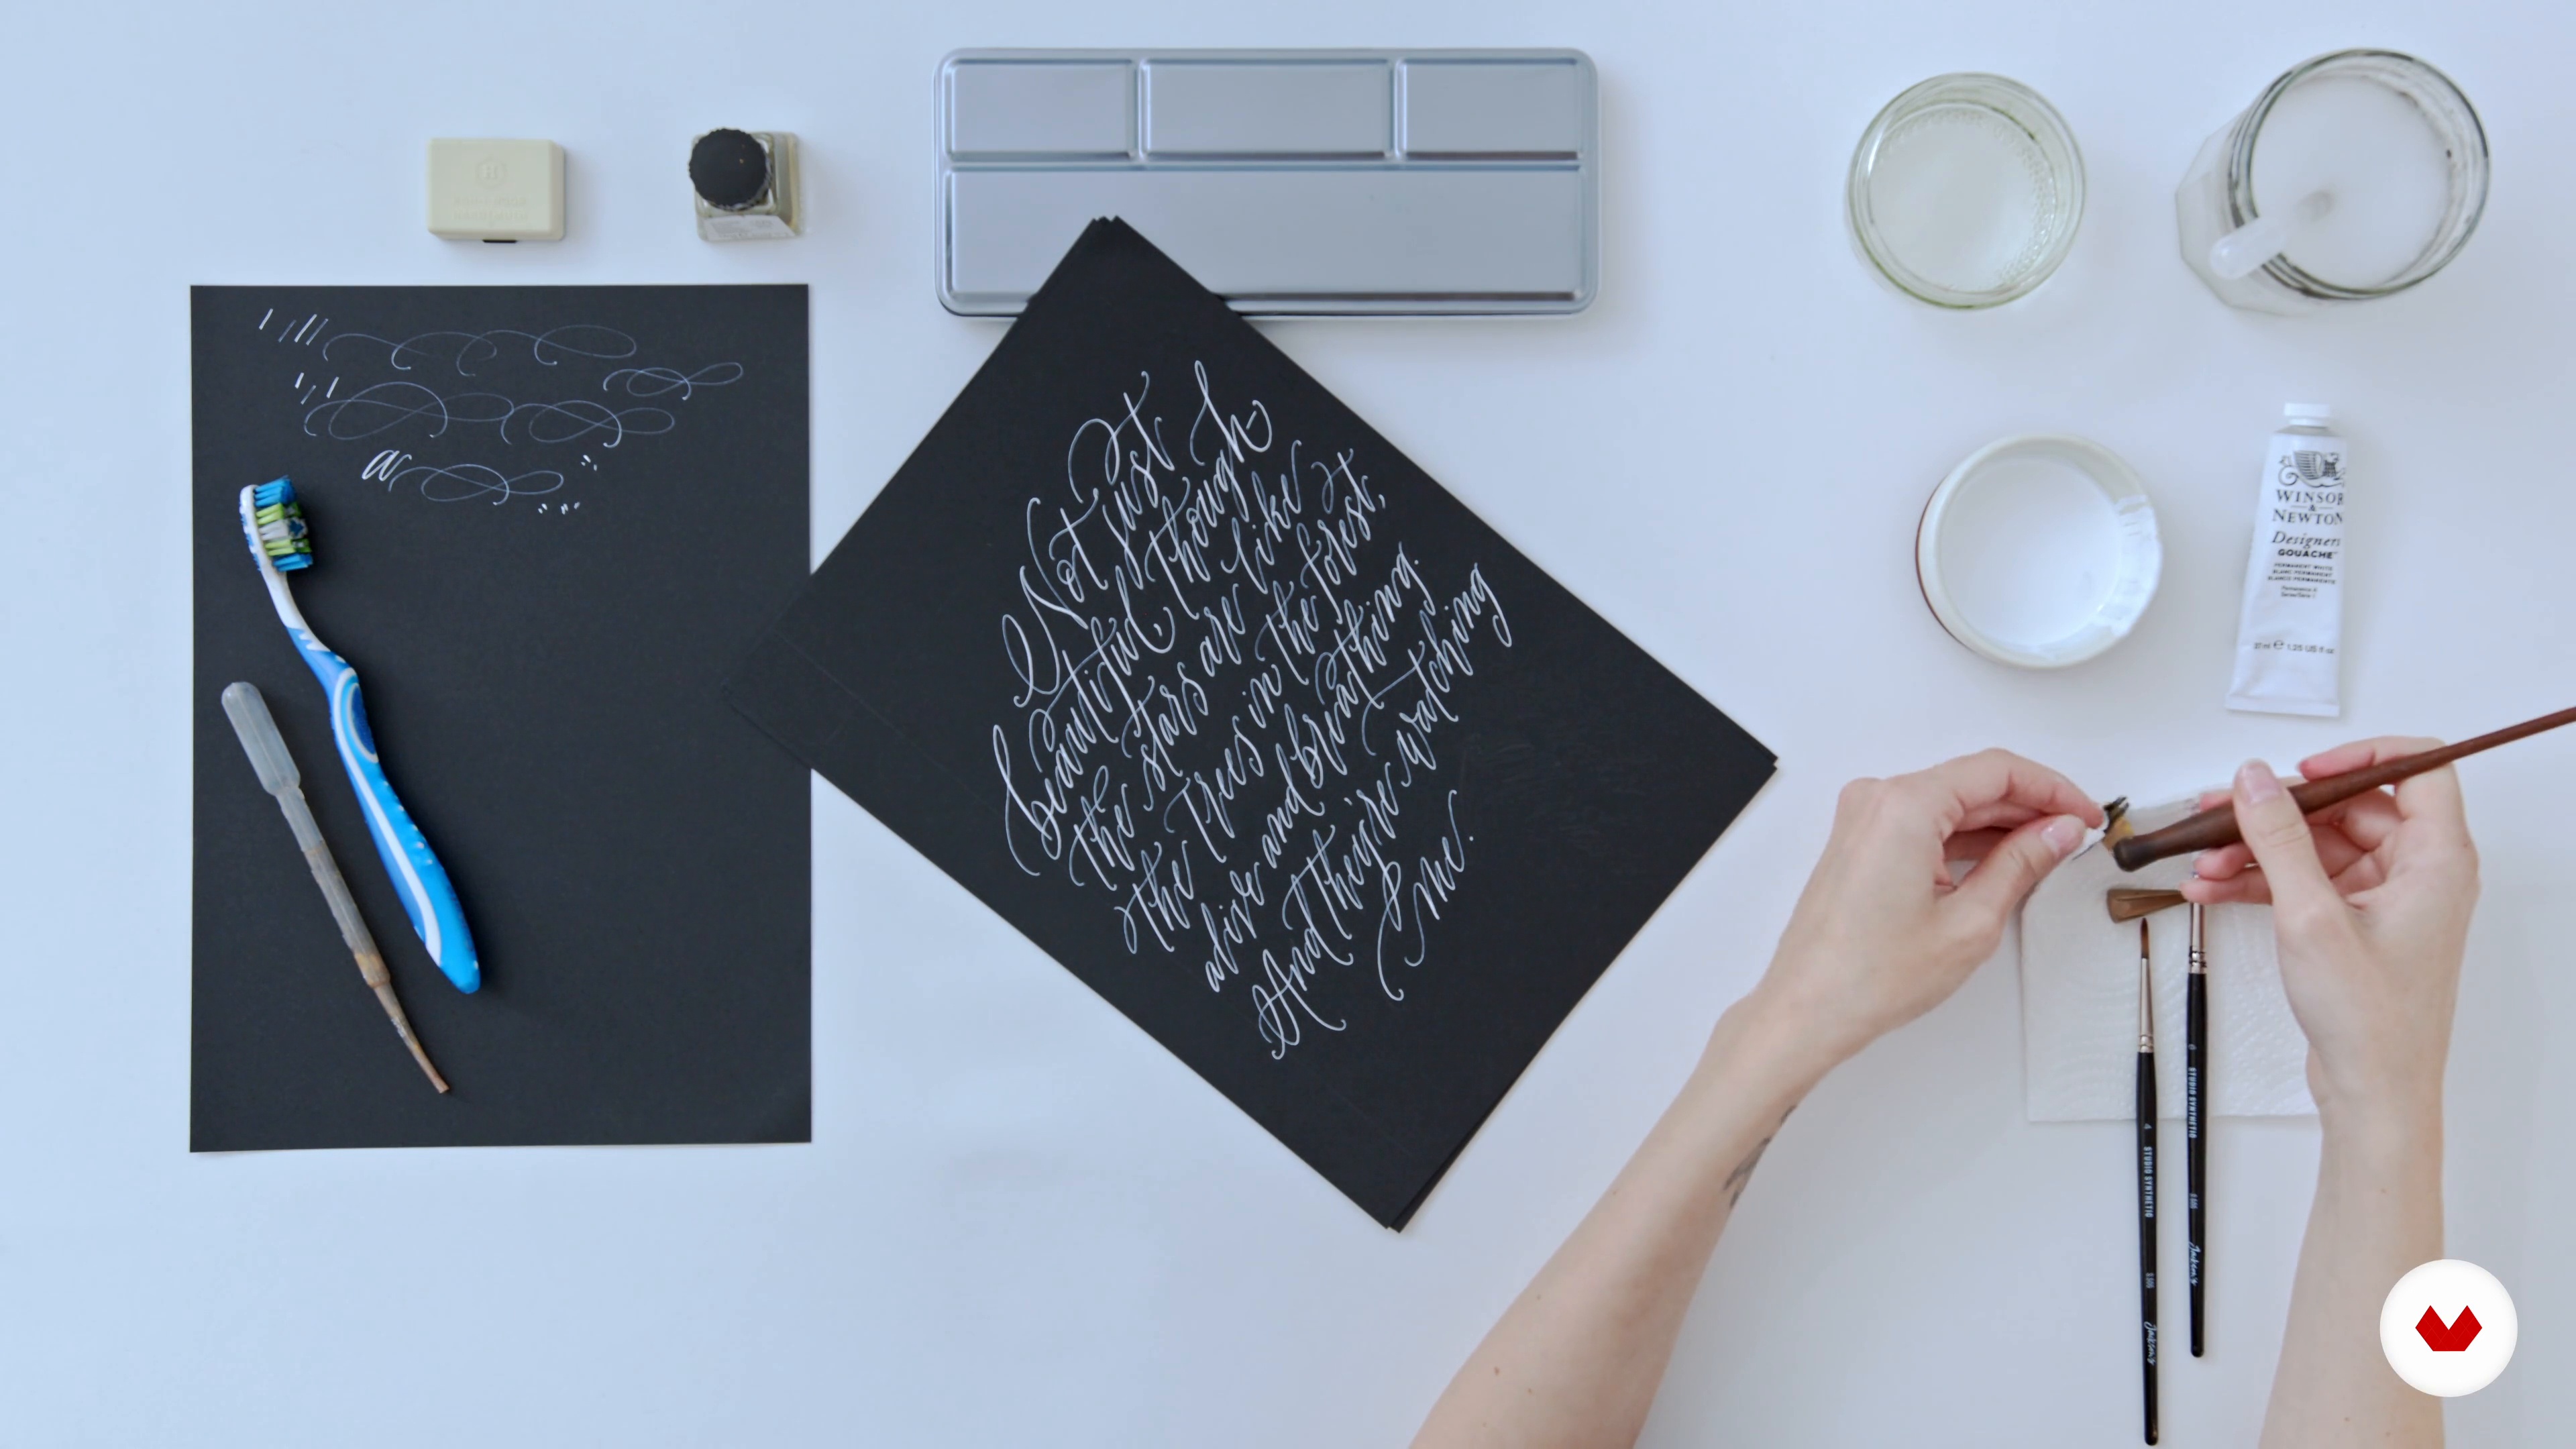 15
15Caring For Your Tools and Your Practice
In this final lesson, I will discuss how to take care of your tools and apply good calligraphy practice.
4m
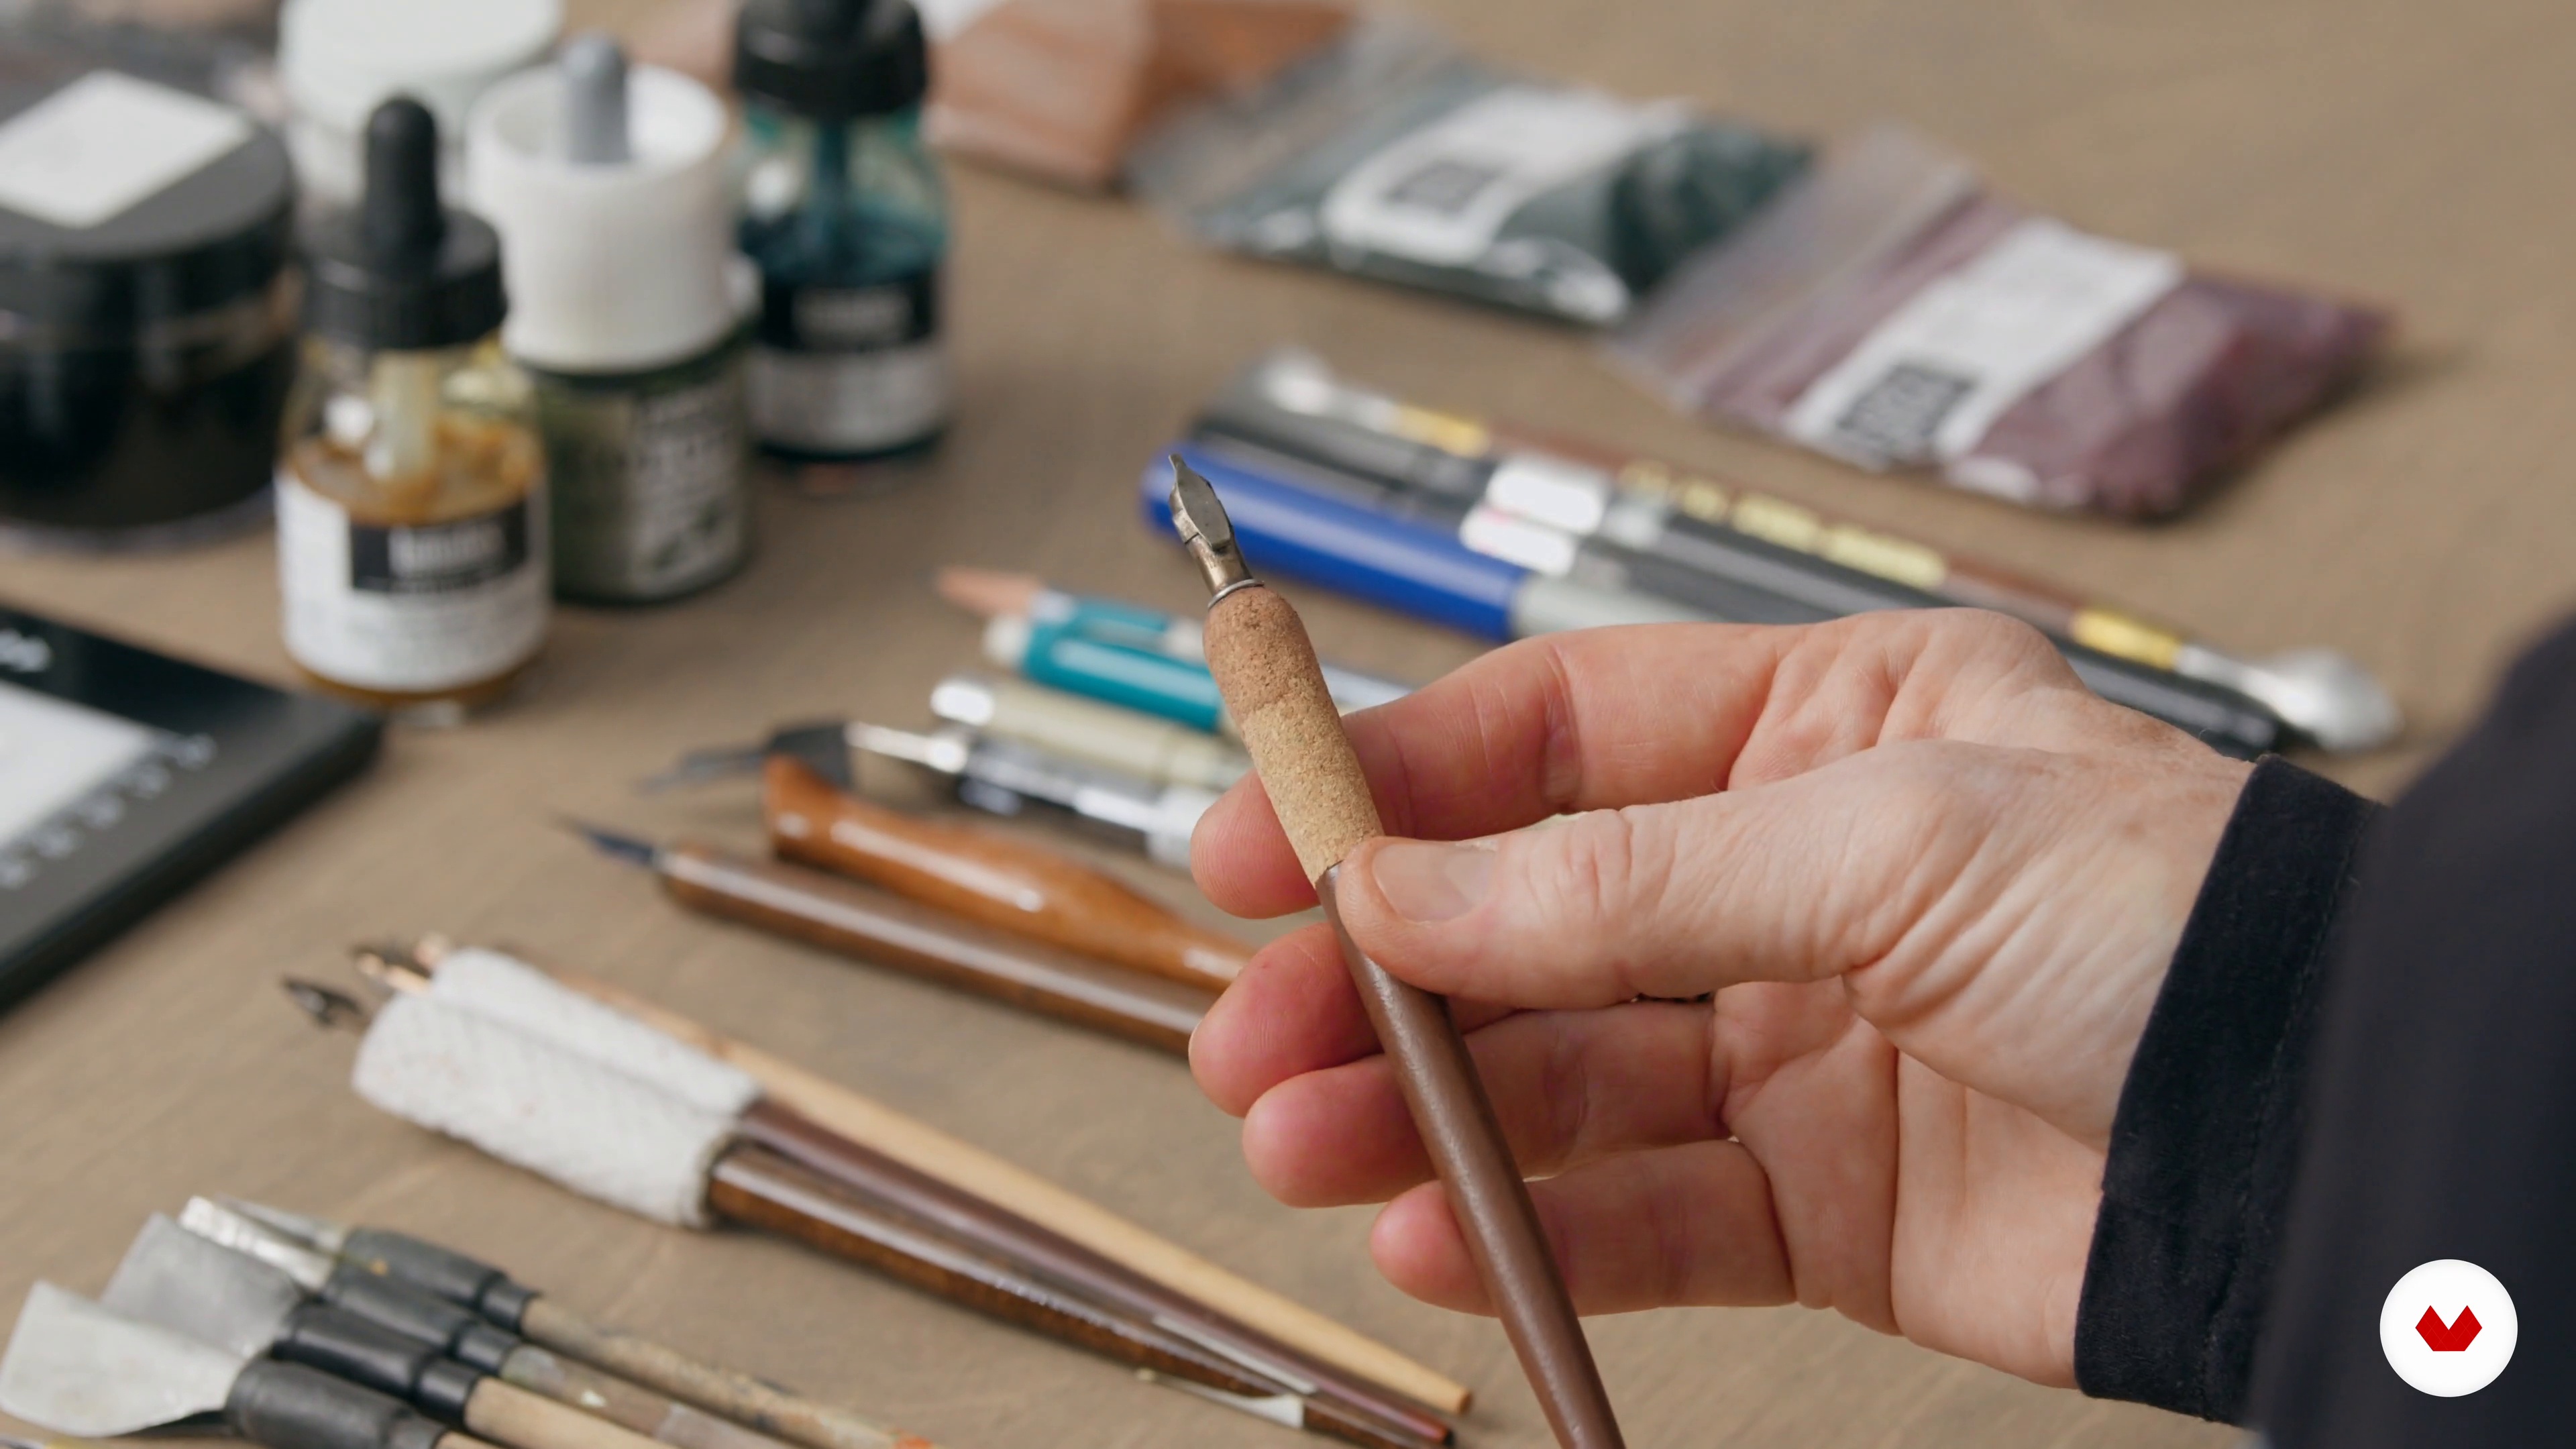 1
1Overview of Materials and Processes
For this lesson, I will show you all the materials I will be using in this course. I'll also share my favorite tools and talk about how I'm going to use them.
6m
 2
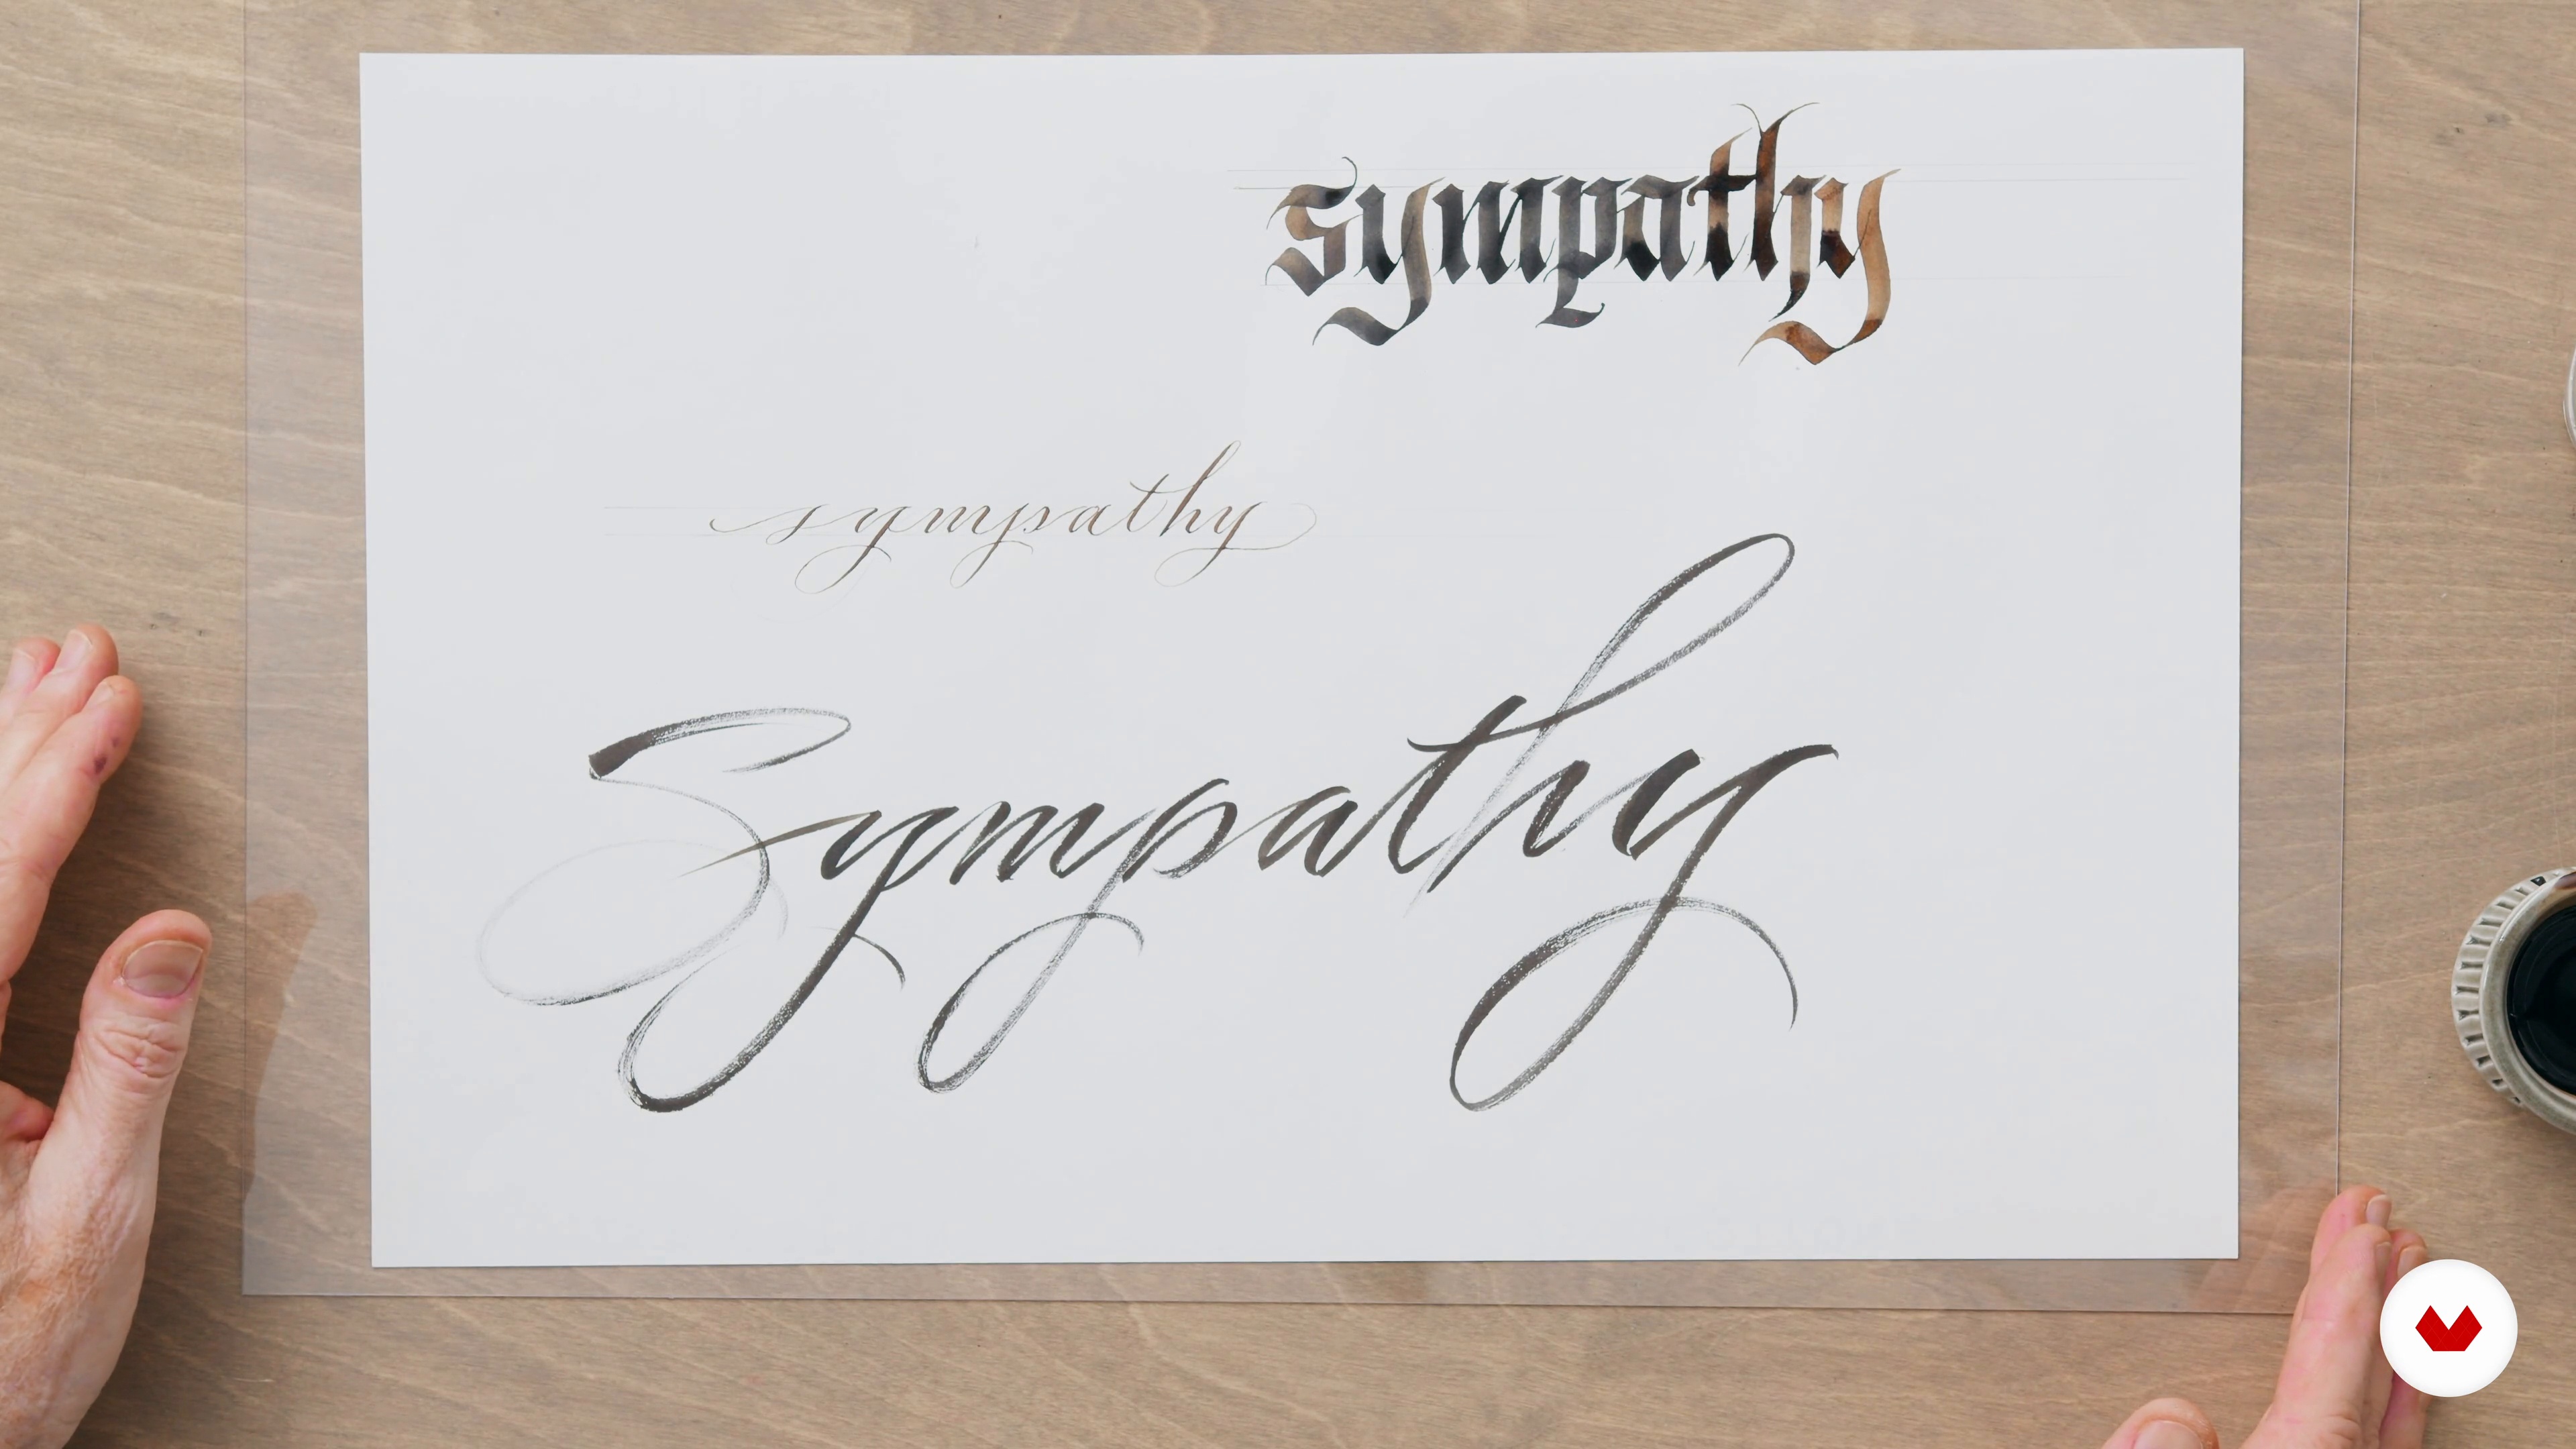
2Letter Personalities and Calligraphic Styles
Did you know that letters have personalities? In this lesson, I will discuss and show examples of different lettering styles and personalities. What makes for an appropriate style choice? How are letterforms used to express a sentiment and set a tone?
8m
 3
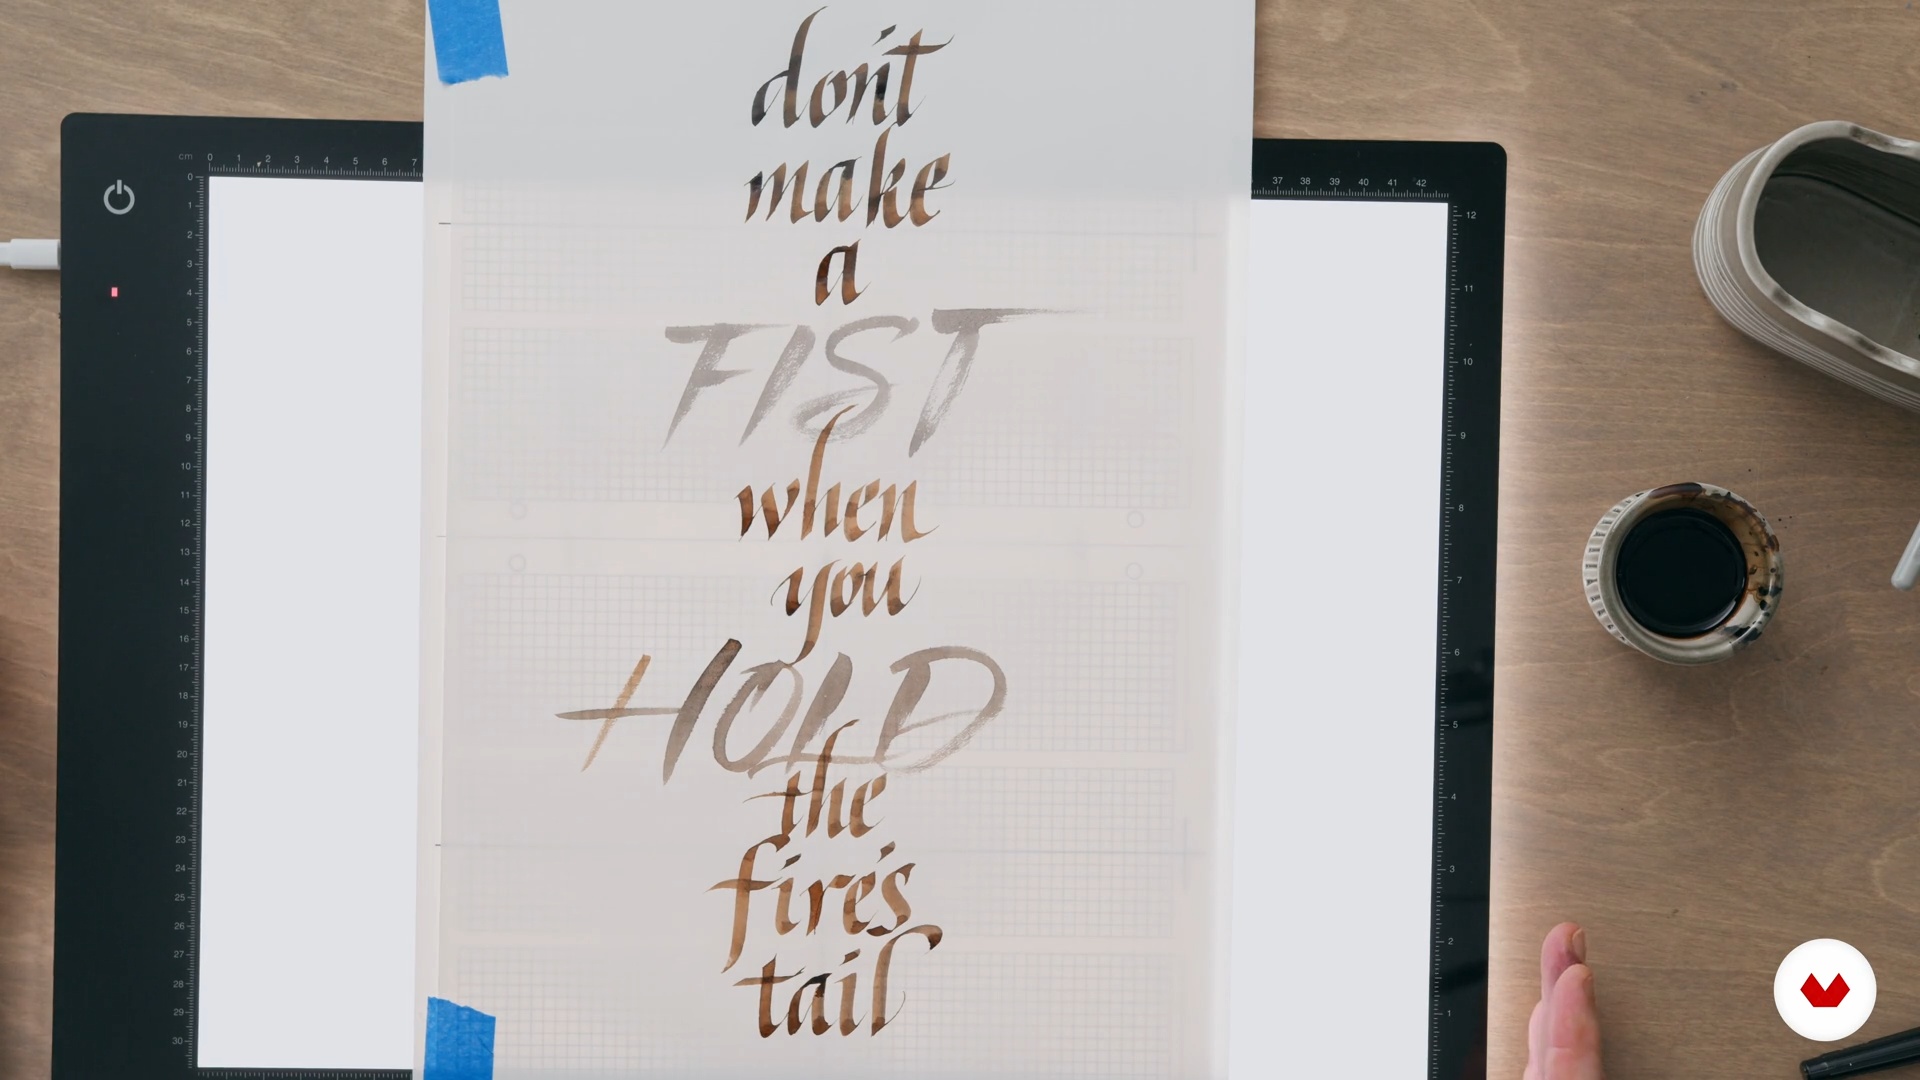
3Content Hierarchy
Now, I will show you how to create visual messaging and add meaning to your work. I will start with a single word and methodically add additional words and lines to create basic word compositions.
5m
 4
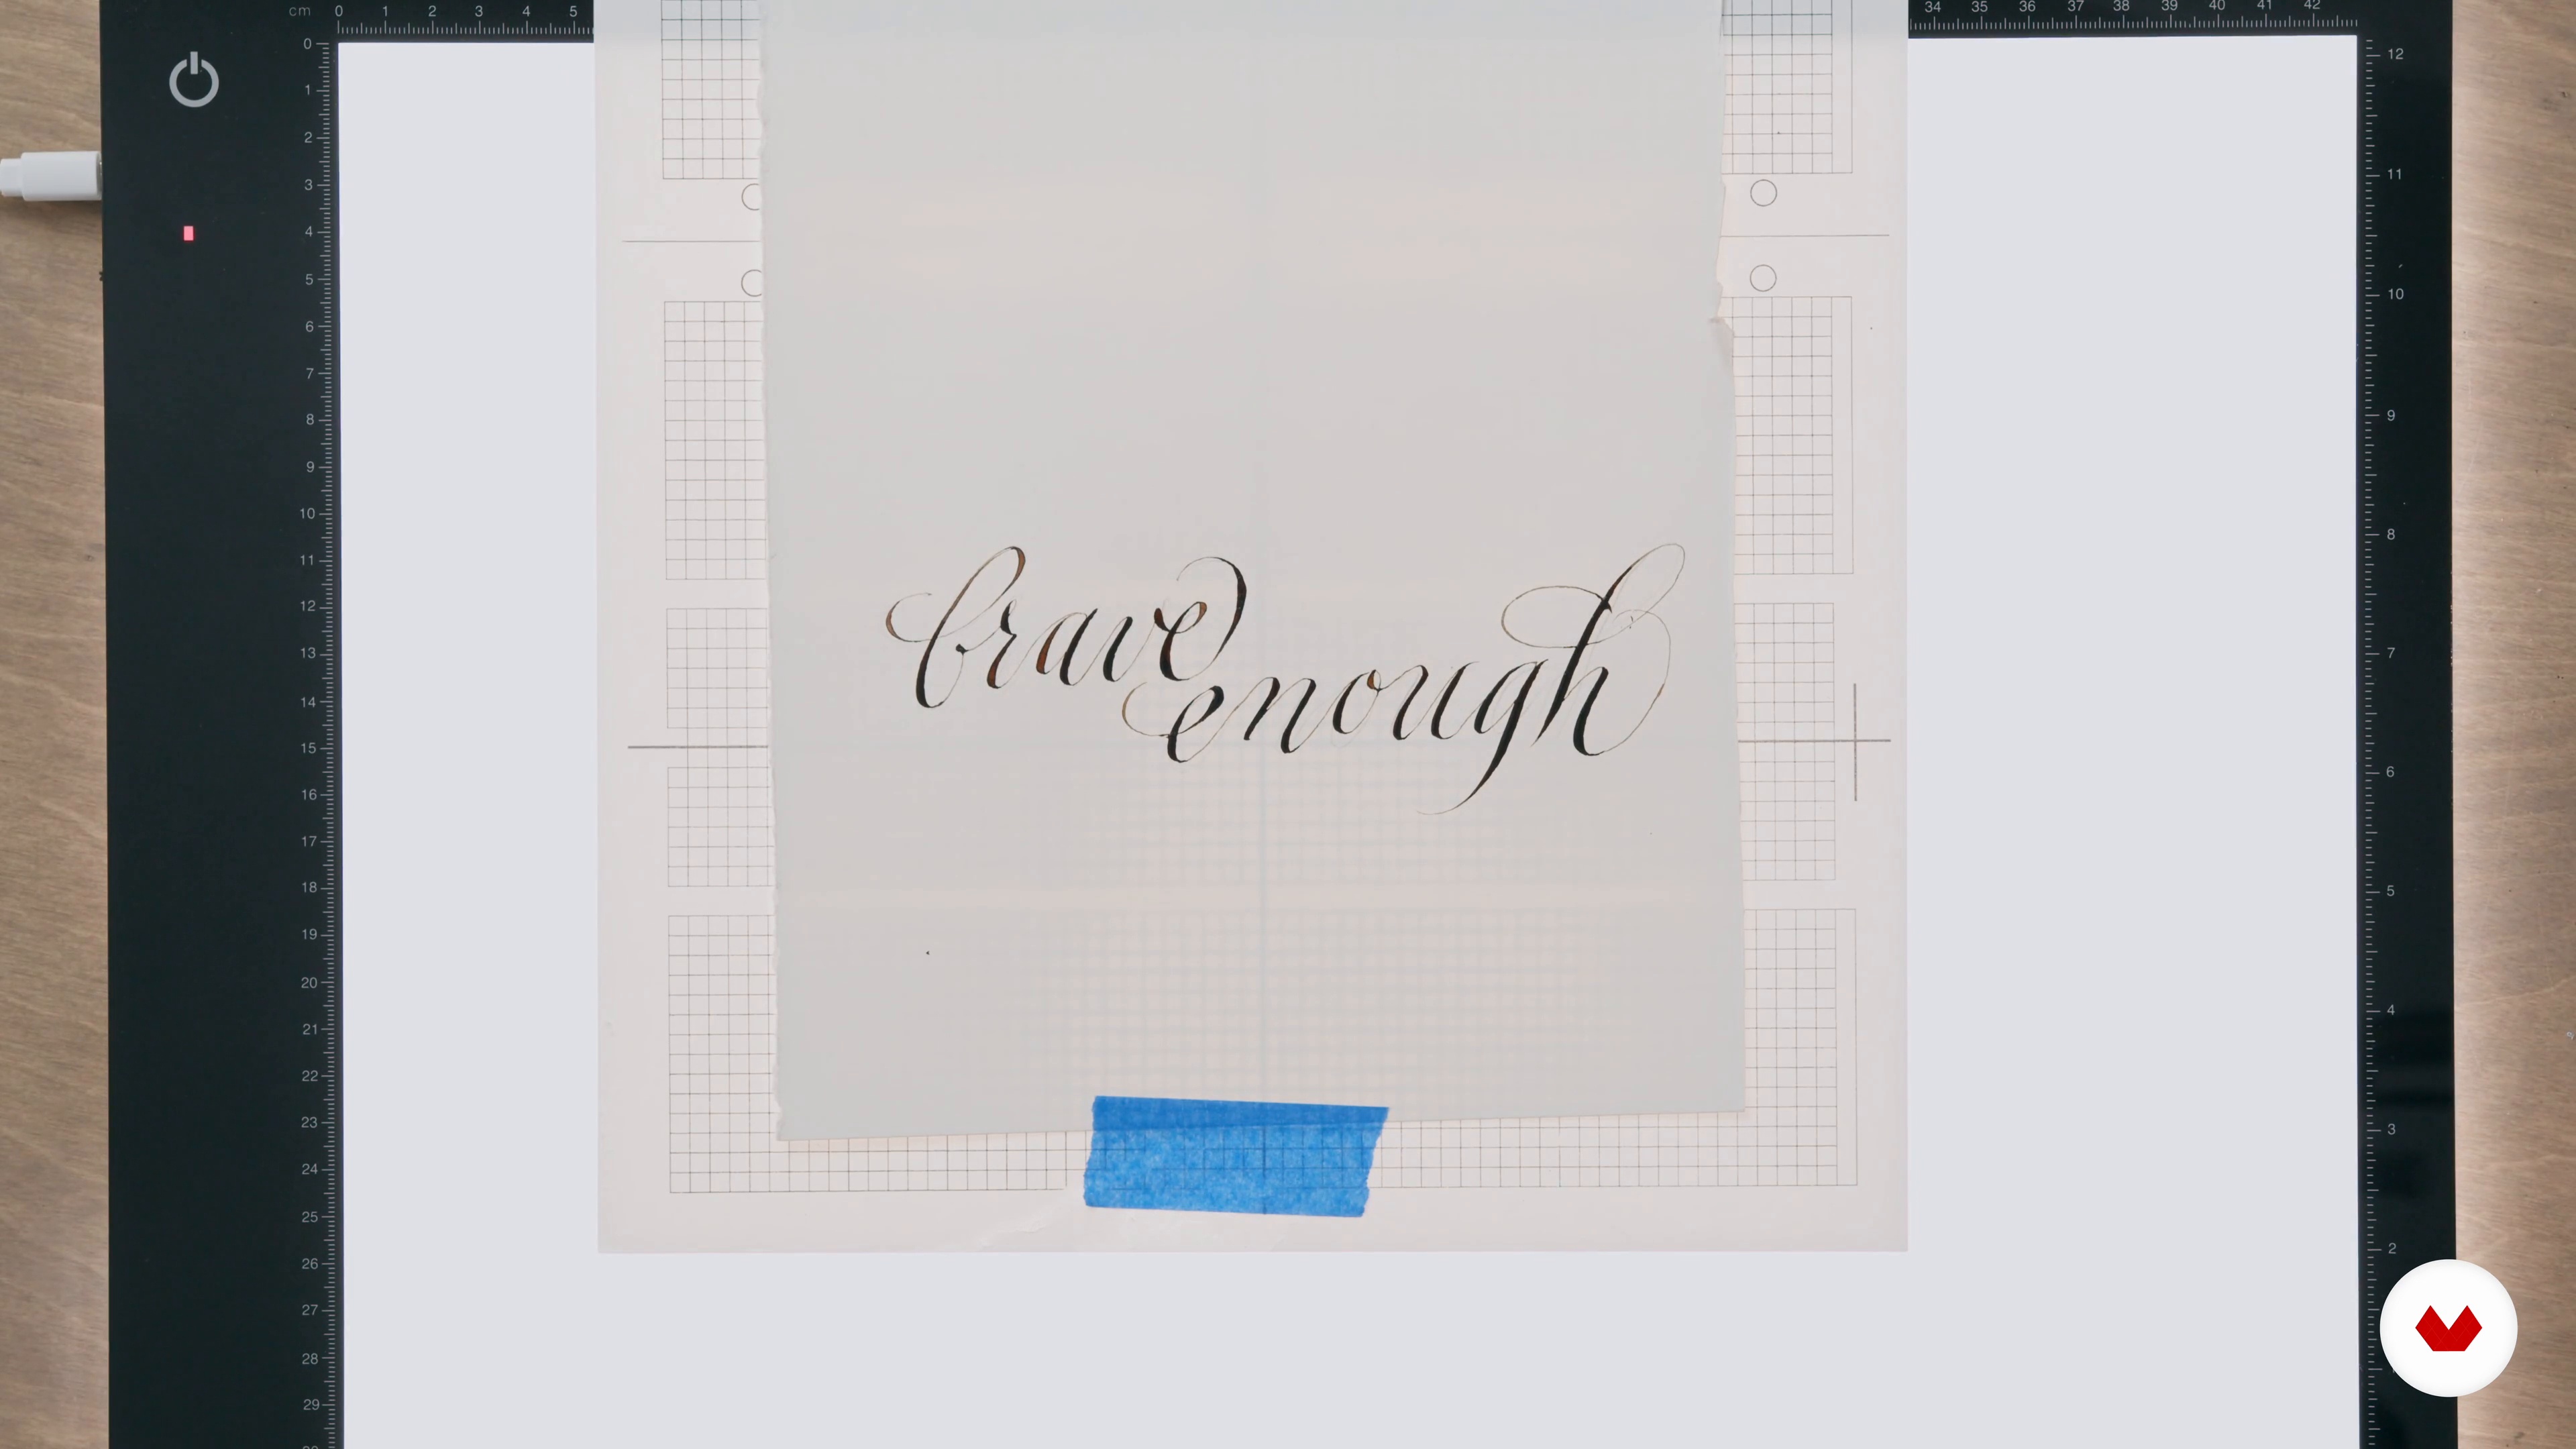
4Selecting and Deconstructing Your Text
Time to work with content of your own choosing! In this lesson, you will explore the meaning of the text you have selected and use it to build a series of layouts.
5m
 5
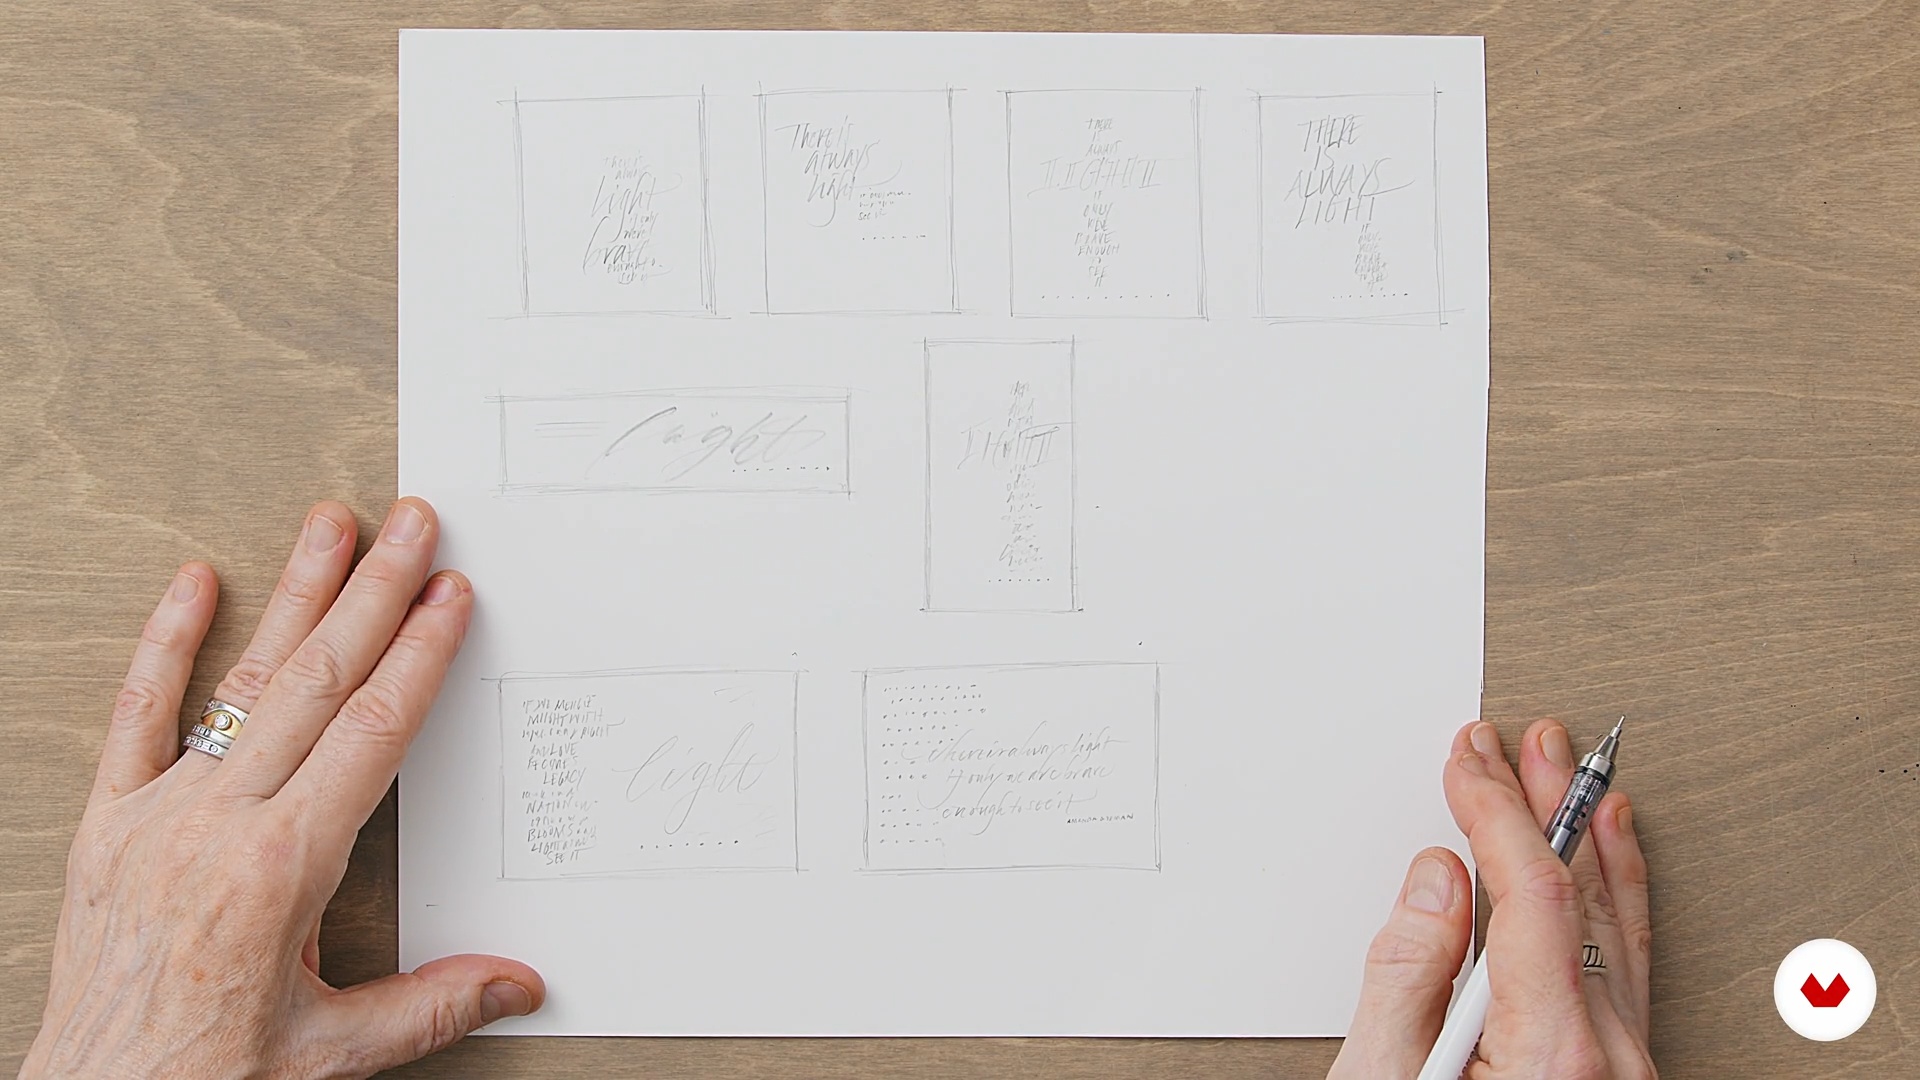
5Sketching to Create Mindful Compositions
In this lesson, you will begin to envision your final piece or pieces by sketching and exploring various aspects of the work, from composition to color, tone, size, and treatment.
8m
 6
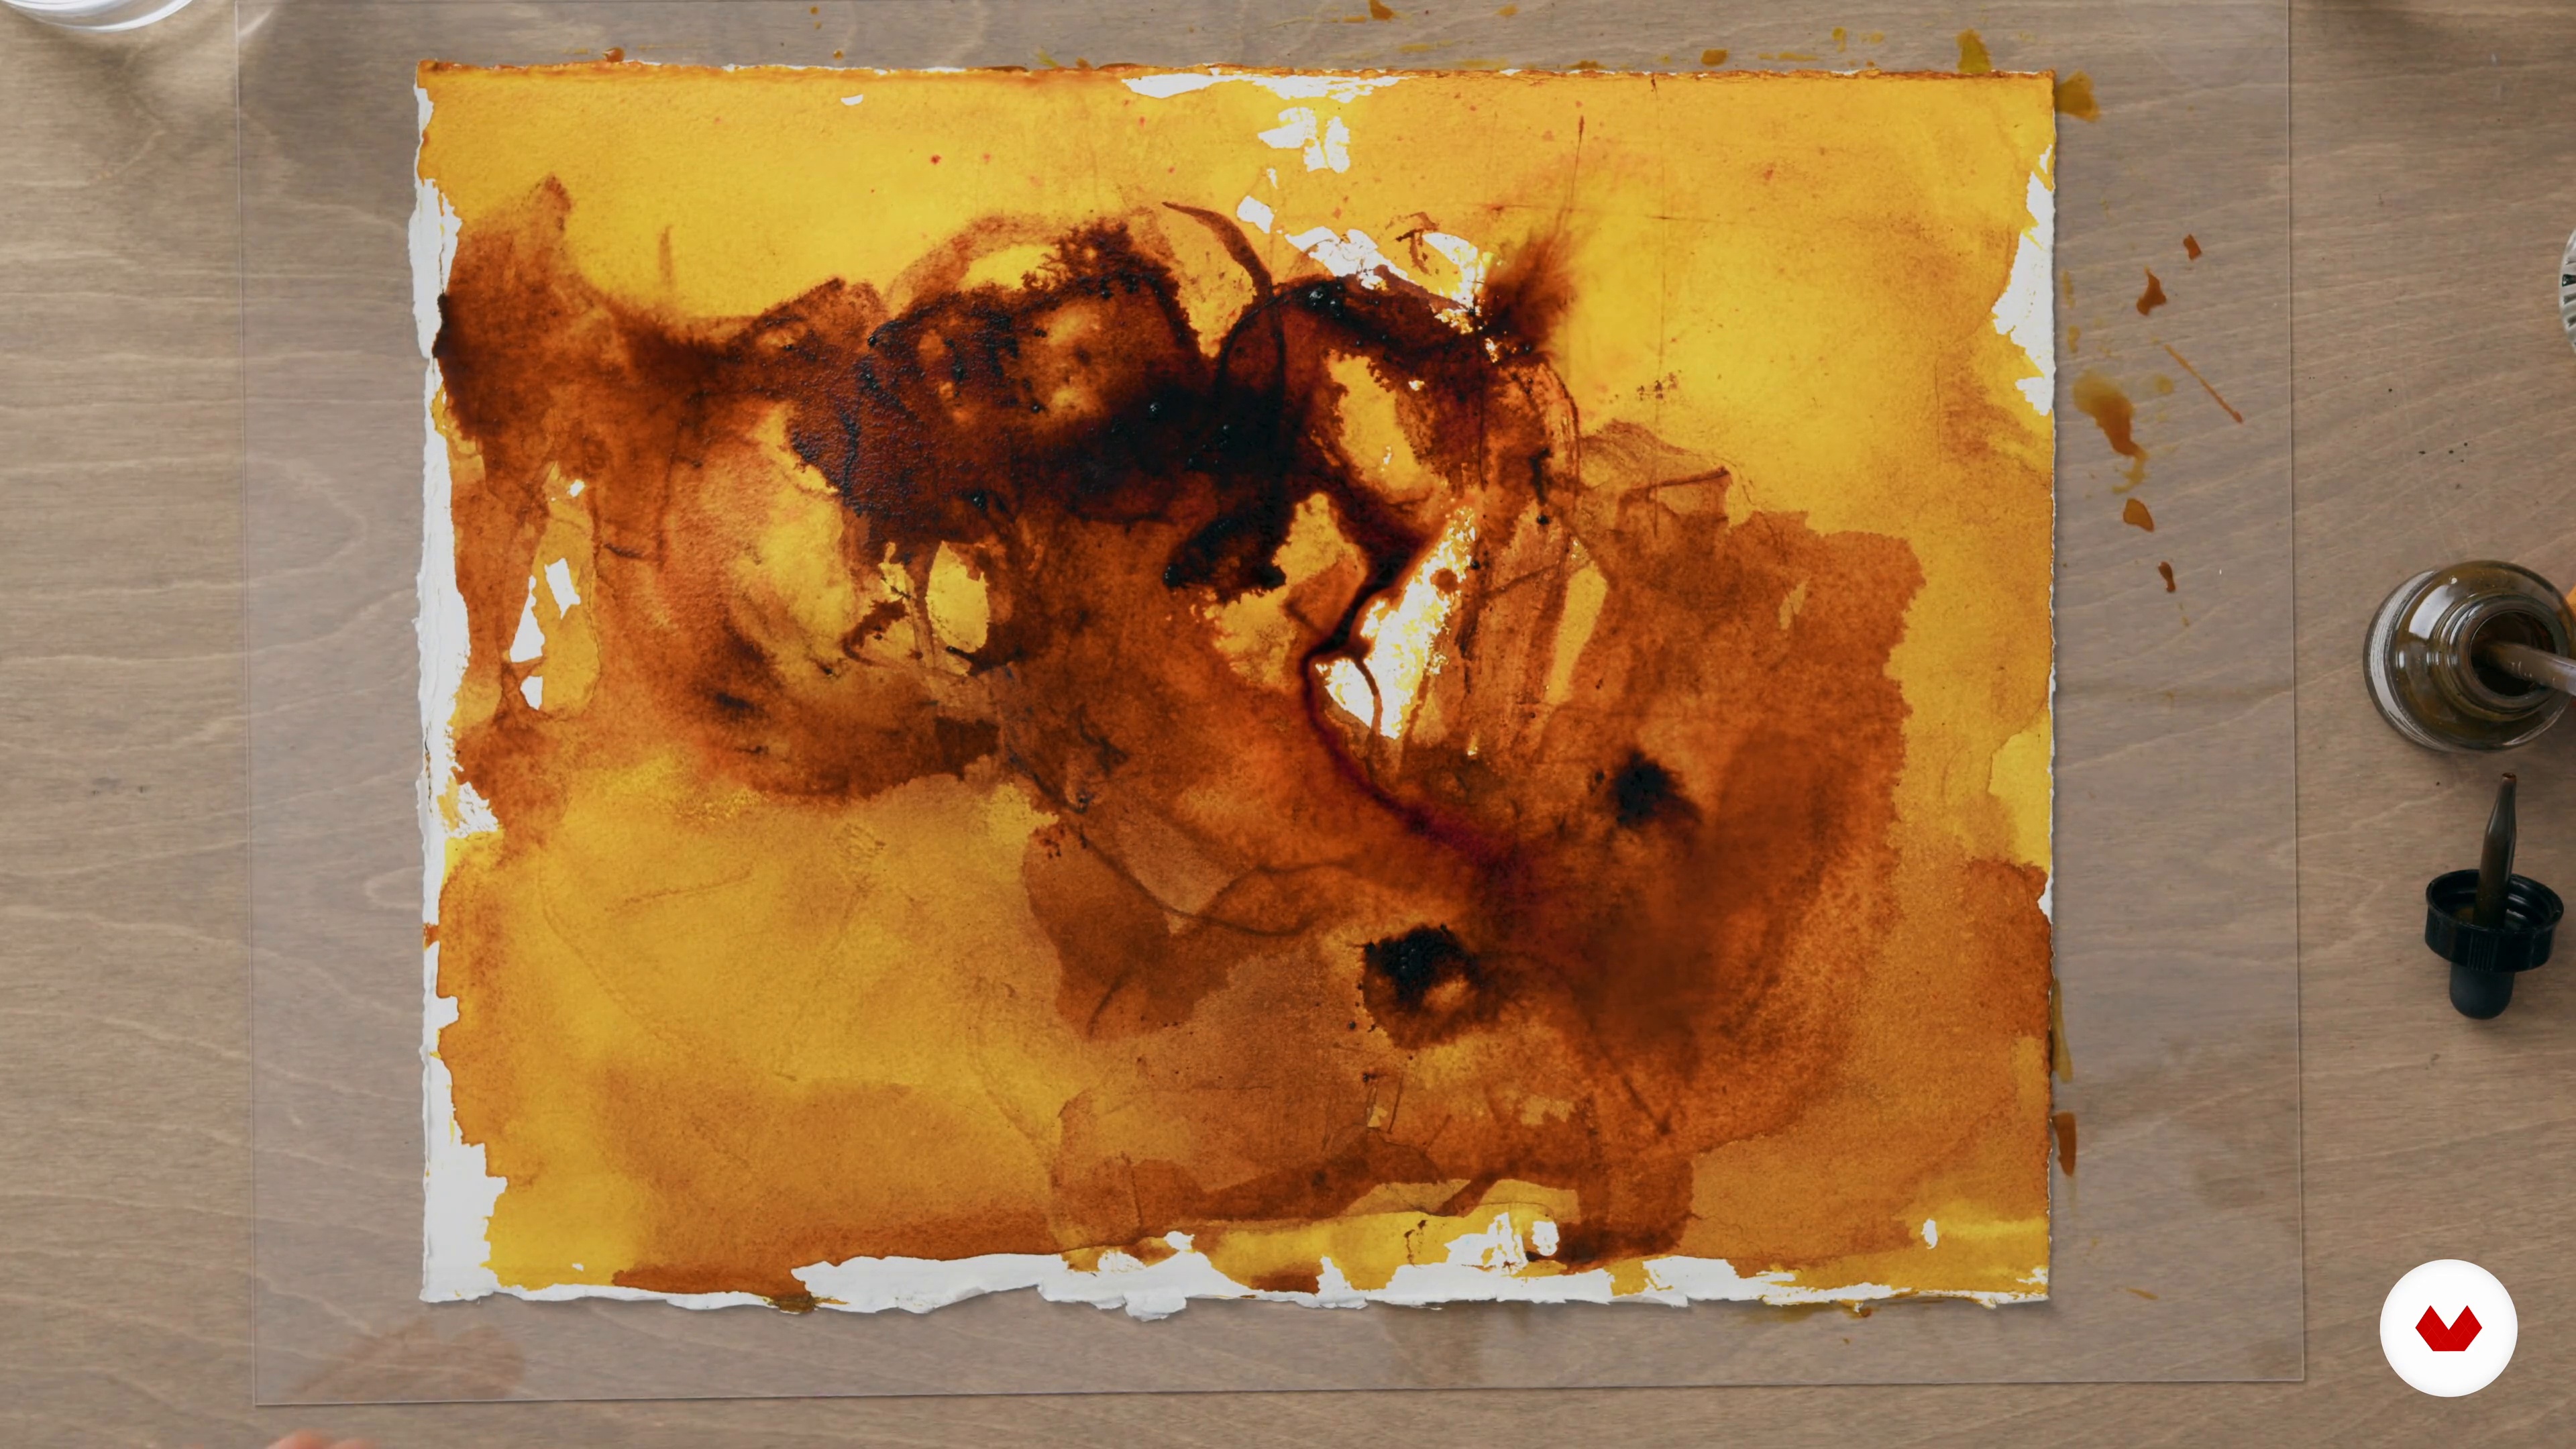
6Putting It All Together: Words, Texts, and Media 1
Now, you will work intimately with your own selected texts and words to create dynamic, layered, "textual" artworks that speak to the viewer through your own visual poetry. Let's start with the background!
15m
 7
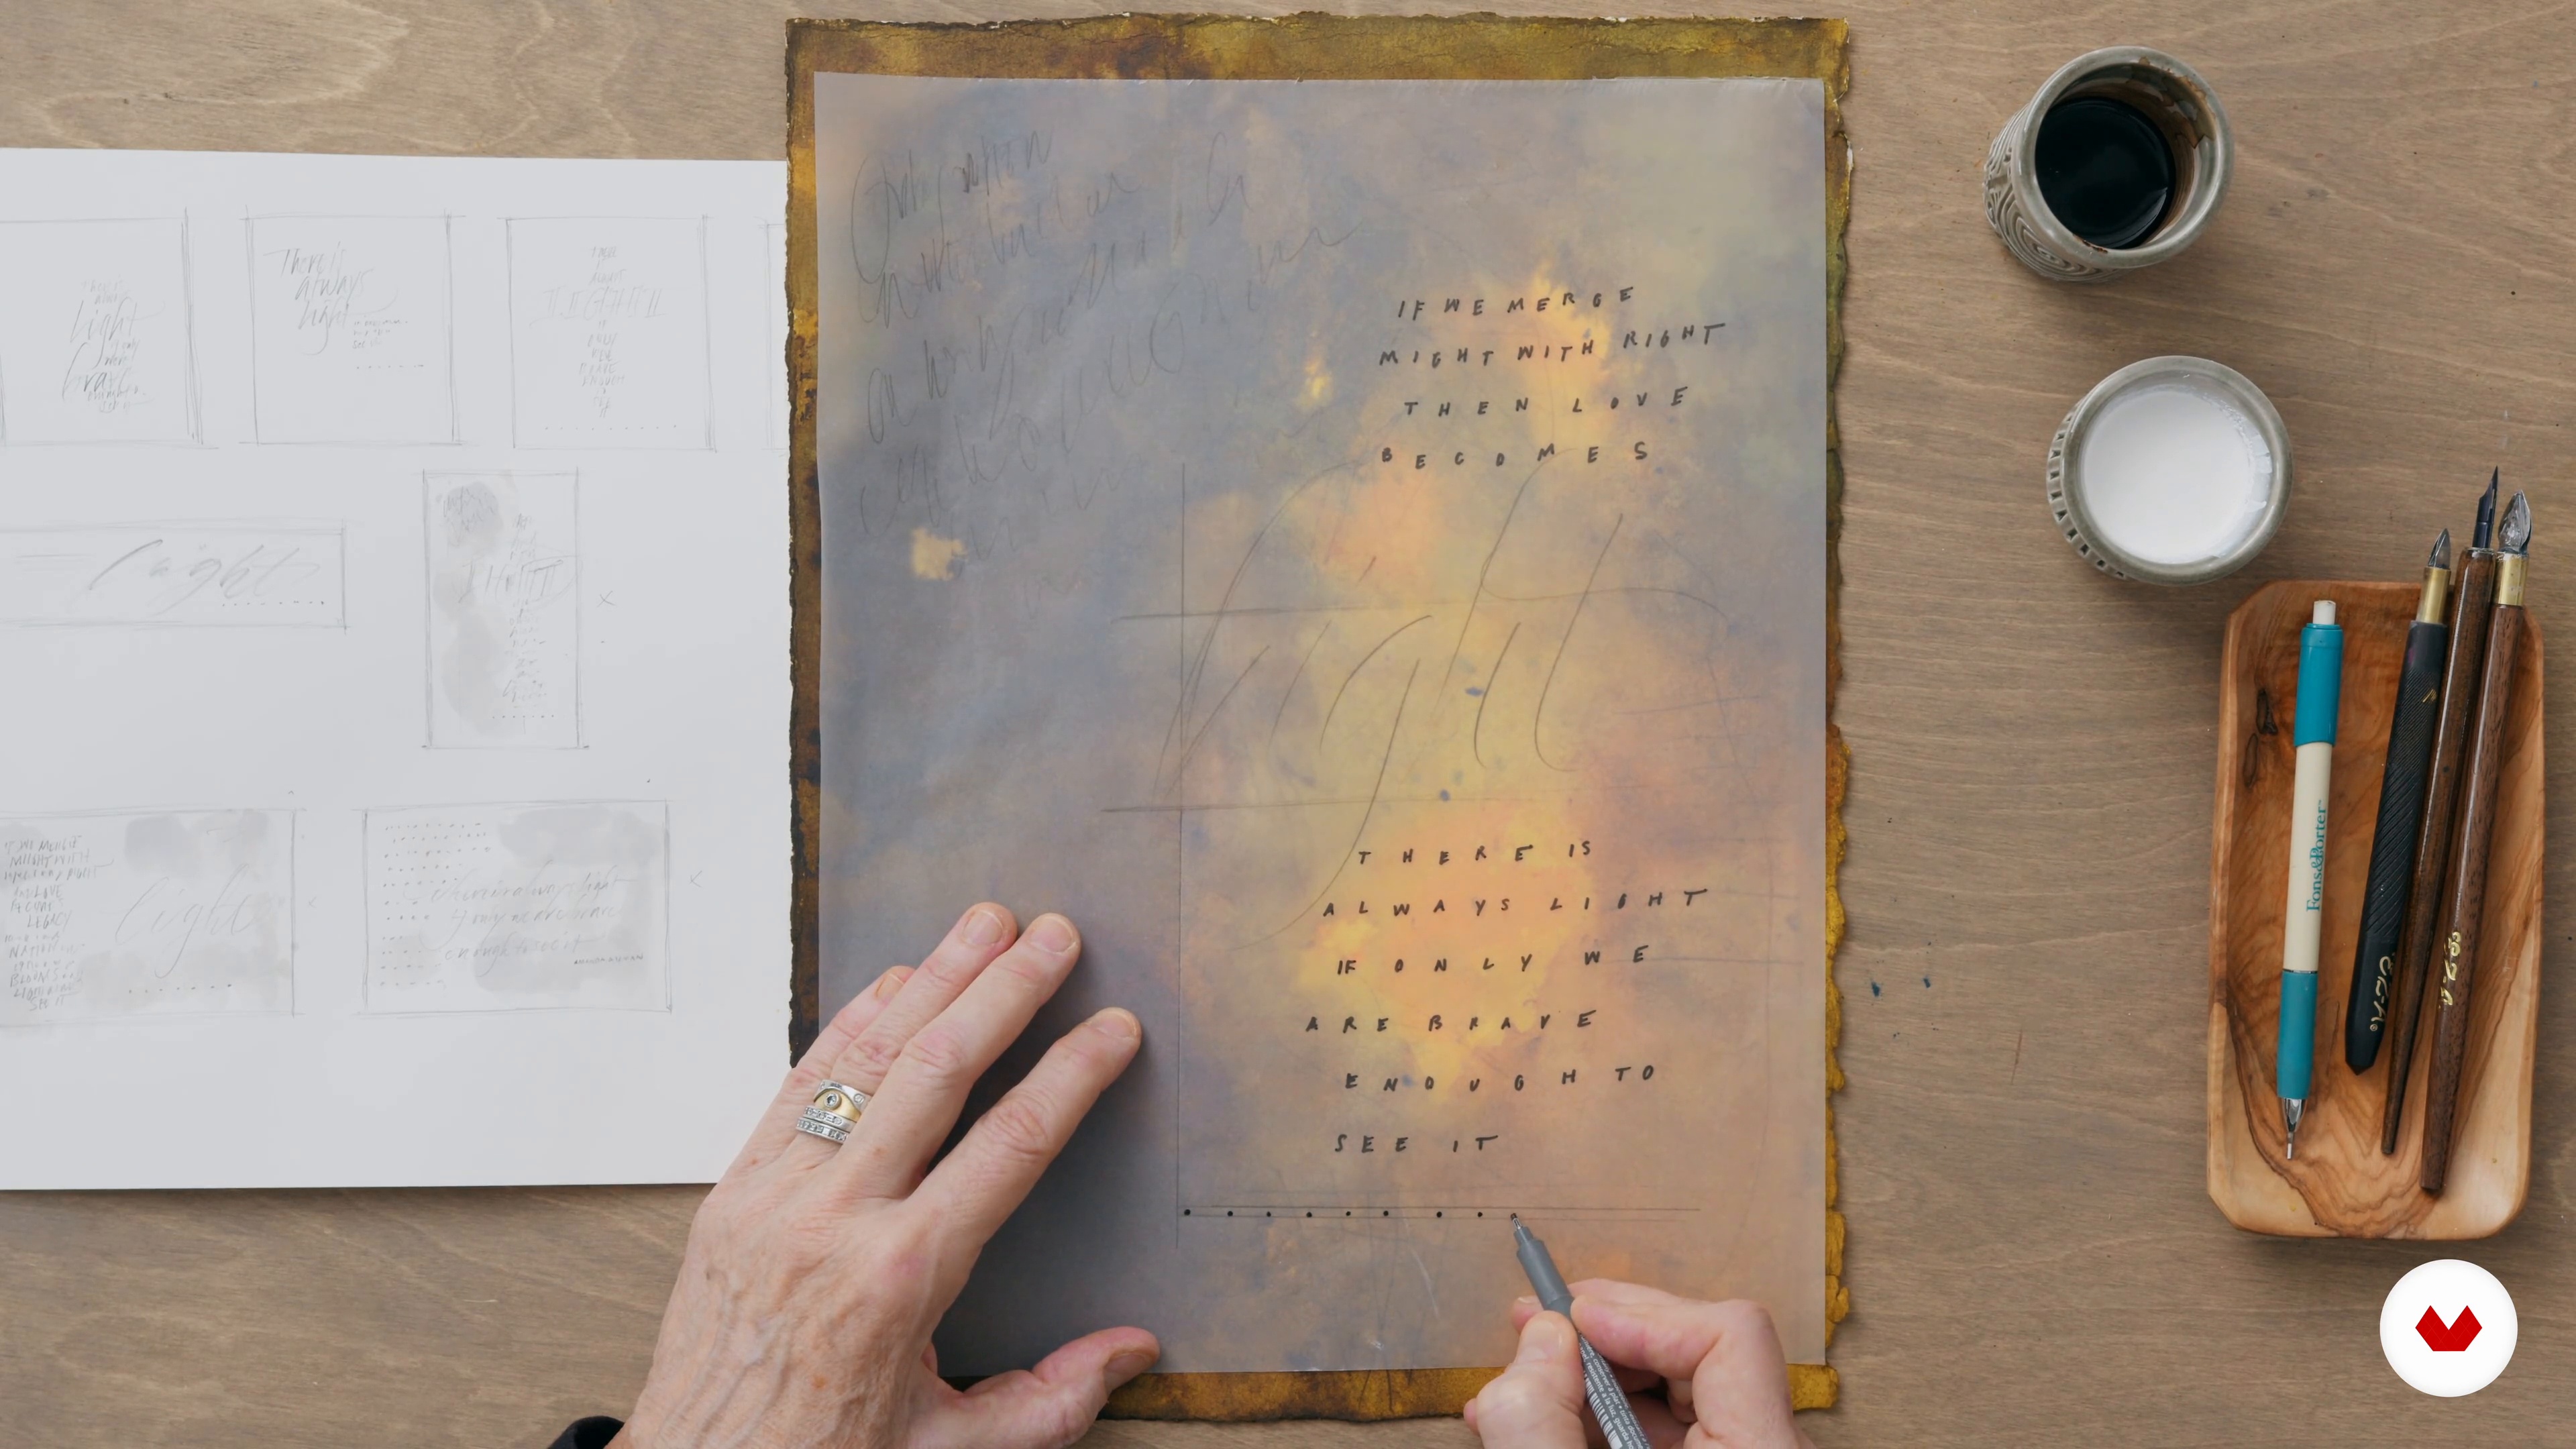
7Putting It All Together: Words, Texts, and Media 2
Next, I will show you how to plan your lettering once the background is dry. For this step, I will use a piece of tracing paper and look at my sketches for reference.
14m
 8
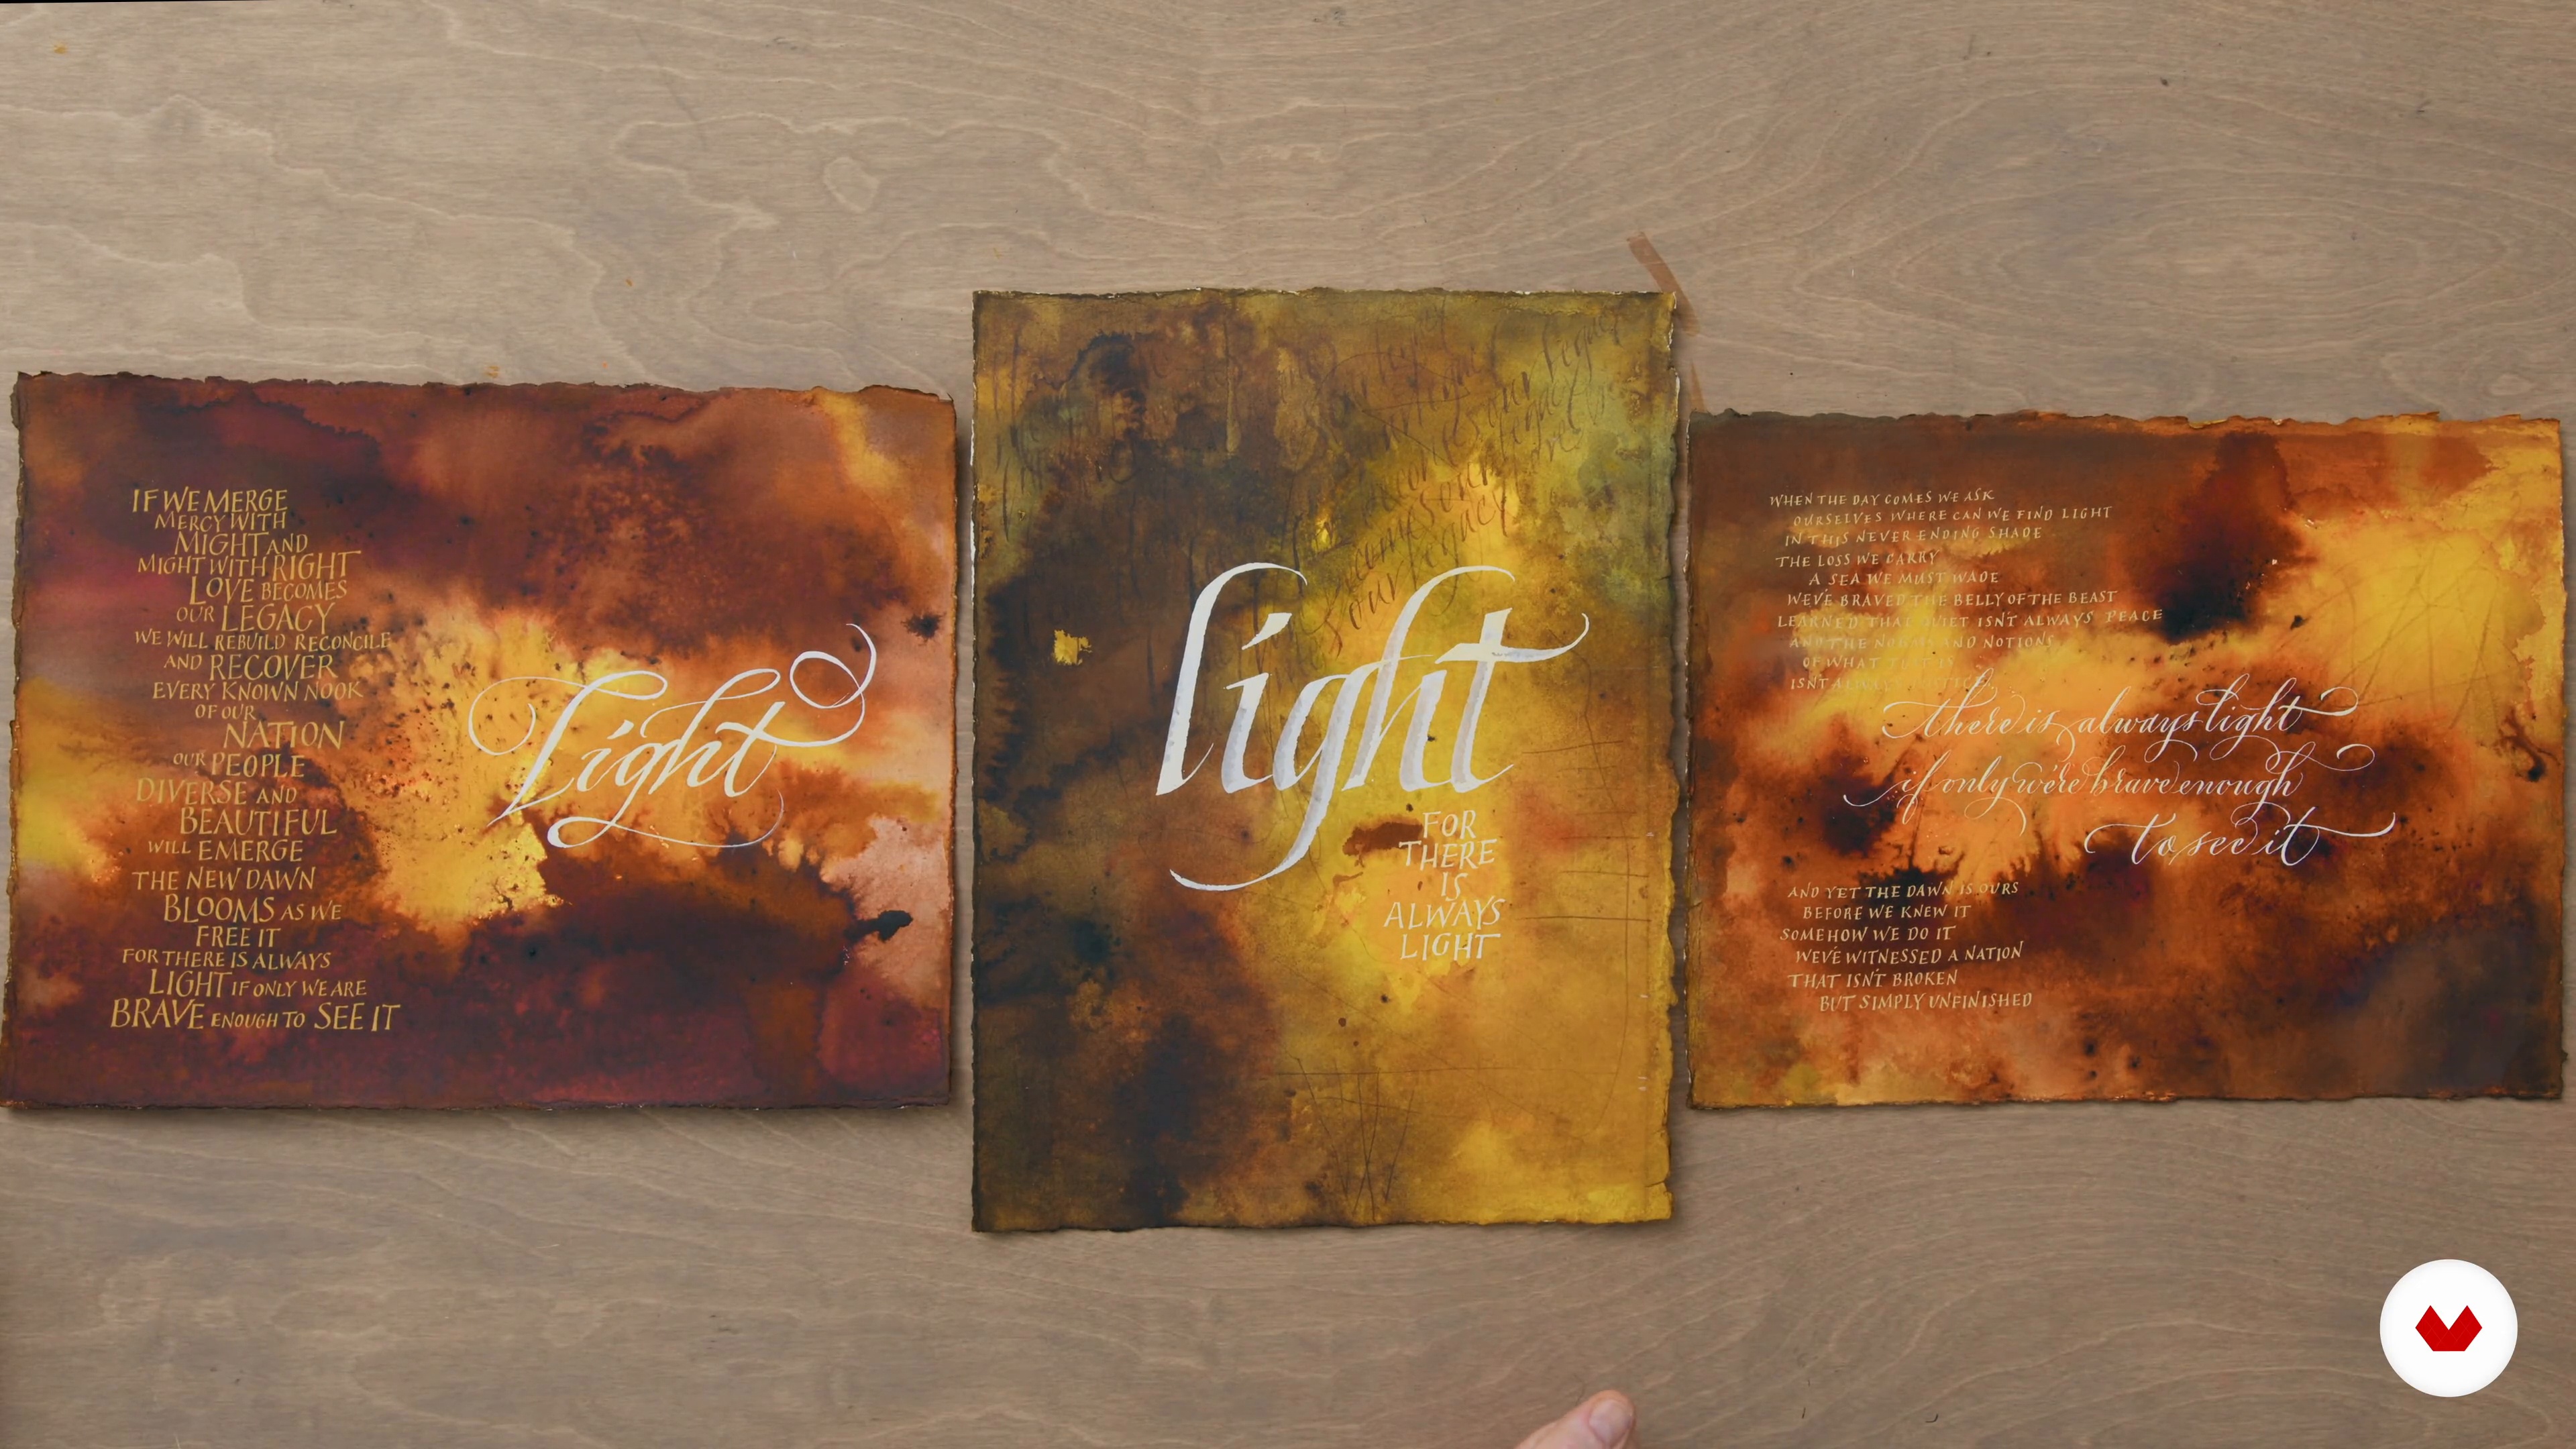
8Putting It All Together: Words, Texts, and Media 3
Finally, I will add the word "light" to my piece. Once everything is dry, I will work on the final lettering. Then, you will see the complete series of pieces that I have created using the same technique.
6m
 9
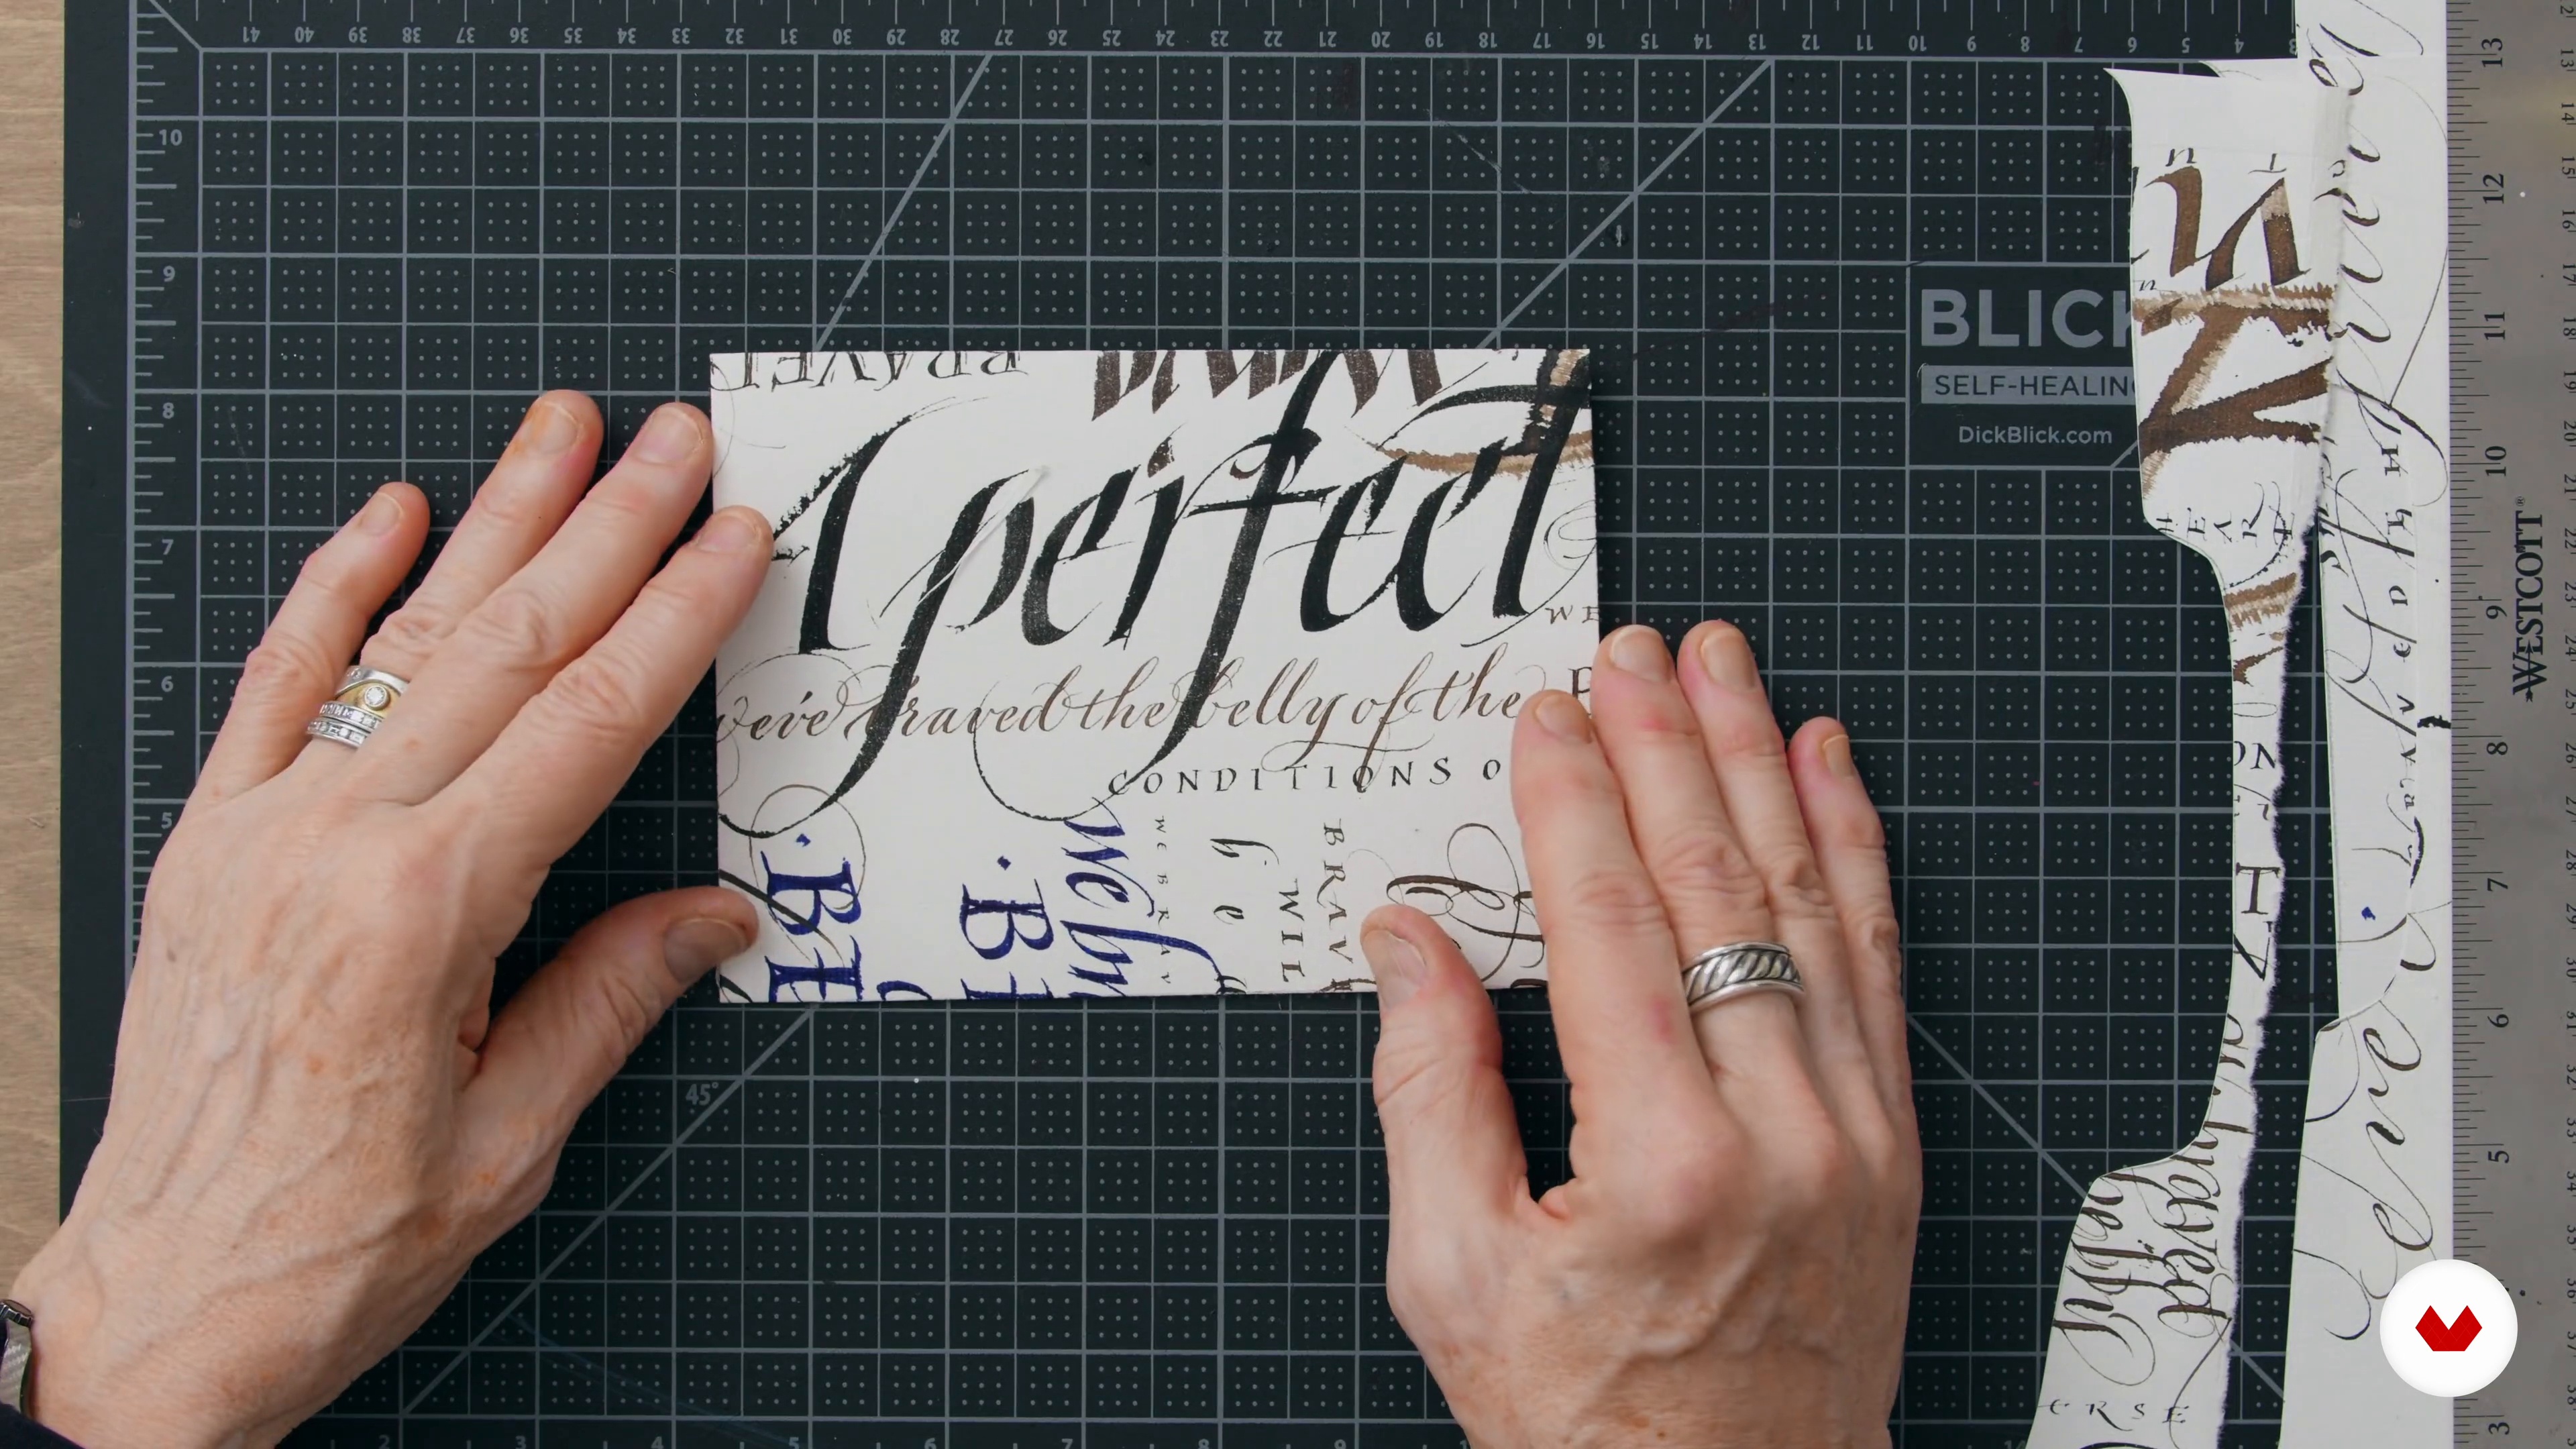
9Creating Art Envelopes
Remember me telling you to save your worksheets and sketches? There are many things you can do with them: bind them into a book, create a fold-out piece, layer over them with other work or media, and create 3D-type works with them. You will see that I've provided an envelope template for you to download. While you might not always mail an envelope, you can use it for holding items, birthday or special occasion cards, and so on. Art envelopes are always a hit and they're completely unique!
6m
 10
10Creating a Personal Brand
As an artist, it is important to have a strong, unique, and recognizable brand or identifying mark. In this lesson, I will take you through the basics of creating a representational mark and show you how I use my own in a variety of applications.
3m
 1
1Shodo and Mushin Clear Mind
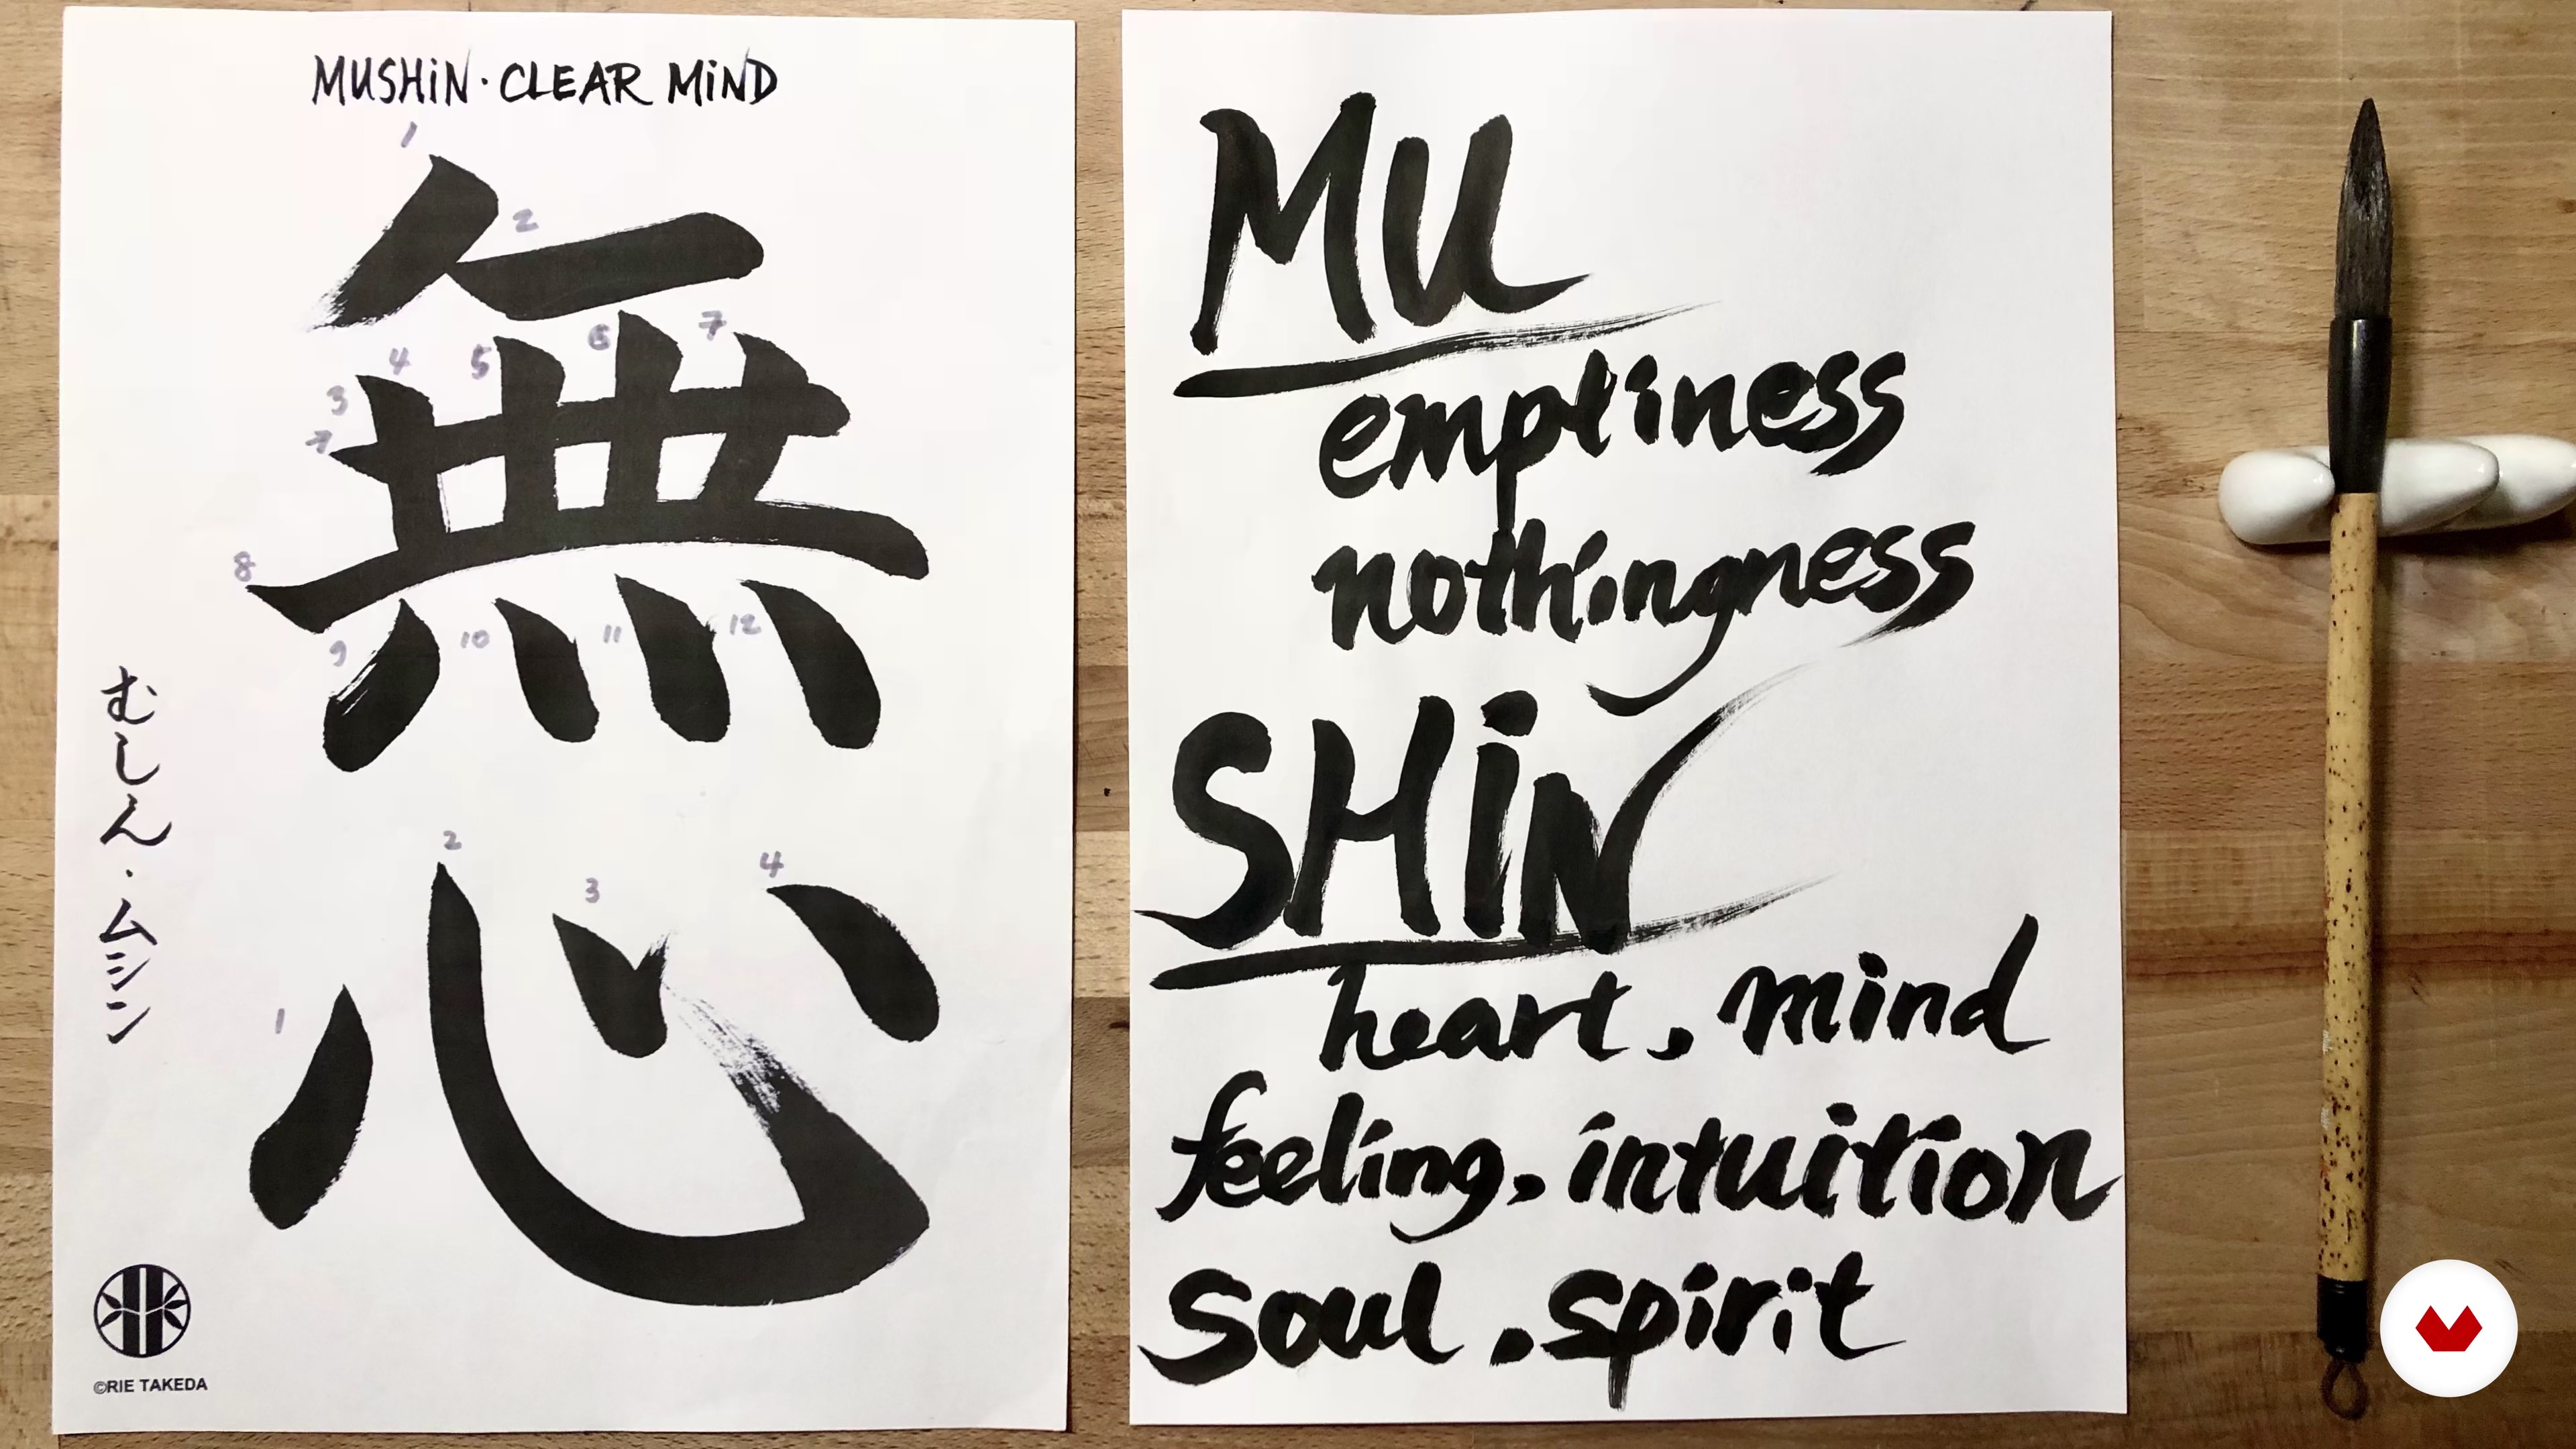
In this lesson, I’m going to talk through the aesthetics and the mindfulness aspects of Shodo. Why is the body and mind connection so important? Why could this art form lead you to peace?
7m
 2
2Styles and Techniques
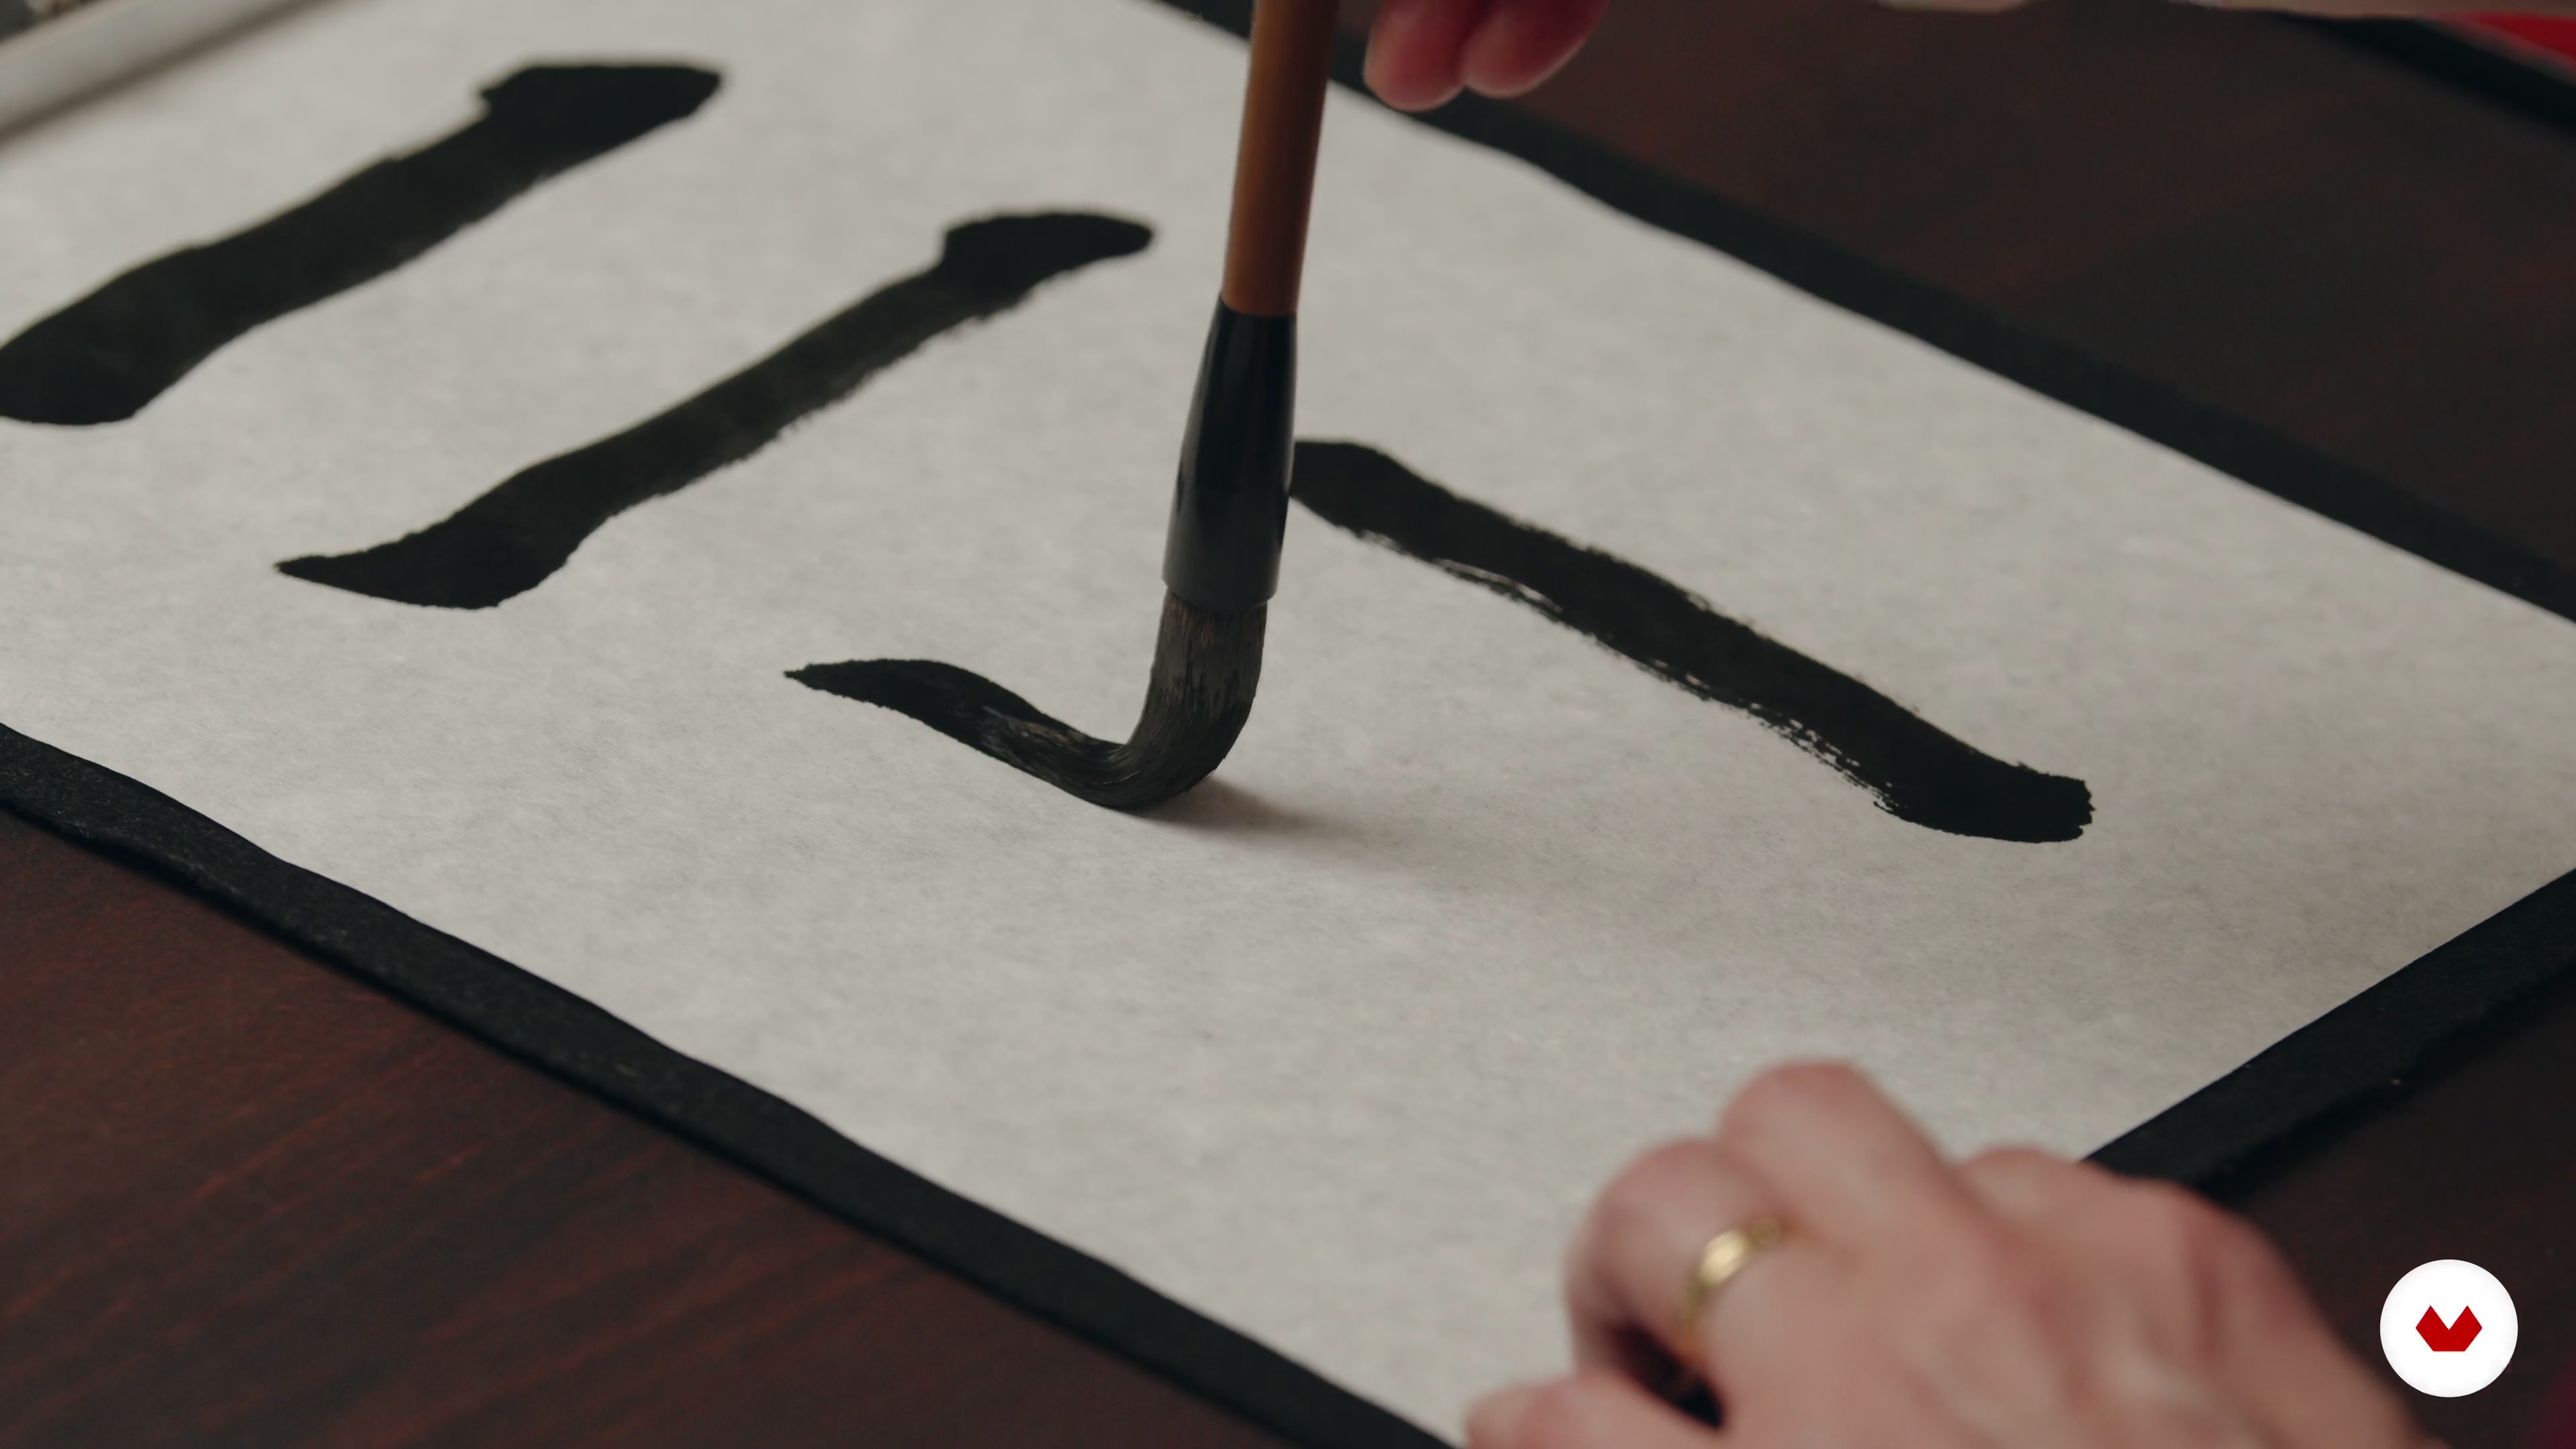
There are more than twelve calligraphy styles and various techniques. In this lesson, I'm going to present the essential three styles and the characteristics as well as style development.
14m
 3
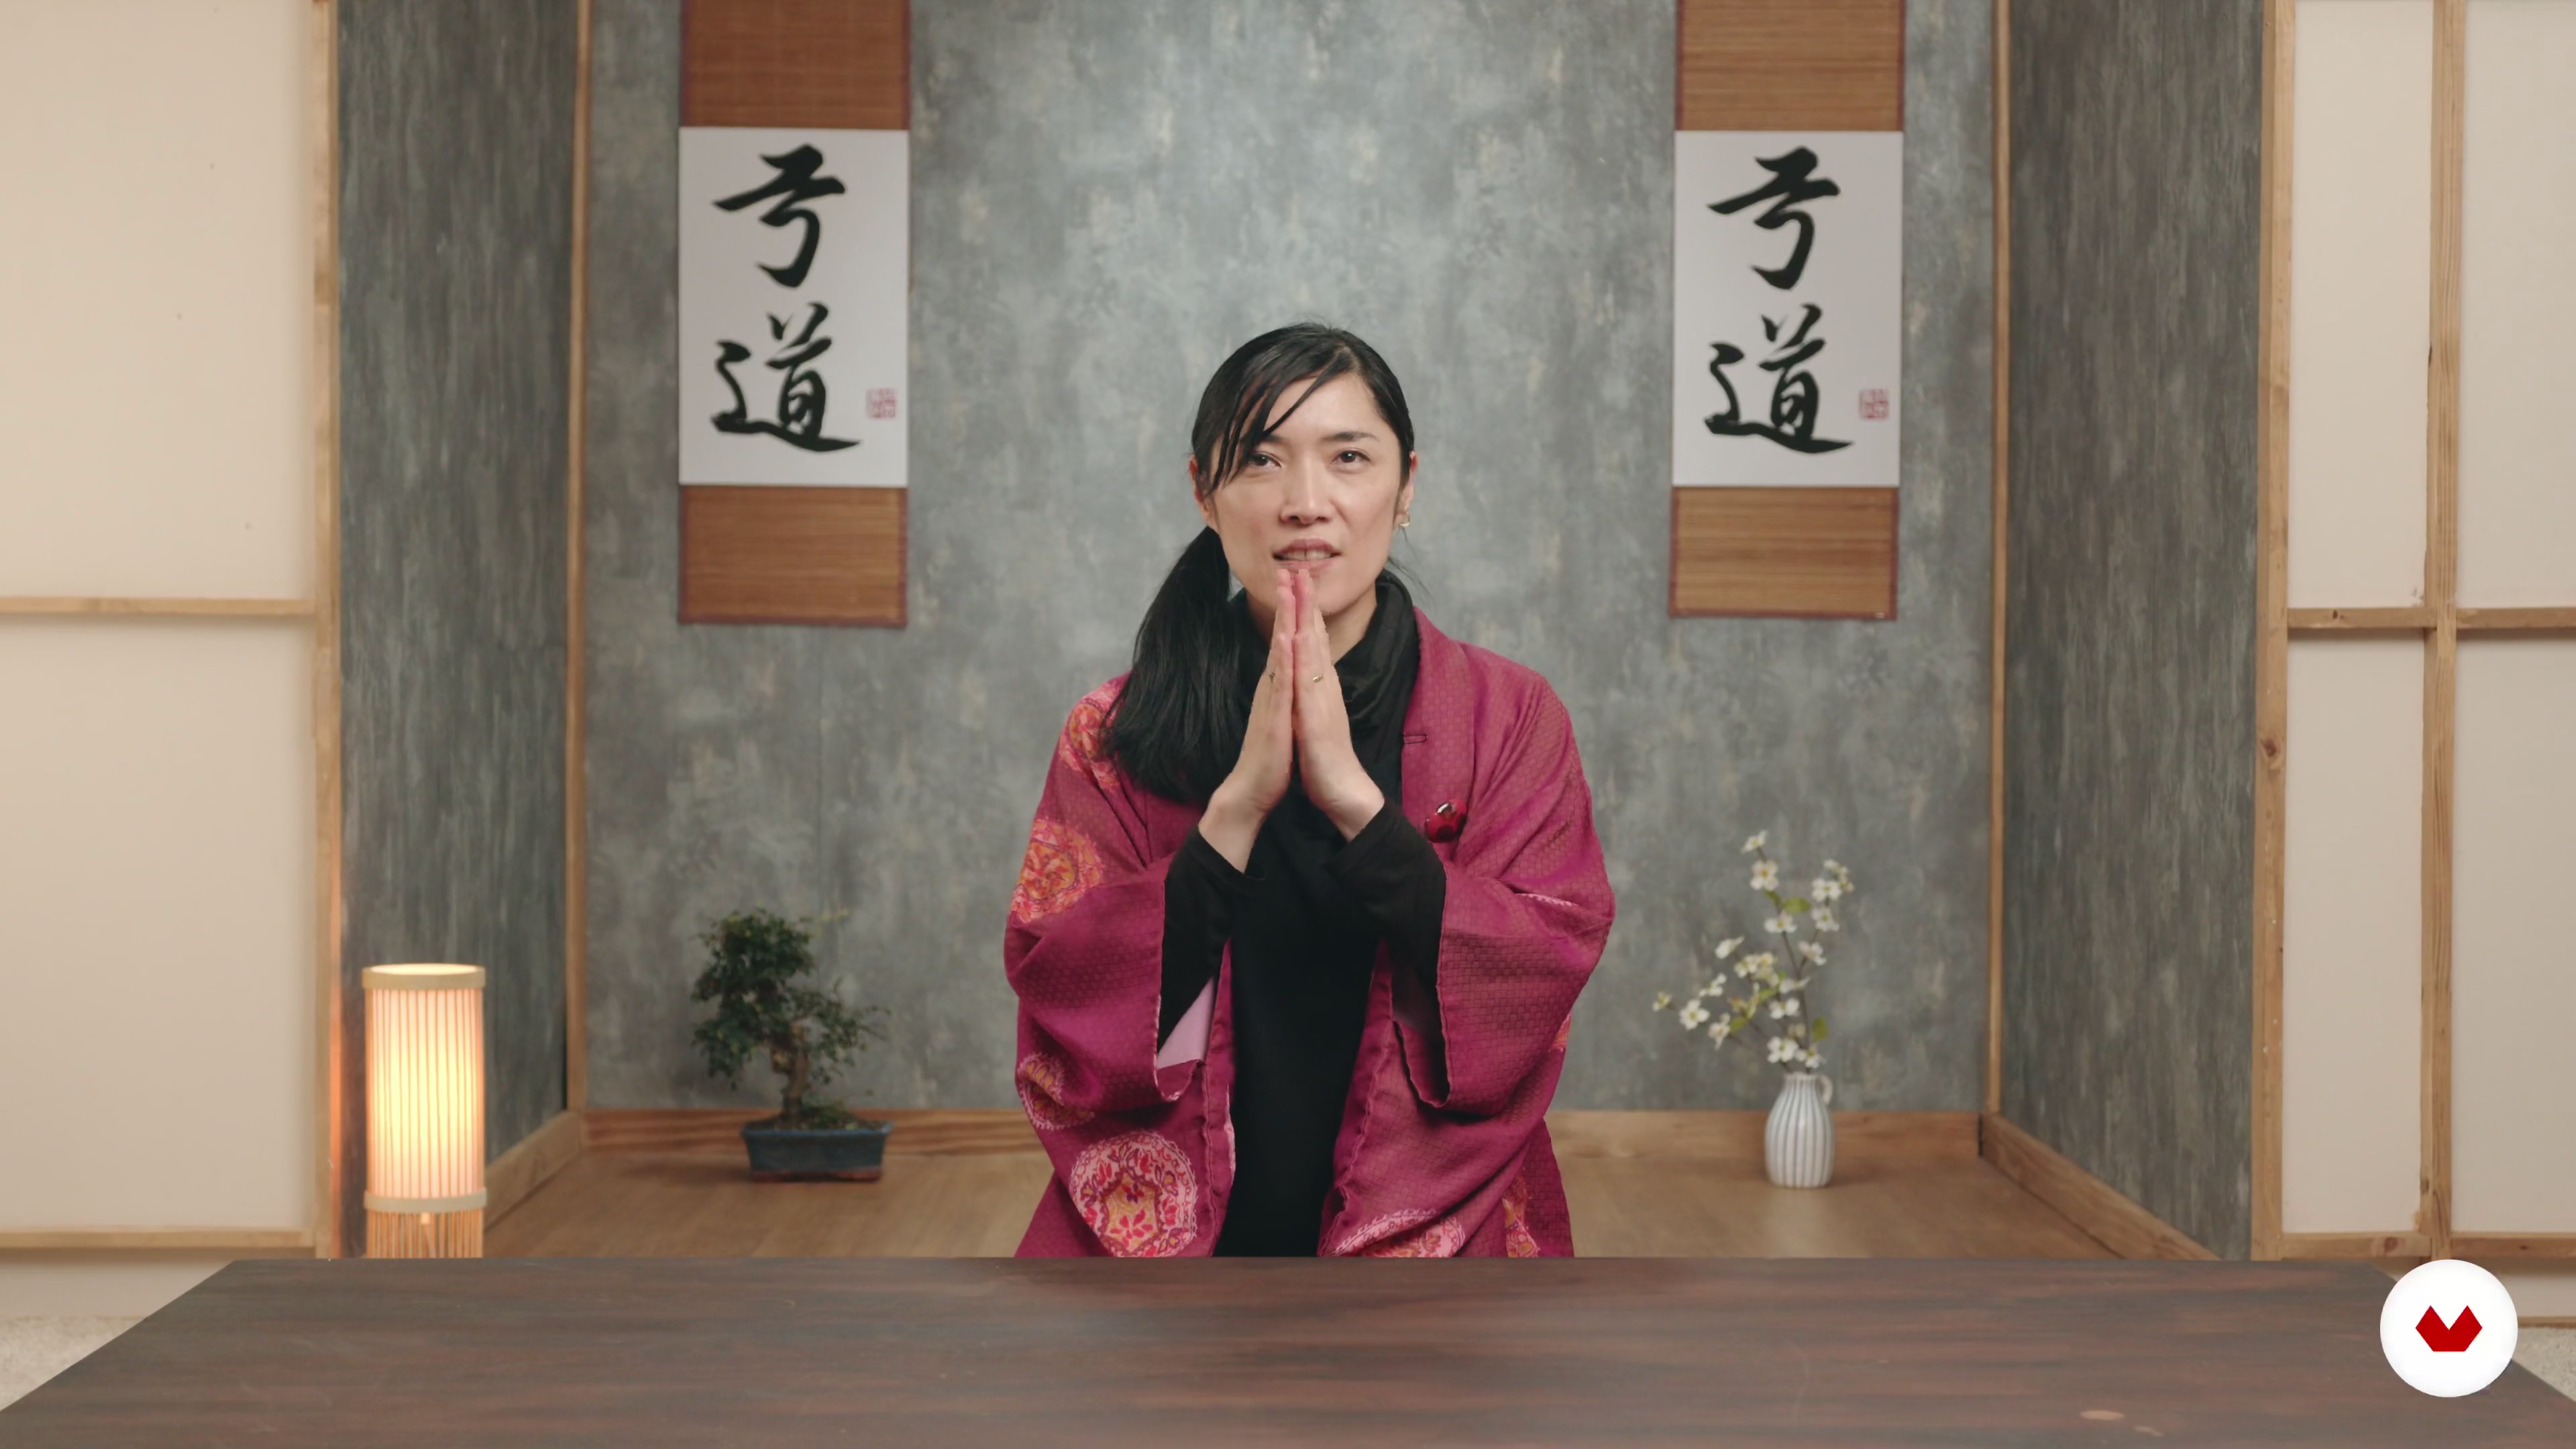
3Utensils and Materials
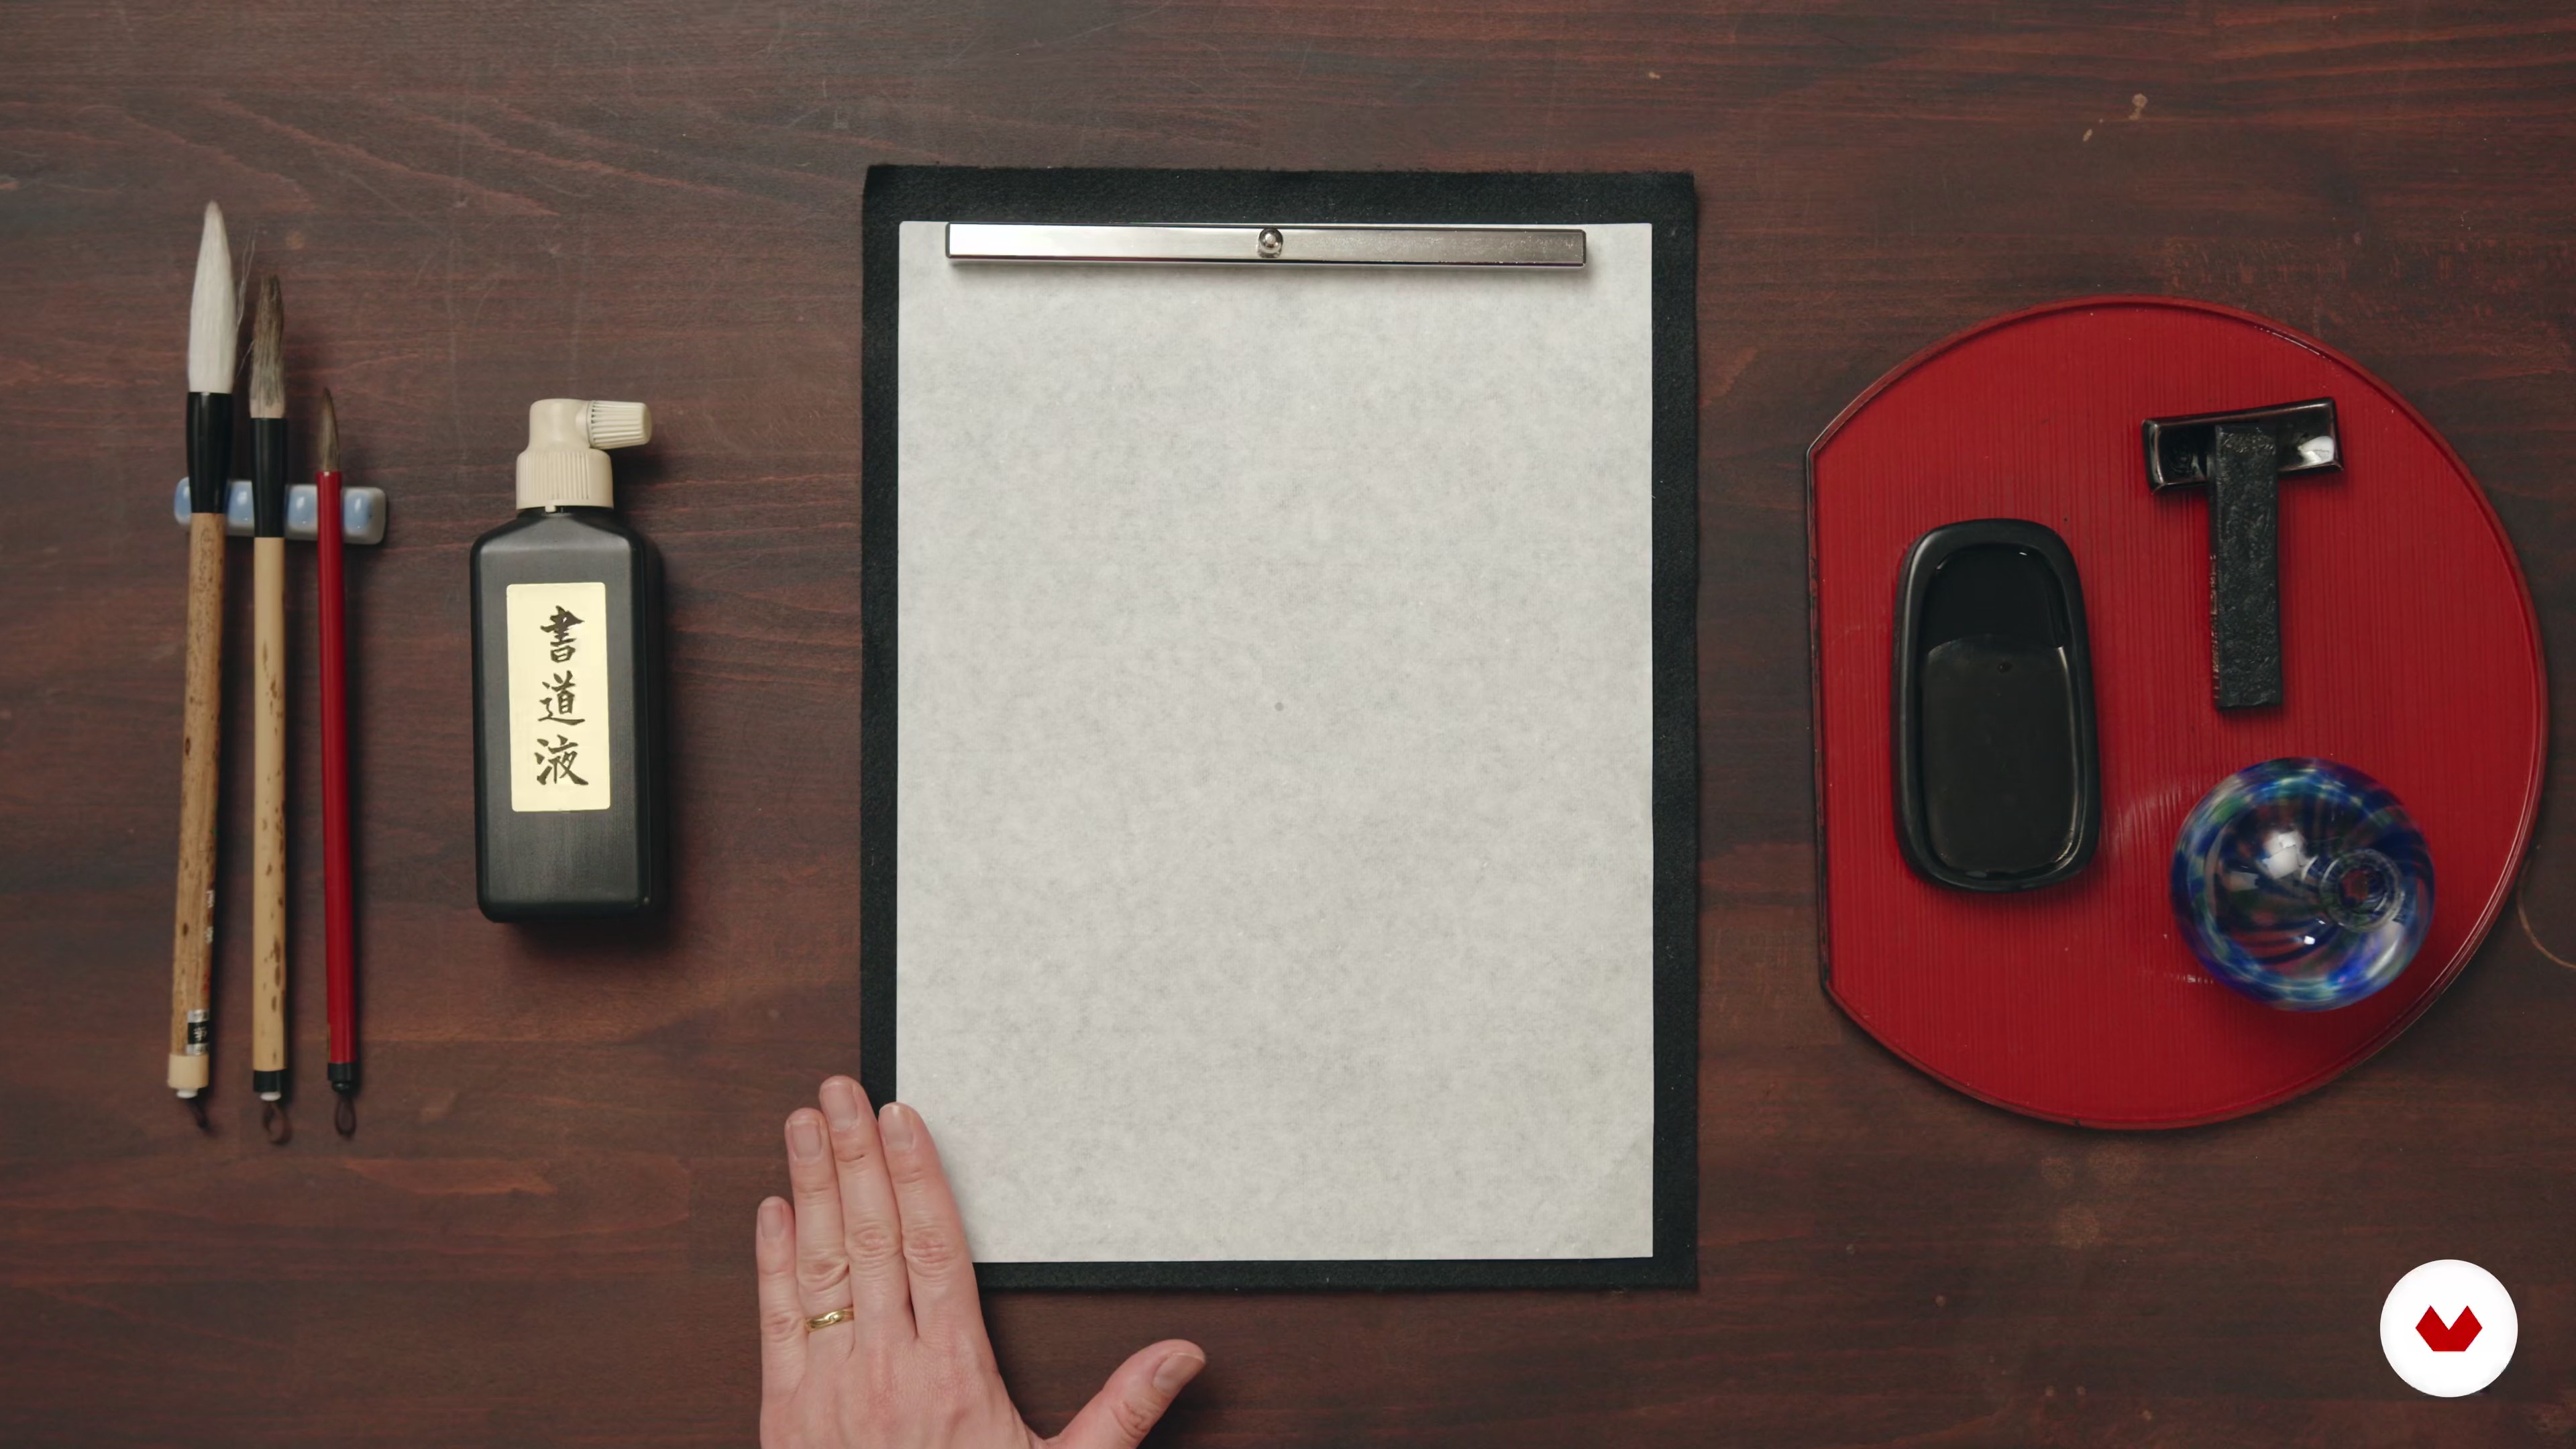
In this lesson, I'm going to show you the essential utensils and materials. There are widely varied qualities. So I’d give you some tips and advice on the theme. I’d also share some alternative ways for those who would like to start from the minimum utensil basics.
8m
 4
4Warming up Body and Mind
I’d demonstrate to you how to release the tension from your body and mind and then unite them together. You will also learn to activate and become aware of your inner Qi energy by simple body movements and conscious breathing. Qi energy is our living resource, the nucleus of our well-being.
8m
 5
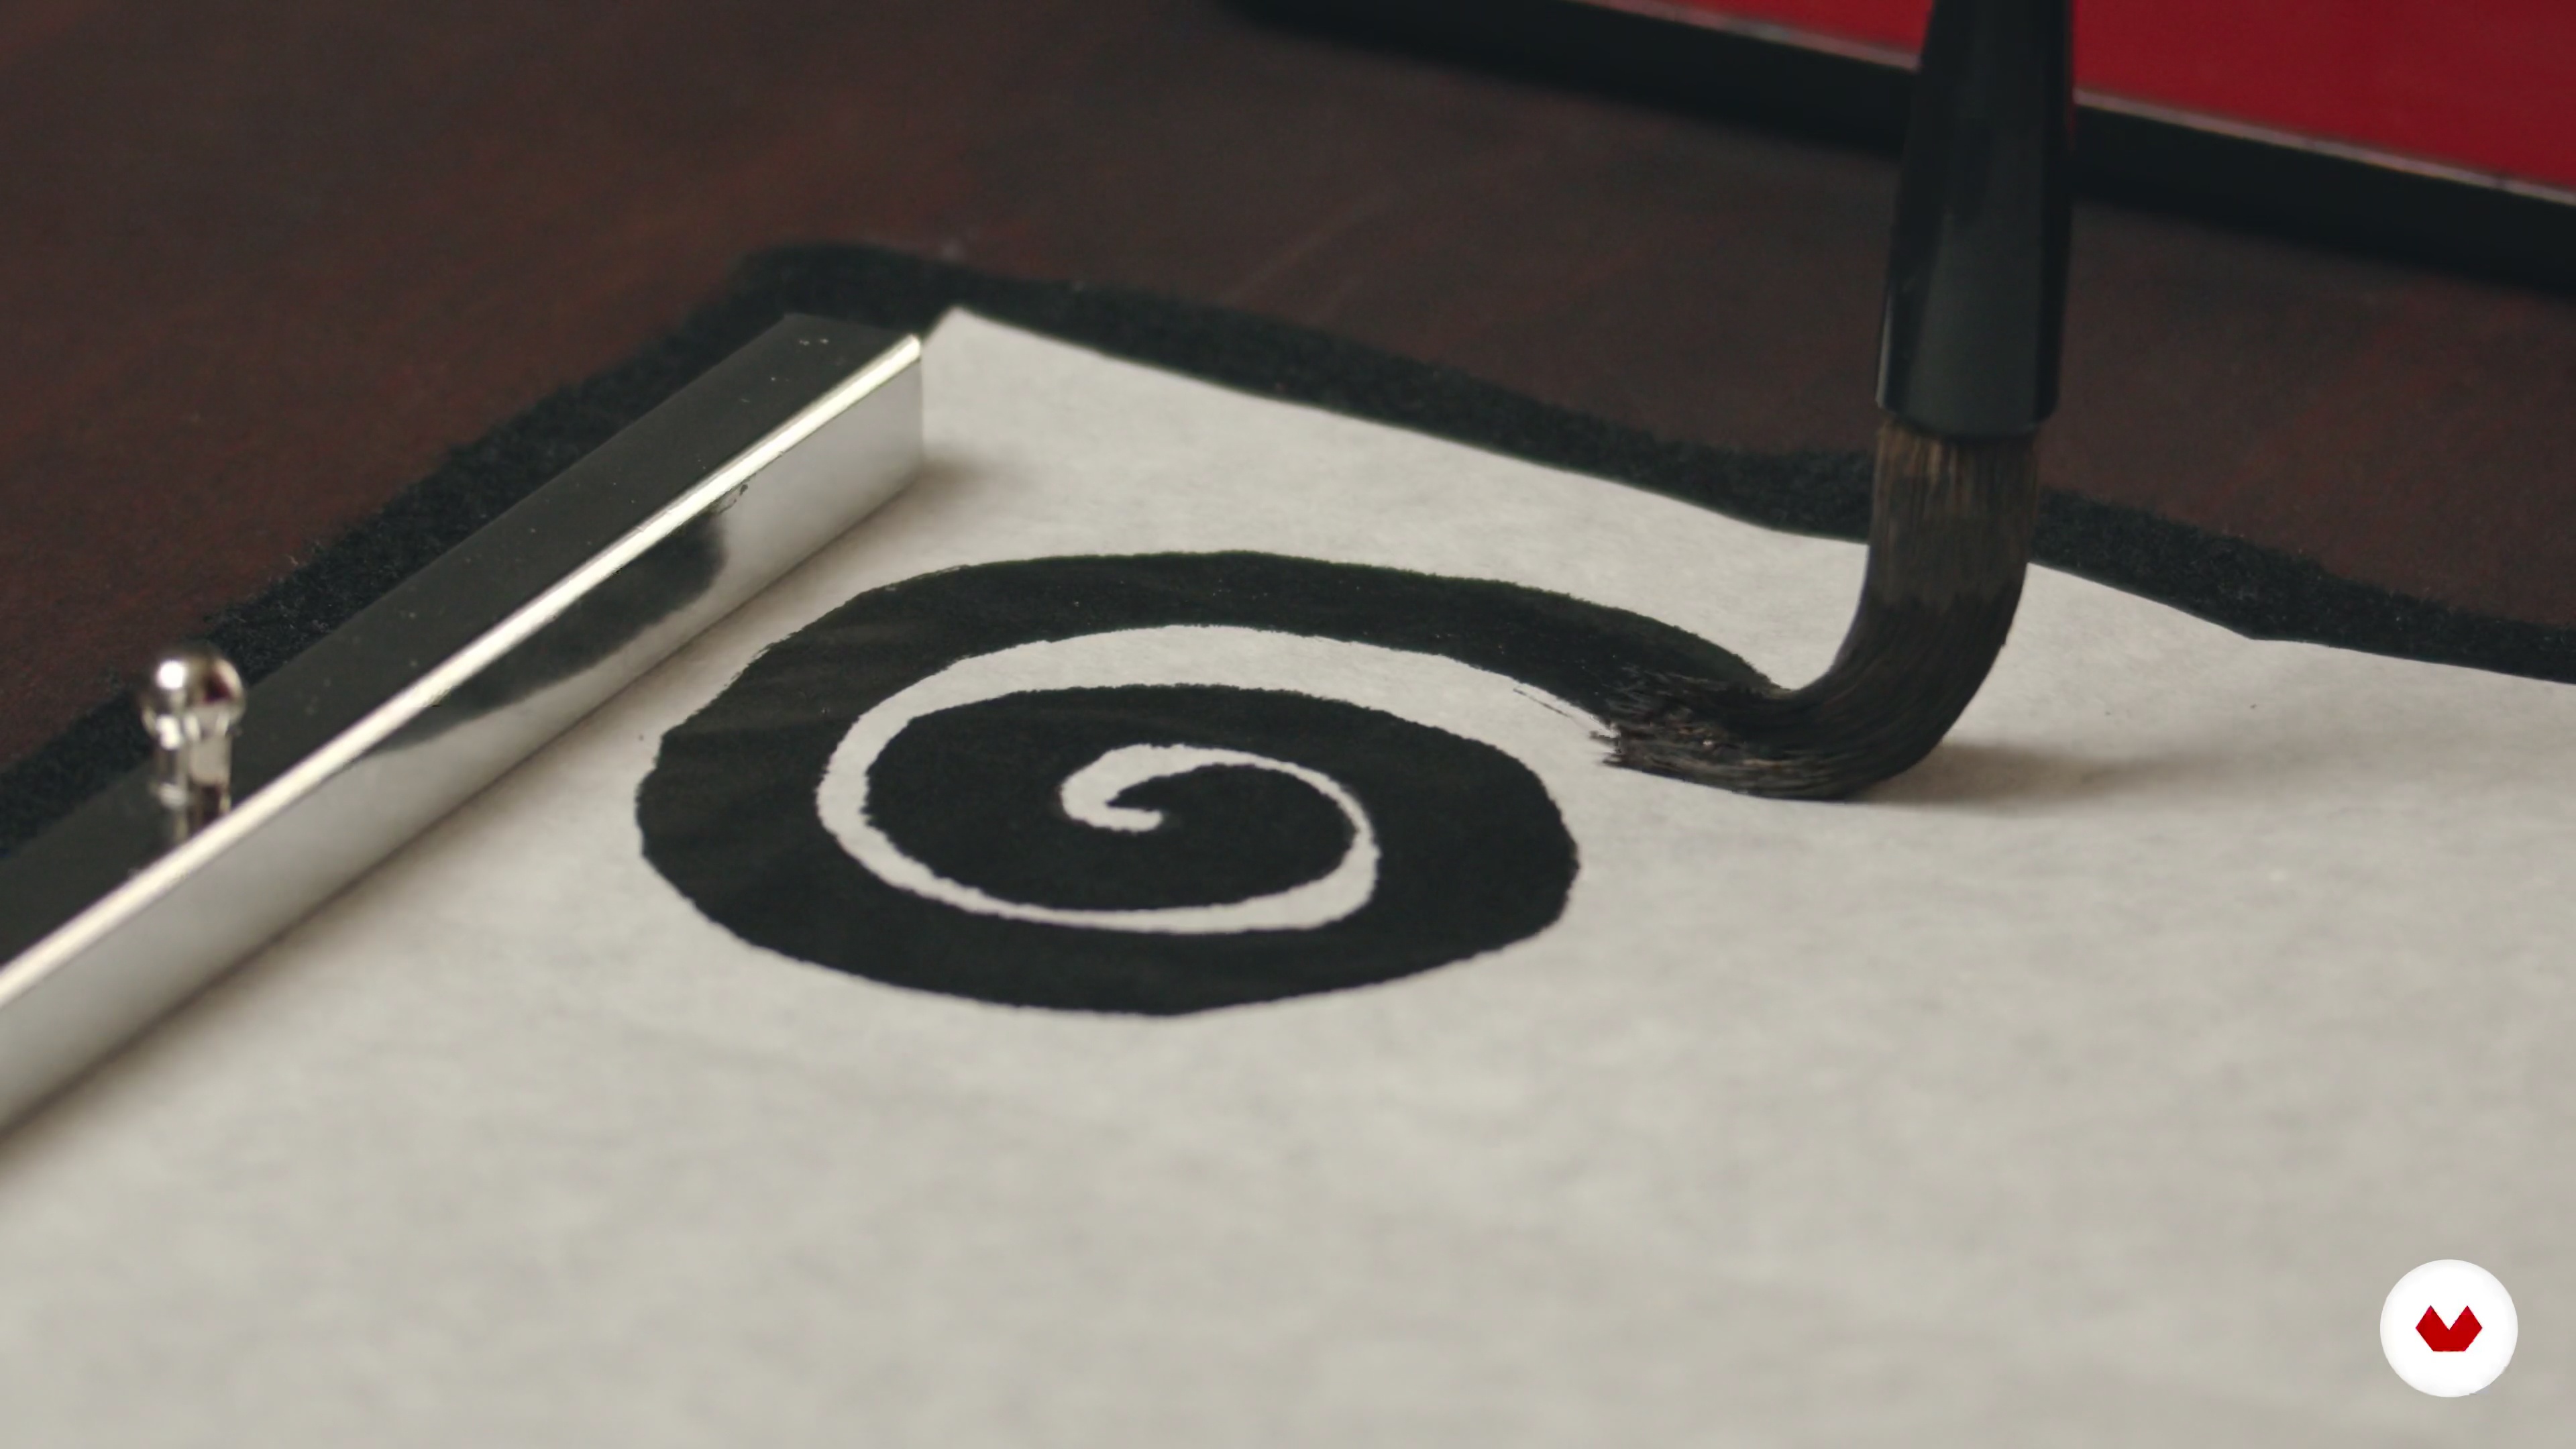
5Basic Brush Movements
In this lesson, you will learn how to hold and move the brush with your own flow of energy. I will demonstrate the detailed movement using specially designed exercises. You will practice three types of circle practice with me. Relax and be in the moment.
12m
 6
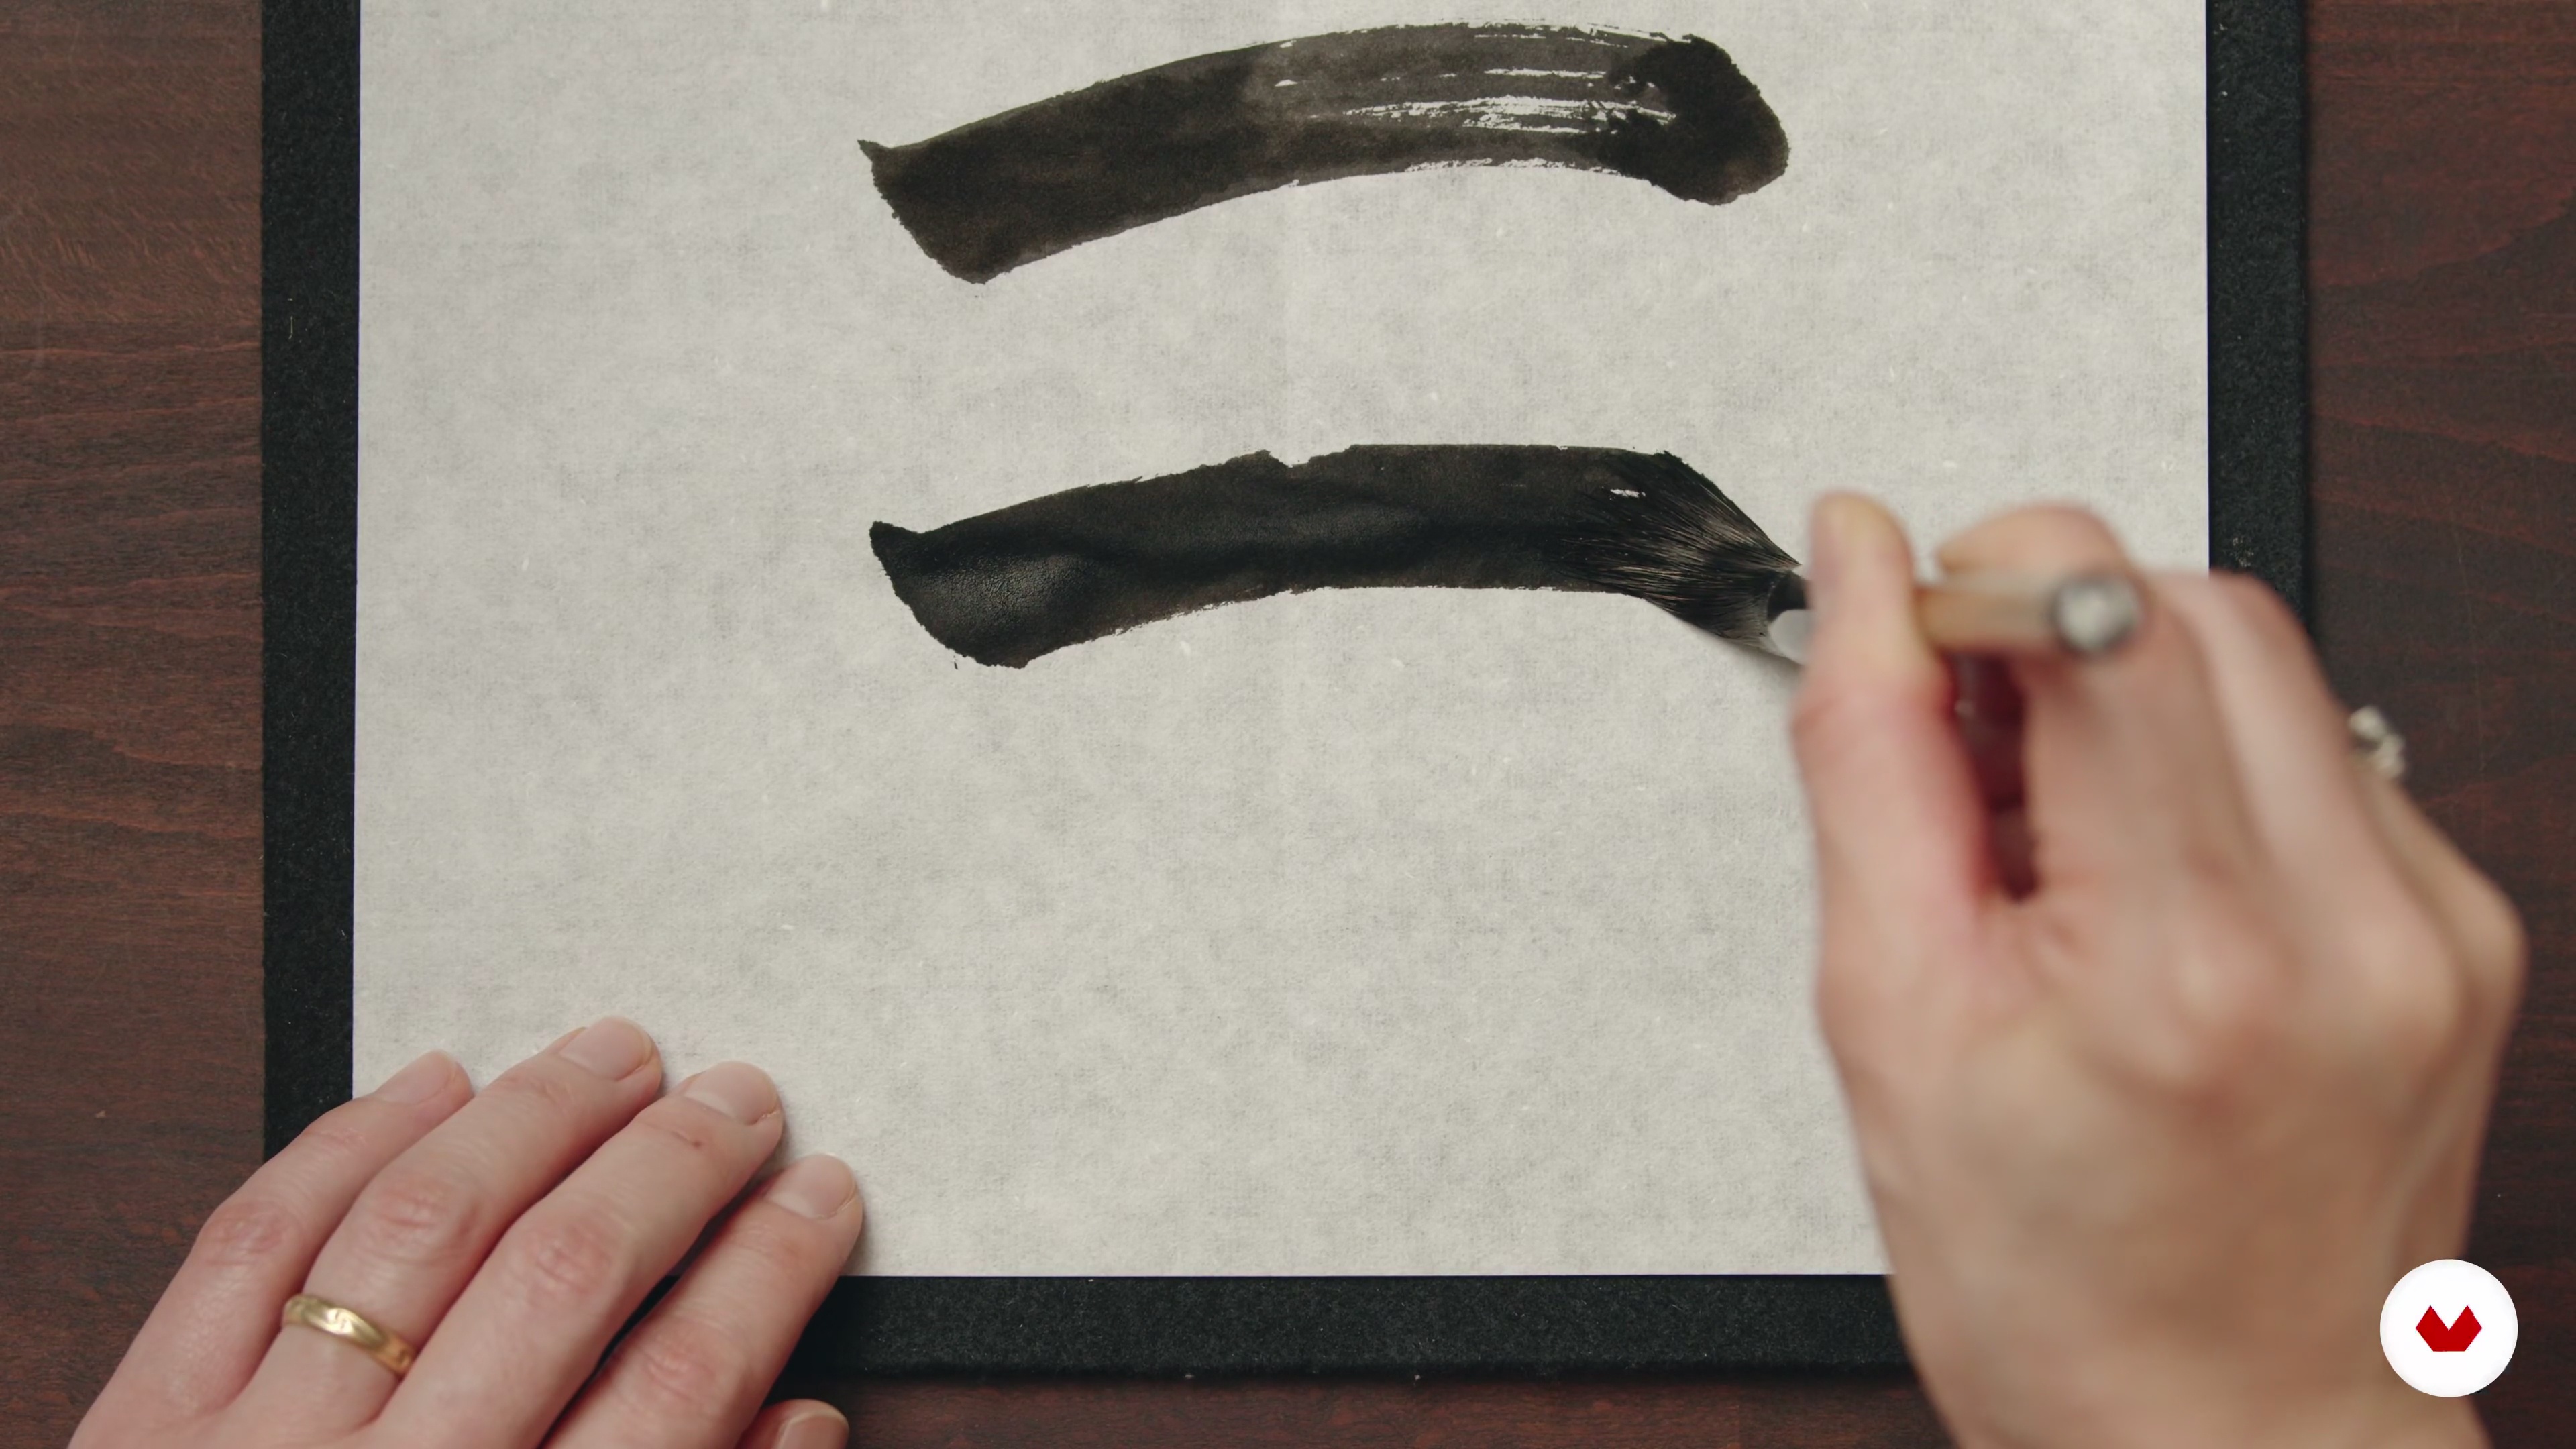
6Foundational Strokes
After obtaining the sensation of lightness with its basic movement, I'm going to present two basic brushing techniques: side brushing and direct brushing in various combinations. Focusing on the brush's detailed contacts and the differences between the two also combine conscious inhalation and exhalation.
12m
 7
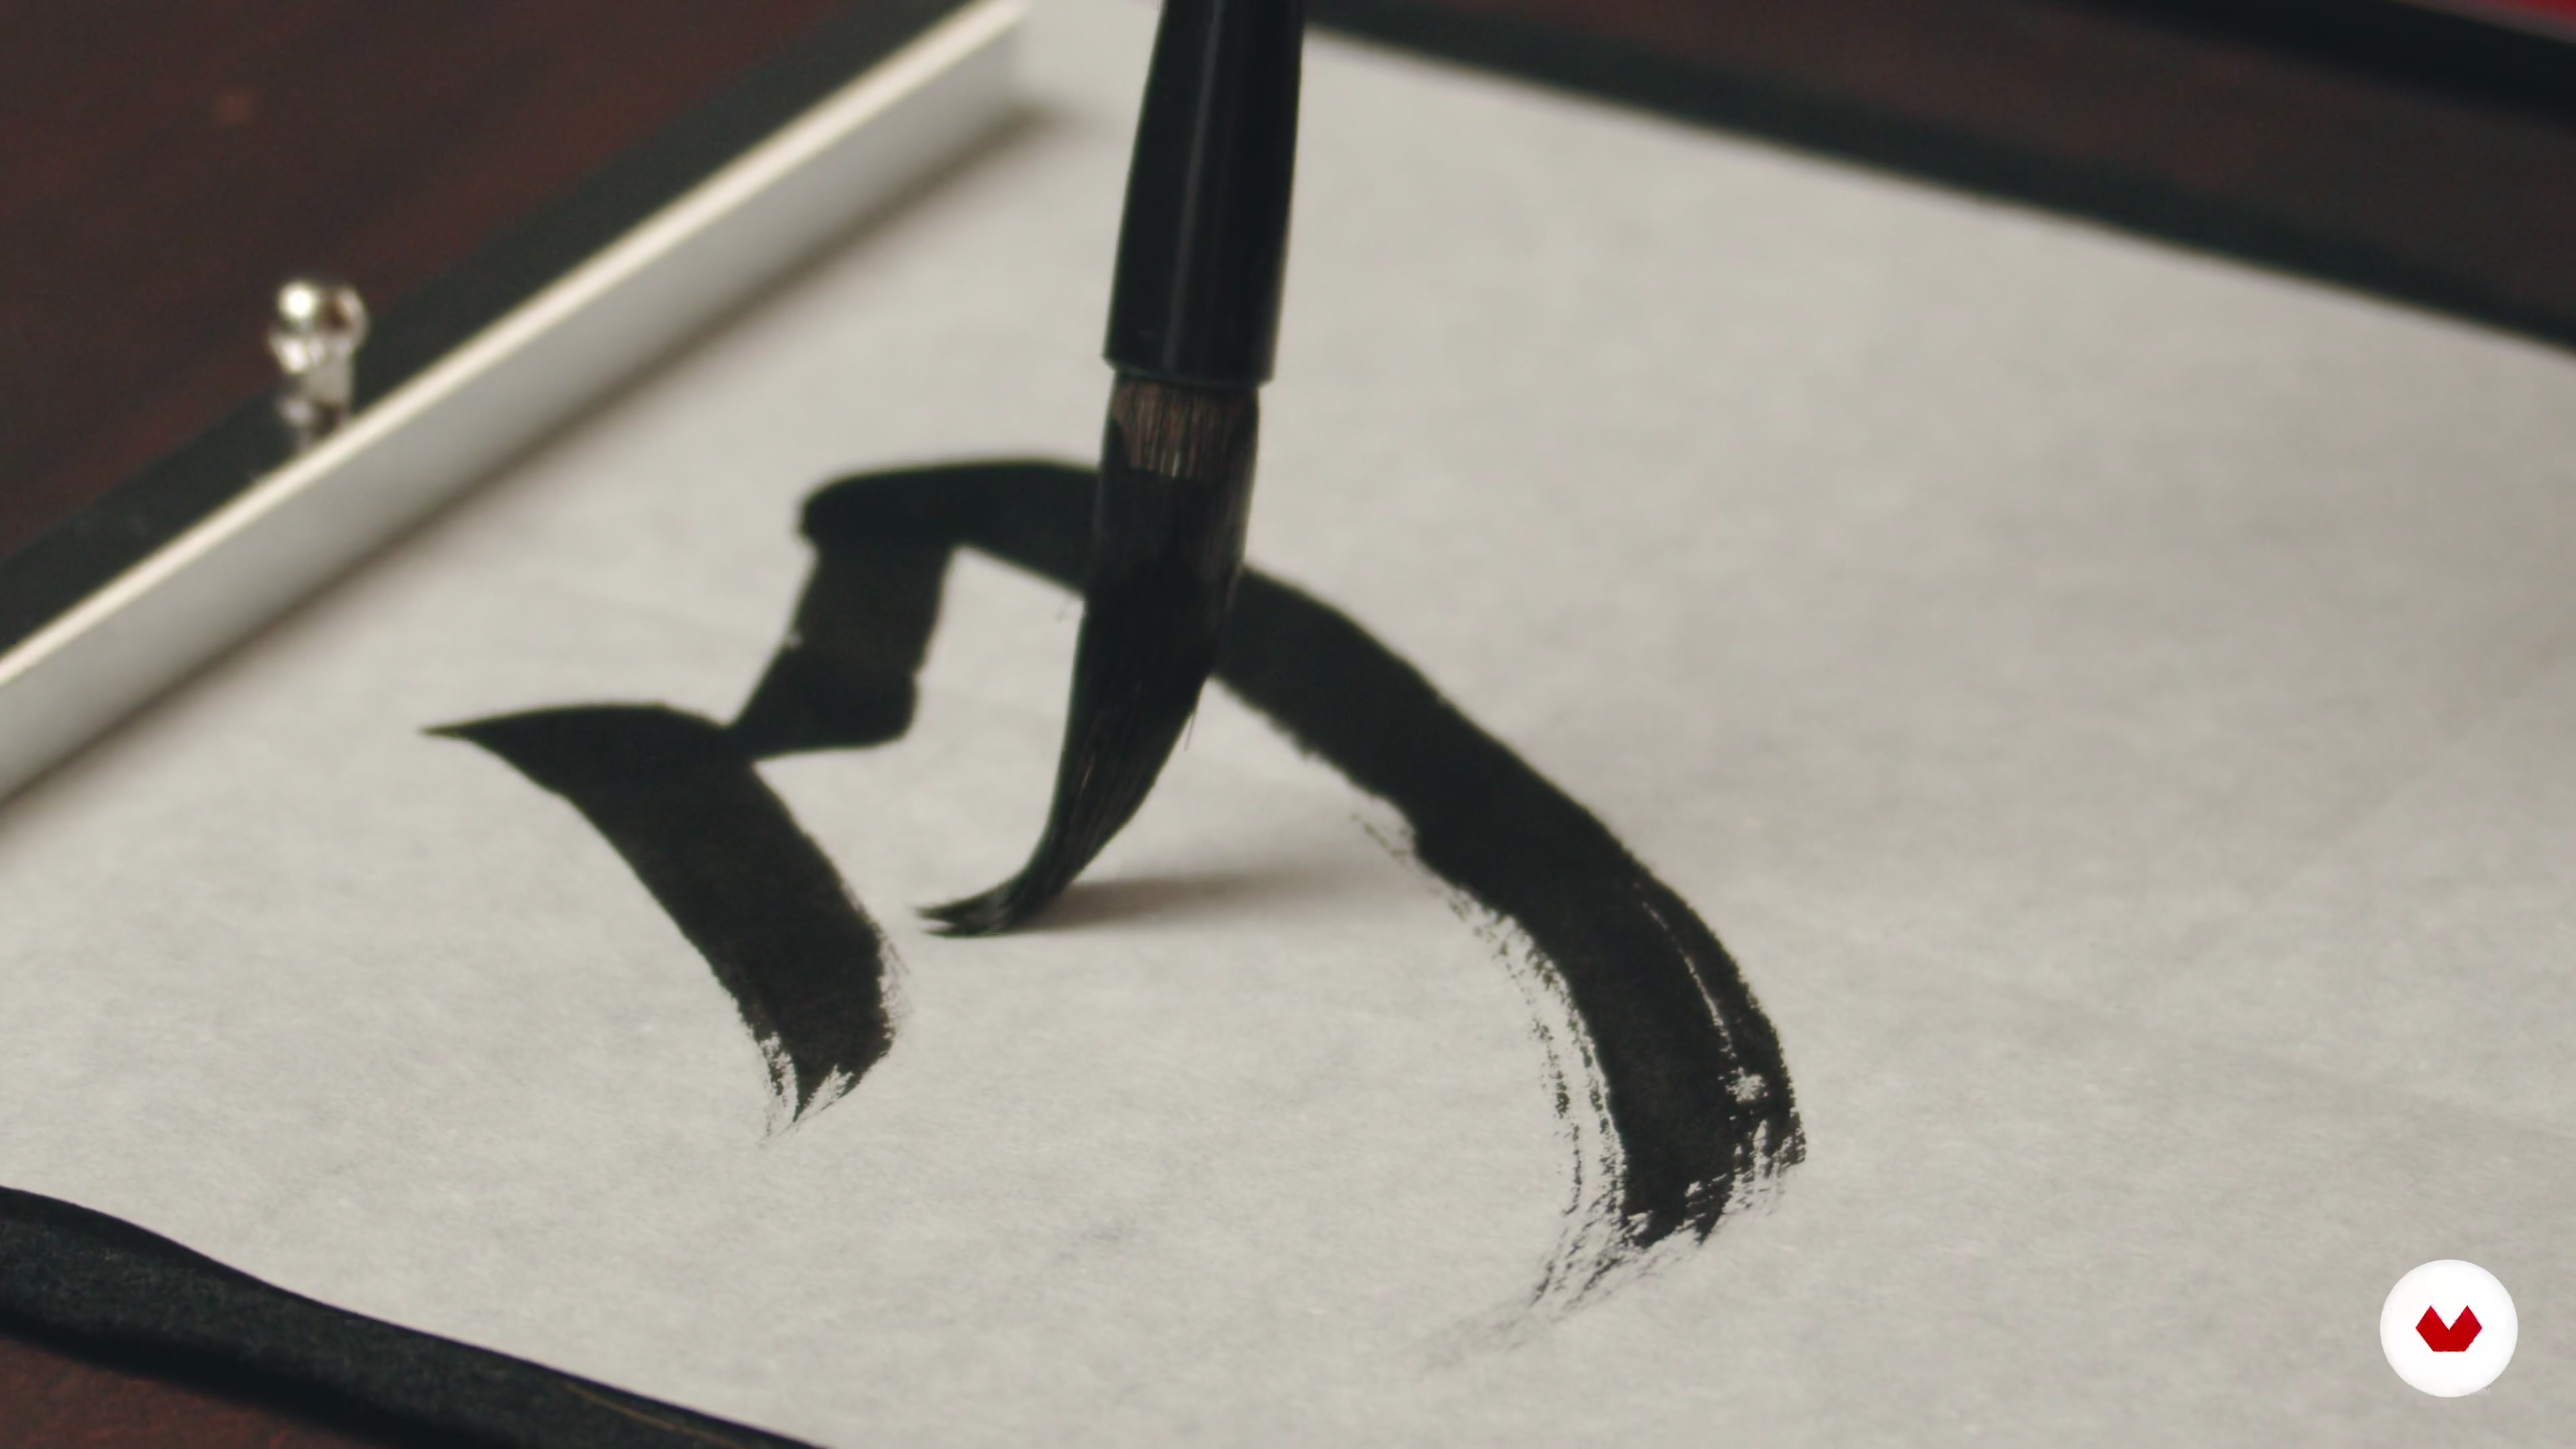
7Demonstrations and Presentation of Kanjis
In this lesson, I'm going to show you how to "calligraphy" the whole character and present the energy flow as well as a pictographic background and development of the Kanjis. You'll be shown each technical part and balance line. Extra references about spacing and compositions in Shodo.
6m
 8
8Technical Exercises to Create the YUGETSU
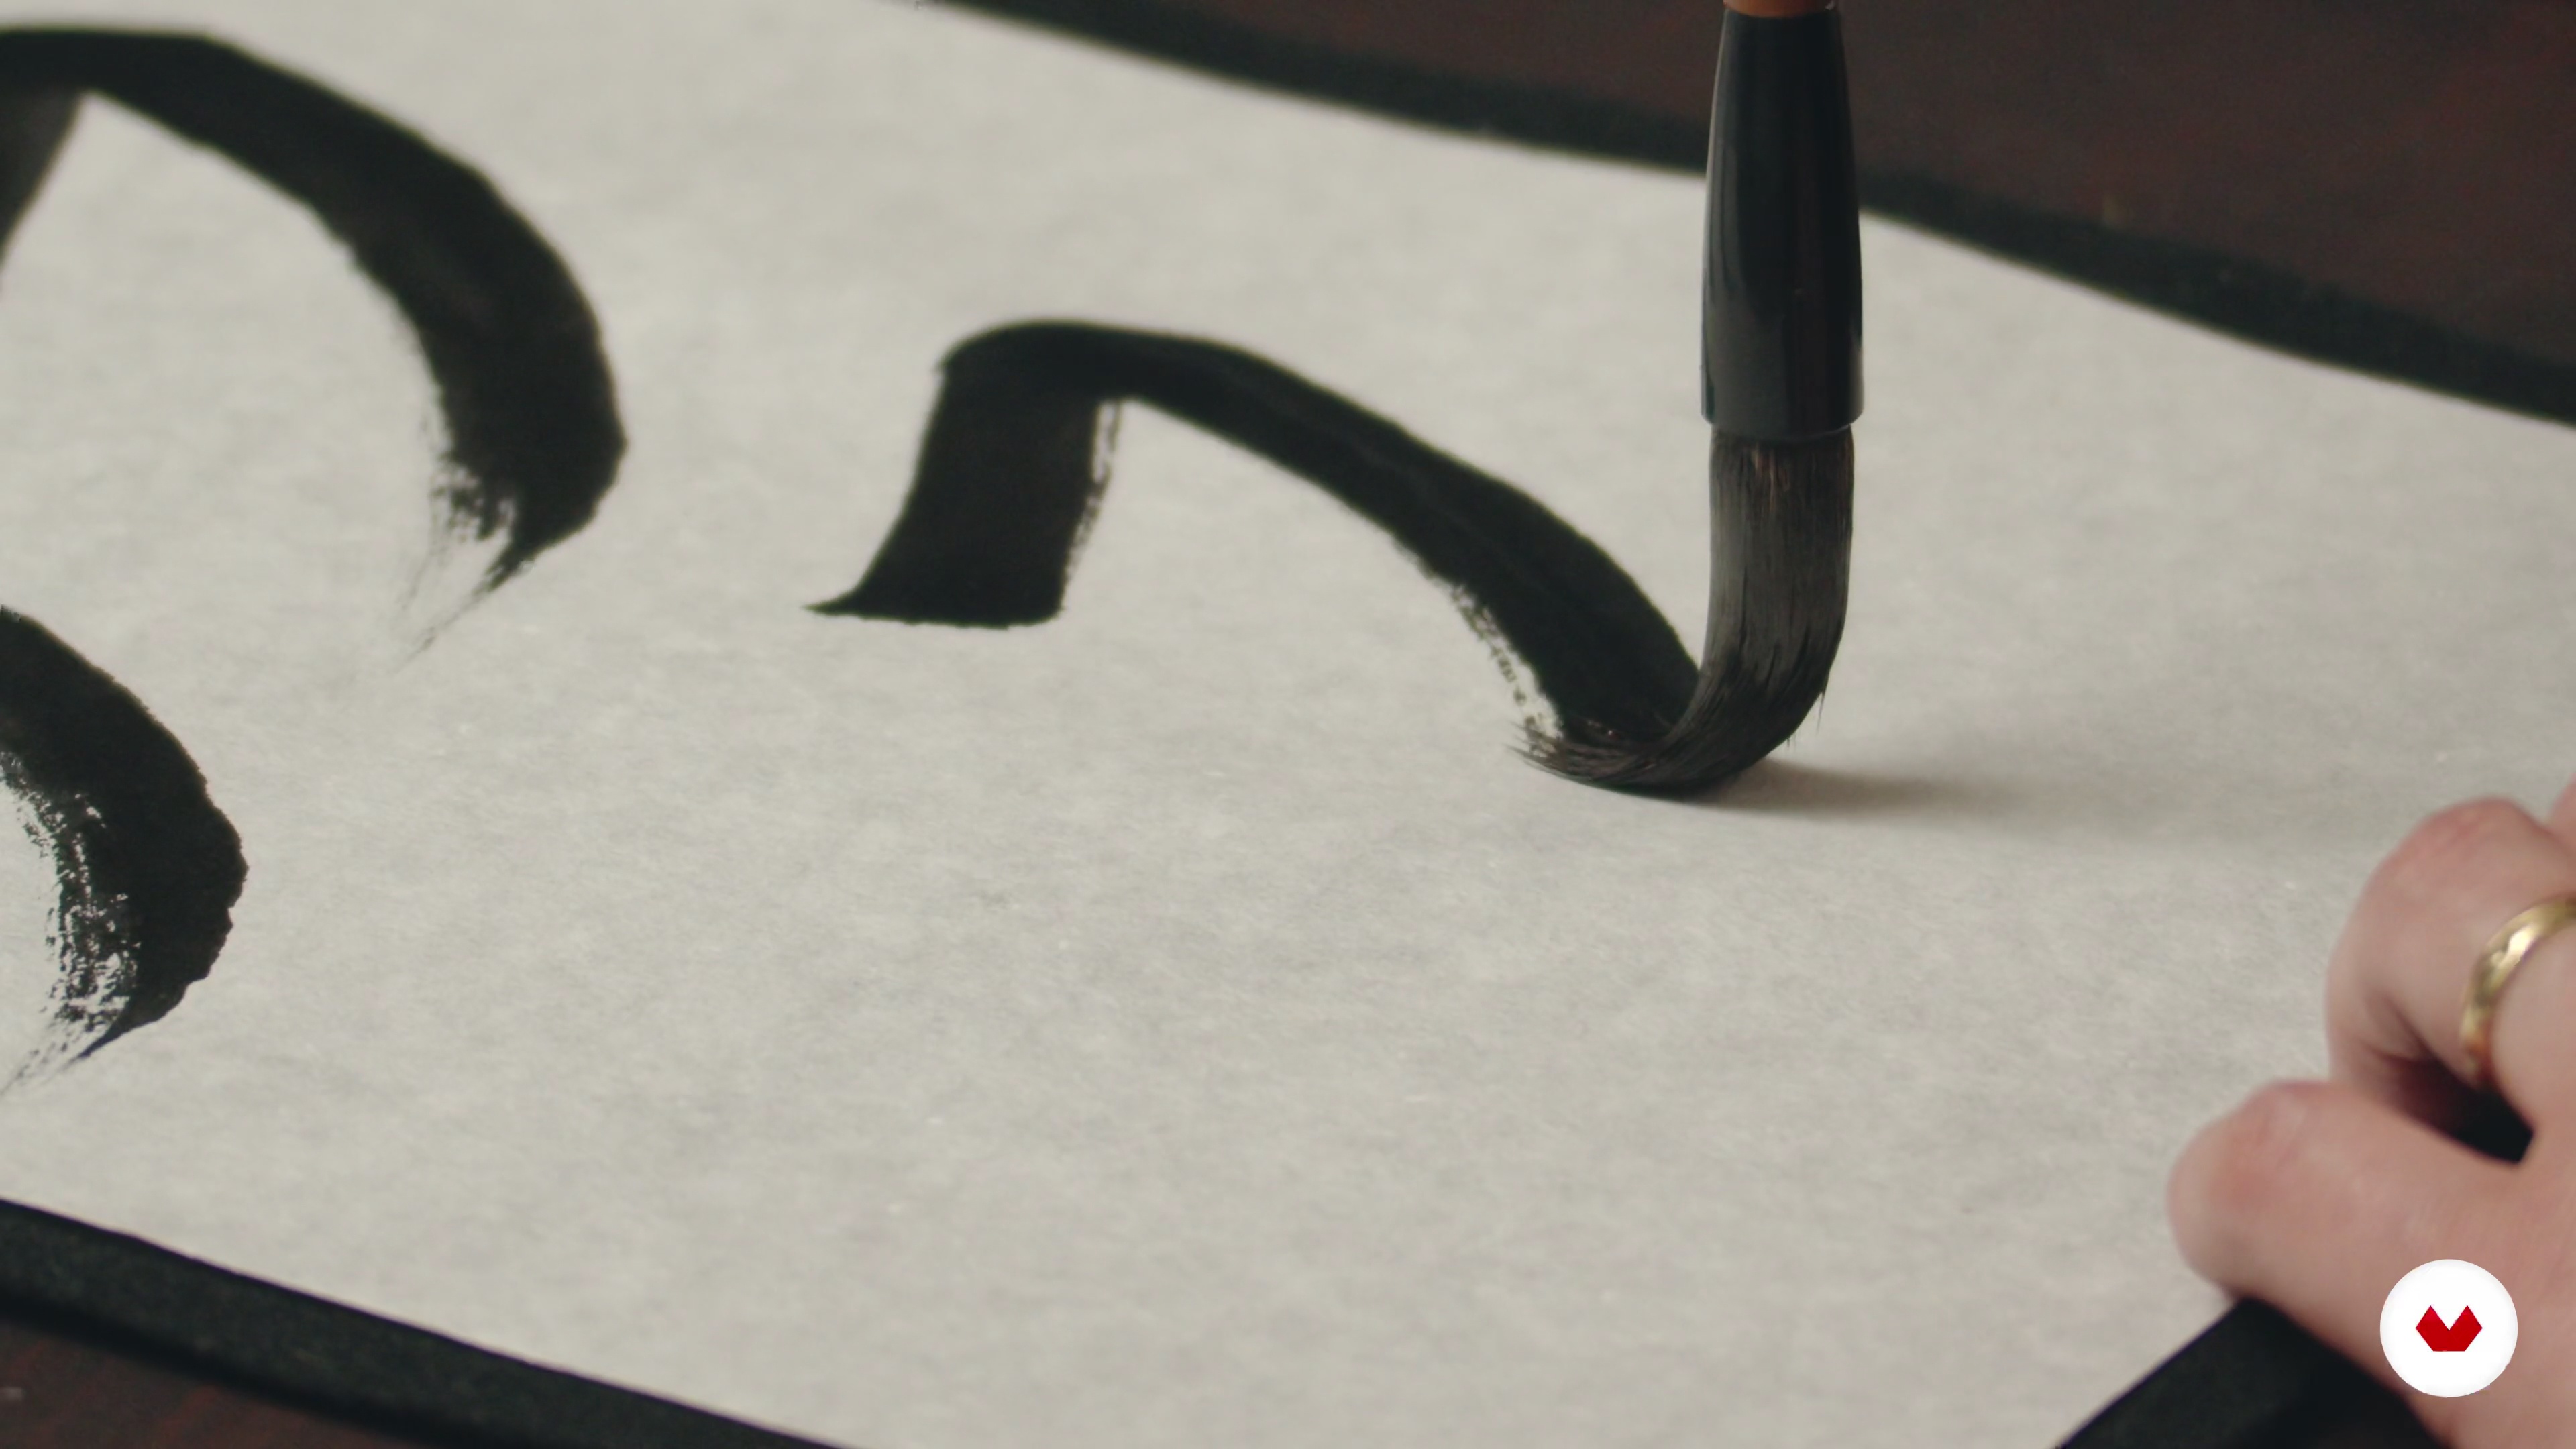
Now I'm going to show you some technical exercises to learn in more detail how to calligraphy our YUGETSU. These techniques are slide-out, pull-out, point corner technique, and jumping technique. We would be exercising each technical part step by step. Also underlining the energy movement in lines and conscious breathing. I’d show a few combinations of each technique as well.
12m
 9
9Fine-Tuning Balancing Up
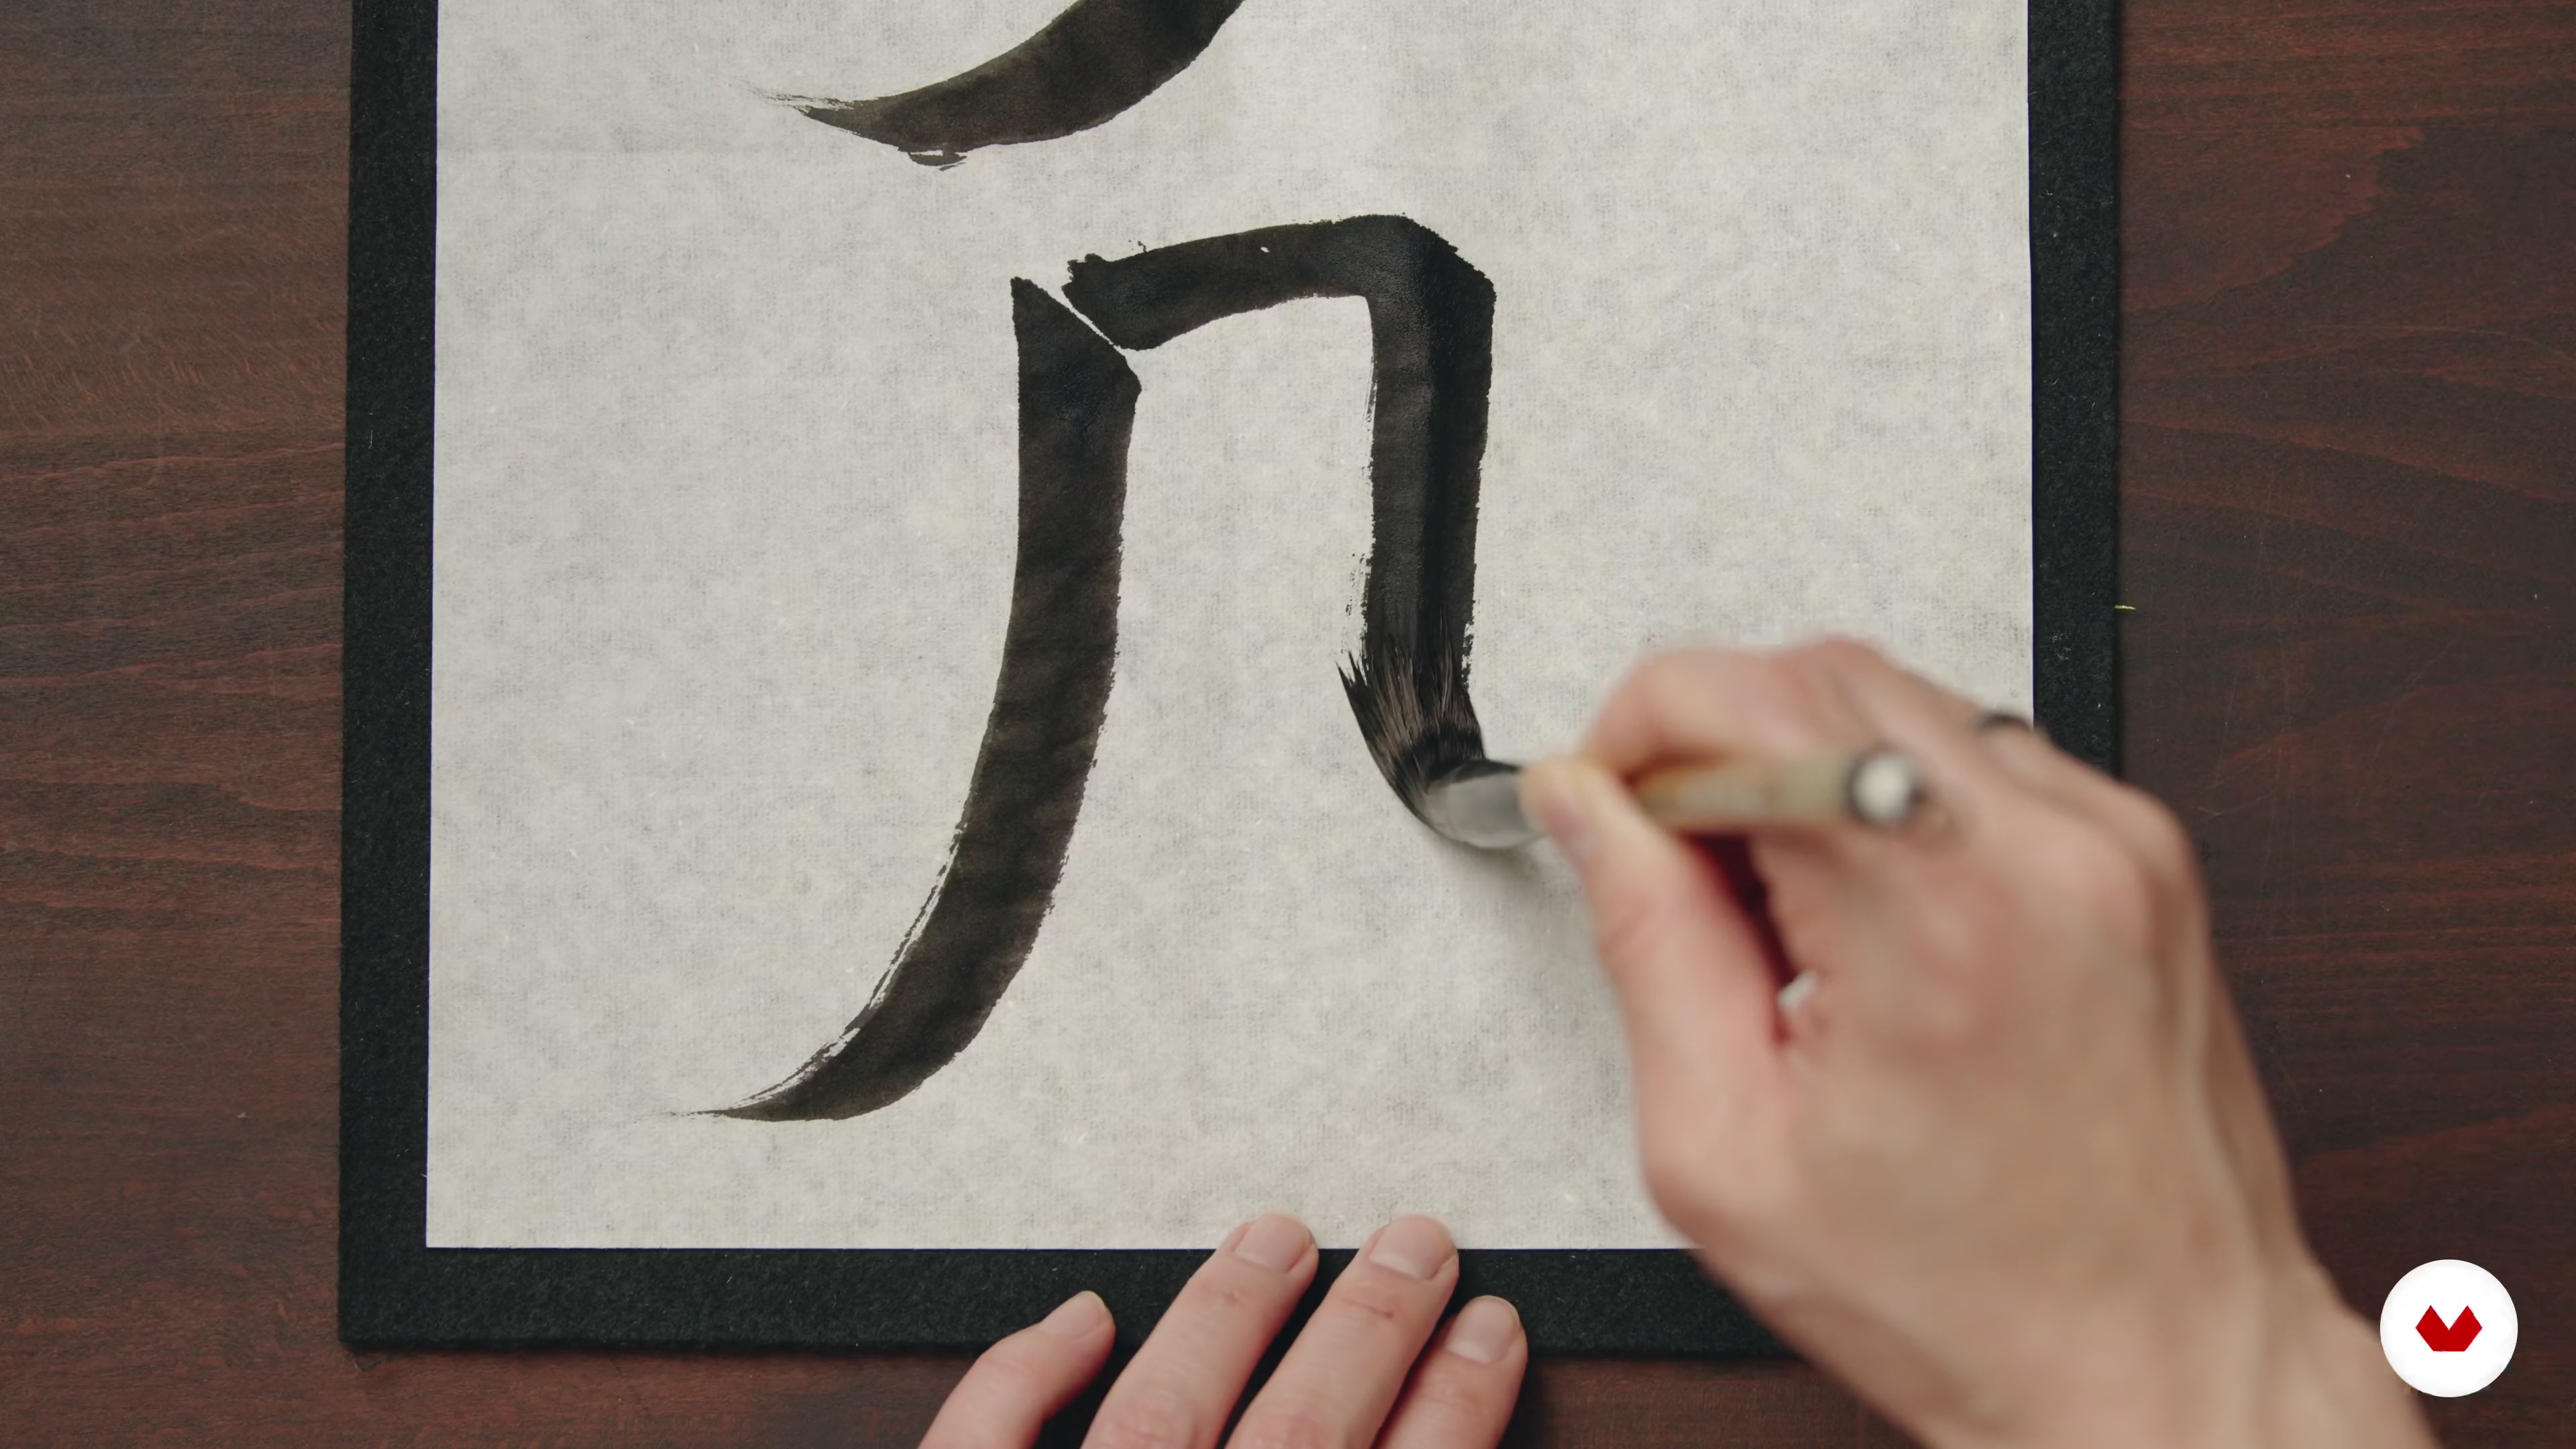
In this lesson, we move on to combining and fine-tuning all techniques we have done in the last lesson, the whole composition, spacing, and dynamics of two Kanjis as one word. You will also be focusing on the flow of the movement.
7m
 10
10Seisho Clear Calligraphy
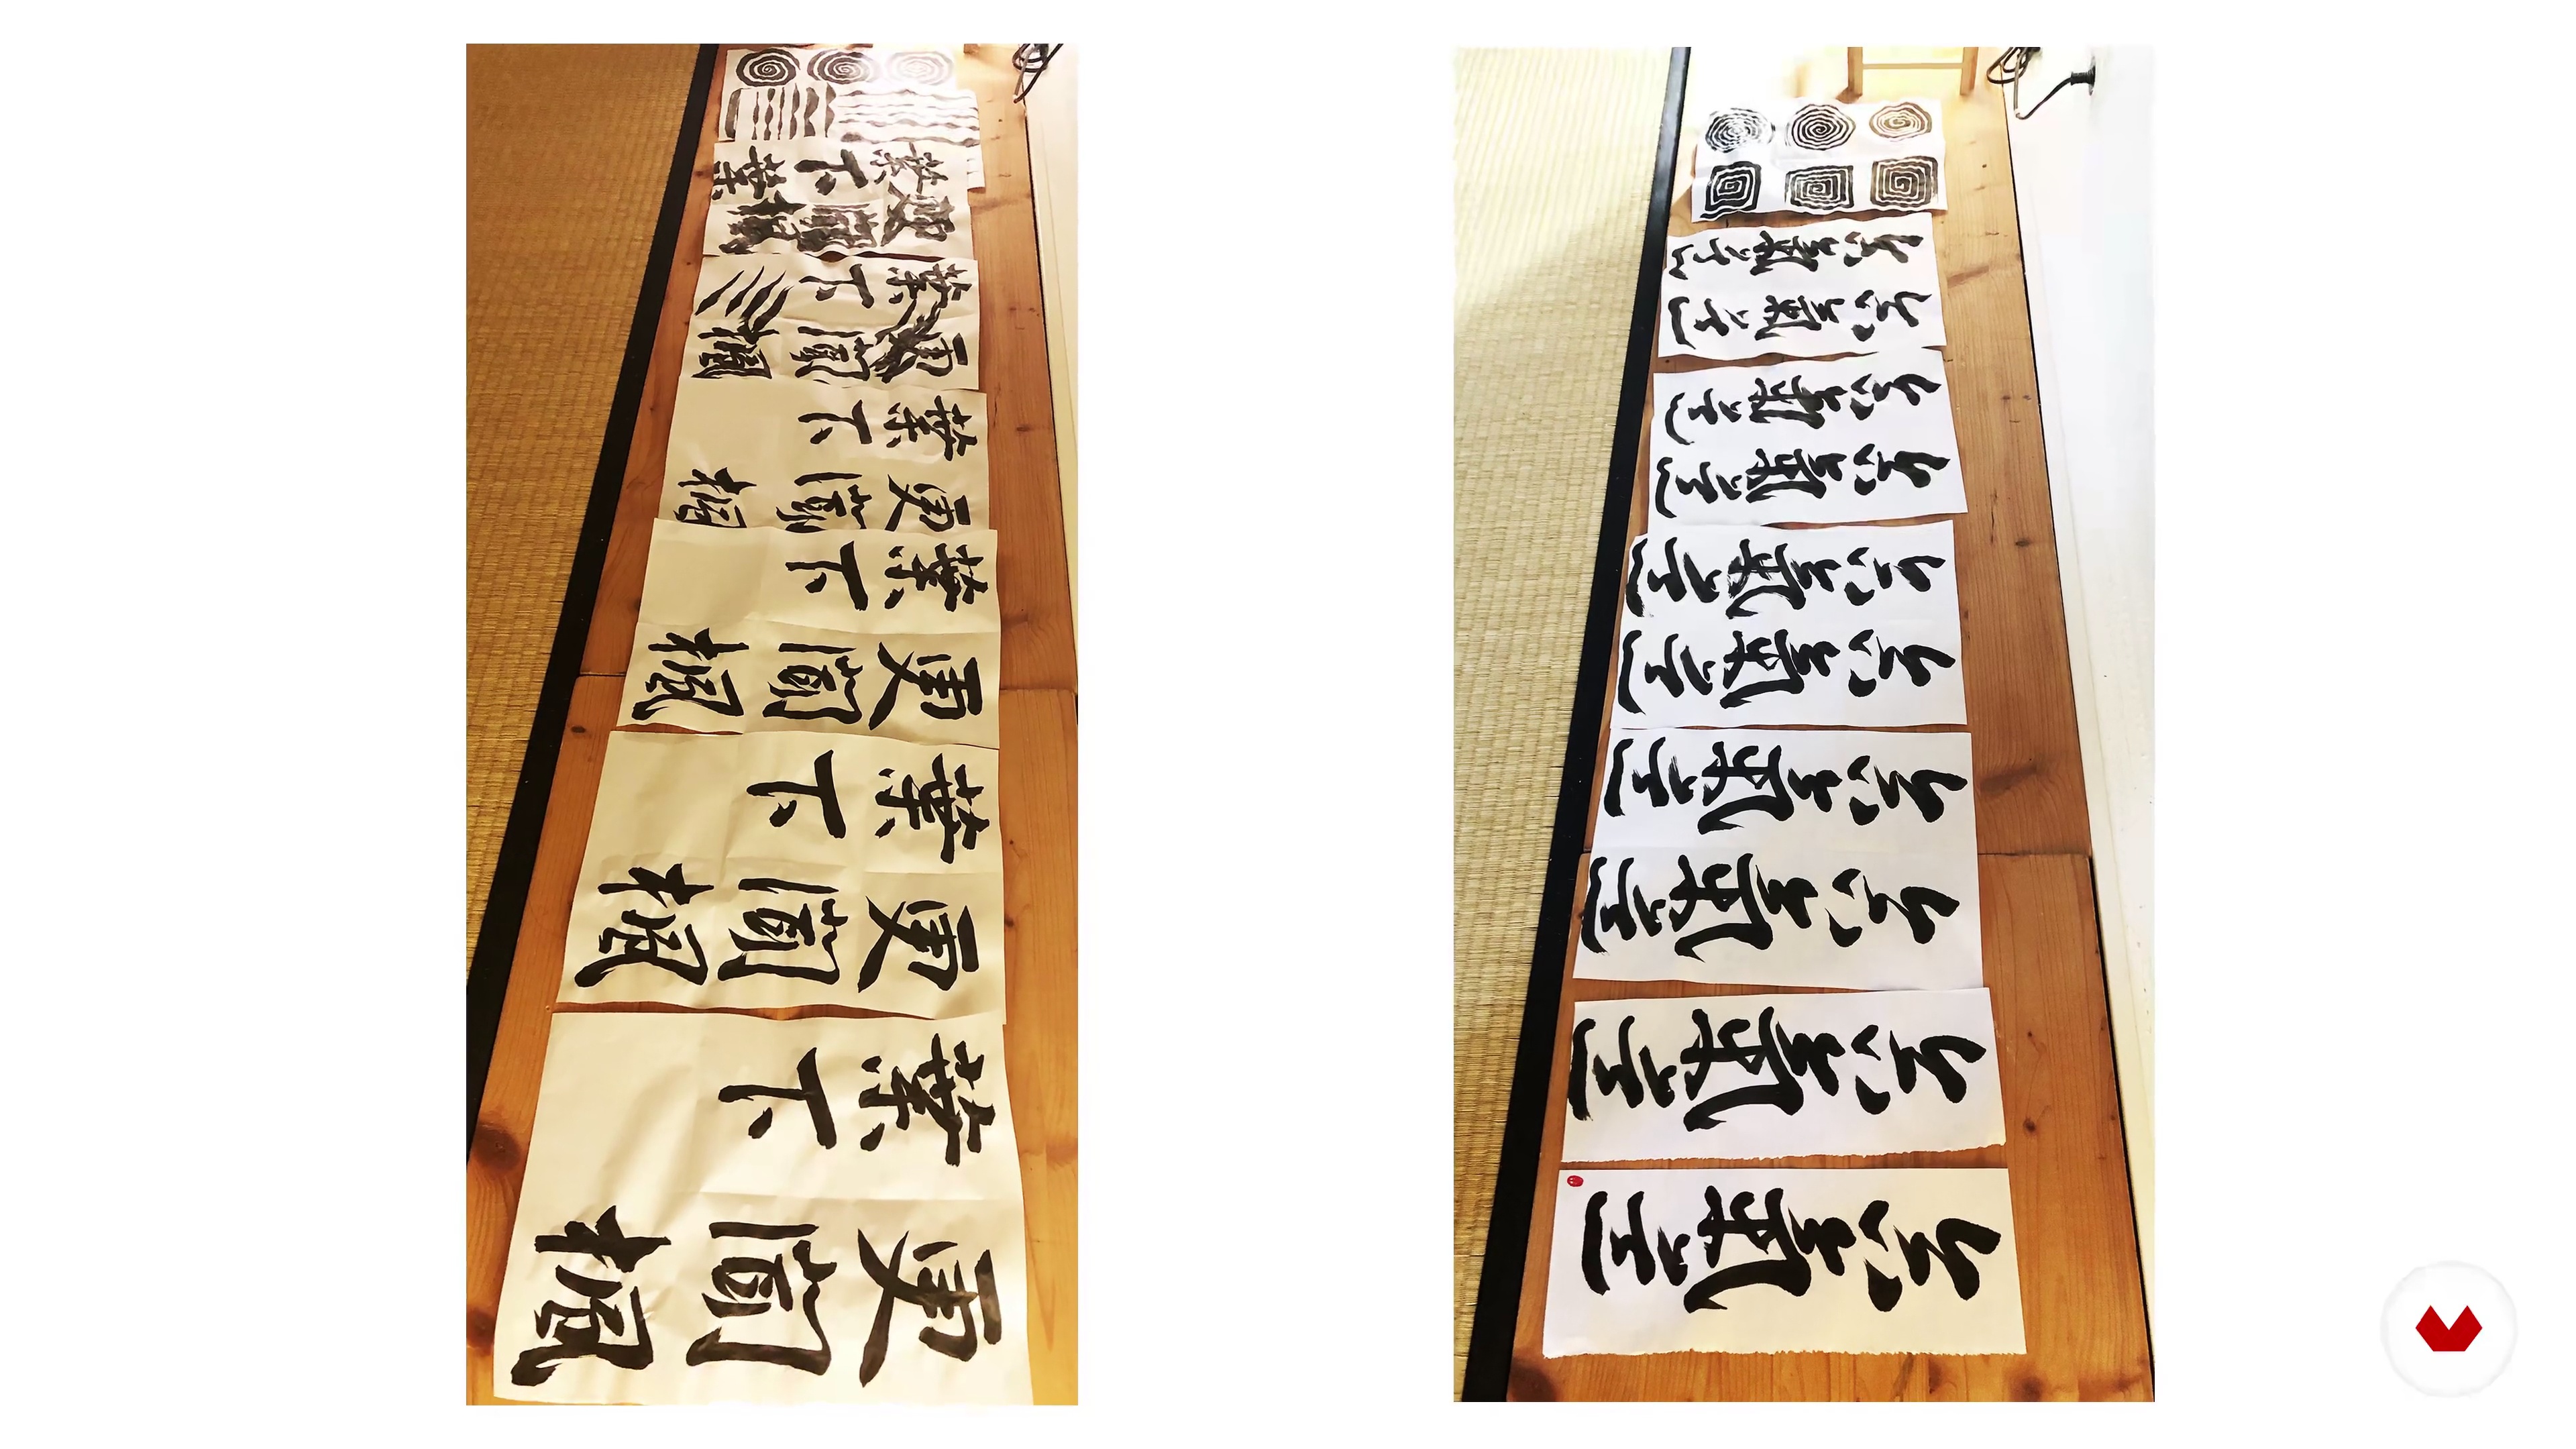
This is the final stage of practice. You would calligraphy through two Kanjis in one flow with clearer concentration. Combining the individual inner input of the characters together. You'd calligraphy your name and stamp on the best Seisho piece.
4m
 11
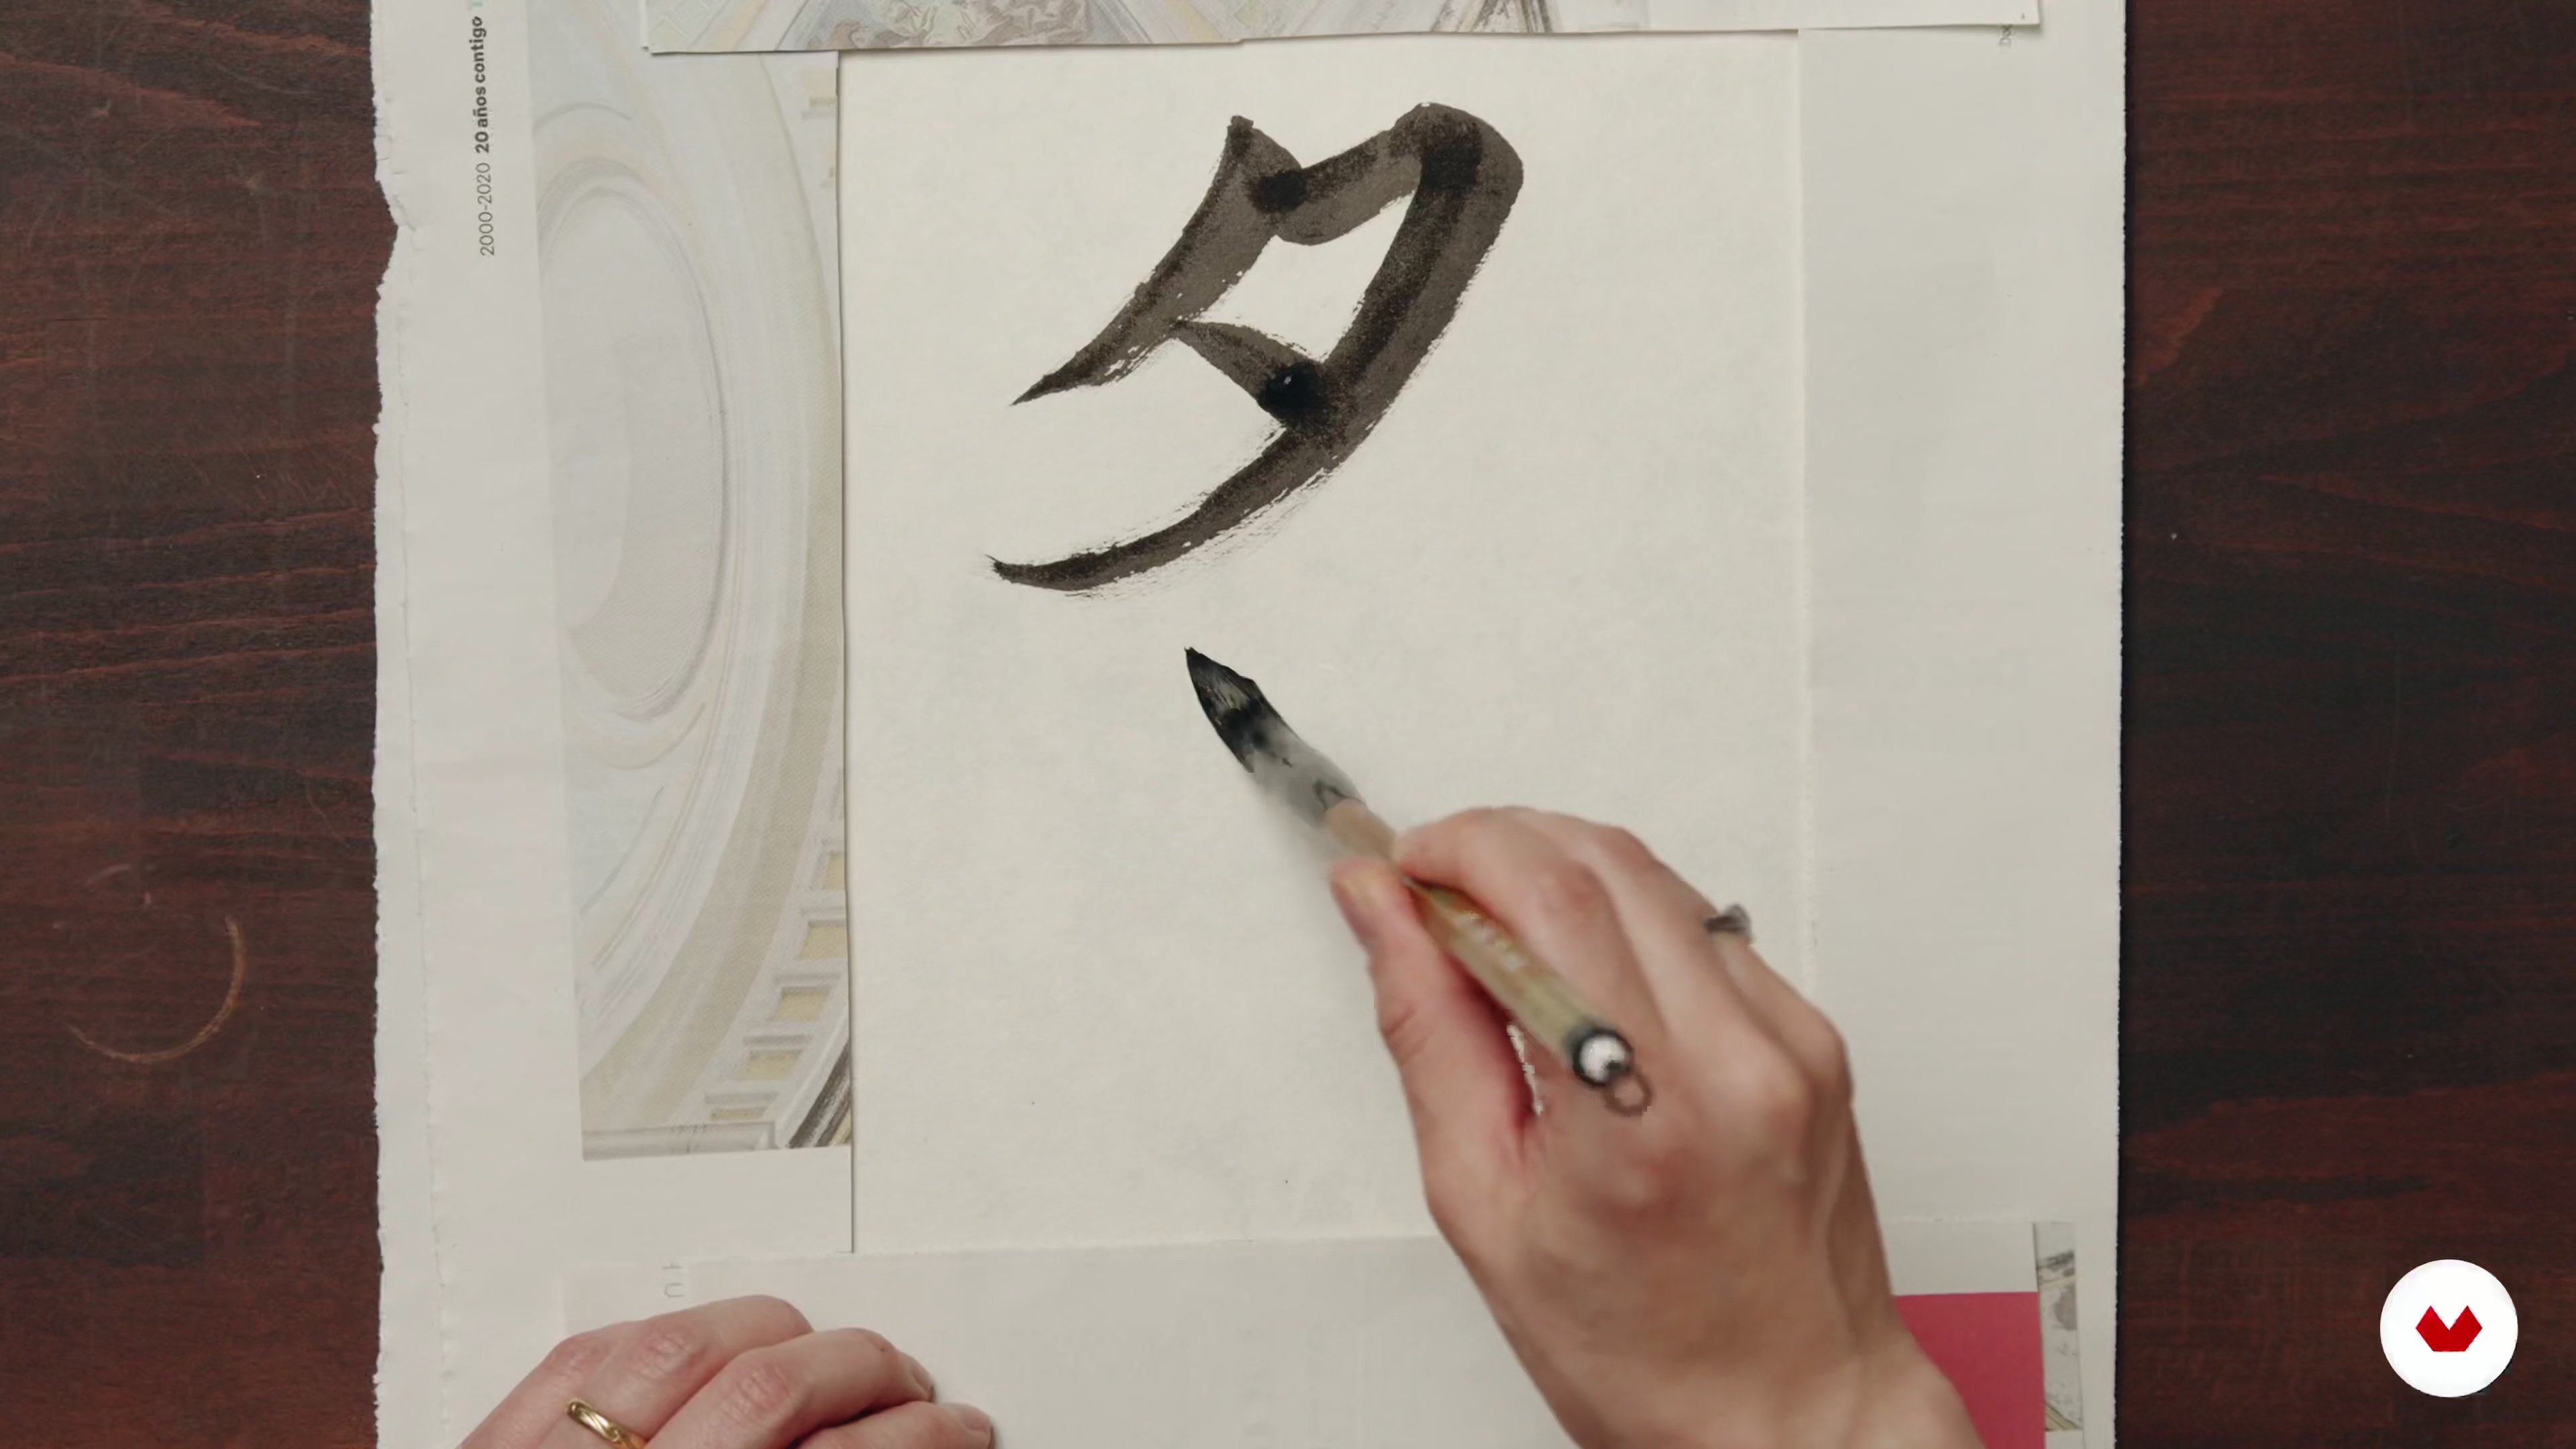
11Mounting
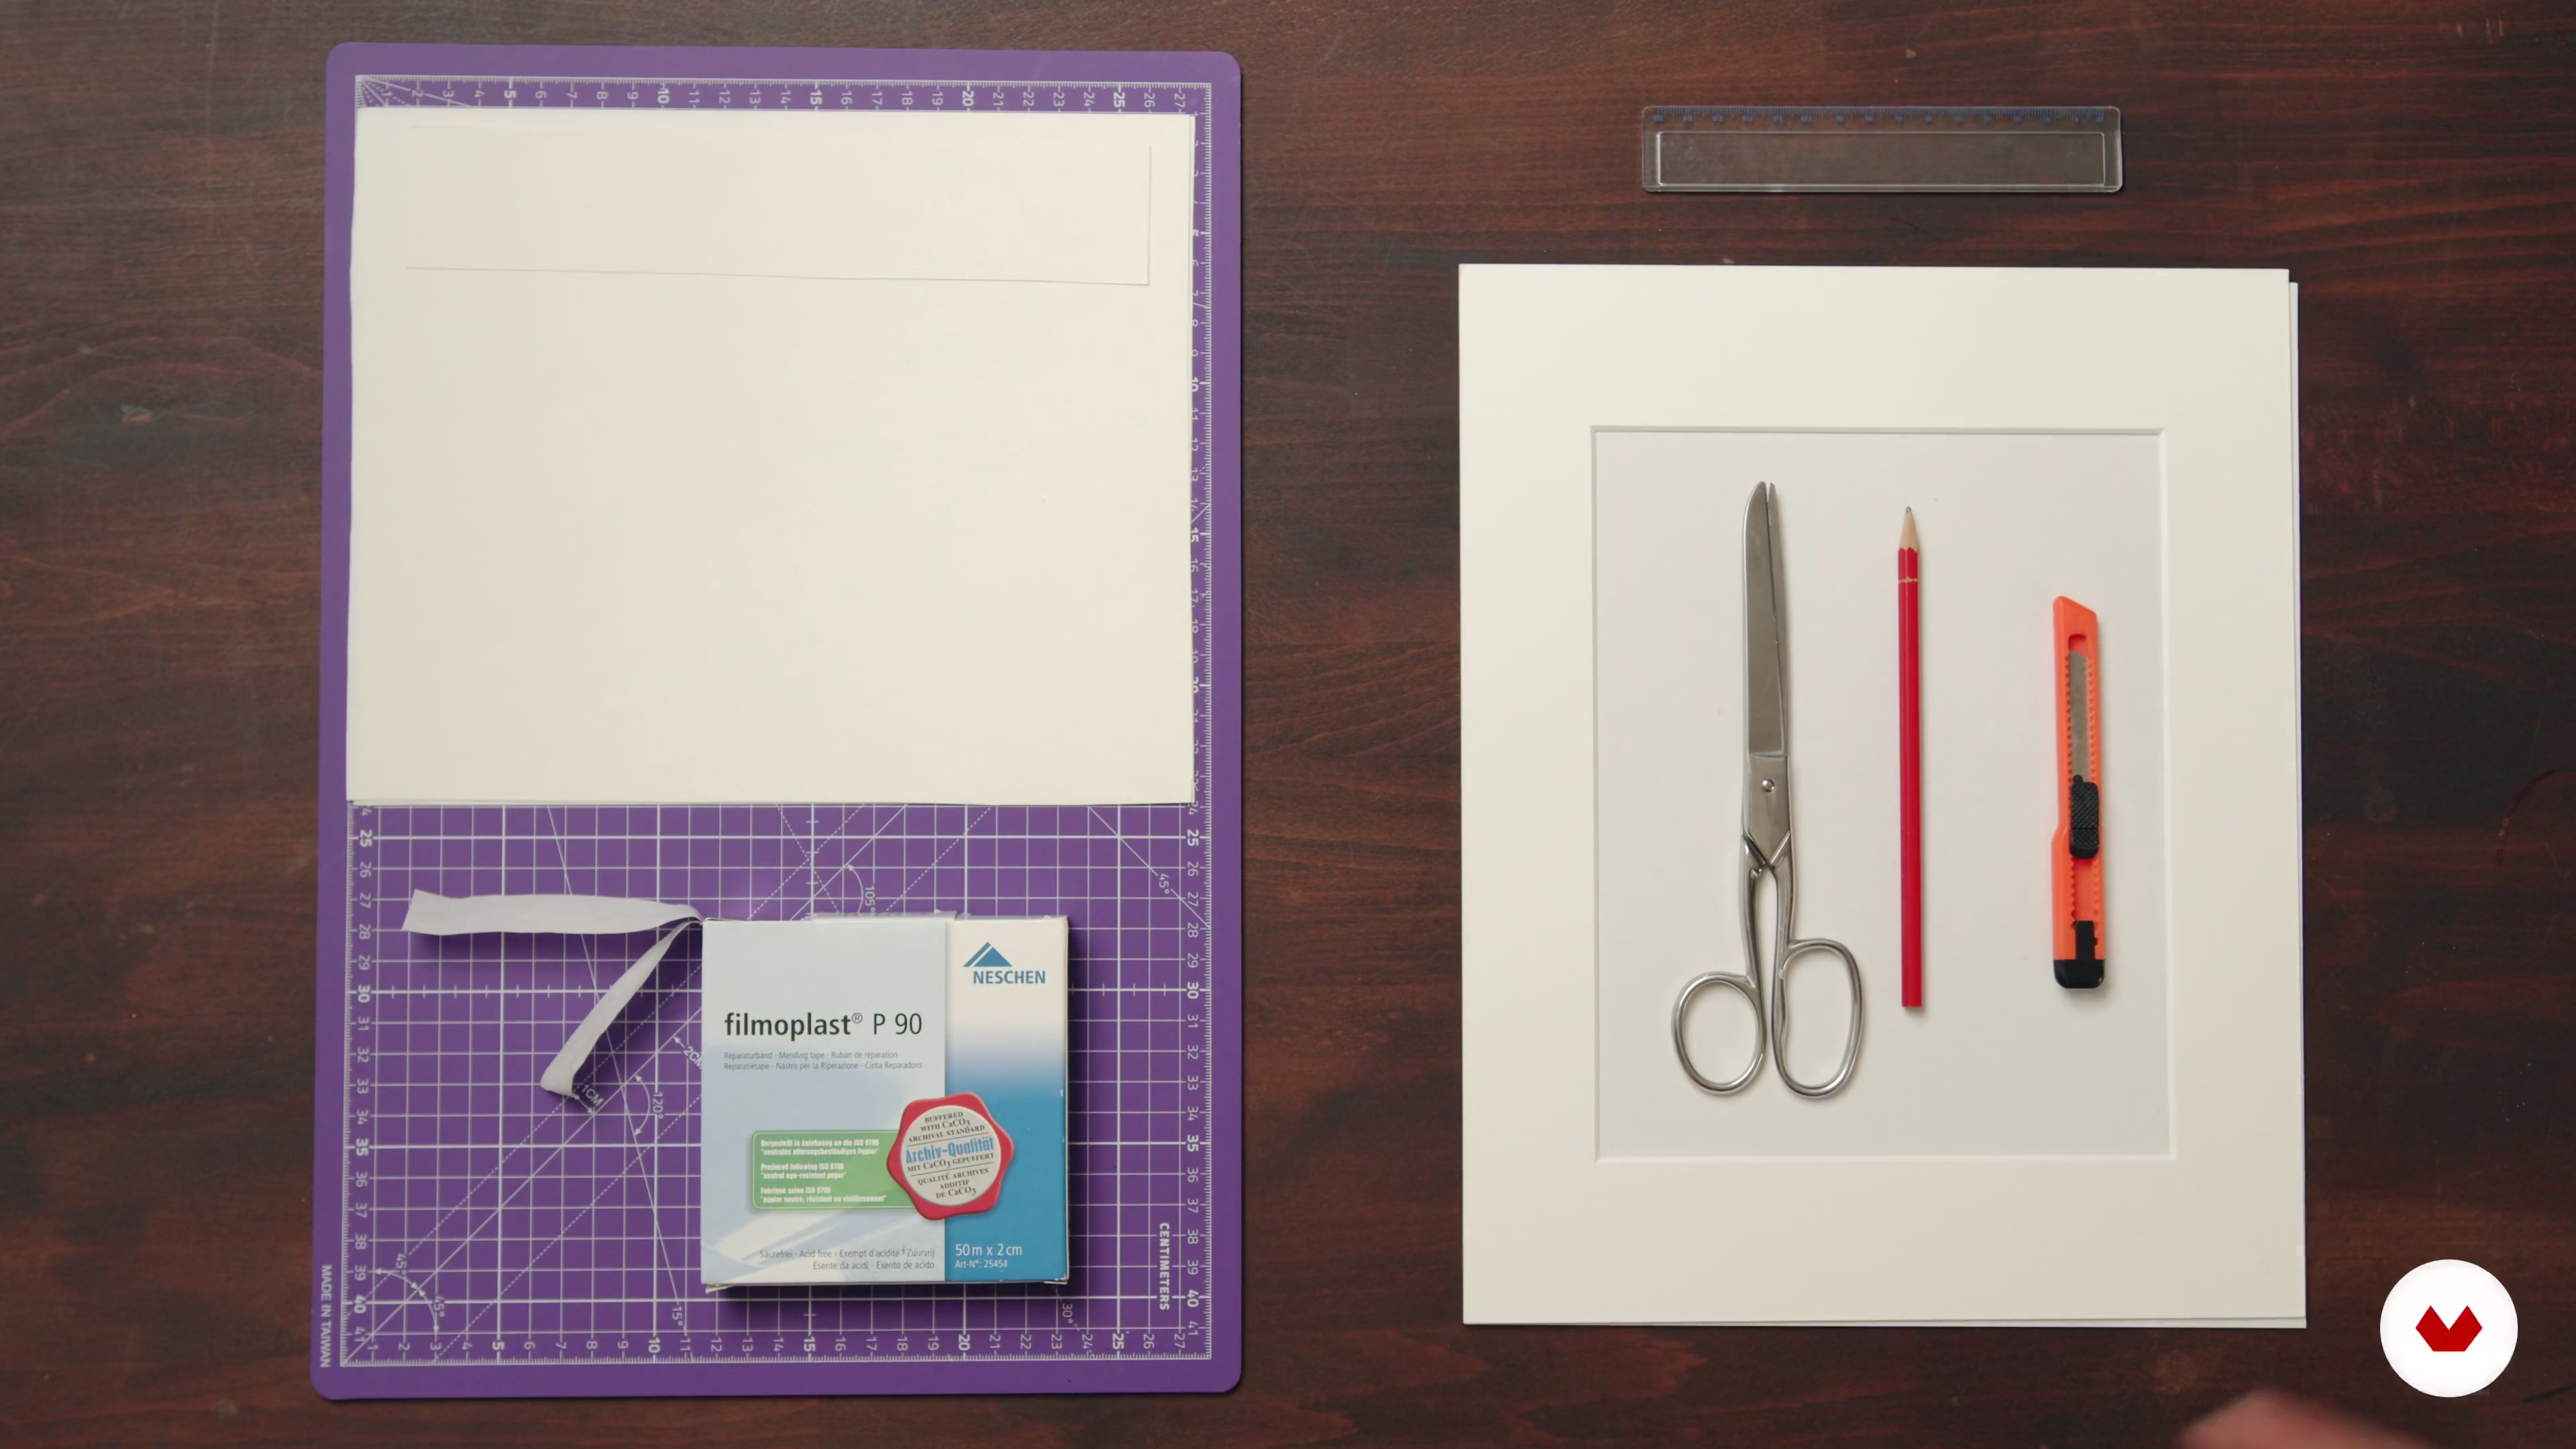
In this lesson, I’m going to show you how to mount the calligraphy paper and prepare for the final calligraphy work. There are various ways and techniques for diverse papers. I’d like to share my practical insider tips with you.
7m
 12
12Calligraphy on the Mounted Paper
After lots of practice and rehearsals, you will be calligraphy-ing the last calligraphy work on the mounted paper in this lesson. And we will be completing the piece with your name and stamp on it. You are going to finalize your calligraphy on the mounted paper!
7m
 13
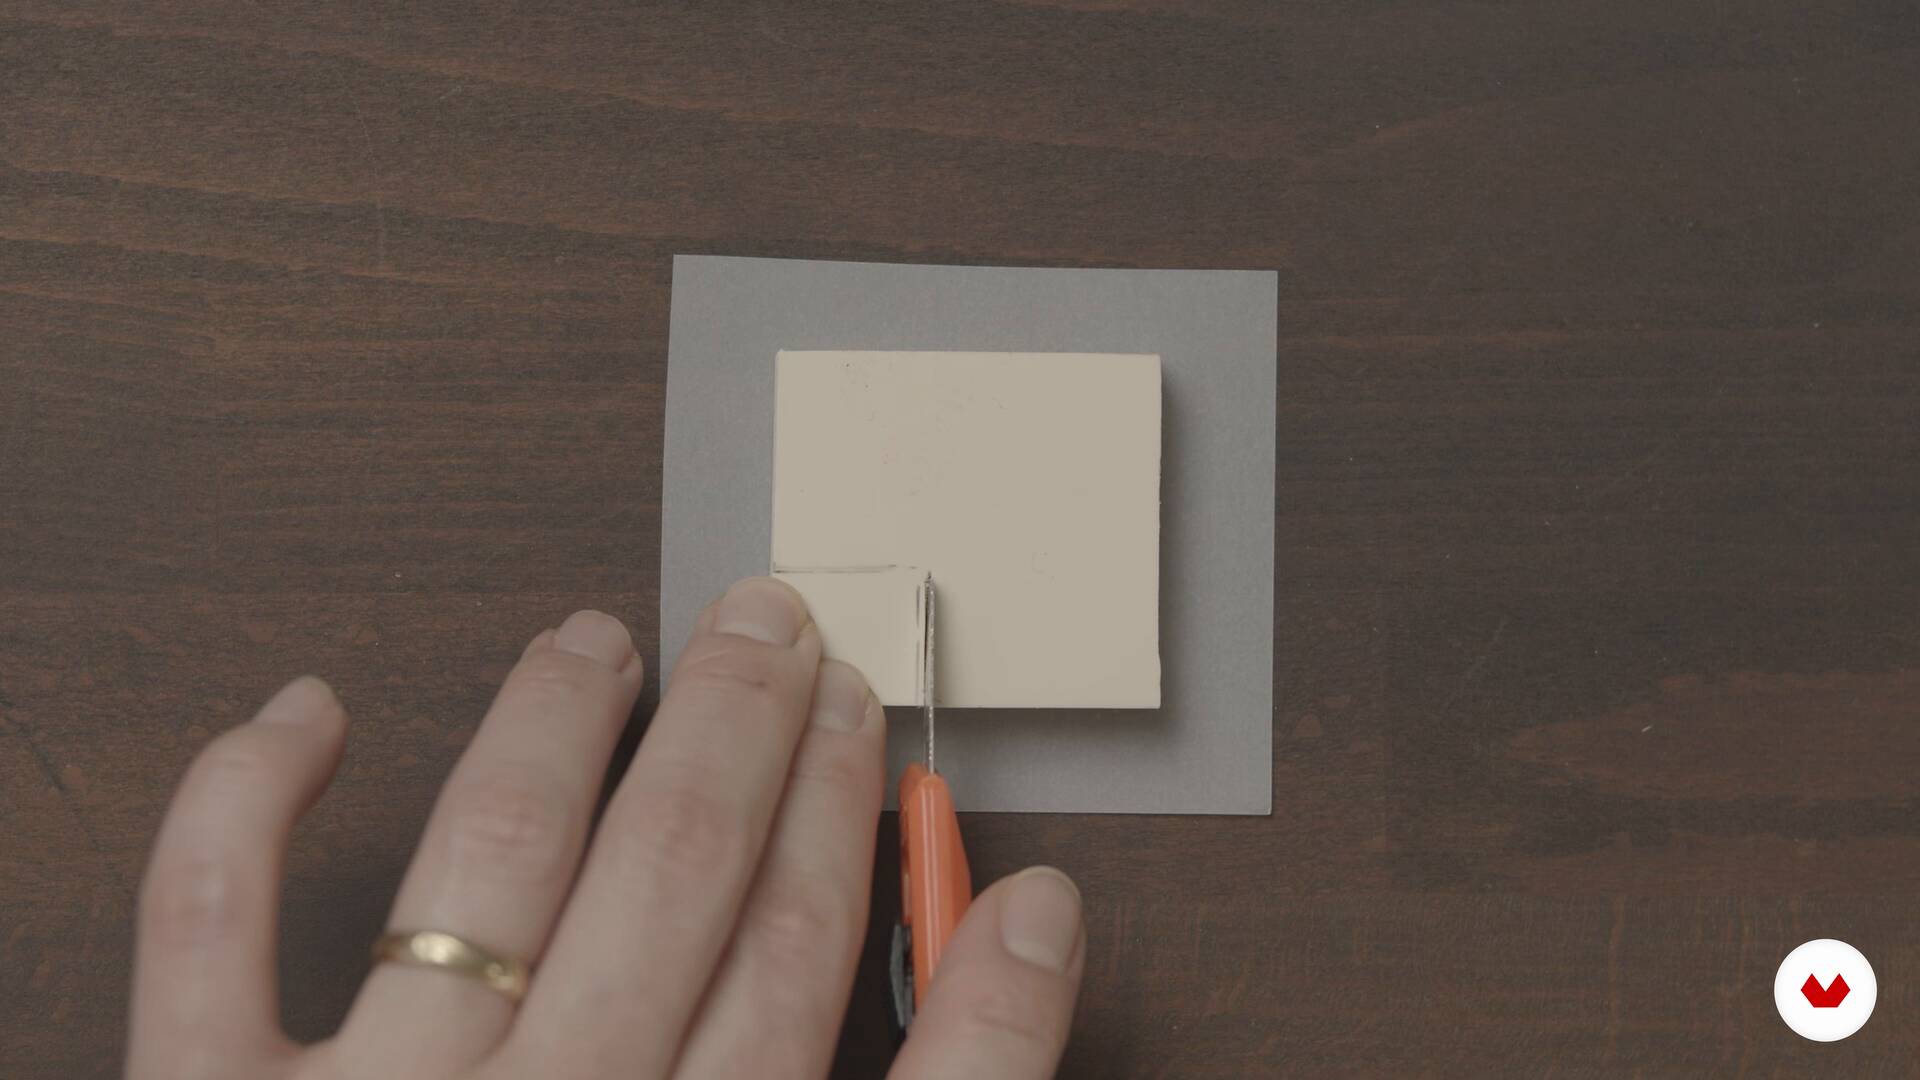
13Calligraphy Your Name and Creating the Stamp
In this lesson, we'll finalize your beautiful work by calligraphy-ing your first name in Japanese Katakana and complete the whole composition with your own stamp. I’ll show you how to create a simple handmade stamp at home.
12m
 1
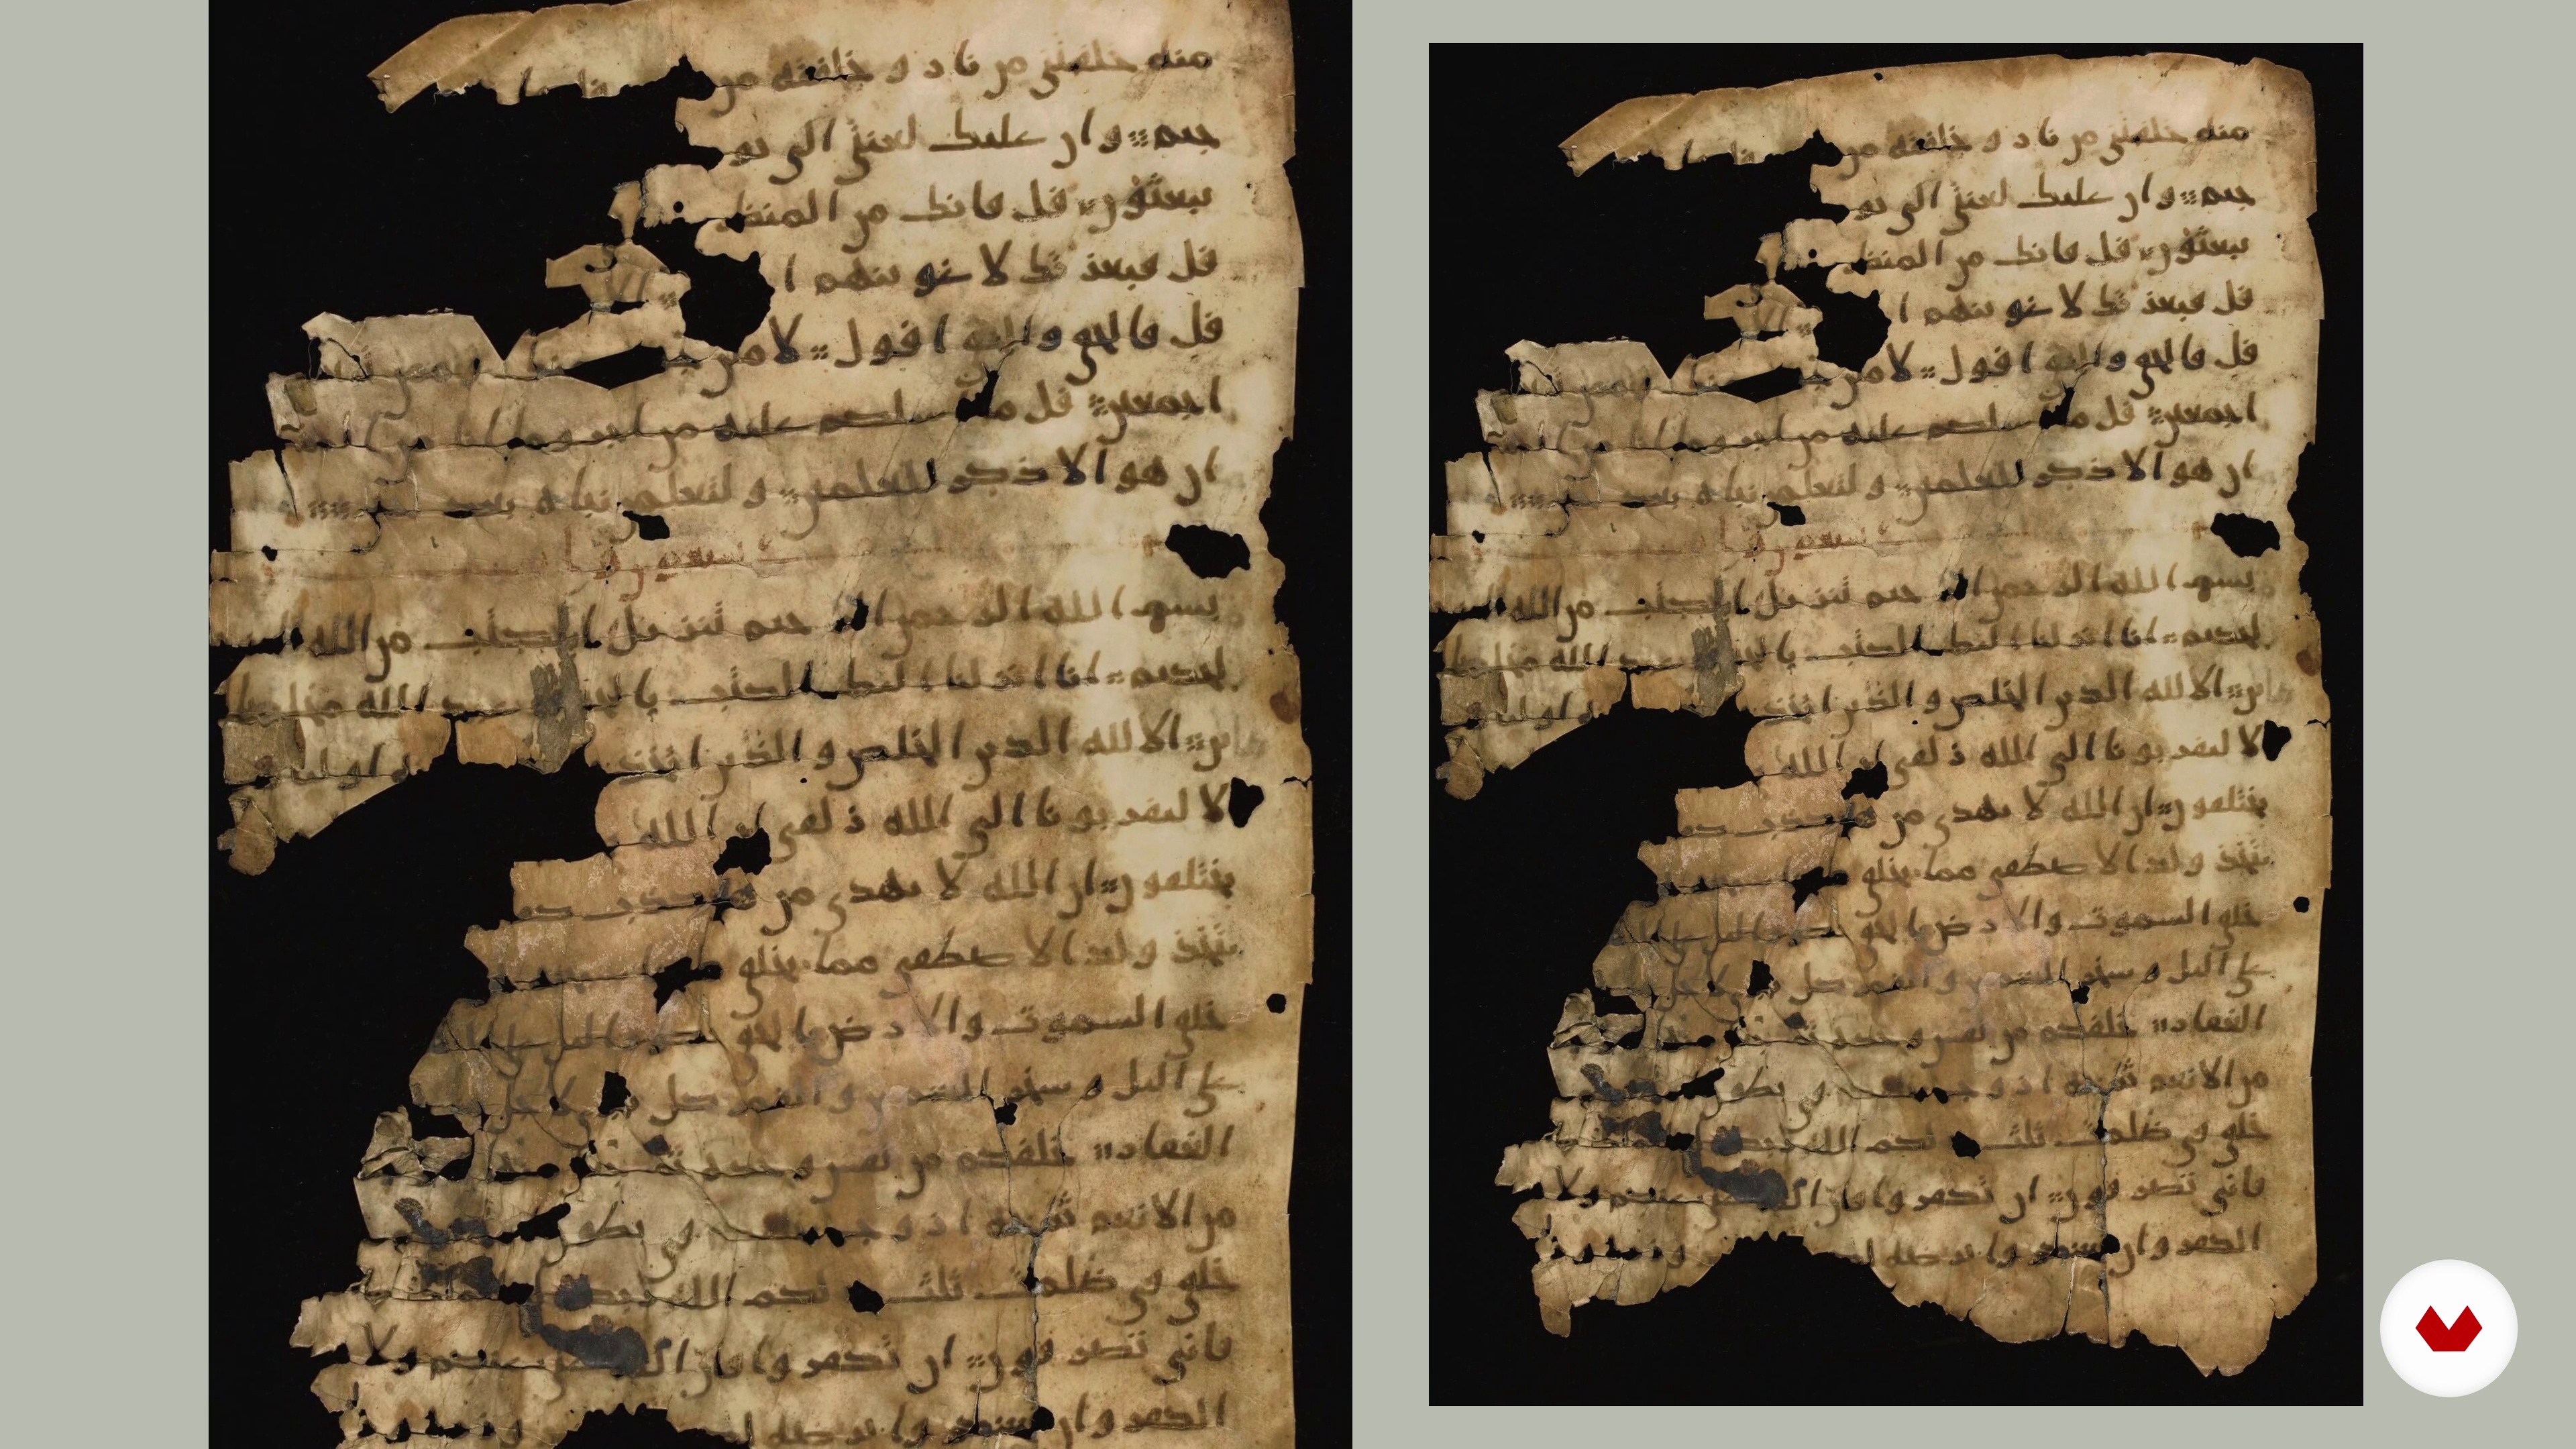
1History of Arabic Calligraphy
In this lesson, I am going to share the magnificent journey of the transformation from Arabic writing into an art form, in particular the history of Maghrebi script.
13m
 2
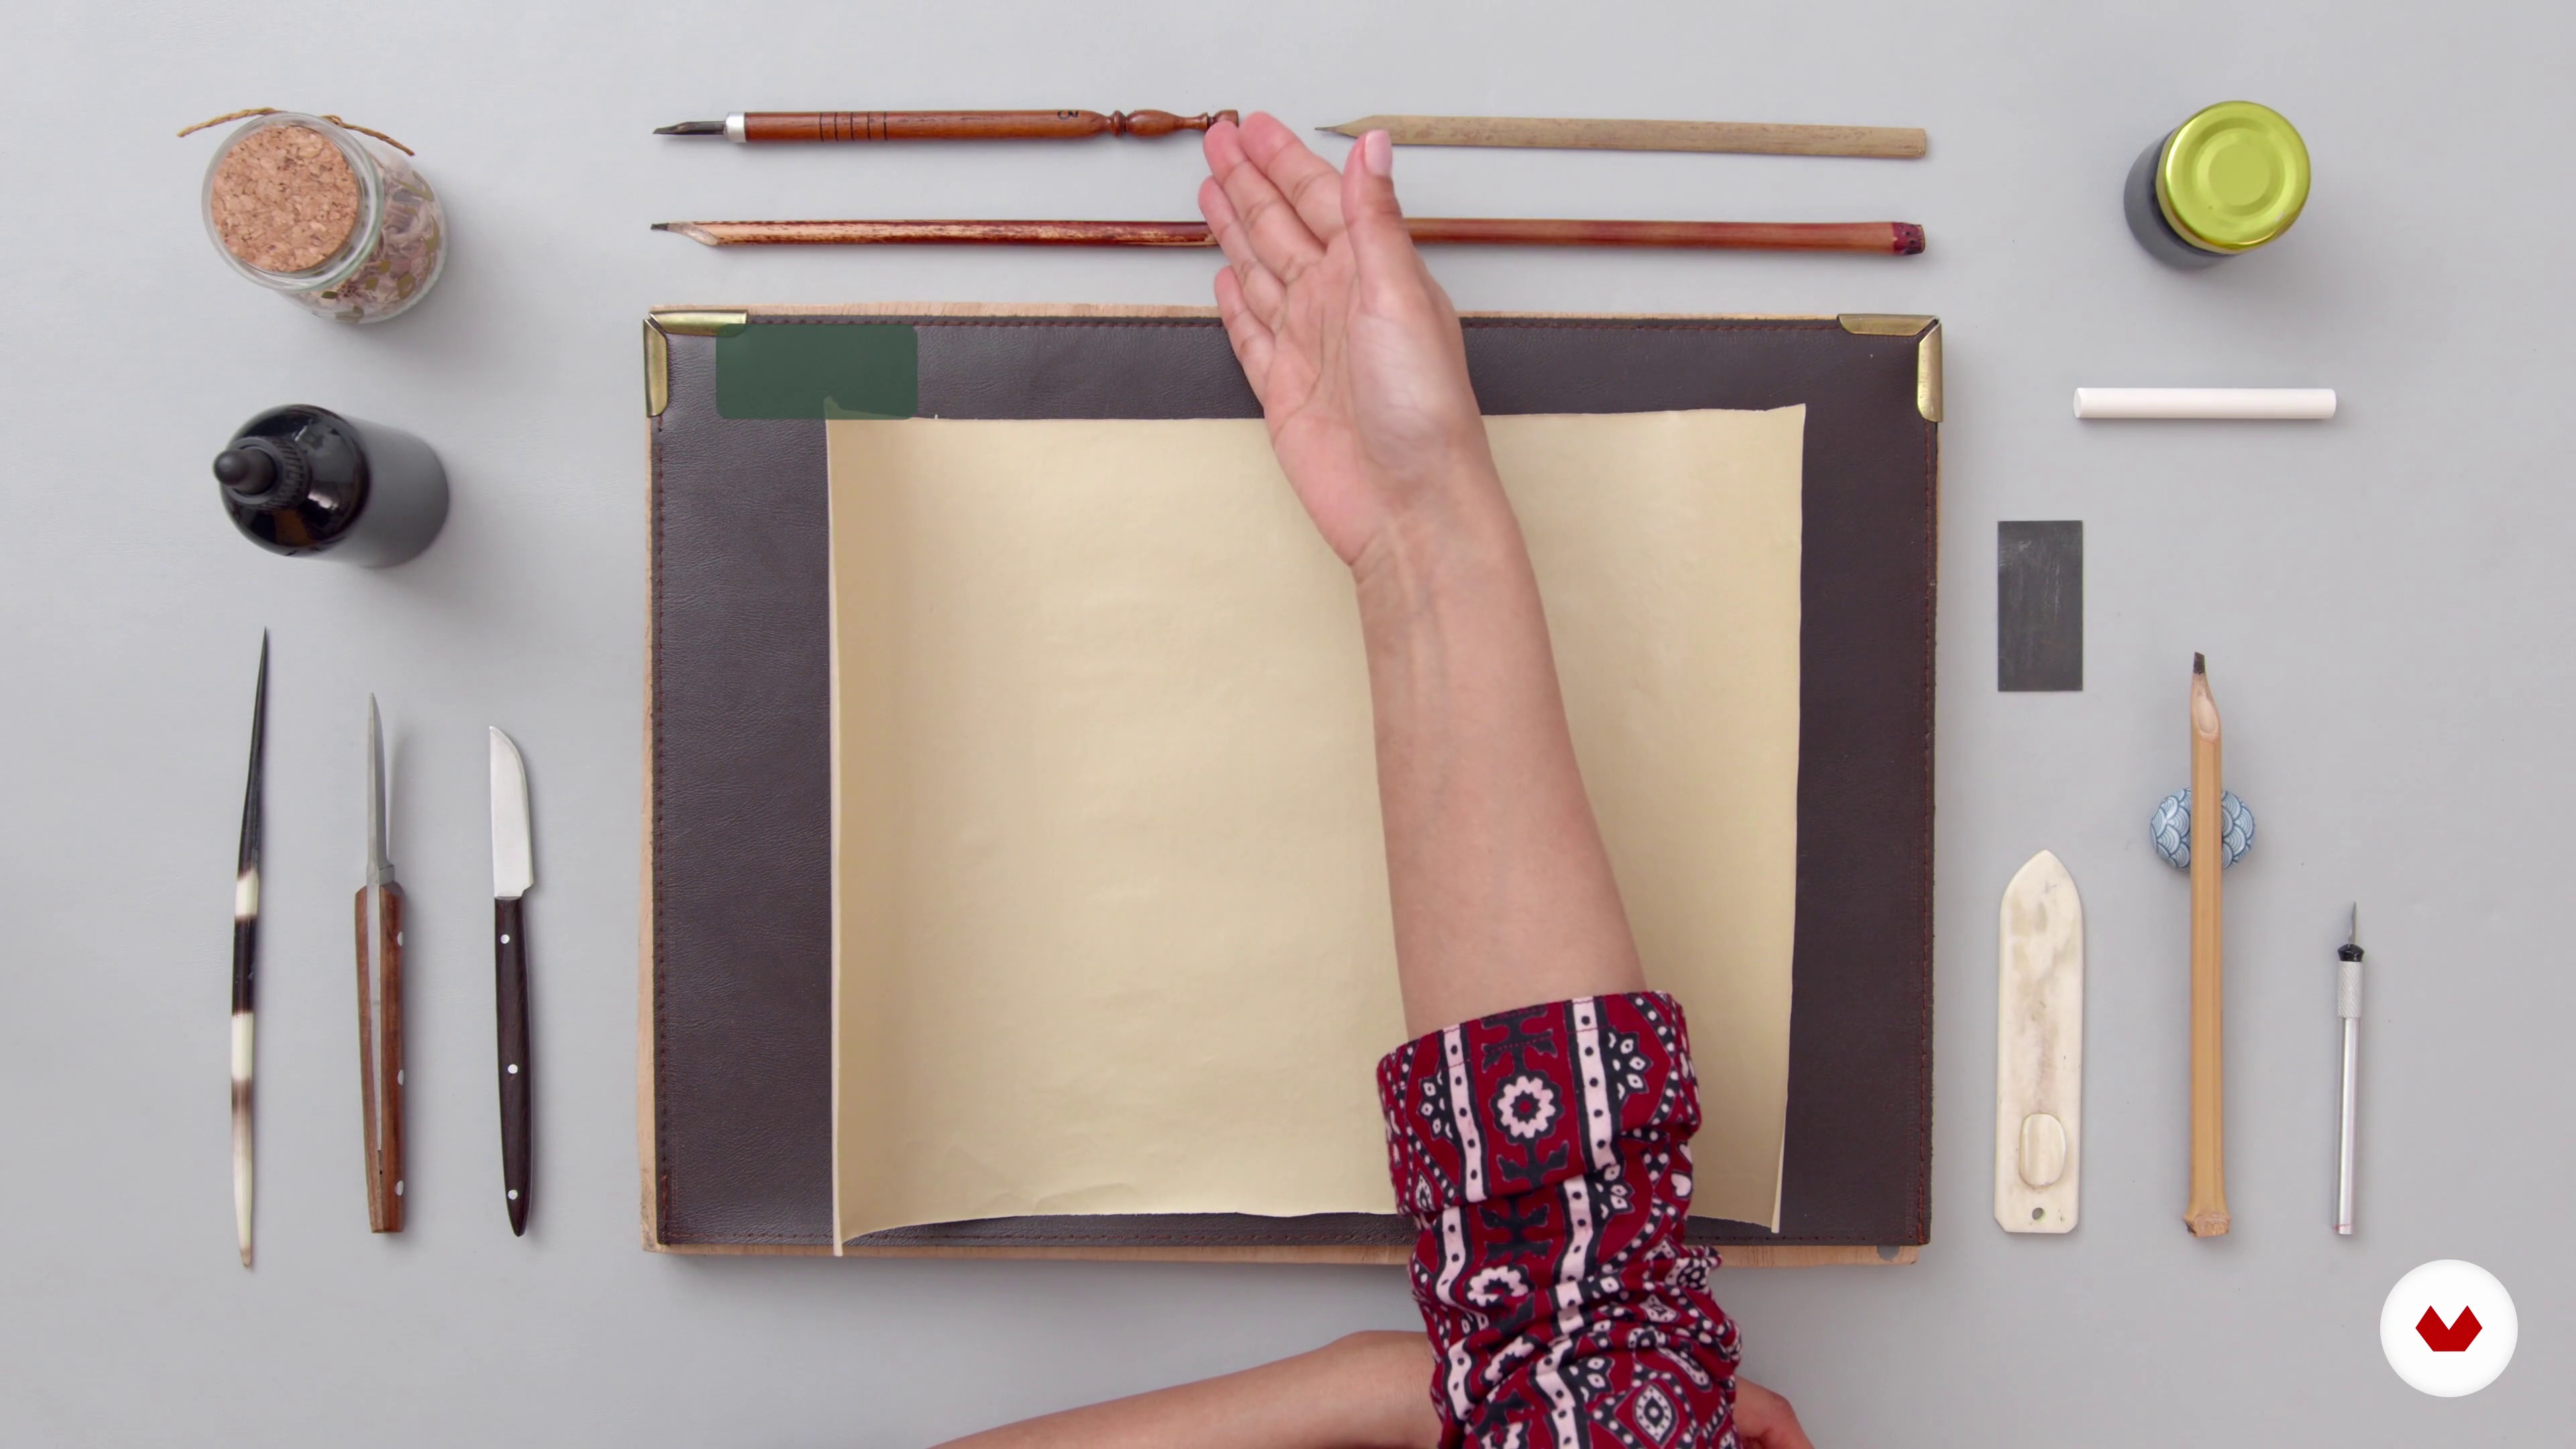
2Course Materials and Tools
Let’s talk about all the traditional tools and materials that are used in Arabic calligraphy.
8m
 3
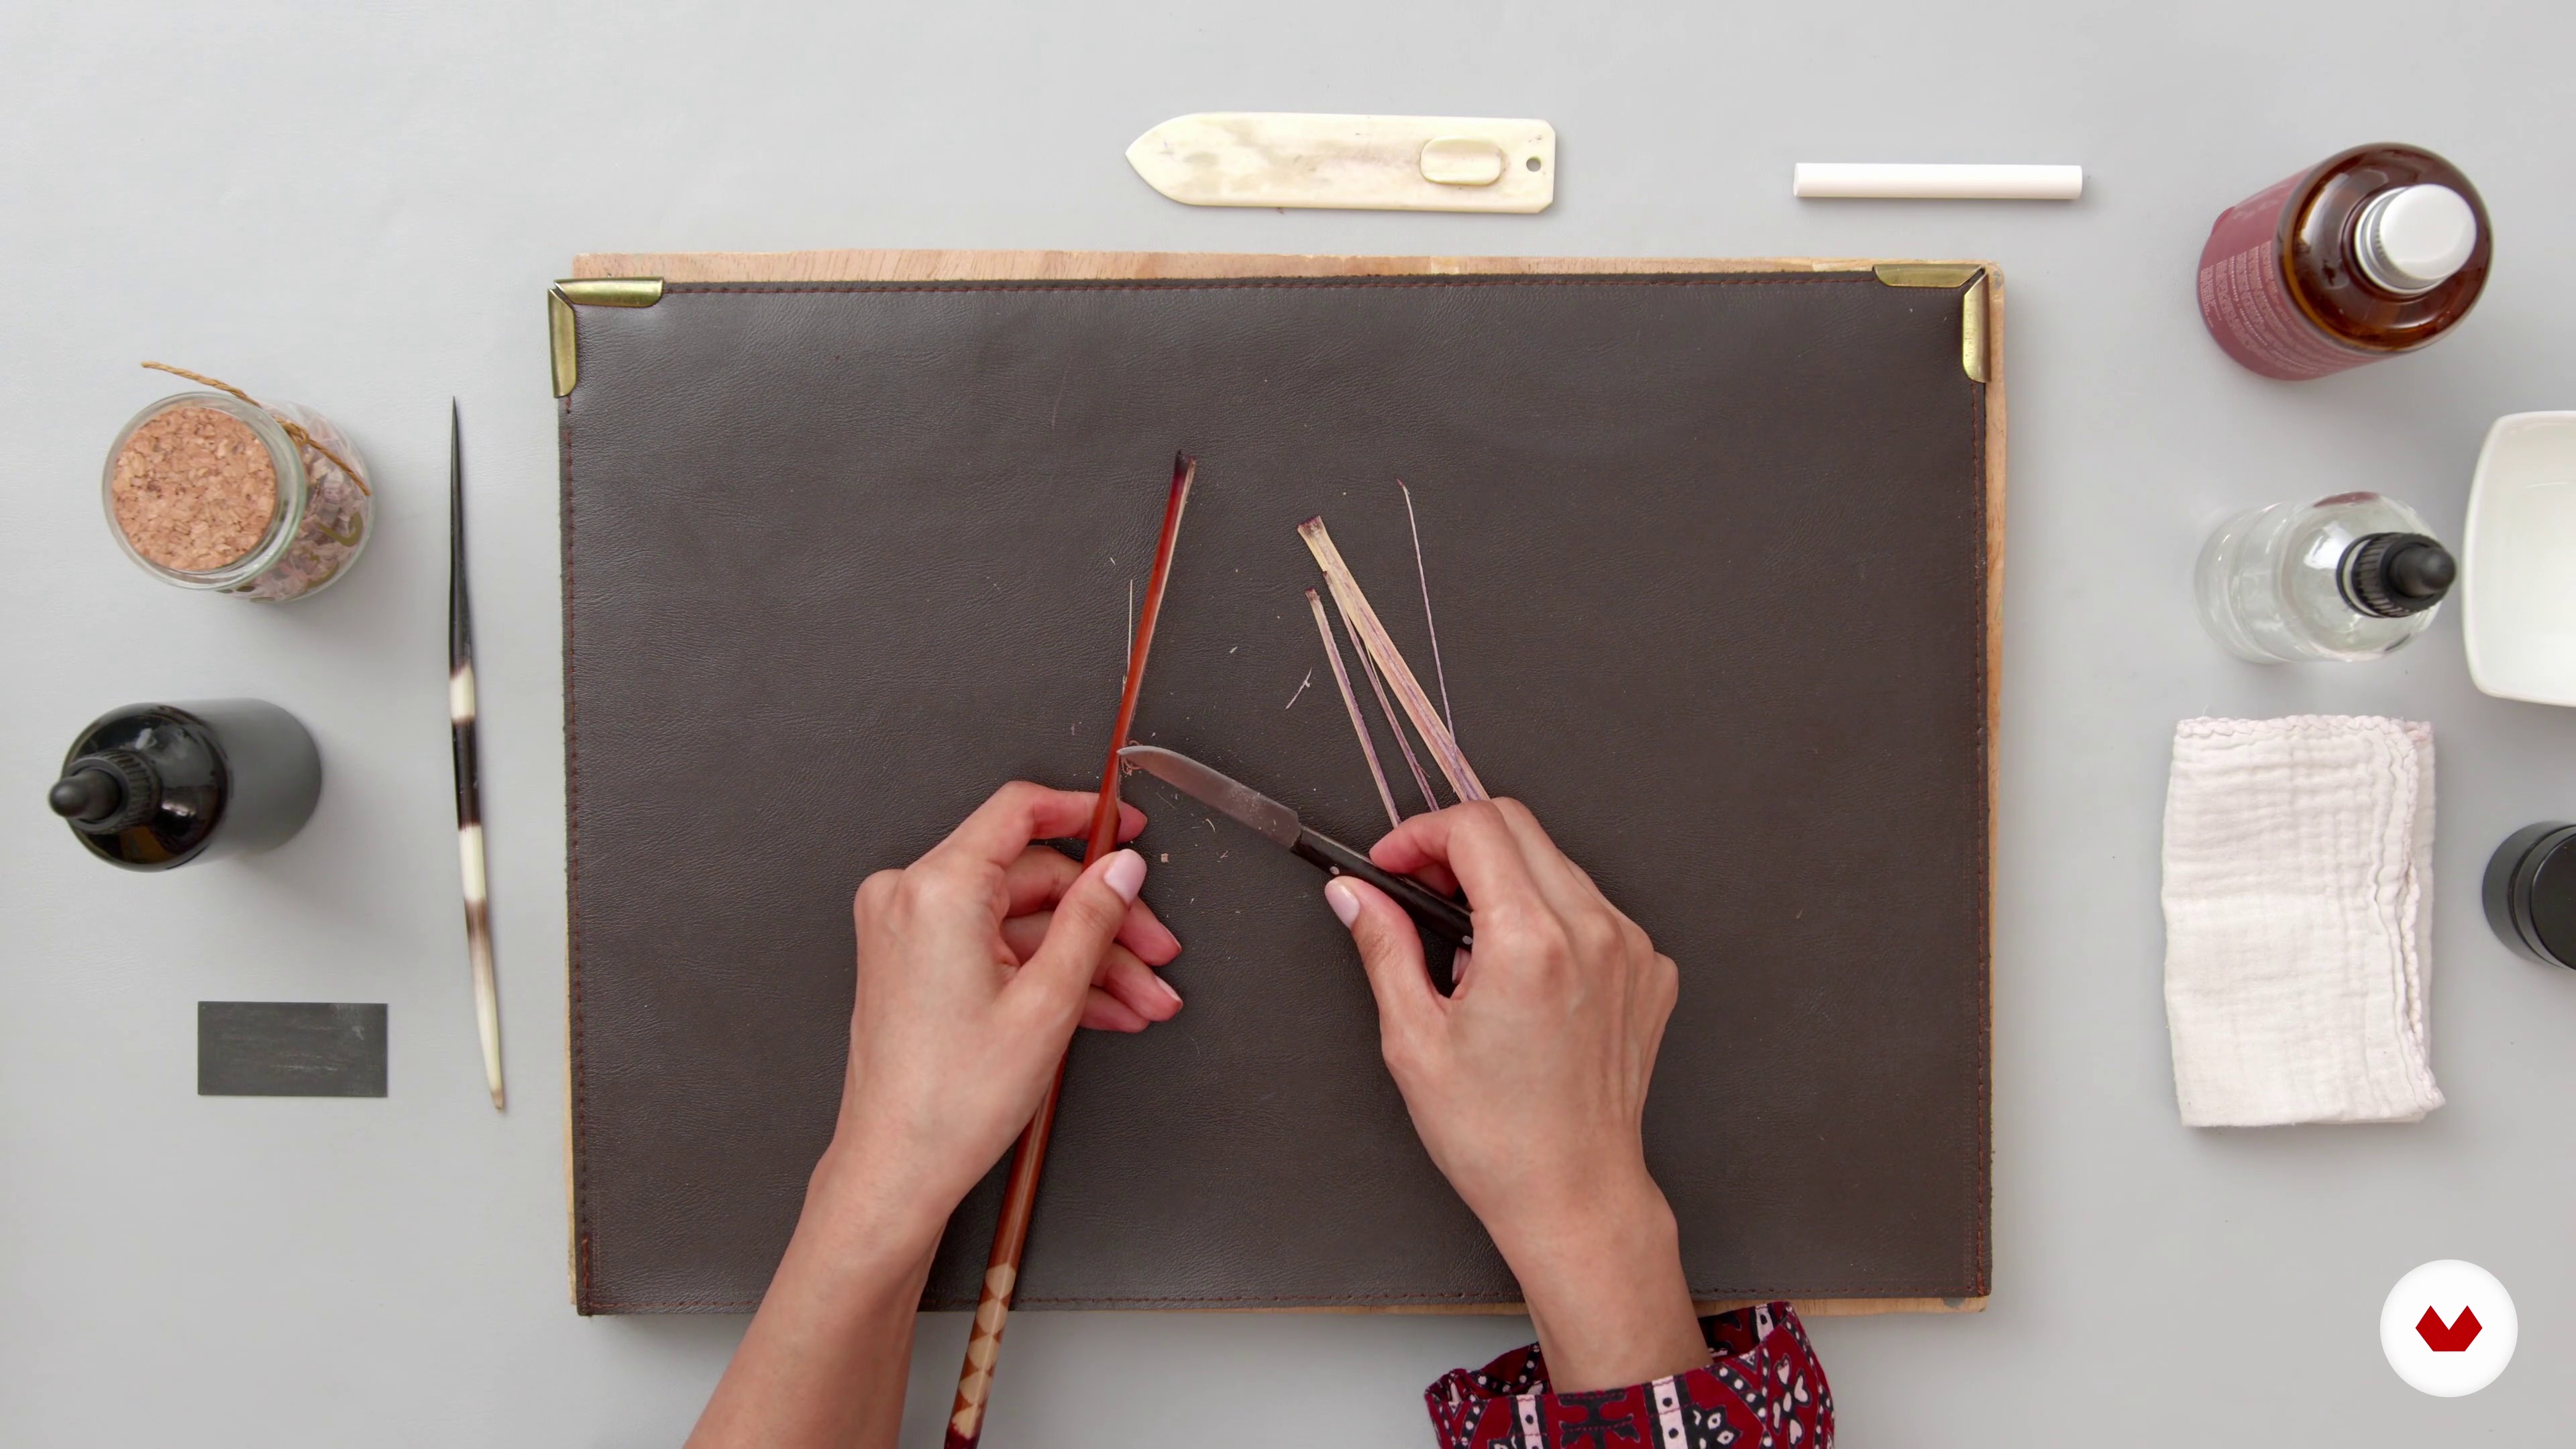
3Preparing the Tools
The most important part of Arabic calligraphy is to learn how to prepare and look after your calligraphy tool kit and in this lesson, I am going to show you how it's done.
12m
 4
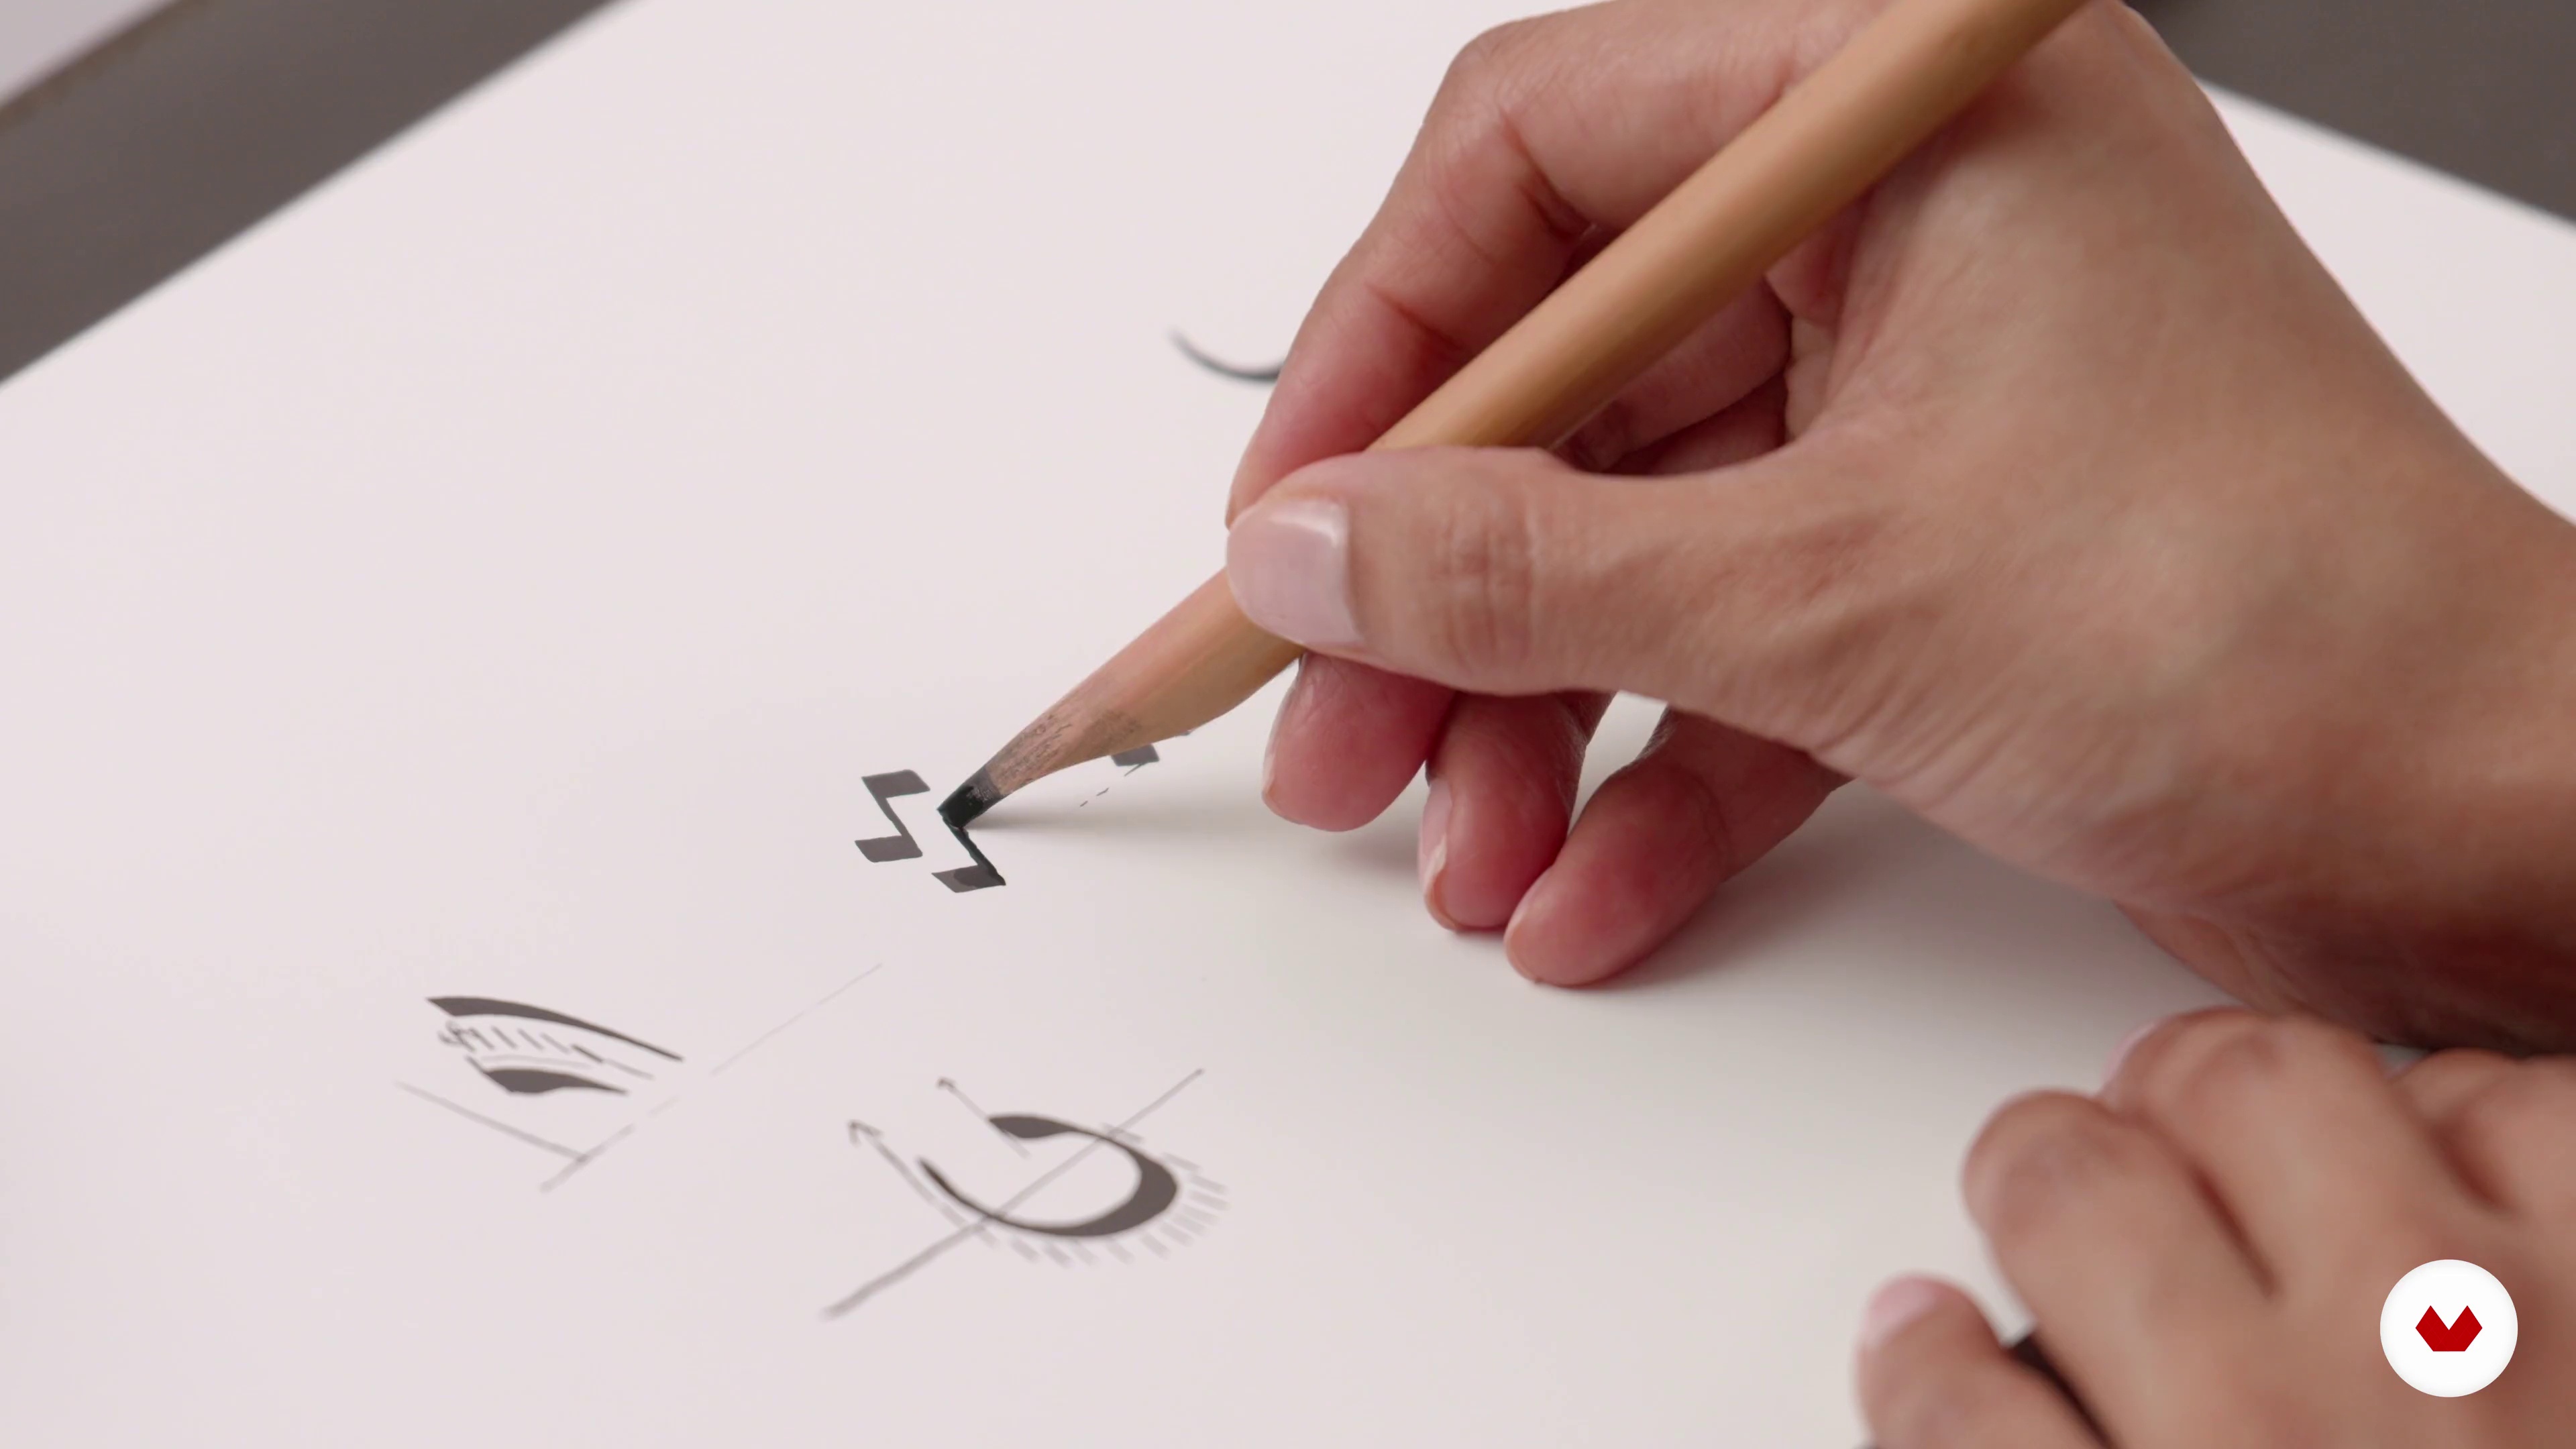
4How to Use a Reed Pen
The beauty of a reed pen lies in the hand of a calligrapher. To properly use the reed pen is important to achieve the best results. Here you will learn how to understand and start writing with an angled reed pen.
6m
 5
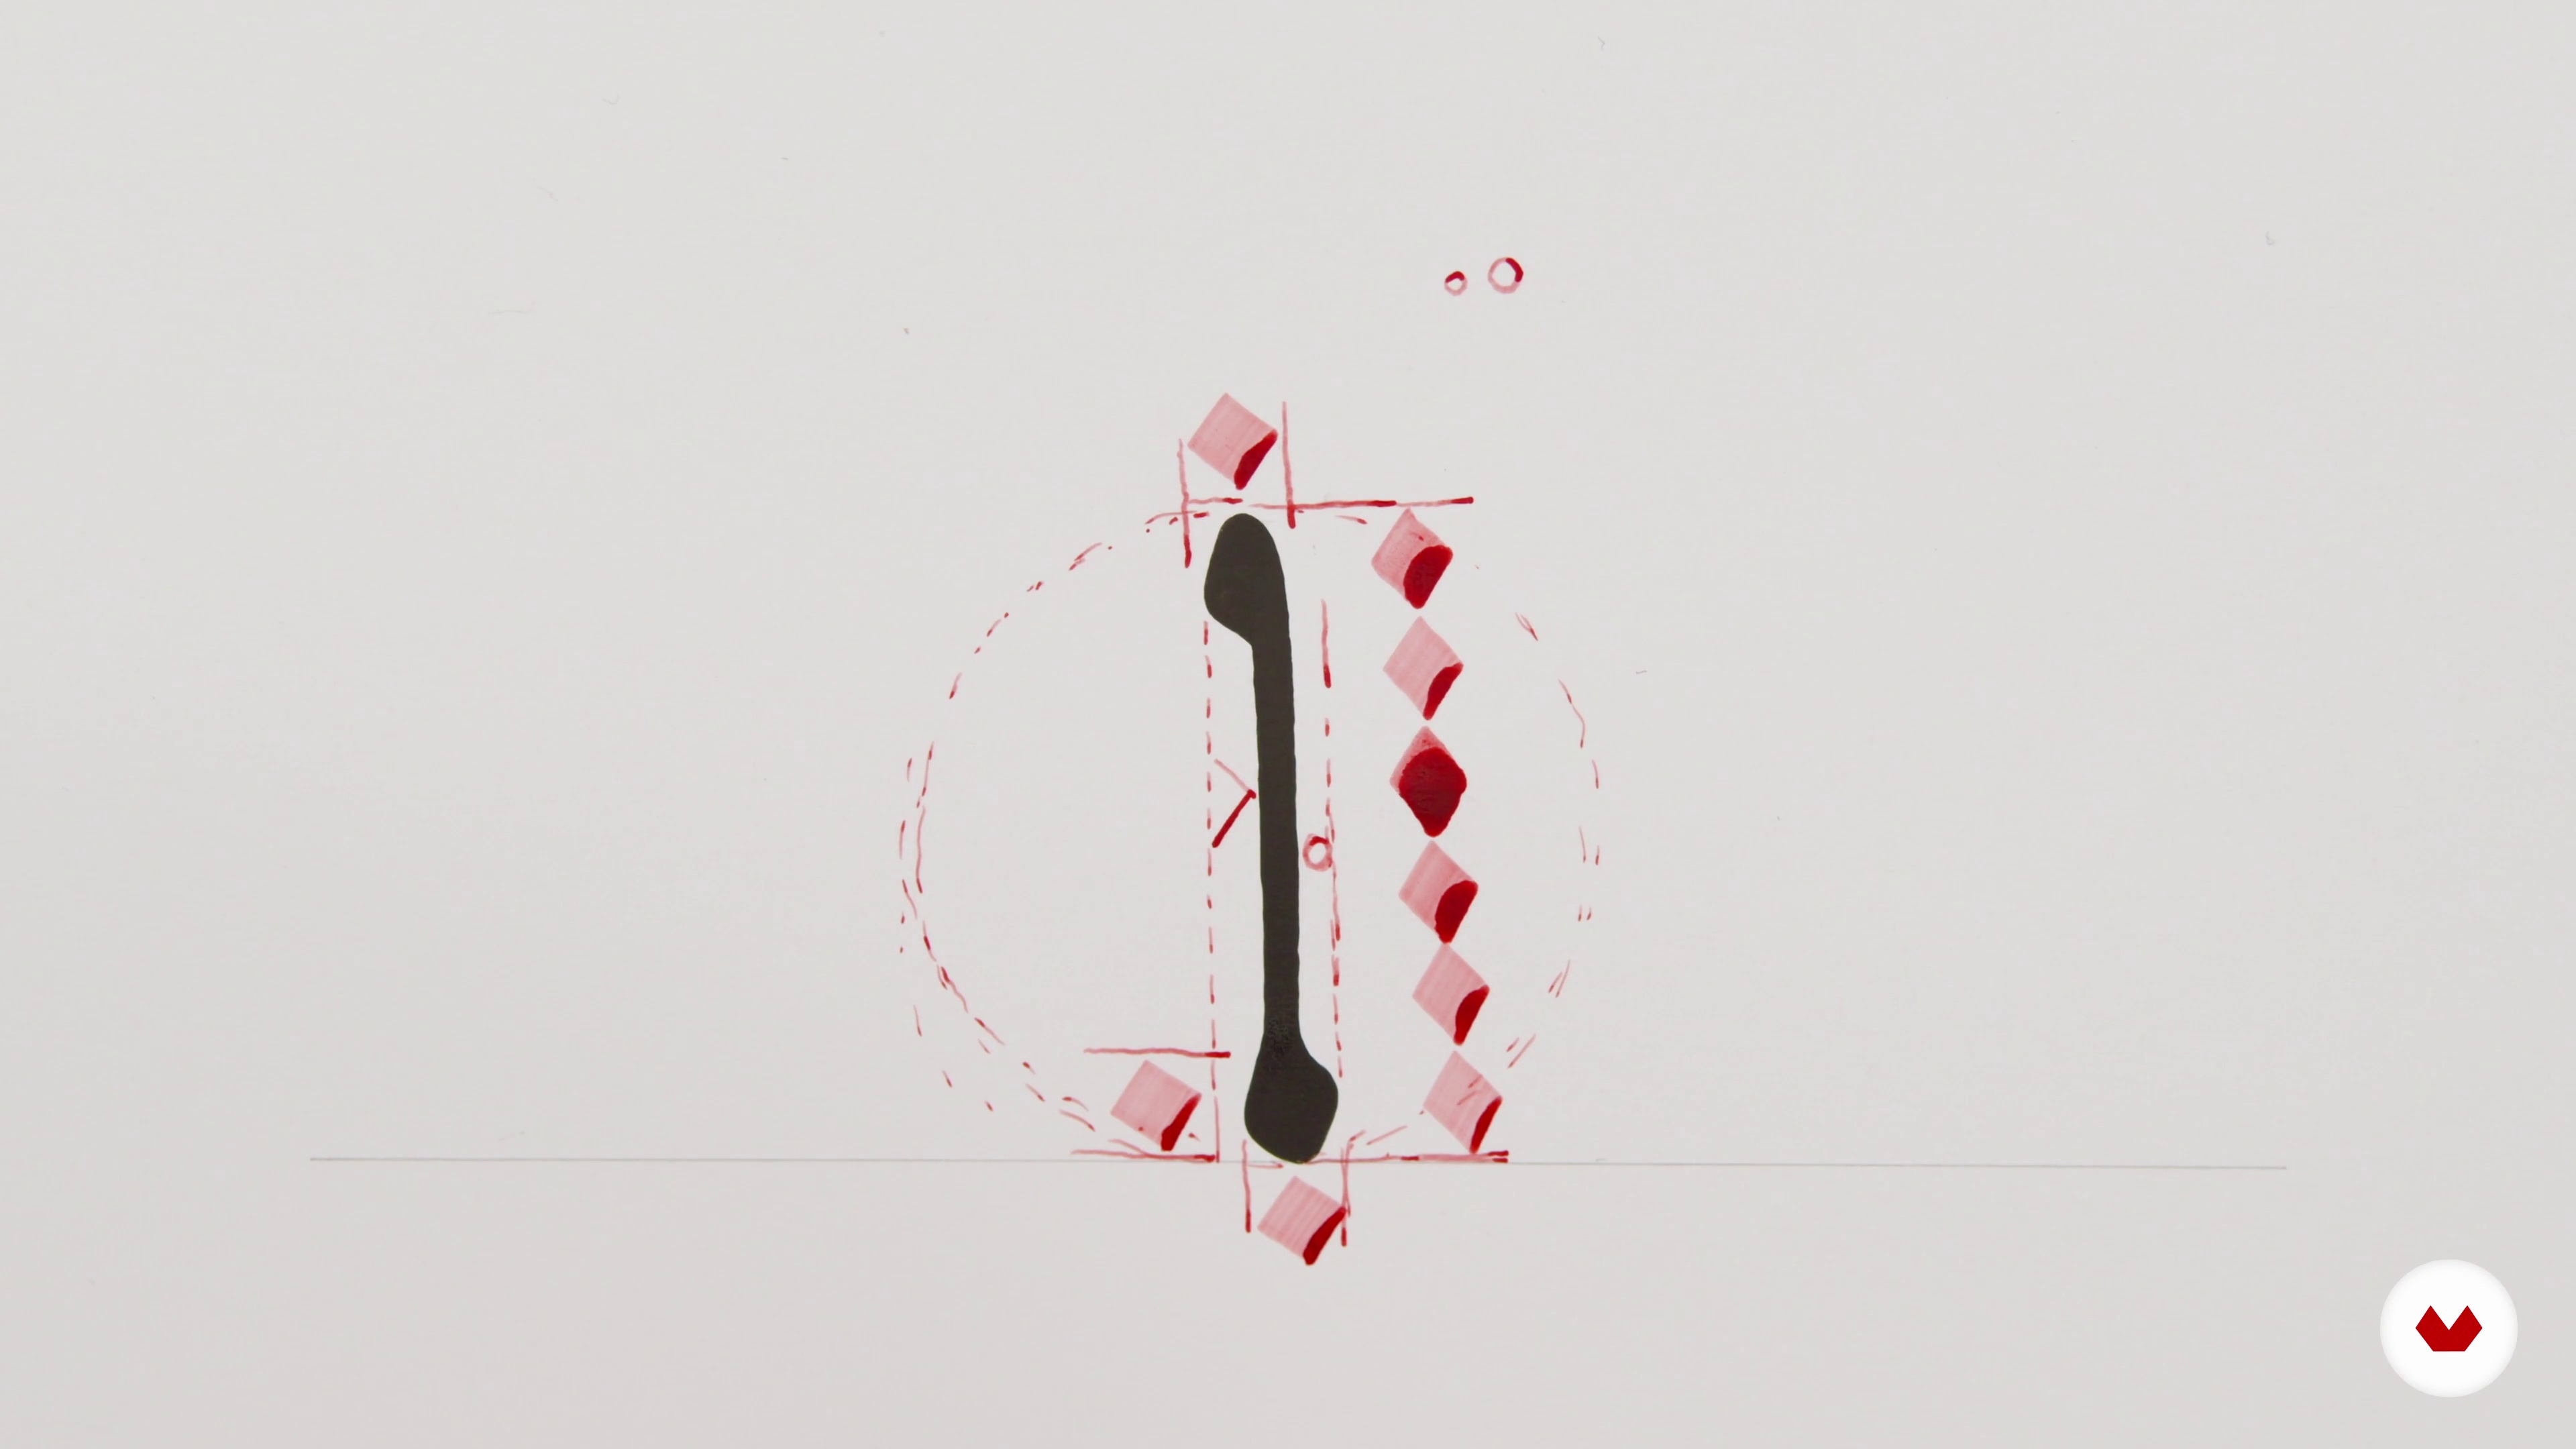
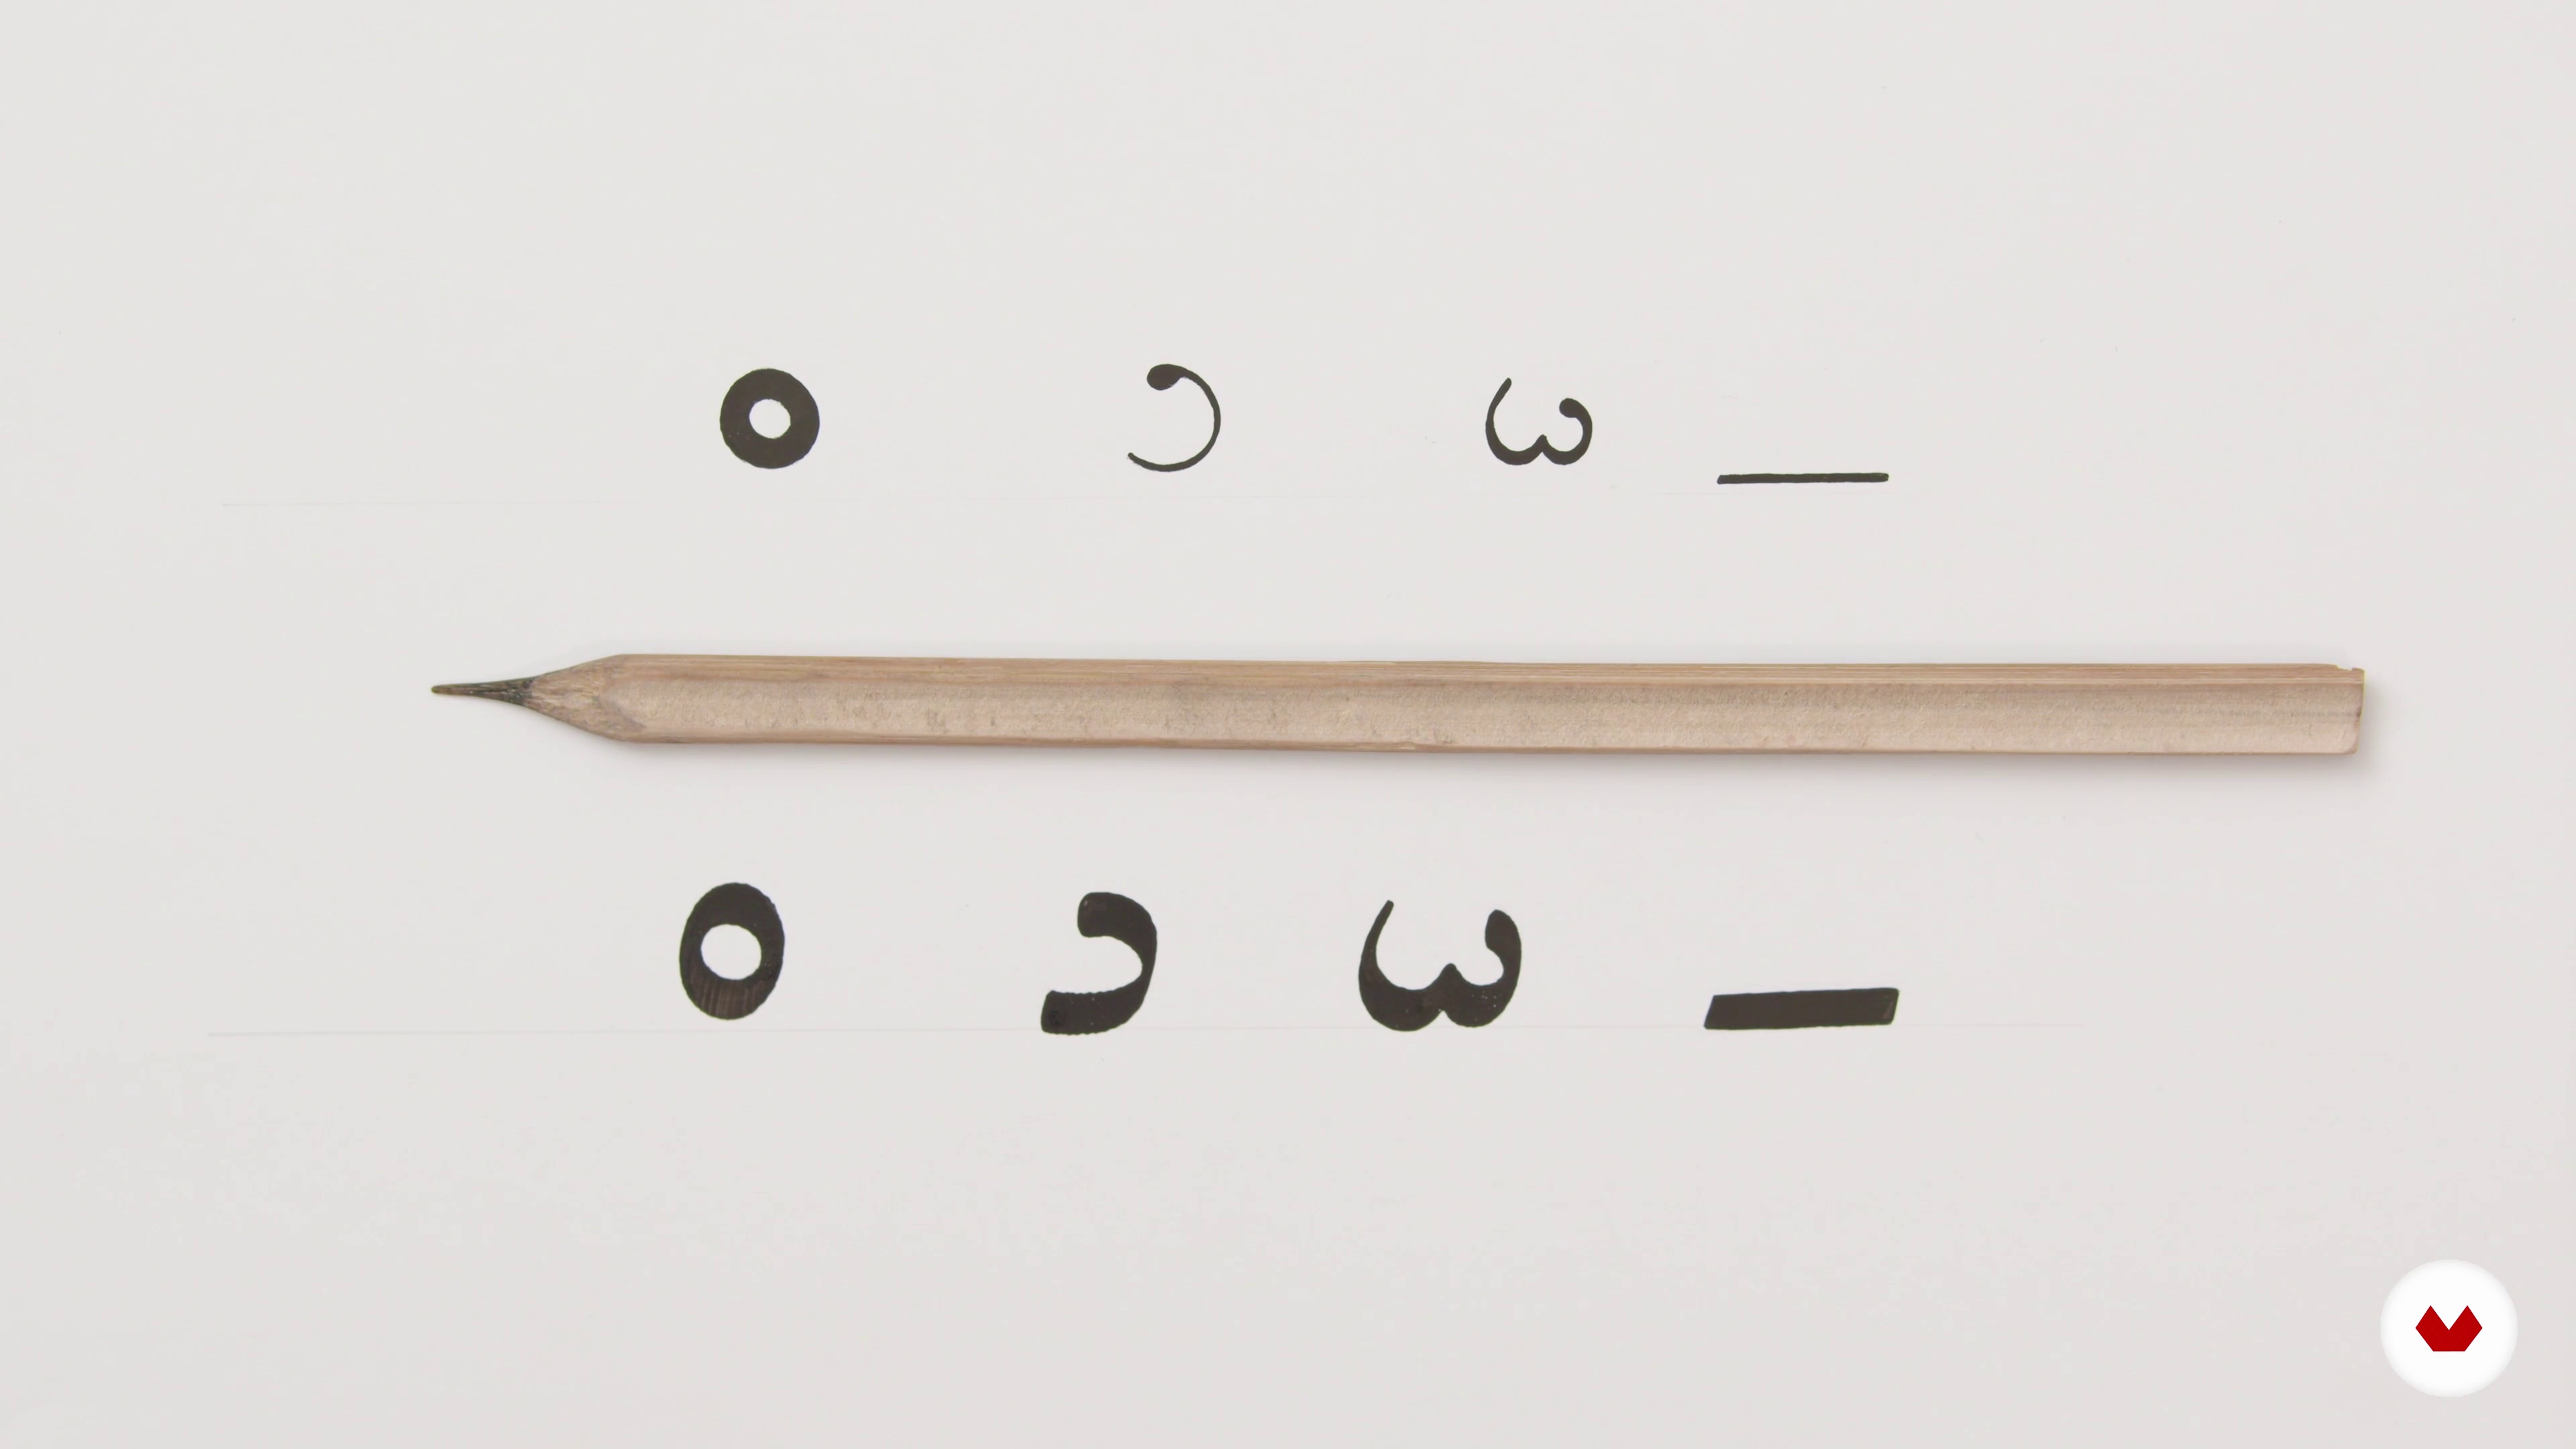
5The Dot System
The letters in Arabic calligraphy are based on a nukta (dot) system. Let’s talk about how this system is used to achieve balance and aesthetical values in calligraphy.
7m
 6
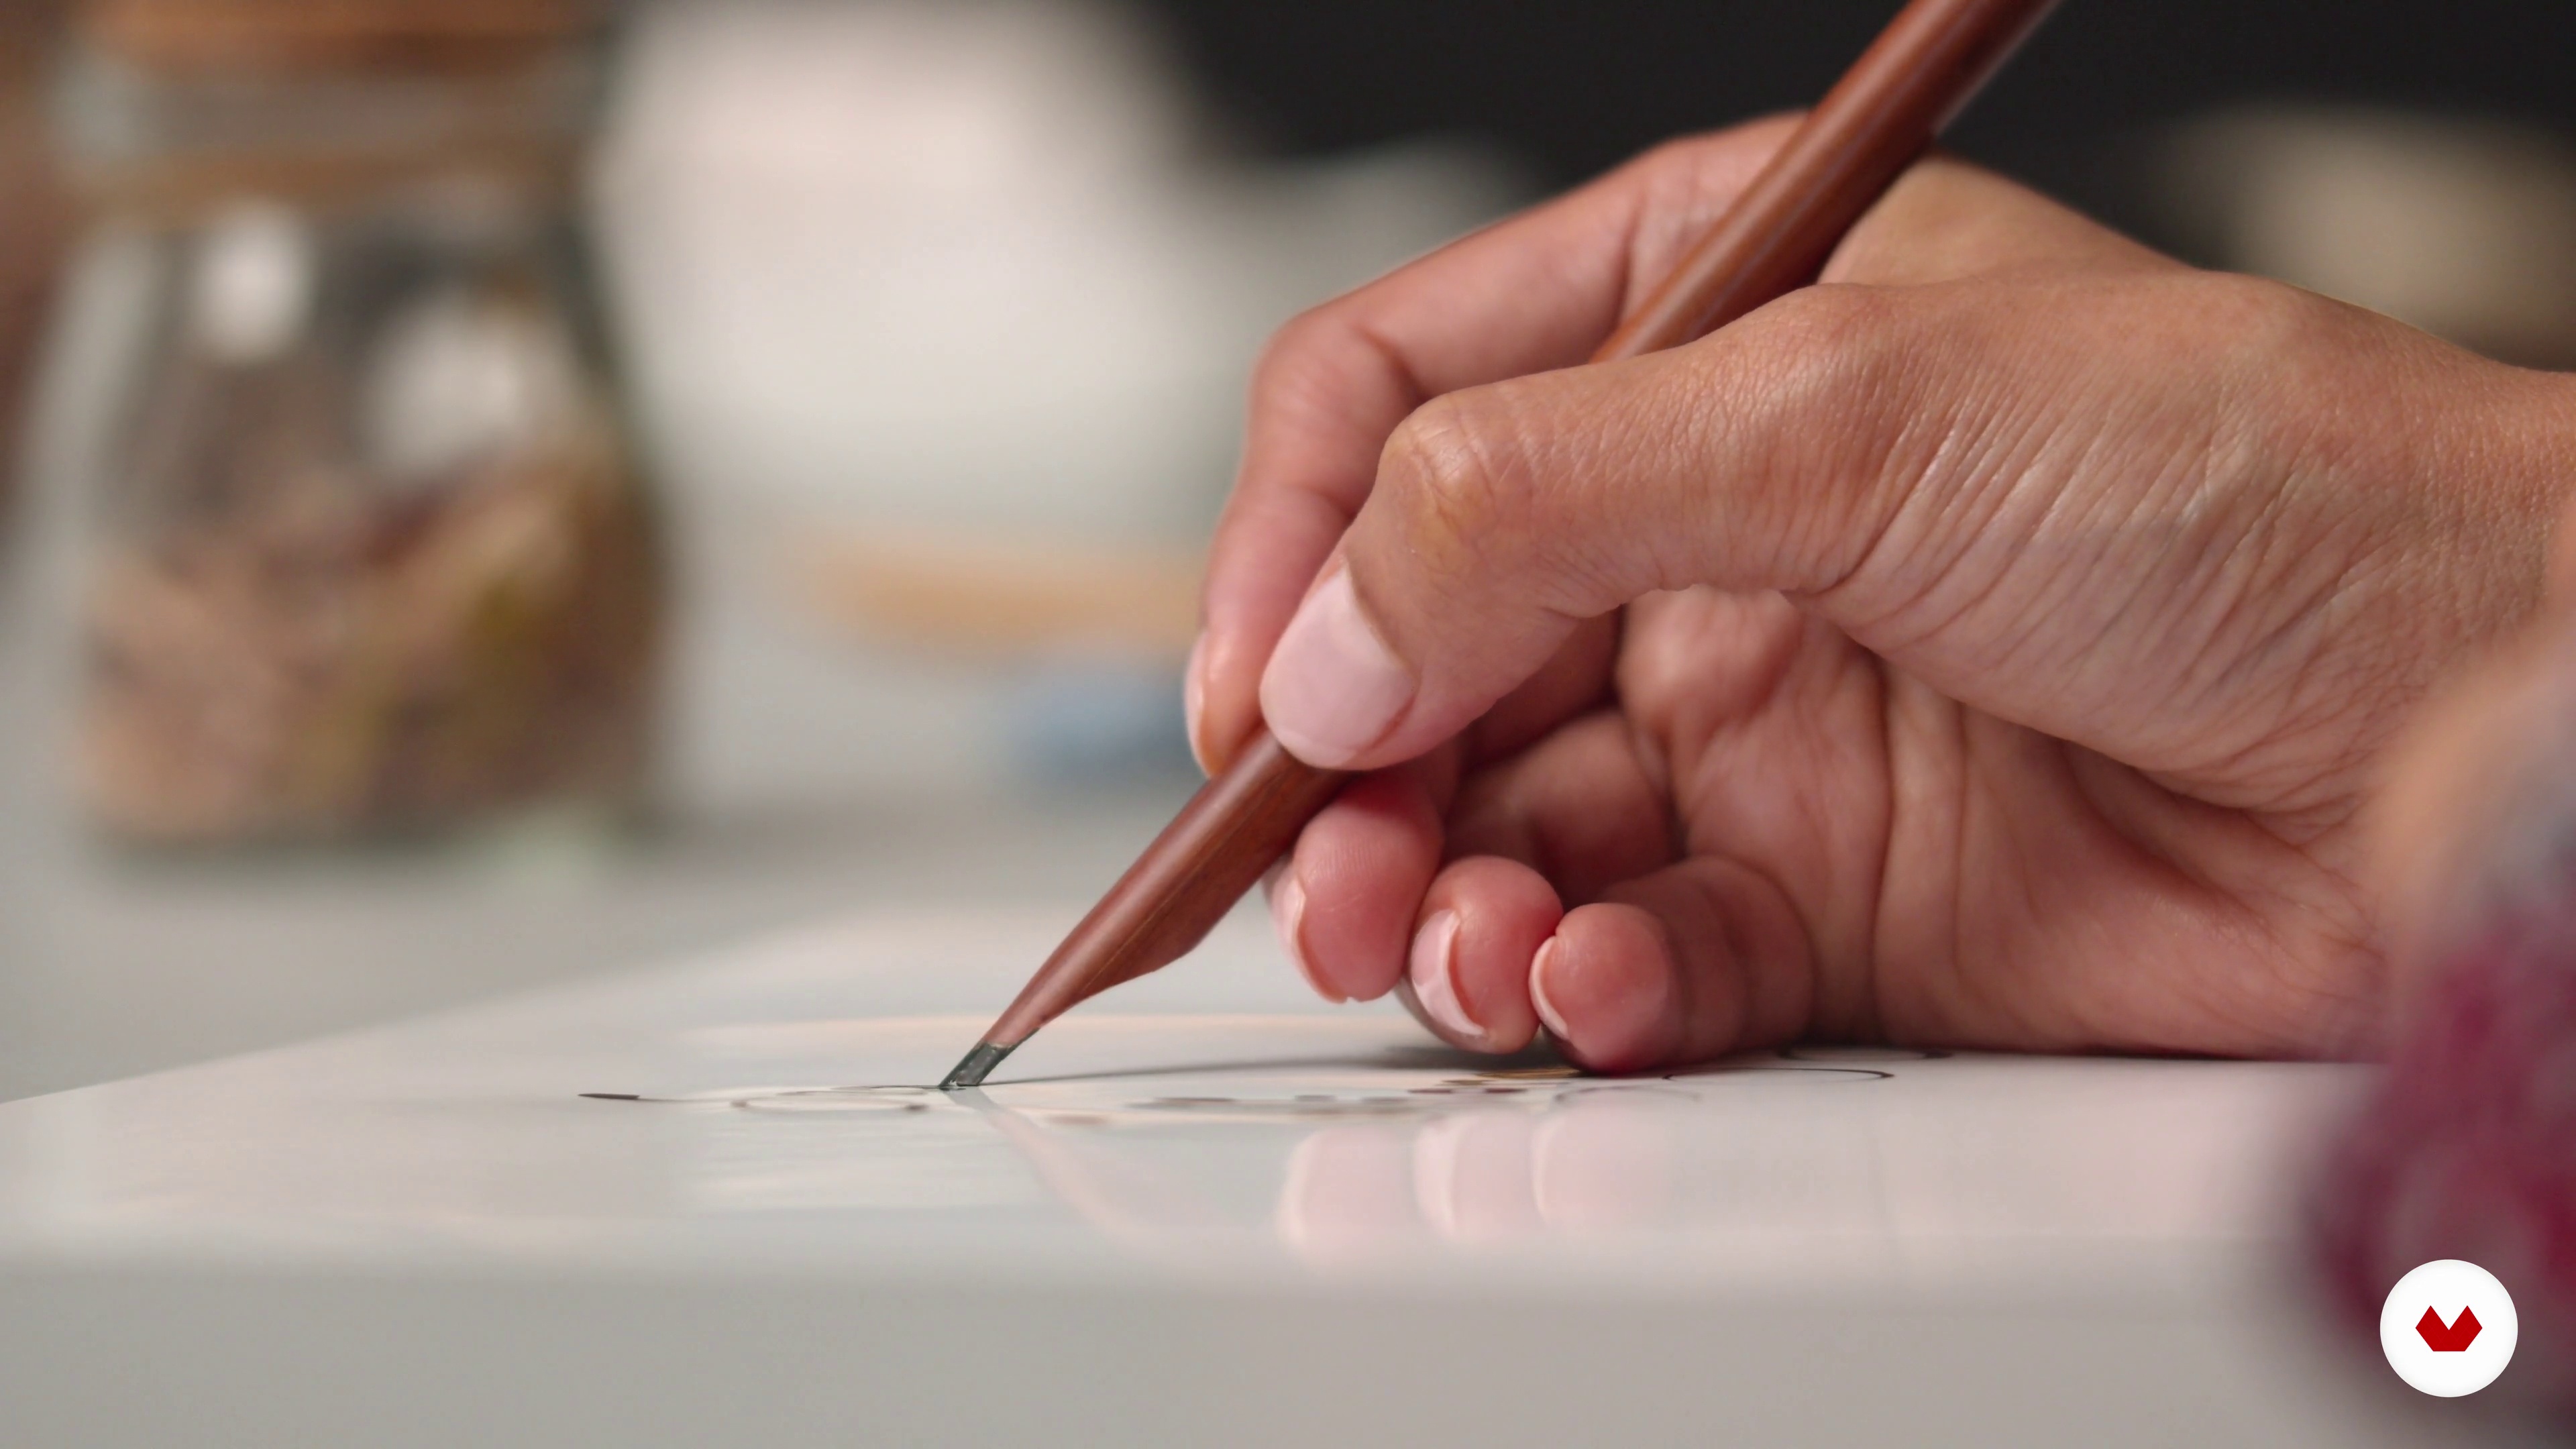
6The Letters: Alif, Baa, Jeem, Daal 1
In this lesson, I'm going to start by showing how to write the first Arabic letter, Alif, followed by the letters Baa, Jeem, and Daal.
9m
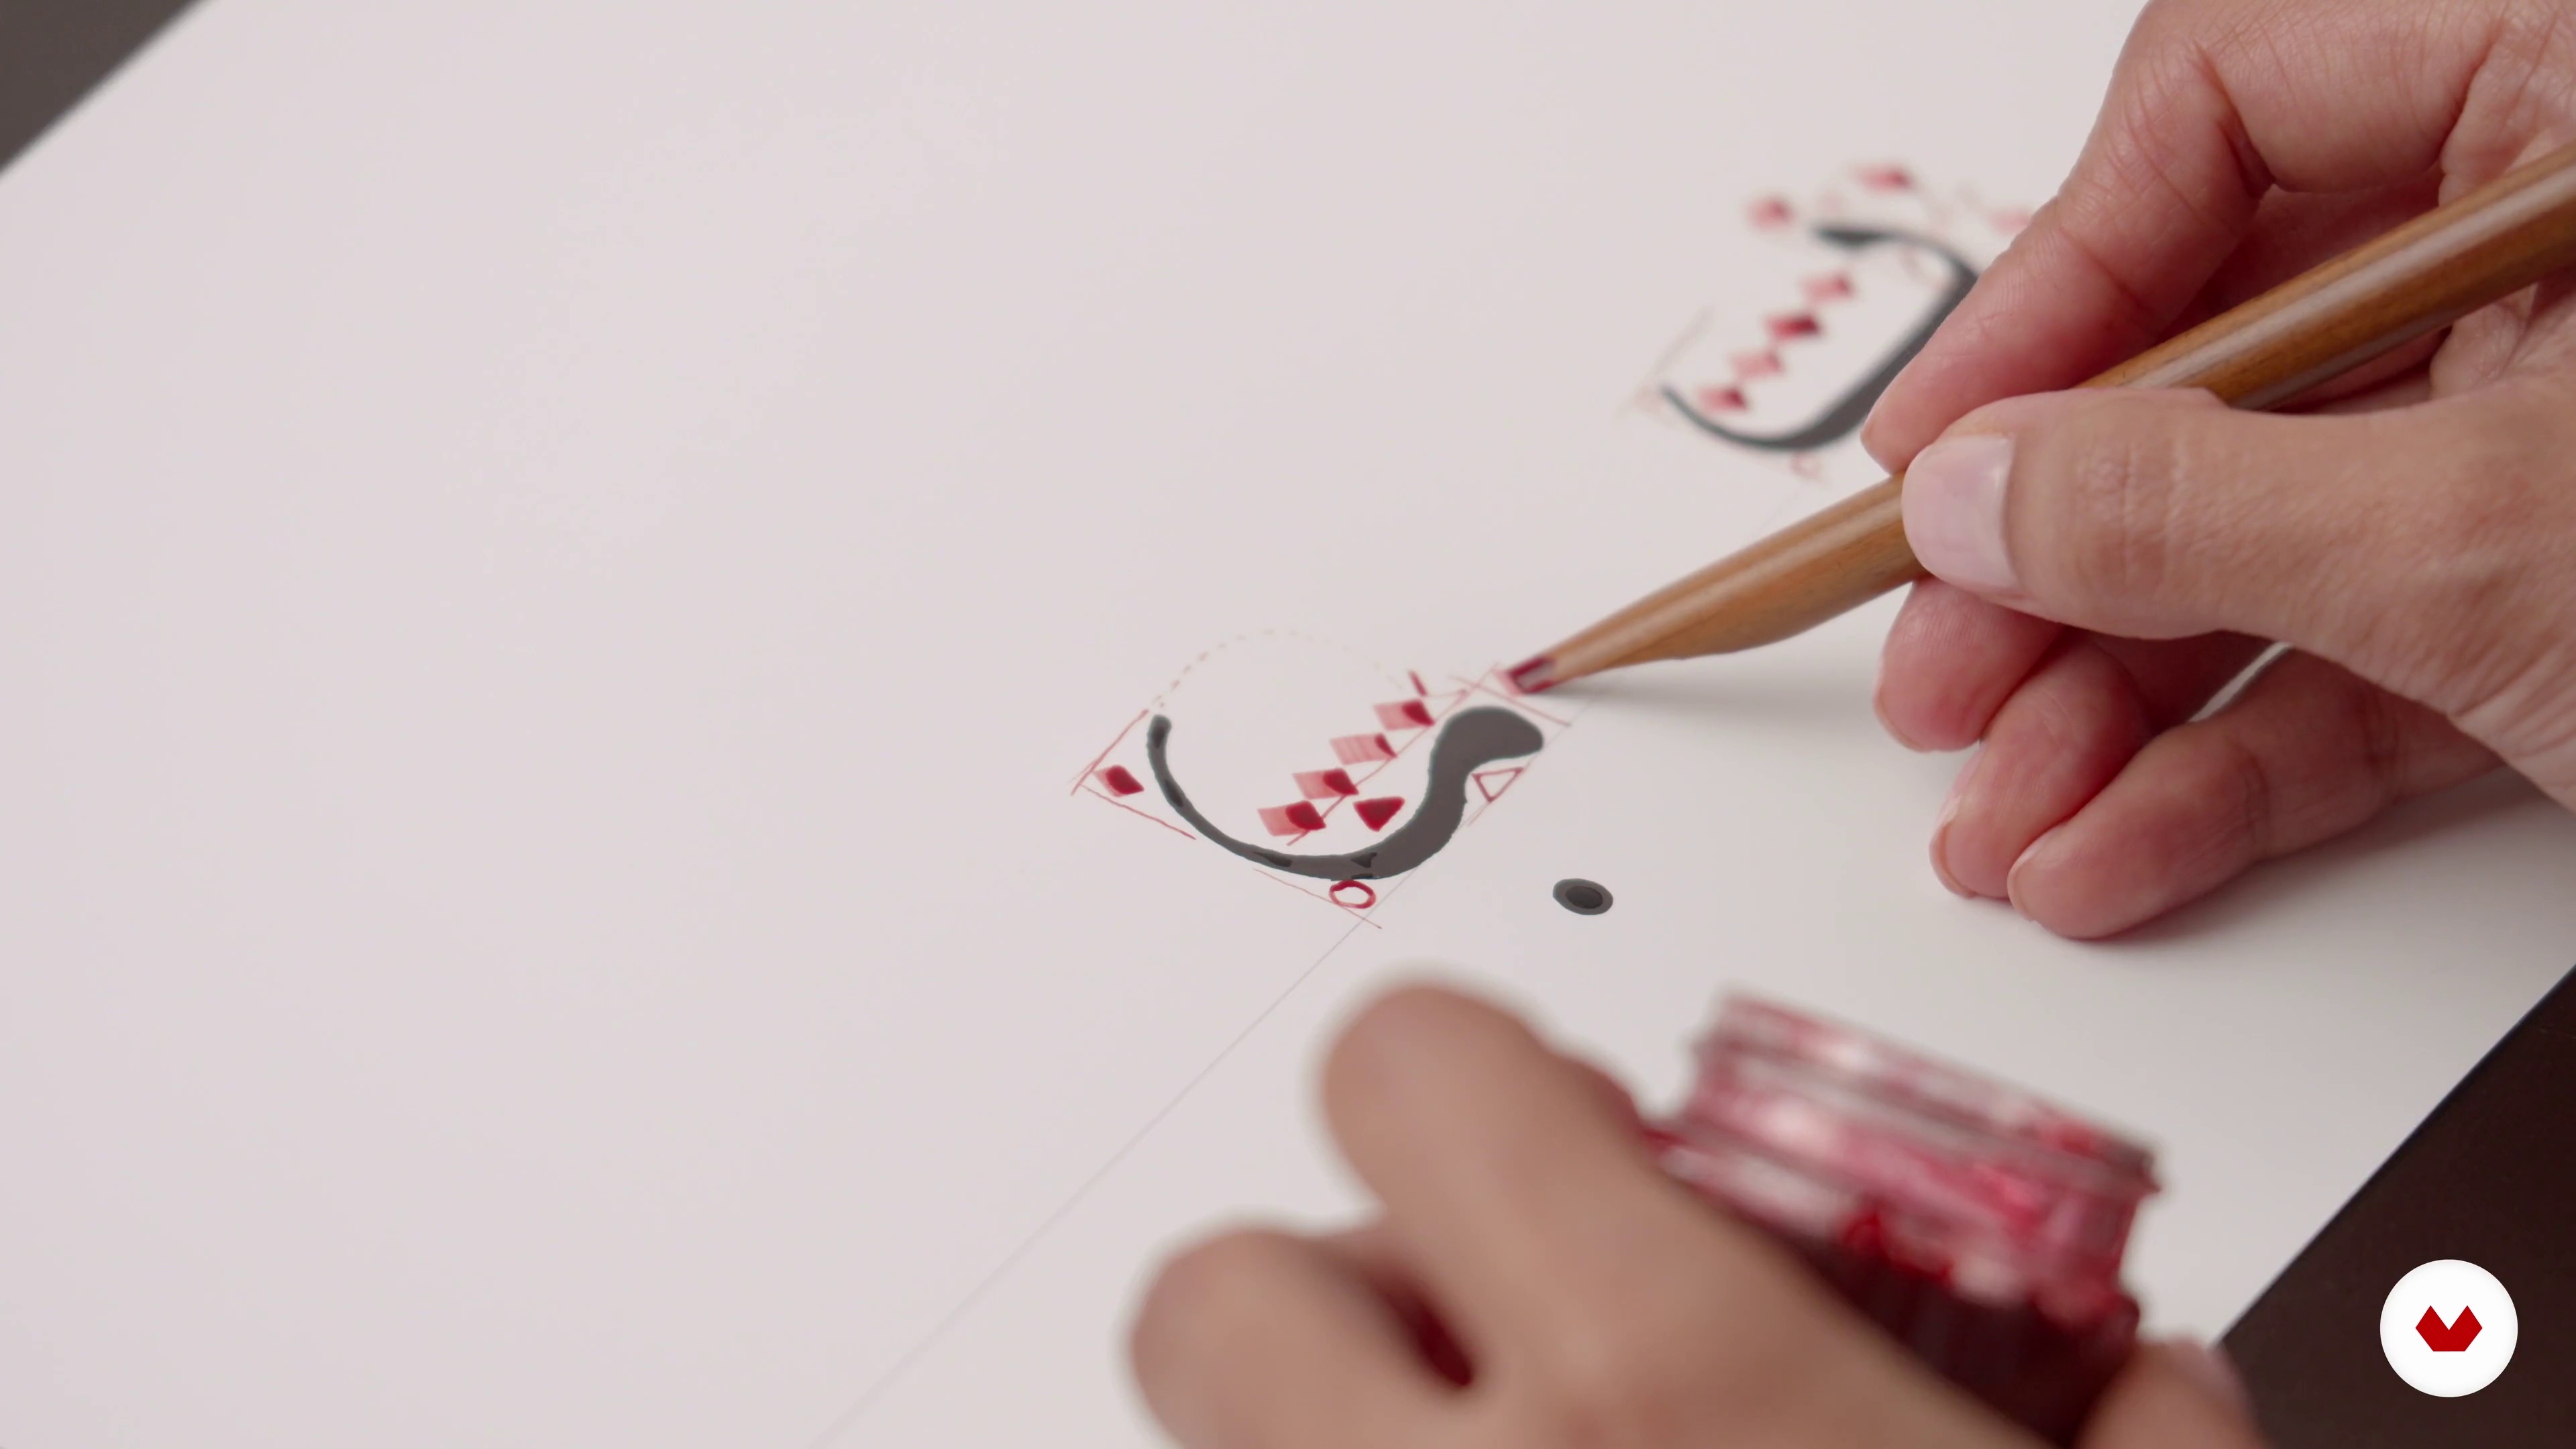 7
7The Letters: Alif, Baa, Jeem, Daal 2
Now I will continue the lesson with Baa, Jeem, and Daal.
13m
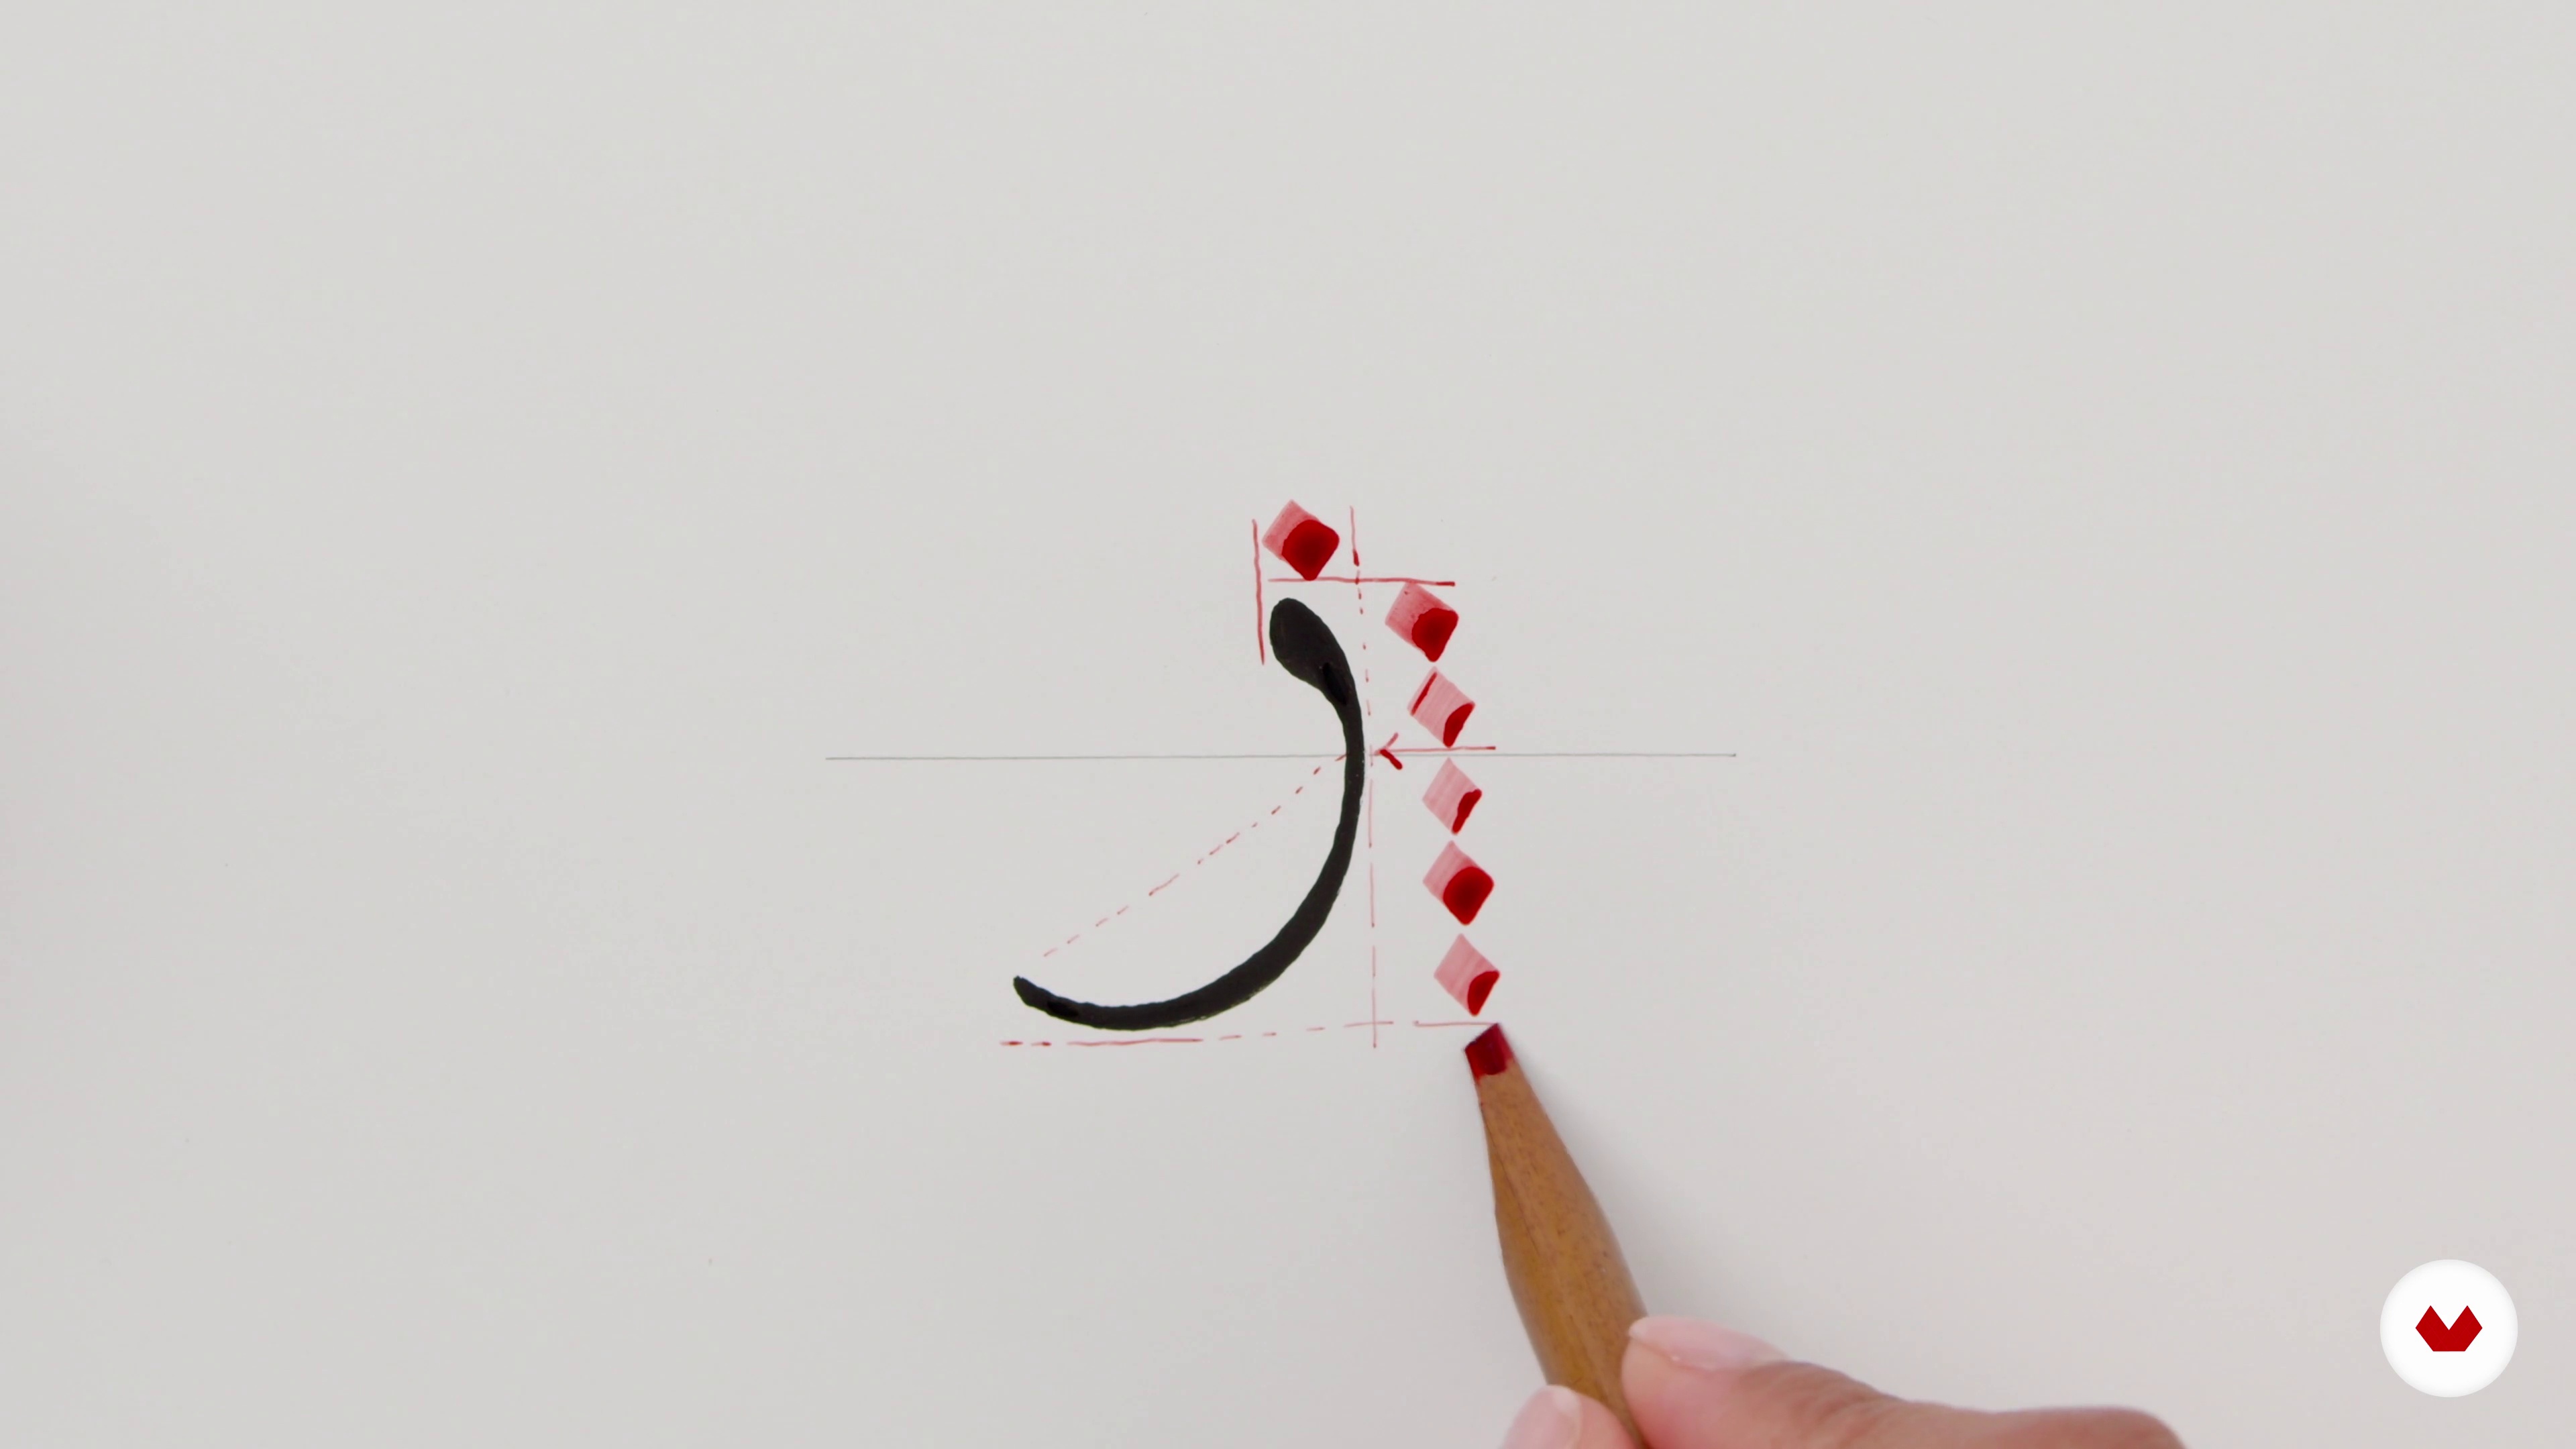 8
8The Letters: Raa, Seen, Saad, Twa 1
In this lesson, I am going to show how to write the letters Raa, Seen, Saad and Twa.
12m
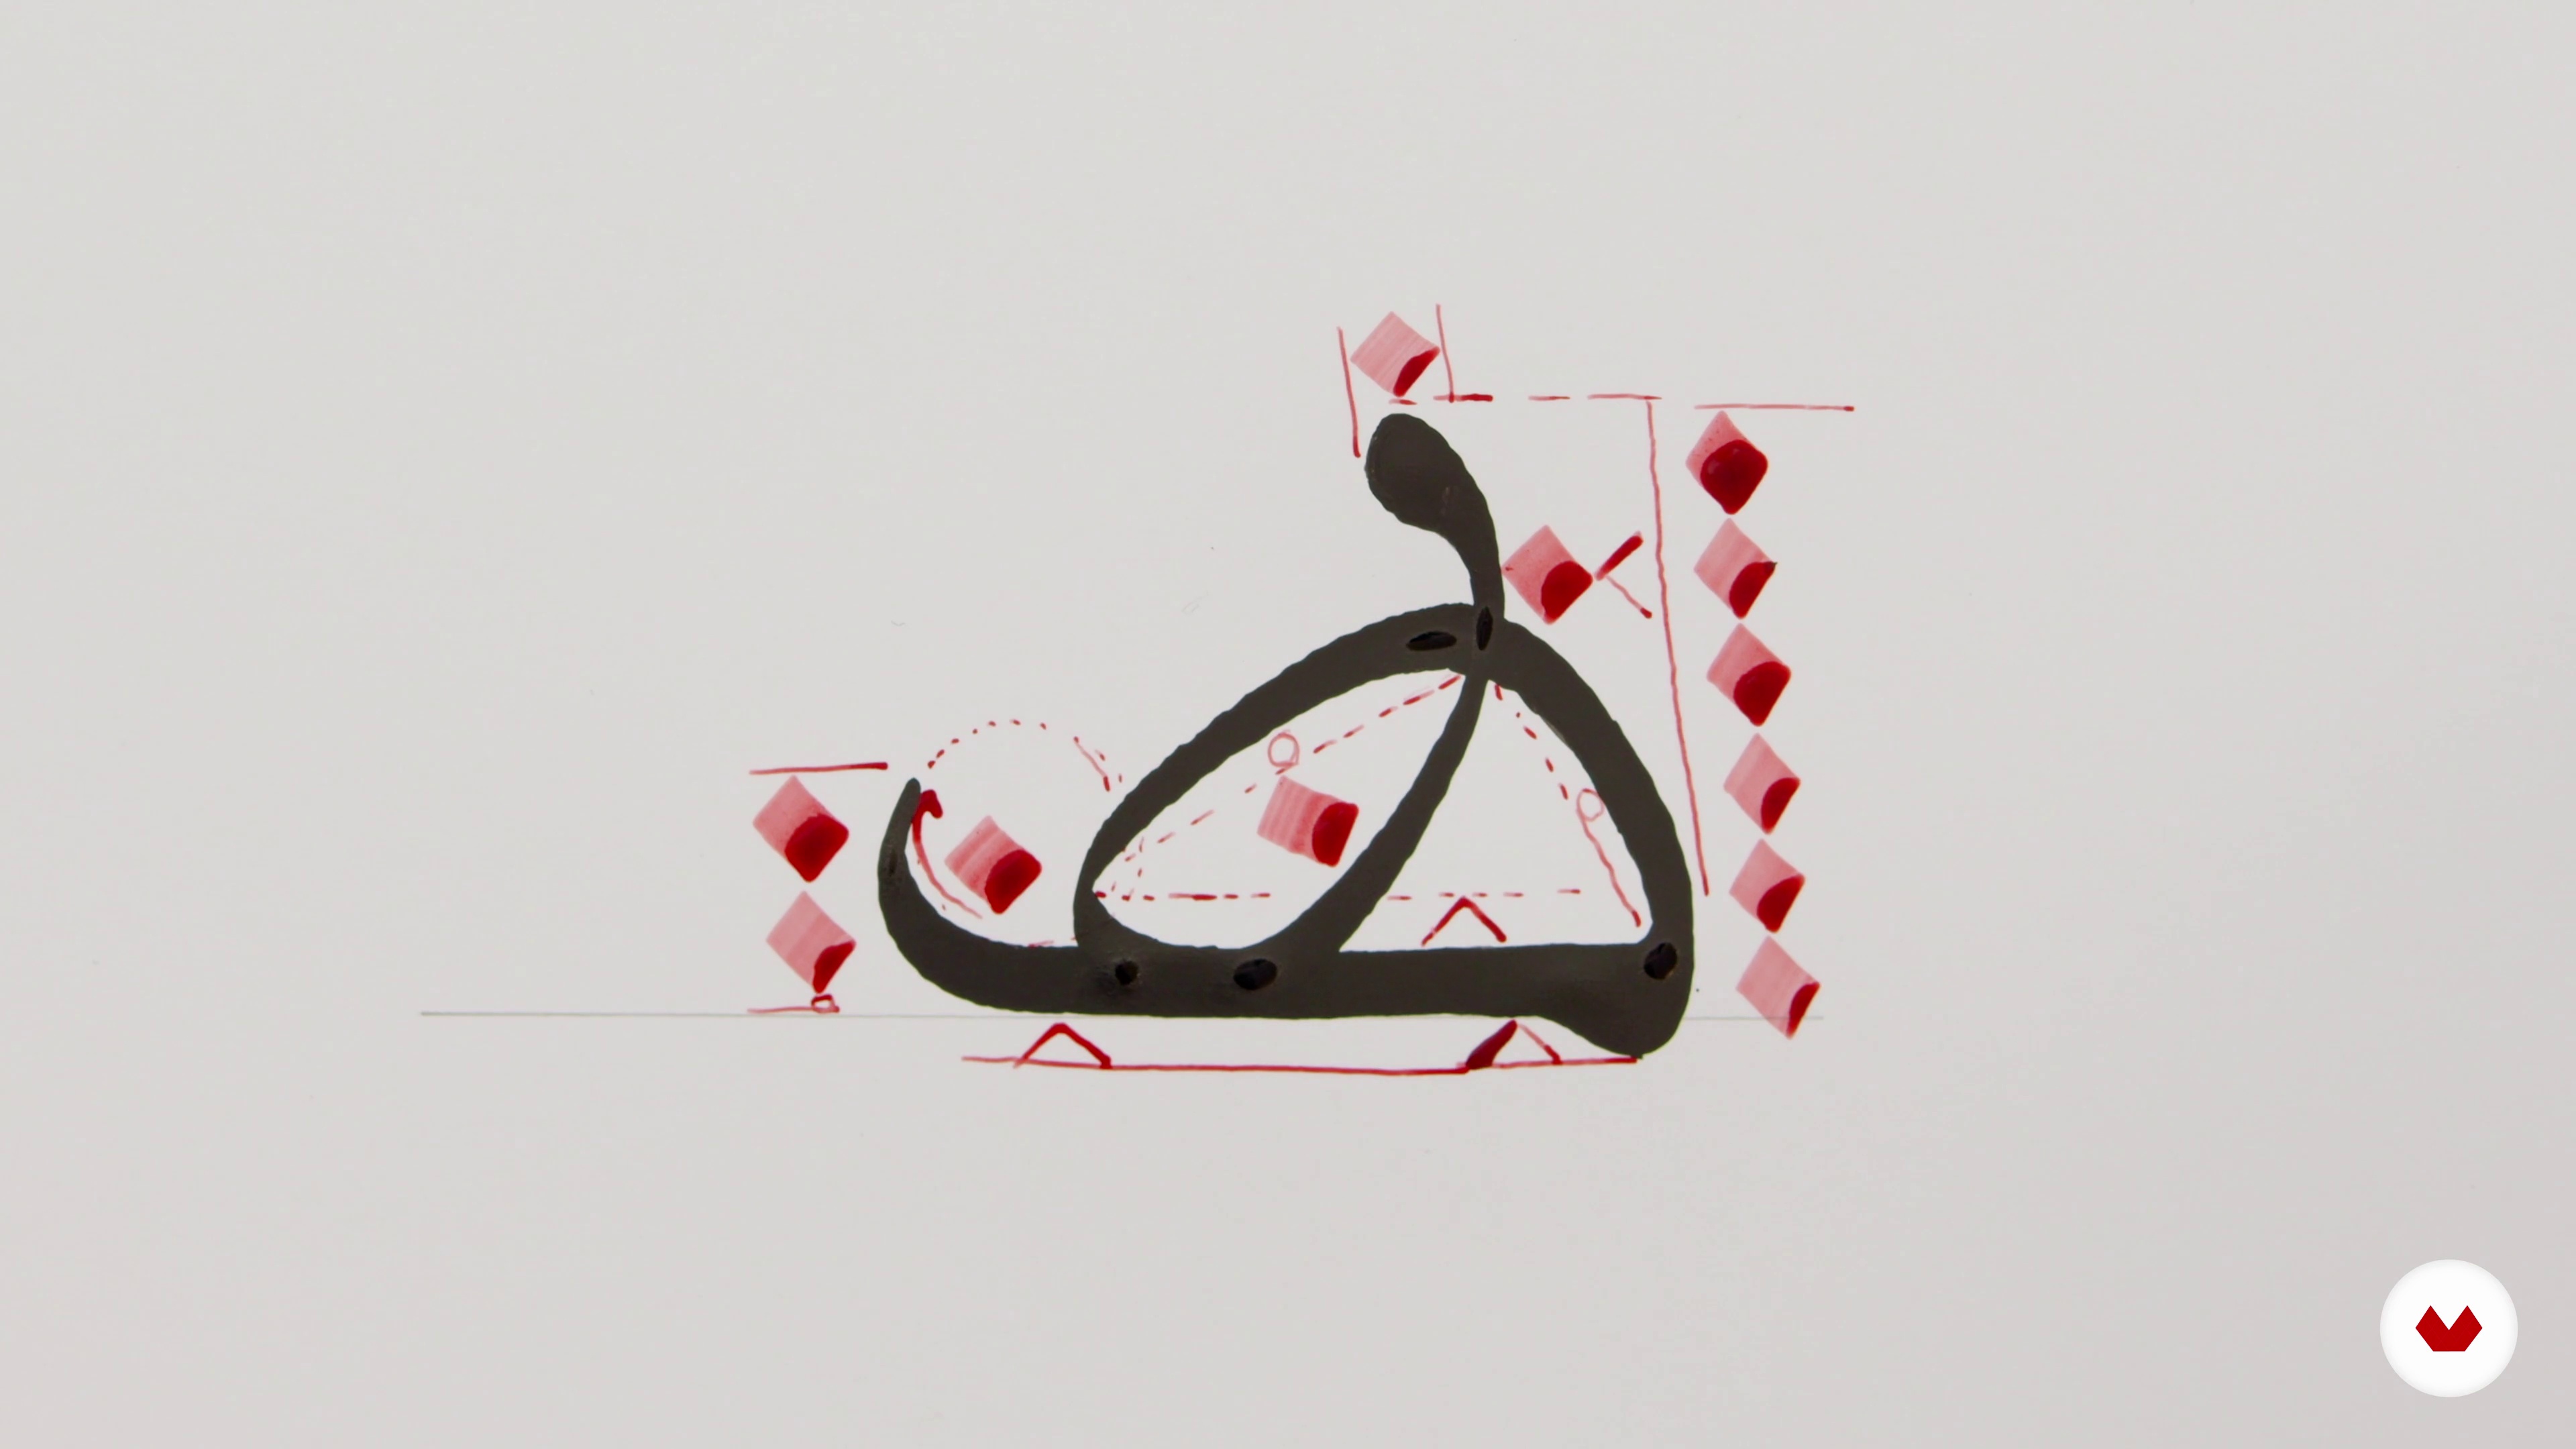 9
9The Letters: Raa, Seen, Saad, Twa 2
In the second part of this lesson, I will focus on the letters Saad and Twa.
9m
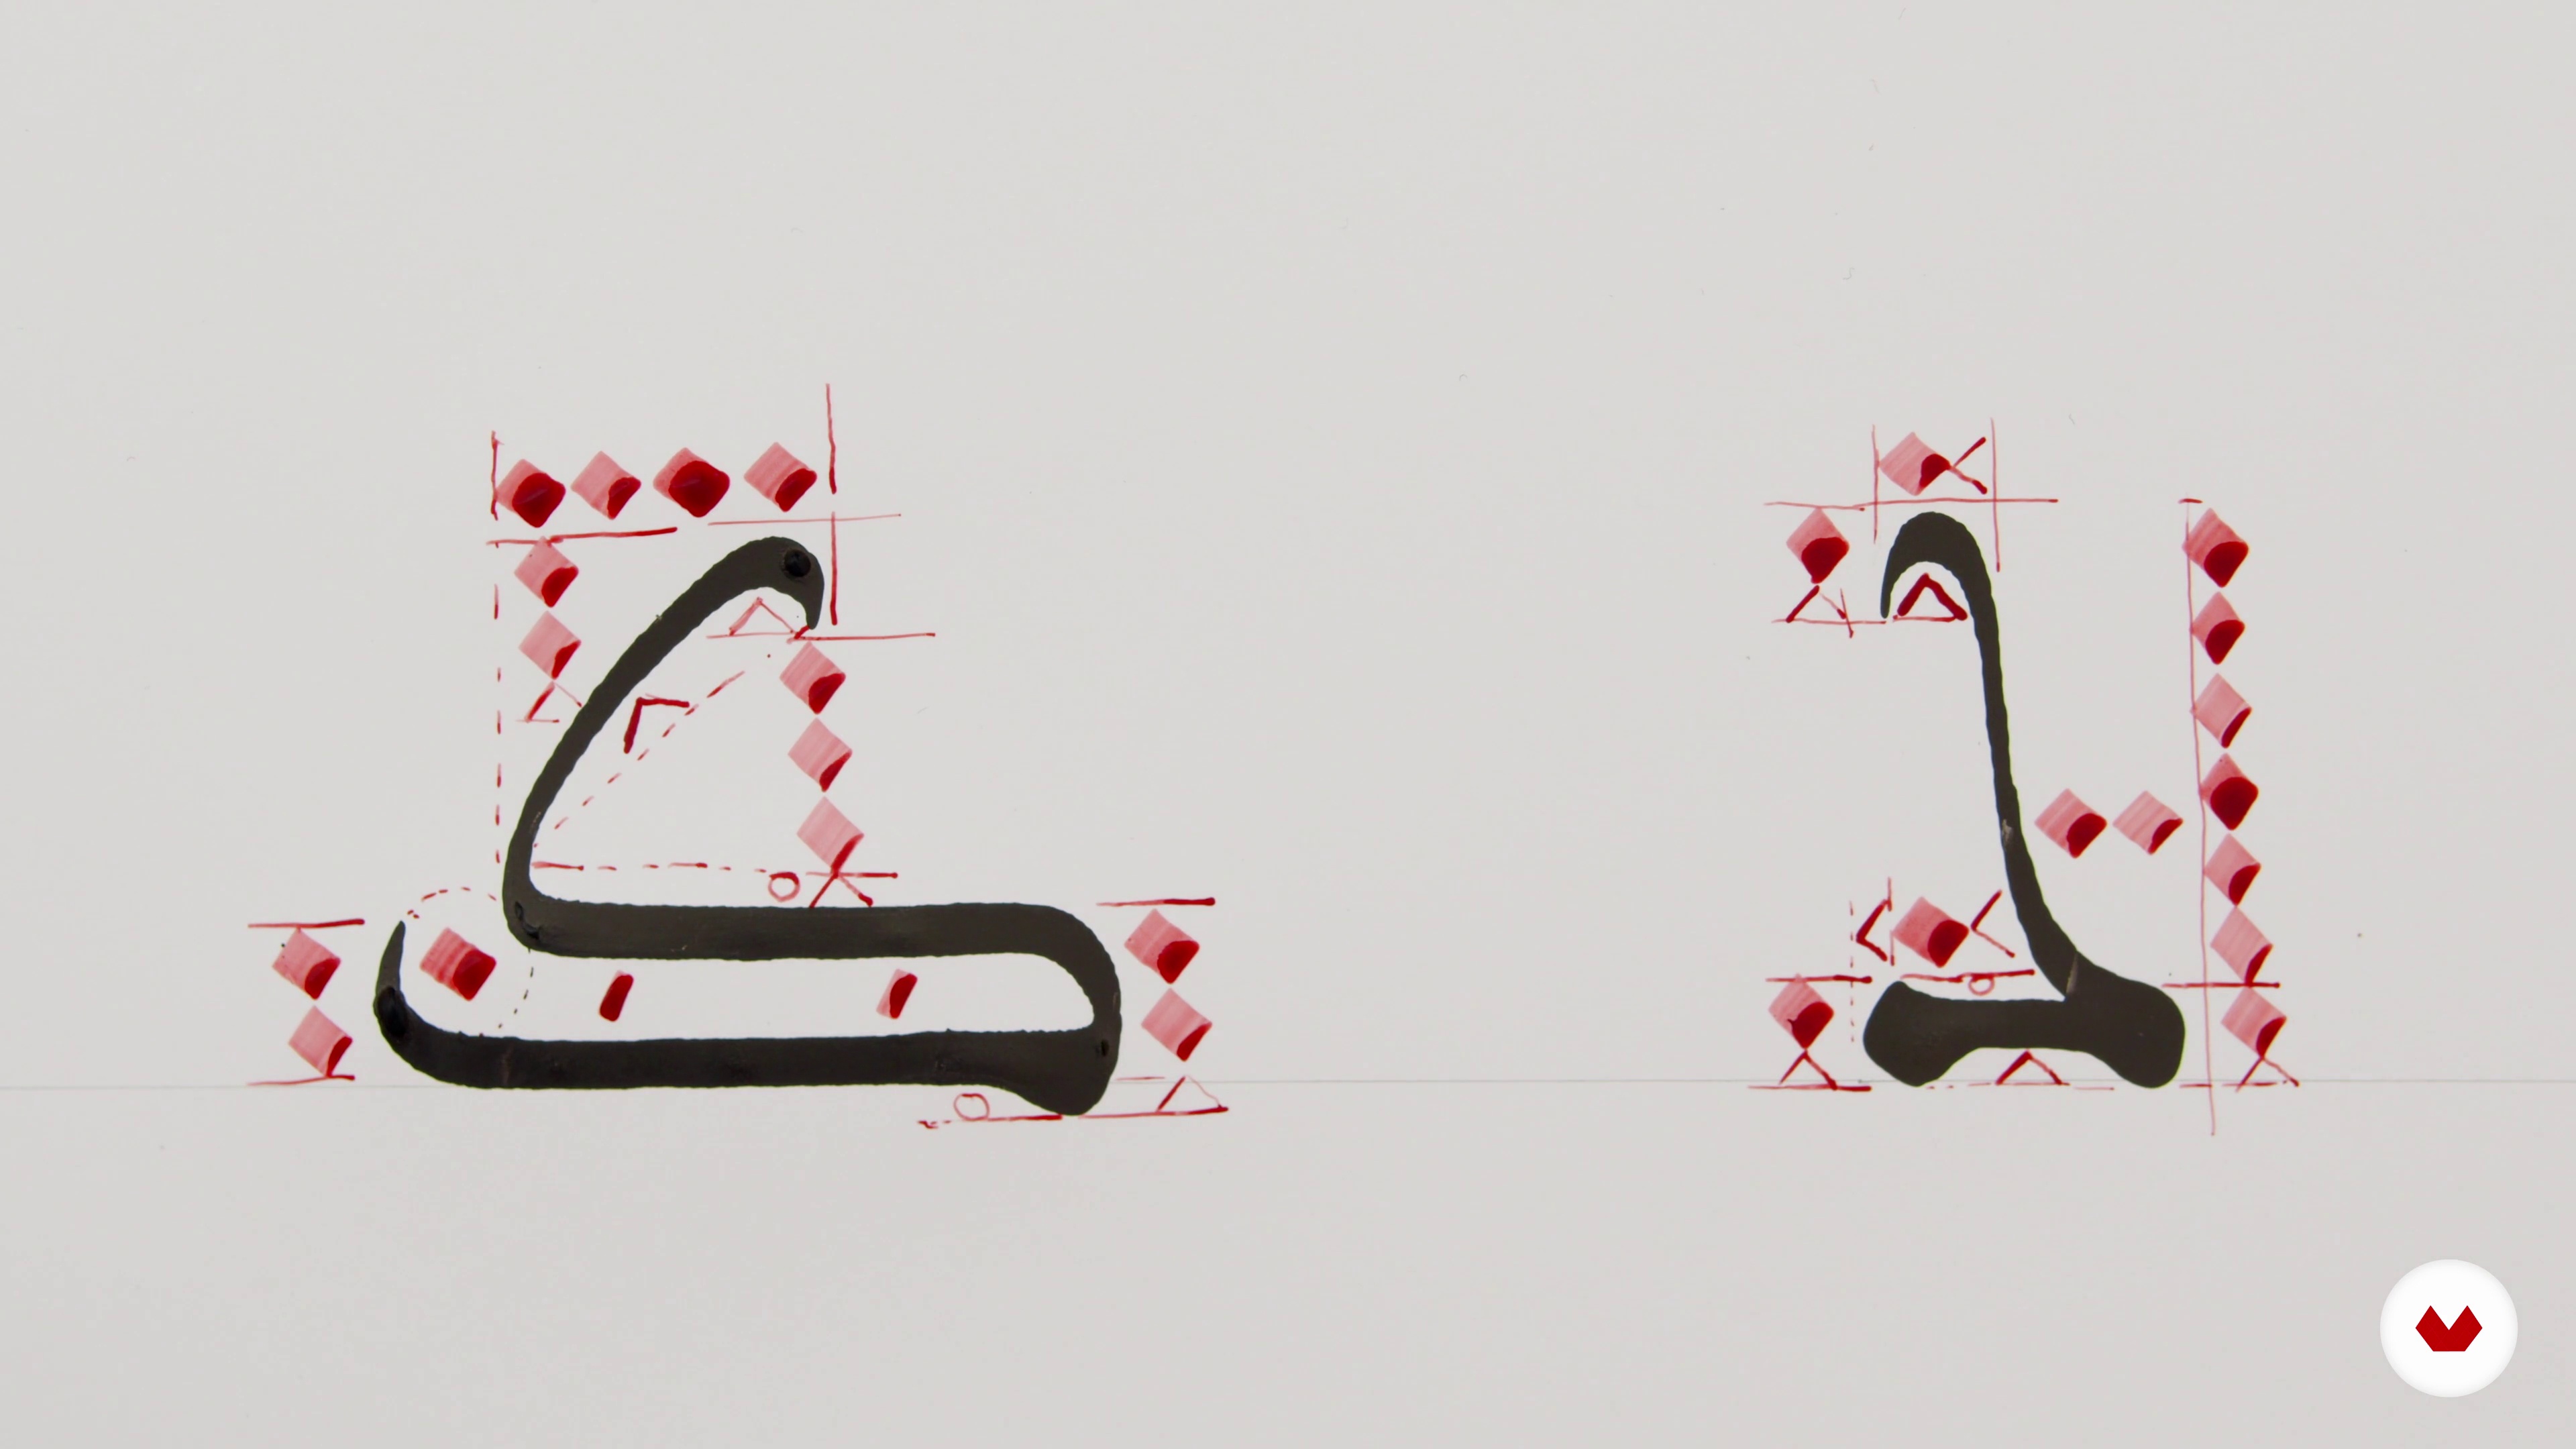 10
10The Letters: Ayn, Faa, Qaaf, Kaaf
Moving forward with the letters in a sequence, it’s time to learn how to write the following: Ayn, Faa, Qaaf, Kaaf.
17m
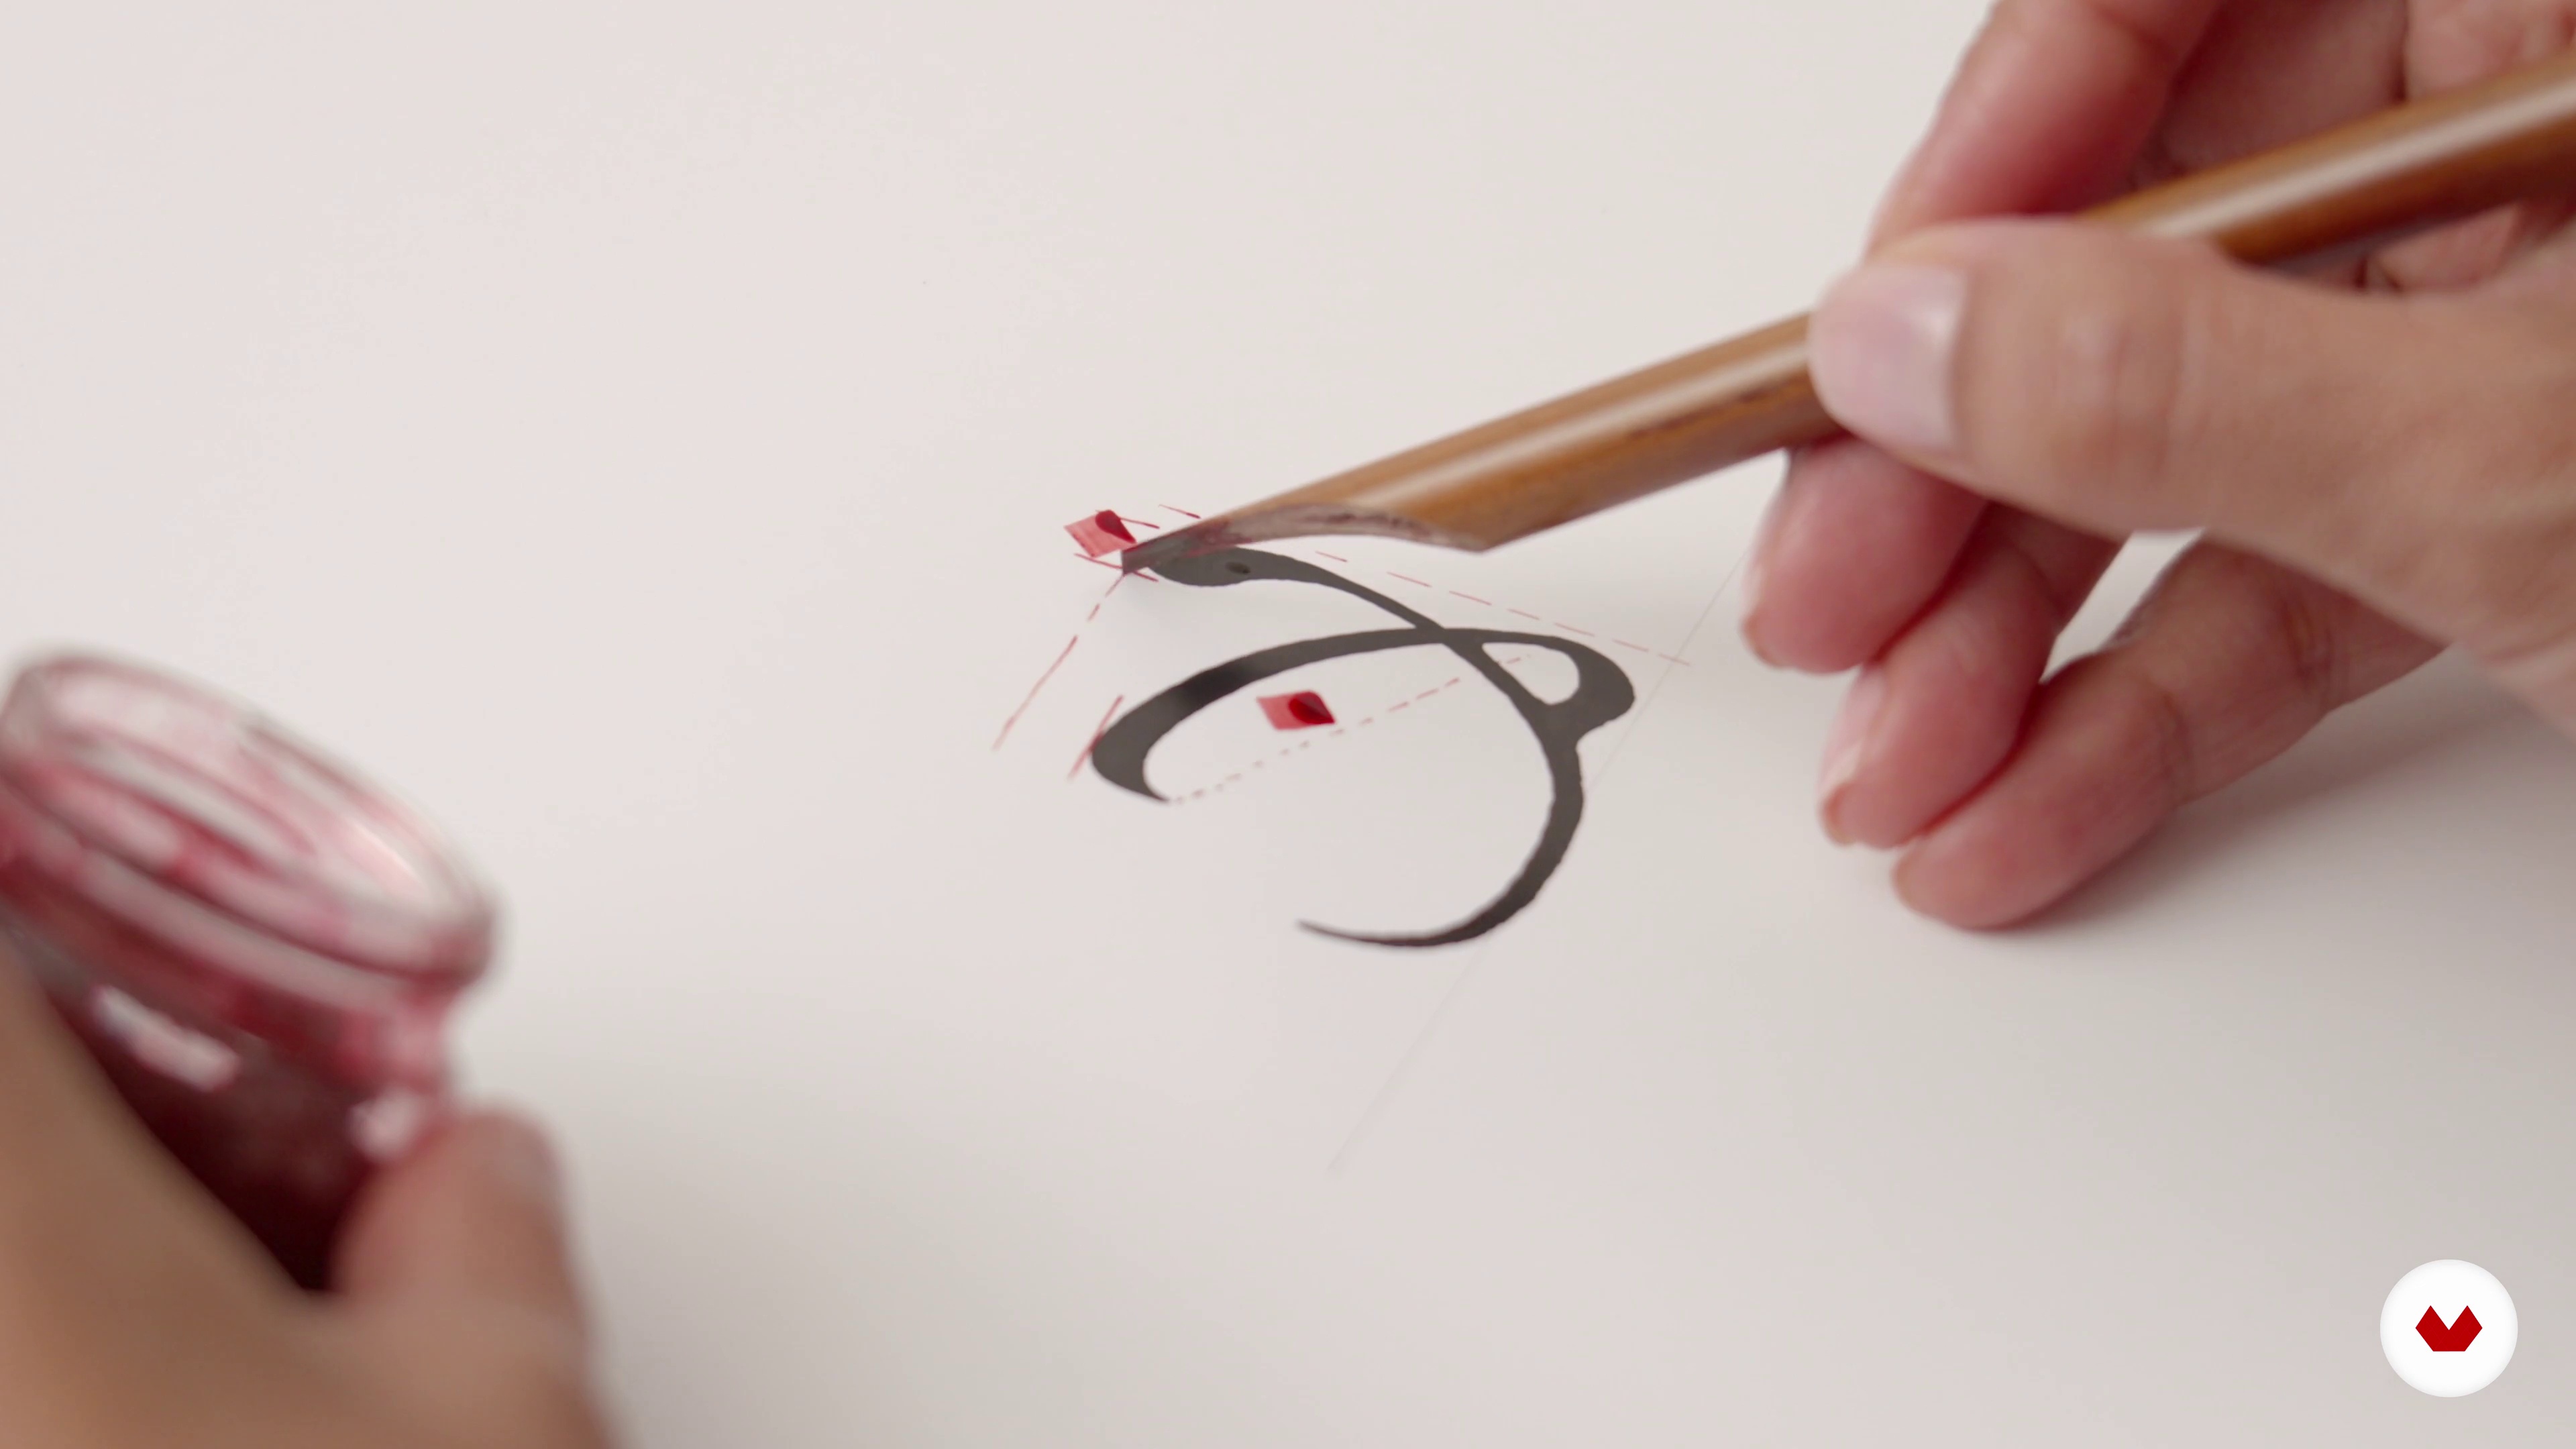 11
11The Letters: Laam, Laam Alif, Meem, Noon, Waw 1
Here I am going to show you how to write the letters Laam, Laam Alif, Meem, Noon, and Waw.
9m
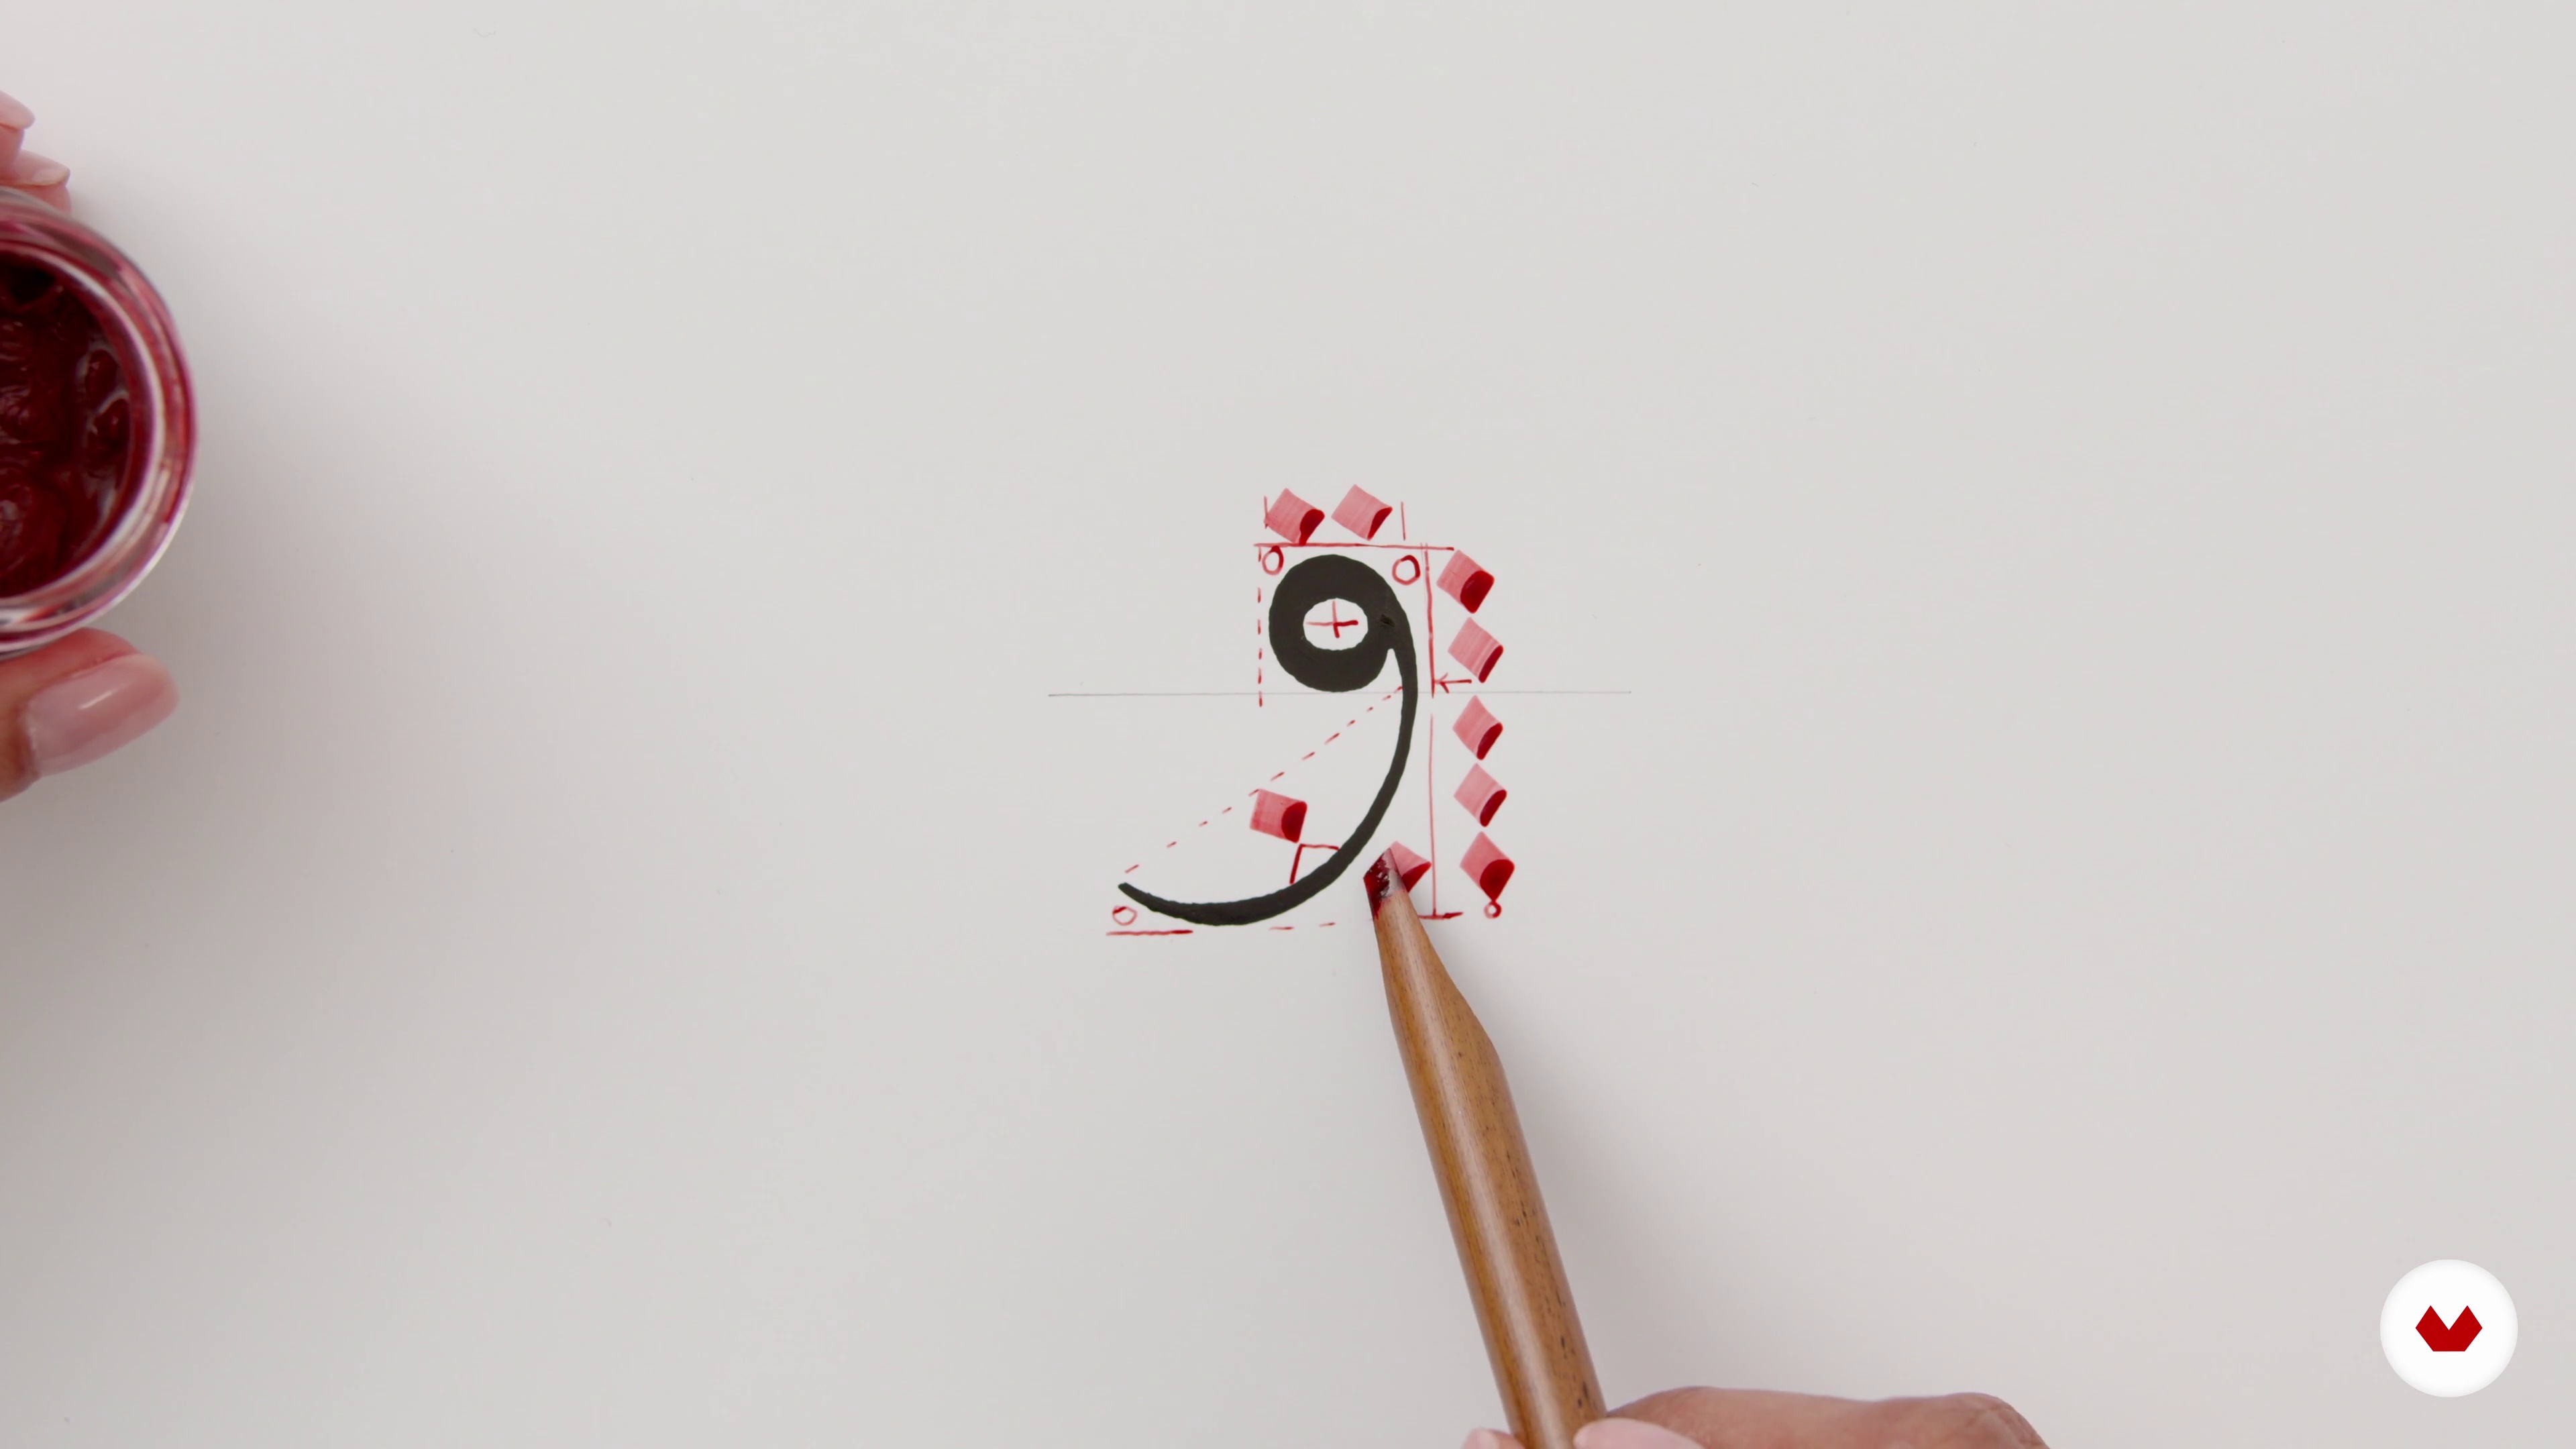 12
12The Letters: Laam, Laam Alif, Meem, Noon, Waw 2
Next, I'm going to write the letters Meem, Noon, and Waw.
11m
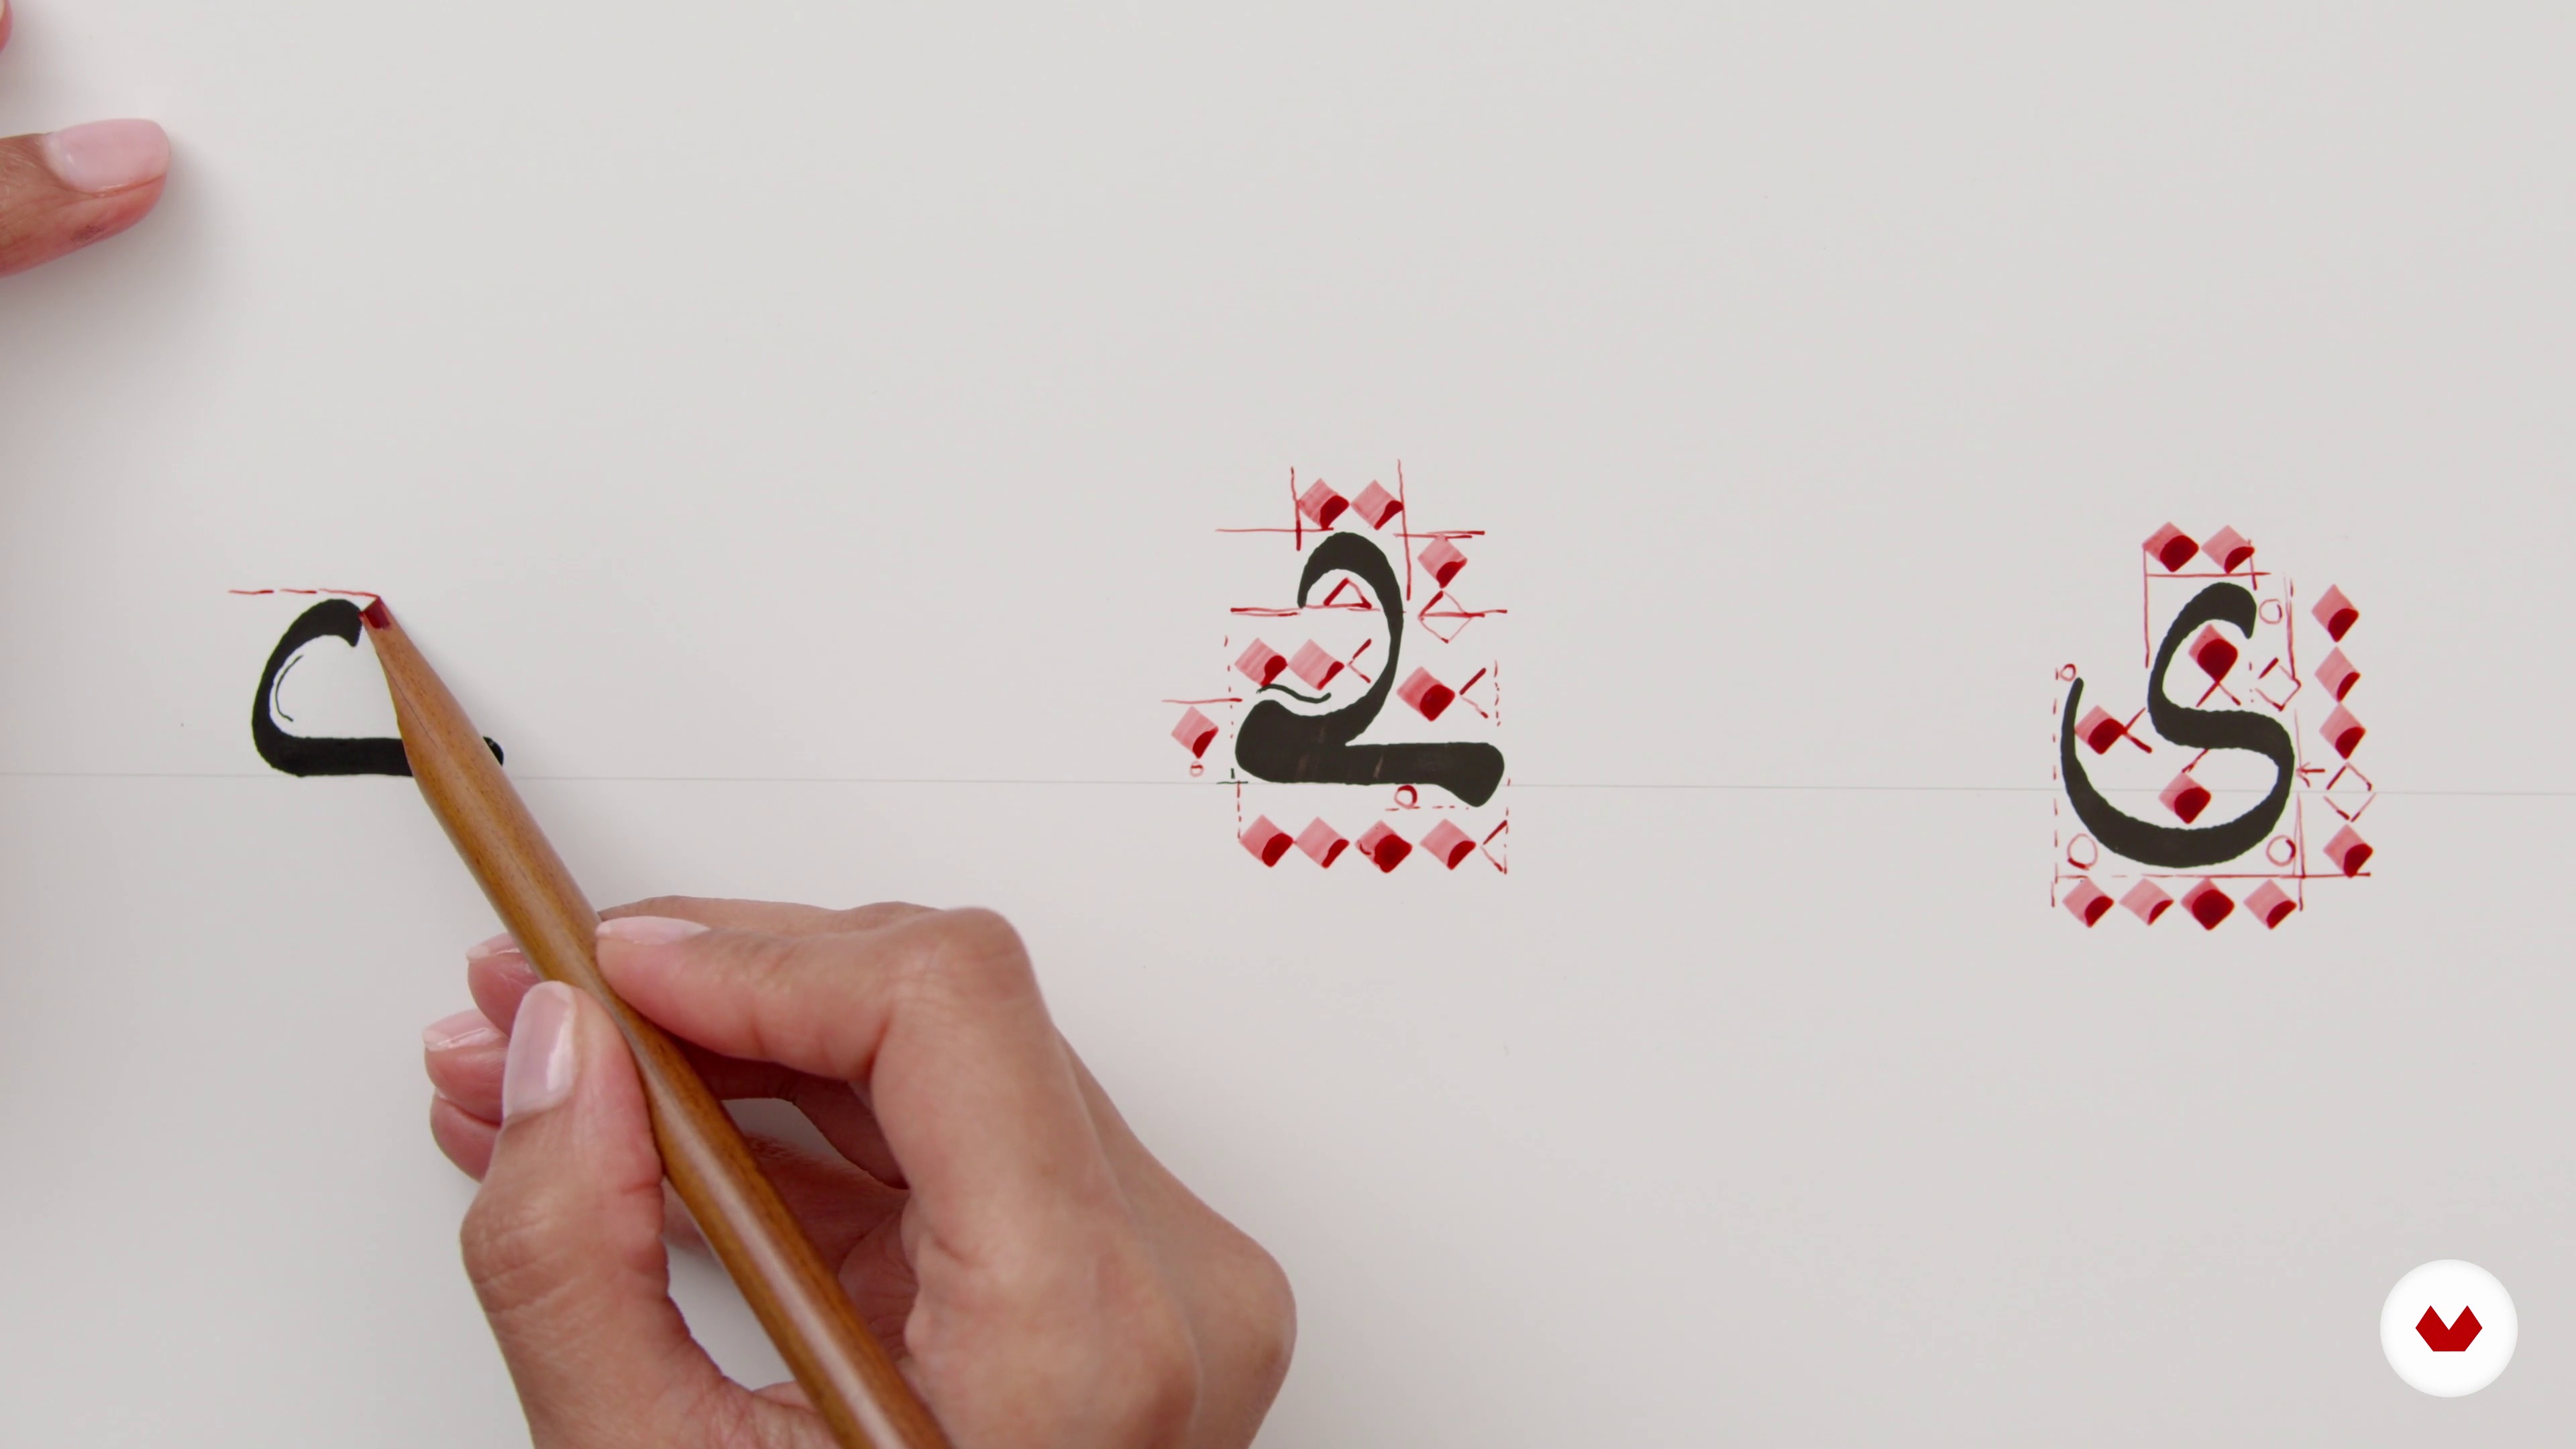 13
13The Letters: Haa, Yaa, Hamza
Here I will be showing how to write the letter Haa, three variations of the letter Yaa, and two variations of Hamza.
16m
 14
14Diacritics in Maghrebi Style
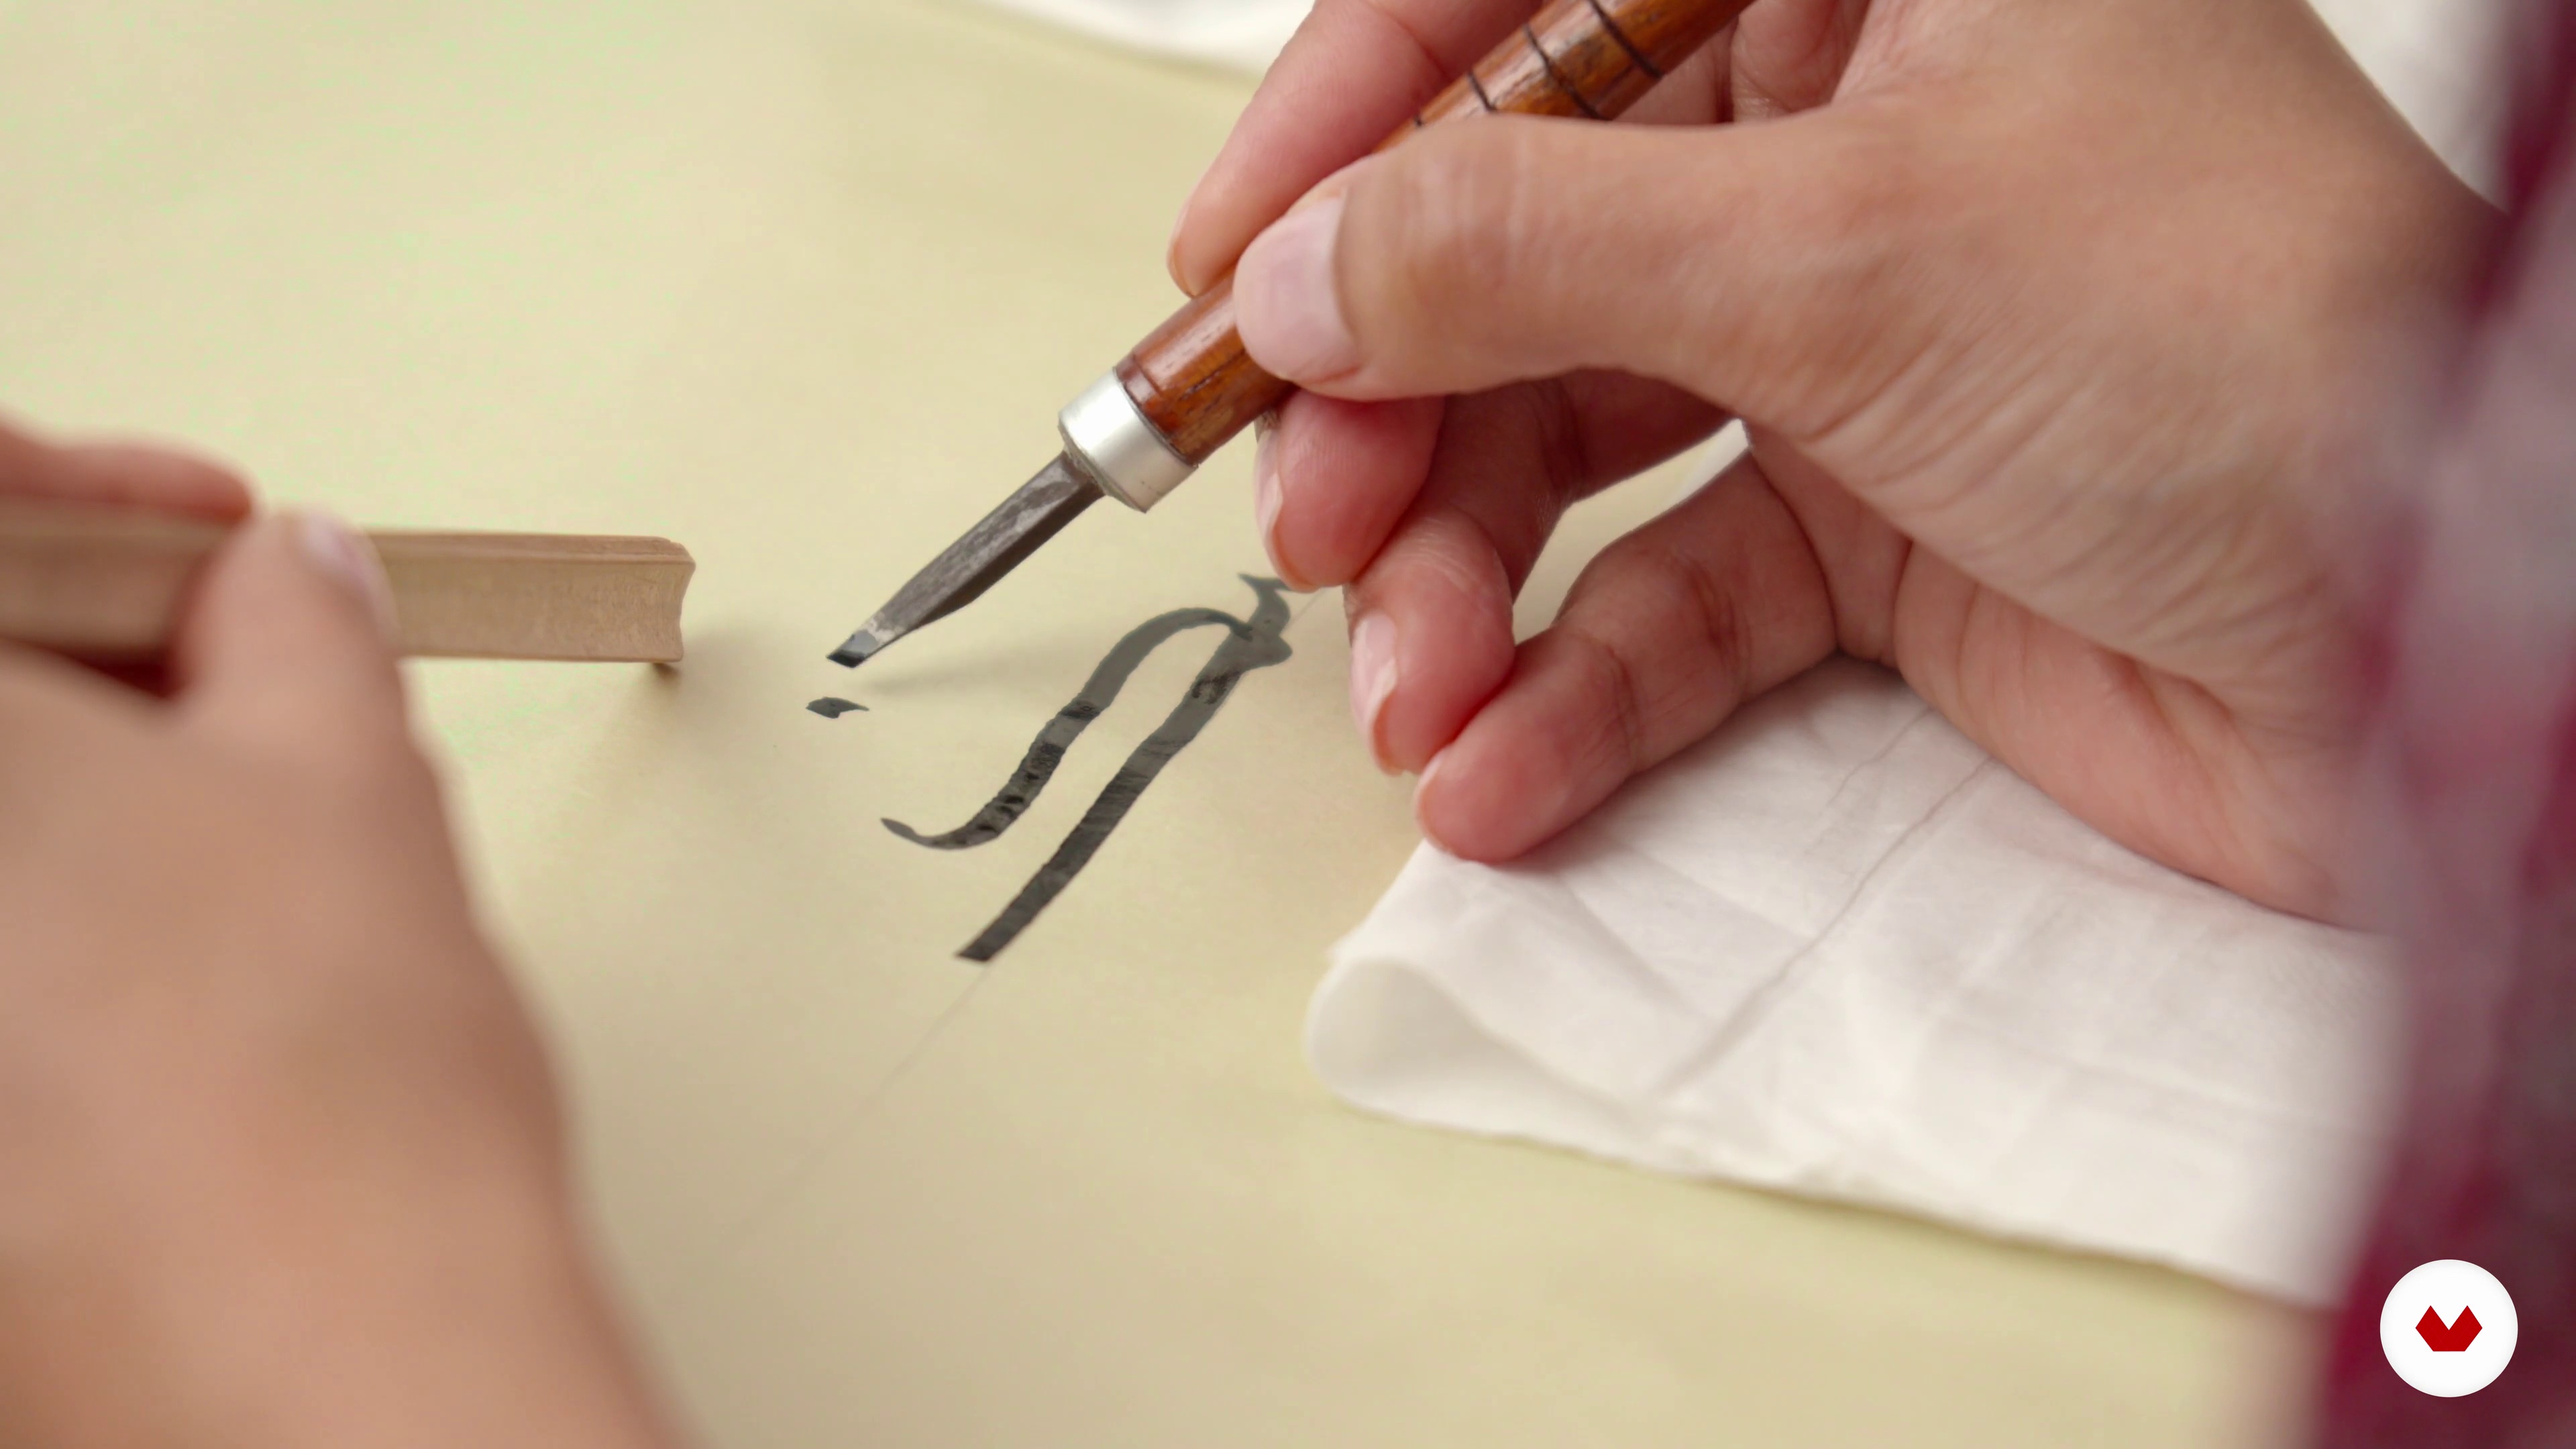
Let’s explore the diacritics. Here I am going to show you the names of the diacritical marks and how they are placed around an alphabet to indicate a certain sound or movement. I will then show you how to write them with a reed pen using the same technique.
8m
 15
15Joining the Letters 1
I have chosen to write one of my favorite quotes by Euclid in Arabic to show how the letters dance in harmony when joined together to form the words and sentences followed by the placement of the diacritics.
13m
 16
16Joining the Letters 2
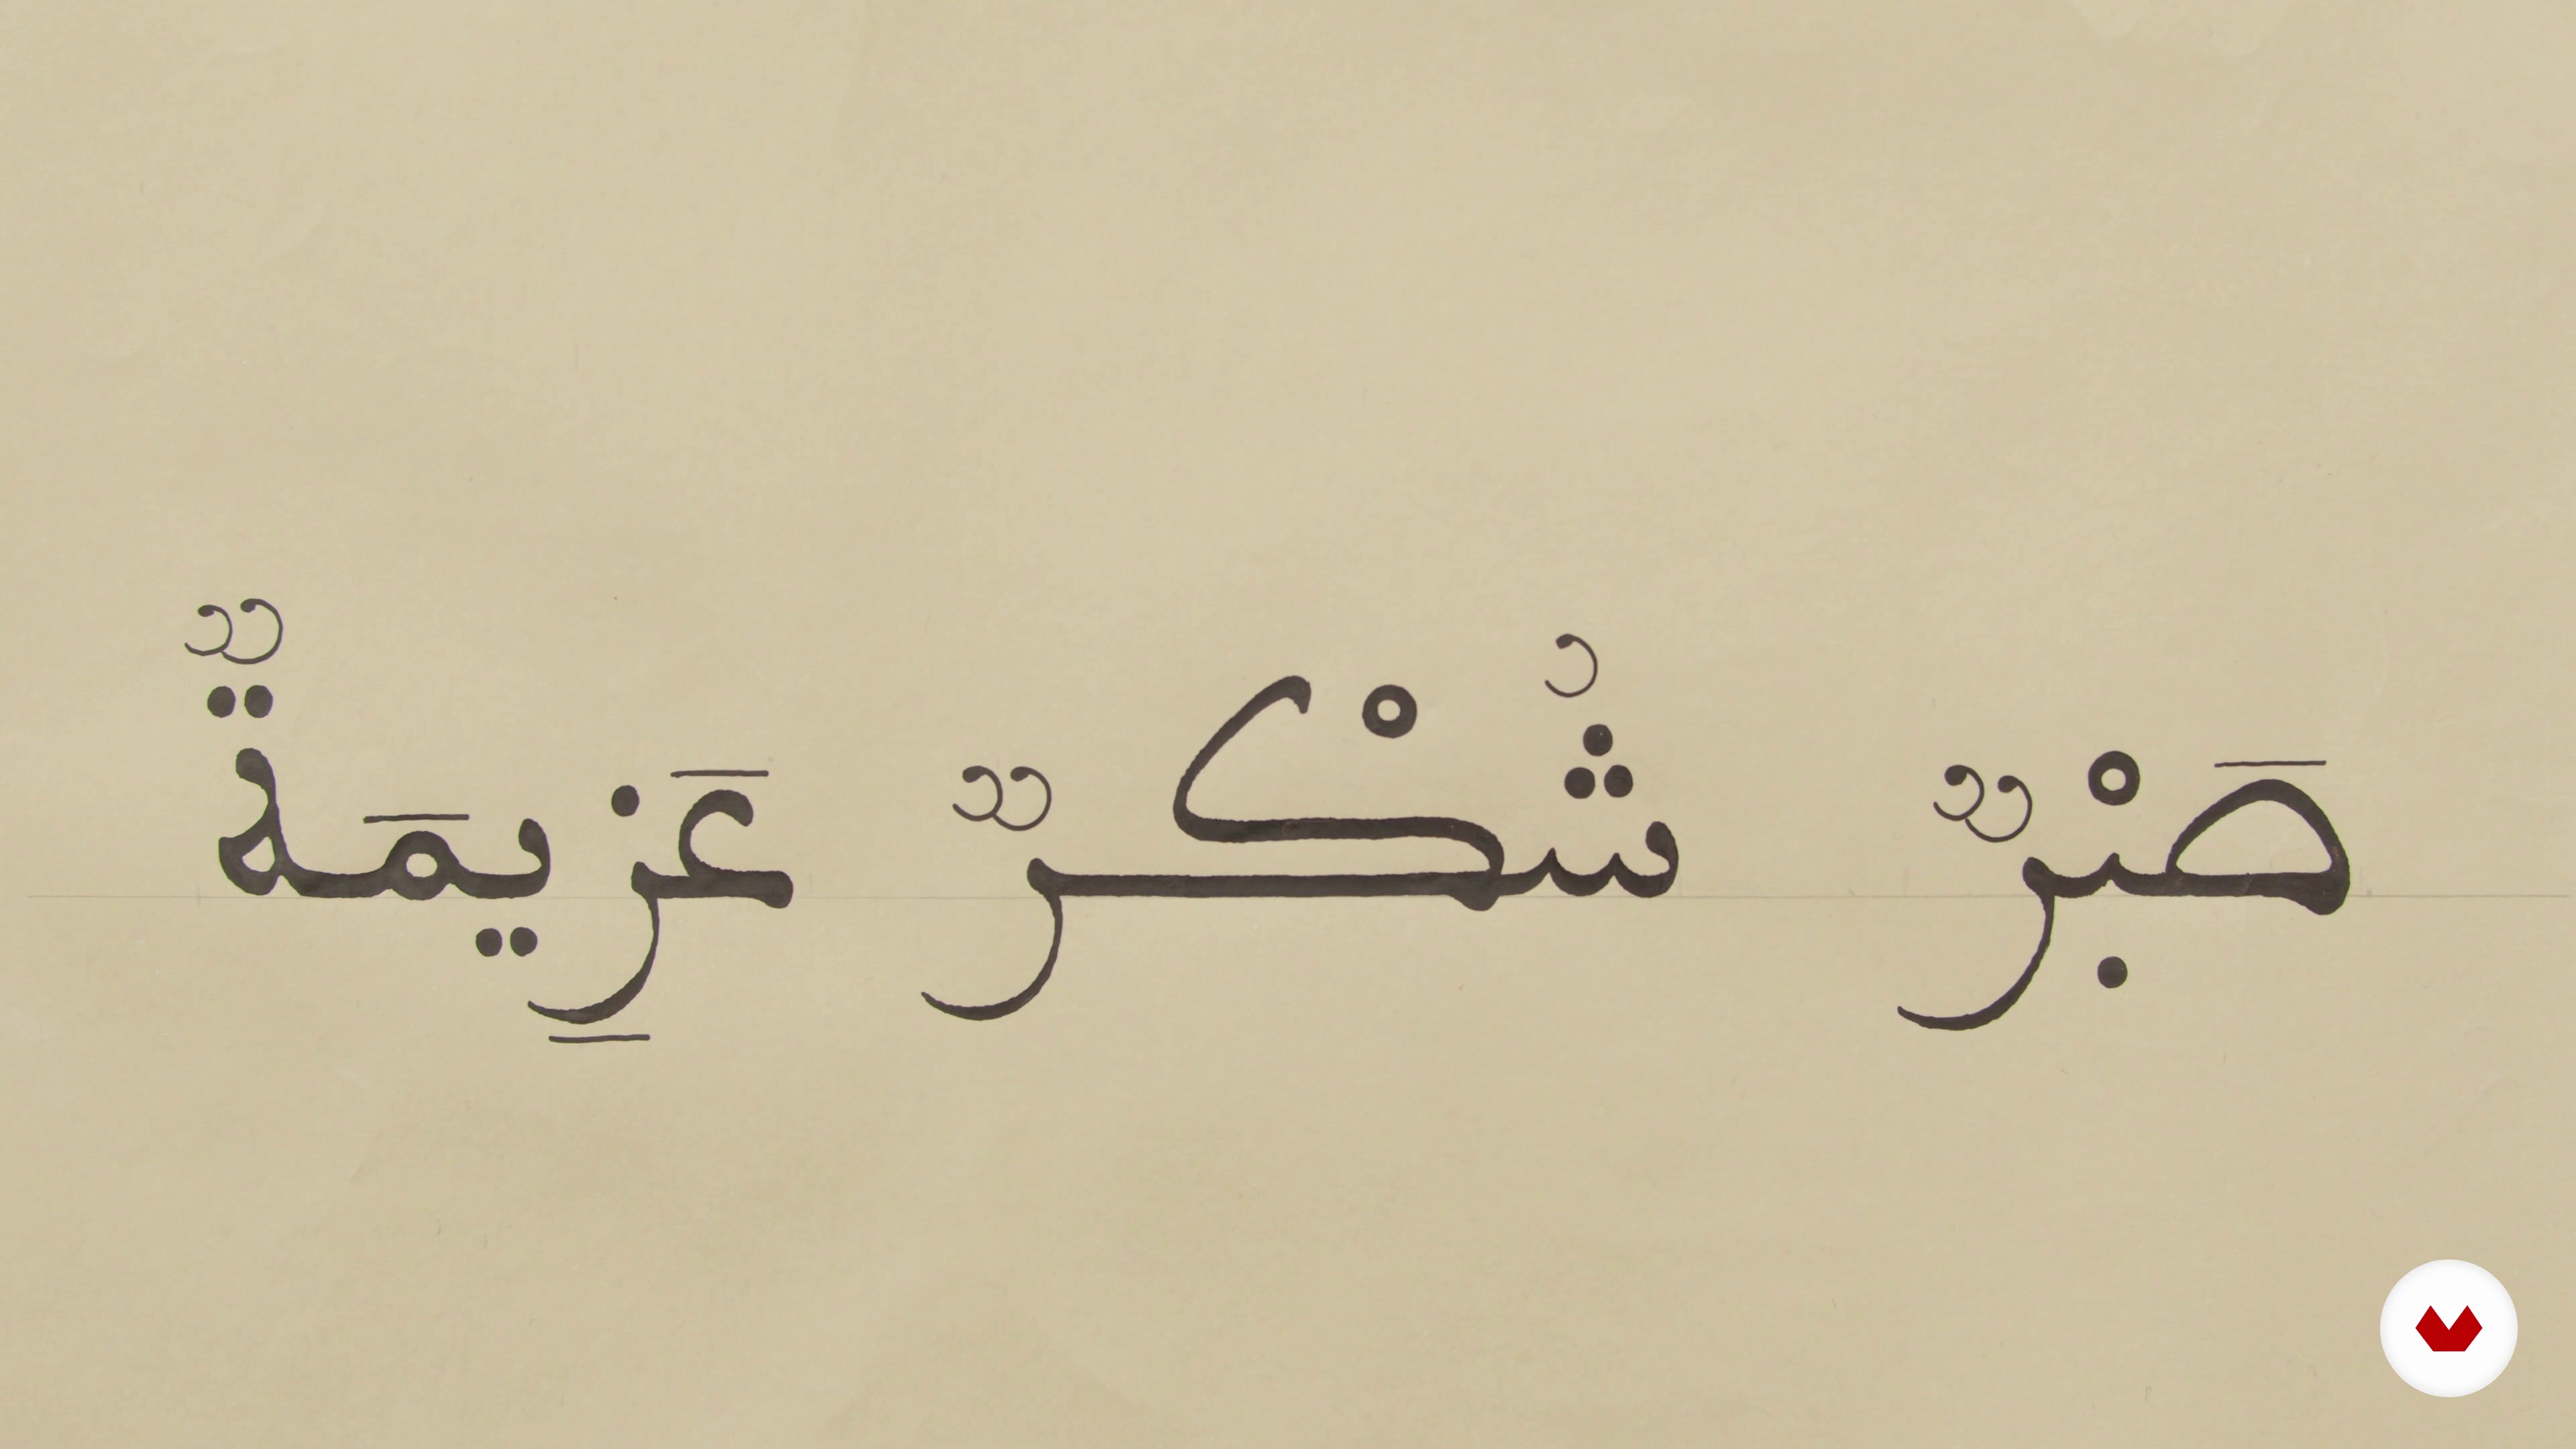
Now, I am going to finish Euclid's quote by writing the last word, Azeemah, which means perseverance.
9m
 1
1Brief Introduction of Chinese Calligraphy
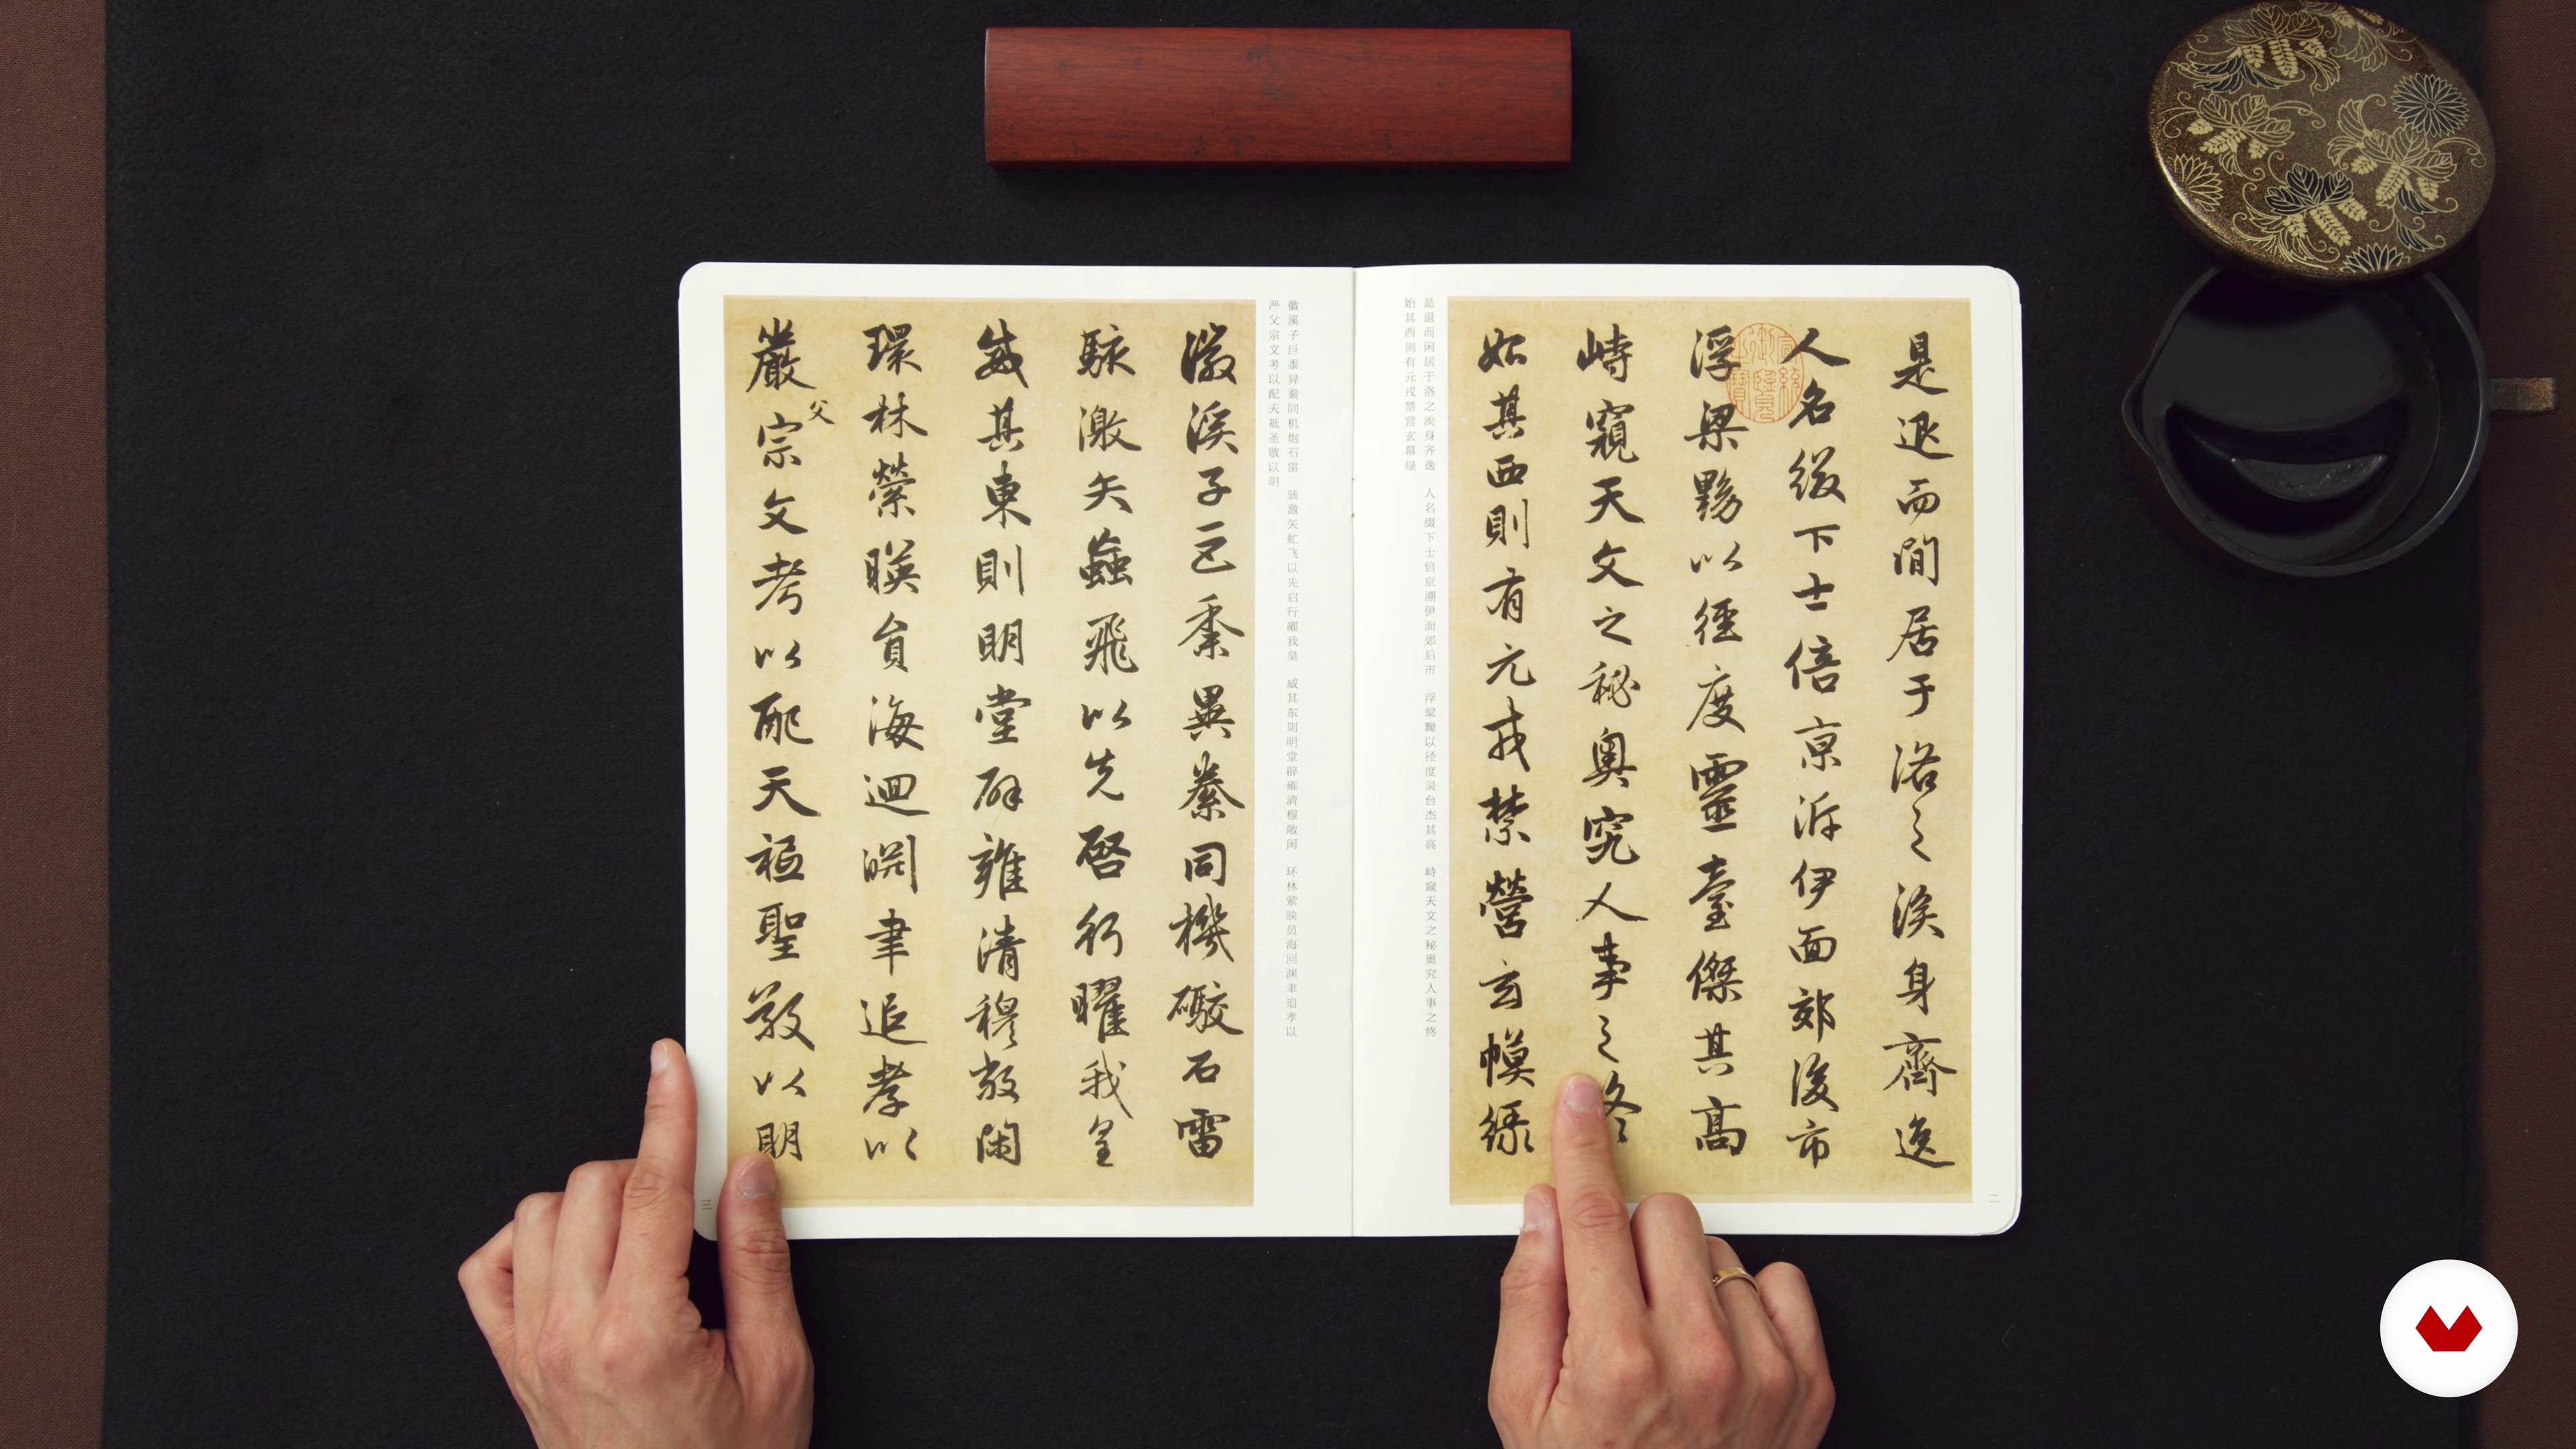
Before we begin, I want to introduce the scripts that are common in Chinese calligraphy and whose style greatly influences the development of Kaishu in Chinese history.
8m
 2
2Materials
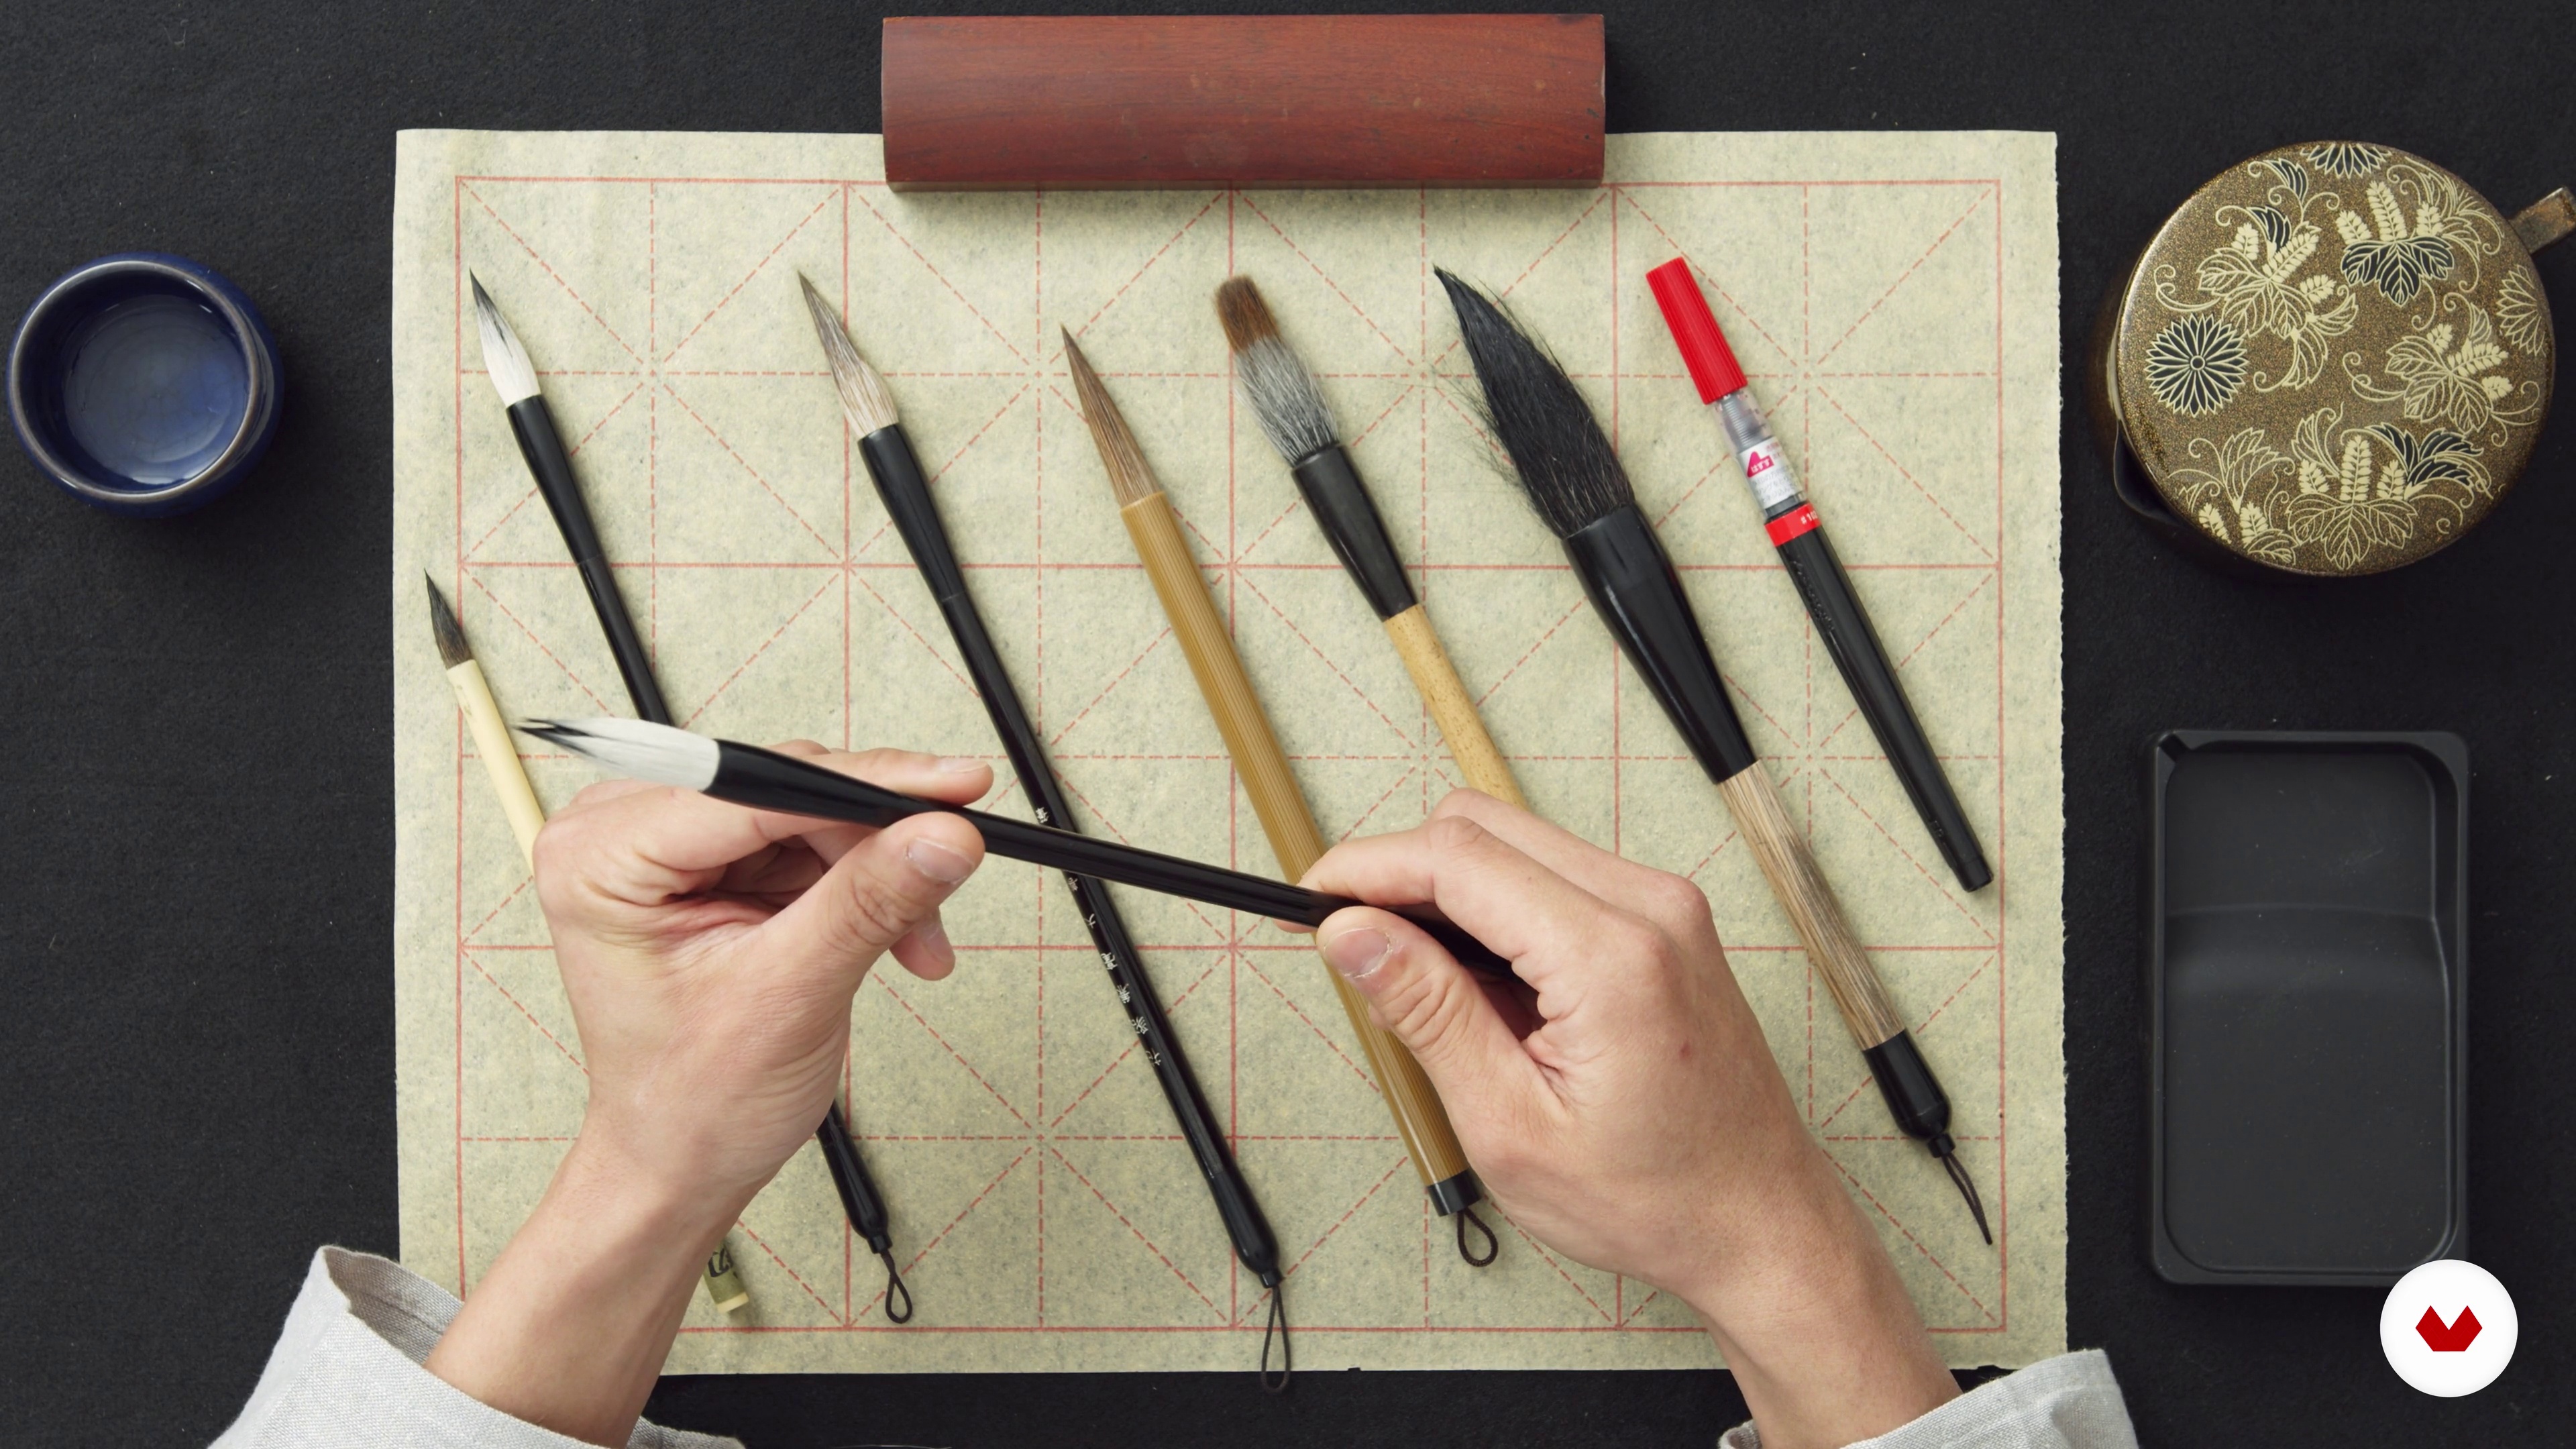
I will begin by showing you the brushes, paper and the ink I prefer and how to use them.
12m
 3
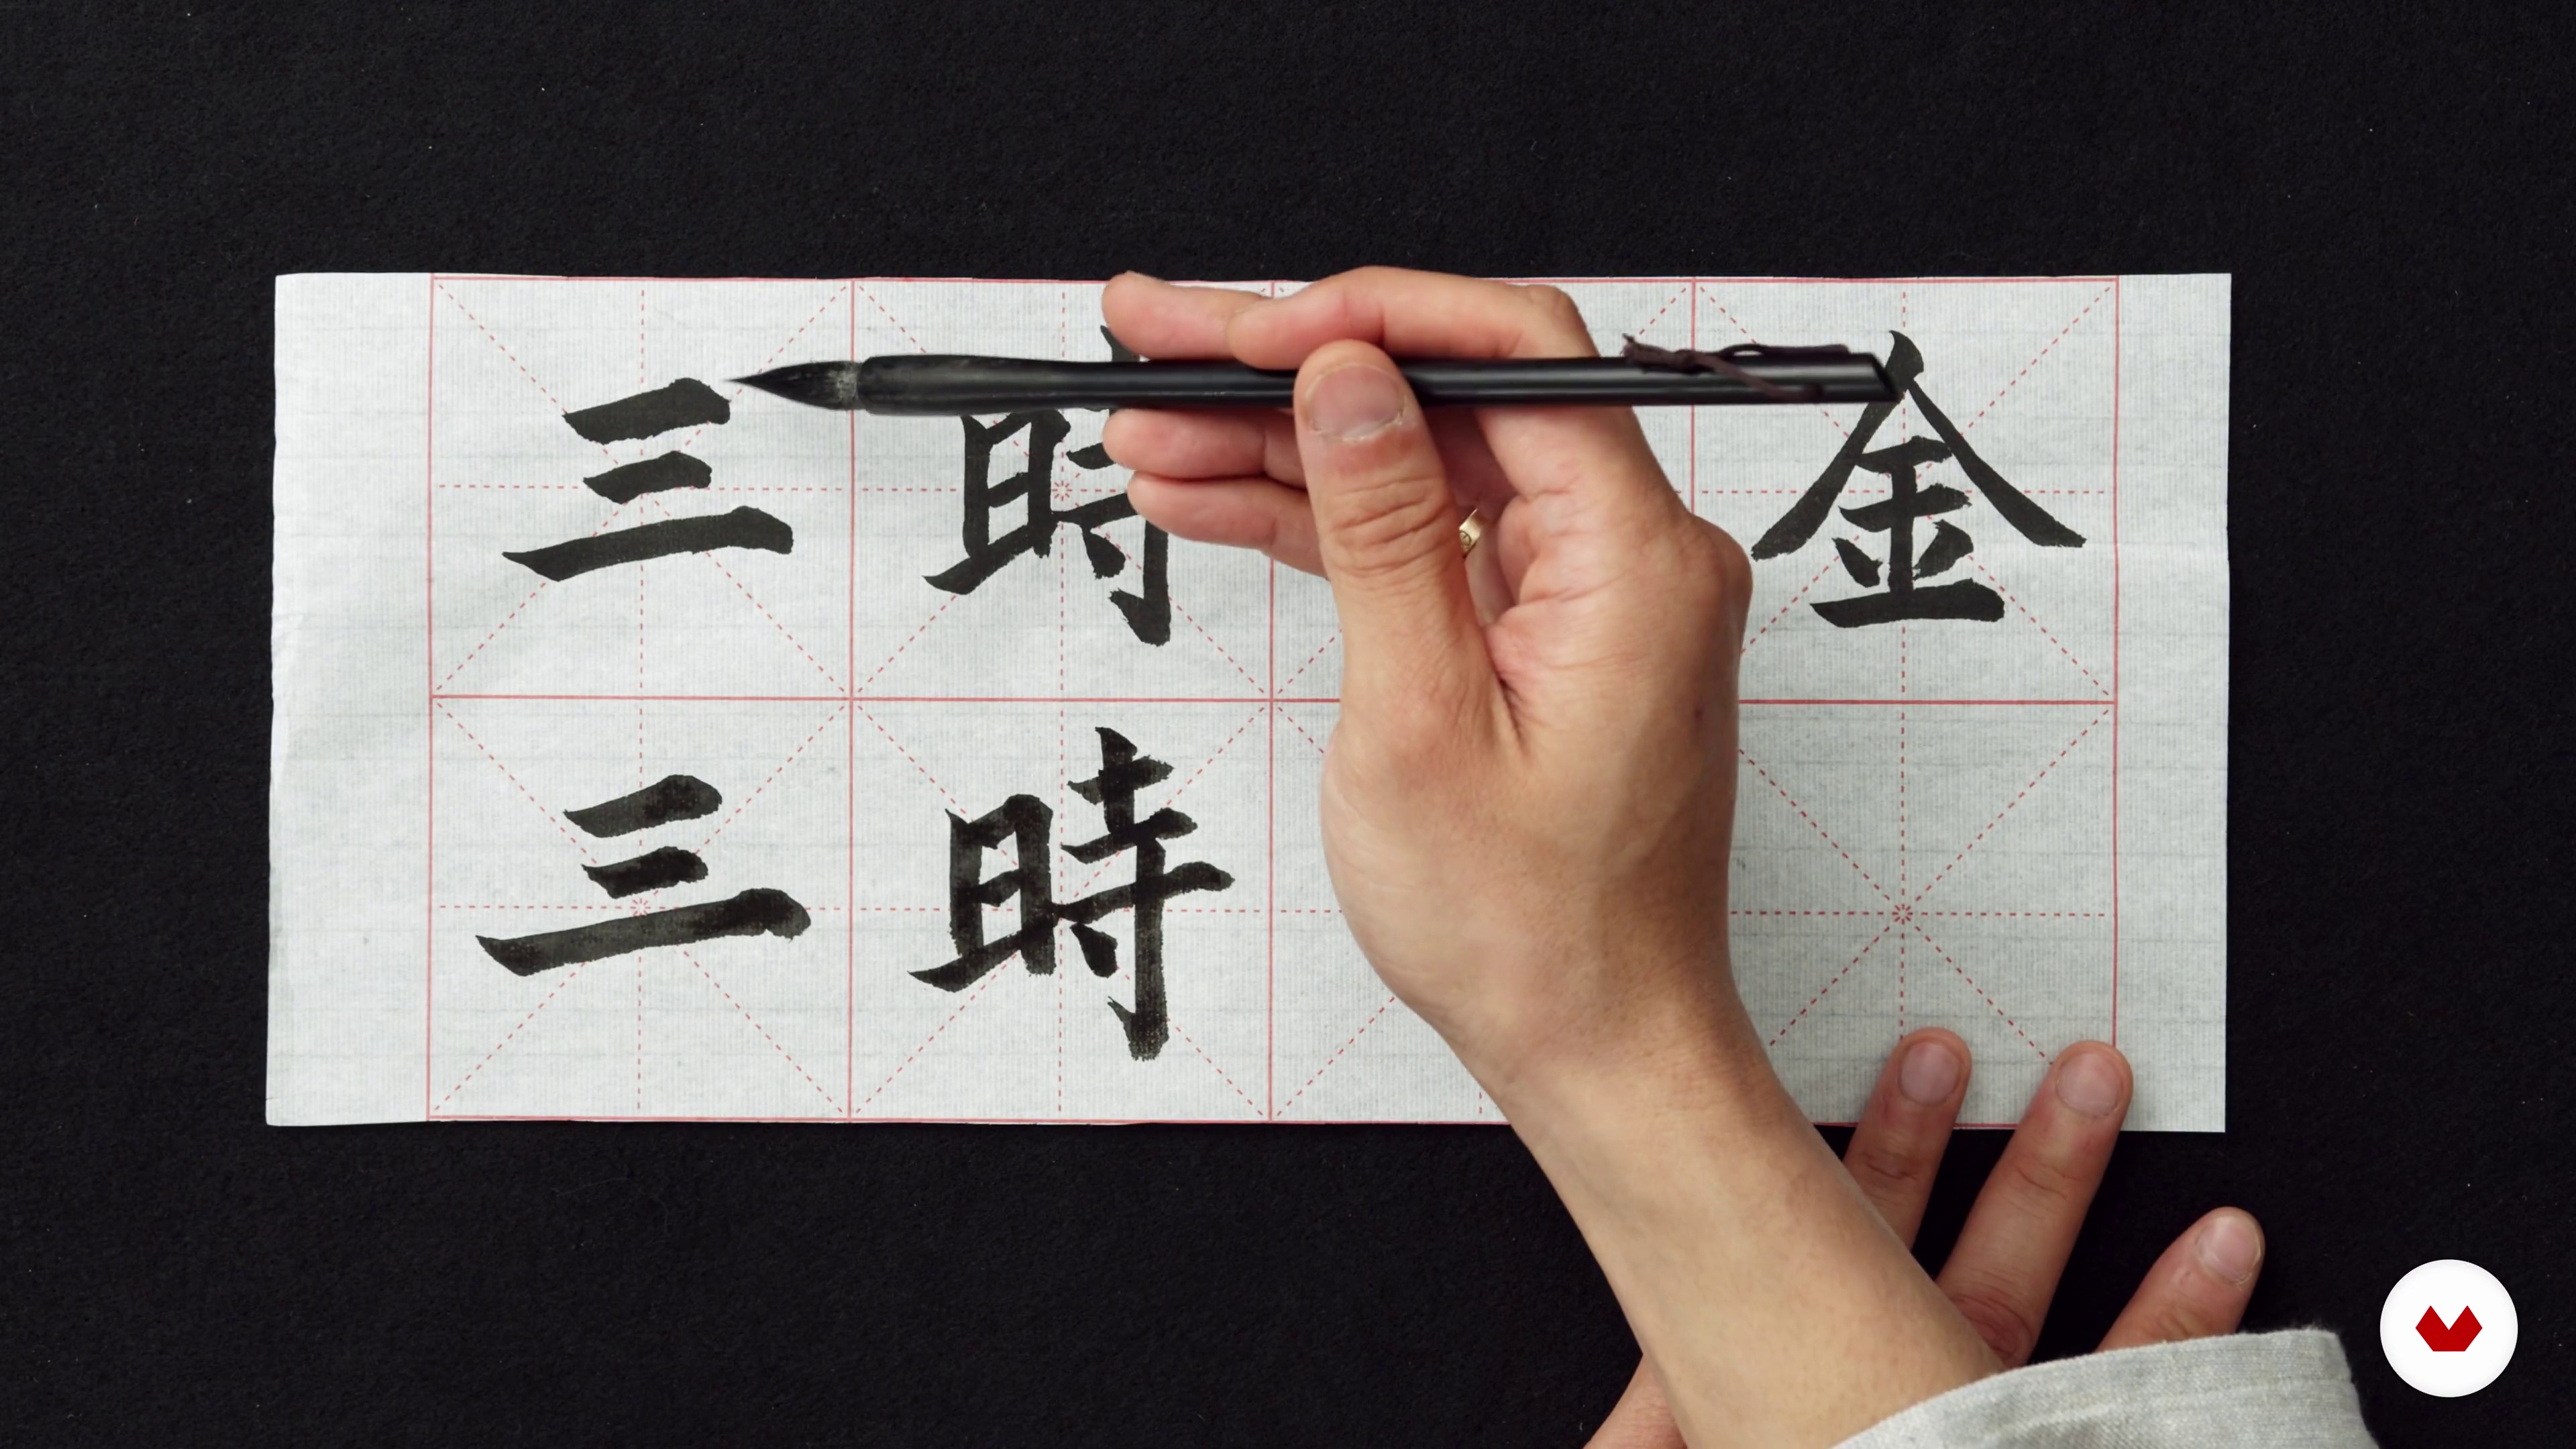
3Dot, Horizontal and Vertical Strokes 1
In this lesson, I will show you how to write the 3 basic strokes of Chinese characters. They are dot, horizontal stroke and vertical stroke and their variants.
14m
 4
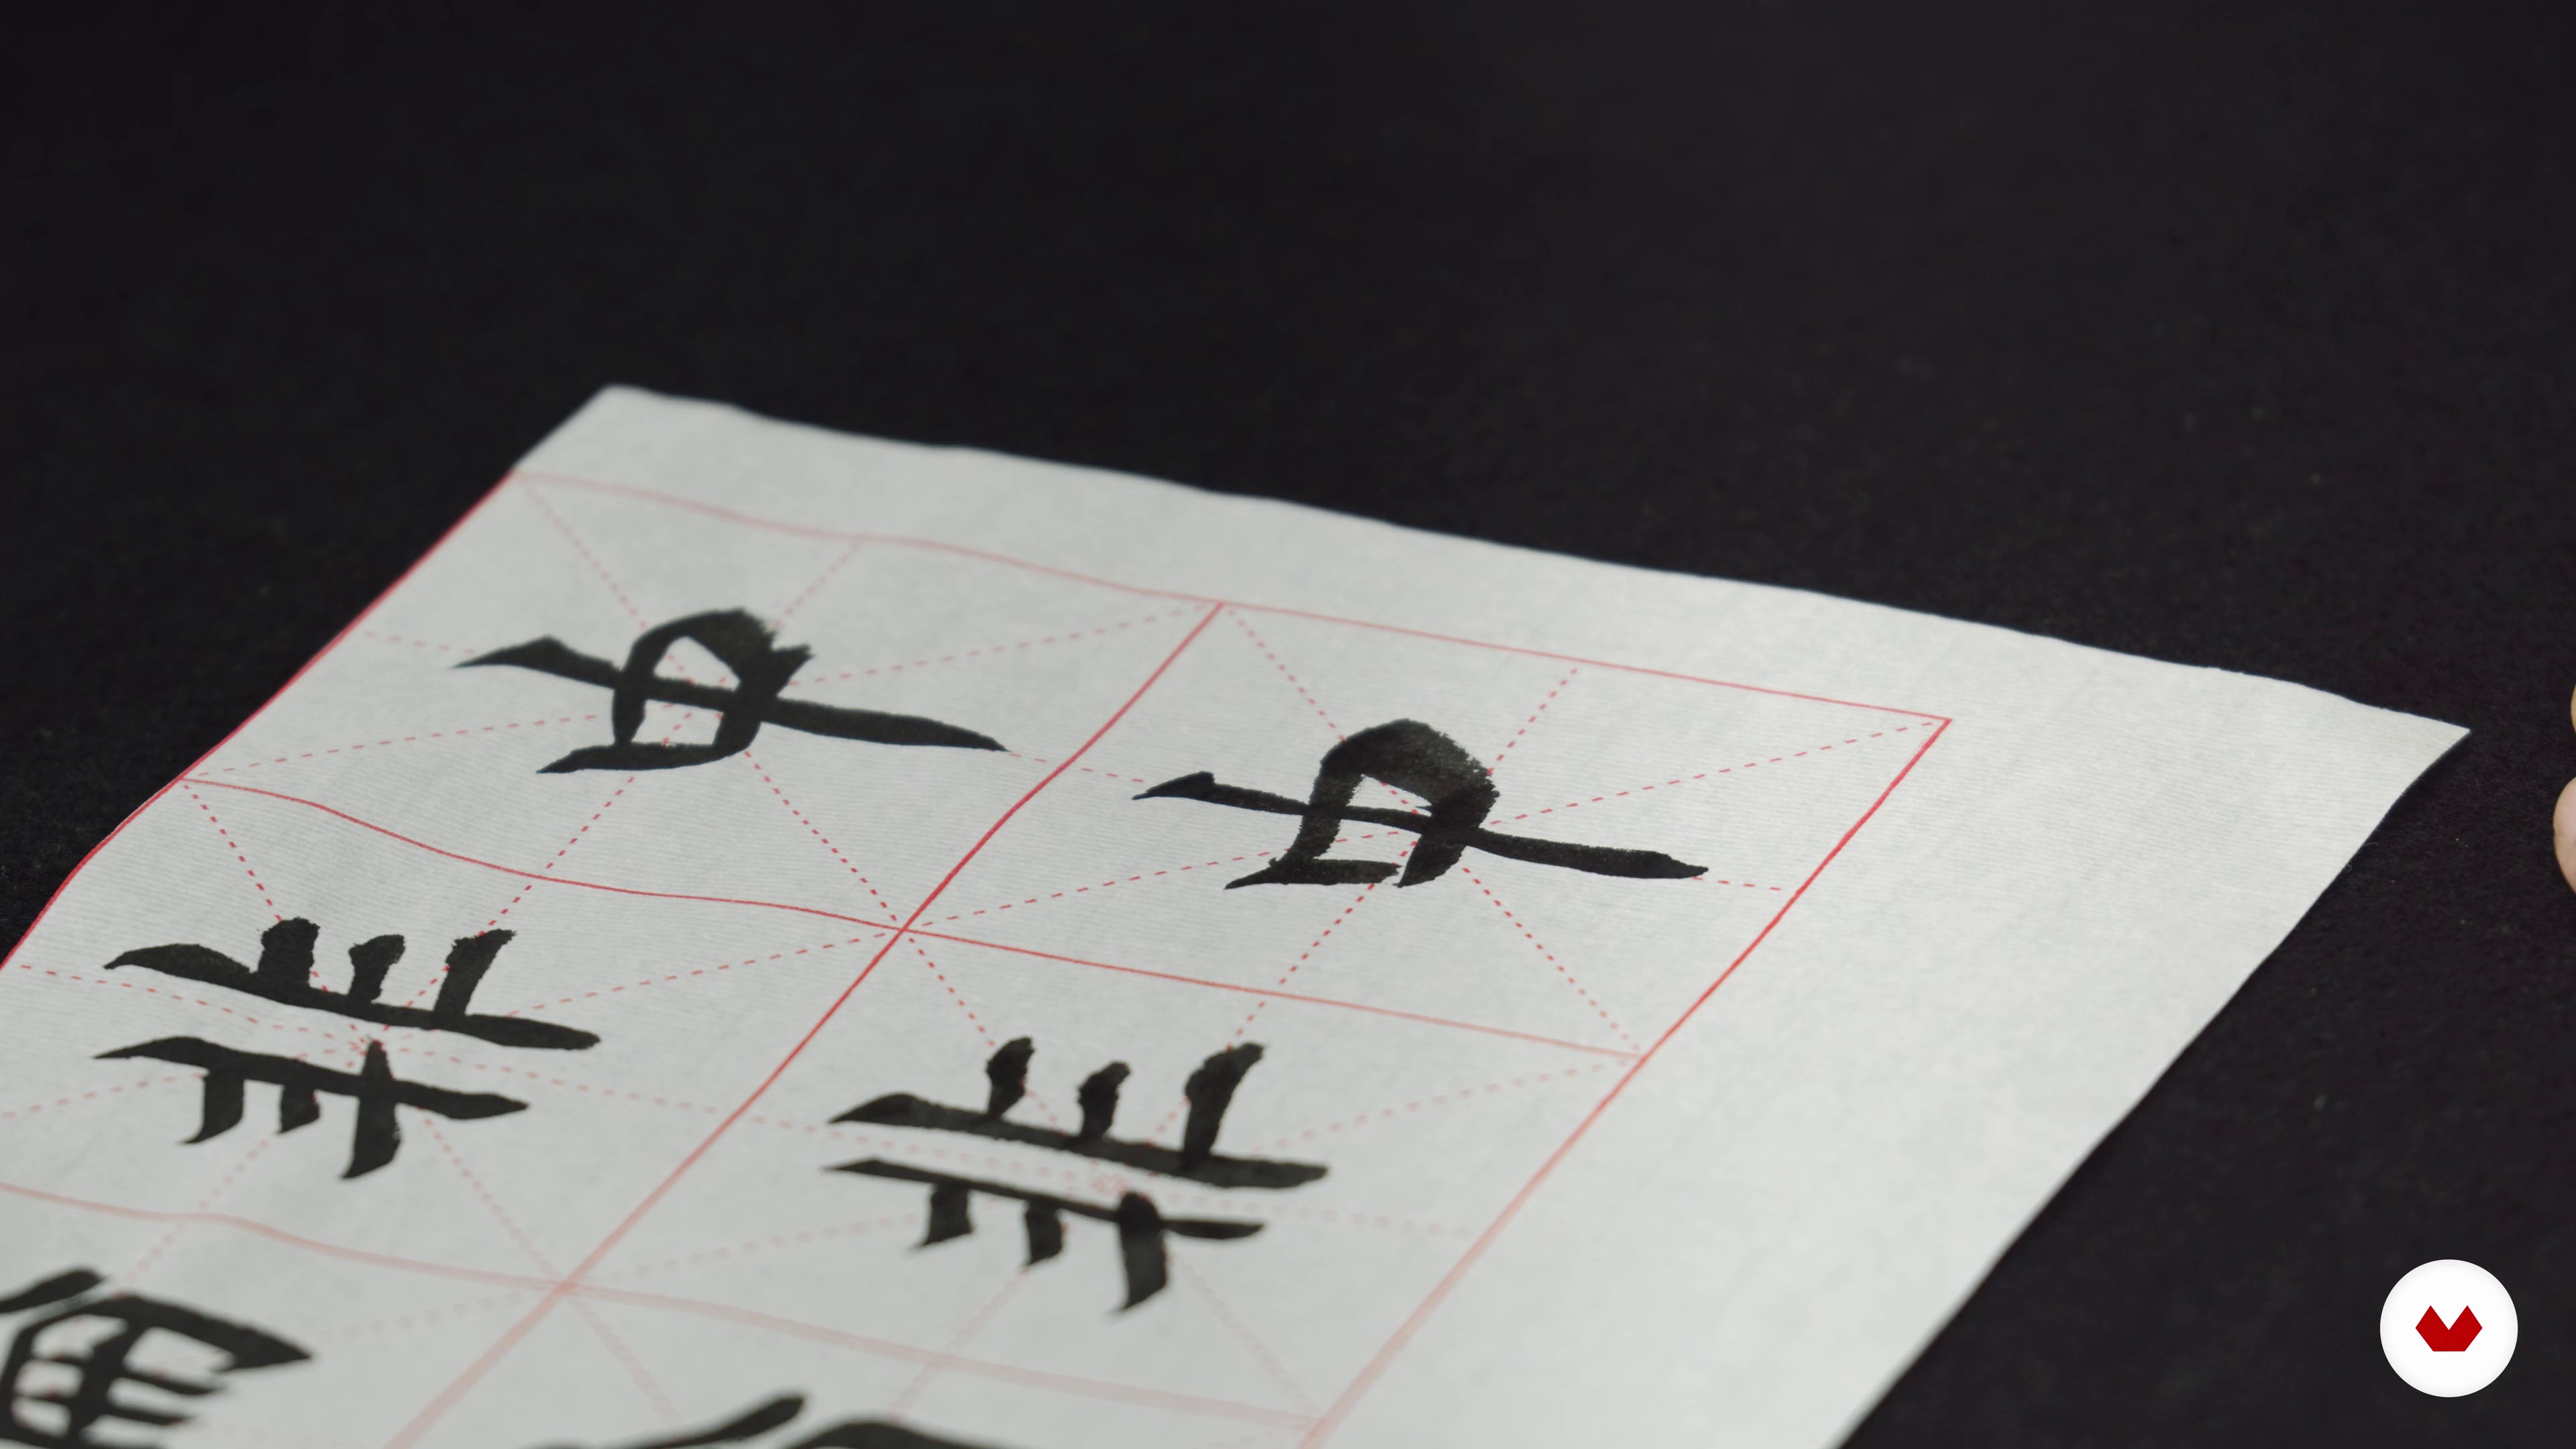
4Dot, Horizontal and Vertical Strokes 2
Once you are familiarized with the basic strokes, you will start building some Chinese characters with fewer strokes.
7m
 5
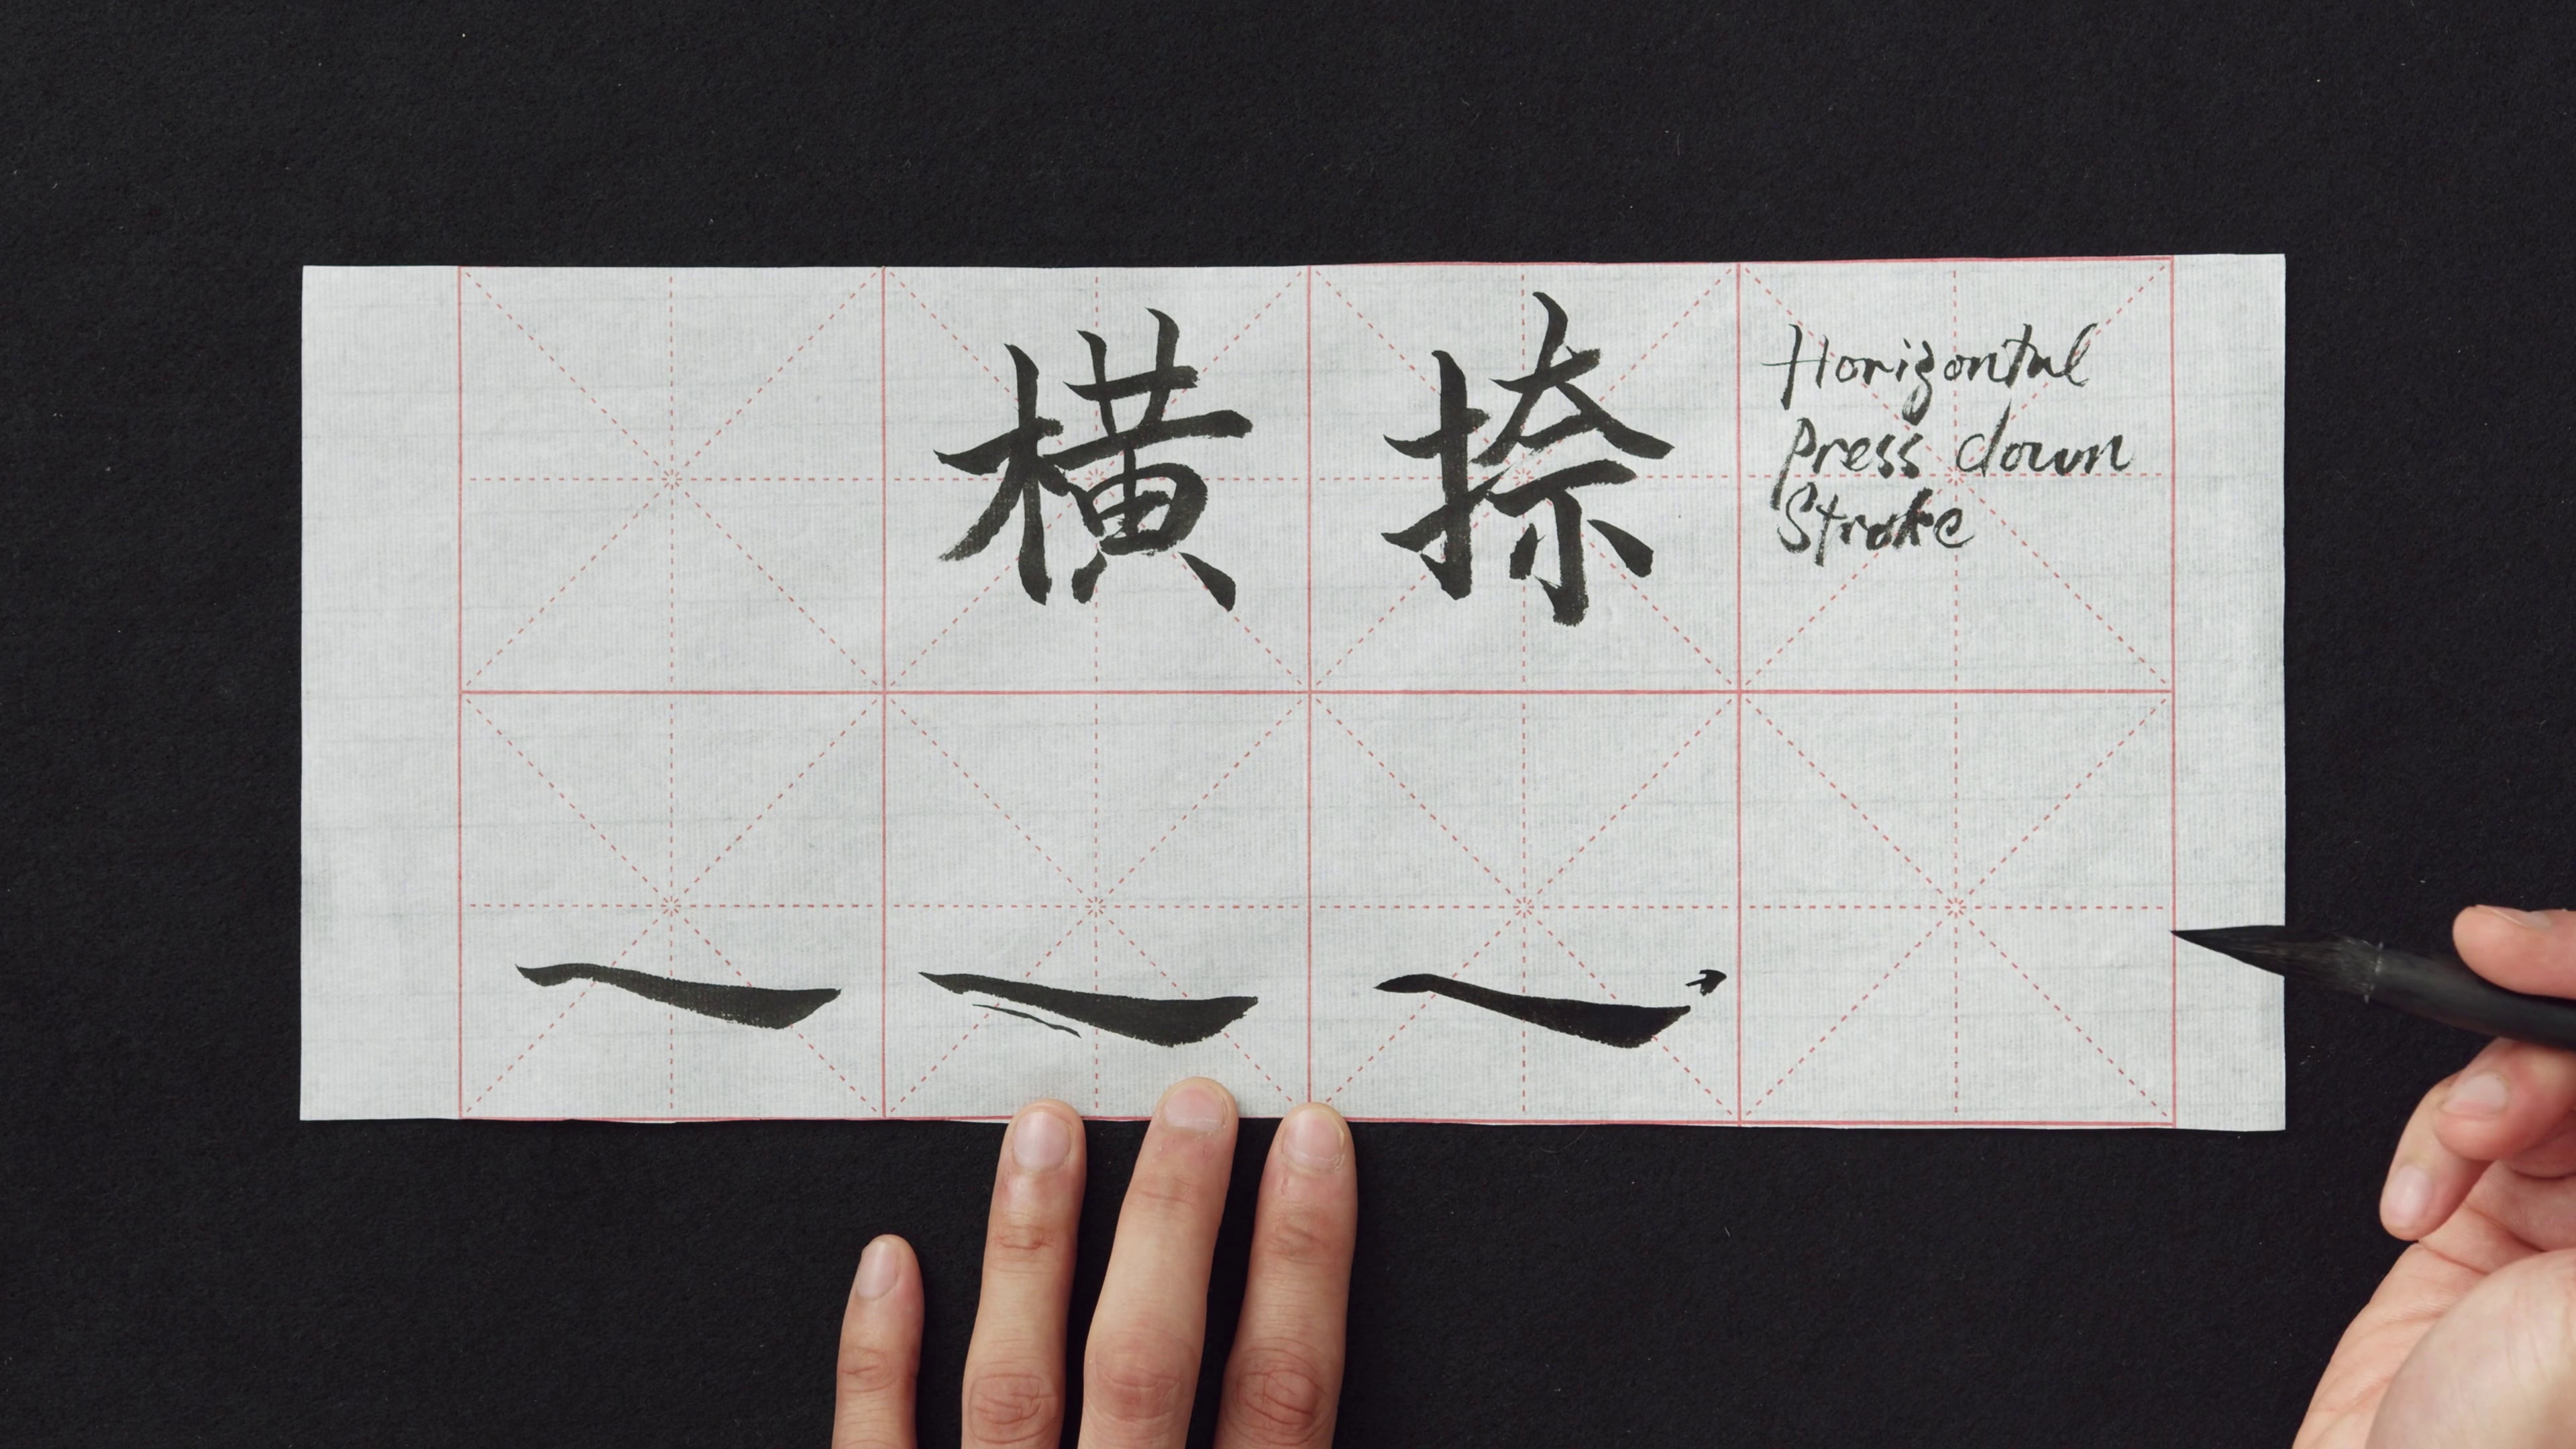
5Left Falling and Press Down Strokes
Now, I will show you two other important strokes: left falling, press down strokes and their variants.
9m
 6
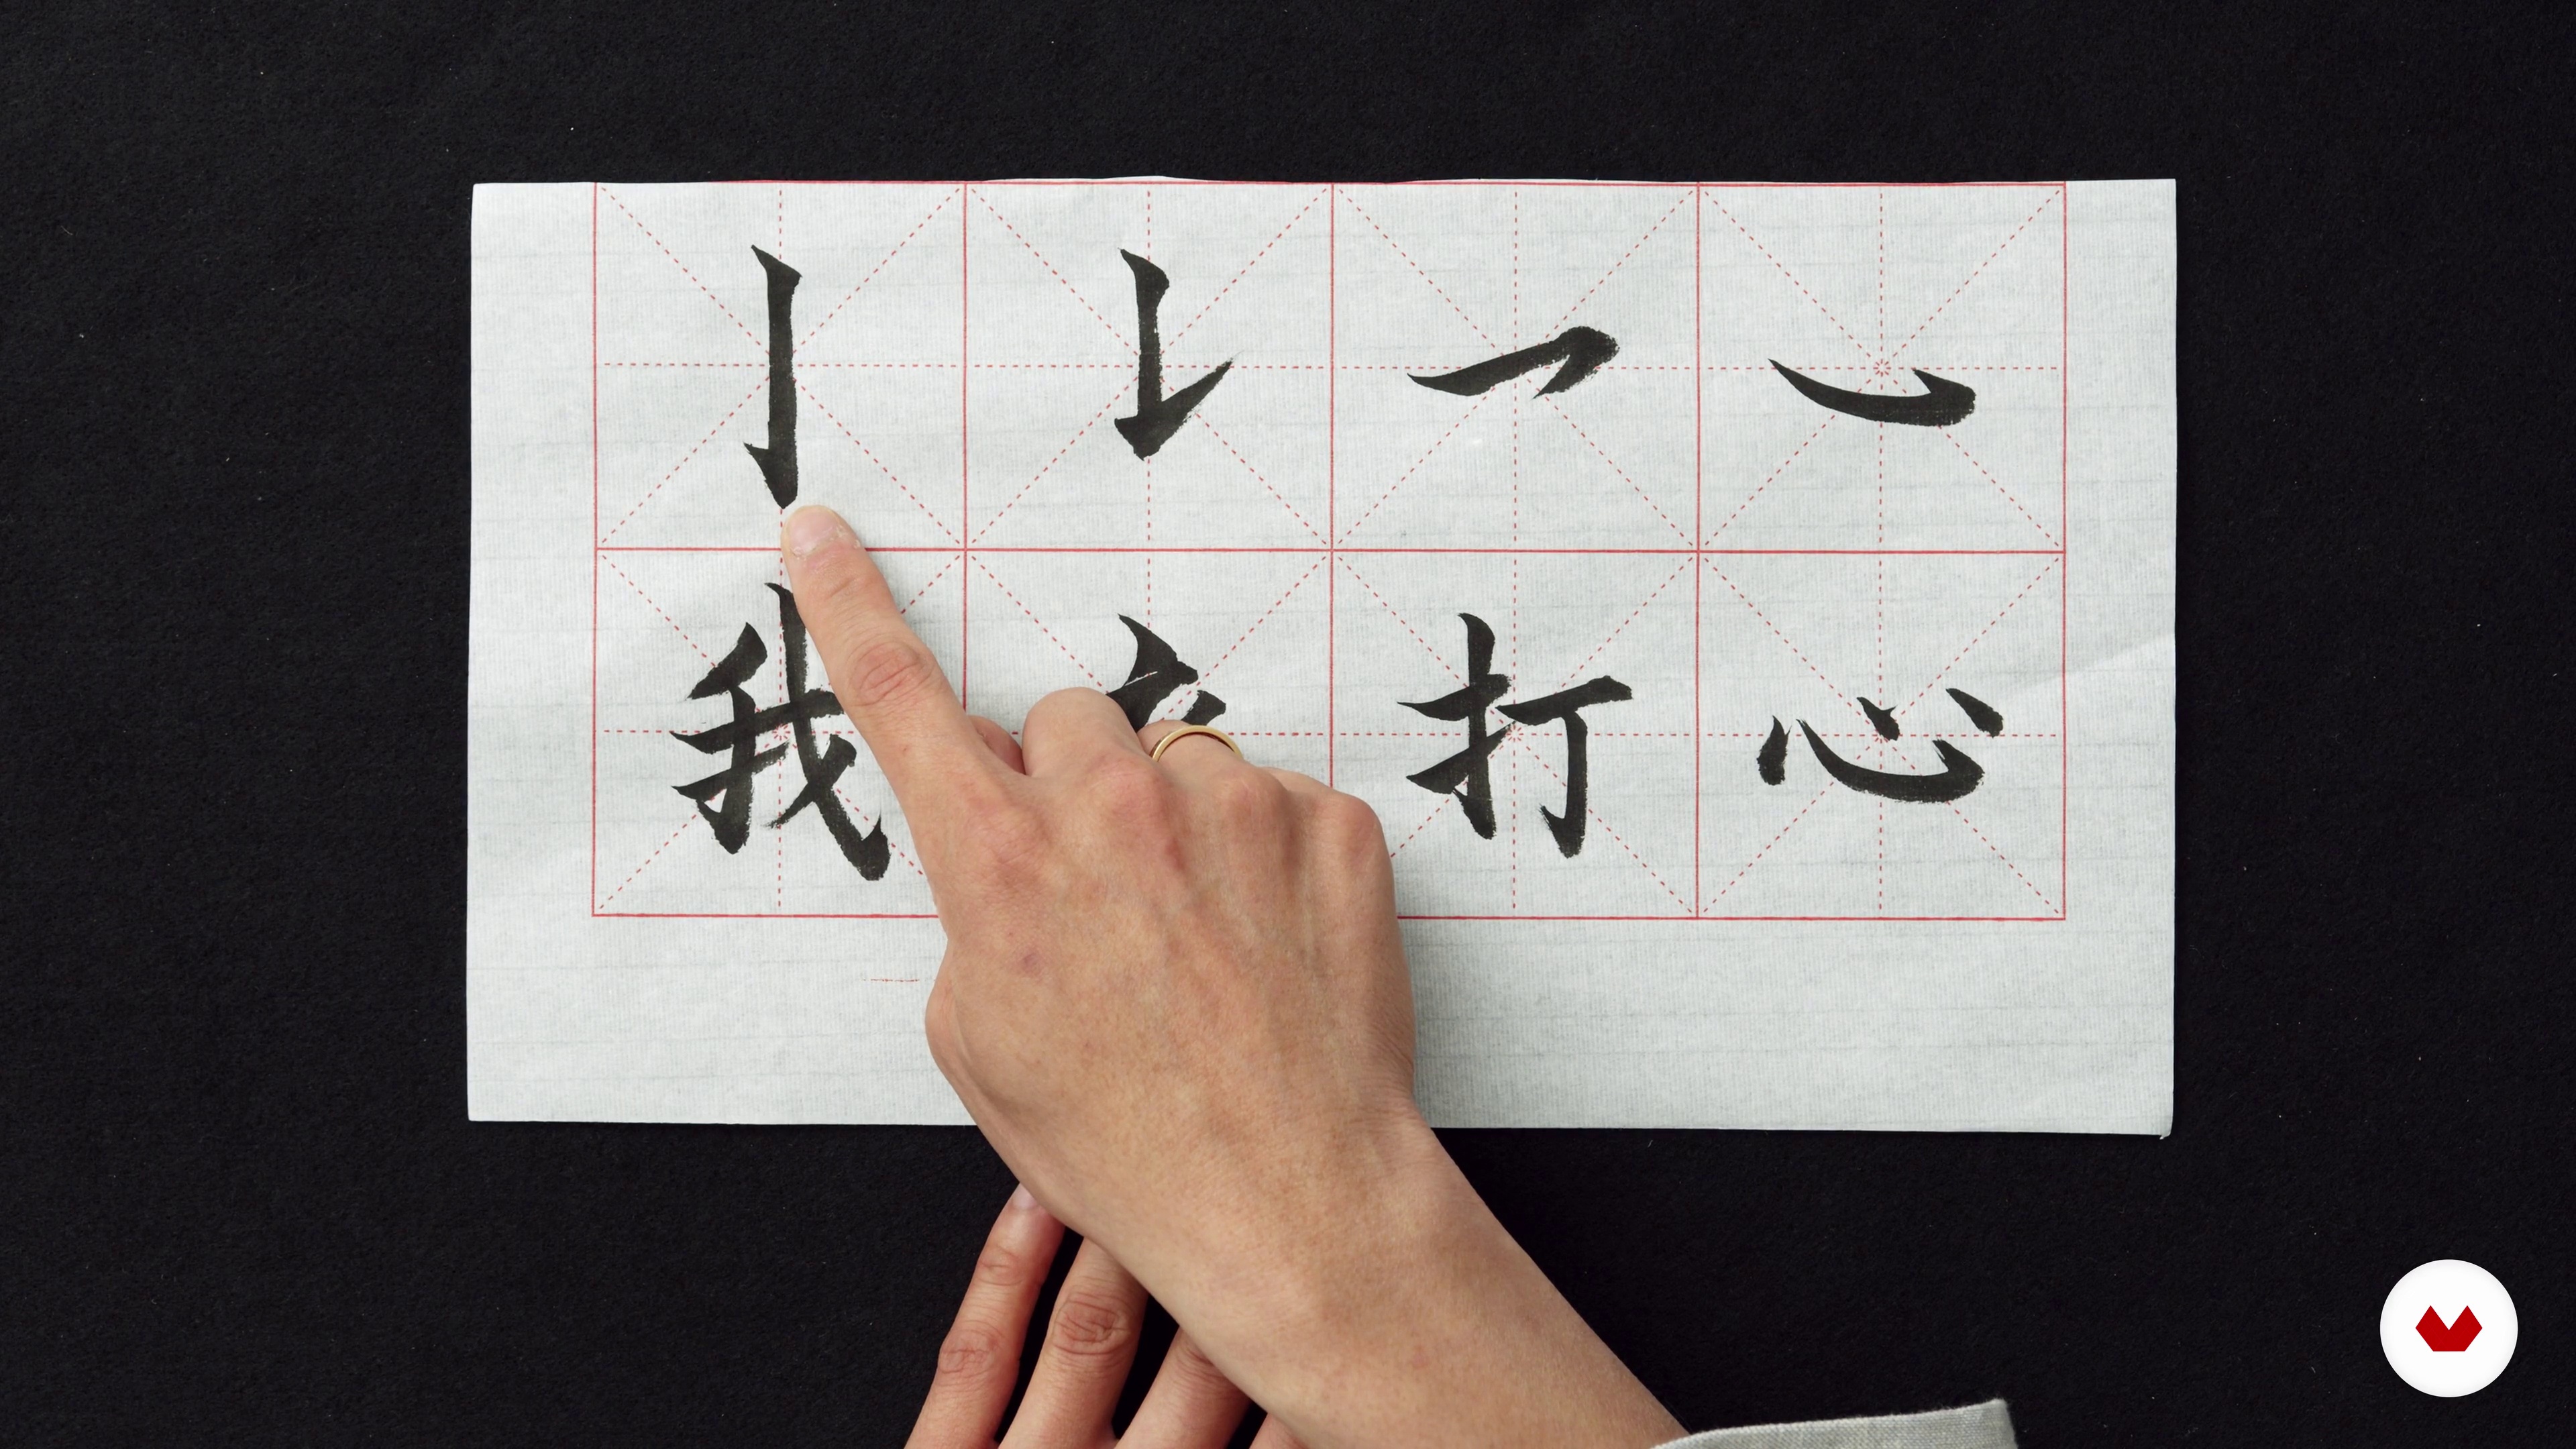
6Hooks
I will show you a very frequent component in Chinese calligraphy: the hook. Note that it doesn't appear alone you'll find it combined with the other strokes that you have learnt previously.
9m
 7
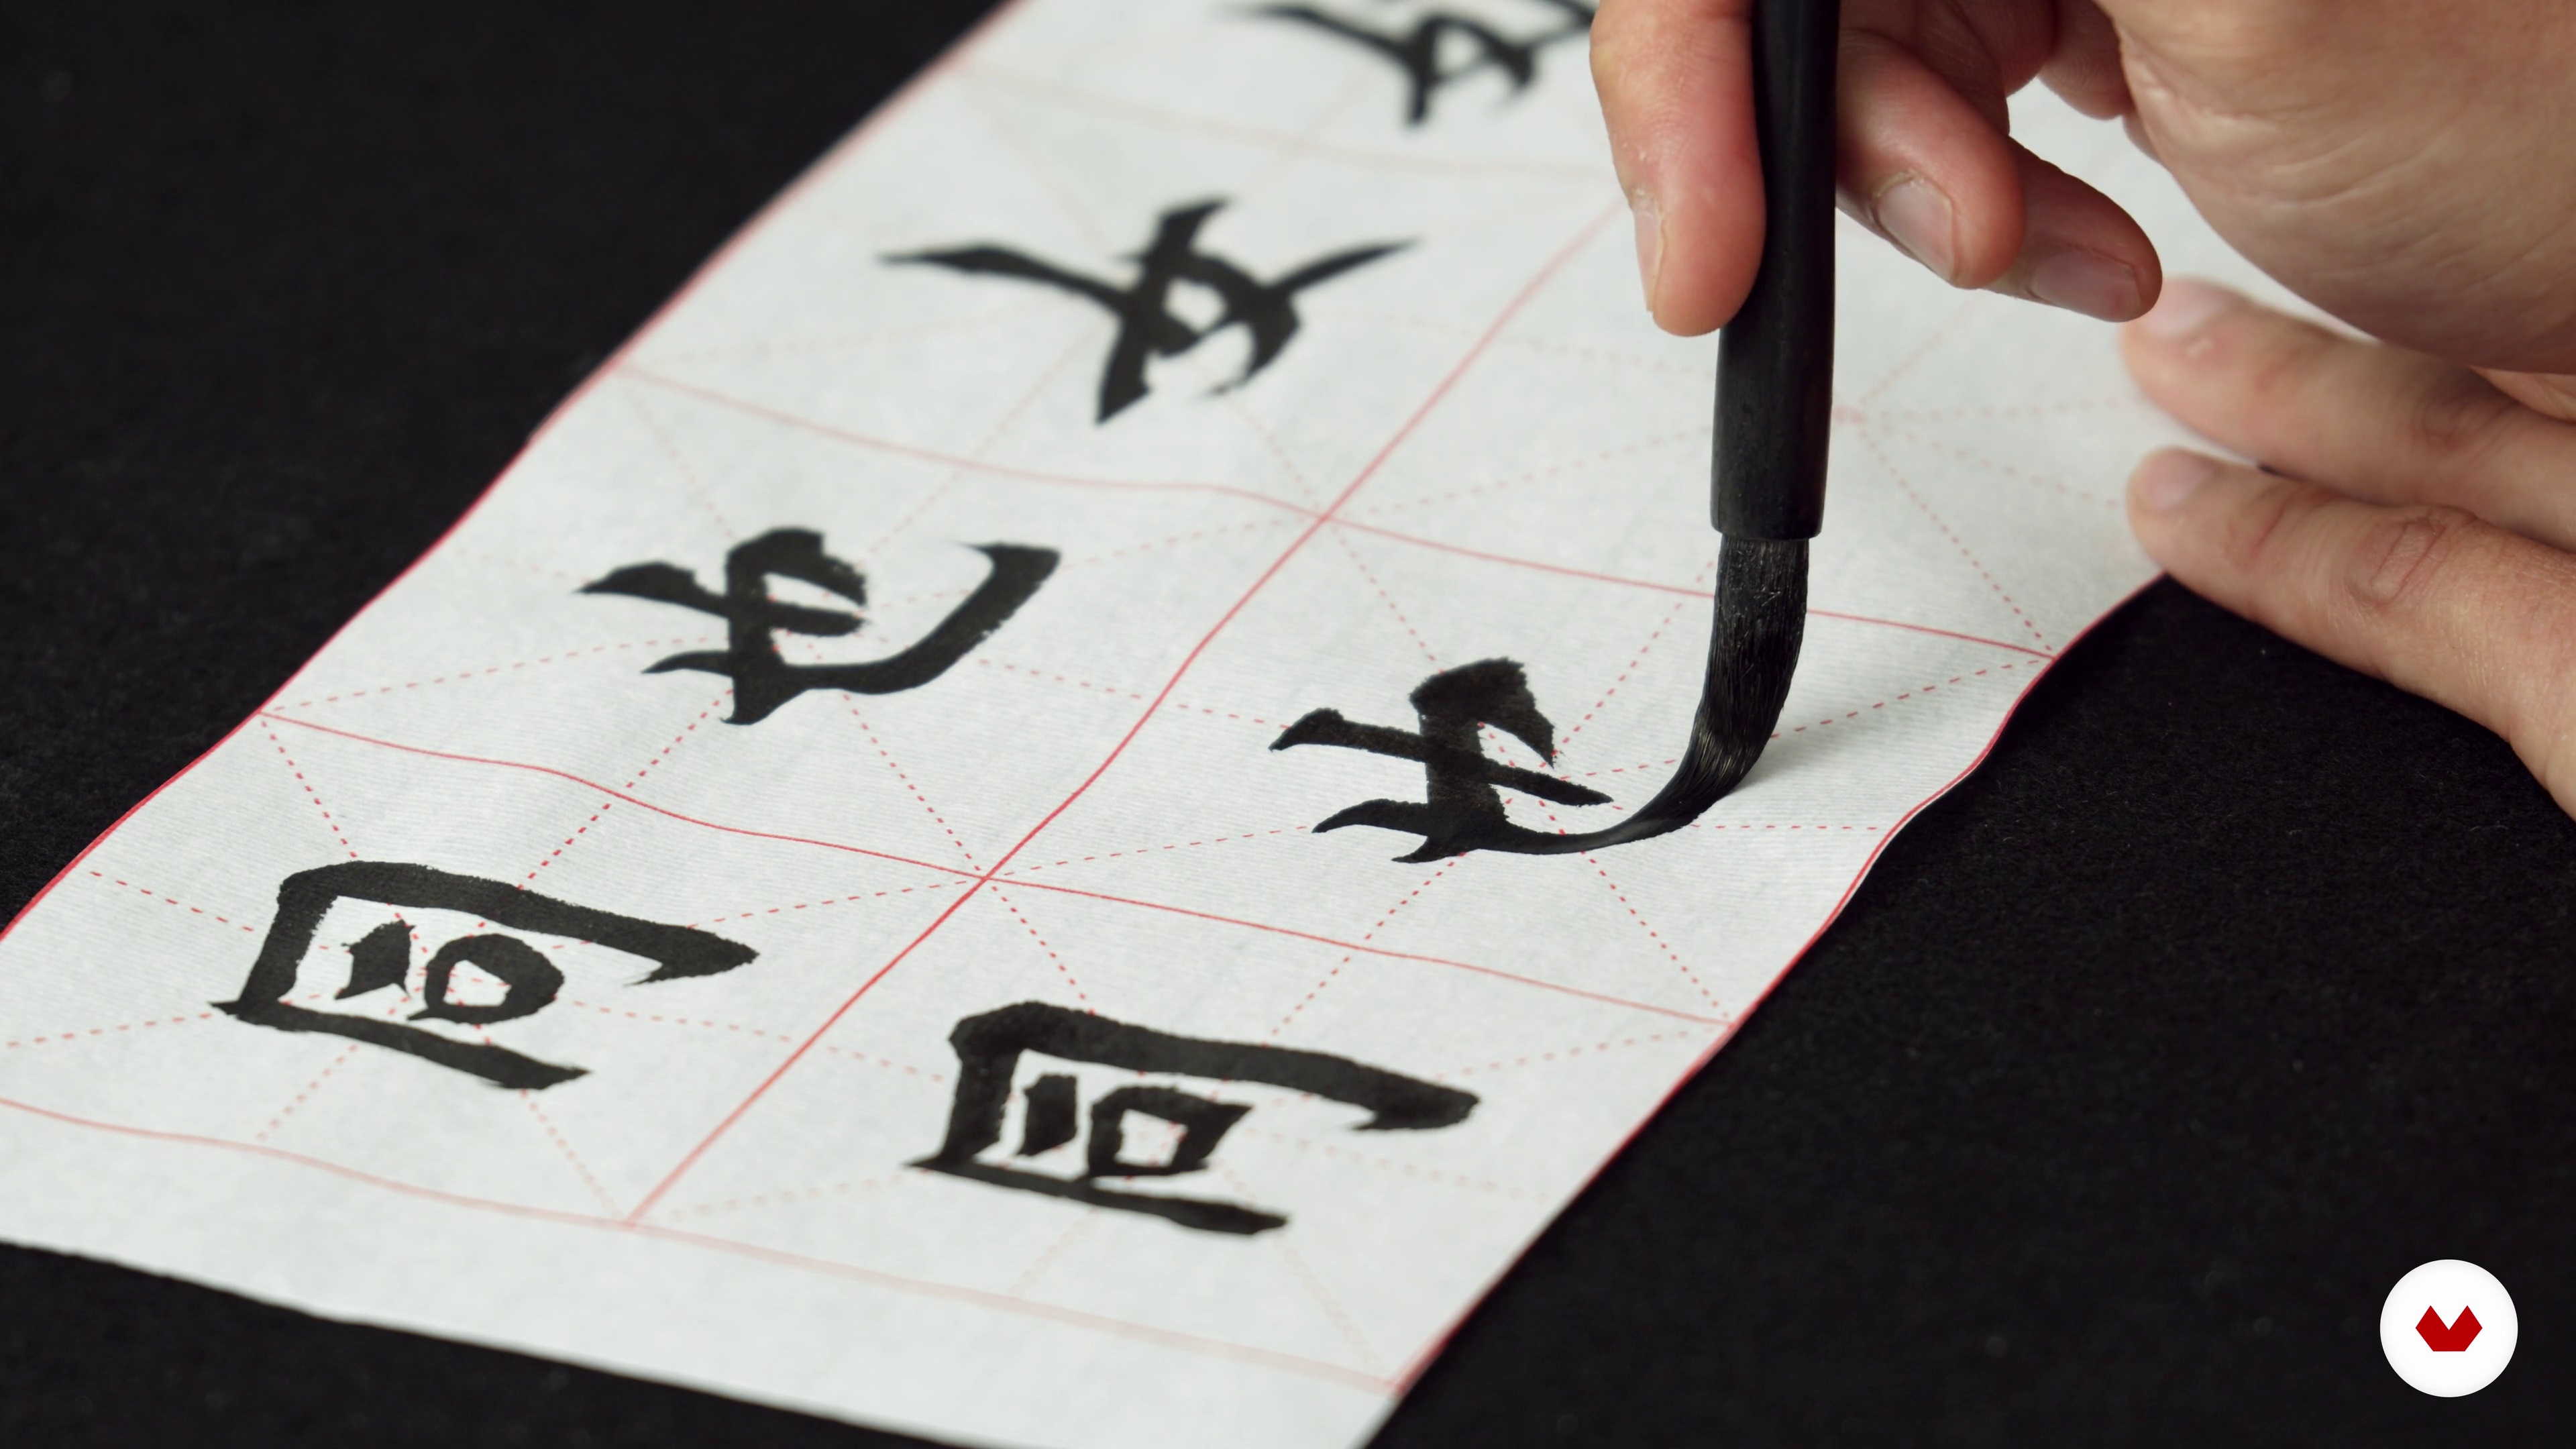
7Turning Strokes
Finally, I will show you some strokes with turnings and you will combine them with the strokes you have learnt from lesson 2 and 3.
12m
 8
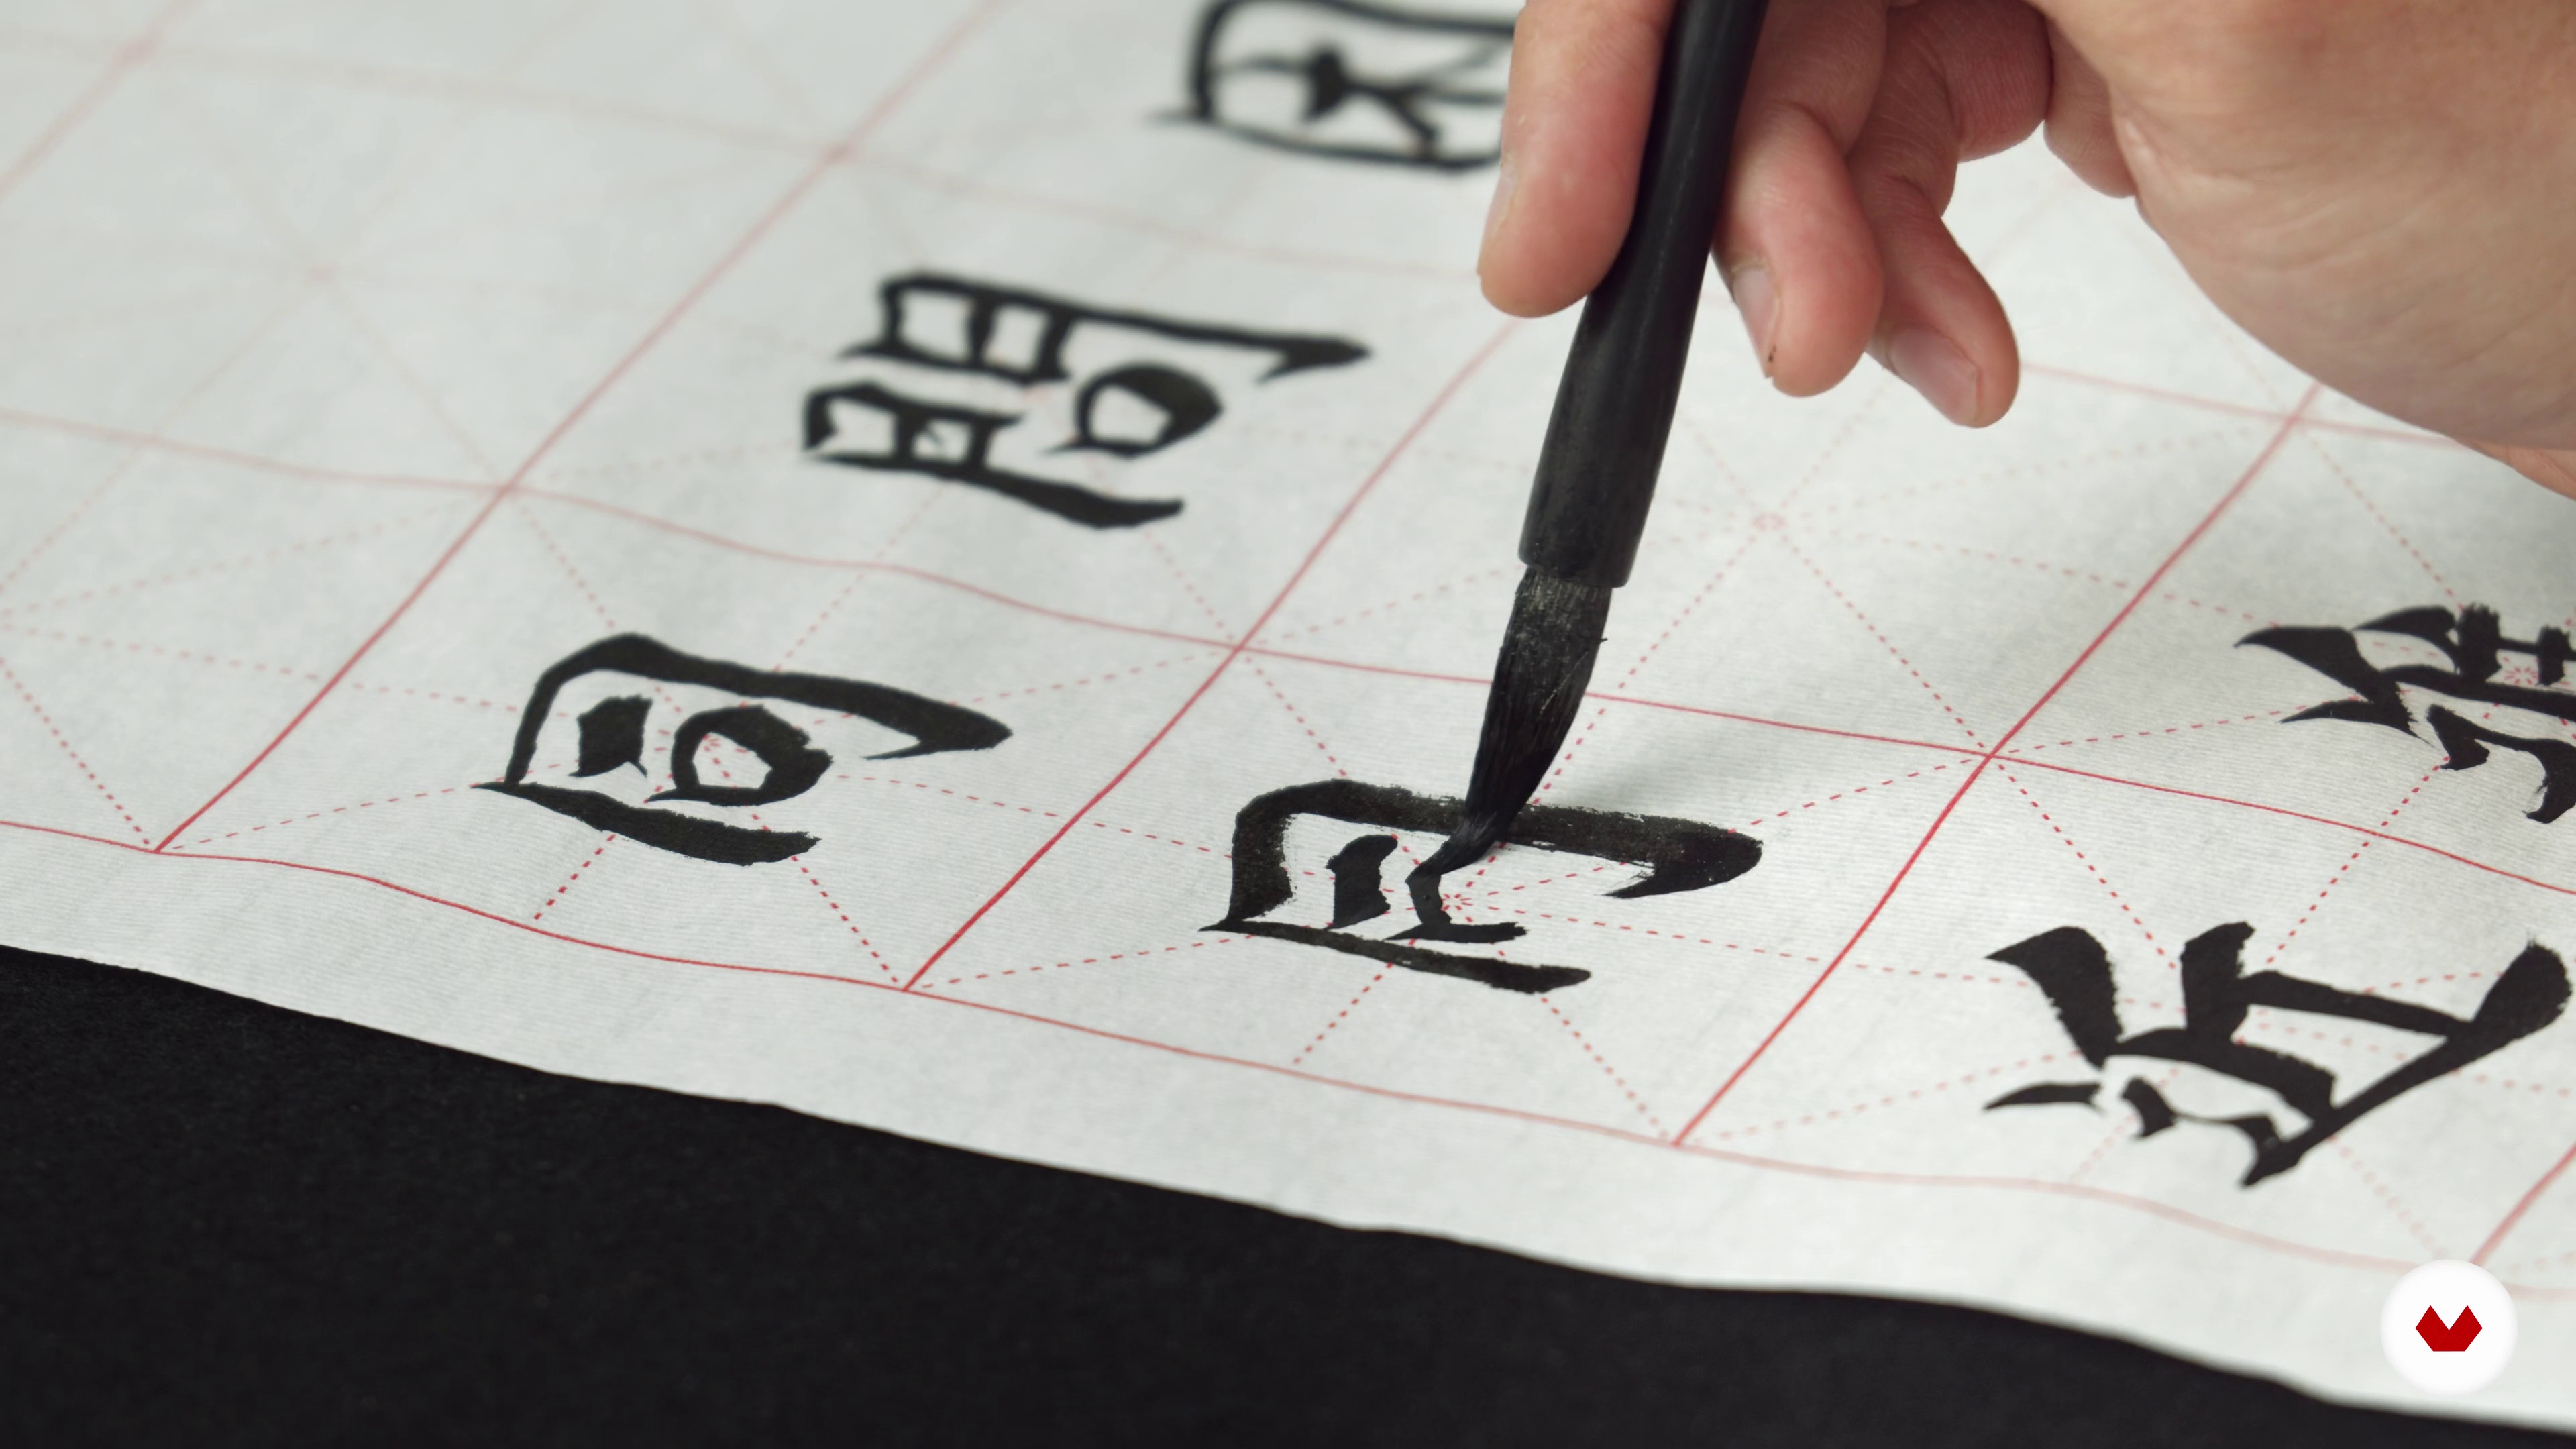
8Stroke Order
First, I will go into the principles of the stroke order. I will show you how all characters are built up from the strokes we learnt.
8m
 9
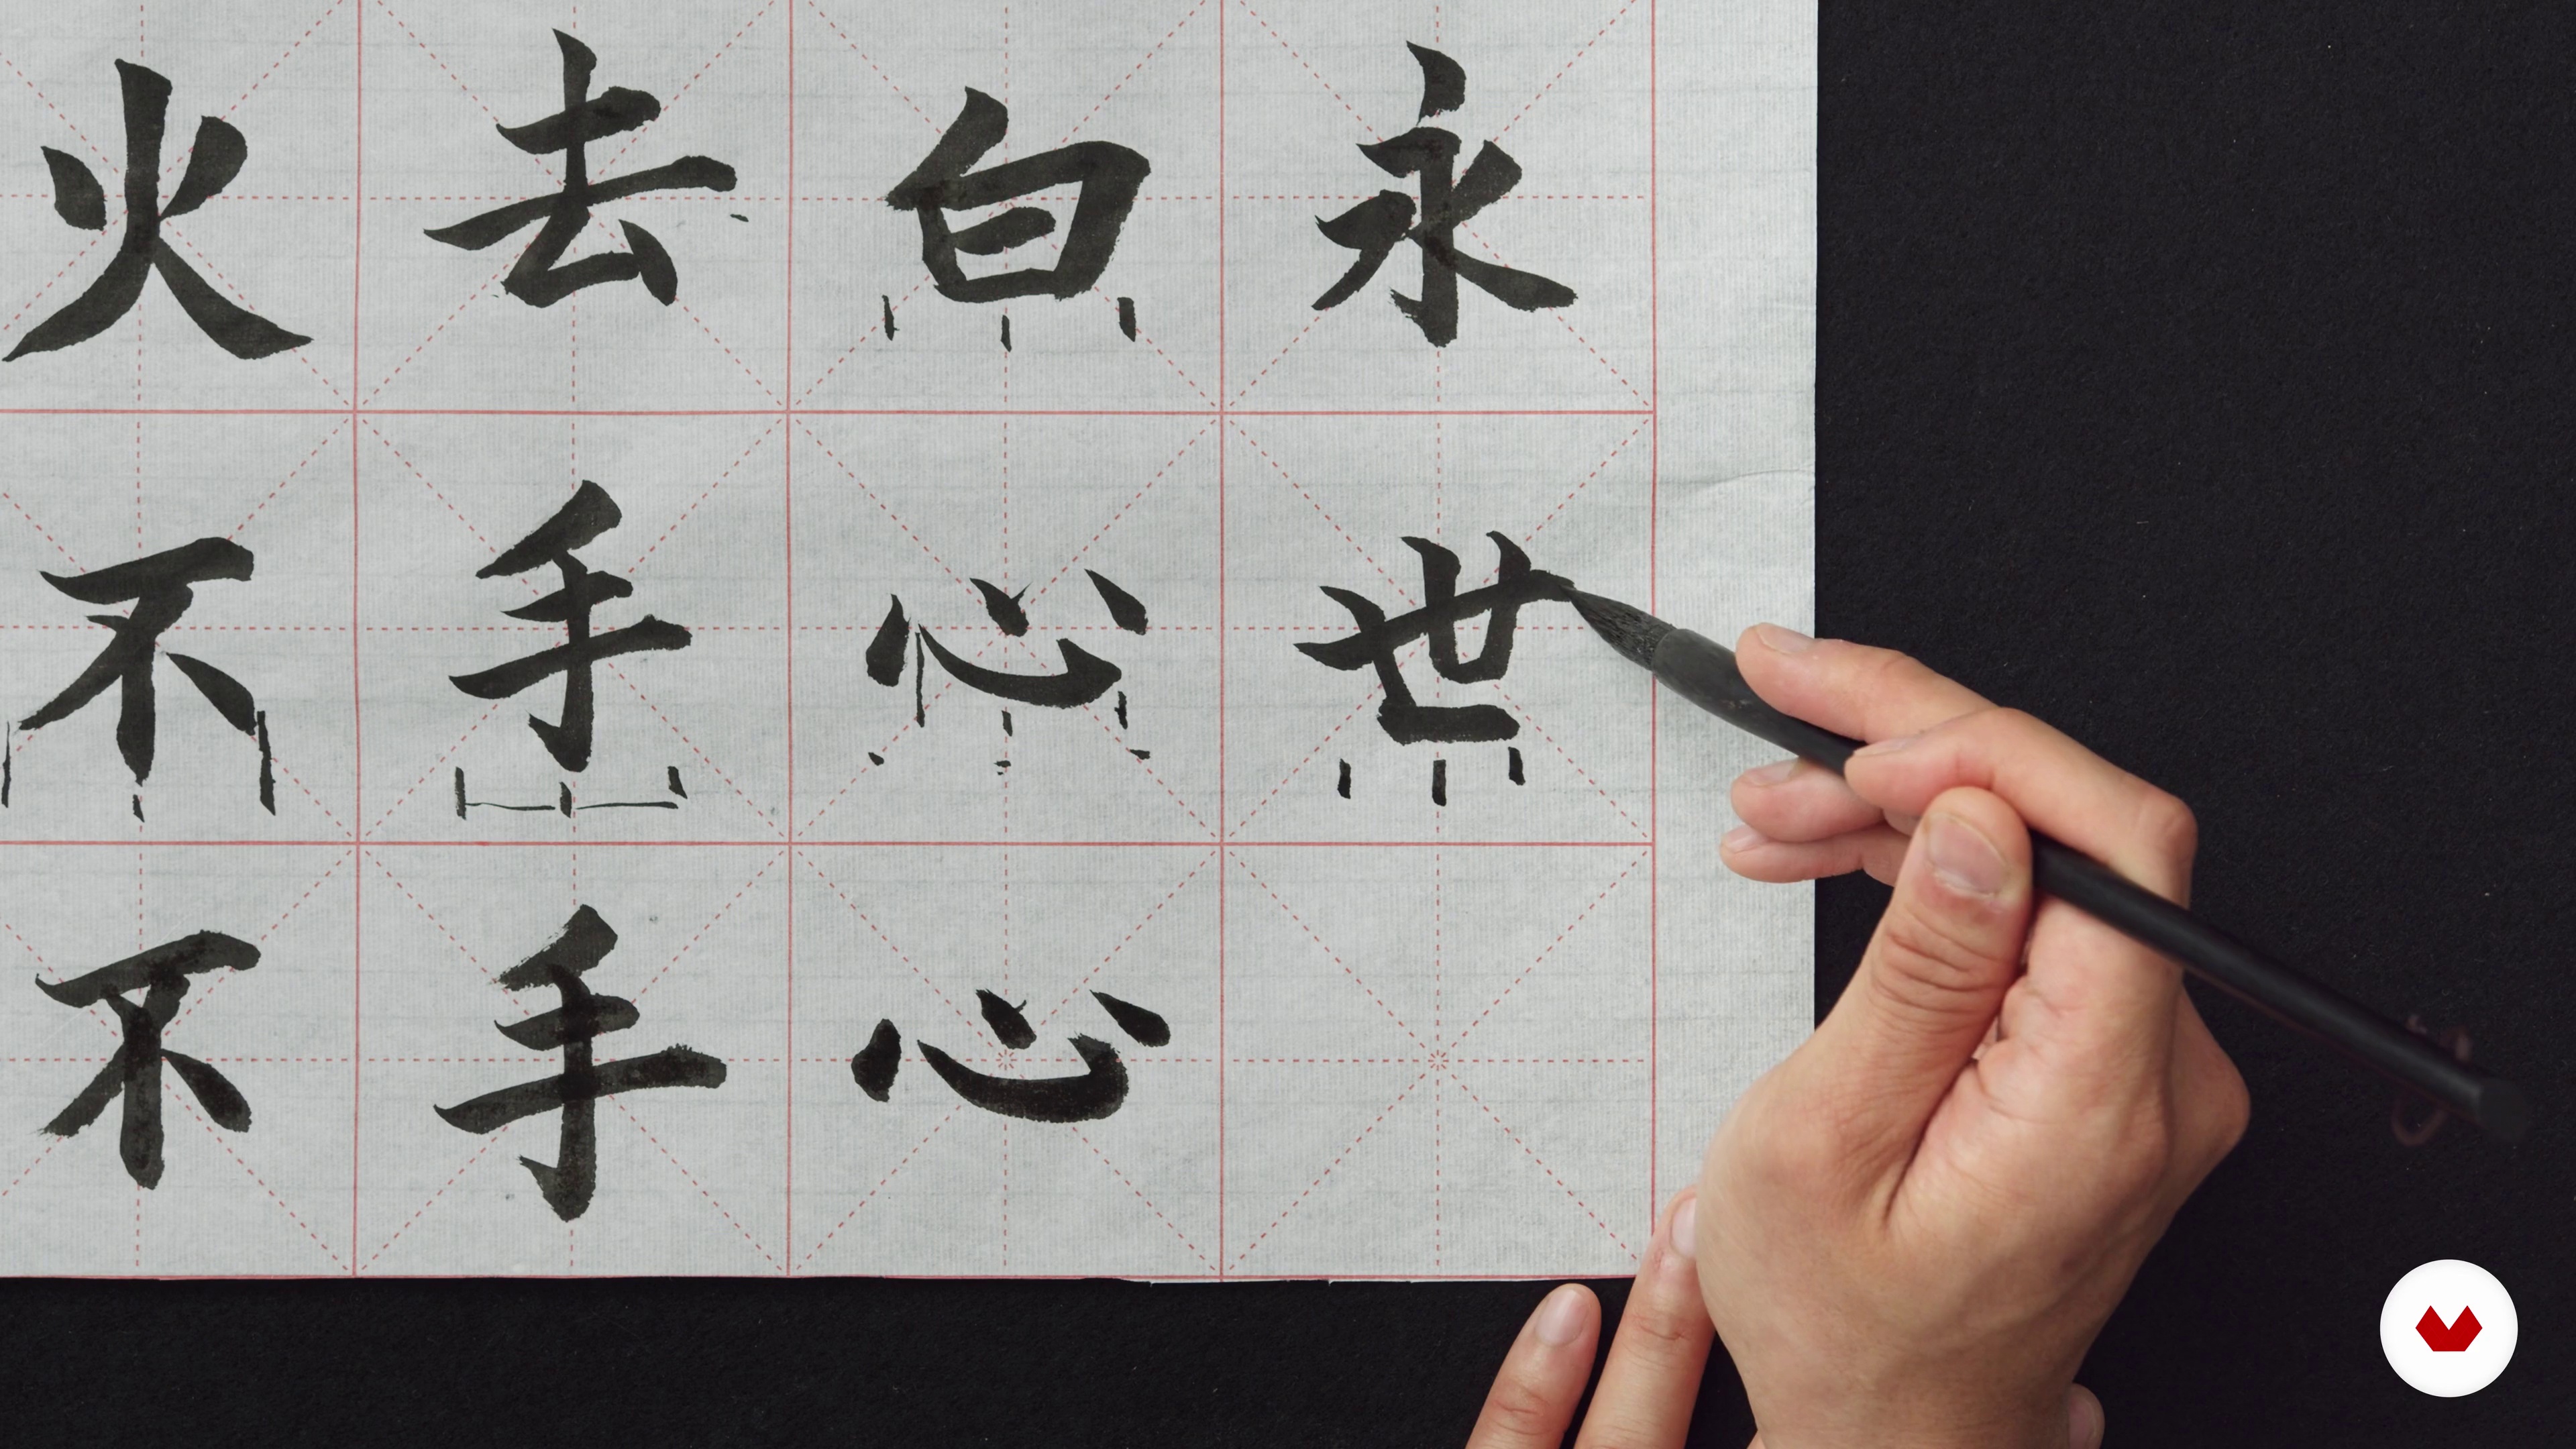
9Simple Structure Characters
After understanding the principles of the stroke order, I will start introducing the common structures and their proportions. In this lesson, I will start with the simplest structure.
8m
 10
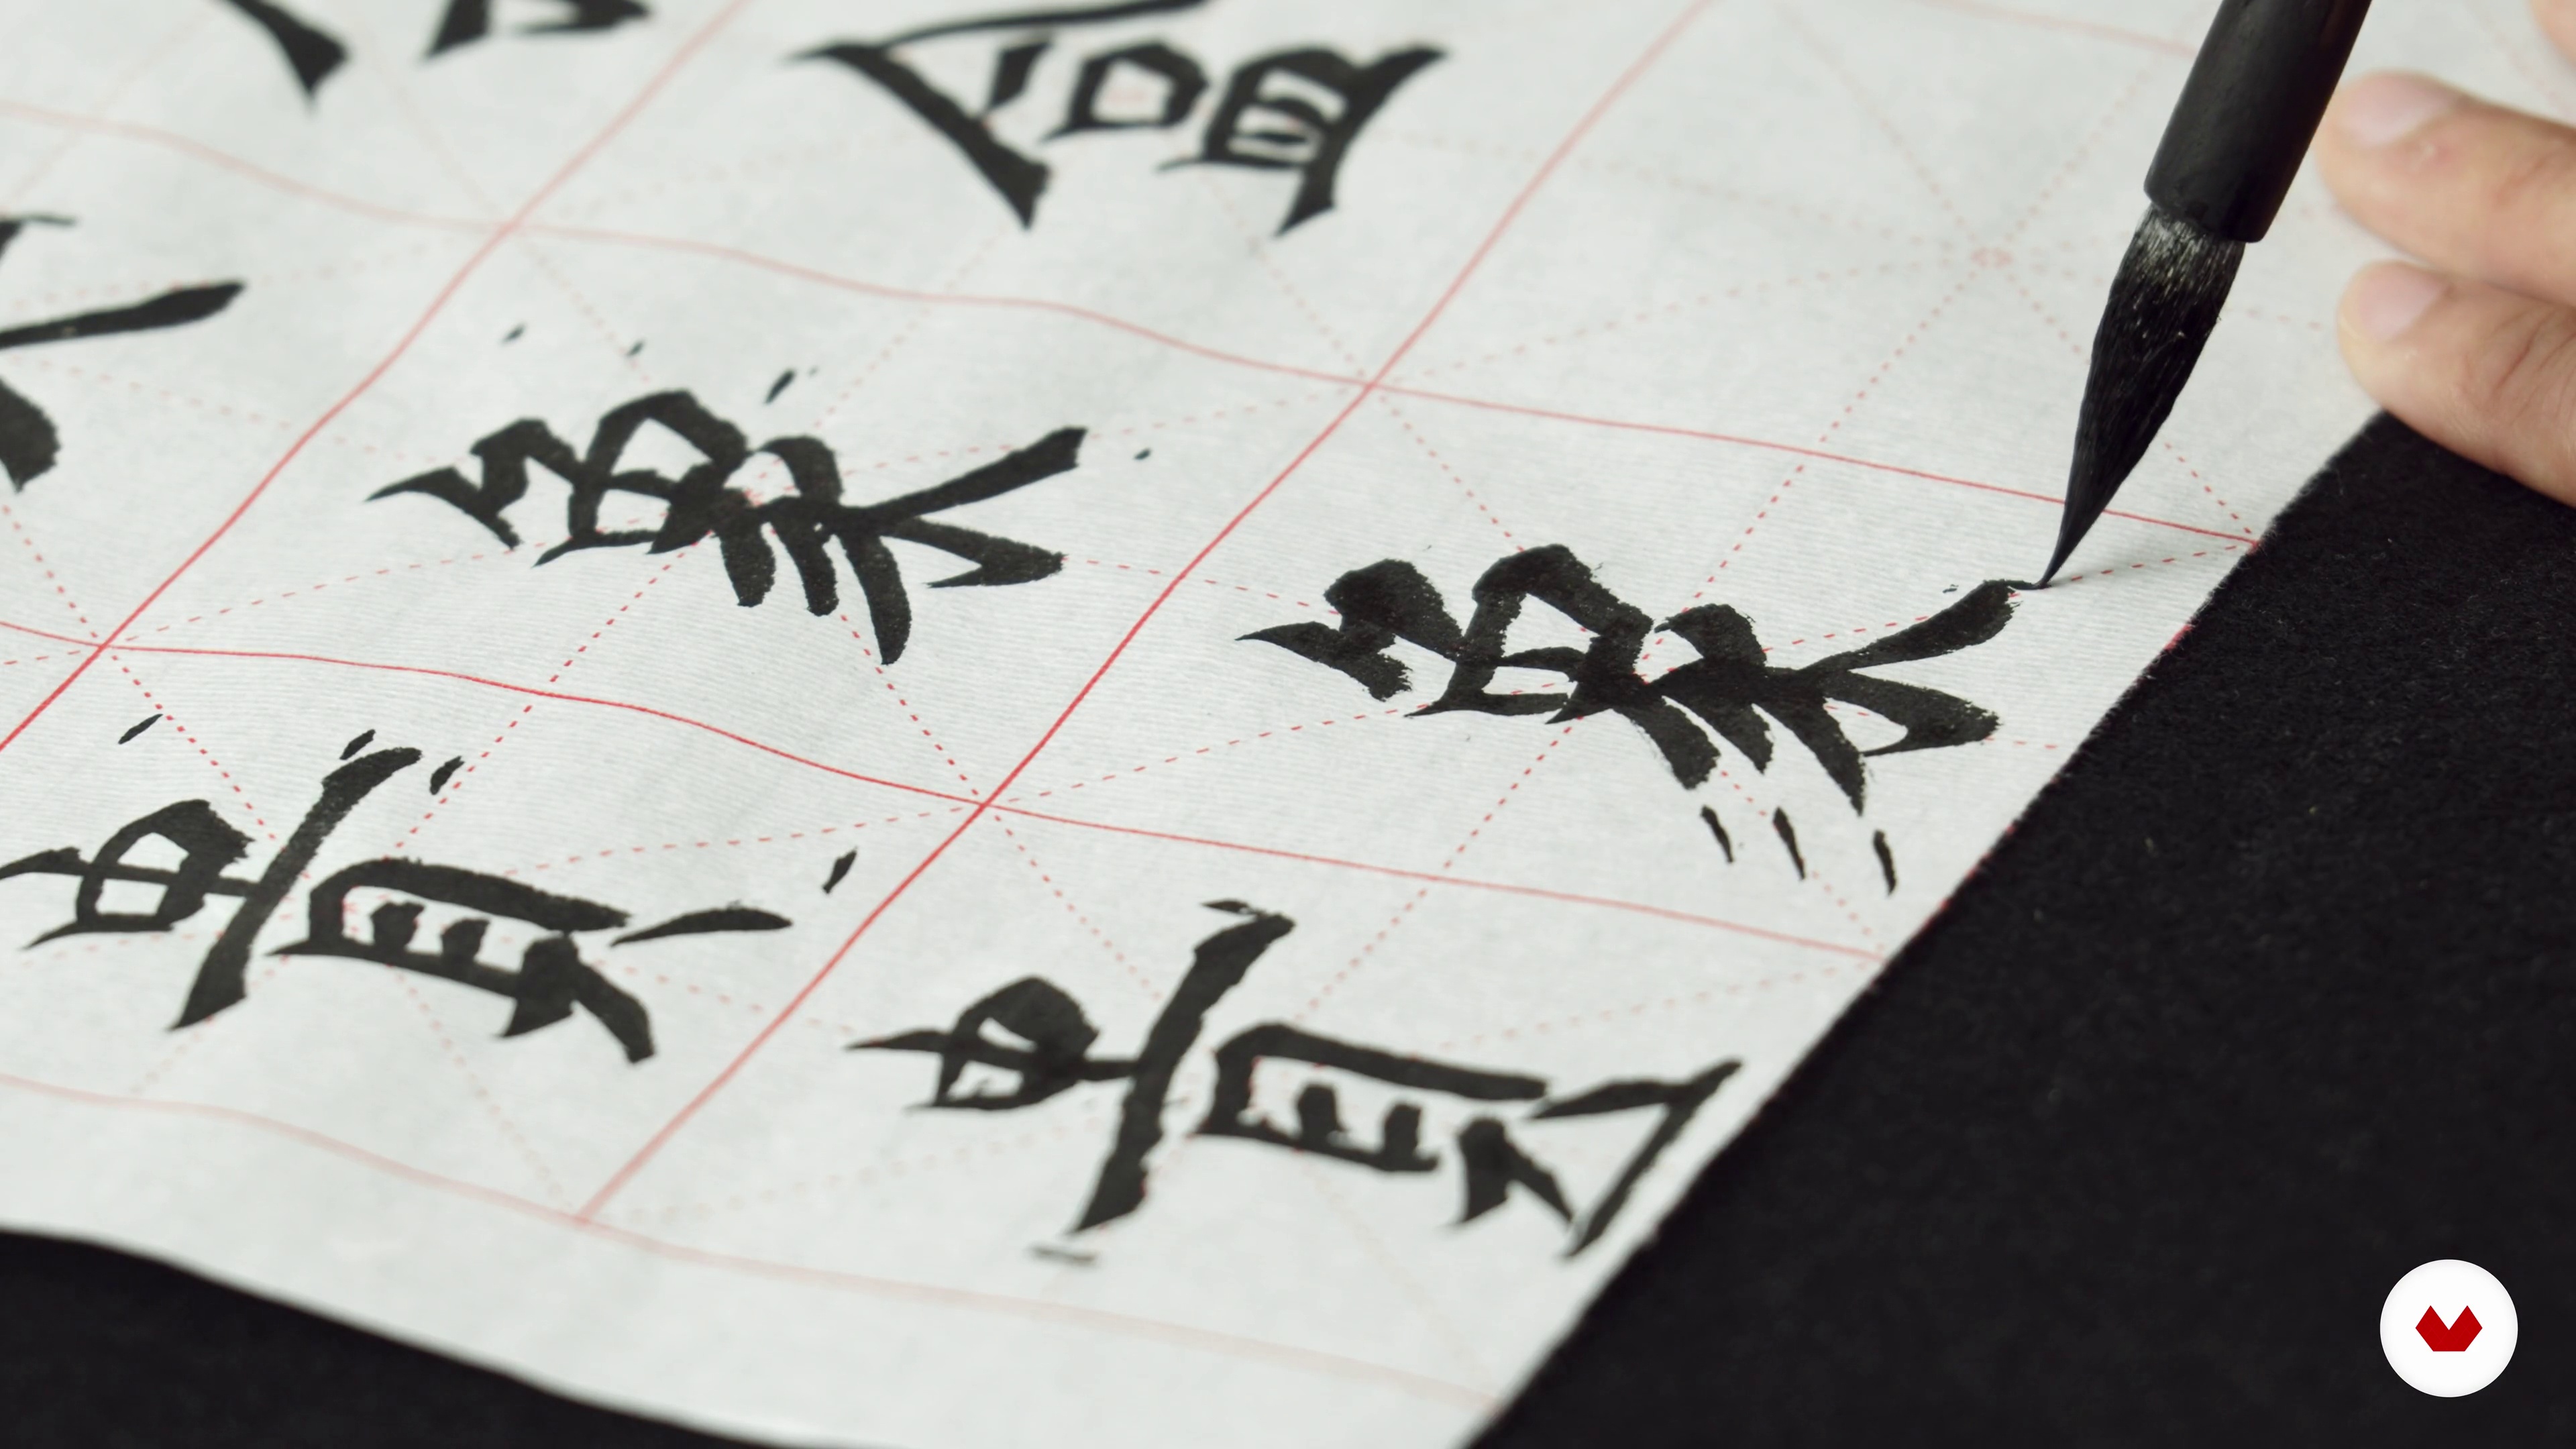
10Top-Bottom Structure Characters
In this lesson, I will show you how to write top-bottom structures.
13m
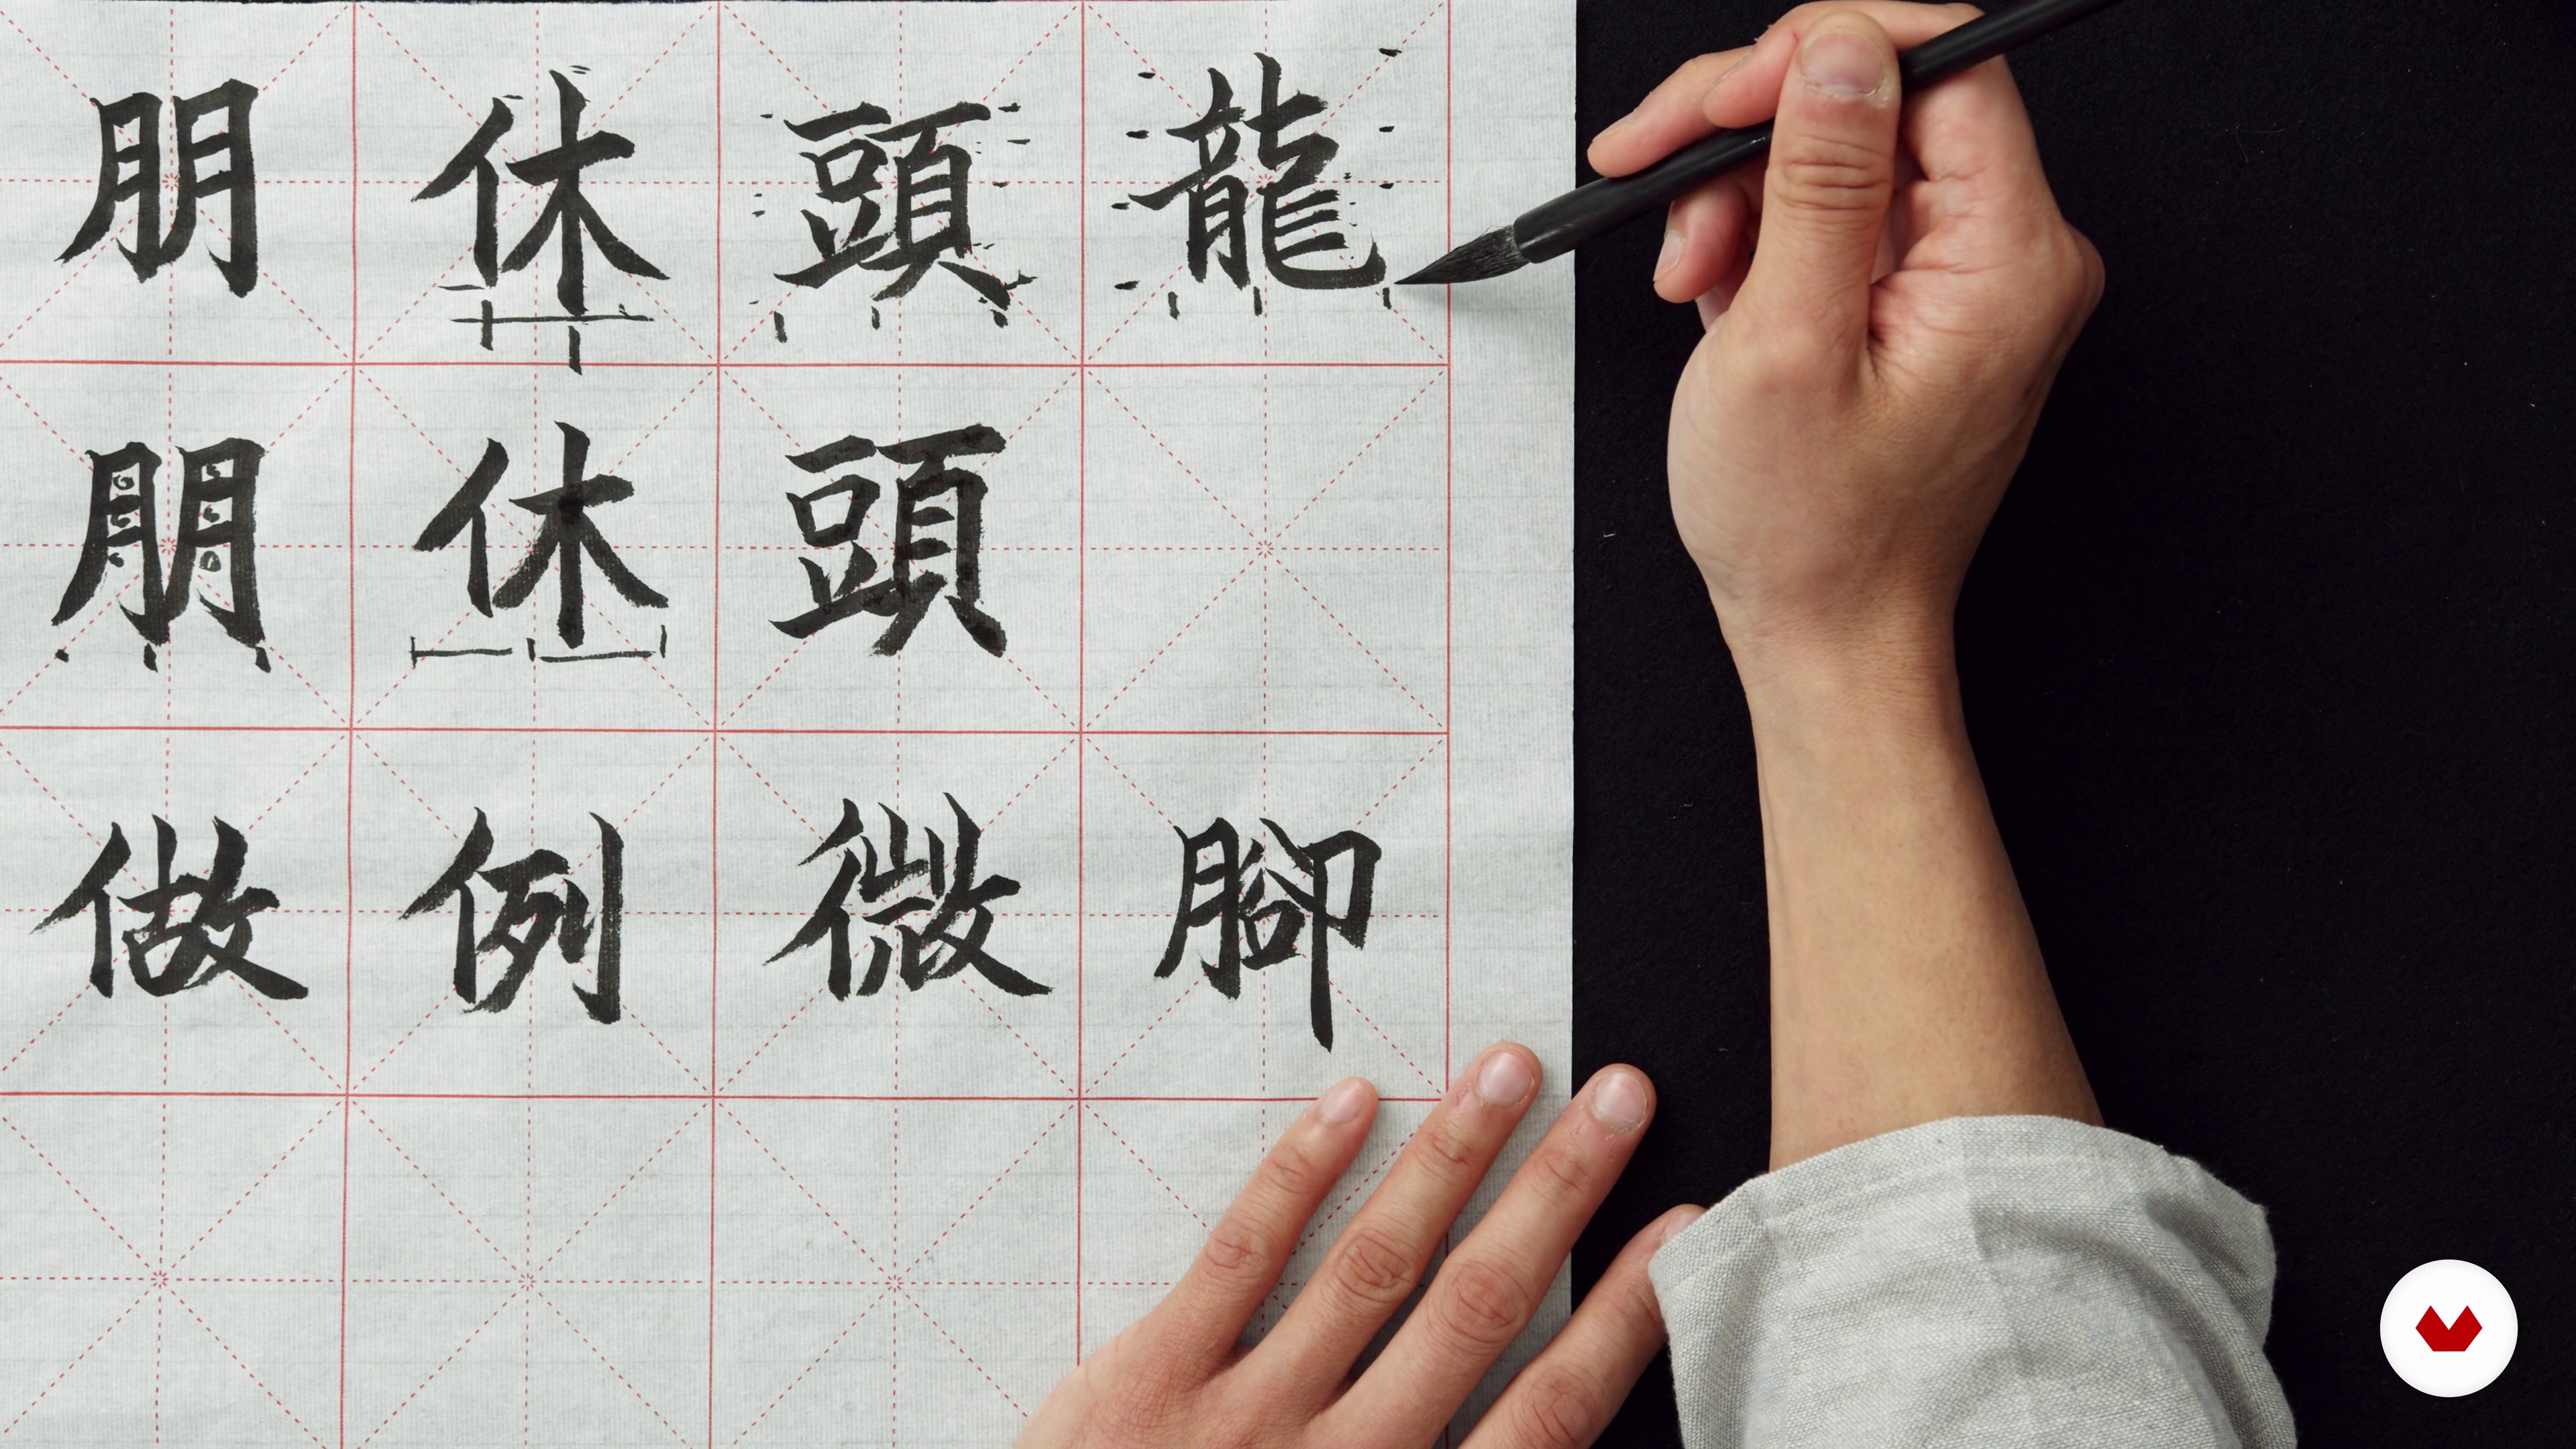 11
11Left-Right Structure Characters
Now that you have the top-bottom structure covered, I will continue by showing you how to write on a left-right structure.
12m
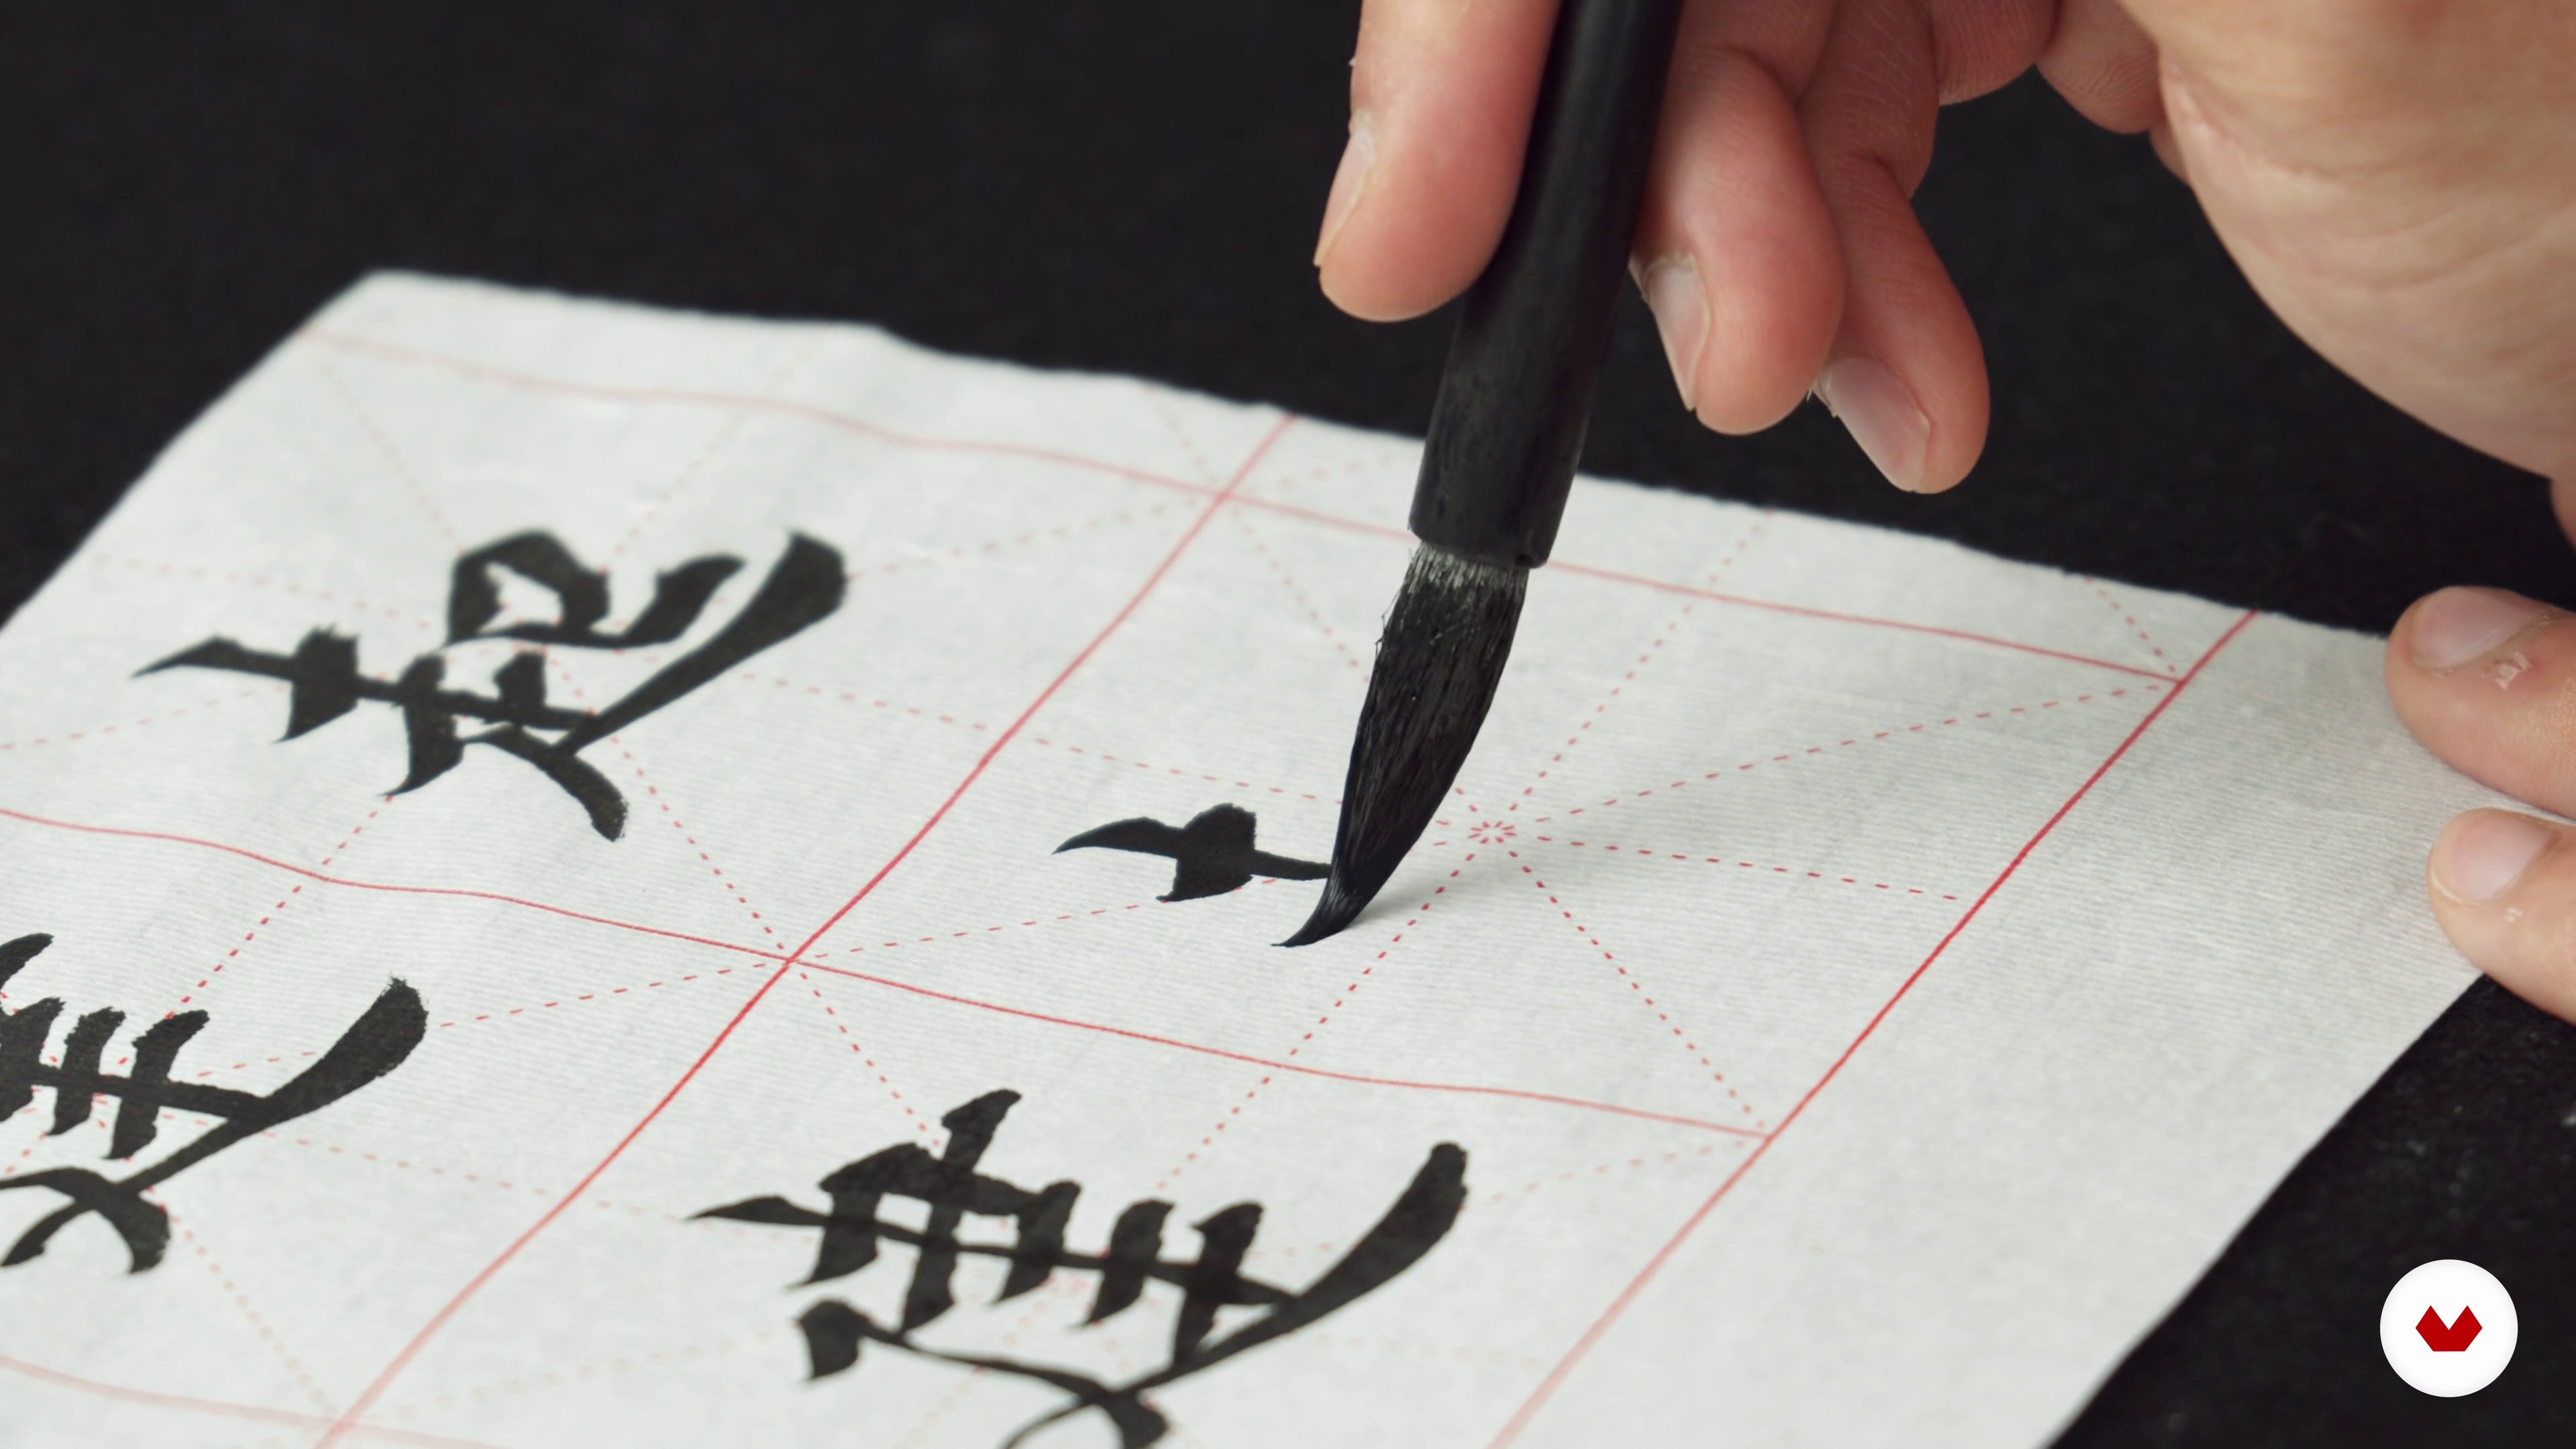 12
12Enclosed Structures with Two Sides
There are three common enclosed structures, first of all, I will show you how to write the enclosed structure with two sides.
11m
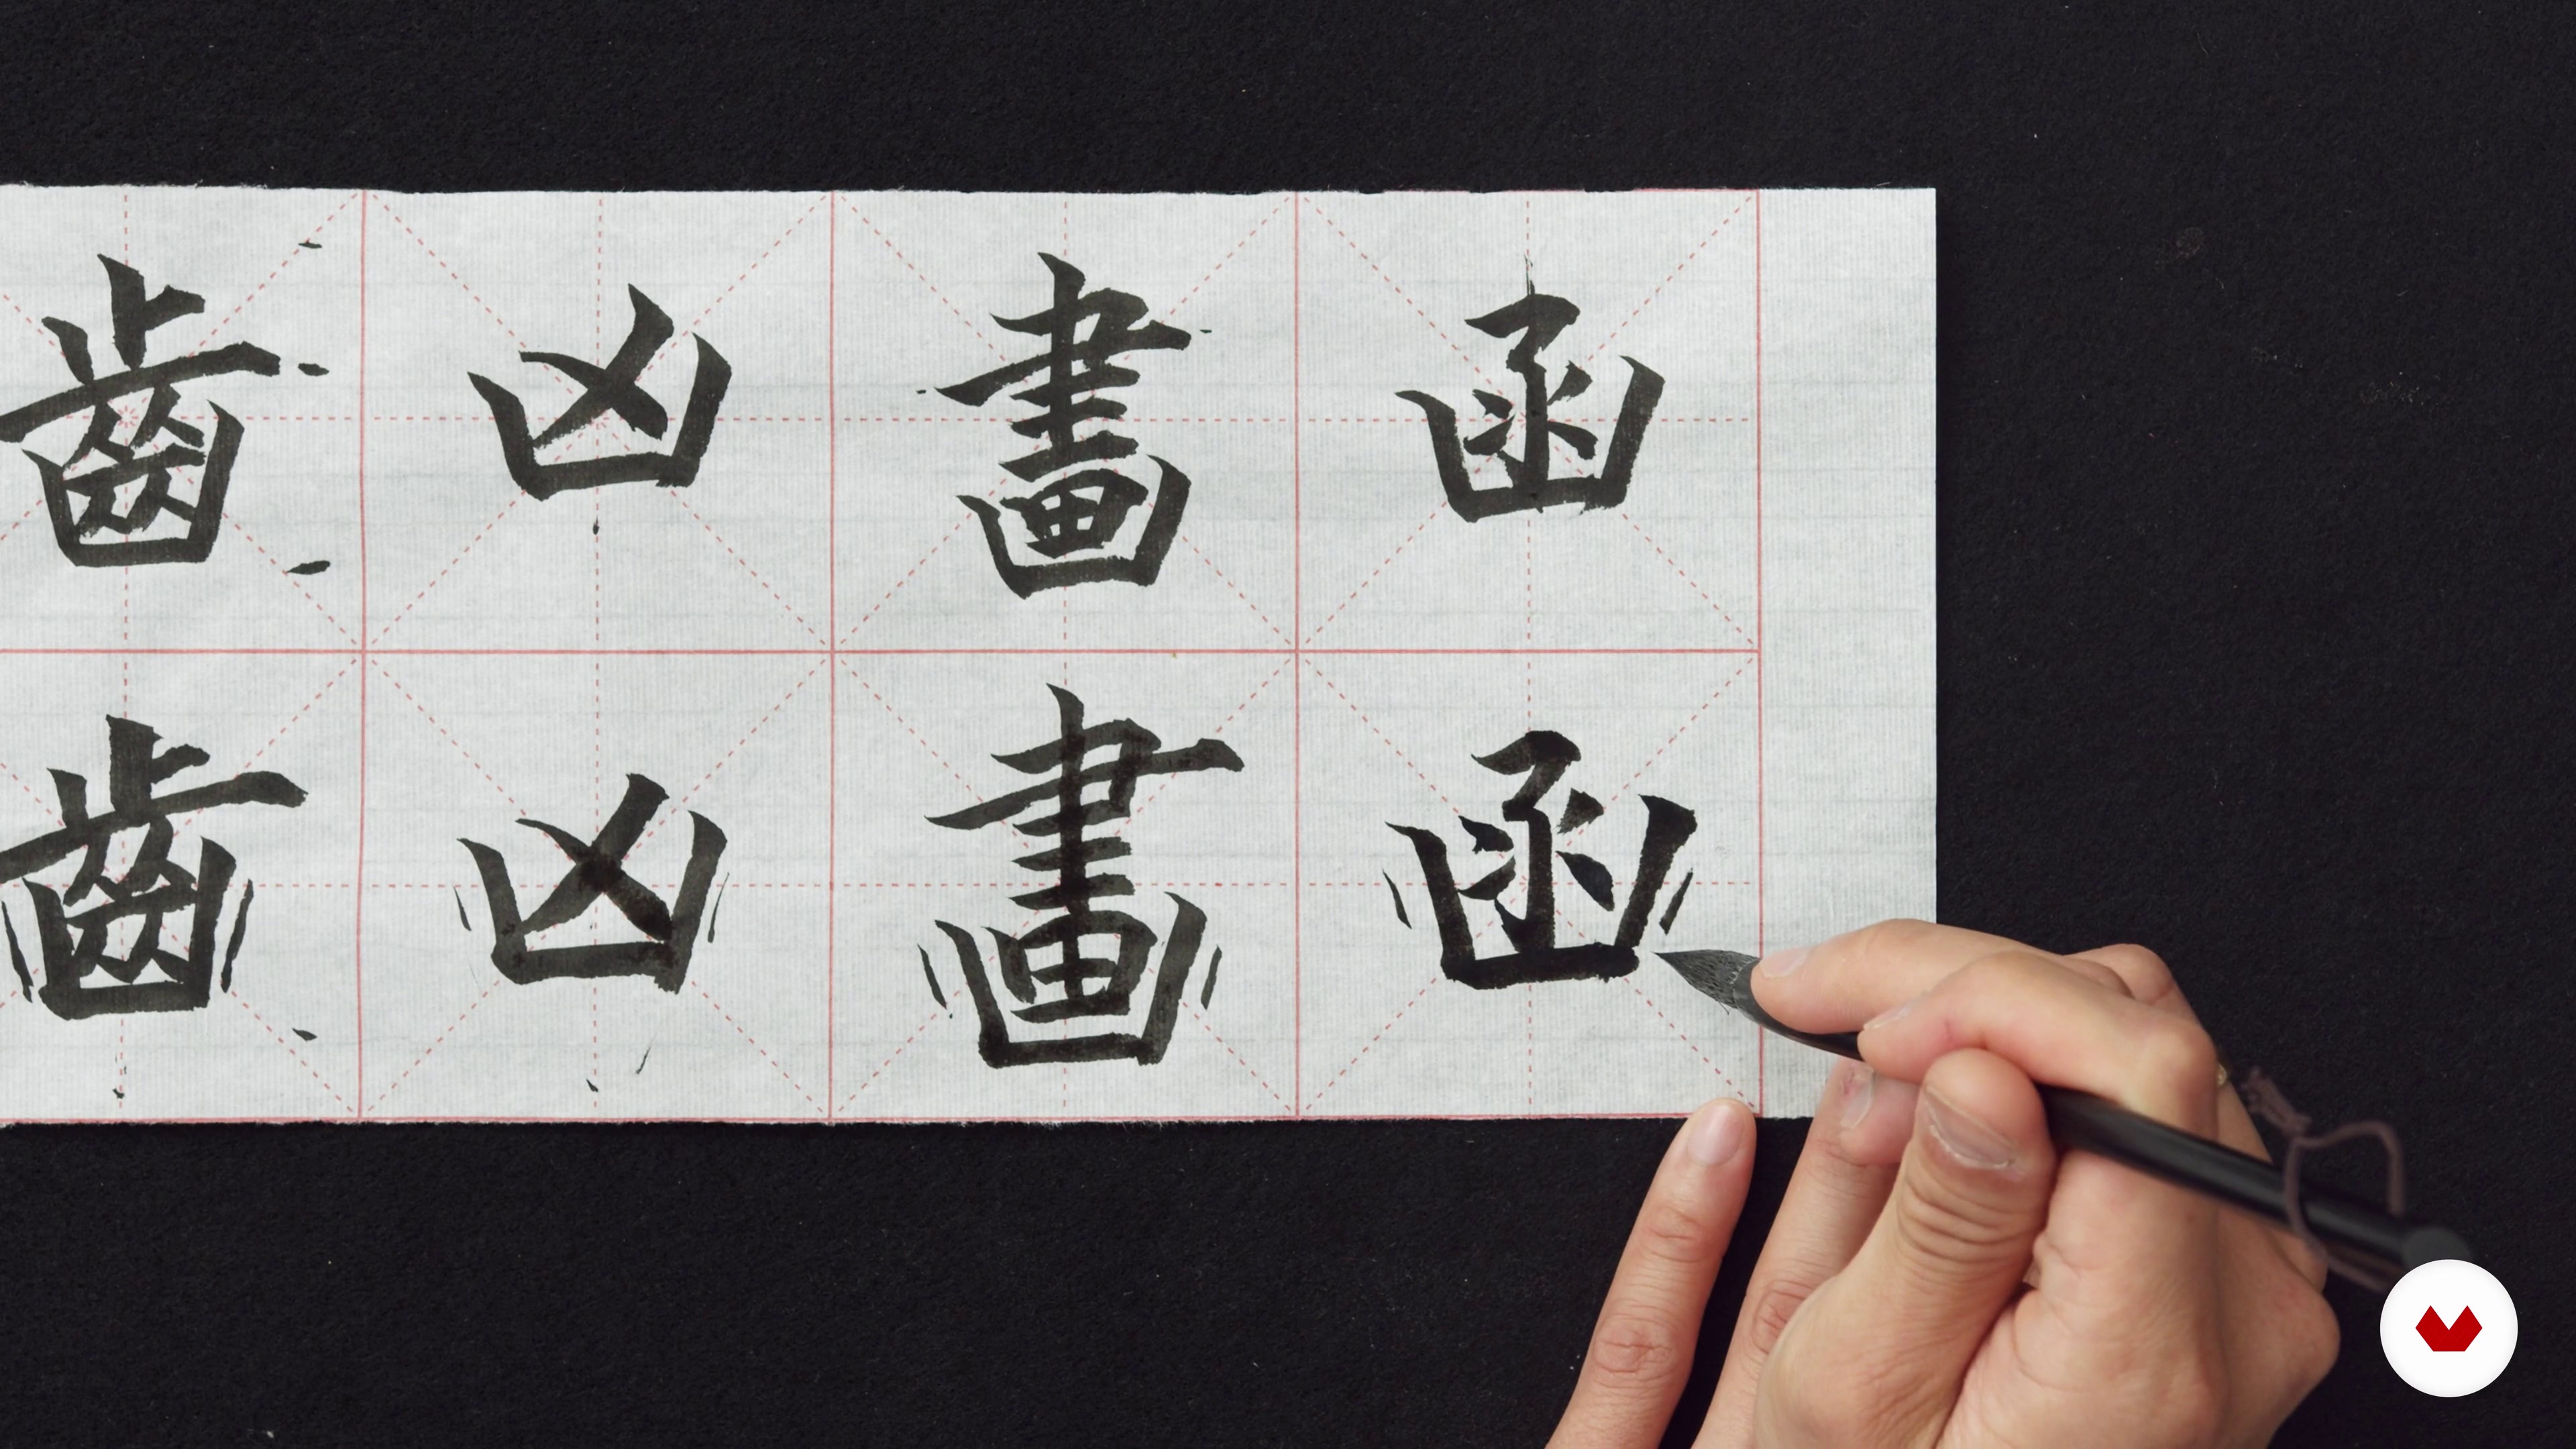 13
13Enclosed Structures with Three Sides
In this lesson, I will show you how to write enclosed structures on three sides.
10m
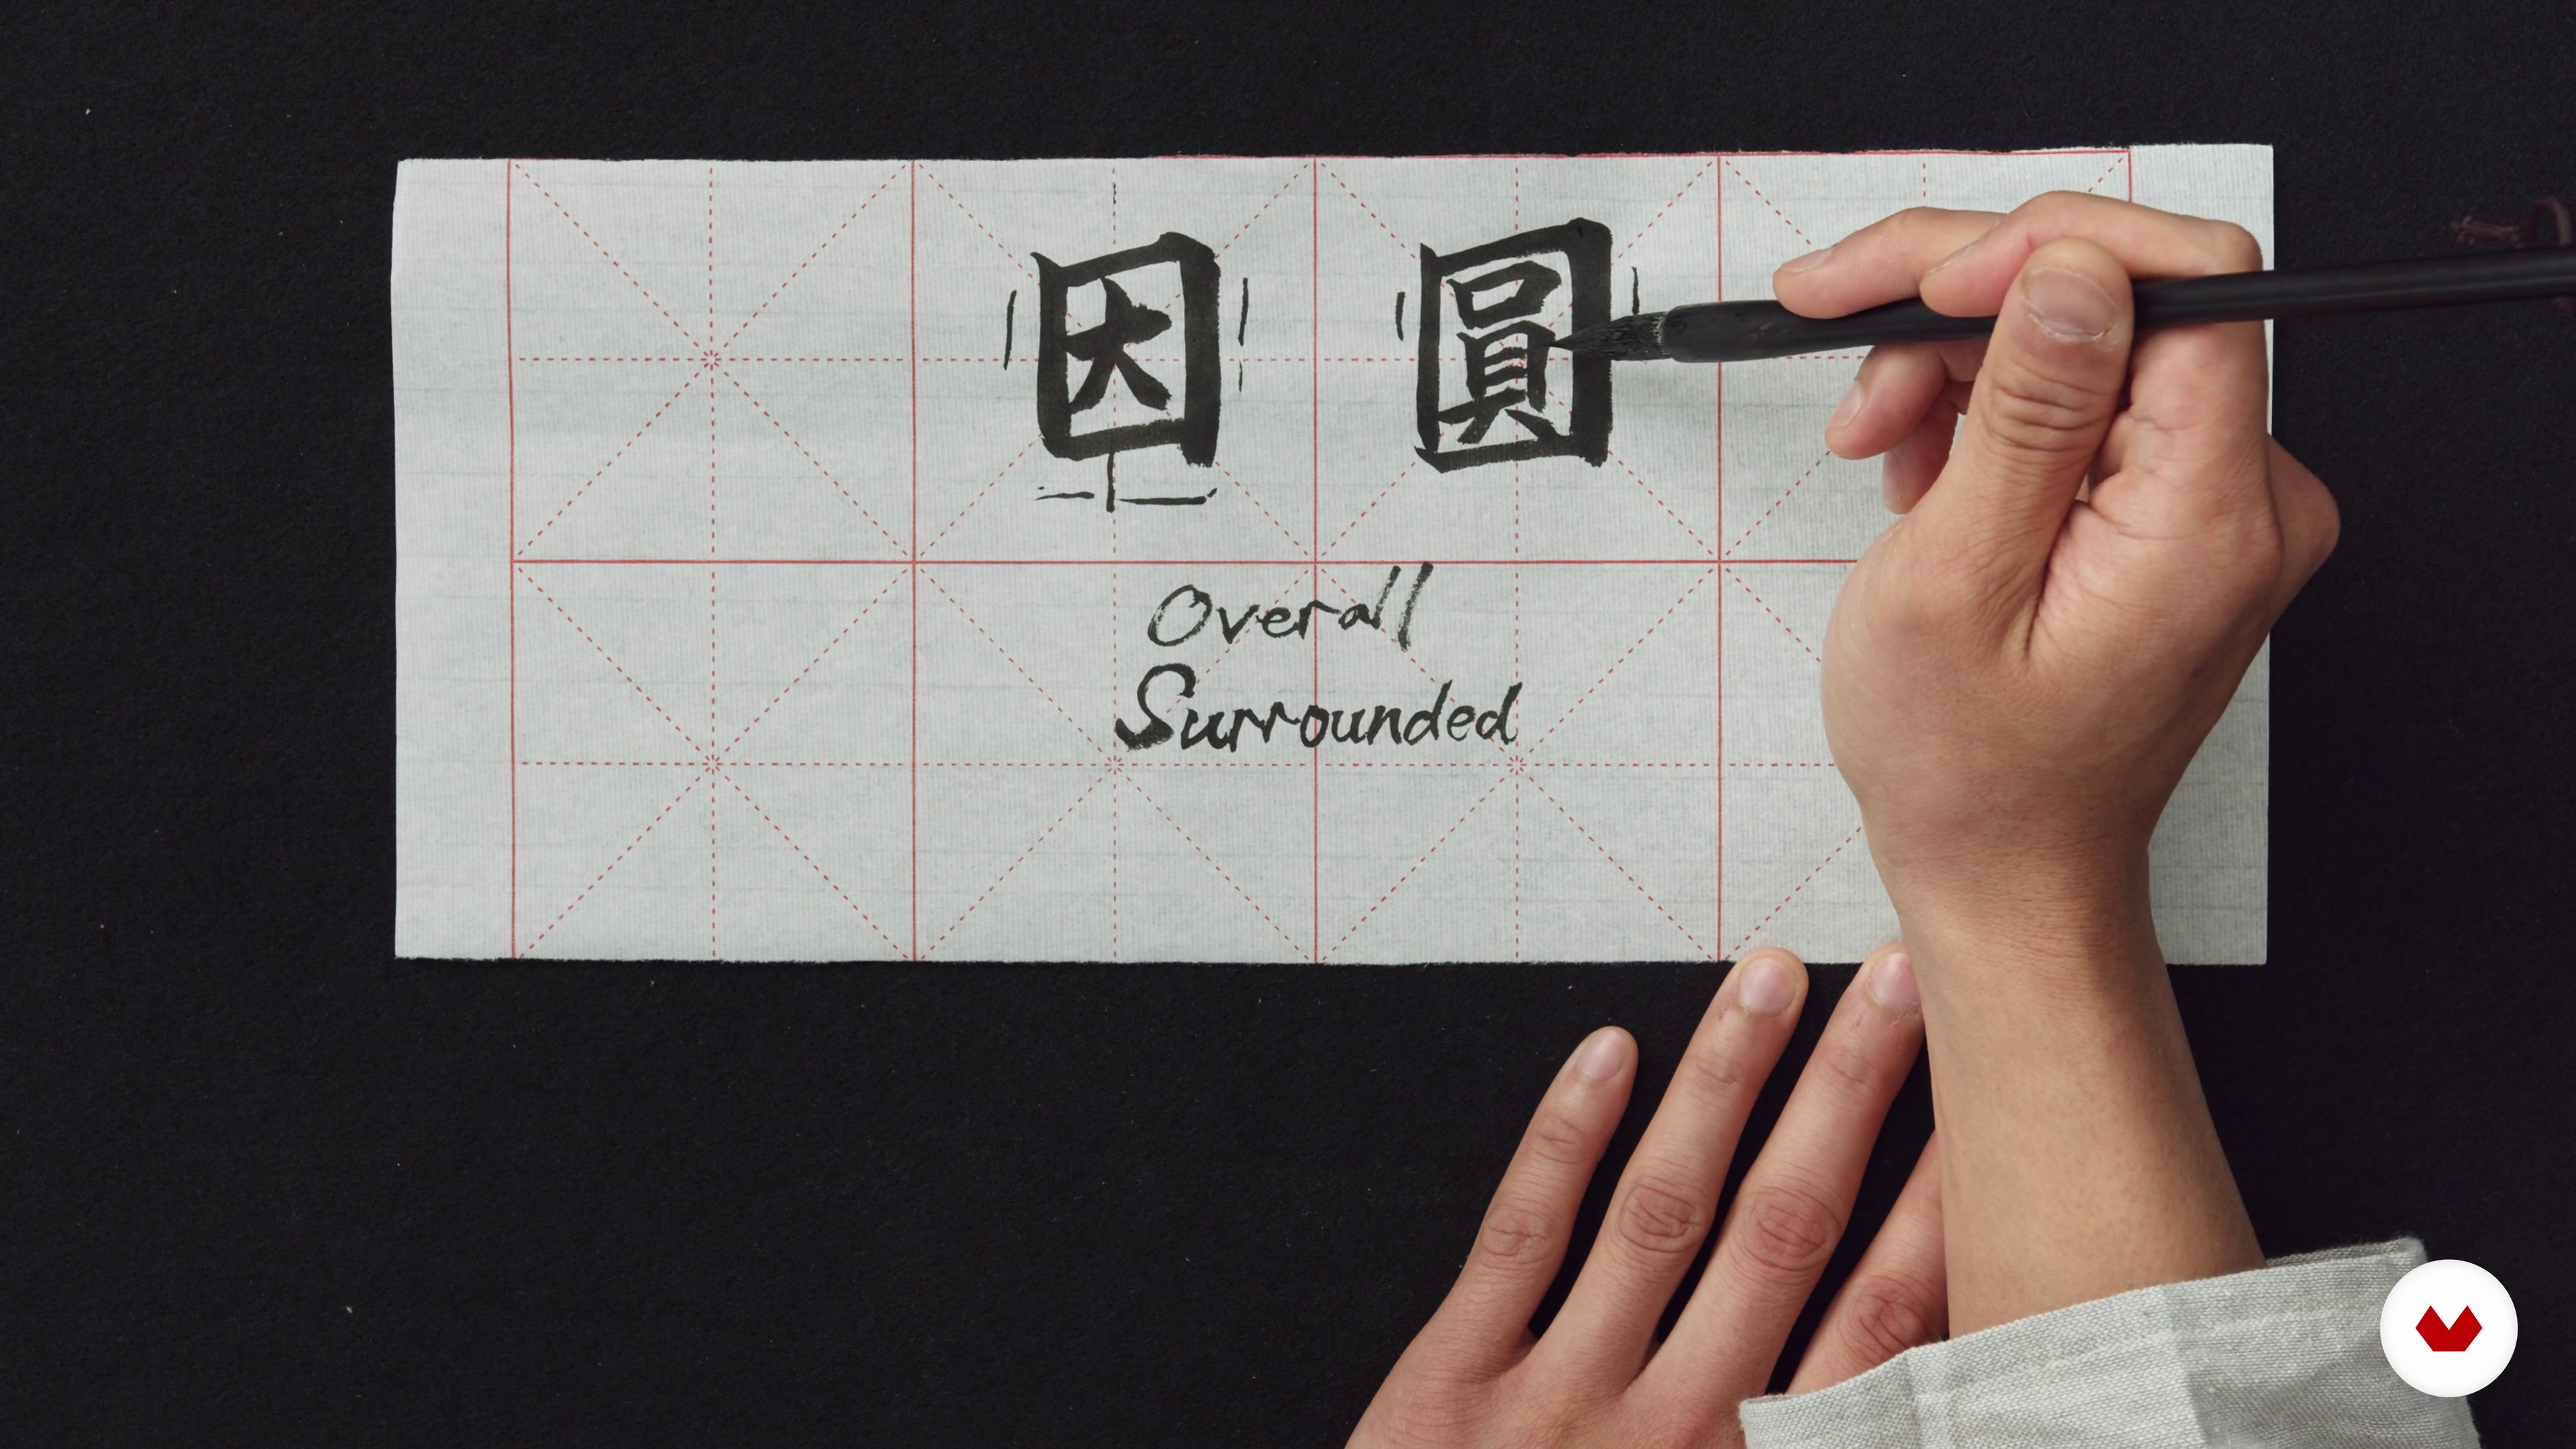 14
14Completely Enclosed Structures
Now, you will learn how to write completely enclosed structures.
10m
 15
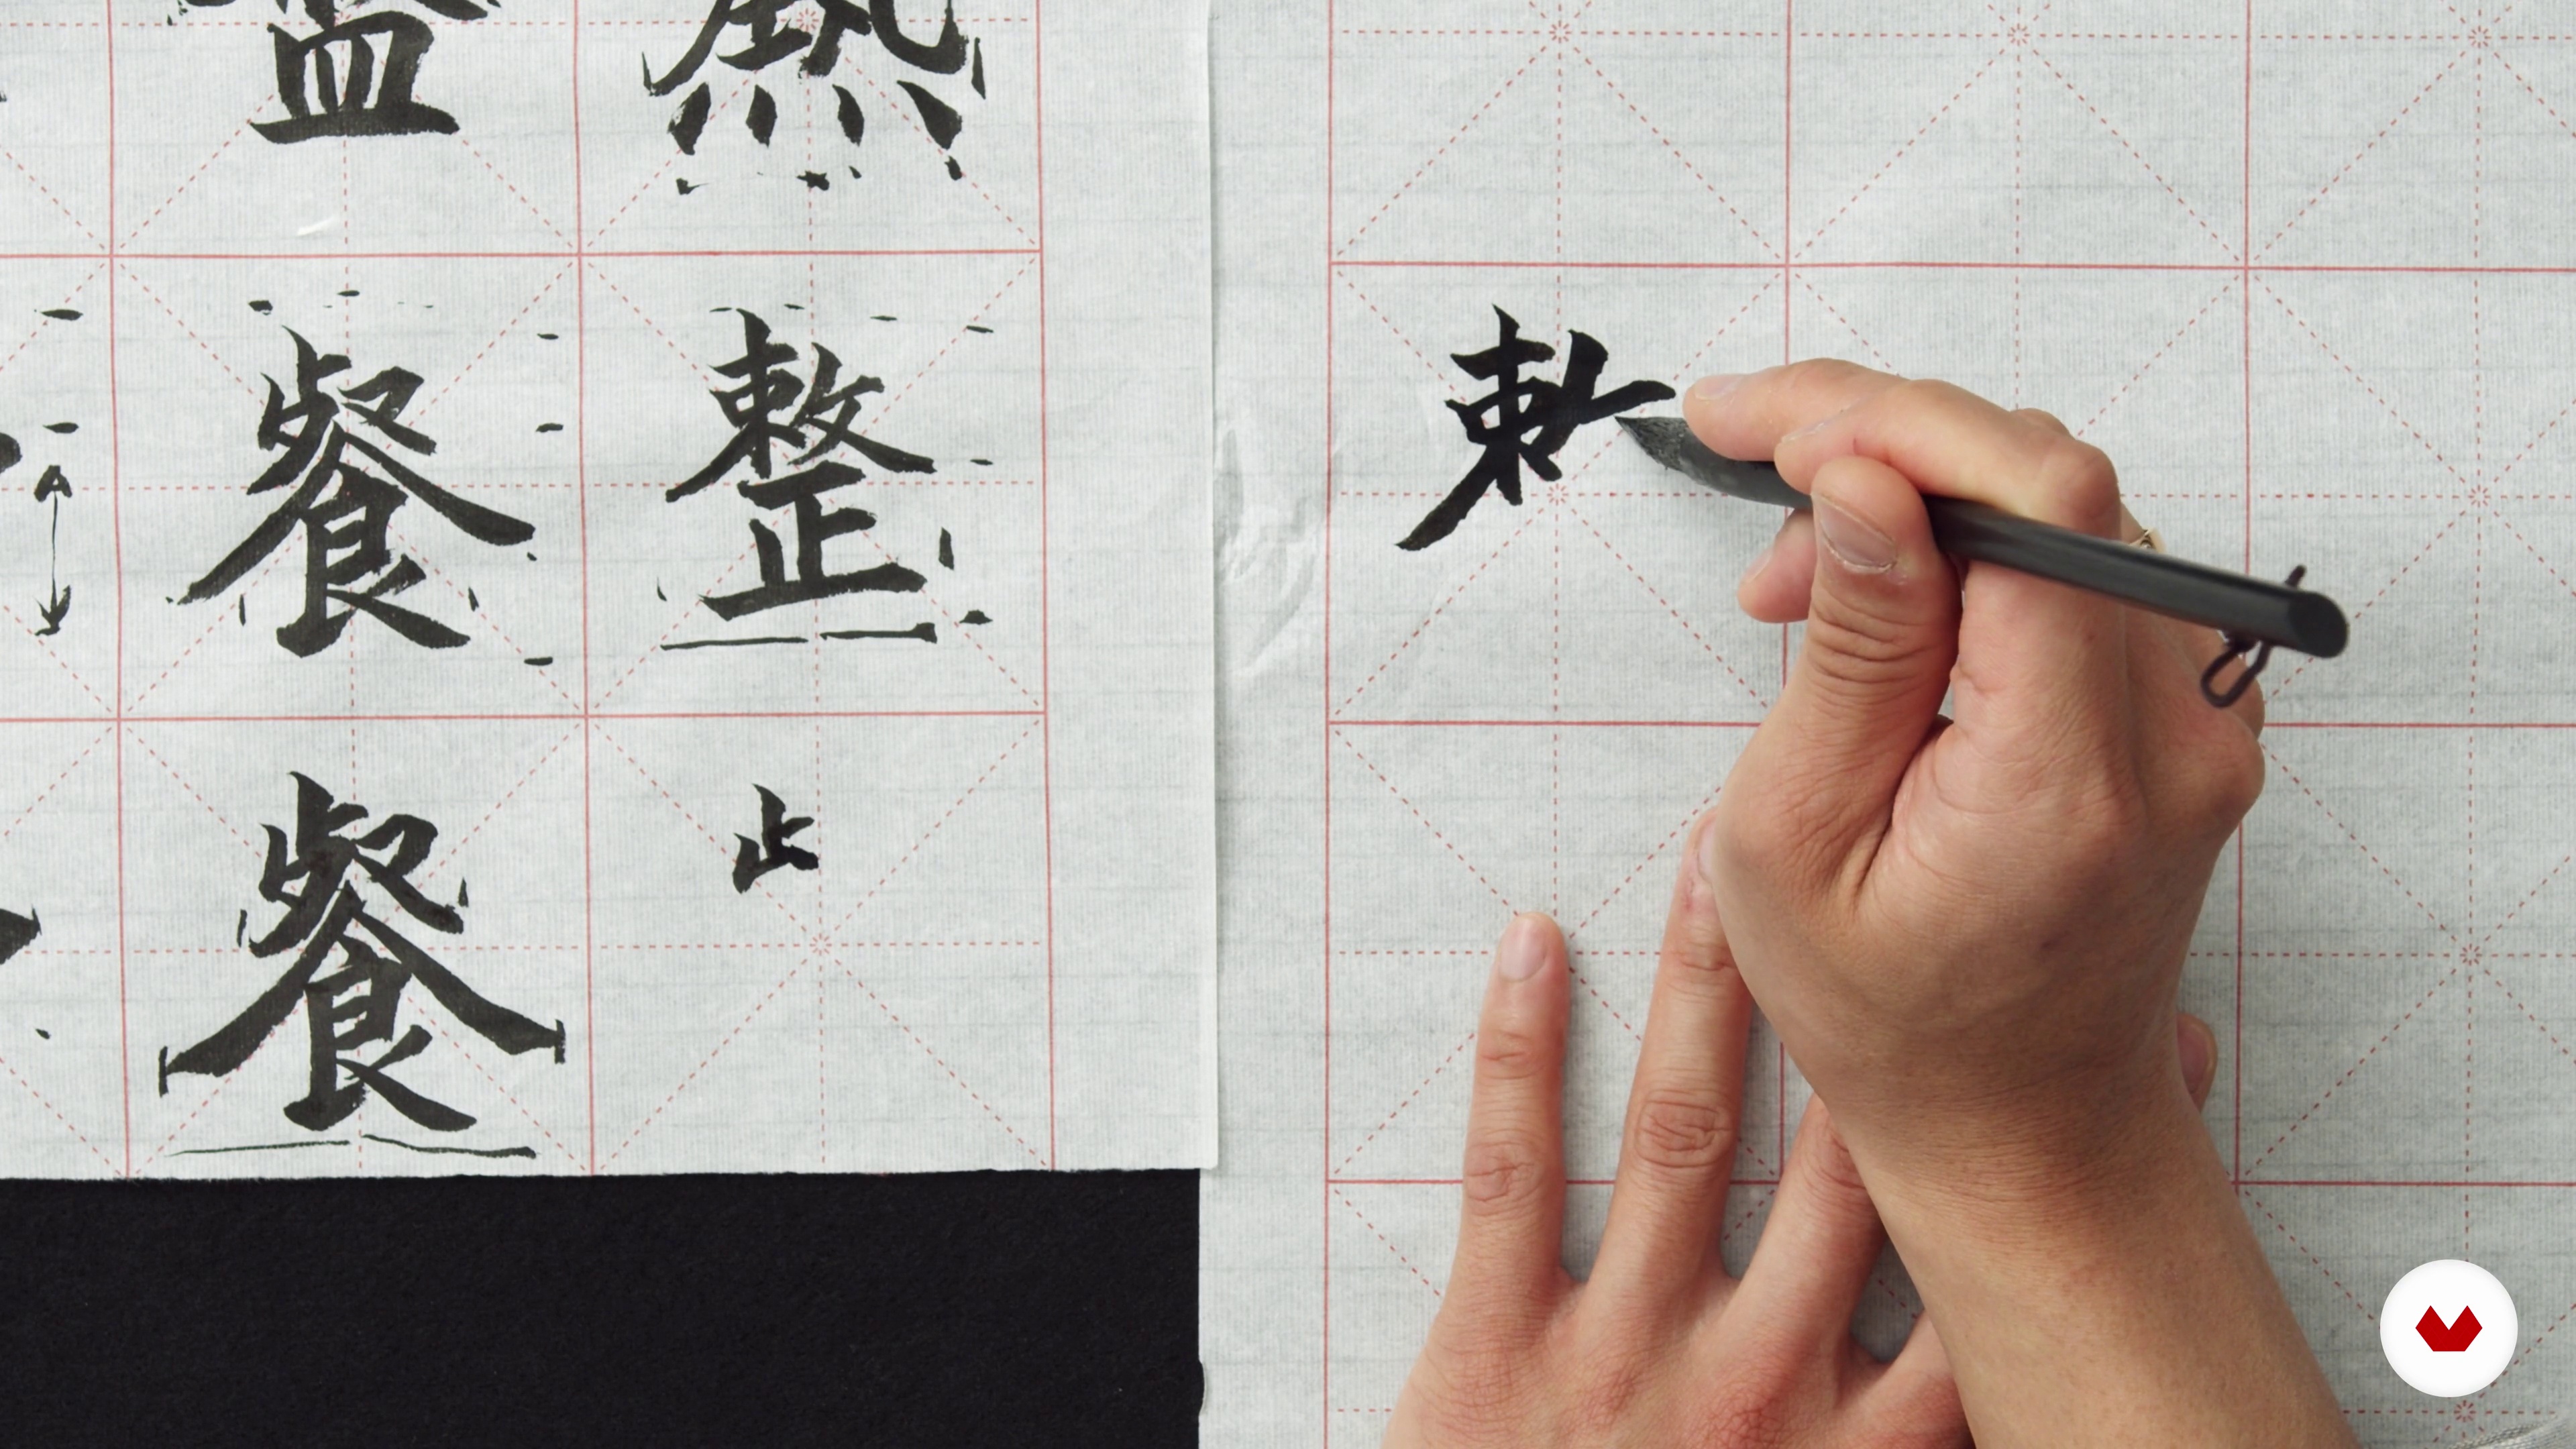
15Combined Structure
It is time to work on more complicated structures. In this lesson, I will teach you how to handle this kind of combined structure.
14m
 16
16How to Create a Chinese Calligraphy Artwork
Now that you have worked on all the structures I showed you, I will teach you how to write on Chinese rice paper without any grid.
8m
 17
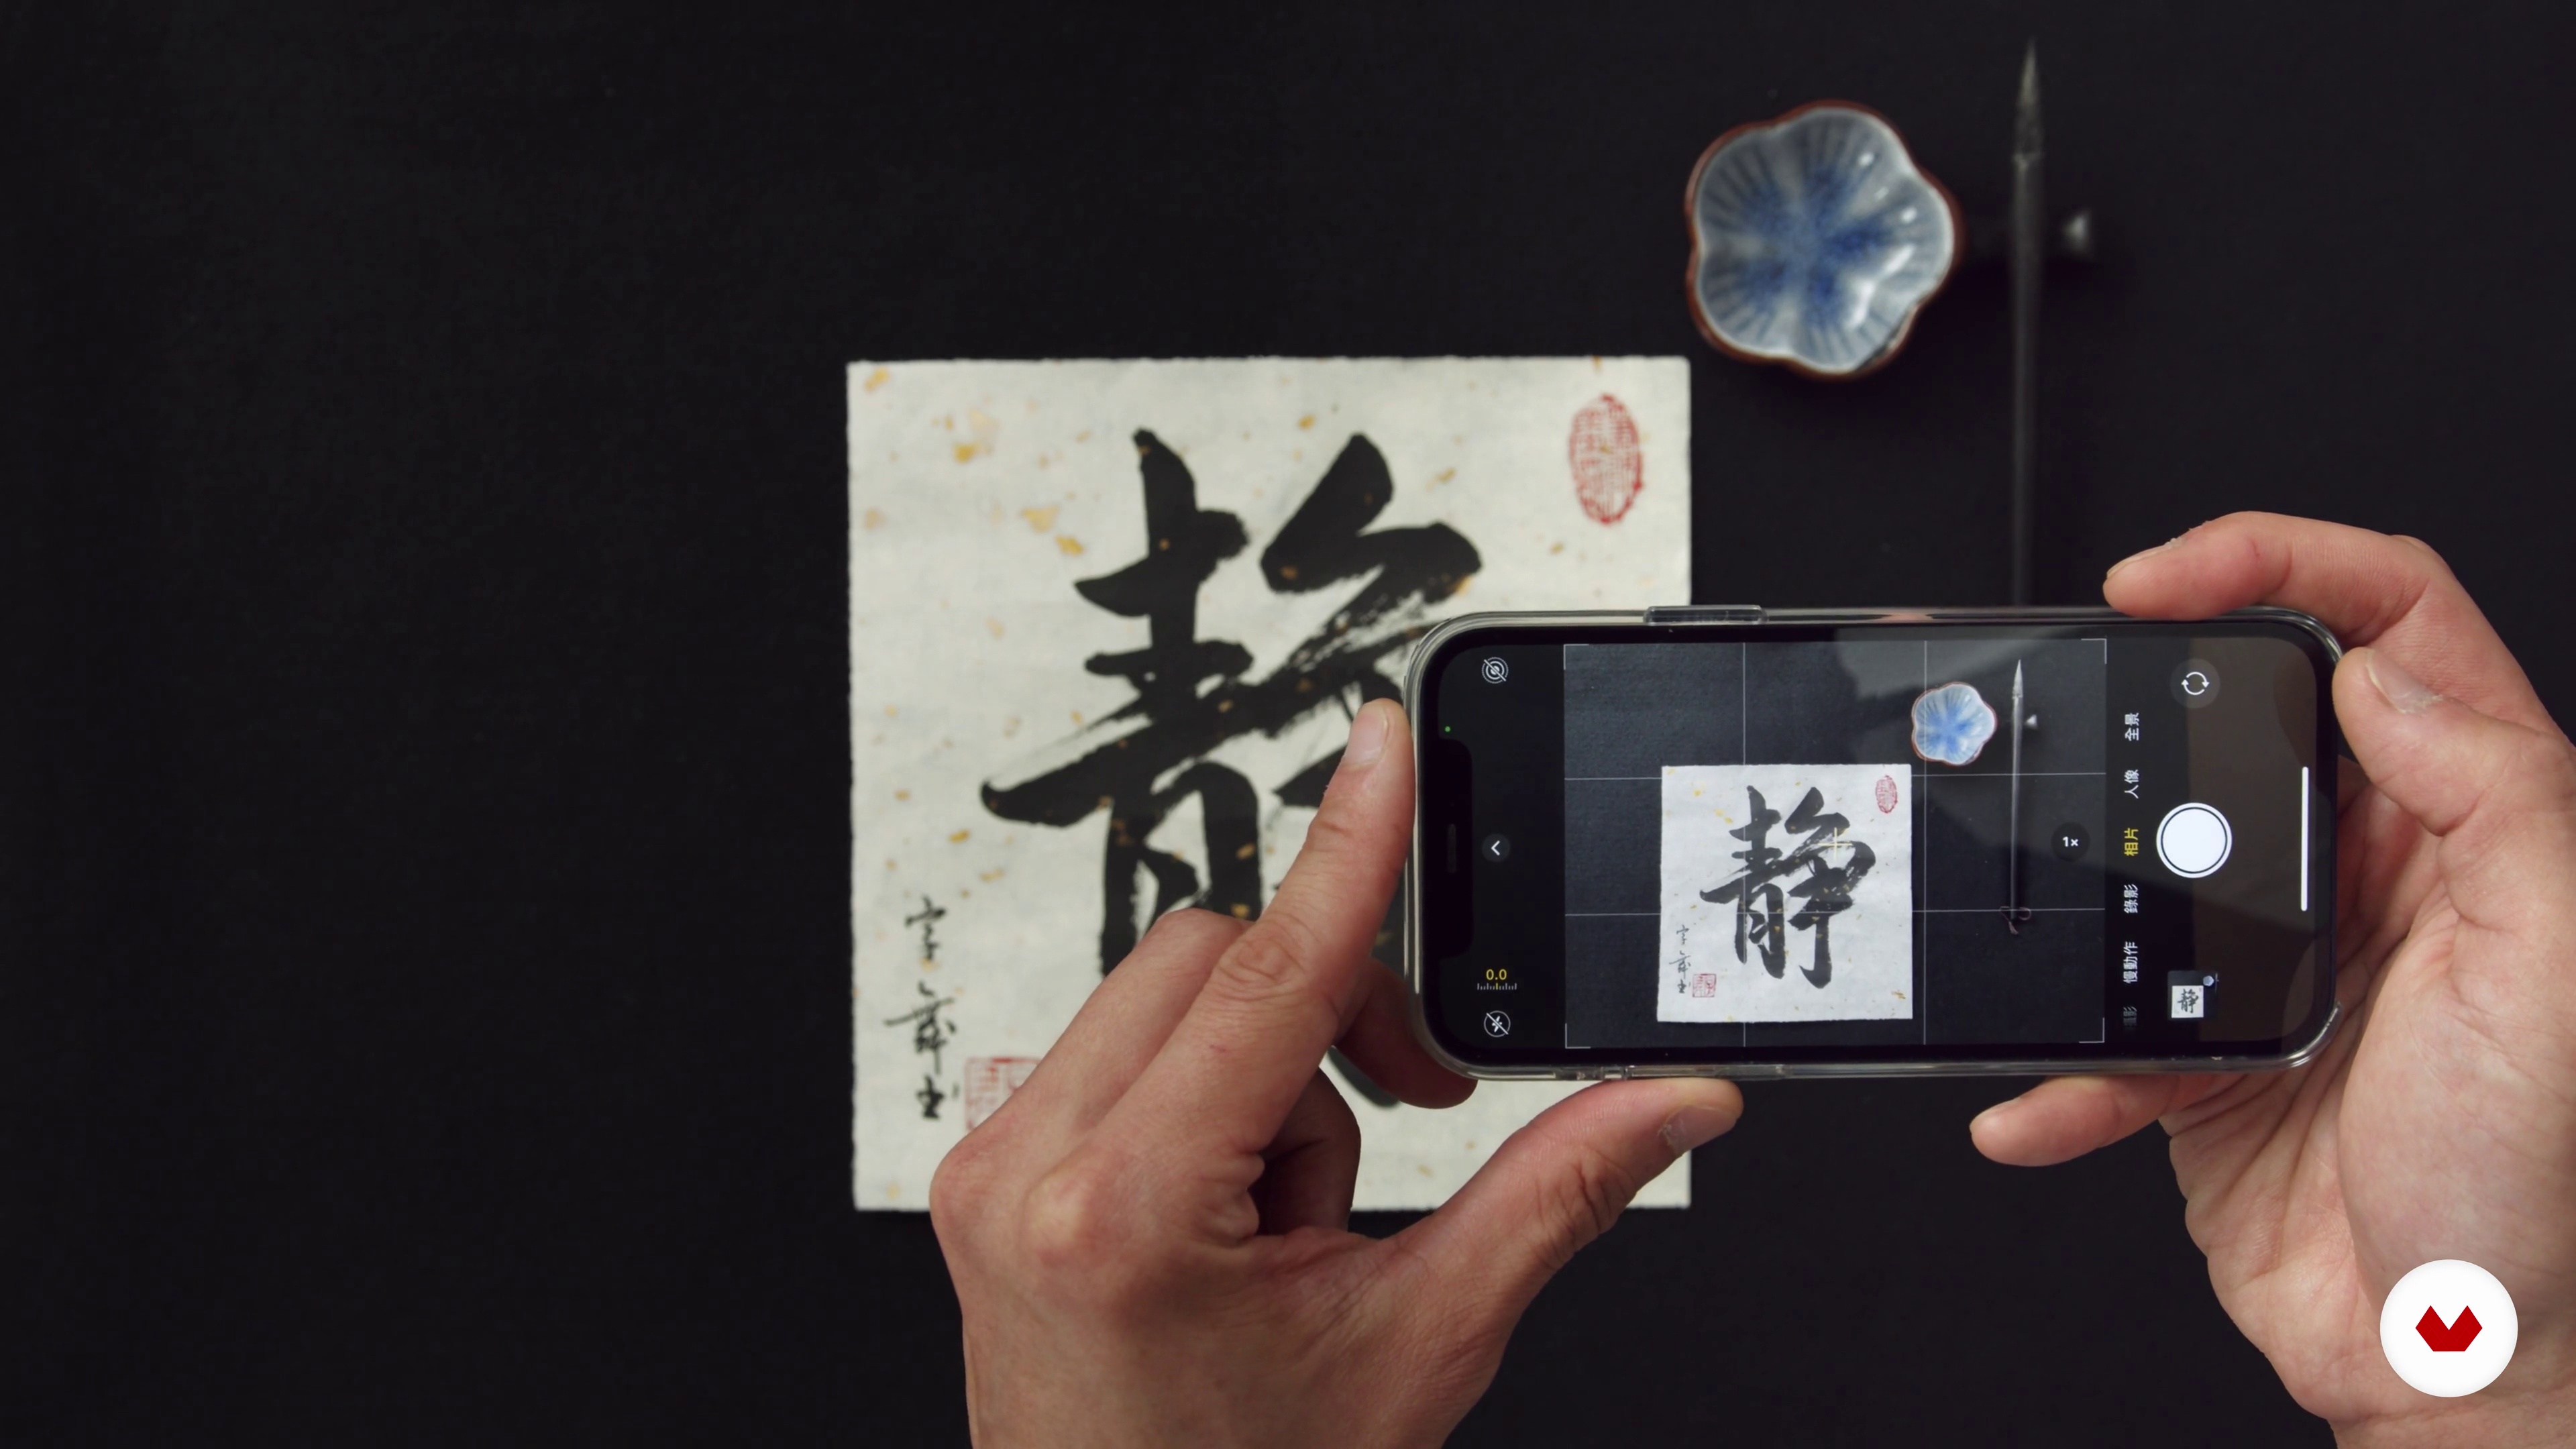
17How to Take a Photo for Your Artwork
In this lesson, I will show you how to take a photo of your artwork. As most of the Chinese calligraphy artwork is larger than A4 or even A3 size, home scanners might be too small for them. The easiest way is to take photos with a camera and phone.
3m
 1
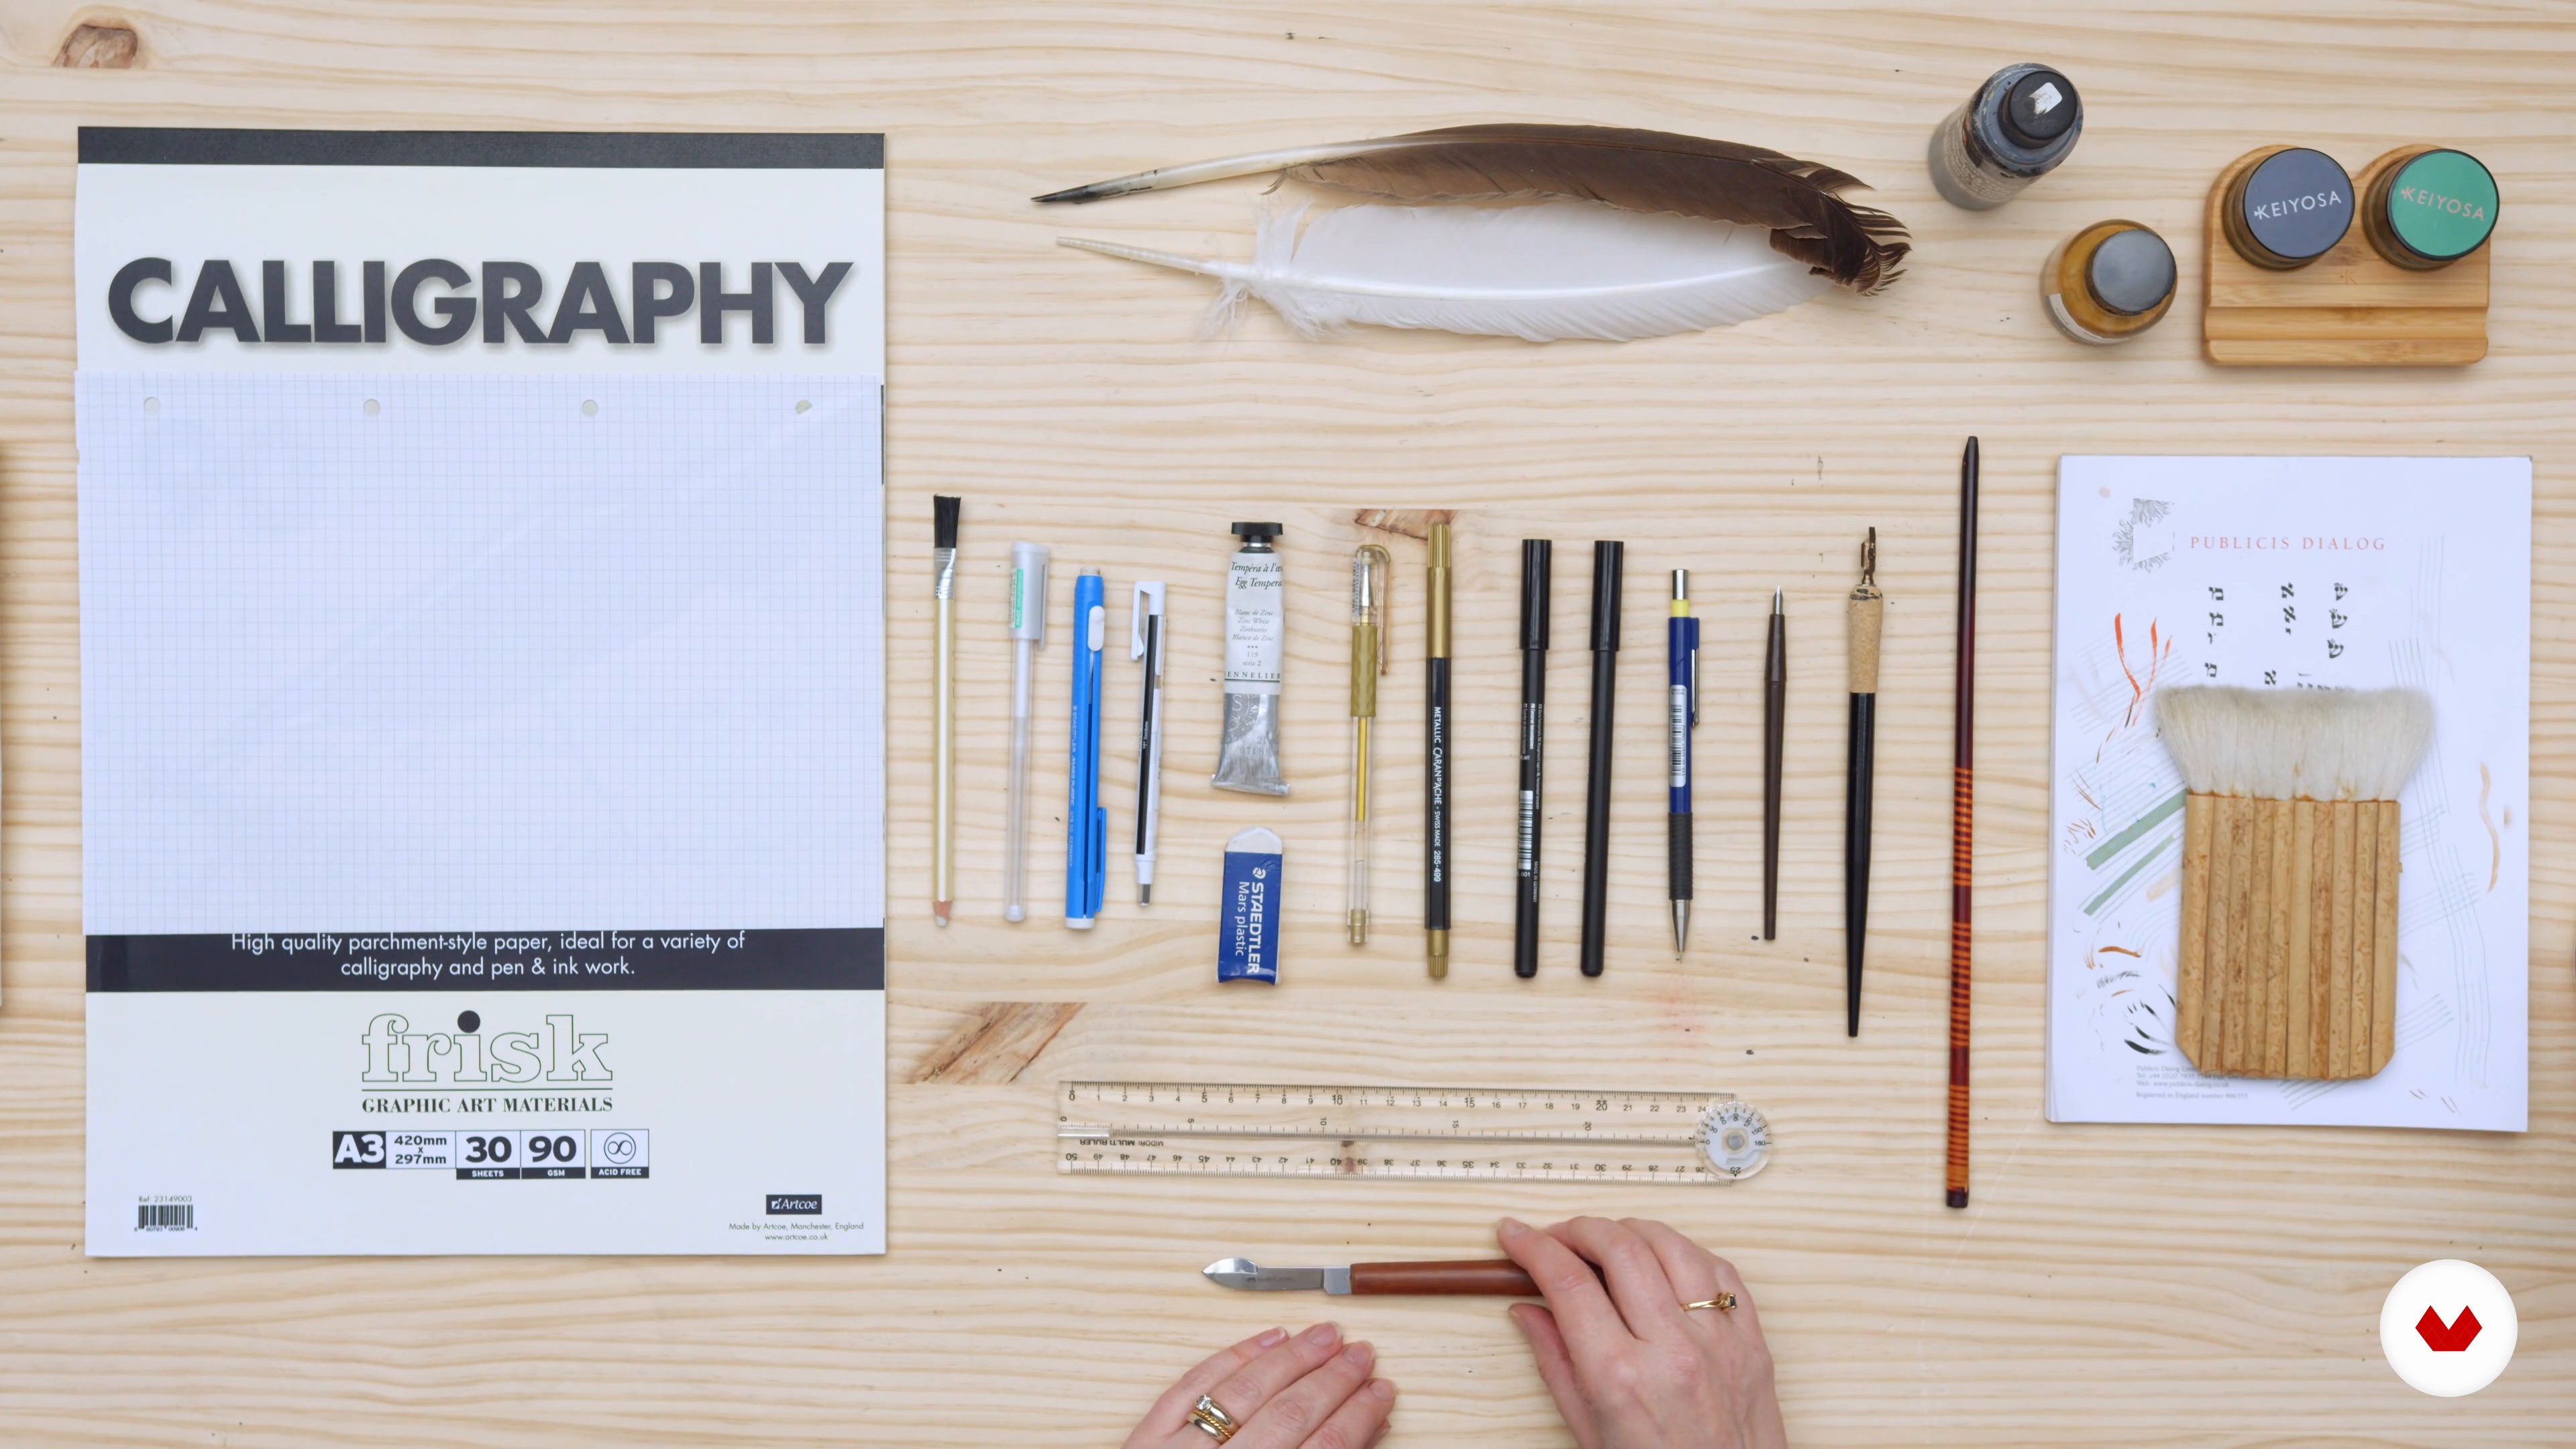
1Materials
In this lesson, I will give an overview of the traditional pens and ink used in this art form, and I will also suggest modern alternatives. You will learn how to hold the pen while keeping your body relaxed. I will also review the other tools you'll need, which you probably already own because they are very basic.
6m
 2
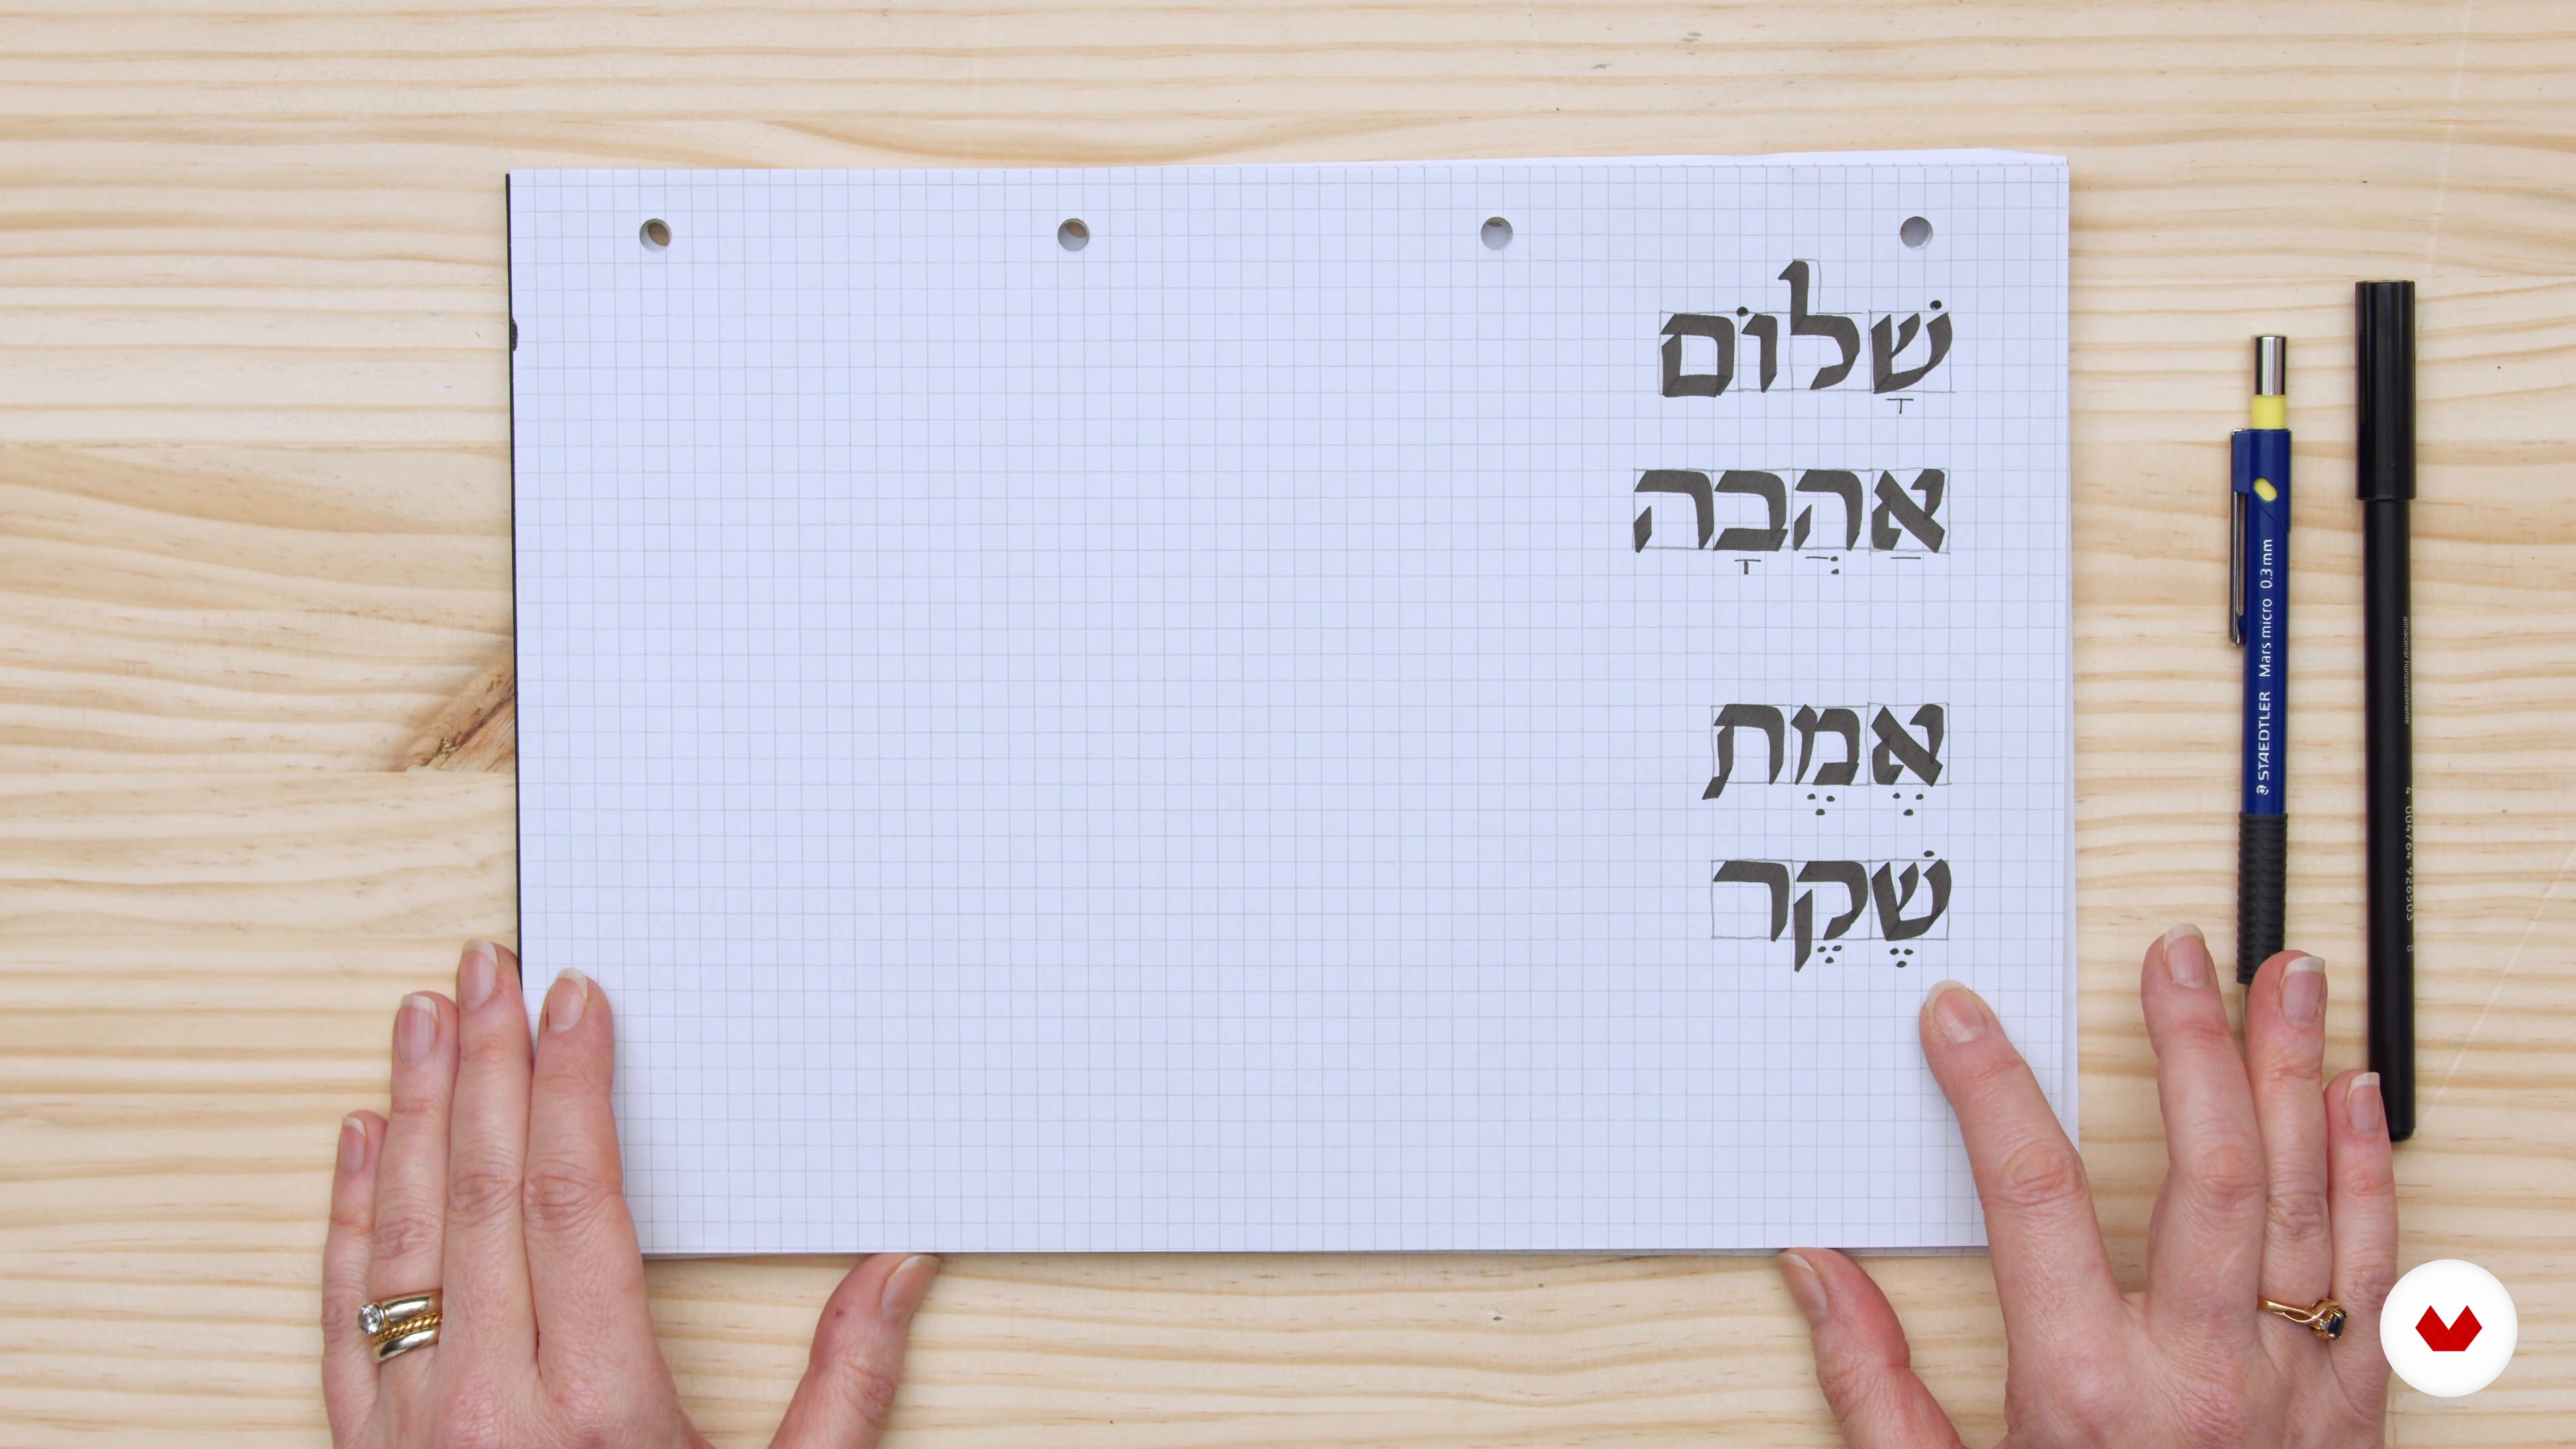
2The Hebrew Alphabet
Next, I will explain a little about Hebrew and how it belongs to a world family of languages and alphabets all originating from the same source in the ancient Middle East. You will also learn that Hebrew is an abjad, as all the letters are consonants and all the vowels are written as dots and lines around those consonants.
14m
 3
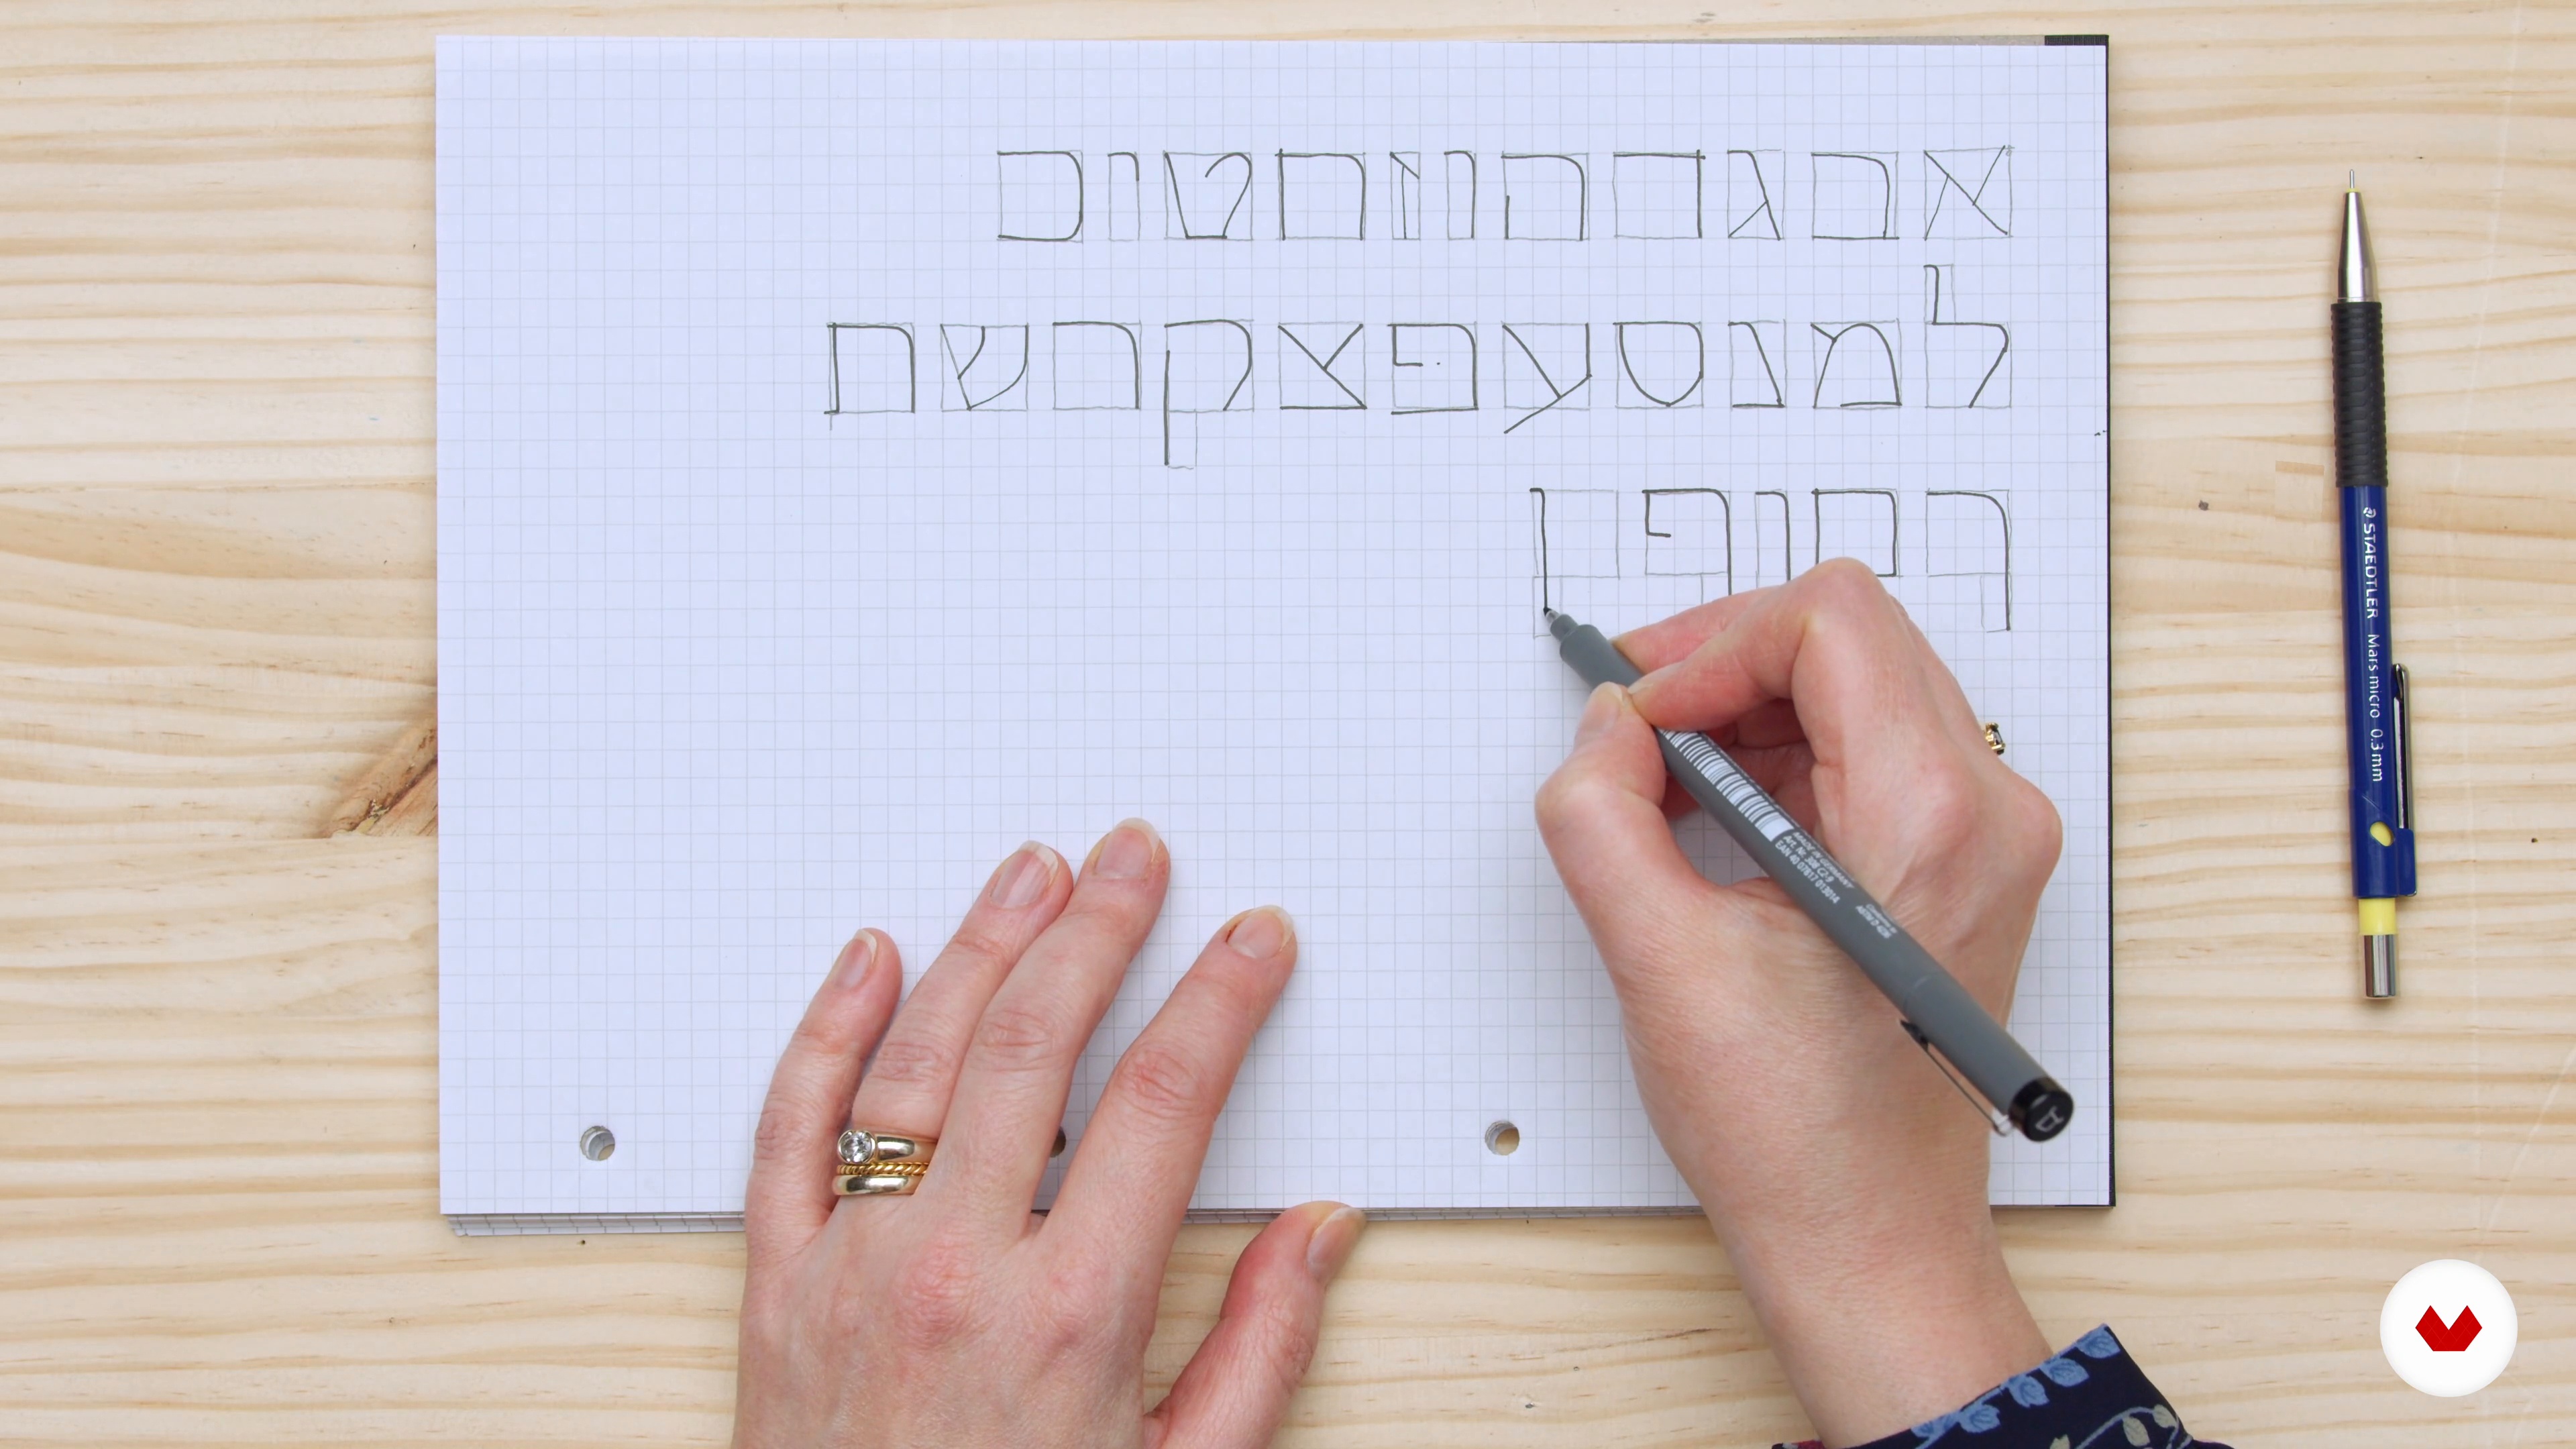
3Feeling the Bones of the Hebrew Alef-Bet
This lesson is about “feeling the bones” of the alef-bet: becoming familiar with the letters through the use of a mechanical pencil or monoline pen. I will begin by demonstrating how to write the skeleton of the letters so you can get a feel for this art. You will discover that these letters are based on a square. To complete this activity, all you need is a pencil and graph paper.
20m
 4
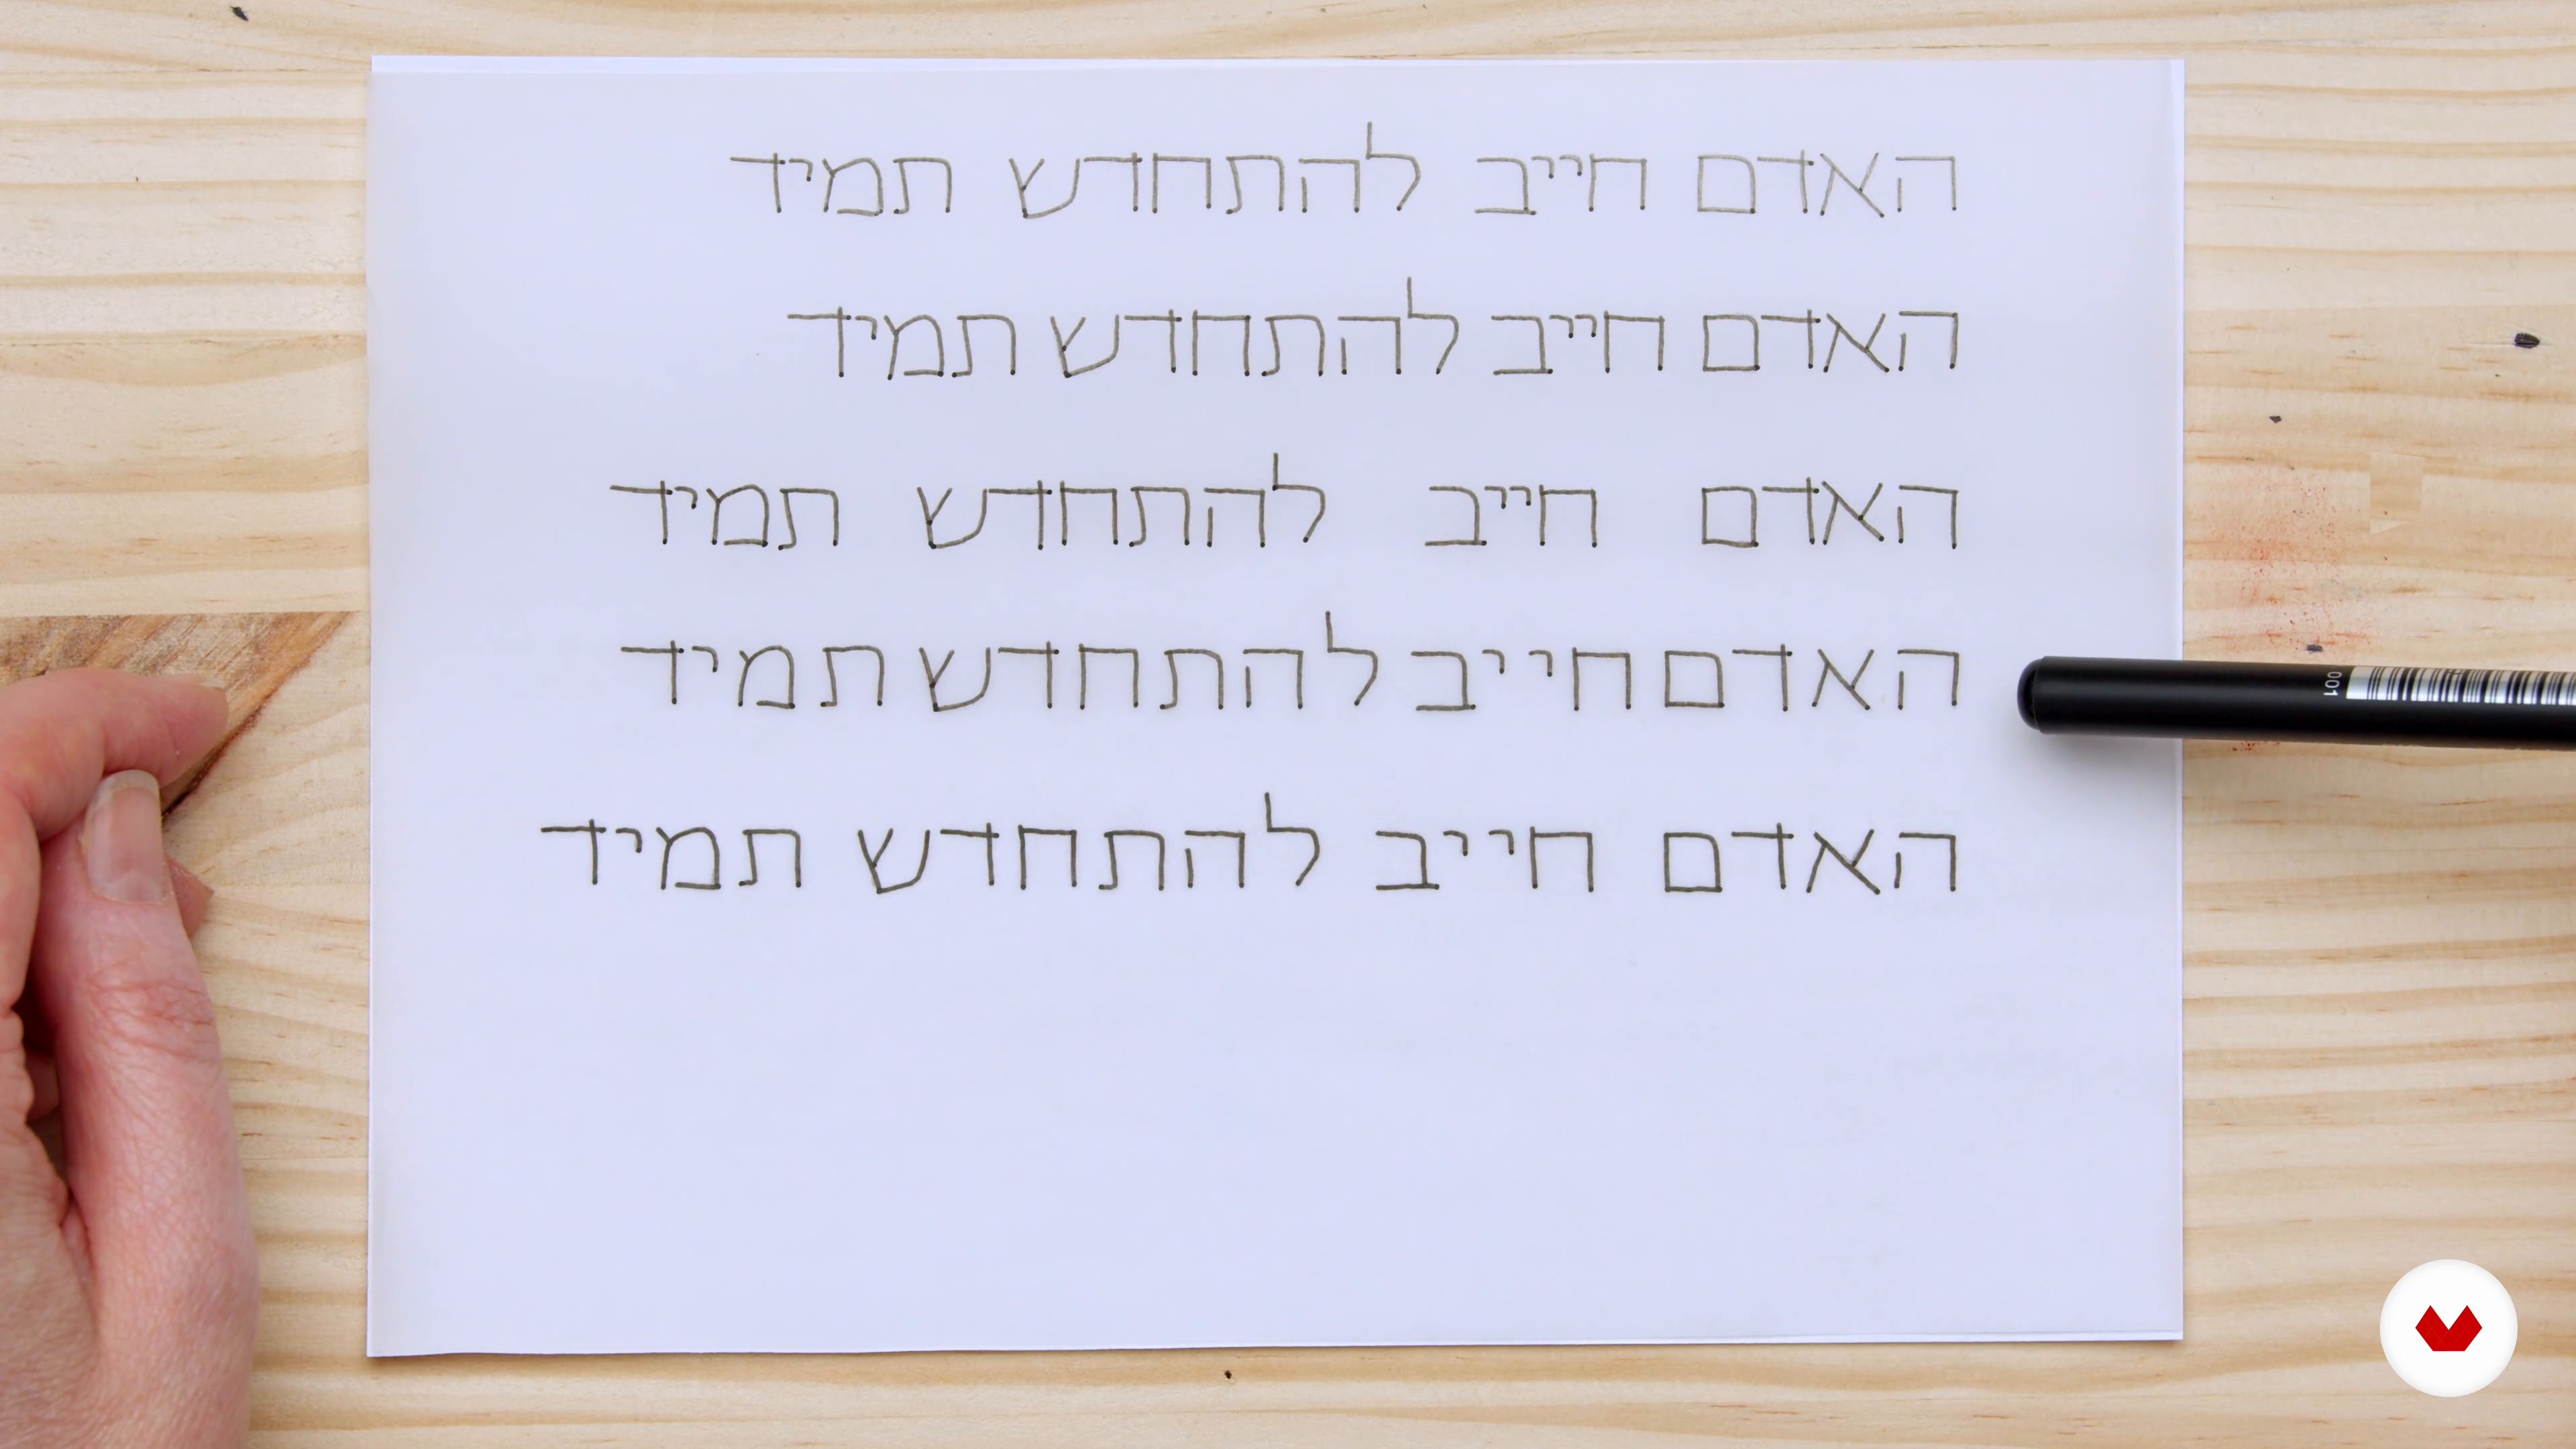
4Spacing and Pacing: The Key to Beautiful Writing
With the skeletons in place, it's time to analyze the key ingredients that make up the recipe for good letter and word spacing. We will look at the appropriate line spacing later. I will show you examples of good spacing and bad spacing and explain the reasoning behind them. Then, I will talk about the open and closed letterforms and how that affects spacing.
5m
 5
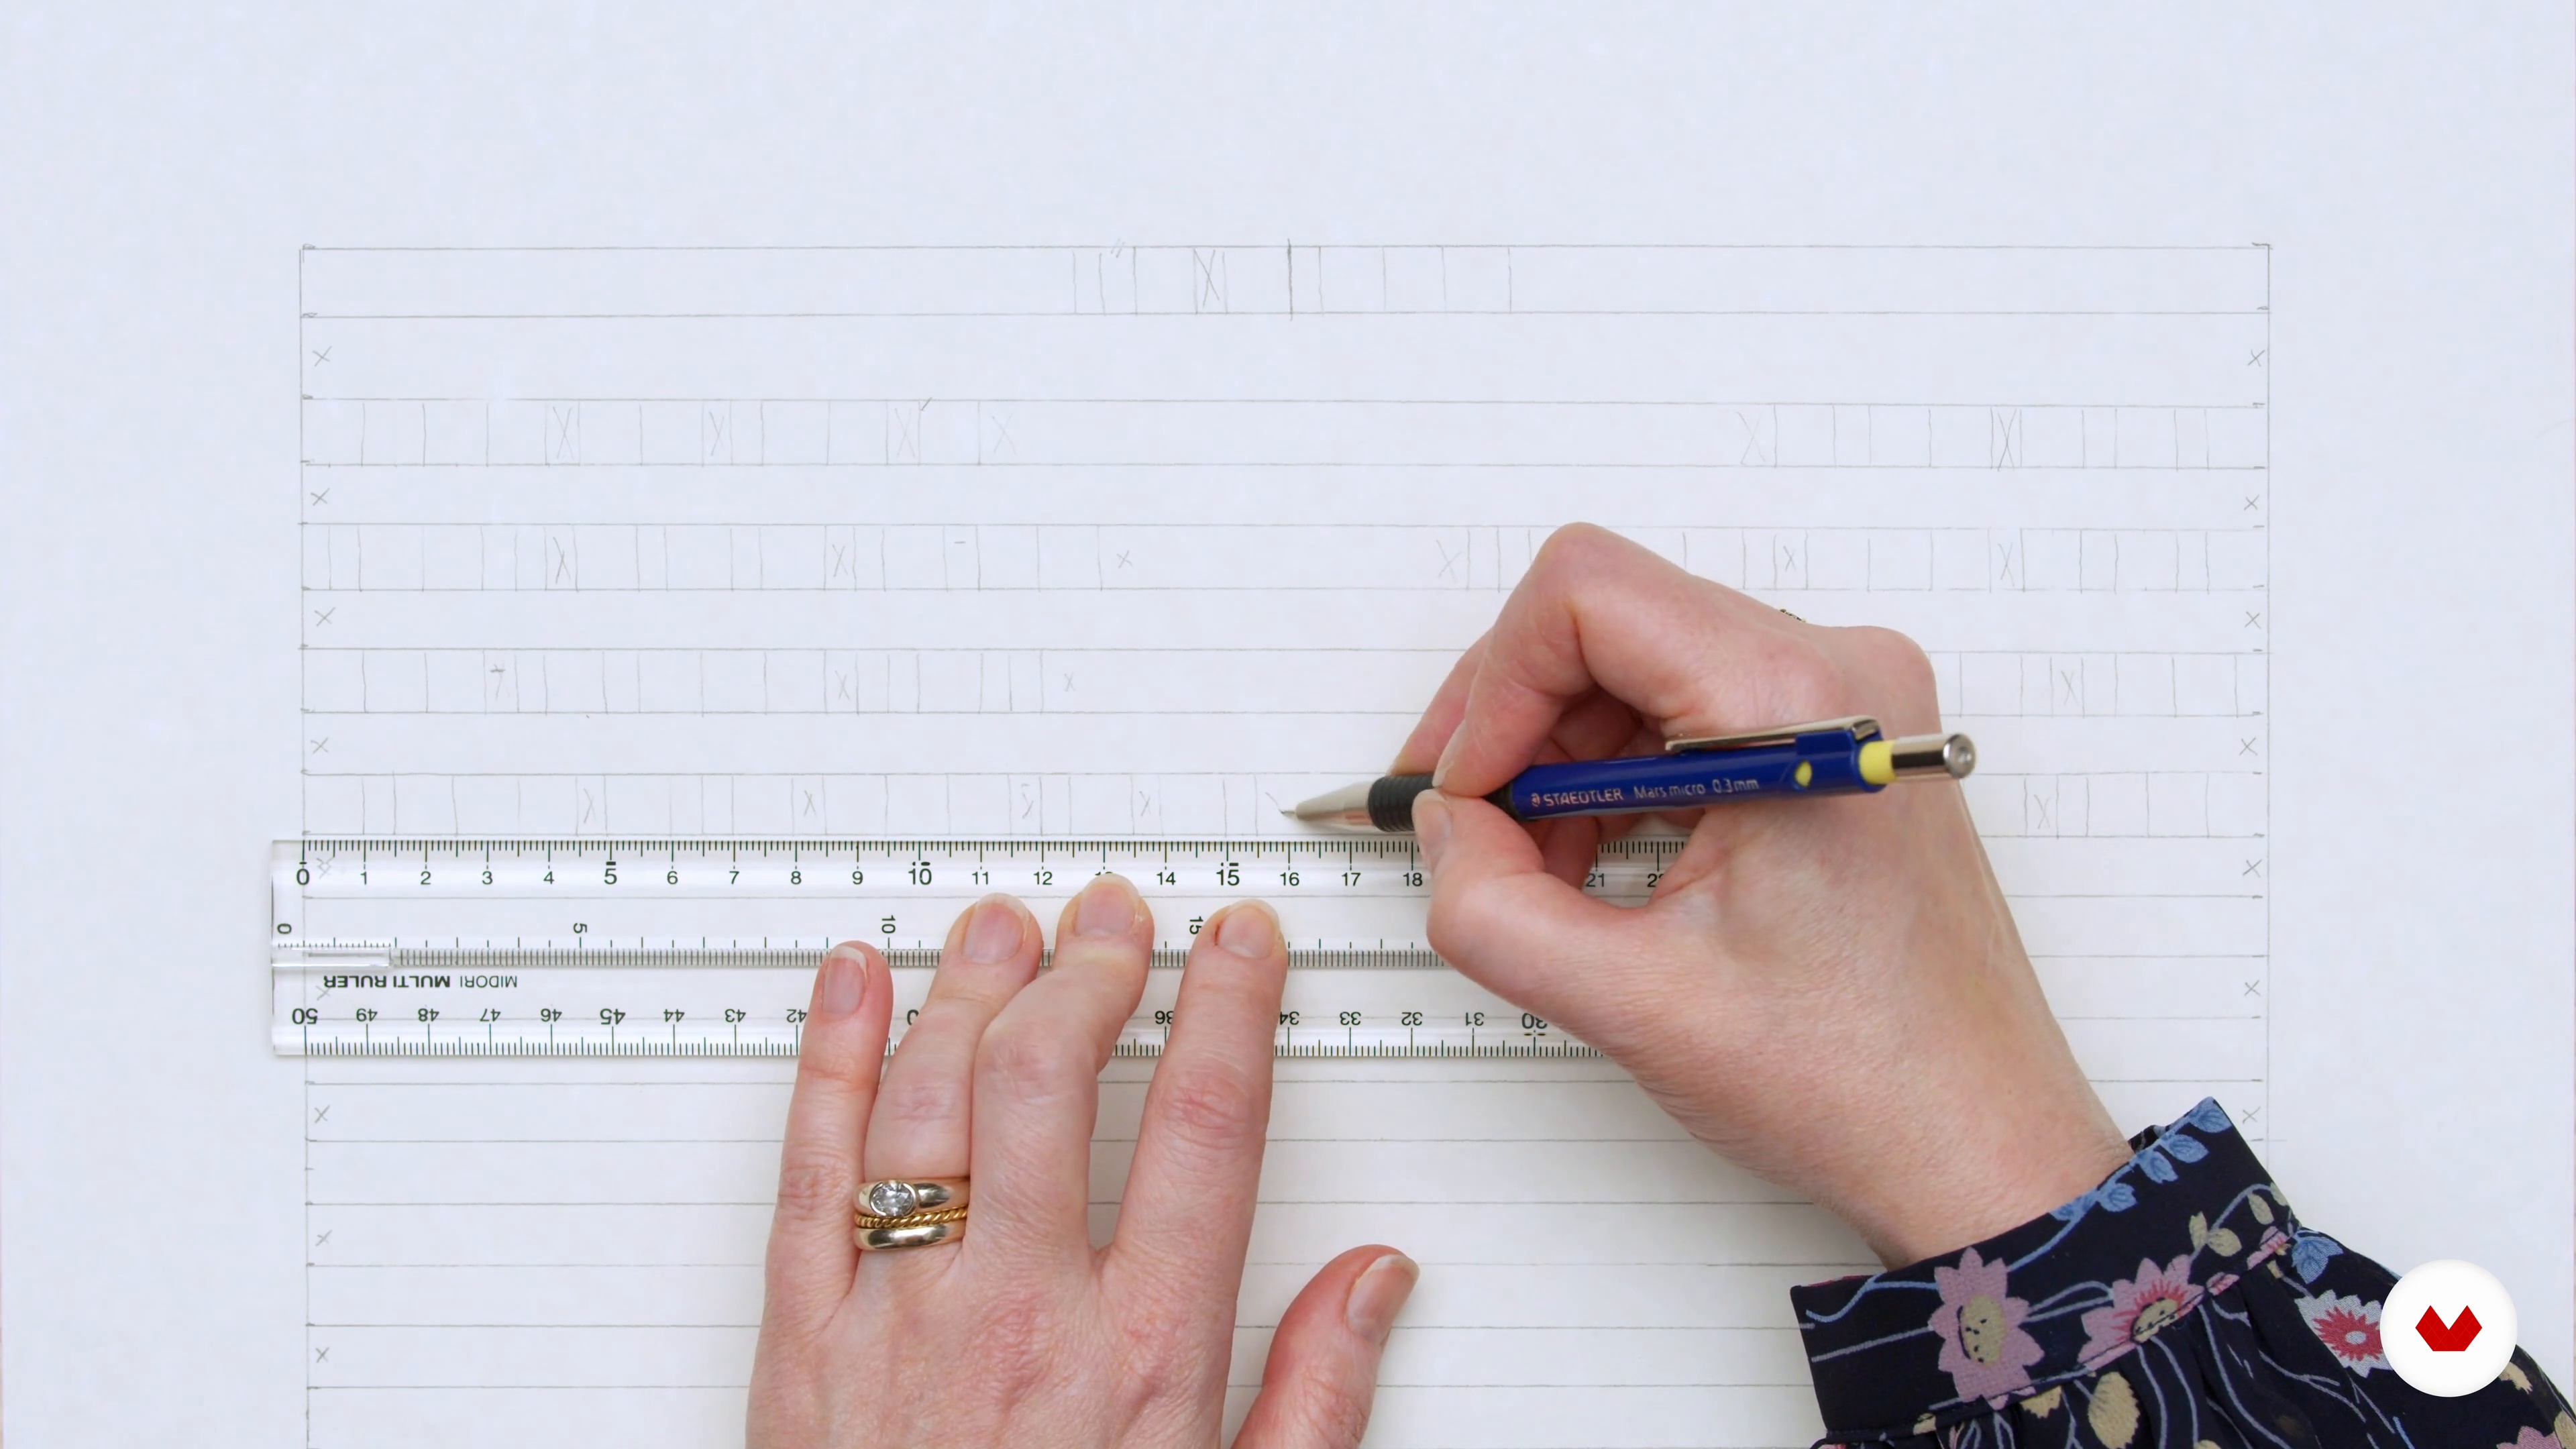
5The Layout Draft
In this lesson, we'll get hands-on with the project! I will guide you in creating the layout draft using paper and pencil. As I show you how to do this, you will learn about the appropriate spacing, as well as the relationship between letter layout and word rhythm. I will walk you through my drafts, explaining the steps that I took to translate the sentence to a satisfactory layout and the Jewish tradition behind it. I will also point out any issues that can arise and how to solve them. There are no hard and fast rules, but there are design choices to ensure that the finished work can serve the meaning of the verses, while simultaneously filling the space in an aesthetically pleasing way. When working with a historical text in a traditional layout, your creative decisions are limited. However, this will help to avoid becoming overwhelmed while you are still new to the script. You can explore the unlimited possibilities later!
15m
 6
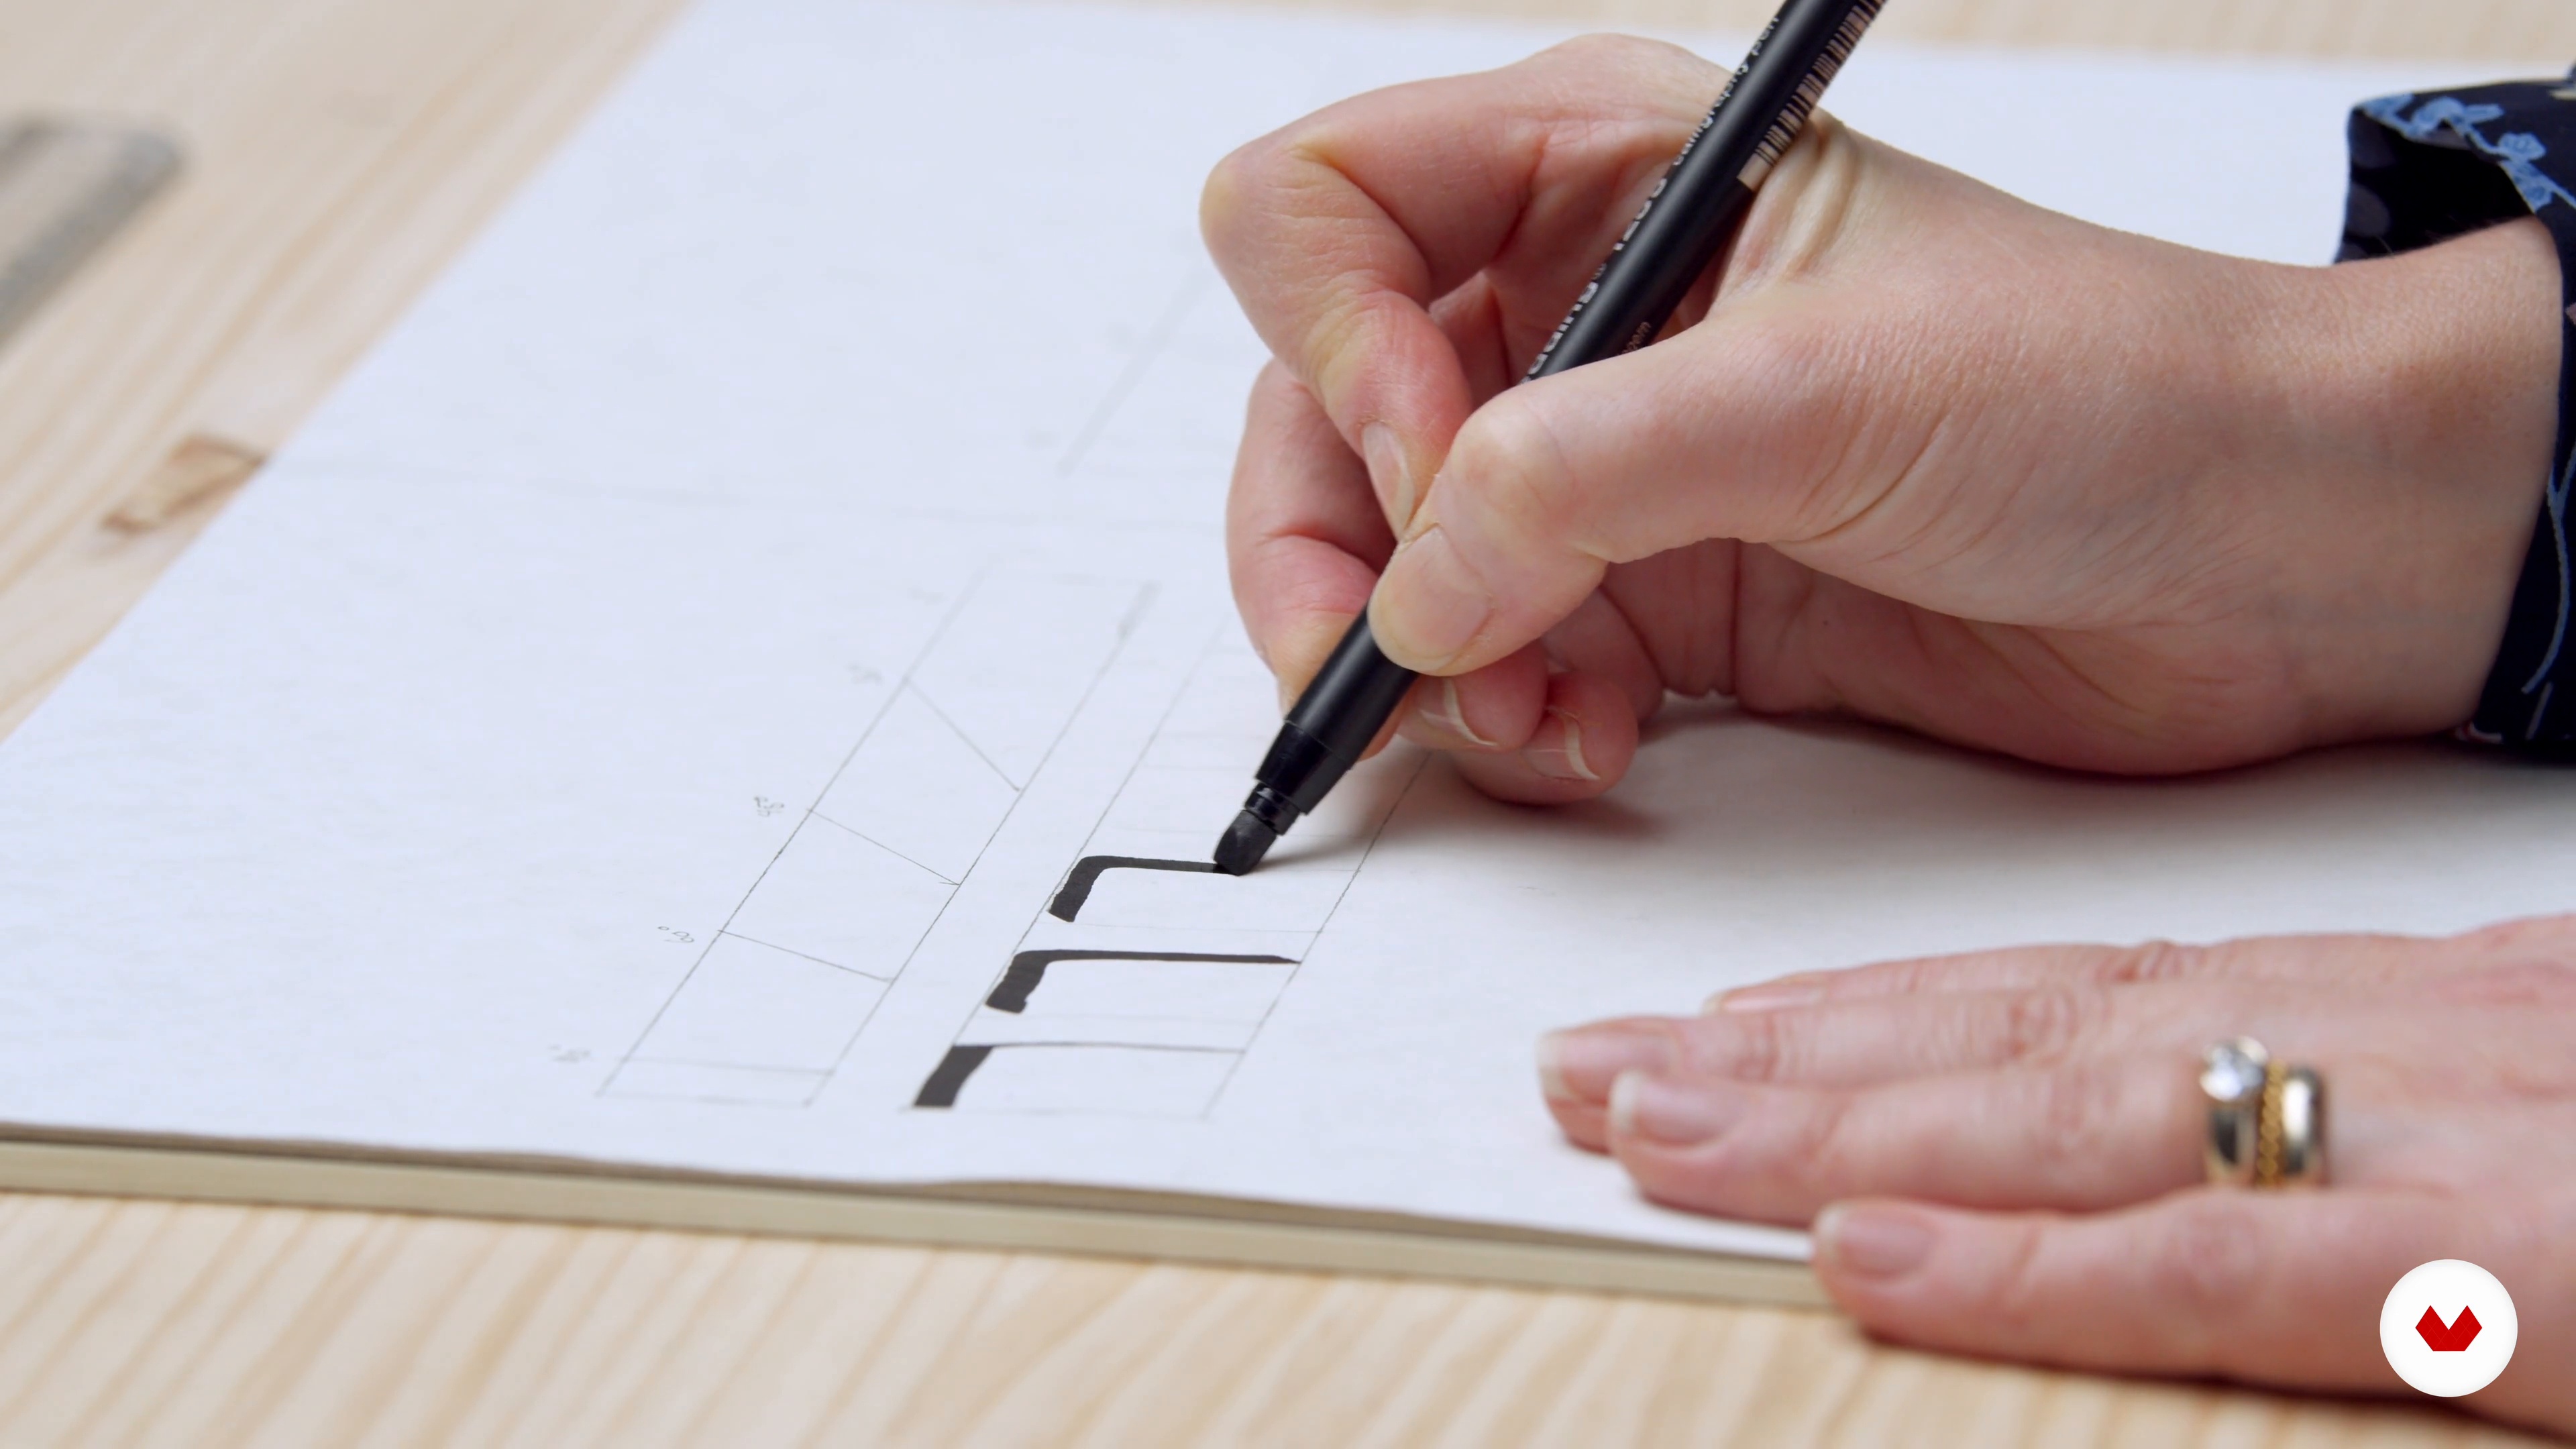
6The Black Ink Layout 1
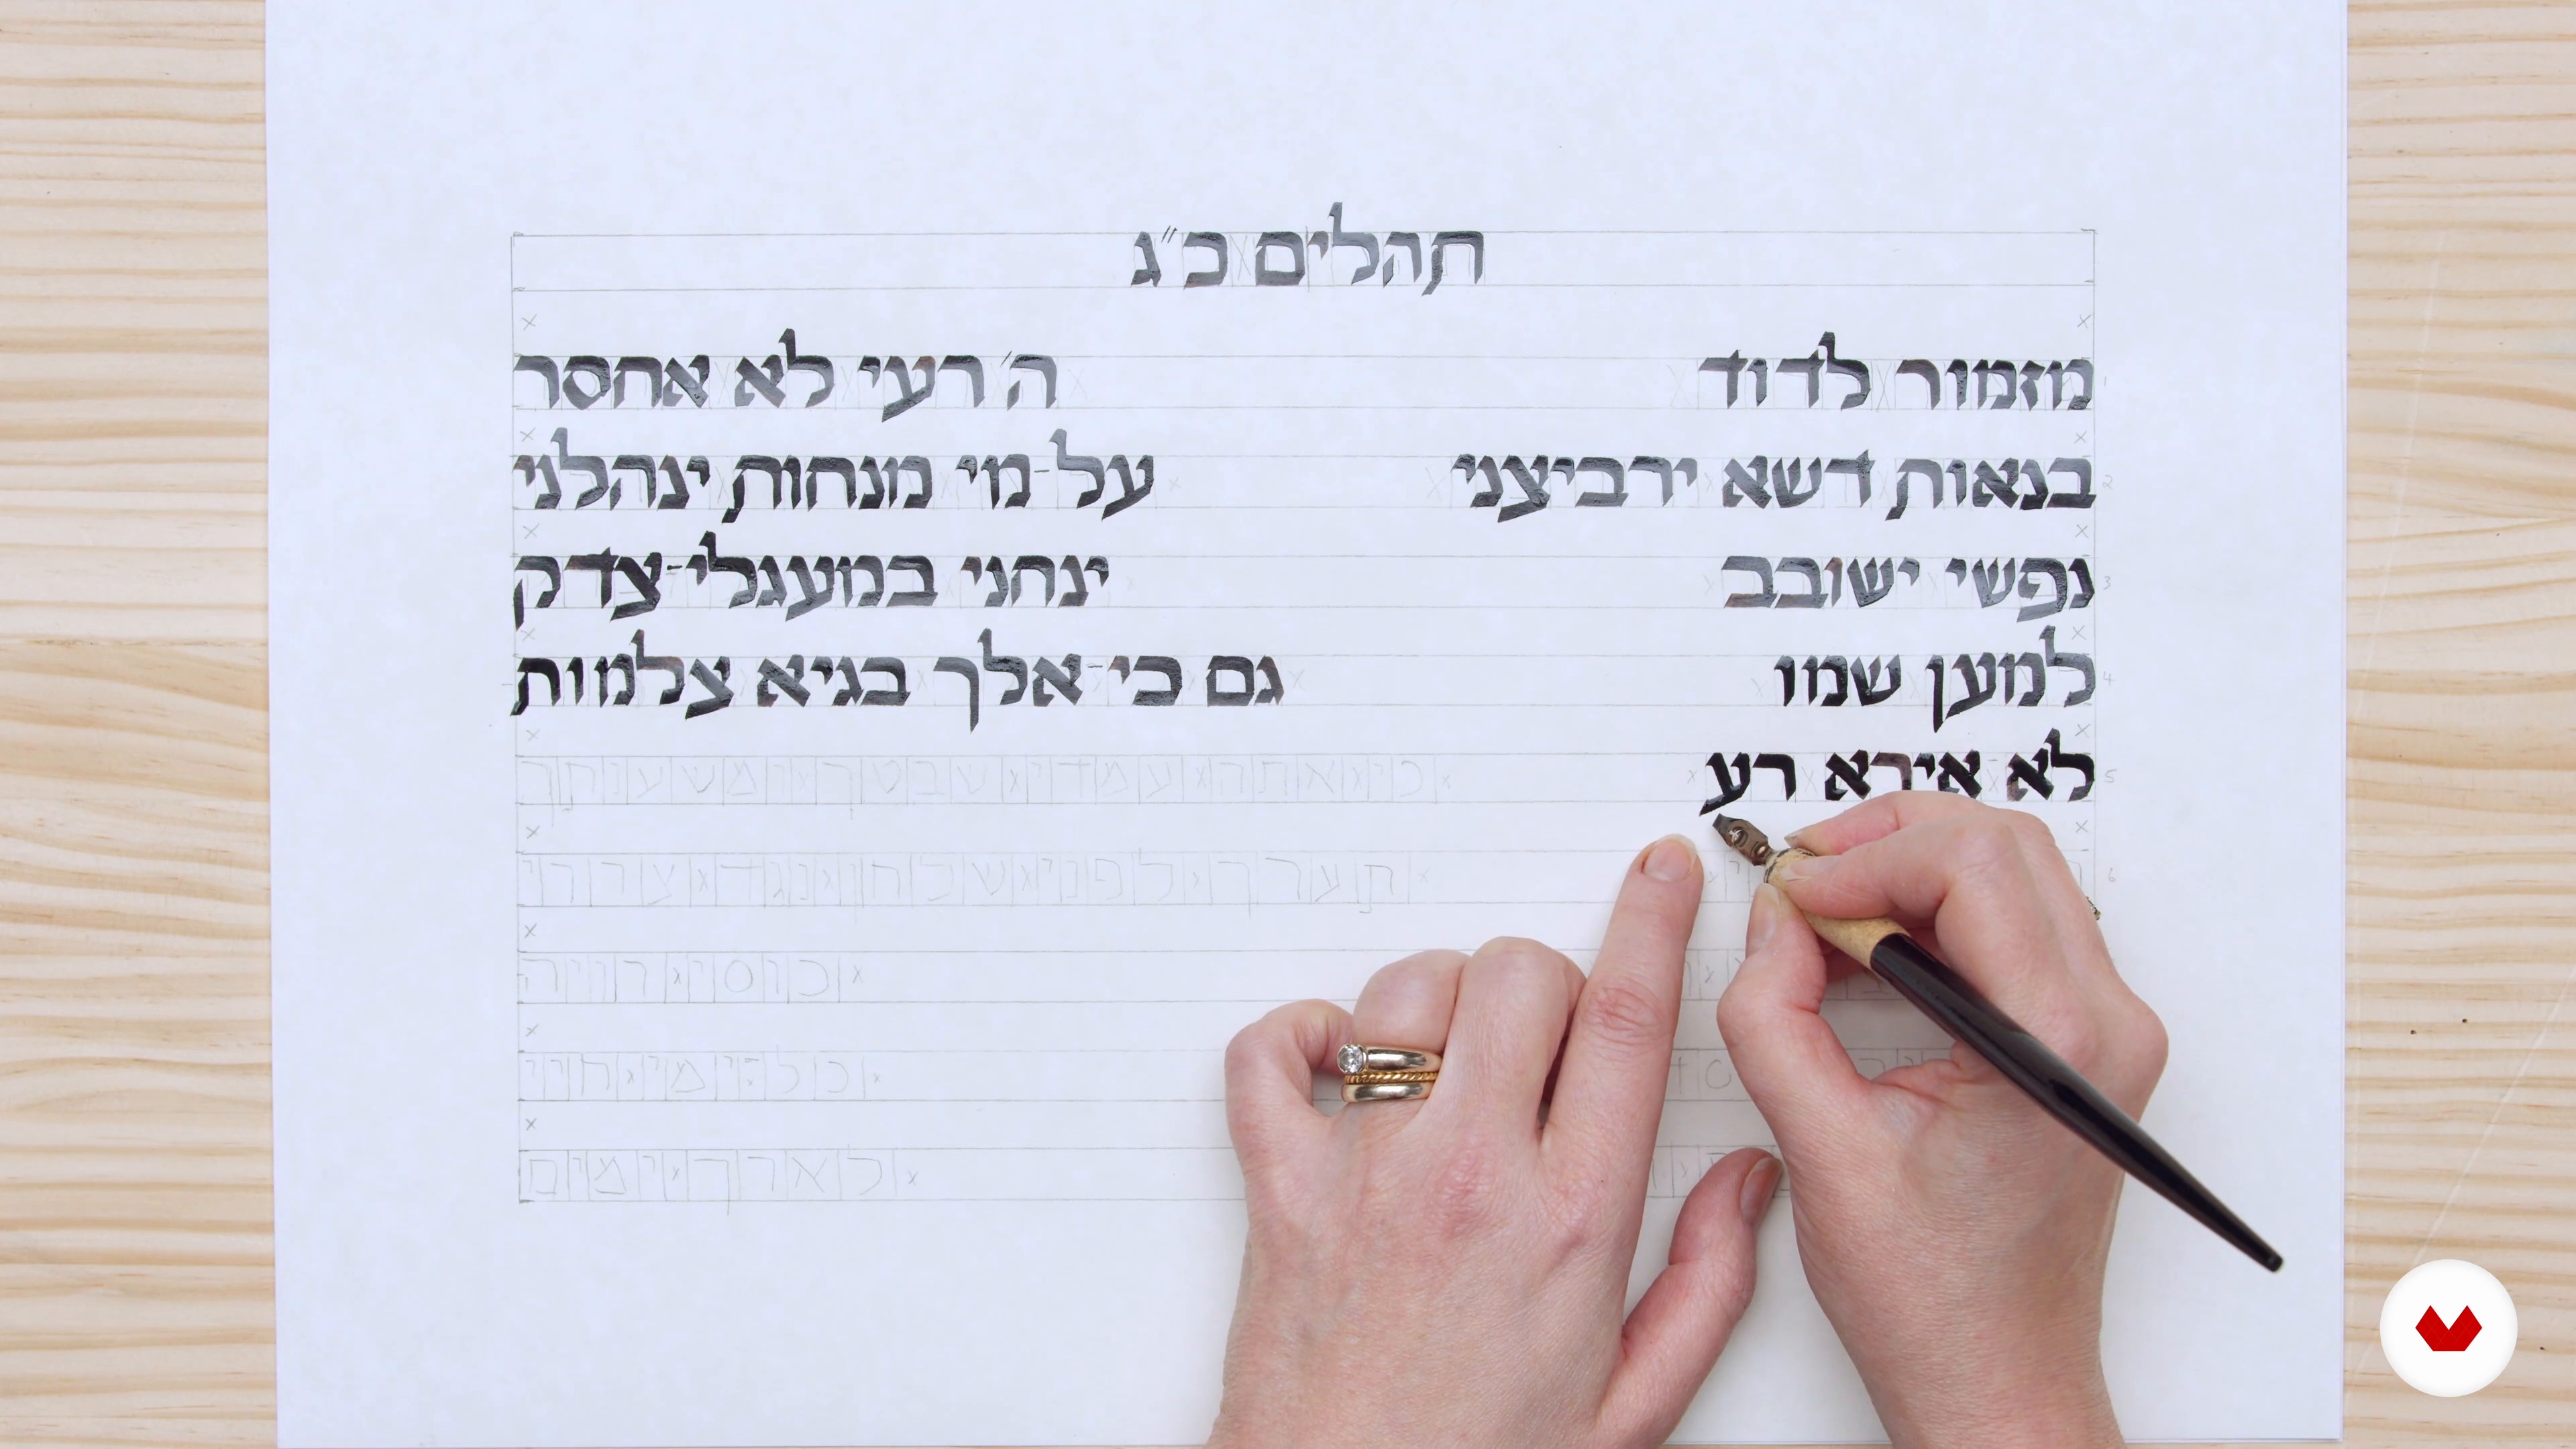
In this lesson, I will show you the different effects you can achieve by holding your calligraphy pen at different angles, starting with the broad-edged felt-tip or marker pen and progressing to the dip pen. You will learn how to find the right angle according to the brushstroke you want to create, and how to adapt your materials—the nib and the ink—according to your personal writing style.
20m
 7
7The Black Ink Layout 2
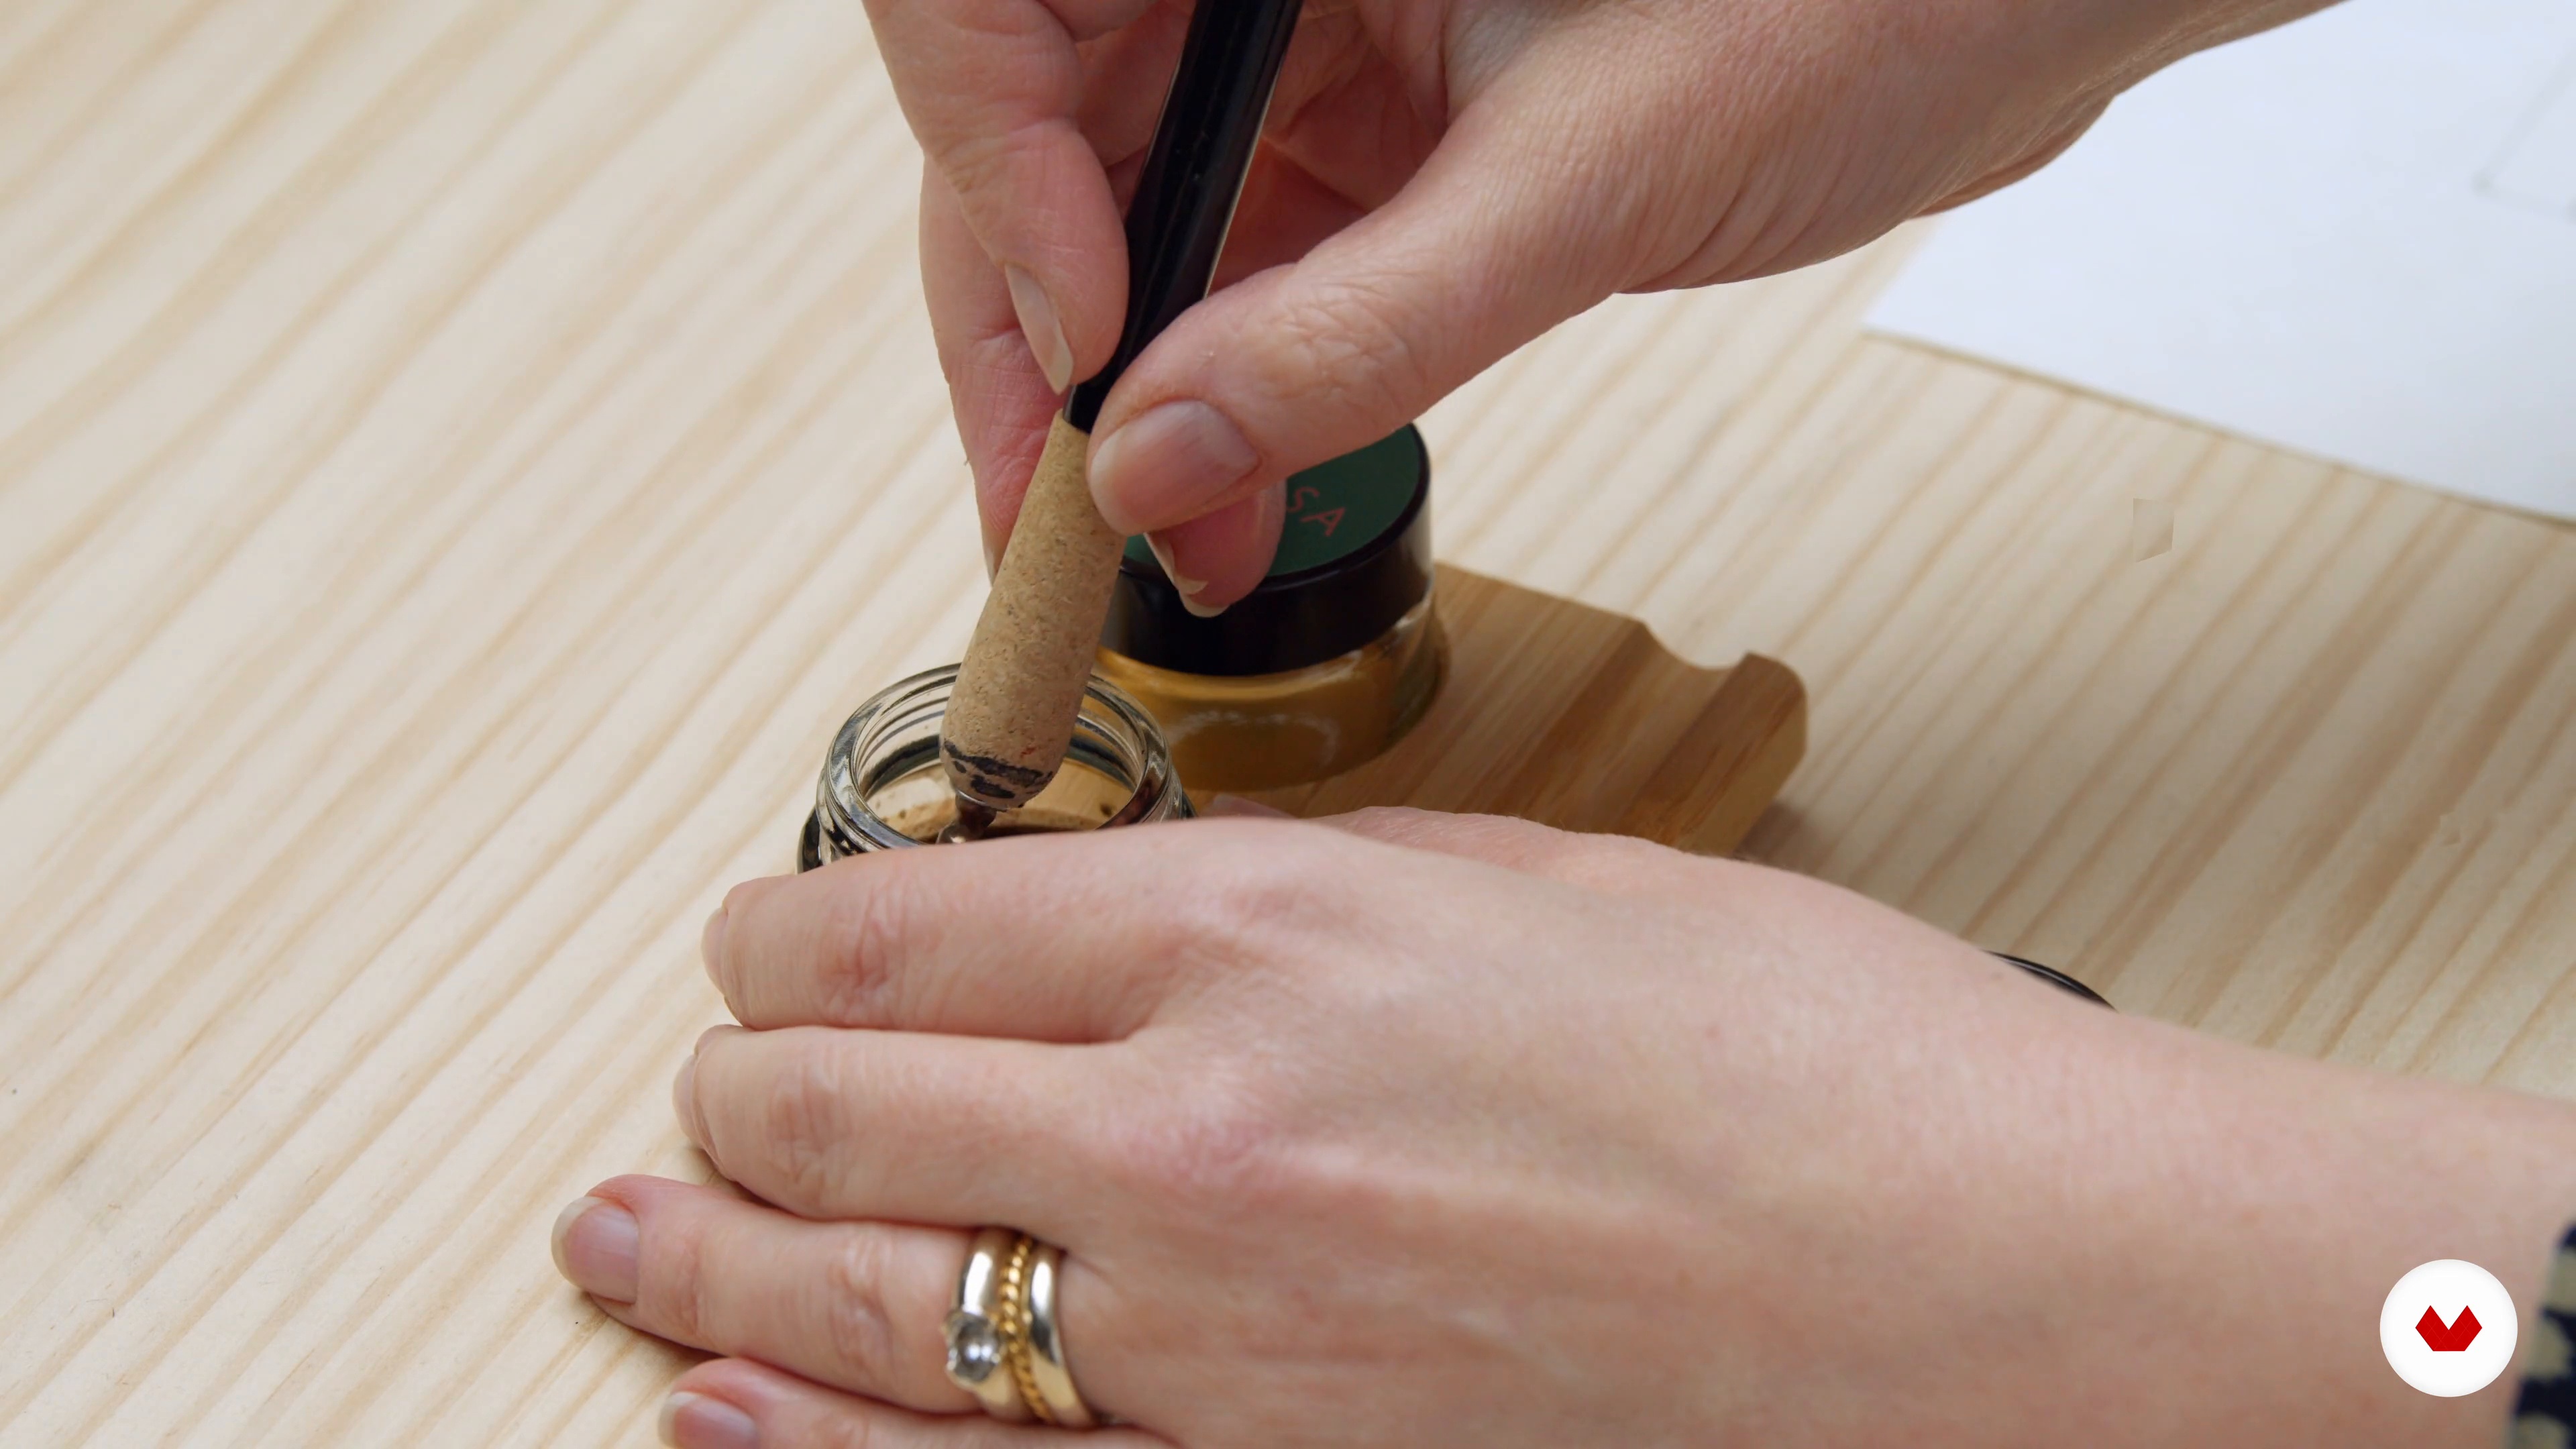
Here, I will continue to demonstrate how to apply the blank ink to the bones of your text, holding the bronze-tipped nib at a 60-degree angle. You will learn tips and tricks to ensure the ink flows smoothly.
12m
 8
8The Black Ink Layout 3
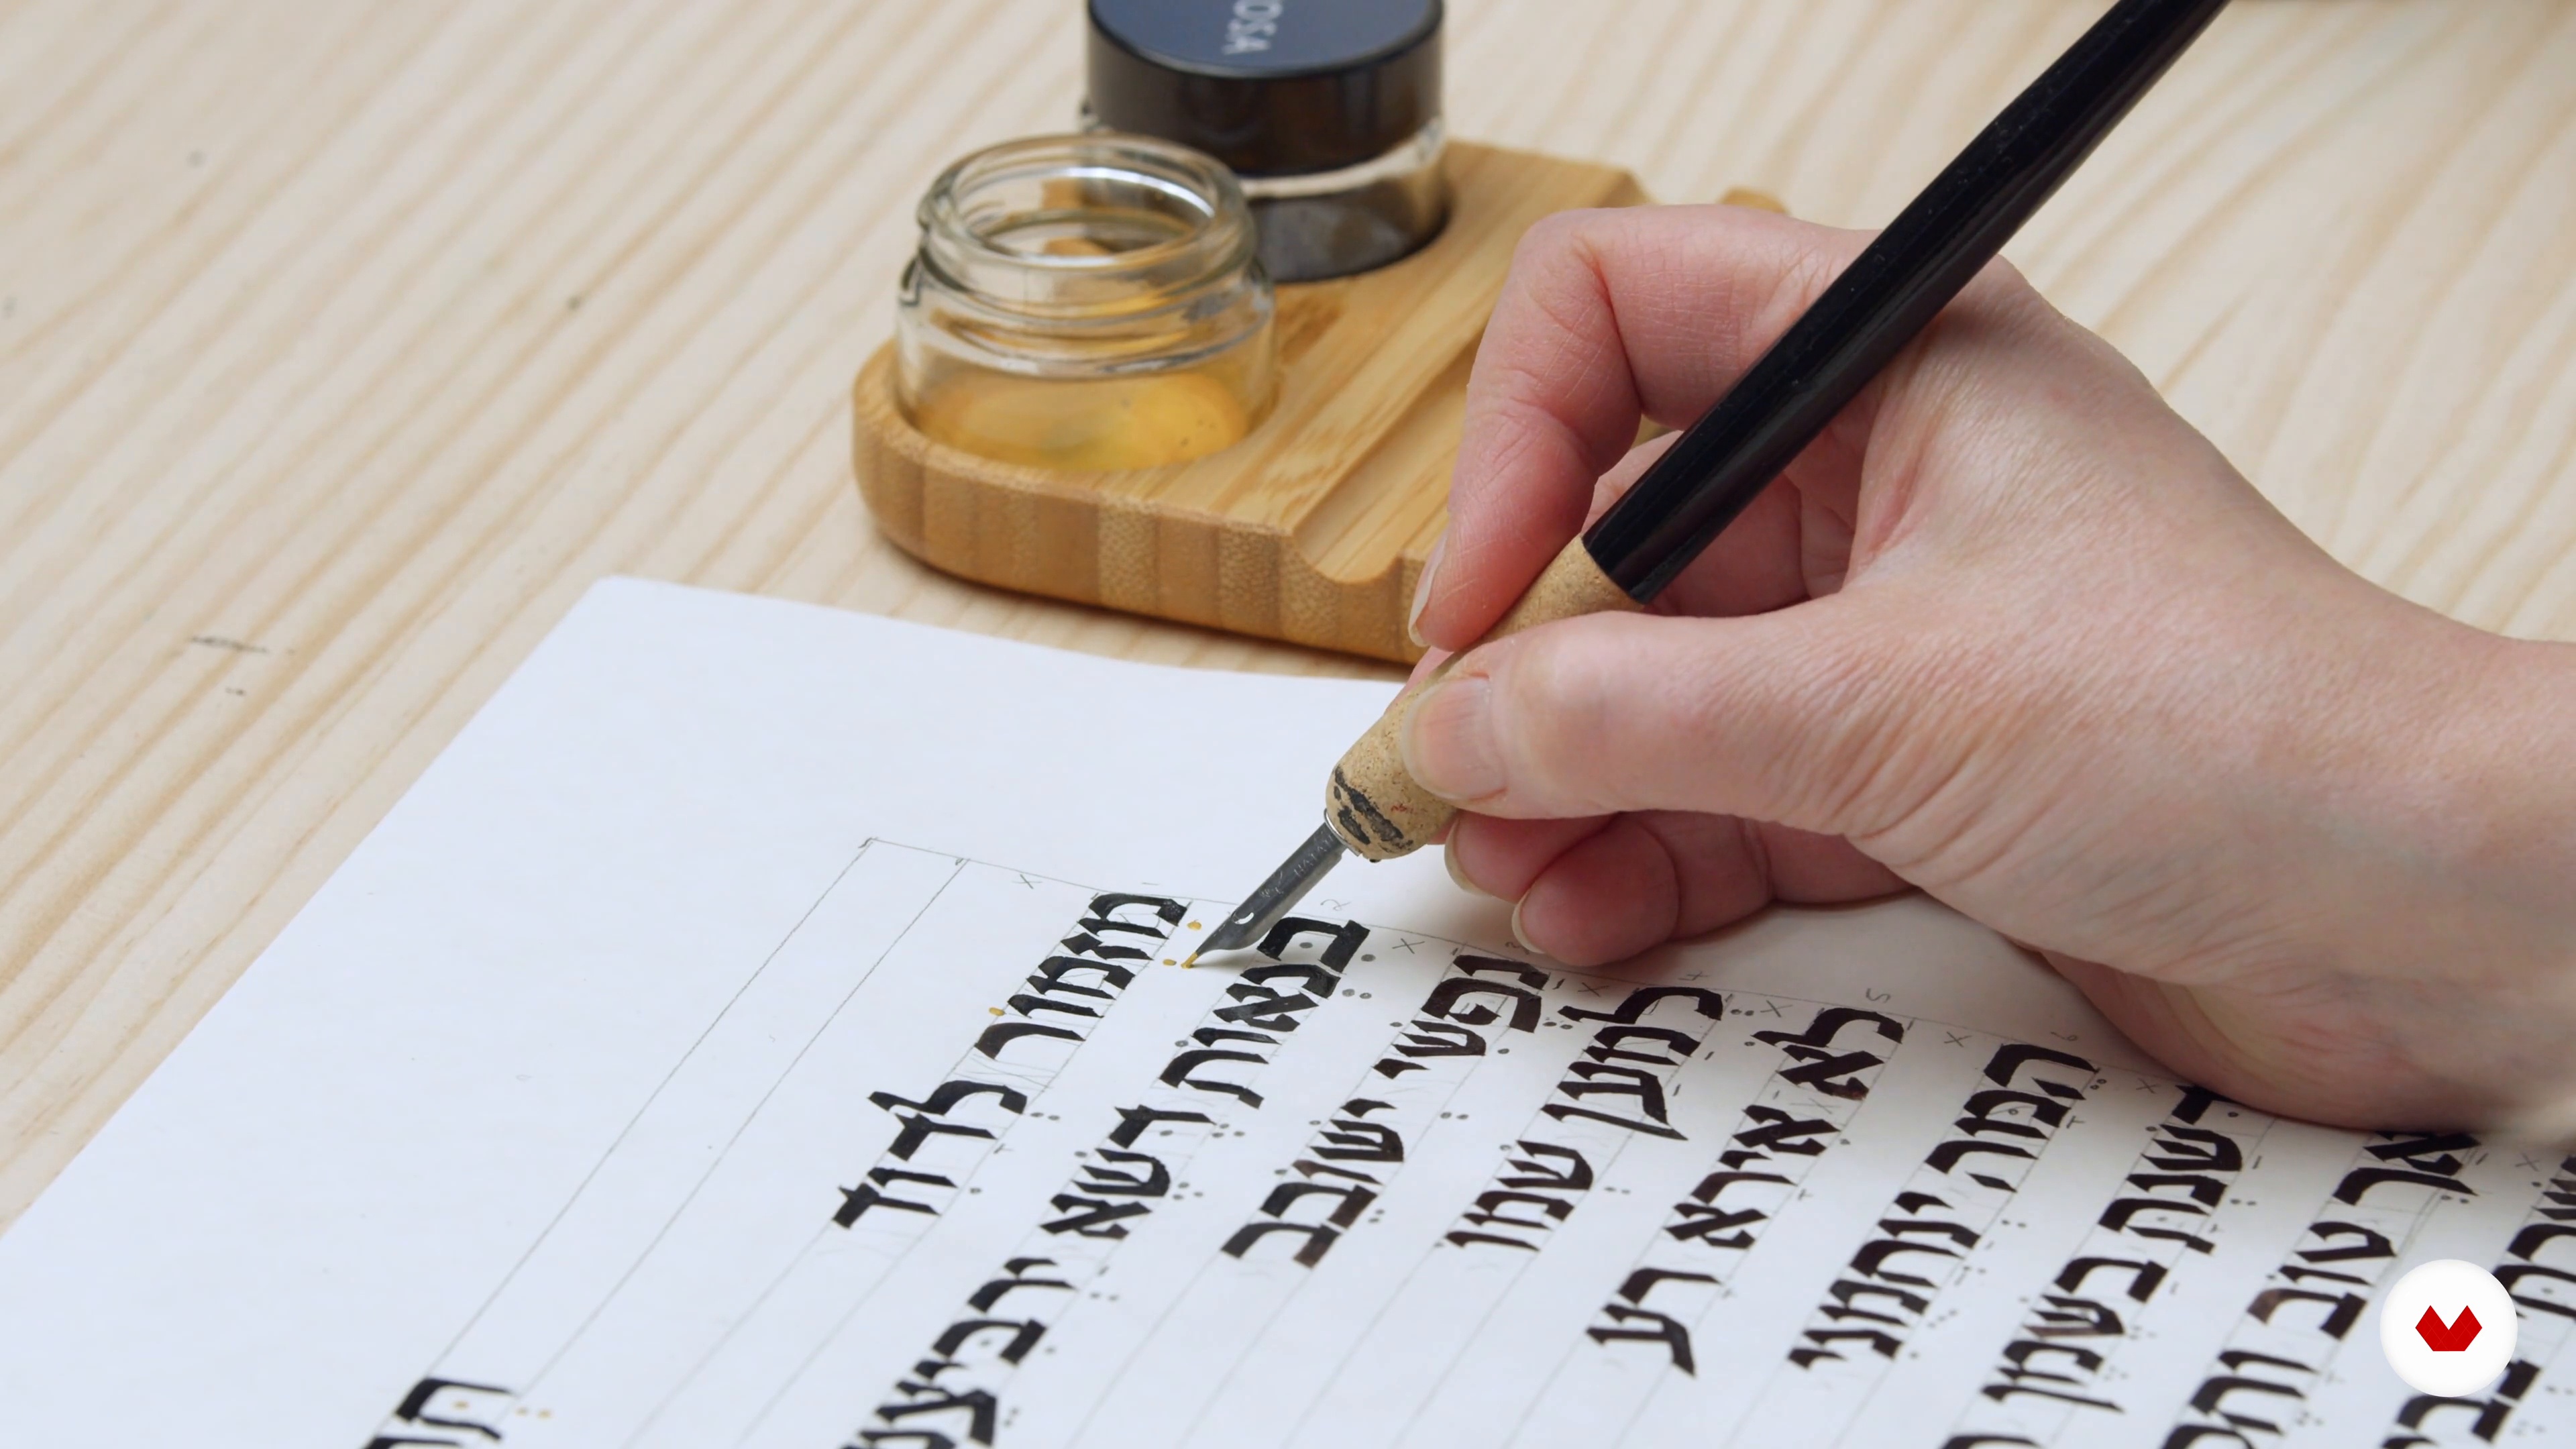
Now, I will progress to line six and model different spacing proportions. As you replicate this process, don't forget to keep checking the angle of your pen! The more you master the skills I present in this lesson, the more consistent your pen strokes will be.
14m
 9
9Working on the Vowels 1
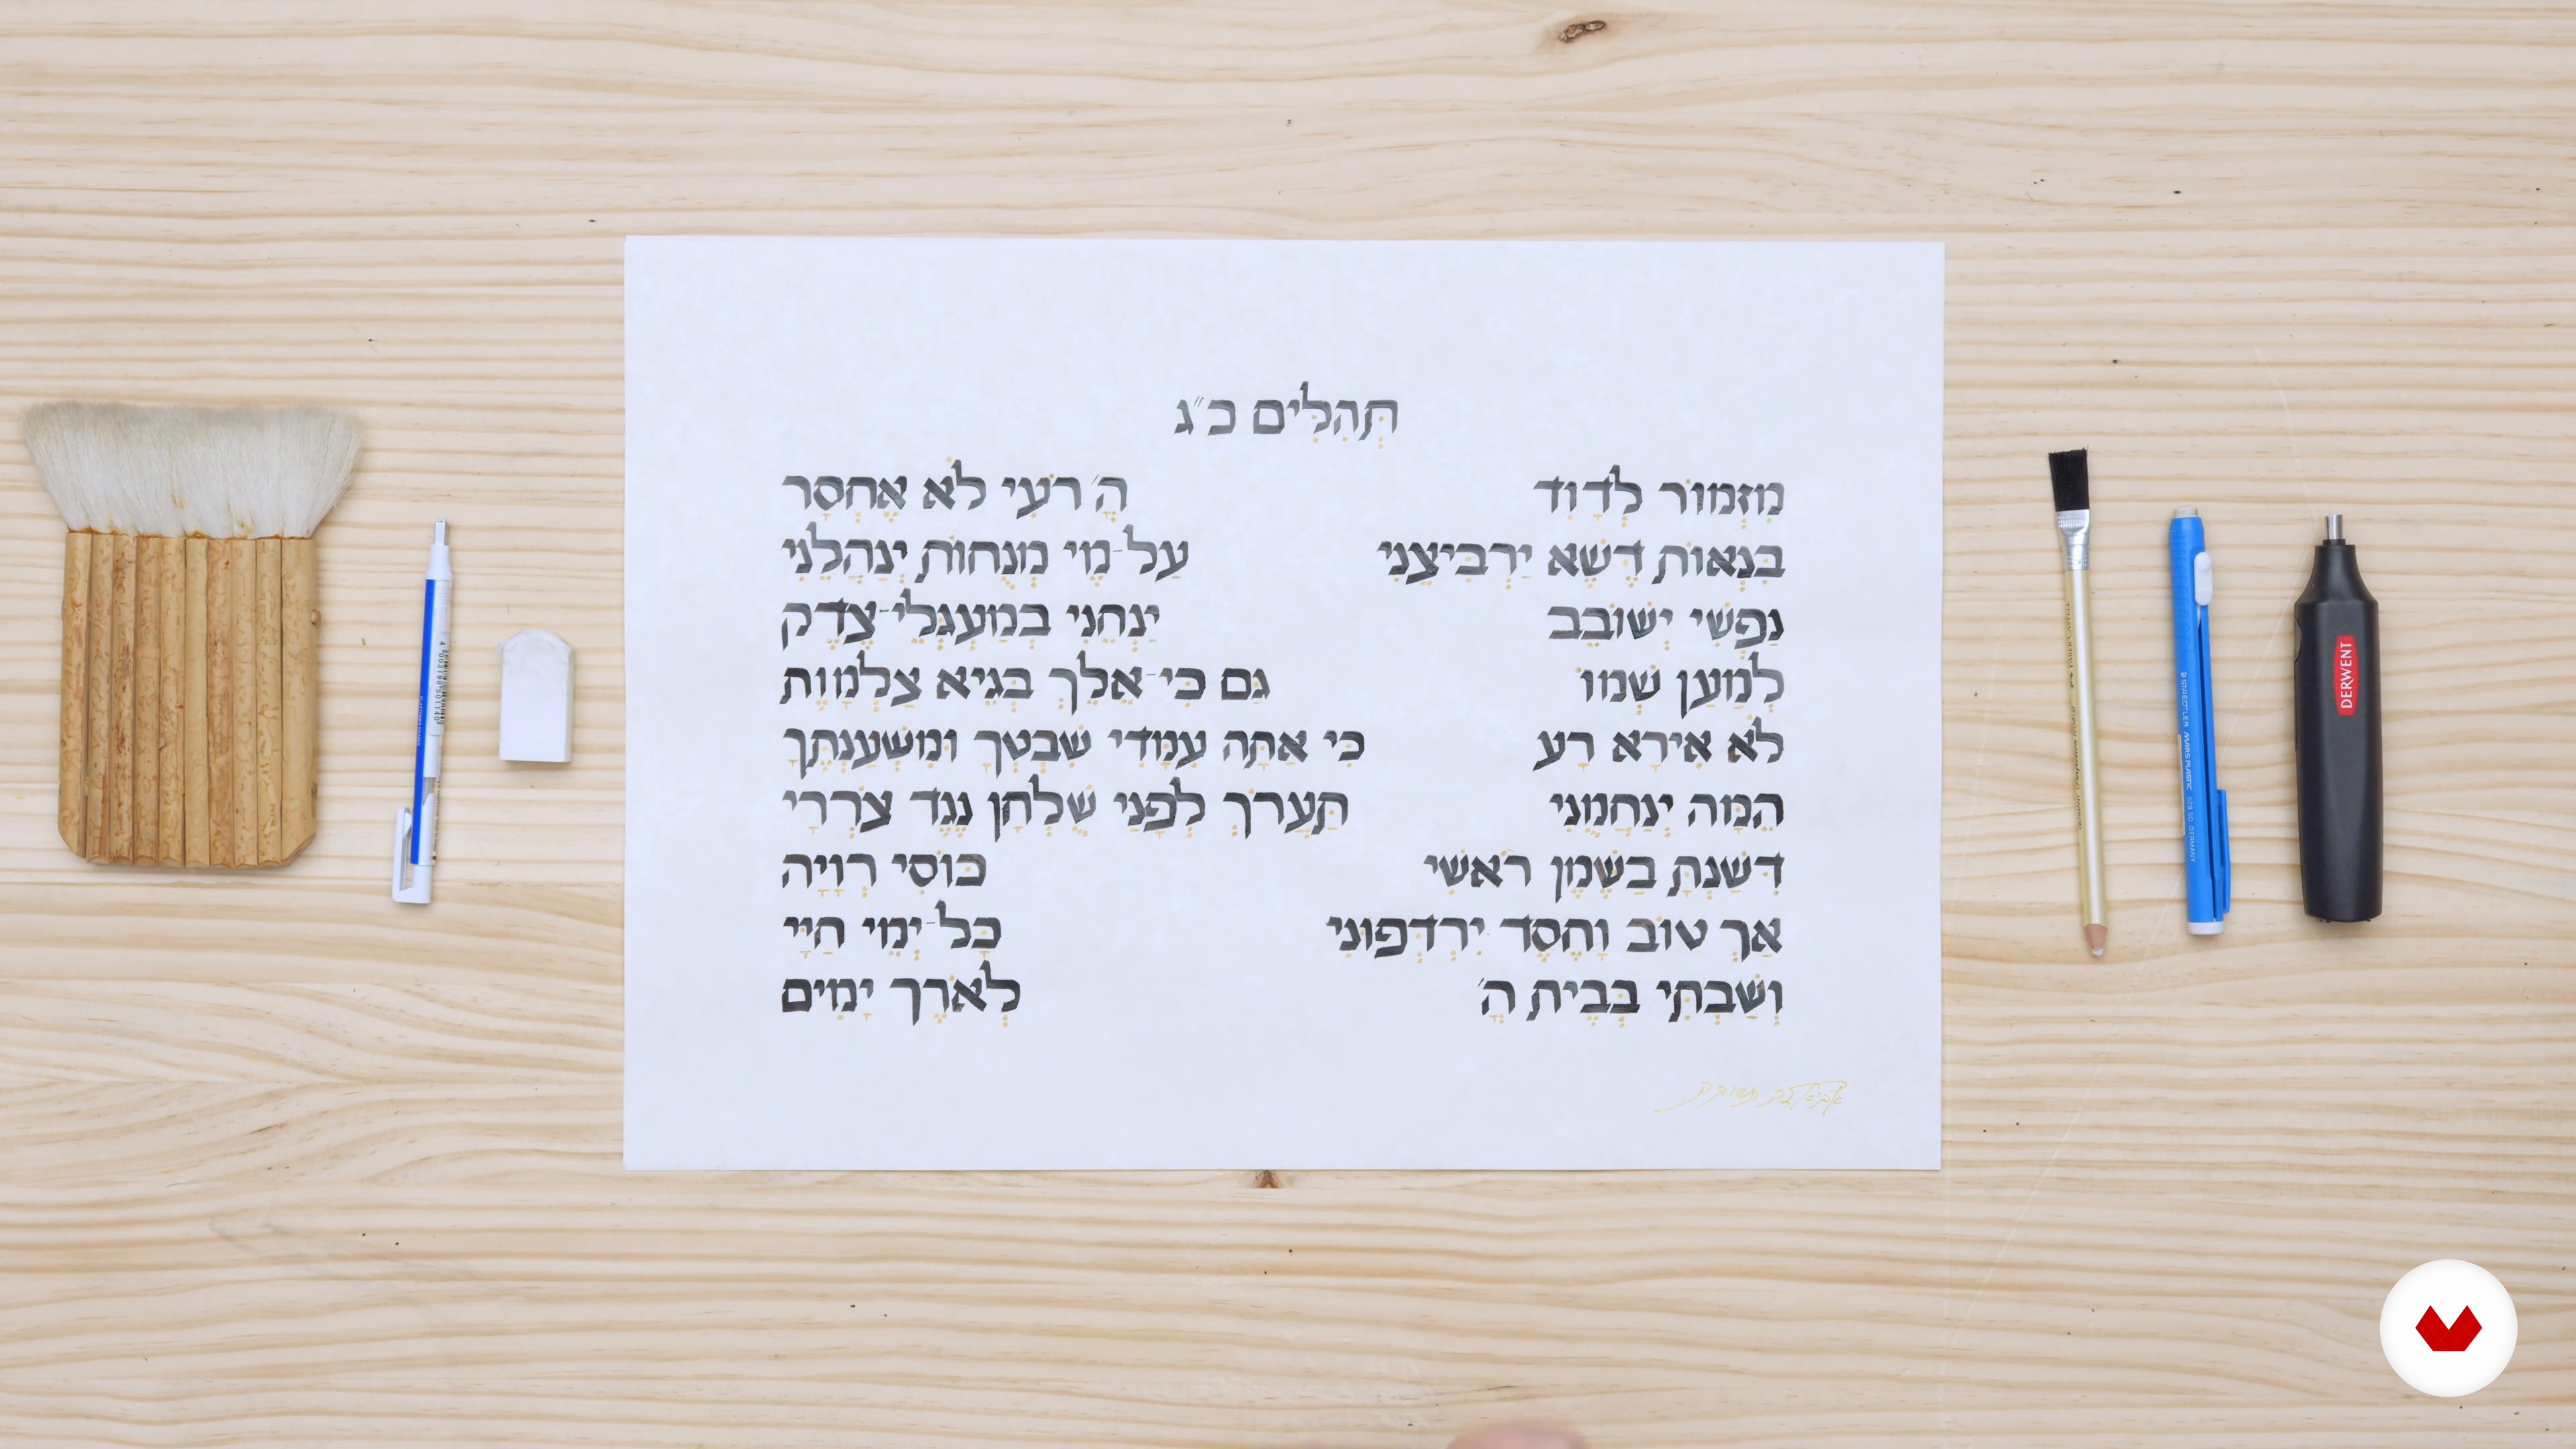
In this lesson, I will show you how to ink the vowels with golden ink. These are the small dots and lines that surround the letter.
12m
 10
10Working on the Vowels 2
Now that the pencil markings have been set, it's time to apply the golden ink! I will show you how to do this using a narrow nib.
12m
 11
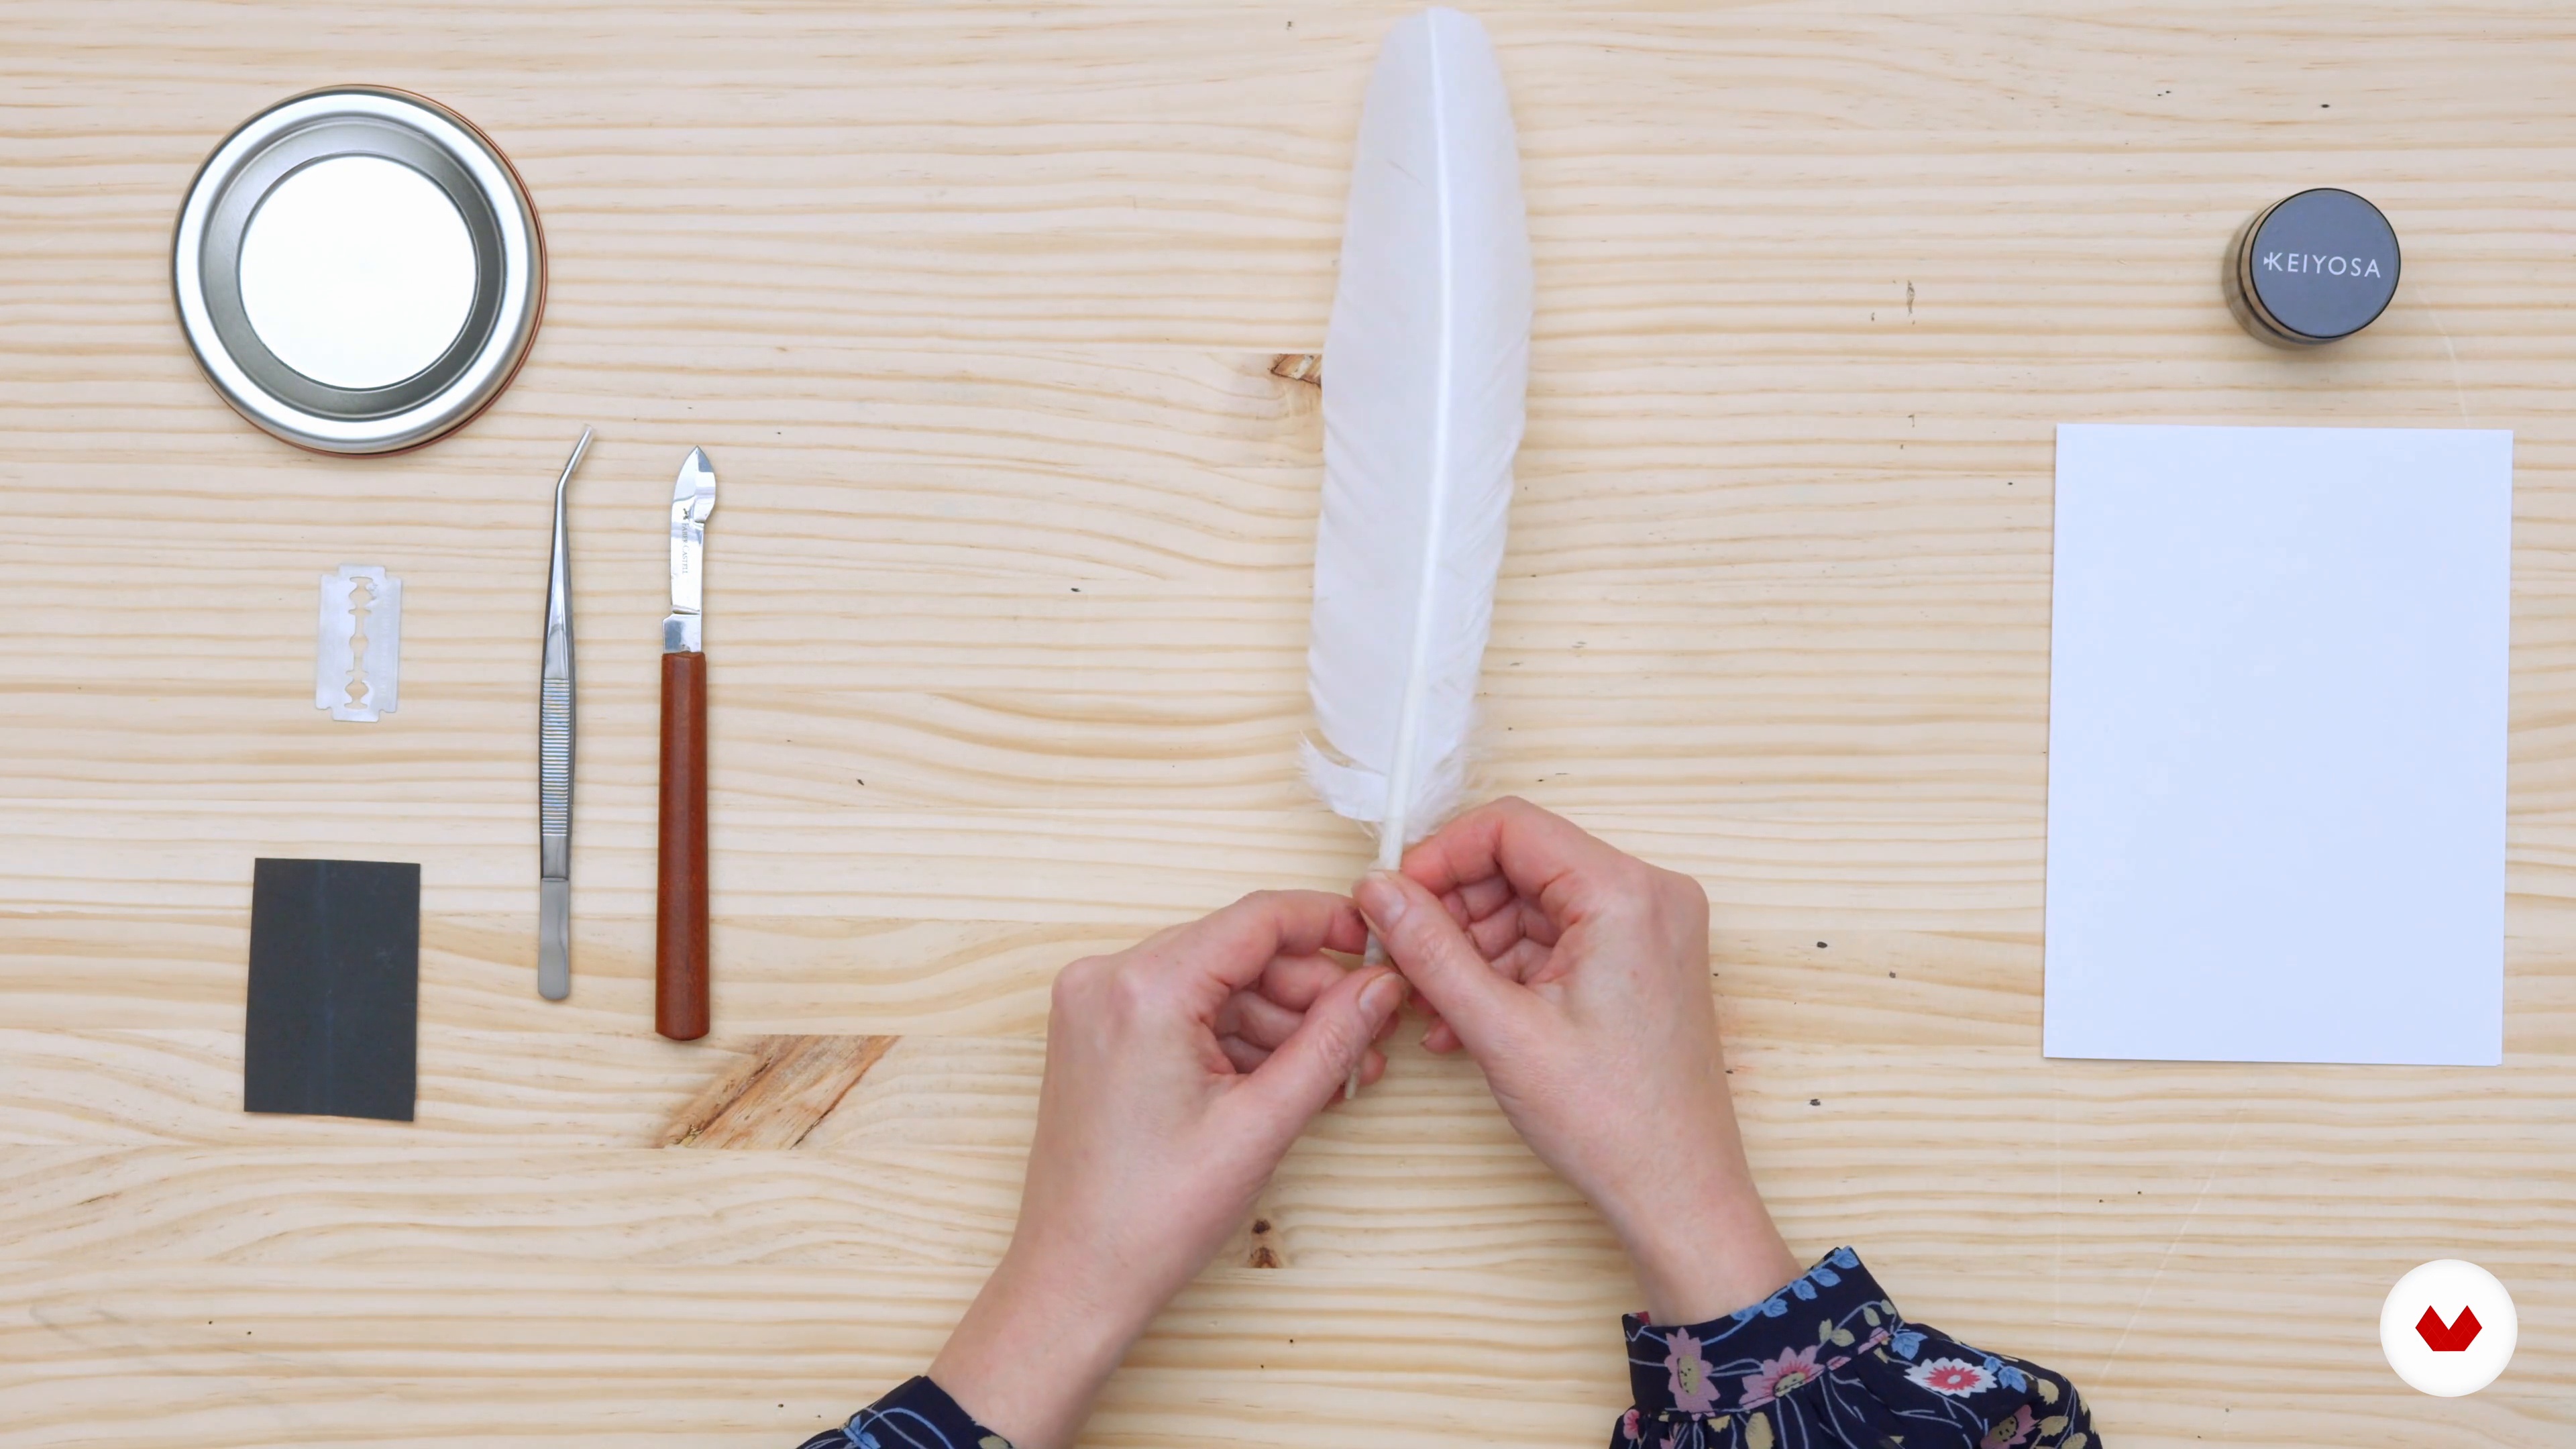
11How to Use a Feather for Calligraphy
All scribal traditions originating from the Middle East used reeds or wood cut into a pen with a knife. The Jewish people who lived under Islam and remained in the Middle East, North Africa, Yemen, and the Iberian peninsula still use reeds to this day. Contrastingly, the Jewish community in Europe changed their scribal tradition to fit Christian book arts and began using feathers cut into quill pens. In this lesson, I will dive further into the many traditions.
13m
 12
12Advice for Furthering Your Practice
To conclude this unit, I will share with you some final advice on how to deepen your calligraphy practice.
4m
What is this course's project?
Create a visually appealing calligraphy composition by applying modern techniques and expressive strokes, blending poetic text with visual storytelling, mastering traditional brush techniques, and crafting elegant scripts in diverse cultural styles, showcasing your unique calligraphic style.
Who is this specialization for?
Aspiring calligraphers and art enthusiasts seeking to explore diverse styles and cultural scripts, enhance their artistic expression, and learn the creative process of forming beautiful letterforms will find this online course enriching and insightful for both personal and professional growth.
Requirements and materials
No extensive prior knowledge is required. Basic necessities include paper, a variety of pens or brushes, ink, and a ruler. An open mind and curiosity to explore different calligraphic styles and techniques are essential to start the creative journey.
Reviews
- 6 months ago
Me gusta, está muy completo con varios estilos, ideal para los amantes de la caligrafía.
- 1 year ago
Excelente el curso. Muy completo. Los estilos caligraficos diferentes y hermosos
- 1 year ago
Corso veramente completo e super creativo. Lo consiglio!
Select to get to know your teachers in this specialization course


What to expect from this specialization course
Learn at your own pace
Enjoy learning from home without a set schedule and with an easy-to-follow method. You set your own pace.
Learn from the best professionals
Learn valuable methods and techniques explained by top experts in the creative sector.
Meet expert teachers
Each expert teaches what they do best, with clear guidelines, true passion, and professional insight in every lesson.
Certificates
PLUSIf you're a Plus member, get a custom certificate for every specialization course. Share it on your portfolio, social media, or wherever you like.
Get front-row seats
Videos of the highest quality, so you don't miss a single detail. With unlimited access, you can watch them as many times as you need to perfect your technique.
Share knowledge and ideas
Ask questions, request feedback, or offer solutions. Share your learning experience with other students in the community who are as passionate about creativity as you are.
Connect with a global creative community
The community is home to millions of people from around the world who are curious and passionate about exploring and expressing their creativity.
Watch professionally produced courses
Domestika curates its teacher roster and produces every course in-house to ensure a high-quality online learning experience.
FAQs
Yes, this course is designed for beginners with no prior experience in Shodo or Japanese calligraphy. It covers foundational techniques, materials, and step-by-step guidance for starting your calligraphy journey.
You’ll need a calligraphy brush (fude), sumi ink or an ink stick, an inkstone, calligraphy paper, and a paperweight. The course also suggests workspace setup tips and alternatives for some traditional tools.
You’ll learn Shodo techniques, brush handling, fundamental calligraphy strokes, mindful breathing, body alignment, and the philosophy of Wabi Sabi. The course also covers kanji structure, workspace setup, and mounting finished works.
Mindfulness is integrated through breathing exercises, posture awareness, and techniques like Mushin, helping you focus, reduce stress, and achieve a harmonious energy flow during calligraphy practice.
Shodo means 'the way of artistic handwriting' or 'the path of beautiful writing.' It’s a traditional Japanese art form emphasizing expressive brushwork and spiritual focus.
No previous experience is required. The course starts with basics and gradually introduces advanced techniques, making it accessible for complete beginners.
The course covers Kaisho (block), Gyosho (semi-cursive), and Sosho (cursive) styles, explaining their unique techniques and helping you progress from basic to more expressive brushwork.