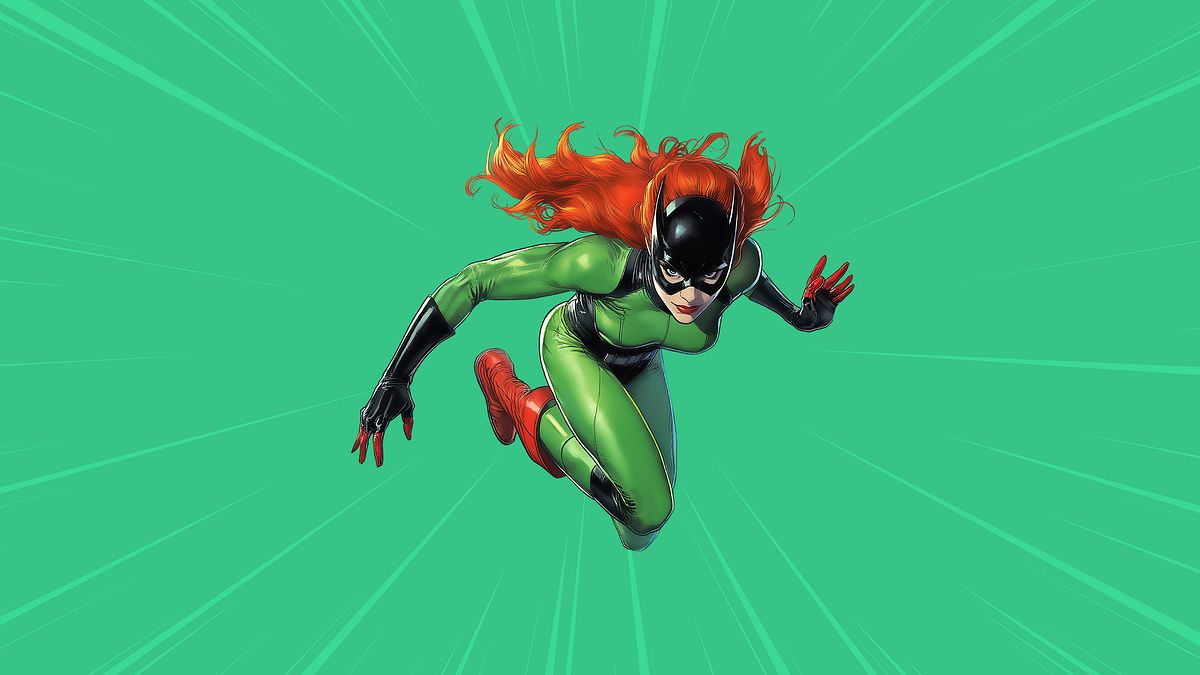

Learn comic creation, scriptwriting, visual storytelling, and character illustration for digital and print publication
Dive into the captivating world of comic creation with this comprehensive specialization. Begin your journey by exploring the art of scriptwriting with Fred Van Lente, where you'll learn to develop compelling scripts and master the nuances of visual storytelling. Sam Hart will guide you in crafting a unique visual universe, teaching you to design characters, environments, and visual elements that breathe life into your narrative. Expand your storytelling prowess further with André Lima, as you explore action, movement, and perspective to create dynamic scenes that capture your readers' attention.
Refine your skills by learning how to illustrate personal experiences with Alec Longstreth, transforming real-life events into engaging comic narratives. Jimmy Craig will then show you how to develop, illustrate, and digitize short comic strips, helping you structure concise narratives that are ready for publication. Conclude your learning journey with invaluable tips and tricks for success in the comic industry, including how to build a portfolio and monetize your work. This specialization offers a structured learning path, ensuring you gain the skills and confidence needed to bring your comic ideas to life.
What will you learn in this specialization?
 1
1Introduction
Let's talk about how comics blend art and dialogue to tell personal, relatable stories. The comic industry is thriving, with new opportunities for creators to share their work digitally. You'll also discover how easy it is to release your comic and connect with a wide audience.
1m
 2
2Influences / Jimmy Craig
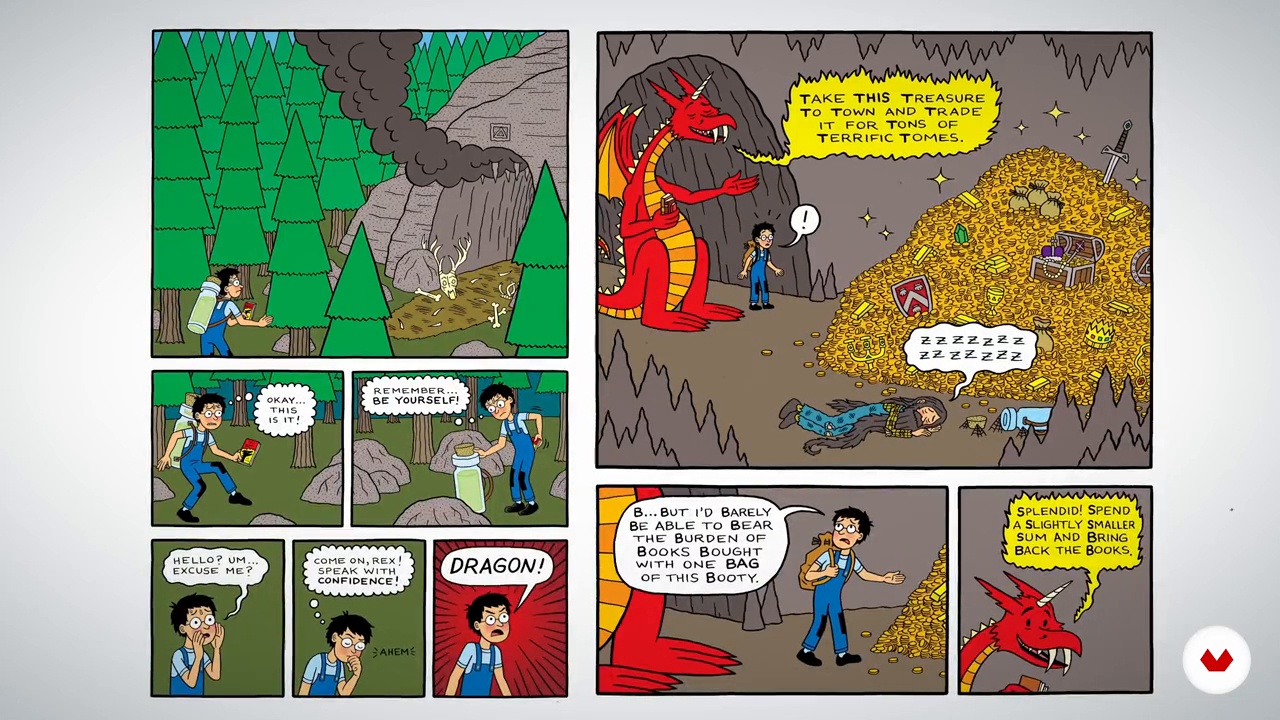
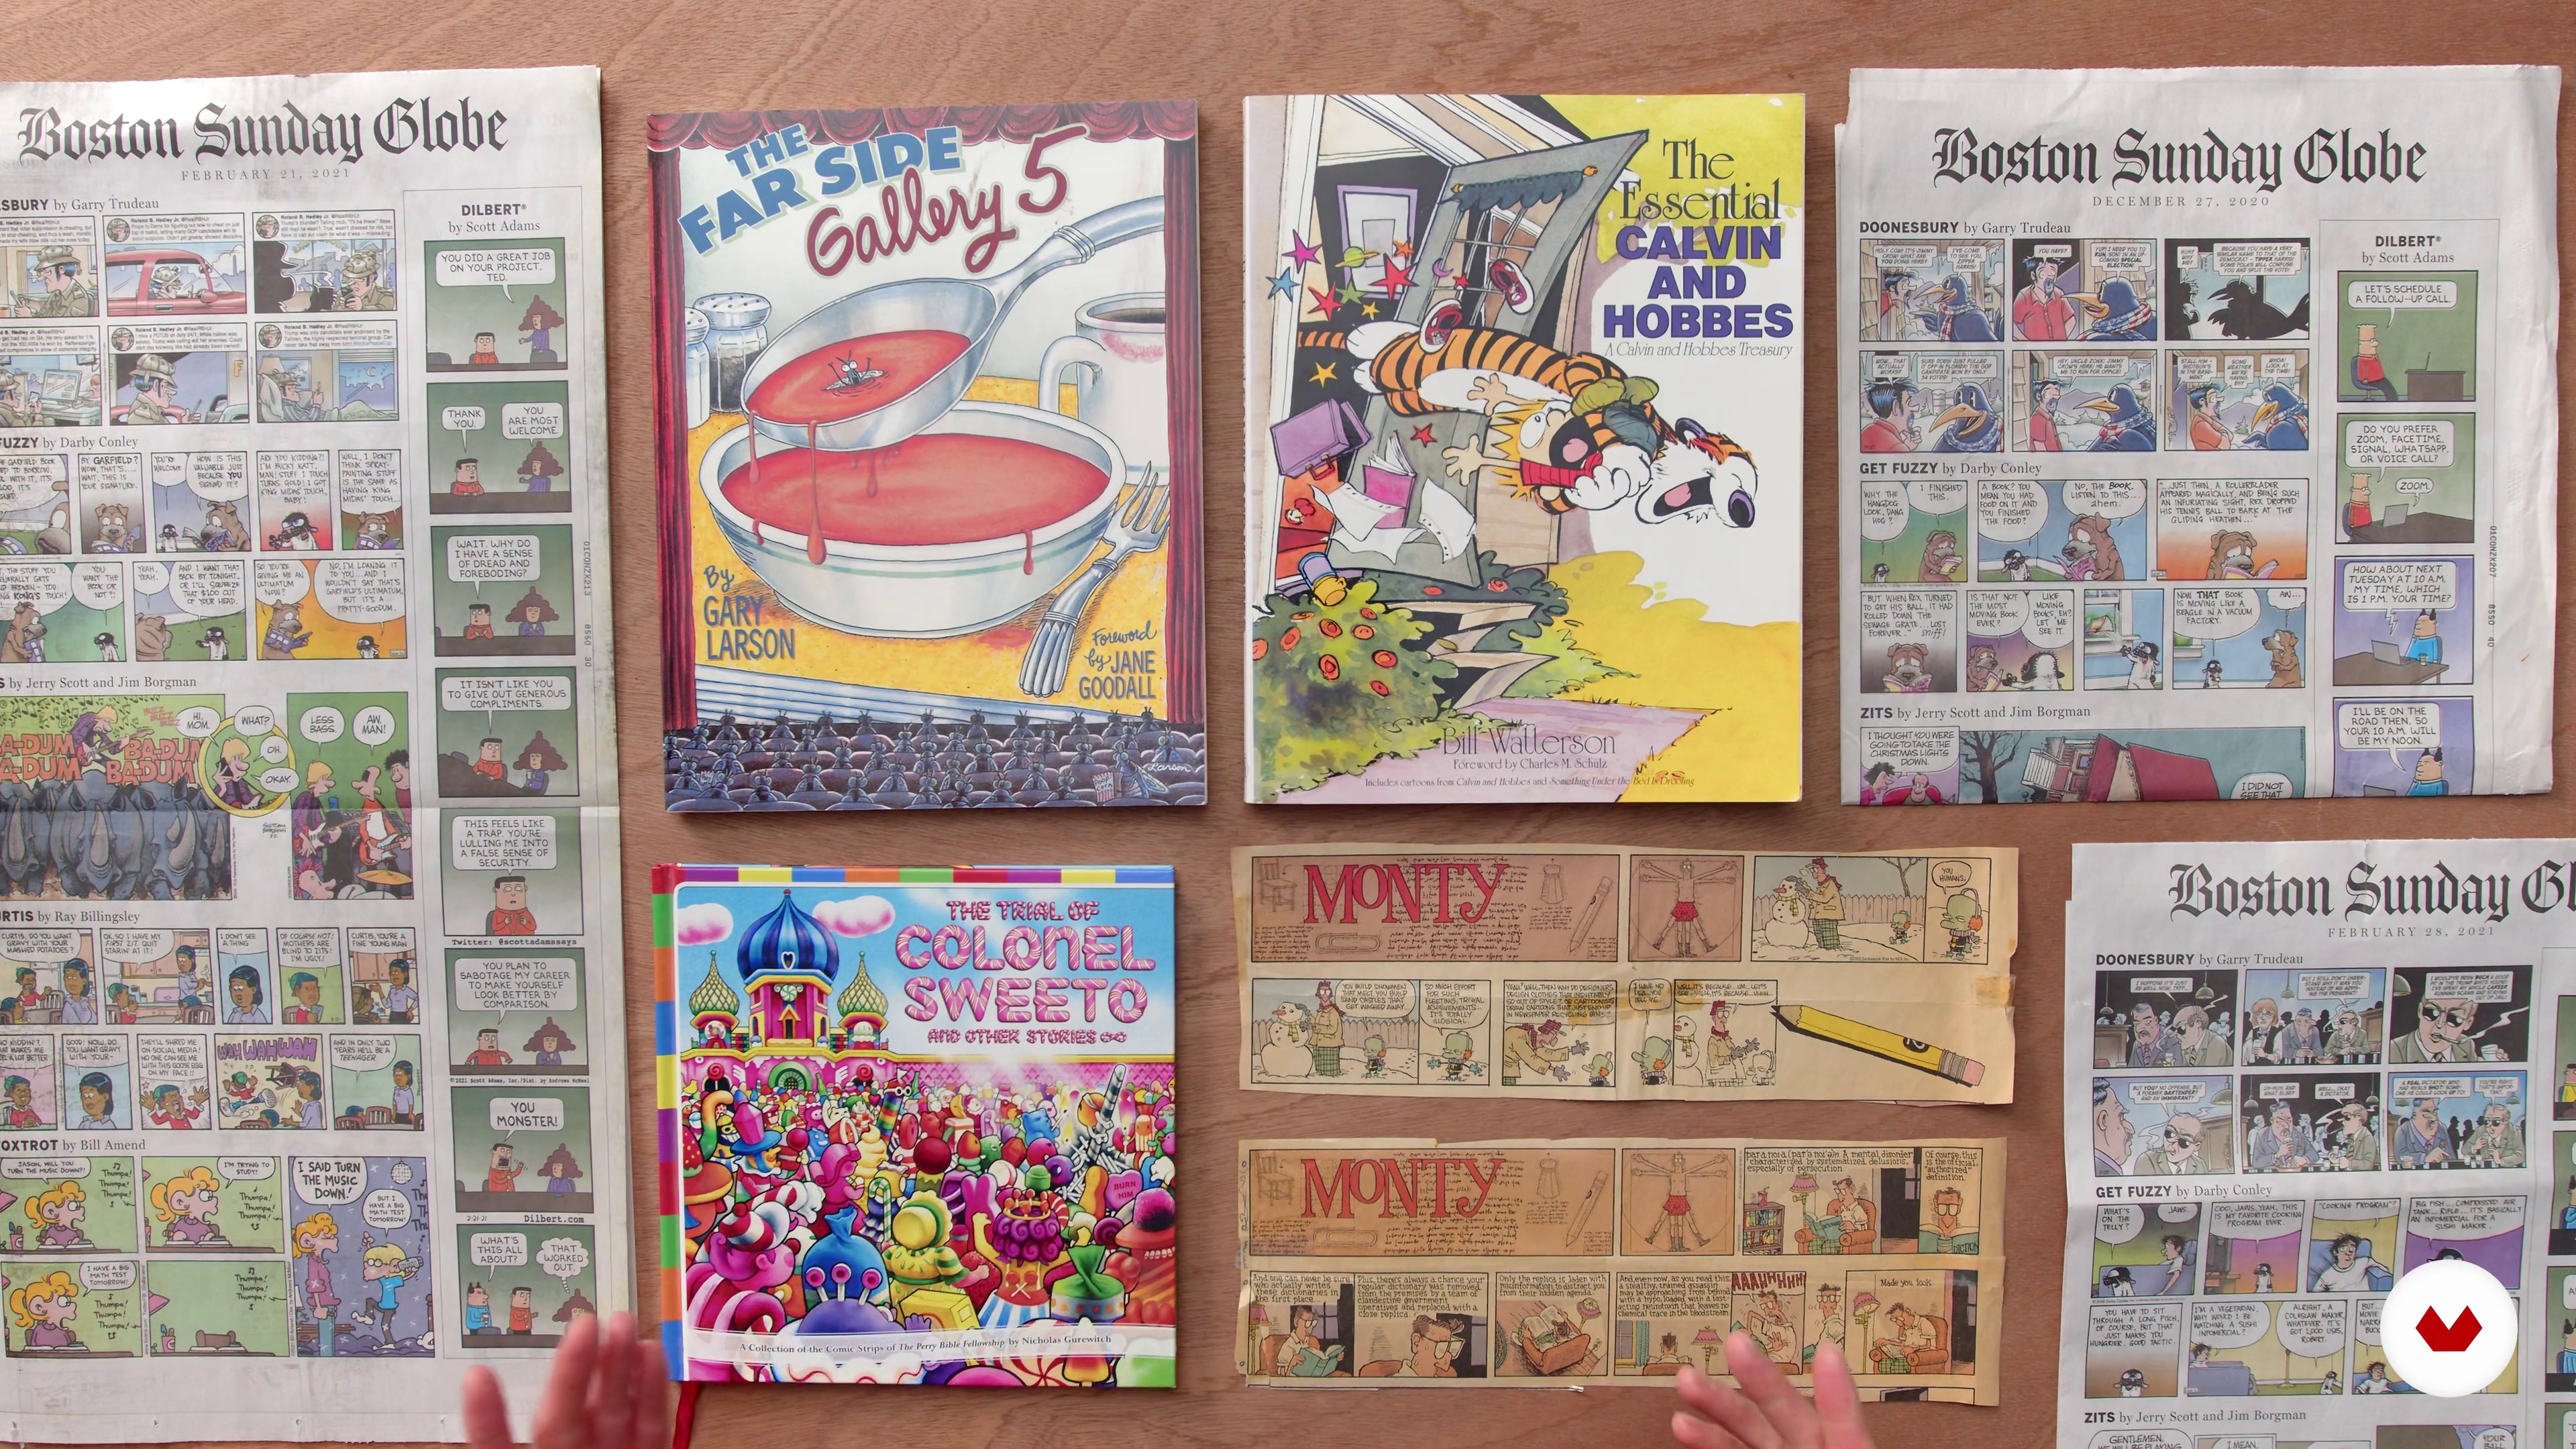
l share some of my biggest influences- from when I was a young kid to when I was a student in college. Some of my influences might be obvious, some might be more surprising. I’ll show you some collections of my favorite comics and talk about some of my favorite strips.
3m
 3
3Influences / Fred Van Lente
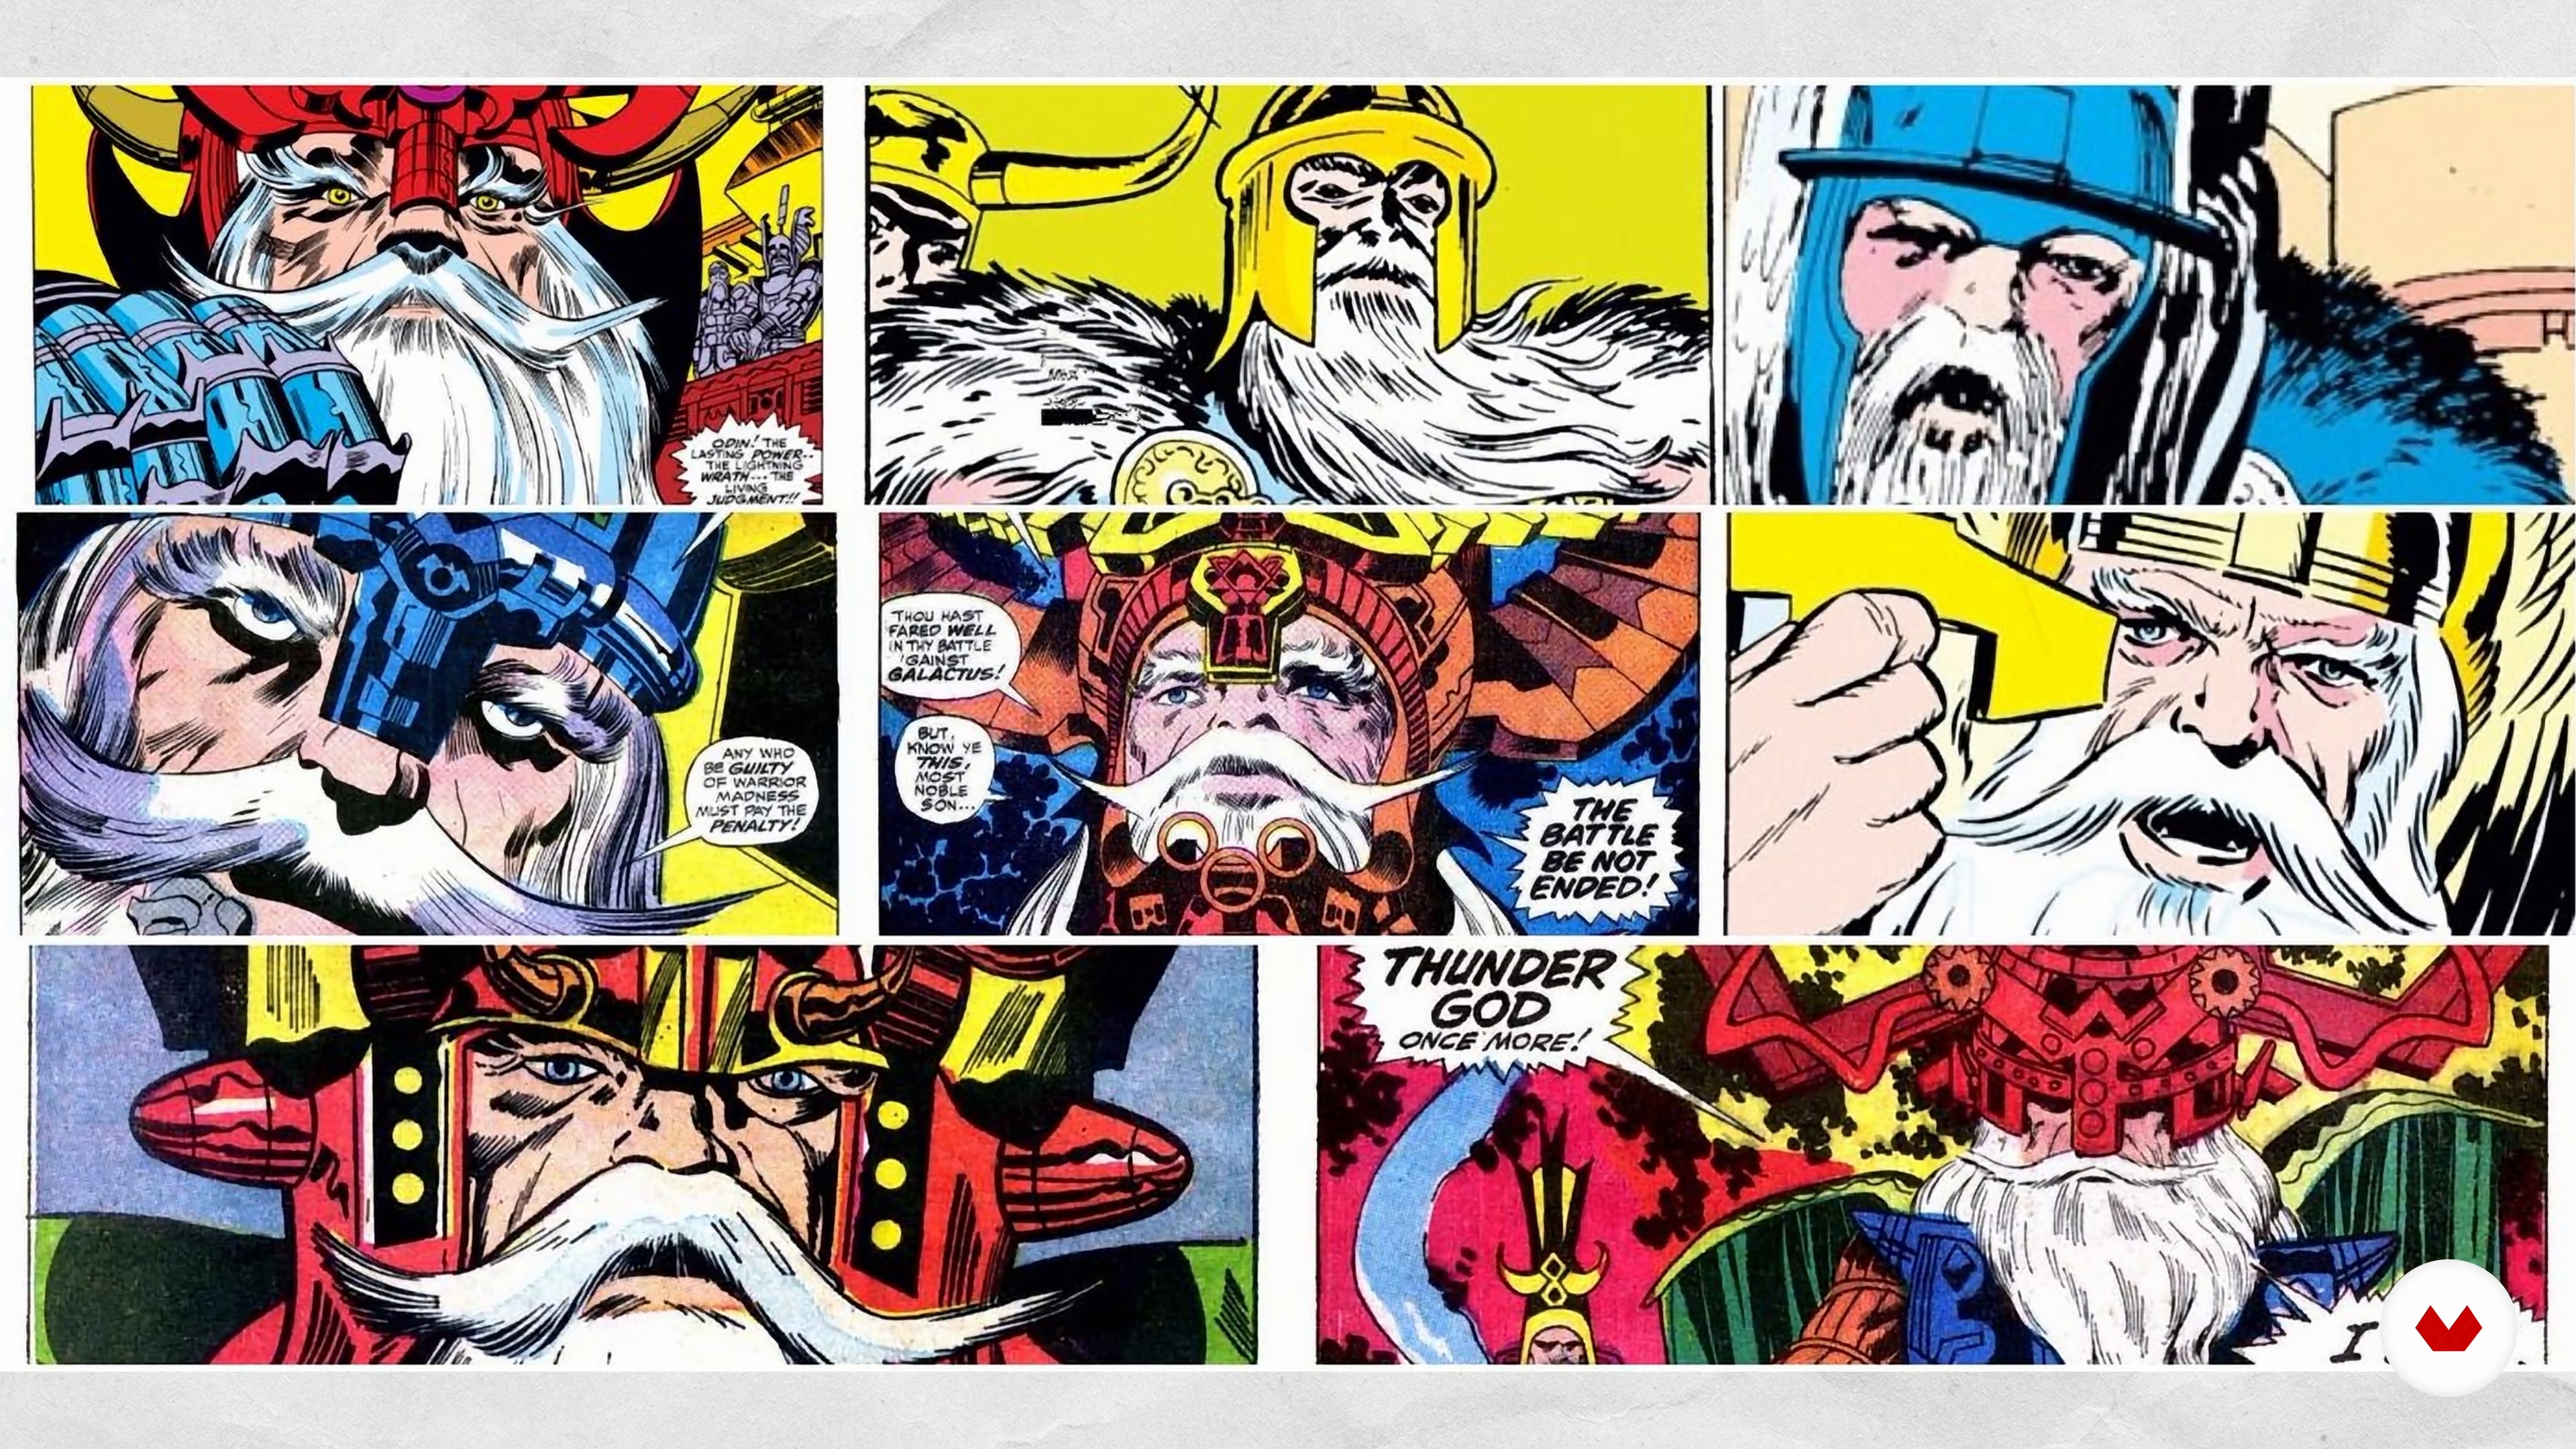
Whenever I experience a story I love, it inspires me to make my own stories. This still happens every day, but here’s the creators who built me into the writer I am from the very beginning.
3m
 4
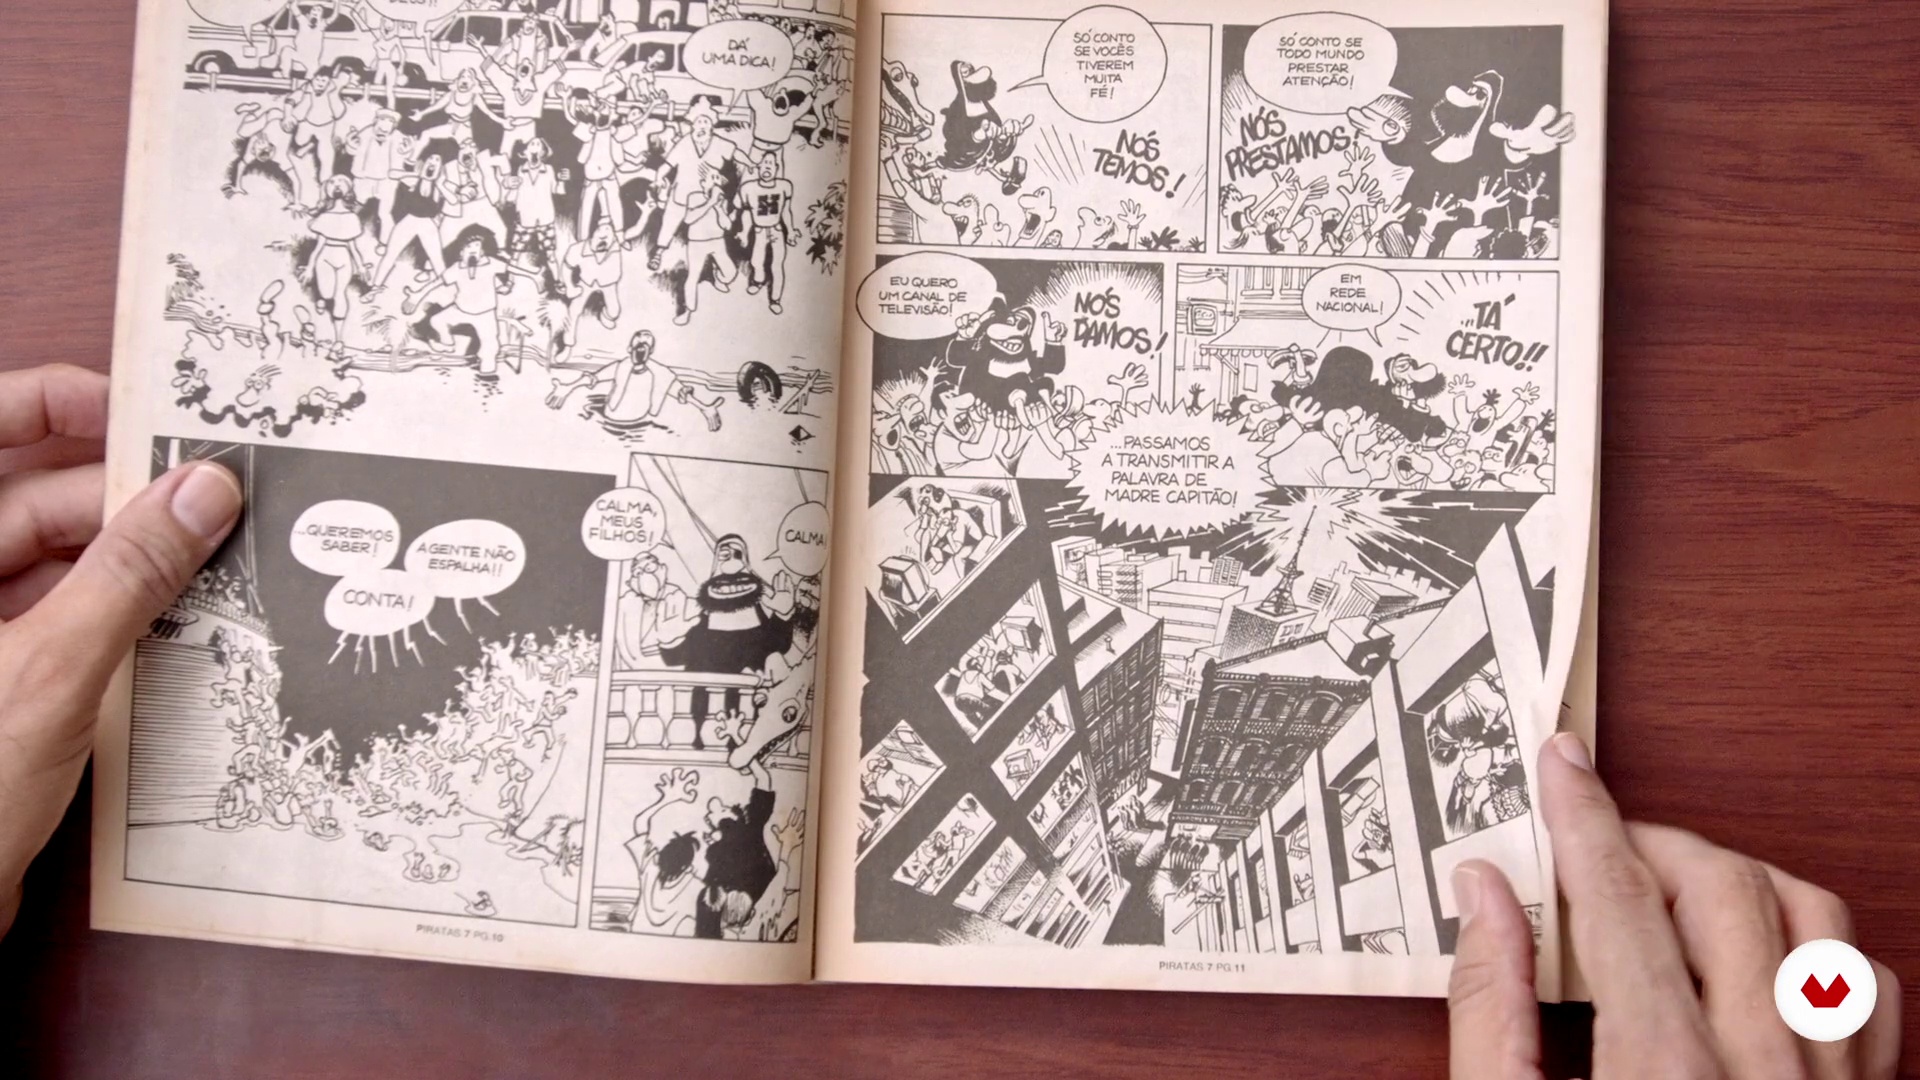
4Influences / Sam Hart
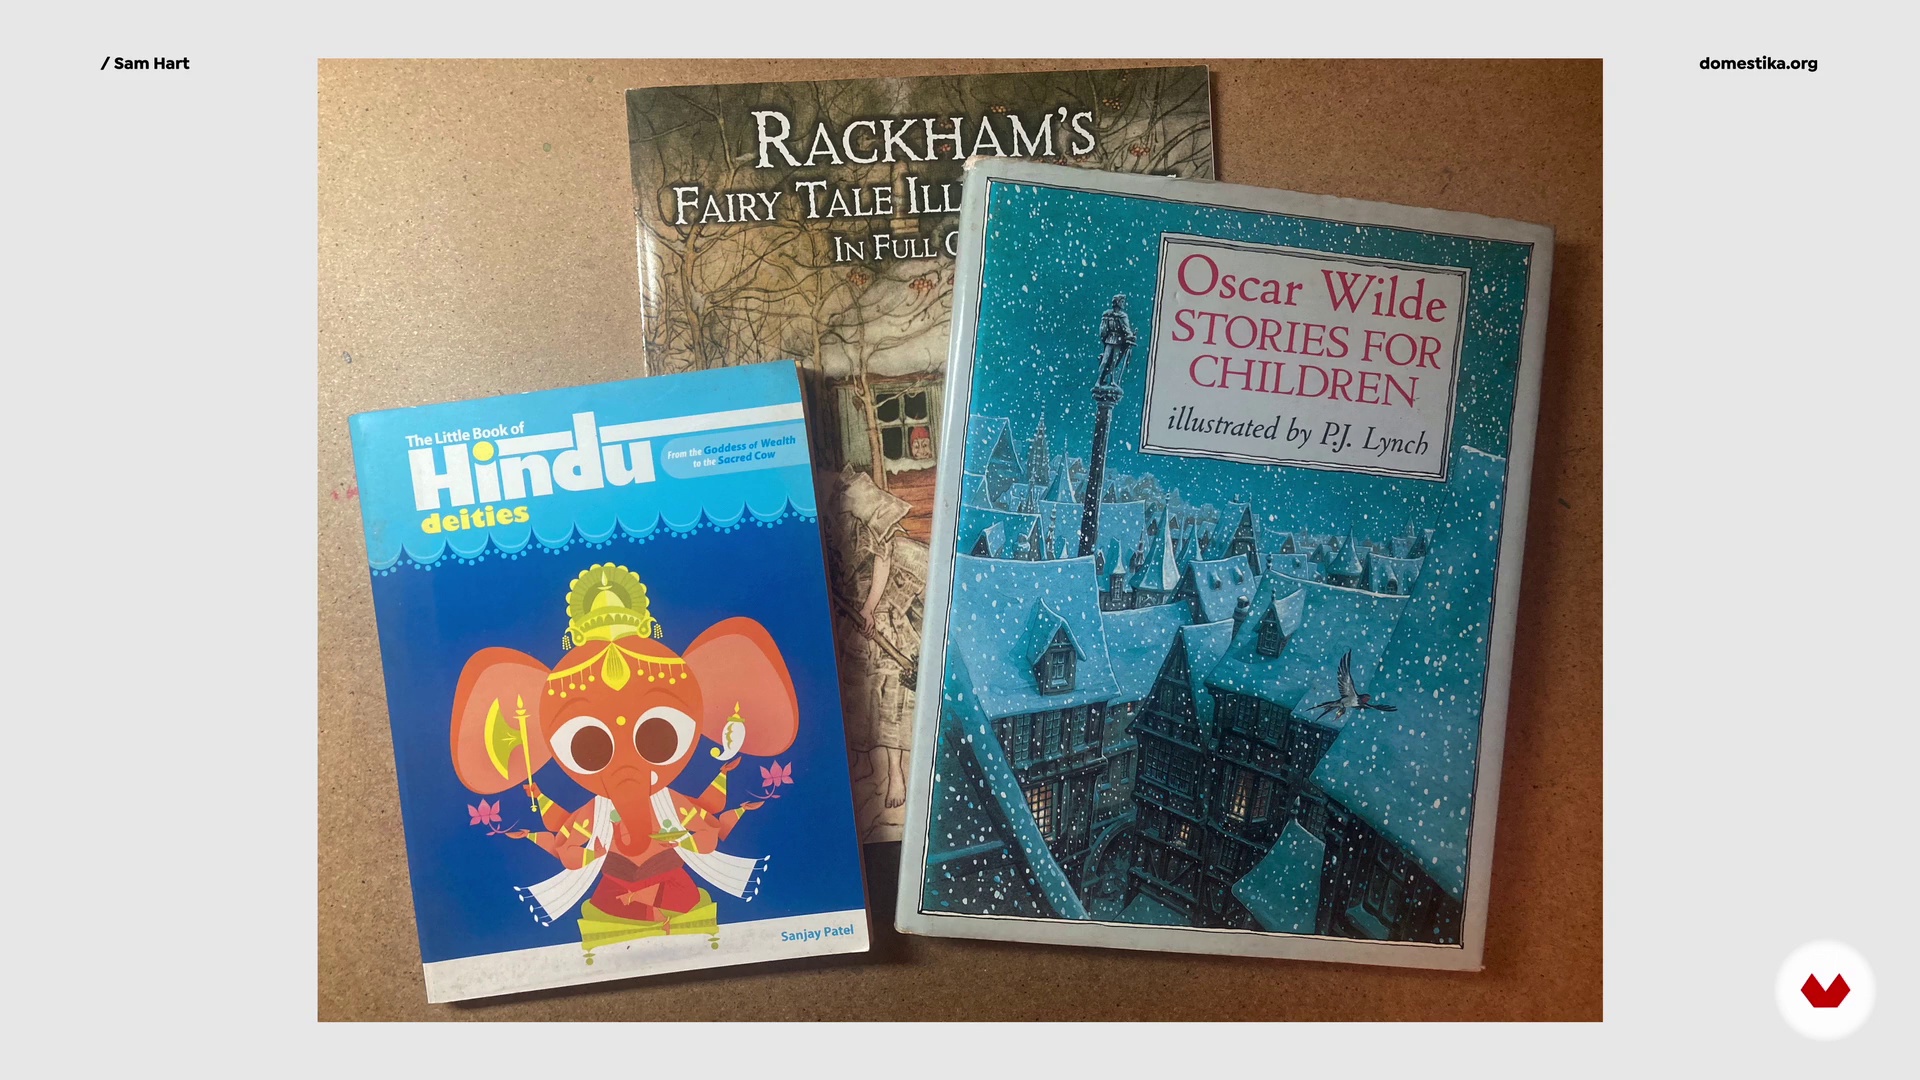
In this lesson, I will talk about and show you examples of my influences from two continents.
5m
 5
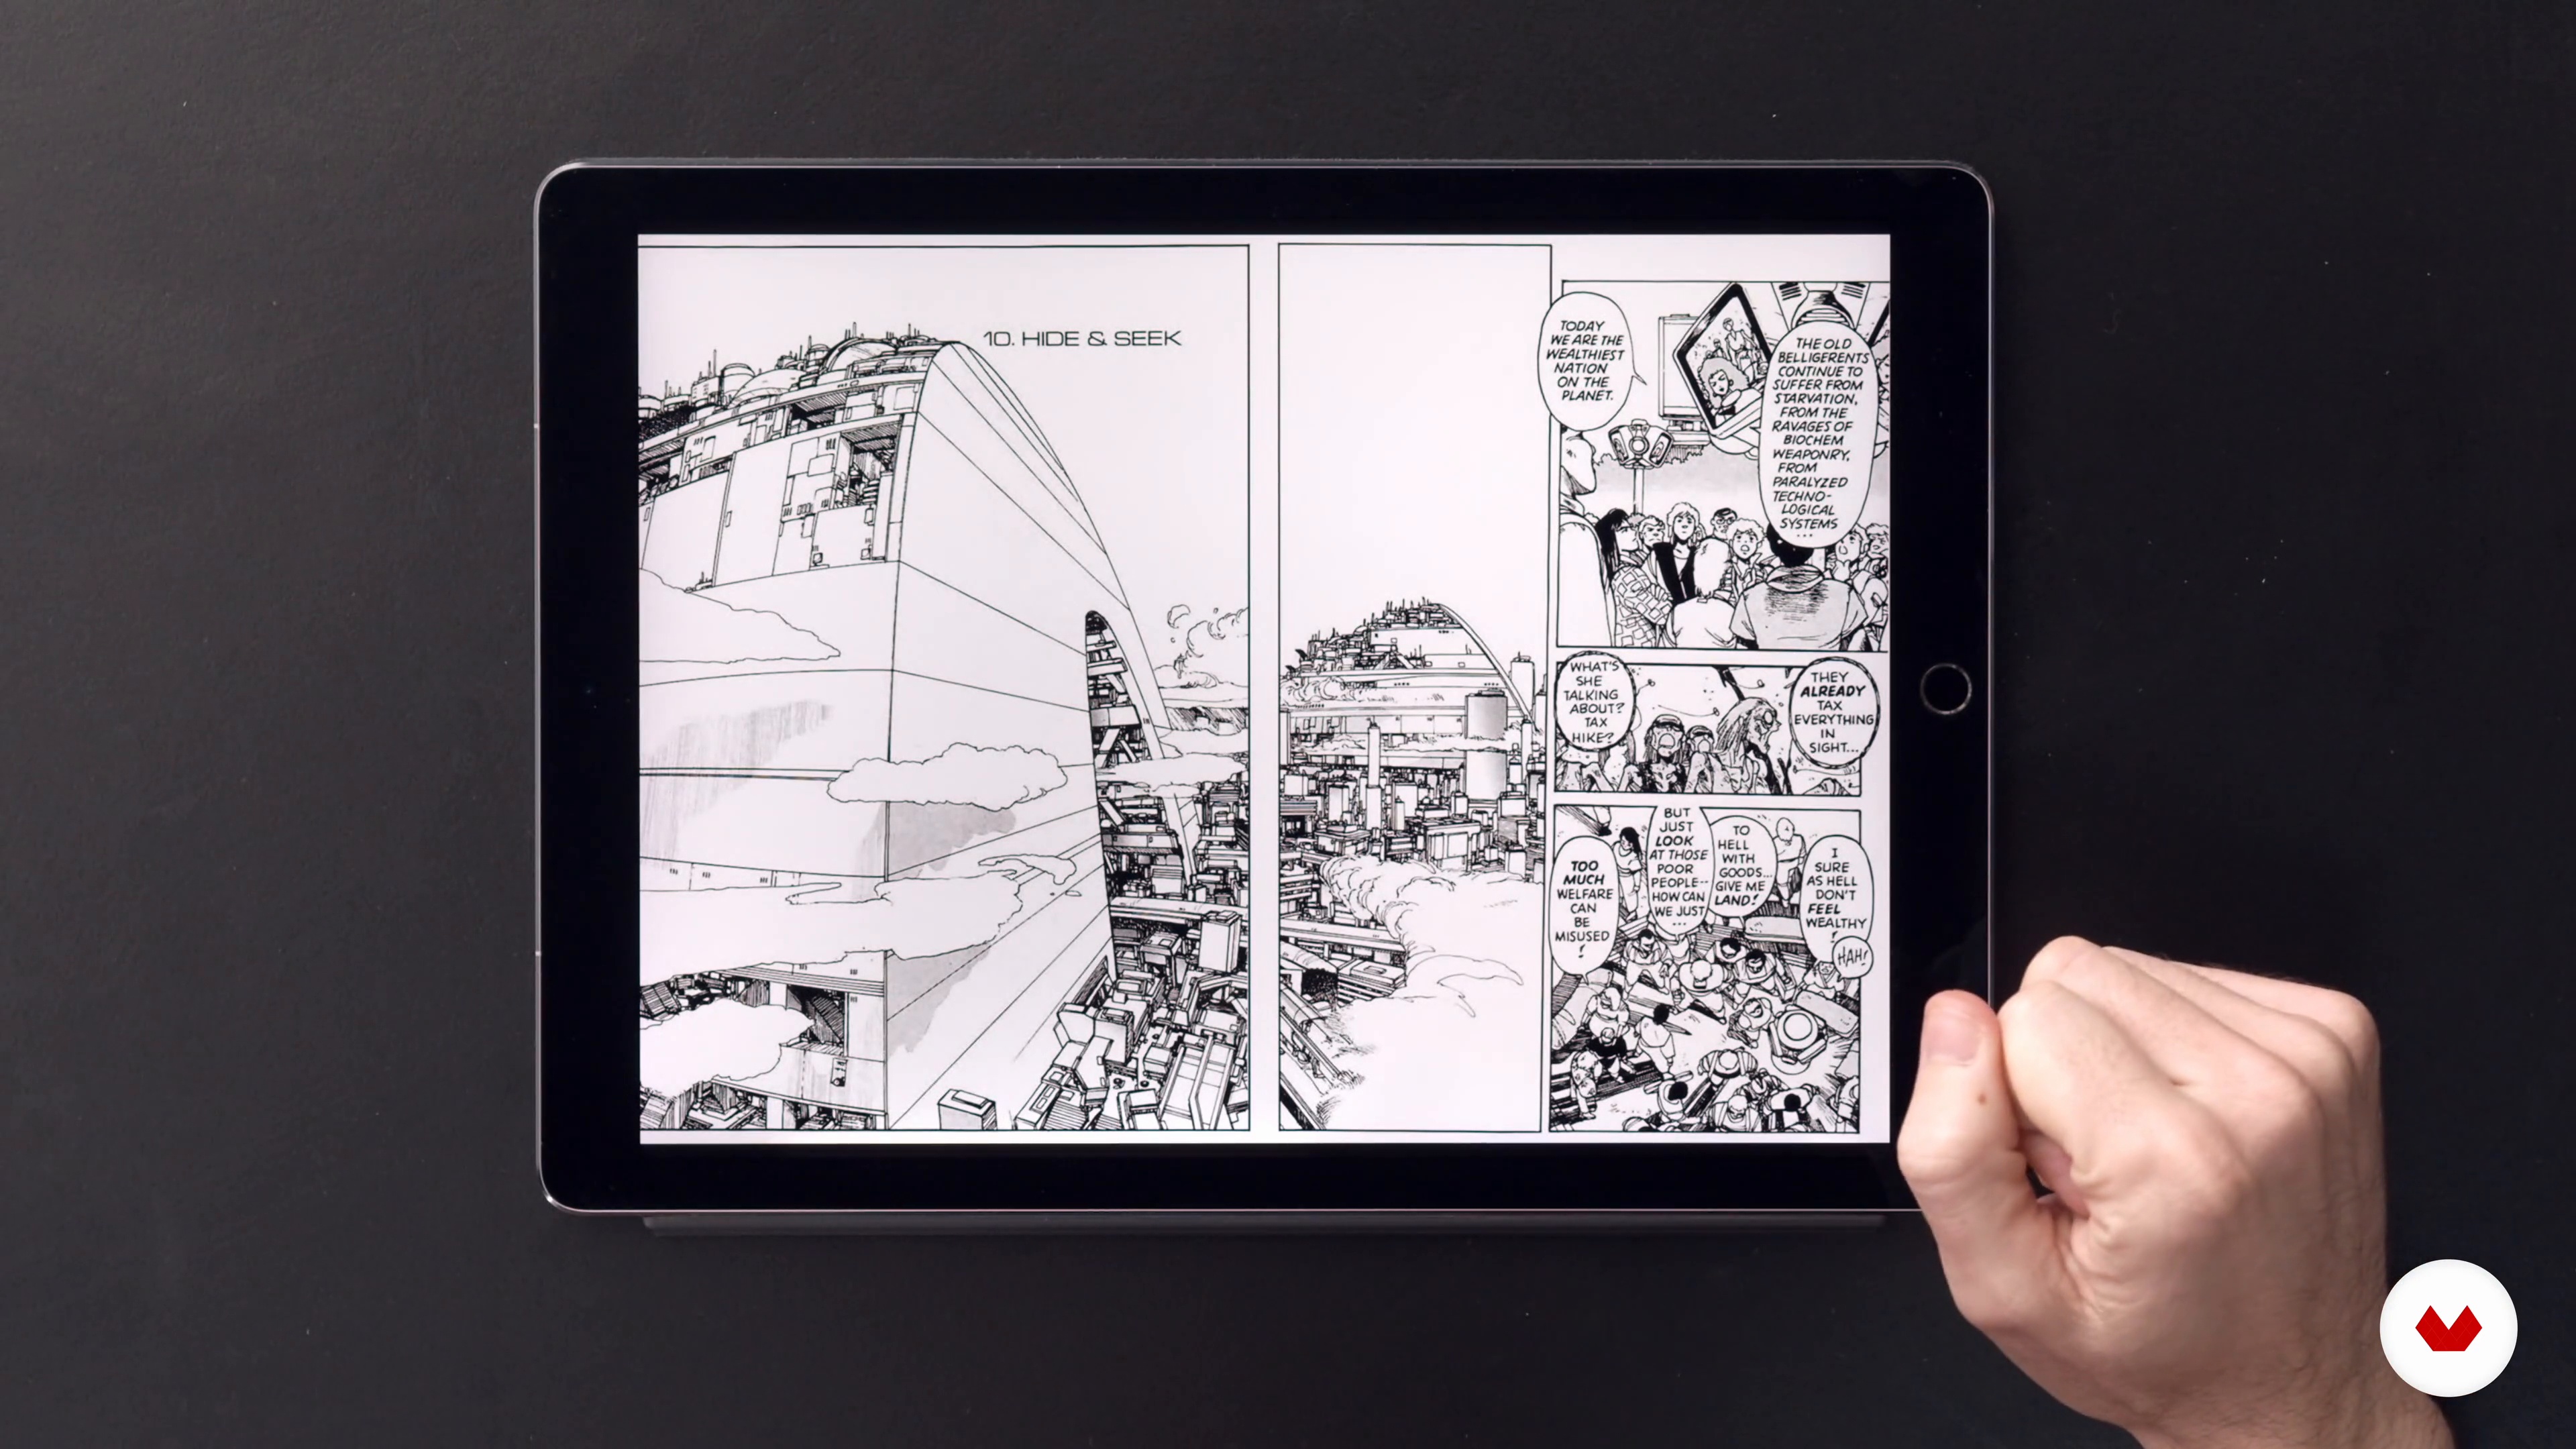
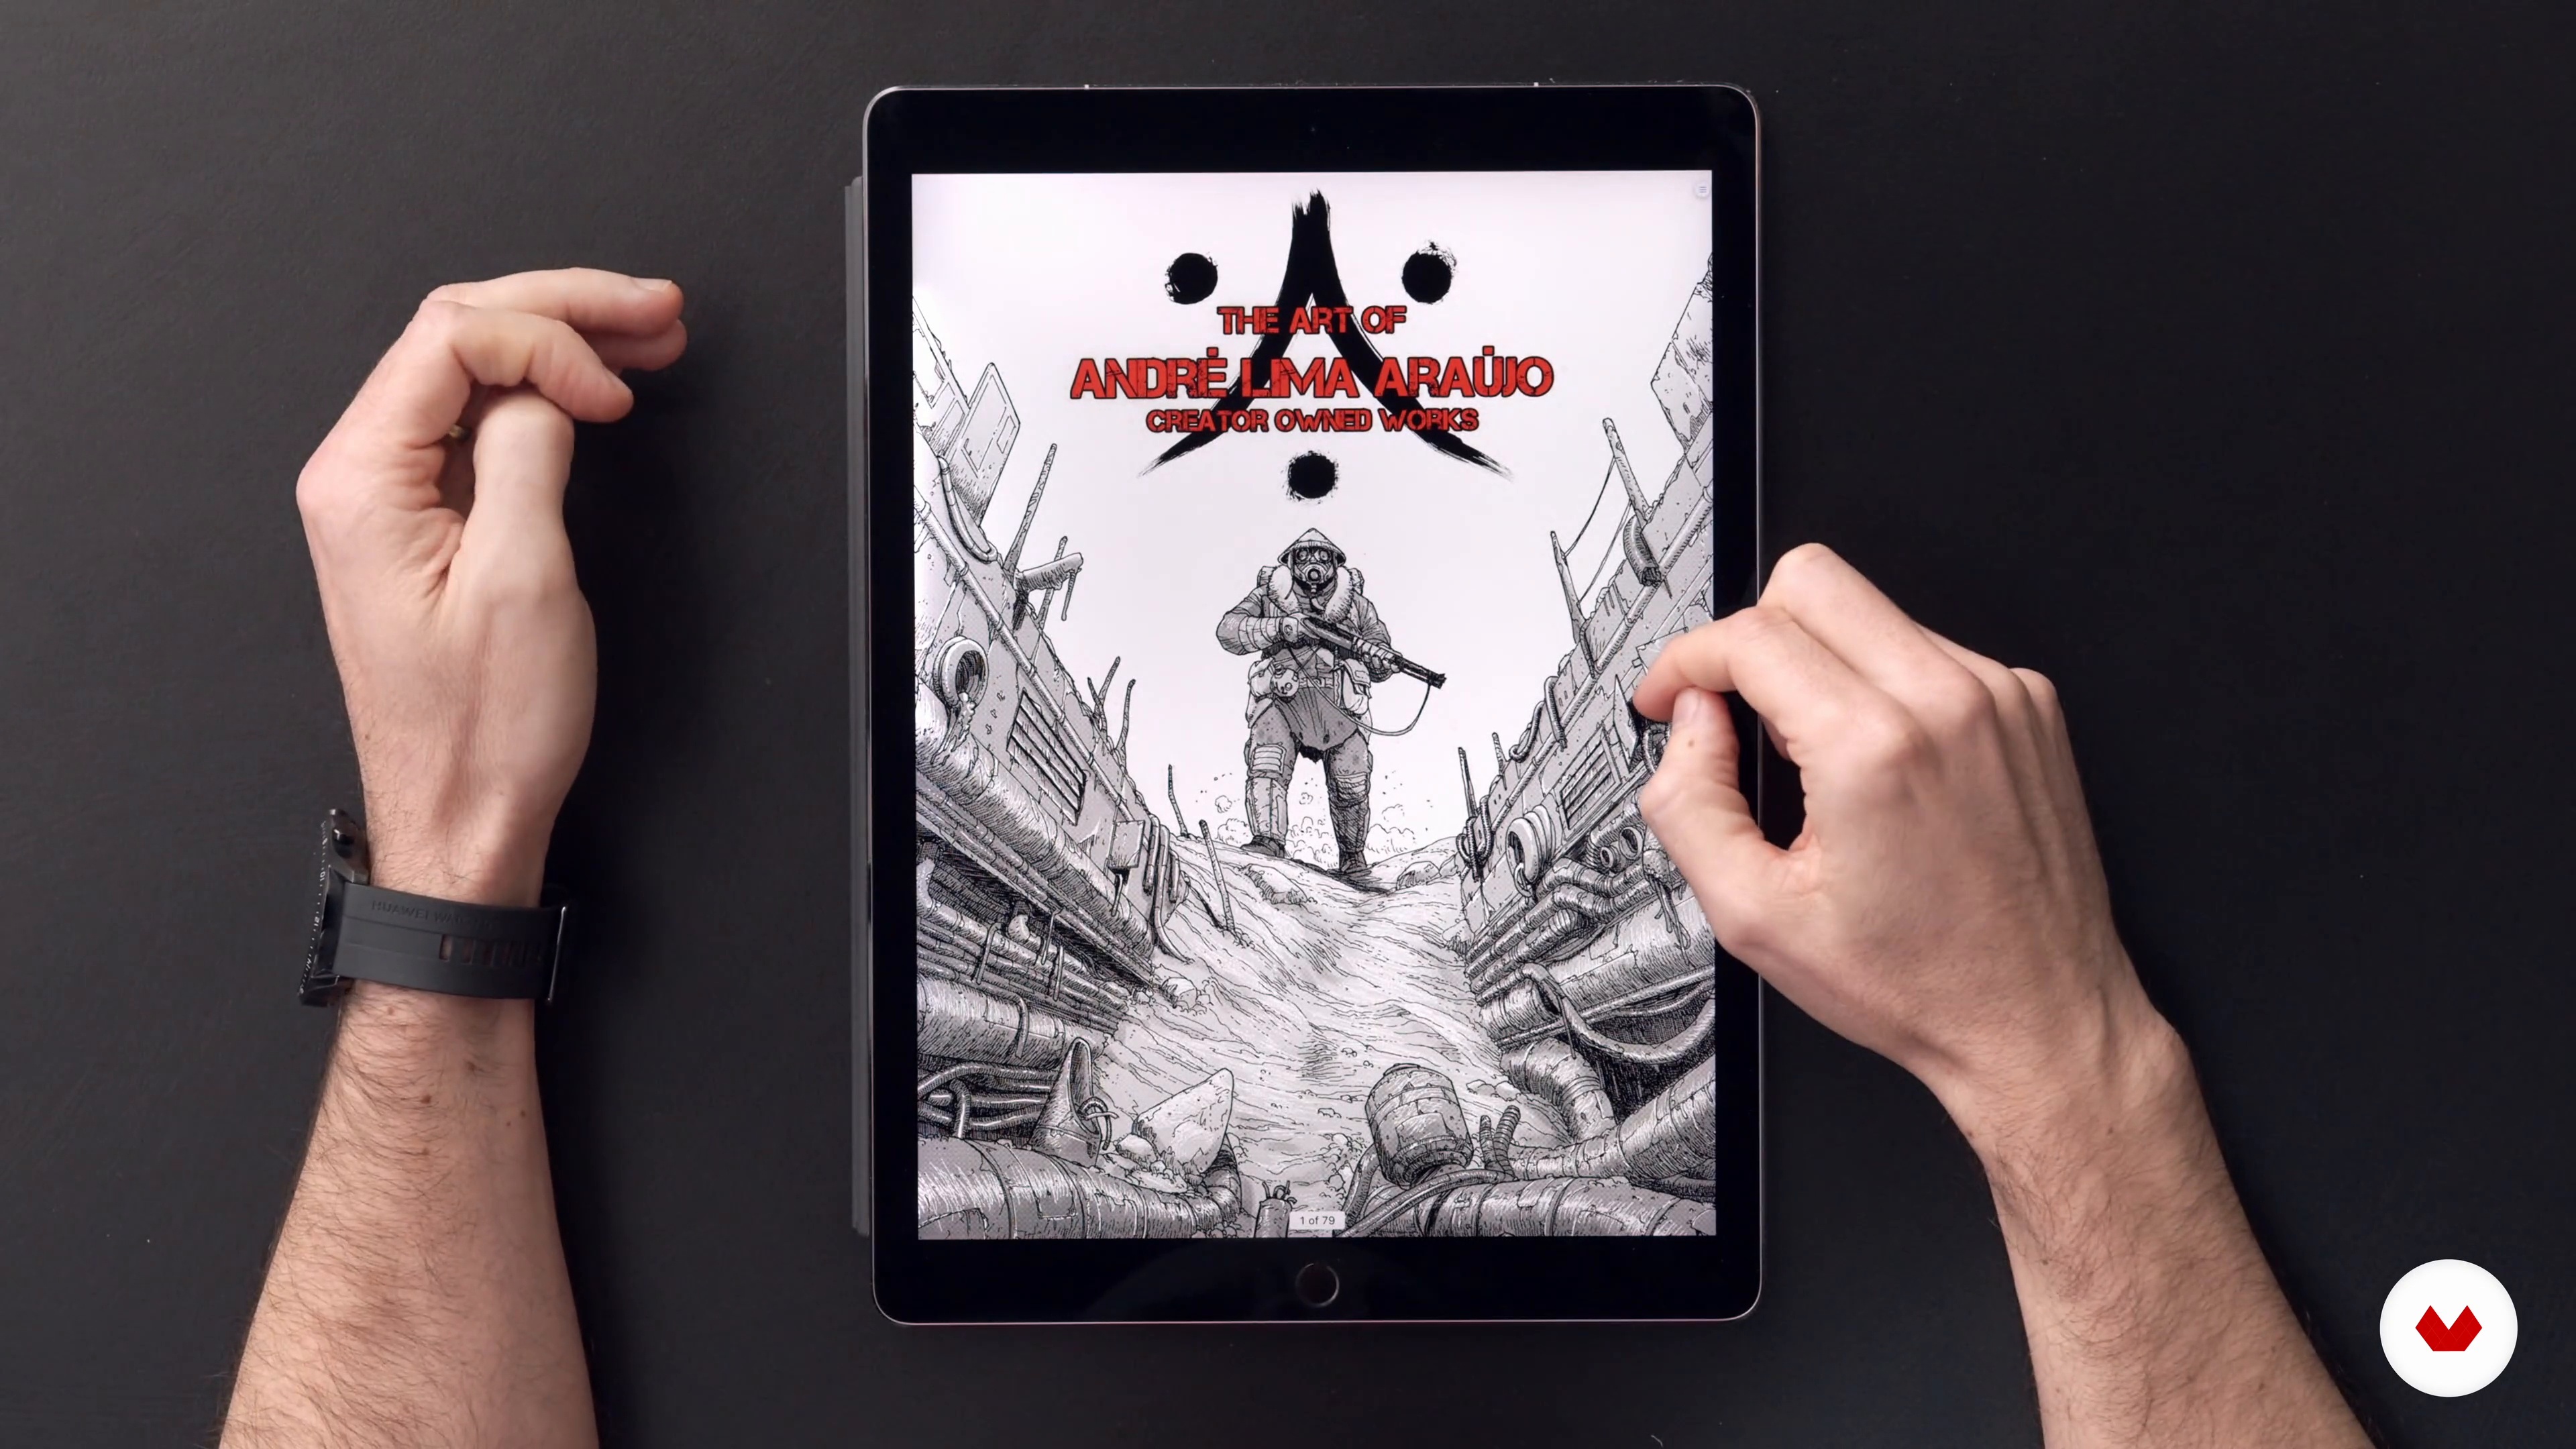
5Influences / André Lima Araújo
In this lesson, I will delve into my main influences, from comics to movies.
15m
 6
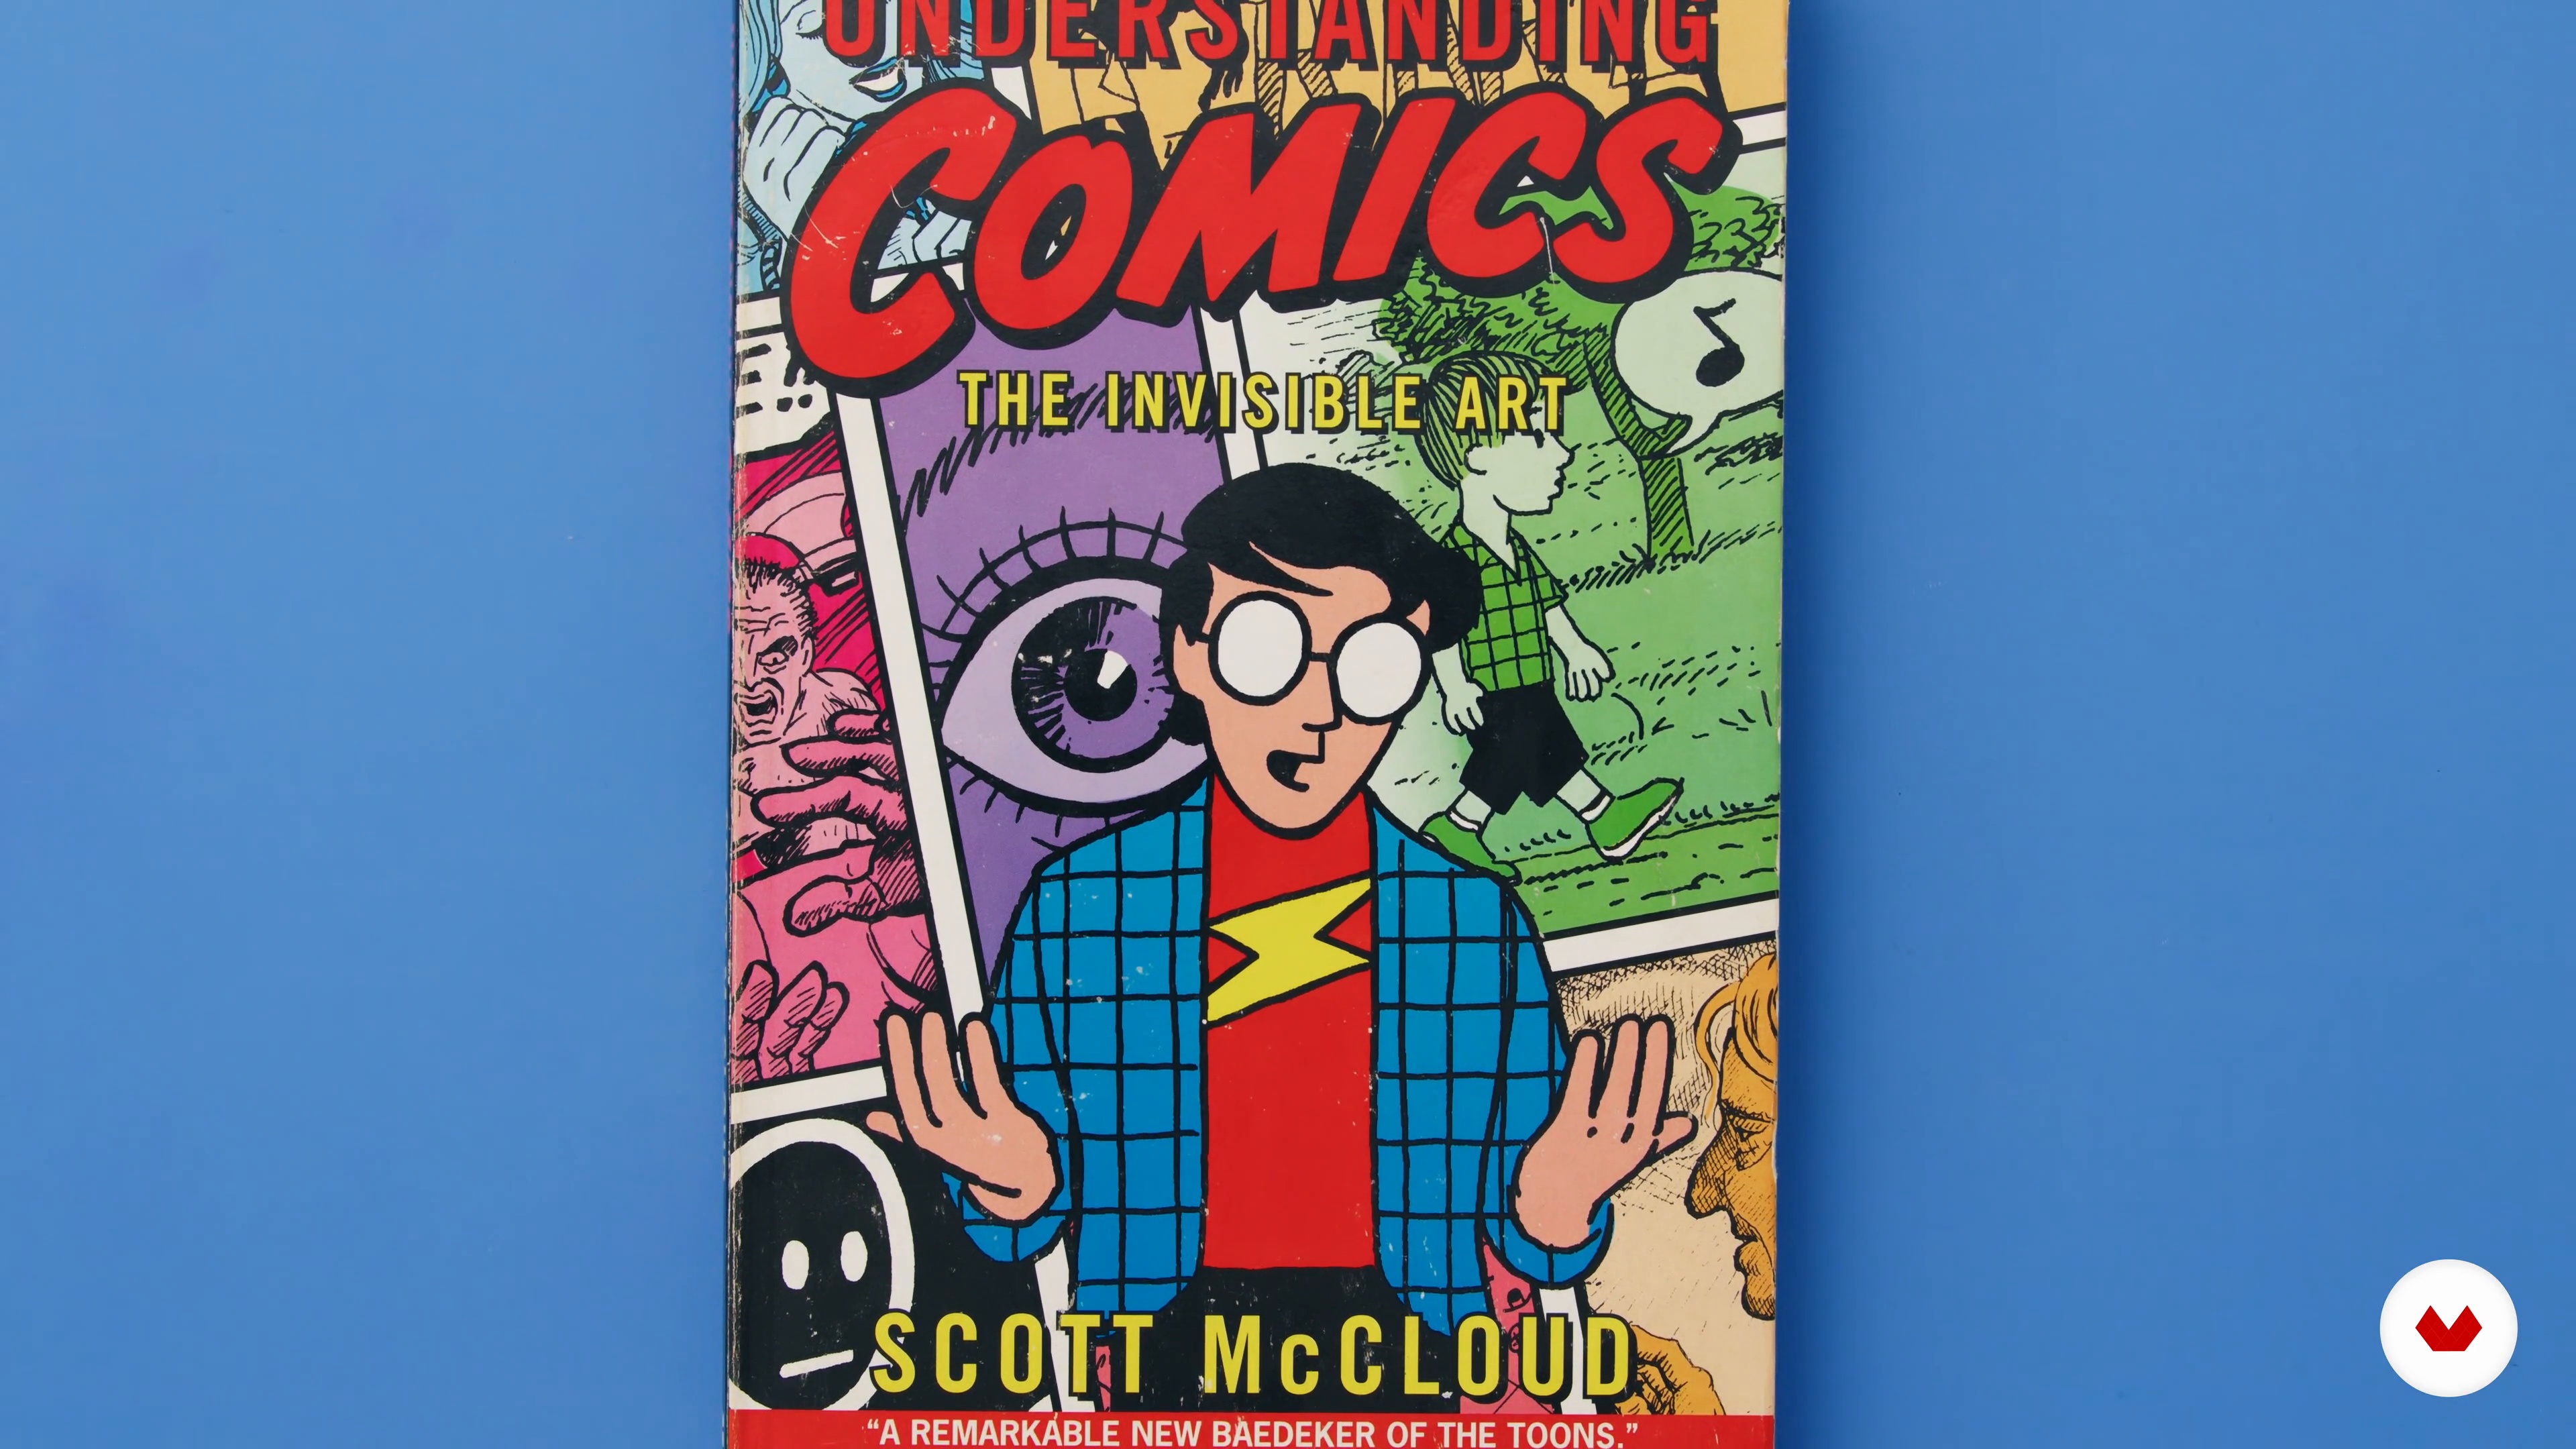
6Influences / Alec Longstreth
I will show you the work of four cartoonists whose work has profoundly affected me and made me want to make my comics.
9m
 7
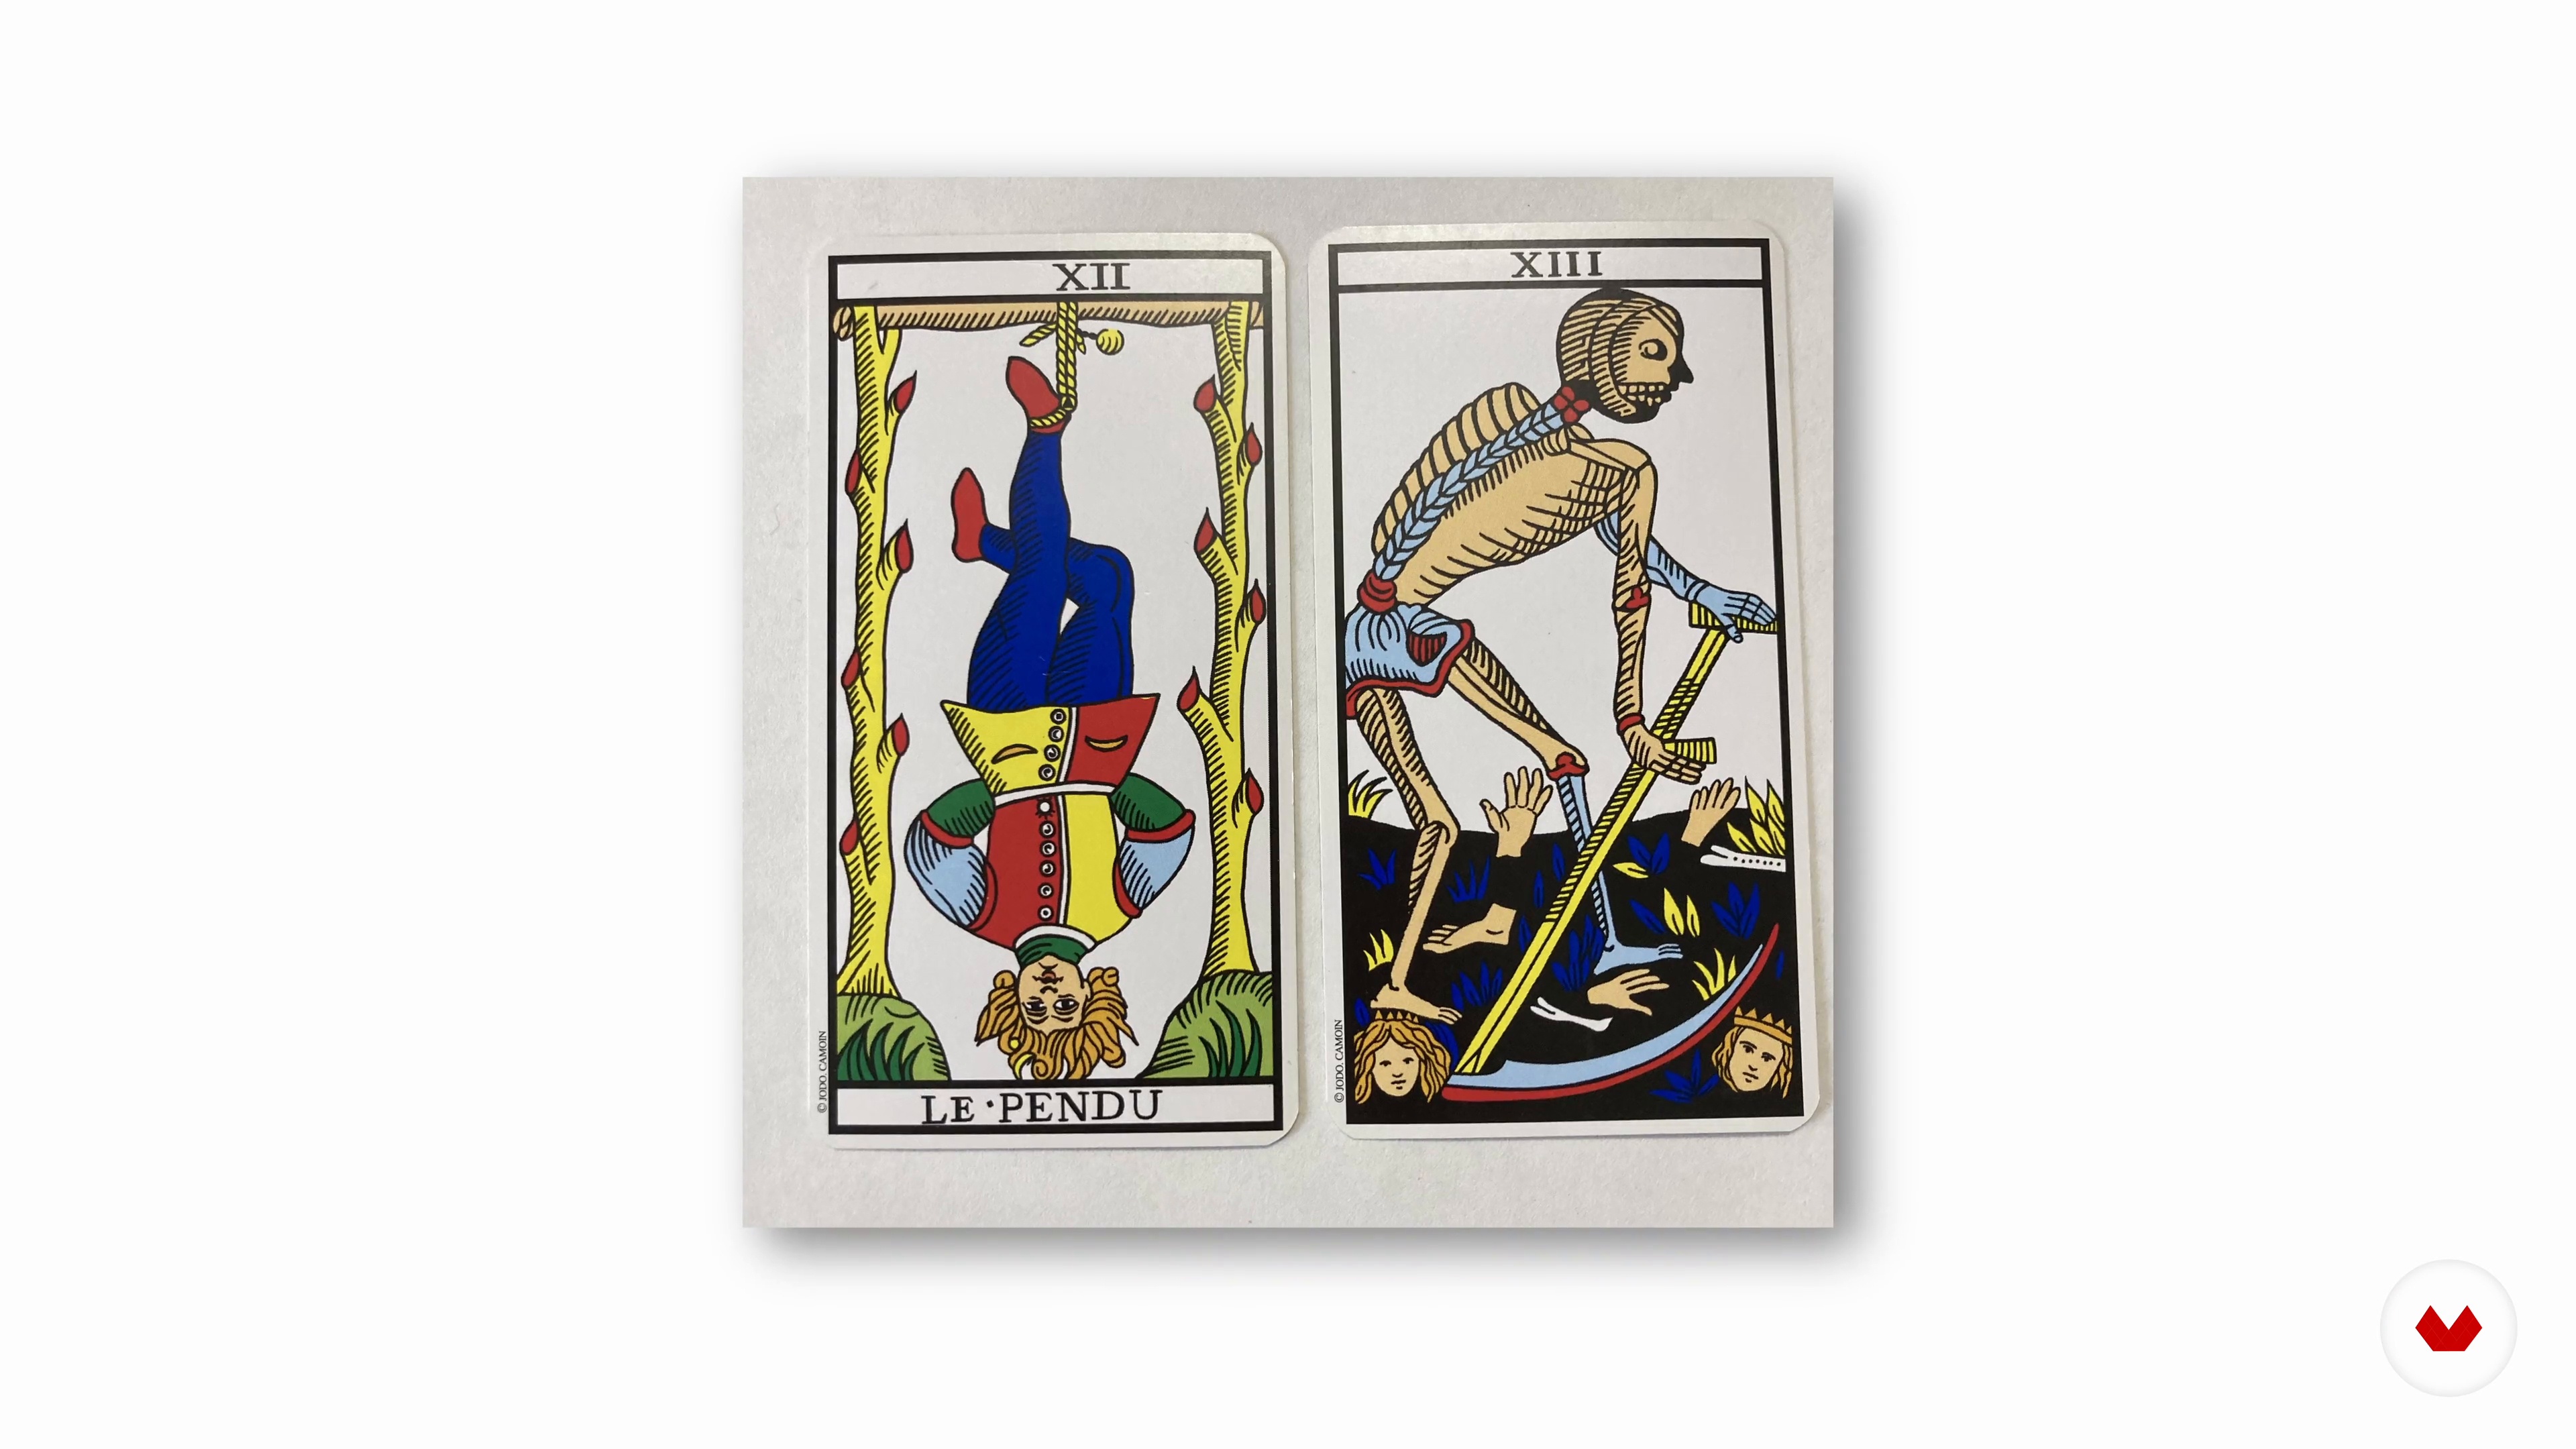
7Influences / Charles Glaubitz Gonzalez
Now, we will take a look at some artists that have influenced my thinking, storytelling, and concepts about drawing comics.
10m
 1
1Introduction to Comics
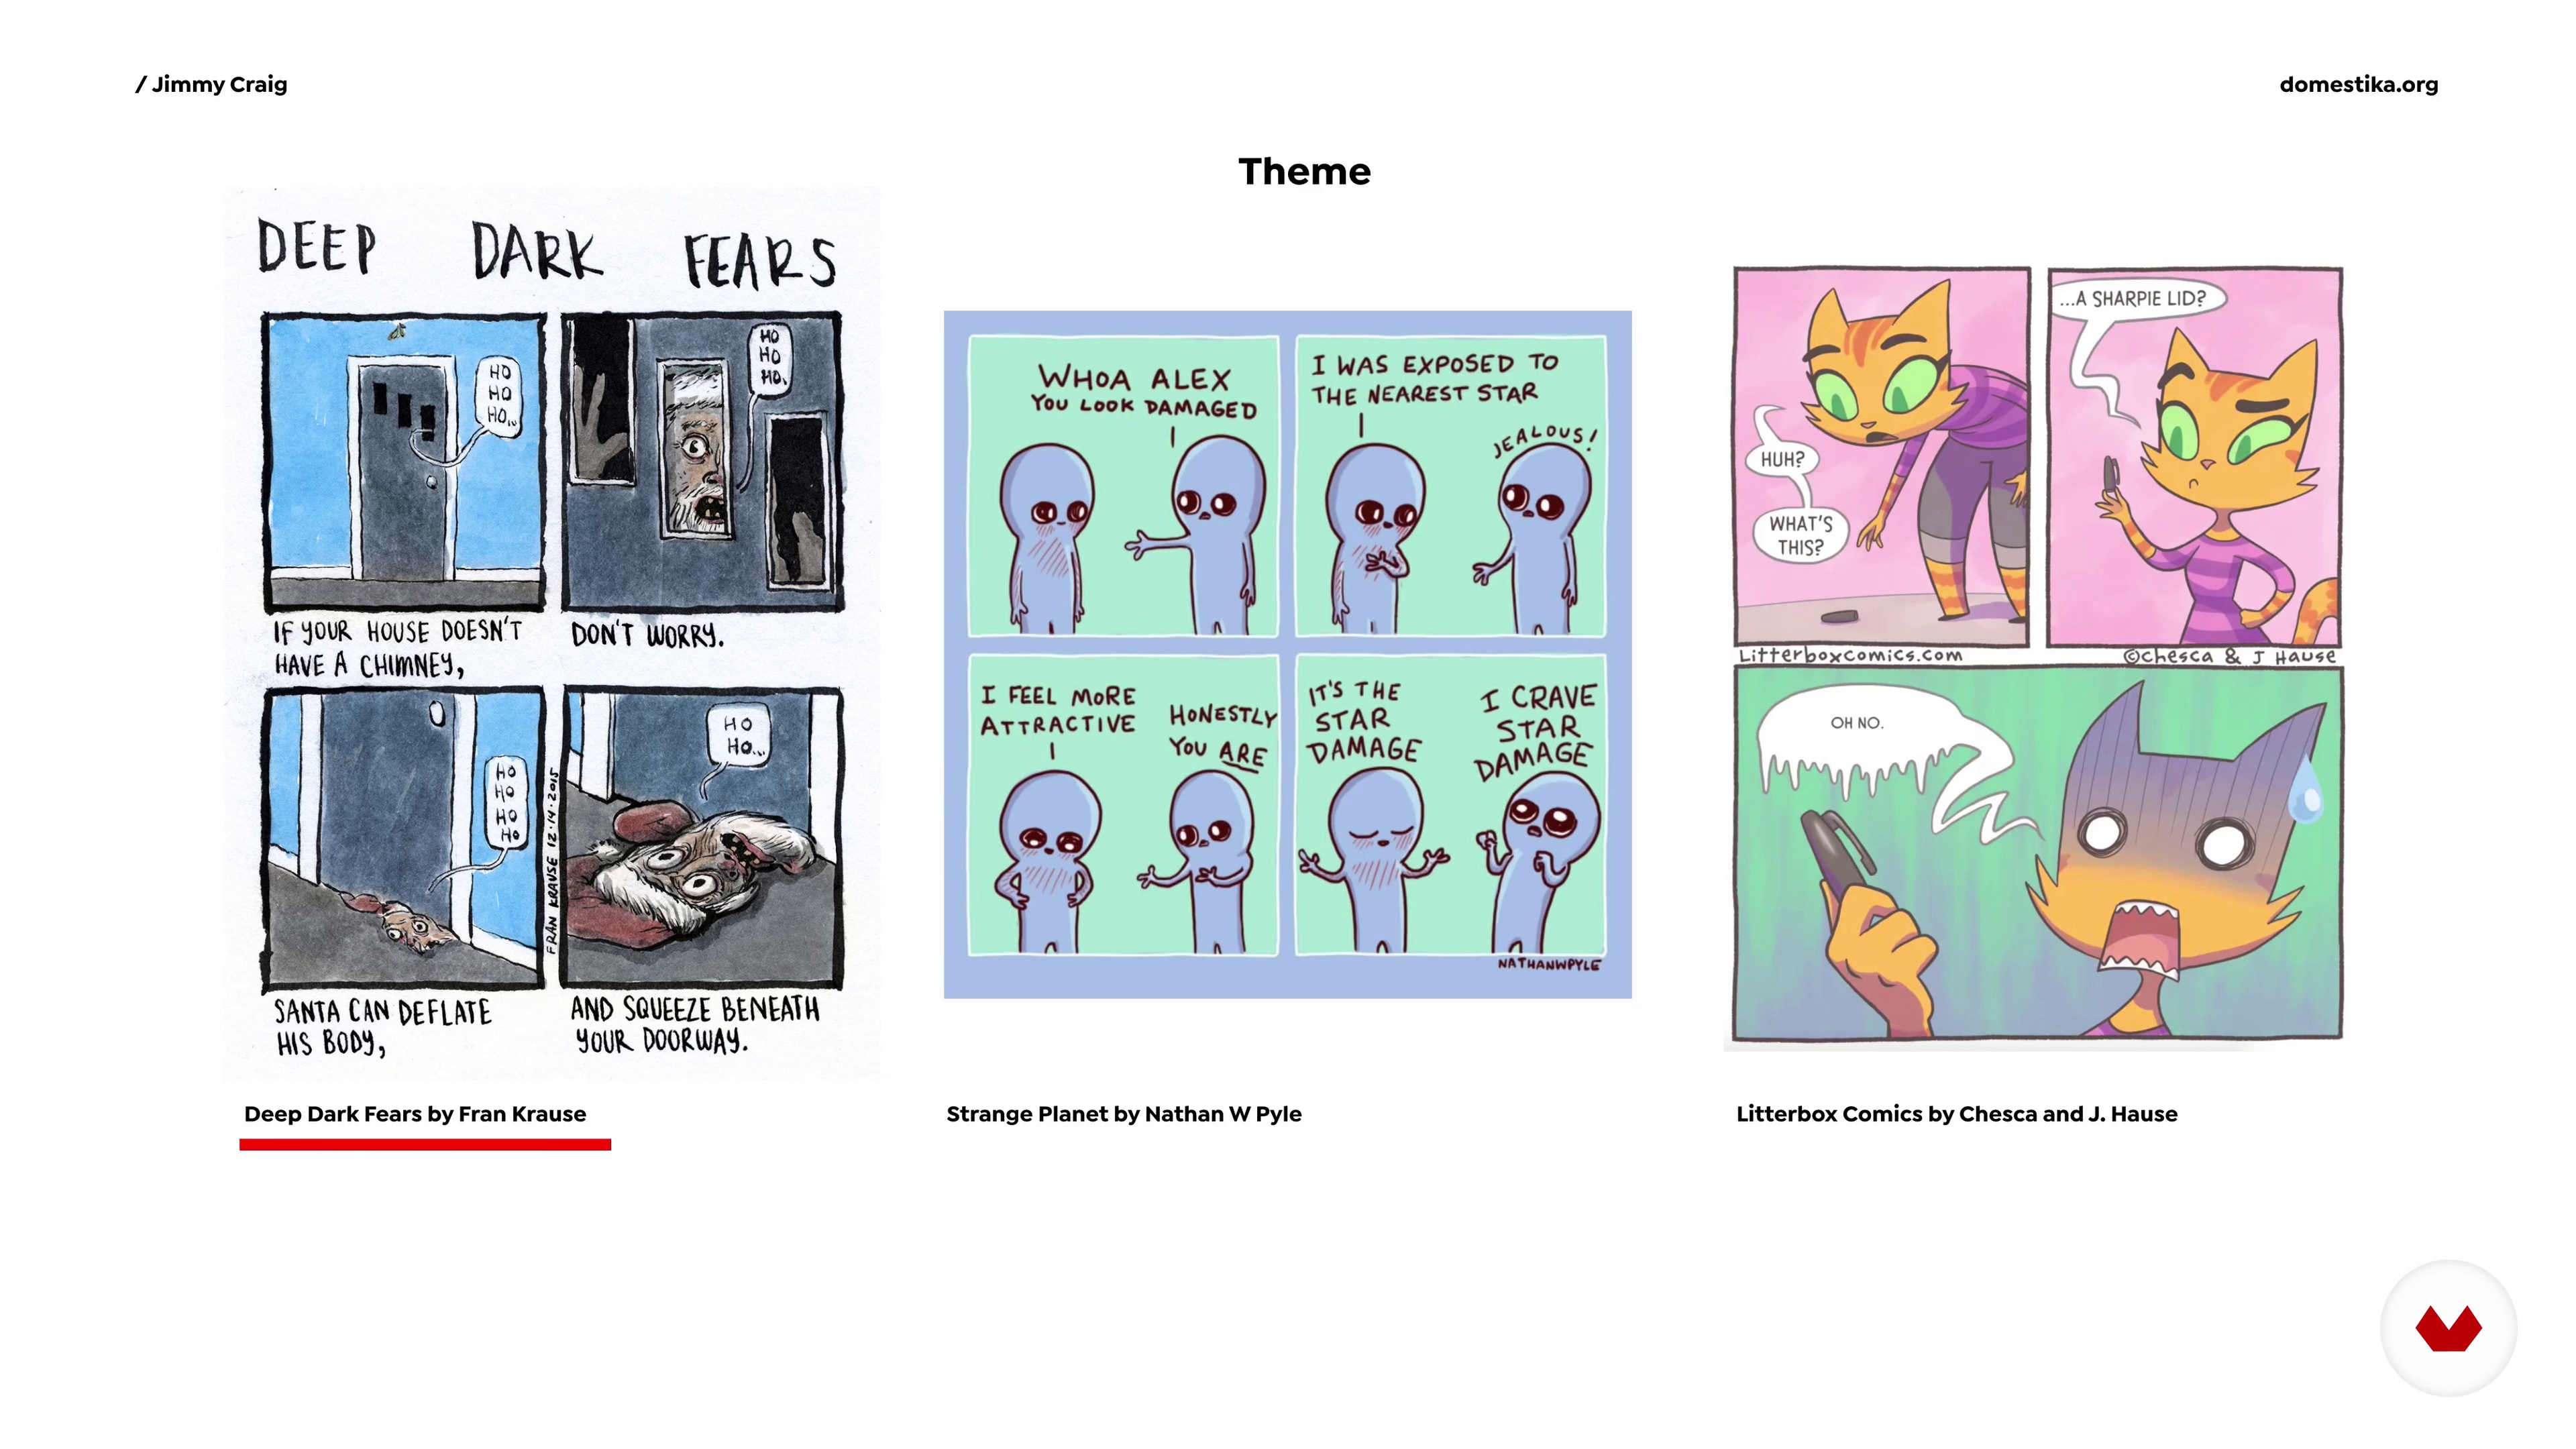
In this lesson, I’ll give a brief overview of what a comic is and where we find them. I’ll also define what I’ve dubbed a comic’s identity. We’re going to explore the variety of comics that are out there. We’ll discuss their identities then you will have an opportunity to write the theme, voice, and style of some of your favorite comics.
10m
 4
4The Visual Journey of Ideas
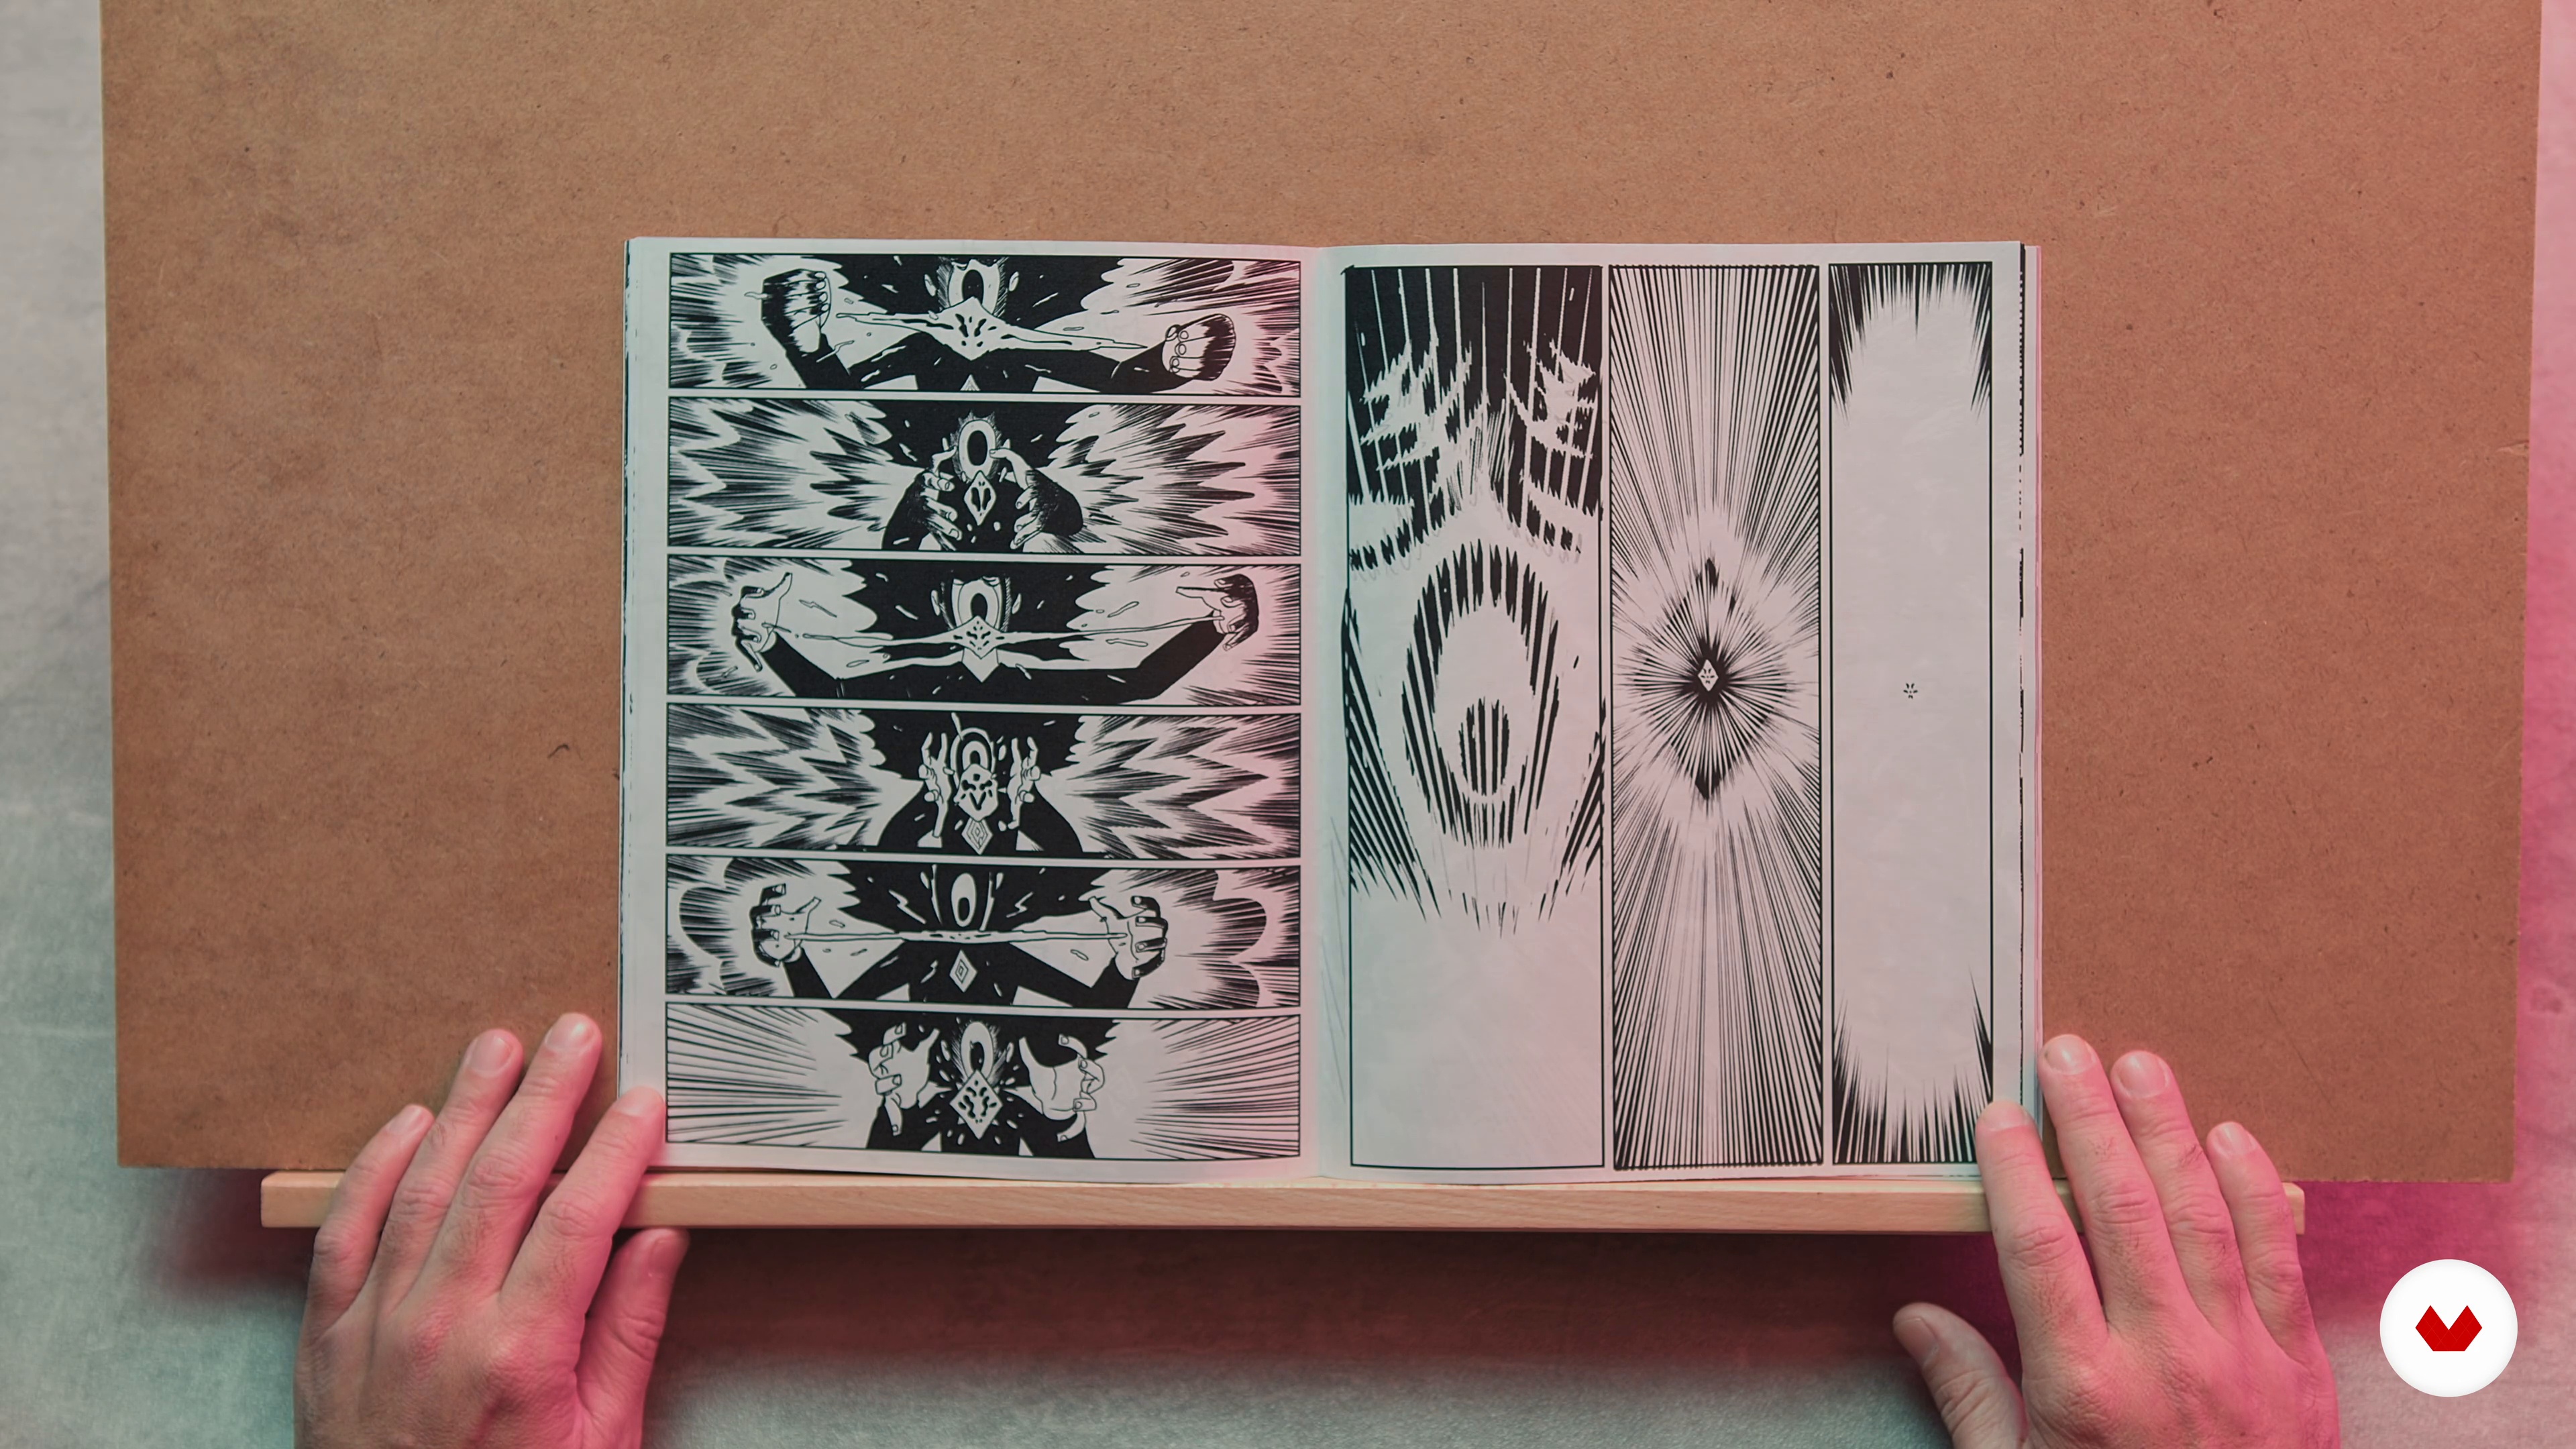
It's story time! In this lesson, I will share with you a visual and narrative journey of where ideas come from. I will talk about how ideas, stories, and images evolve and are born deep within the abstract sea of consciousness.
3m
 5
5André Lima Materials
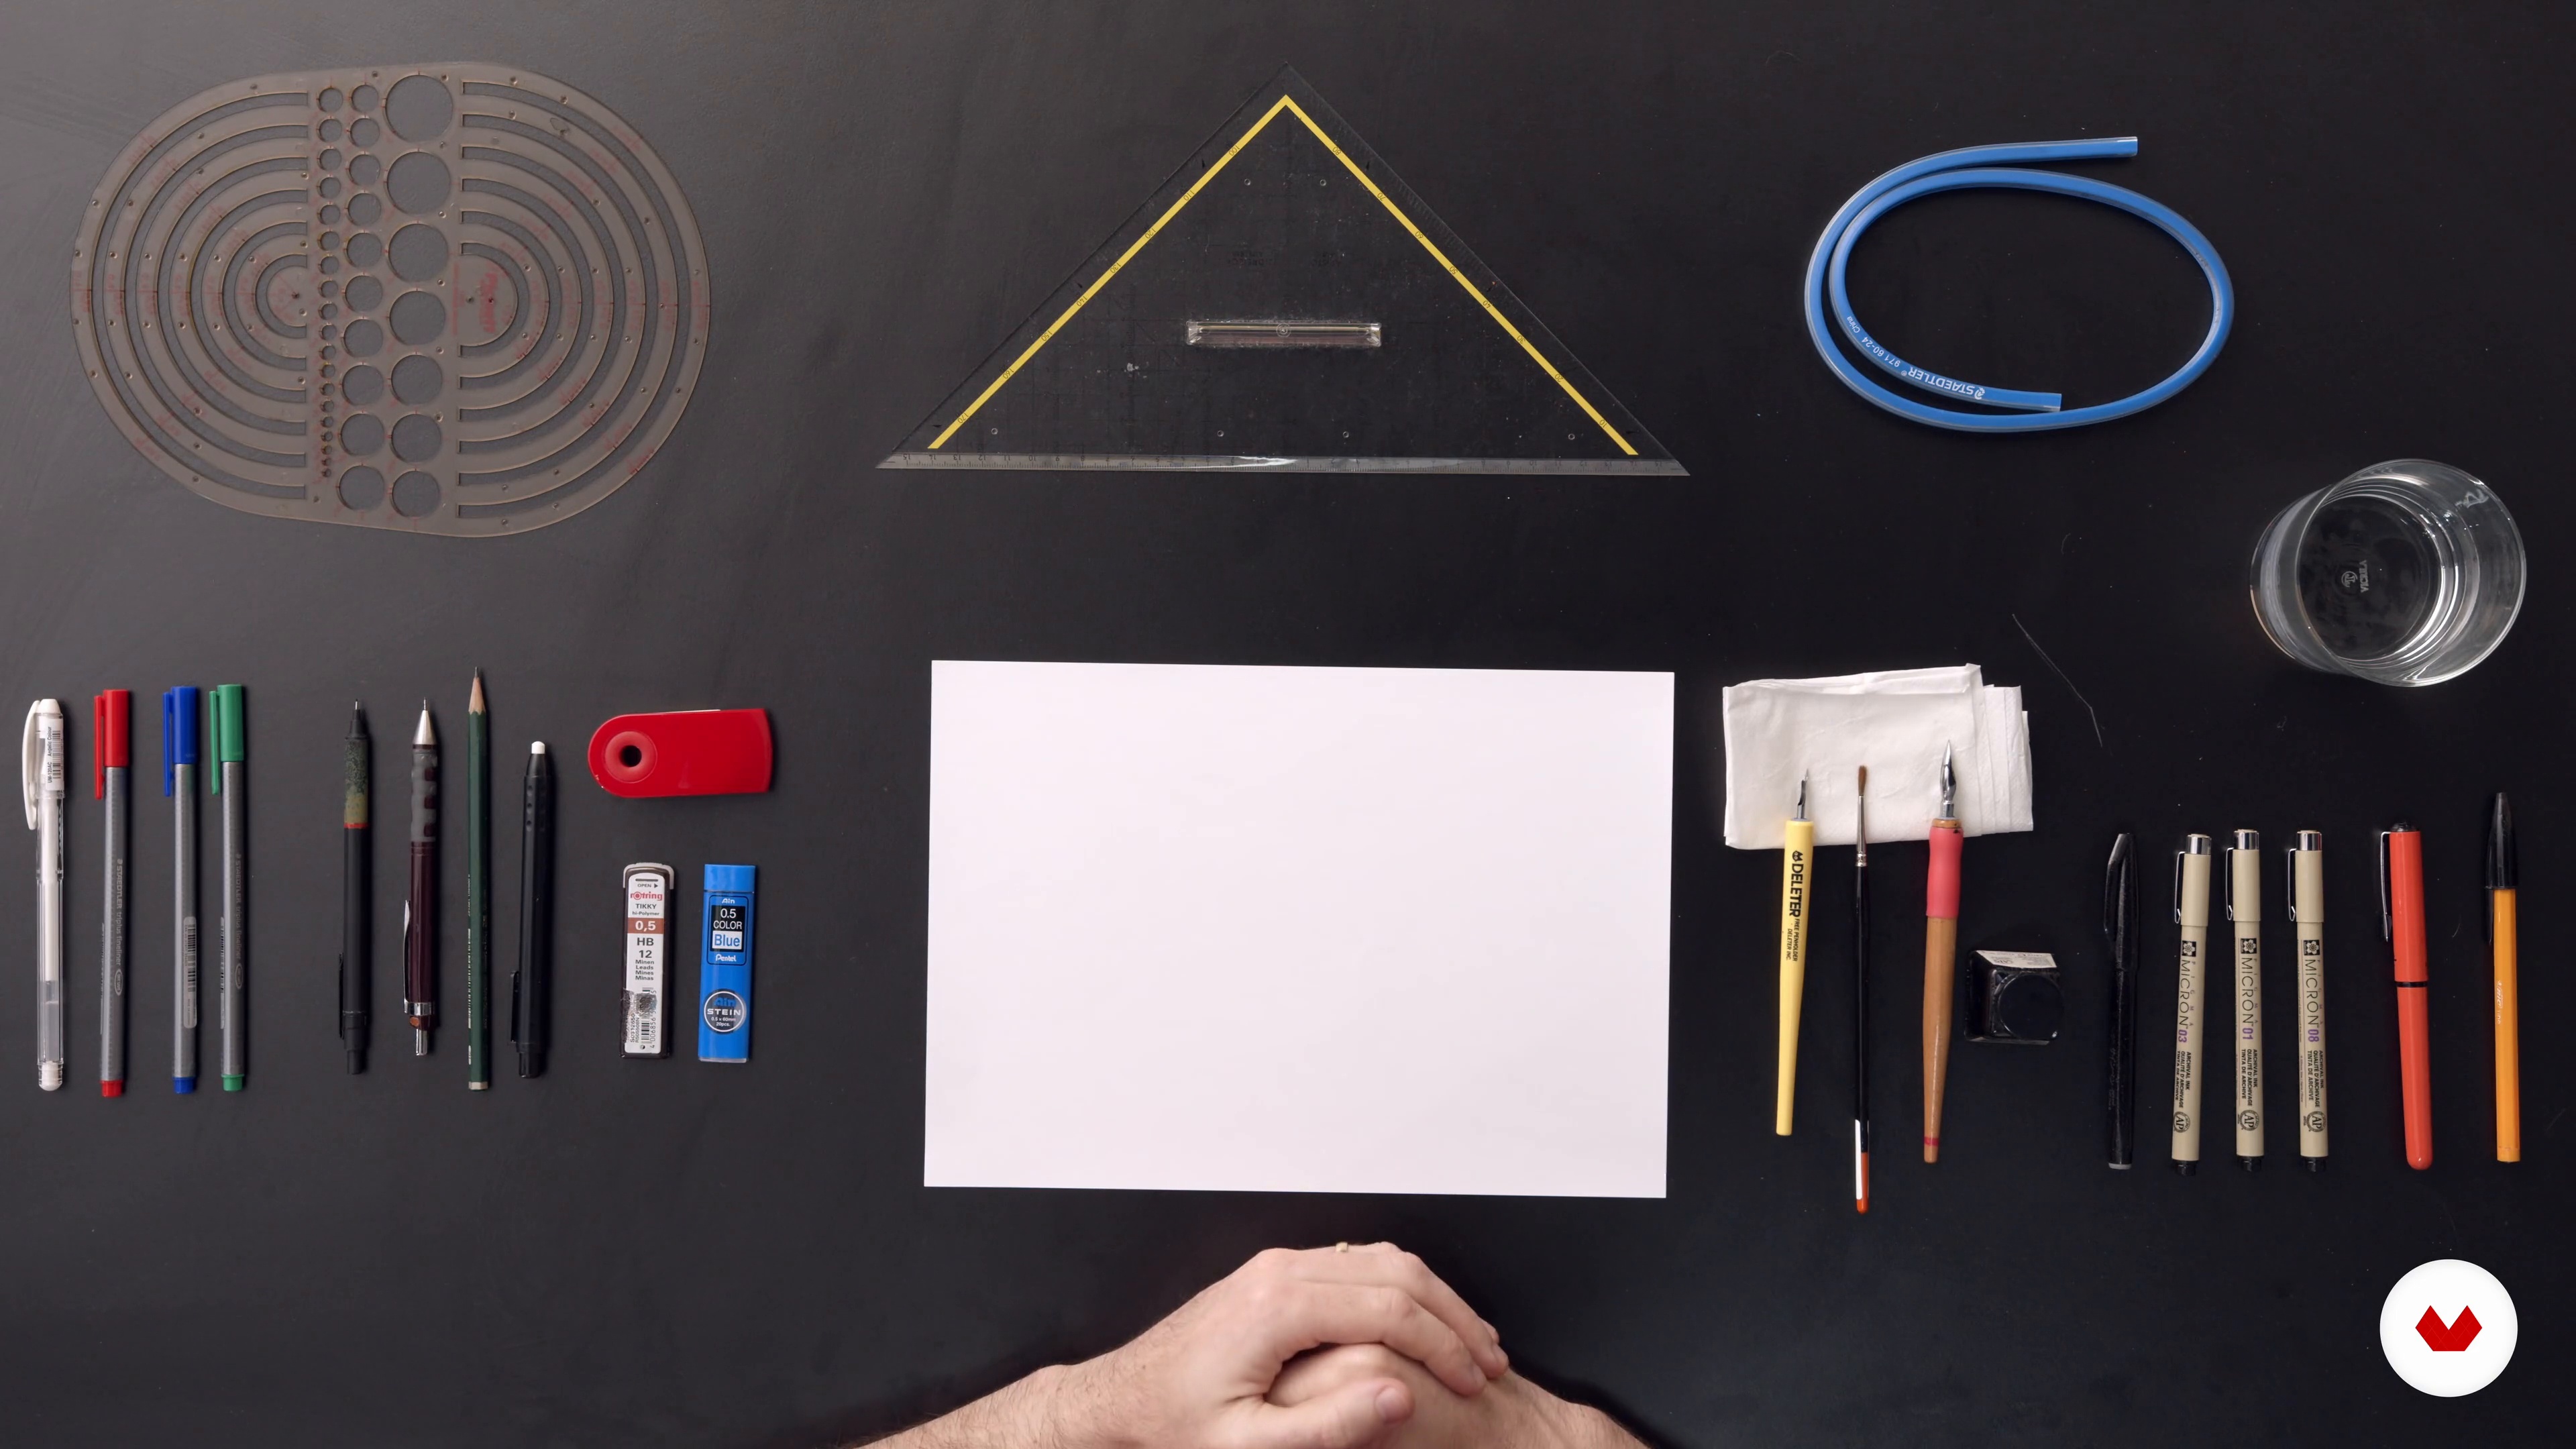
First, I will introduce what comics are and why they’re one of the tools of choice for storytelling. Then, you will see all the different equipment I use for drawing.
10m
 6
6Thinking in Pictures
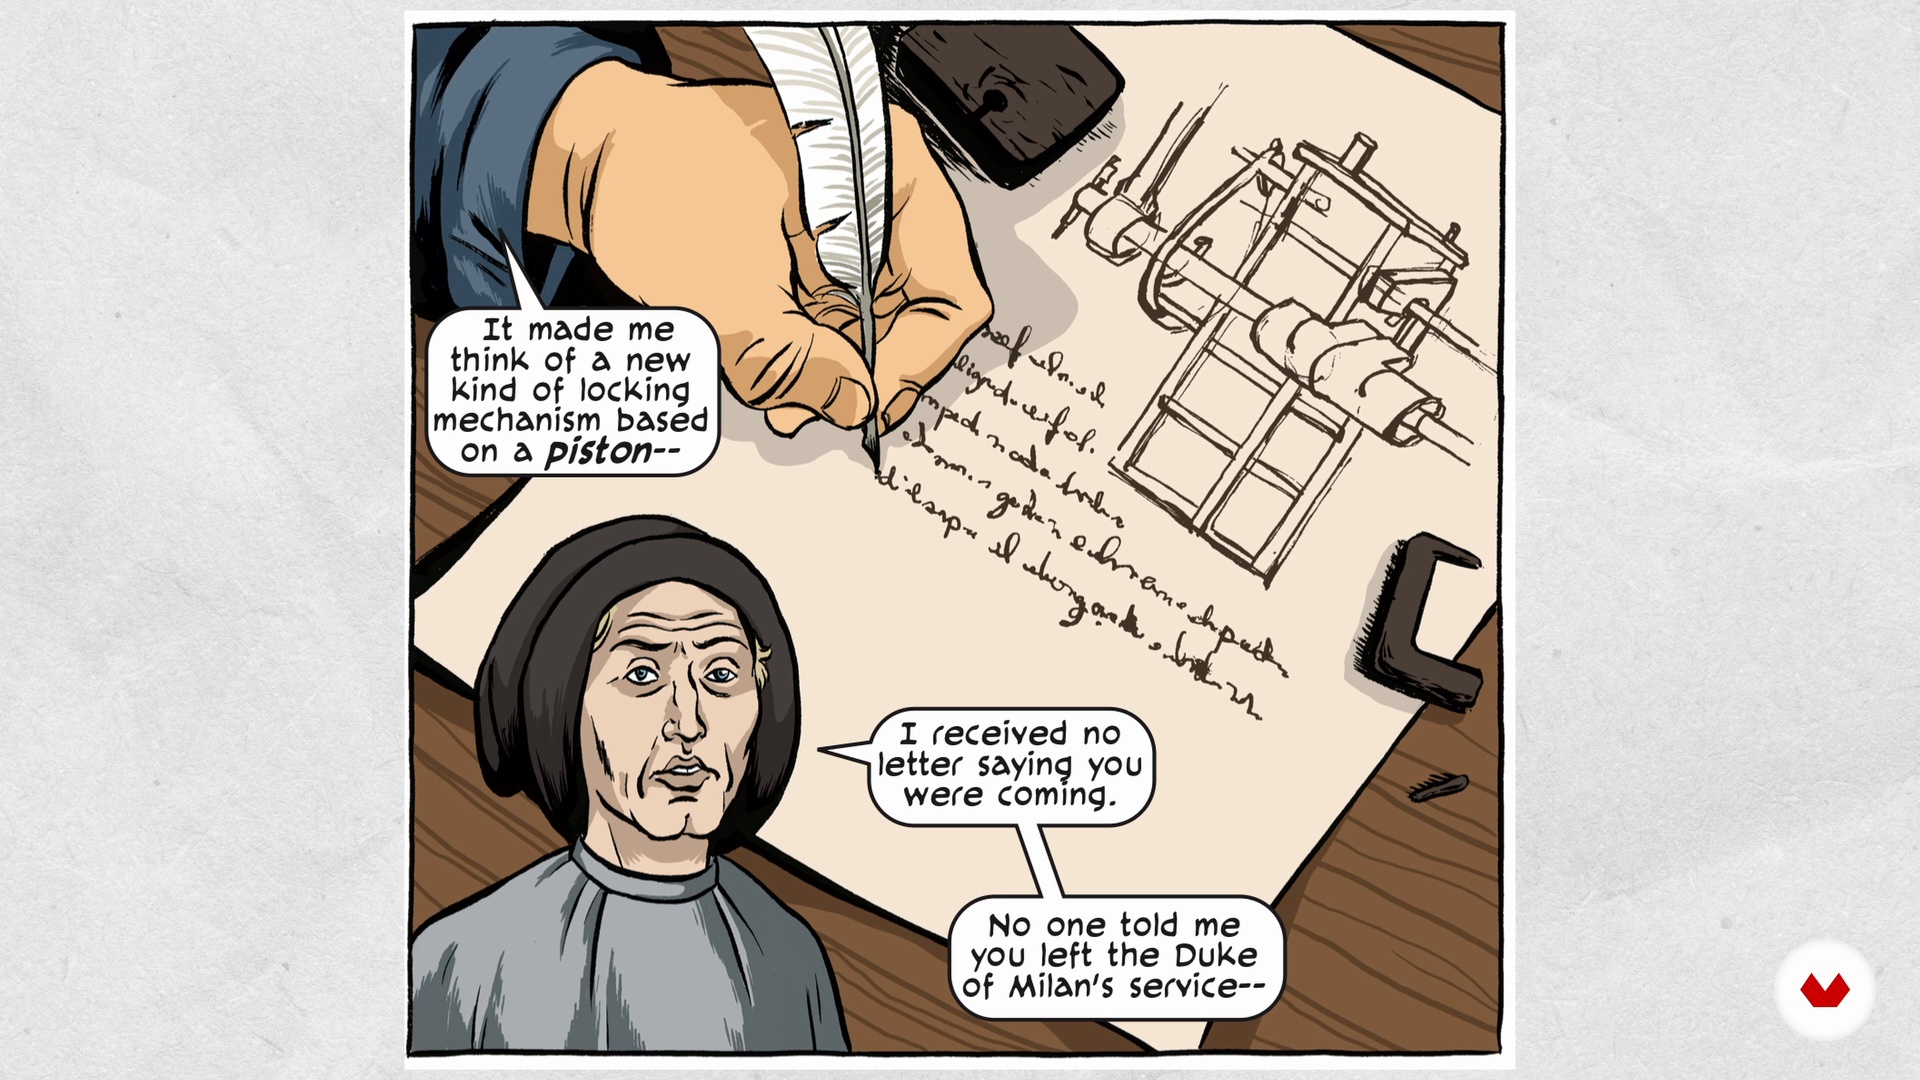
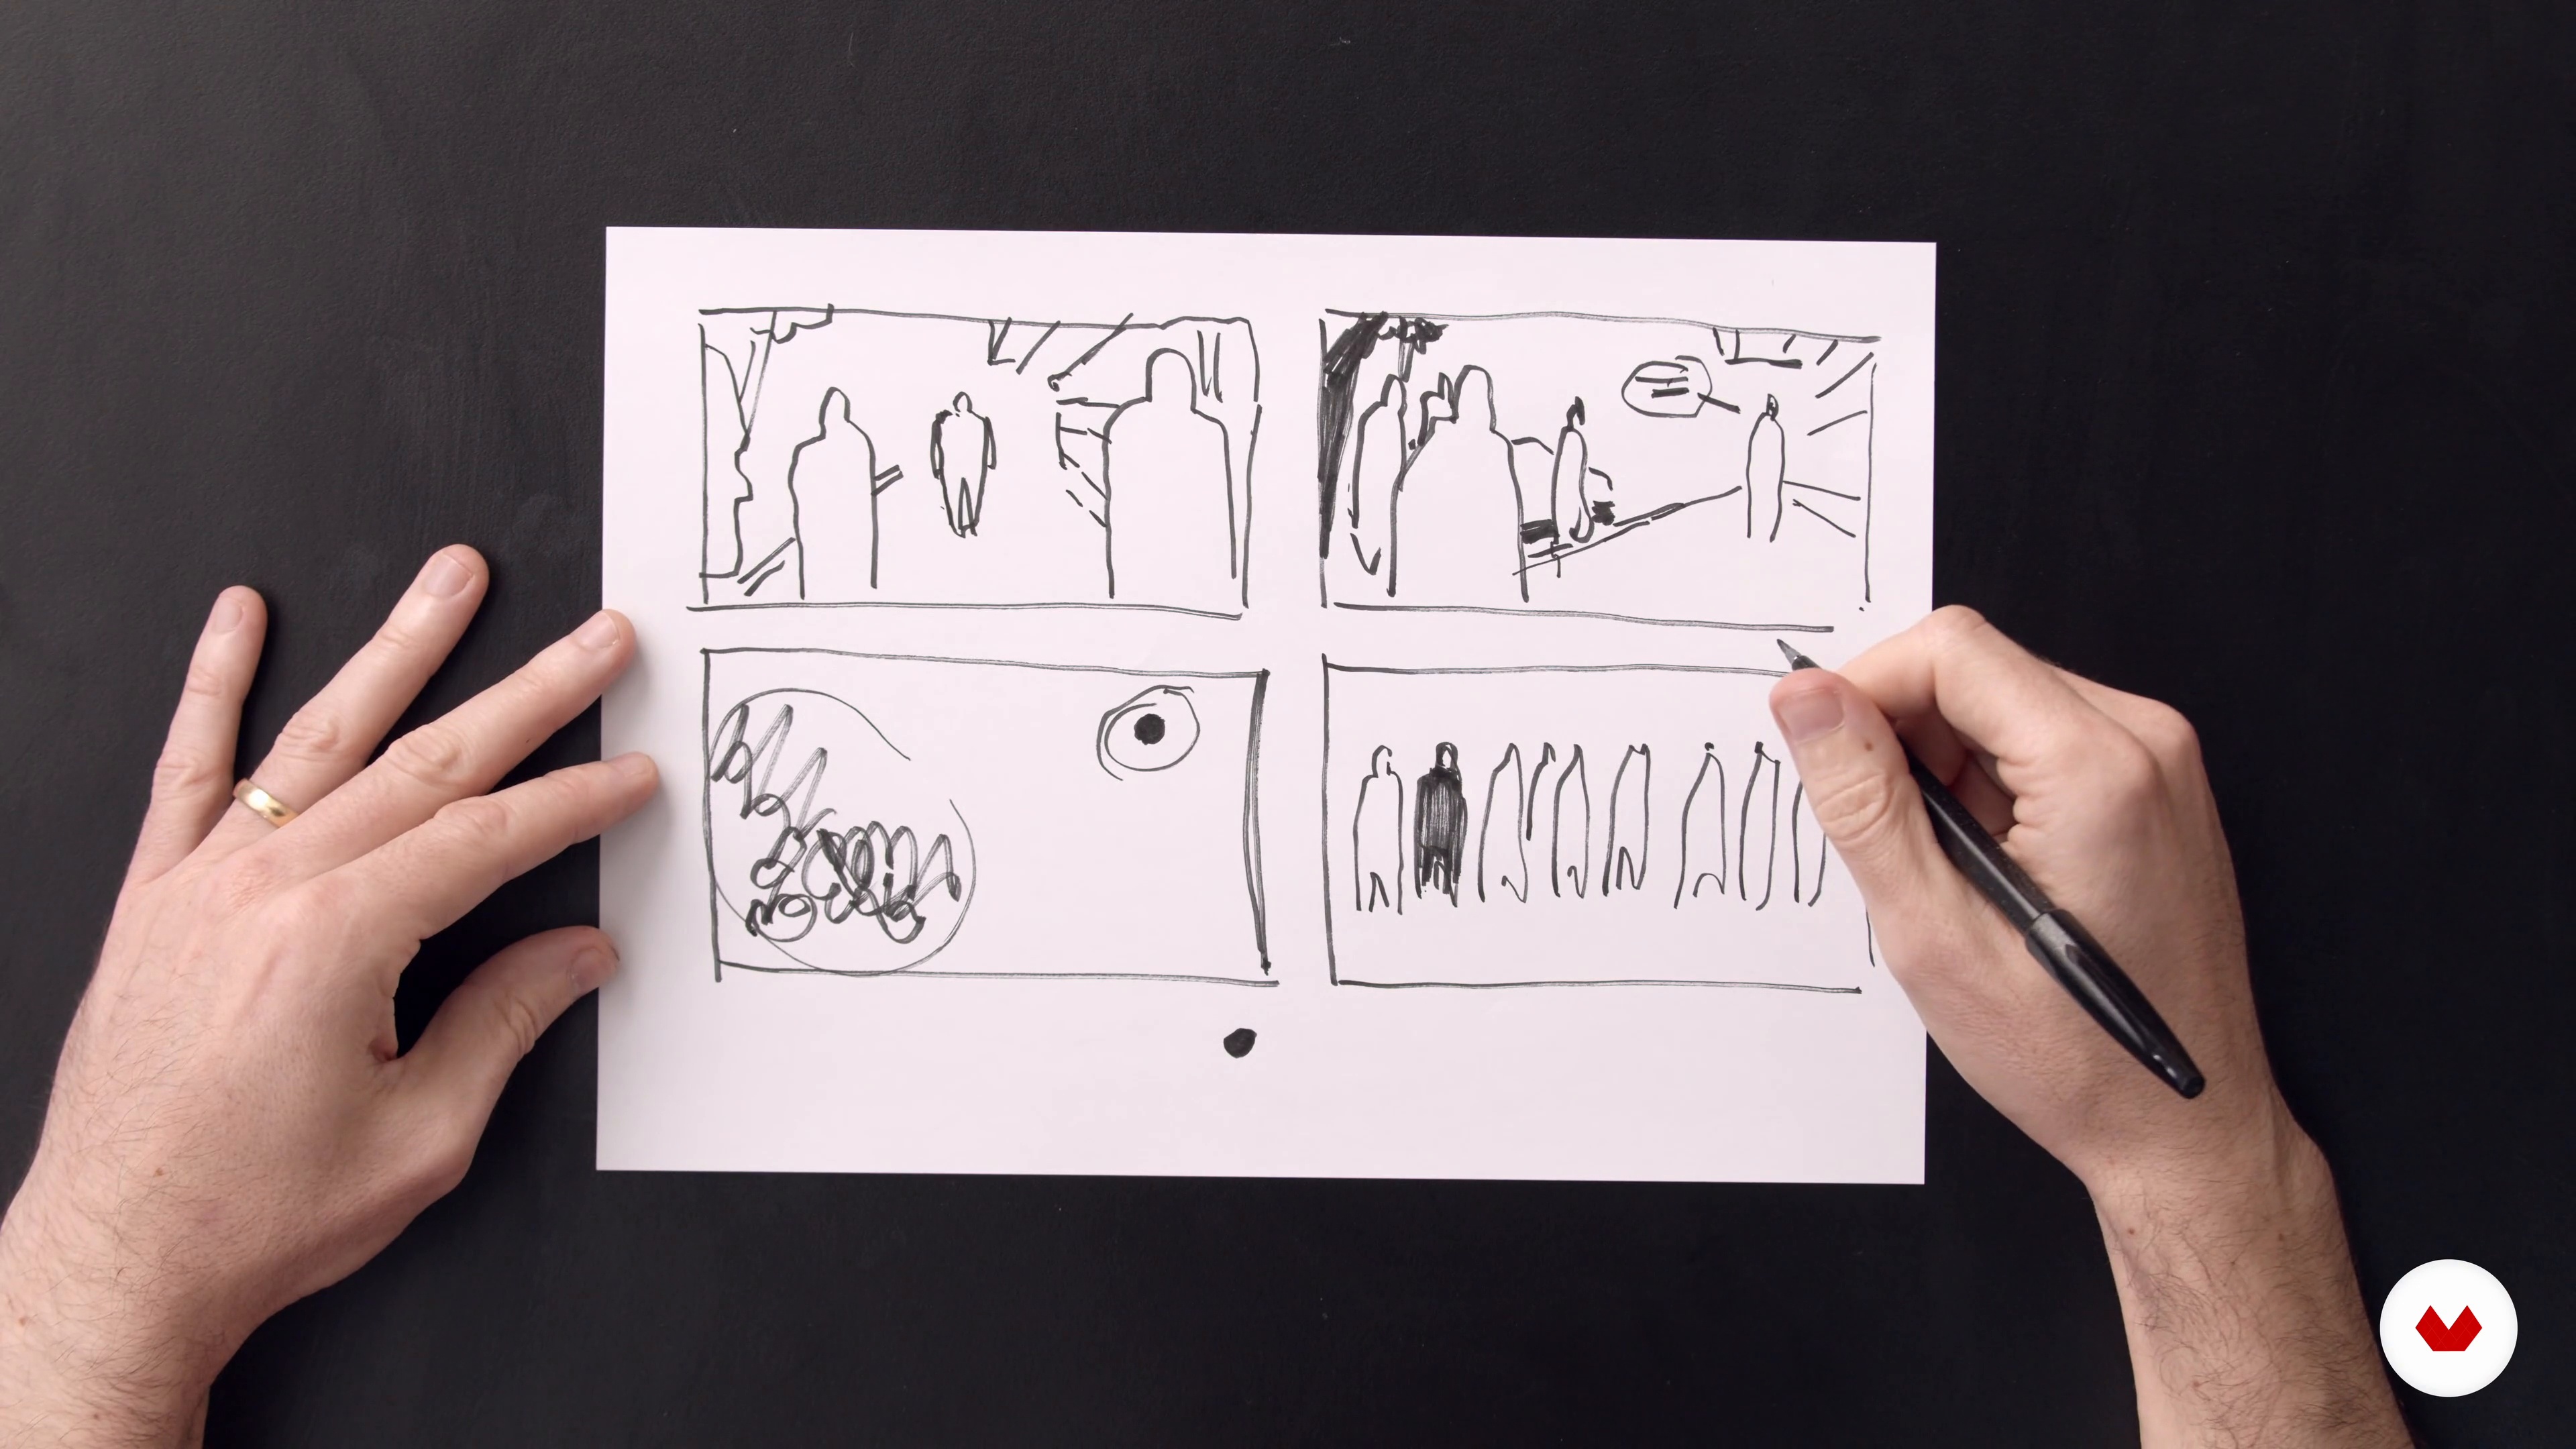
Storytelling in comics requires a different kind of literacy than storytelling in words. Images in the form of panels make up the building blocks of your story, and those images take the form of “shots,” or compositions within panels. Here I will teach you basic panel composition, and the most common shots, so you can start thinking about how to build your story.
4m
 8
8Tools for Comic Storytelling
Next, I will provide you with a rundown of the terminology of comics.
16m
 9
9Writing Your Comic Commandments
We are going to create a list of commandments that will define your comic and guide you as you write and illustrate it. We will use the elements discussed in the three previous lessons to write specific criteria to follow. I will discuss the commandments that govern They Can Talk and then you will write your own list of commandments for your comic.
5m
 1
1Identifying a Theme
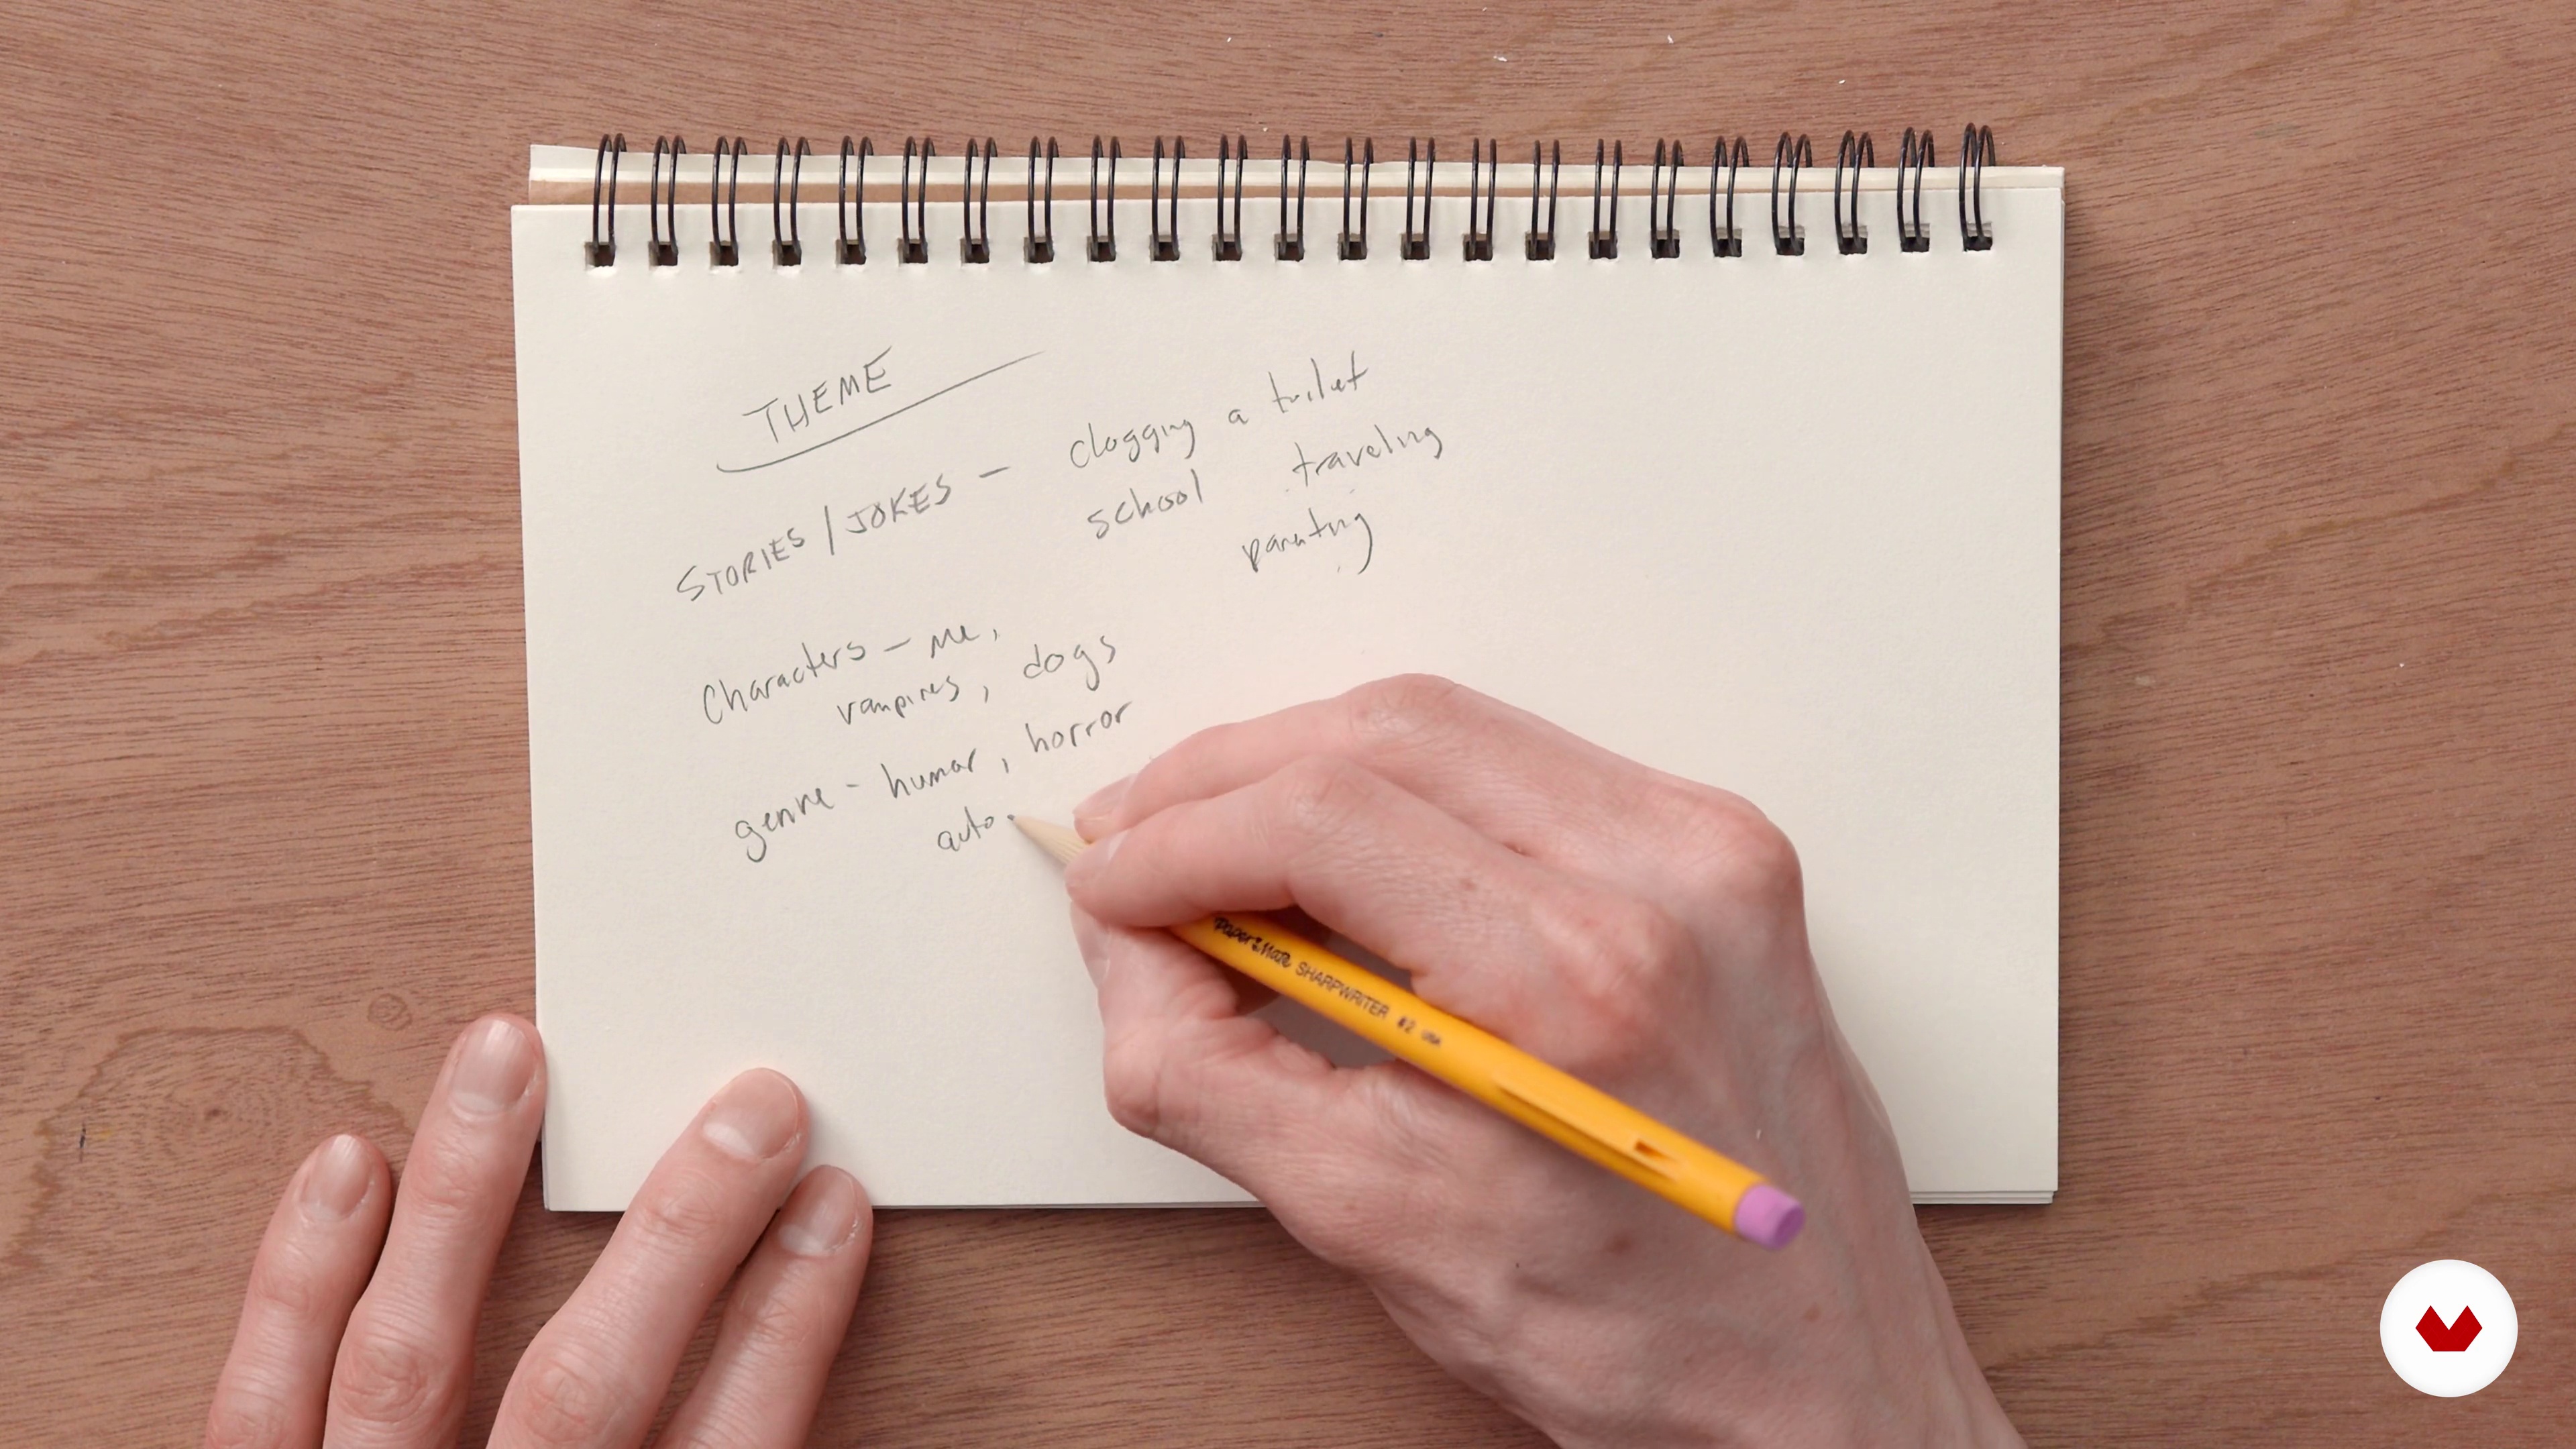
We’re going to start creating your comic, by tackling the first element of your comic’s identity- the theme. You’re going to do a writing exercise to help identify your theme, and I’m going to show you how I came up with the concept behind They Can Talk. I’m also going to do the exercise myself to come up with a brand-new comic.
10m
 2
2Finding Your Voice
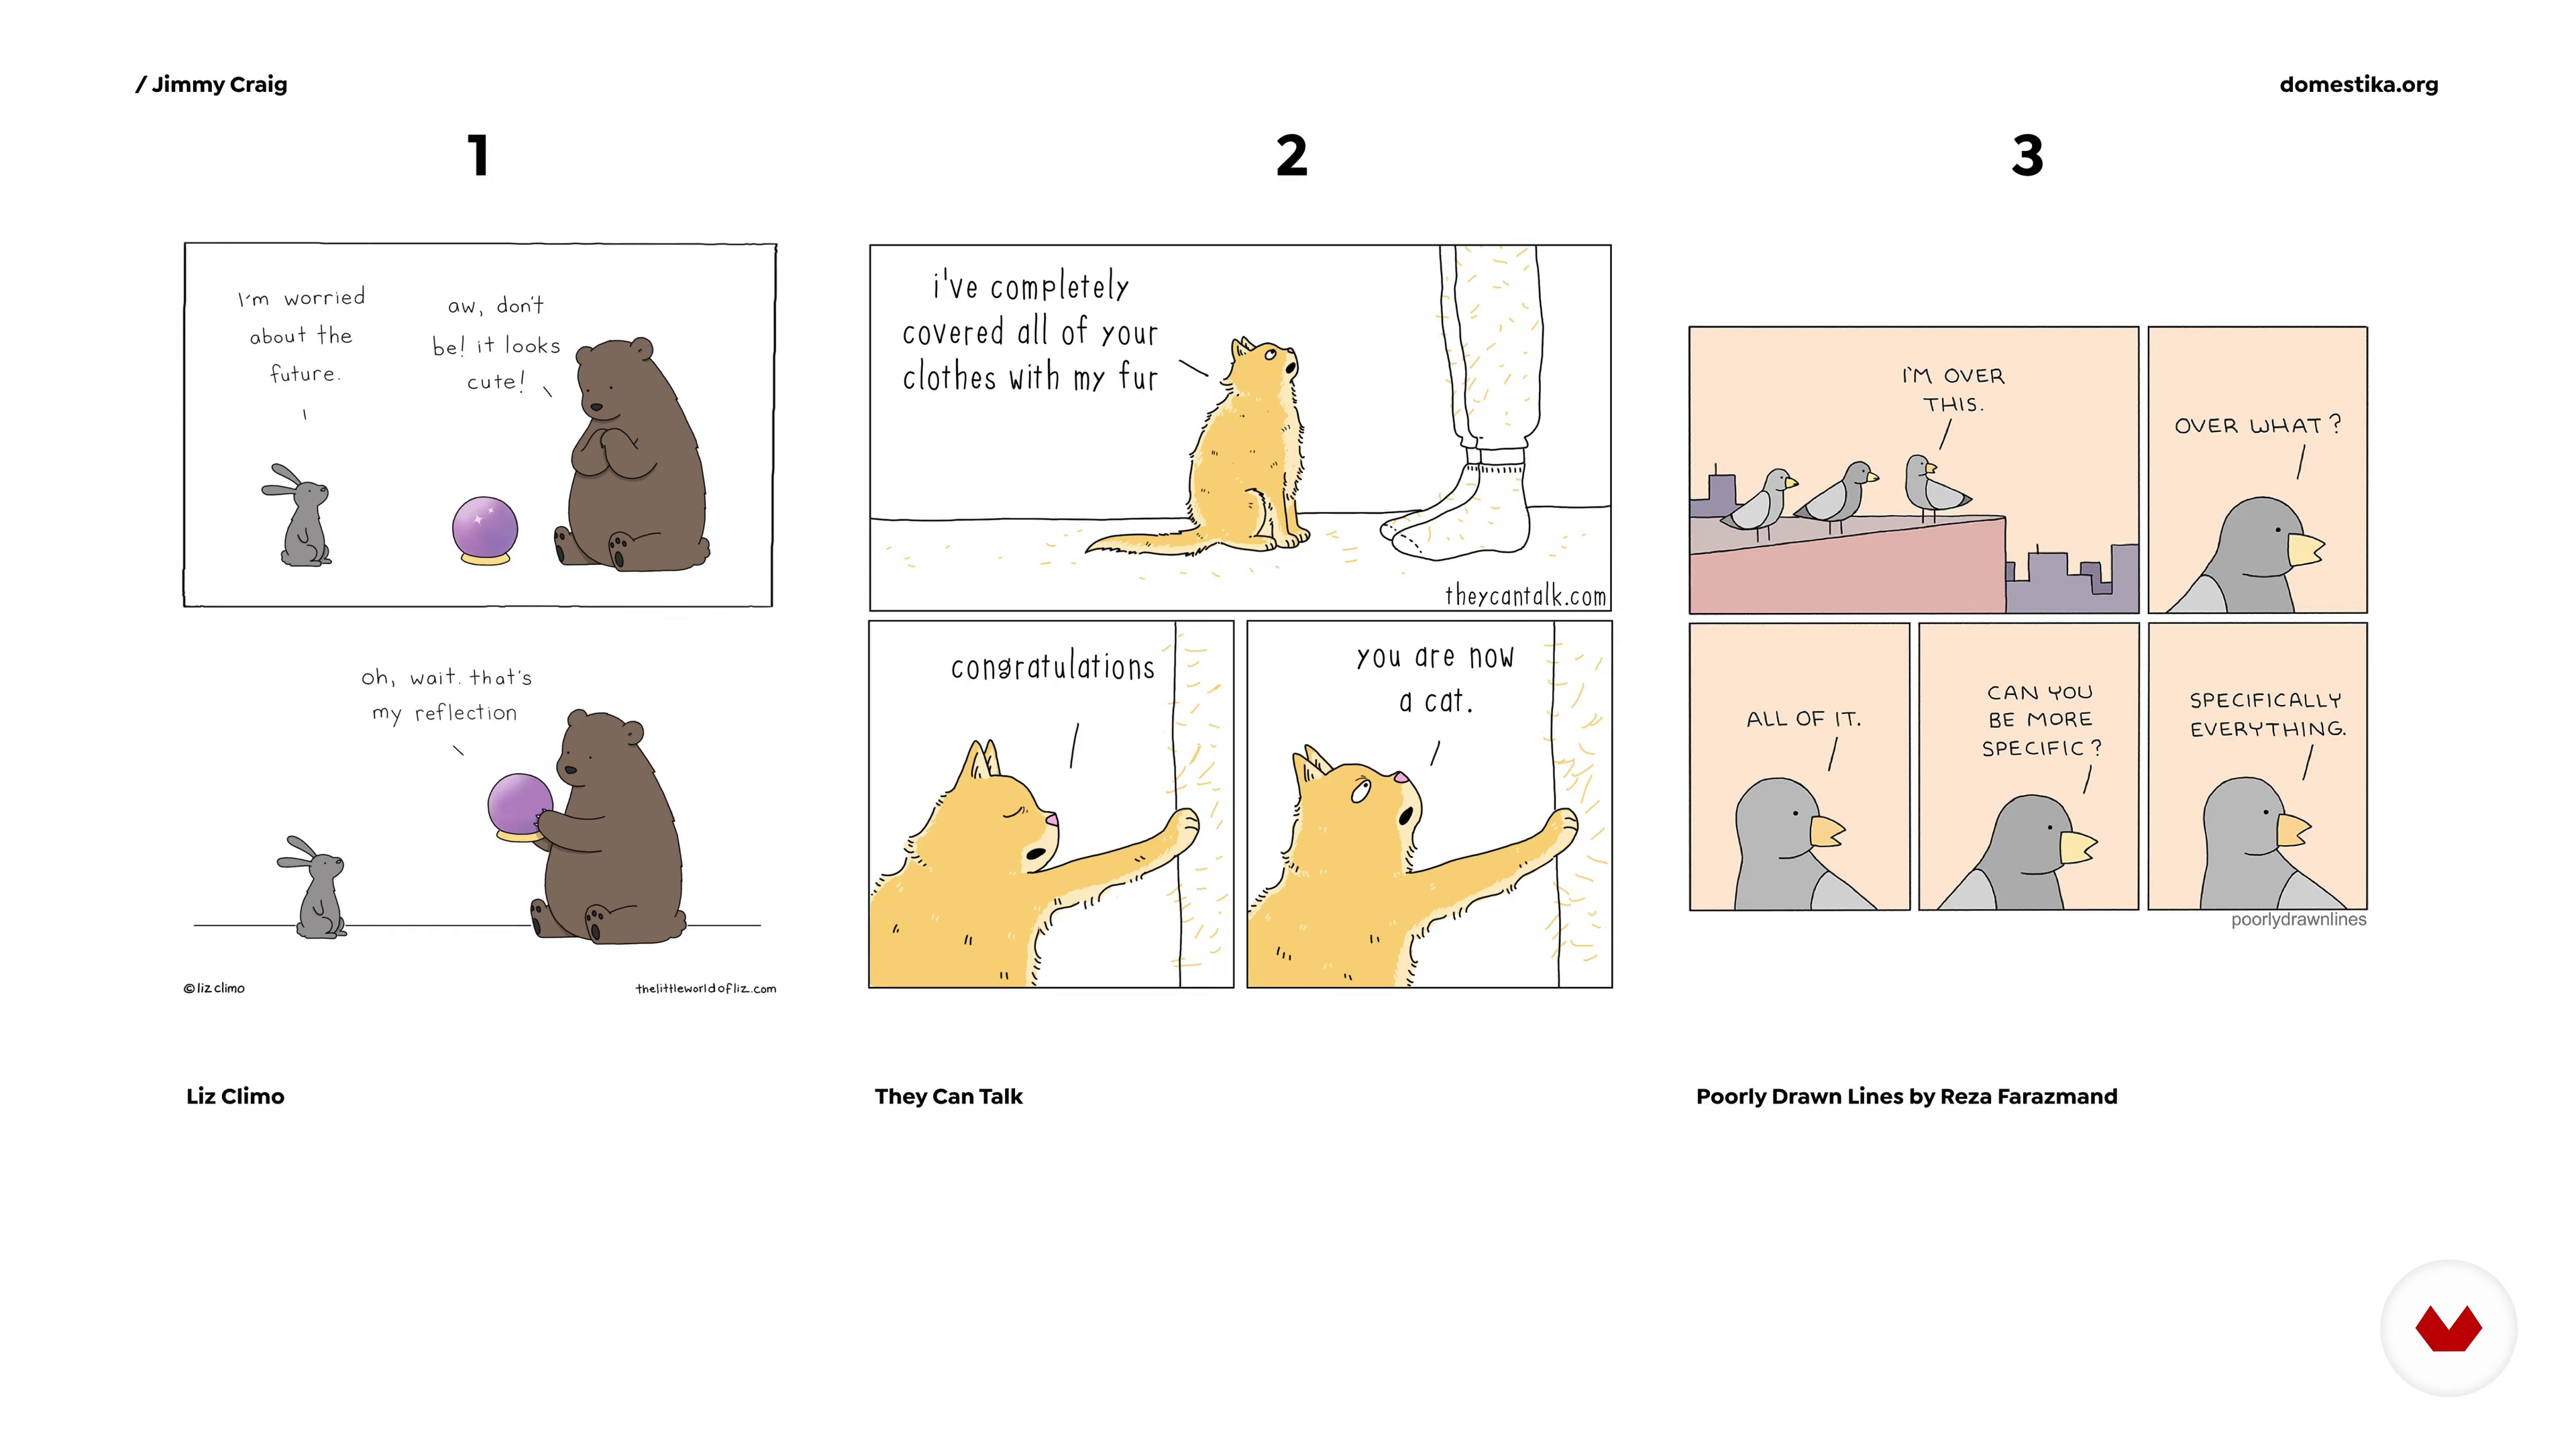
When you write a comic, it should sound like you wrote it, not your favorite cartoonist. It should sound like you. In this lesson, we will talk about how to discover your voice or how to define your voice. We’re going to look at some comics and listen to how they sound different. We’re also going to do an exercise to see how everyone might have a different way of writing the same caption in a comic. The goal is to identify what your voice is and to keep it consistent in your comics.
6m
 3
3Generating Ideas!
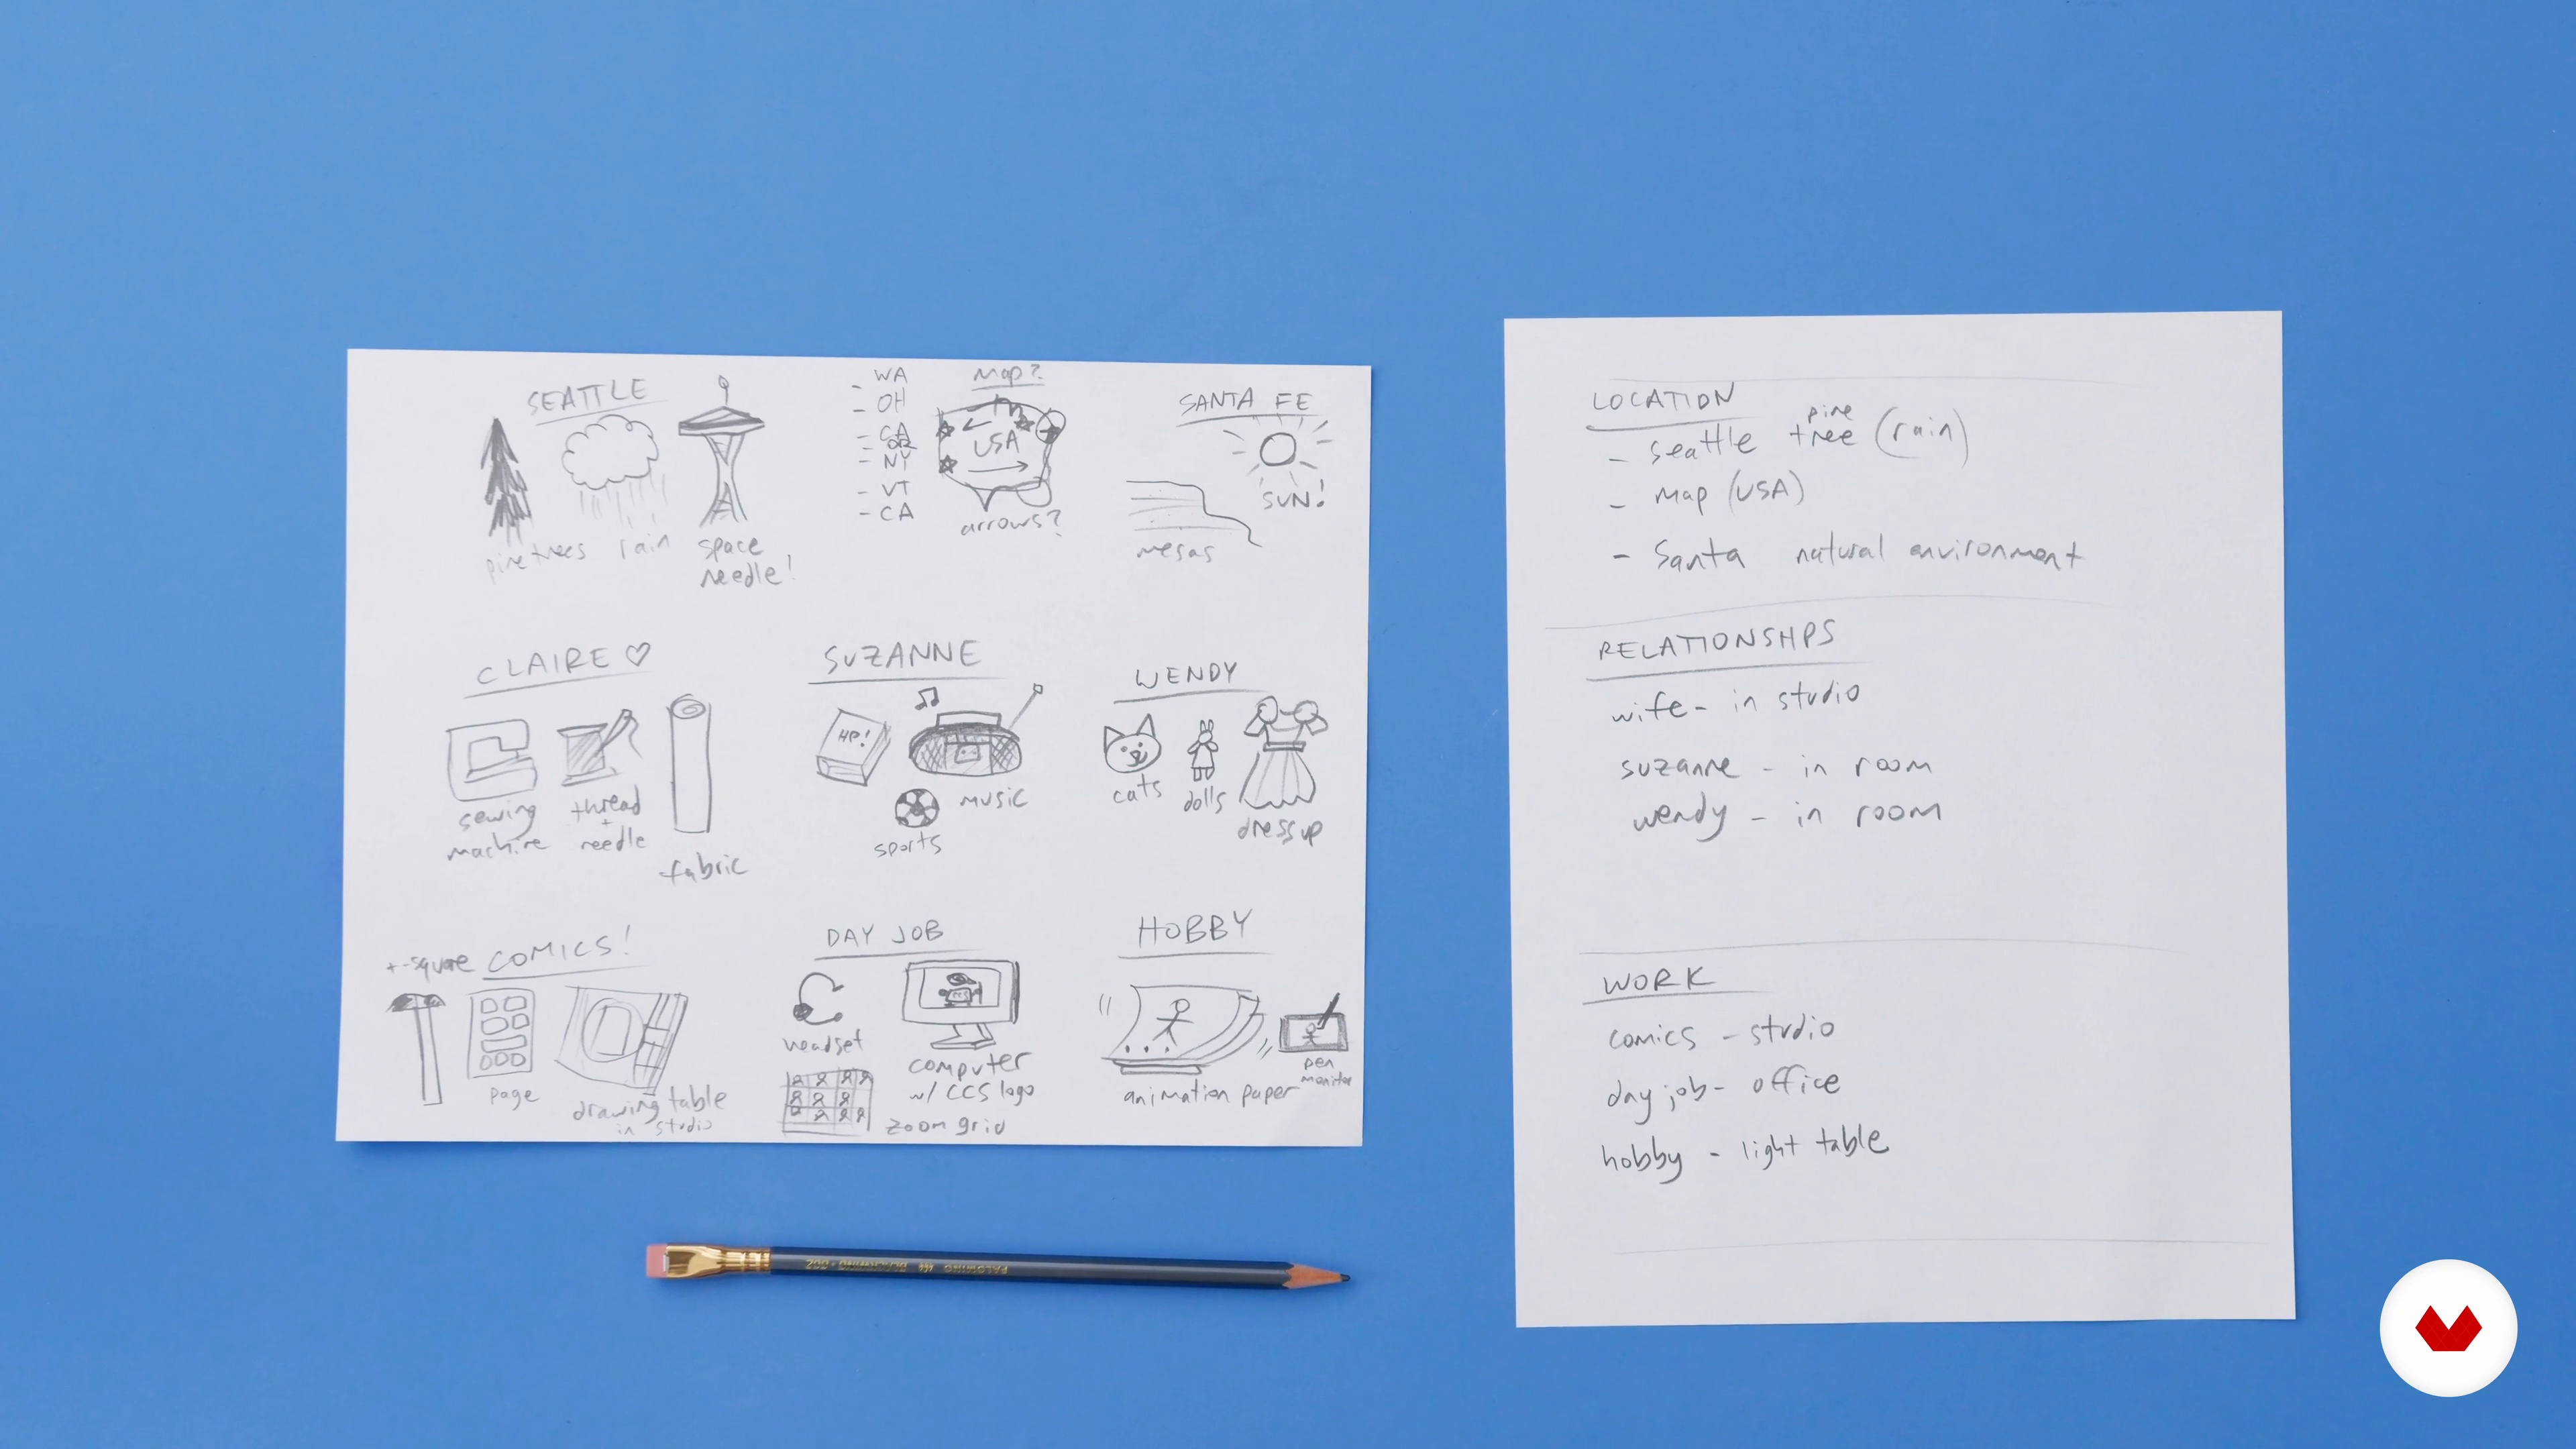
Now I will show you some different ways to brainstorm many ideas. I will then teach you how to sift through your ideas to figure out what will go on your comic's page.
15m
 4
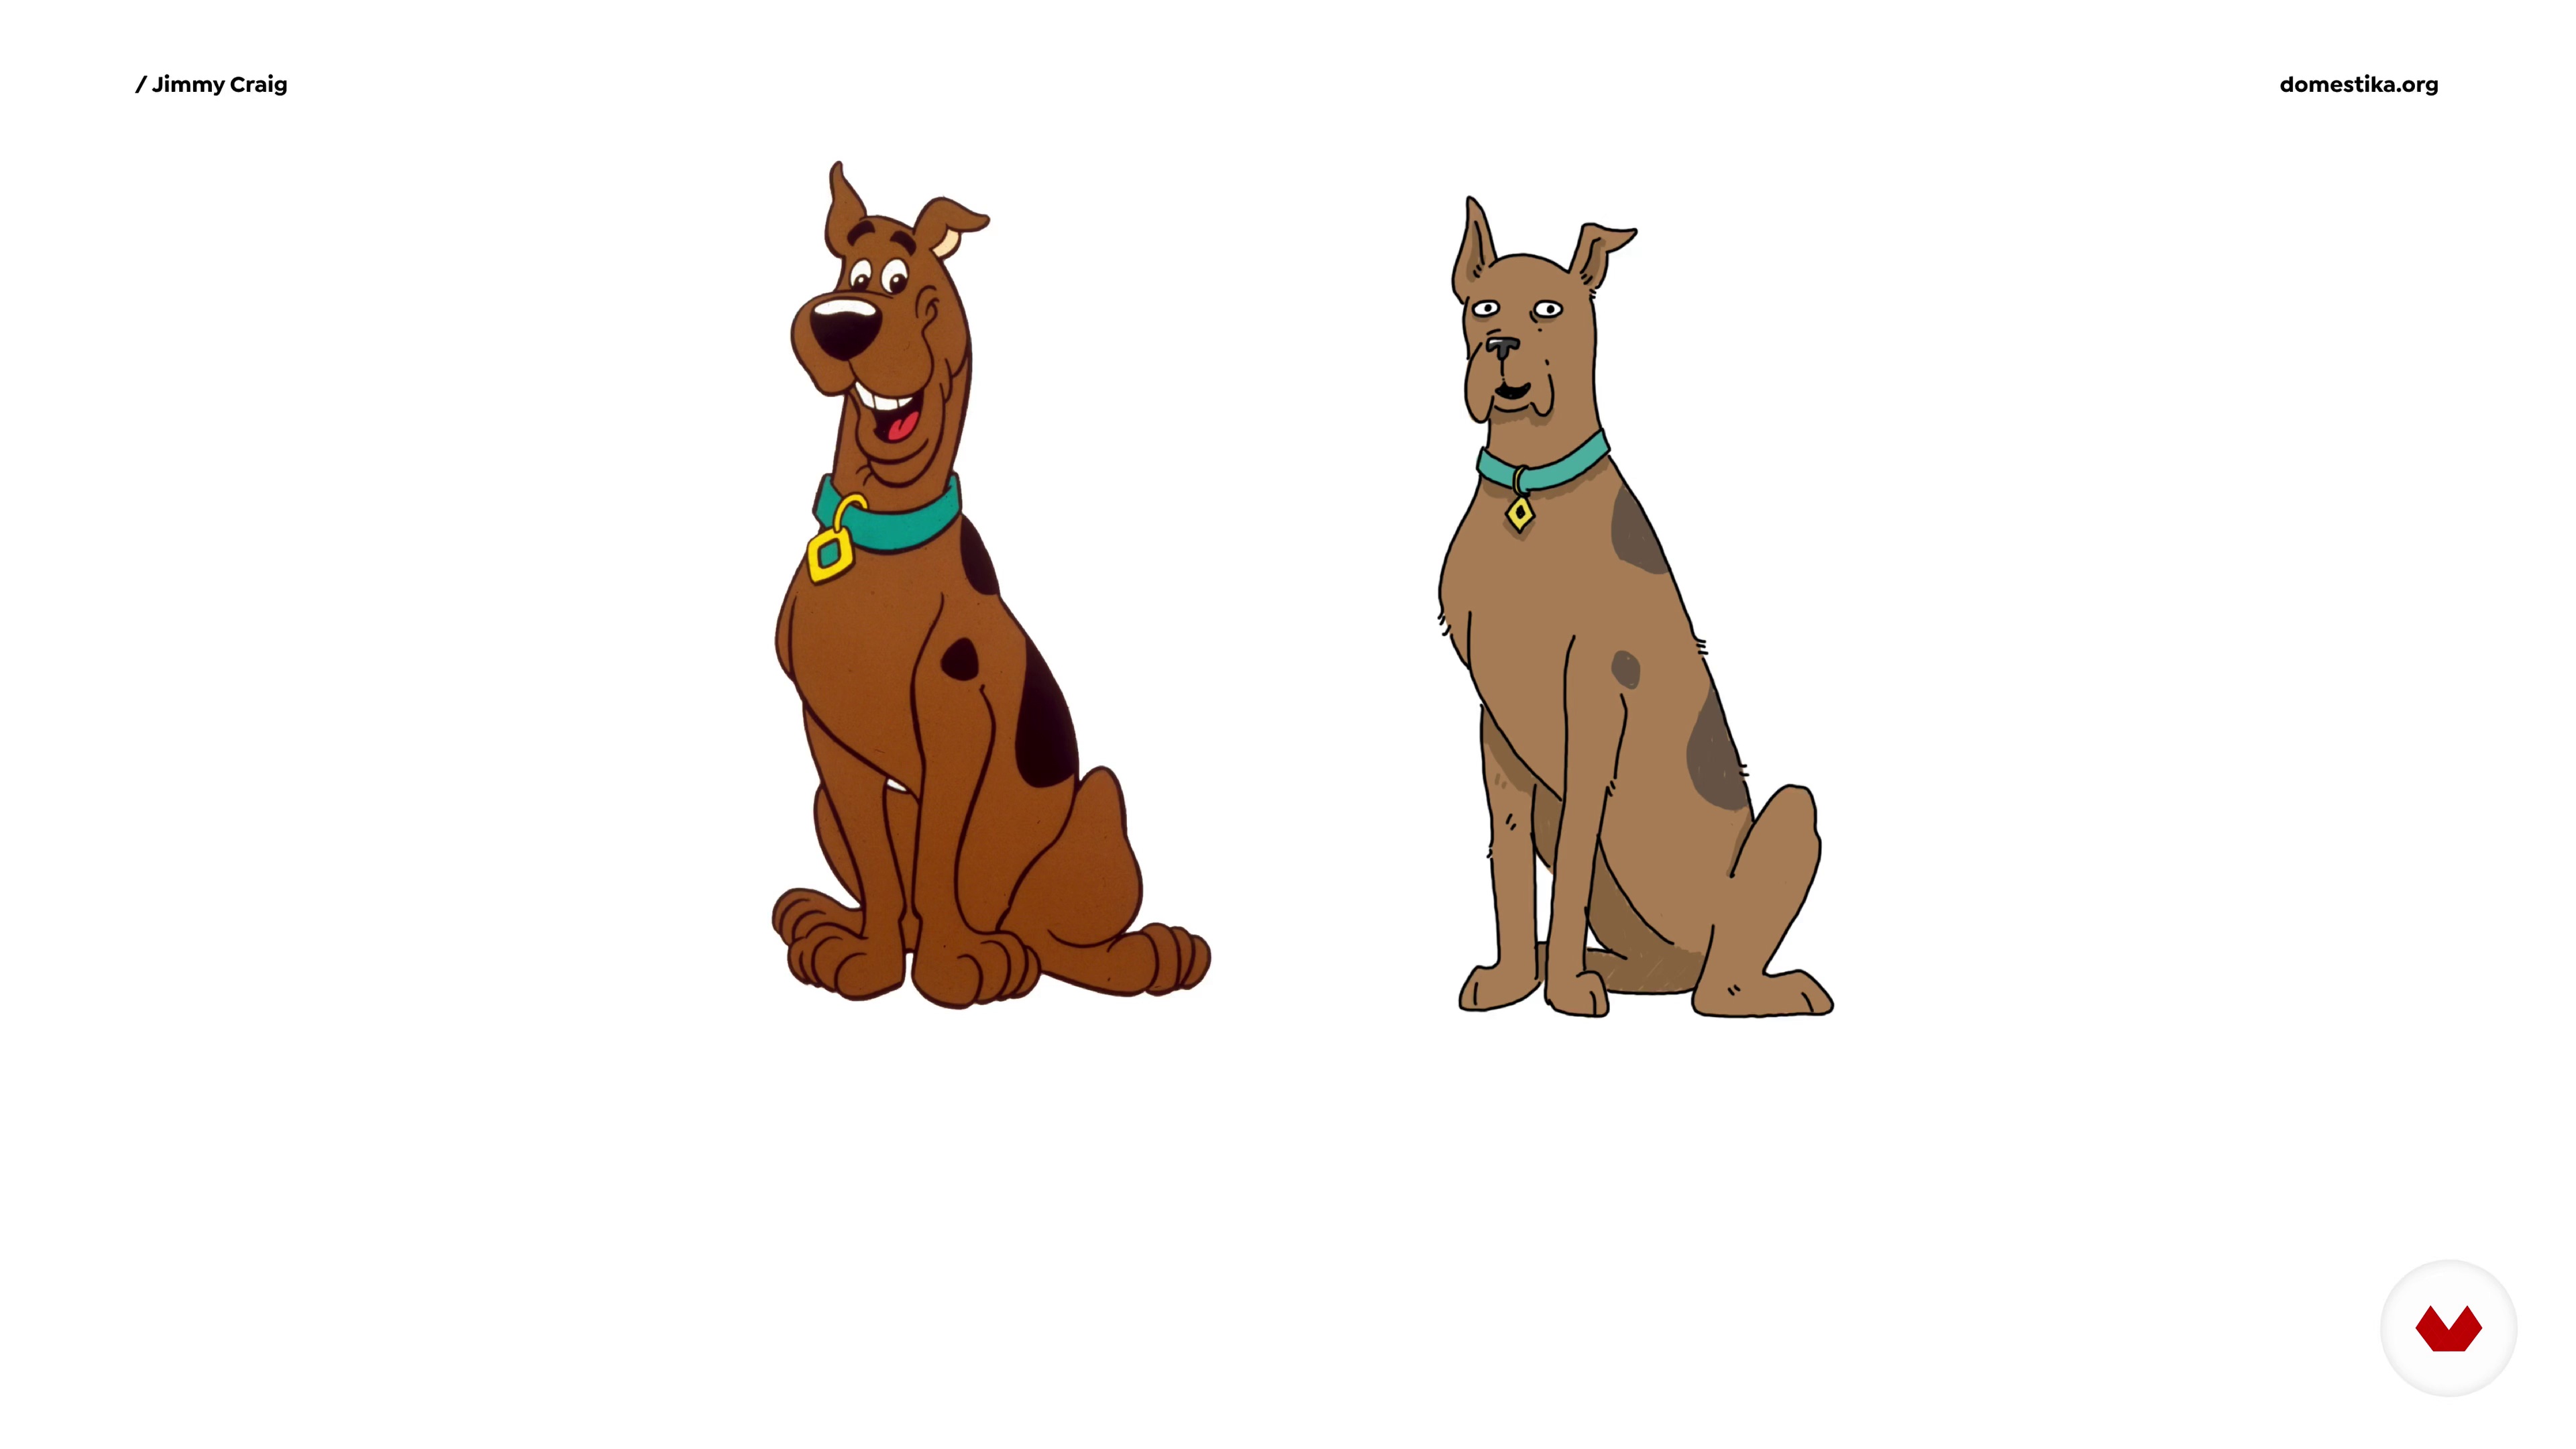
4Defining Your Style
In this lesson, you will learn how to make your comic look uniquely yours. I will show you some different comics and discuss the visual differences between them. We will talk about the elements that encompass your comic’s ‘look’- characters, backgrounds, fonts, colors, and layout. You will do an illustration exercise to help define your unique style.
12m
 5
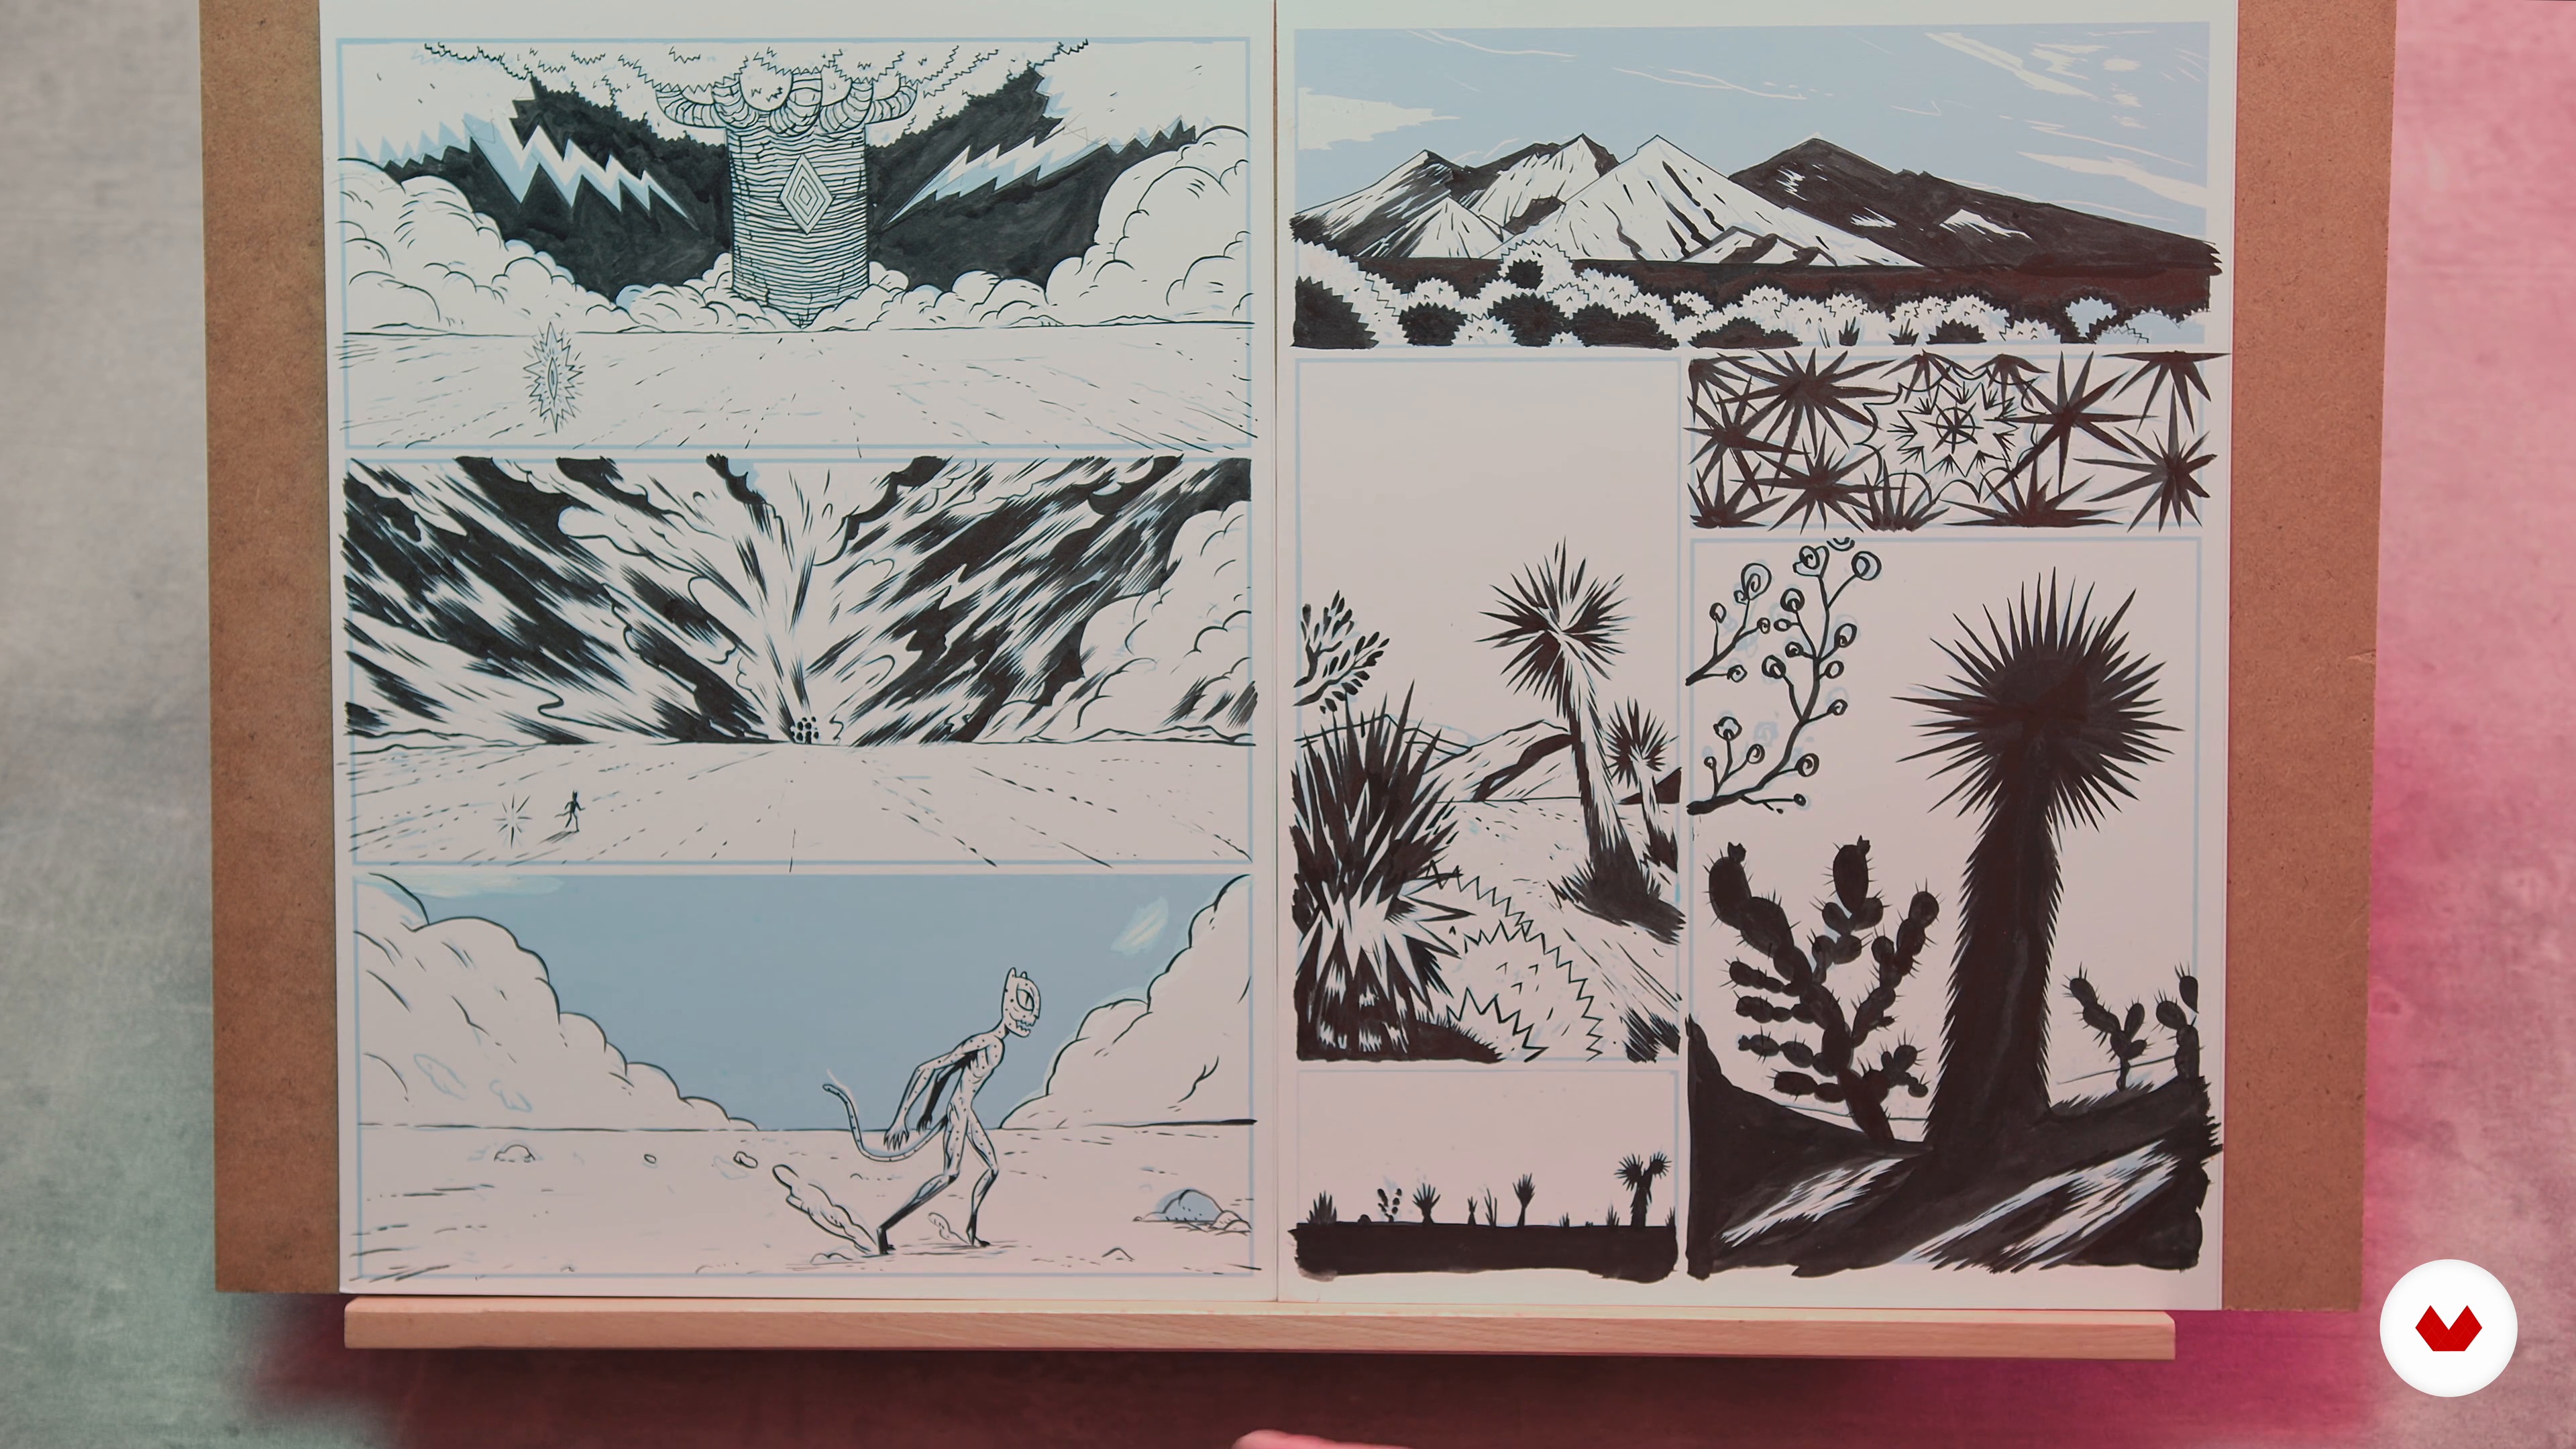
5Choosing the Moment
Now that you have some basic understanding of the components and techniques of visual storytelling, let's get down to the nitty-gritty of getting our hands dirty and the pencil to the paper. In this lesson, I will show you how to choose the right moment to work on, so that the reader is able to clearly follow the story.
8m
 1
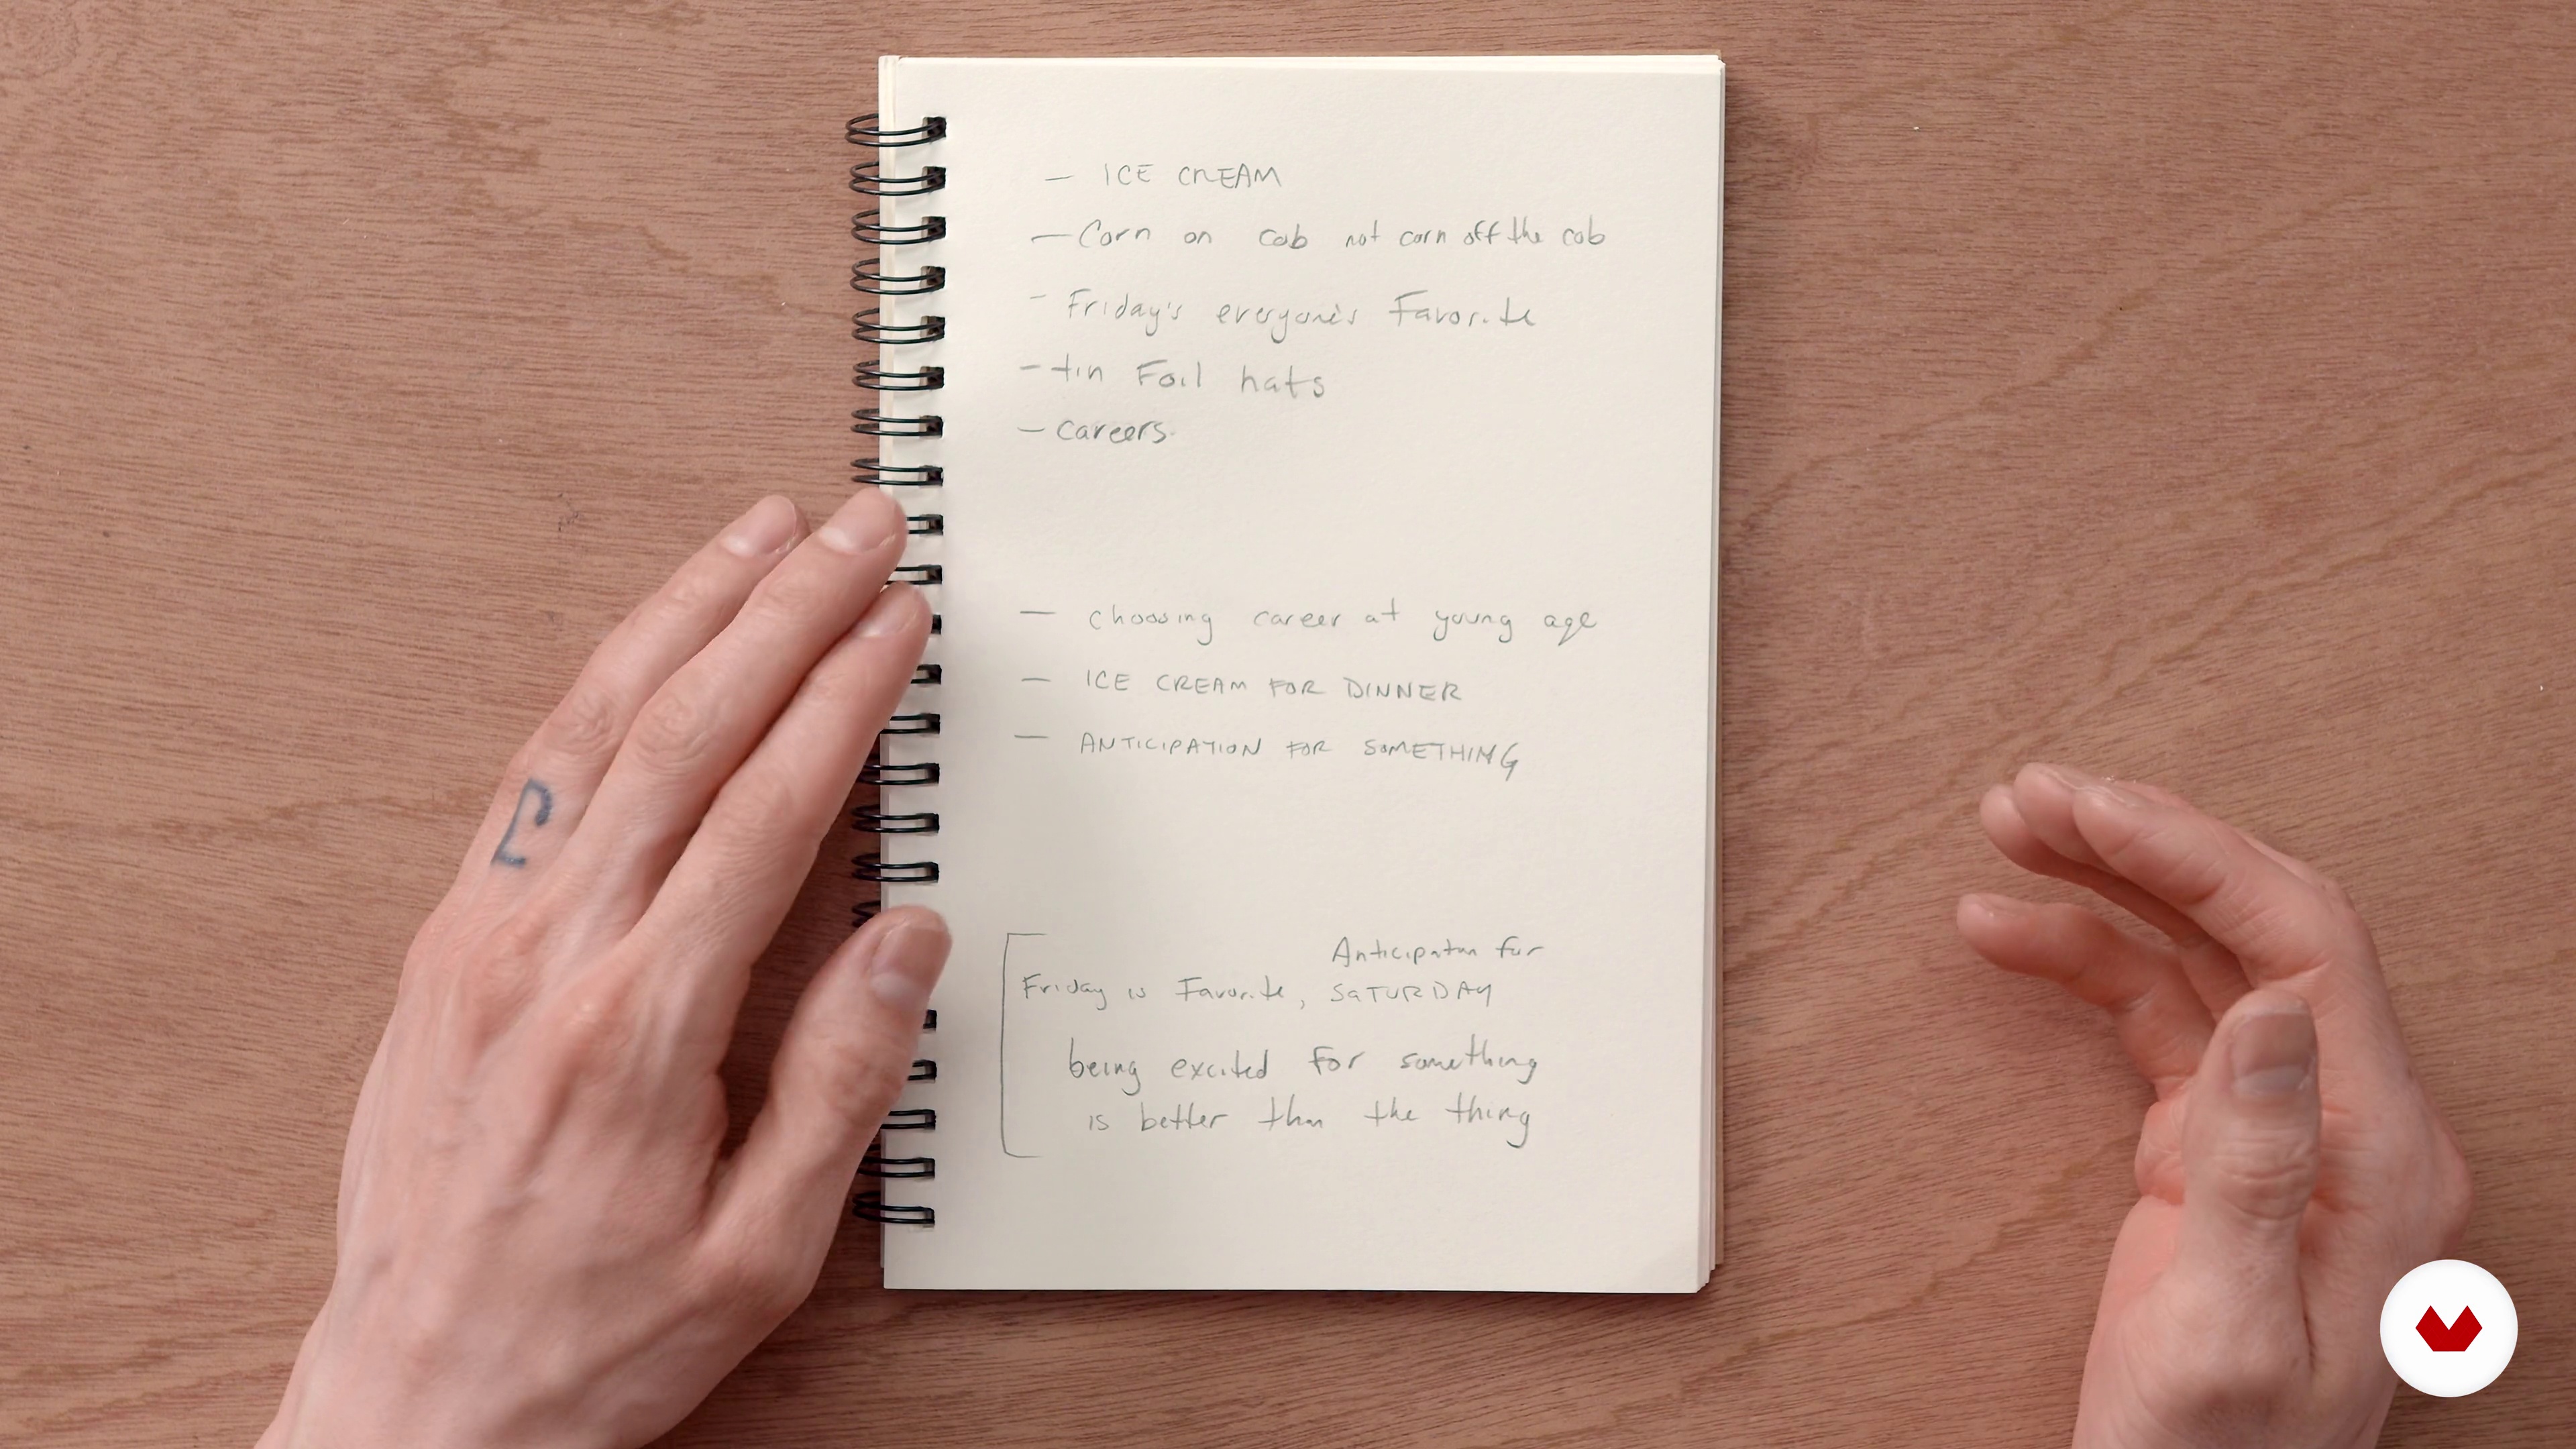
1Writing
In this lesson, I’m going to share how I get ideas from my head and onto paper. I’m going to walk you through my writing process, starting with note-taking and fleshing that out into an idea. I’ll tell you what criteria an idea needs in order for me to see the comic all the way through. You will take a note and turn it into an idea and then a script.
4m
 2
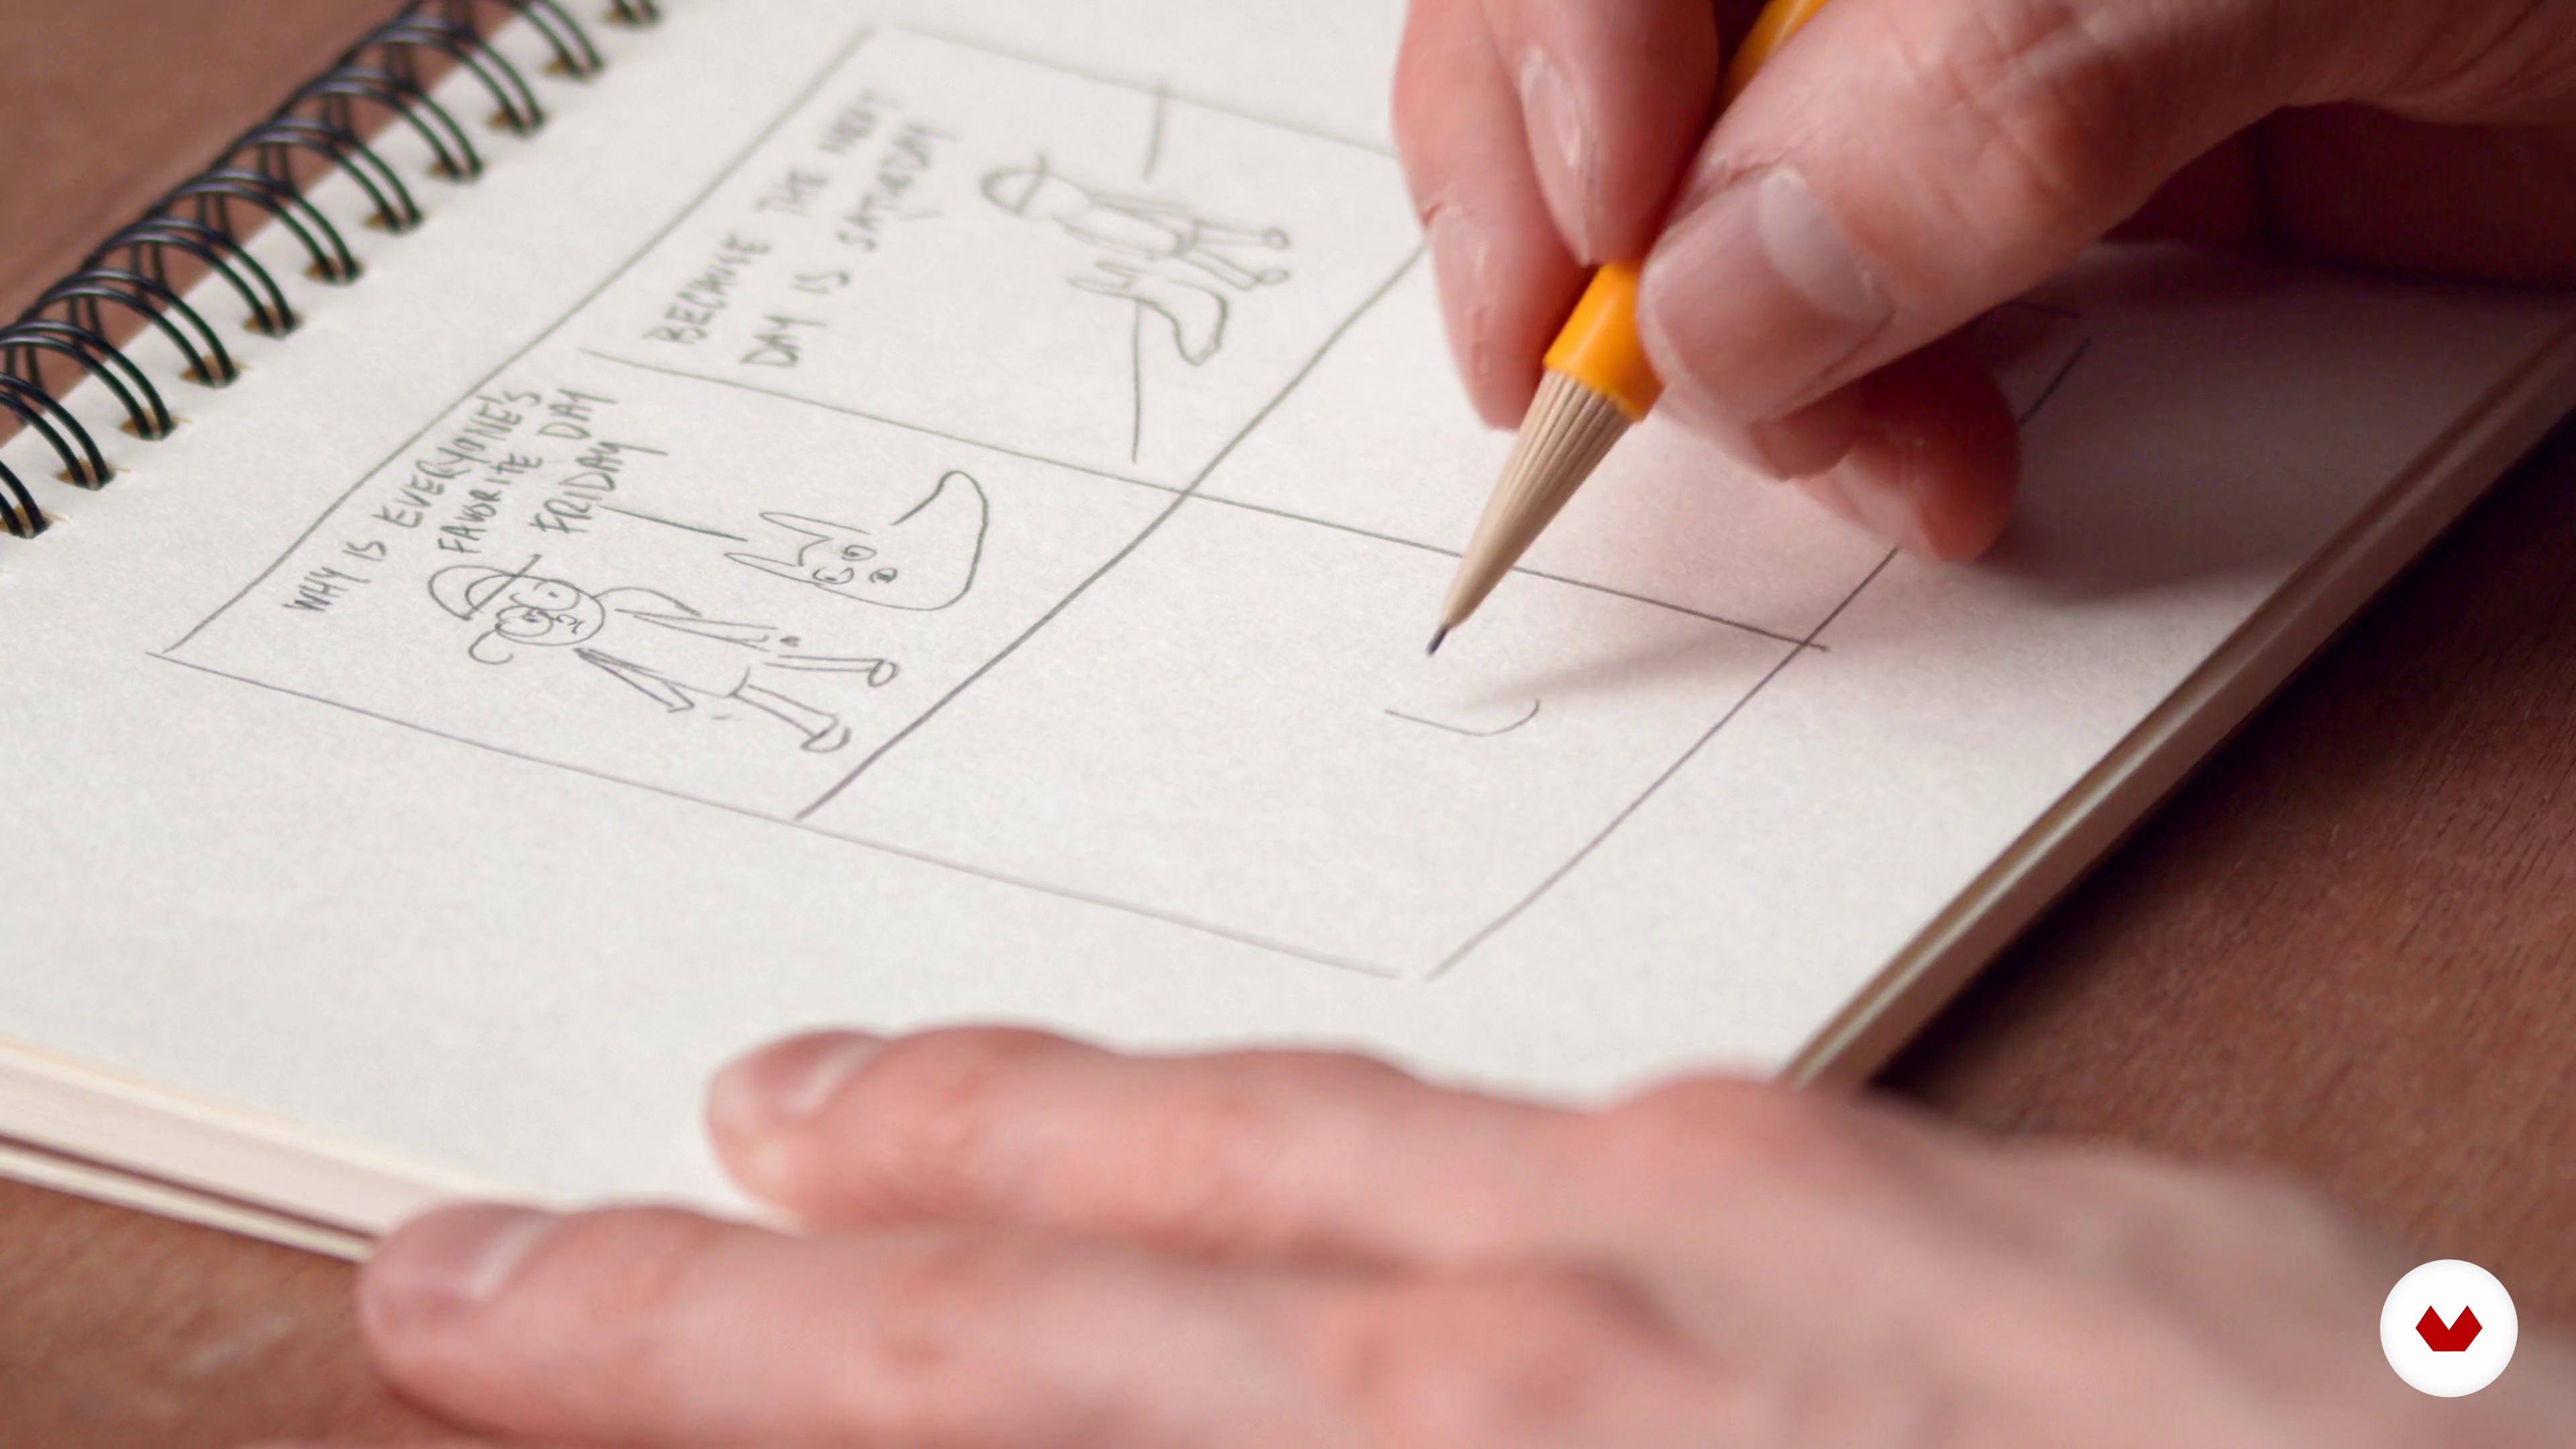
2Layout
In this lesson, I’m going to show you how I take a script and turn it into an actual comic. I will walk you through my process and share specific things that I keep in mind when laying out the panels. You will use your script to create a rough draft of your comic.
6m
 3
3Digitization
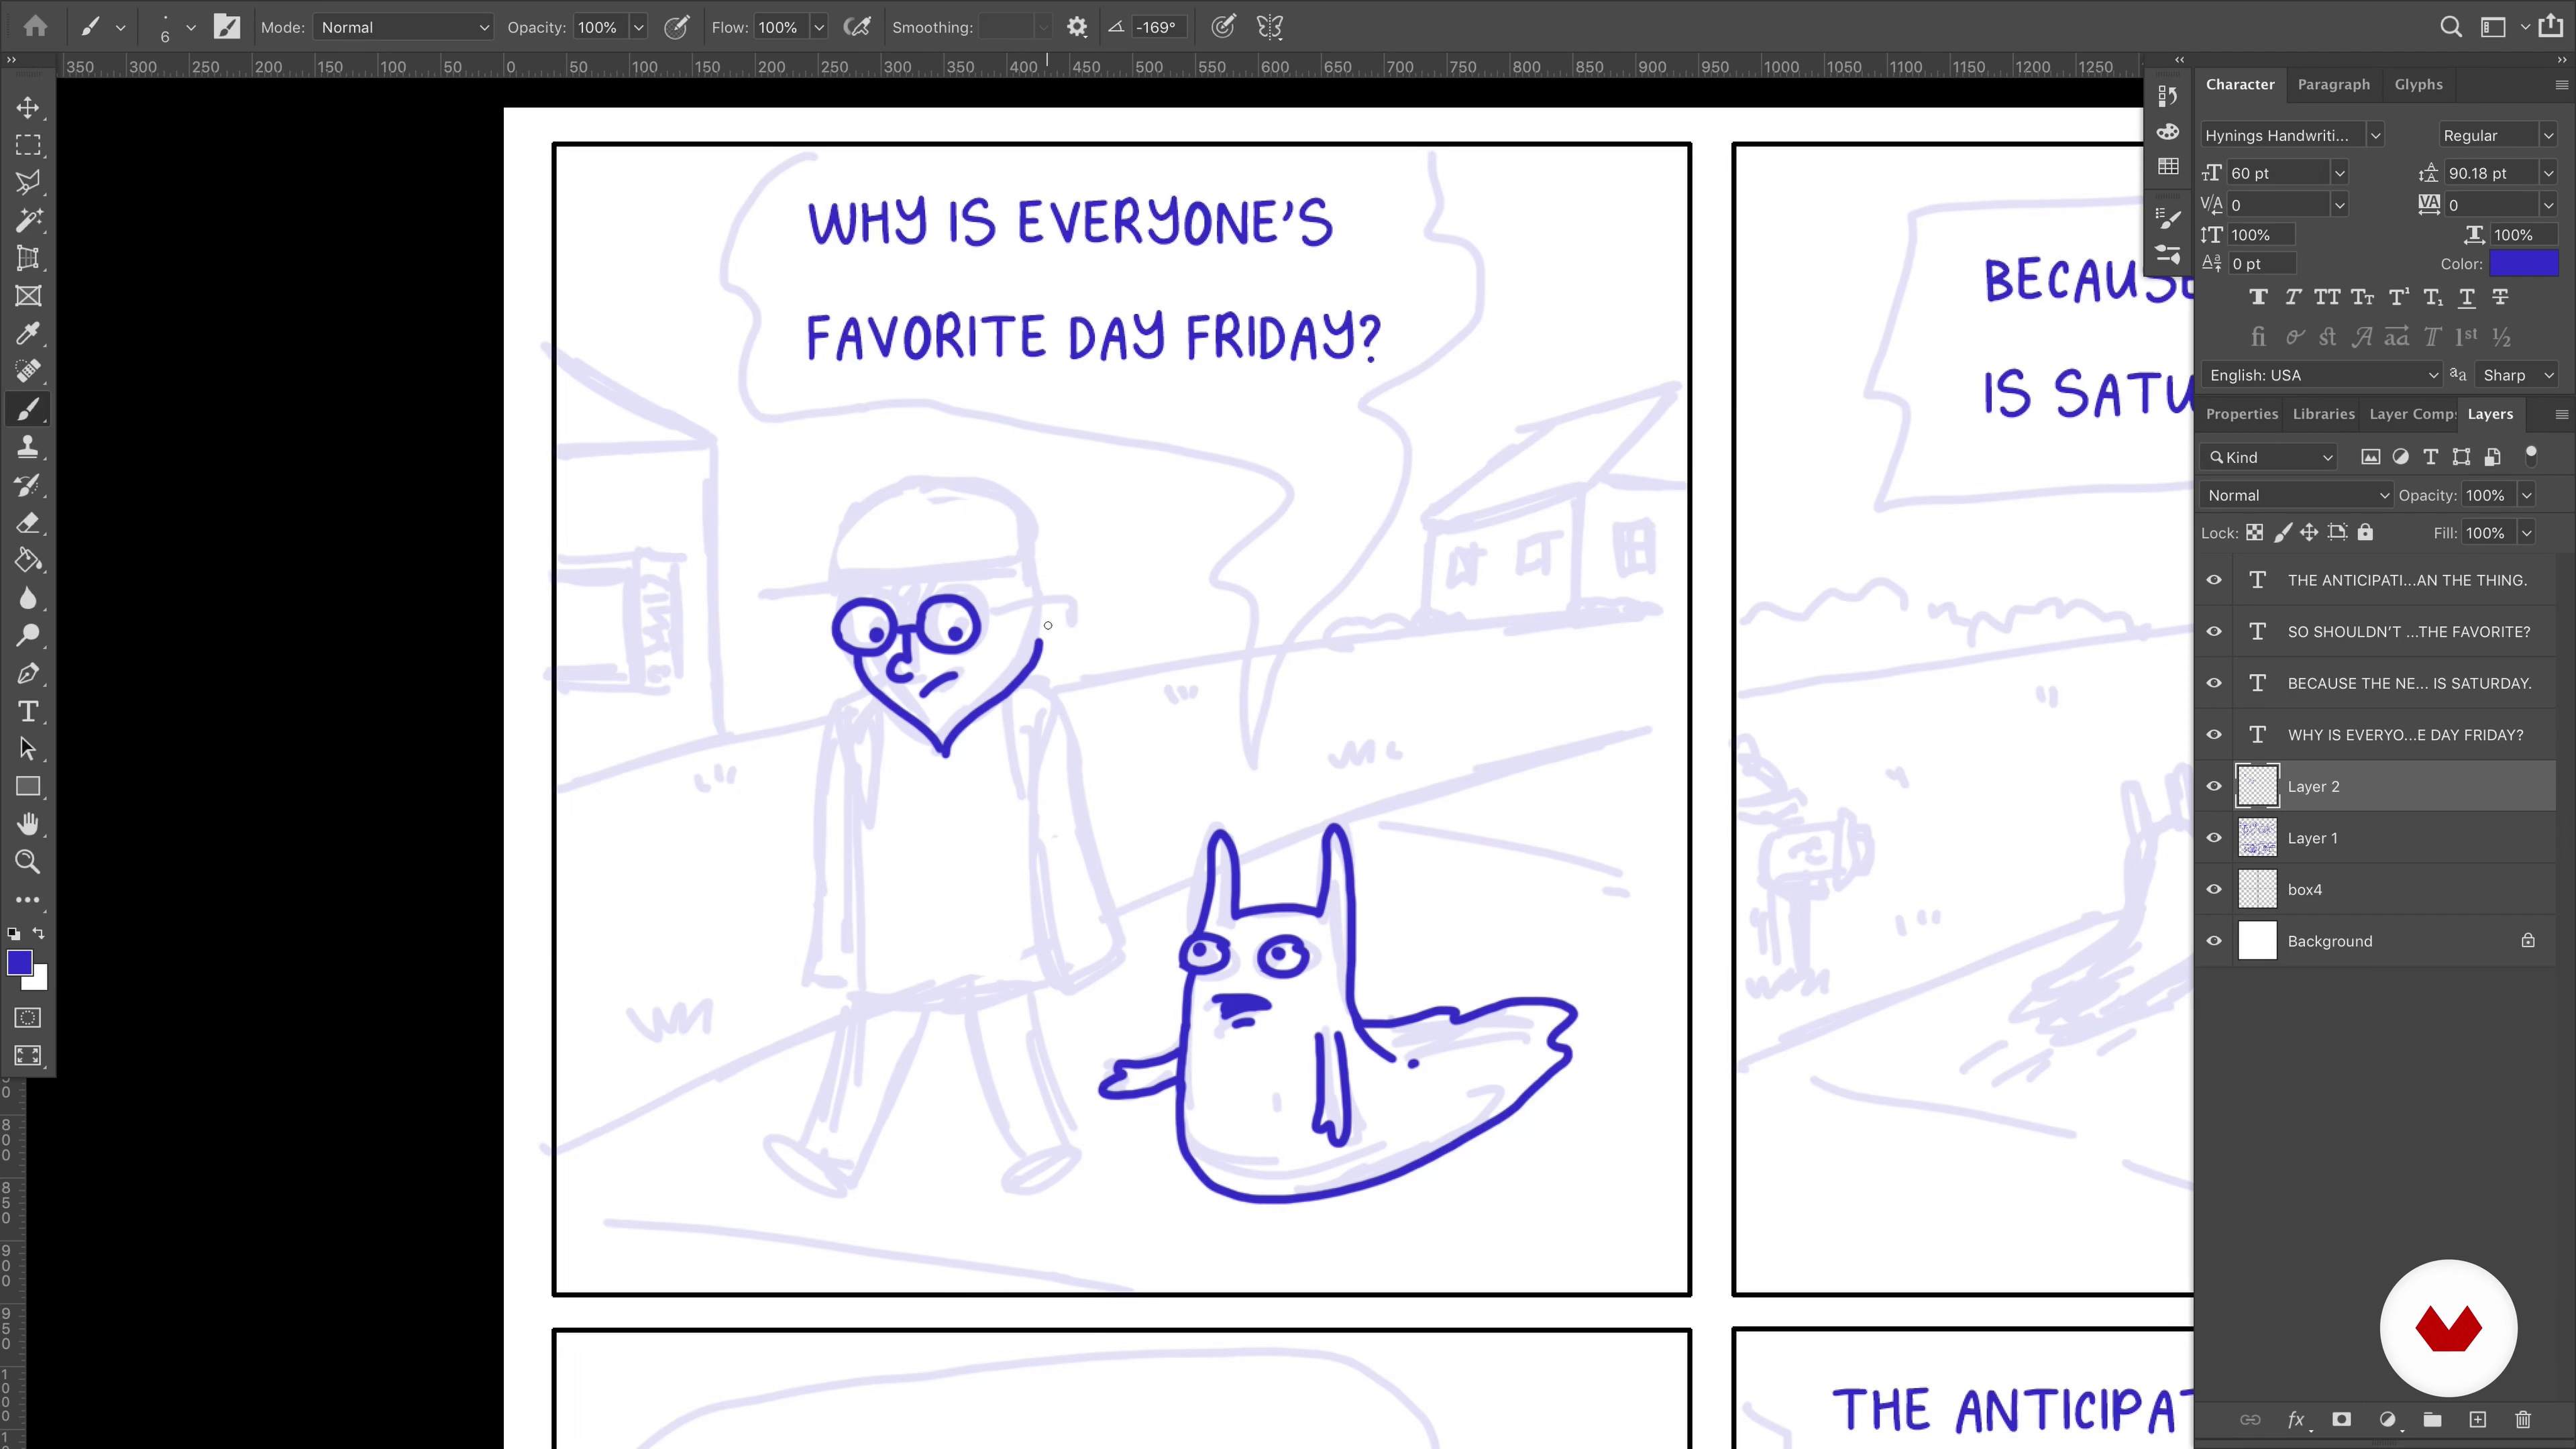
In this lesson, I’m going to show you how to take your sketch and turn it into a finished comic that’s ready to share. I will cover some of the different tools and programs and explain my process to create They Can Talk comics. I’ll create a digital version of the sketch I created in the previous lesson. I will discuss some of the different digitization methods, including taking a picture with your phone or using a scanner and then editing in a program. Lastly, you’ll use your sketch to create your final comic.
18m
 1
1Story Time
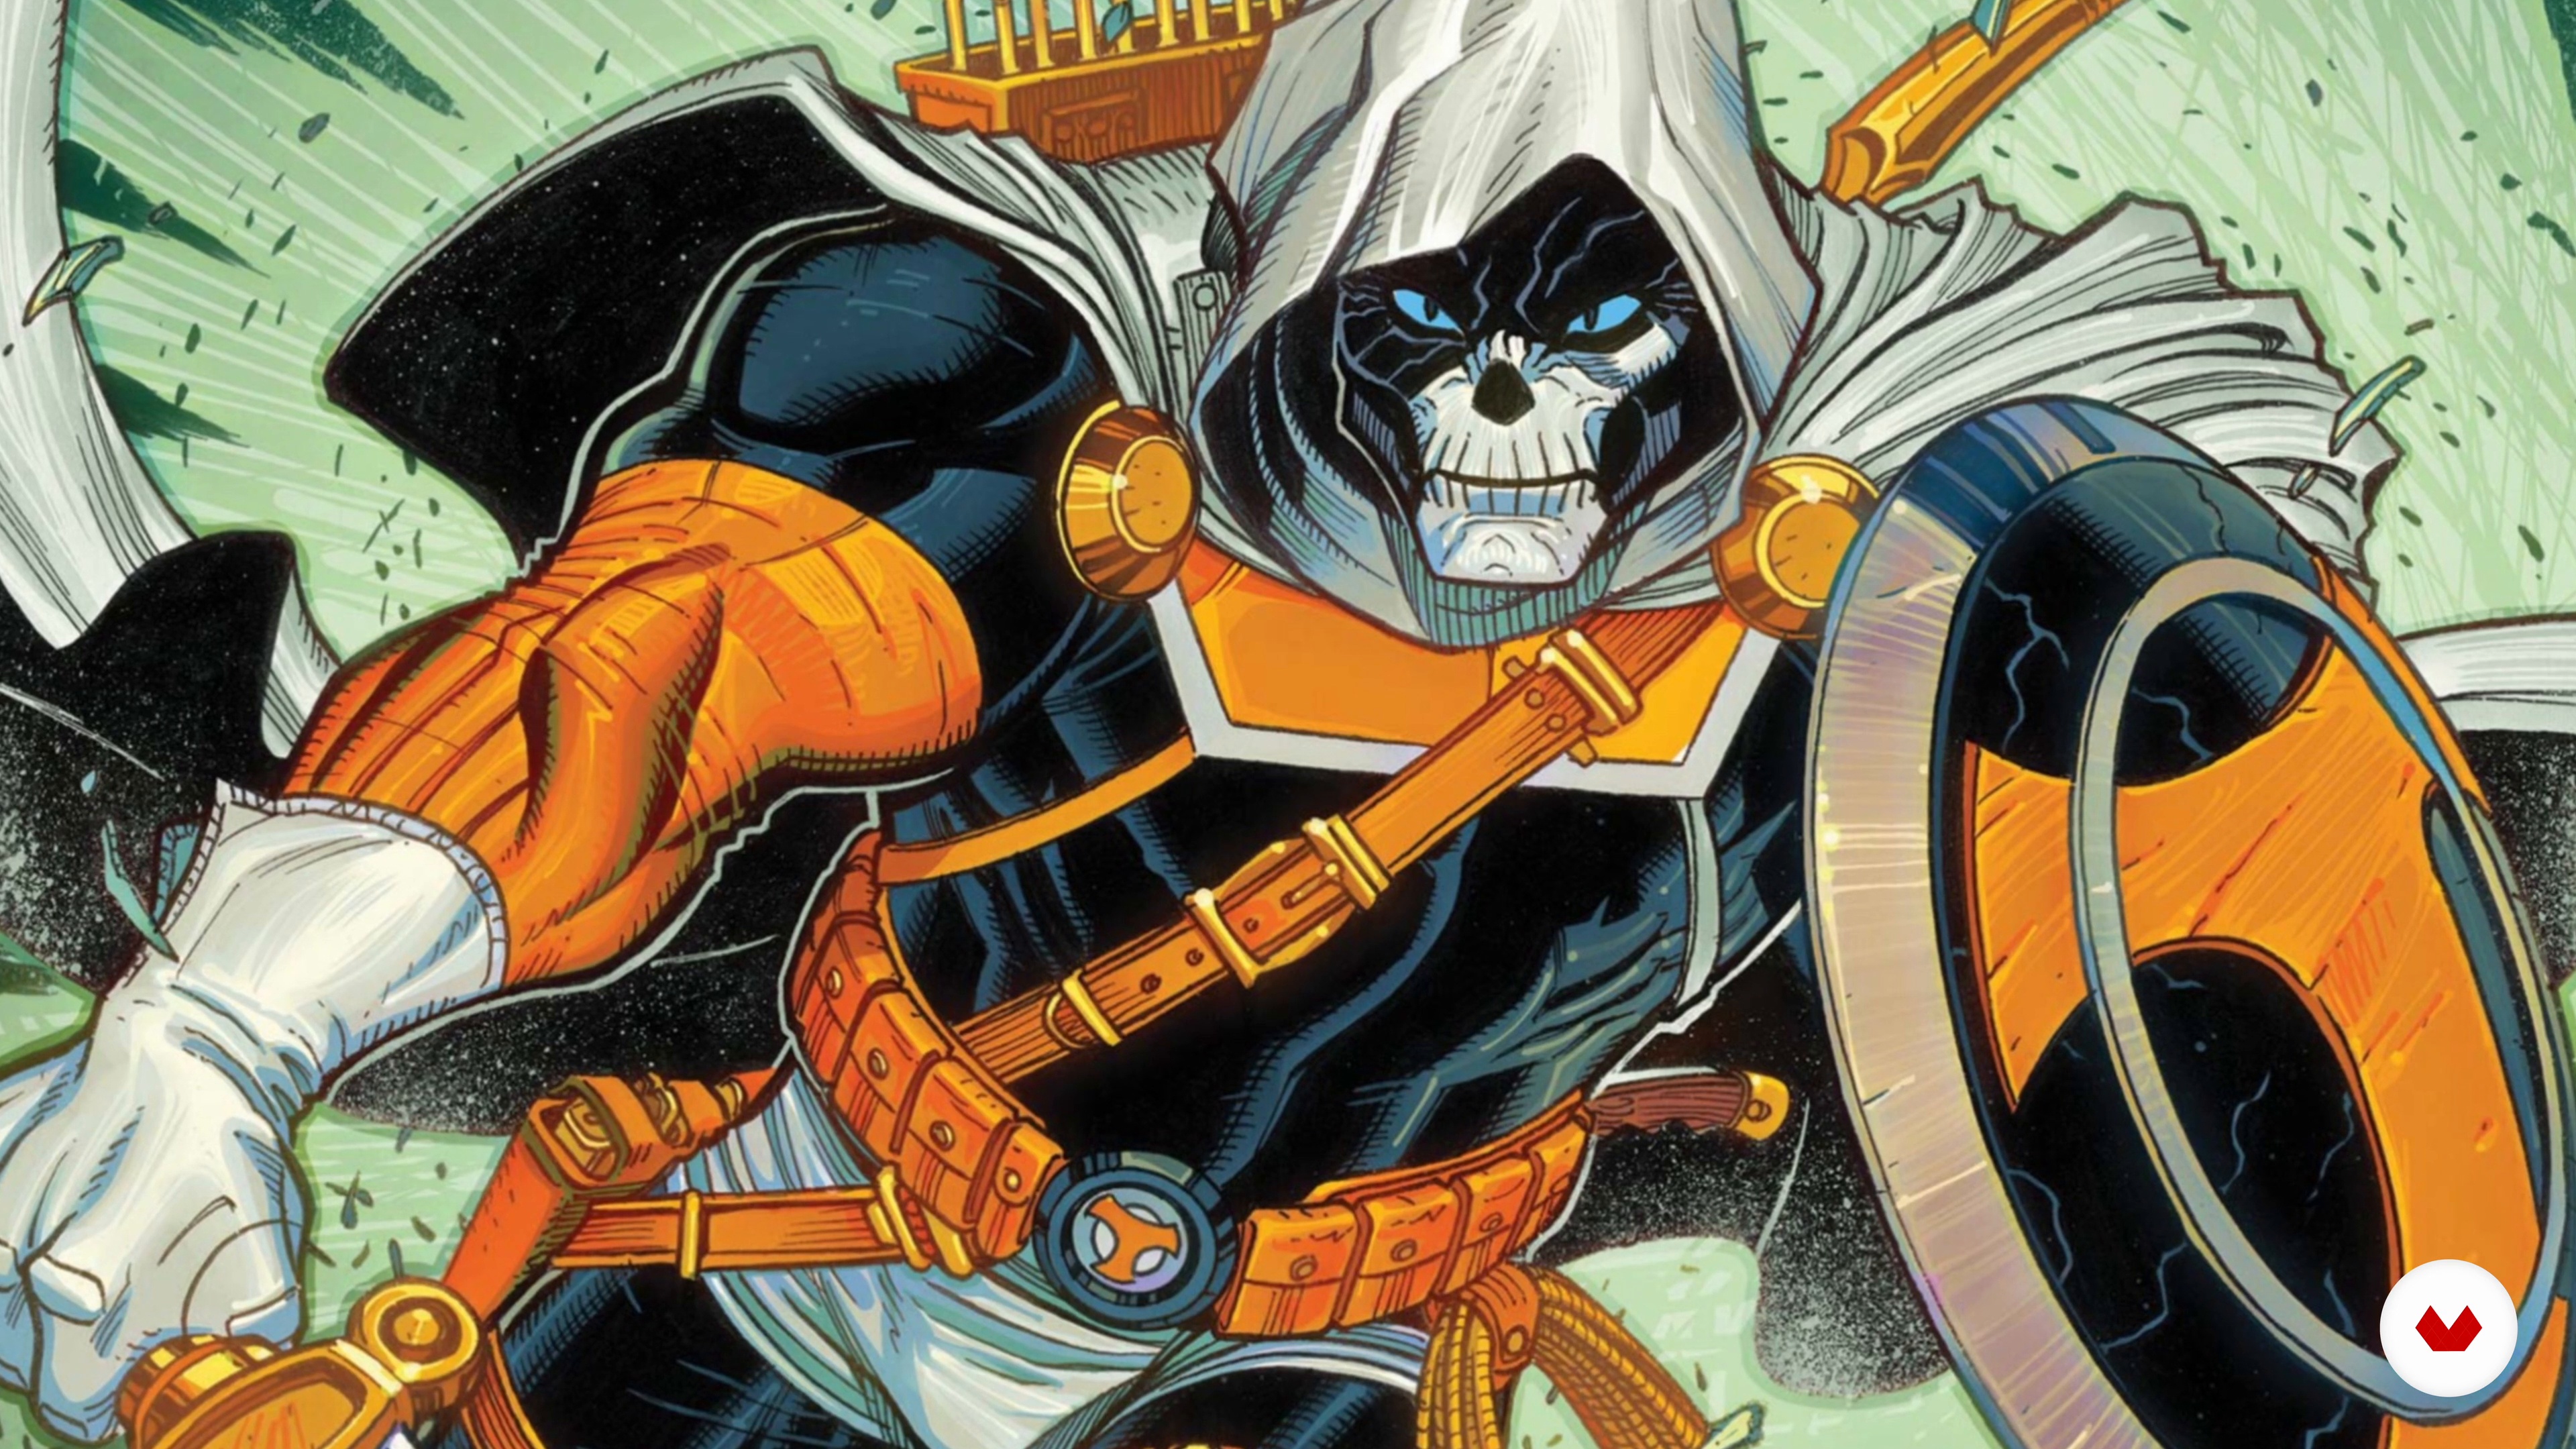
“Where do you get your story ideas from?” is a question I see as almost identical to “Where do you get your oxygen from?” Anywhere you can, my friend! As we're going to create a short comics script together, I’ll share with you my own story idea. You will also learn my own tricks for unleashing creativity.
5m
 2
2Roughing It: The Pages
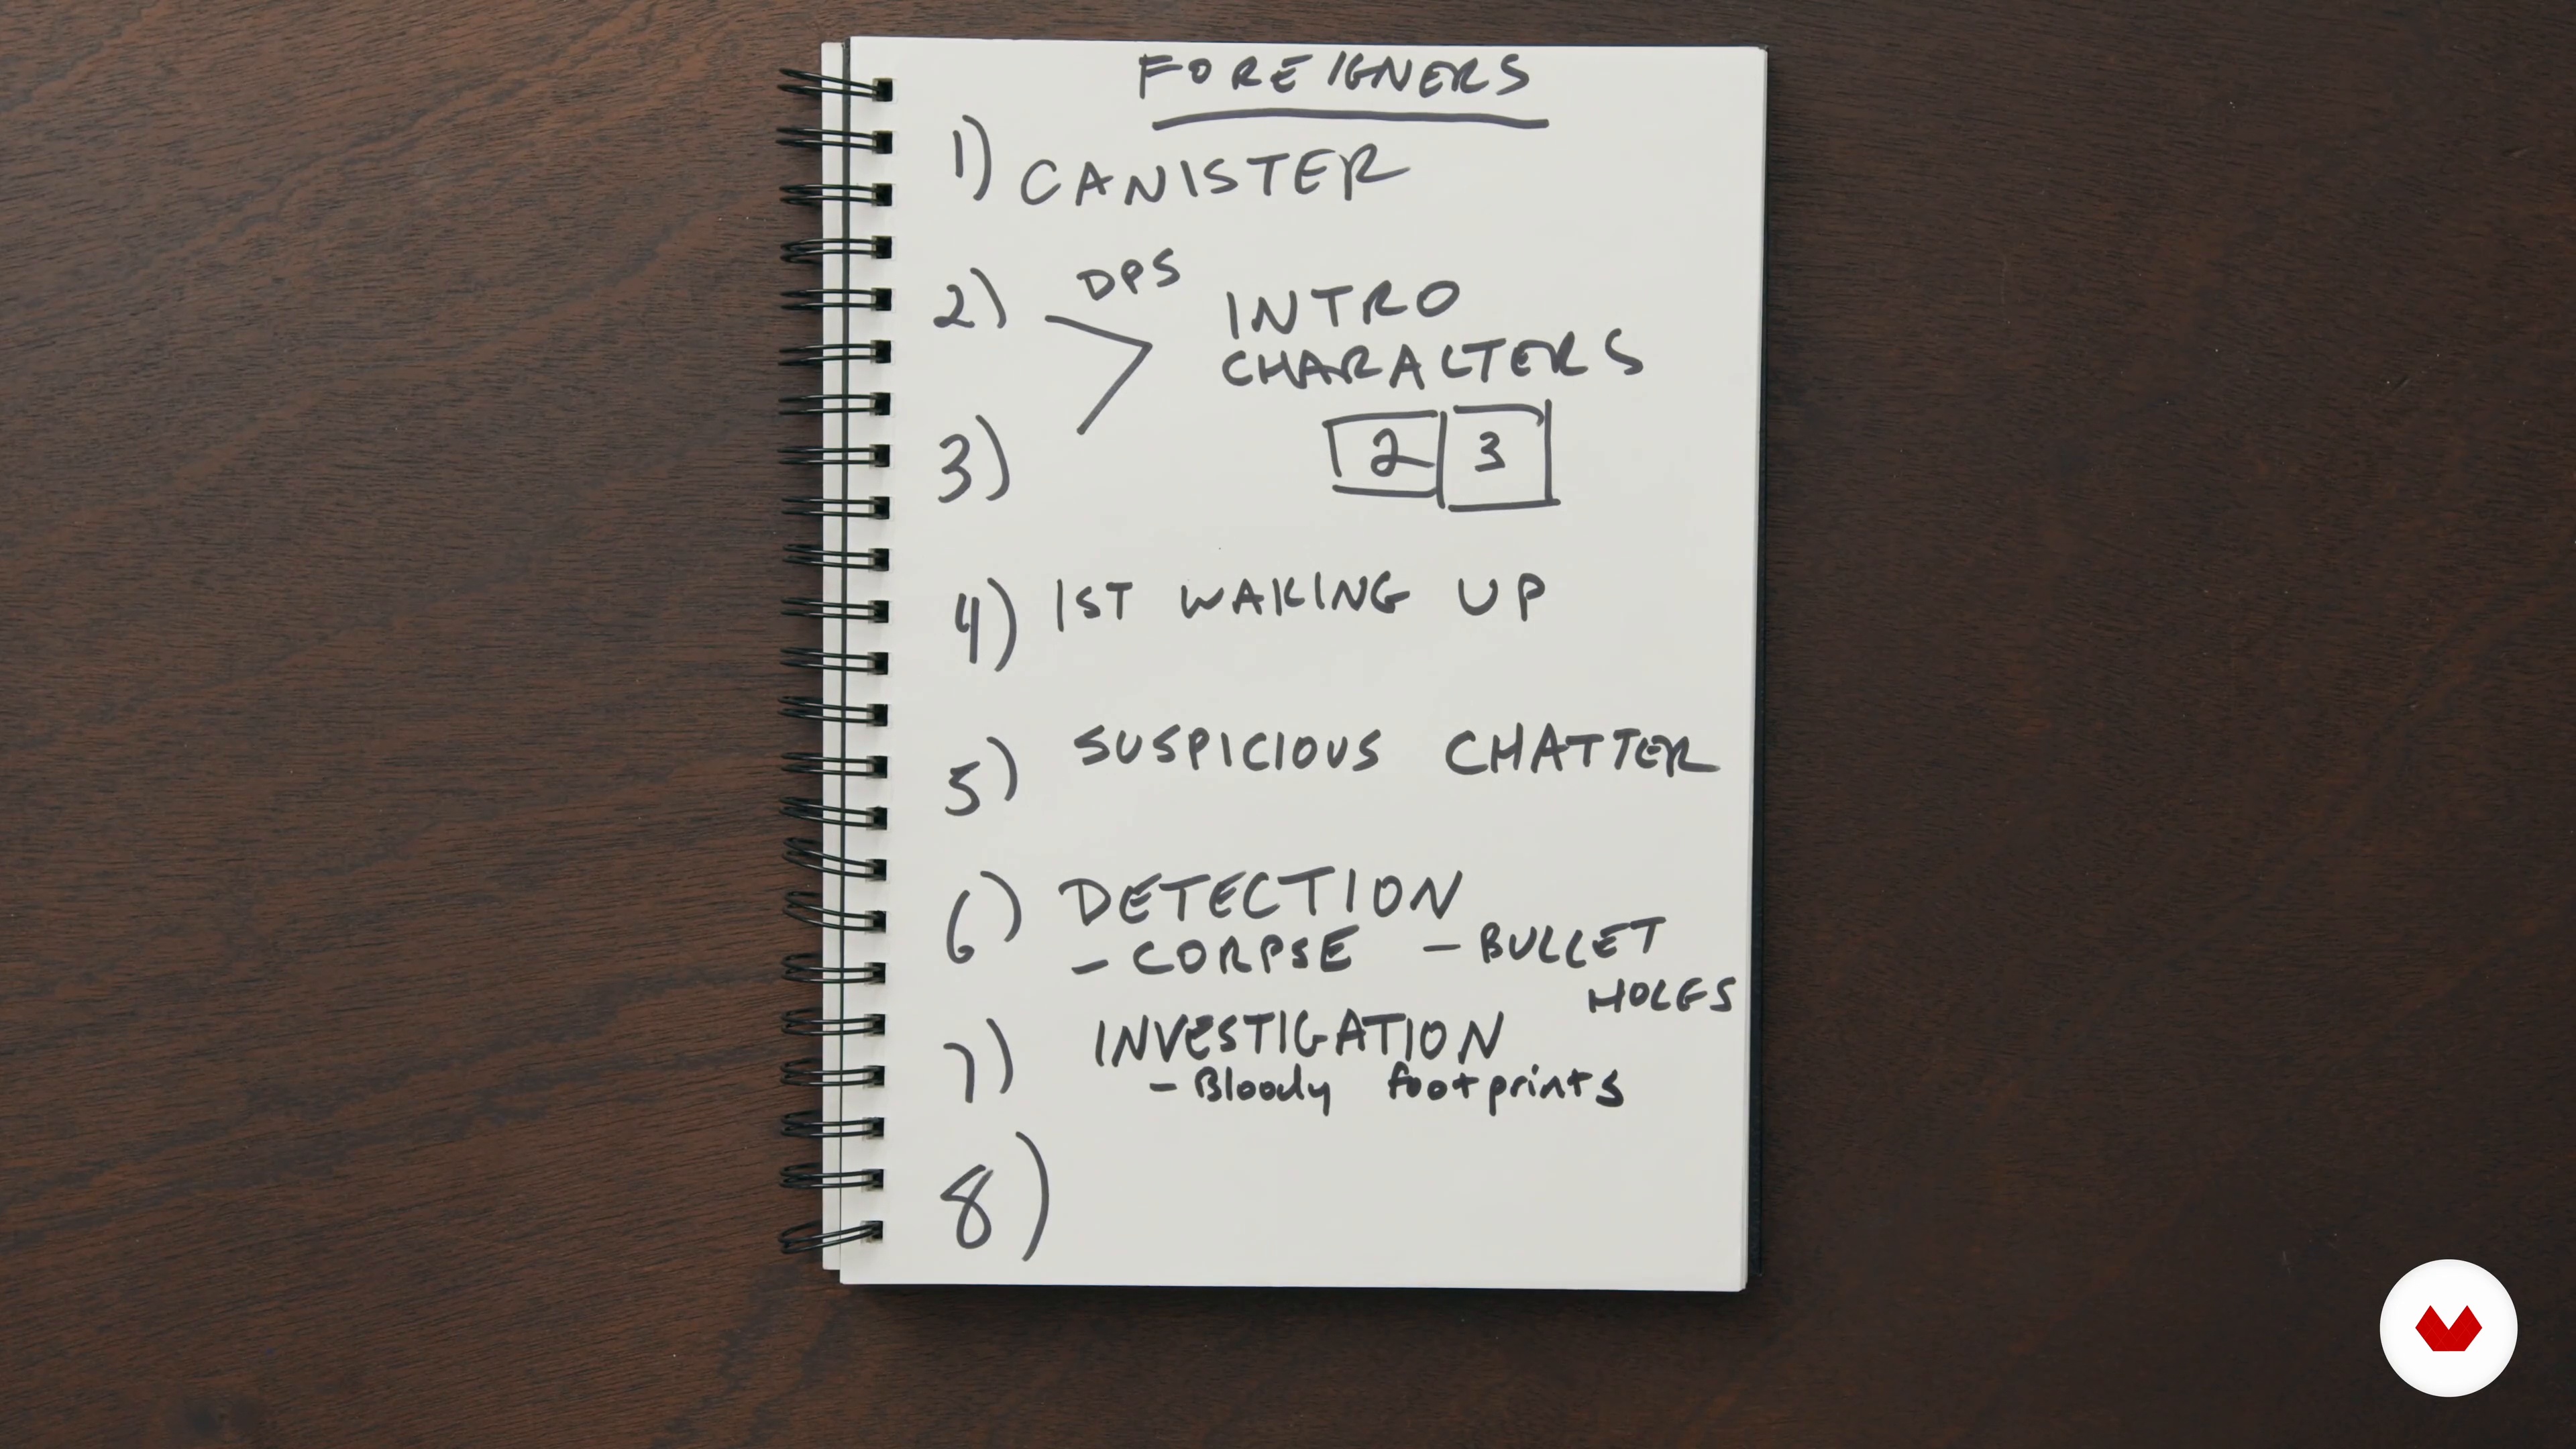
This lesson is all about taking your story idea and fleshing it out in more and more detail until you have a finished comics script. Here, you will create the skeleton or blueprint for your script, something we in the business refer to as a page-by-page breakdown.
7m
 3
3Roughing It: The Scenes
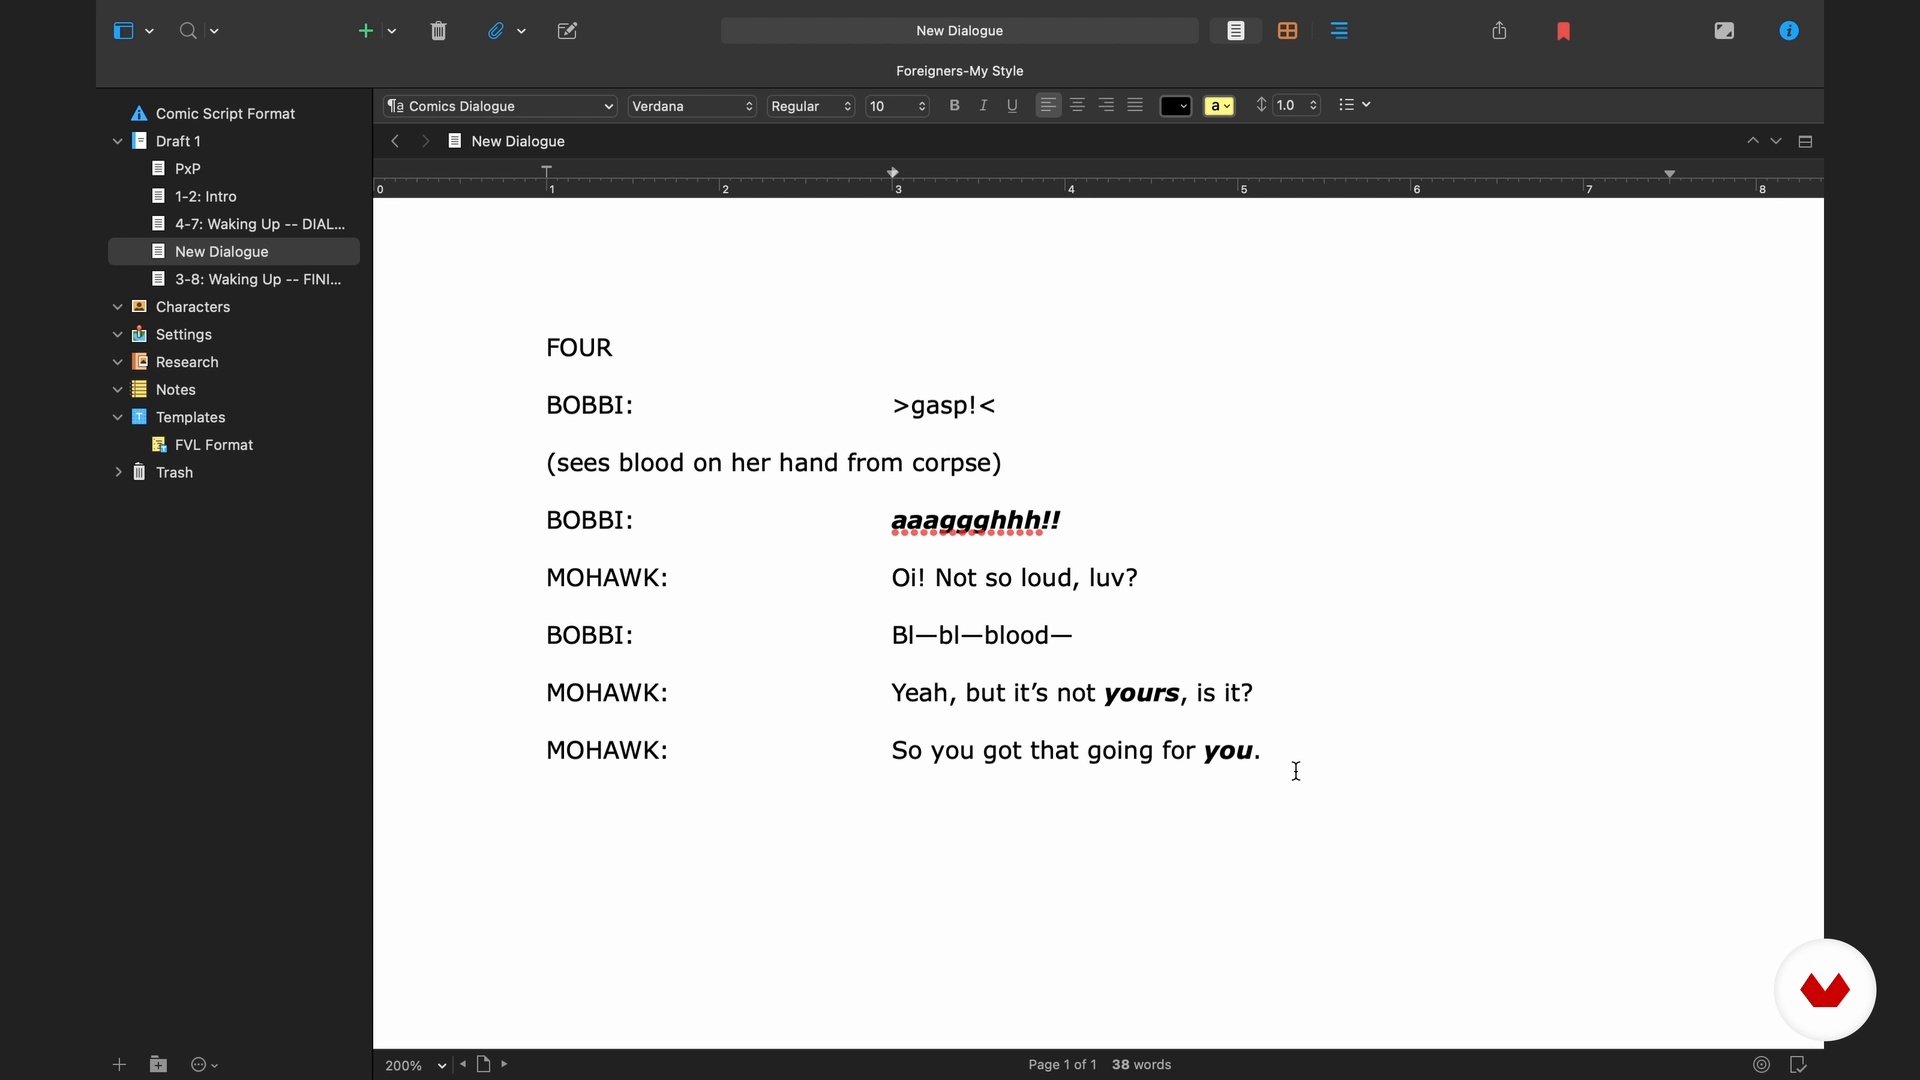
Okay, enough prep! Let's finally get down to the real work of writing: scene work. In this lesson, I will contradict everything I’ve said up to this point by advising you to stop thinking visually at this stage. To find out why, click “Play”!
6m
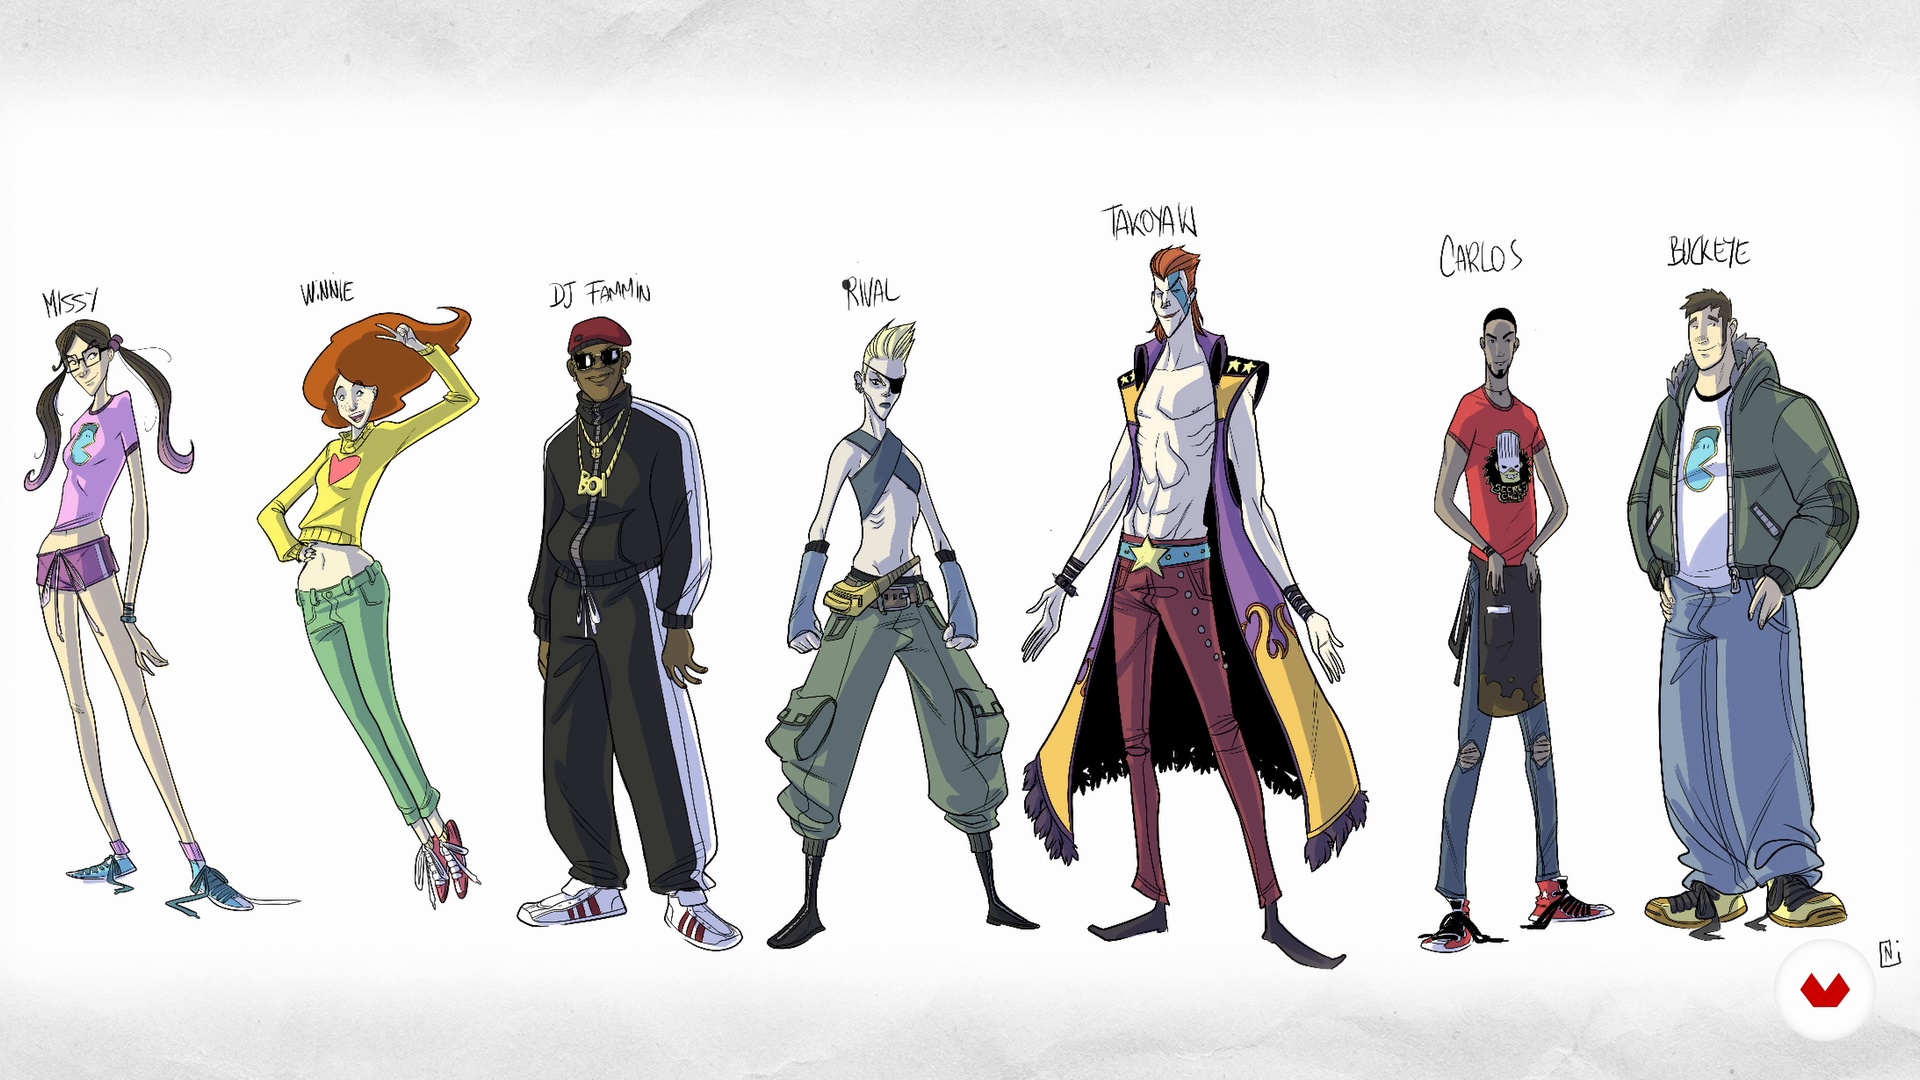 4
4Designing Characters
Believe it or not, this is the most important step in the process. Here I’ll tell you why! You'll also discover why I waited so long to tell you about it.
7m
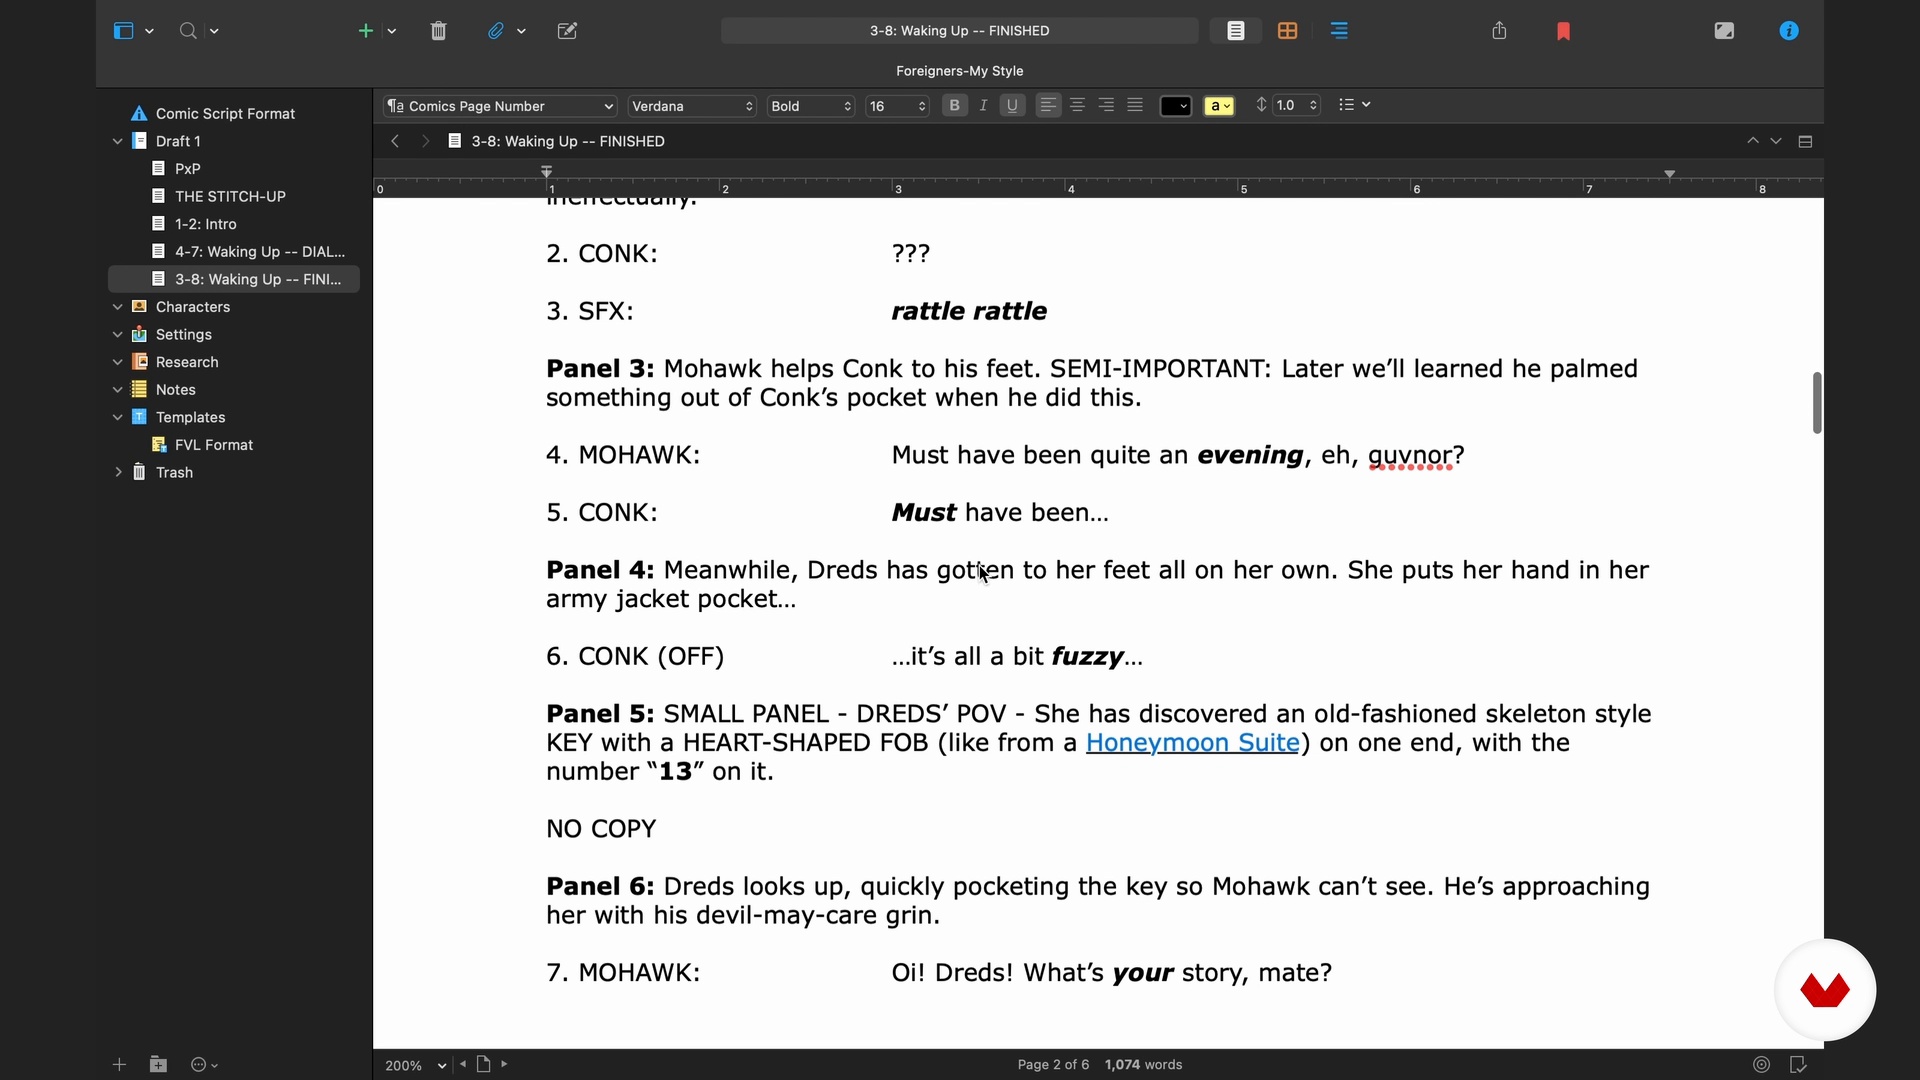 5
5"The Stitch Up"
Up to now, everything has just been practice and rehearsal. Next, it’s time to add scene descriptions to your dialogue and have yourself a finished comic script.
9m
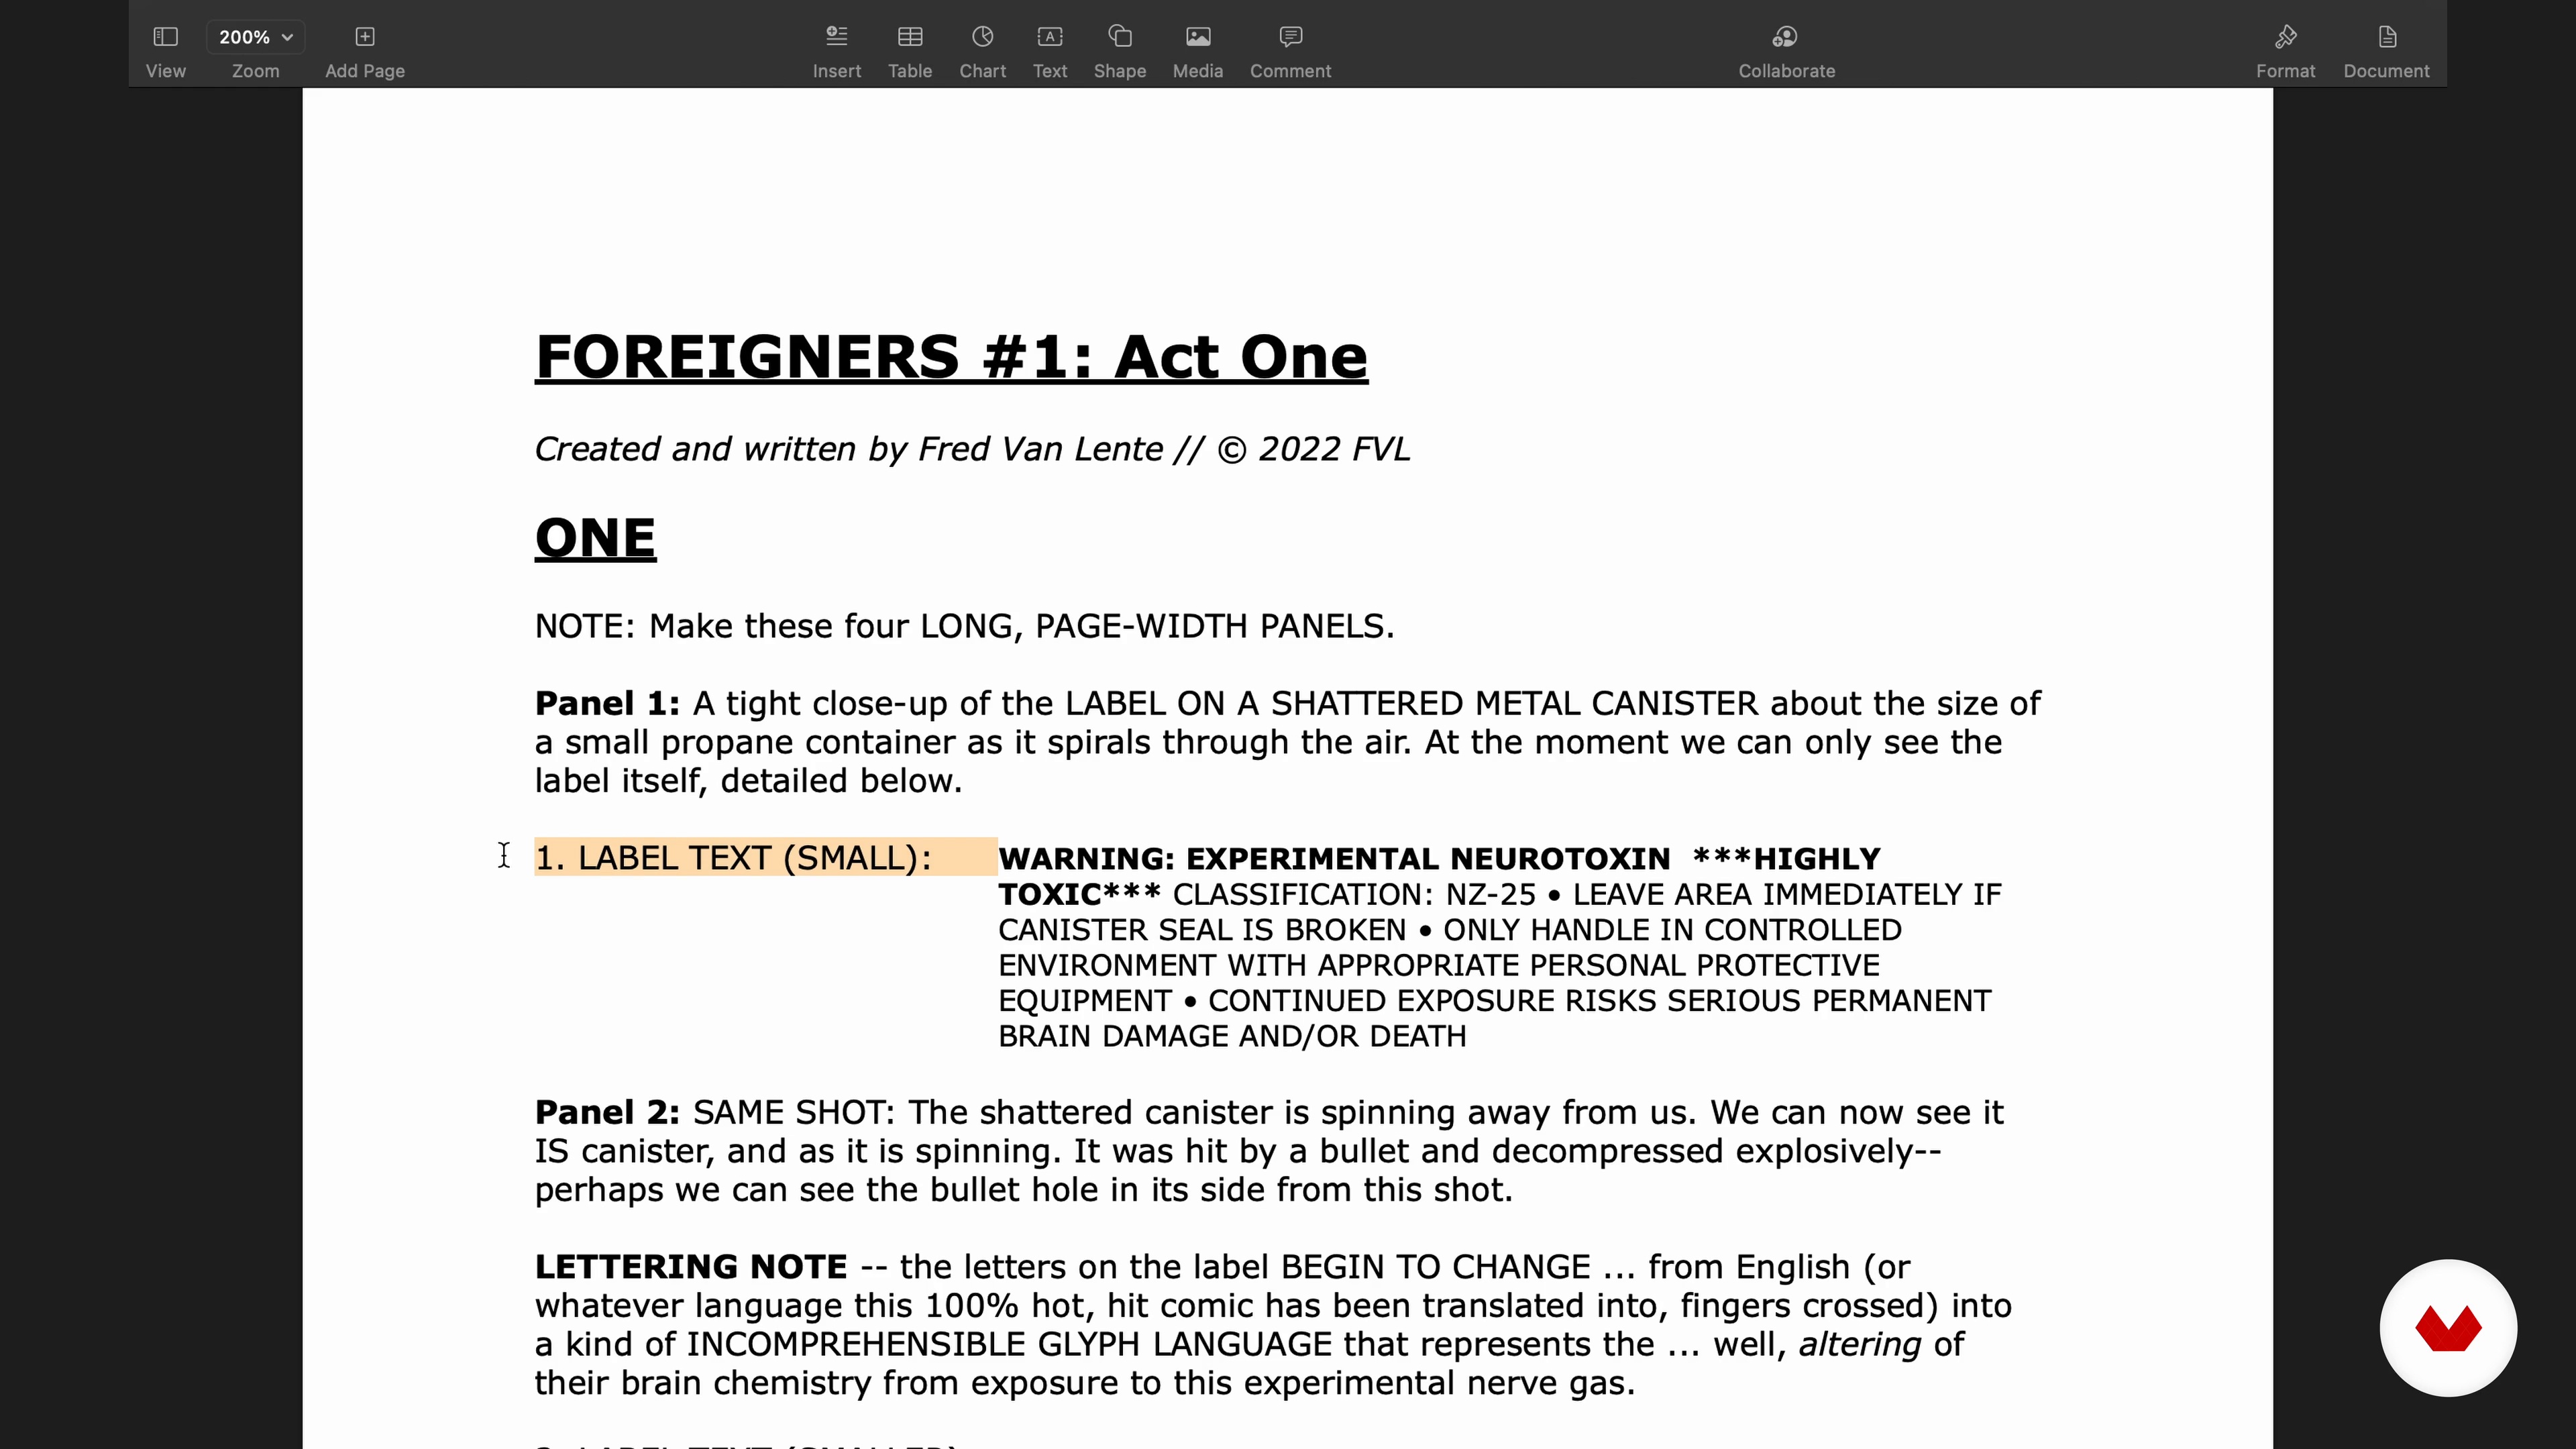 6
6The Anatomy of a Script
I didn’t want to get bogged down in script formatting in the previous unit. It’s much more important to get your words down on paper. That said, I will now recommend a script format that I’ve developed that you might want to go ahead and convert your script into before sending it into the world. Here’s why.
5m
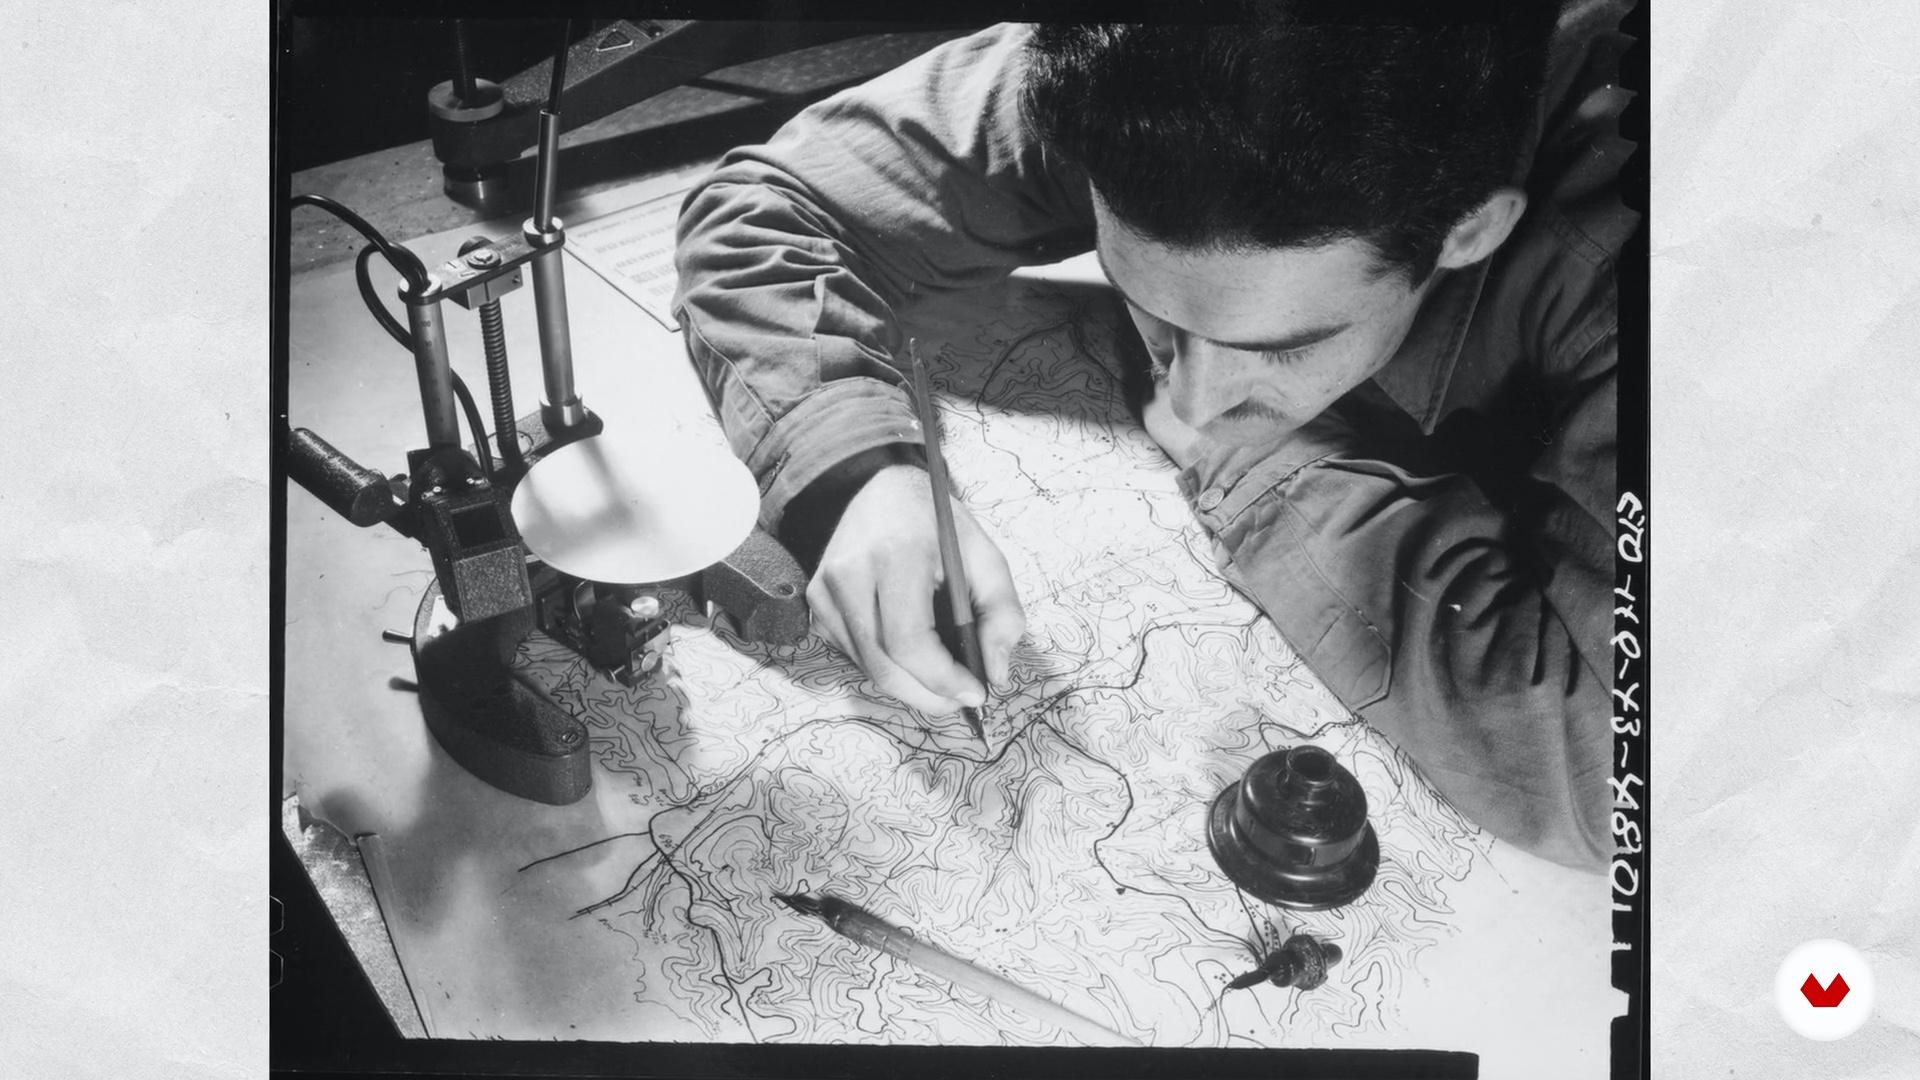 7
7Assembling the Team
Unless you are planning on drawing, coloring, and lettering the entire comic you’ve written by yourself, you will need to assemble a team of collaborators to work together to bring your script to life. Here we’ll discuss how to find those folks and how to treat them right once you do.
4m
 8
8Now What?
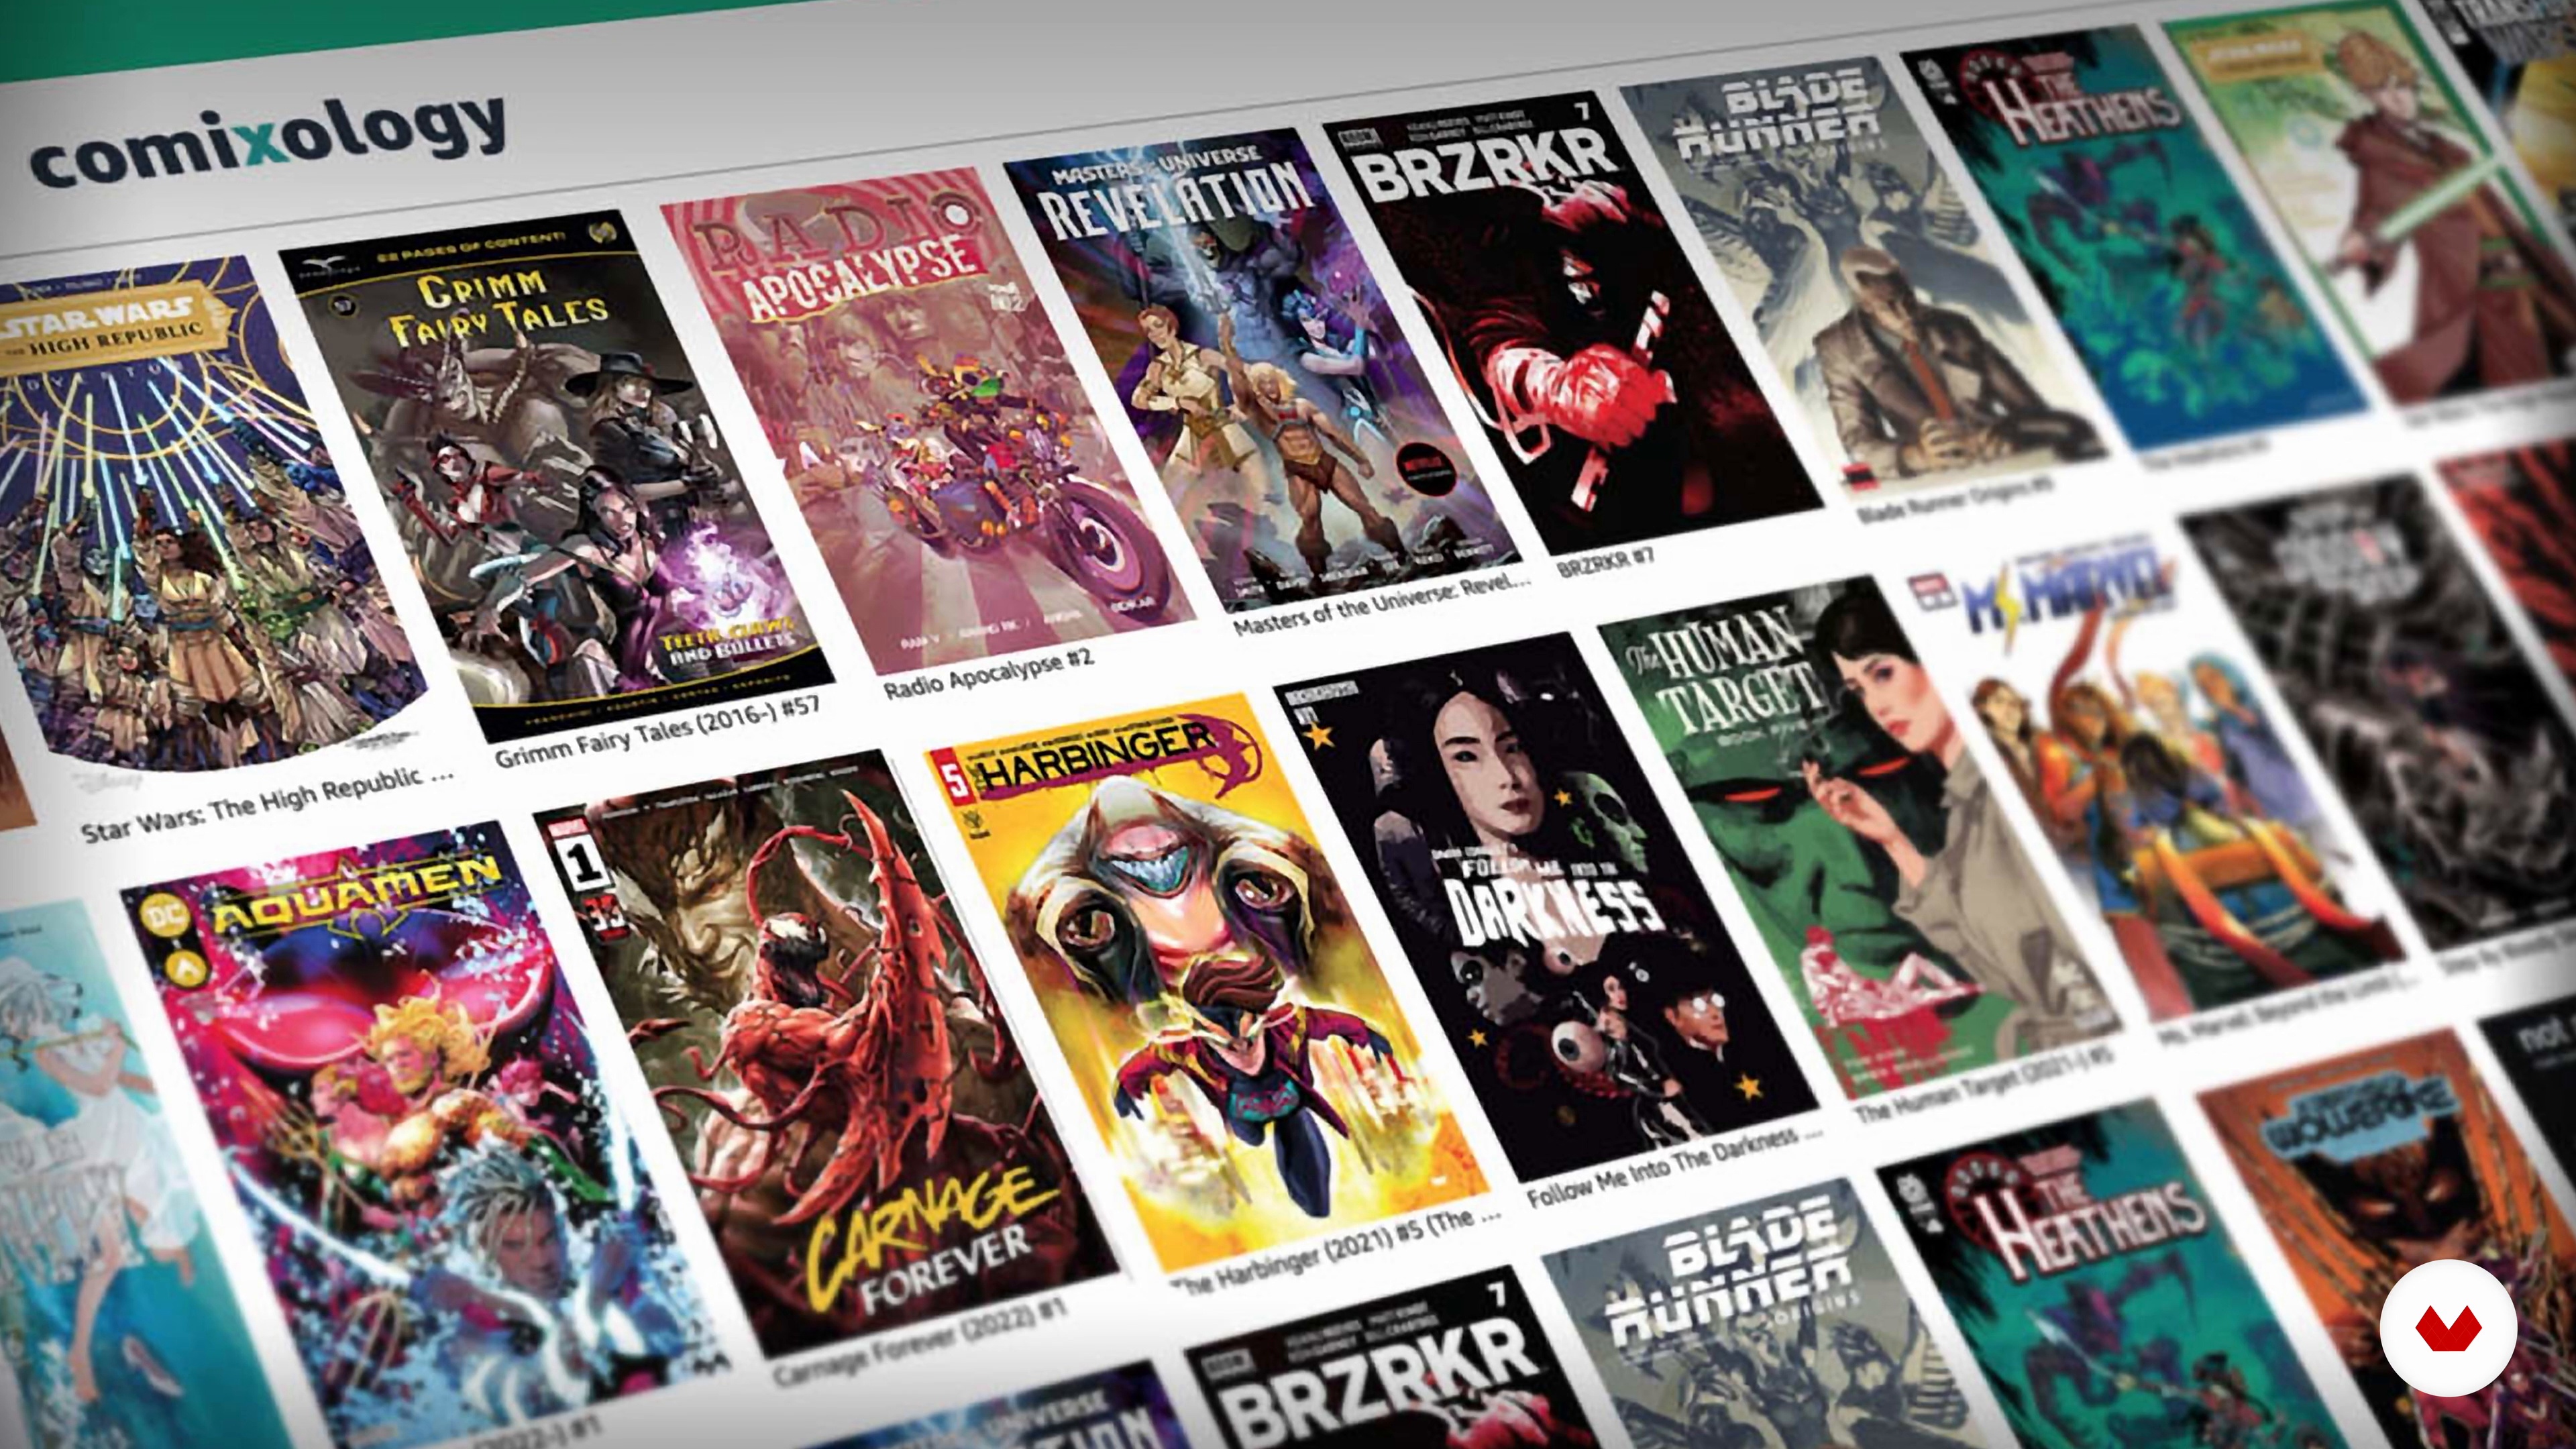
If you created your script solely for your own personal amusement, feel free to stop the course here. But if you’d like it to be experienced by others, go ahead and watch this lesson!
3m
 1
1Materials
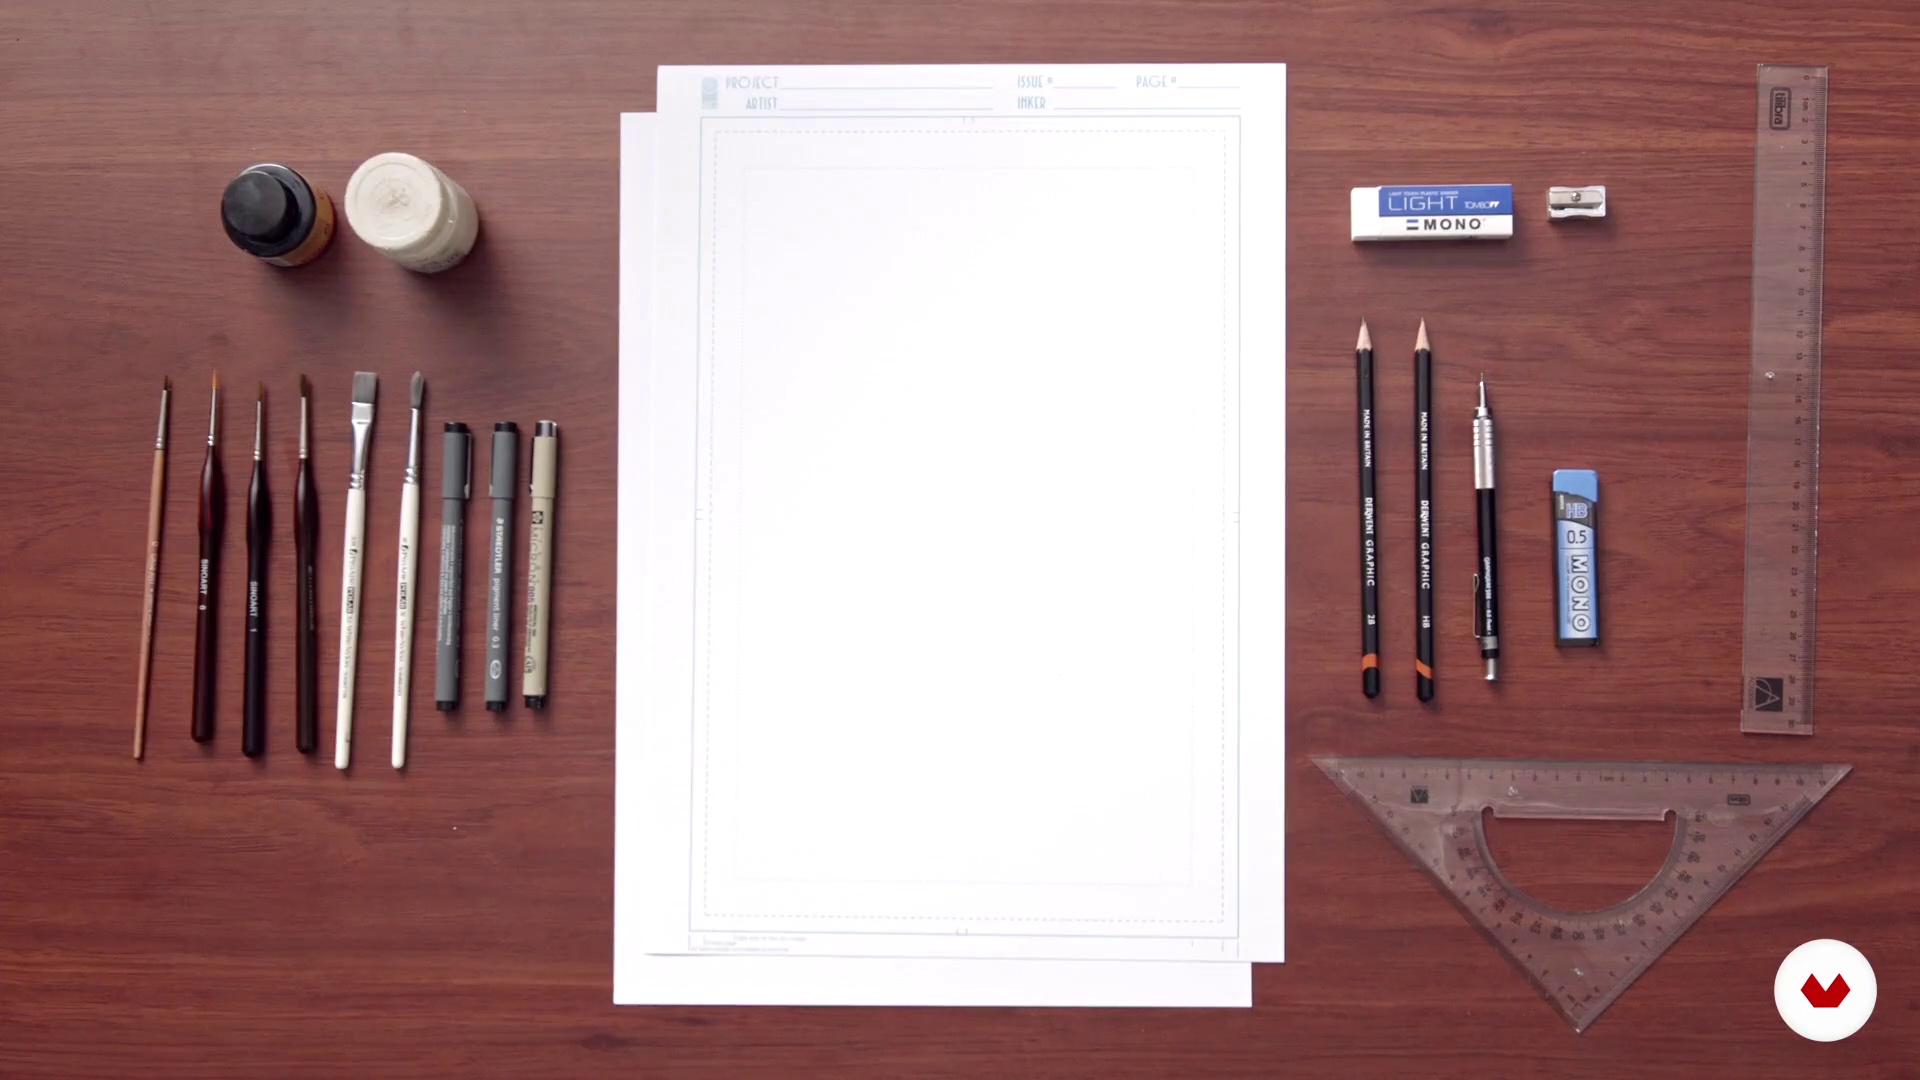
In this lesson, I’m going to show you all the materials I use in the elaboration of my comic book pages.
3m
 2
2Elements of a Comic Book Page
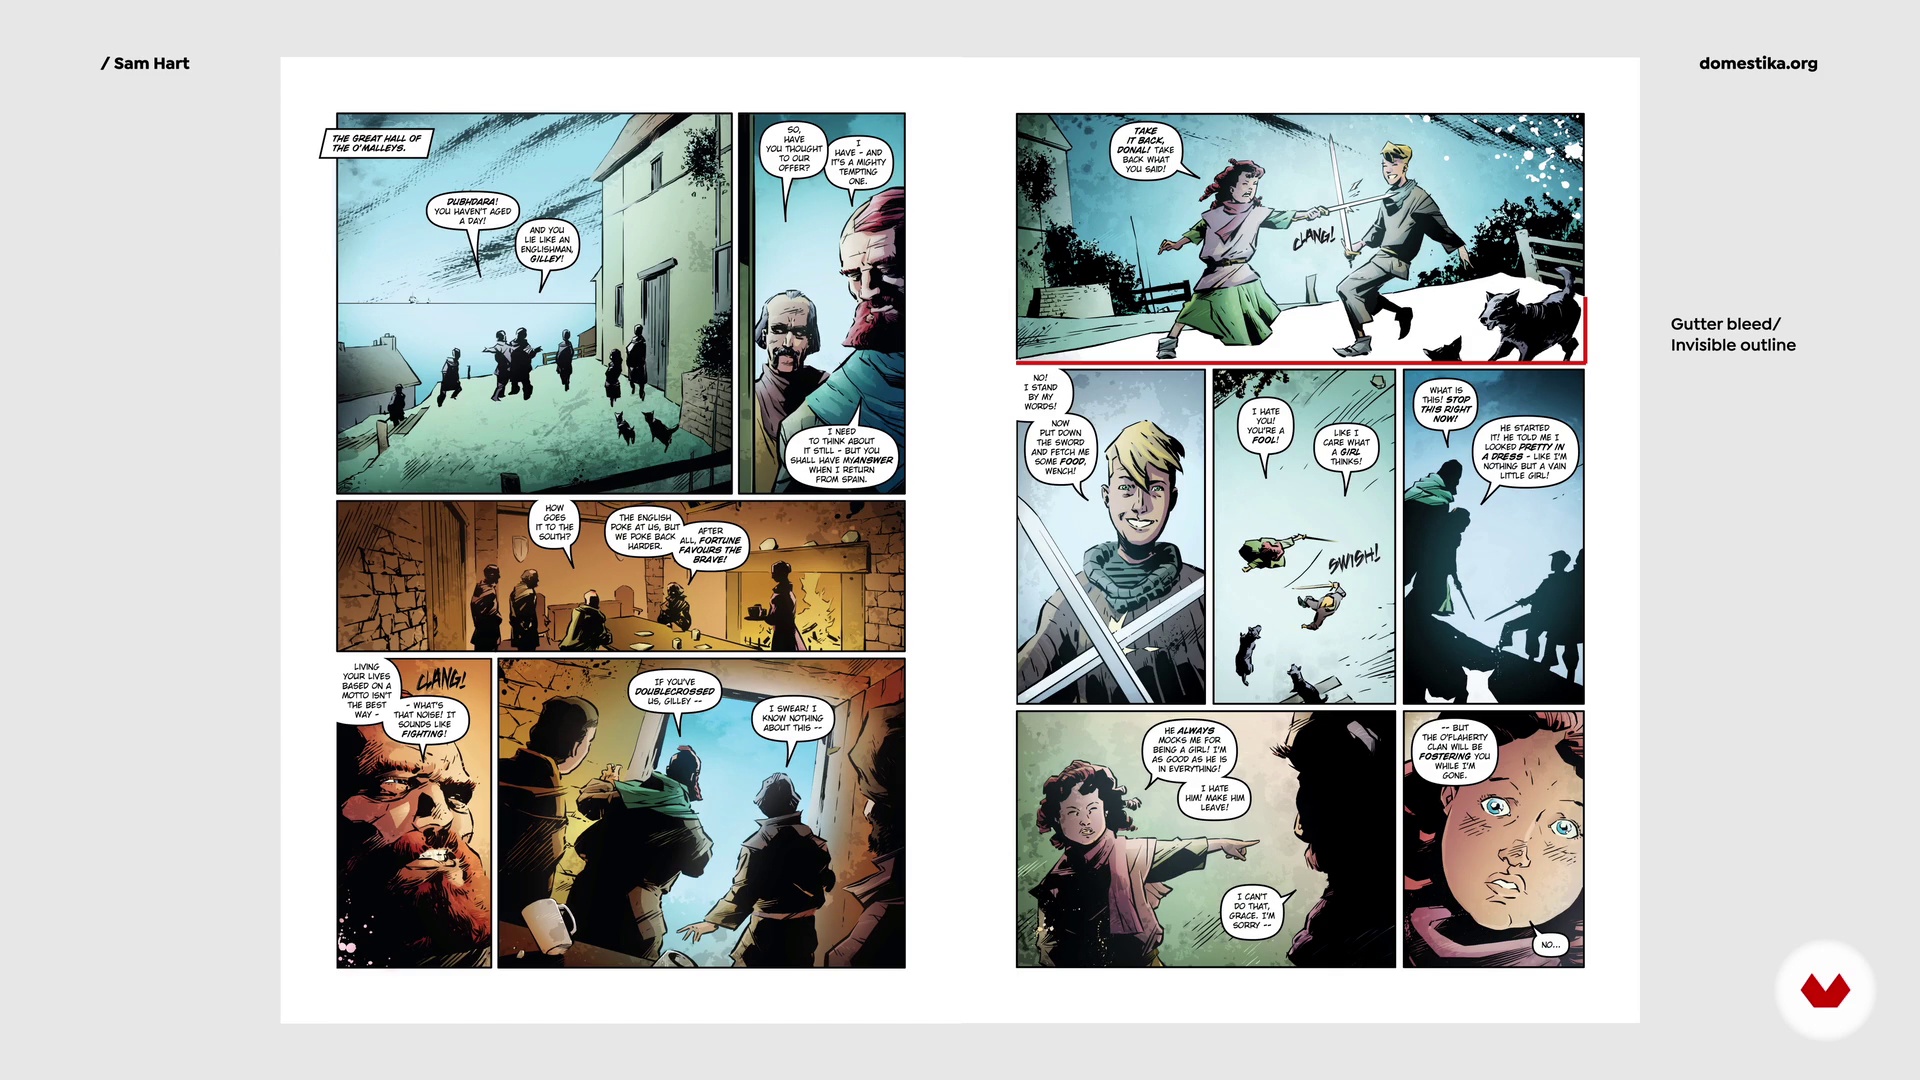
I will now teach you the names and explain basic concepts of everything we can see on a page when we open a comic book.
5m
 3
3Sequential Narrative
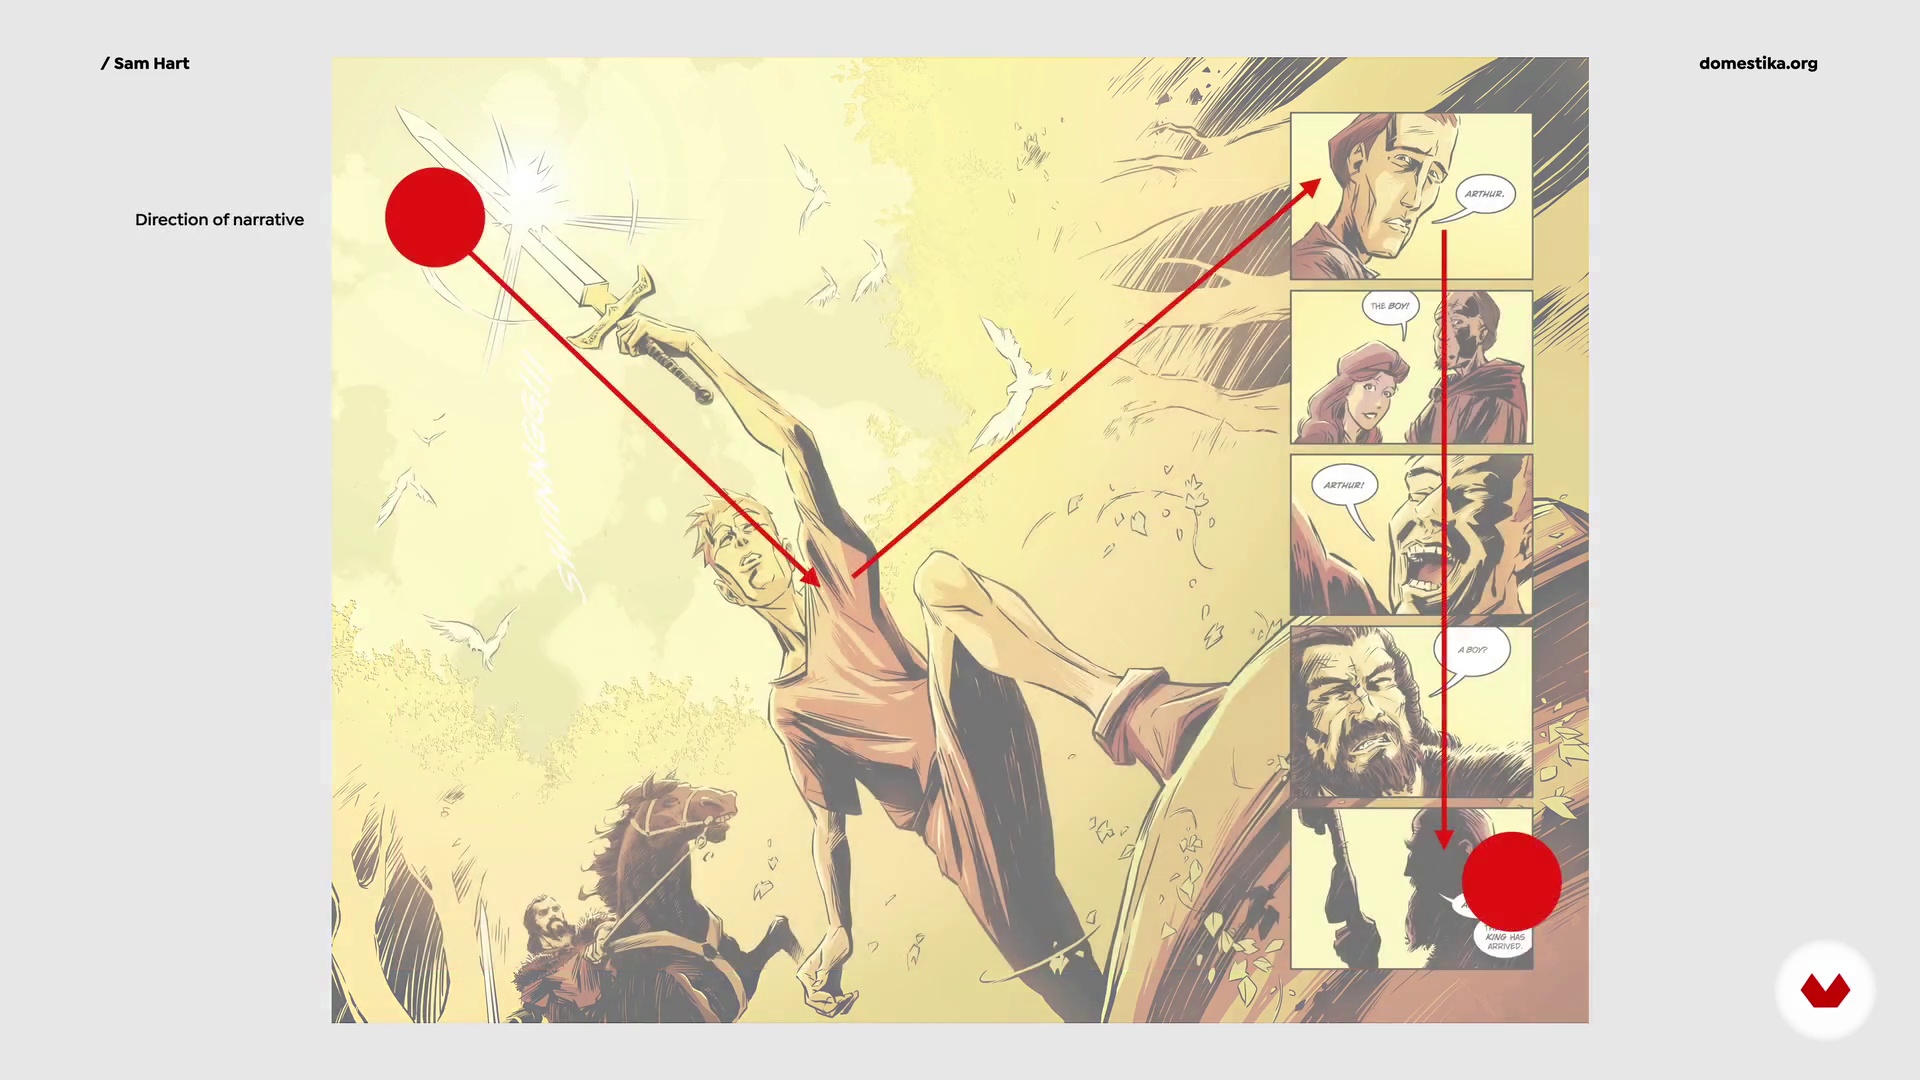
Now I will show you some more complex narrative elements of sequential art. Some are formed by previous concepts grouped together, such as having many panels in a sequence, and some are intrinsic to the physical nature of the medium.
8m
 4
4Setting the Story
In this lesson, I will show you how understanding the underlying themes and important moments in your story will help translate it into comic book script form.
11m
 5
5Layout
I will explain how the first drawings of the page are always very loose sketches, exploring options, changing panel and character sizes until you can happily settle on a functional layout. It is often, paradoxically, the fastest and also most exhaustive process in graphic storytelling.
16m
 6
6First Drawings
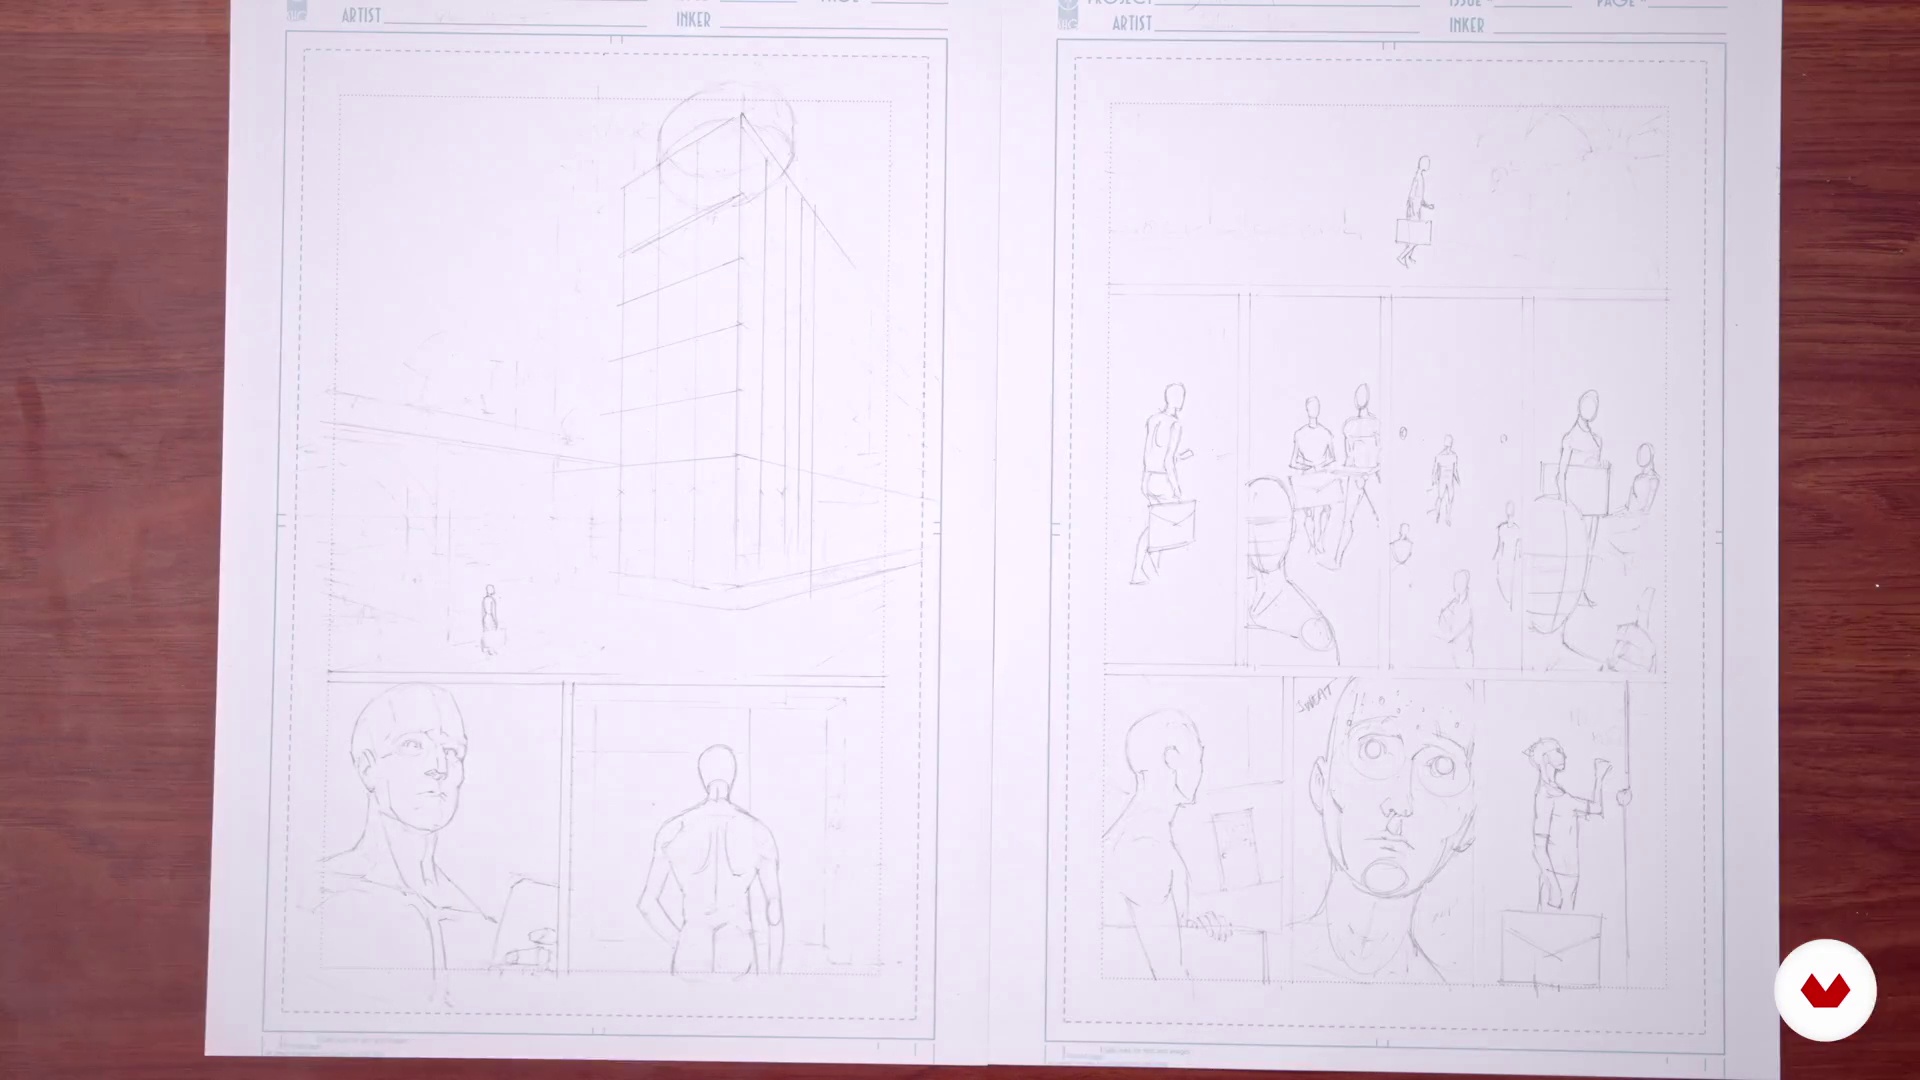
In this lesson. I will show the first two pages taking form as I detail the anatomy and background elements.
14m
 7
7The Big Picture
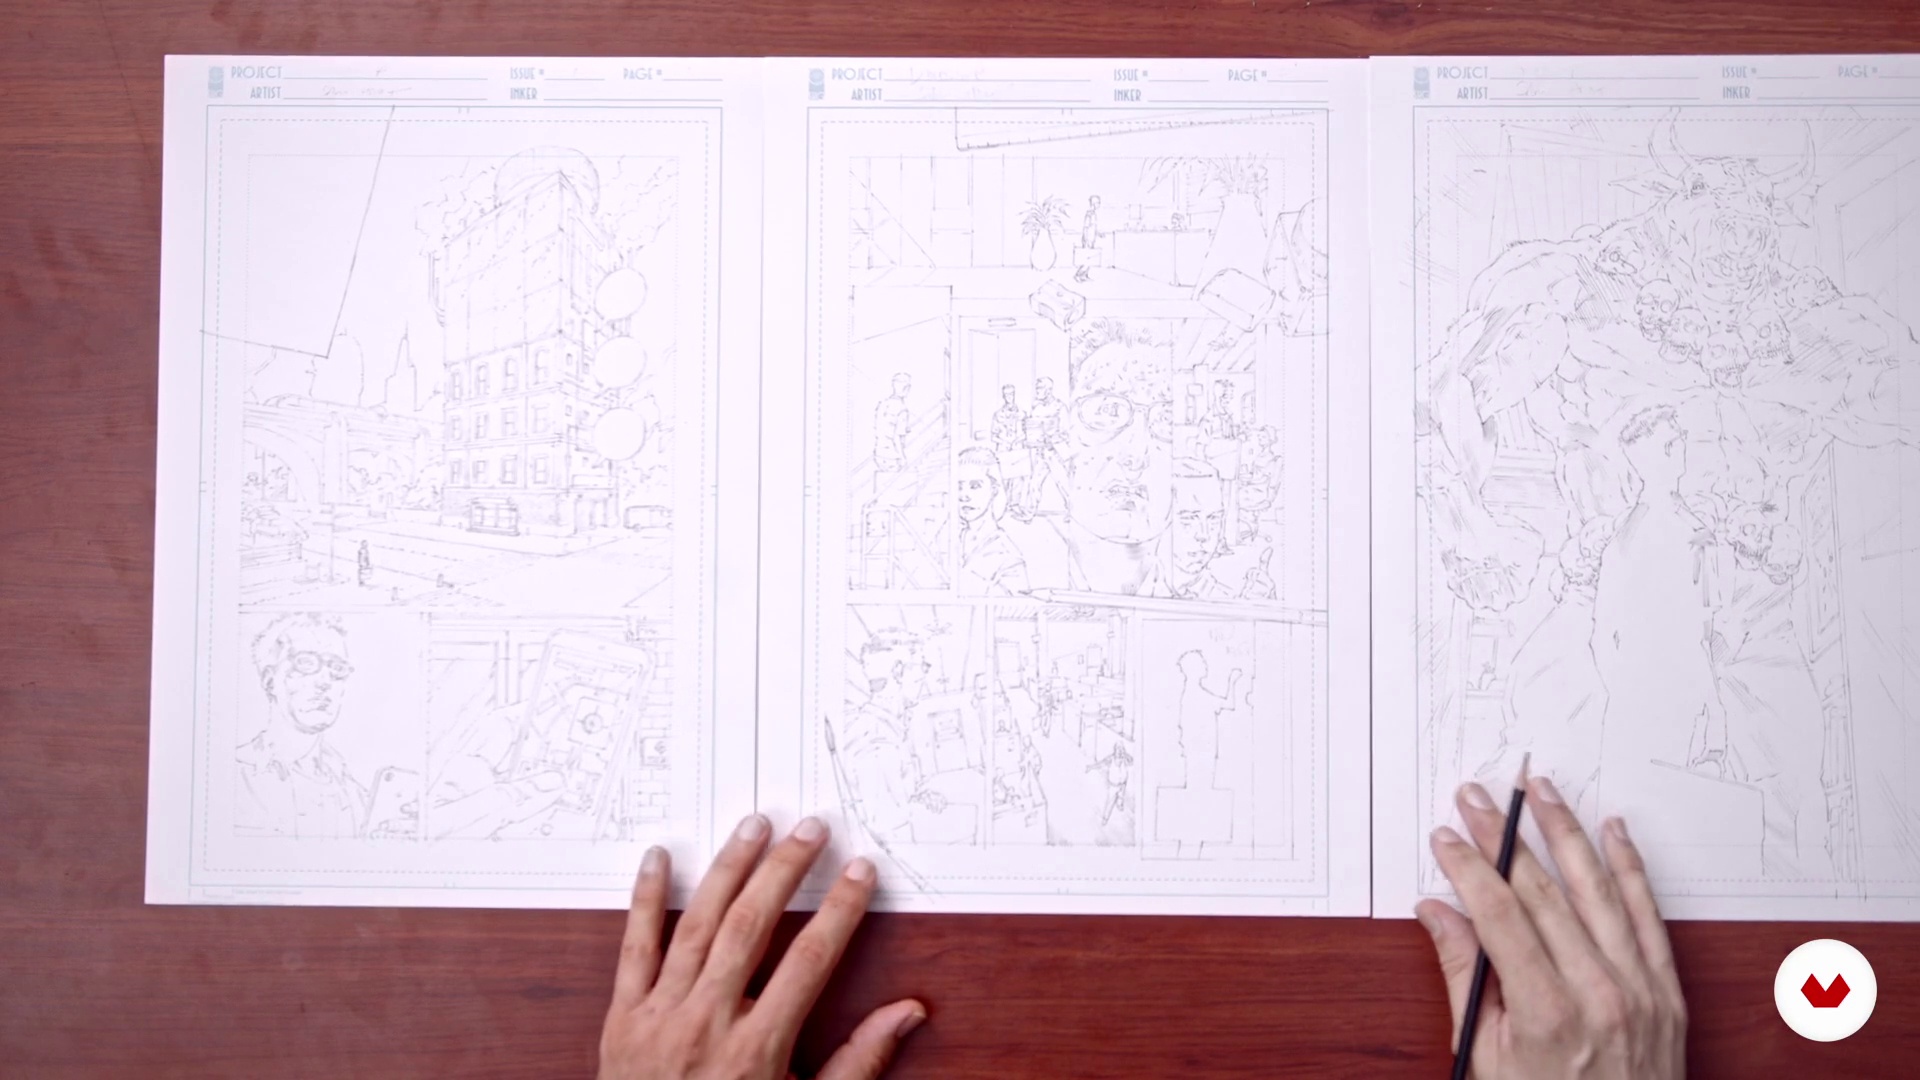
Now I will finalize the pencil artwork for the third page and tell you more about the page turn and splash pages.
11m
 8
8Real Estate of the Page
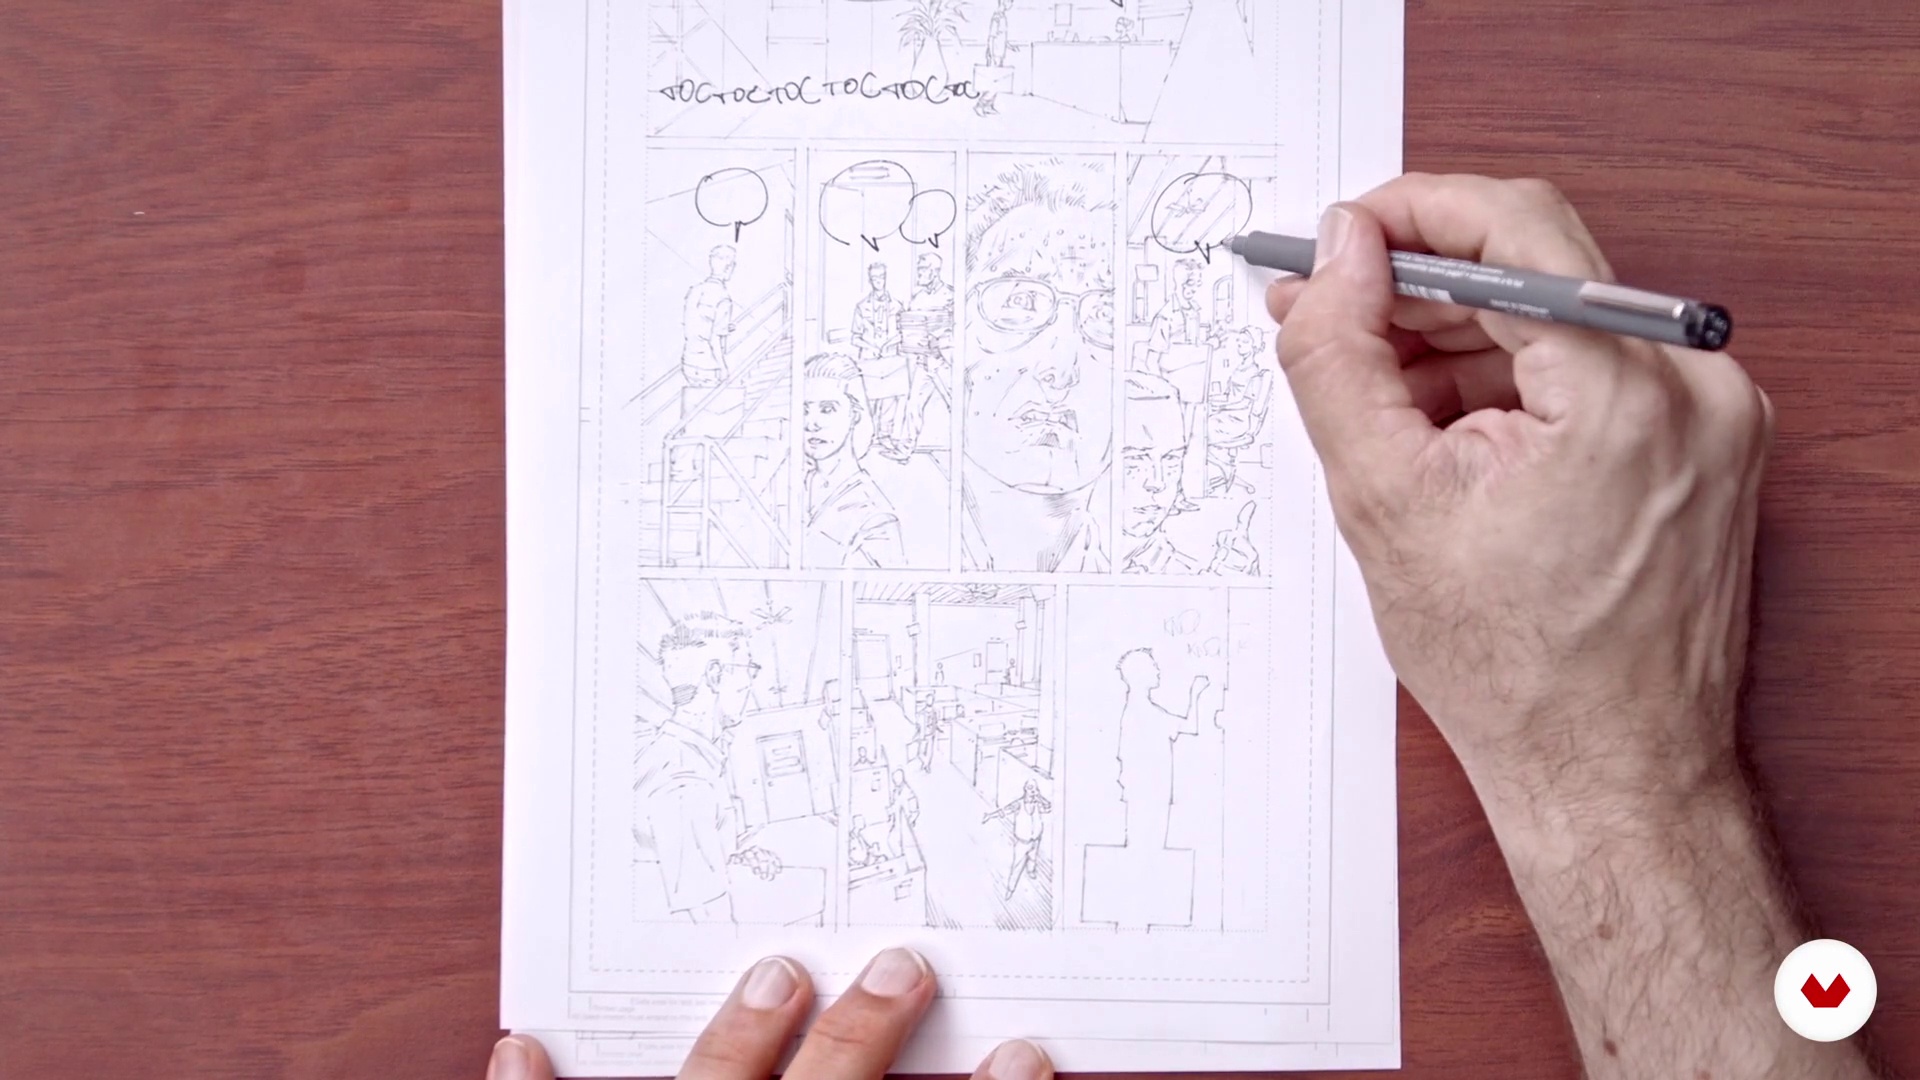
In this lesson, I will make some last important considerations about the pages while still in pencil form that will help the story flow.
5m
 9
9Inking
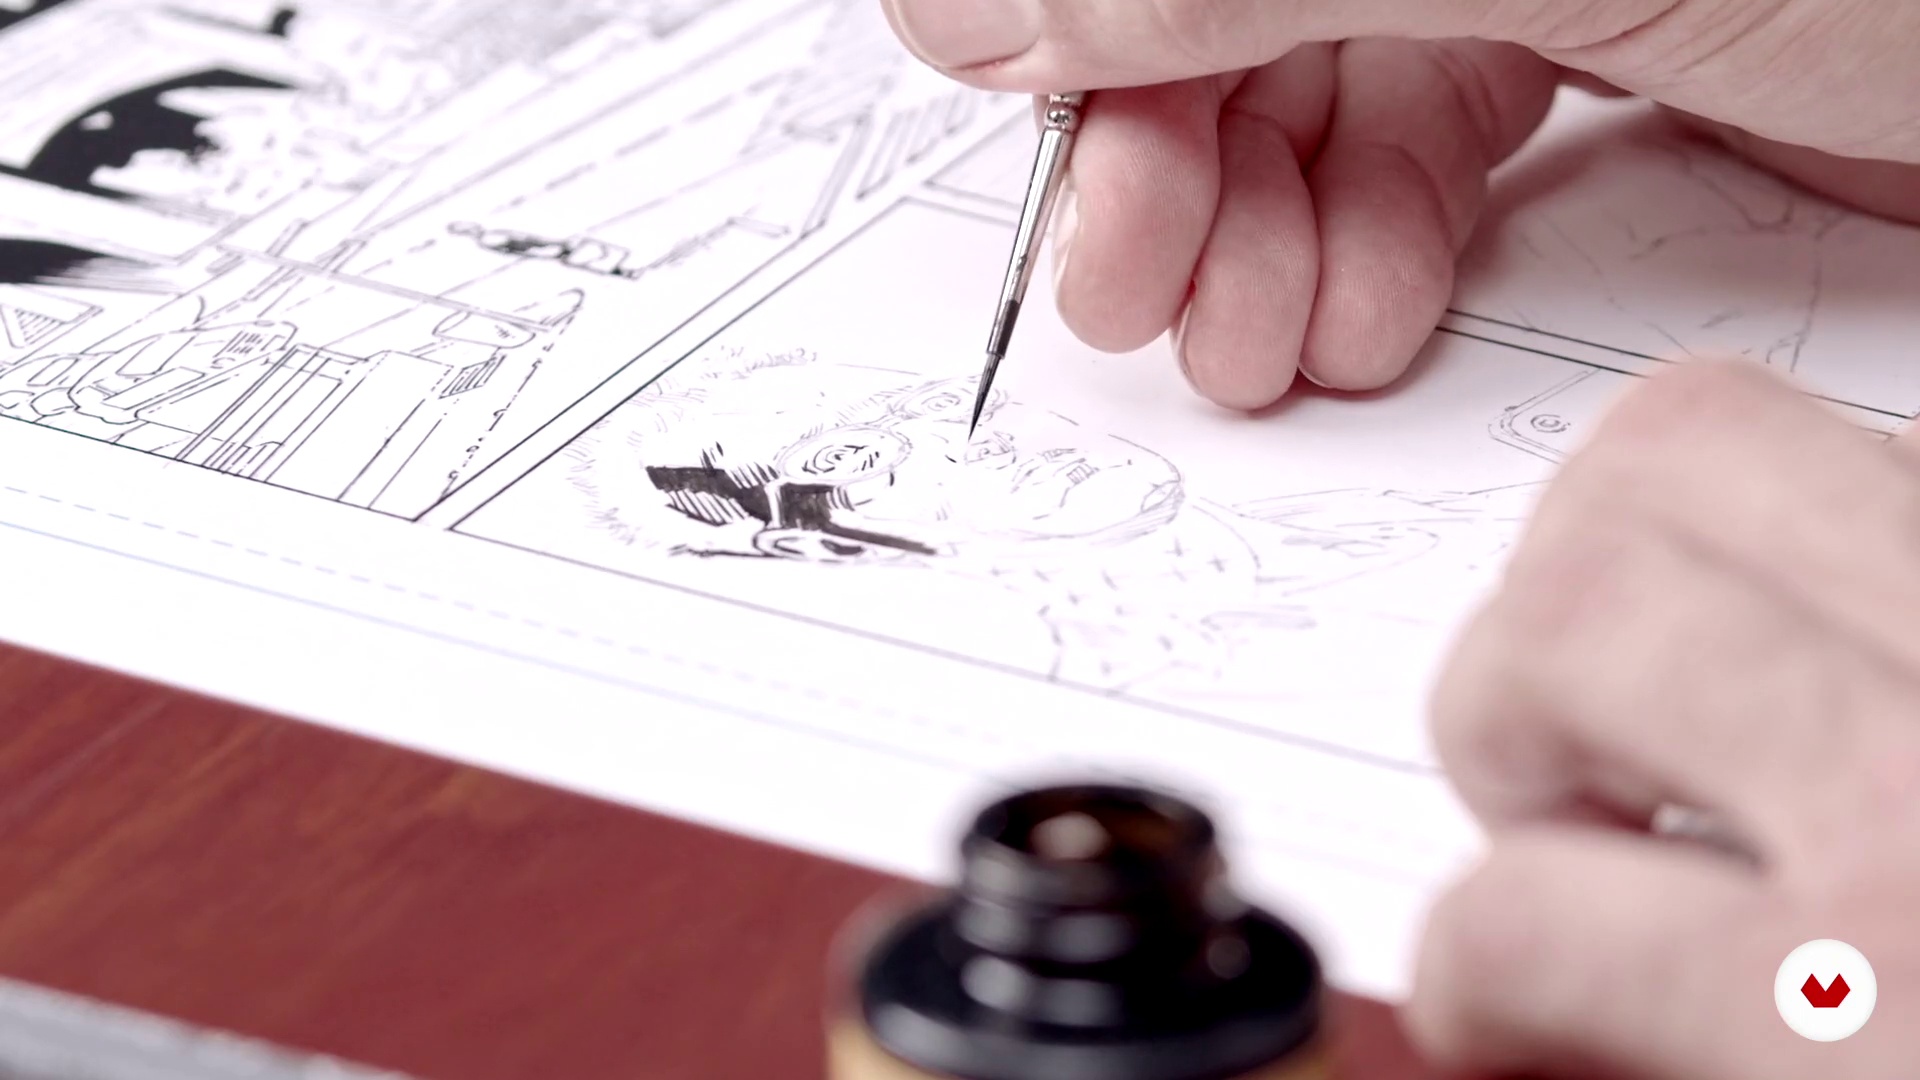
Now I will show you how to put the finishing touches to your artwork, working on contrast, light direction, and texture.
19m
1Materials
First, I will introduce what comics are and why they’re one of the tools of choice for storytelling. Then, you will see all the different equipment I use for drawing.
10m
 2
2Perspective as a Tool
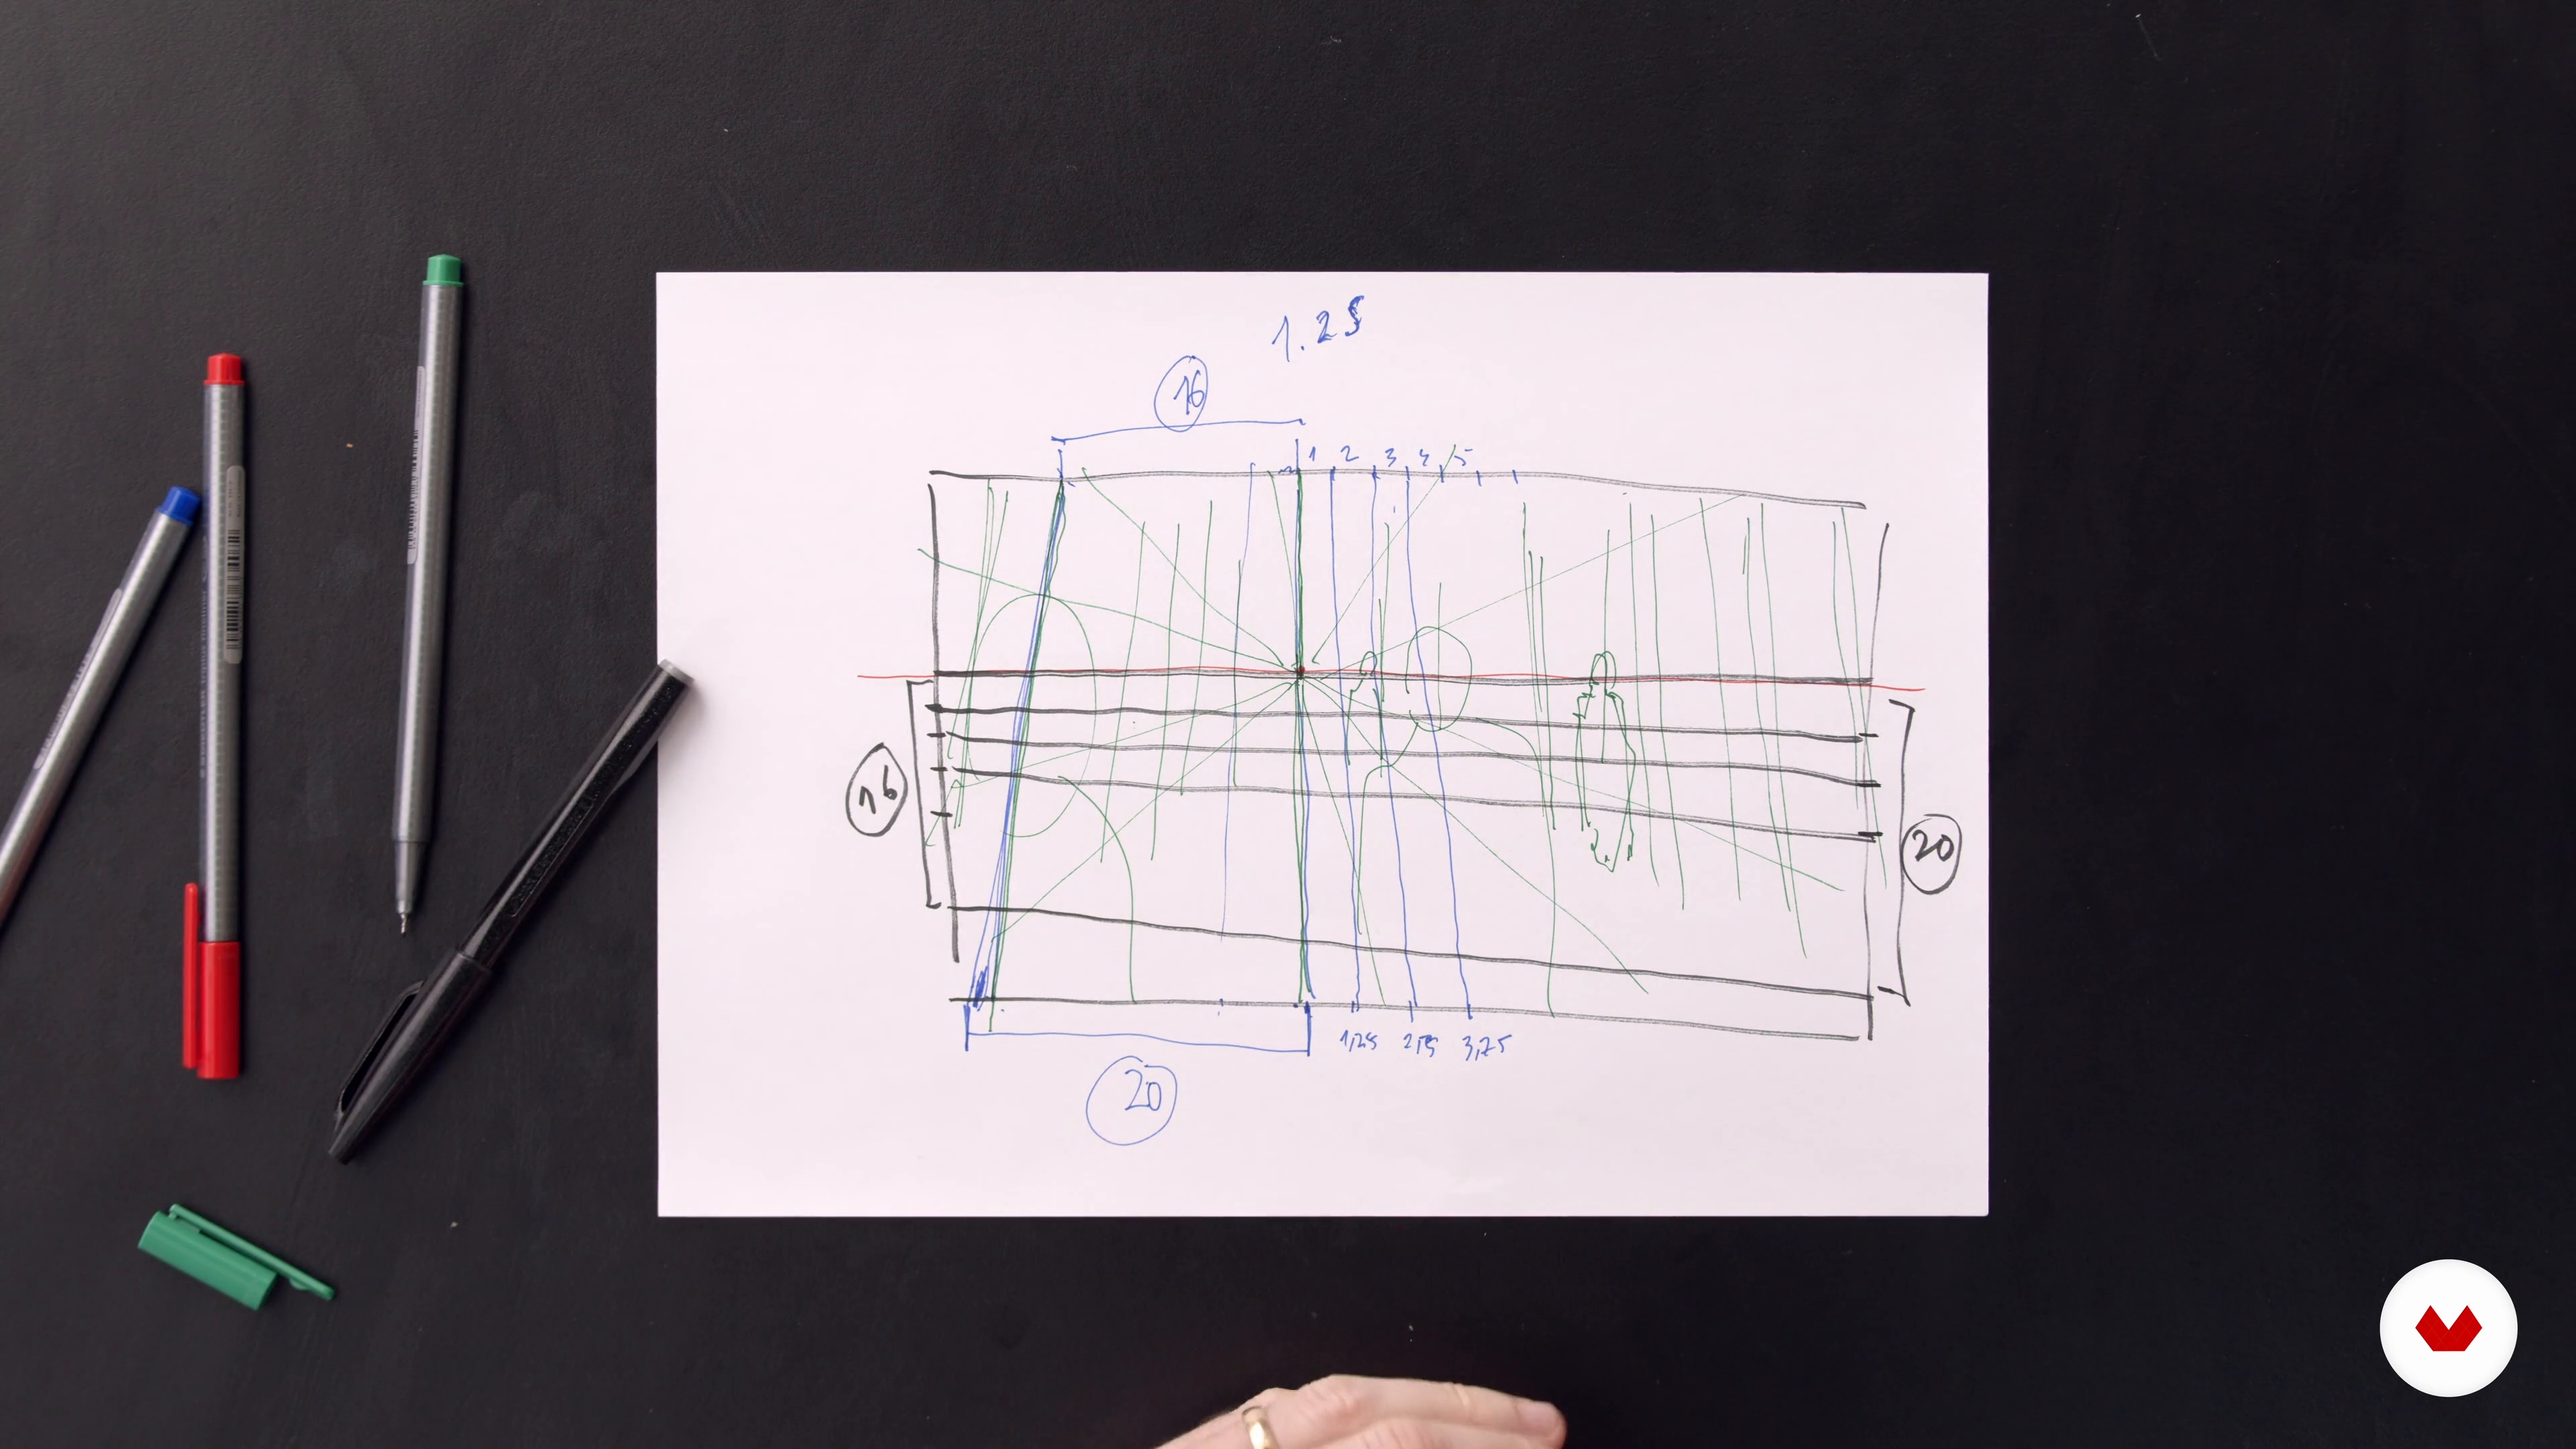
In this lesson, you will learn the basics of drawing with perspective. Let's bring our drawings to life!
14m
 3
3Anatomy in Perspective for Characters
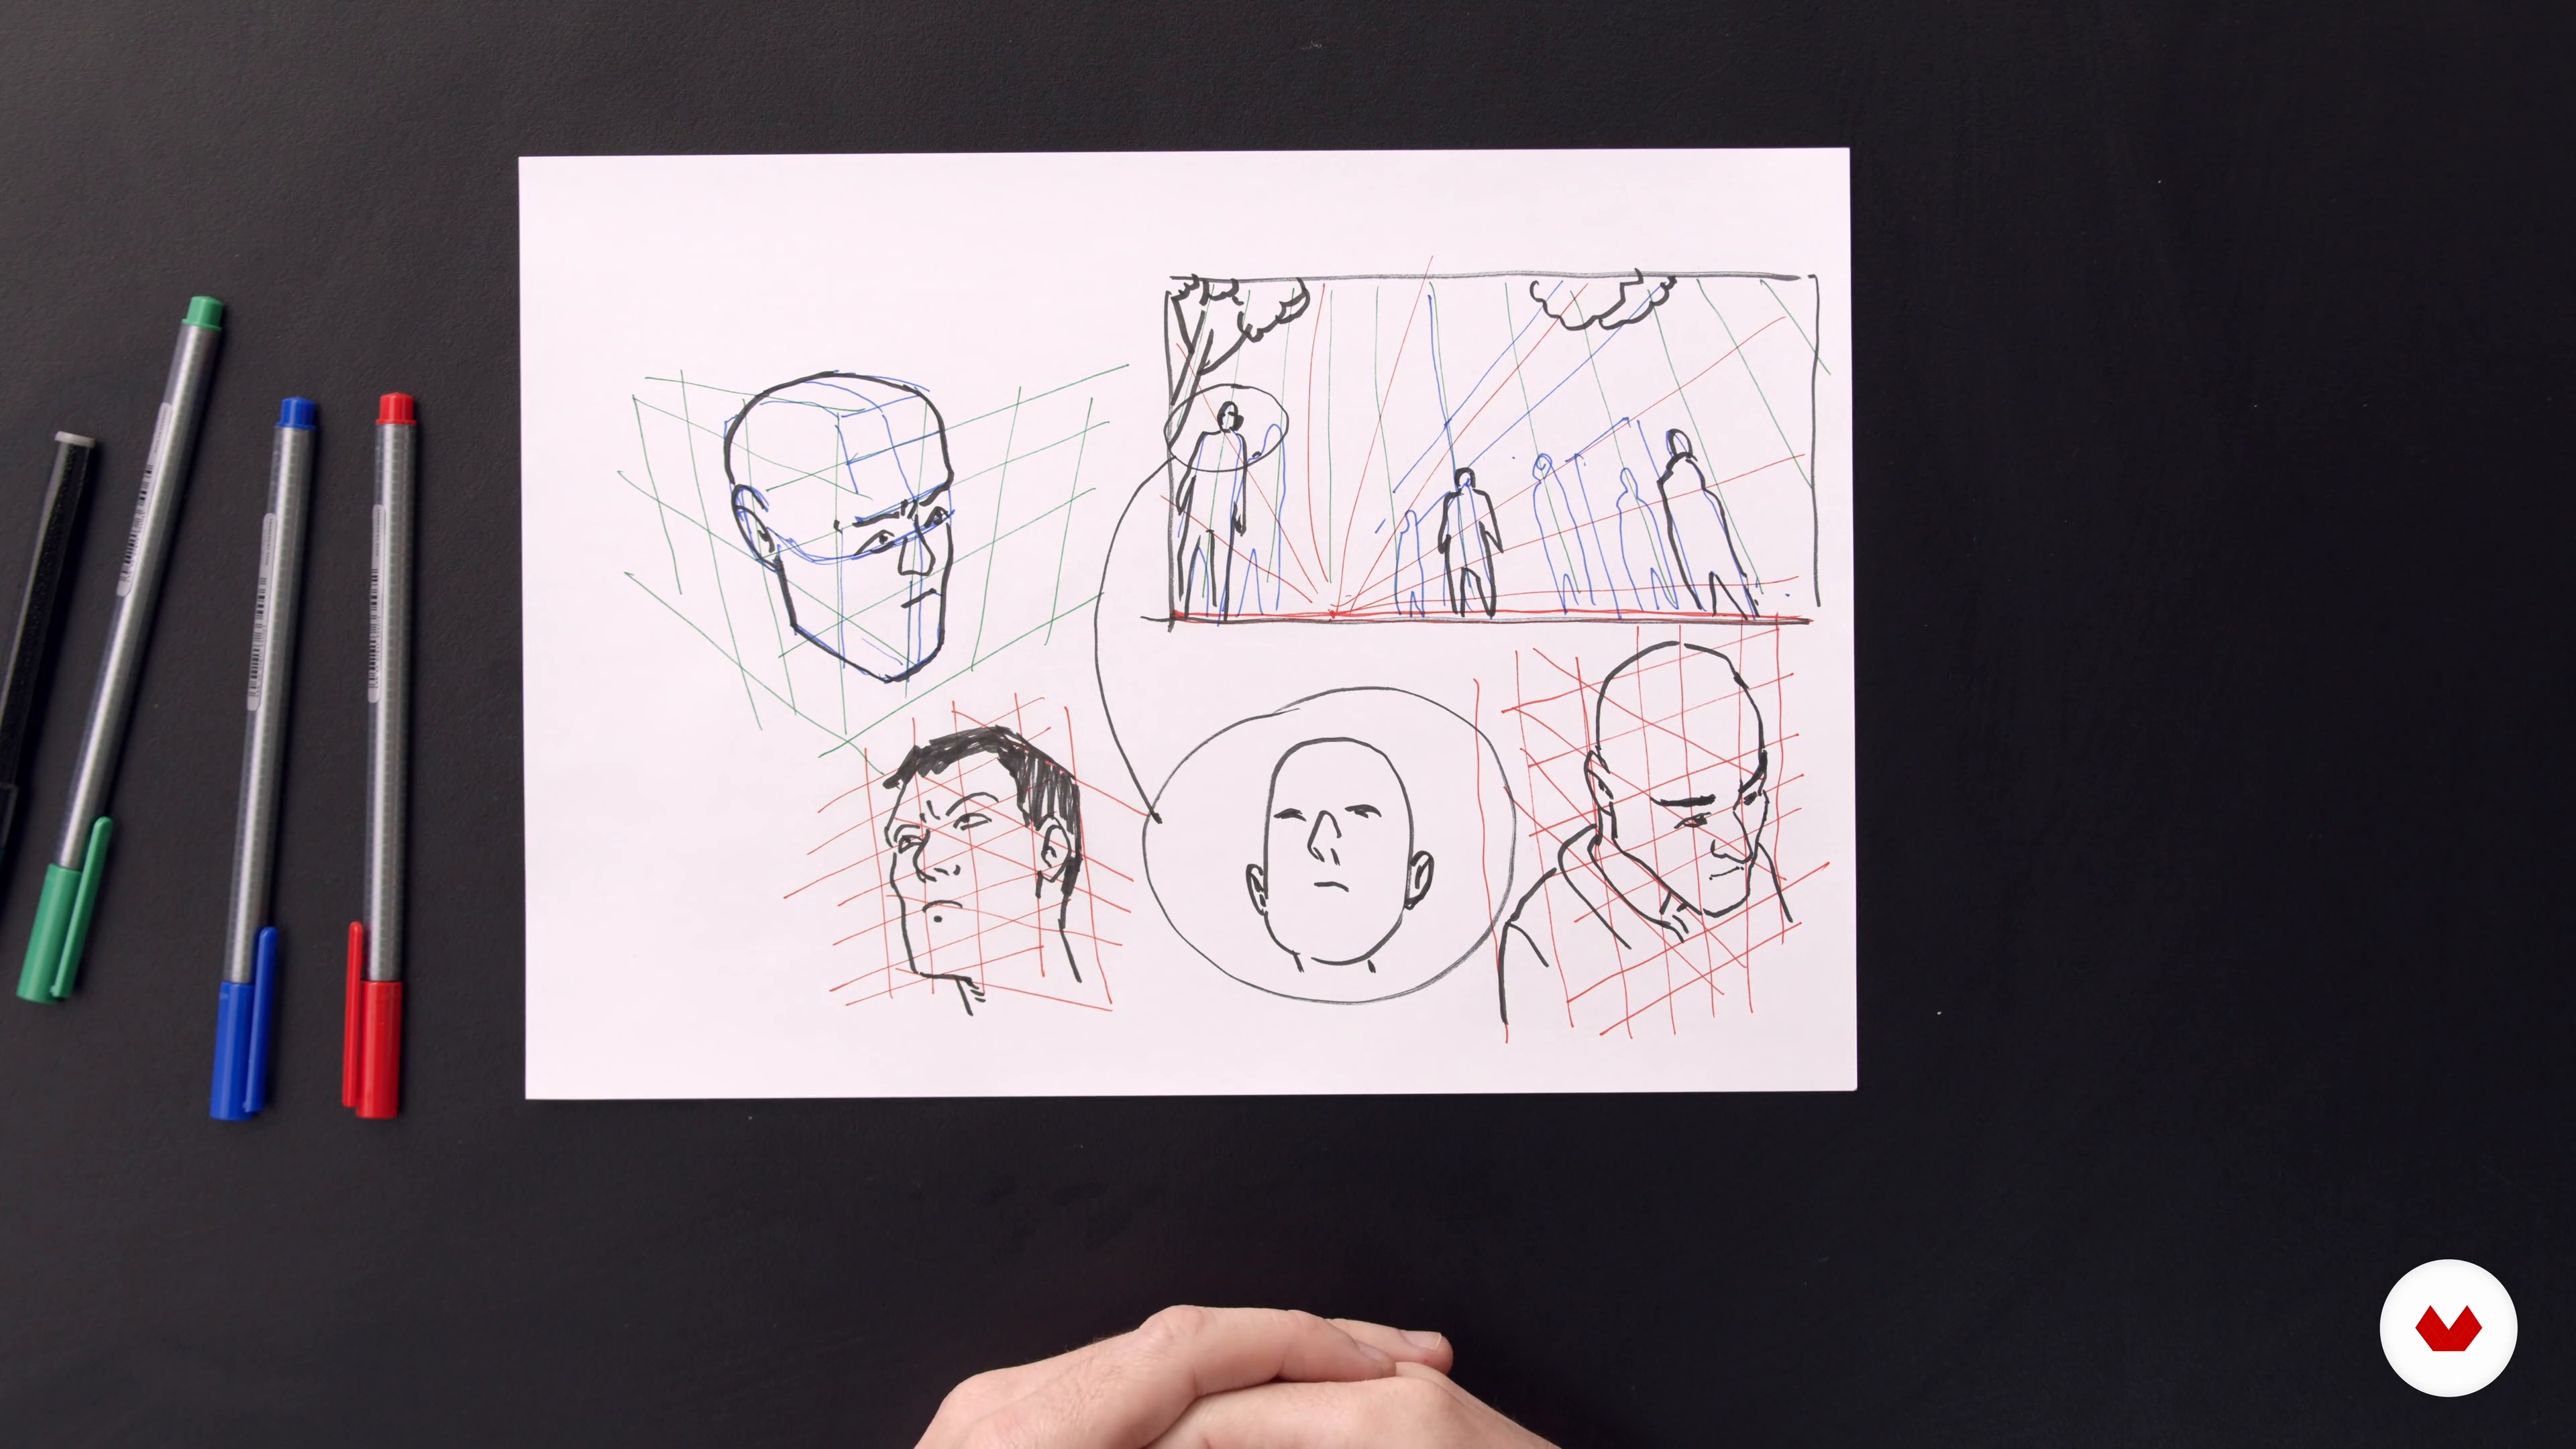
Now, you'll learn to draw characters in perspective, focusing on aligning facial features and bodies with a perspective grid. You'll explore different camera angles and practice refining sketches with details.
8m
 4
4Planning and Writing Stage: The Power of a Blank Page
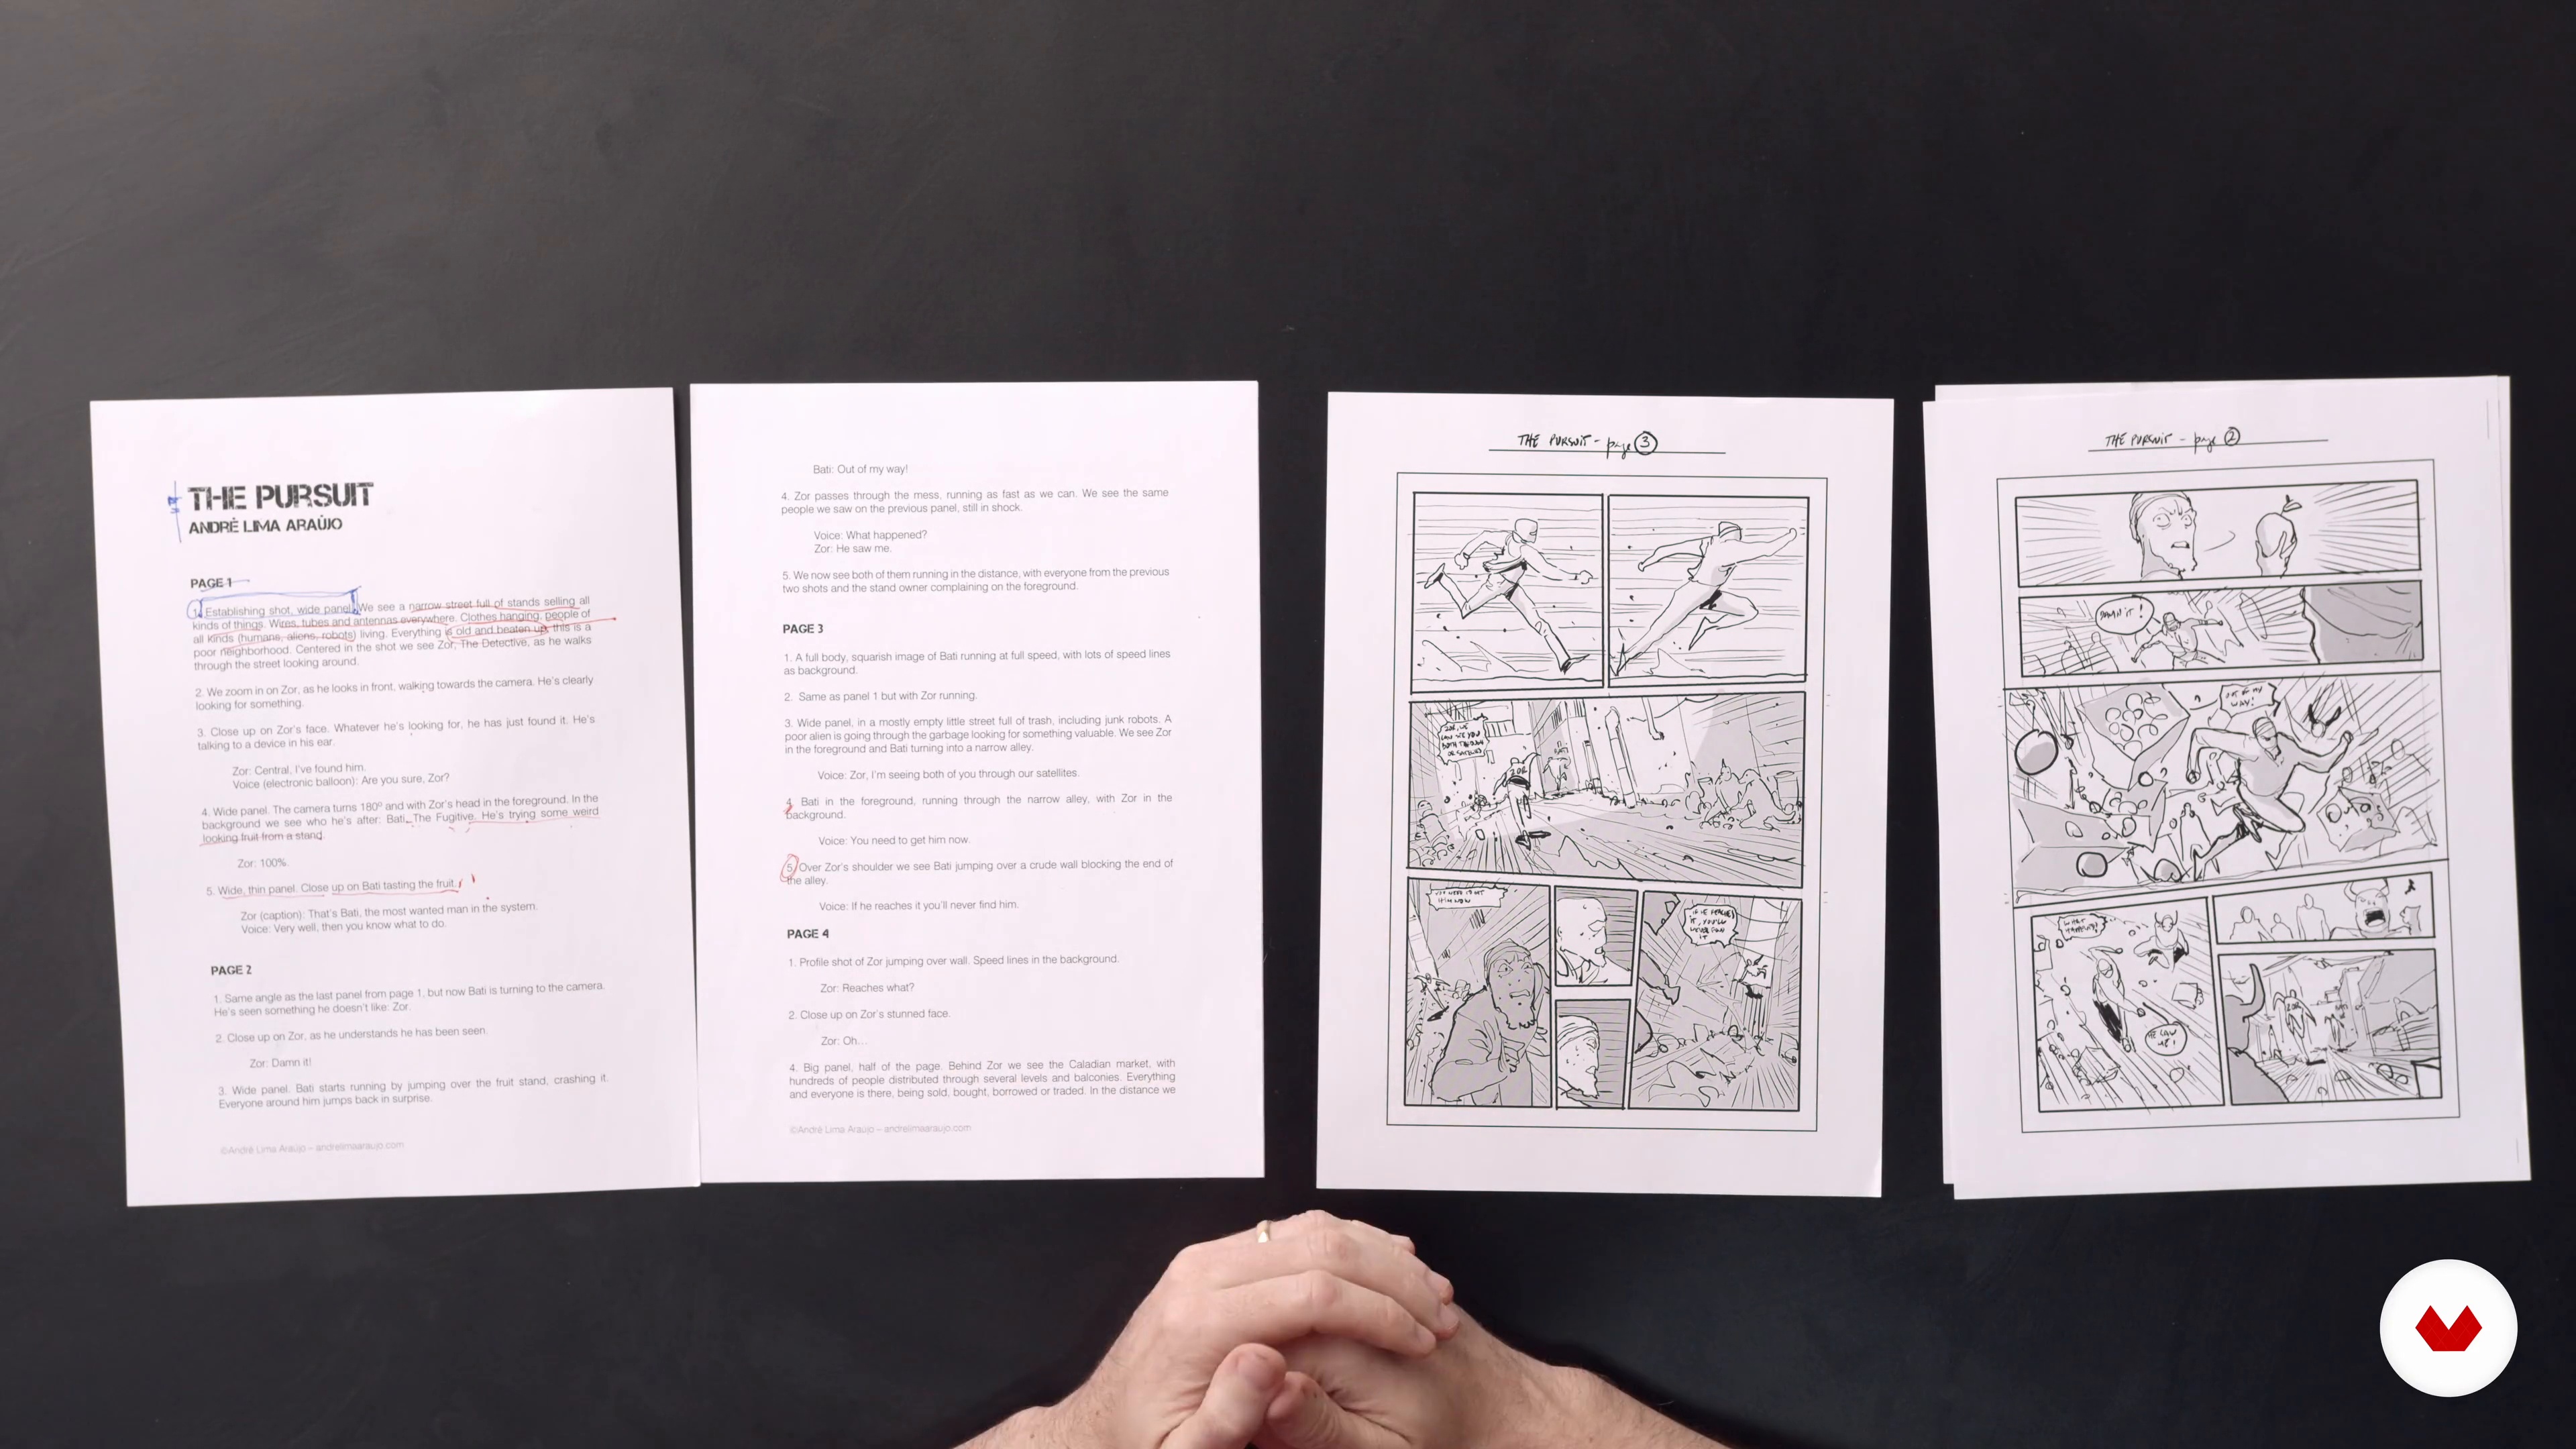
In this lesson, you will learn tips and tricks on how to transform a basic idea into a story.
8m
 5
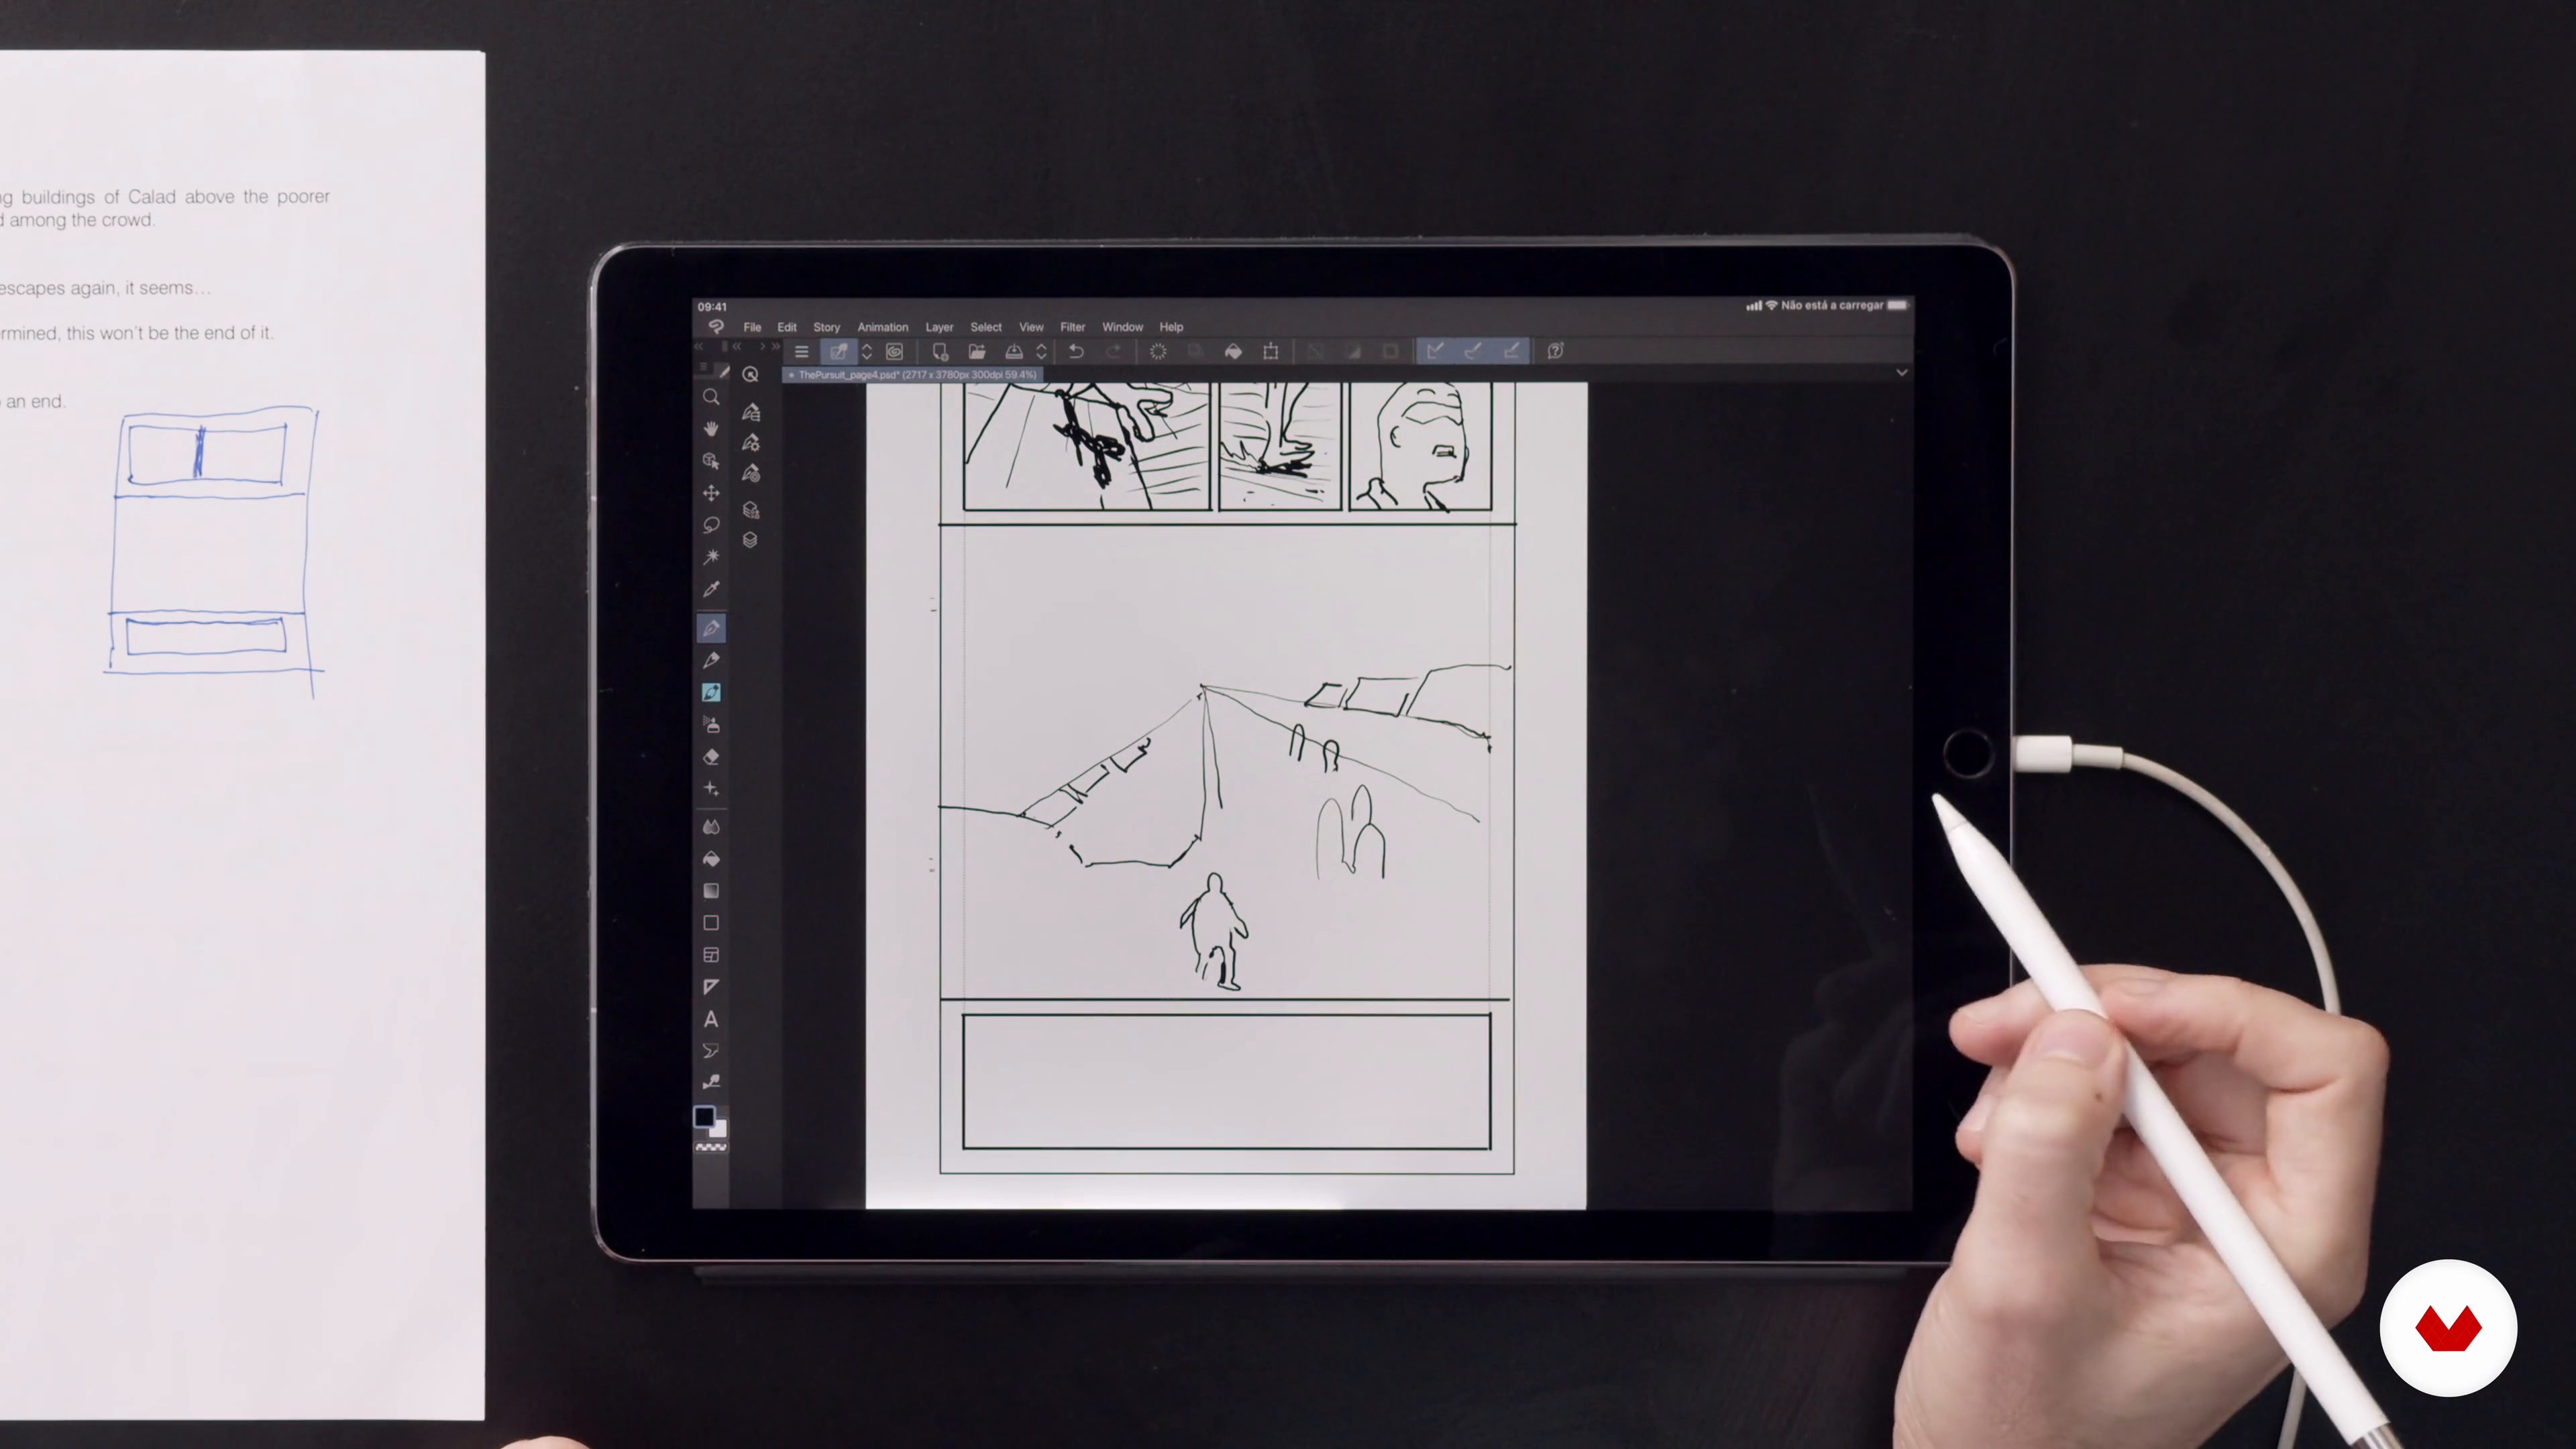
5Layouts 1
In this first part of the lesson, you'll learn to create a comic page layout from scratch, adjusting panel sizes and perspectives based on the script. You'll explore dynamic storytelling through panel choices, adding details like speed lines and shadows. The goal is to structure the page before moving to the drawing phase.
11m
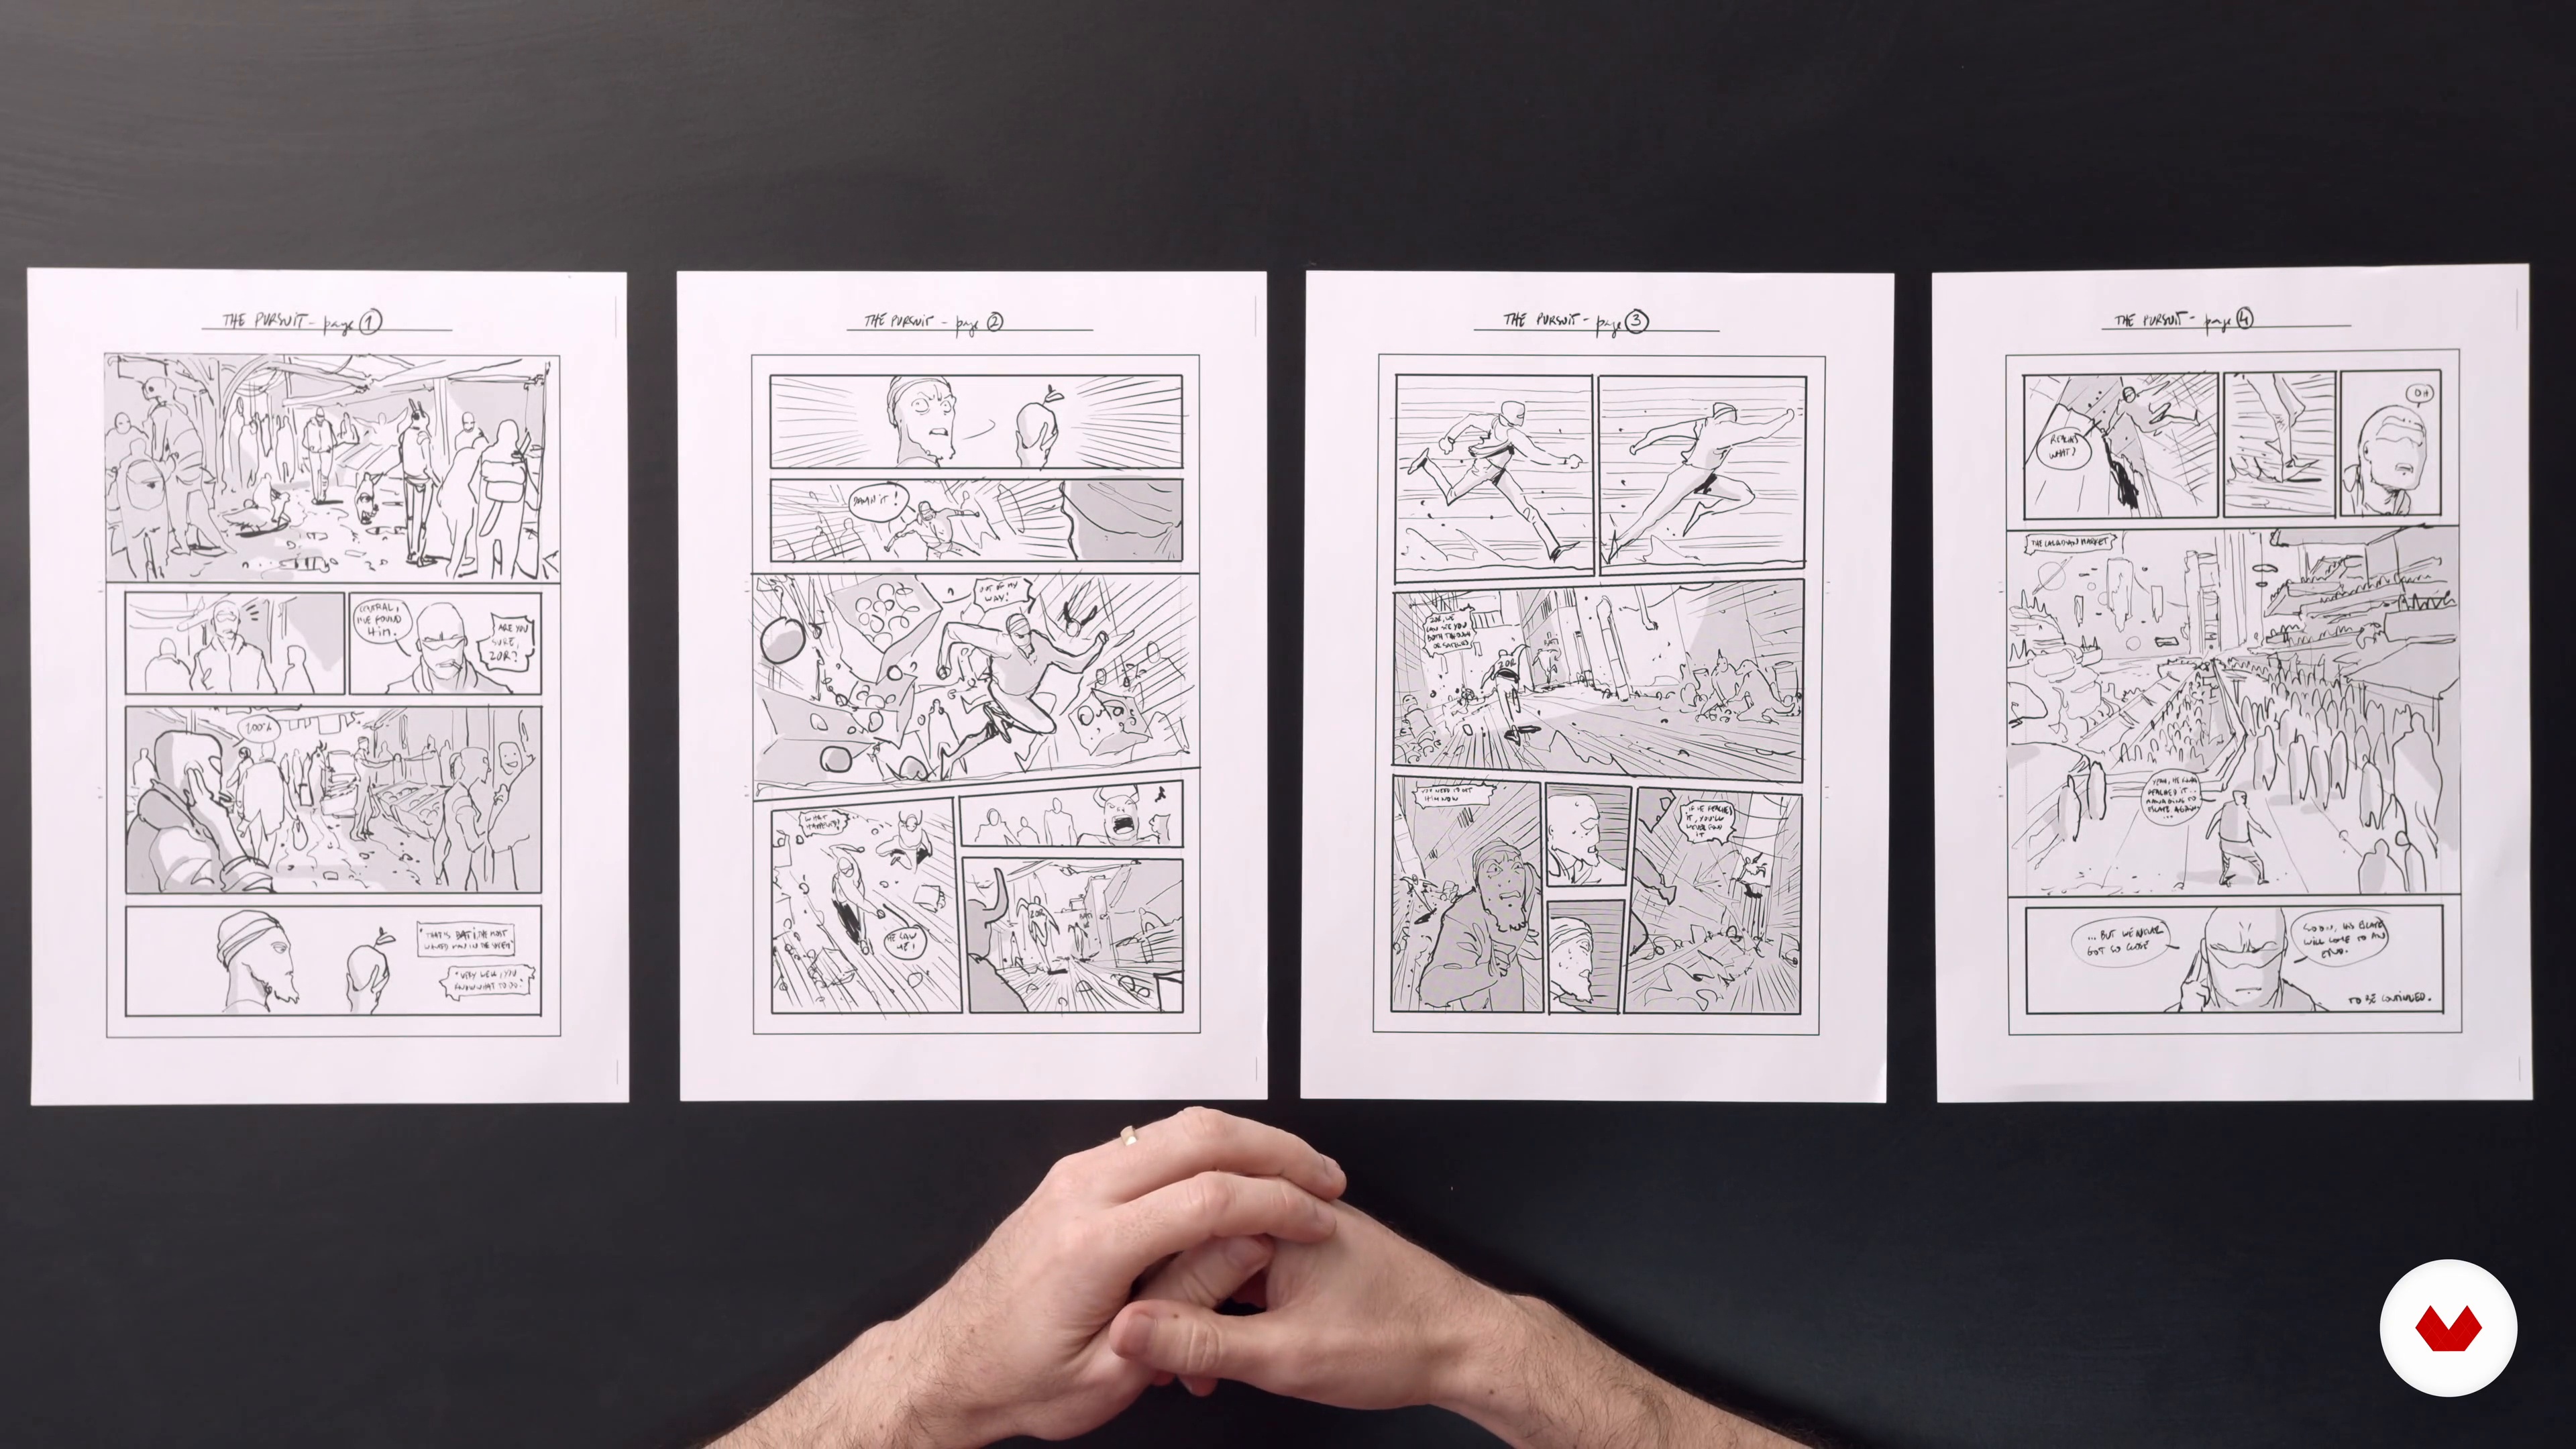 6
6Layouts 2
During this lesson, you'll refine your layout by adding background elements and ensuring dynamic composition. Focus on perspective, depth, and guiding the reader's eye through varied camera angles and character placement.
14m
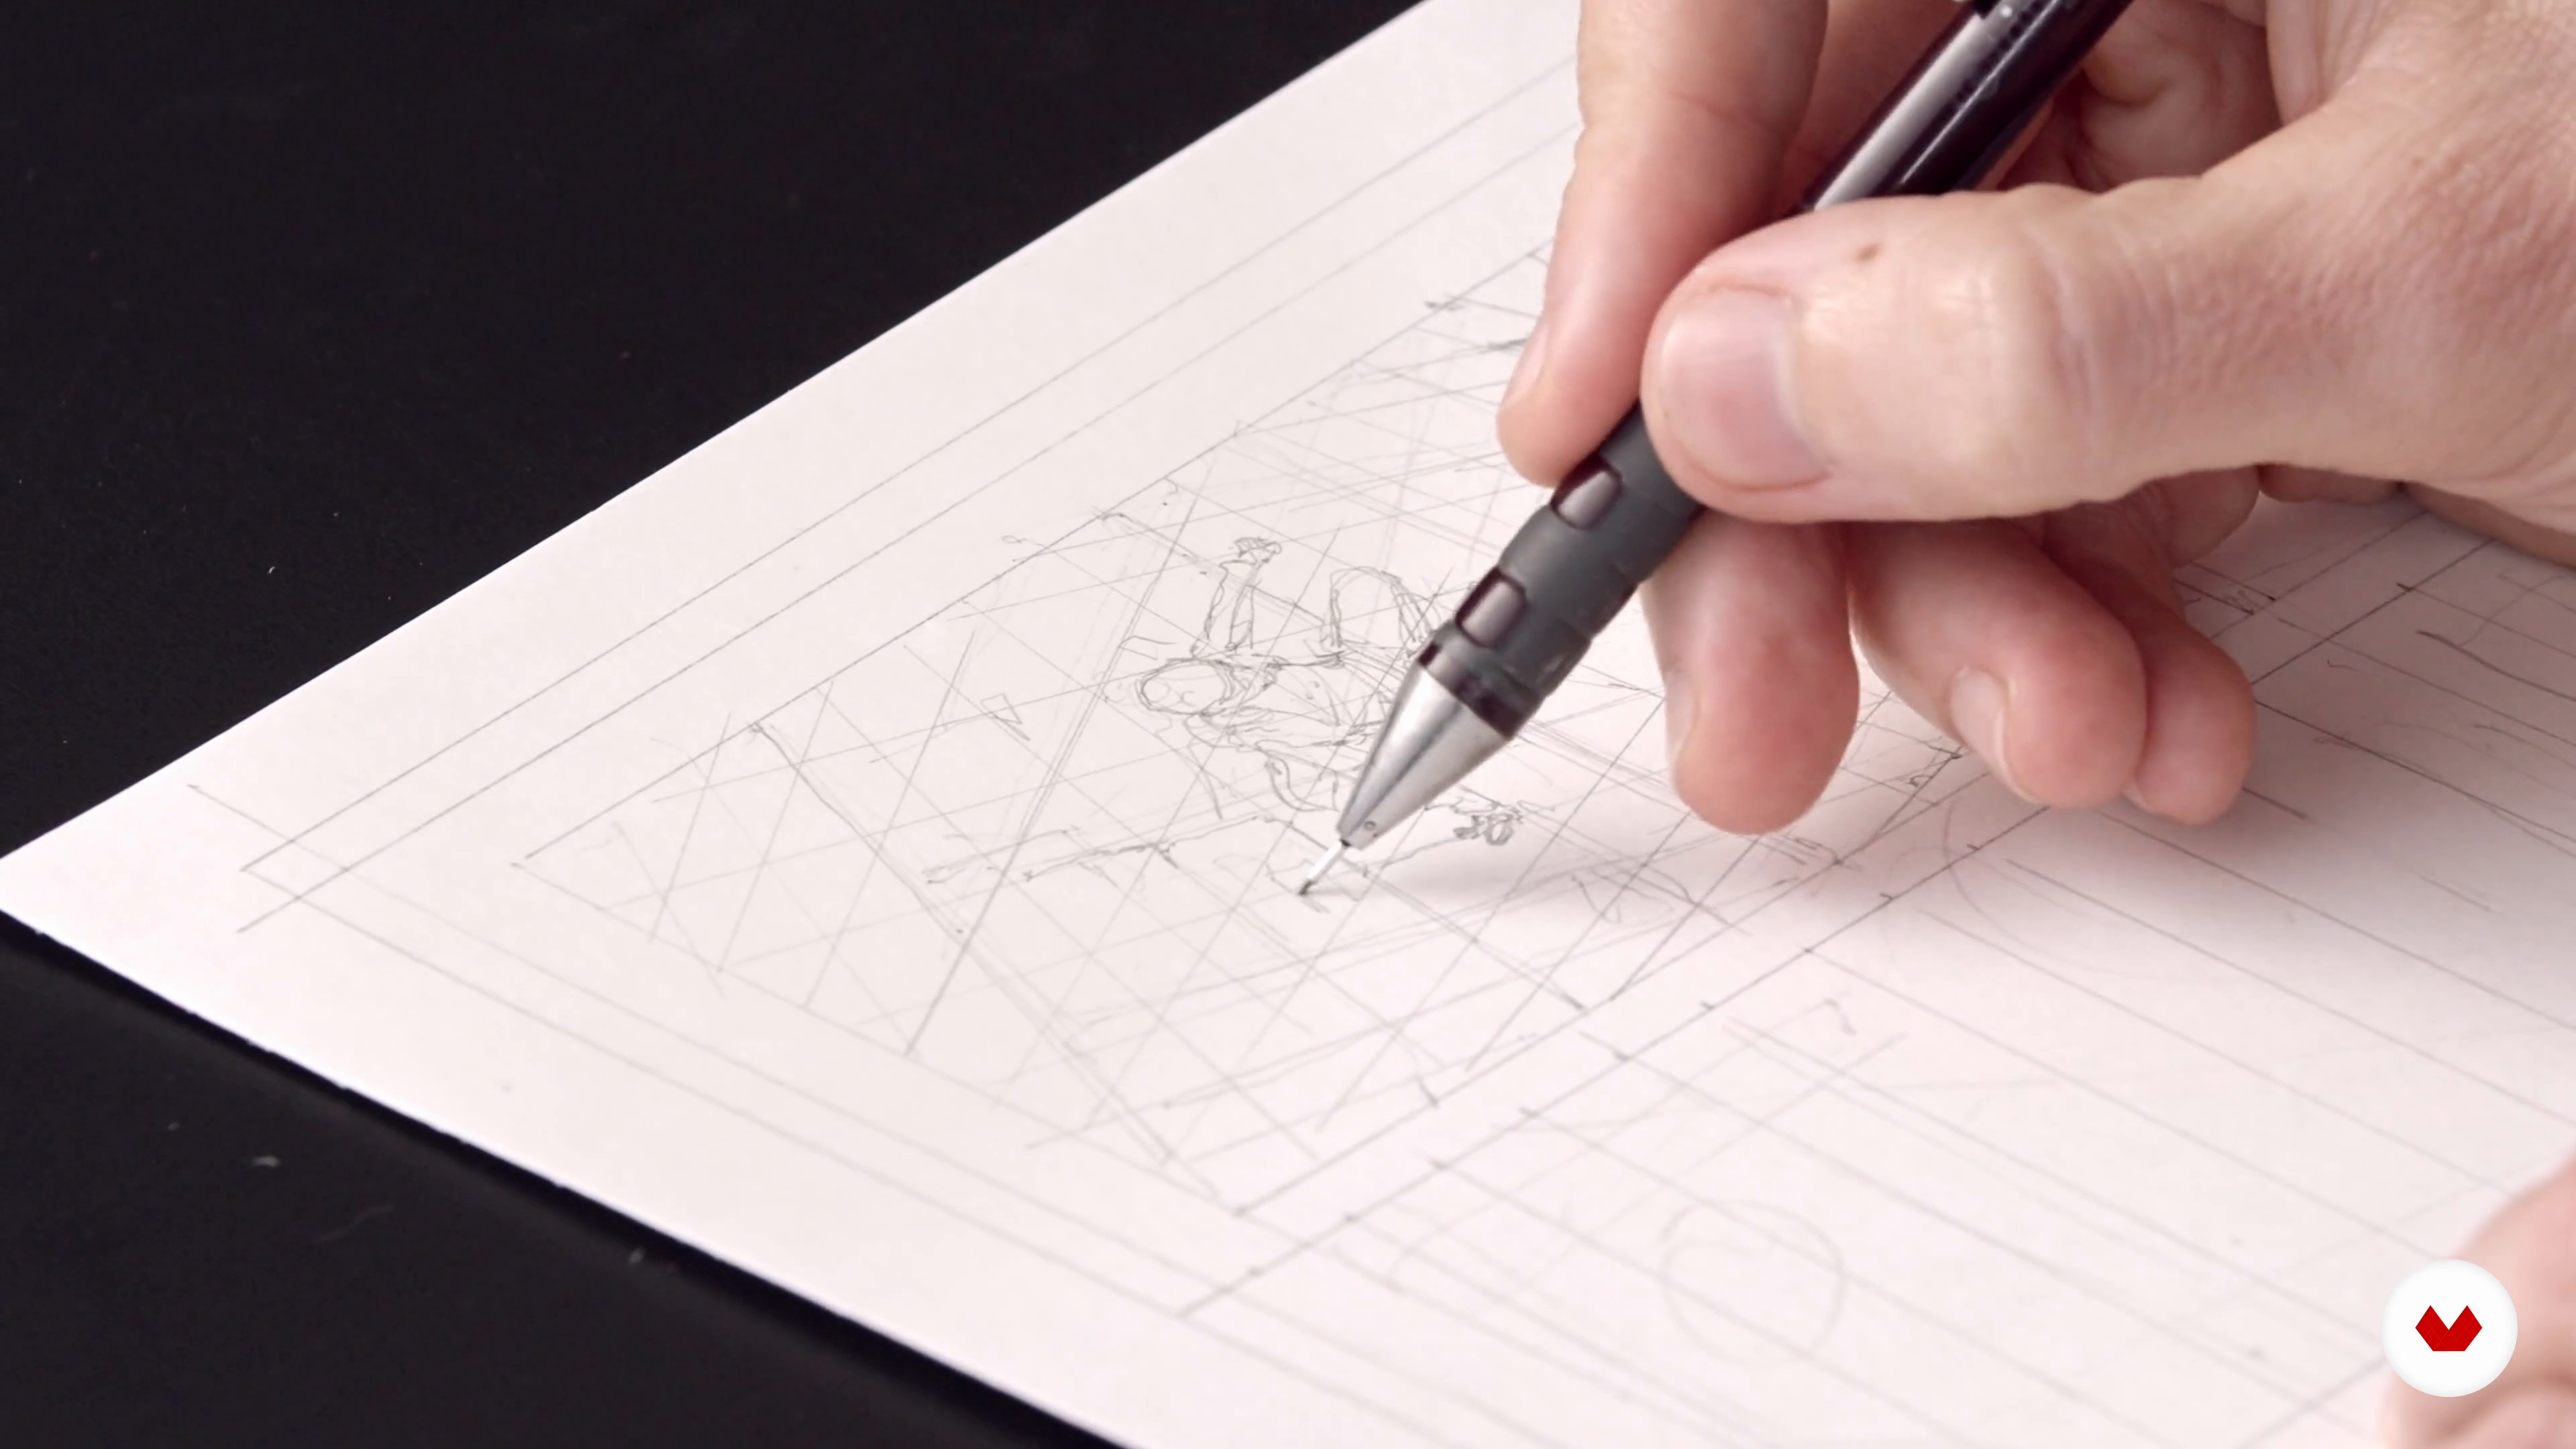 7
7Pencil Stage 1
Now, the main focus will be placed on the construction of the image. Referring to my layout, I will draw a pencil sketch of all the different elements.
19m
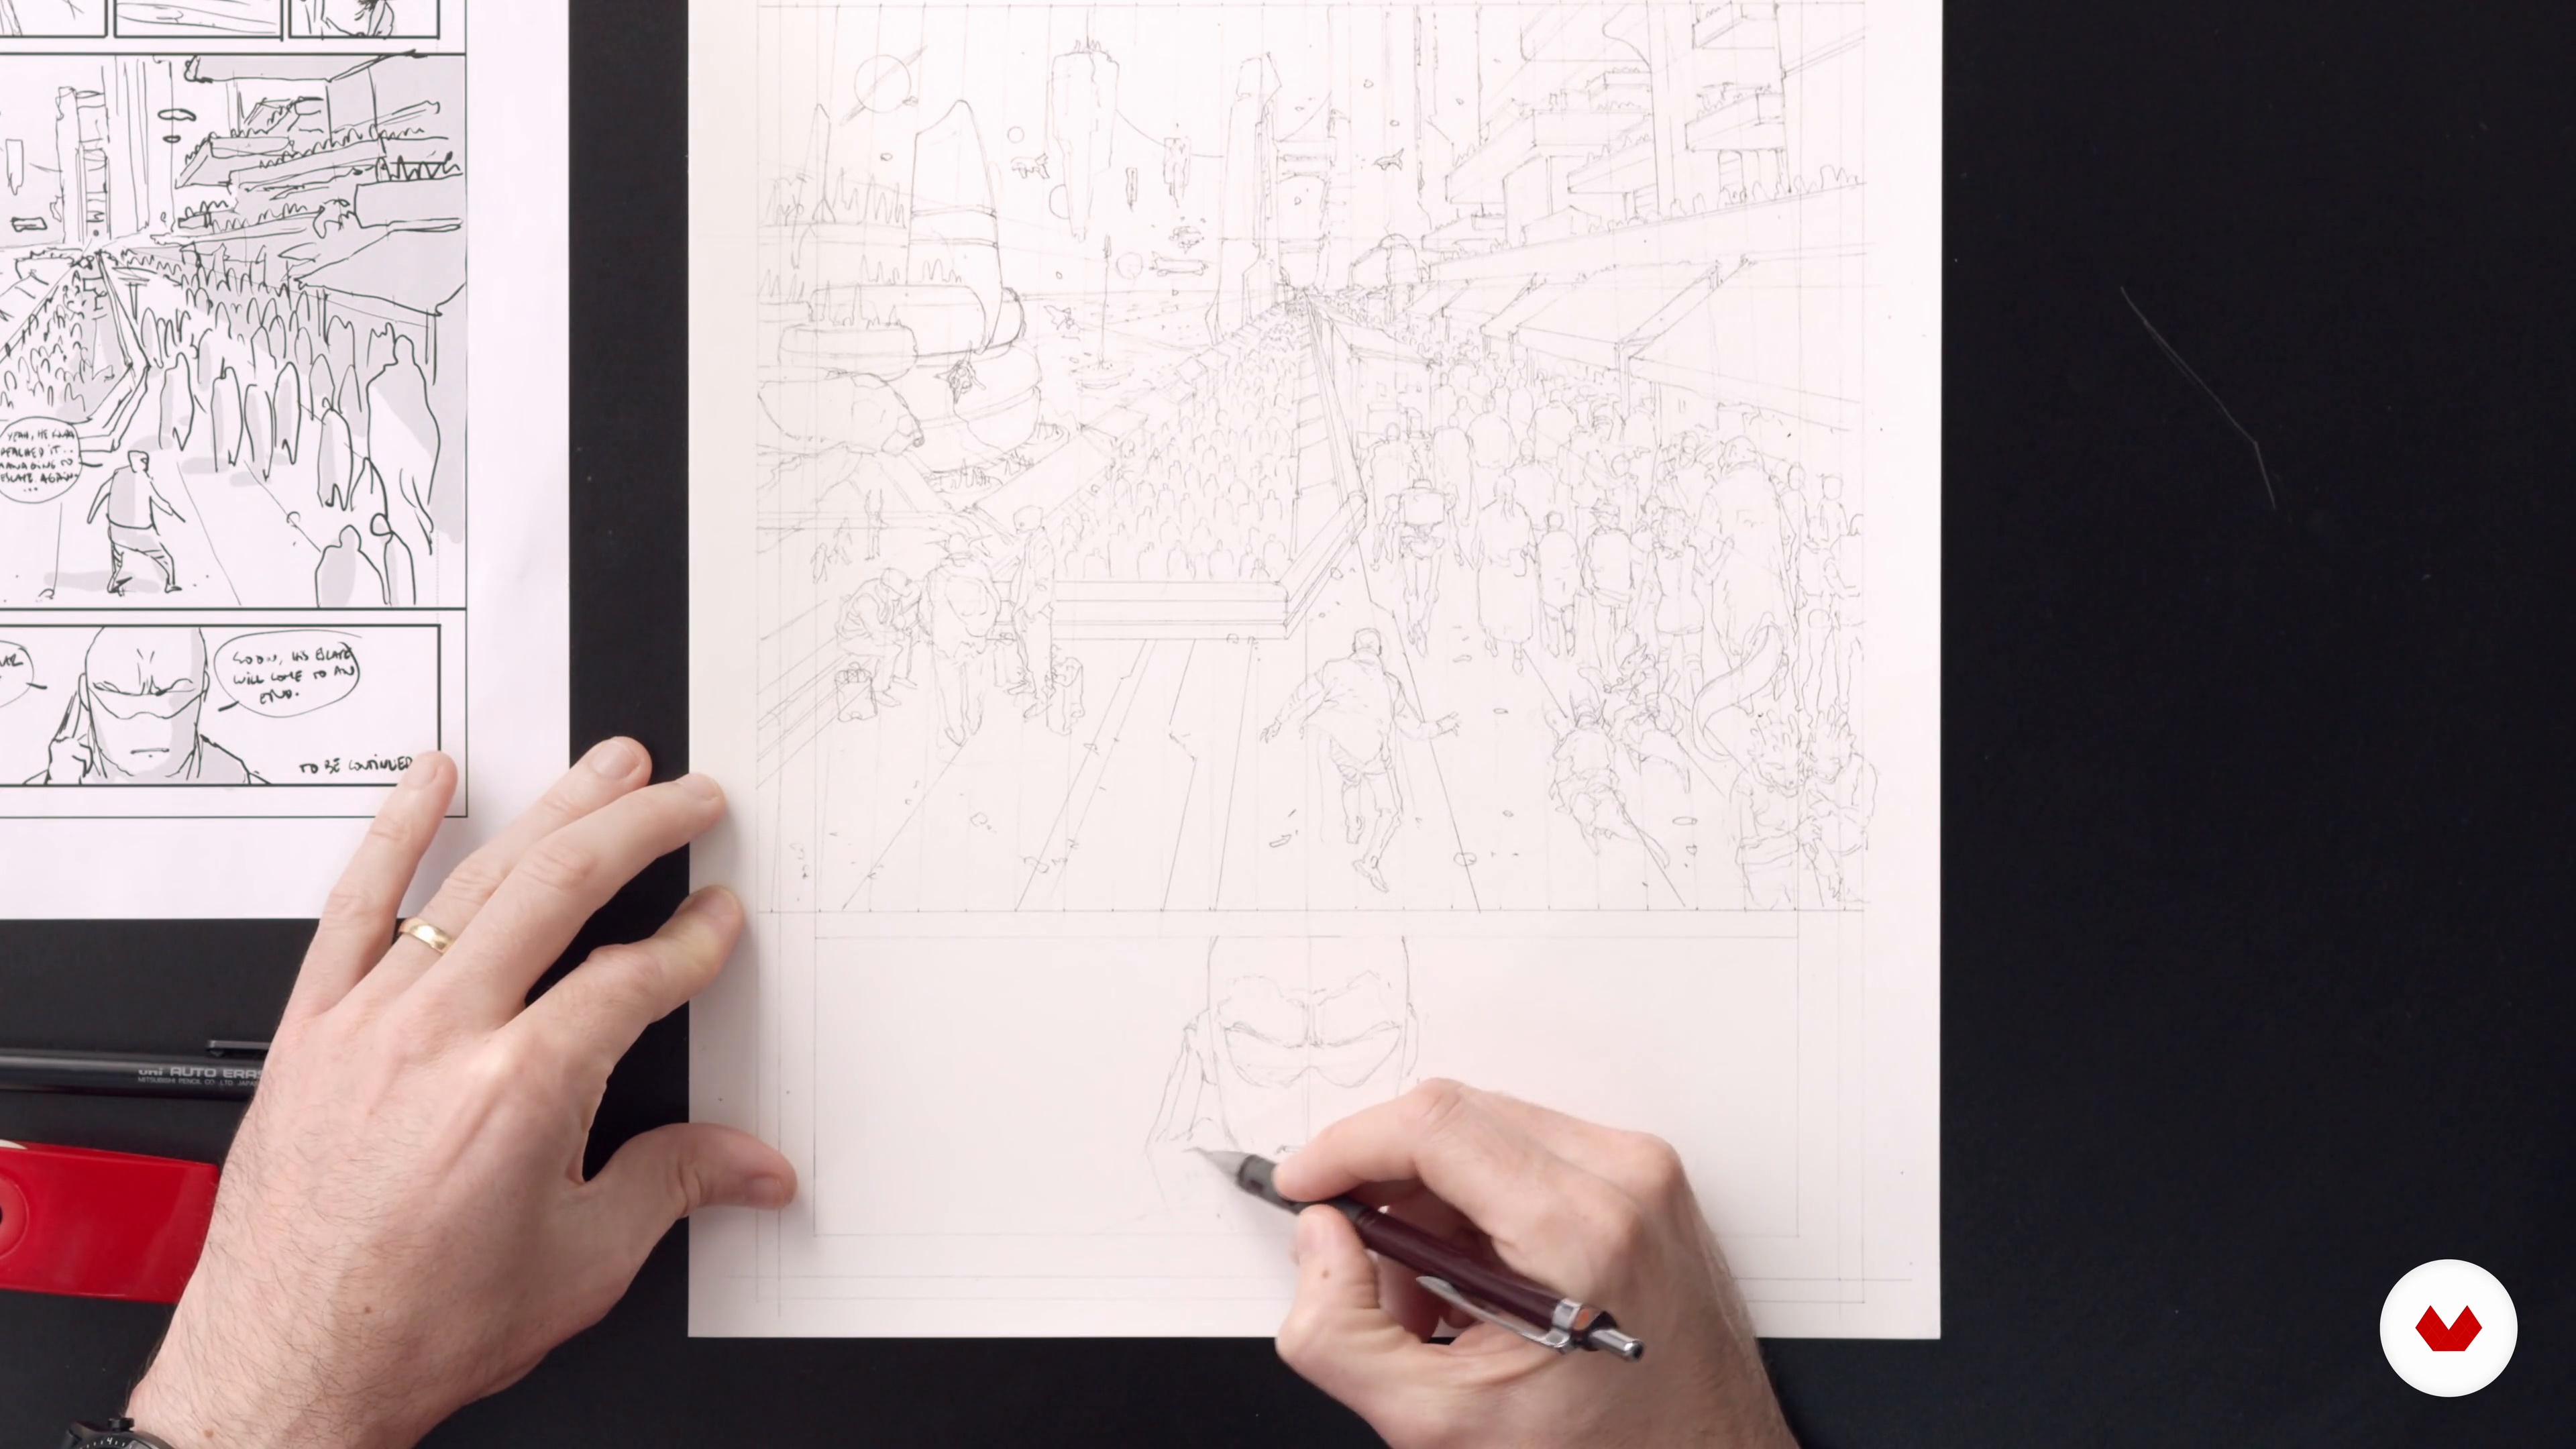 8
8Pencil Stage 2
With the three top panels done, let's move on to the main one. In this lesson, I will develop my pencil sketch, starting with the main character and moving out.
20m
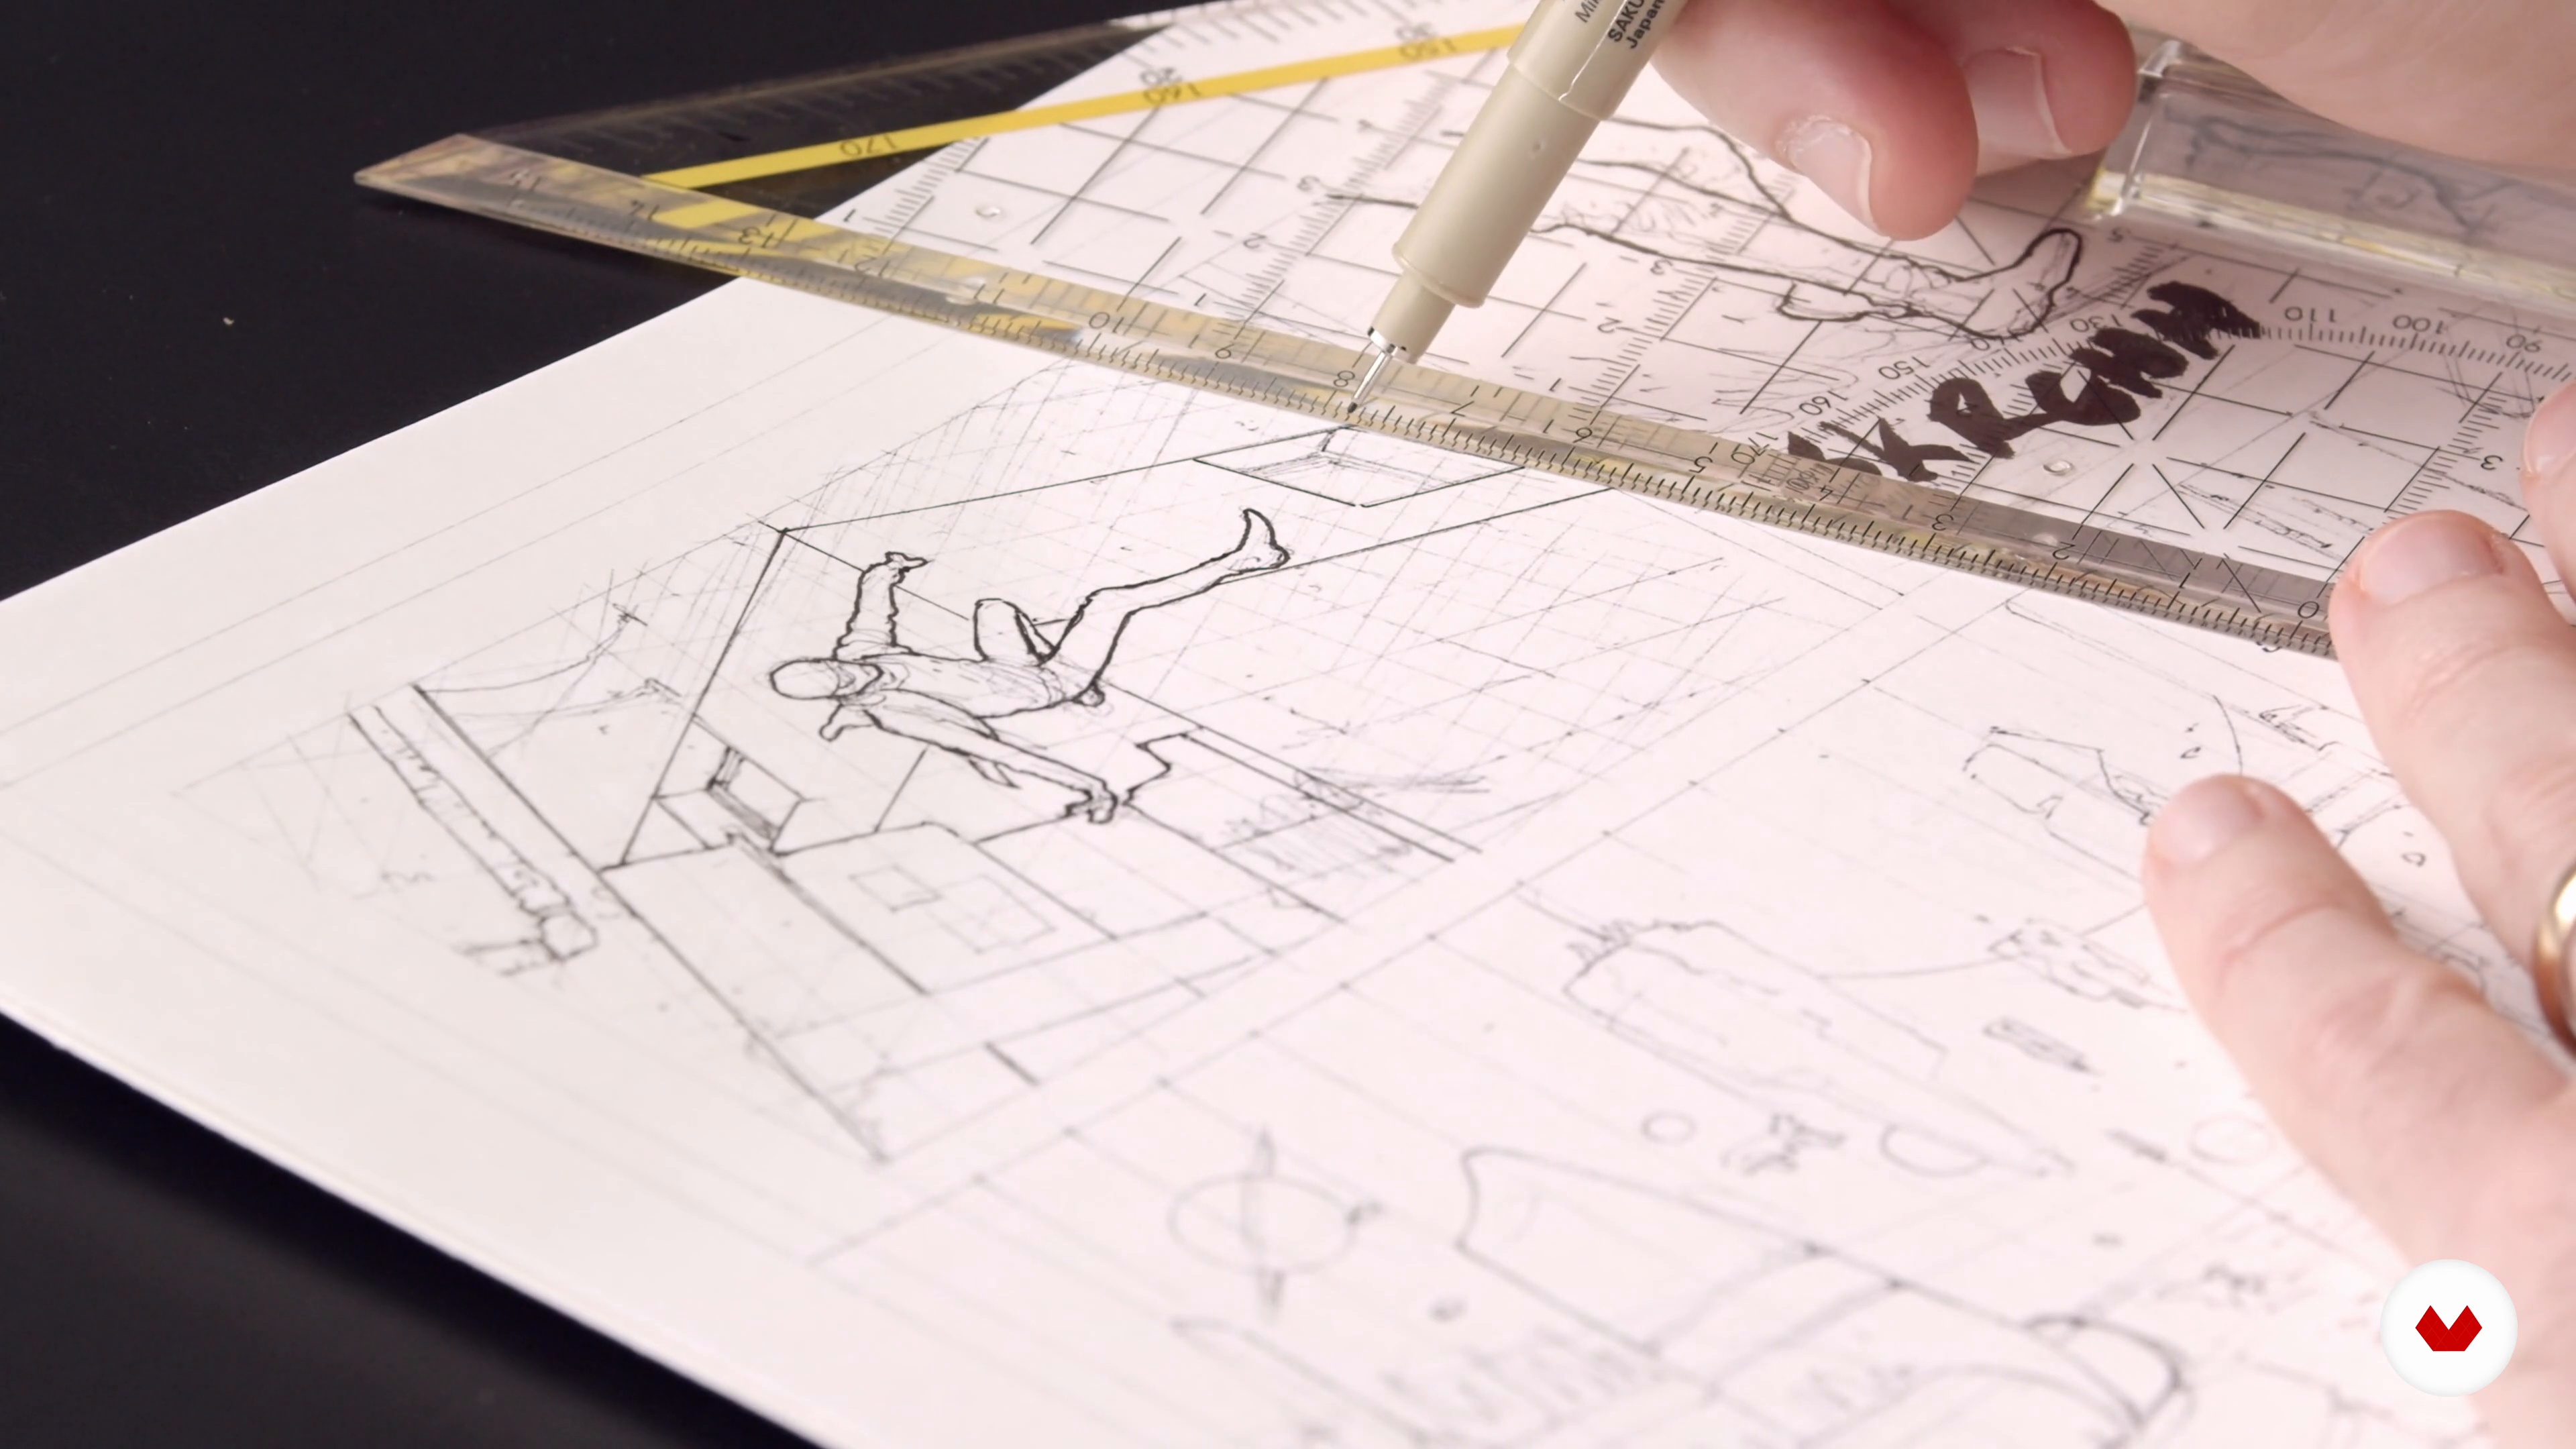 9
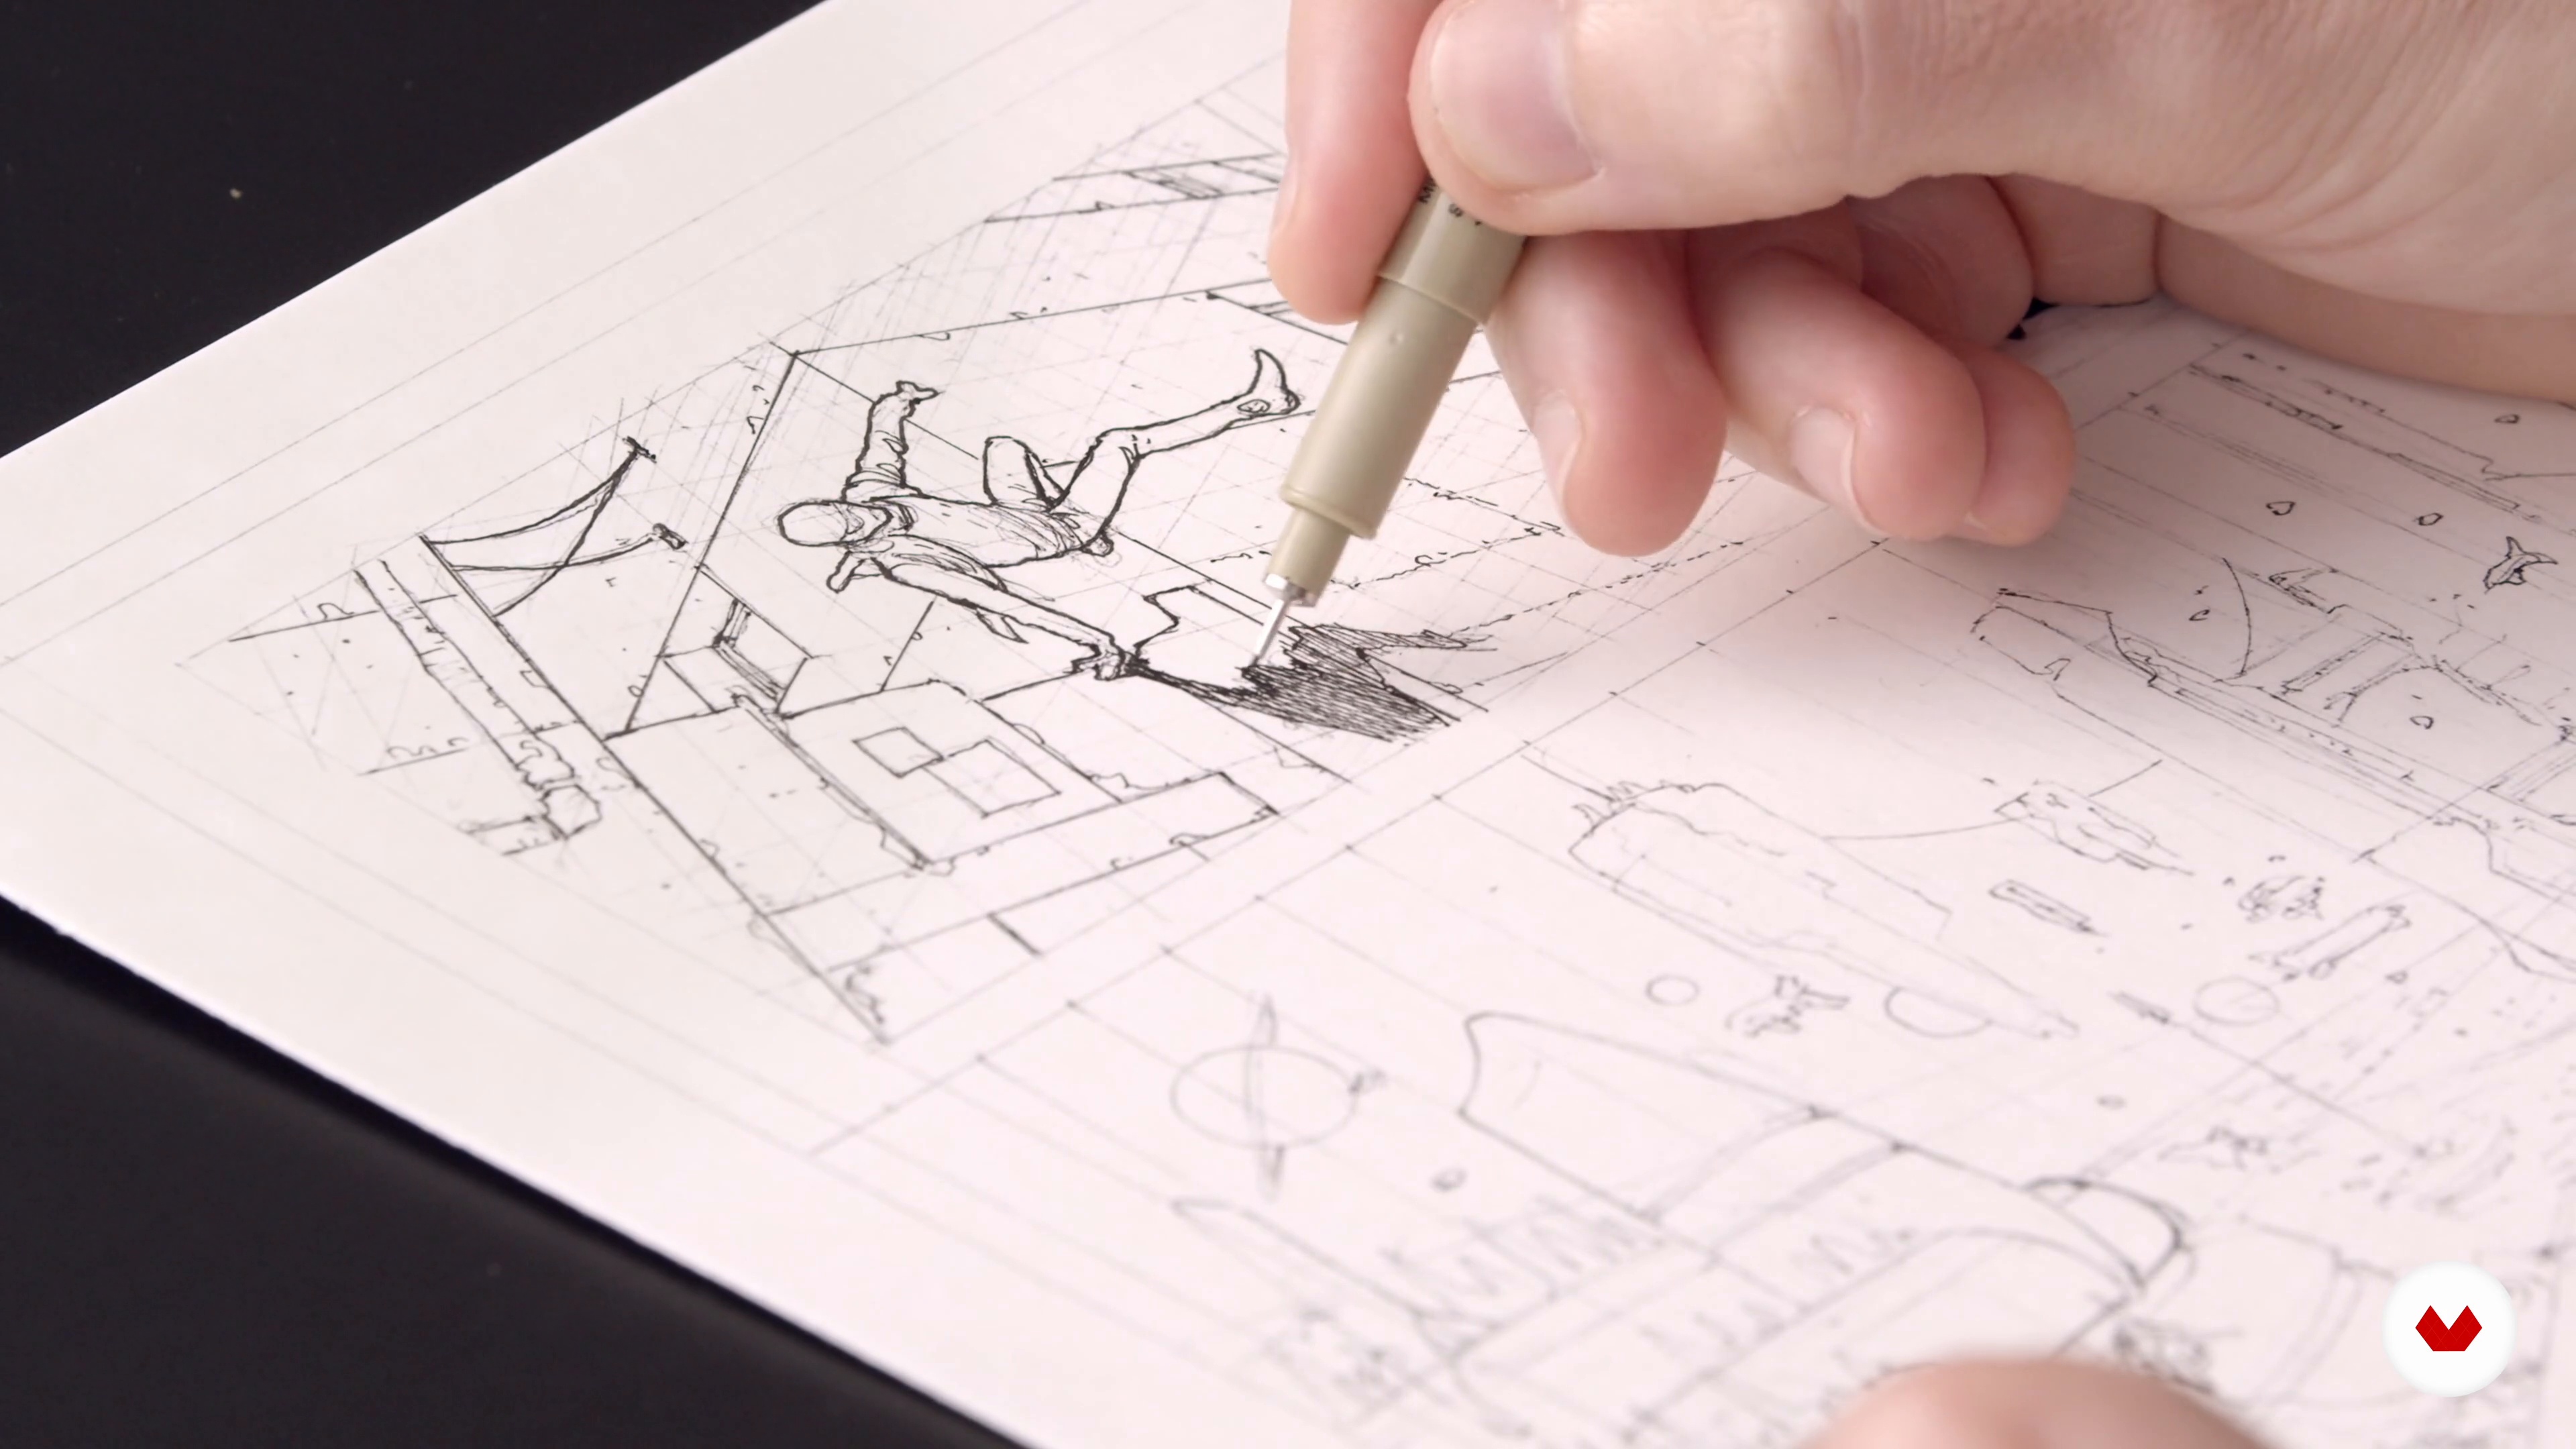
9Inking Stage 1
Time to bring the lines to life! In this lesson, I will finalize the drawing by adding ink. I will start with the outlines and then progress to the finer details.
13m
 10
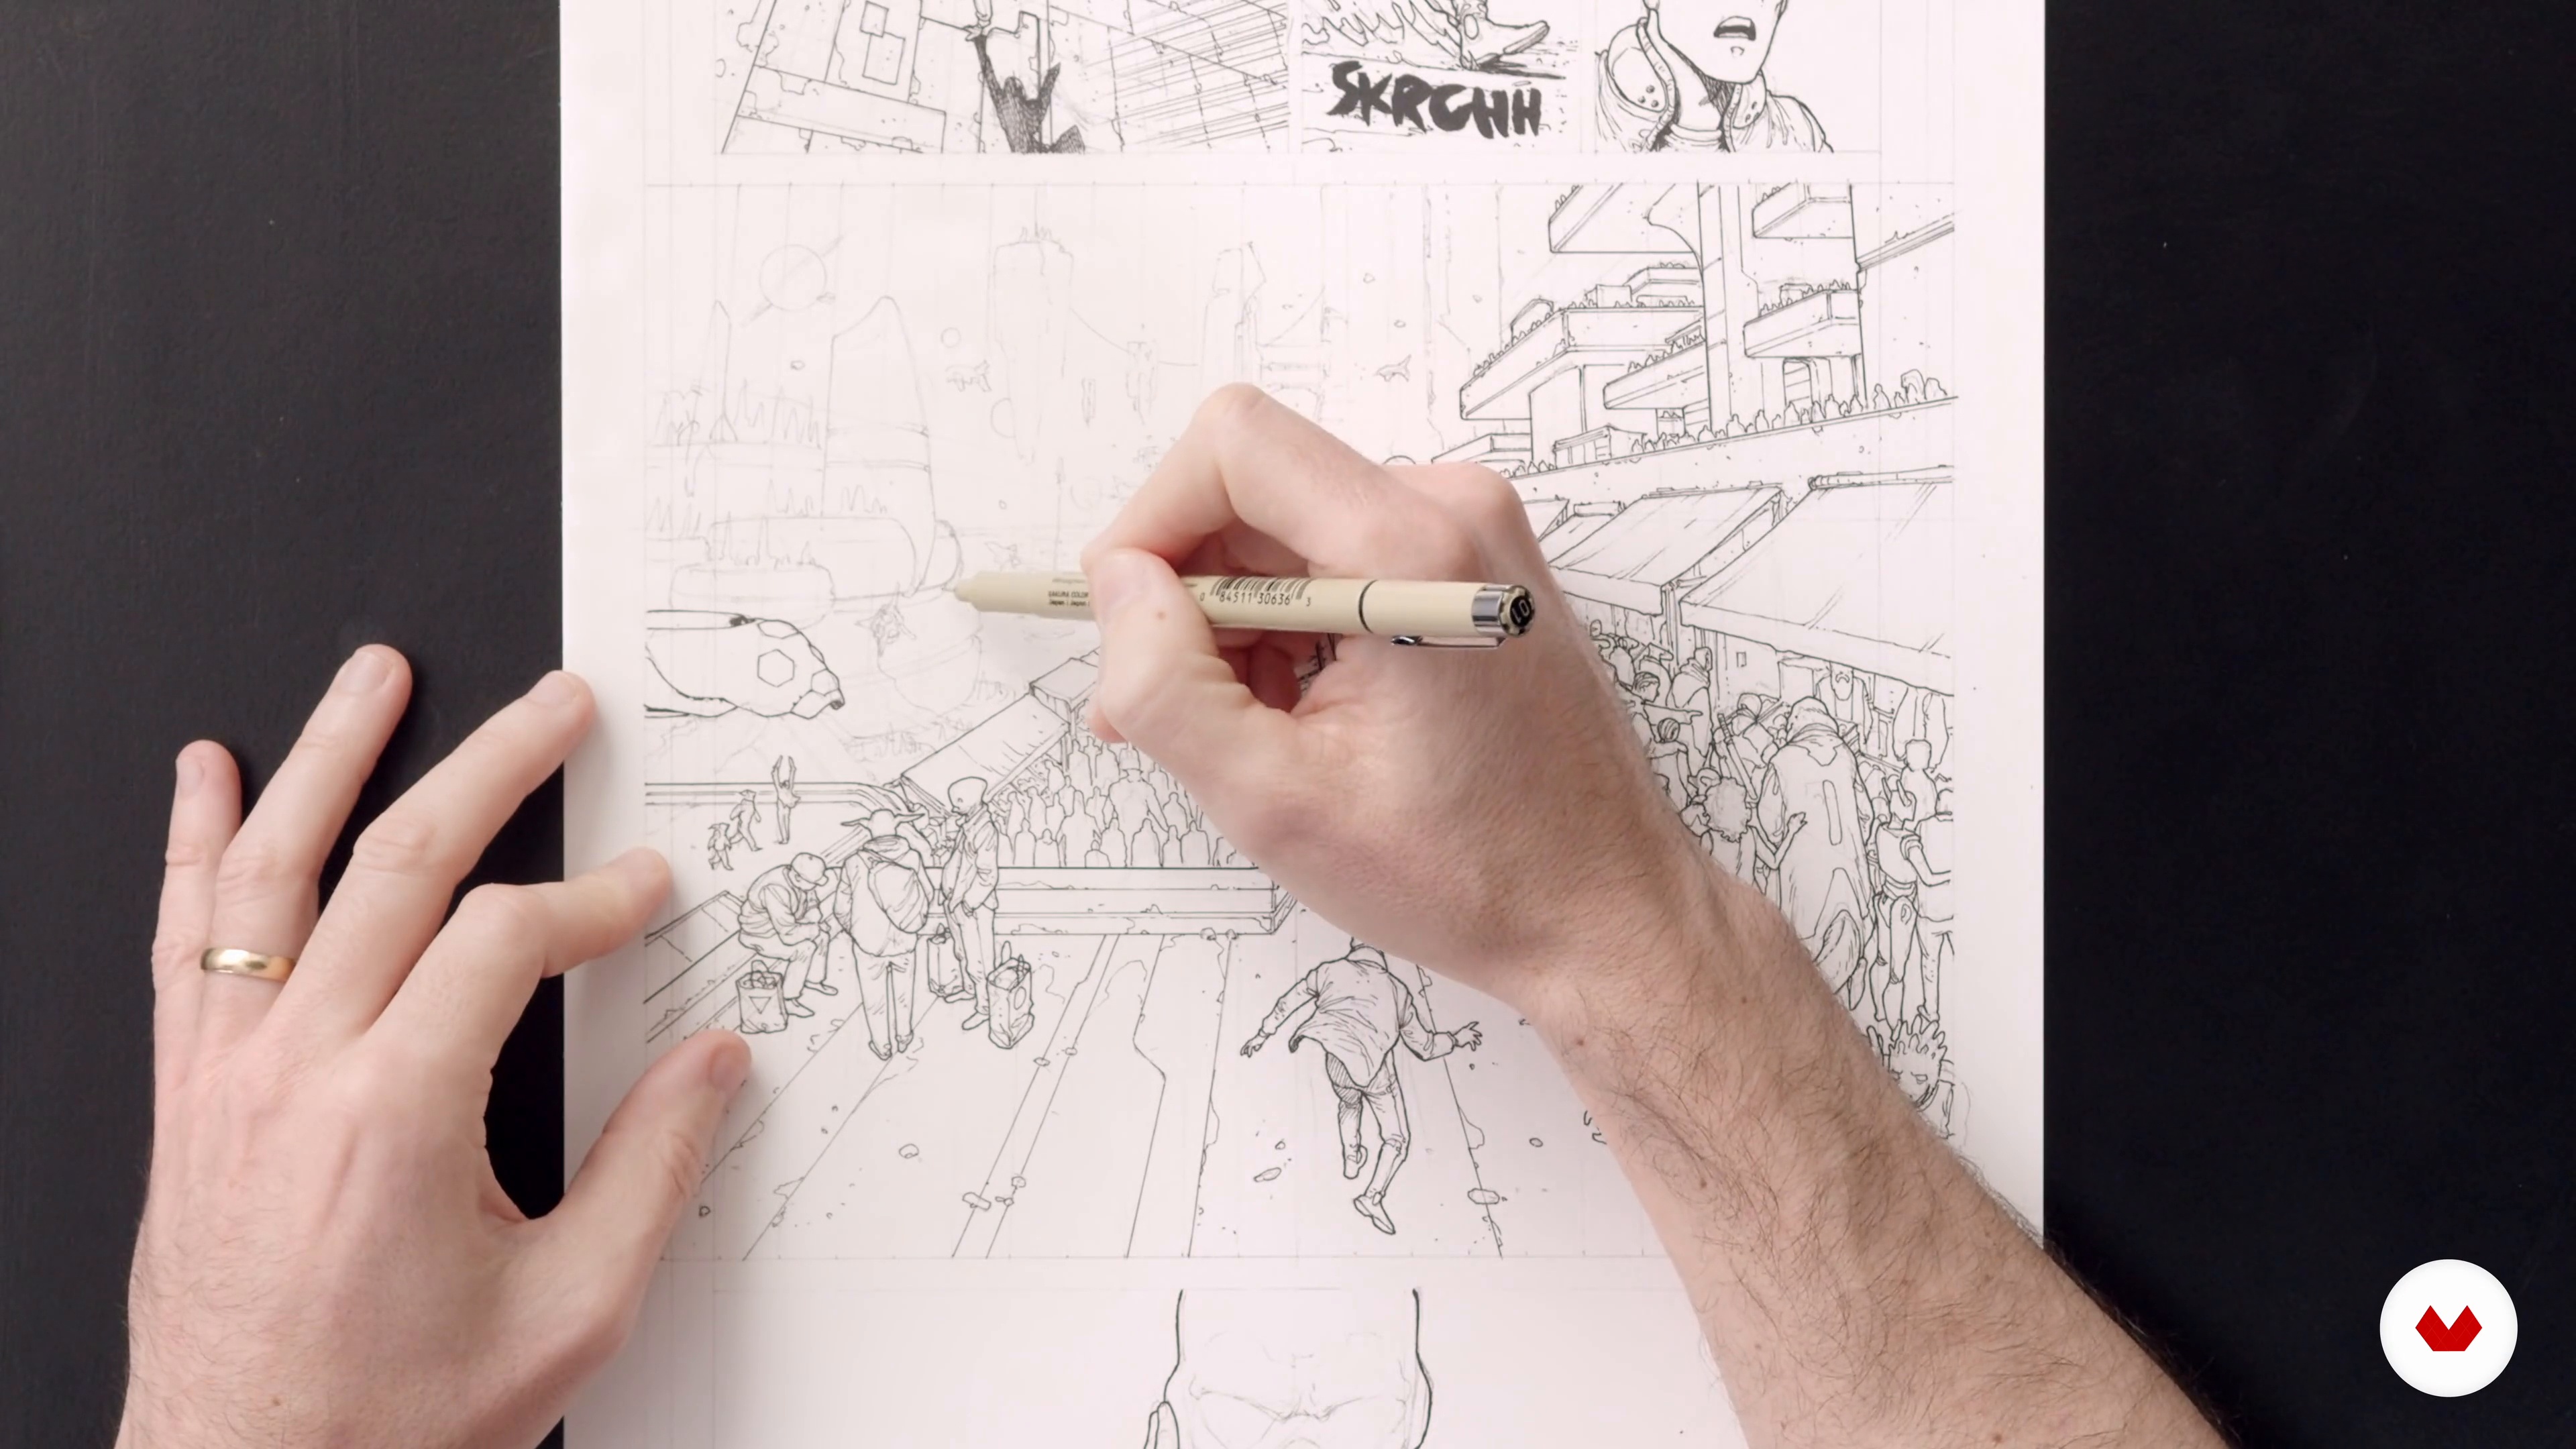
10Inking Stage 2
With the thicker lines done, let's focus on the smaller details. This will ensure realism, even once the perspective grid is removed!
16m
 11
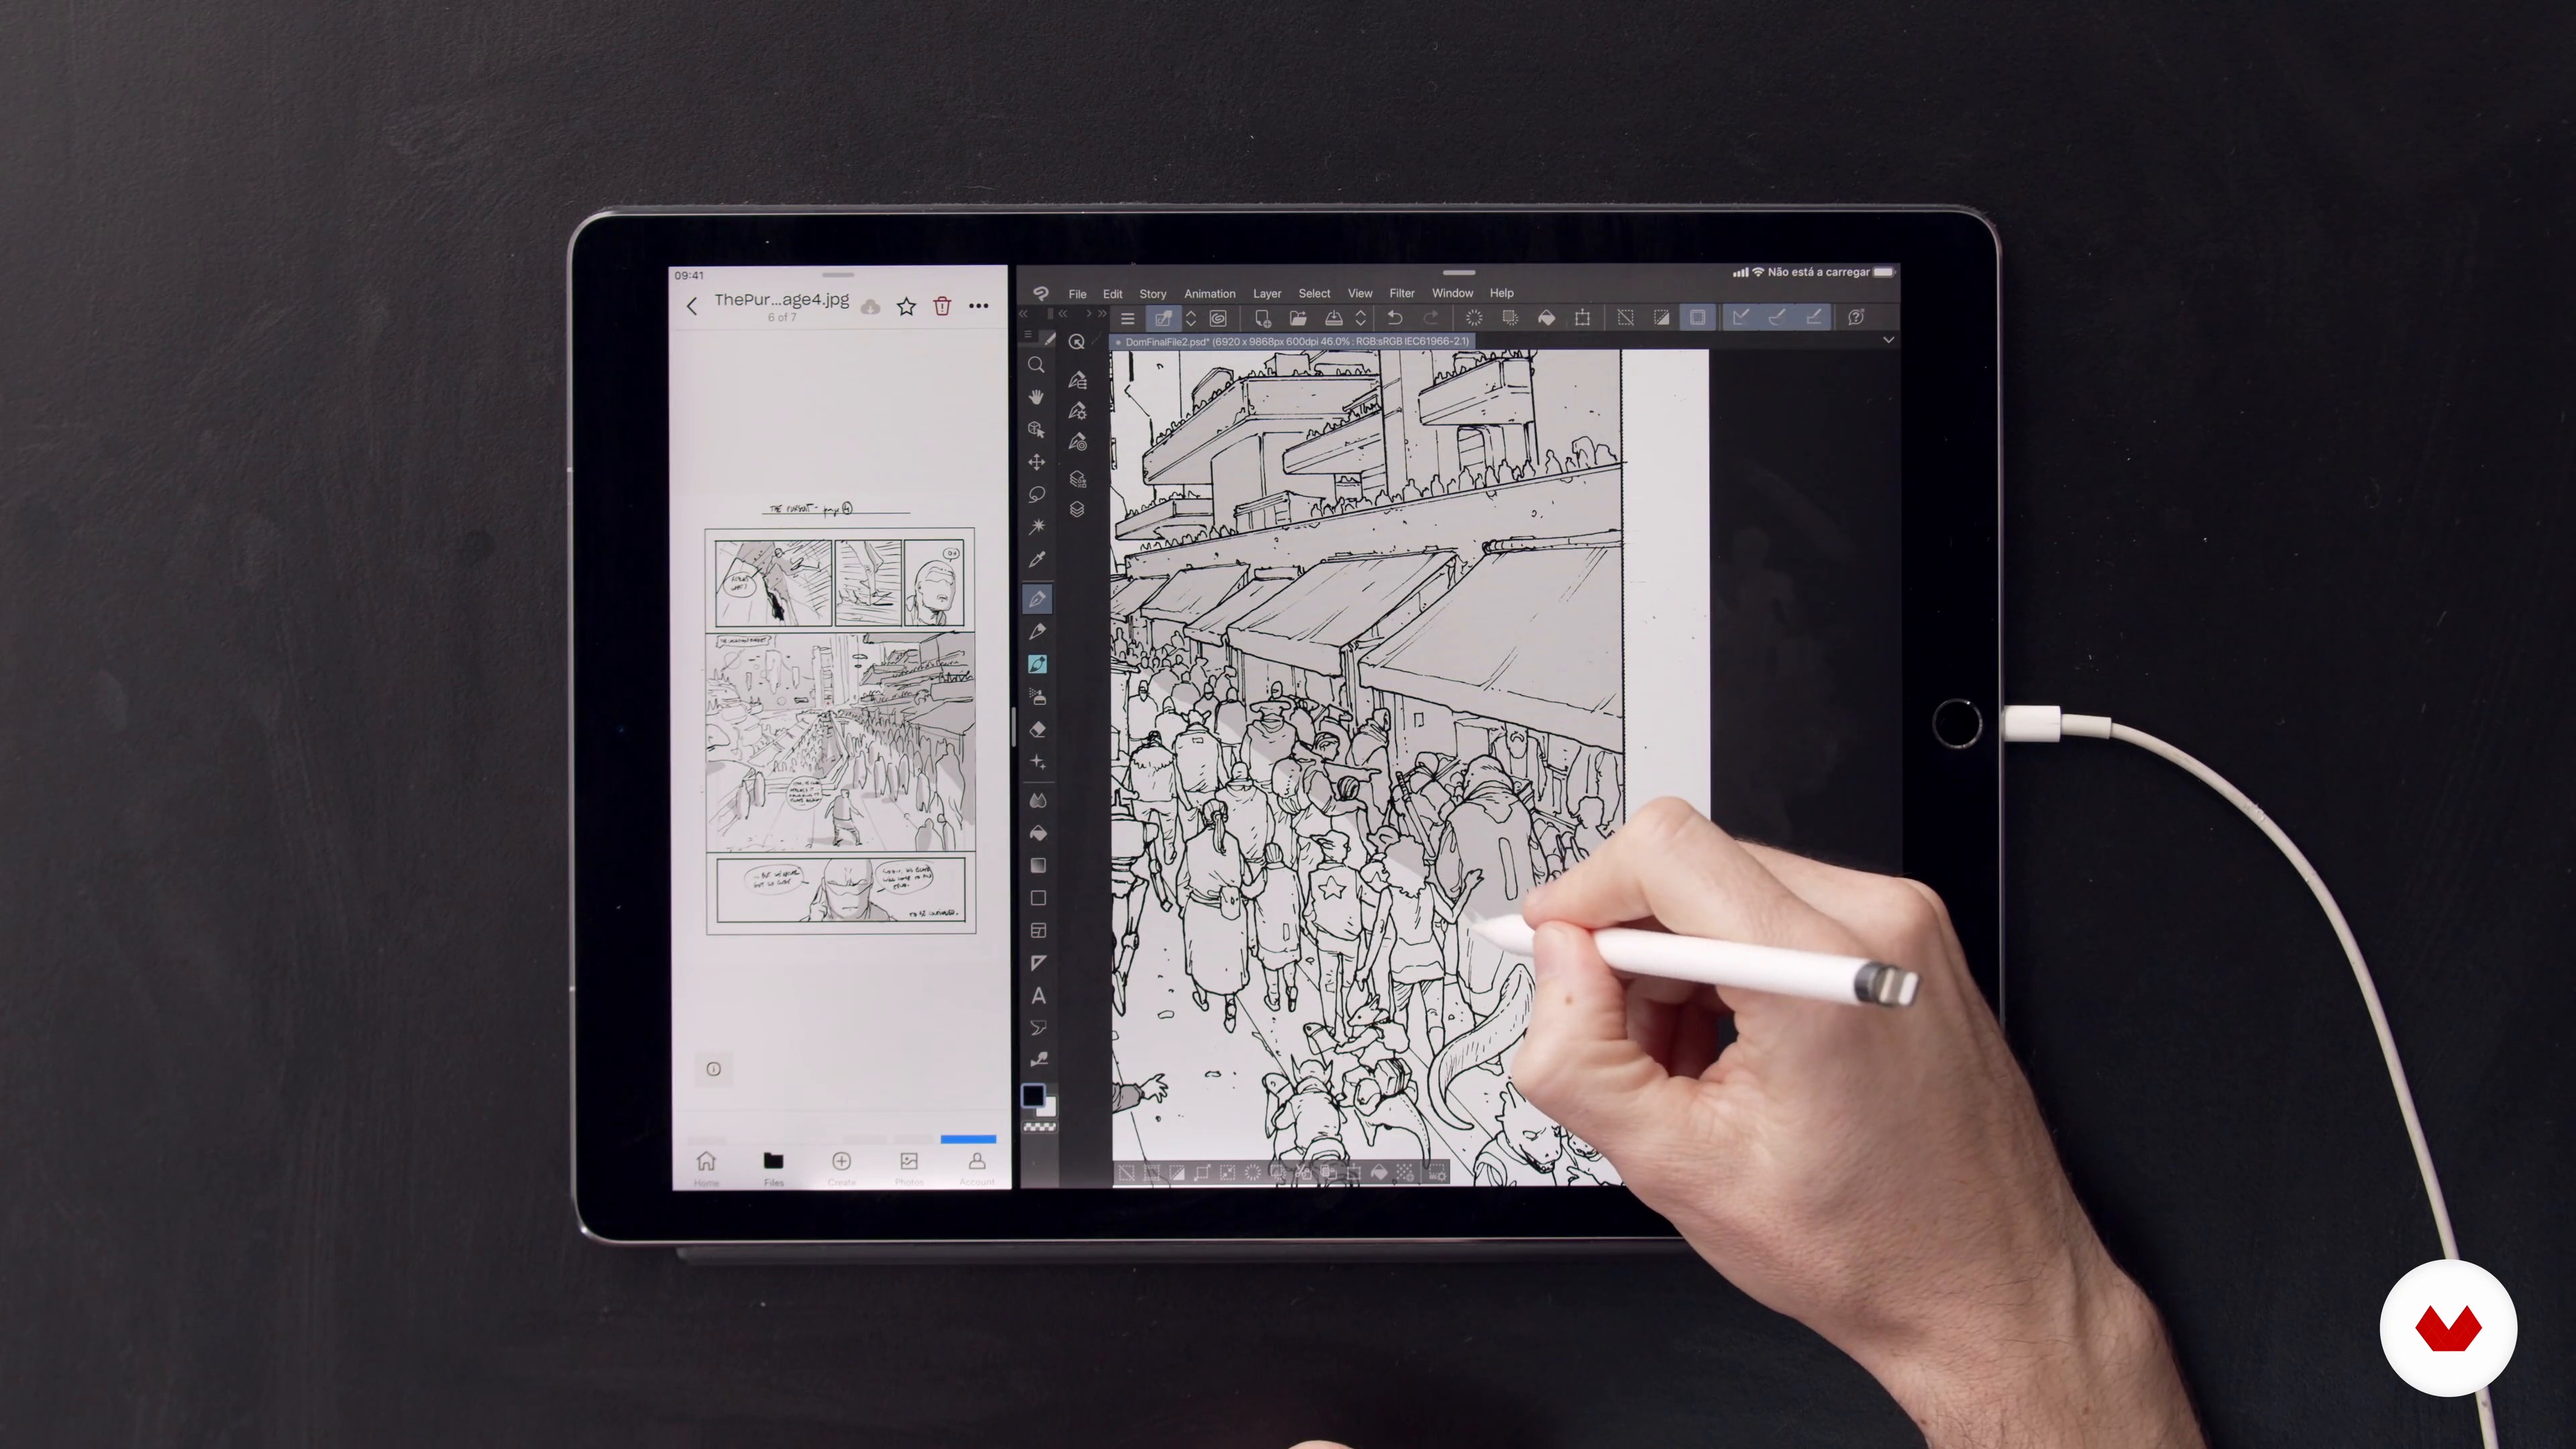
11Inking Stage 3
Now that we have the details set for the main level, it's time to move on to the background. This is the final step in the inking process.
11m
 12
12Grey Tones Stage 1
Here, you'll add gray tones and shadows to your comic, using layers to create depth and enhance the 3D effect of characters and backgrounds. You'll also experiment with gradients and shadow placement to refine the overall composition.
14m
 13
13Grey Tones Stage 2
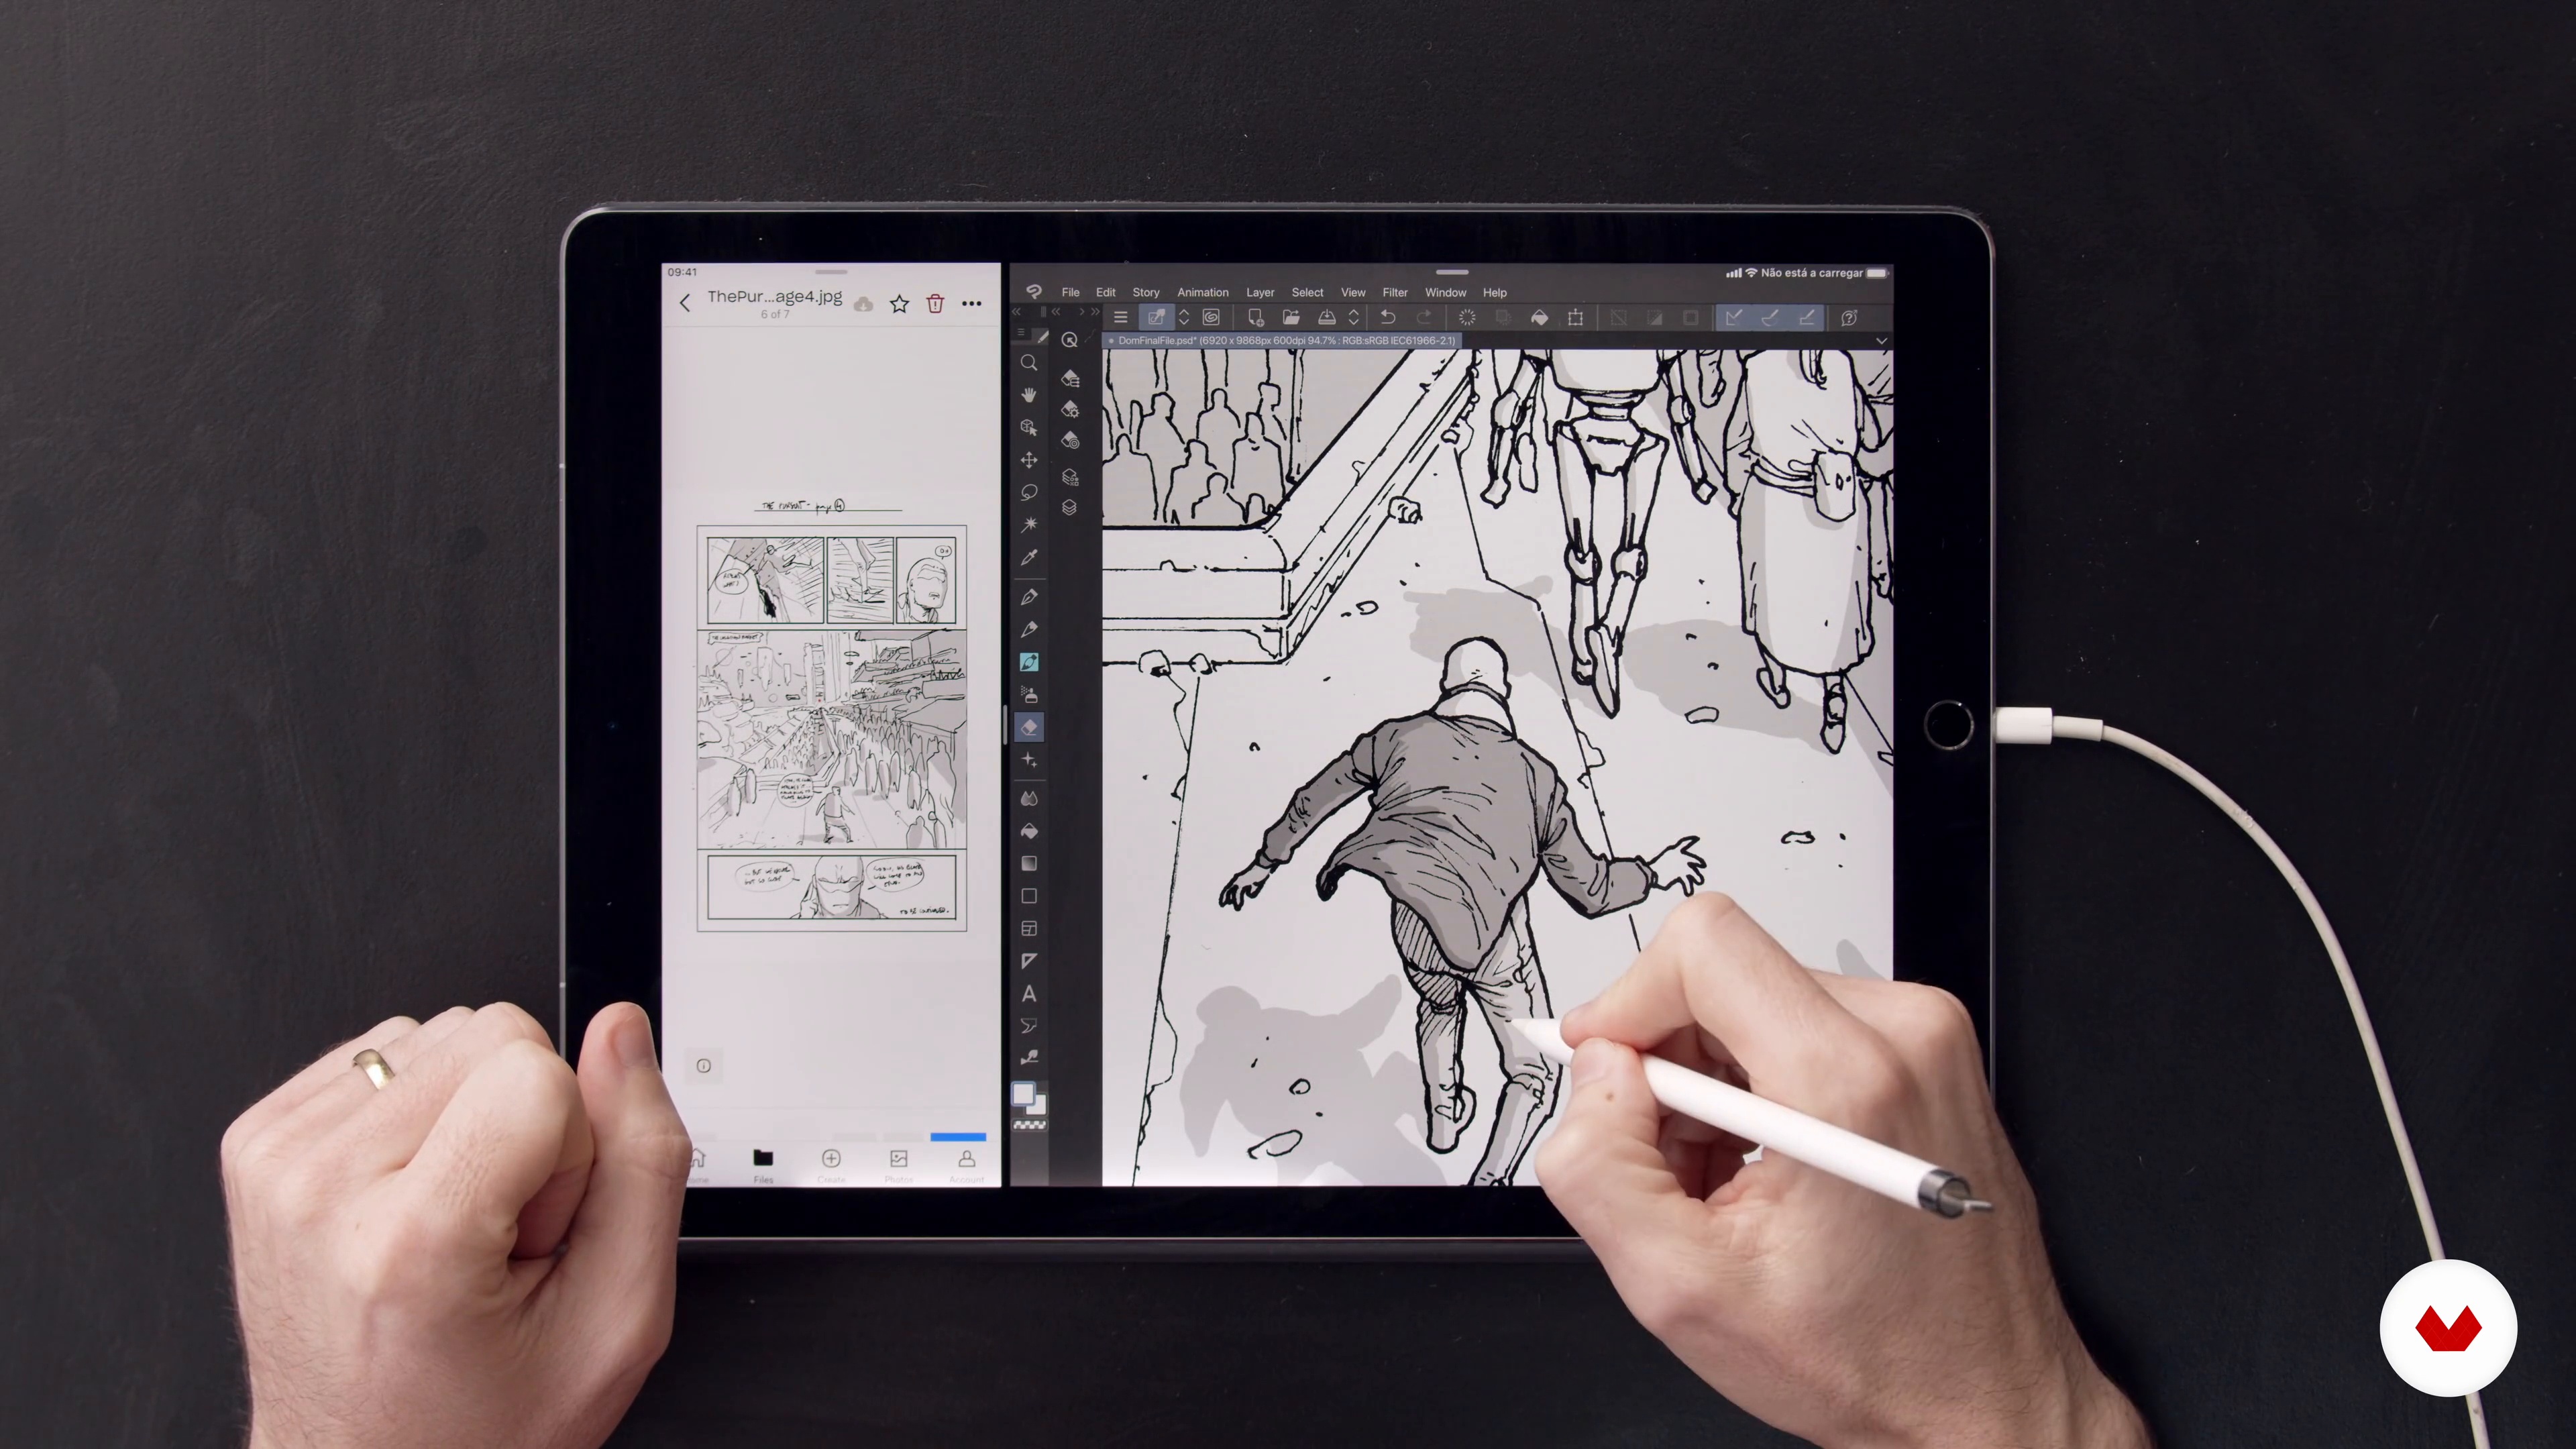
In this lesson, you'll learn how to add gray tones and shadows to bring your comic to life. Using techniques like cross-hatching and erasing, you'll create smooth gradients that give your characters and backgrounds more depth. At the end, you'll review your work digitally and by printing it out to see how it looks!
12m
 1
1Introducing the Project
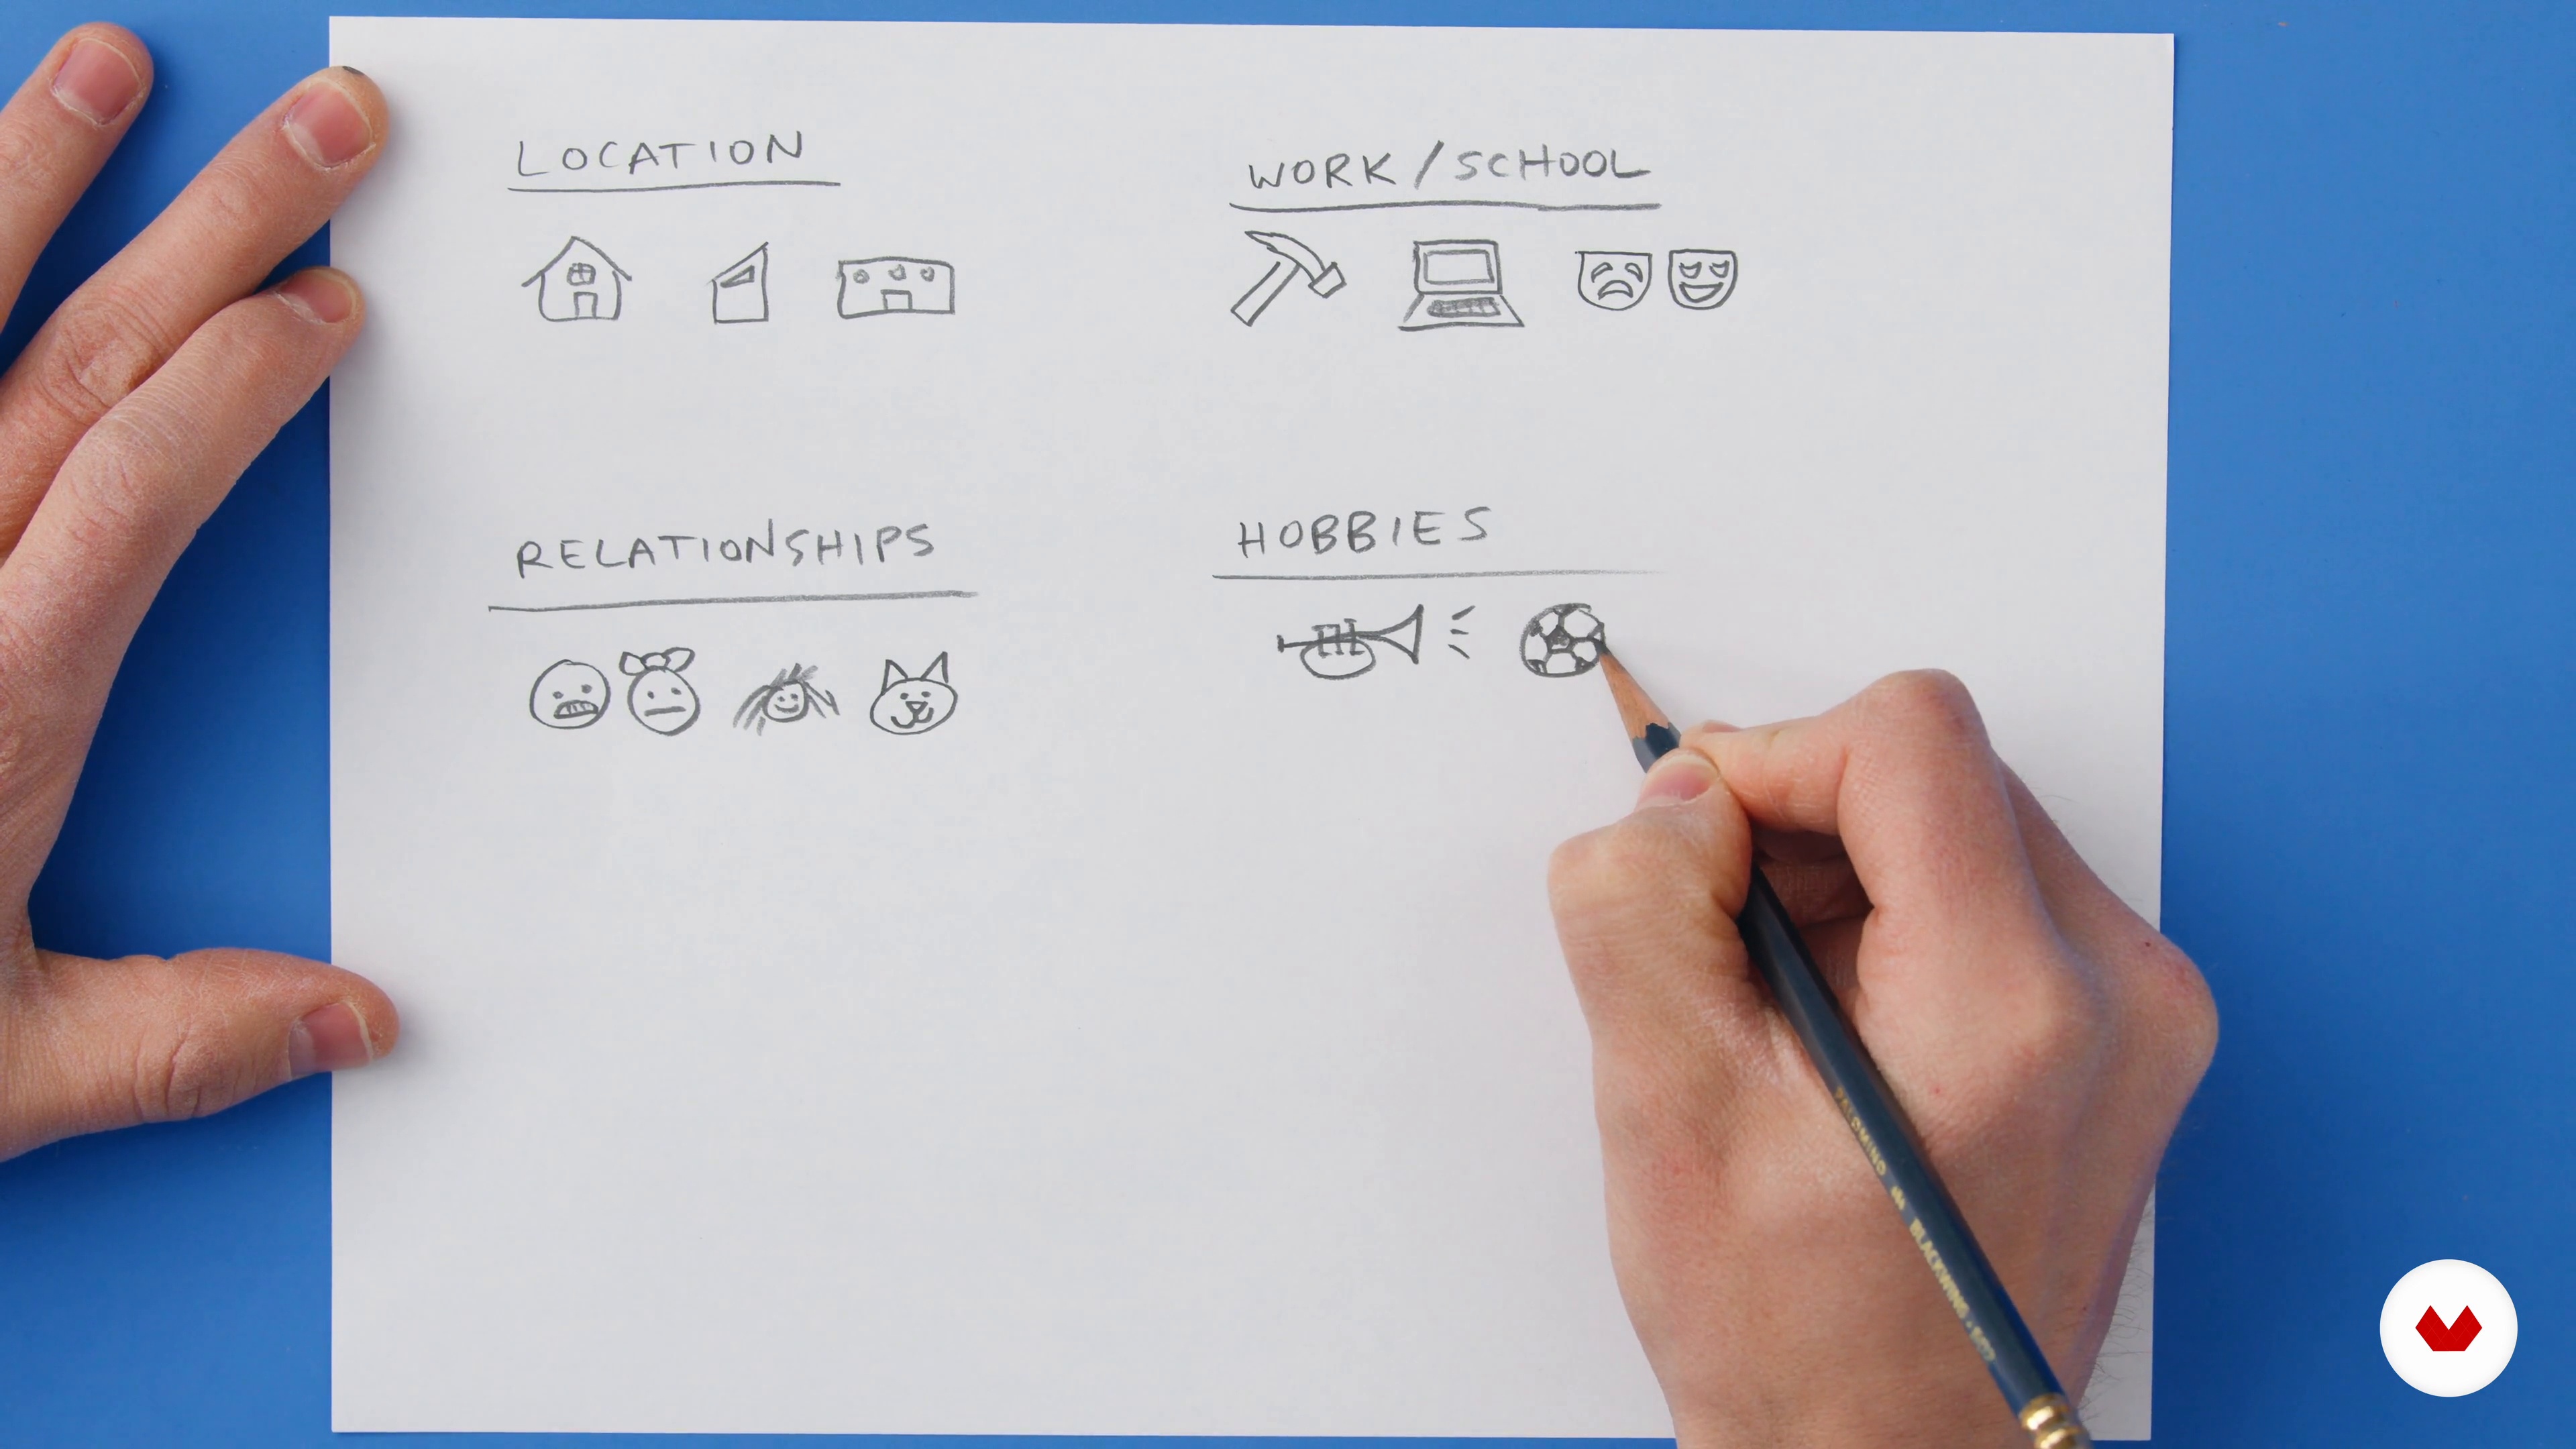
A great way to approach comics is to start small and then build up to larger projects. In this unit, I will introduce you to the project you will work on in this course.
10m
 2
2An Overview of Comics
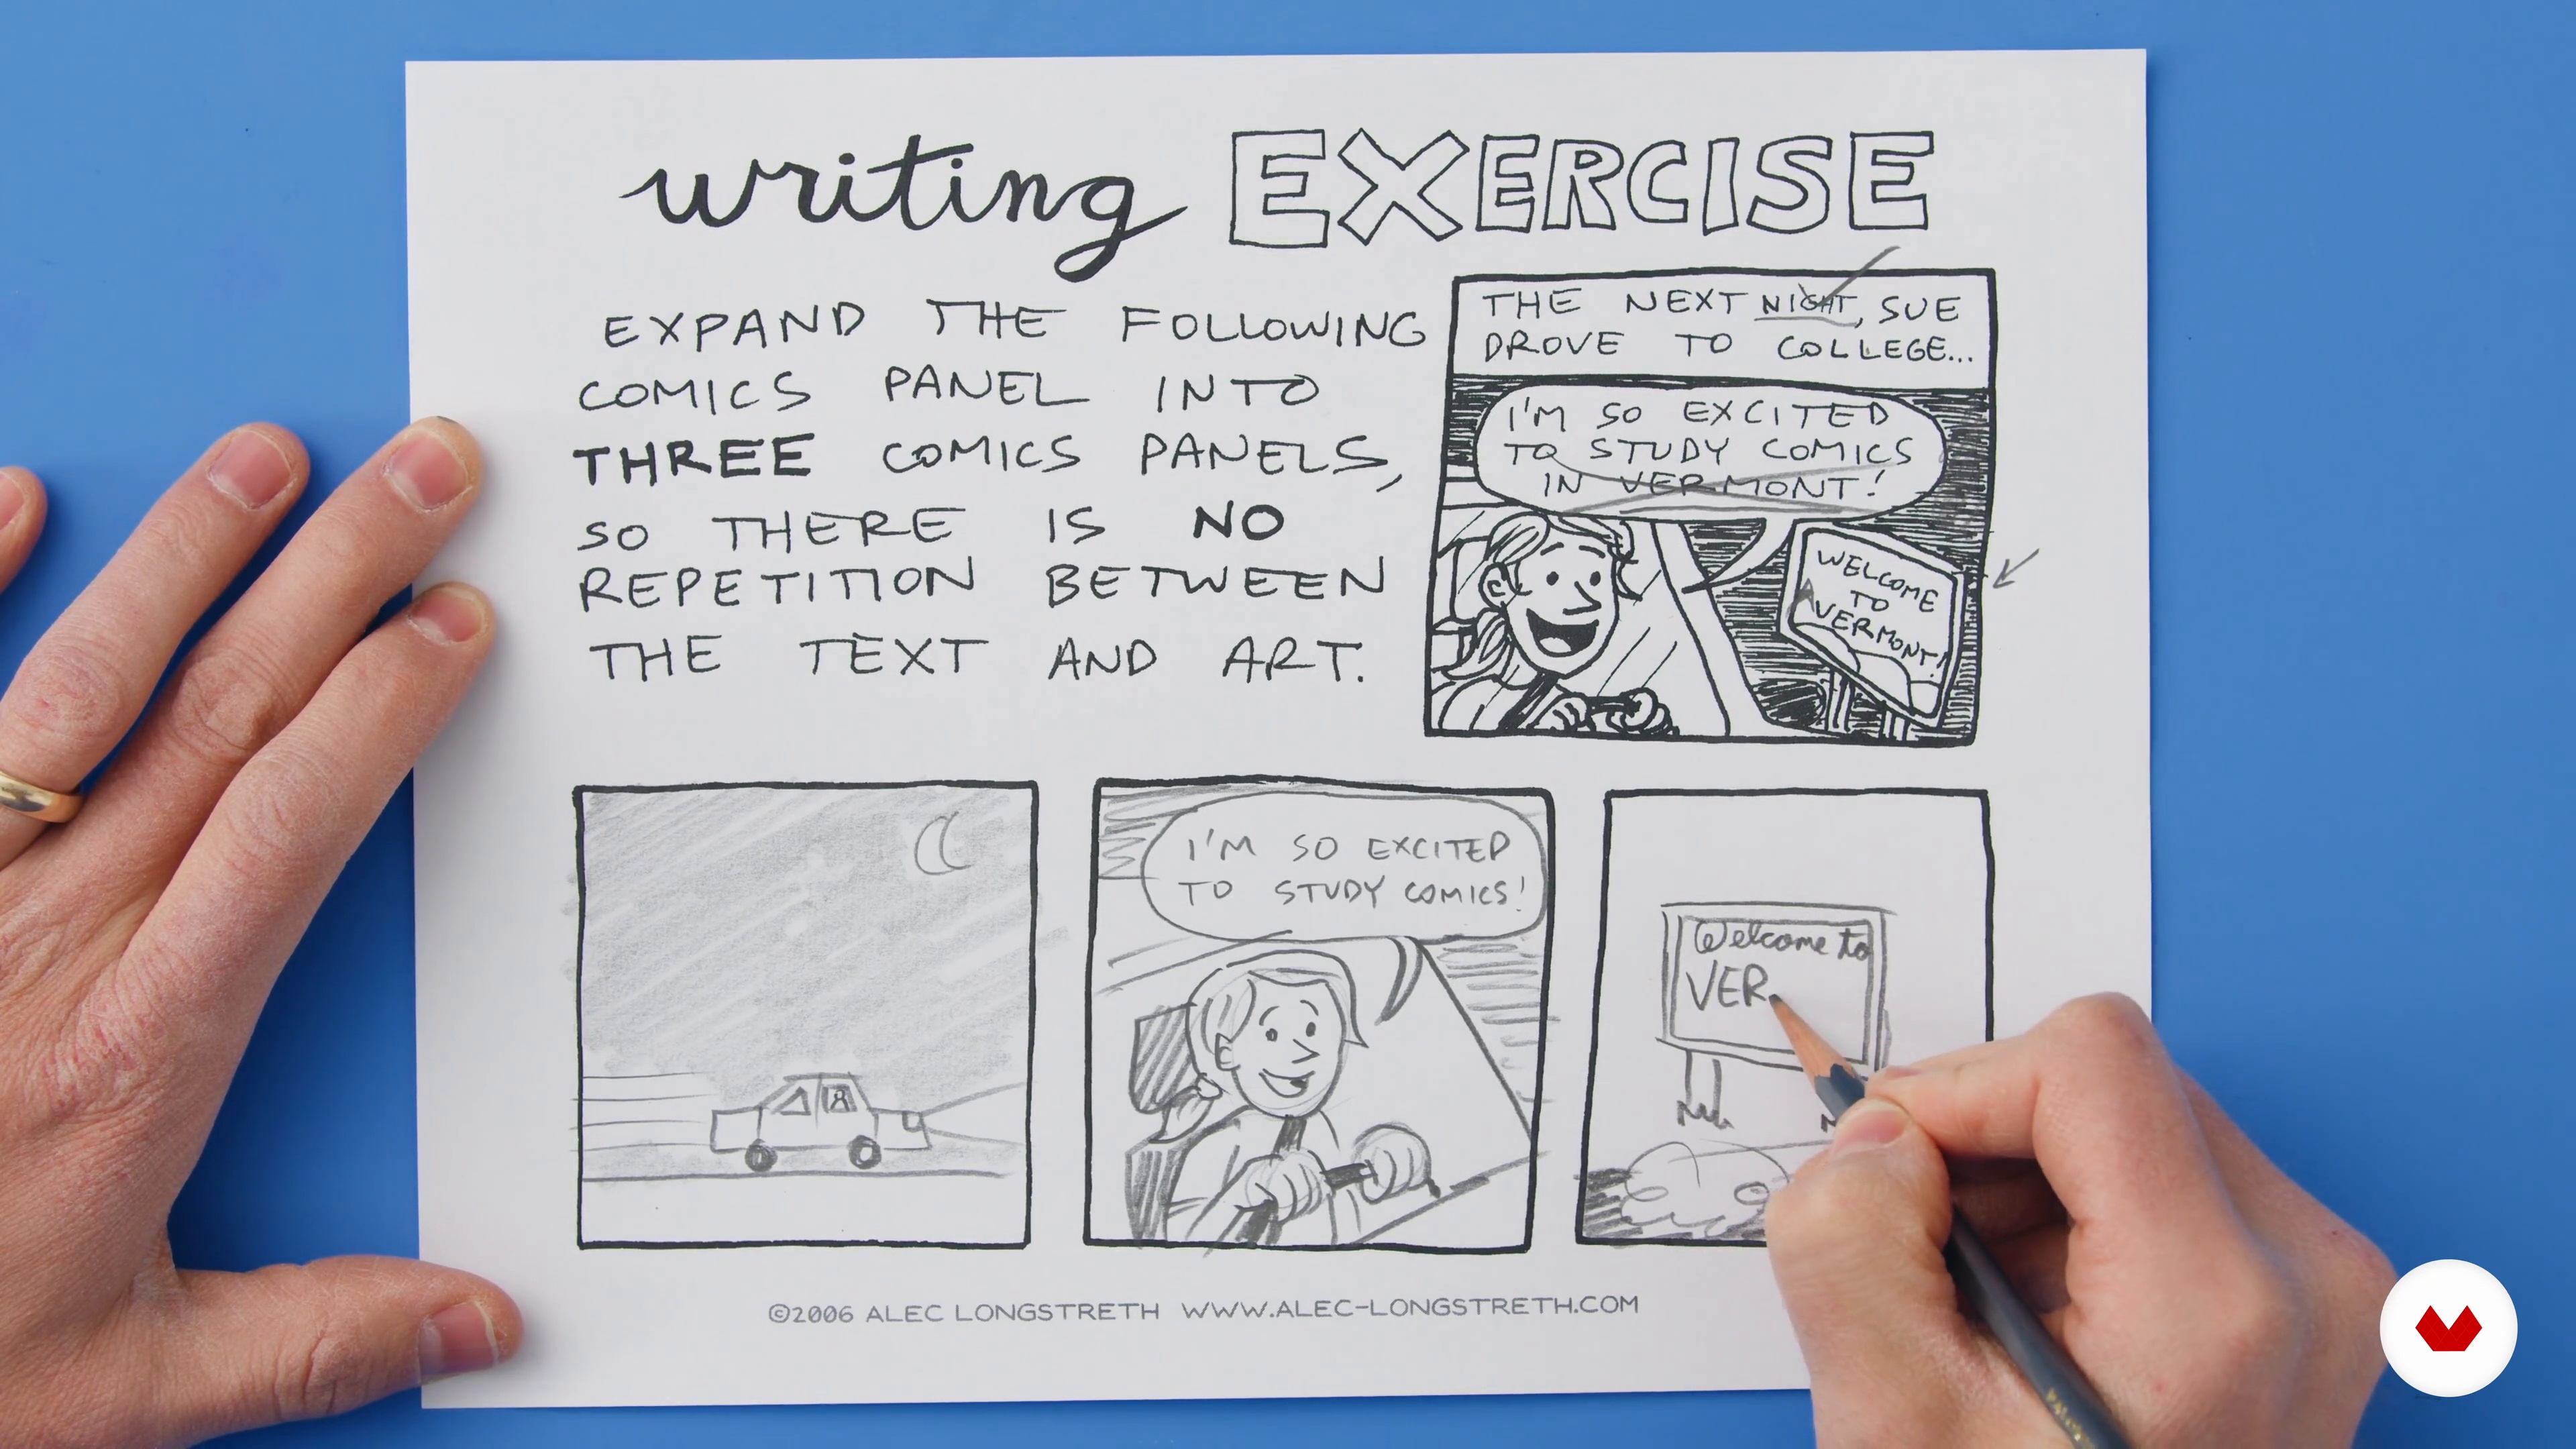
Comics are one of the most direct storytelling mediums, allowing an individual creator to communicate directly with the reader. This is why it’s the perfect medium for sharing autobiographical stories.
20m
3Generating Ideas!
Now I will show you some different ways to brainstorm many ideas. I will then teach you how to sift through your ideas to figure out what will go on your comic's page.
15m
 4
4Sketching Thumbnails
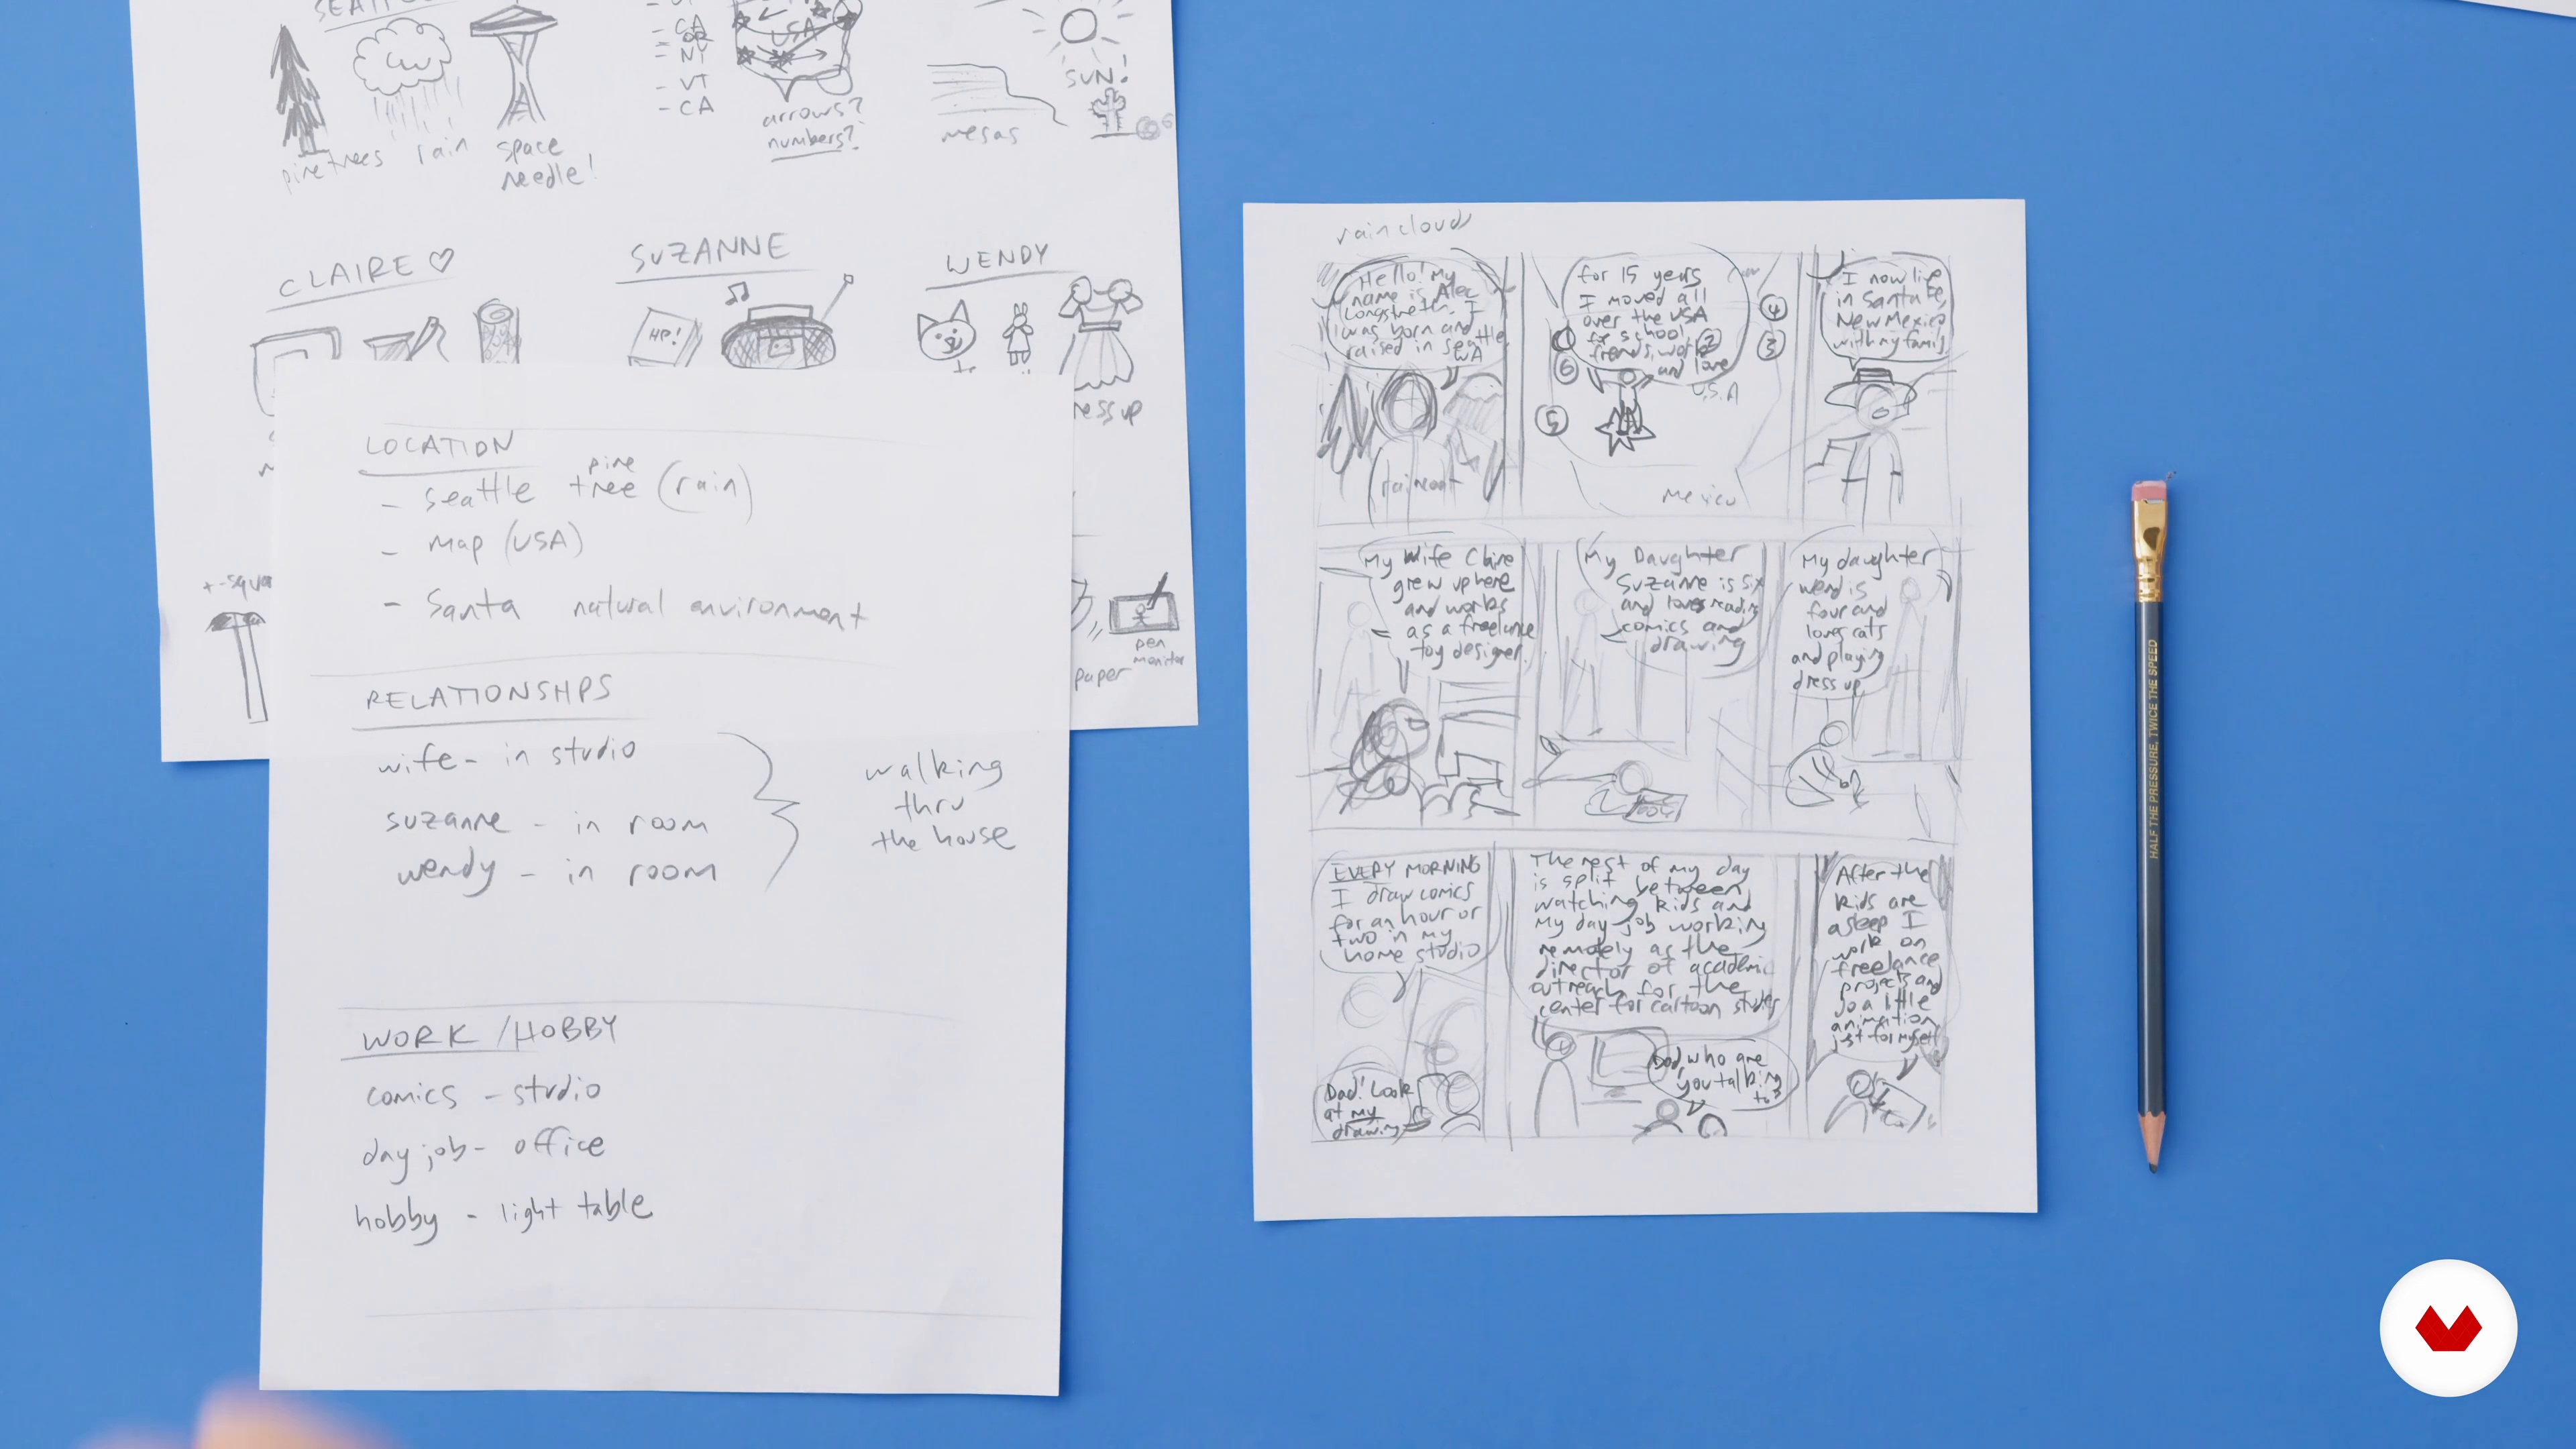
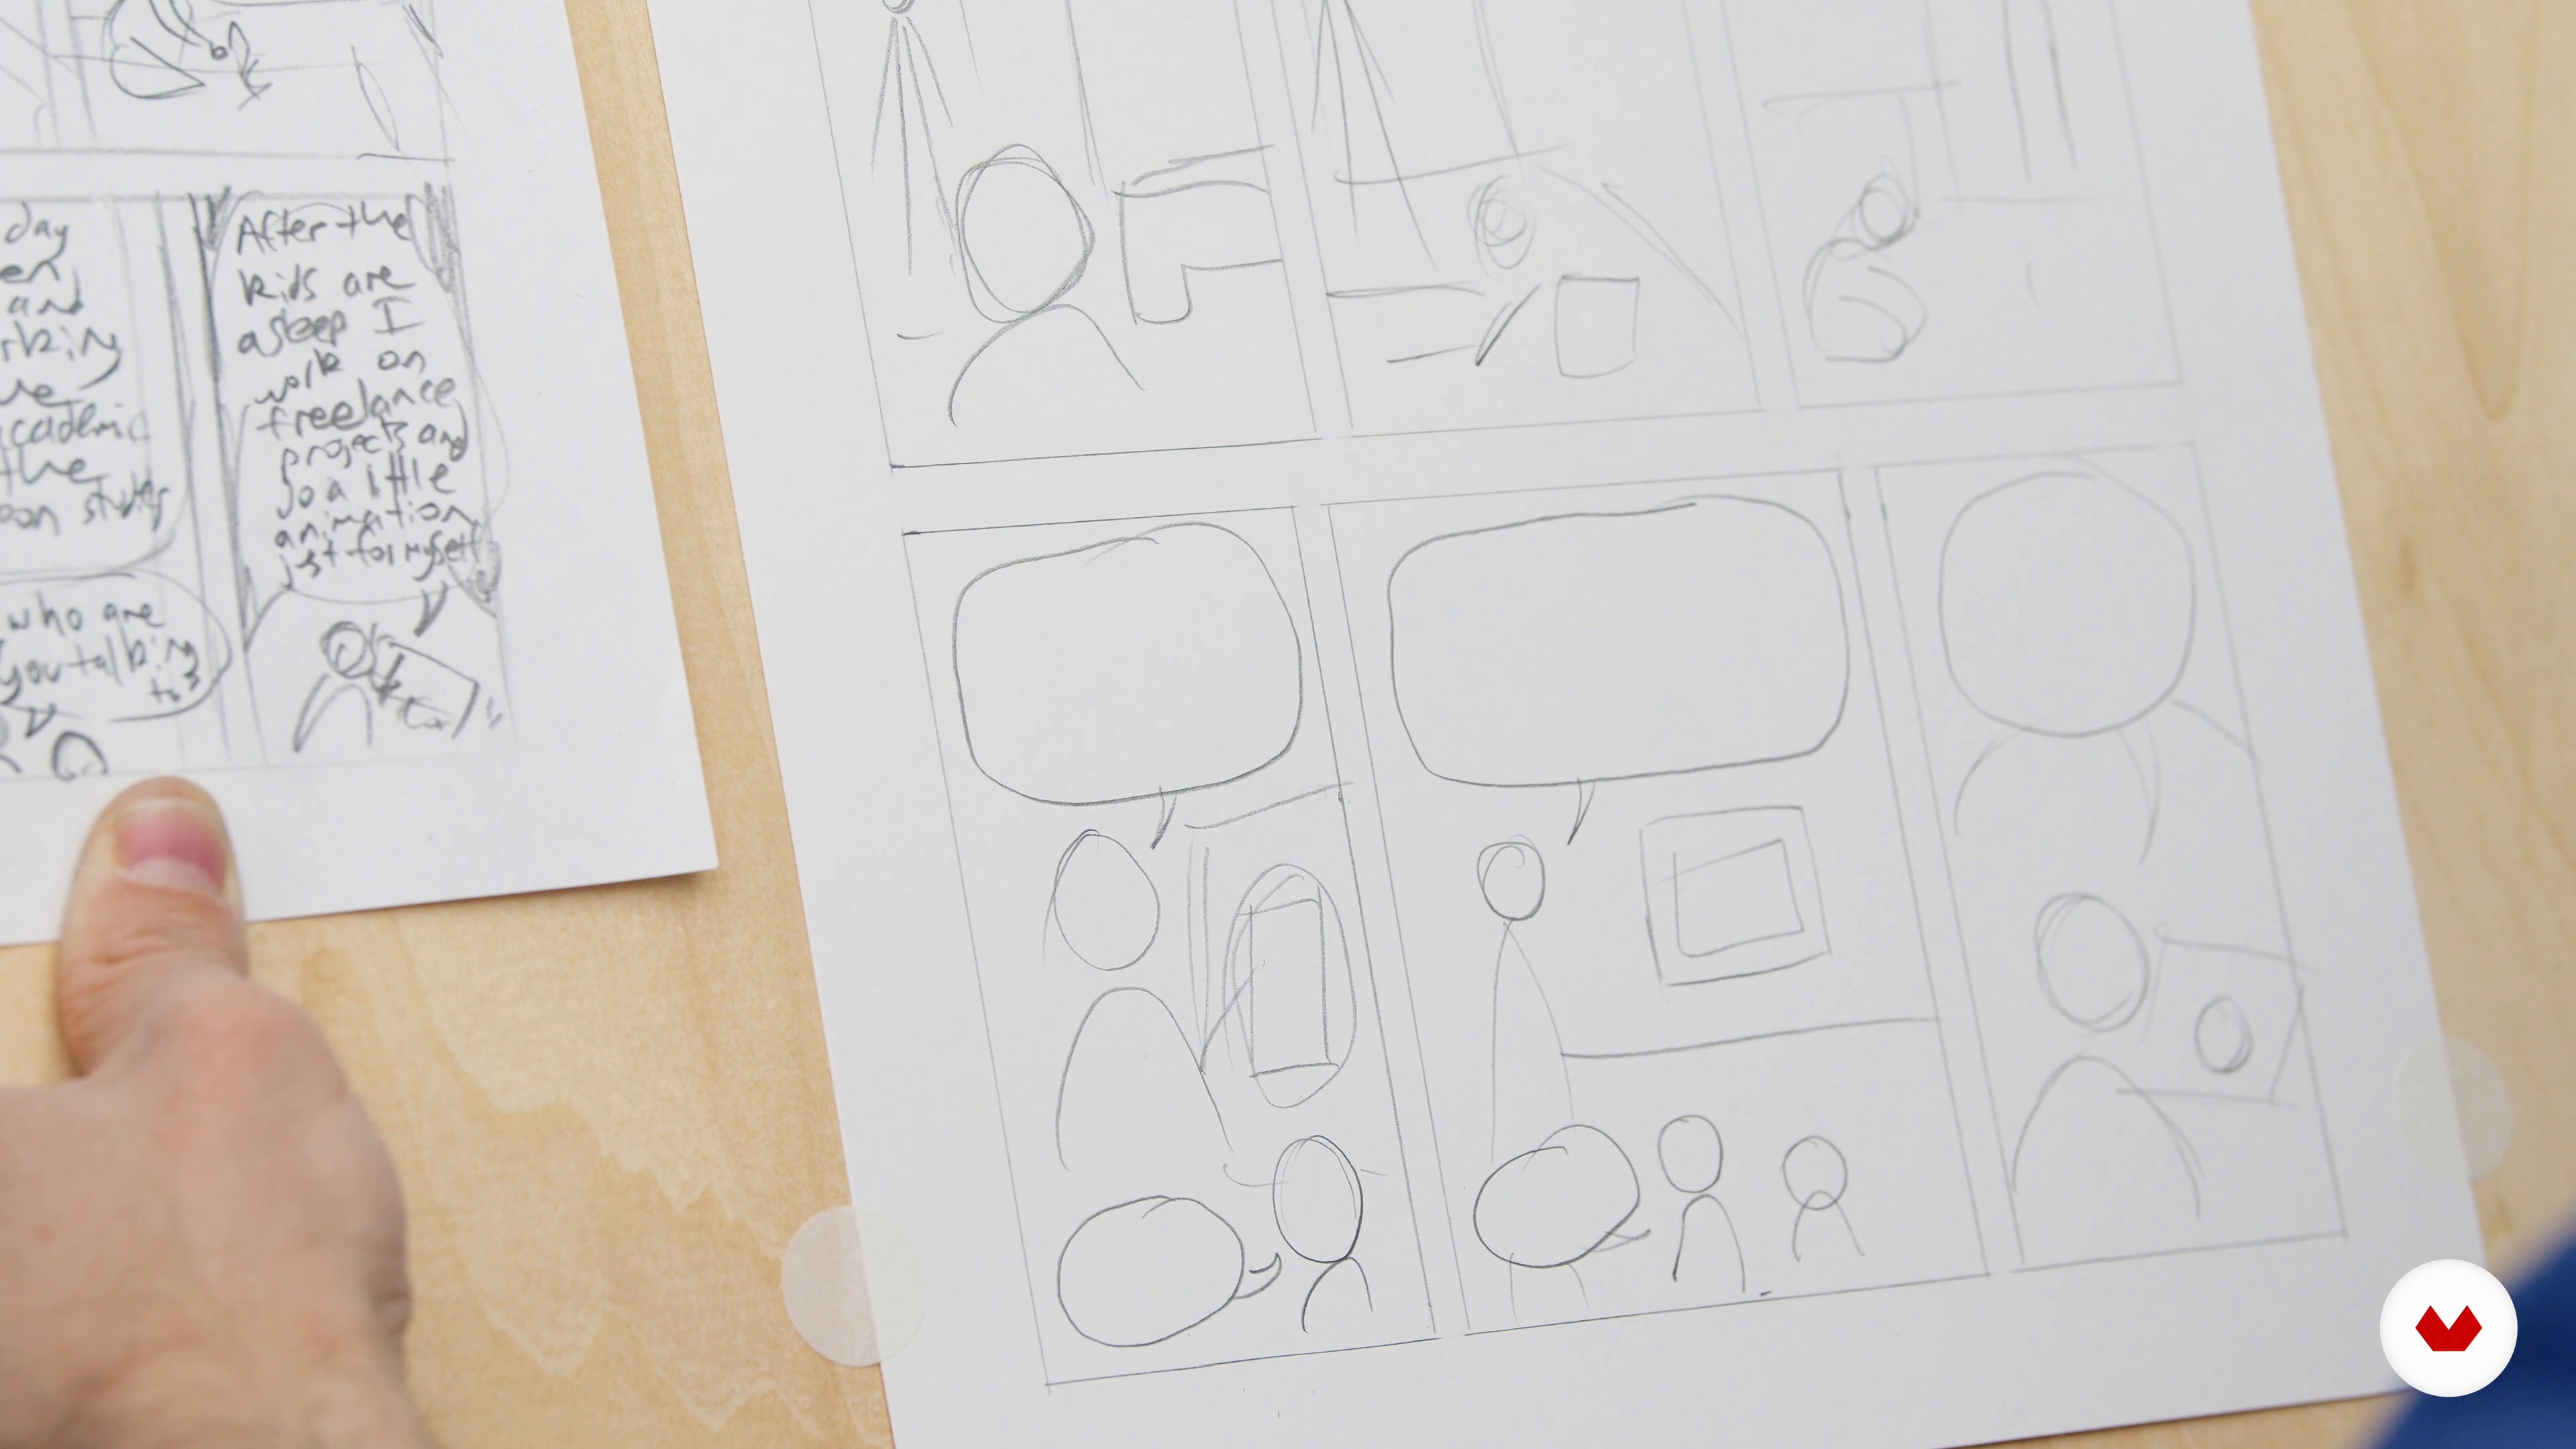
To begin, you will plan out your page using small rough drawings (maybe even stick figures!) so that you have room to make lots of corrections before you do the labor of drawing the comic.
20m
 5
5The Page Layout 1
Next, you will take the thumbnails and lay them out on the paper (or digital file) that you will use to draw the final comic.
14m
 6
6The Page Layout 2
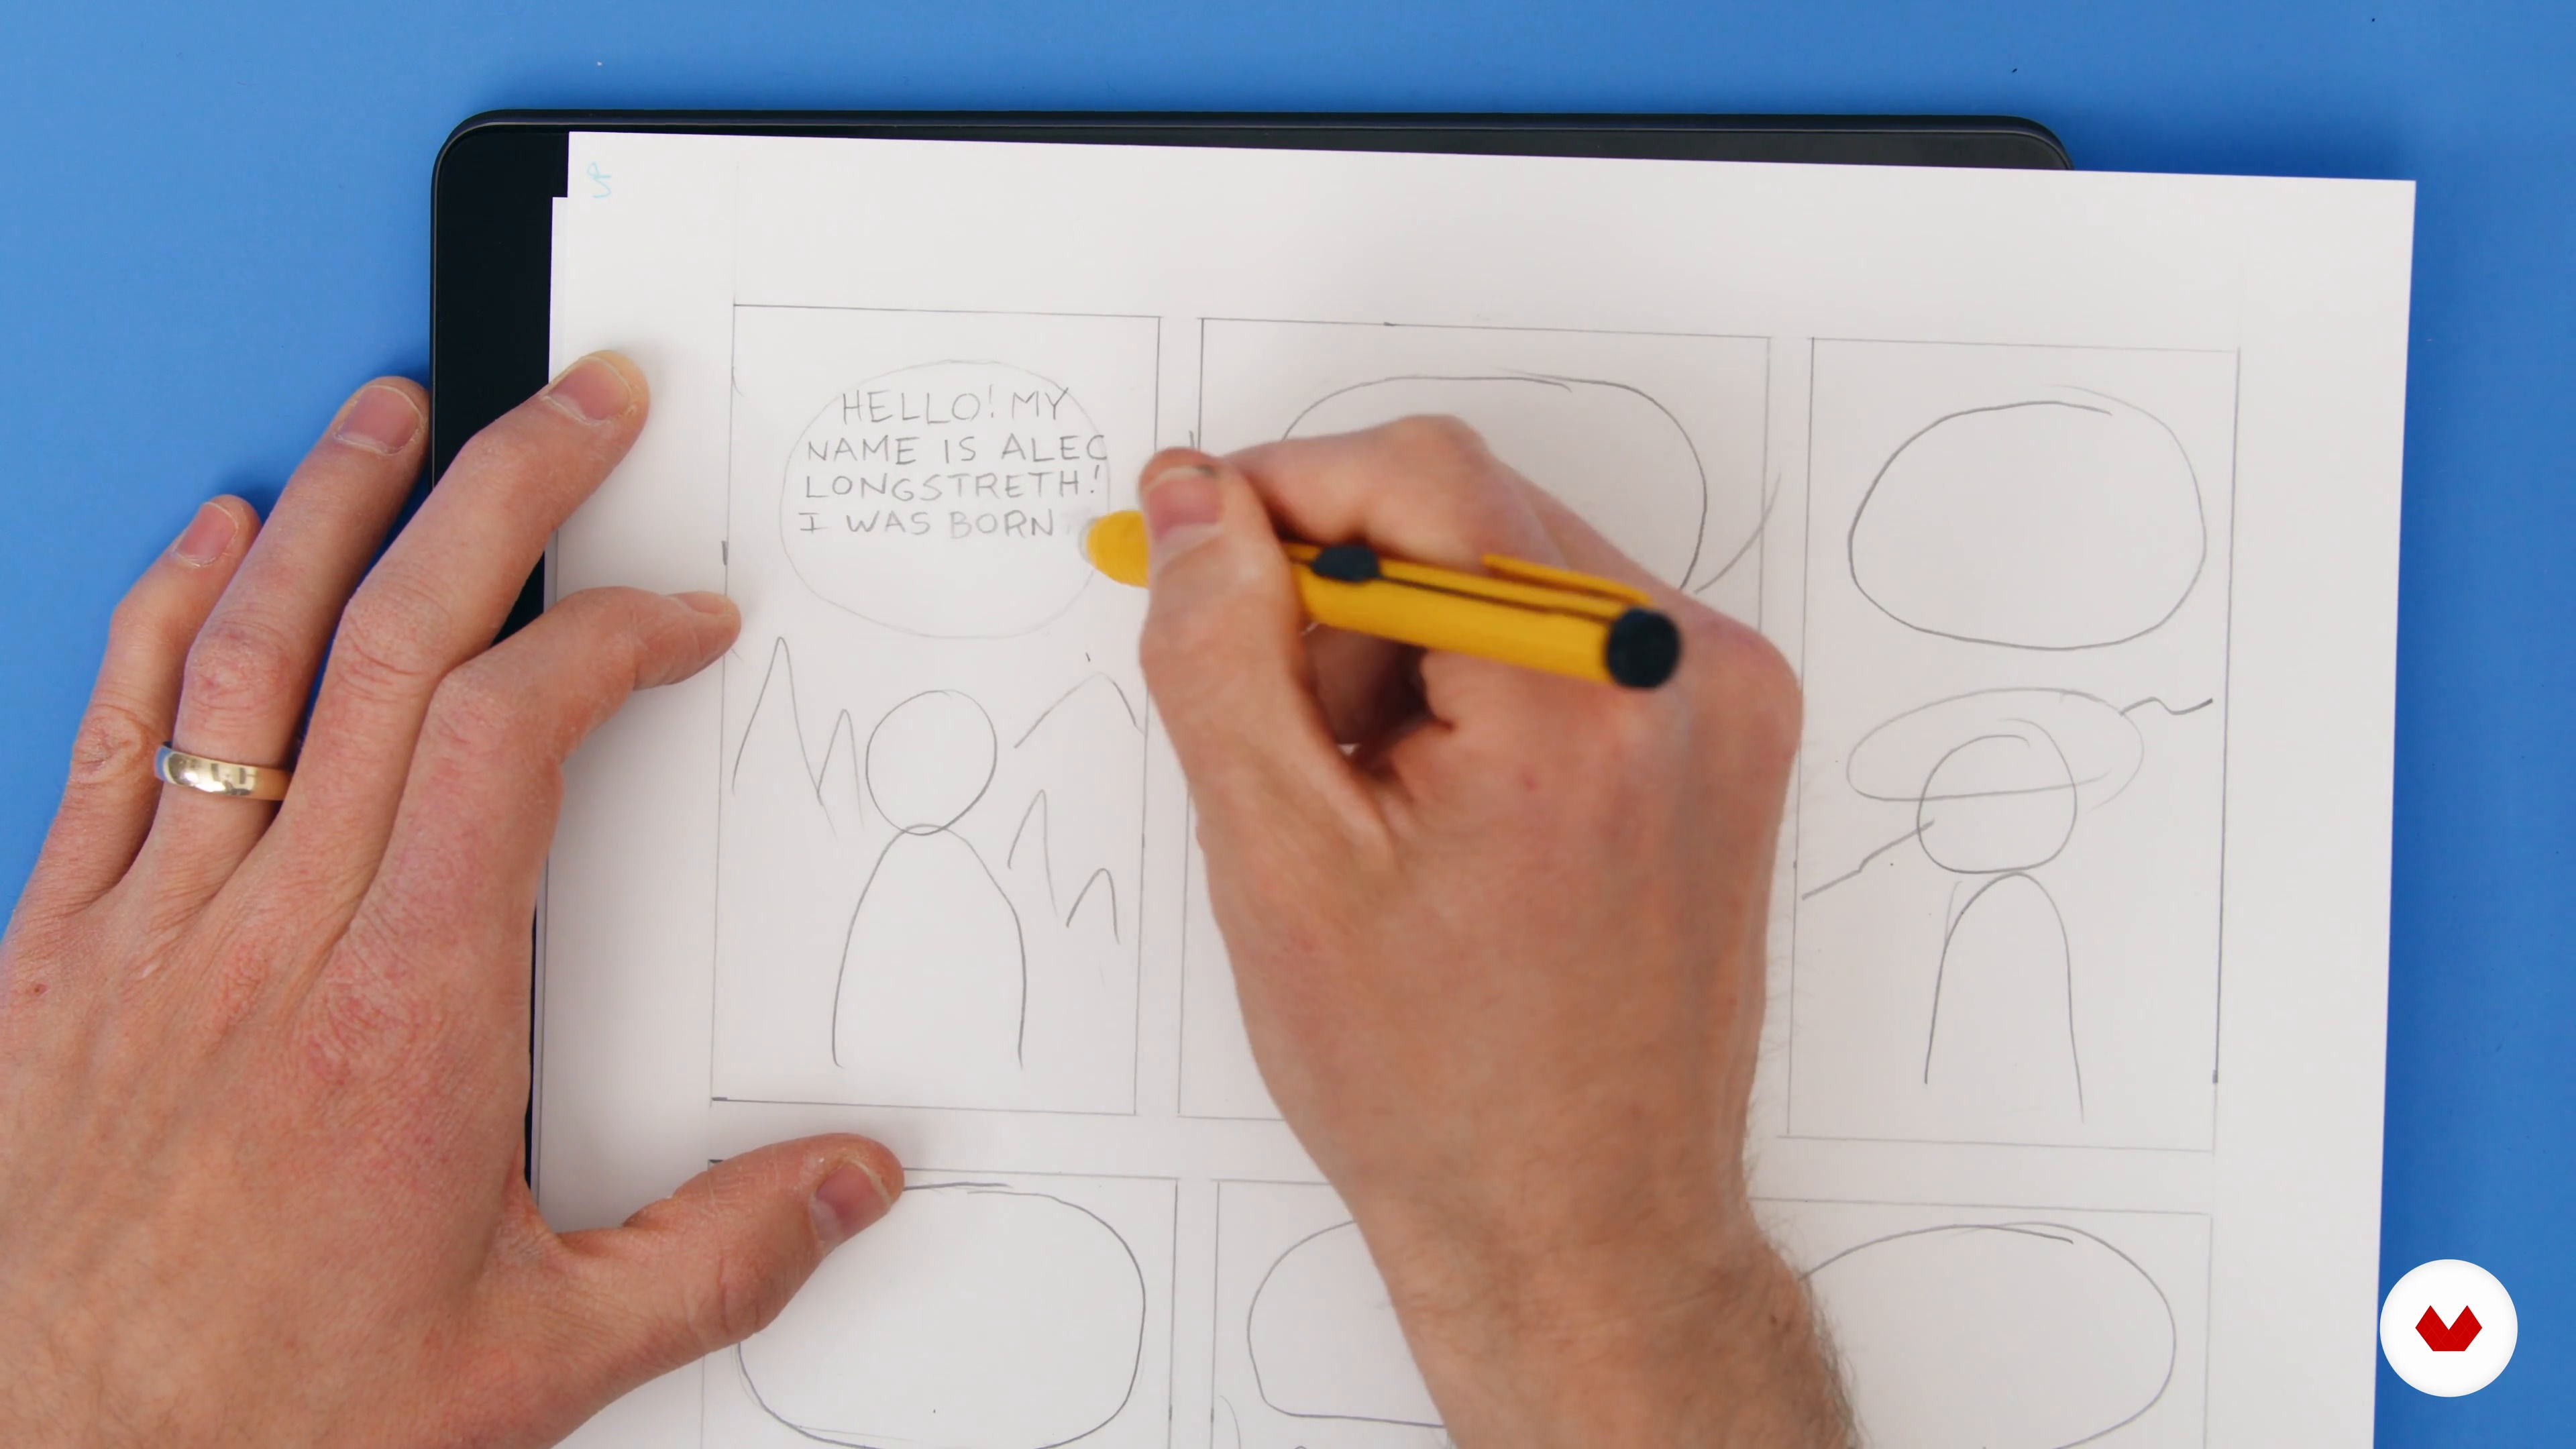
It's time to complete the page layout. Here, I will finalize the panel structure. You will learn tips and tricks to guide the reader's eyes, by playing with the vertical and horizontal gutters. It's important to do this well, as any ambiguity will hugely disrupt the reading experience. Once I've completed the overall structure, I will roughly plan the composition of the different panels.
8m
 7
7Lettering
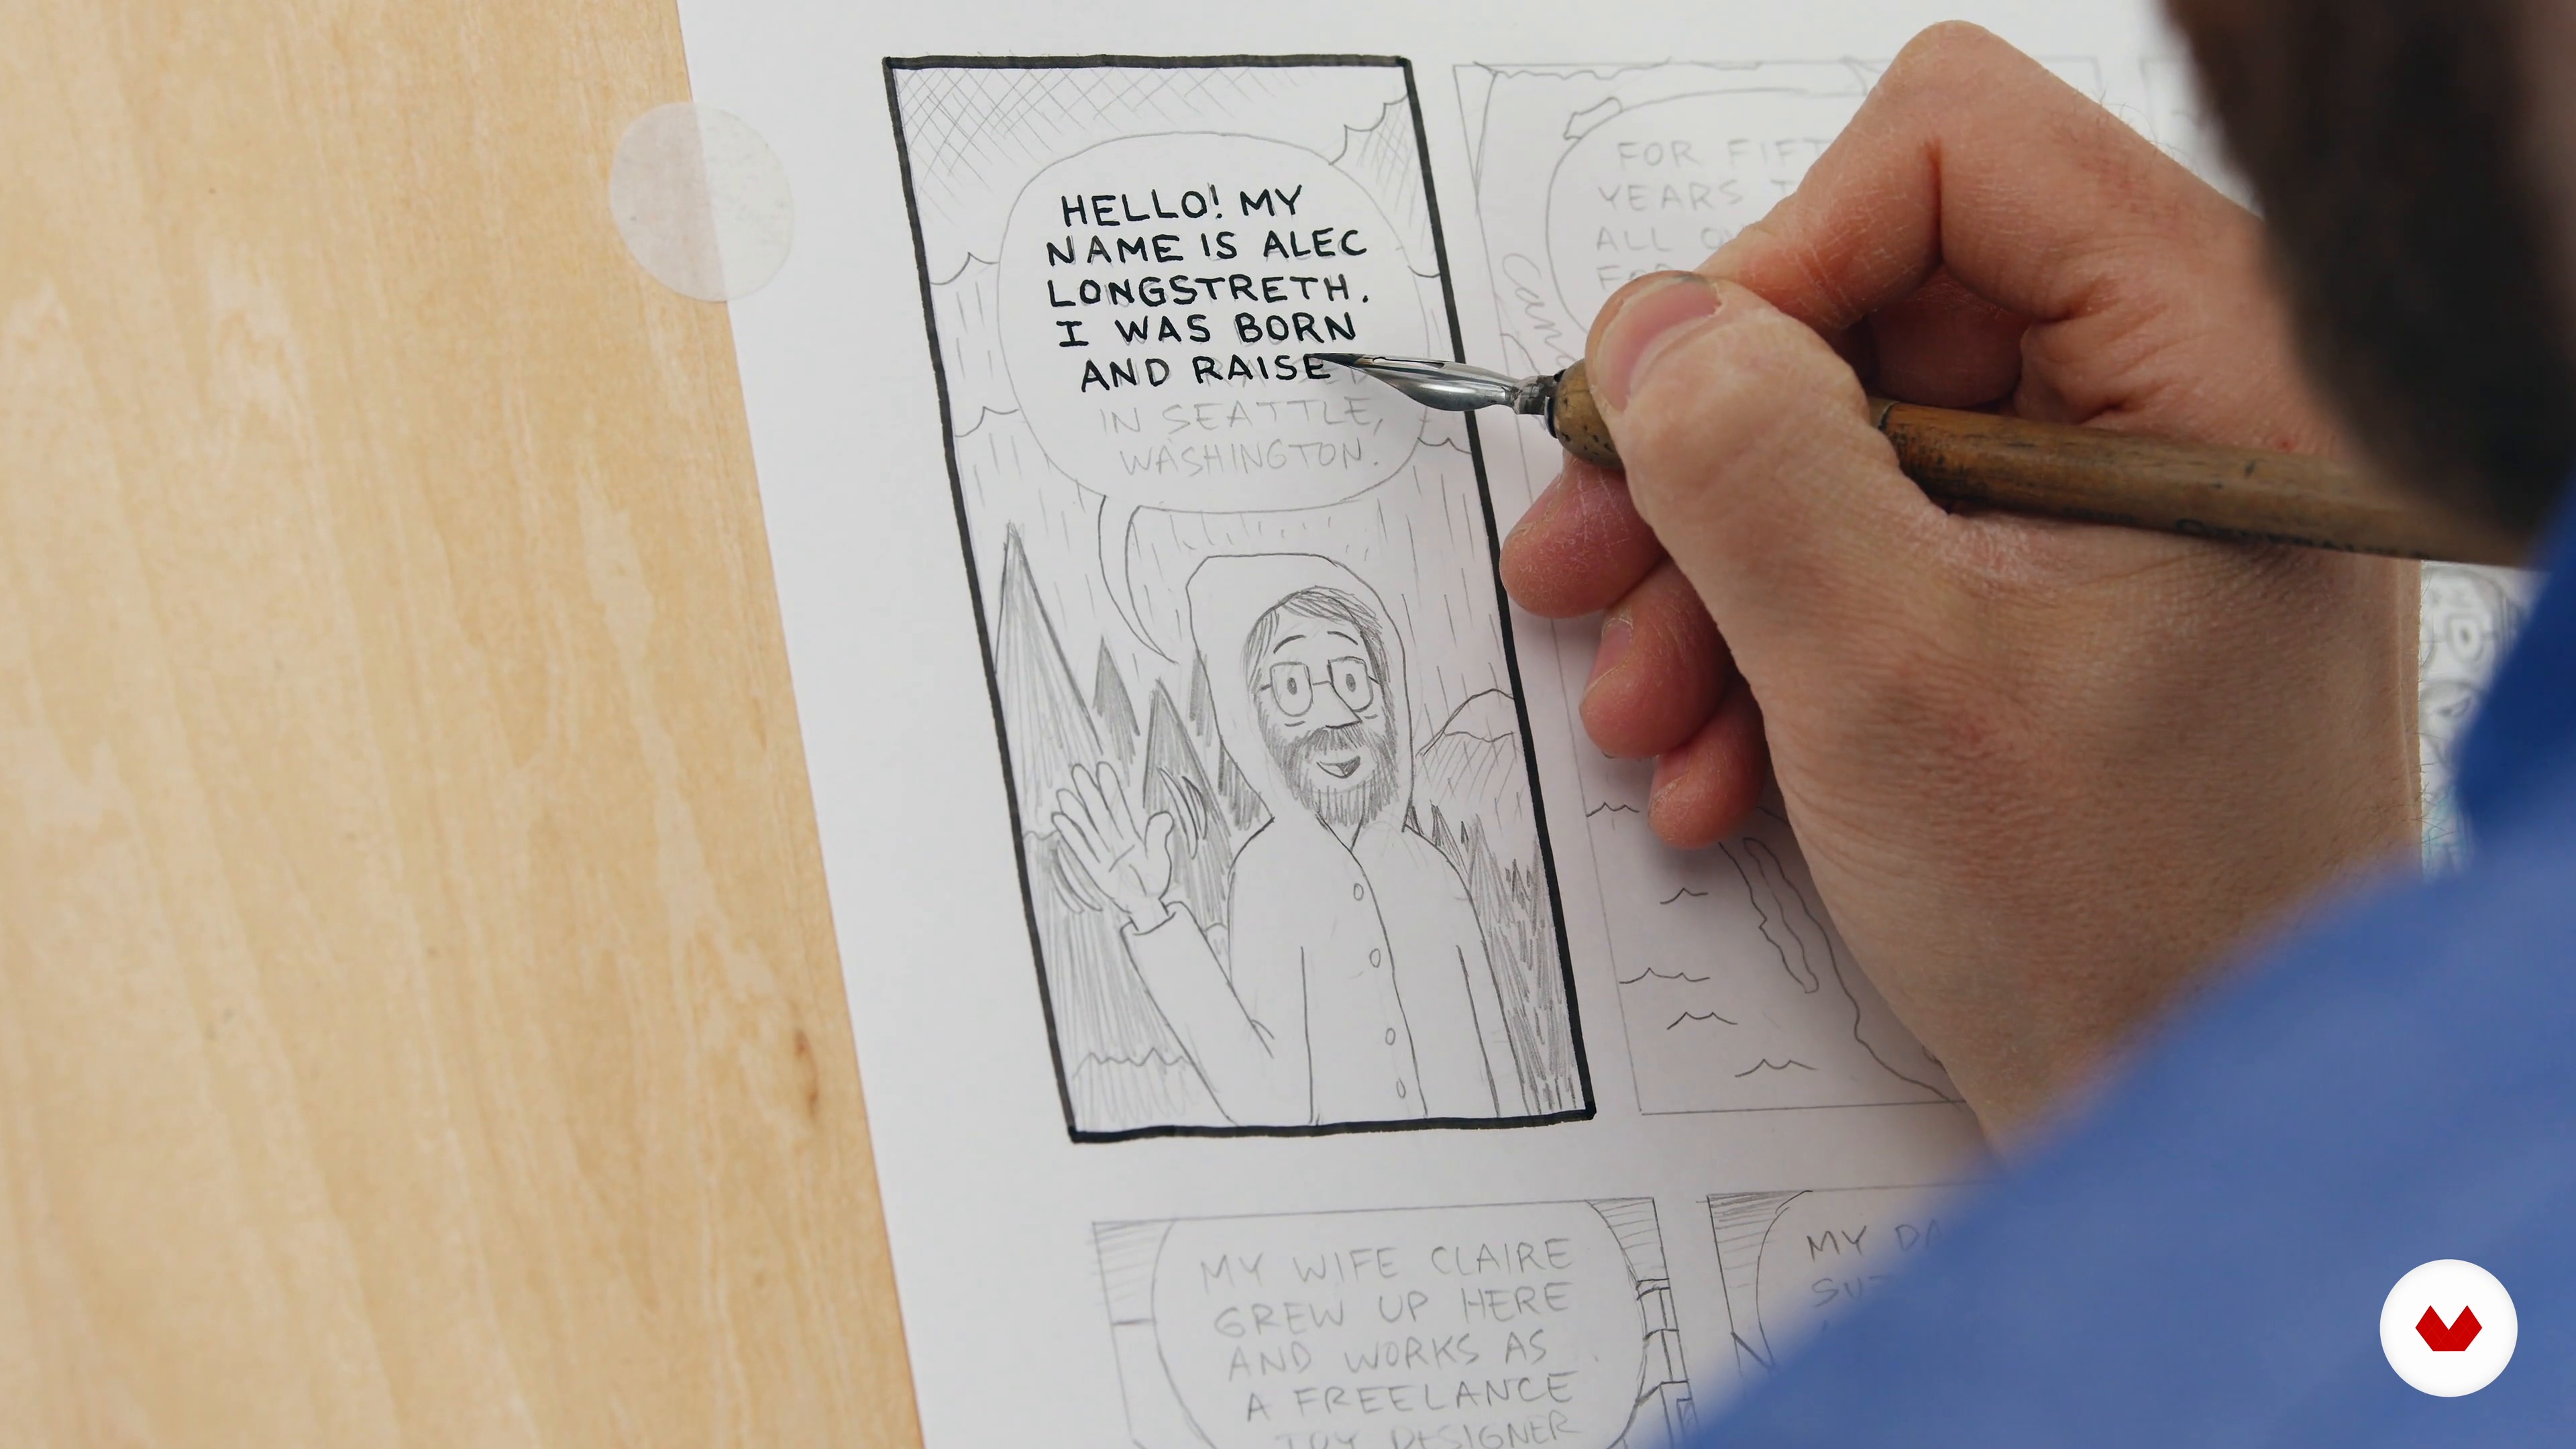
Lettering is one of the most important aspects of comics, which is often overlooked. Bad lettering will ruin a great comic! In this lesson, I will show you how to create clear, legible hand lettering.
20m
 8
8Penciling and Inking 1
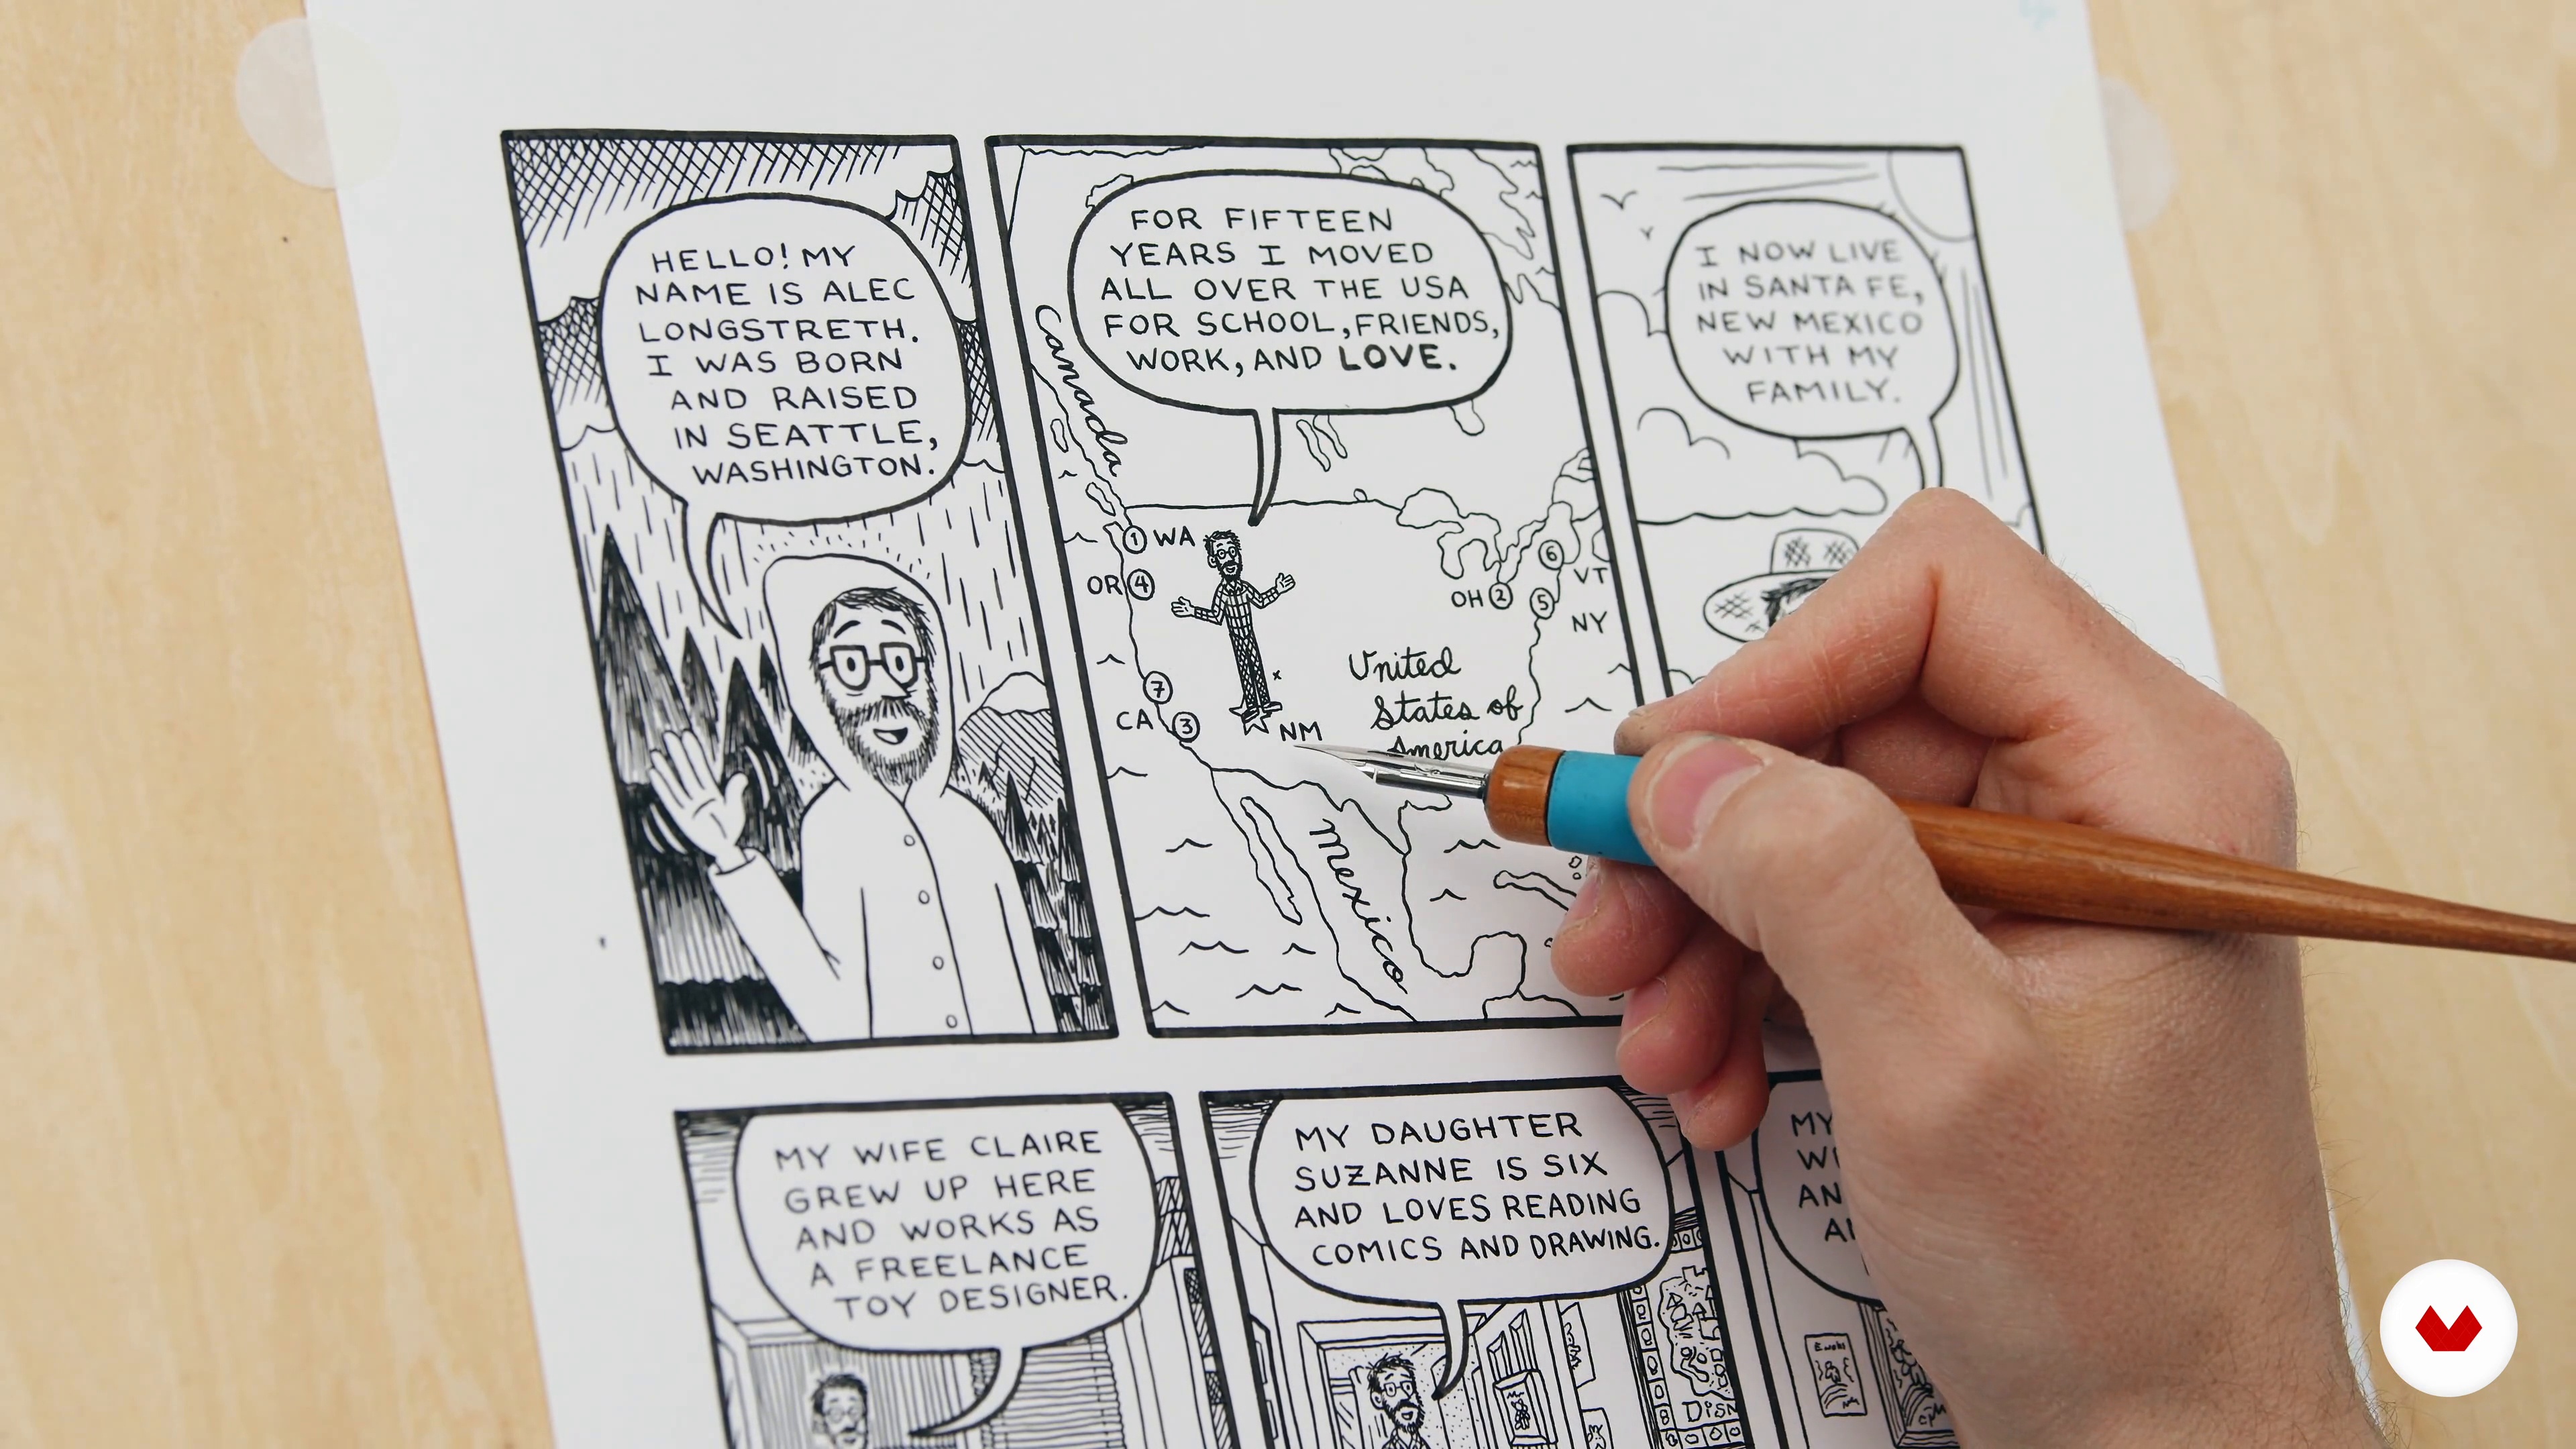
Next, you will learn how cartoonists should first pencil in the comic—which allows for editing—and then ink the final version for clean reproduction.
20m
 9
9Penciling and Inking 2
With the lettering complete, I will now finish the first panel by inking the speech balloon, character, and background elements.
12m
 1
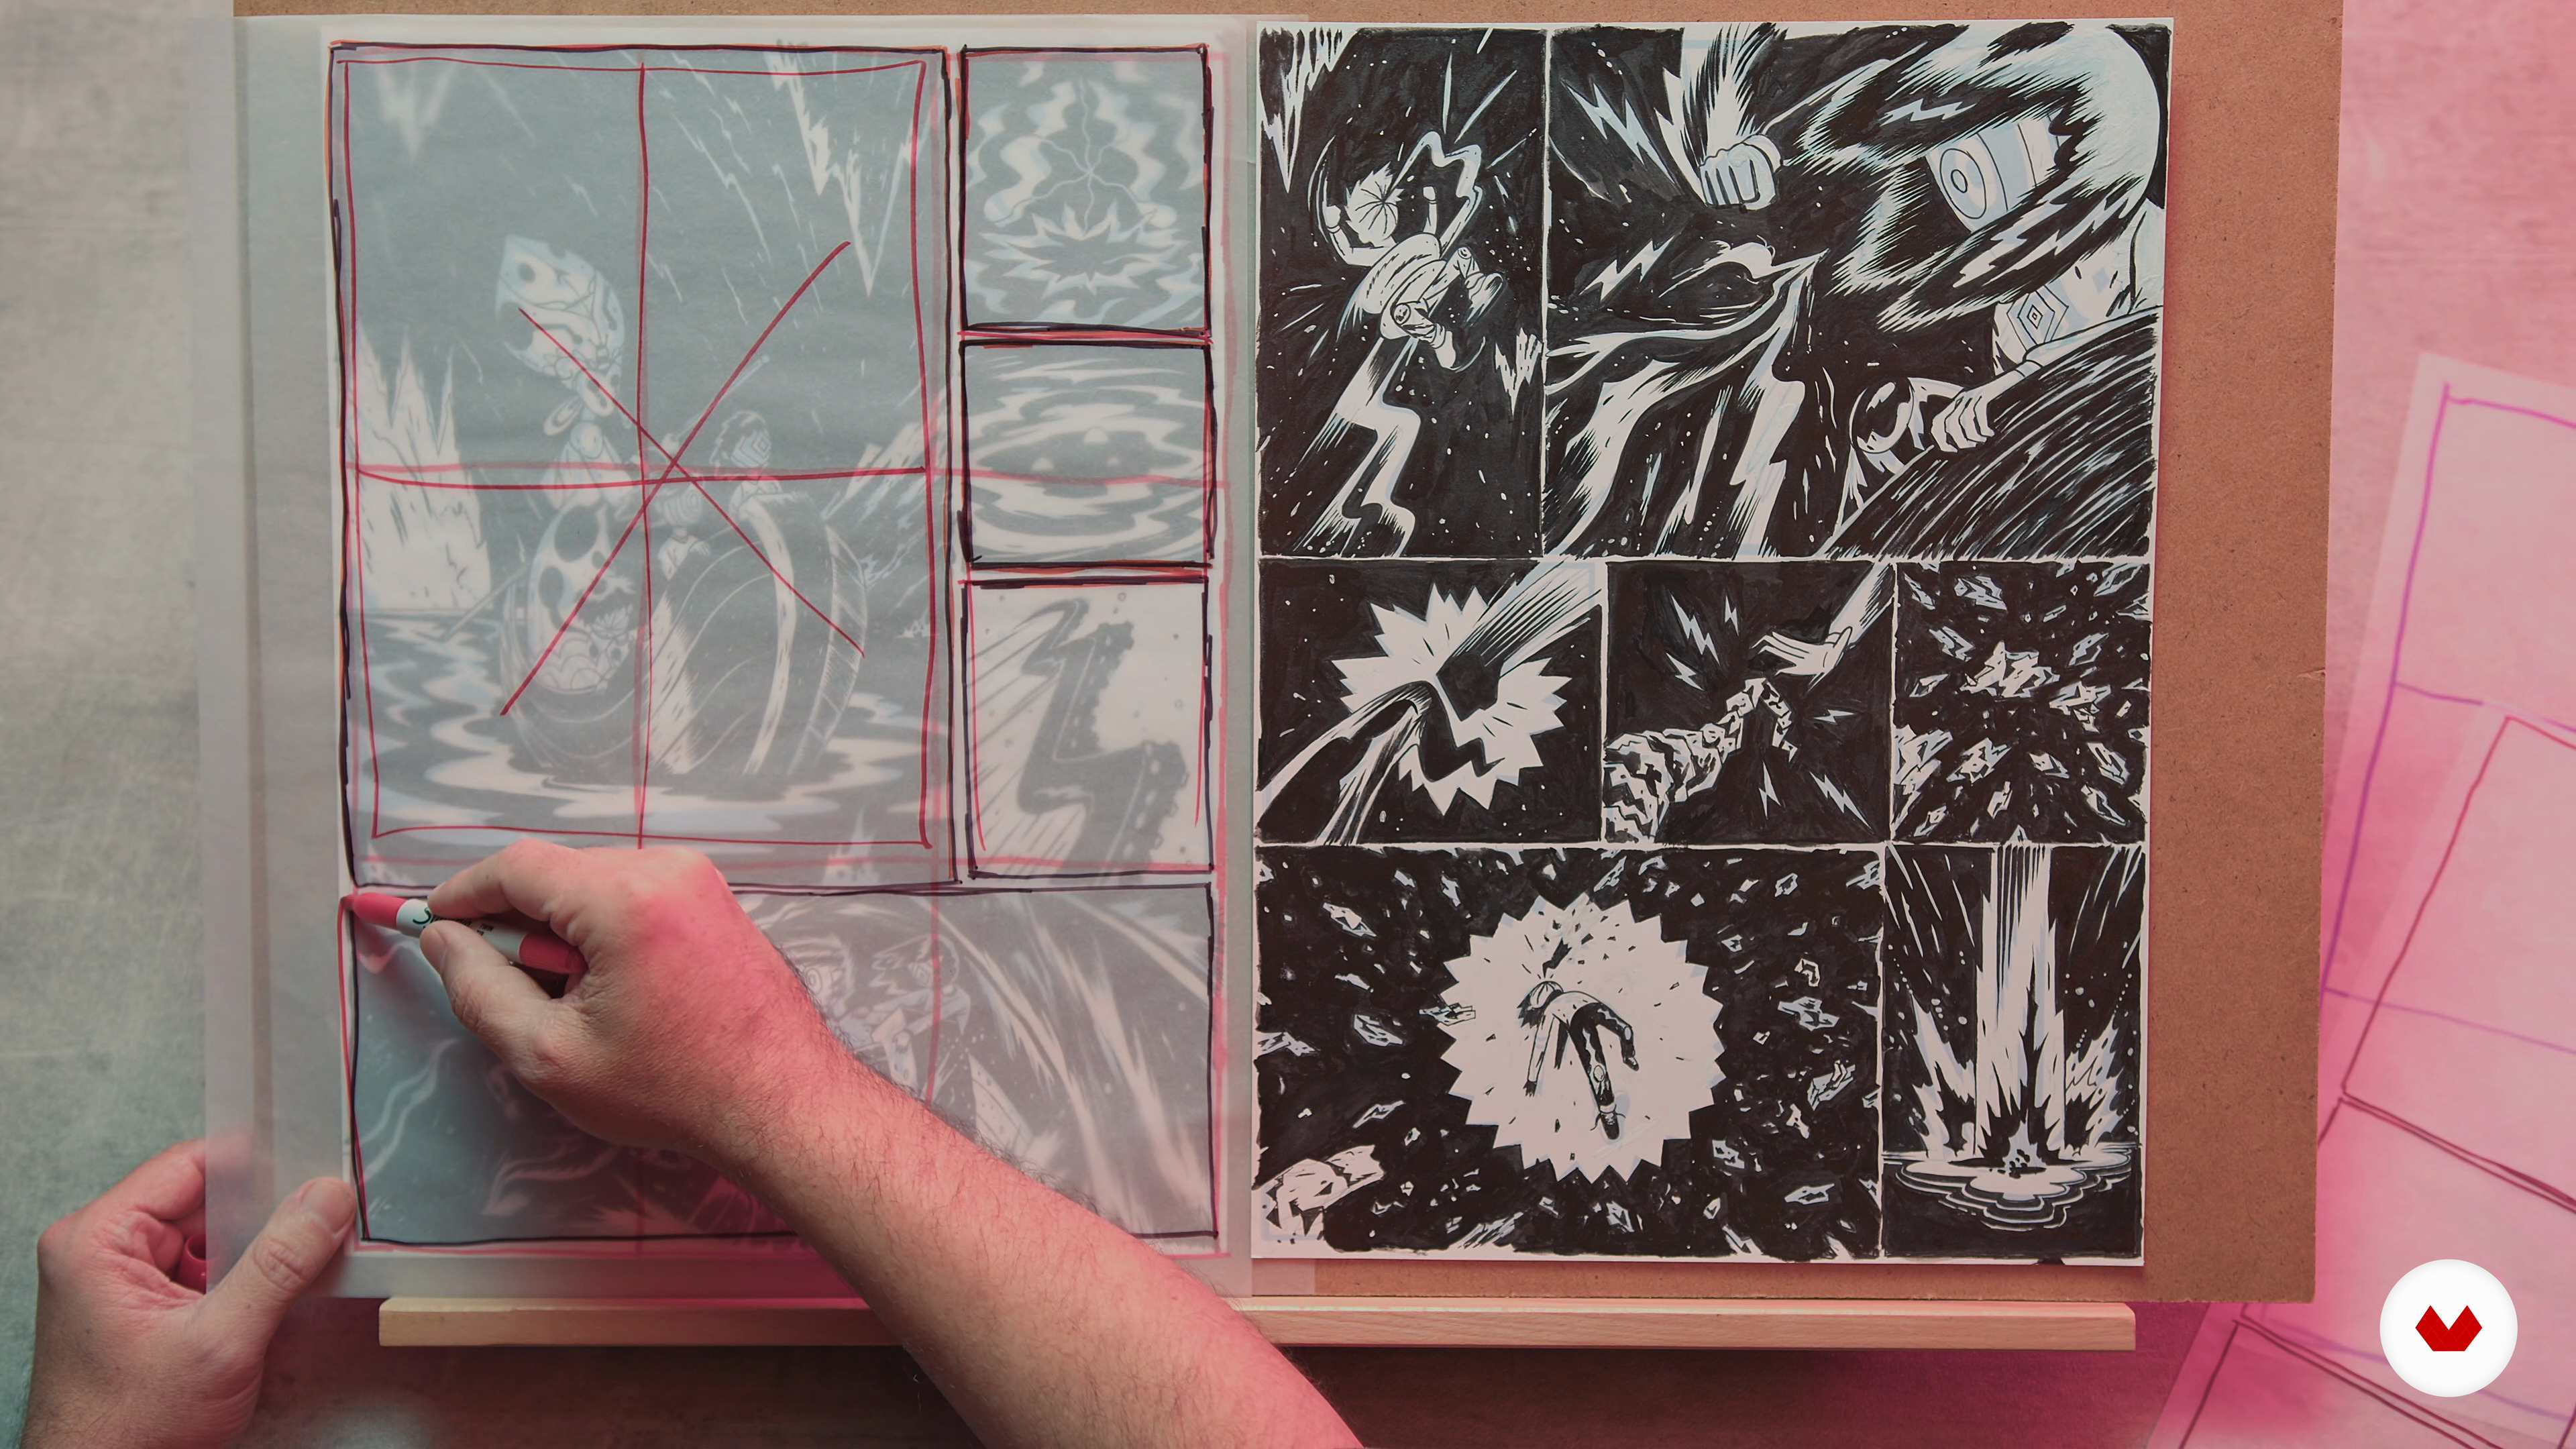
1Page Layout, Elements of a Page, and Shapes of a Panel
I will now help you understand the limitless possibilities of creating a comic page using only grids of 6 and 9 panels in order to make clear and concise storytelling.
10m
 2
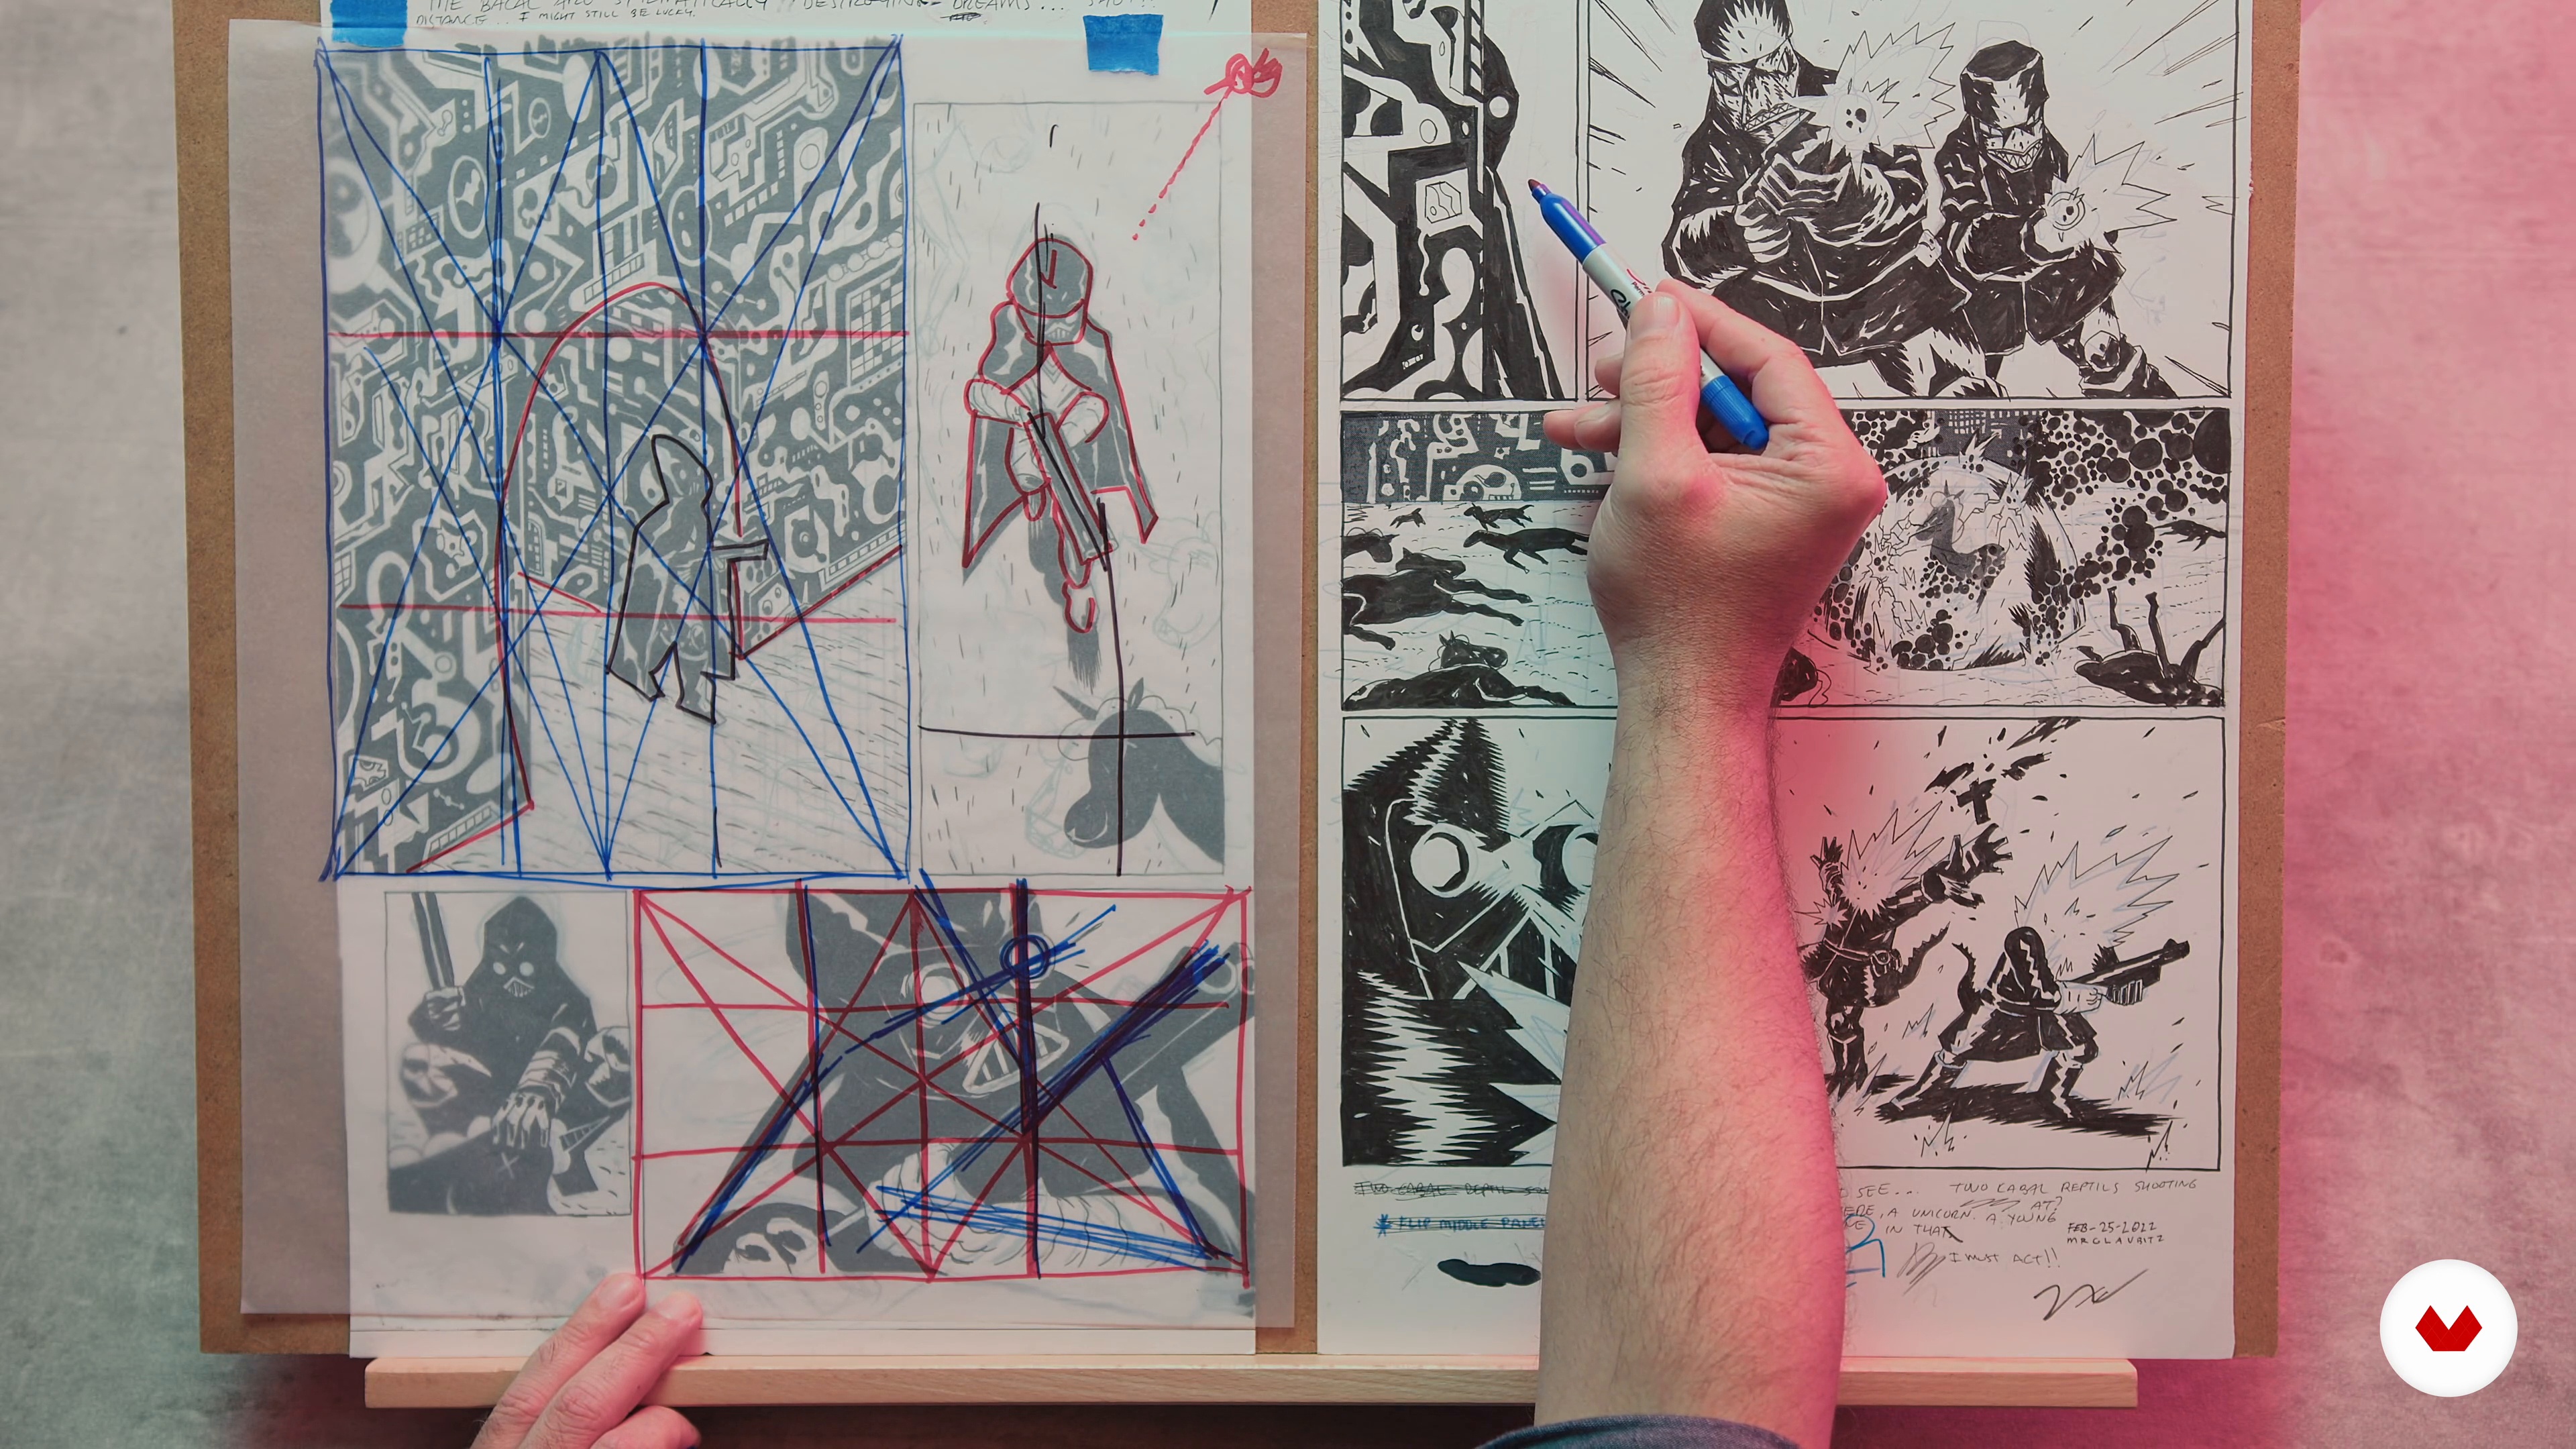
2Compositional Tools to Make Dynamic Panels
In this lesson, we will take a brief look at compositional tools that when applied to a panel can help us develop dynamic and interesting panel compositions.
18m
 3
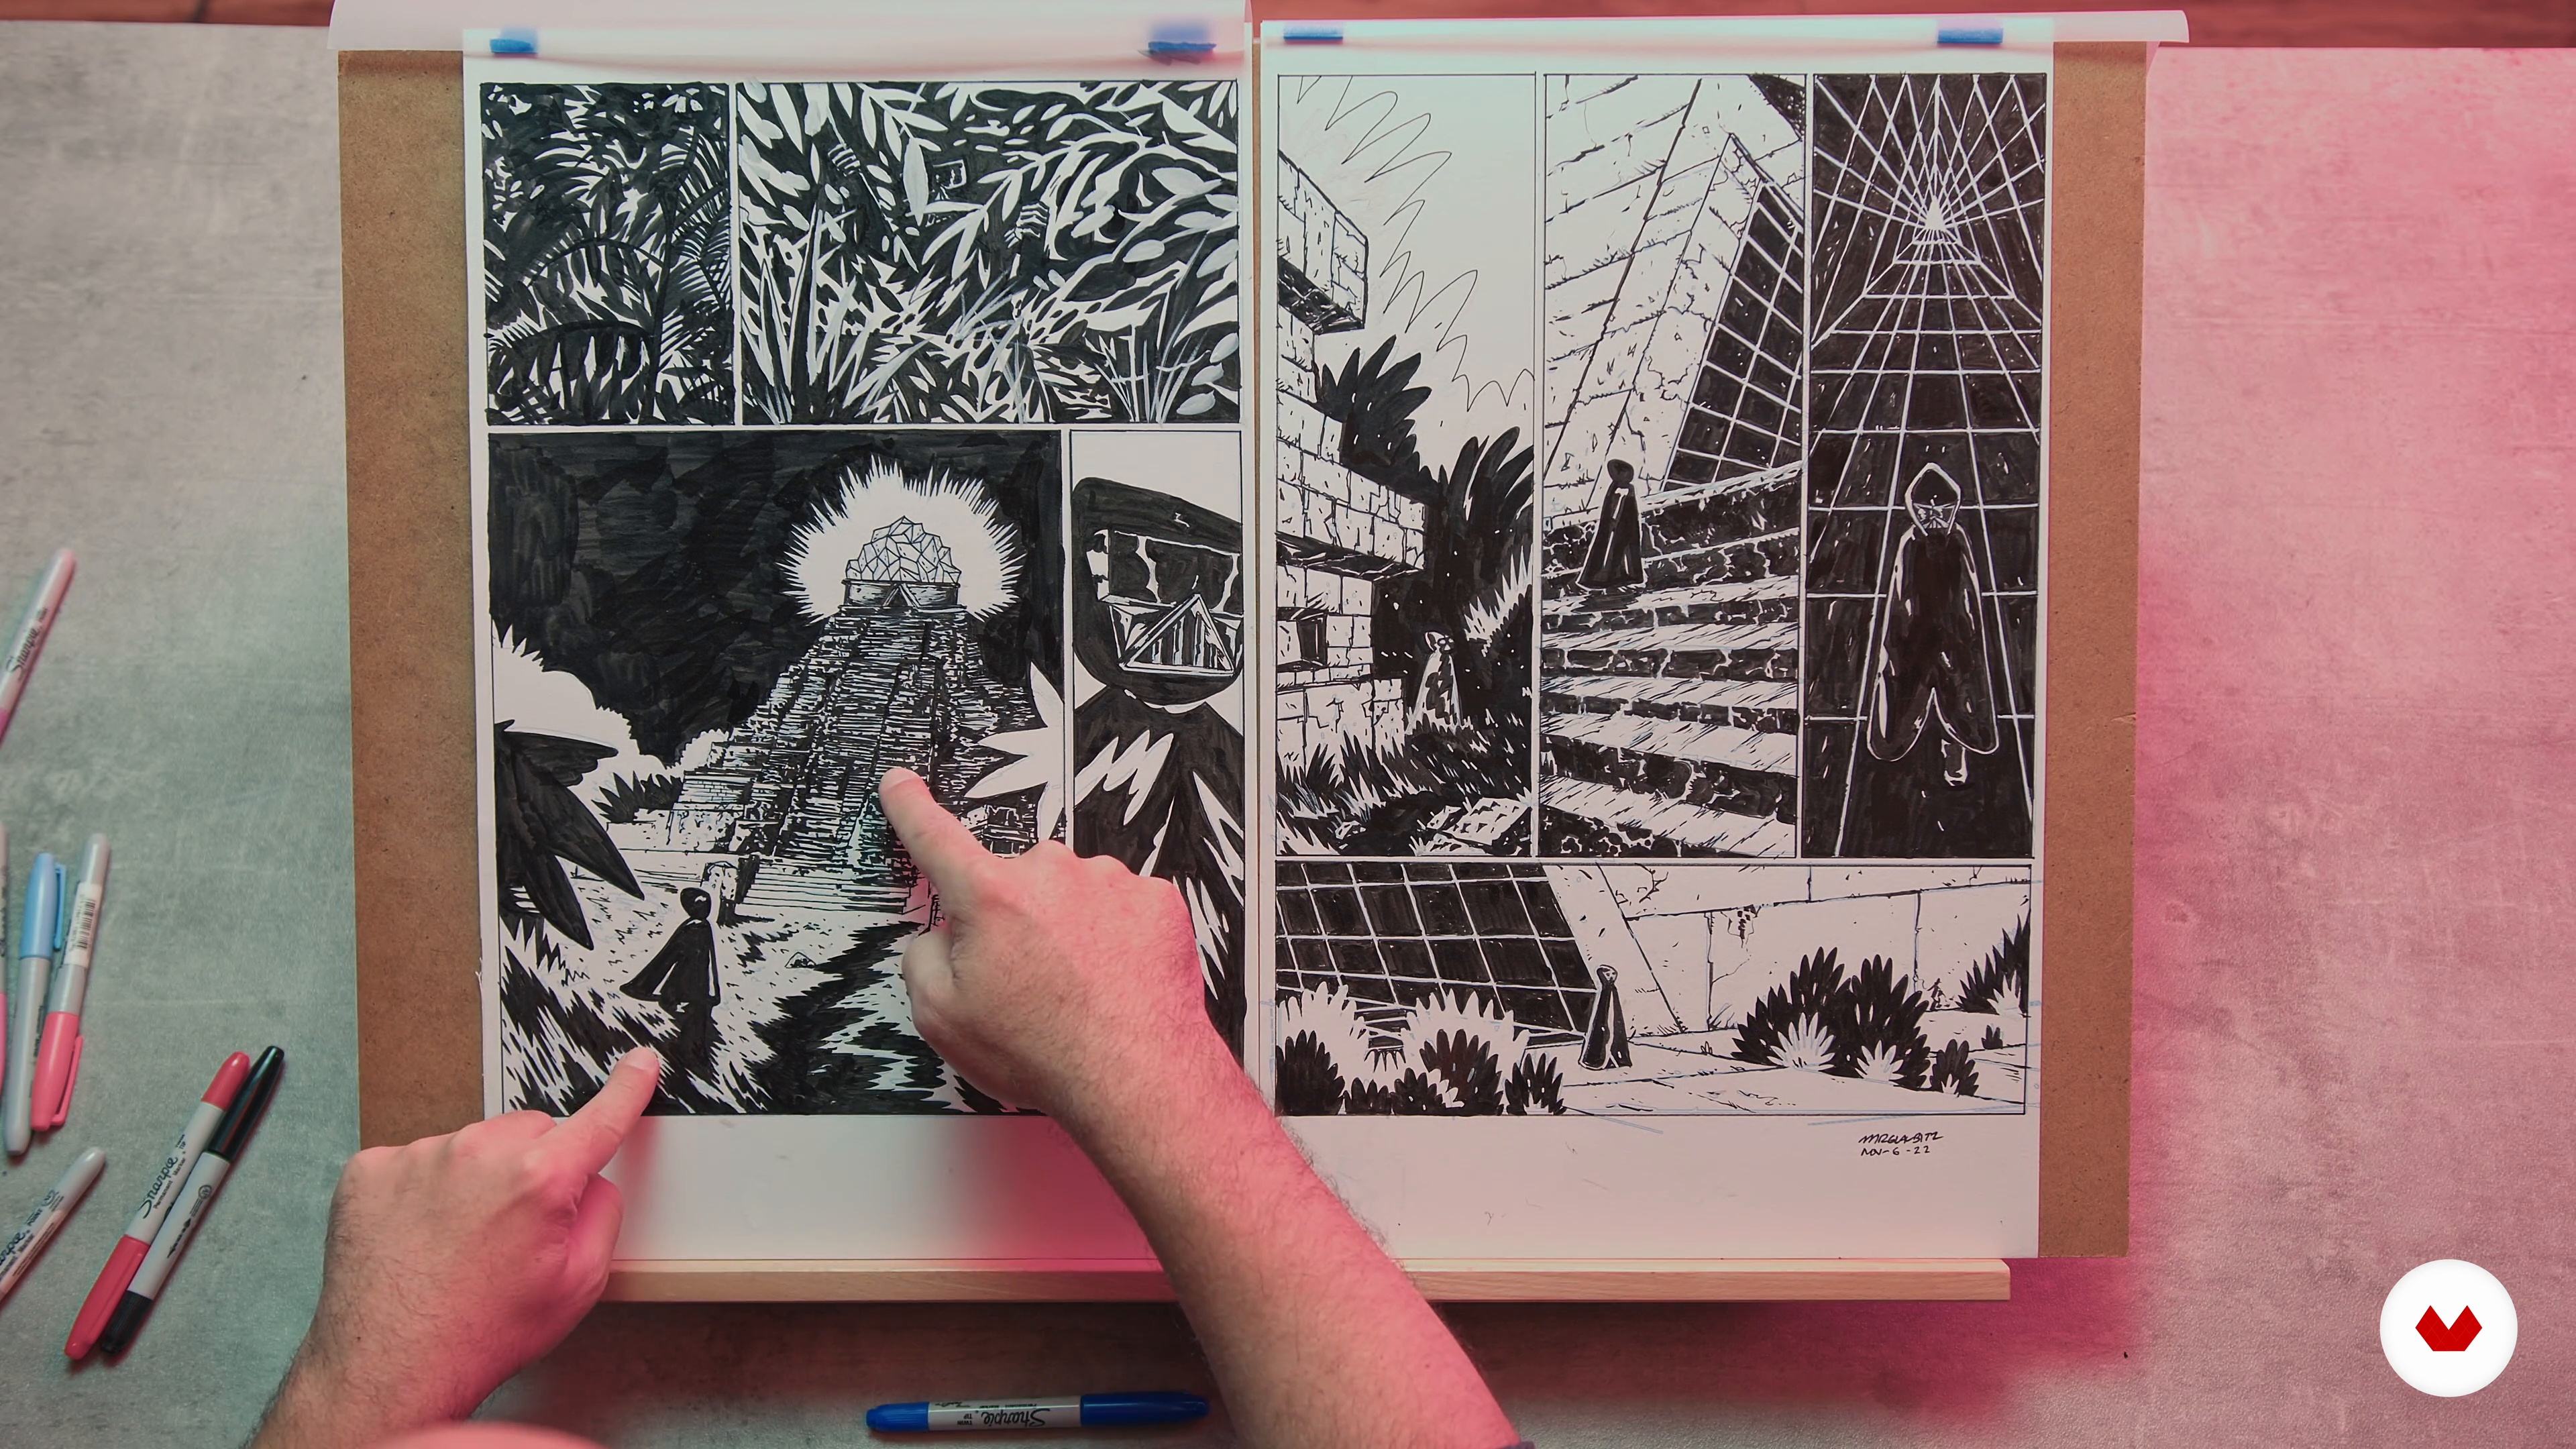
3Ways of Creating Depth
Let's see how to create depth in an image by overlapping and layering objects, playing with size and detail, applying shading and contrast, or using linear and isometric perspective.
13m
 4
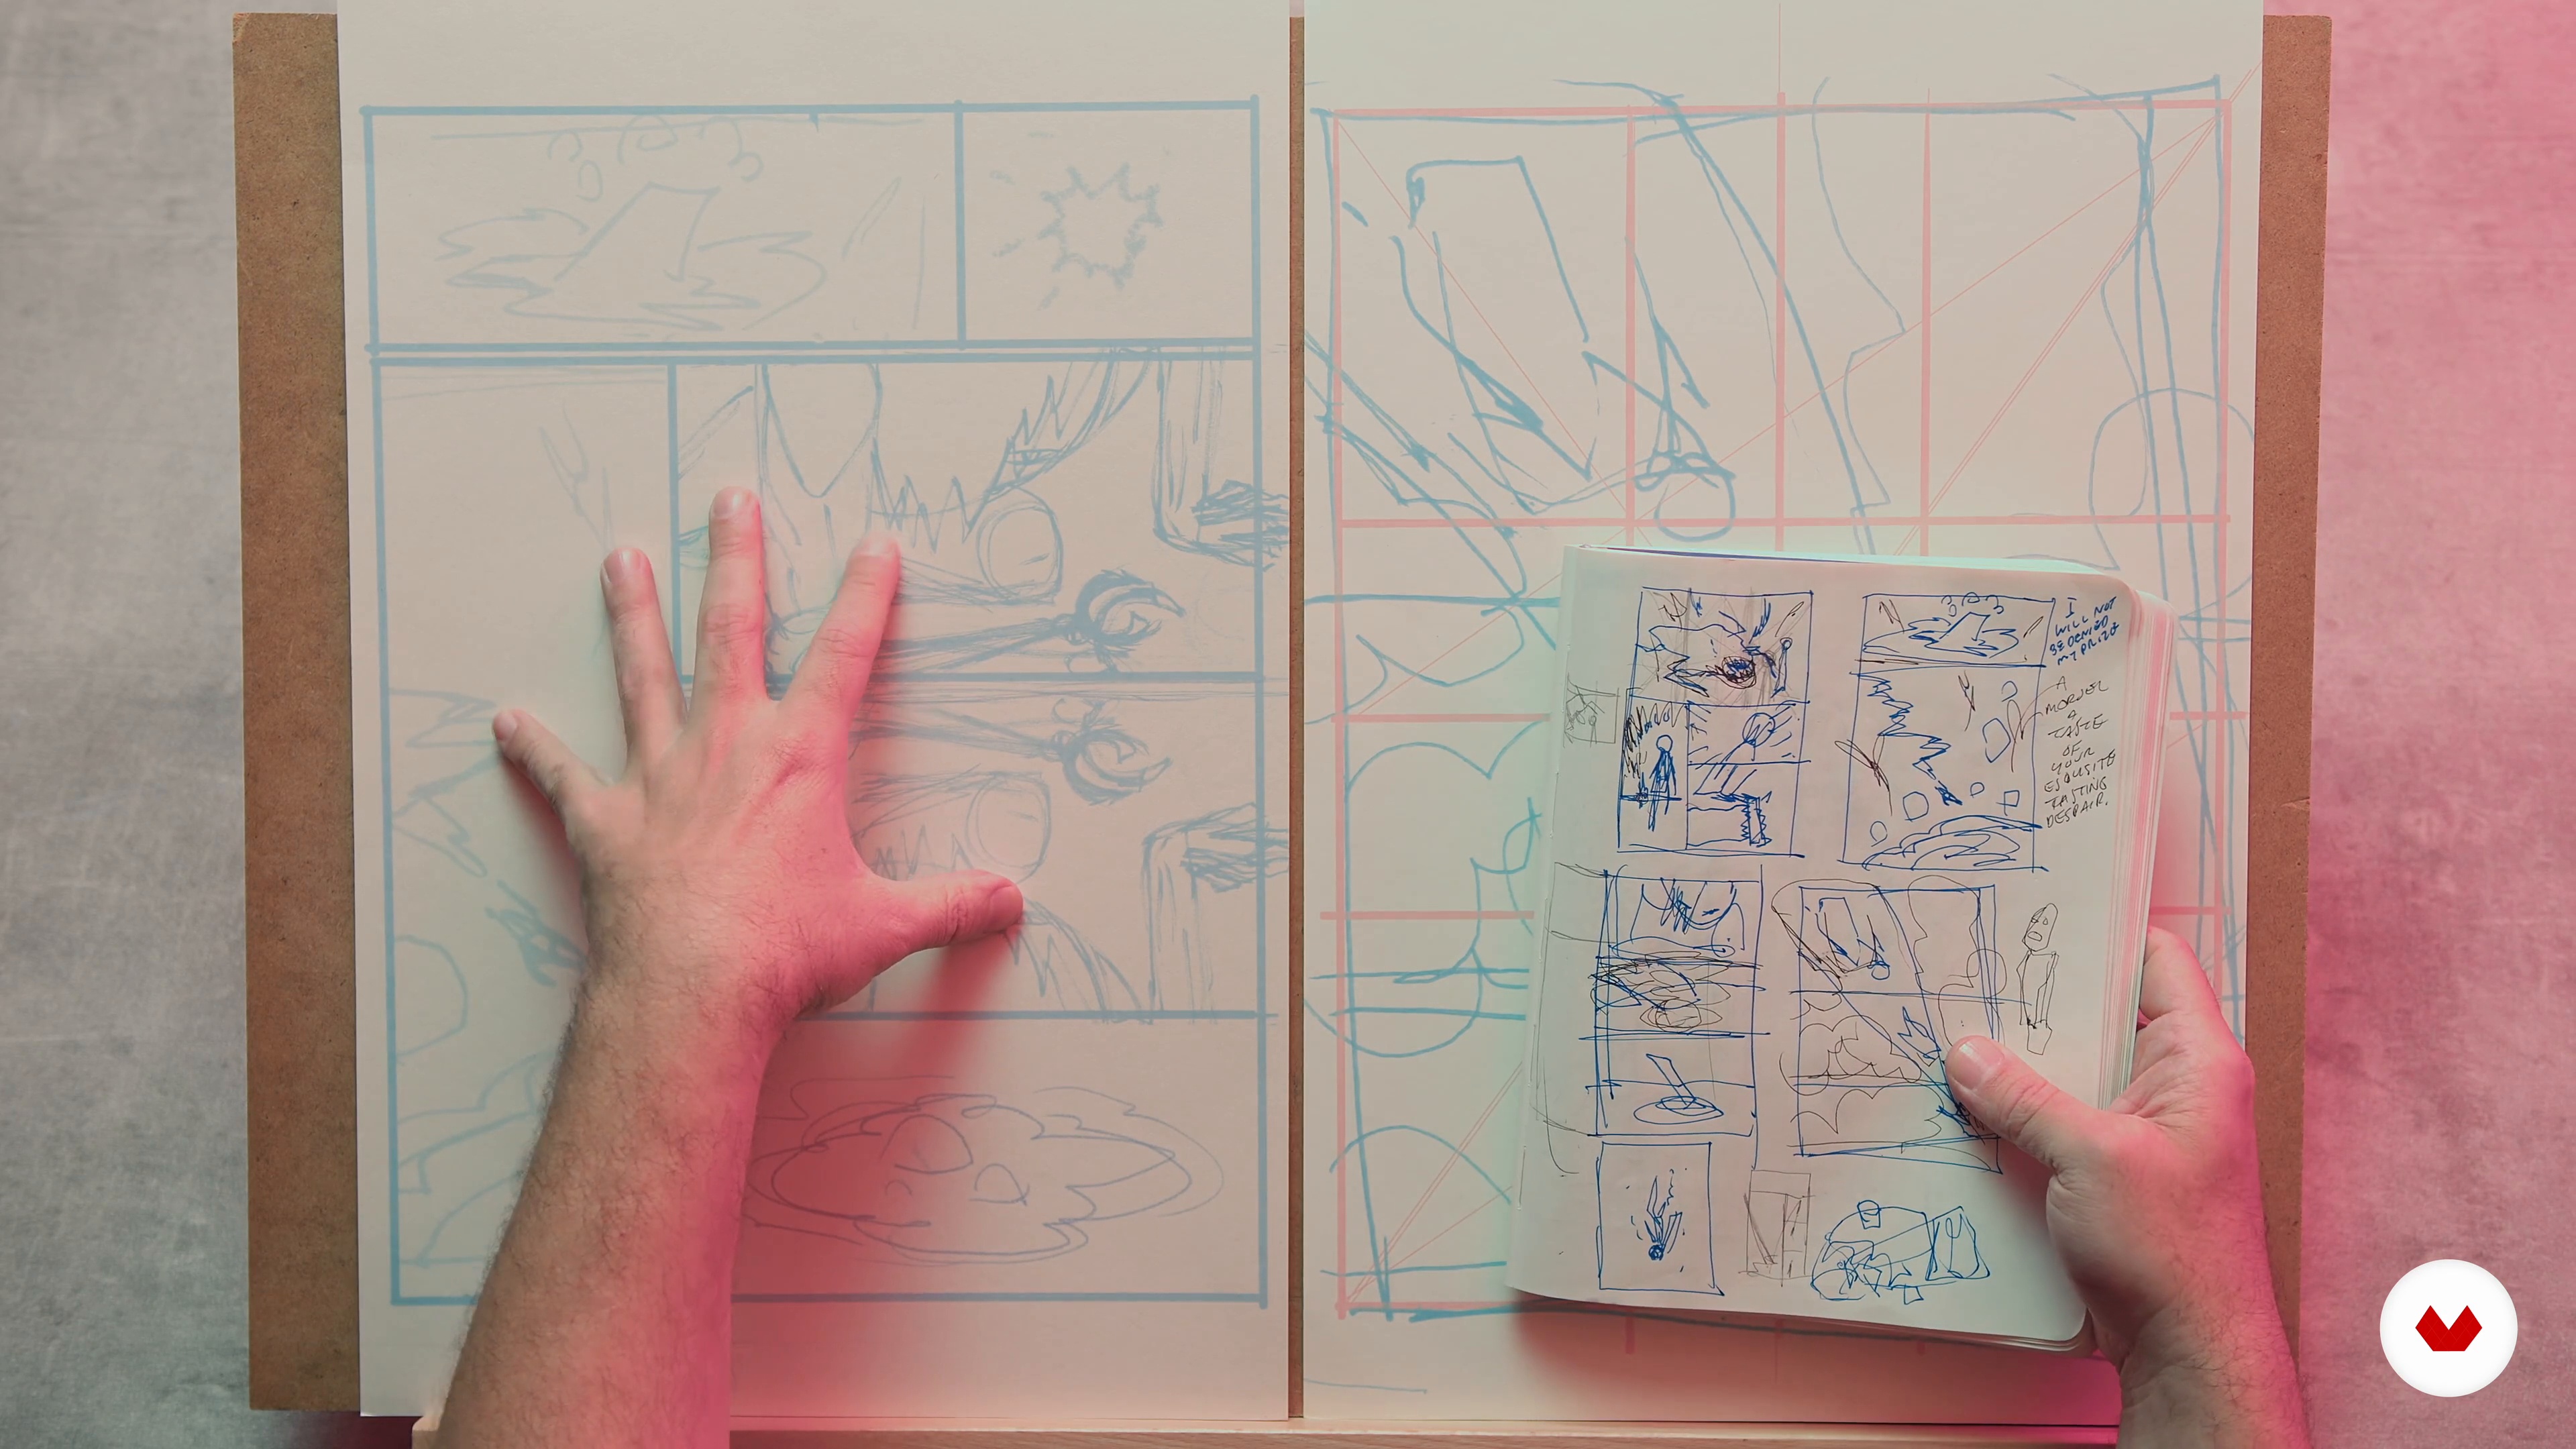
4Thumbnails
First, you will learn to develop your ideas in thumbnails and explore possible ways to tell your story. We will use our ideas in rough form and start writing with pictures. It's the process of creating thumbnails to visualize the possible solutions you can think of for your comics.
8m
 5
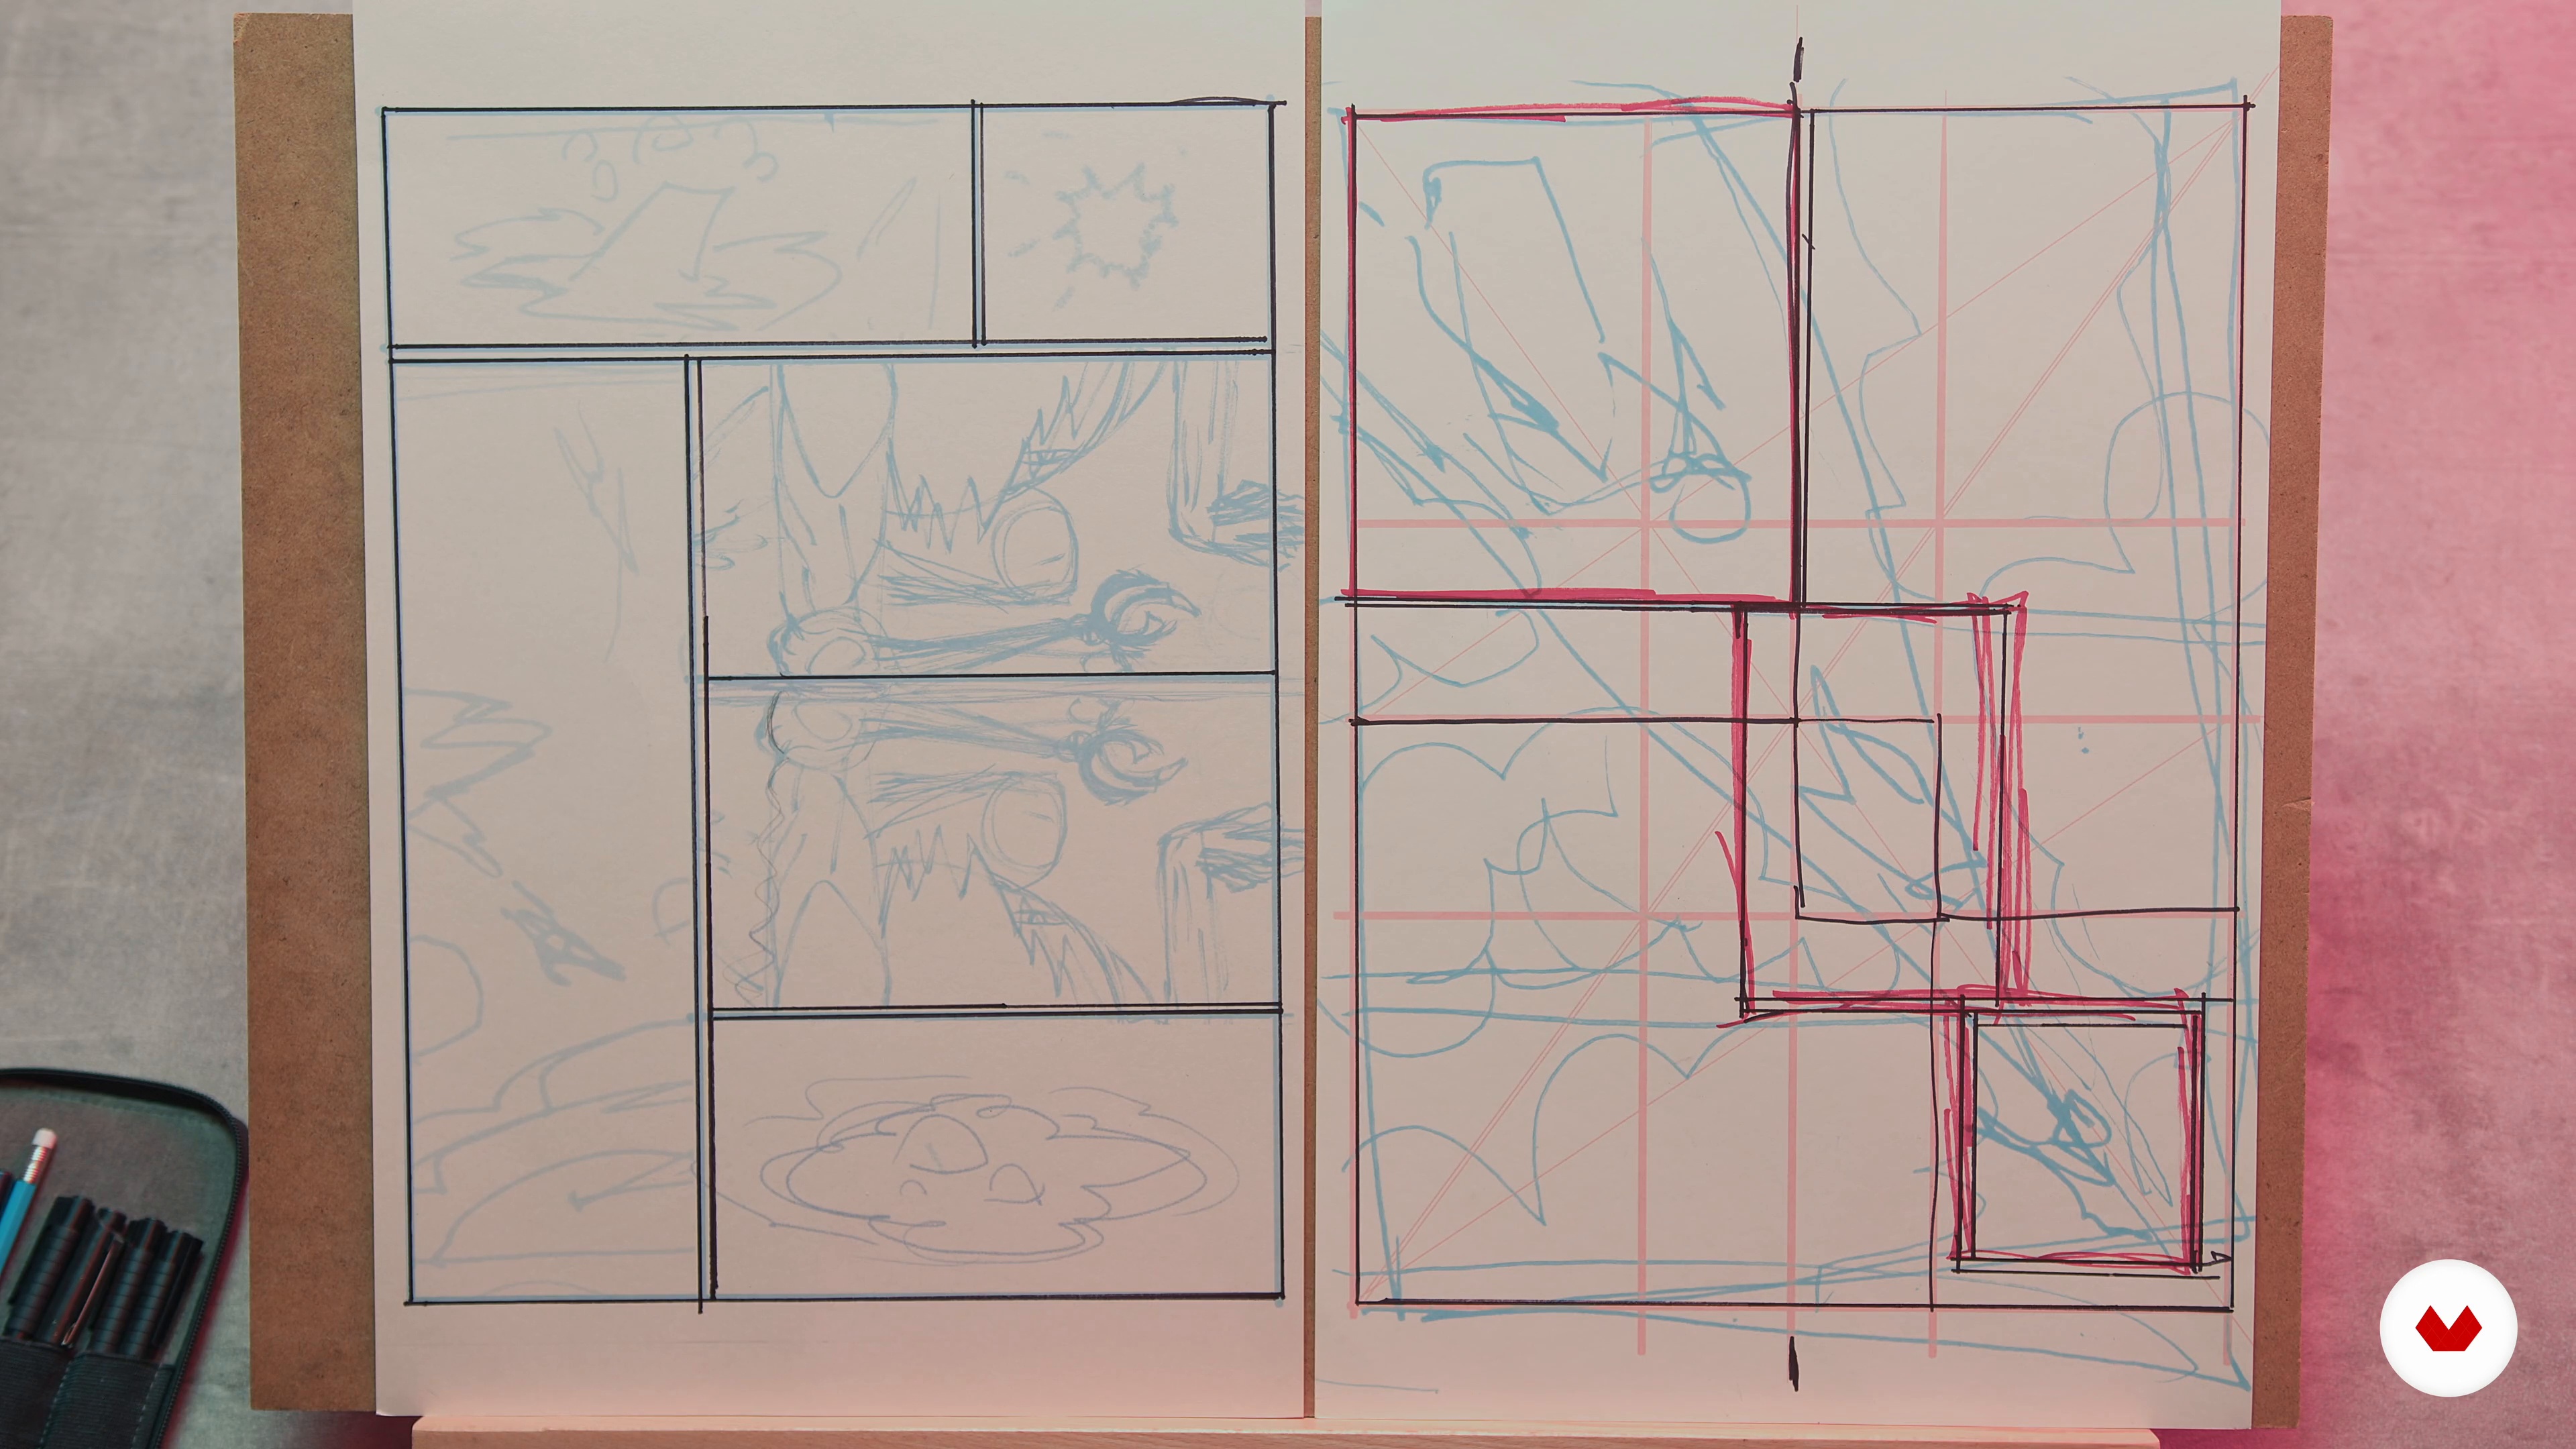
5Page Layout
Next, you will learn how to give form and structure to the page and comic spread by choosing panel grids. We will see how panel shapes affect the storytelling flow.
7m
 6
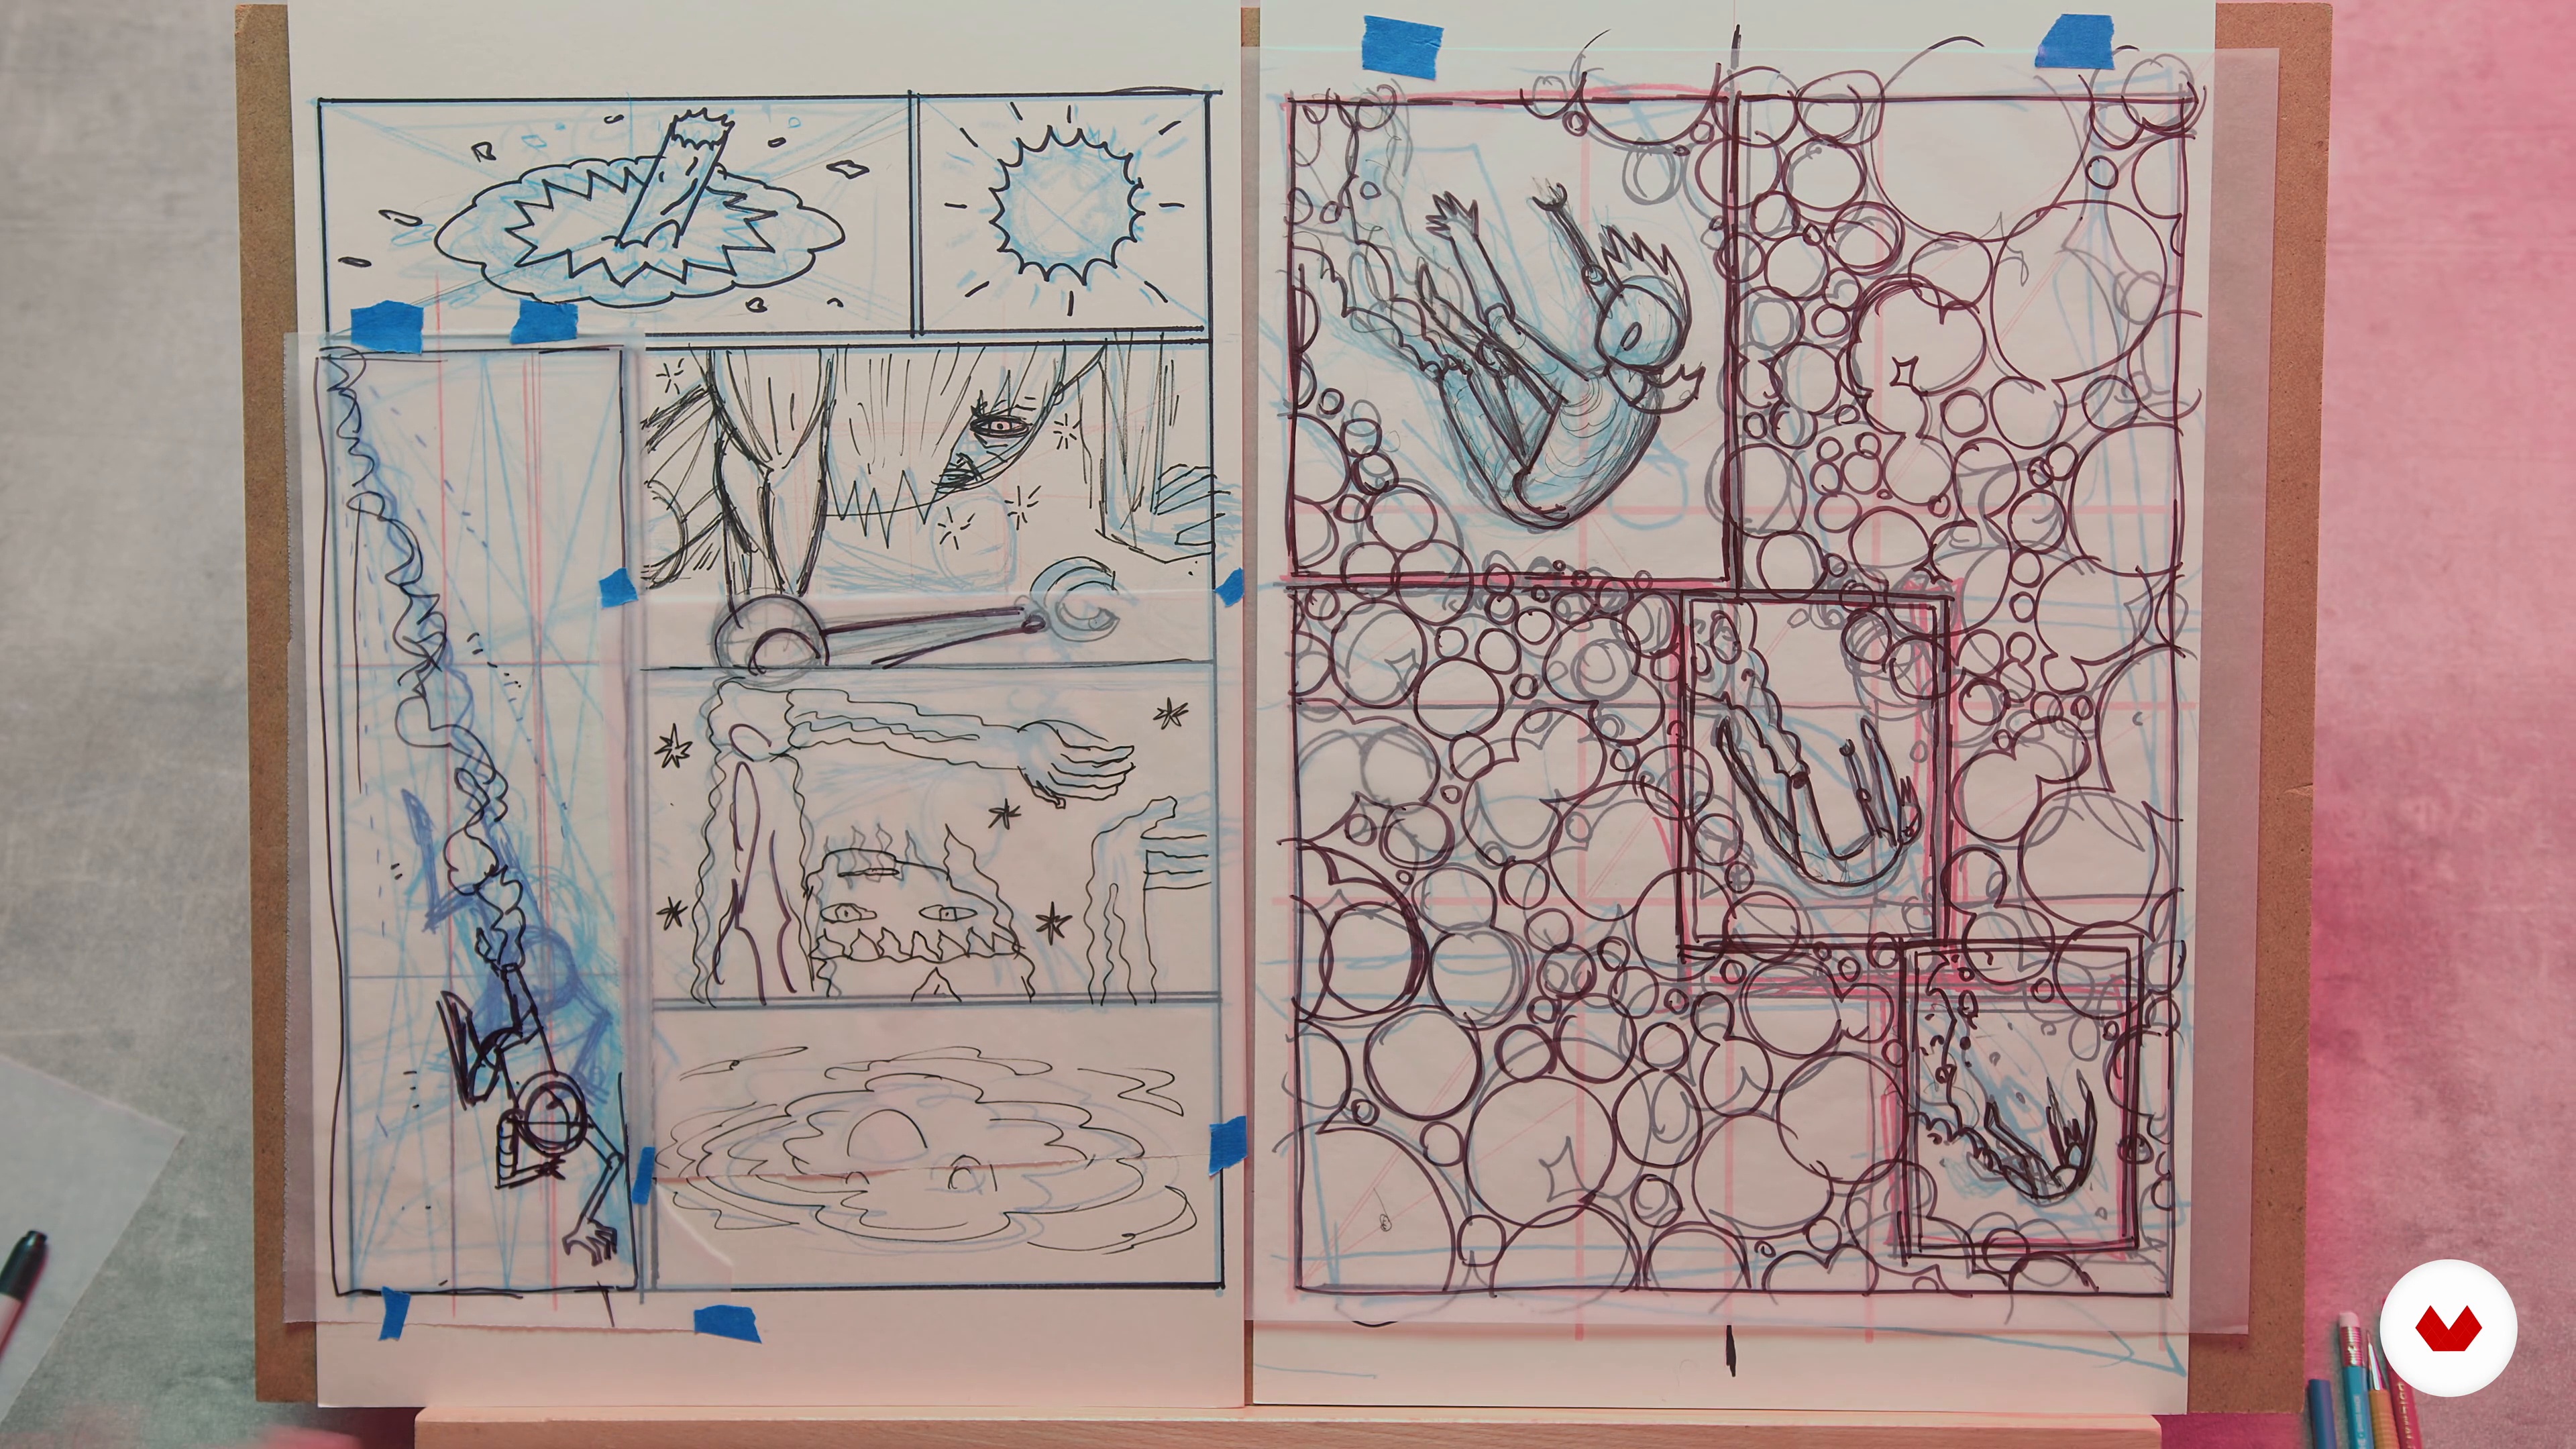
6Composition Design
Let's focus on getting the best drawing compositions within our panel for our comic pages. In this lesson, you will see how to use composition and design tools such as viewpoint, framing planes, and camera angles.
16m
 7
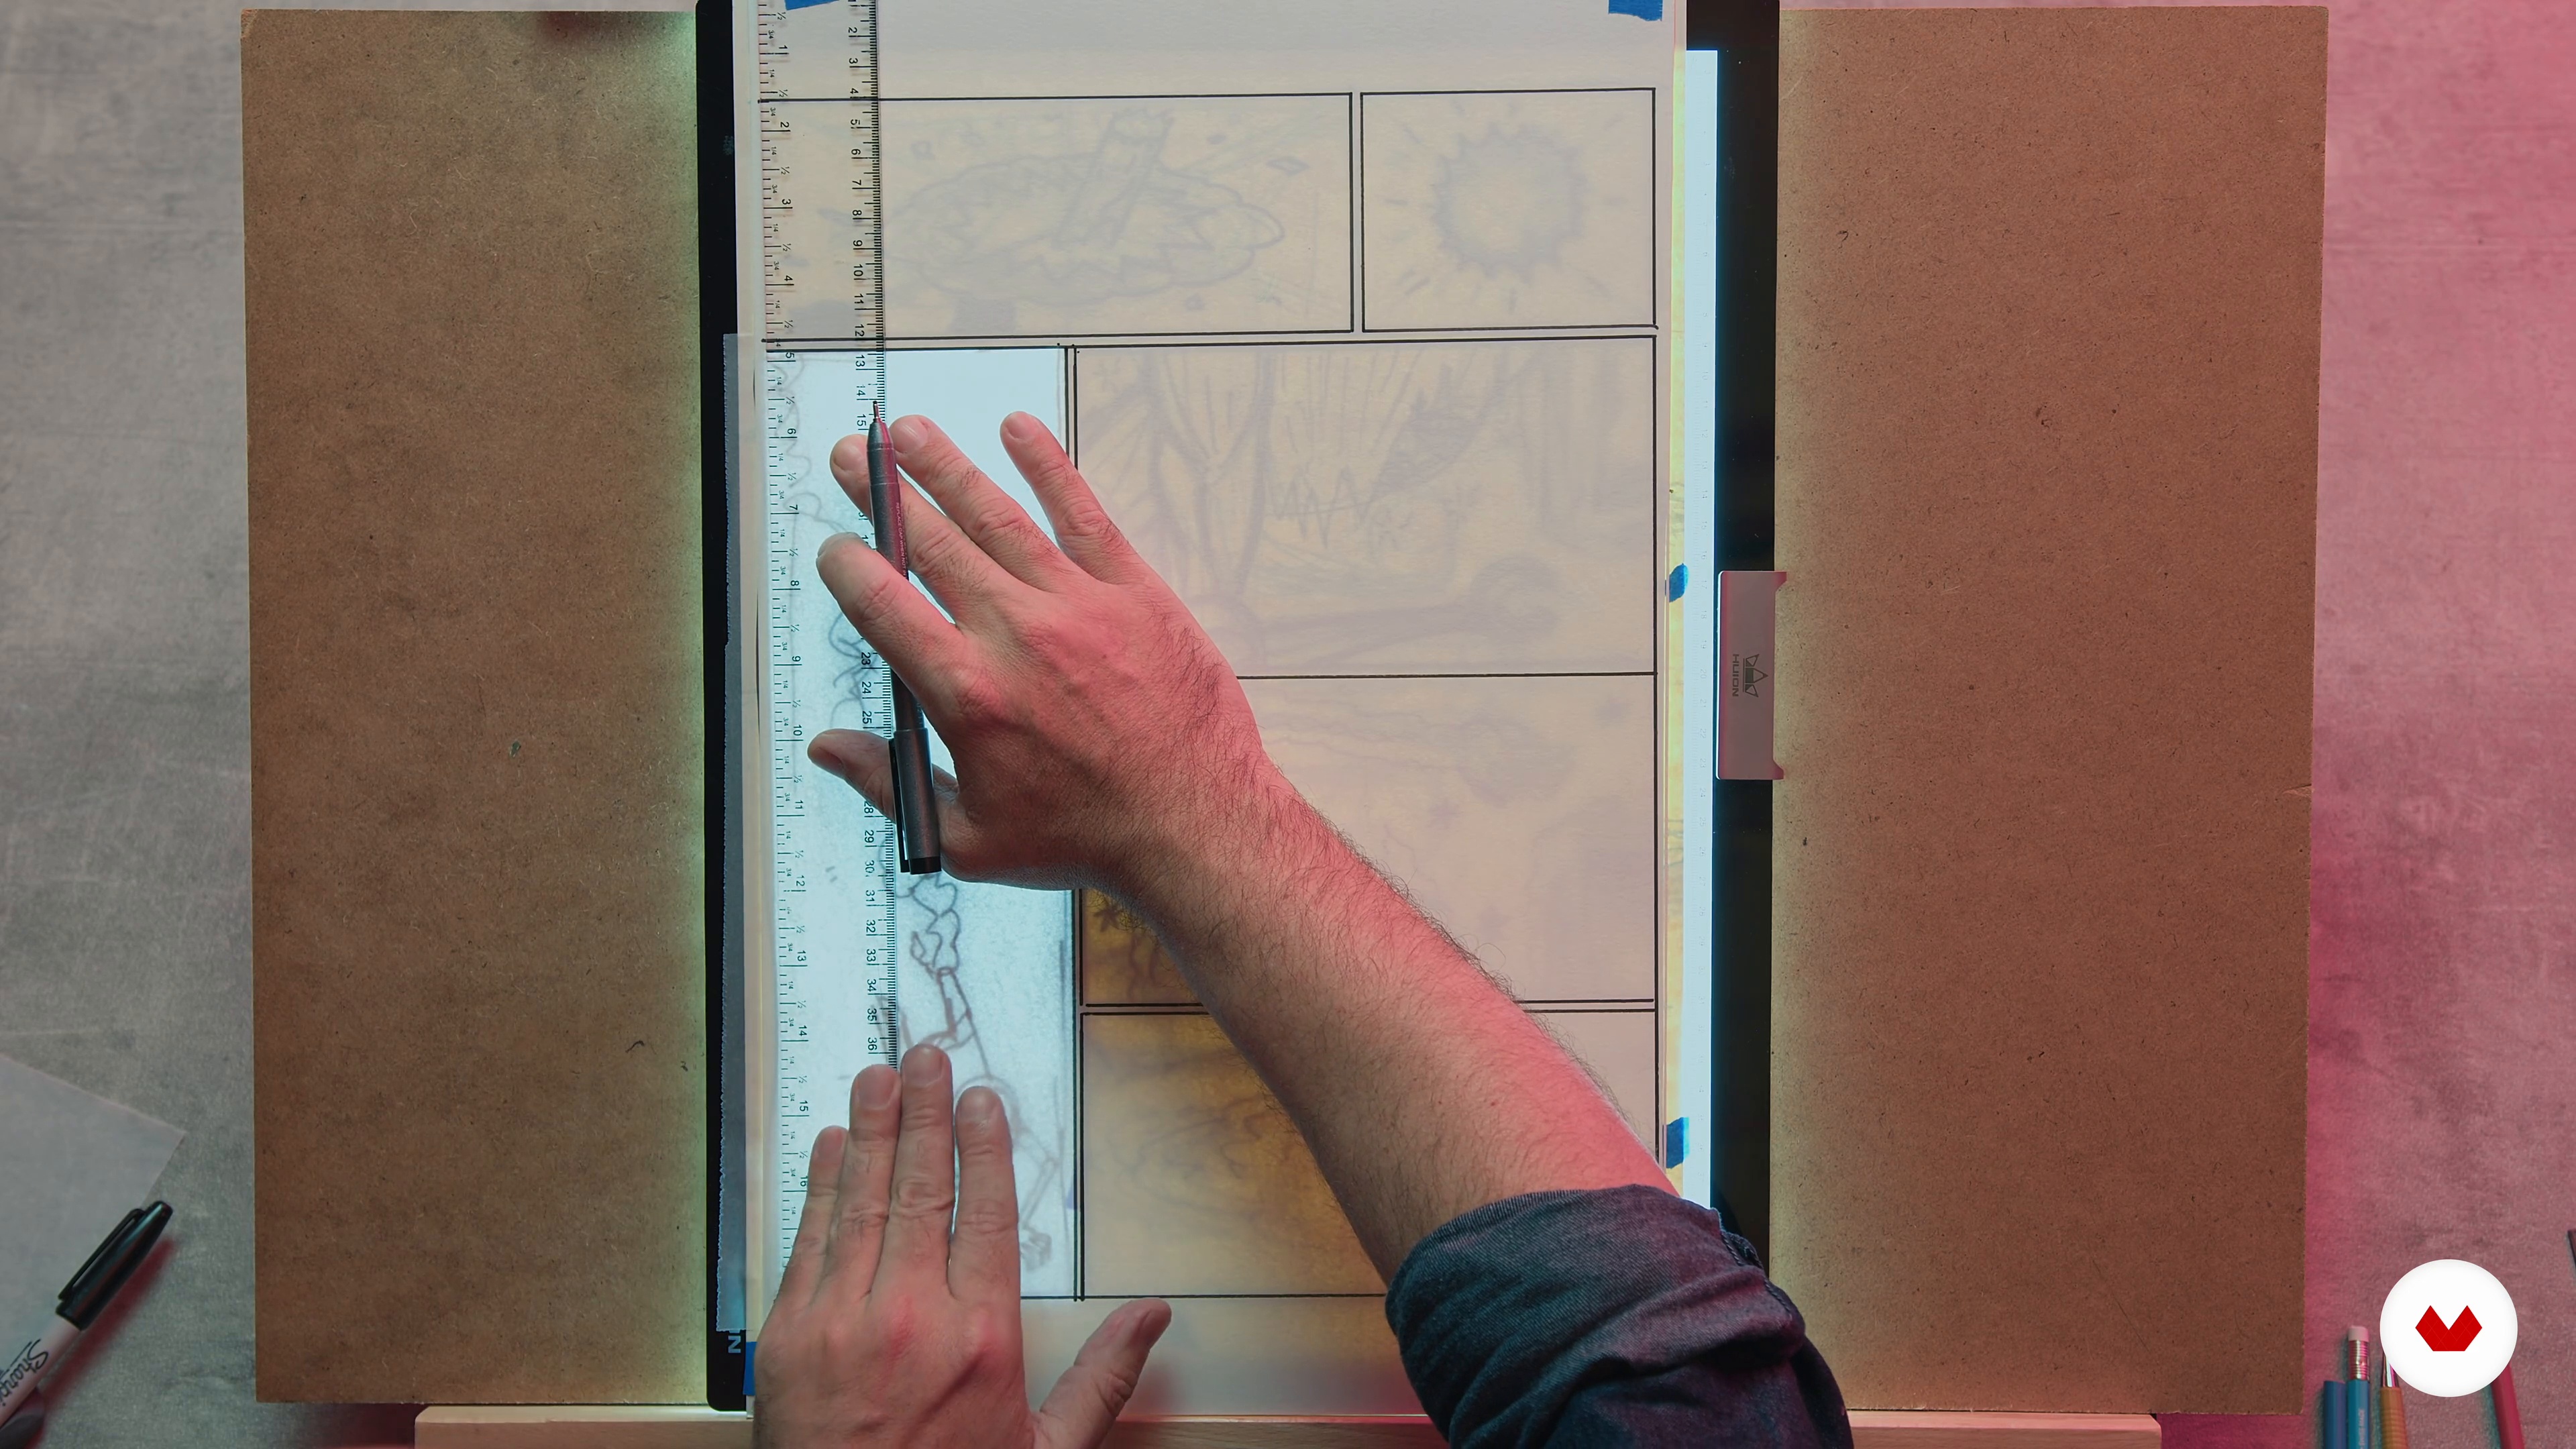
7Breakdowns
You will now understand the process of perfecting the drawings into comic pages and the importance of getting everything figured out in the drawing stage.
5m
 8
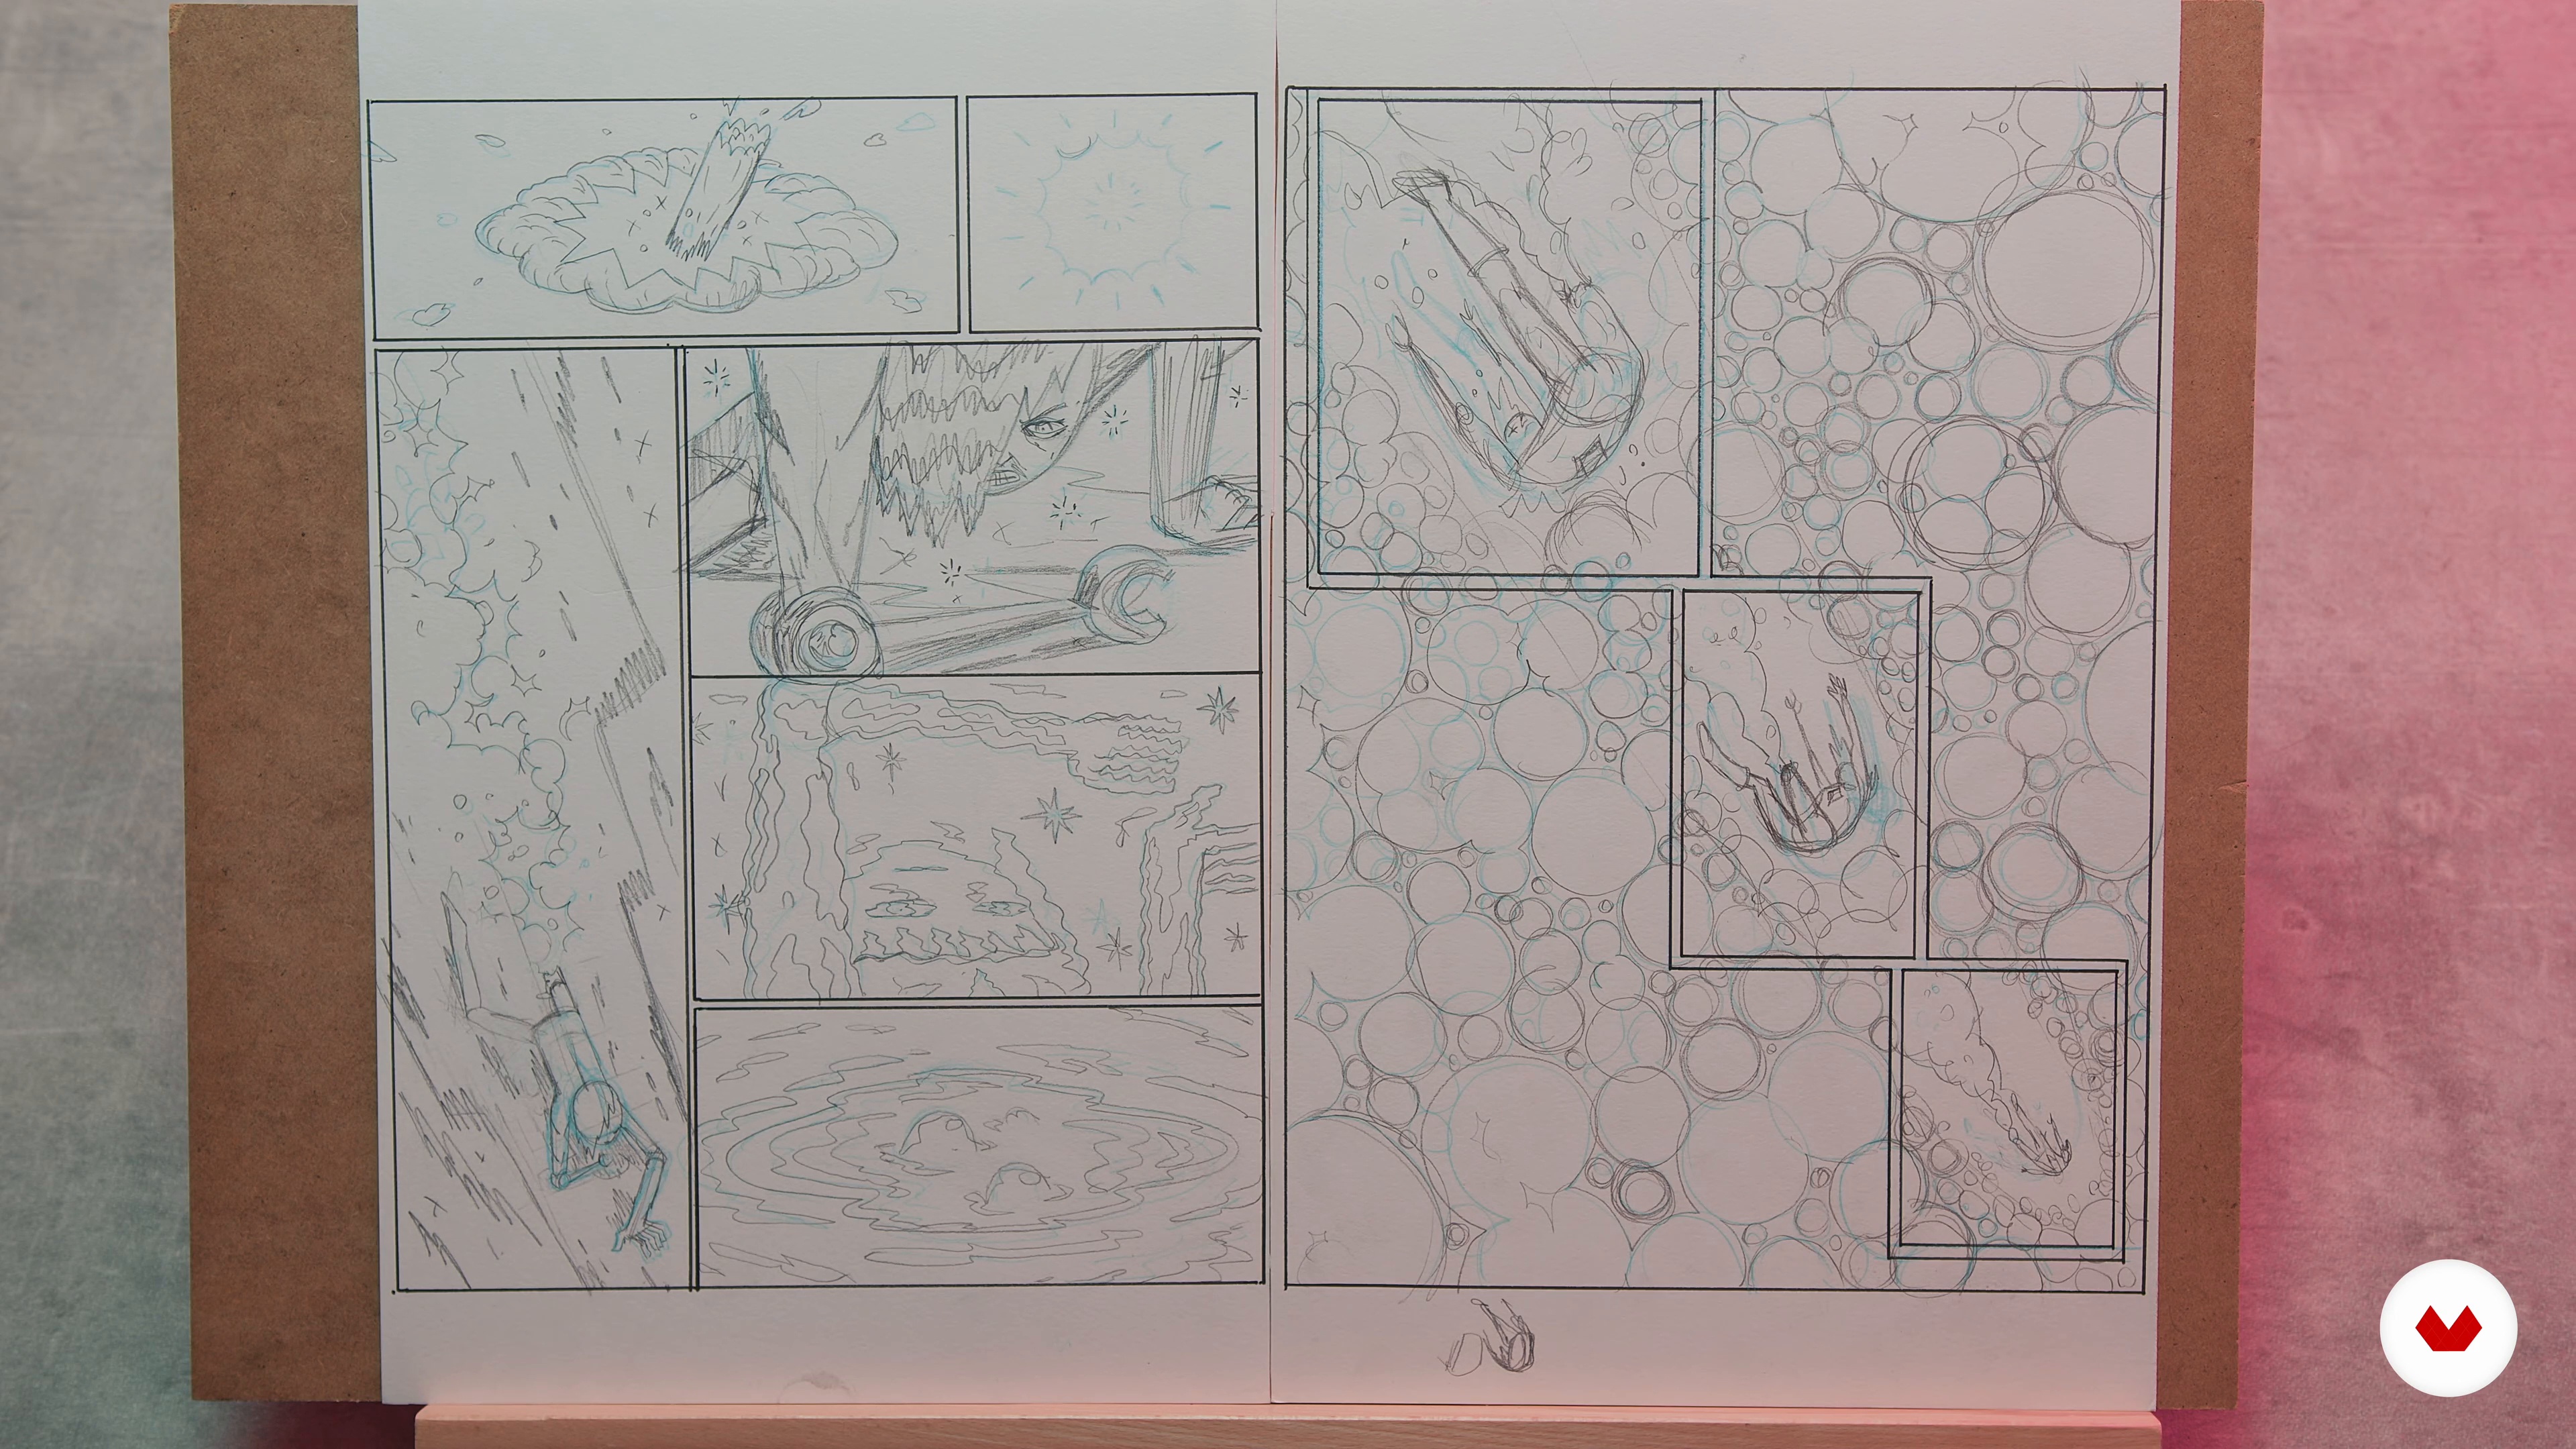
8Finished Pencils
The next step is to take the rough drawings to finished pencils. The finished pencils stage means that everything in the comic drawing has been figured out and there is no important information left open to interpretation. All the little details are fleshed out, resolved, and ready to be inked!
14m
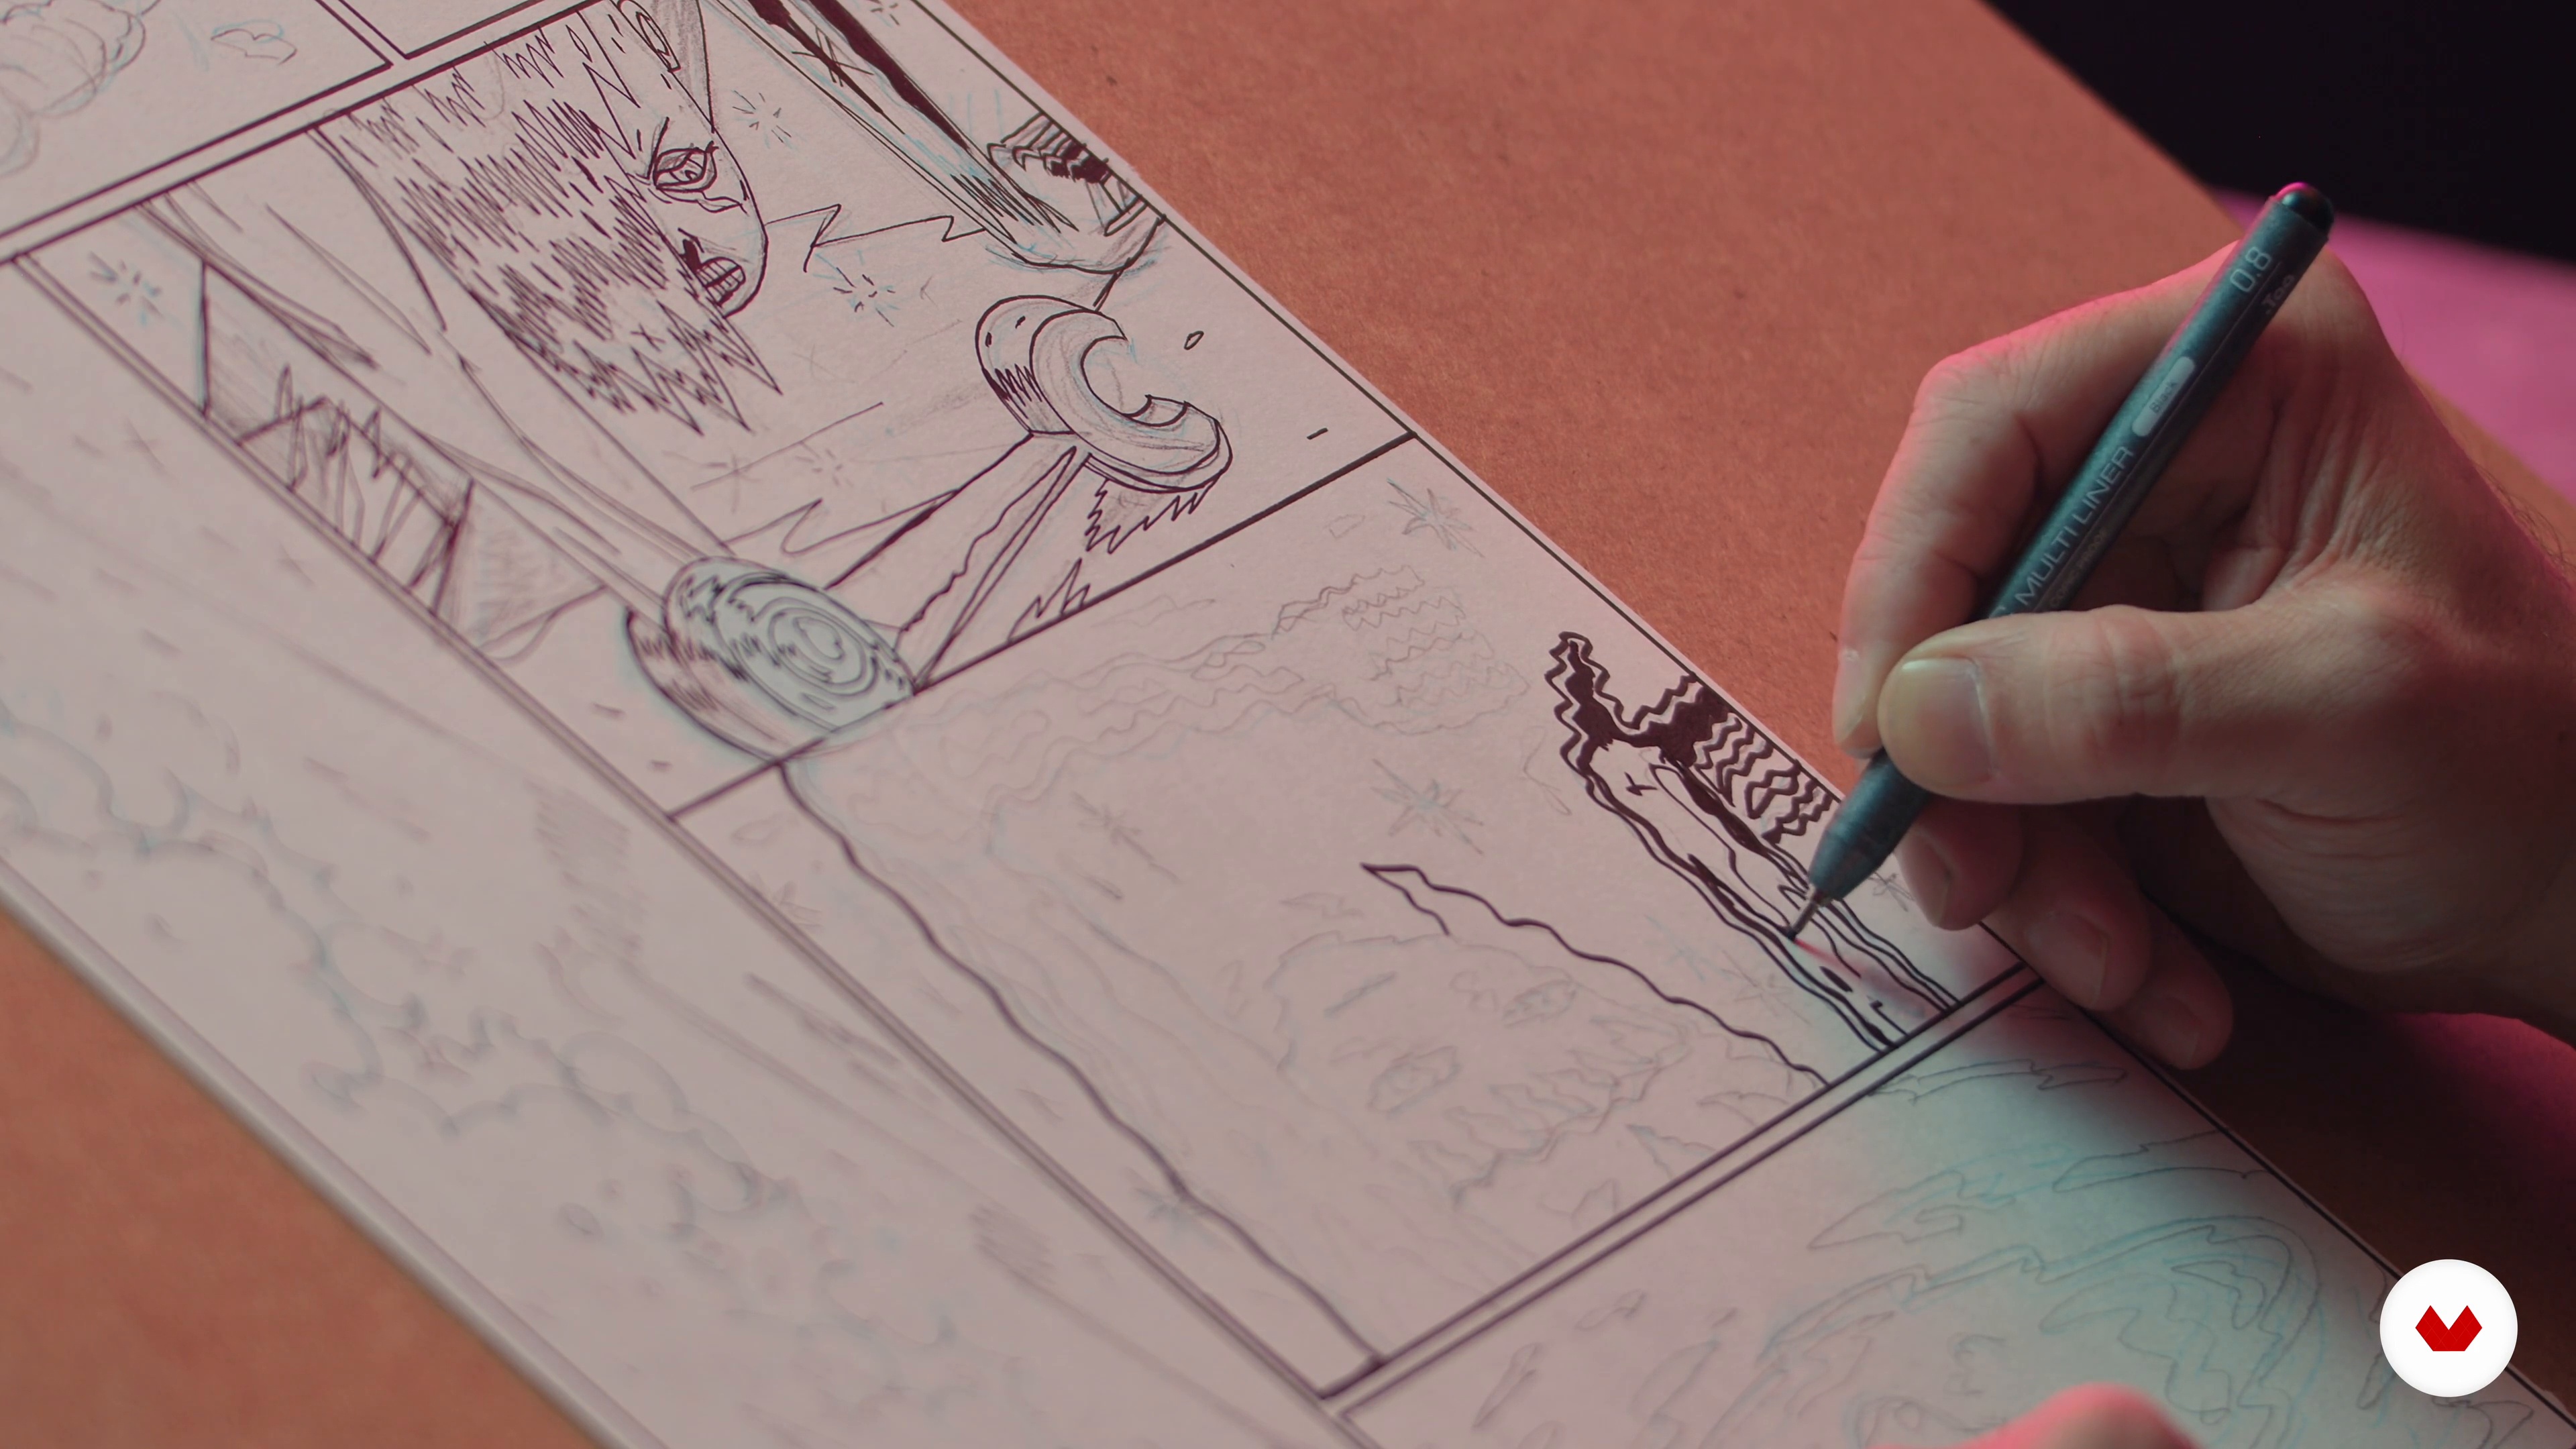 9
9Starting to Ink
Let's start by inking the easiest parts. We will do the panel lines to define the page layout of the panels, and then we will start with some images in the foreground.
15m
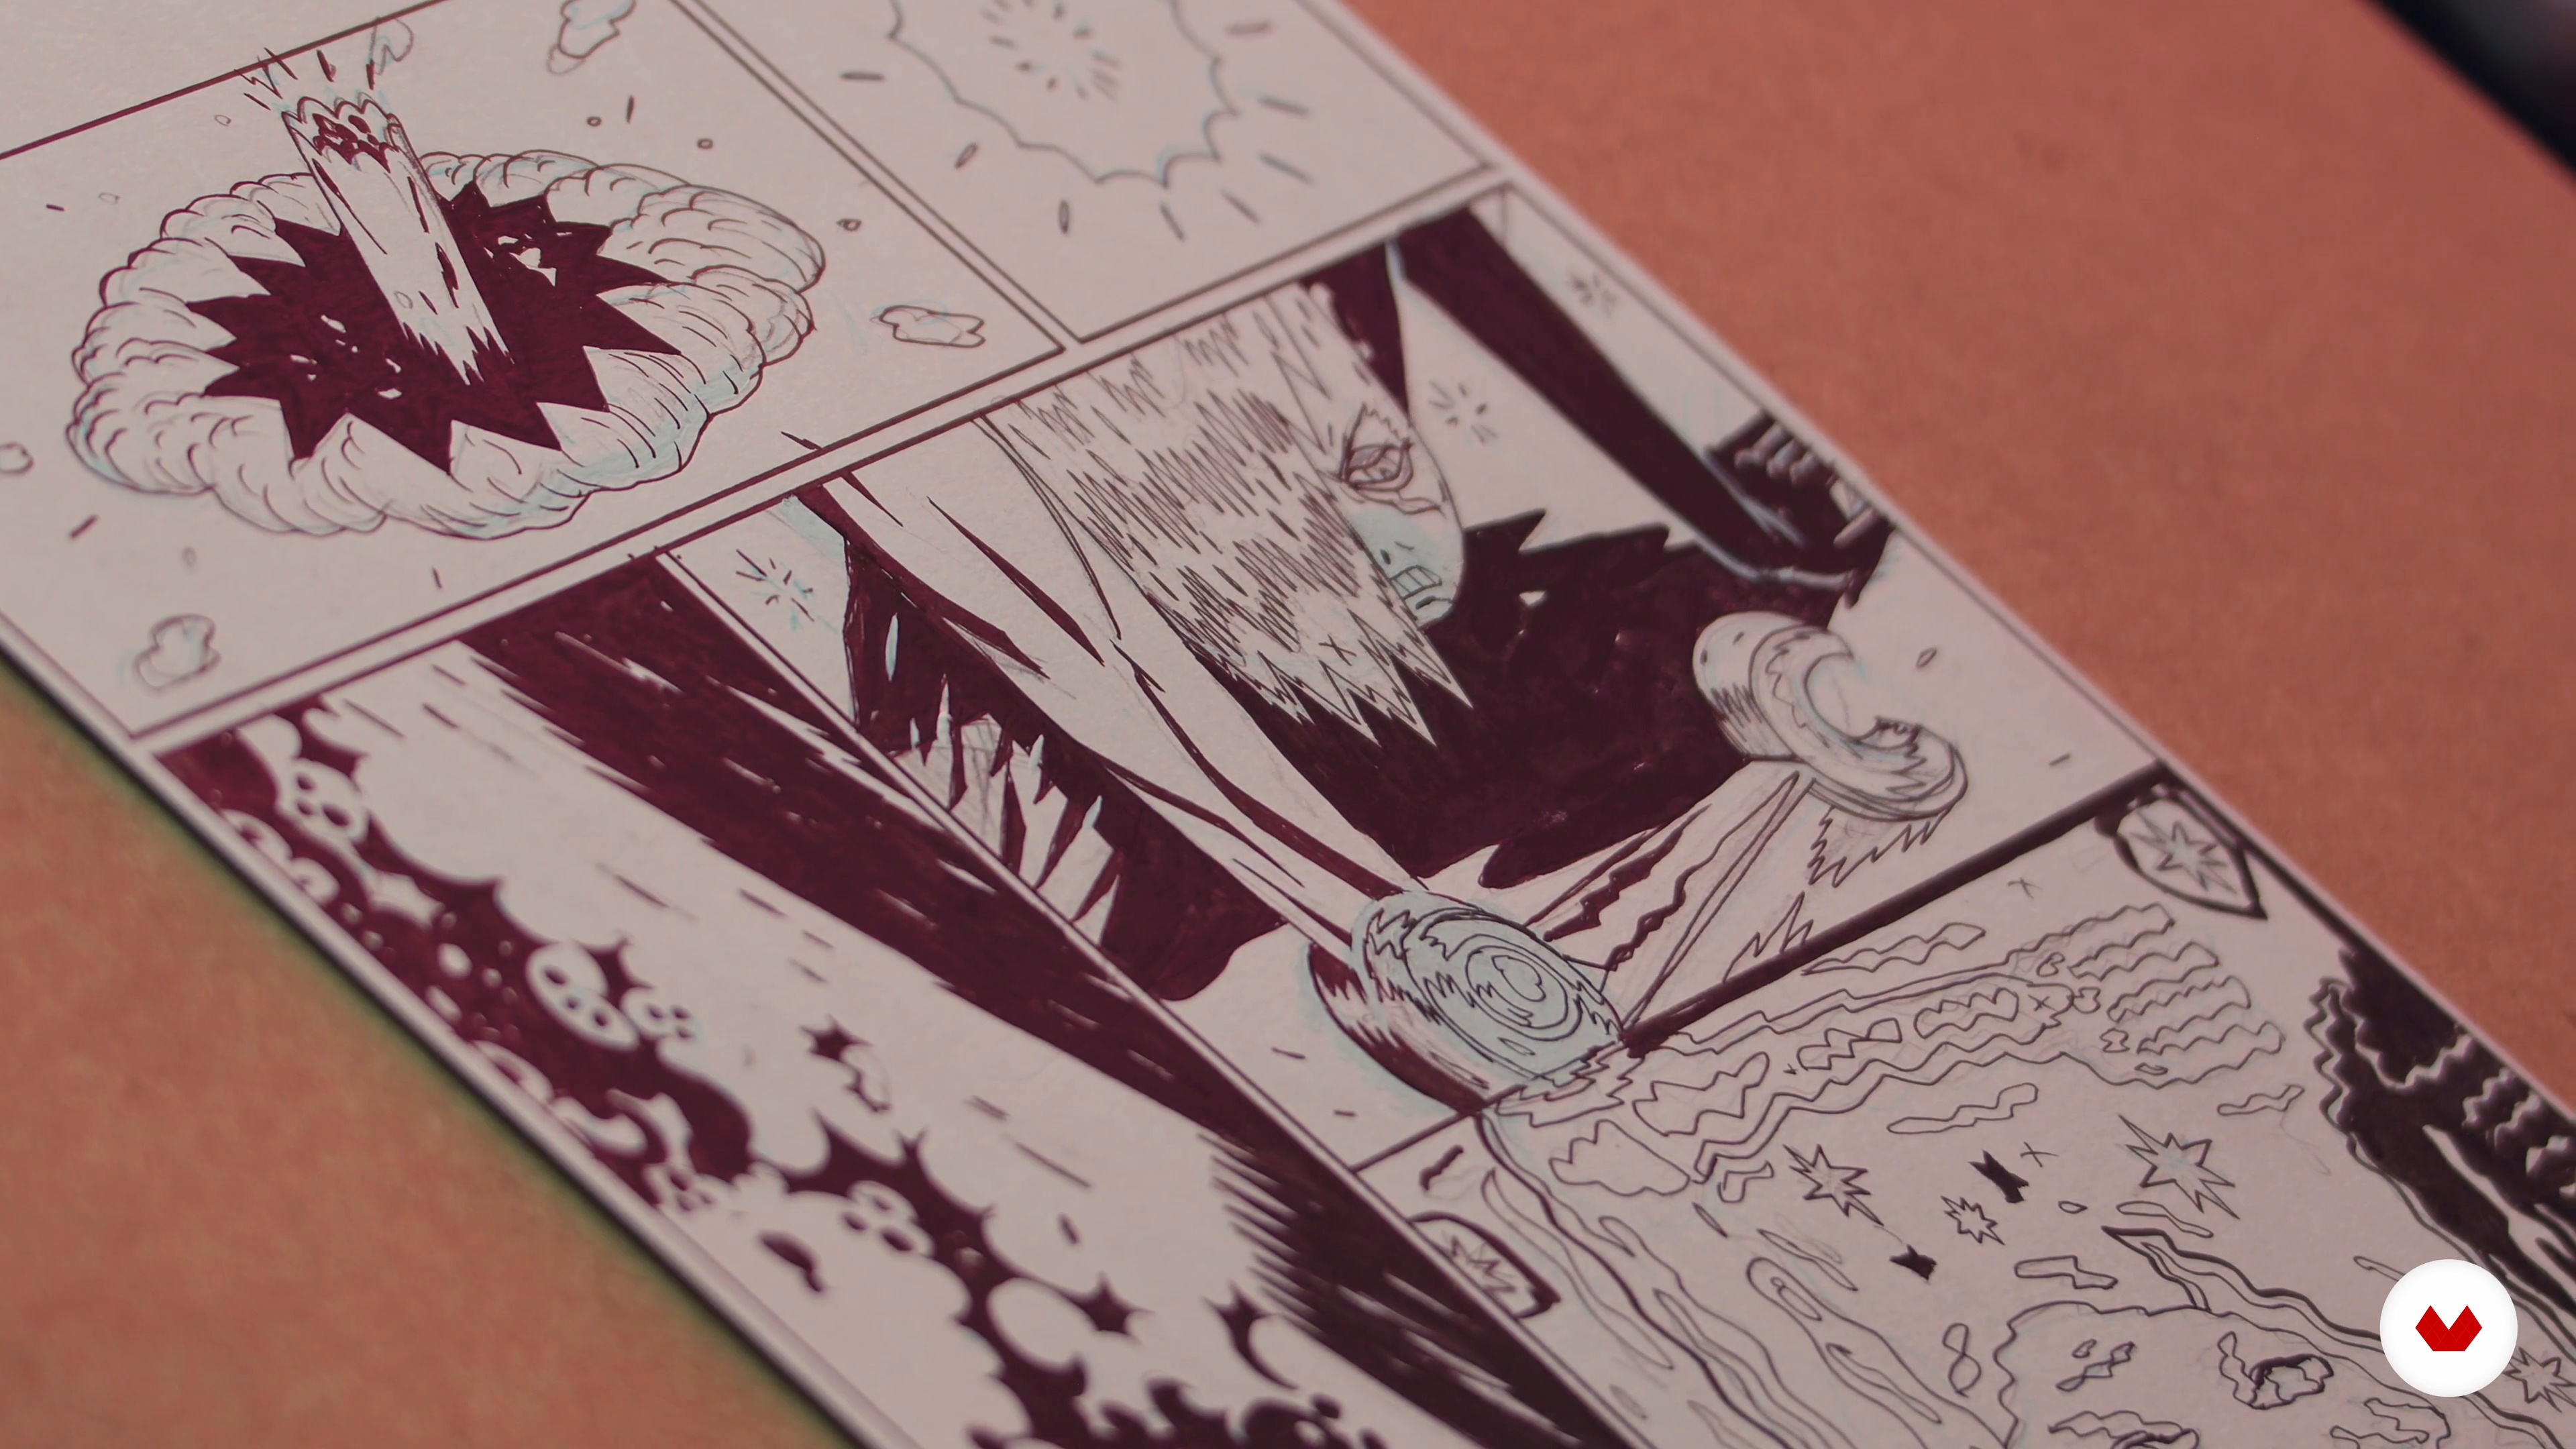 10
10Middle Inks
Now come the fun parts! It's time to start working on the whole spread. We move to the middle and background as the lines here are less detailed and less heavy, and begin to distribute the heavy blacks and shadows across the image.
10m
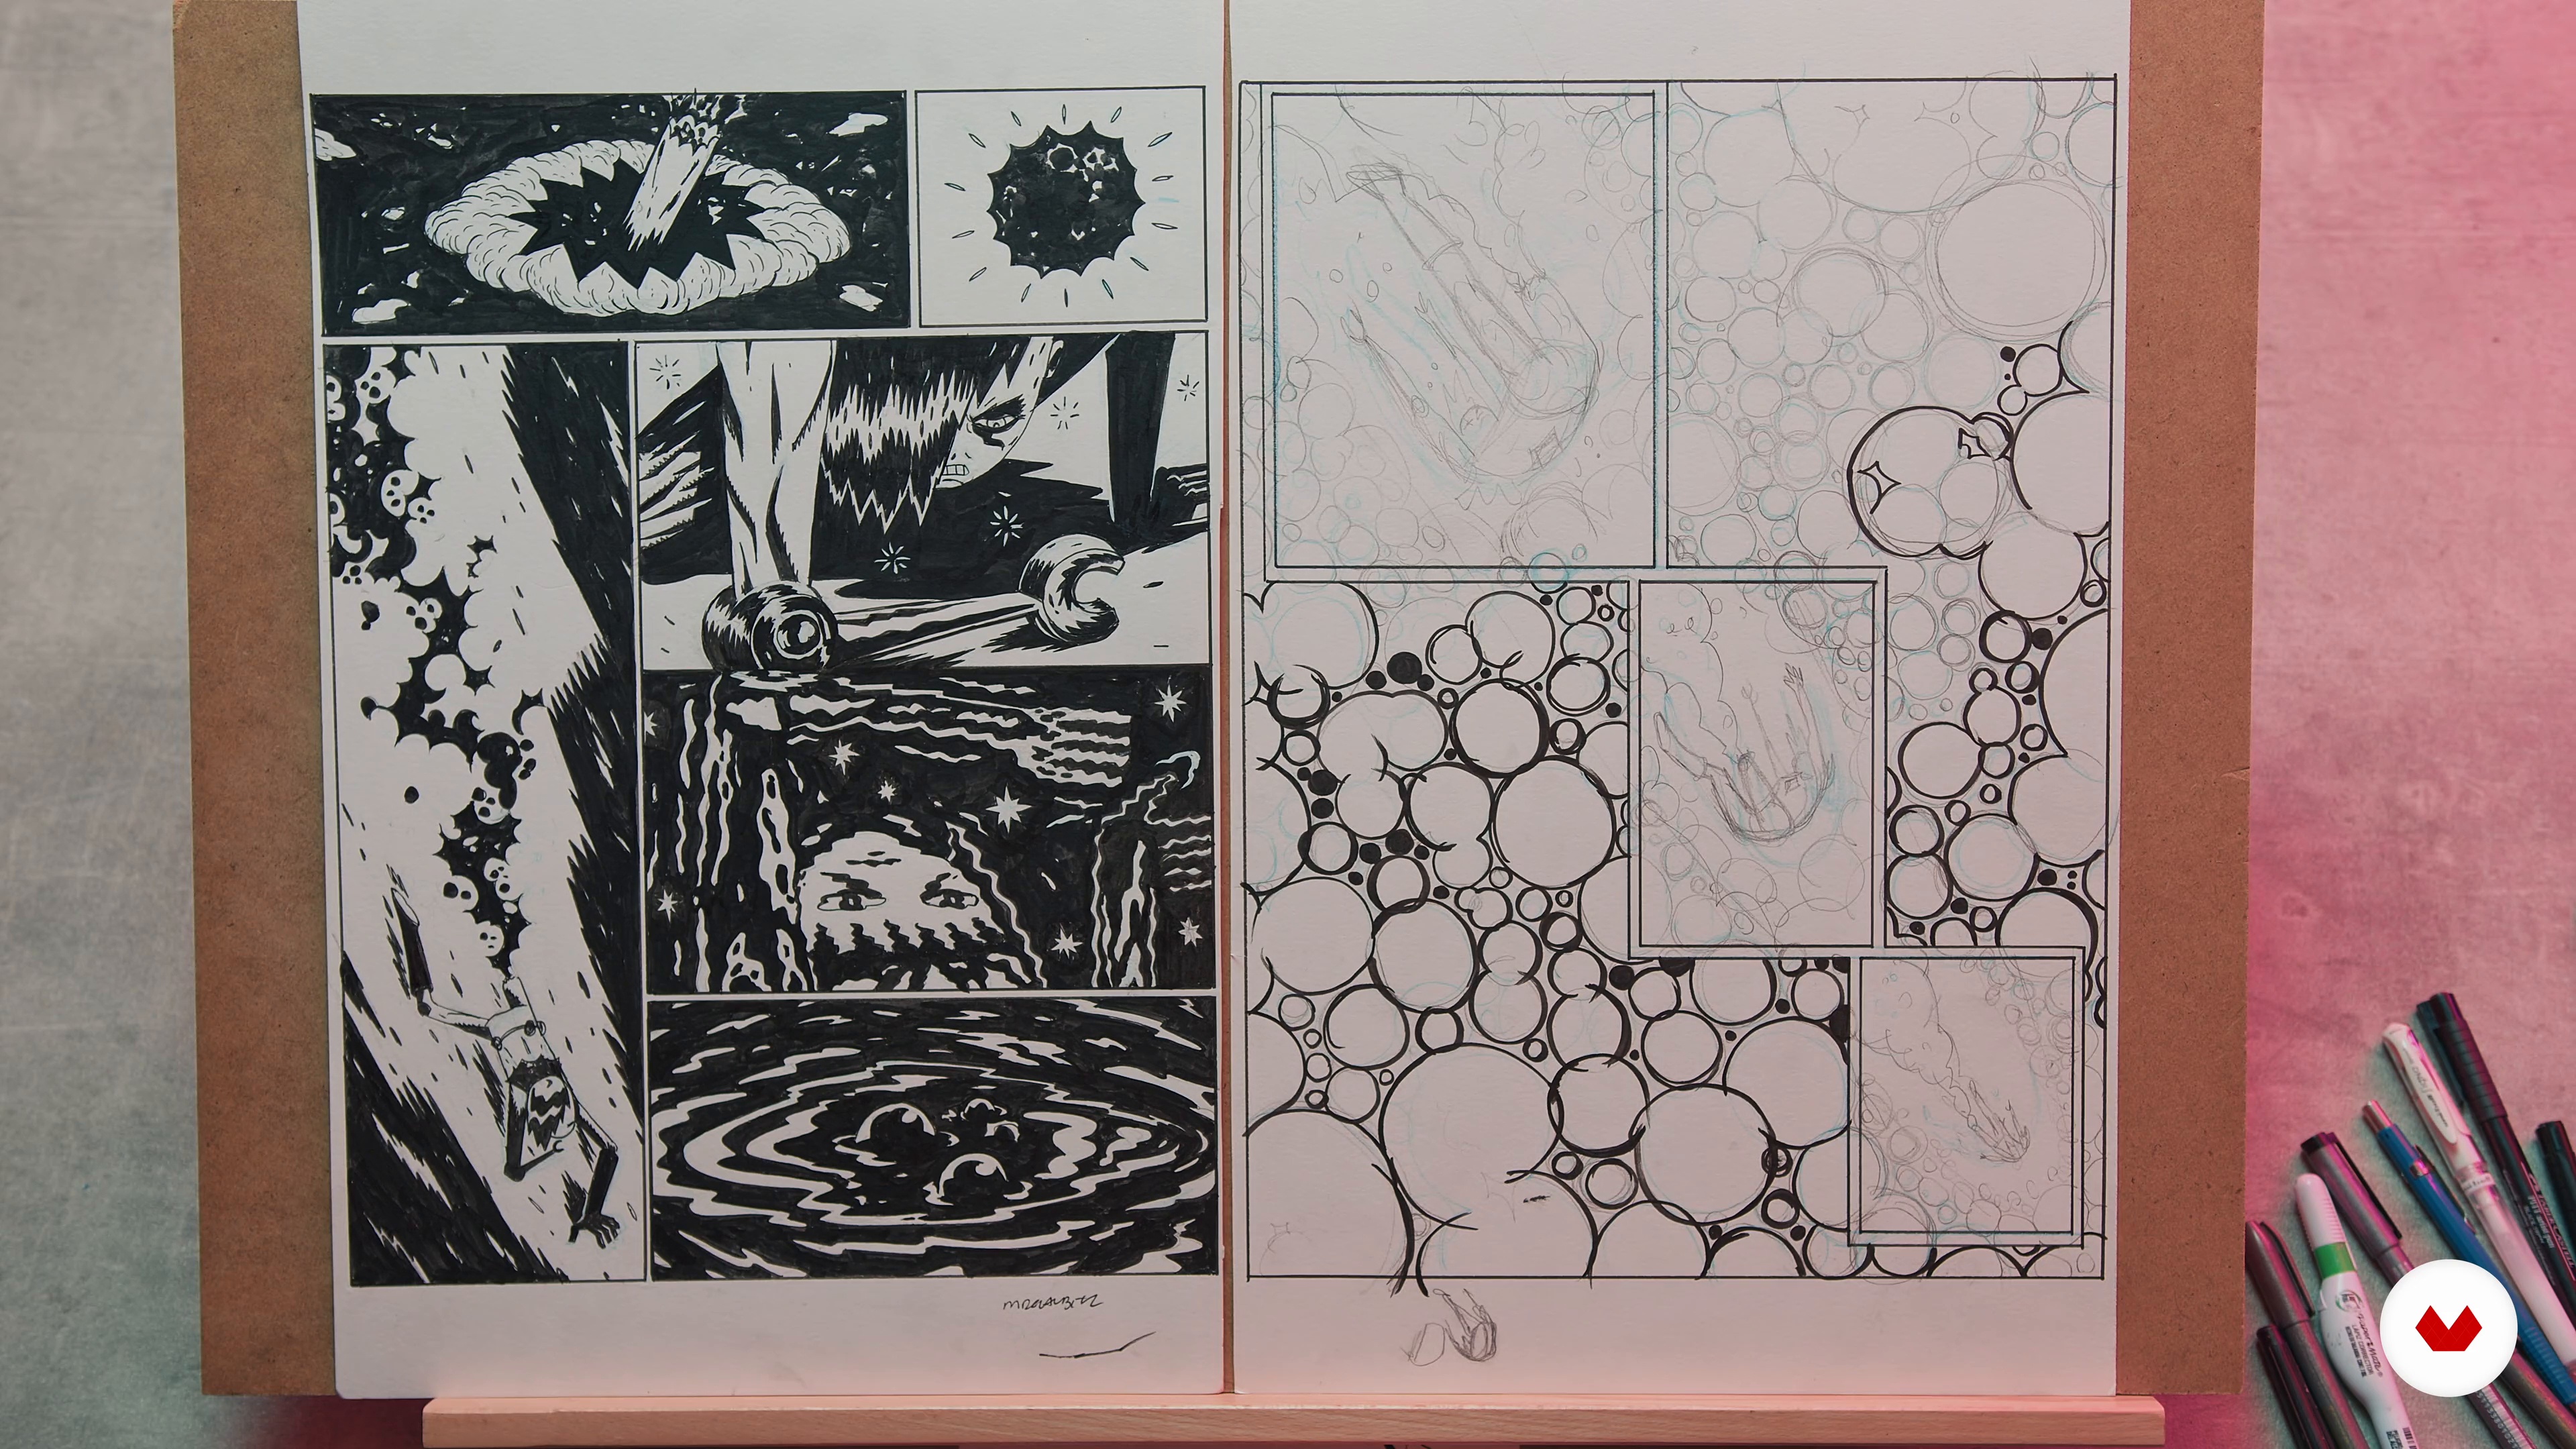 11
11Finishing Inks
To finish the inking stage, we will add the last small details and fix any mistakes if necessary.
4m
 1
1Making a Portfolio and the Importance of Original Creations
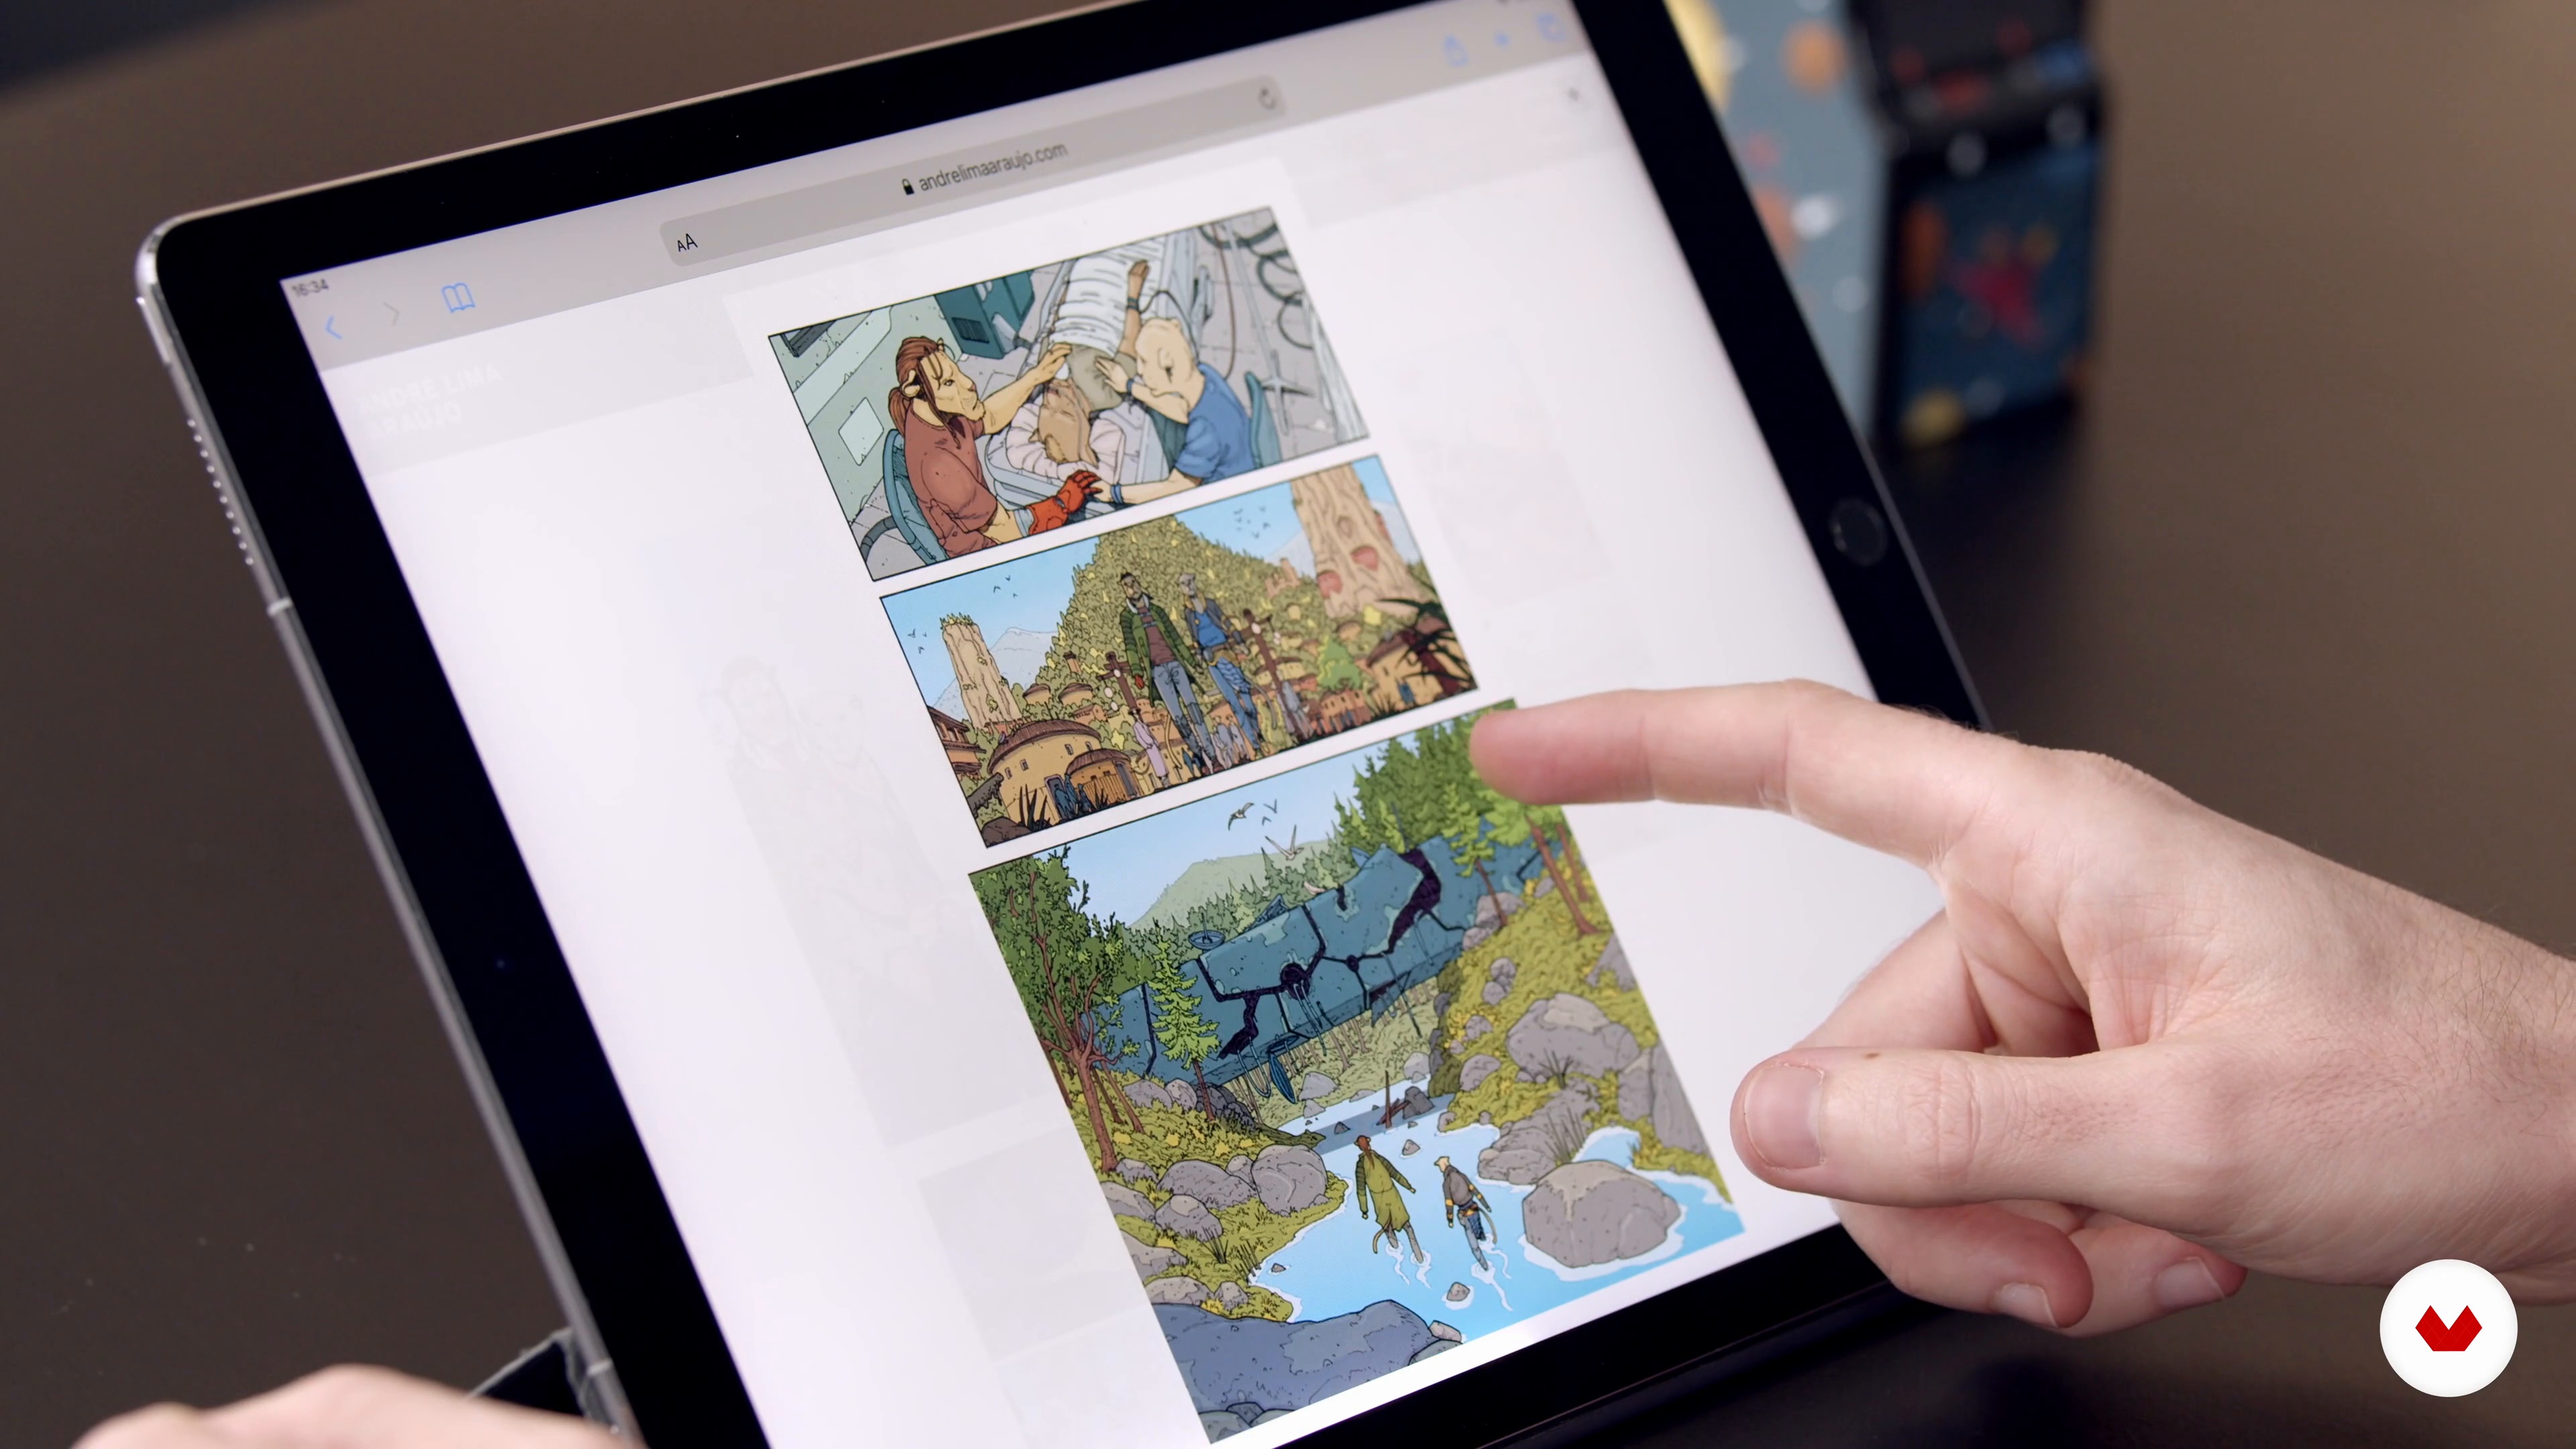
In this lesson, I will teach you how to build a portfolio.
9m
 2
2How to Break into Comics
Now that you know how to create a successful comic, it's time to discover how to find paid work.
5m
 3
3Social Media
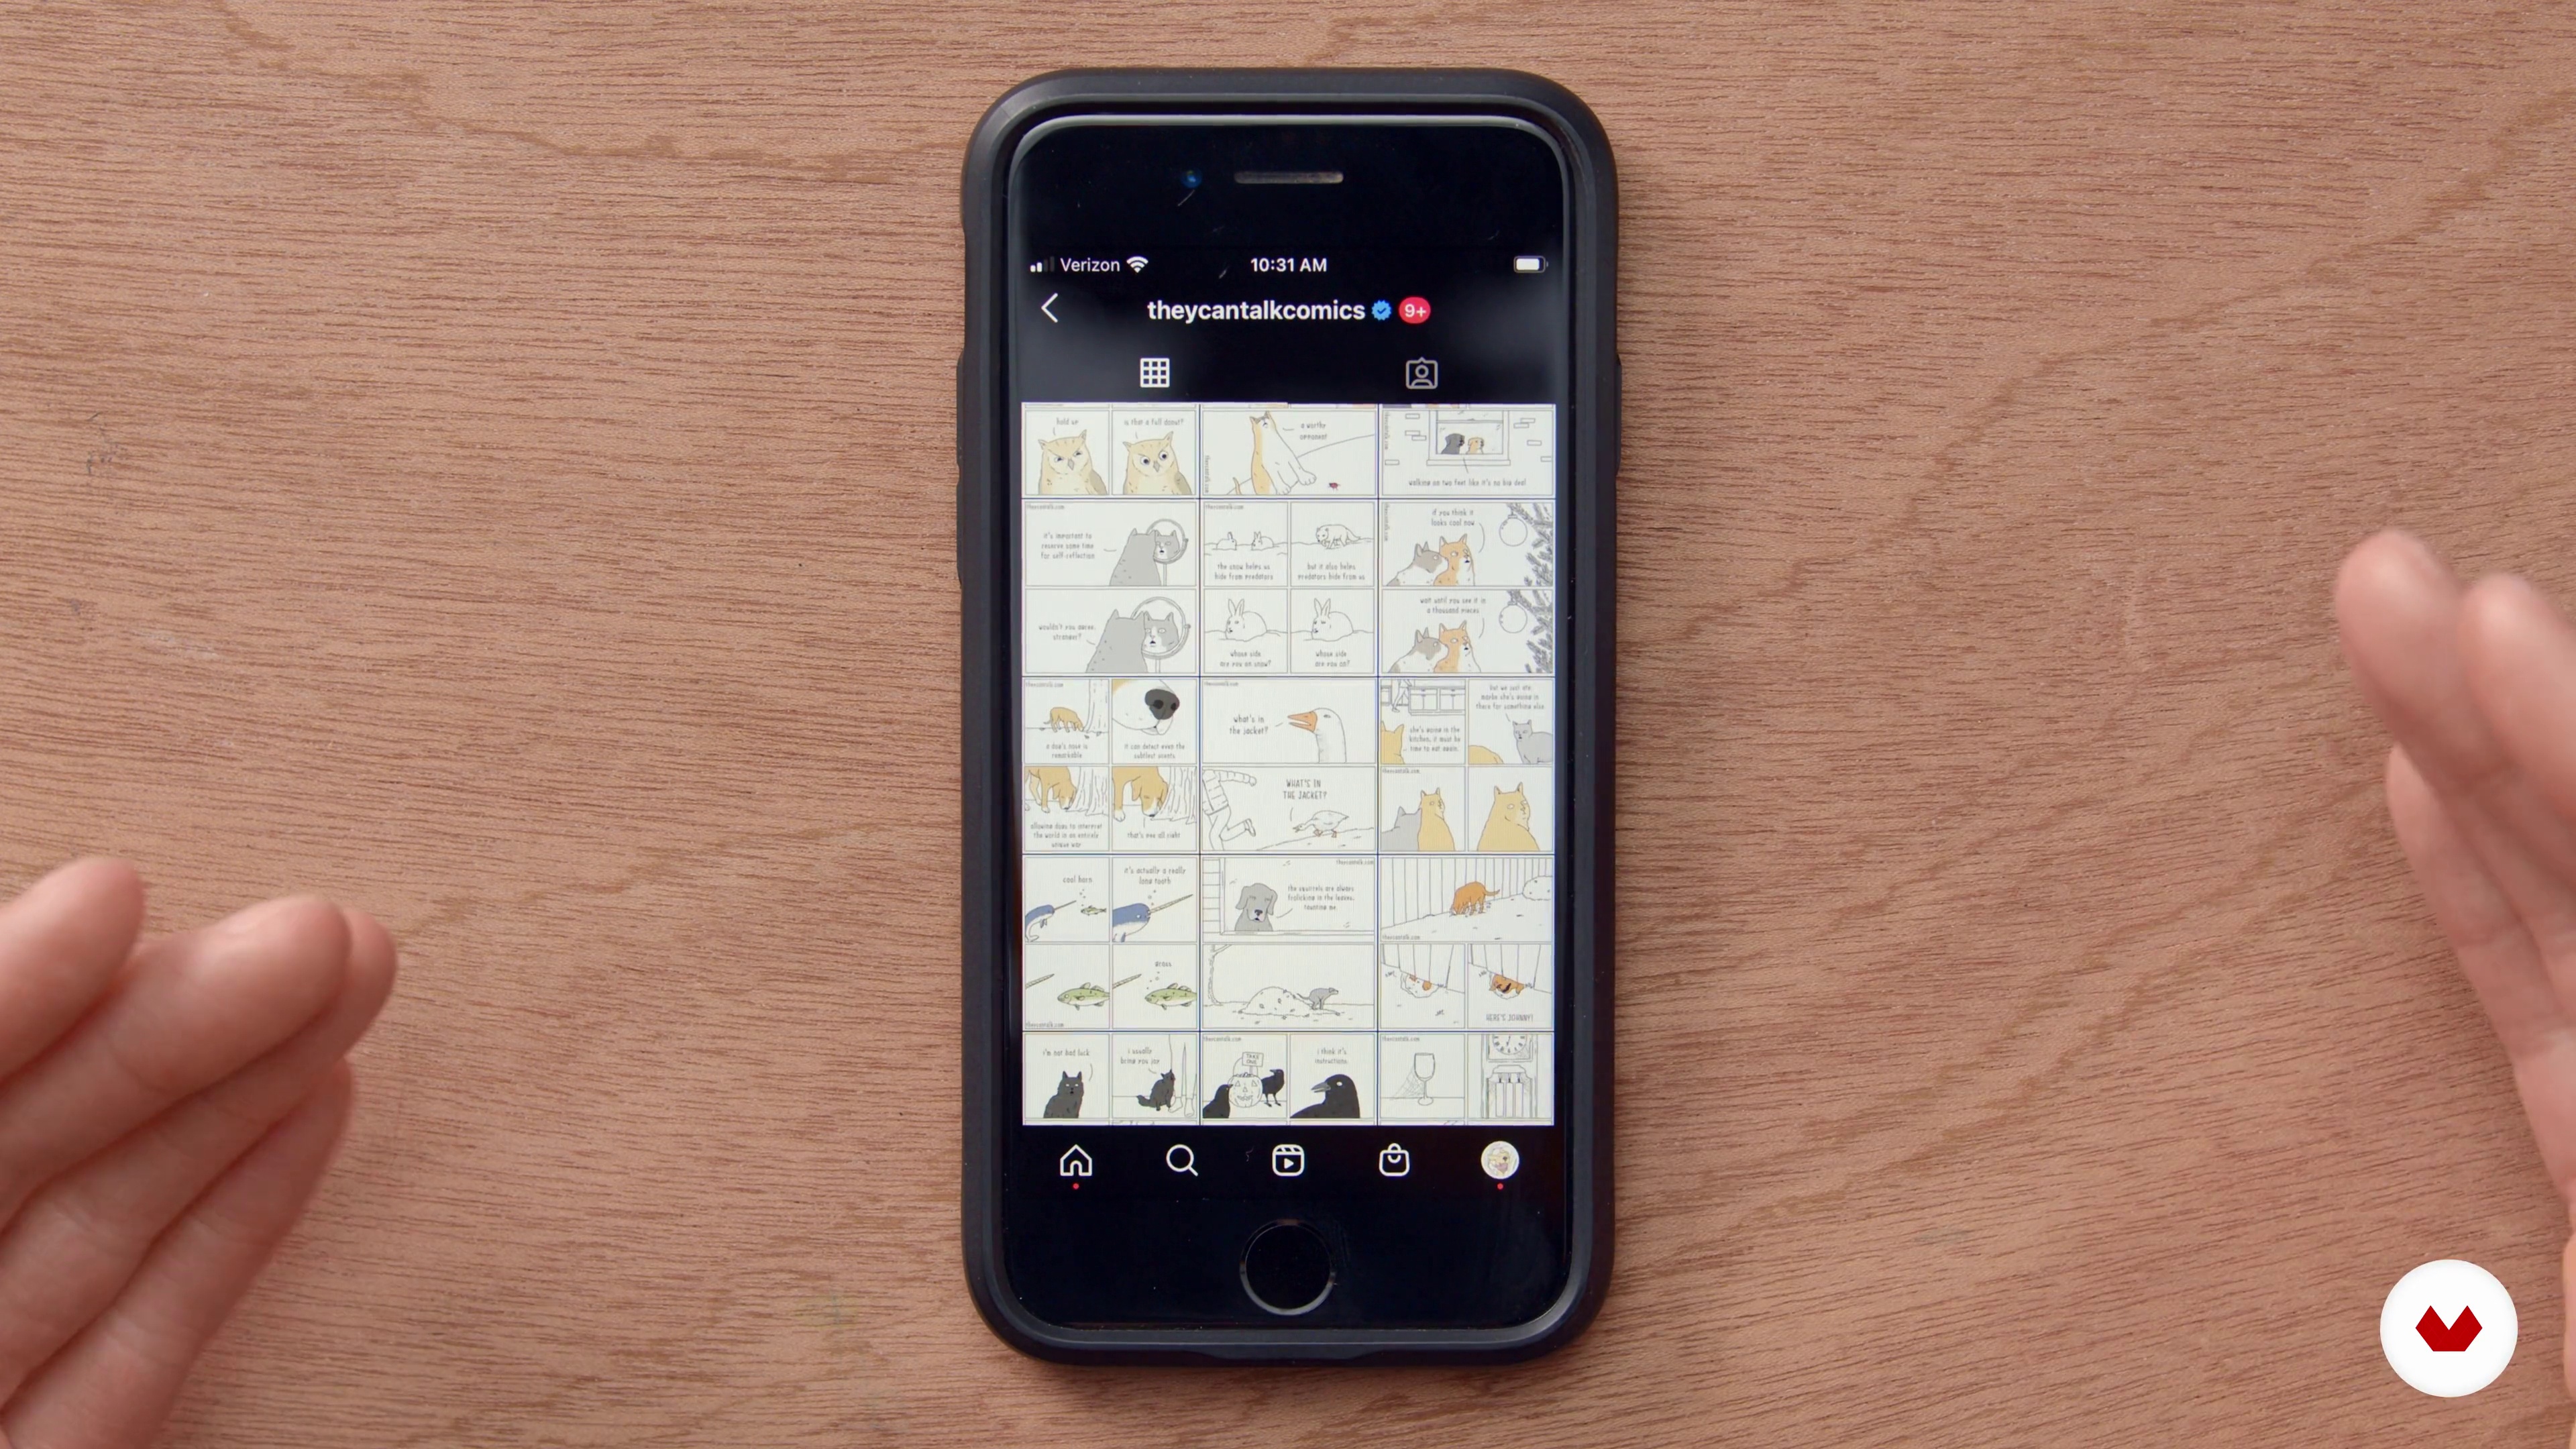
Social media is the easiest way to build a readership and get your comic out there. I’ll talk about some of the different platforms that cartoonists typically use, plus highlight my preferred ones. I’ll share how you can connect with other artists and participate in a community. Social media is also an amazing way to get instant feedback and connect directly with your readers.
3m
 4
4Monetizing Your Work
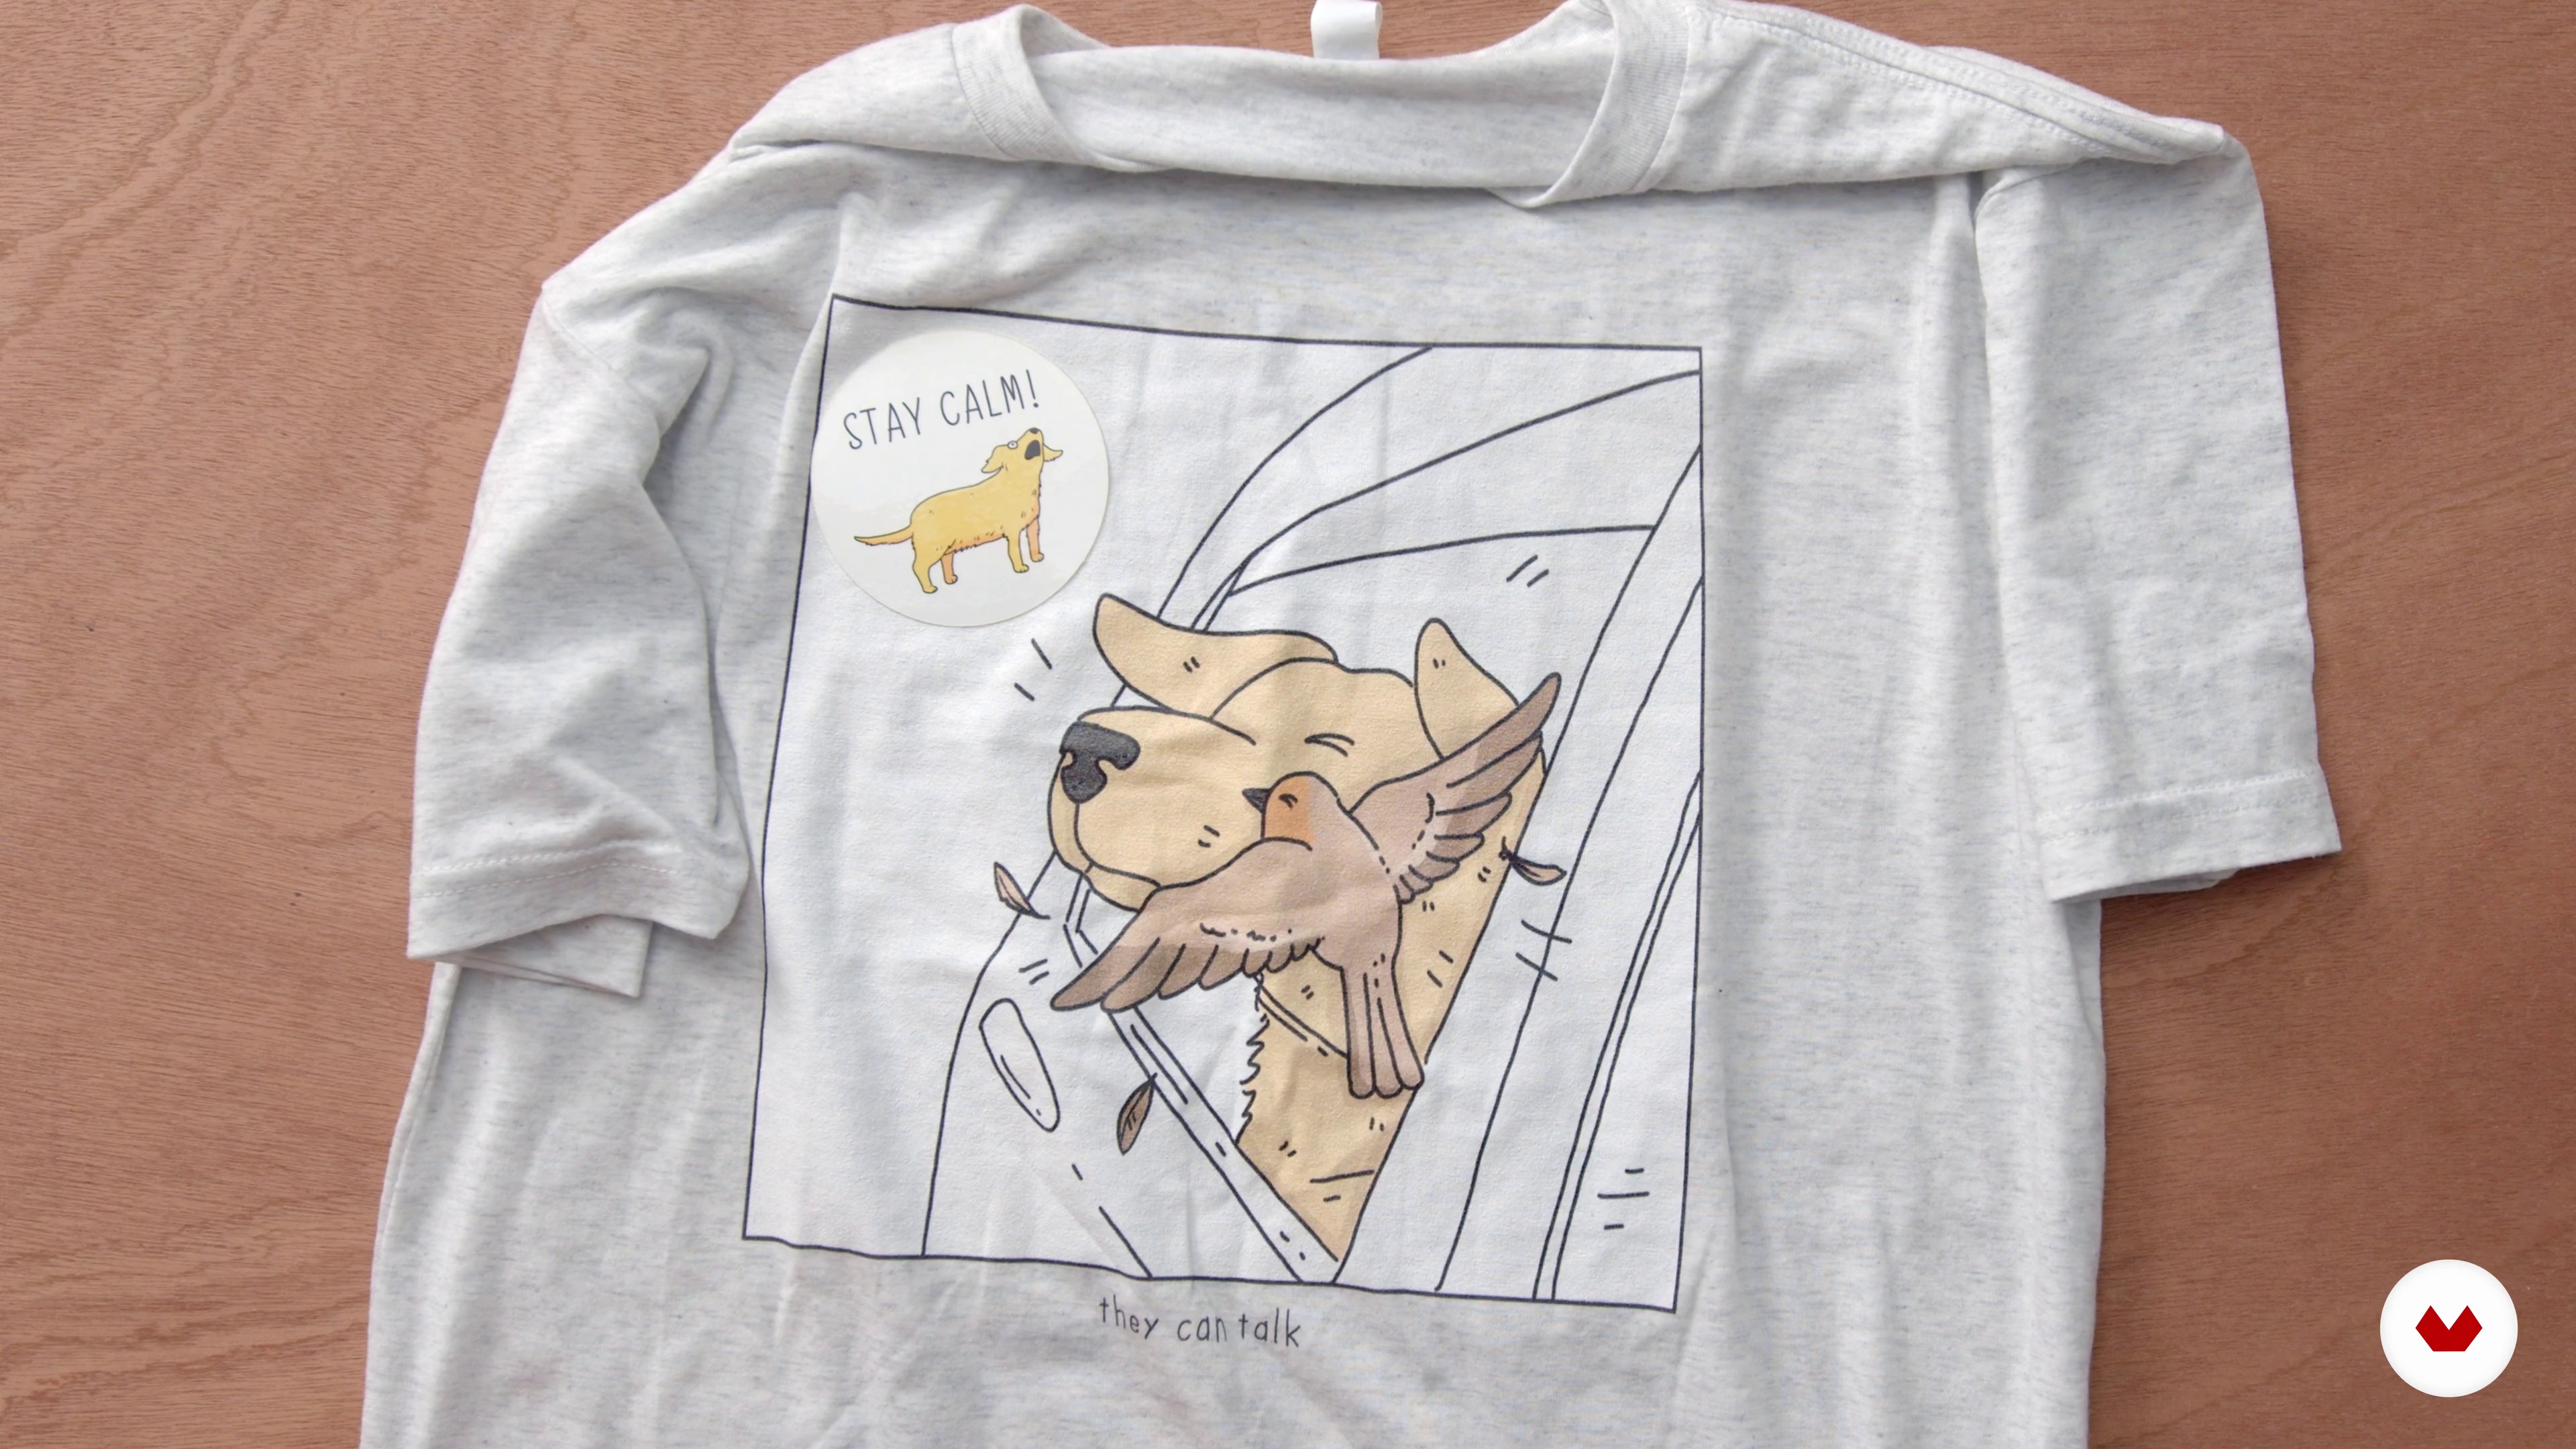
Don’t start comics if your goal is to get rich. That’s not to say you can’t, but making money is secondary to actually making the comics. The good news is that if you put a lot of effort into your work and stay consistent, there are several ways to monetize that. I’ll share some of the different ways to make your comic profitable and even how to turn them into a career as a cartoonist.
3m
 5
5Sticking to a Schedule and Staying Inspired
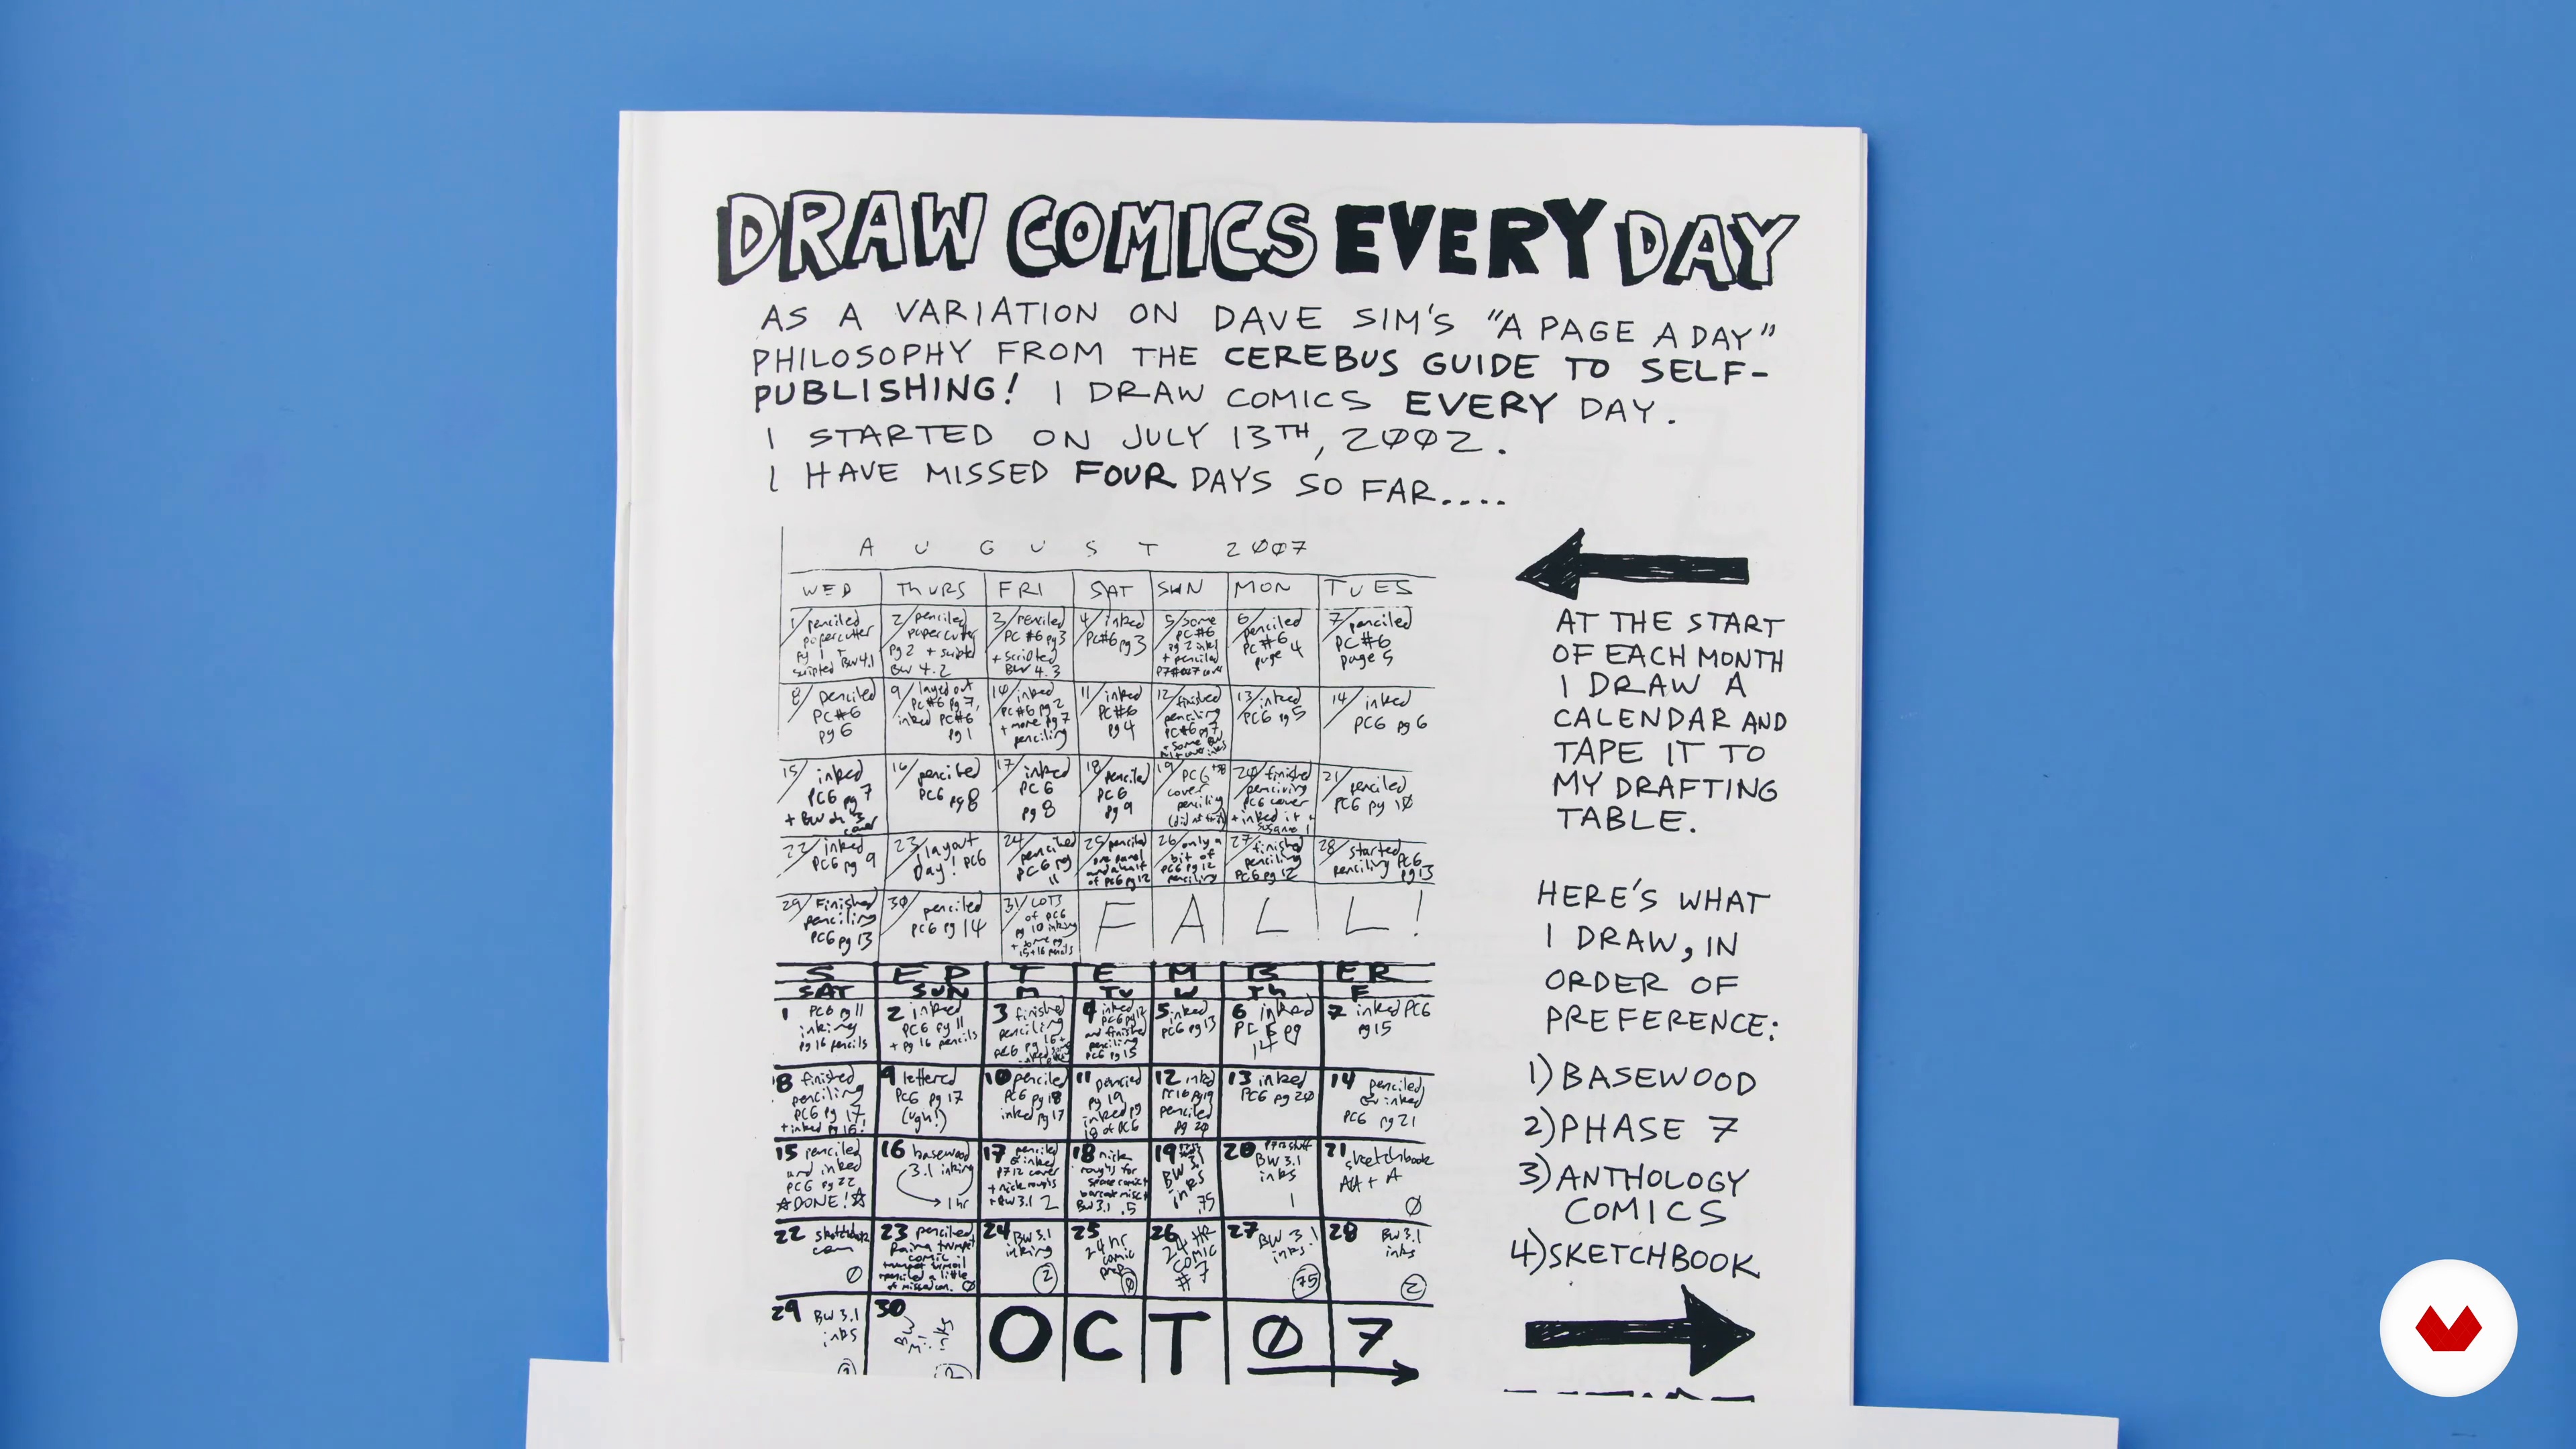
Doing something creative and putting it out to the world is a rollercoaster of emotions- it can be draining, discouraging, disappointing, and also exciting, amazing, and incredibly fulfilling. In this final lesson, I’ll share some tips to help you weather the ups and downs and keep going.
2m
 6
6Productivity Tips
A single page of comics can take many hours to complete. I will provide you with some tips for tackling this work and the mindset it takes to achieve much larger comics projects.
11m
 7
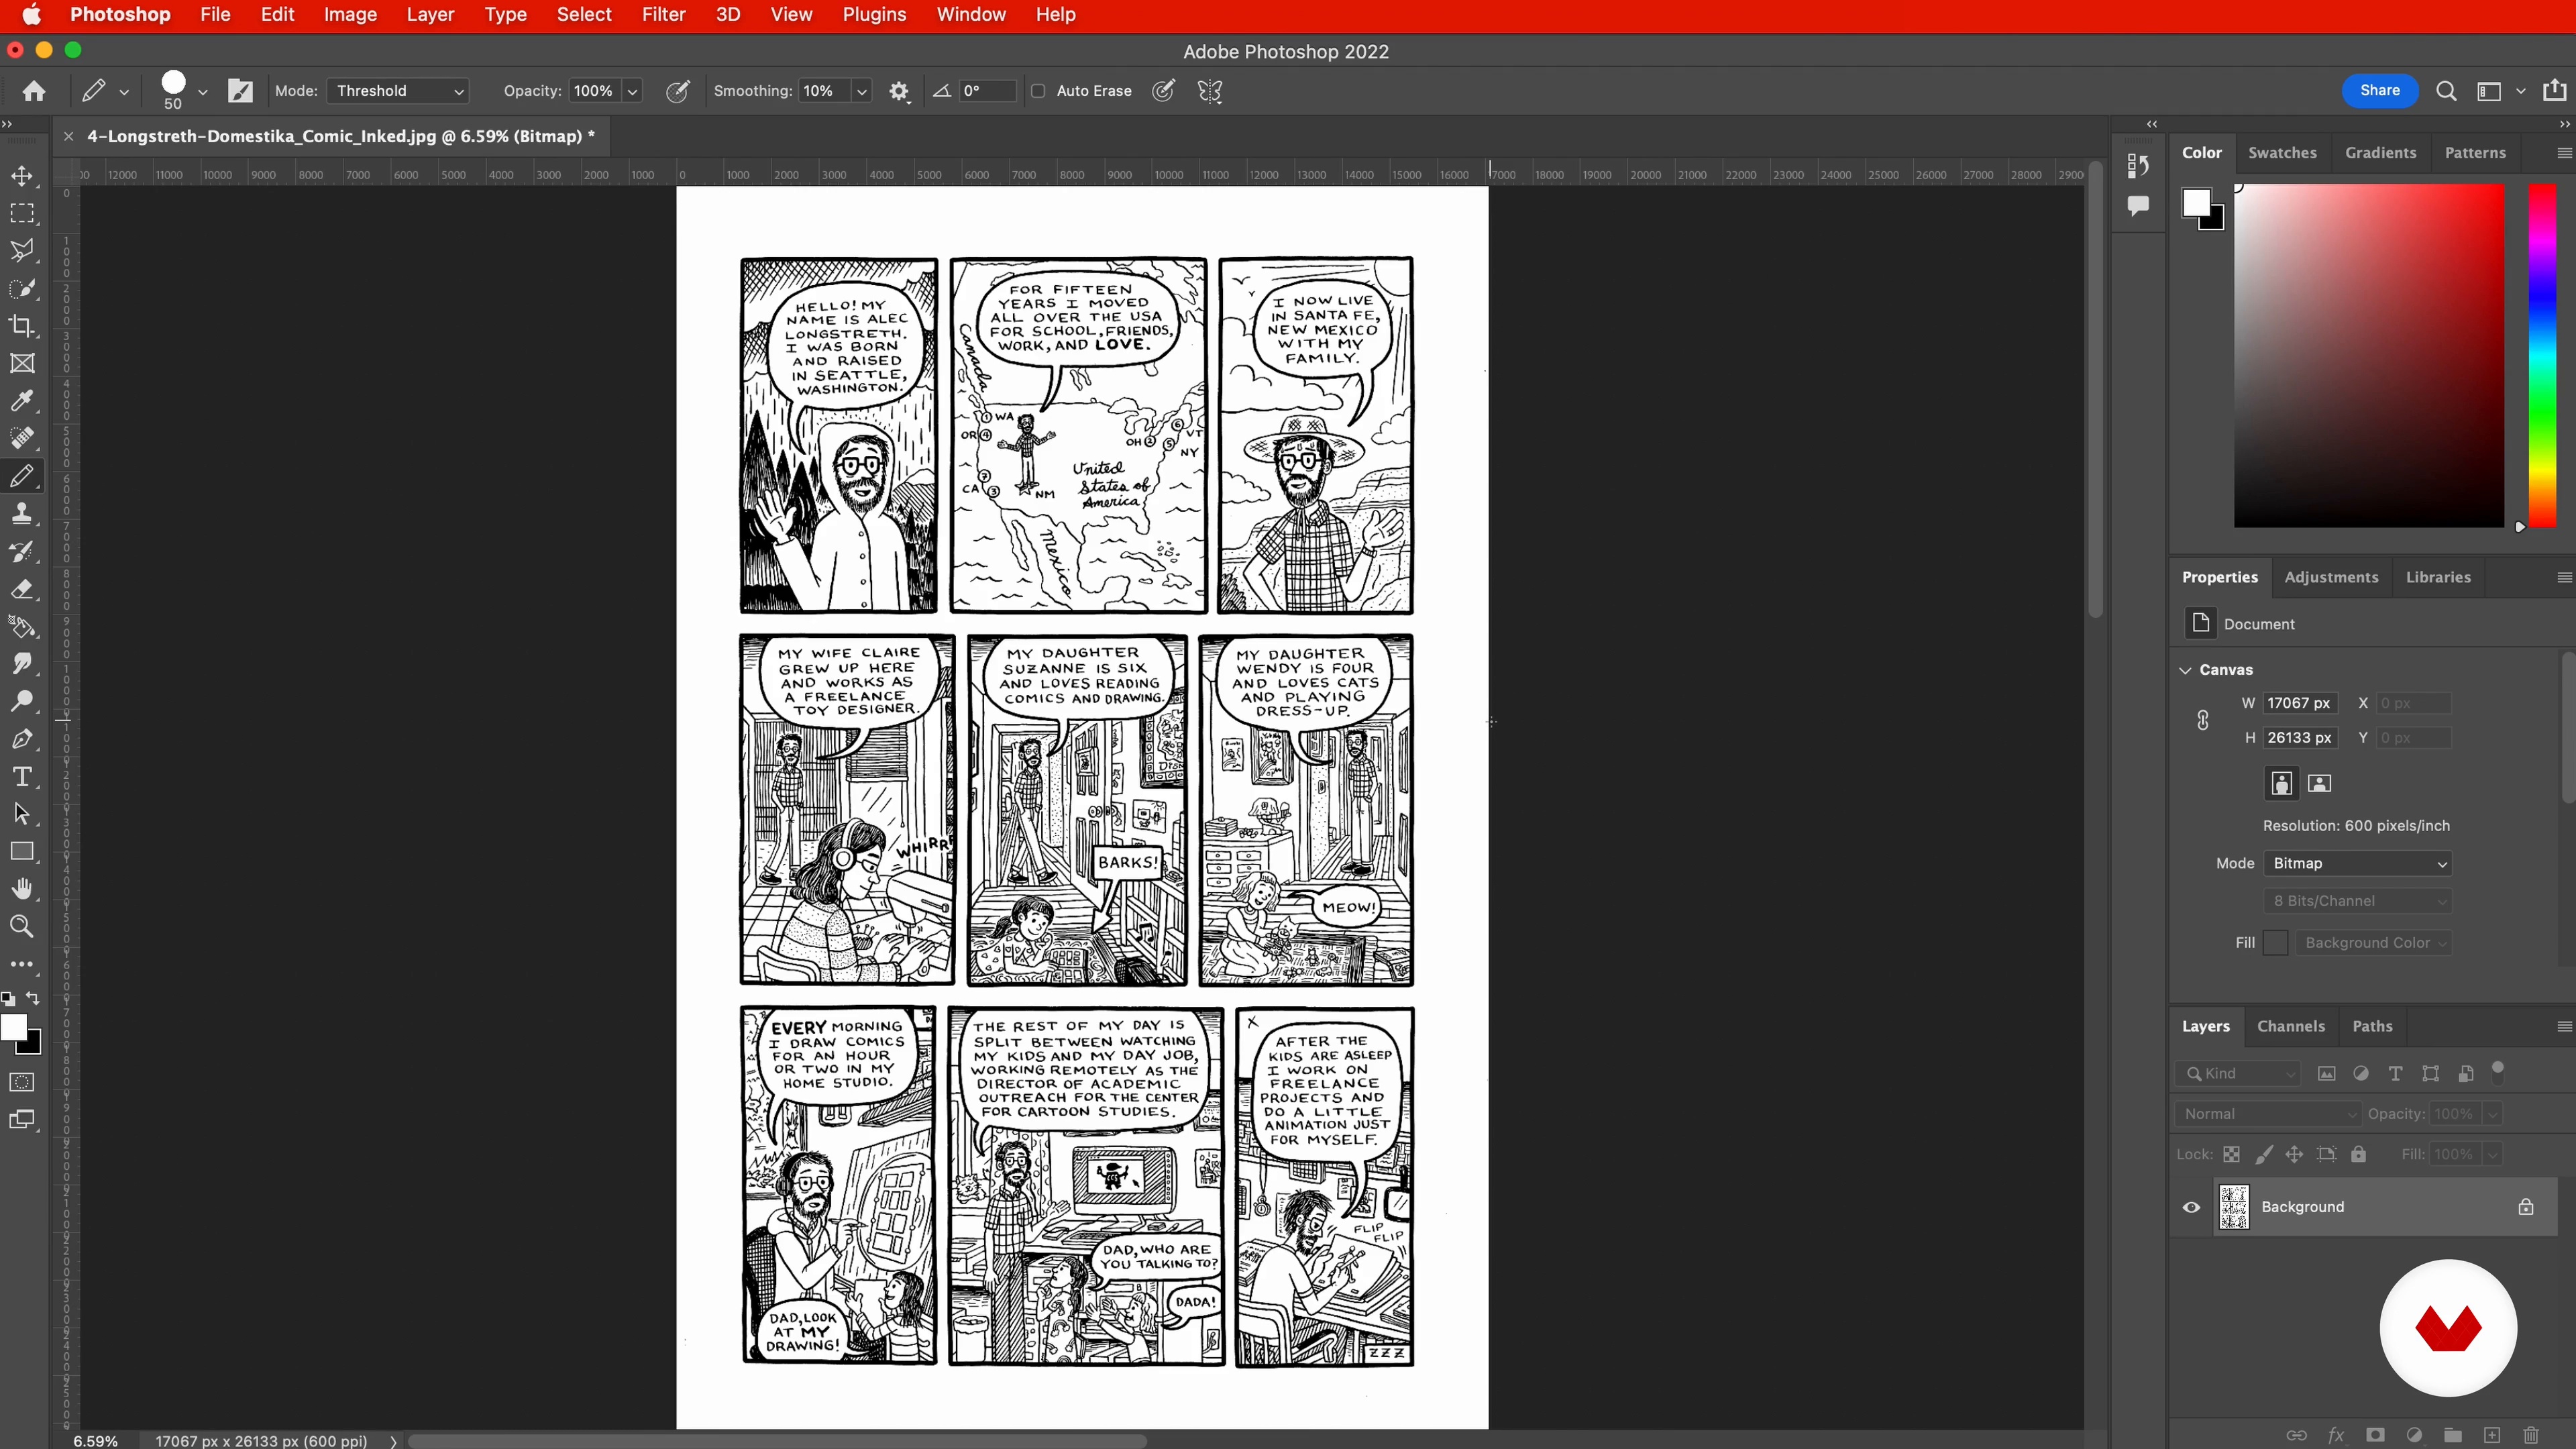
7Cleaning up the Comic
Inking mistakes happen! I will show you some analog and digital techniques for cleaning those up, so the image of the comic shows up nice and clean in print or on a screen.
11m
 8
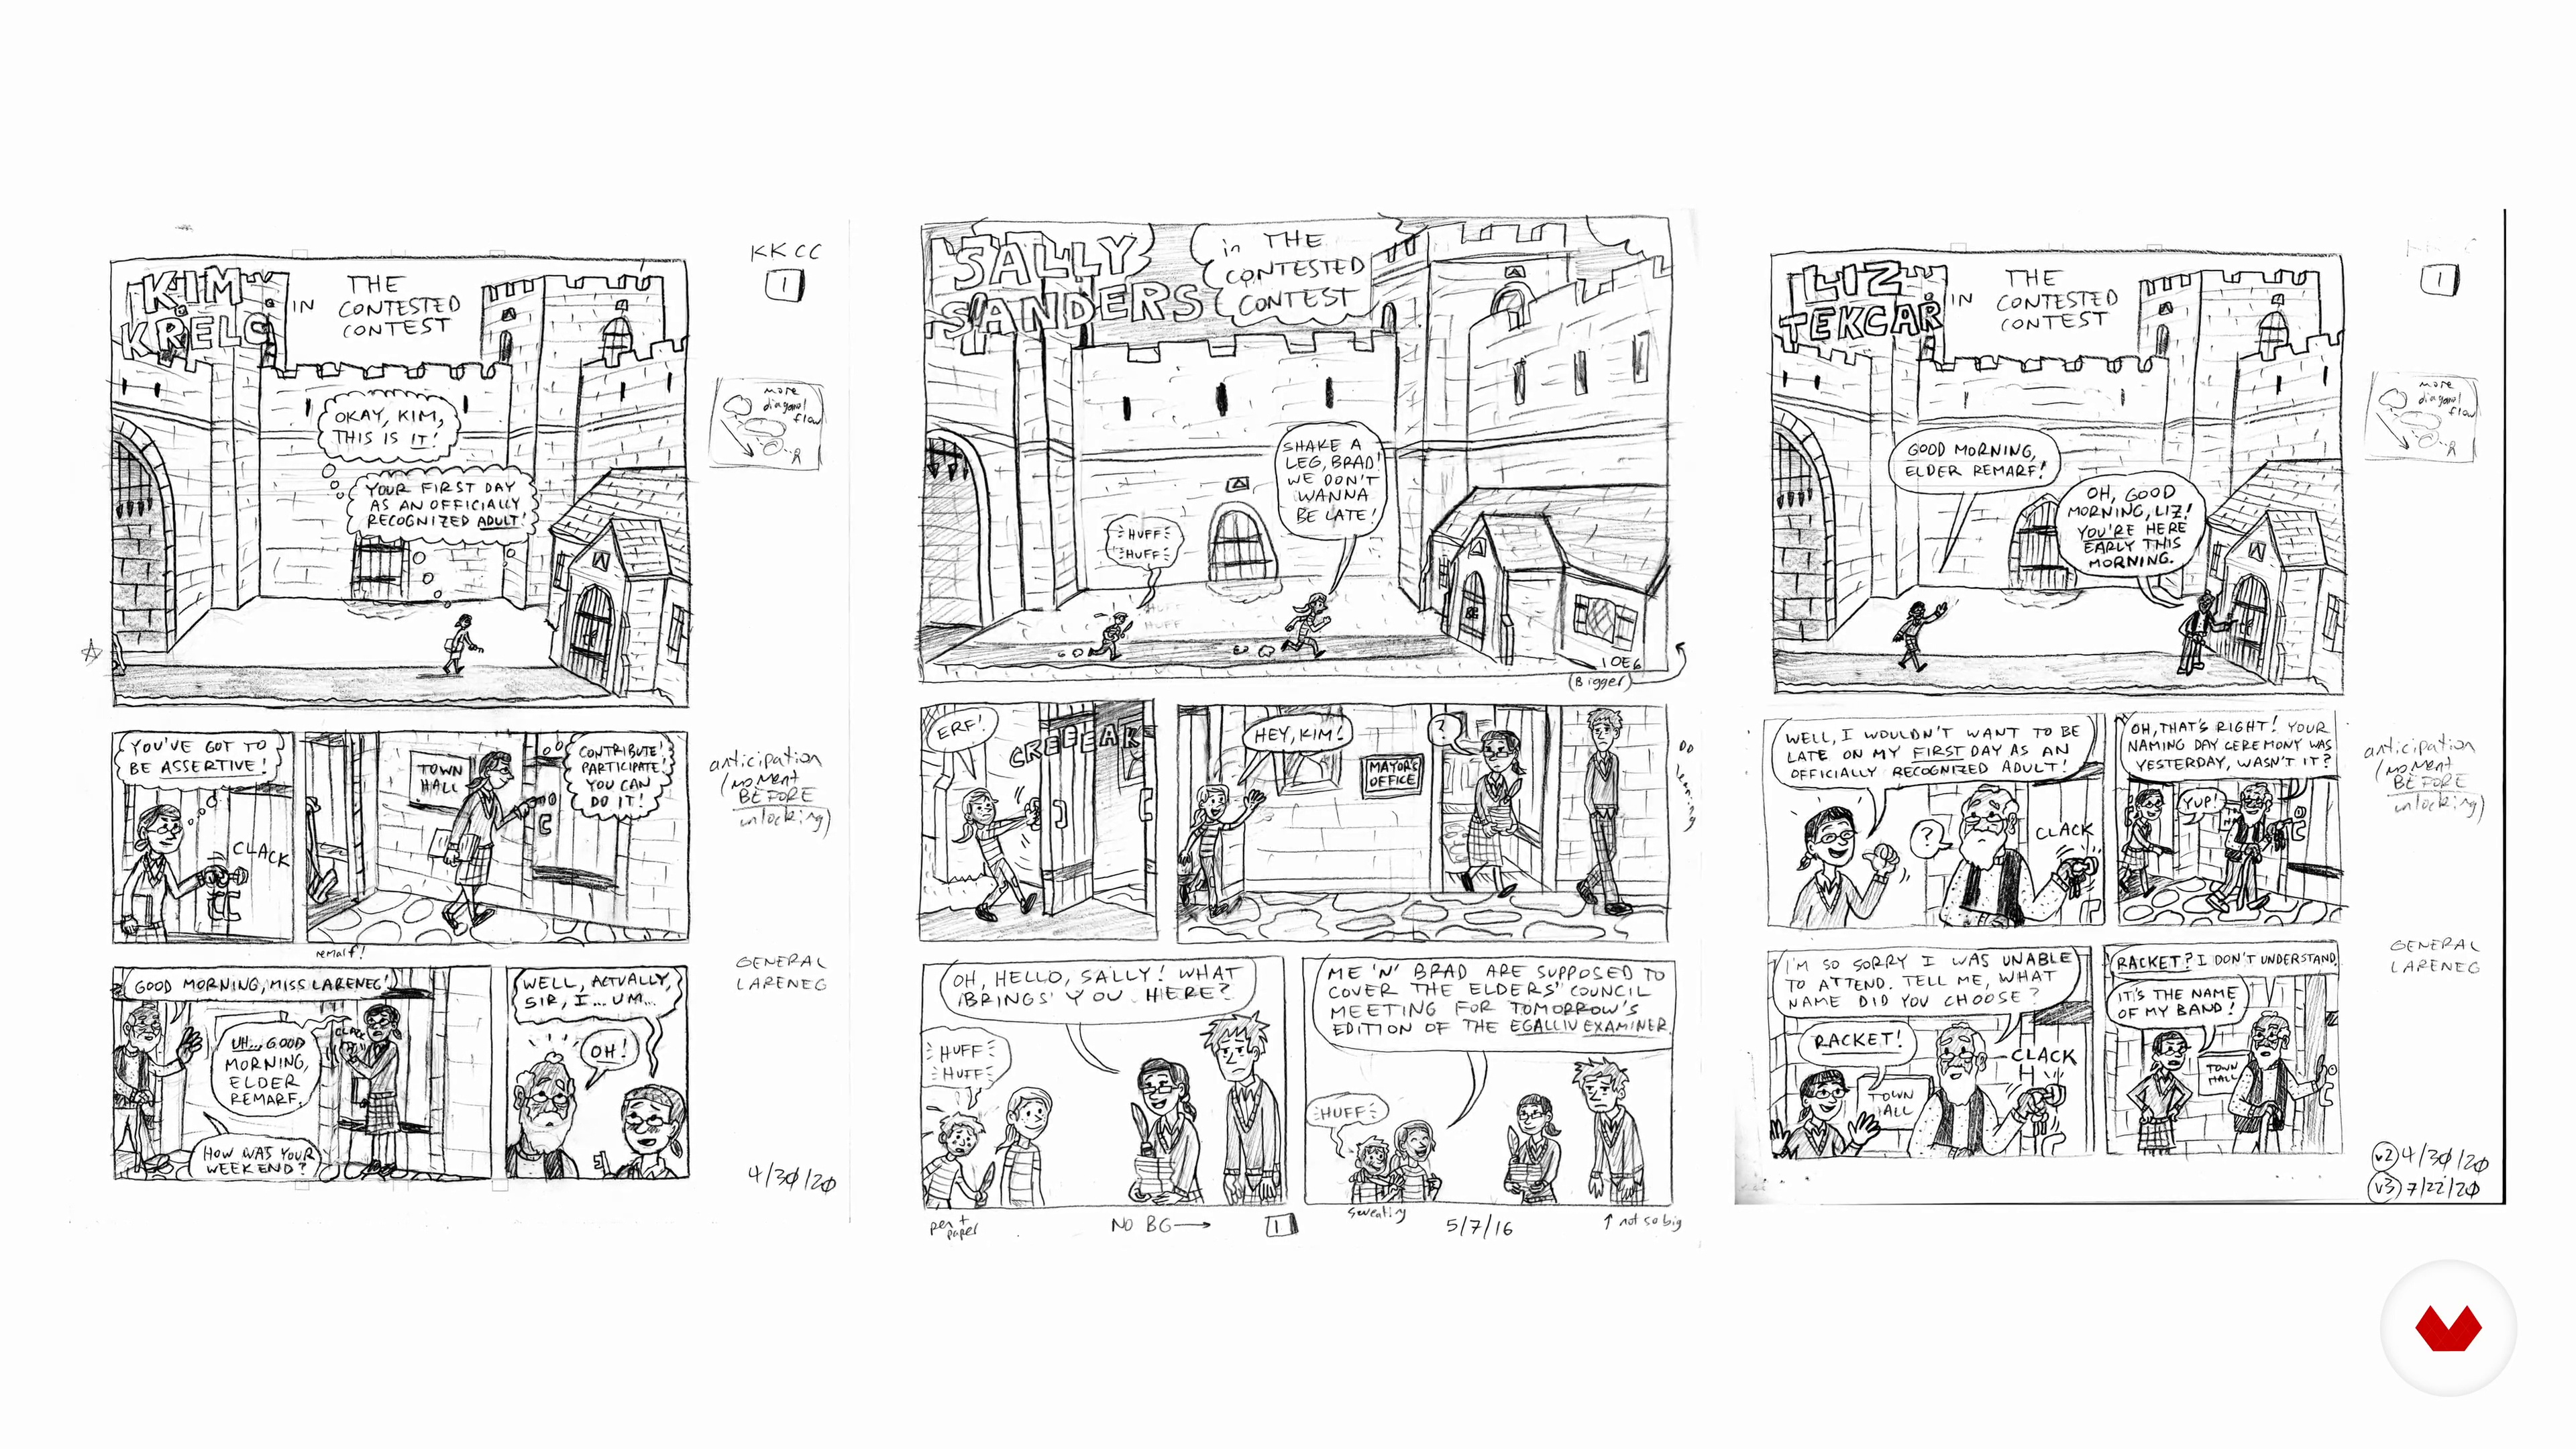
8Sharing the Comic
Comics are perfect for sharing online or in print. Once your comic is out in the world, you can collect feedback, sort through it and find the advice that will help you become a better cartoonist.
8m
 9
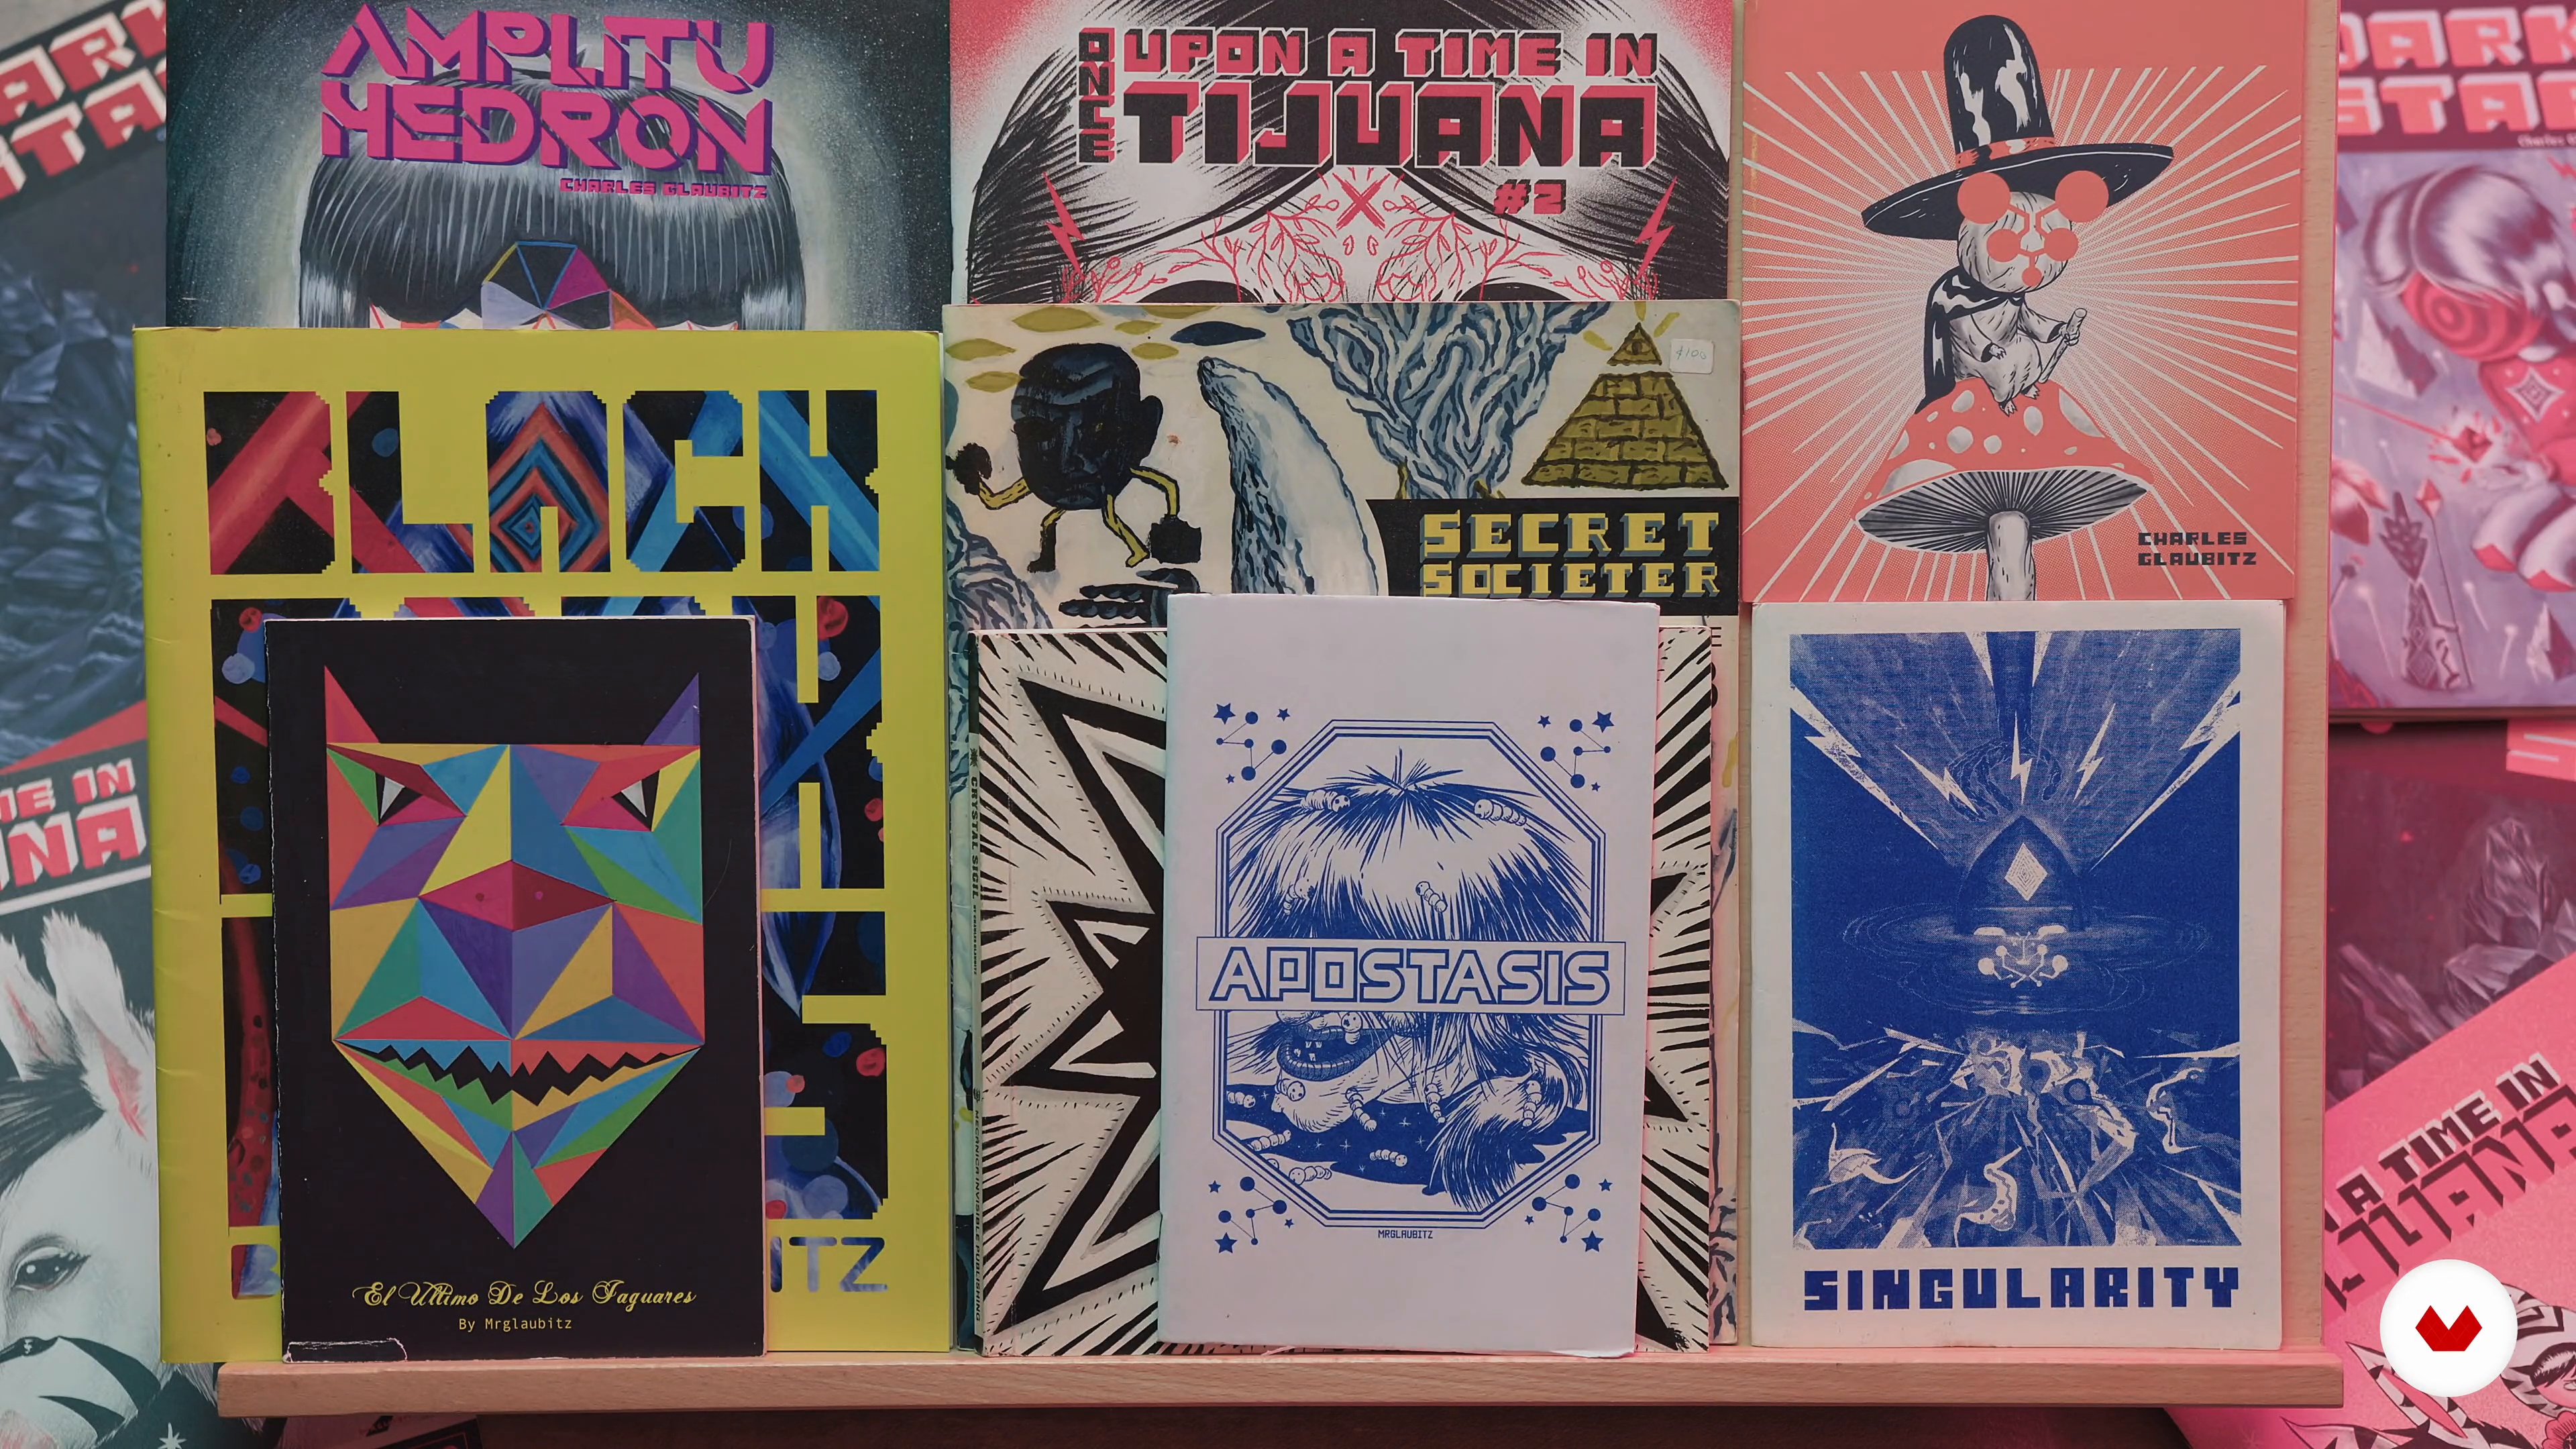
9Making More Comics and Printing Them
Let me share with you some thoughts on how to start creating comics. You will see that the best way to make comics is by making comics—with time and practice, you will get better and better. Don't let the fear of it not being good stop you!
7m
 10
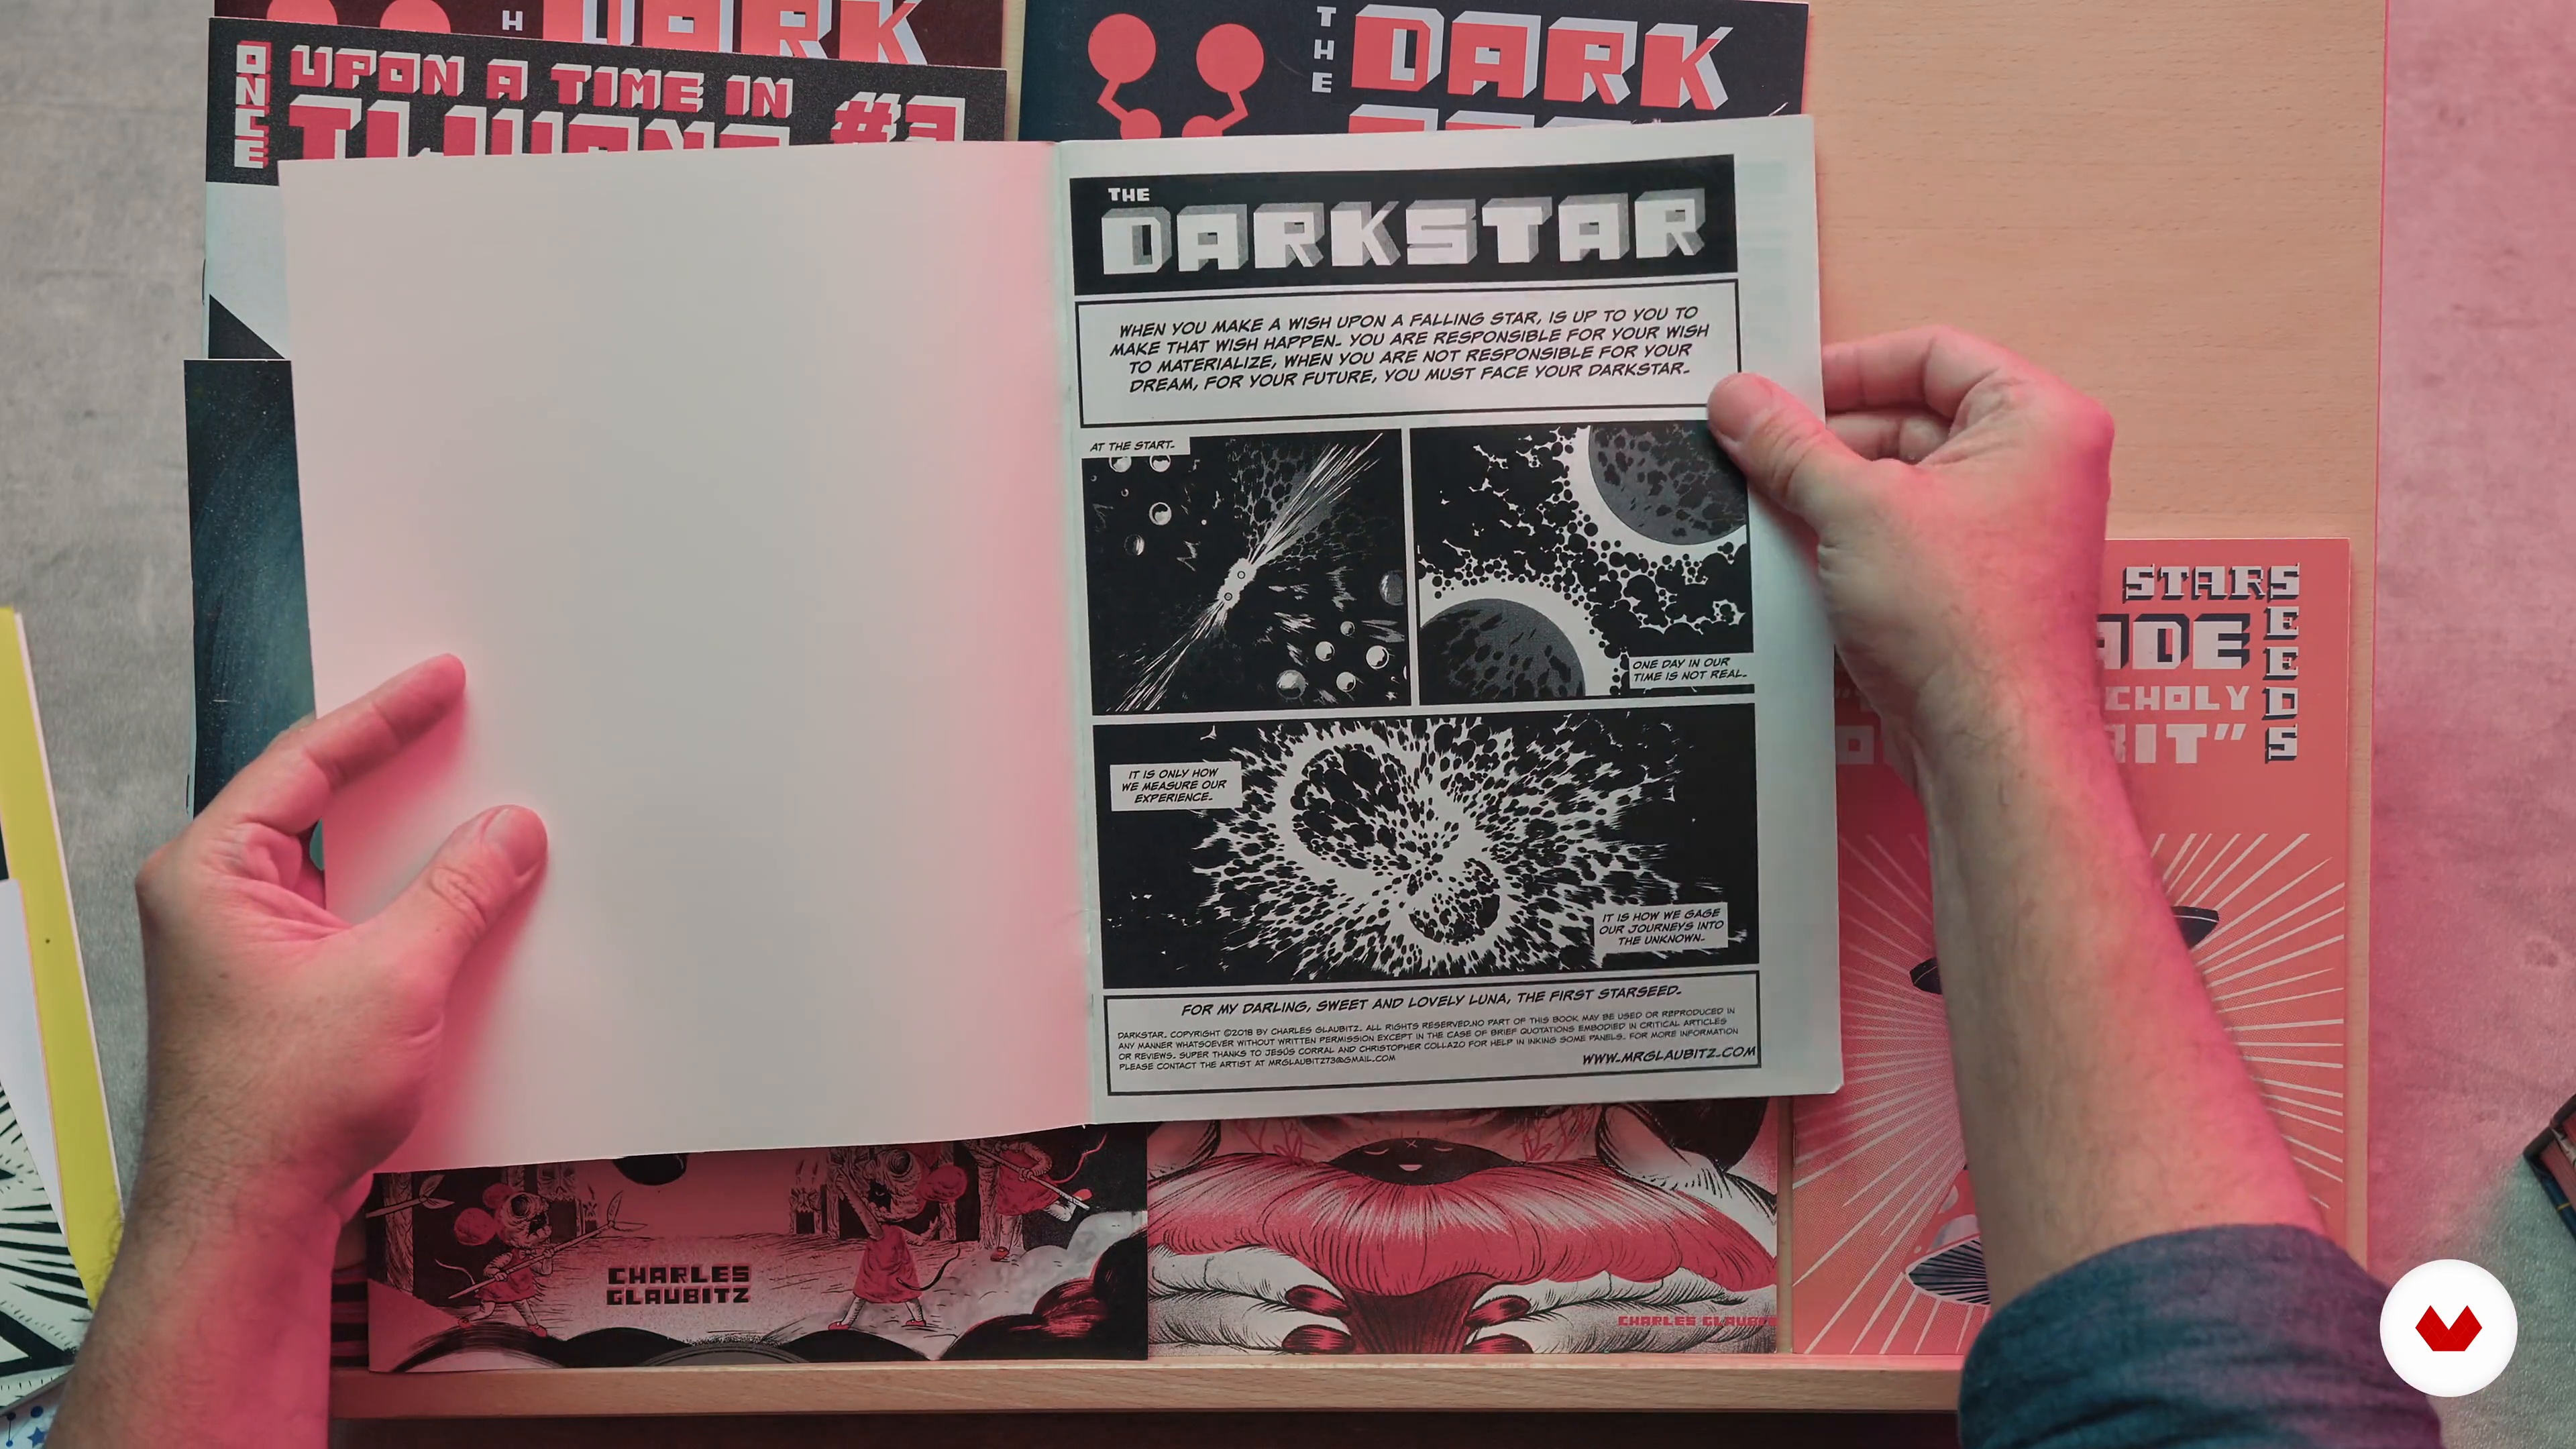
10Self-Publishing and Sharing Your Work
The best way to get your comics out there is to self-publish and share them, either giving them to friends, participating in a zine or comic festival, or selling them to a shop.
5m
What is this course's project?
Create a fully developed comic strip with unique characters and a clear storyline ready for digital publication. Explore scriptwriting techniques, panel design, and digitization, transforming your creative ideas into compelling, publishable short comic stories.
Who is this specialization for?
Aspiring comic creators, illustrators, and storytellers seeking to enhance their craft will find this course valuable. Beginners or those with some experience who want to refine their skills in scriptwriting, visual storytelling, and comic design techniques will benefit greatly.
Requirements and materials
No extensive prior knowledge is needed. Basic necessities include a passion for storytelling and creativity. Materials required are drawing tools like pencils, pens, paper, and a digital device for accessing course content. A sense of imagination is crucial for creating unique comic narratives.
Reviews
- 1 month ago
love it !!
- 5 months ago
Muy buen curso, se aprende bastante y sus lecciones son muy buenas
- 11 months ago
tiene un temario muy completo y viene muy bien para empezar a crear proyectos, muy bueno
- 1 year ago
La calidad de este curso es A+. No es un simple curso, es una puerta abierta para entrar de forma profesional en el mundo de los cómics: desde el concepto generador, hasta el encuentro de tu propia voz.
- 1 year ago
Buen curso, mucha información y buena metodologia para aplicarla al proyecto
Select to get to know your teachers in this specialization course


What to expect from this specialization course
Learn at your own pace
Enjoy learning from home without a set schedule and with an easy-to-follow method. You set your own pace.
Learn from the best professionals
Learn valuable methods and techniques explained by top experts in the creative sector.
Meet expert teachers
Each expert teaches what they do best, with clear guidelines, true passion, and professional insight in every lesson.
Certificates
PLUSIf you're a Plus member, get a custom certificate for every specialization course. Share it on your portfolio, social media, or wherever you like.
Get front-row seats
Videos of the highest quality, so you don't miss a single detail. With unlimited access, you can watch them as many times as you need to perfect your technique.
Share knowledge and ideas
Ask questions, request feedback, or offer solutions. Share your learning experience with other students in the community who are as passionate about creativity as you are.
Connect with a global creative community
The community is home to millions of people from around the world who are curious and passionate about exploring and expressing their creativity.
Watch professionally produced courses
Domestika curates its teacher roster and produces every course in-house to ensure a high-quality online learning experience.
FAQs
Yes, this course is designed for intermediate artists who want to deepen their understanding of comic structure, style, and storytelling. Some prior drawing or comic experience is recommended.
You'll need basic drawing tools such as pencils, pens, sketchbooks, and access to either traditional or digital art software. The course covers both hand-drawn and digital workflows.
You’ll learn how to analyze comic influences, develop unique style and voice, design characters, structure panels and layouts, write dialogue, and create consistent, publishable comics across print and web.
Yes, the course includes lessons on creating webcomics, establishing a unique comic identity, and strategies for publishing and promoting your work online.
Absolutely. The course covers dialogue writing, crafting punchlines, and using minimal text for maximum comedic impact, drawing on examples from classic and modern comics.
You’ll study panel arrangement, pacing techniques, and layout strategies to guide reader flow and enhance storytelling, with practical exercises for both print and digital formats.
Yes, you’ll learn to brainstorm, sketch, and refine character designs, create distinctive backgrounds, and develop visual consistency through style guides and character sheets.