
Master woodworking hand tools to create durable, timeless furniture with traditional techniques and expert guidance
Discover the timeless art of woodworking, where tradition meets innovation. Led by experts Bibbings & Hensby, Sandy Buchanan, Helen Welch, Matt Kenney, Tyler Shaheen, Urvi Sharma, and Alexandre Chappel, this comprehensive course covers a wide range of techniques, styles, and modern innovations. From mastering hand tools and traditional joinery to exploring the intricate Japanese Kumiko designs, delve into the world of woodworking with a variety of projects. Gain skills in crafting solid wood furniture, creating strong dovetail joints, and designing Mid-century modern pieces. Experience the blend of art and functionality by learning carving and dyeing techniques that personalize every creation.
Venture into modern possibilities with the integration of 3D printing technology, expanding your ability to design and build innovative furniture. Whether crafting a traditional three-legged stool, a Kumiko panel, or a modular shelving system, each project combines creativity and craftsmanship. Develop a deep understanding of materials, tools, and processes, empowering you to design and construct furniture that enhances any space. Embrace the journey from concept to completion, celebrating the beauty of woodworking in its various forms and styles.
What will you learn in this specialization?
 1
1Introduction
Explore the rich history and evolving techniques of woodworking. From Egyptian mortise and tenon joints to Japanese Kumiko patterns, you’ll see how craftsmanship blends tradition with innovation. By combining sustainable materials, precise joinery, and digital tools, you will create custom furniture that bridges past and future.
2m
 2
2Inspiration / Bibbings and Hensby
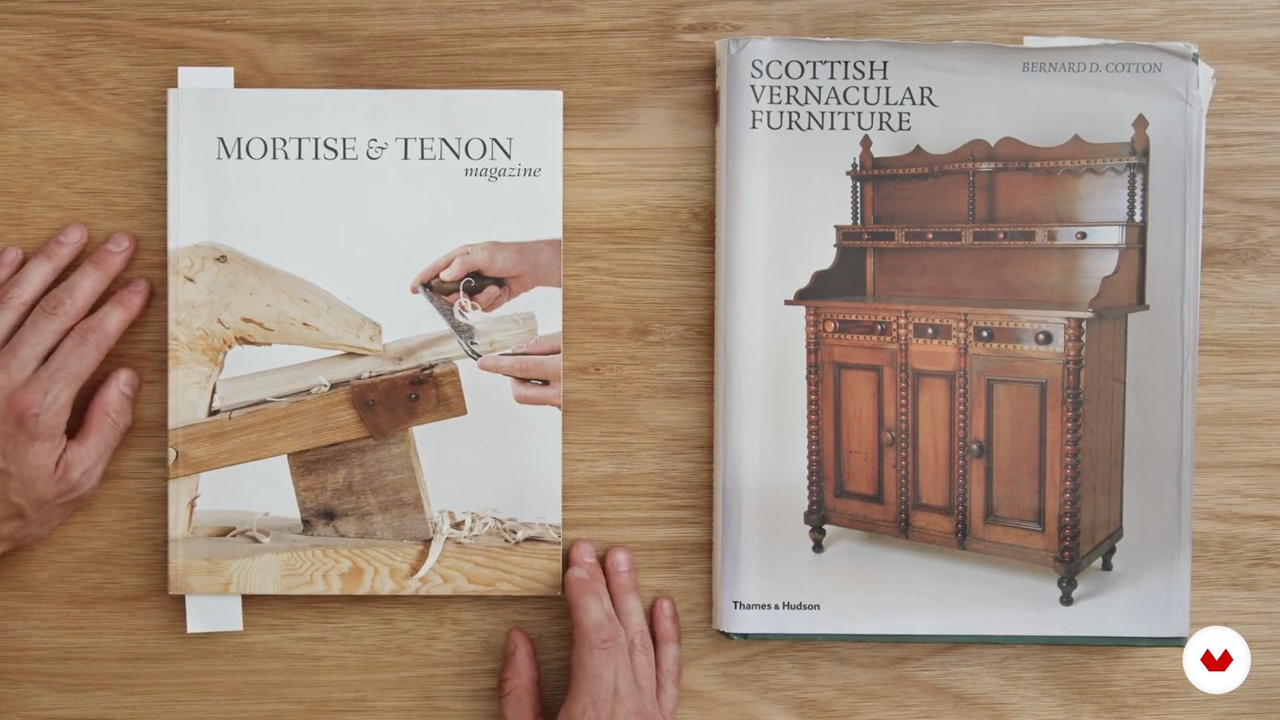
Let's explore key influences in chair making, from John Brown’s Welsh stick chairs to vernacular traditions in Scottish furniture. You’ll see how historical techniques, like mortise and tenon joints, shape modern woodworking. Inspiration also comes from hand-tool woodworking and contemporary makers like George Nakashima.
4m
 3
3Inspiration / Sandy Buchanan
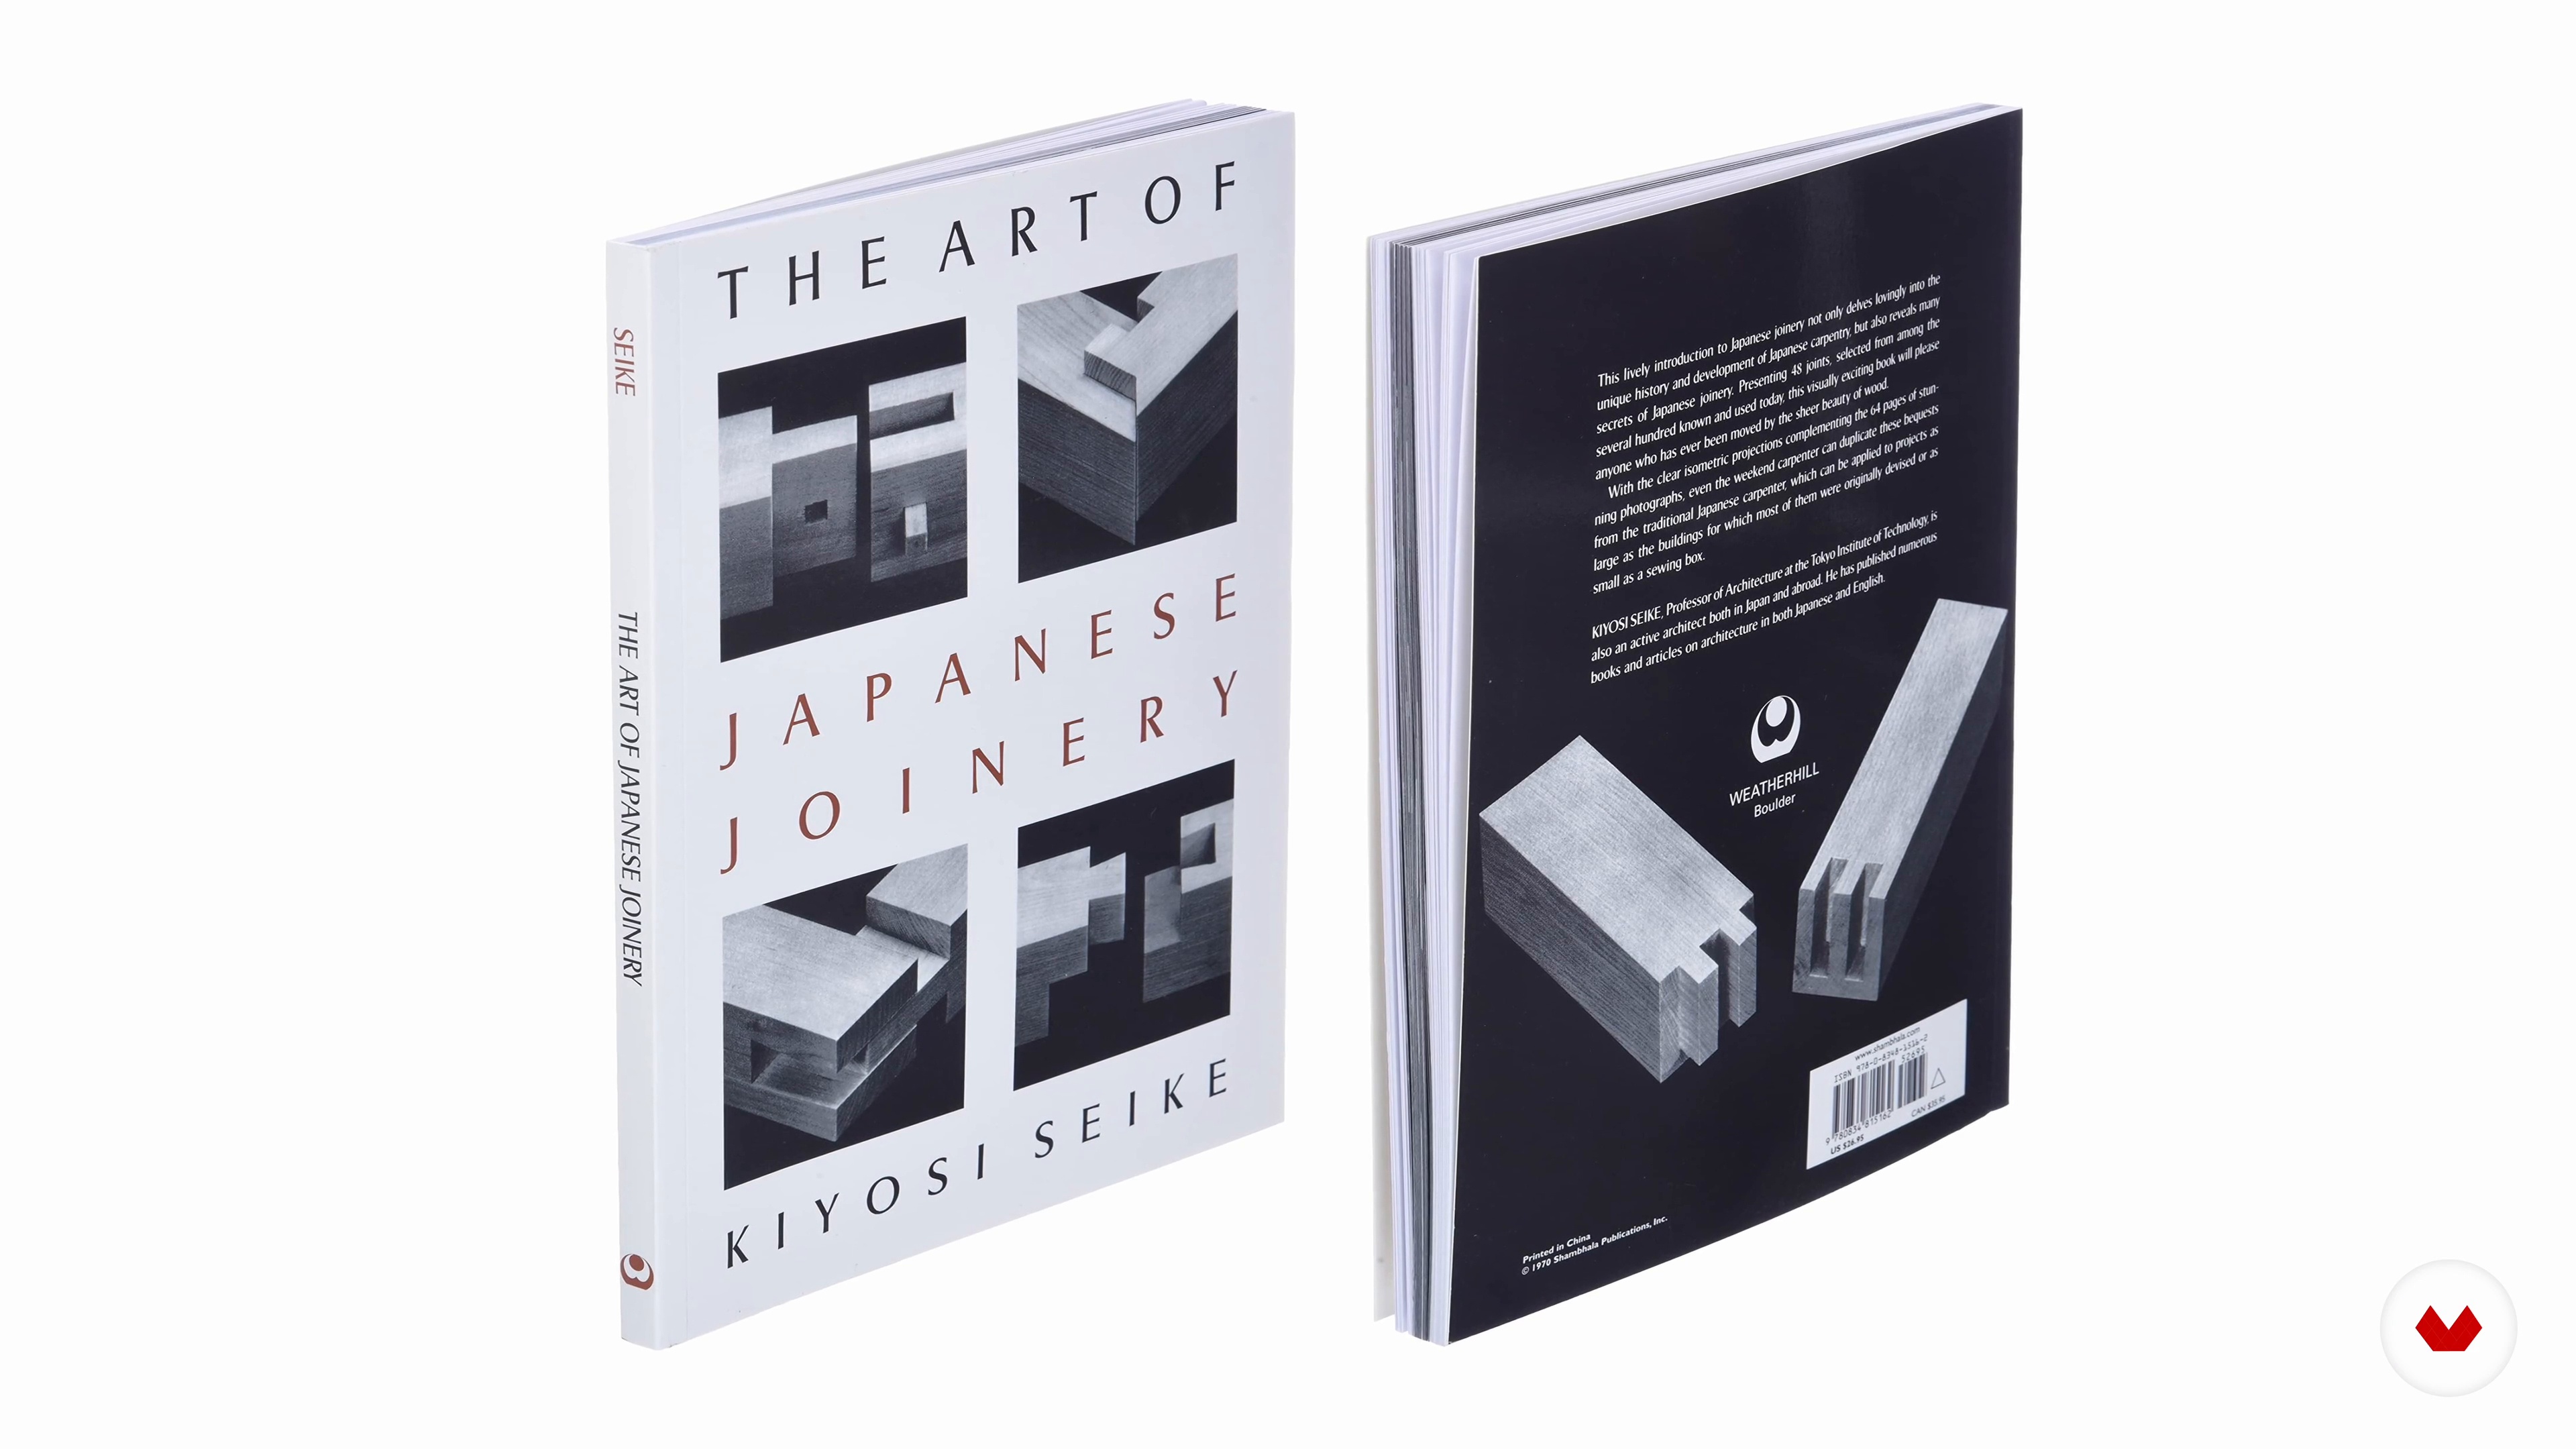
Learn about key influences on design and craftsmanship, including the celebration of natural materials and traditional woodworking techniques. Inspired by Japanese and Chinese joinery, as well as George Nakashima’s balance of organic and geometric forms, these influences shape furniture that honors both precision and nature.
6m
 4
4Inspiration / Helen Welch
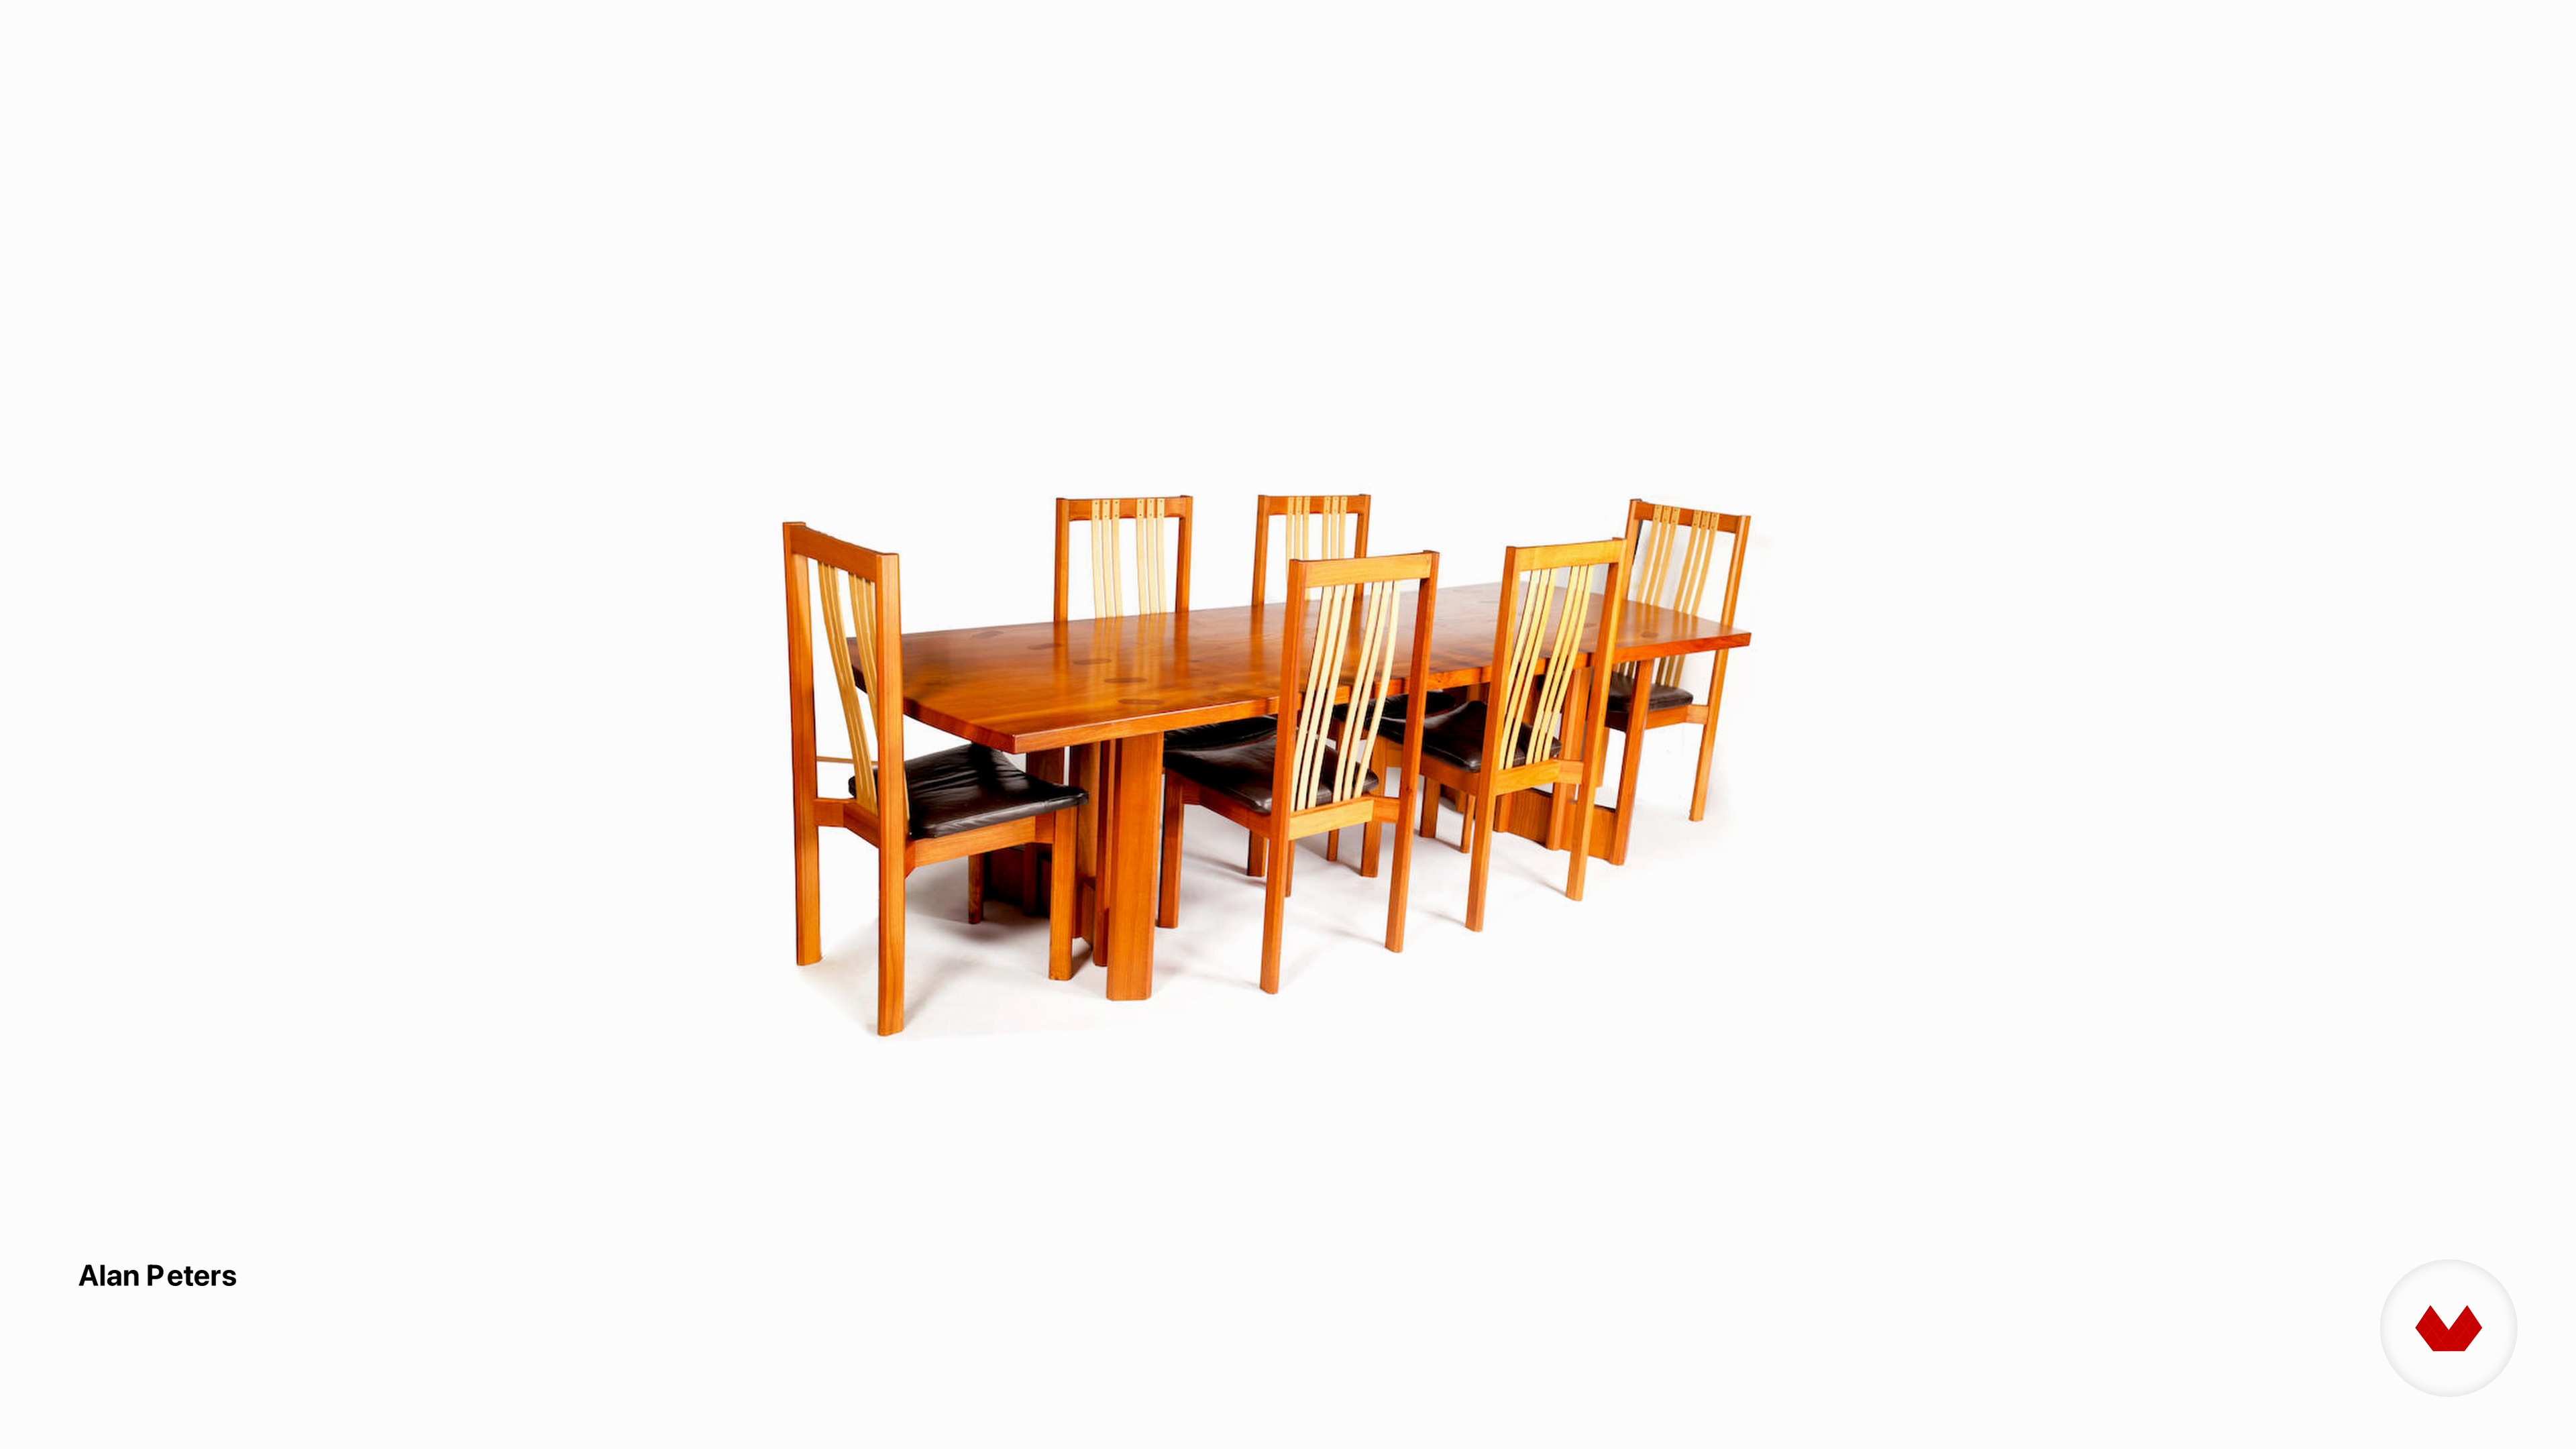
This lesson explores three influential designer-makers. George and Mira Nakashima embrace timber’s natural imperfections. Alan Peters blends arts and crafts with Japanese and Korean influences, valuing simplicity. Laura Mays merges woodworking with intellectual inquiry. Their work highlights the connection between material, technique, and design.
5m
 5
5Inspiration / Matt Kenney
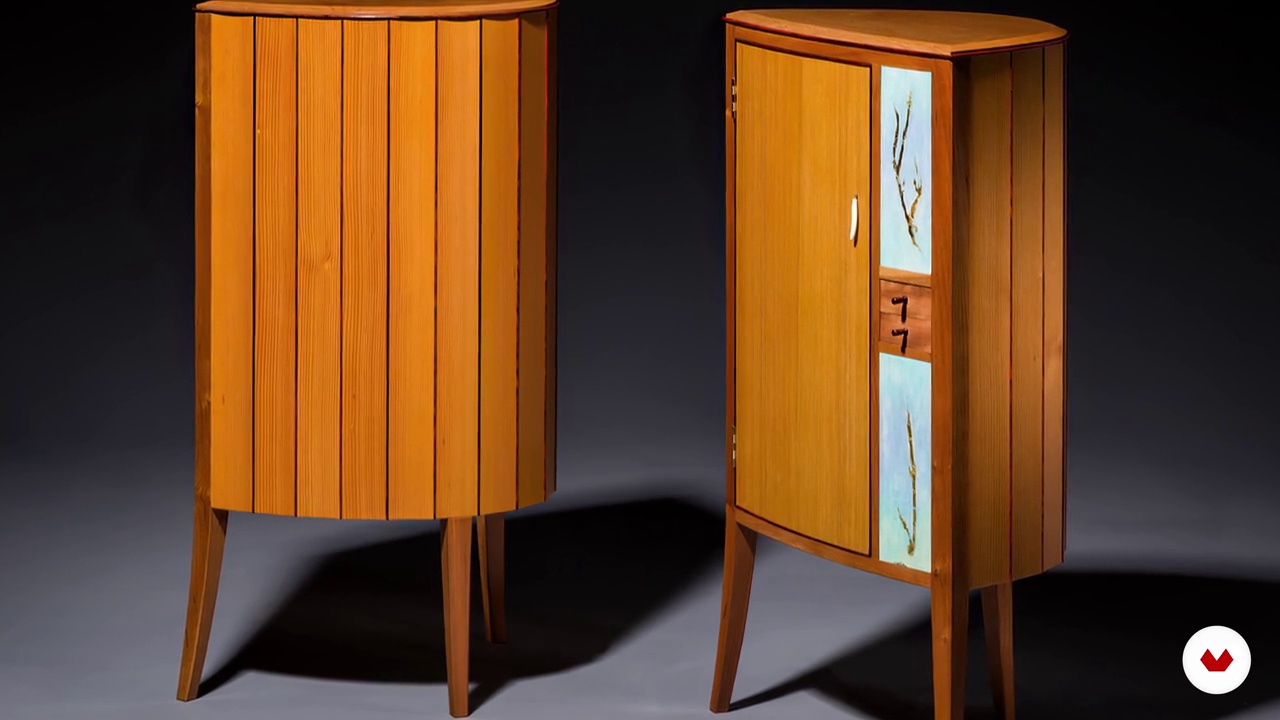
These are influences on design and craftsmanship, from Shaker furniture’s perfect proportions and simplicity to the bold use of color inspired by photography. Danish modern, Japanese design, and mentors like Mike Pekovich have also shaped this approach. These influences guide the process of making kumiko, which you’ll begin in the next lesson.
10m
 6
6Inspiration / Tyler Shaheen
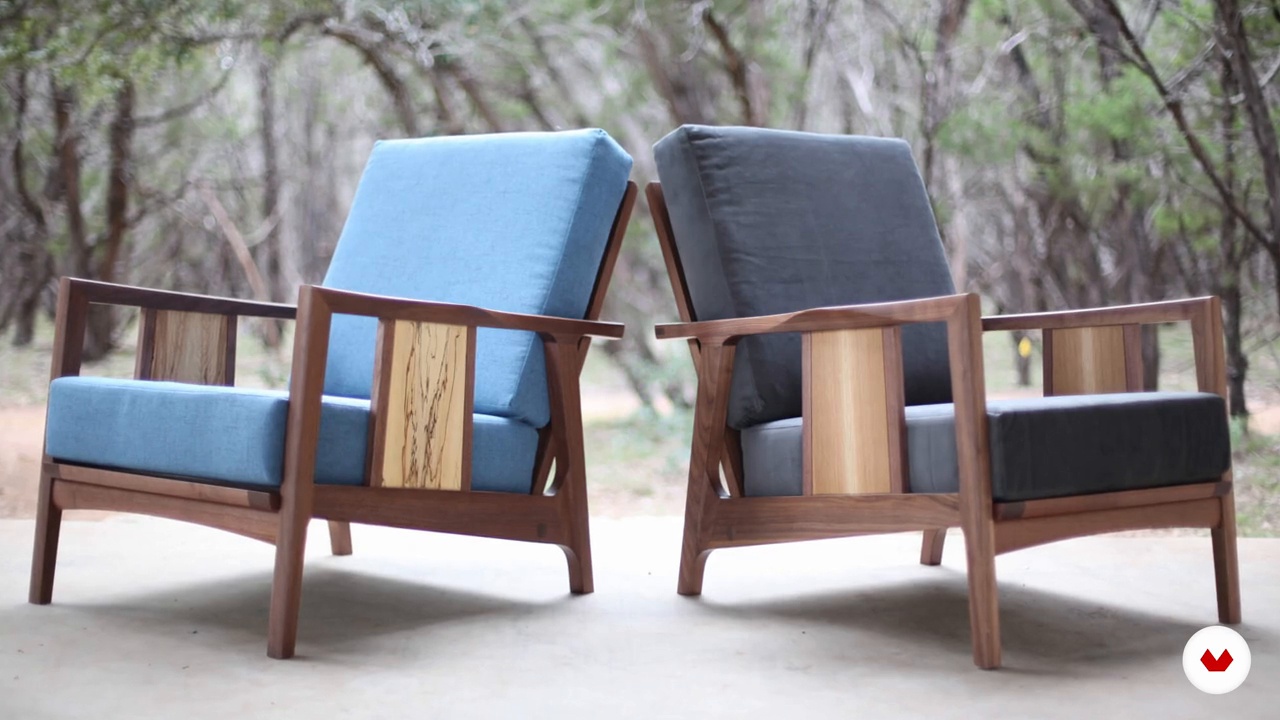
Discover key woodworking influences, from iconic designers like Finn Juhl and Hans Wegner to modern makers like Sean Boyd and Philip Morley. Their work emphasizes clean lines, functionality, and bold design choices. Inspiration also comes from brands like Joybird and Article. Next, you’ll explore the process of collecting design ideas.
3m
 7
7Inspiration / Urvi Sharma
Let's dive deep in the diverse influences that shape design, from childhood books and Indian artists like S. H. Raza to the Bauhaus movement and designers like Josef and Anni Albers. Inspiration also comes from contemporary studios and everyday cultural elements, particularly from India. Next, you'll learn how to prepare your workspace.
3m
 8
8Inspiration / Alexandre Chappel
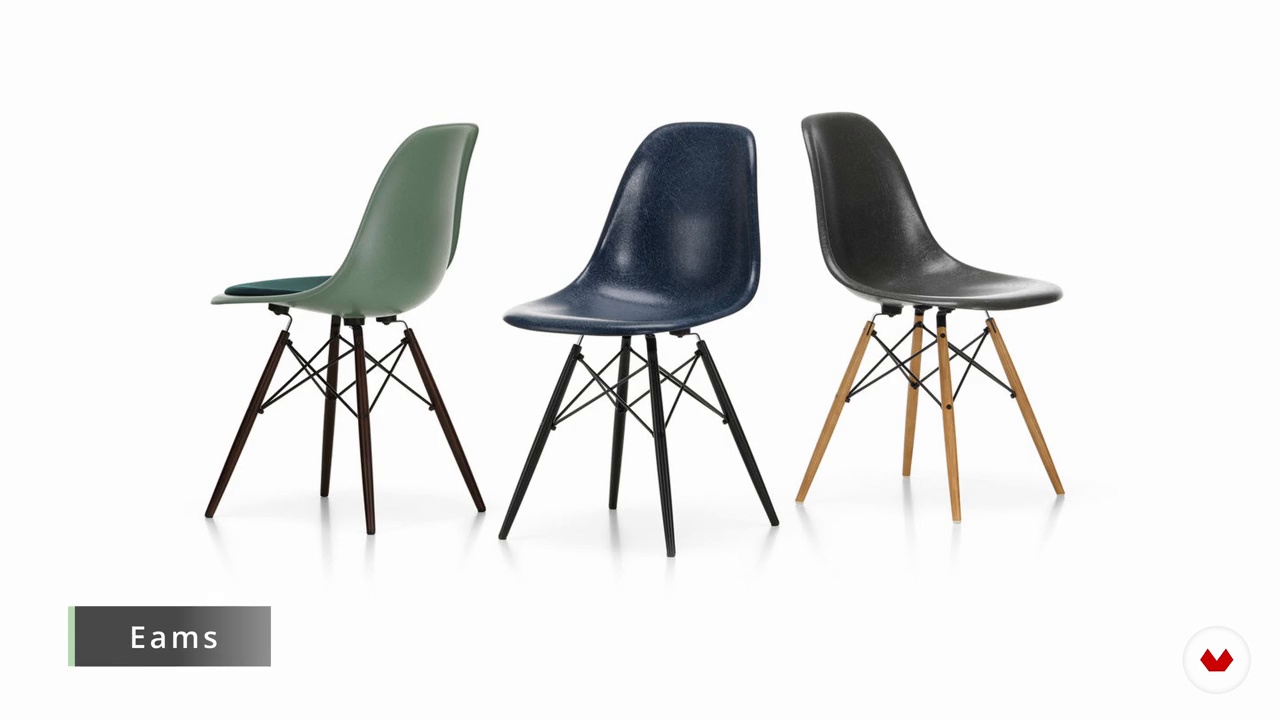
Last but not least, discover a range of creative influences, from problem-solving makers like Colin Furze to storytelling YouTubers like Peter McKinnon. Design inspiration comes from Dieter Rams, Teenage Engineering, and the iconic Eames DSW chair. These influences shape both style and approach.
2m
 1
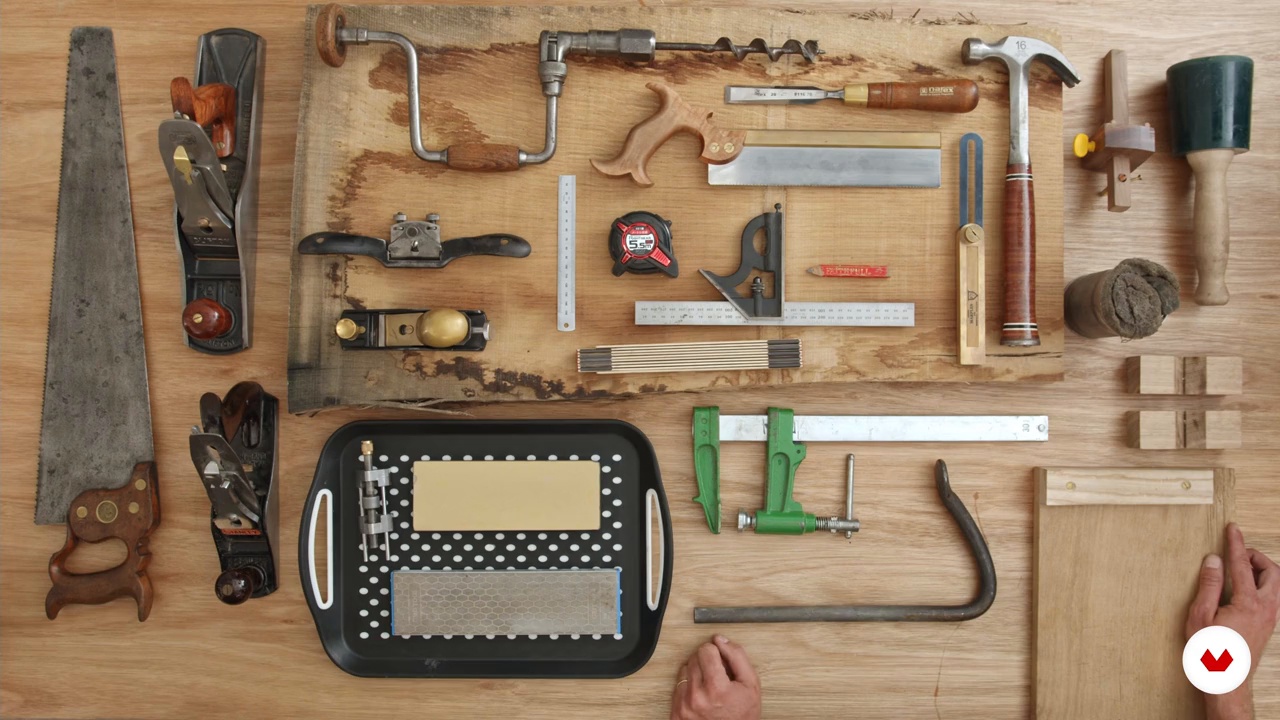
1Tool List
Let's first run through the tools you’ll need to complete the course as well as some pointers for when going out to buy your own.
7m
 2
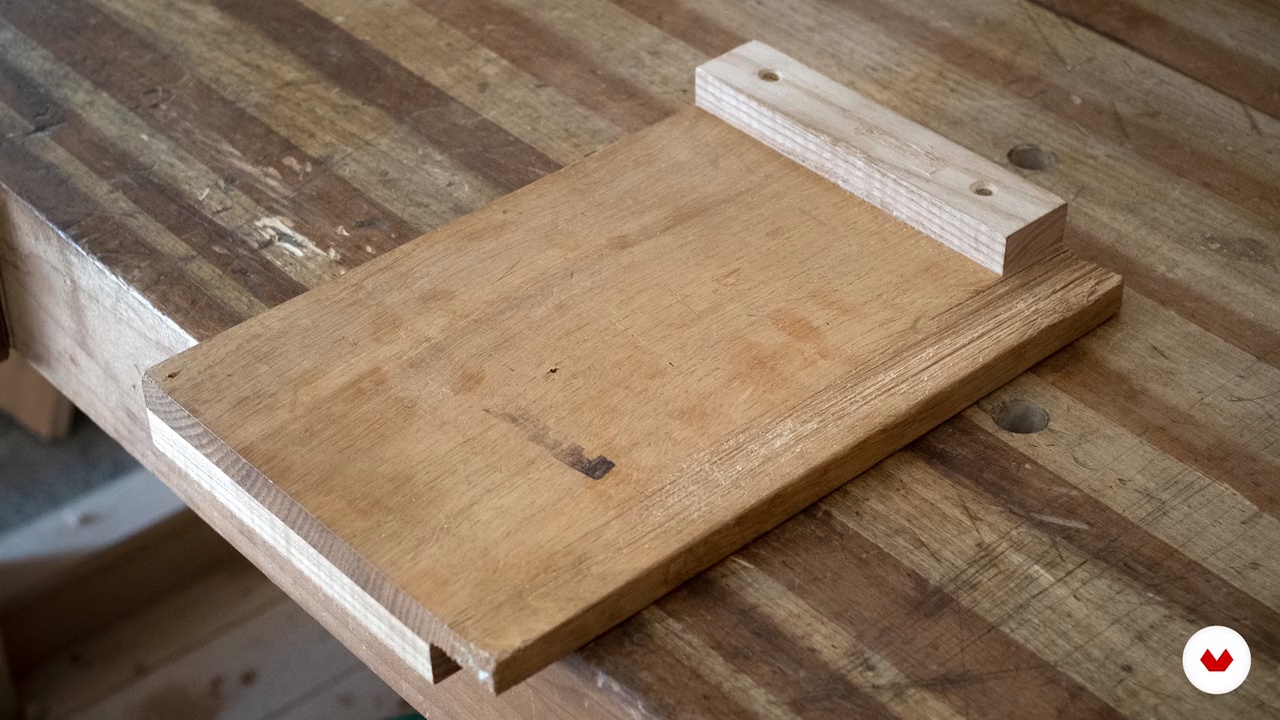
2Introduction to the Workbench
In this lesson, you’ll learn what to look out for in a workbench focused on hand tools.
4m
 3
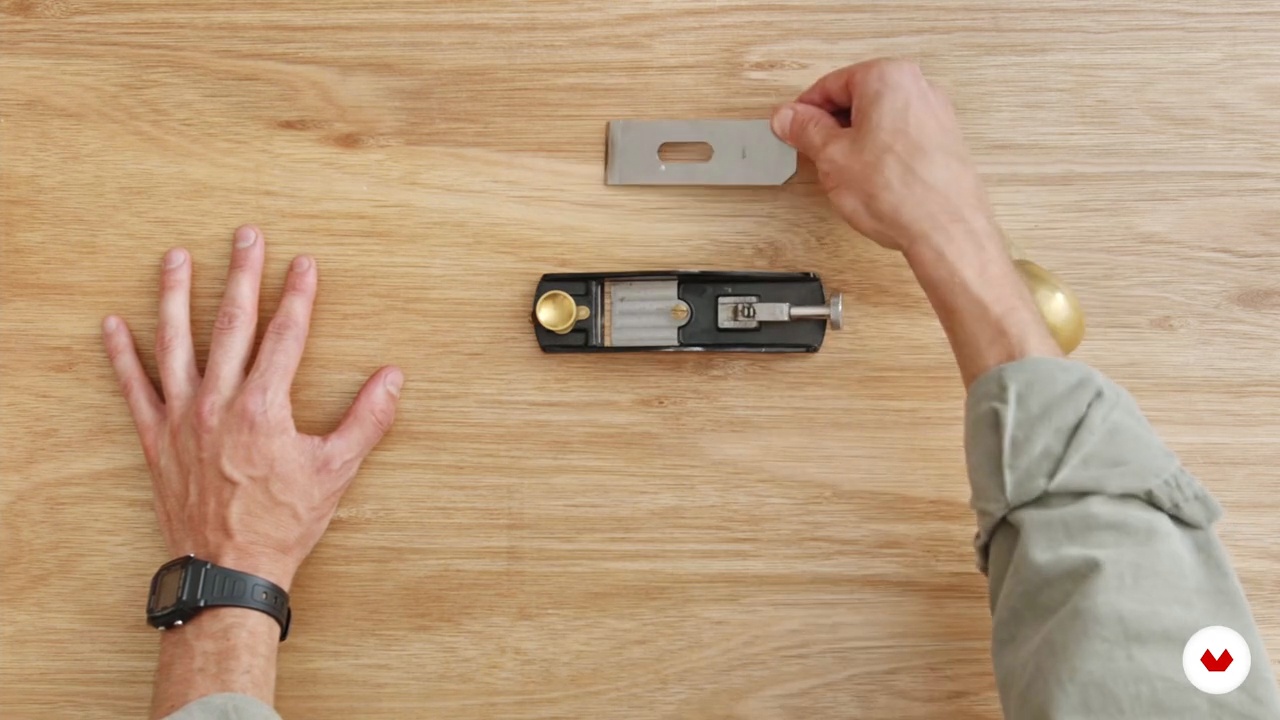
3Introduction to the Plane and Block Plane
Now you’ll learn everything you need to know about the hand plane. We will talk about how to set it up and how to use it.
17m
 4
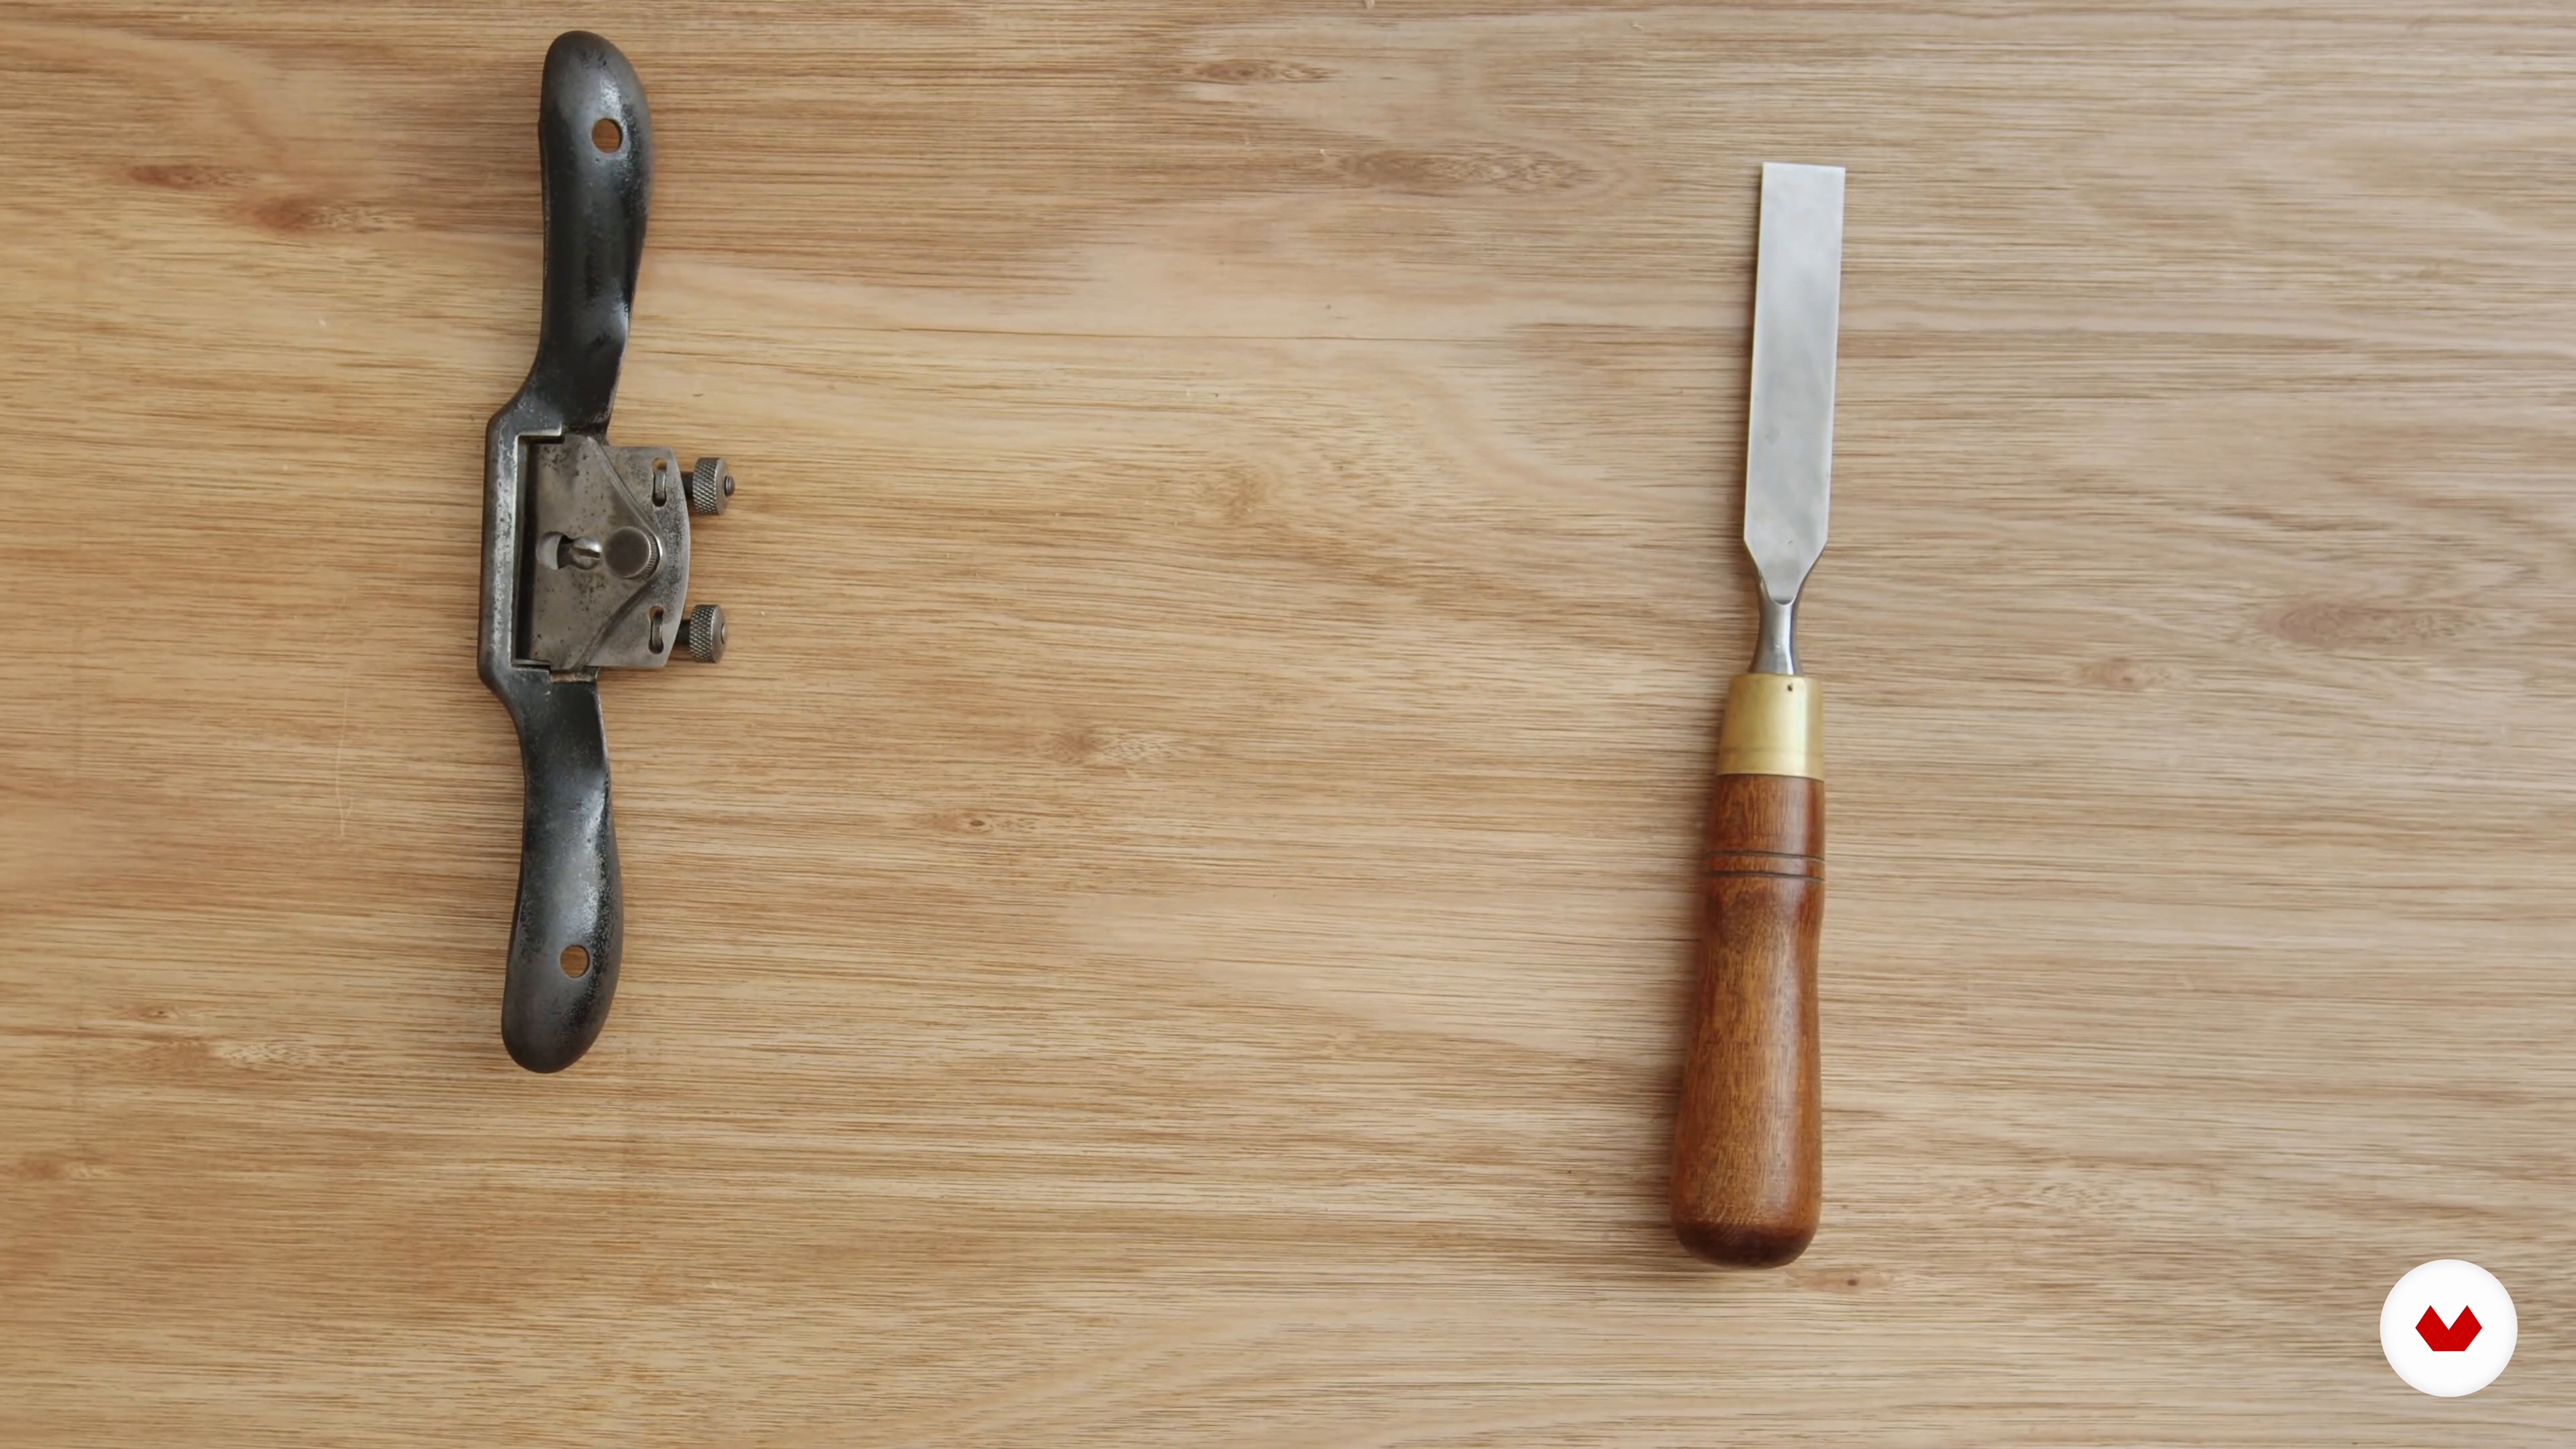
4Spokeshave and Chisel
In this lesson, you will learn about the spokeshave and chisel. We'll run you through the anatomy before telling you how to use these tools in your final project.
6m
 5
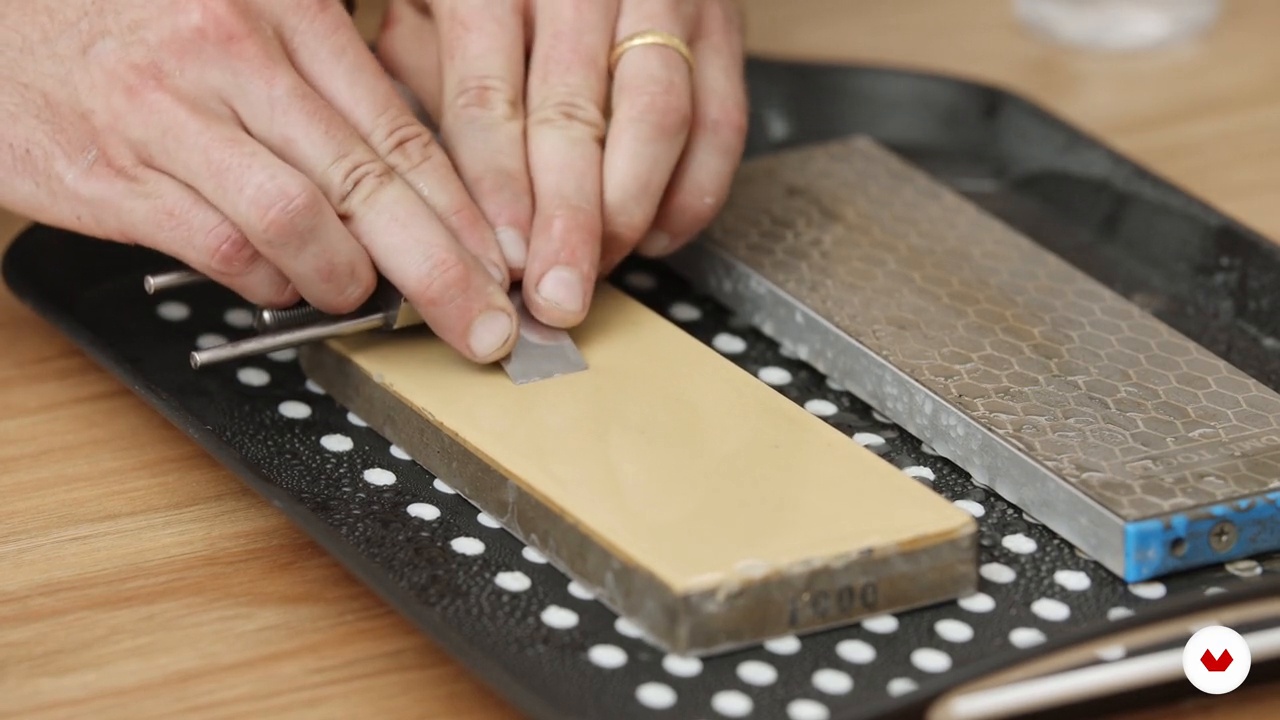
5Sharpening Blades
Let us now show you how to sharpen your blades. We'll run you through all the blades we've touched on so far.
17m
 6
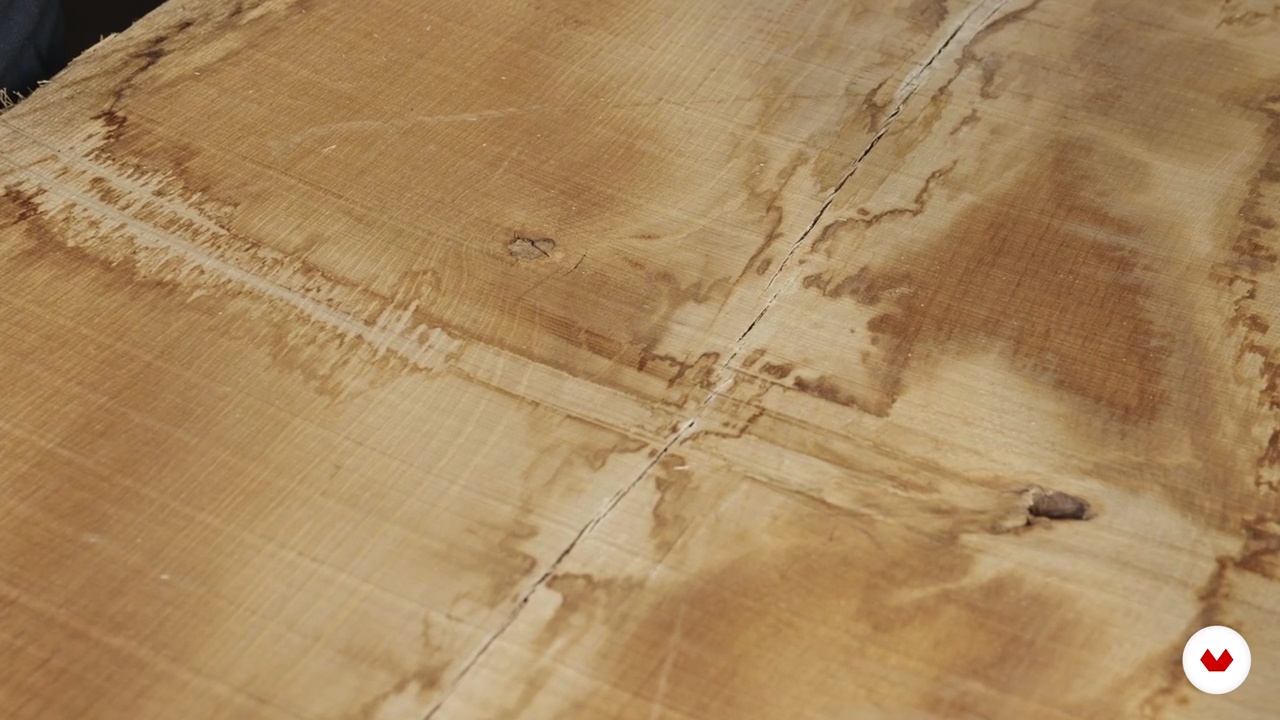
6Timber Selection
In this lesson, you will learn what to look out for in the timber that you choose for your final project.
6m
 7
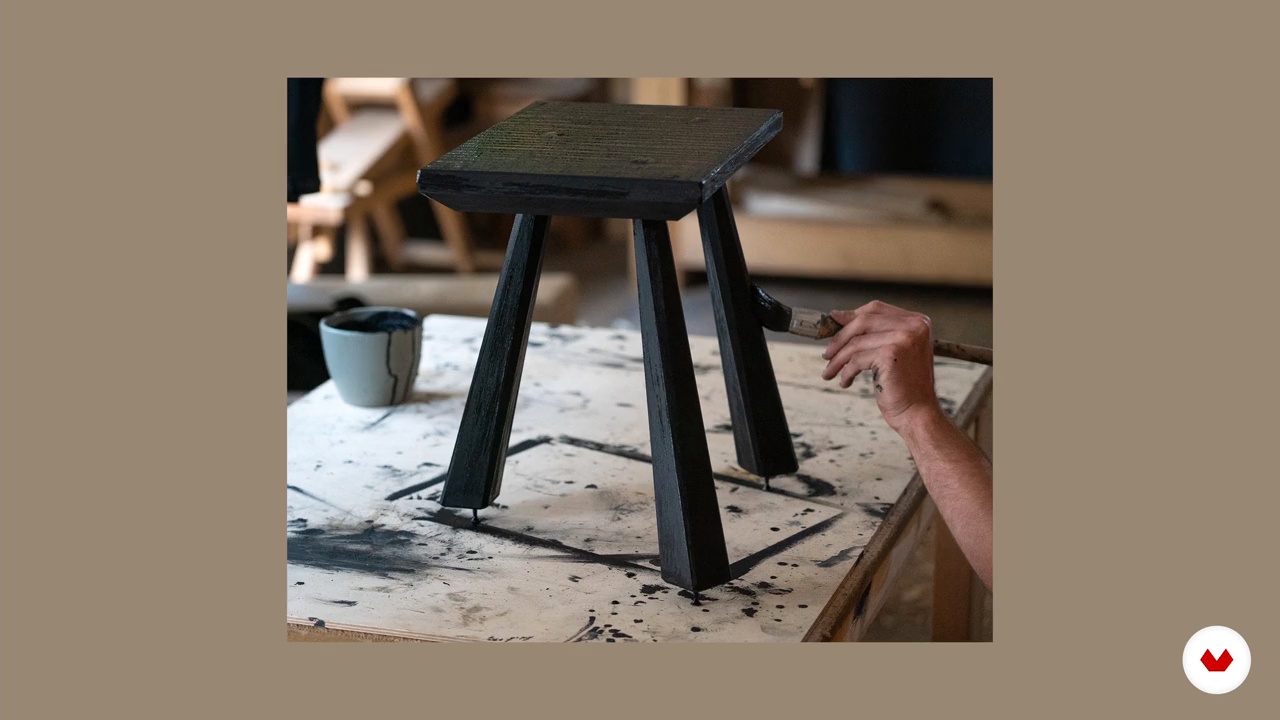
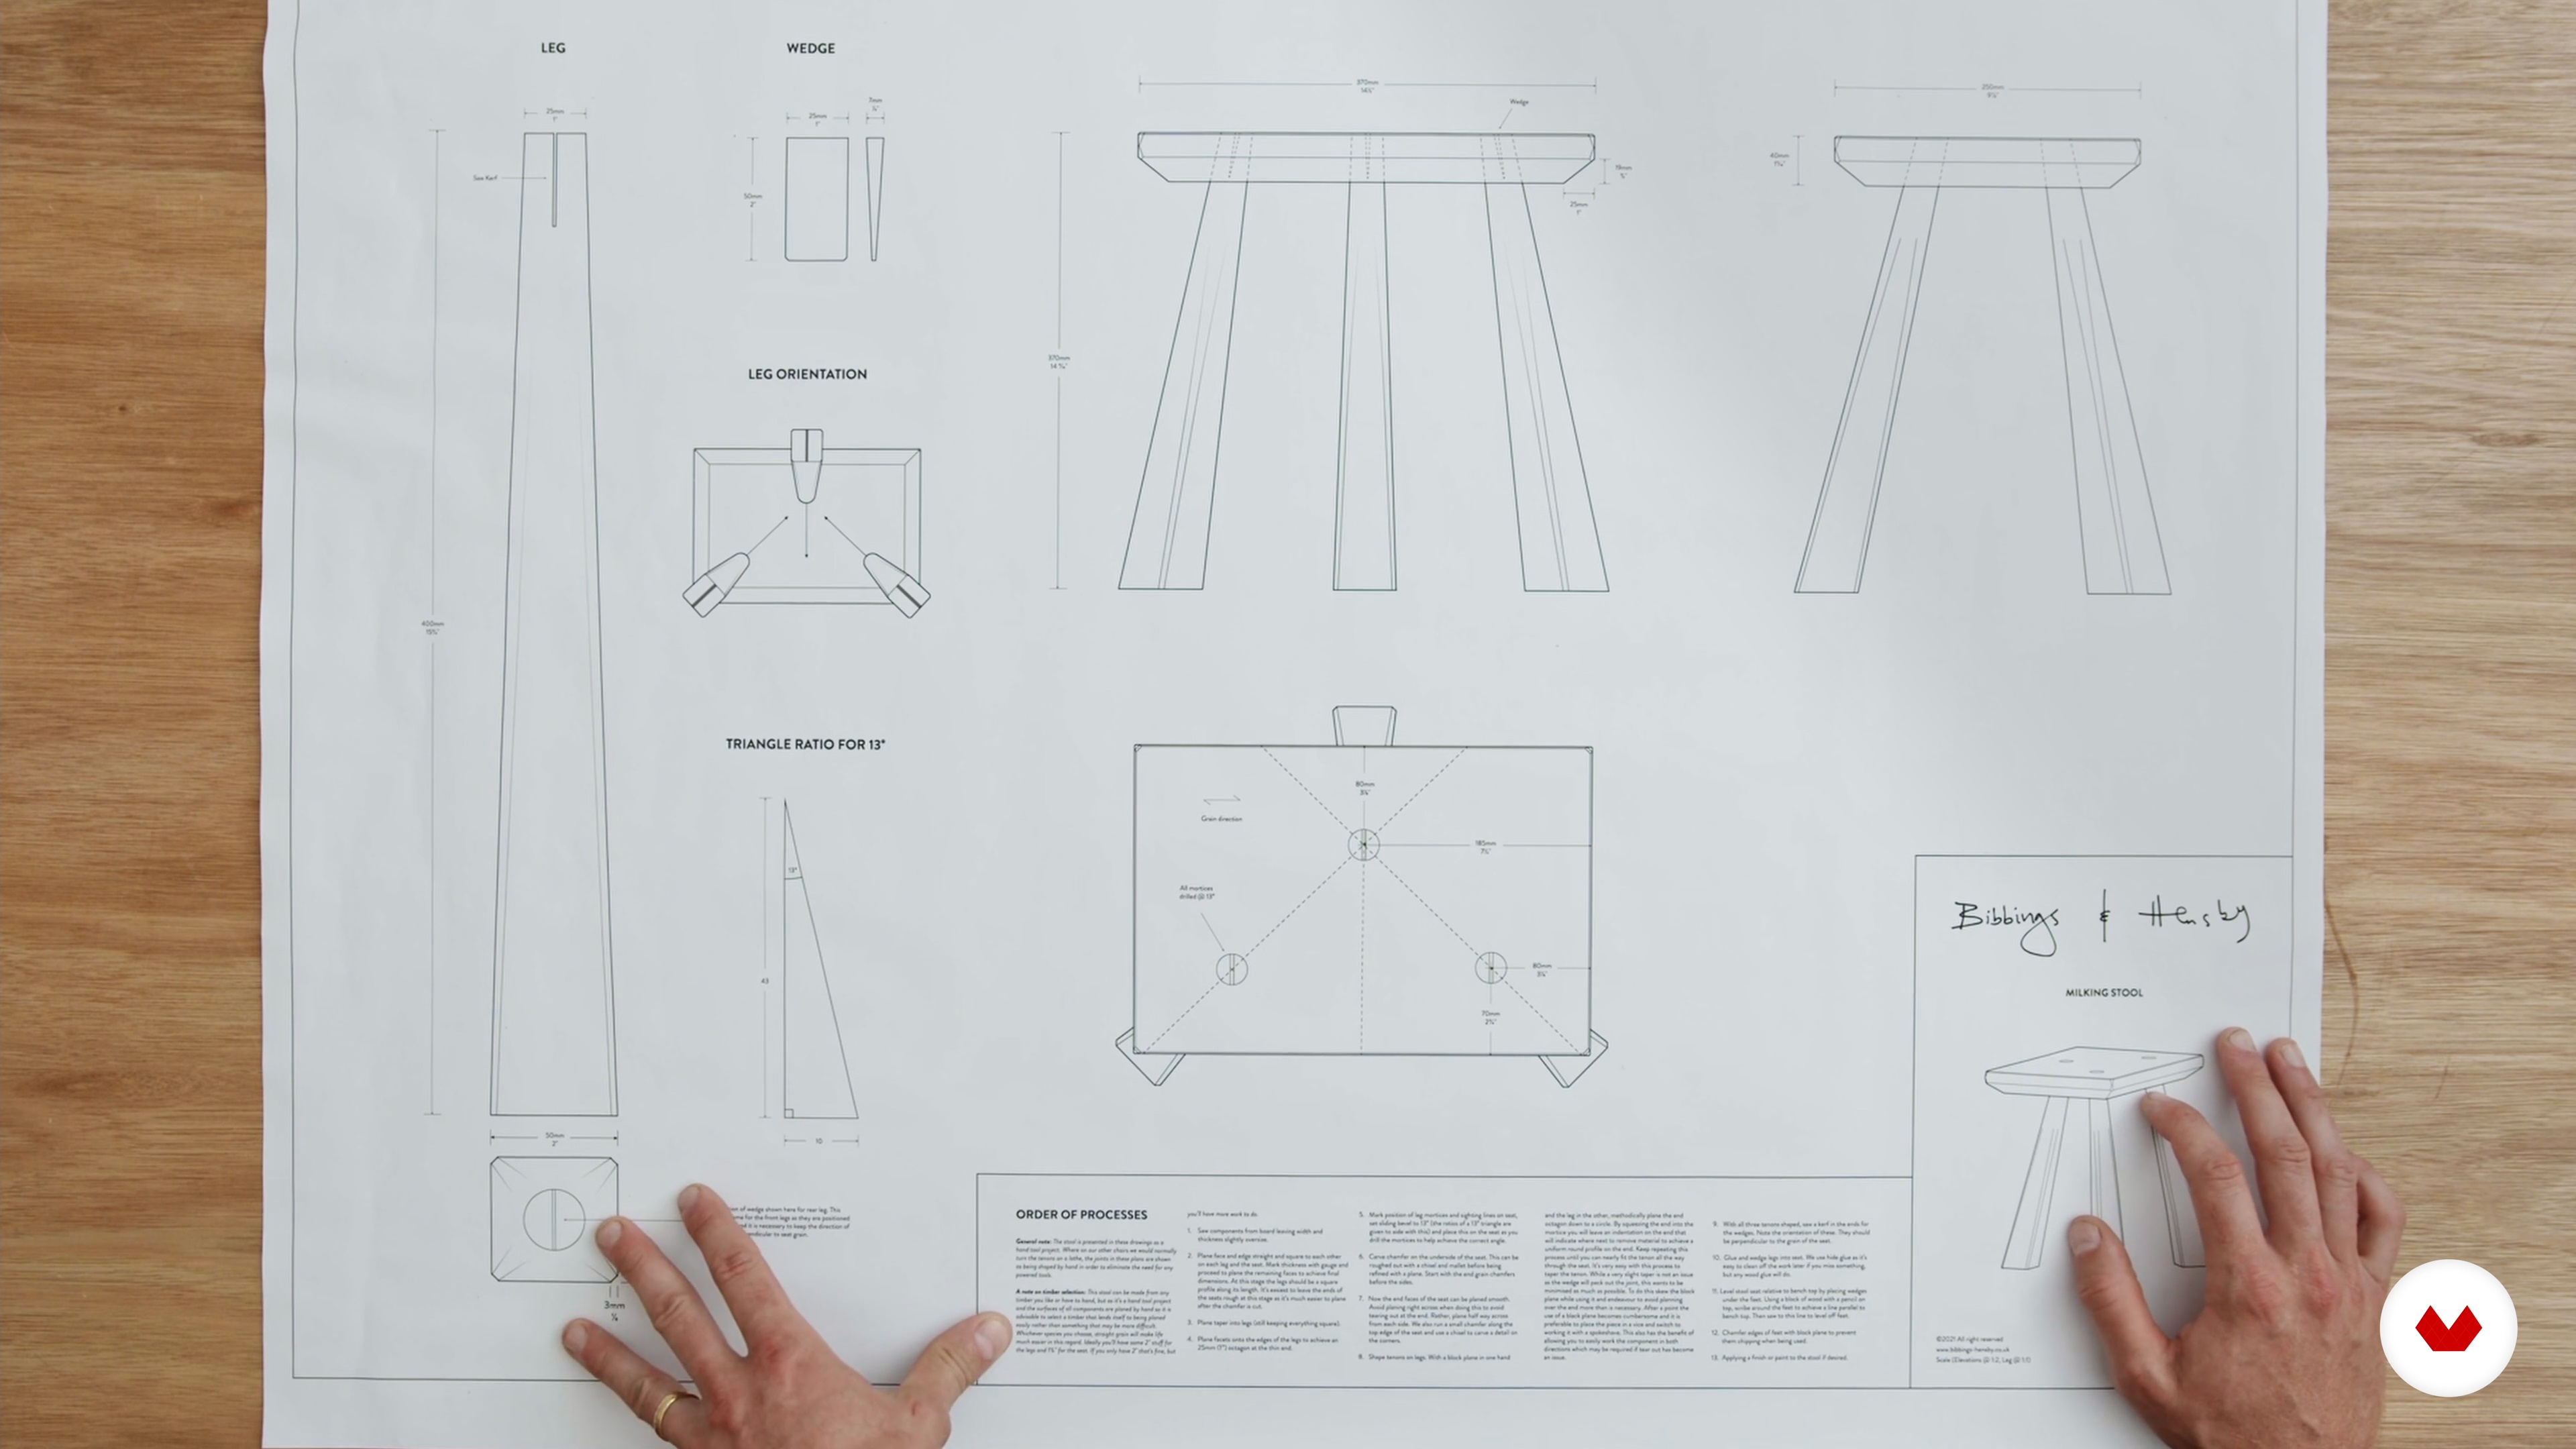
7Introduction to Stools and Plans
Let's introduce you to the stool that you will be making and the design plan that you will be following.
5m
 8
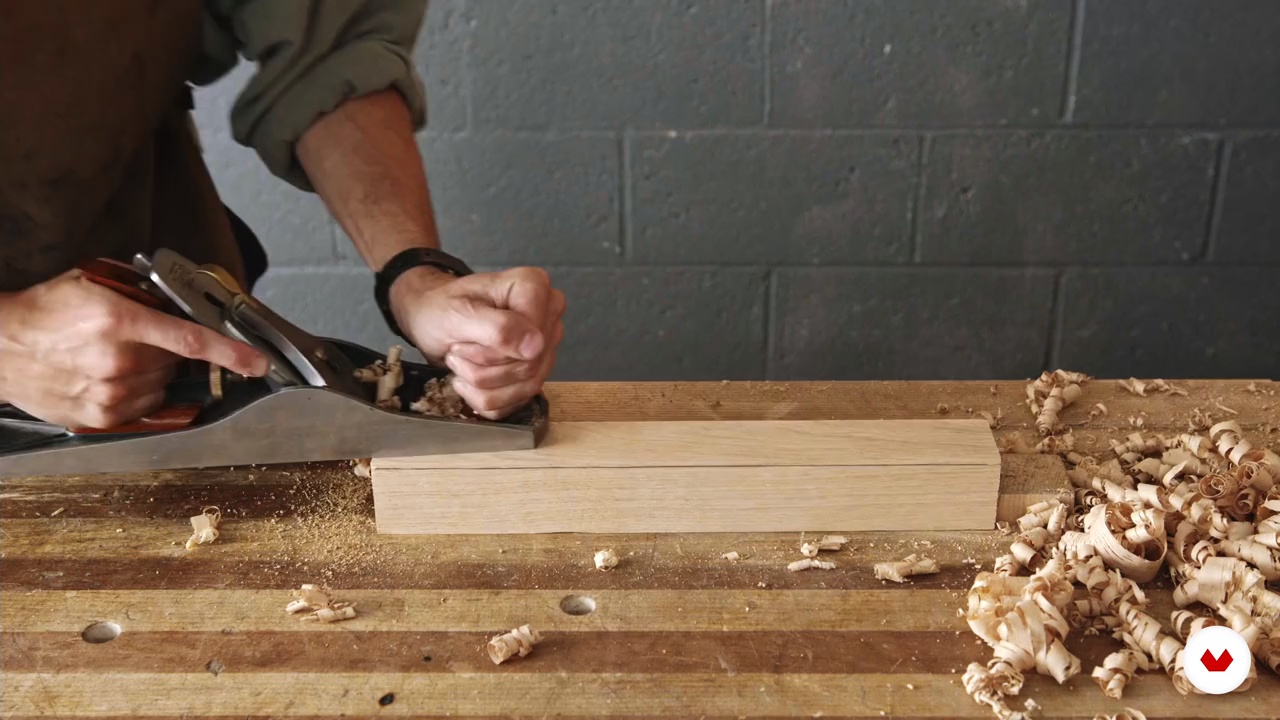
8Component Preparation and Dimensioning 1
In this lesson, we will prepare and dimension the components of the stool.
15m
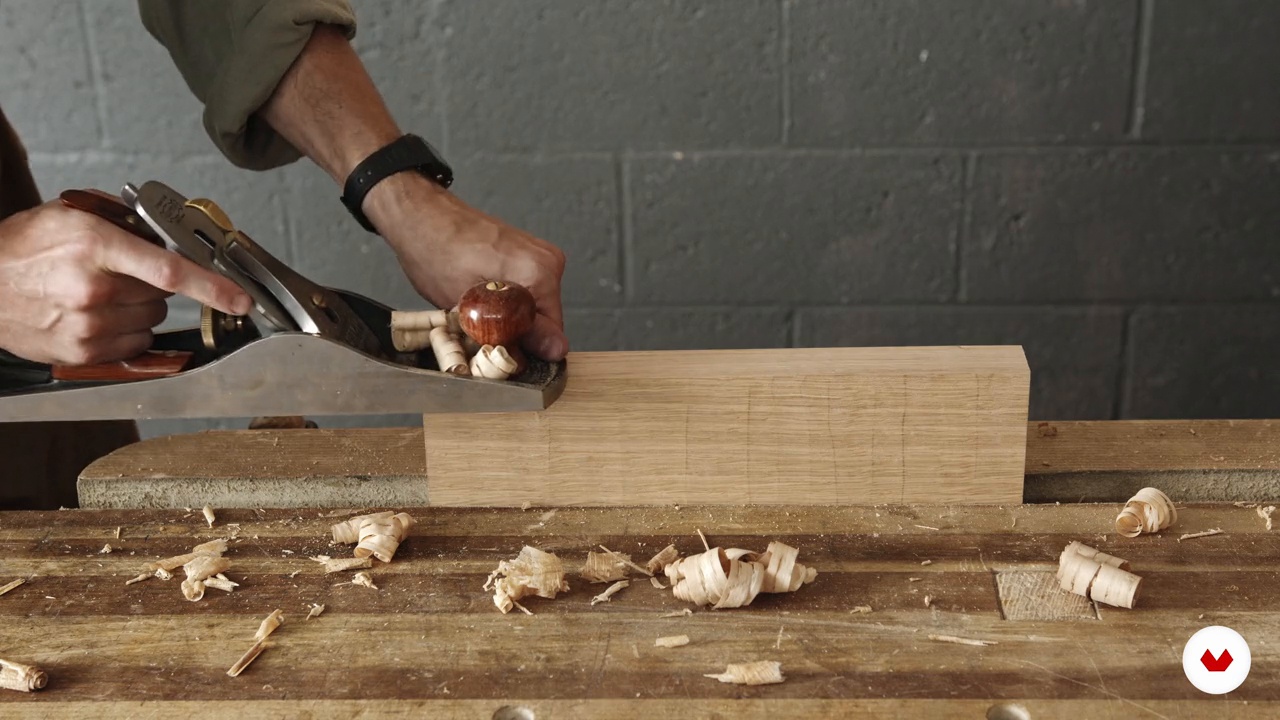 9
9Component Preparation and Dimensioning 2
Now that you've prepared the top and bottom of your stool, you can move on to smoothing its ends. This will help give your stool the shape that you want it to be.
8m
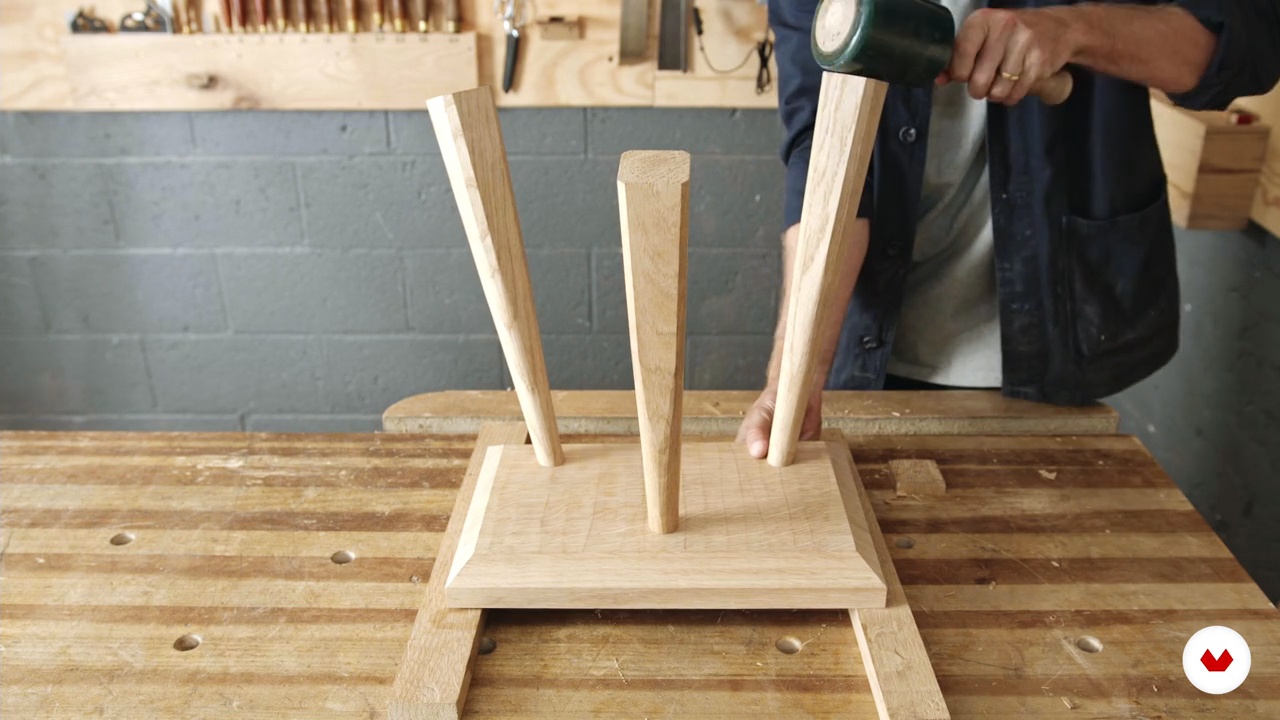
 10
10Joinery
Now we will be drilling the mortices into the seat and shaping the tenons onto the legs.
8m
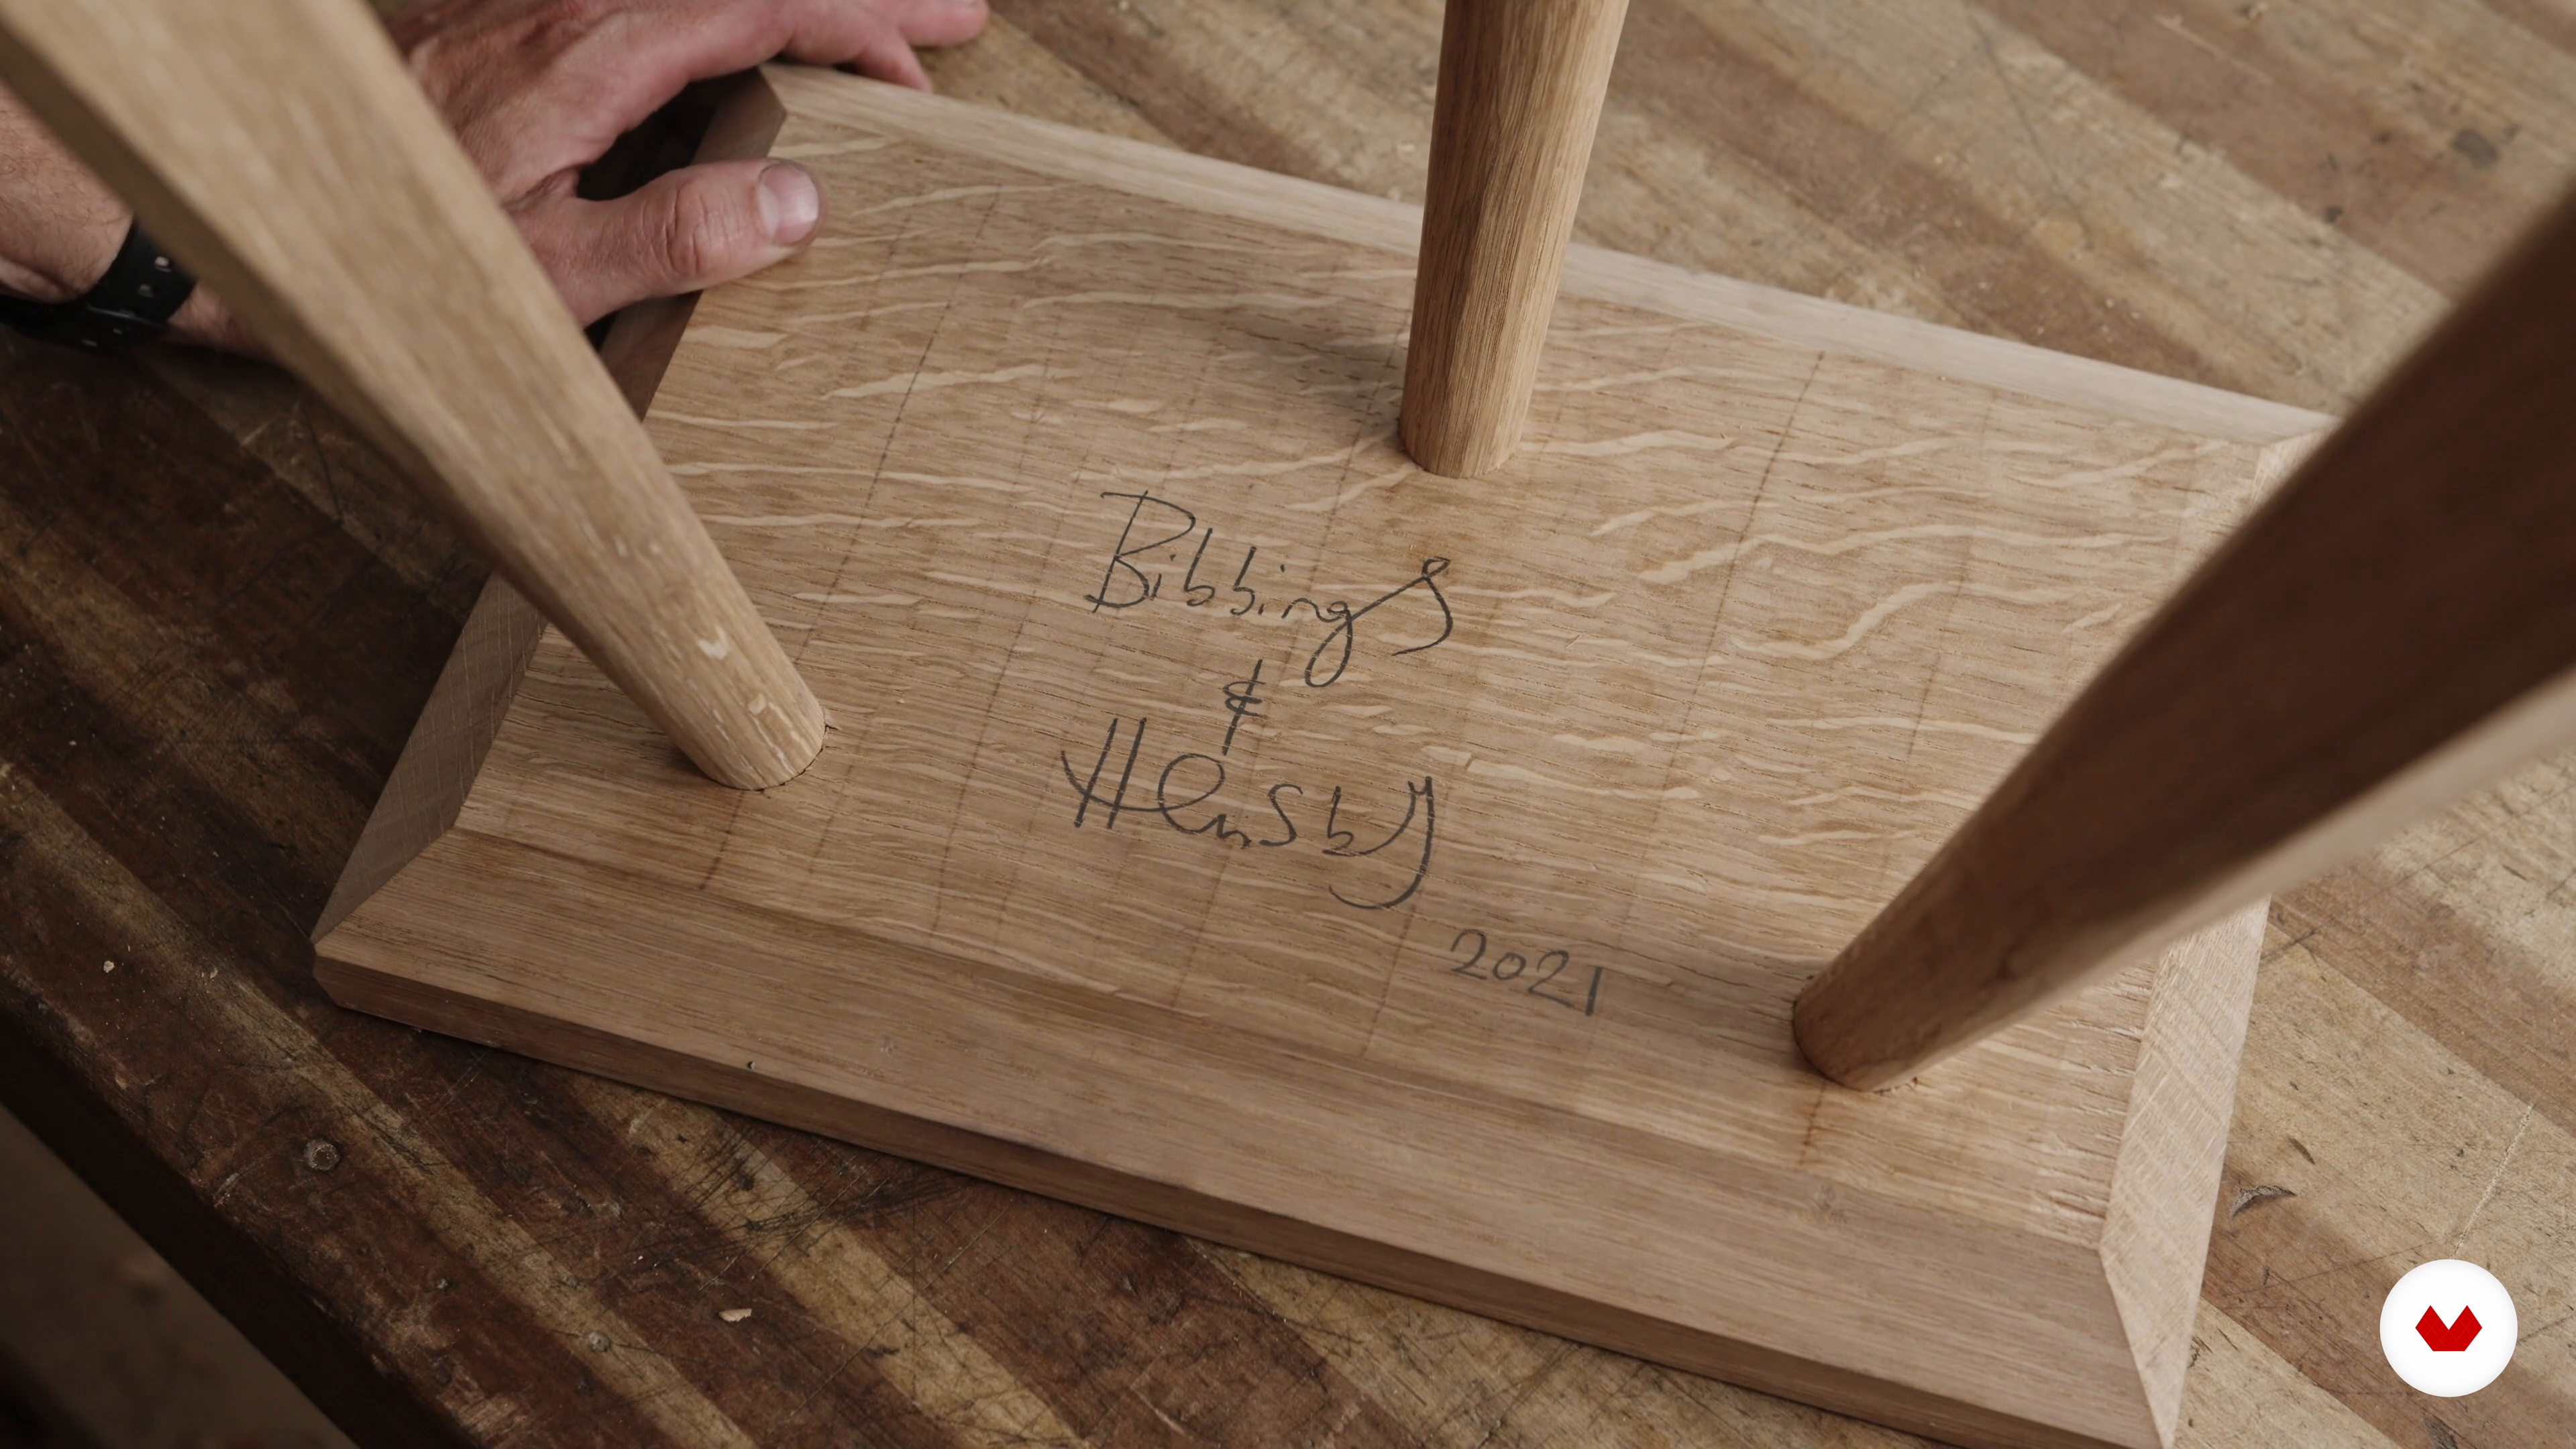
 11
11Cutting Chamfer and Assembly
In this lesson, we will cut the chamfer on the underside of the seat. We will then assemble and level it.
7m
 12
12Finishing Touches
Let's put the finishing touches to our stool―including flushing tenons, final chamfers, and applying finishes.
4m
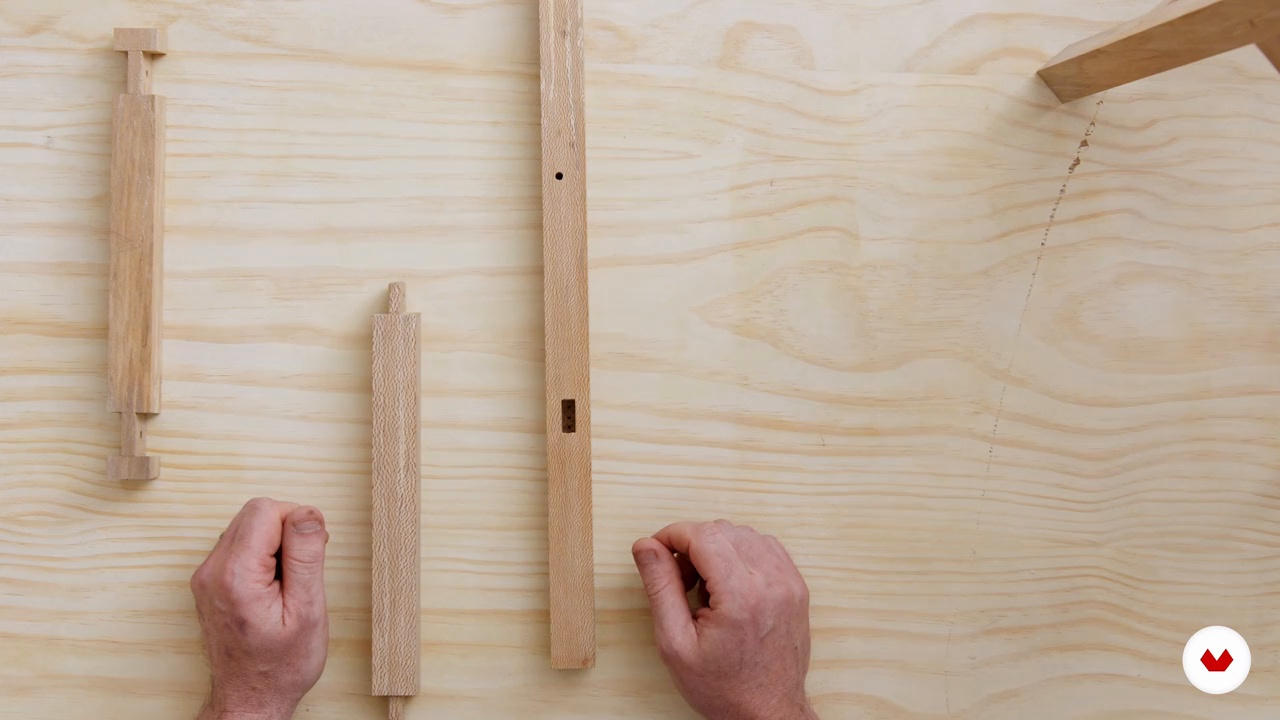 1
1Understanding Traditional Joinery
In this lesson, I will introduce you to the two types of traditional joinery used in this project and why they work so well.
6m
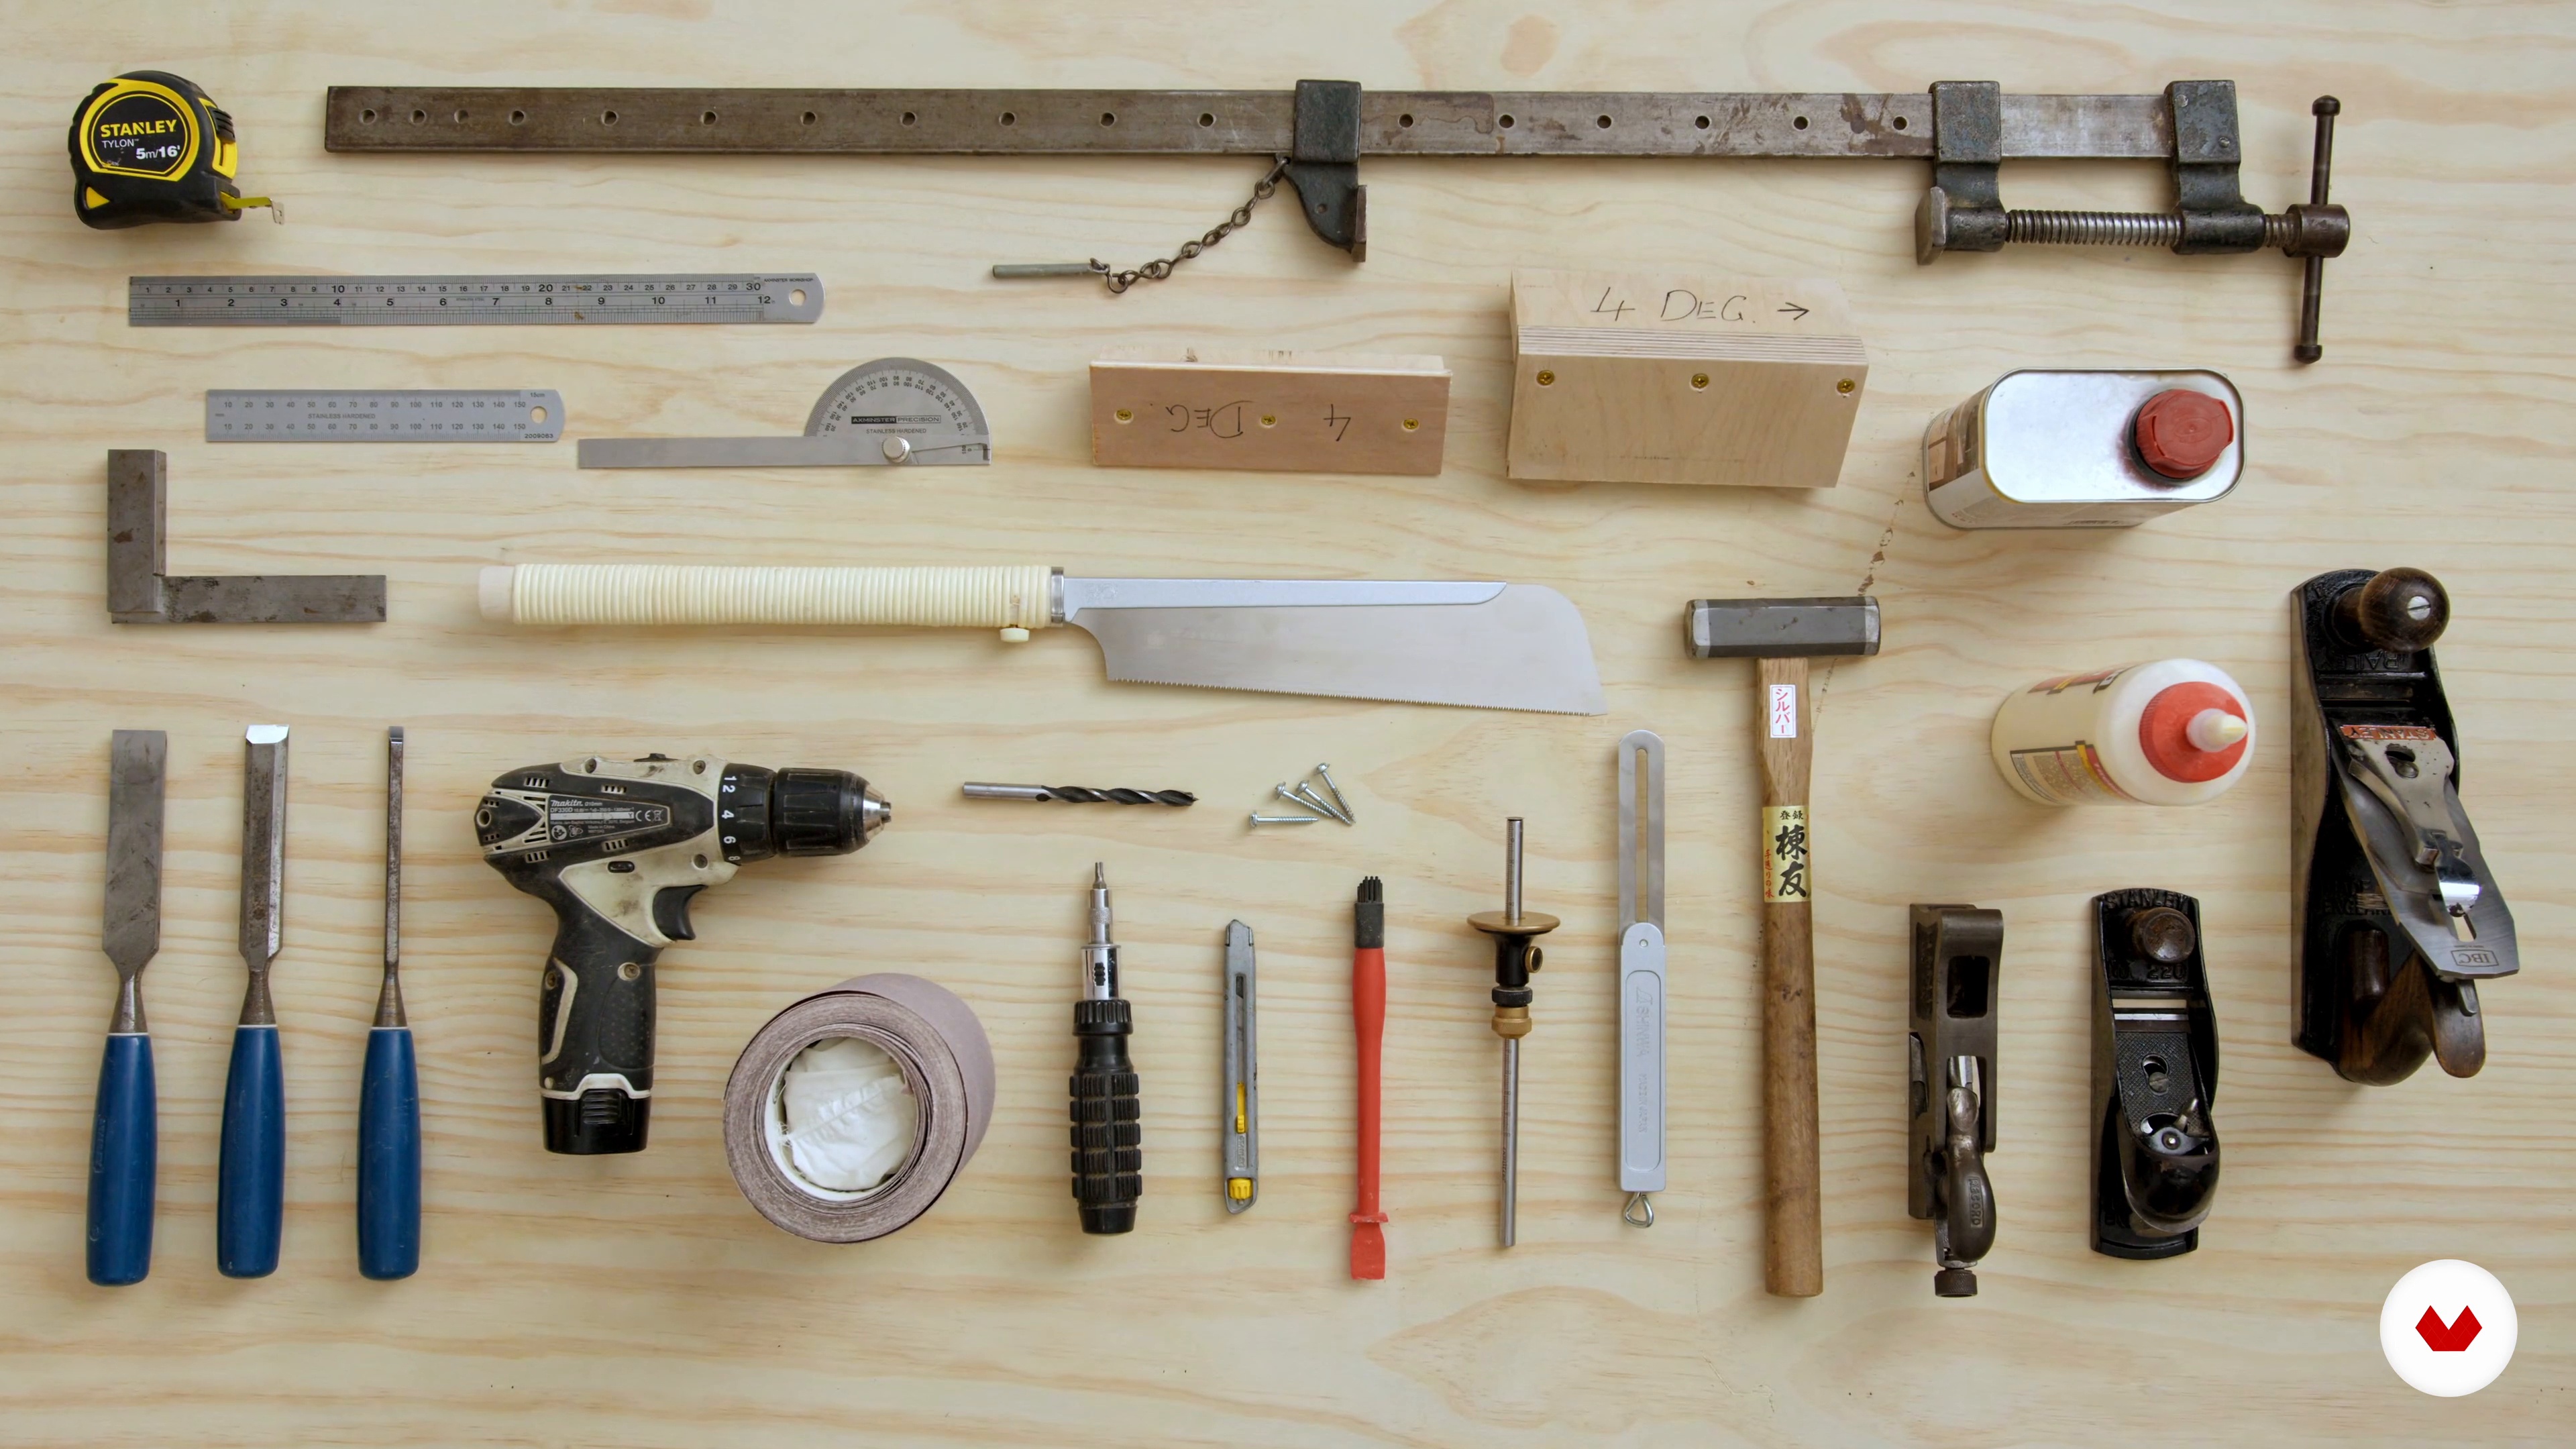 2
2The Tools
Now, I will talk you through the tools you will need to lay out, cut, and fit the two joints I discussed in the previous lesson.
5m
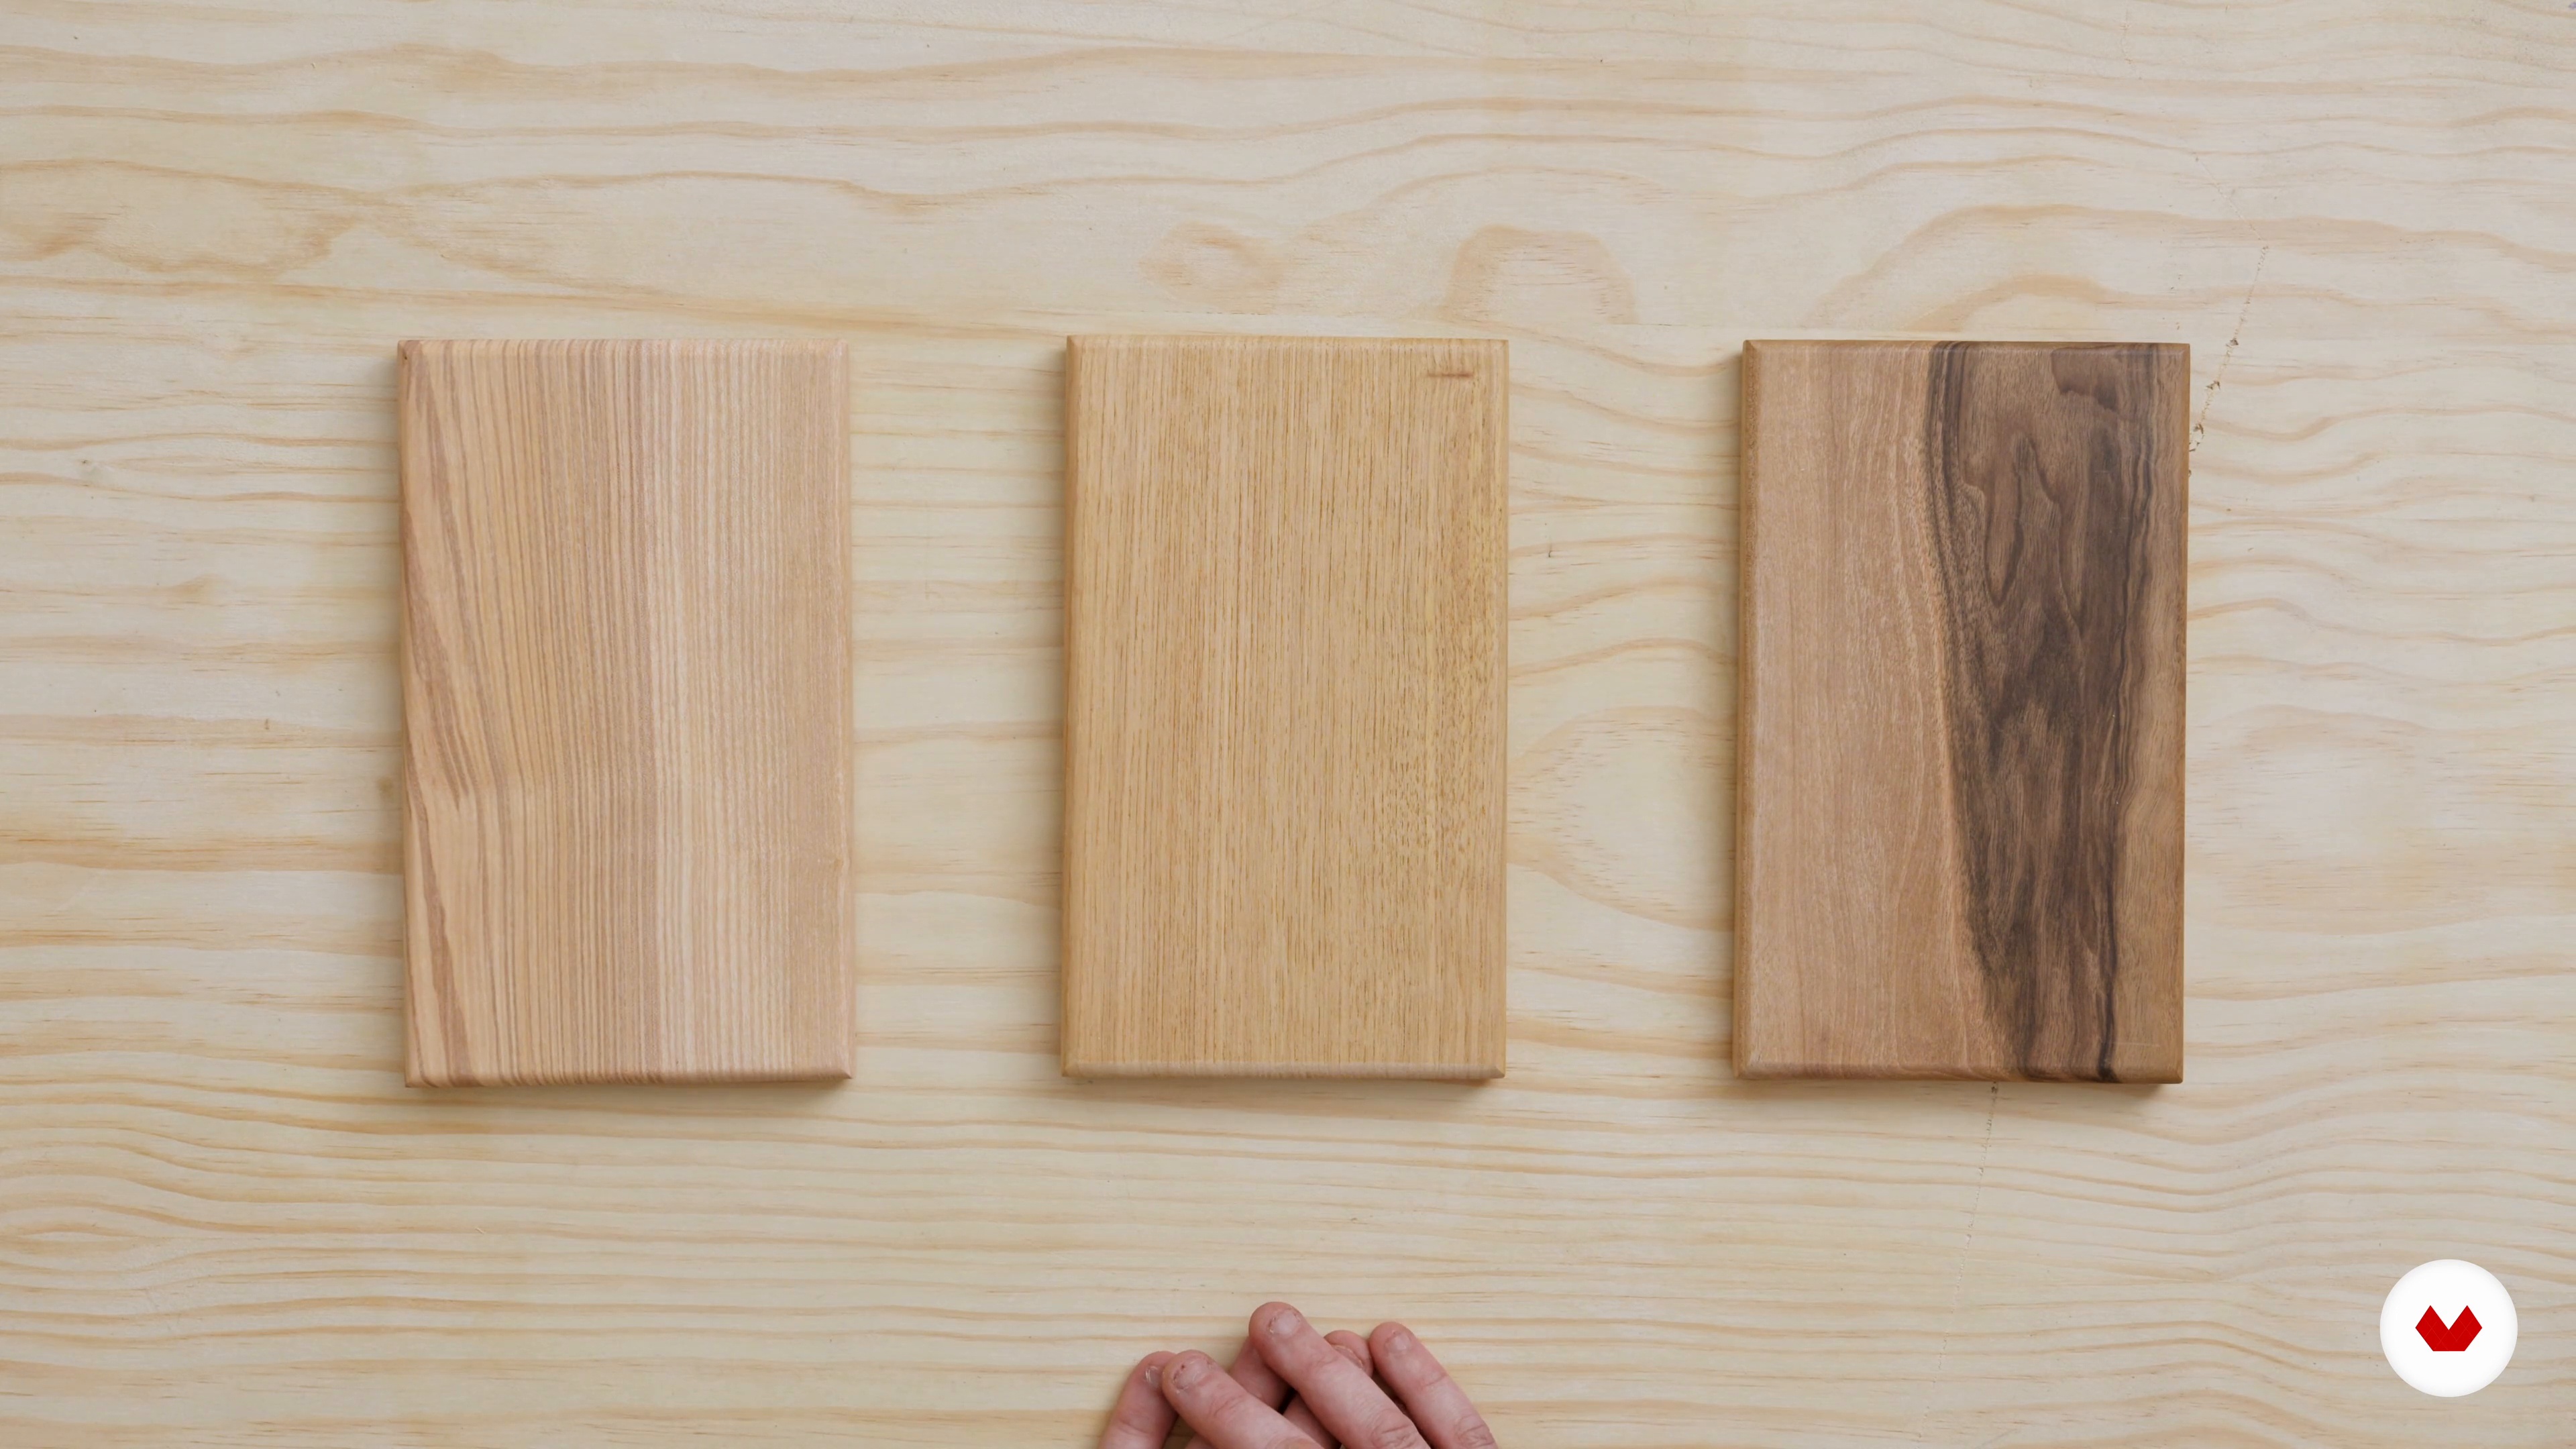 3
3Select and Size Timber
In this lesson, I will talk you through how to approach selecting and sizing your timber for a project like this.
3m
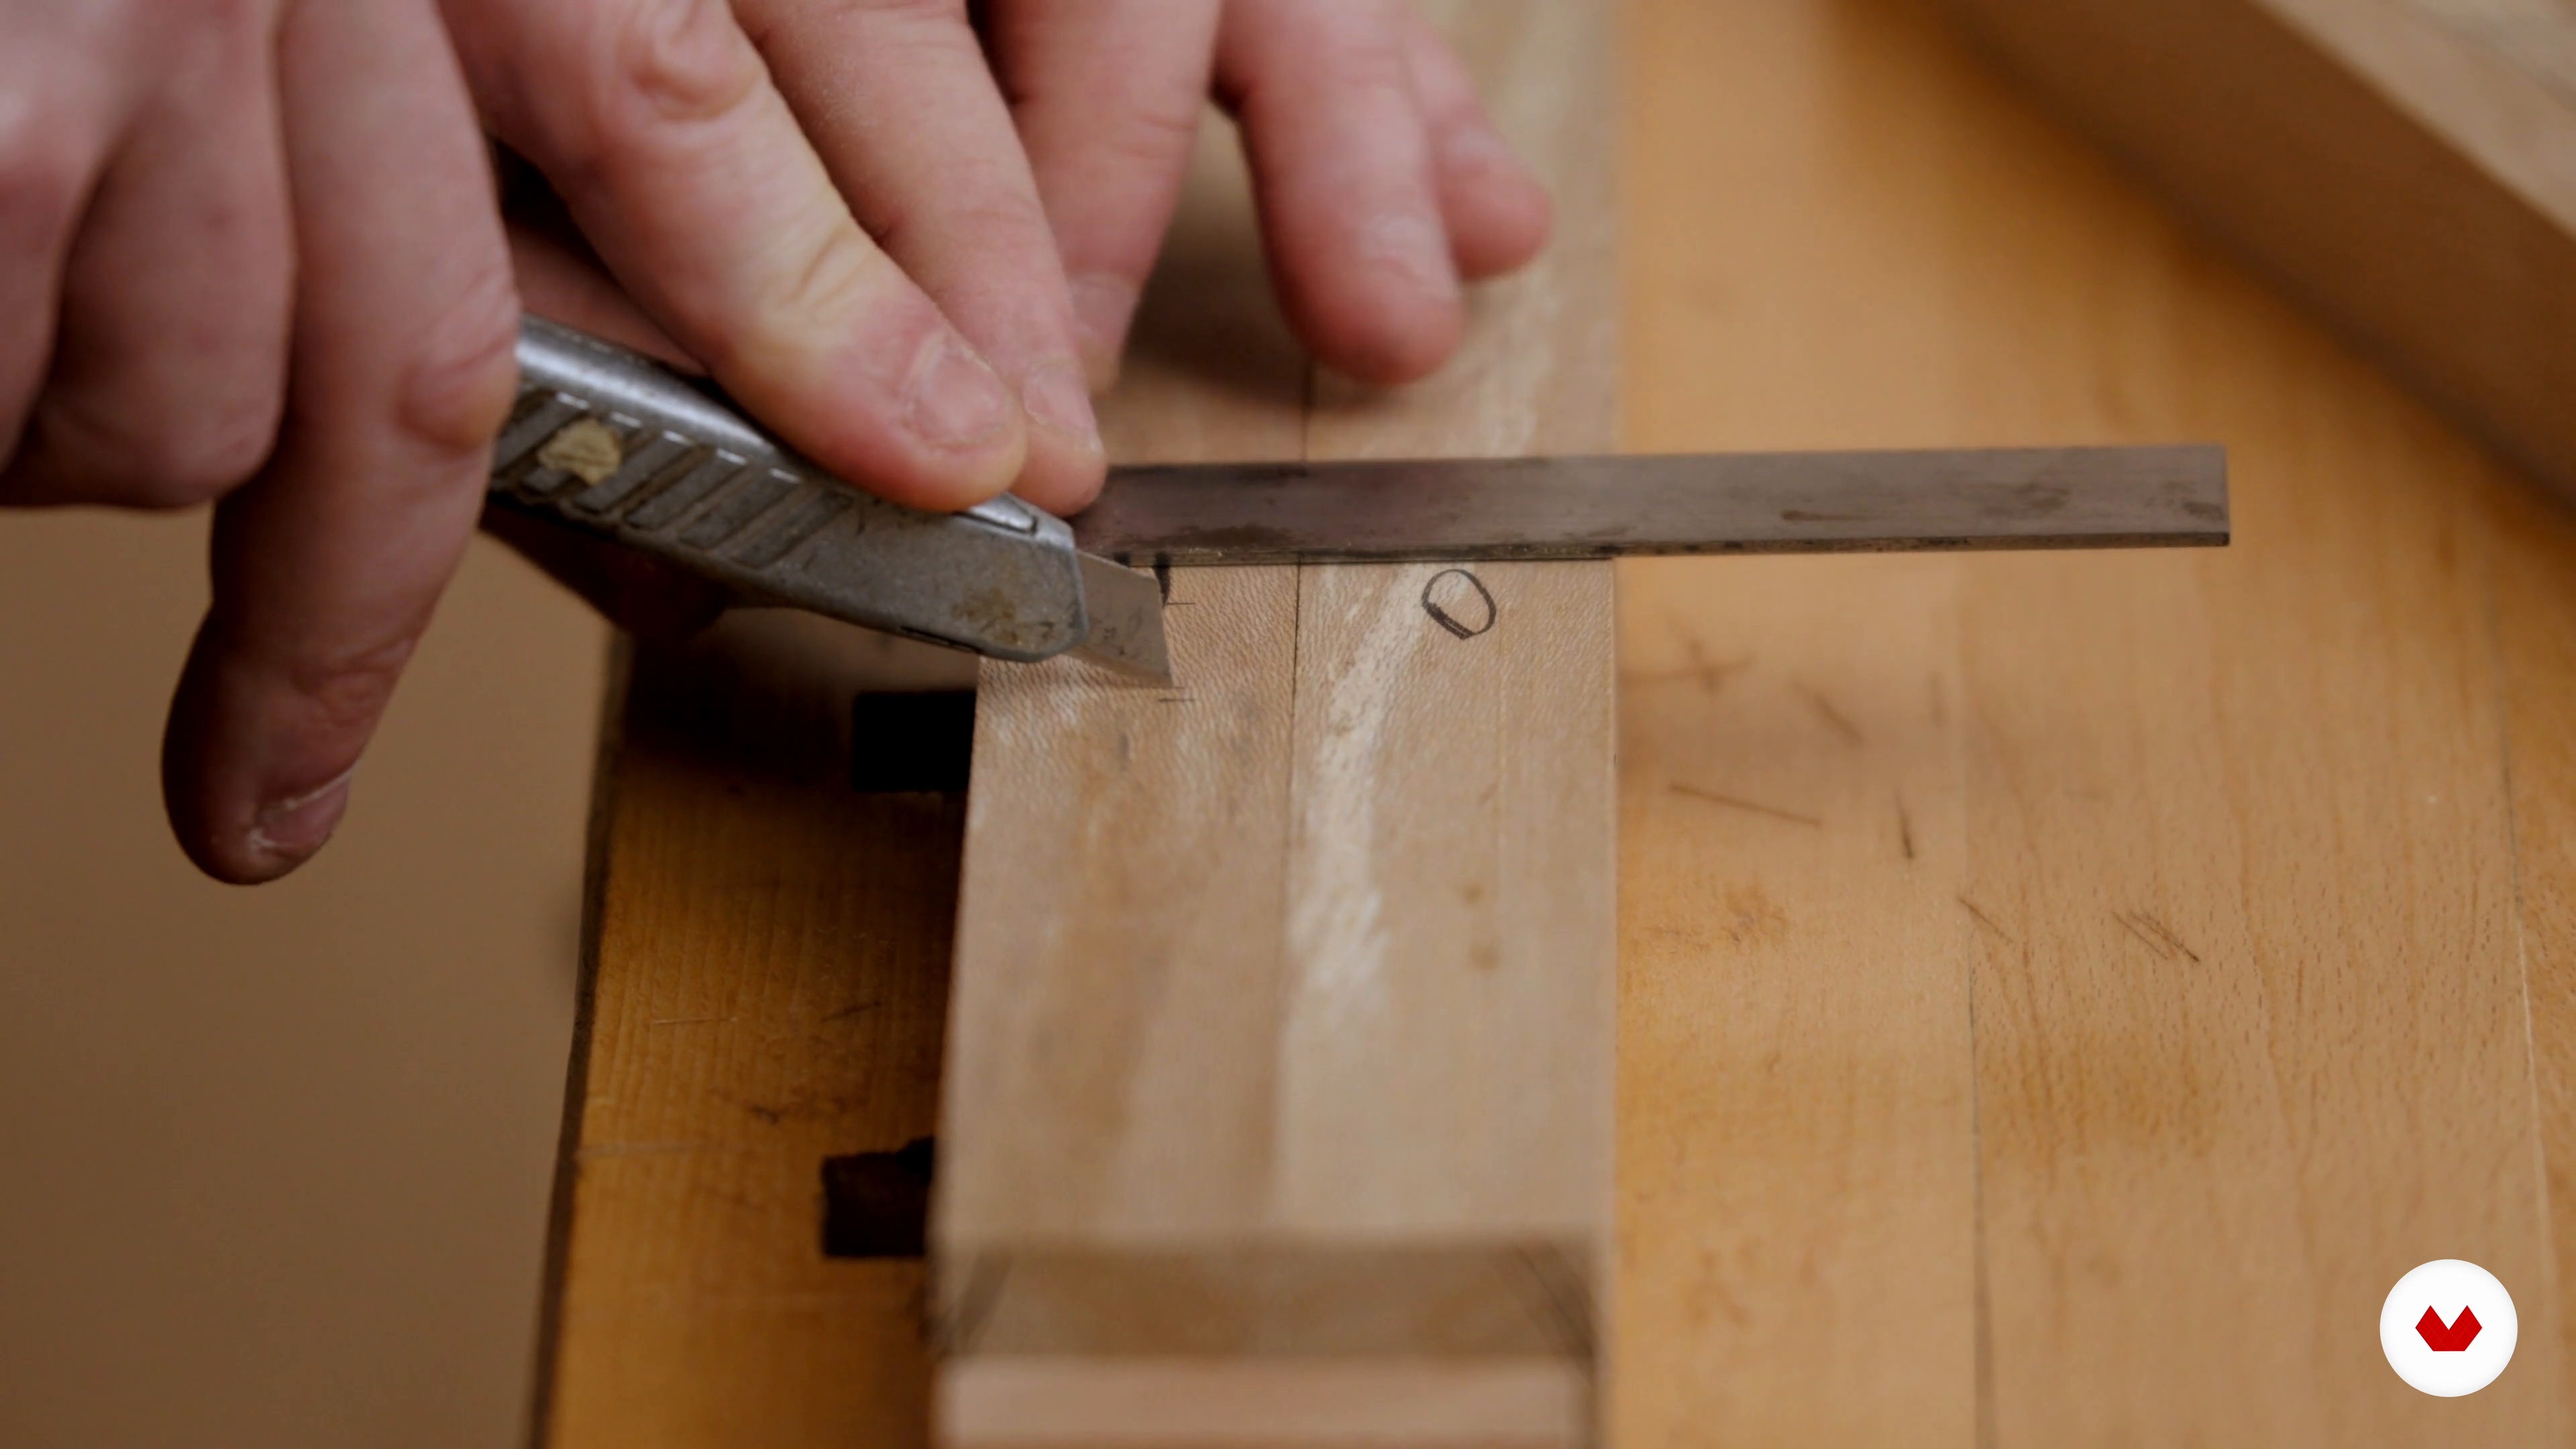 4
4Marking Out and Cutting Mortice and Tenon Joinery 1
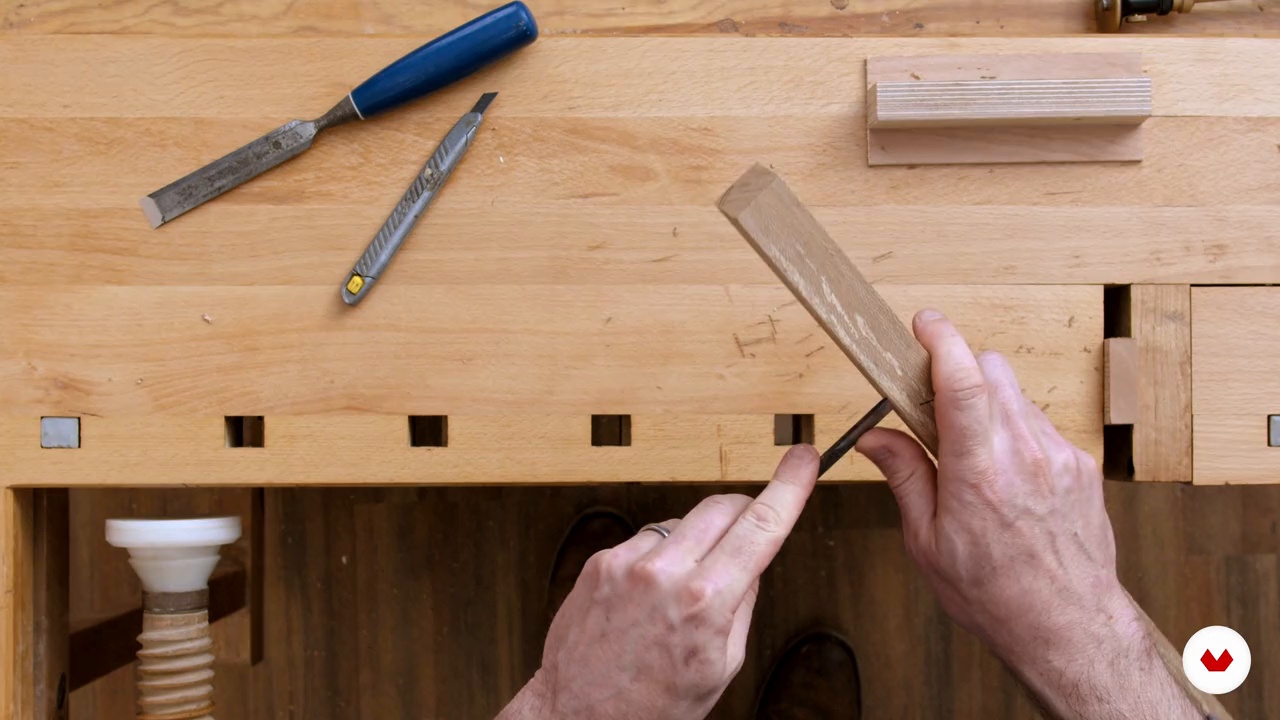
In this lesson, I will briefly introduce the workbench's characteristics to provide a flat and stable platform that will allow you to do precise and safe work. Also, I will show you other alternatives if you don't have access to a workbench. Then, I will continue showing you how to choose the orientation of each component and mark them, using the "carpenter's triangle" for reference. Next, I will show you how to roughly mark out all the different joinery on each component to prevent mistakes and establish measurements.
18m
 5
5Marking Out and Cutting Mortice and Tenon Joinery 2
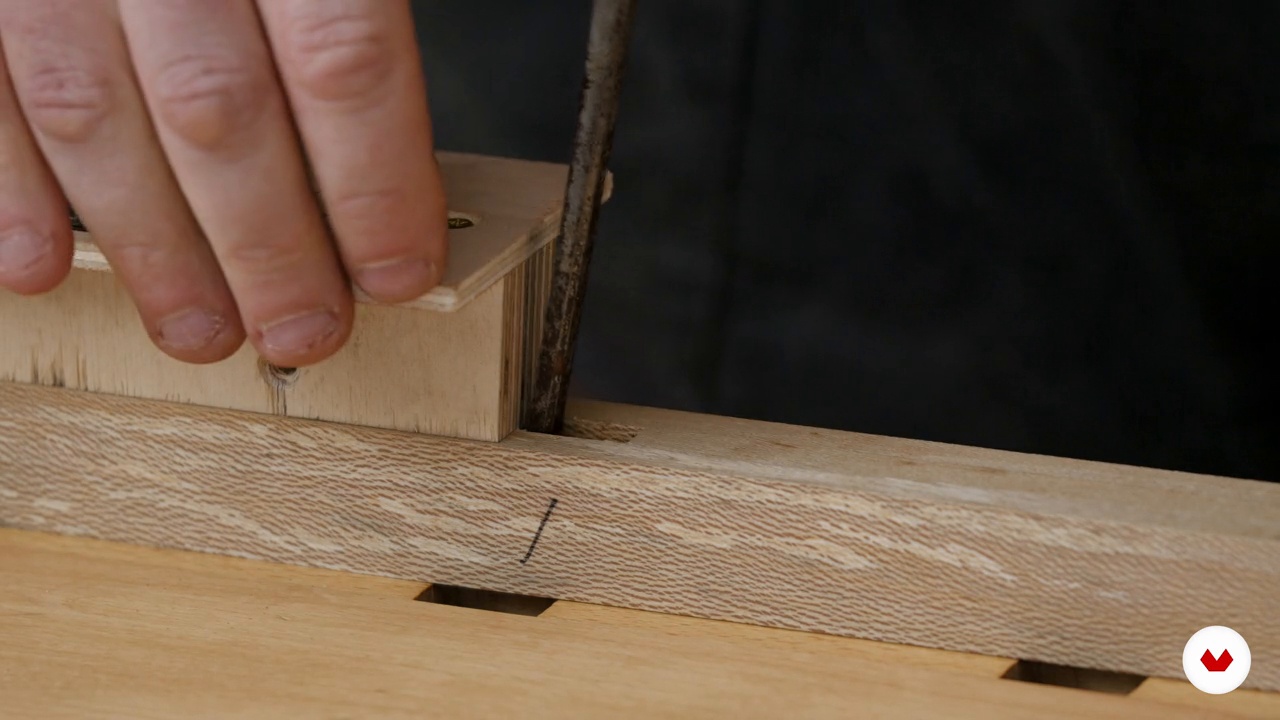
Here I will continue marking all the components following the measurements I established for the mortice and tenon lengths and width. Once I finish doing this, I will start with the cutting mortice and tenon process! Remember to cut the mortice first because it is easier to fit a tenon to a mortice than the other way around.
16m
 6
6Marking Out and Cutting Mortice and Tenon Joinery 3
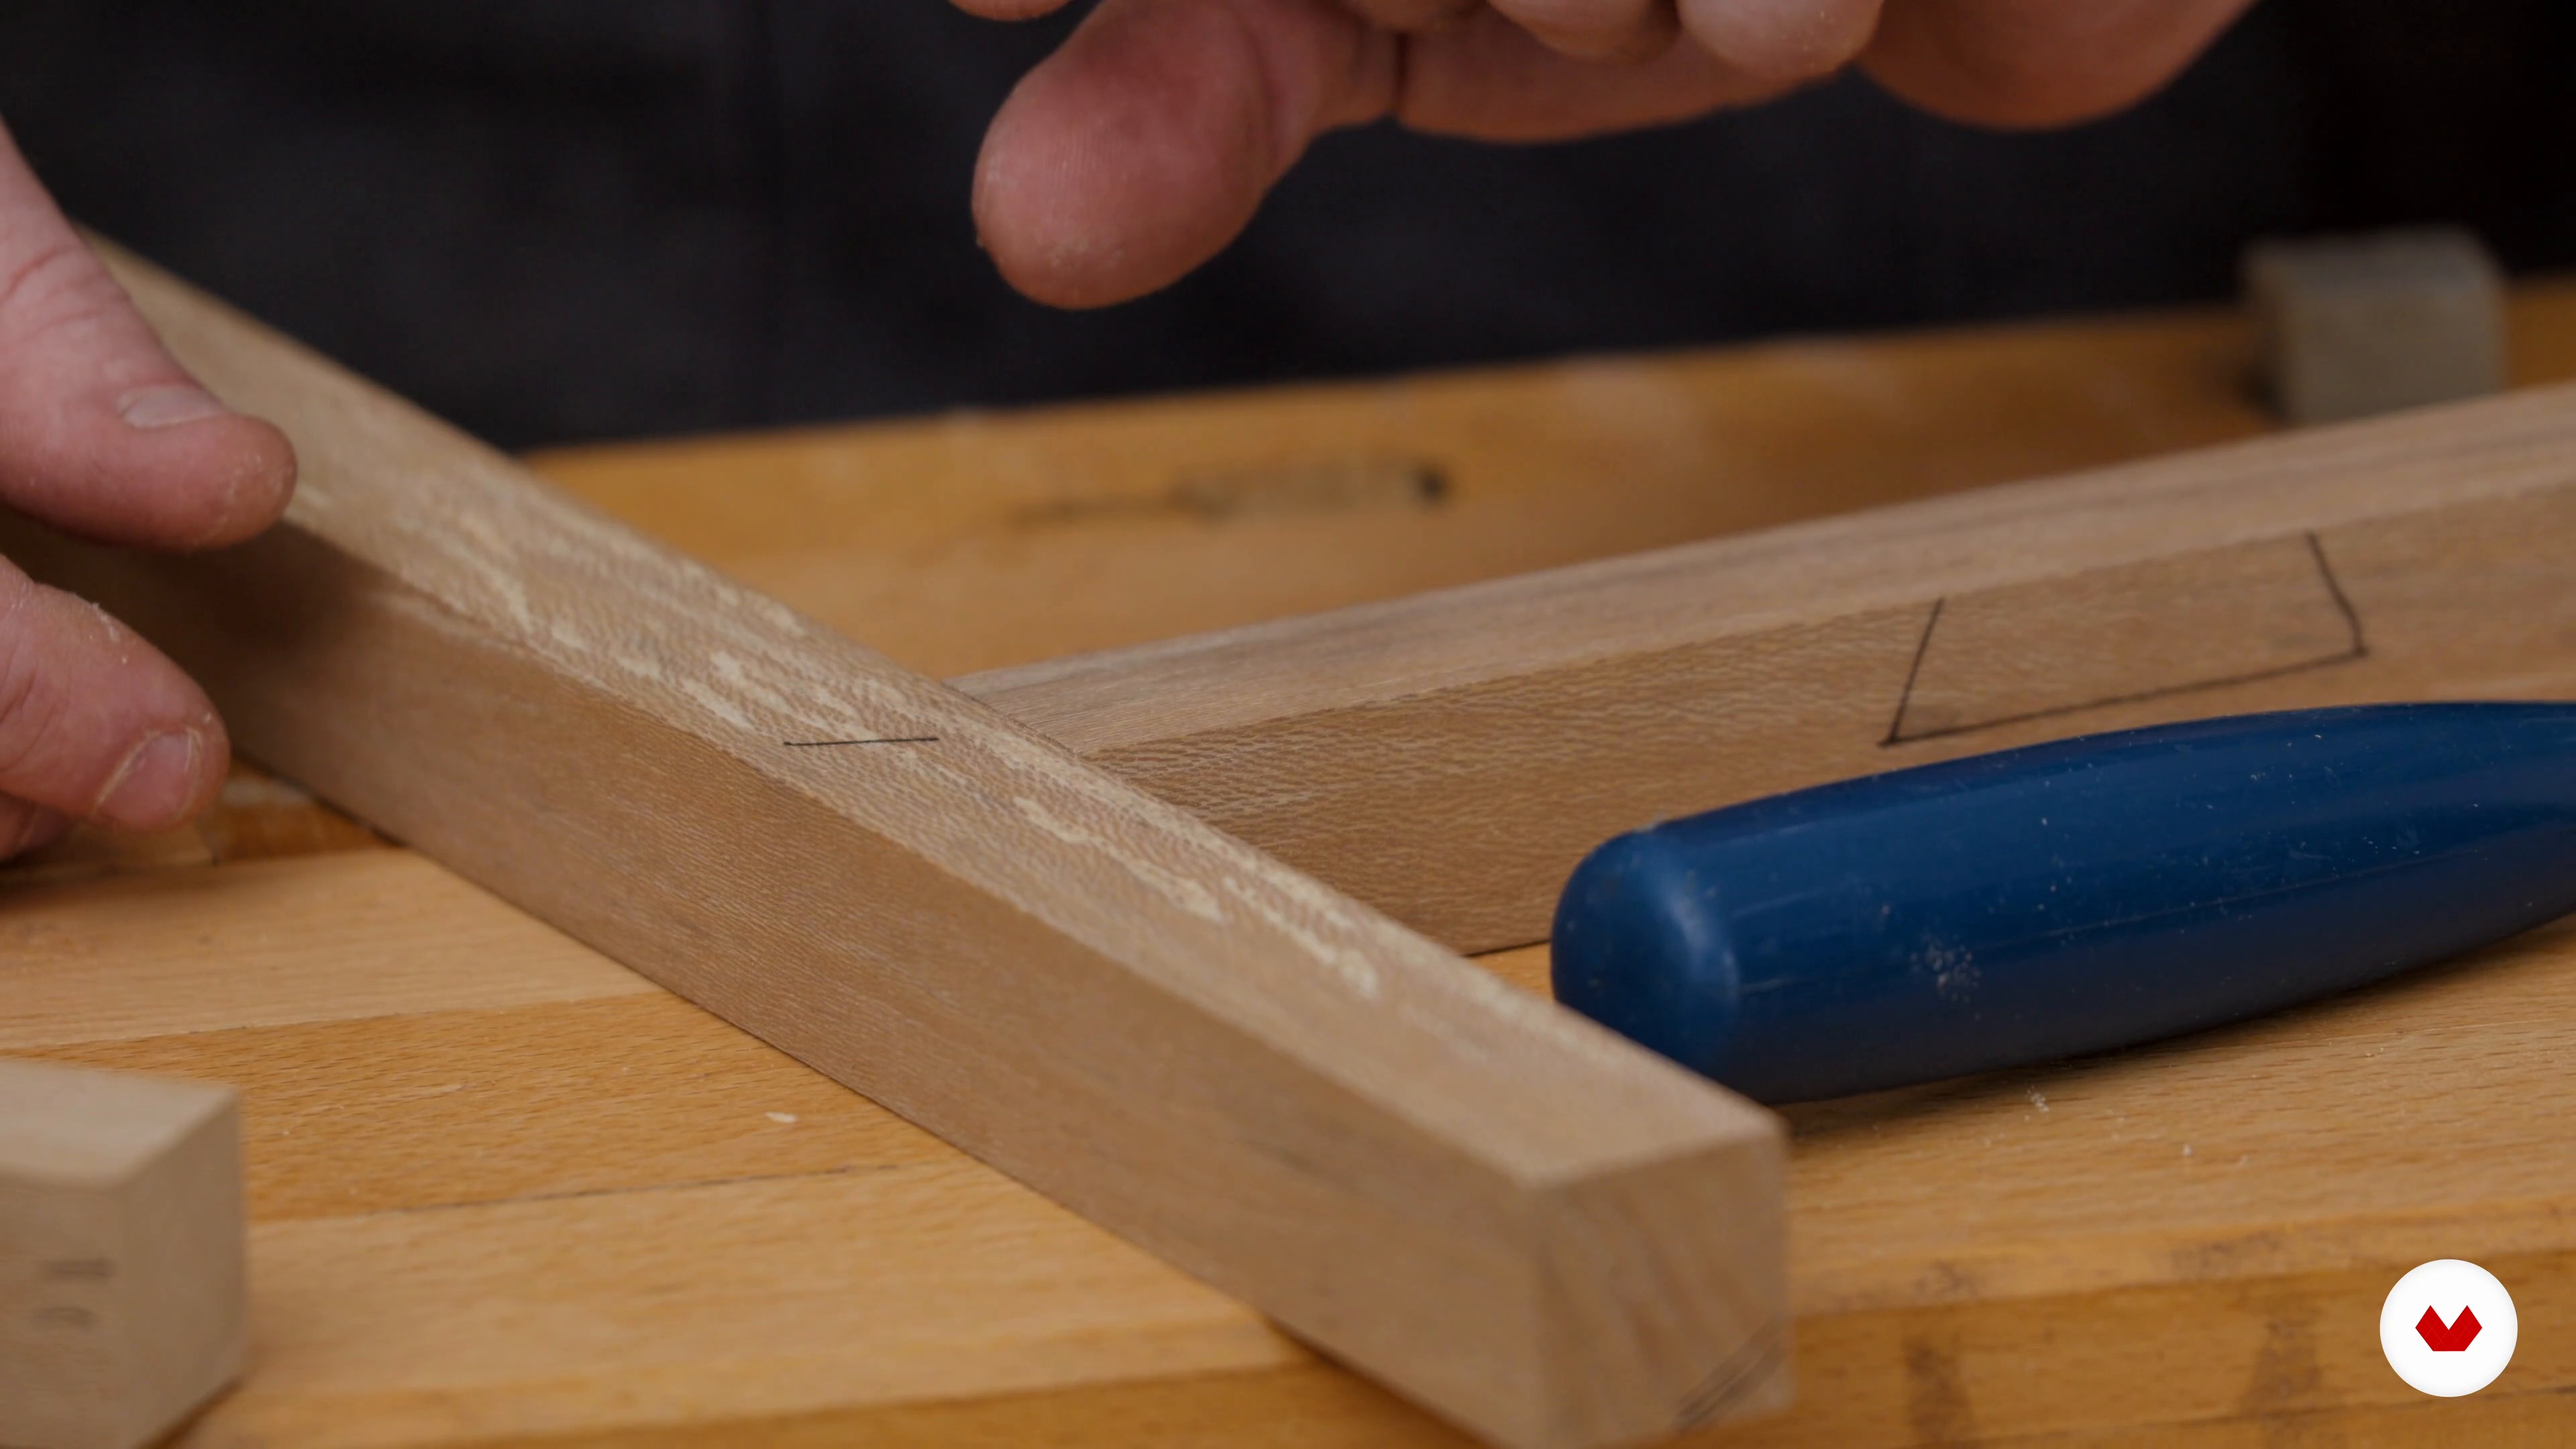
The cutting mortice and tenon process continues! Once I finish cutting all the mortices, I will start cutting the tenon cheeks. I will use a Japanese pull saw, but you can also use a Western saw. Then, I will move on to cutting the tenon shoulders.
19m
 7
7Marking Out and Cutting Mortice and Tenon Joinery 4
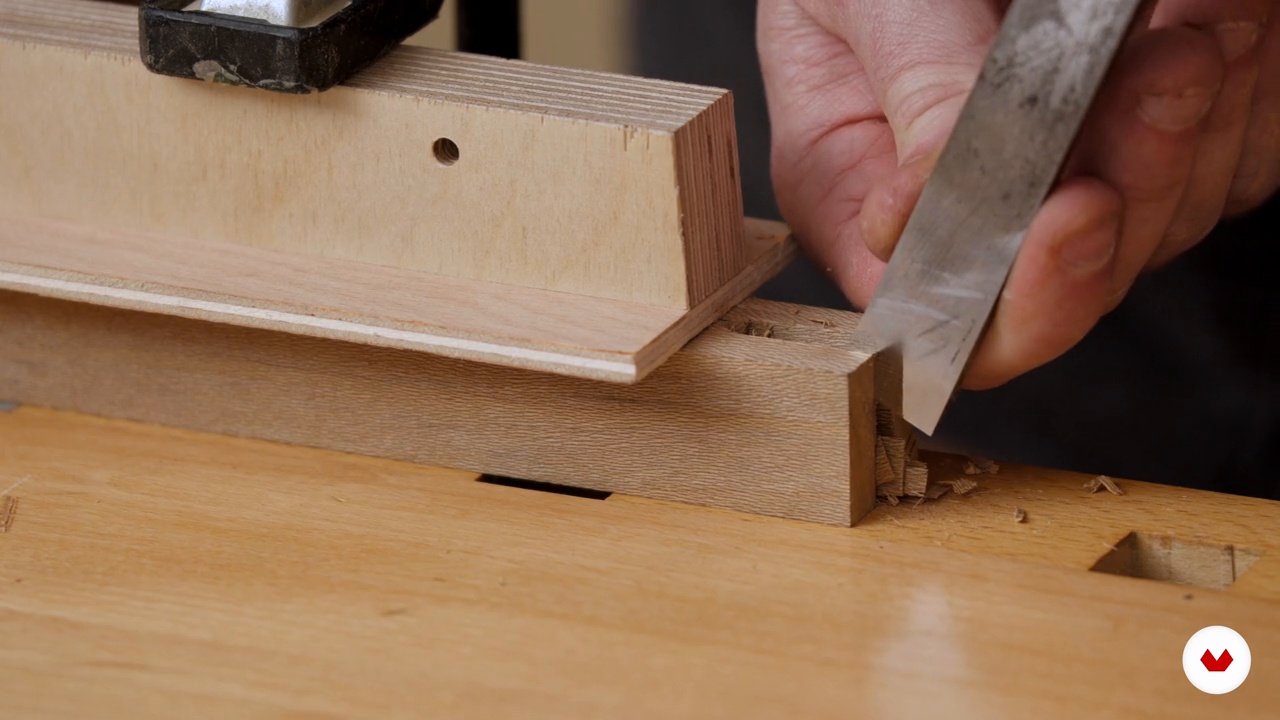
I will continue cutting the tenon shoulders. Next, I will show you how to use a chisel to pair any lines. Once I finish cutting all the shoulders and using the chisel to make some adjustments, it's time to assemble! The fit should be tight enough to hold together when suspended, but loose enough to be assembled by hand. If the joint is out of square, relieve areas pushing it out of alignment.
16m
 8
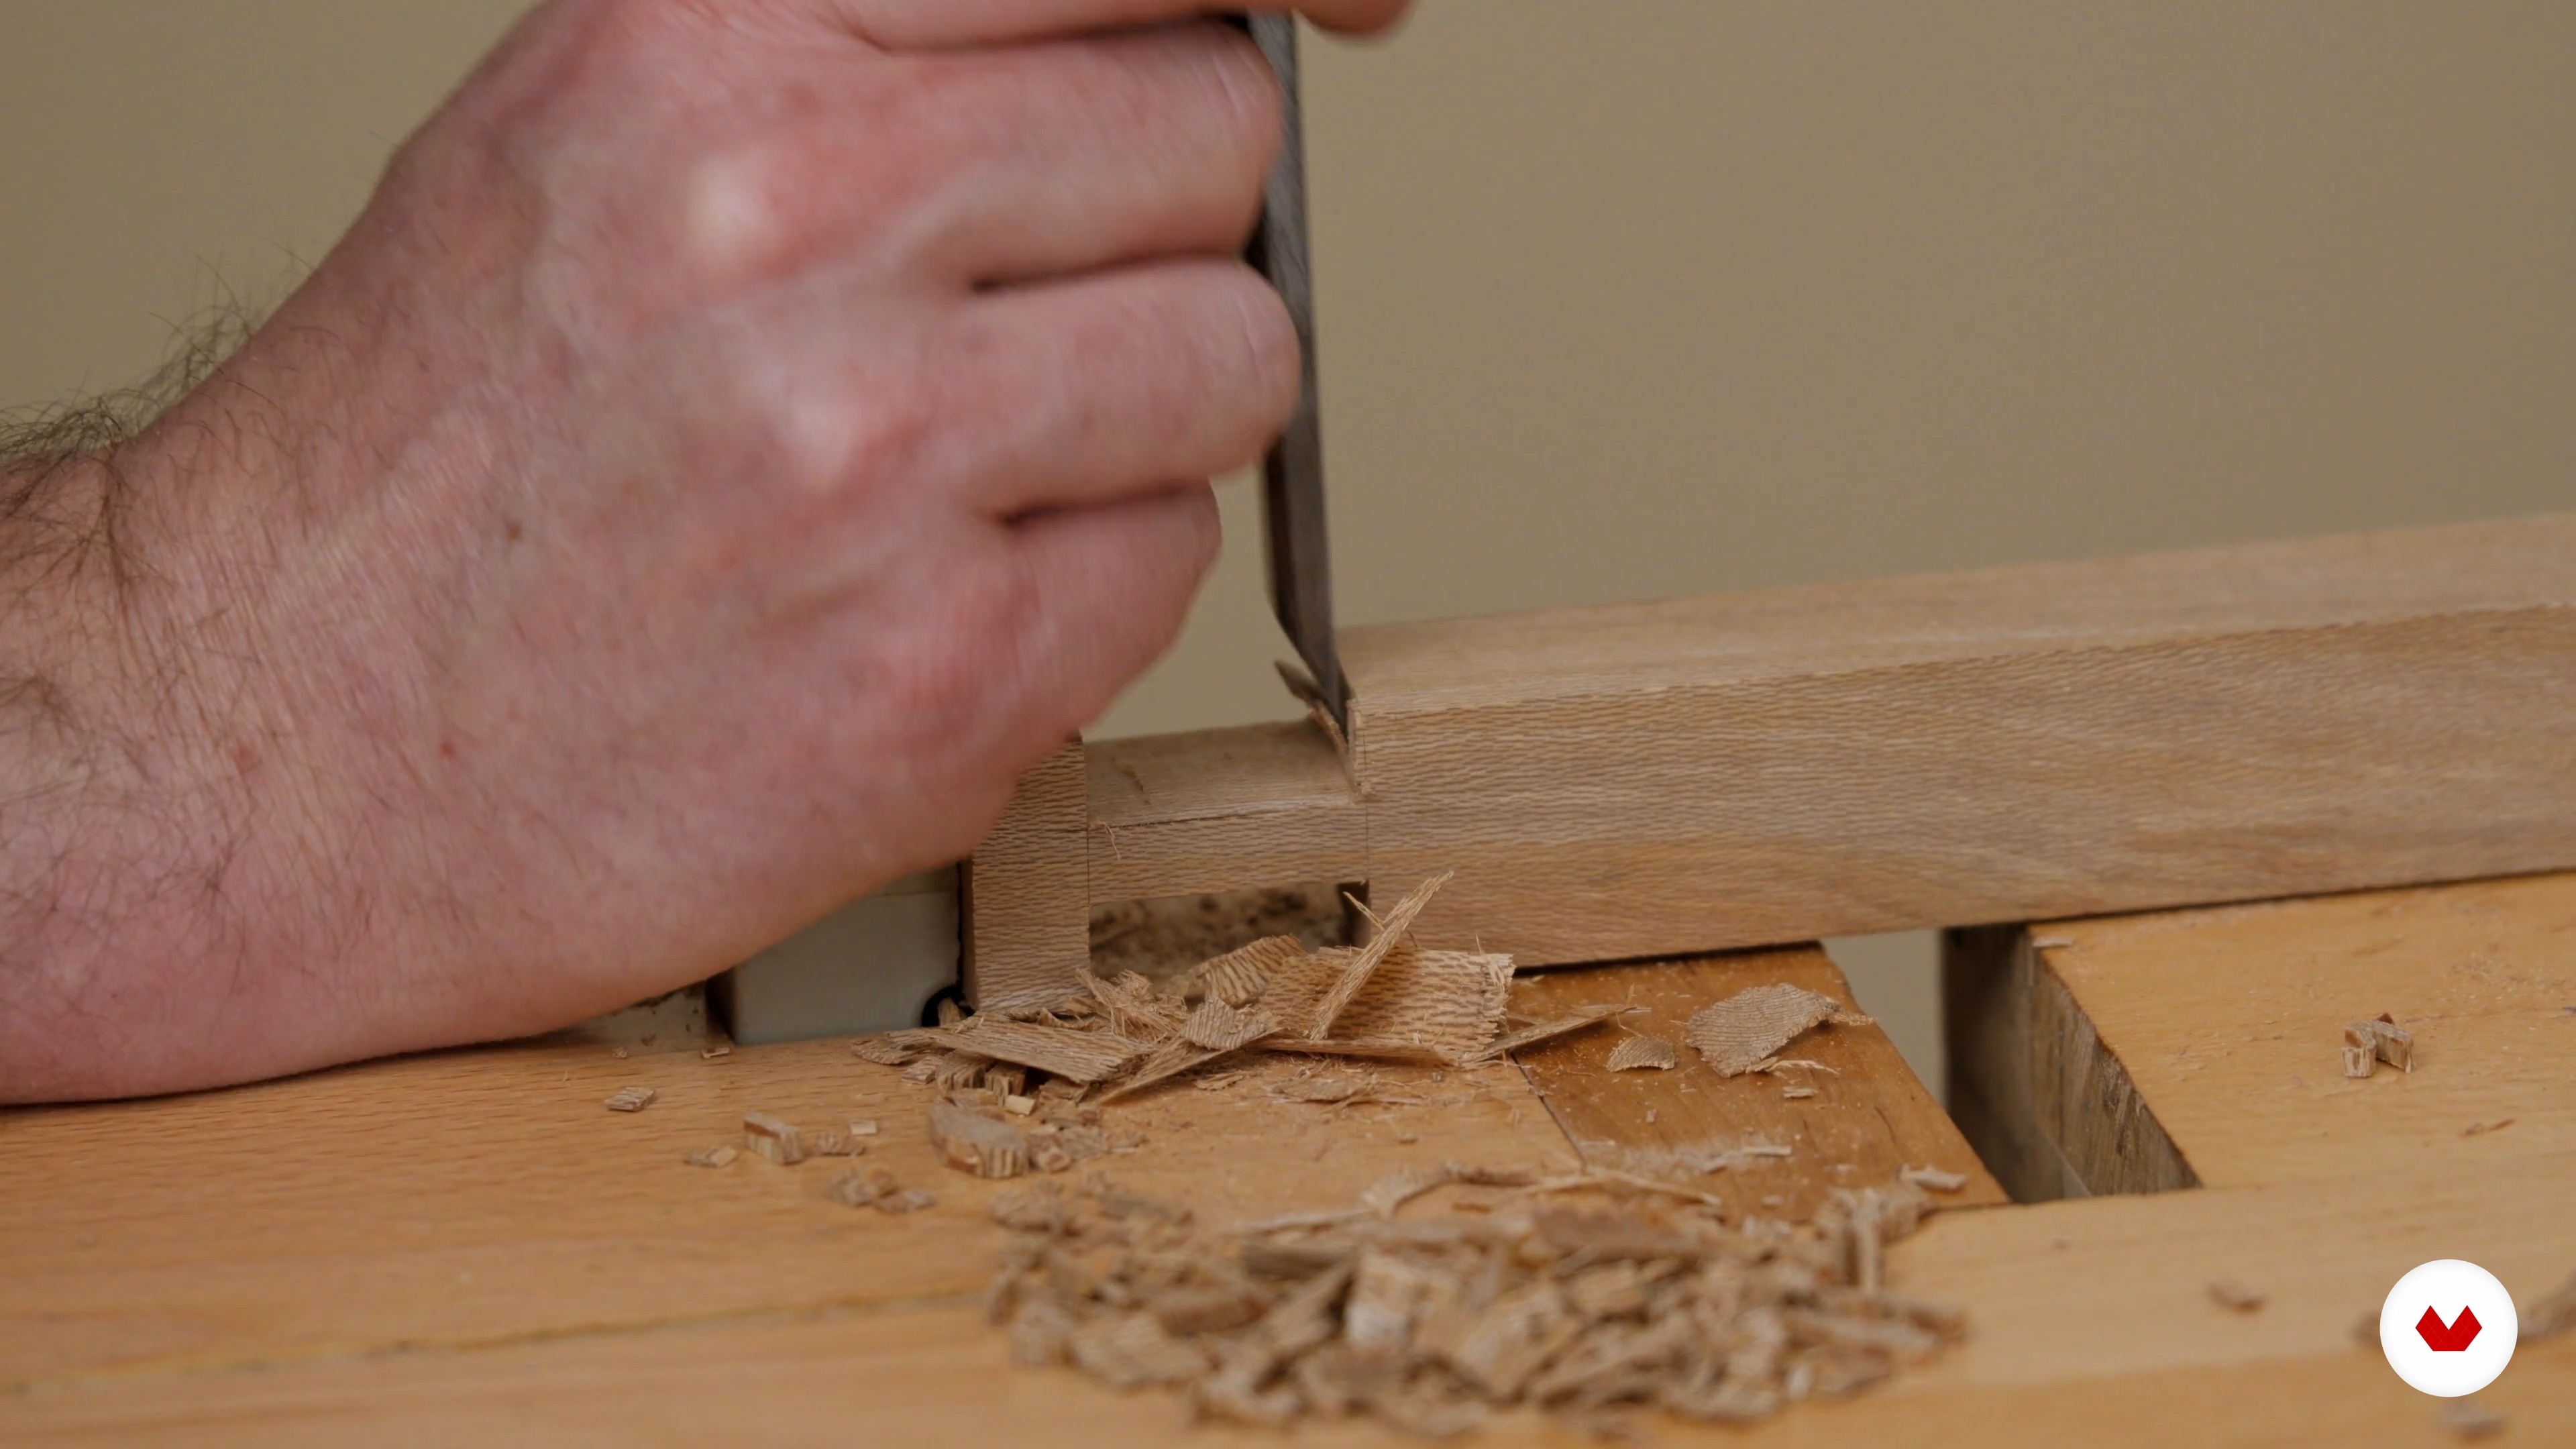
8Marking Out and Cutting Bridle Joints 1
In this lesson, I will show you how to mark out and cut the bridle joints for attaching the seat rails of our stool. First, I will identify the reference faces (outside face and face to be morticed) and the mortice length. Then, I will use the same procedure as the mortice and tenon to mark walls and cheeks using the marking gauge.
16m
 9
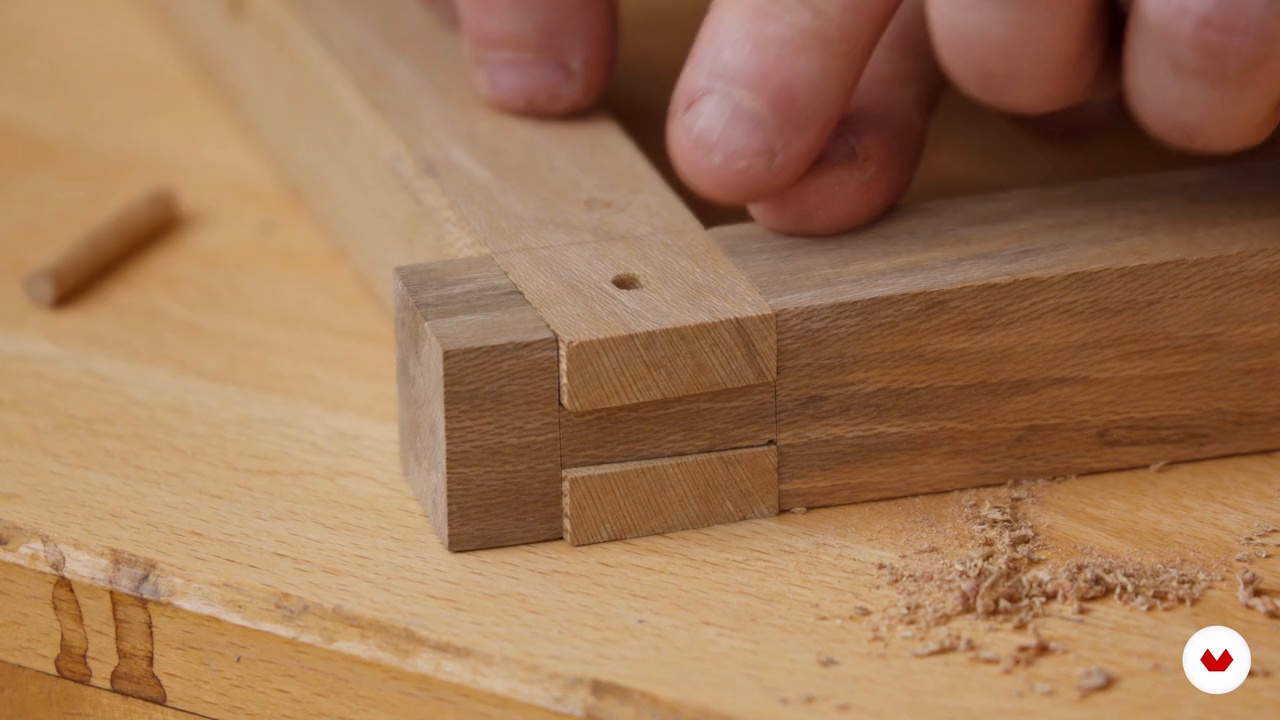
9Marking Out and Cutting Bridle Joints 2
Now, I will lay out the positions for the tenons in the rail structure. Then, I will use a chisel to bevel both shoulder lines on the waste side to create a guide for my saw blade. Next, I will cut the tenon cheeks using the chisel and pair them. Finally, I will test assemble and look for issues.
17m
 10
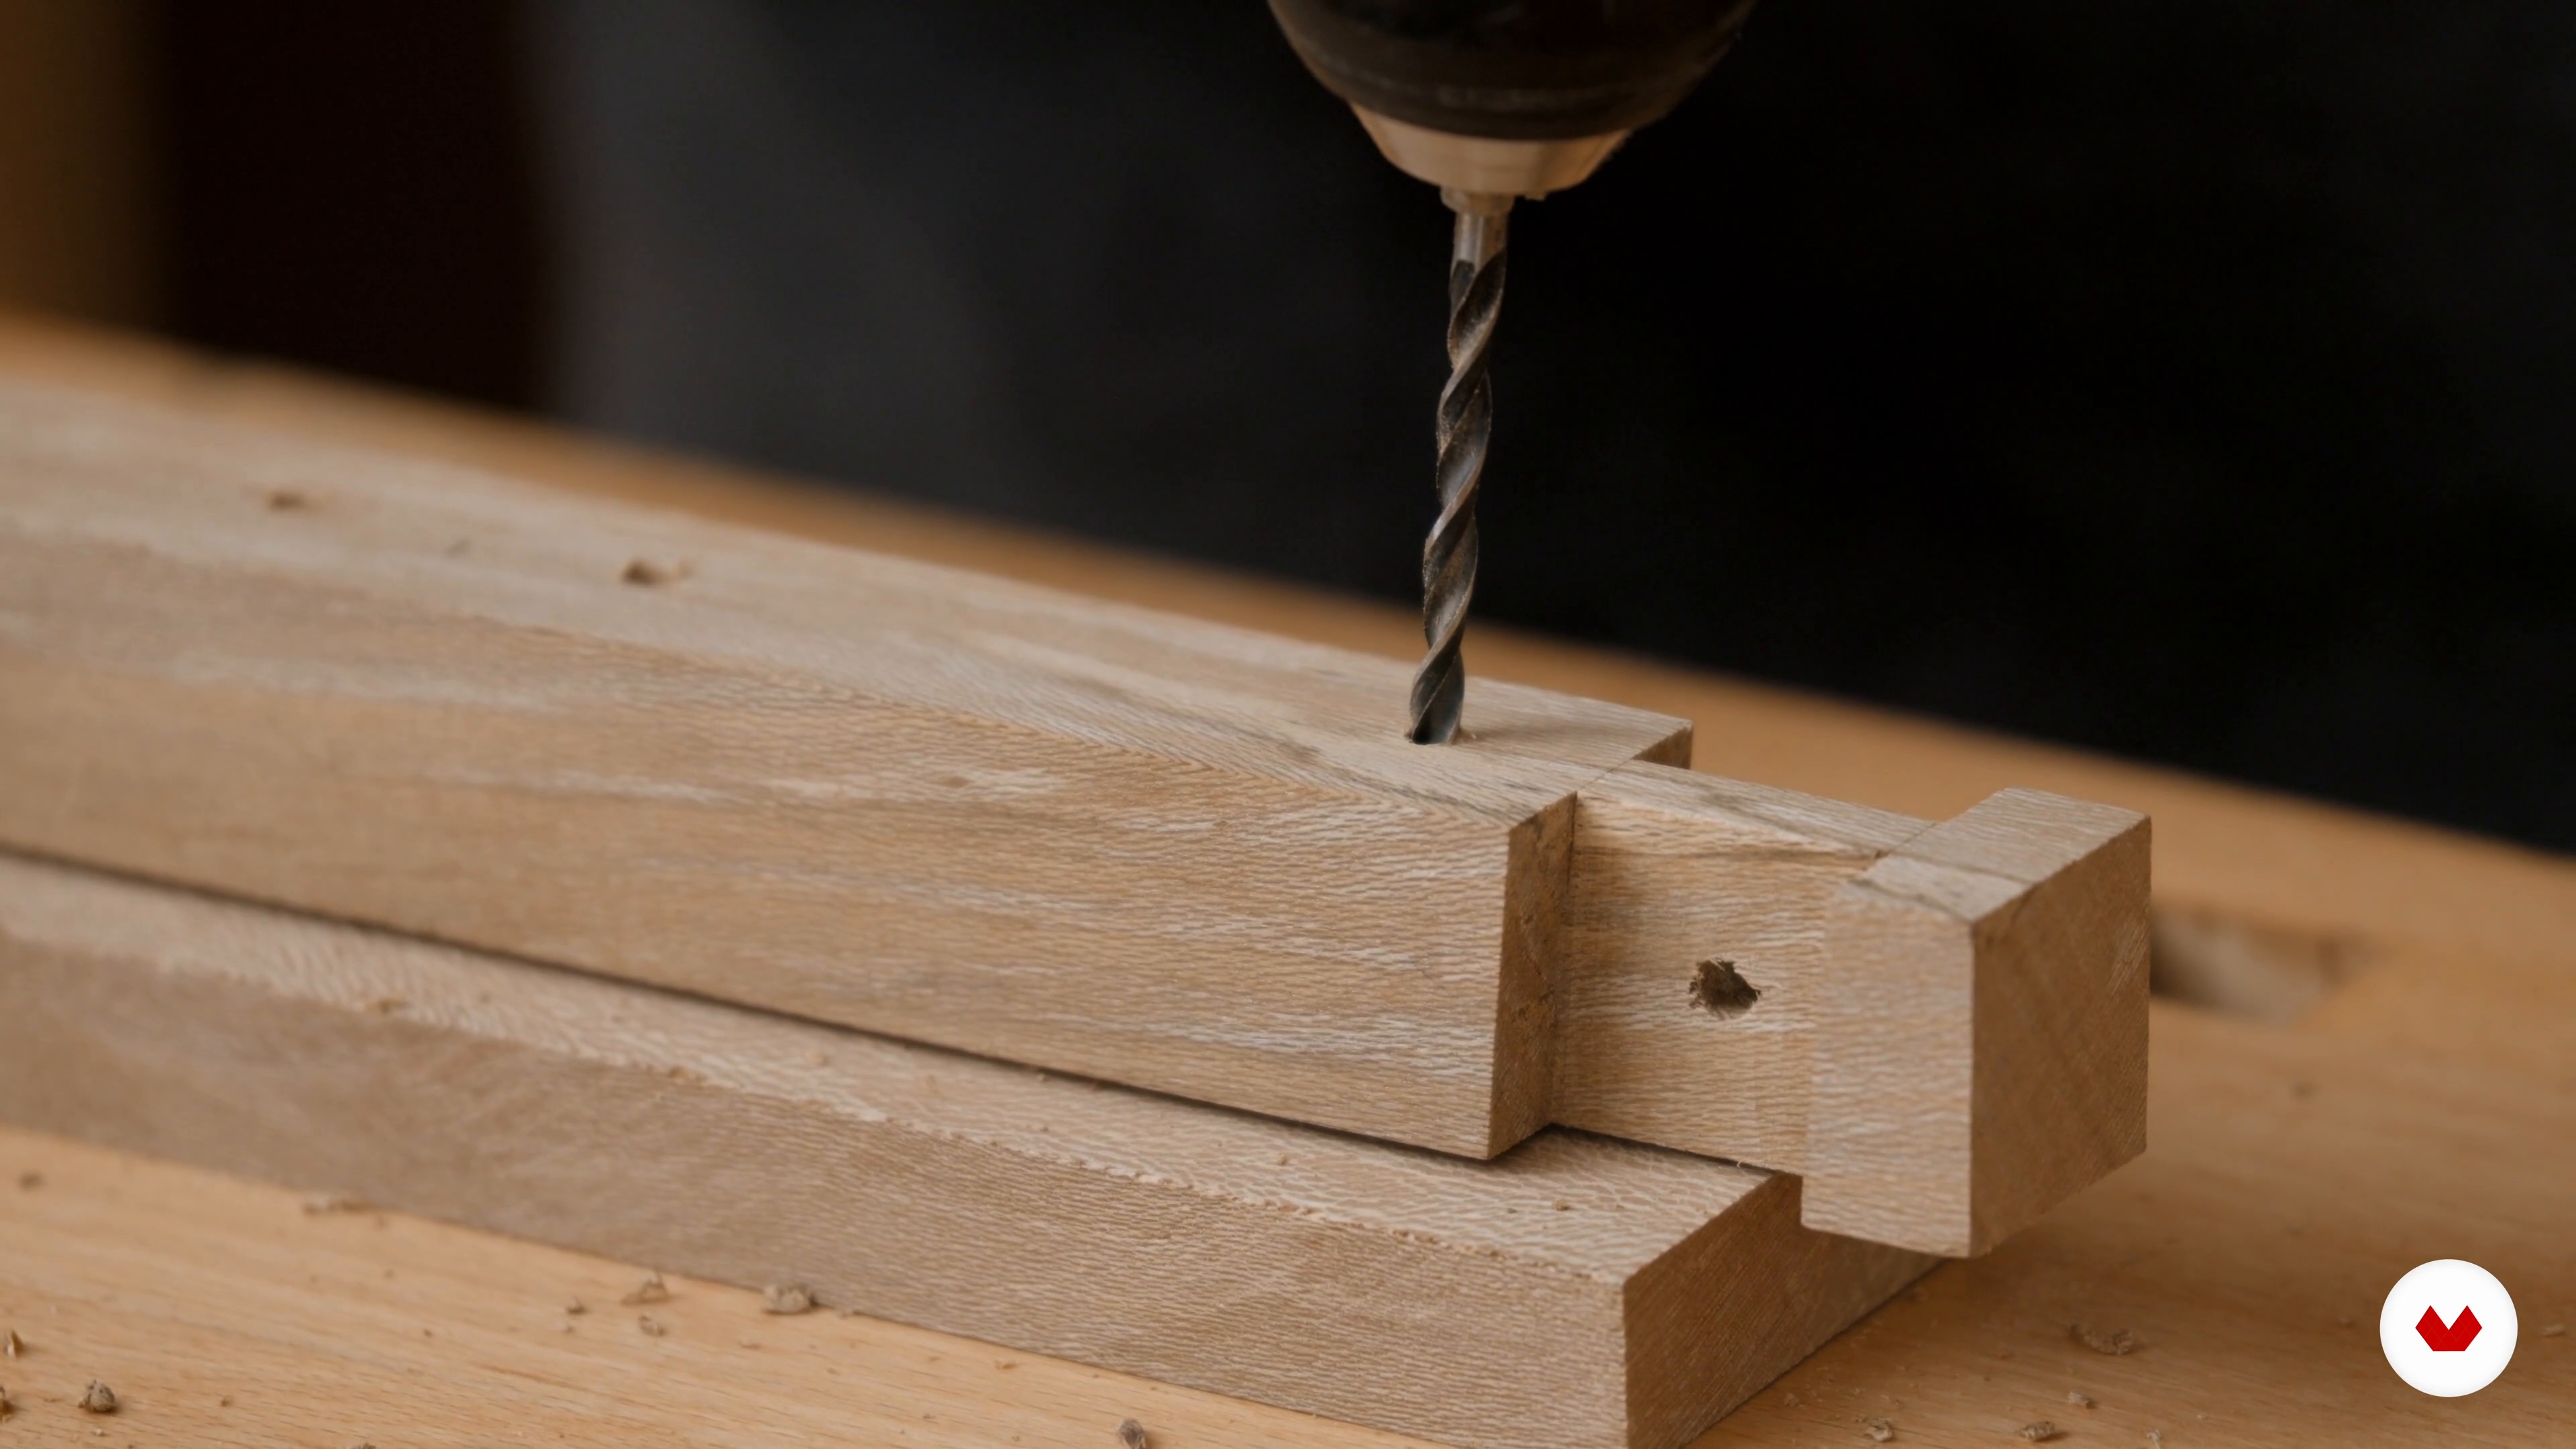
10Draw Bore Assembly
In this lesson, I will introduce you to the concept of drawboring, how to mark it out, and how to use dowels.
8m
 11
11The Glue-Up Process 1
Before gluing up the sides, in this lesson, I will show you how to drill the holes in the stretchers that will allow you to attach the top, select a drill size slightly larger than the intended screw, and prepare a counter sink to hide the head on the underneath. Then, I will sand the inside faces with 120 grit sandpaper using offcuts to keep them square.
14m
 12
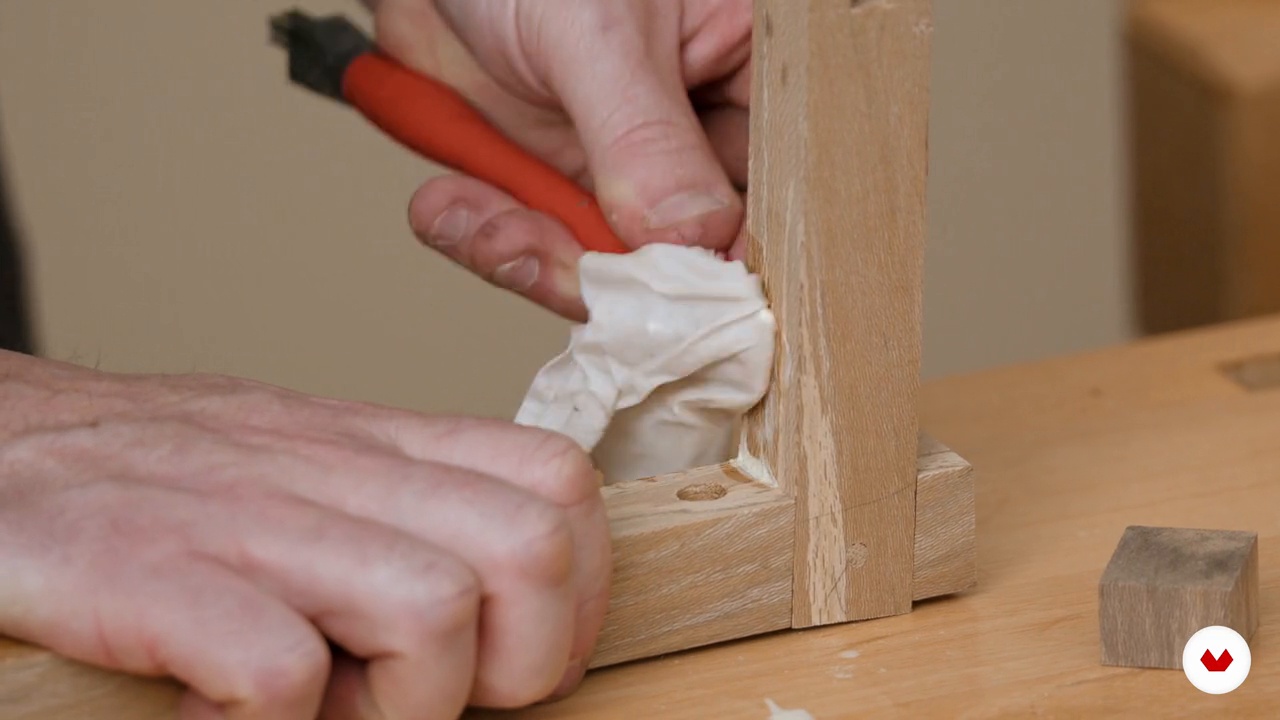
12The Glue-Up Process 2
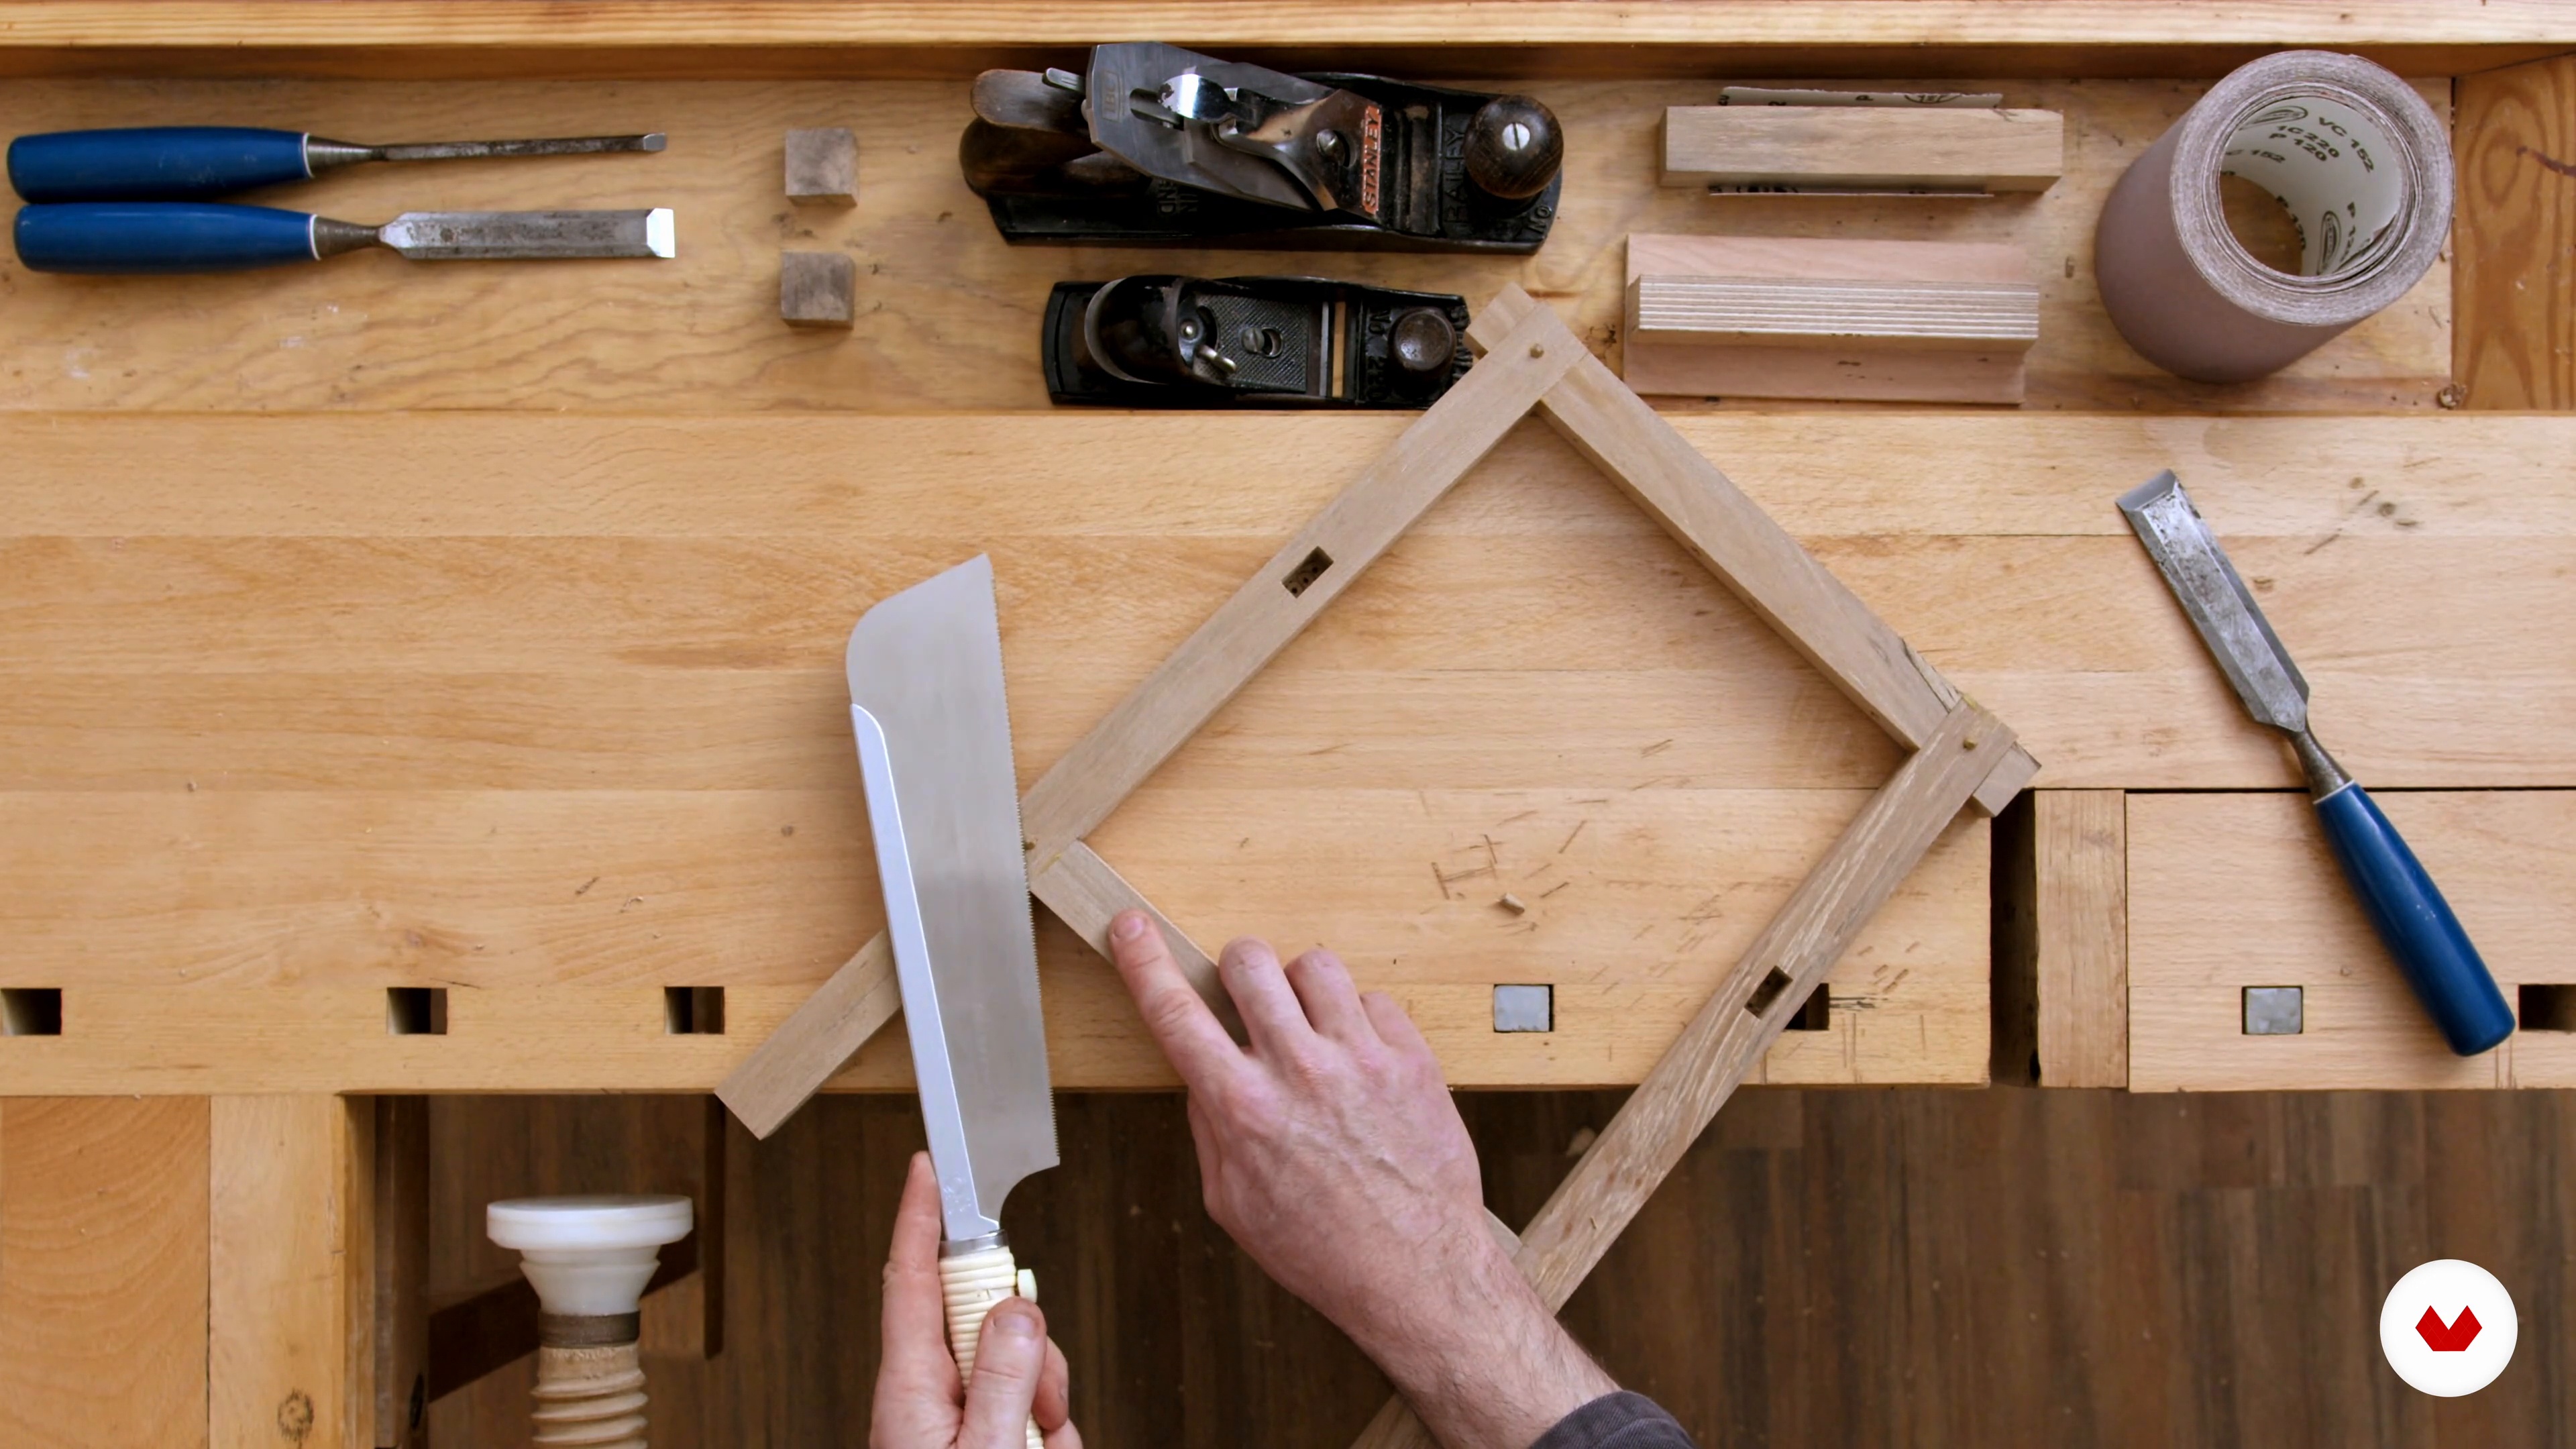
Now that I have prepared all the inside faces of our components, it's time to start gluing up the first assembly. I will glue up each side individually and apply glue to all the mortices and the tenon faces. Then, I will assemble all the joints, and next, I will hammer the drawbore pegs in to bring the joint home. Finally, I will remove any glue squeezed out.
11m
 13
13The Glue-Up Process 3
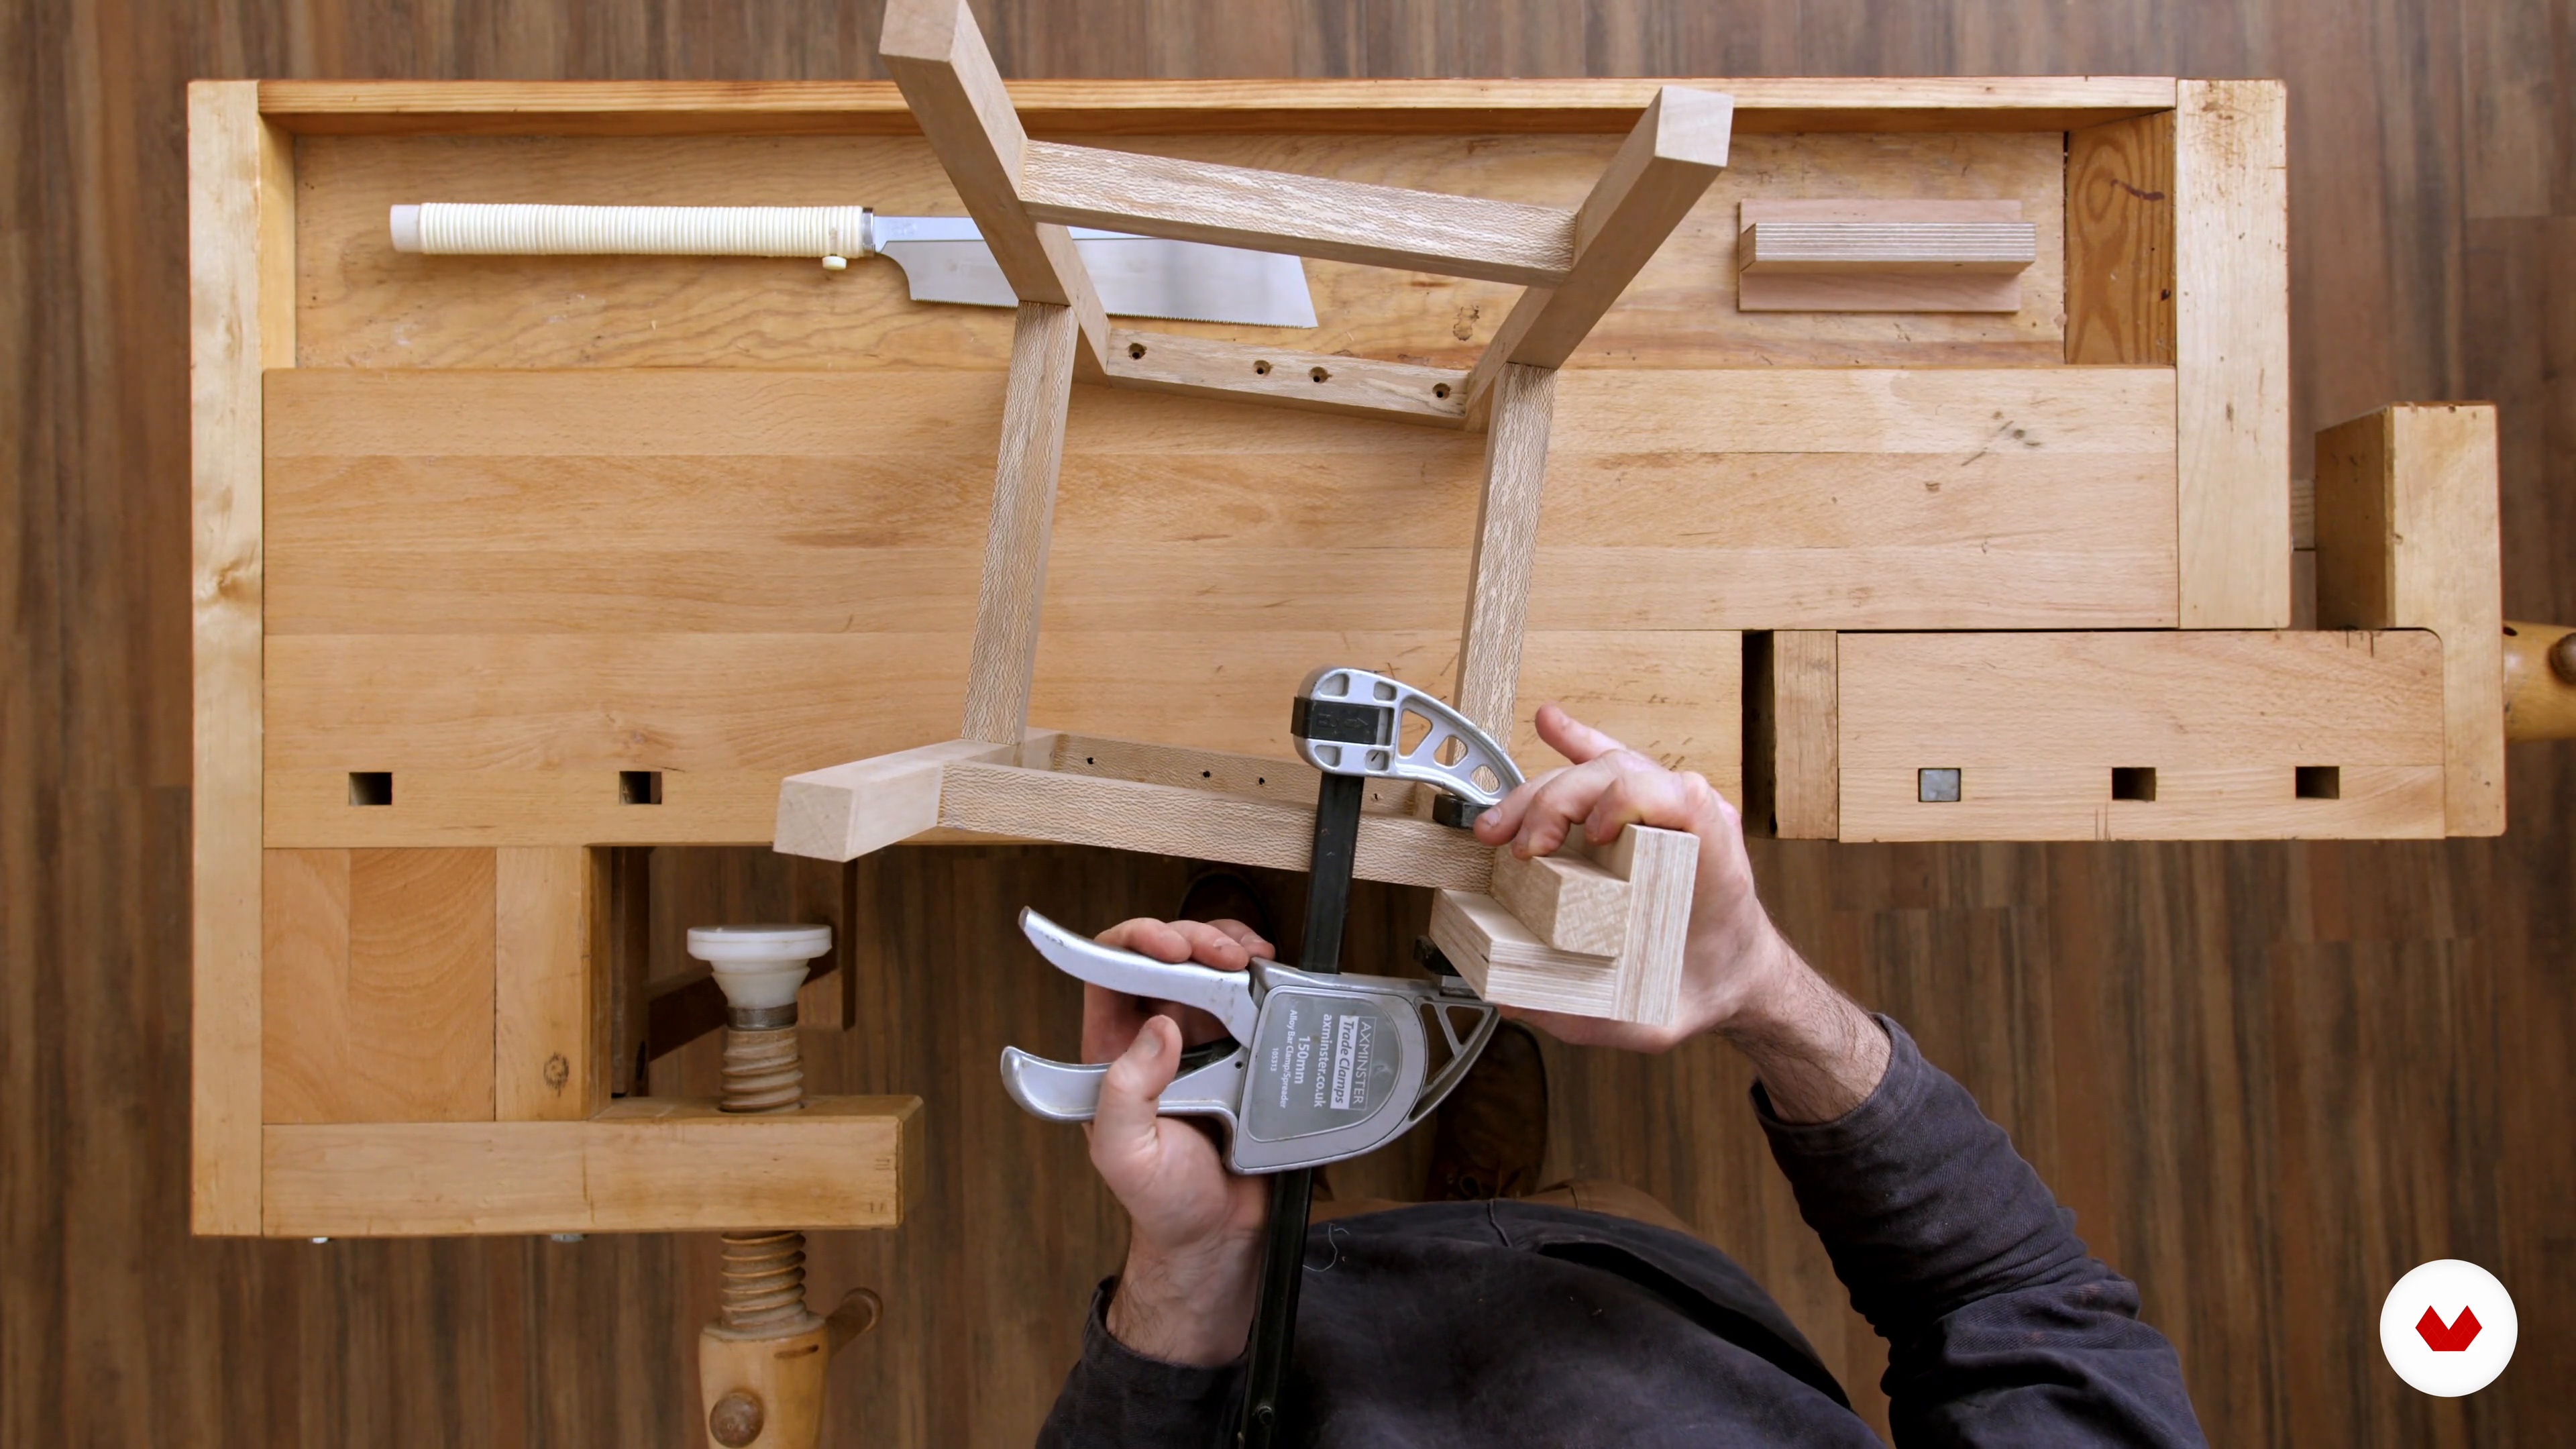
Once the glue is dry, I will sand the inside faces of the two assembled sides and plane the tops of the stretchers. Then, I will glue up the two sides to make the final piece, applying glue to all the faces ready to assemble.
19m
 14
14Finishing and Assembly 1
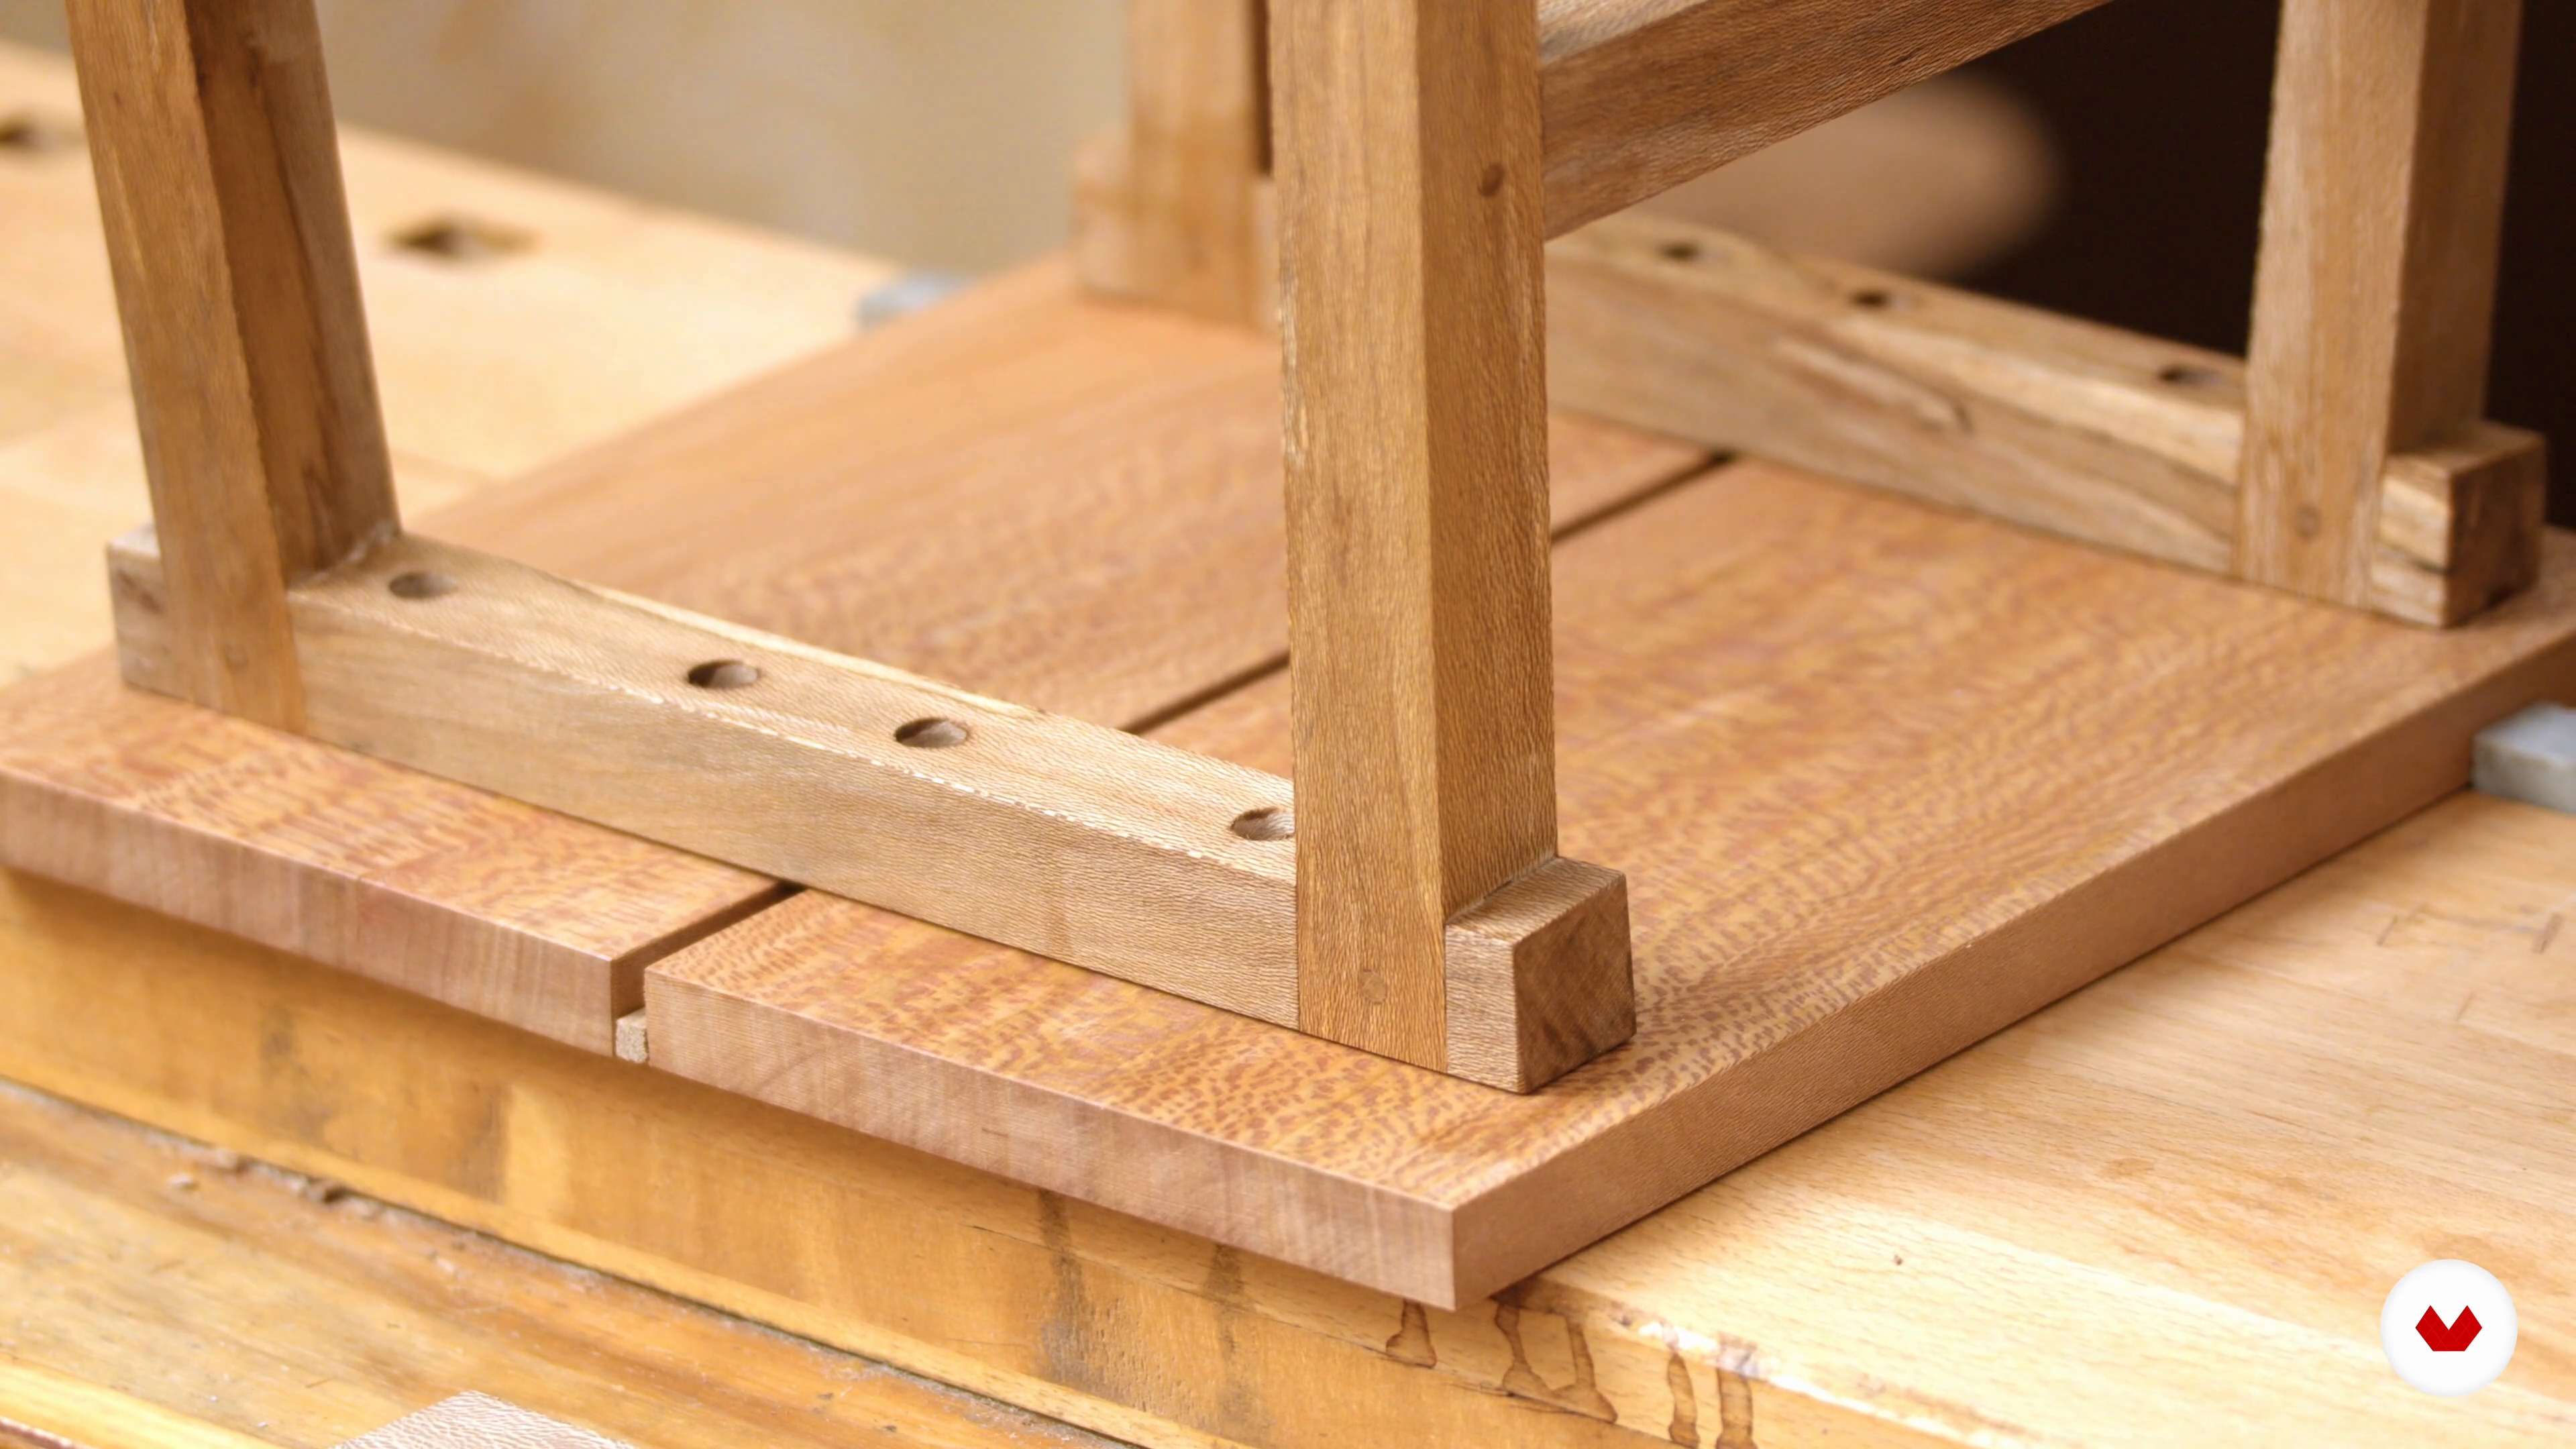
In this lesson, I will prepare the stool for finishing and discuss applying an oil finish. First, I will sand all the faces, then remove the dust, and finally, I will apply finish and work into the grain.
20m
 15
15Finishing and Assembly 2
Now that there are several coats of finish on my stool parts and they're totally dry, it's time to pass on to the next step of the process: assembling my stool. In this lesson, I will show you how to do this.
5m
 16
16Adjusting the Design
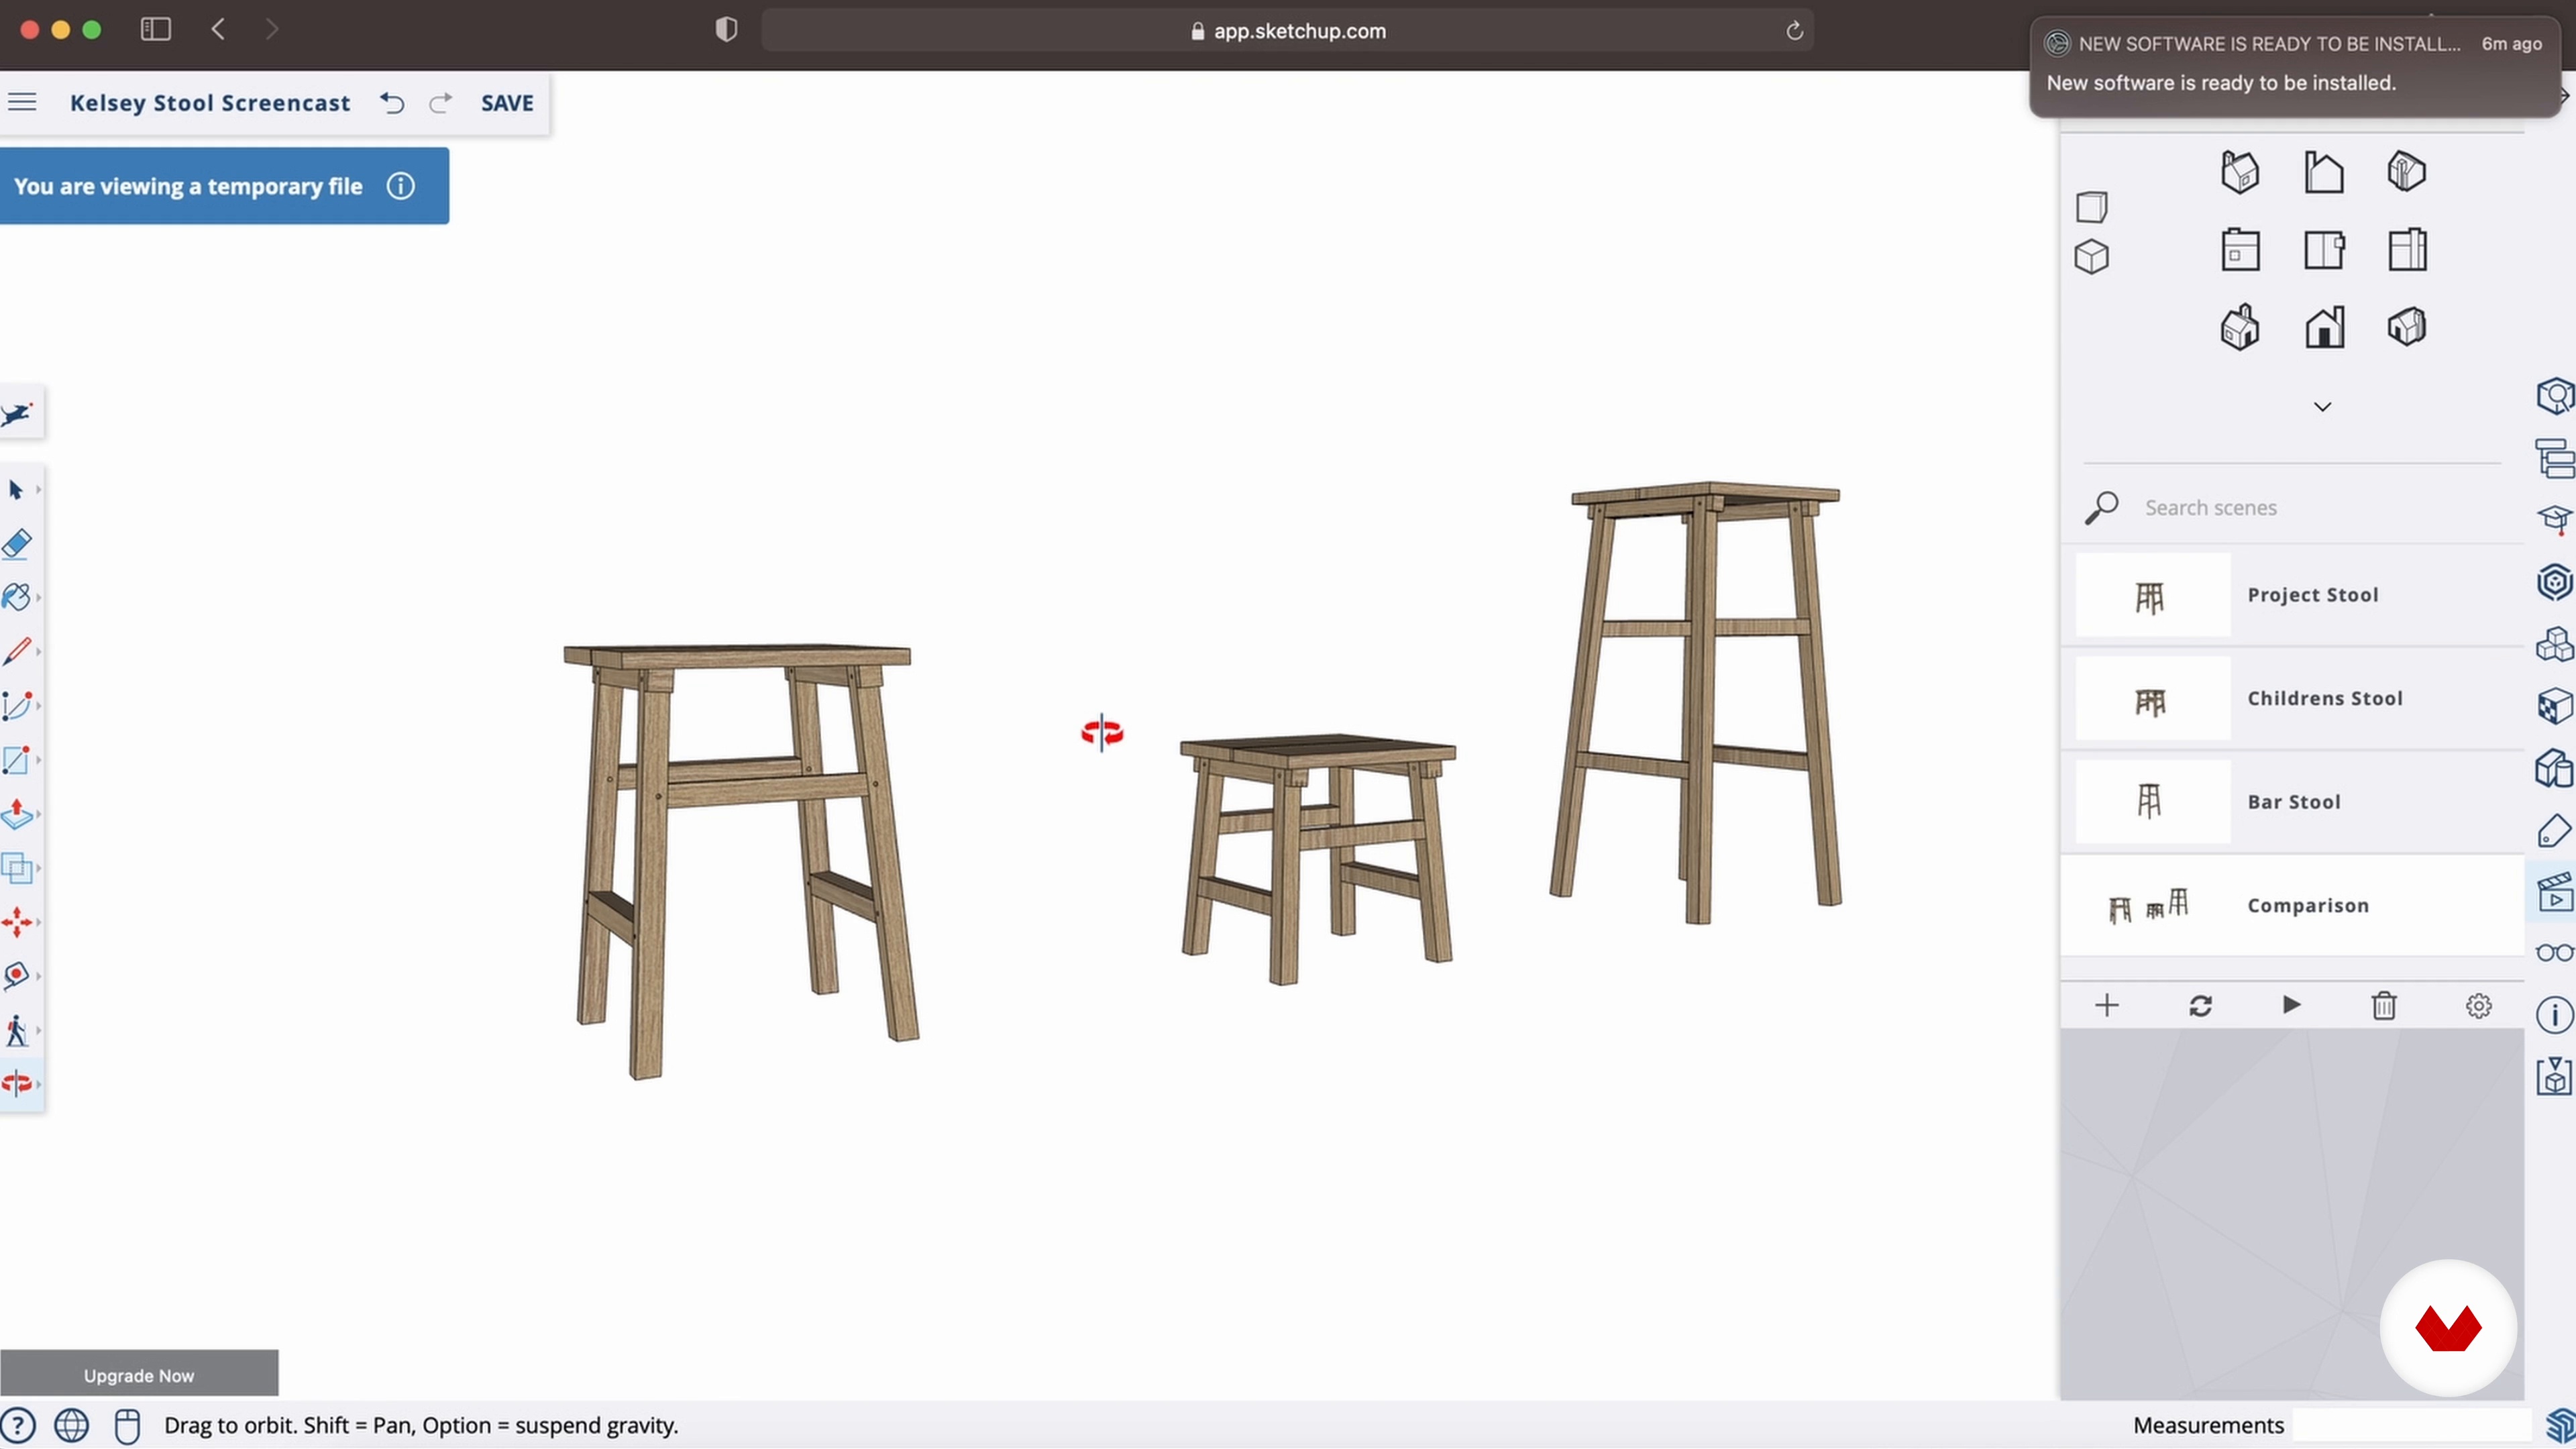
In this lesson, I will show you how you can adjust the same design for our stool to create a children's stool or a bar height stool.
4m
 17
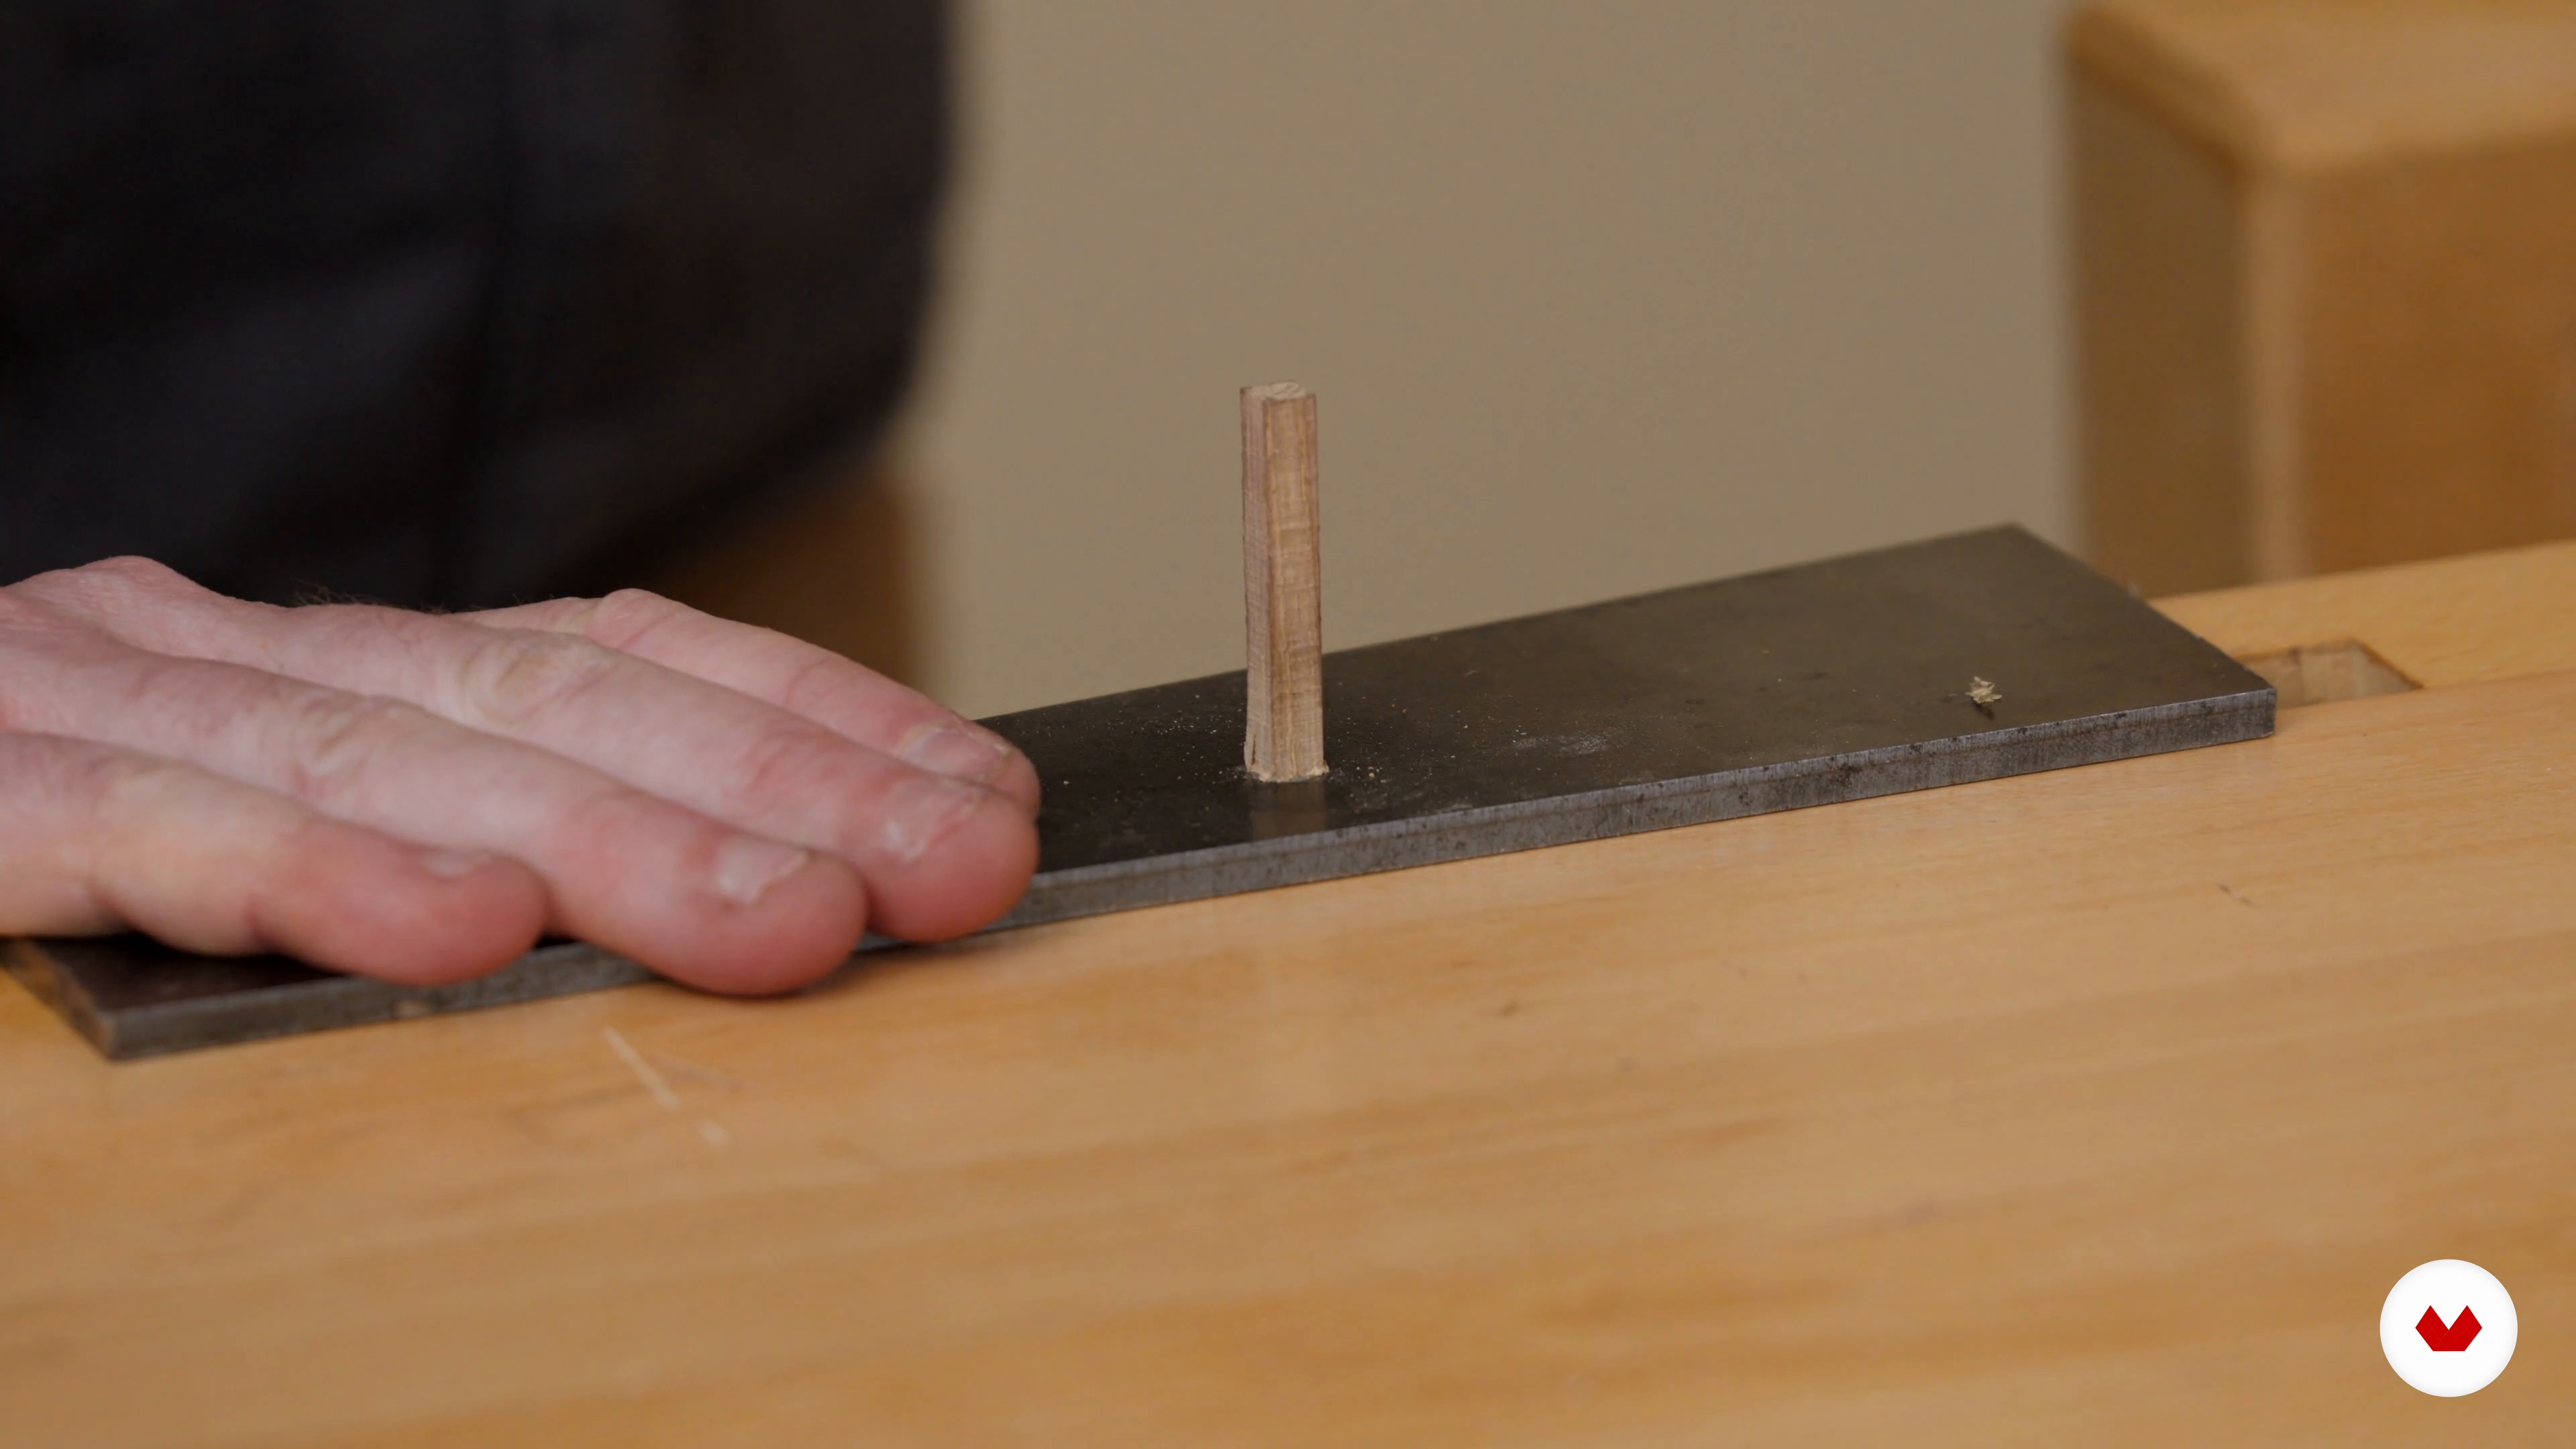
17DIY Dowel Making
Lastly, I will show you how to create homemade dowels if you don't want to buy them.
6m
 1
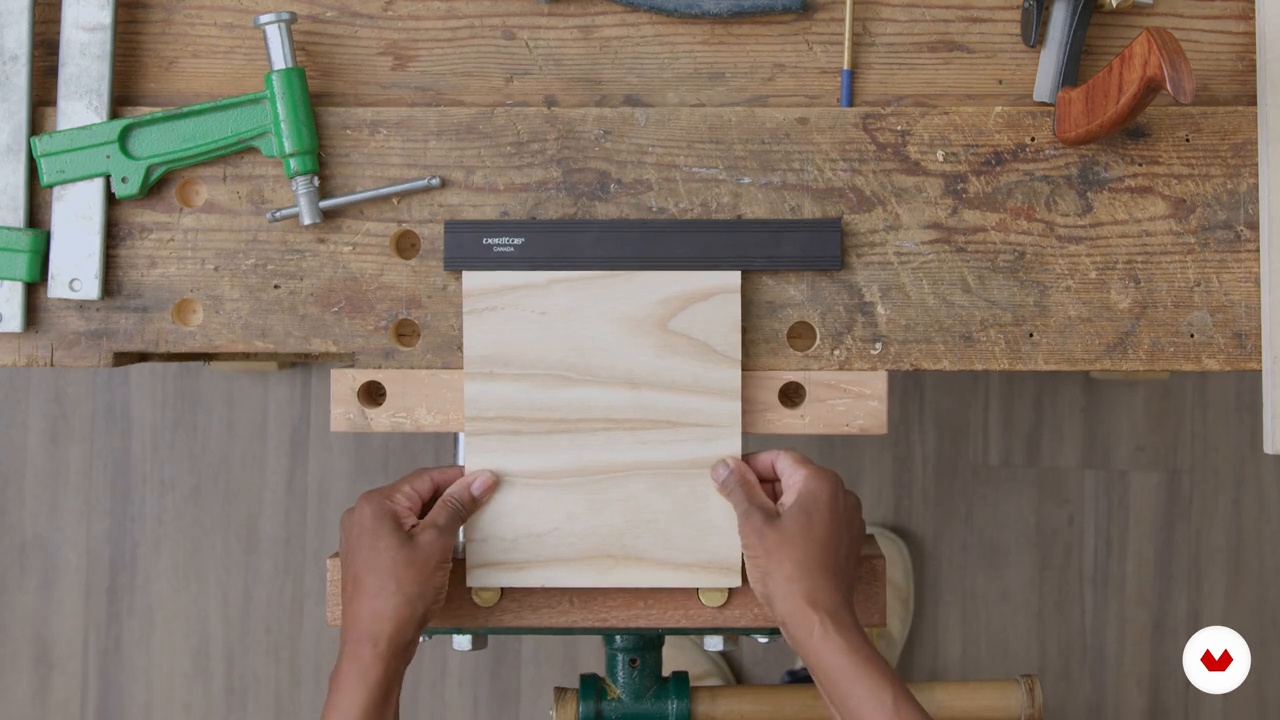
1Tools and Materials
To begin with, let's take a look at tools and materials. You will become familiar with the various saws, chisels, and marking-out tools that are used to cut dovetails. We will also review solid timber versus manufactured boards such as MDF, plywood, and veneer.
11m
 2
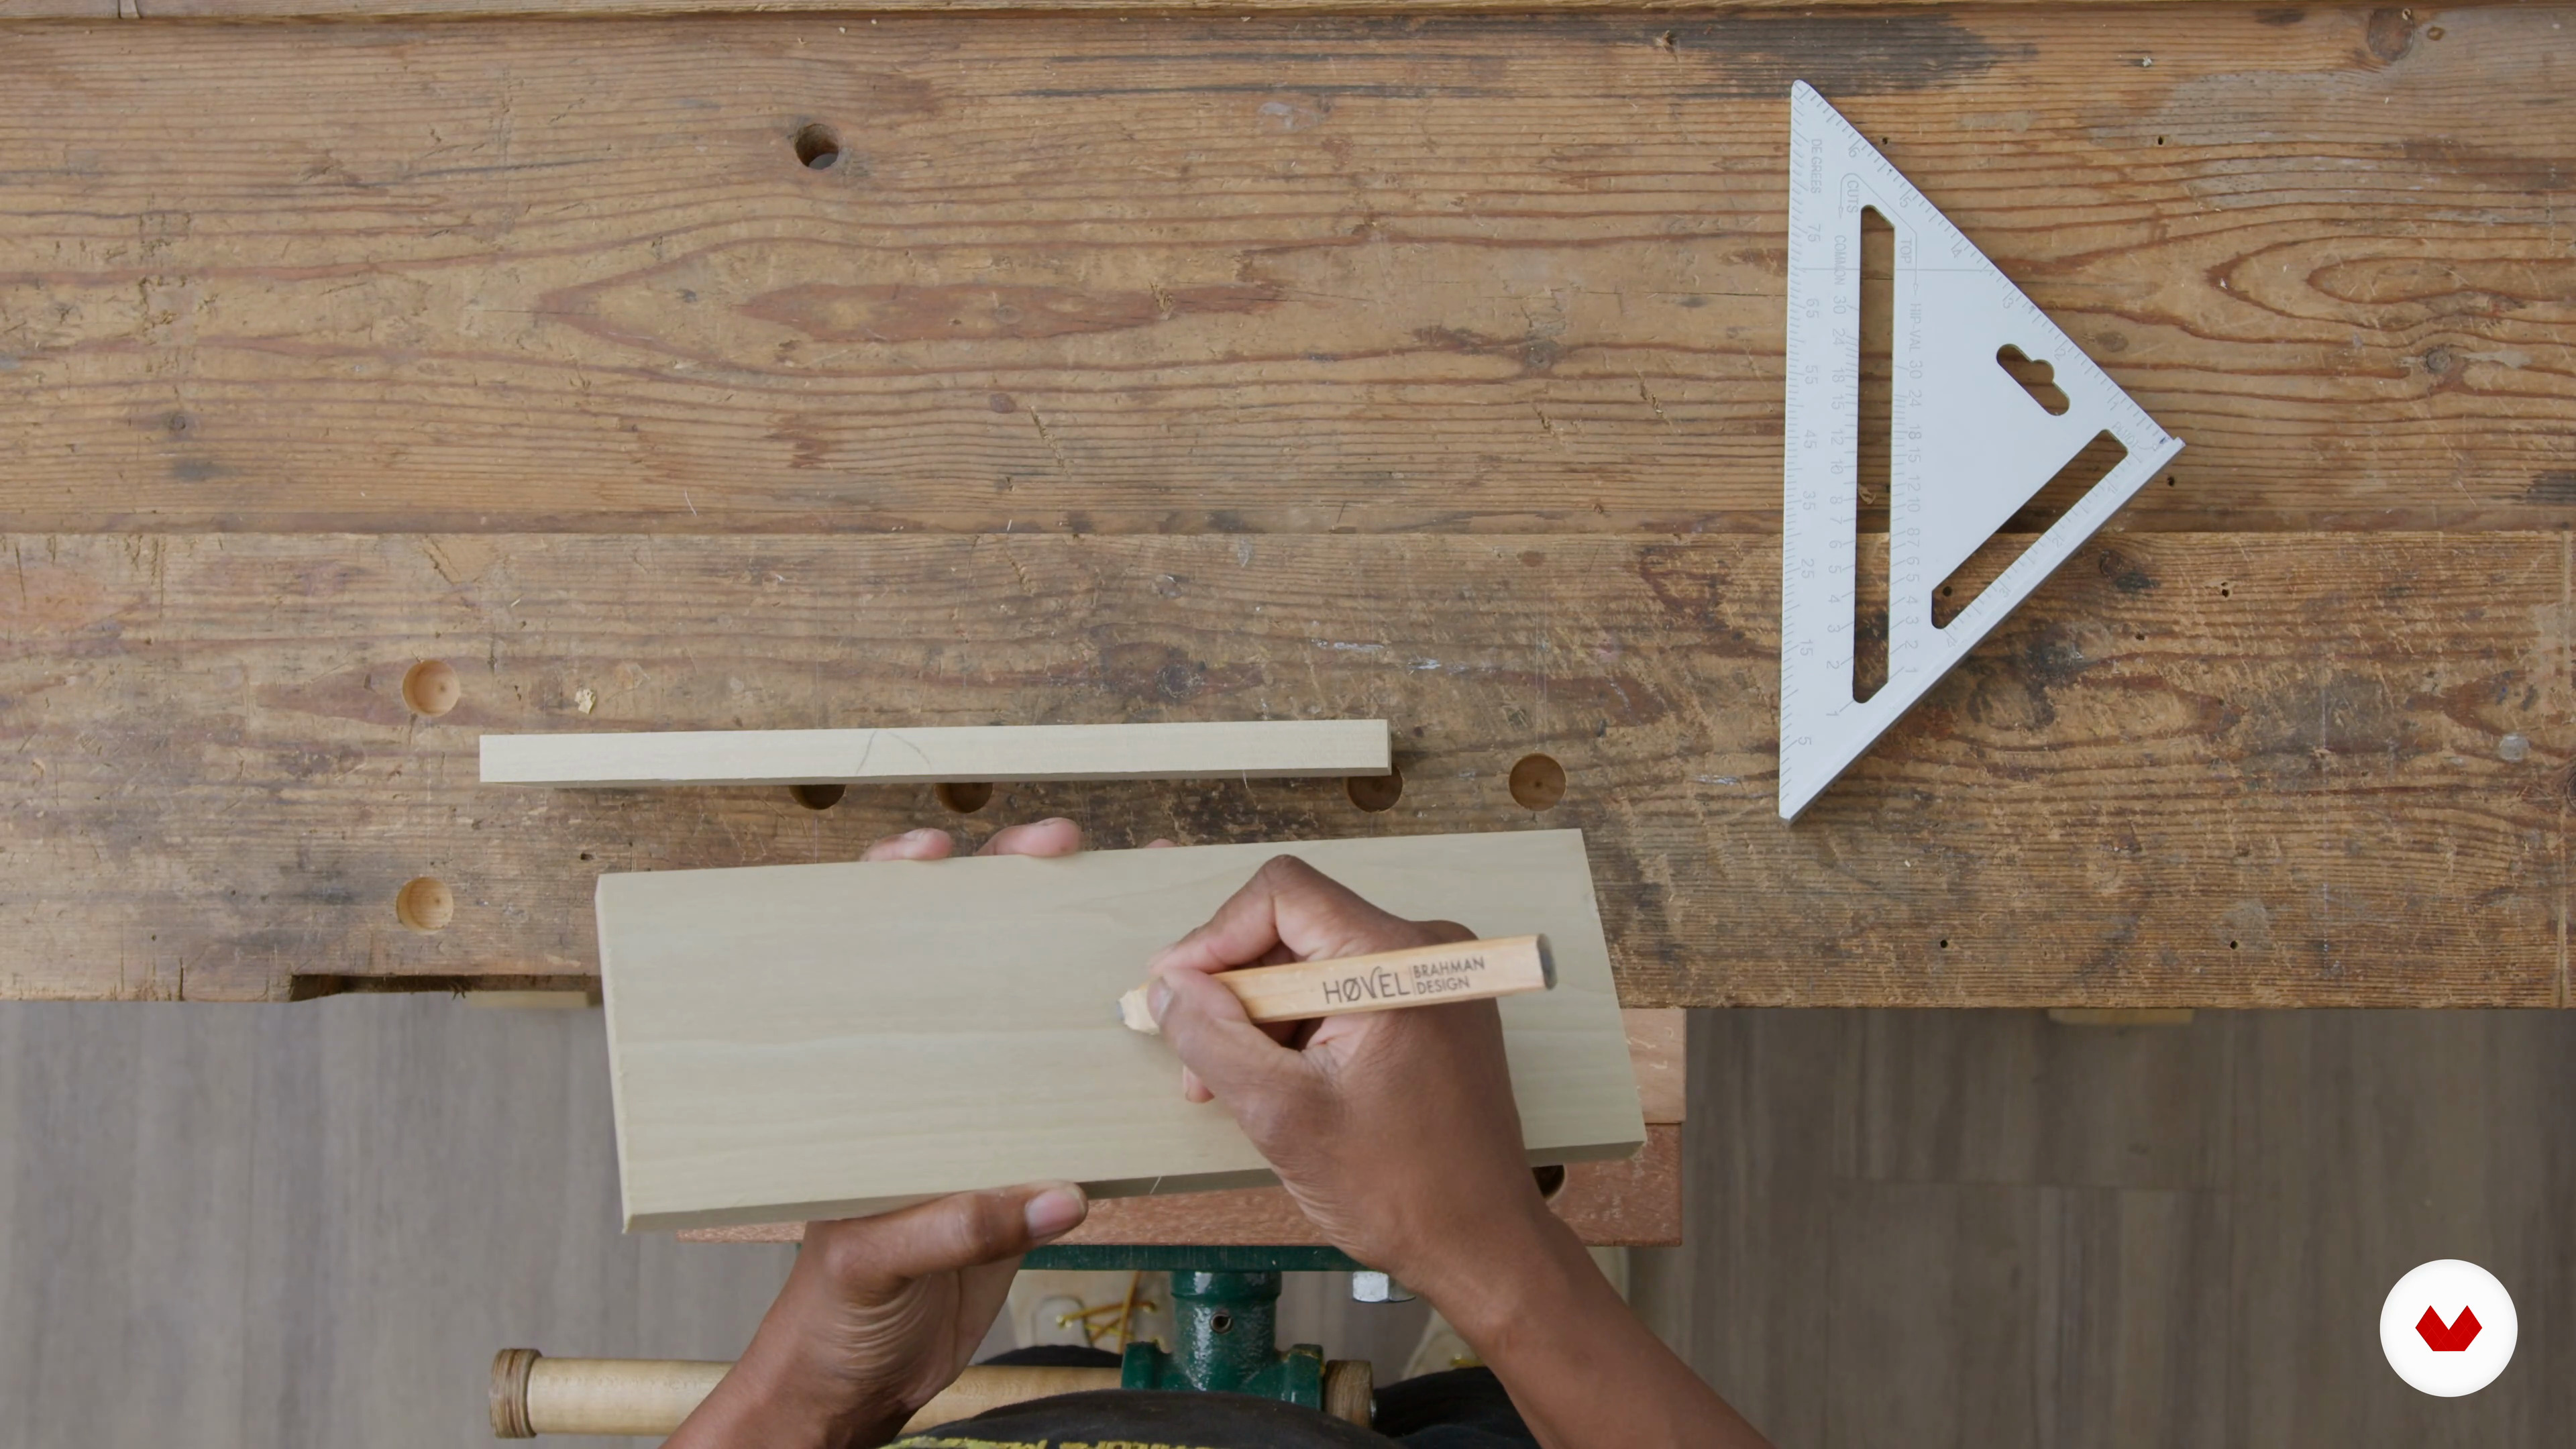
2Marking Systems
In this lesson, I will show you how to mark out your boards to ensure you're always working from the correct surface. This will help you to avoid any annoying mistakes that will cause problems later.
2m
 3
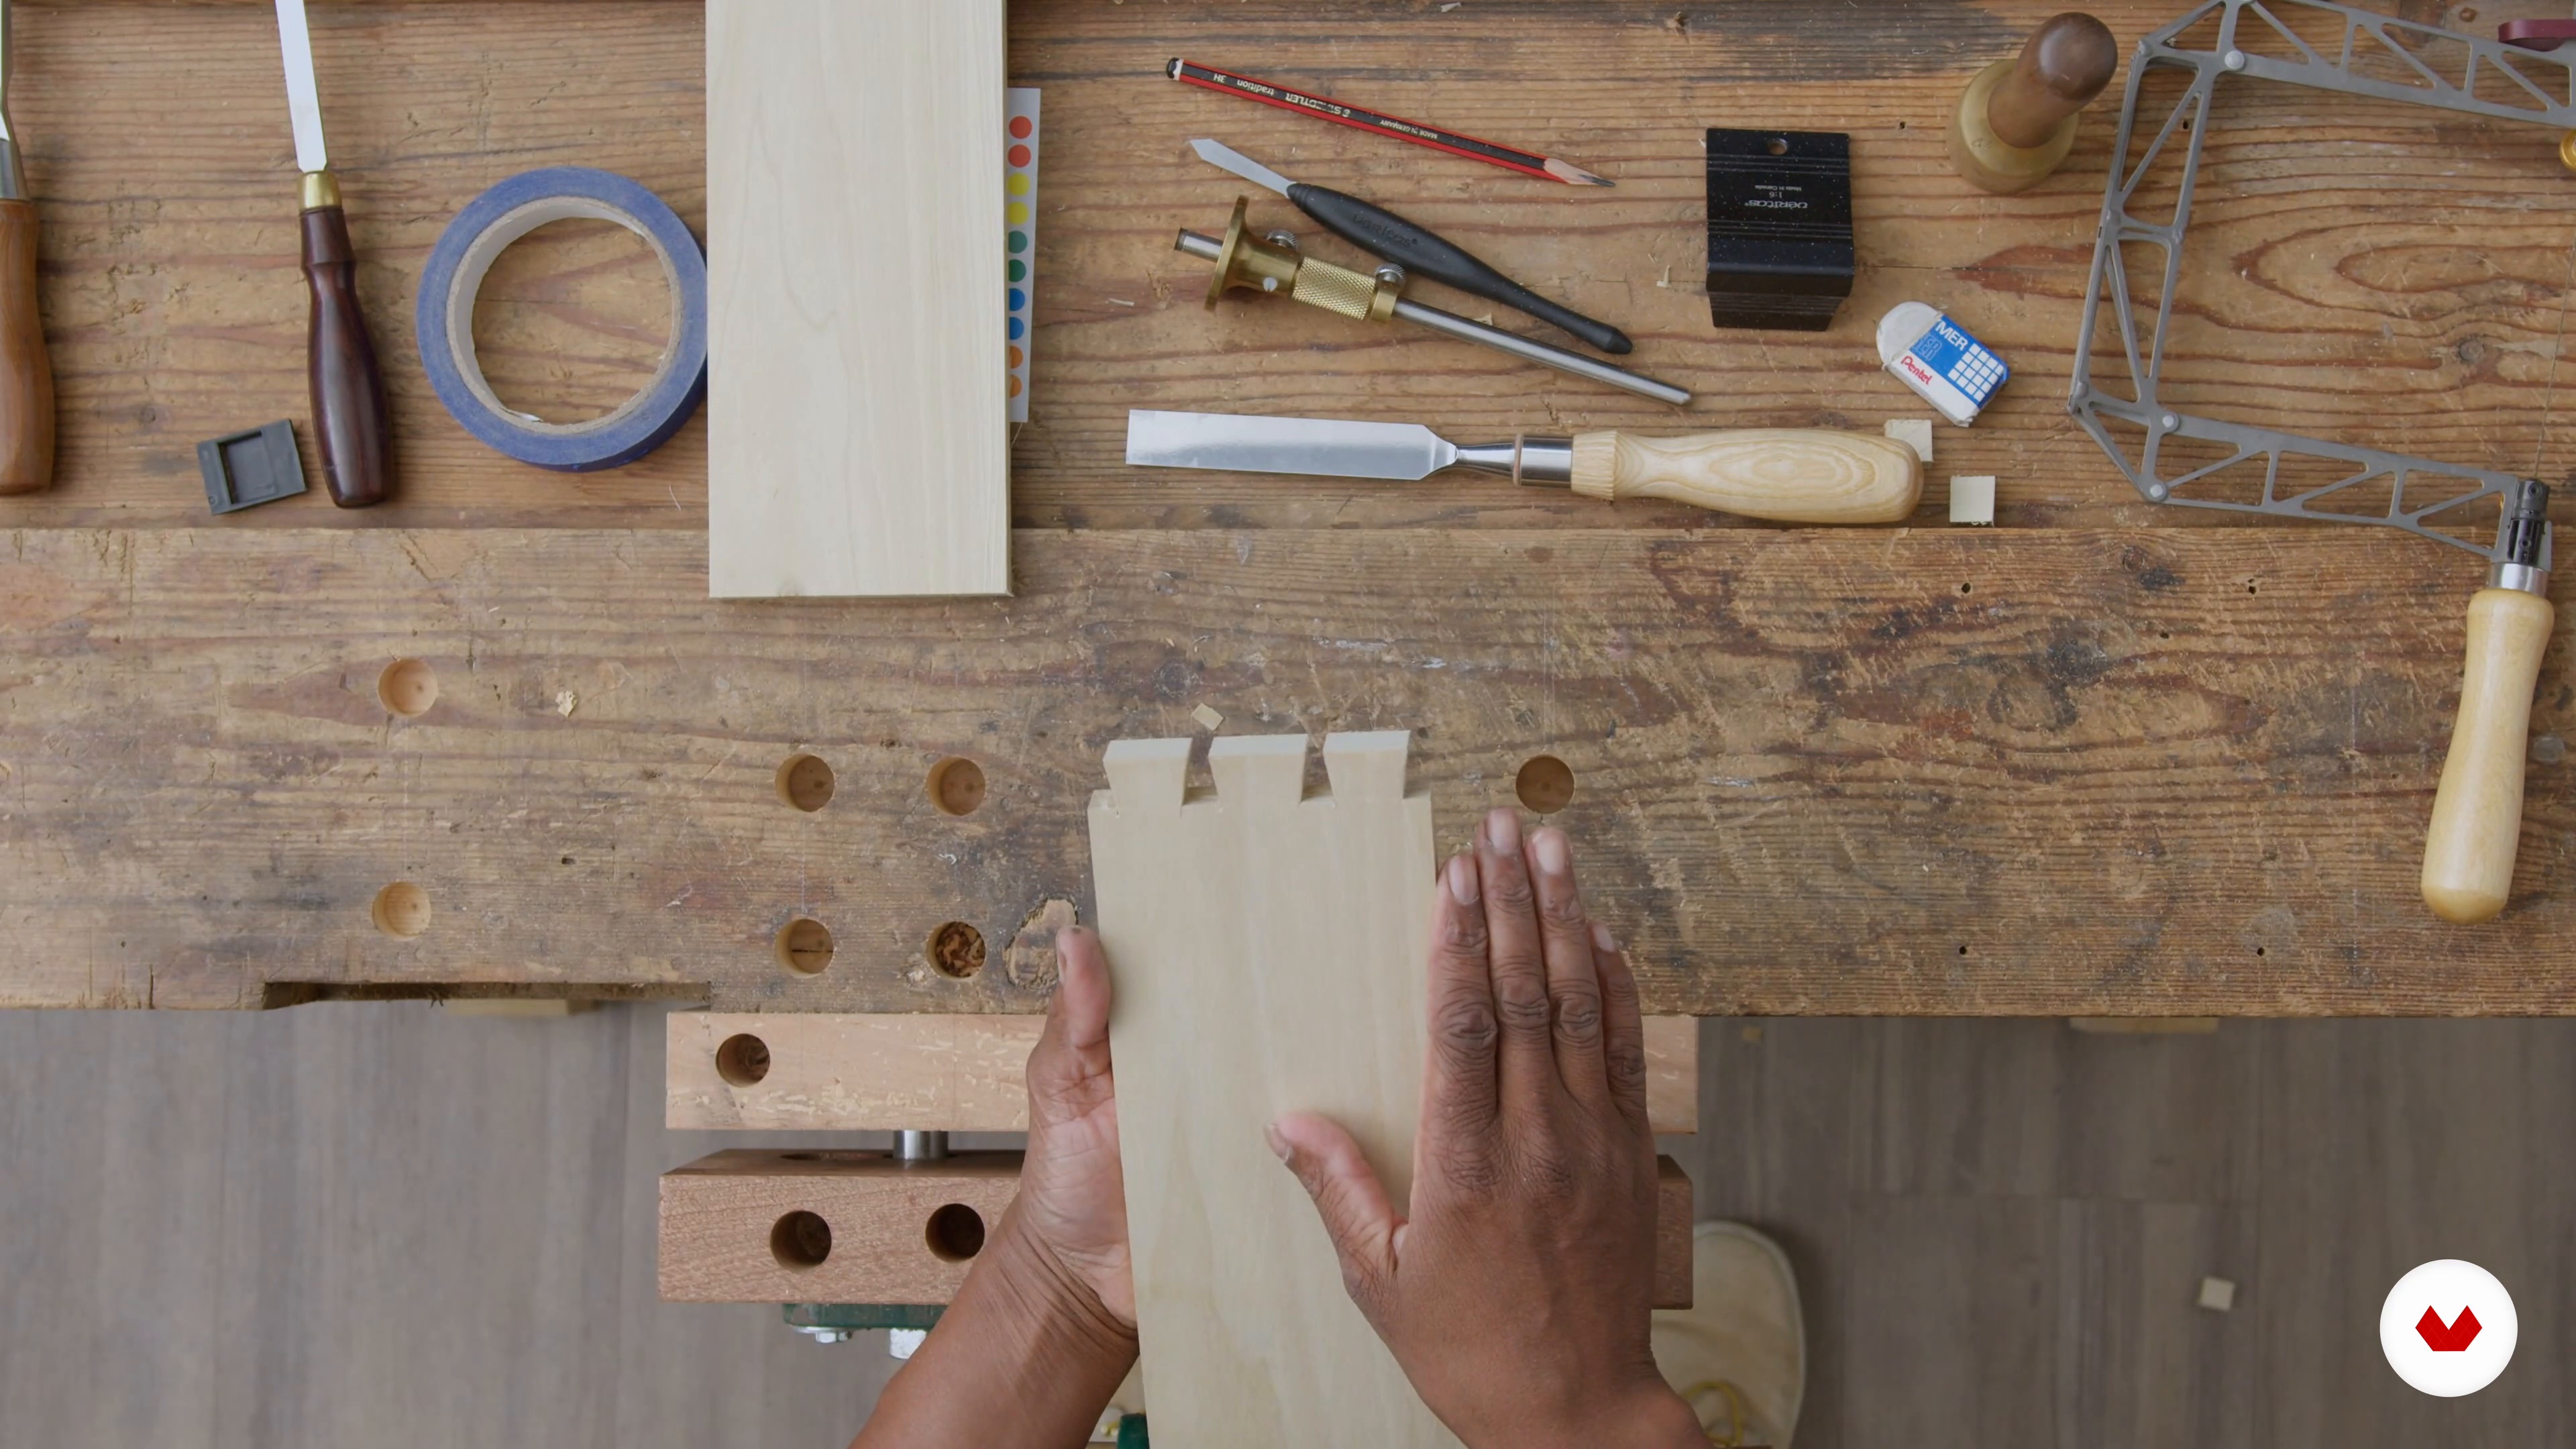
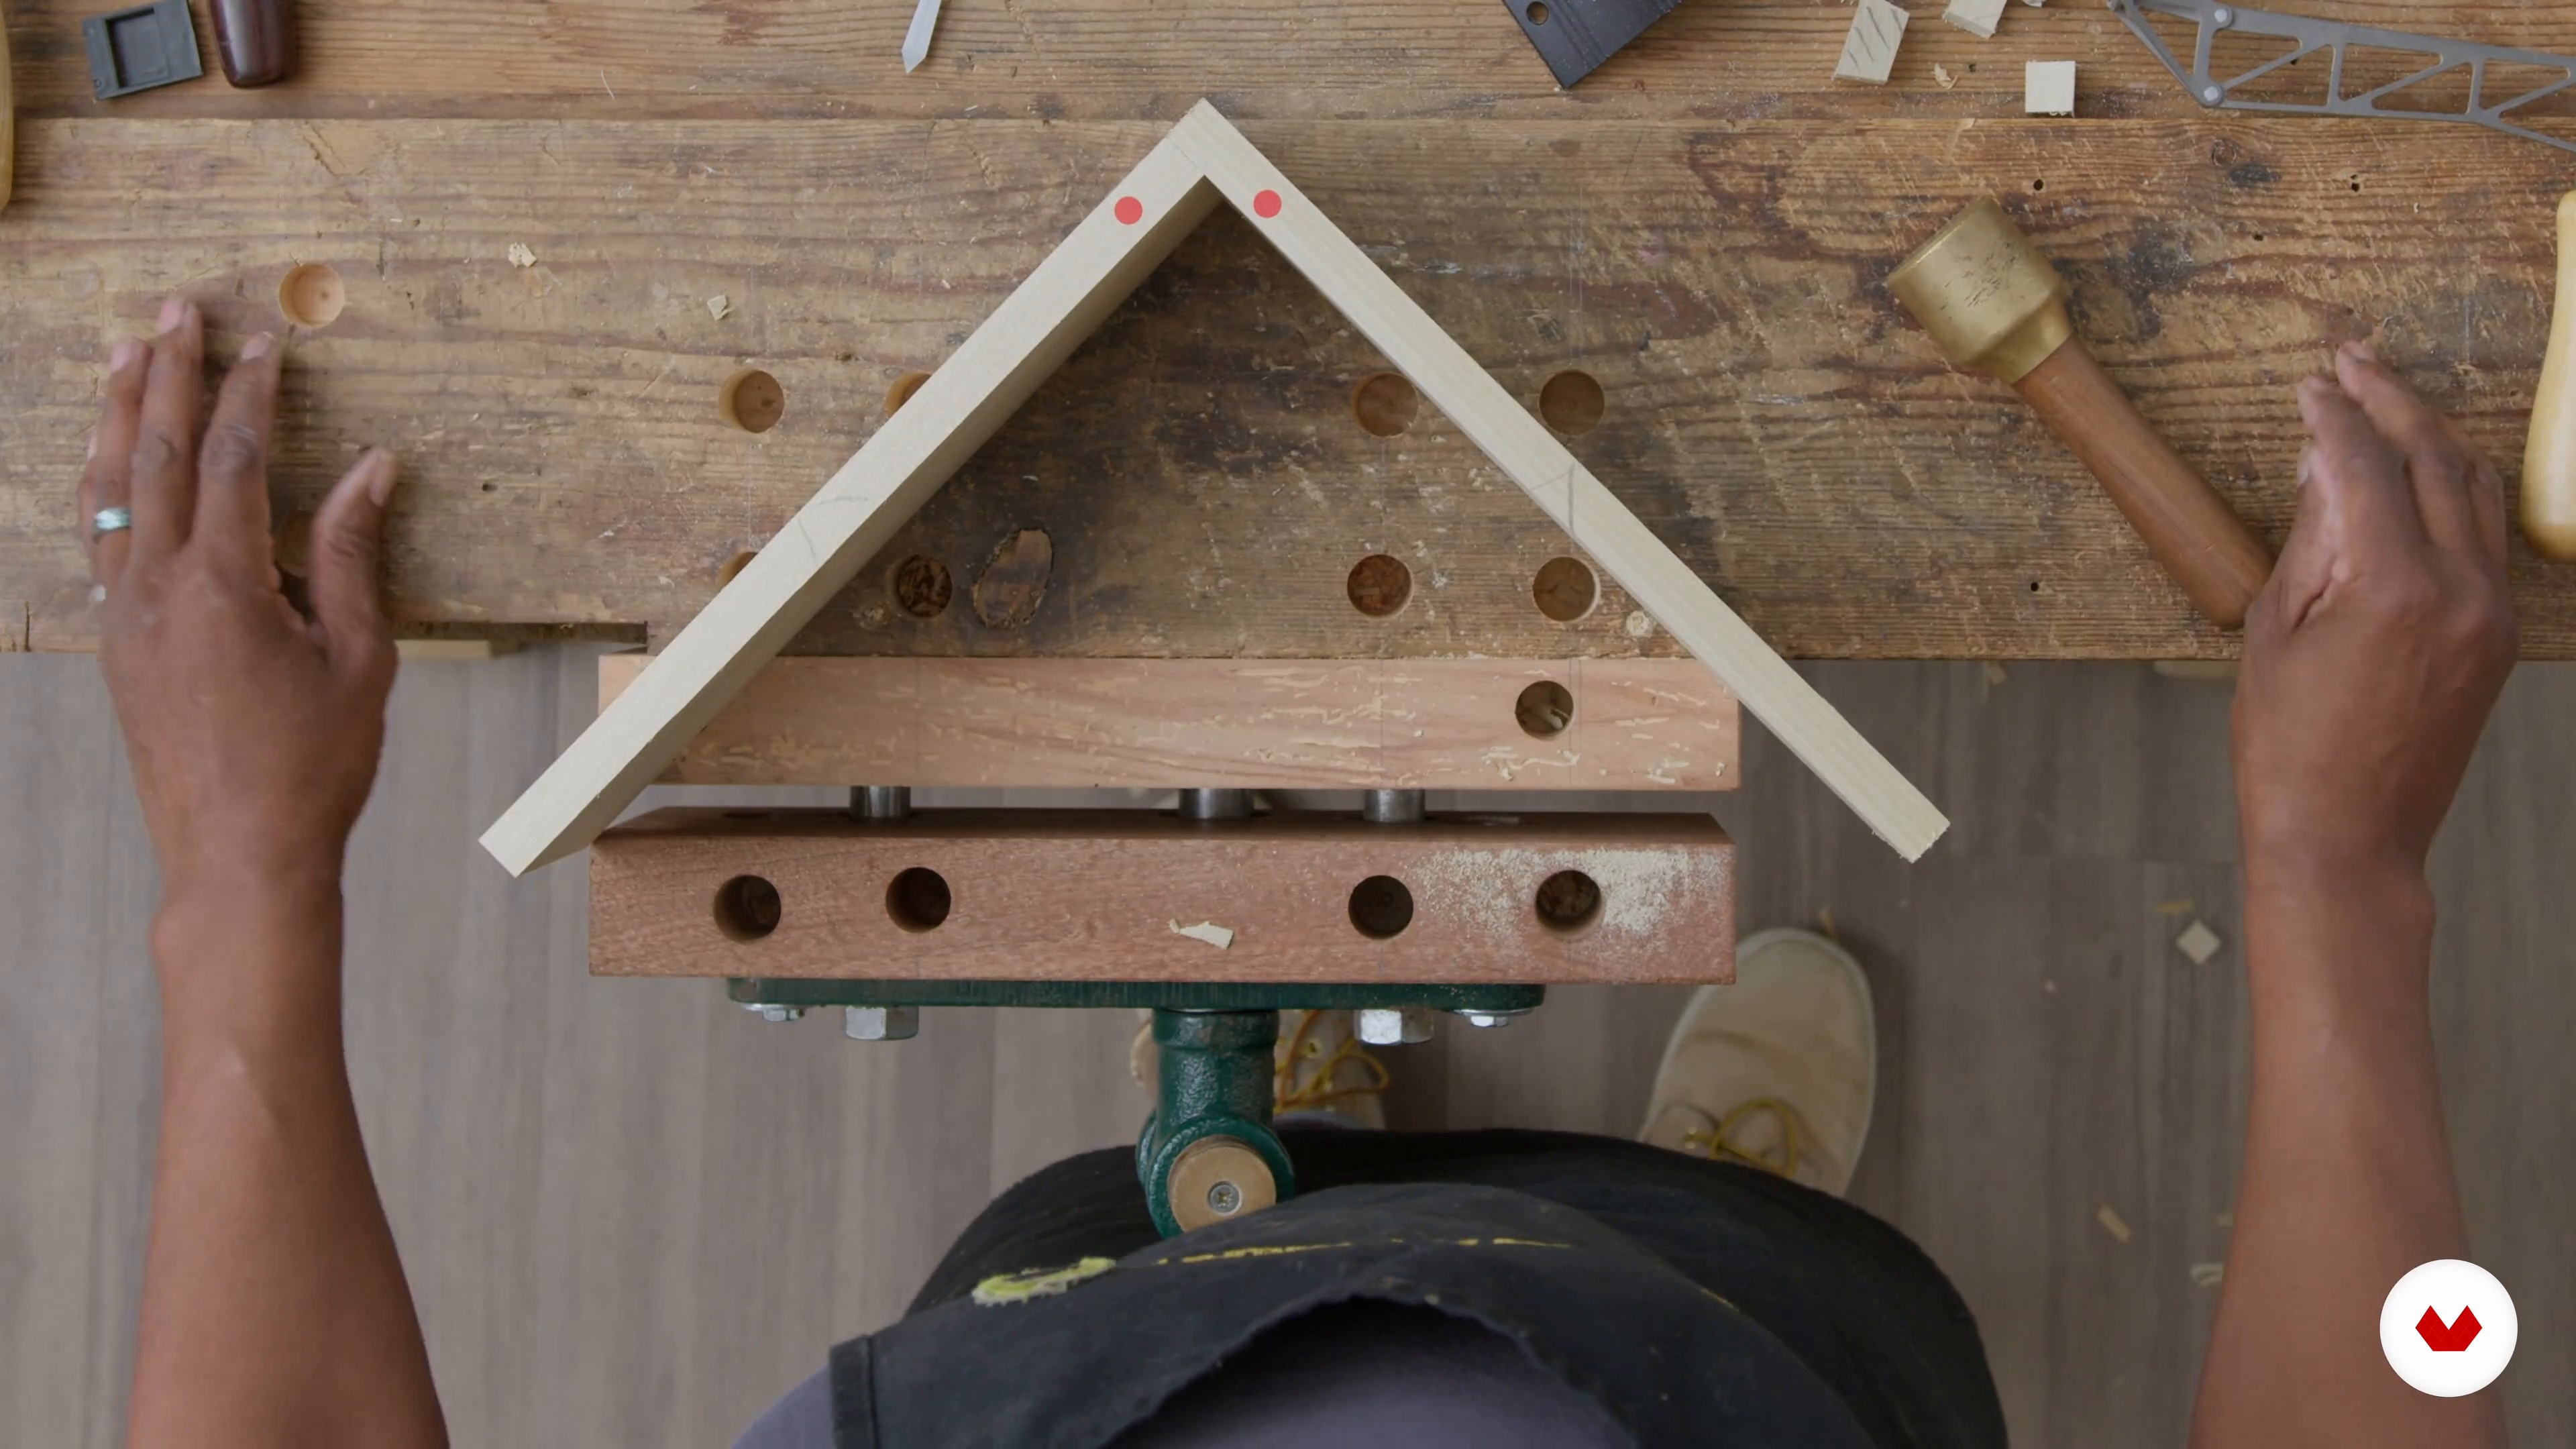
3Dovetails 1
I will now demonstrate how to mark out and cut your first dovetails. First, you will learn how to use the marking gauge to mark the shoulder line on the tails. Let's dive in!
14m
 4
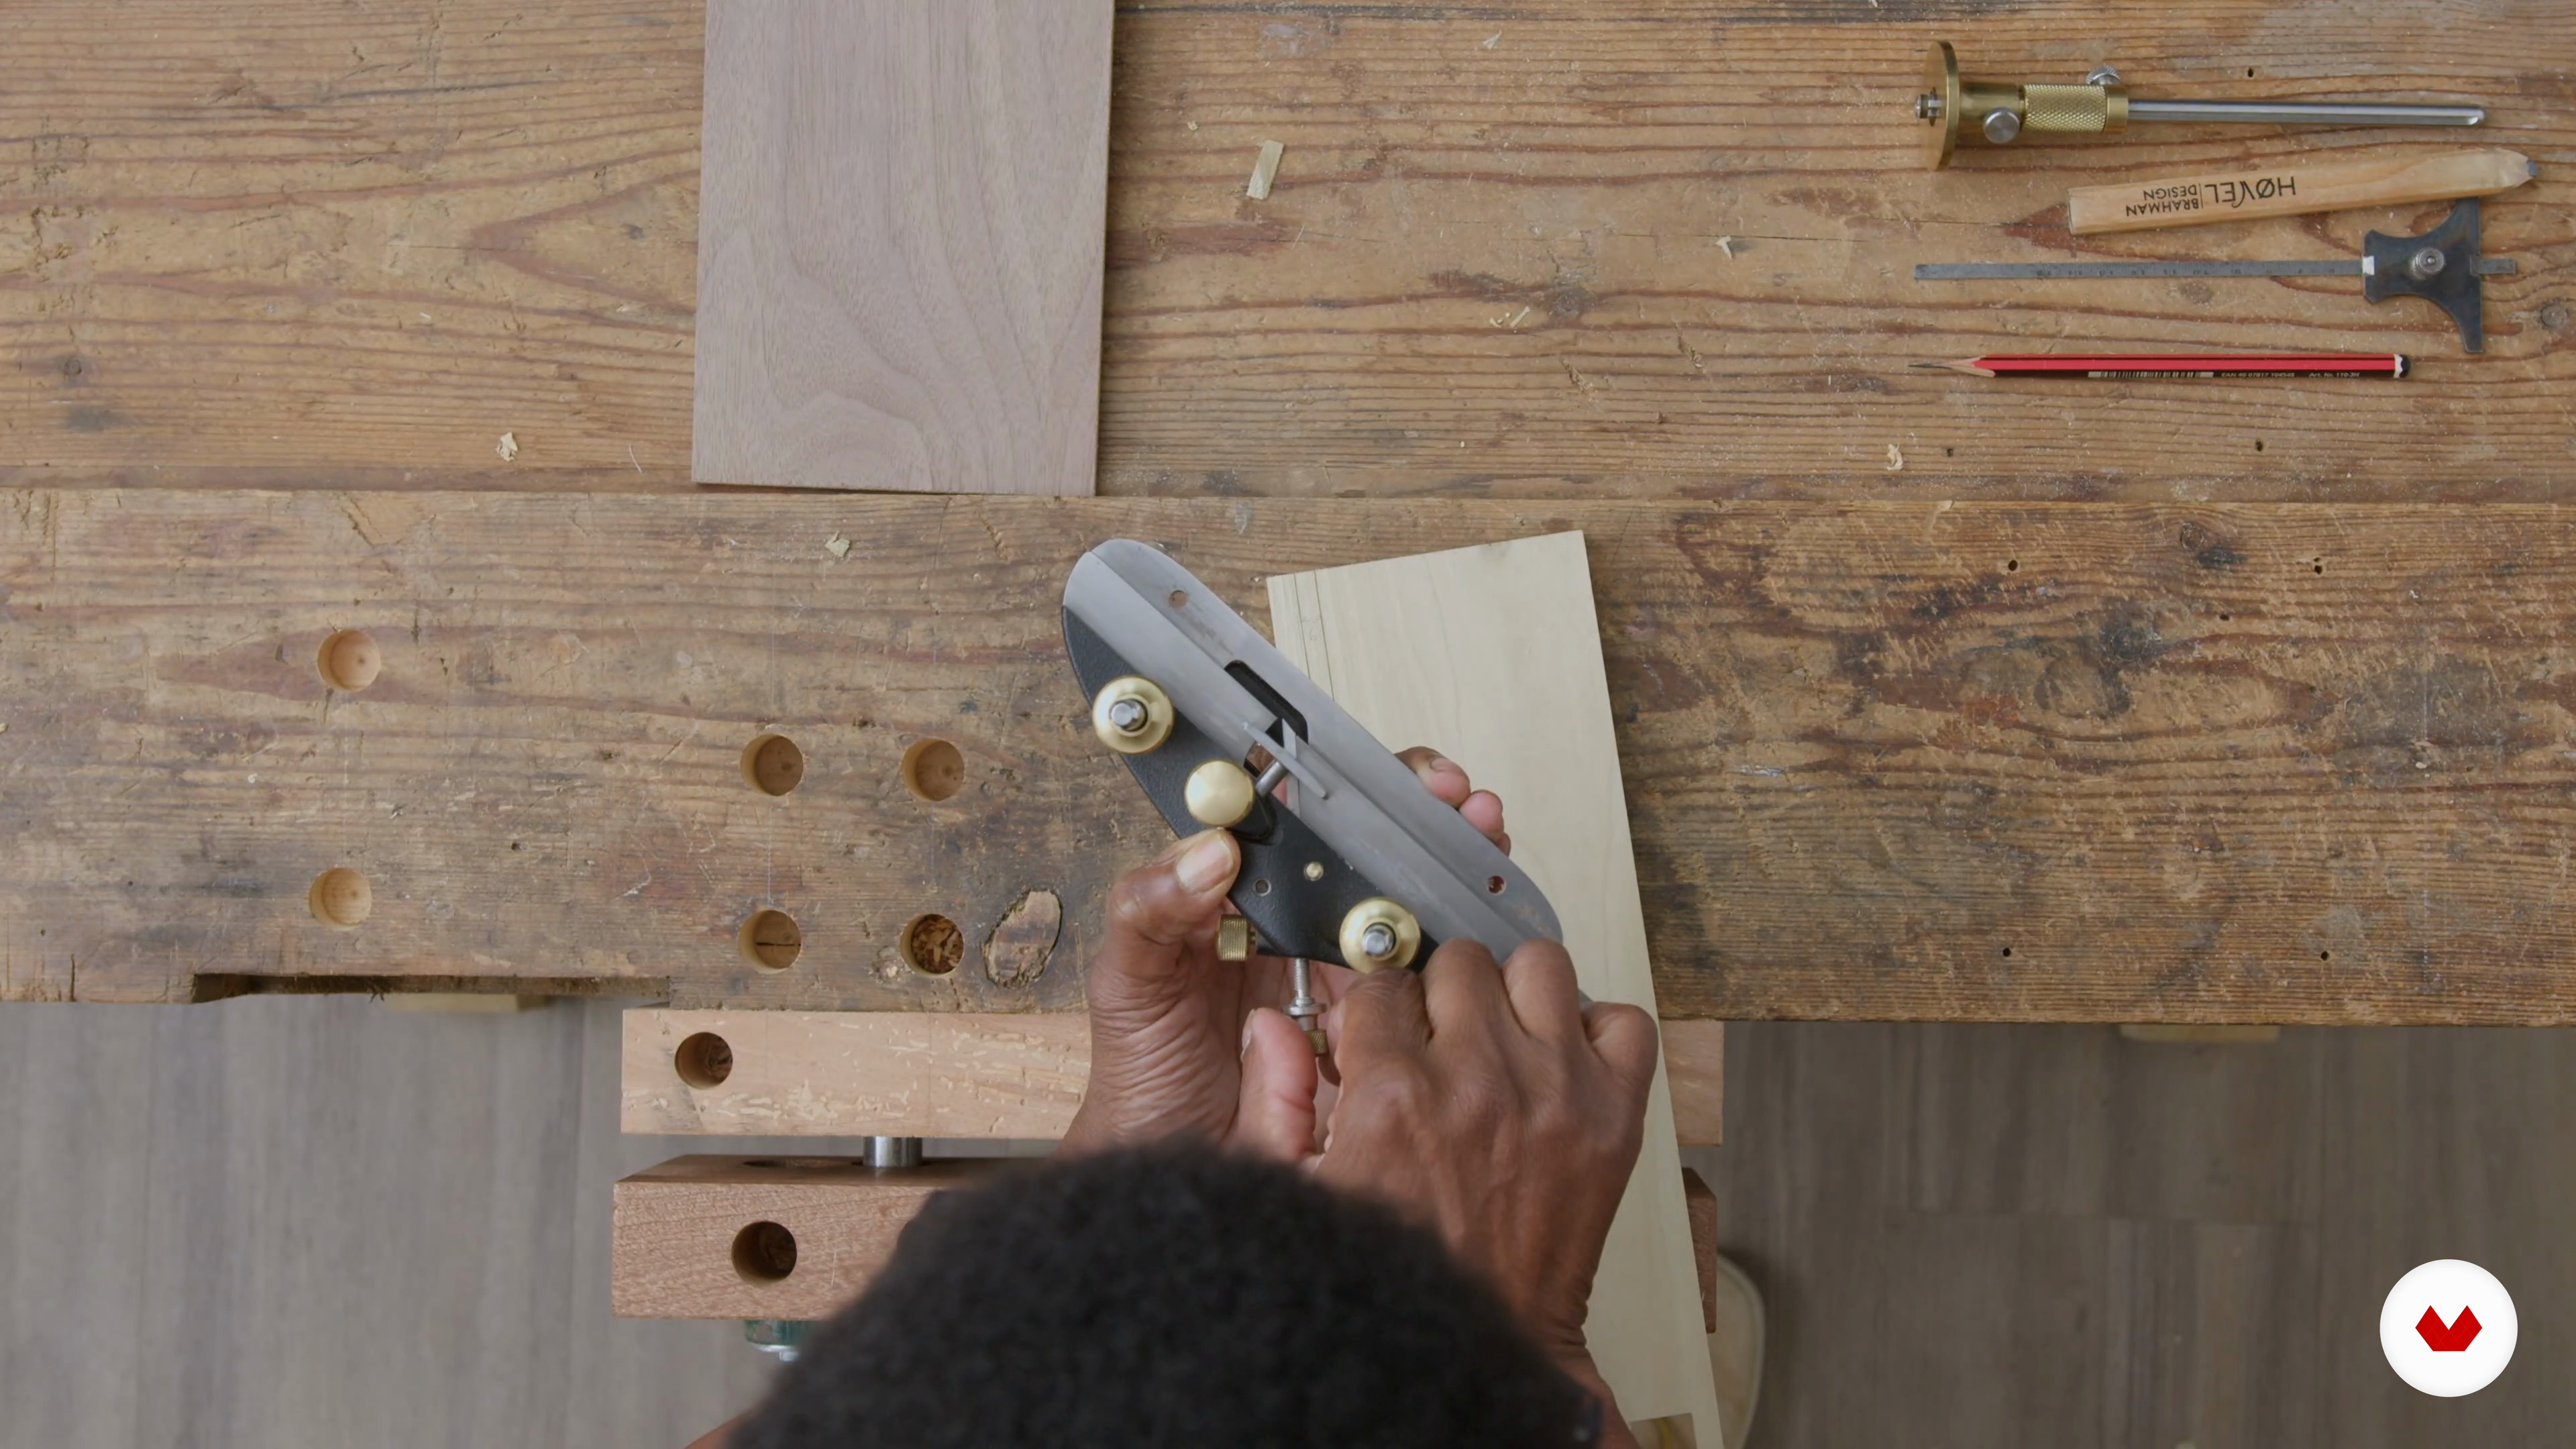
4Dovetails 2
I will now show you how to prepare the pin board by placing it in a vice and tracing the shape of the tails. I will then demonstrate how to cut out the pins with saws as before and clean up with a chisel. Finally, I'll test fit the joint and make any necessary adjustments.
12m
 5
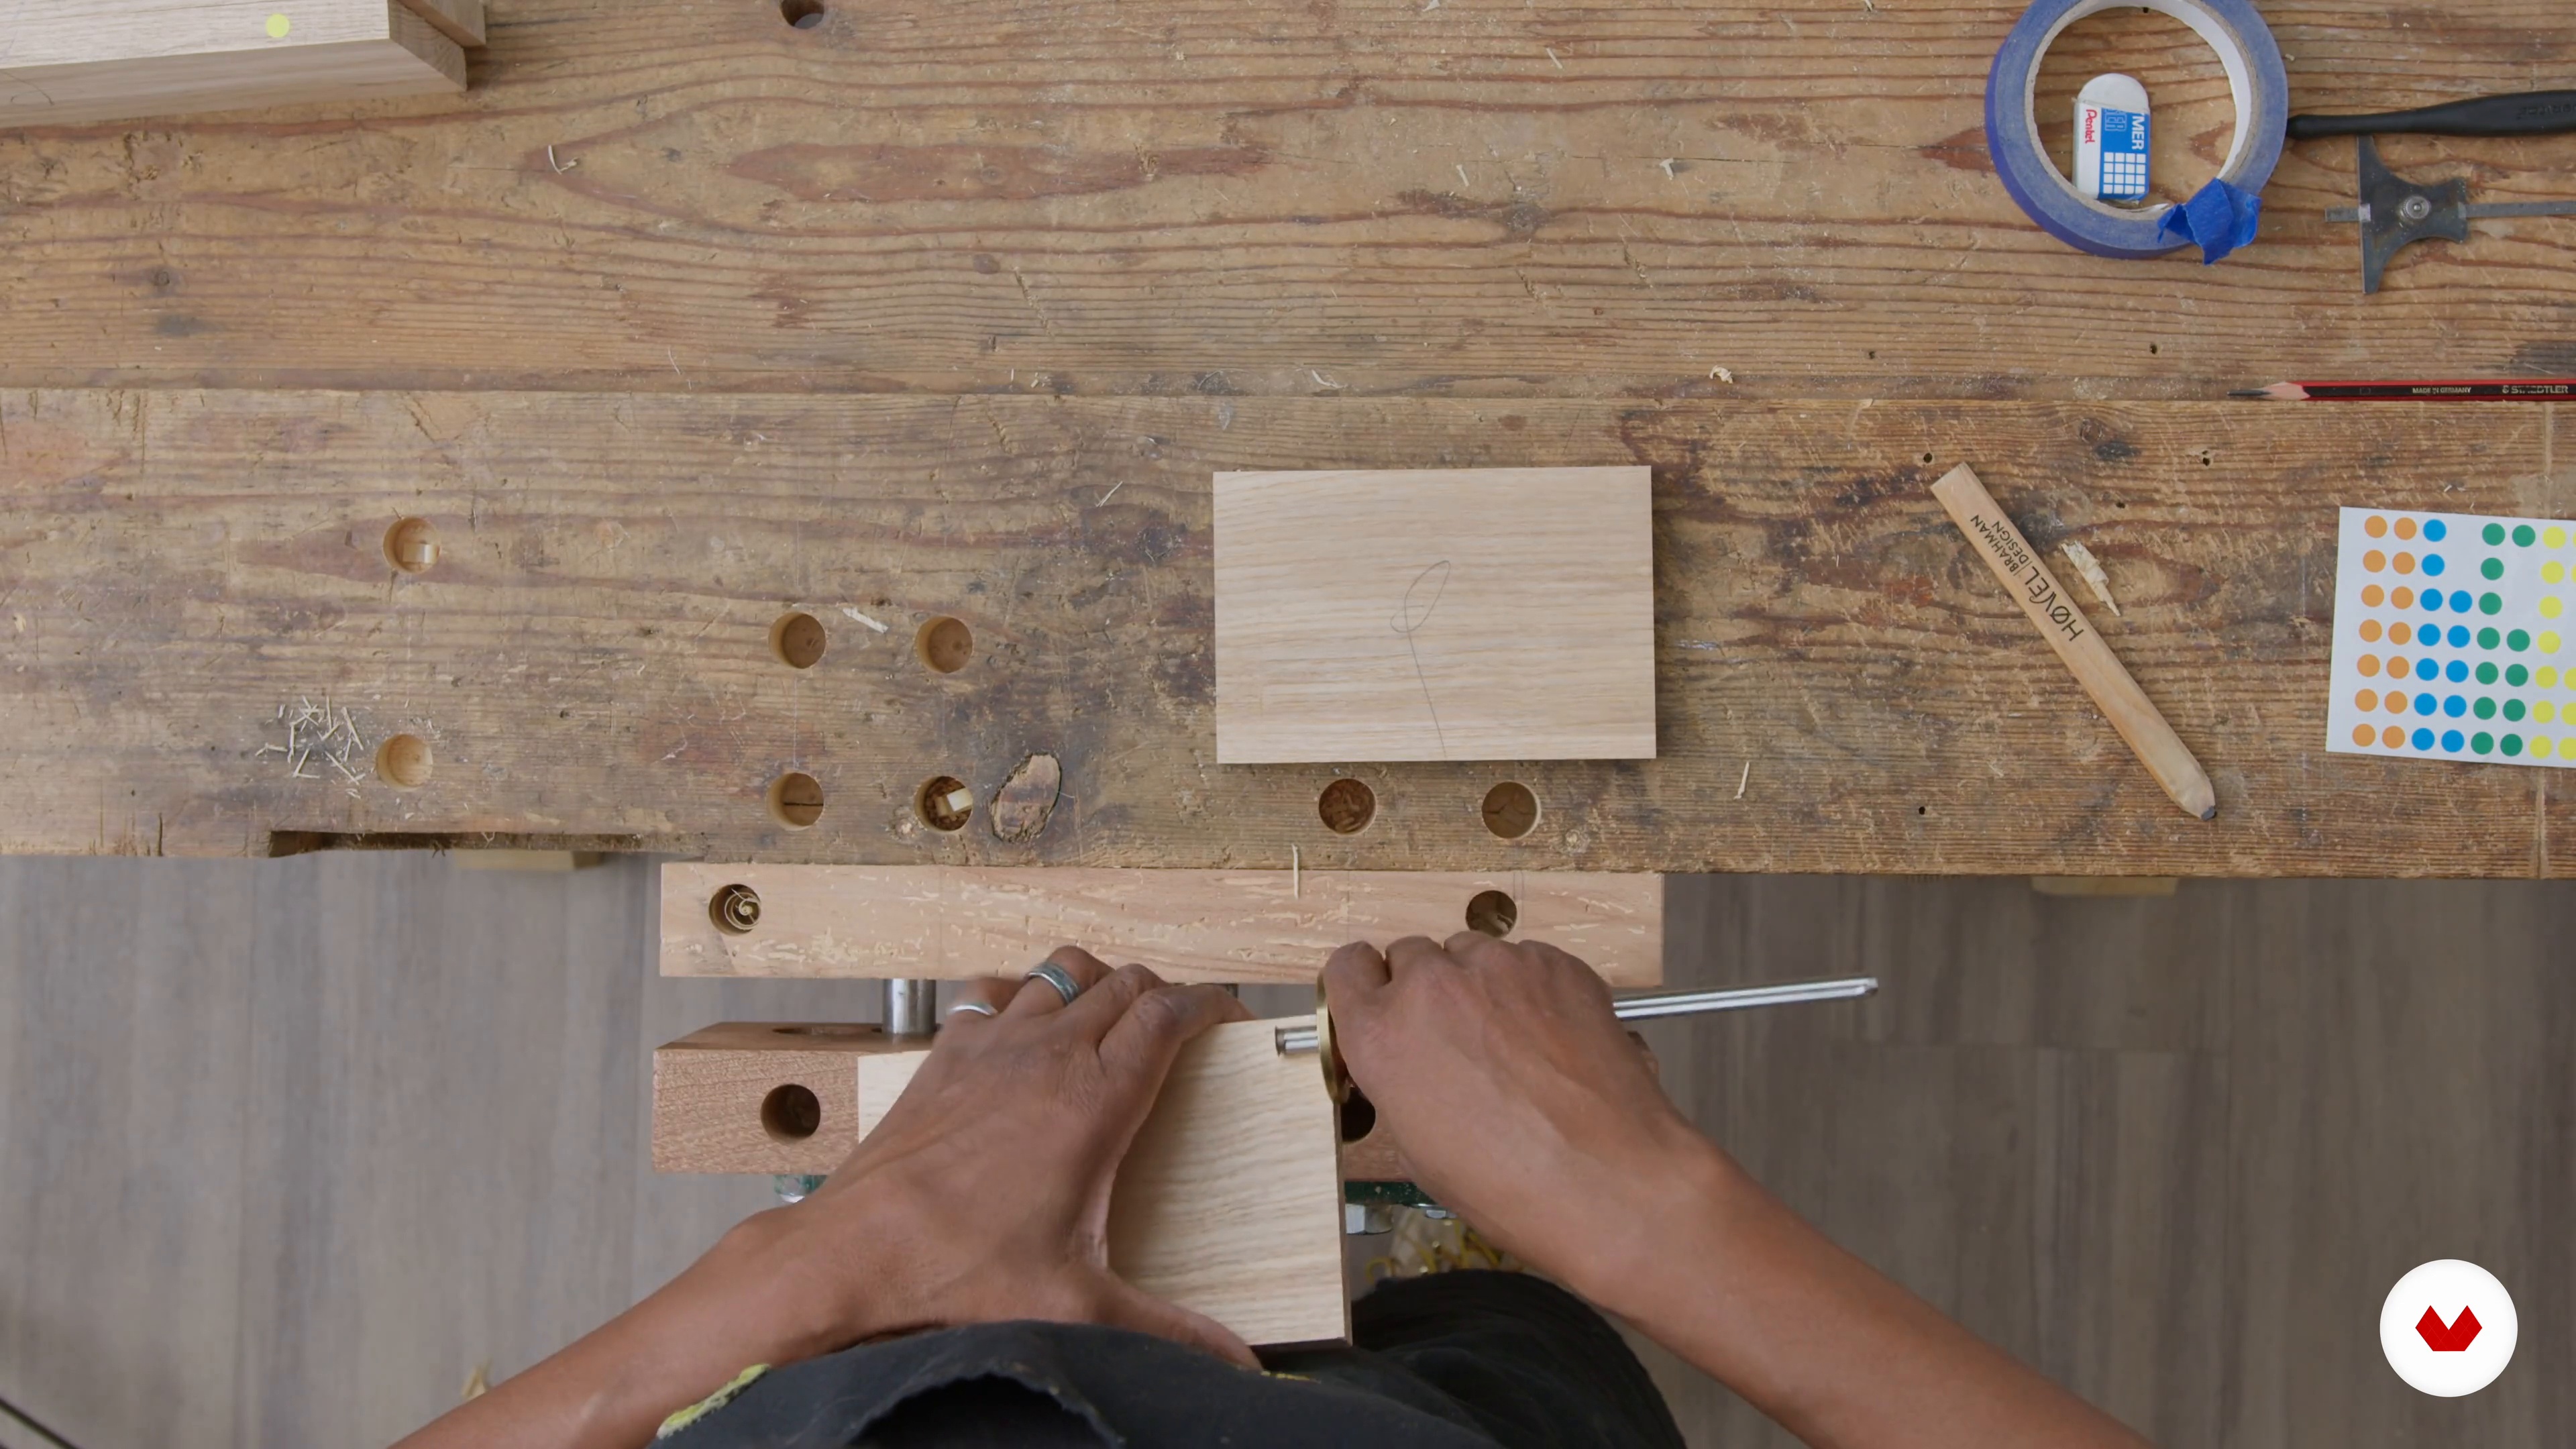
5Grooves
In this lesson, I will cover how to cut the groove that holds the base of the box in place. You will learn two different methods and choose the one that suits you most!
3m
 6
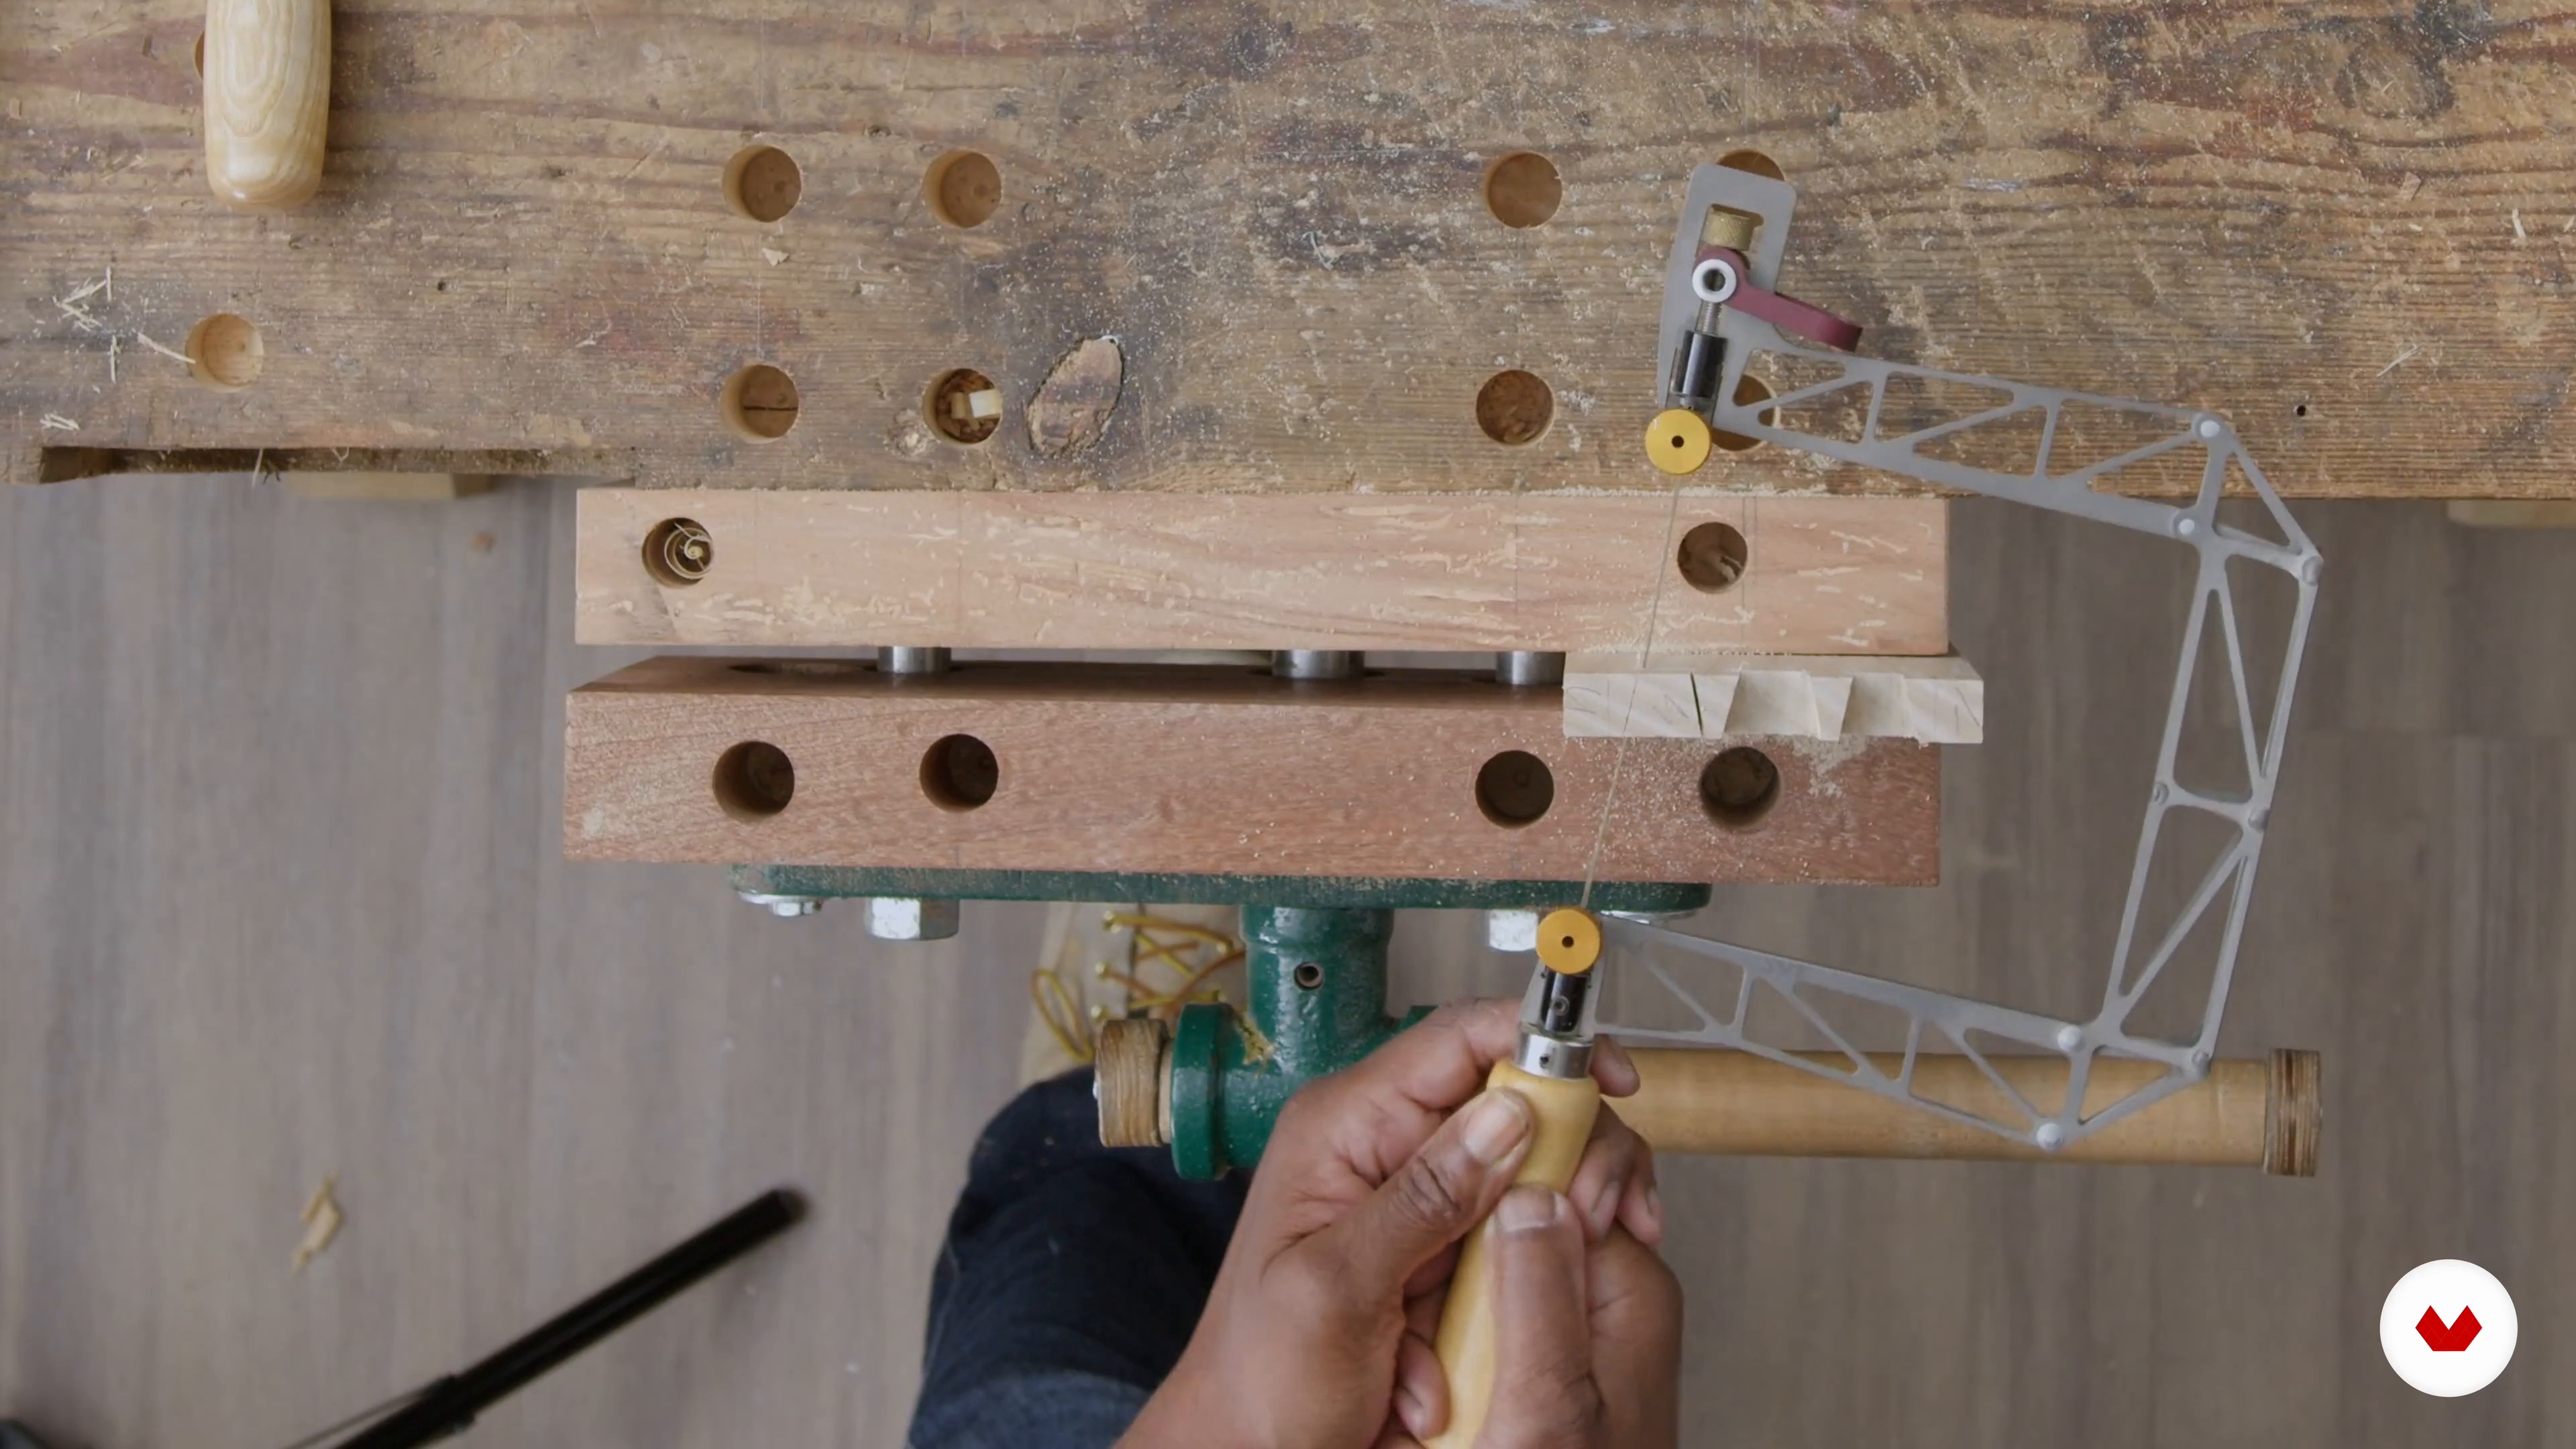
6Cutting the Joints 1
I will guide you in cutting out the dovetails for the sides of the box and the groove for the base. To get started, I will walk you through the dimensions.
16m
 7
7Cutting the Joints 2
Now that the necessary markings have been made, it's time to cut out the dovetails! You will see how I work with the saws and chisel to do this.
10m
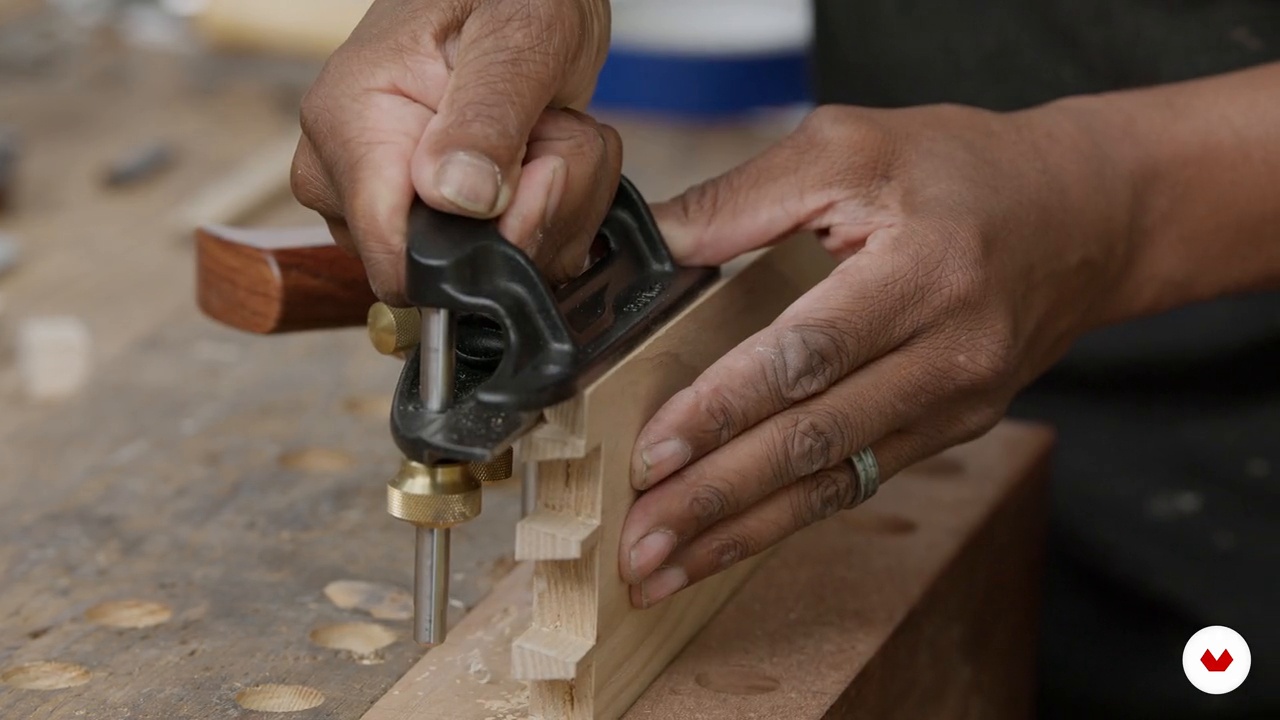 8
8Cutting the Joints 3
I will now saw the miter joints at a 45-degree angle. To finish, I will make any necessary adjustments that will ensure the box closes well. Let's go!
18m
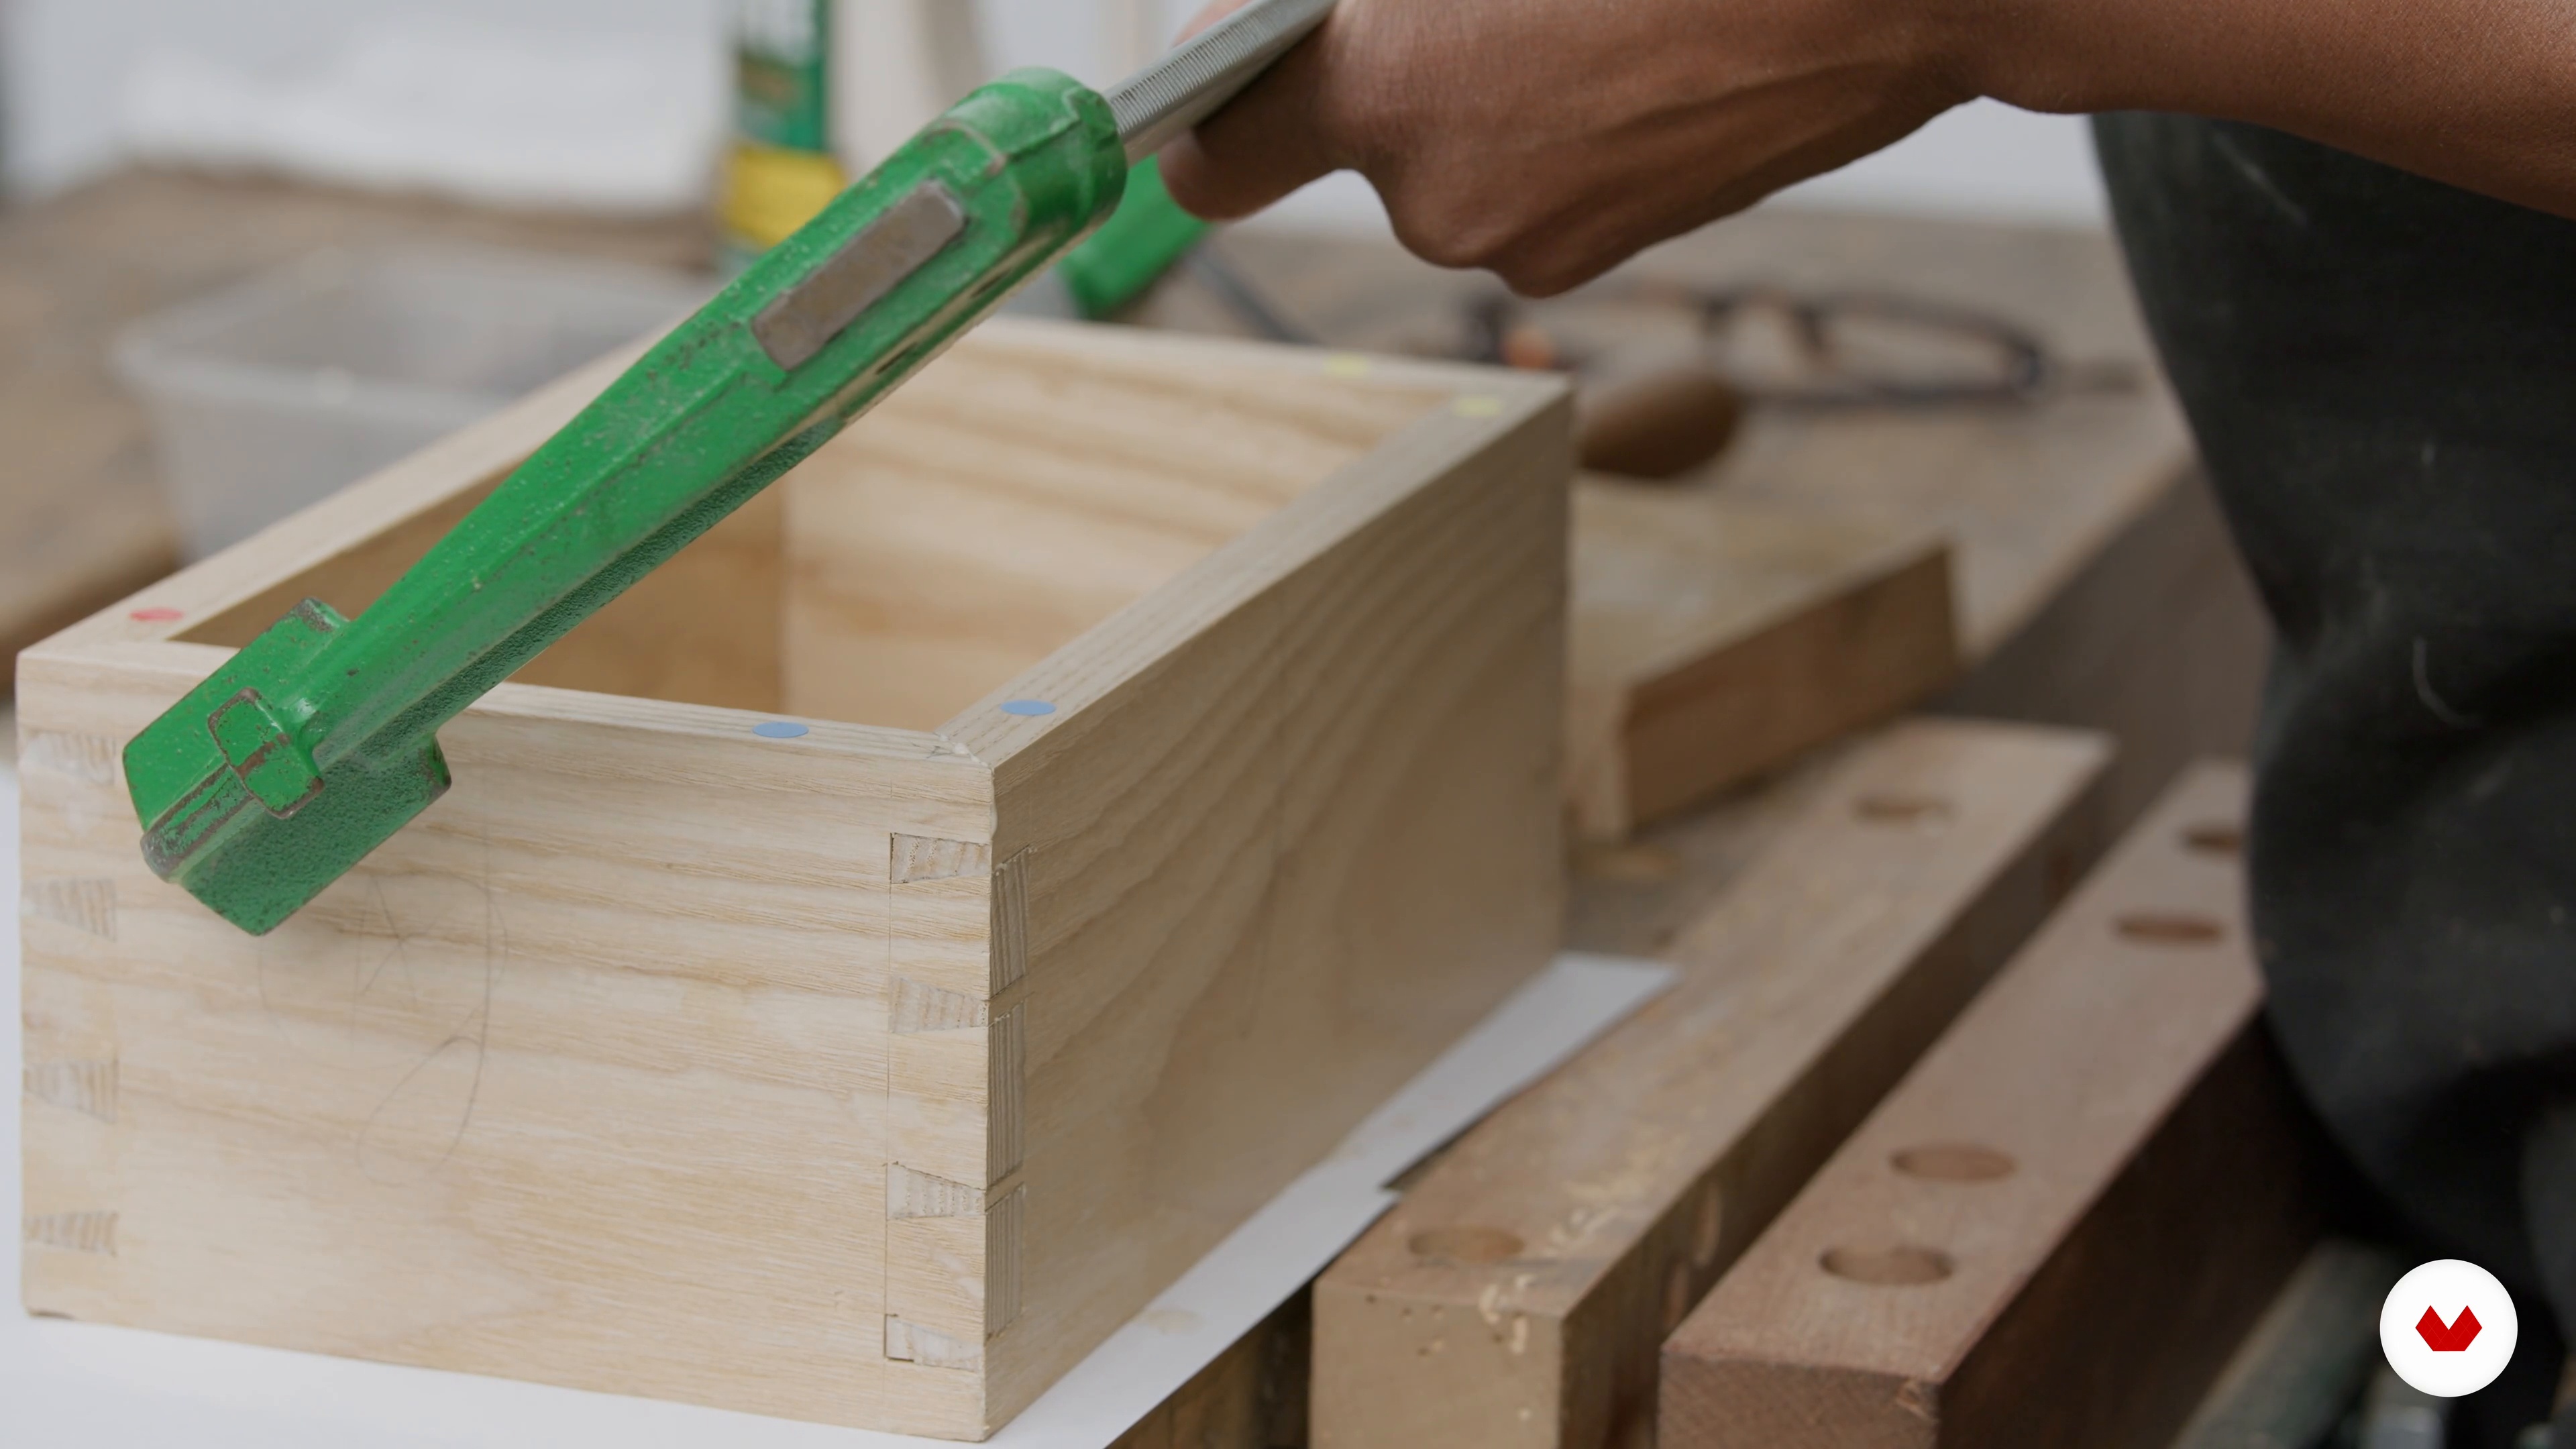 9
9Surface Preparation and Assembly
Now that the joinery and grooves are finished, it's time to prepare the surfaces! In this lesson, I will show you how to sand and finish the inside of the box before glueing up the parts.
17m
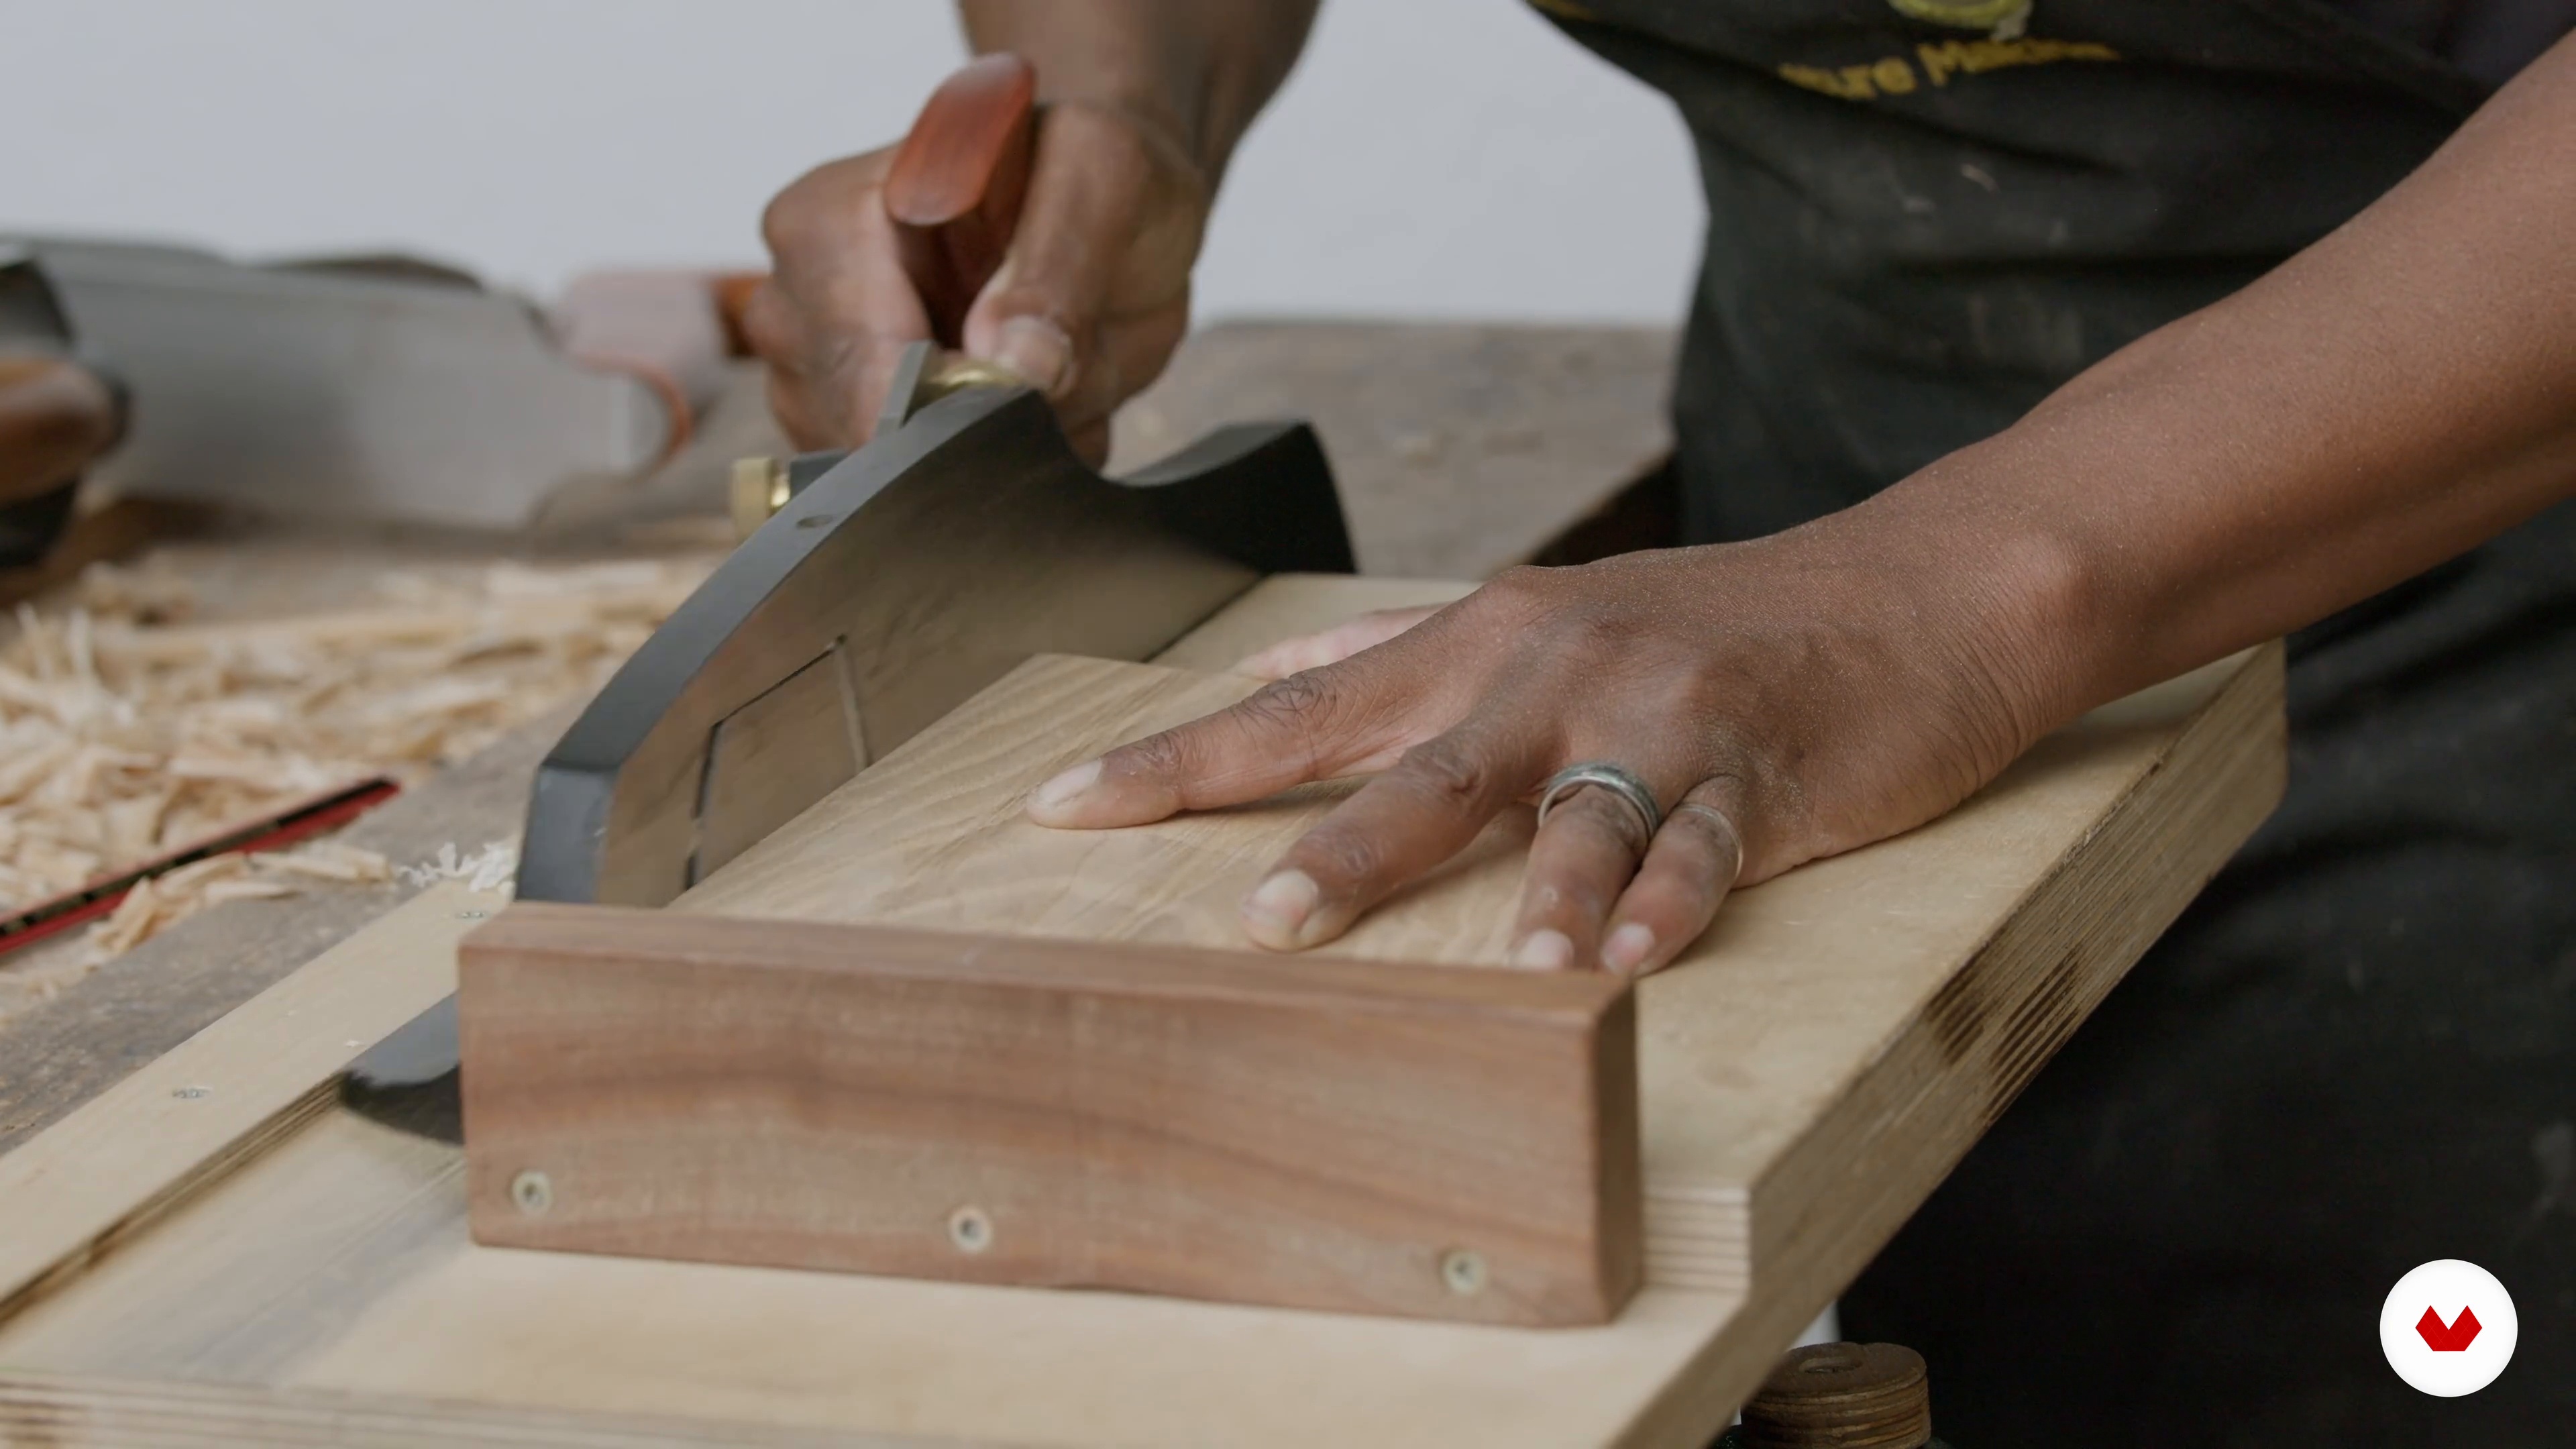 10
10Making the Lid 1
Next, I will demonstrate how to cut and shape the lid. The first step is planing the taper. Then, you will learn how to scribe the lid with a shooting board so that it fits perfectly with the box.
18m
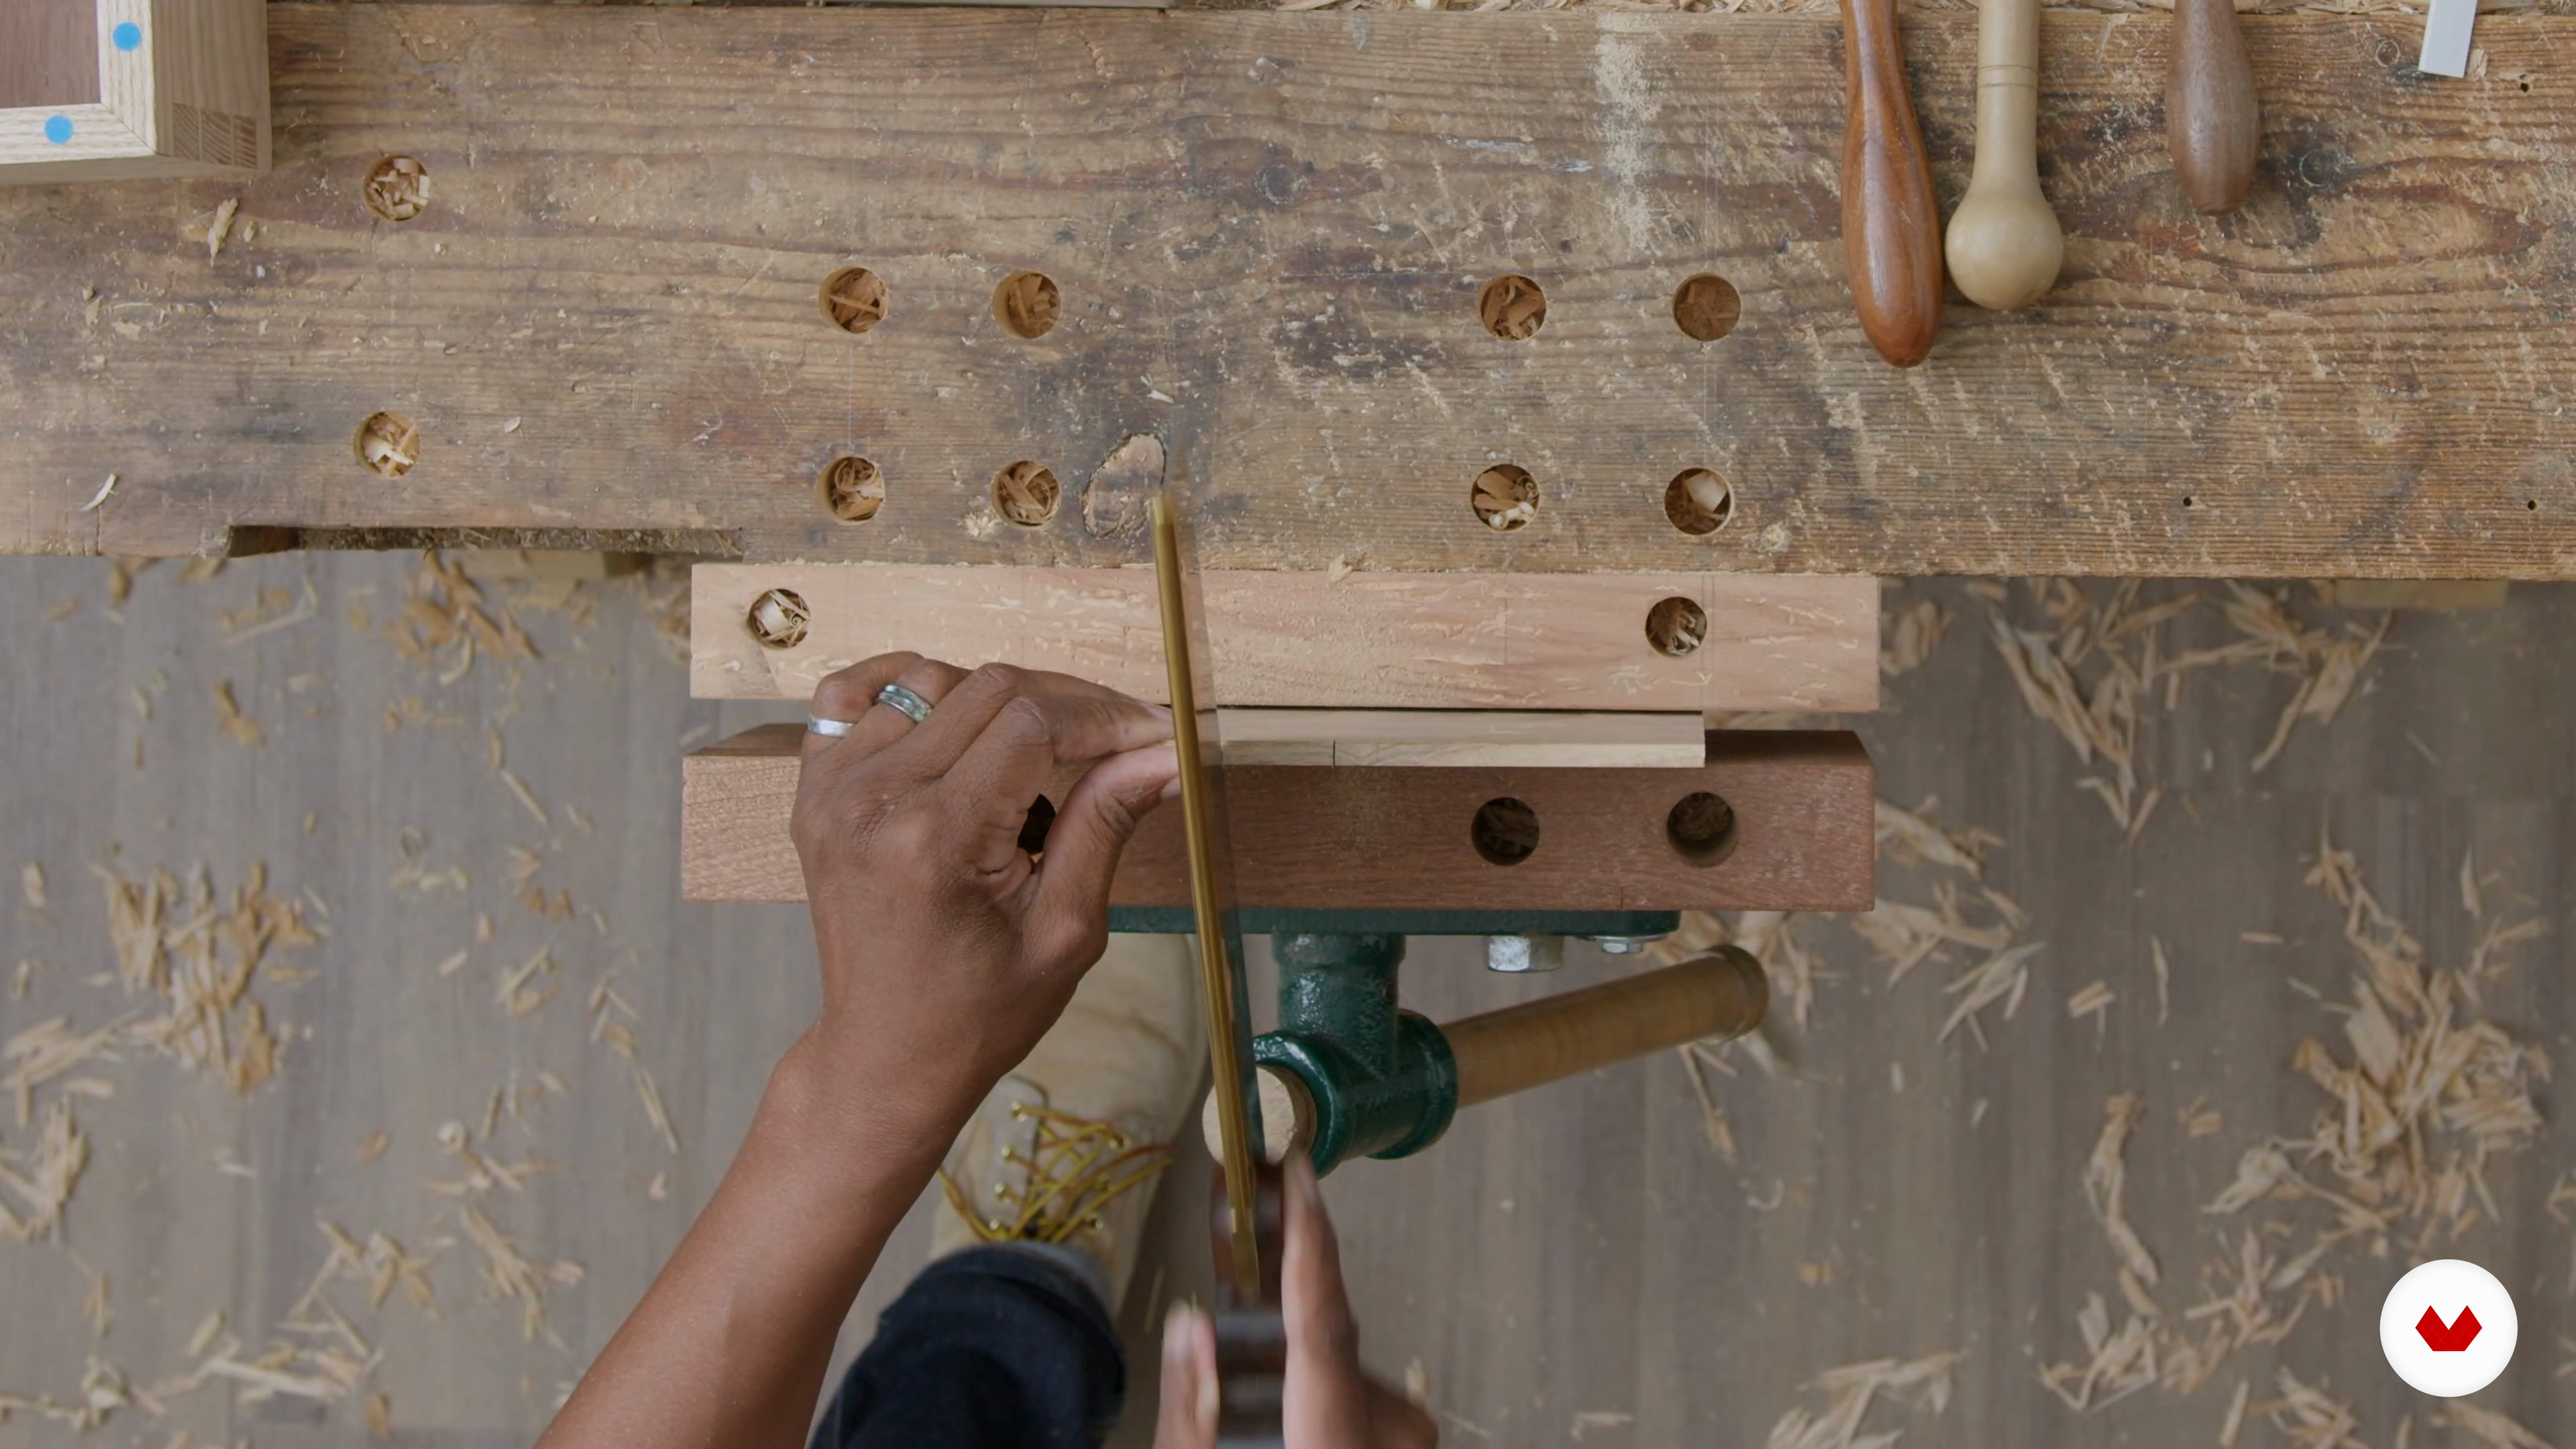 11
11Making the Lid 2
As the lid is still quite stiff, in this lesson I will return to the shooting board to remove some shavings from the sides and ease the movement slightly.
19m
 12
12Fitting the Lid
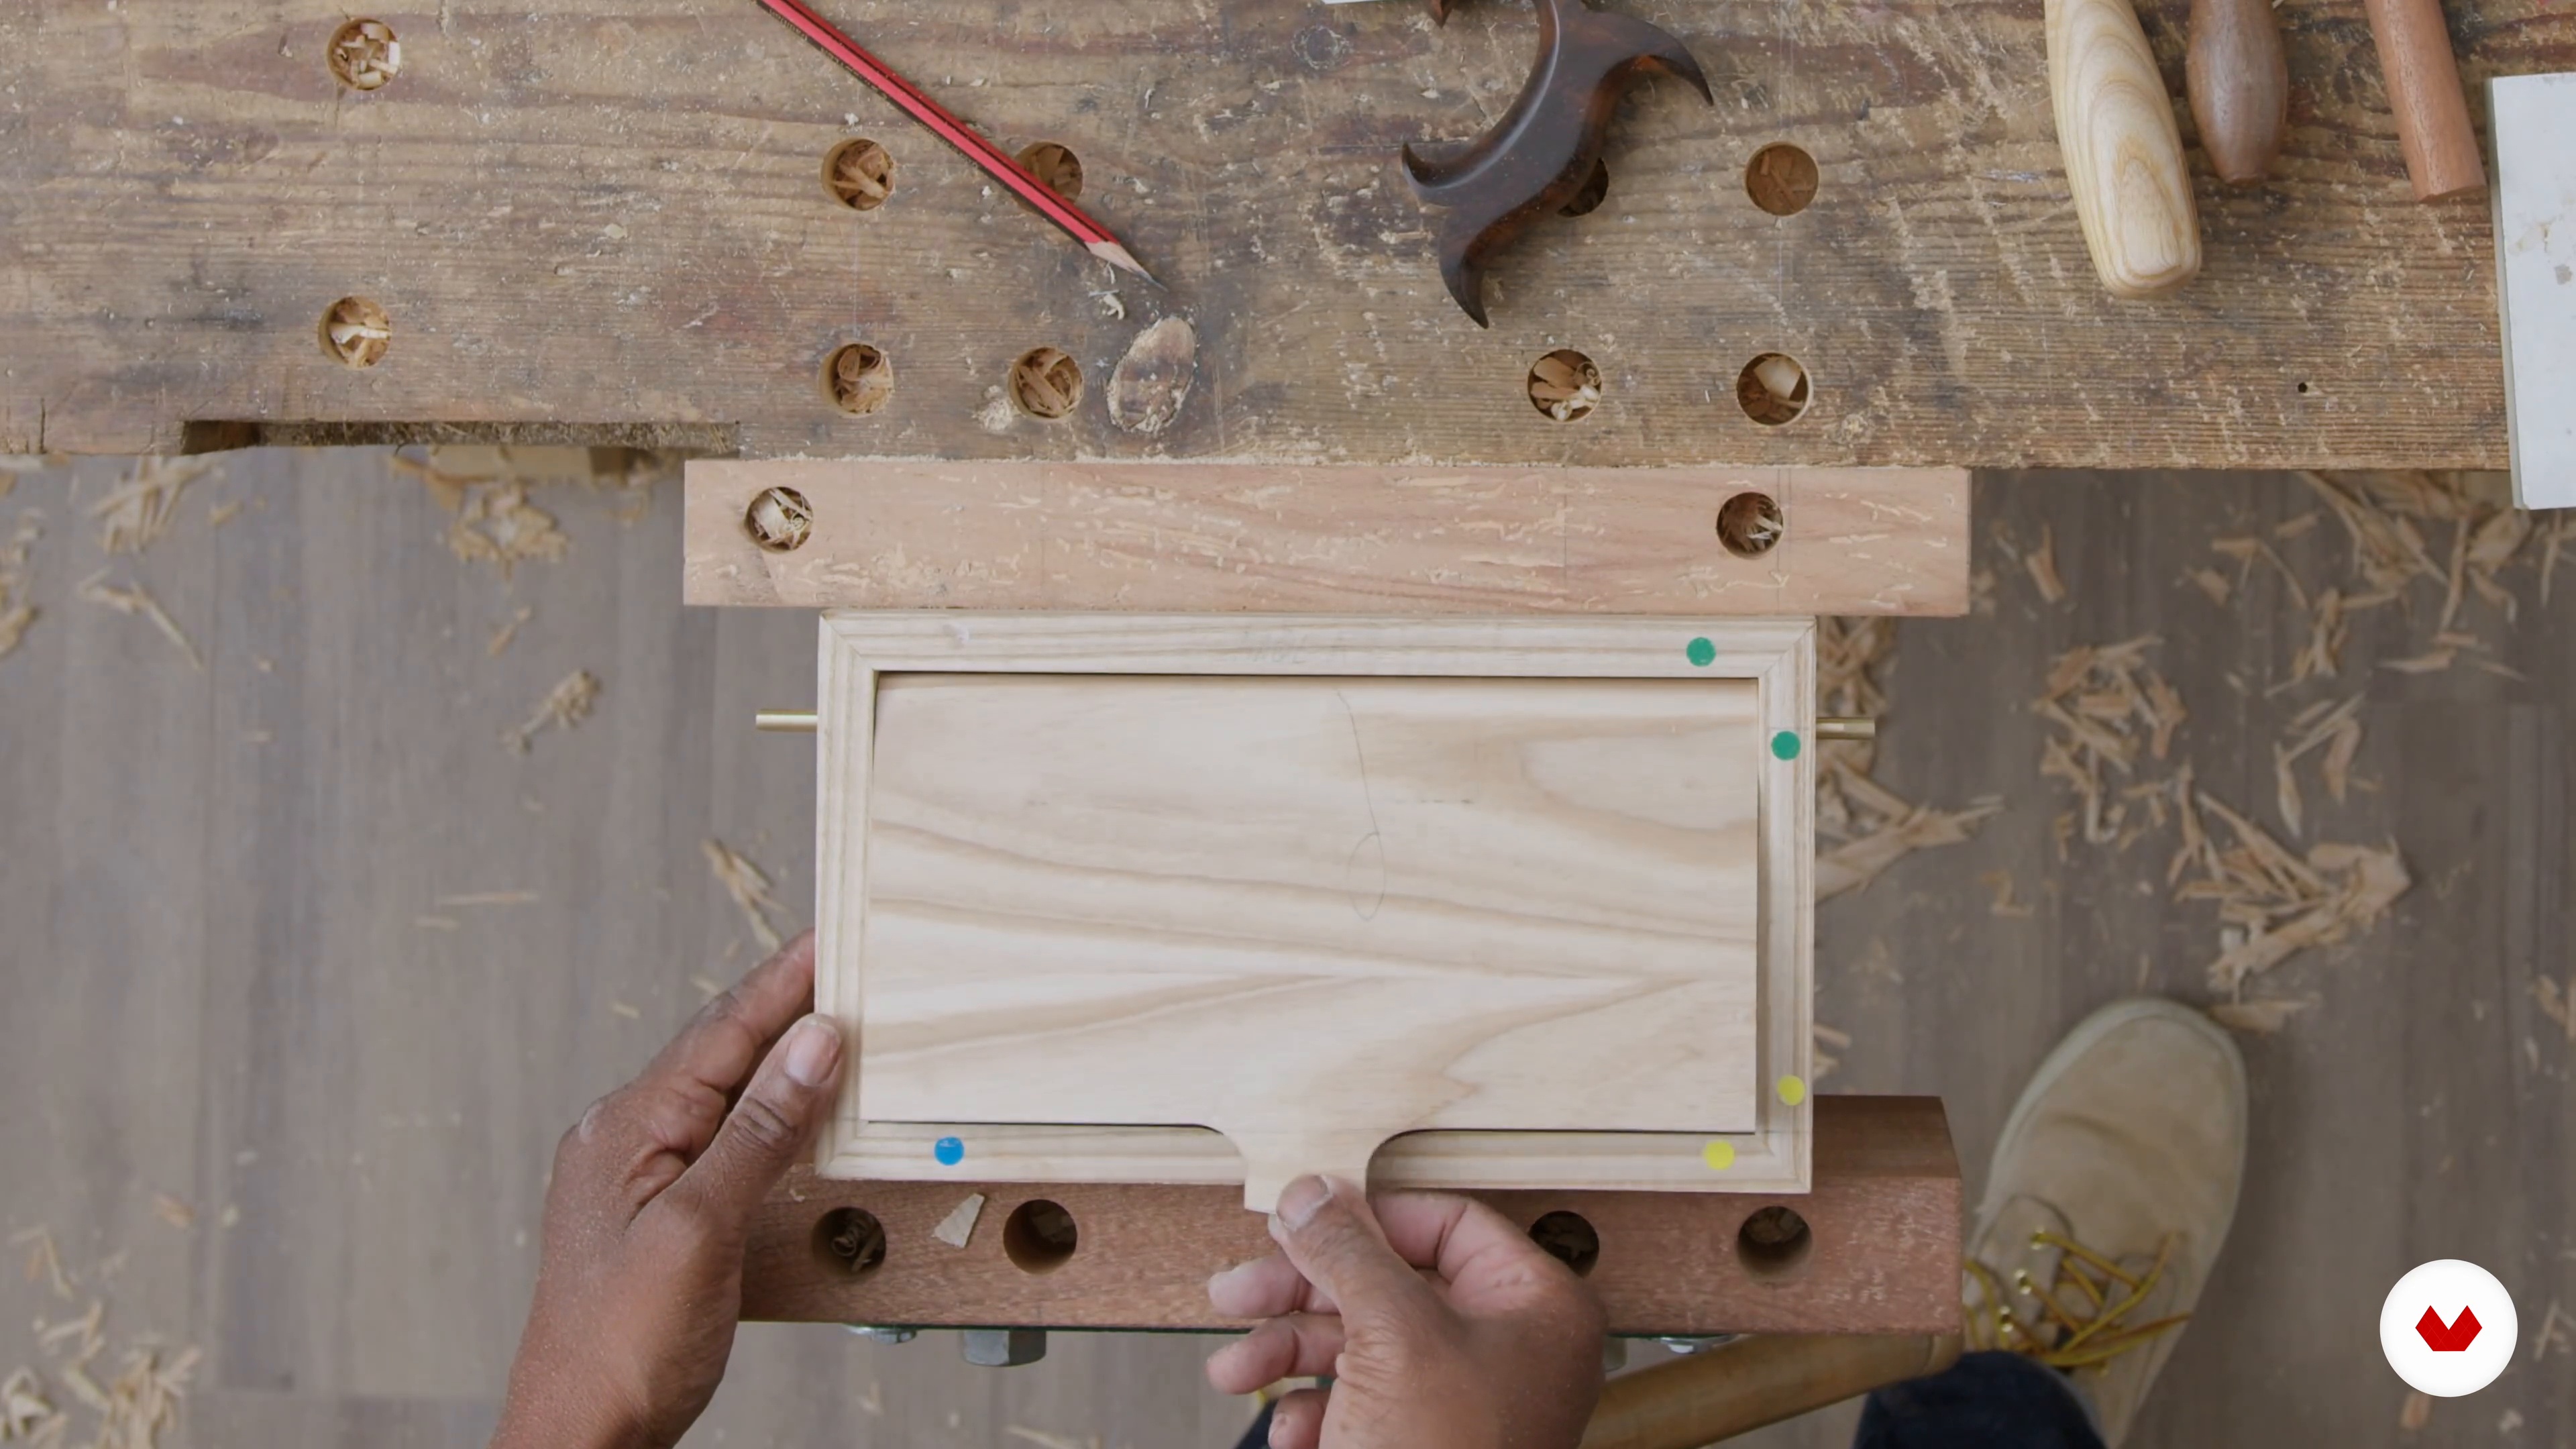
In this lesson, I will explain how to fit the lid to the box. With the lid in position, you will learn how to cut out the recess for the thumb lift.
15m
 13
13Surface Preparation of the Lid and Outside Faces 1
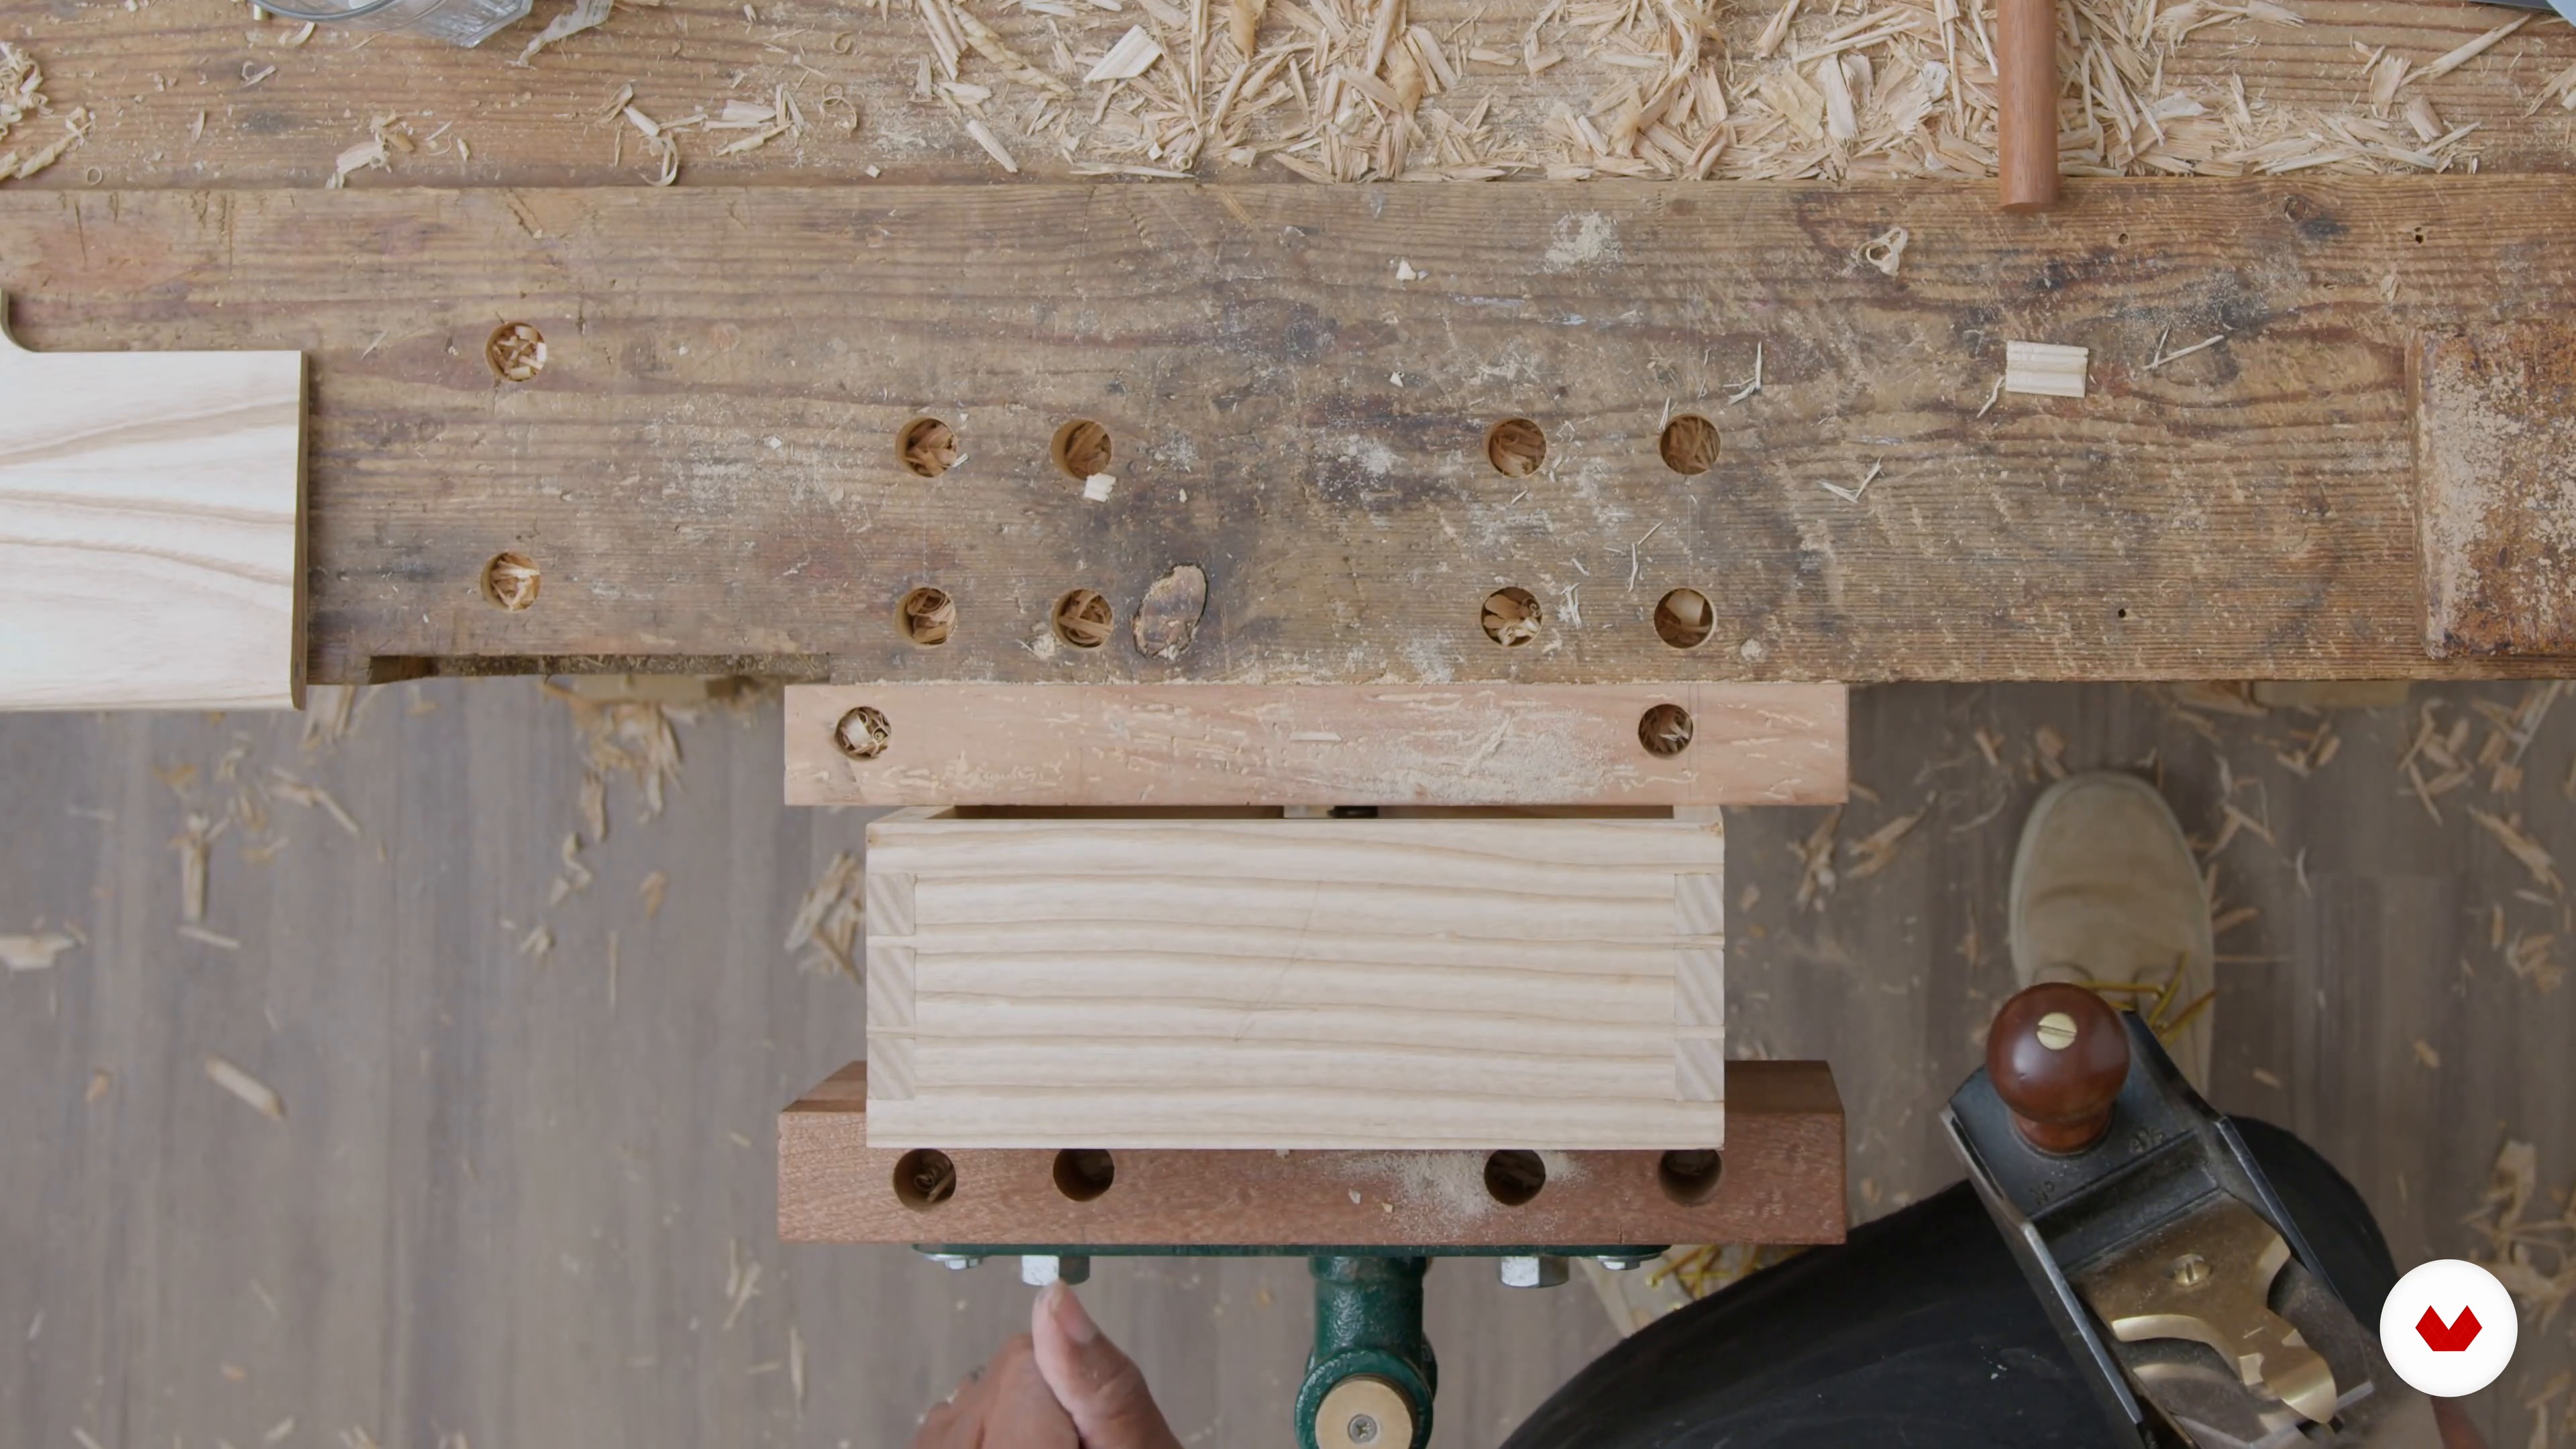
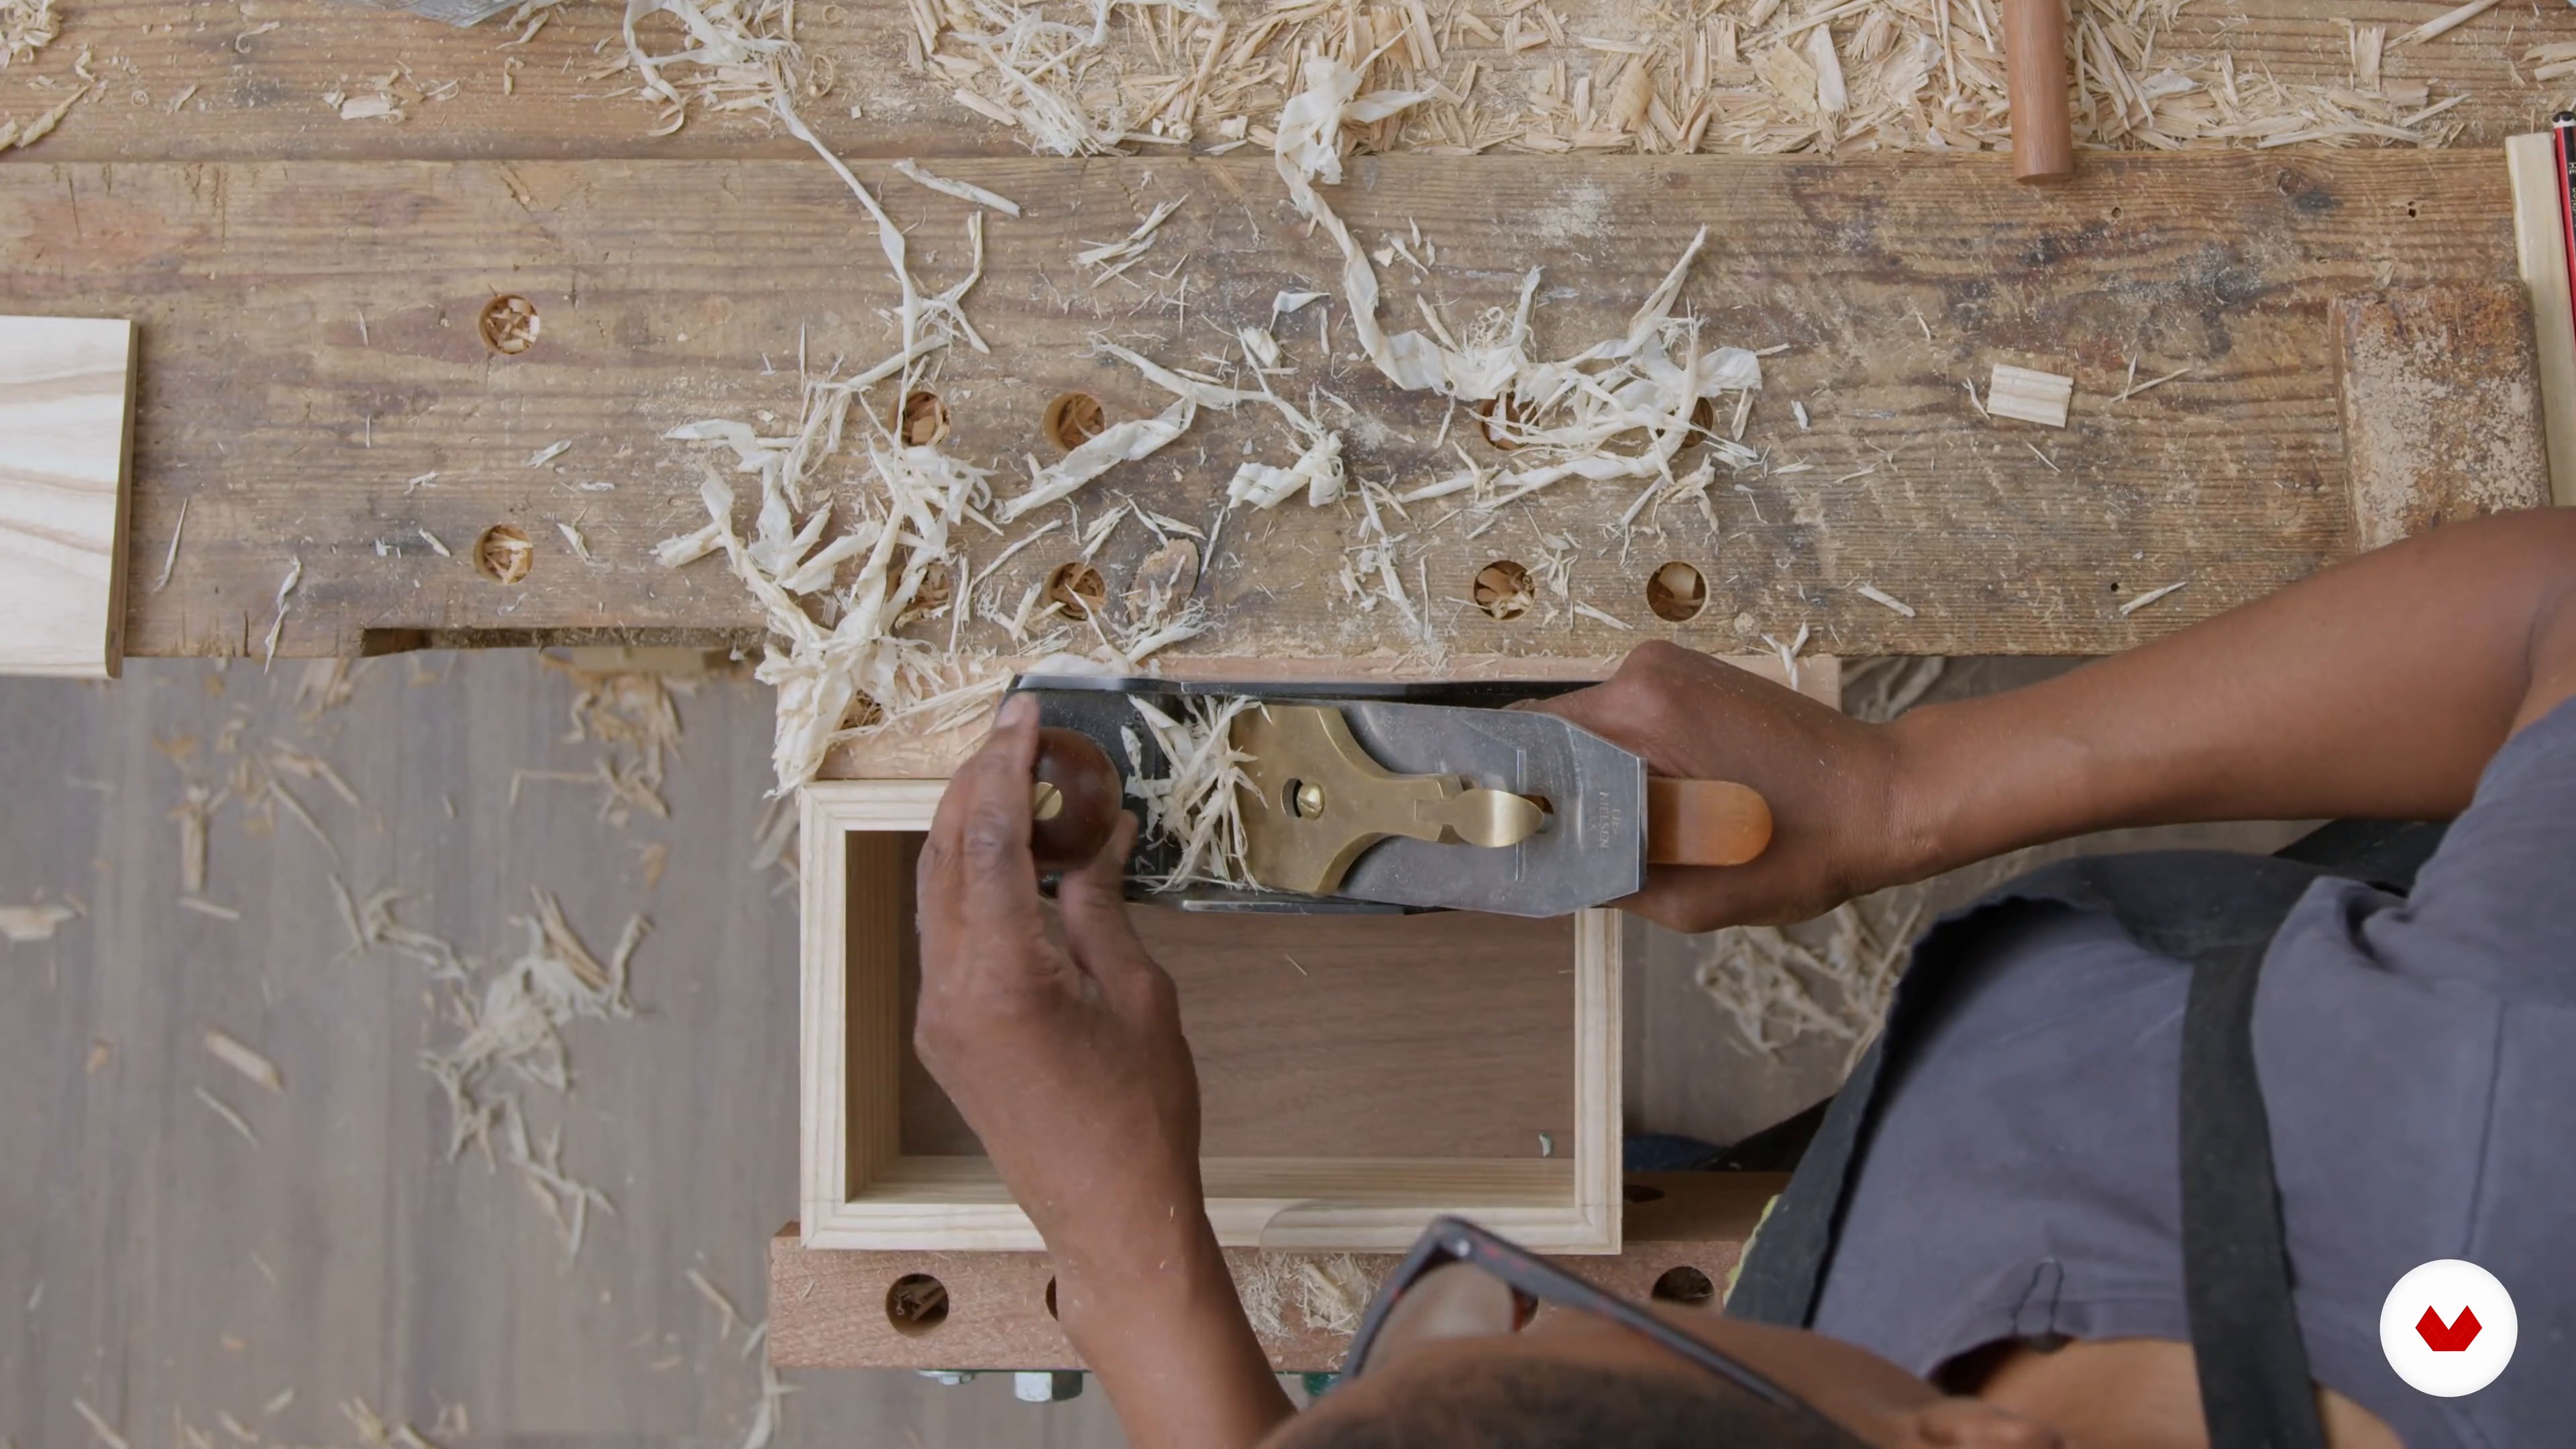
During this lesson, I will guide you in planing and sanding the outside of the box and the lid. To start with, you will learn how to resolve any gaps in your dovetails.
15m
 14
14Surface Preparation of the Lid and Outside Faces 2
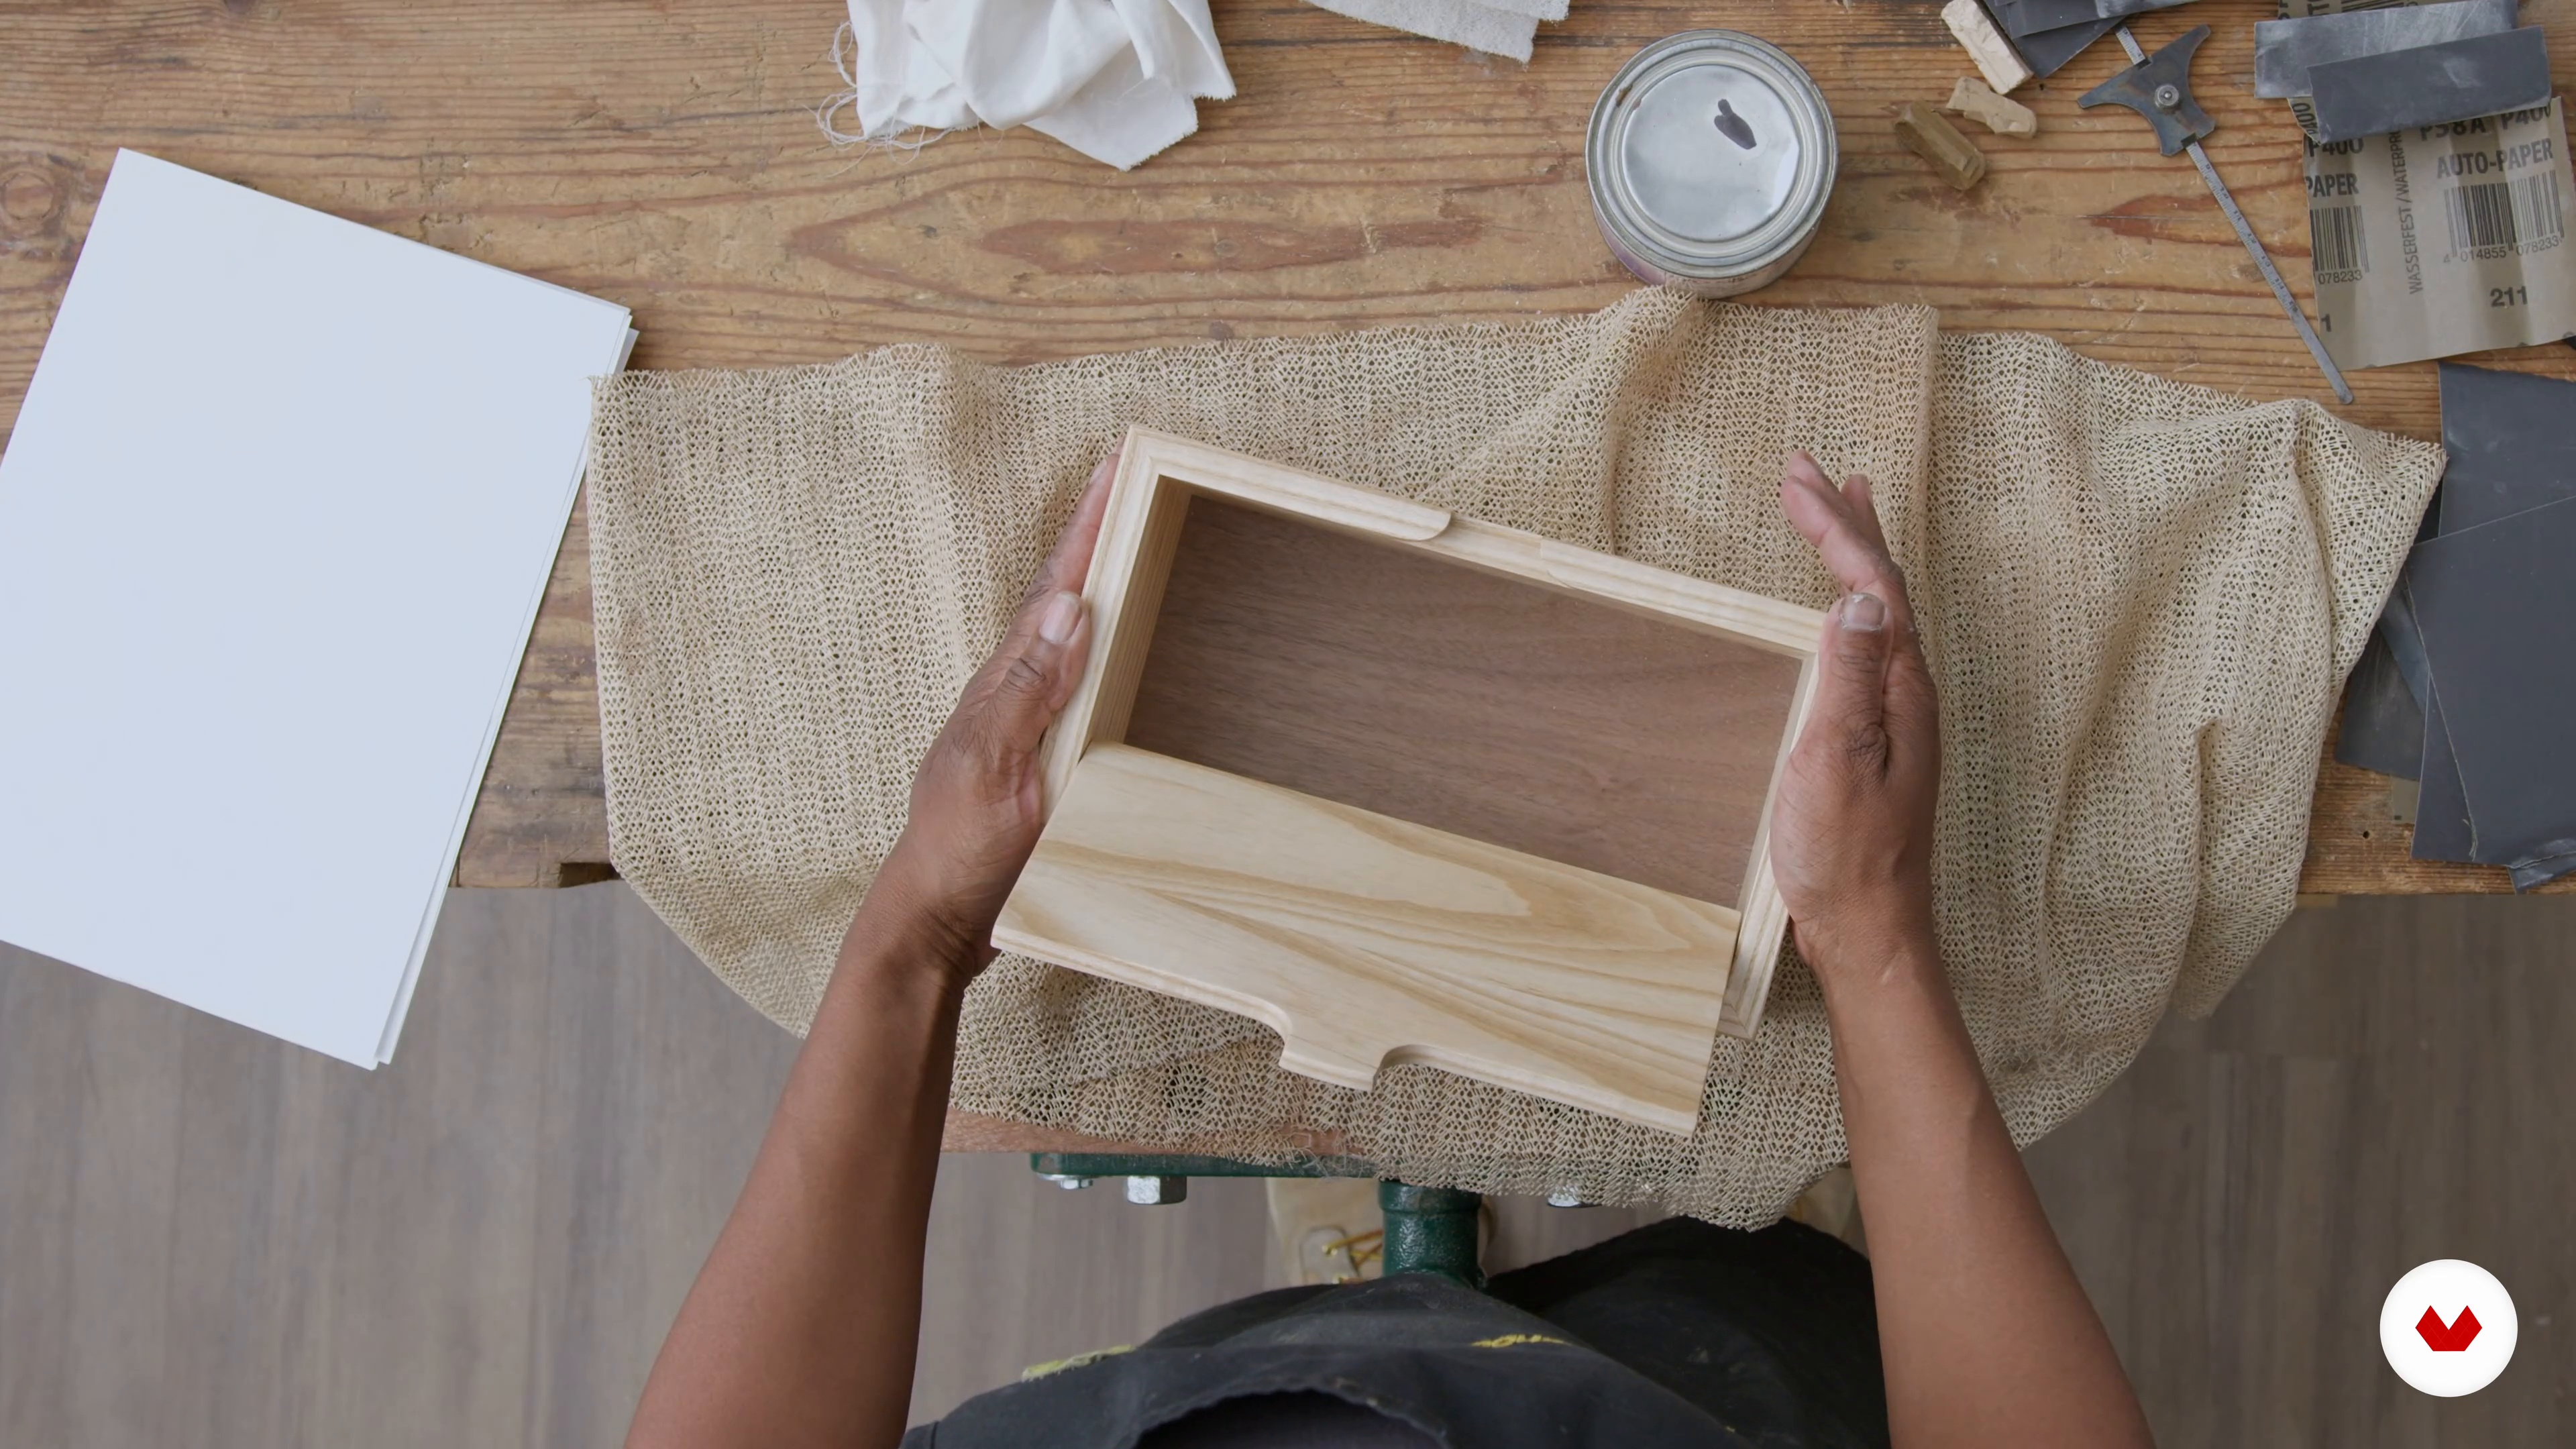
Now that the underside is ready, it's time to move to the top. By the end of this lesson, you should have achieved a smooth, blemish-free surface.
16m
 15
15Finishing the Box
It's finally time to add the finishing touches to your box. In this lesson, I will show you how to apply an oil finish and put the brass rods in place.
20m
 16
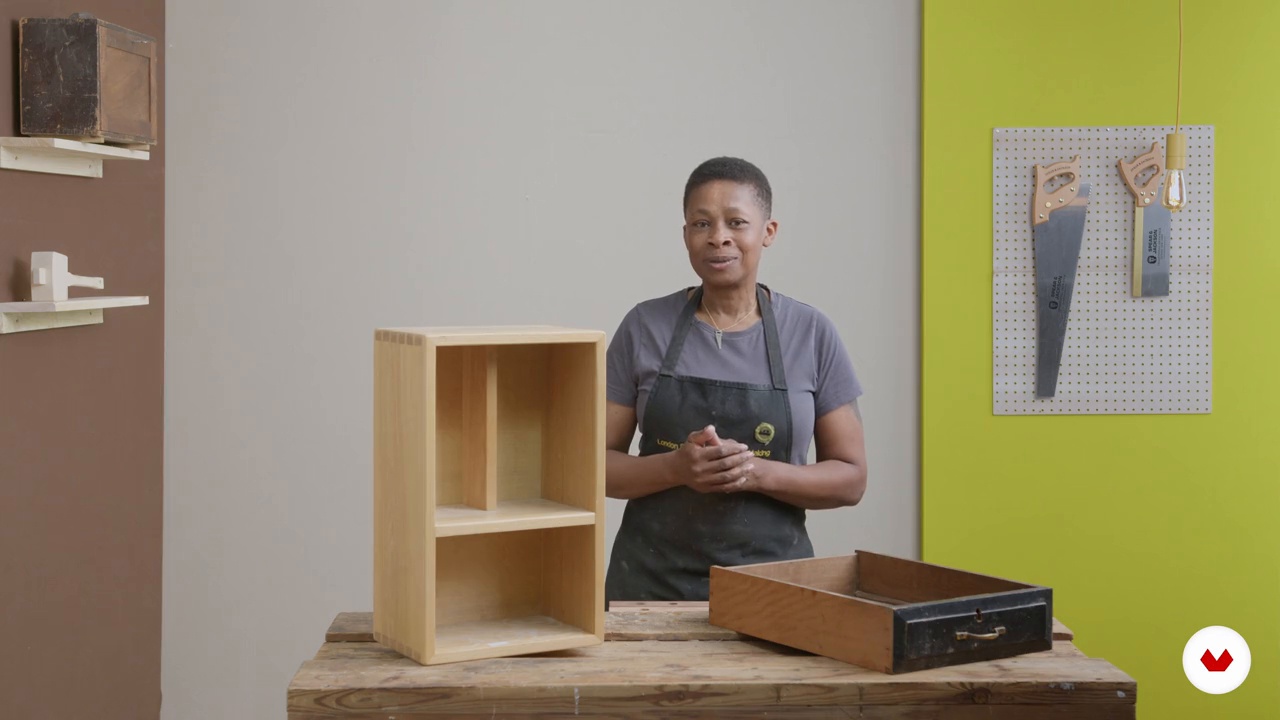
16Carcase and Drawer Construction and Half-Lap Dovetails
How can you apply the skills you've learned to other projects? In this lesson, we will look at cabinet construction. I will show you some examples of dovetails used in drawer construction.
2m
 1
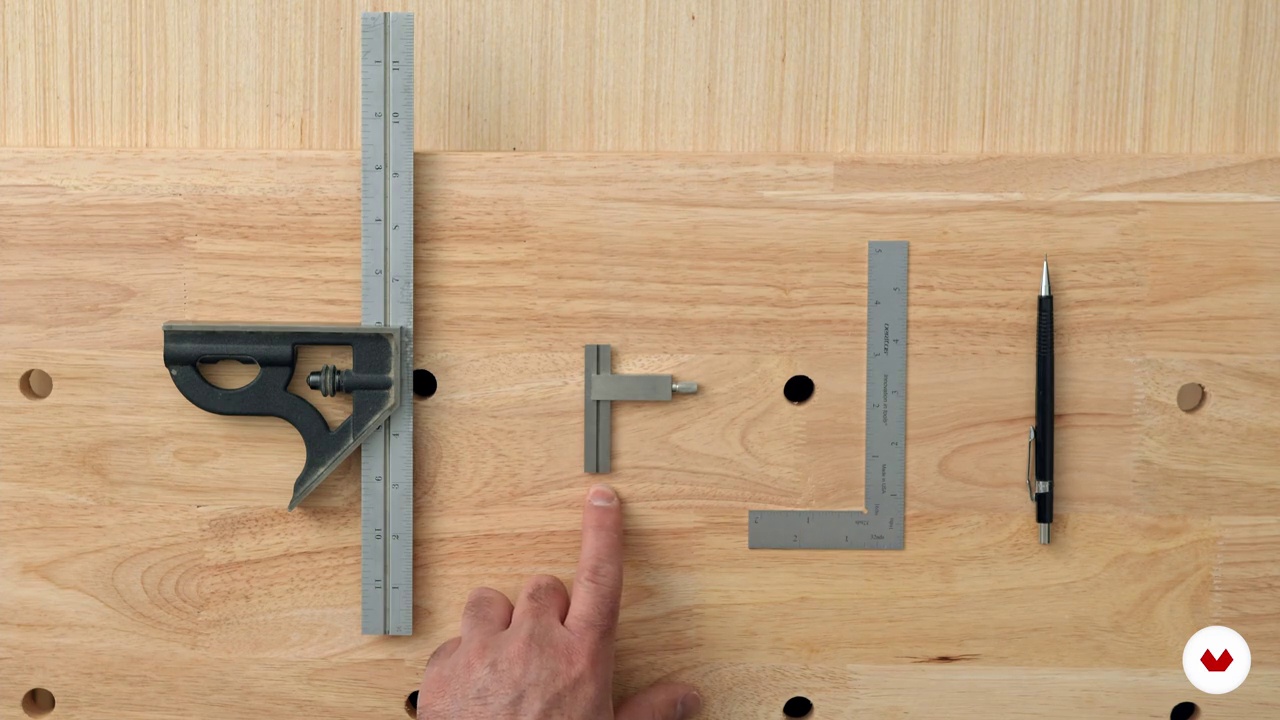
1Tools
Although it can be intimidating, the table saw is an accurate and versatile tool. In this lesson, you’ll learn how to use it safely, as well as get an overview of the sleds and jigs that you’ll use to make Kumiko.
7m
 2
2What Type of Wood and Where to Find It
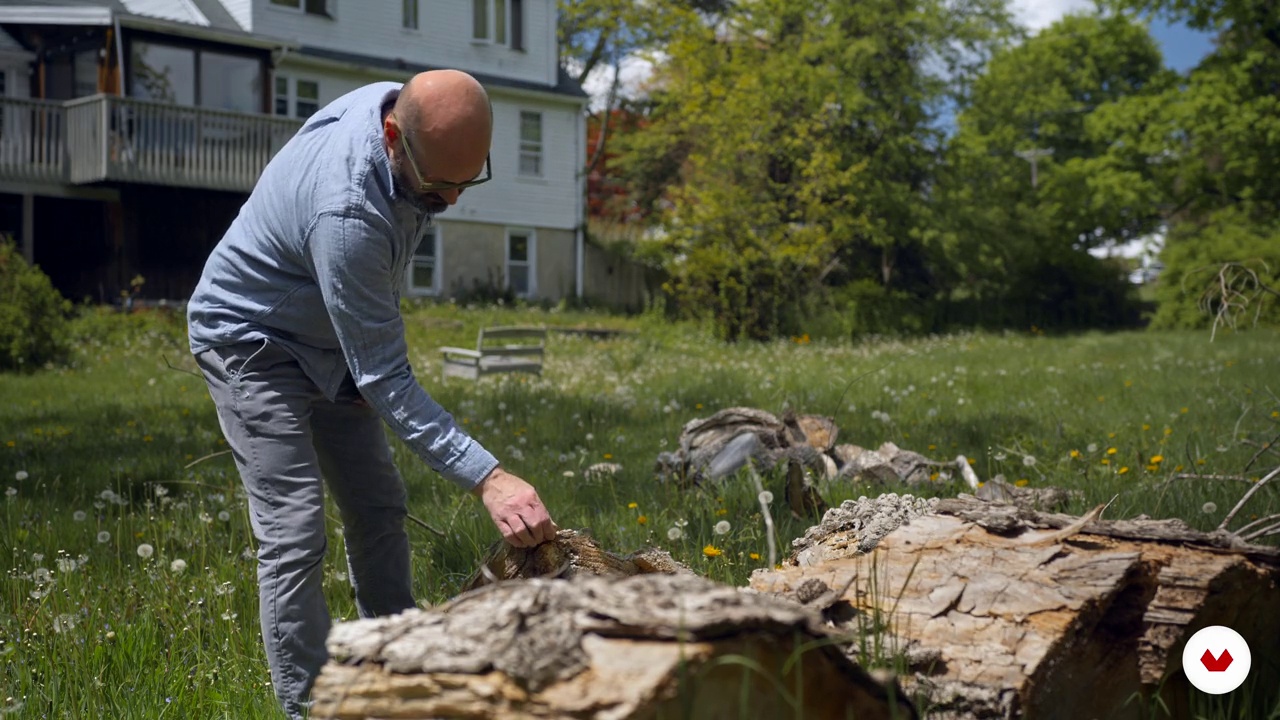
In this lesson, you will learn the qualities that make wood suitable for Kumiko. I’ll also give you examples of woods not to use. There are many places to buy wood suitable for Kumiko, but a lumberyard is where I go. I’ll give you a few pointers for navigating the lumberyard, but also tell you some of the other types of stores that sell the wood you’ll need.
3m
 3
3How to Mill Wood
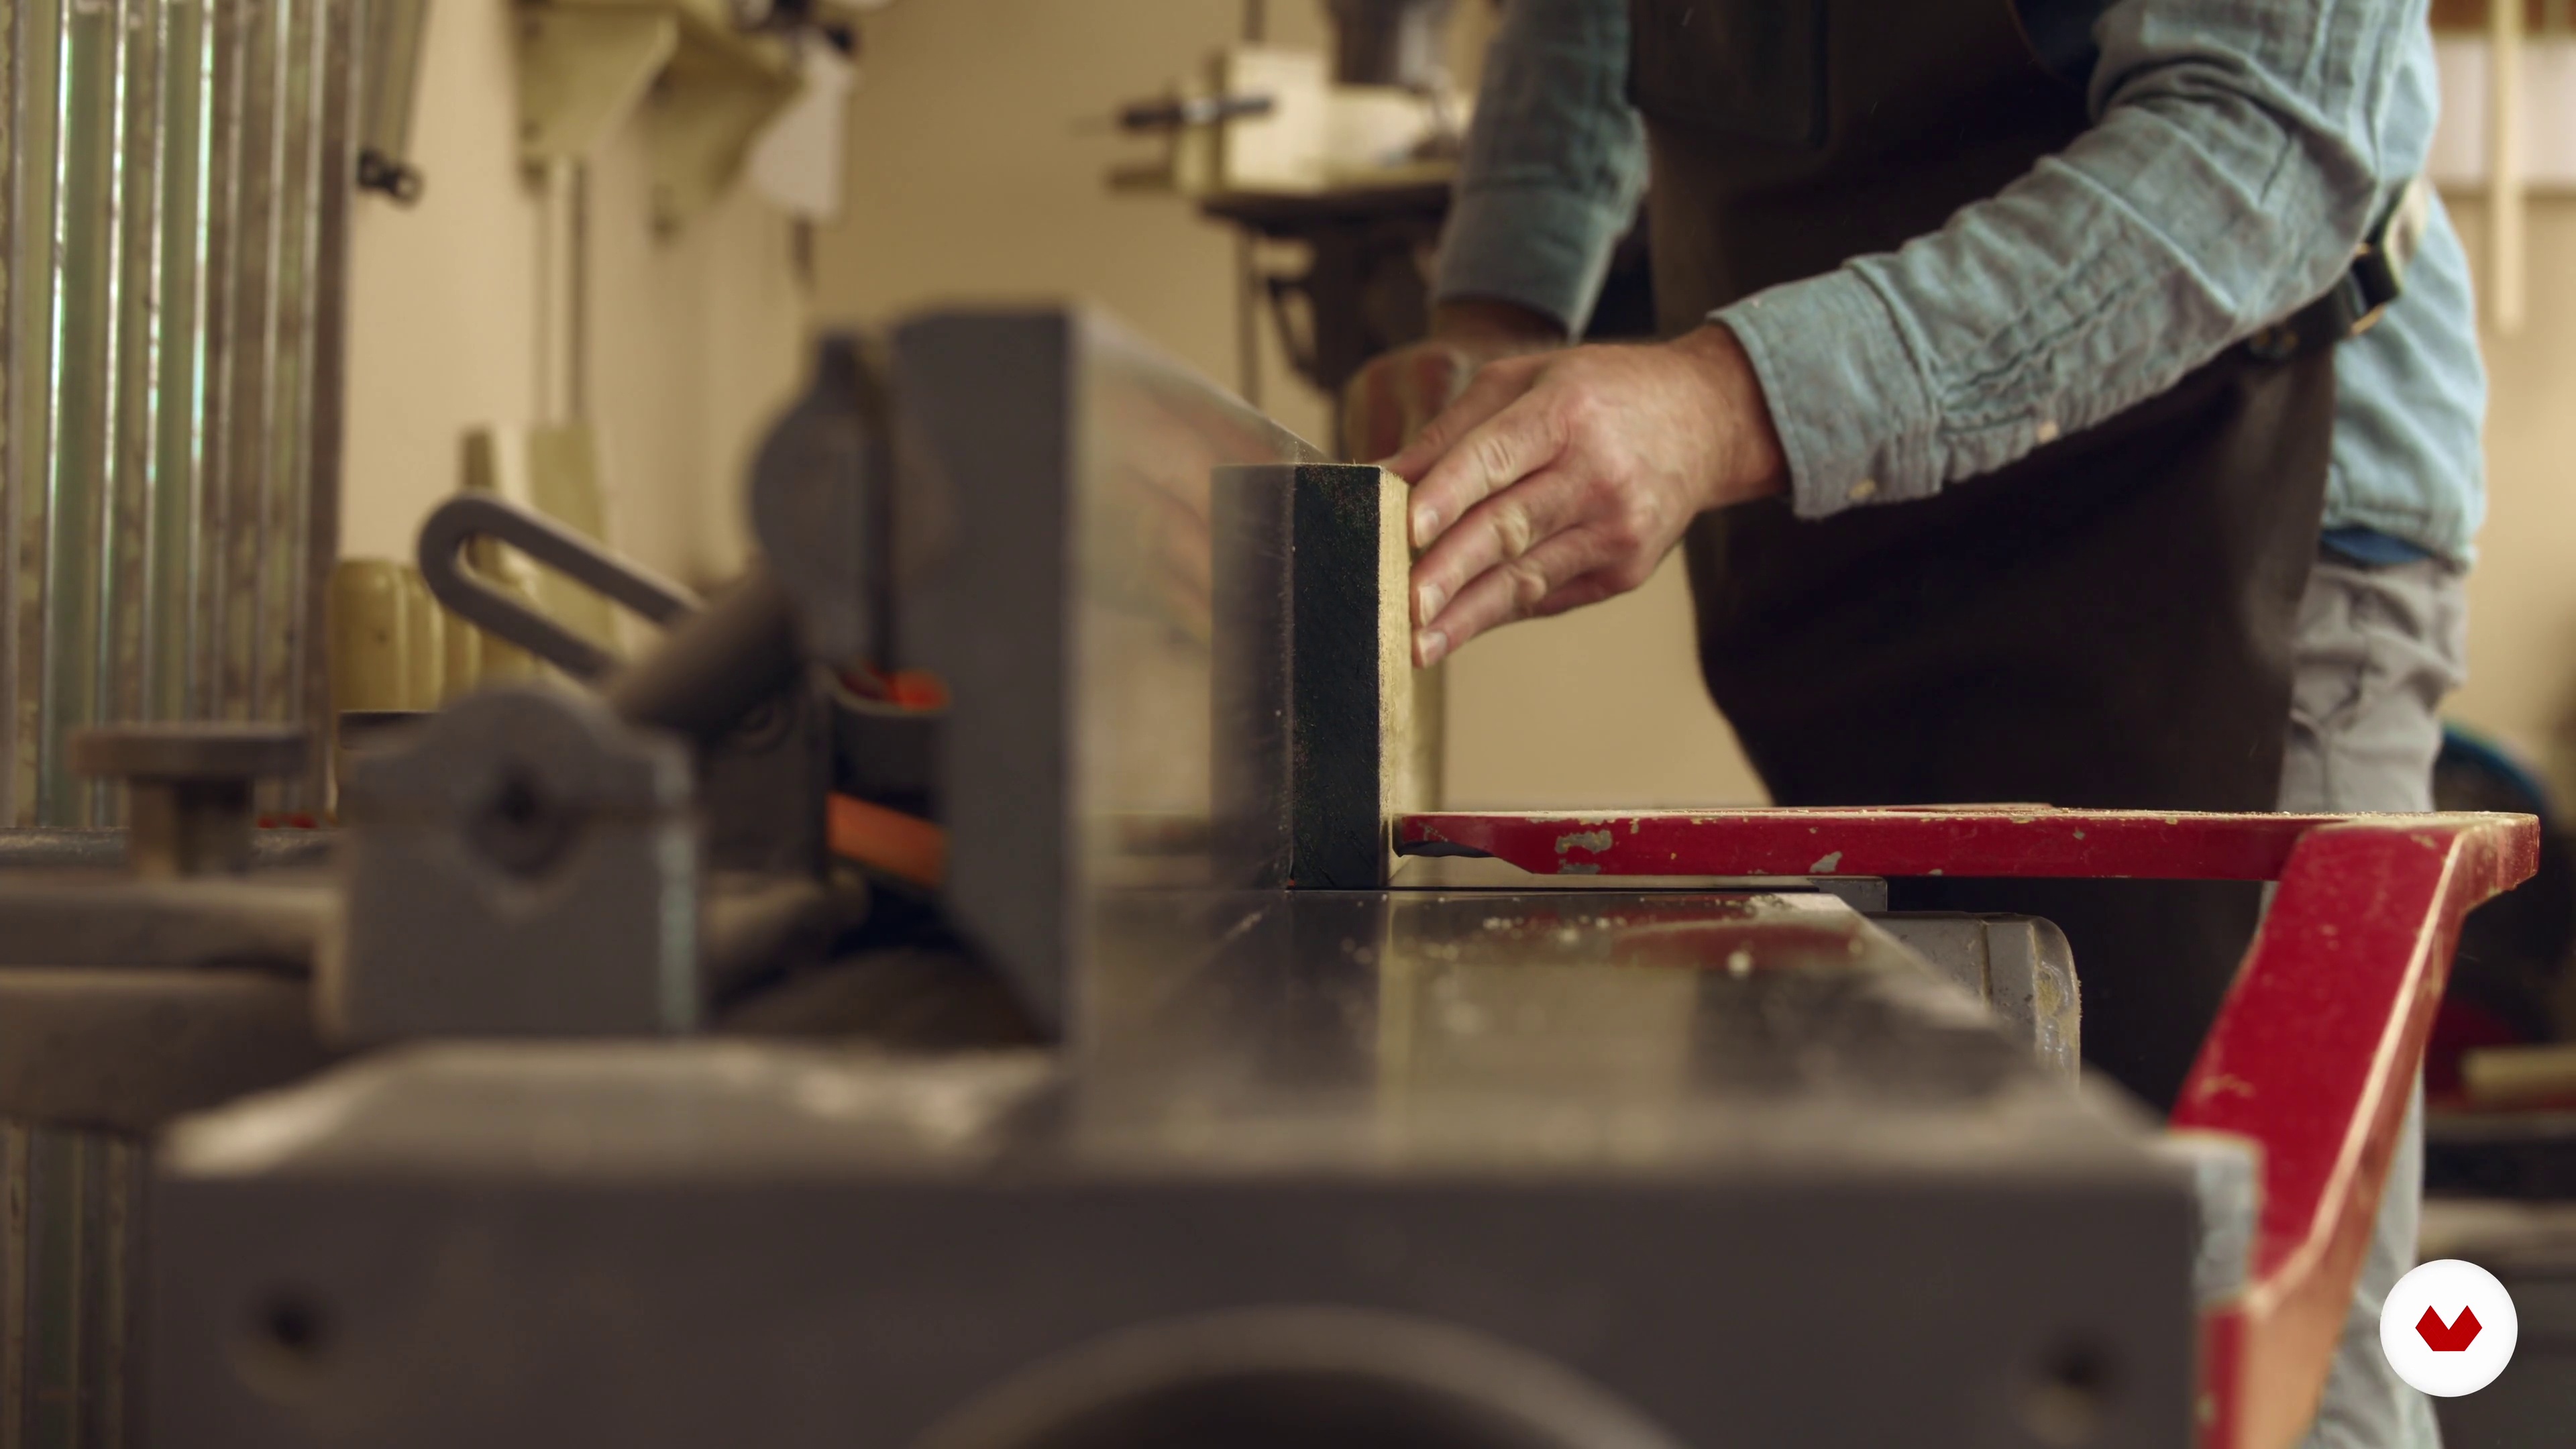
I’ll show you how I turn the rough lumber that I buy into stock ready for Kumiko and explain how you can do the same even if you don’t have the type of machinery I do.
5m
 4
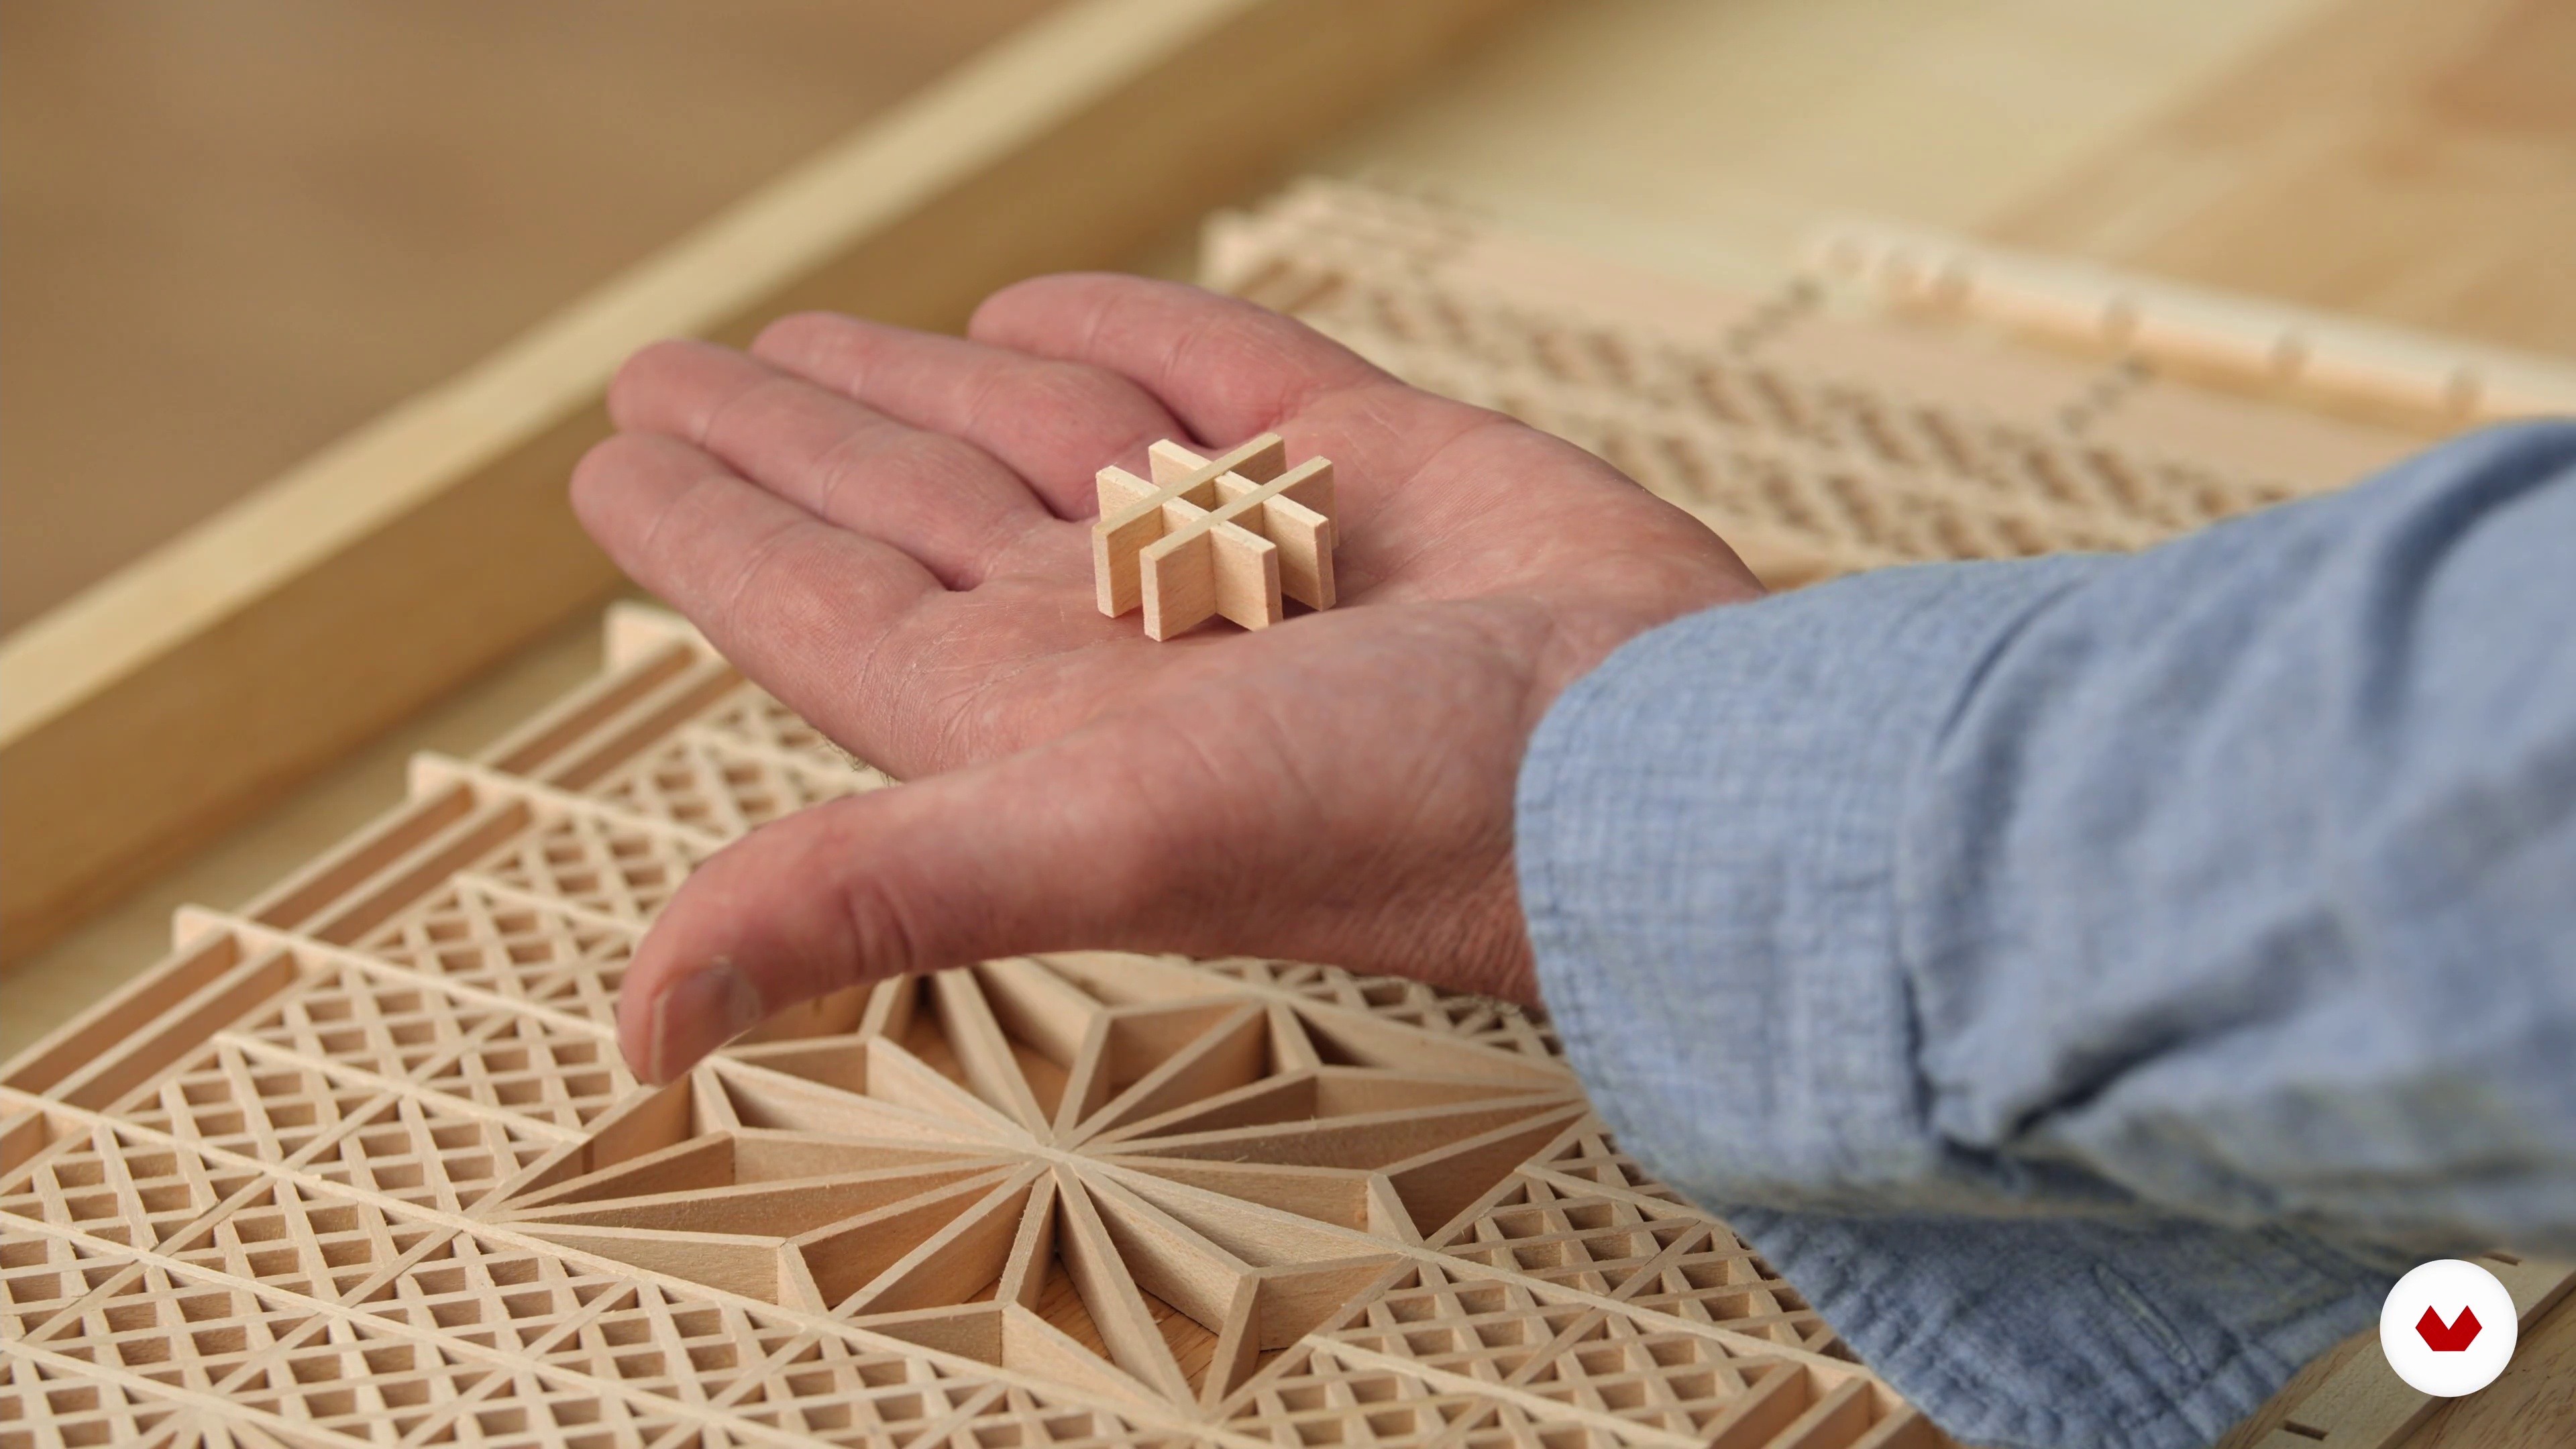
4The Anatomy of Kumiko
Before making Kumiko, you should understand what it is. In this lesson, you’ll learn about how frames are made and put together and discover the magic of how patterns are put together without glue.
2m
 5
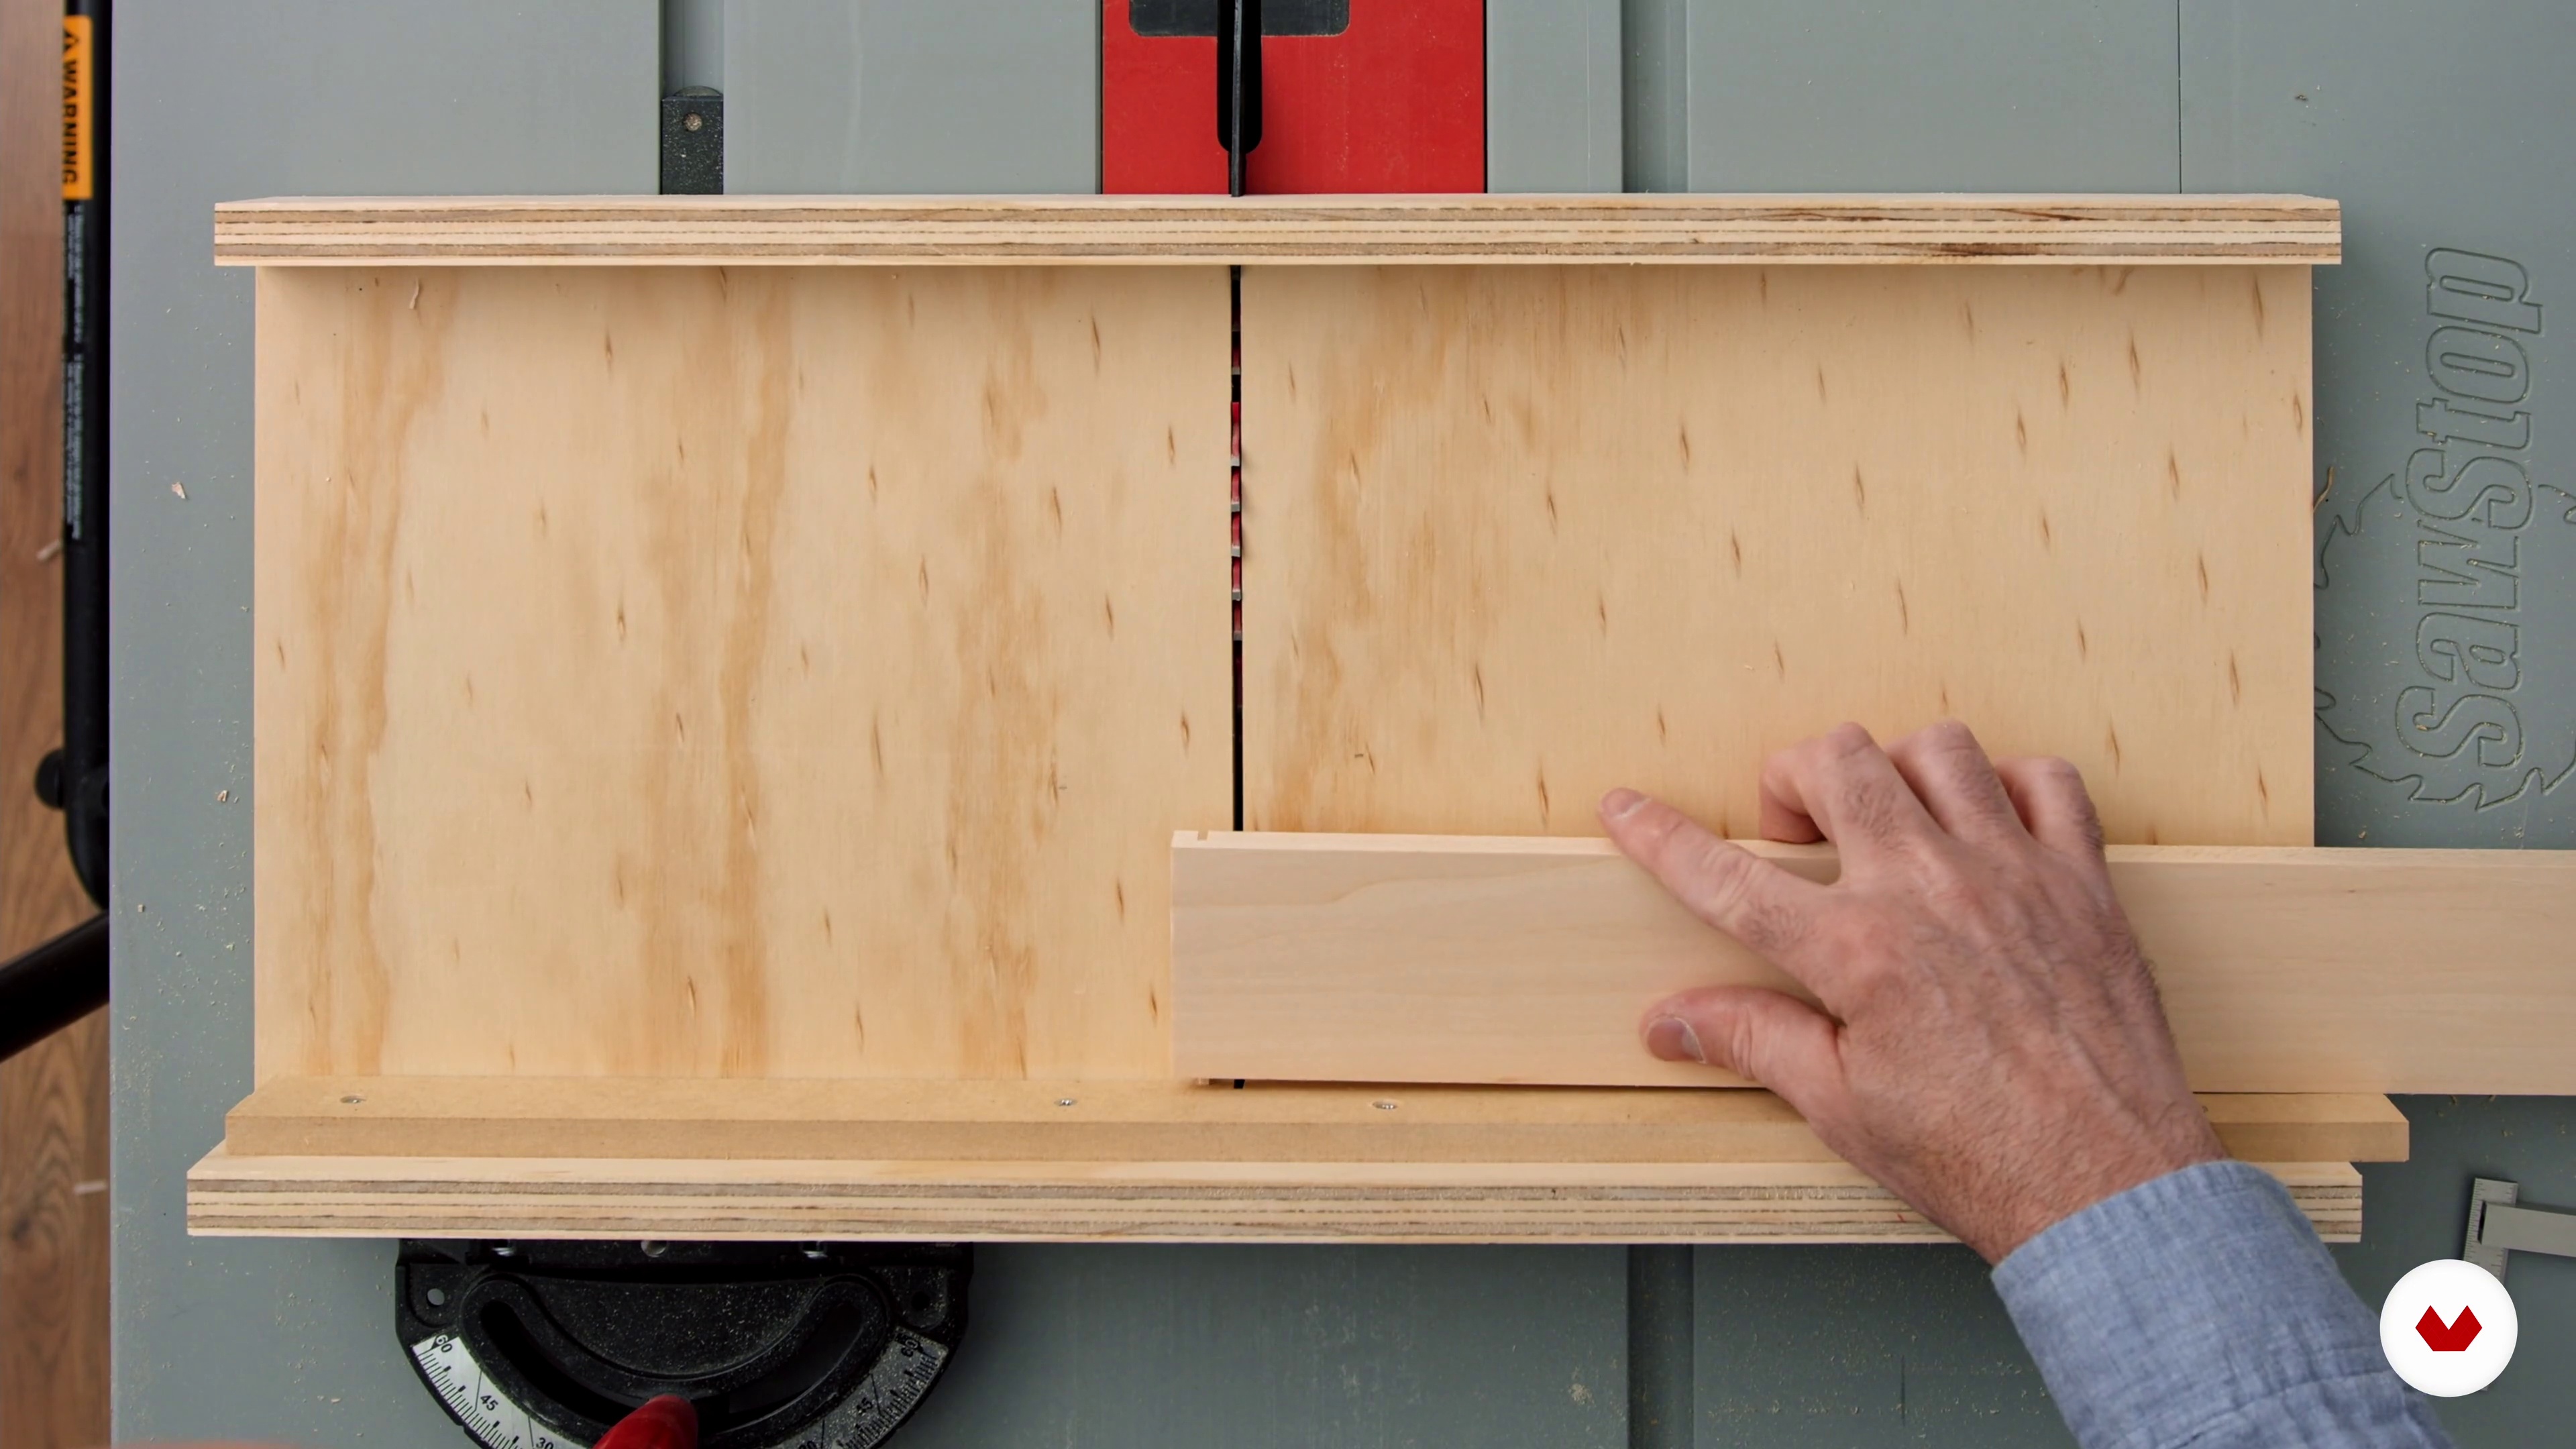
5Using the Sled and Finger Joint Jigs
Here you’ll learn how to set up the sled and finger joint jigs, as well as how they work together when you are making the frame.
14m
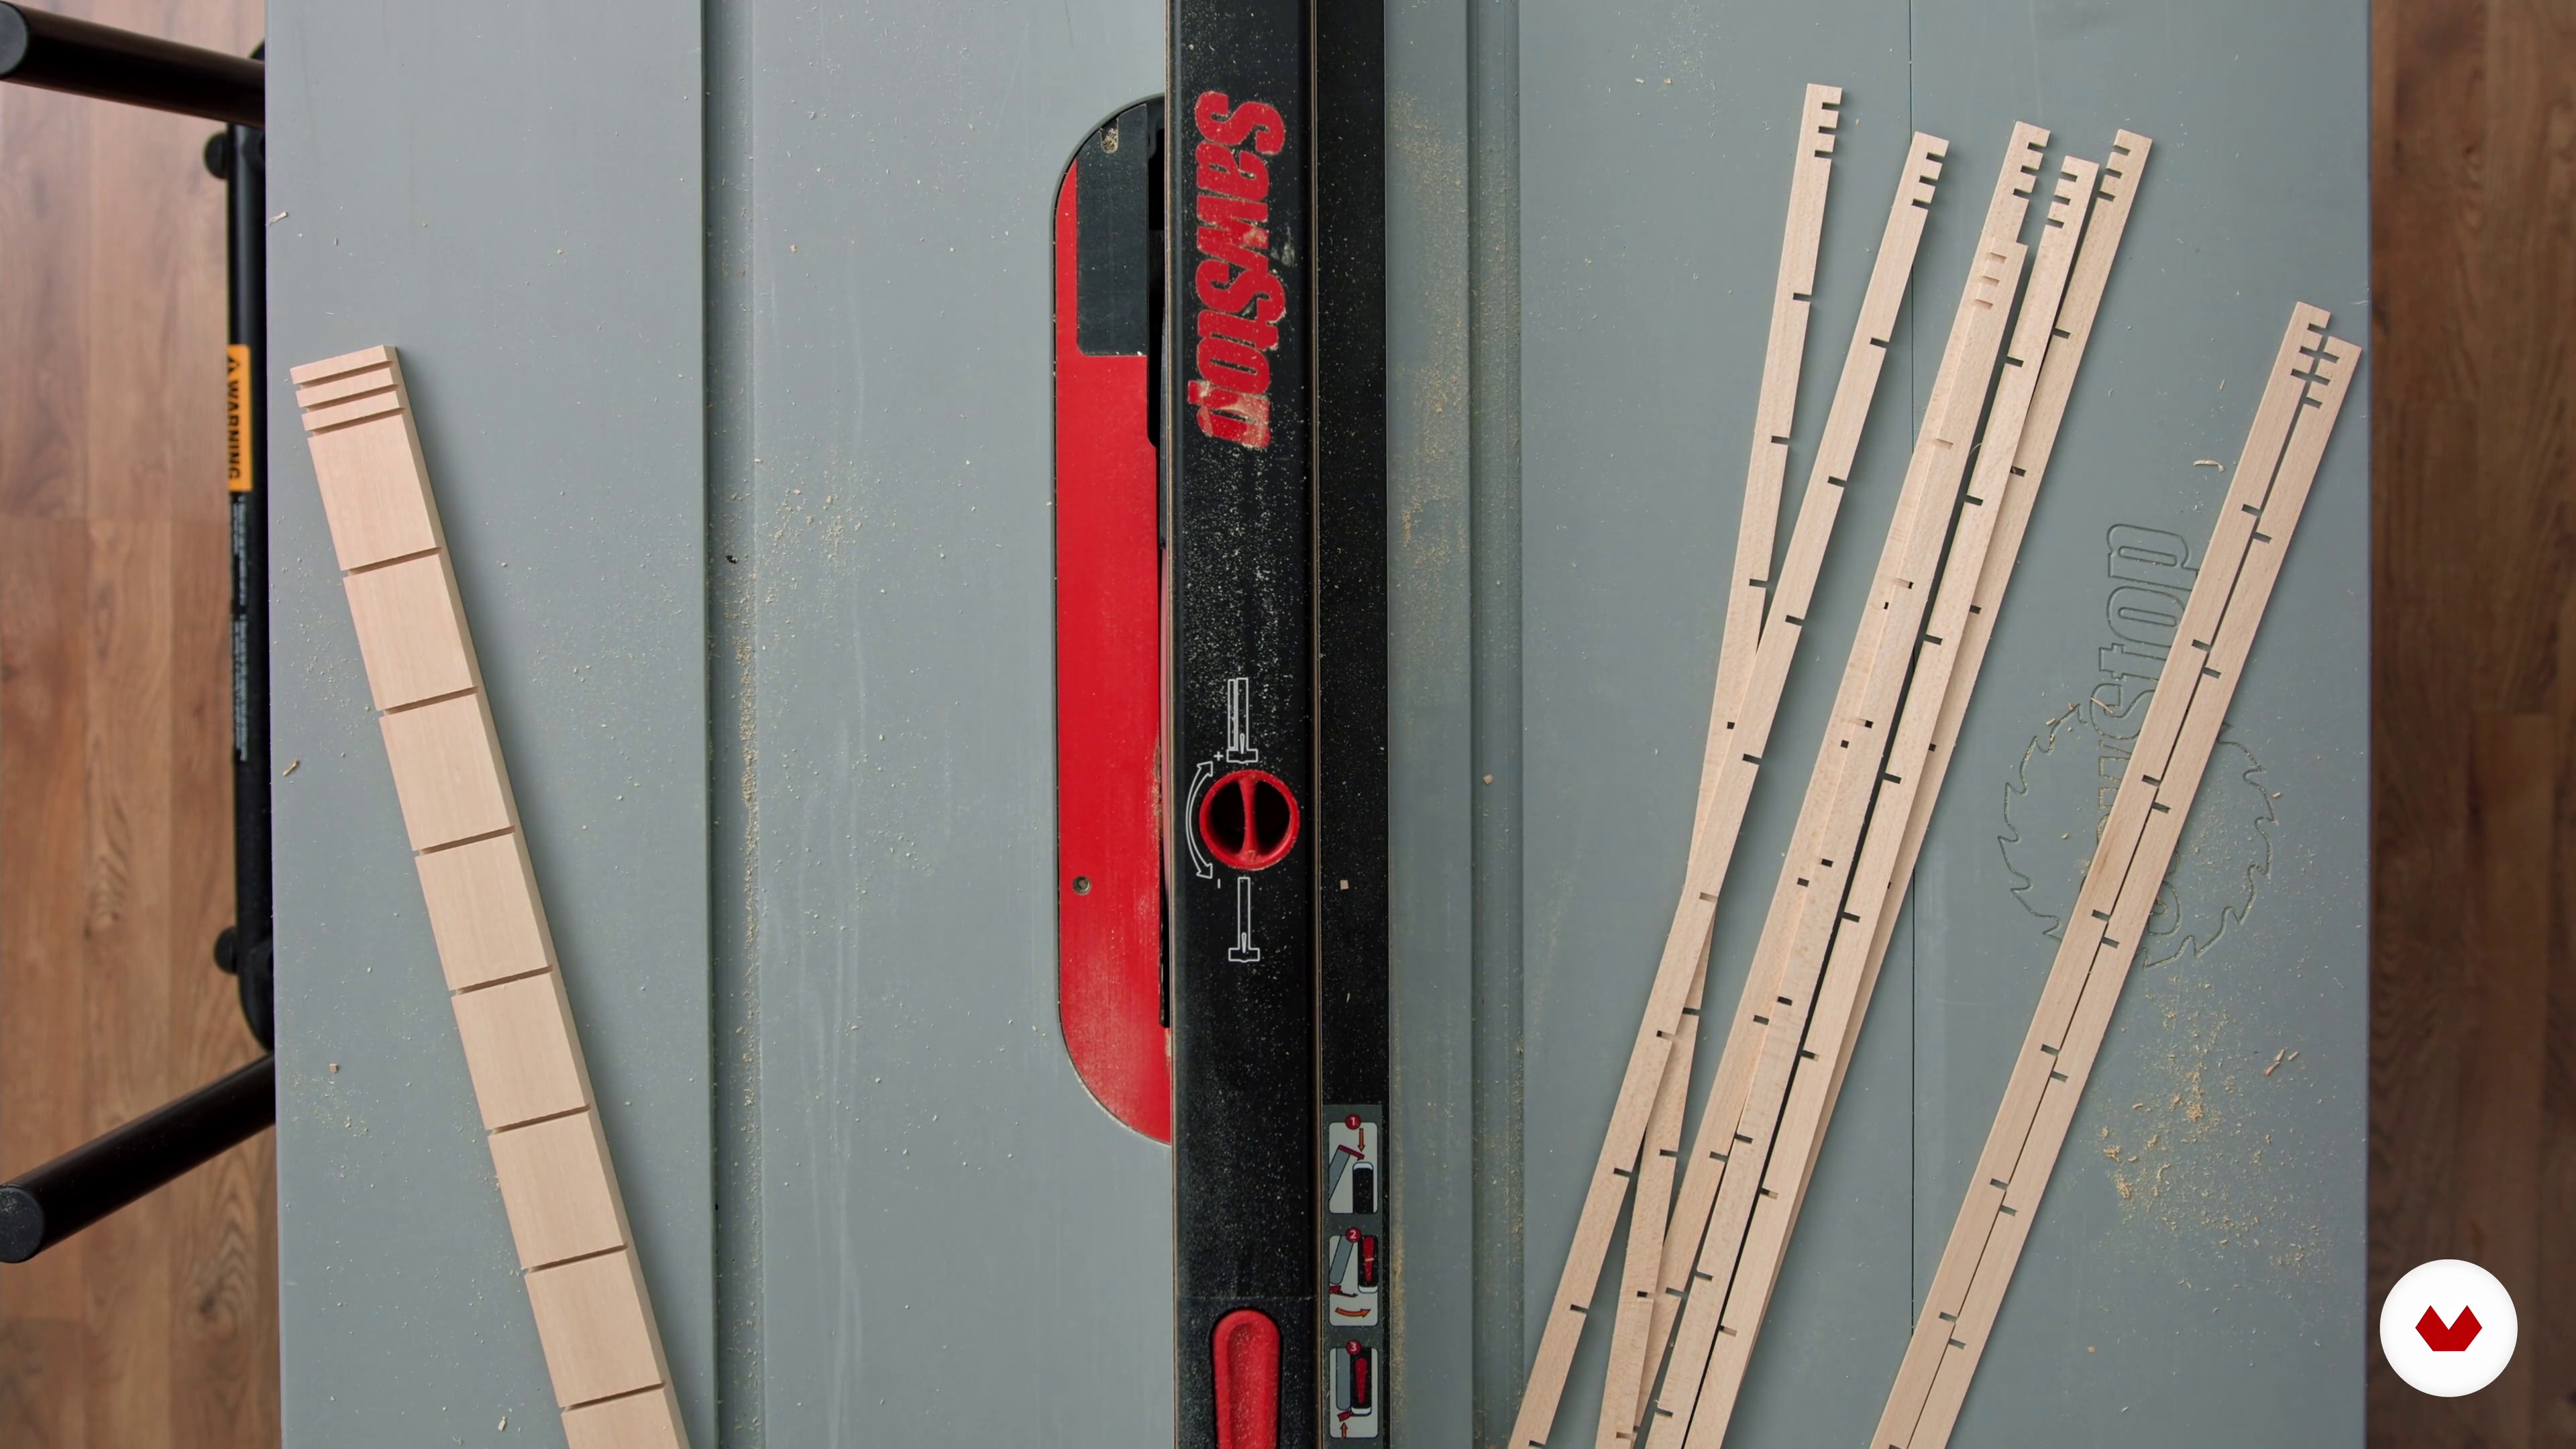 6
6Making Thin Strips for the Frame
The last step before assembling the frame is cutting the strips used to make it from the wide, notched board. I’ll show you how to do this safely, and explain how to ensure that they are the right thickness.
4m
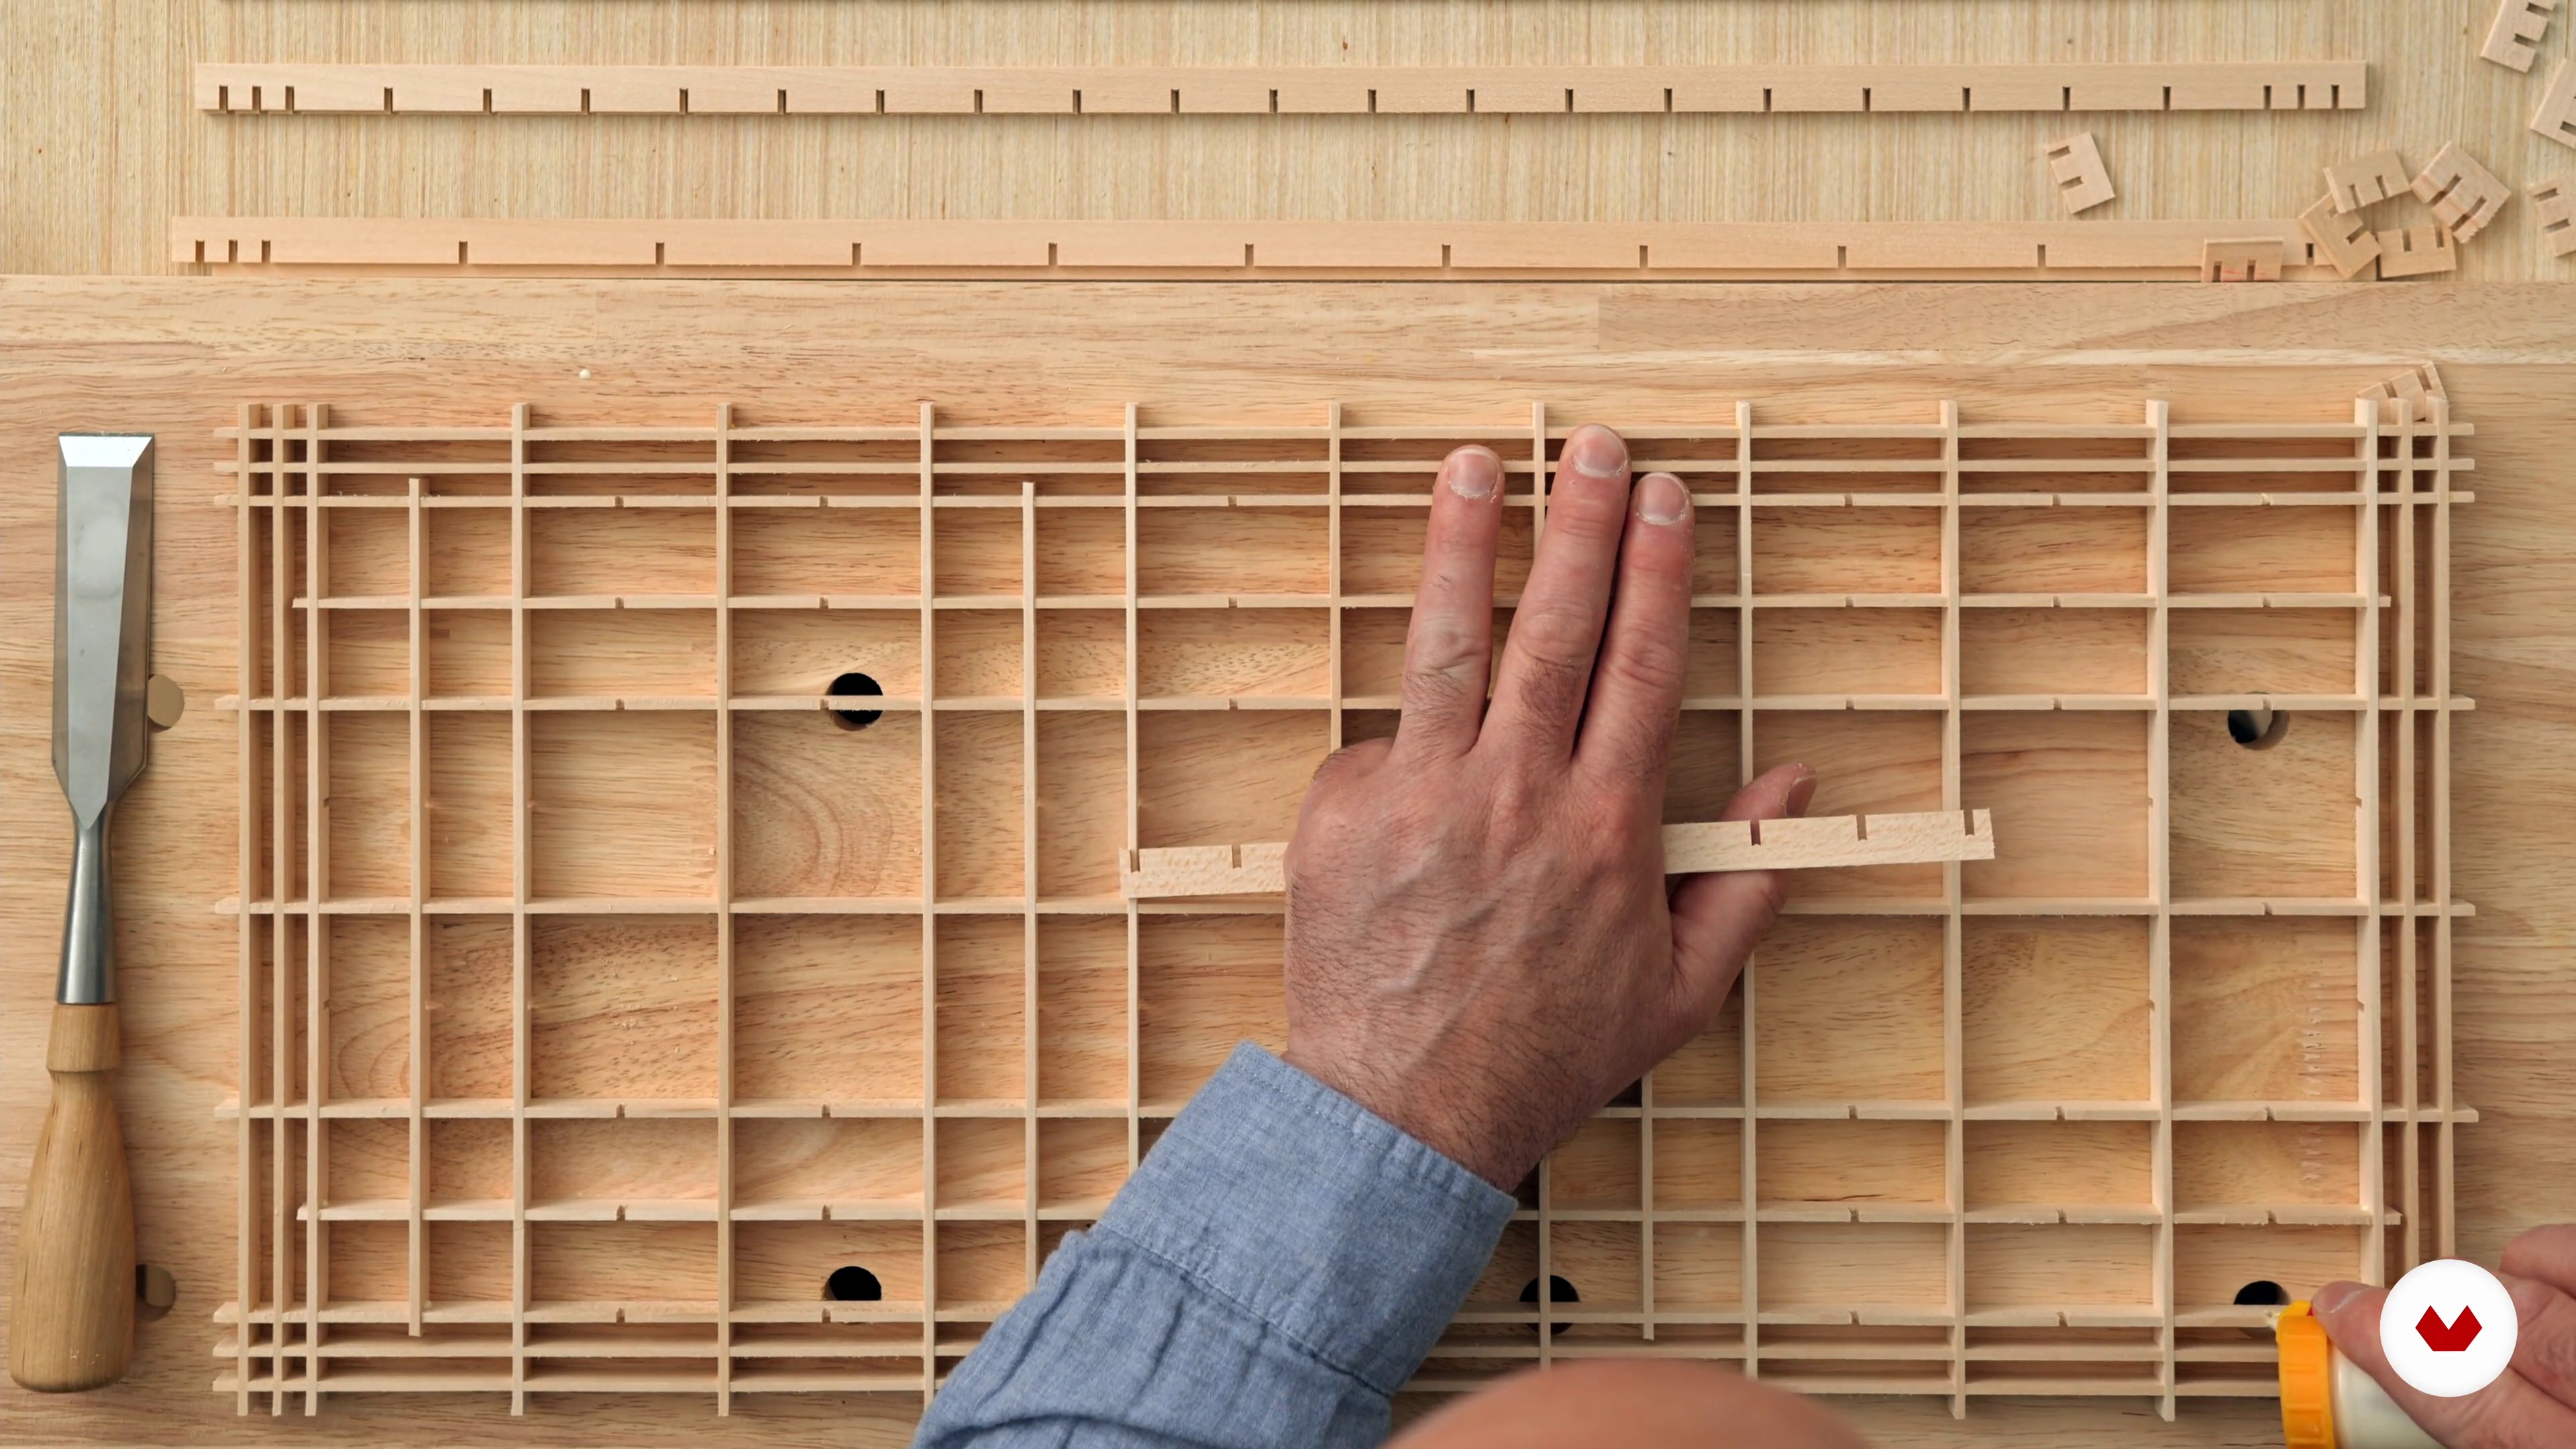 7
7Assemble the Frame 1
In this lesson, you’ll learn how to put the frame together without breaking any of the parts.
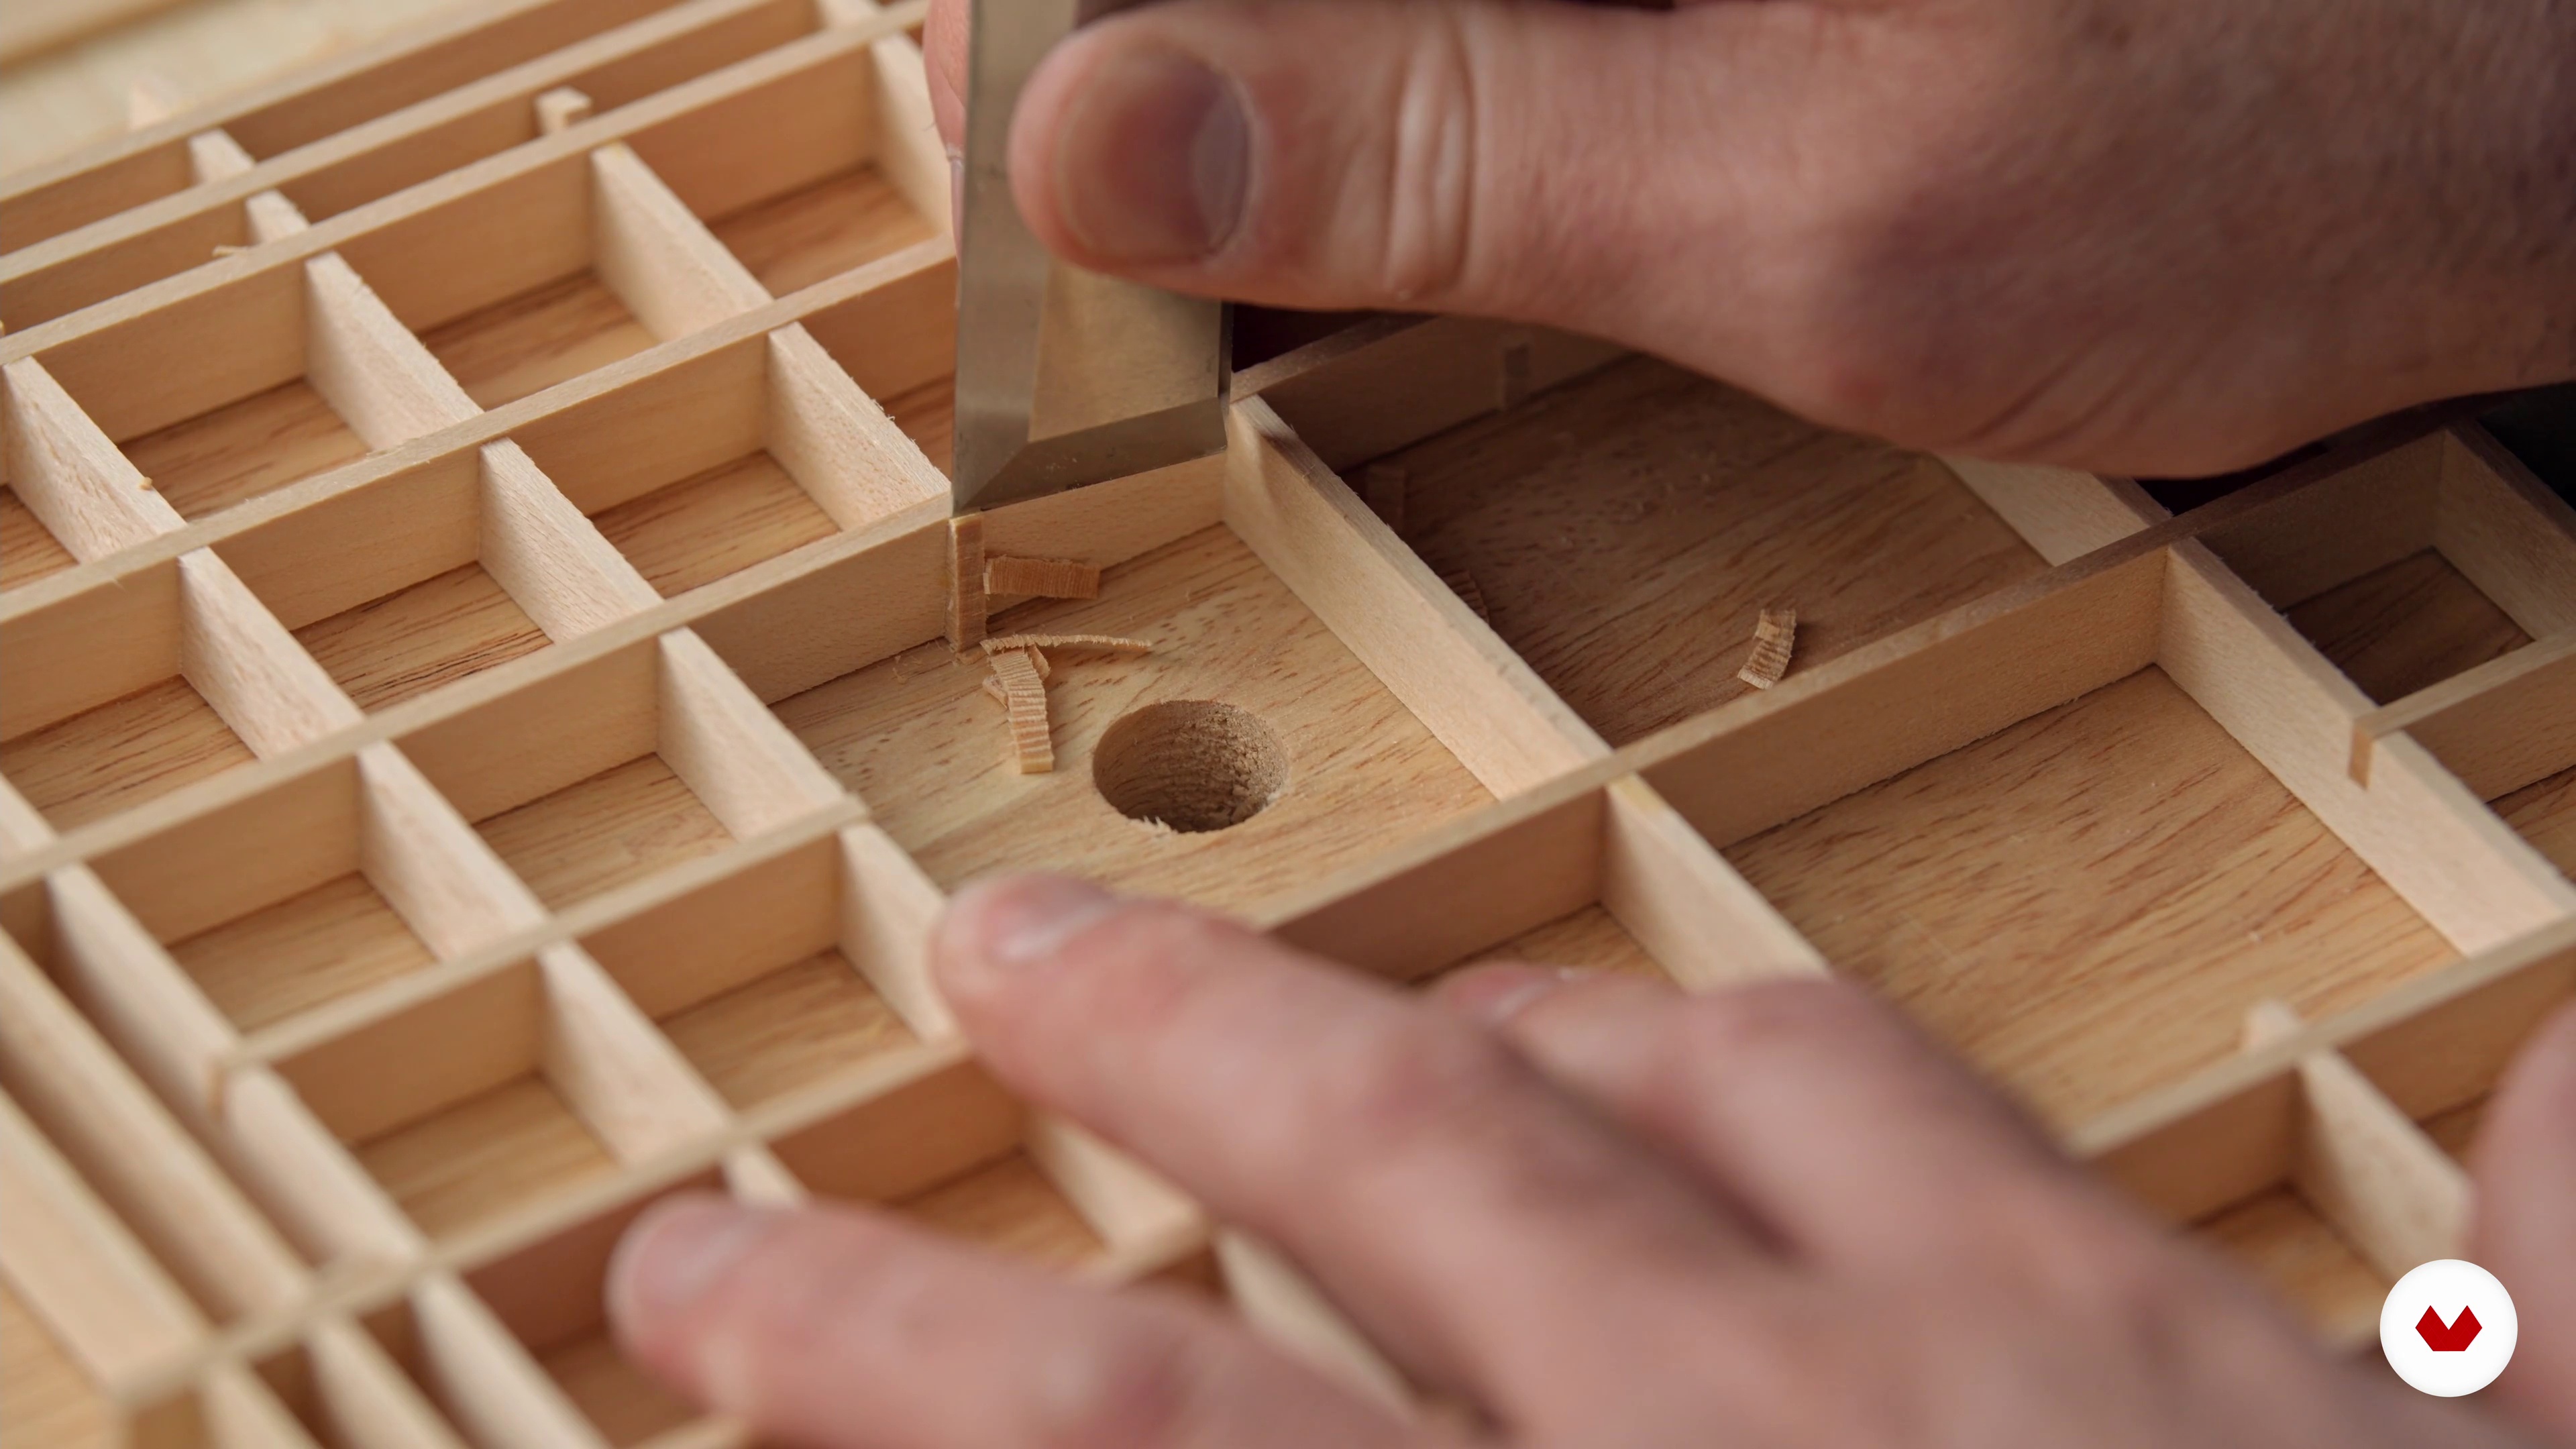
18m
 8
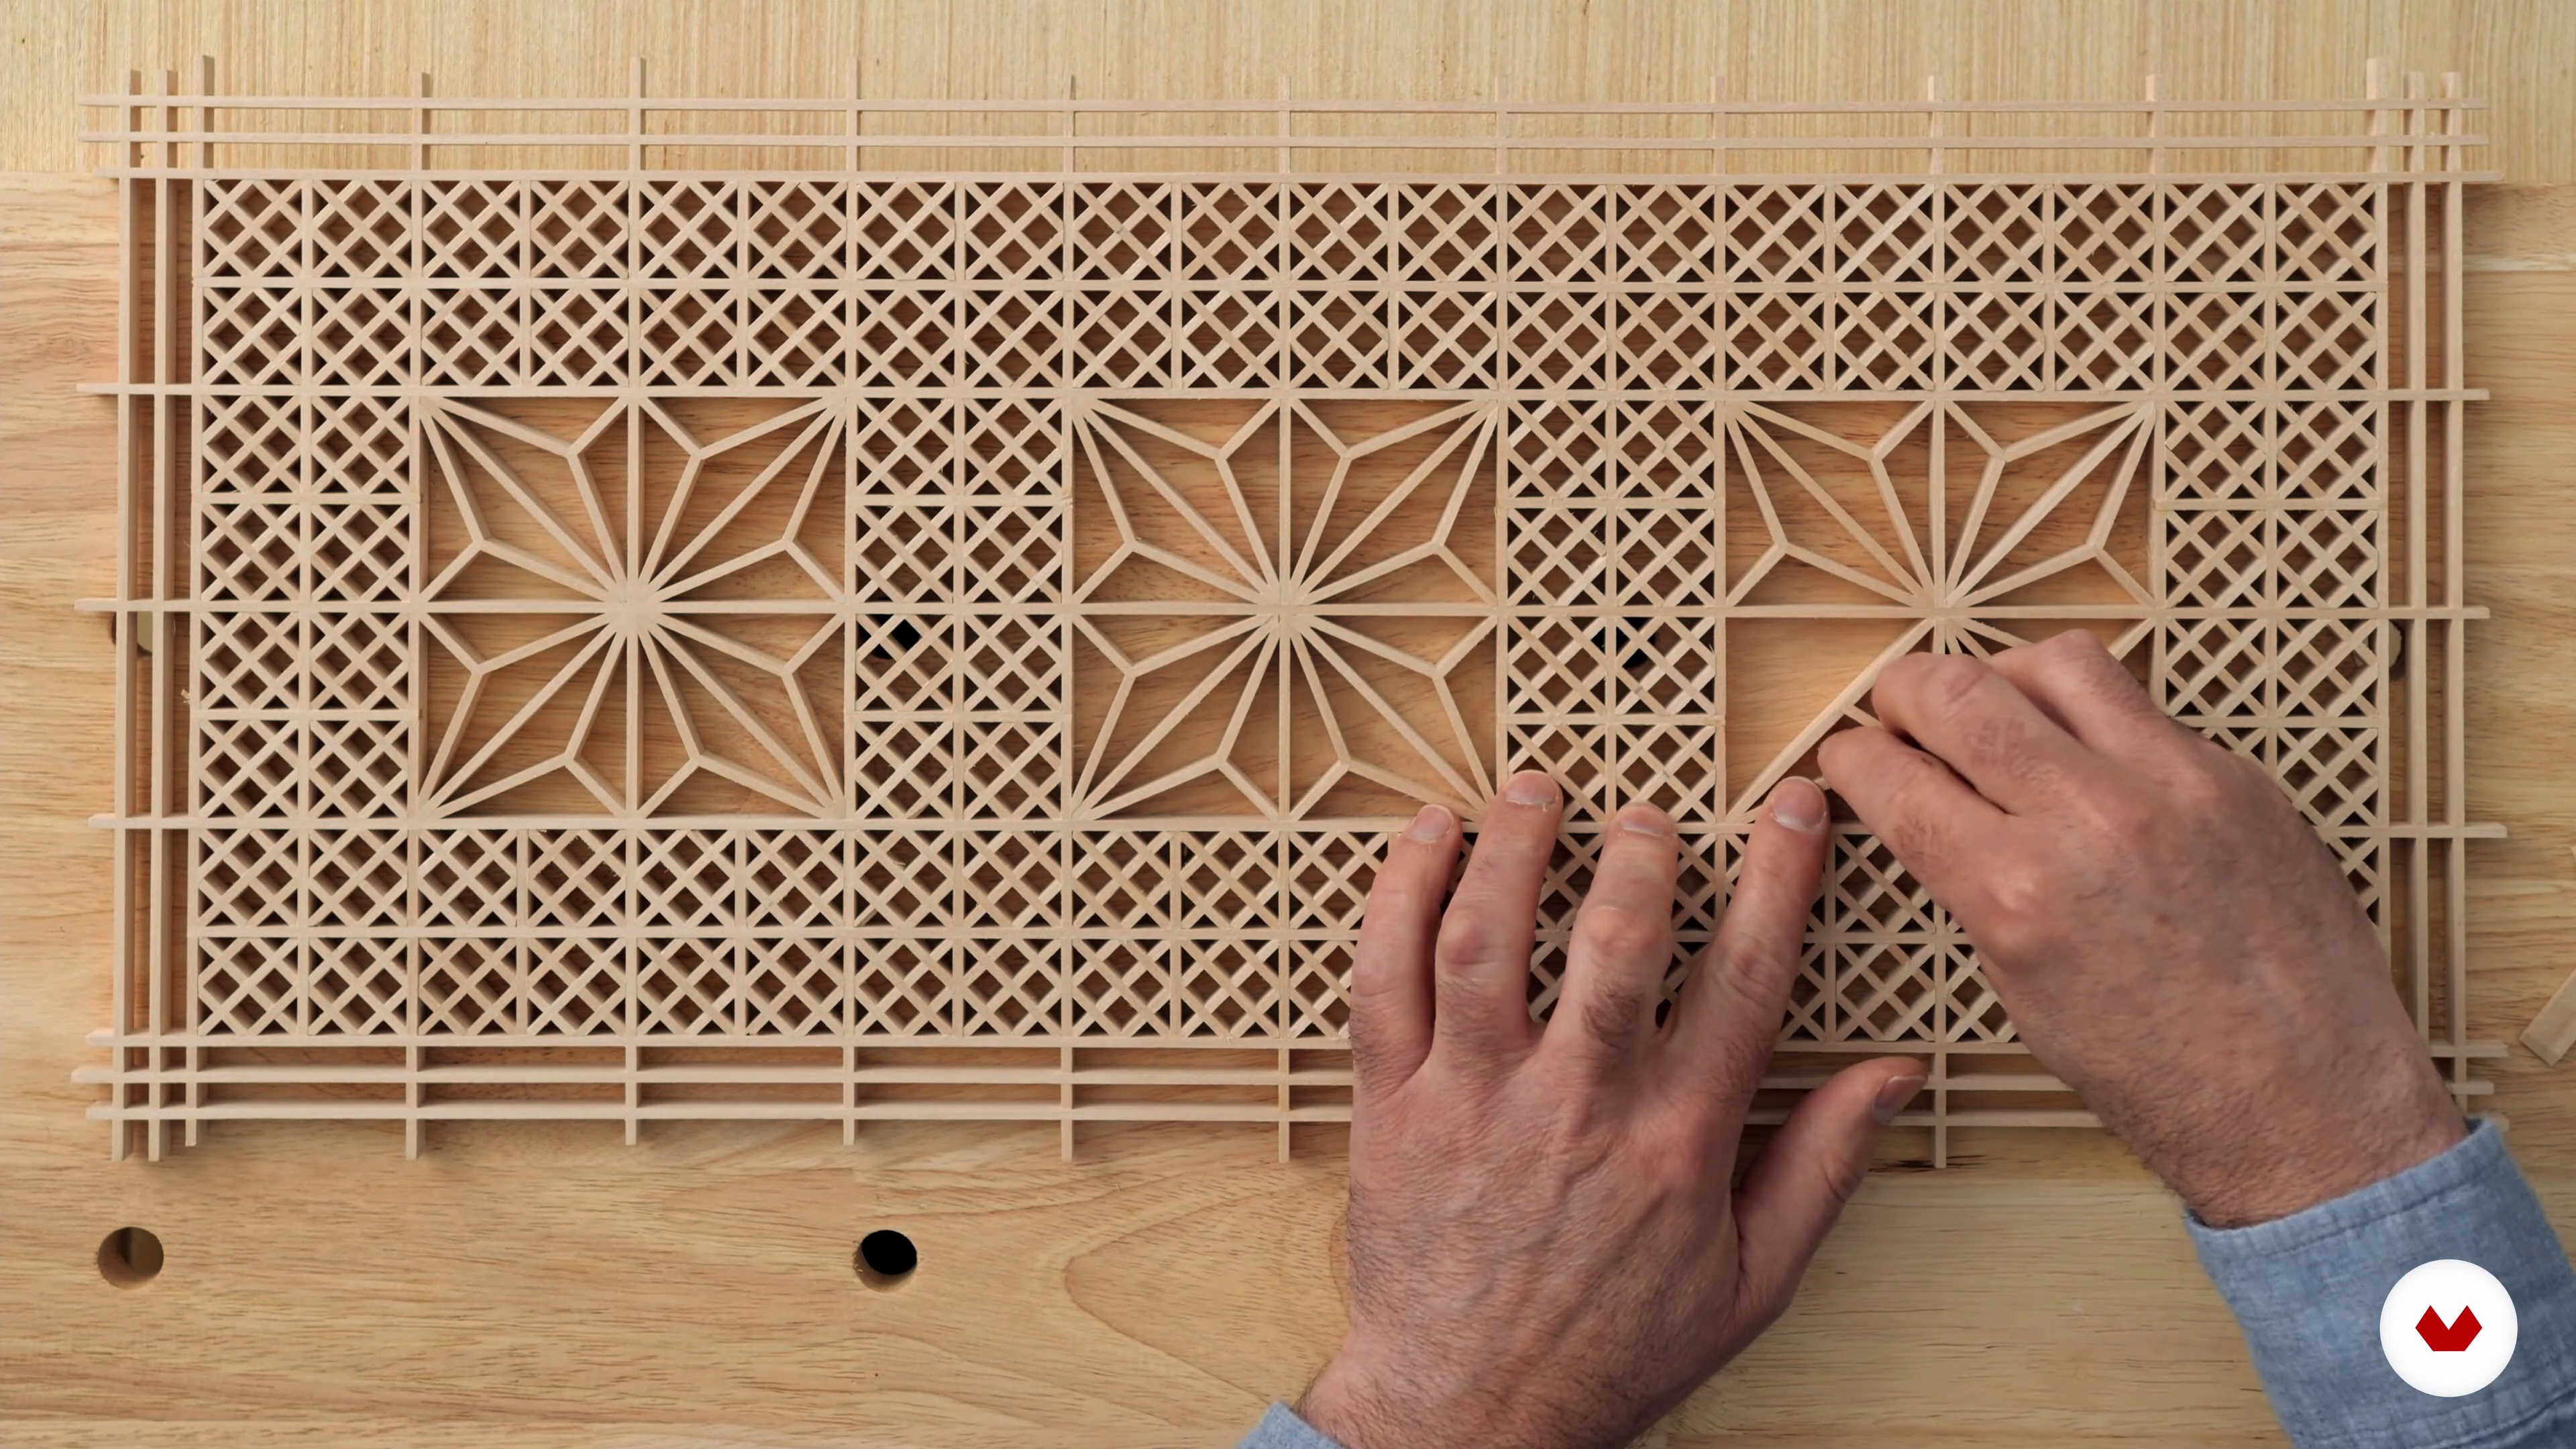
8Assemble the Frame 2
A work like this is built on precision and patience. In this lesson, I'll continue assembling the frame minding each of the pieces.
10m
 9
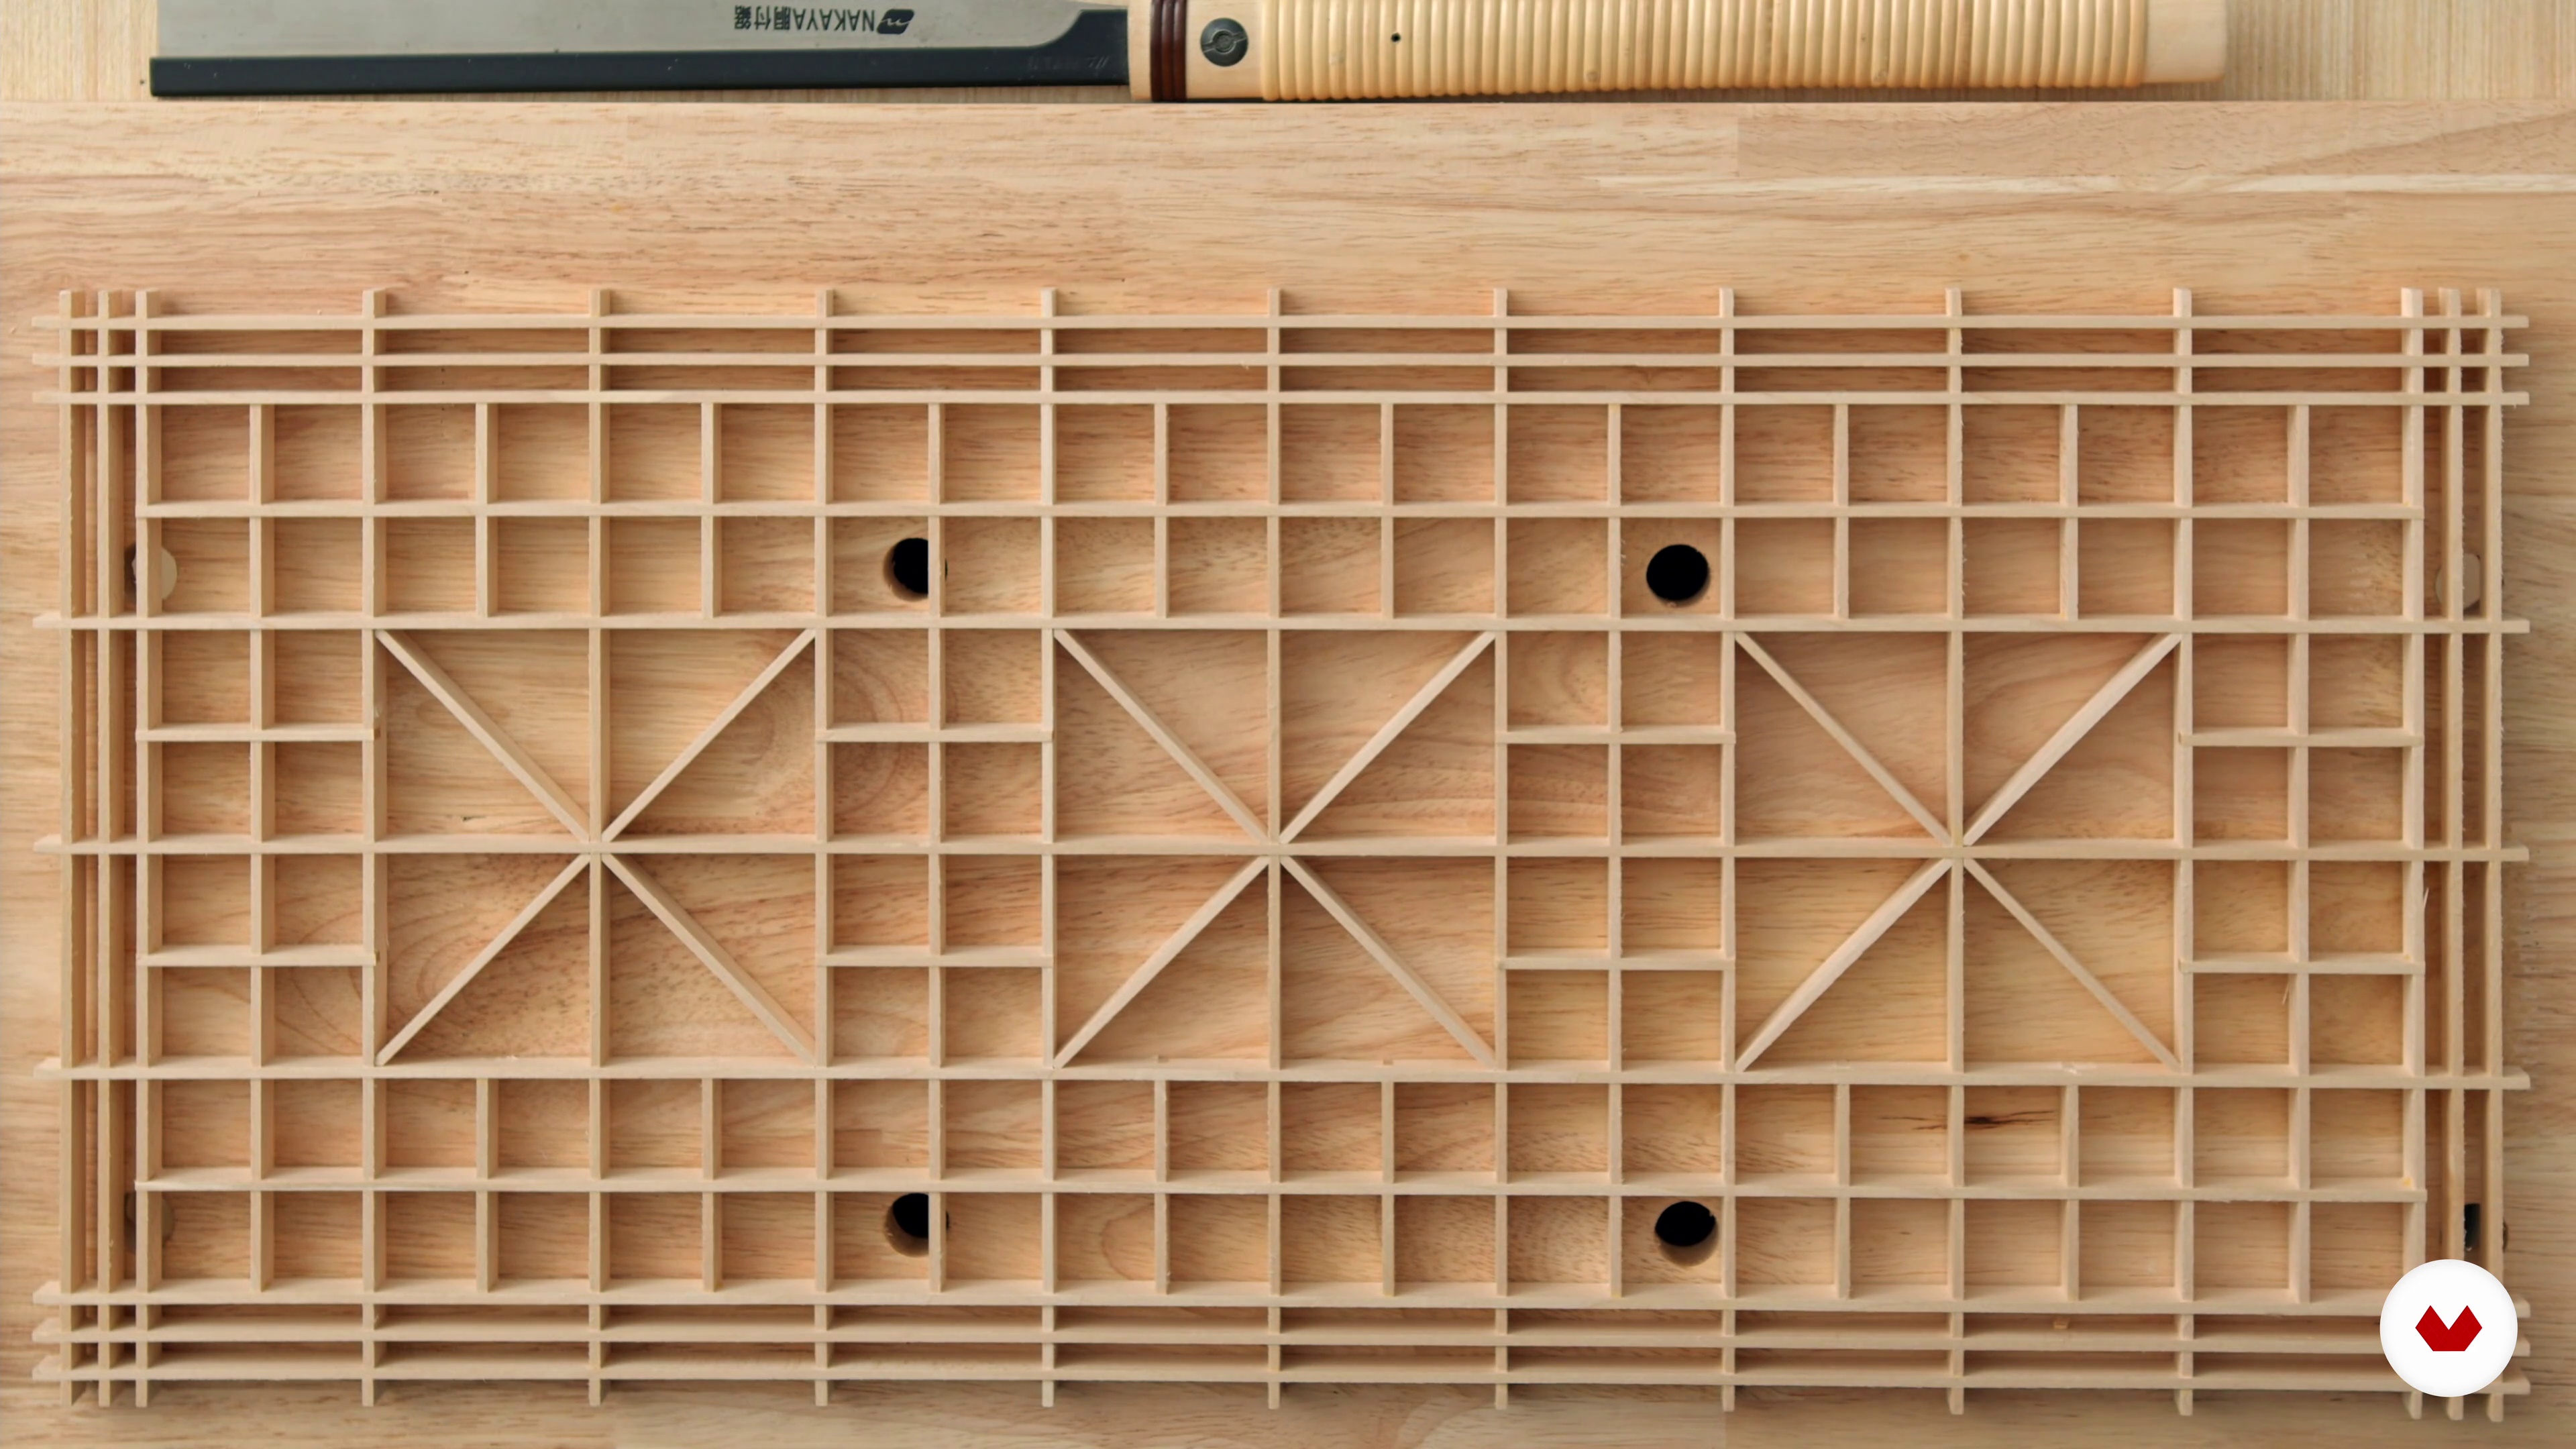
9Parts of the Pattern: Diagonal, Hinge Piece, Locking Piece
Here I’ll show what each piece looks like, the angles that they have cut into their ends, and how they fit together to make the complete pattern.
3m
 10
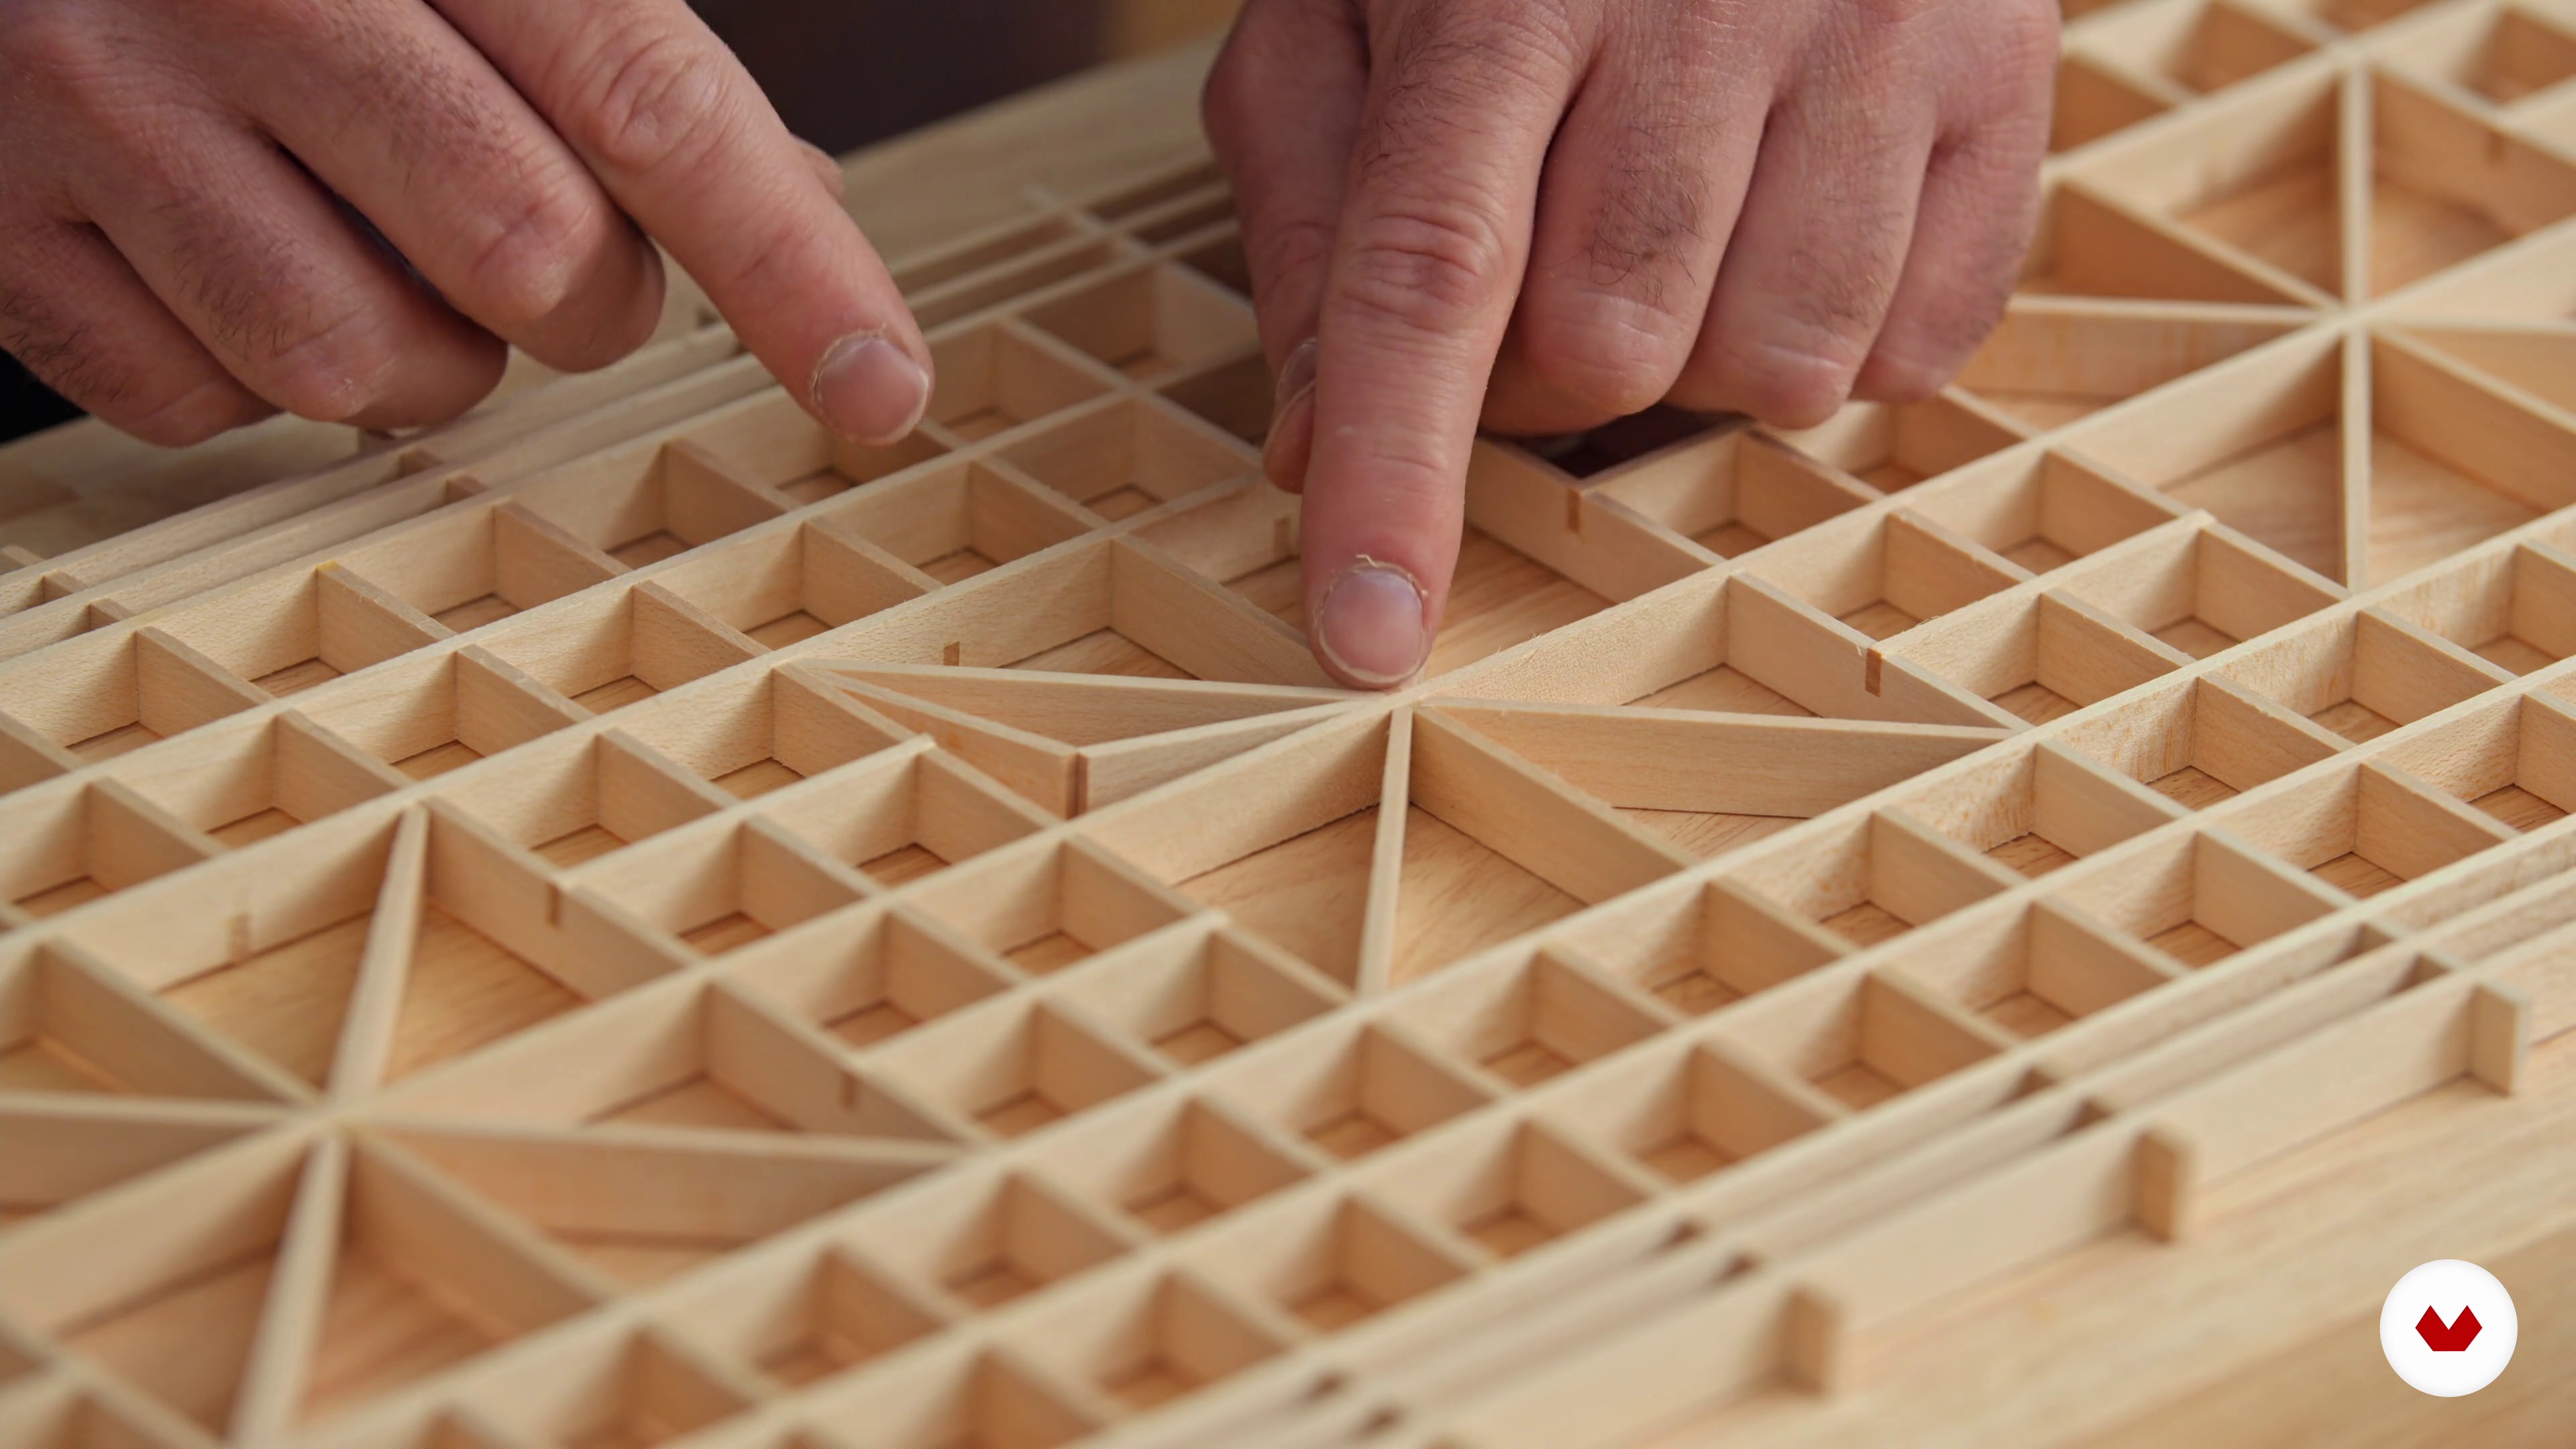
10Making the Diagonal Piece
Now you’ll learn how to set up the paring jig and how to cut the bevels into the diagonal’s ends.
14m
 11
11Cutting Offset Bevels and Fitting the Hinge Pieces
In this lesson, I'll show you how to cut the bevels on the end of the hinge piece so that when the two meet in the pattern they create an open 90º “birdsmouth” joint.
19m
 12
12Make the Locking Piece
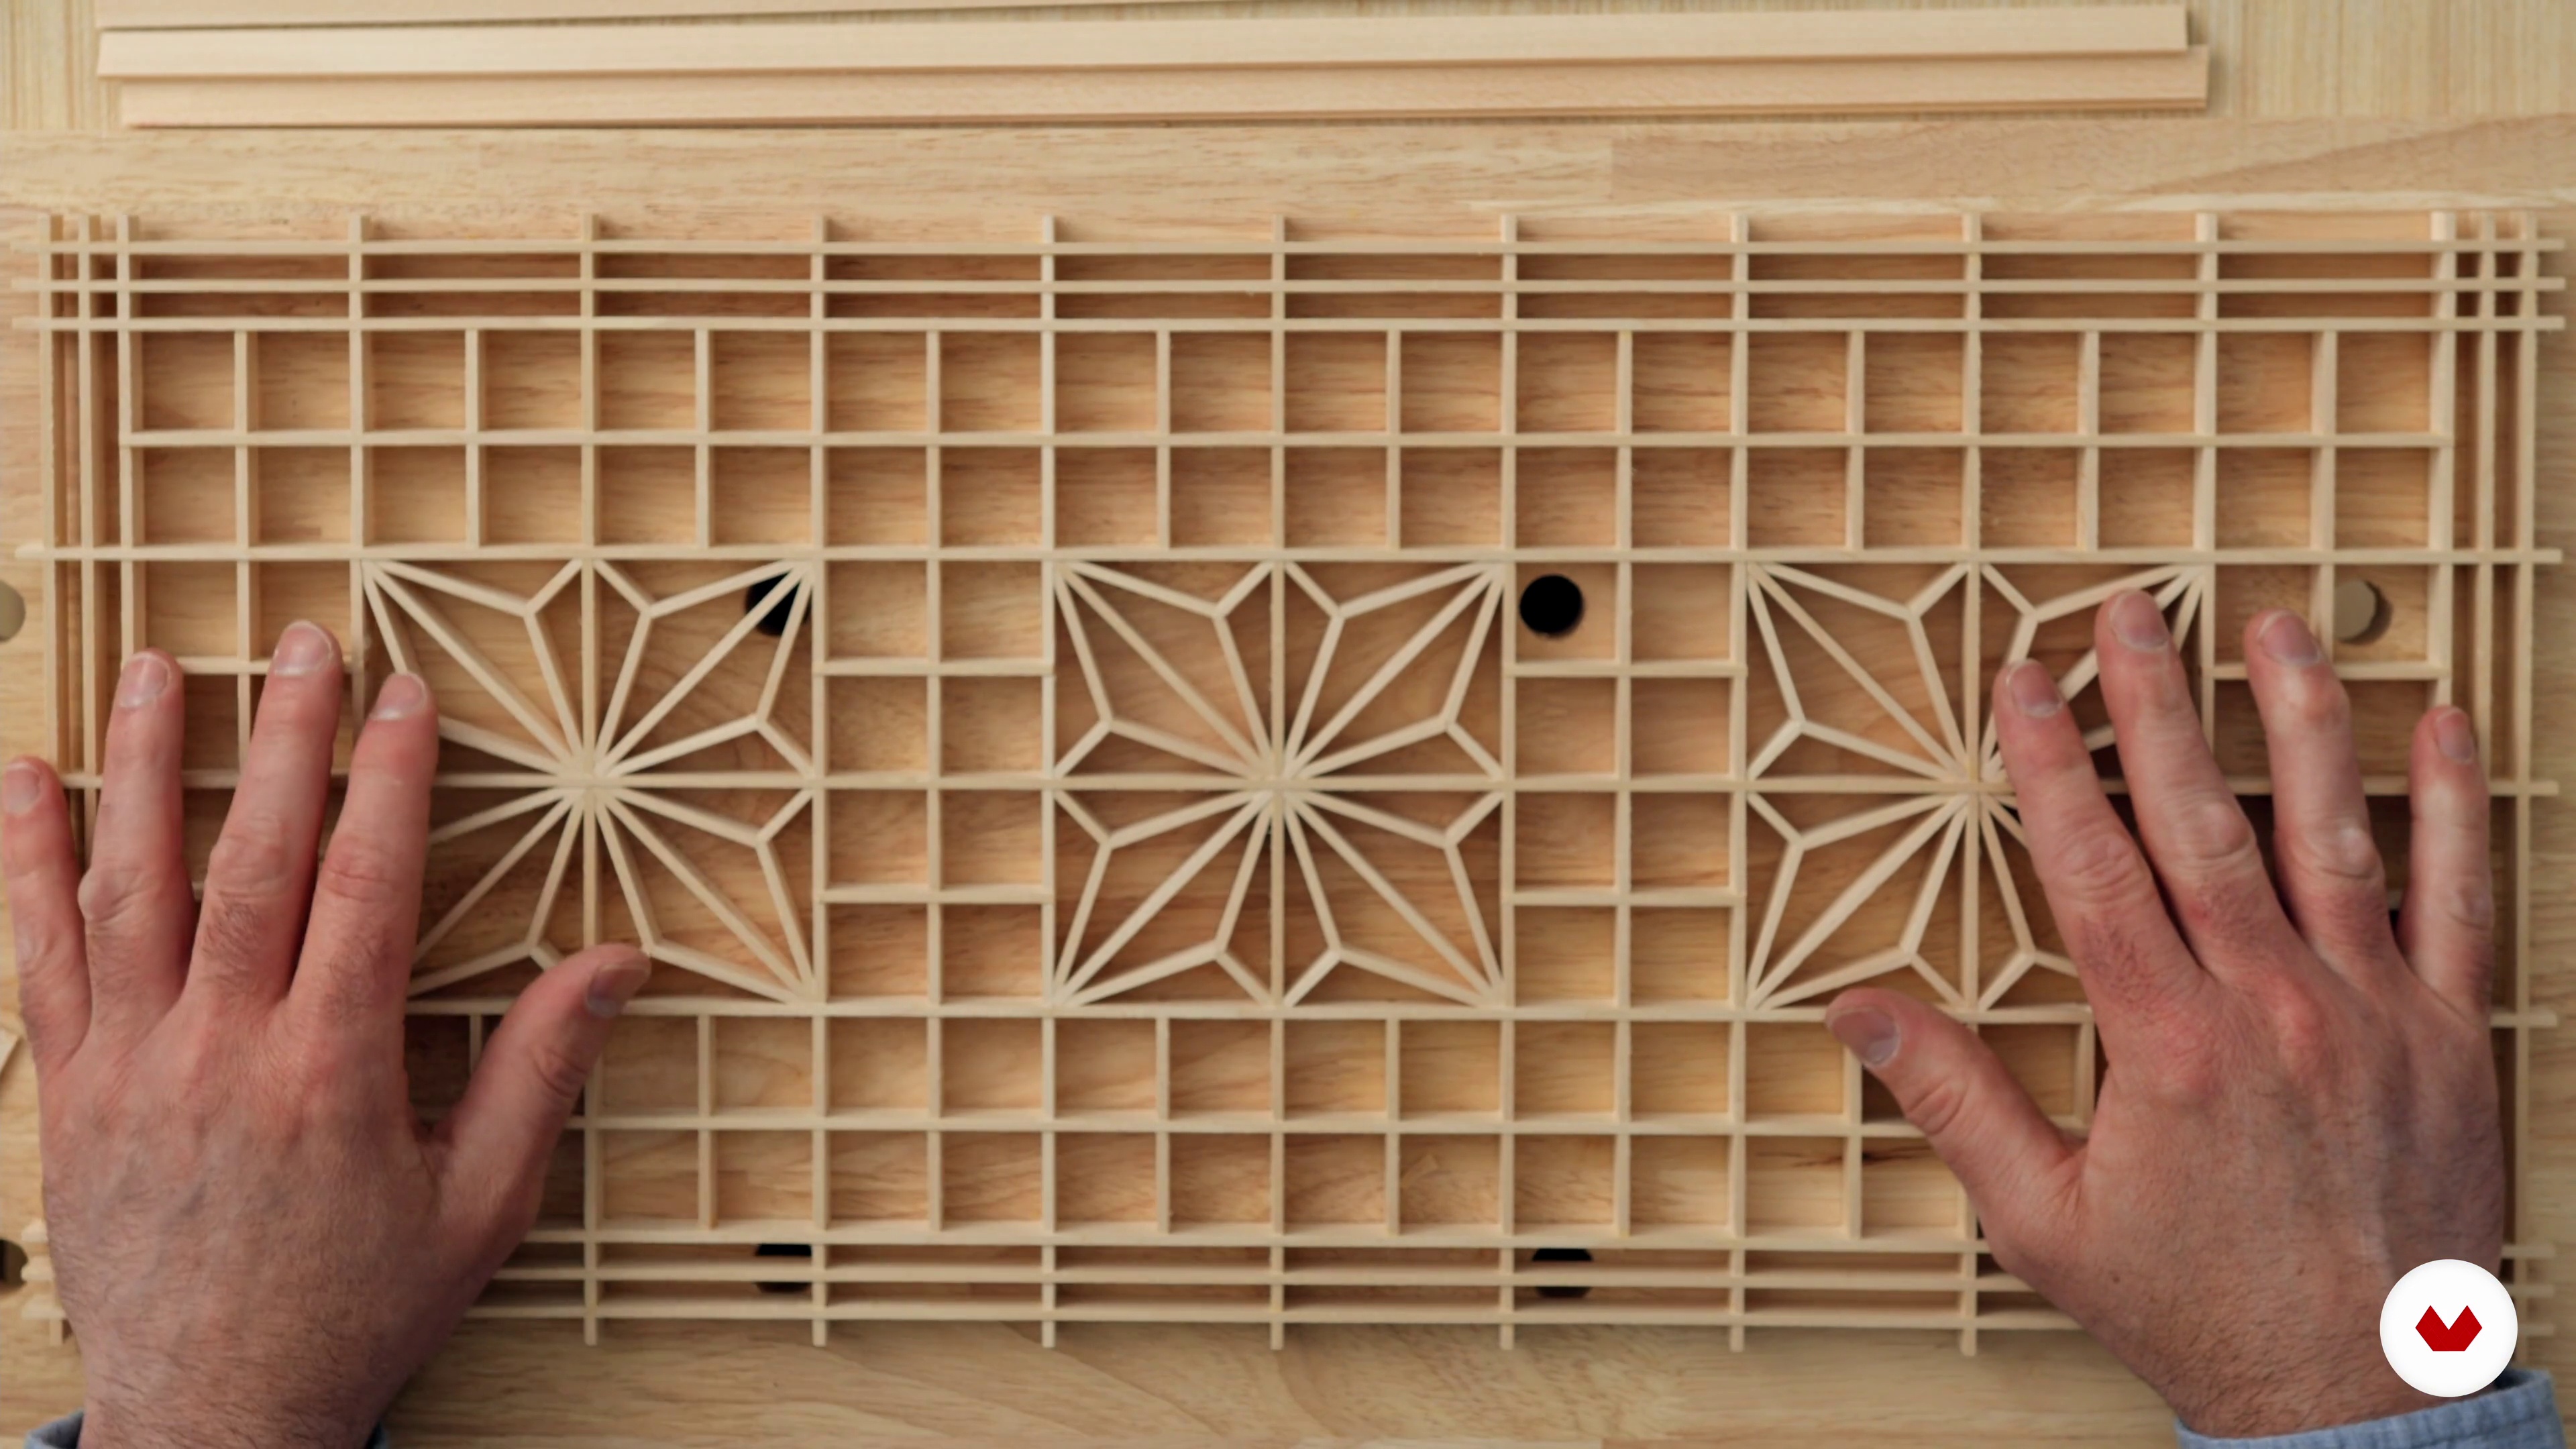
The locking piece is a shorter version of the diagonal, and you’ll learn how to work such a small piece safely, and how to fit it so that it holds the entire pattern together. In this lesson, you’ll learn how the paring jigs are designed so that you can quickly make all the pieces you need for the many asa-no-patterns in the panel, and what to do if you find that some pieces don’t fit.
11m
 13
13Cutting Notches
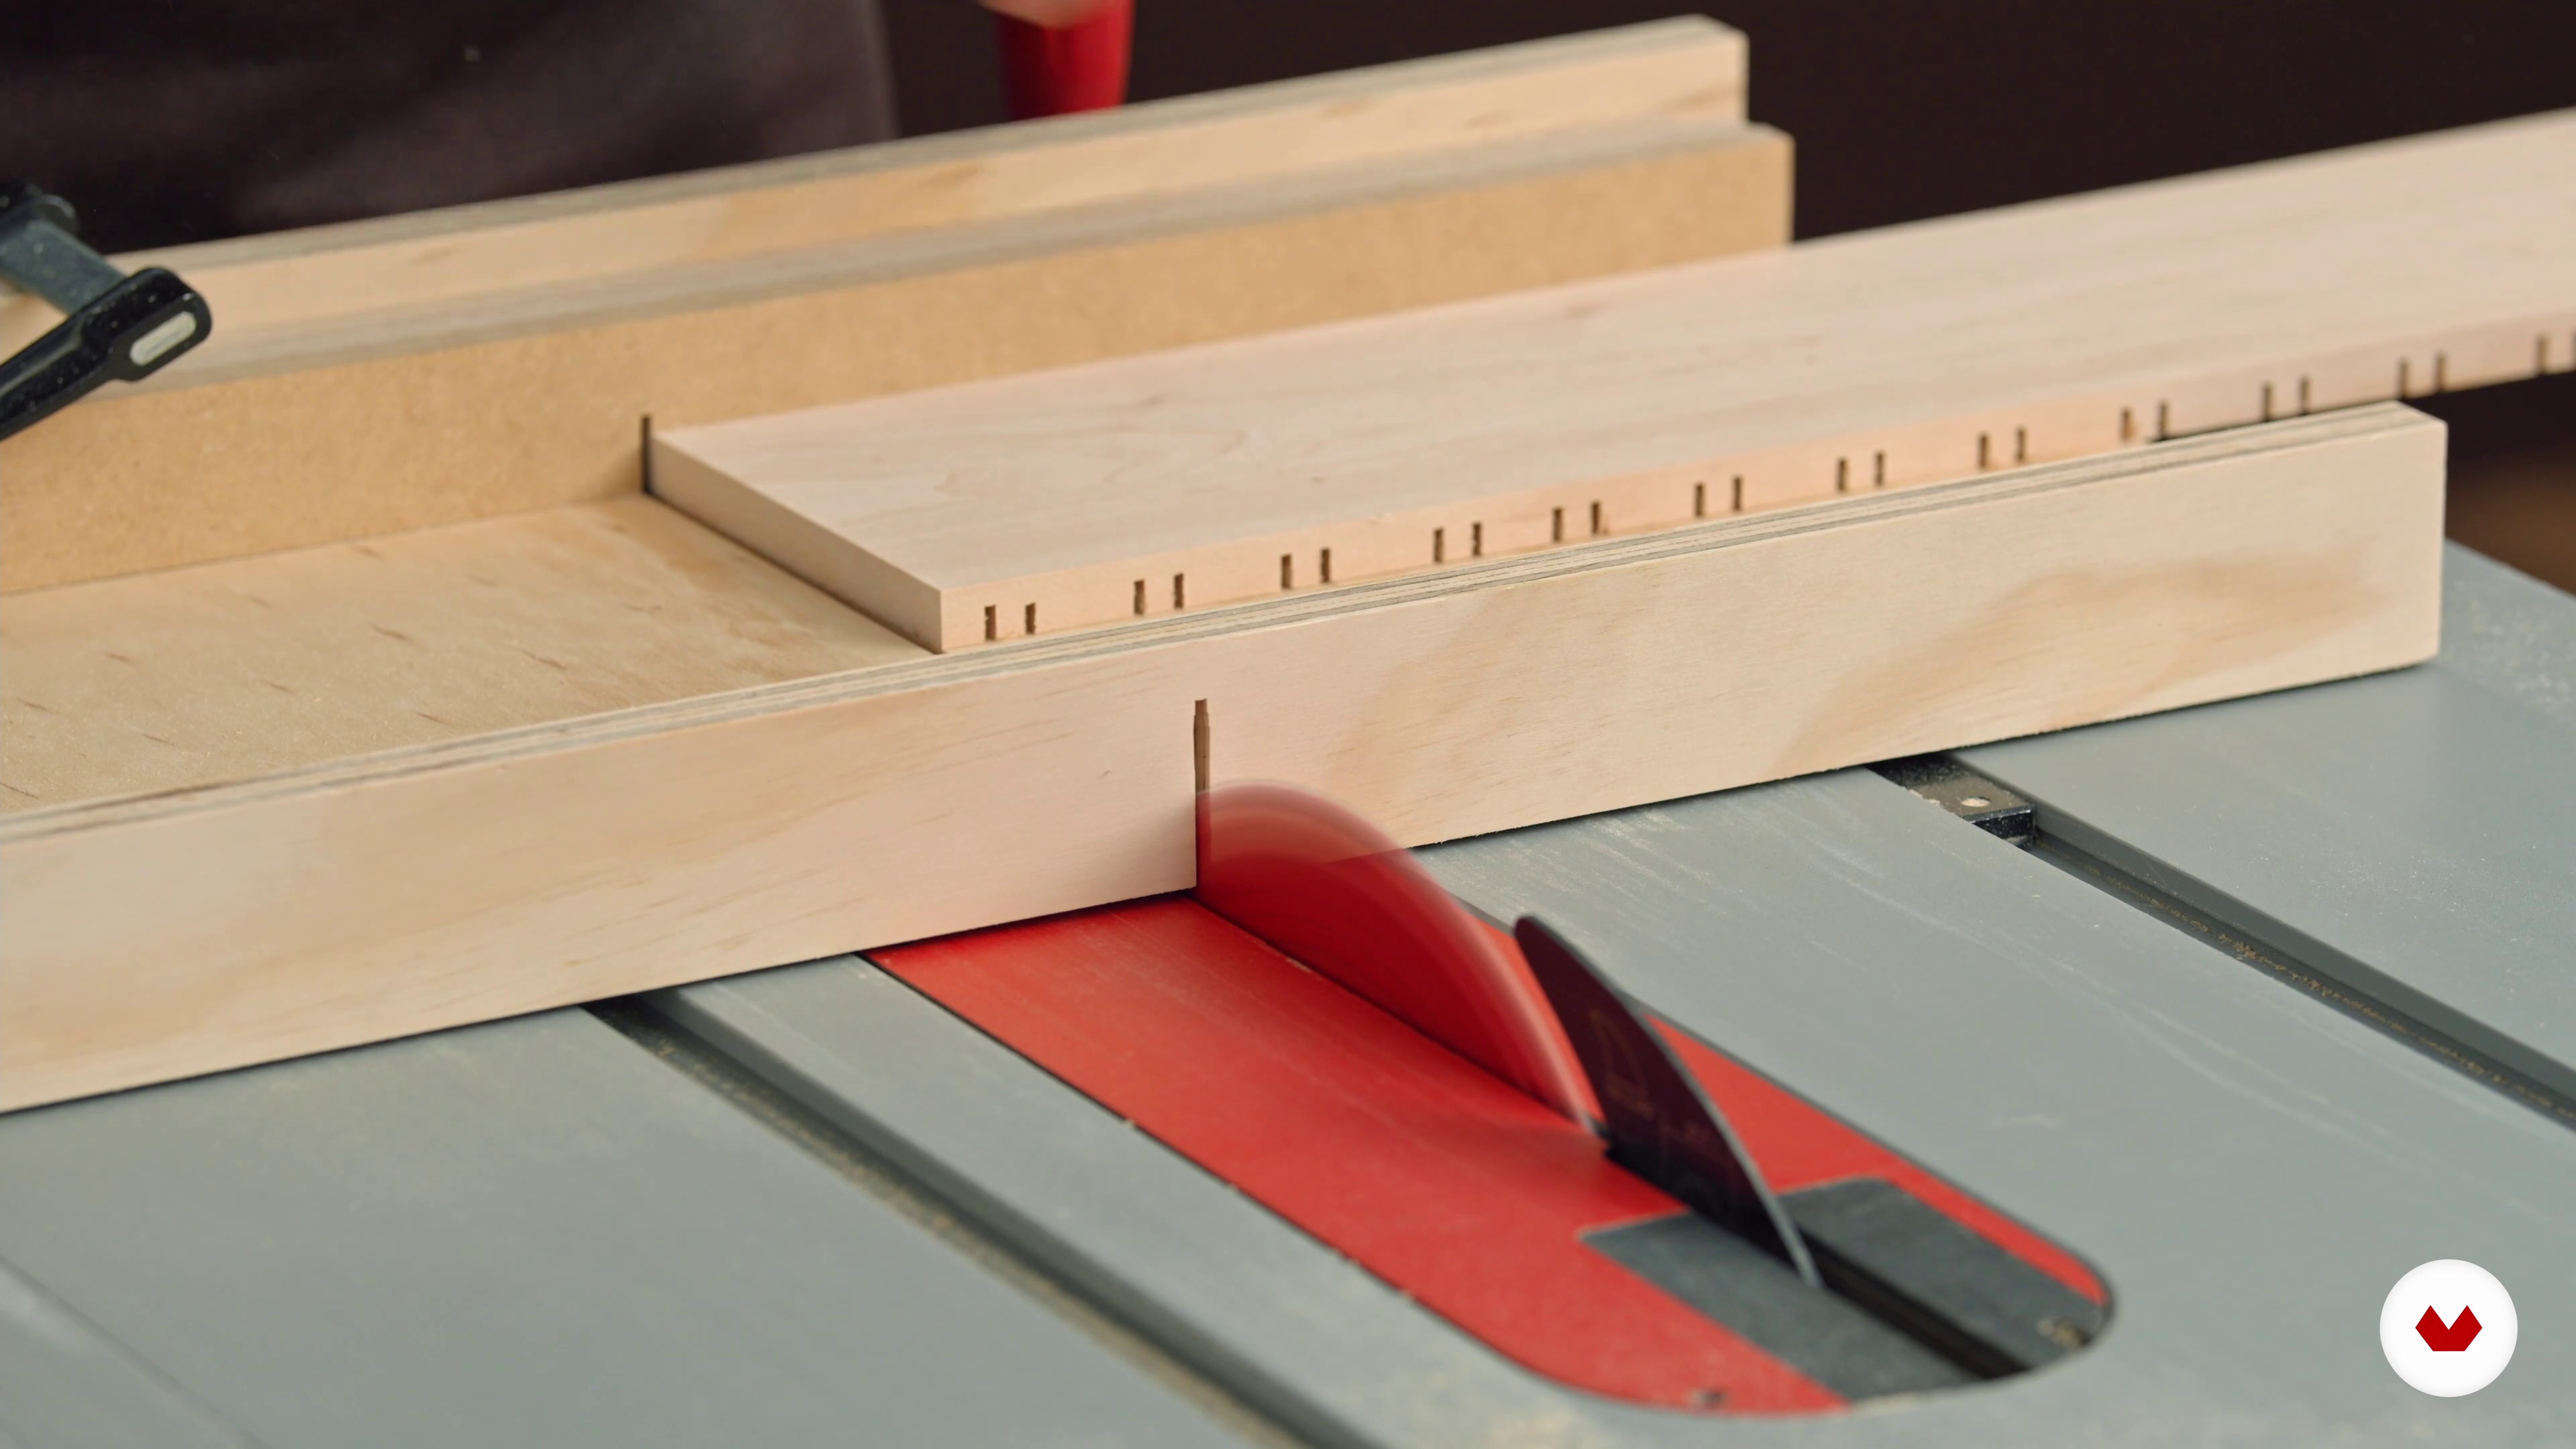
Here you’ll learn how to safely cut notches for short parts like those in the hashtag.
9m
 14
14Ripping Out Thin Strips for the Pattern
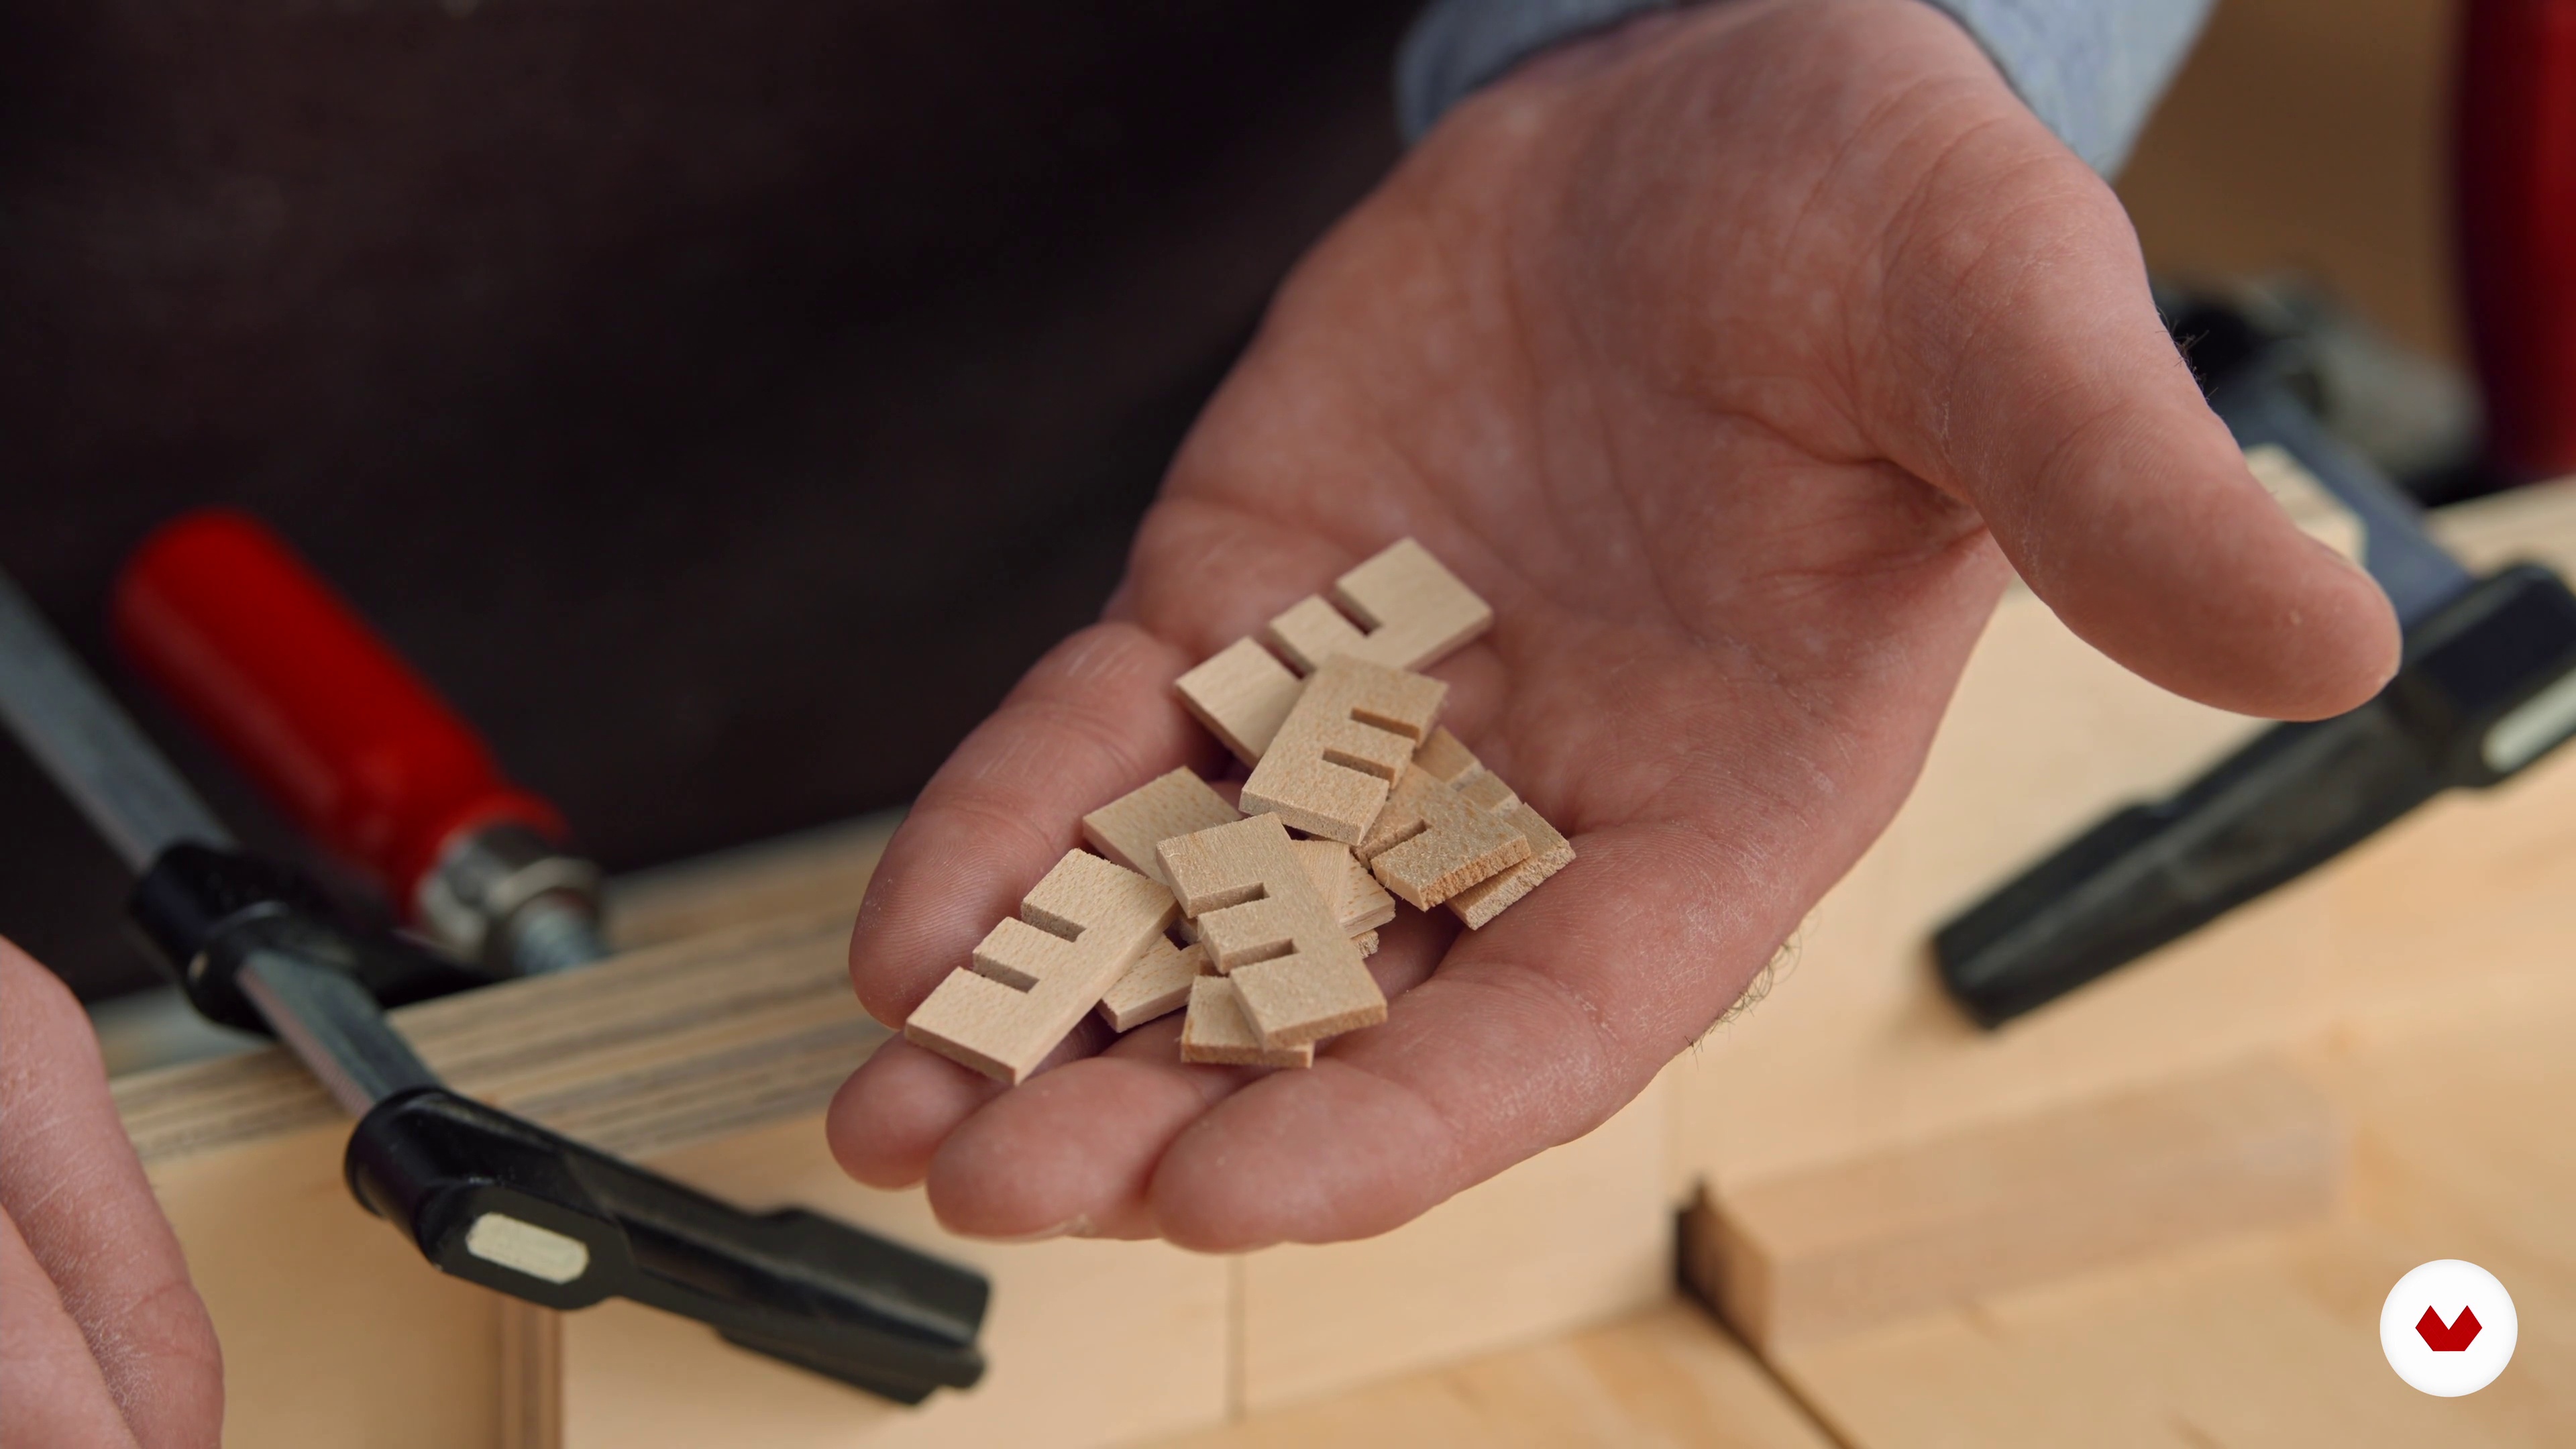
Because the legs of the hashtag are so short, you’ll learn how to make and use a special cutting sled to make the thin strips needed.
6m
 15
15Assembling the Pattern and Cutting The Hashtag to Fit
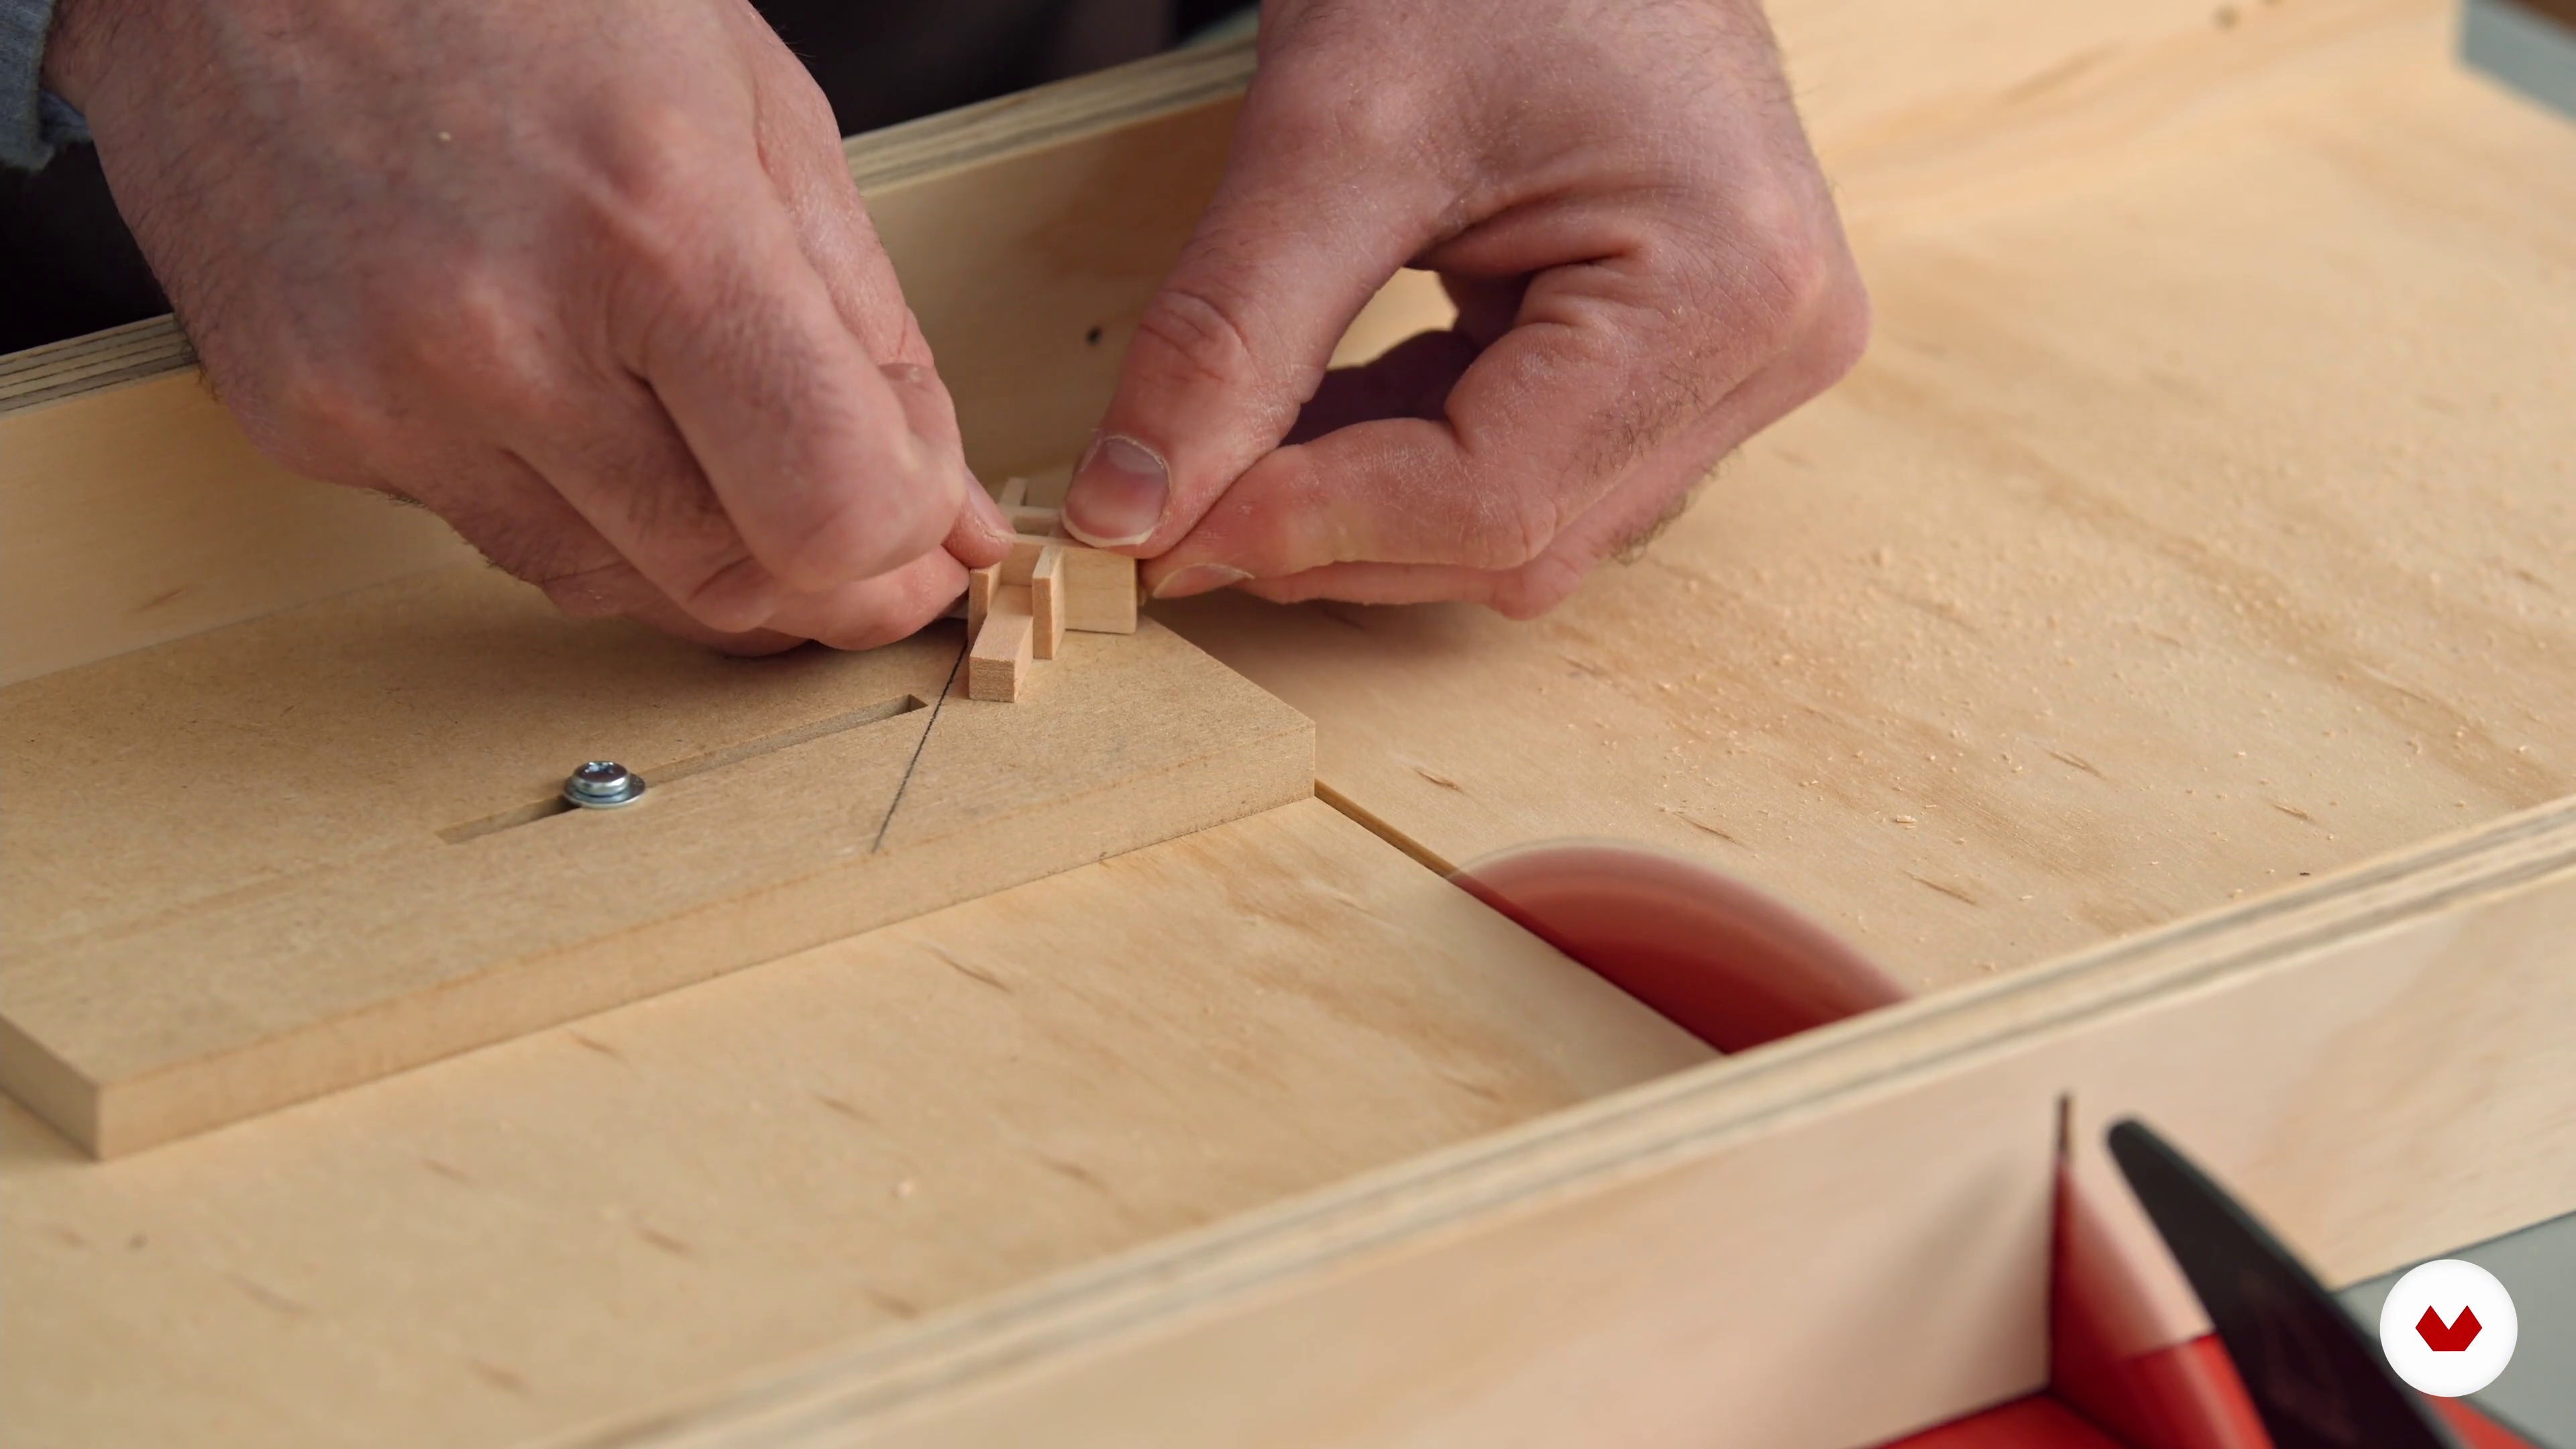
In this lesson, I’ll show how to put the pattern together and ensure that it’s square. Then, I’ll show you how to cut the ends of the hashtag legs at 45º, you’ll make a sled to hold them and guide them through the table saw blade.
14m
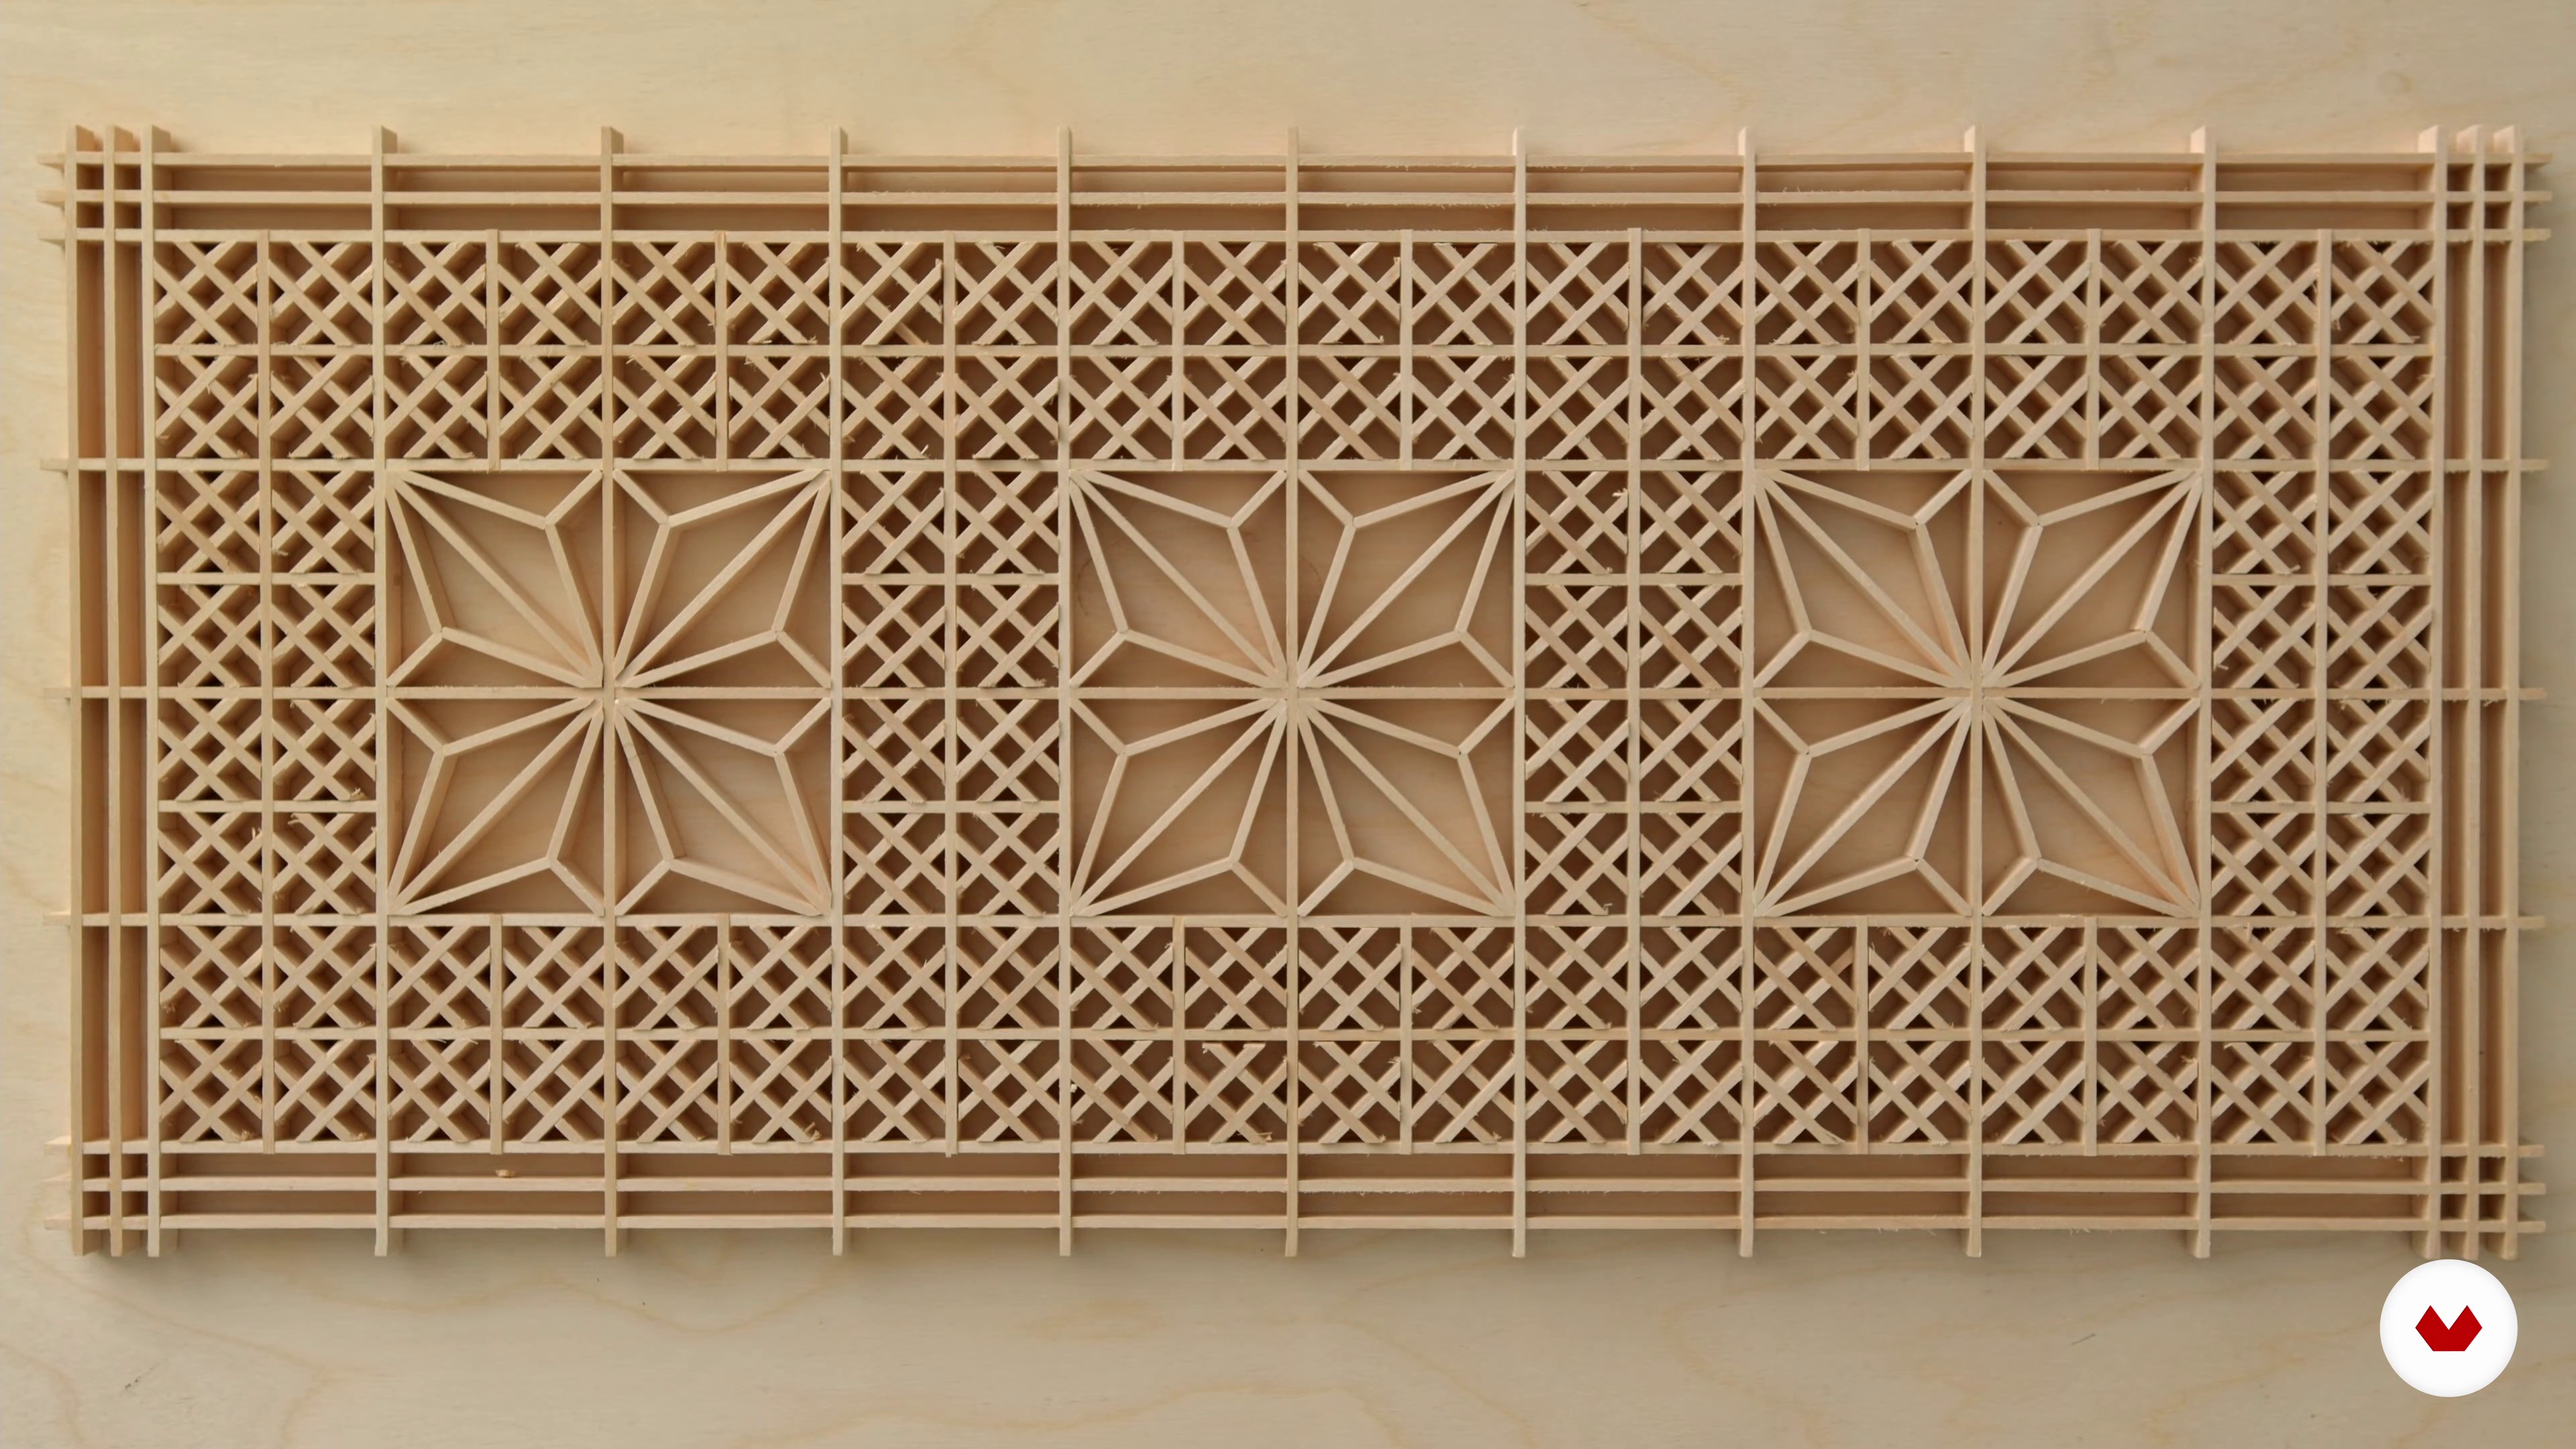 16
16Finishing Your Piece
Now that panel is complete, you’ll sand it to ensure that all of the pieces are flush with one another. I’ll show you how to do this with a piece of plywood and some sandpaper.
4m
 1
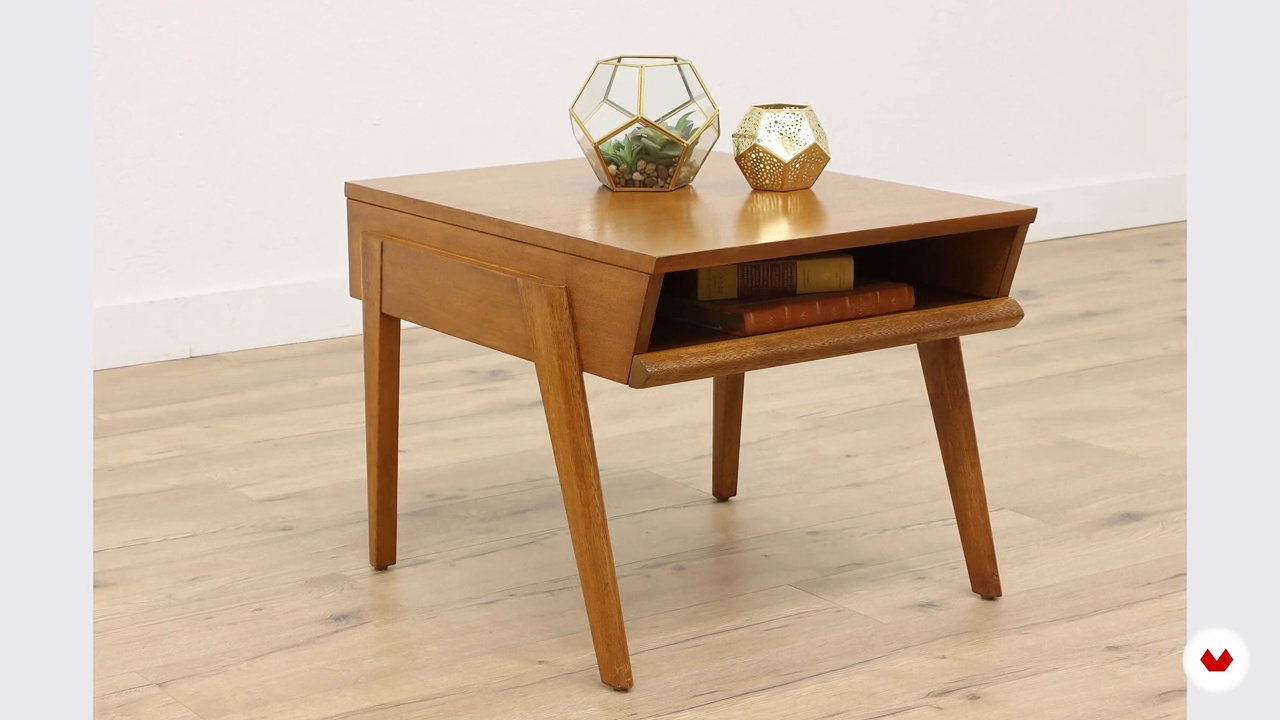
1Collecting Ideas
First, I will talk about how to find inspiration and begin designing your custom piece of furniture.
4m
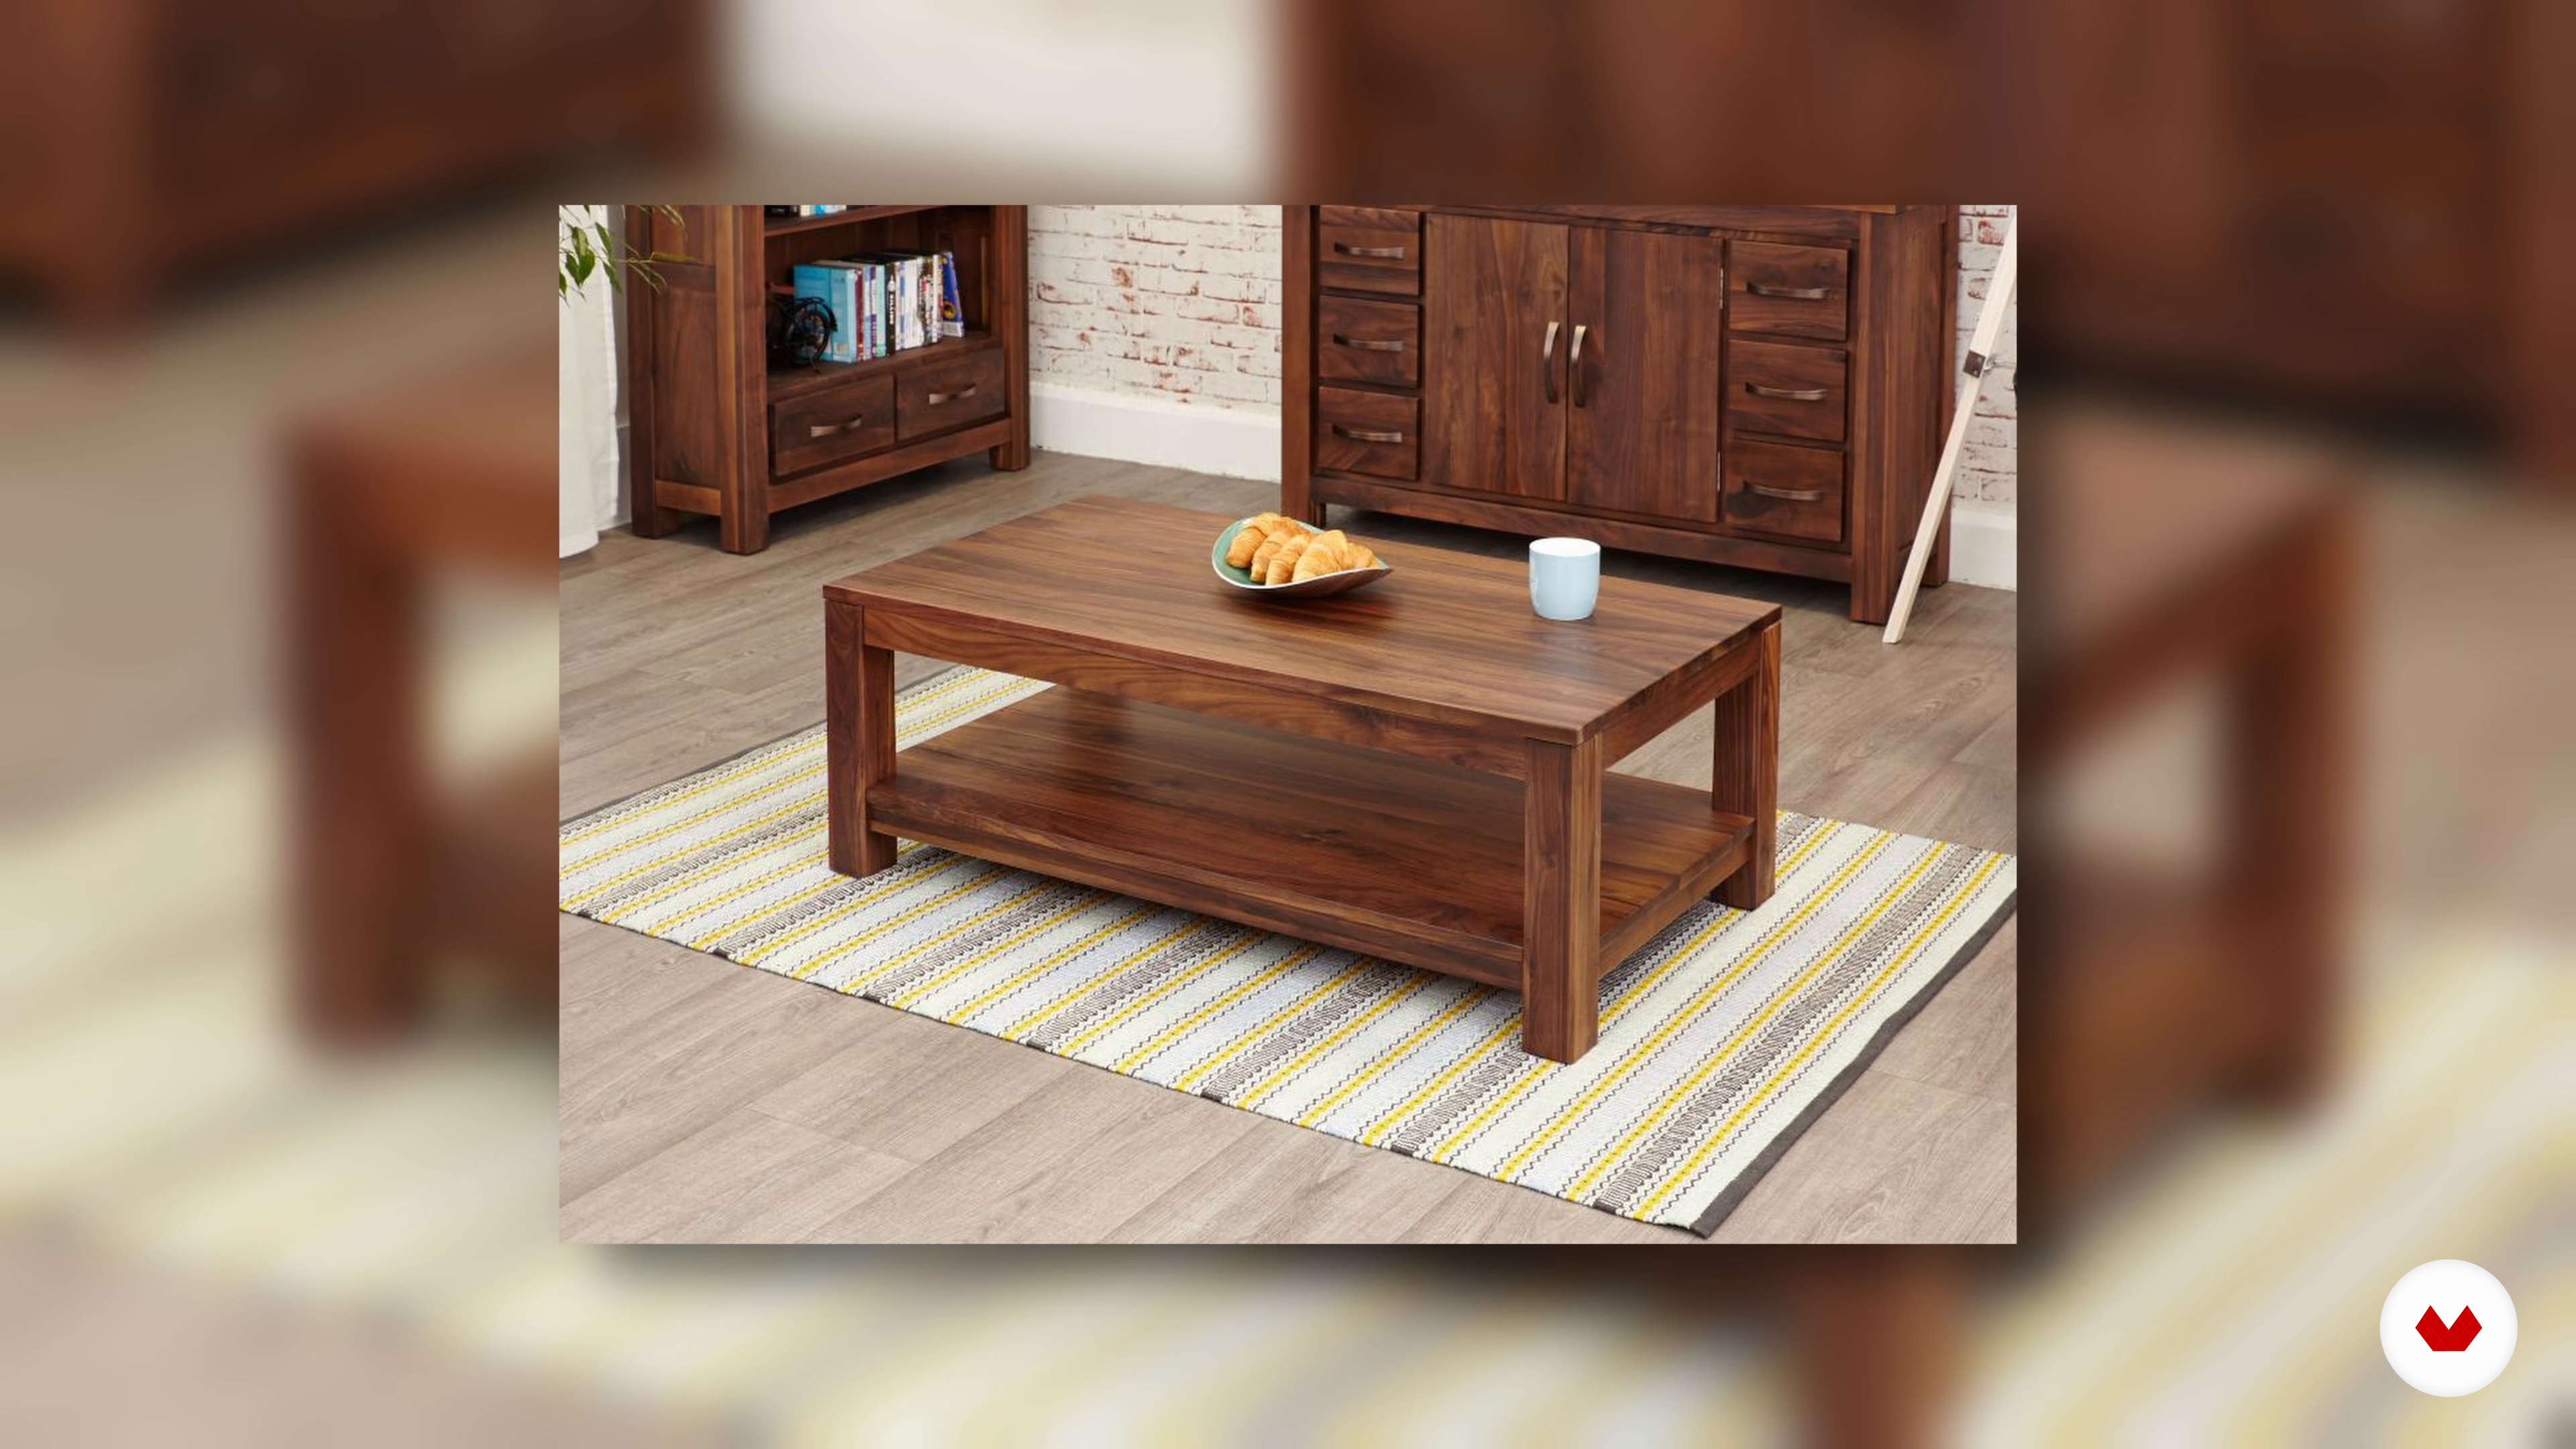 2
2Preparing to Create Your Design
In this lesson, you will learn everything about how to choose the right path for you to design furniture pieces.
6m
 3
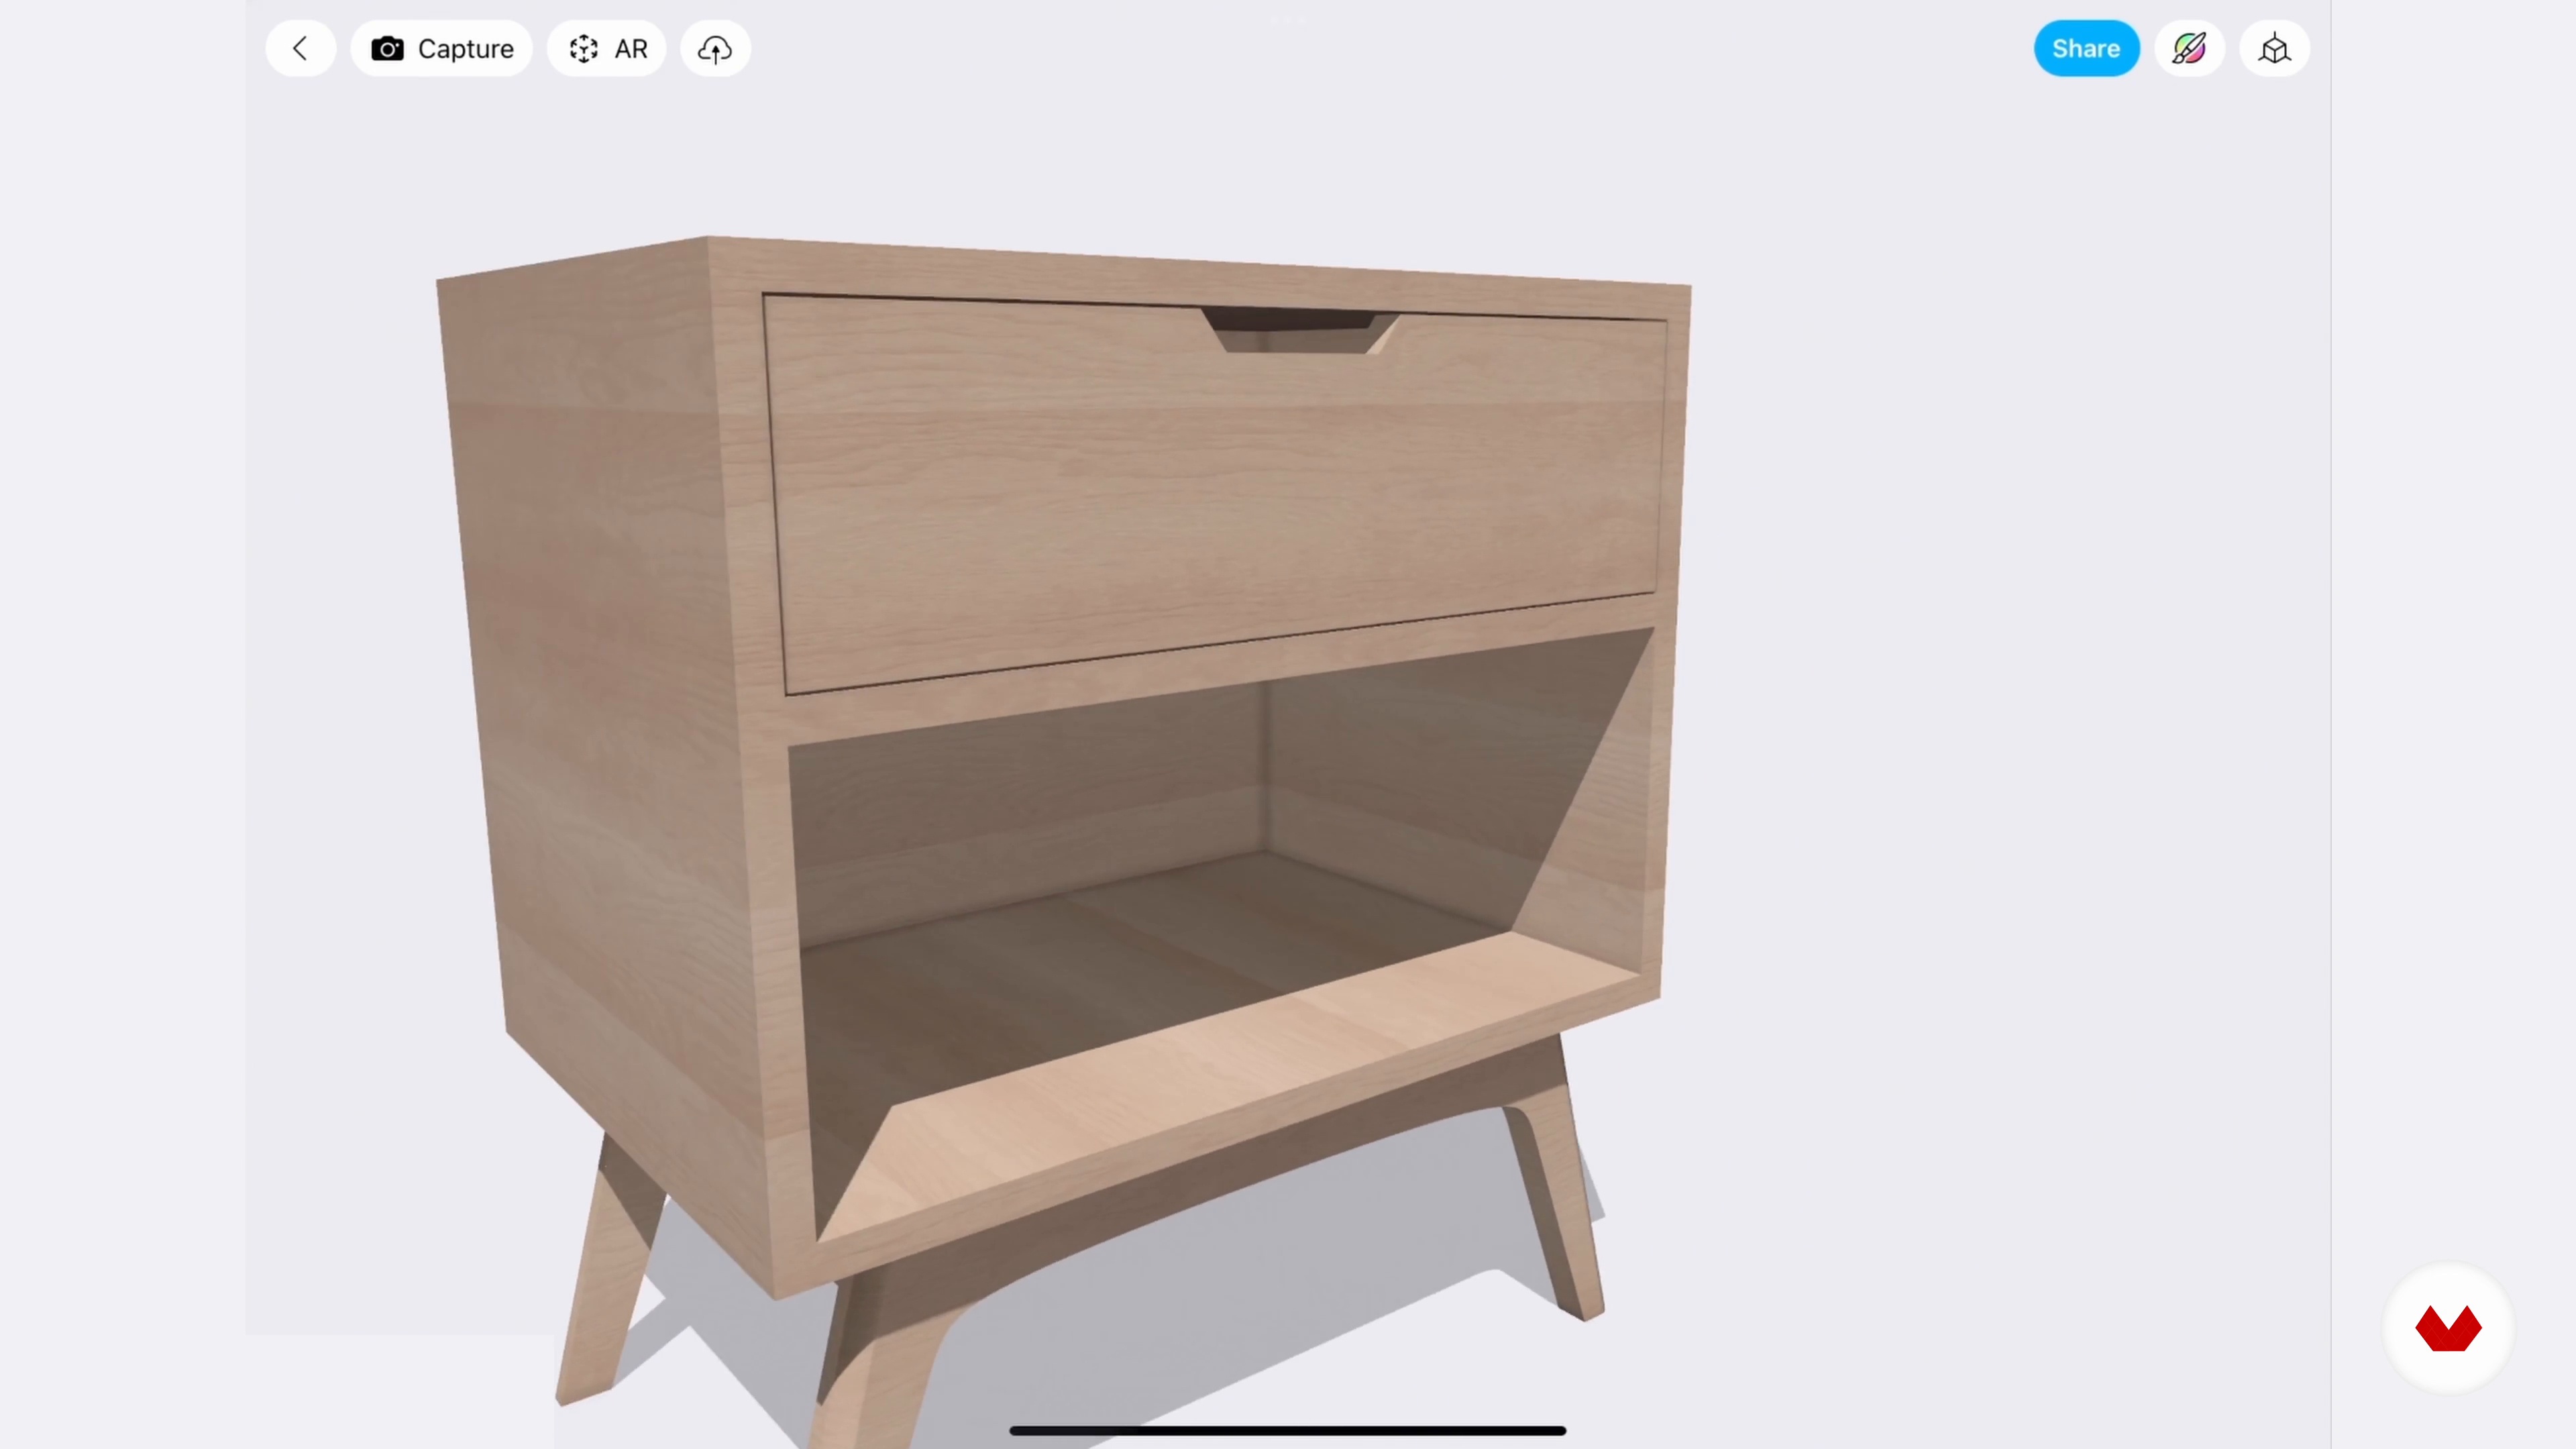
3Designing the Piece
During this lesson, I will show you how to begin the process of designing your piece of furniture.
15m
 4
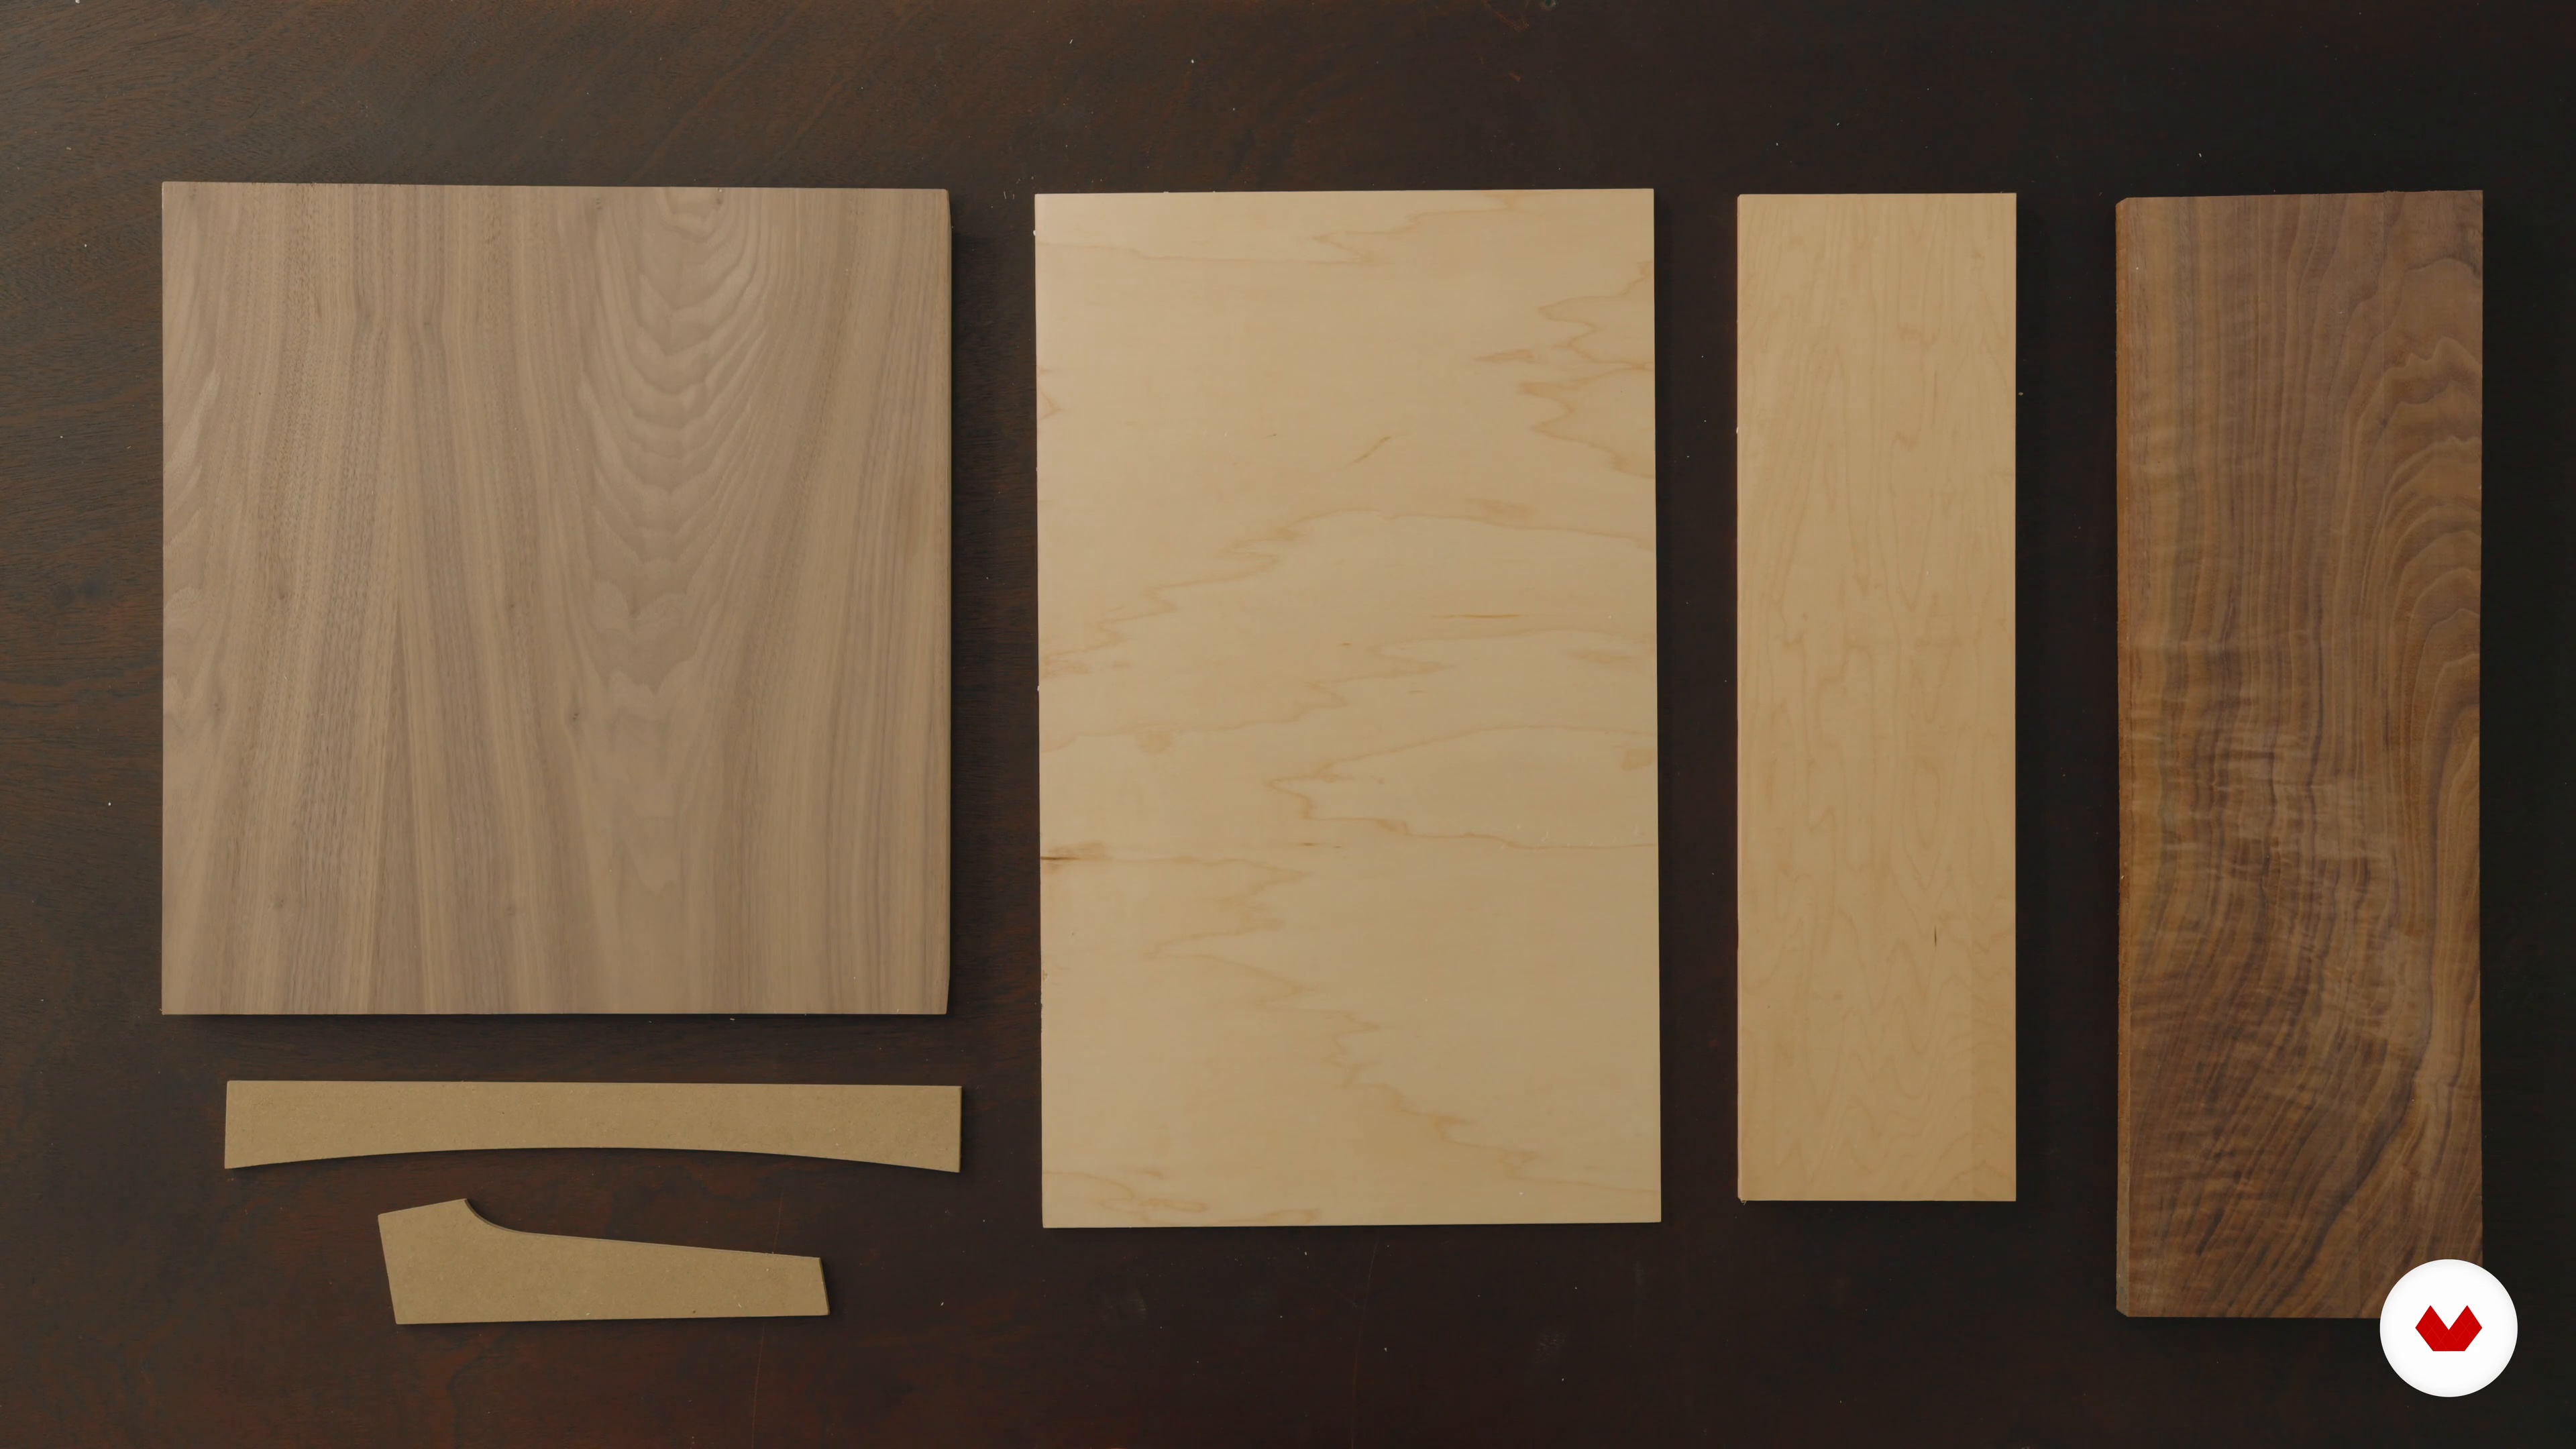
4Tools and Materials
Before start working on anything, I will teach you how to calculate the materials you’ll need for your project.
16m
 5
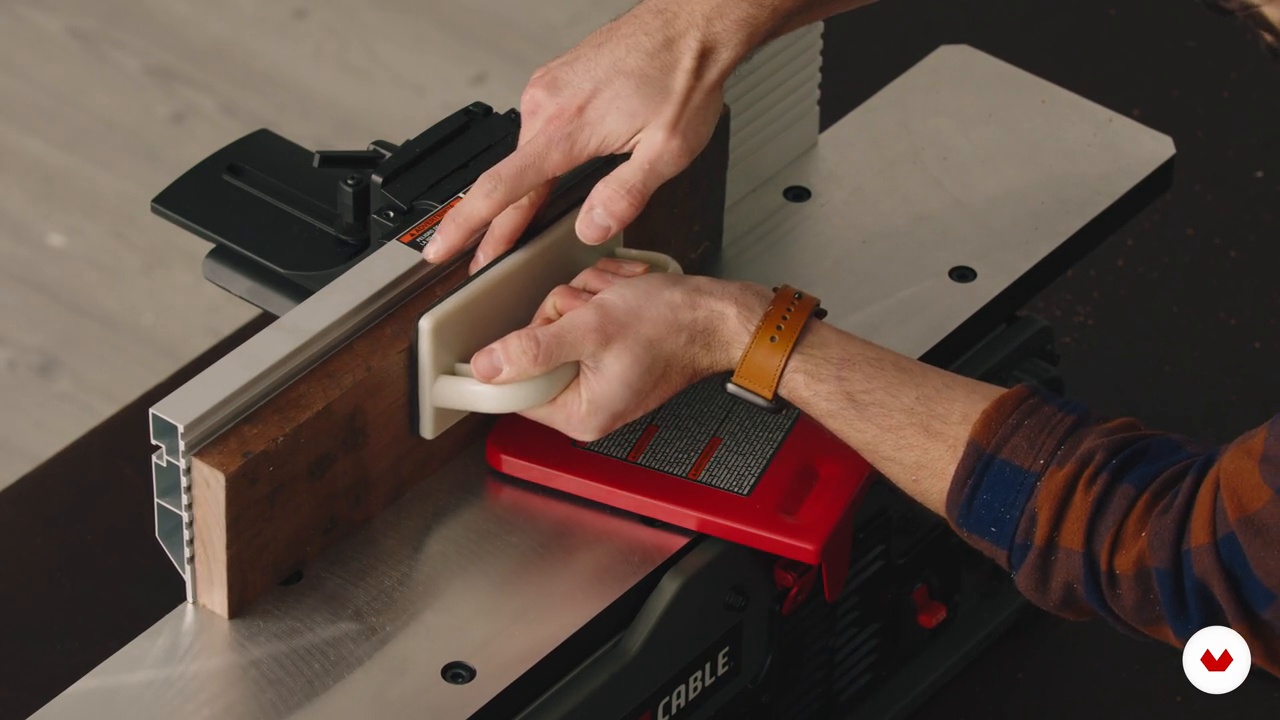
5Breaking Down and Milling Materials
In this lesson, you will see how to begin breaking down and milling the materials needed for the project.
15m
 6
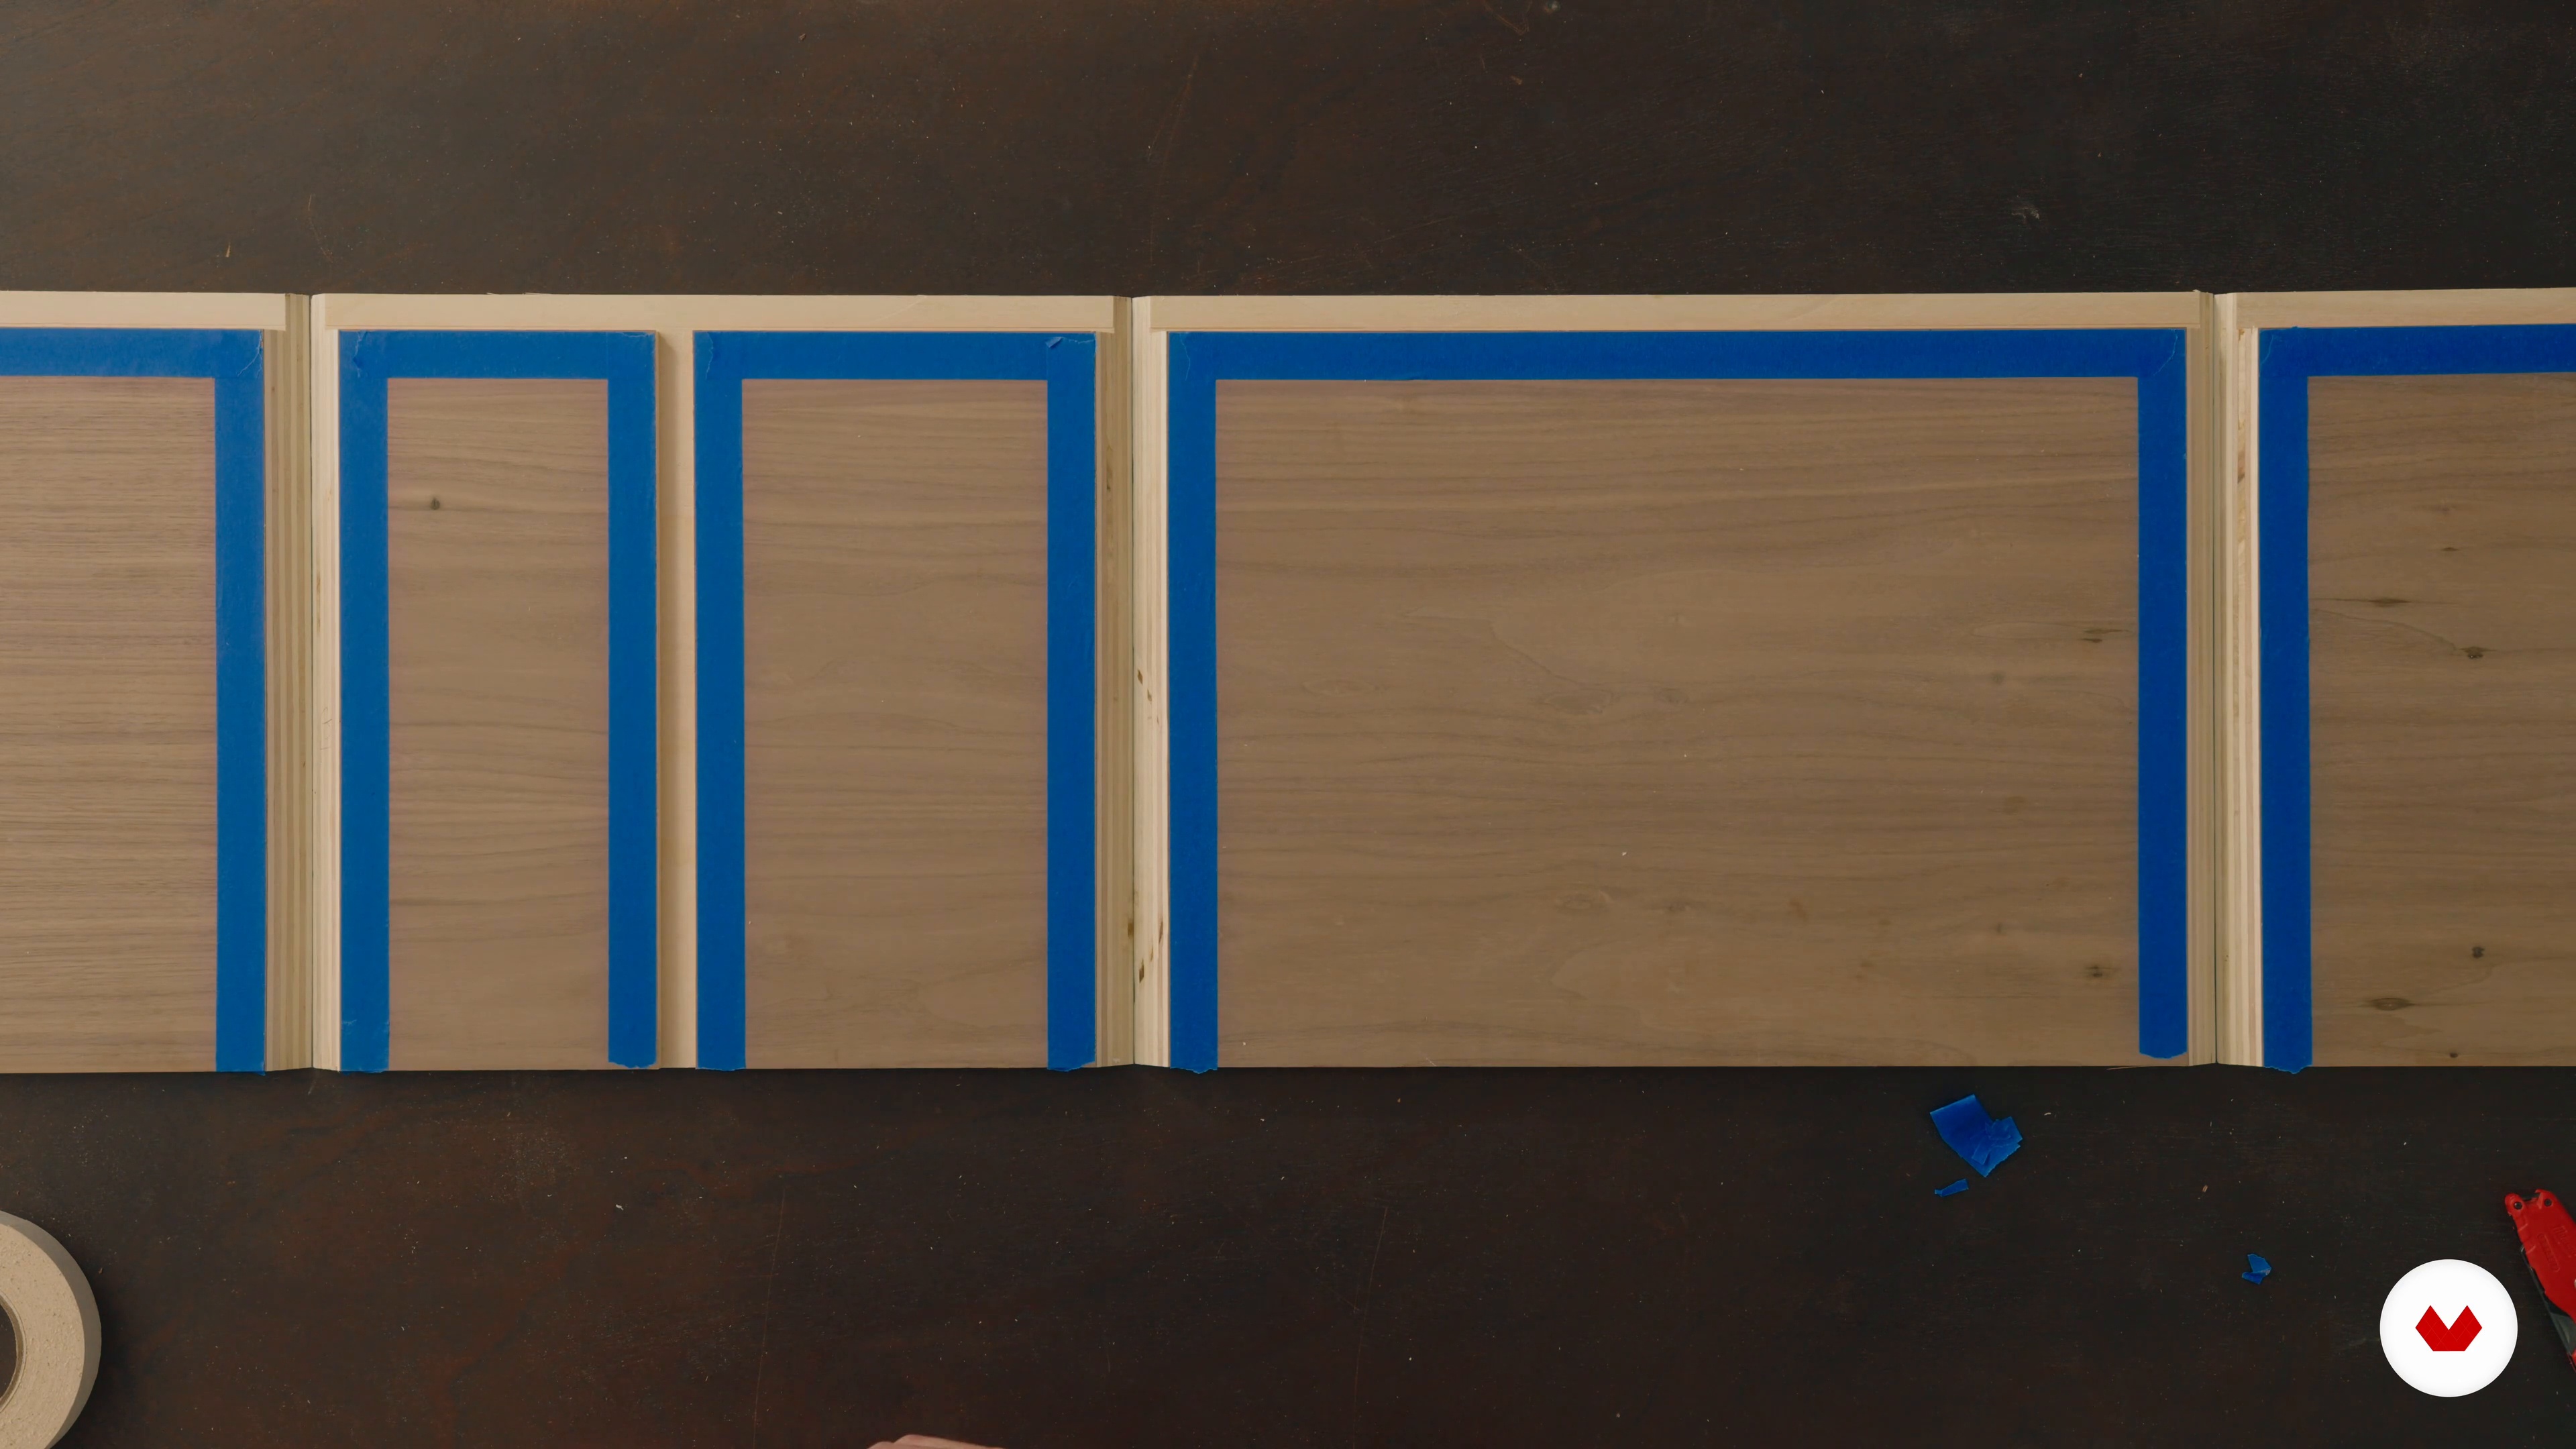
6Building the Cabinet 1
It's time to start working! During this lesson, you will learn how to construct the outer cabinet.
19m
 7
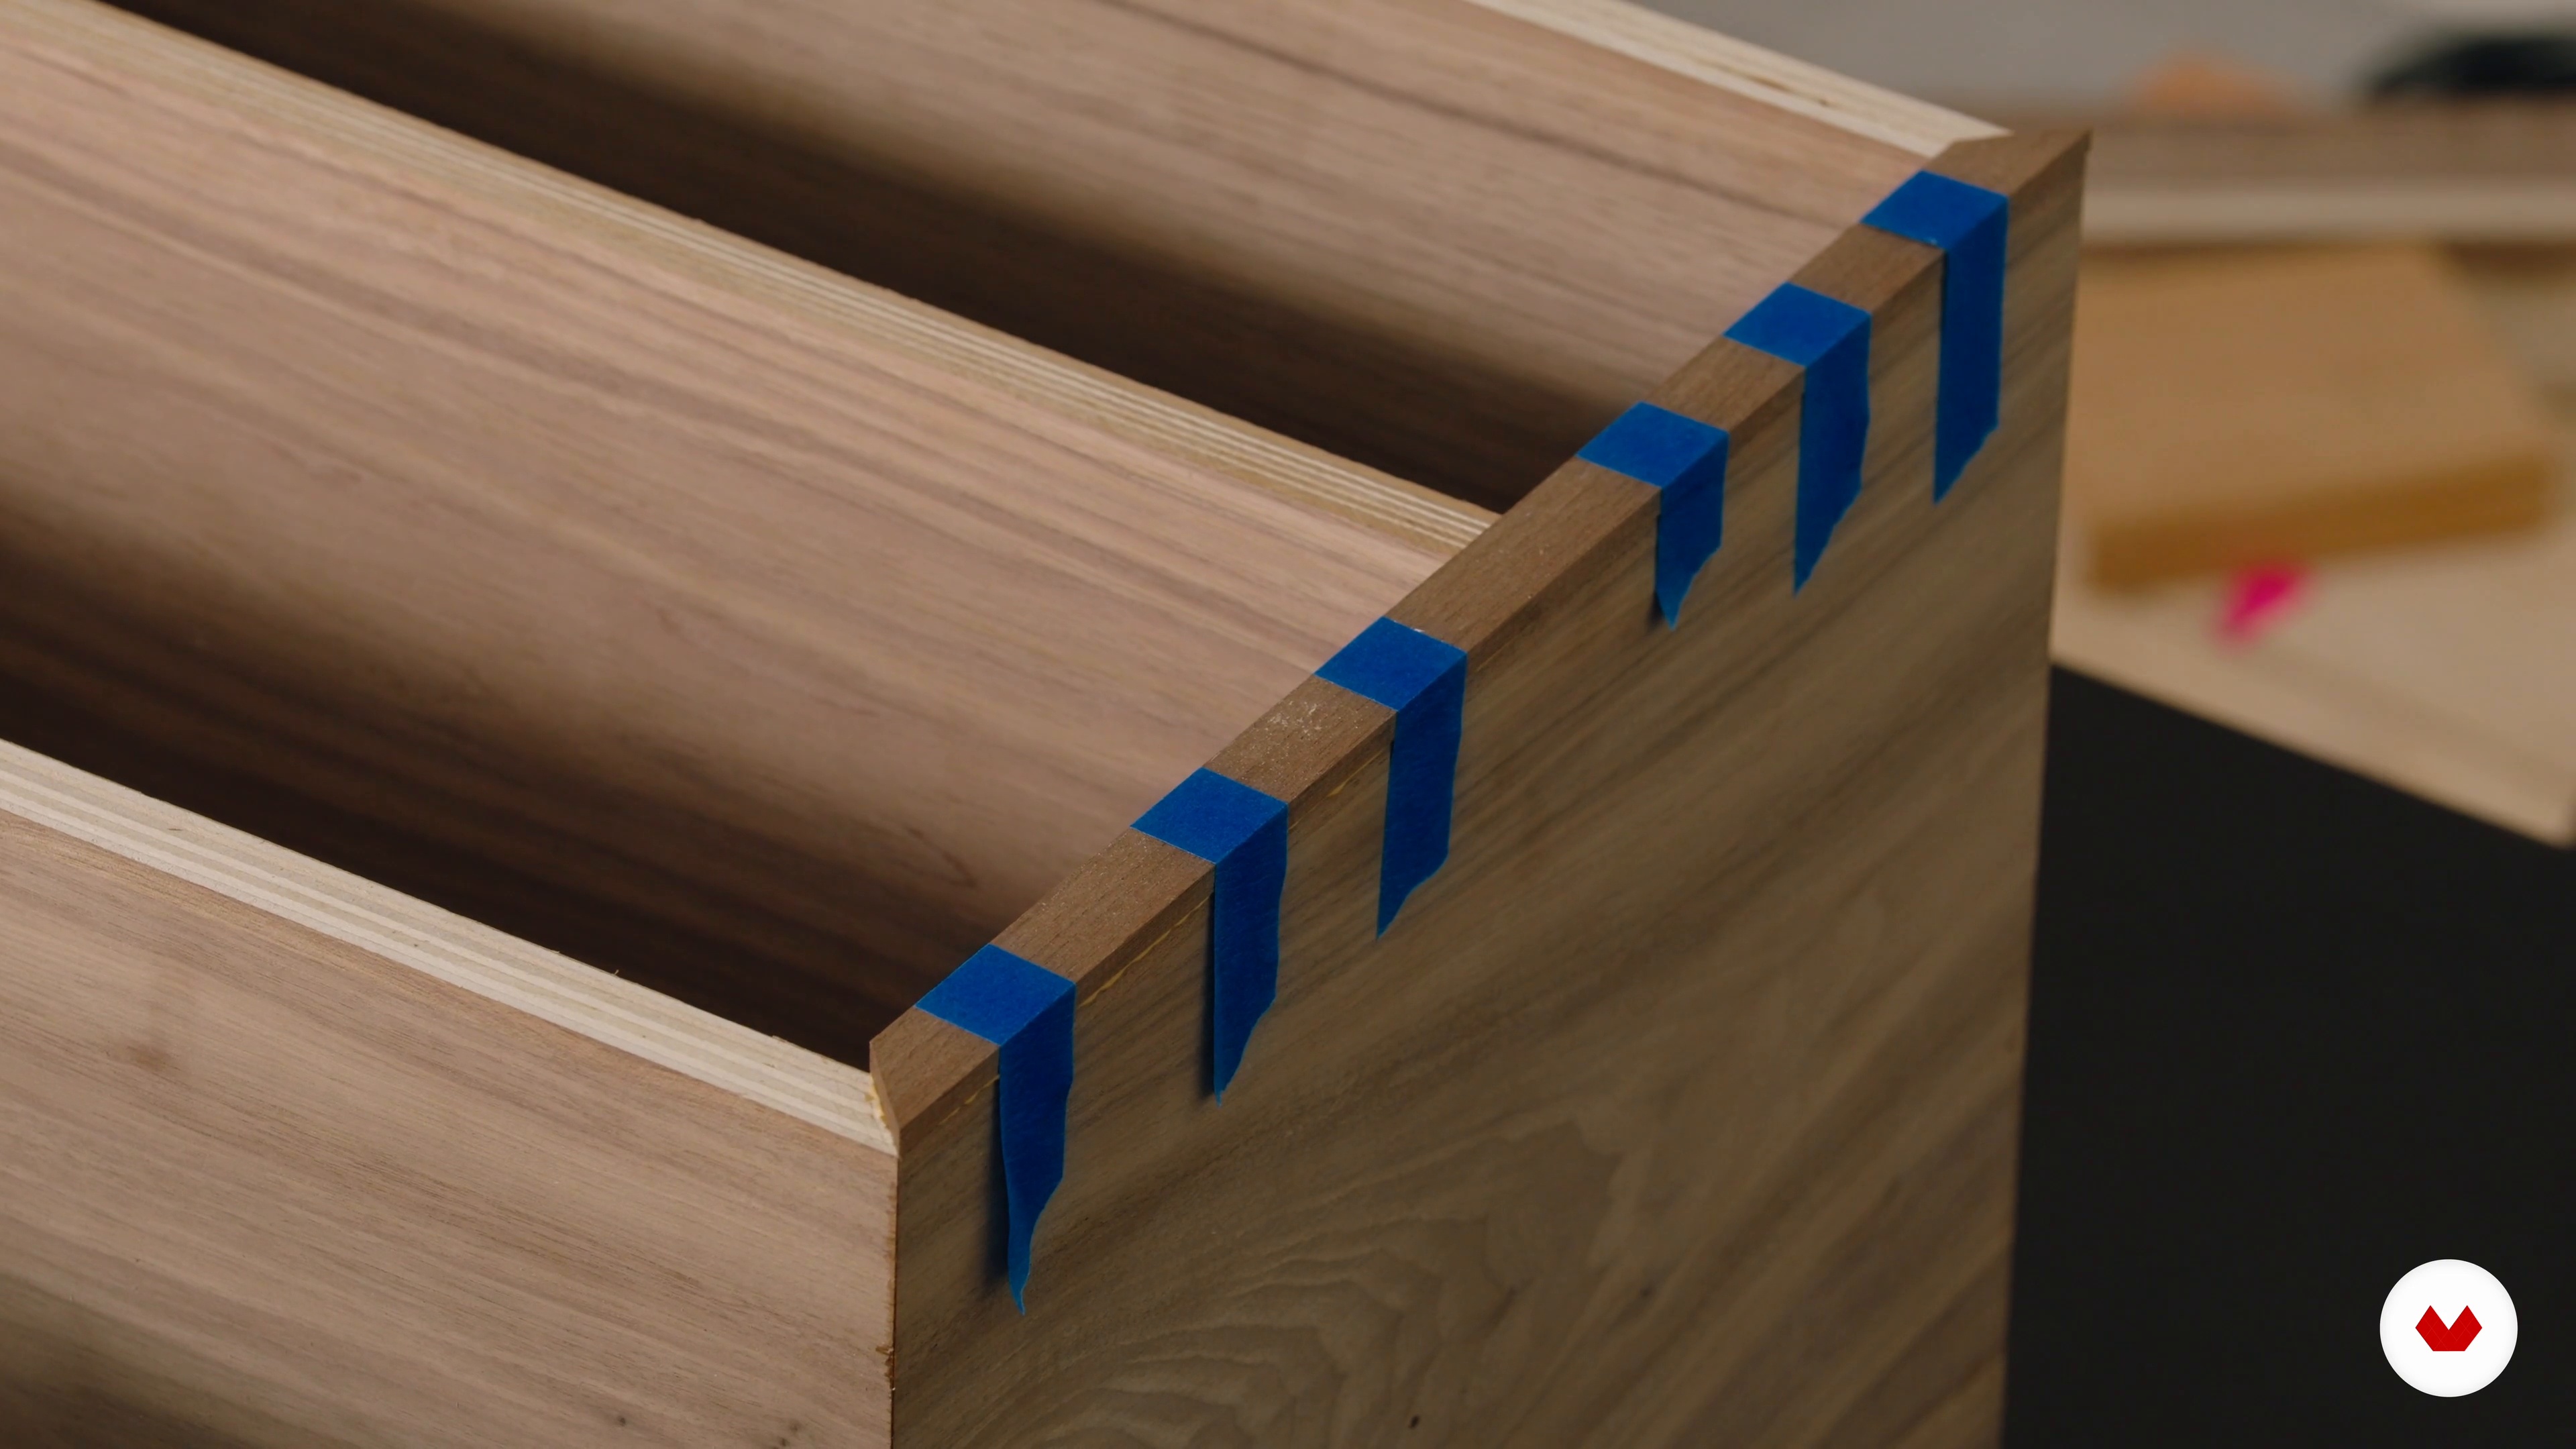
7Building the Cabinet 2
I will continue sharing my best tips and tricks to make the outer cabinet. I will also show you how to make adjustments if anything is off.
5m
 8
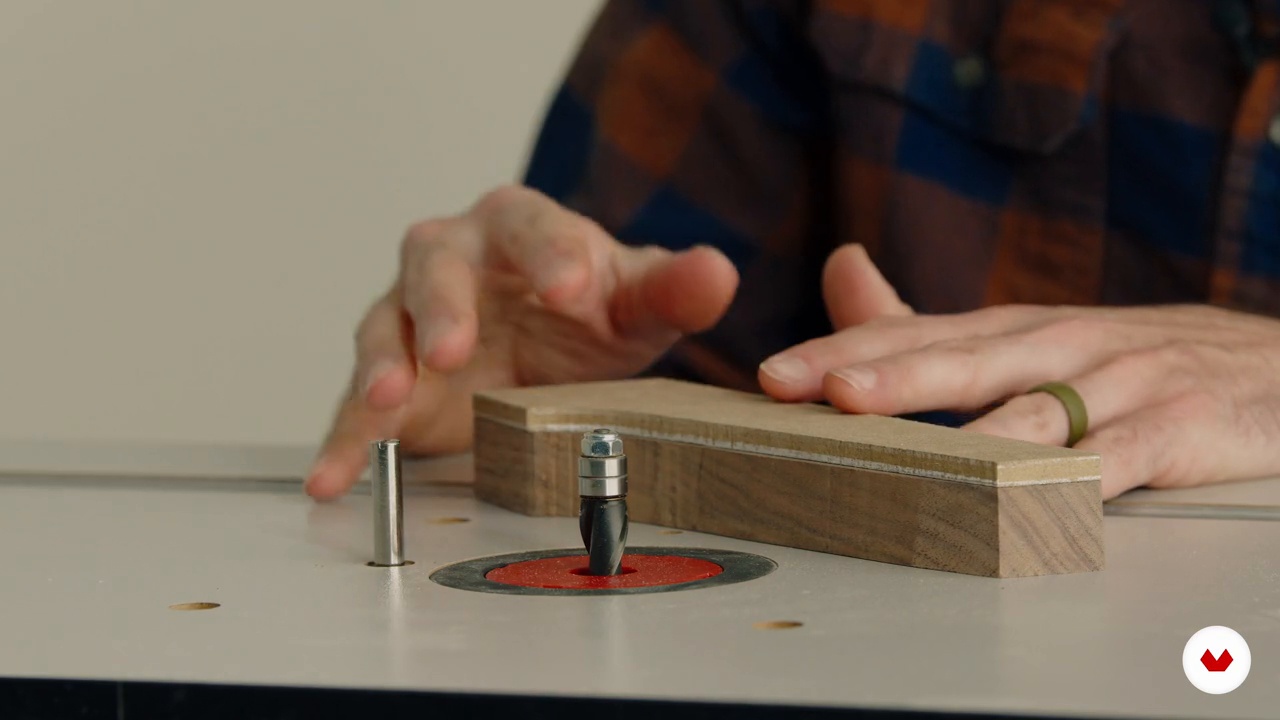
8Building the Base 1
How do you make good templates? Why do we use templates? In this lesson, I will teach you everything you need to know about how to do template routing.
19m
 9
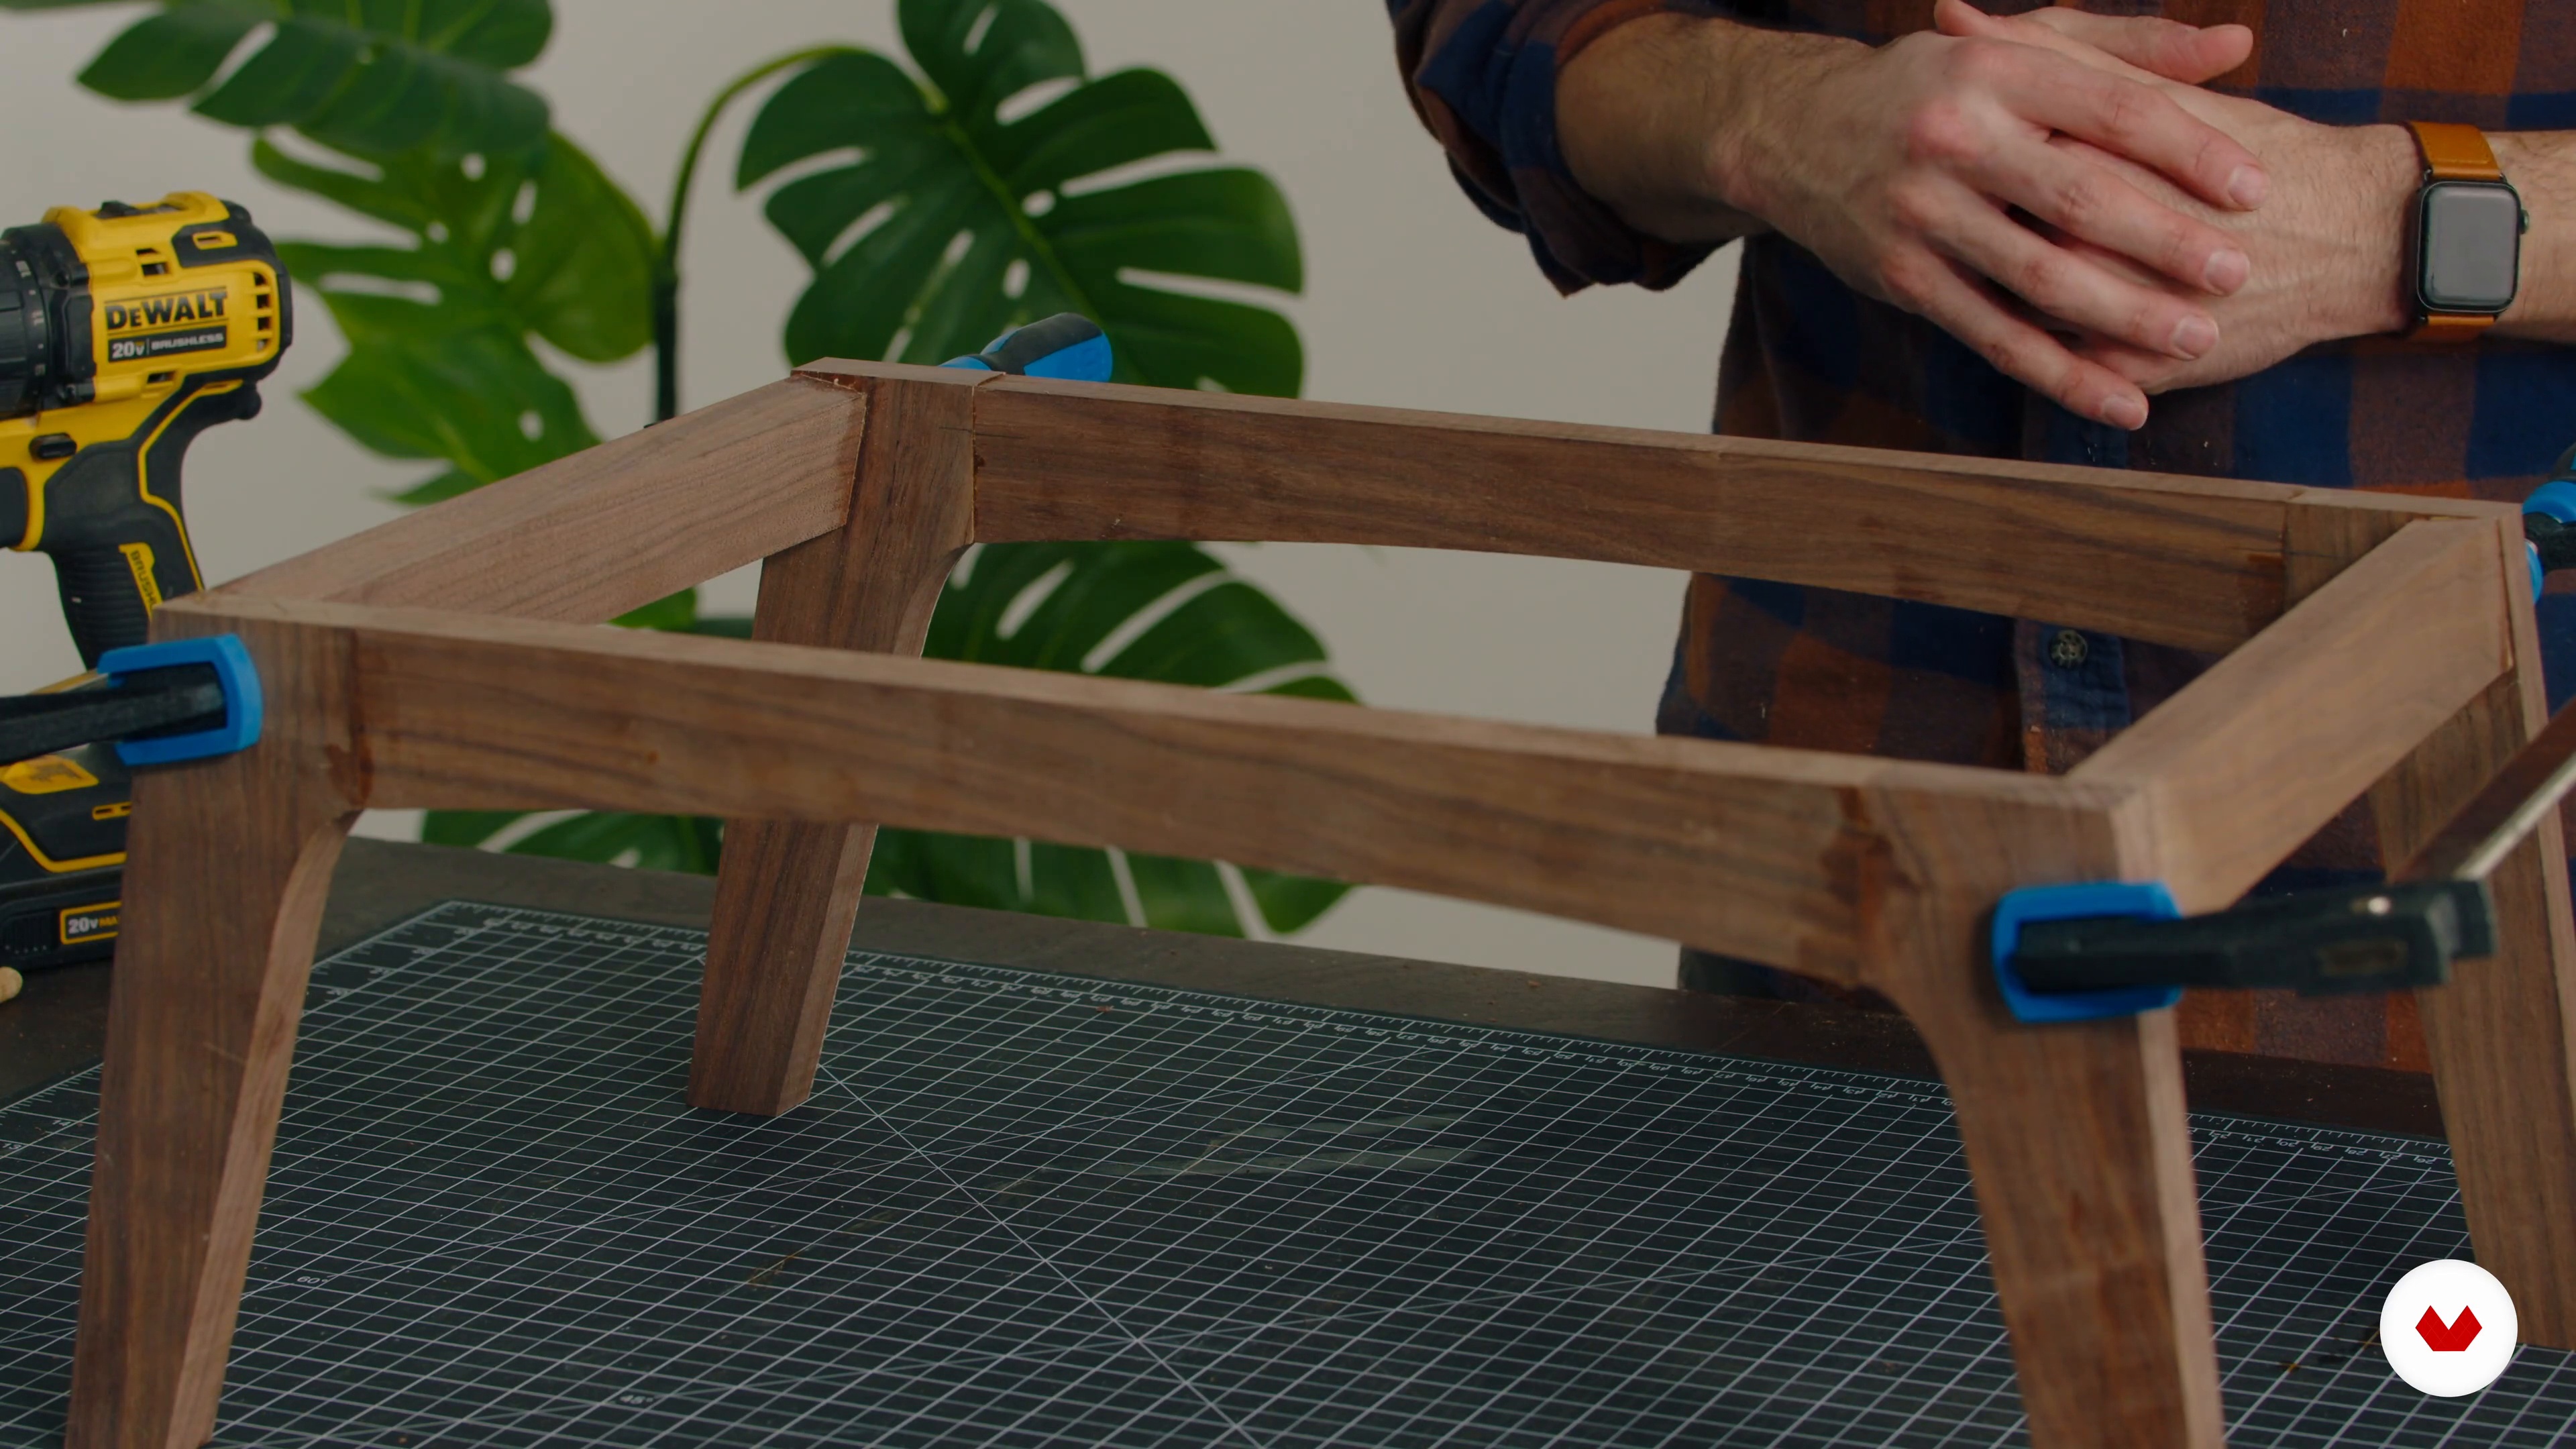
9Building the Base 2
In this second part of the lesson, you will see how to build the base while I share some tips to make this process easy peasy.
17m
 10
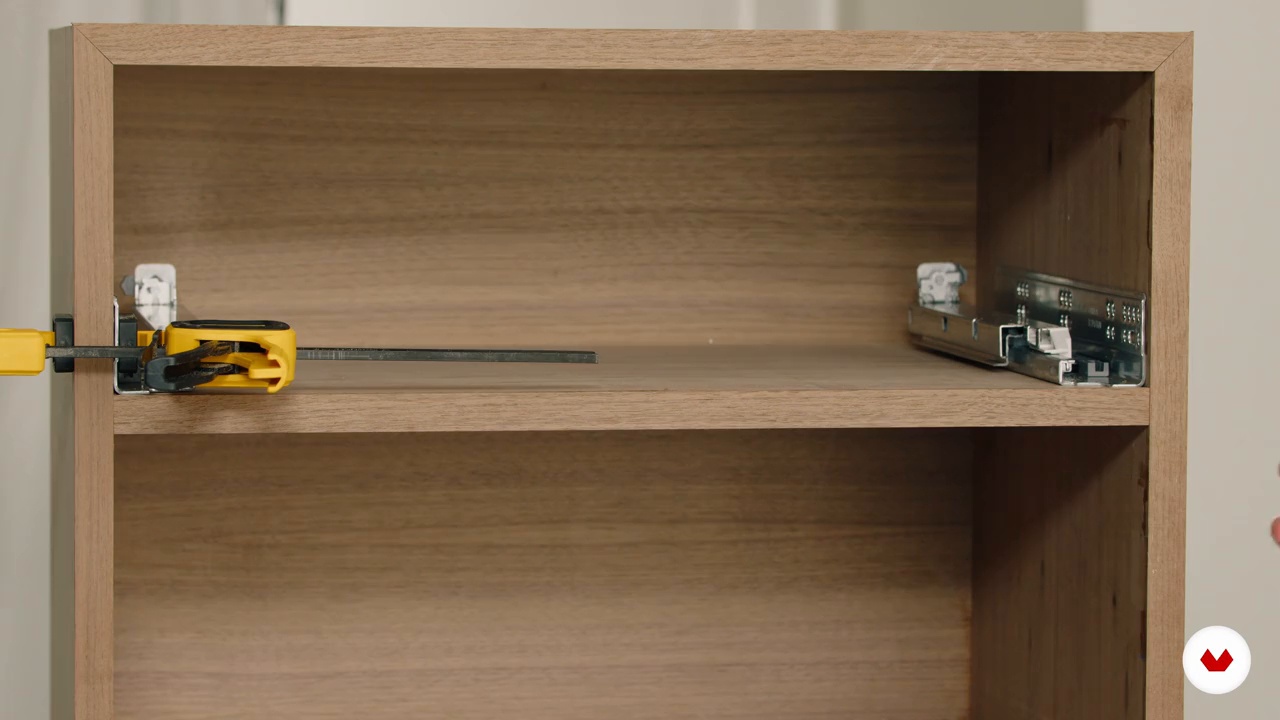
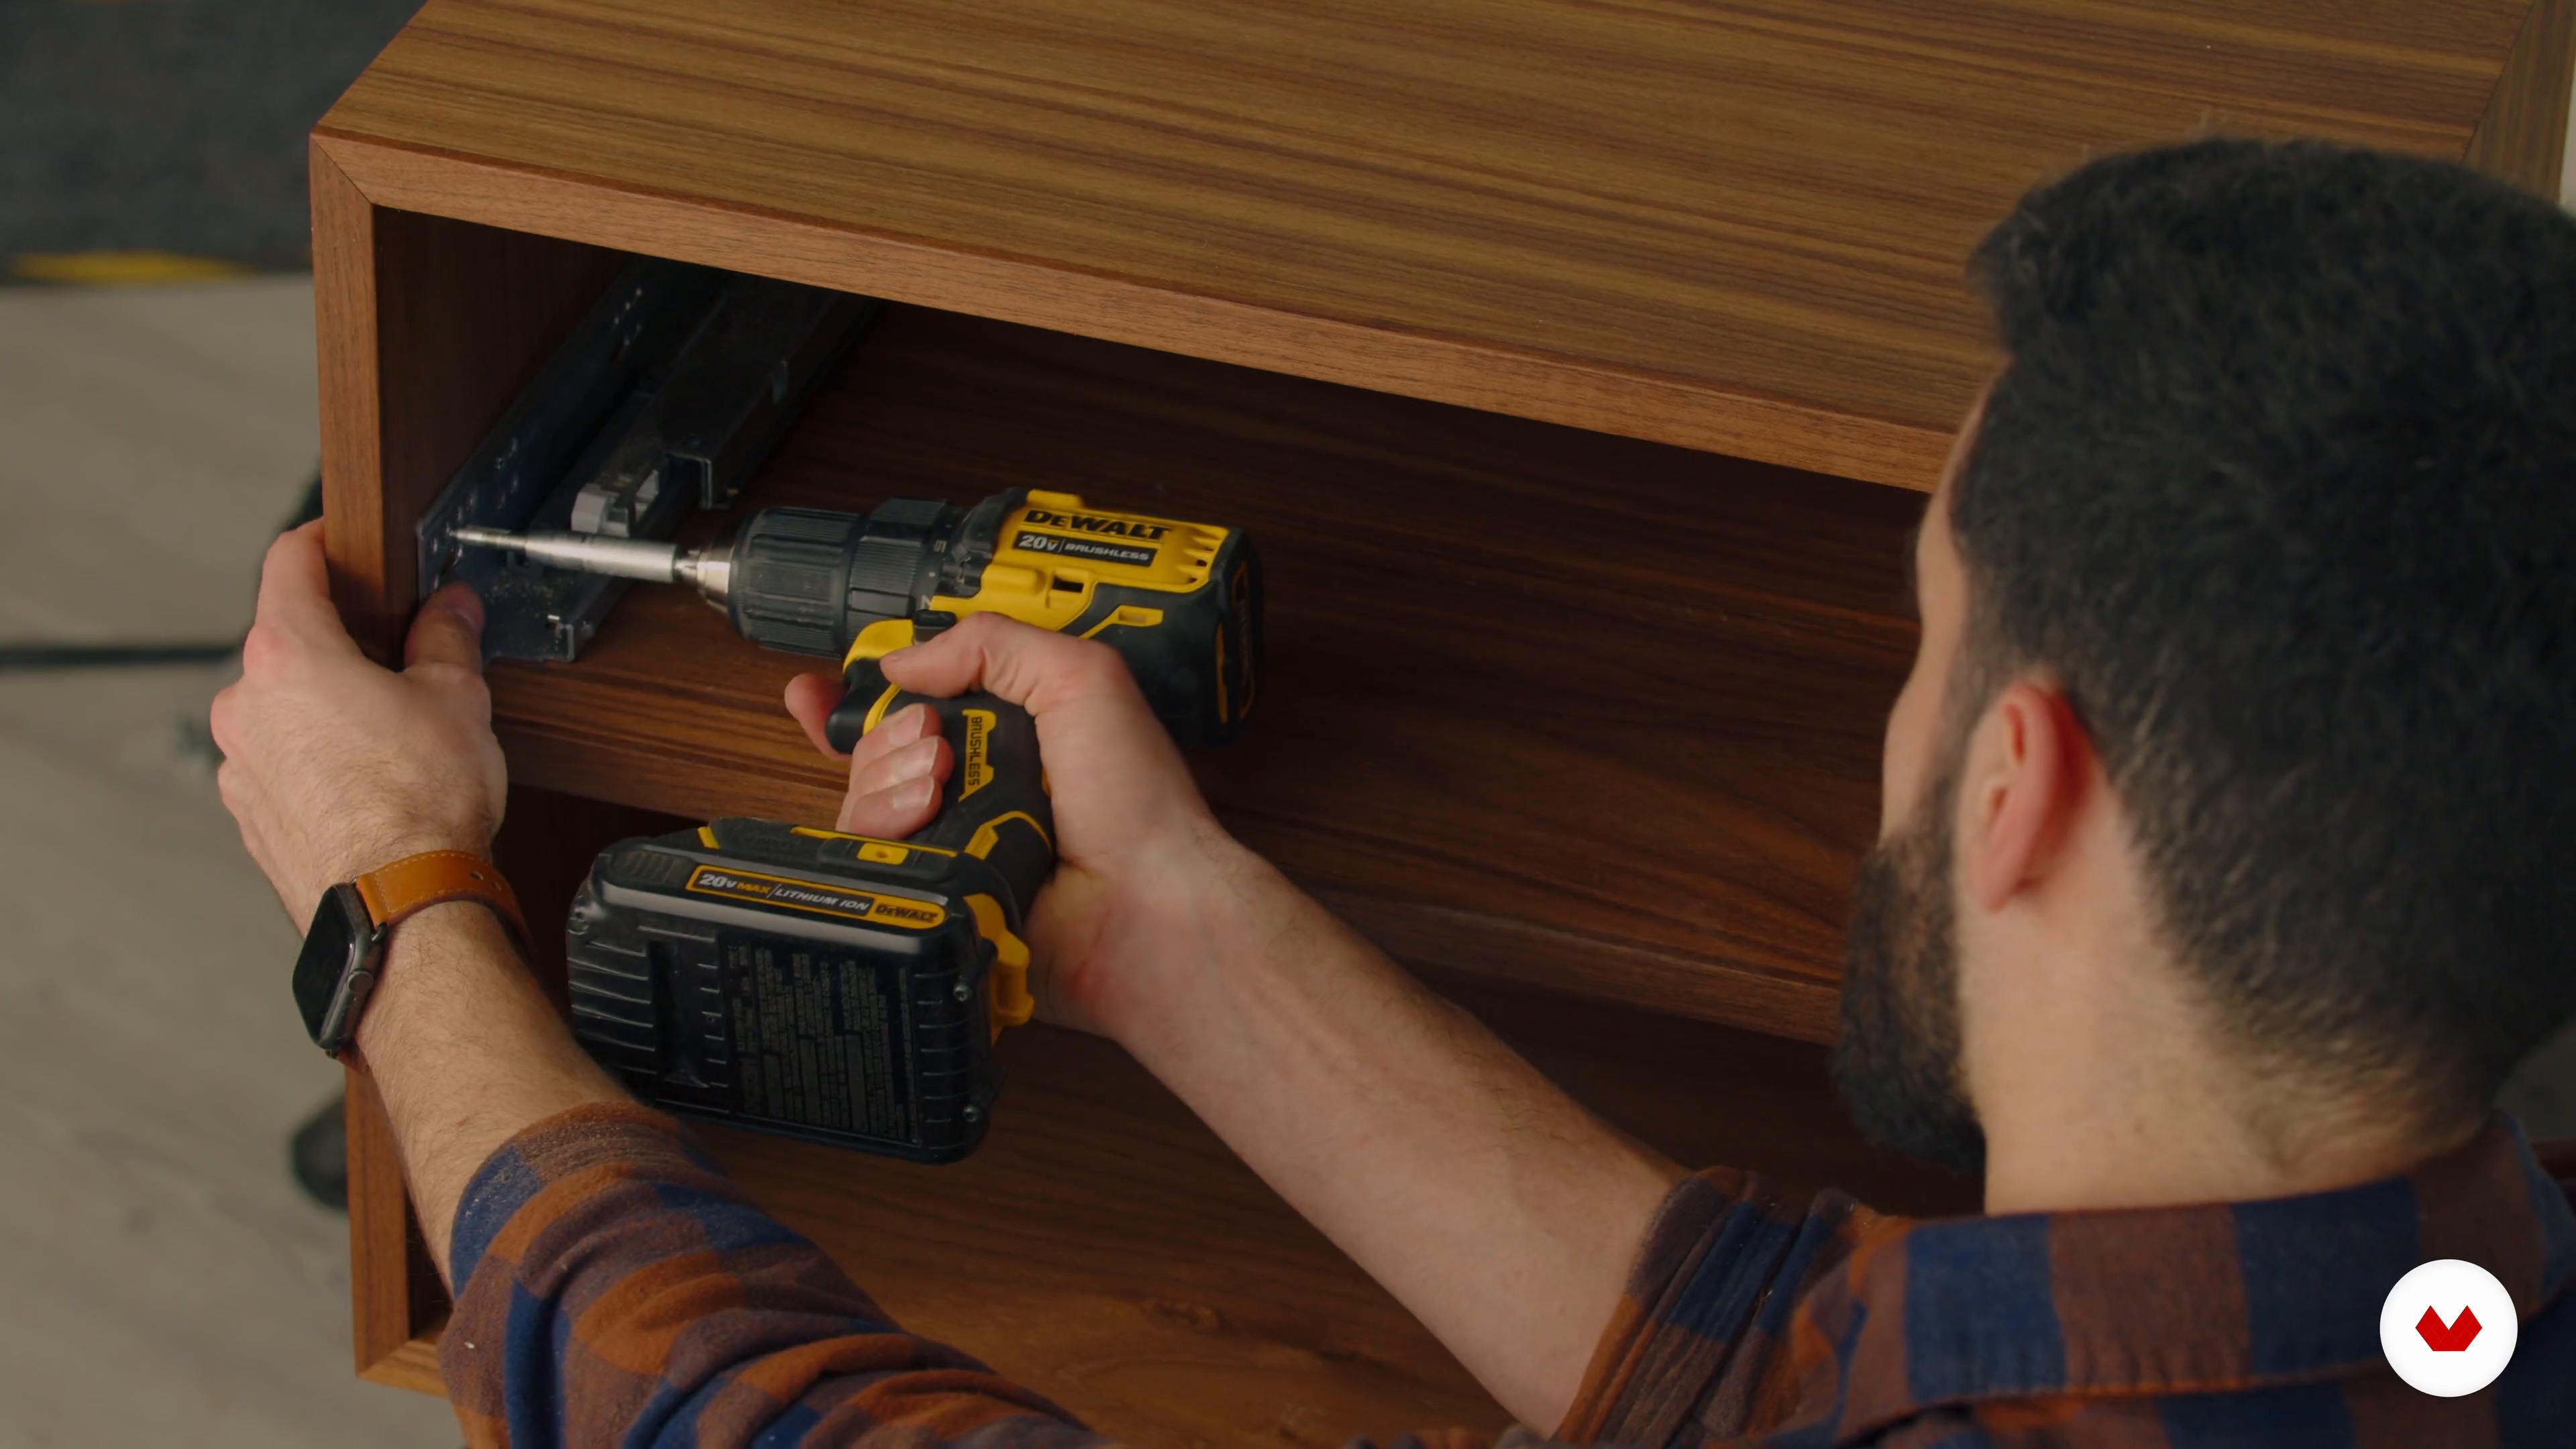
10Building and Installing the Drawer Box 1
I will teach you how to build a drawer box for undermount slides. Undermount slides are a bit unique in the way you need to create your drawer boxes to work properly. I promise once you get through this process one time, it gets easier.
20m
 11
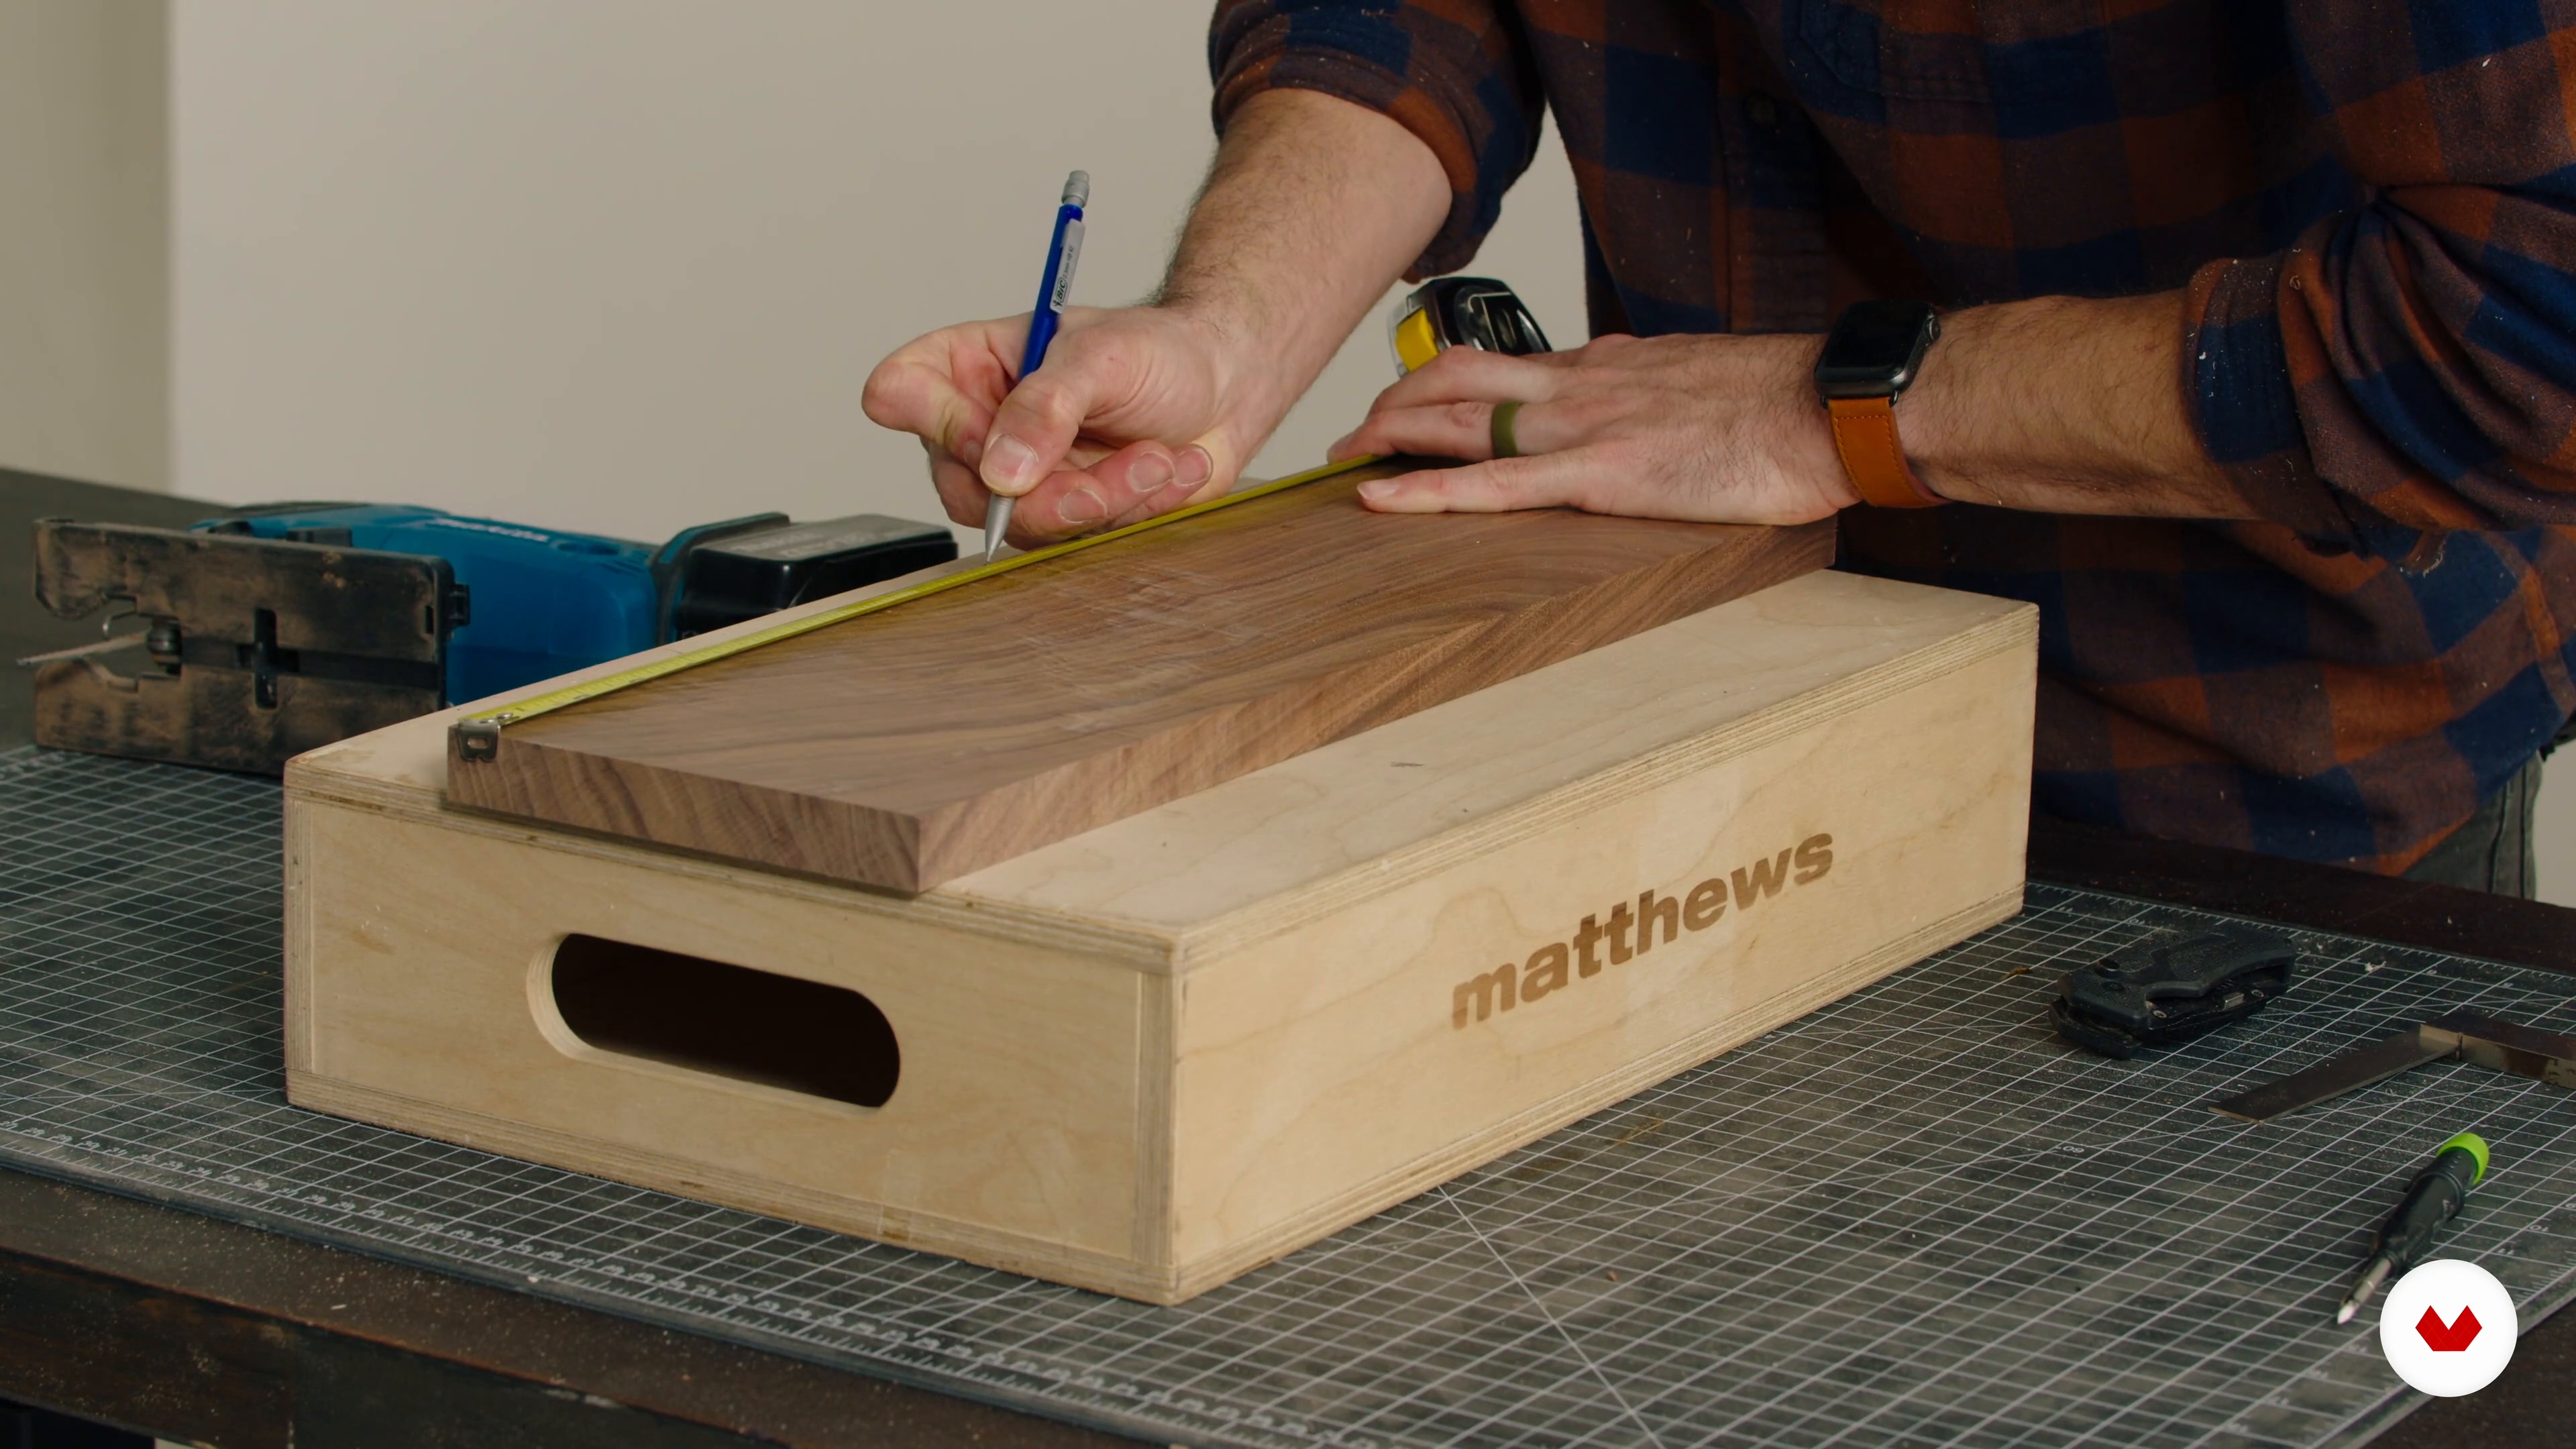
11Building and Installing the Drawer Box 2
Here, I will continue to break down the process for you to understand better and to make this work without too many problems.
19m
 12
12Sanding and Finishing
Now, I will explain how to properly sand and apply an oil-based wipe-on finish.
20m
 13
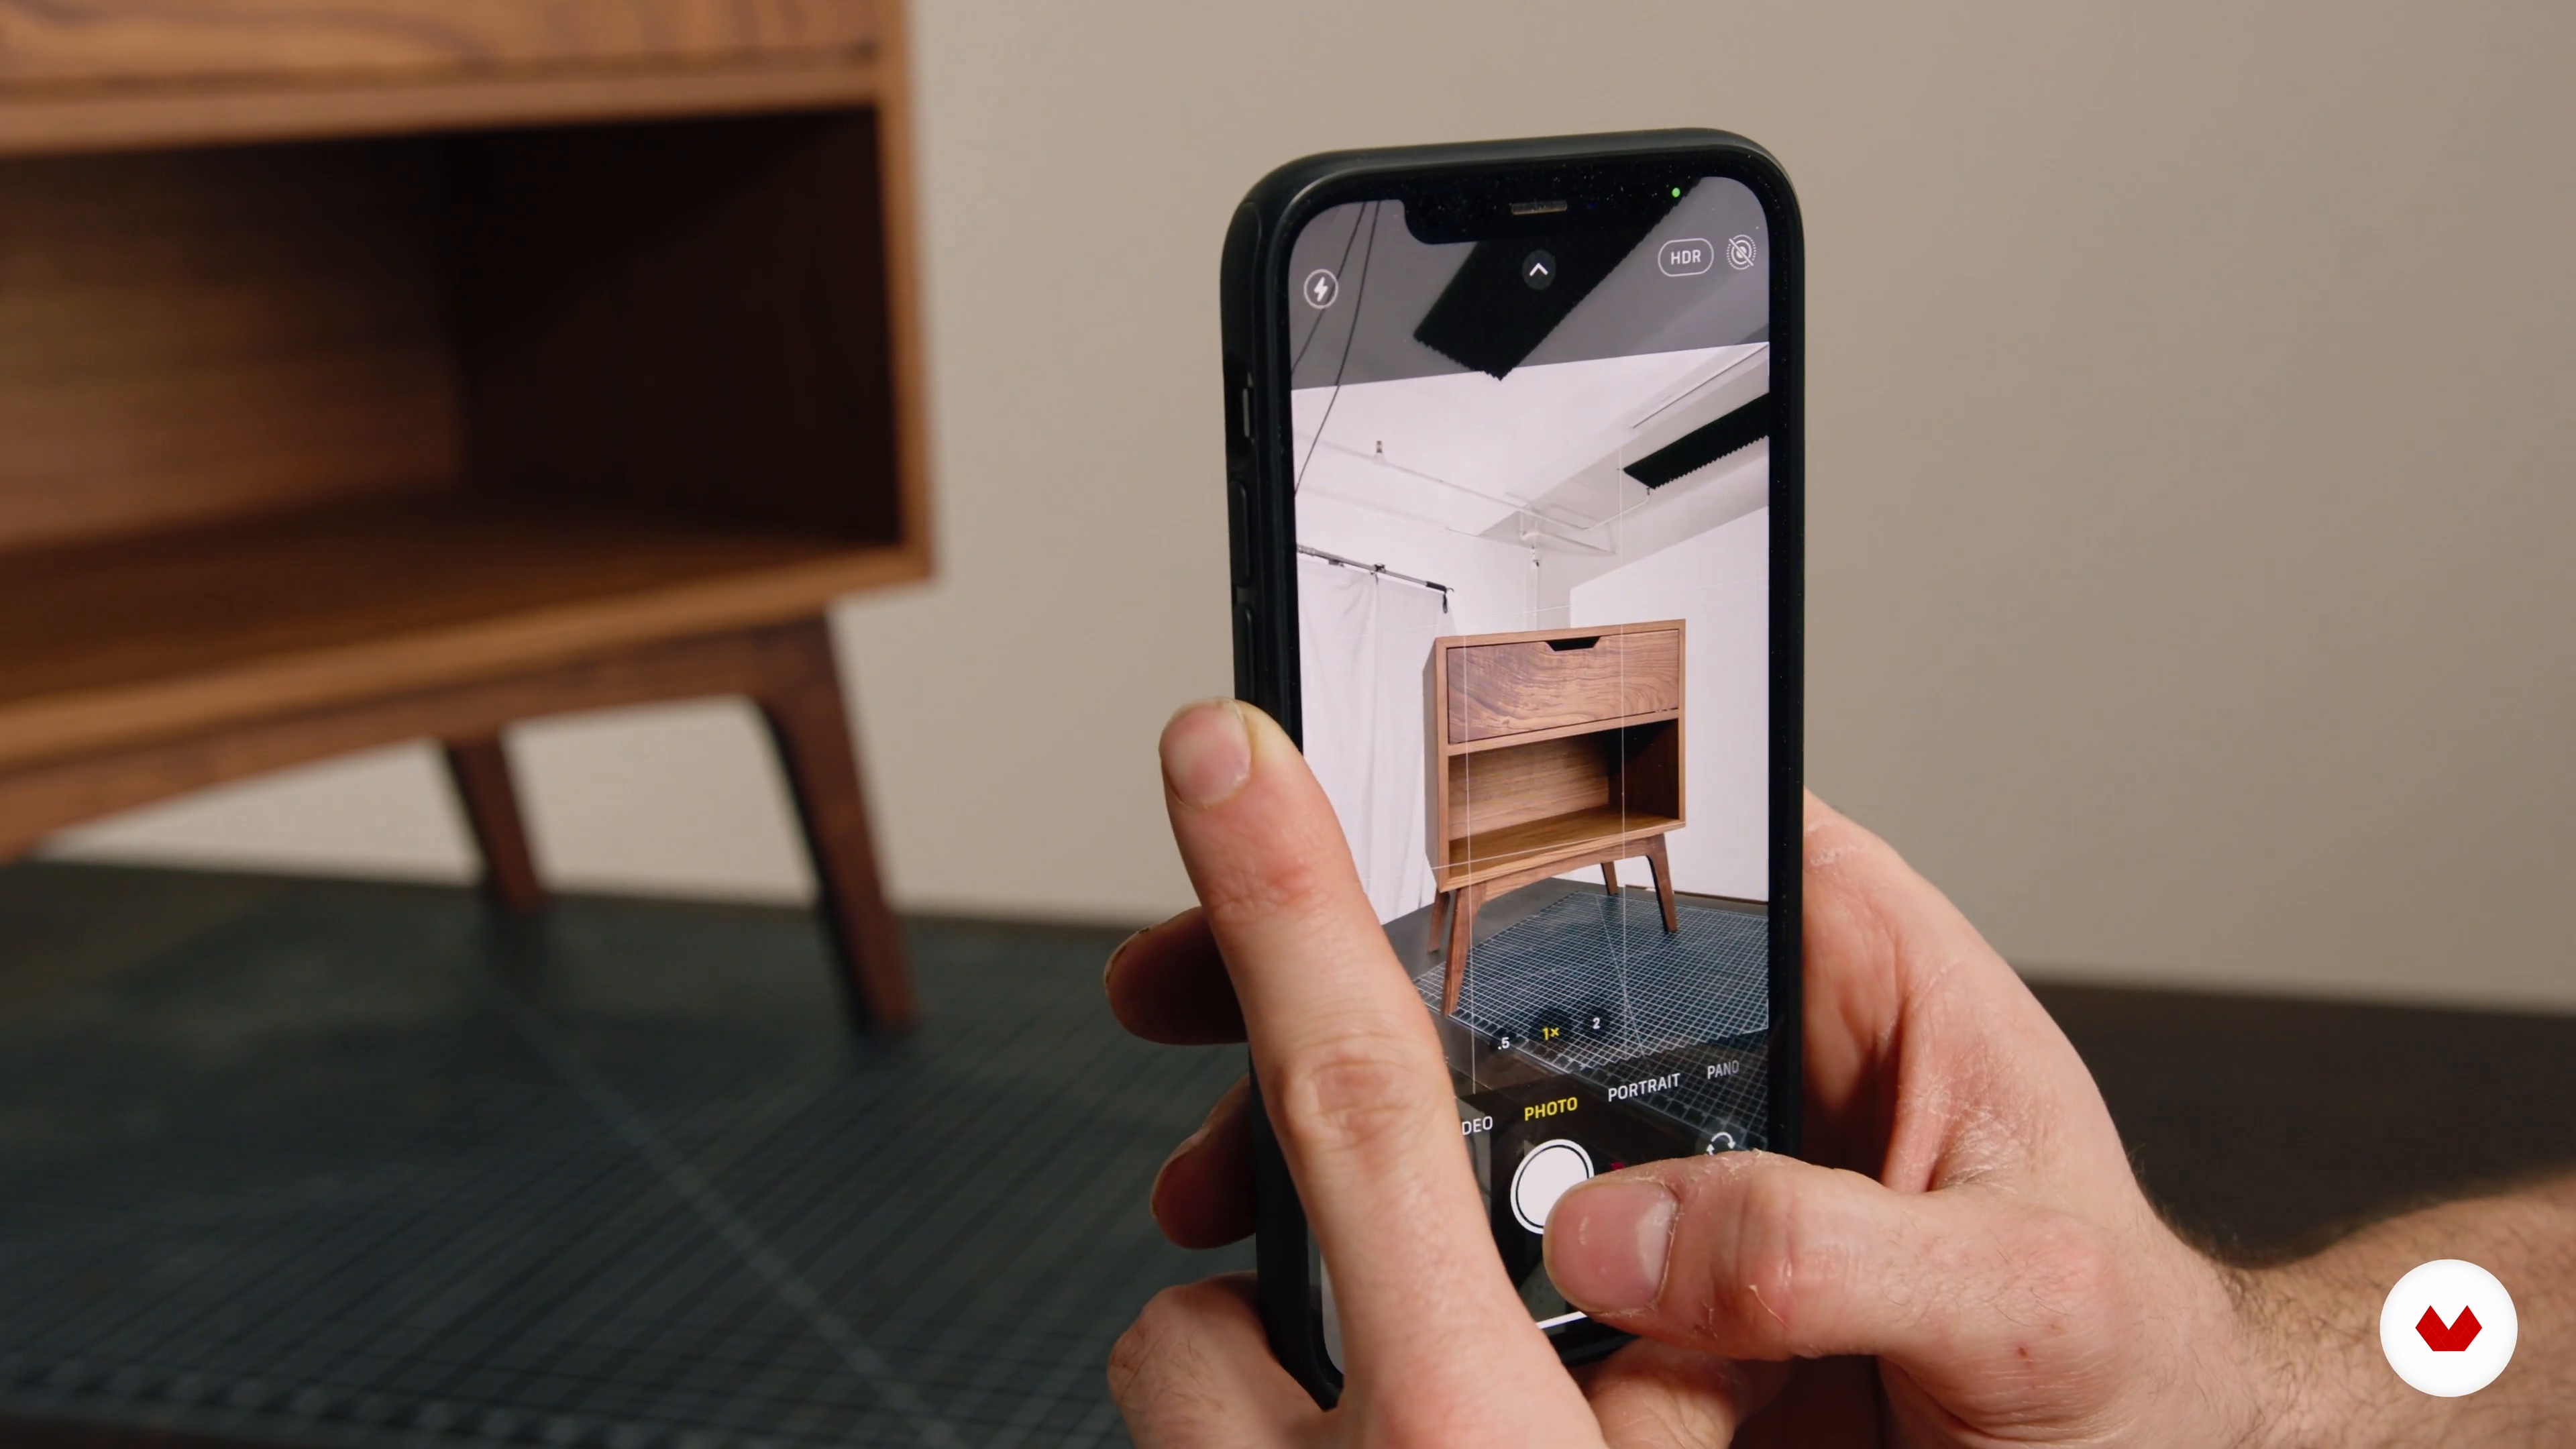
13Sharing Your Work on Social Media
Let's discuss a few strategies to effectively share and promote your work on social channels to help grow a page.
4m
 14
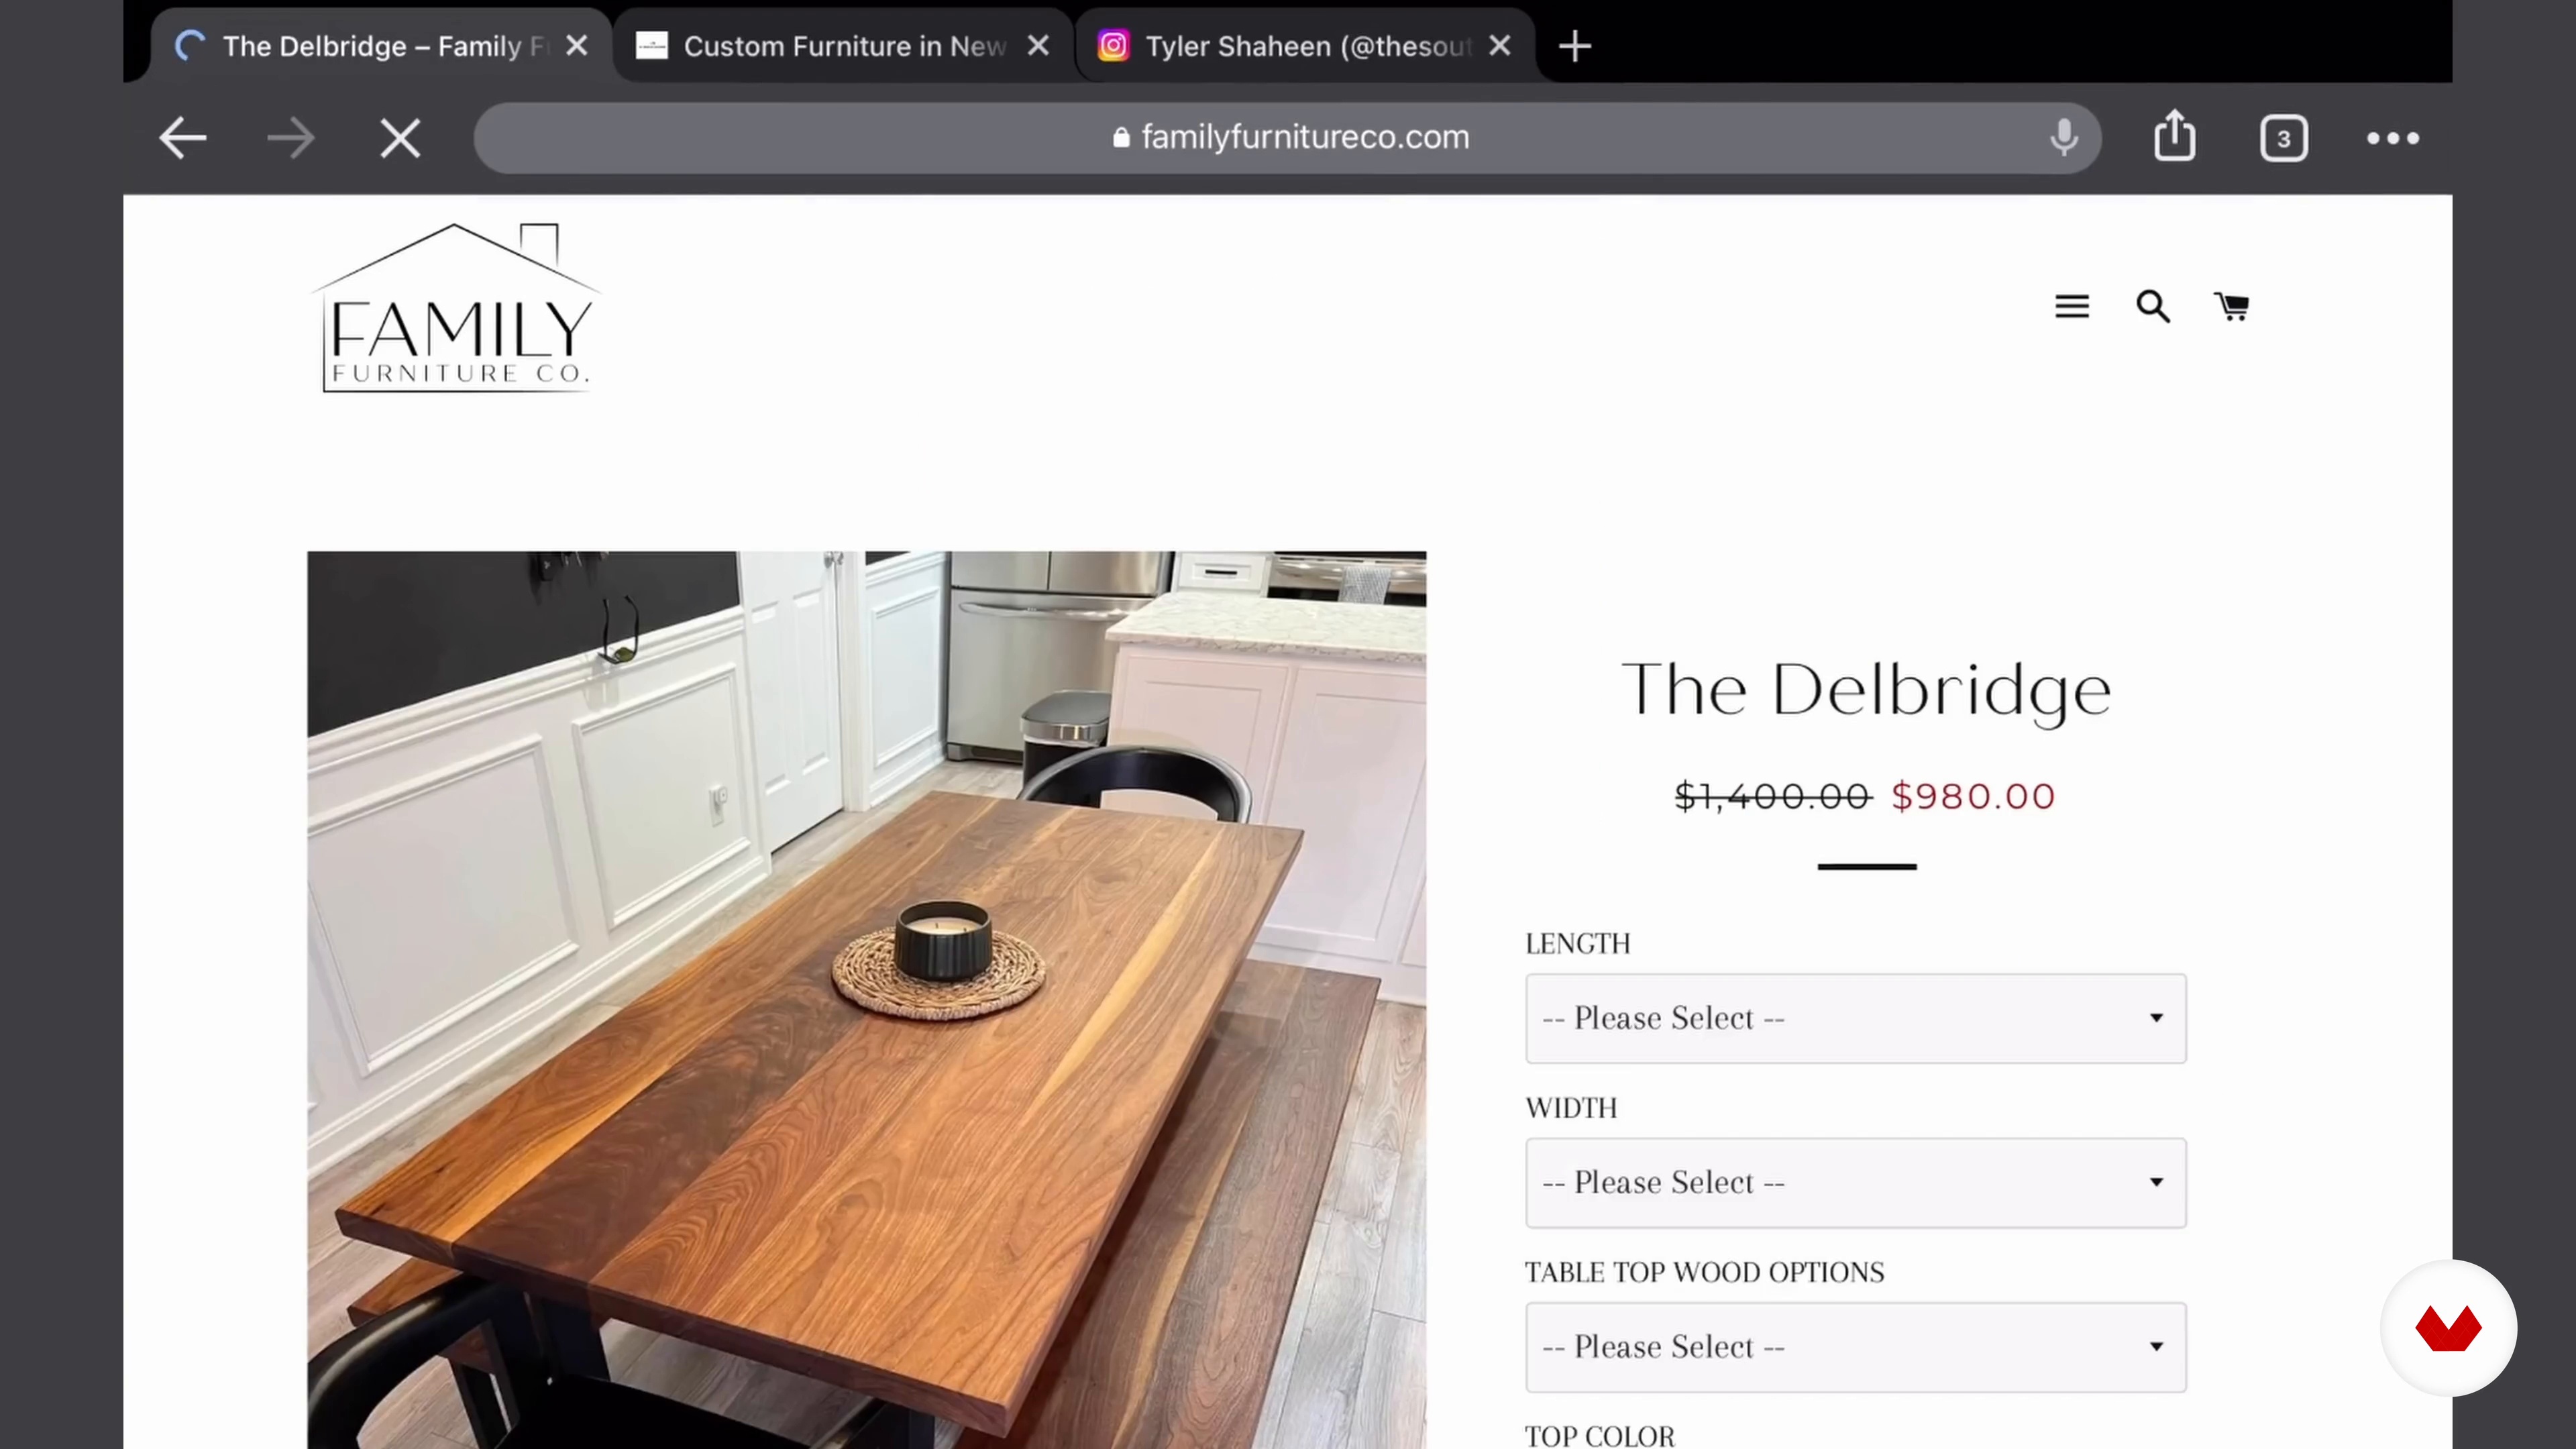
14Selling Your Pieces
To finish this module, I will show you a few different avenues to begin selling your pieces.
10m
 1
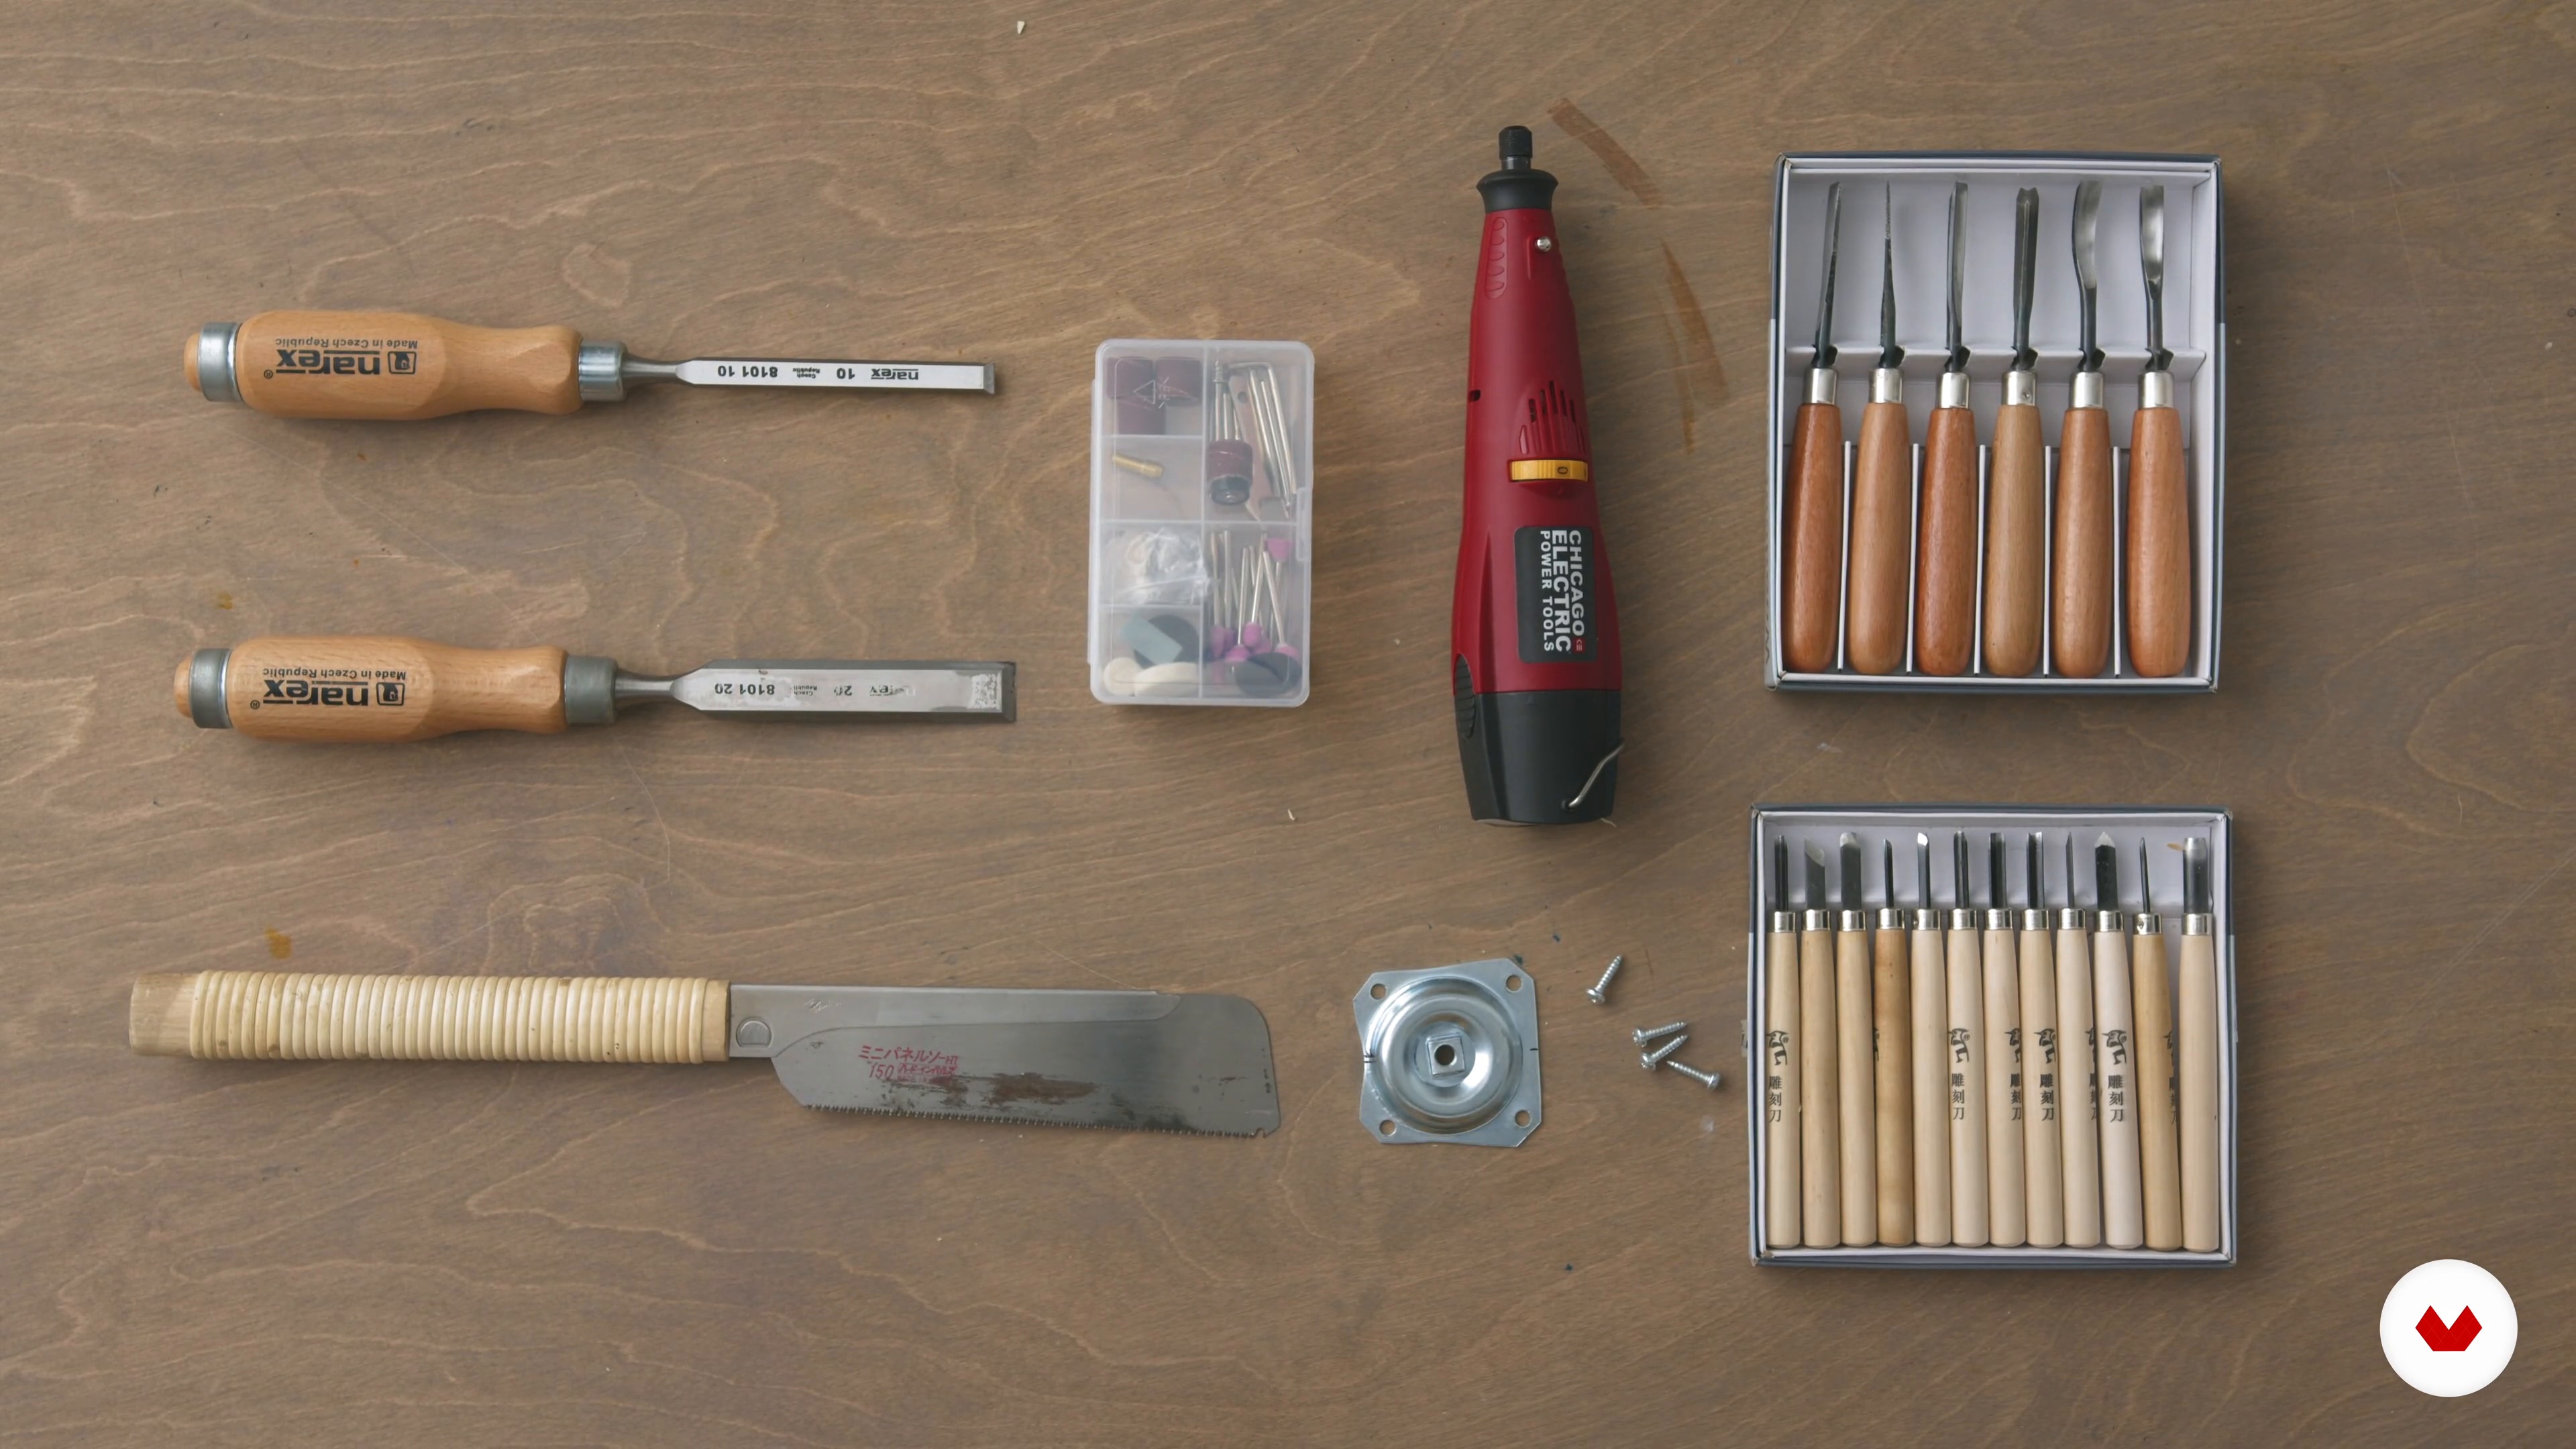
1Workspace Preparation and Tools
In this lesson, I will cover how to create a workspace, what tools and equipment you might need, and some basic safety procedures when working with power tools.
7m
 2
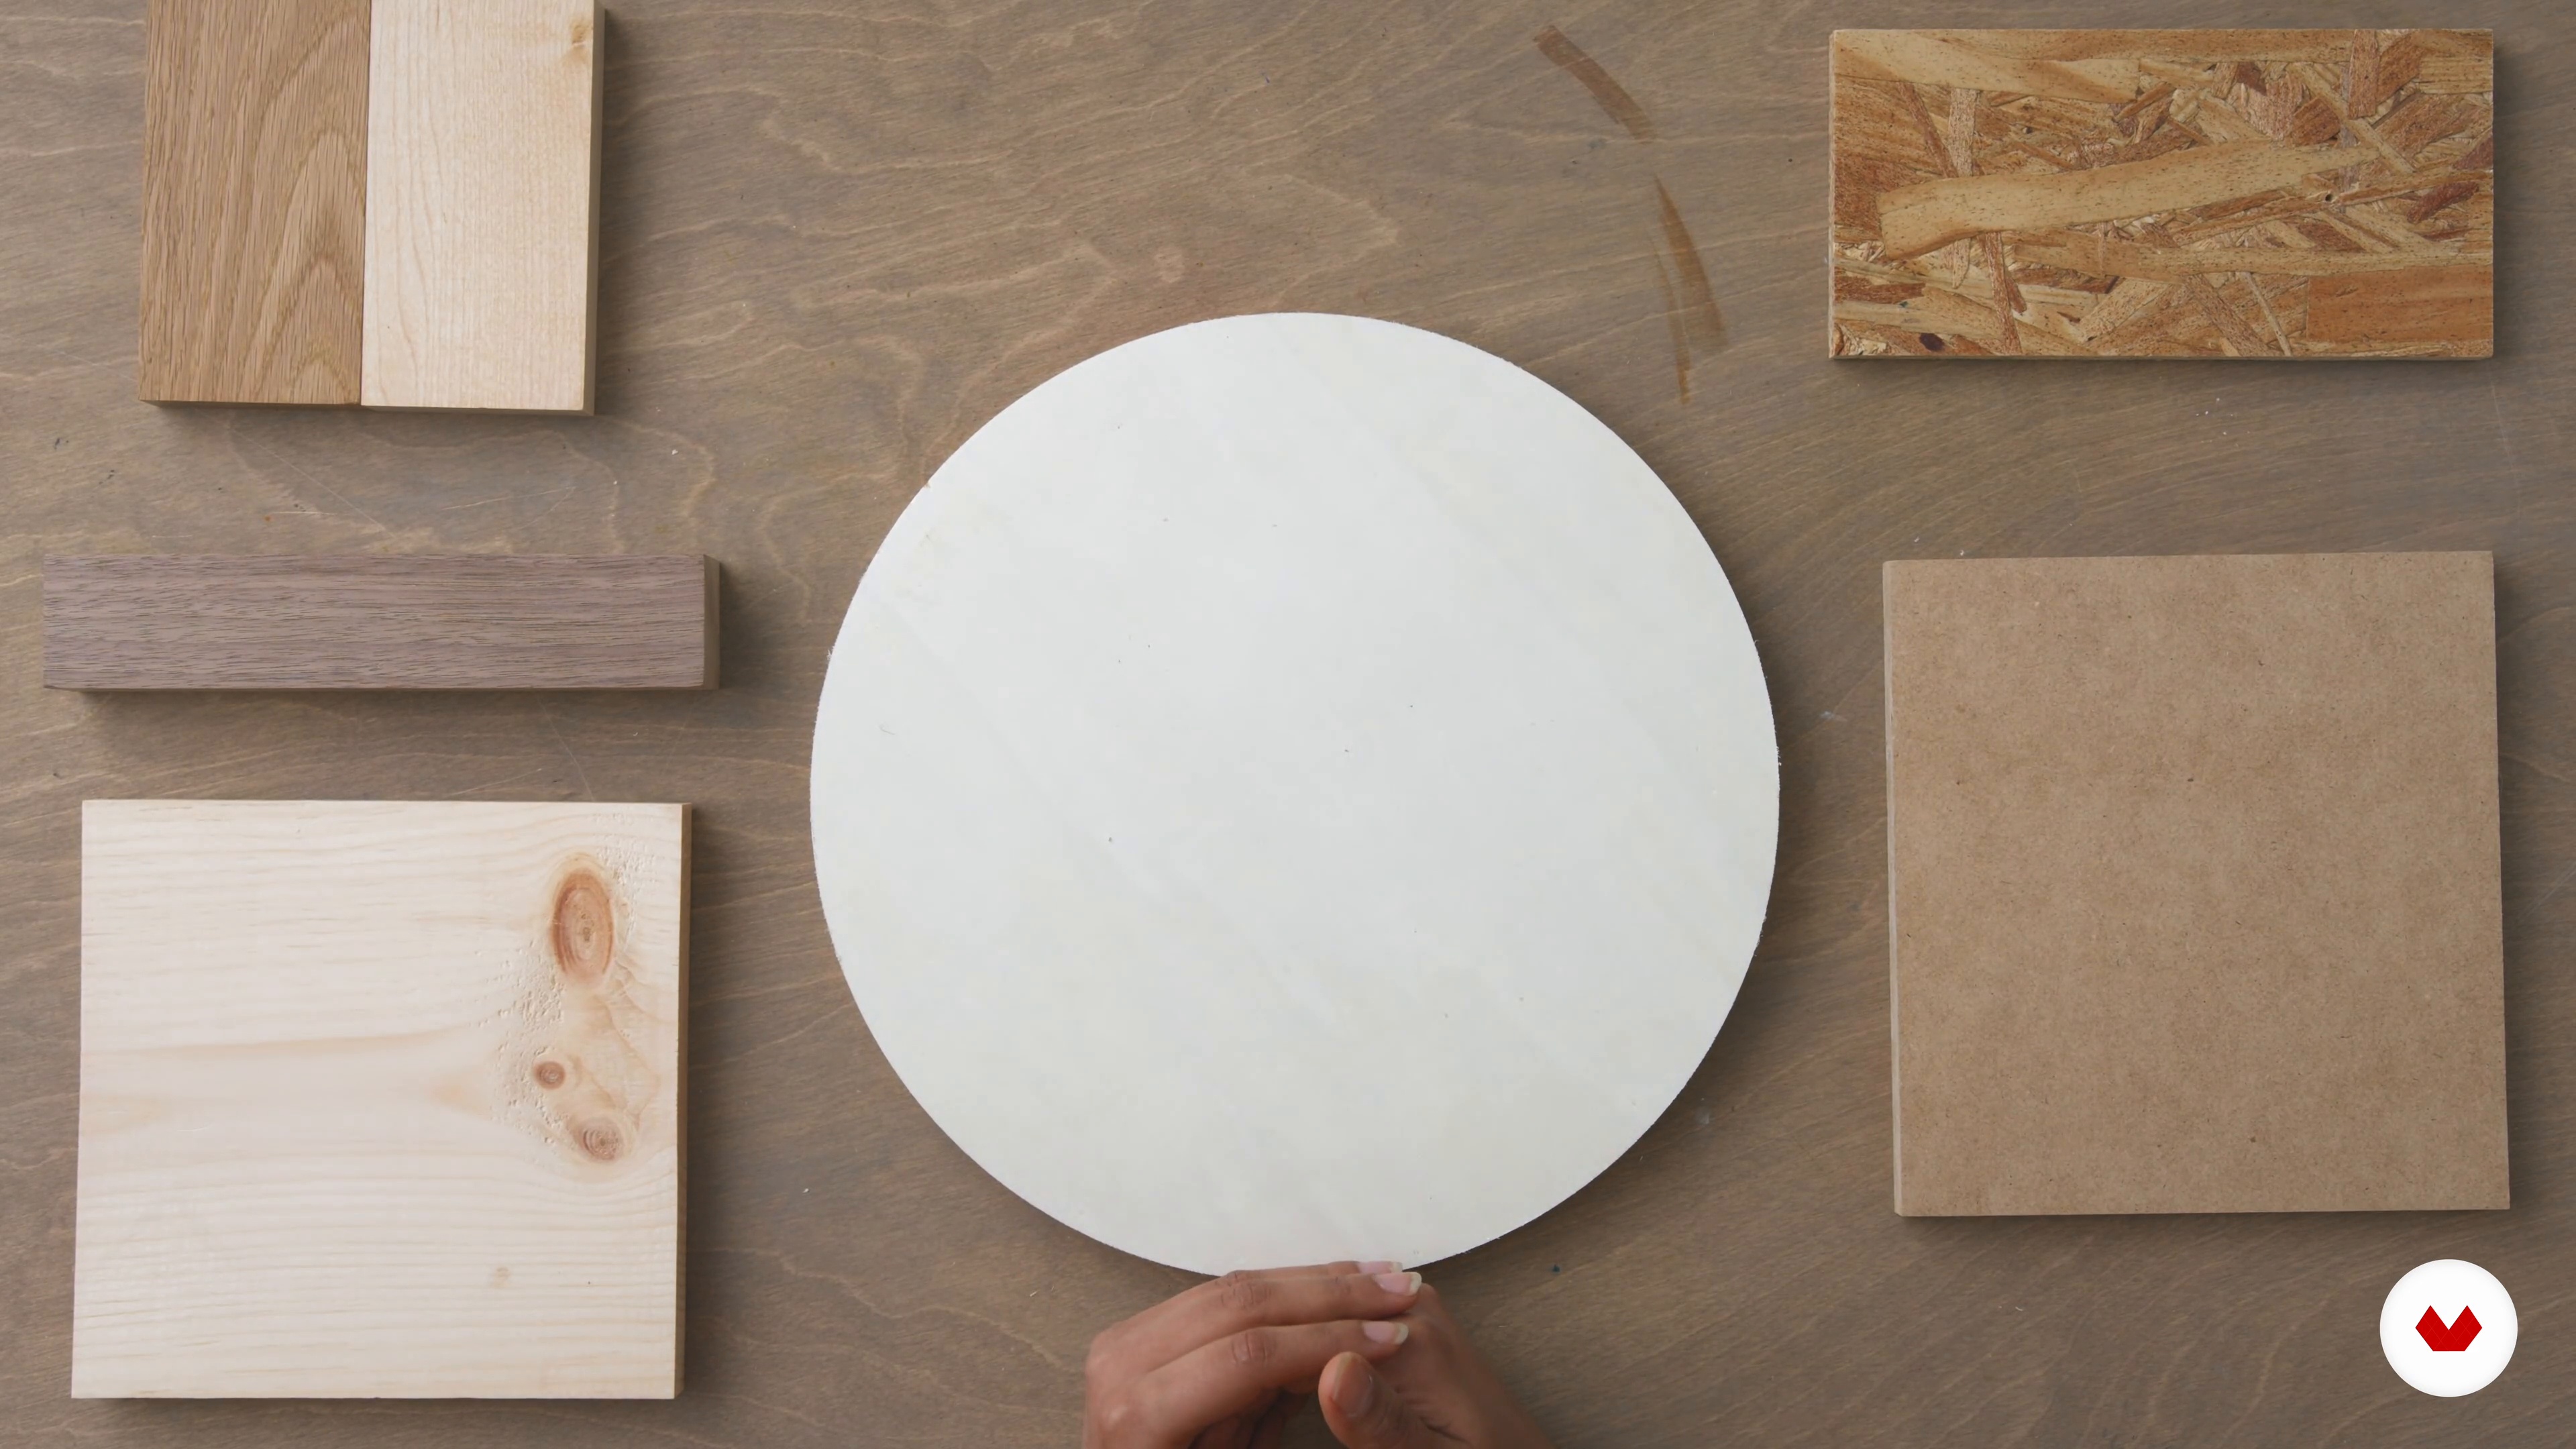
2Wood as a Material
Now that you have an overview of the necessary equipment, I will dive deeper into one of the key materials you will need: wood. In this lesson, I will teach you how to define its main properties, by first dividing it into two main categories: softwood and hardwood. Finally, I will discuss its capabilities and its limitations as a natural resource.
4m
 3
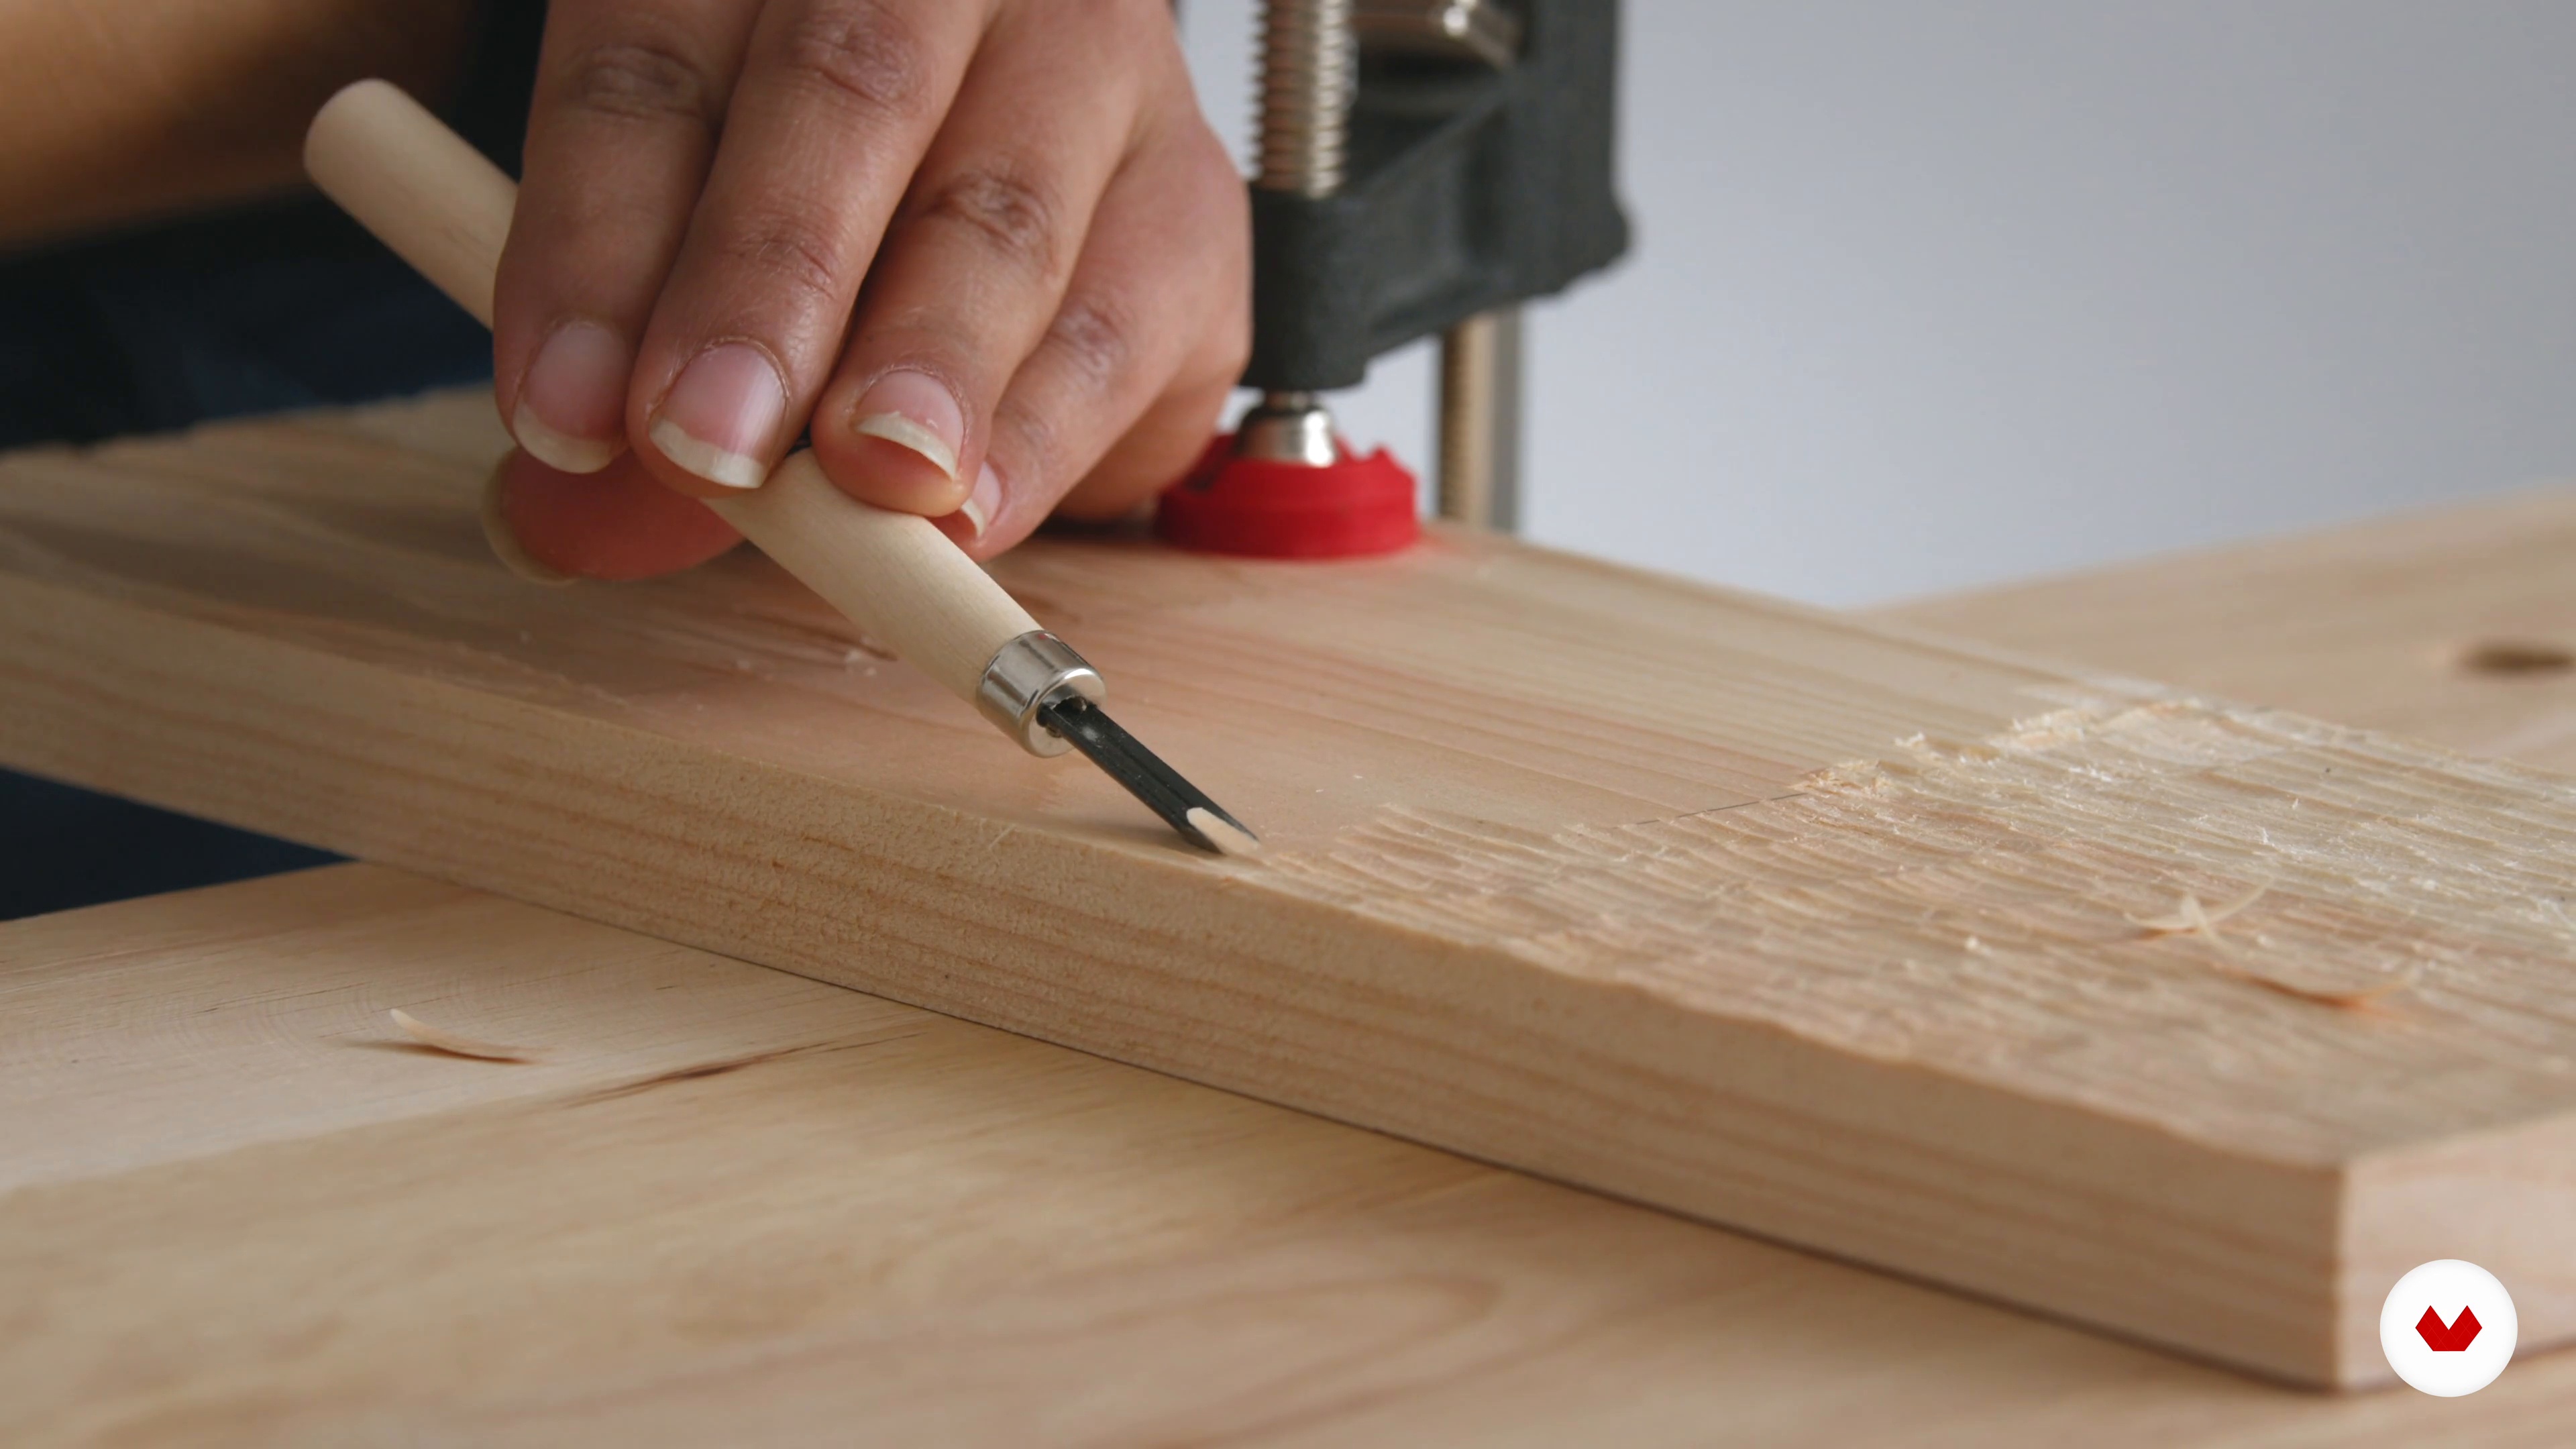
3Pattern Making on Wood
The next stage of preparation is learning the basic techniques. Here I will demonstrate some different ways to manipulate the surface of the wood, by first using a gouge and male, then a hammer and nail, and finally a rotary tool. You will learn how to create interesting patterns and textures by employing these tools in creative ways.
6m
 4
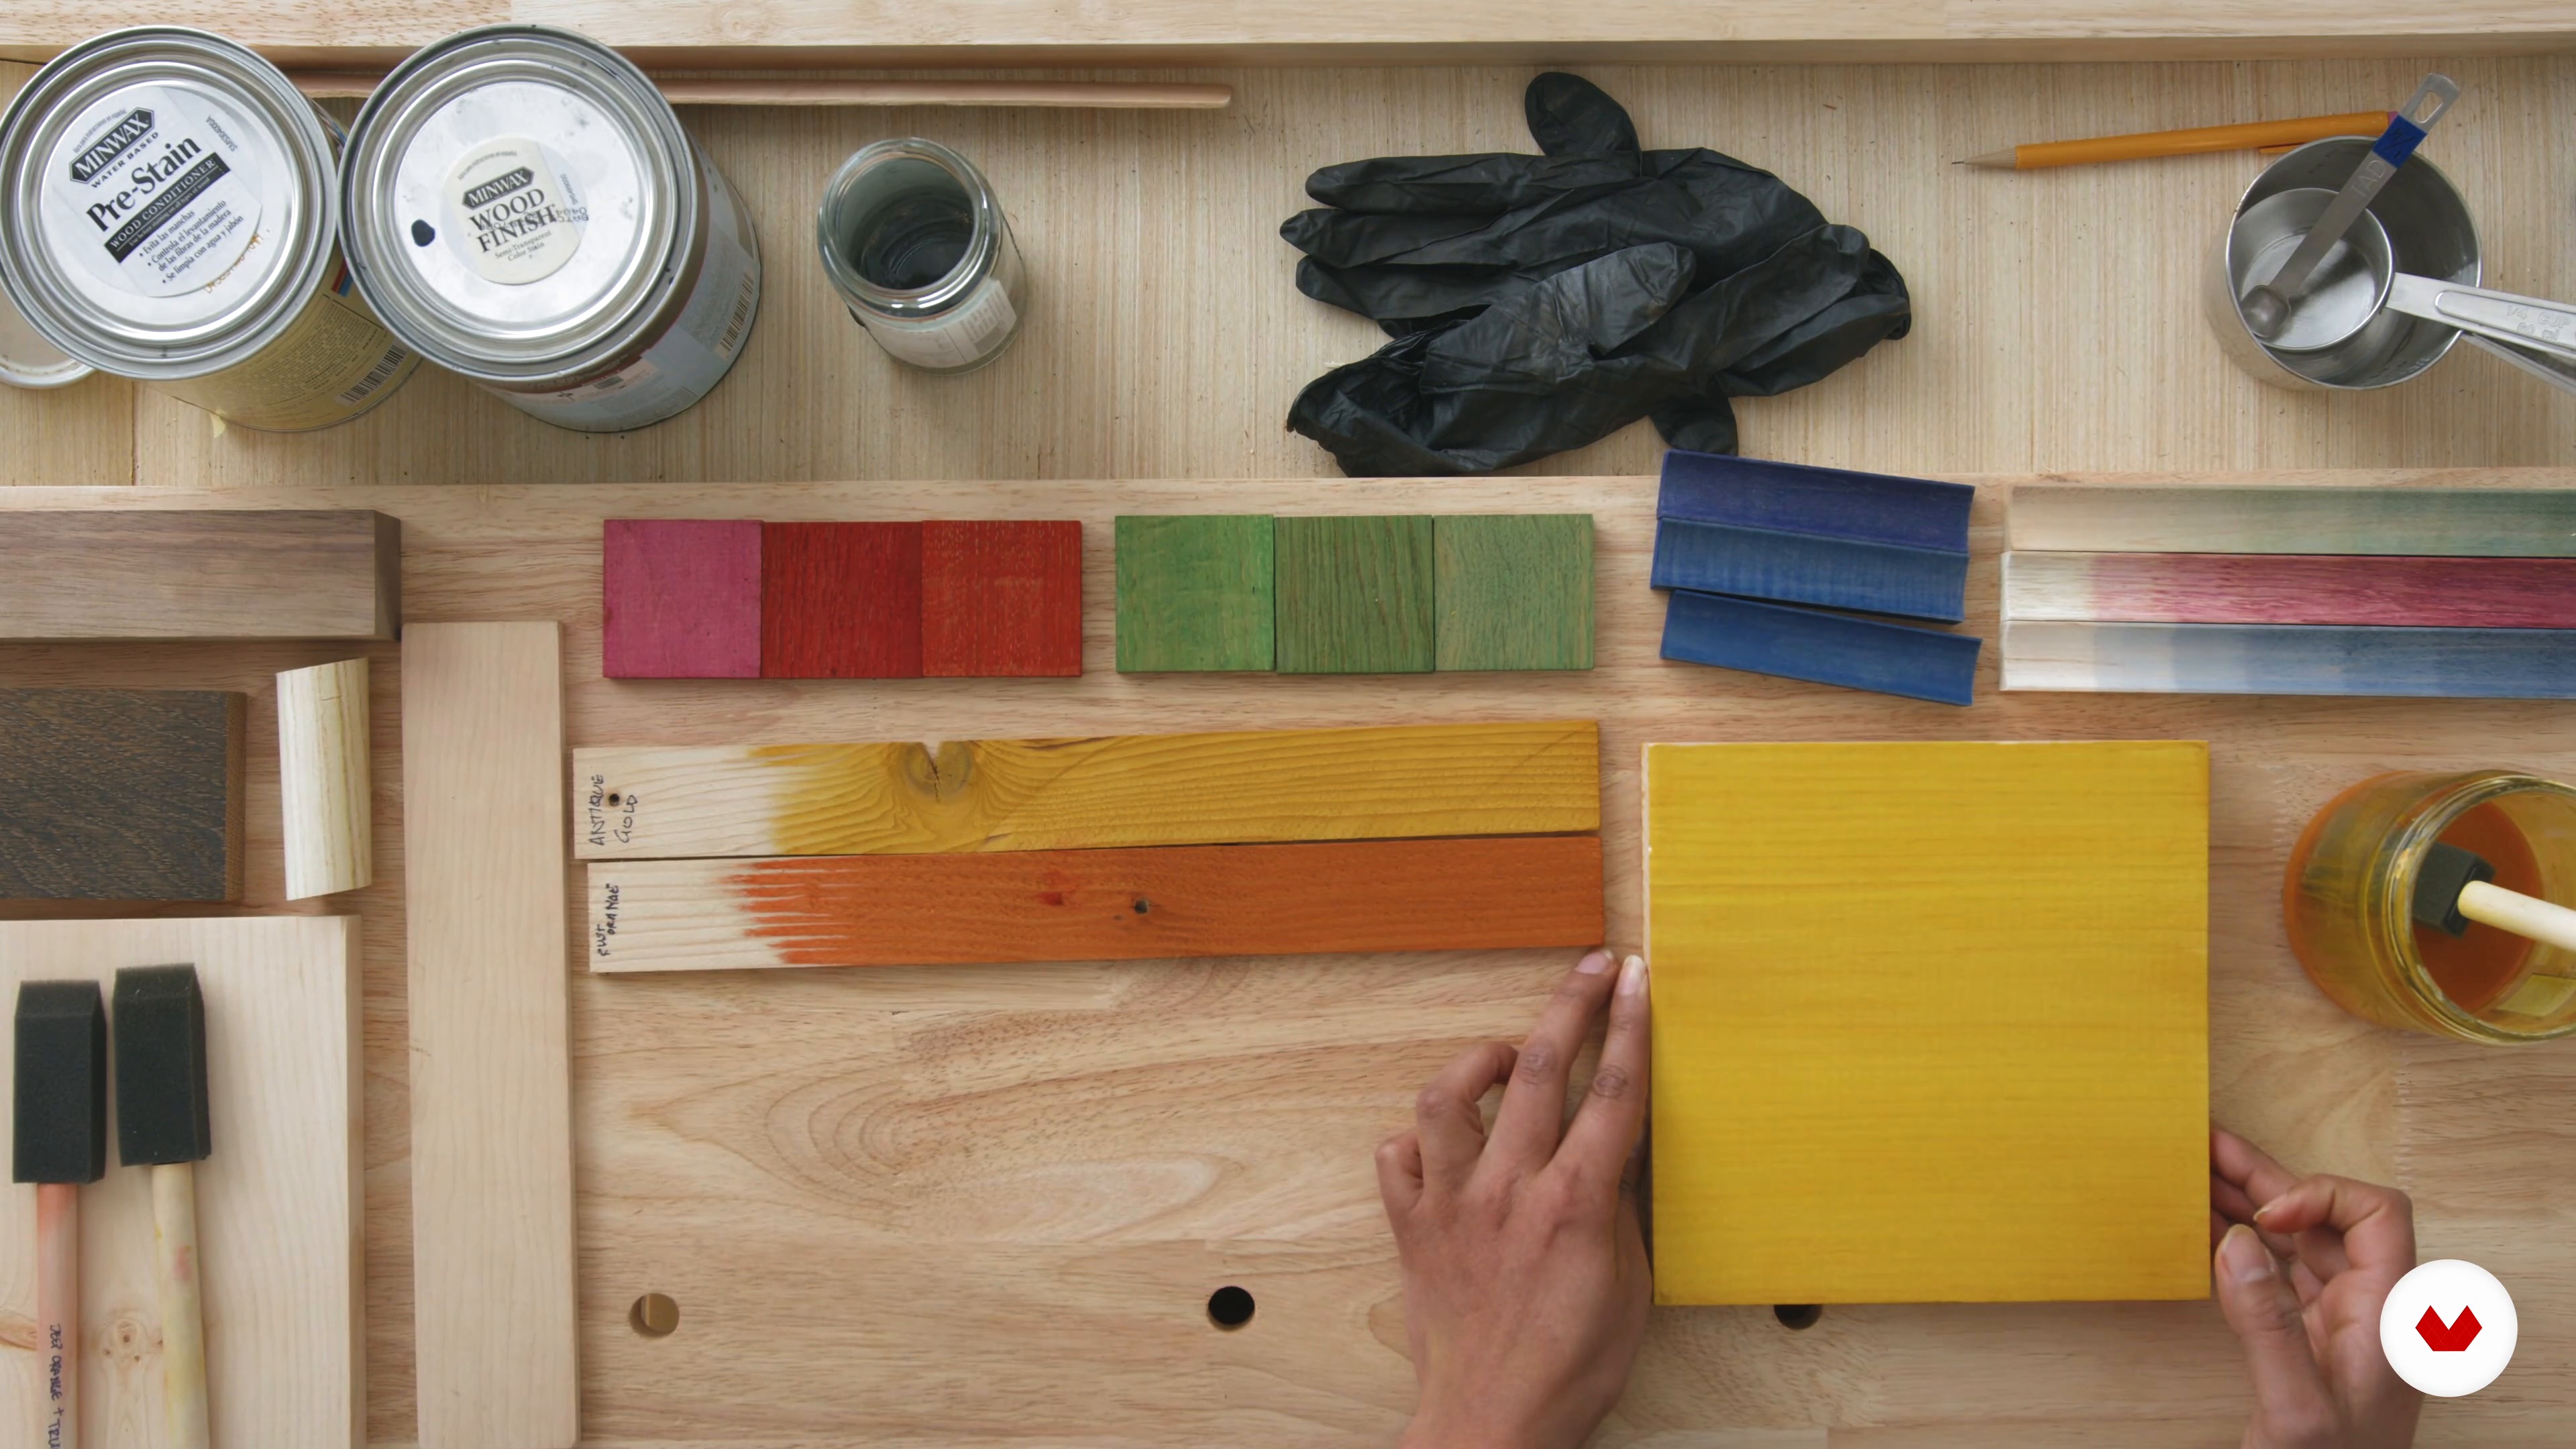
4Adding Color to Wood
Although many people are skeptical about coloring wood, I believe that—when used correctly—color can enrich a piece of furniture and make it more uniform. In this lesson, you will learn how to work with color and wood to create an aesthetically-pleasing result.
10m
 5
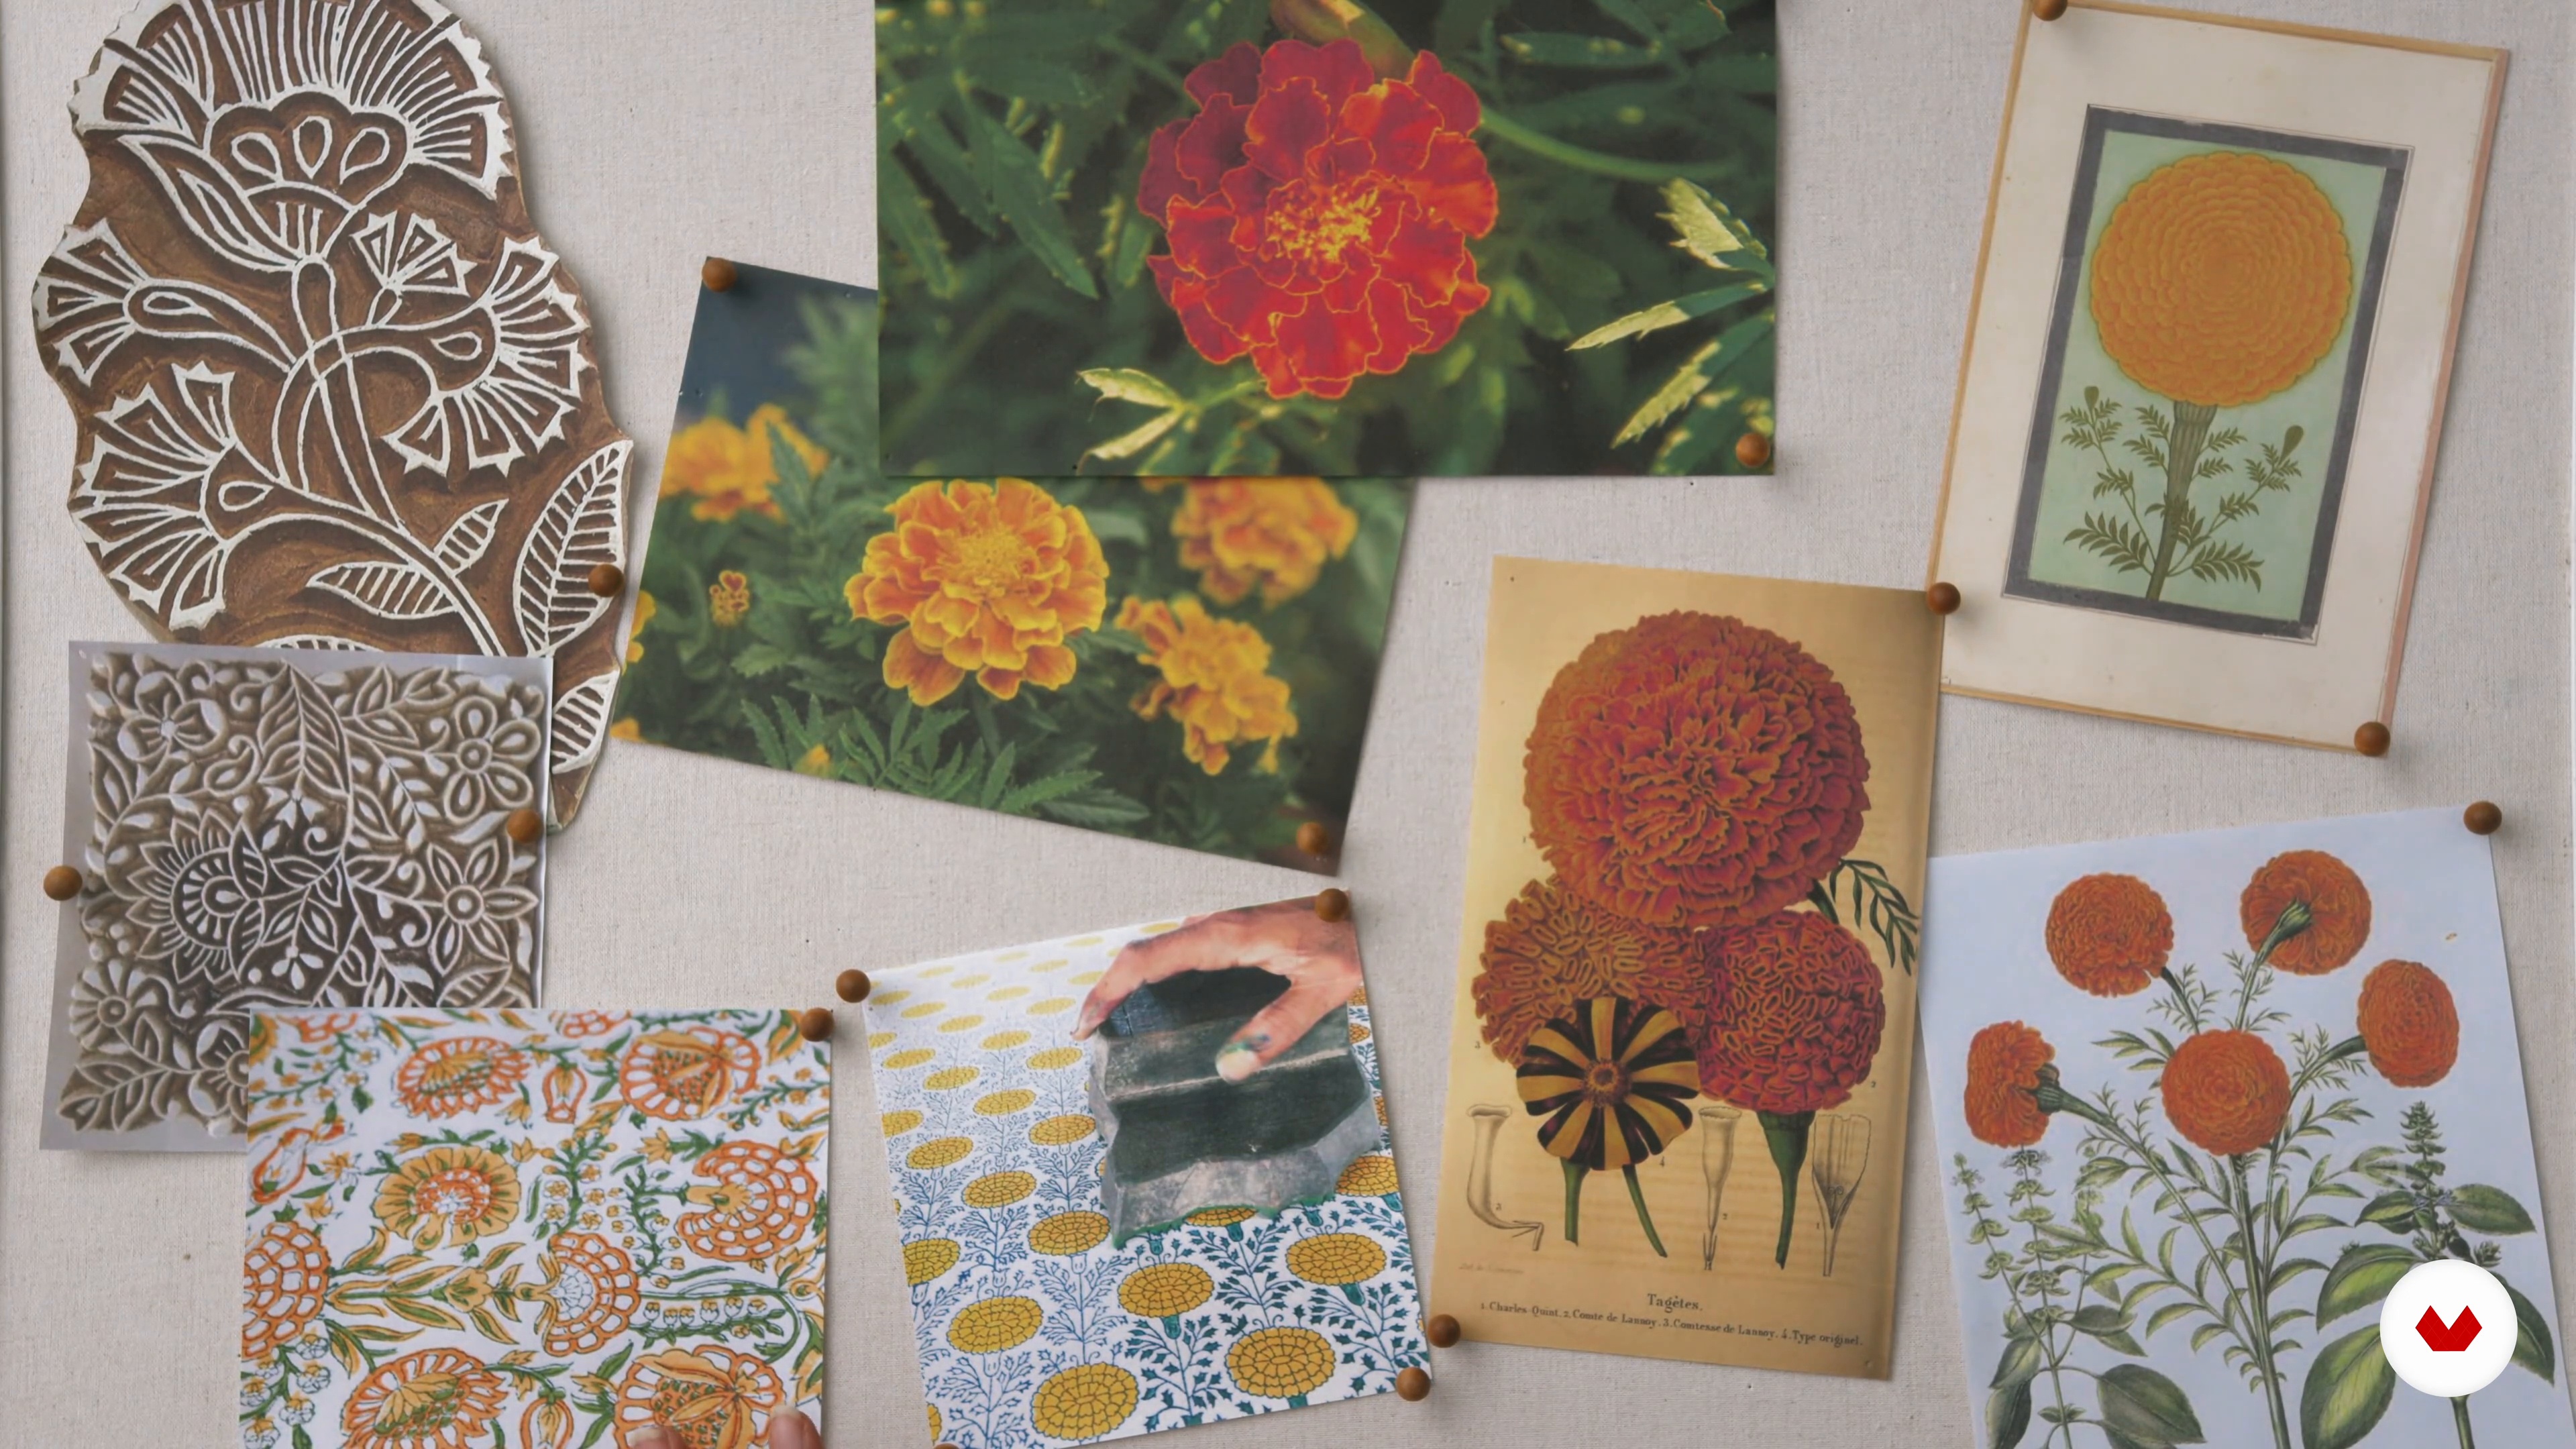
5Getting Inspired: The Mood Board
It's time to get started with the design process. I will show you how to brainstorm ideas, create mood boards, and apply all the previous lessons to come up with a concept for the course project.
3m
 6
6Creating the Design
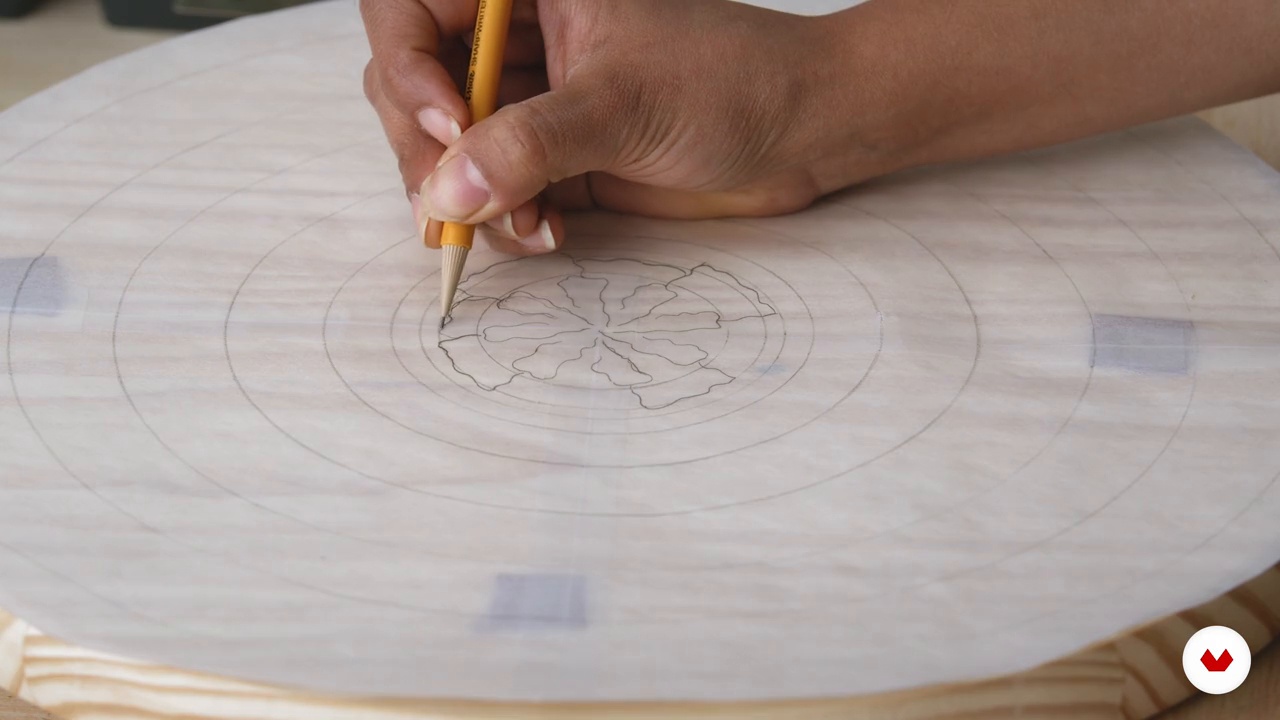
Now that you've familiarized yourself with the basic tools and techniques, gathered inspiration, and created a mood board, it's time to get started with the course project. In this lesson, I will help you to finalize your design on paper and then create samples of your final piece using scraps of wood. These will be used to explore the texture and color.
7m
 7
7Carving the Pattern
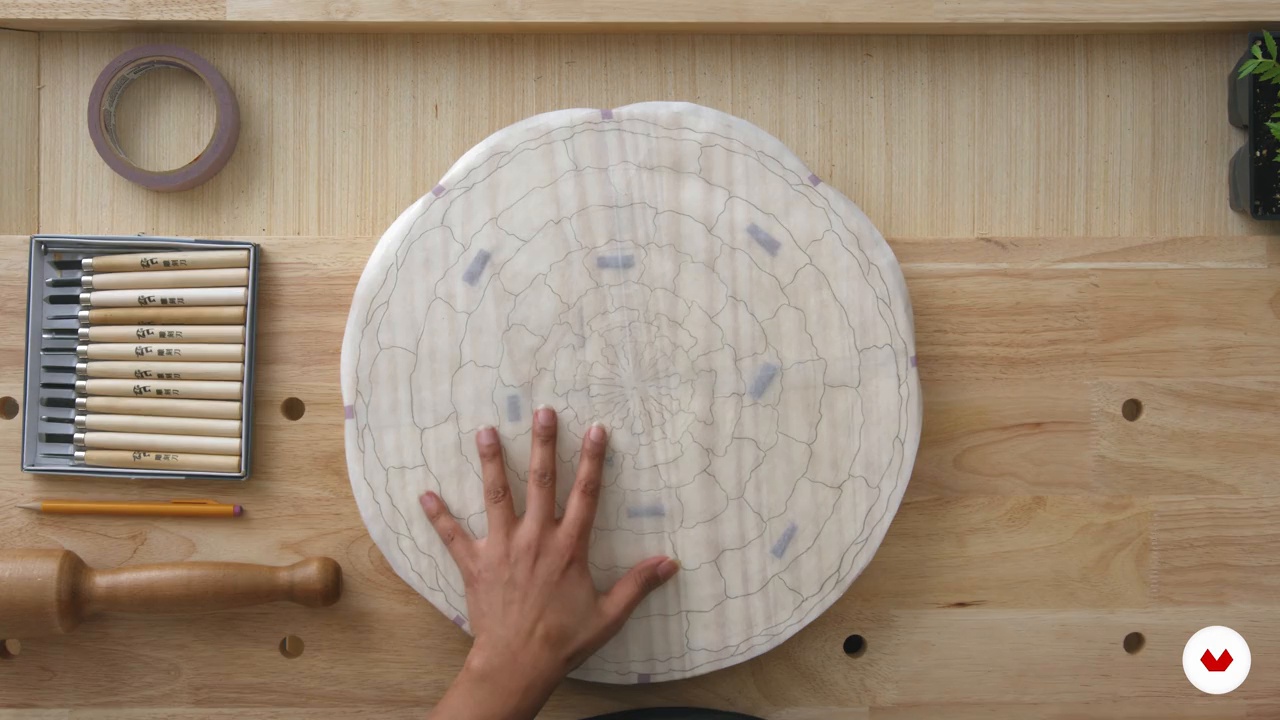
The next step is to carve your design onto the final piece. I will walk you through this process by engraving my pattern onto the top of my wood. As you begin this process, don't worry about being too perfect—the first markings should act as a guide.
11m
 8
8Dyeing the Wood
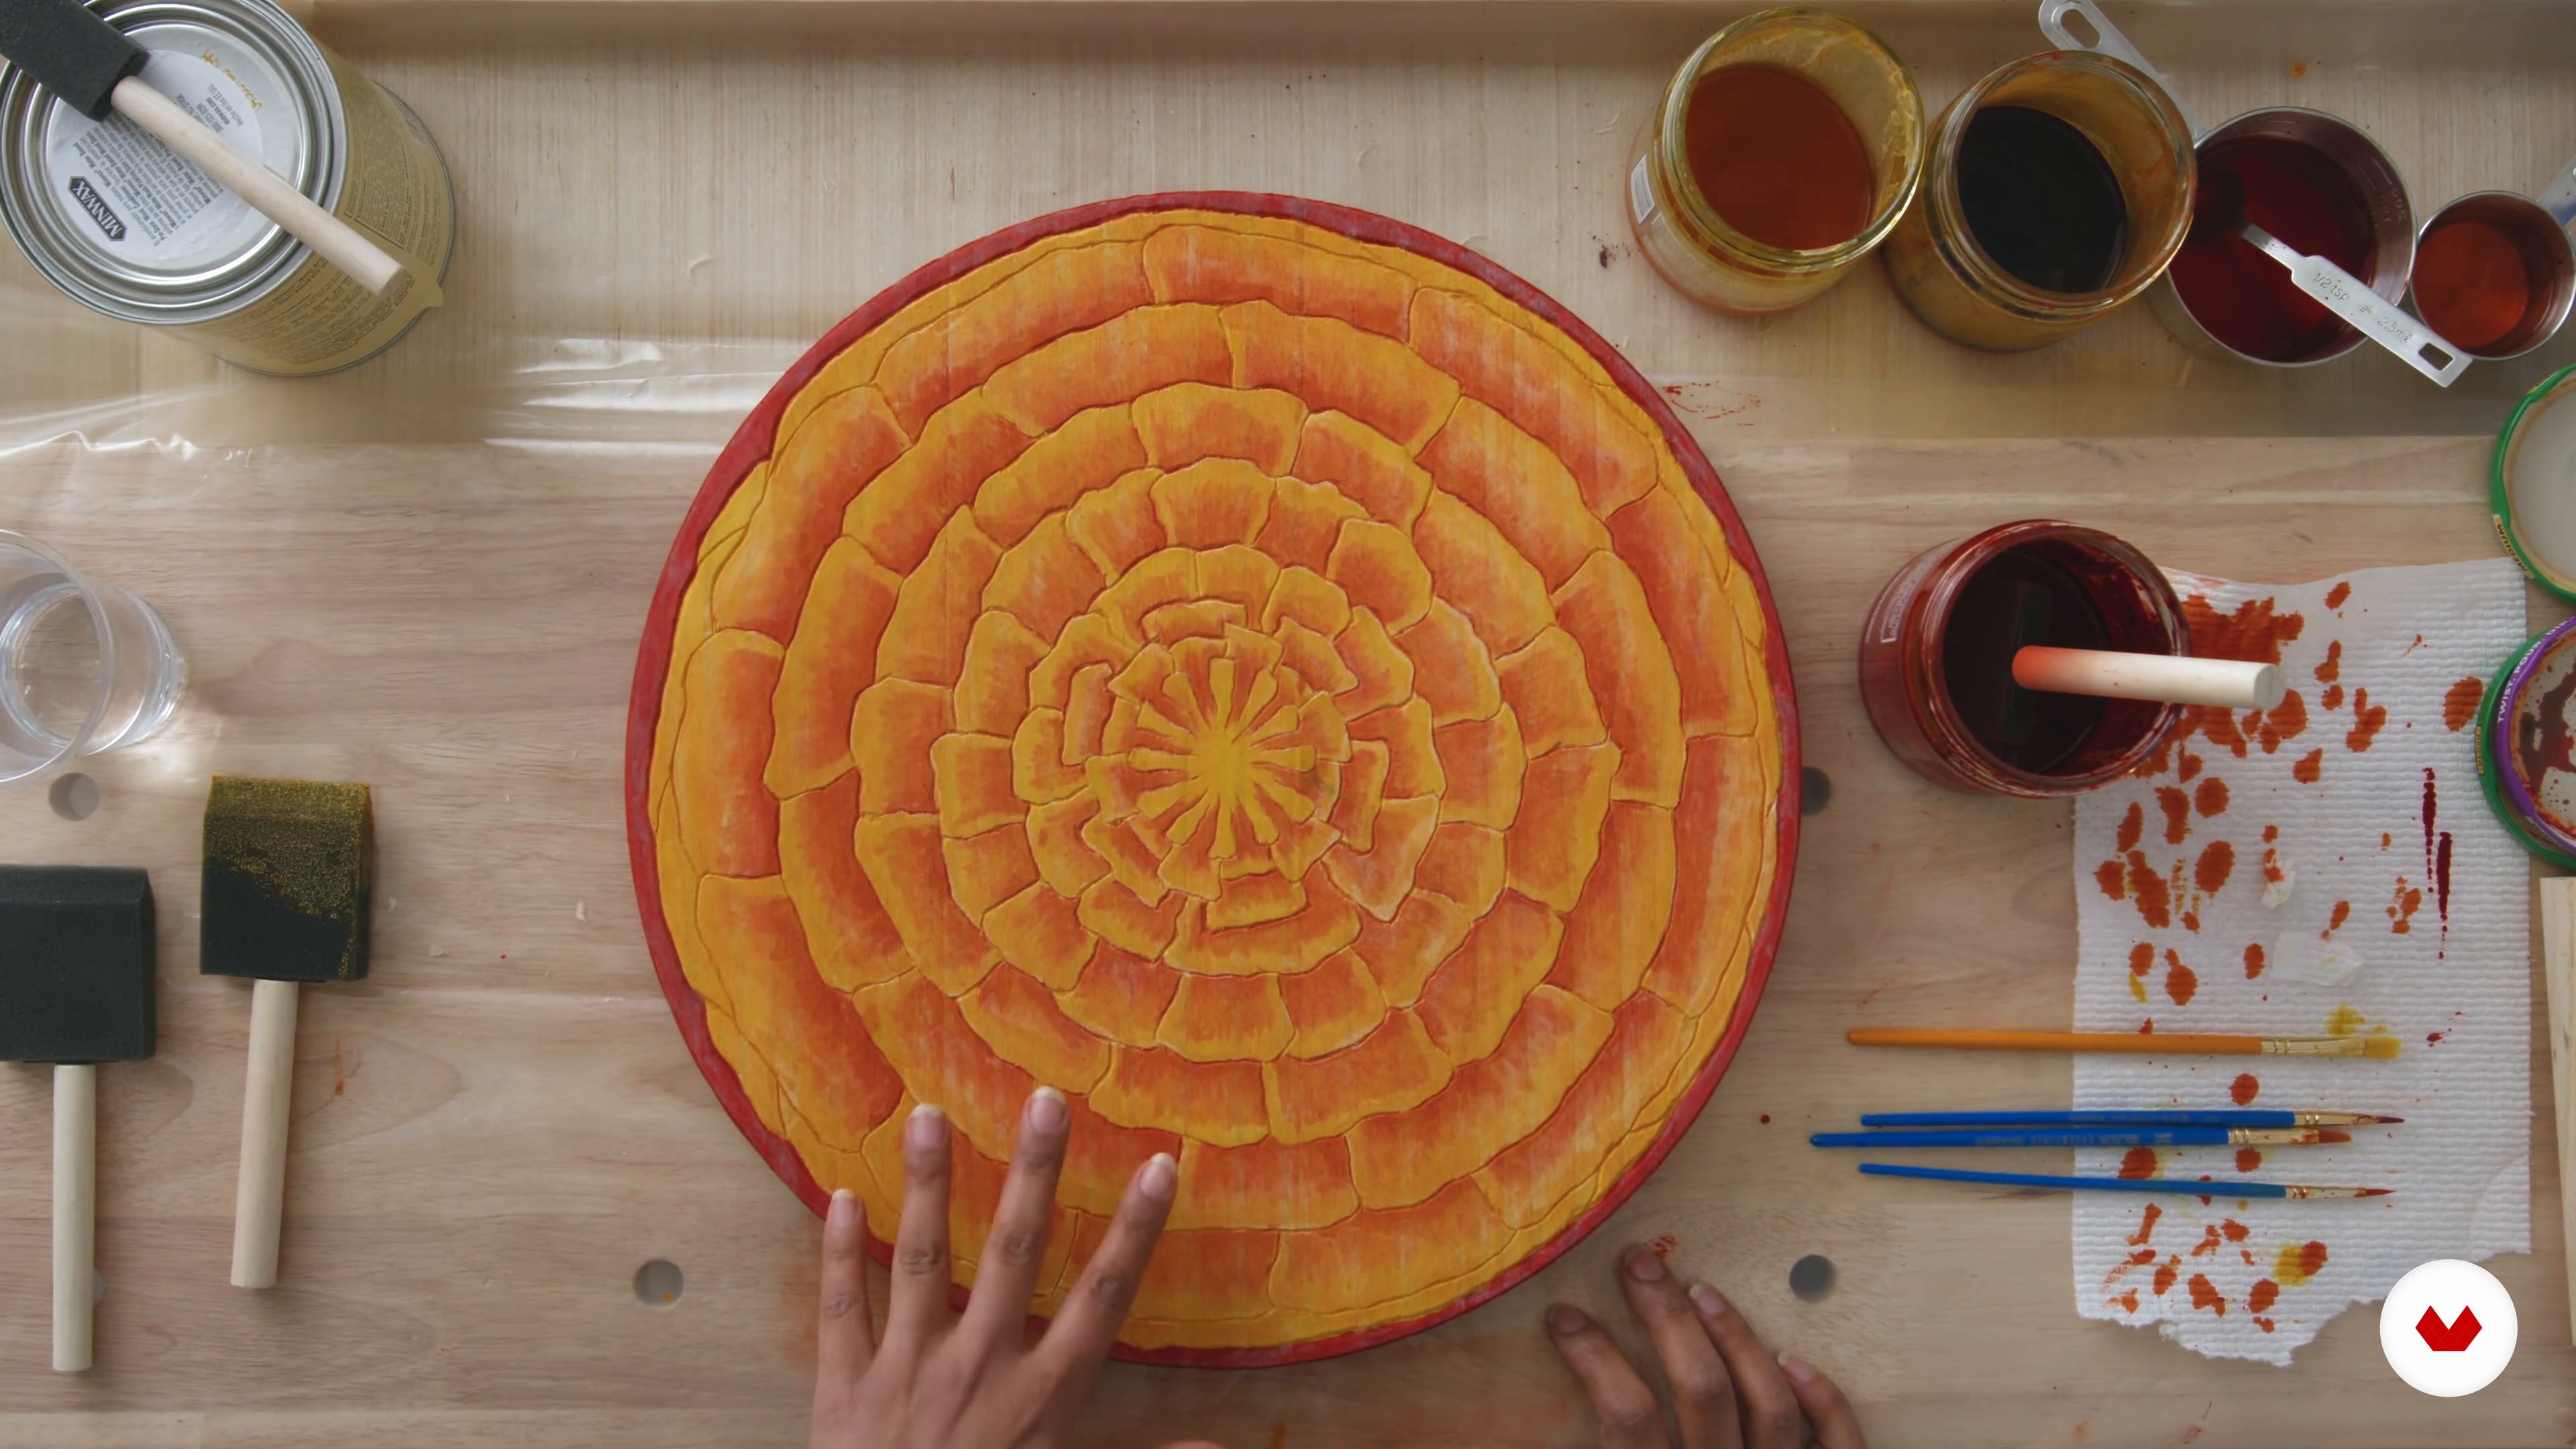
In this lesson, I will show you how to dye or stain the carved top and legs according to the final design. For this step, it's very important to make a clear plan before starting. Being methodical with the dyeing process will minimize the potential for mistakes.
16m
 9
9Assembling the Table
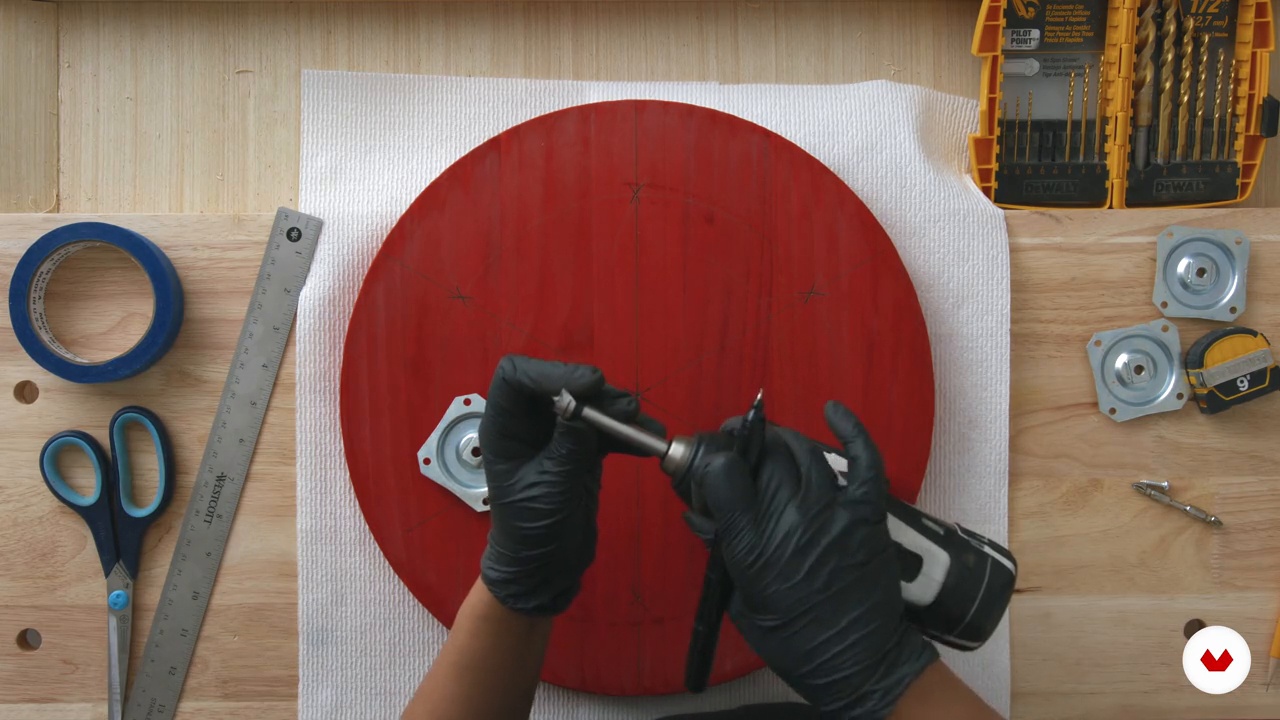
By now, the different elements of your piece should be complete. In this lesson, I will demonstrate how to assemble the final end table using the appropriate hardware.
12m
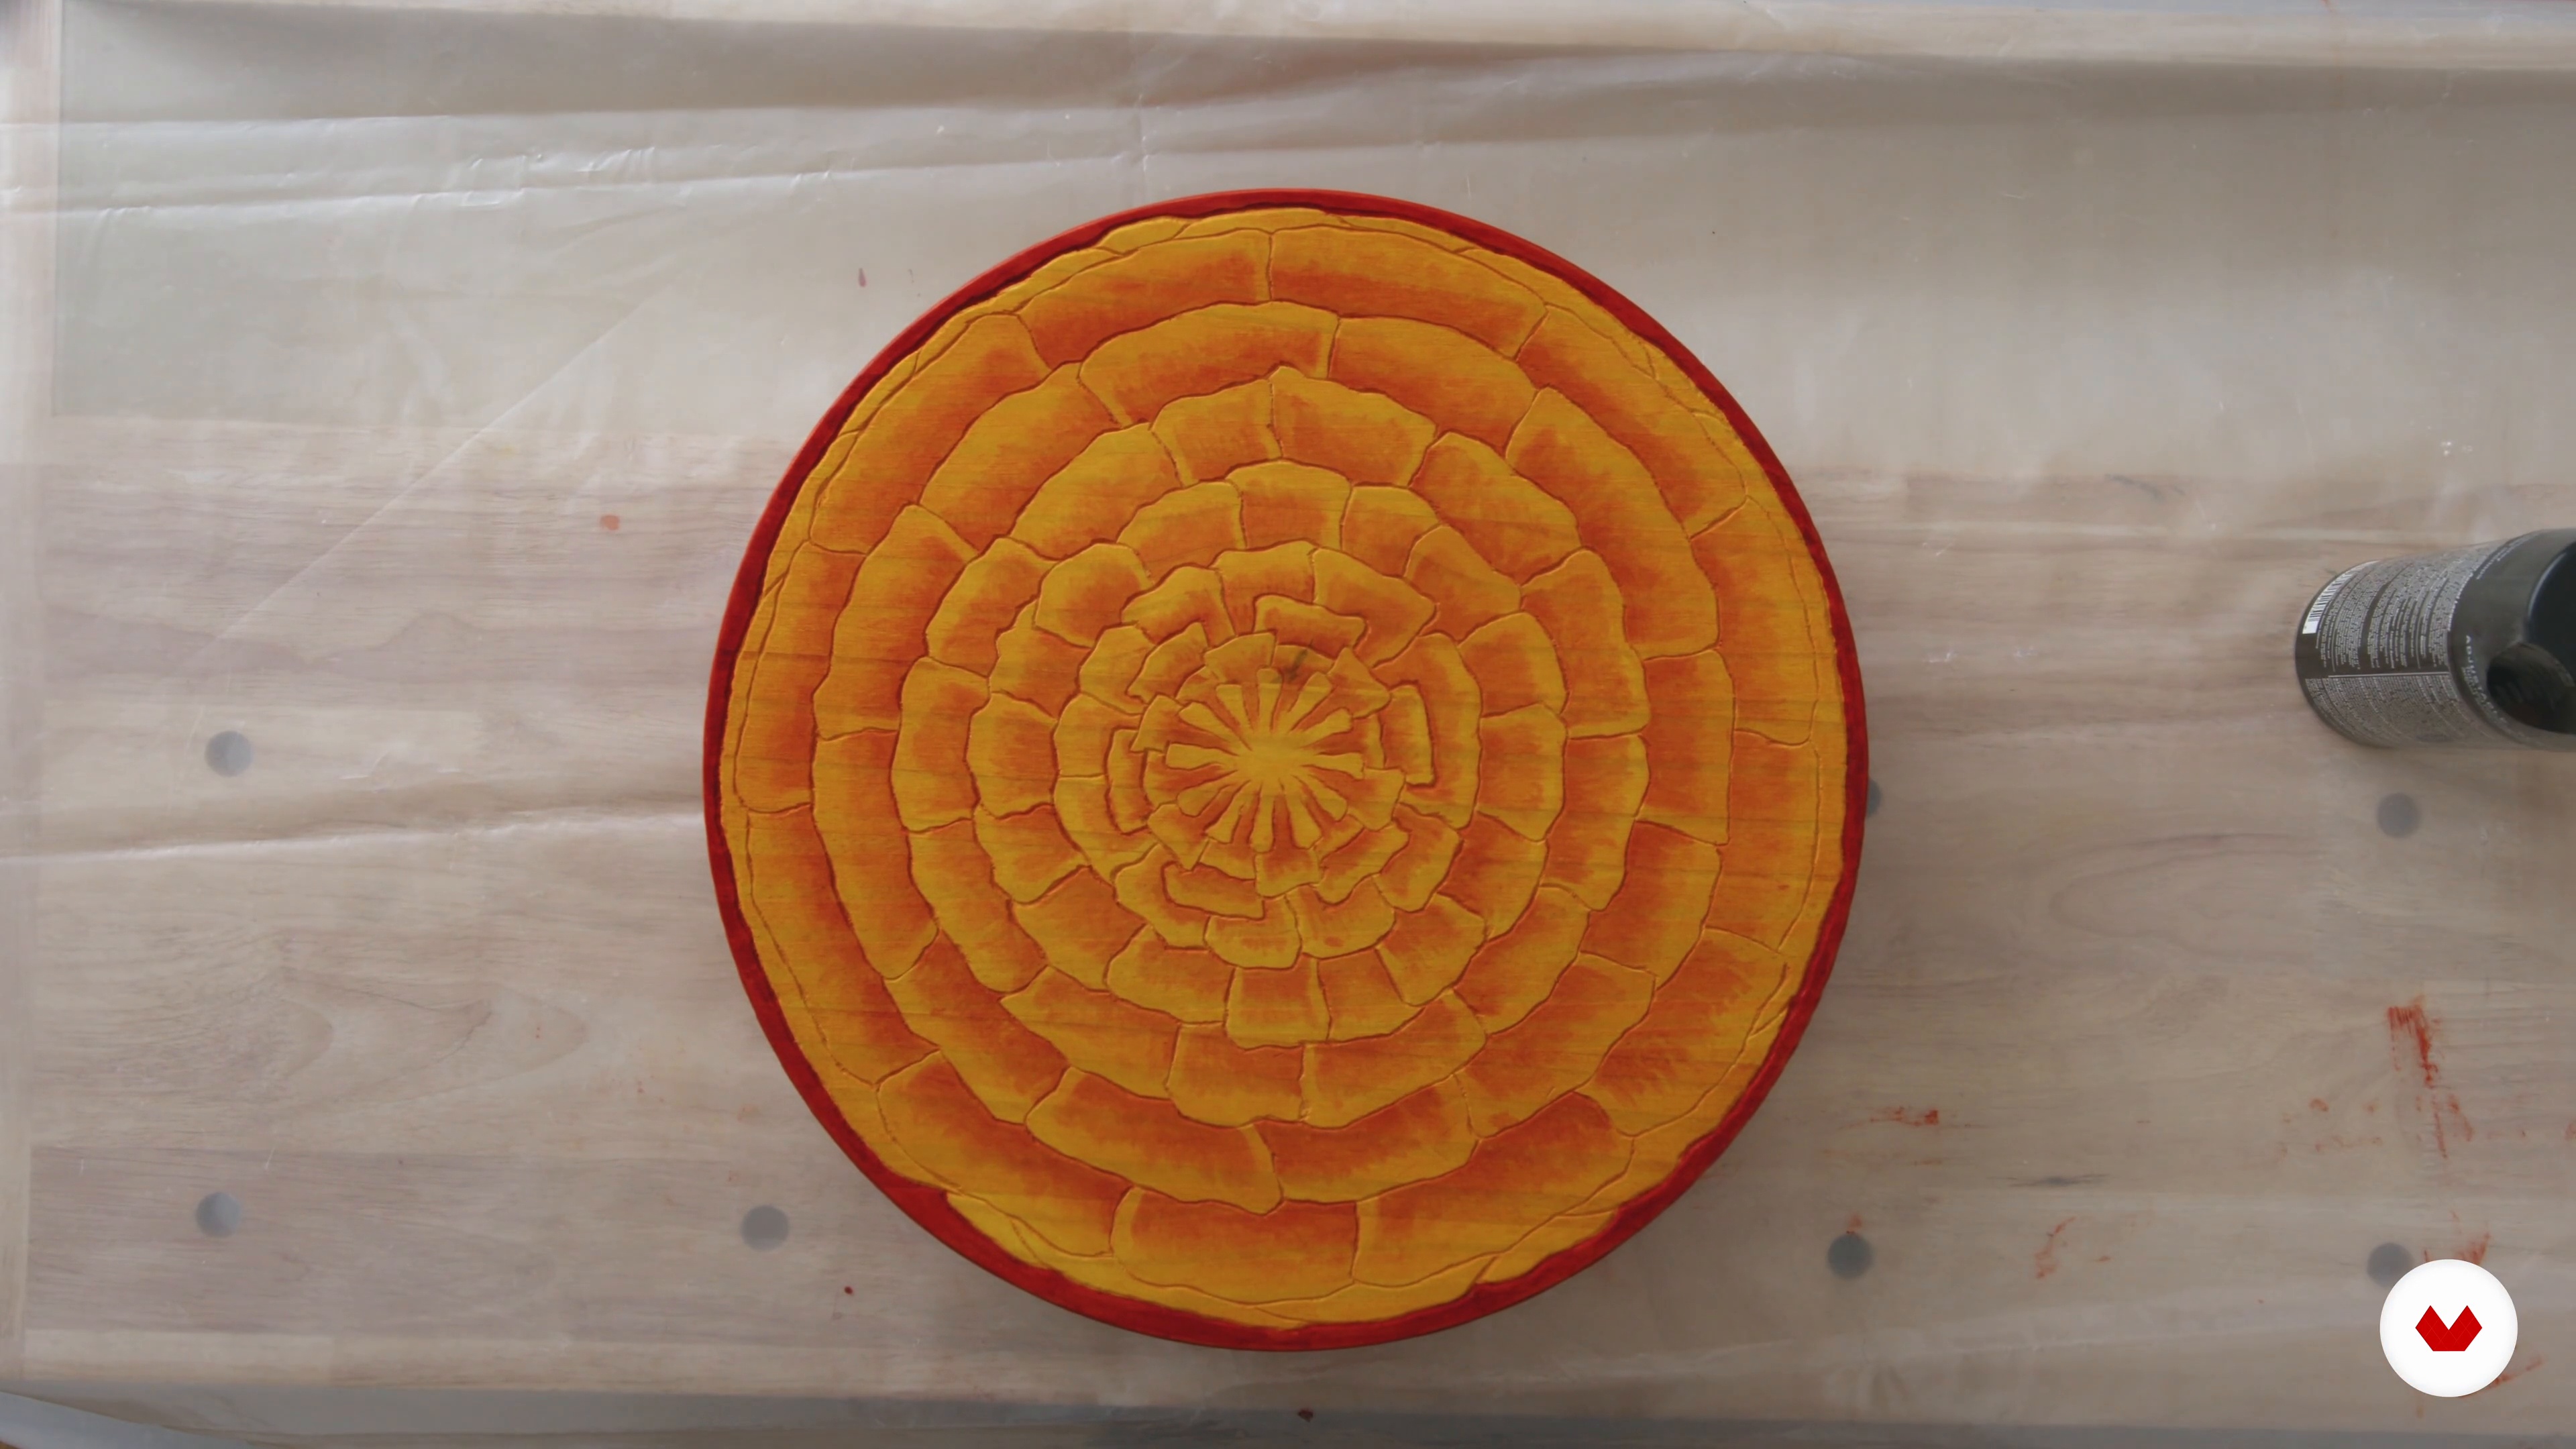 10
10Finishing the Piece
Once you've ensured that your table is free of any dust or debris, you will be ready to make the finishing touches! In this lesson, you will learn about the various types of finishes and their suitability for different occasions. I will then show you how to complete the end table using a spray finish.
3m
 11
11Care Tips
Now that you've created a wonderful project, the next step is to learn how to take good care of it. In this lesson, I will explain how to best maintain your finished piece.
2m
 12
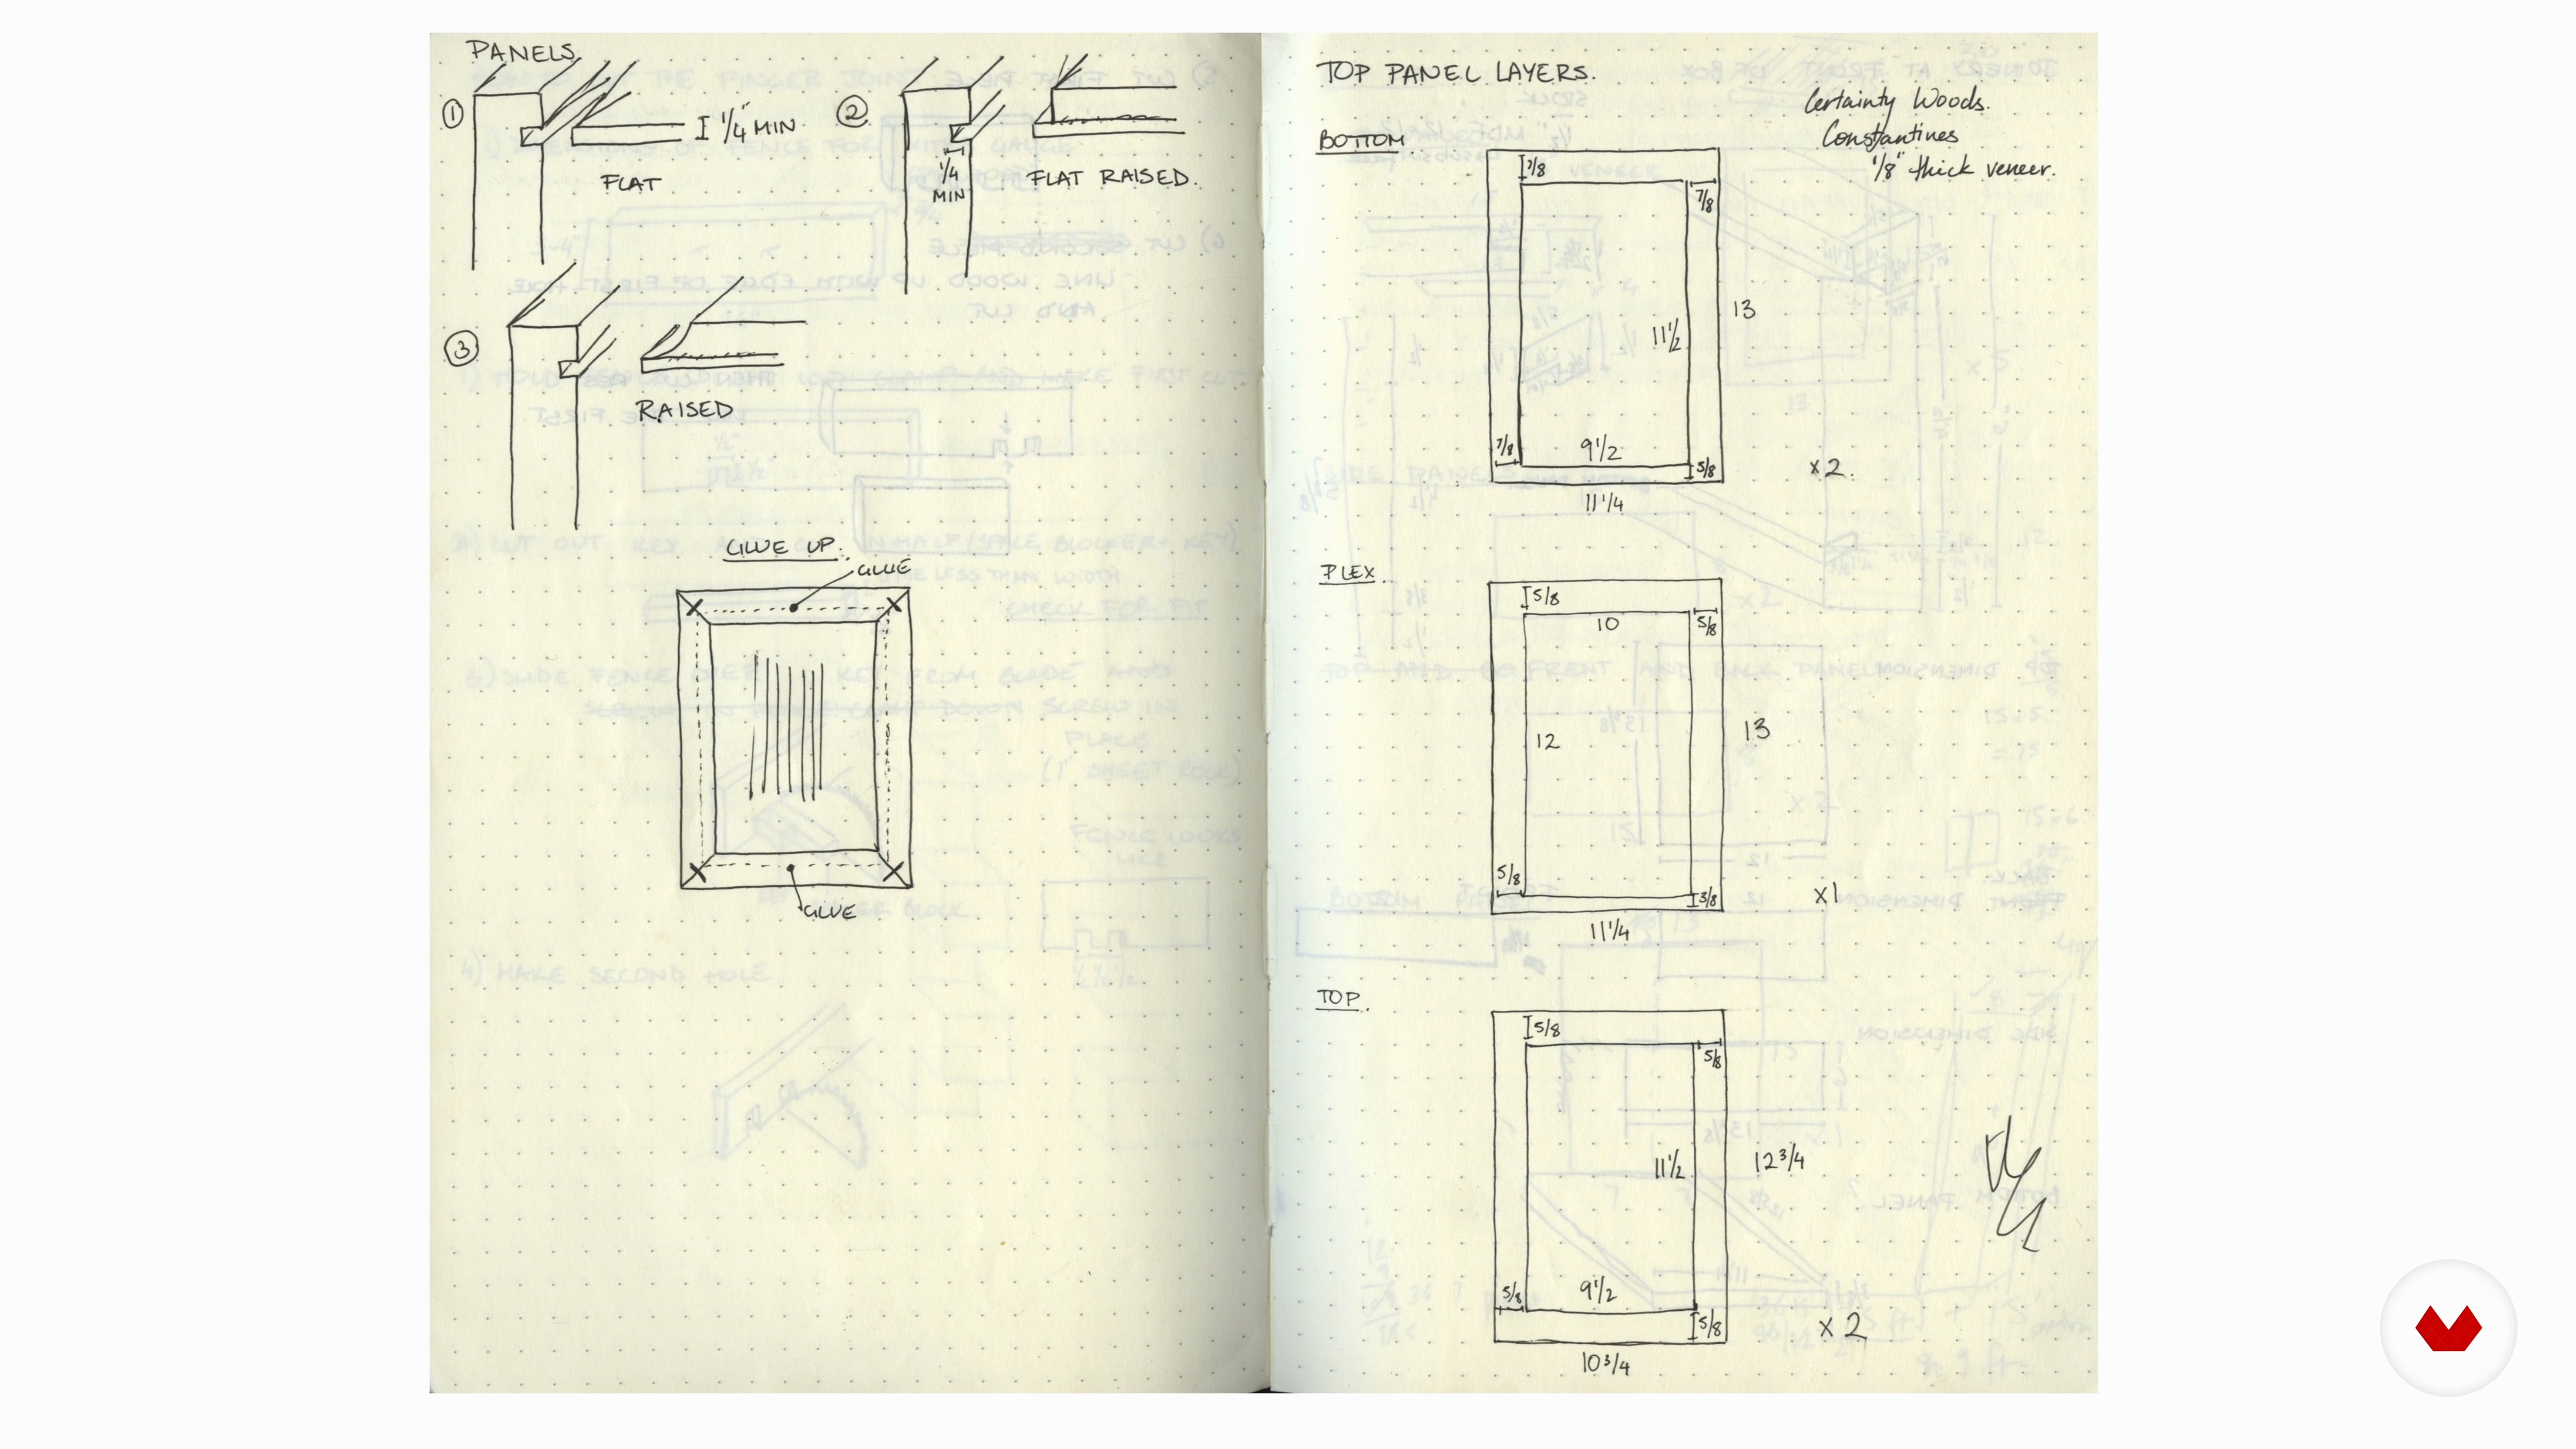
12Documenting the Process
Building a portfolio is key to the success of any creative. In this lesson, I will cover different ways to document your process.
1m
 1
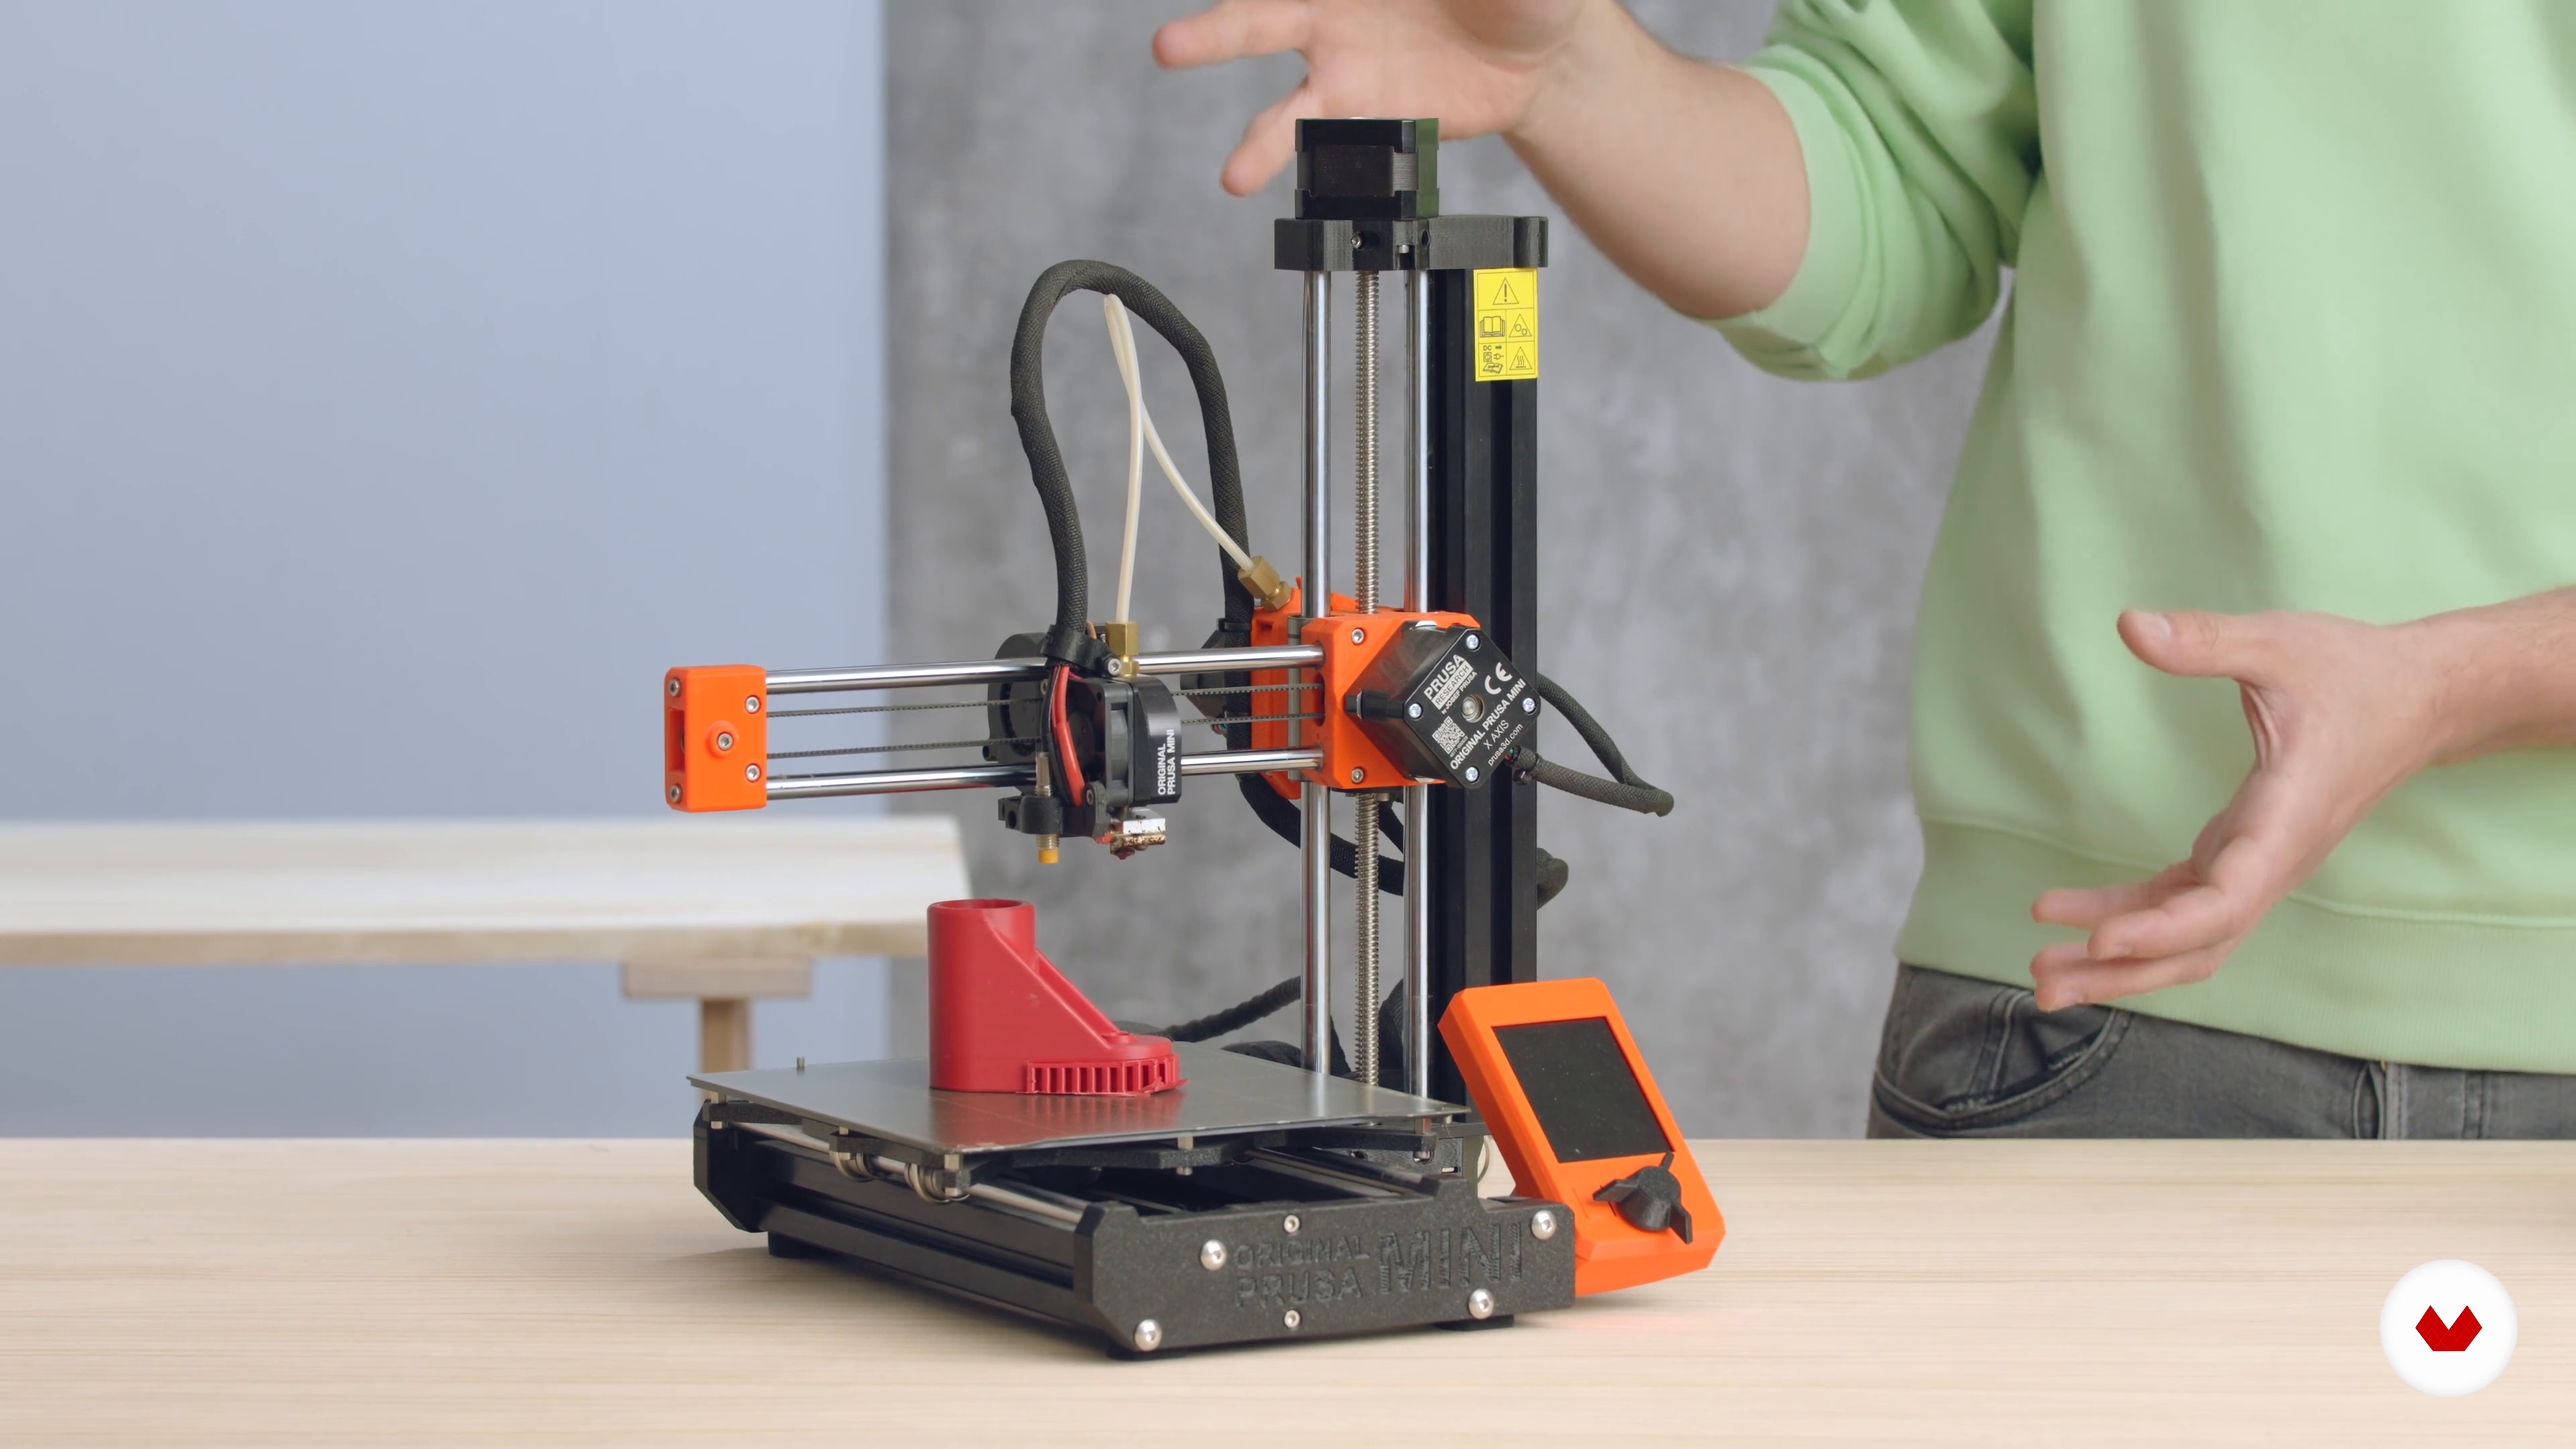
1What Is 3D Printing and How Do I Get 3D Models?
In this lesson, I will introduce the different types of 3D printers, paying special attention to the one you’ll be using in this course. Then, I will talk about how to get the 3D models that you will later print out.
2m
 2
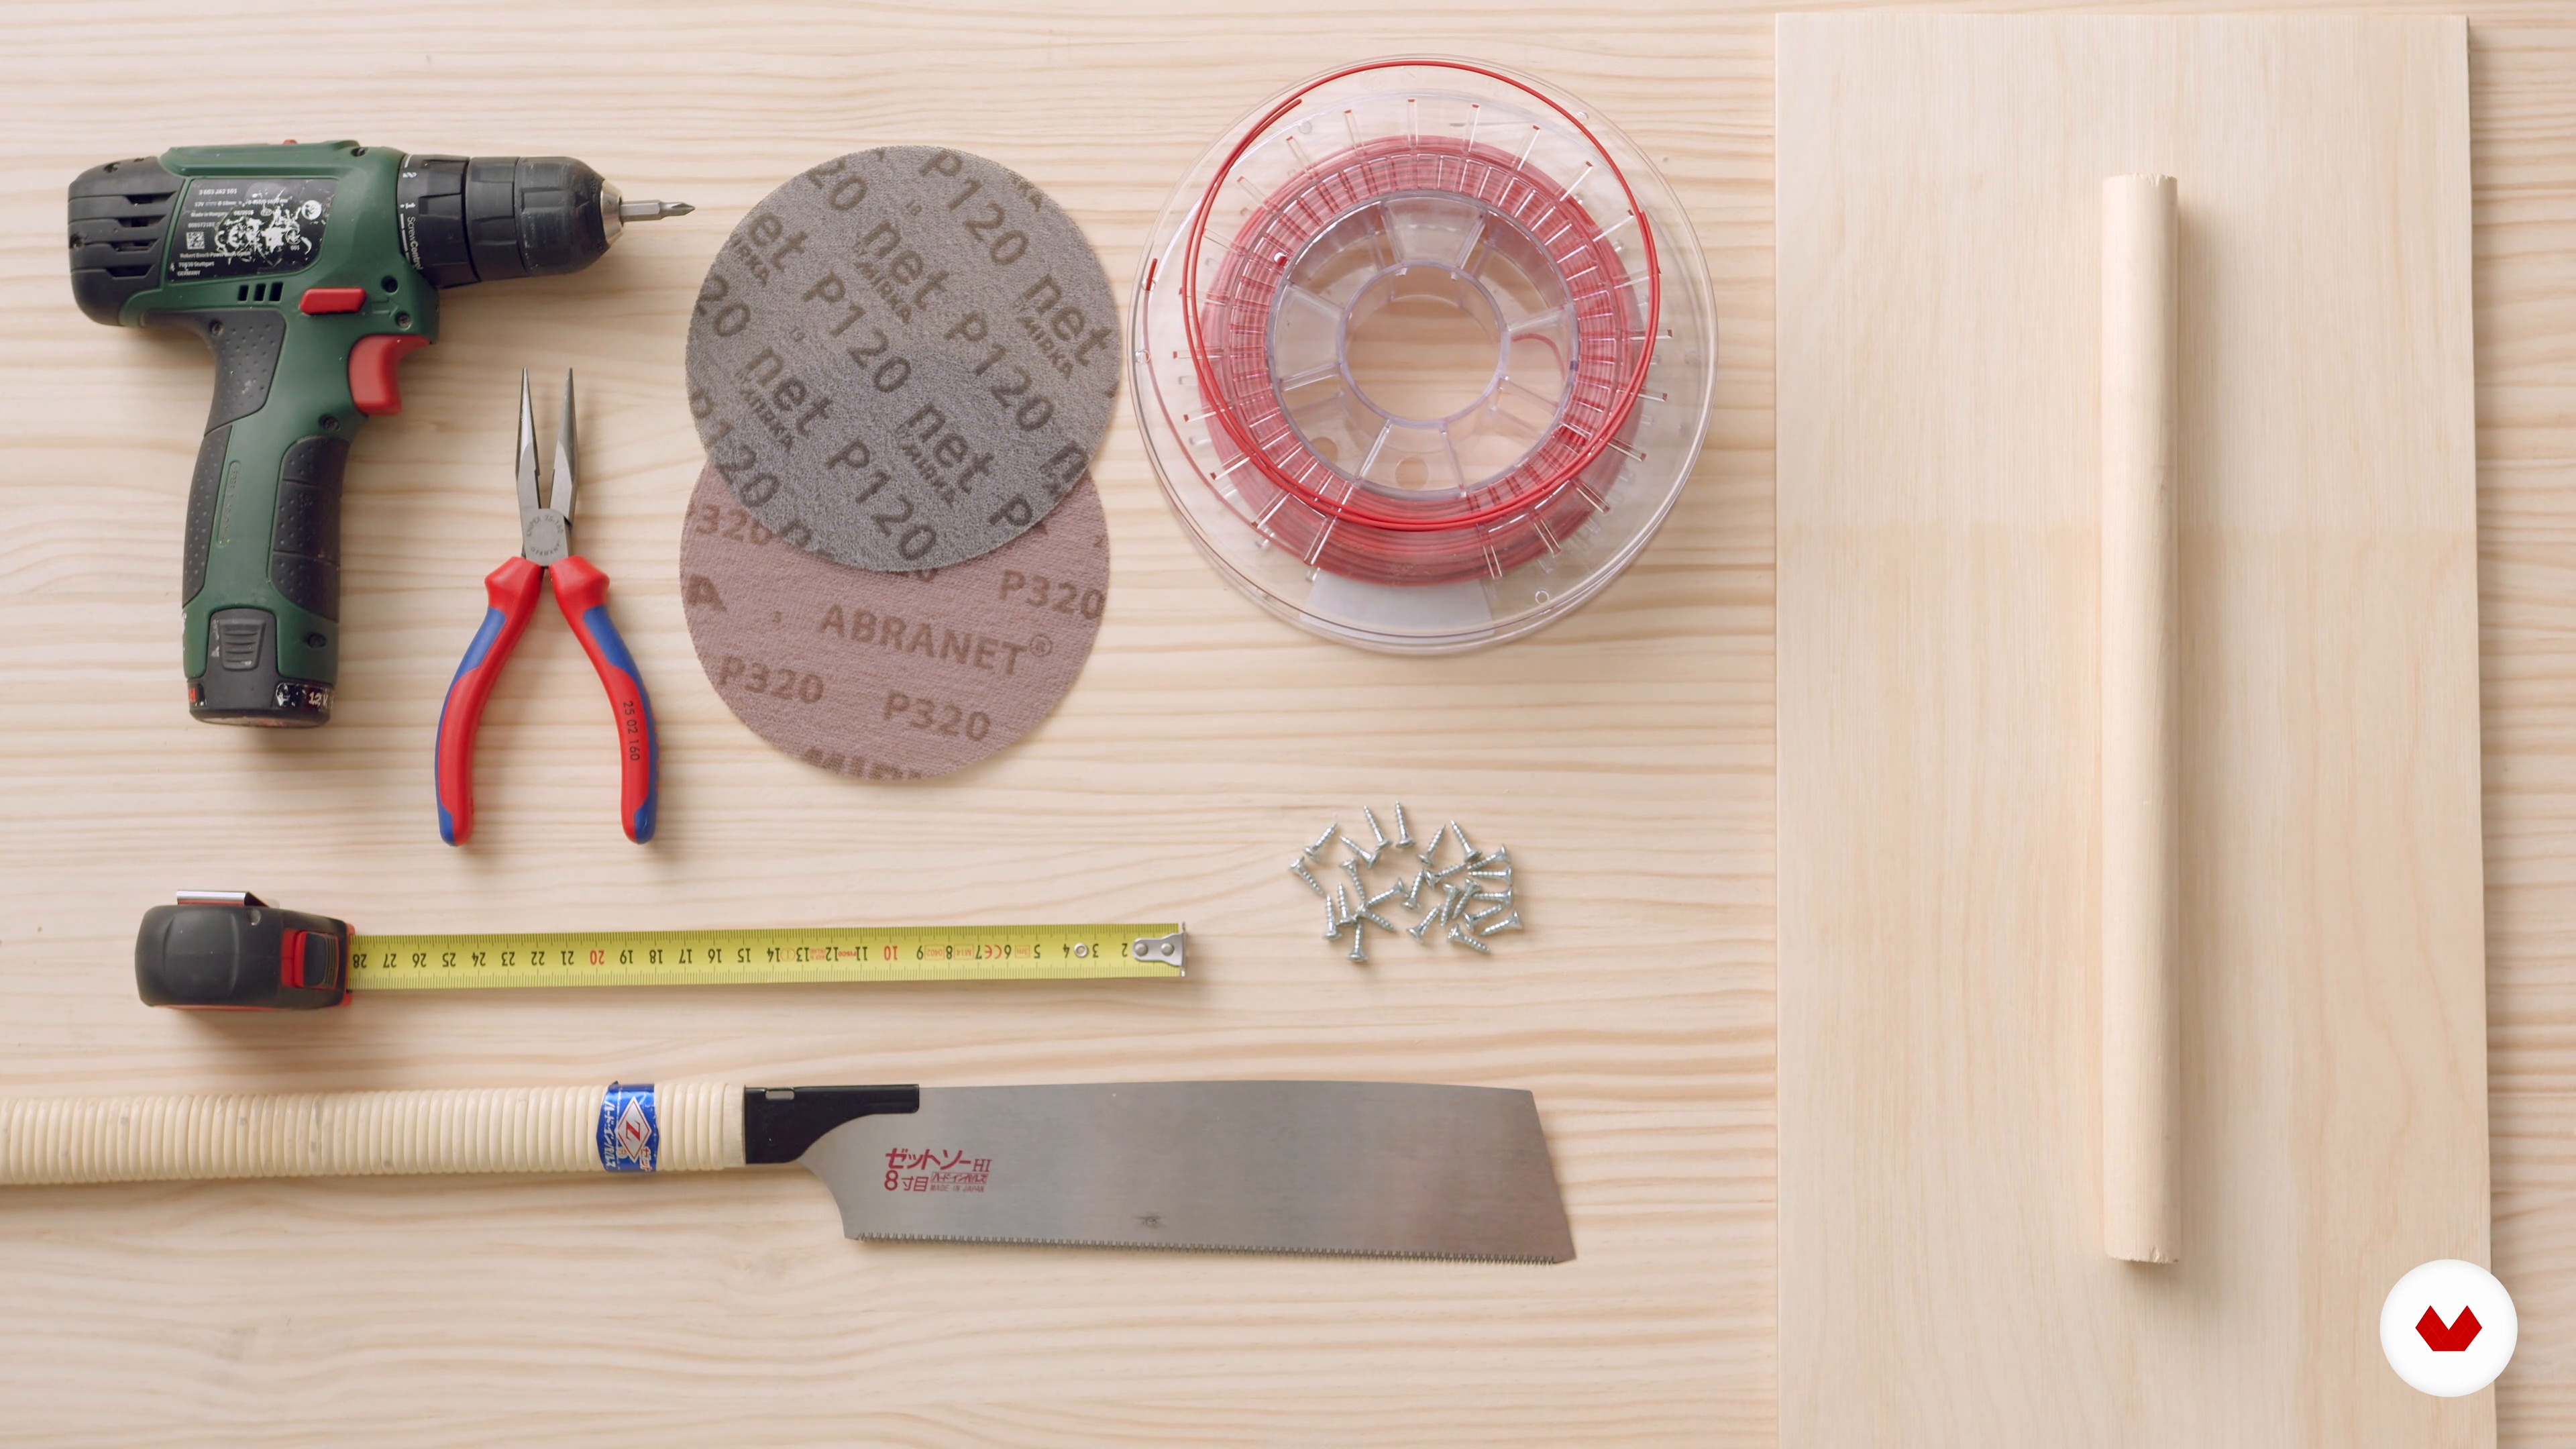
2Wood and 3D Modelling
Let's explore the tools that you’ll be using in this course, both digital and physical.
2m
 3
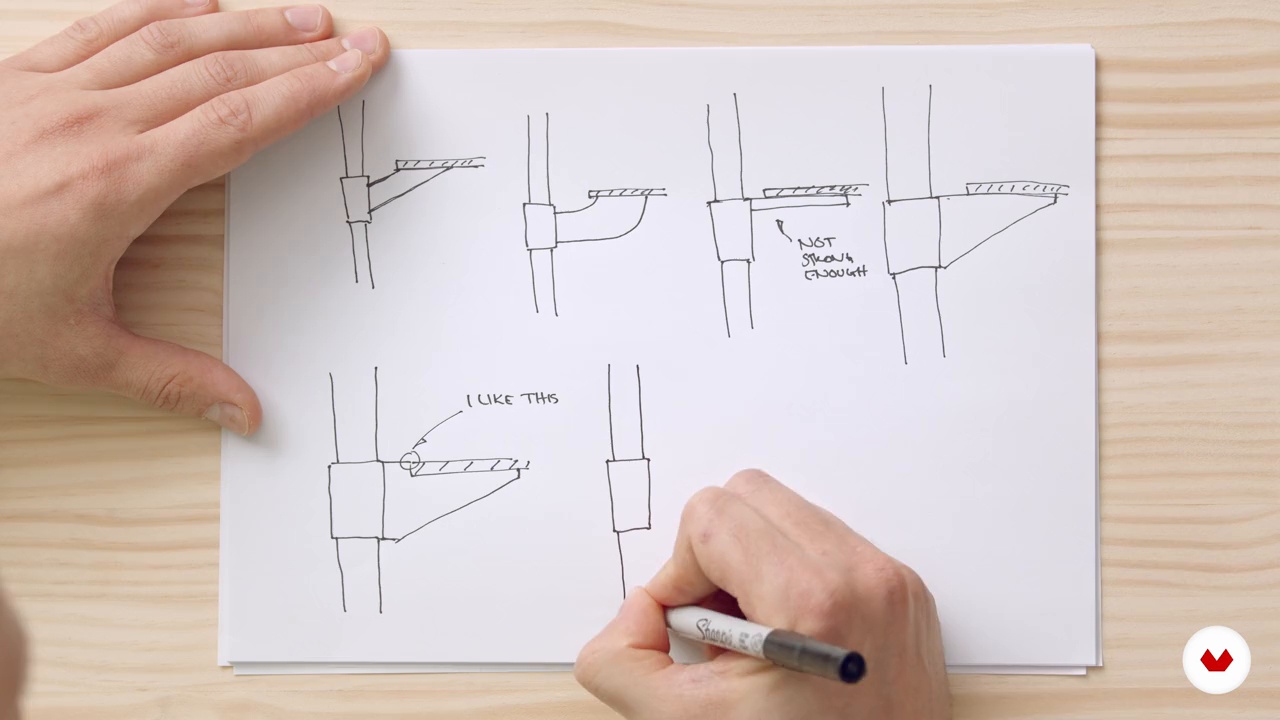
3Idea Generation and Sketching
In this lesson, we're going to go through the process behind gathering inspiration. This can be from magazines, online, or in real life. Then, we will move on to creating small simple sketches to explore what we want to make and narrow down its details.
11m
 4
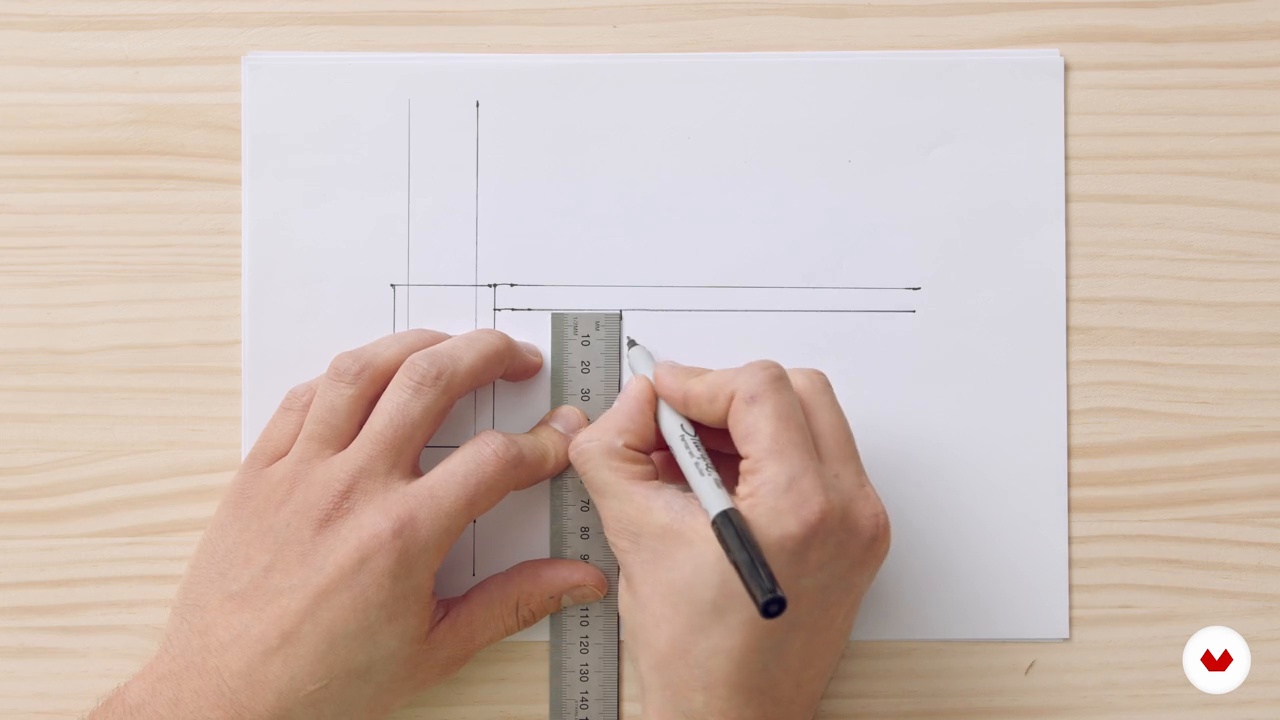
4Mock-Ups and Final Concept
It's time to test out your ideas in the real world! You’ll use pieces of cardboard and tape to experiment with proportions and try different sizes.
10m
 5
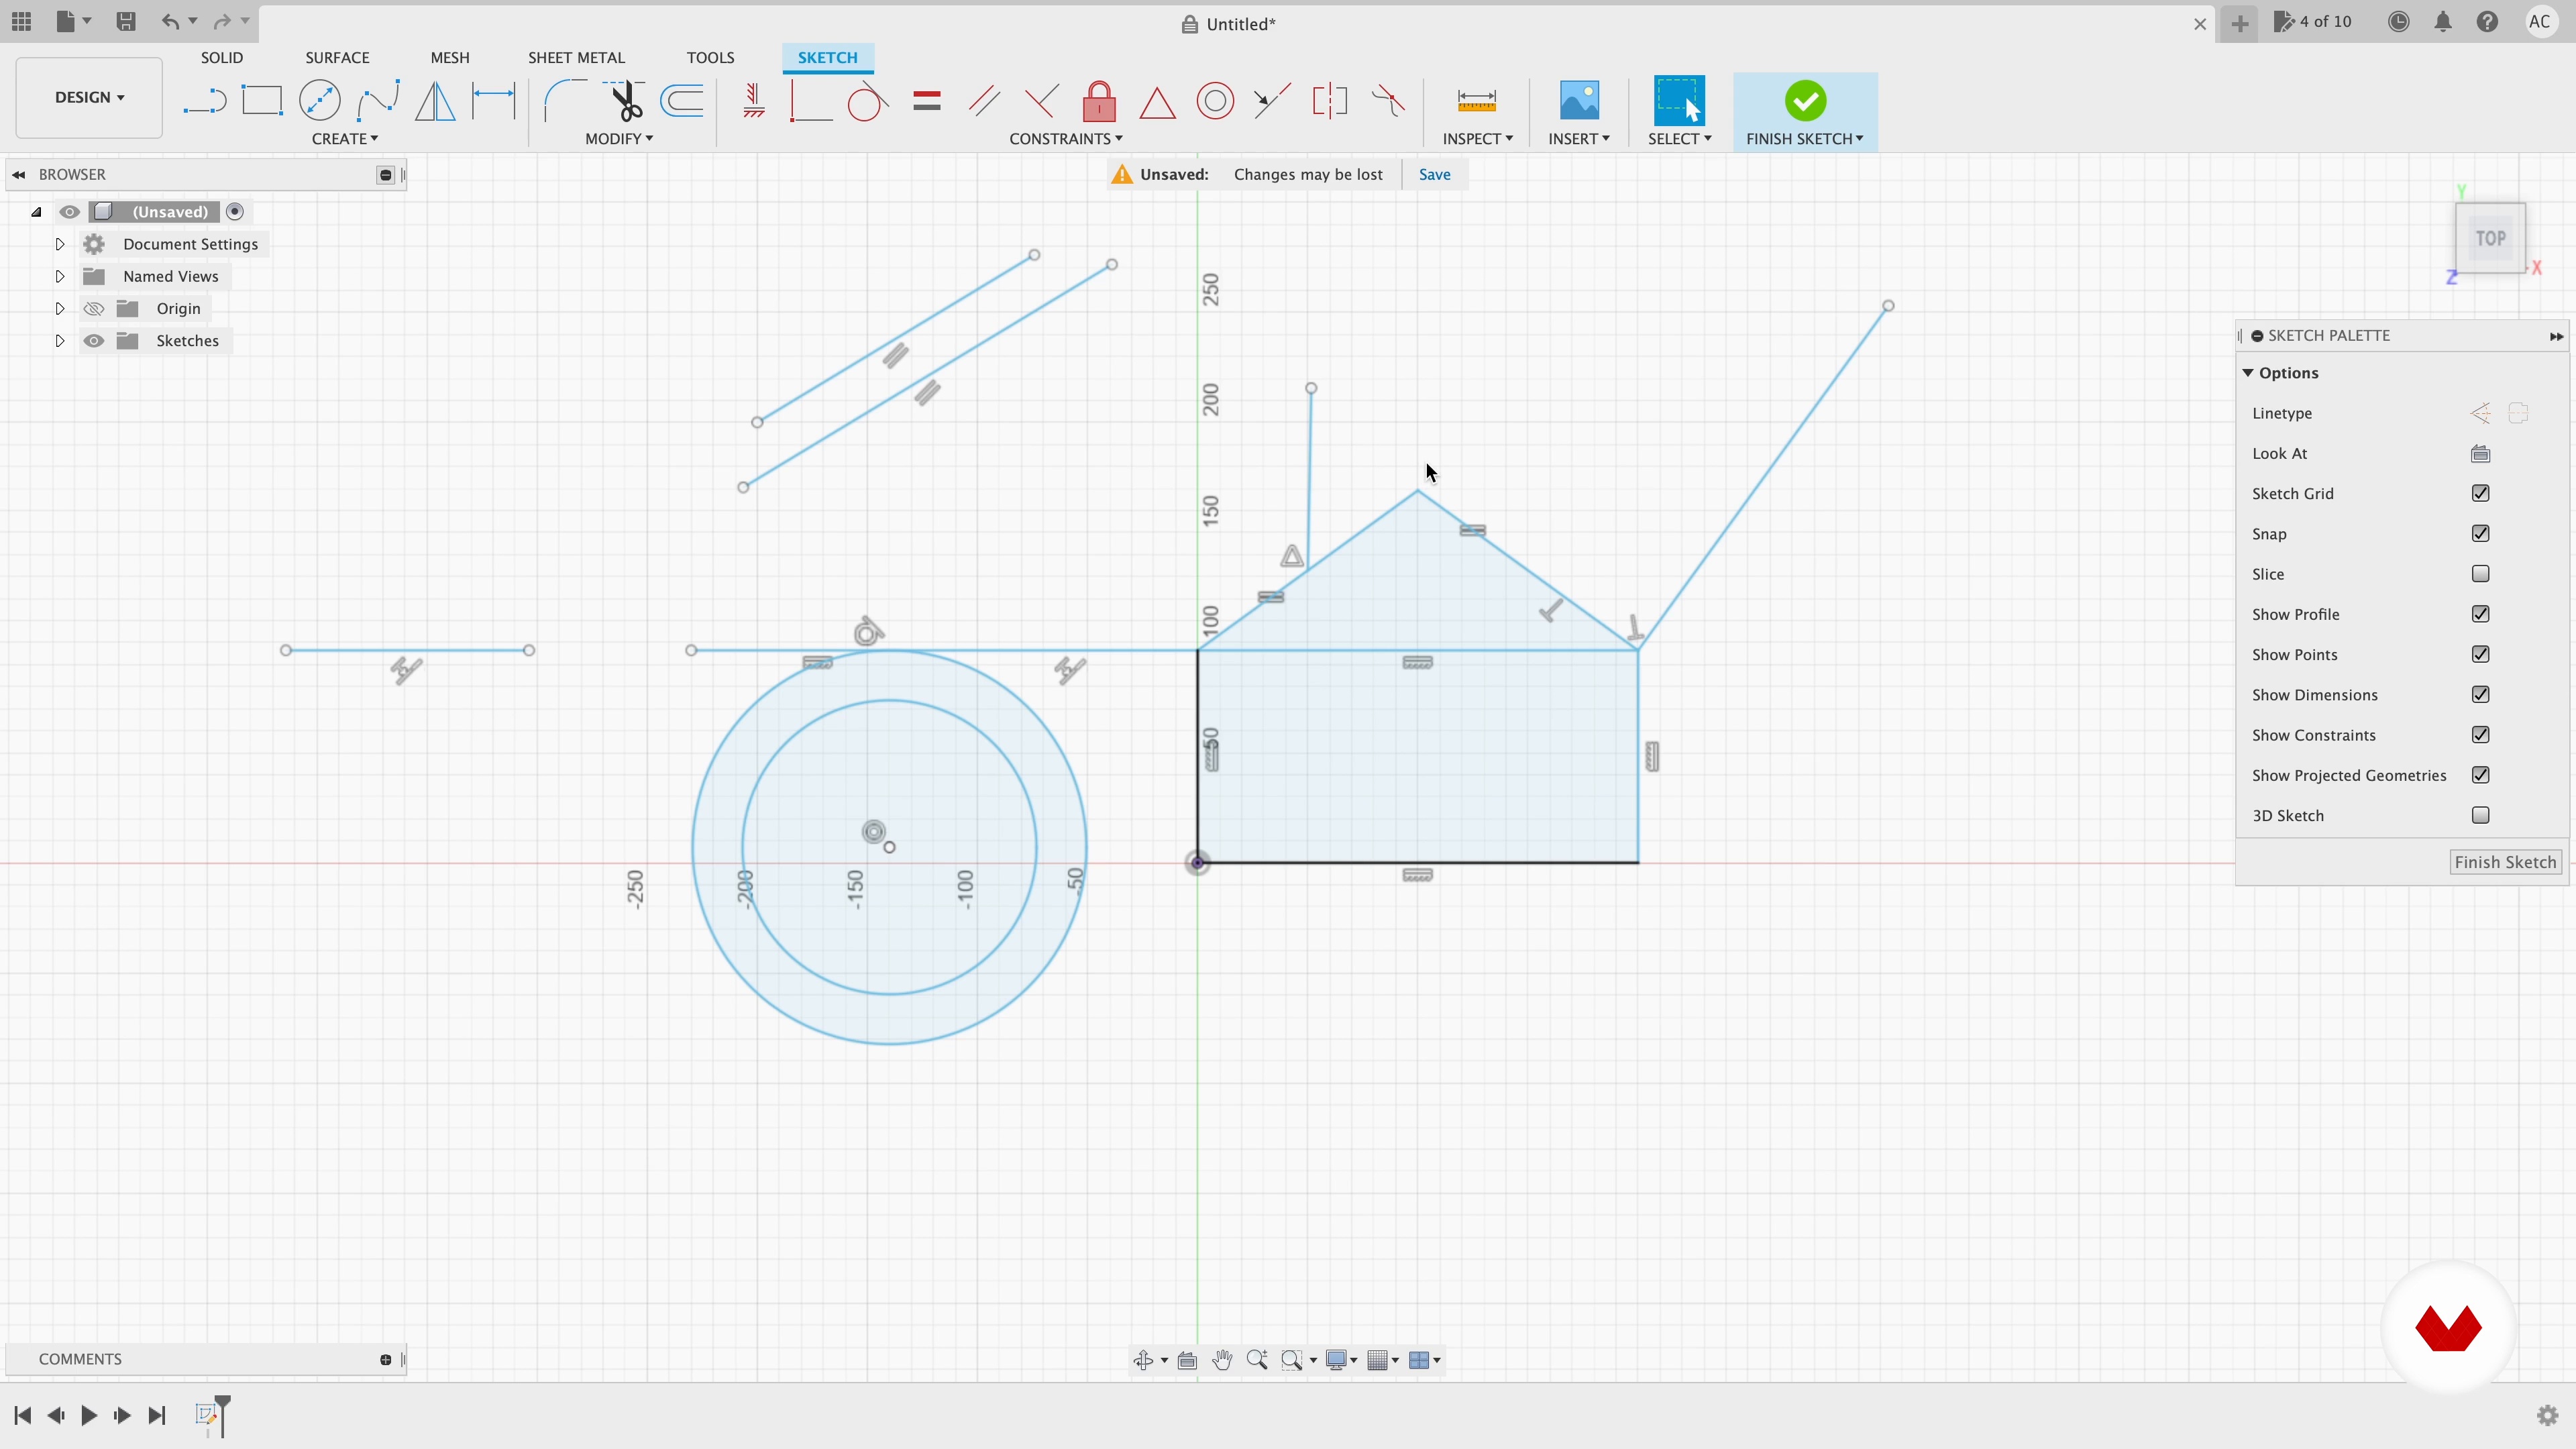
53D Modeling 1
In this lesson, I will introduce you to the modeling software Fusion 360. You will learn the basics of 3D modeling and the different features you can use to create an object.
15m
 6
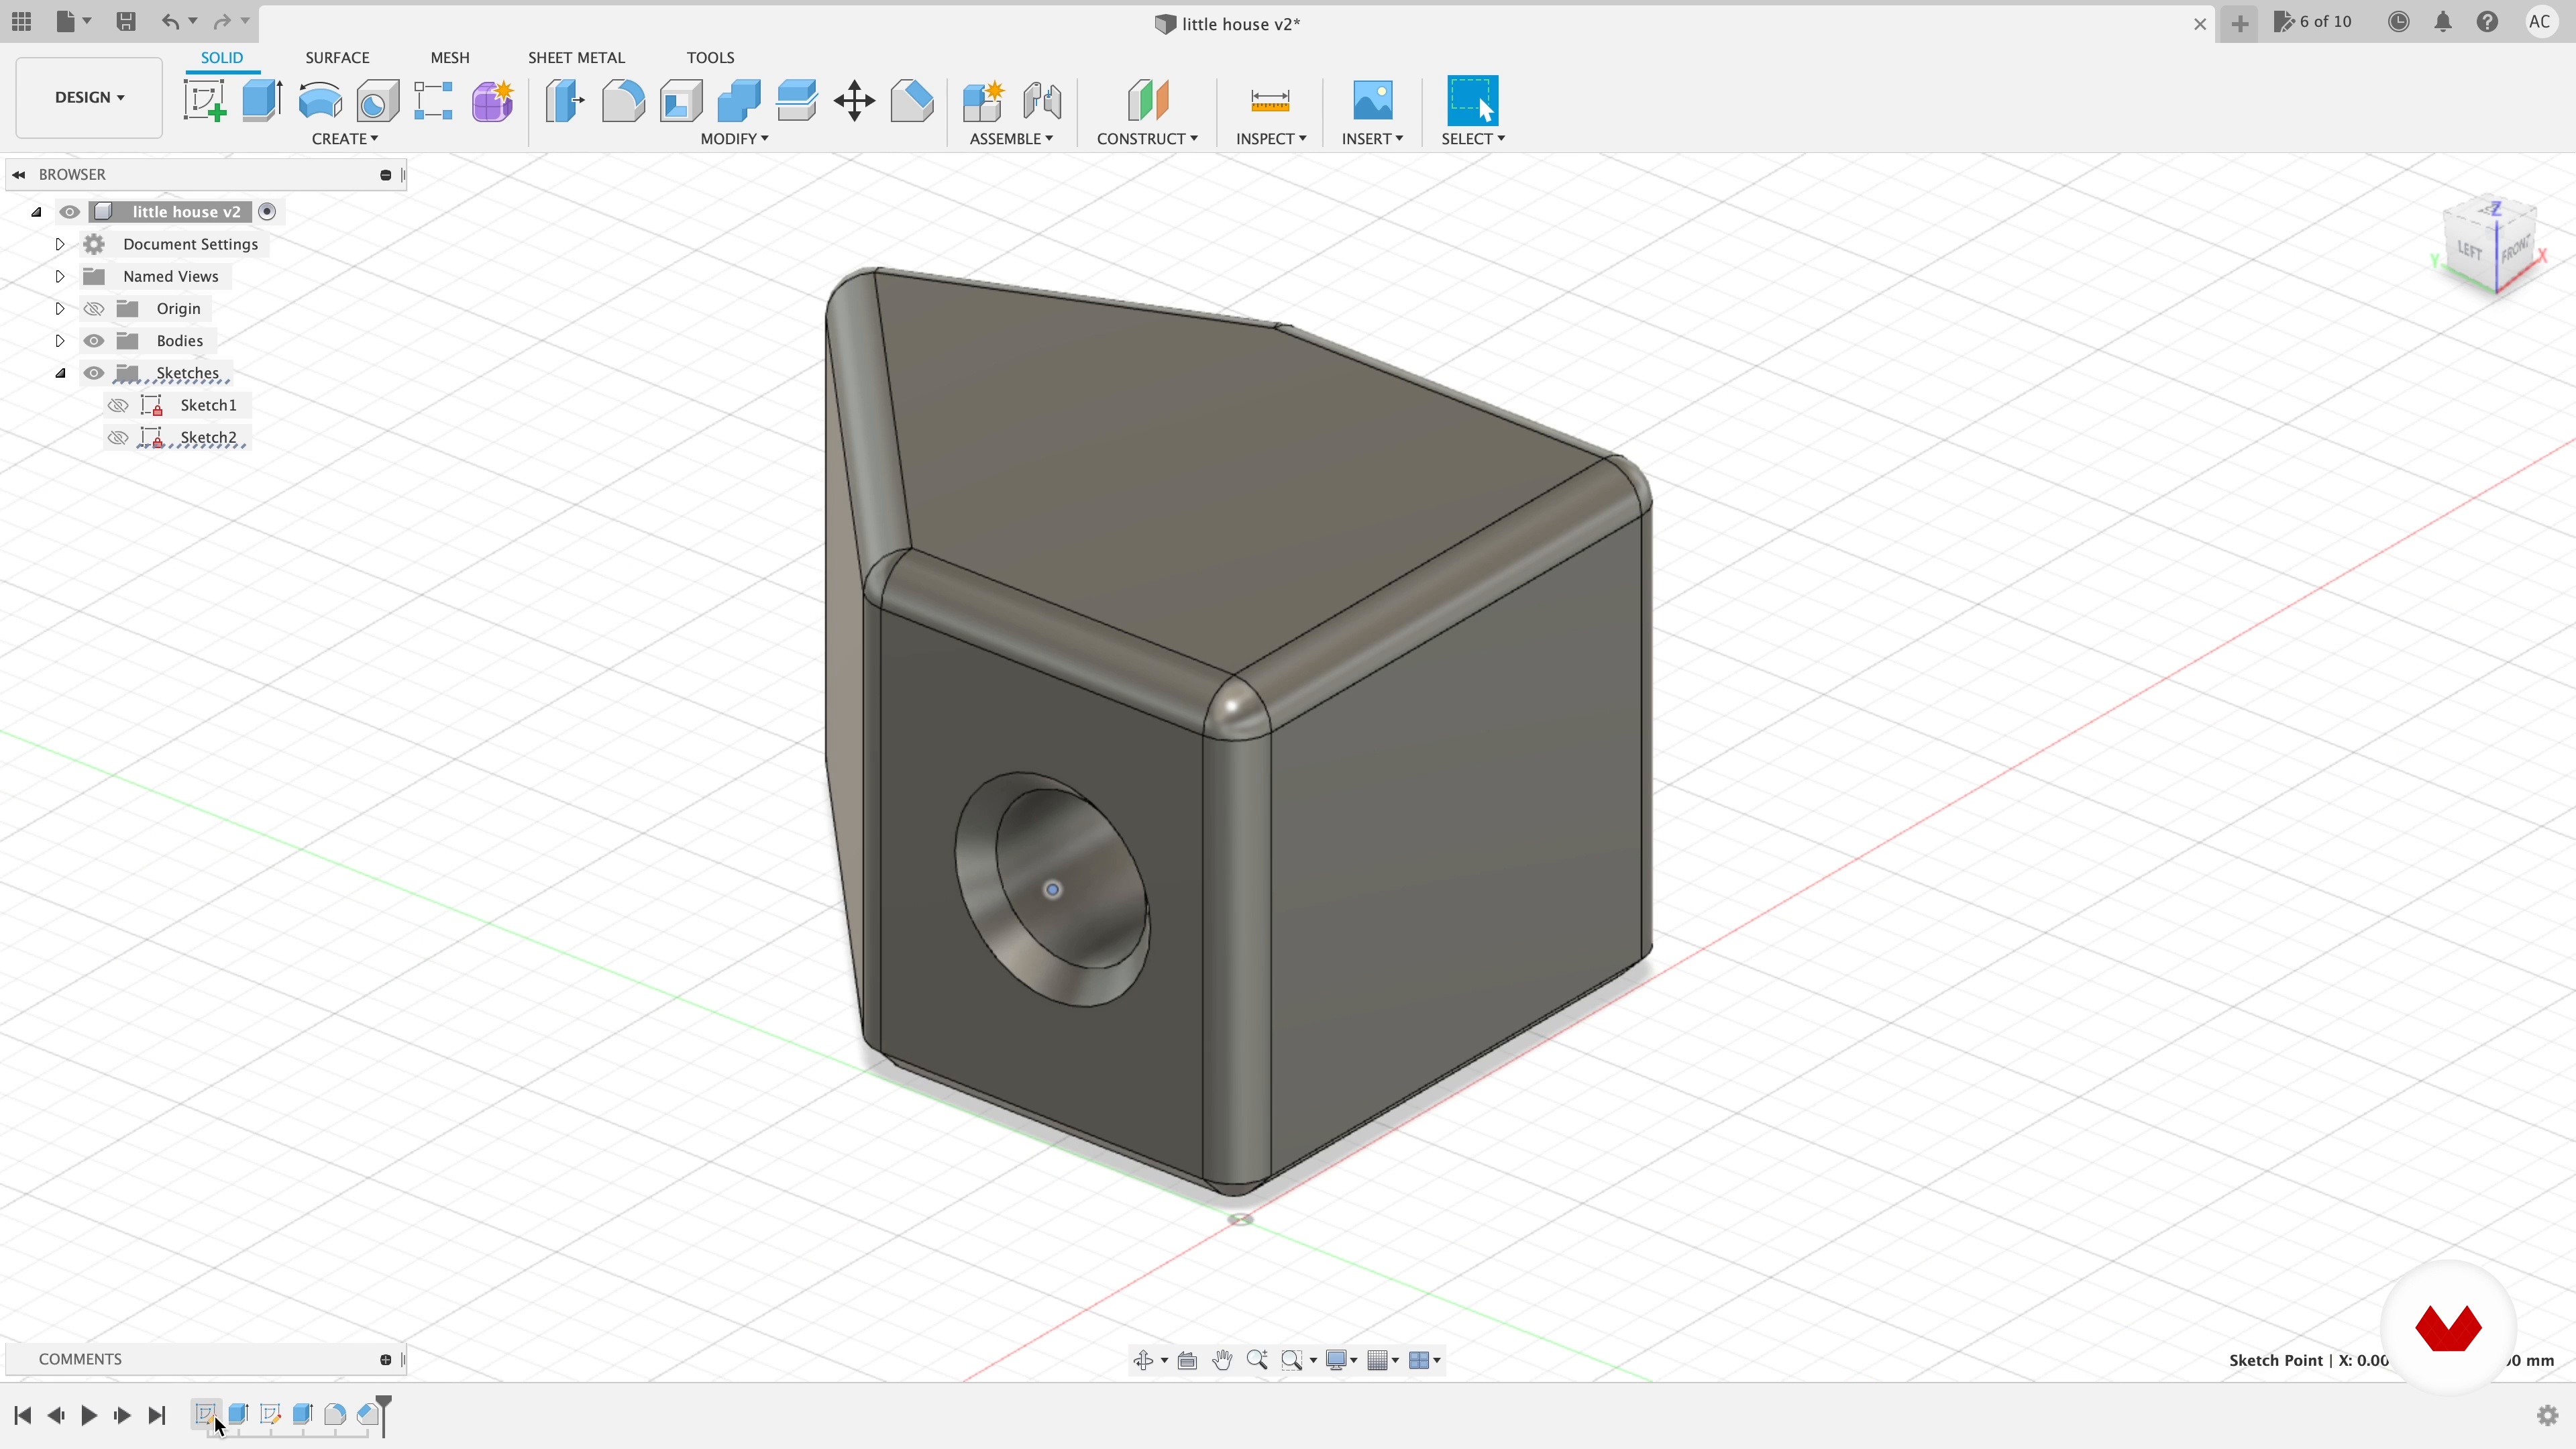
63D Modeling 2
Here, I will continue with the modeling stage. It's time to bring some dimension to your object!
14m
 7
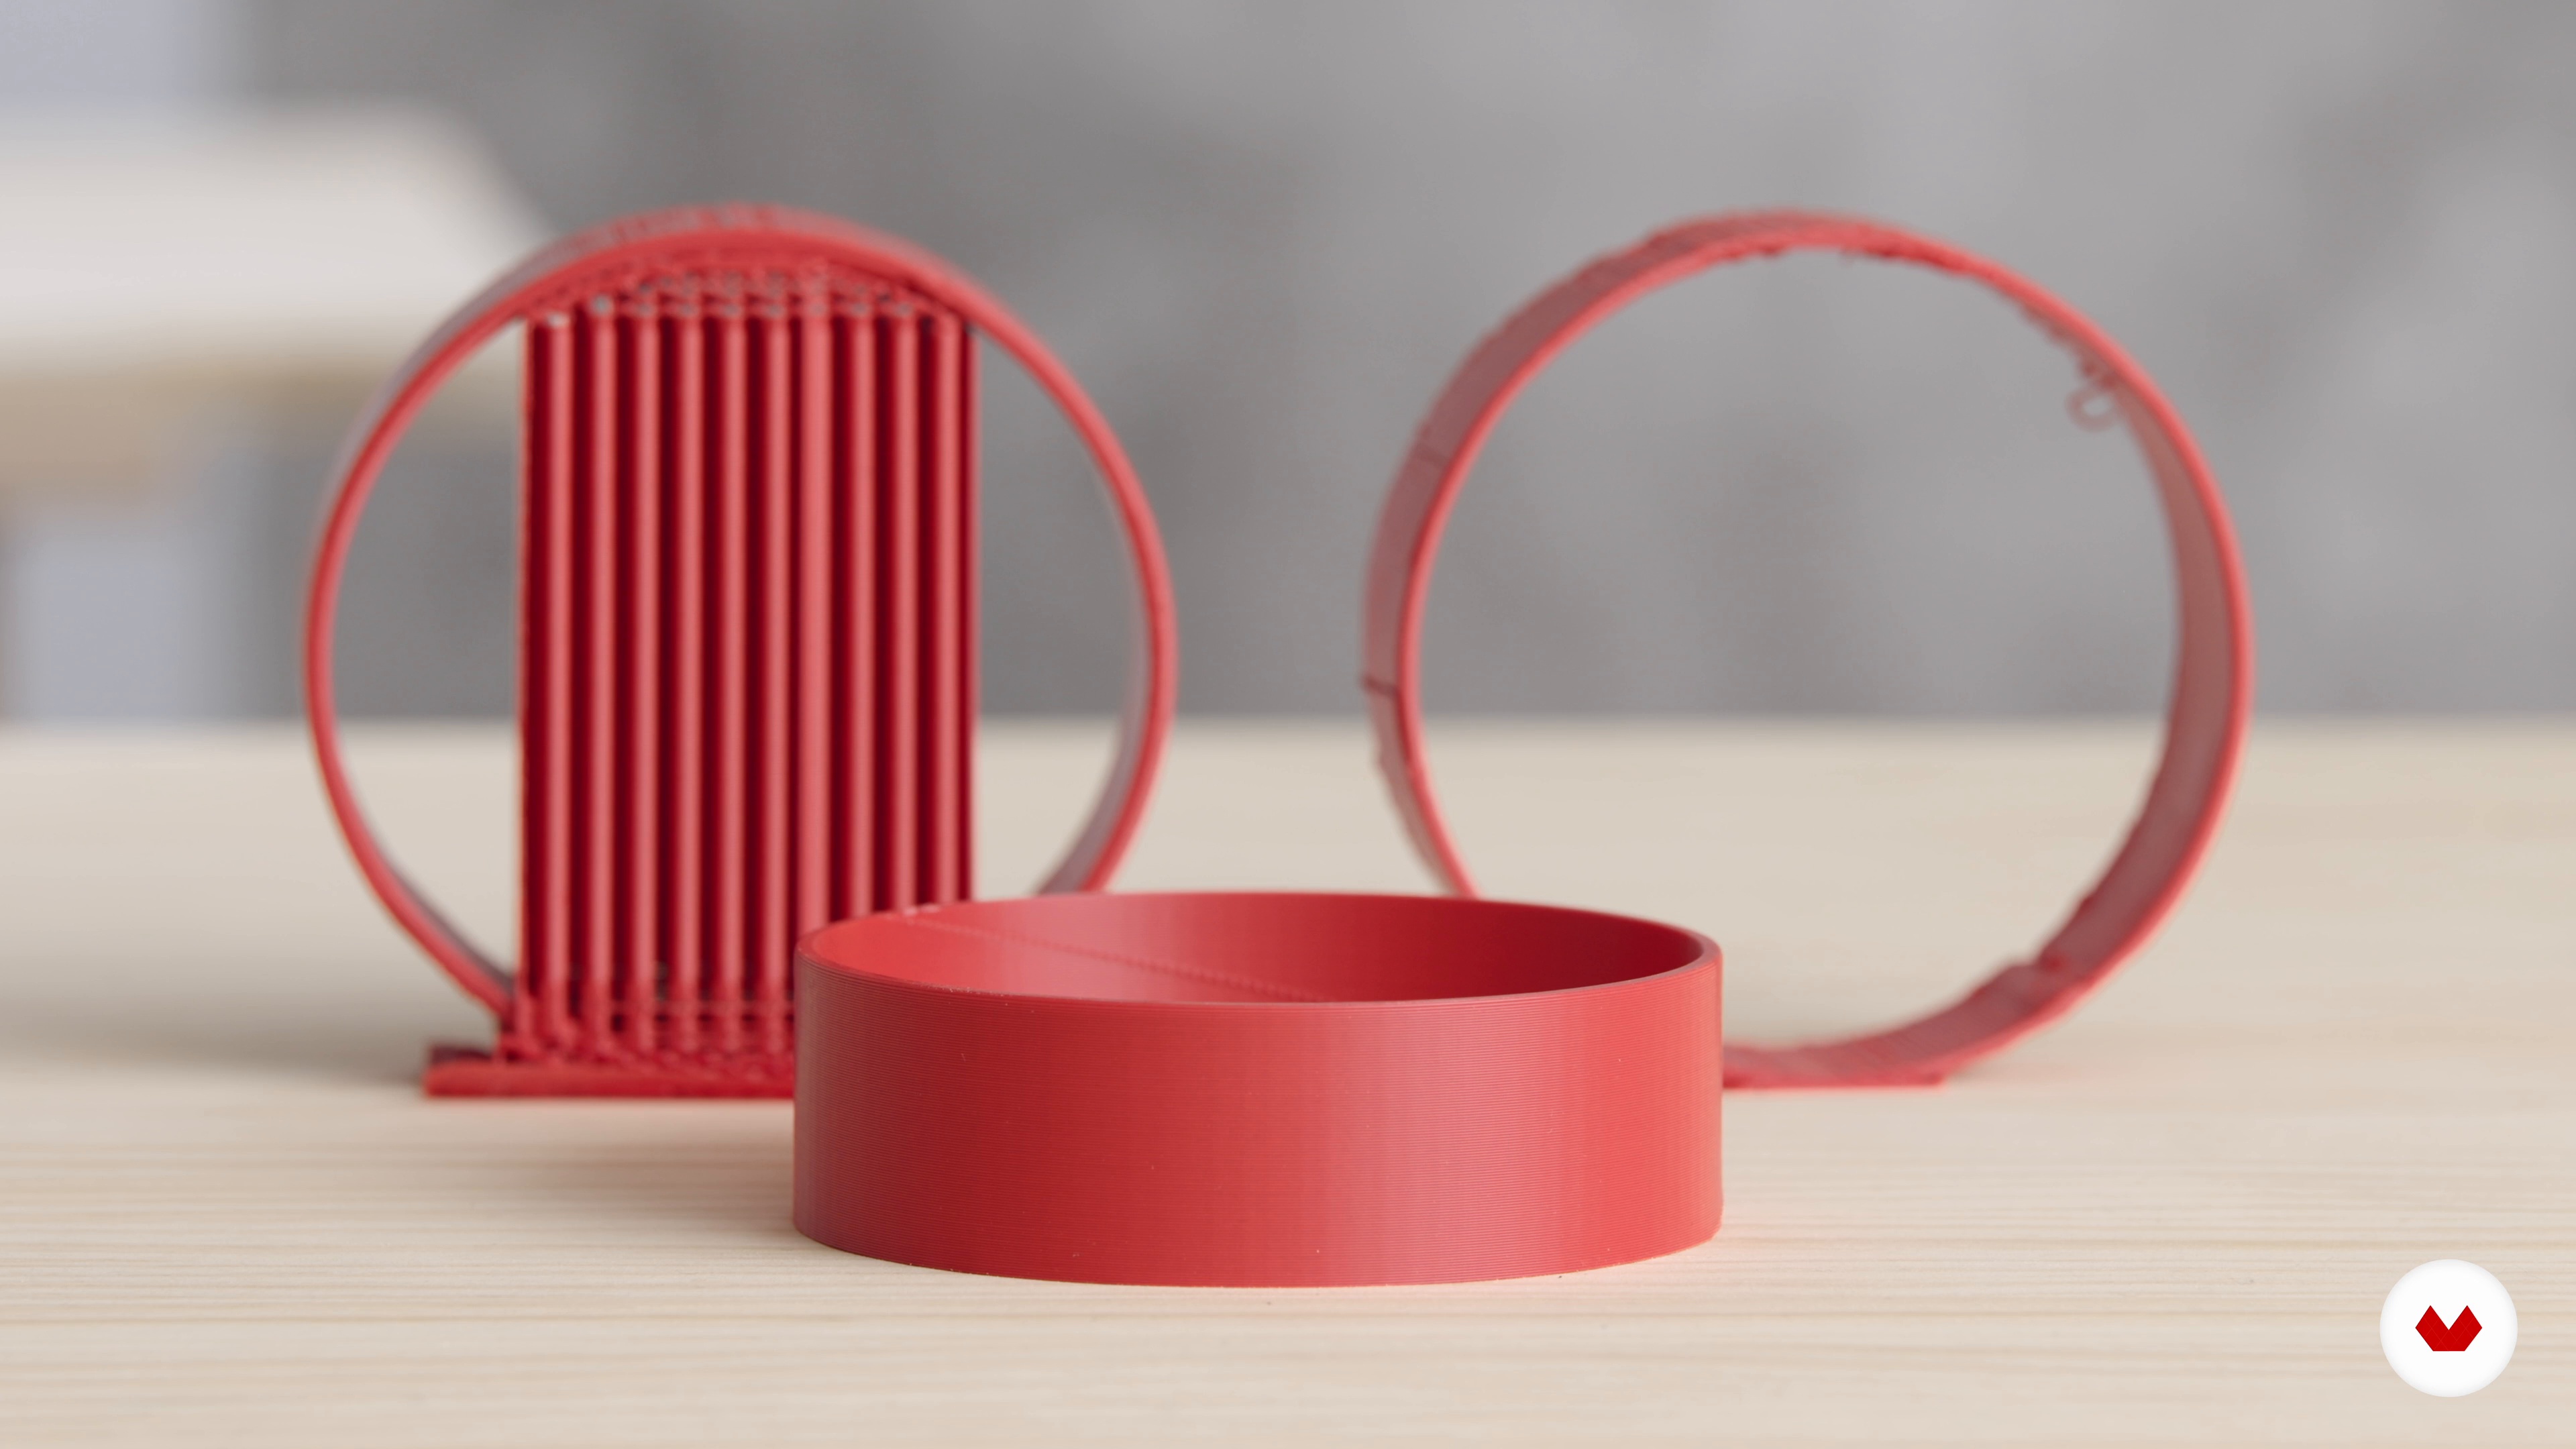
7Modeling for 3D Printing
There are a few things to pay attention to when designing parts to be 3D printed. In this lesson, I will start to familiarize you with some of these factors, including support material.
4m
 8
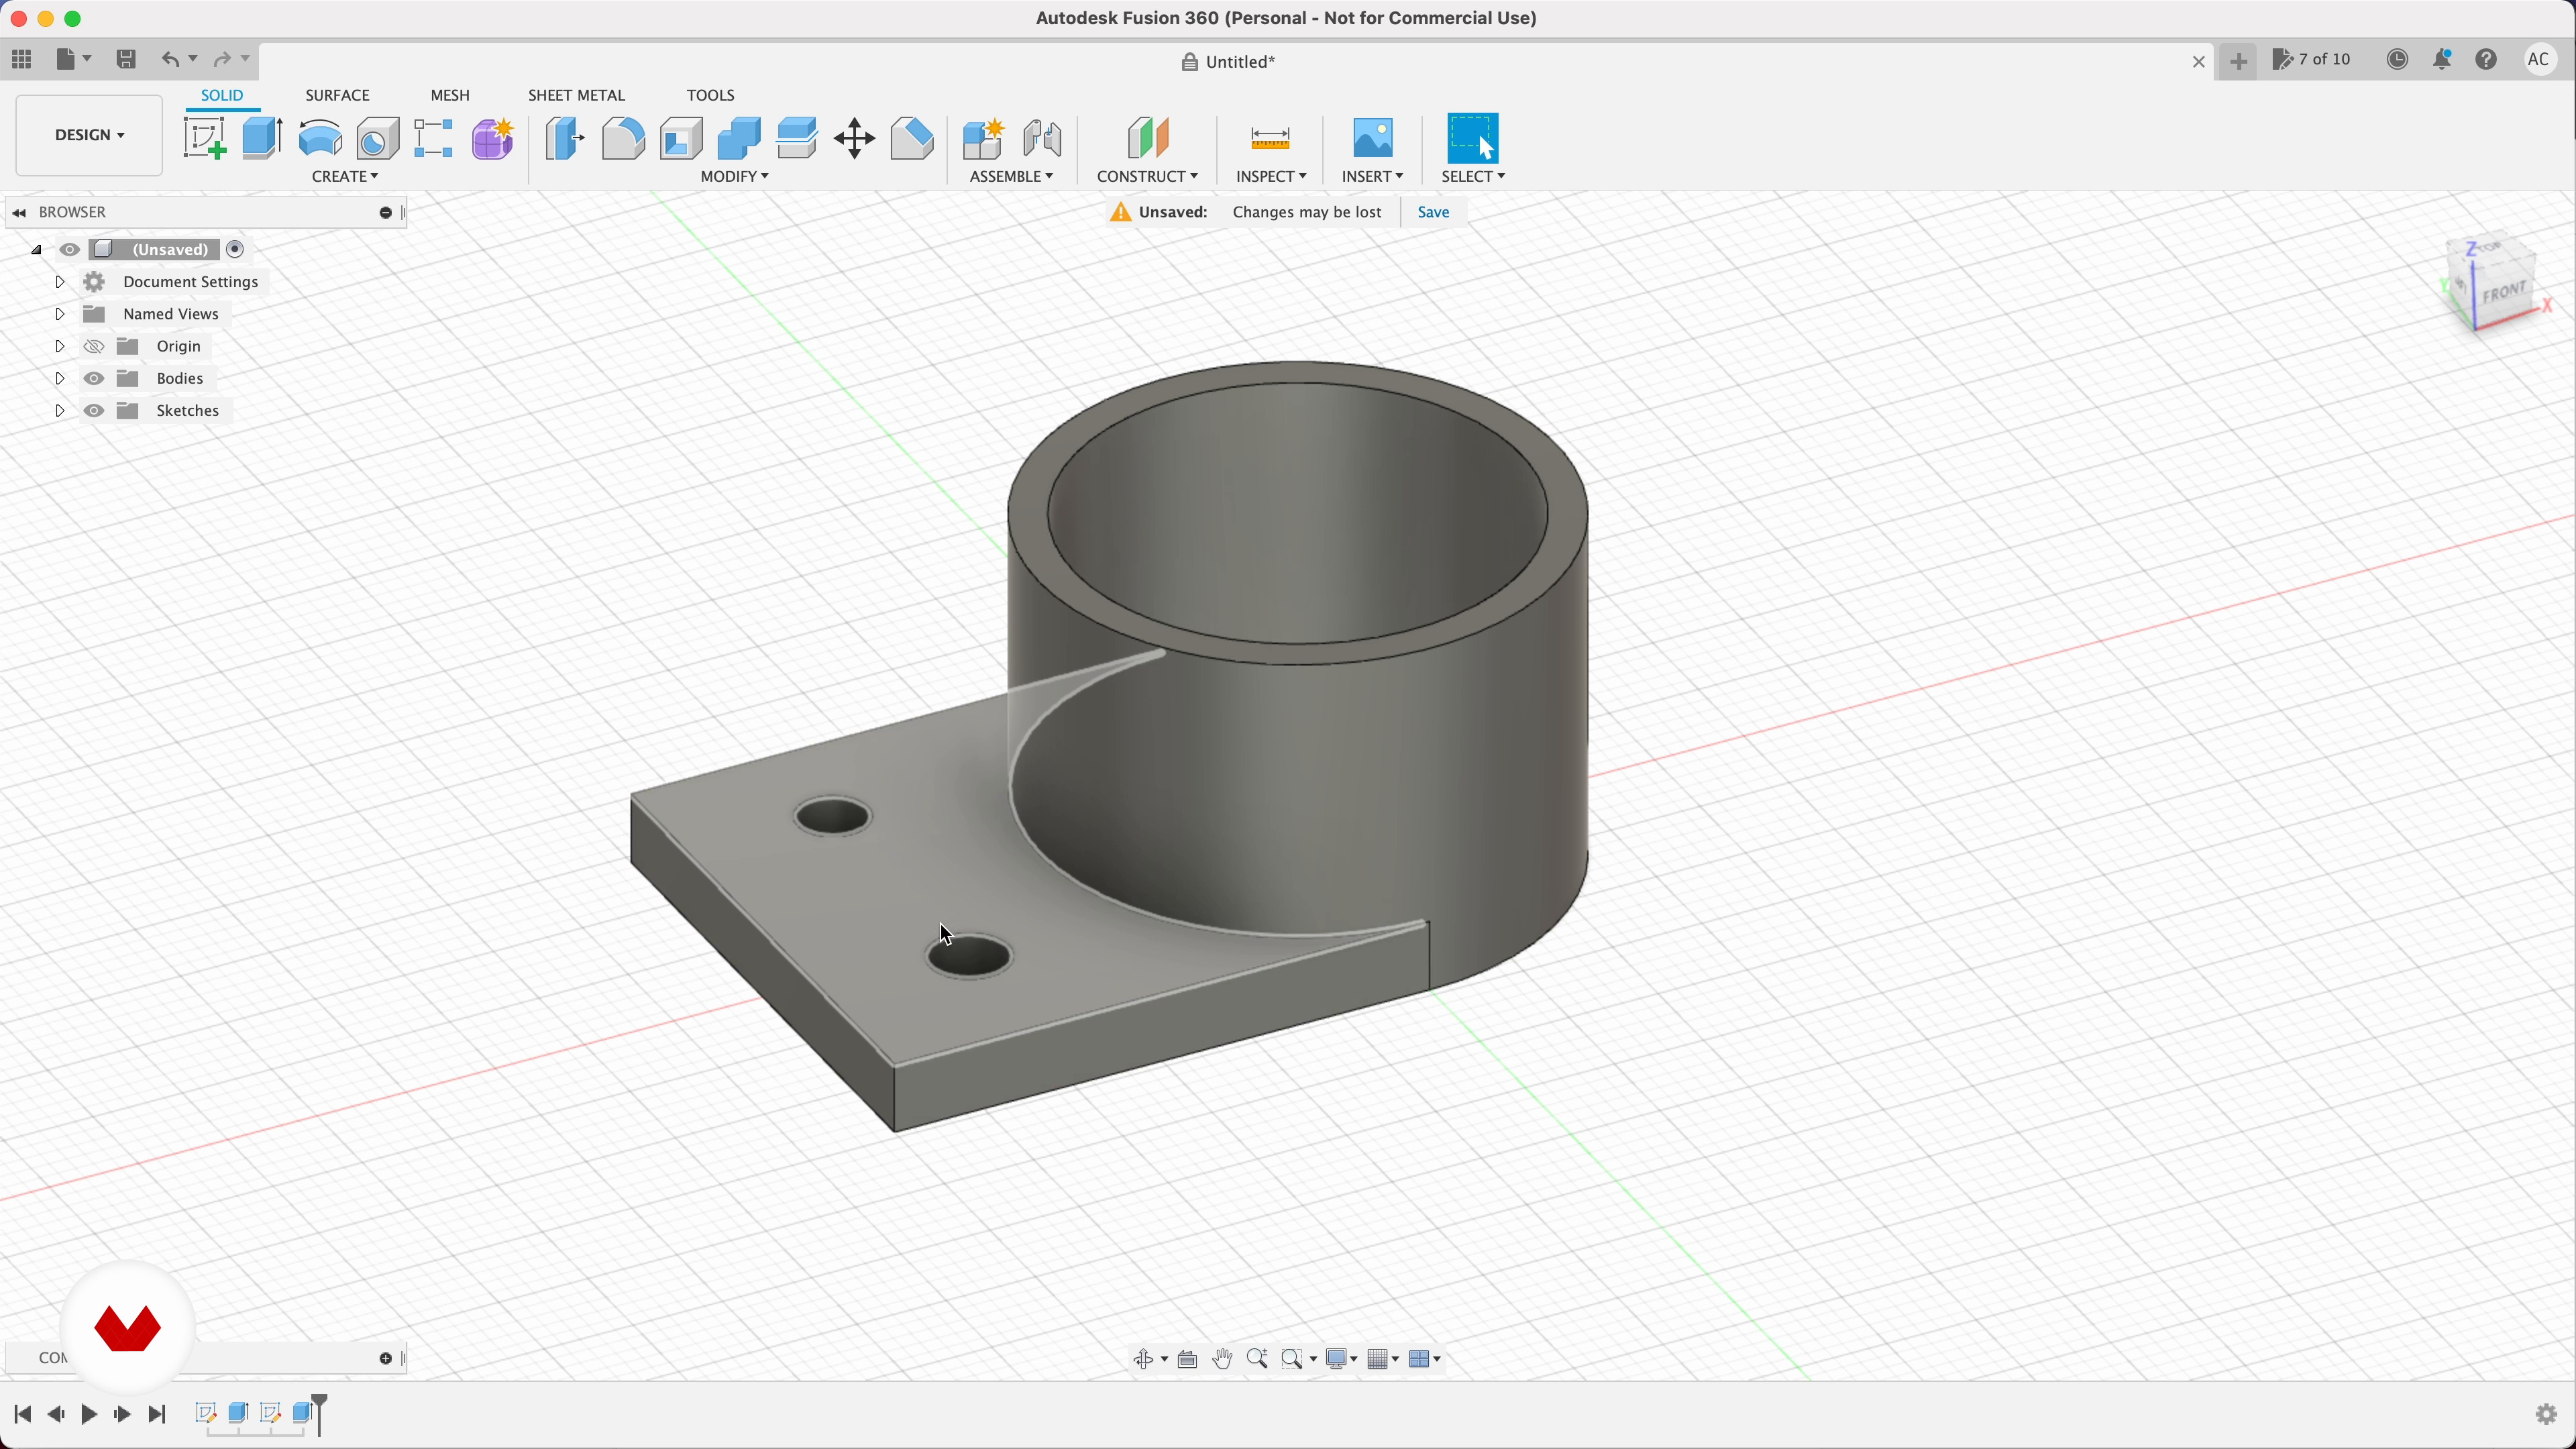
8Designing Parts to Fit with Other Materials
Now that we've covered the basics behind designing parts, let’s talk about how to combine these with off-the-shelf hardware and other materials. To give your 3D printed parts much more functionality.
10m
 9
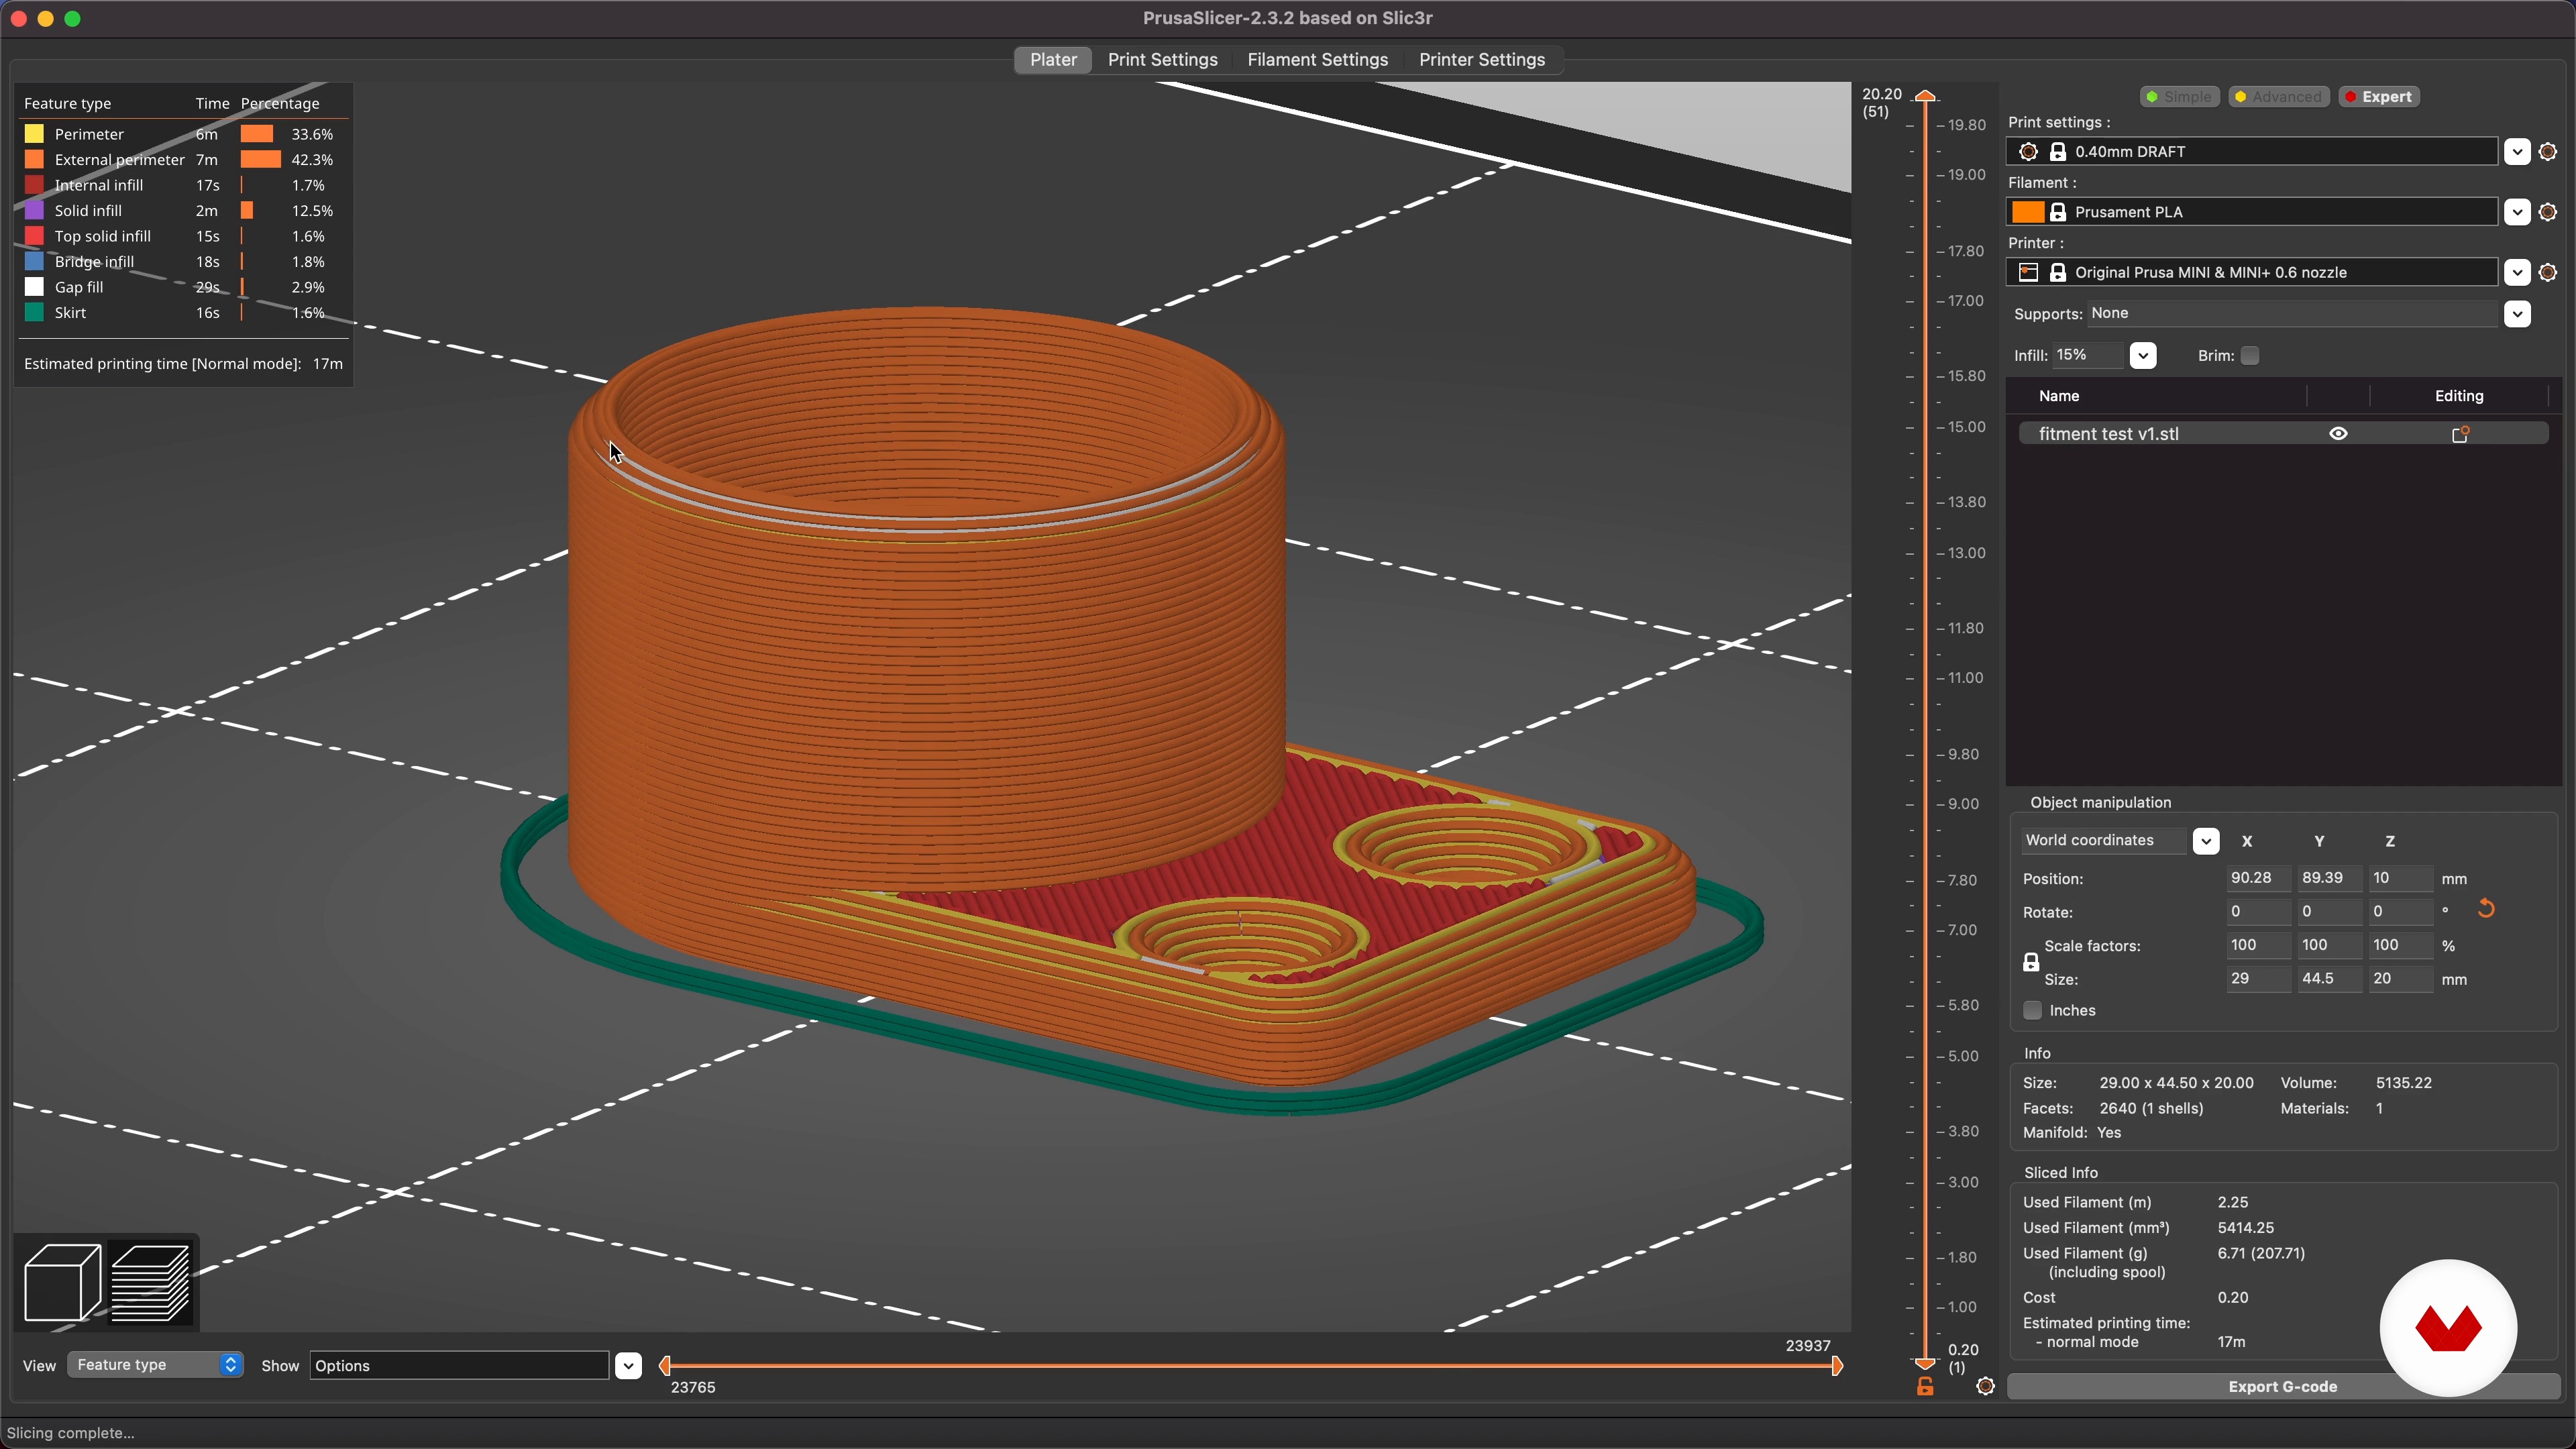
9Slicing Our 3D Models
The first step to 3D printing is slicing. Let's have a look at some different settings that will impact the final result.
11m
 10
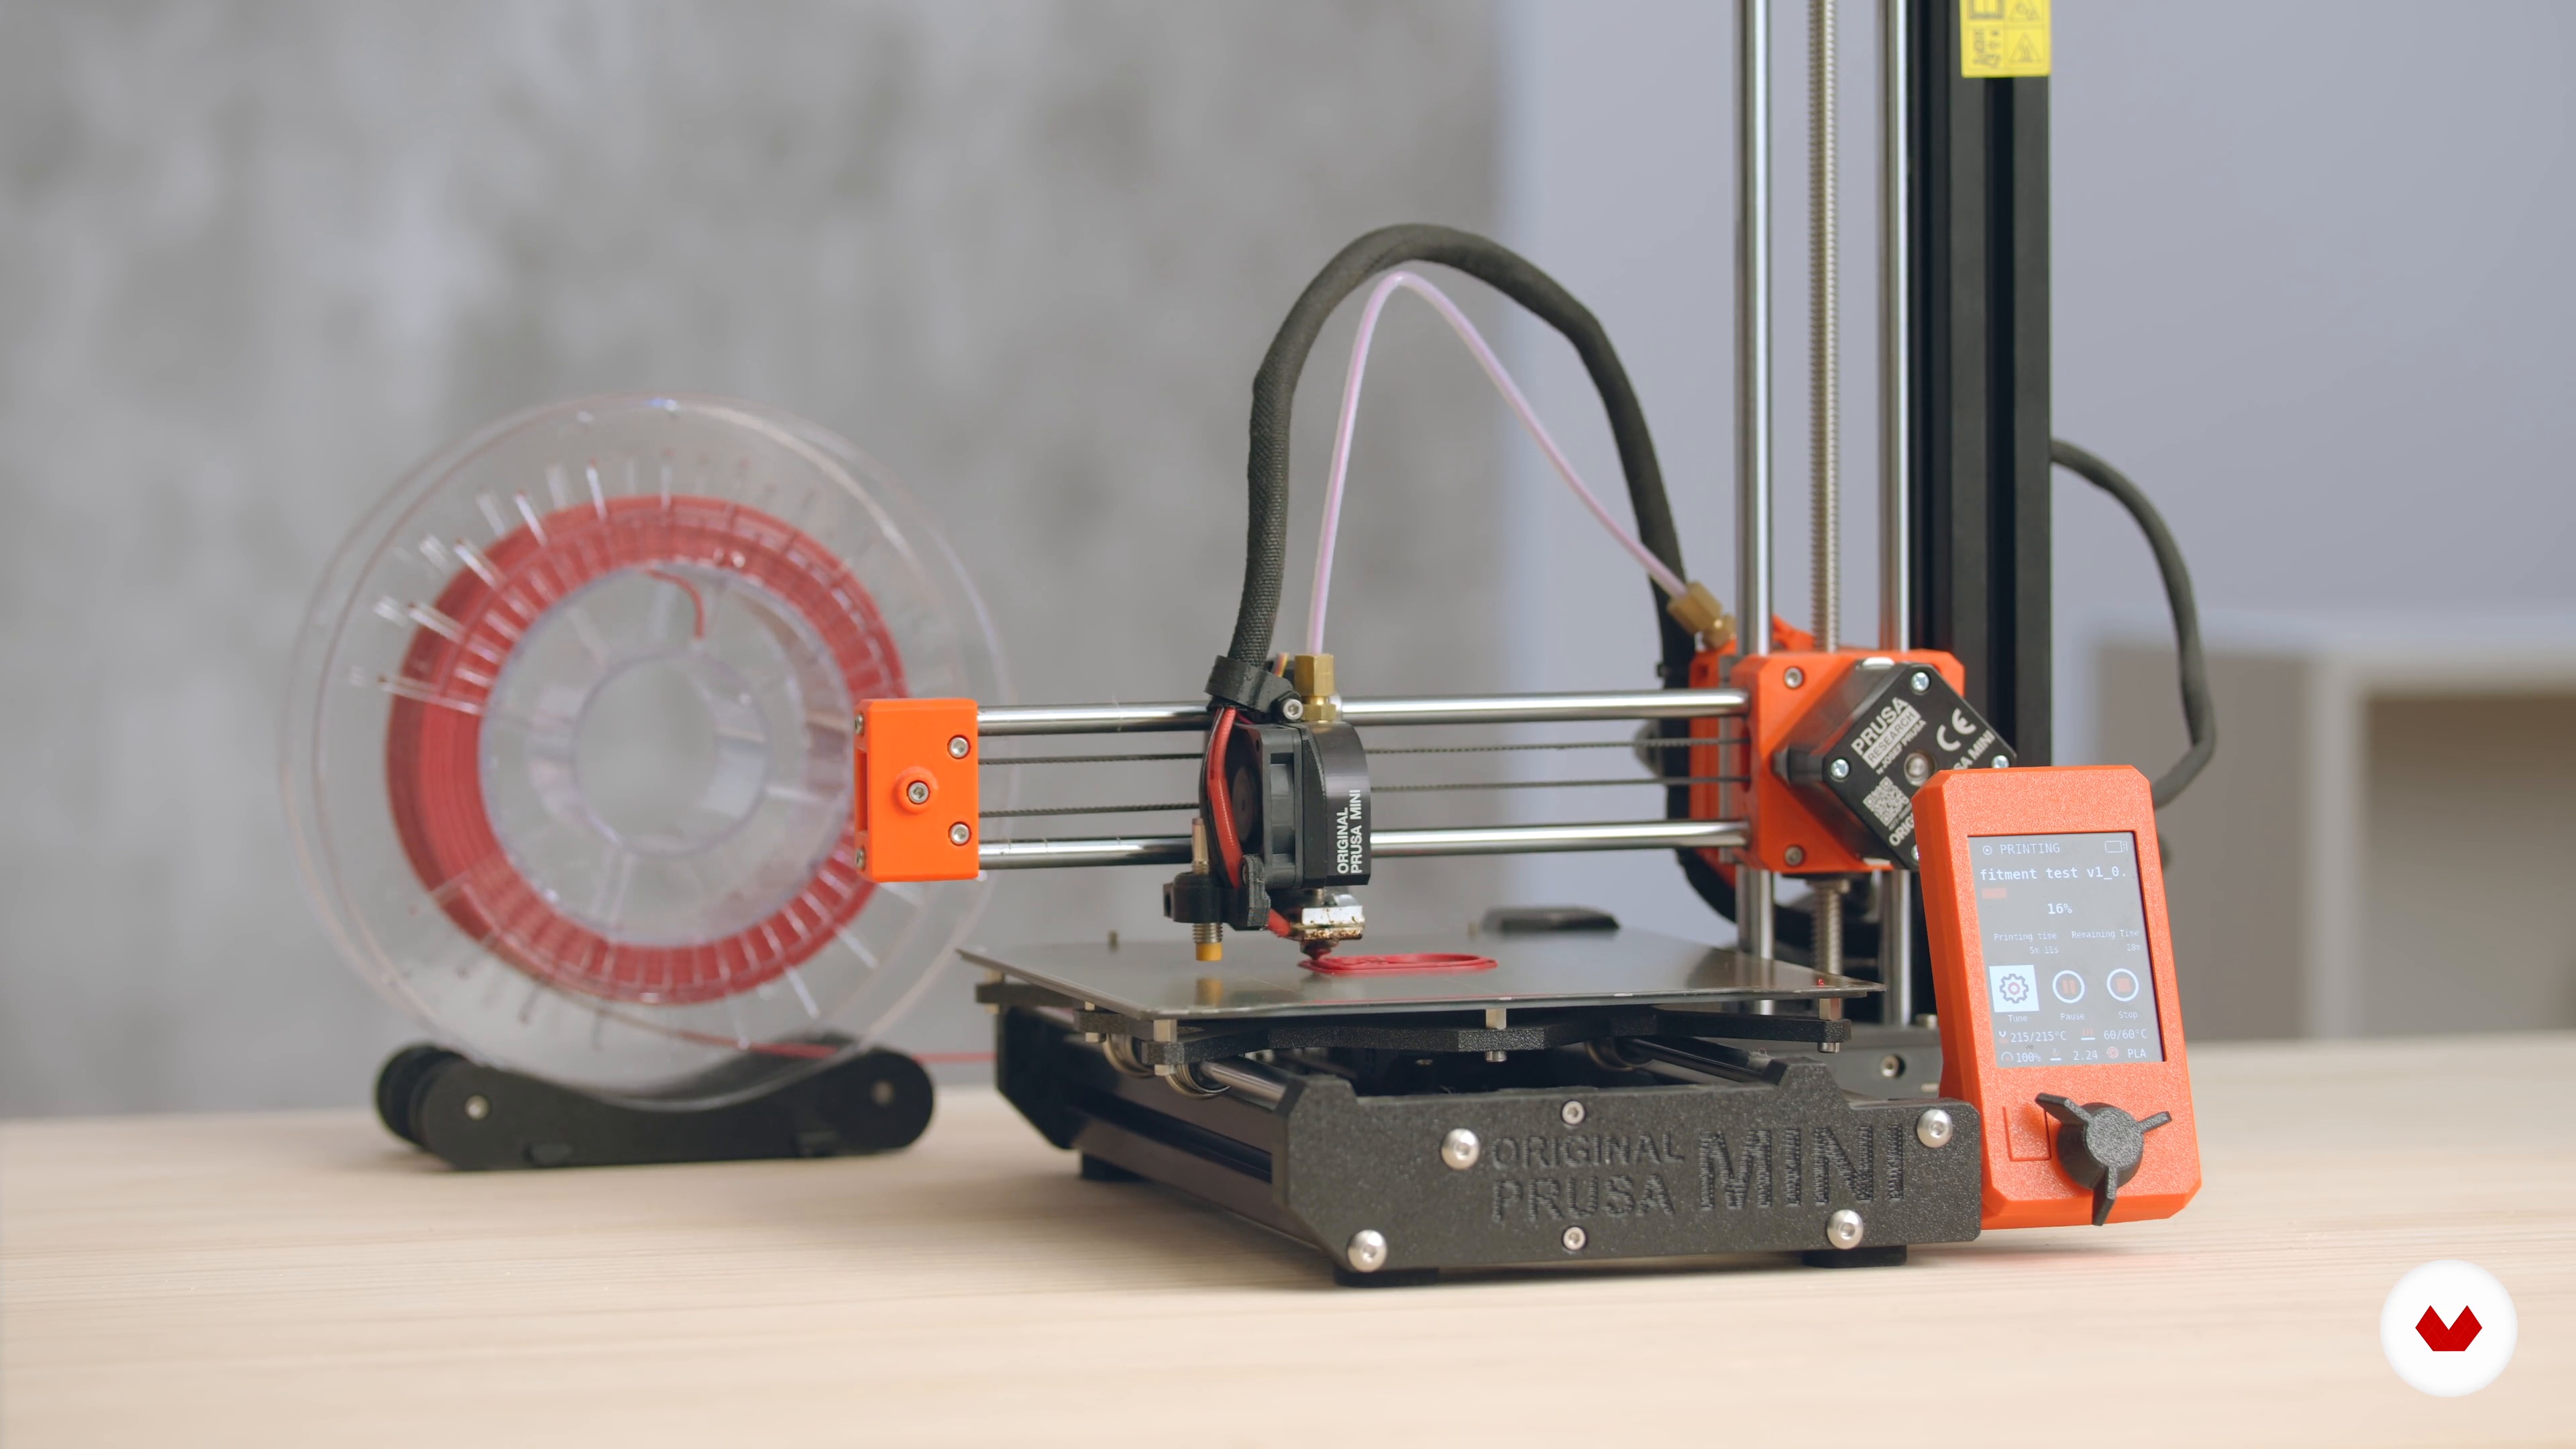
10Test Prints and Modifications
Before steaming ahead and printing out all your parts, it’s important to test out the measurements and ensure that everything fits well together.
11m
 11
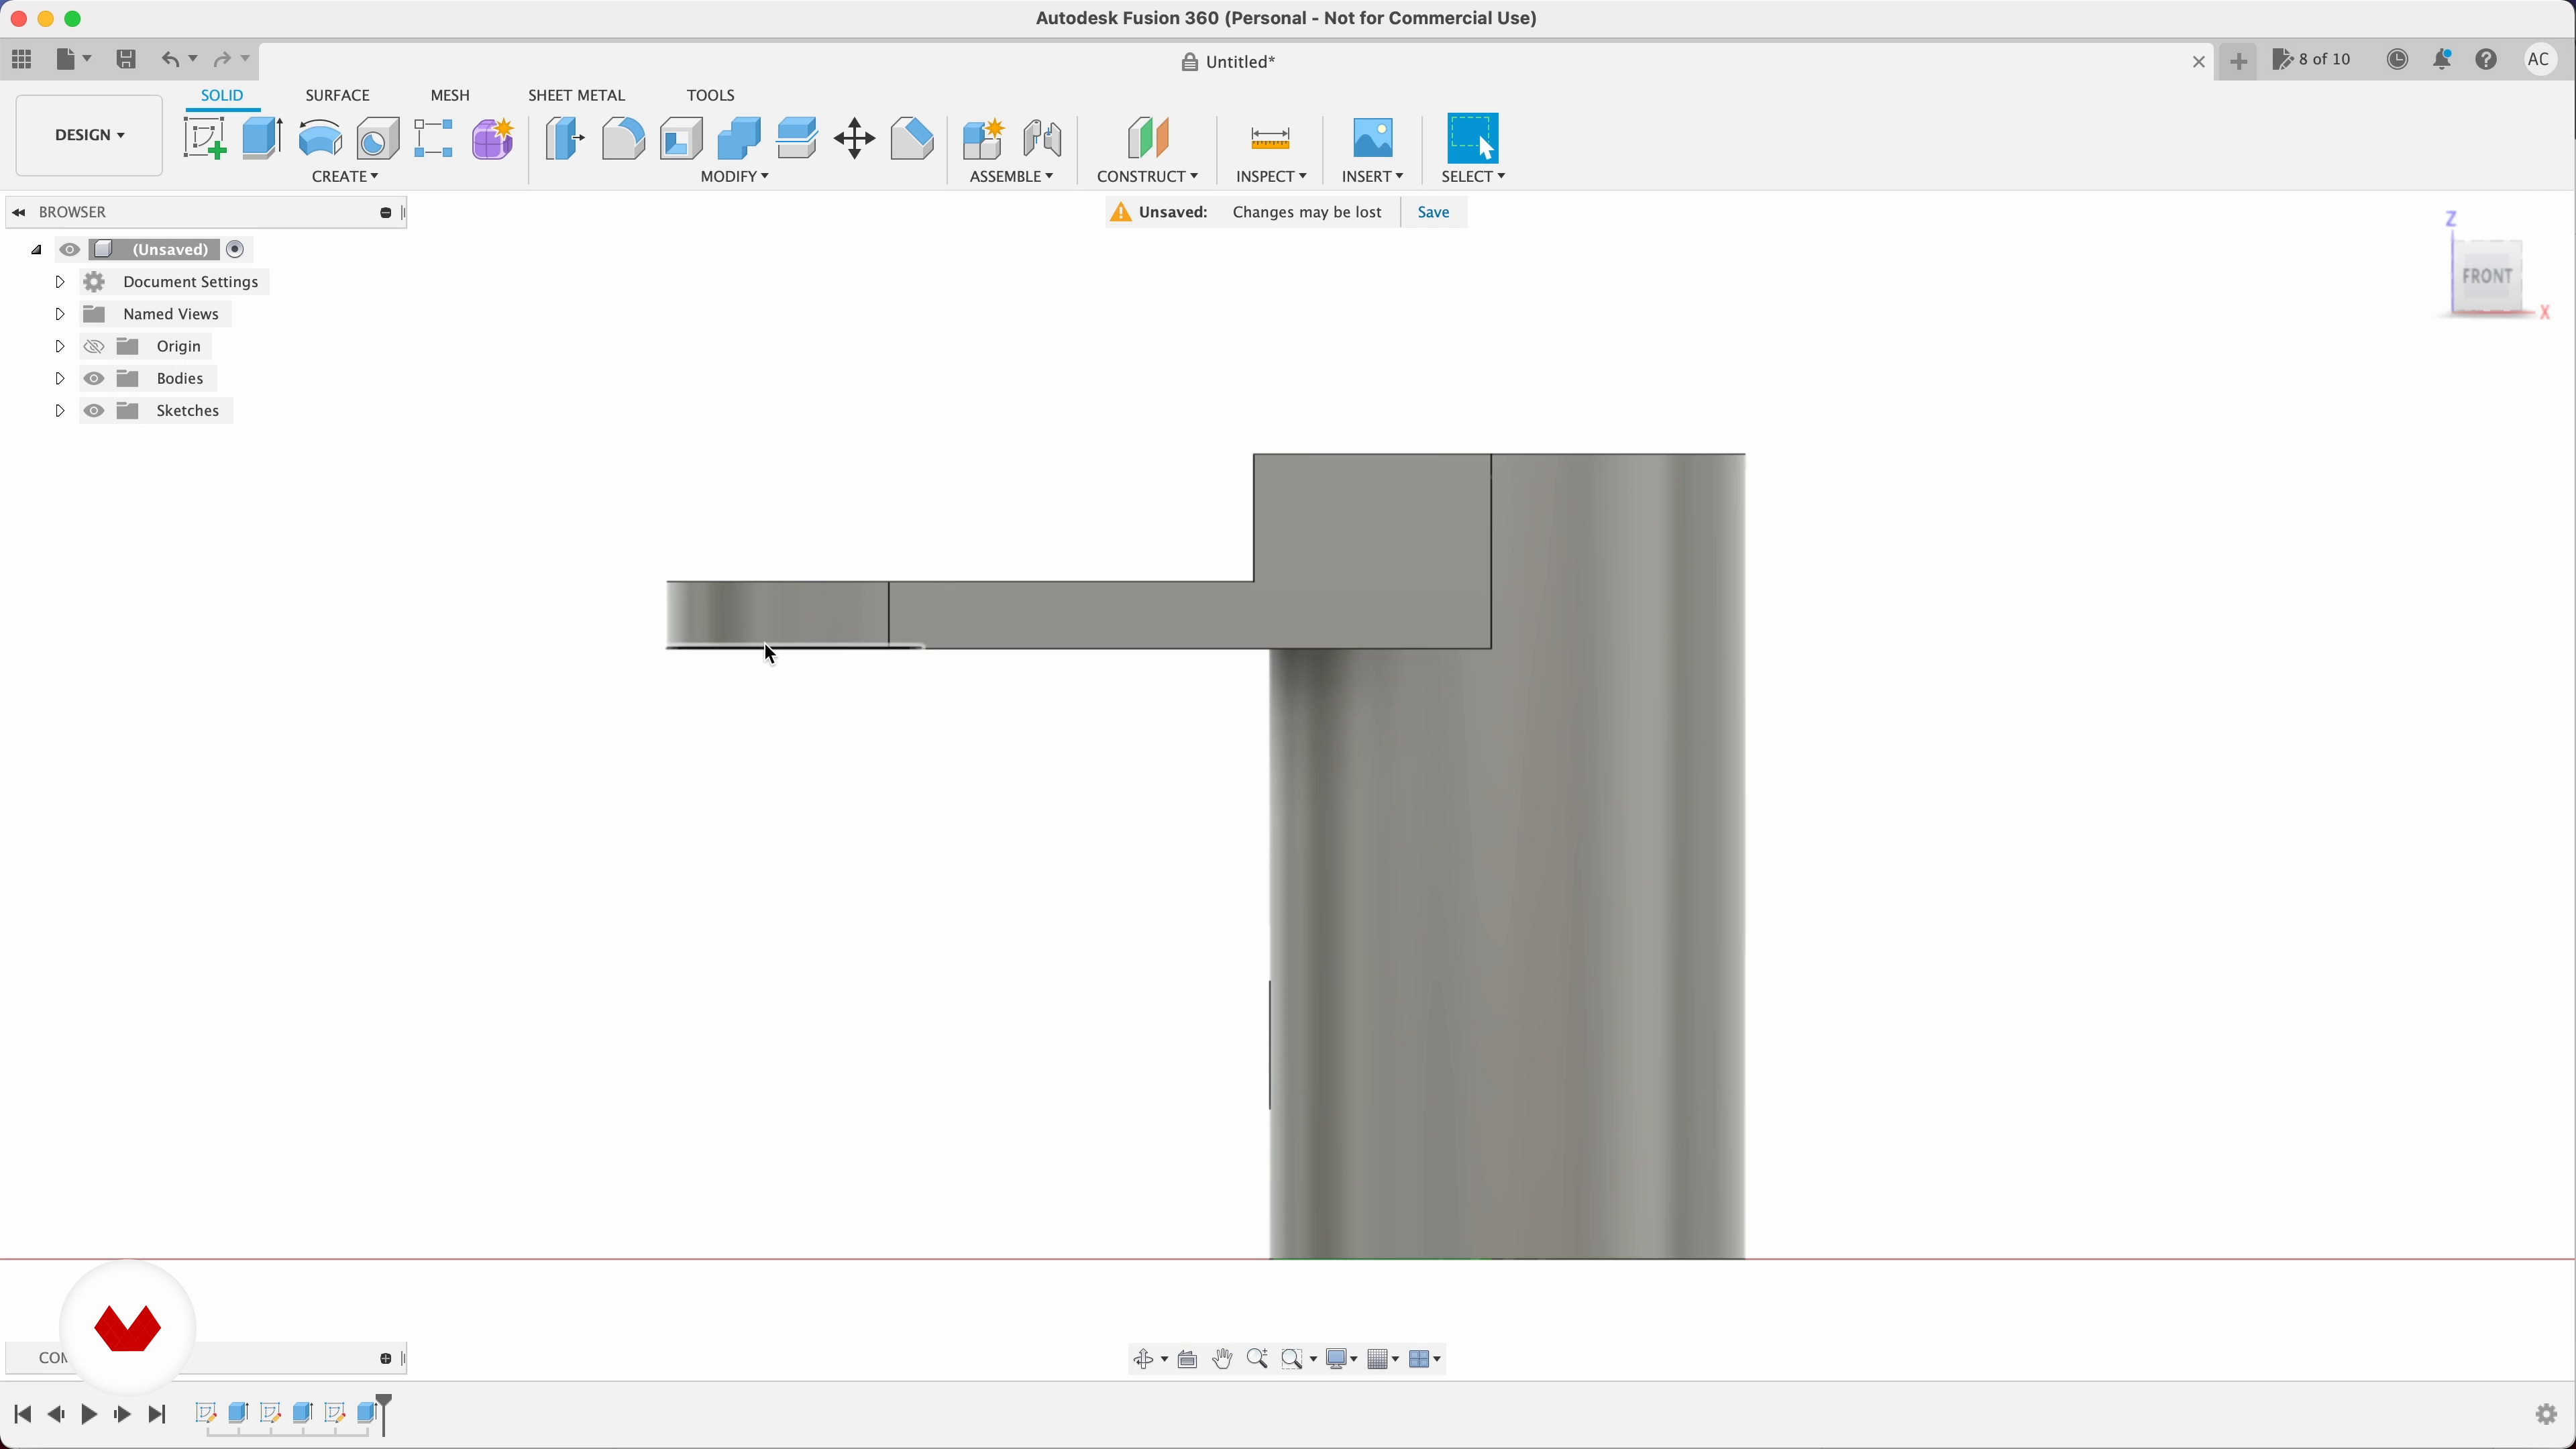
113D Modeling Our Final Part 1
It’s finally time to model the parts that will become your furniture, using the information you collected from the test. You’ll apply everything you’ve learned so far to create a 3D model with all the right measurements.
9m
 12
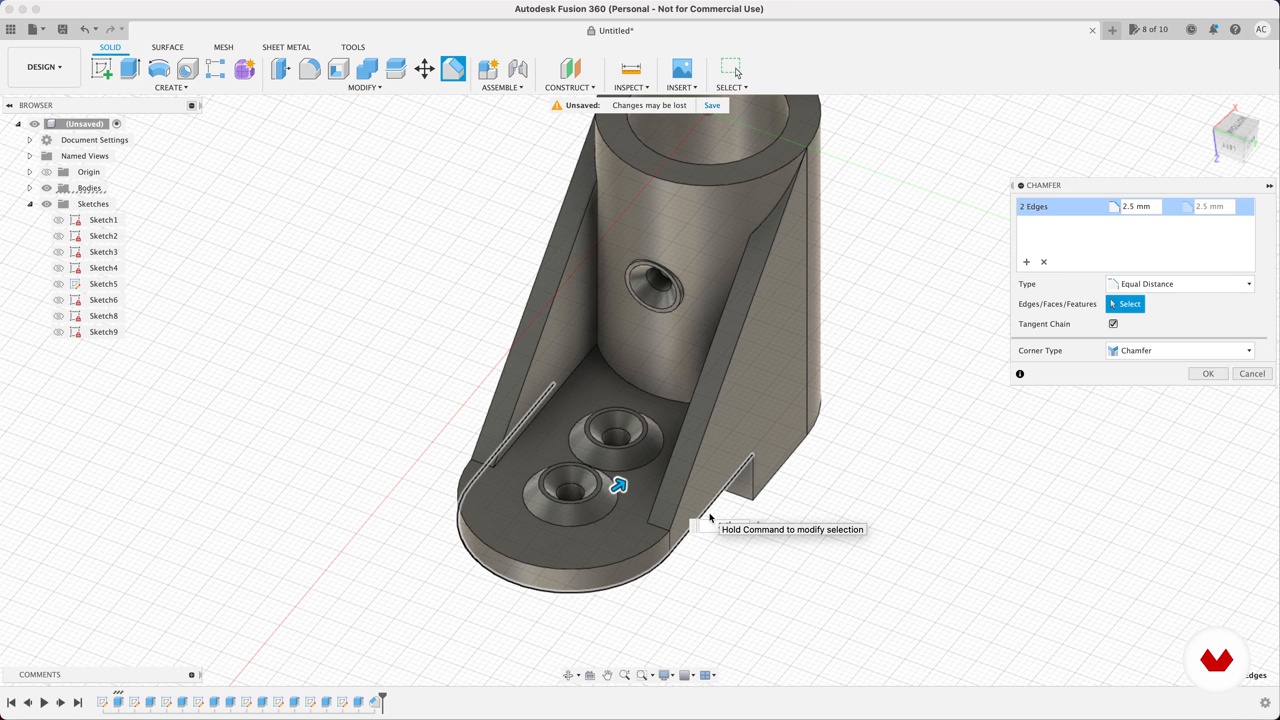
123D Modeling Our Final Part 2
In this lesson, you will see how to finalize the 3D model of a shelf bracket by refining its geometry with chamfers, fillets, and precise hole placement. I’ll create a flat surface for a hole using offset extrusion, ensuring proper alignment. Then, you’ll learn to design a wall mount bracket with similar techniques, adding structural support and smooth transitions. Finally, I’ll teach you how to export both parts as STL files for 3D printing.
11m
 13
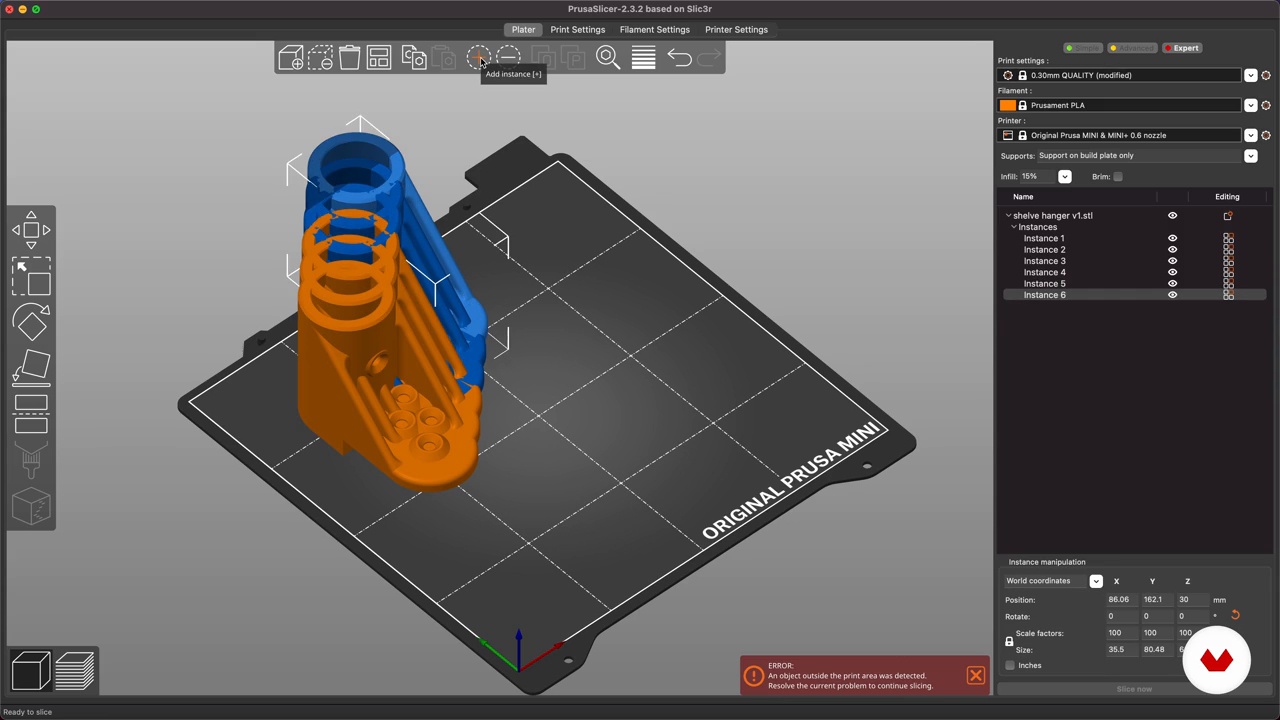
13Printing and Finishing the Final Parts
Next, you will print out the parts that you just modeled. In this lesson, I will demonstrate how to achieve the right settings to get the quality and strength you desire. Then, after everything is printed, you will need to remove the support material ready for the final assembly.
7m
 14
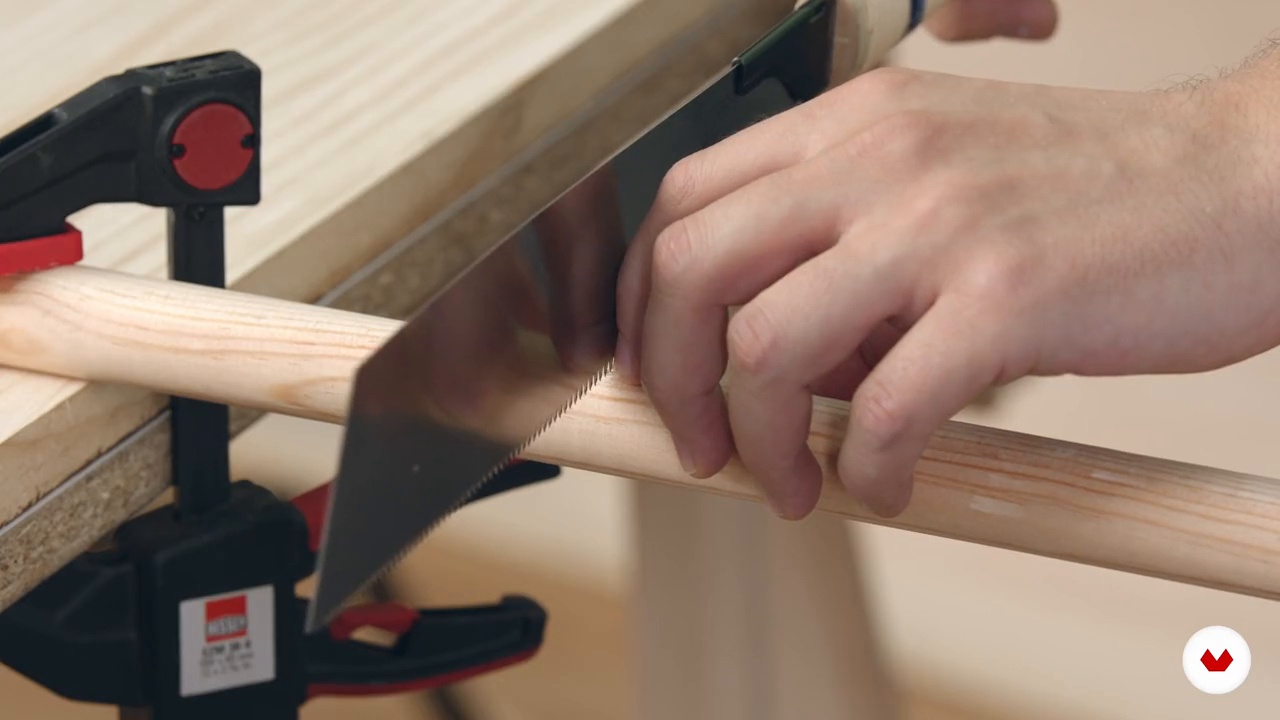
14Cutting the Parts
In this lesson, I will model how to cut the wood to size. You can either do this on your own or get help from a local wood supplier. You’ll only need basic tools for this step.
13m
 15
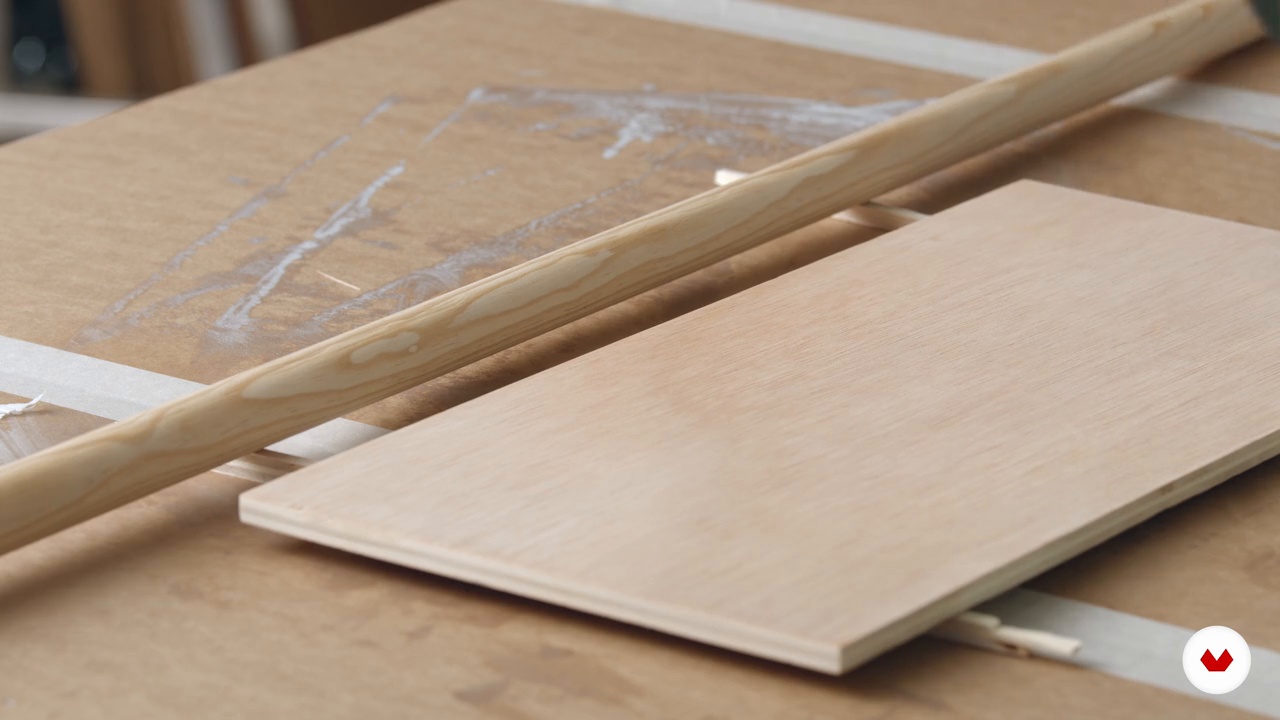
15Finishing the Wood
Now, you’ll take the raw pieces of wood, sand them, and then apply a protective coat of oil.
10m
 16
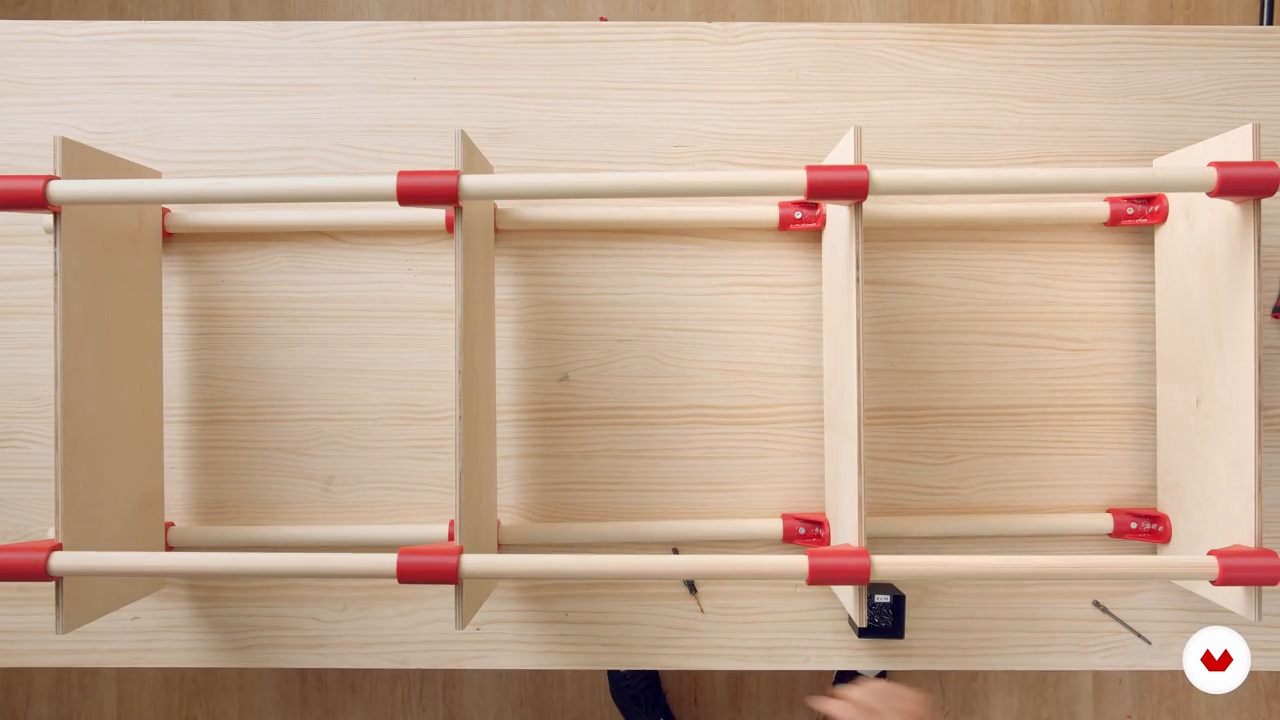
16Assembly
We're almost done! It's time to assemble your parts and complete the furniture. Are you ready?
10m
What is this course's project?
Craft a traditional staked three-legged stool in oak using hand tools, showcasing skills in wood shaping and furniture construction.
Who is this specialization for?
This online course suits woodworking enthusiasts, aspiring furniture makers, and DIY hobbyists eager to learn traditional and modern woodworking techniques. It's perfect for creative minds looking to enhance their skills and craft unique furniture pieces.
Requirements and materials
No extensive prior knowledge is needed. Bring a passion for crafting and essential hand tools like chisels, saws, and measuring tools. Access to quality wood and 3D printing equipment is beneficial for more advanced techniques.
Reviews
- 27 days ago
Muy completo
- mjesiolowskyPLUS1 month ago
Great course, full of technical knowledge, many new ideas, and all is easy shown, for beginners and more experienced also, I learned a lot, despite fact that I'm not a beginner
- 1 month ago
First course and specialization in woodwork and I love it it is a great introduction and motivator to take the whole 8 modules of the course, all the teachers are fantastic super experienced and the additional resources really come super handy for us without that much tools, to build them along the way, great progression and reuse of tools for all the proyects. Greetings from Mexico.
- 3 months ago
this my first course in woodworking, I was really amazed how interesting it was, I am willing to finish the module. the tutors are great, the explanation is smooth and easy to follow. it perfect.
- 3 months ago
Muy buena selección de cursos y muy inspiradores
Select to get to know your teachers in this specialization course


What to expect from this specialization course
Learn at your own pace
Enjoy learning from home without a set schedule and with an easy-to-follow method. You set your own pace.
Learn from the best professionals
Learn valuable methods and techniques explained by top experts in the creative sector.
Meet expert teachers
Each expert teaches what they do best, with clear guidelines, true passion, and professional insight in every lesson.
Certificates
PLUSIf you're a Plus member, get a custom certificate for every specialization course. Share it on your portfolio, social media, or wherever you like.
Get front-row seats
Videos of the highest quality, so you don't miss a single detail. With unlimited access, you can watch them as many times as you need to perfect your technique.
Share knowledge and ideas
Ask questions, request feedback, or offer solutions. Share your learning experience with other students in the community who are as passionate about creativity as you are.
Connect with a global creative community
The community is home to millions of people from around the world who are curious and passionate about exploring and expressing their creativity.
Watch professionally produced courses
Domestika curates its teacher roster and produces every course in-house to ensure a high-quality online learning experience.
FAQs
This course is designed for intermediate woodworkers who have some basic experience with hand tools and woodworking techniques. It focuses on advancing skills in furniture making, joinery, and design.
You’ll need essential hand tools such as chisels, planes, saws, measuring tools, and sharpening stones. Access to quality timber and a workbench is also recommended. The course will guide you on selecting and maintaining tools.
You’ll learn advanced joinery techniques, chair and stool construction, furniture design principles, tool maintenance, and how to work with natural timber features. The course also covers design inspiration from historical and global influences.
Yes, the course teaches mortise and tenon joinery in detail, including layout, cutting, fitting, and assembly techniques for strong and precise furniture construction.
The course covers principles and techniques for designing and building chairs, including Conoid and Welsh stick styles, focusing on traditional and modern approaches.
Yes, you’ll learn how to select, use, and maintain essential hand tools, including sharpening chisels and plane blades for optimal performance.
The course teaches how to source local and reclaimed timber, evaluate material authenticity, and embrace natural features for sustainable furniture making.