
Explore ceramic decoration techniques with watercolor, digital decals and hand paint for unique pieces
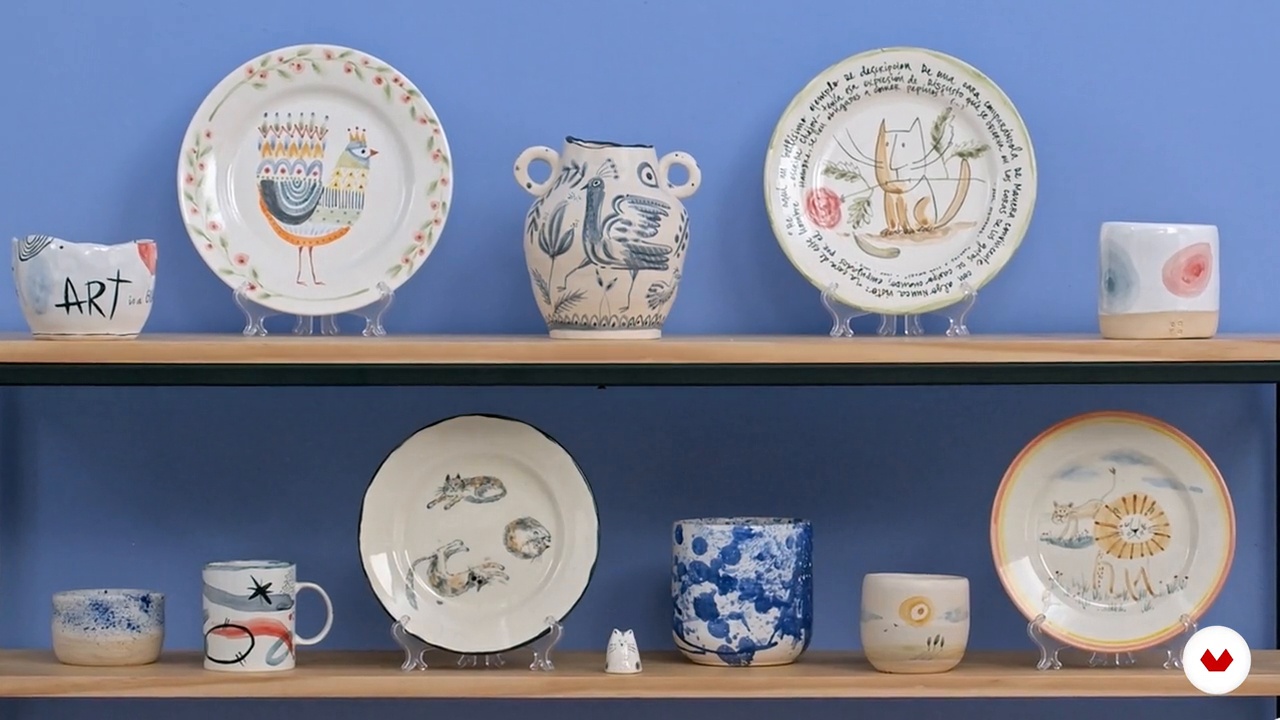
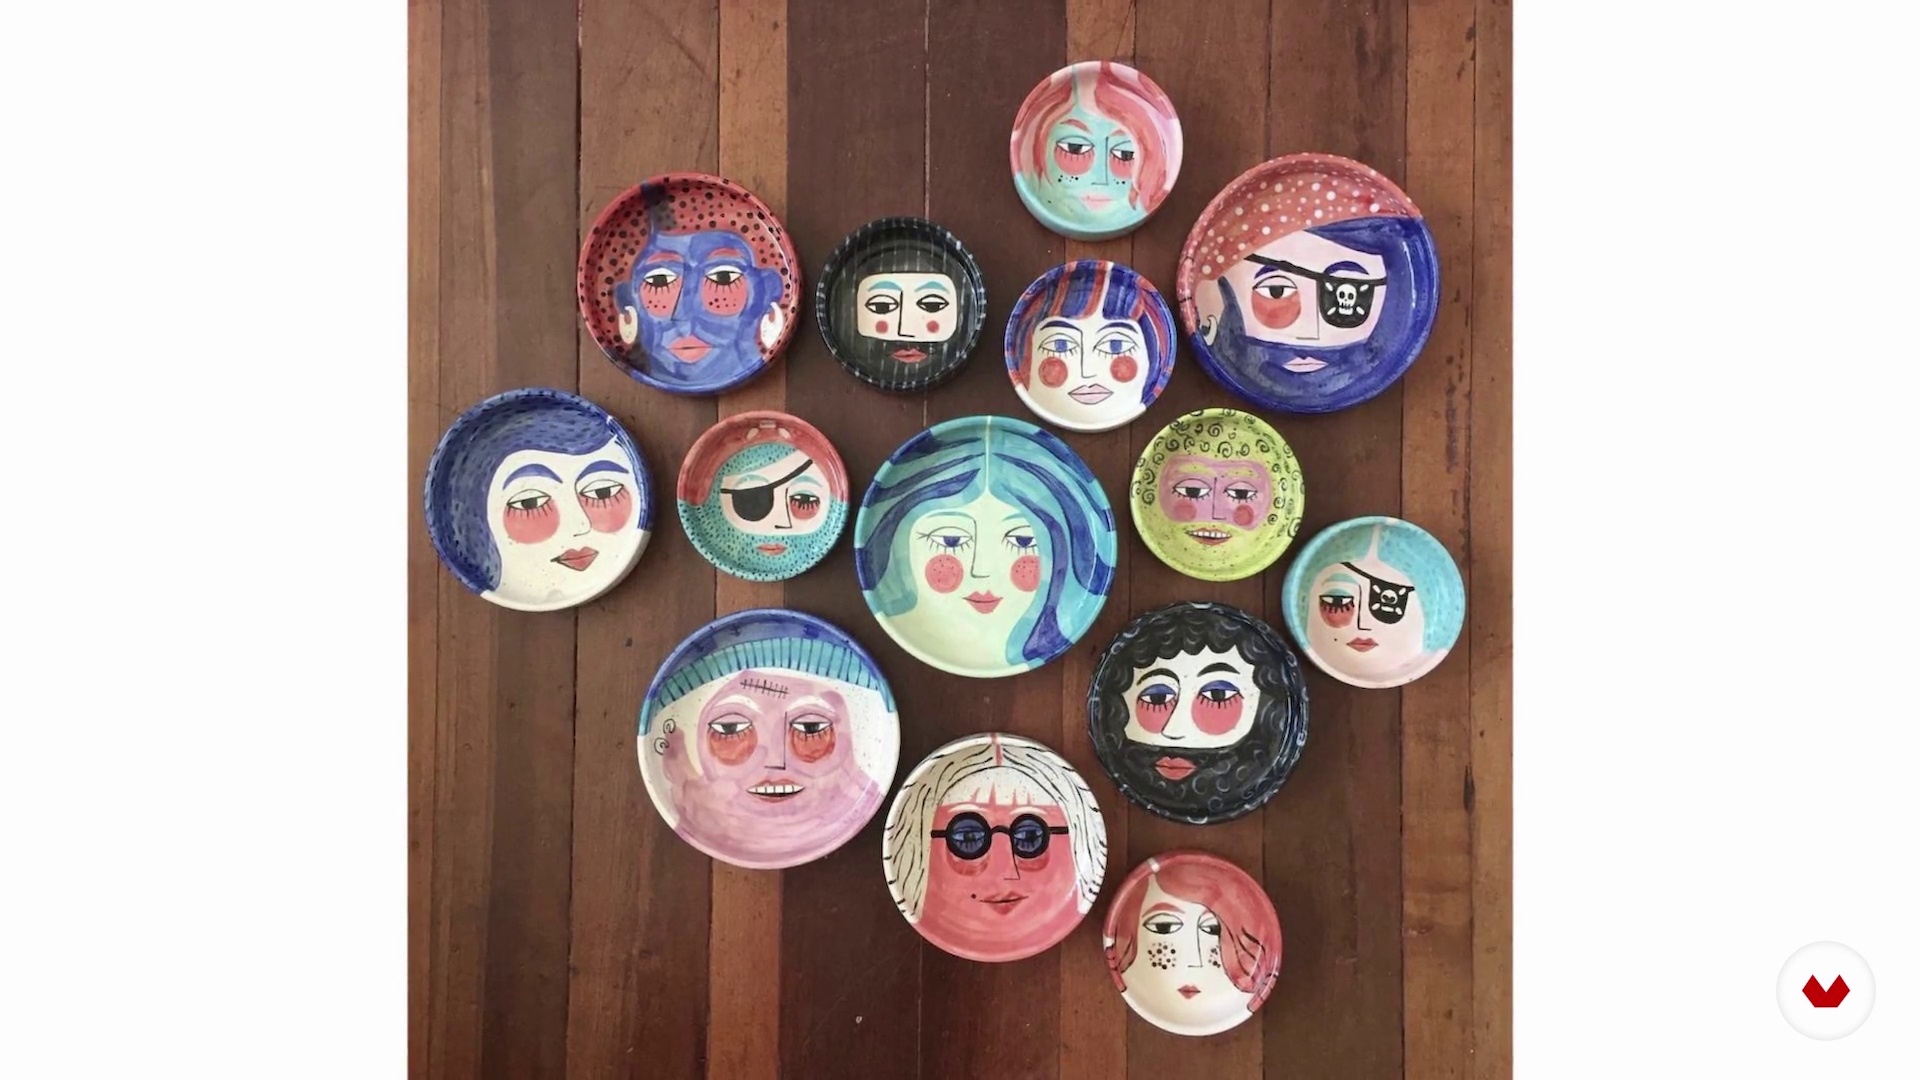
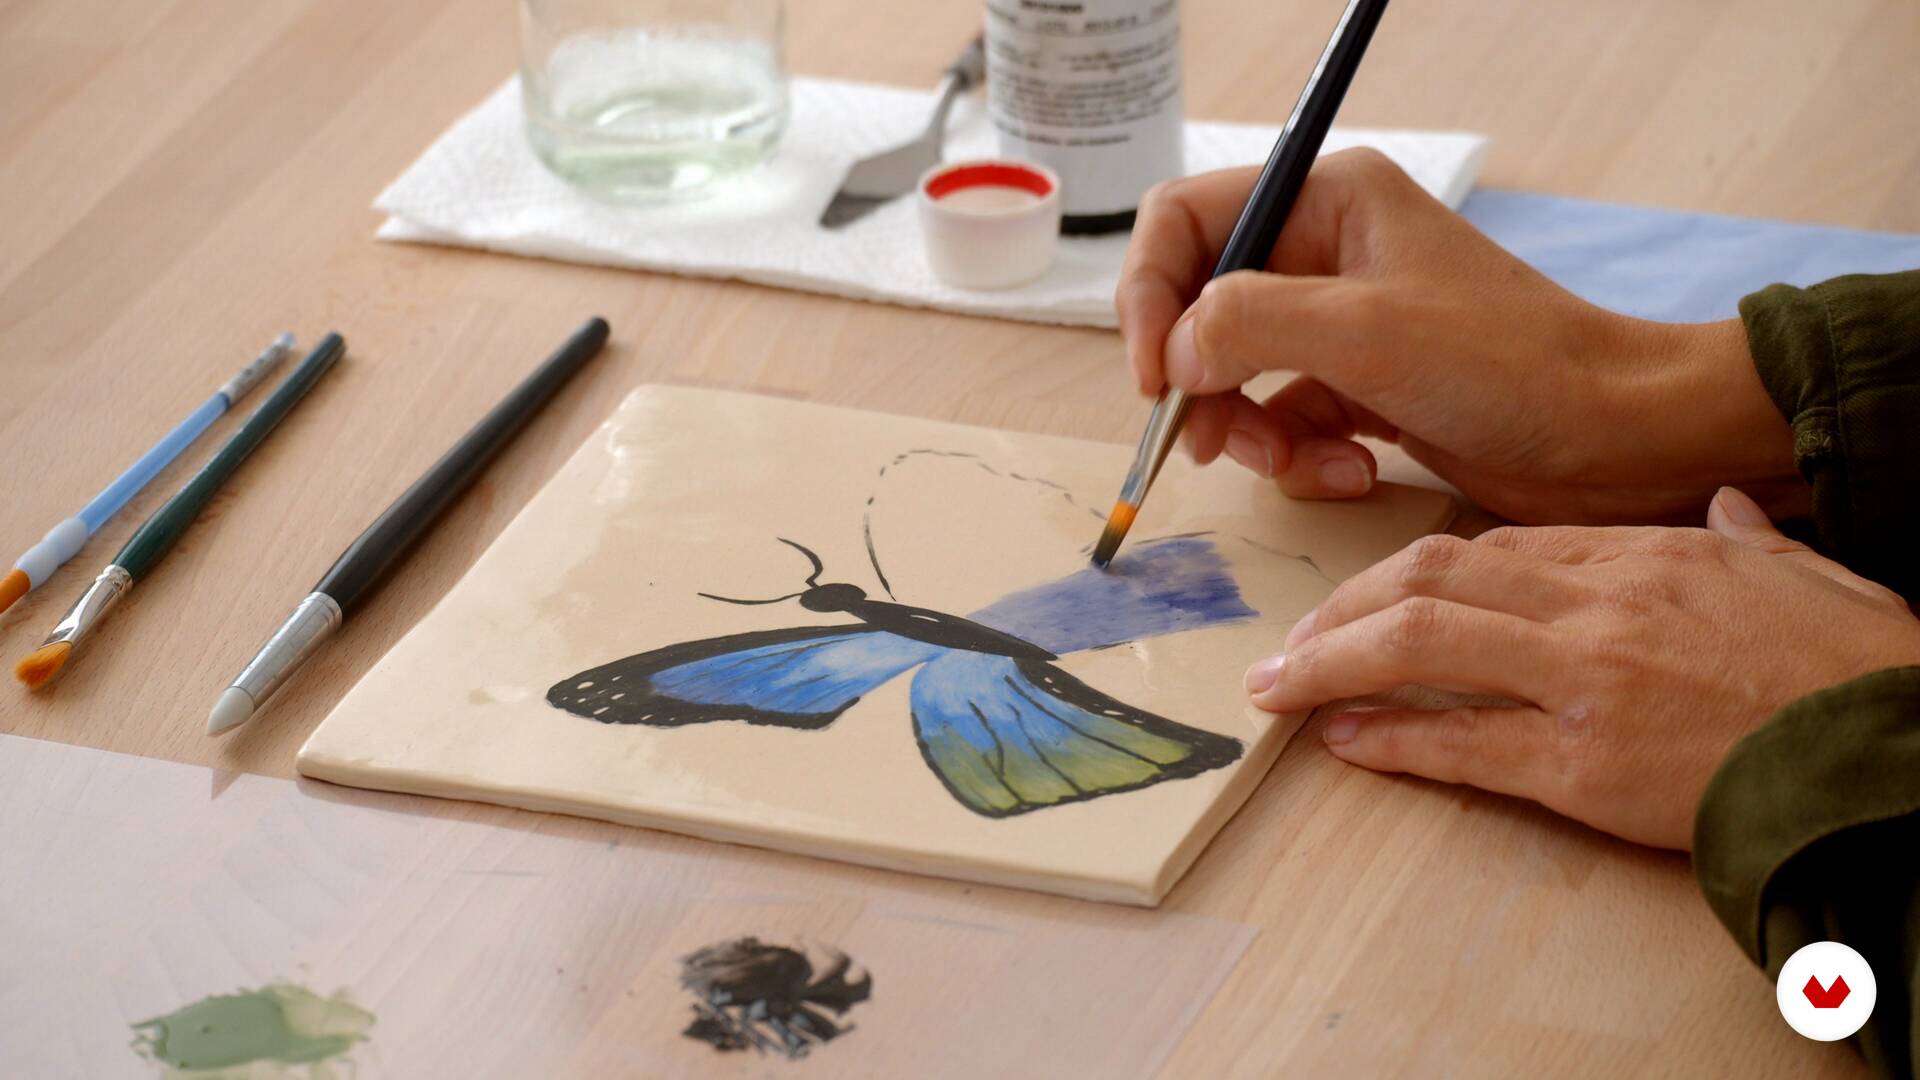
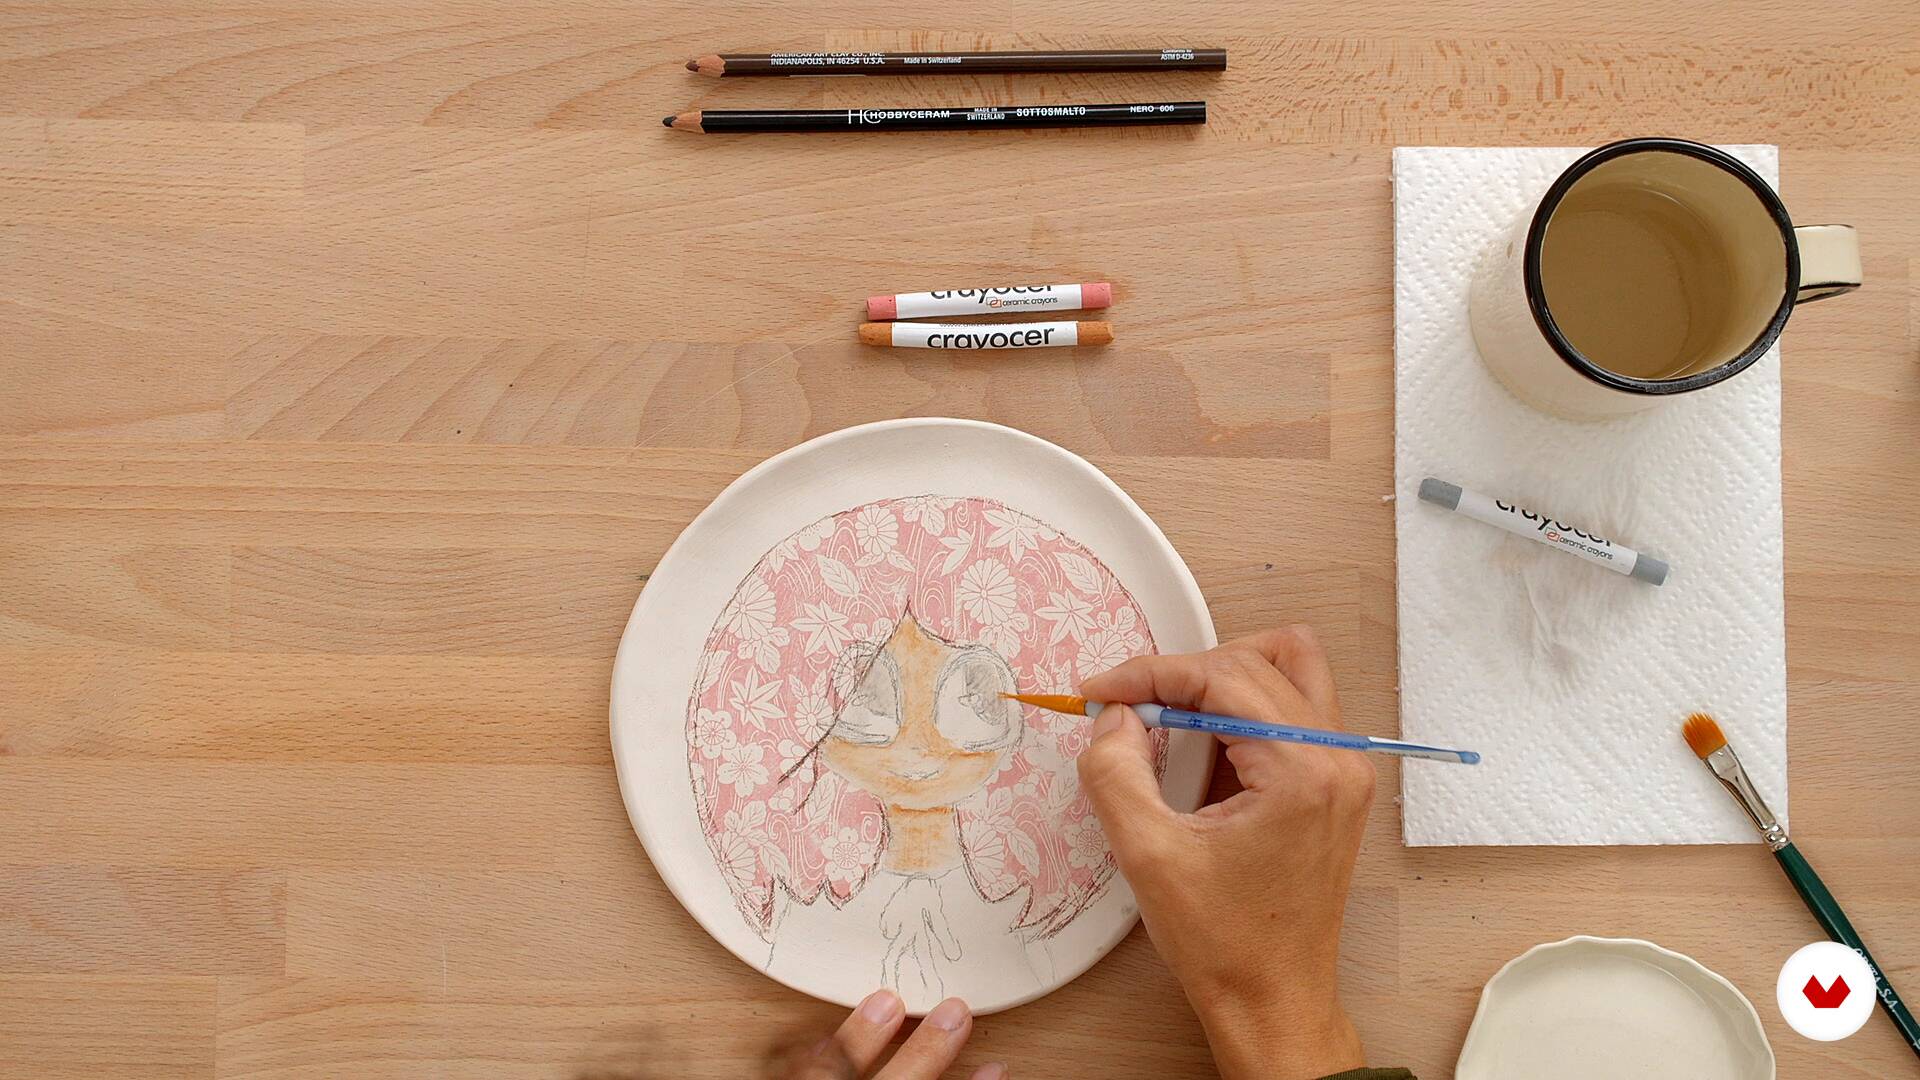
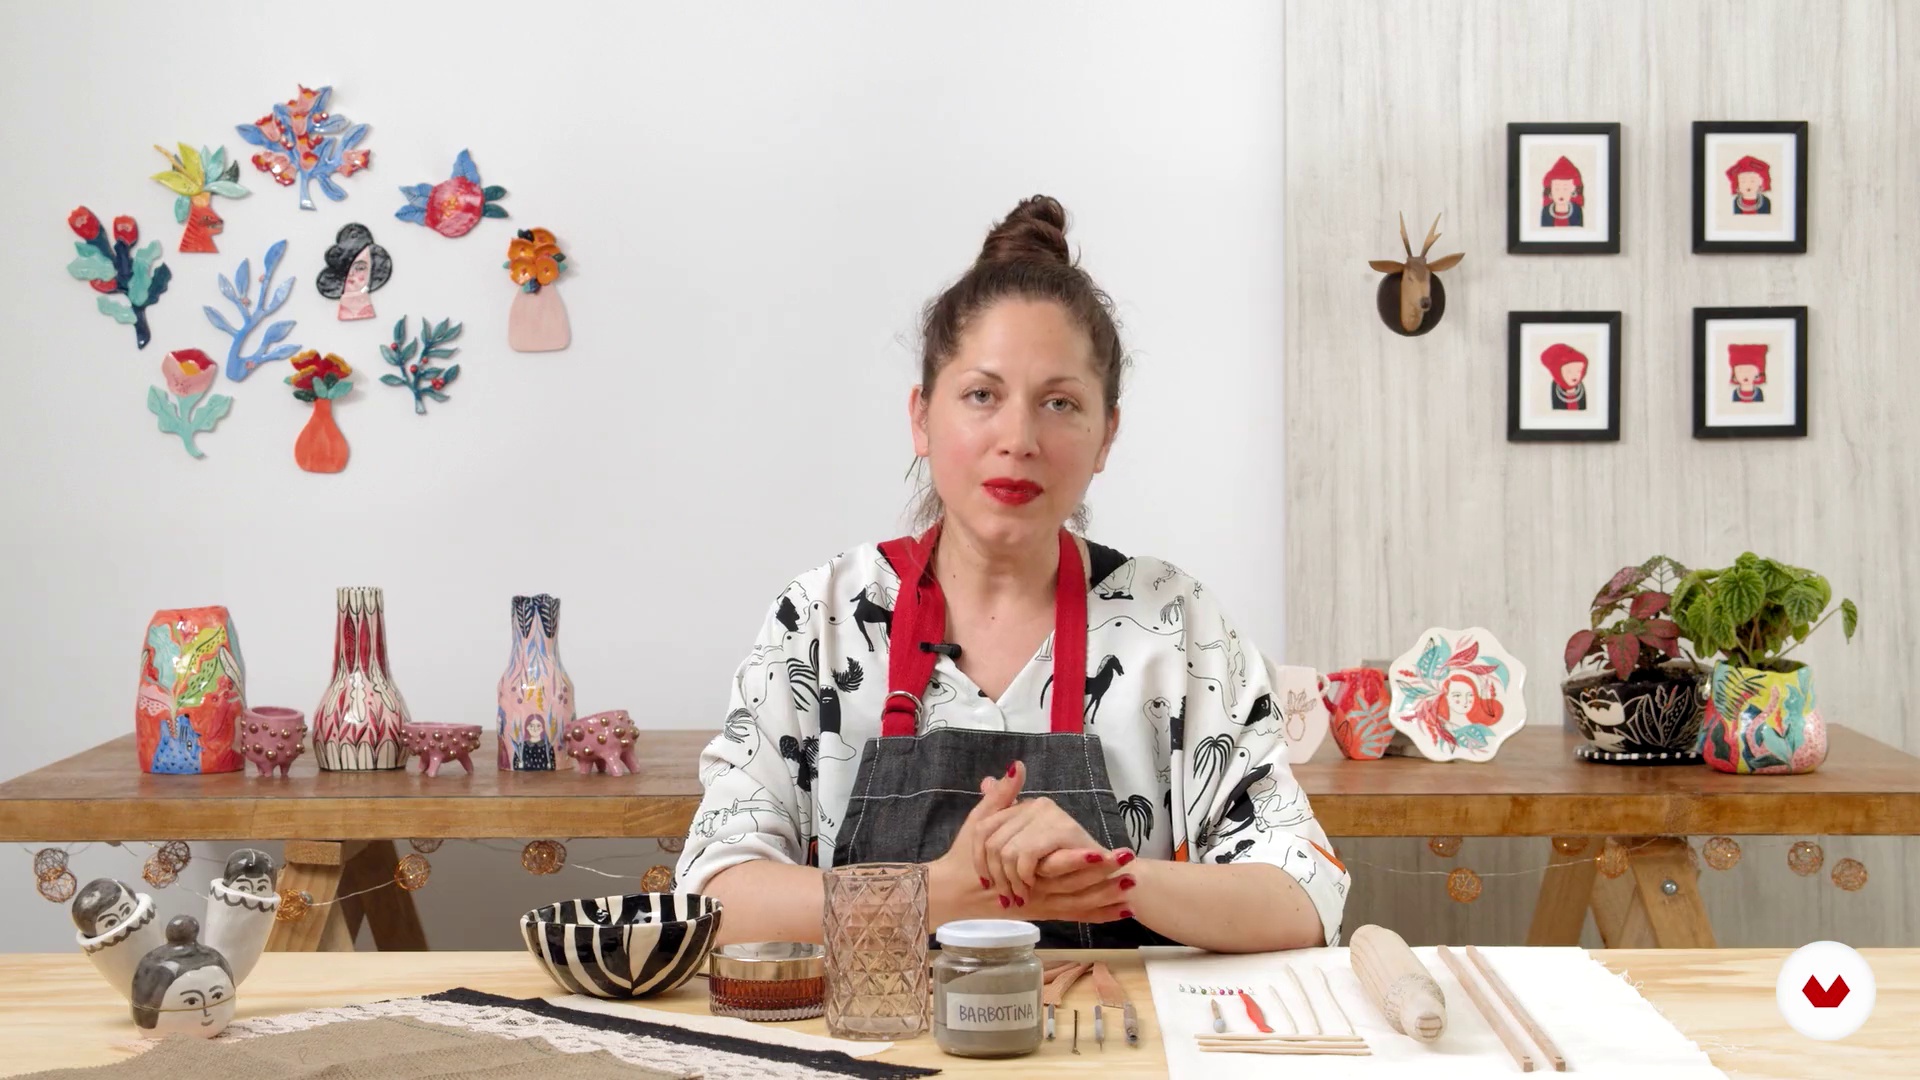
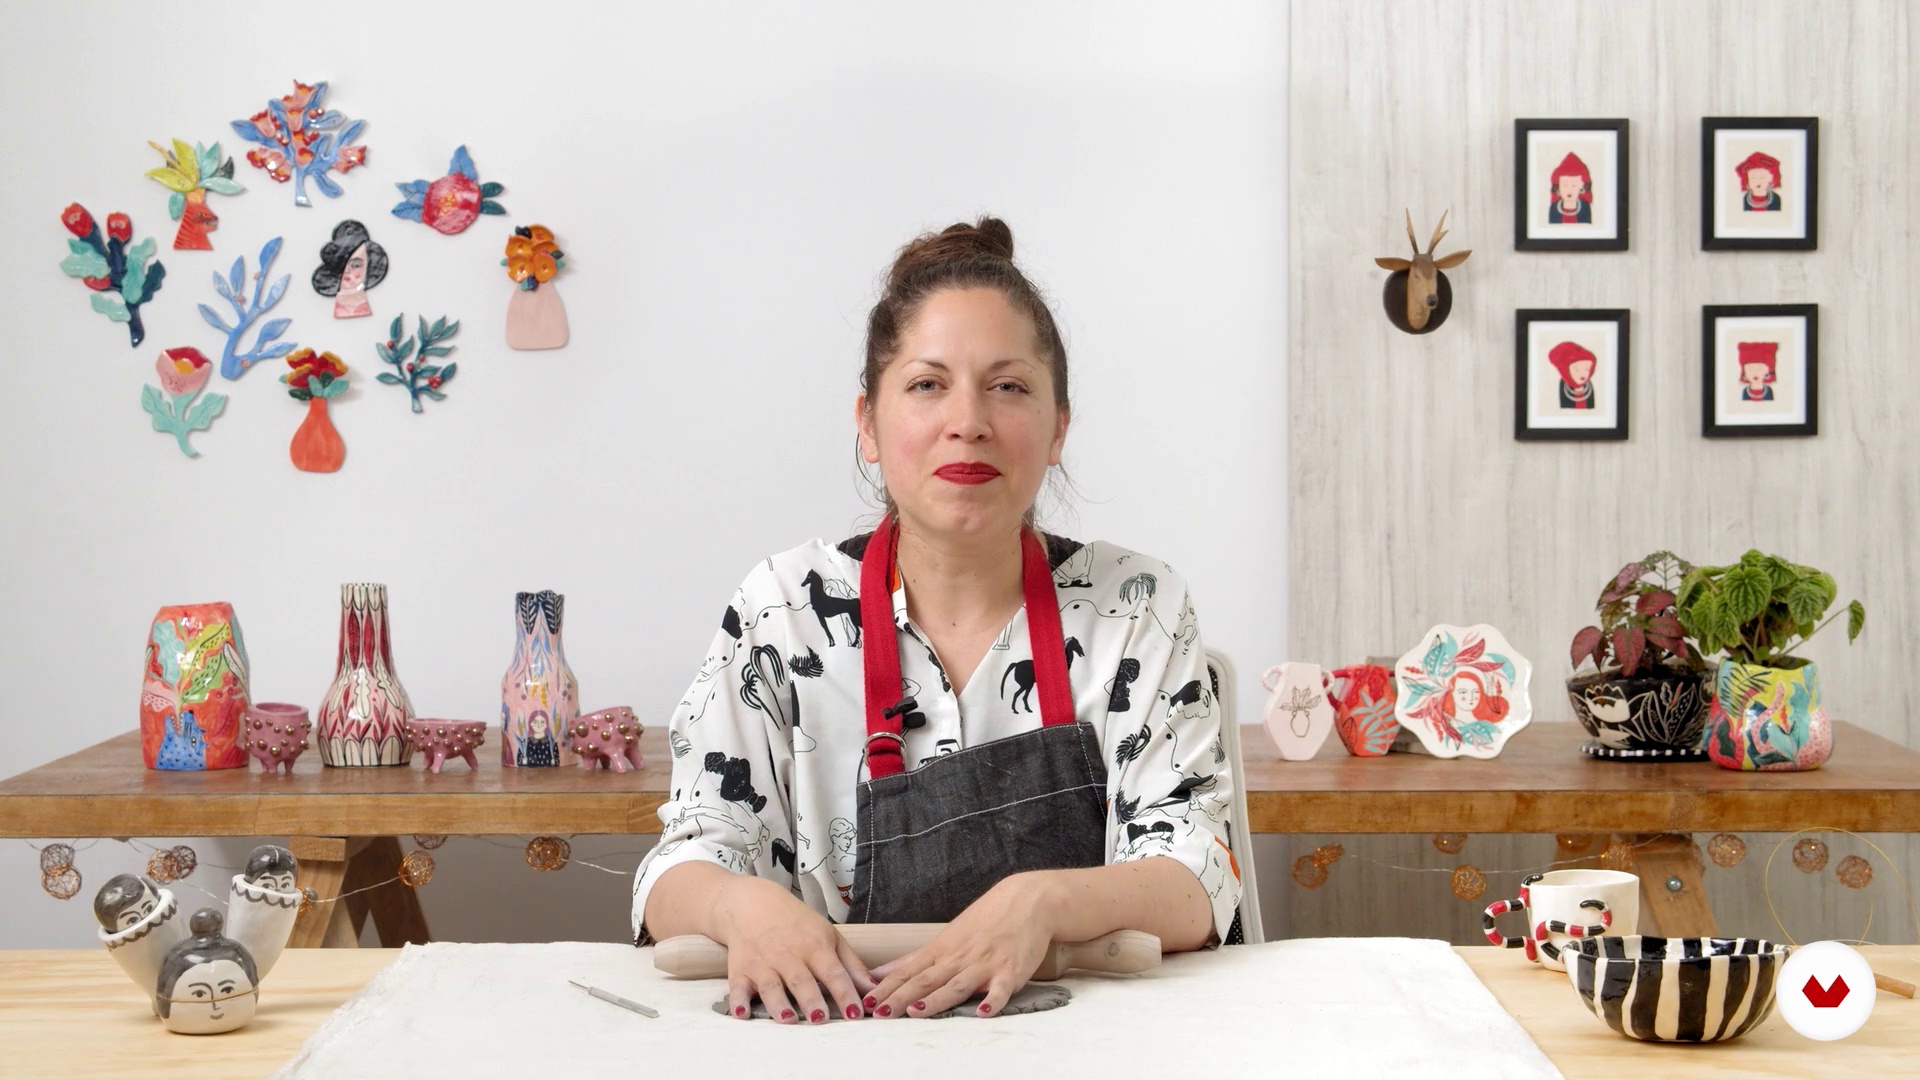
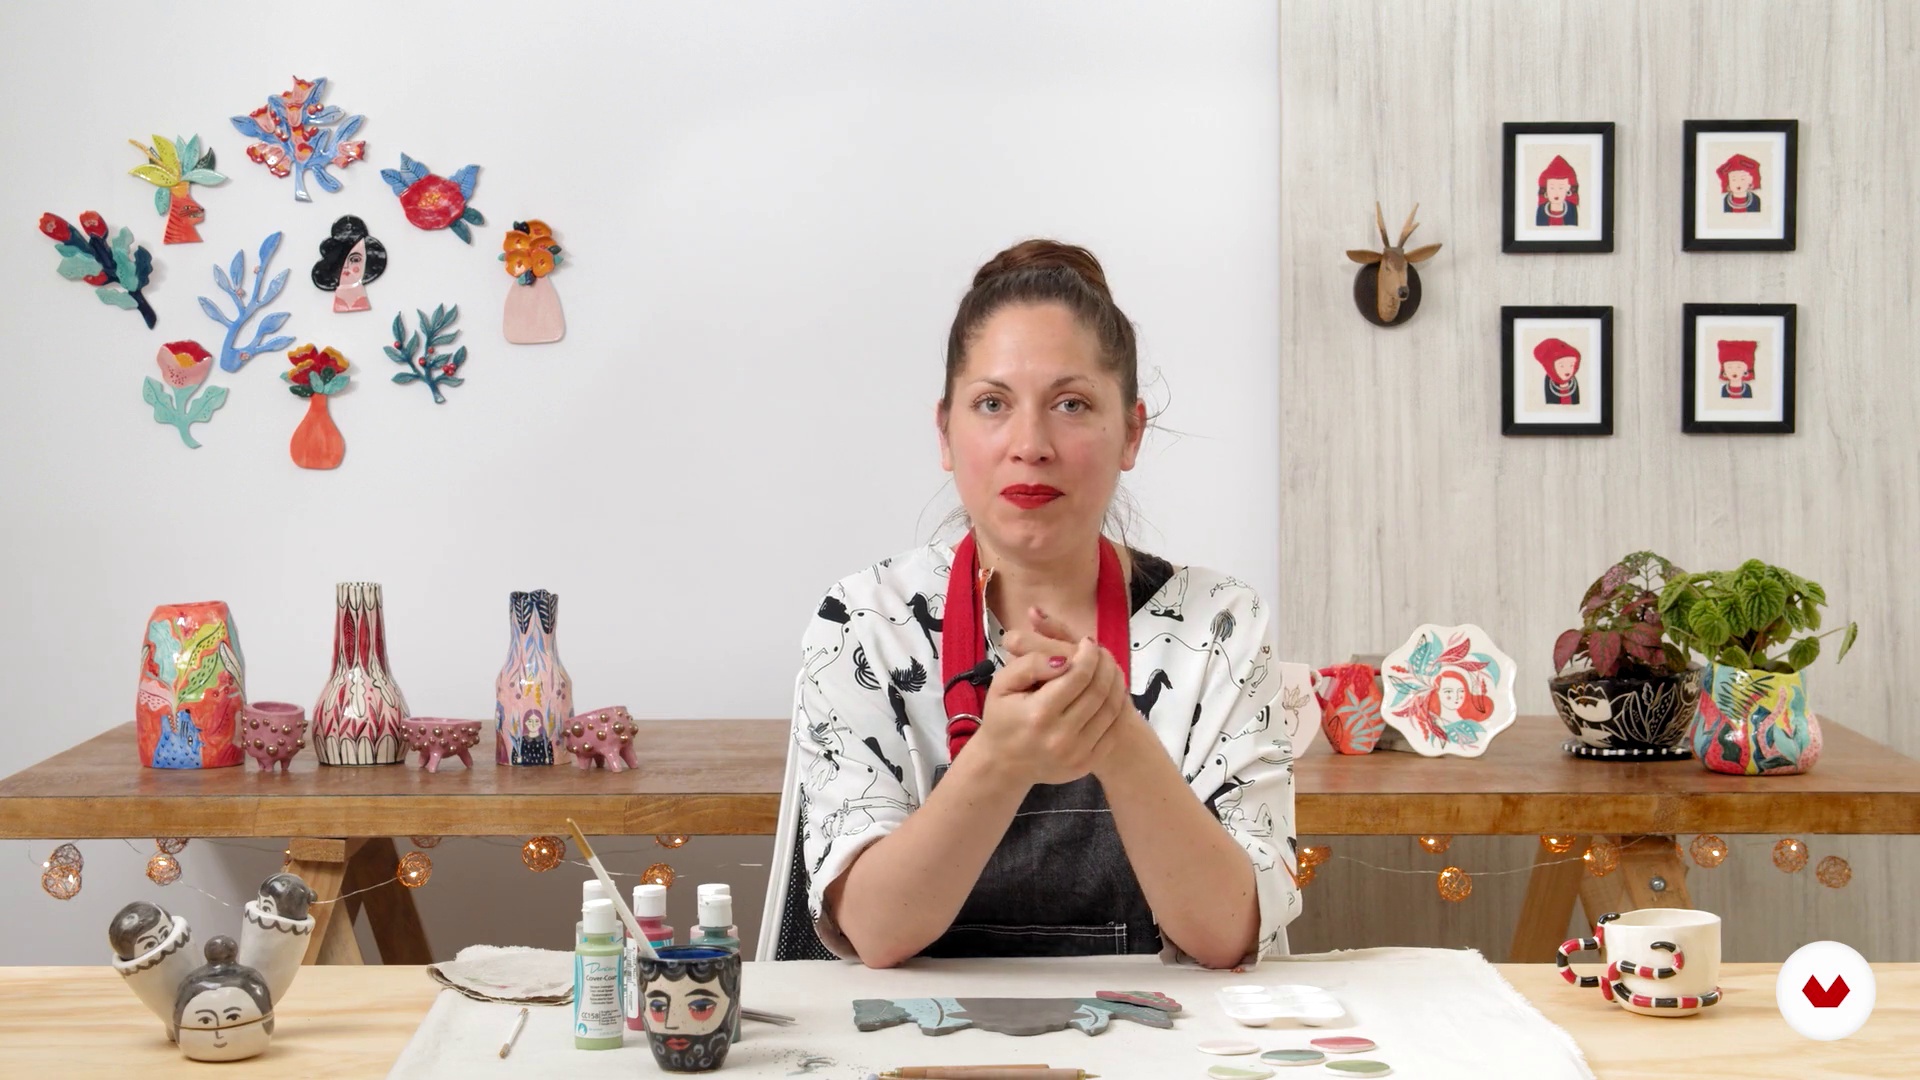
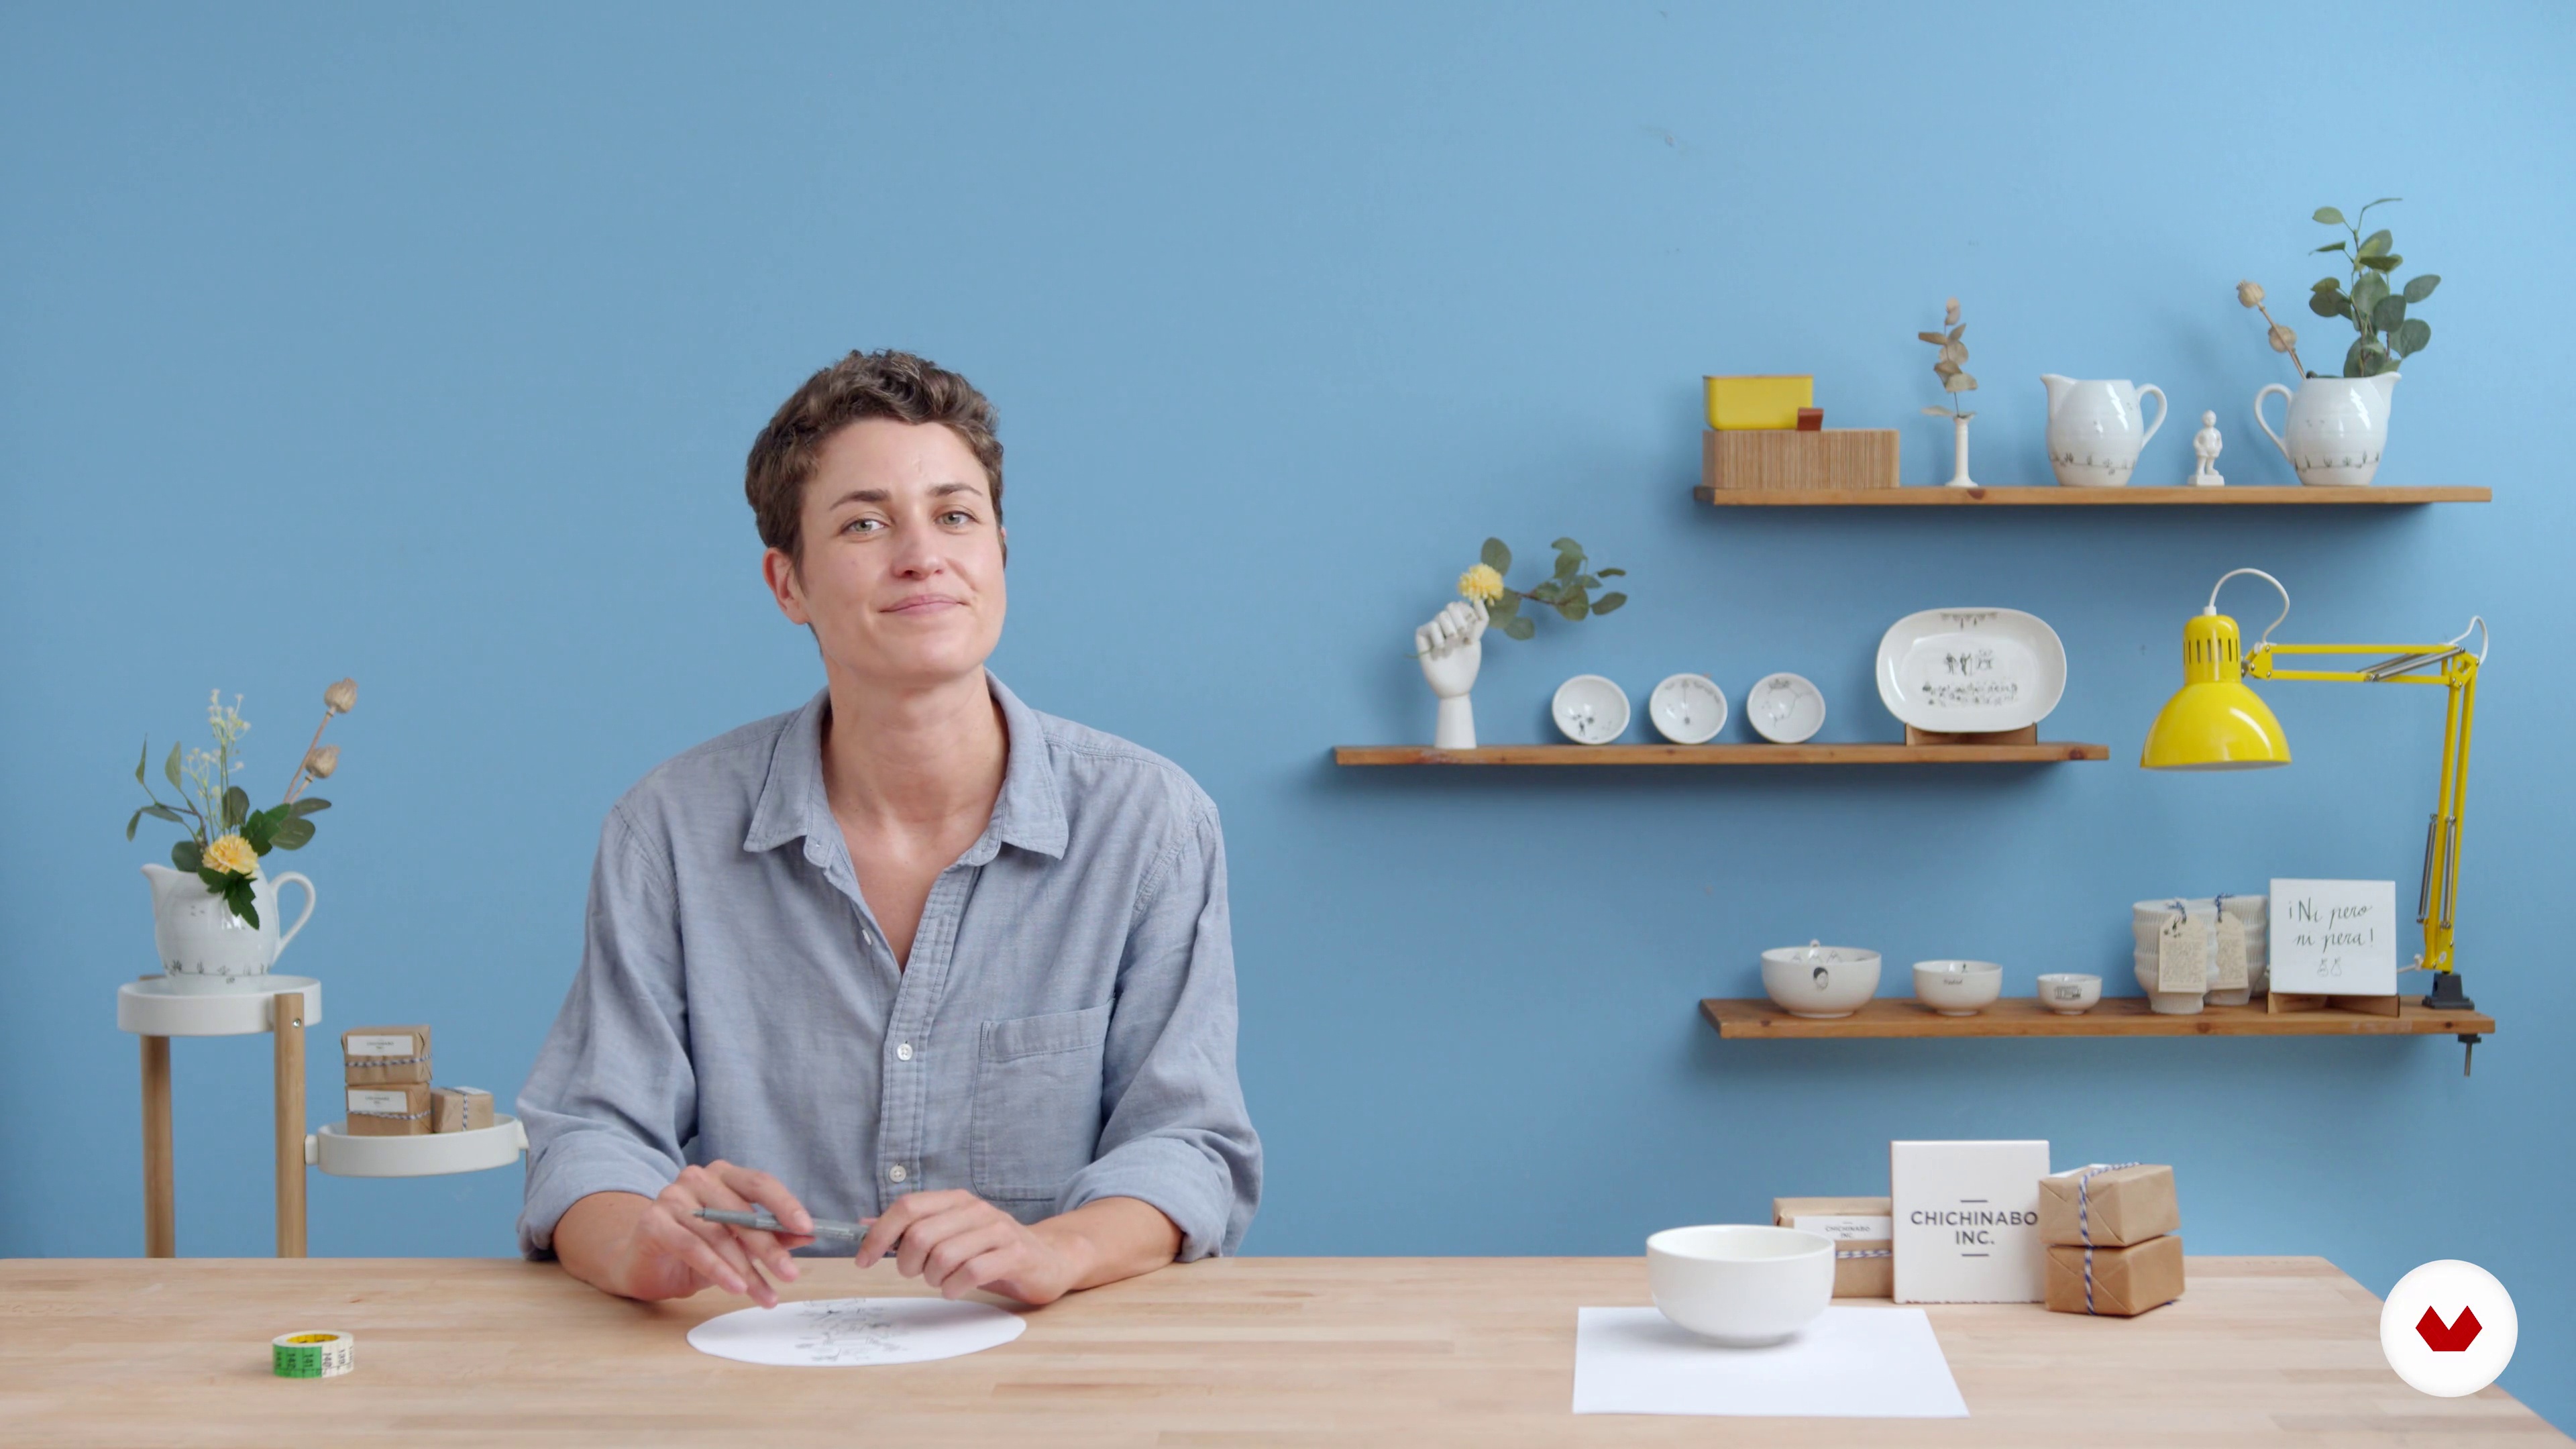
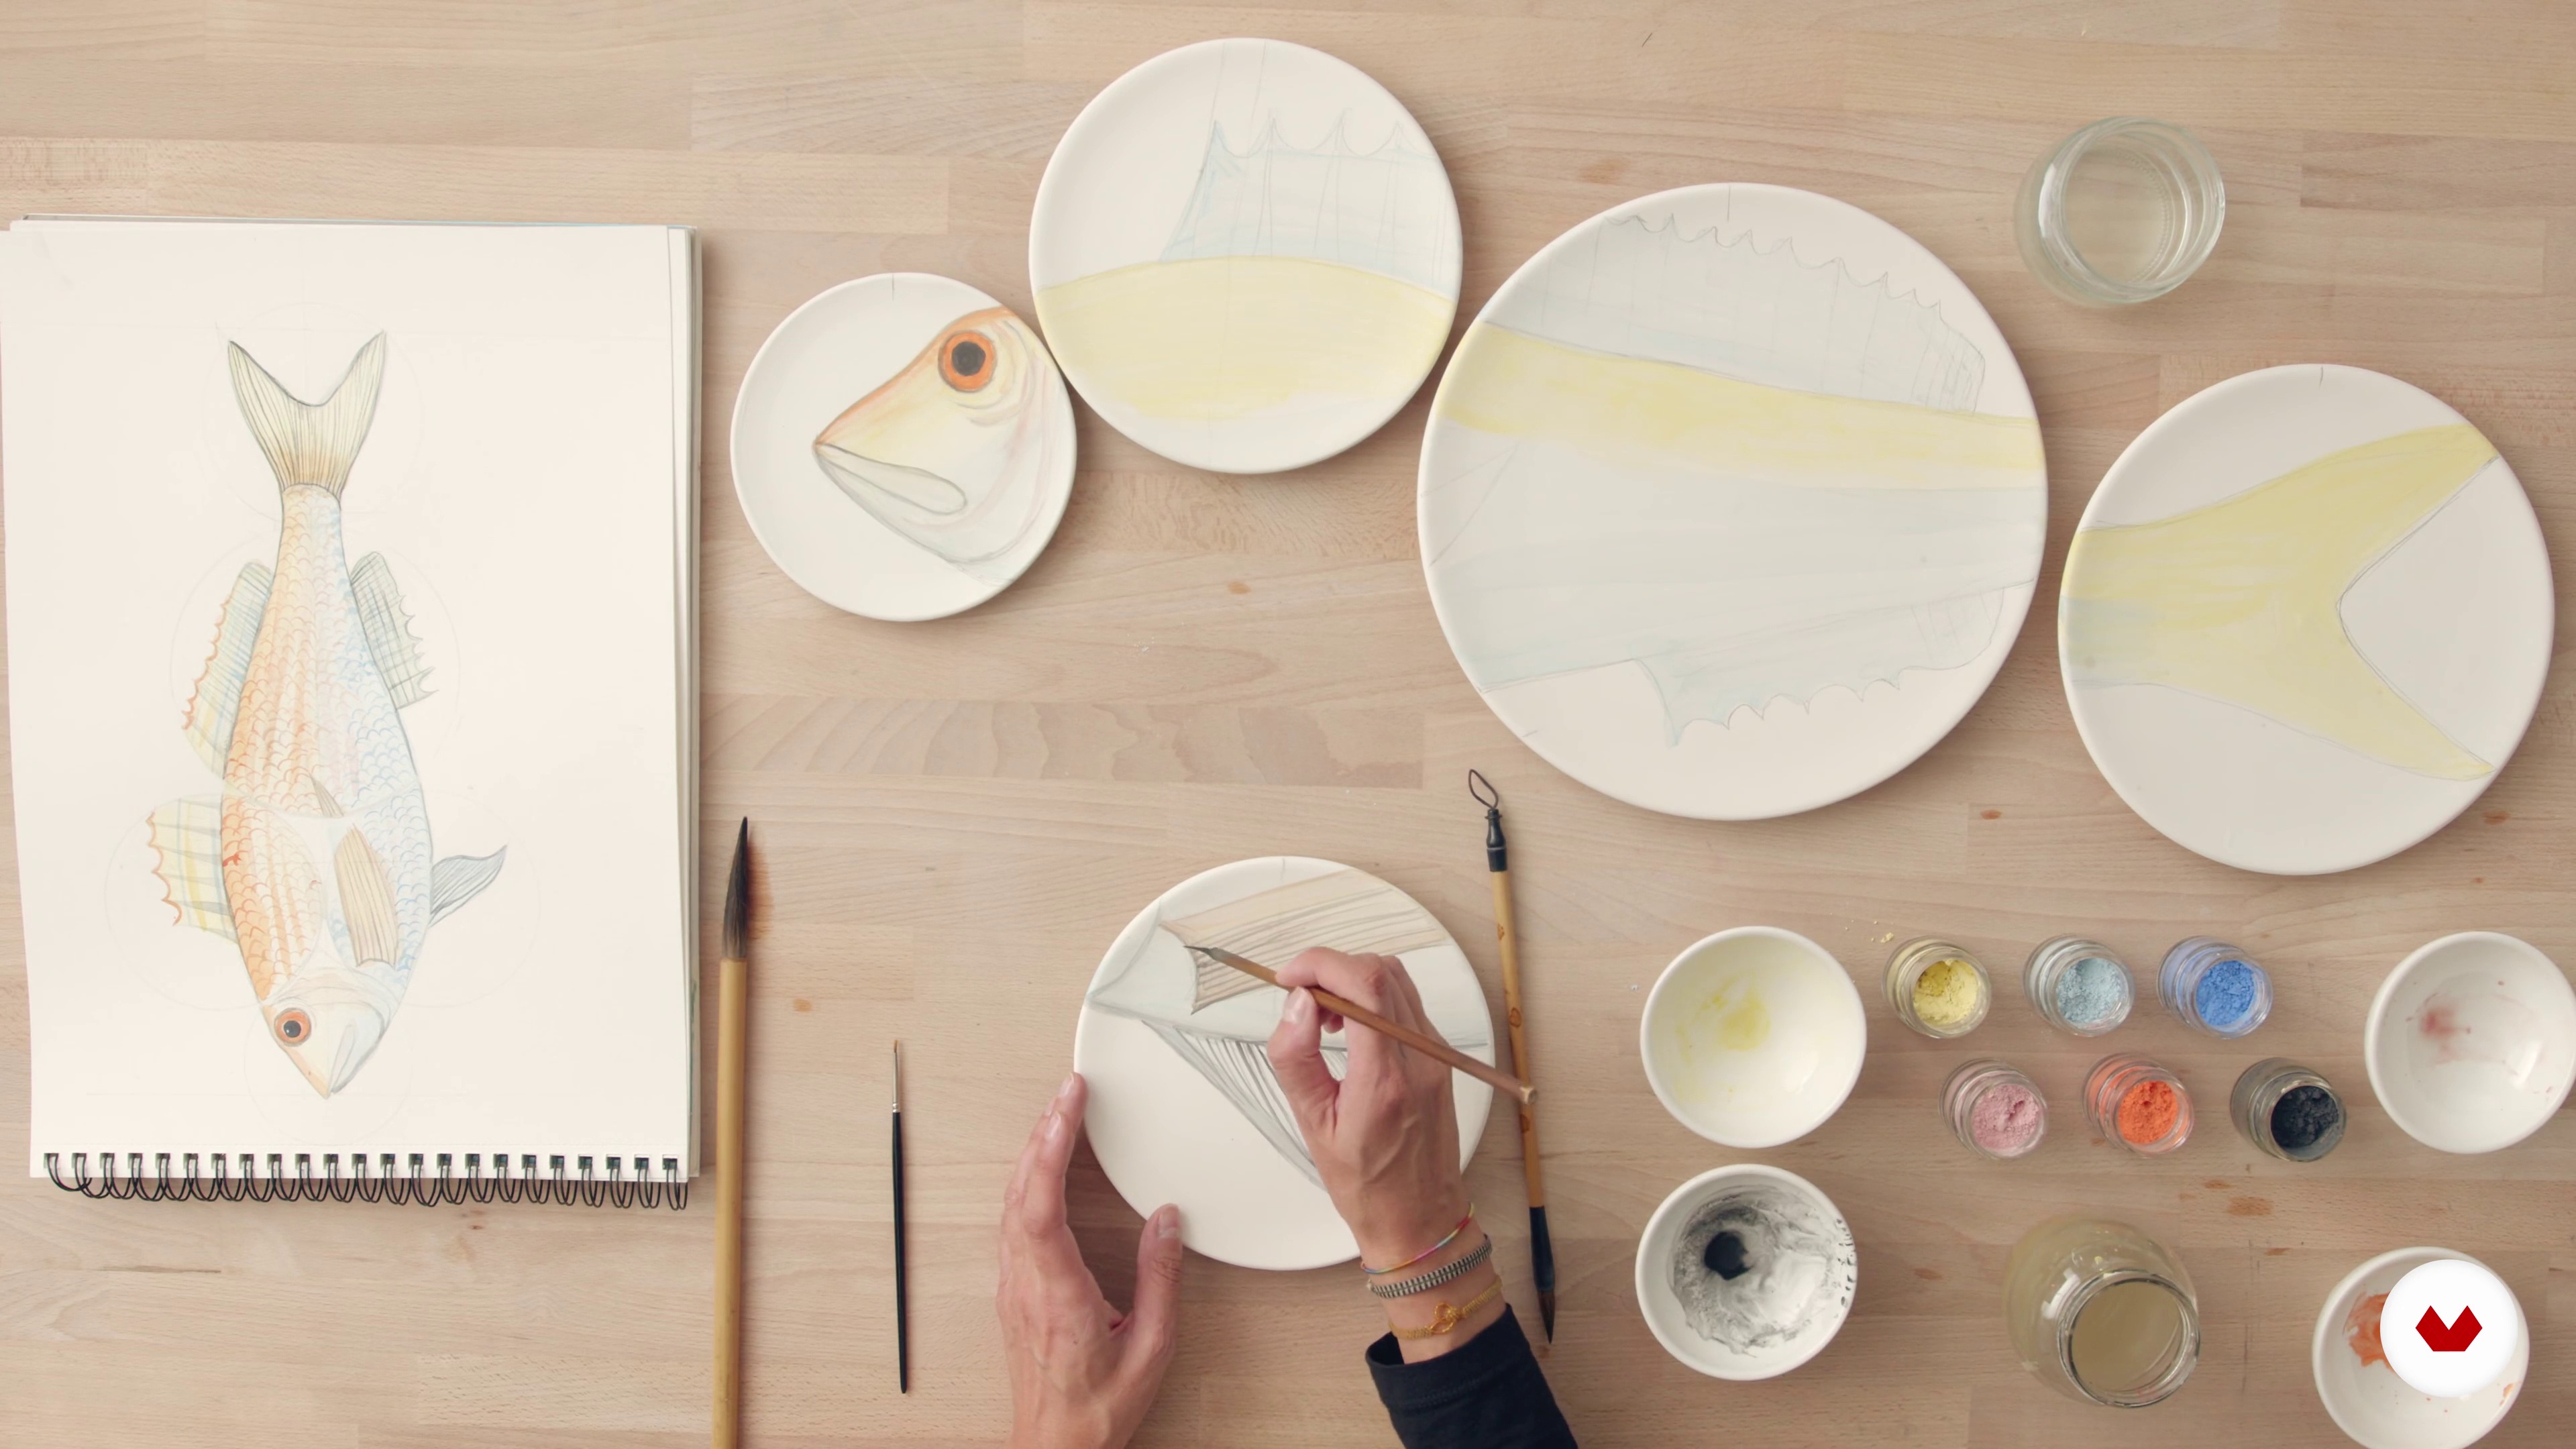
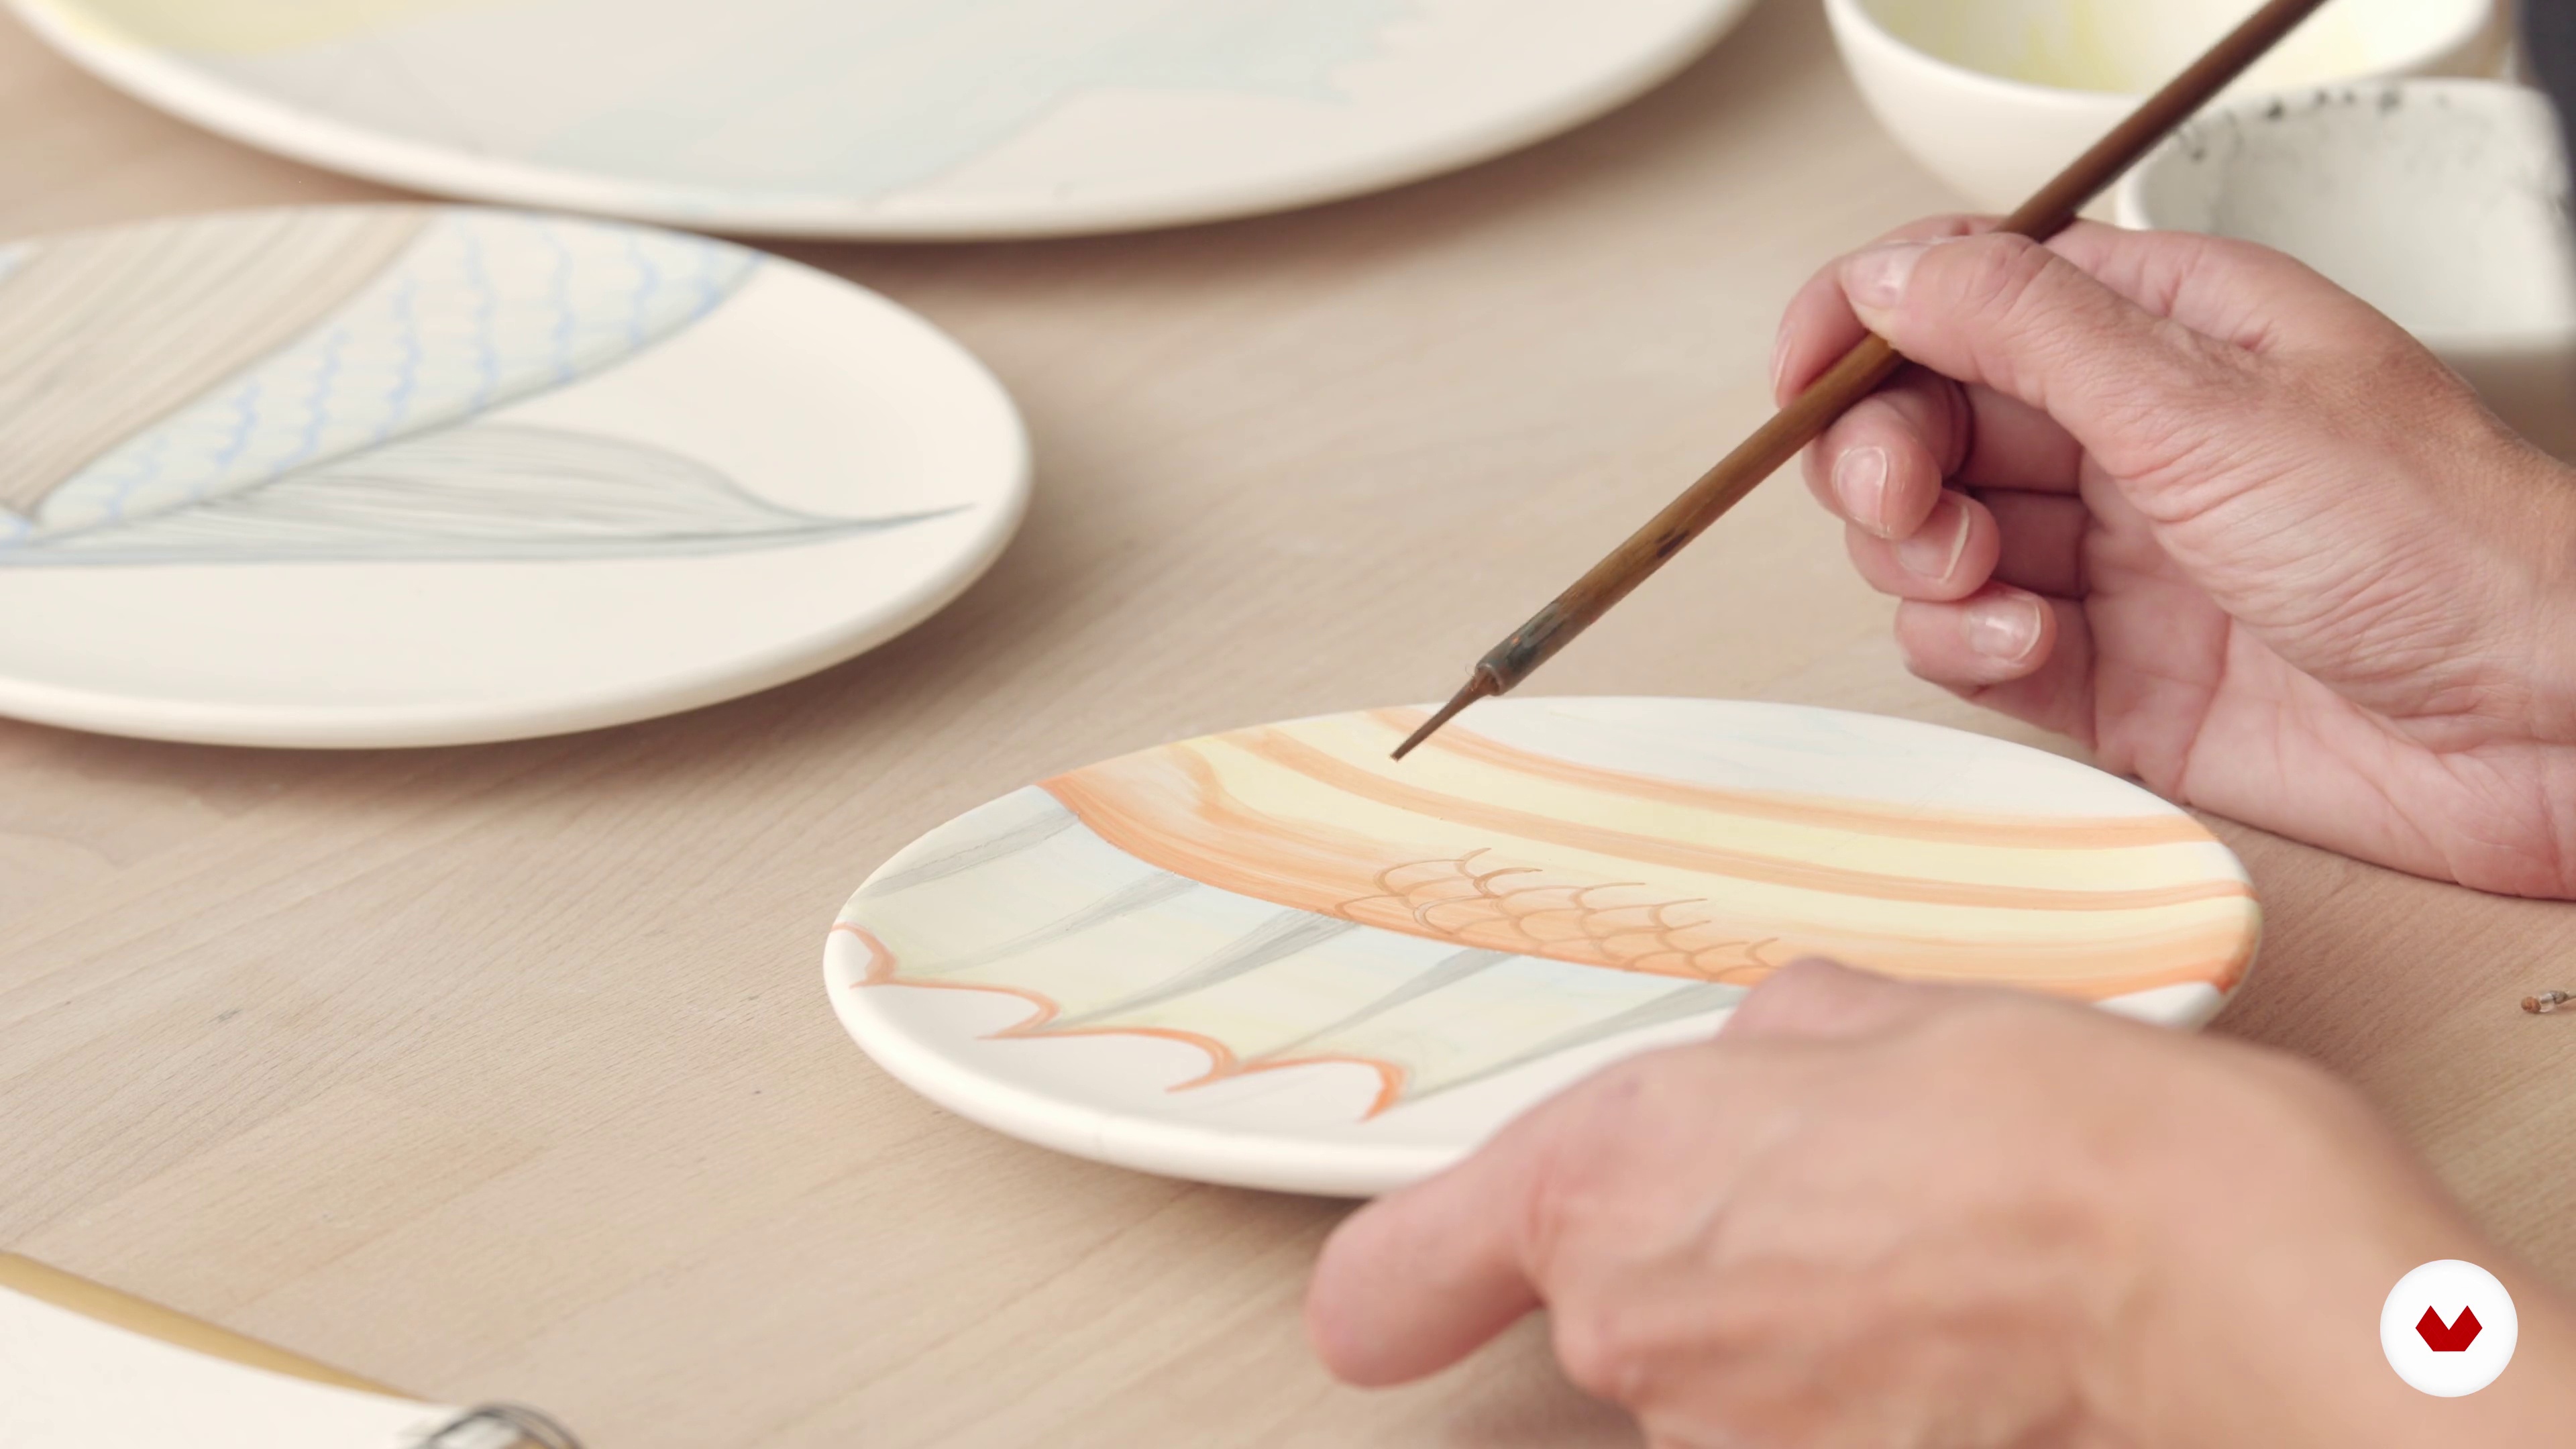
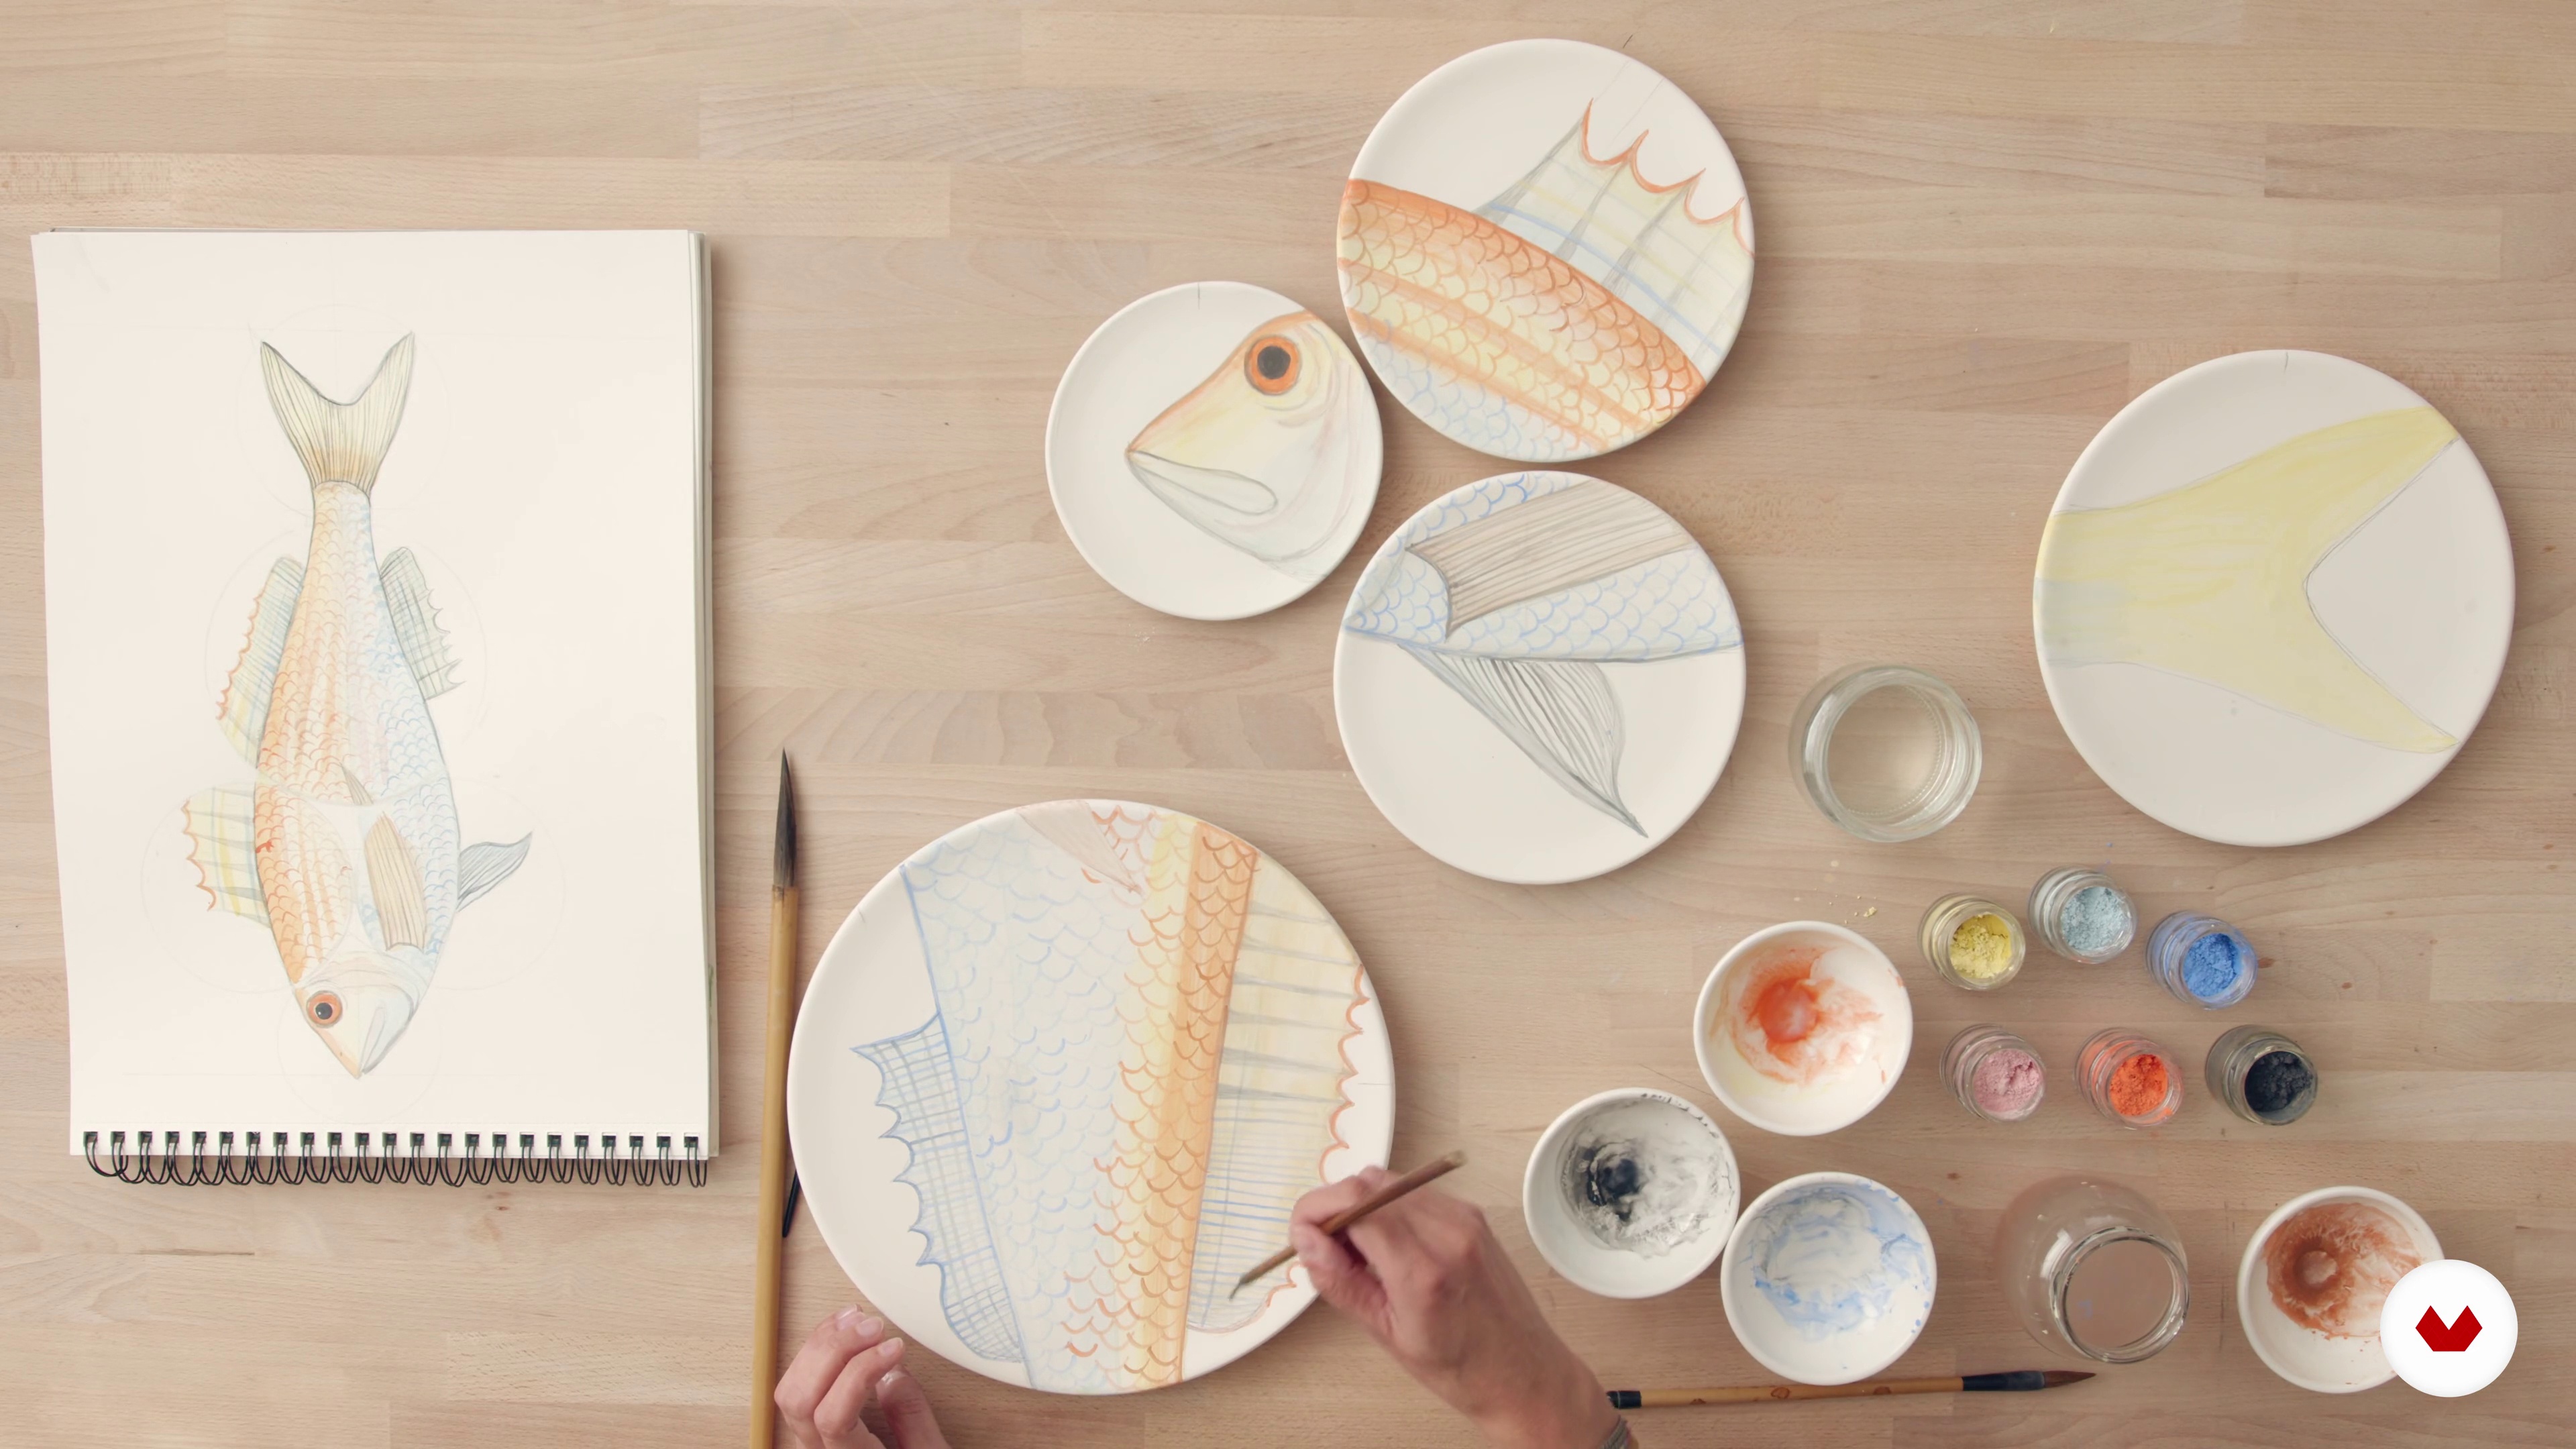
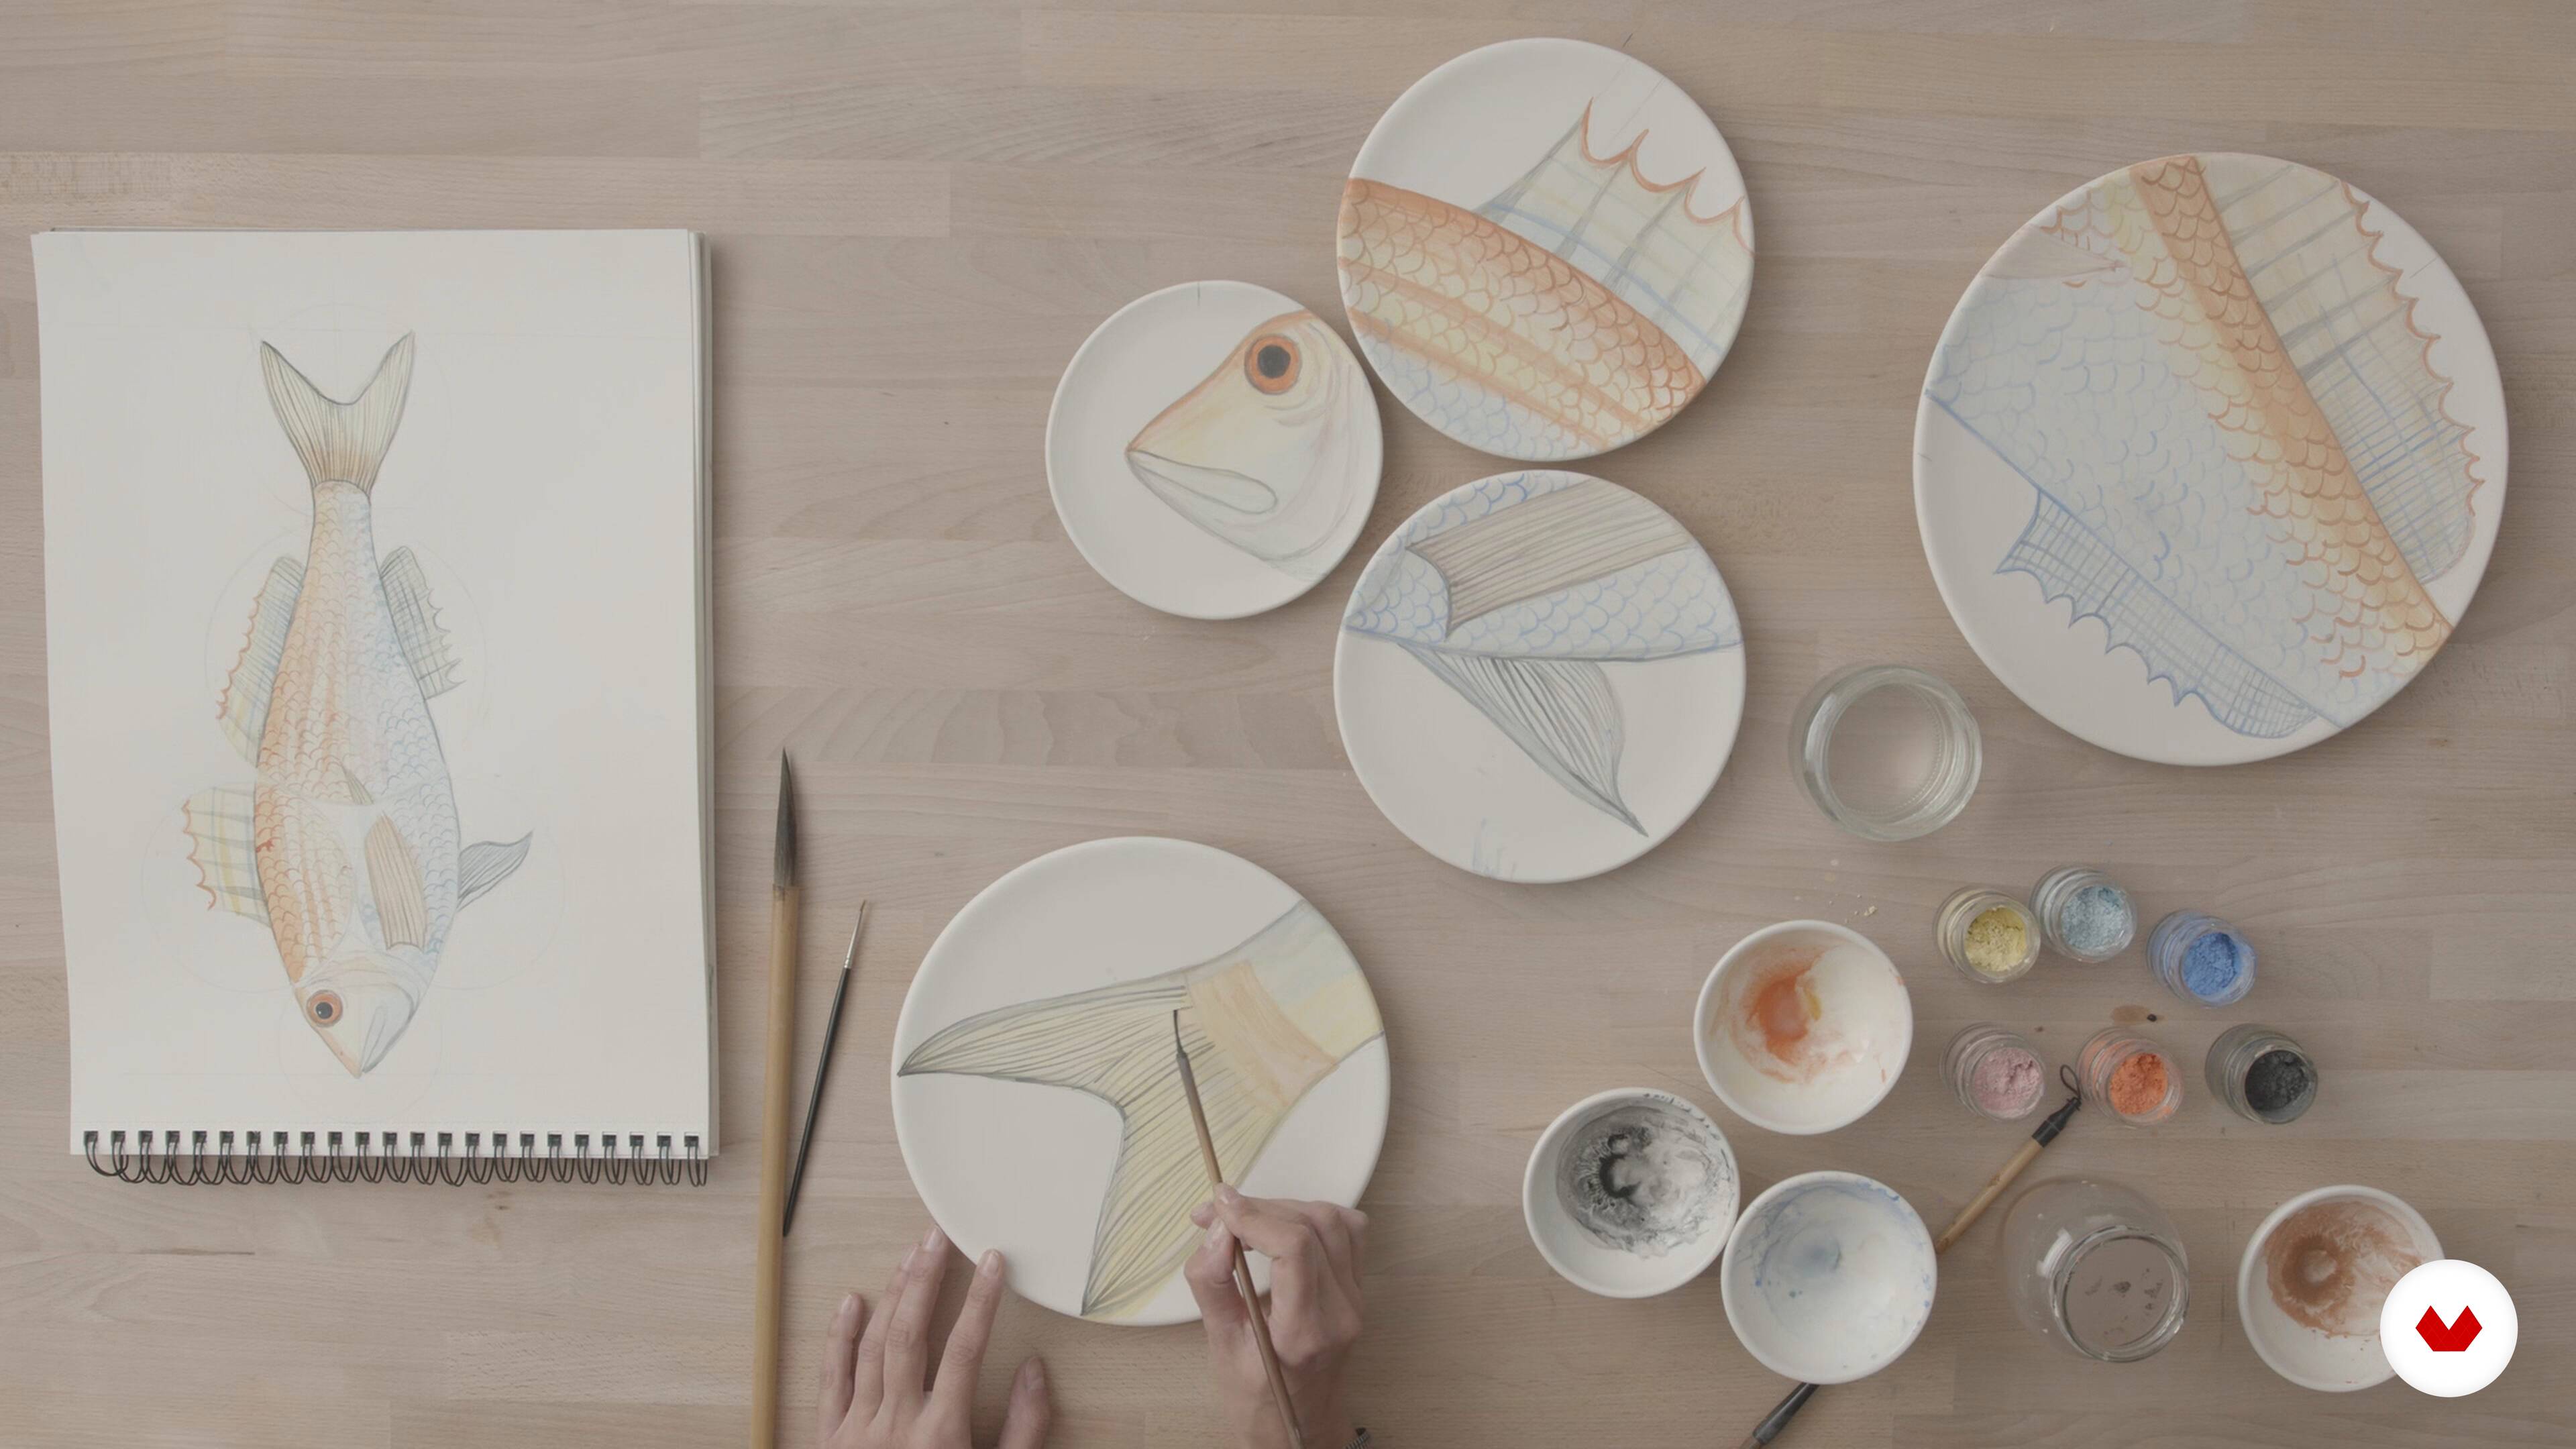
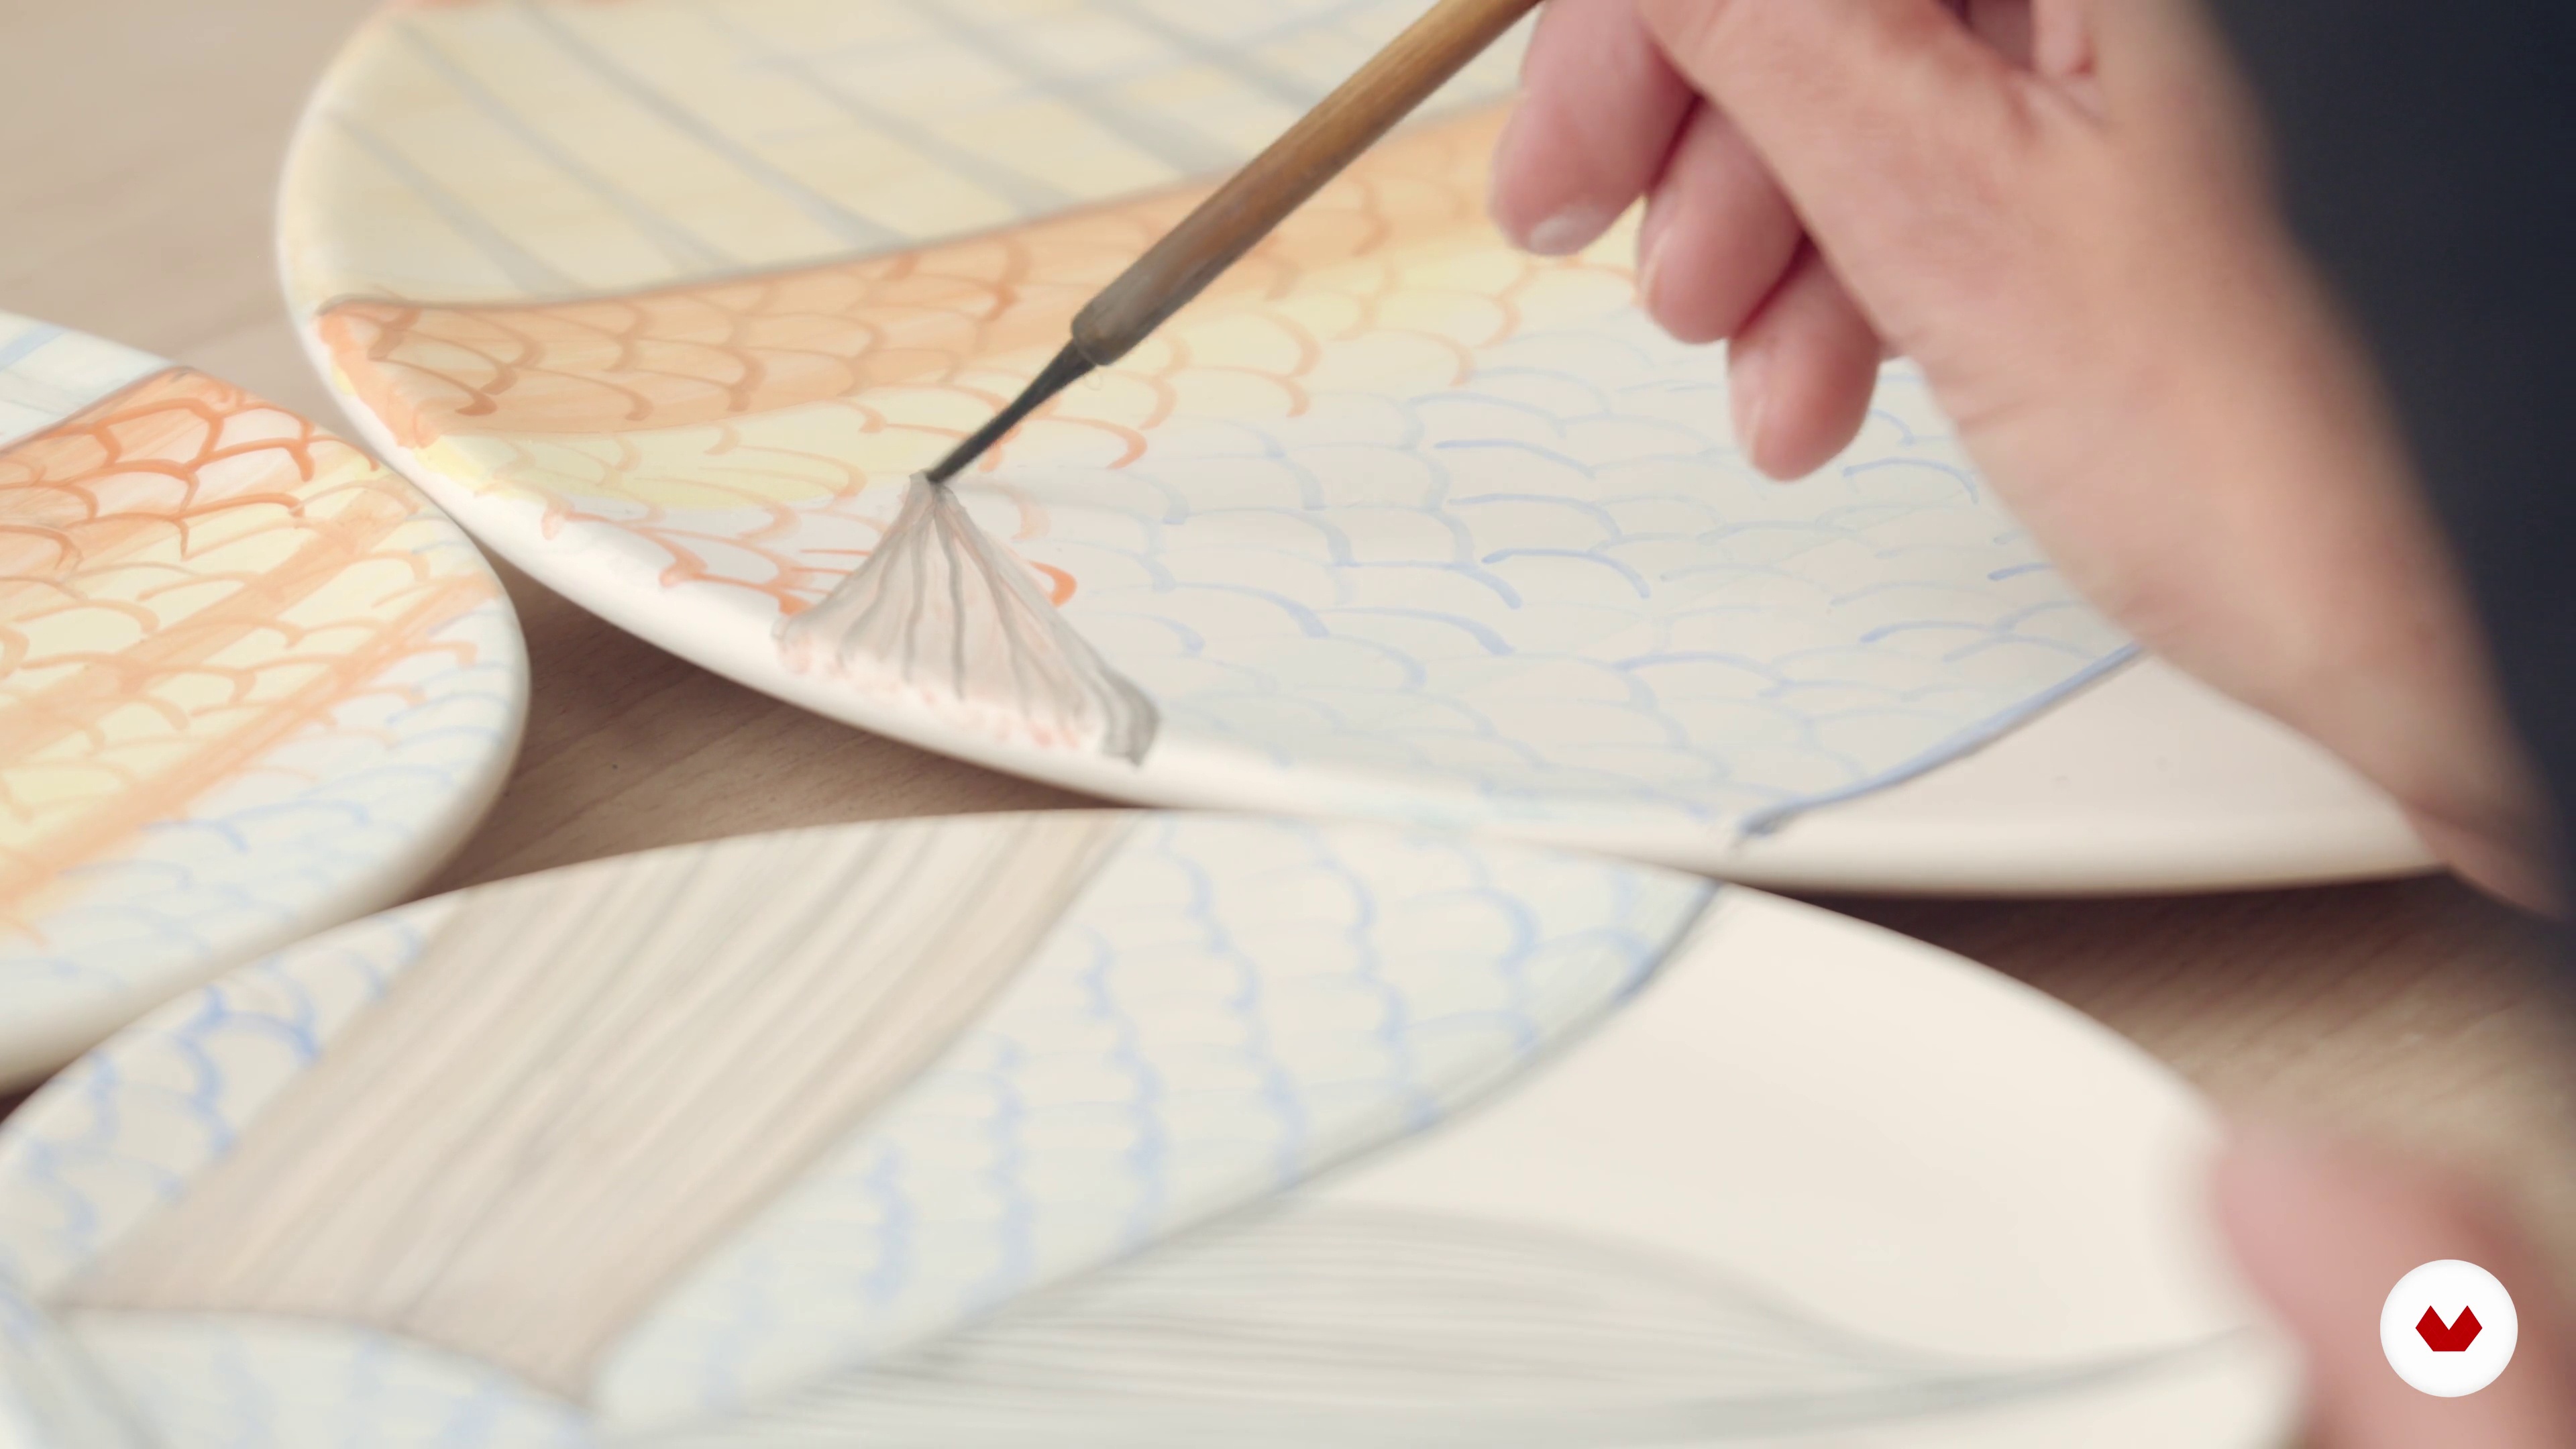
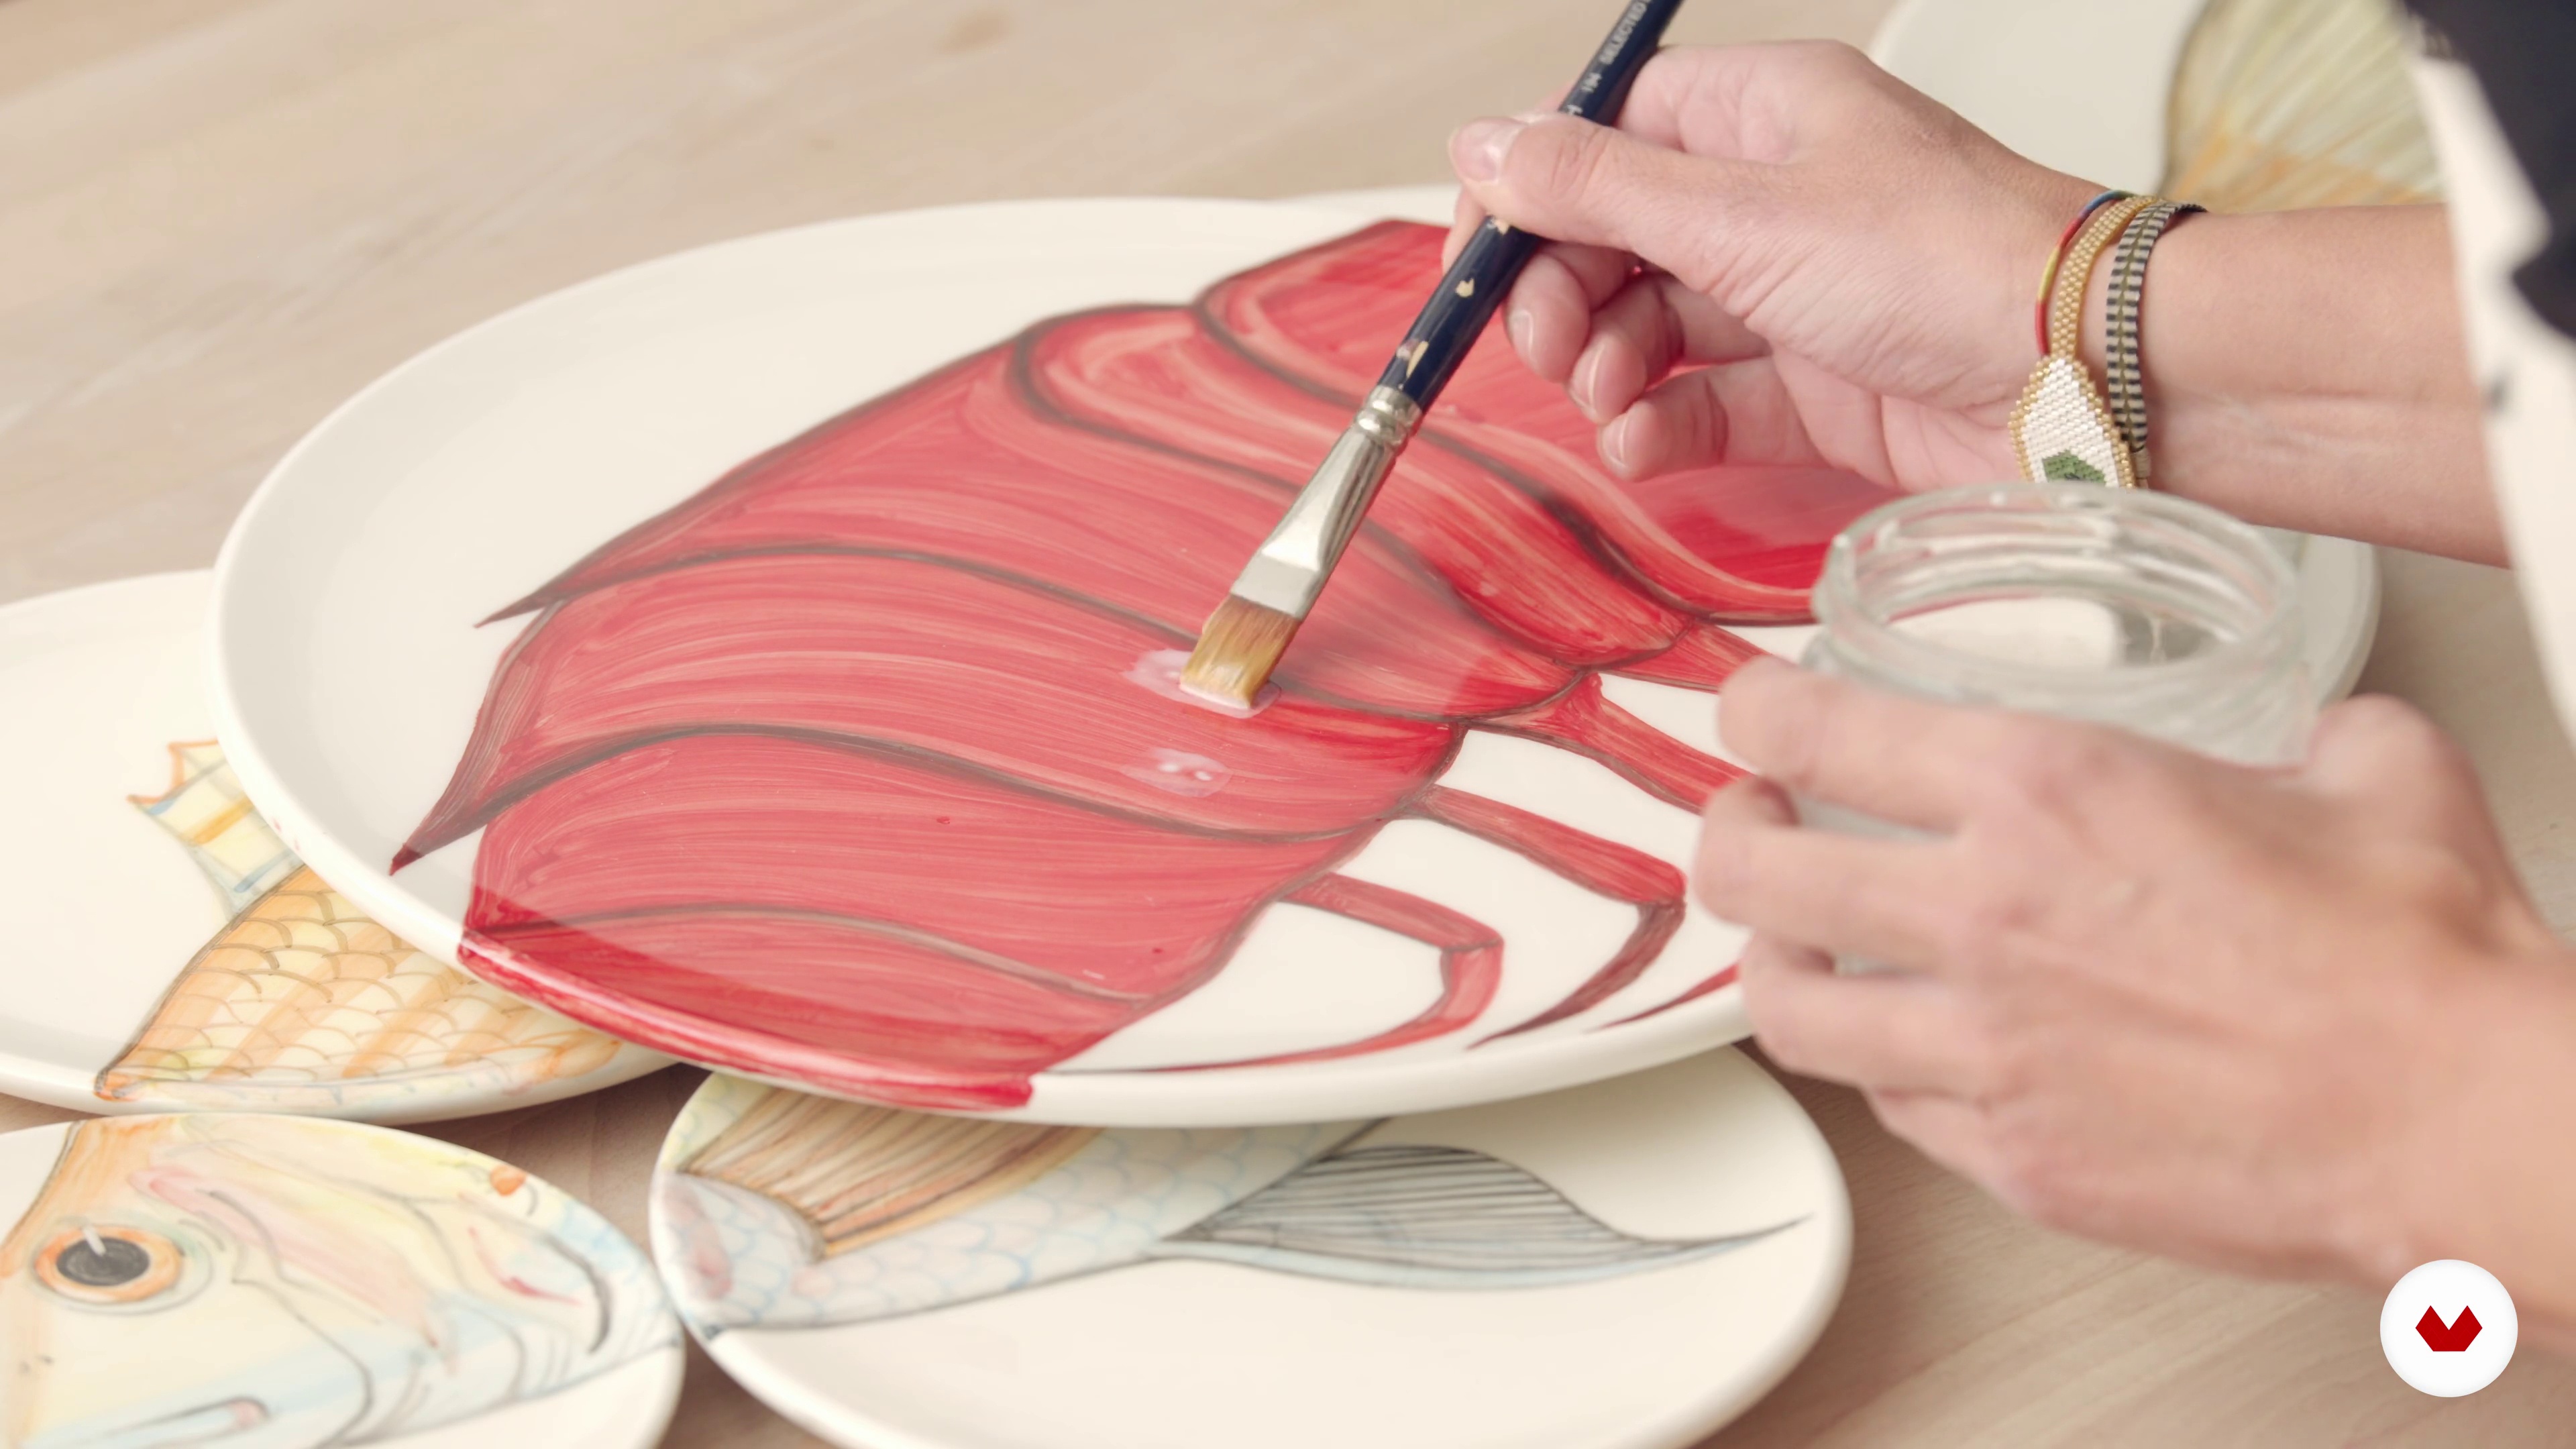
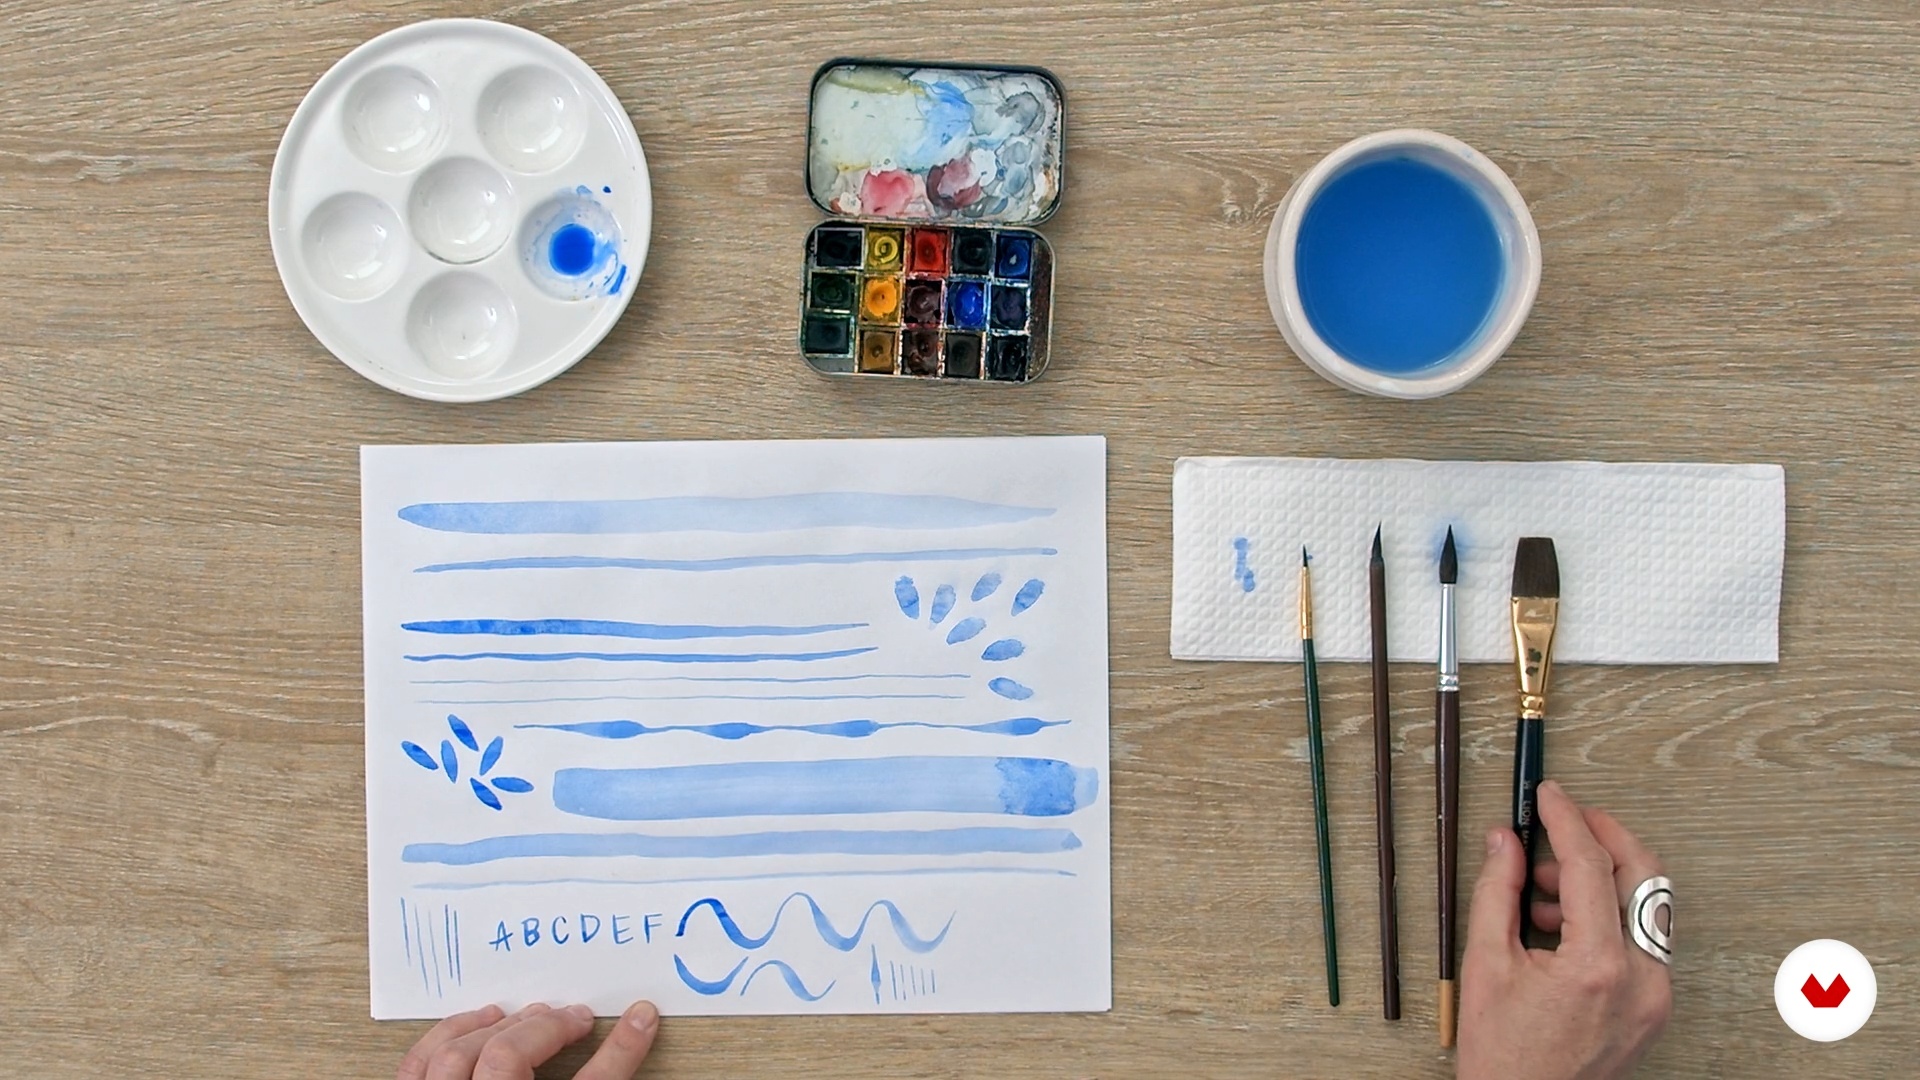
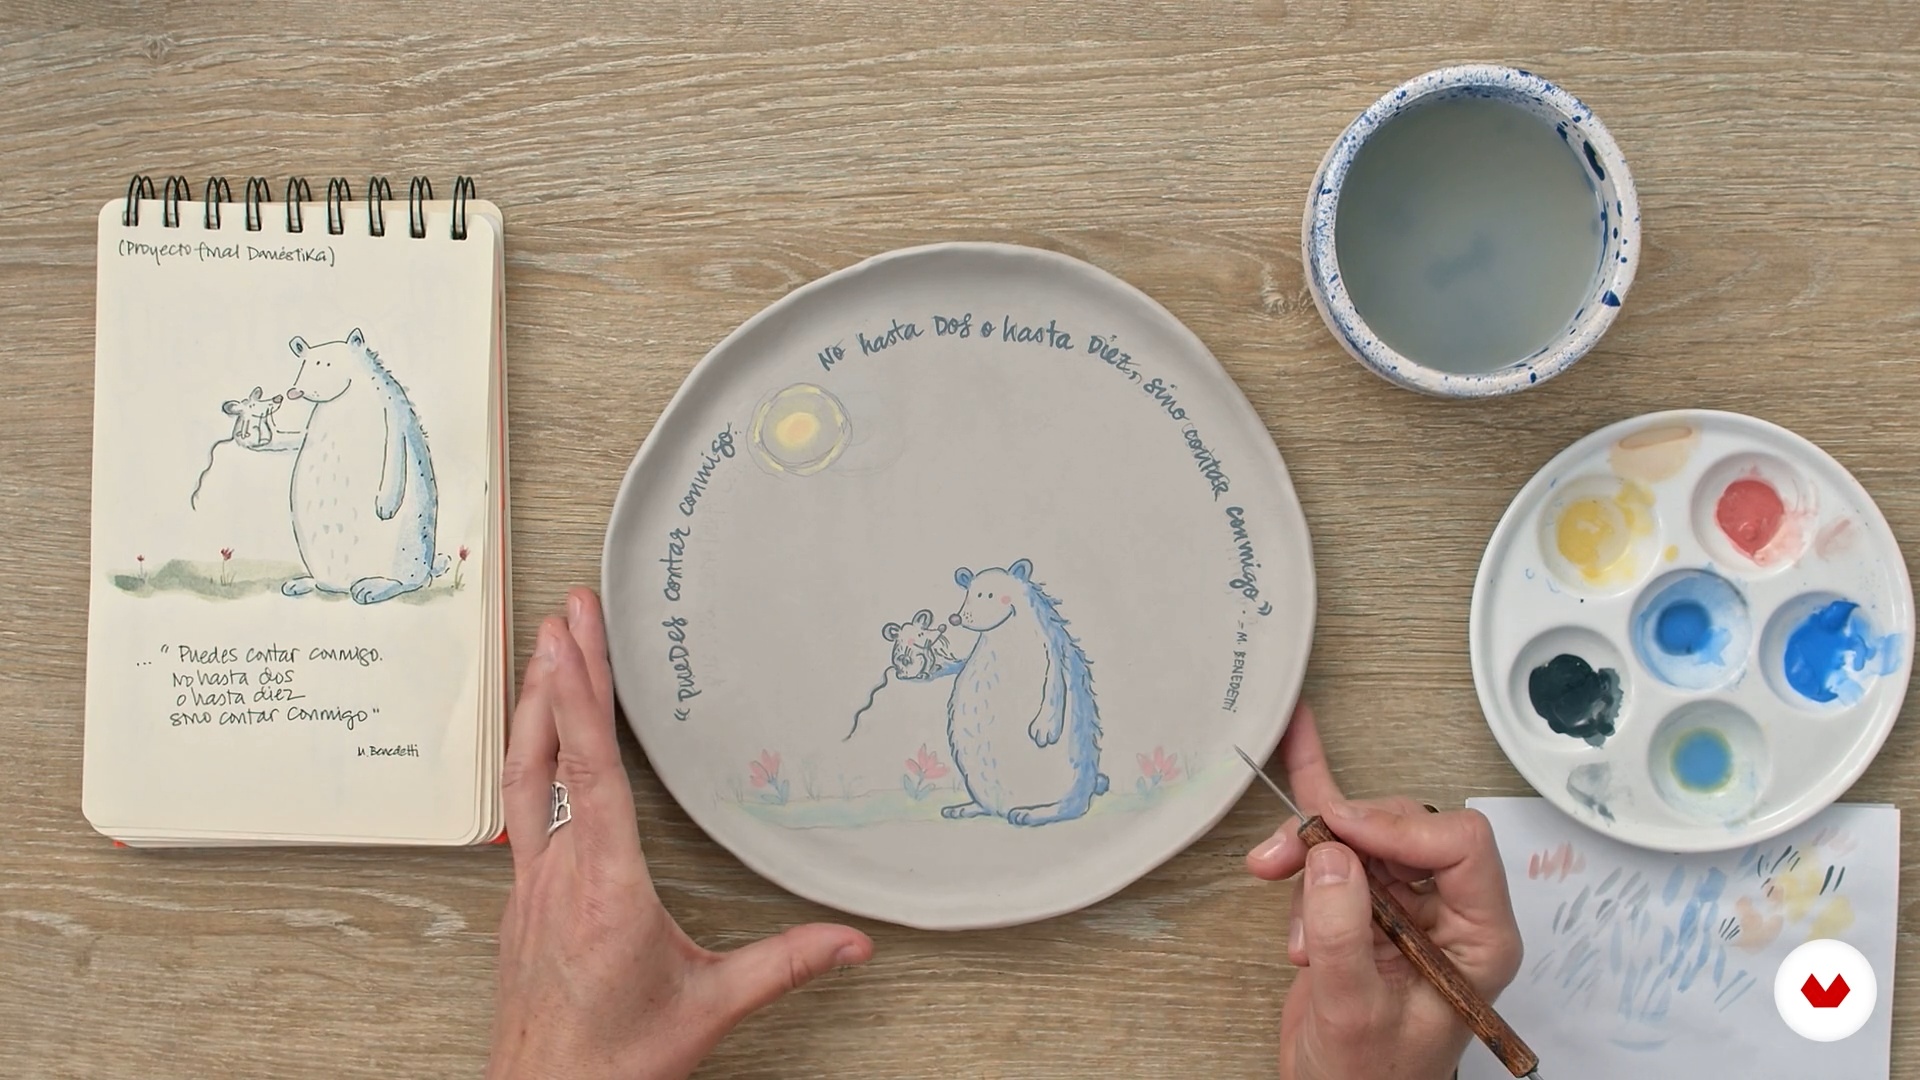
Explore the fascinating world of illustrated and decorative ceramics through a specialization program that brings together five leading ceramists: Paula Casella Biase, Pepa Espinoza, Patricia Lázaro, Nuria Blanco, and Claudia María Gutiérrez. Learn techniques that transform clay into unique pieces, such as basic glazing, volumetric illustration, digital decal application, hand-painting, and watercolor modeling. Each module guides you through the personalization of everyday objects, transforming them into authentic works of art.
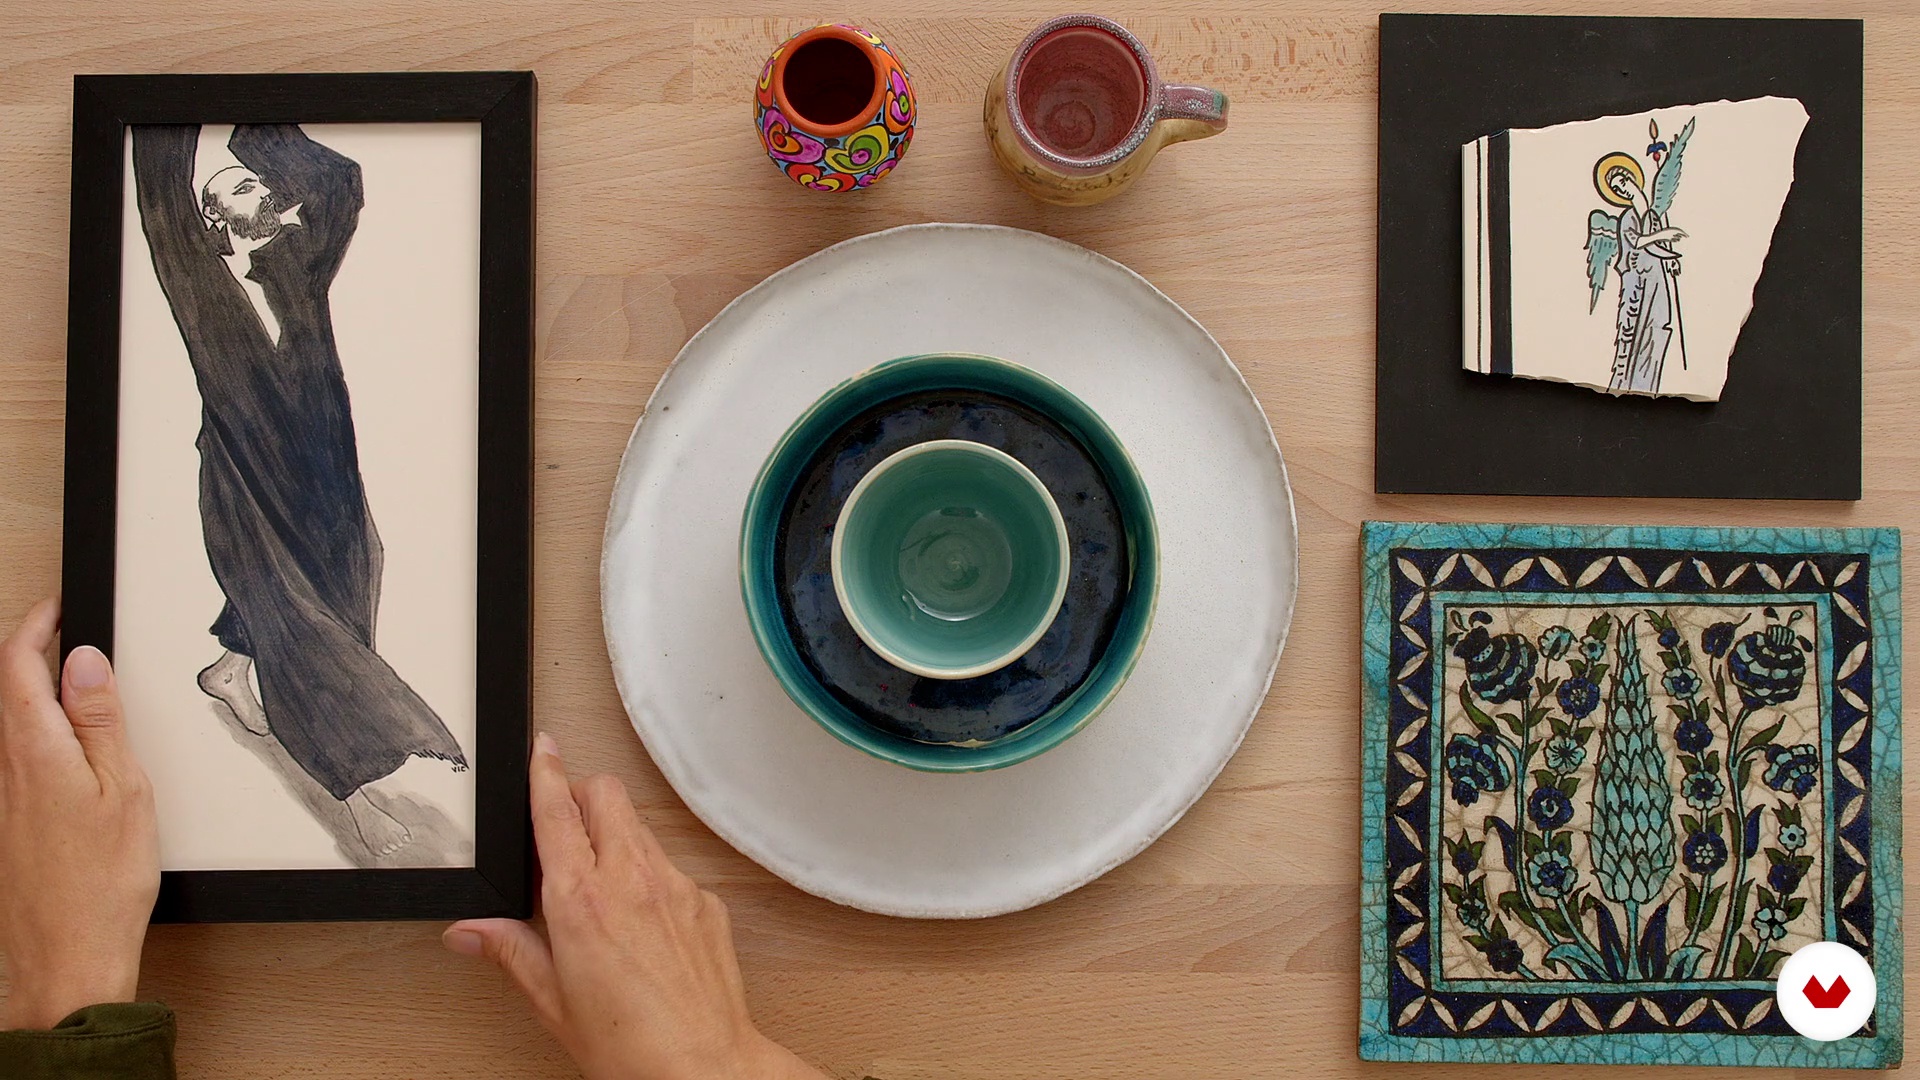
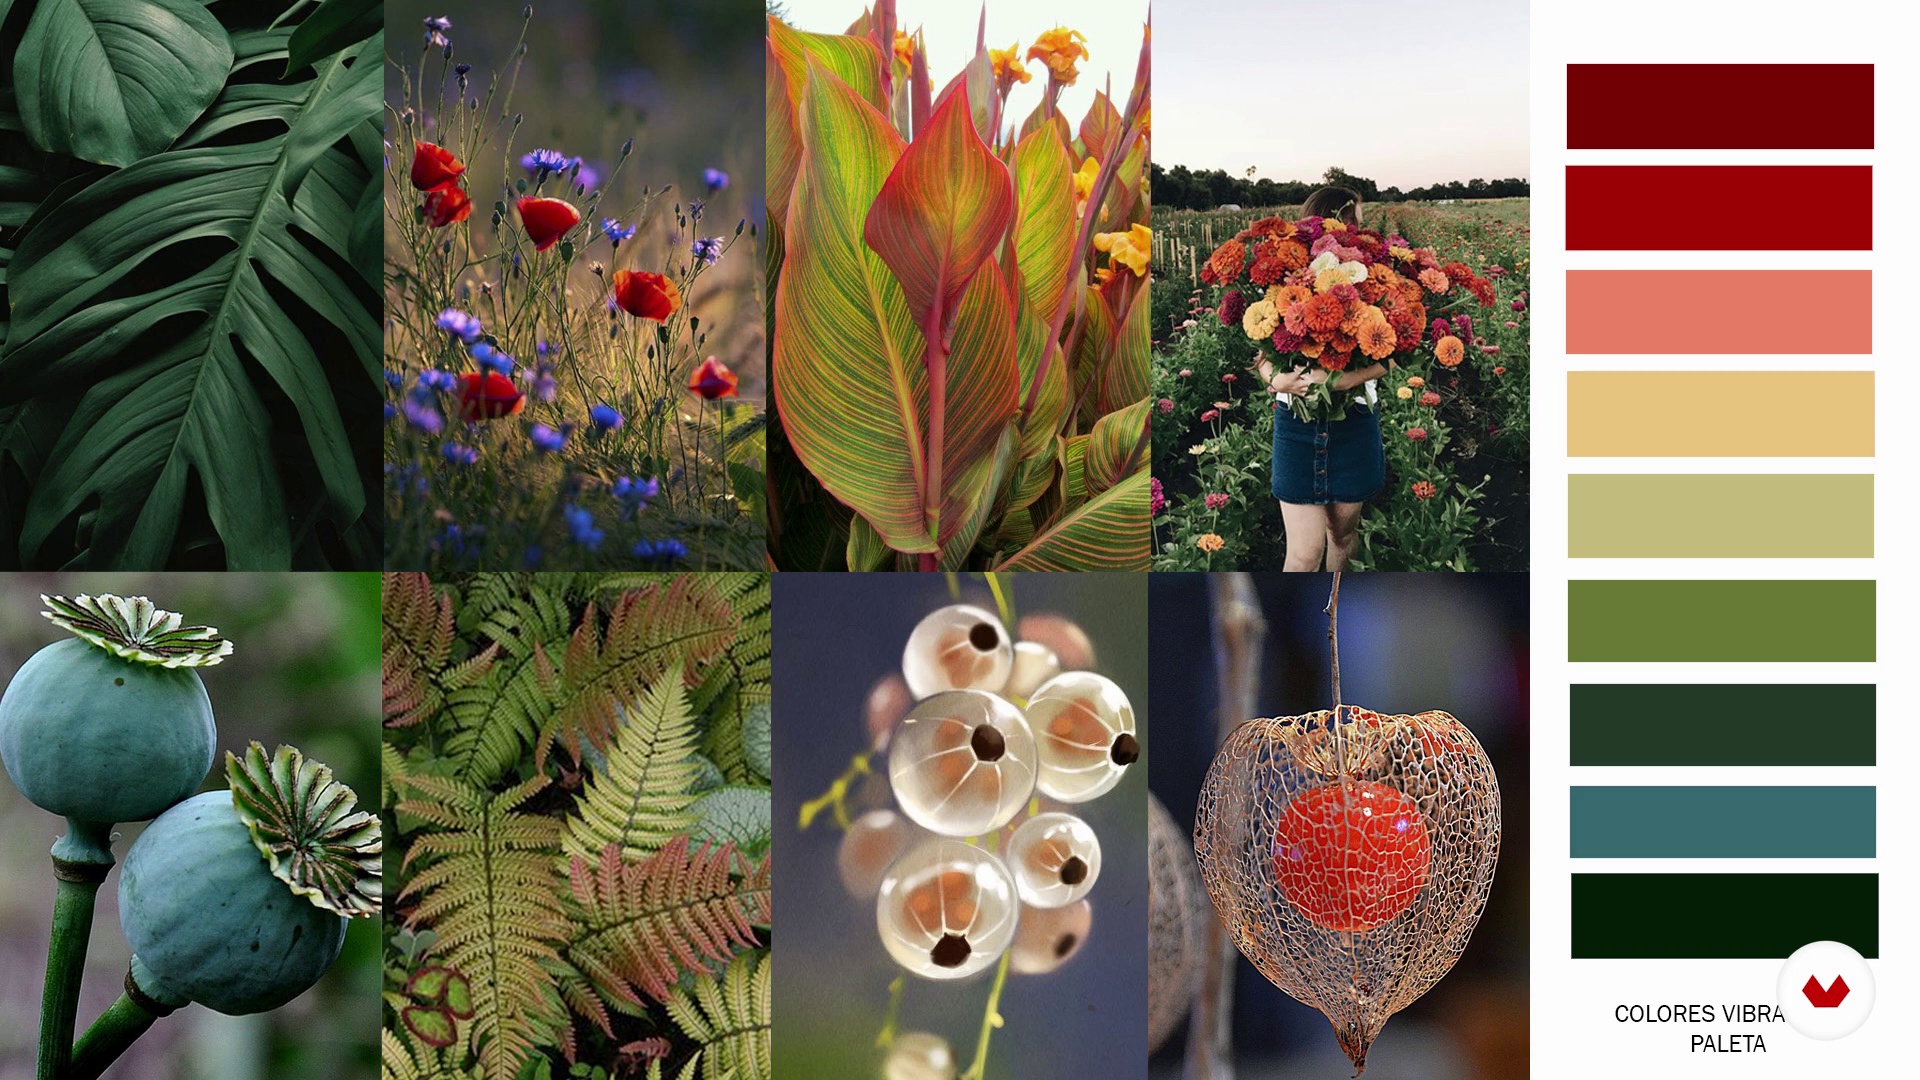
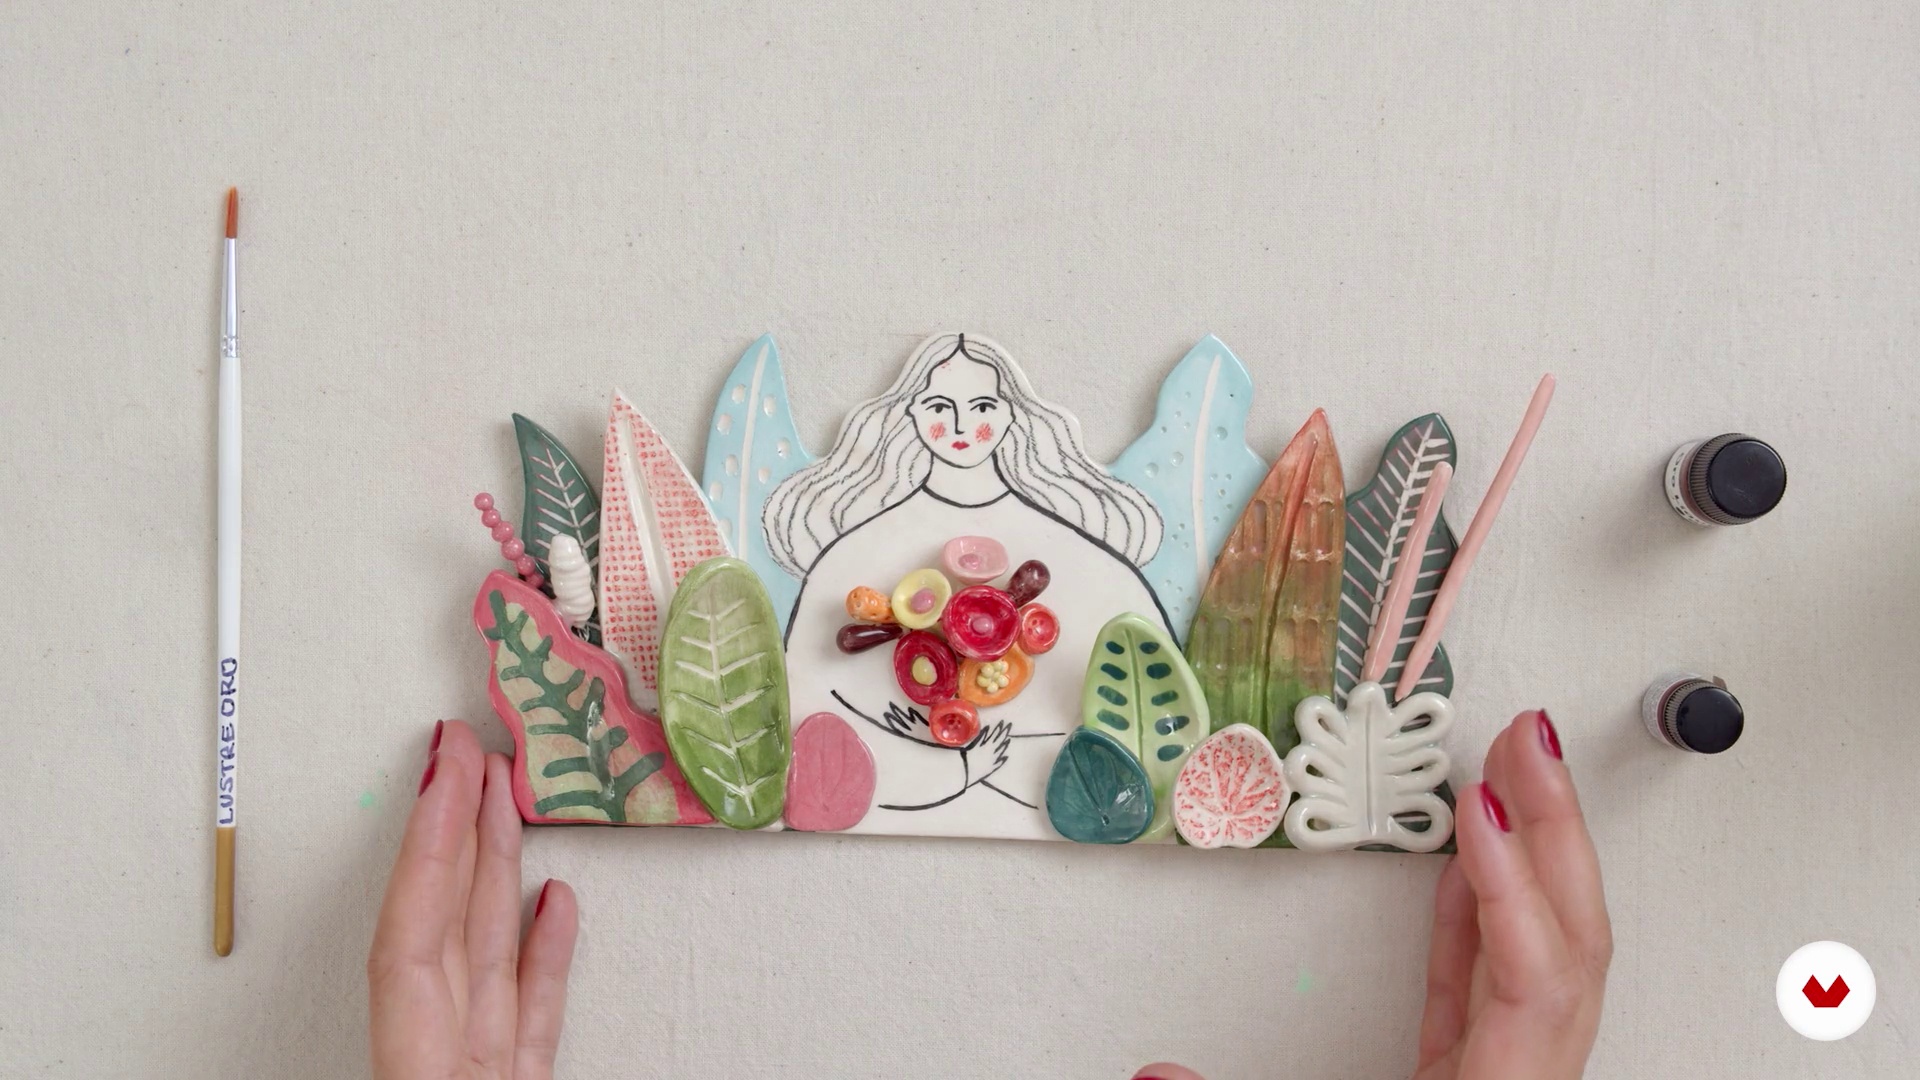
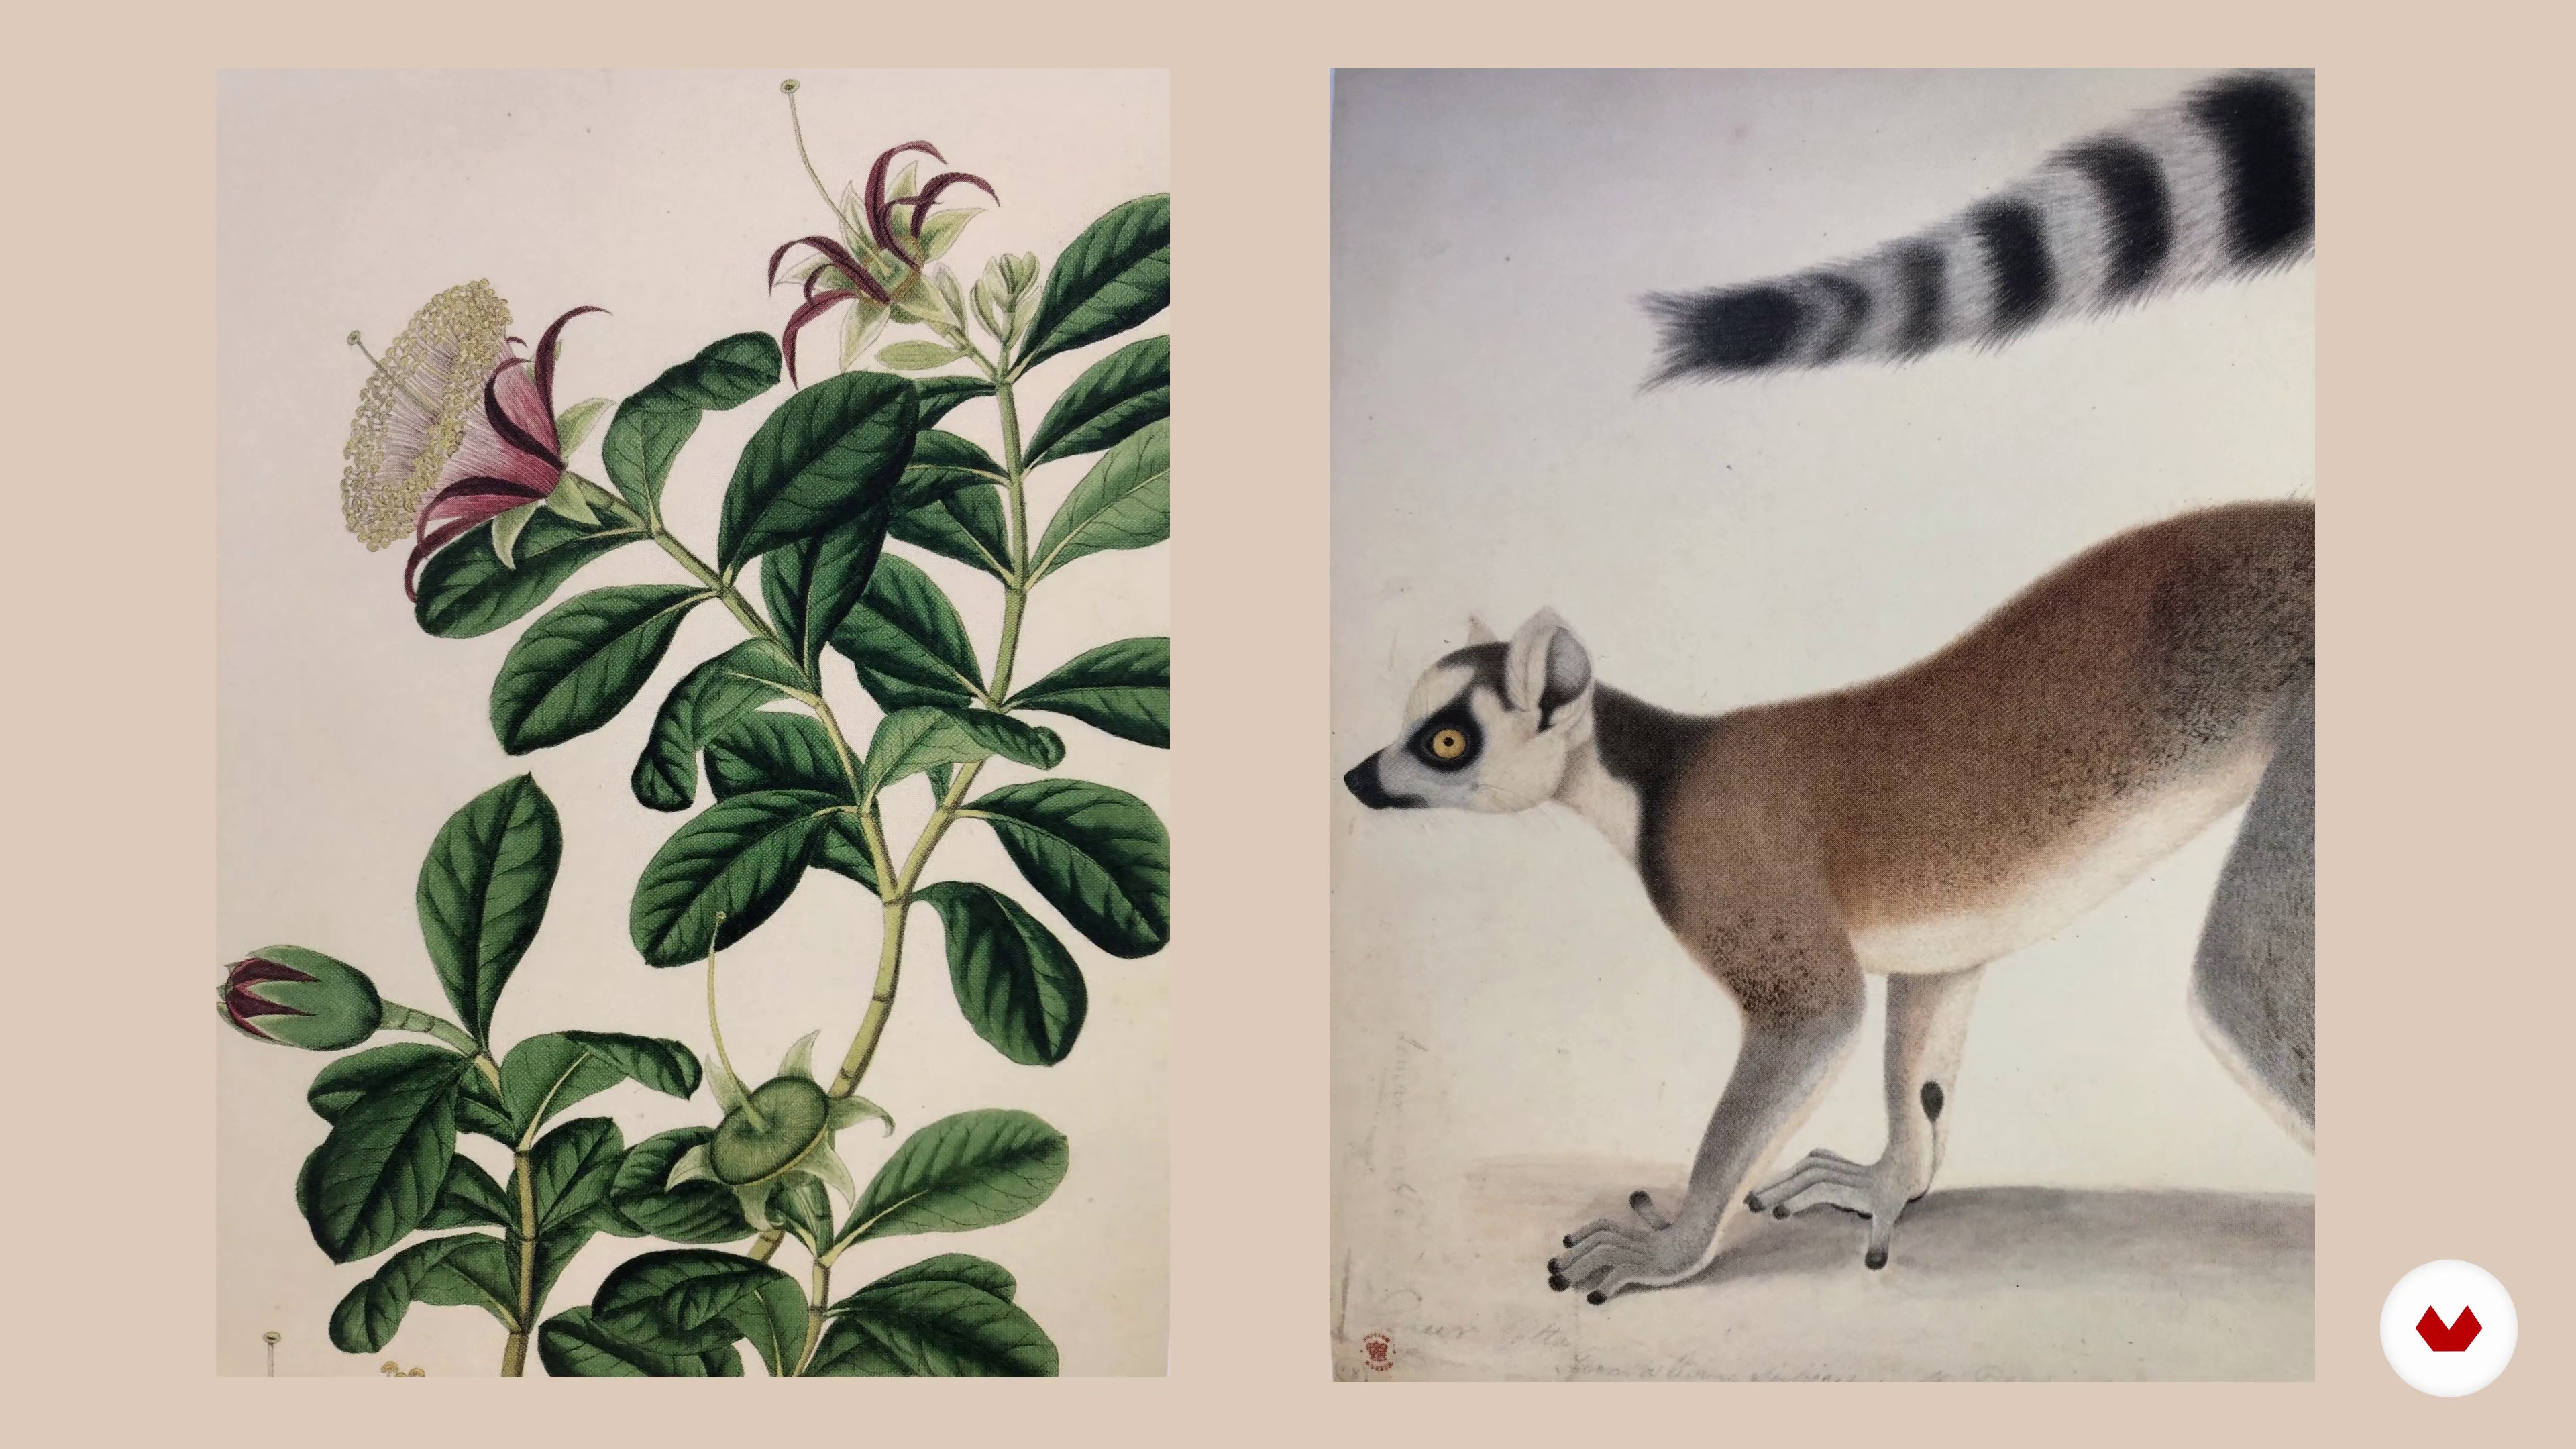
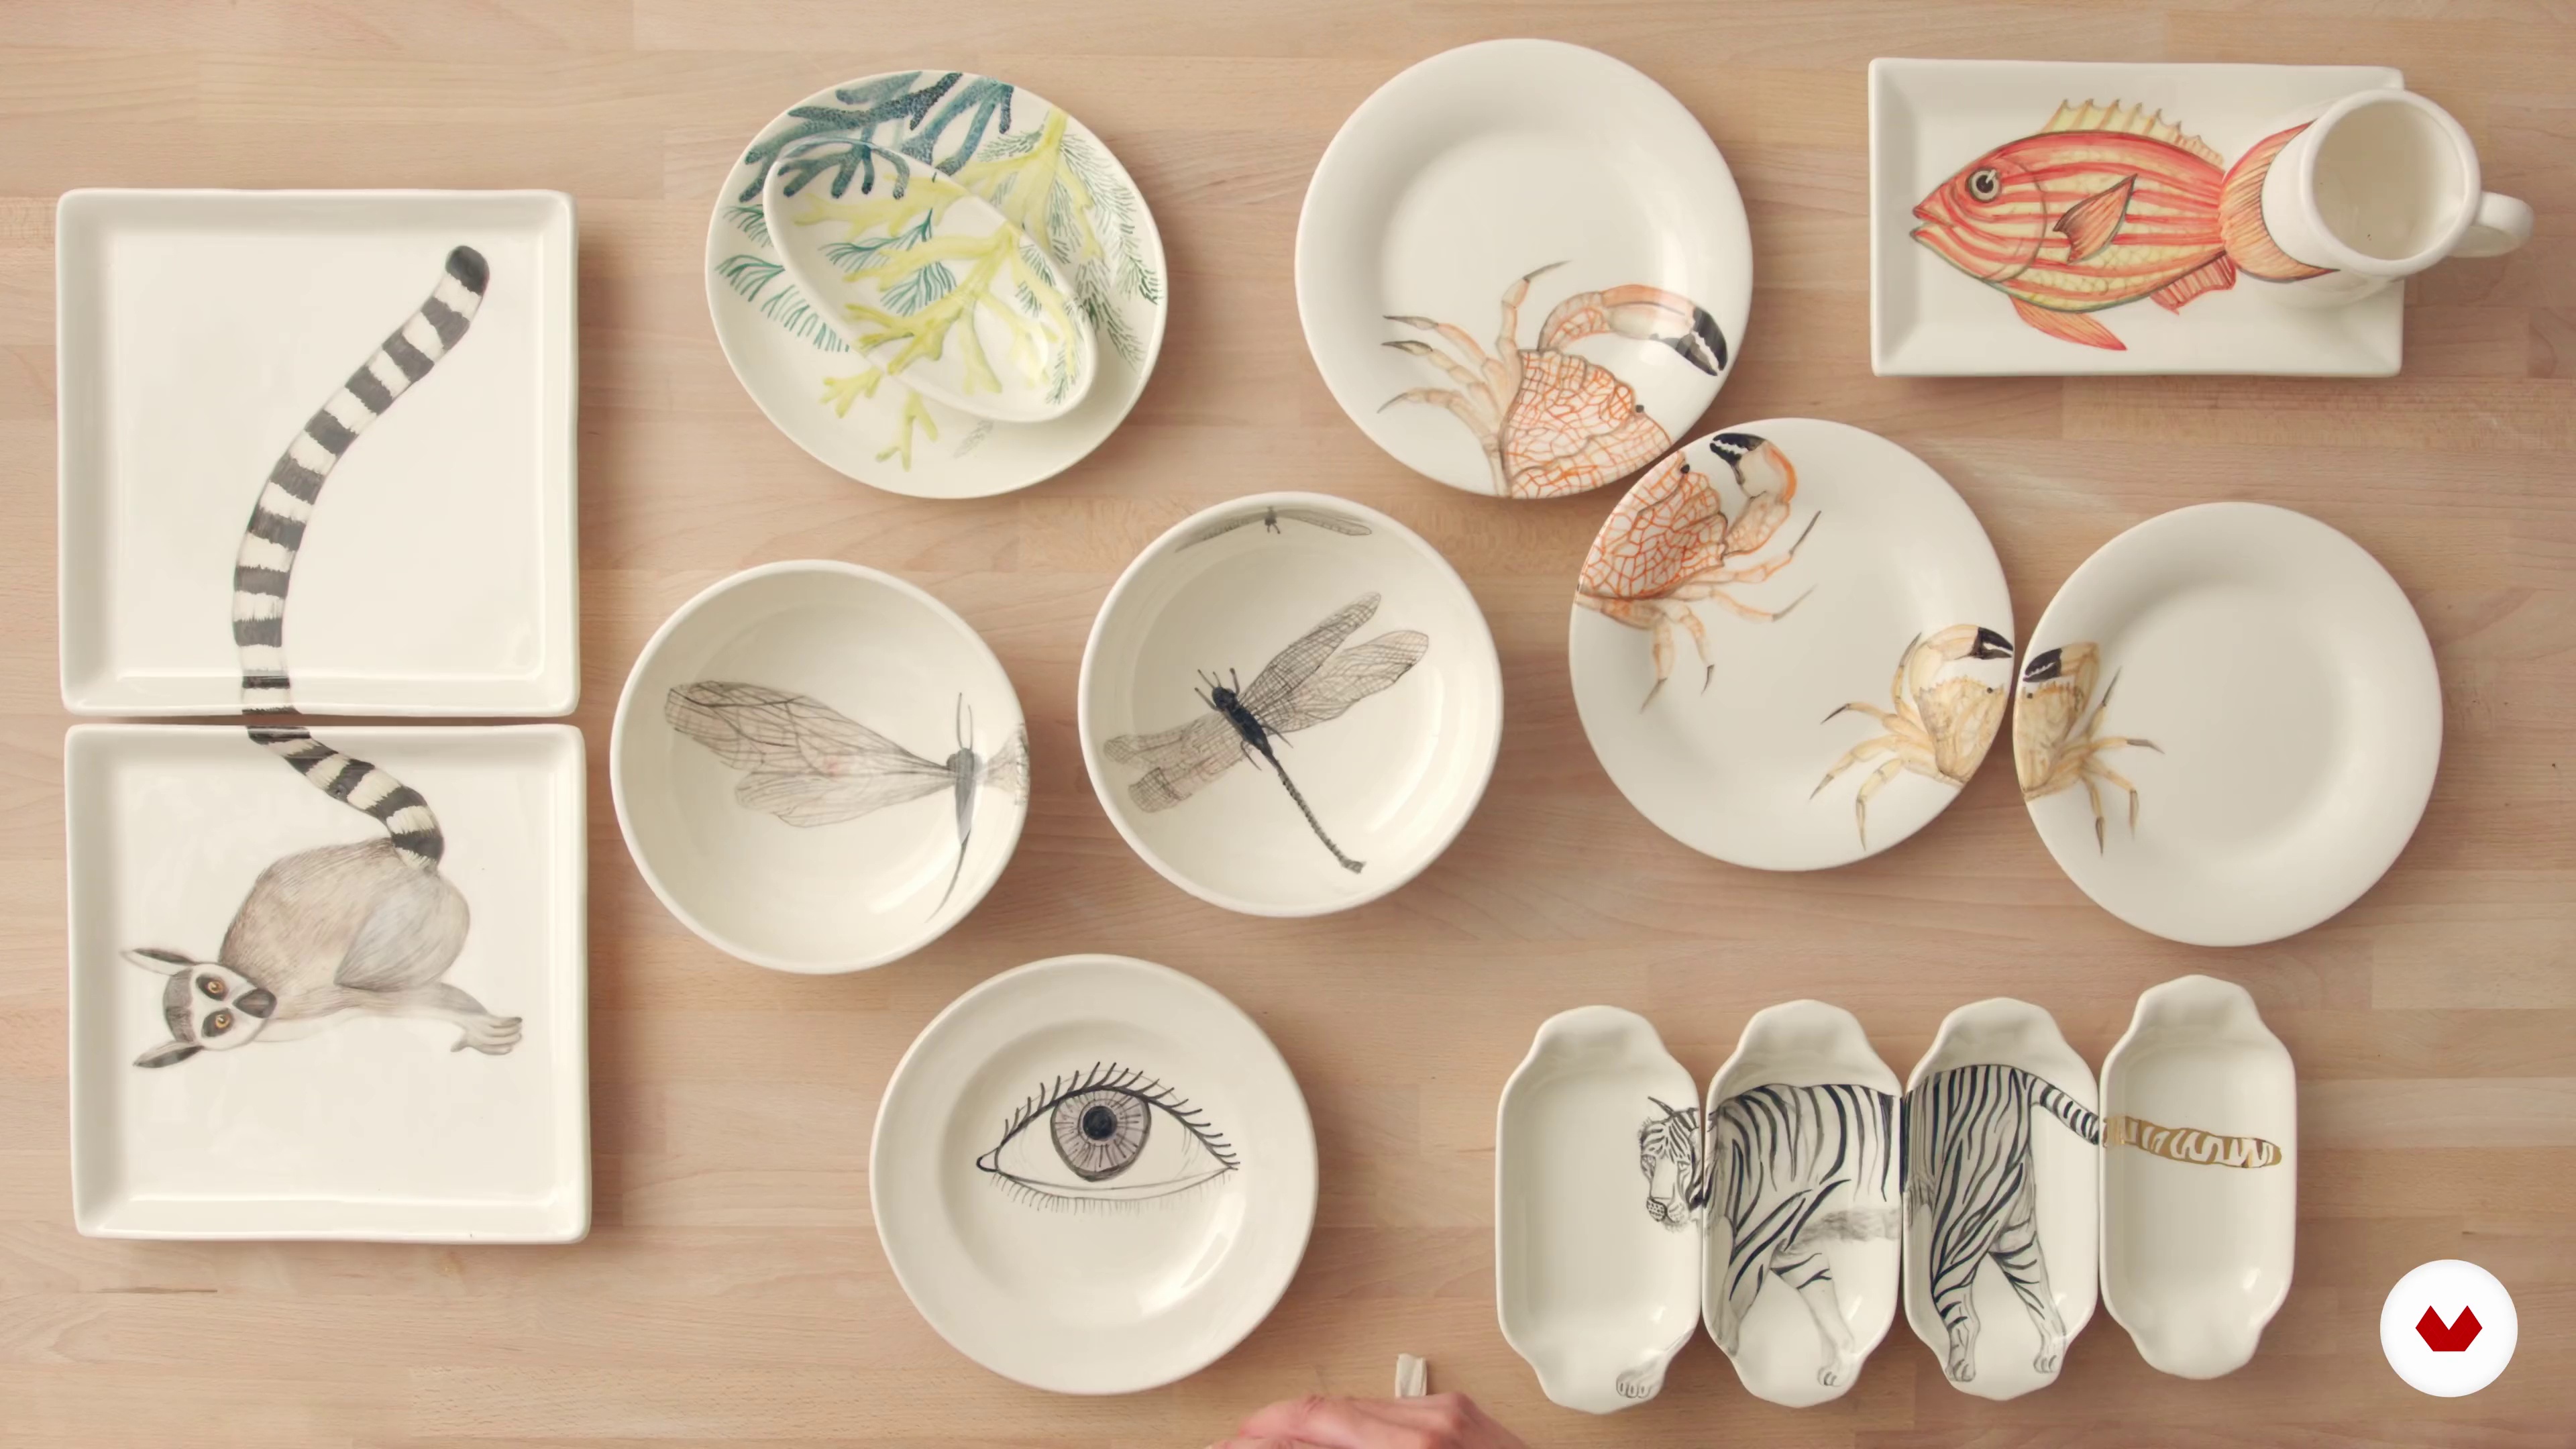
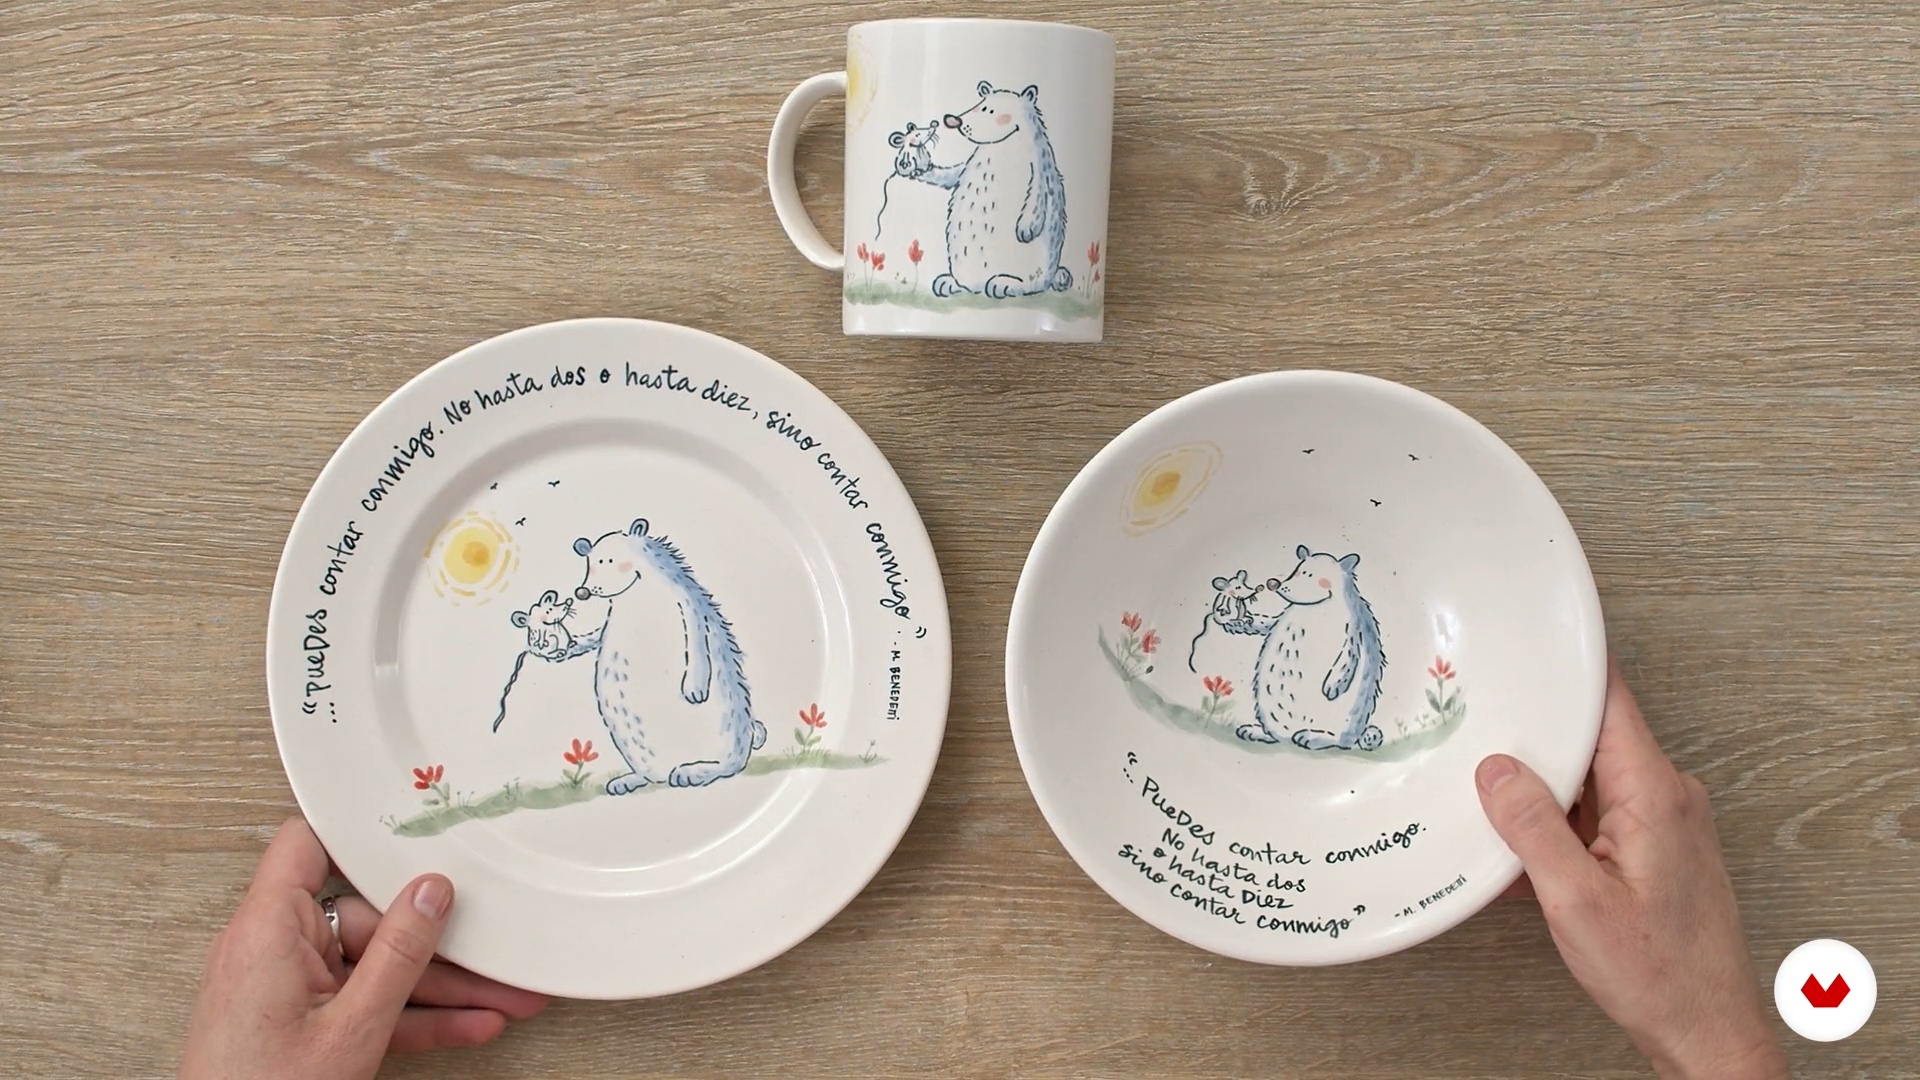
From creating unique tableware to crafting pictorial compositions, this tour invites you to develop your personal style and experiment with various decorative techniques. Discover how to integrate these methods into your projects, creating pieces that reflect your creativity and acquired skills. Illustrated ceramics become a medium for storytelling, fusing tradition and modernity in every stroke. Prepare for a creative journey where each piece comes to life and takes on a unique voice in the world of ceramic art.
What will you learn in this specialization?


- 100% positive reviews (10)
- 1,192 students
- 78 lessons (12h 51m)
- 105 additional resources (39 files)
- Online and at your own pace
- Audio: Spanish, German, English, Spanish (Latam), French, Indonesian, Italian, Dutch, Polish, Portuguese, Romanian, Turkish
- Spanish · English · Portuguese · German · French · Italian · Polish · Dutch · Turkish · Romanian · Indonesian
- Level: Beginner
- Unlimited access forever
What is this course's project?
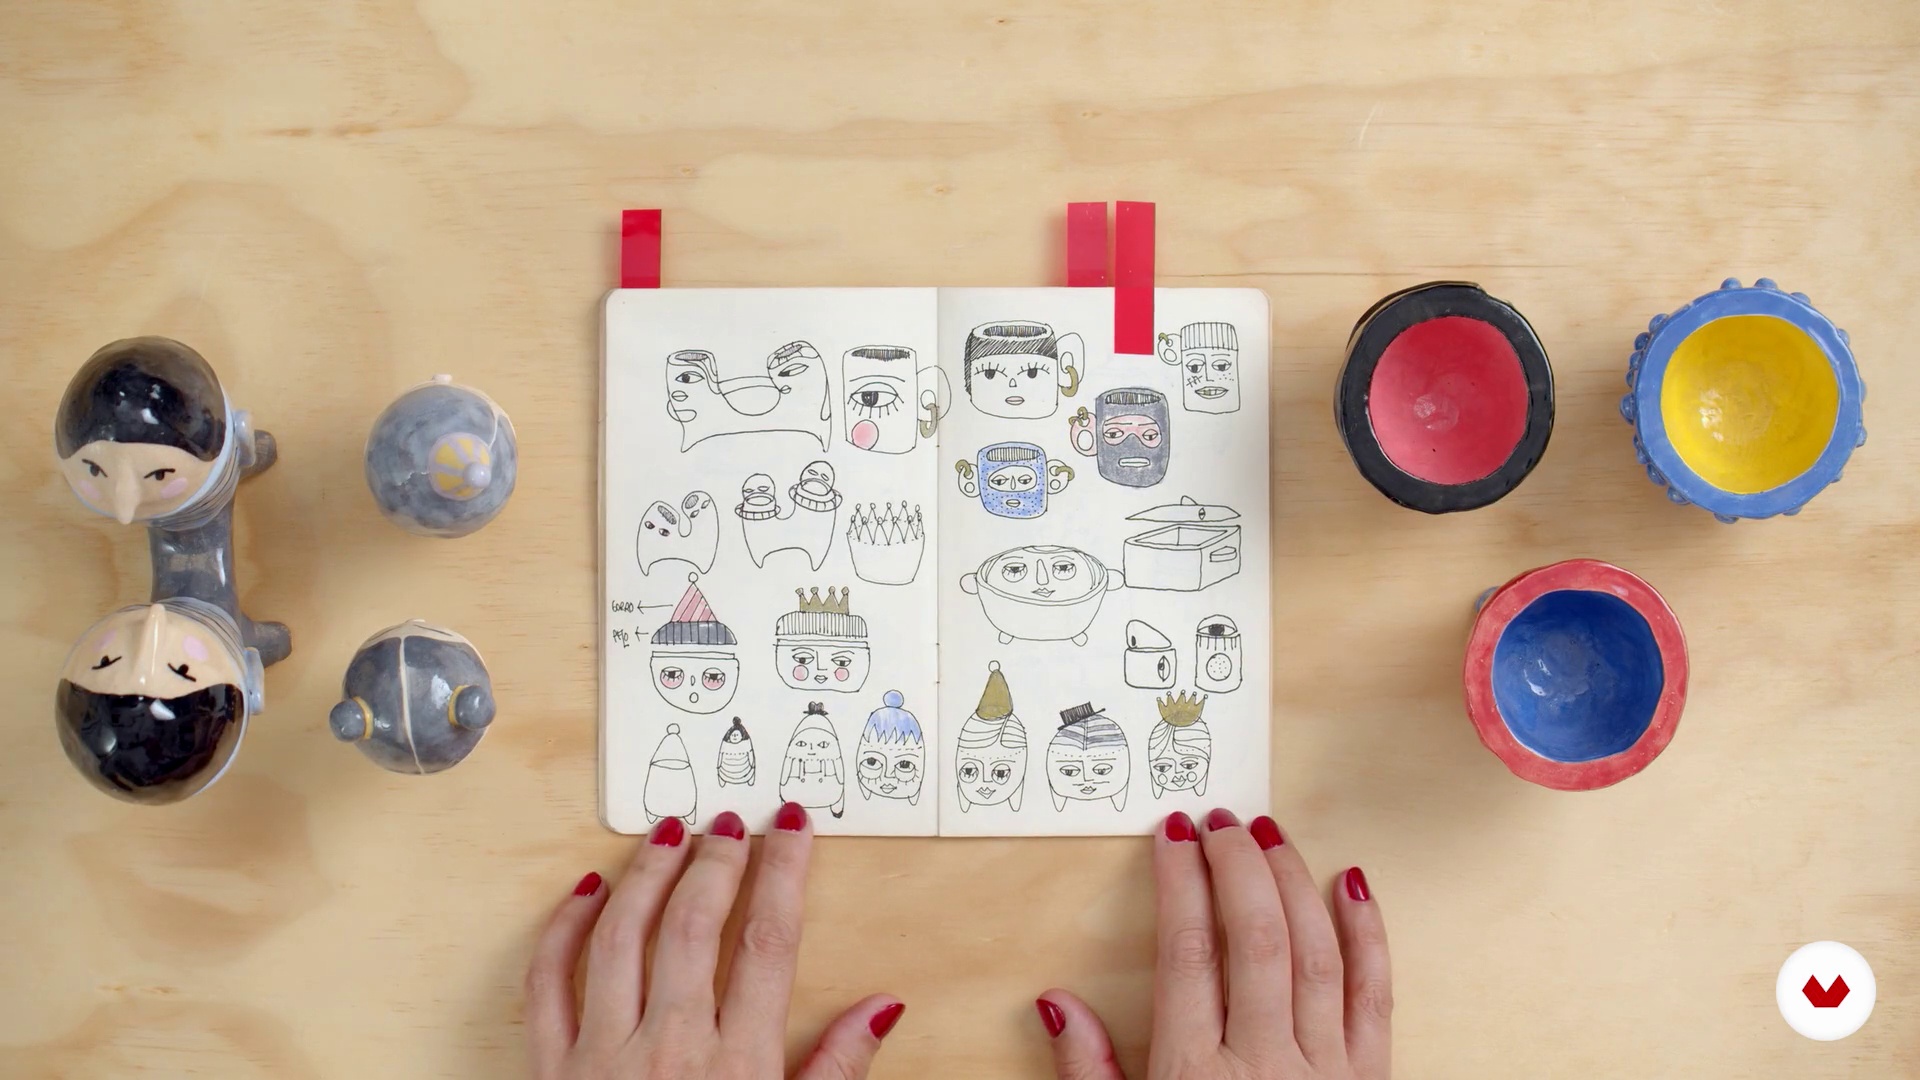
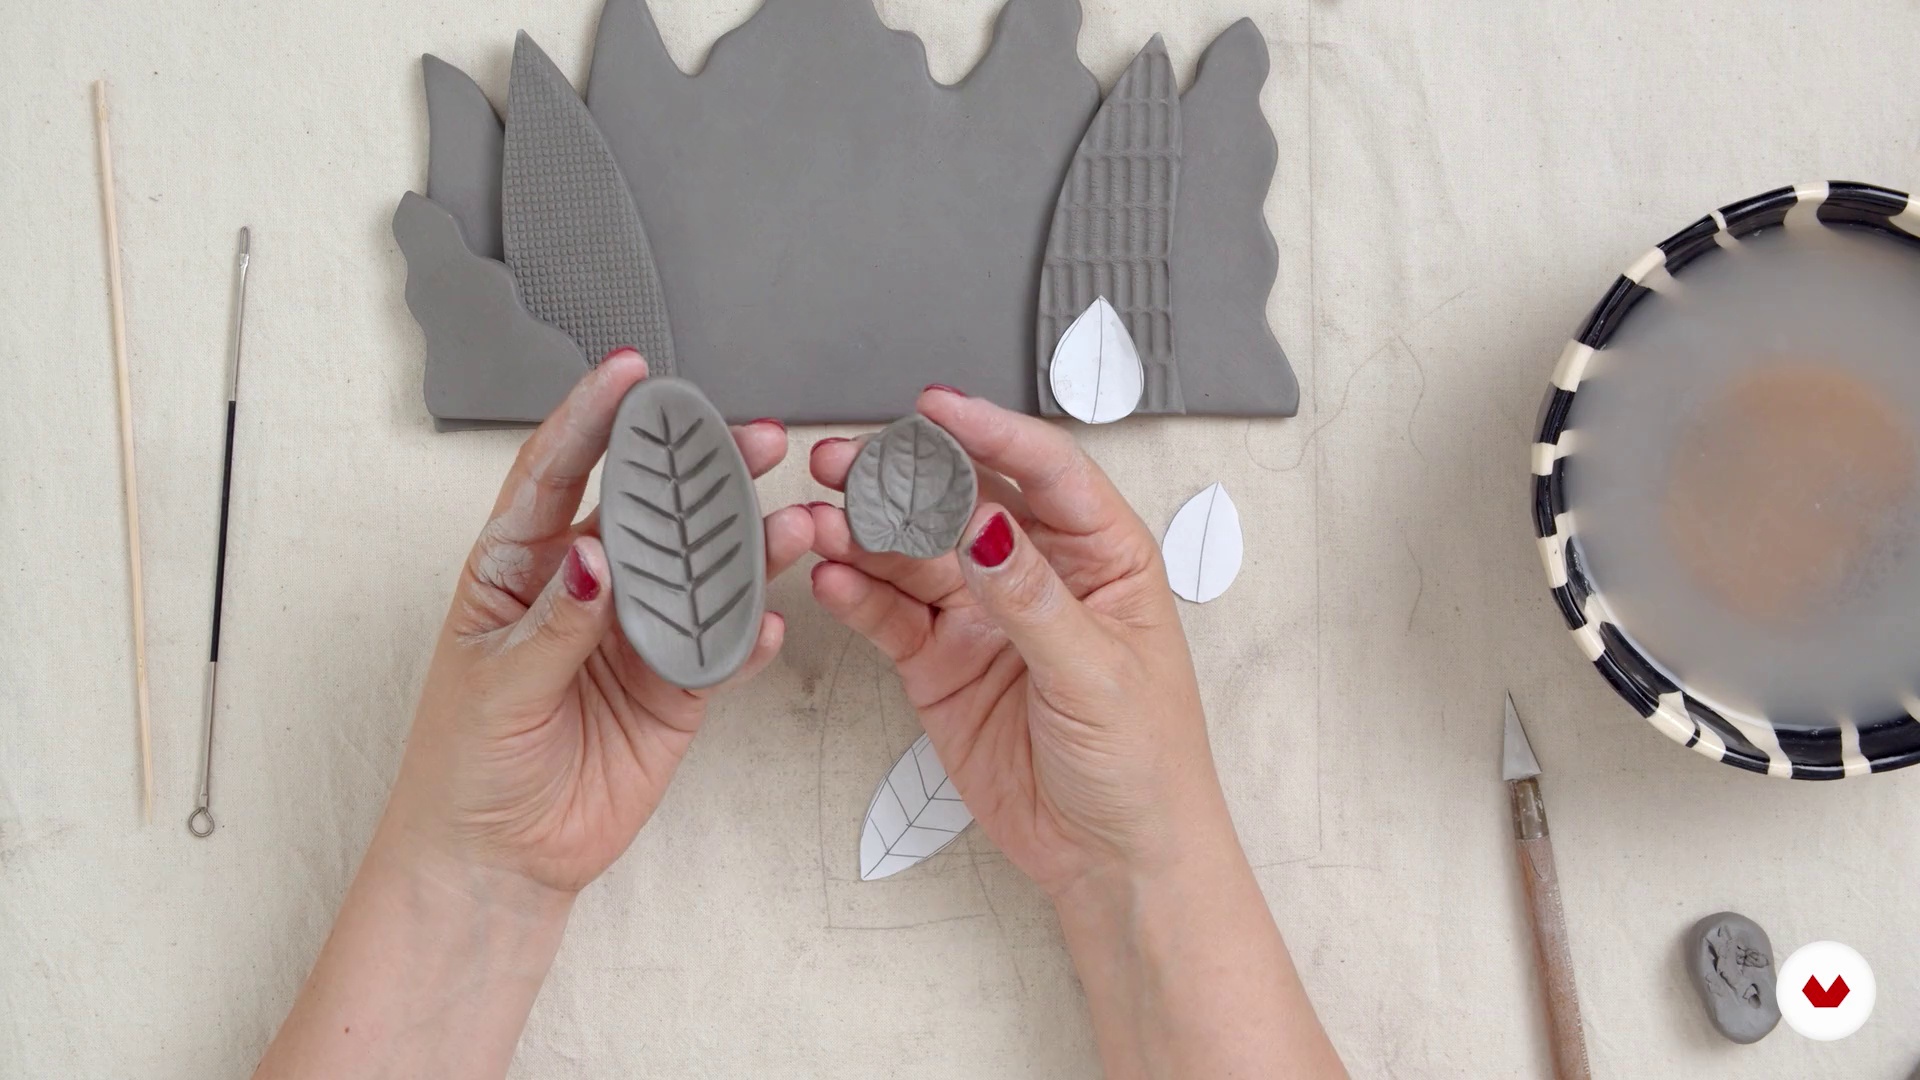
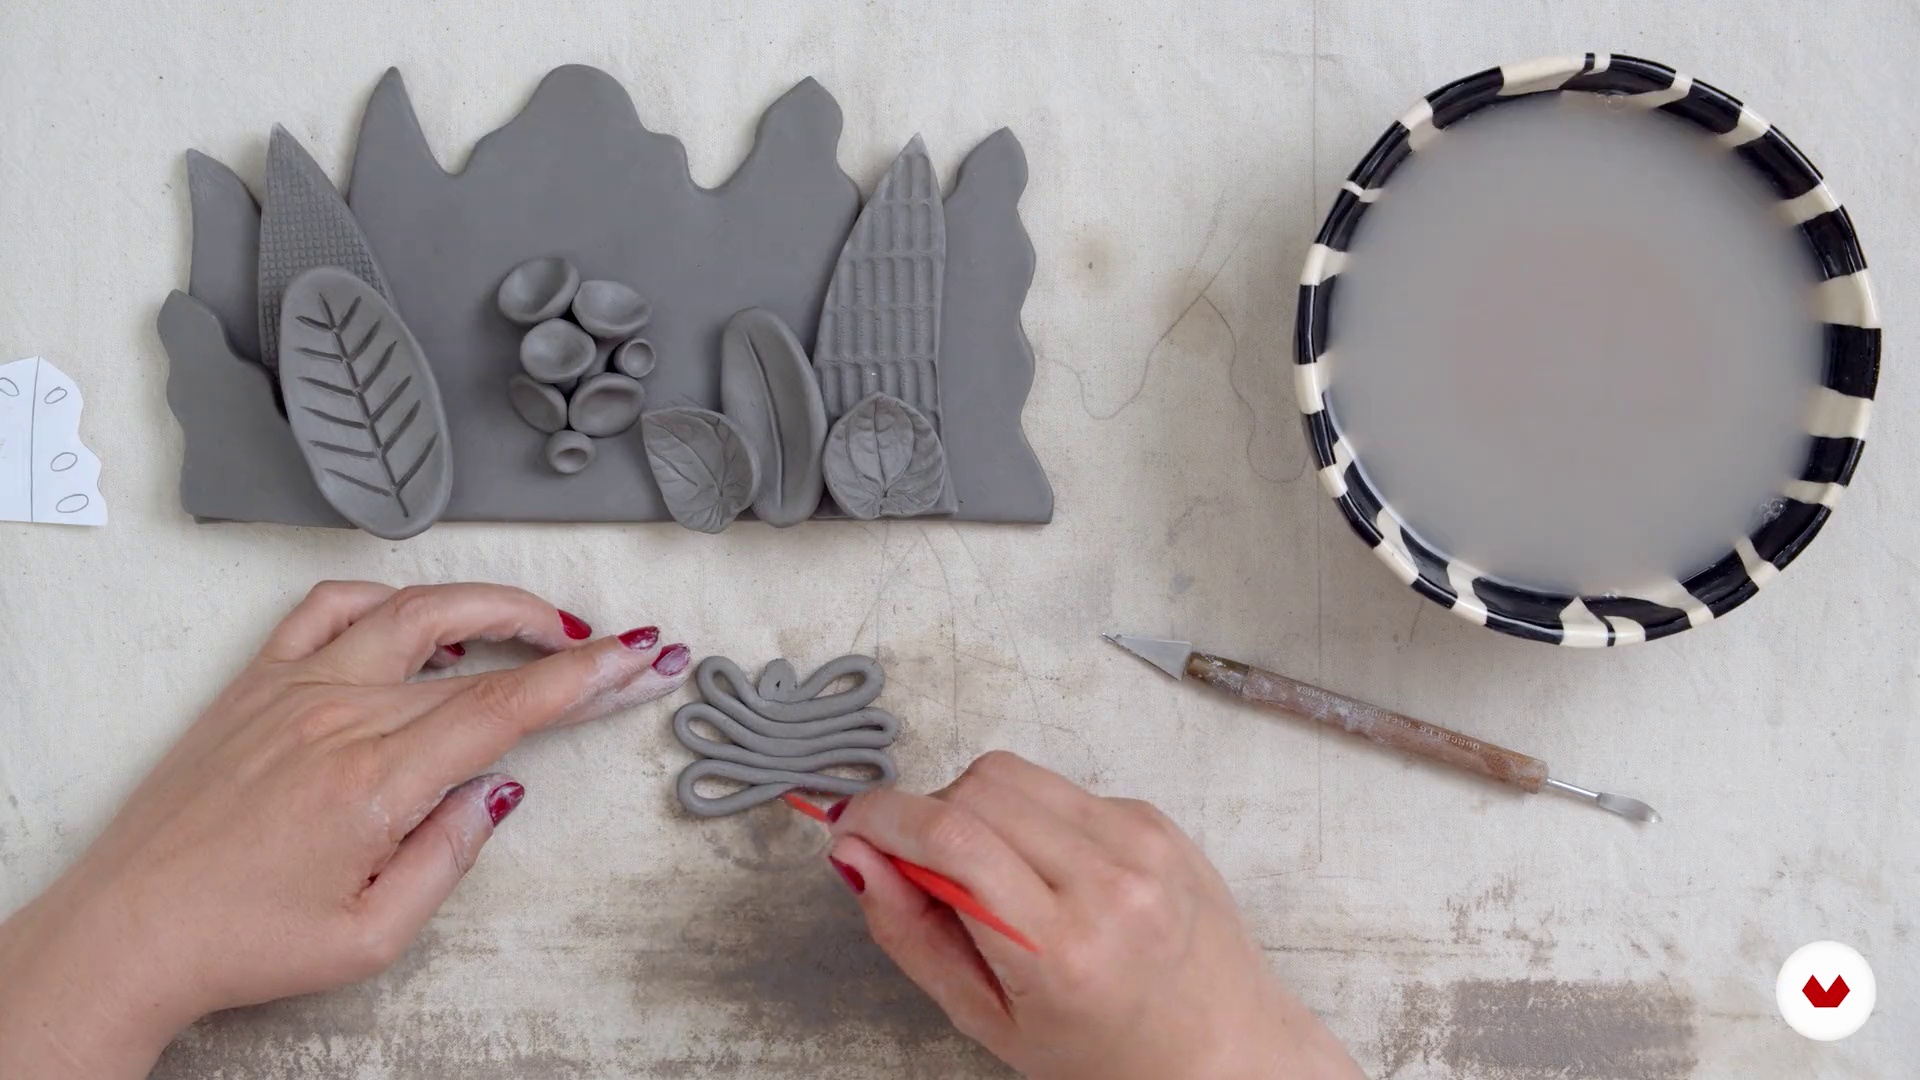
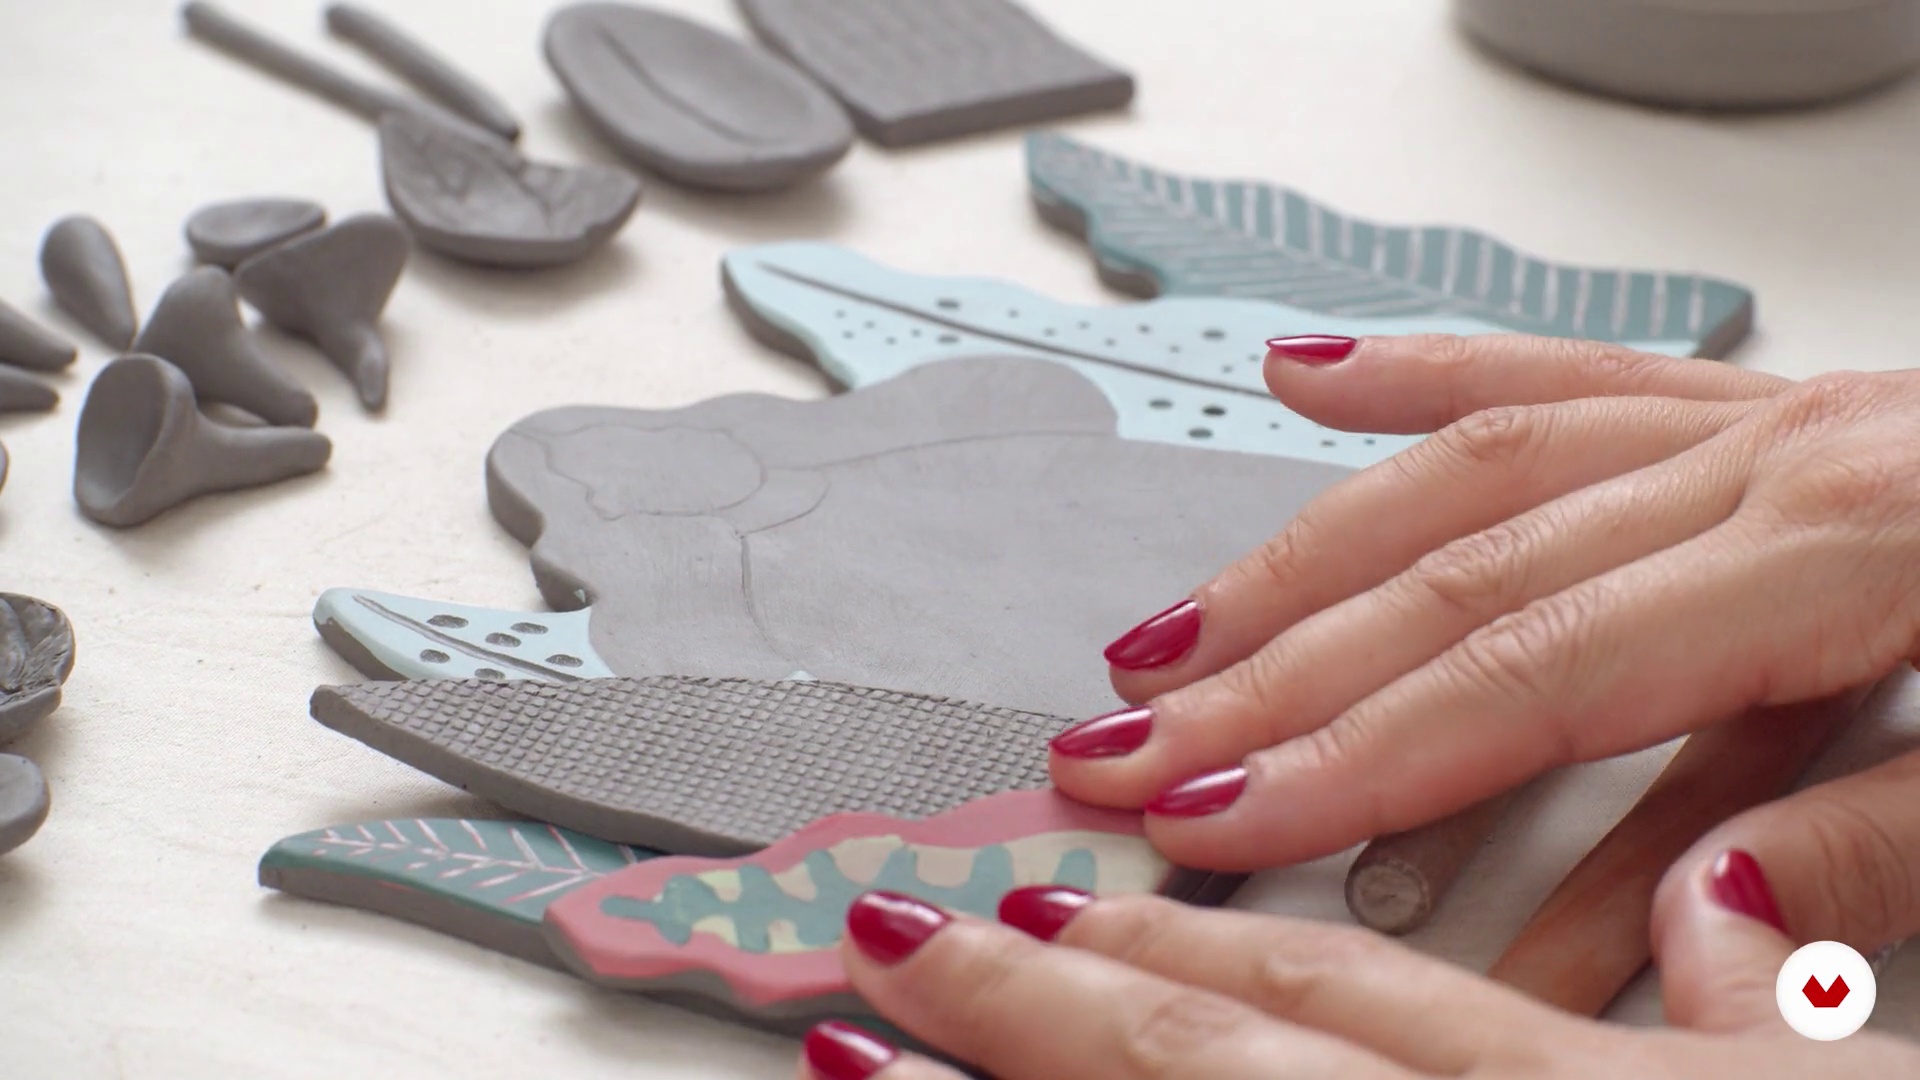
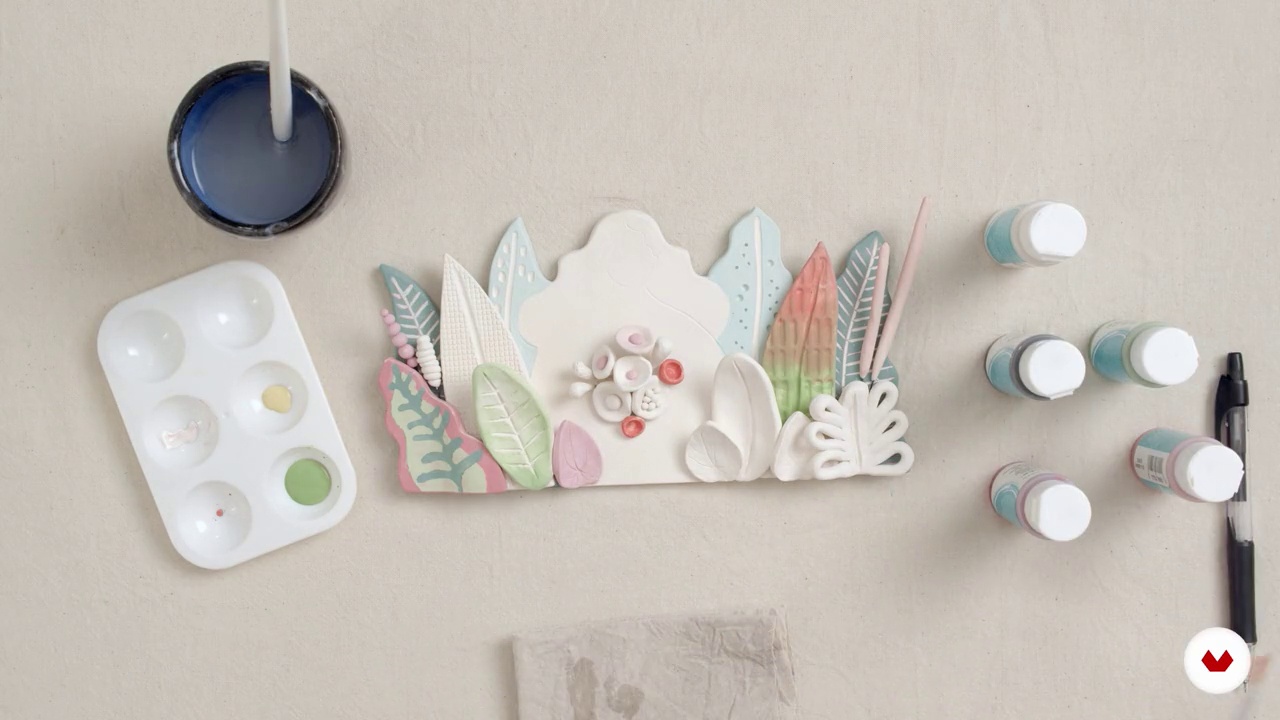
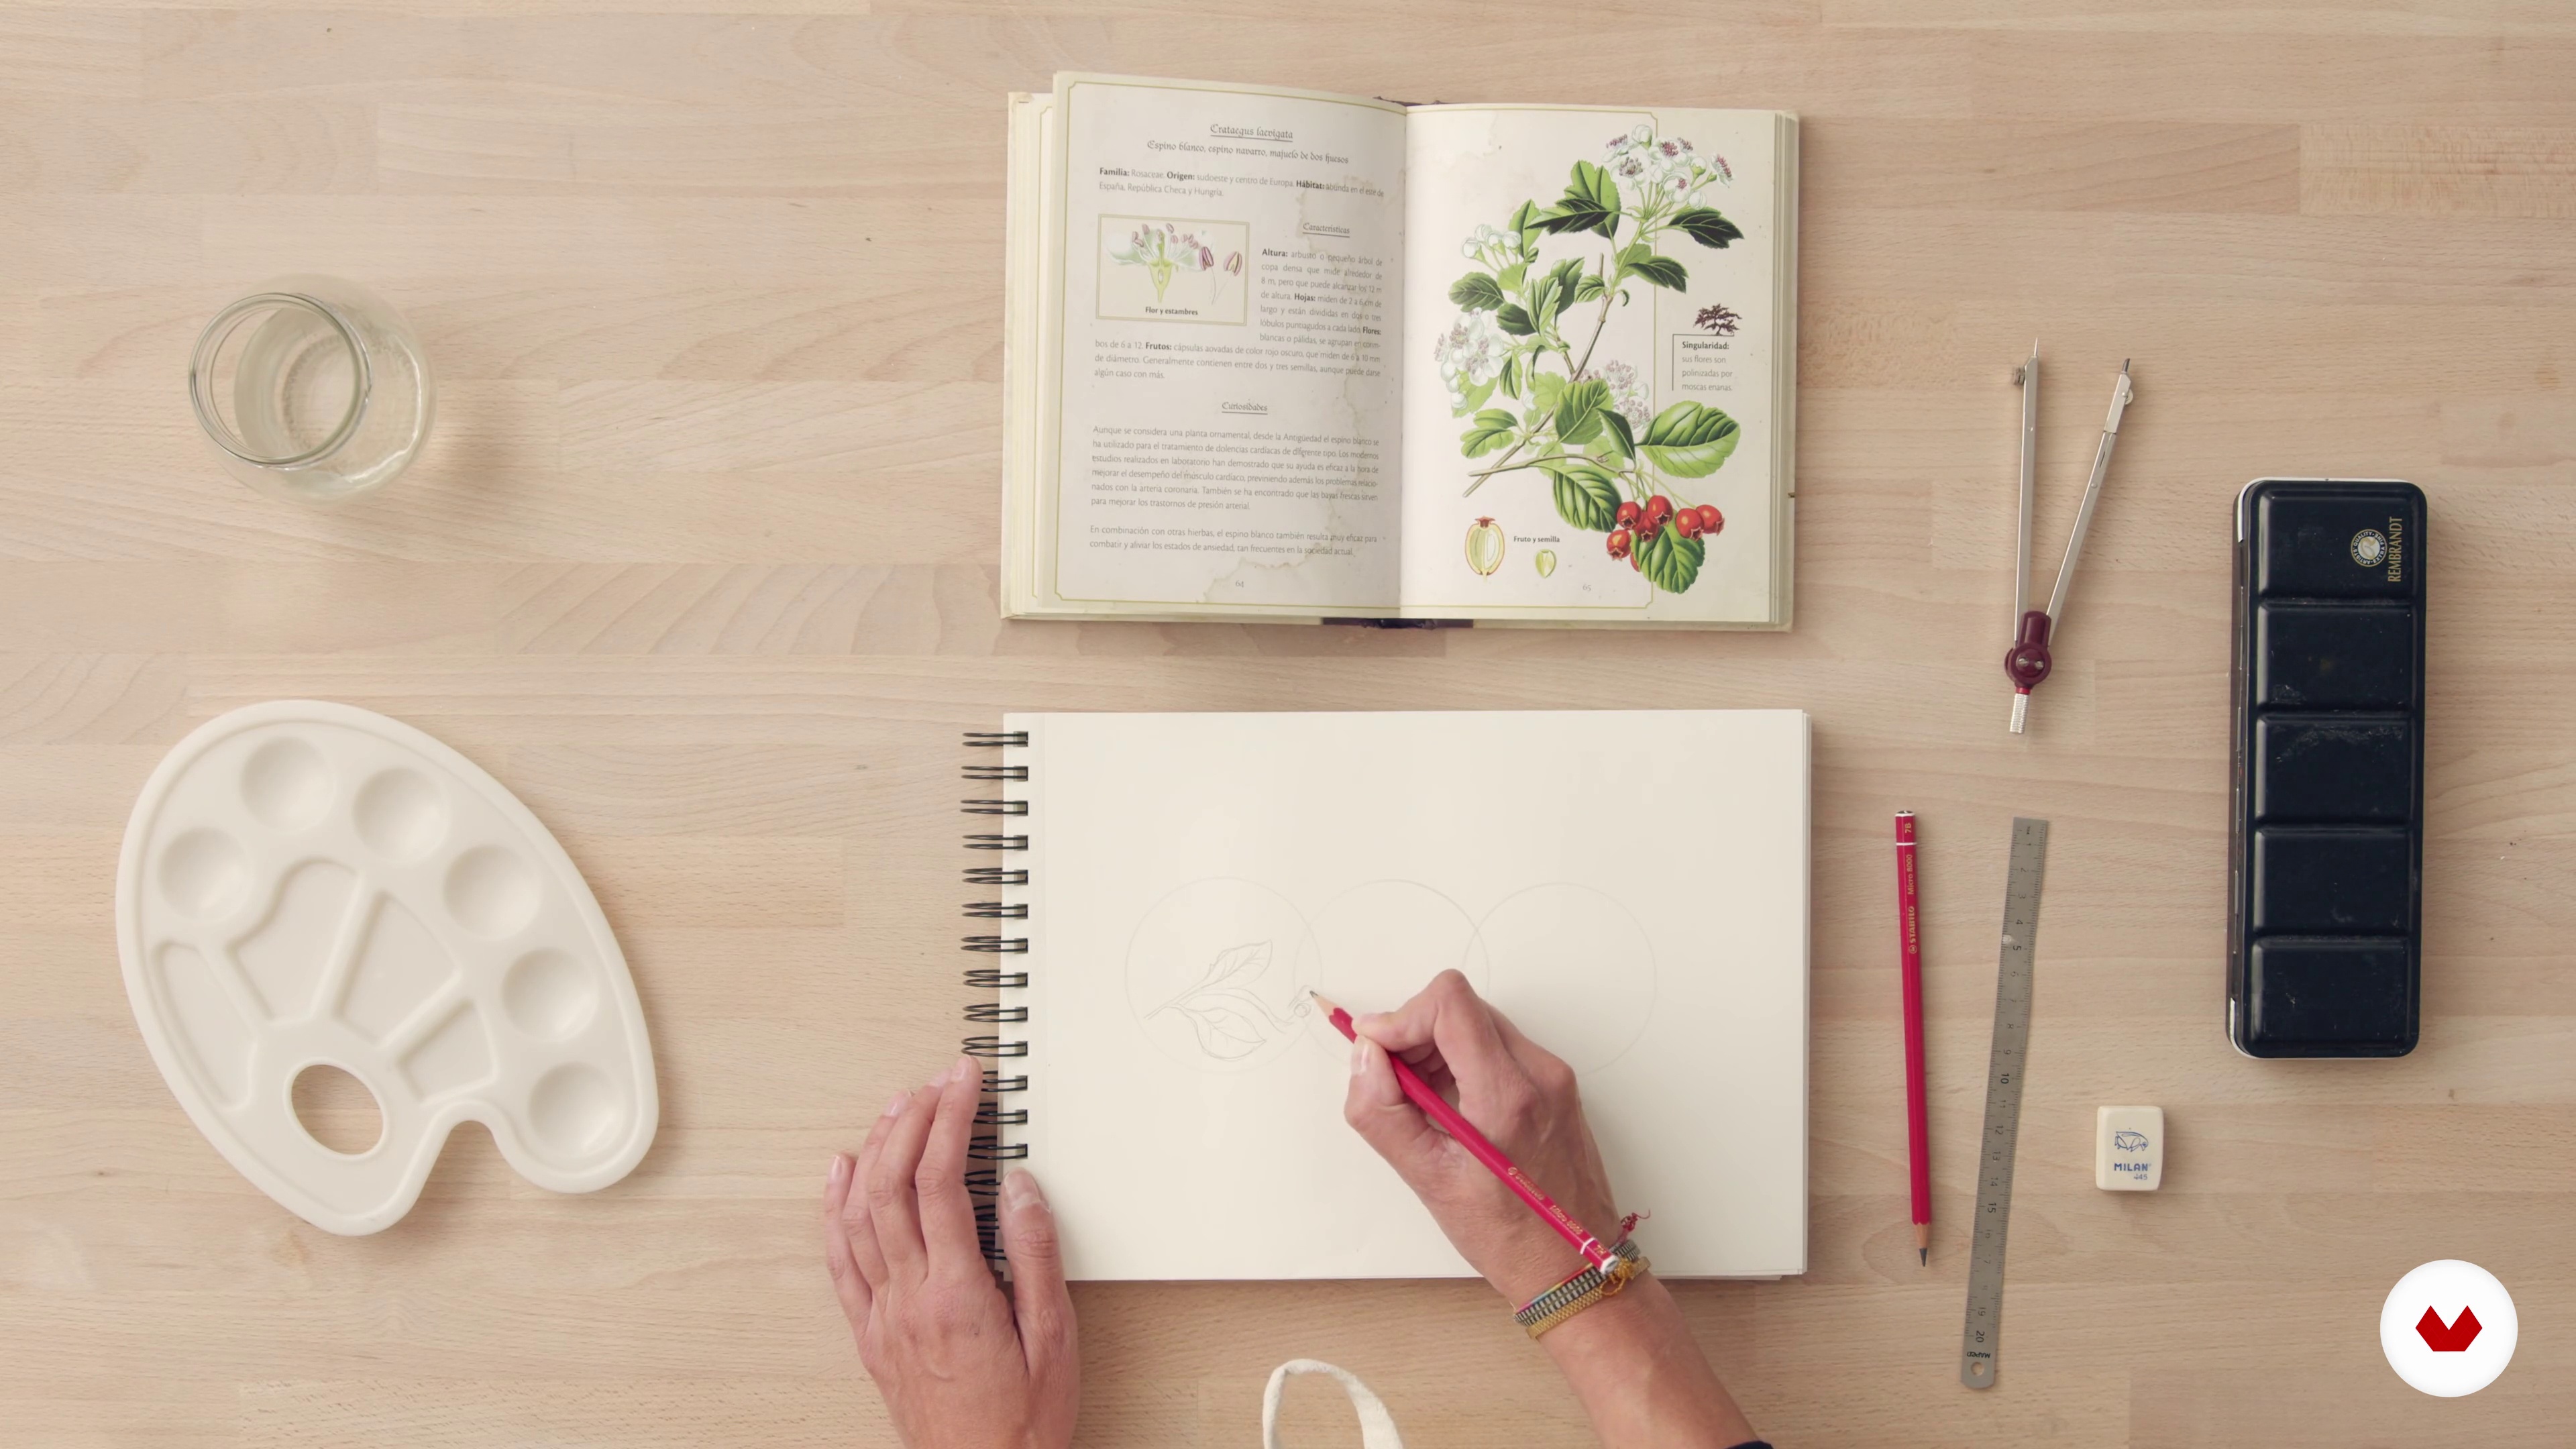
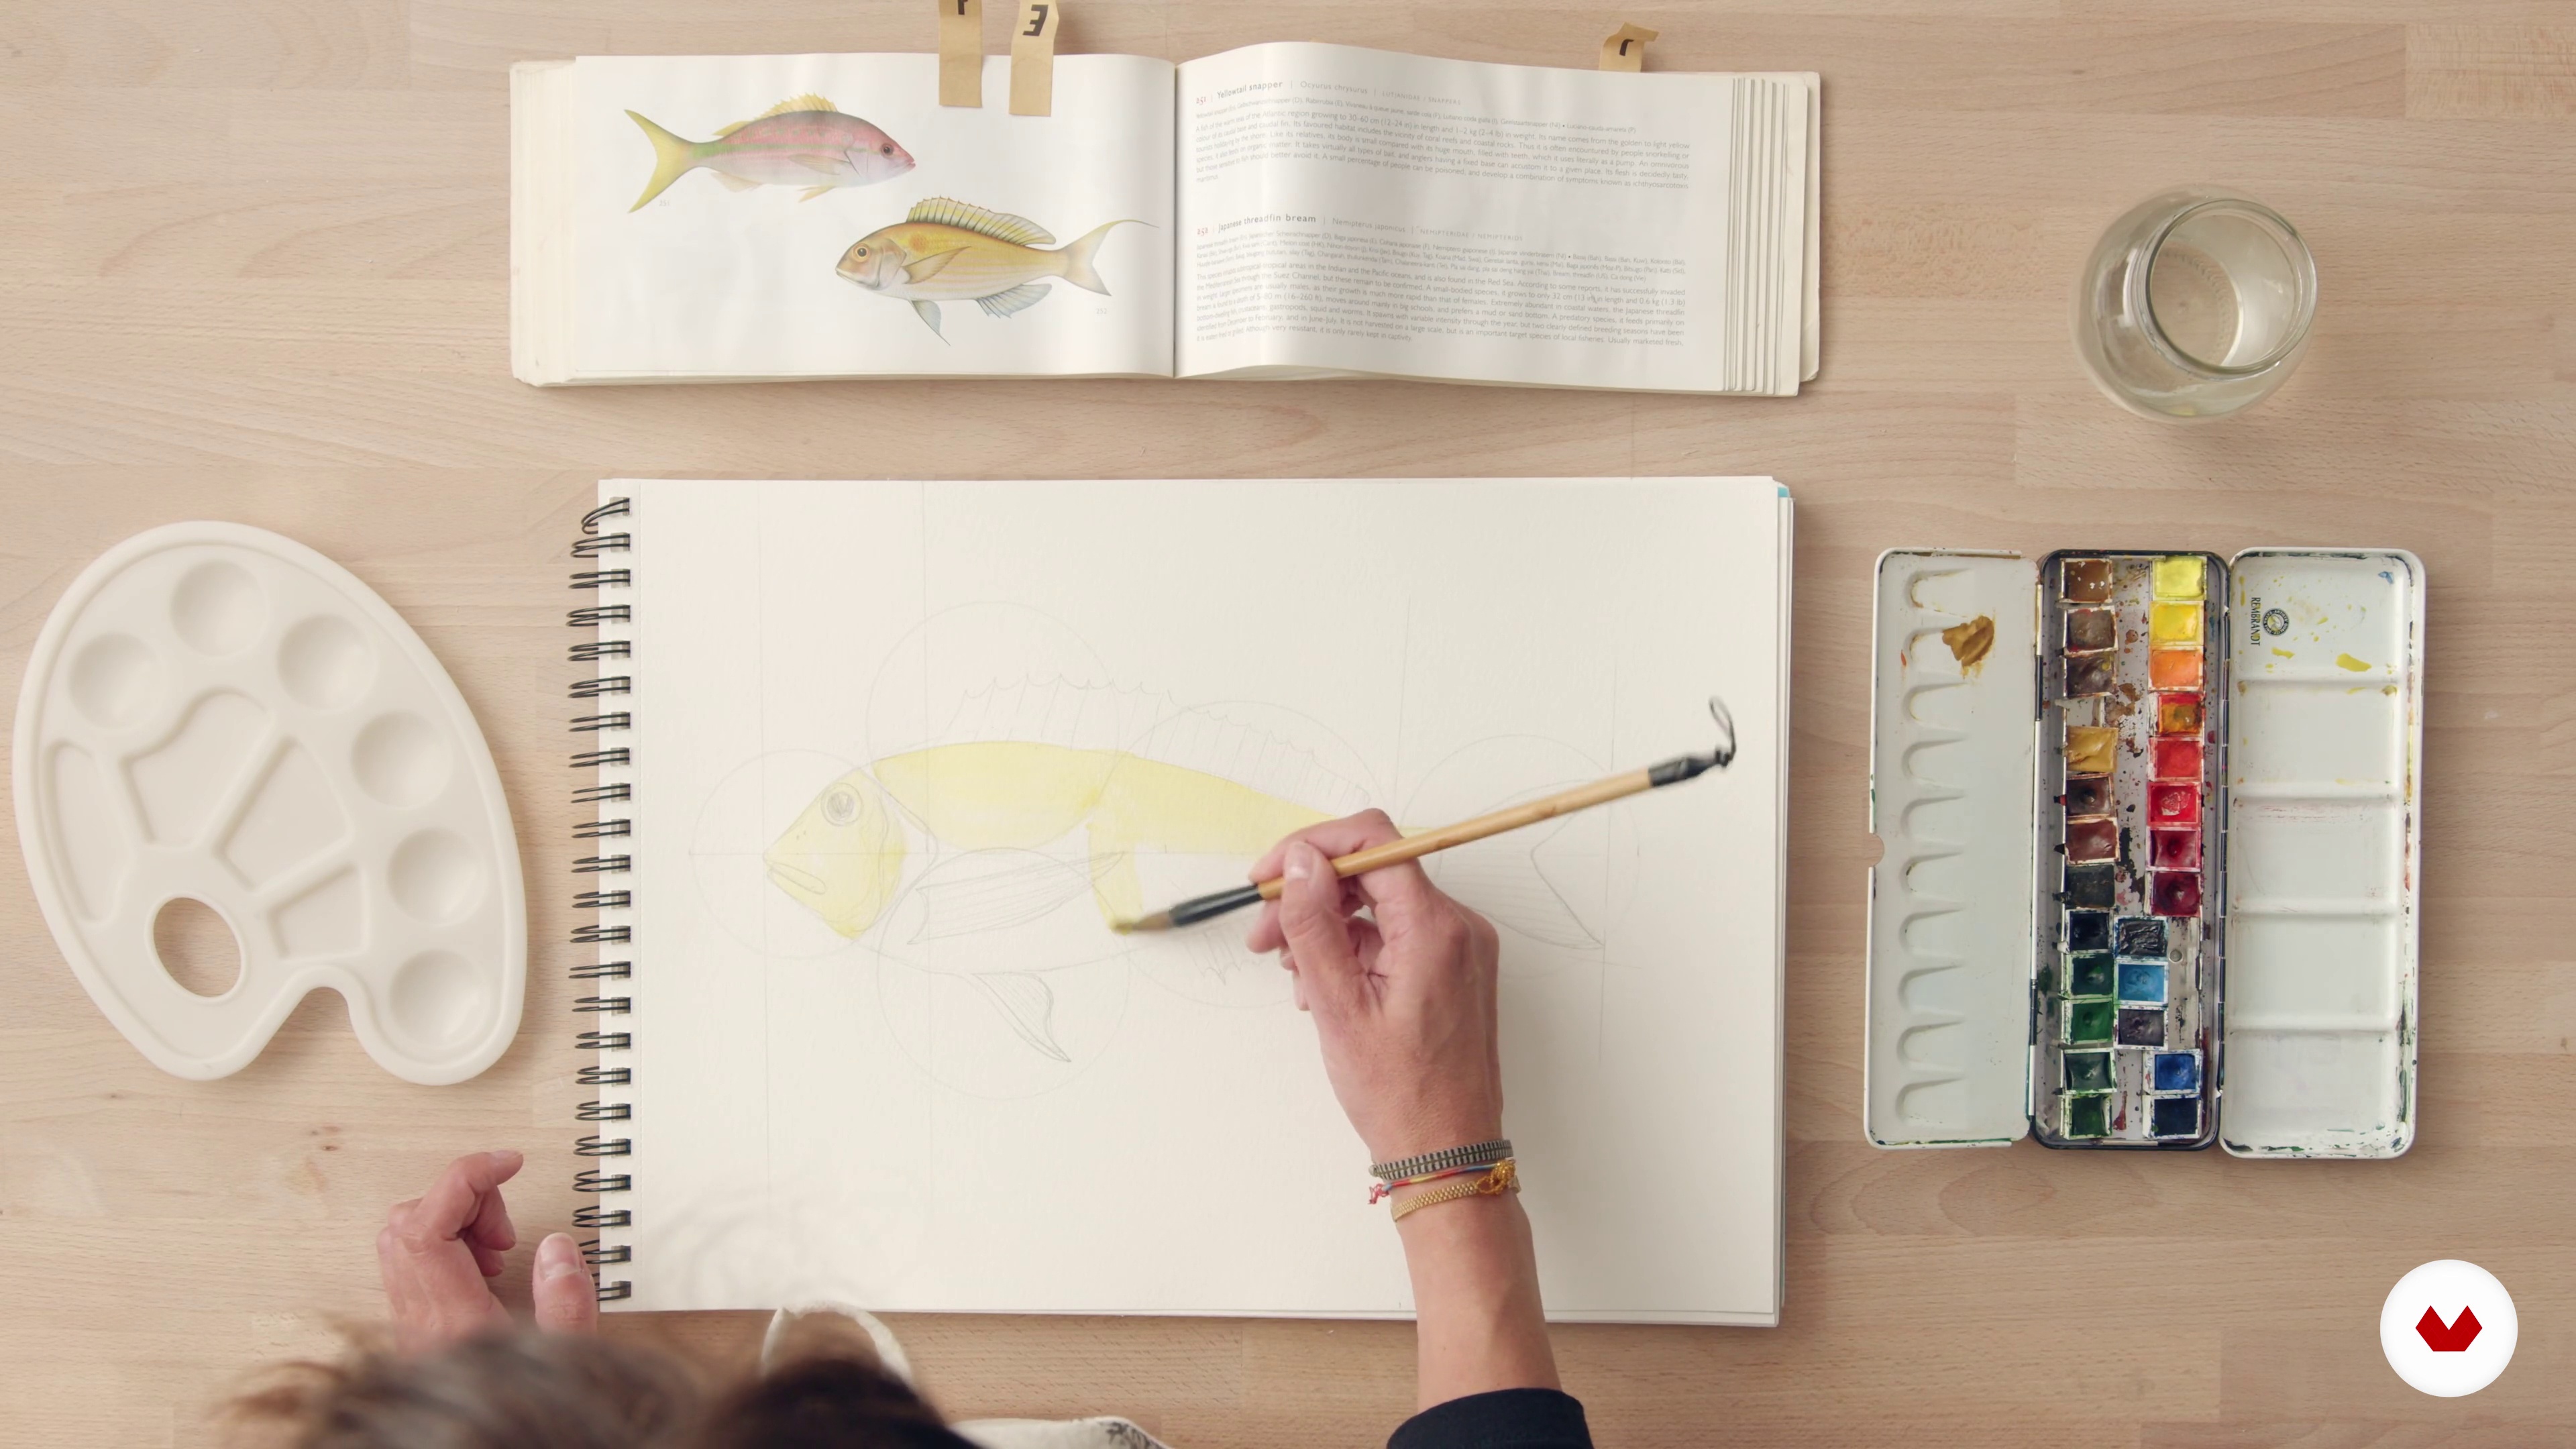
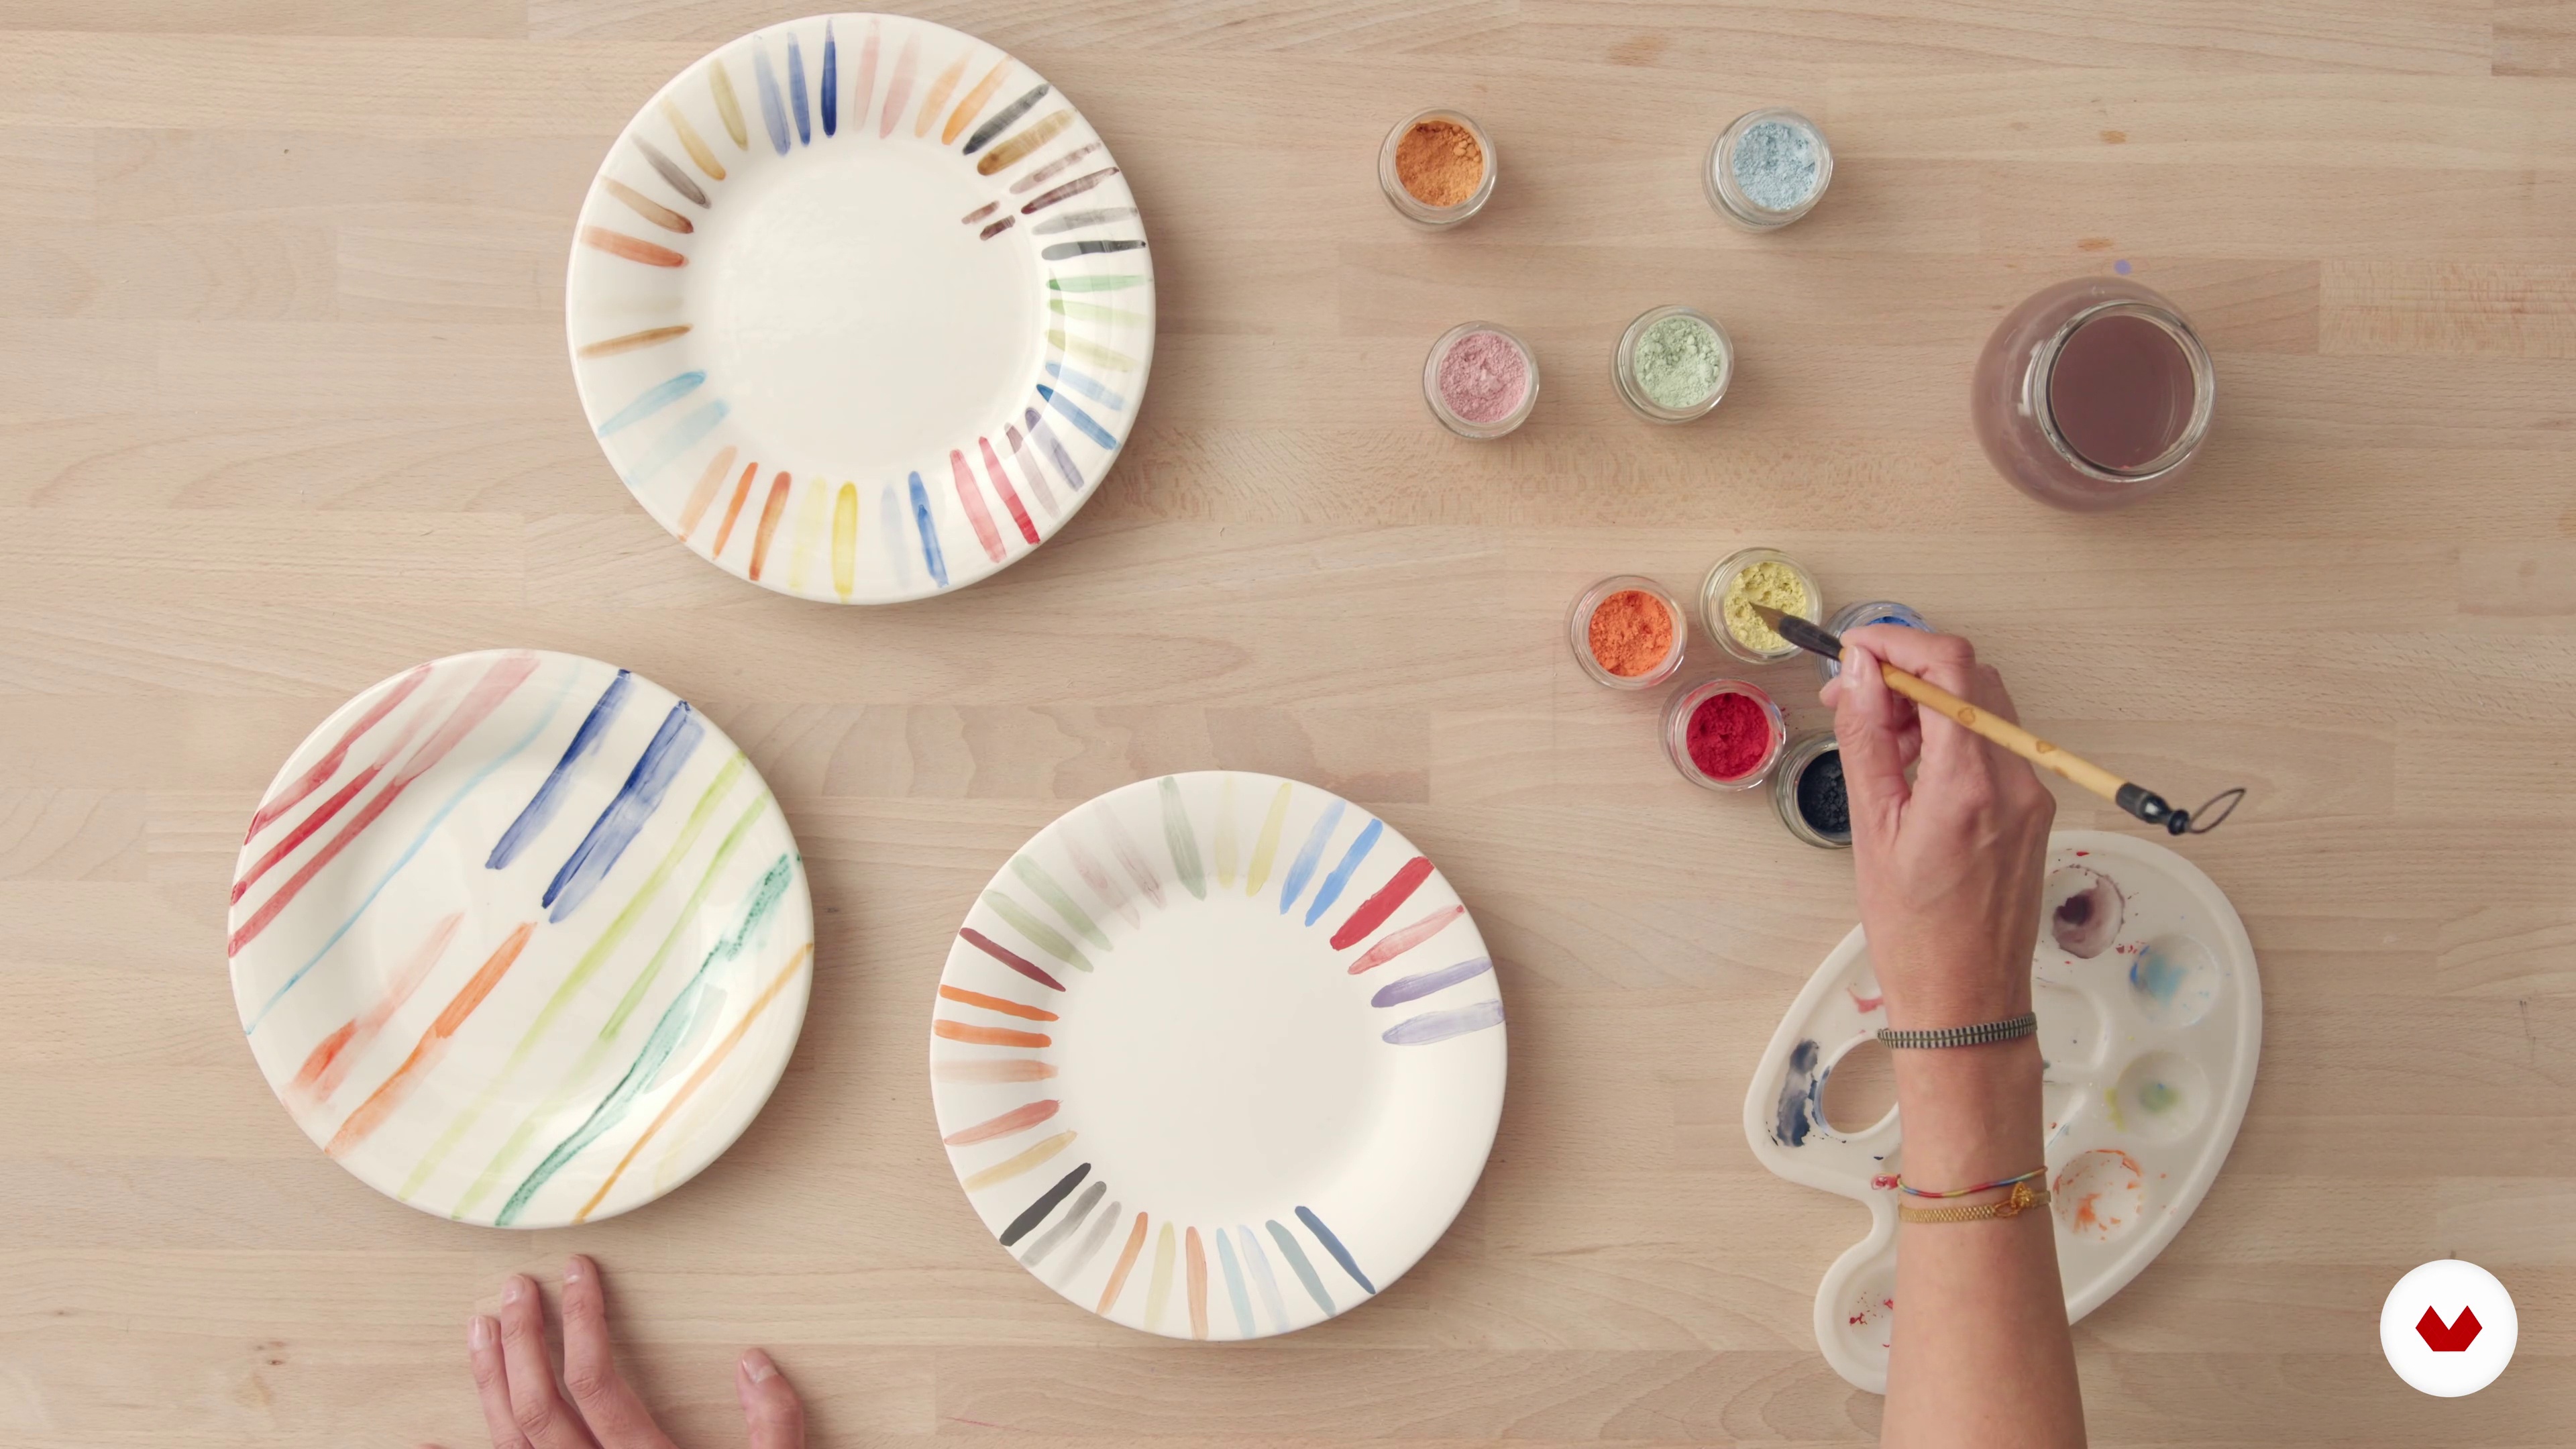
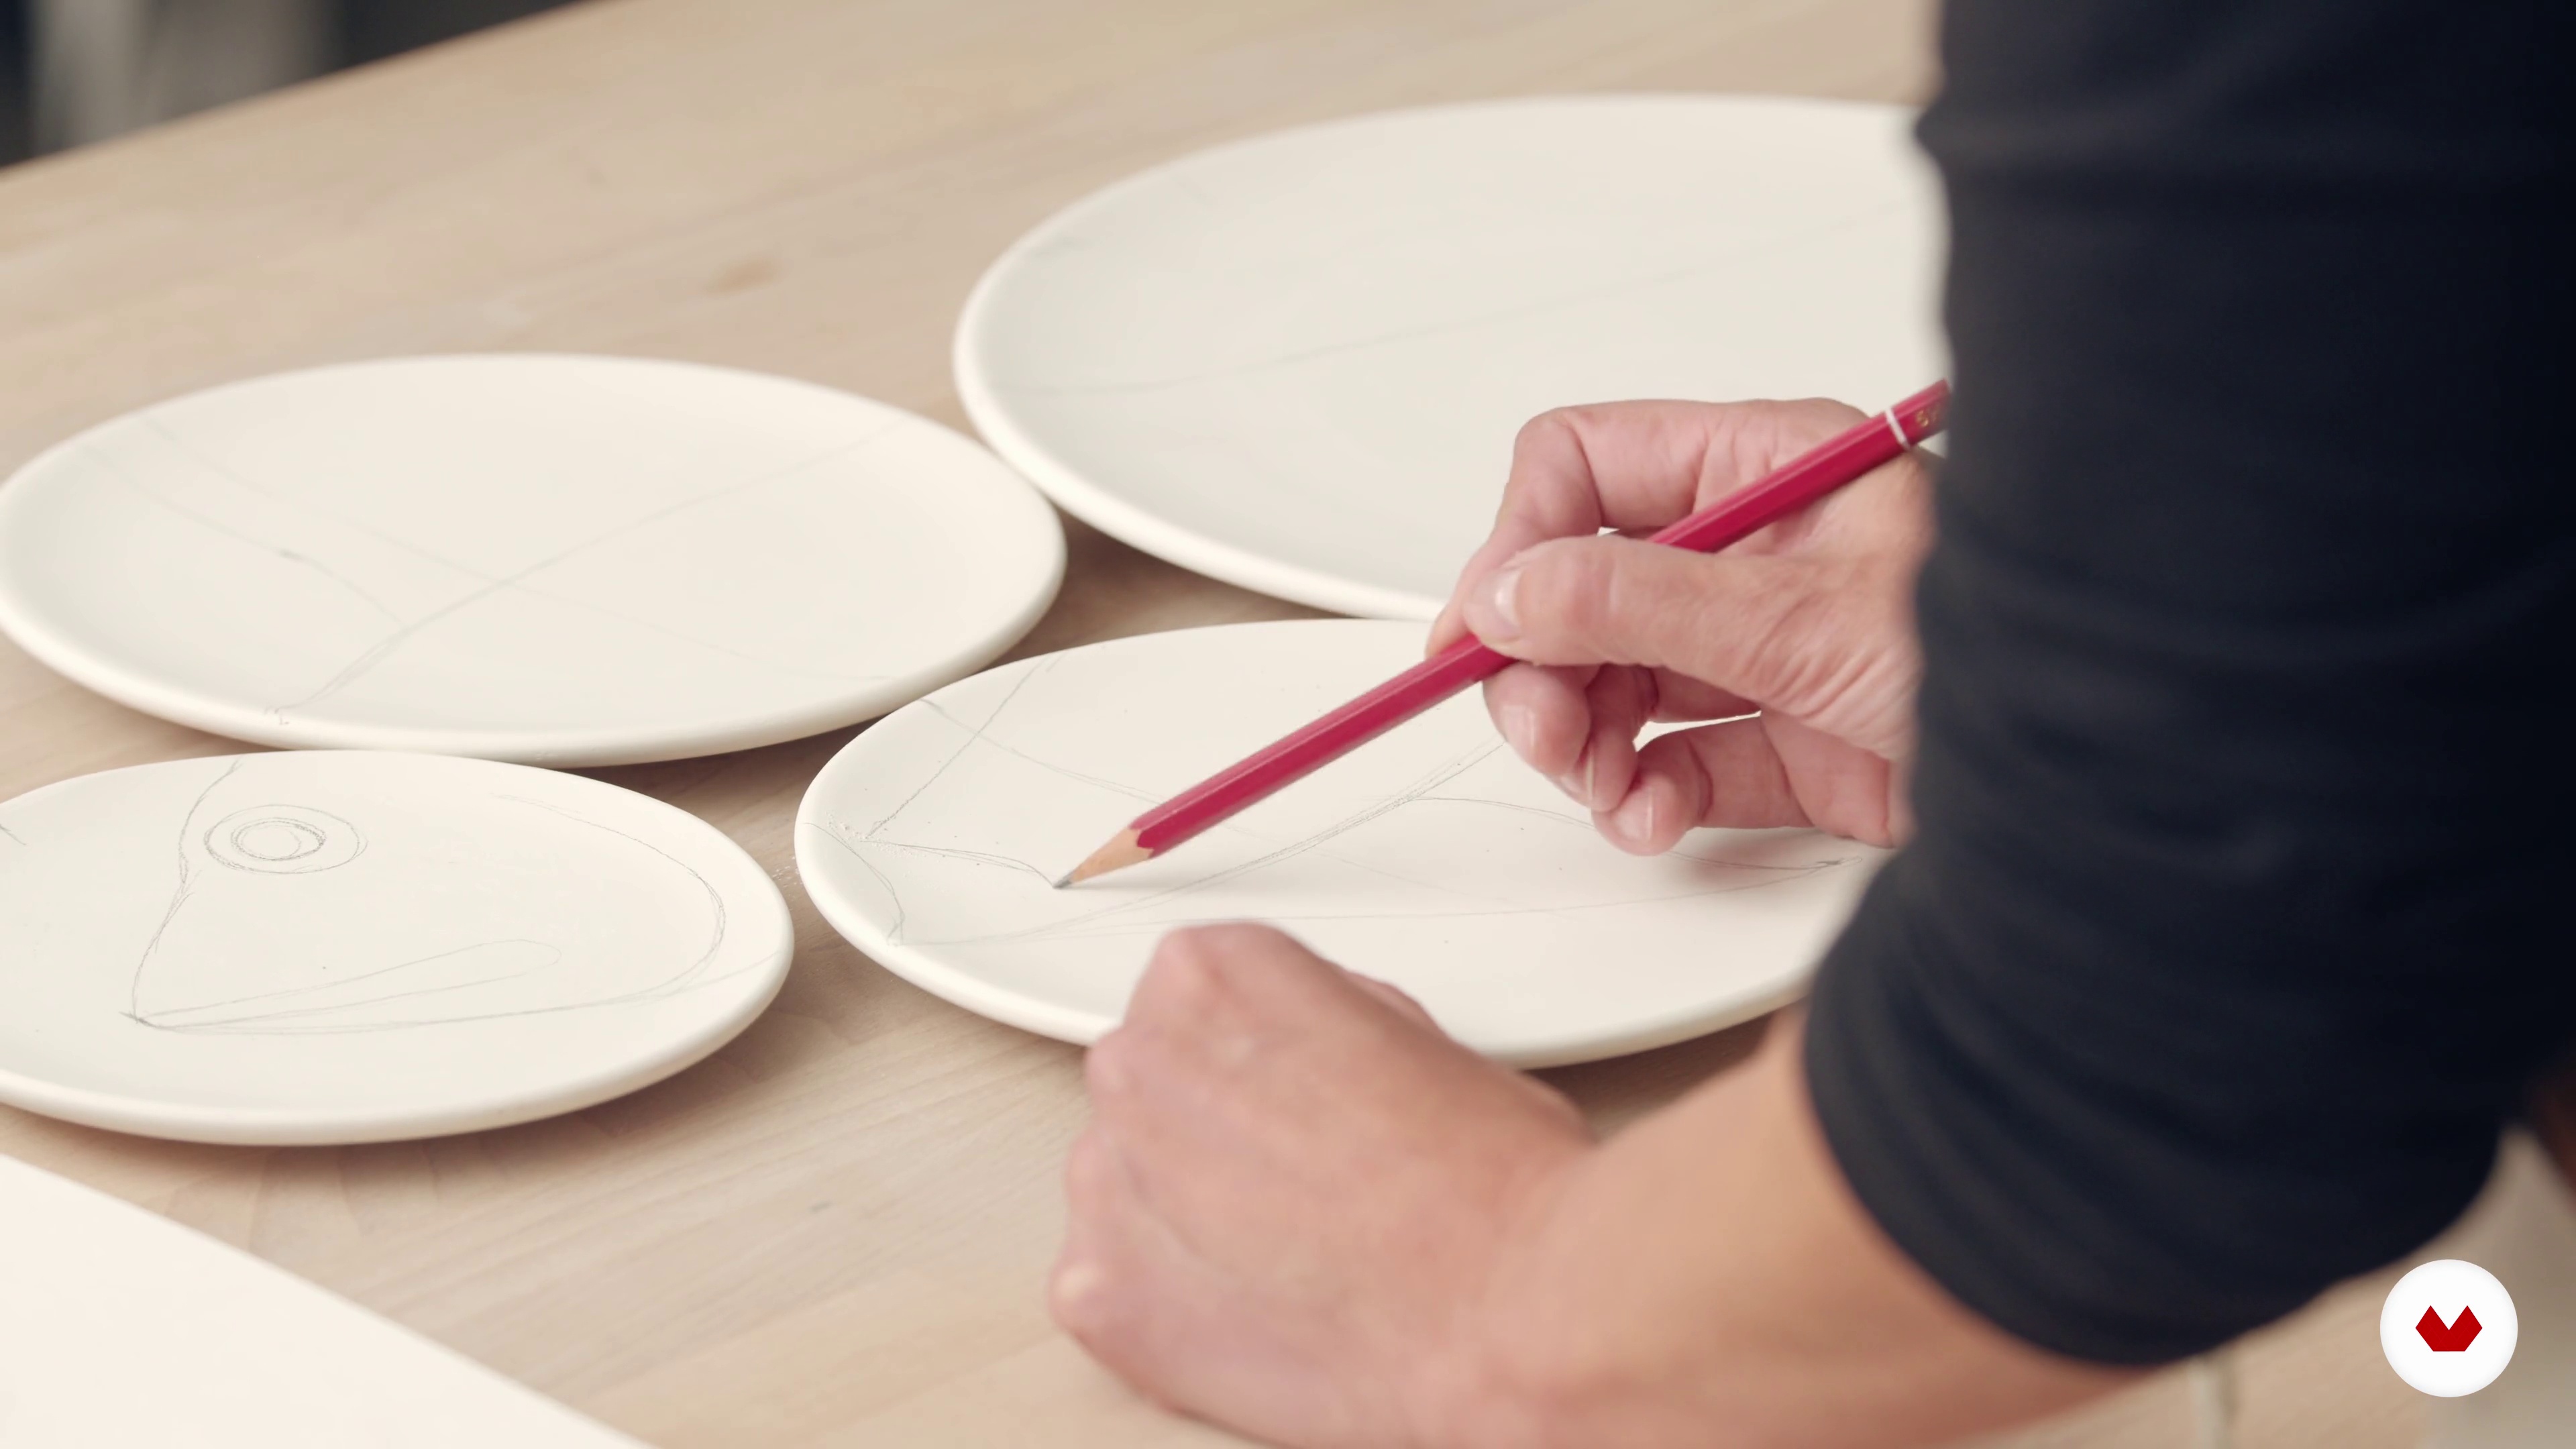
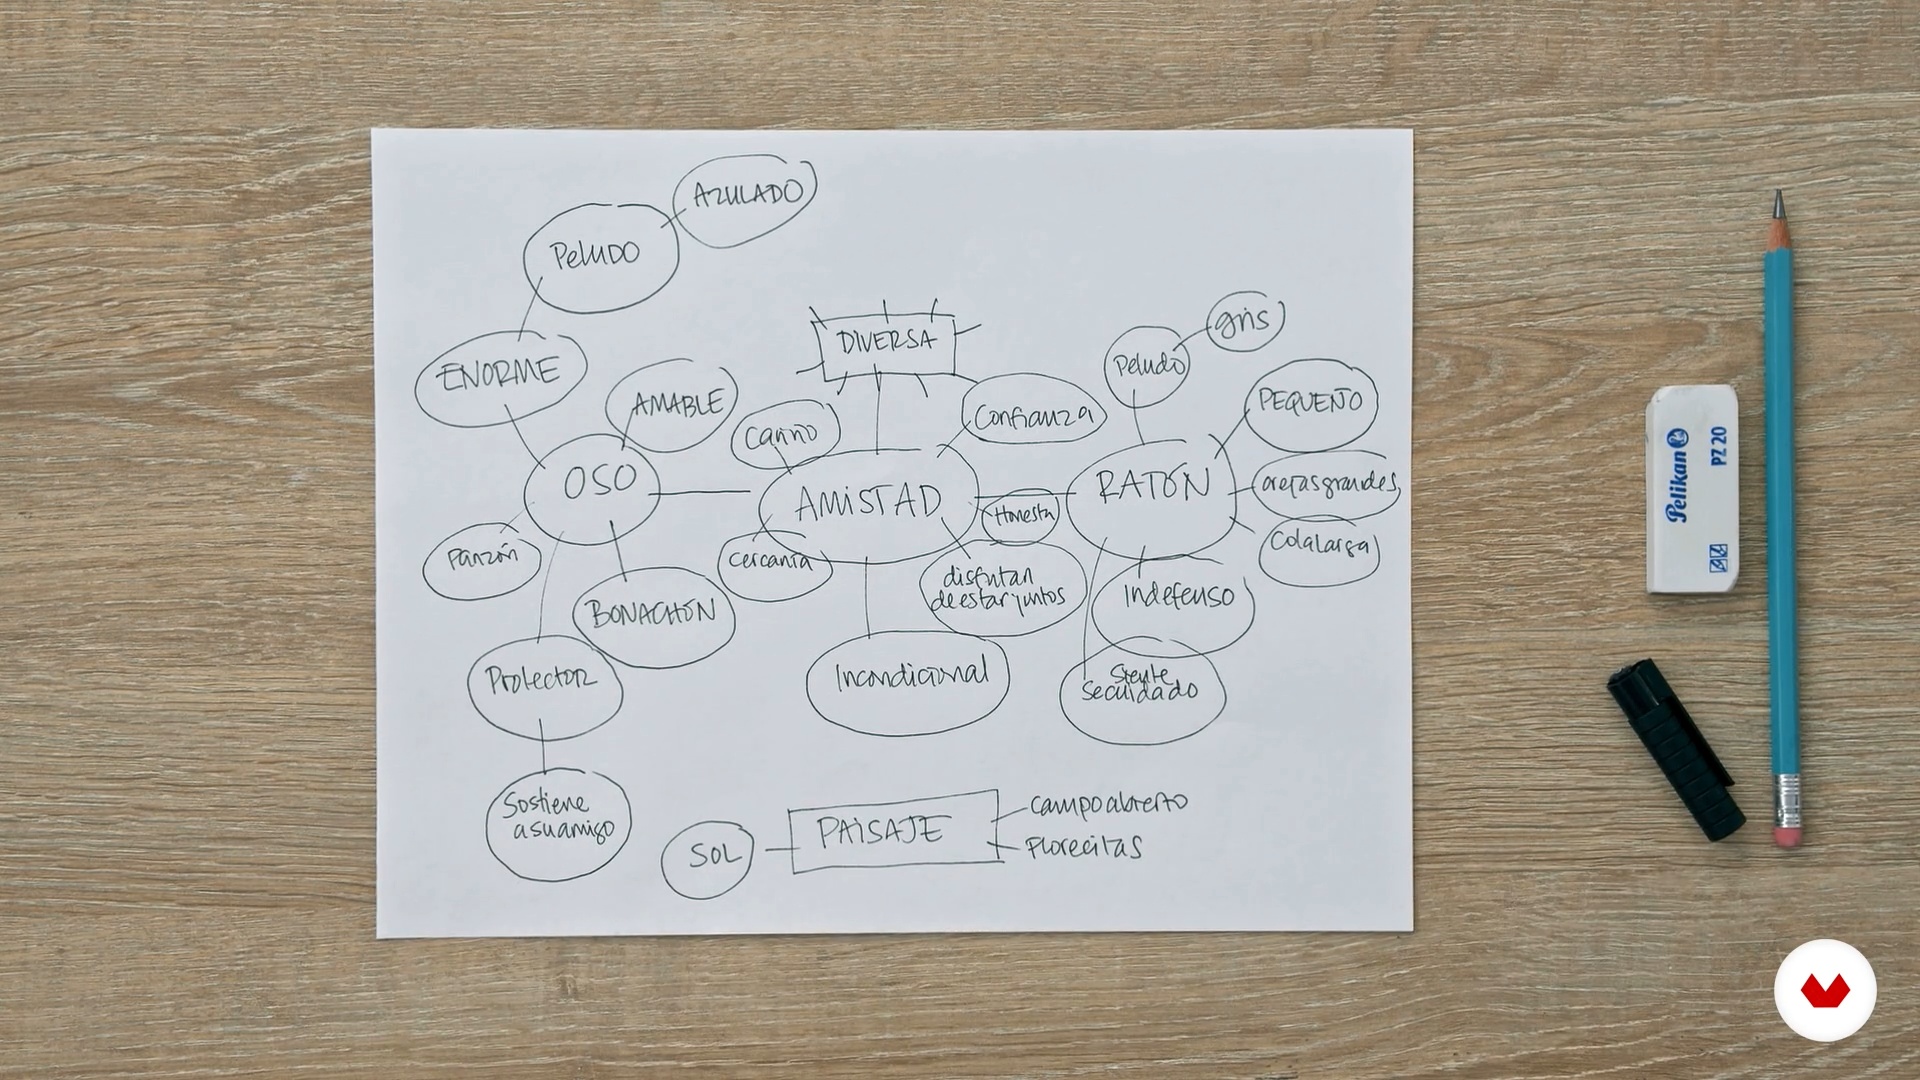
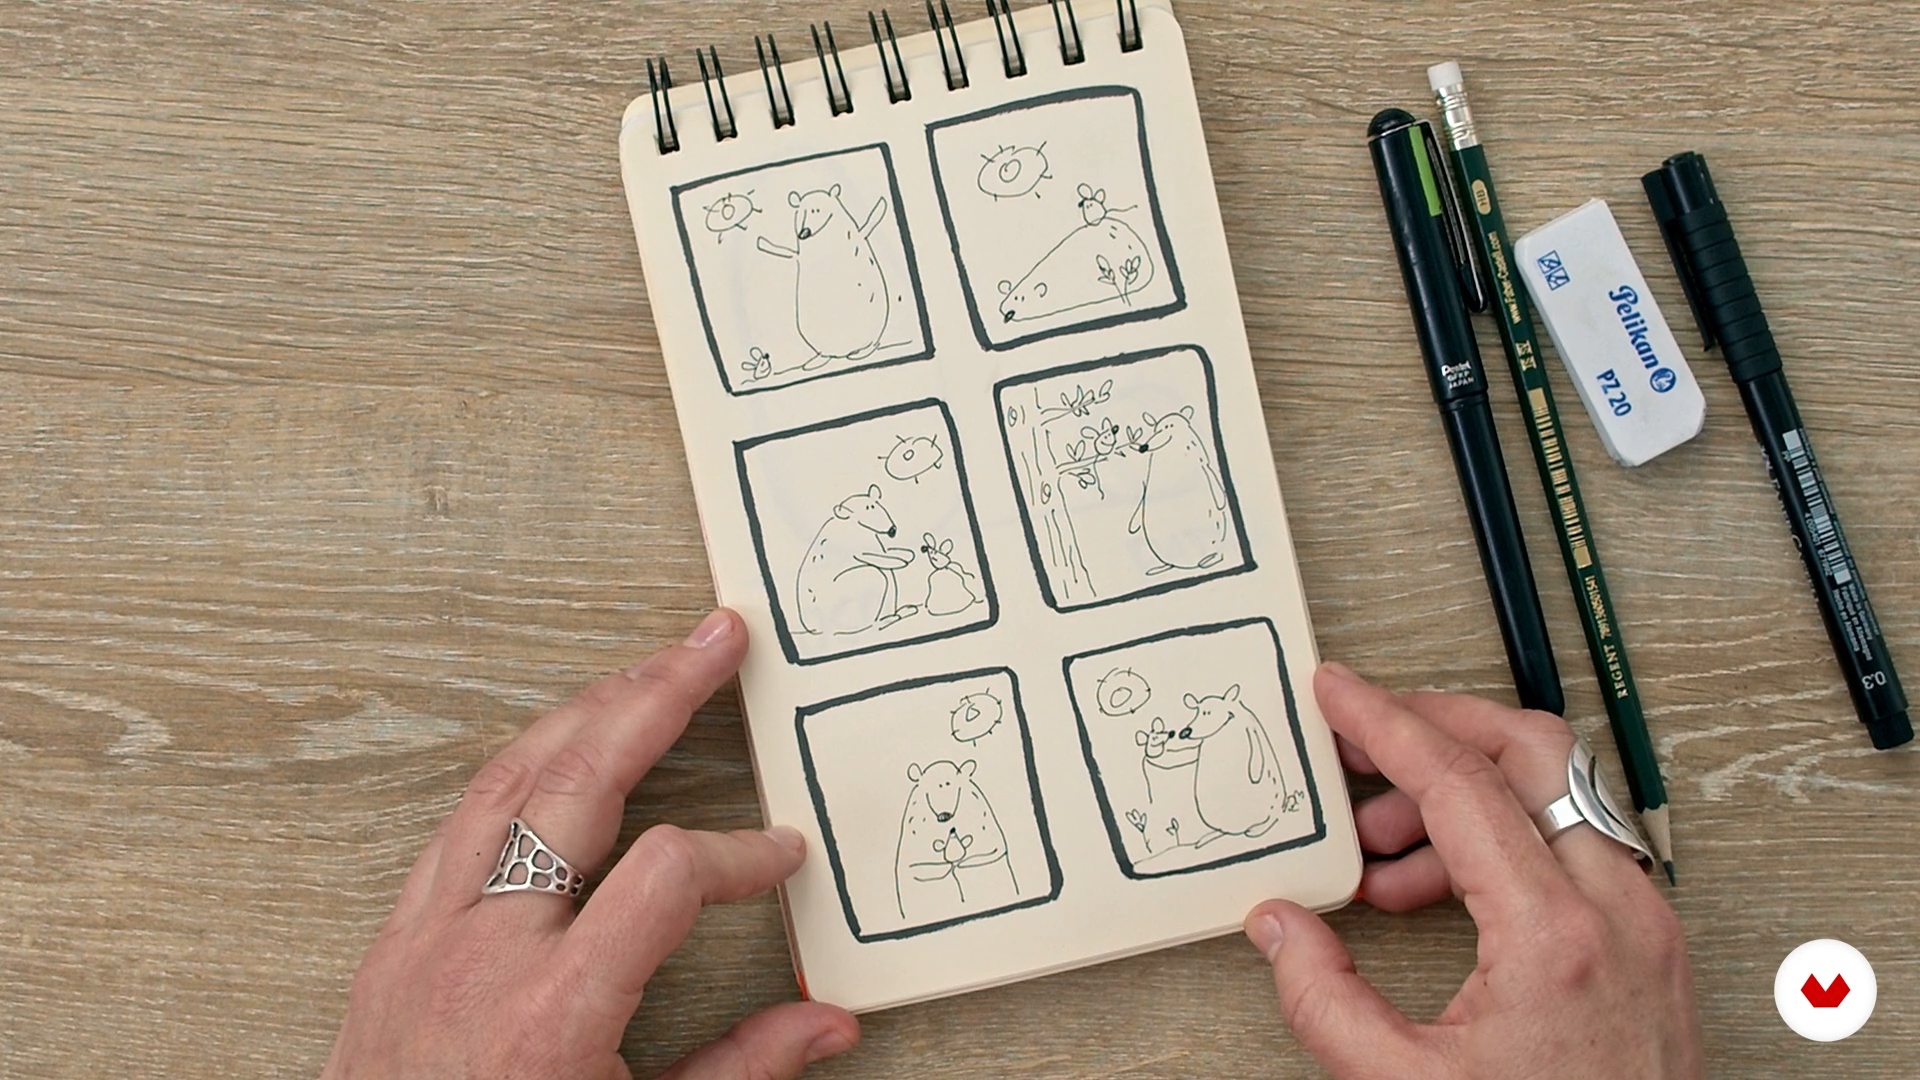
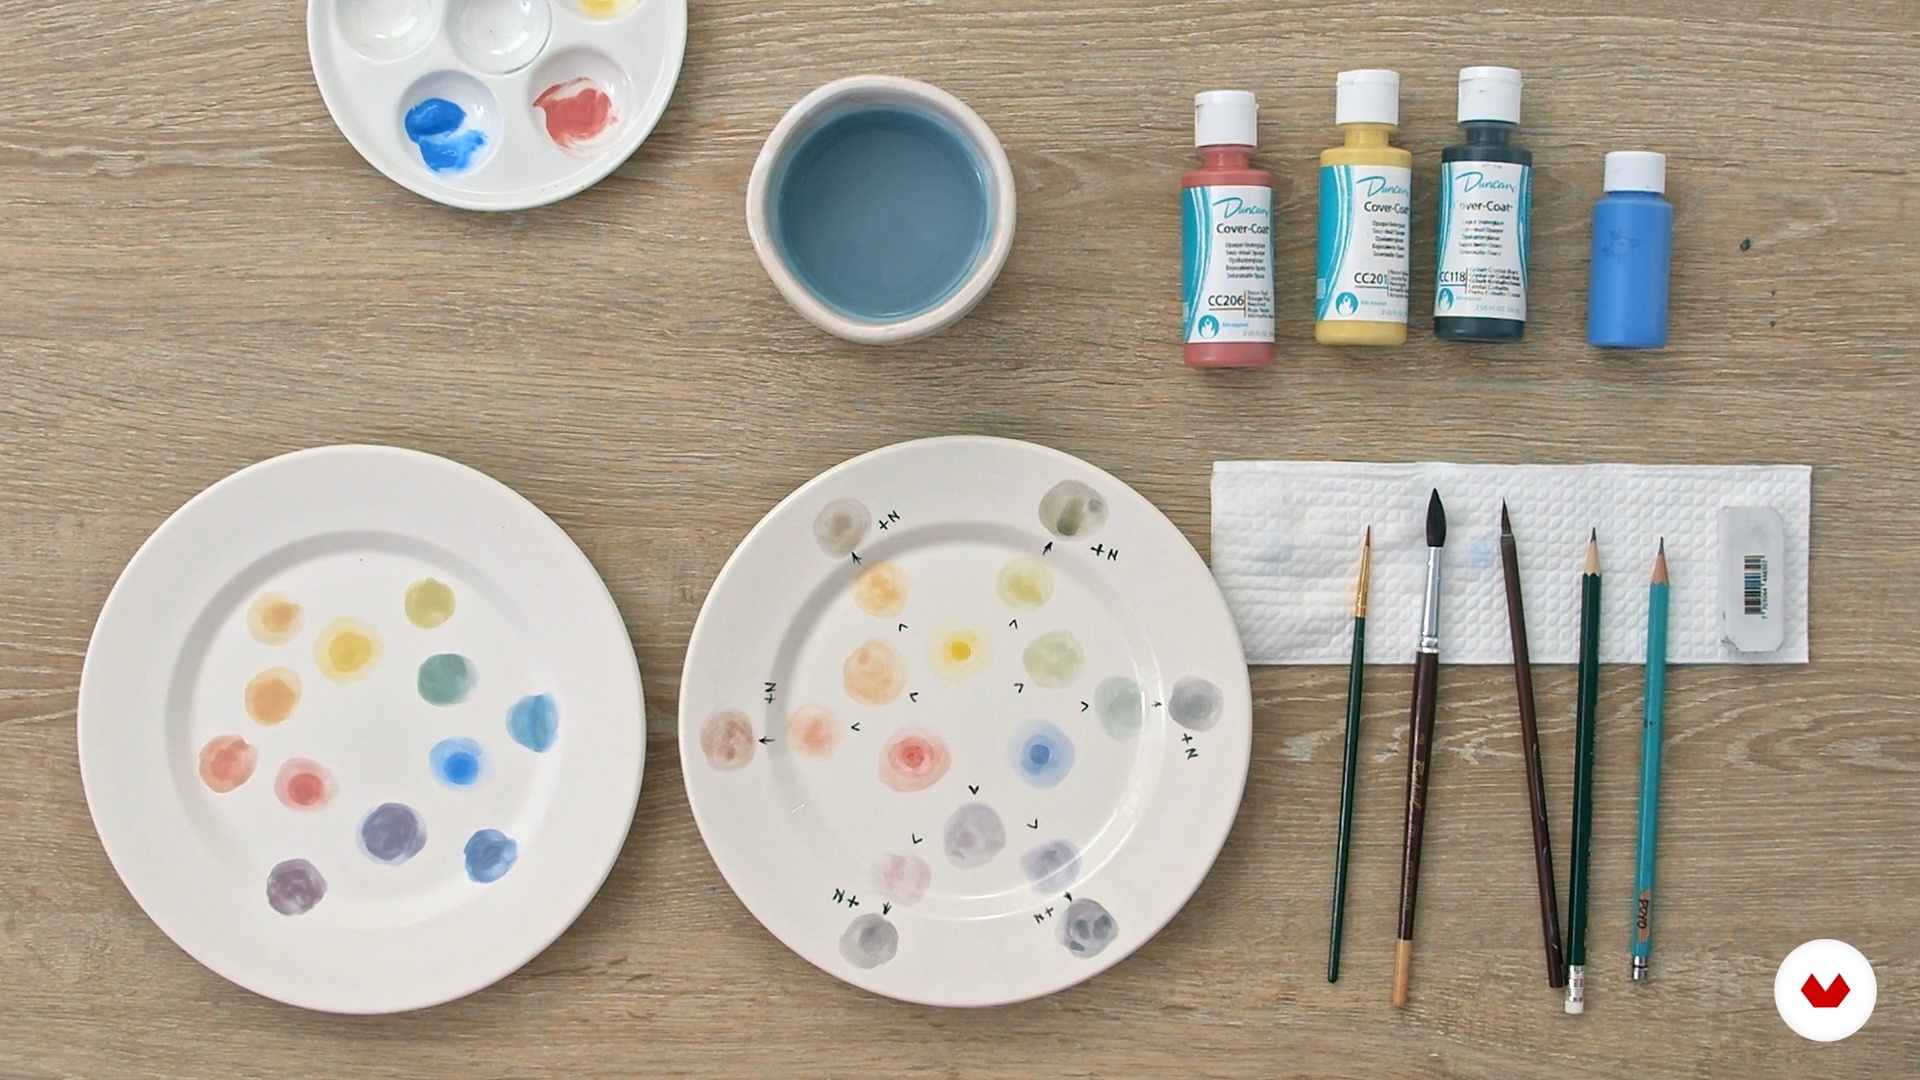
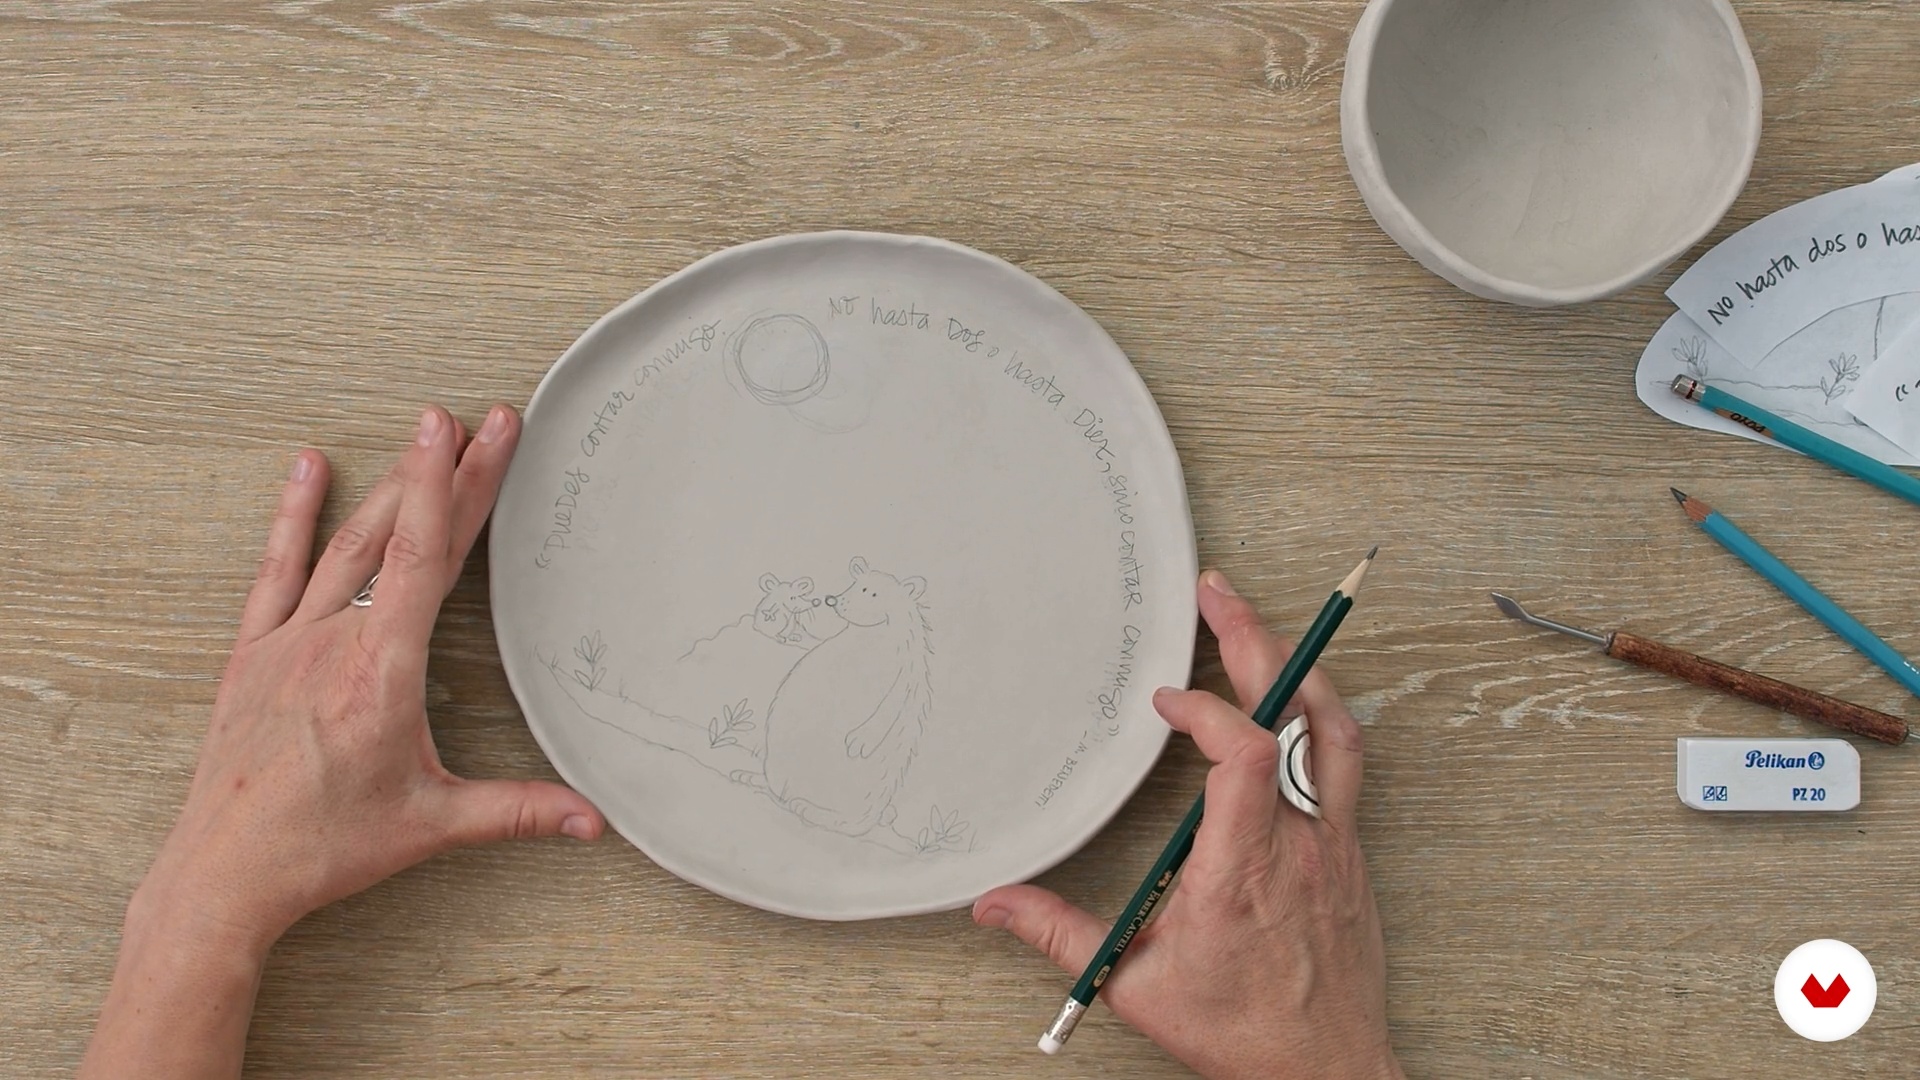
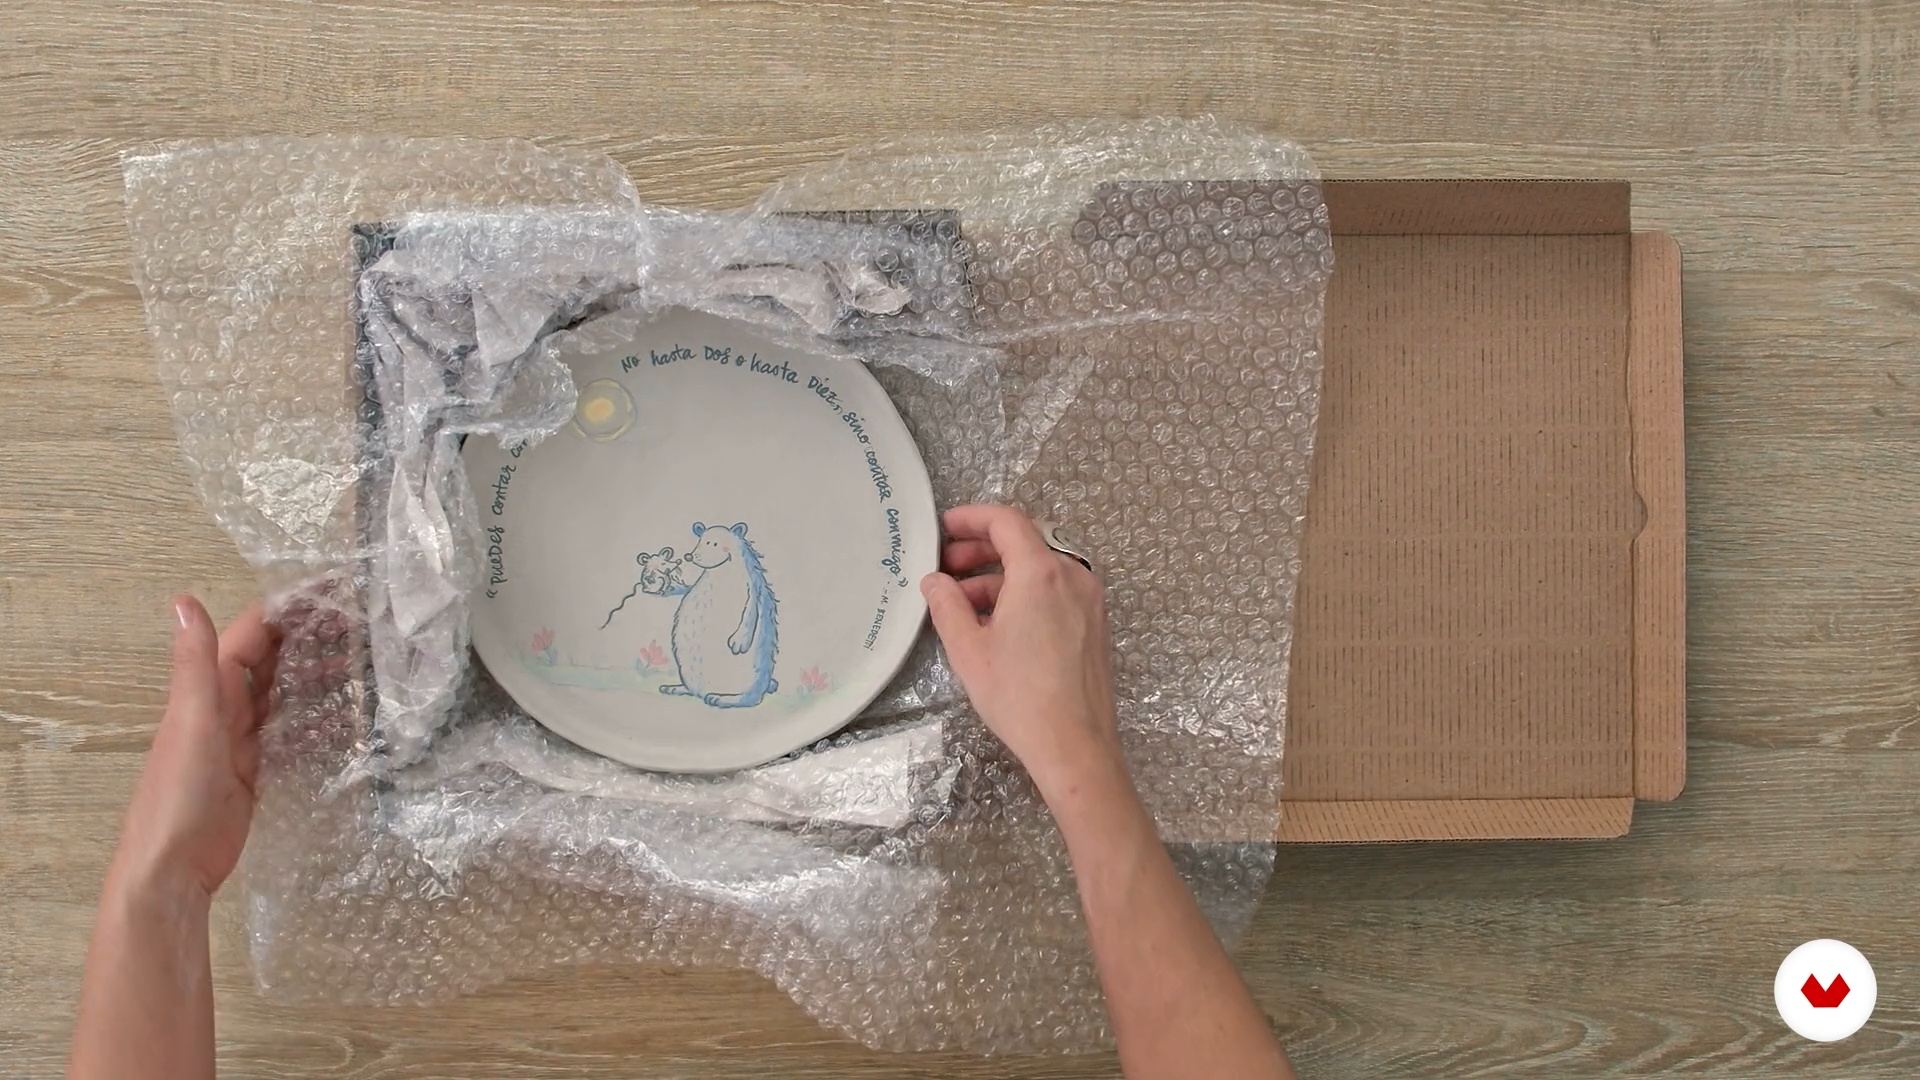
You'll create a collection of unique ceramic pieces, combining techniques such as glazing, illustration, and hand-painting. You'll document your creative process, including sketches and personal reflections, to develop an expressive series that reflects your personal style.
Who is this specialization for?
Artists, illustrators, and ceramic lovers who wish to explore techniques for decorating and personalizing ceramic pieces. Creative individuals who seek to transform everyday objects into unique and expressive works through the use of glazing, illustration, and painting.
Requirements and materials
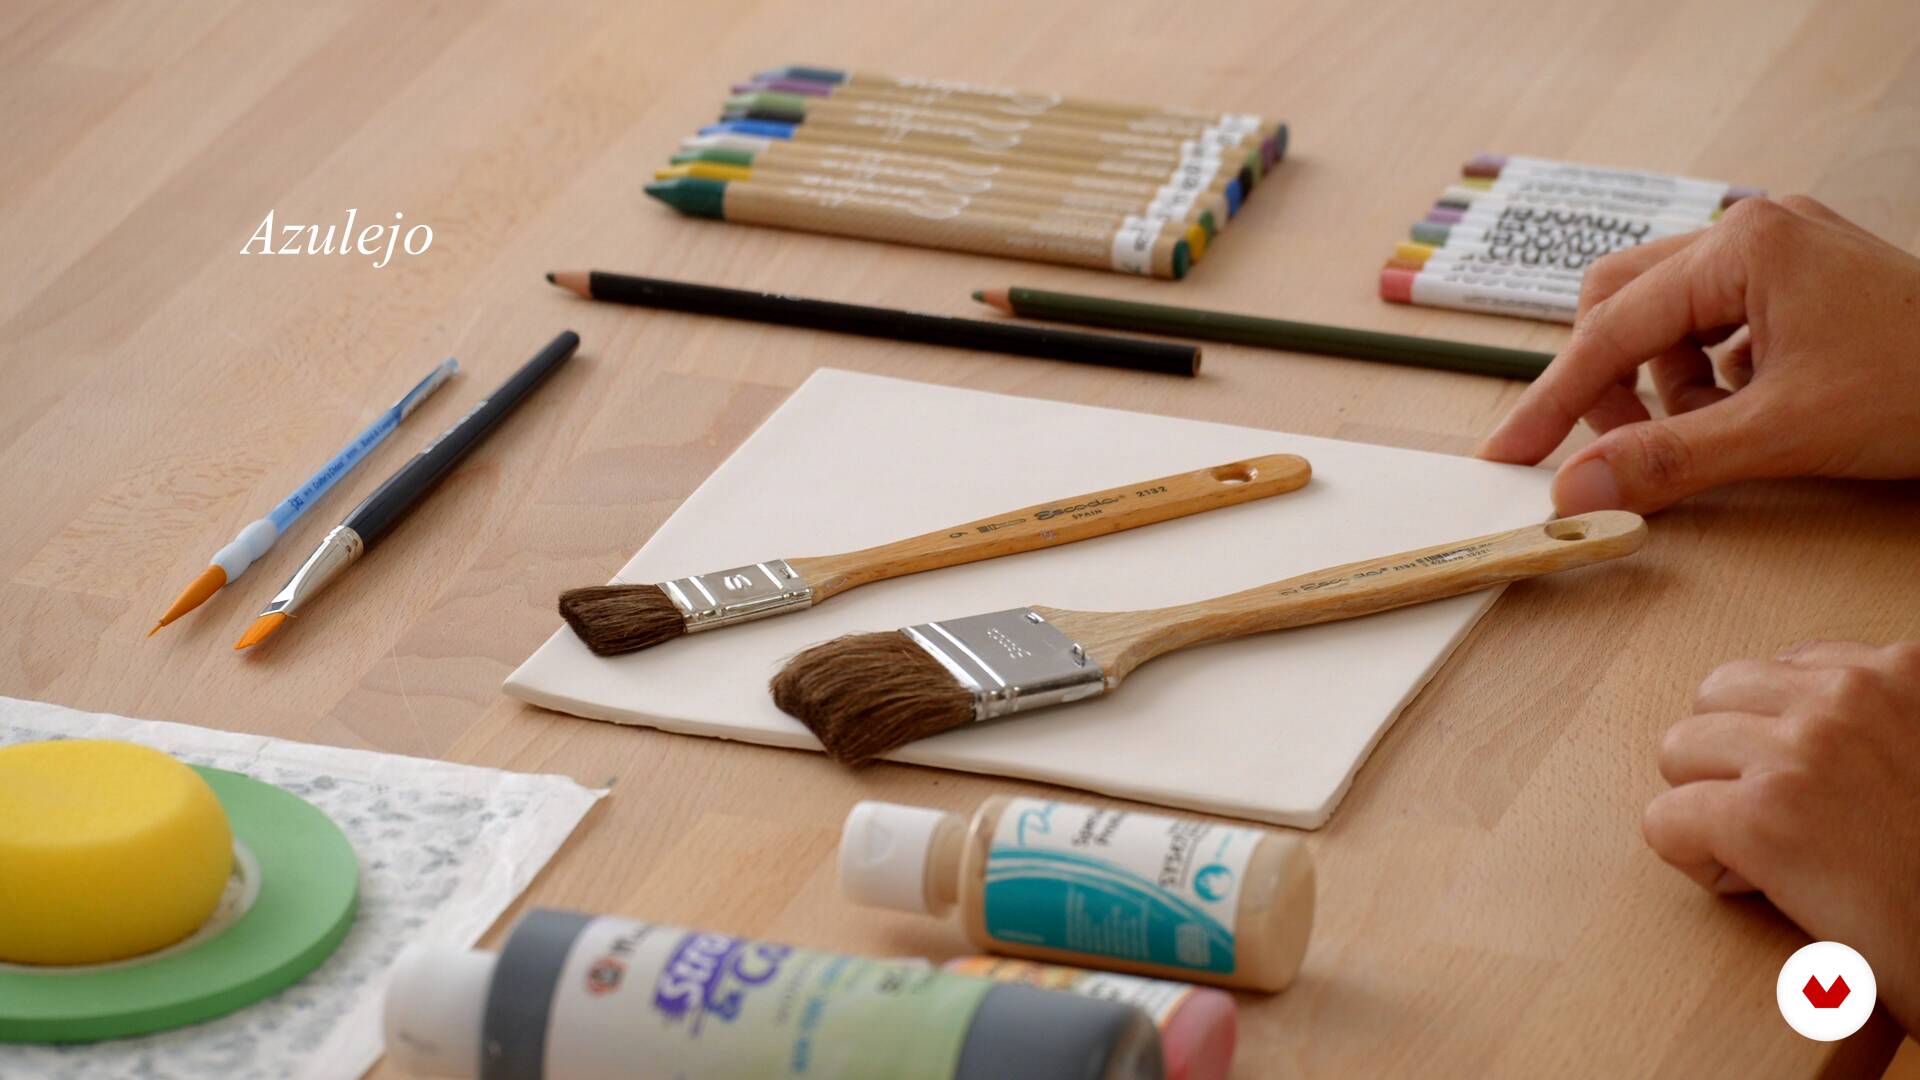
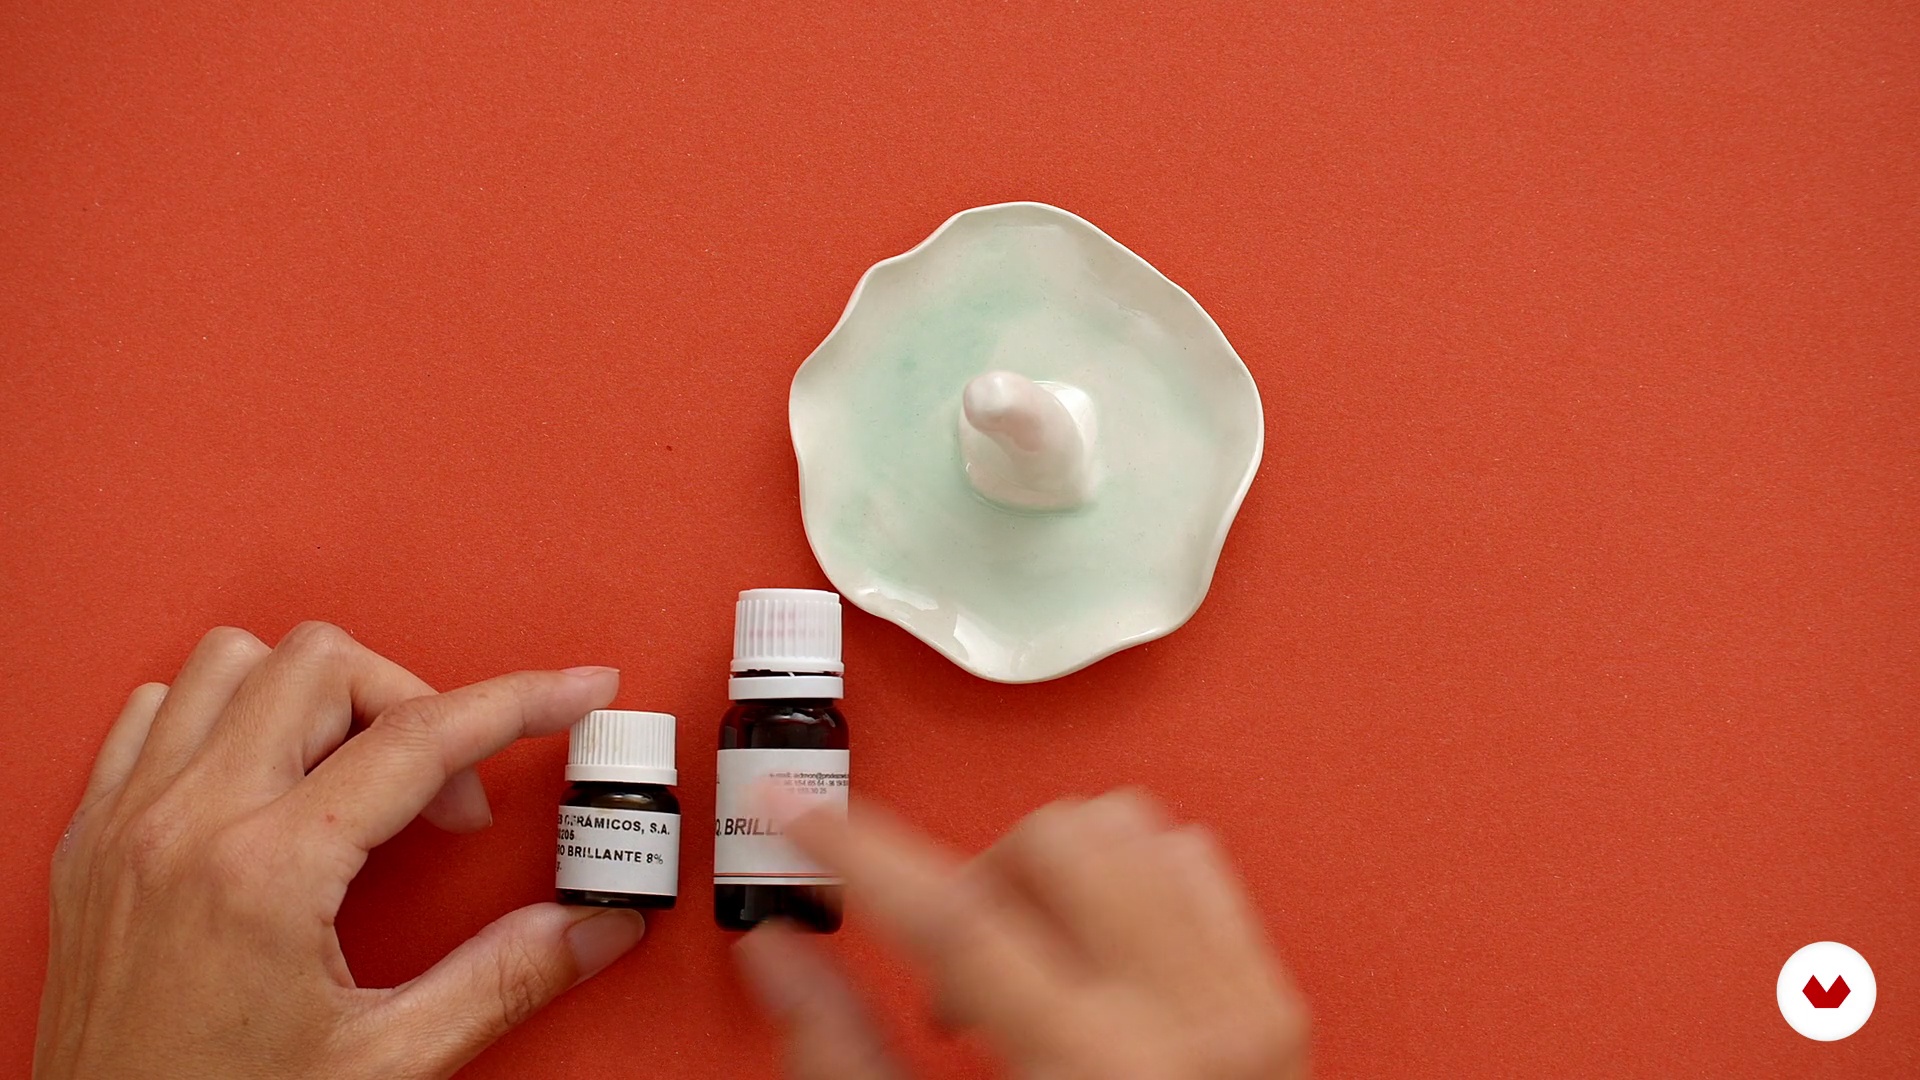
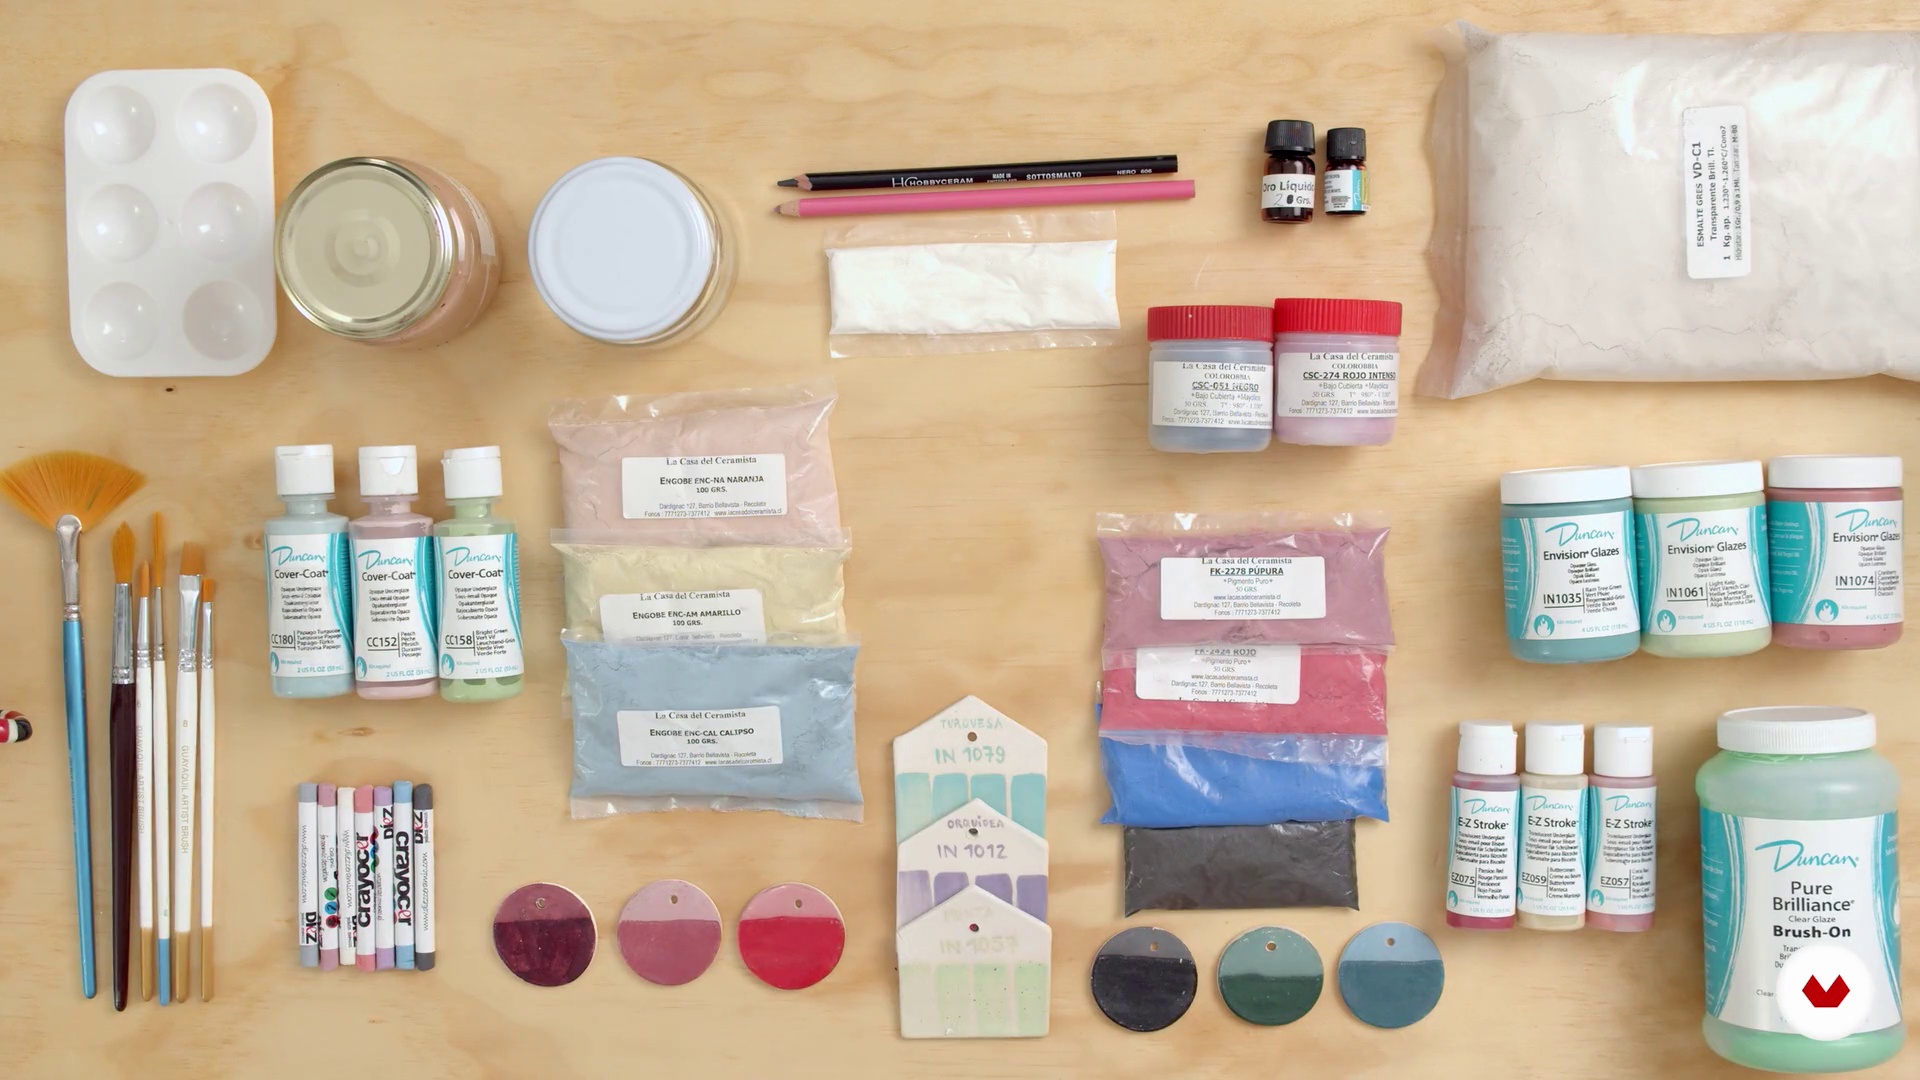
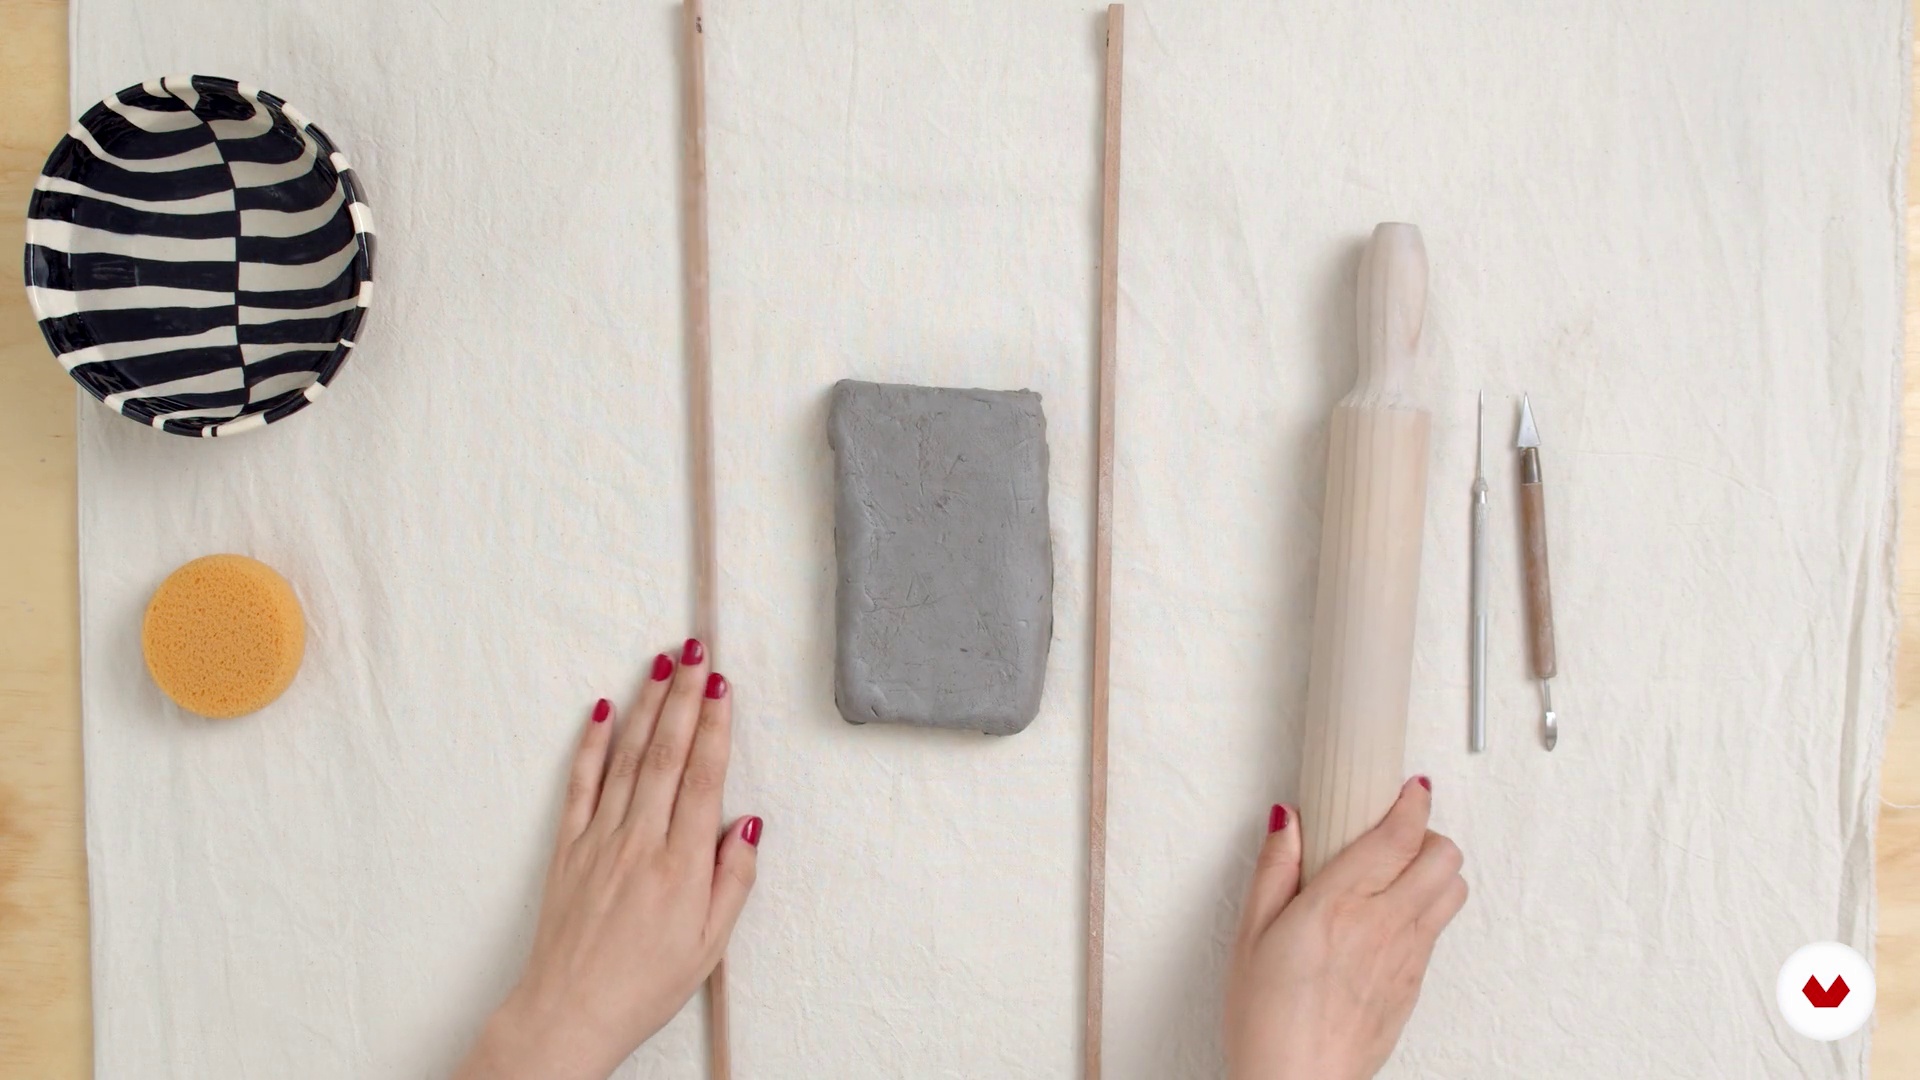
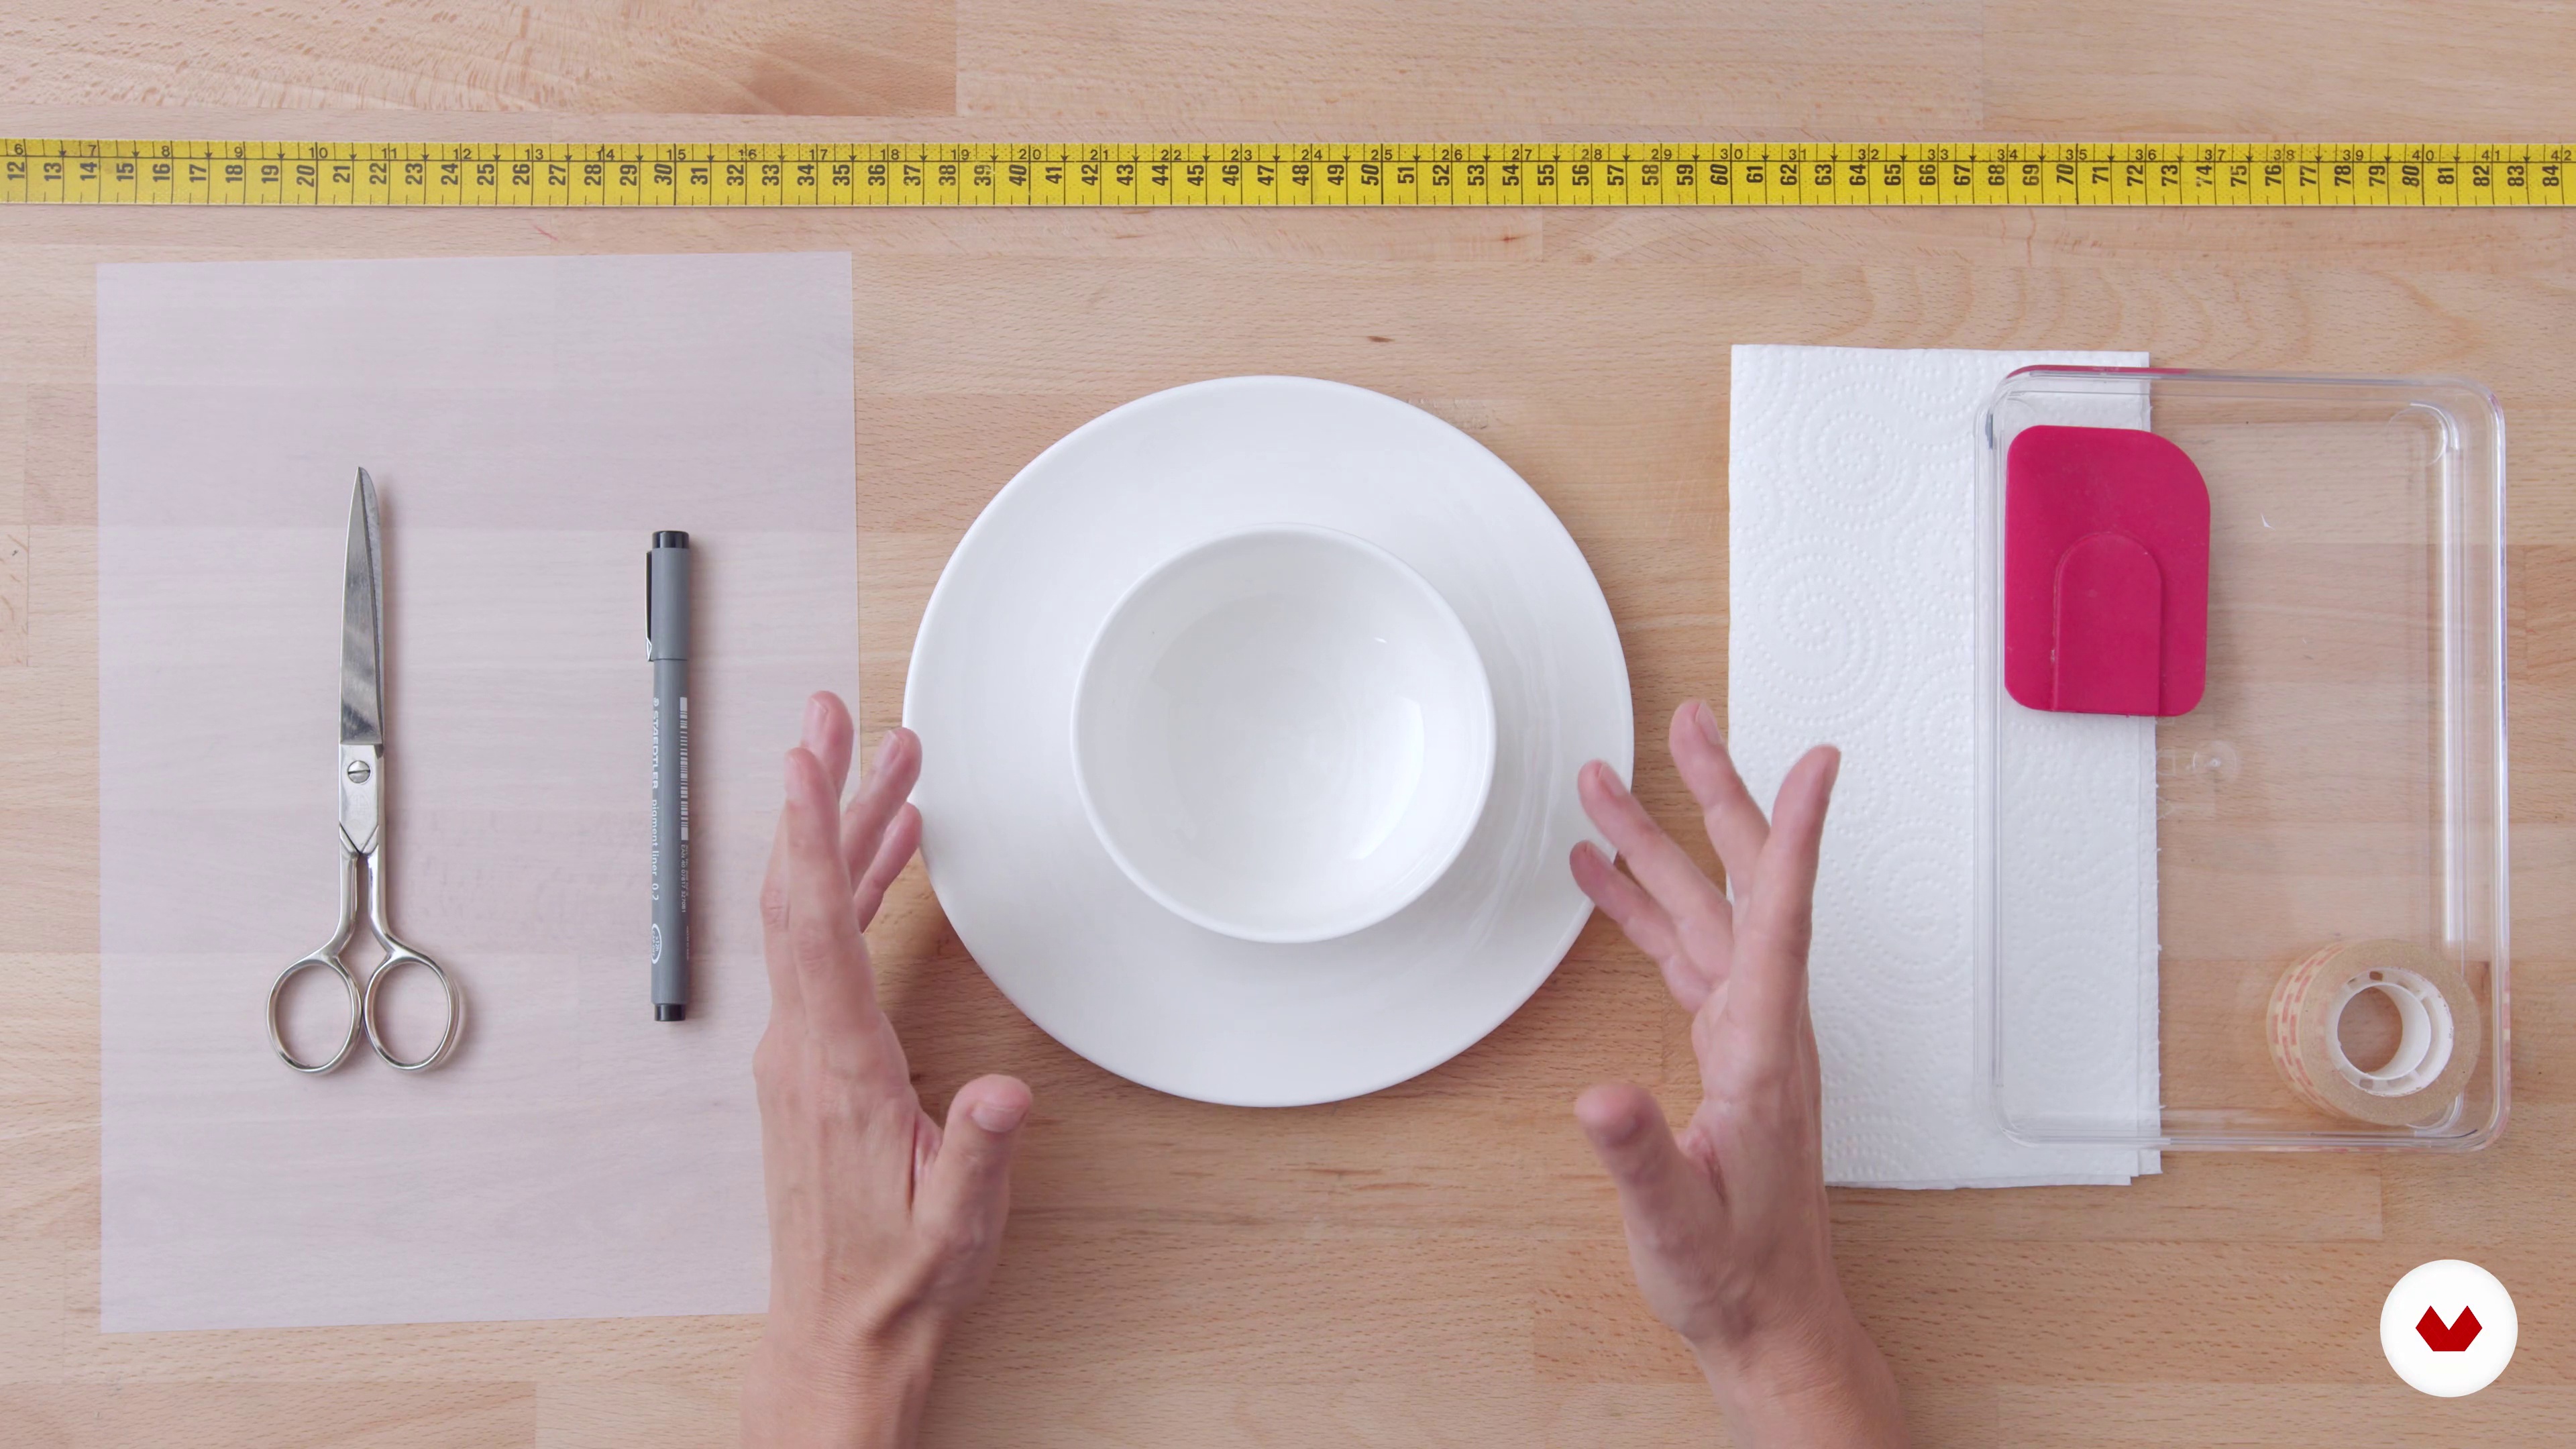
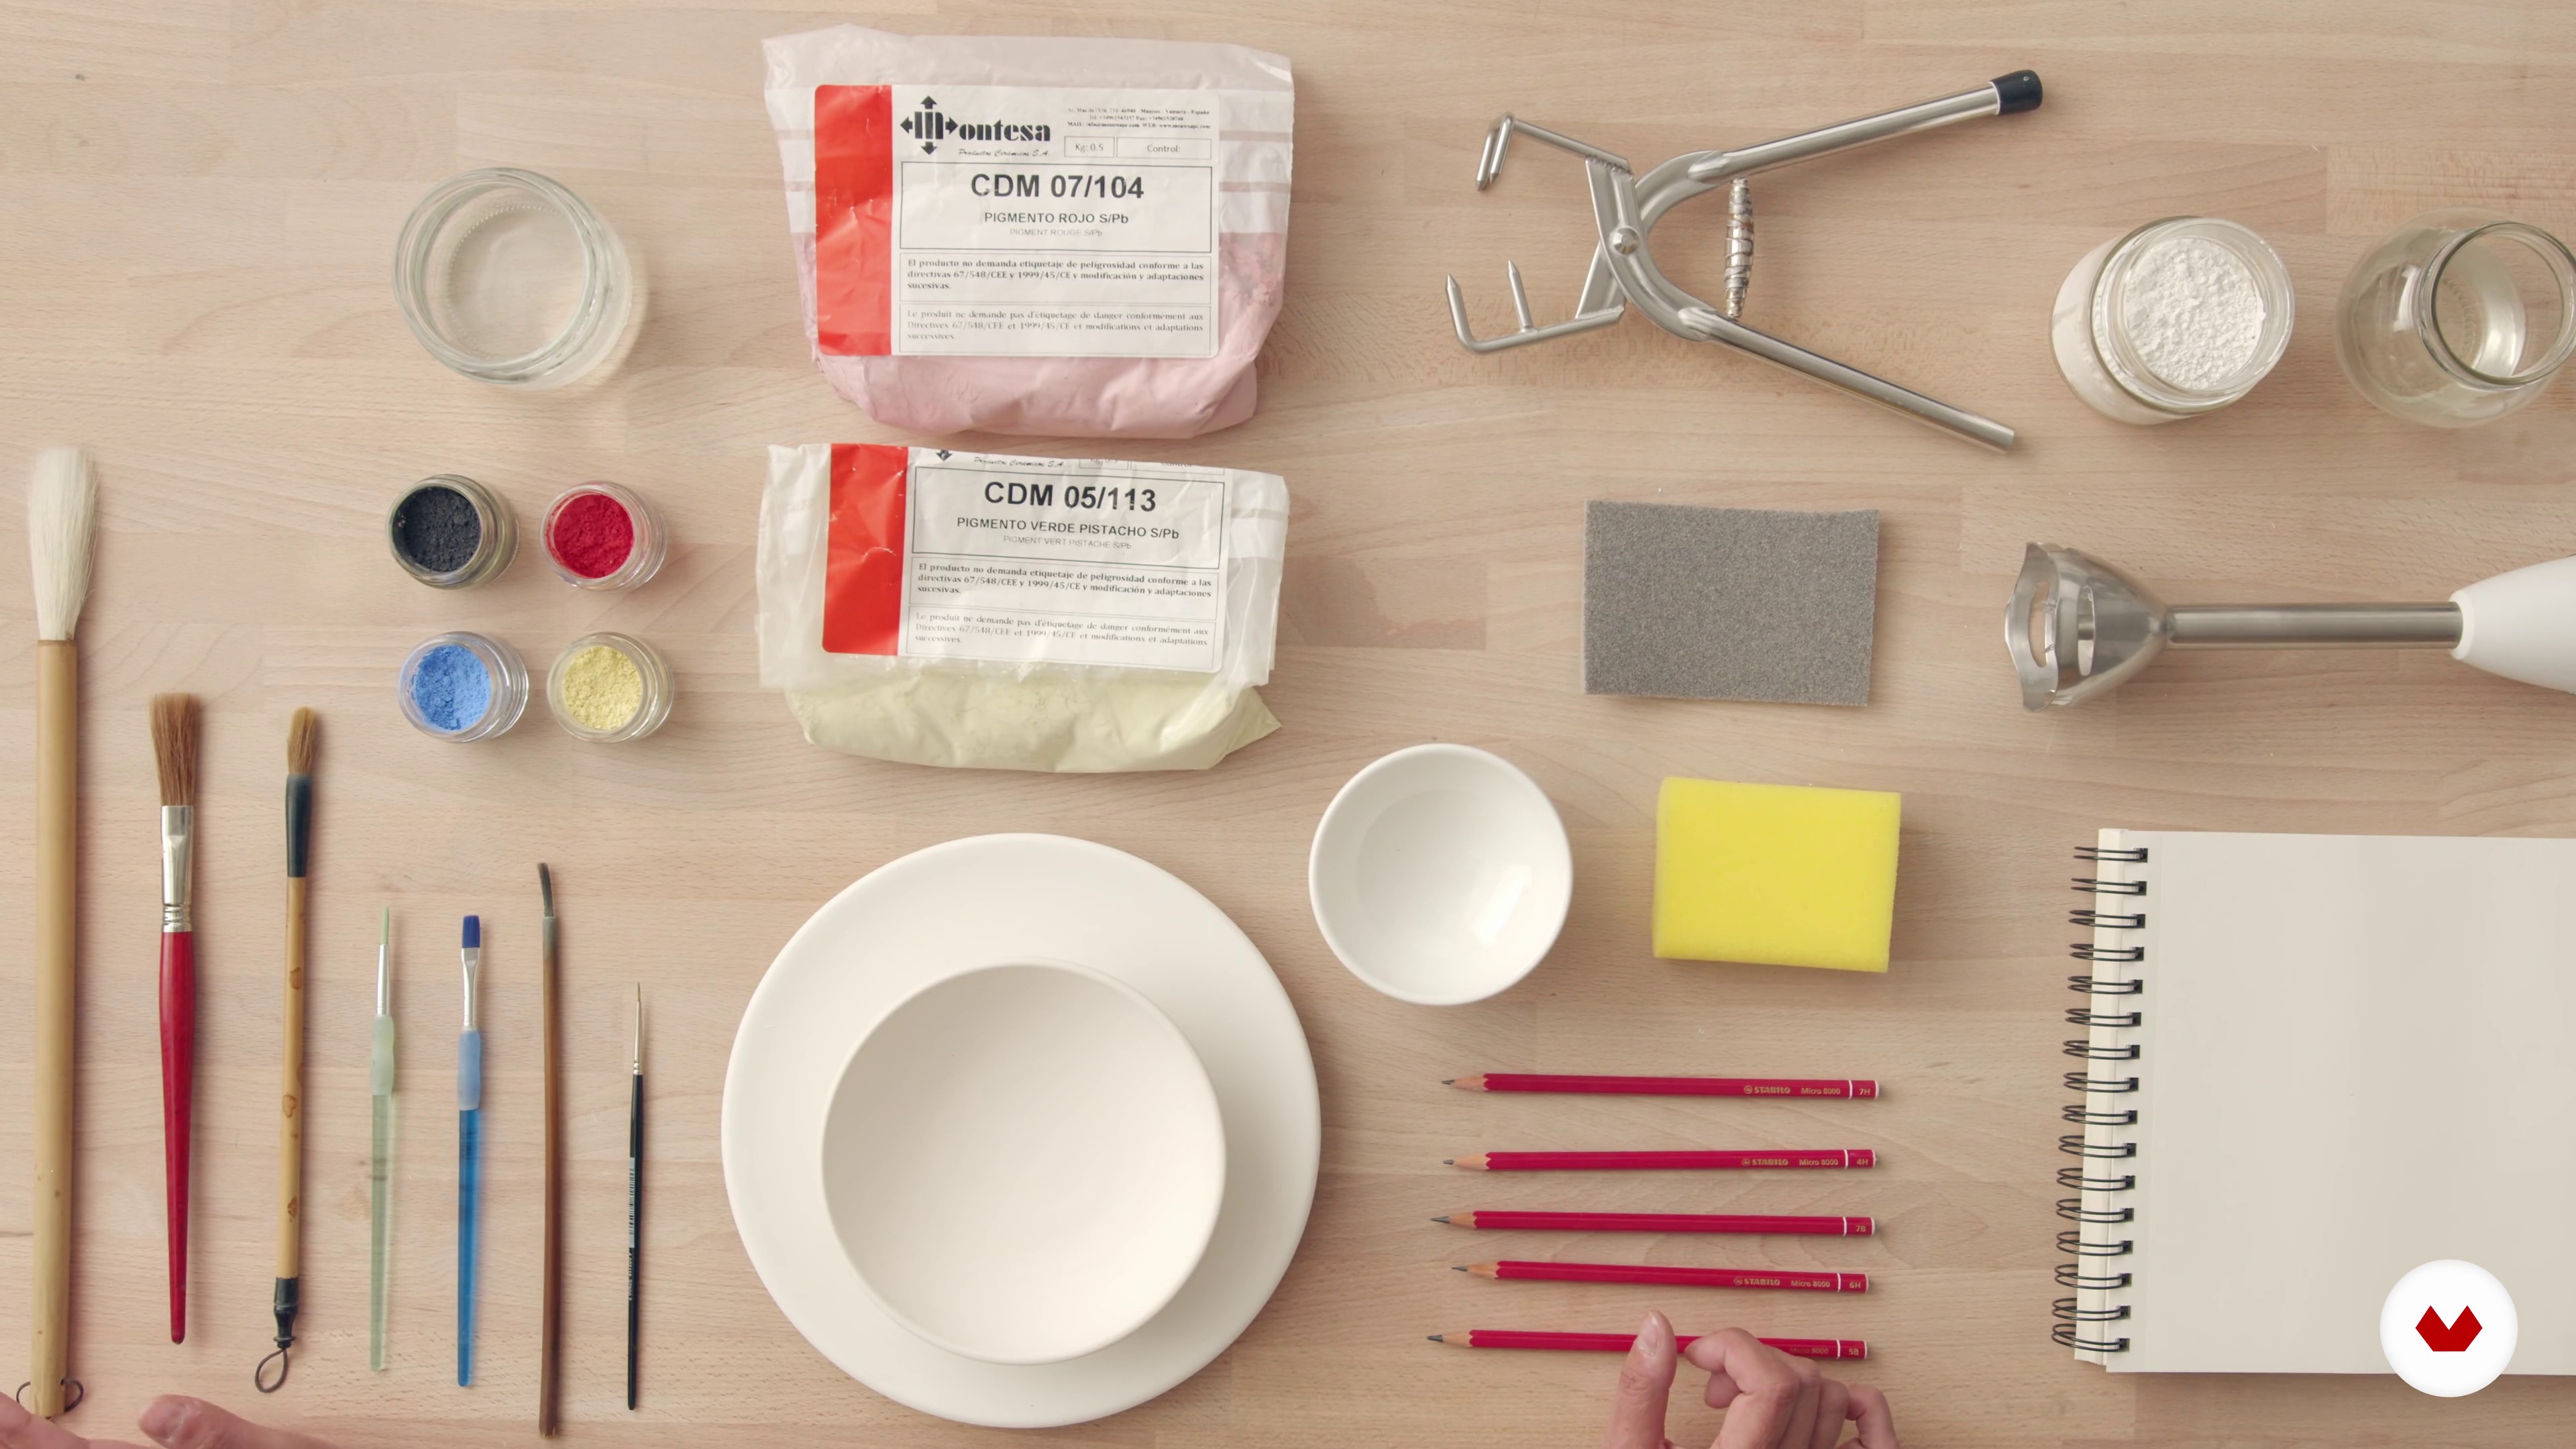
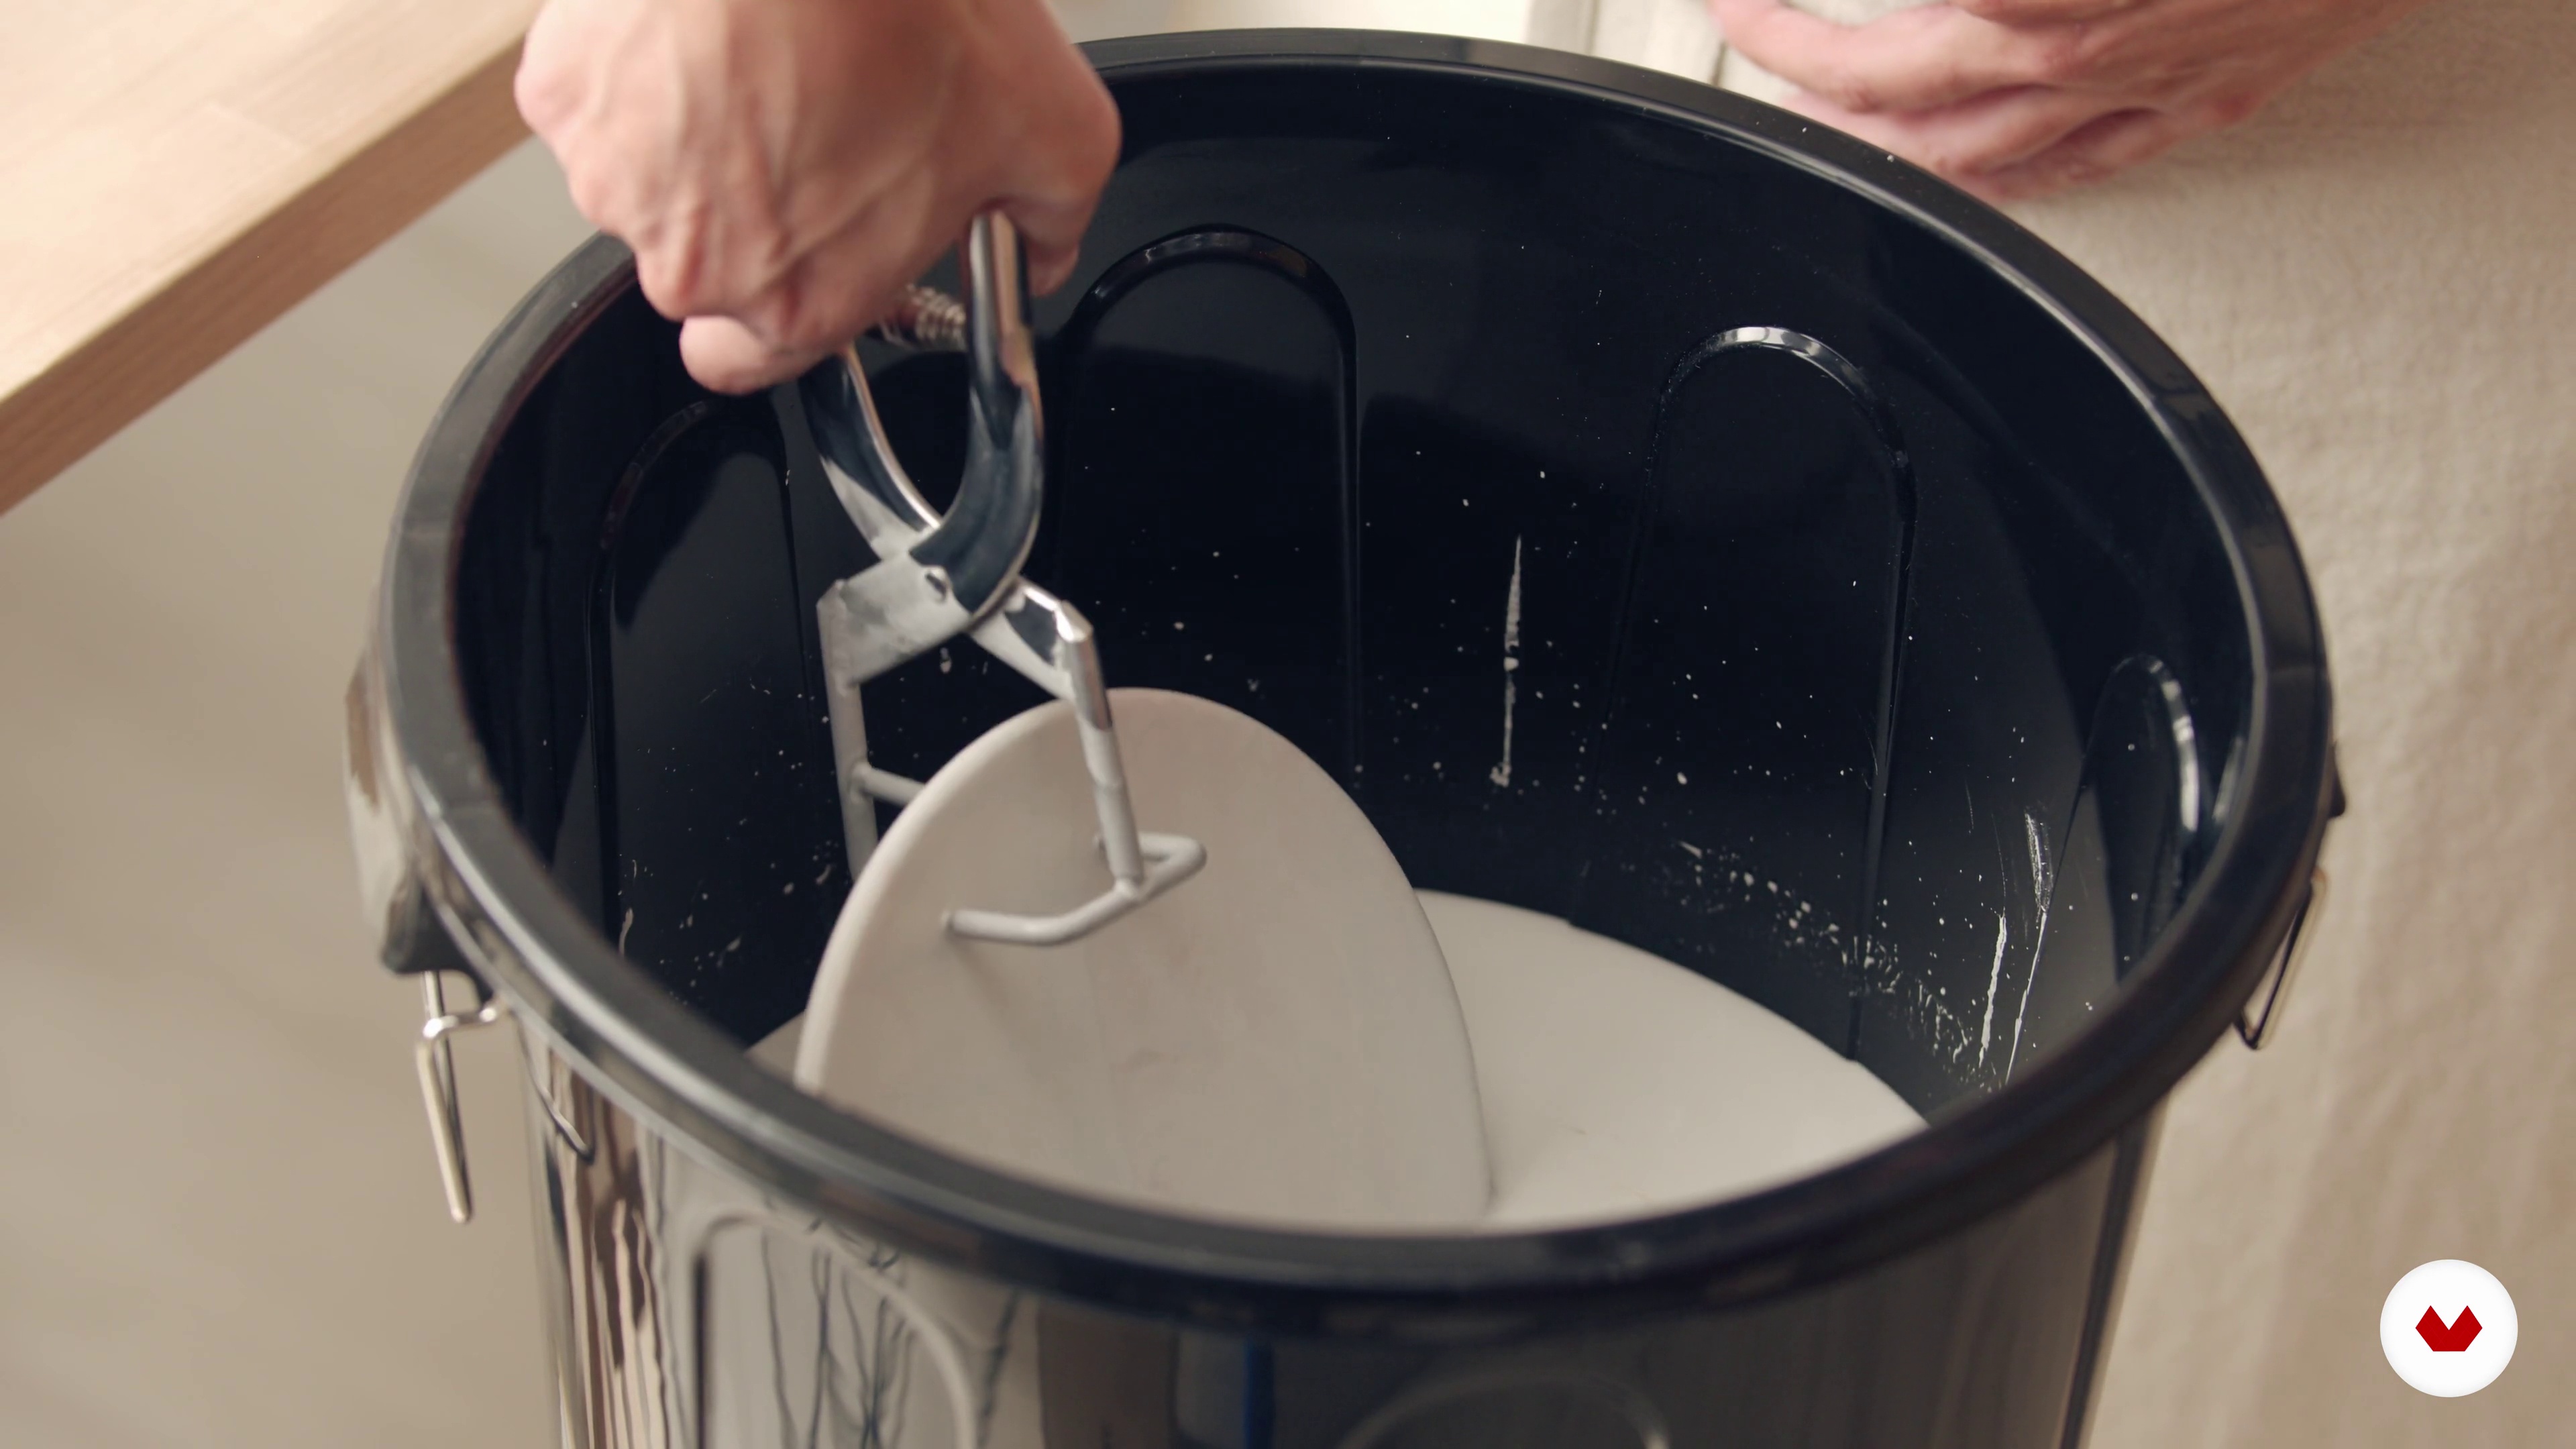
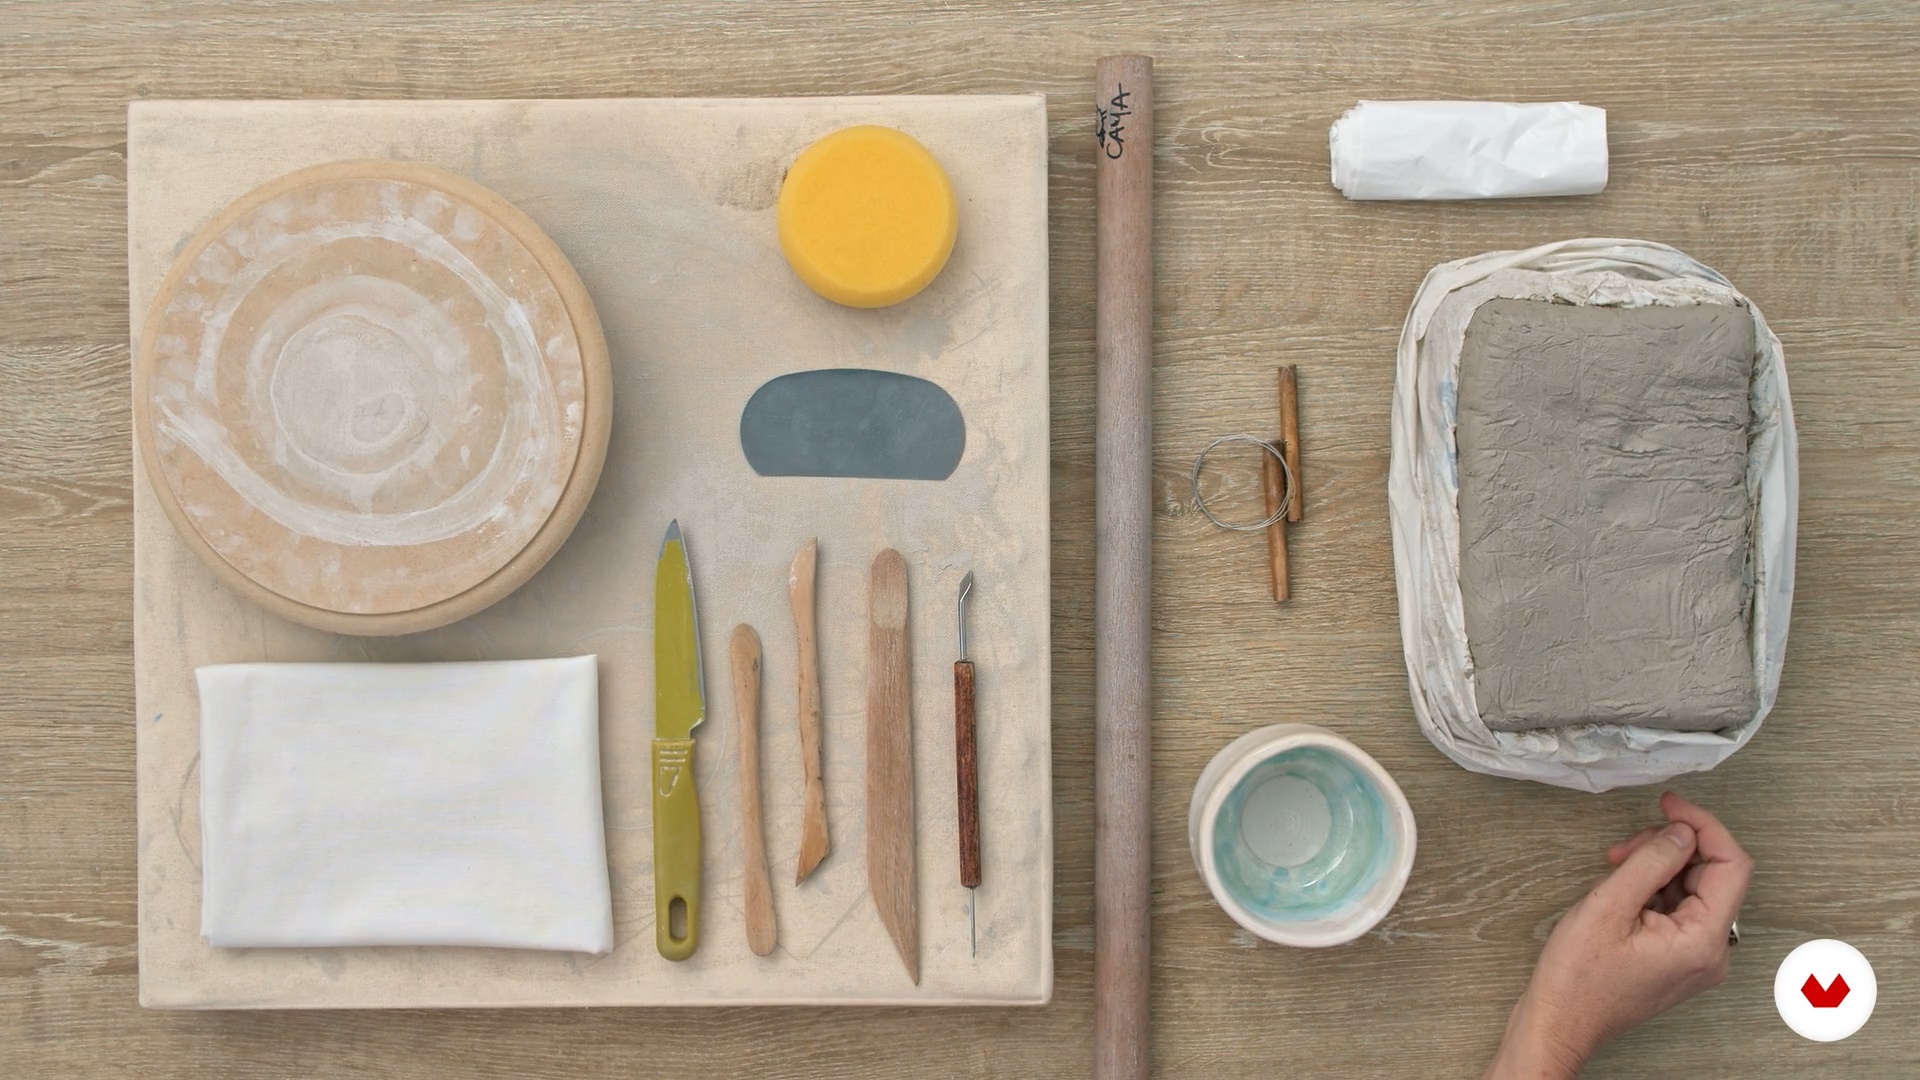
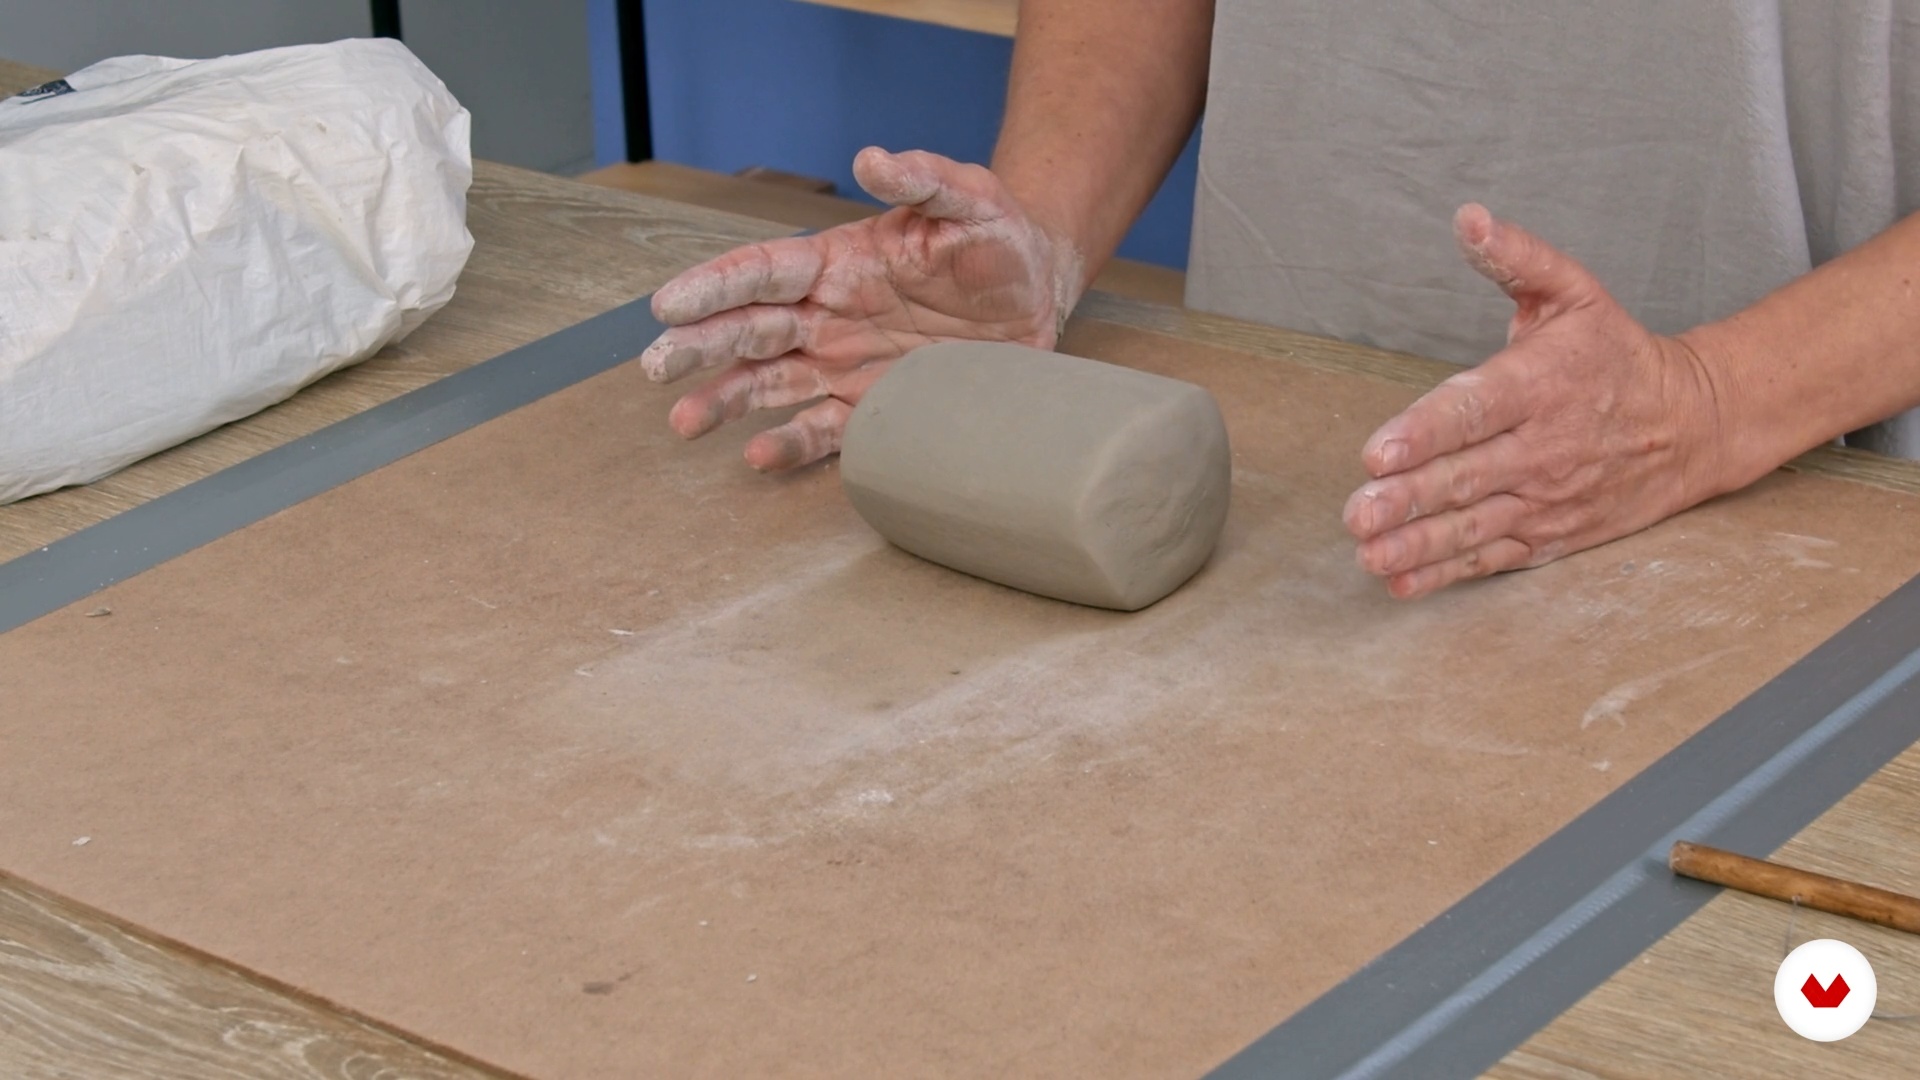
No extensive prior knowledge is required. You'll need clay, glazes, brushes, ceramic pigments, digital transfers, and ceramic pieces for decoration. A ceramic kiln or access to one is recommended. Basic materials such as water and sketch paper are also helpful.


Reviews
What to expect from this specialization course
-
Learn at your own pace
Enjoy learning from home without a set schedule and with an easy-to-follow method. You set your own pace.
-
Learn from the best professionals
Learn valuable methods and techniques explained by top experts in the creative sector.
-
Meet expert teachers
Each expert teaches what they do best, with clear guidelines, true passion, and professional insight in every lesson.
-
Certificates
PlusIf you're a Plus member, get a custom certificate for every specialization course. Share it on your portfolio, social media, or wherever you like.
-
Get front-row seats
Videos of the highest quality, so you don't miss a single detail. With unlimited access, you can watch them as many times as you need to perfect your technique.
-
Share knowledge and ideas
Ask questions, request feedback, or offer solutions. Share your learning experience with other students in the community who are as passionate about creativity as you are.
-
Connect with a global creative community
The community is home to millions of people from around the world who are curious and passionate about exploring and expressing their creativity.
-
Watch professionally produced courses
Domestika curates its teacher roster and produces every course in-house to ensure a high-quality online learning experience.
FAQs
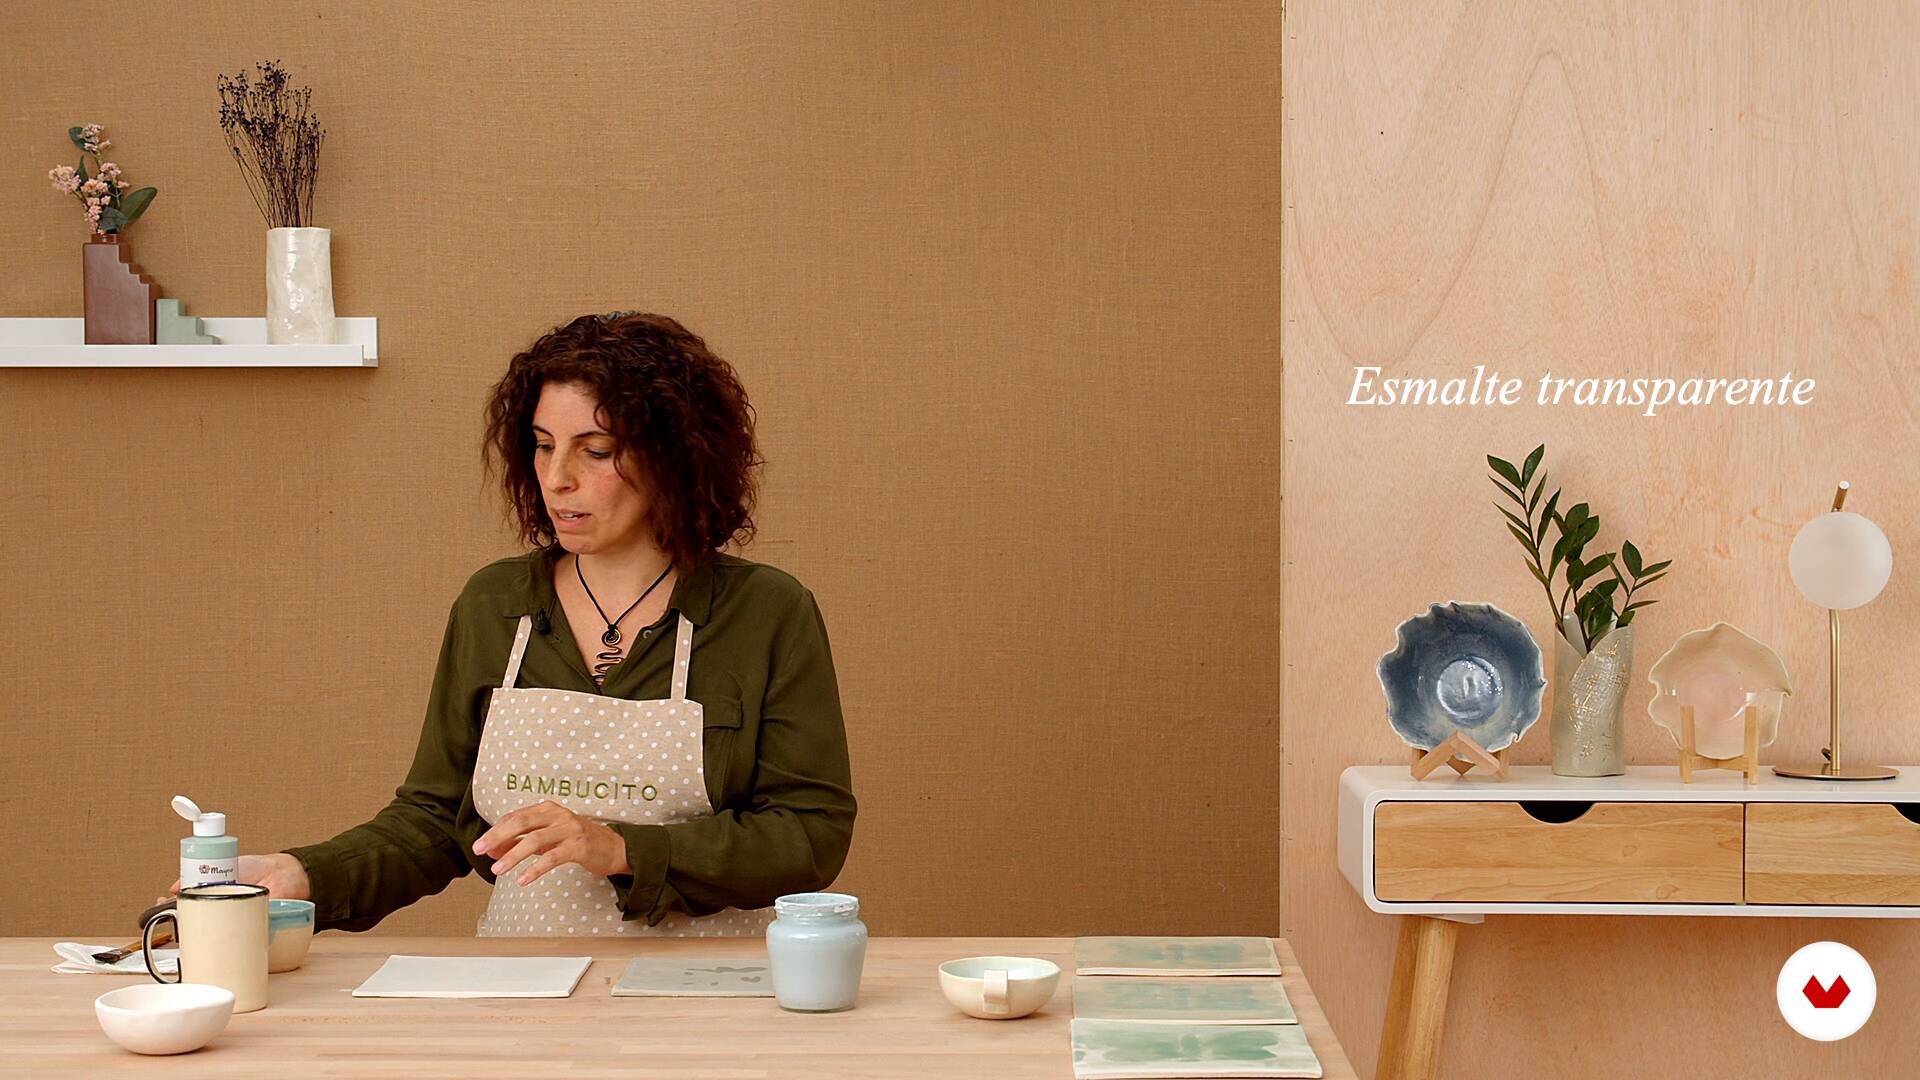
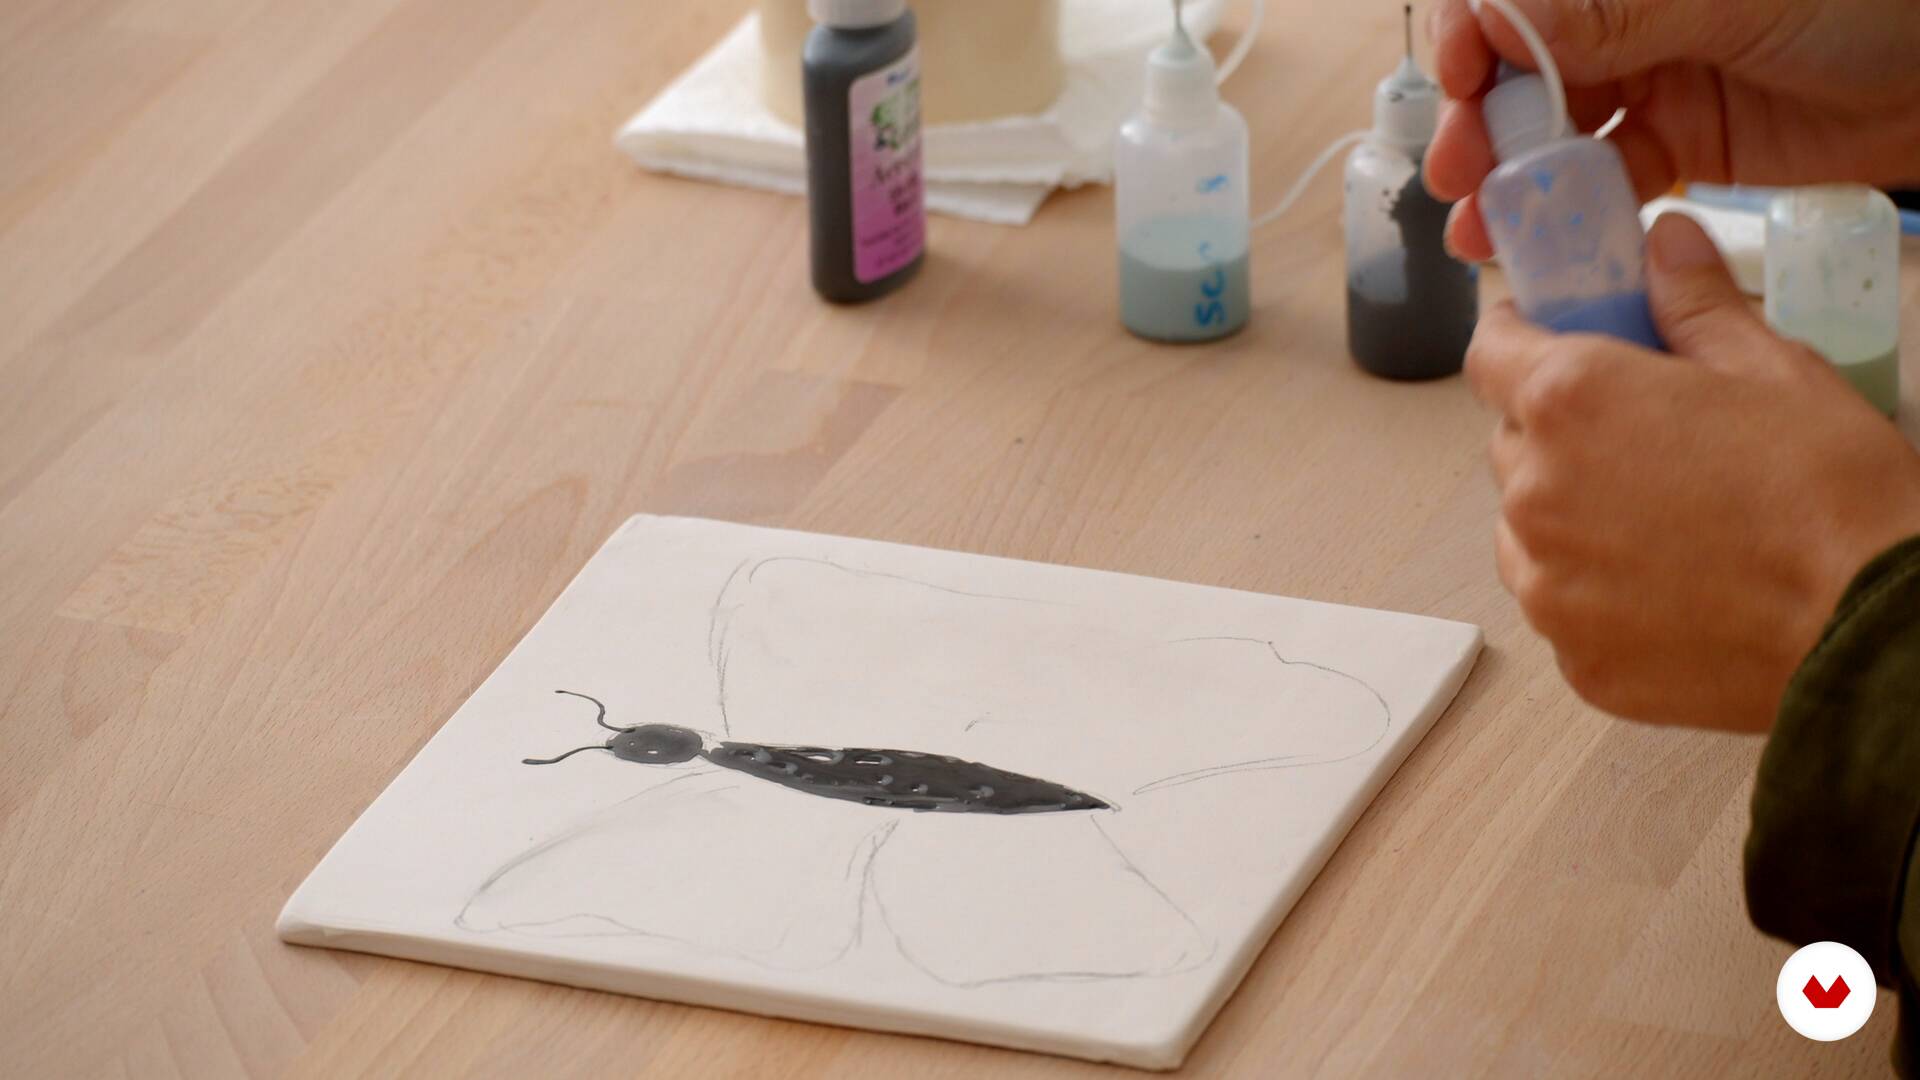
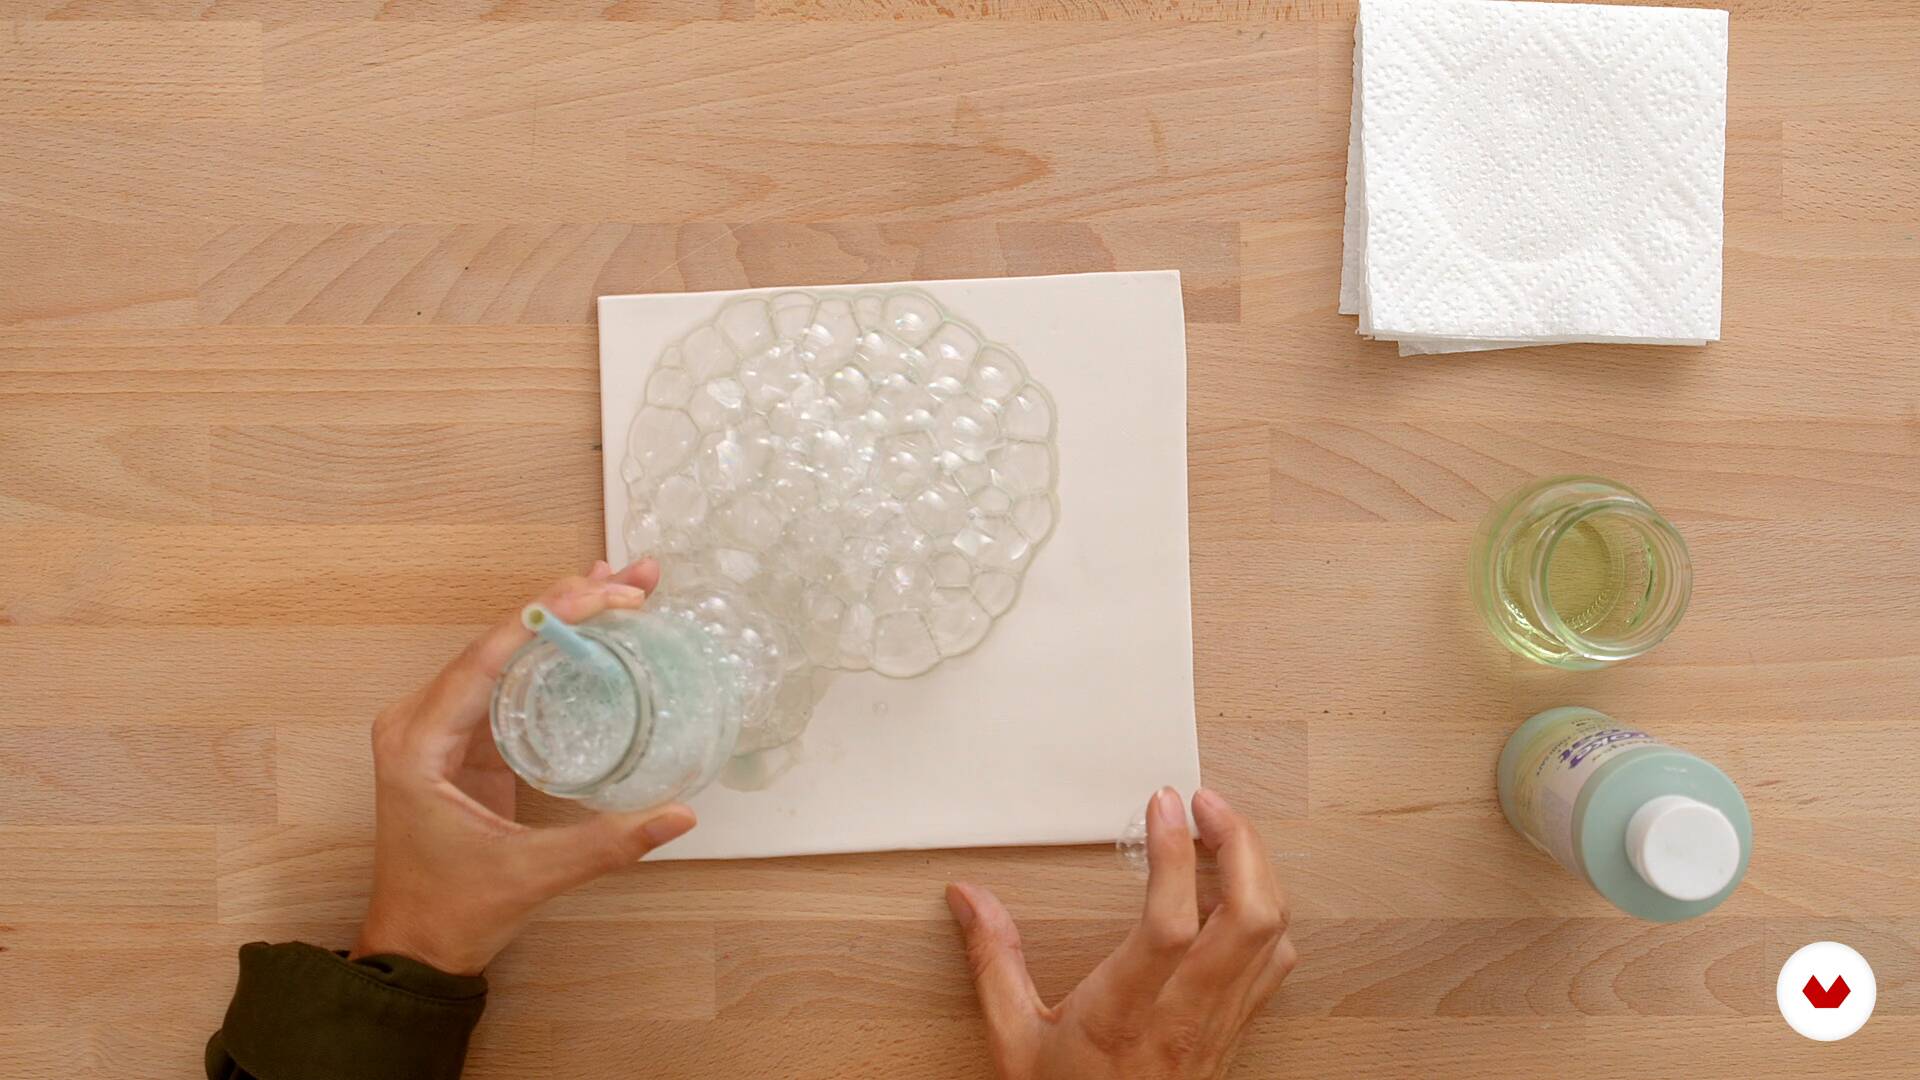
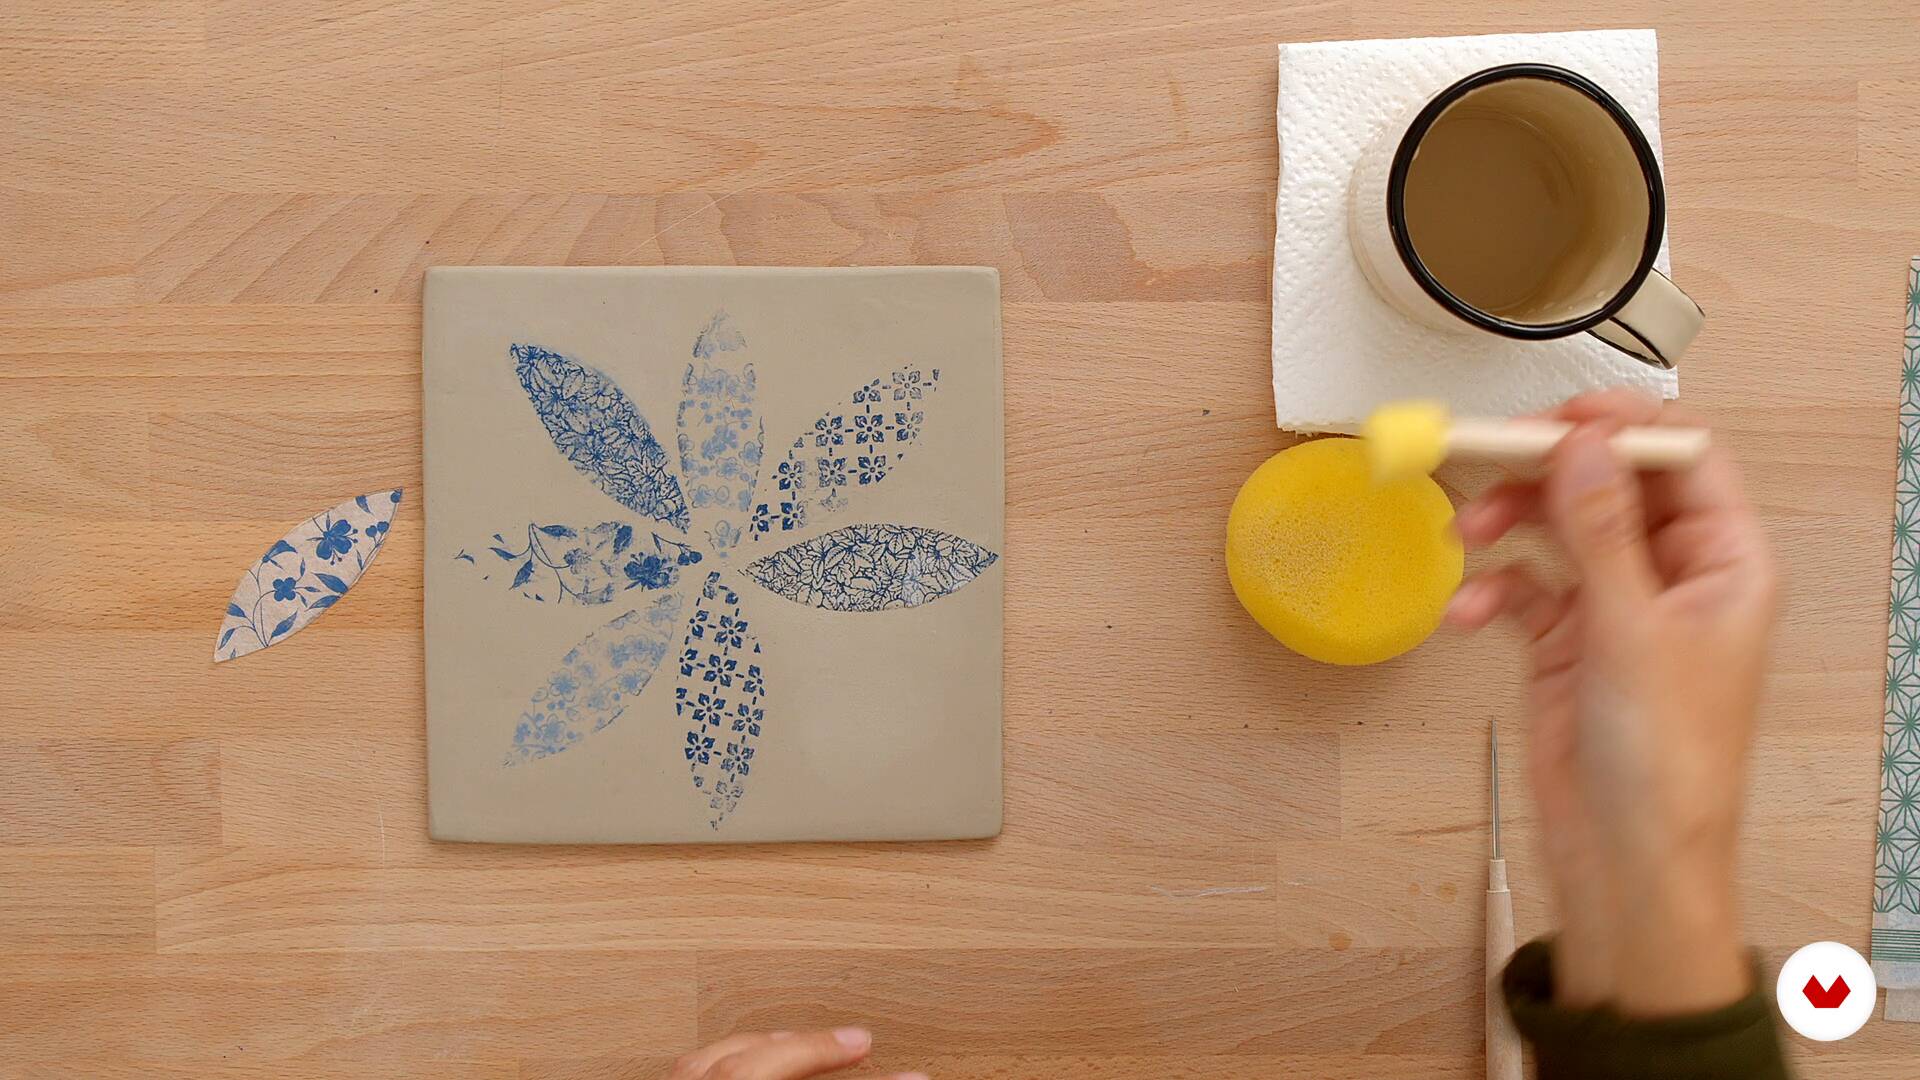
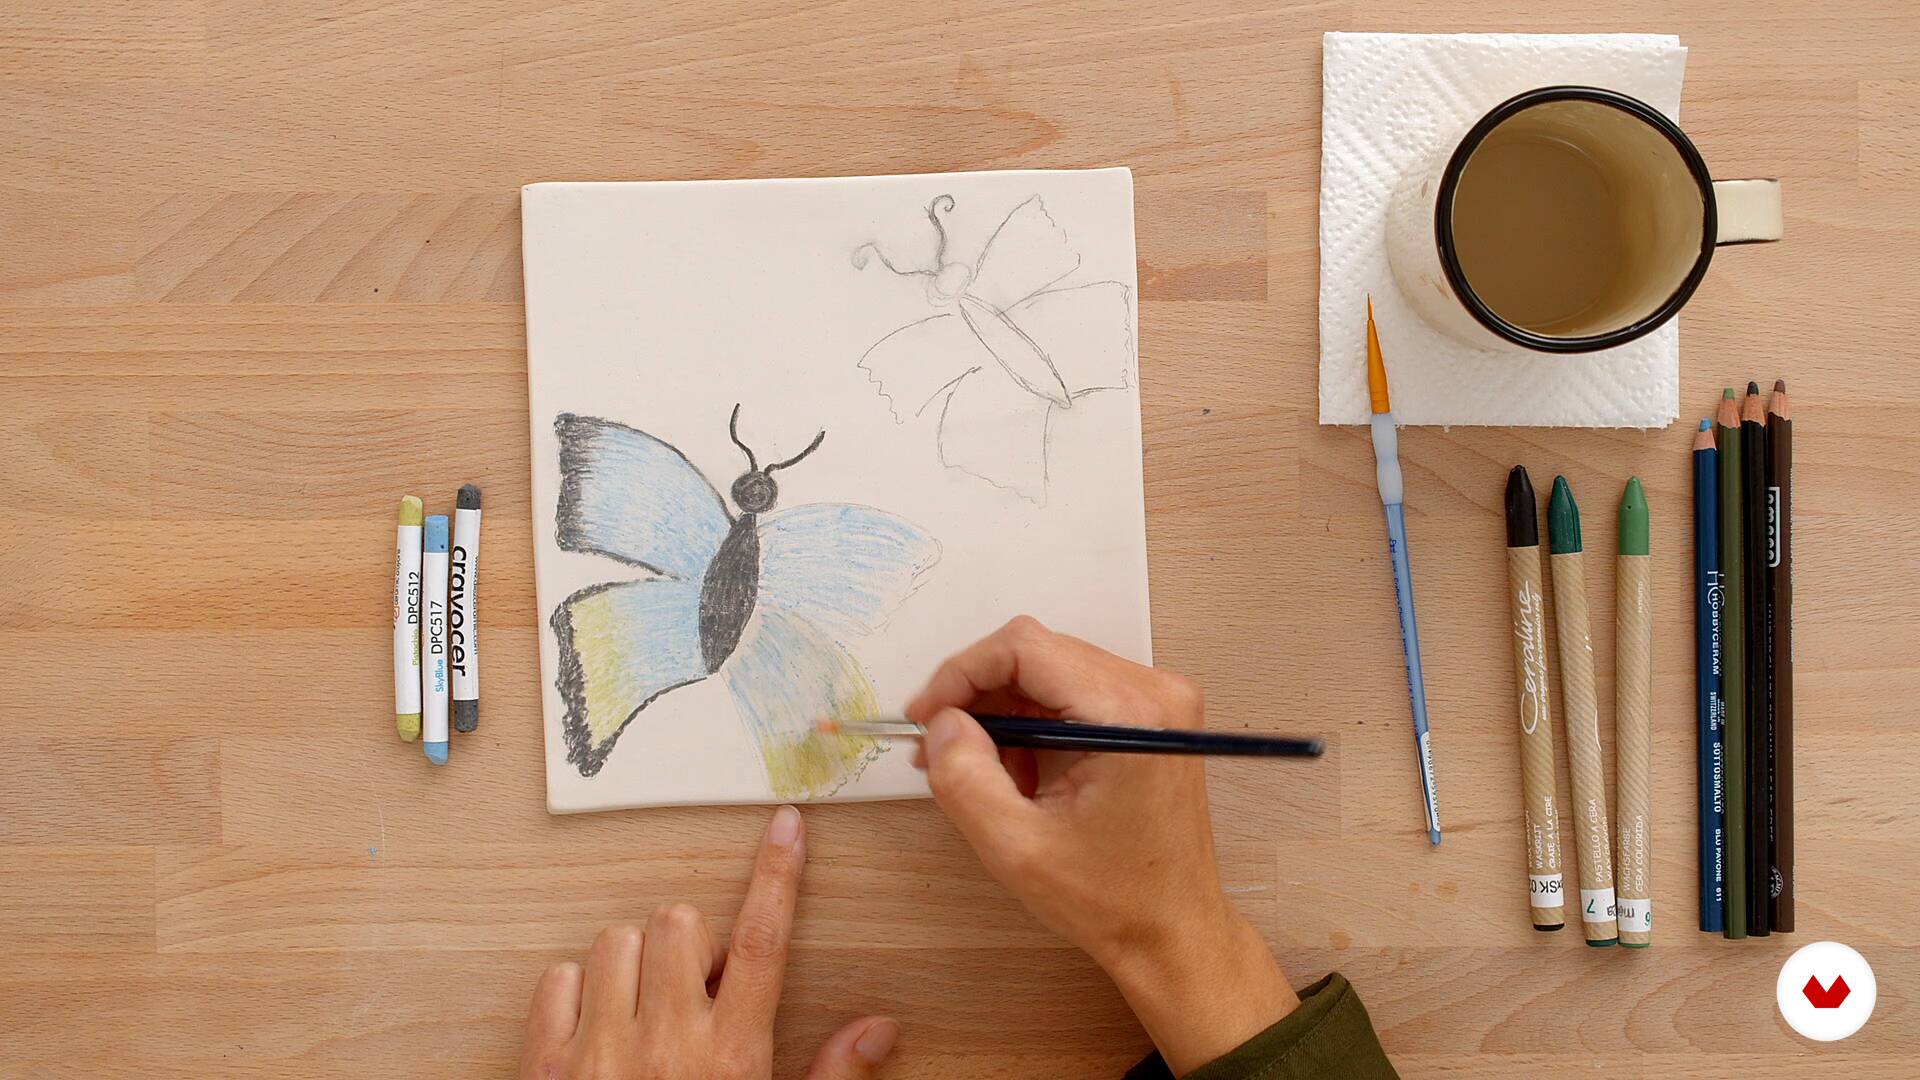
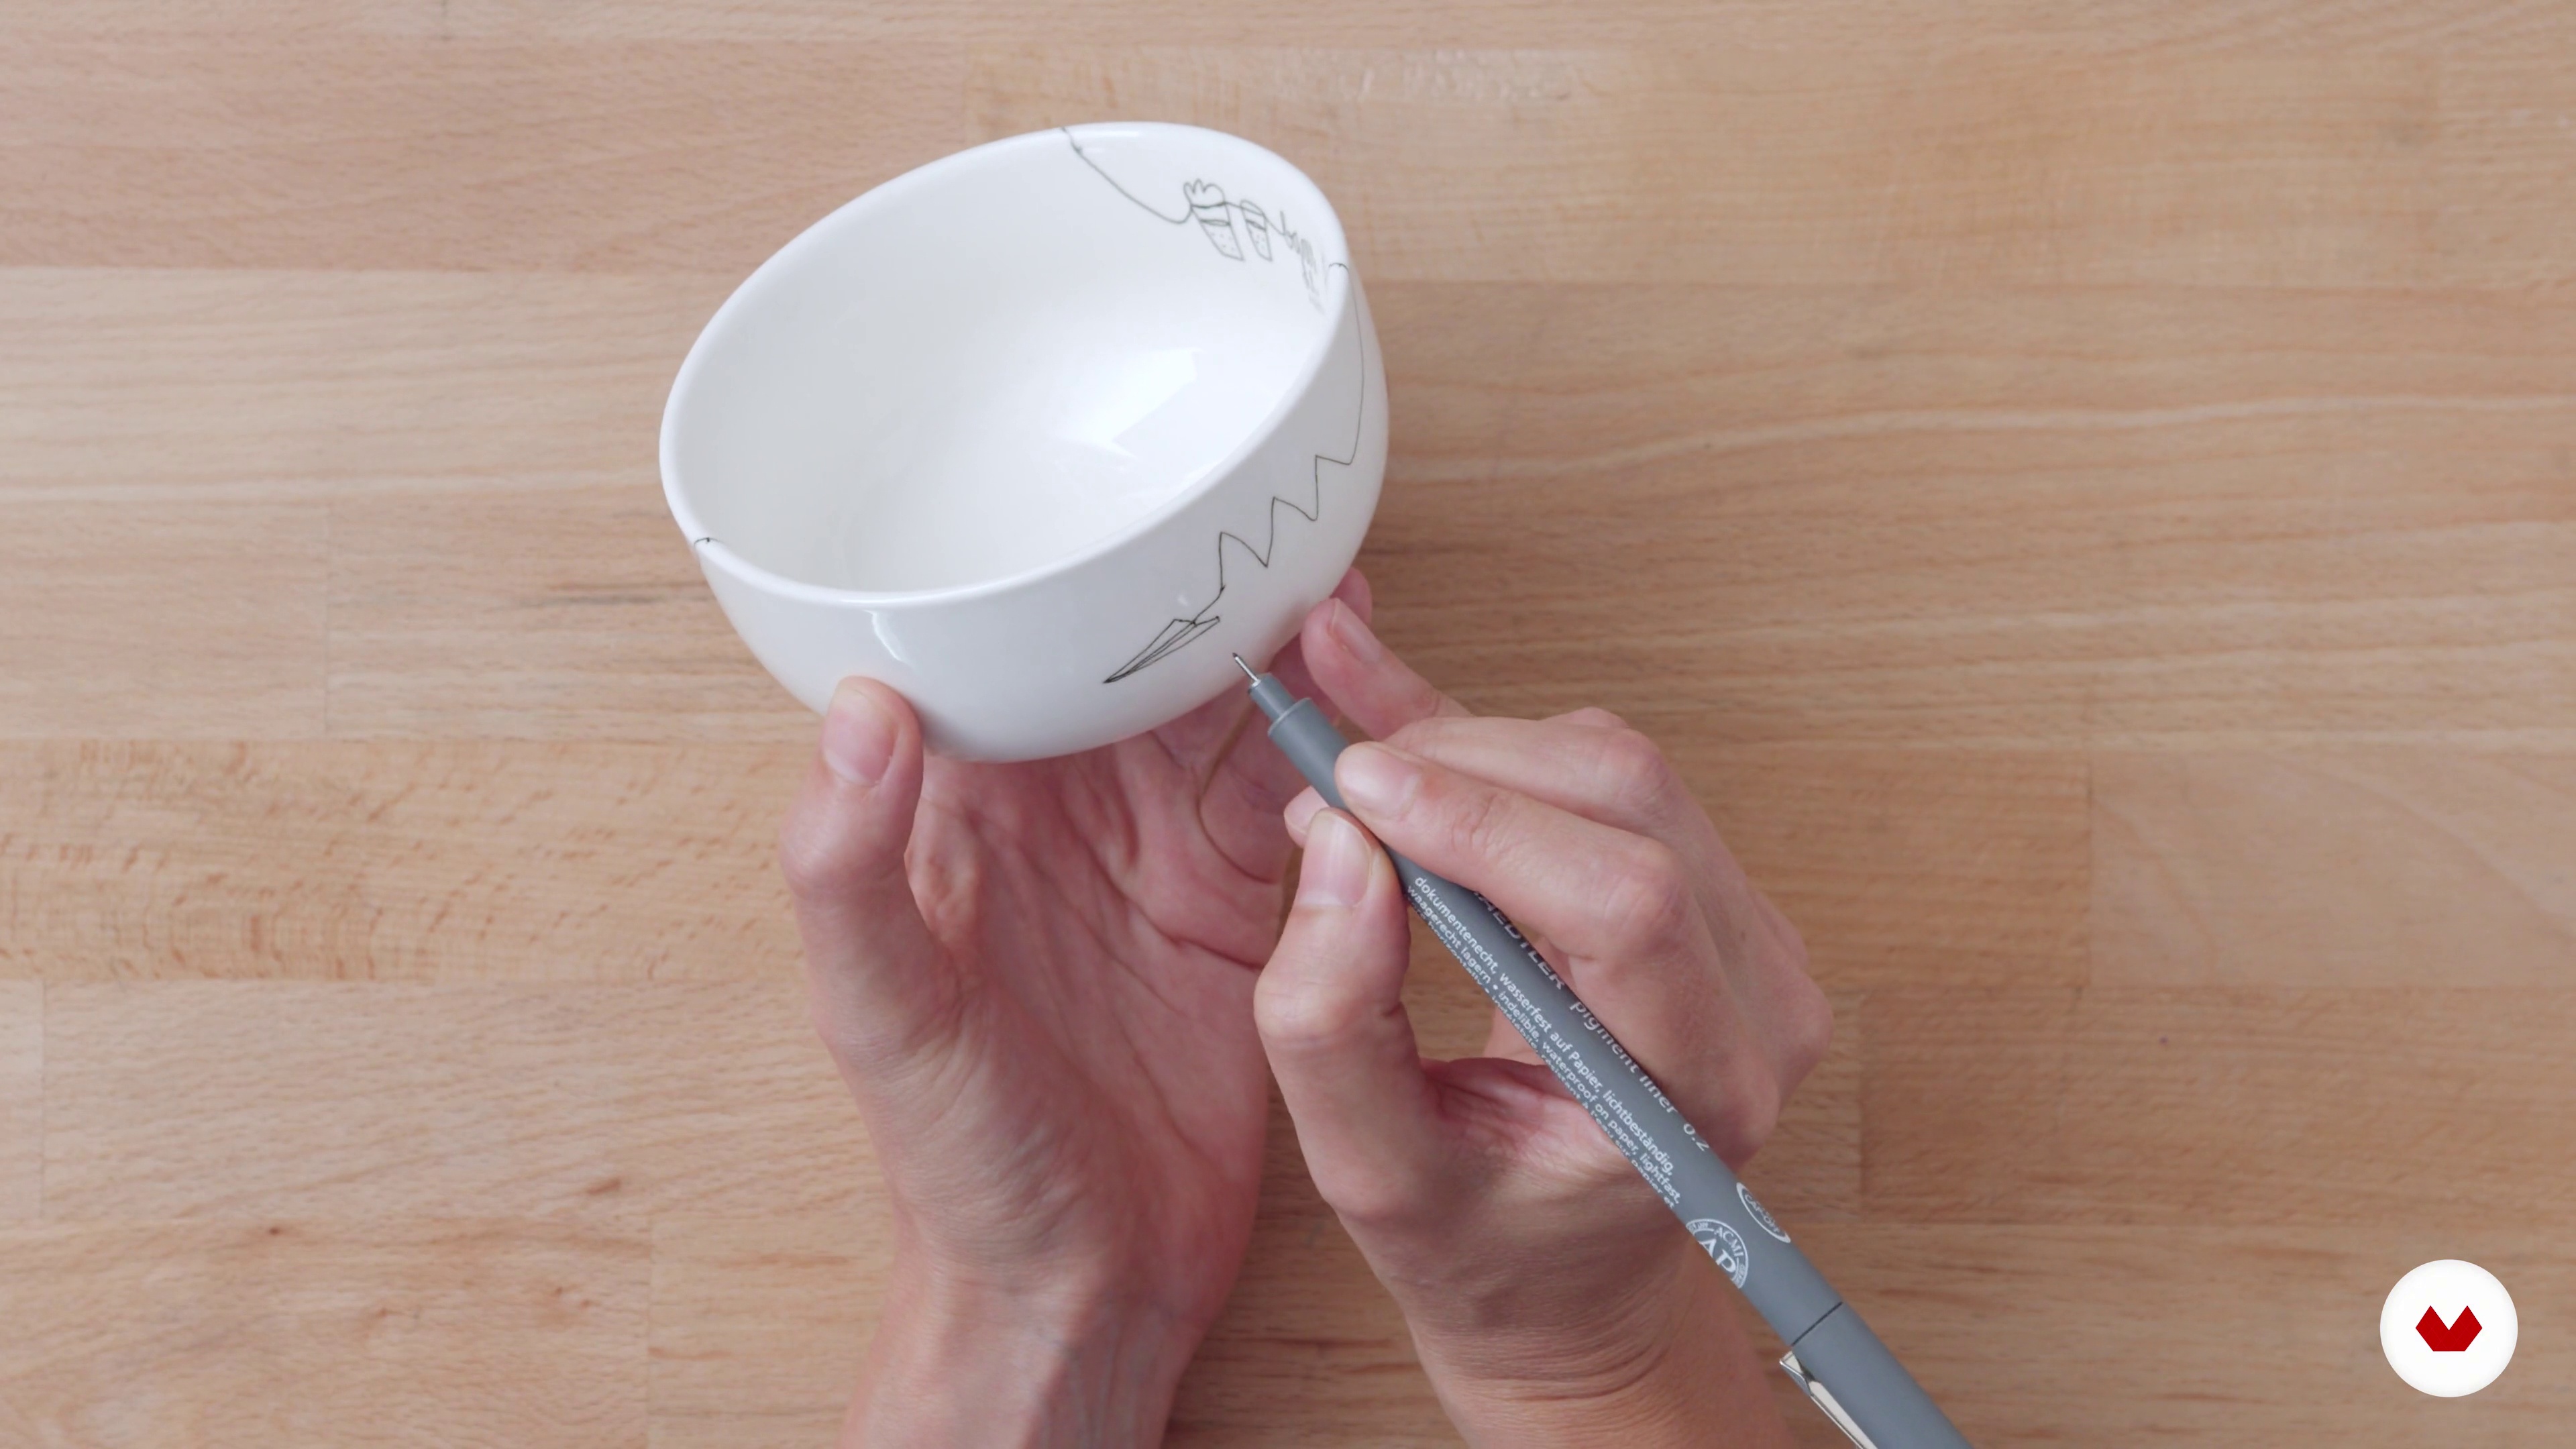
You’ll learn techniques like underglaze glazing, bubble decoration, image transfers, using ceramic chalks and waxes, working with slips, and how to apply various finishes on both functional and decorative pieces.
Yes, this course is designed for those with basic ceramics knowledge who want to refine decorative and glazing techniques, diving deeper into advanced and expressive methods.
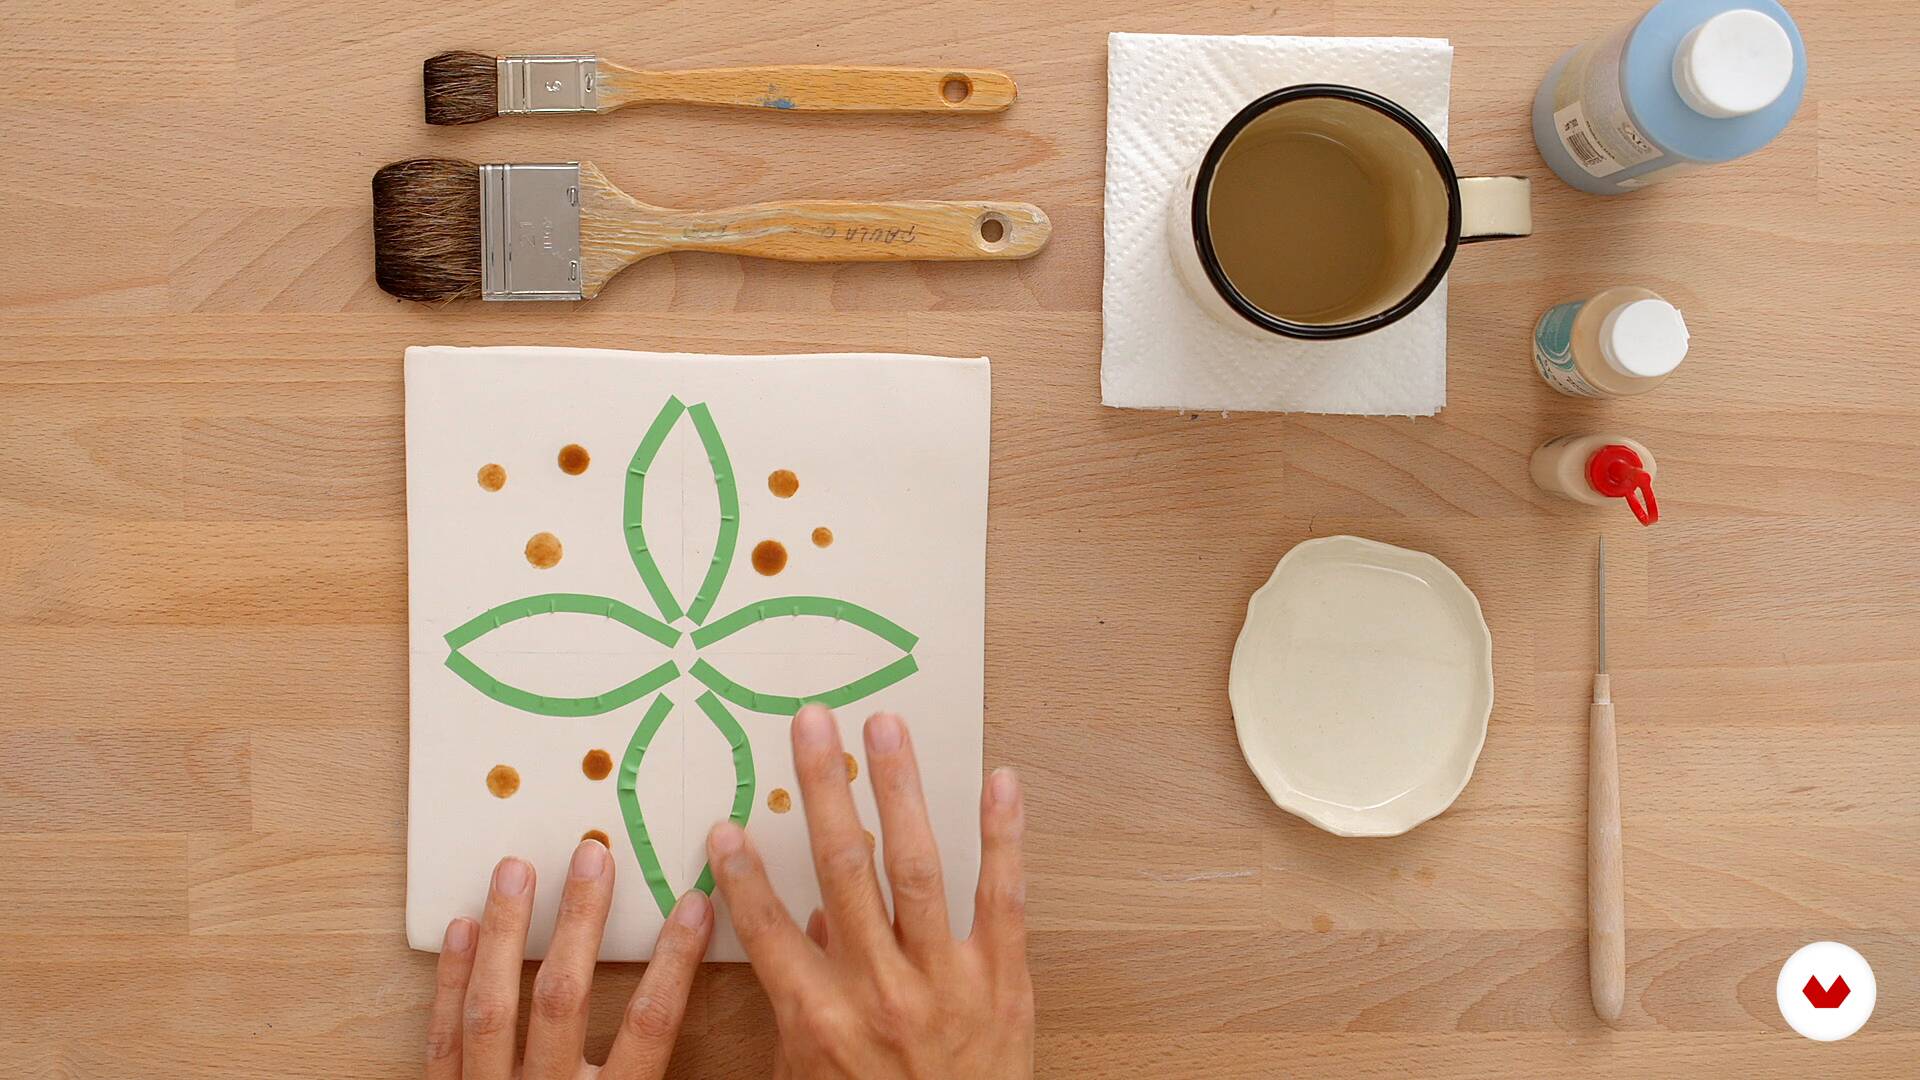
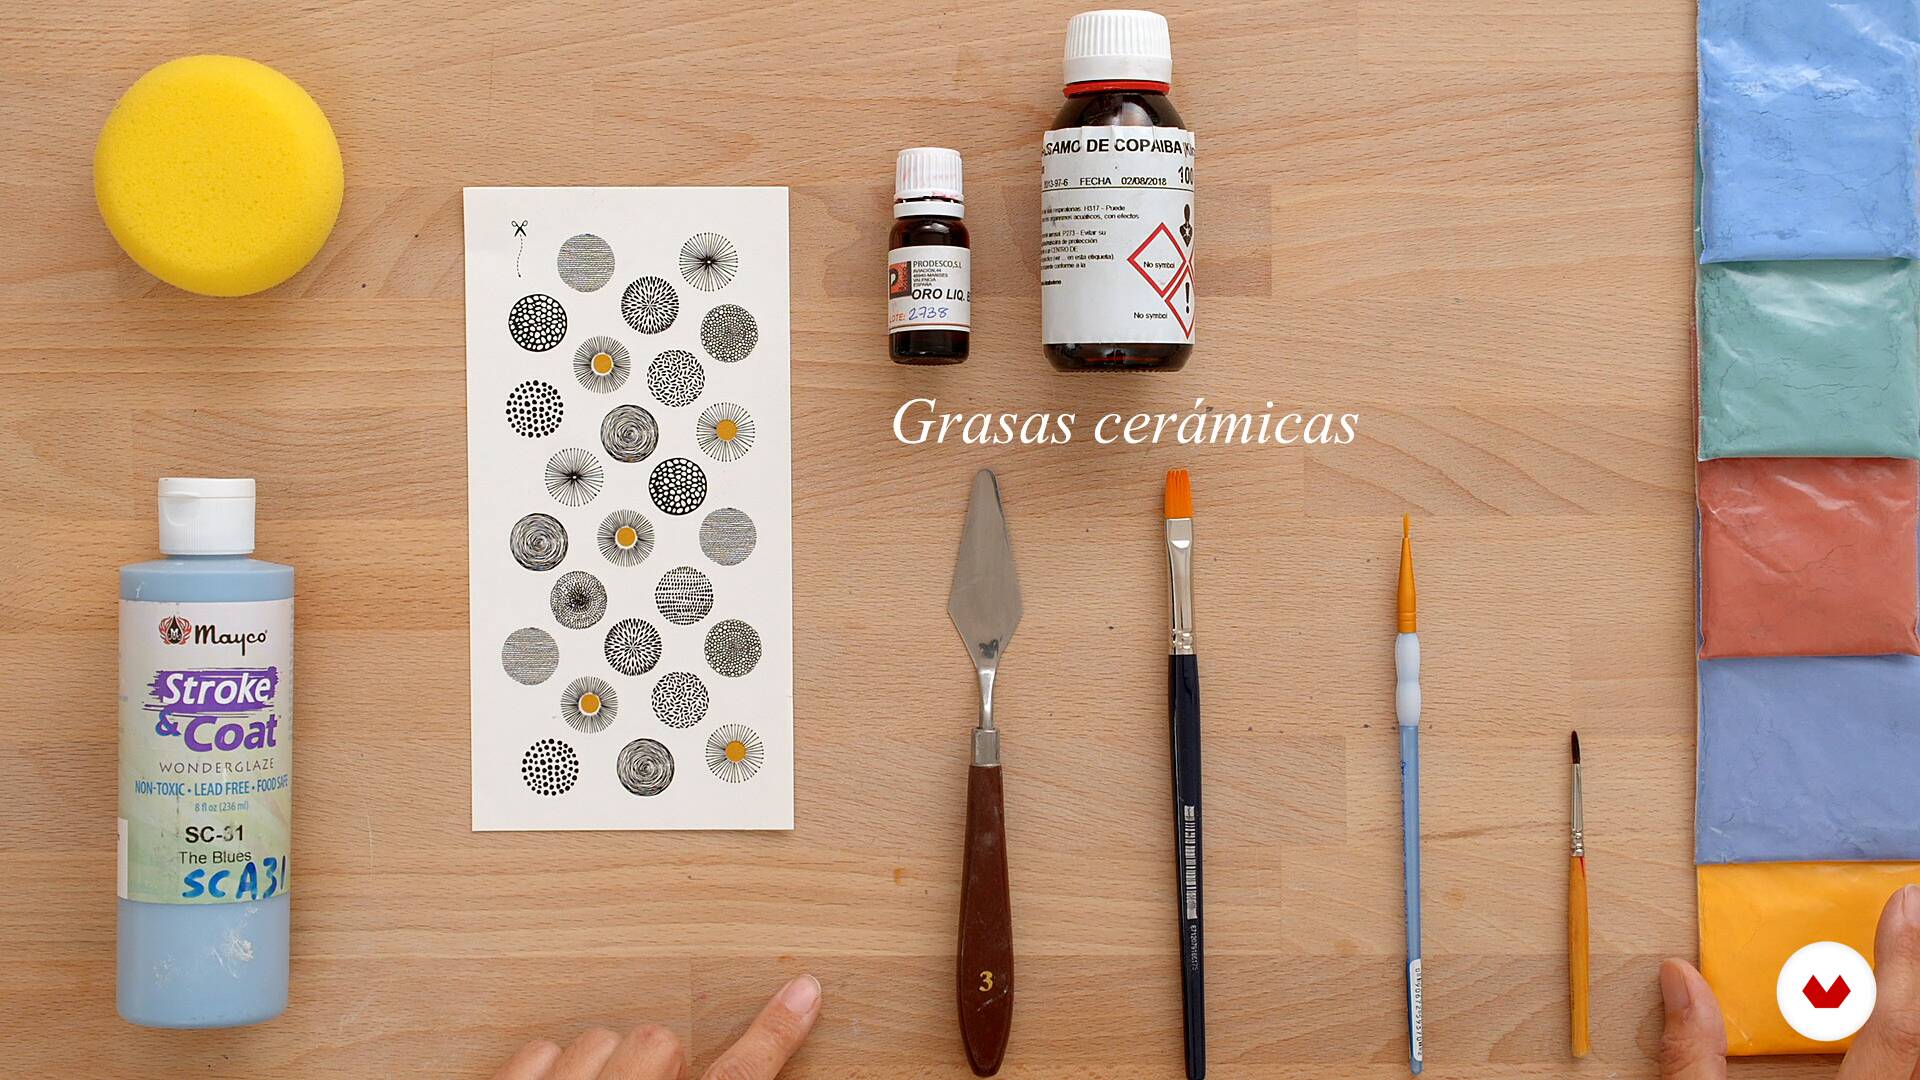
You’ll need clay, glazes, slips, ceramic chalks and waxes, soft brushes, applicators, masking tape, transfer tissues, tracing paper, and access to a ceramic kiln.
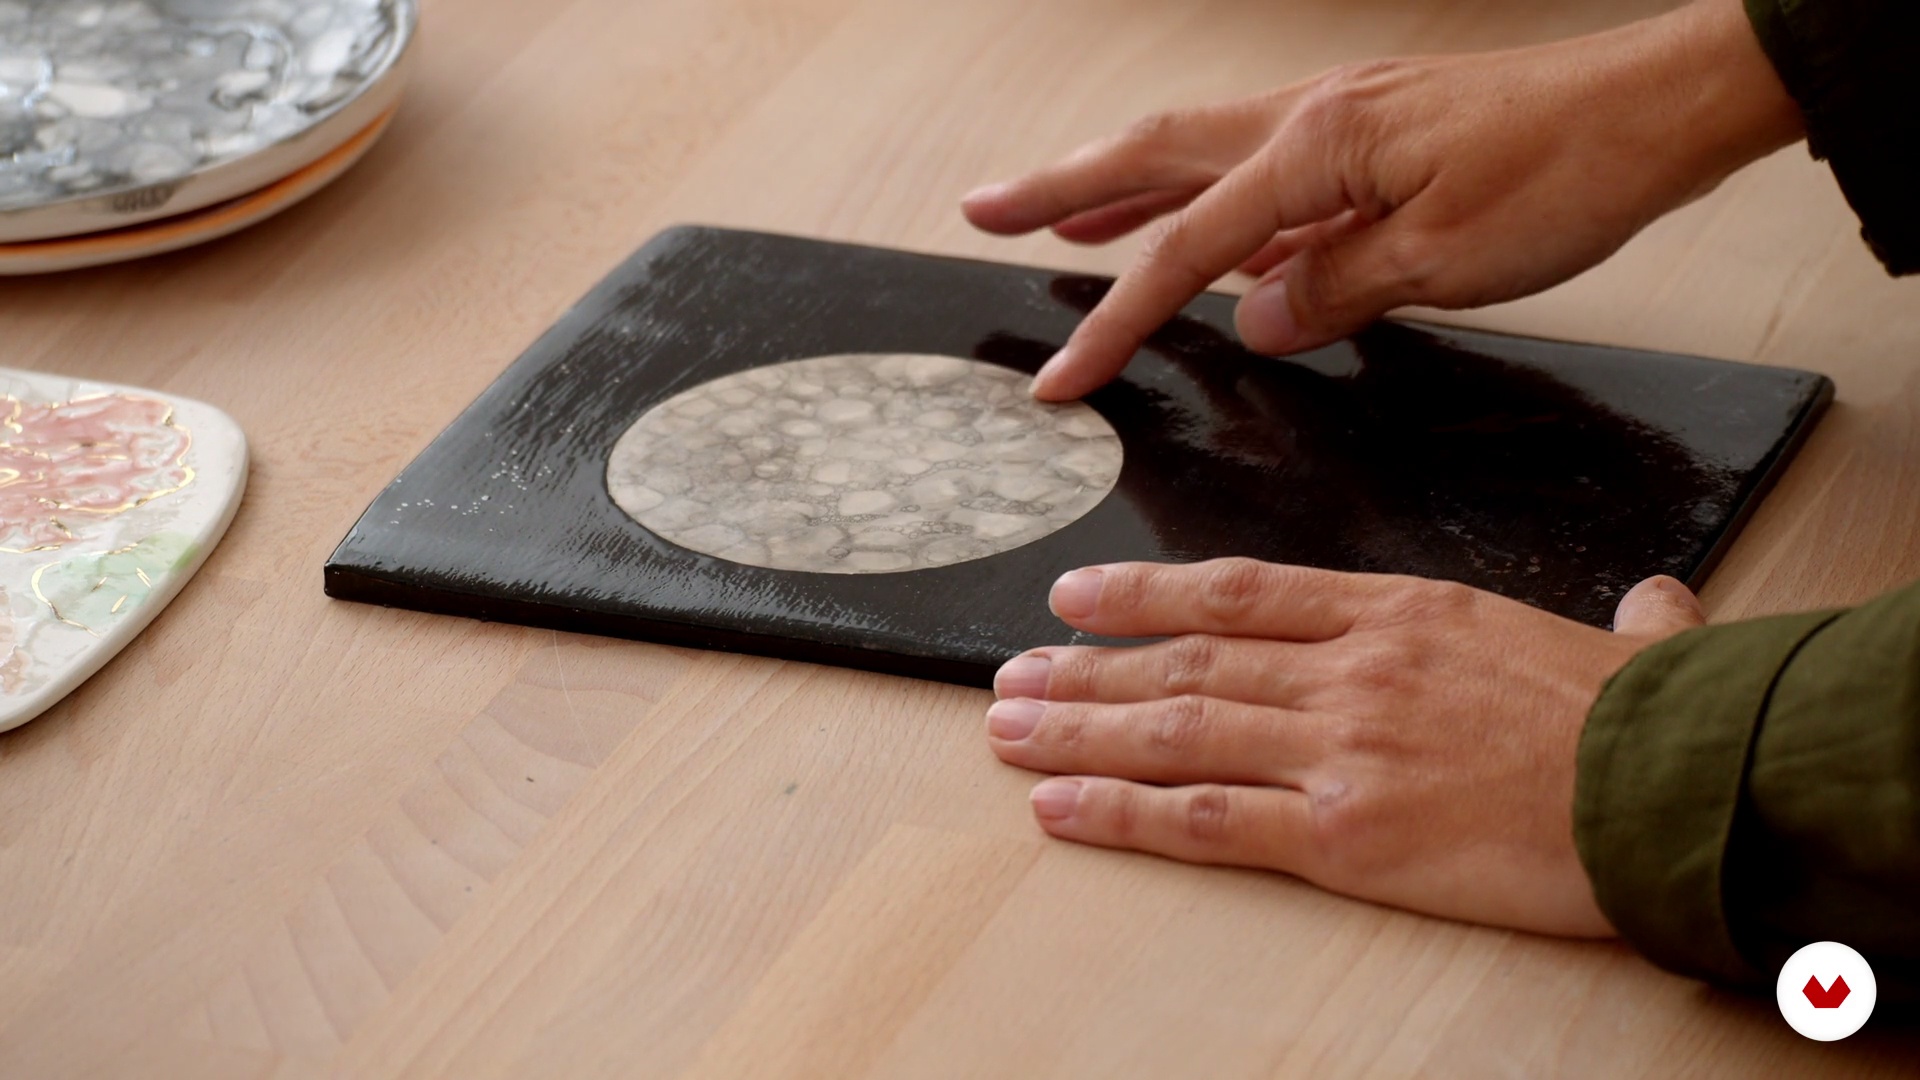
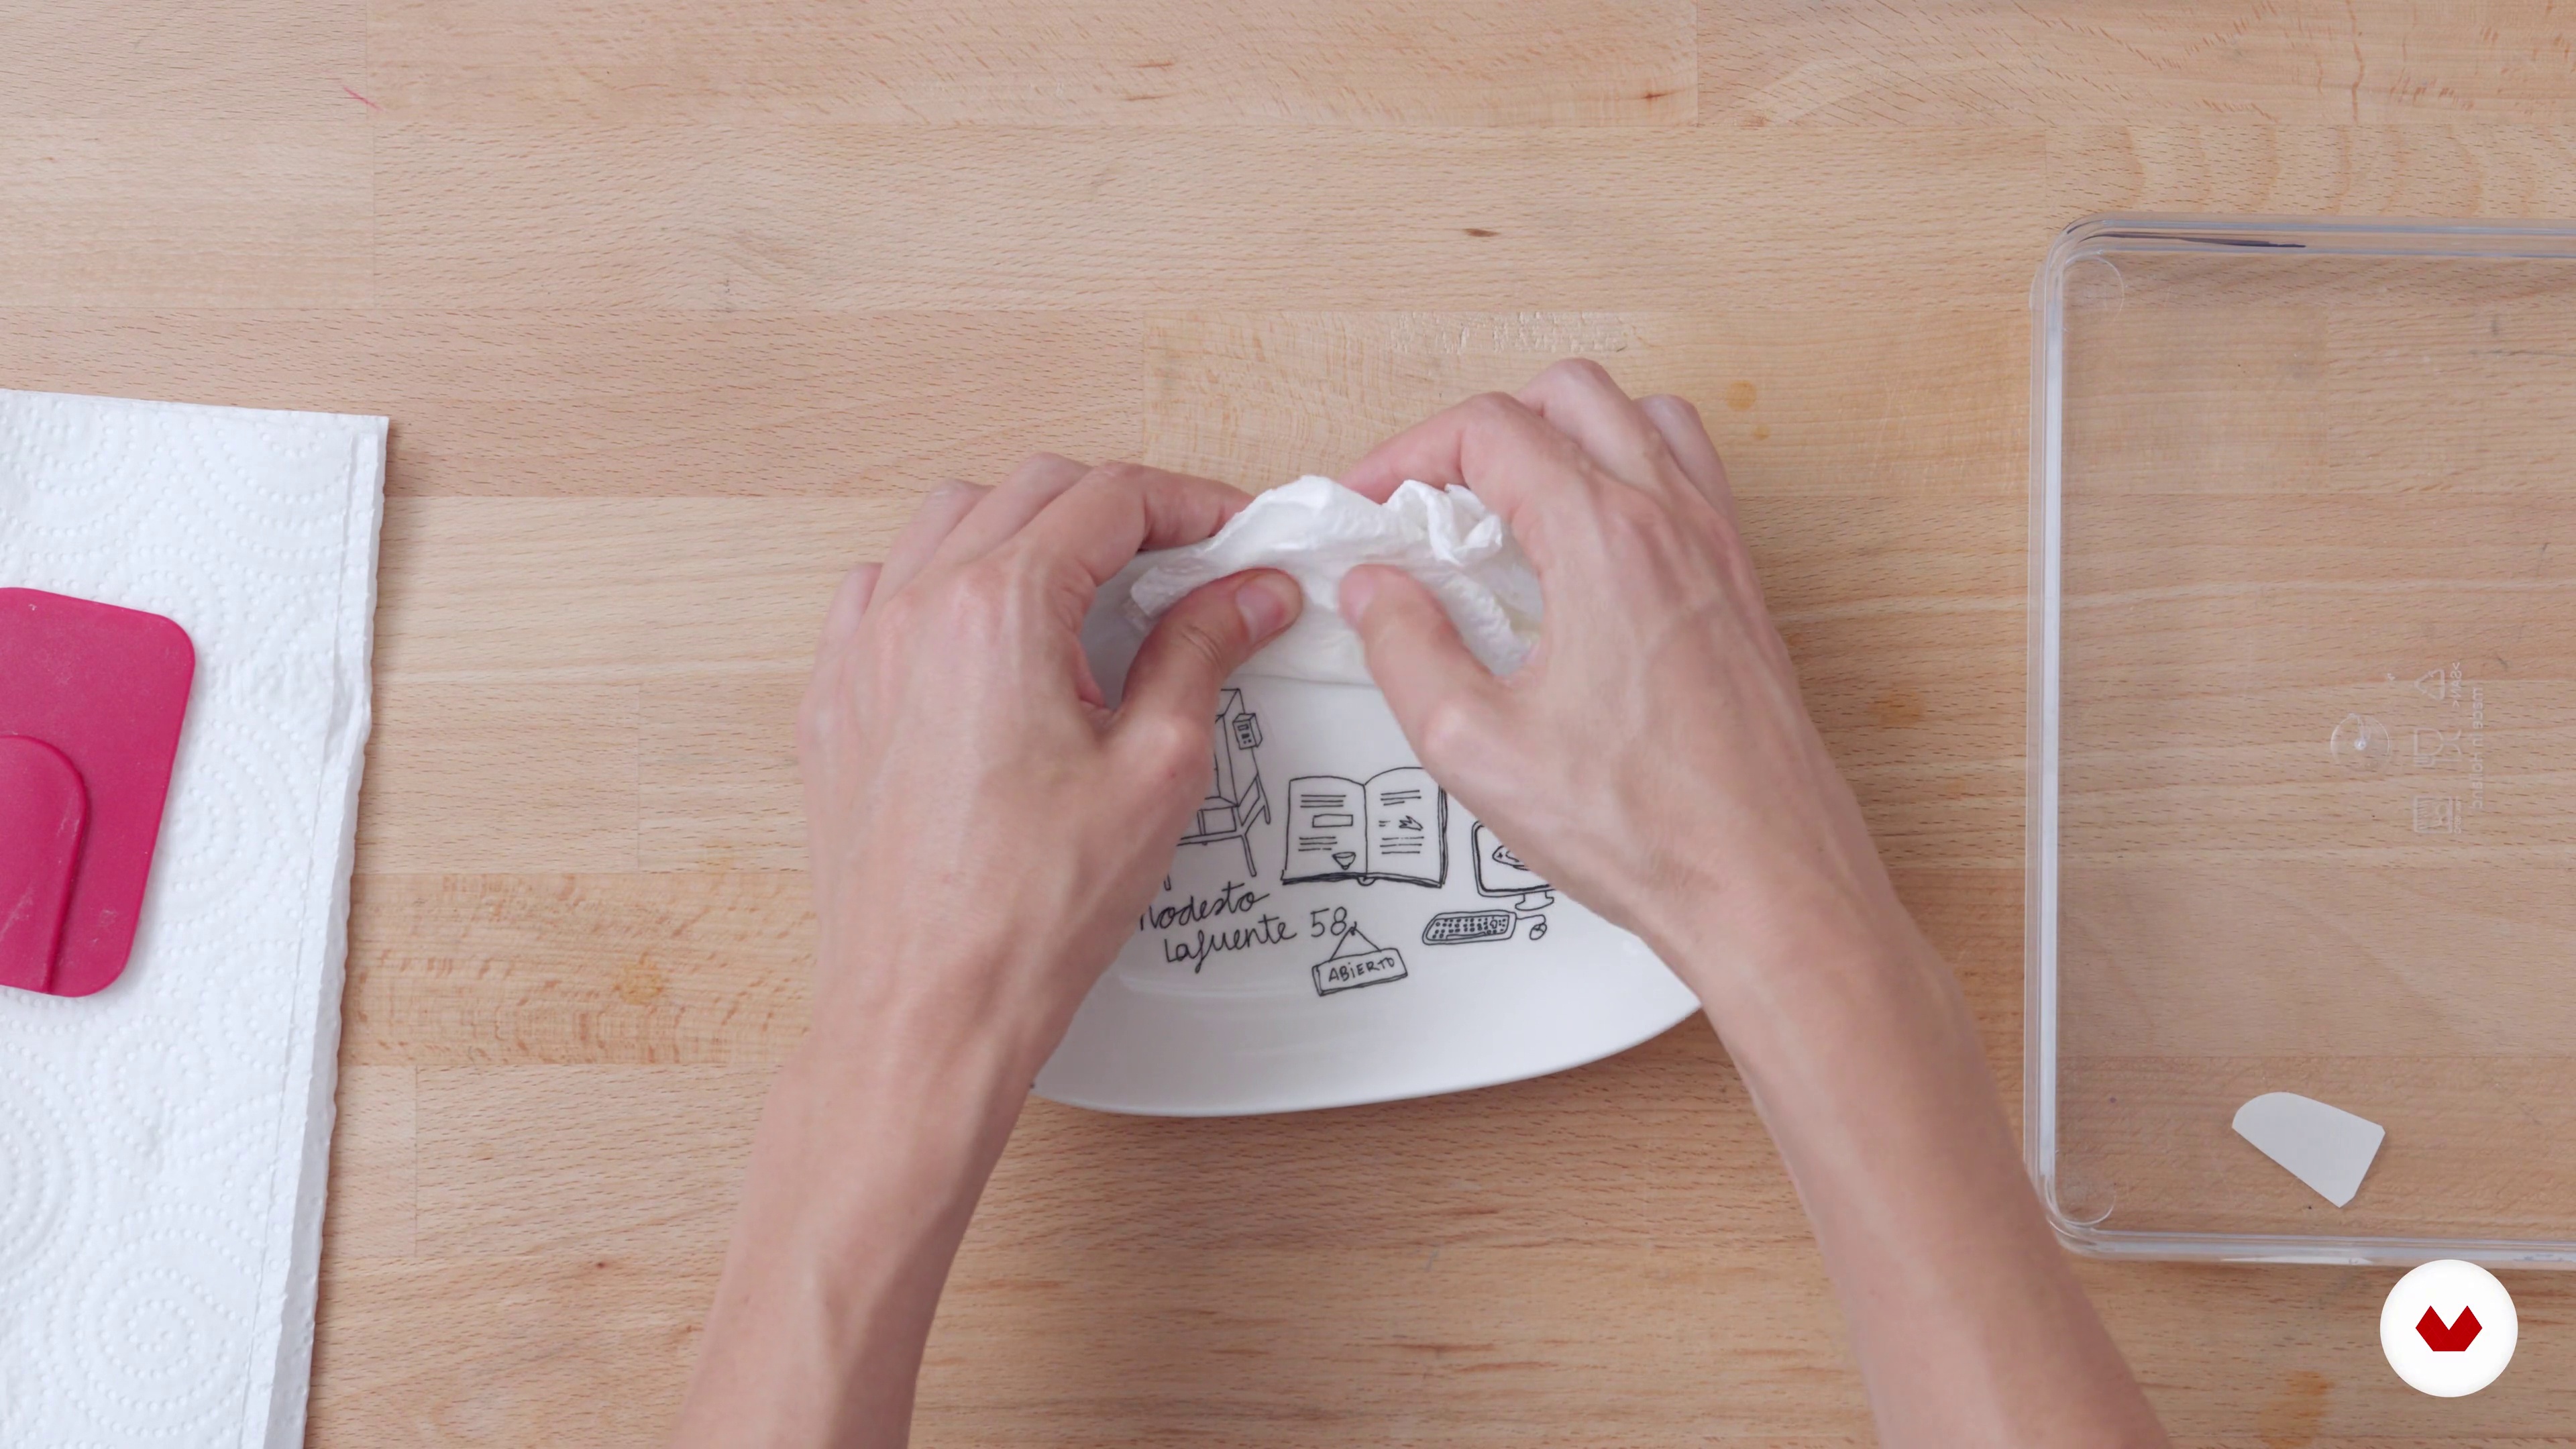
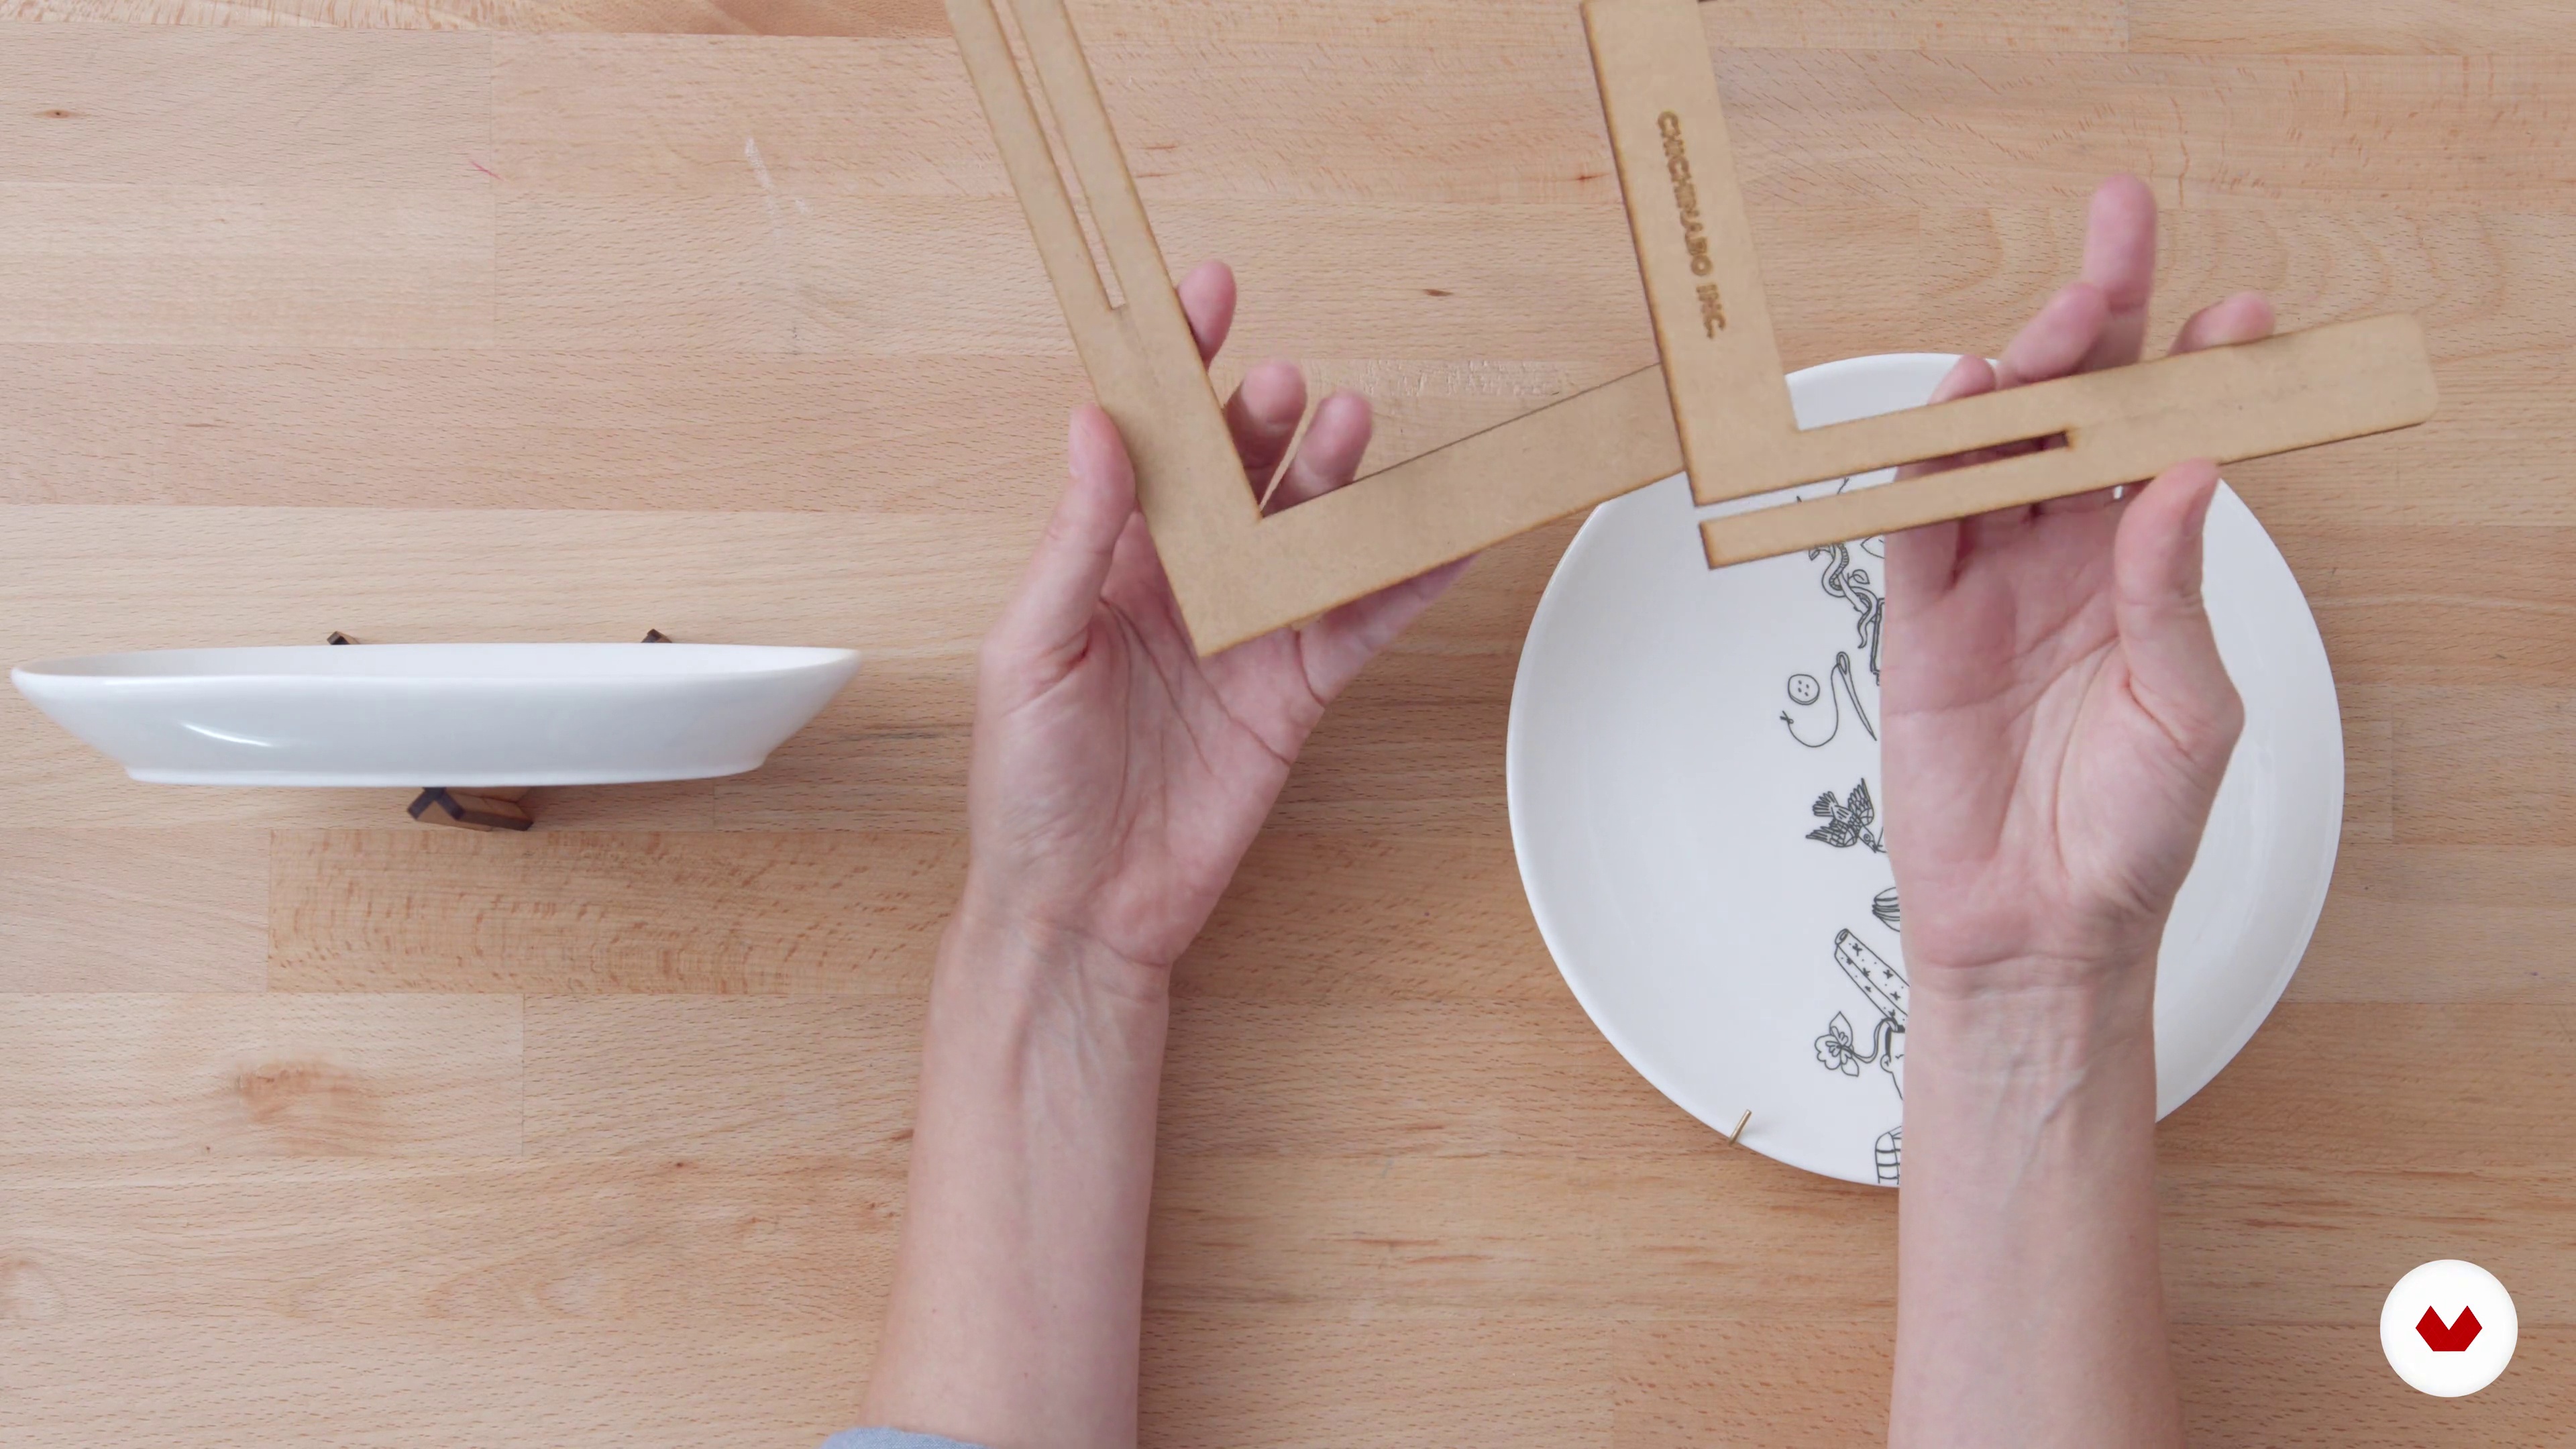
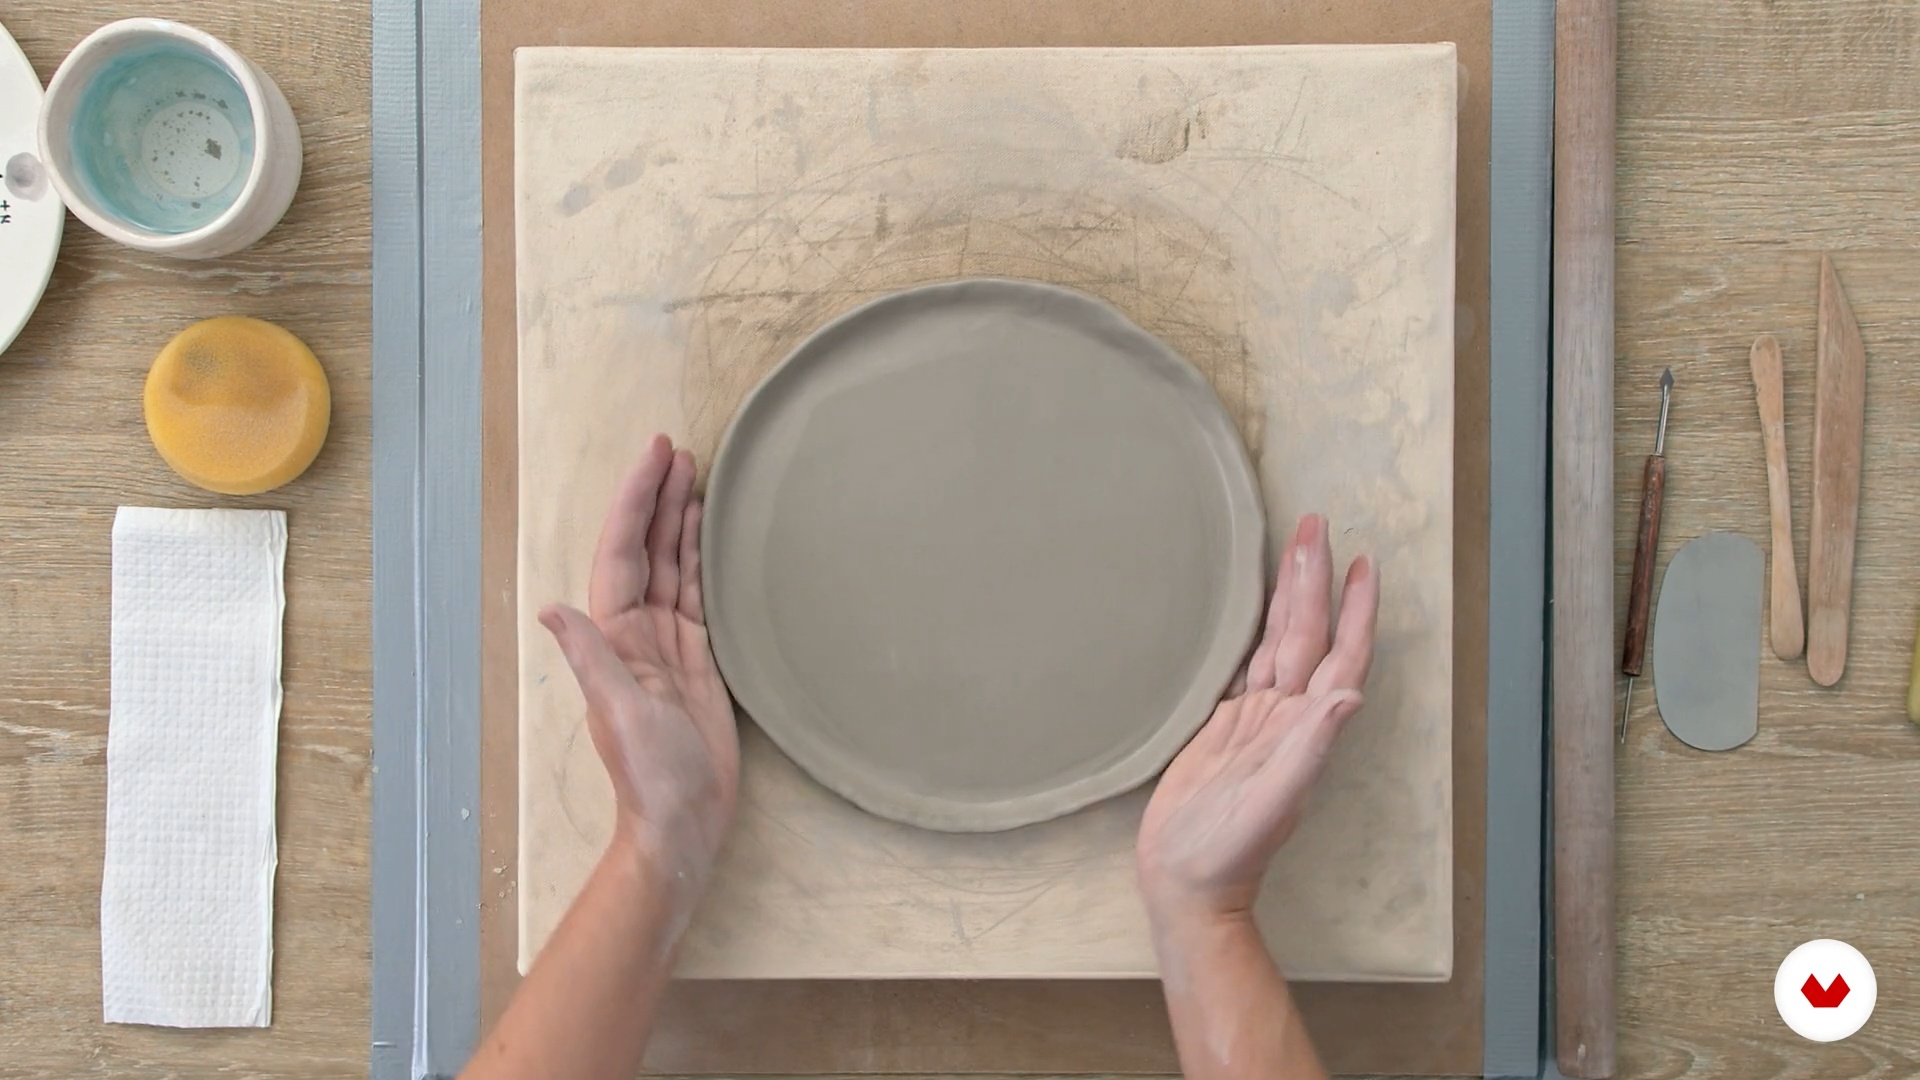
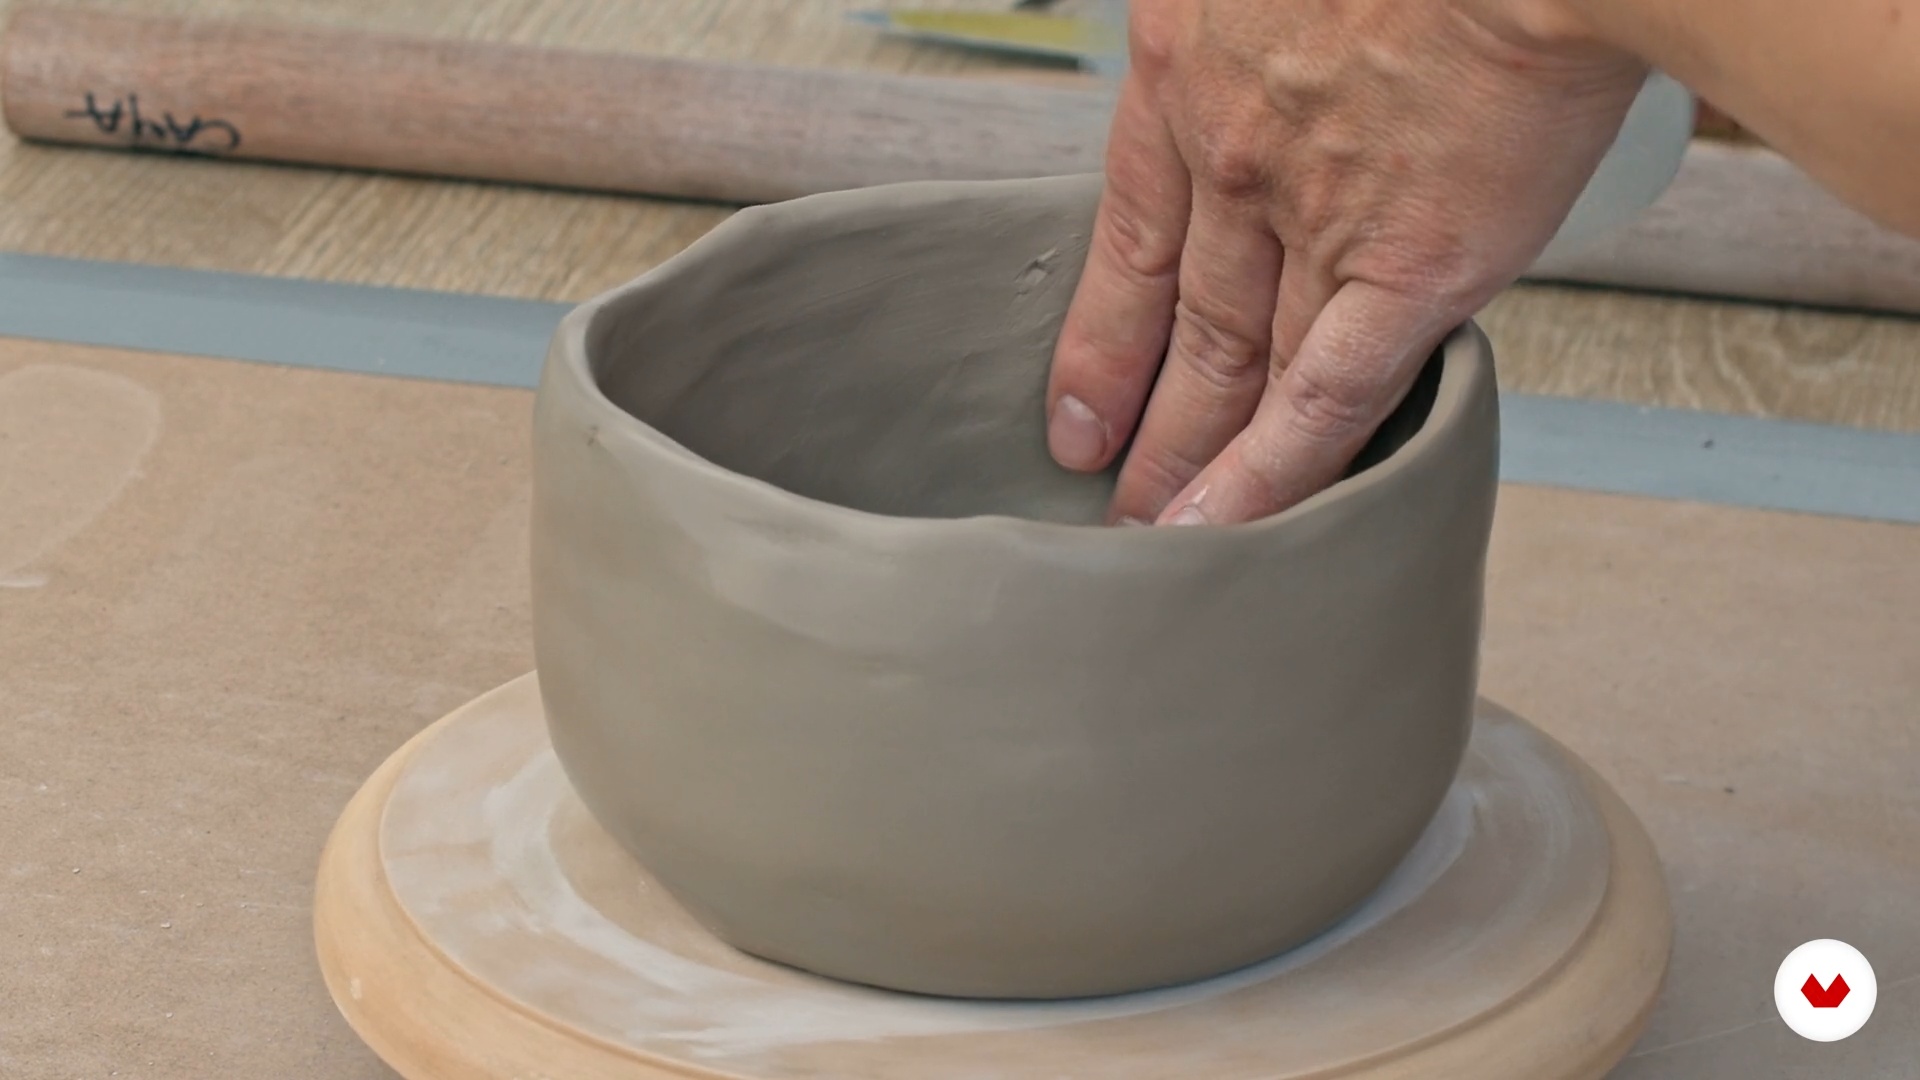
You’ll be able to create tiles, plates, bowls, and custom pieces, applying decoration techniques like washes, bubbles, transfers, and reserves using wax and tape.
The bubble technique involves mixing glaze with detergent, blowing bubbles onto the bisque-fired piece, then fixing the design with clear glaze and firing it again.
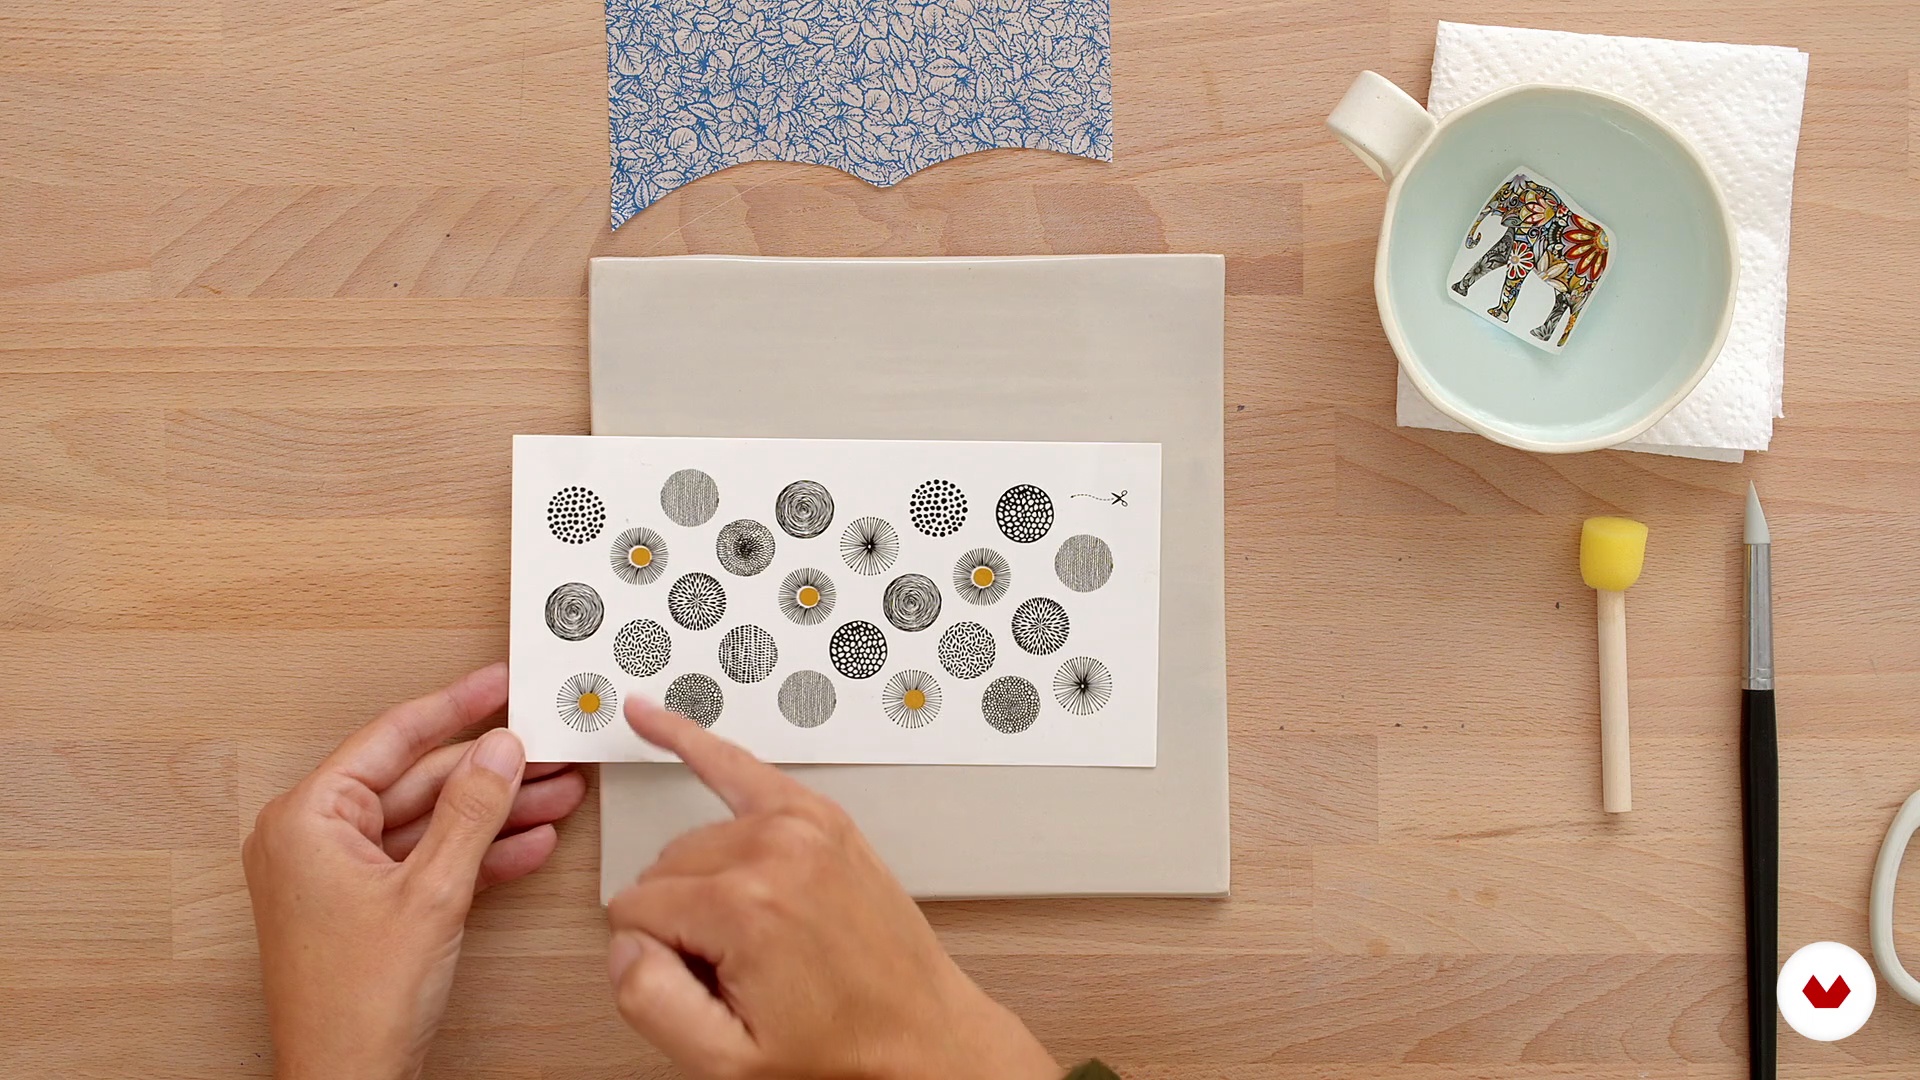
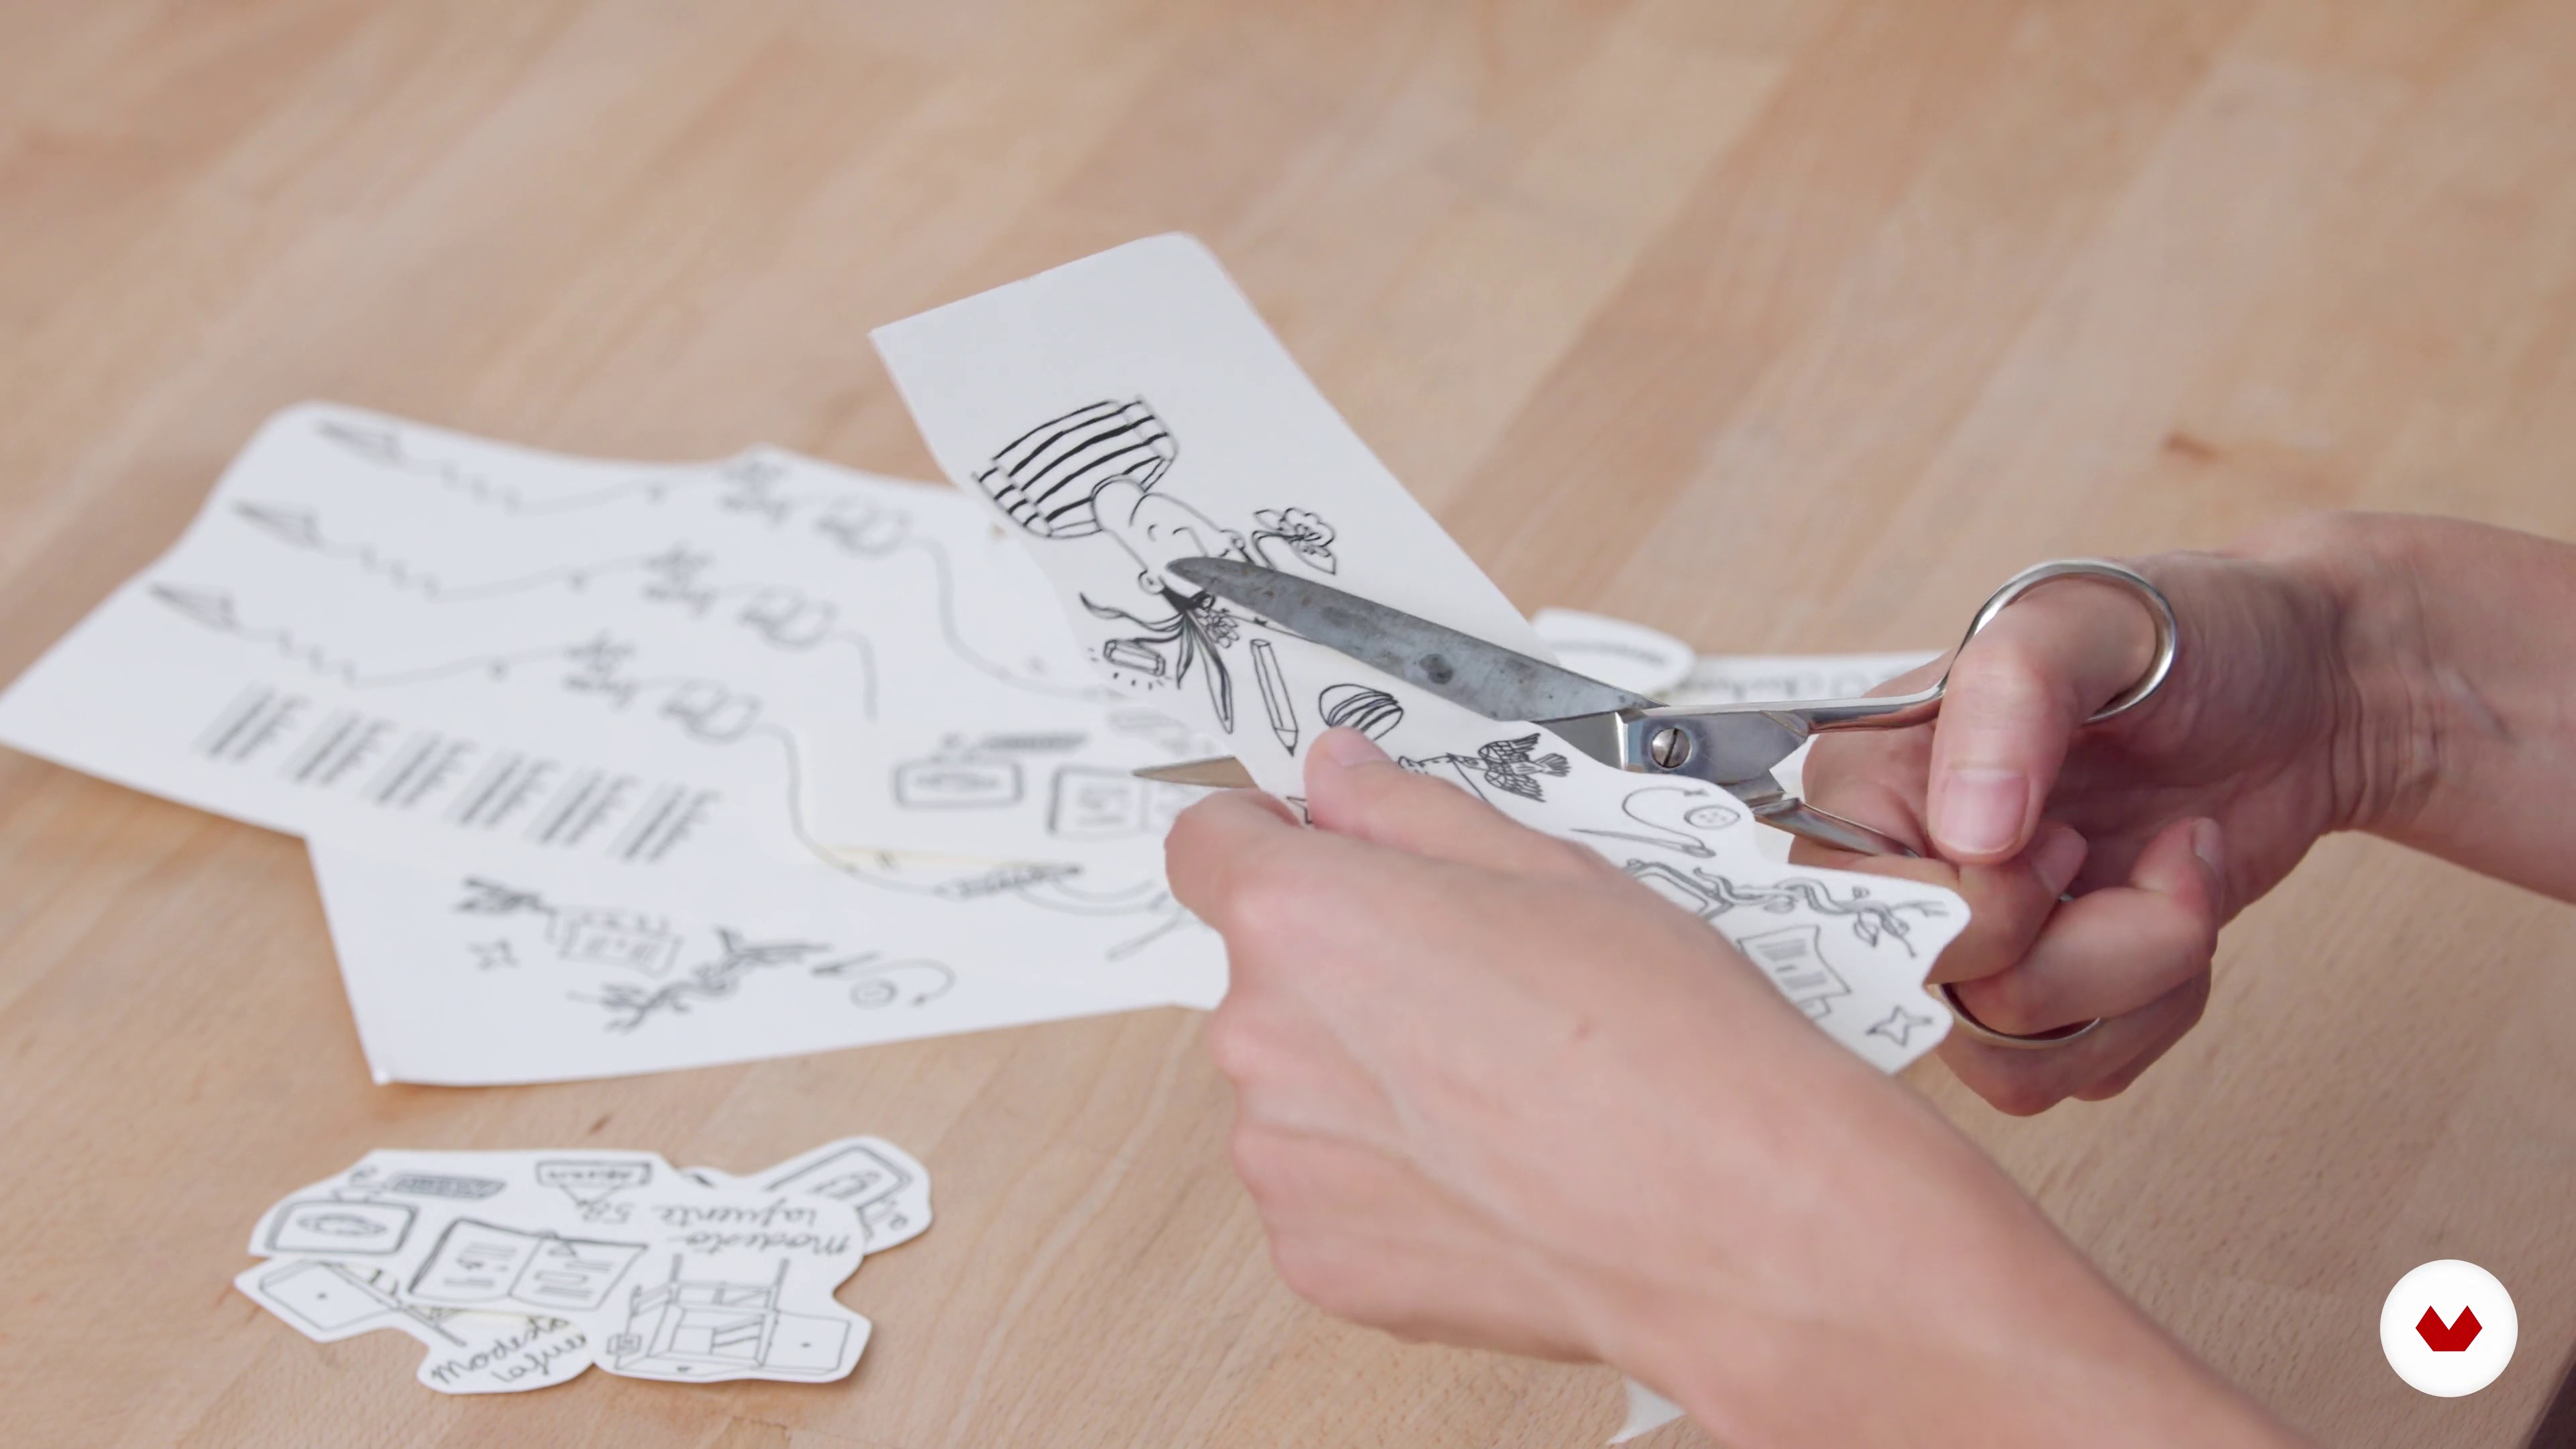
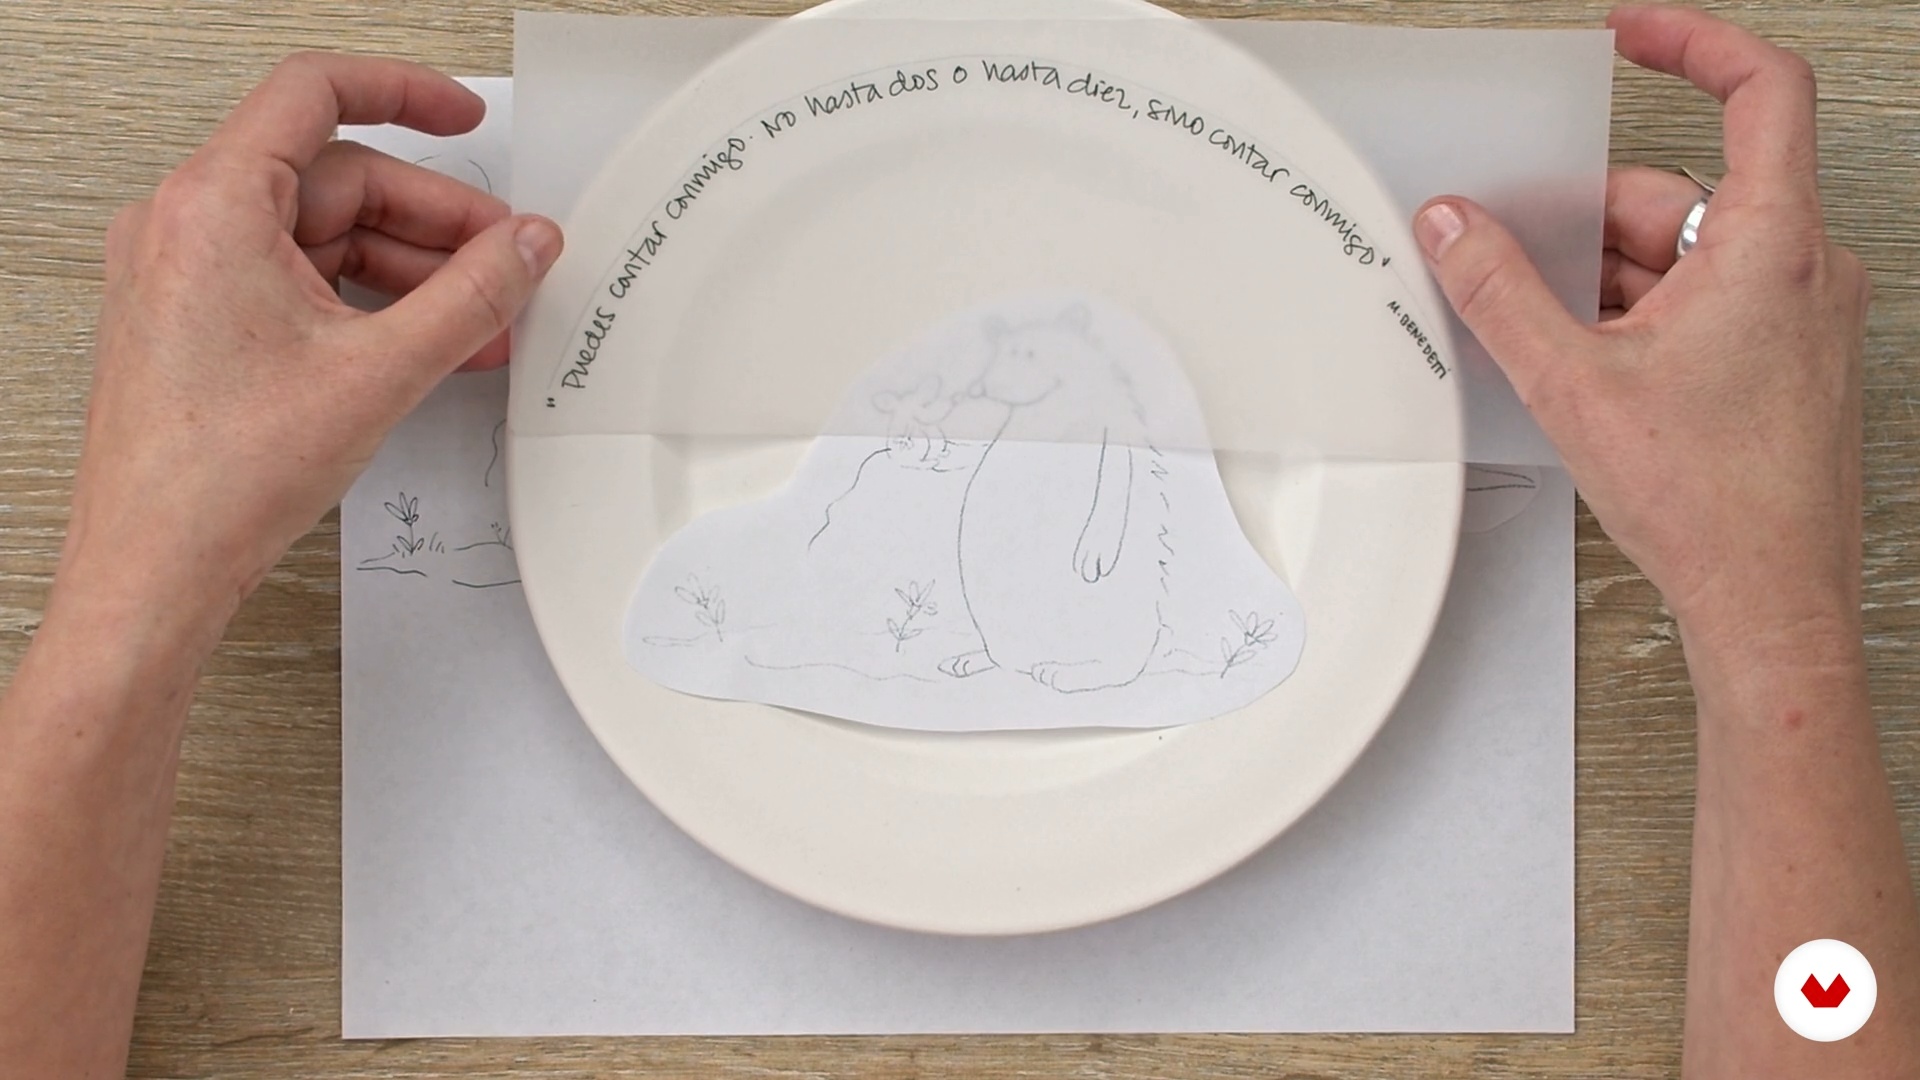
Yes, you’ll learn how to use transfer tissues and printed paper to transfer images and patterns onto raw clay or bisque pieces, achieving unique decorations.
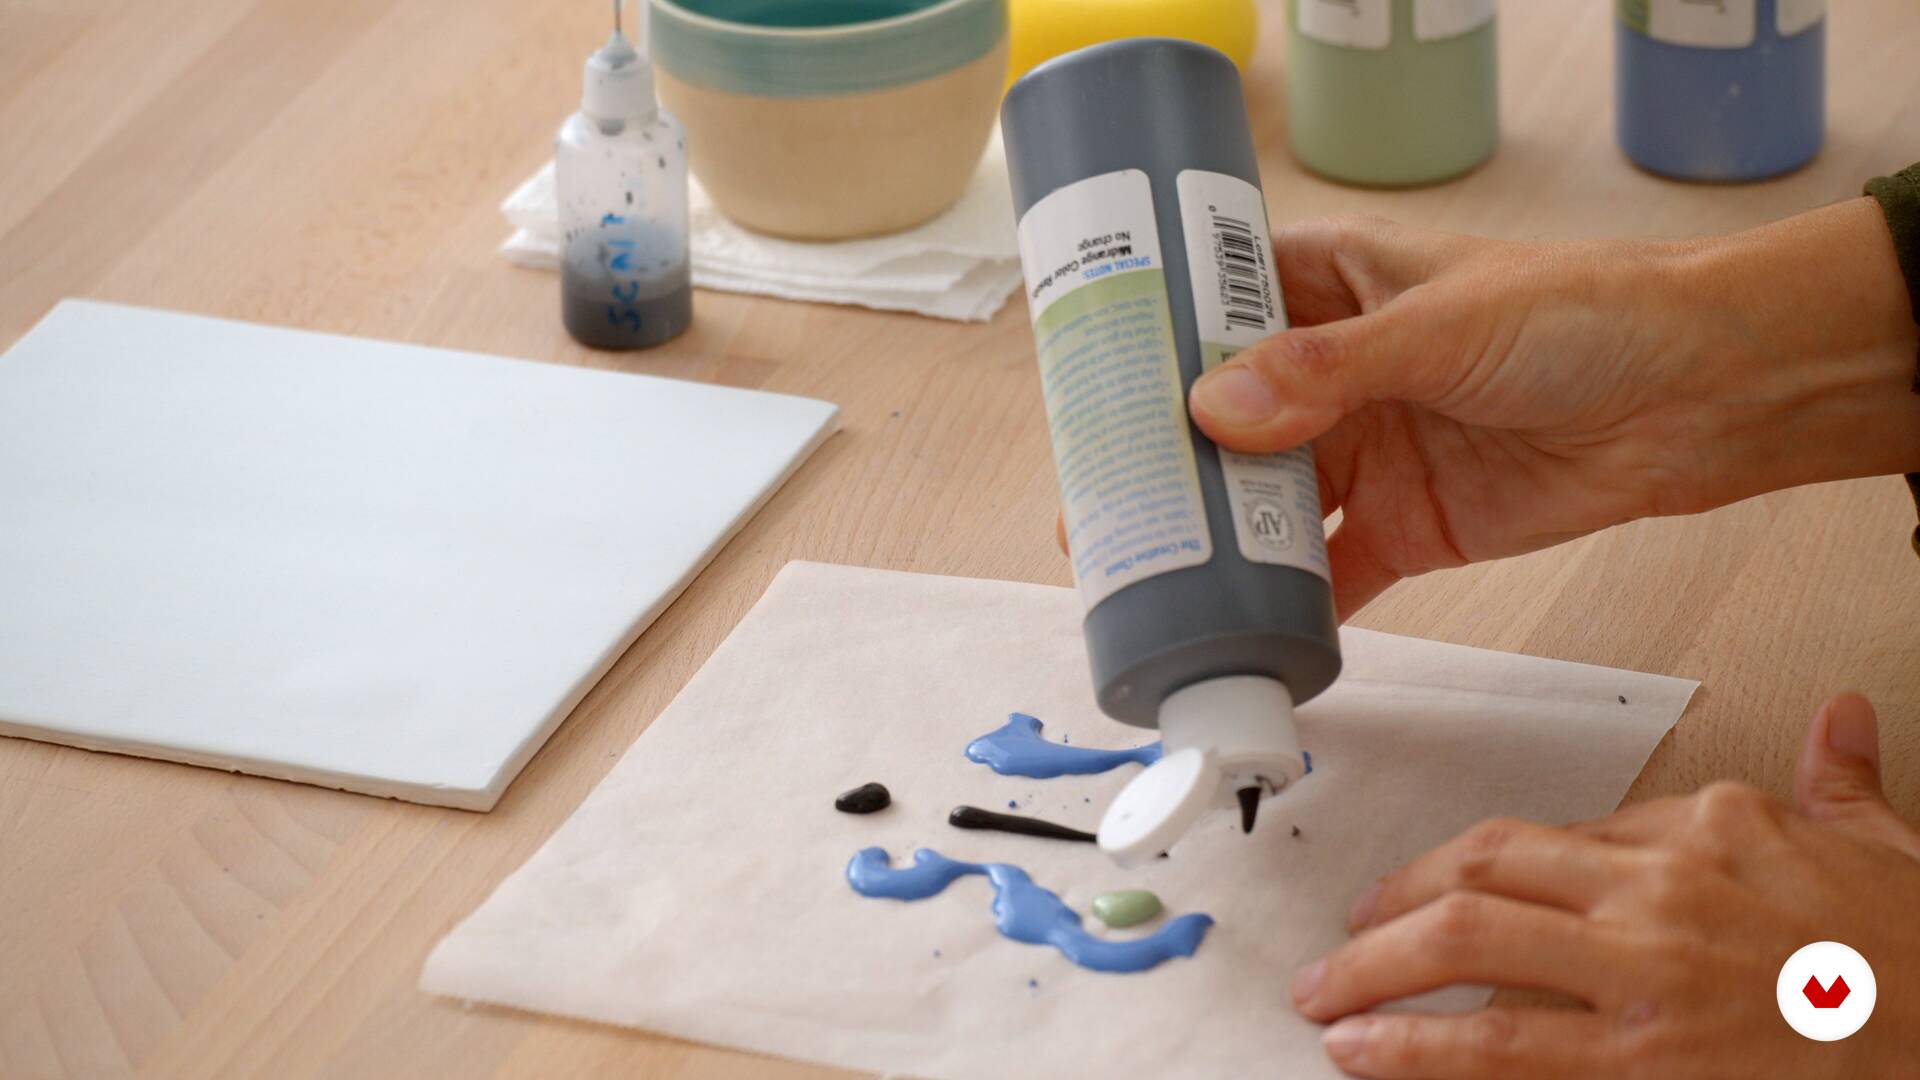
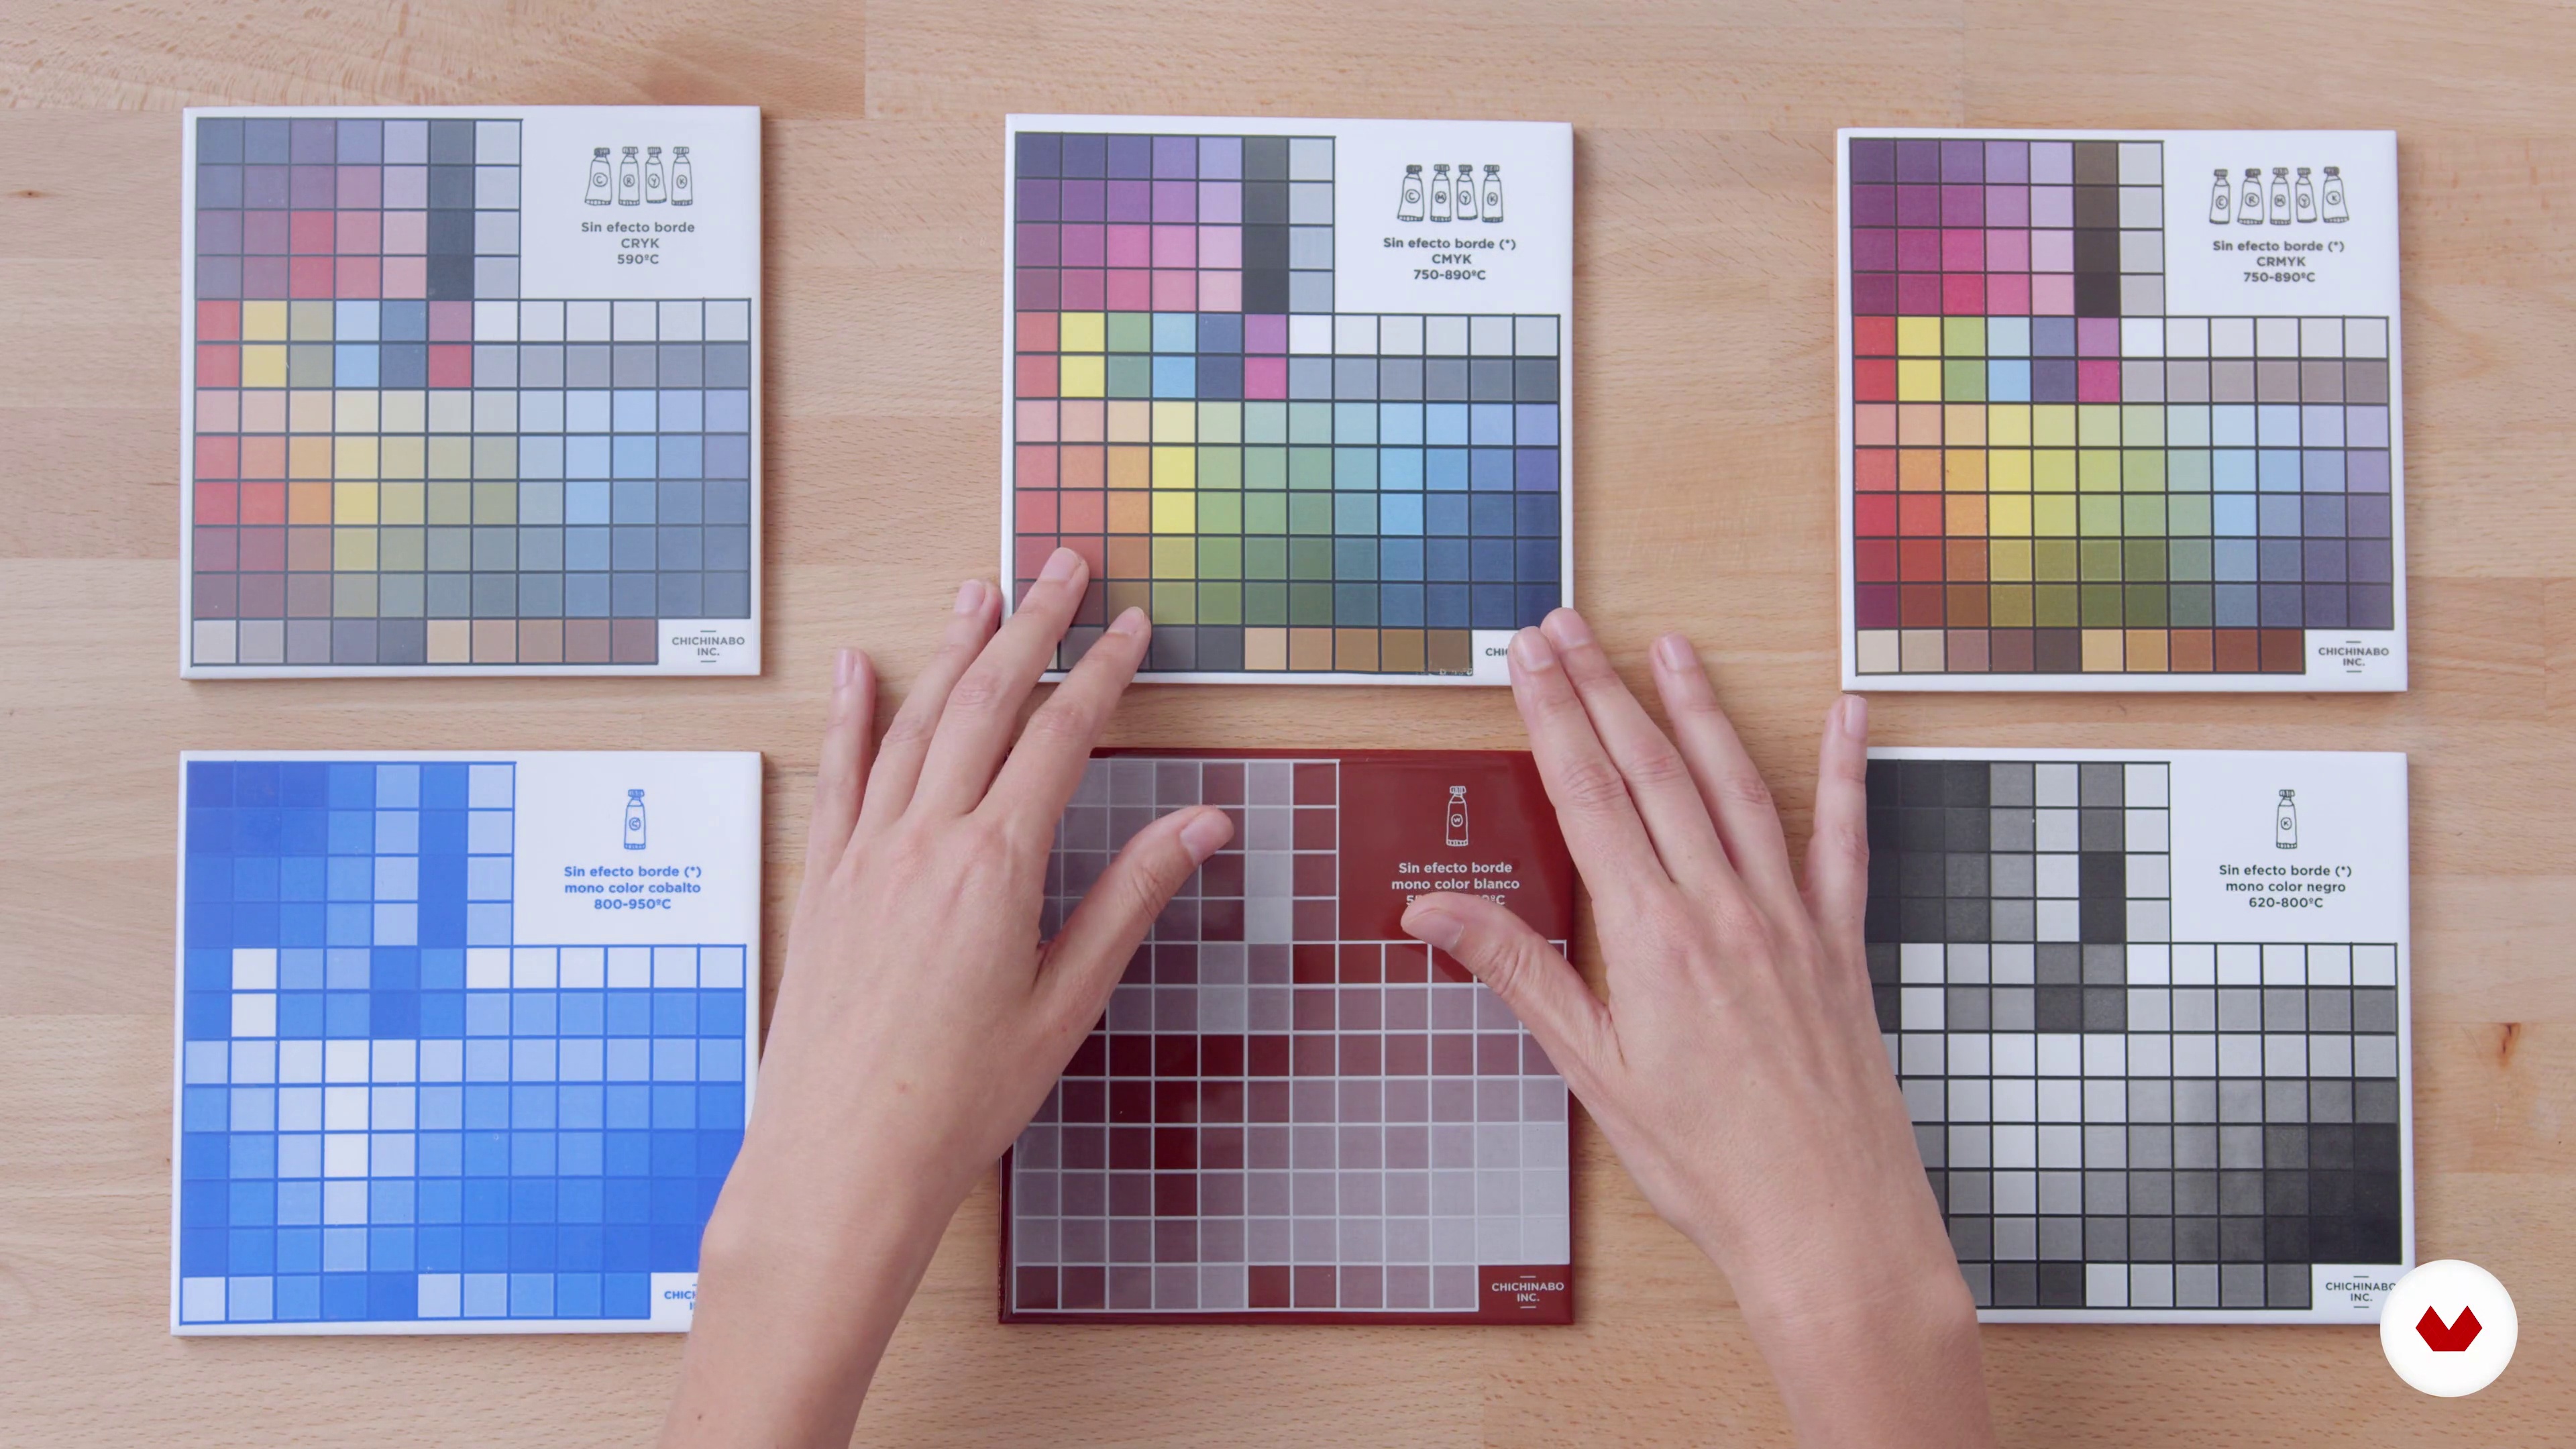
Glazes provide a colorful, glassy protective layer, while oxides are used to decorate and tone, creating different effects when fired.


El mejor curso que hice en domestika
Excellent course. All five teachers, in their own way, have great knowledge of the art of pottery. And they surely know how to share their experience. The course is well structured and easy to follow.
Iniciando o curso e adorando as técnicas!
Muito bom!
Un recopilatorio genial.