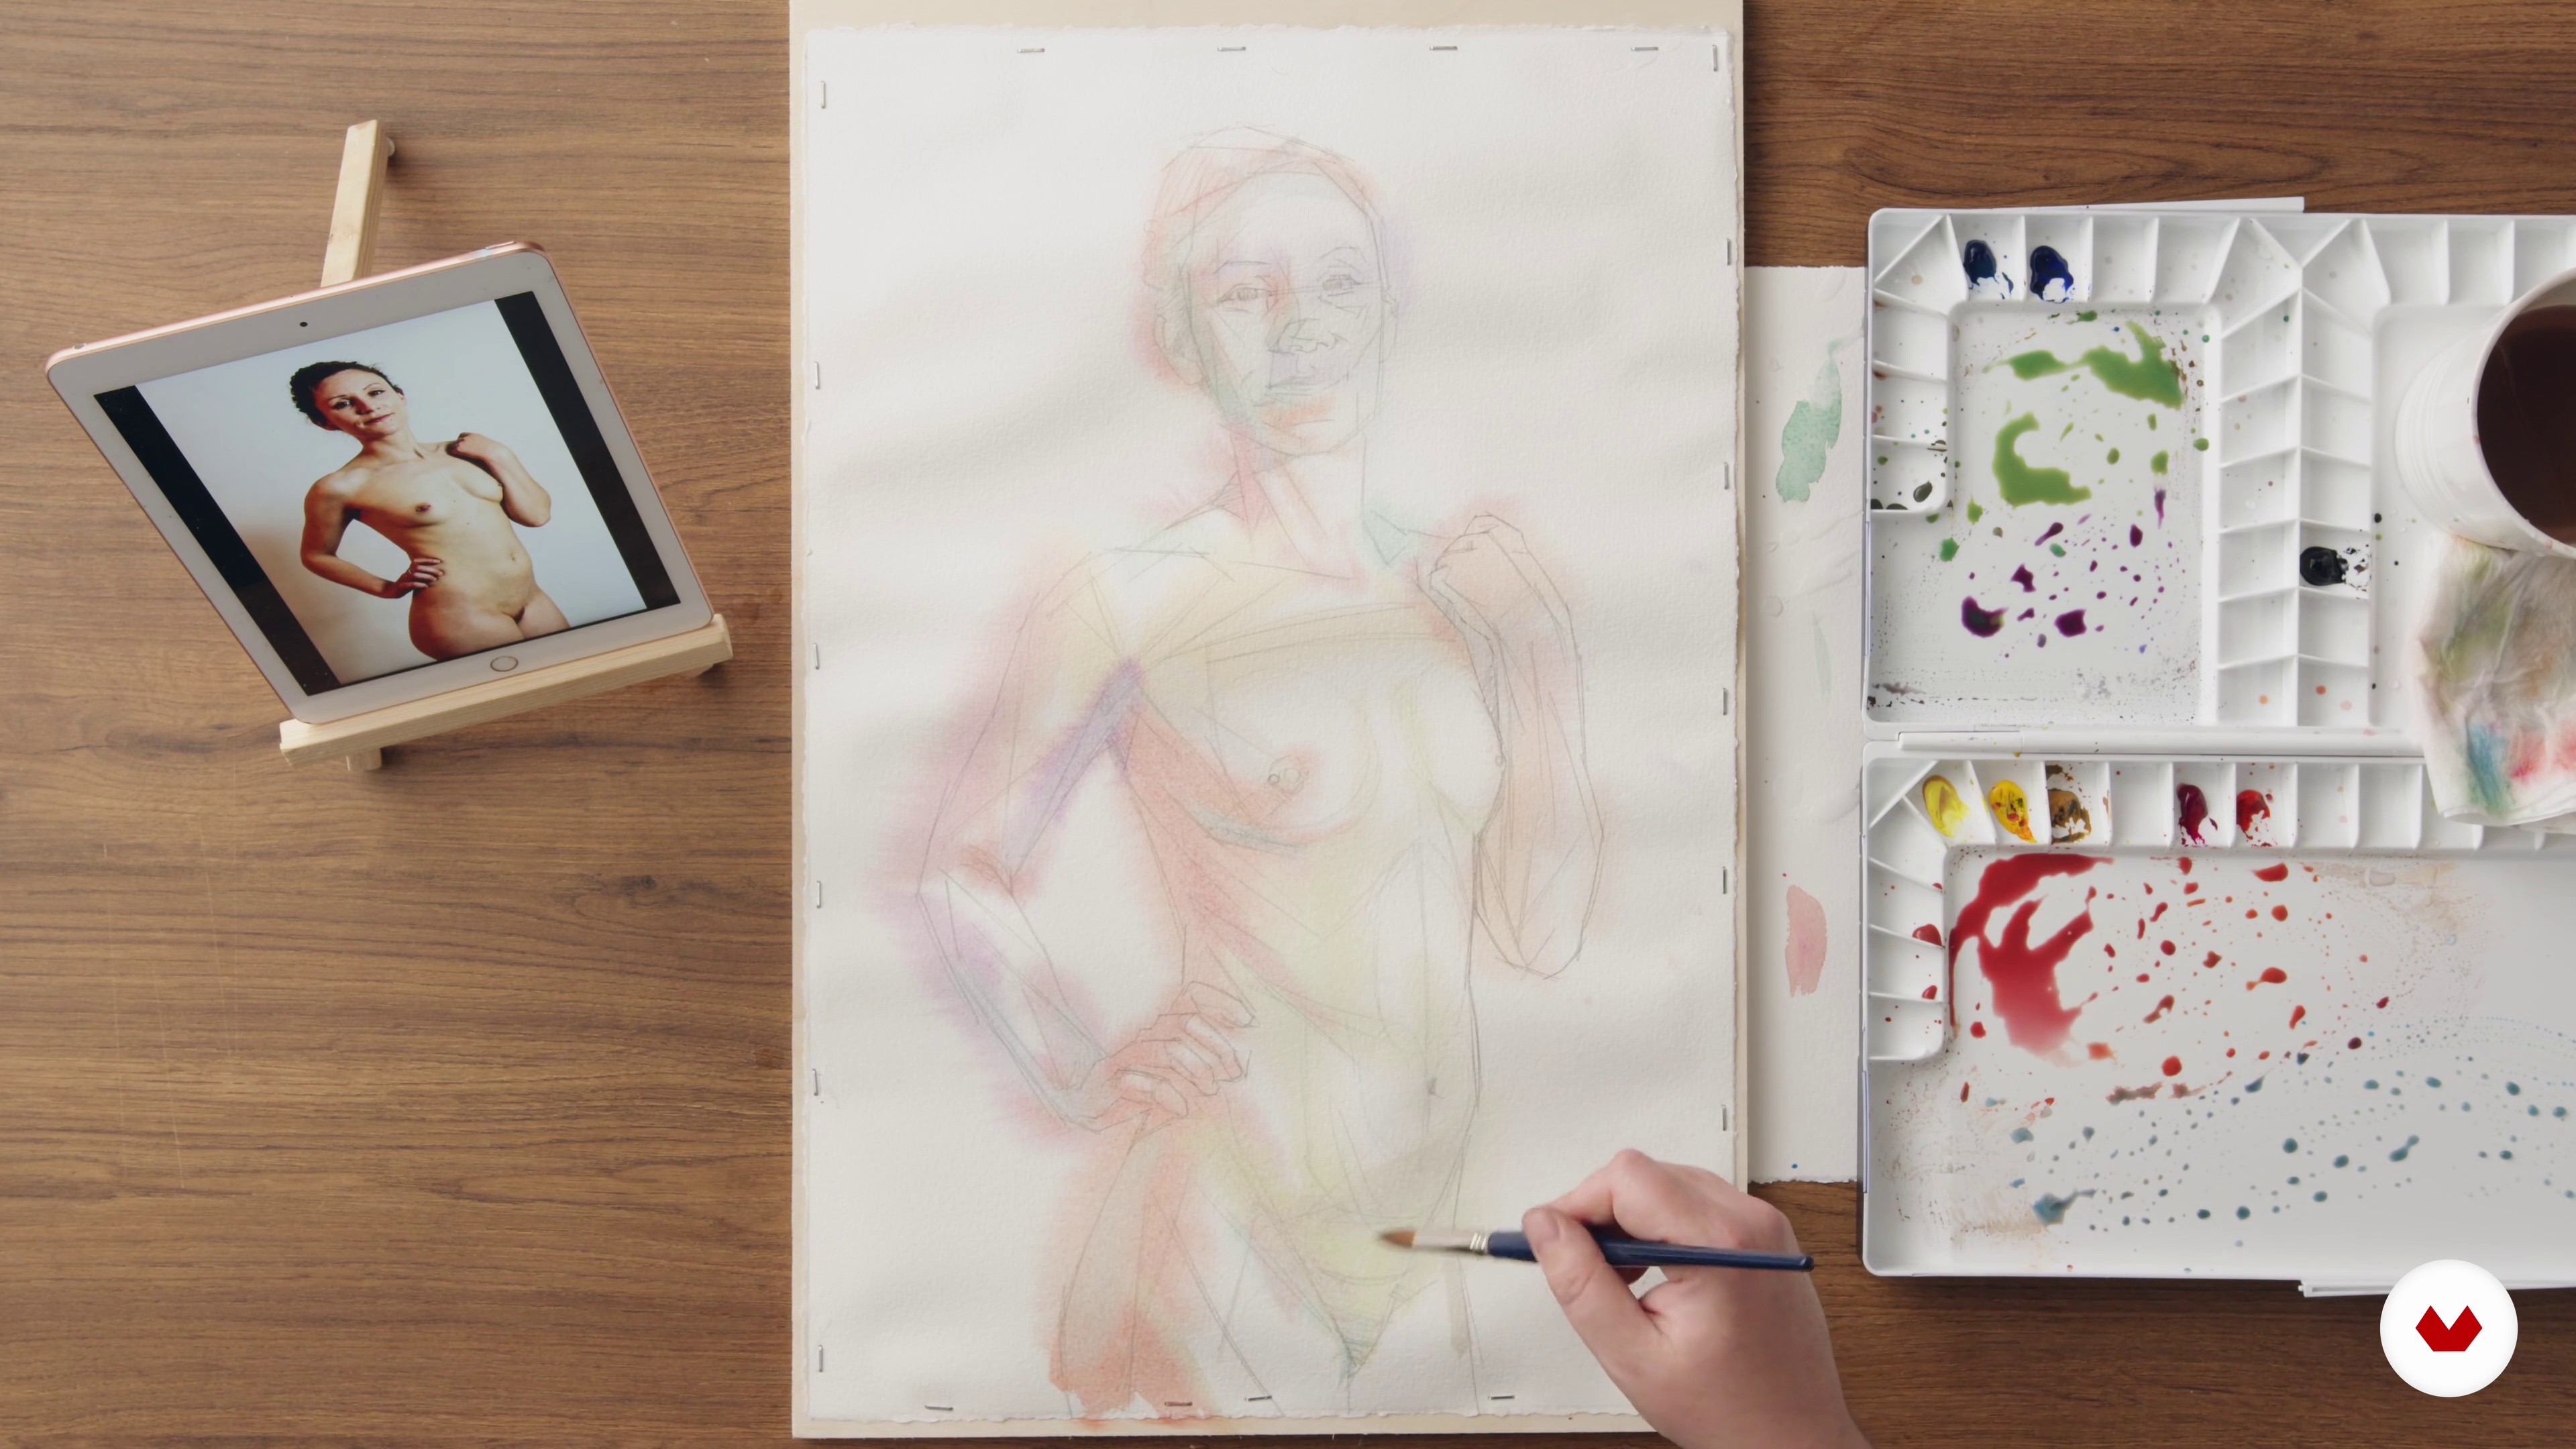
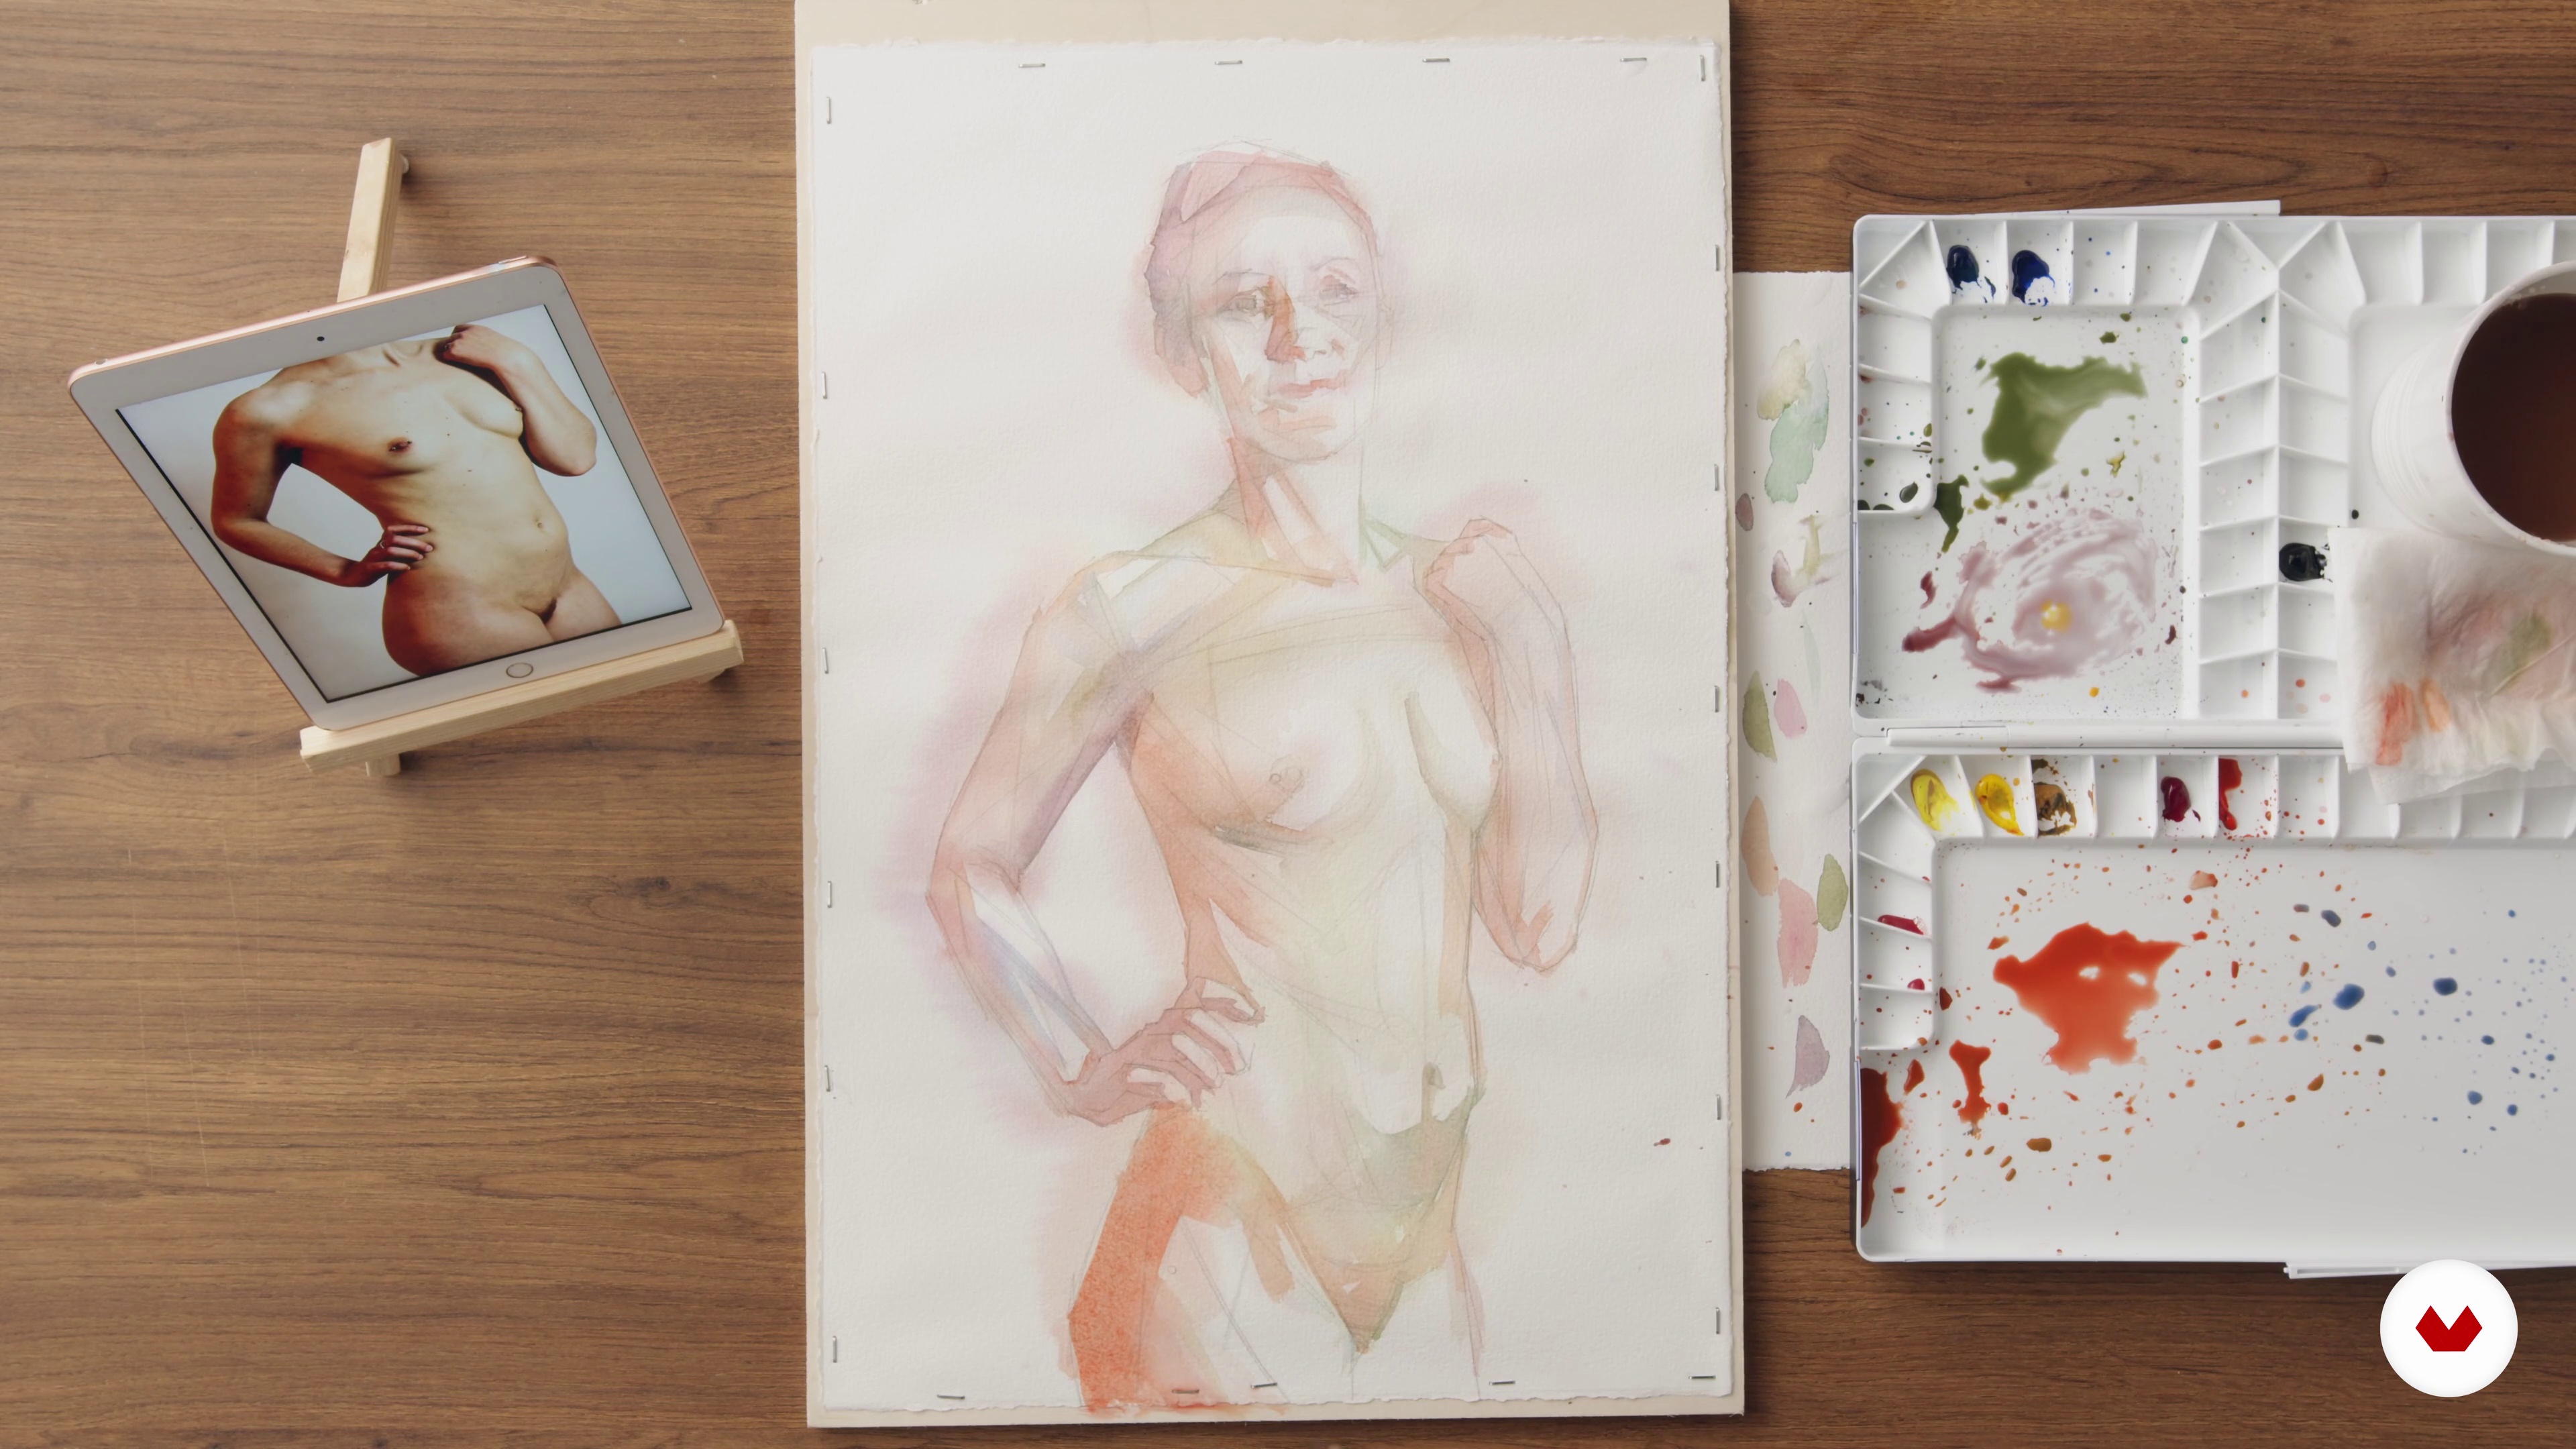
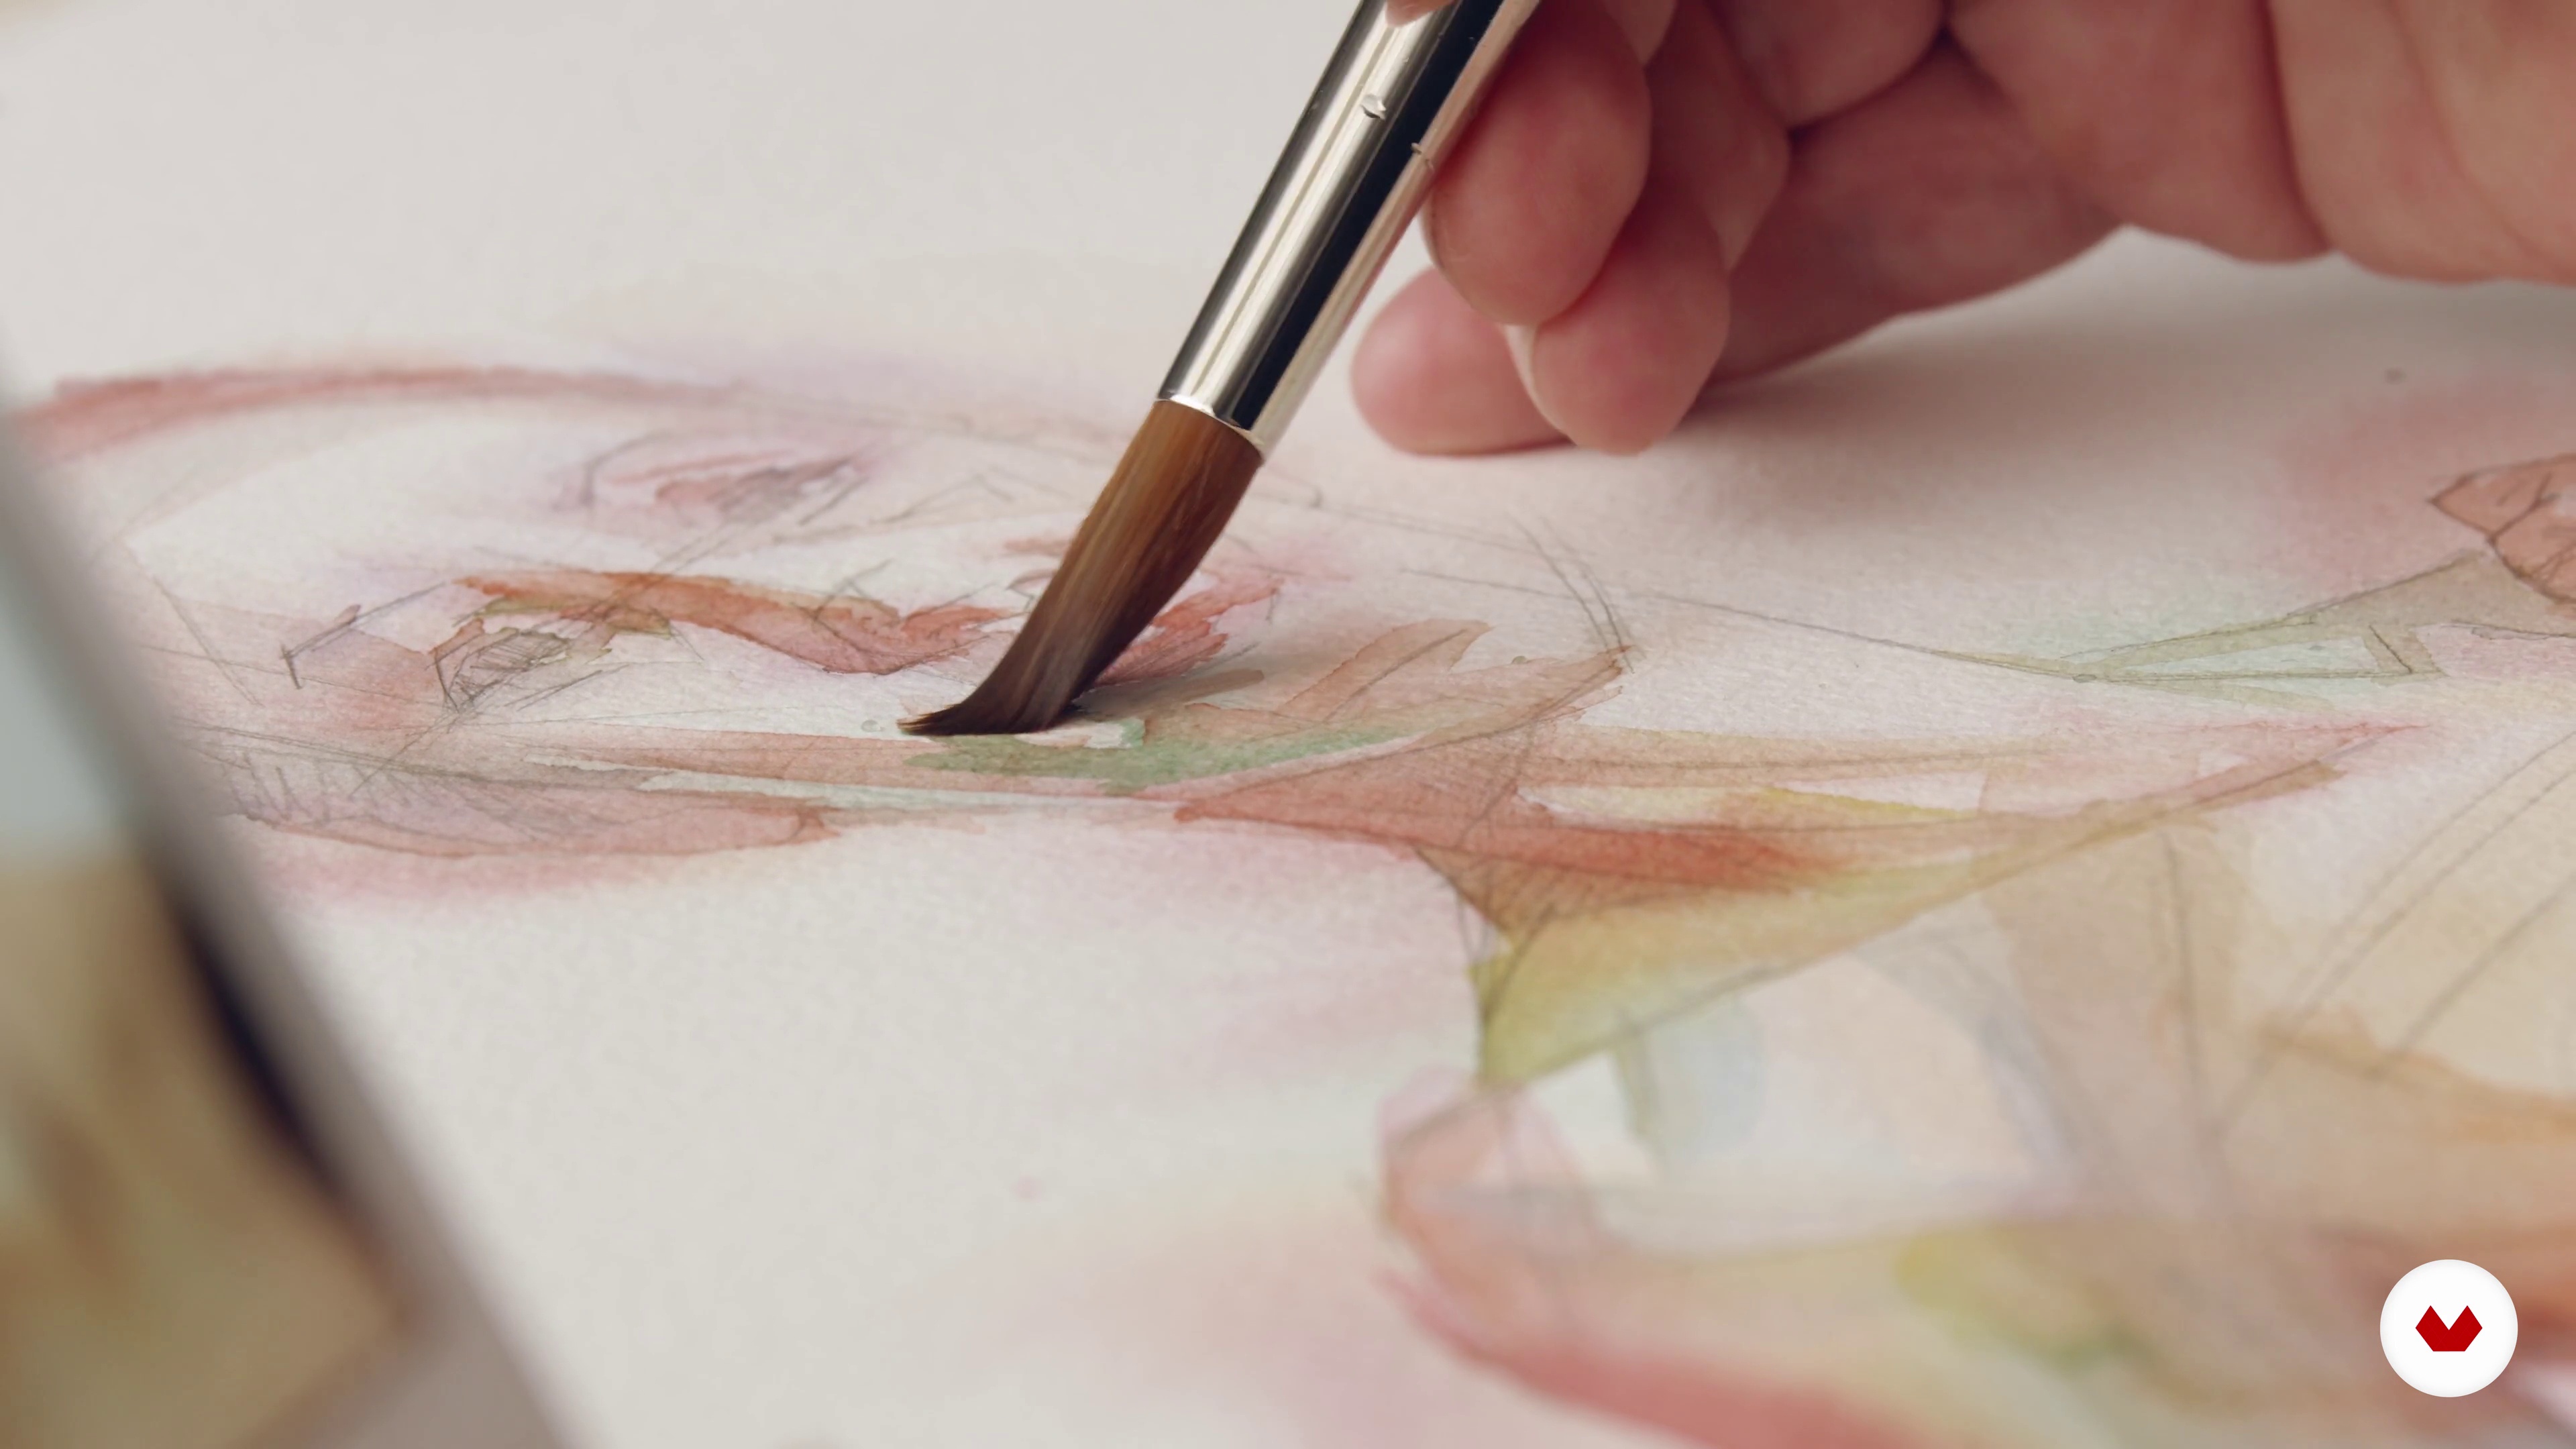
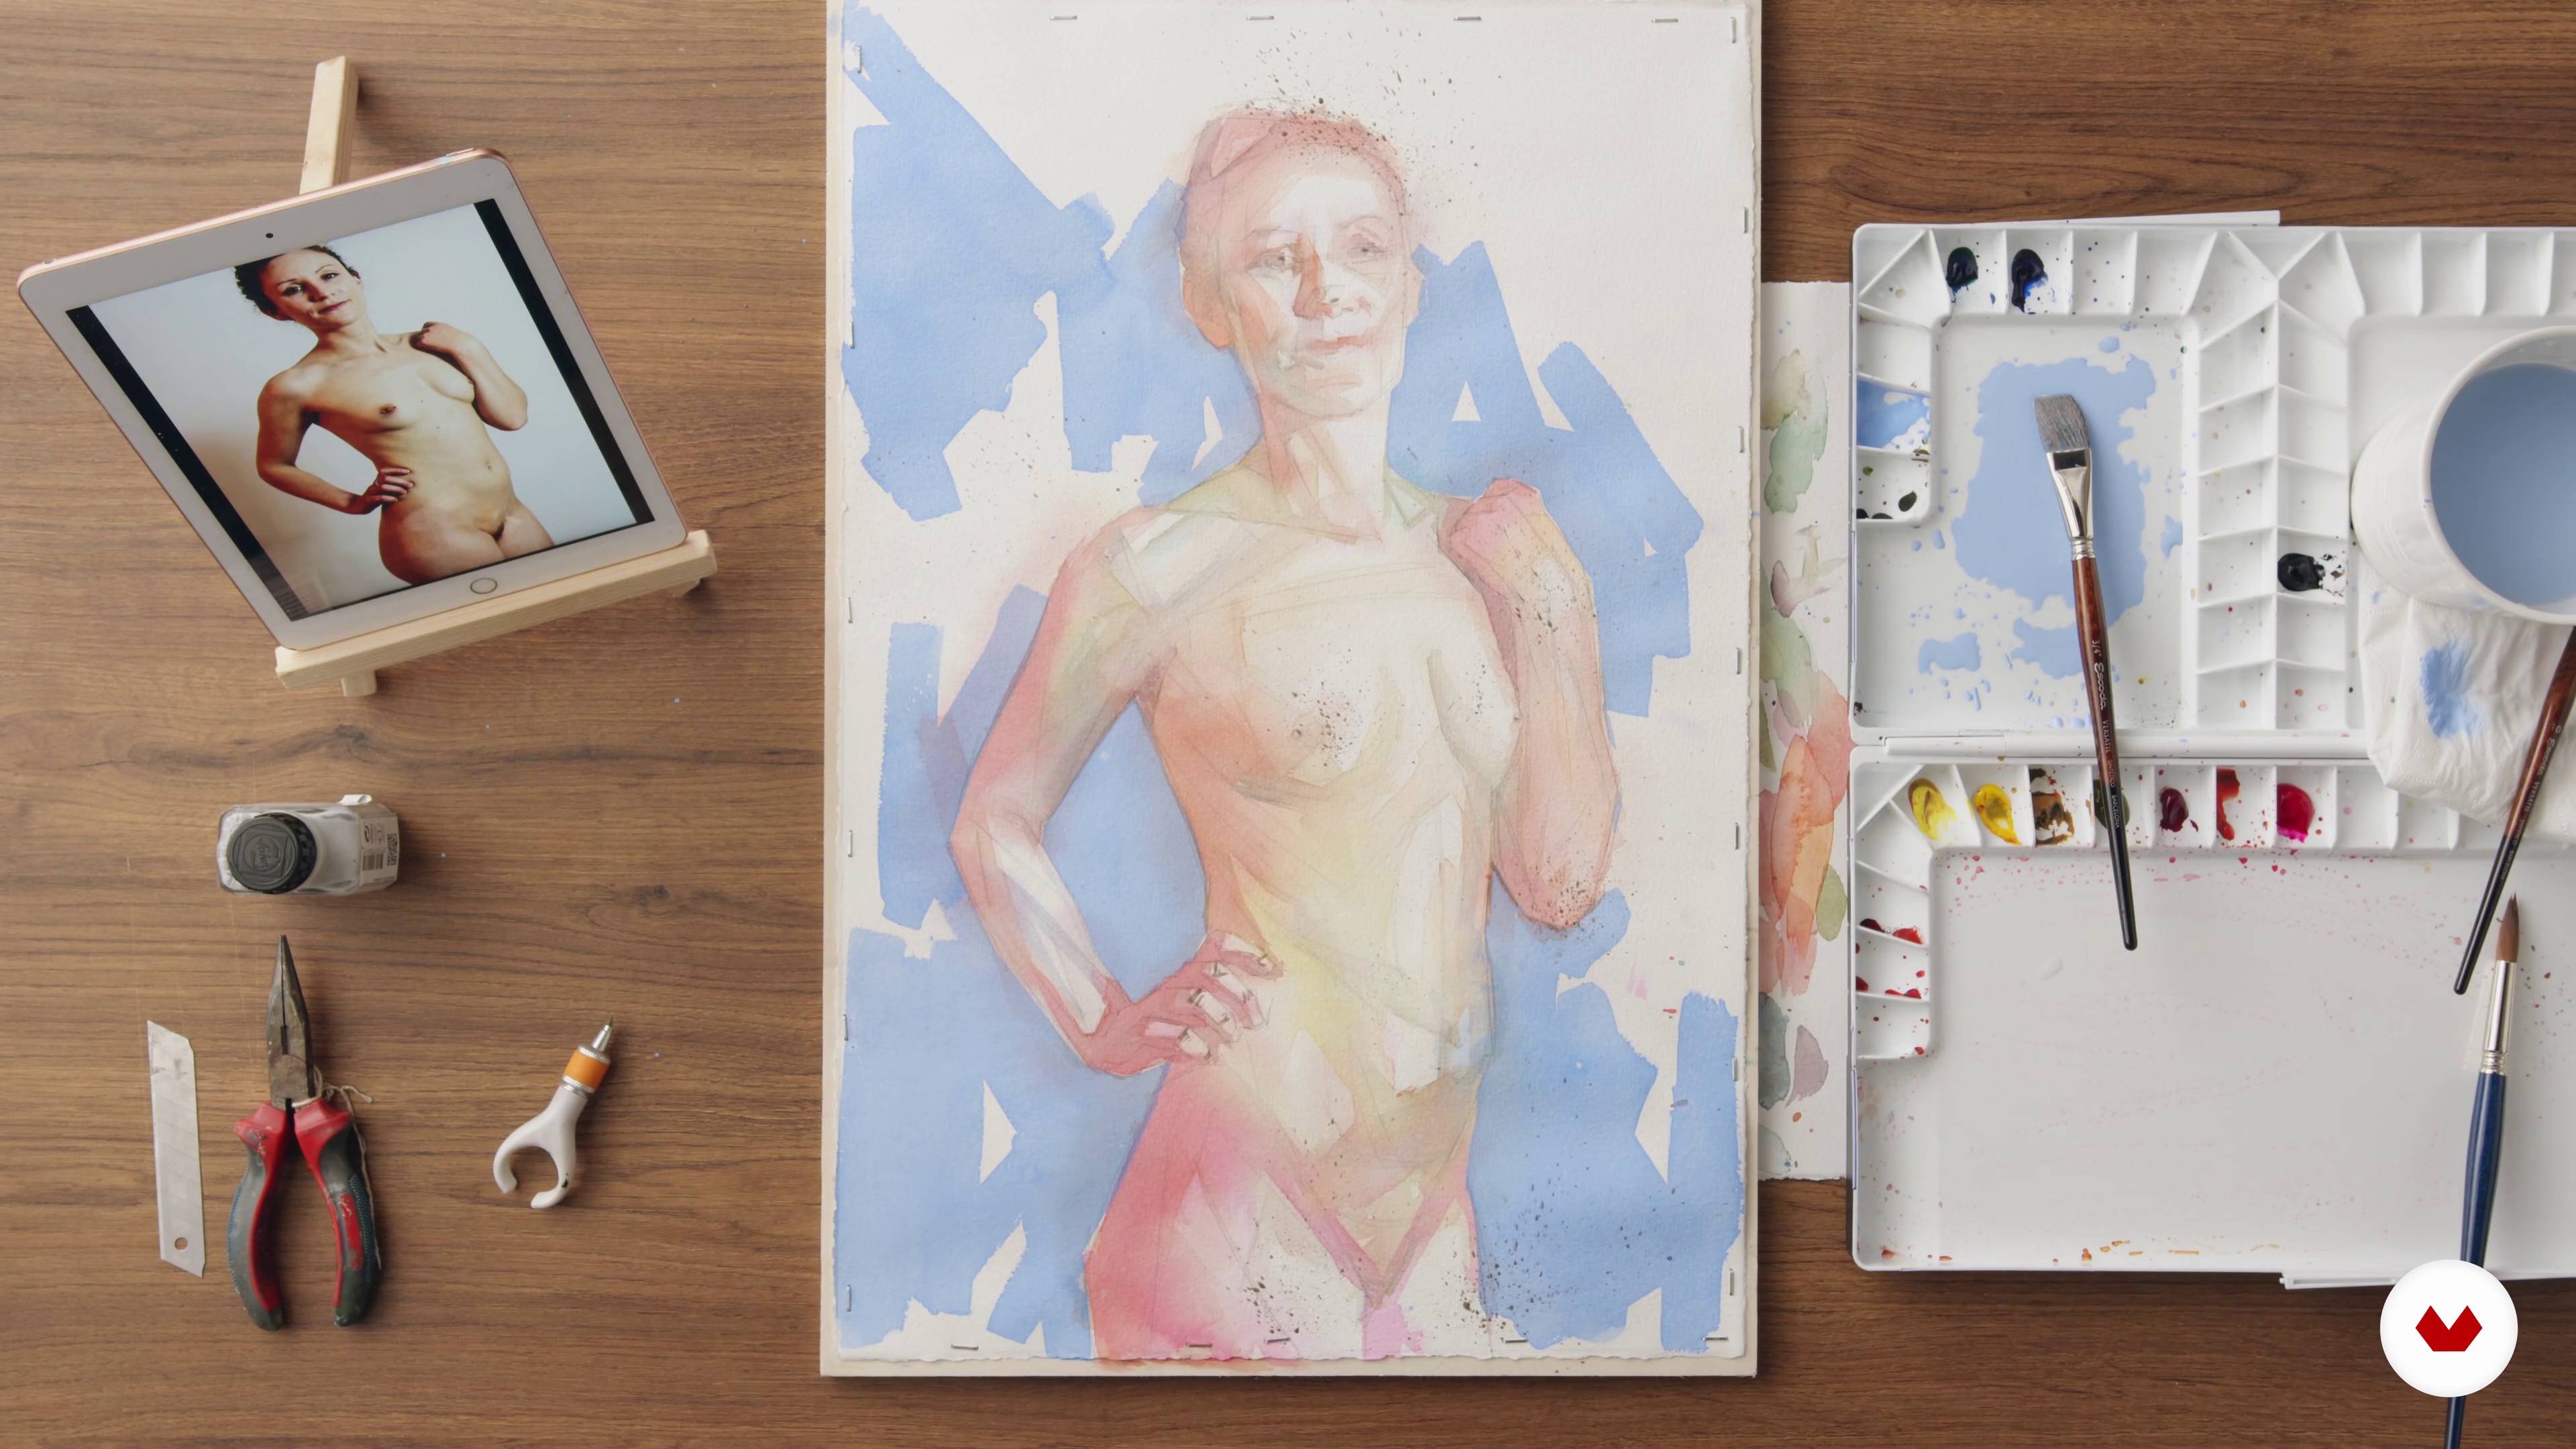
Specialization

Specialization in drawing and expression of the human figure

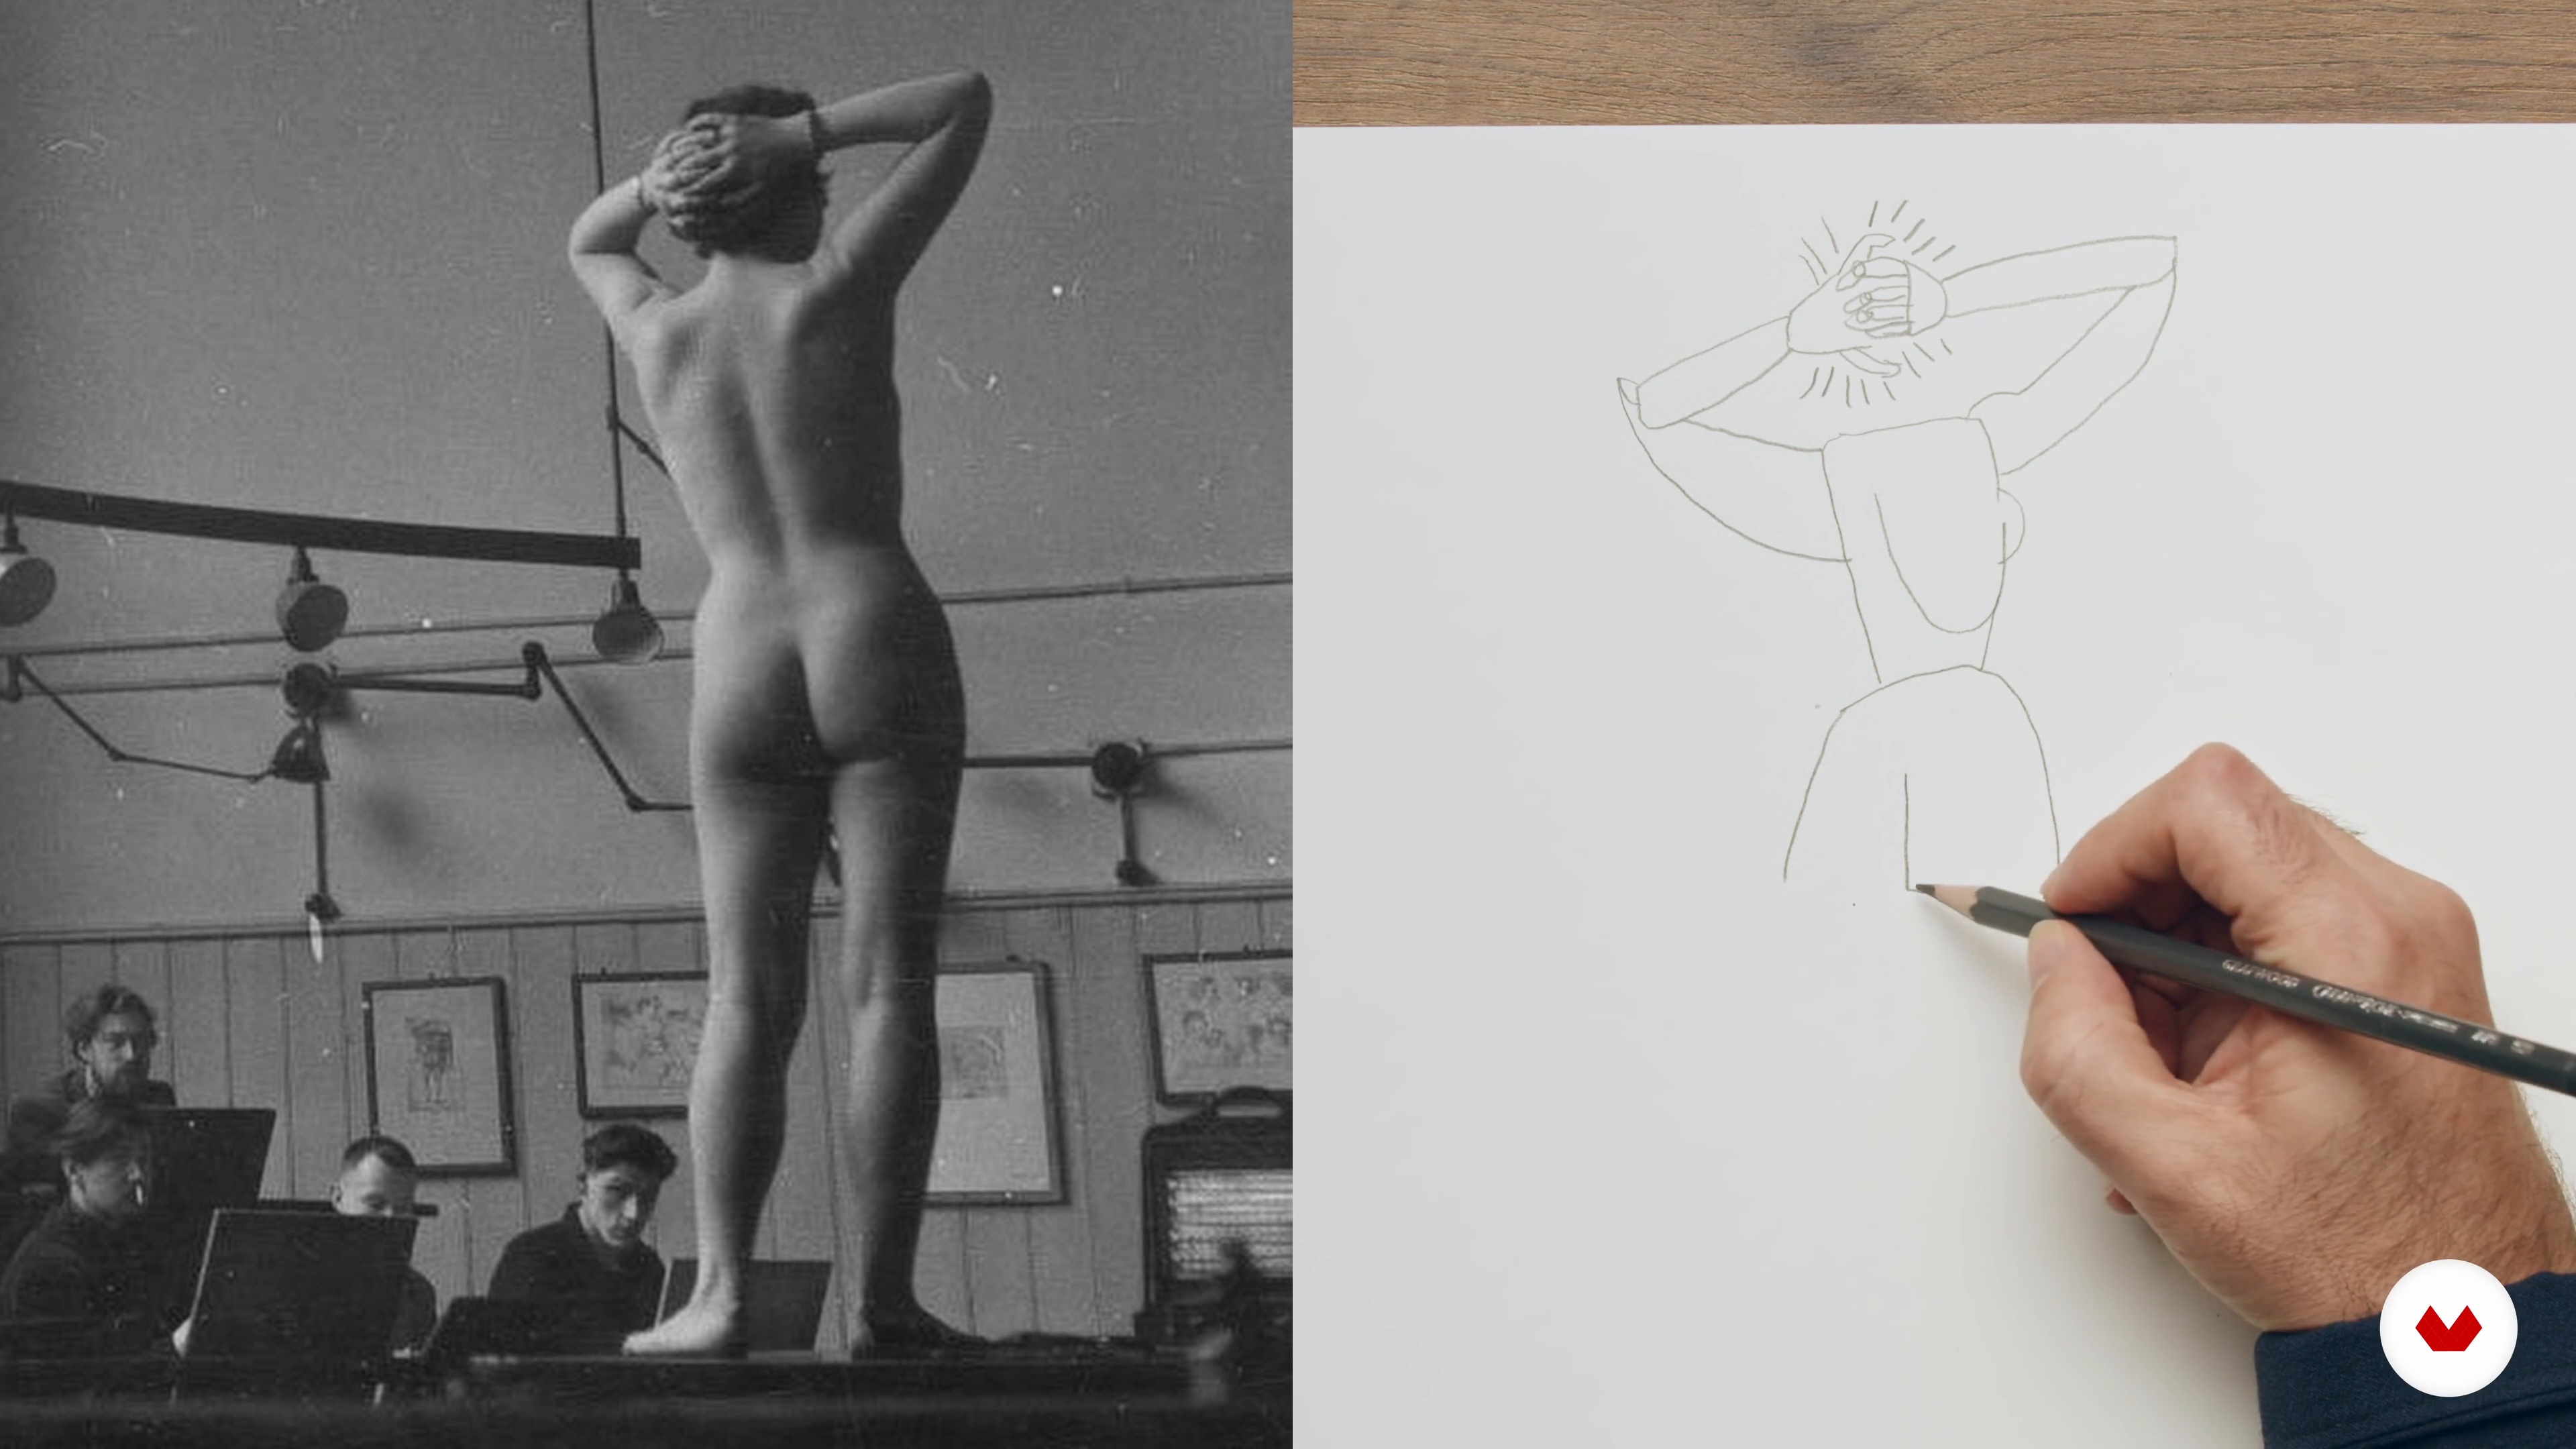
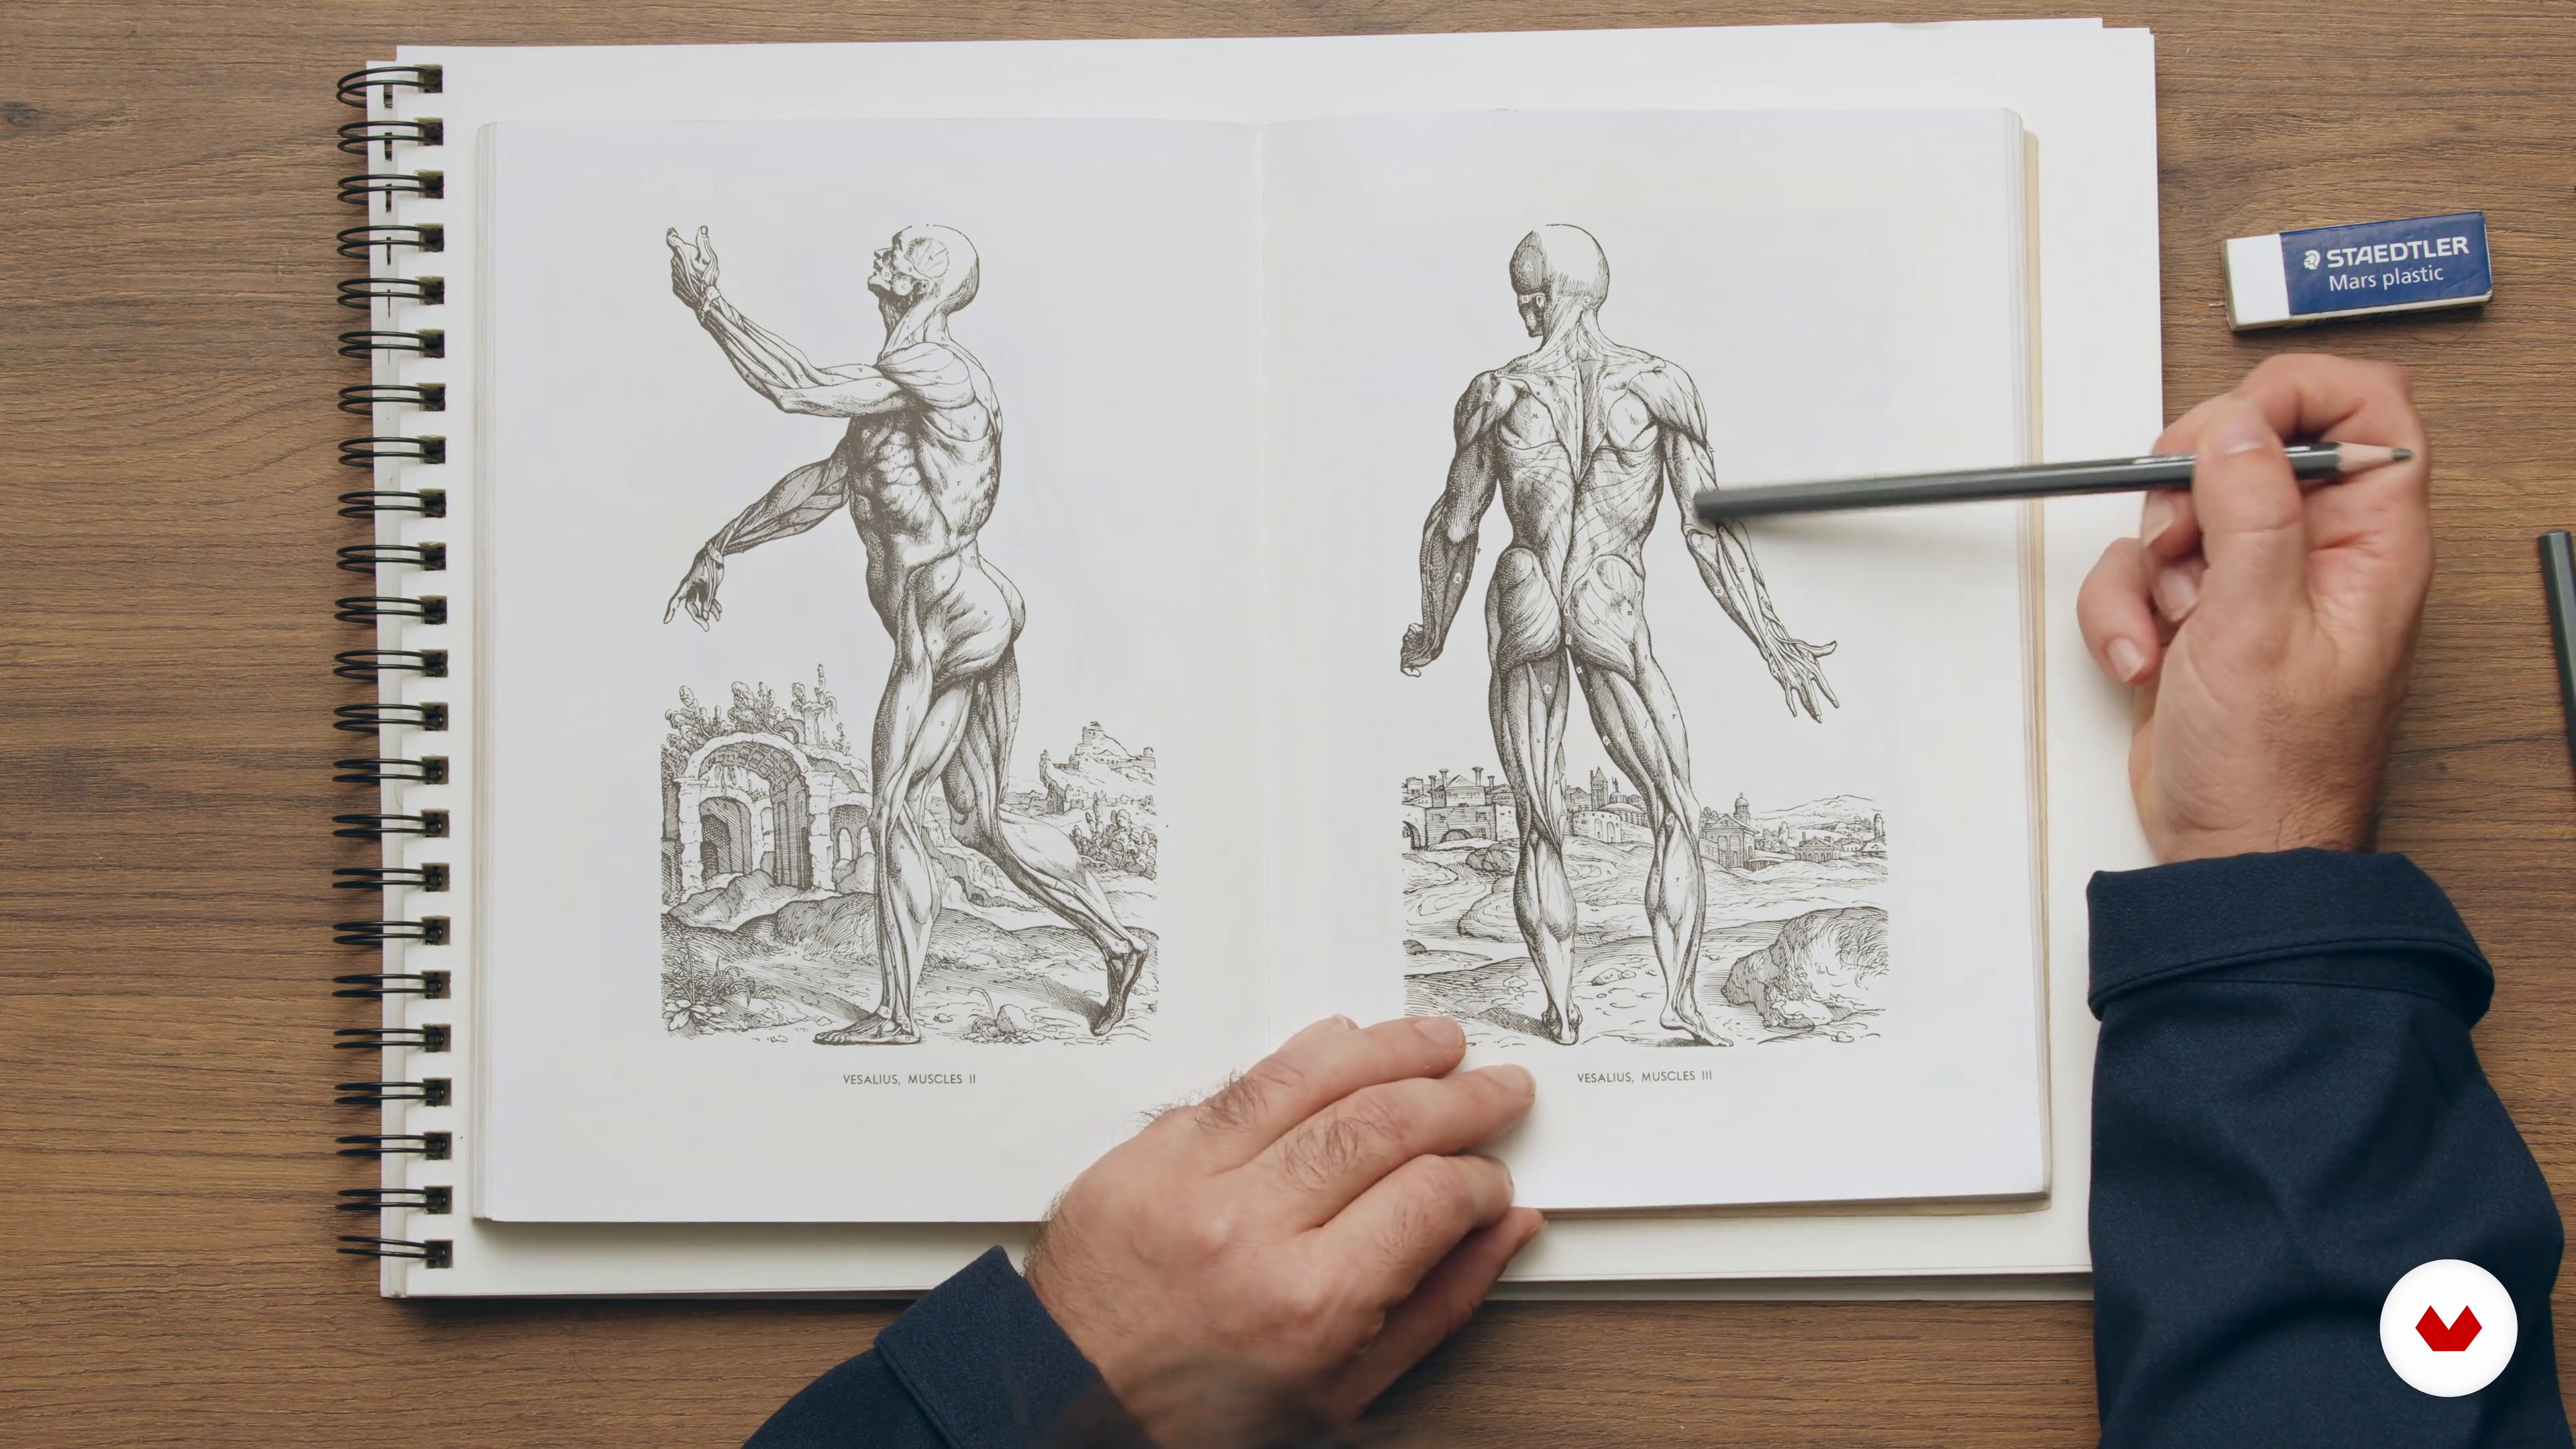
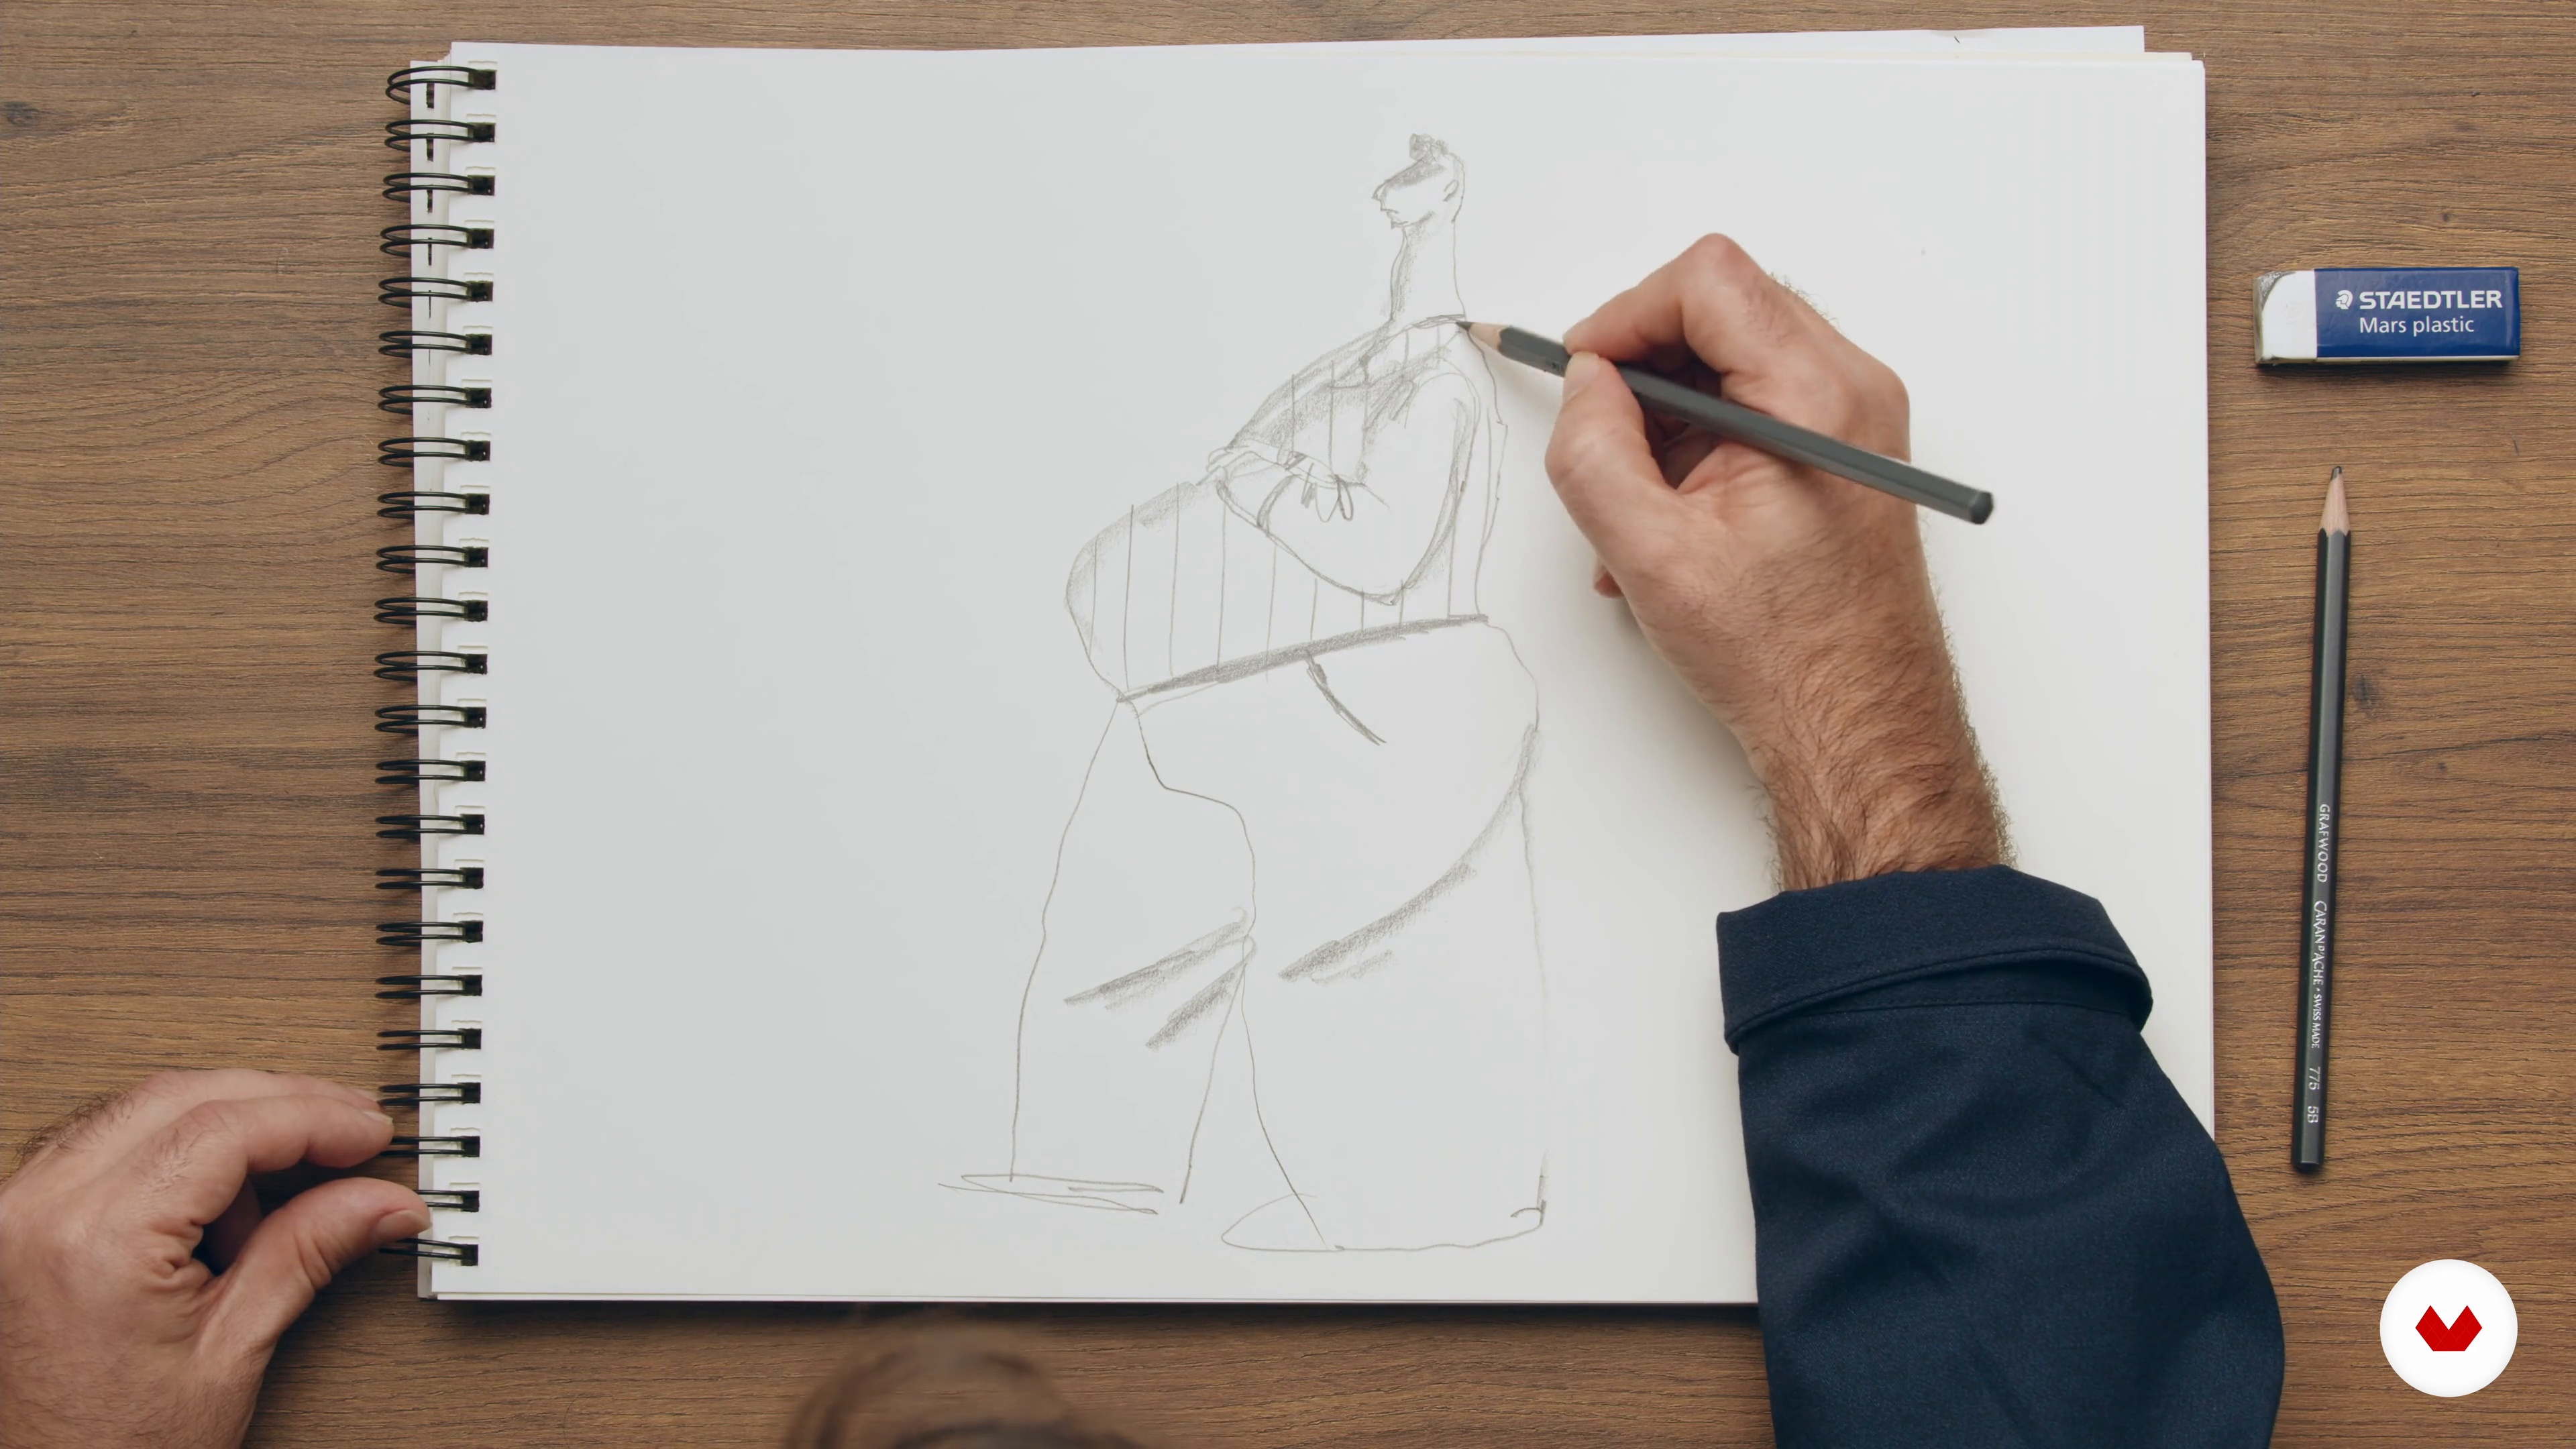
Learn anatomical drawing with proportion and structure techniques to capture the essence of the human figure

Specialization · 7 modules

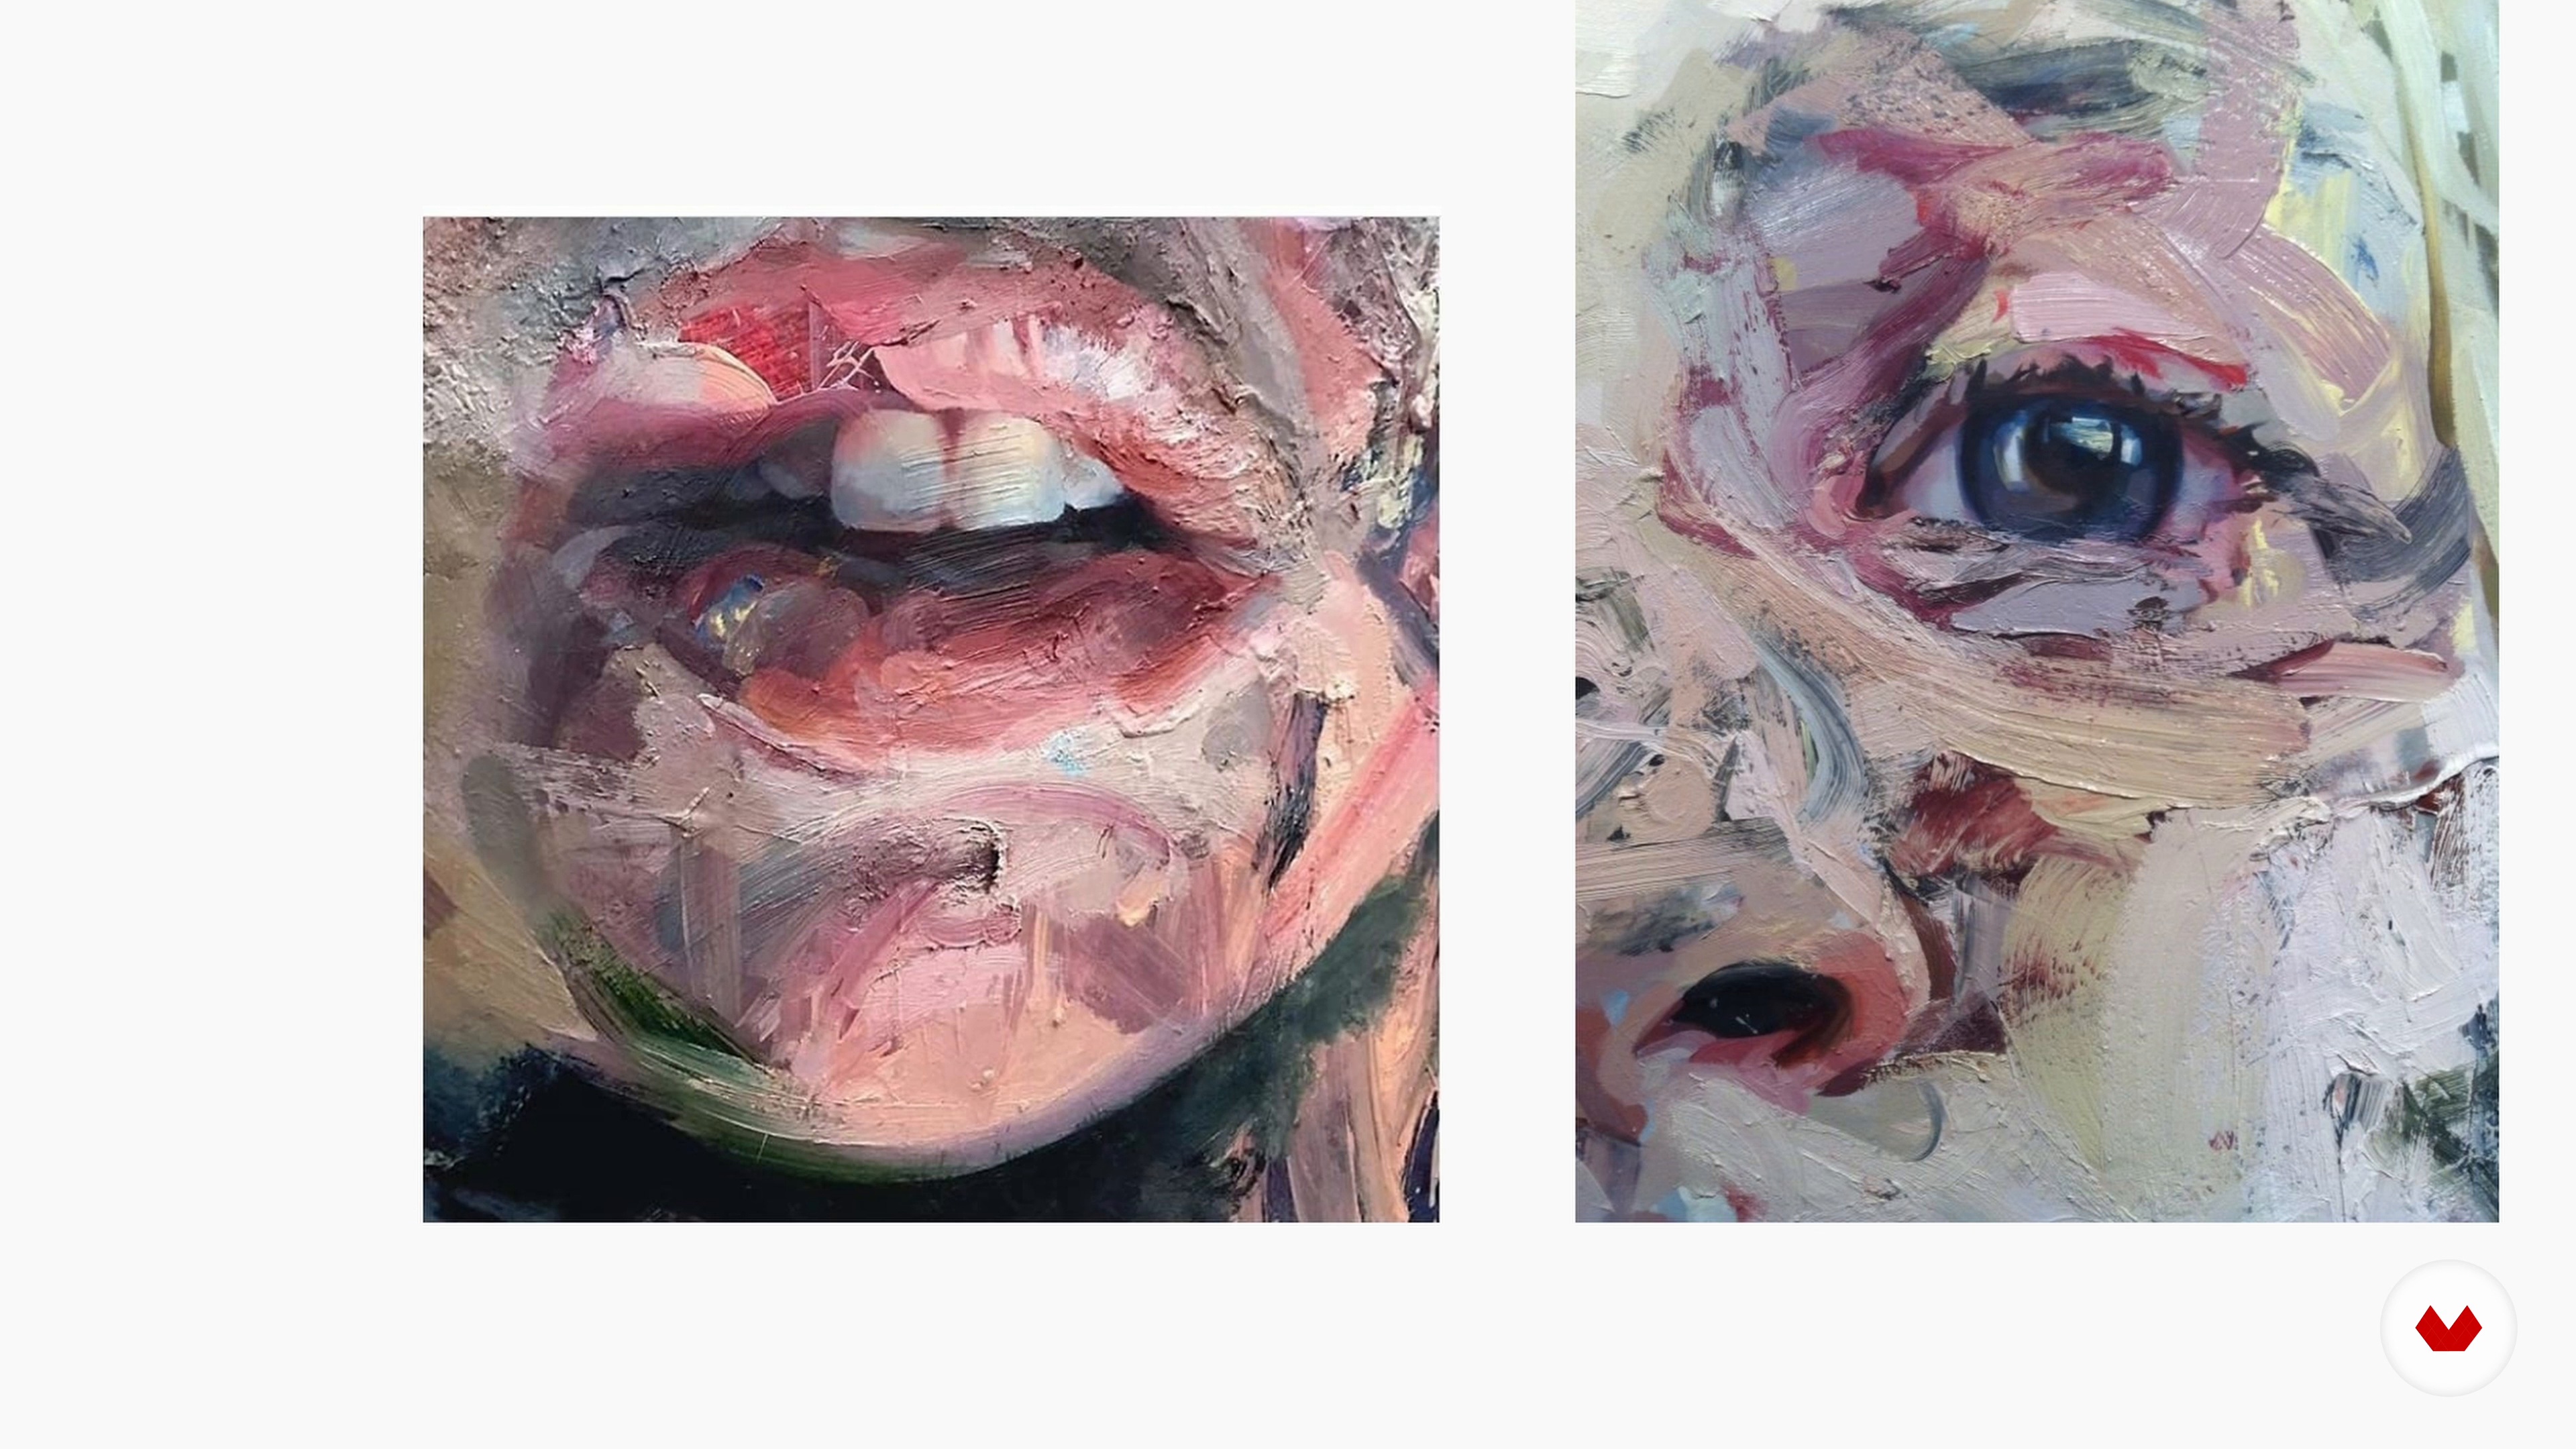
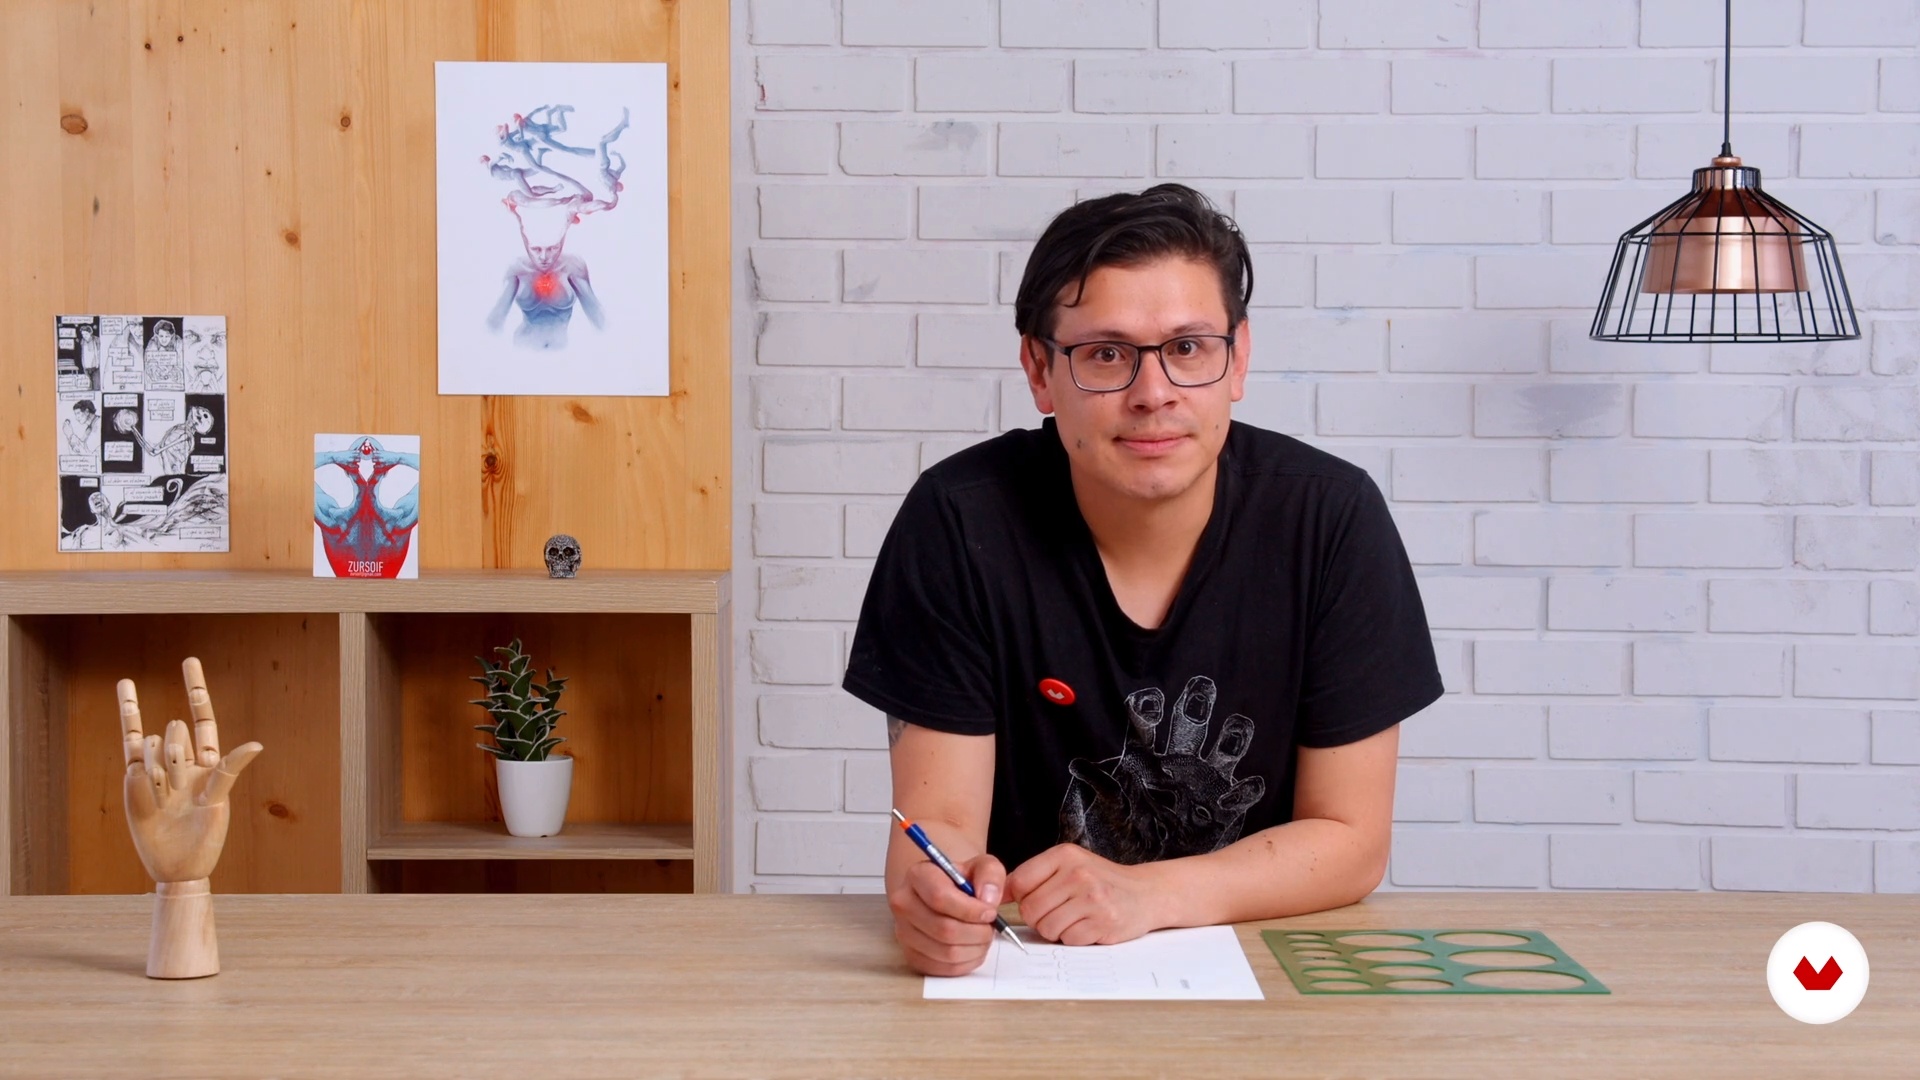
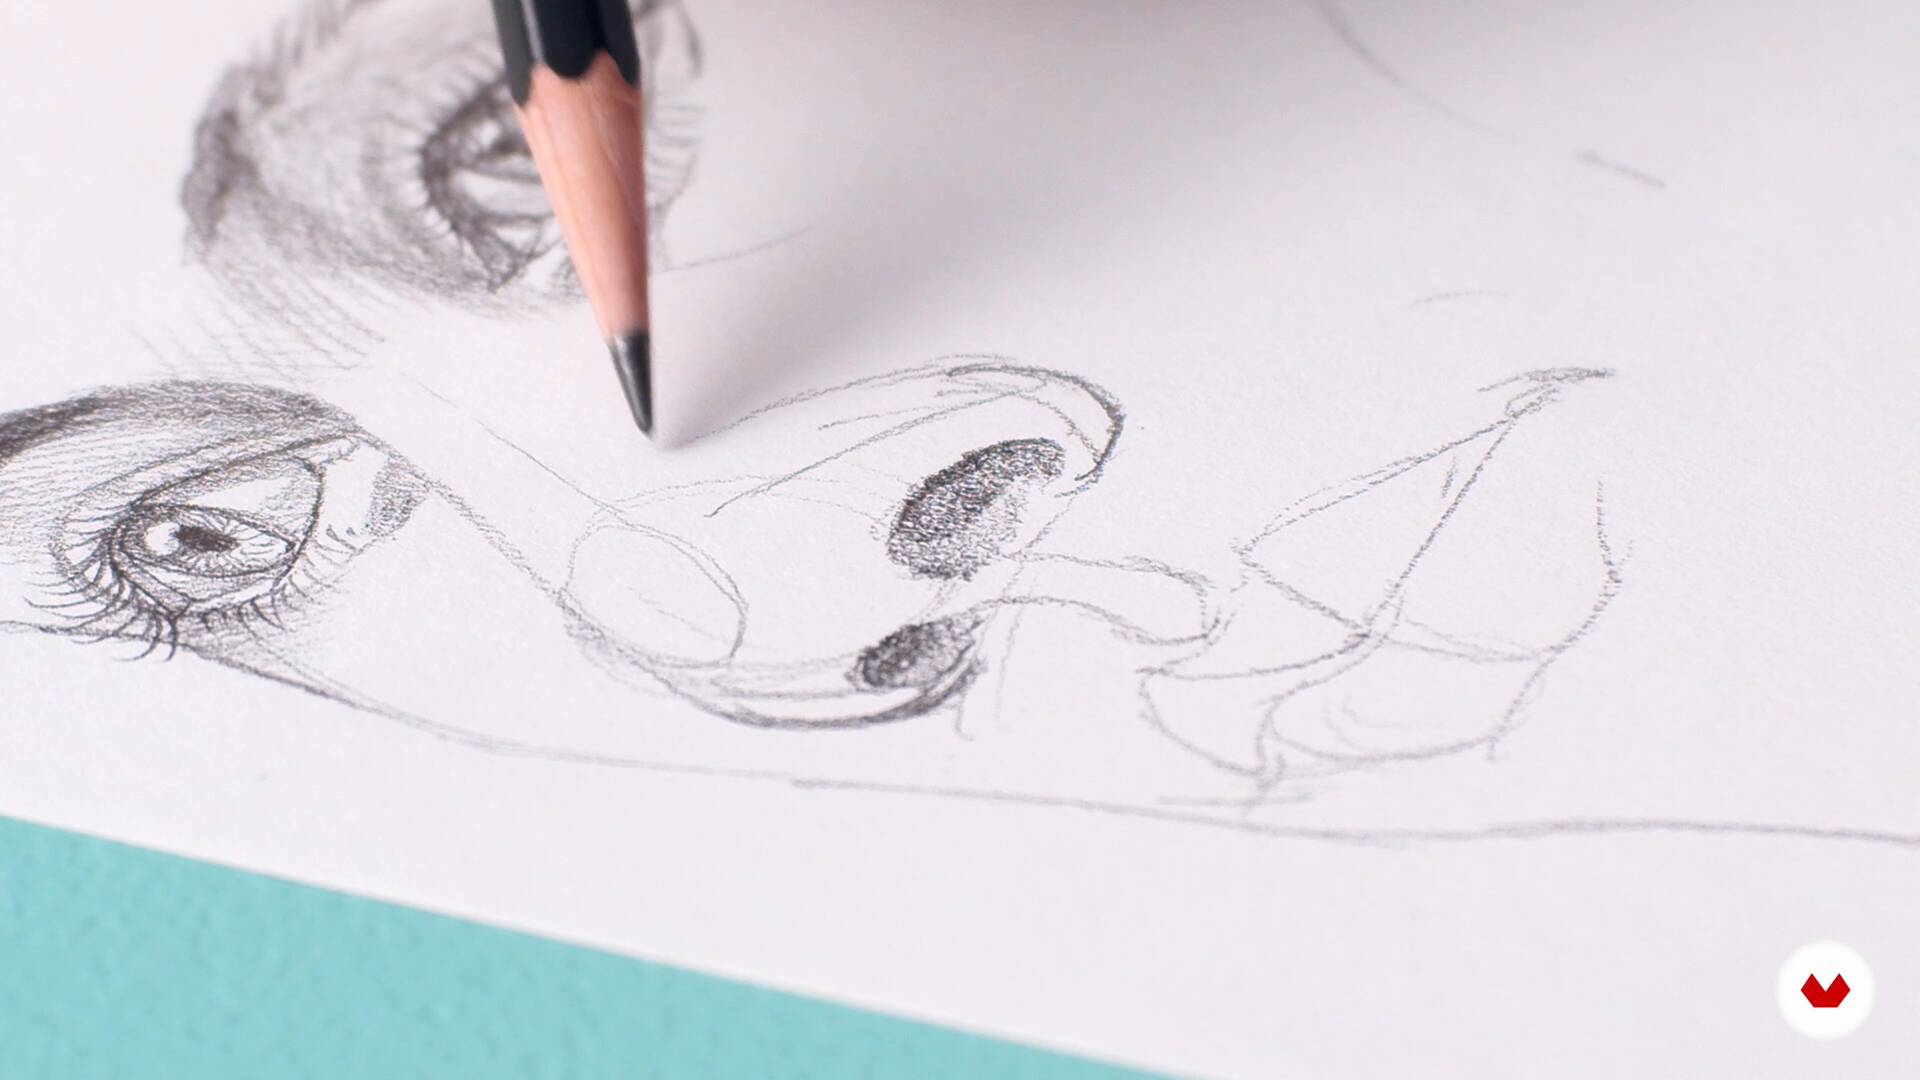
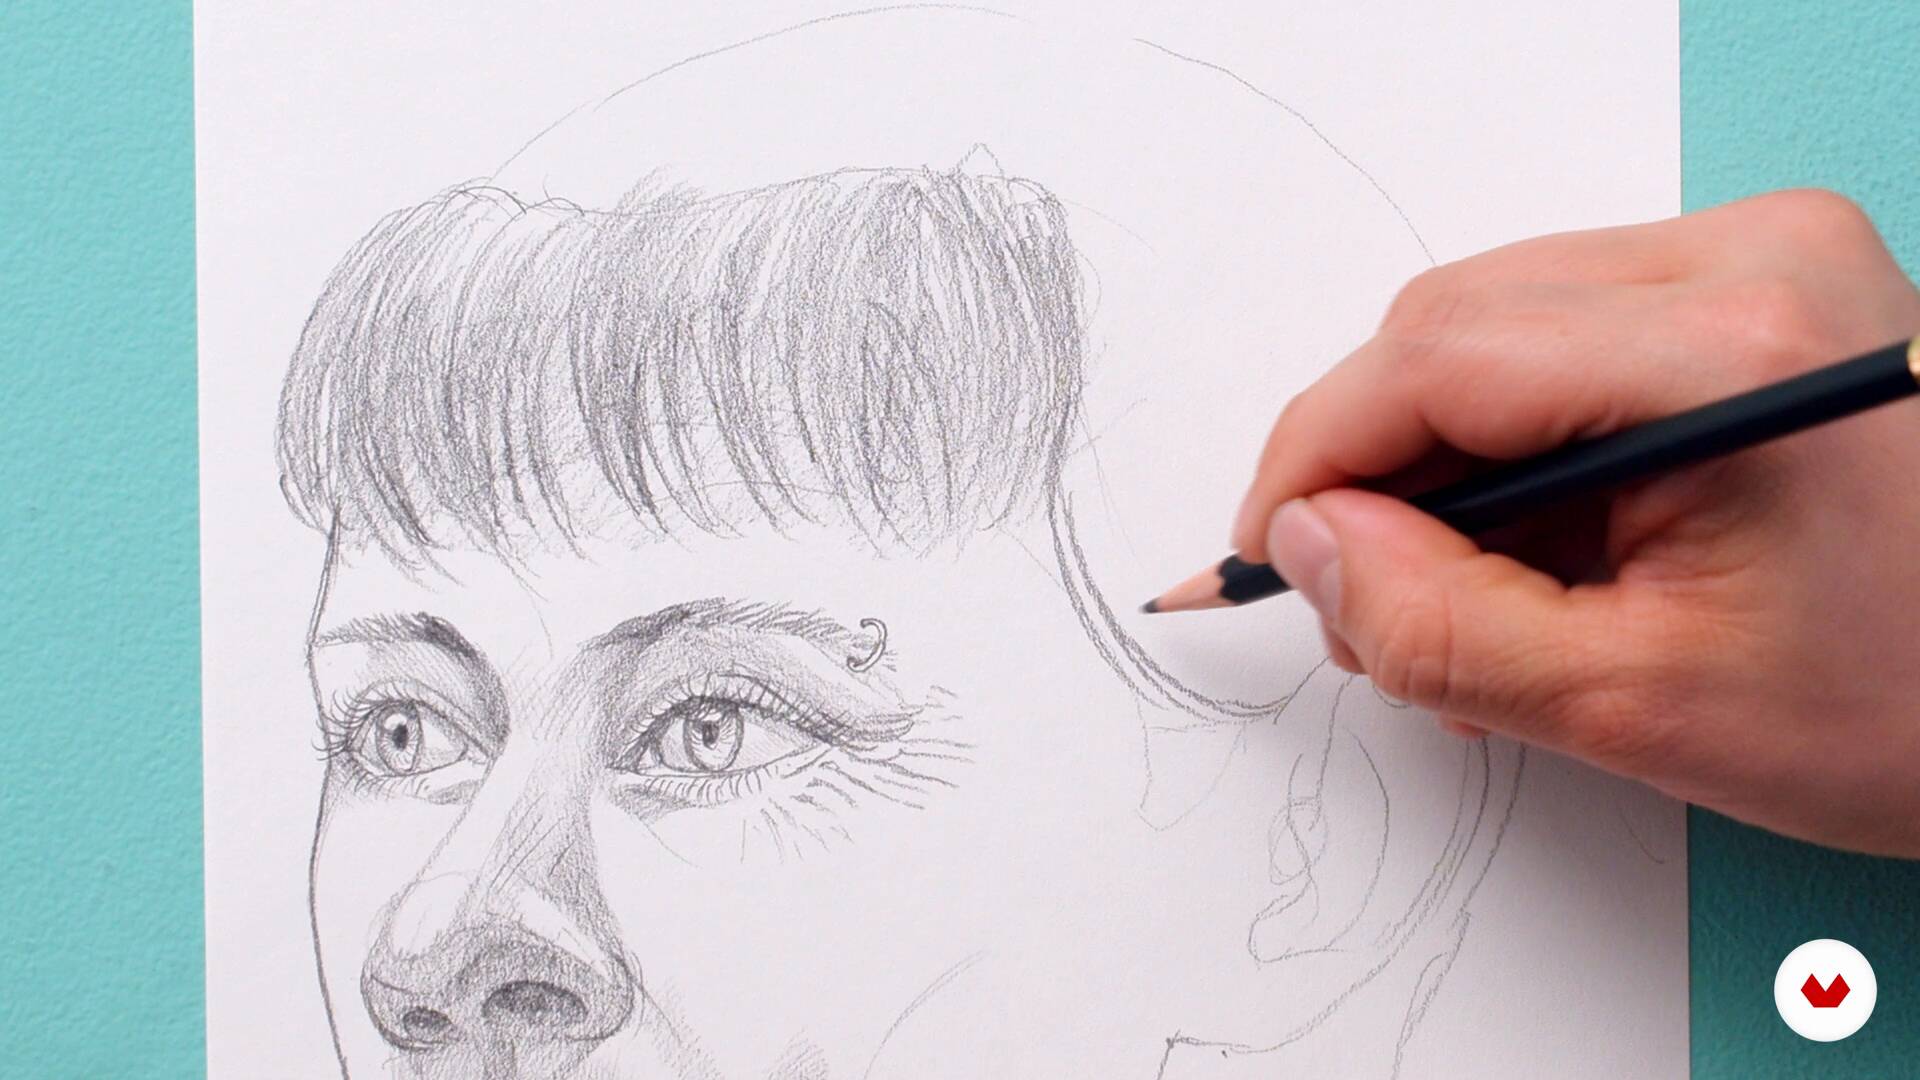
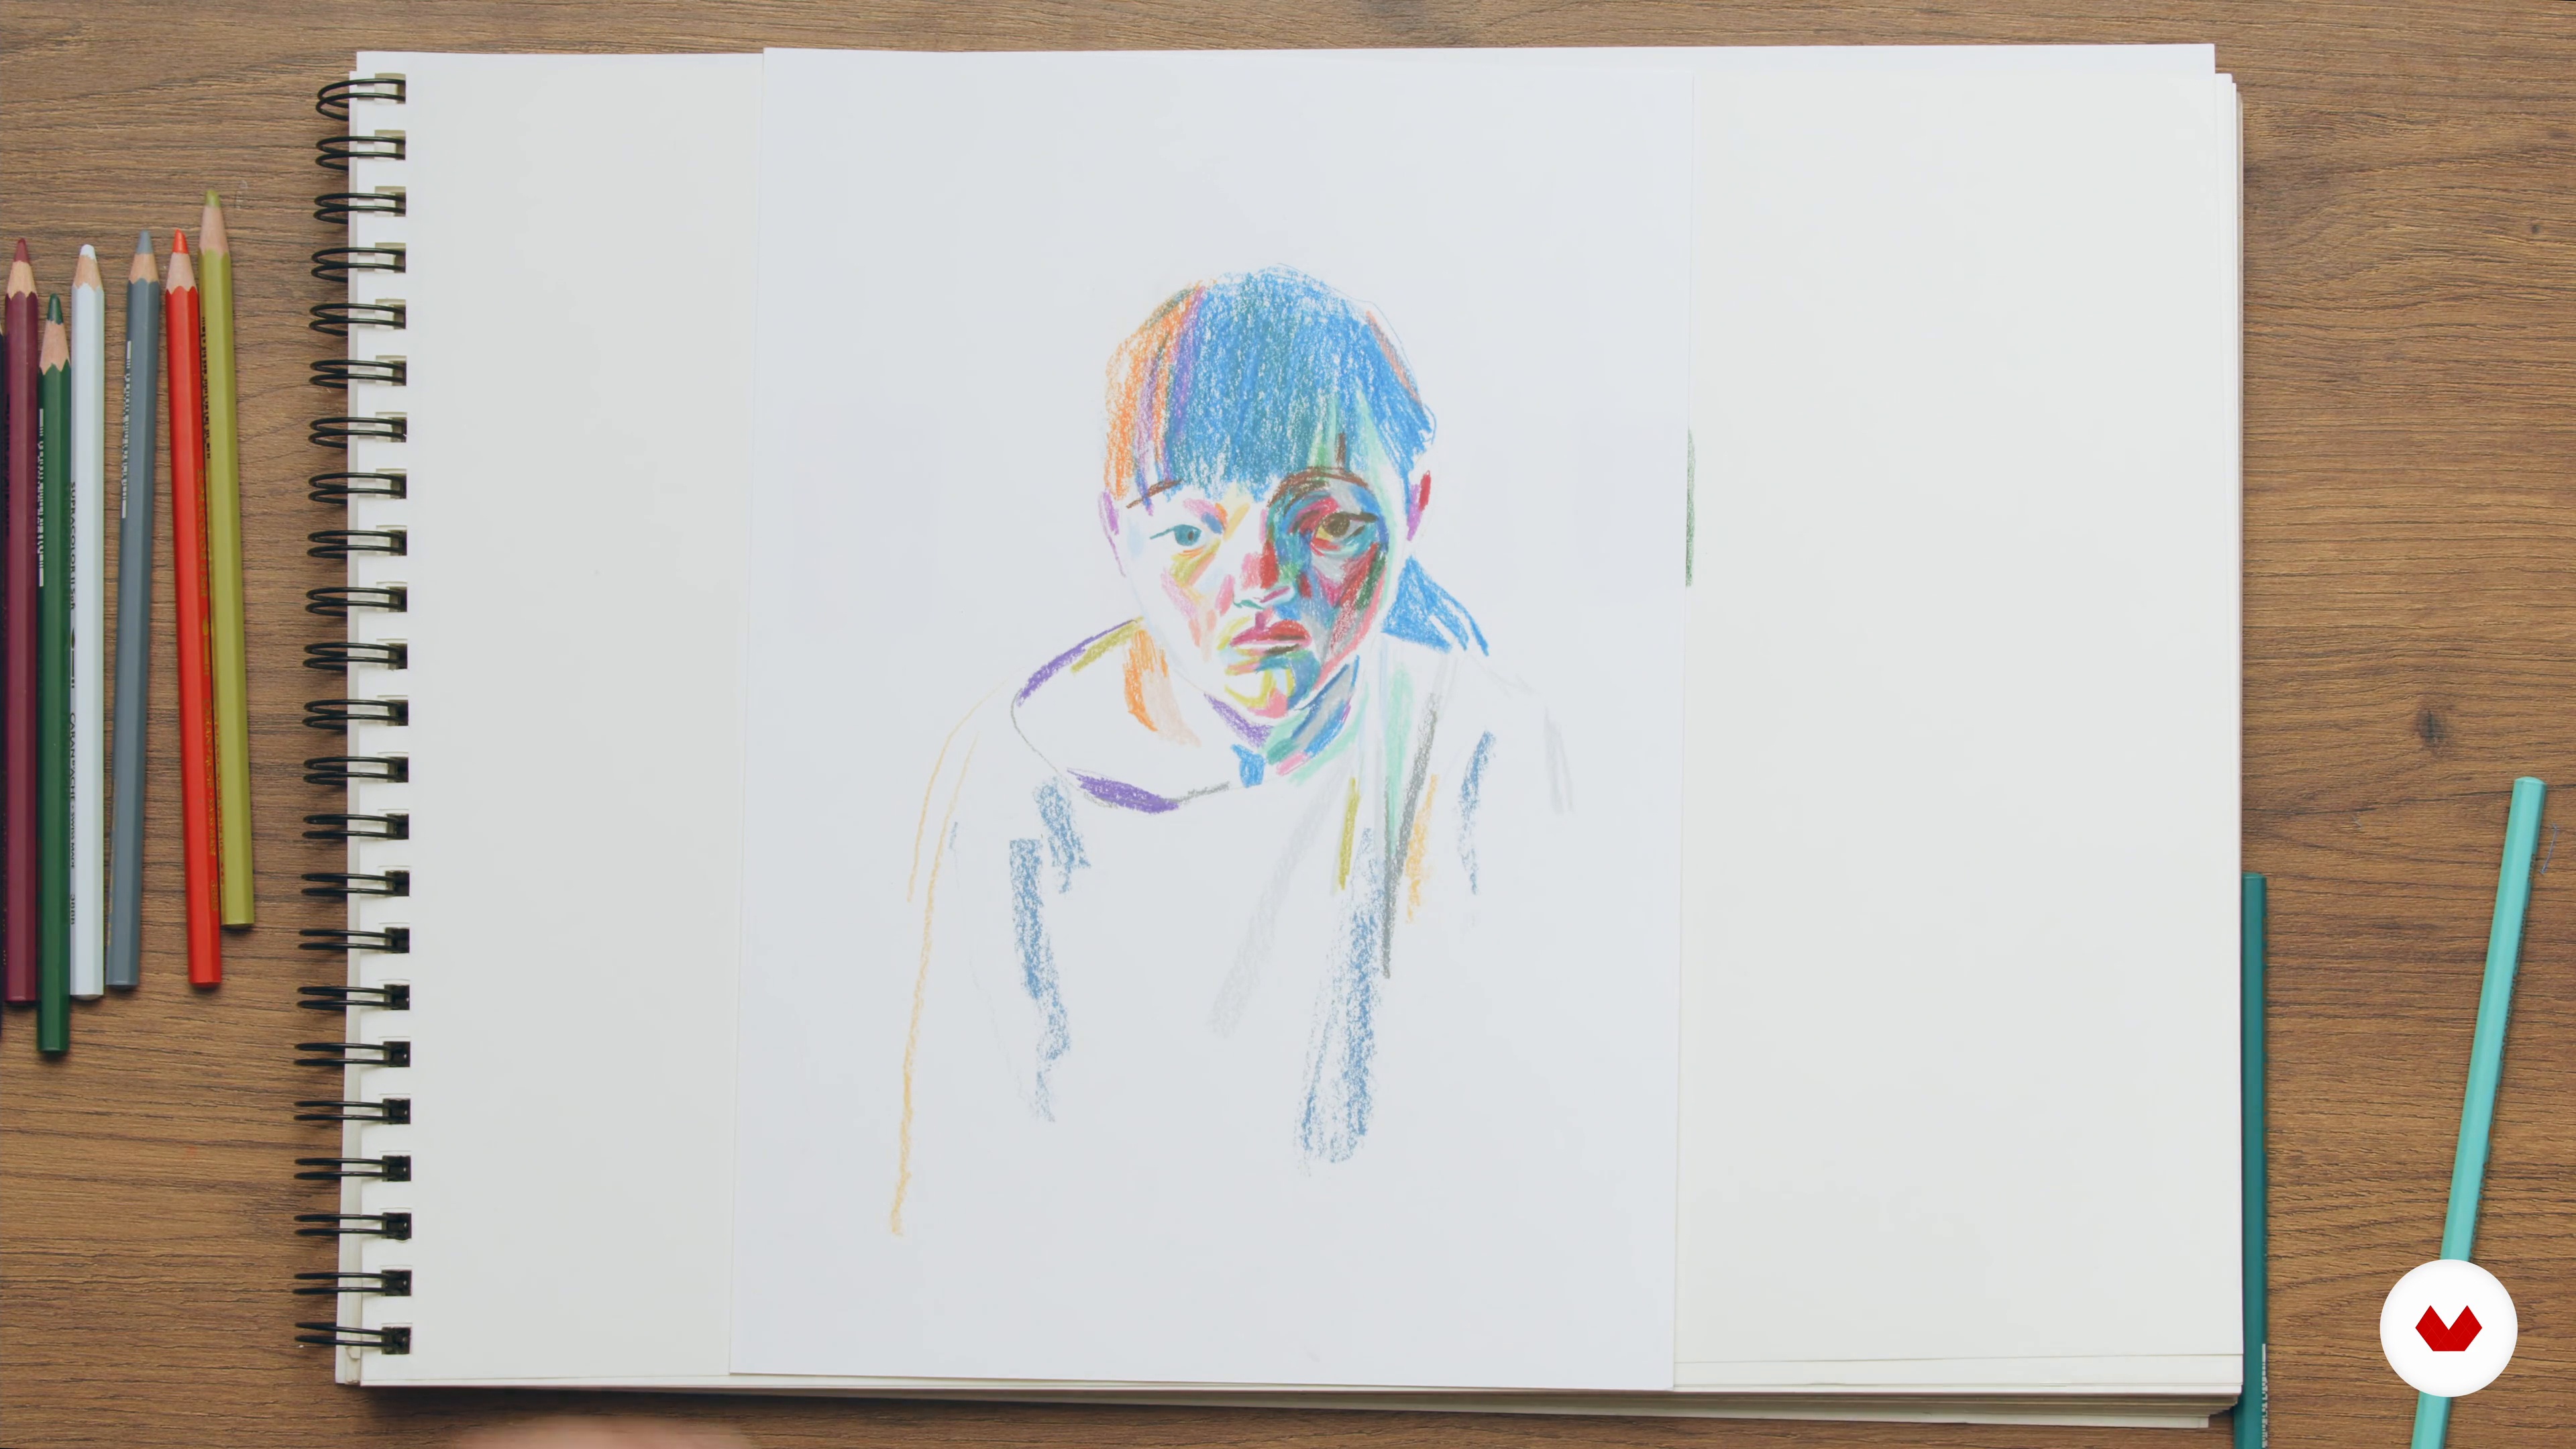
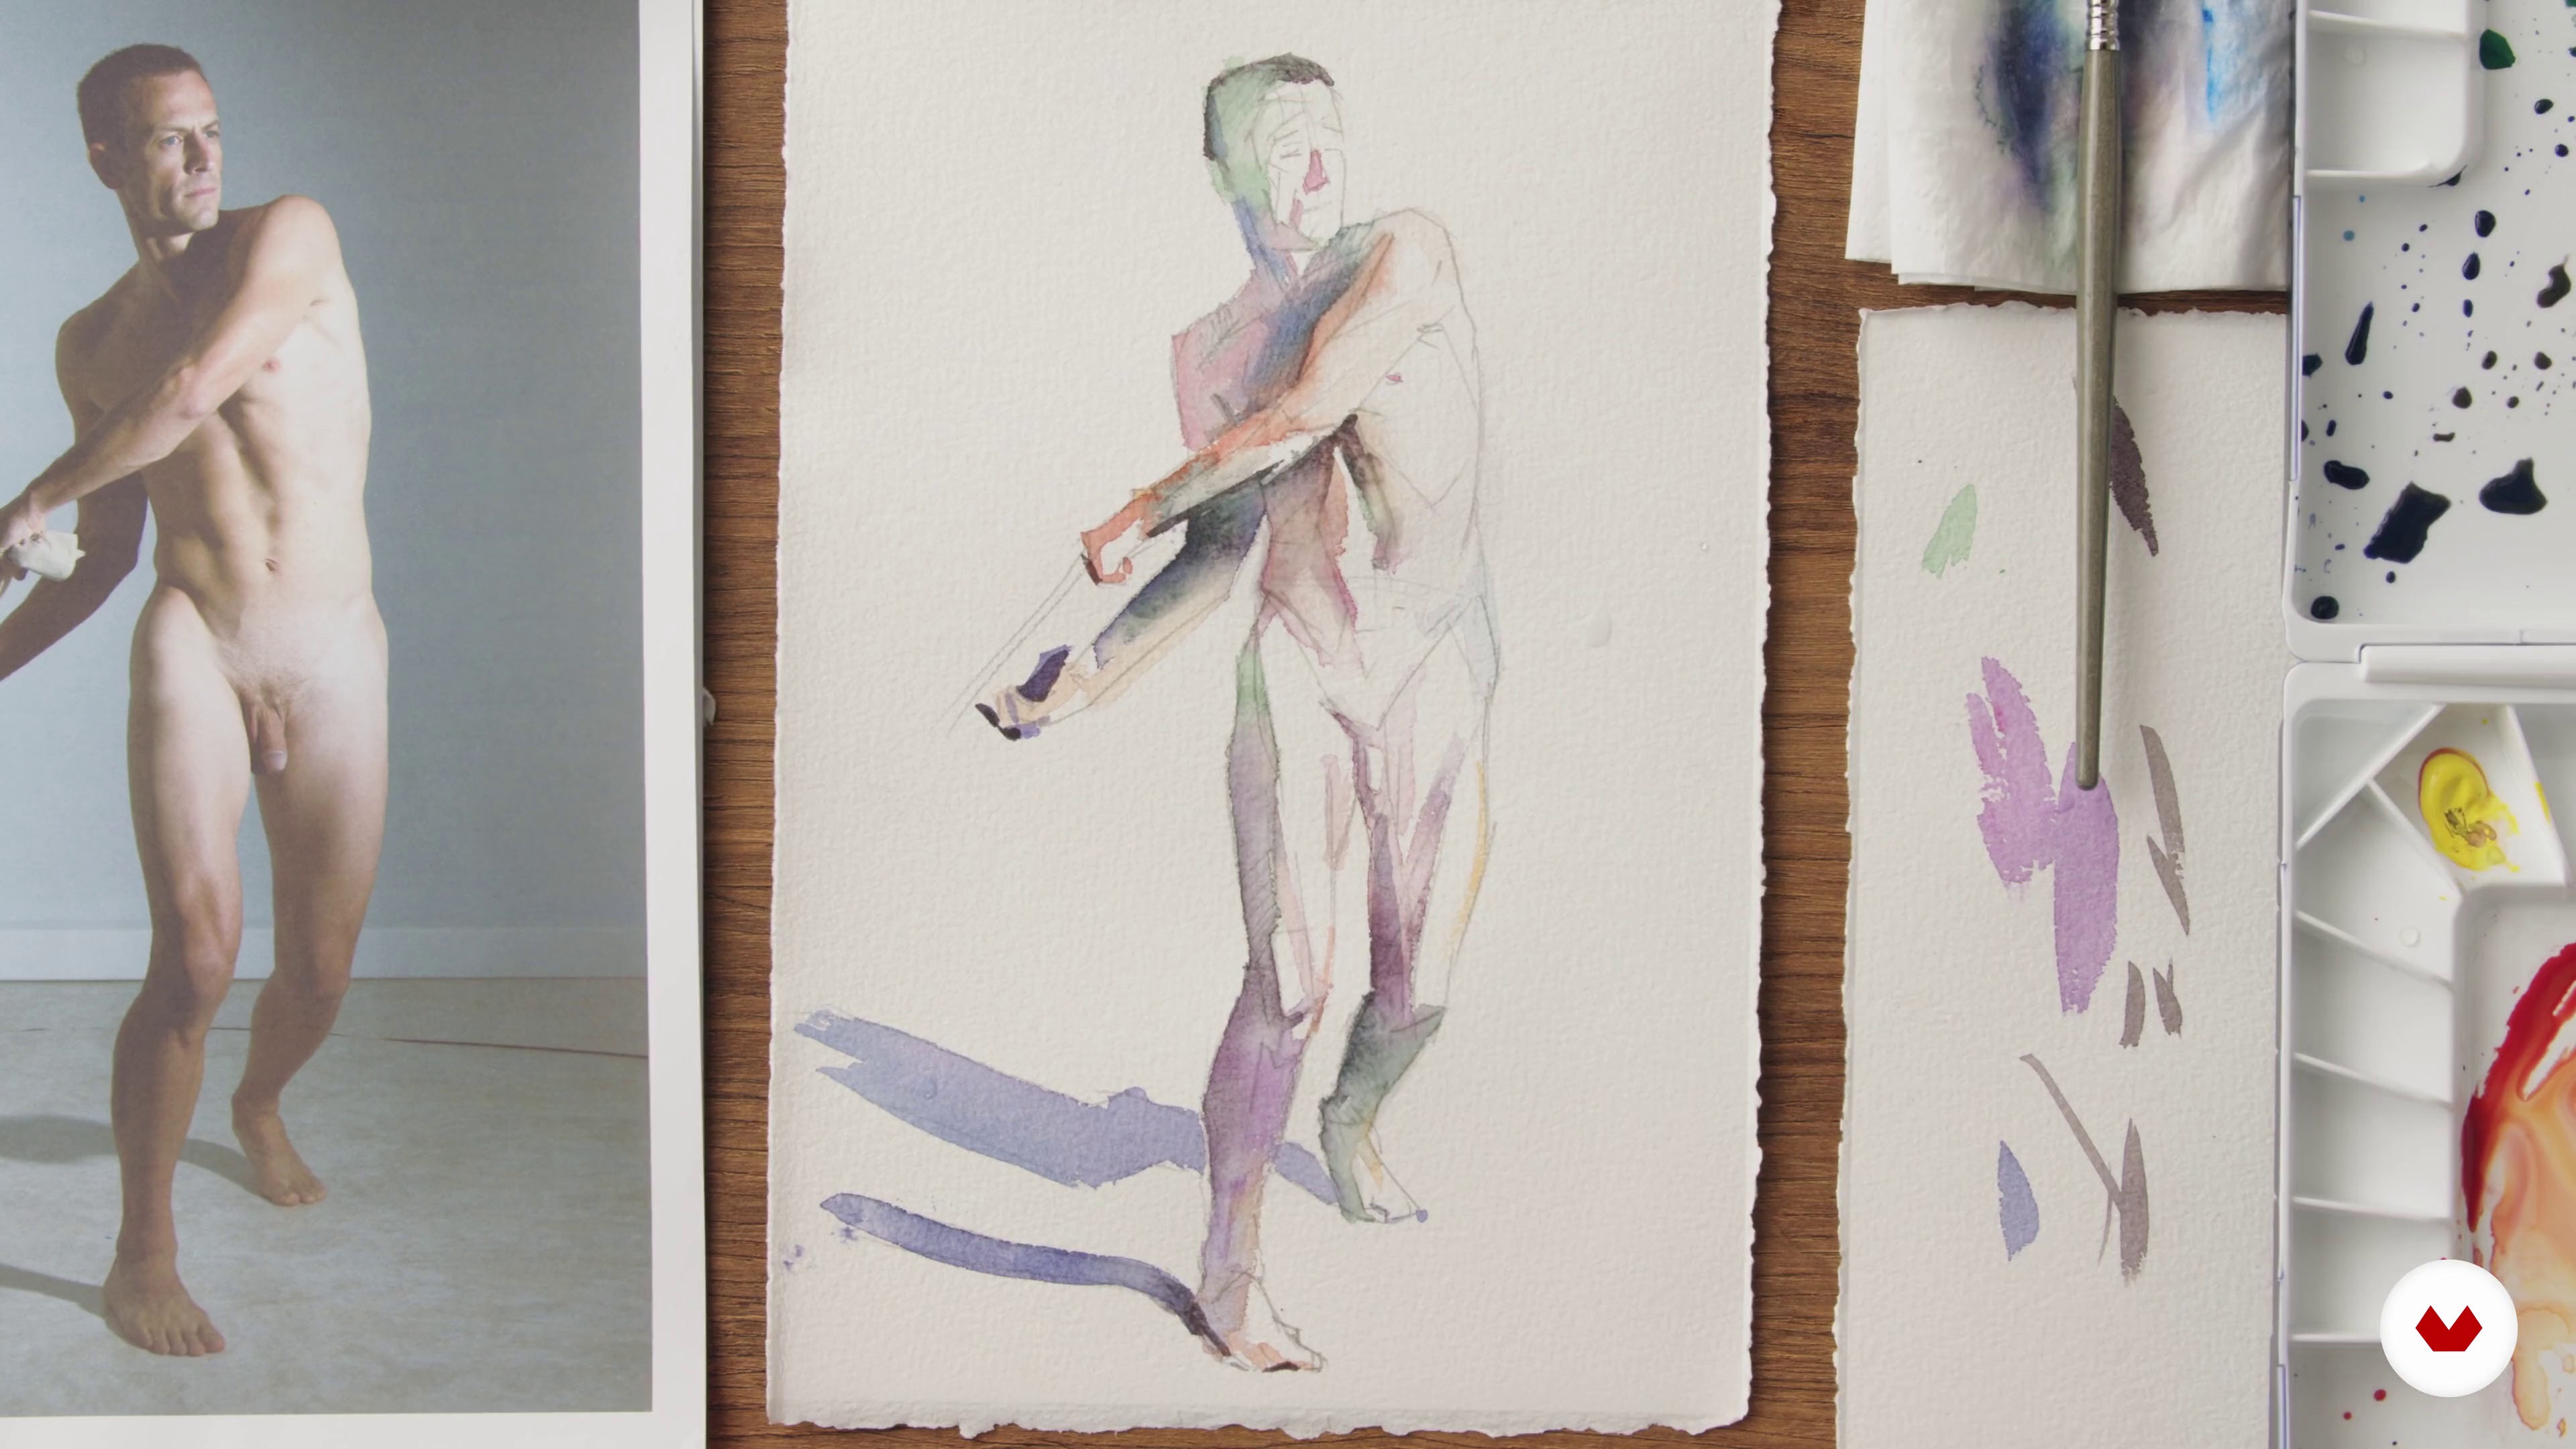
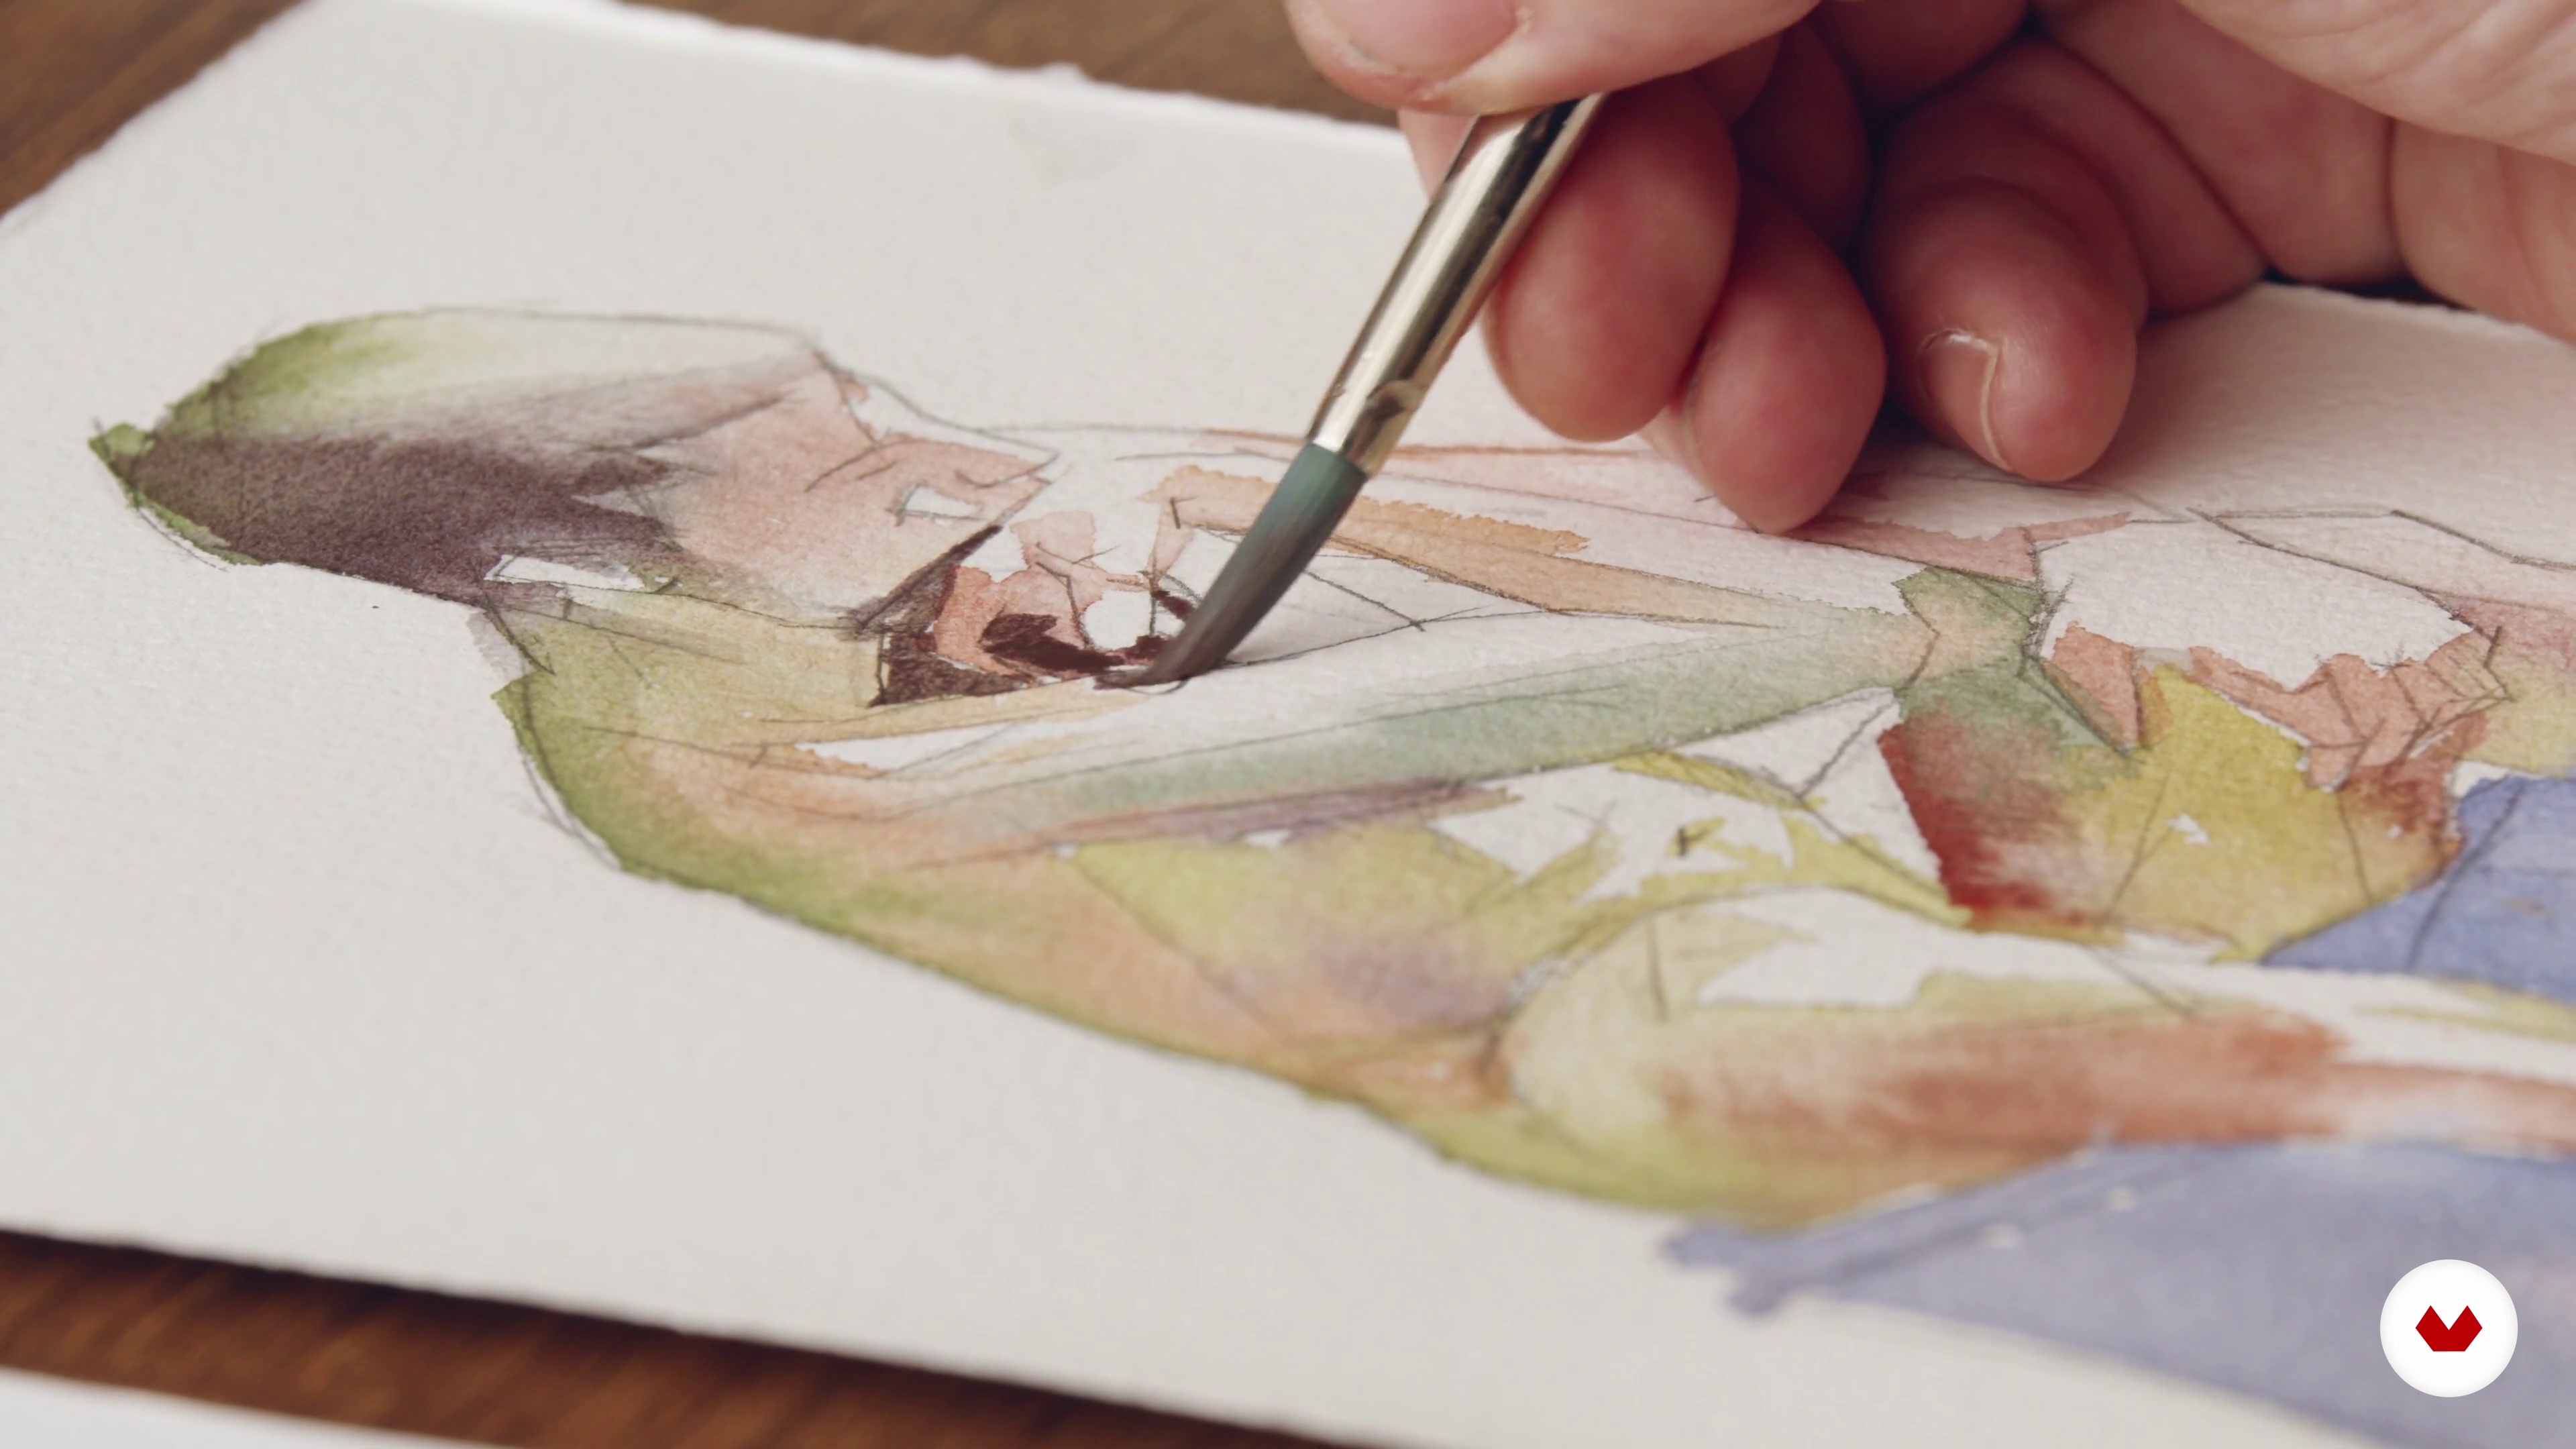
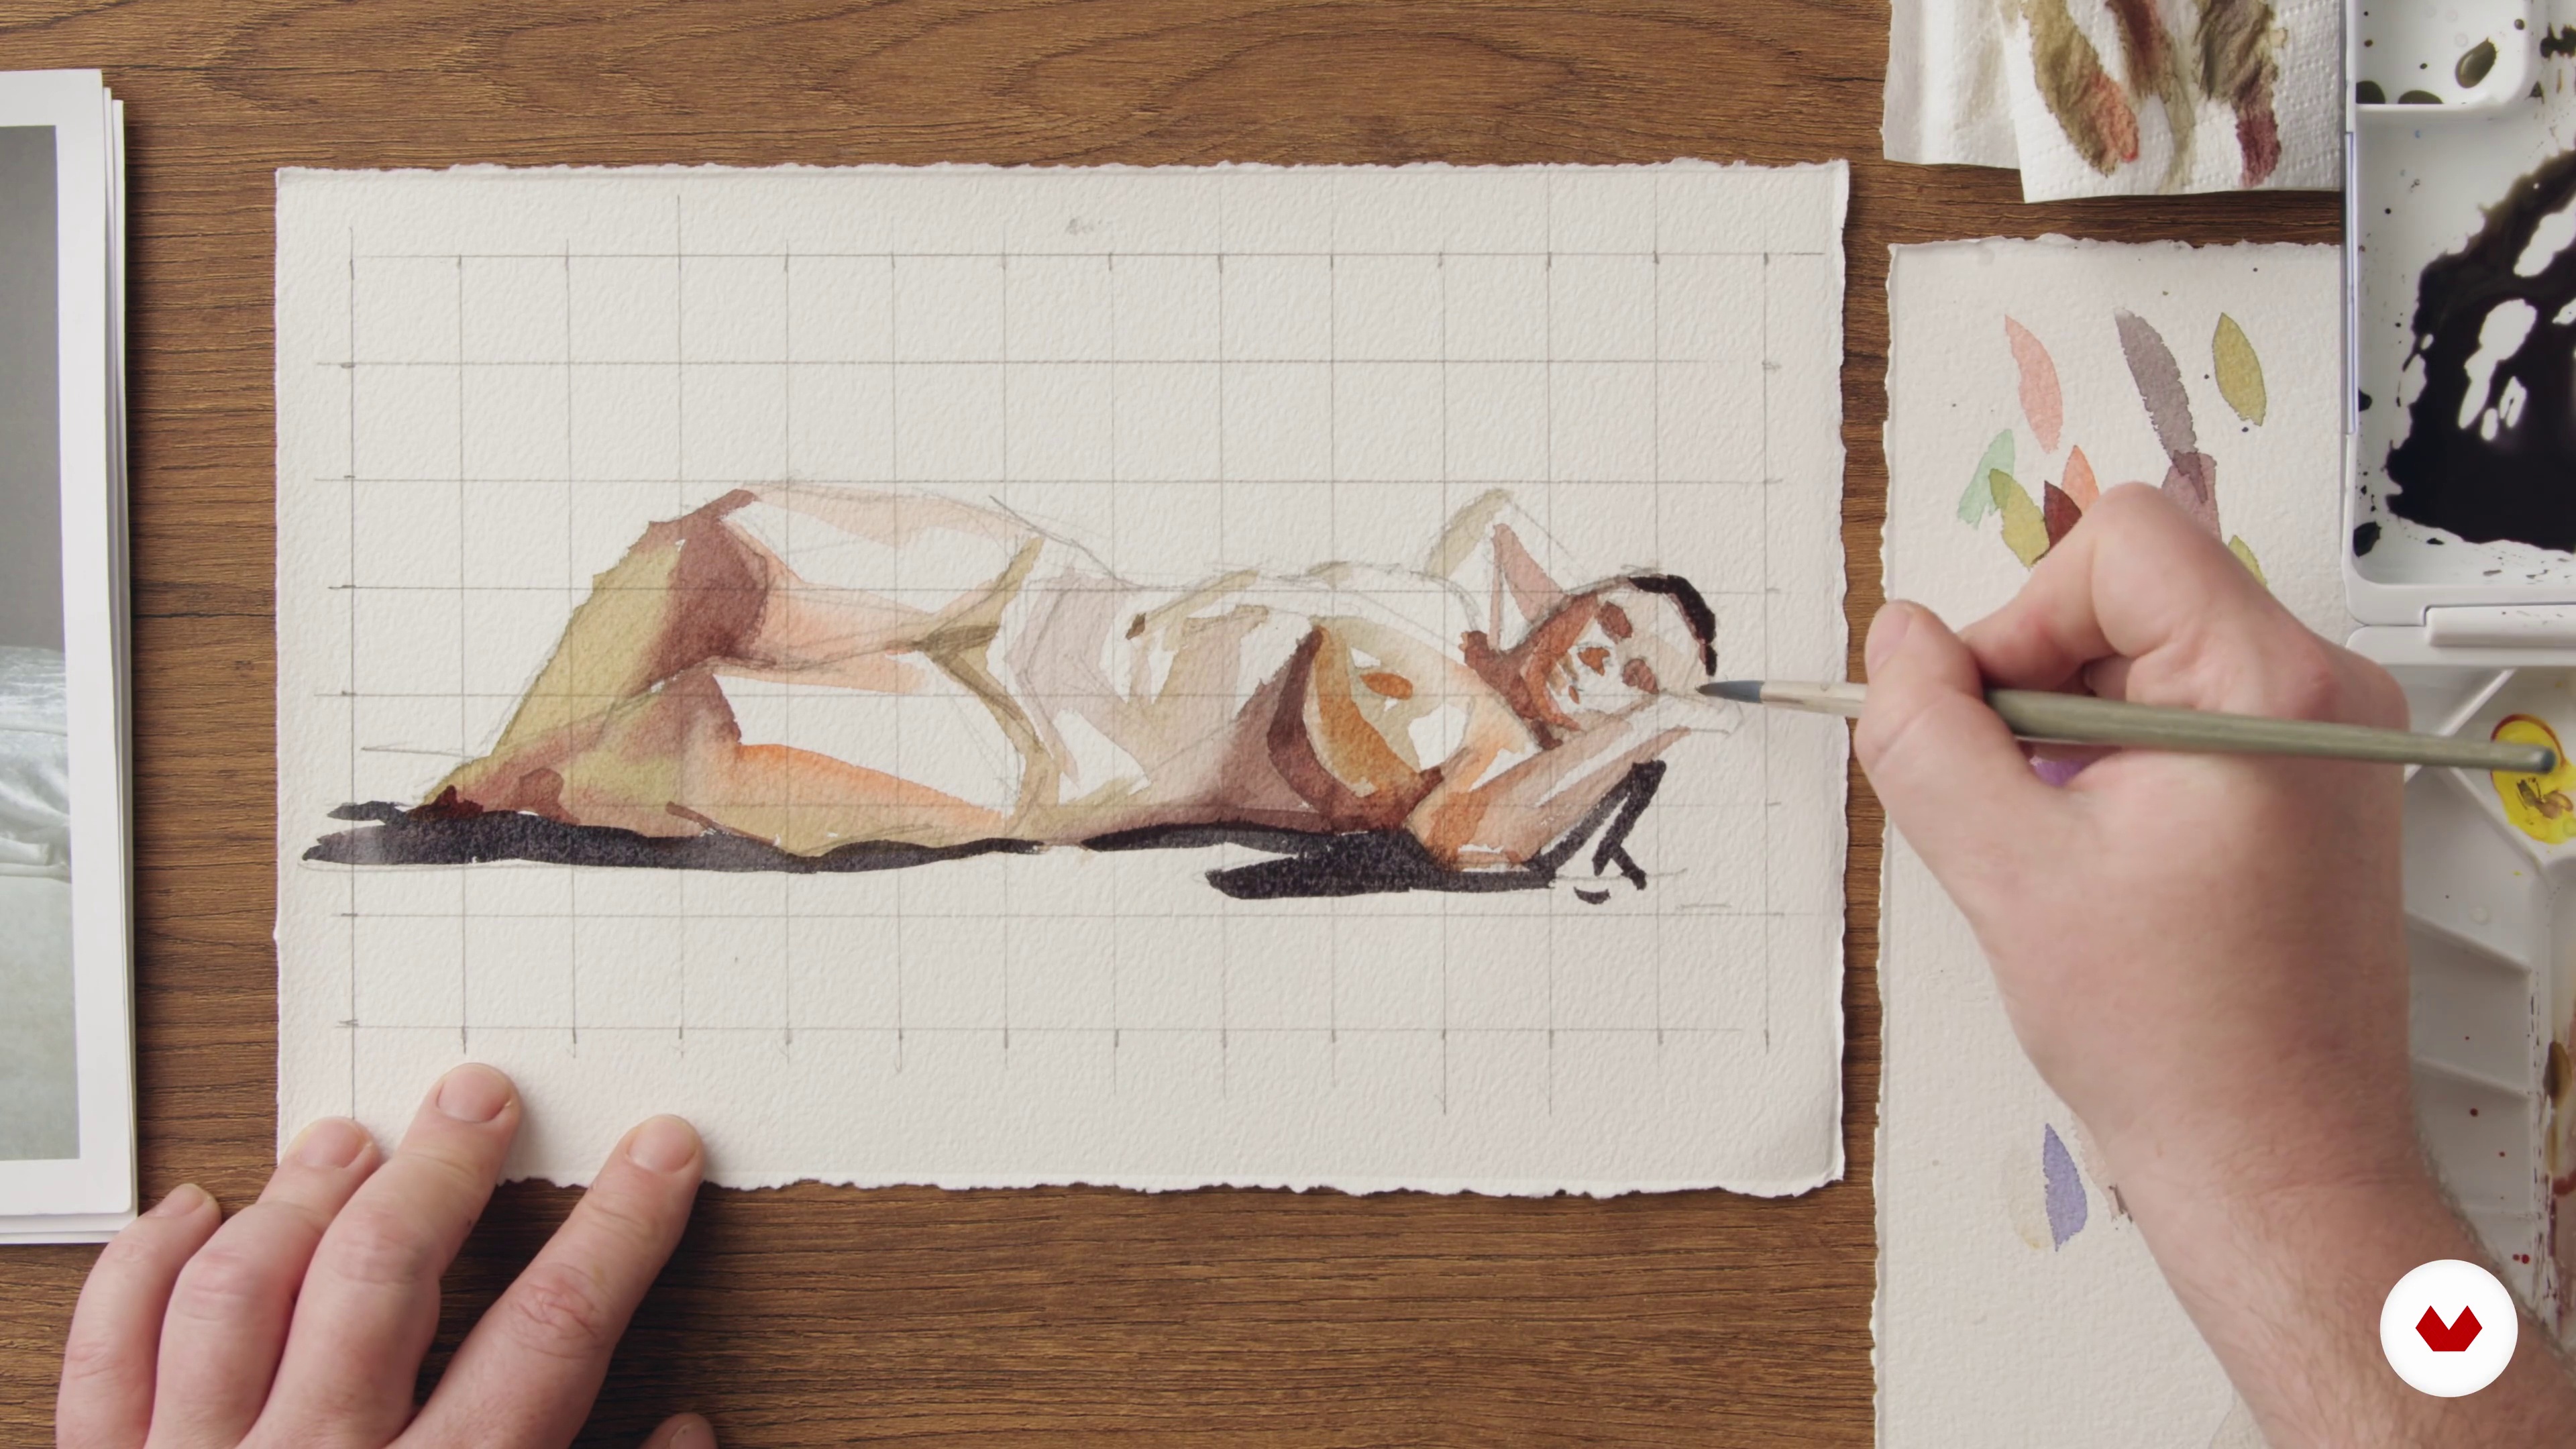
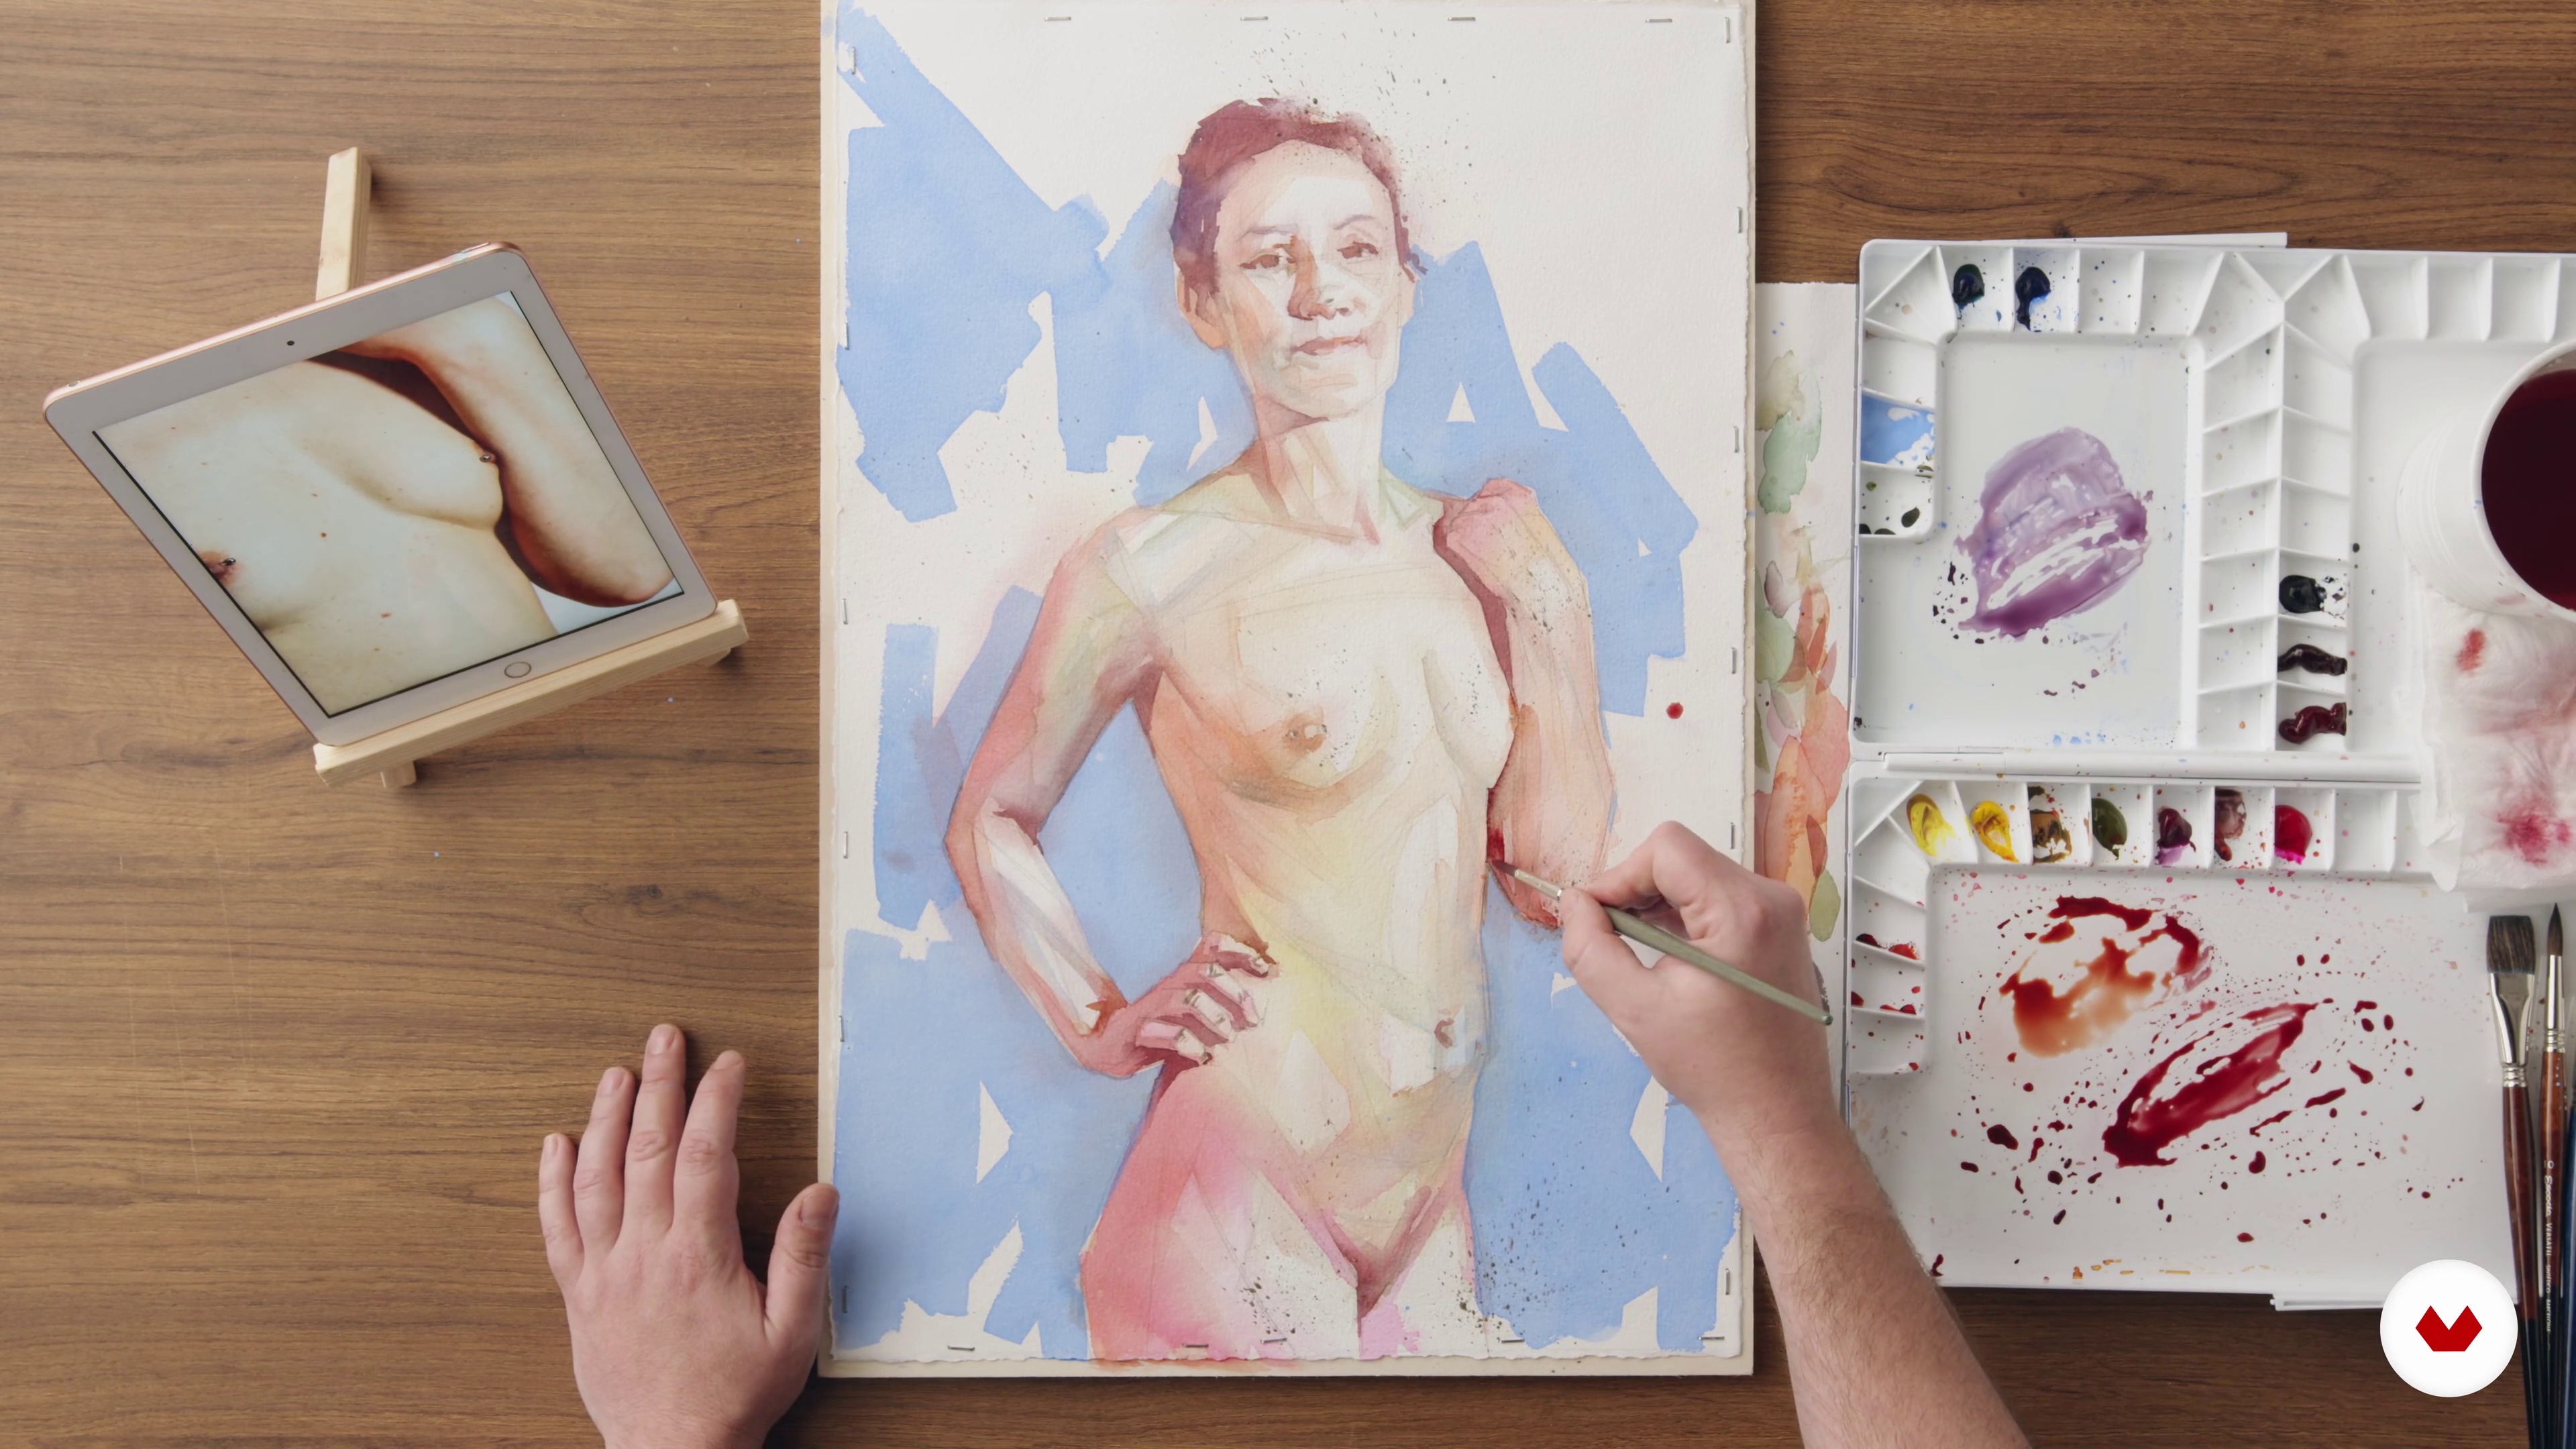
Embark on an exciting journey through the art of the human figure with this specialization that combines precision and creativity. Explore everything from the fundamentals of anatomical drawing to advanced techniques in various media such as watercolor, oil, and pencil. Learn to capture the essence and expression of the human body, guided by experts in the field: ZURSOIF, Daniel Torrent Riba, Ale Casanova, Pedro Covo, and Juan Perednik.

Discover how to draw precise proportions, portray authentic expressions, and experiment with colors and textures to create vibrant works. From basic lines to complex shading, each course will give you new skills to enrich your personal style. Become a master of human drawing while developing your ability to depict the diversity of the human body—an art that transcends borders and connects with human nature at its finest.

Read more ↓

What will you learn in this specialization?
A total of 7 modules and 102 lessons
A total of 18h 39m of vídeo lessons
Taught by 5 selected expert teachers
image
4
The stroke and the body
I'll start by showing you the materials, then focus on the basic tools, starting with the hand, how we hold the pencil, and the difference between writing and drawing. Then we'll do line-drawing exercises to warm up, using lines of different lengths and how the support of the hand, elbow, and arm give us different results.
3m
image
5
Lines and division into halves and thirds
After mastering drawing straight lines, we'll focus on dividing into halves. By folding the paper, using a piece of thread, a ruler, our fingers, and by eye. Then we'll begin dividing into thirds using the same formula.
3m
image
6
Circles
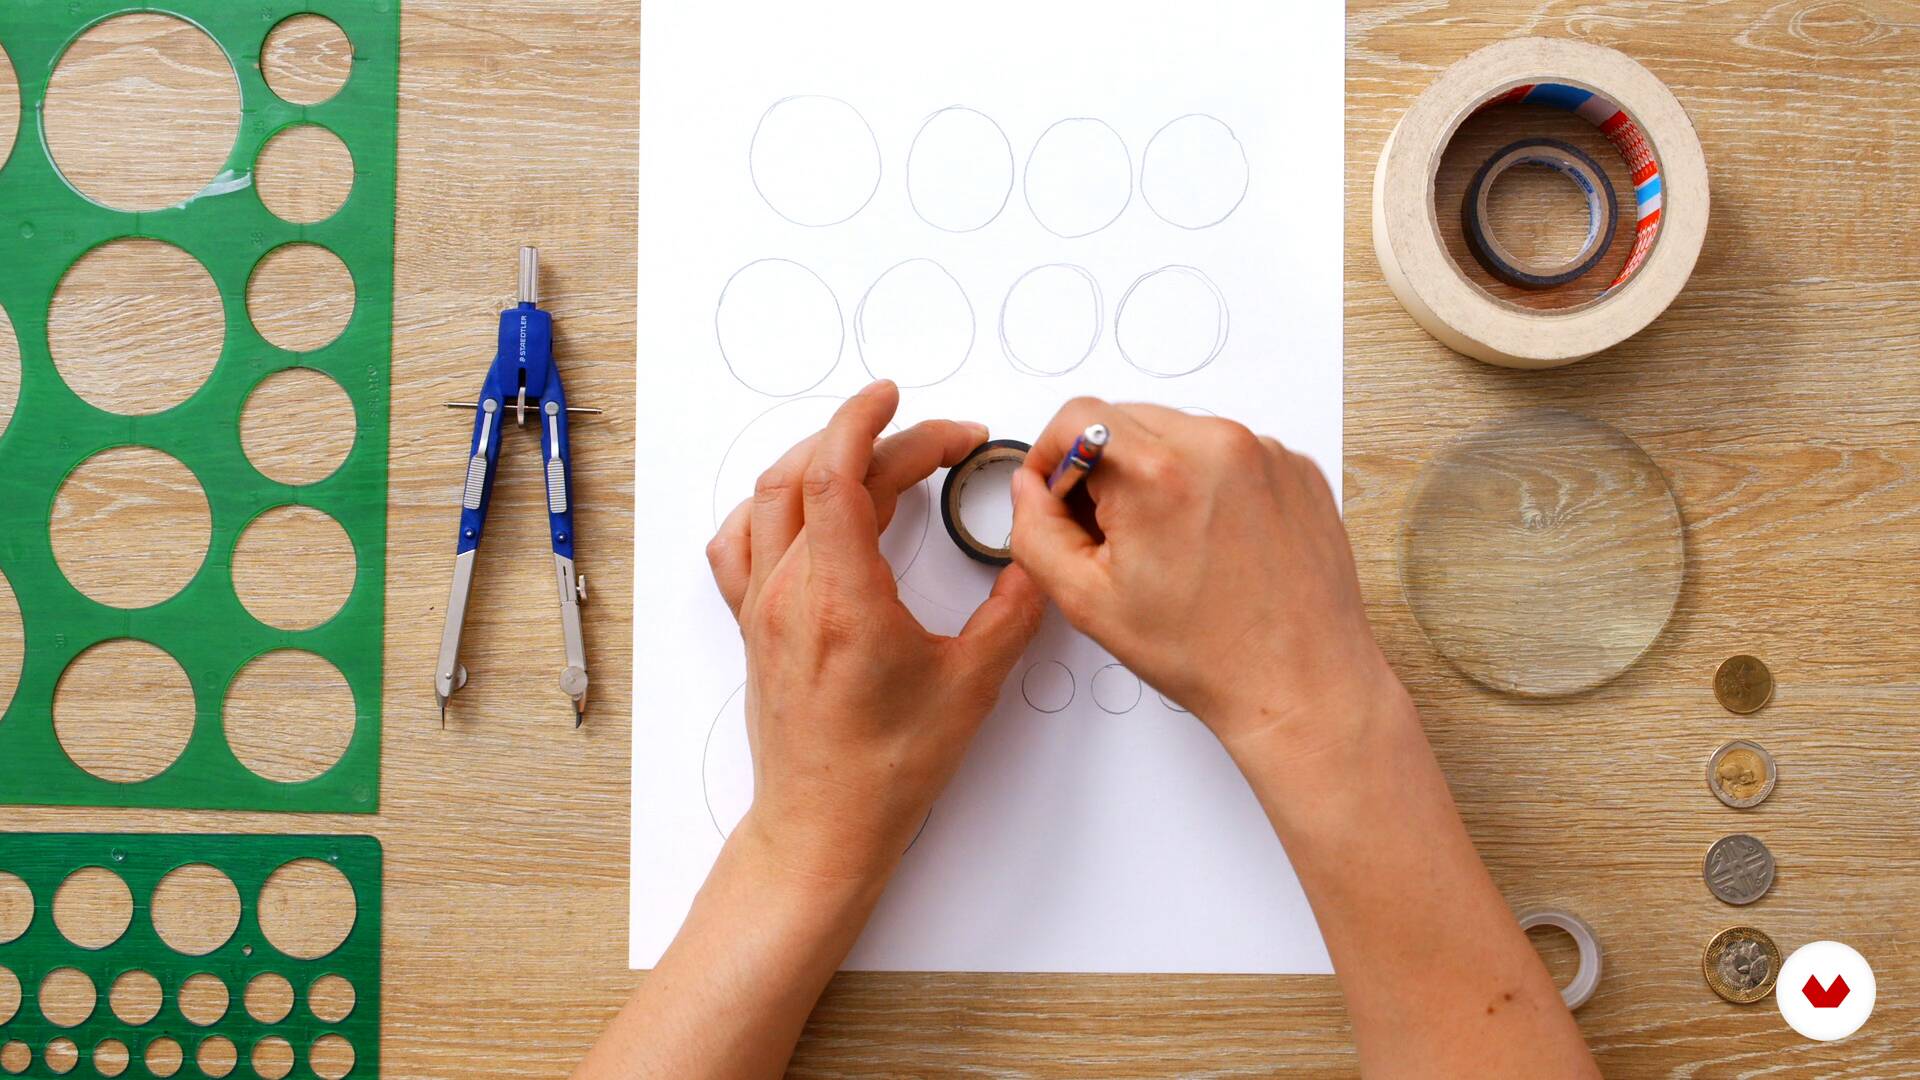
Let's start drawing circles, first using aids like compasses, rulers, glasses, and coins, and then begin drawing them with just our hands for practice. Then, we'll divide them into halves and thirds, just as we did with lines.
3m
image
7
Division in 8 heads
Now I will tell you about the 8-head division, which can be done in 2 simple ways.
2m
image
8
Head (Basic)
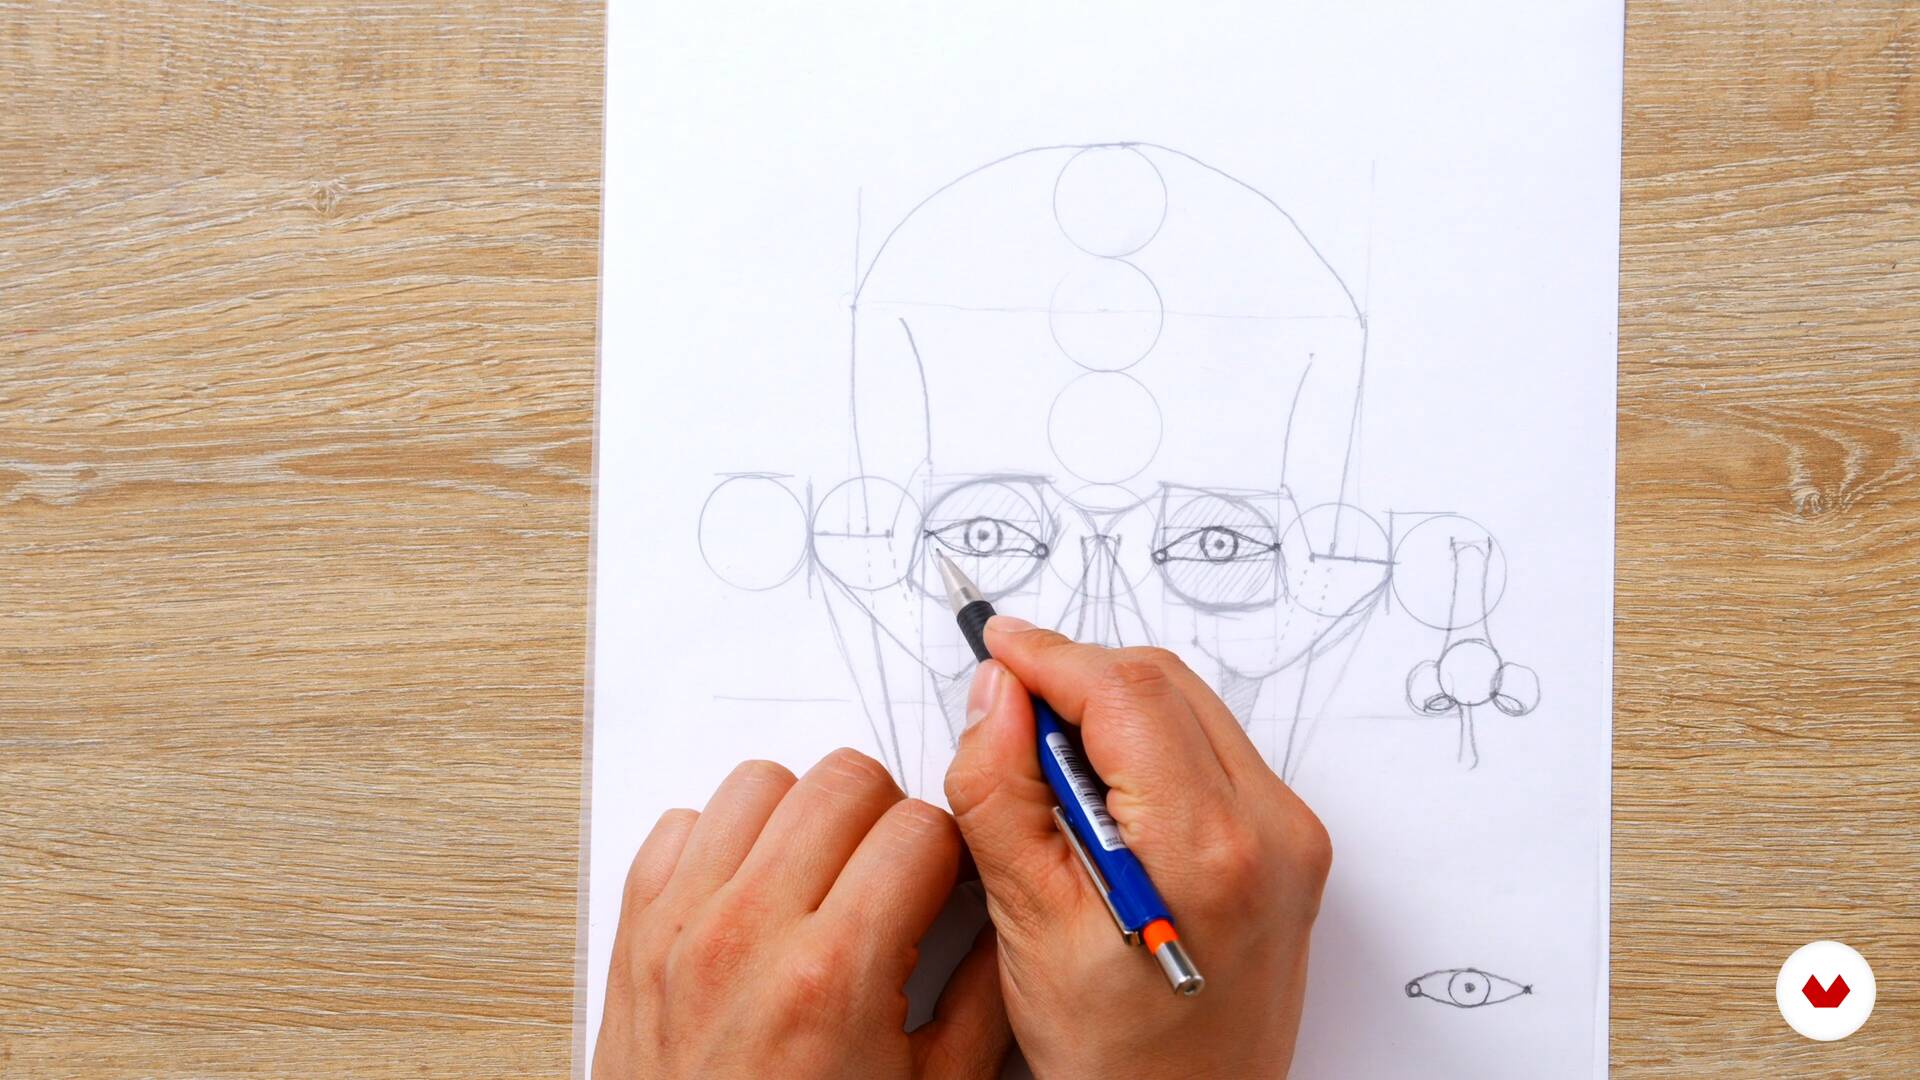
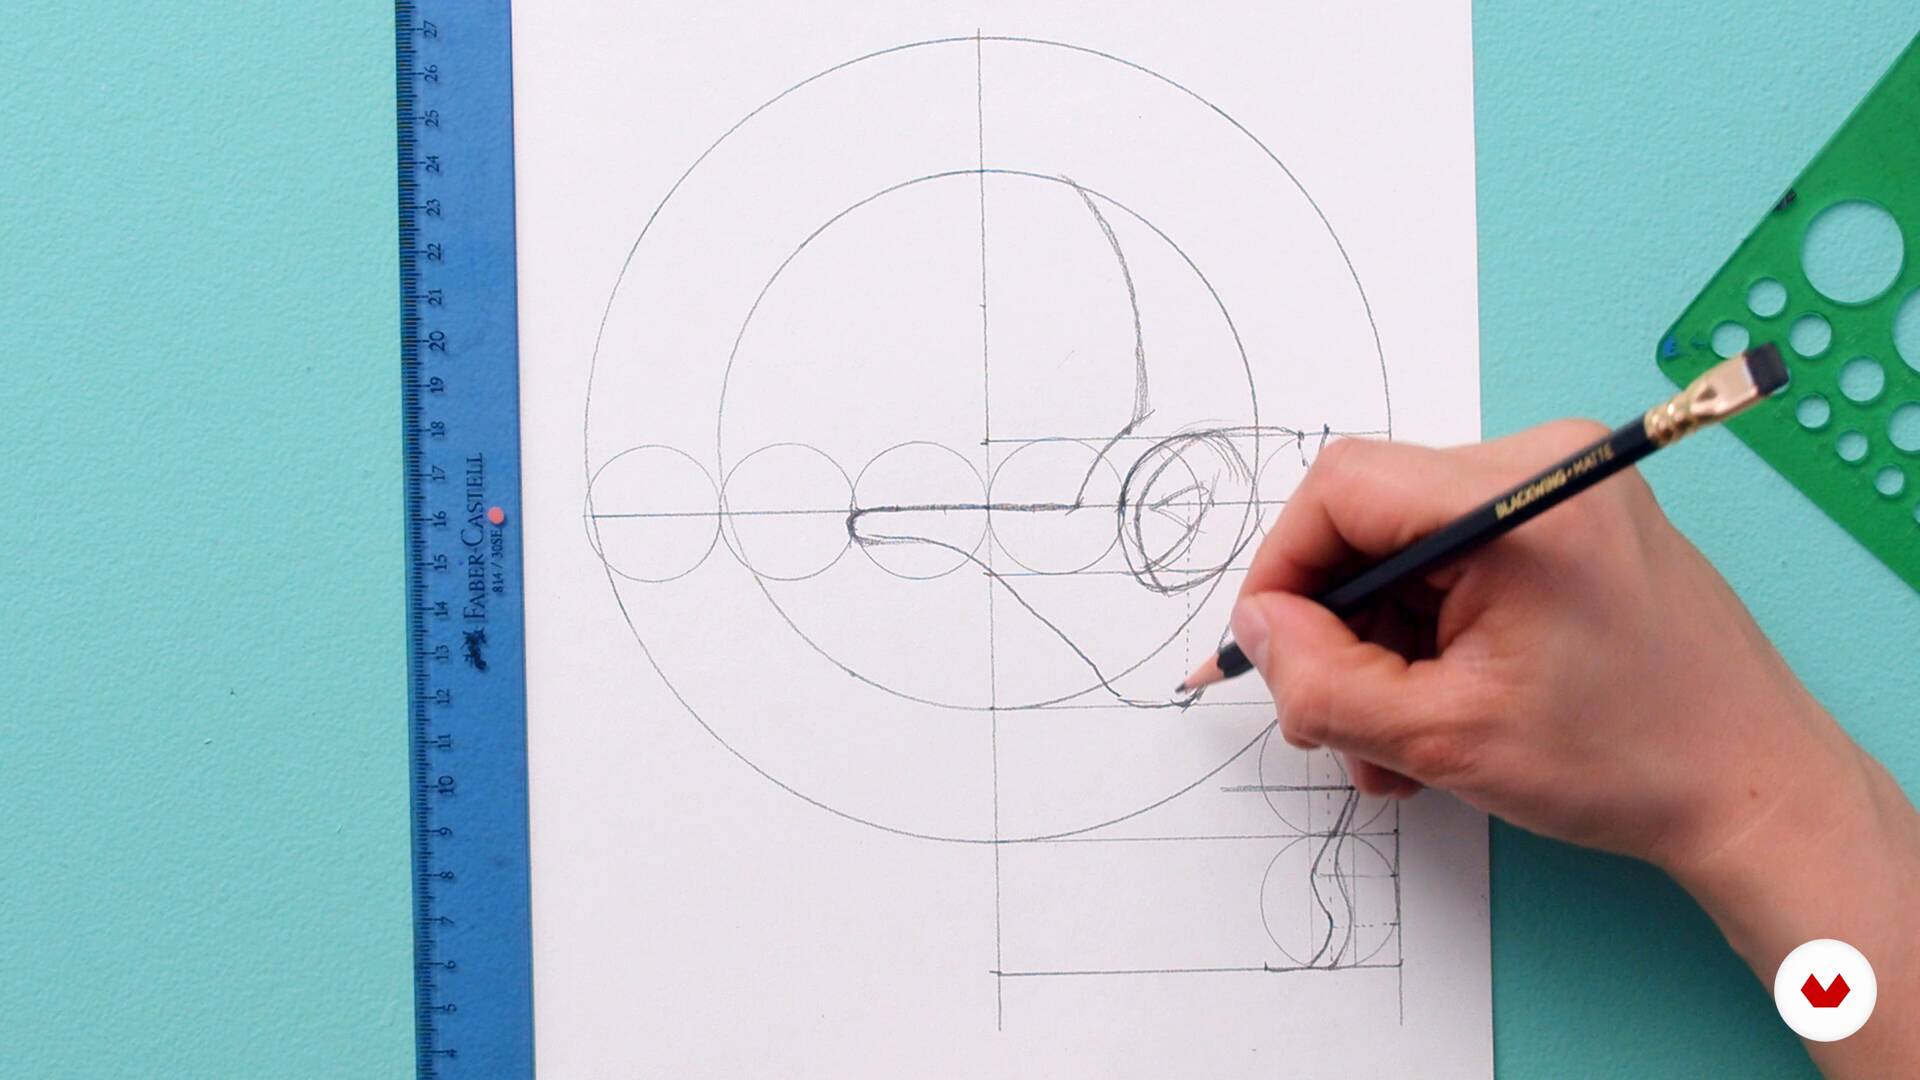
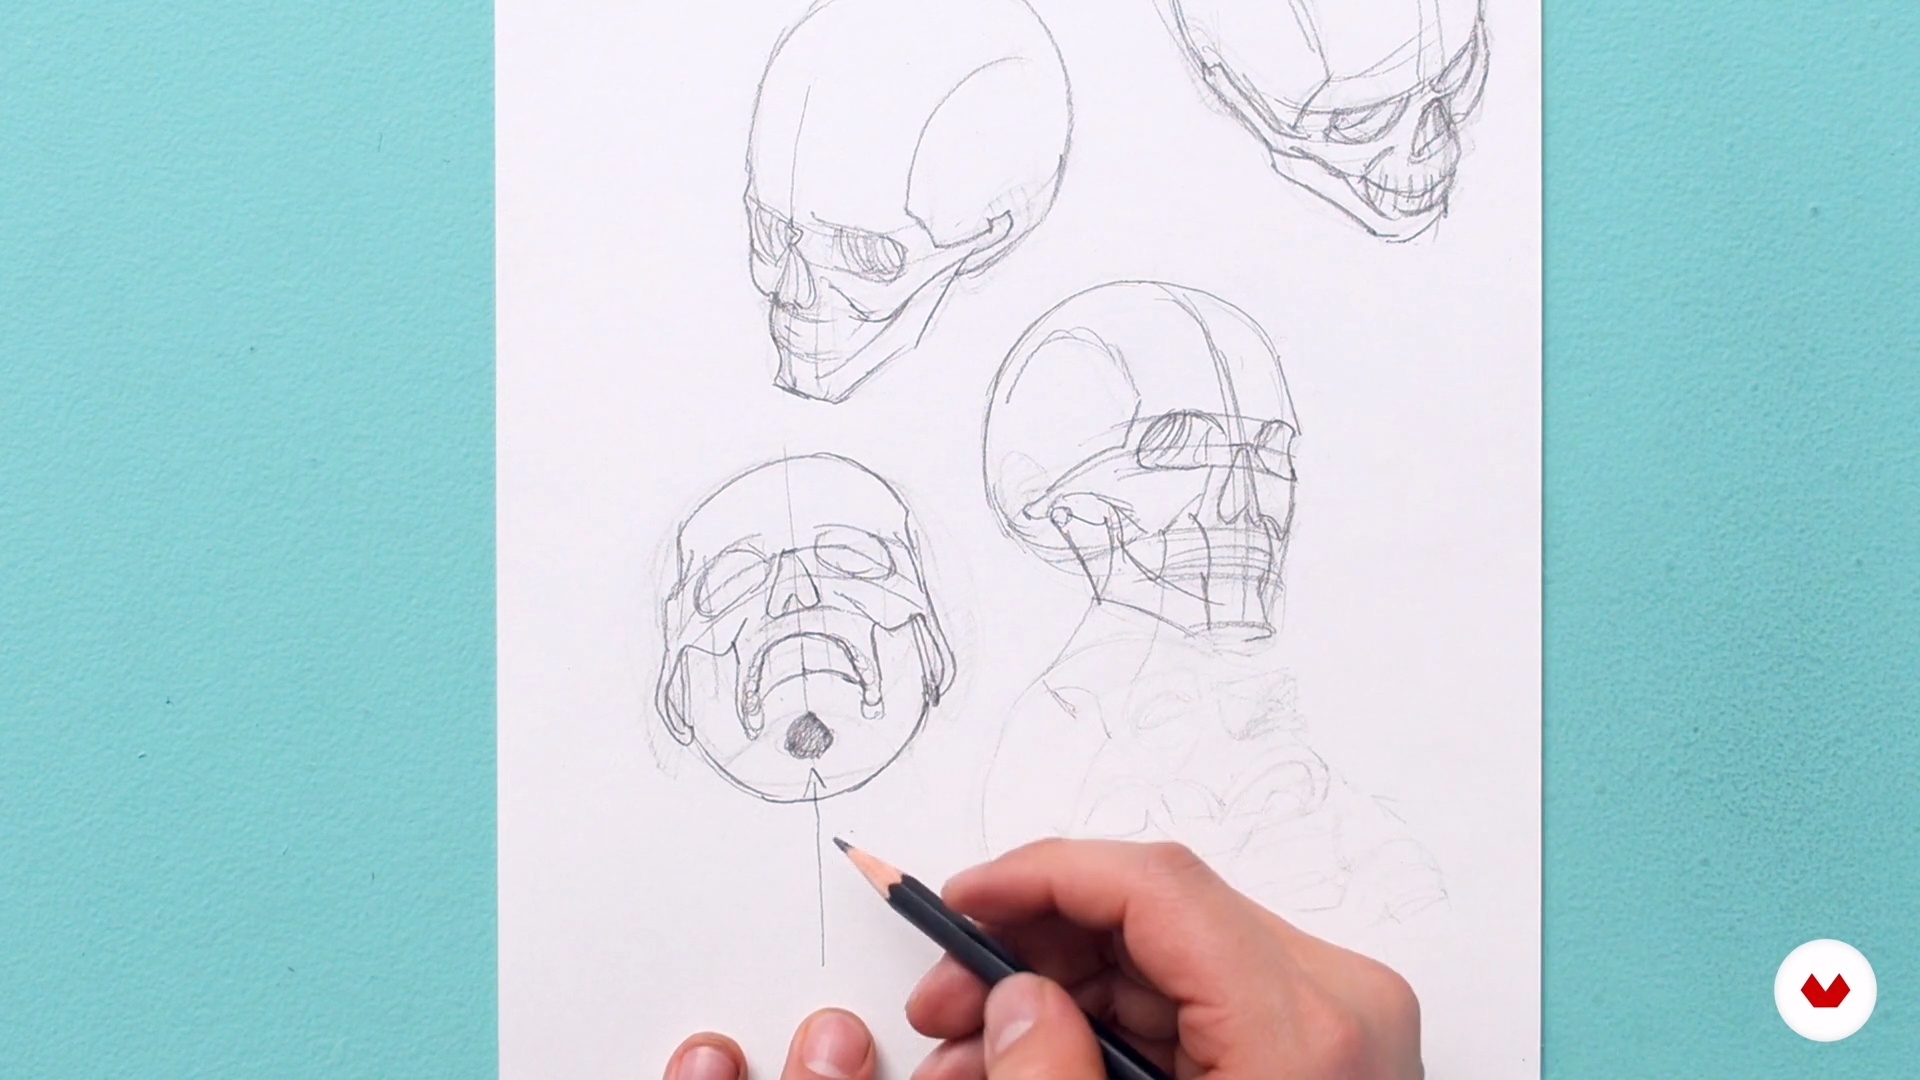
Let's draw circles that allow us to have the same width and height and divide them into parts to position the drawing elements of the skull (and face) in front, side, and back views. Here, we'll apply all the practice we did with dividing into halves and thirds, since this is the part of the body with the most elements to draw.
19m
image
9
Torso (rib cage)
Dividing into thirds is already an acquired knowledge, here we will focus on the measurements that the bones of the rib cage will occupy, the measurement of the sternum, how many ribs join it and how many float and how we can represent them from the front, side and back.
8m
image
10
Pelvis (Pelvic Box)
With this part of the body, we'll move forward in the divisions to begin thinking about the volume of the body, since the representation of the pelvic box has differences in the front, side, and back views.
4m
image
11
Column (and movement)
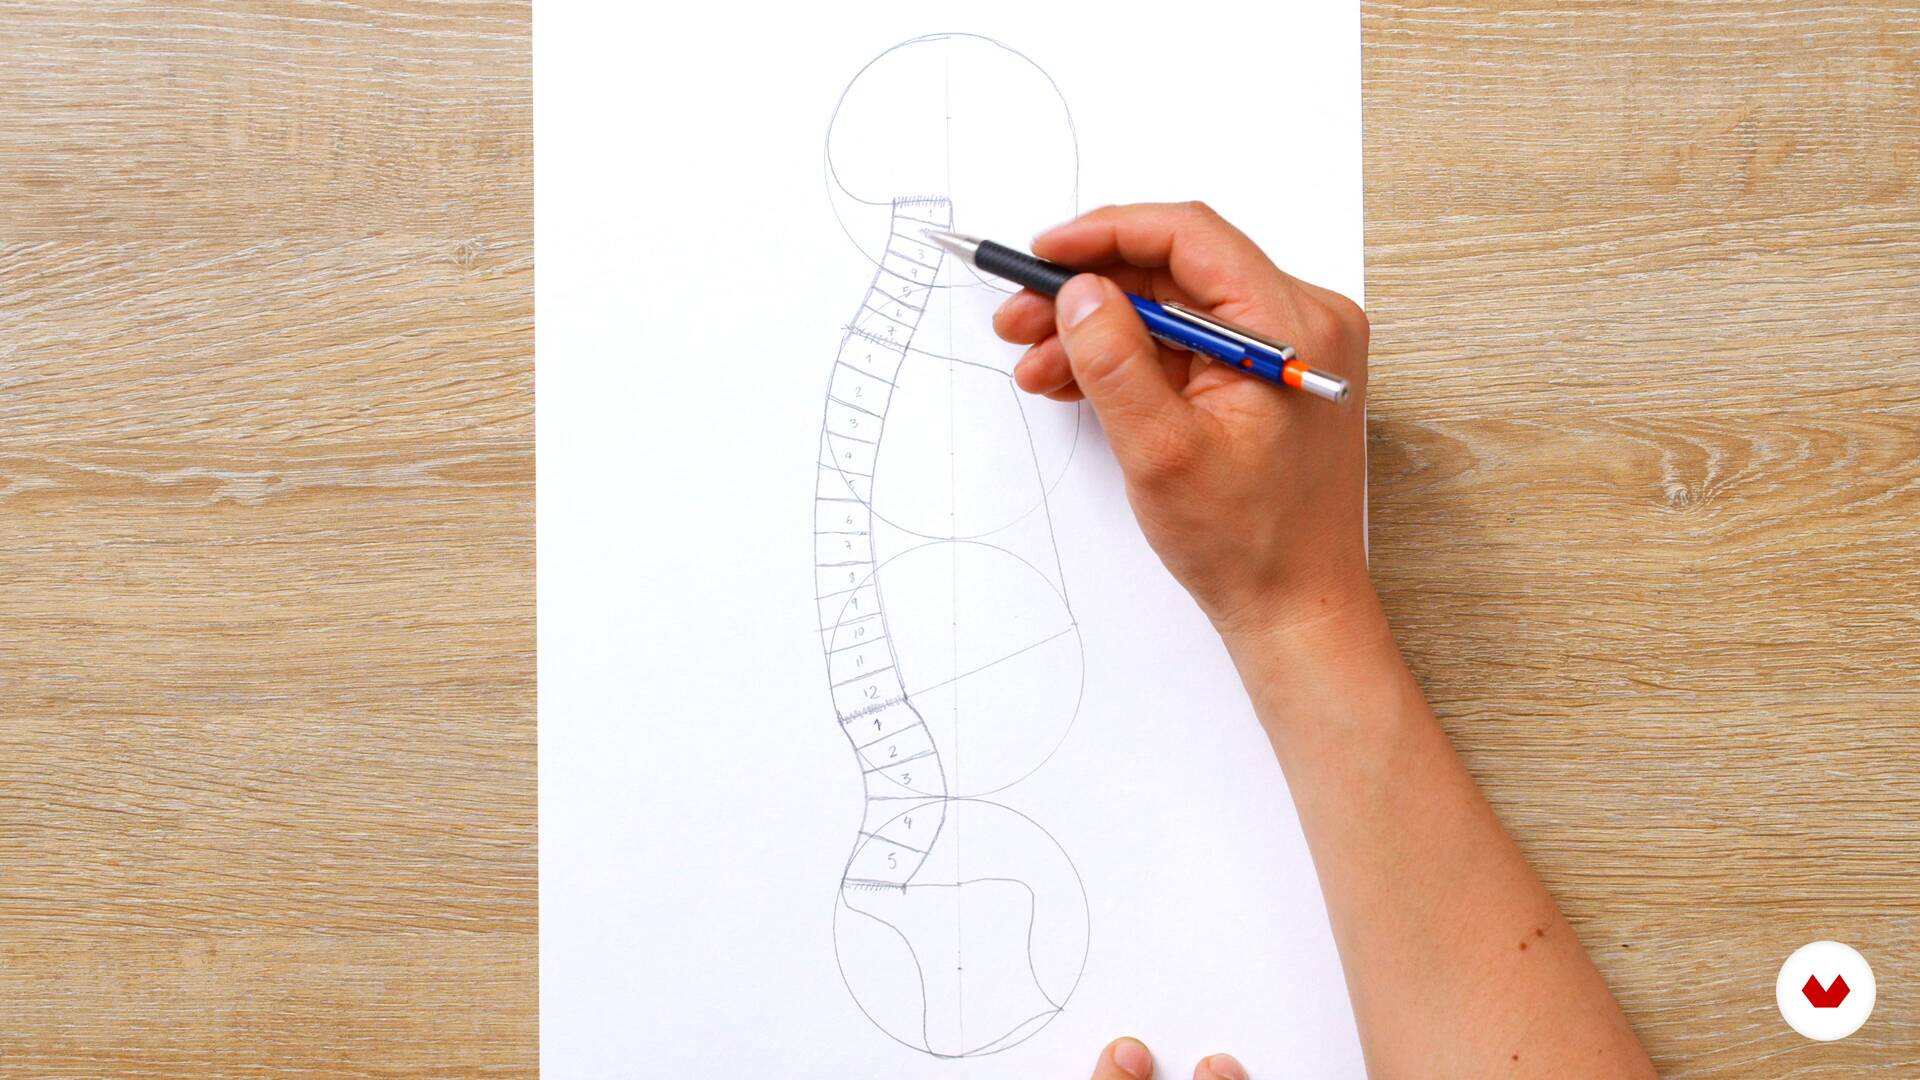
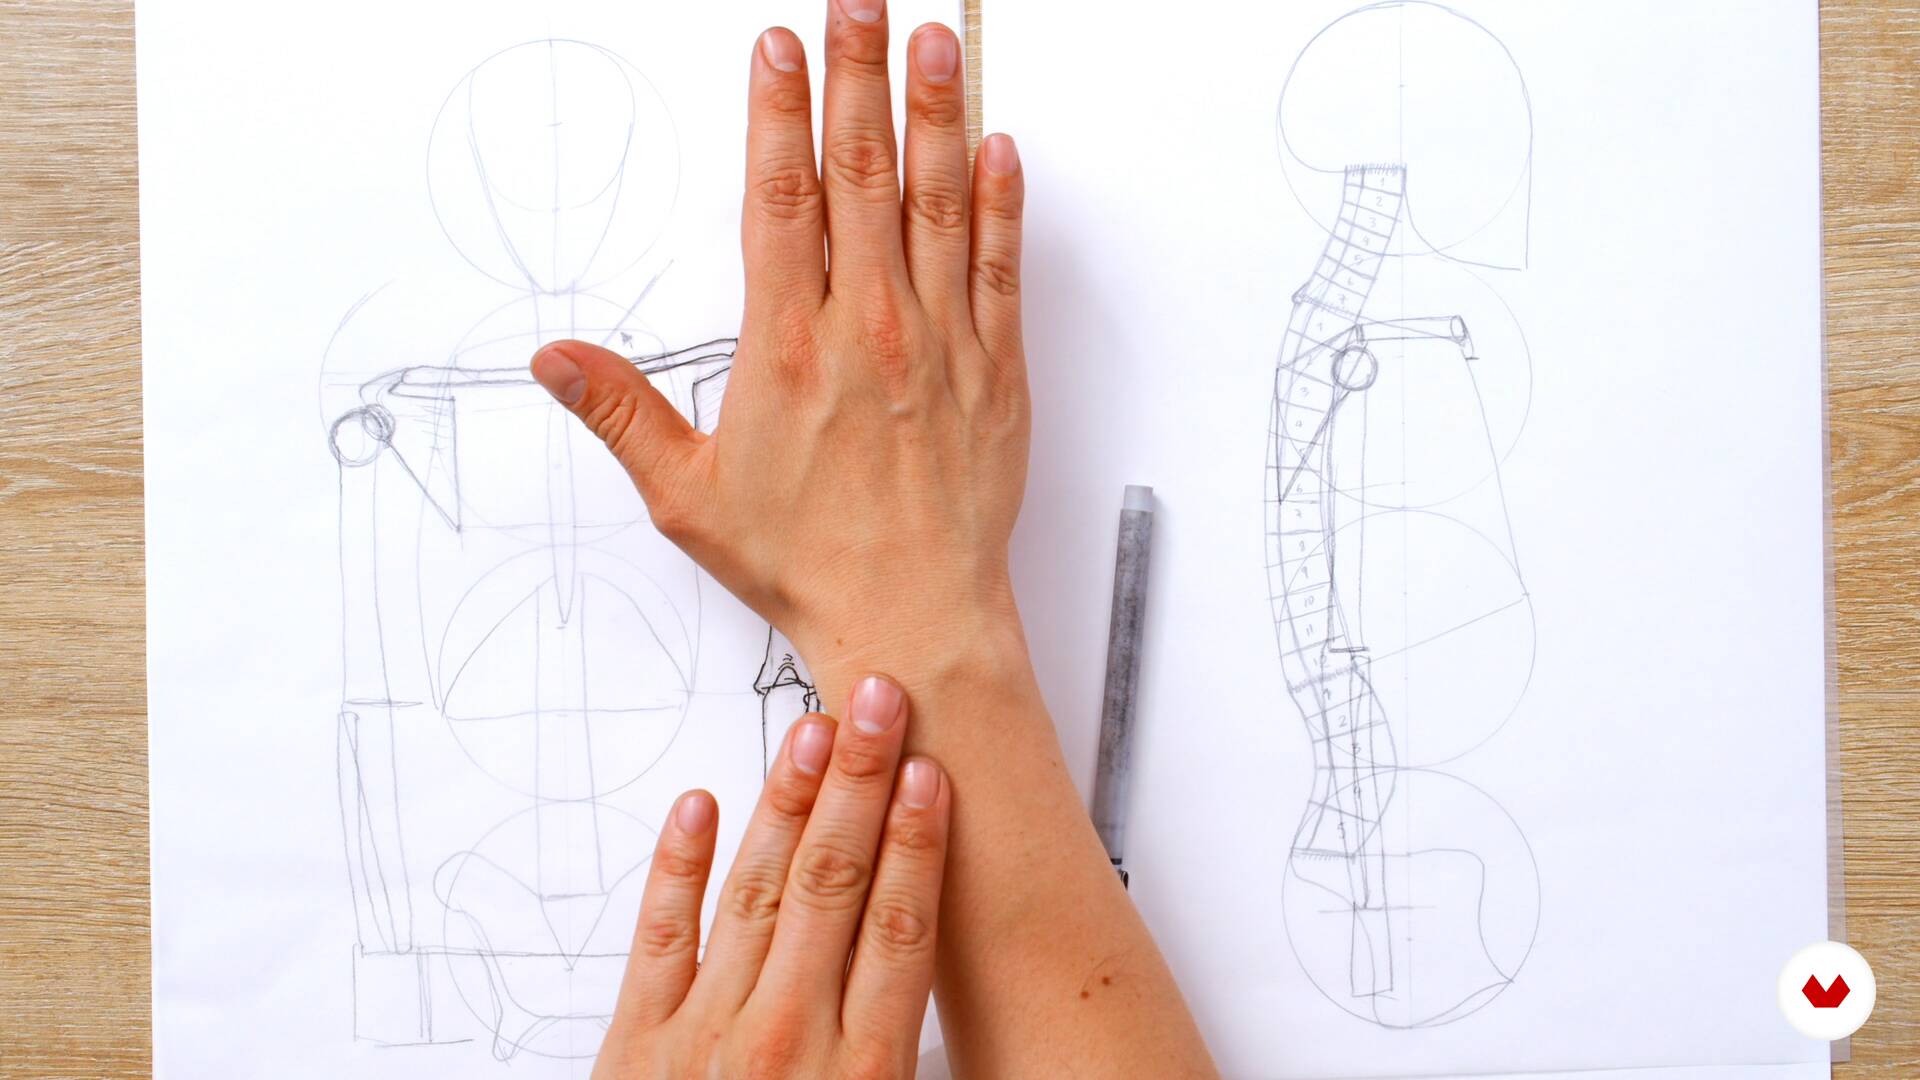
With the elements of the upper body (head, torso, and pelvis), we'll divide the spine into three parts: cervical (neck), thoracic (torso), and lumbar (between the torso and pelvis), and then divide them into vertebrae 7, 12, and 5, respectively. Next, we'll look at how these vertebrae connect to understand the range of motion of the upper body.
5m
image
12
Upper extremity
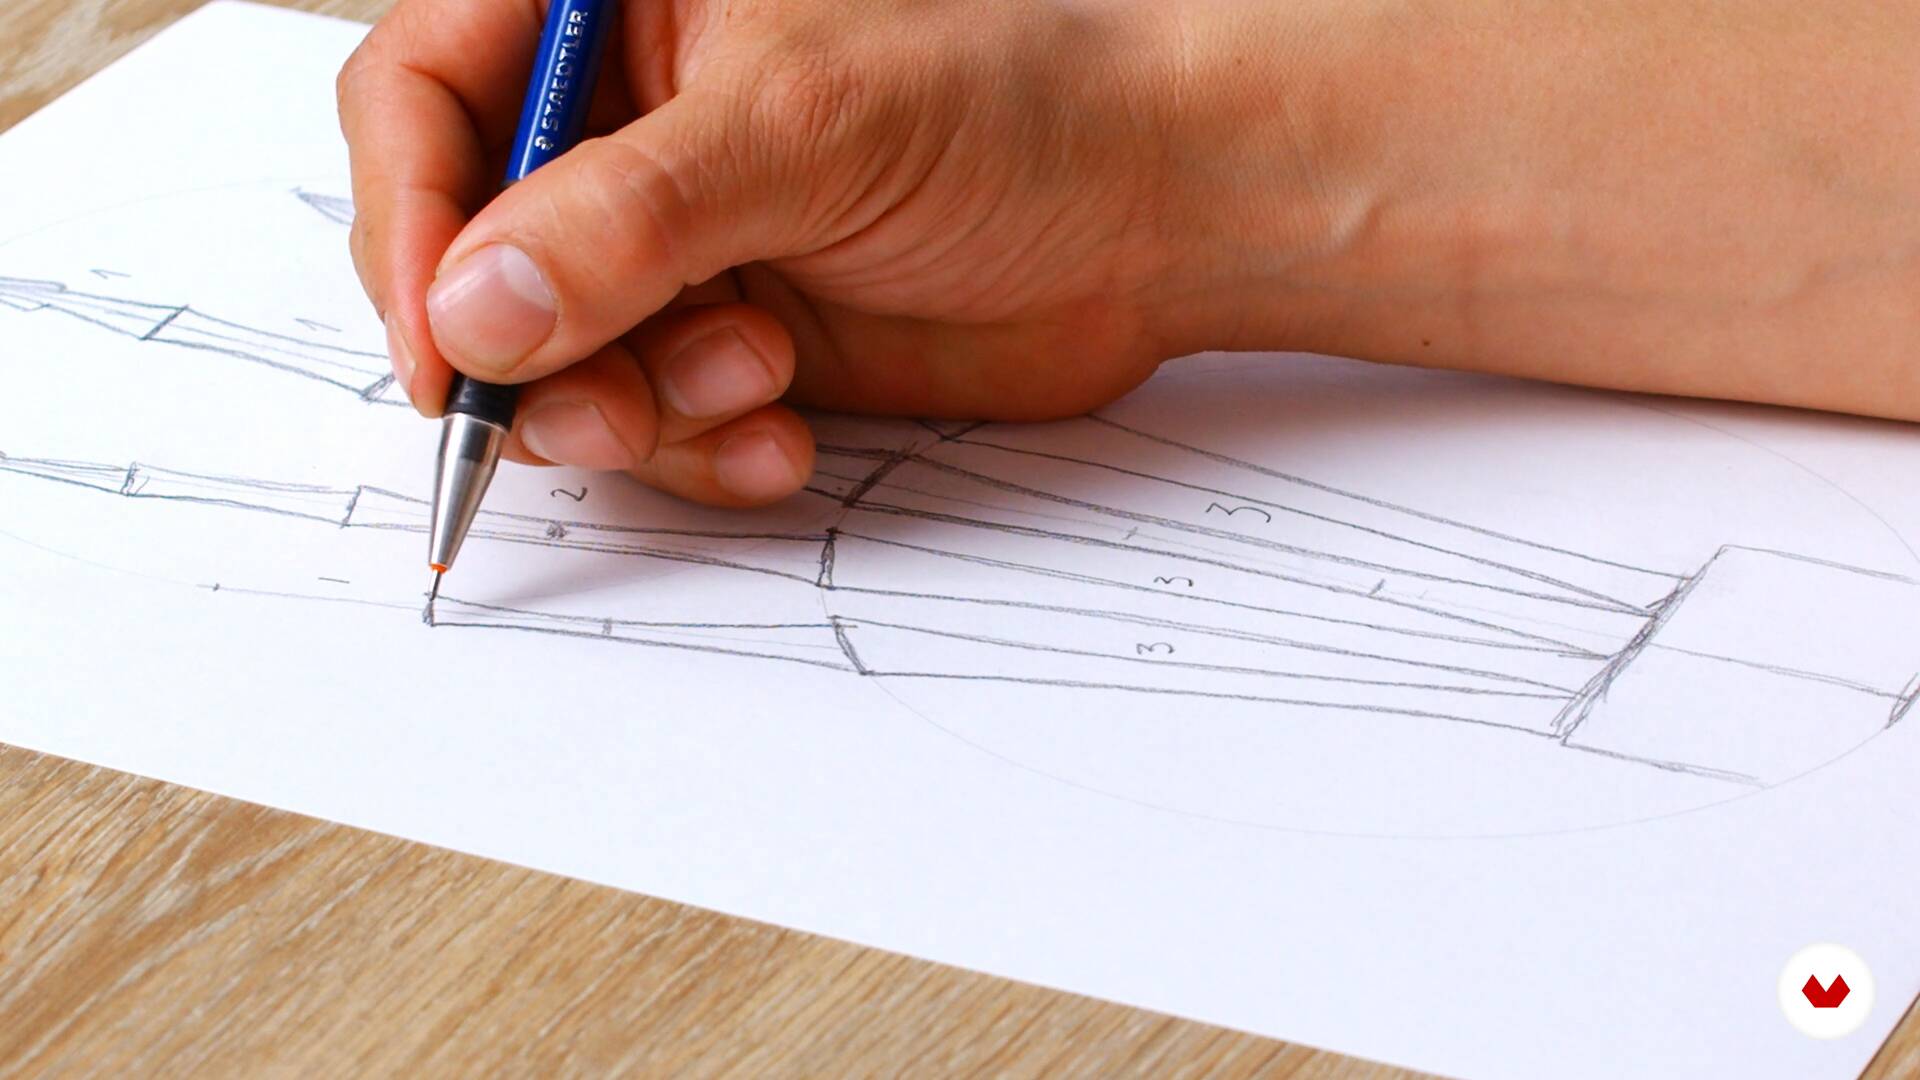
Let's look at the height and width of the arms, focusing in this case on the general measurements of the clavicles, shoulder blade, humerus, ulna, radius, and hand. Here, it's important to consider the torso and pelvic floor measurements to make the necessary comparisons.
5m
image
13
Arm and forearm
Now that we know the measurements of the elements, we'll focus on the shoulder joint, the connection between the scapula and humerus, and its movements. I'll also explain the connection between the humerus, ulna, and radius, explaining their movements.
4m
image
14
Hands
When we get to the hand, we will divide the palm of the hand and the fingers, explaining the proportions of each of them and how the thumb works in relation to the other four fingers and how they move.
9m
image
15
Lower limb
Here we are going to make the basic division of the measurements, in the same way as was done with the upper extremity, and then explain each part in more depth.
4m
image
16
Thigh and leg
In this lesson, we'll begin with the hip joint, drawing the femur and the movements it allows. We'll then connect it to the patella, tibia, and fibula to explain the possibilities of the knee joint.
1m
image
17
Foot
I'm going to explain the proportions of the bones in the foot, making comparisons with the bones in the hand so we can talk about their movement.
4m
image
18
Body shafts
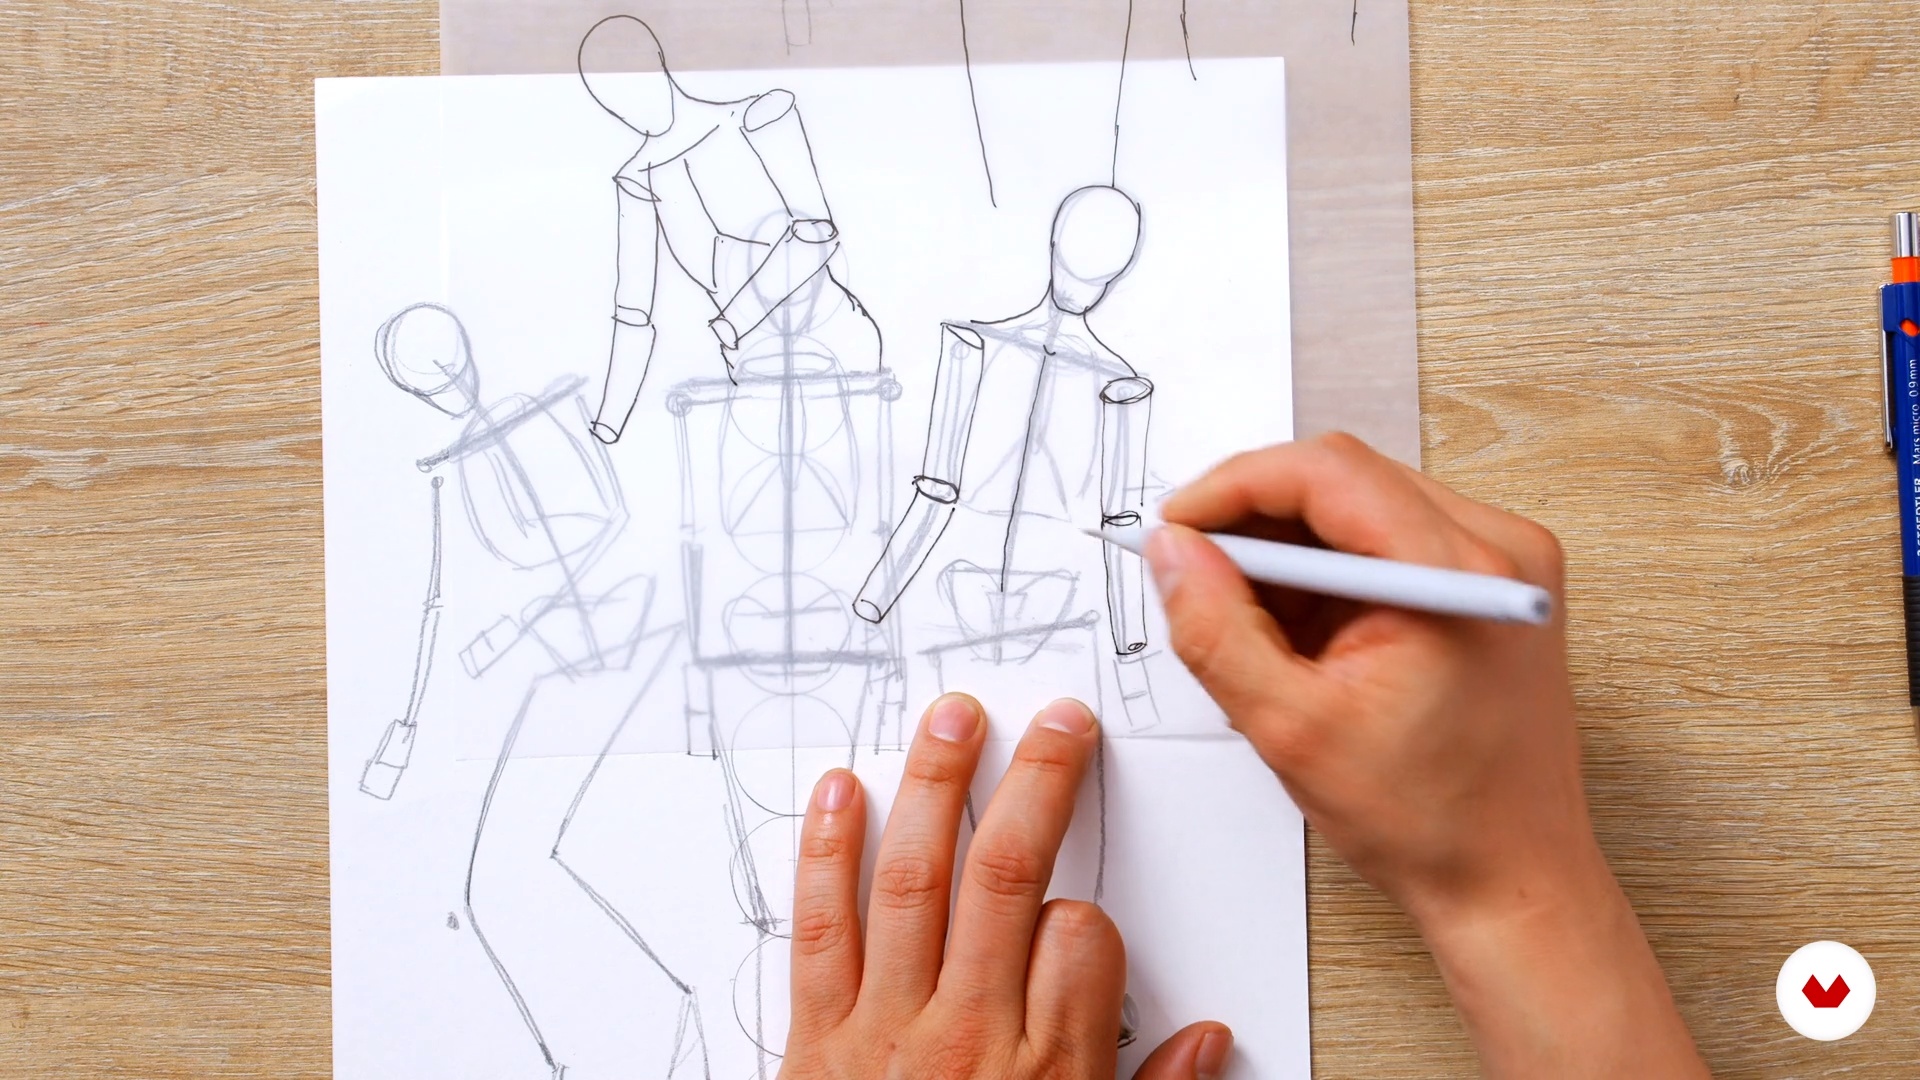
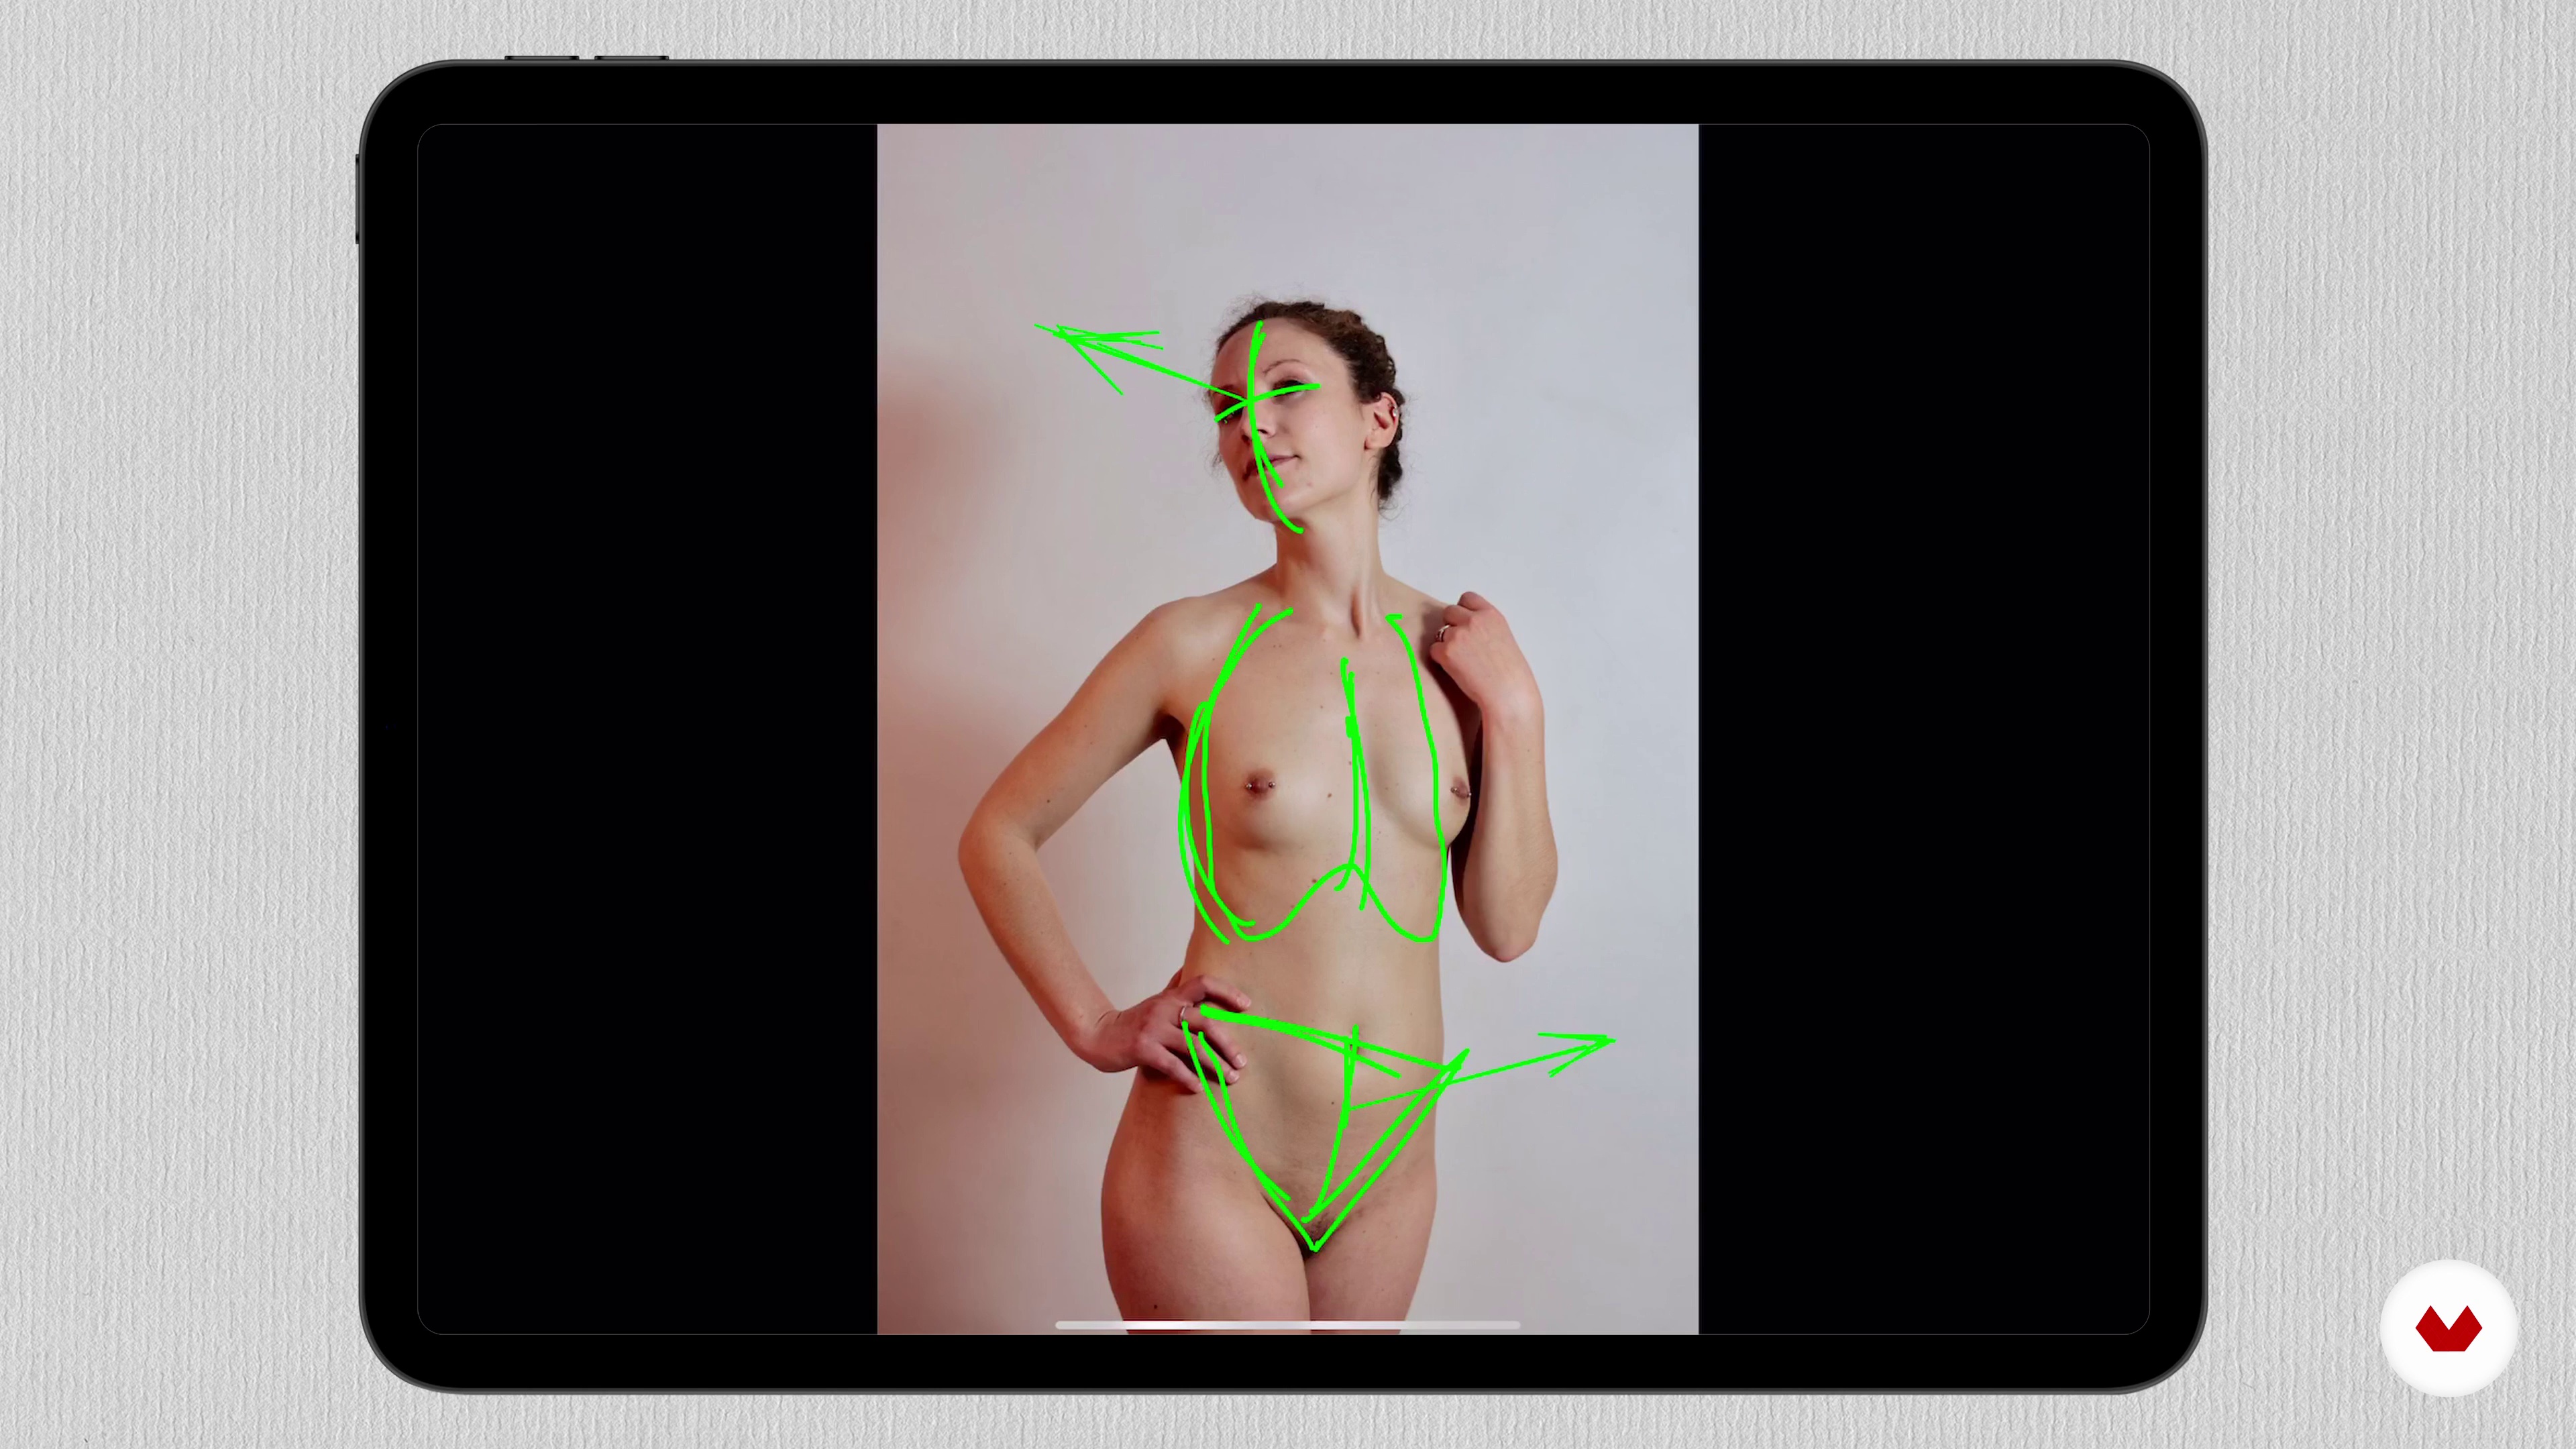
To begin drawing the figure in more dynamic poses, I'm going to explain how the lines of the spine, shoulders, and hips help us represent the figure in a schematic, yet effective, way.
3m
image
19
Body volume
After learning the proportions of the figure, we will explore different representations of the body's volume based on simple geometric shapes that will help us understand the body in 3 dimensions.
7m
image
20
Projections and perspective
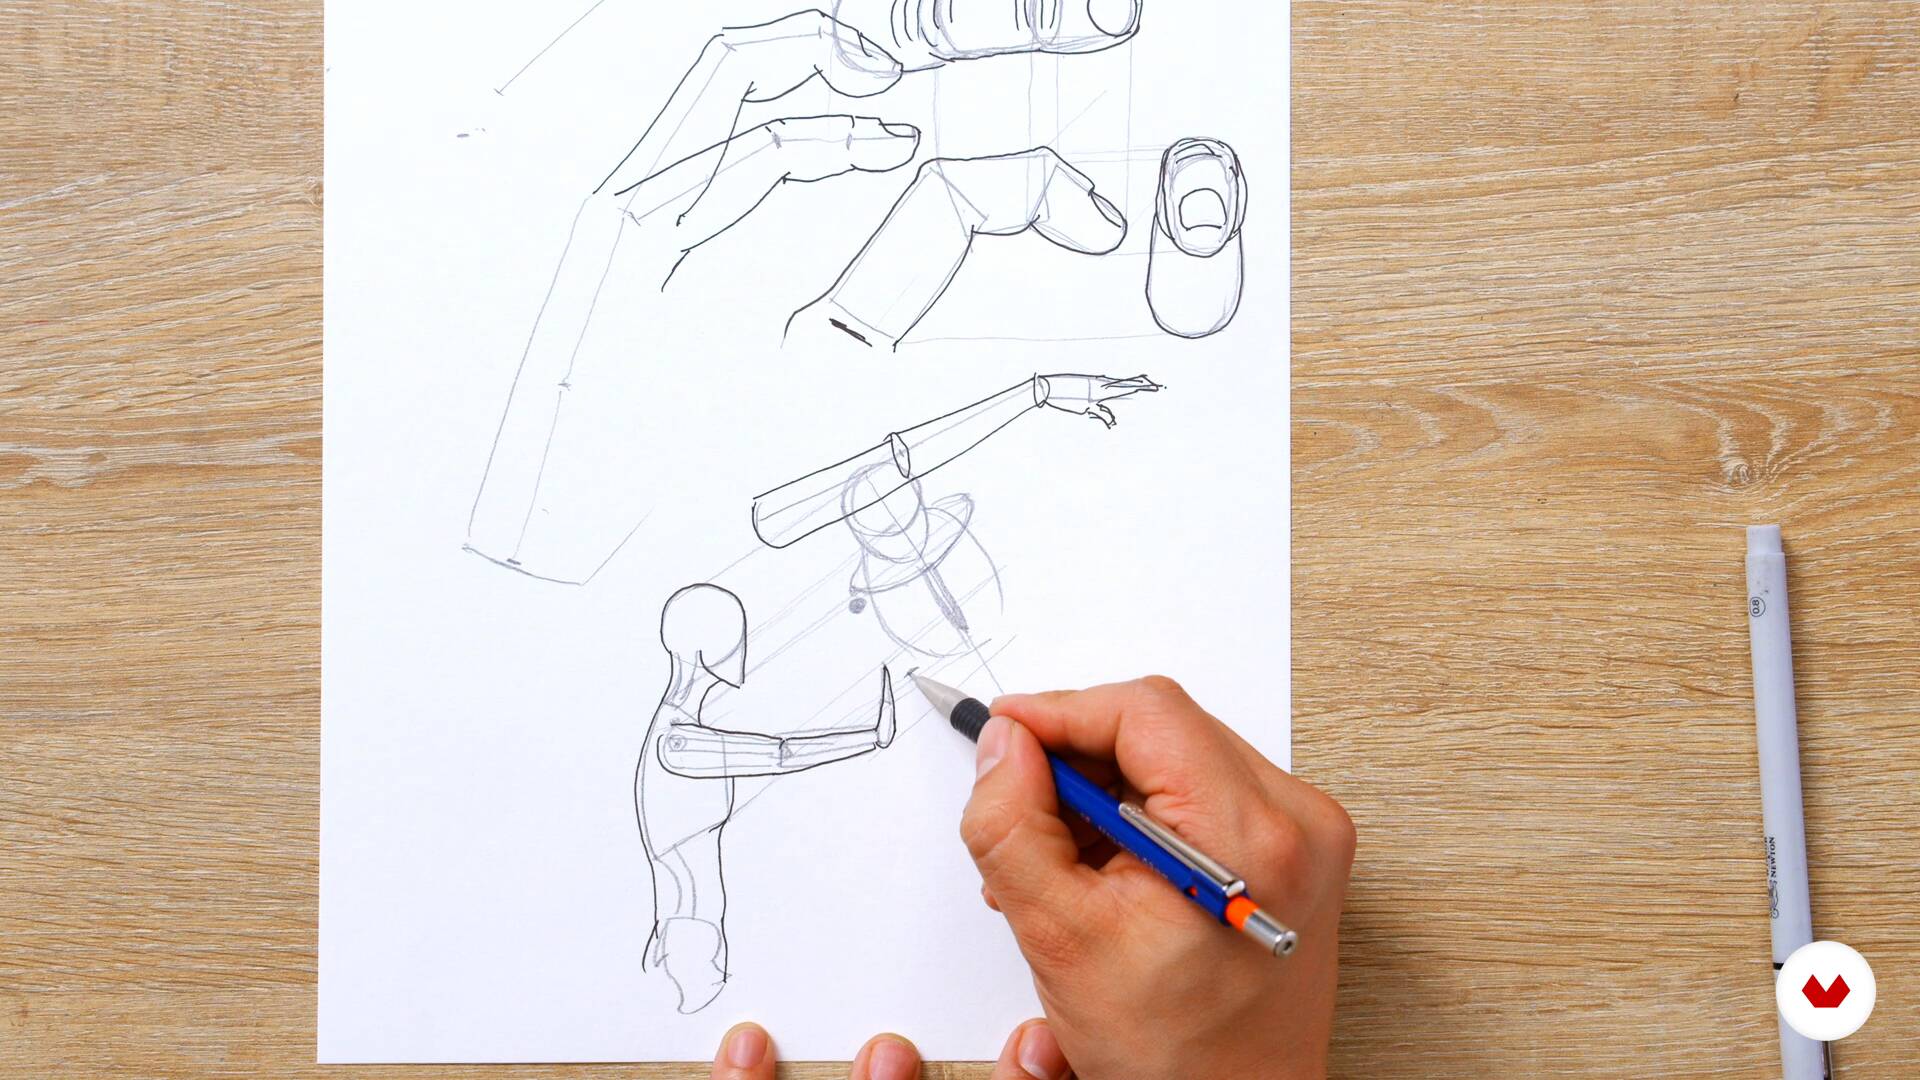
Here we'll explore how to draw figures from different perspectives using volume projection and basic perspective. We'll do this with simple poses, but showcasing the possibilities available. (Lying pose projection, finger projection).
7m
image
4
The individual
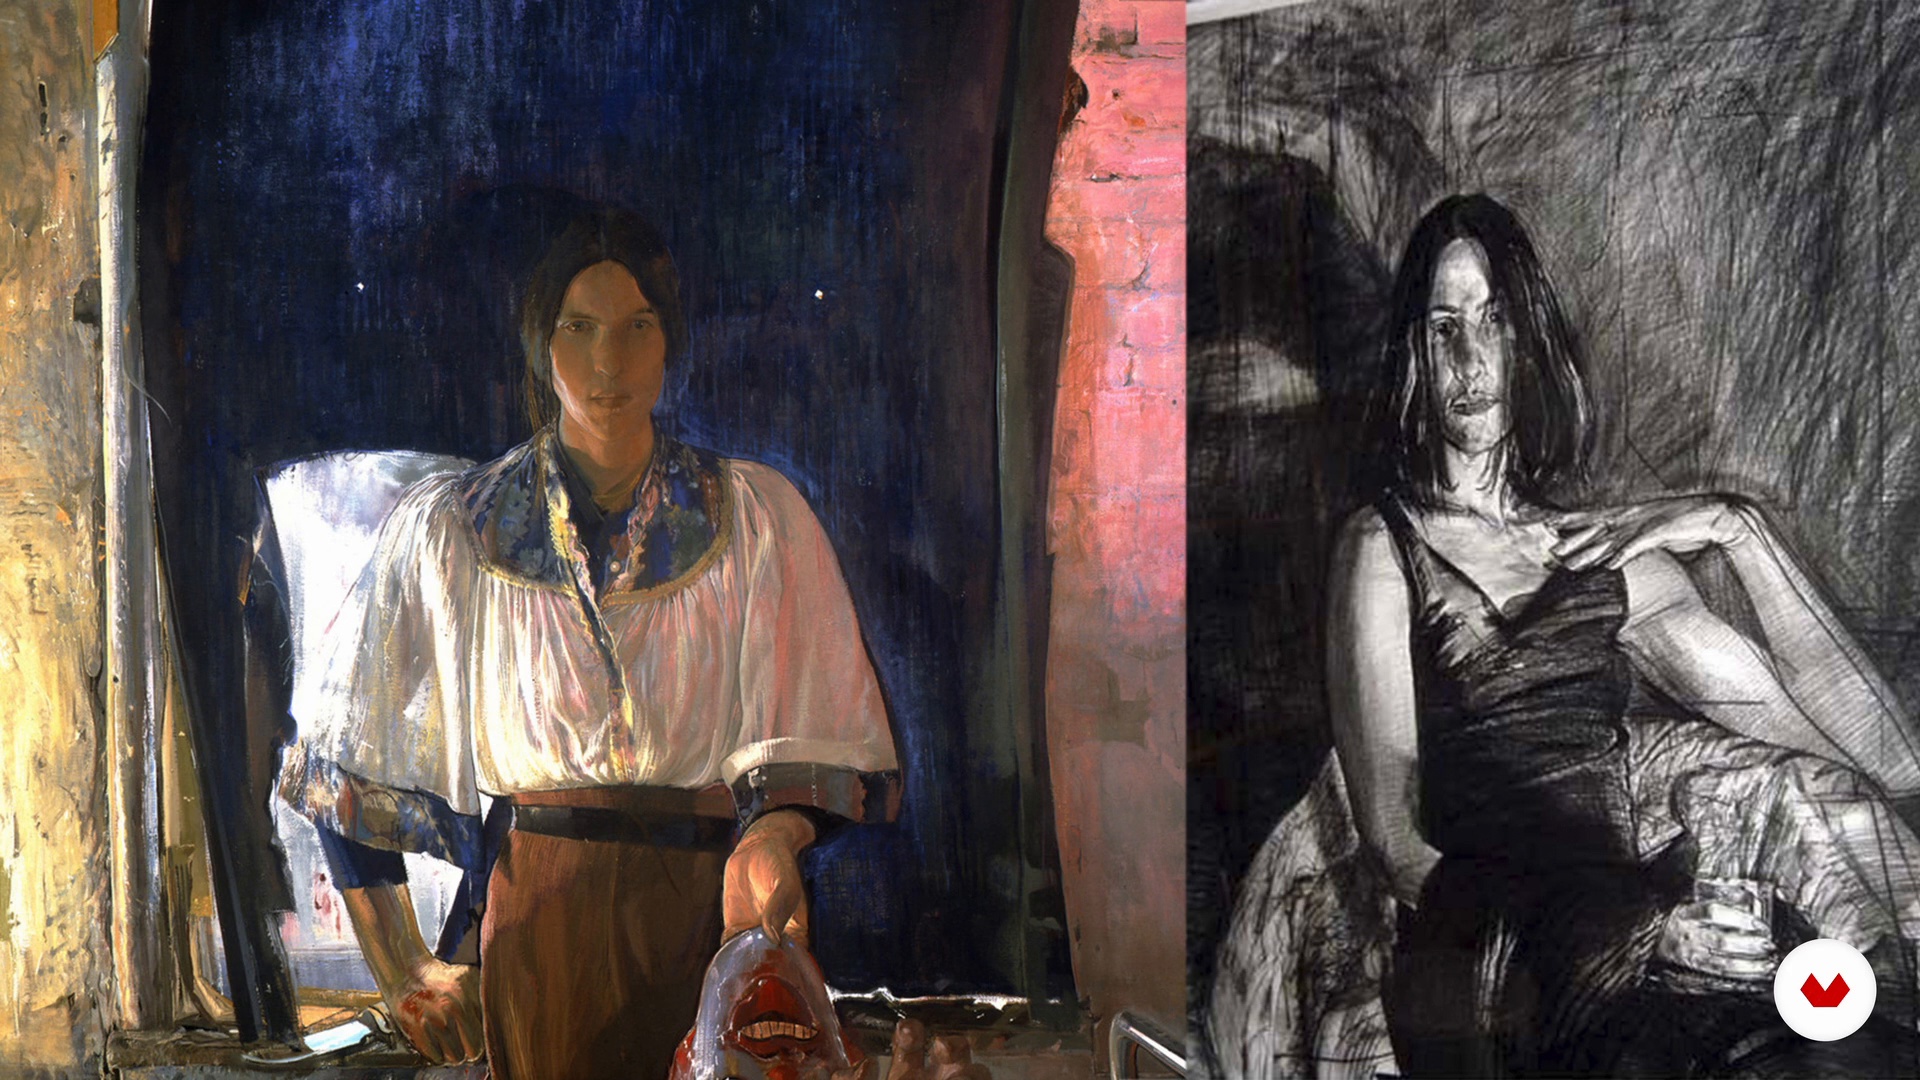
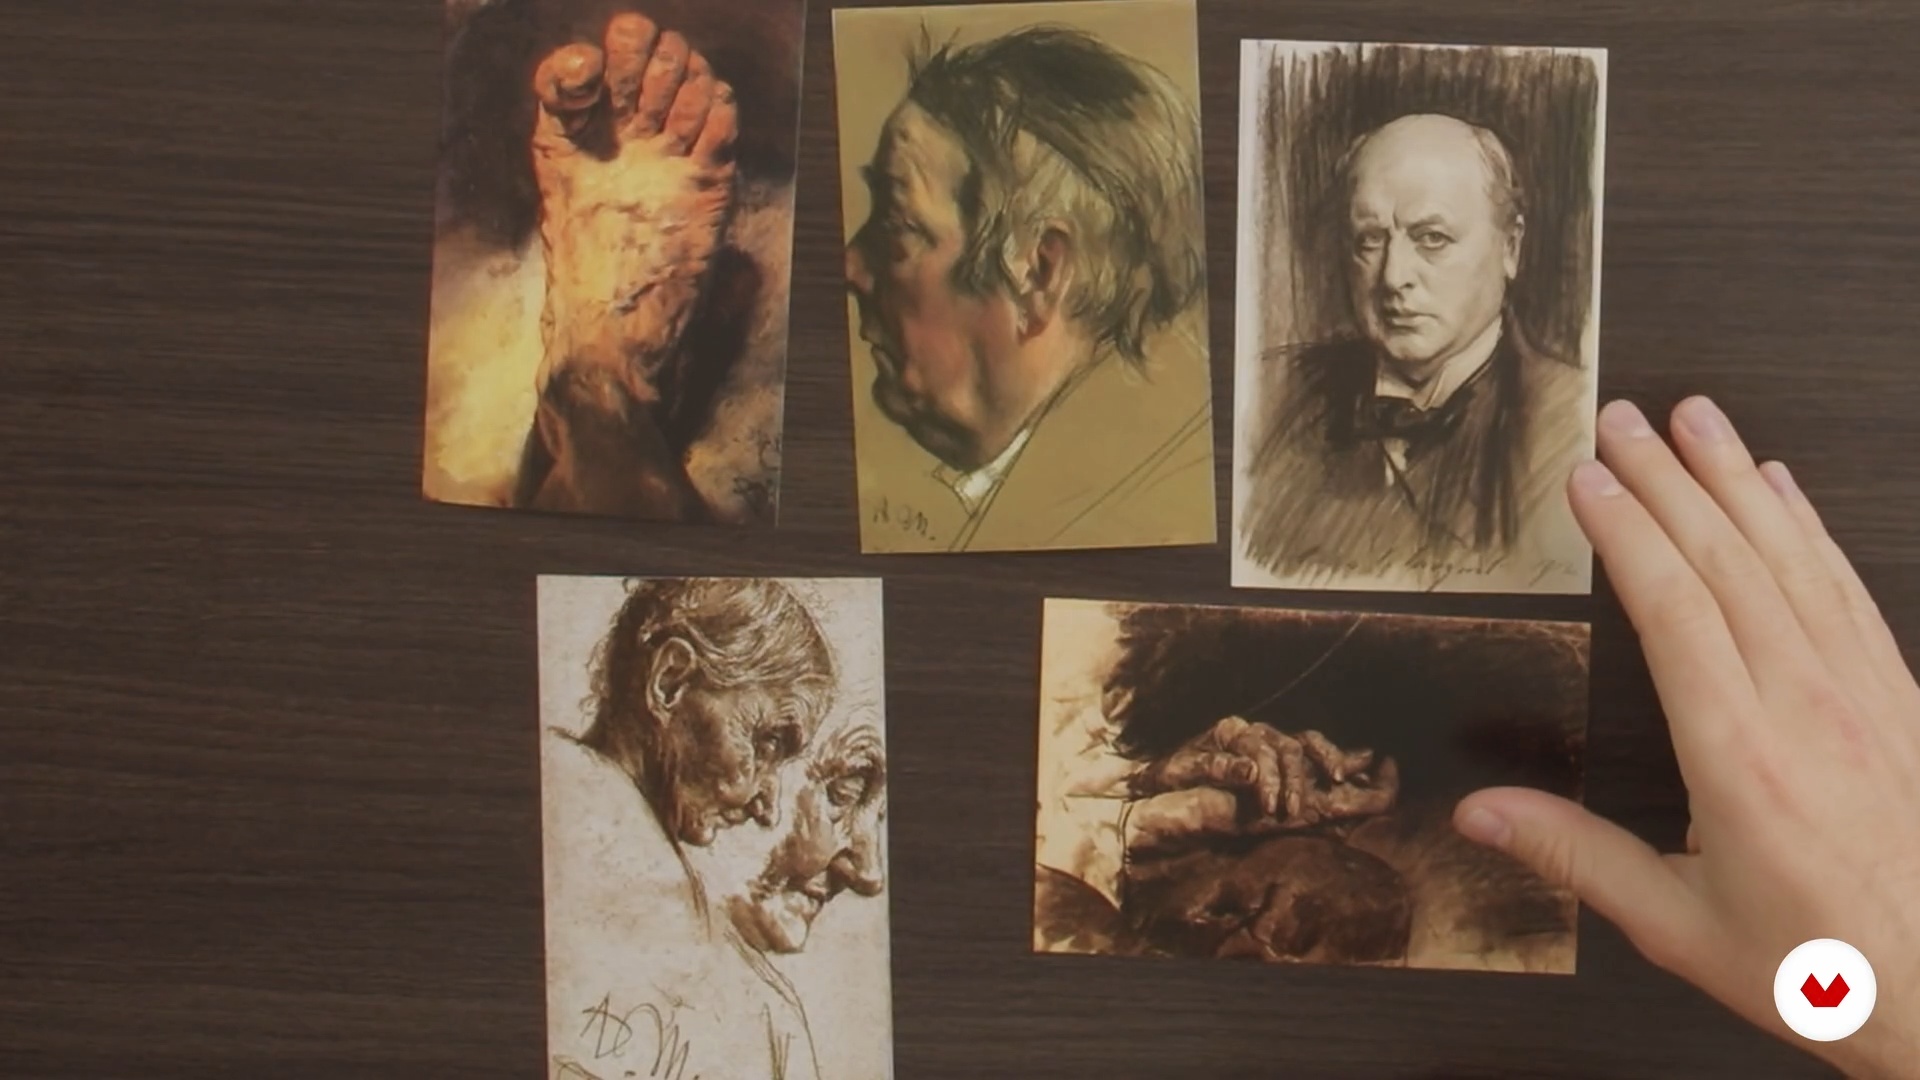
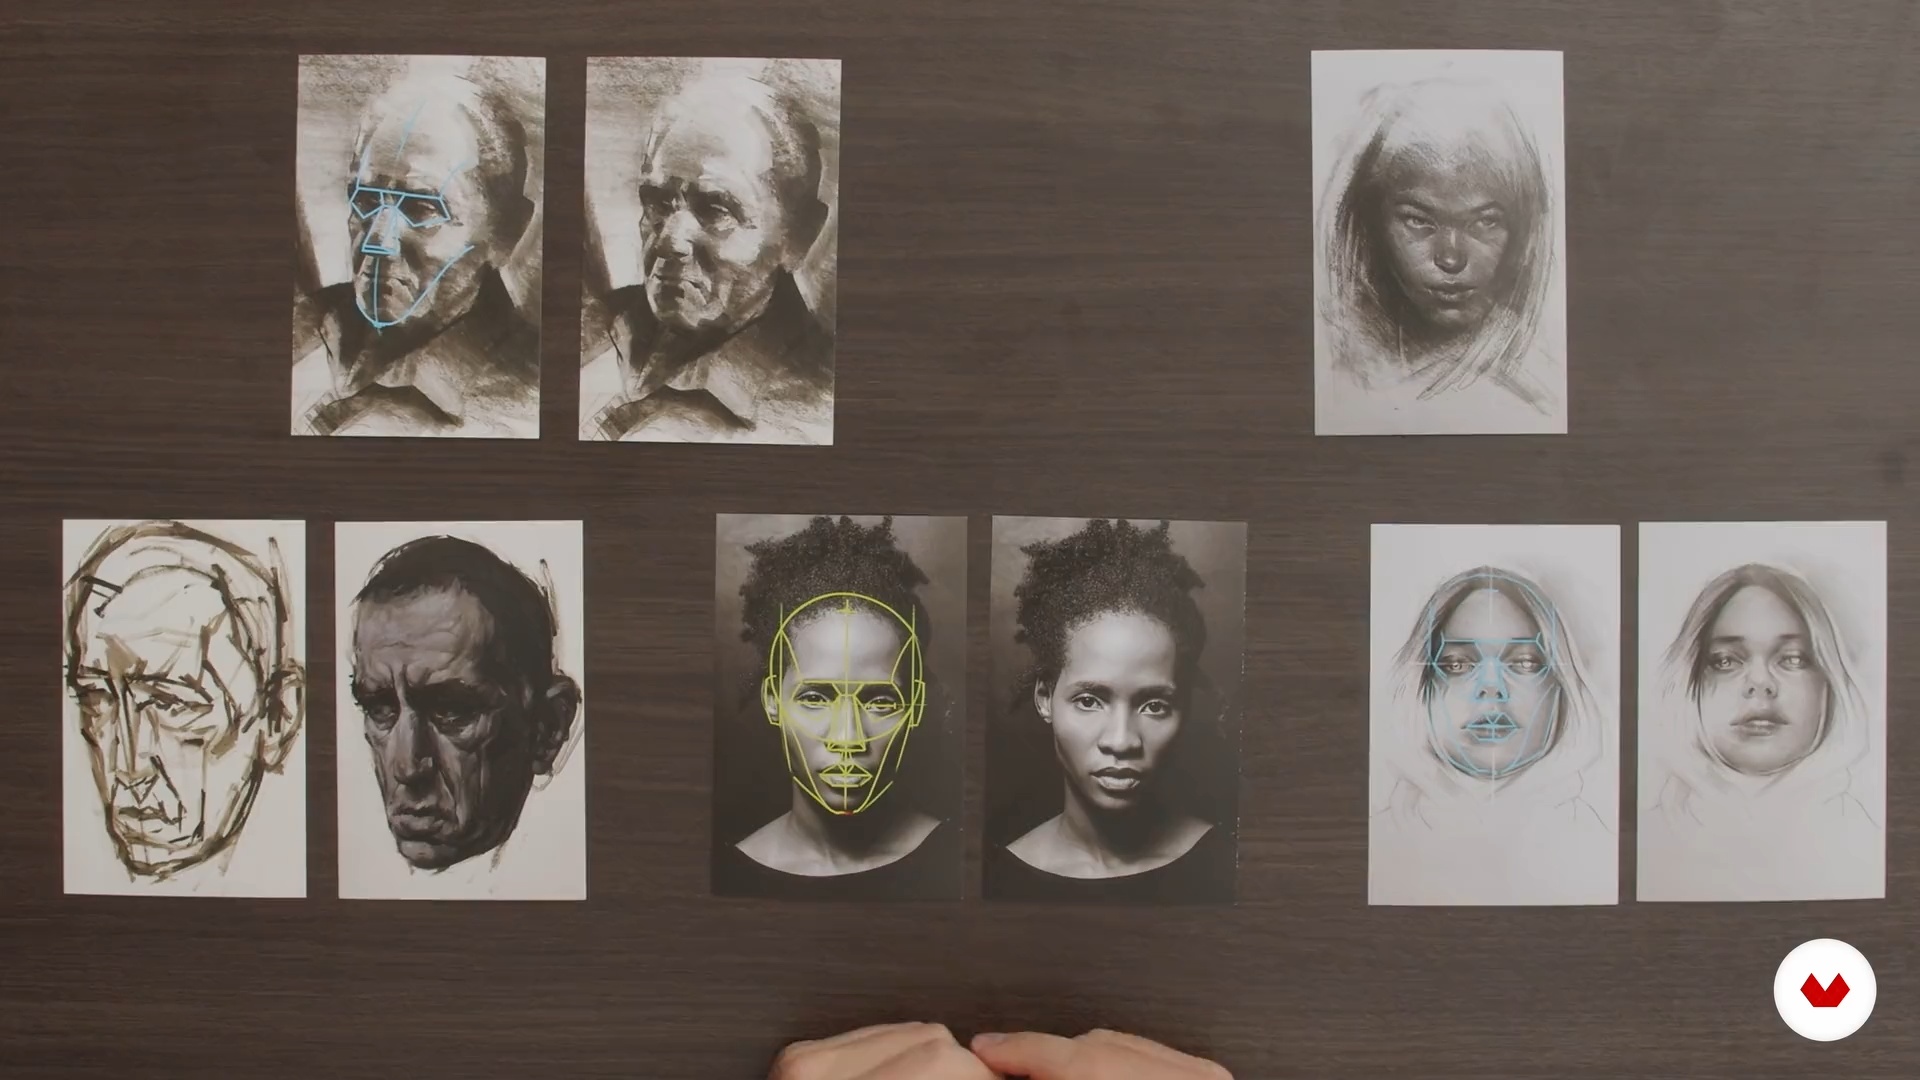
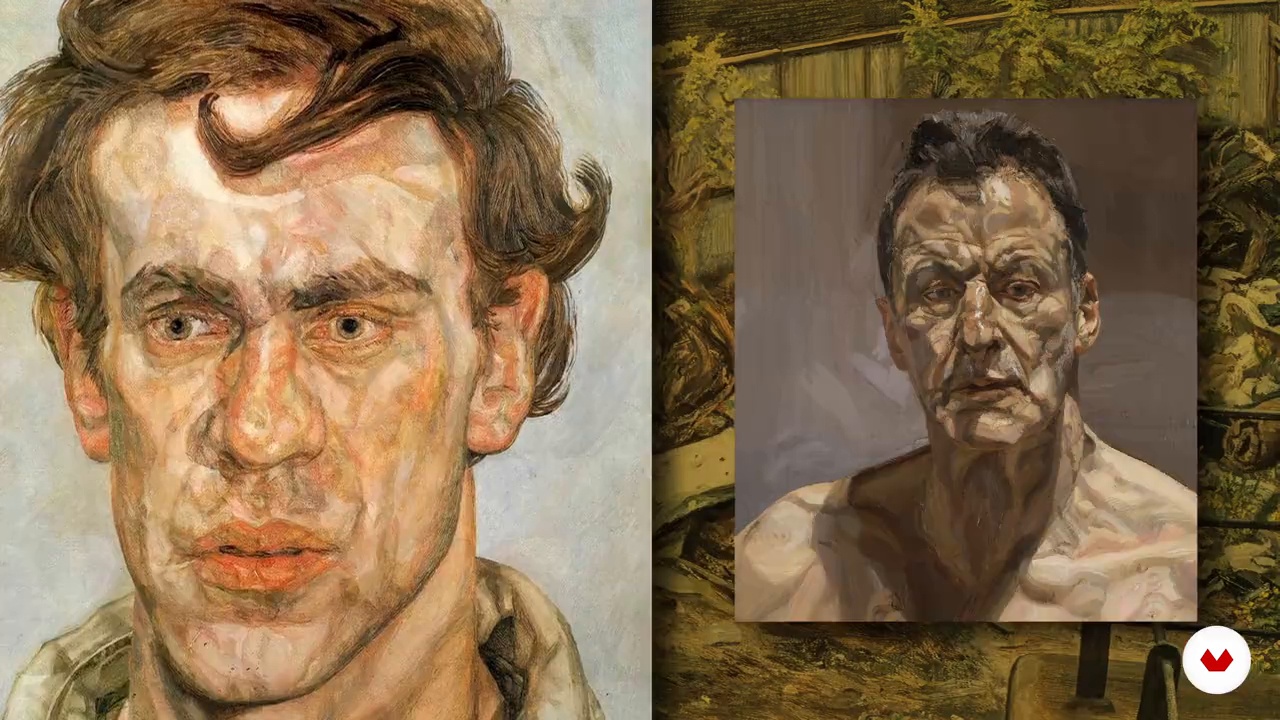
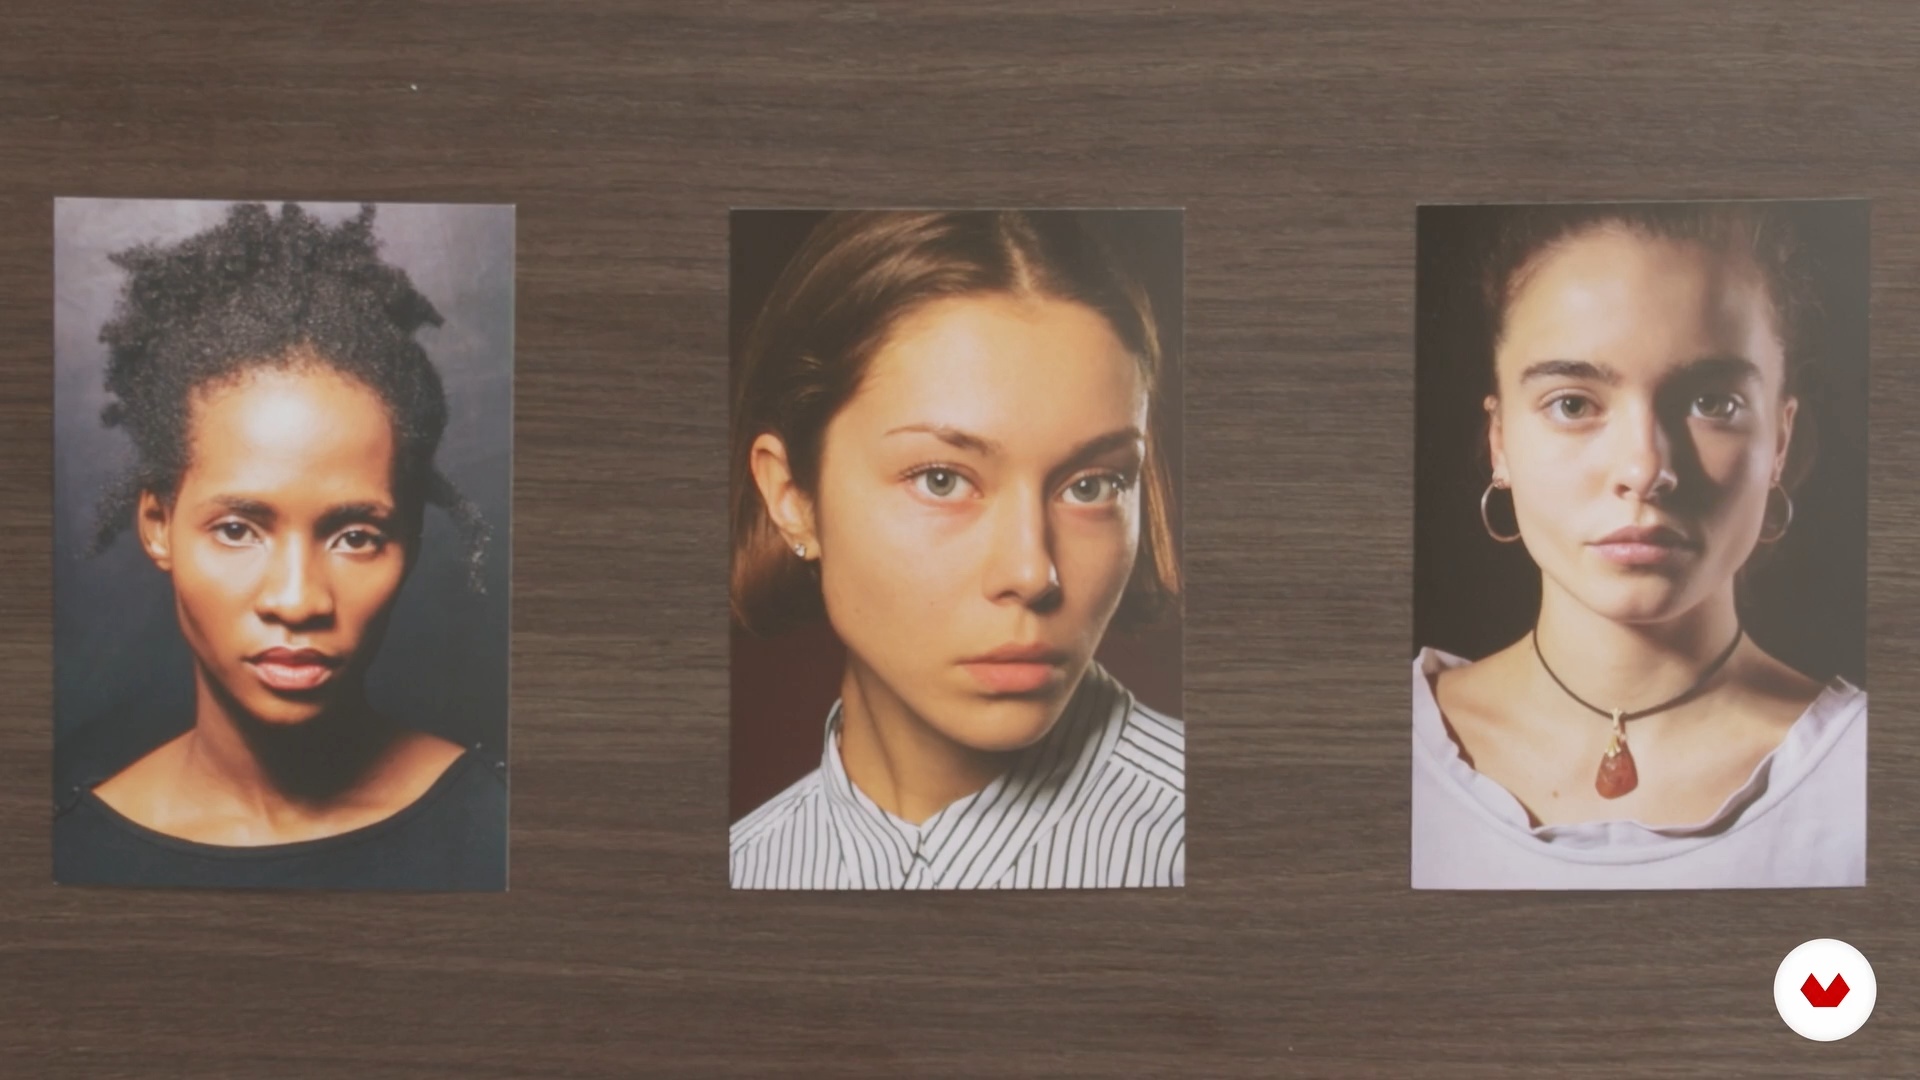
In this lesson, I'm going to show you images of paintings, sculptures, and portrait photographs to help you understand the importance of the differences between each face, even though they have the same anatomical structure.
2m
image
5
Drawing techniques. Part 1
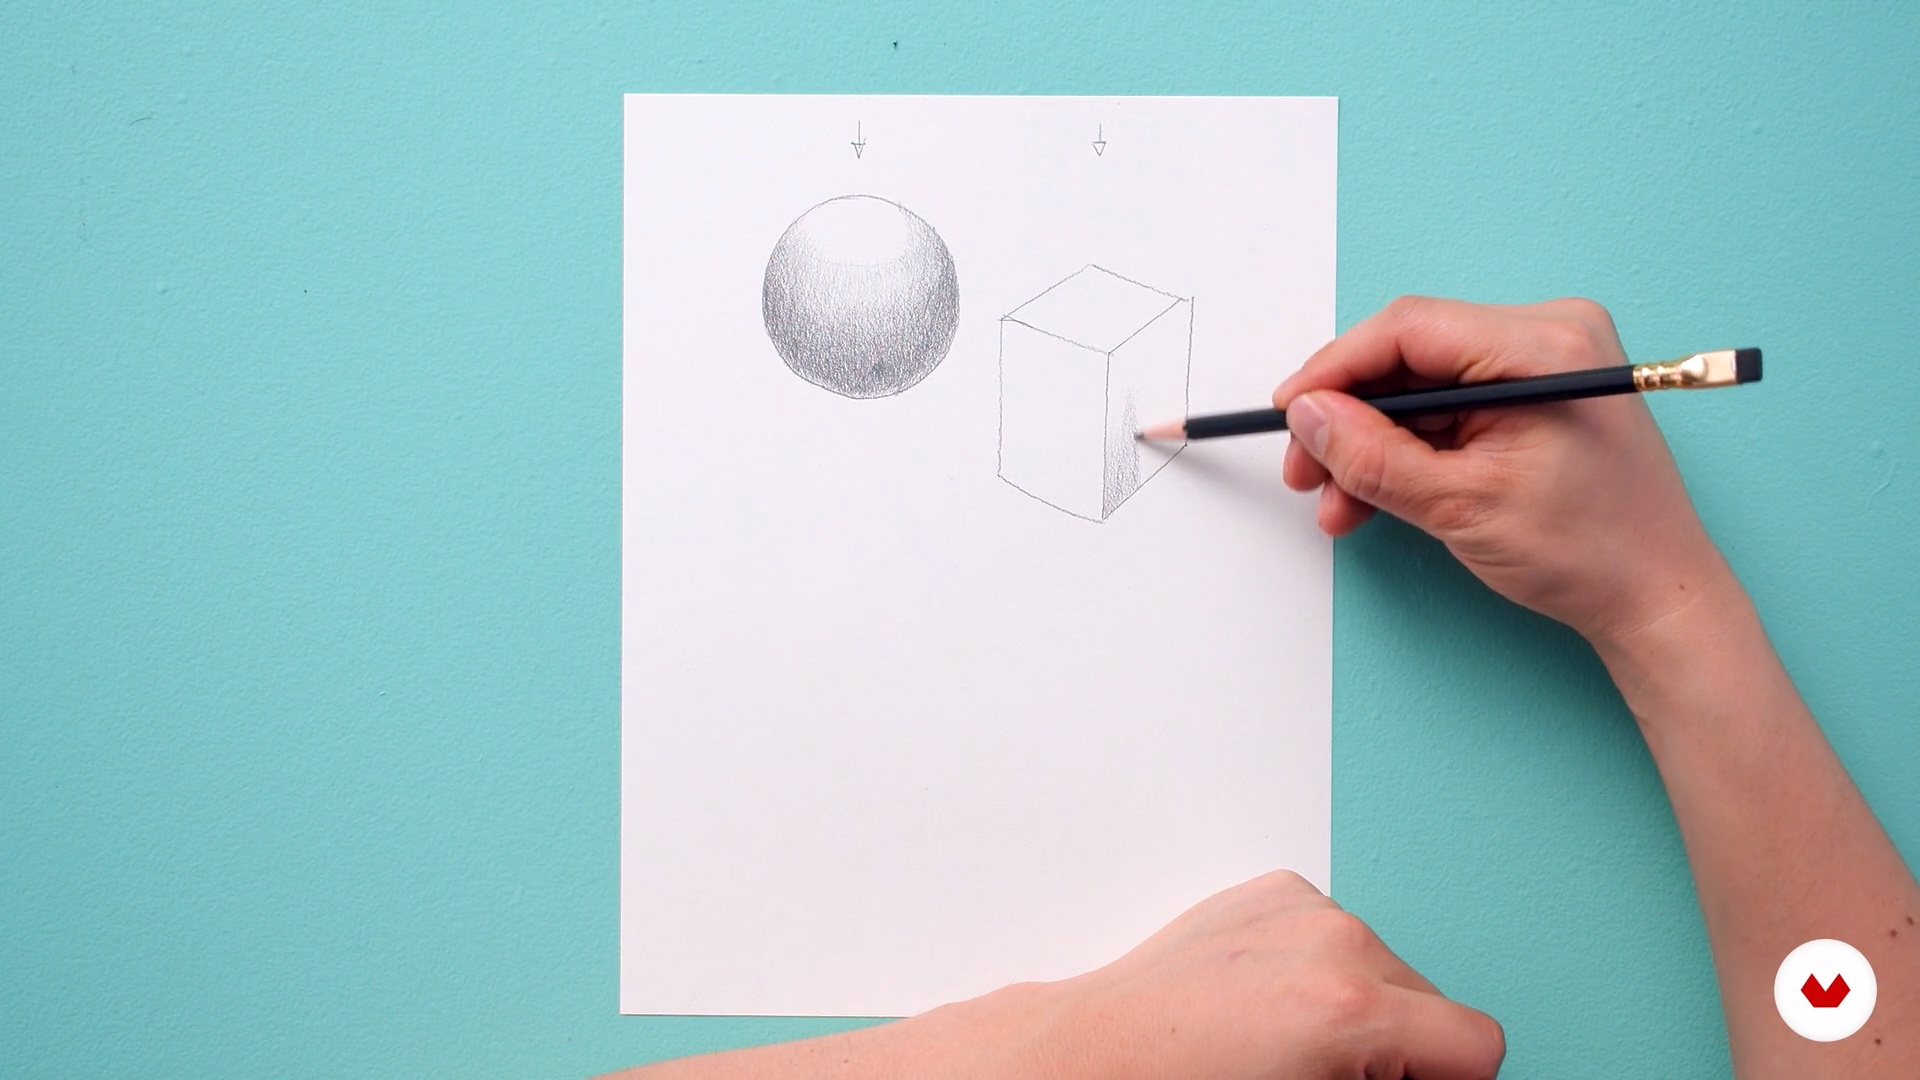
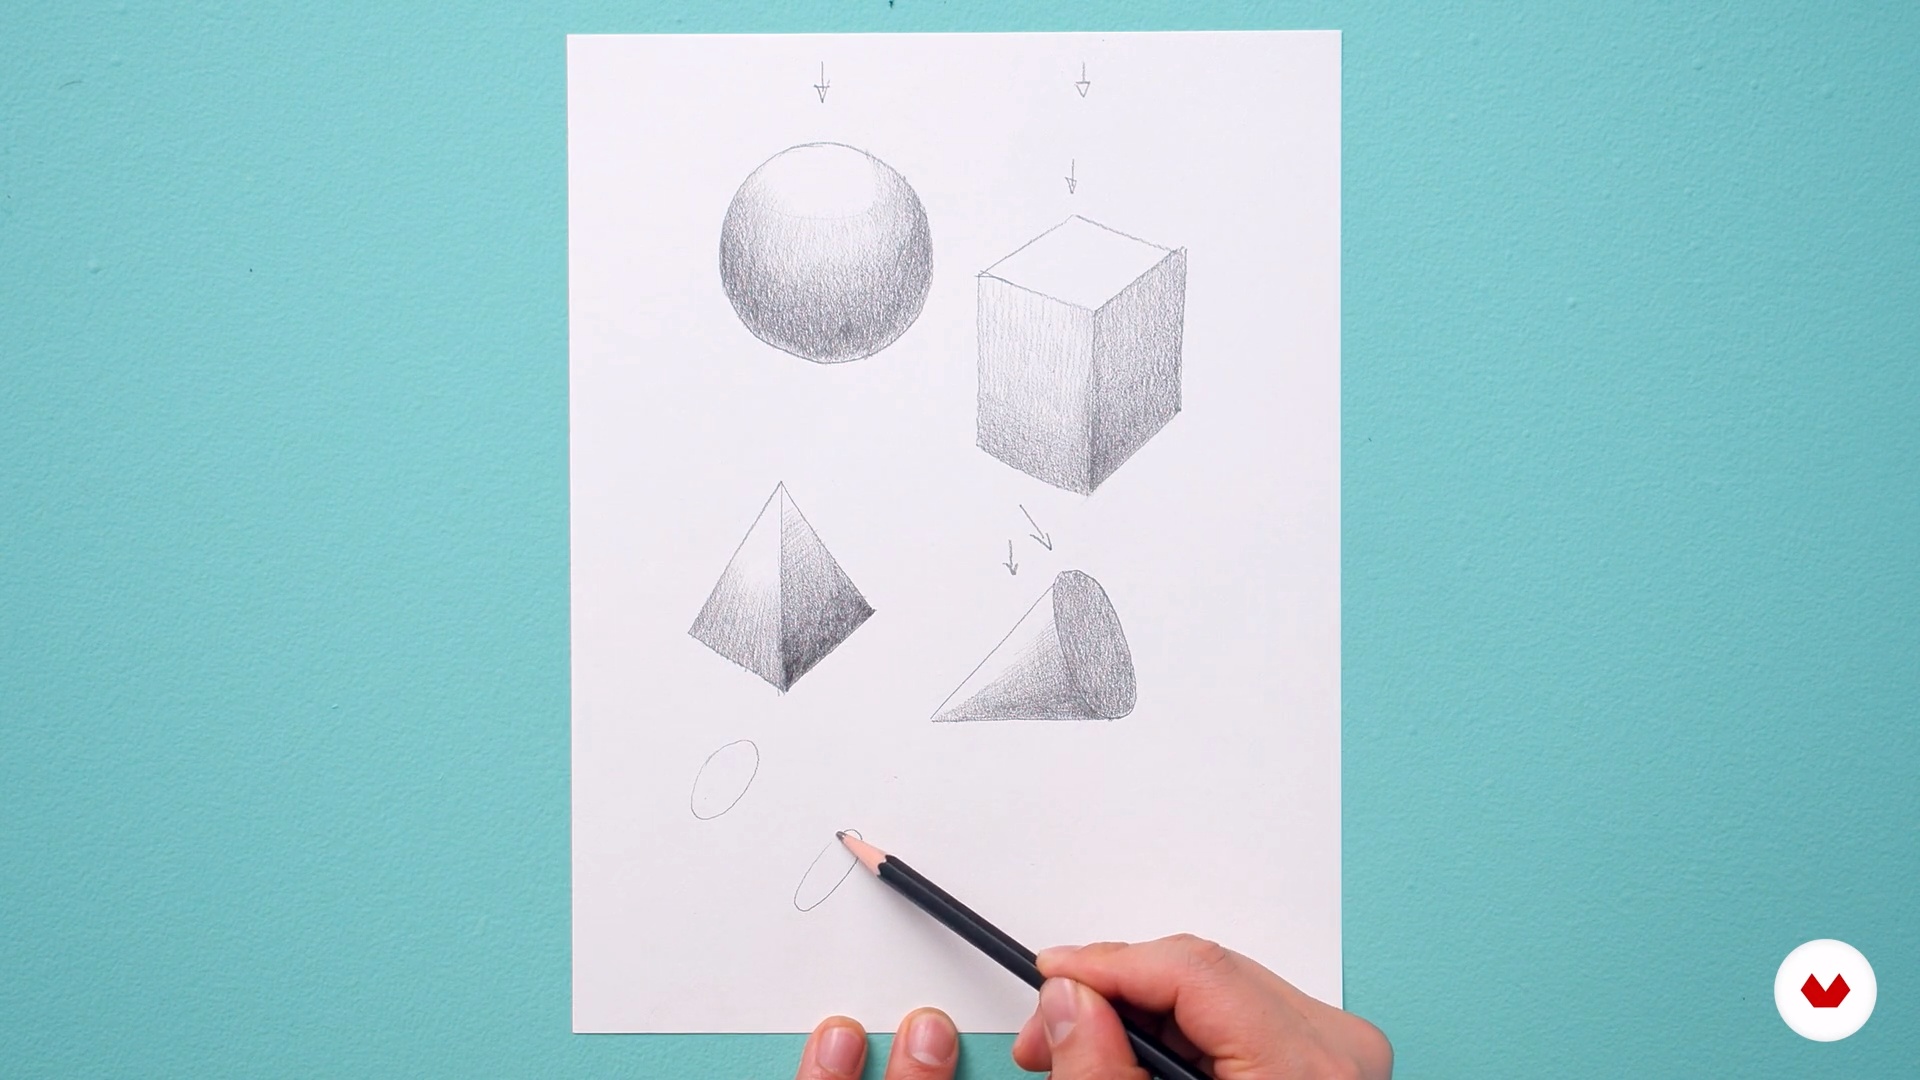
Starting from simple geometric figures (cube, sphere, pyramid, prism, cylinder and ribbon), I will explain how light and shadow work and how we can represent them with graphite.
12m
image
6
Drawing techniques. Part 2
In this lesson I will continue with the explanation of the shadows in the pyramid, the prism and other figures.
16m
image
7
Textures and surfaces
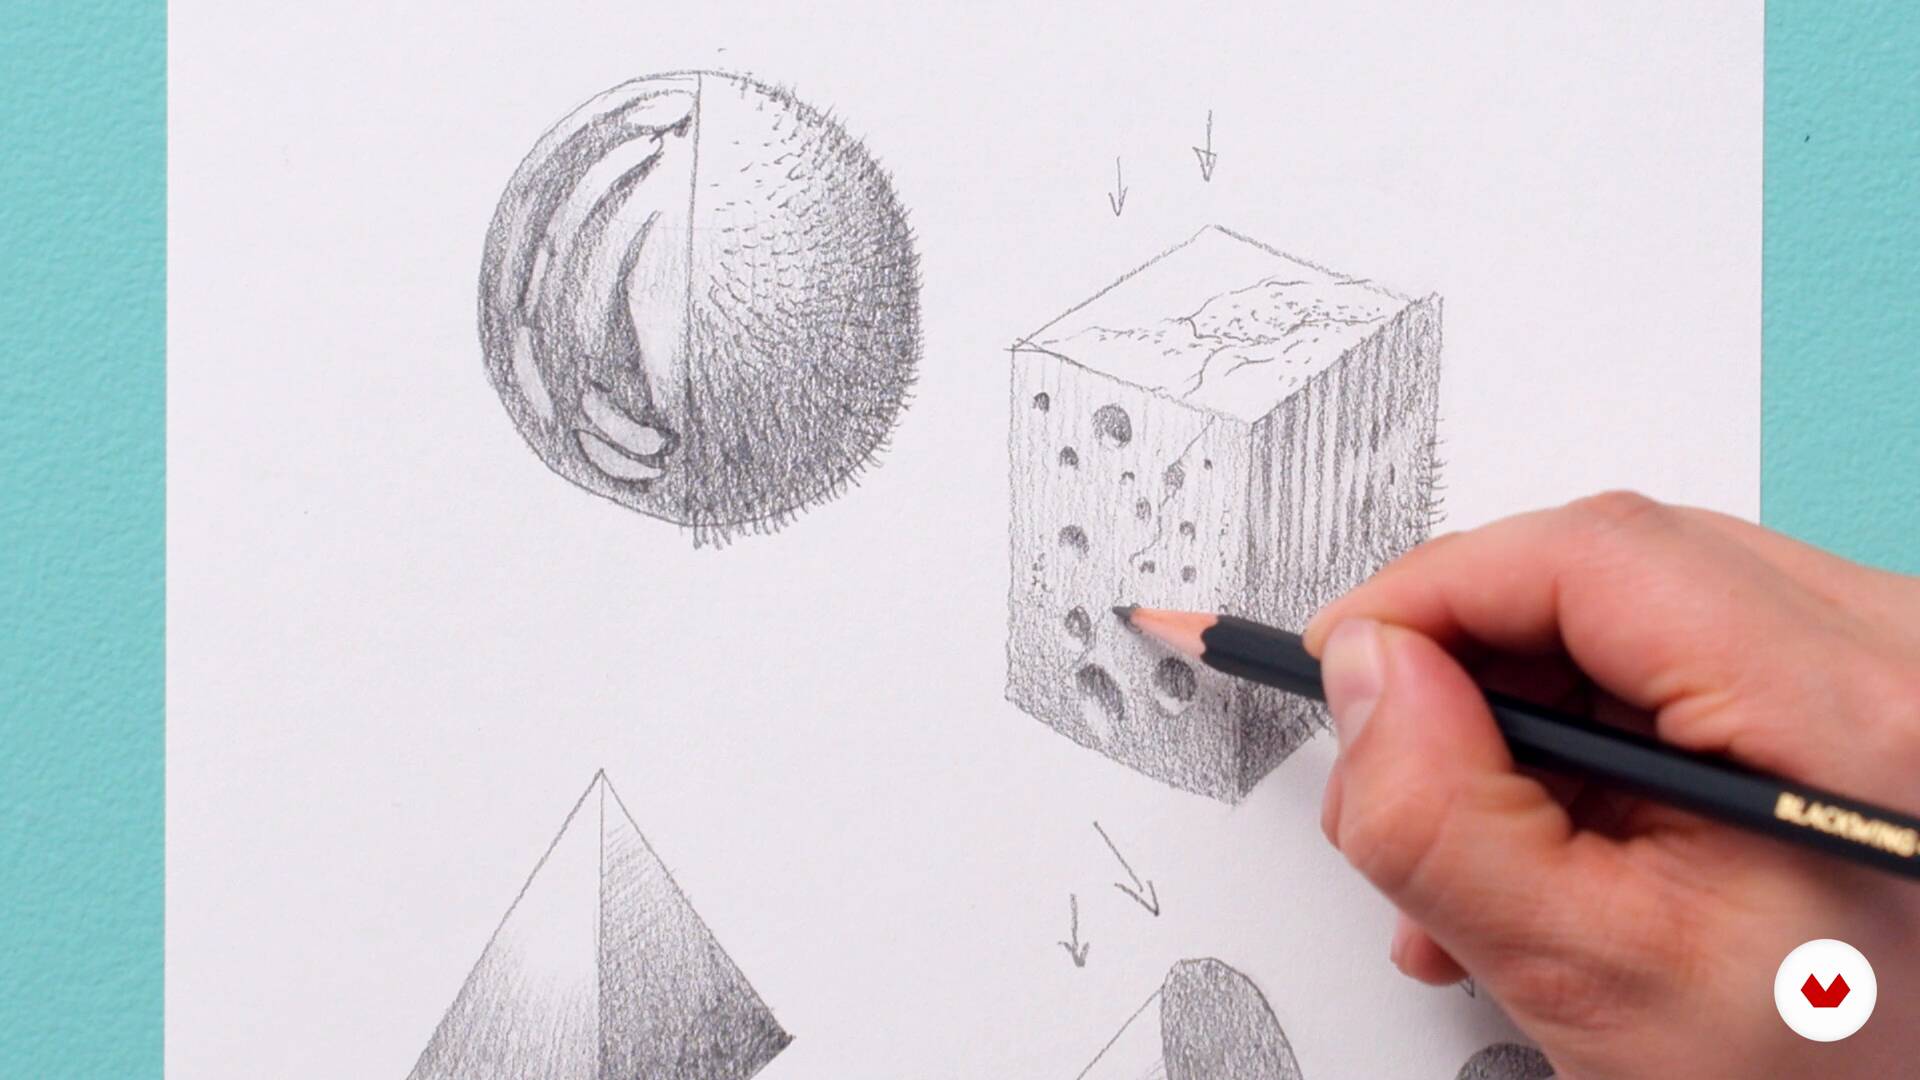
In this lesson, I'm going to use the shapes we used earlier to show you how to apply textures that will be useful later when drawing bones, hair, muscles, etc.
18m
image
8
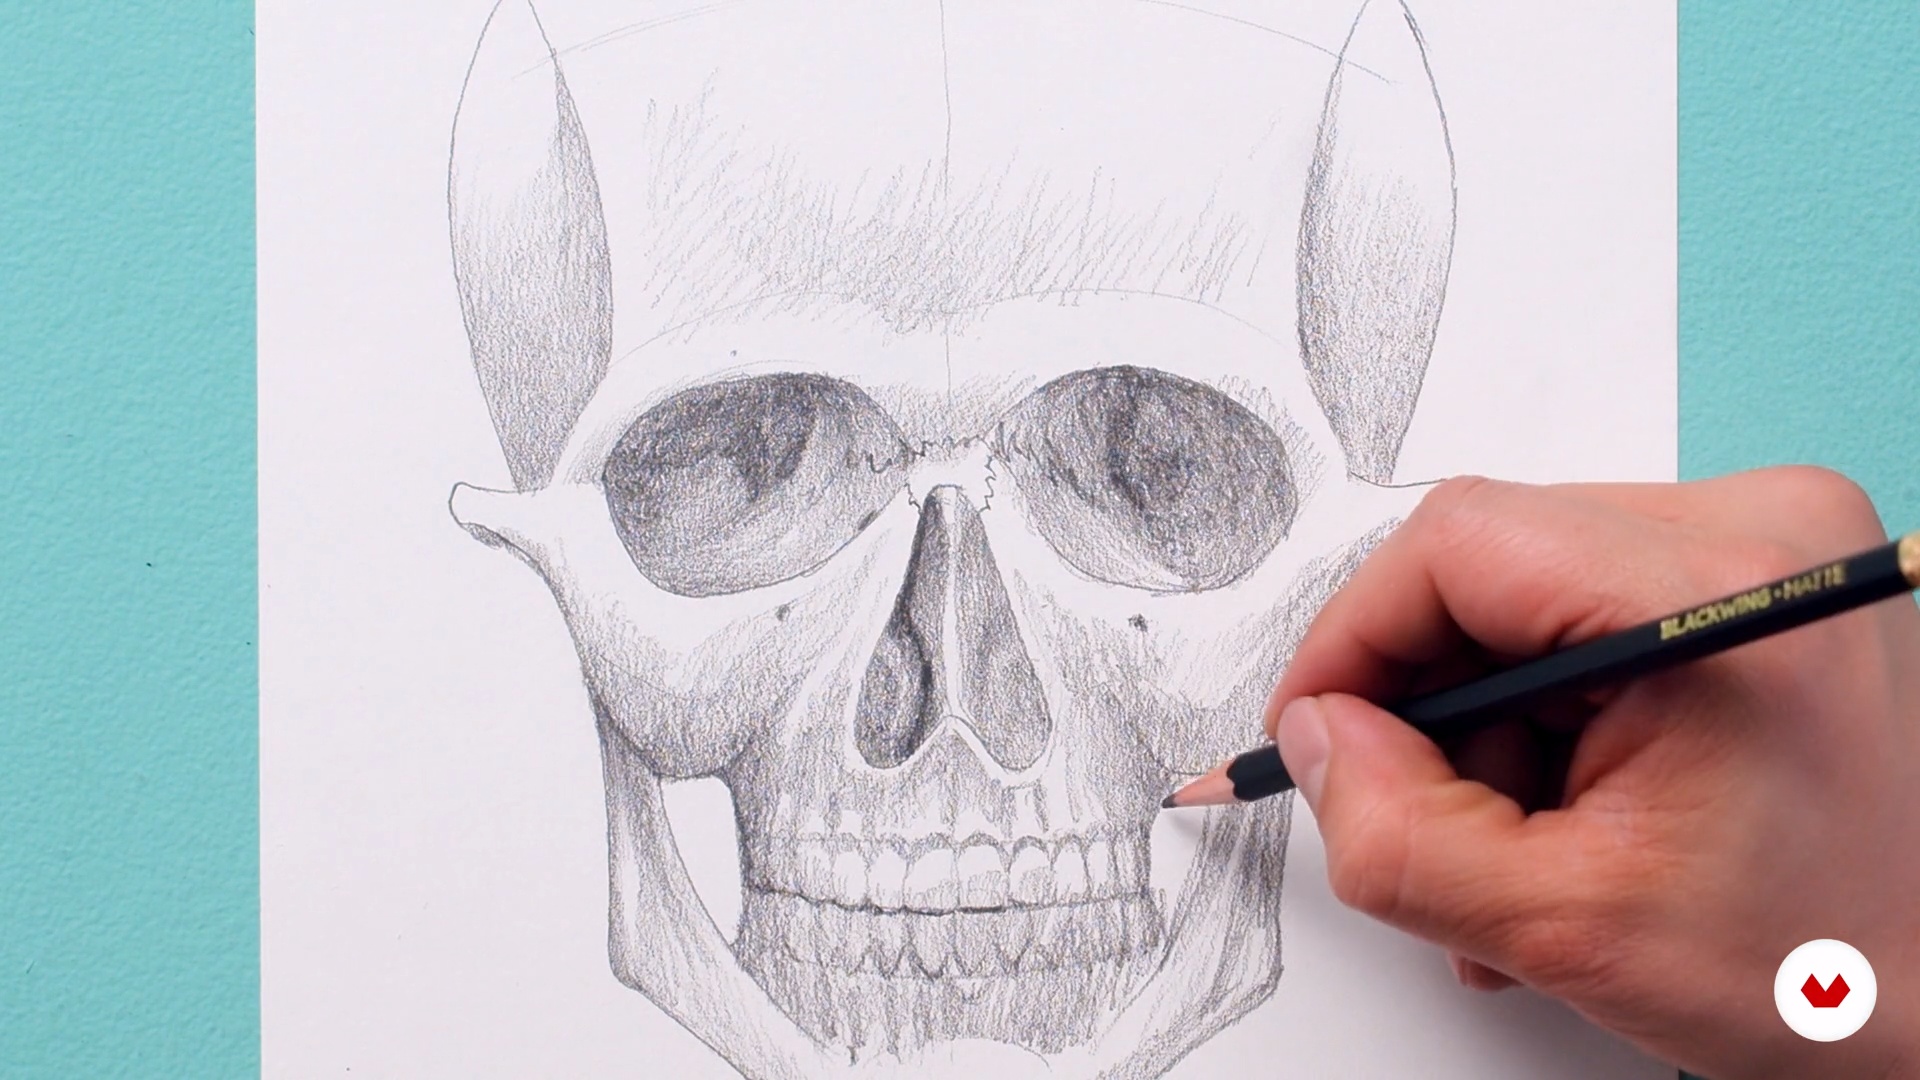
The planes of the skull and neck. Part 1
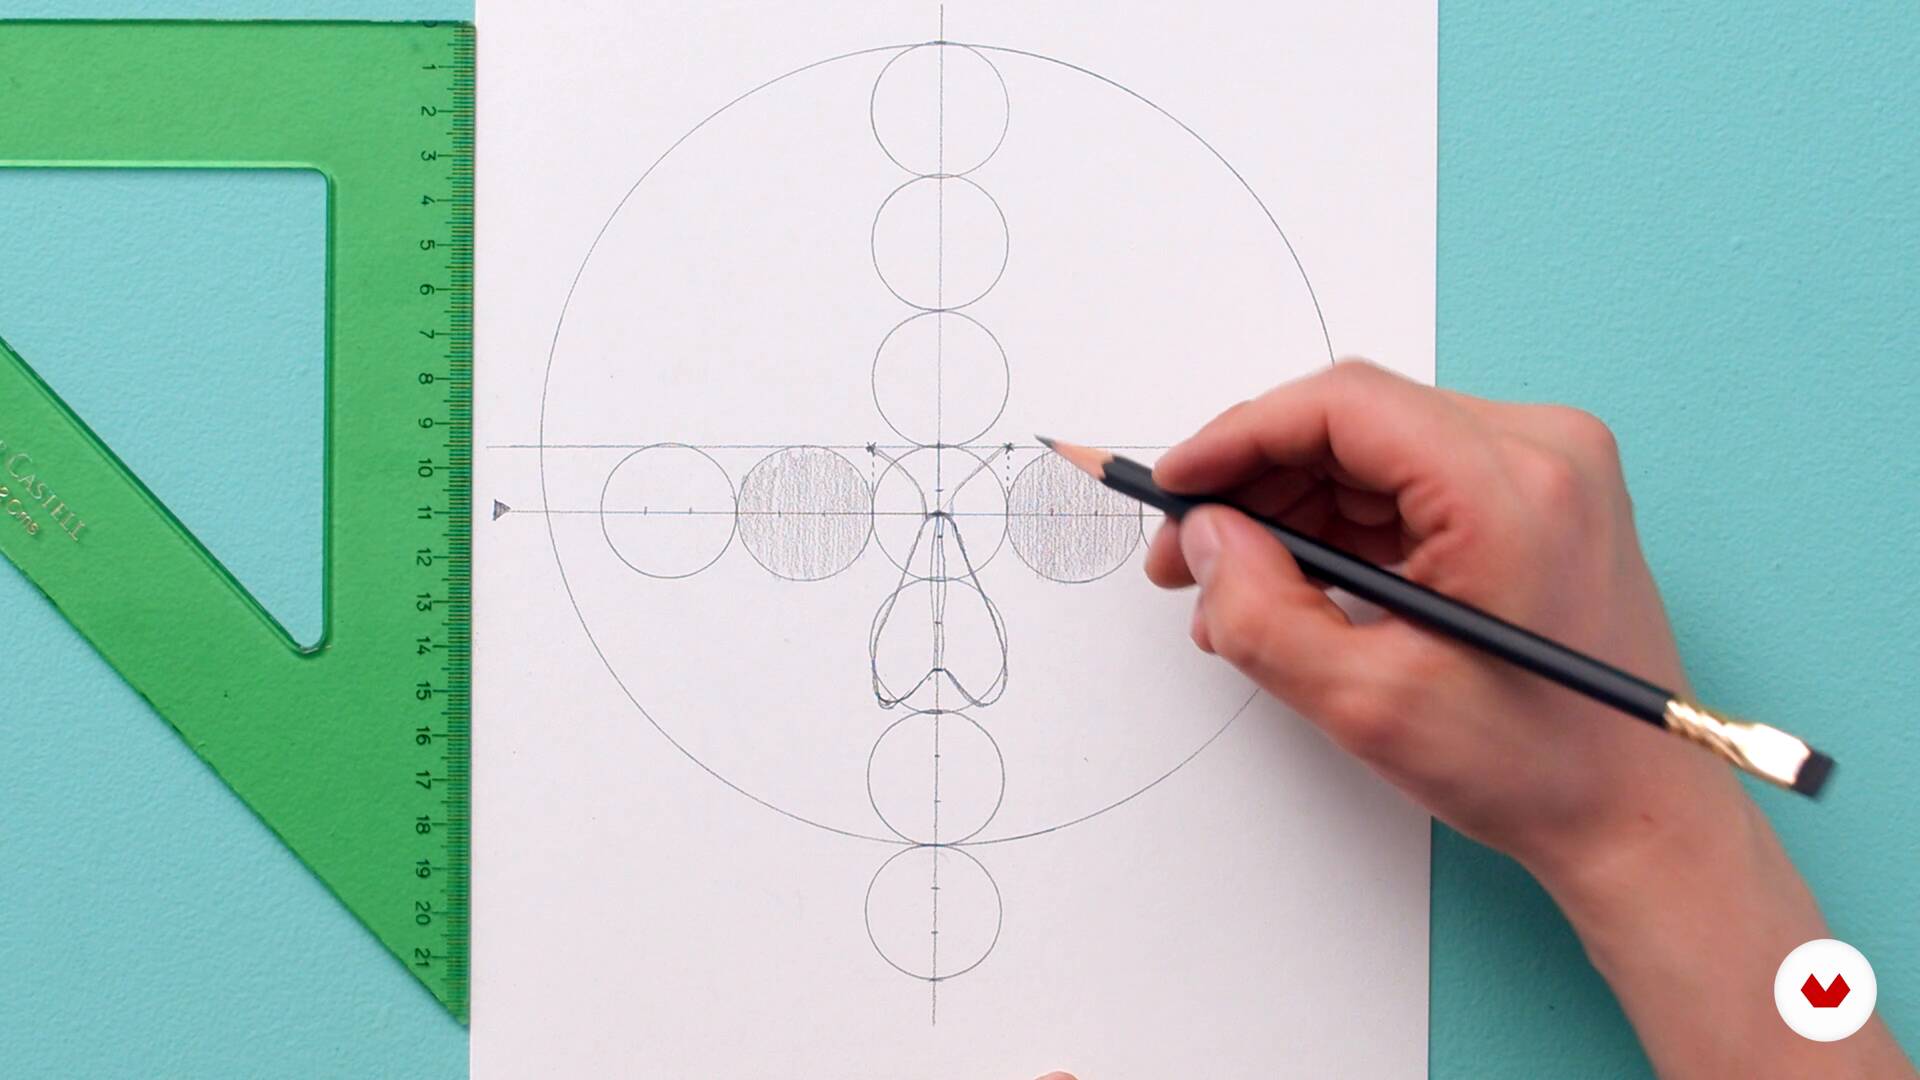
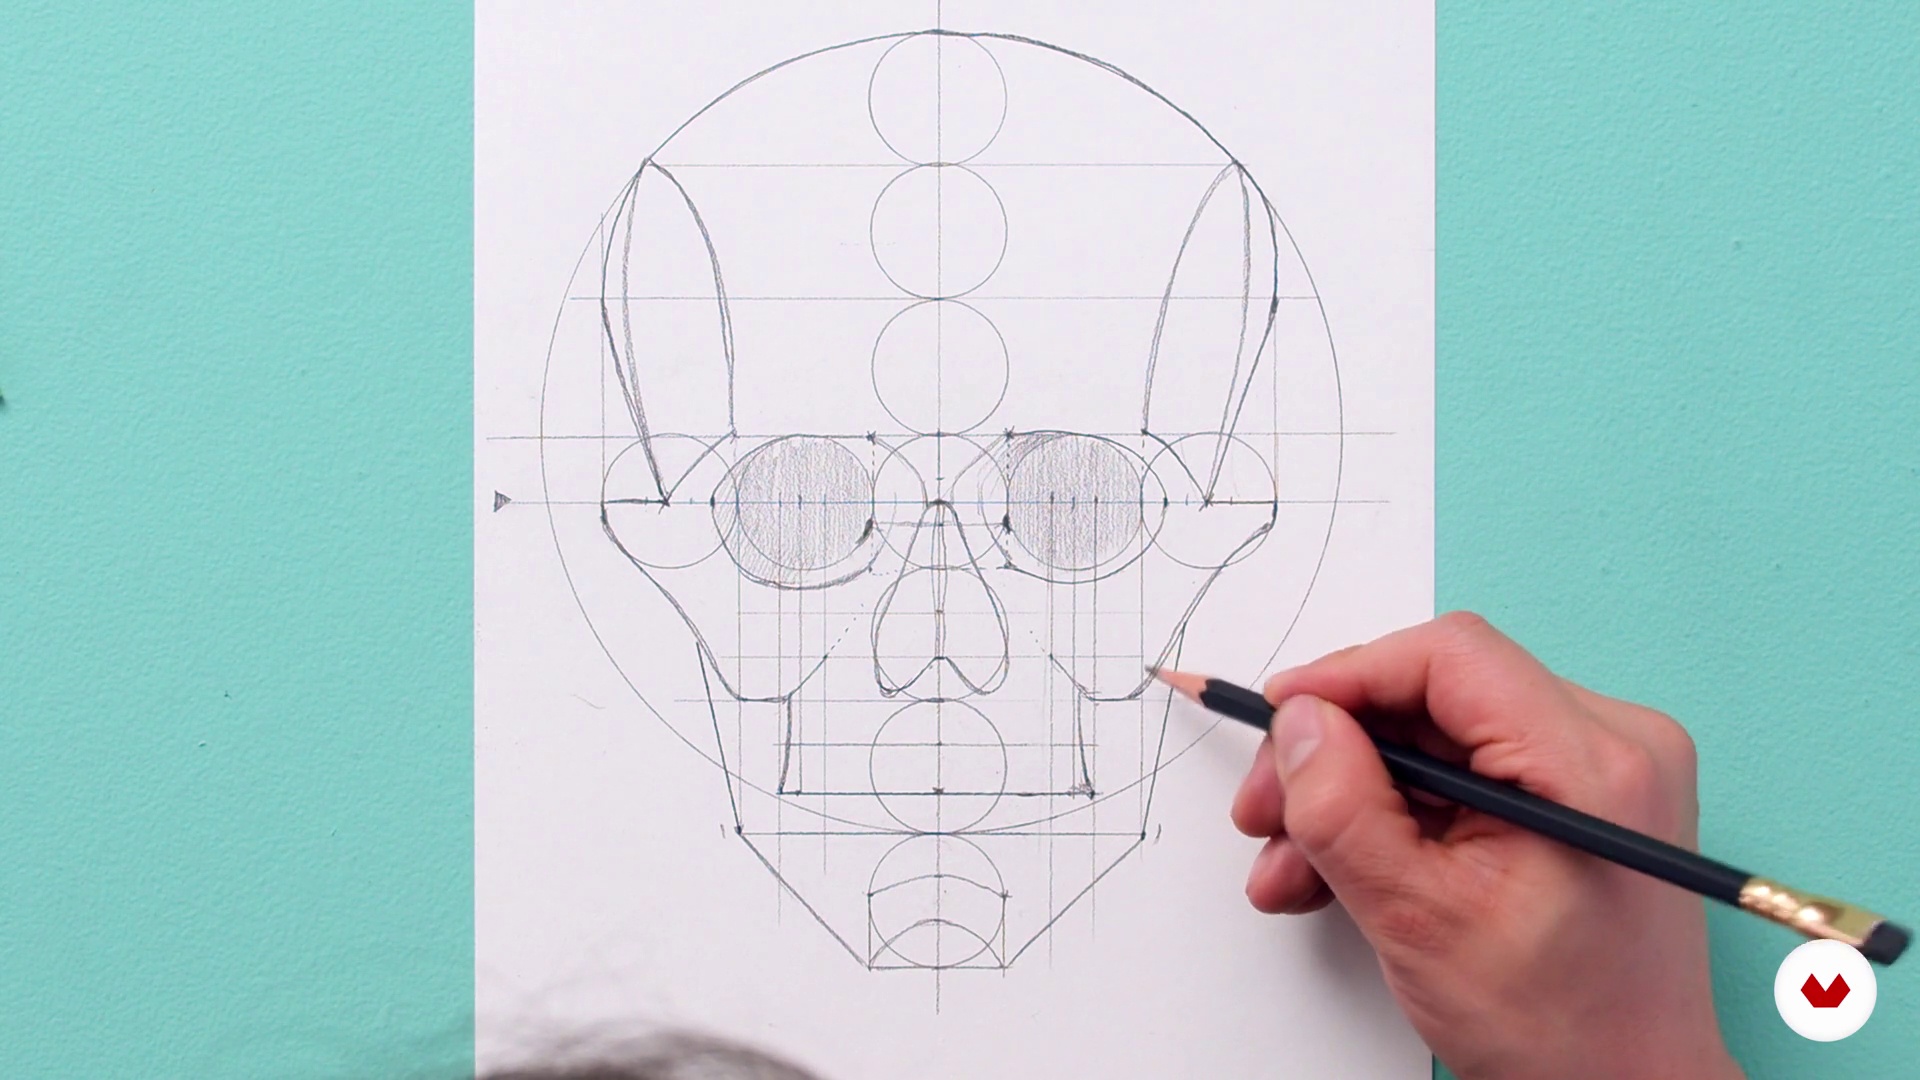
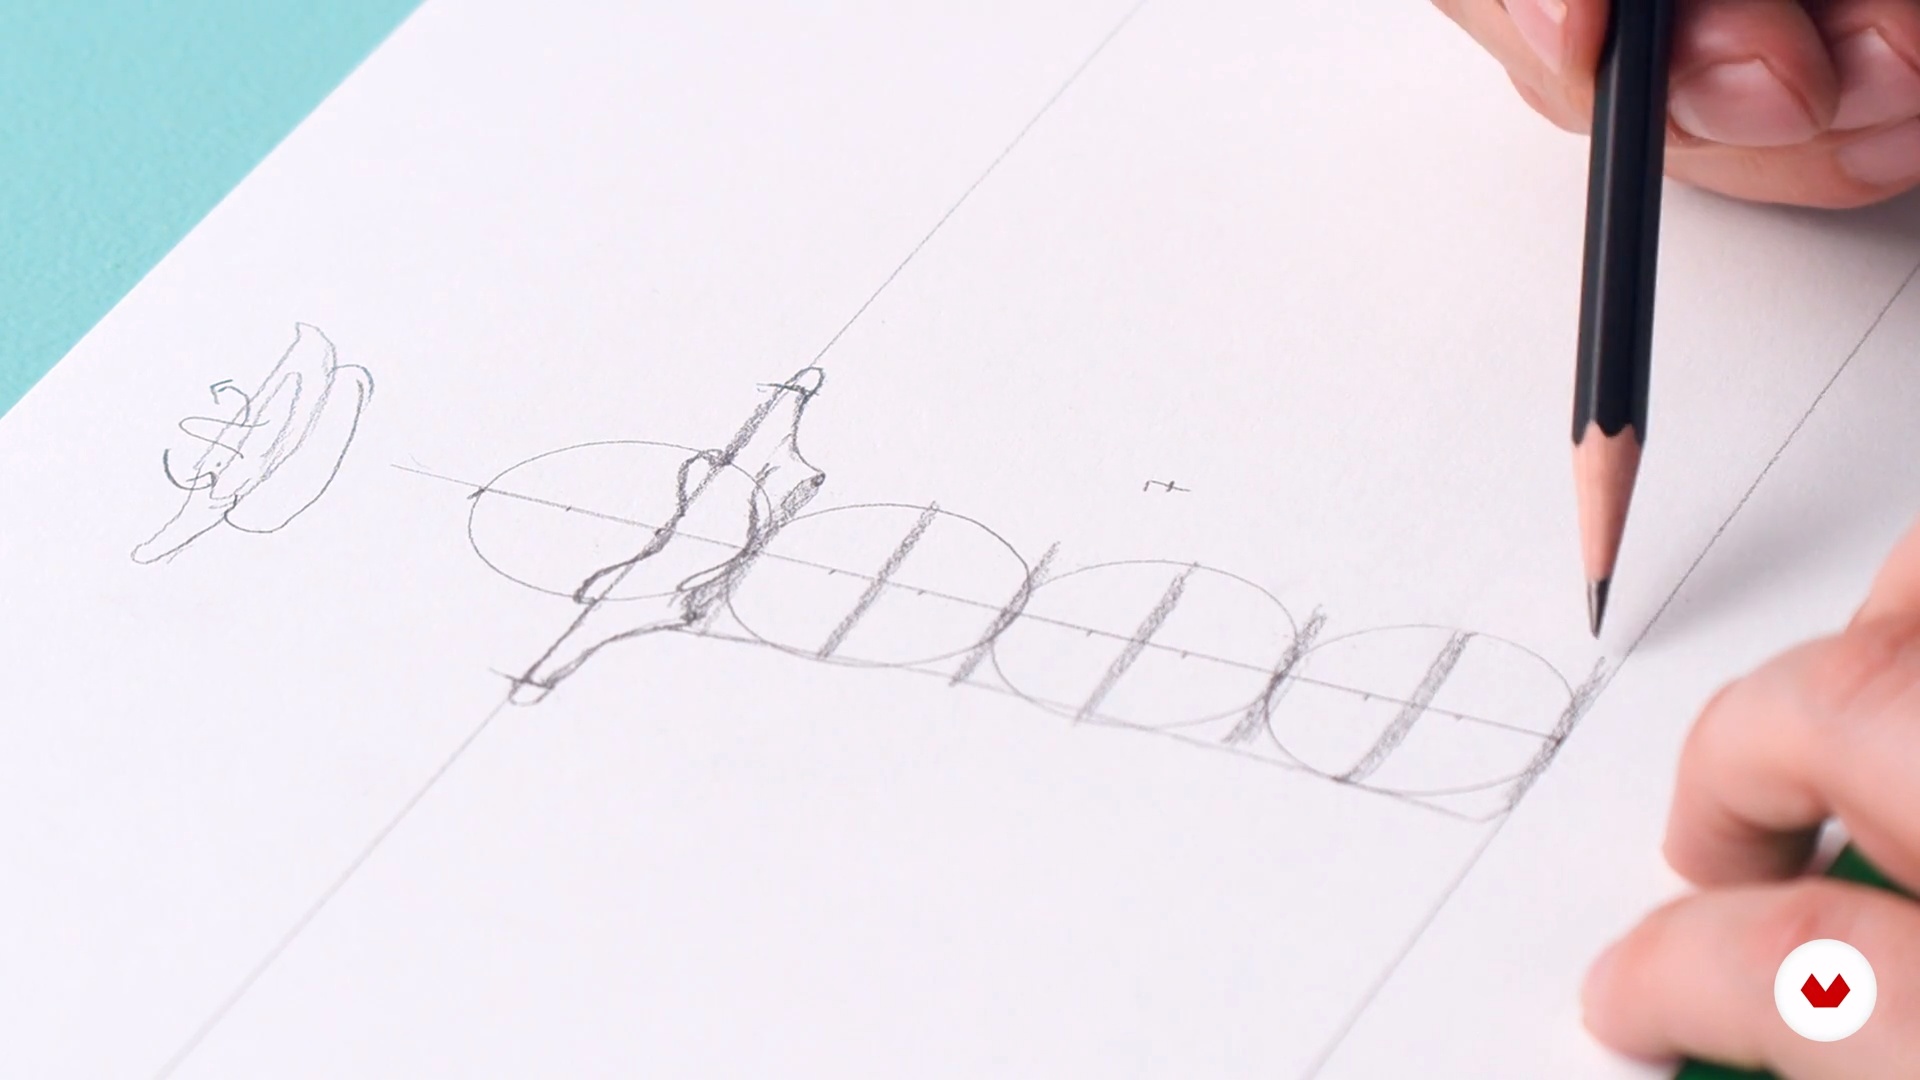
I'm going to begin this unit by showing you how to draw the proportions of the skull and neck from different views. We'll use a grid of units to guide us in proportional measurements and the placement of parts.
19m
image
9
The planes of the skull and neck. Part 2
Here I will continue showing you how to locate the top of the cranial vault.
14m
image
10
The planes of the skull and neck. Part 3
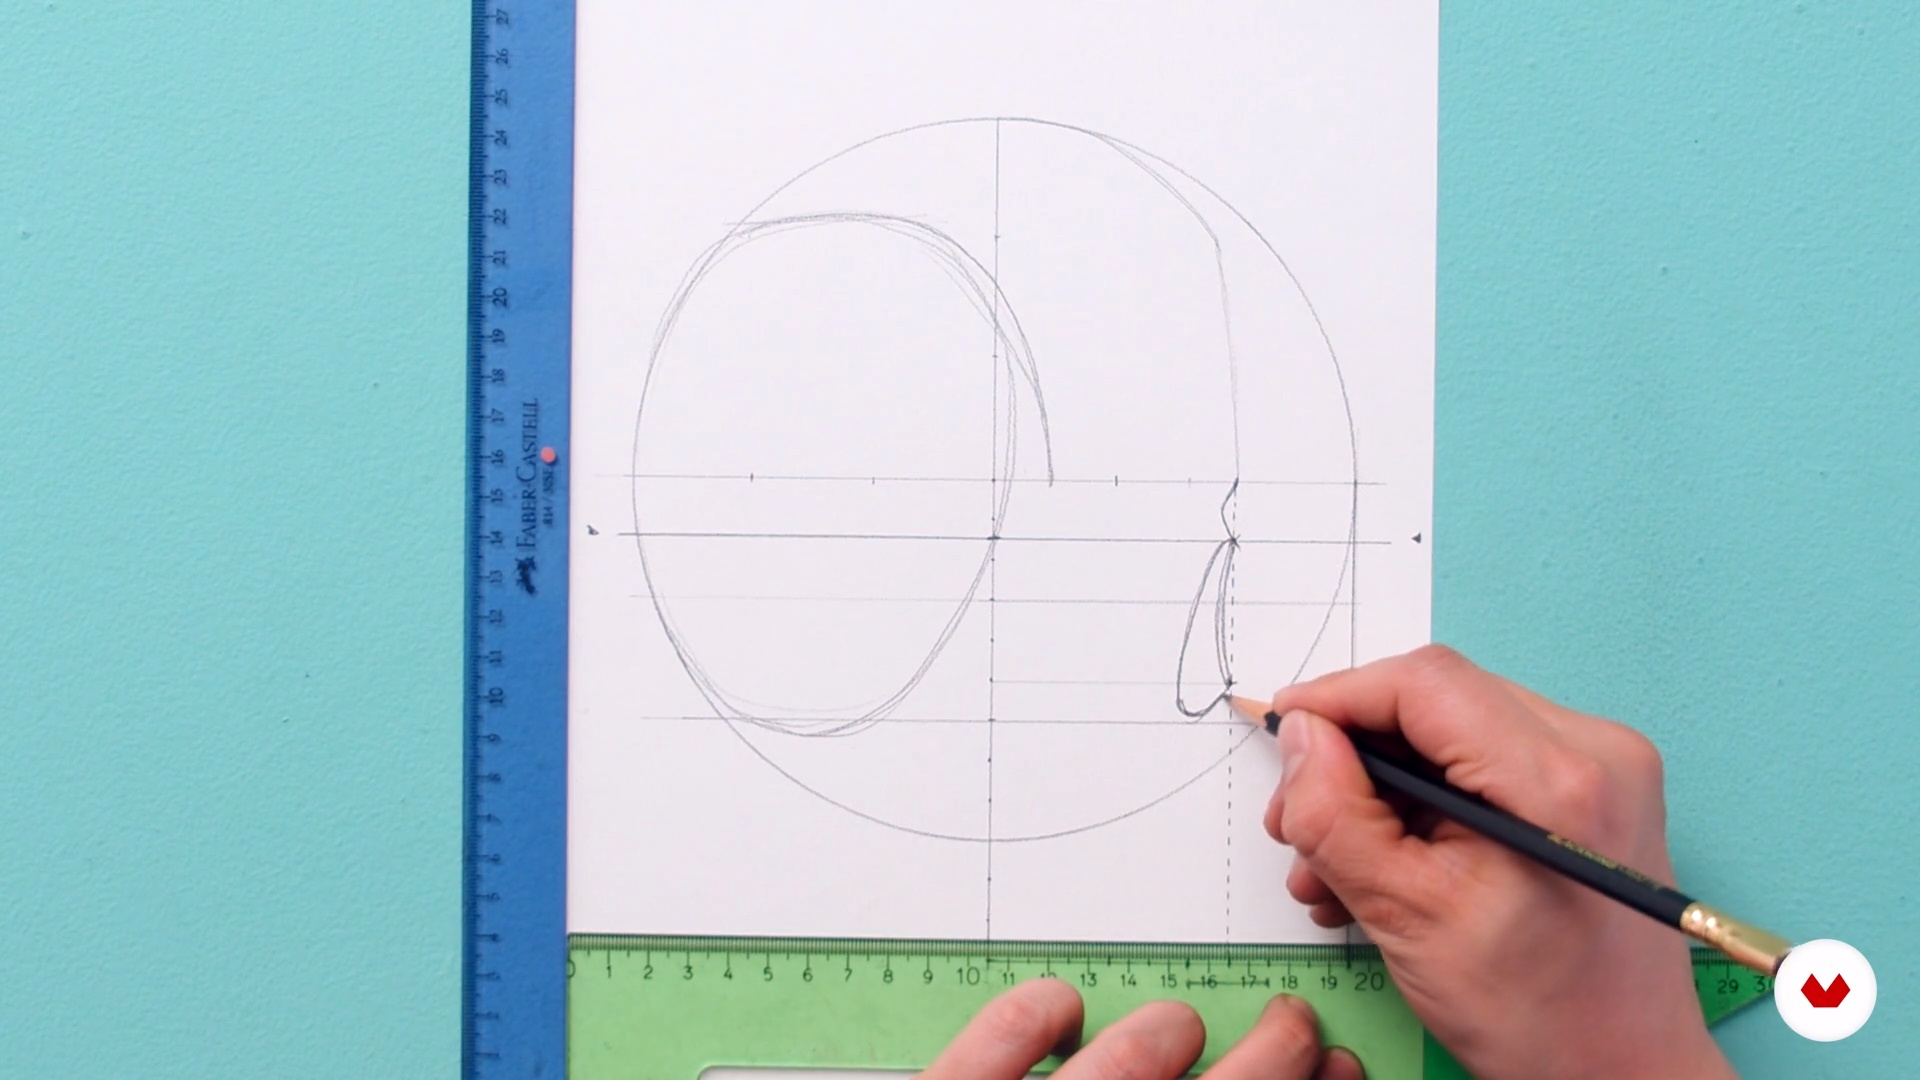
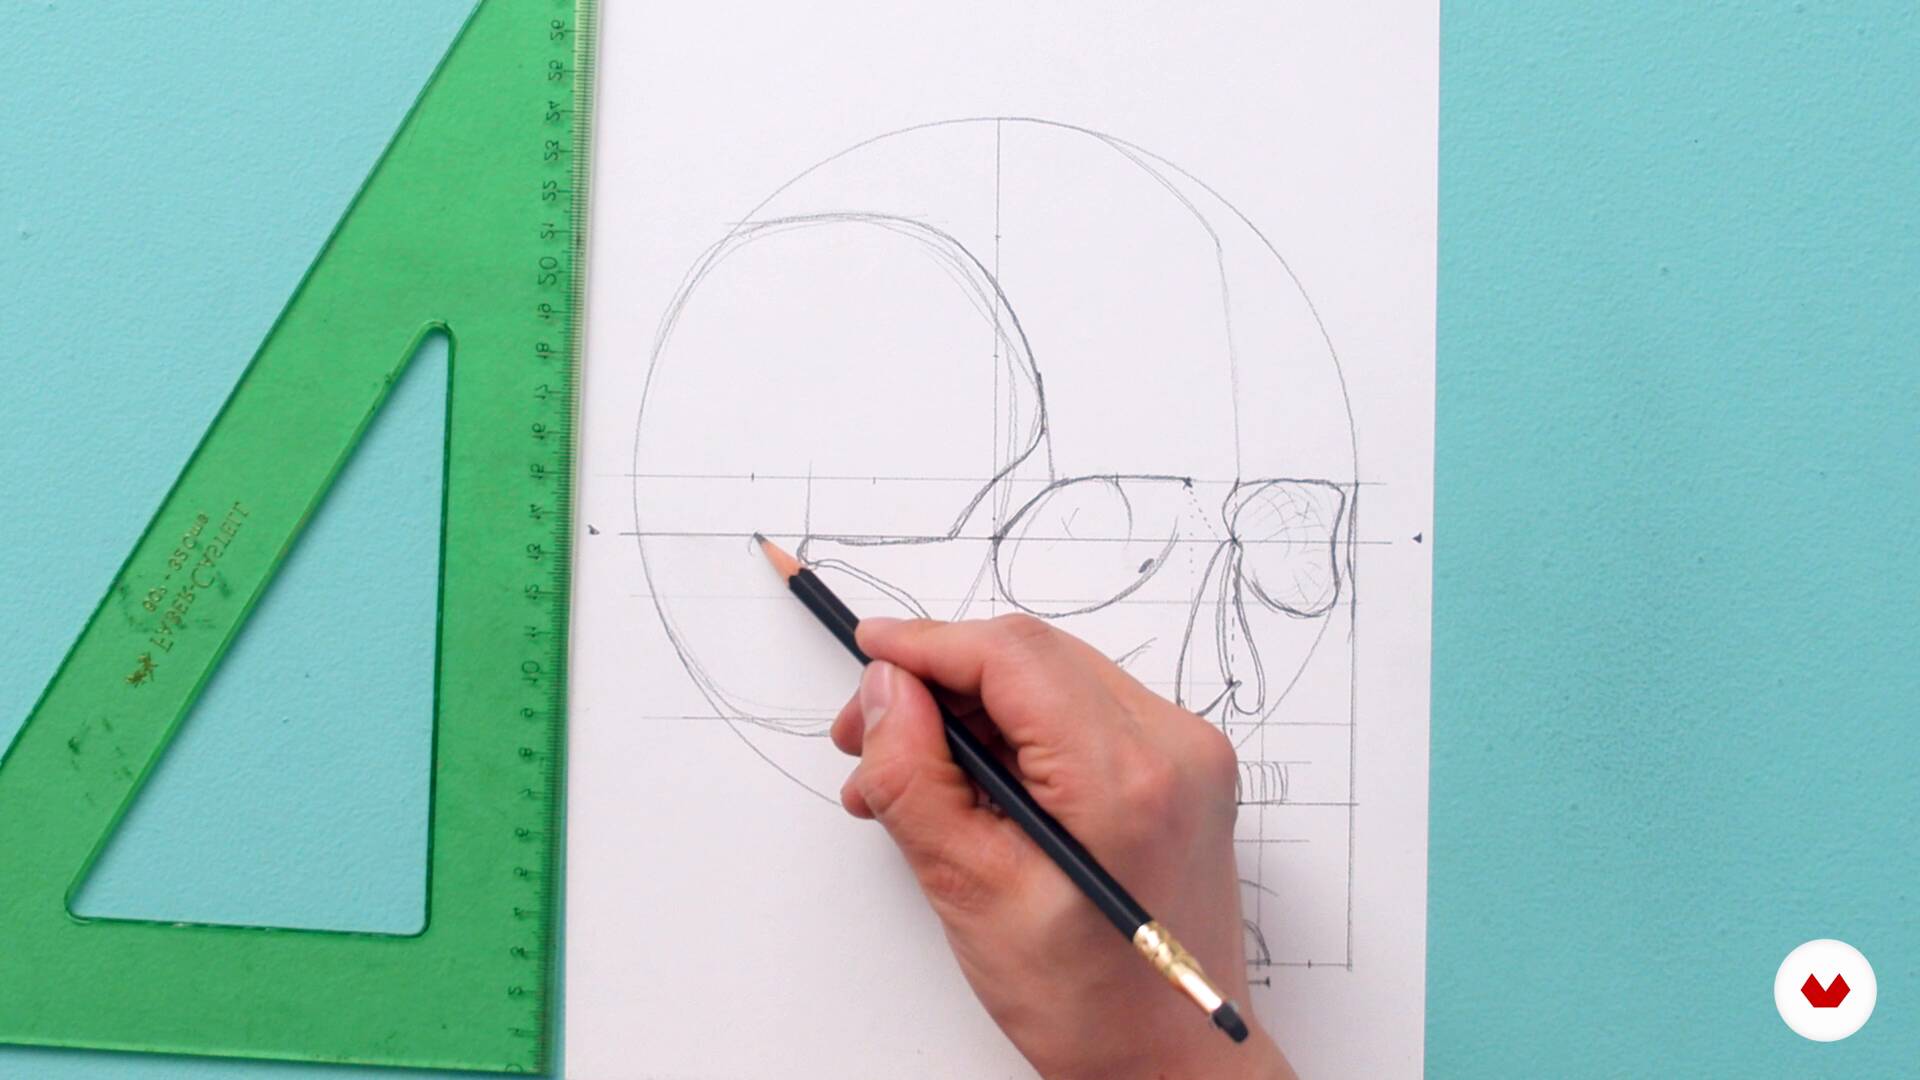
In this video we continue with the lateral view of the skull.
16m
image
11
The planes of the skull and neck. Part 4
In this video, we'll conclude our discussion of the planes of the skull and neck. I'll explain how to represent the cervical spine and its parts in frontal and lateral views.
18m
image
12
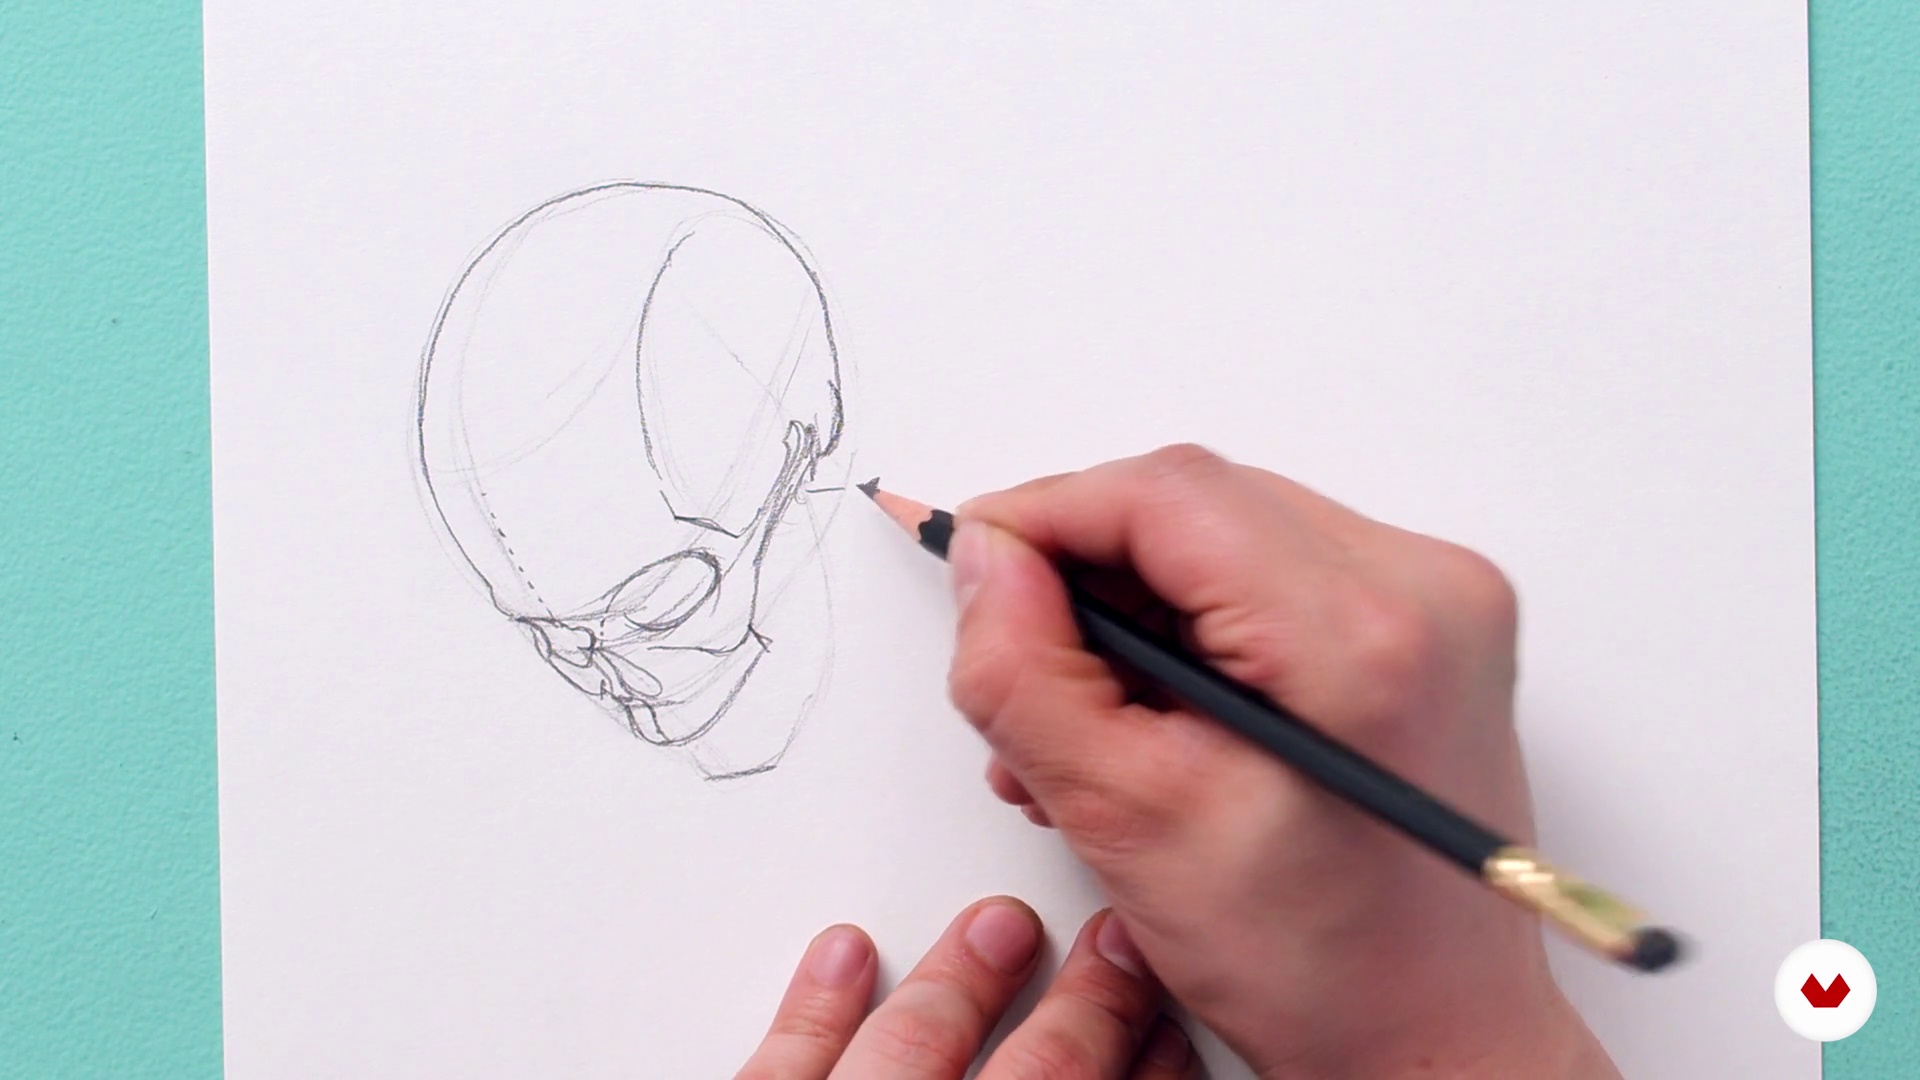
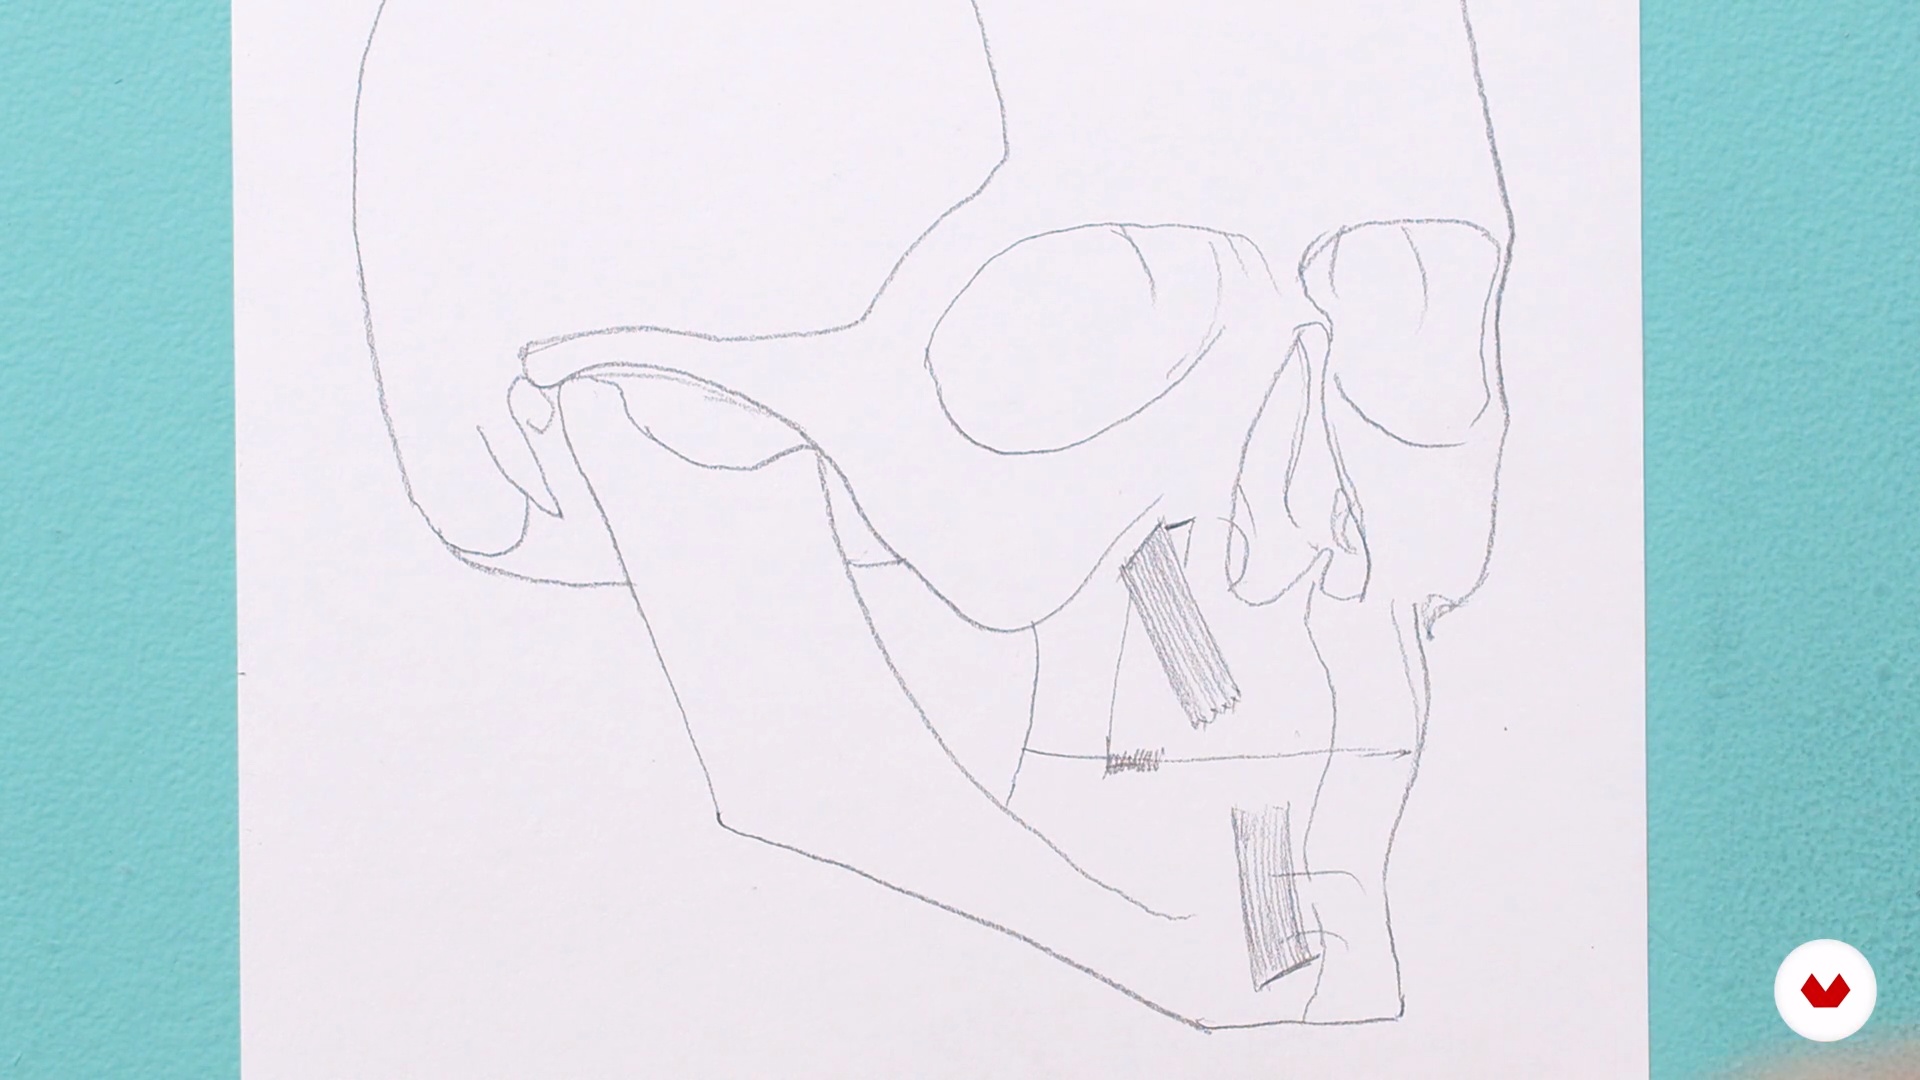
The skull in 3 dimensions. Part 1
In this lesson I'm going to explain how to represent the skull in different views, starting with the 3/4 view.
9m
image
13
The skull in 3 dimensions. Part 2
Here I continue with the explanation of the 3/4 view of the skull, focusing on the proportions and connections that we can find with the frontal view.
12m
image
14
The skull in 3 dimensions. Part 3
Next we will begin to rotate the skull in different views using the frontal, lateral and 3/4 views.
8m
image
15
The skull in 3 dimensions. Part 4
With everything you've learned in the previous videos, we can now begin rotating the skull. Here, I'll continue showing you how to do it using the proper proportions and measurements.
14m
image
16
Skull textures
In this lesson I will show you how the texture and volume of the skull is affected by lighting and how to render it.
11m
image
17
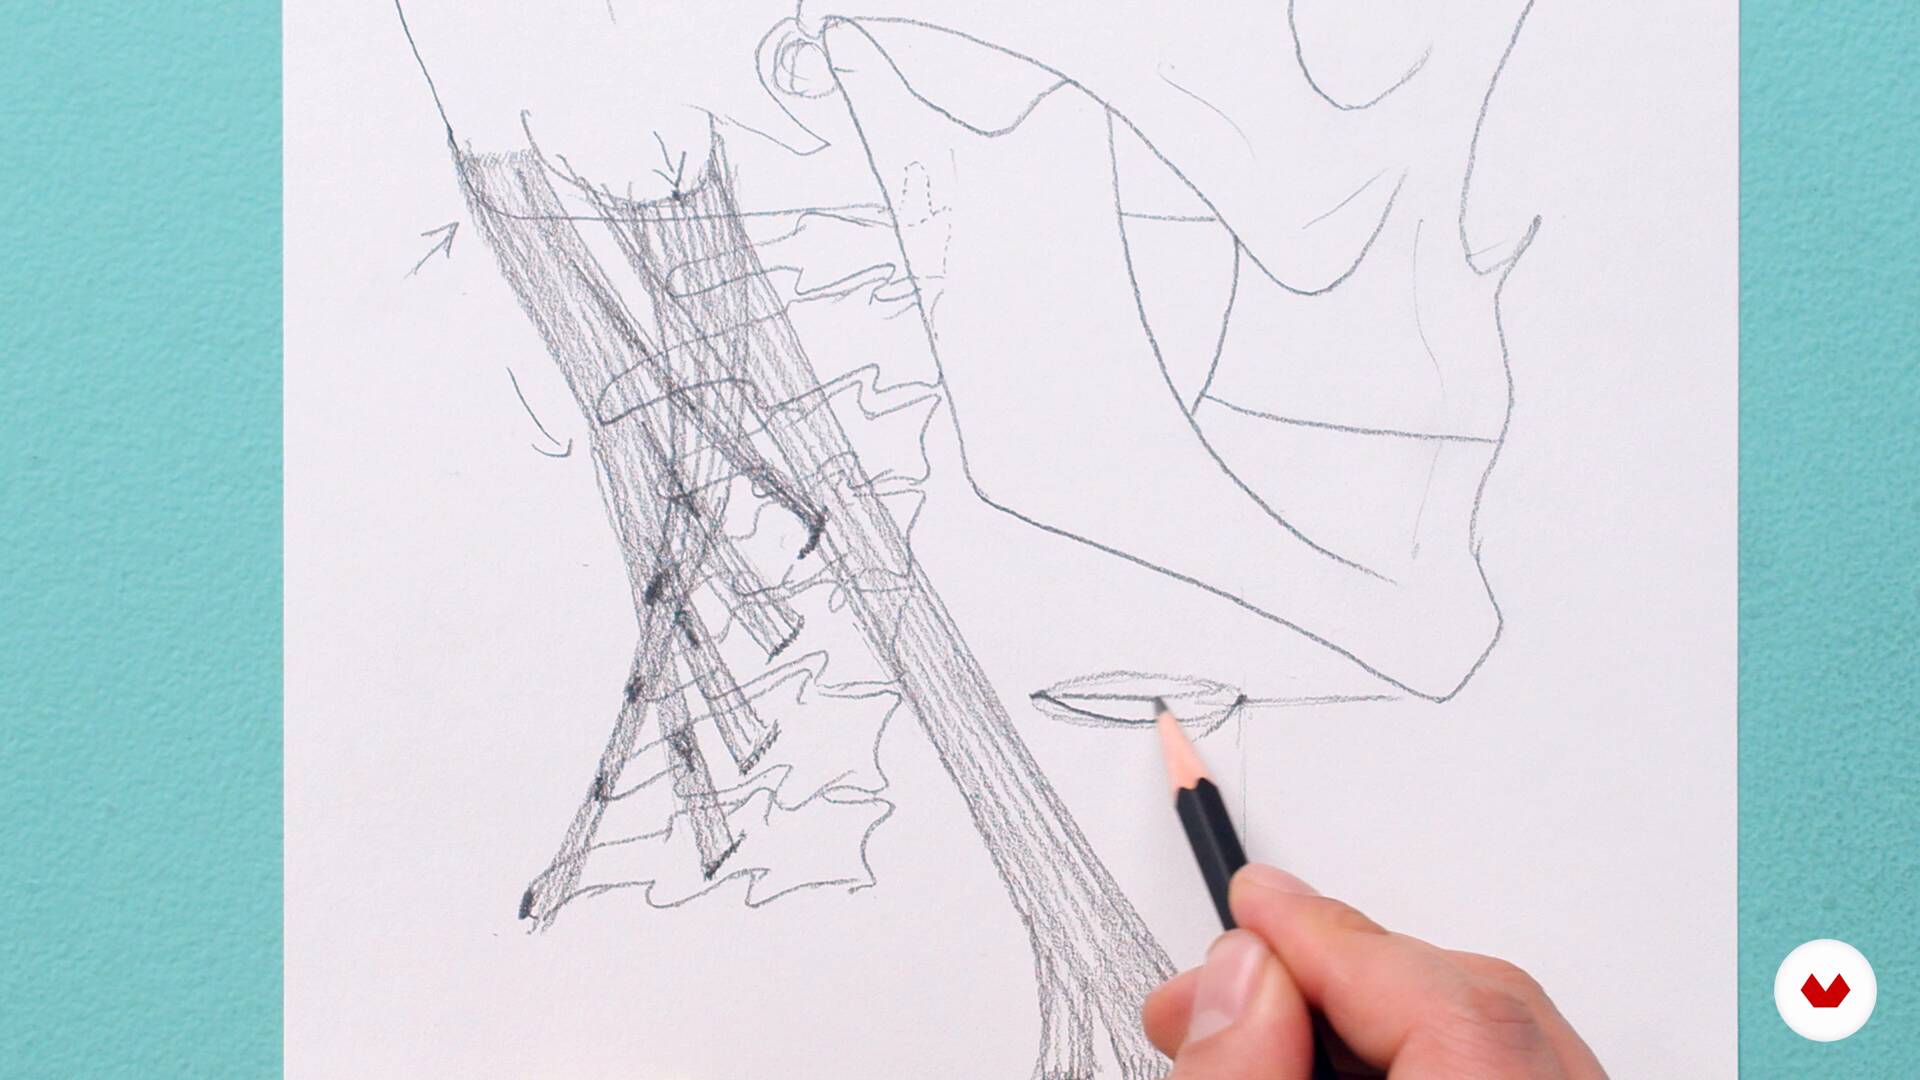
Neck muscles
In this lesson we are going to see which muscles support the head, joining it with the rib cage. I will explain their functions and how they are represented.
16m
image
18
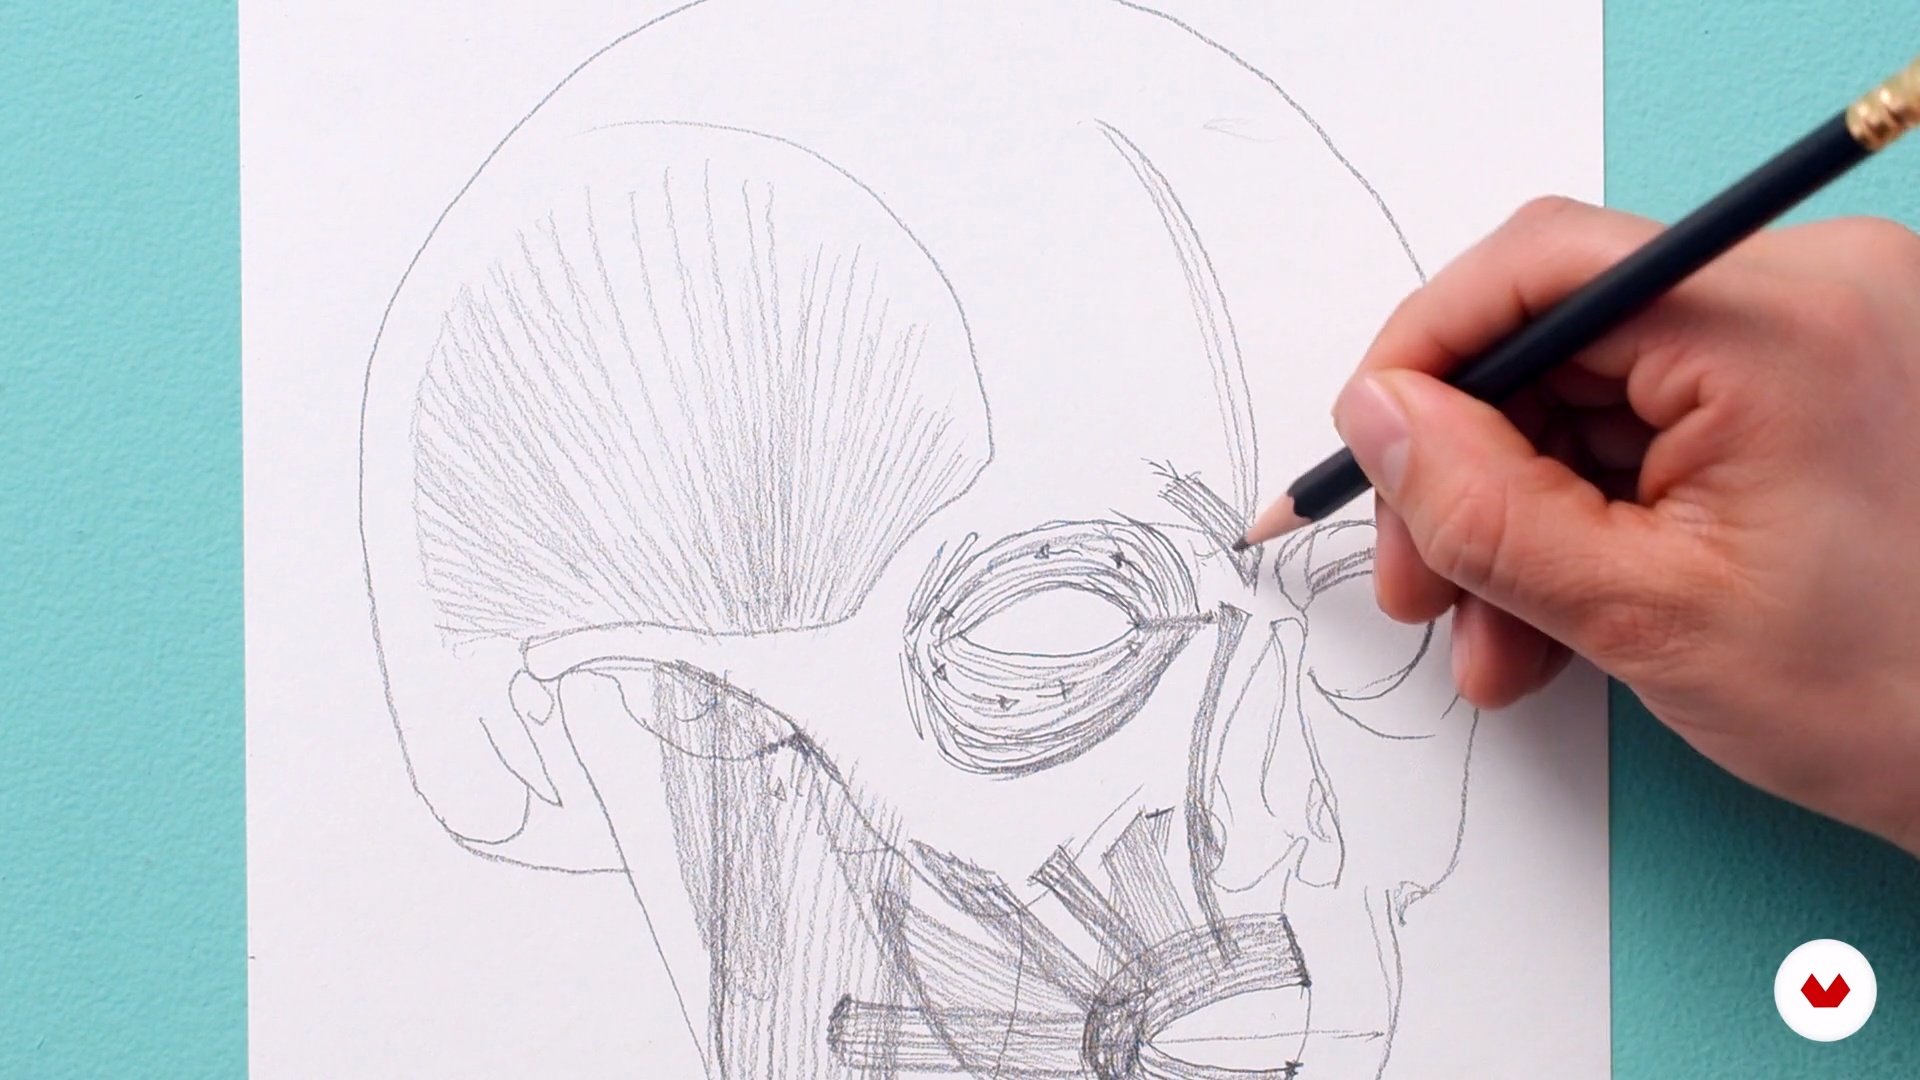
Muscles of the face. Part 1
In this lesson I will explain the muscles of the face, their functions and their representation on the previously made plans.
12m
image
19
Muscles of the face. Part 2
Here I will continue with the topic of facial muscles. We will continue to see how the angle of the mouth is a meeting point for many muscles and how this, along with other characteristics, will affect the expressions we will see later.
13m
image
20
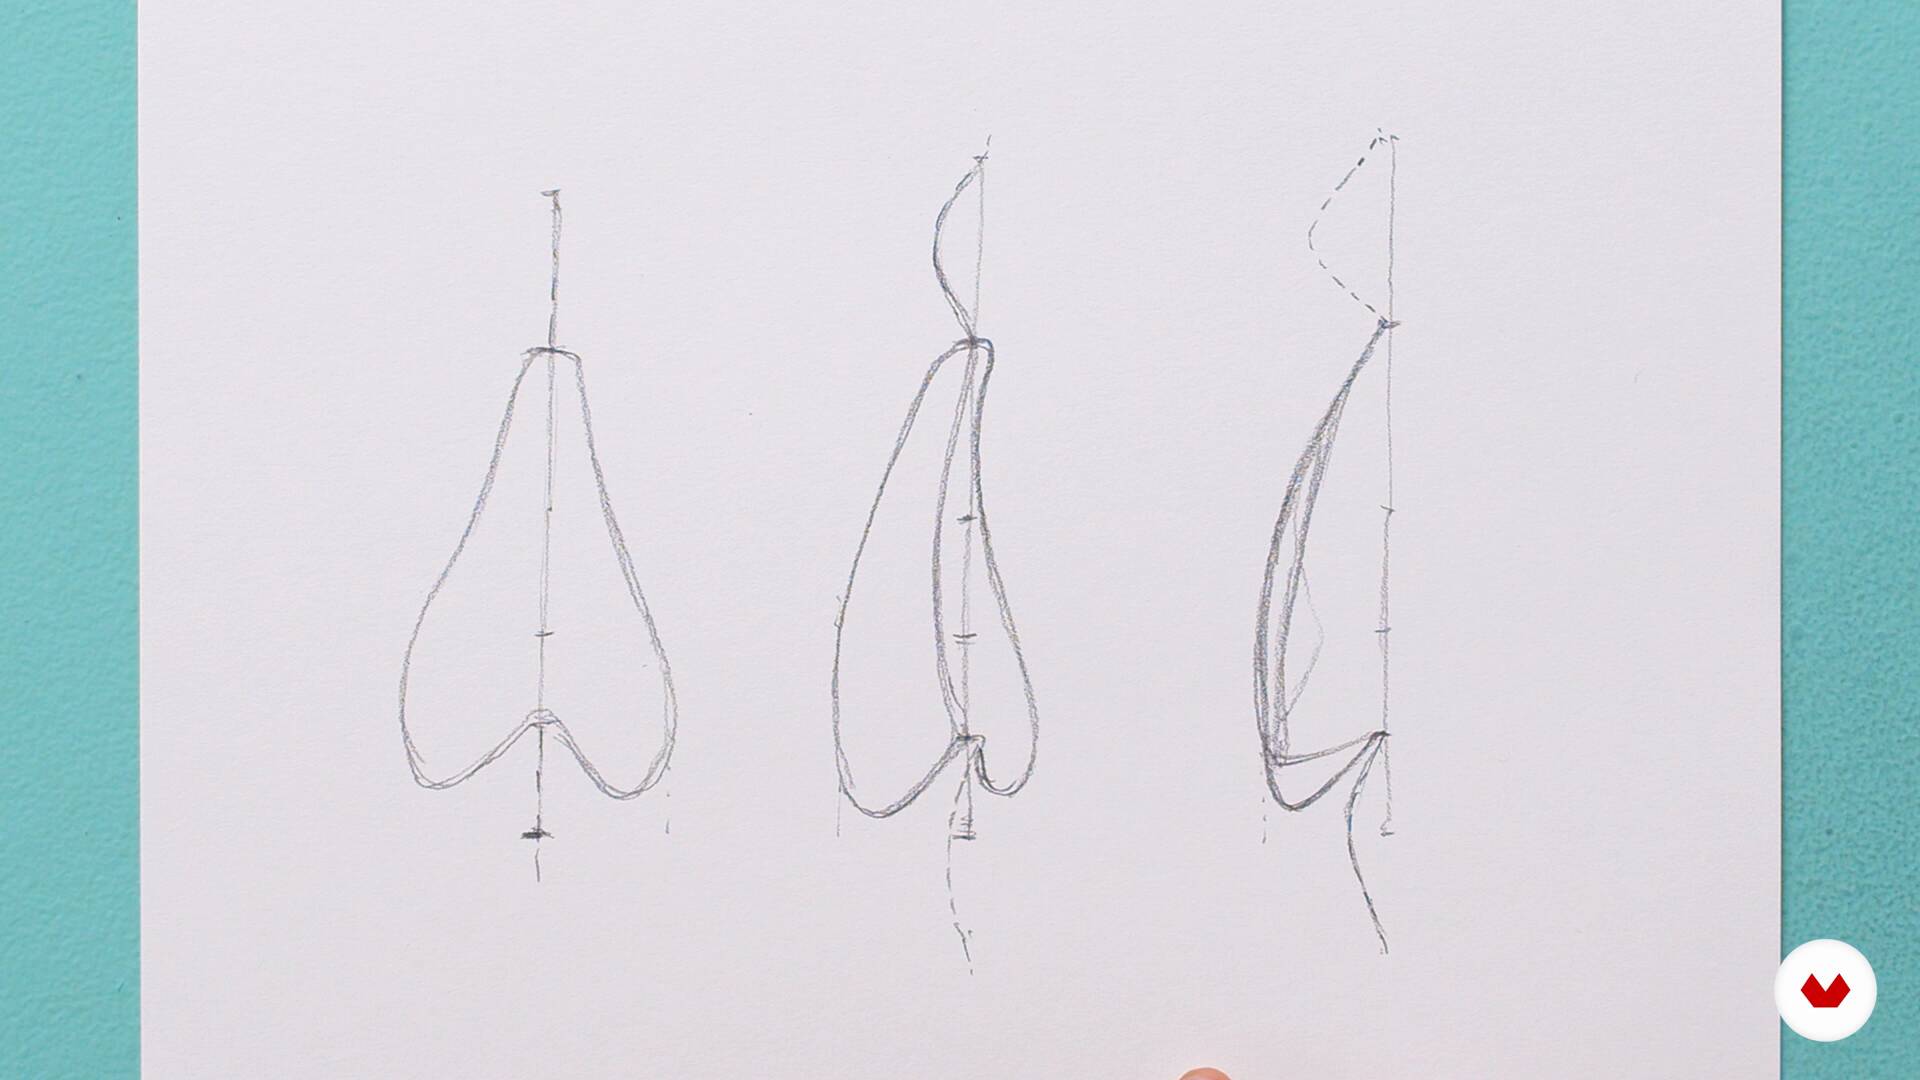
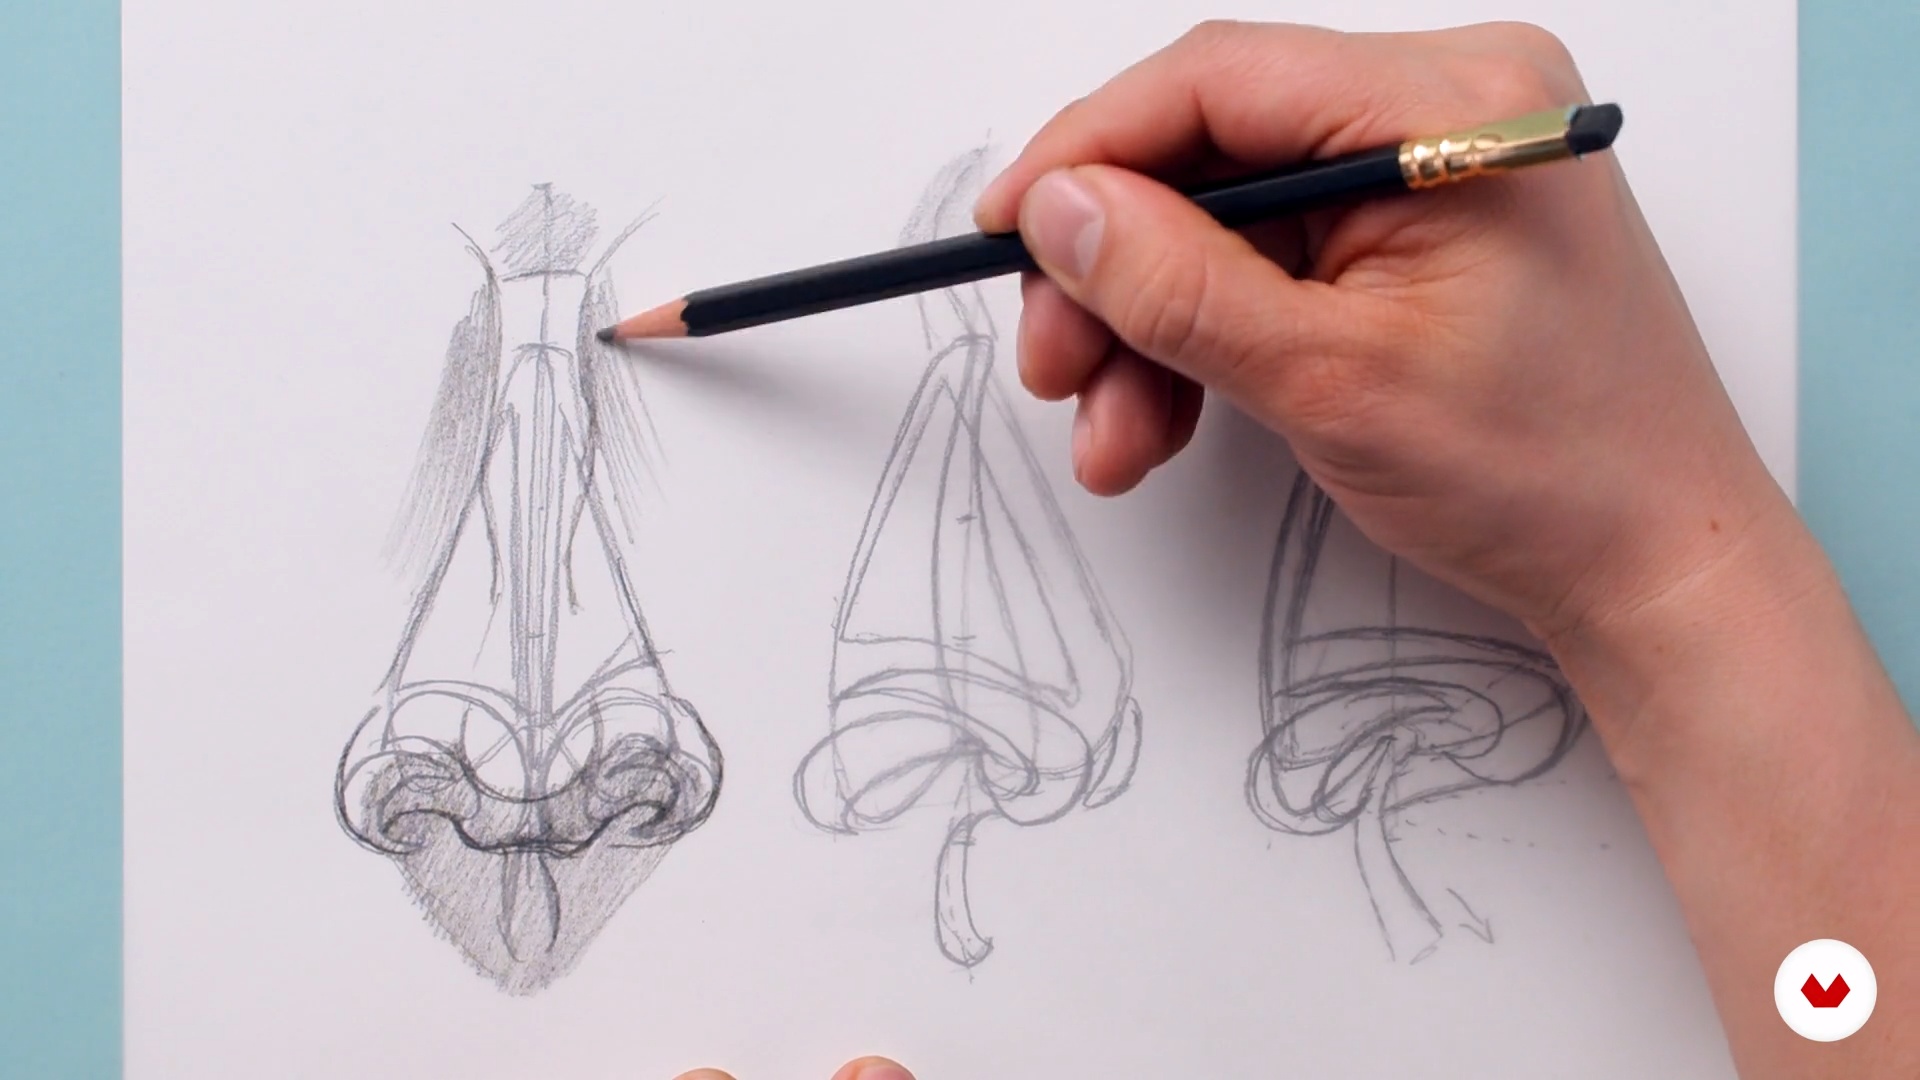
Nose. Part 1
In this lesson, we'll look at the location and composition of the cartilages that make up the nose, the skin that covers them, and how to draw variations in both proportions and lighting from different perspectives.
8m
image
21
Nose. Part 2
I'll continue here with the side and 3/4 views of the nose and then move on to using those representations to show you how light and shadow affect those parts of the face.
14m
image
22
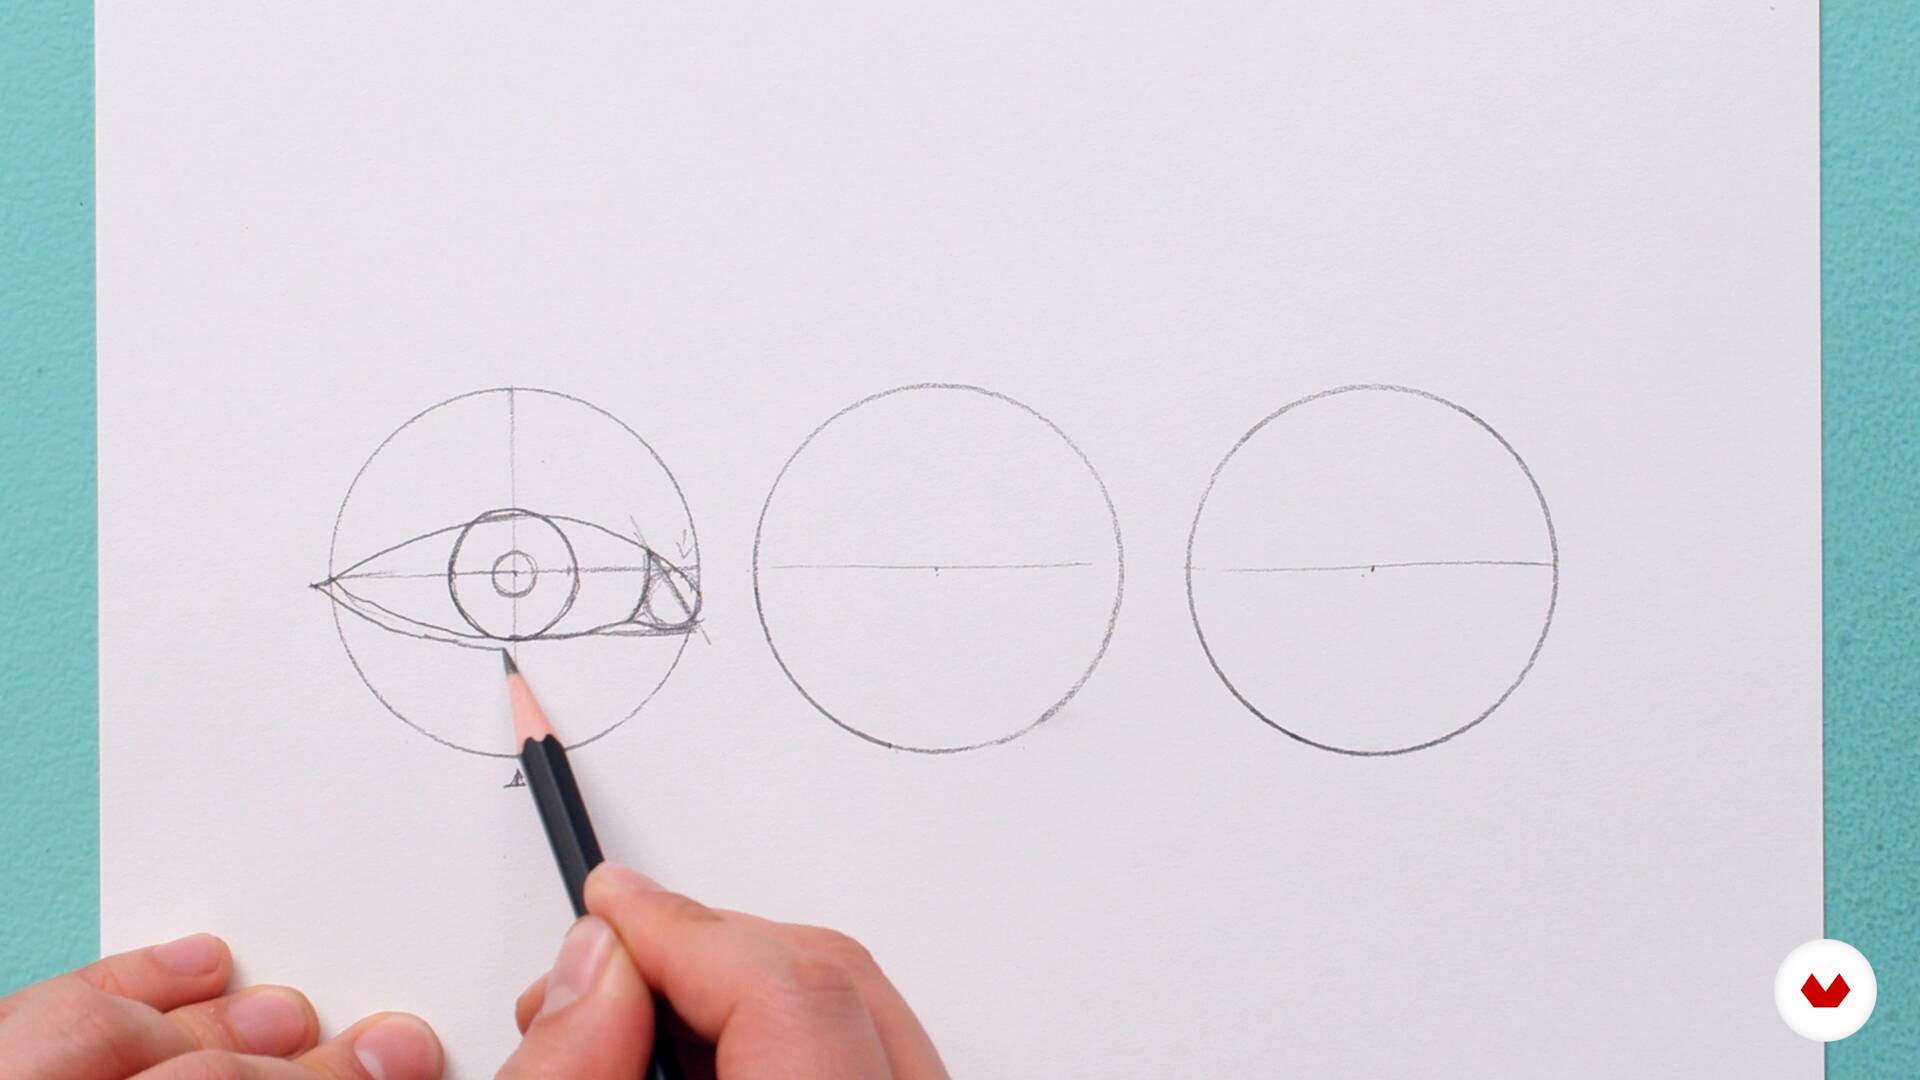
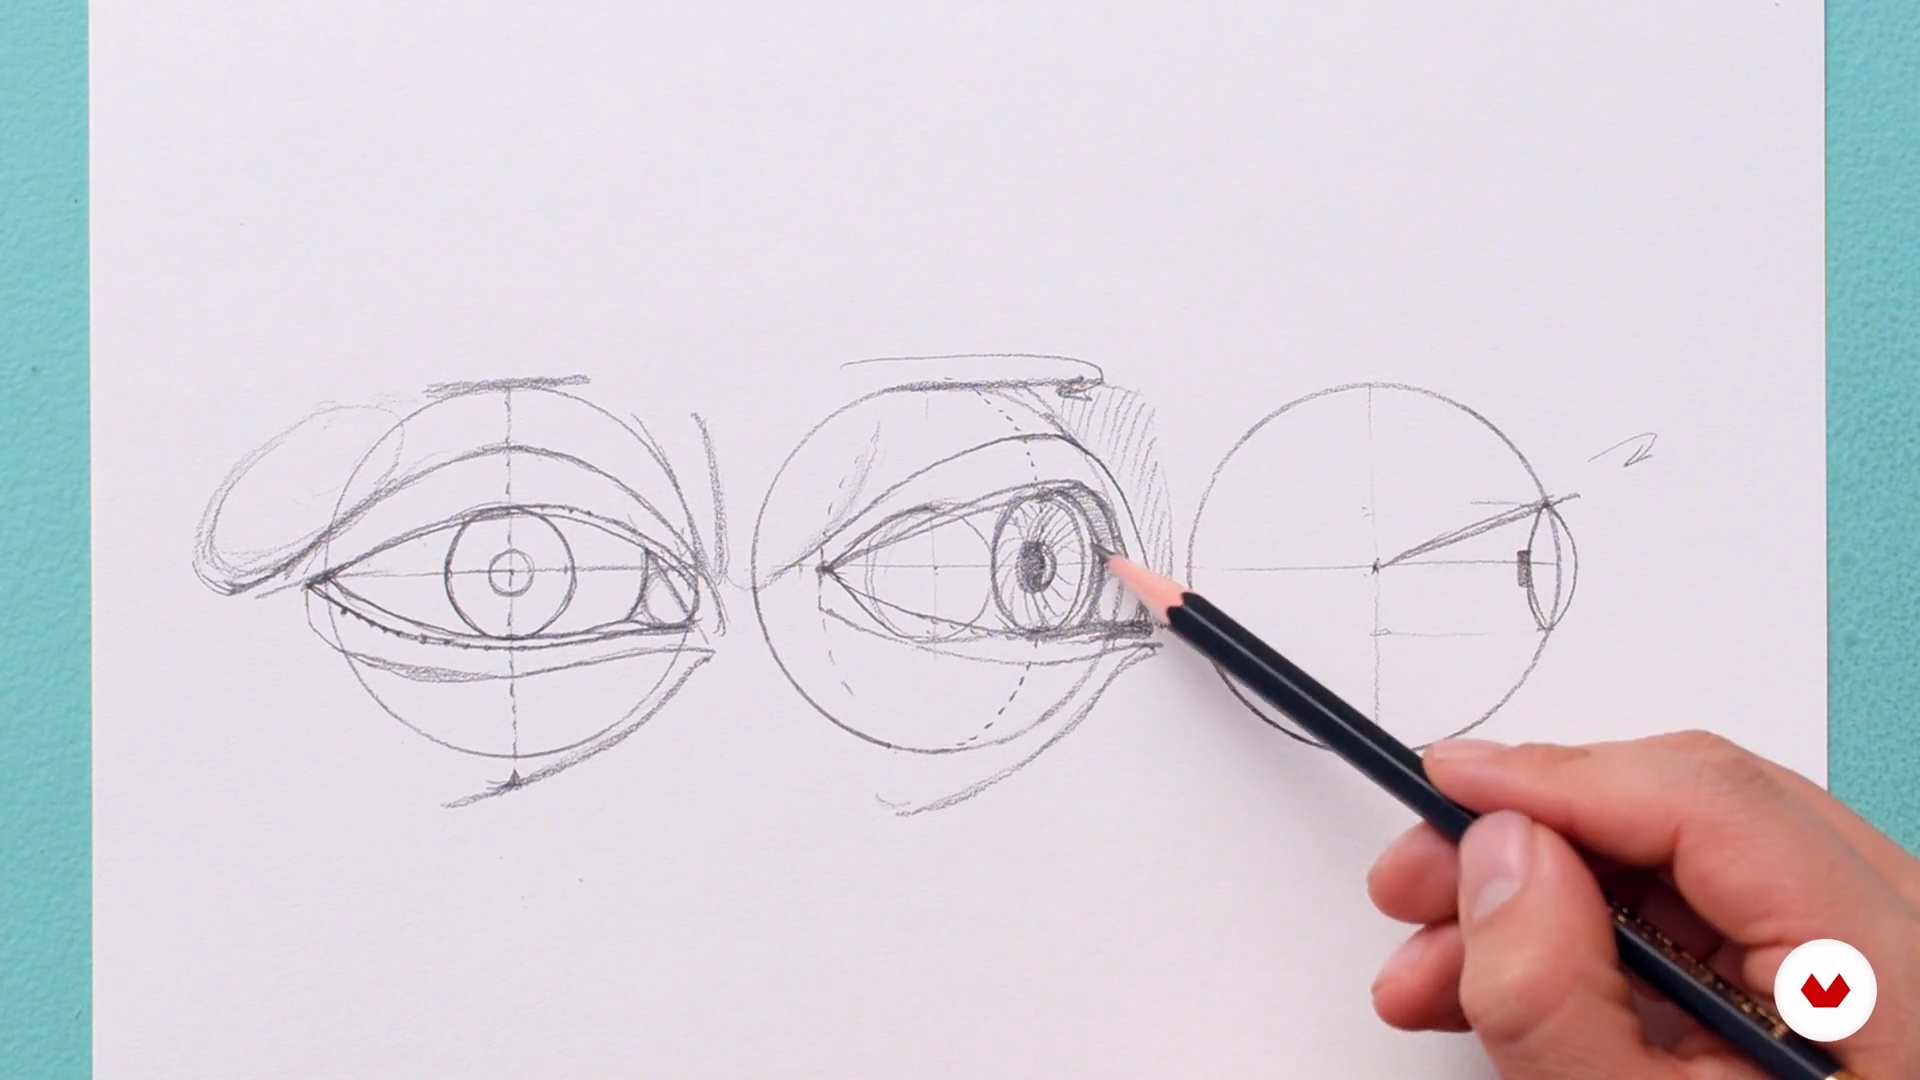
Eyes Part 1
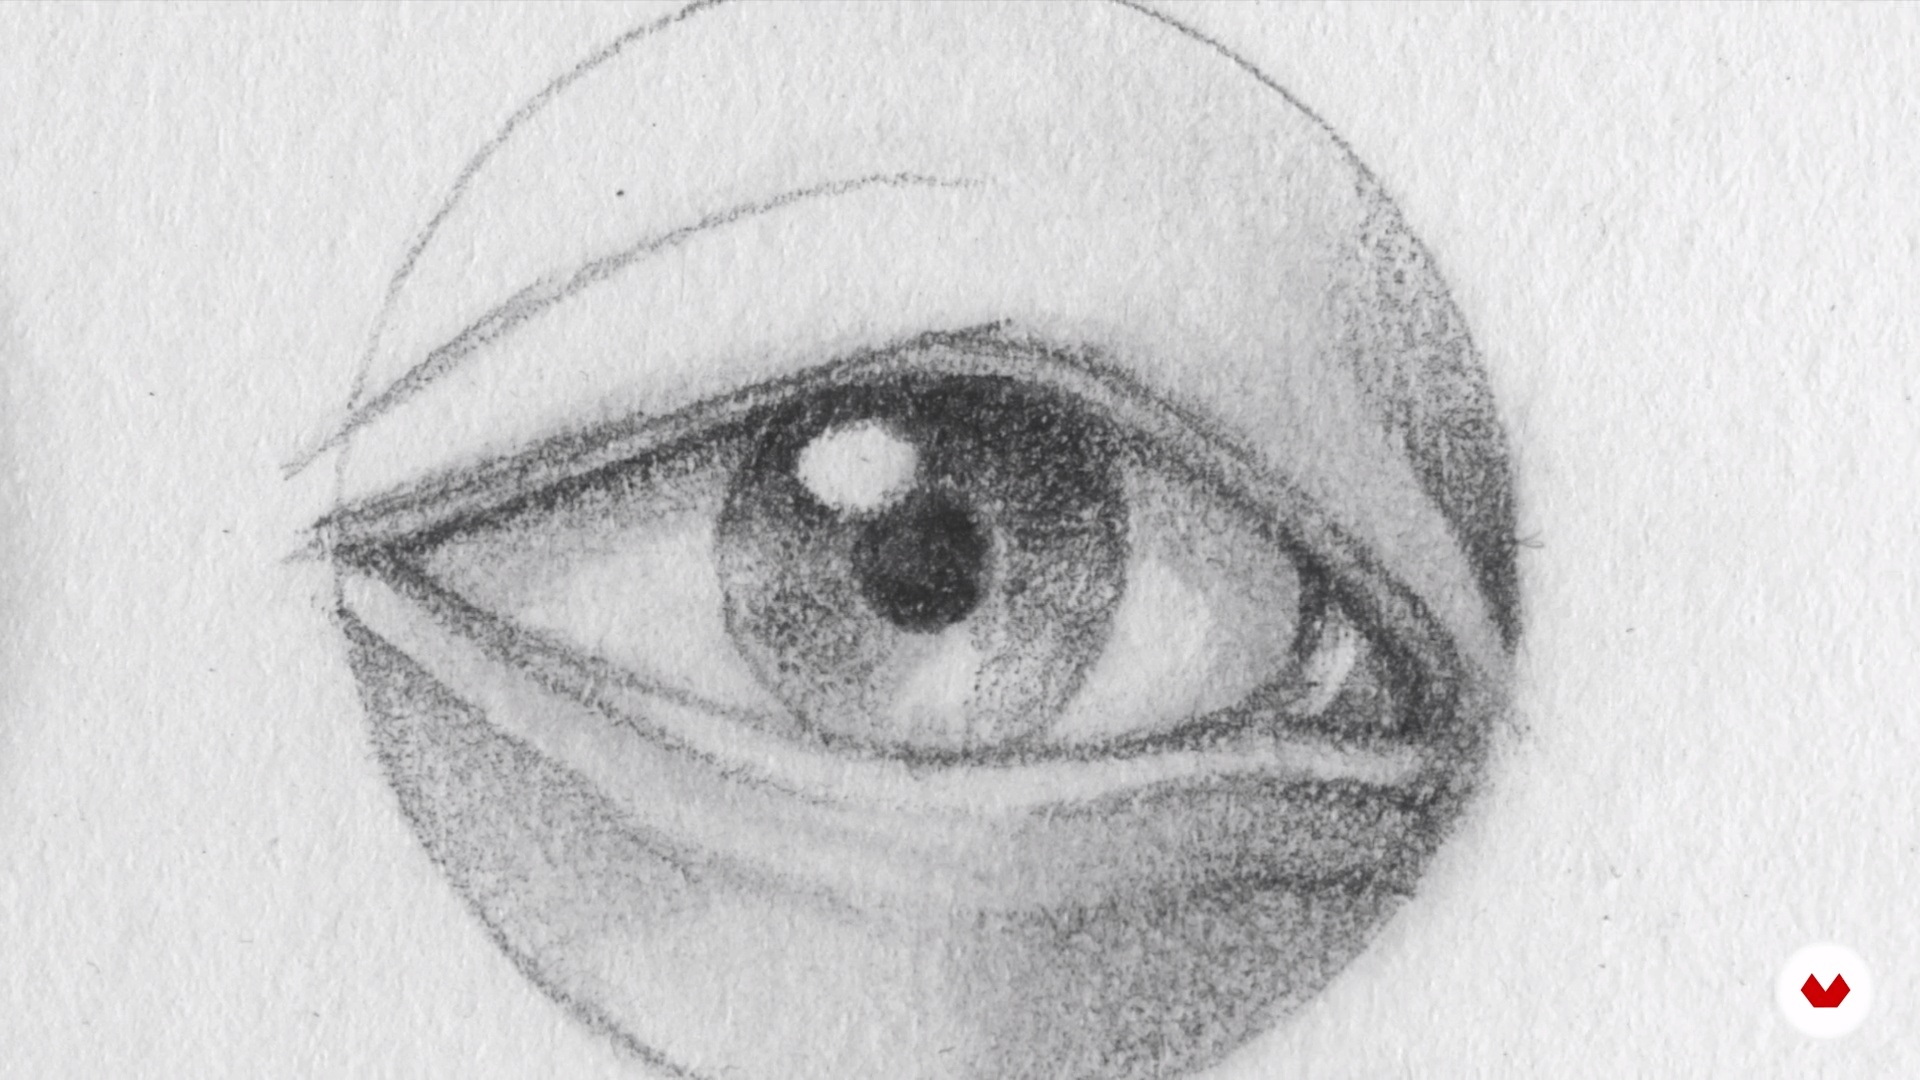
In this lesson I will draw eyes from different positions and with variations in both proportion and lighting from different points of view.
9m
image
23
Eyes Part 2
In this video, I'll continue explaining everything about eyes. I'll continue with 3/4 and side views and lighting.
19m
image
24
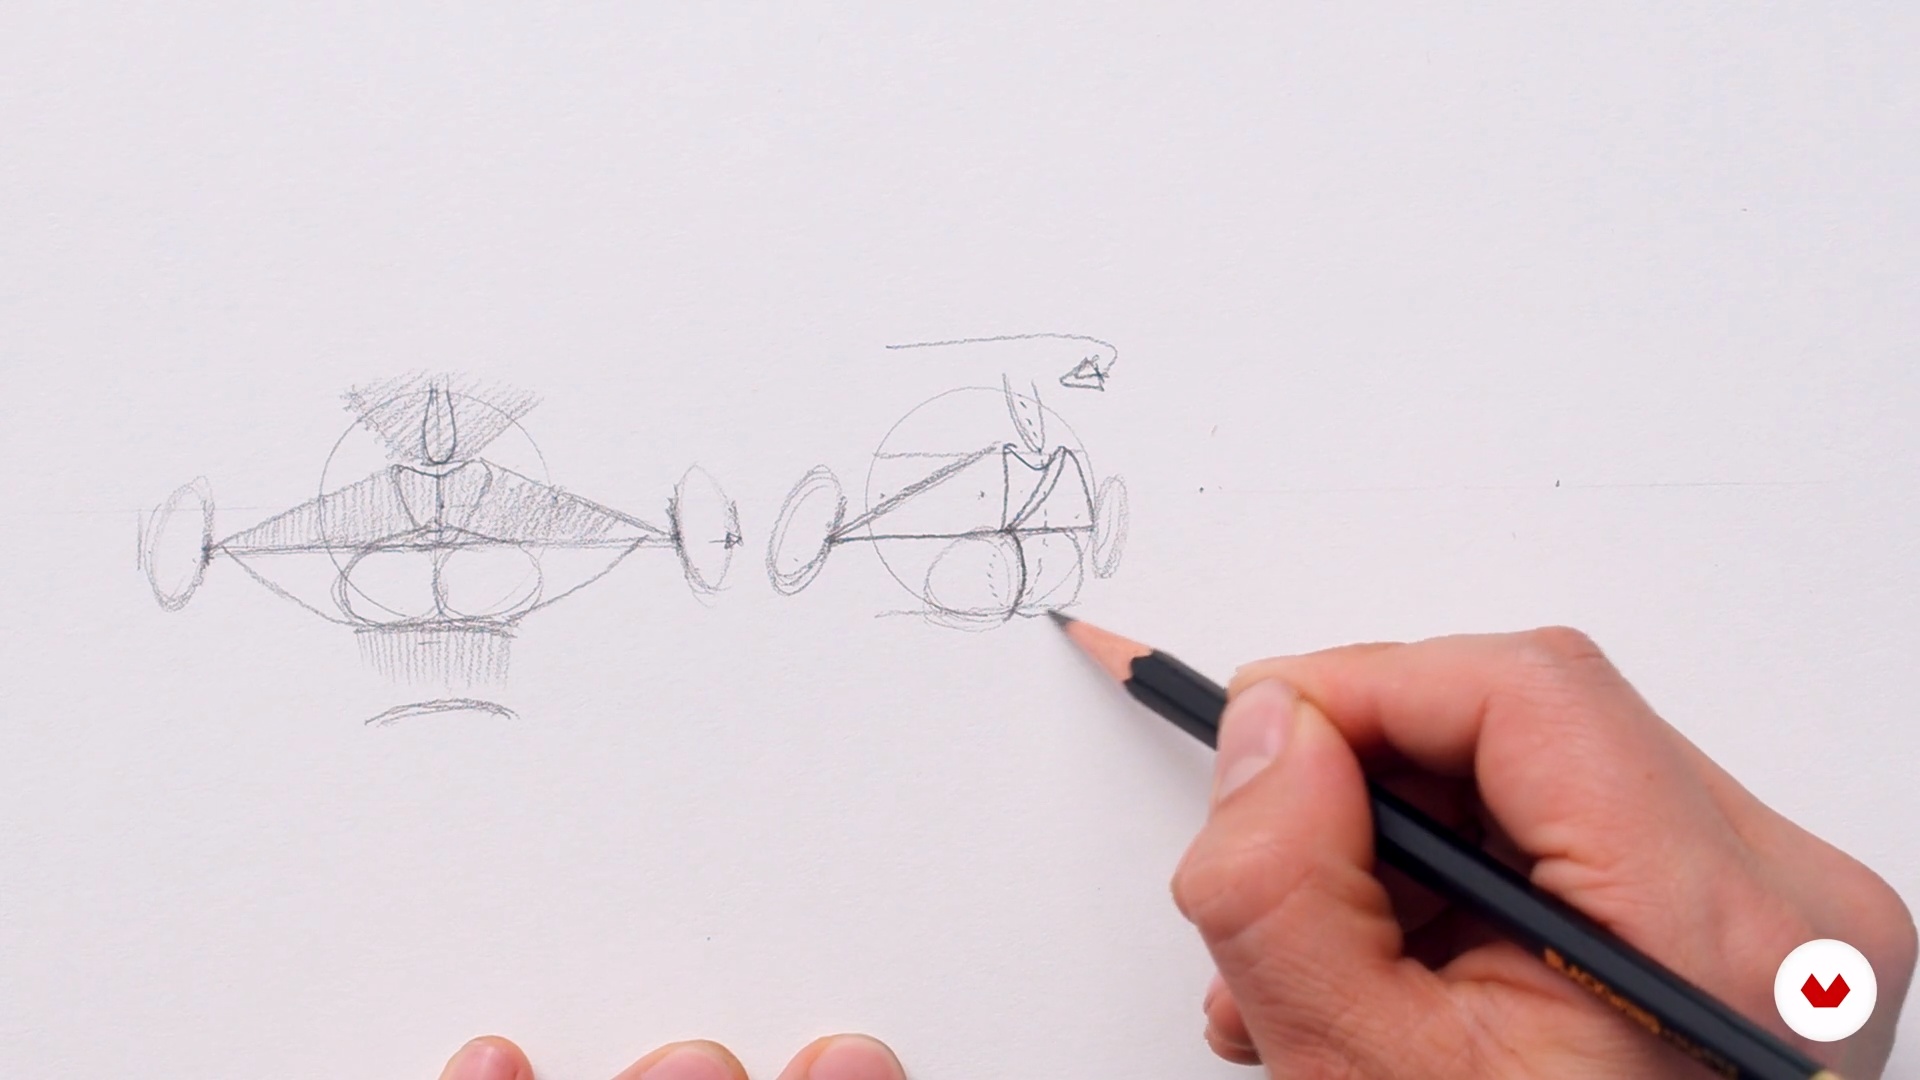
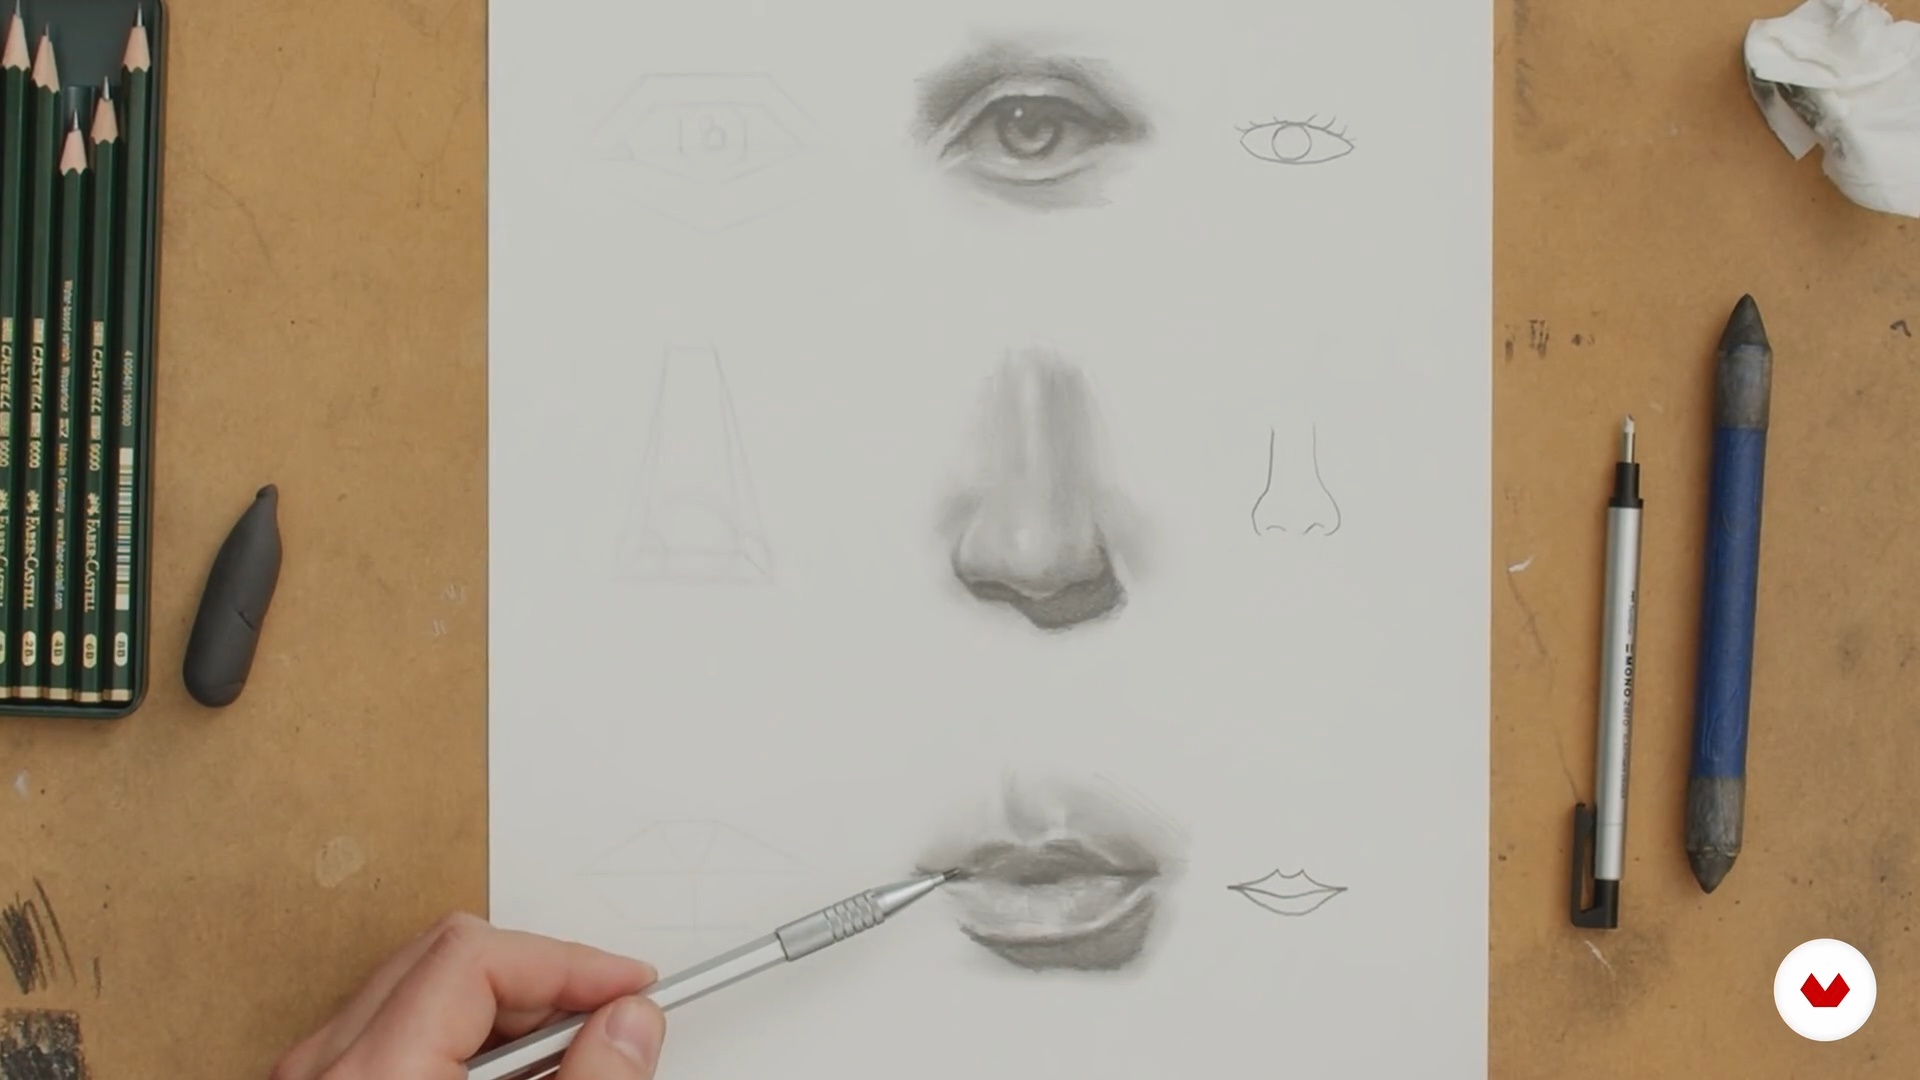
Mouth
In this lesson we'll look at different representations of the mouth and how to draw it in motion from different points of view.
12m
image
25
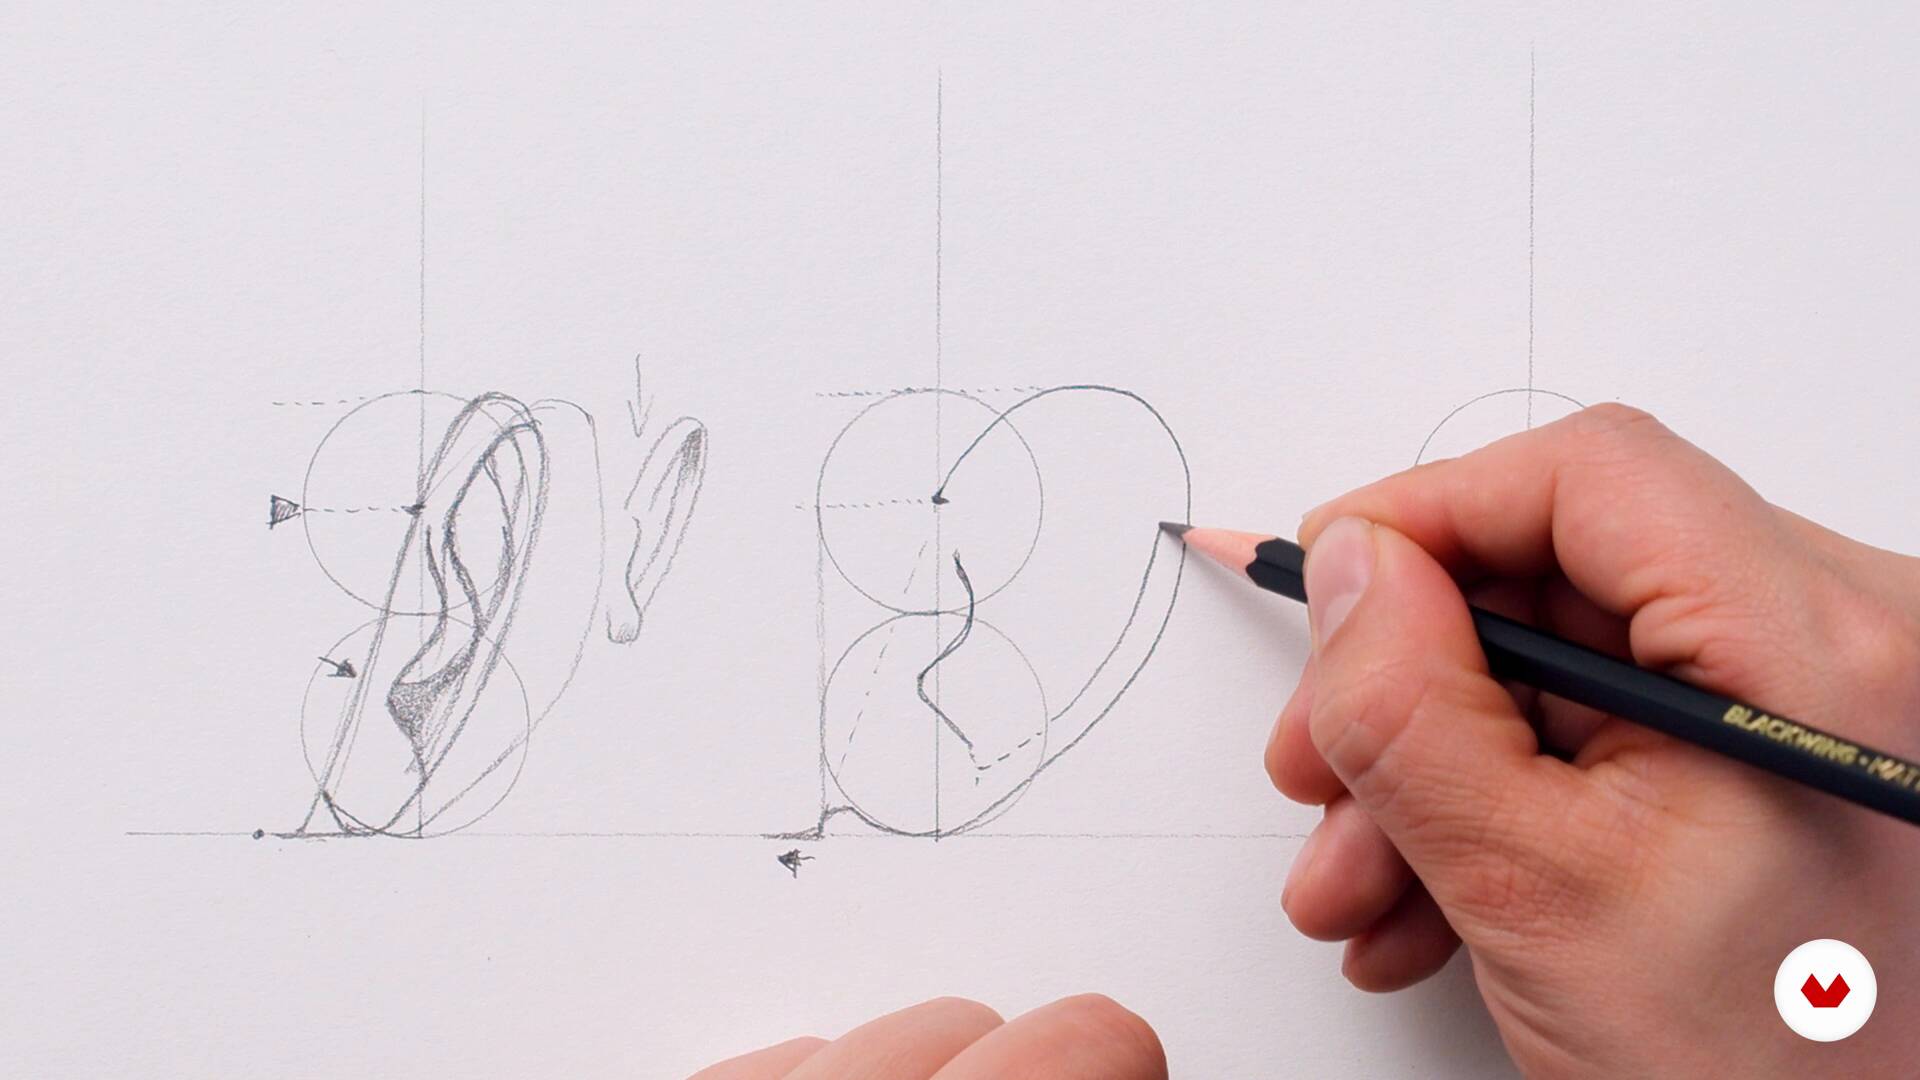
Ears
I'll teach you how to draw ear cartilage and variations in proportion and representation from different perspectives.
10m
image
26
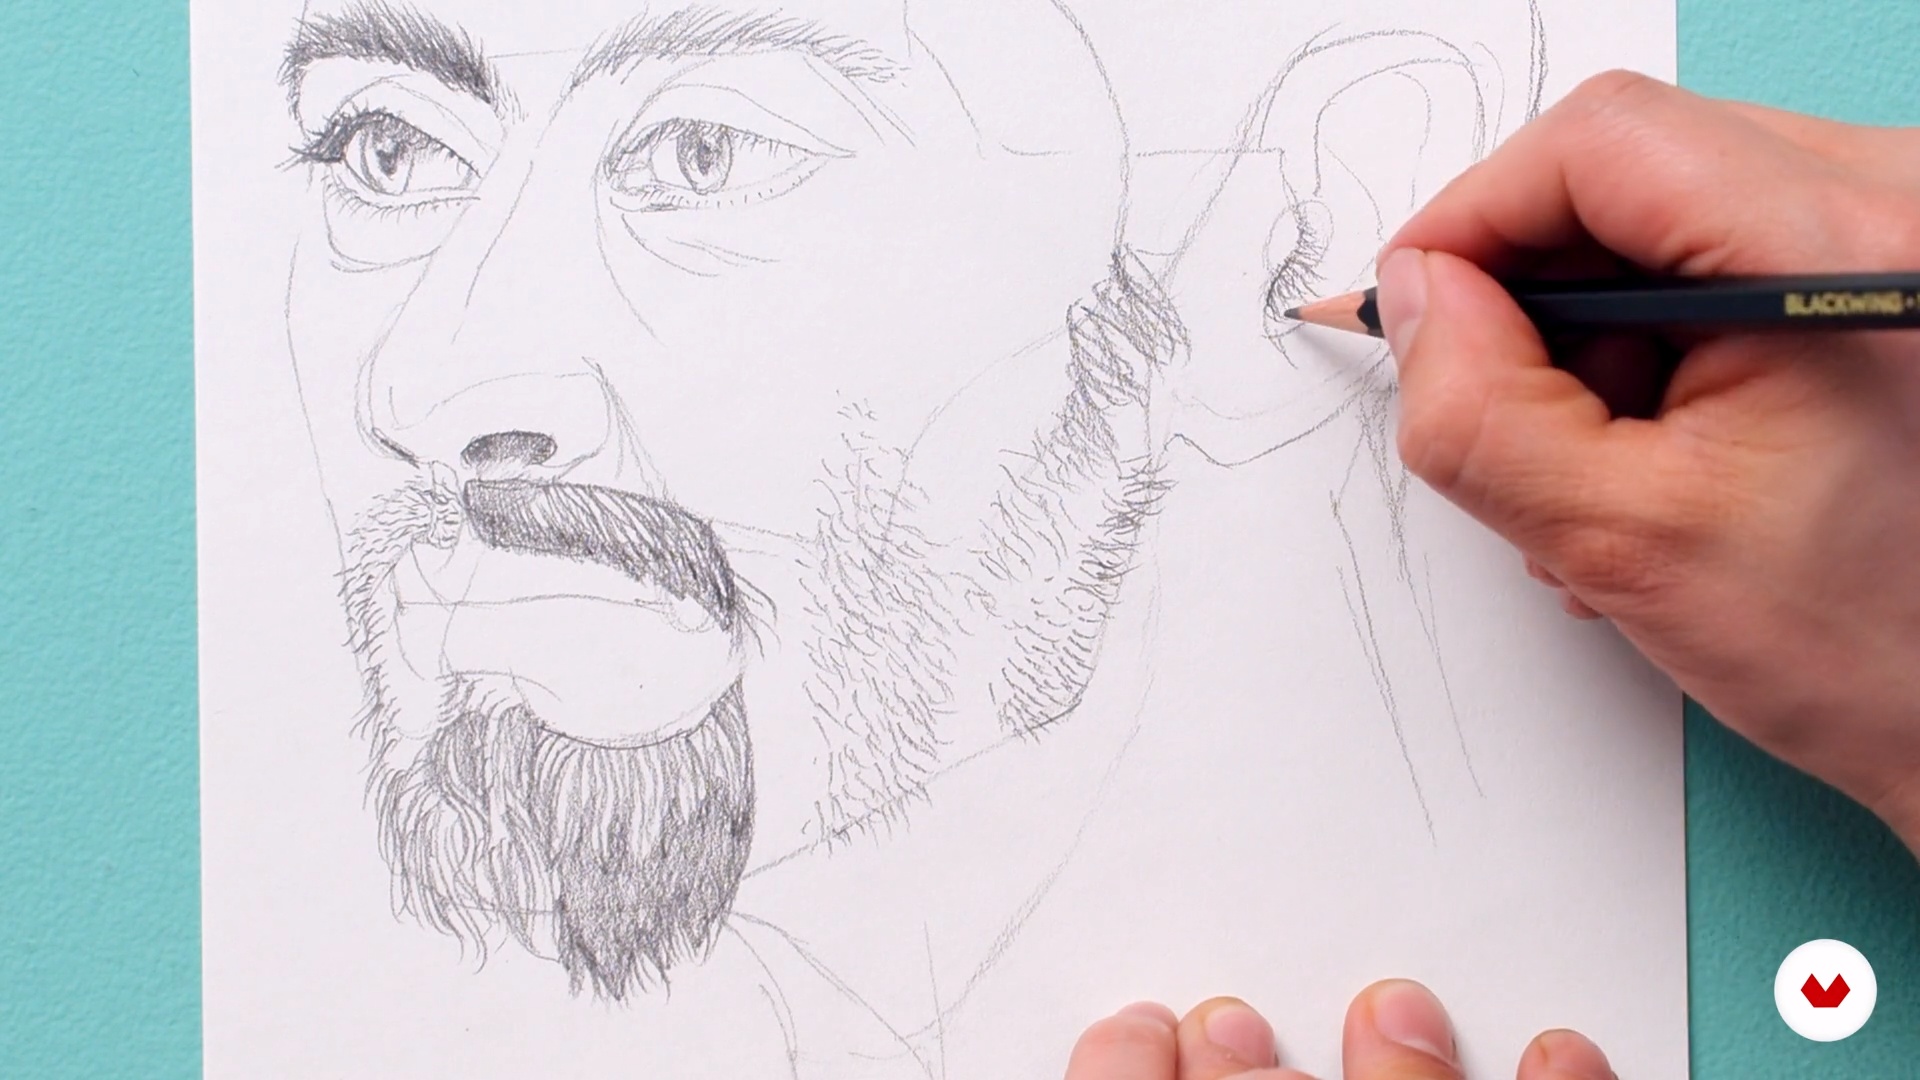
Capillaries
Now I'm going to show you the representation of the facial hair elements from different perspectives. I'll locate the hair areas: the scalp, eyebrows, eyelashes, beard, nose hair, and ear hair.
18m
image
27
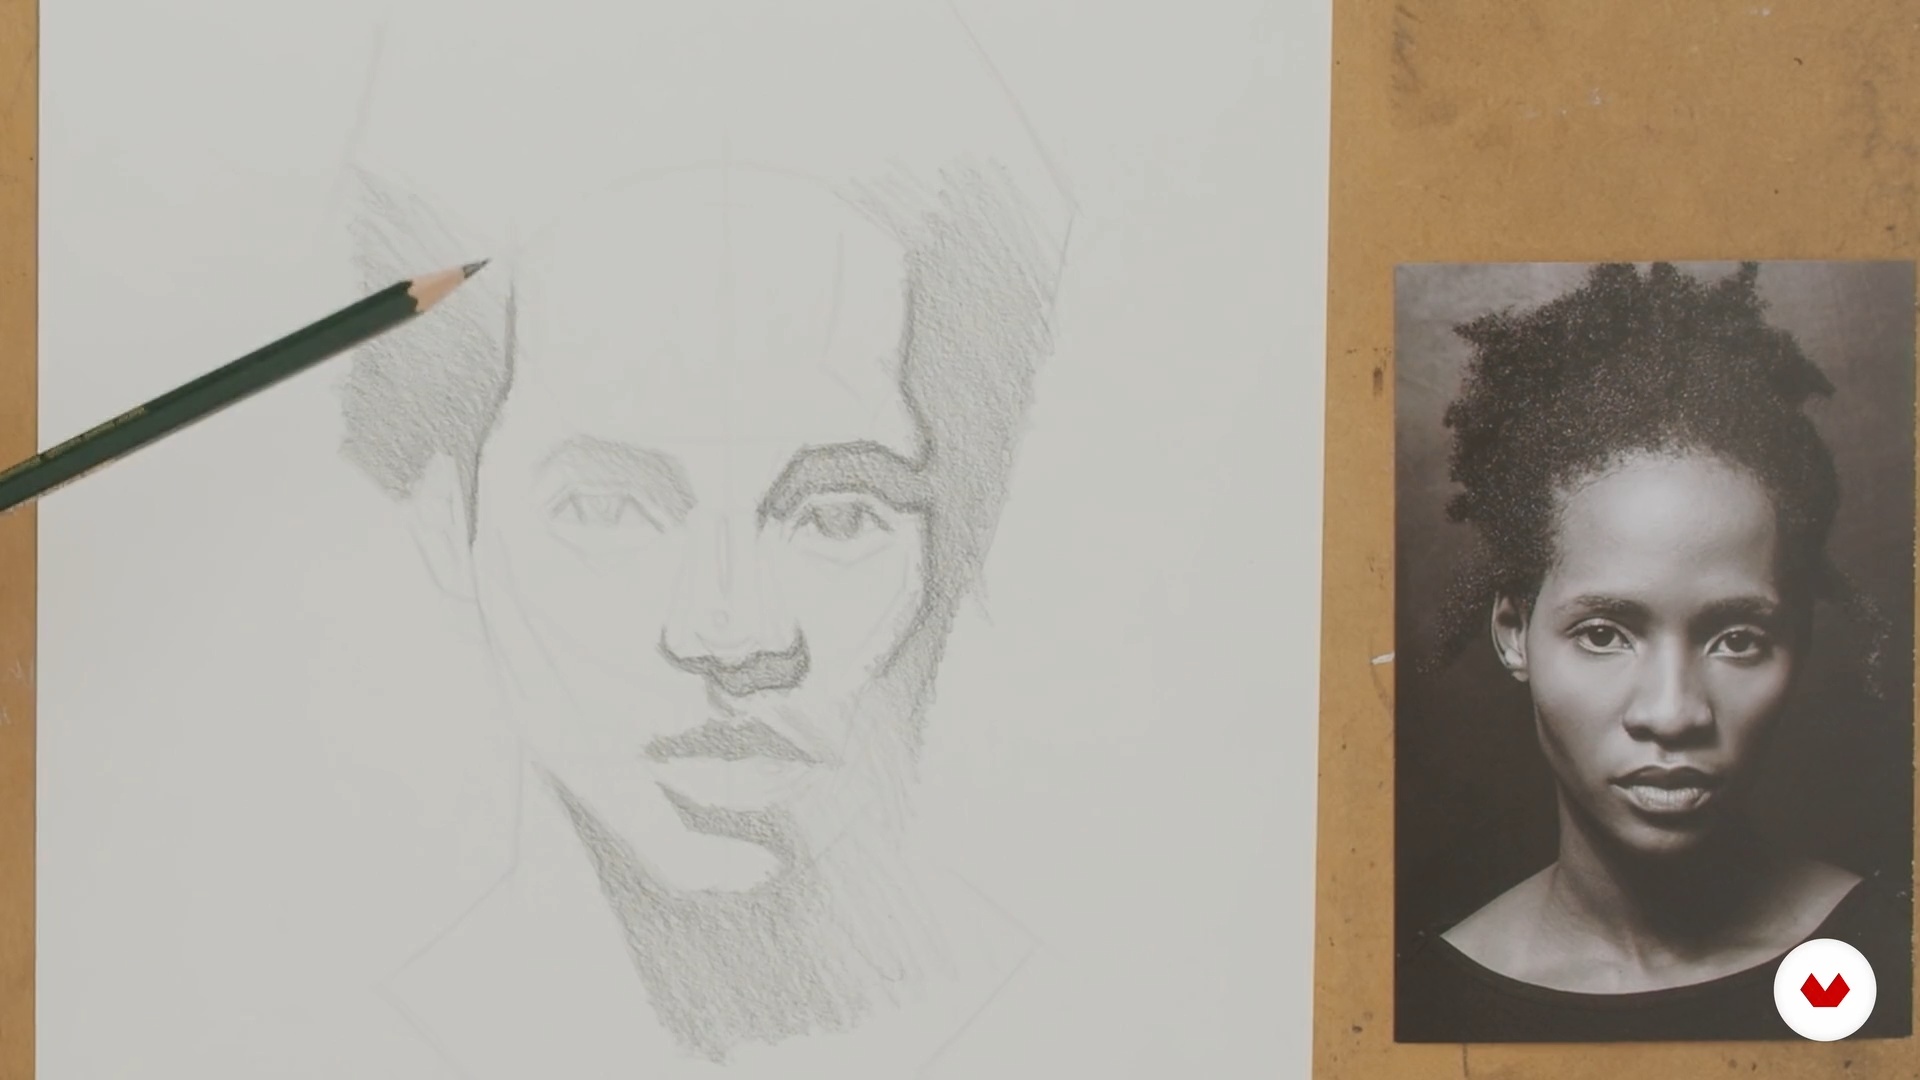
Application and composition with heads. Part 1
In this lesson, I'm going to choose some poses we've been working on and draw all the elements of the skull in more detail, with variations, to create a composition in which I'll apply the bone and muscle components to ultimately create a portrait. This way, we'll have a study we can use to create characters and draw them from any perspective and with different expressions.
9m
image
28
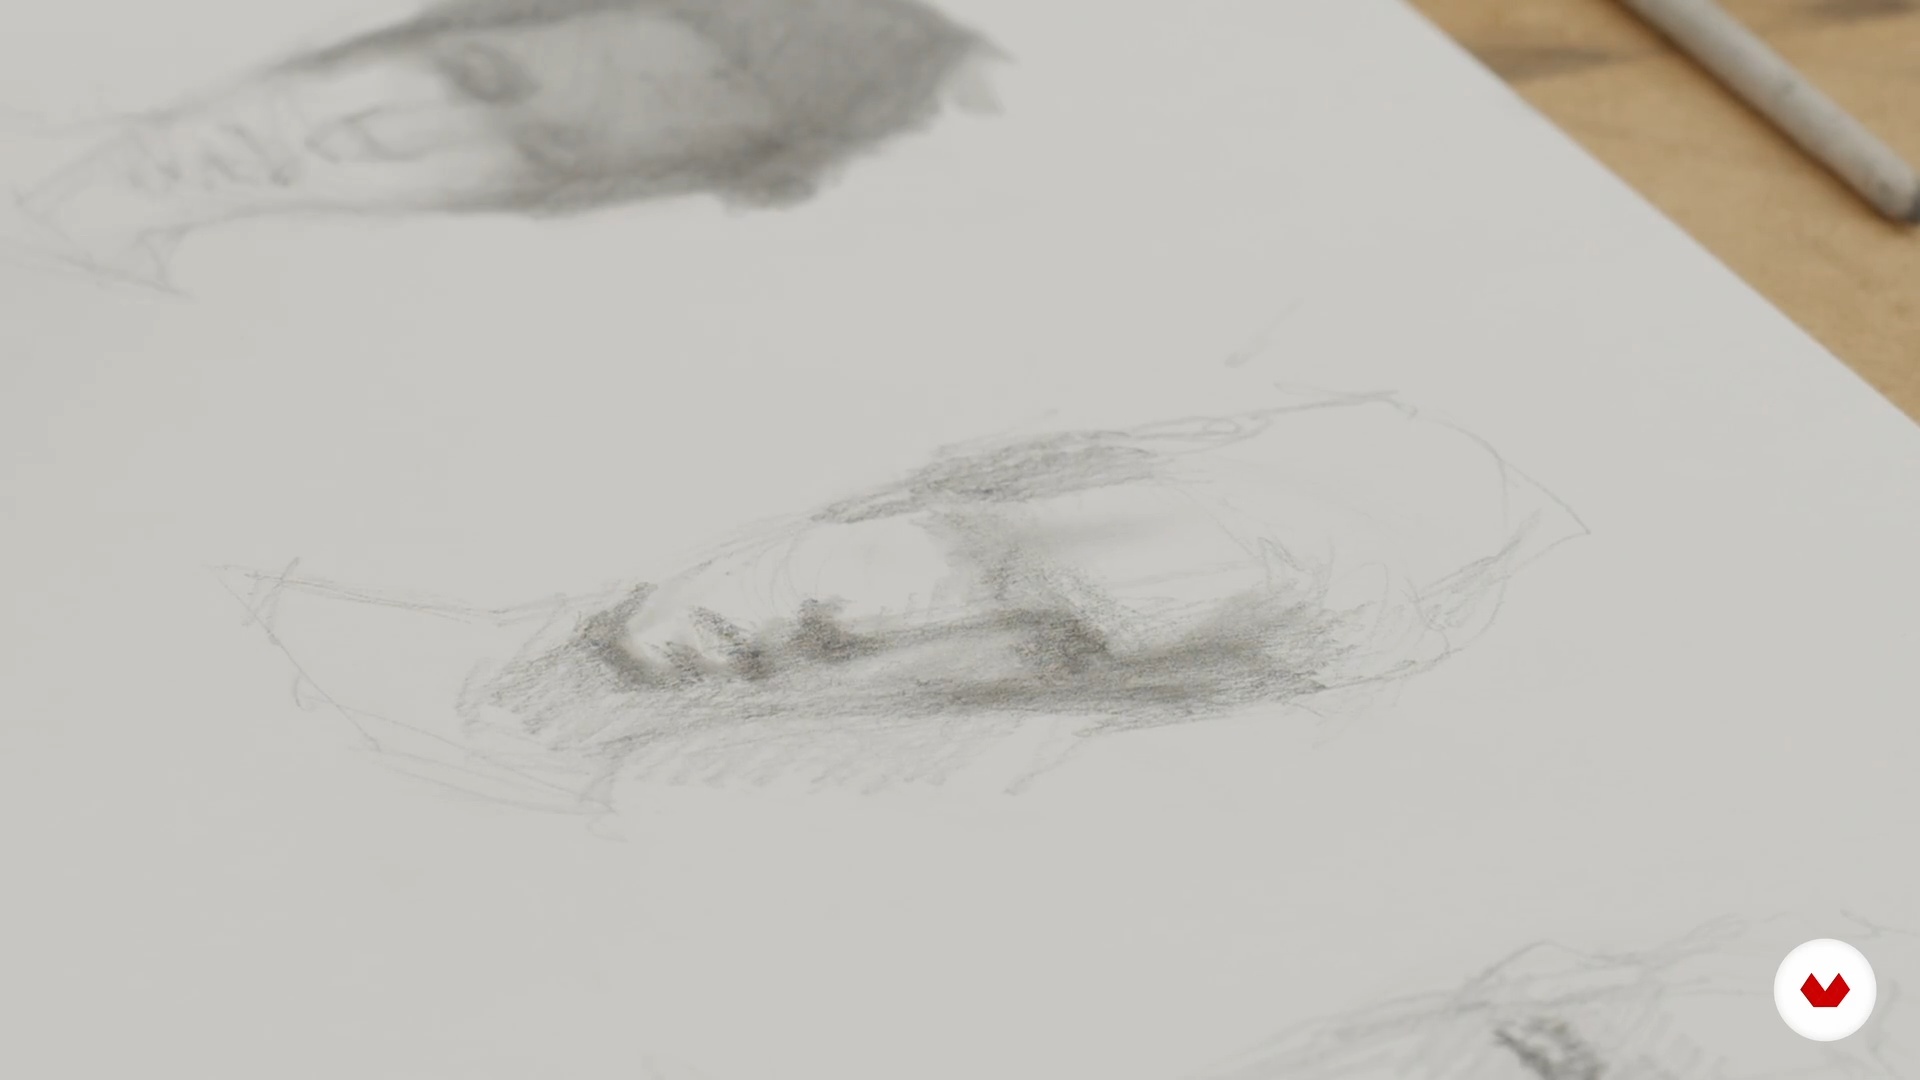
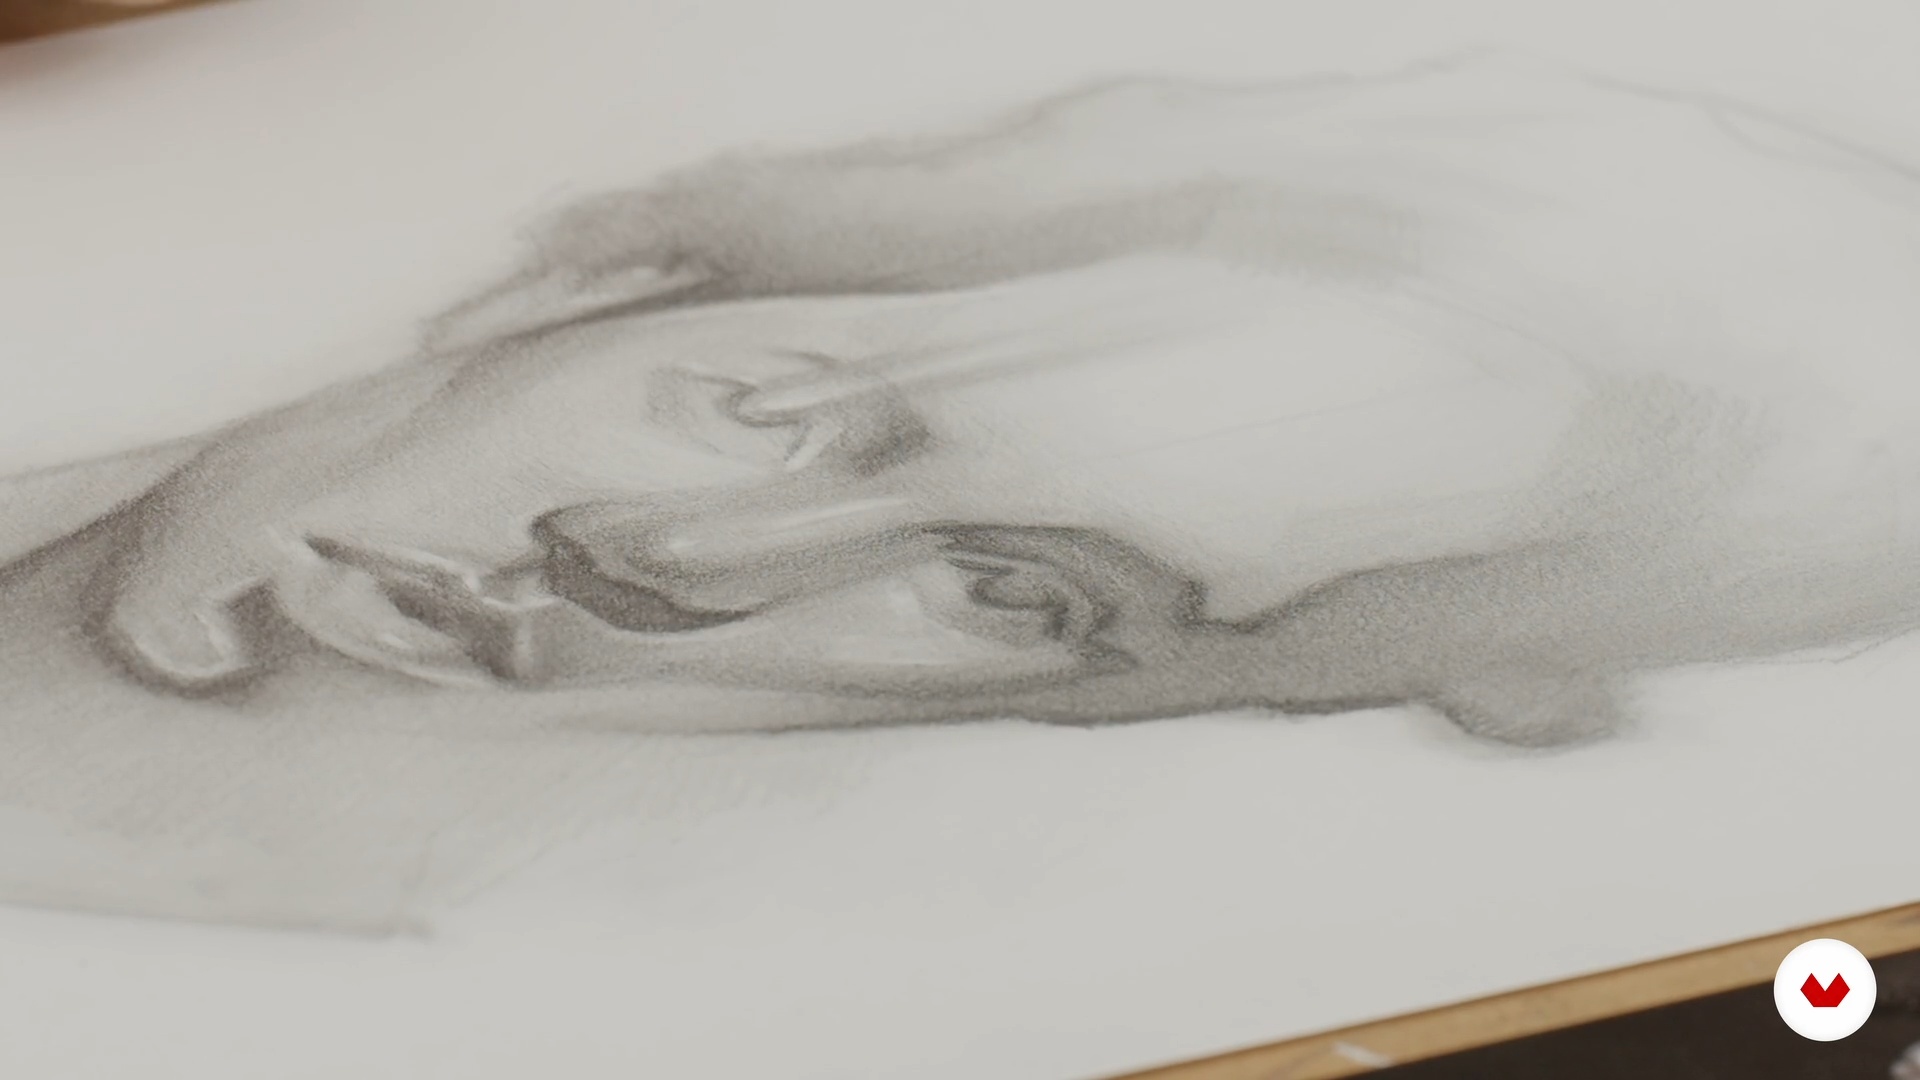
Application and composition with heads. Part 2
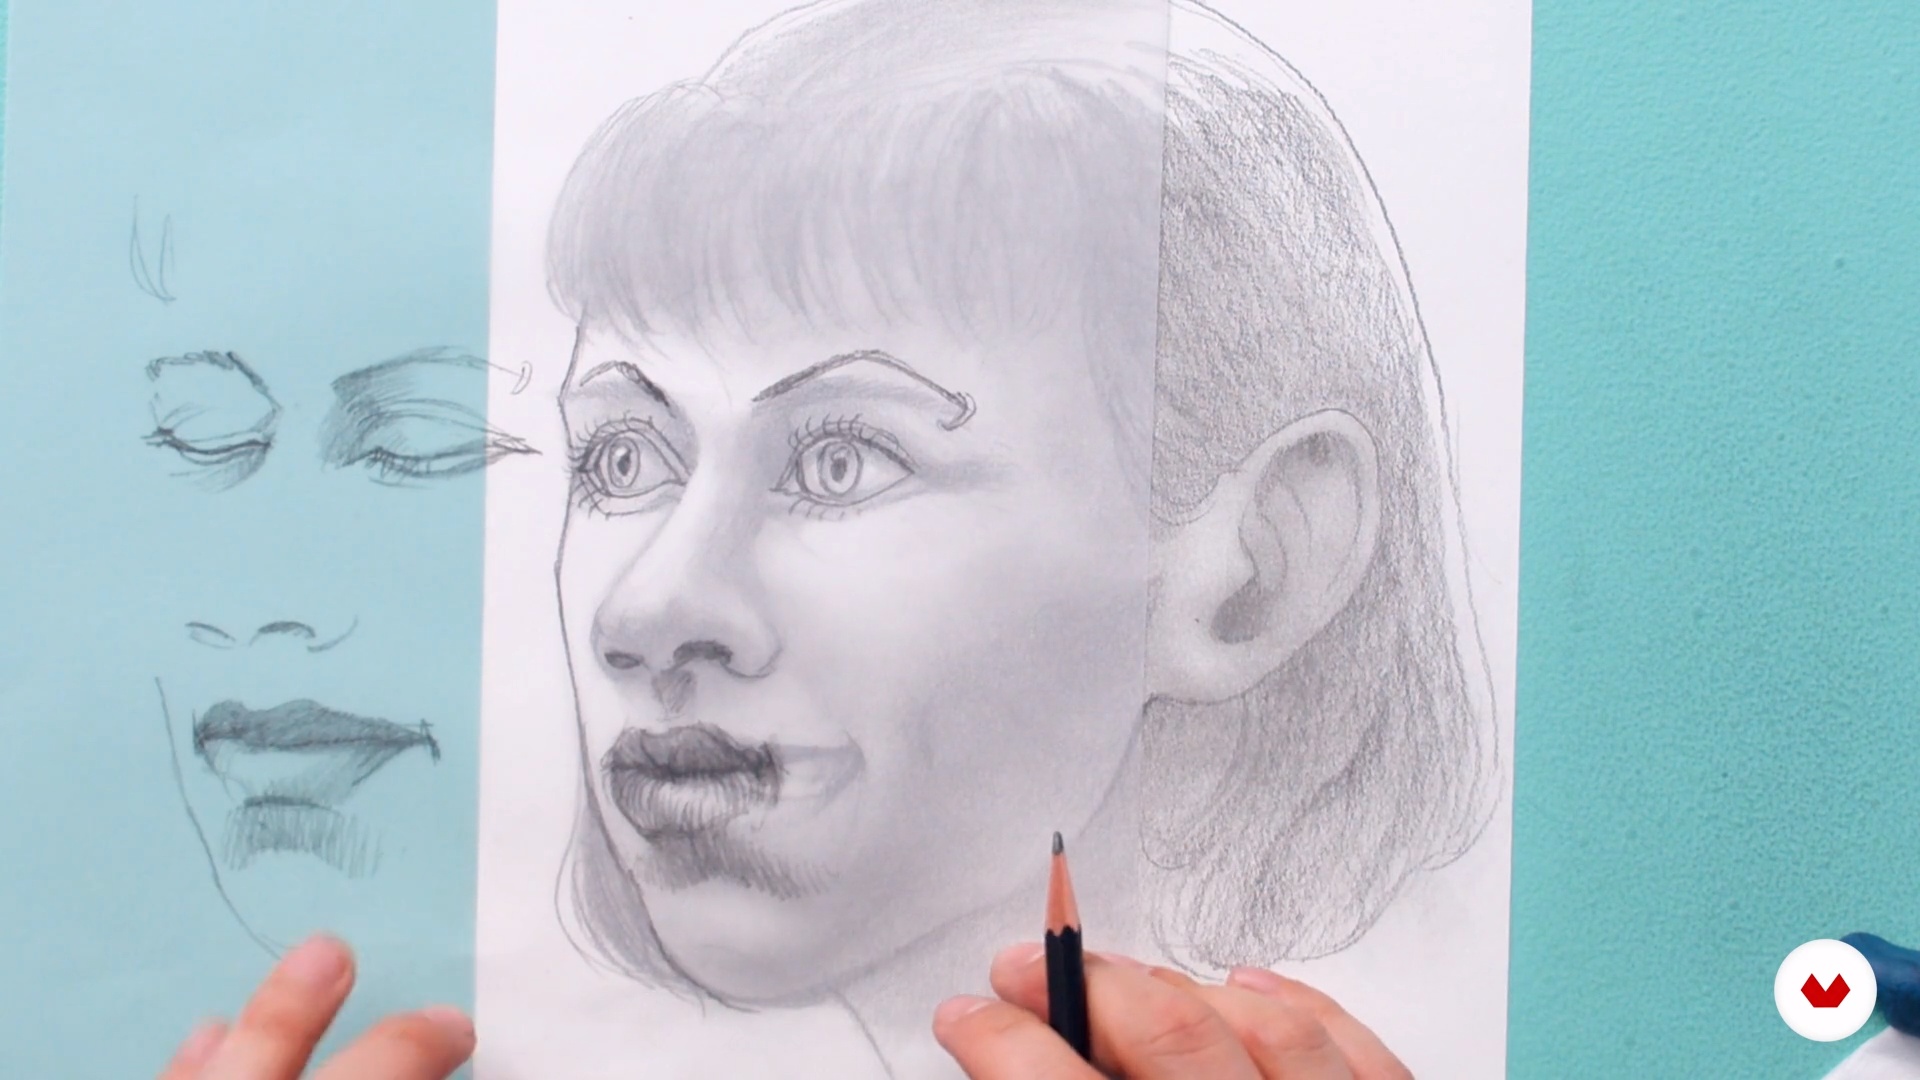
In this section, I'll continue drawing the portrait using an exaggerated expression to understand how muscles influence gestures. I'll also add hair and share a trick for blending, softening the graphite, and understanding how light and tones work.
9m
image
29
Application and composition with heads. Part 3
Now what I will do is create additional gestures for the same portrait, creating a variety of movements that will help understand how to represent the elements that make up the face.
7m
image
3
Materials
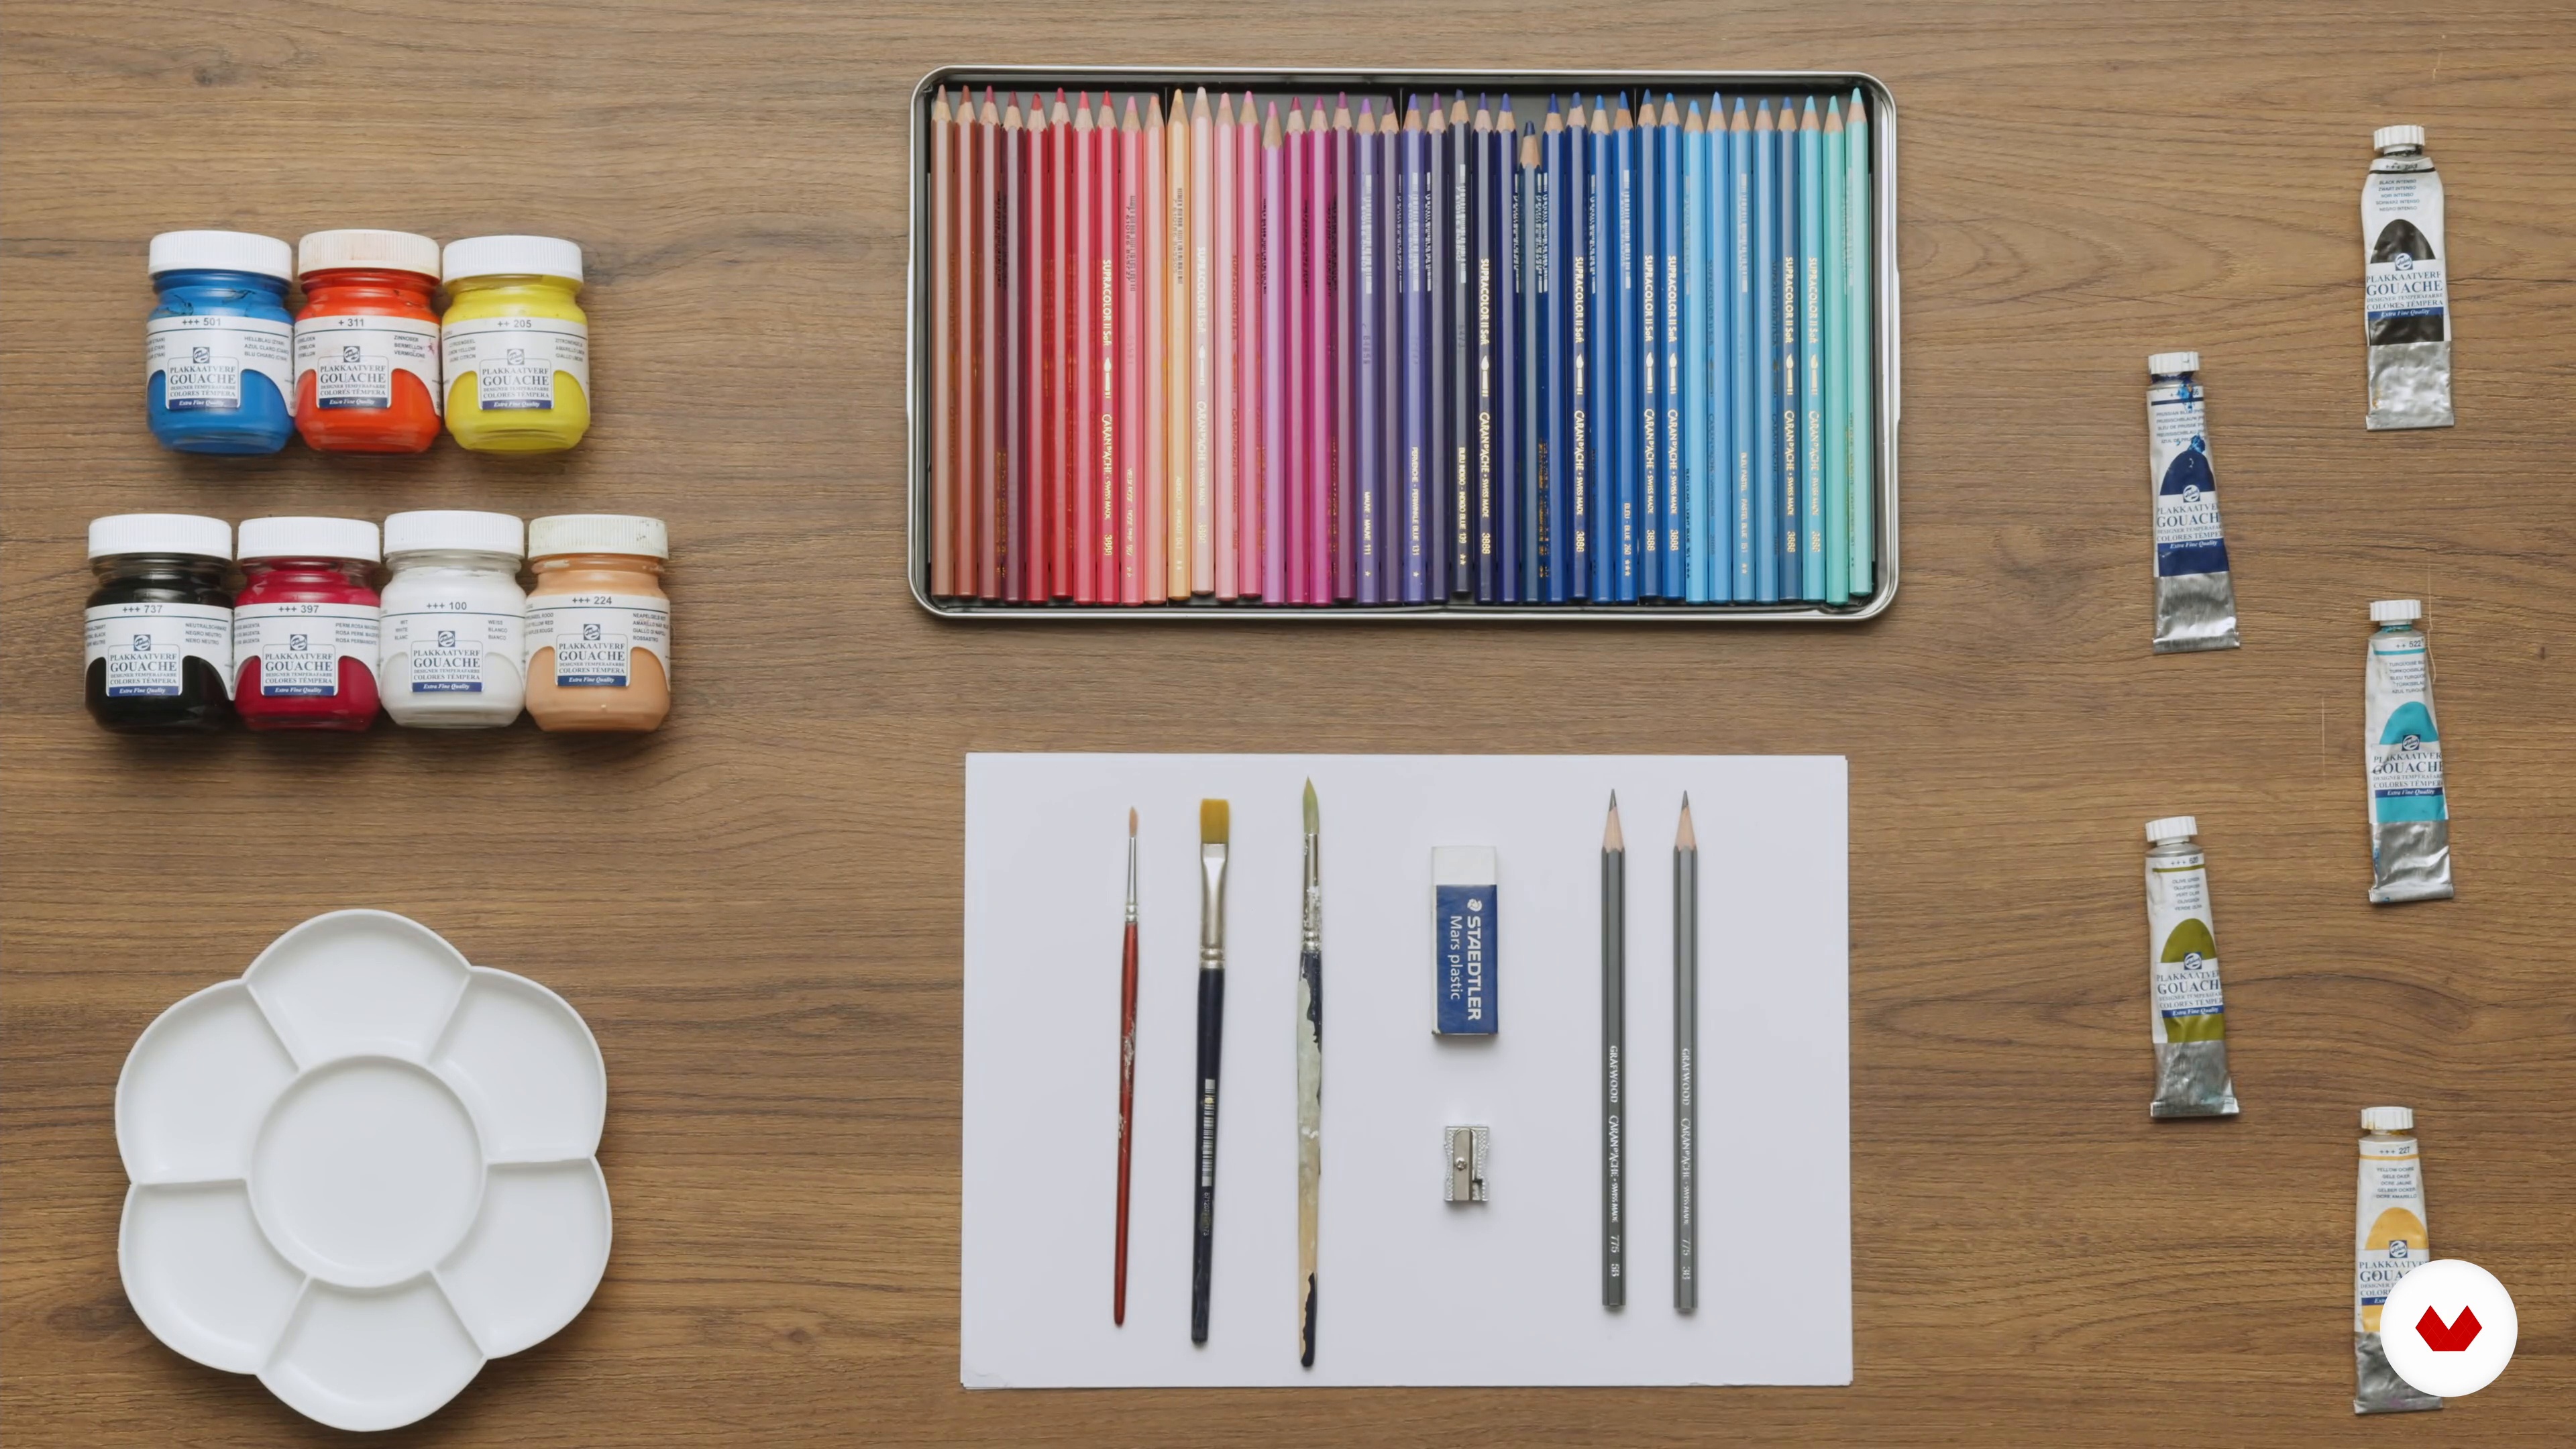
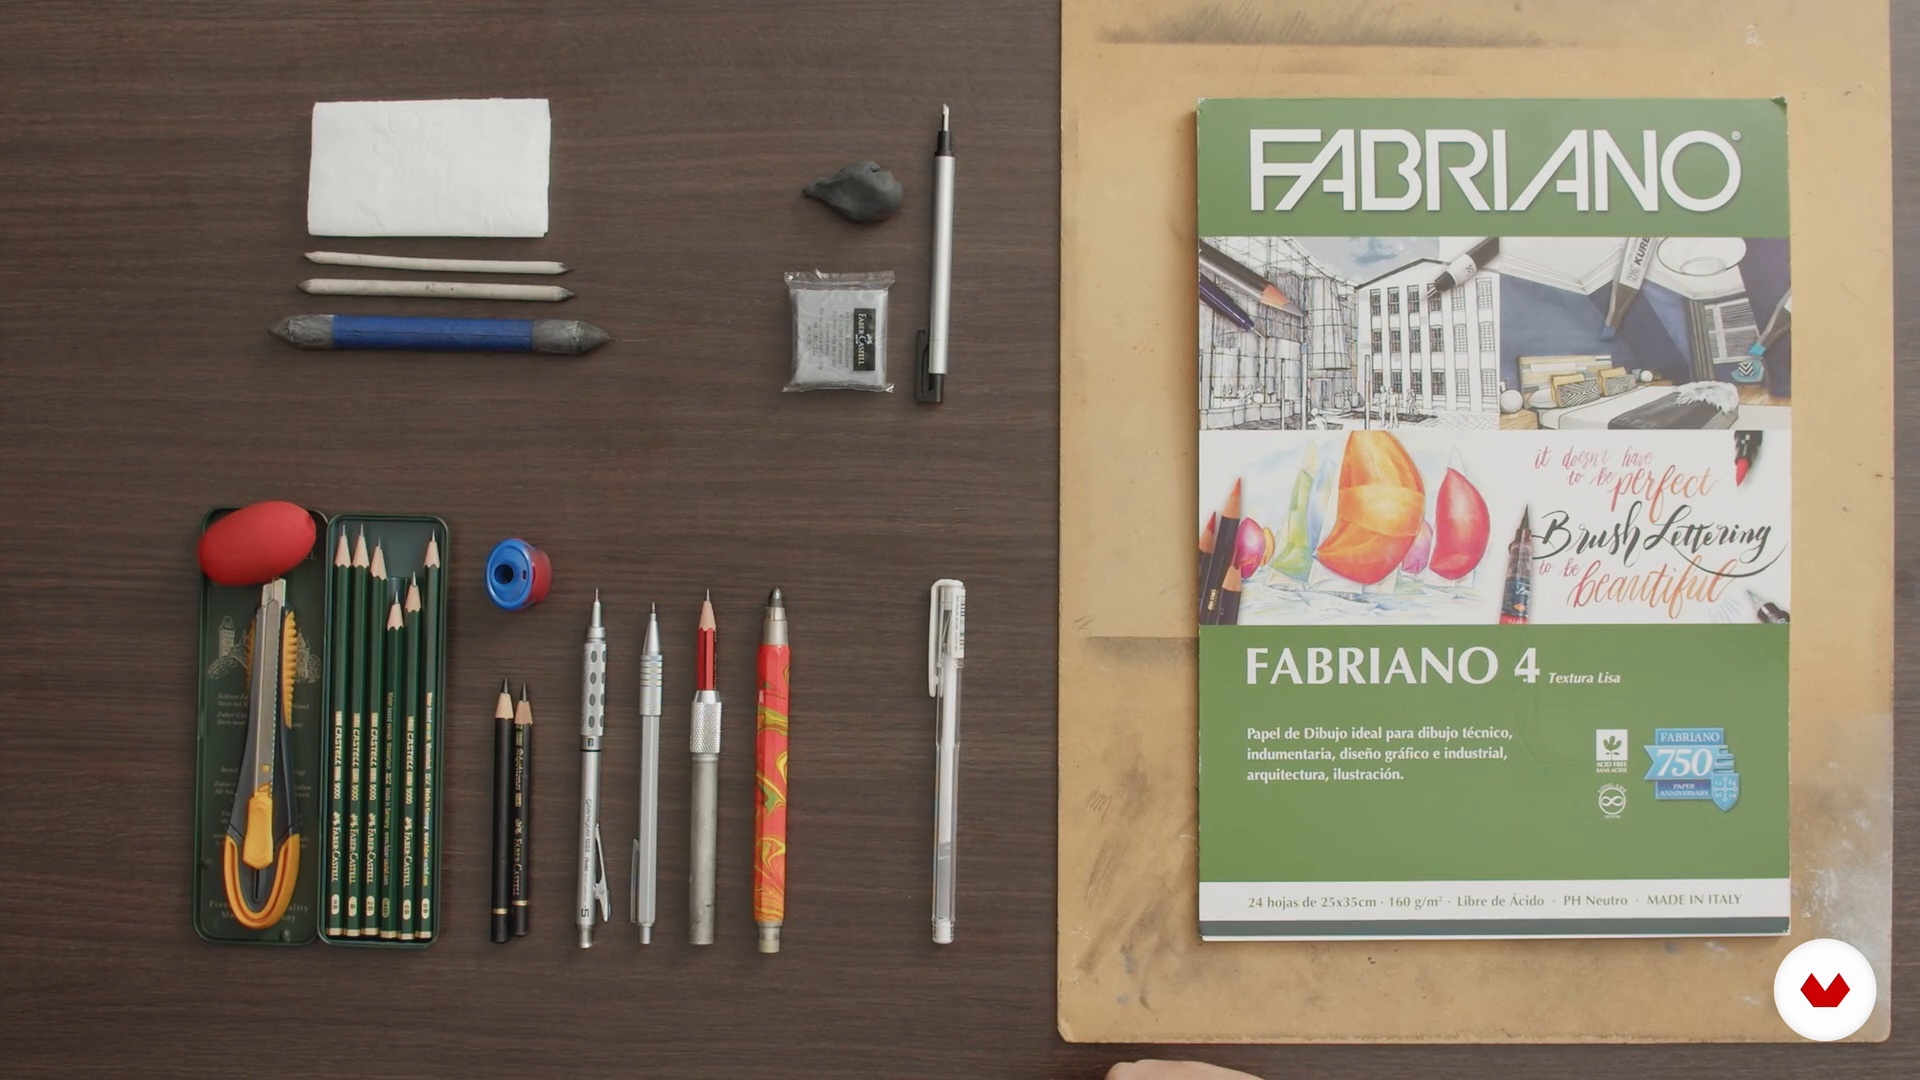
In this lesson, I'll show you the materials we'll be using in the course. I'll explain the ones I've chosen and what I'll be using them for.
3m
image
4
Places from where we can face the drawing
We often draw without realizing where we're drawing from. Below, I'll explain the different basic points we work from when drawing.
19m
image
5
Study of the human body
In this lesson, we'll take a brief look at descriptive anatomy. I'll explain what bone, muscle, and adipose tissue structures are made of and how they relate to each other. We'll look at how they produce different body types.
18m
image
6
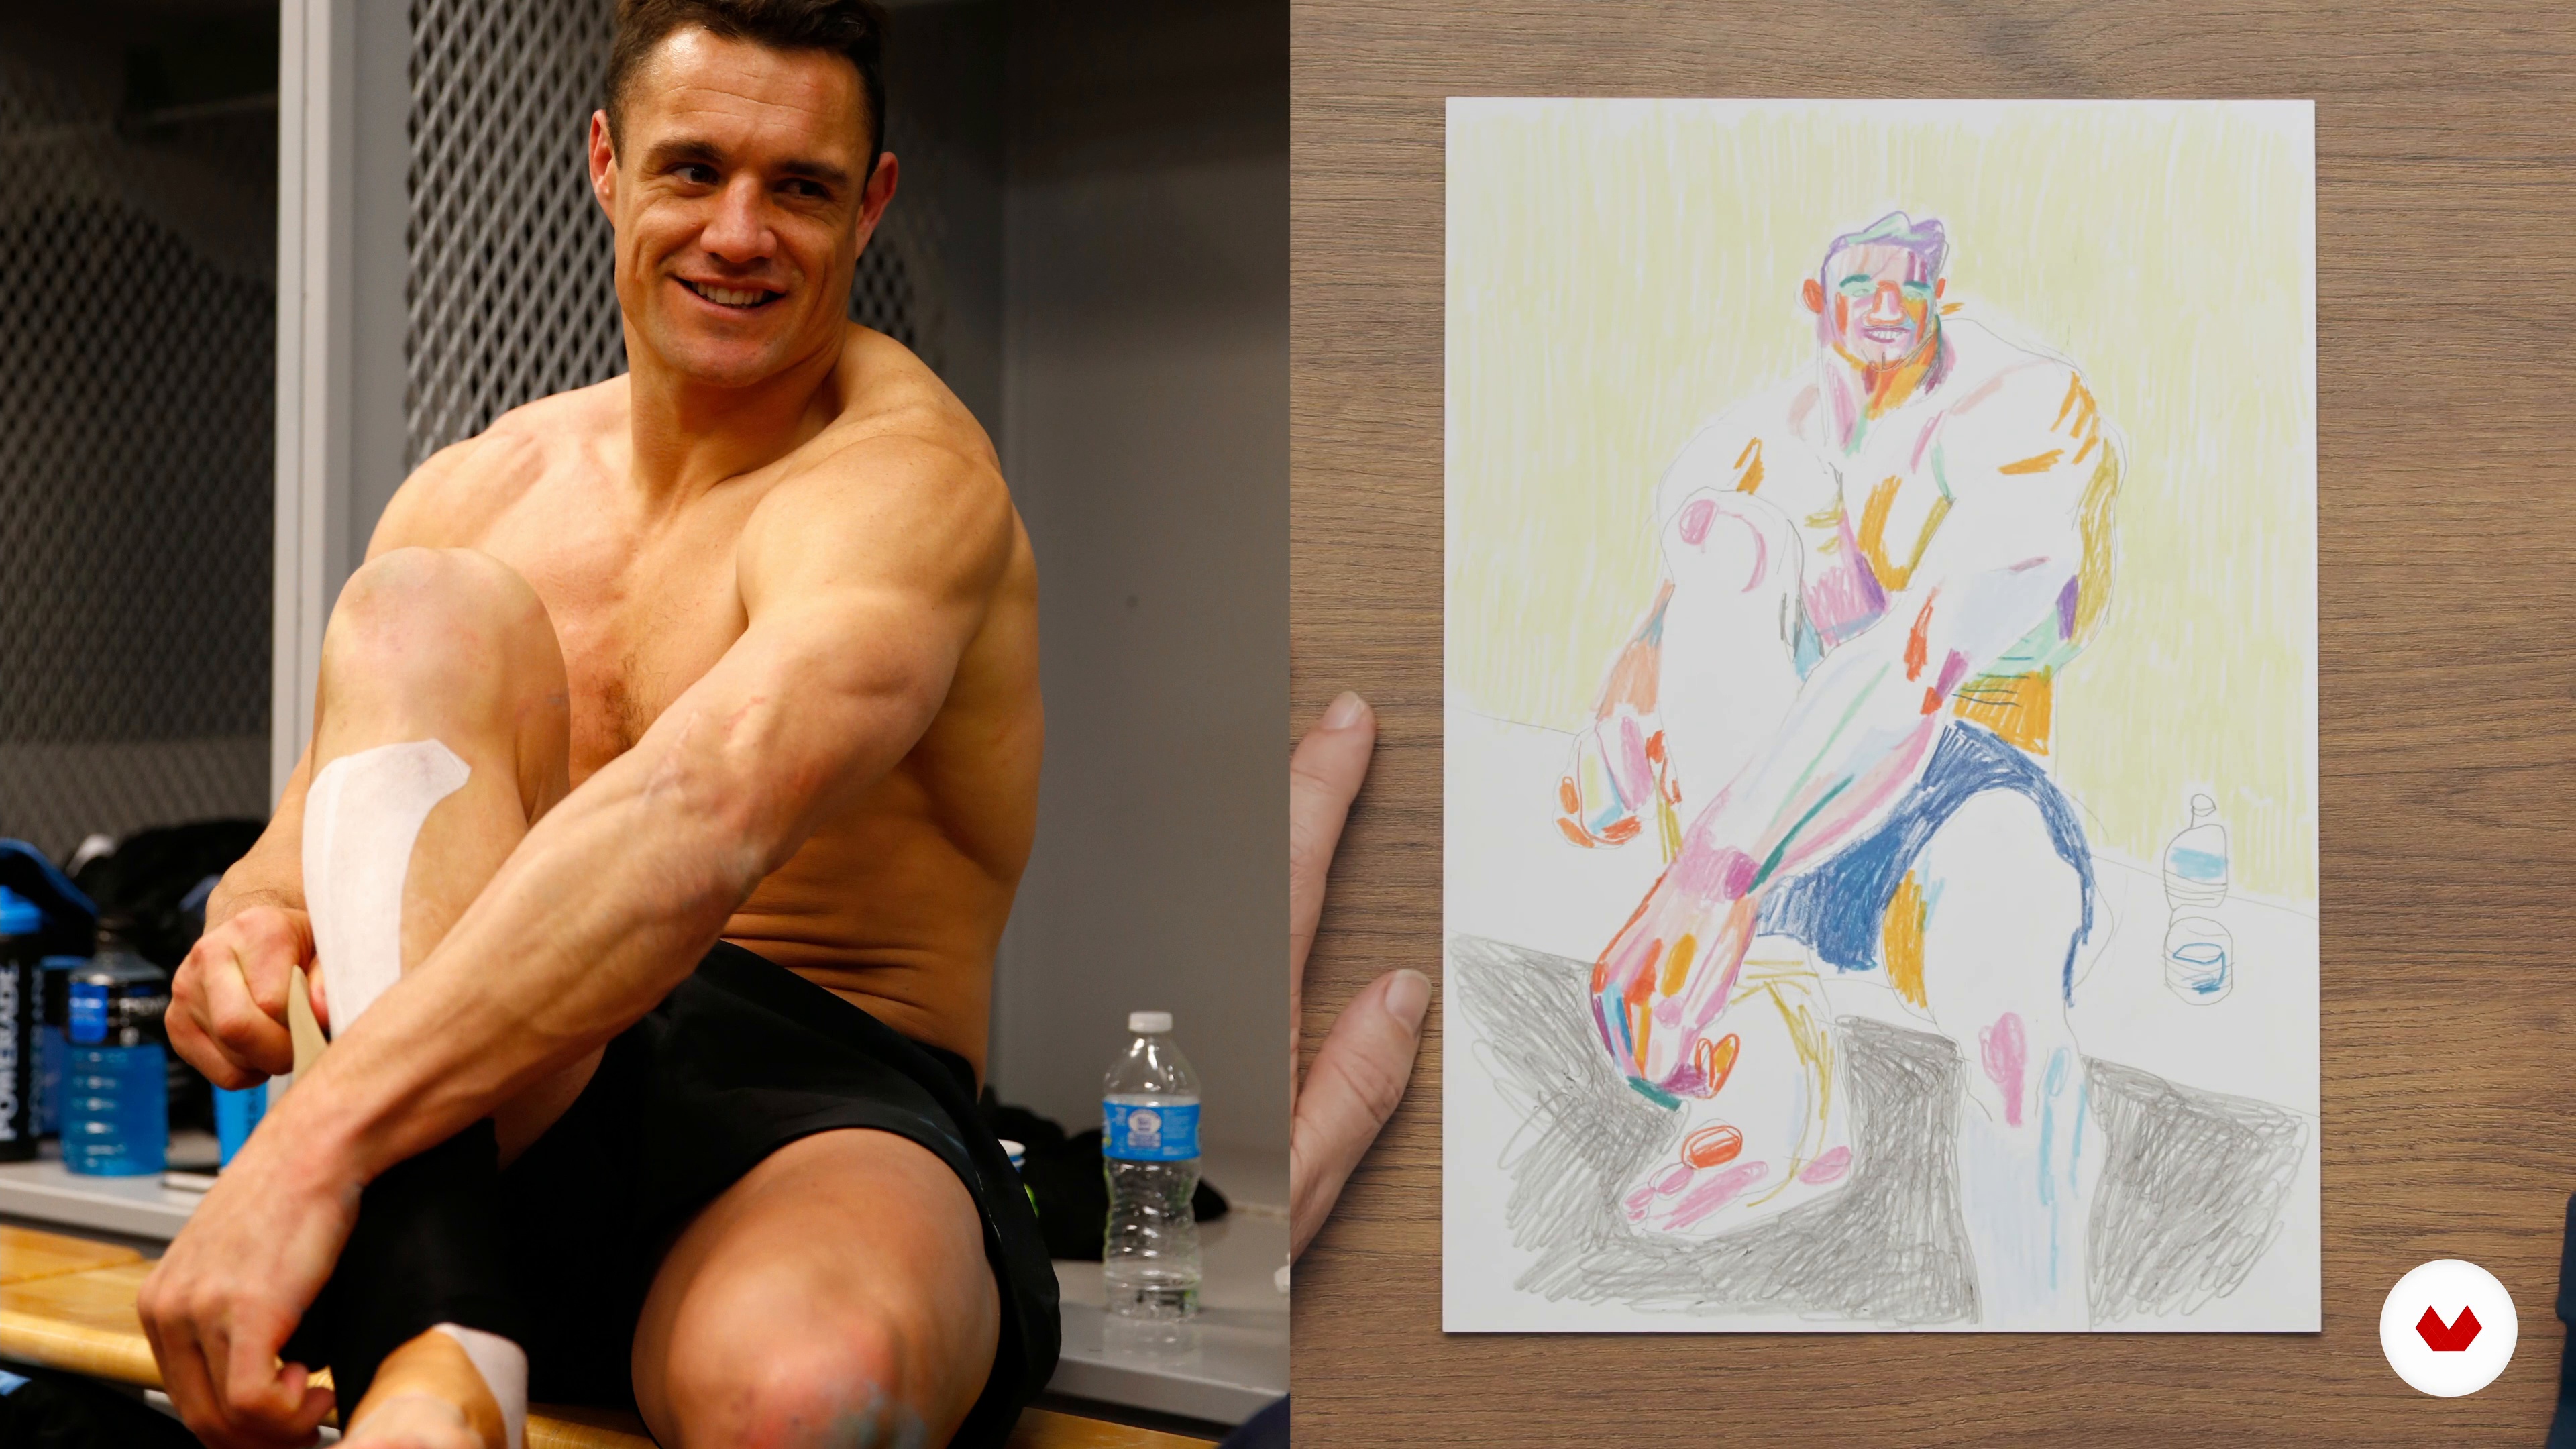
Release the form
Now I'm going to tell you how we can break away from realism and put our own style into practice using our eyes, our minds, and our feelings.
17m
image
7
The role of color
Finally, in this lesson I will explain how we can use color to go beyond optical realism.
14m
image
8
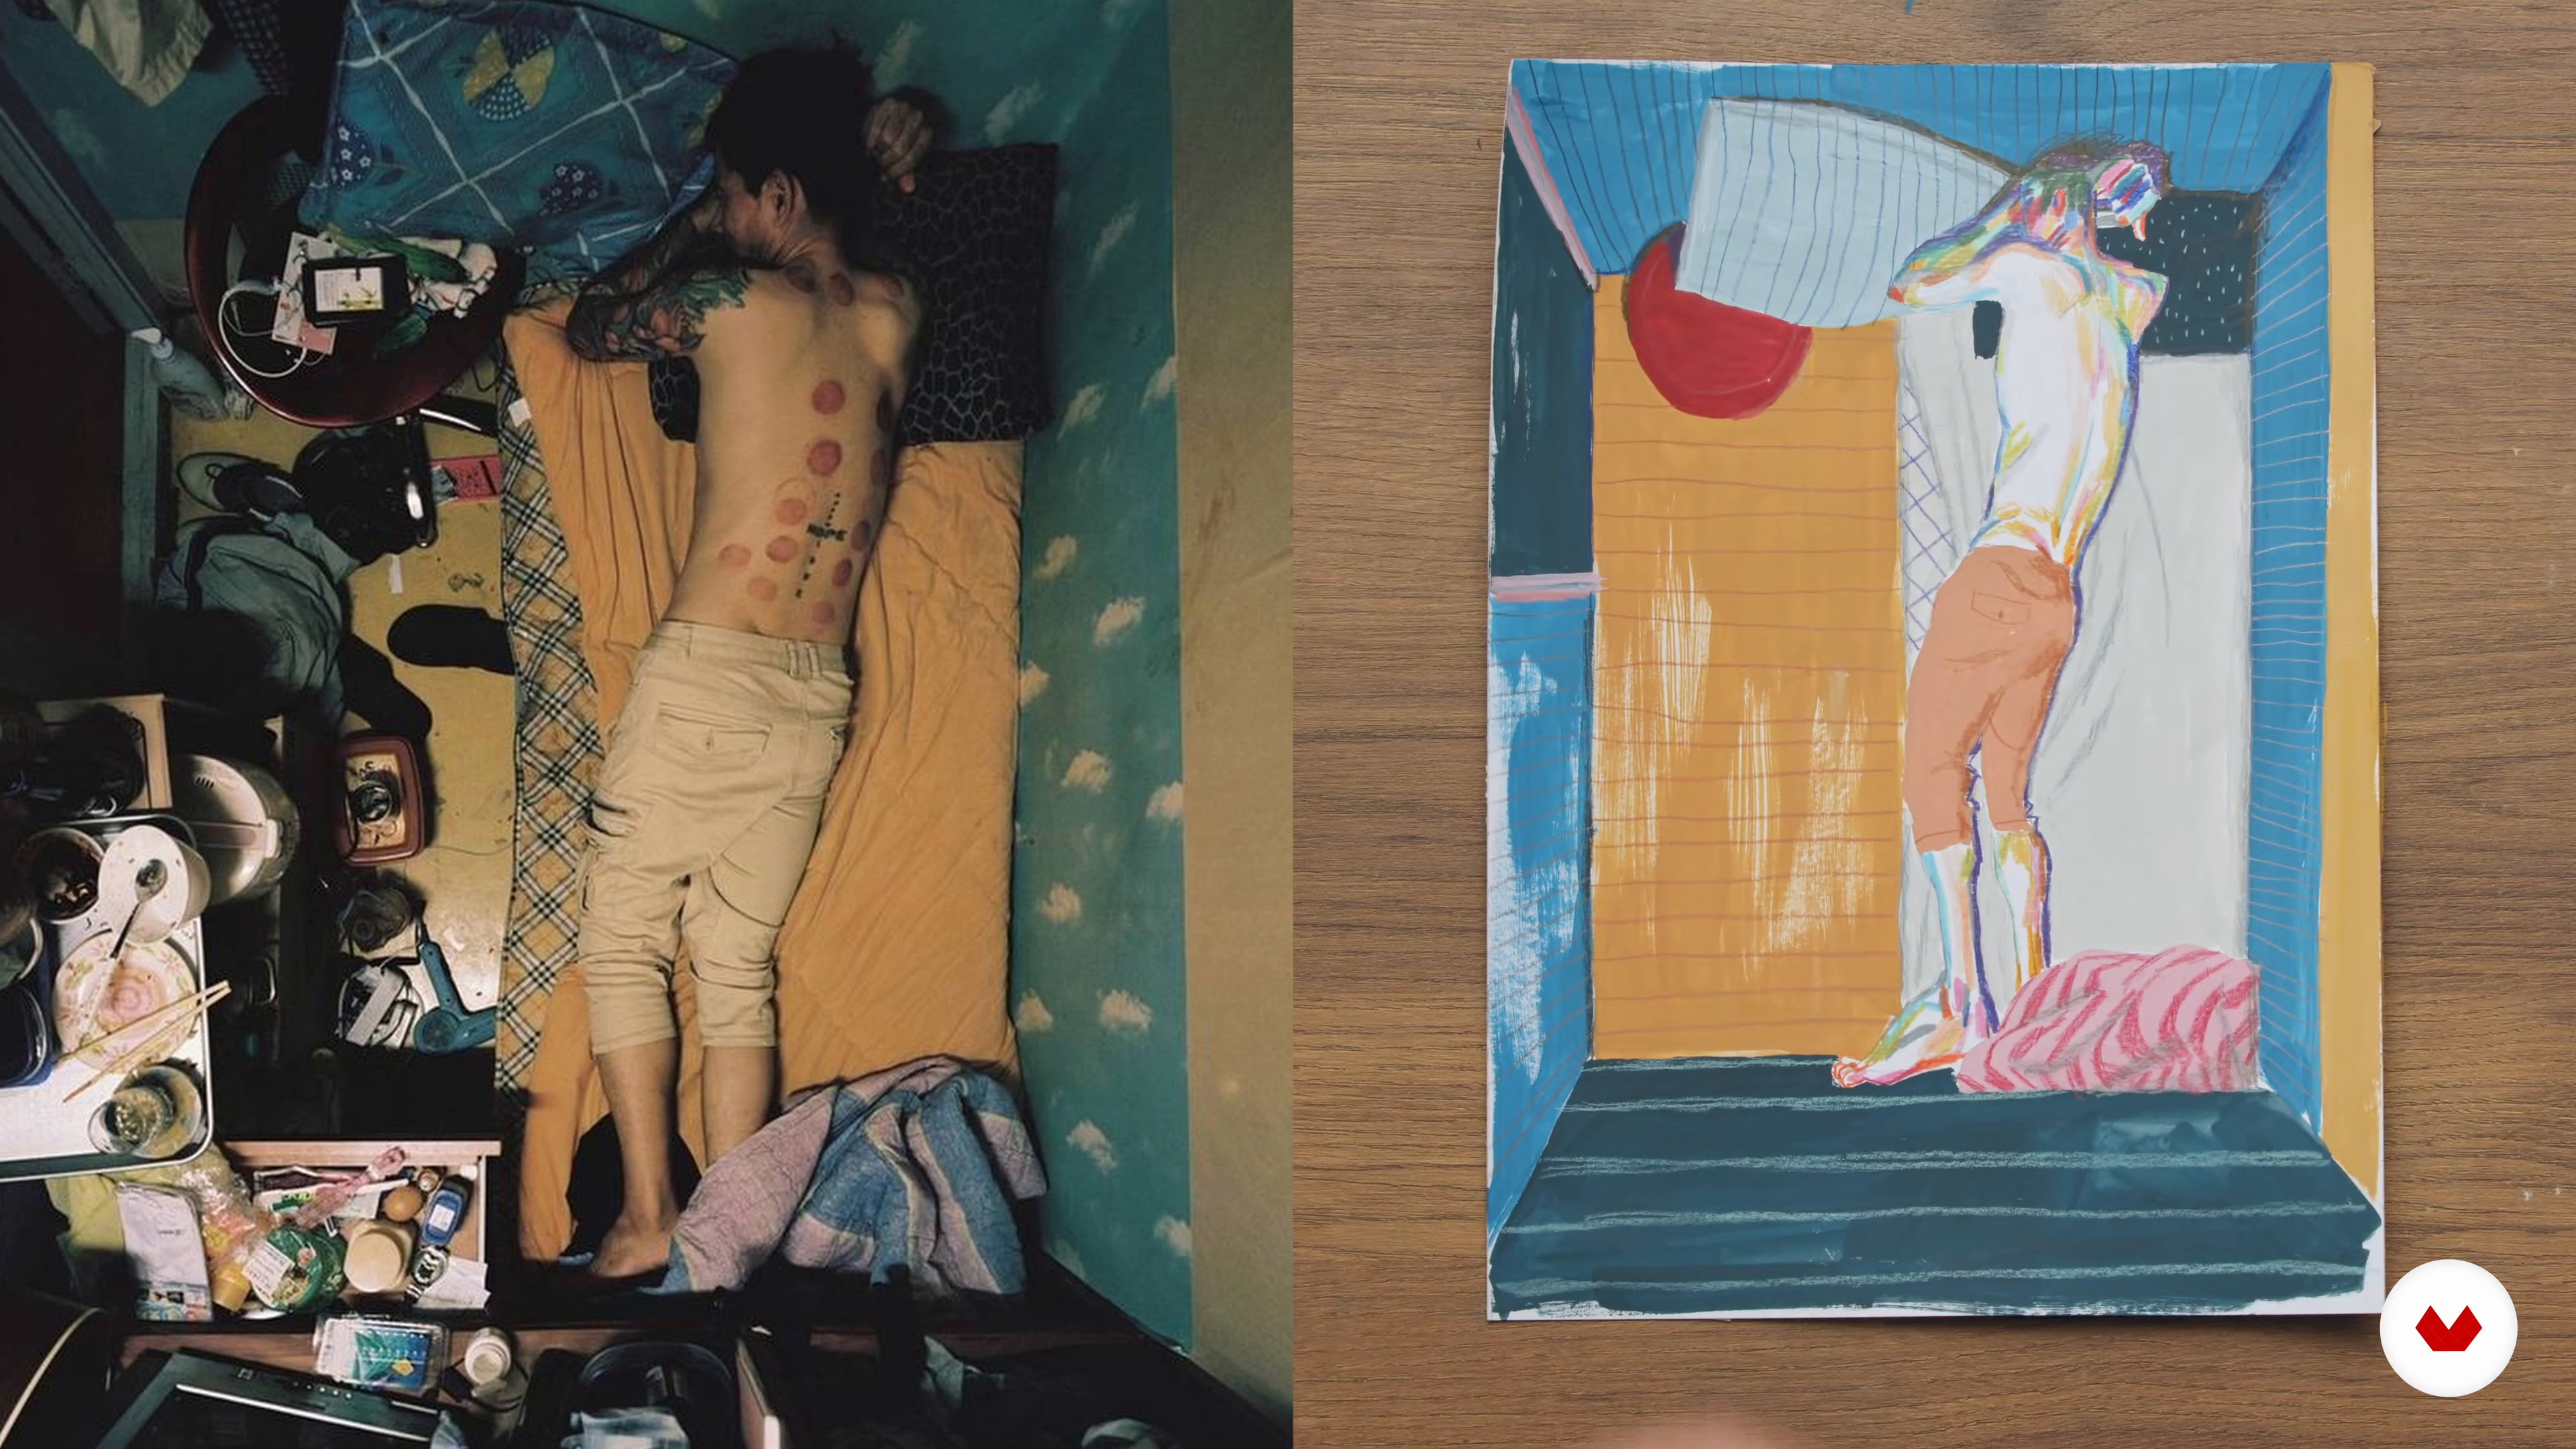
Choice of referent
In this lesson, I'll explain my criteria for choosing a reference for creating the final project.
6m
image
9
Drawing lace
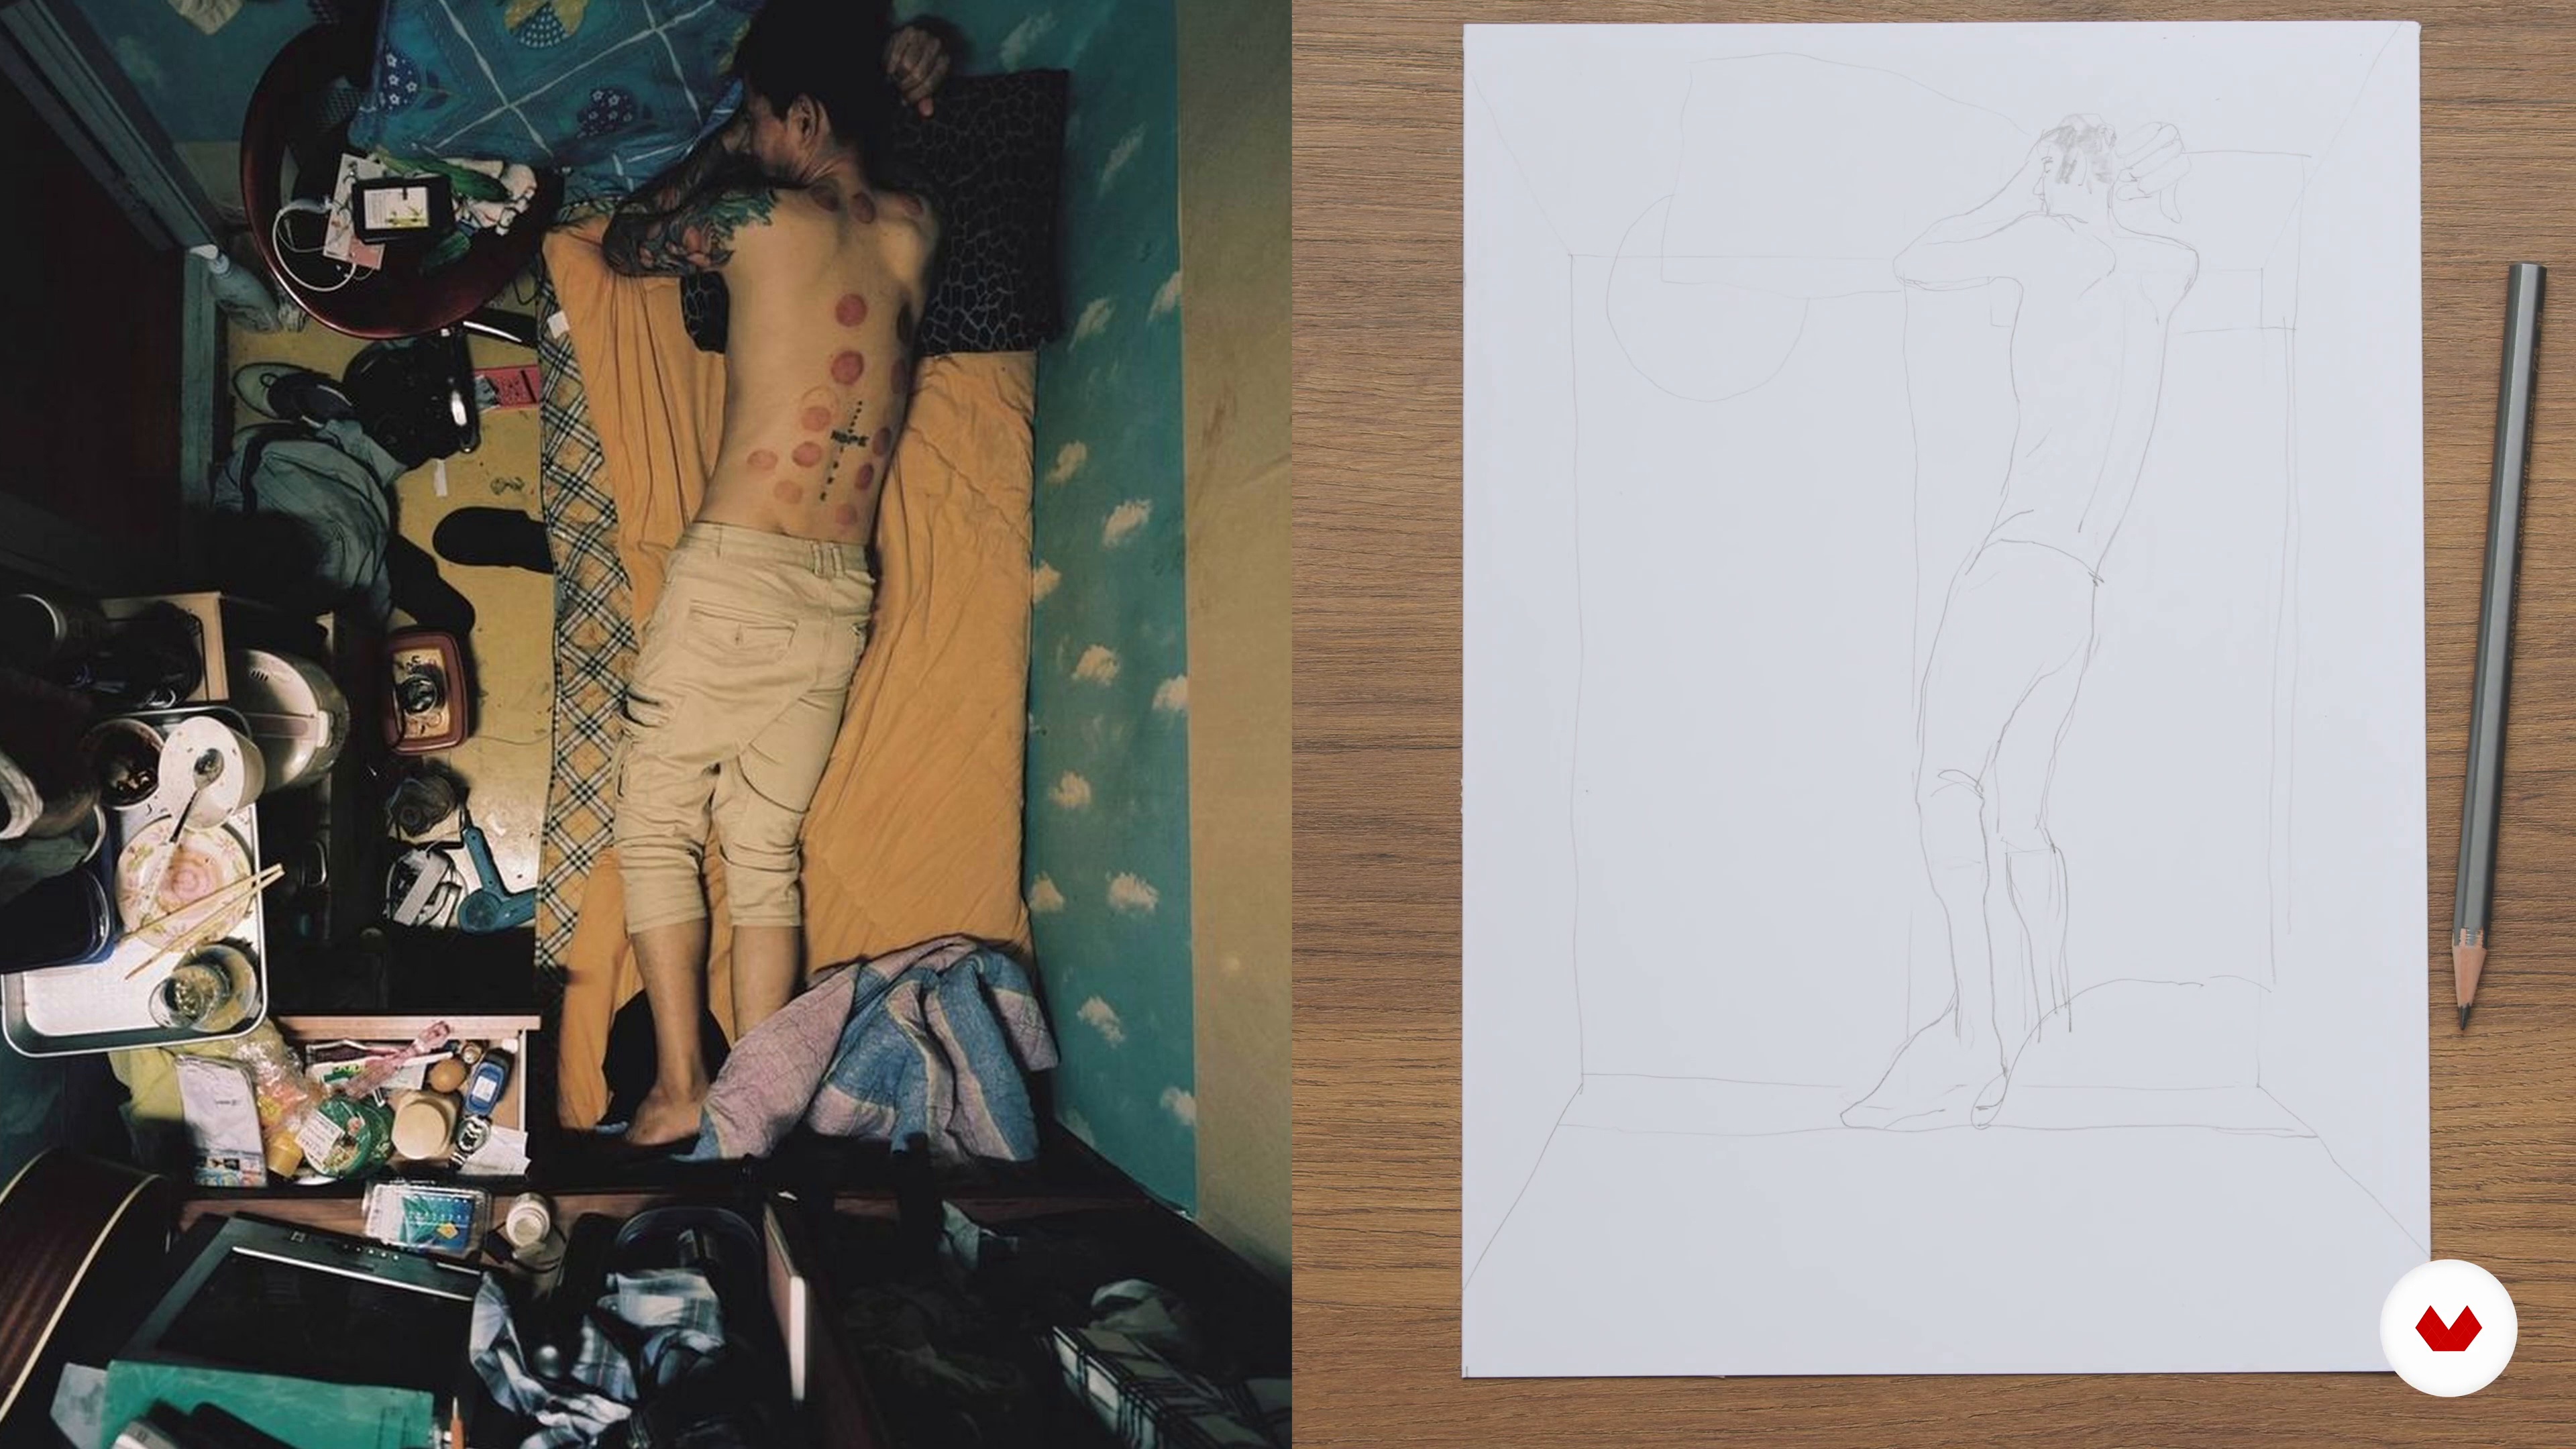
Next, we'll see how to draw the basic lines of our drawing to achieve maximum expression.
10m
image
10
Color: between observation and imagination
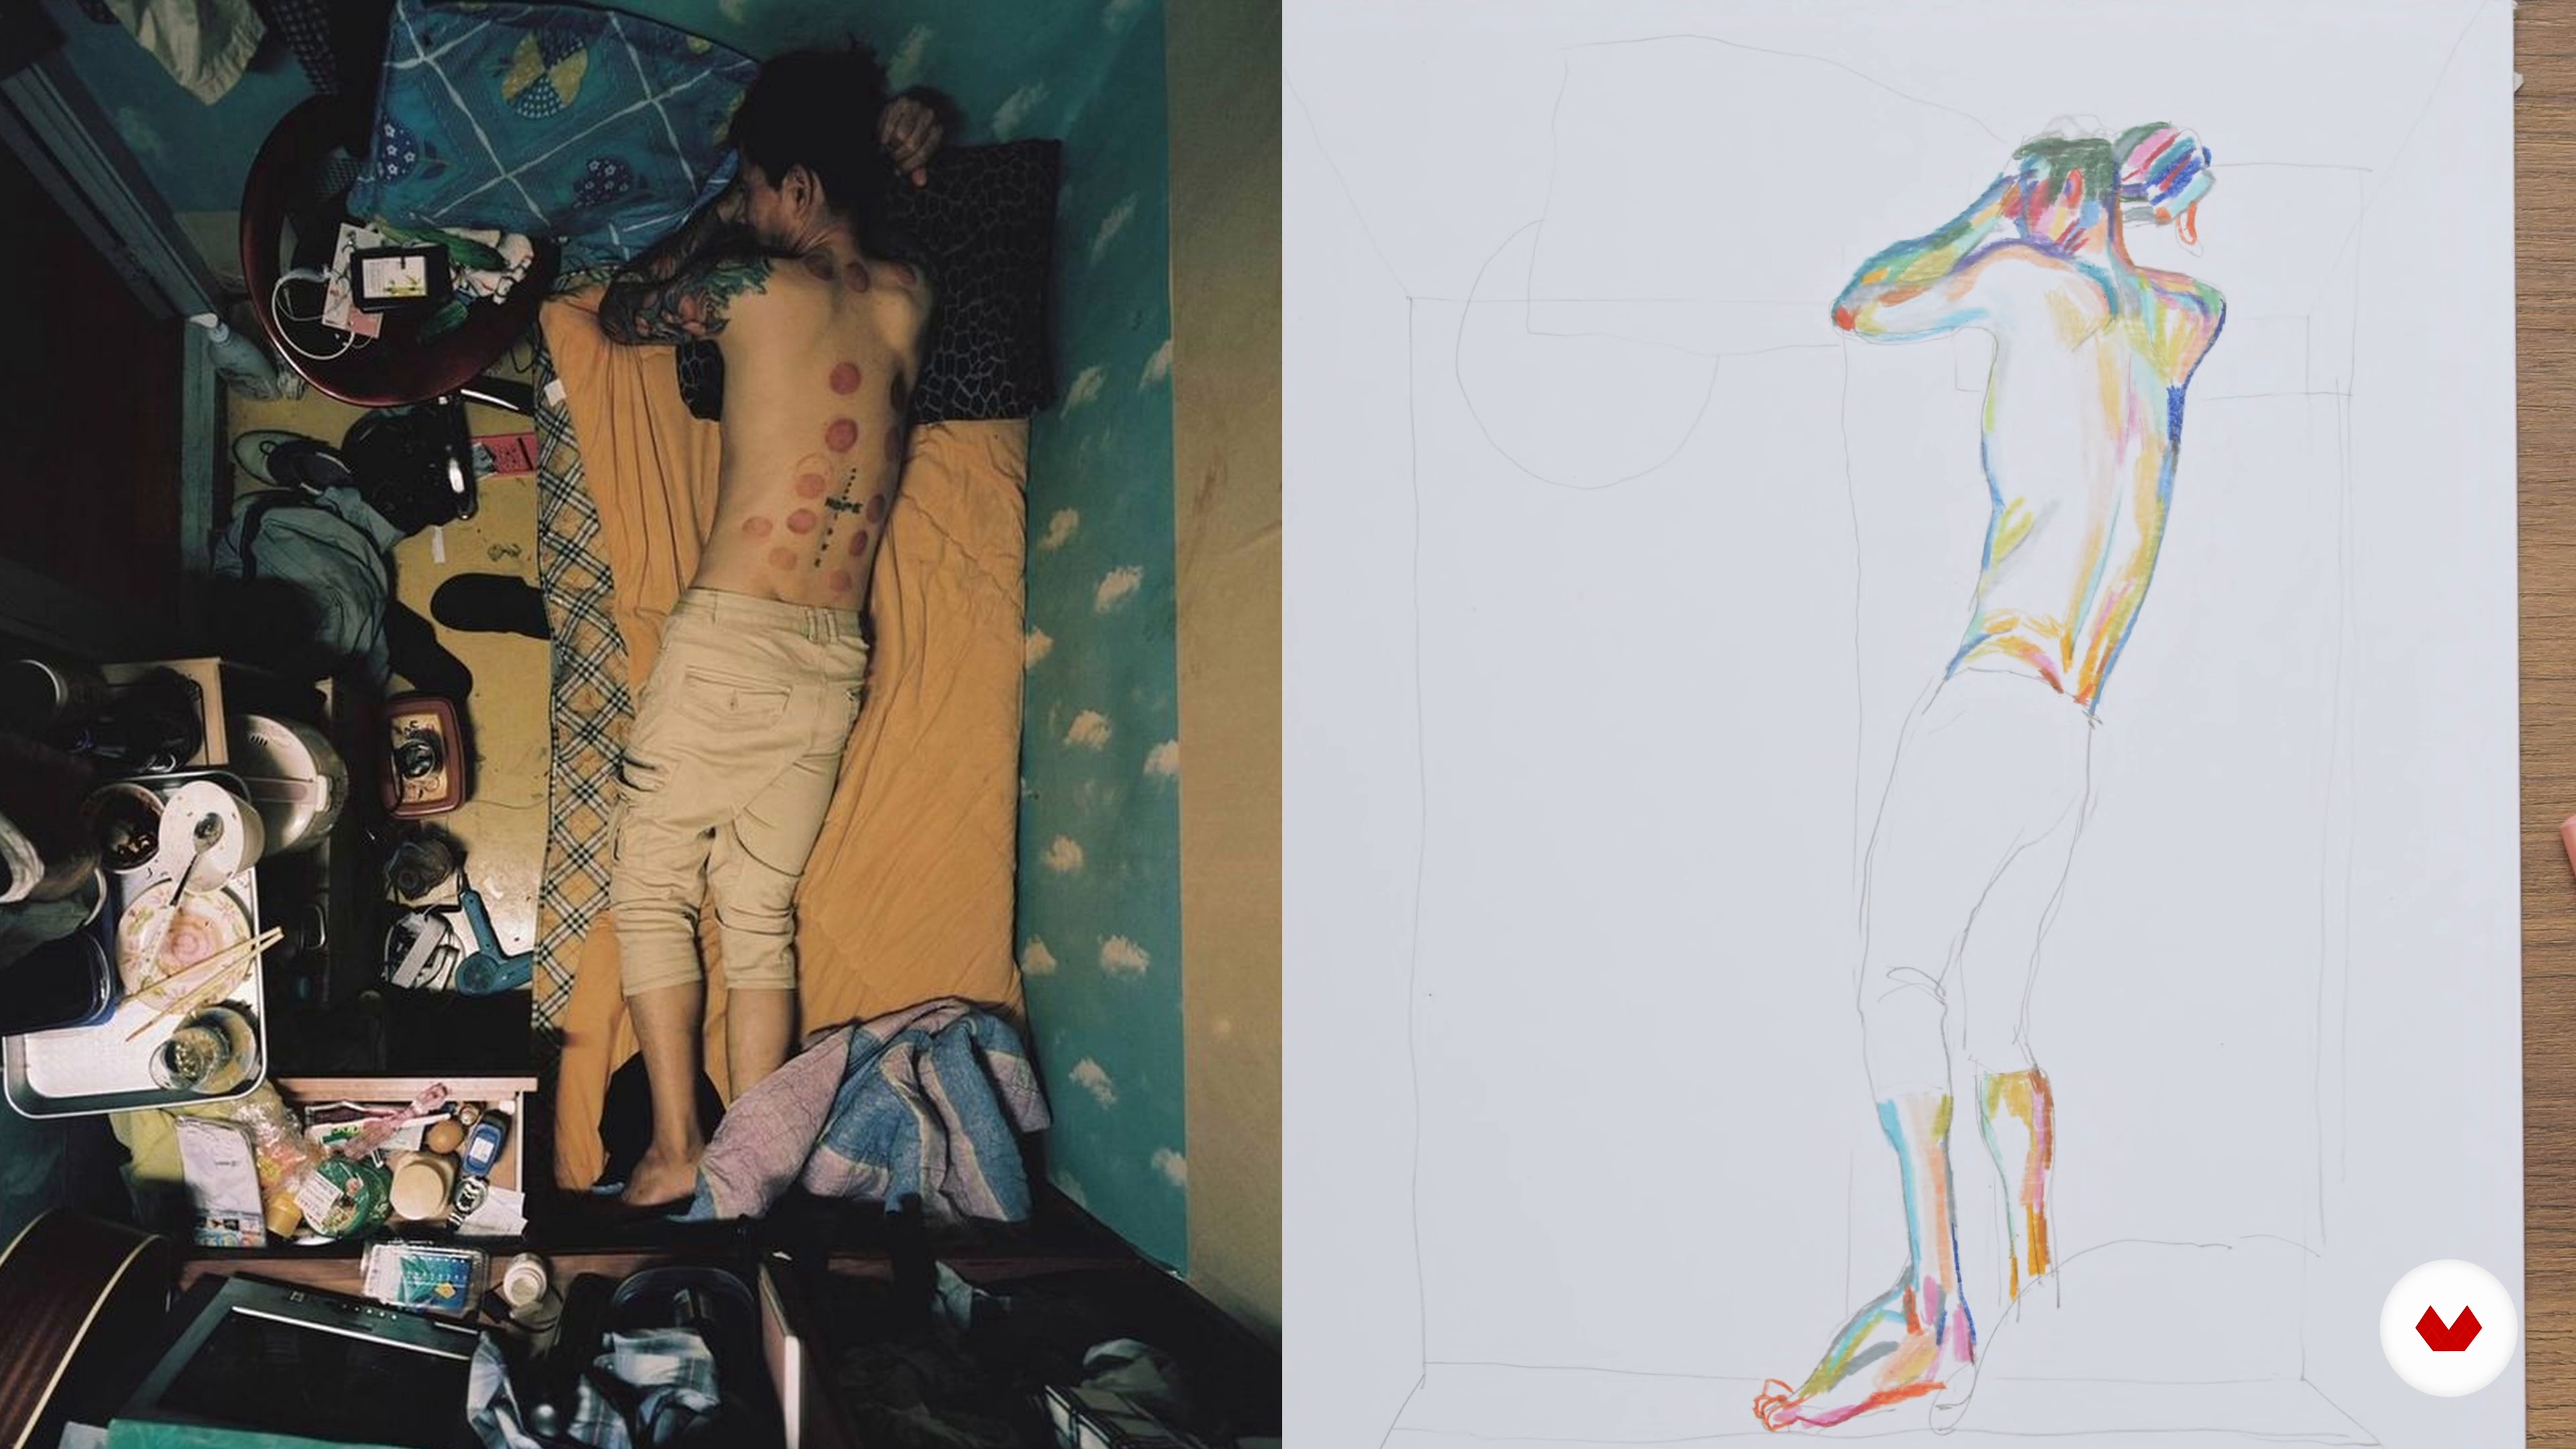
Now we're going to start applying the color to the visible parts of the body, maximizing the expressiveness of the color.
19m
image
11
The funds 1
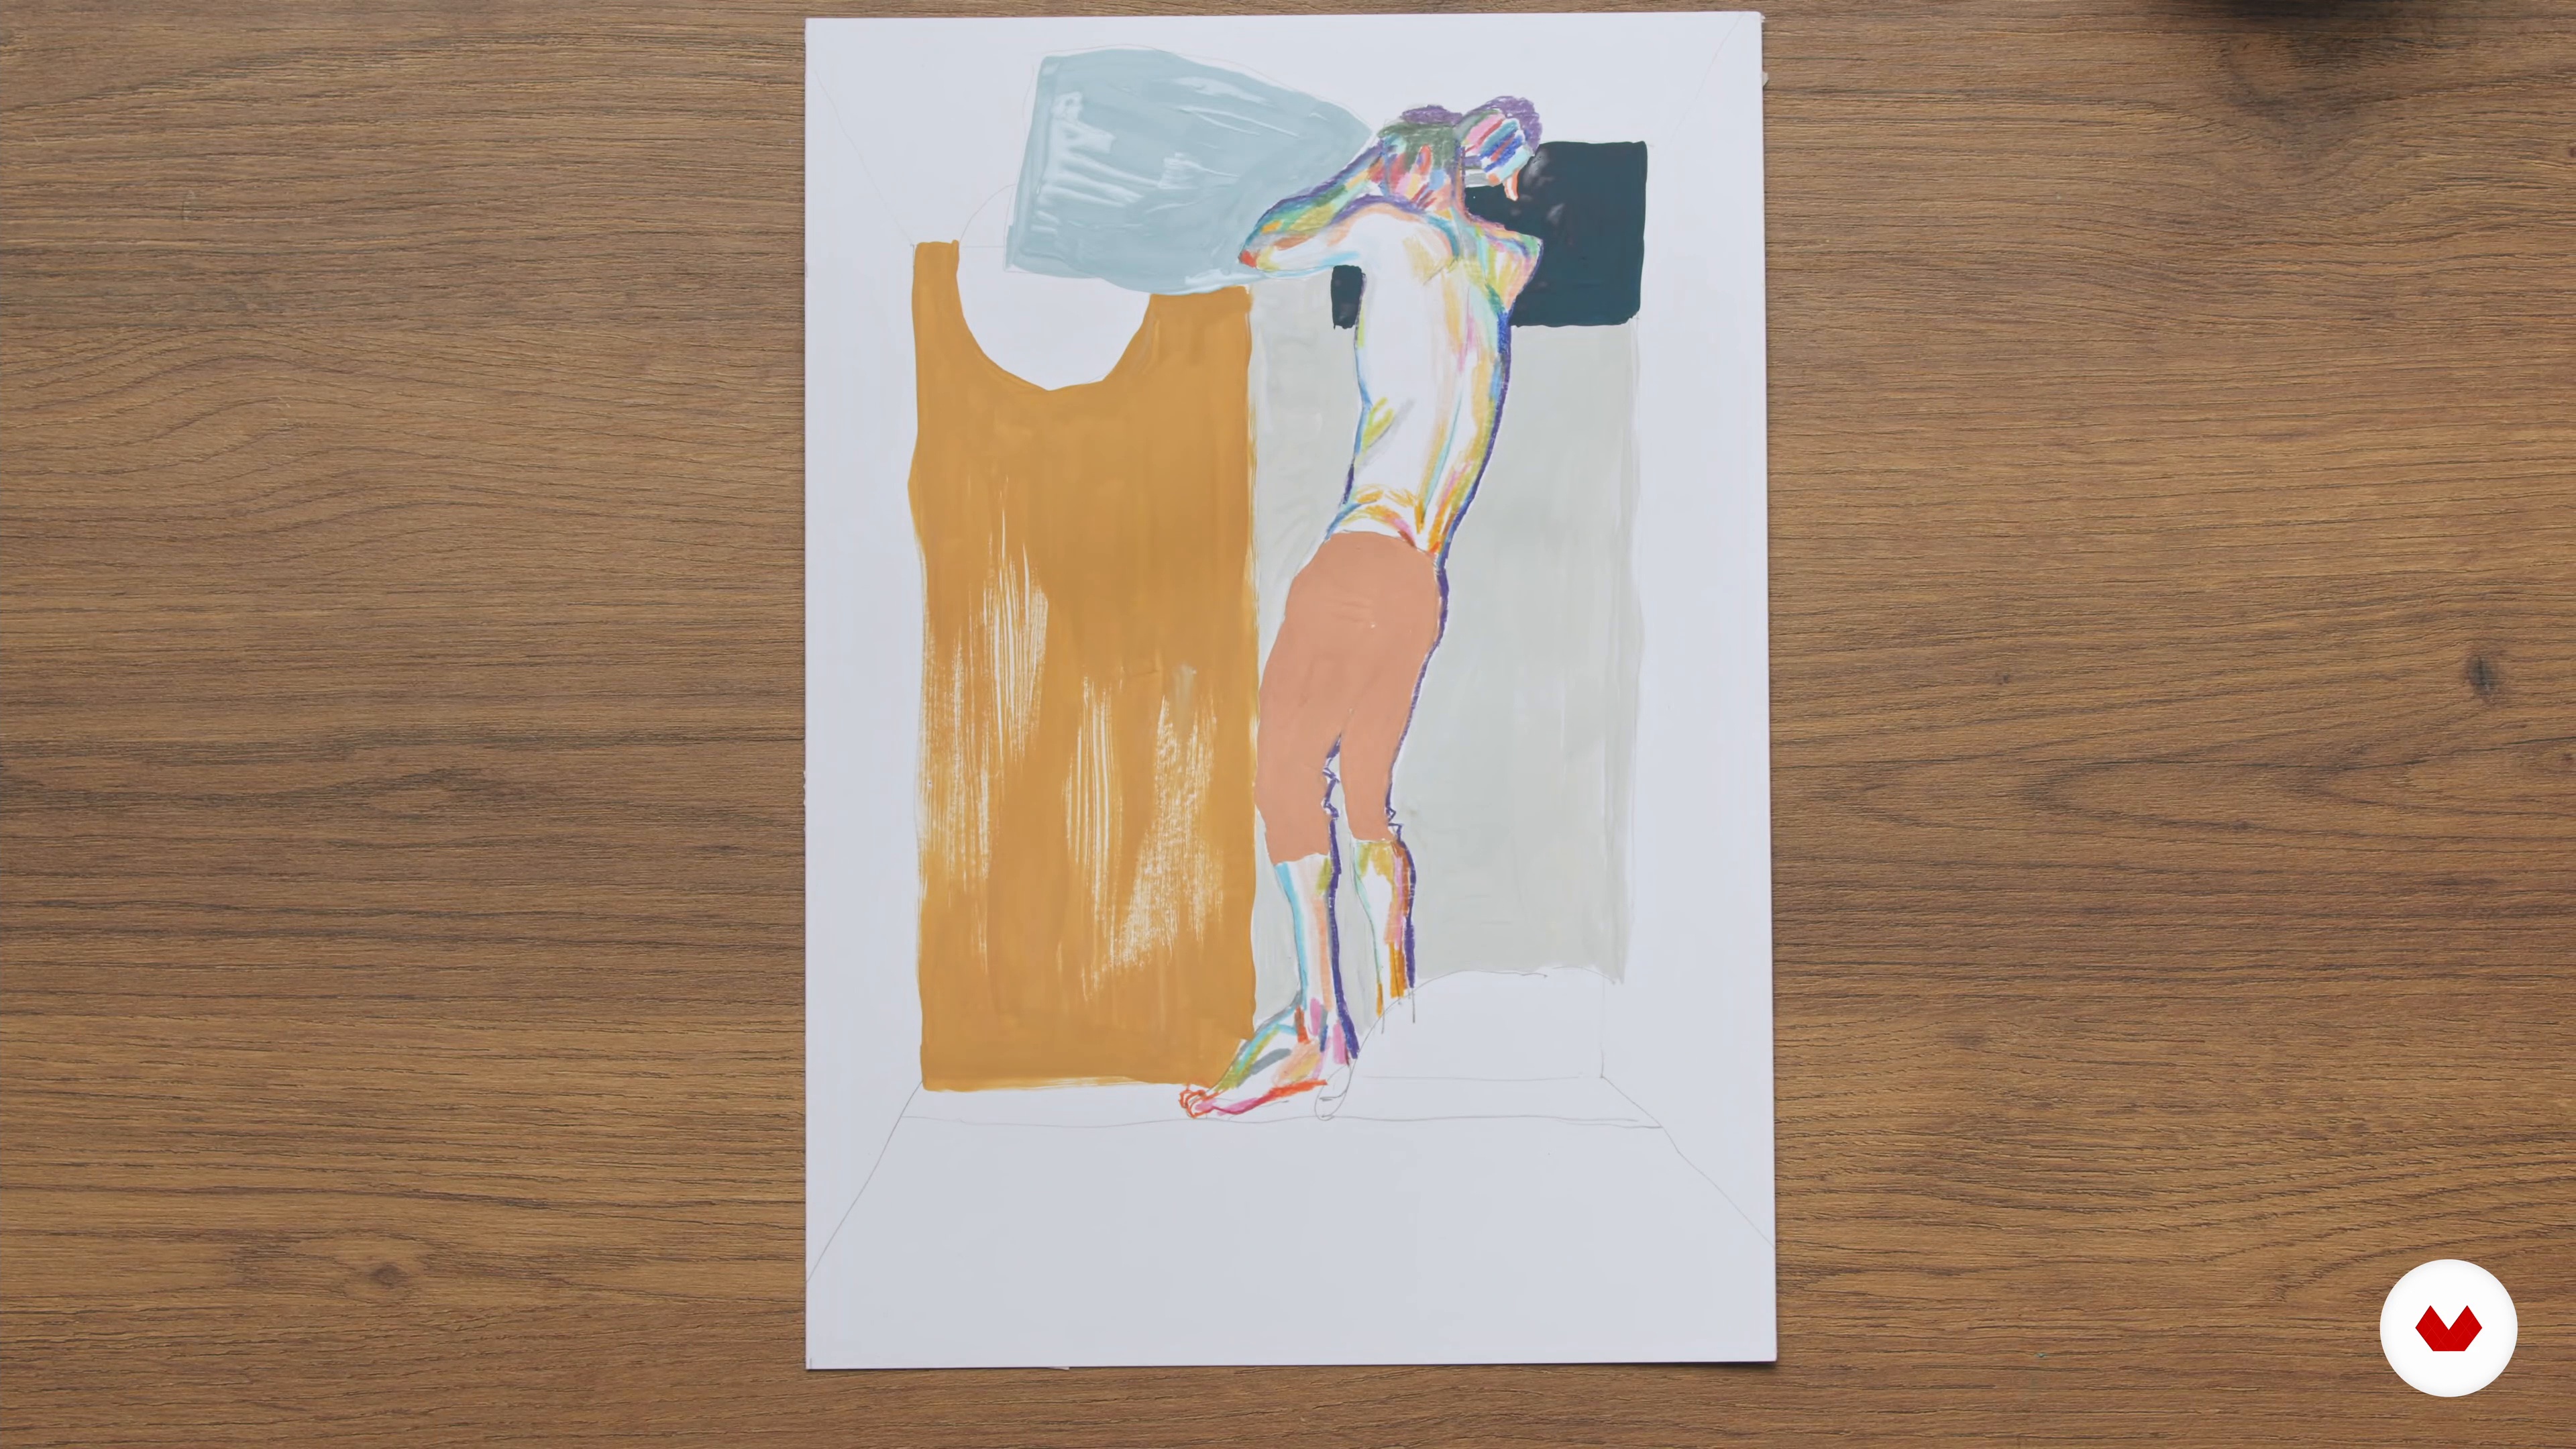
Finally, we will use tempera paints and pencils to create backgrounds that enhance the figure we have created.
14m
image
12
The funds 2
We continued working on the background to leave the illustration almost finished, lacking a few final digital touches.
16m
image
13
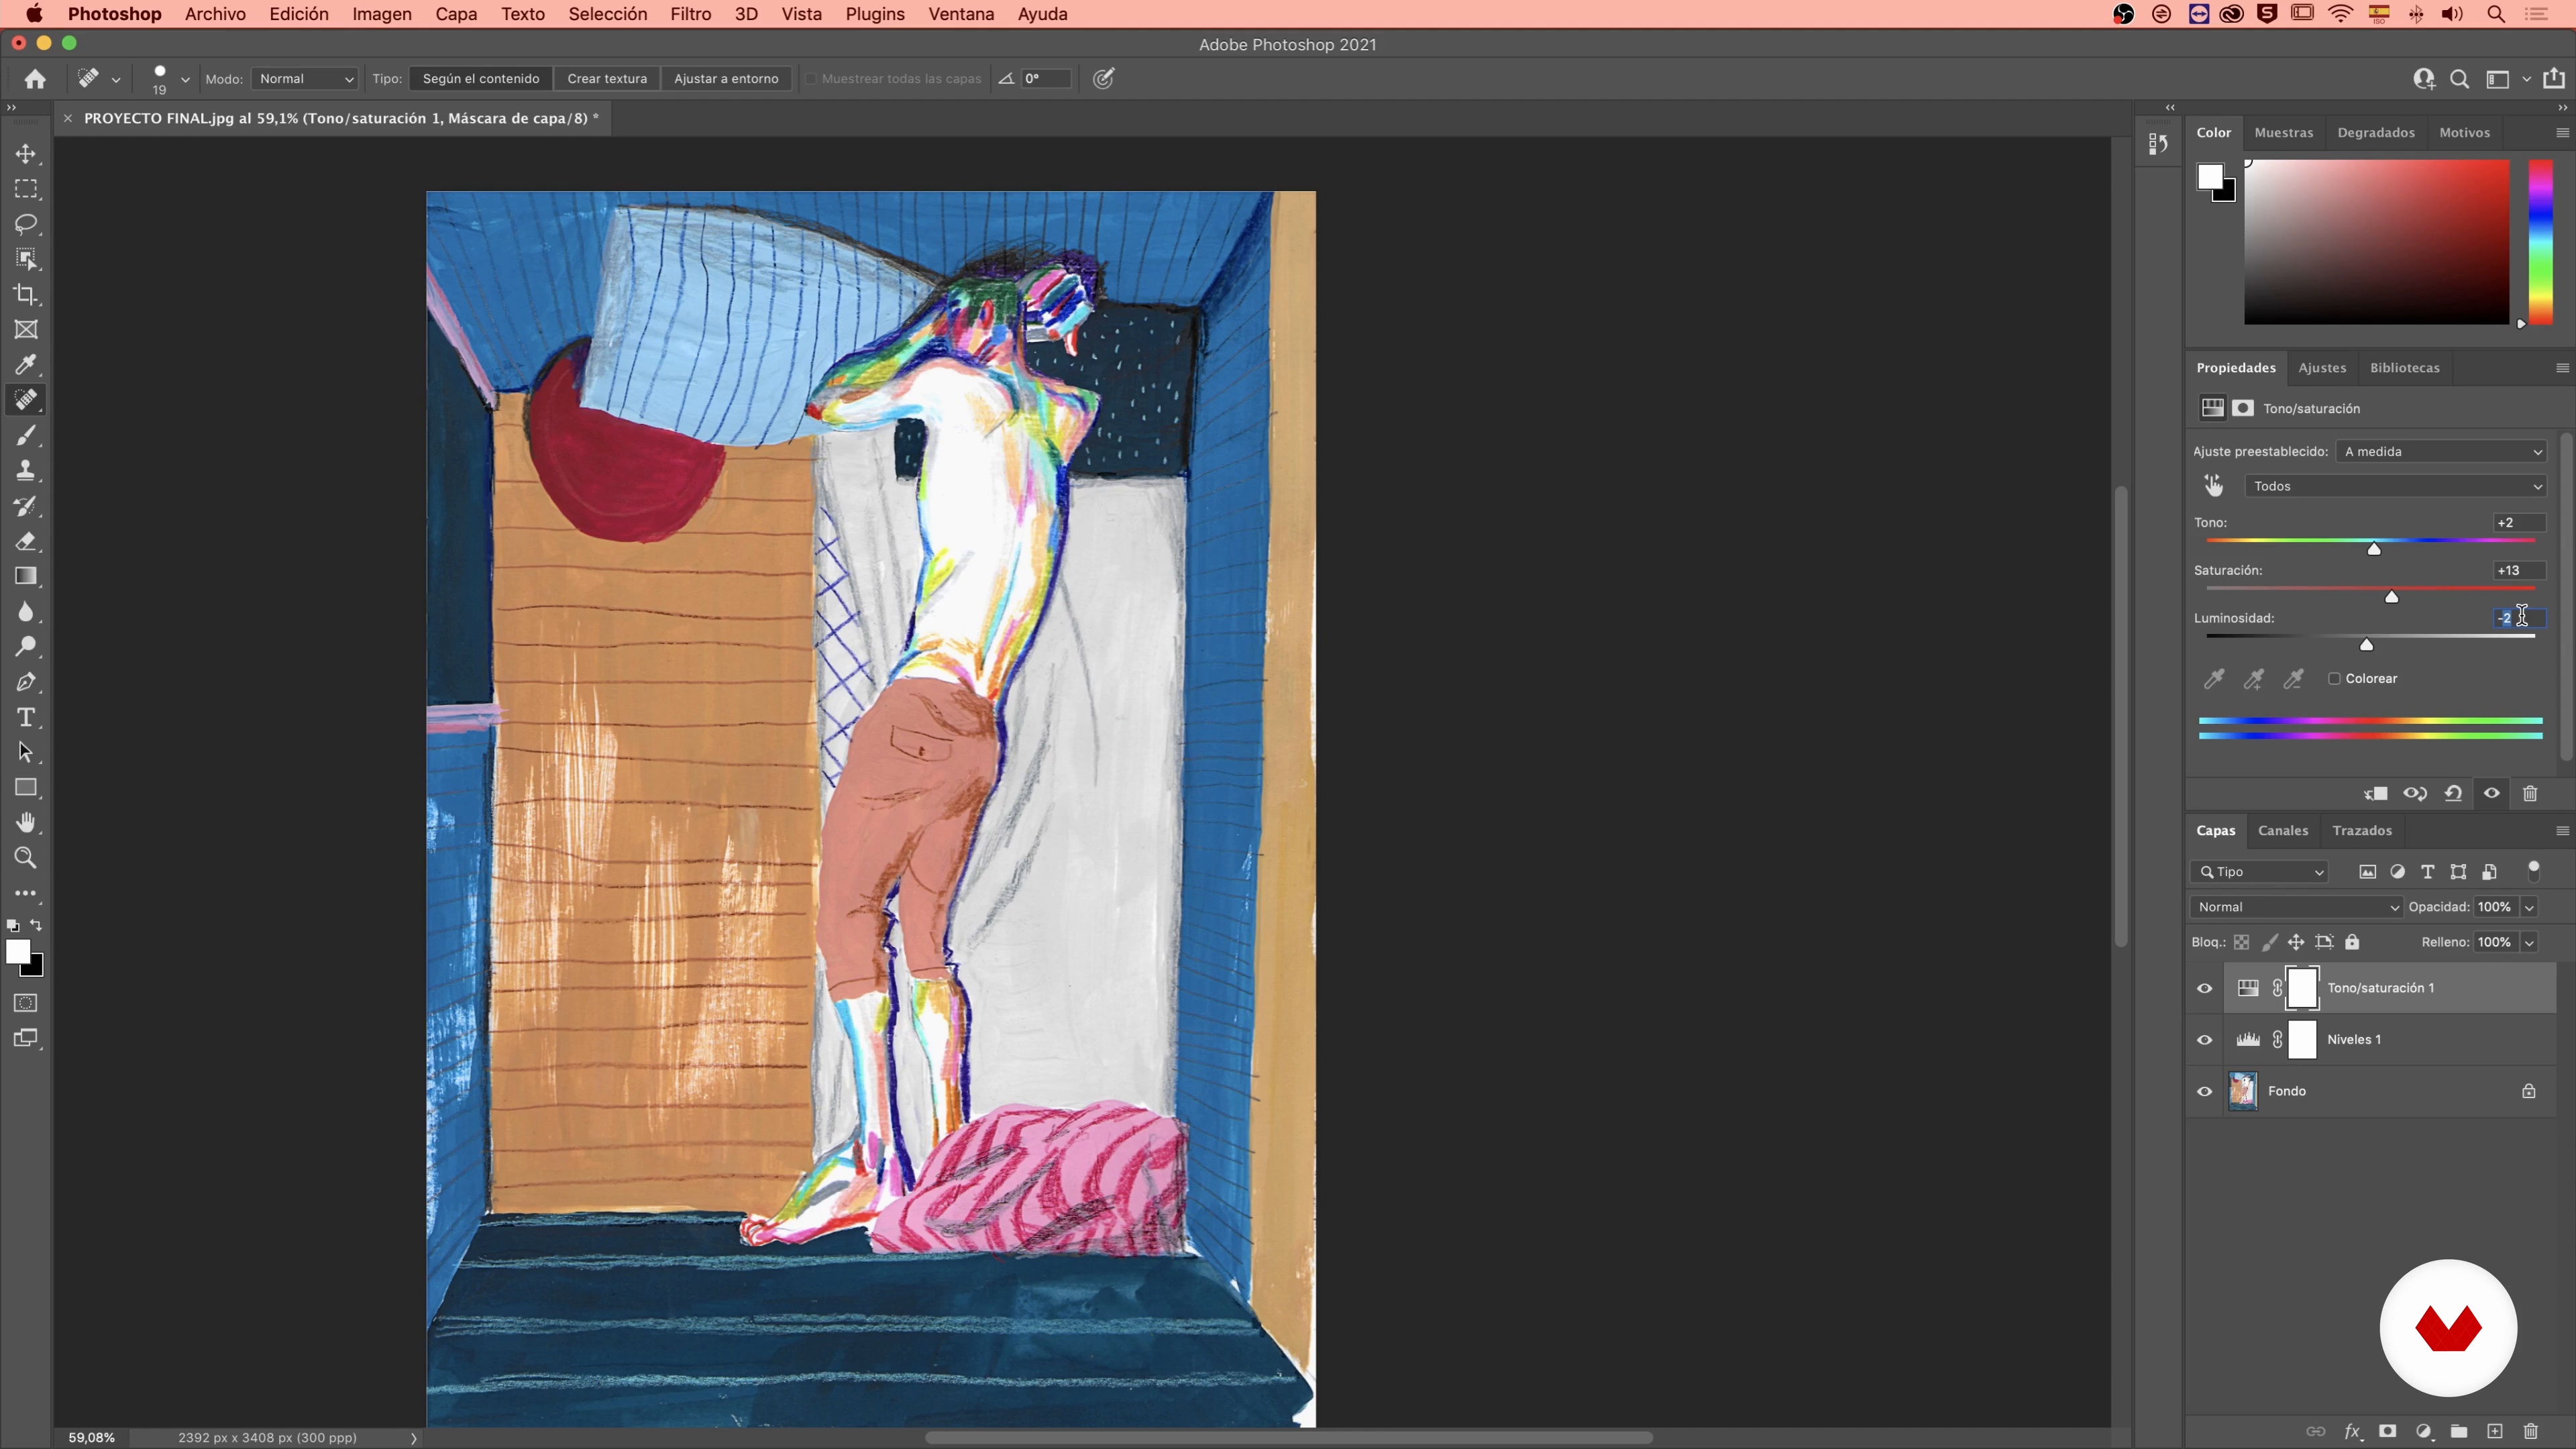
Retouching
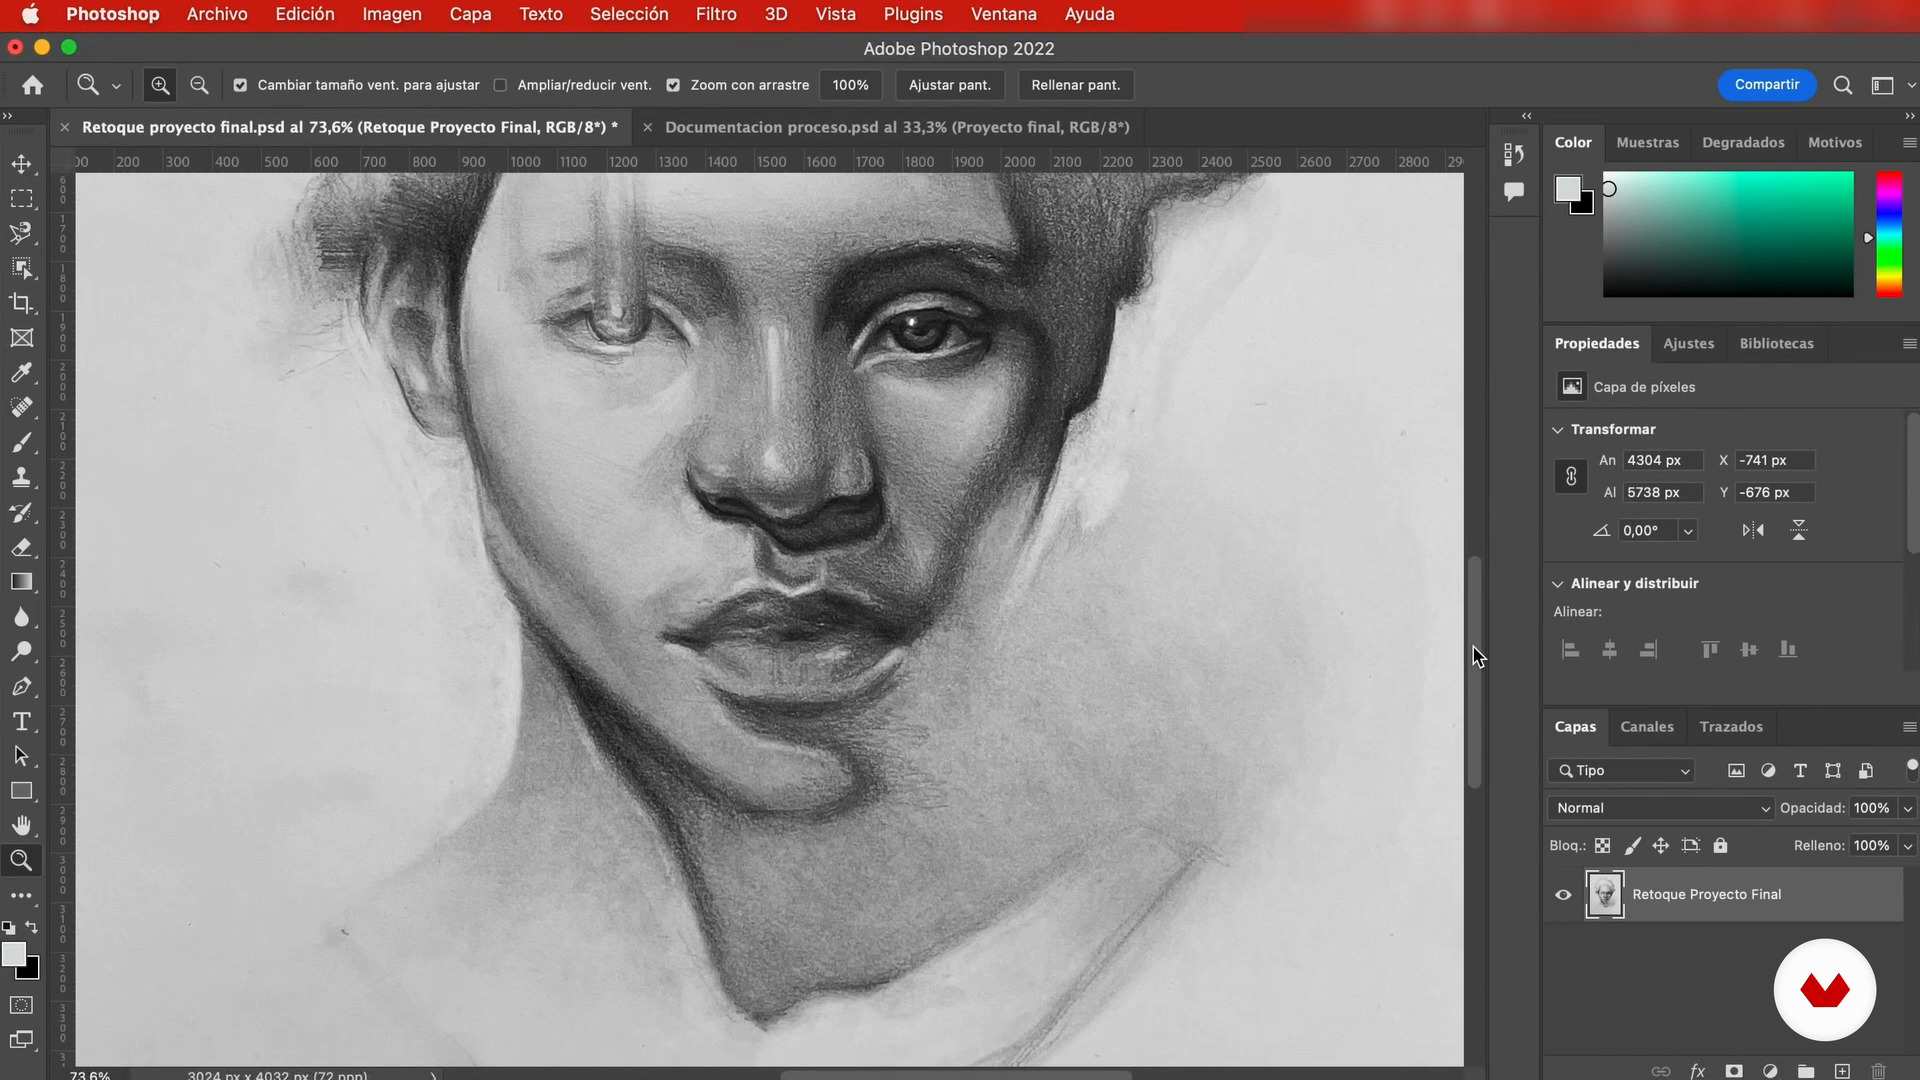
In this lesson, we'll put the finishing touches on our final project using the tools provided by Photoshop.
19m
image
14
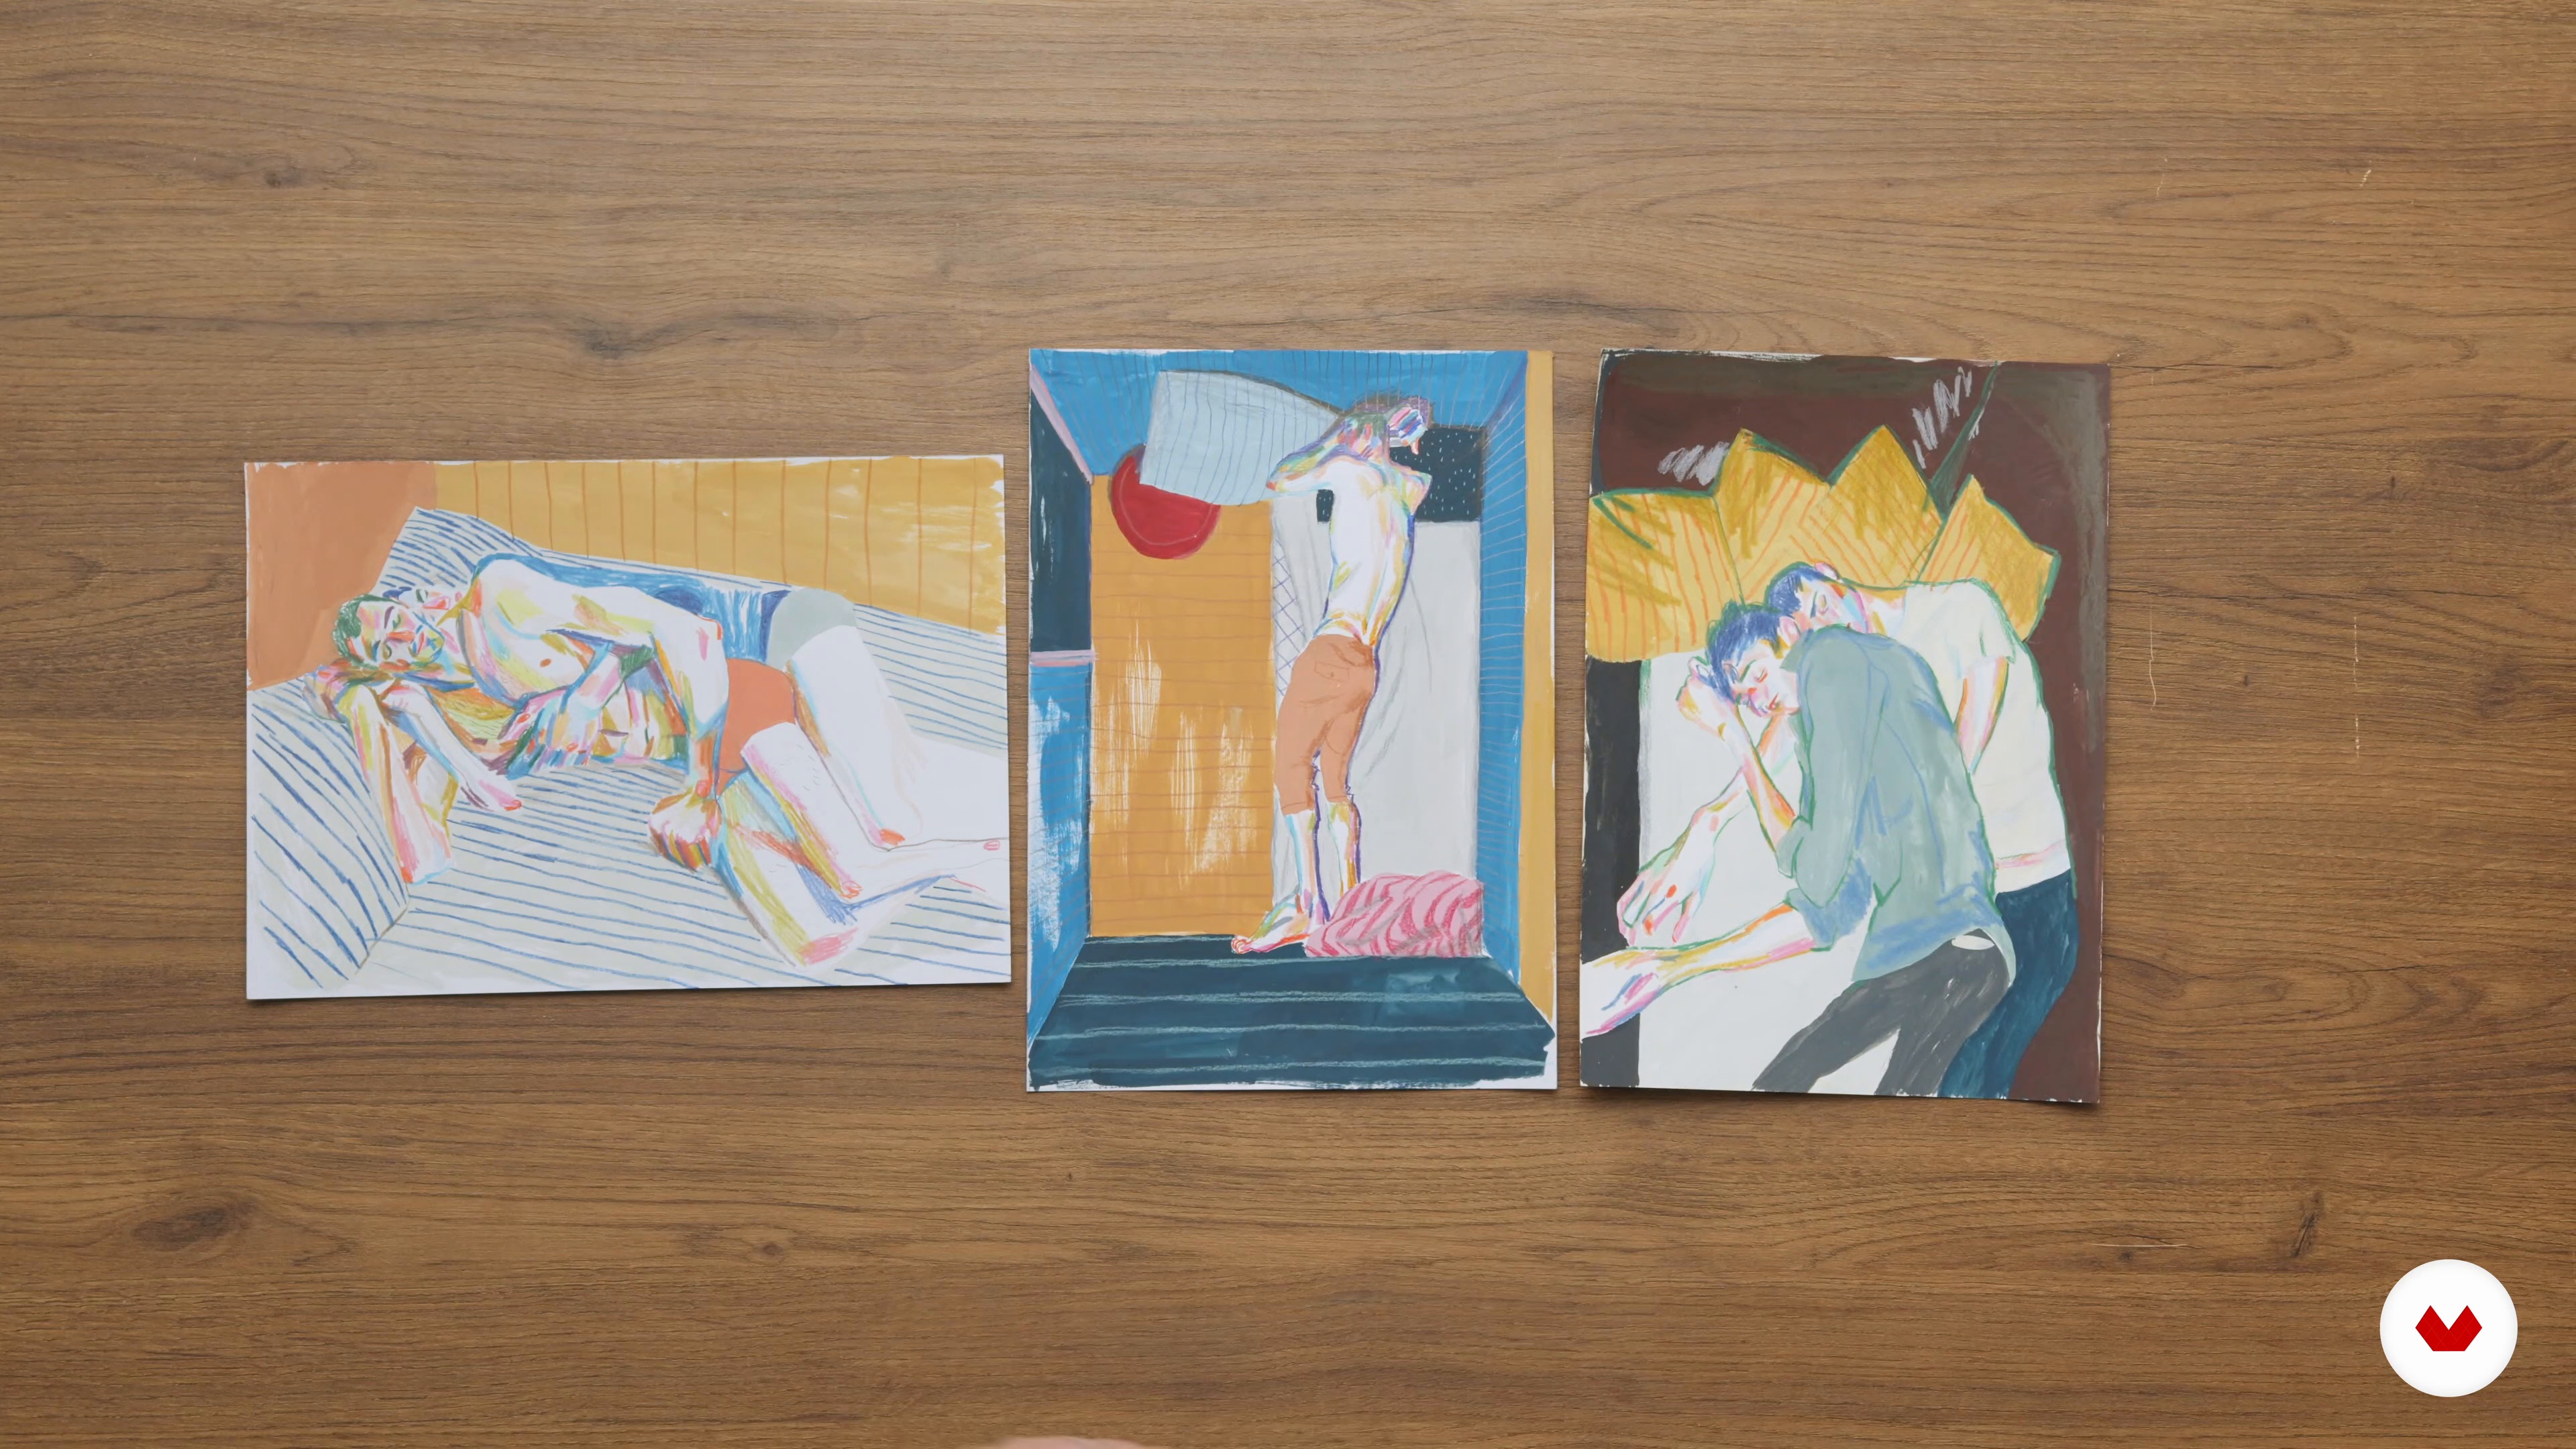
Series of drawings
Next, we will see how to give or modify meaning to our image by relating it to other works or illustrations.
8m
image
15
How to make us known
Finally, I'll give you some tips on how to promote your work and break into the market.
10m
image
3
Materials
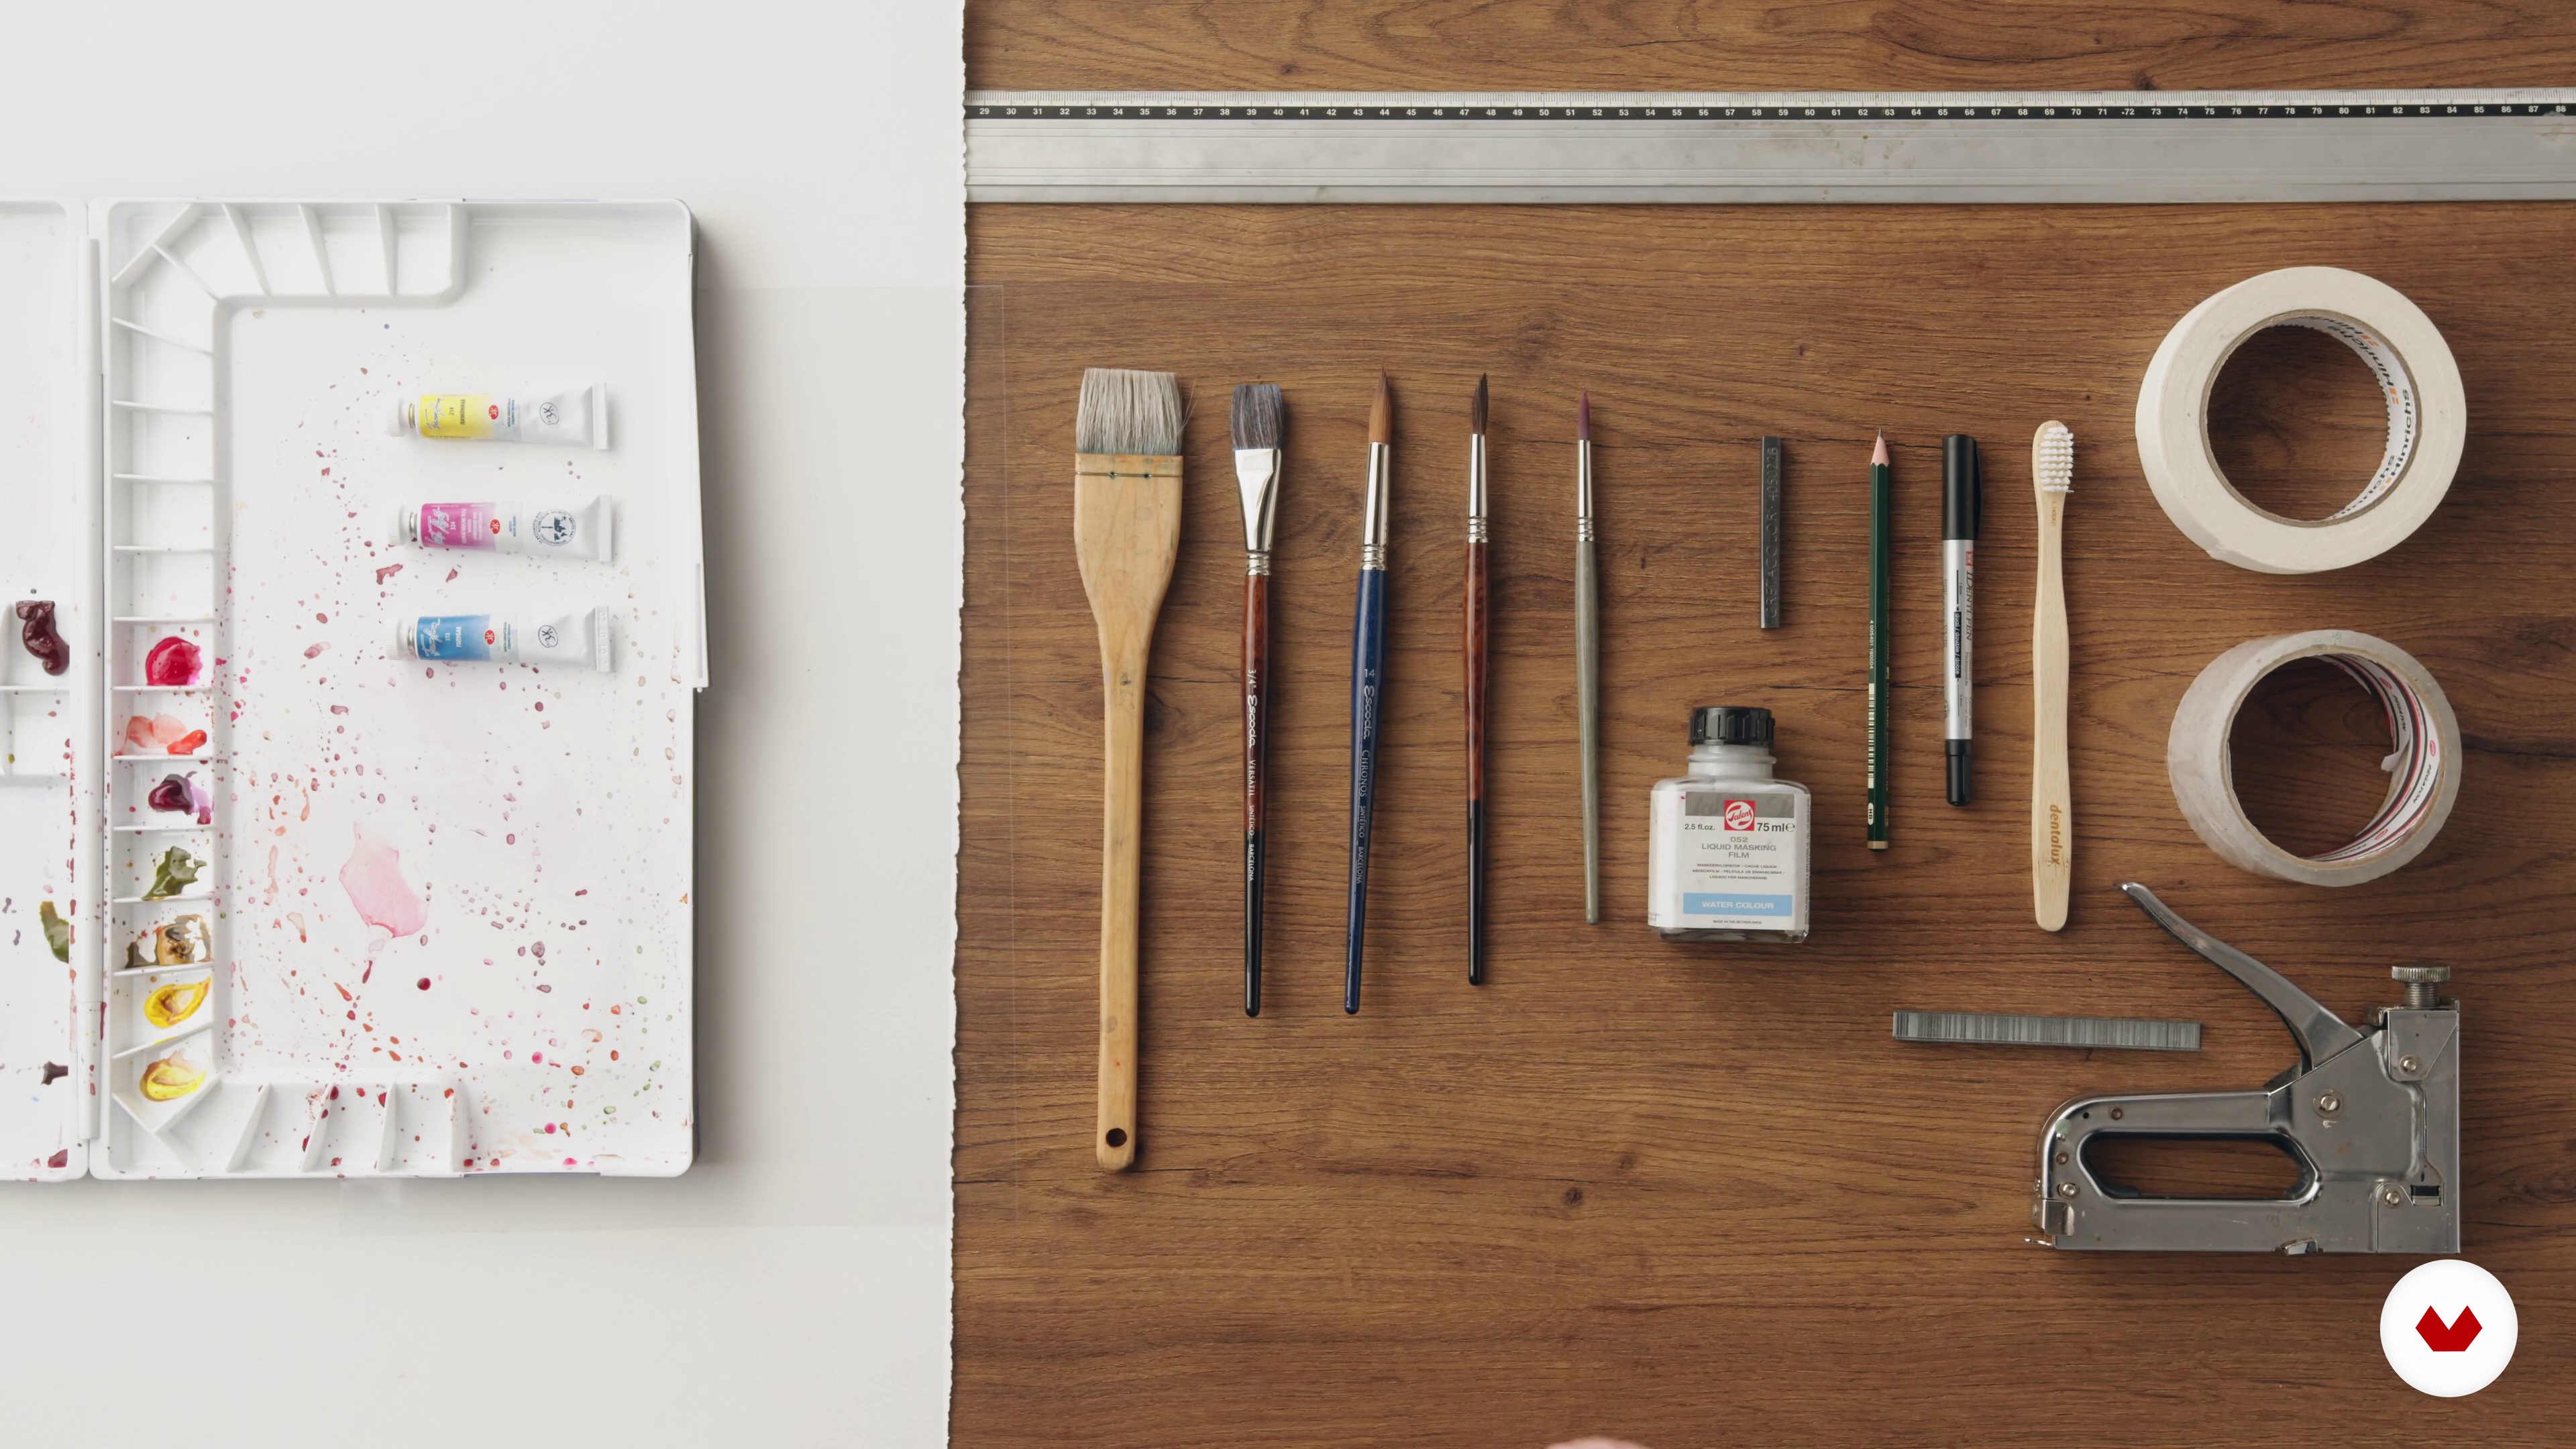
Throughout this lesson, I'll briefly review the most common materials we use in watercolor painting. I'll focus on their characteristics and differences; understanding the materials helps us choose the right tools for our work and our expressive needs. Additionally, I'll show you the specific materials we'll need to complete the course exercises and the final project.
9m
image
4
Paper Cutting and Preparation
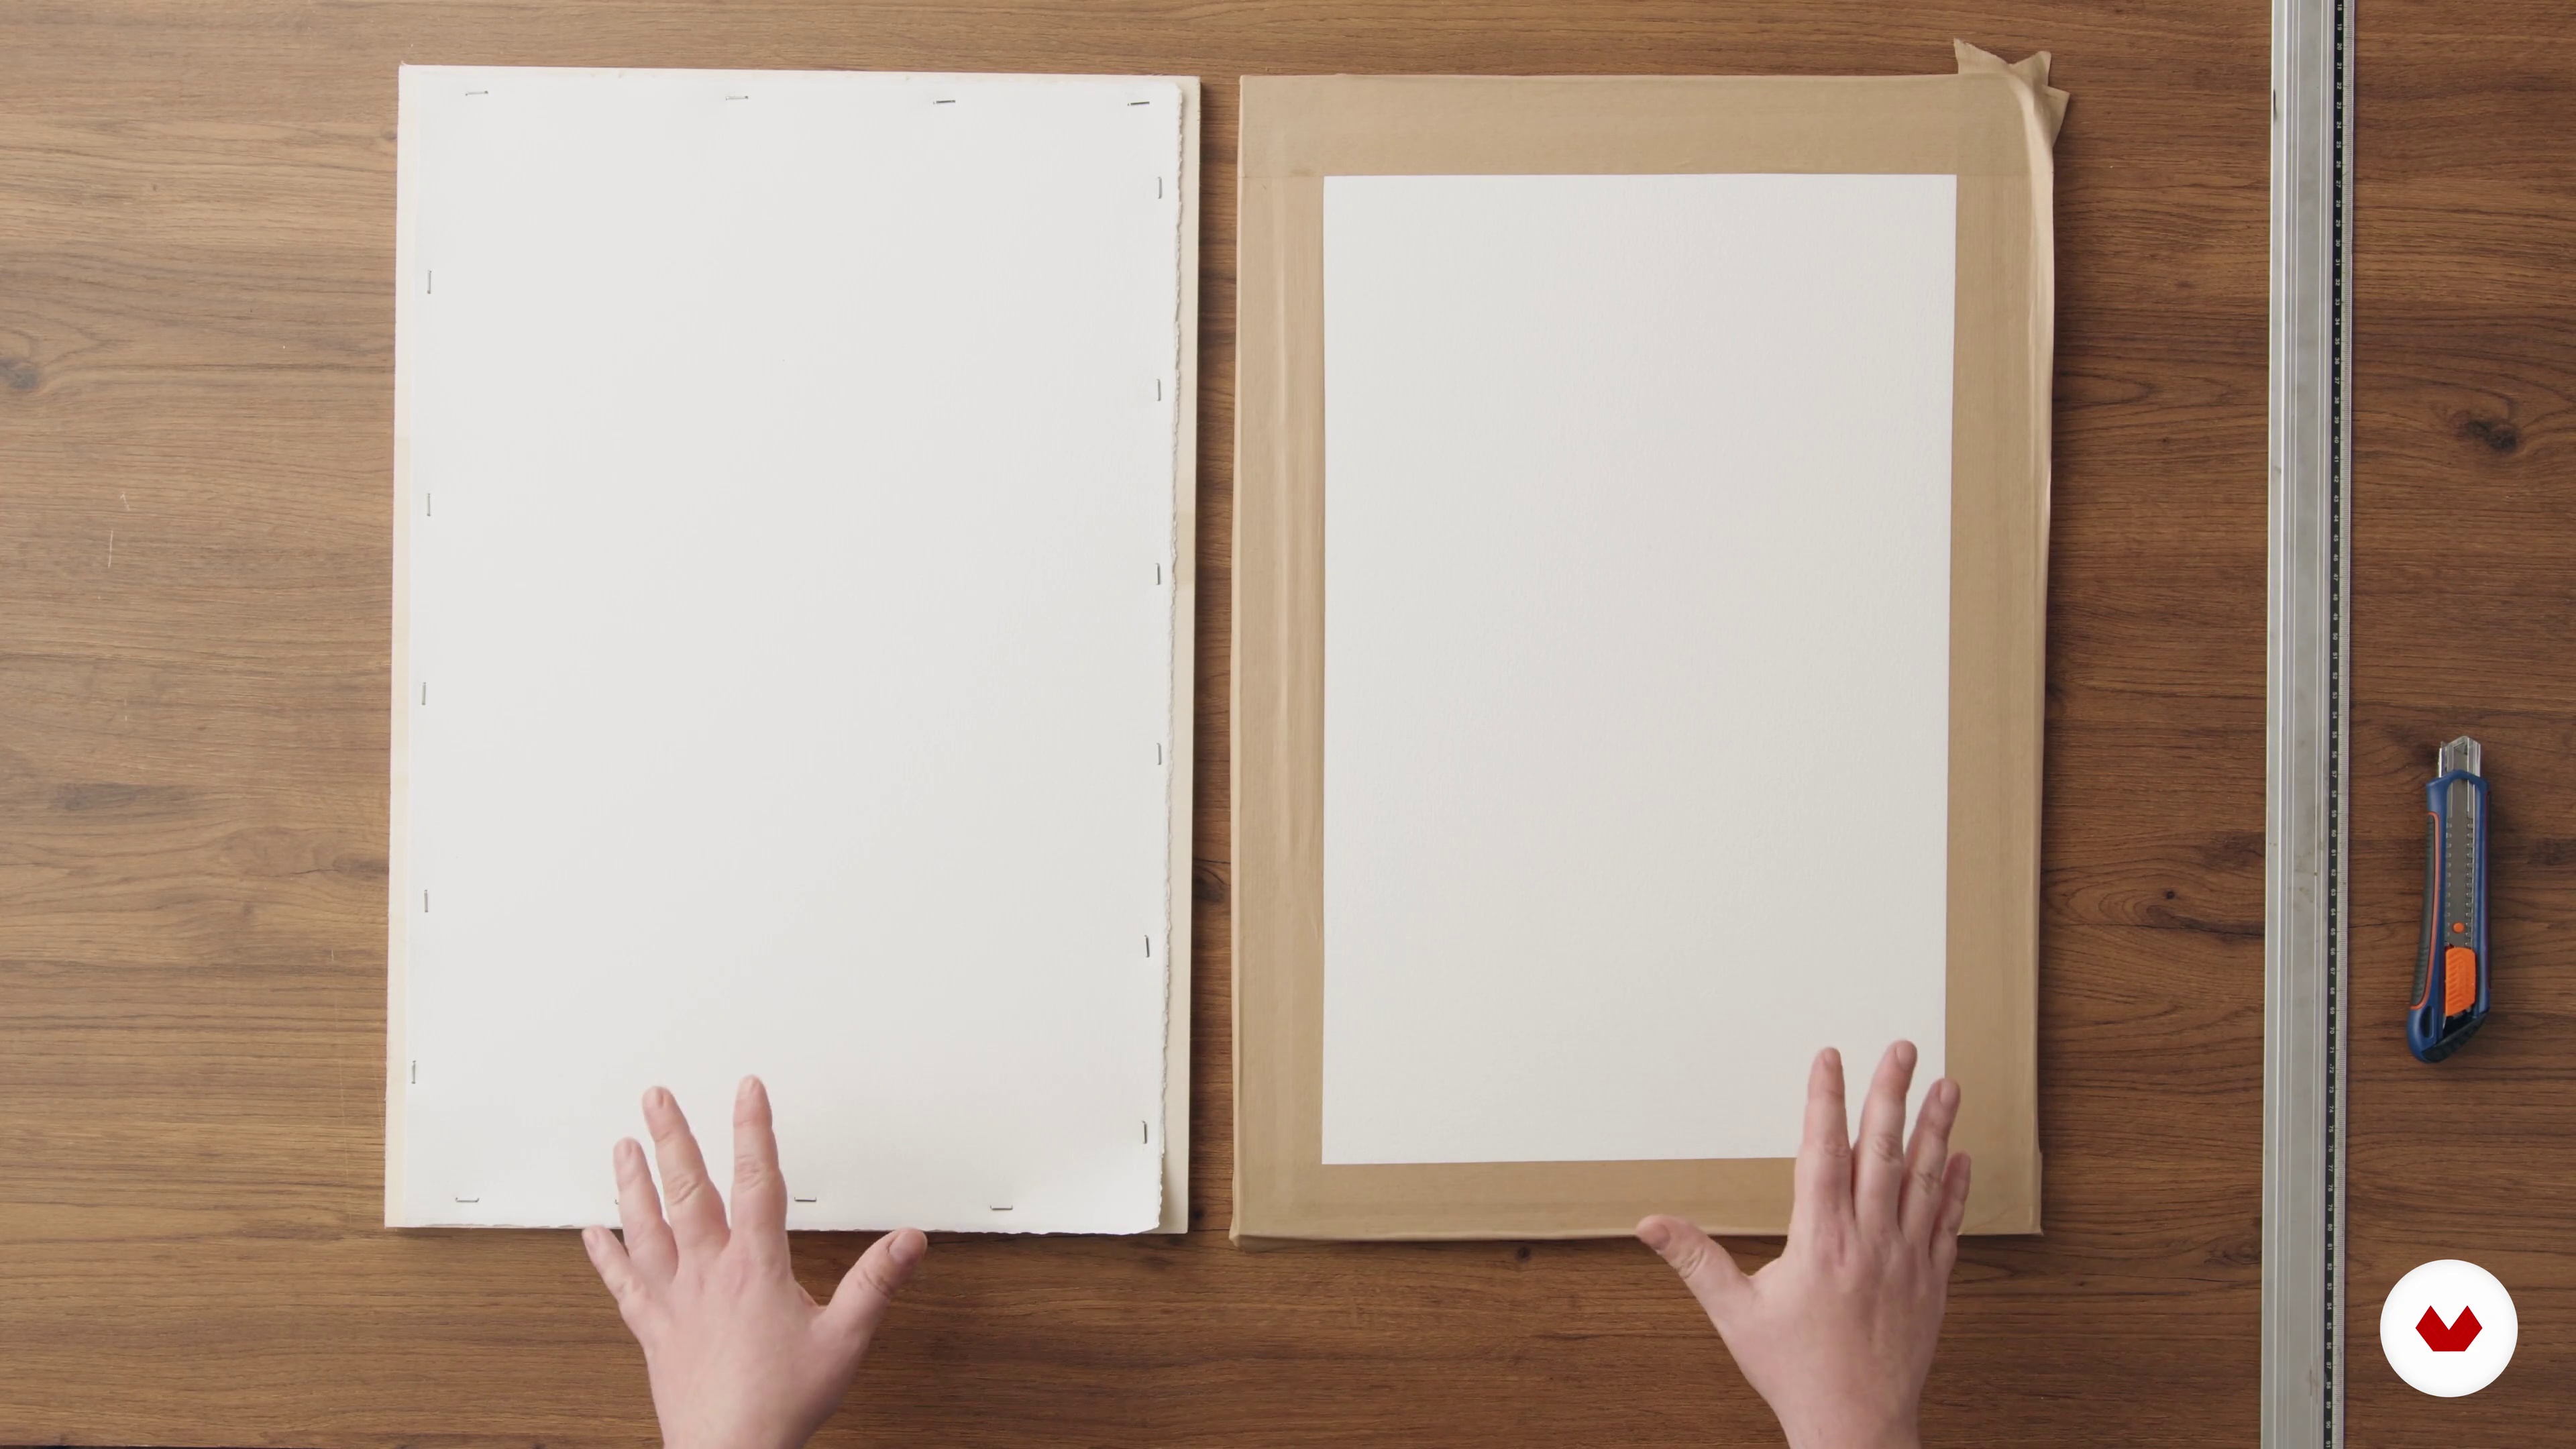
Next, I'm going to show you the correct way to cut sheets of paper and different ways to prepare it so you don't have problems with curling while you work.
15m
image
5
Simplify the Image
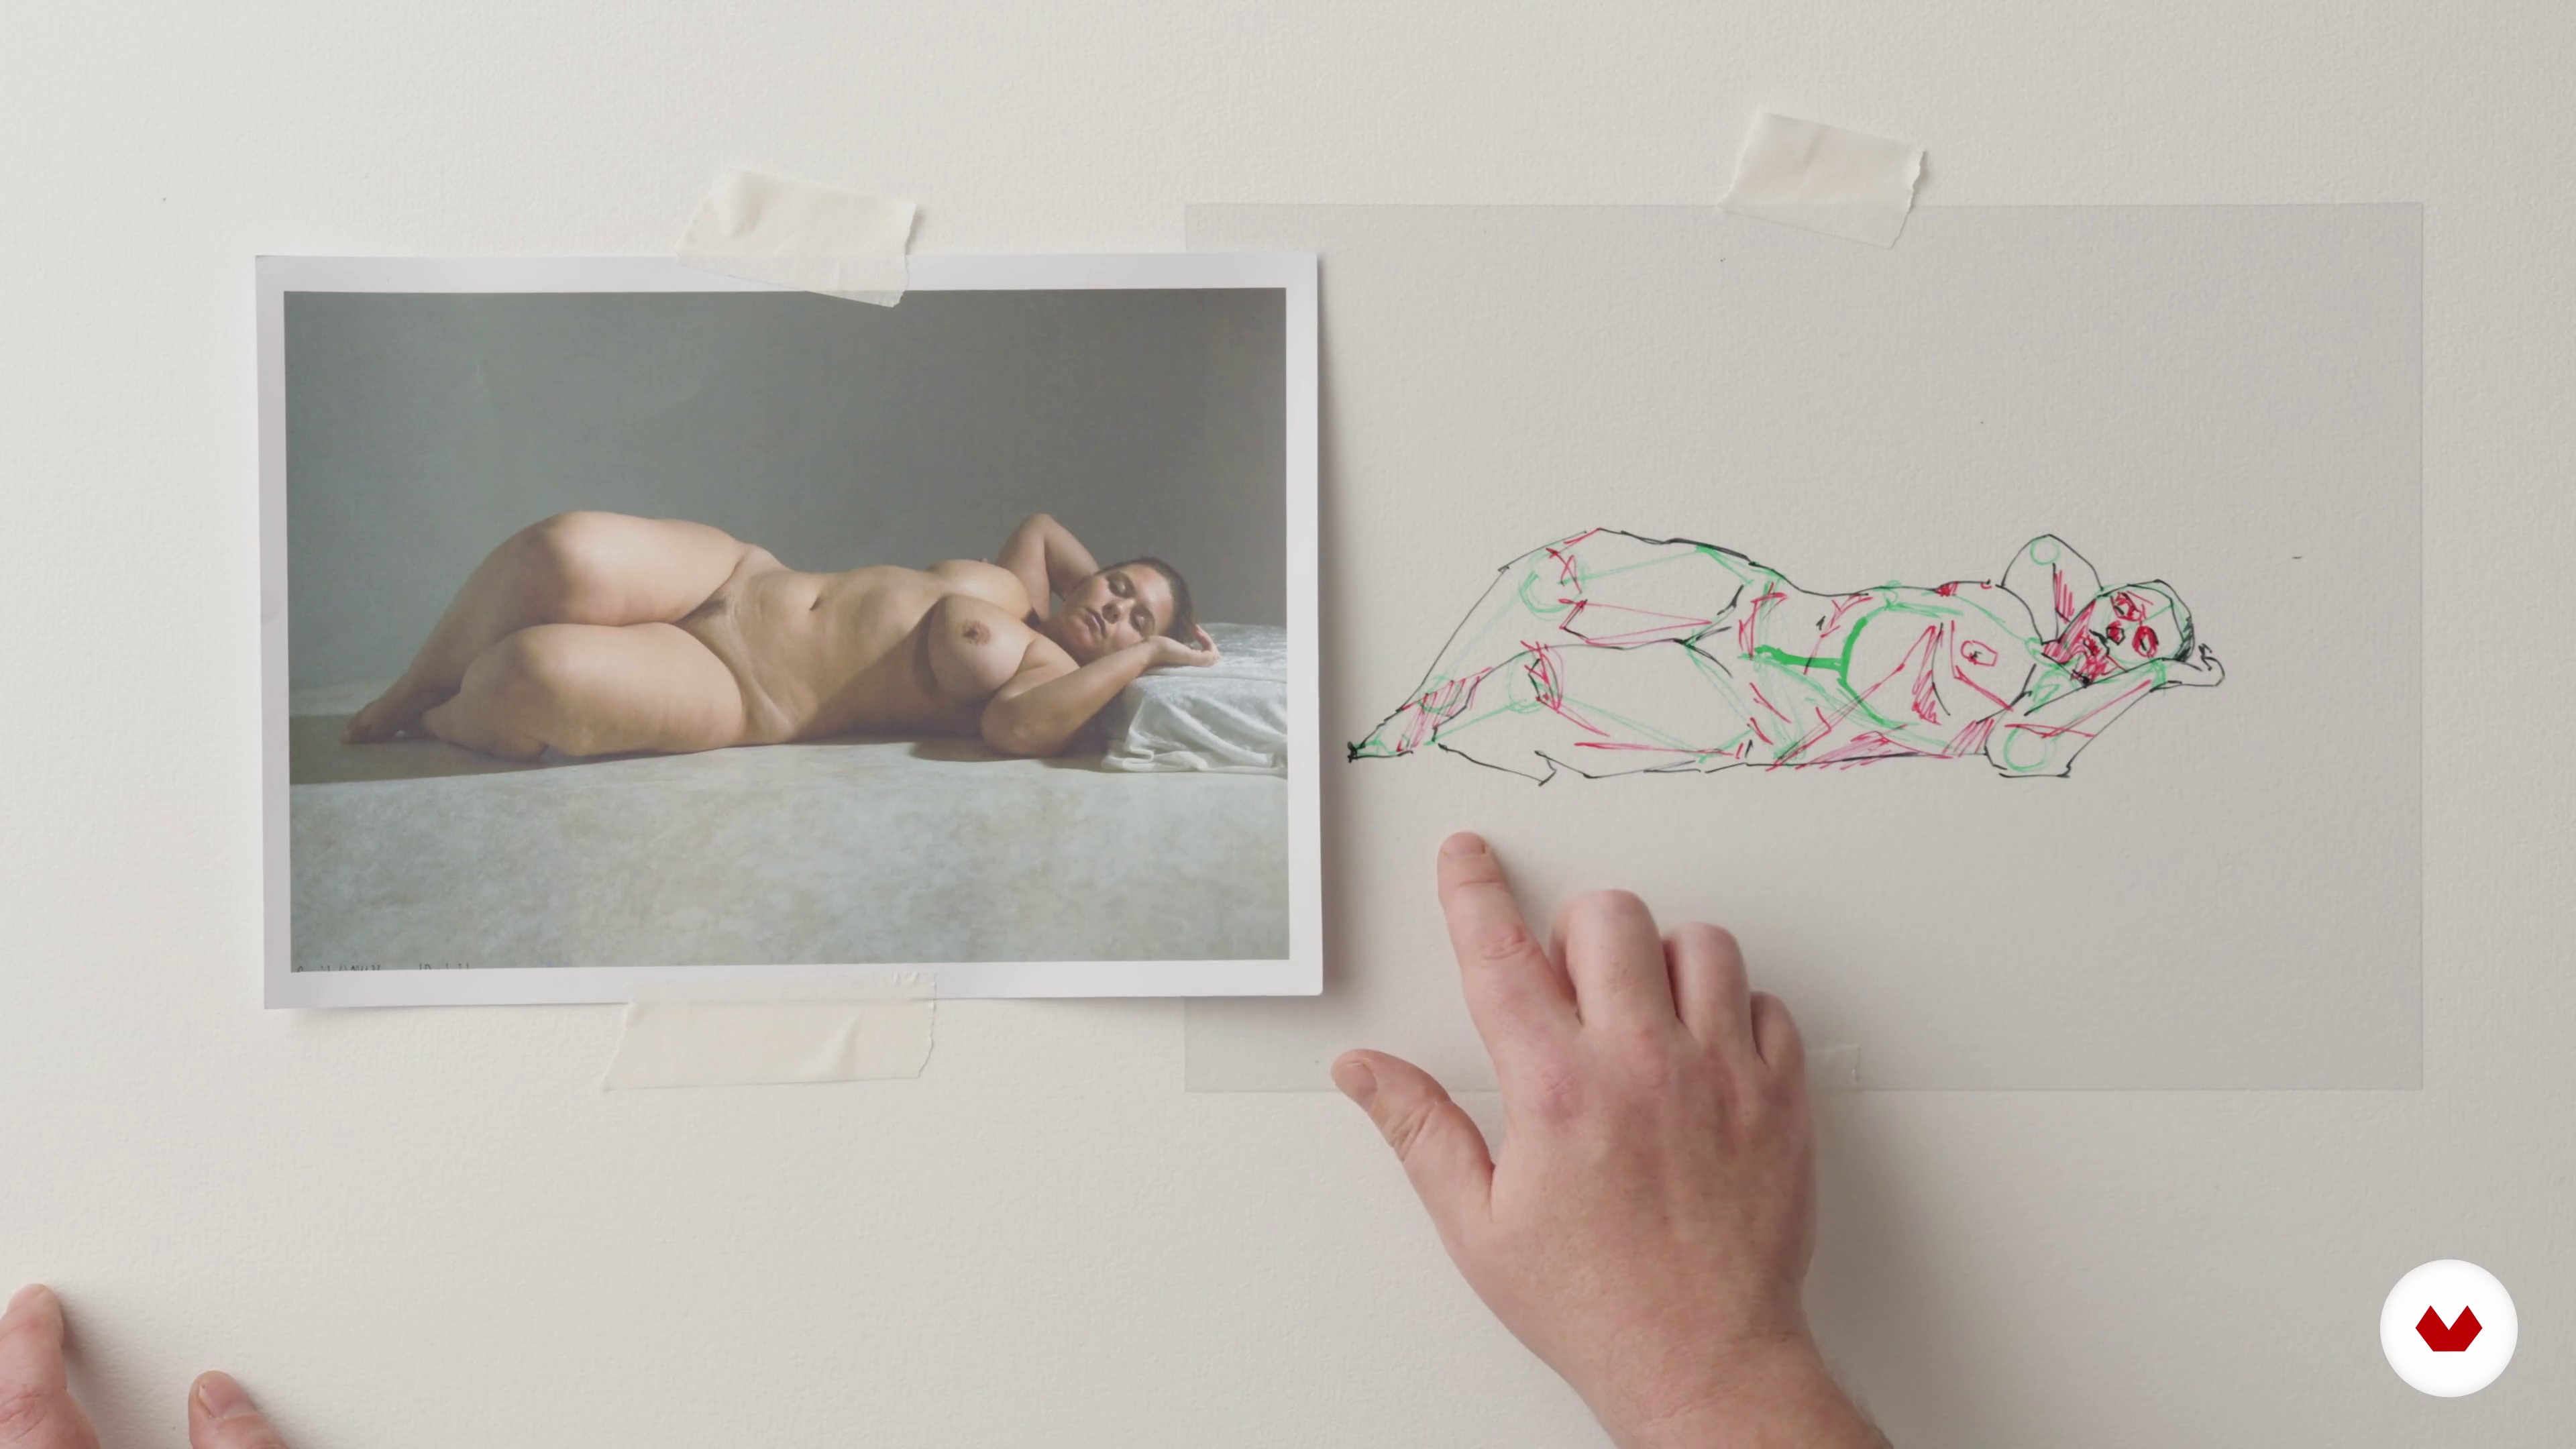
To be able to more comfortably approach the human figure without delving into tedious studies of anatomy, in this lesson we will work on simplifying the figure through a simple exercise in structure, line, and chiaroscuro.
10m
image
6
Transfer from Drawing to Paper
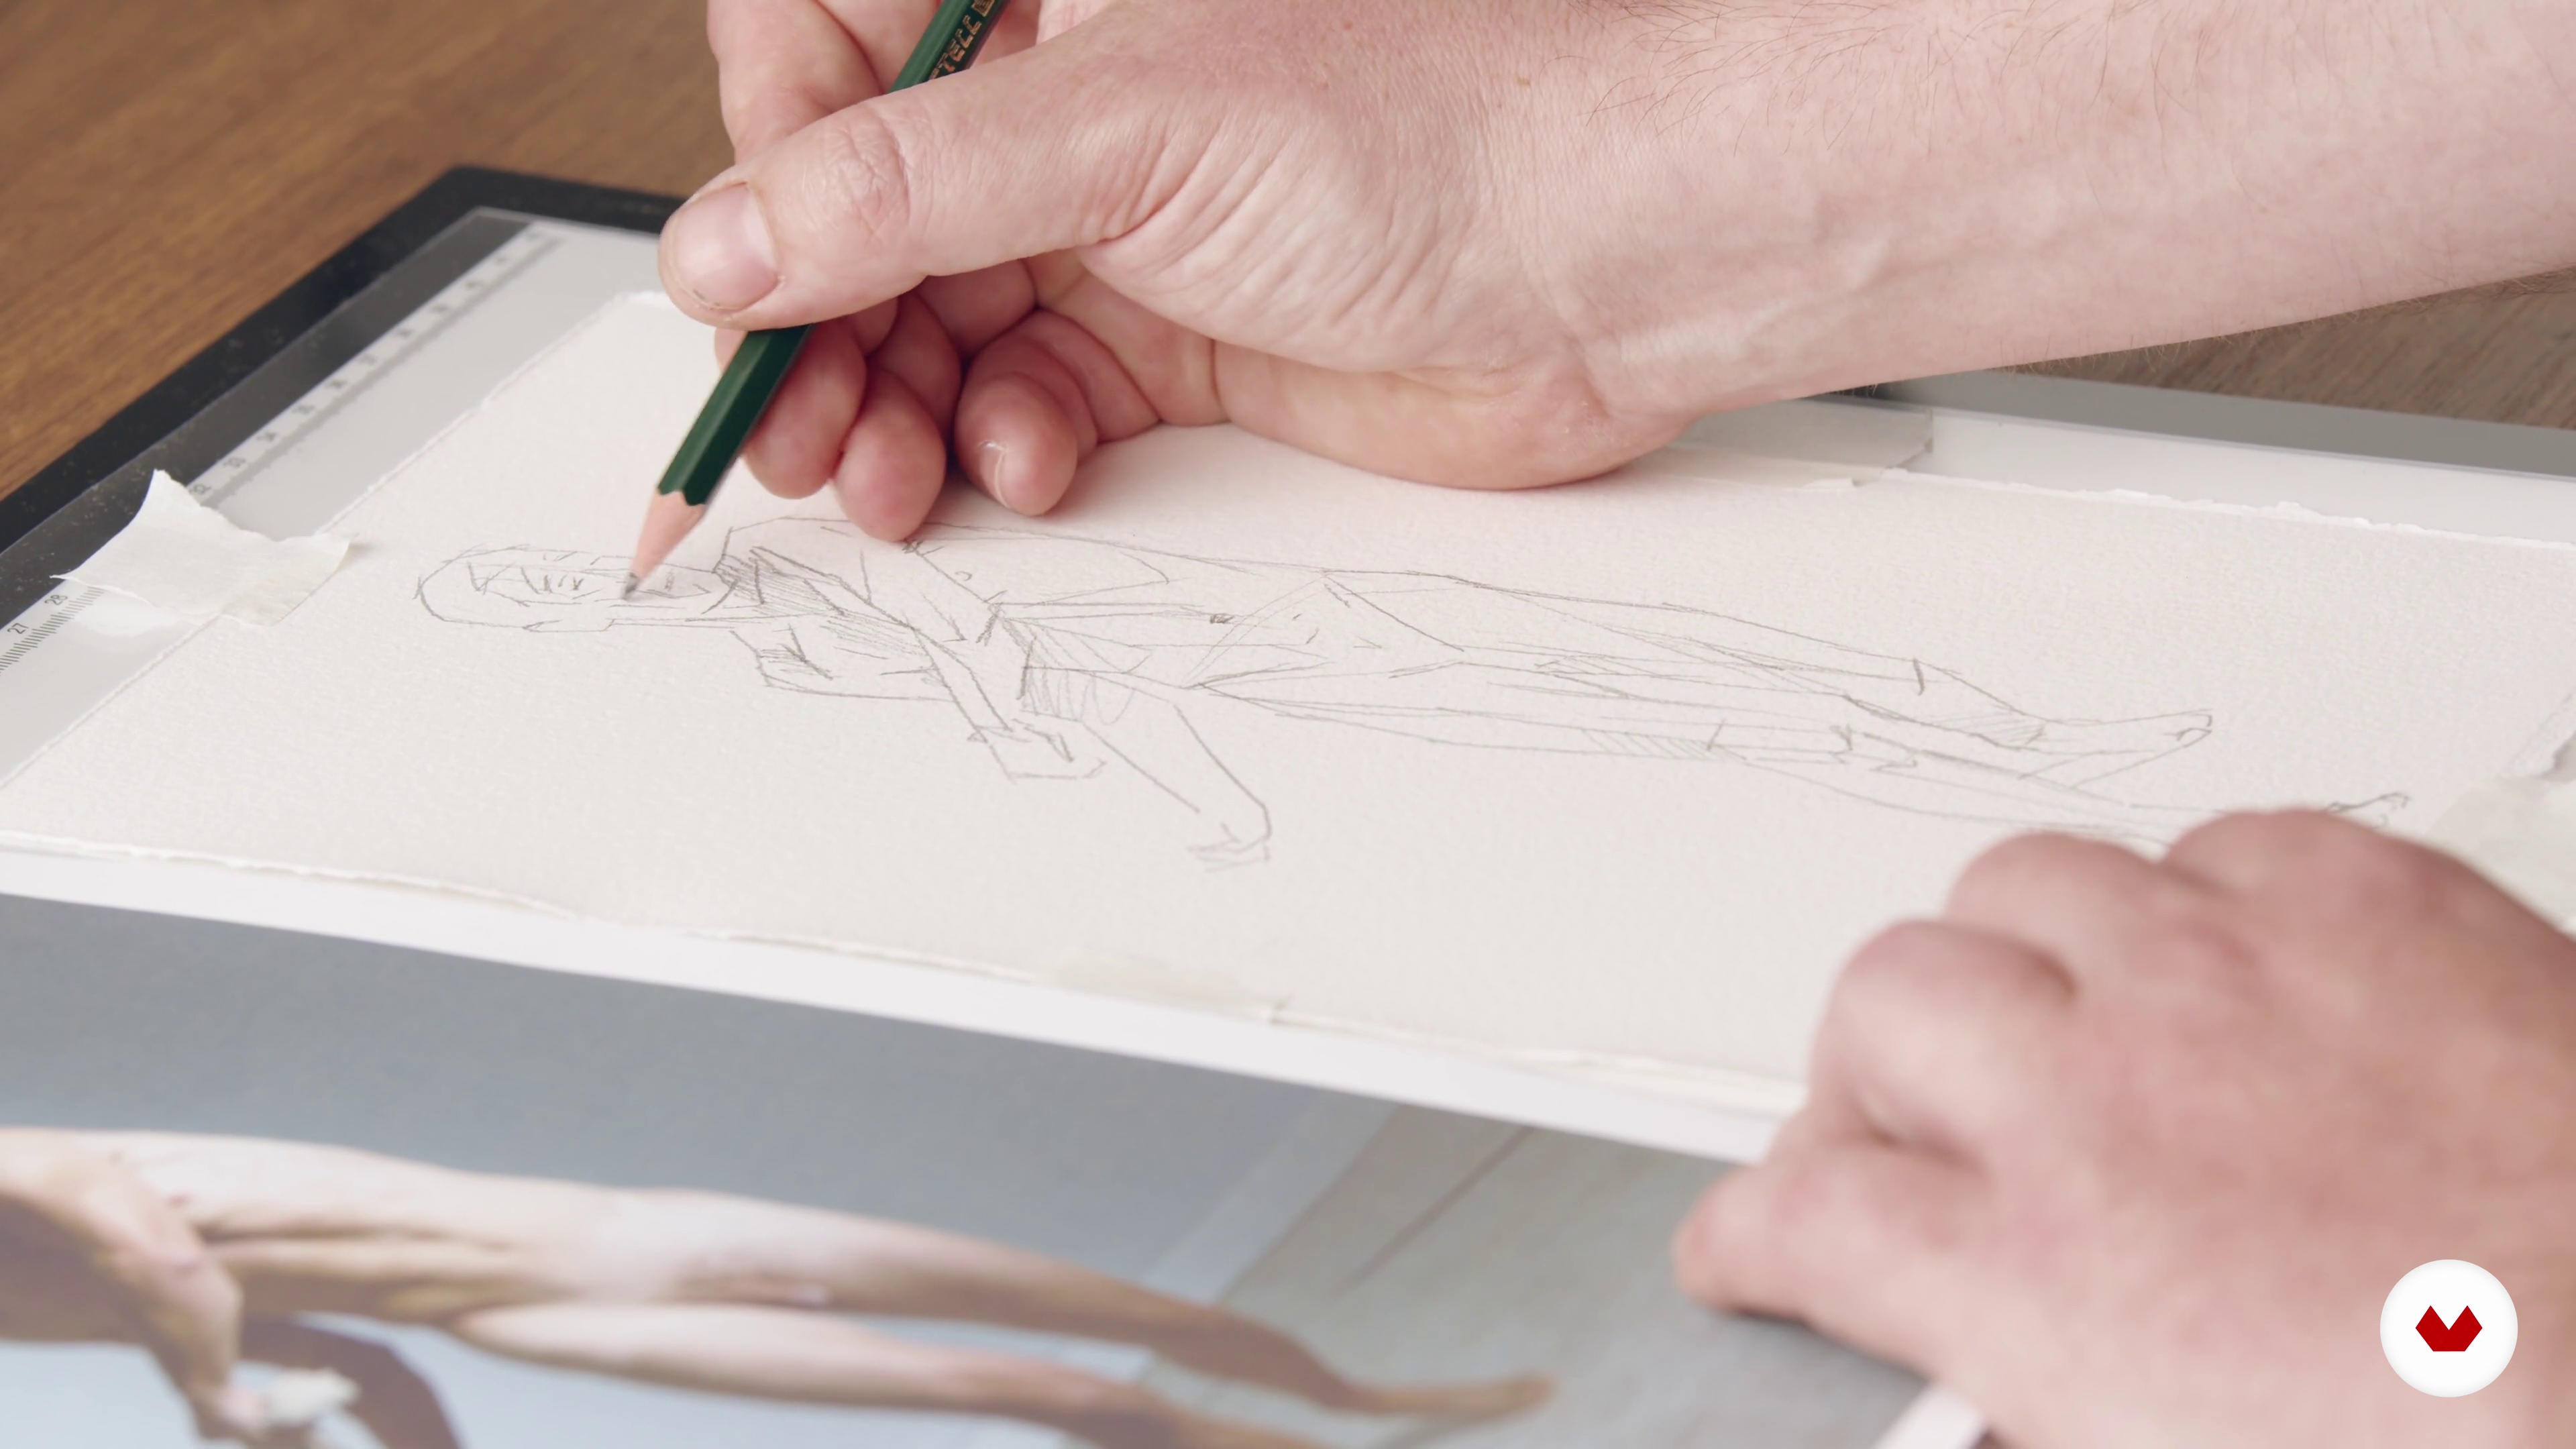
There are numerous ways to transfer drawing to paper besides freehand. In this lesson, I'll teach you three of them so that drawing doesn't become an obstacle when working, and we can focus solely on the watercolor work.
19m
image
7
Color Palettes and Application 1
Next, we'll look at different types of reduced color palettes that we'll apply directly to our figure drawings.
15m
image
8
Color Palettes and Application 2
Now let's look at a different color palette and how to apply it.
13m
image
9
Color Palettes and Application 3
We continue to explore the possibilities of a new color palette.
14m
image
10
Choice and Manipulation of Photography
In this lesson I'm going to briefly show you how I treat the image after a photo shoot with a model.
8m
image
11
General Color Spots on Palette
In this first phase of the work, we'll begin applying watercolors wet on wet. We'll start with the colors obtained on the palette and then mix them on the support by addition.
10m
image
12
Redrawing with Palette Color
In this lesson we will introduce drawing details by mixing colors on a palette and applying them to define the figure.
17m
image
13
Readjust with Pure Colors
Now we will adjust parts of our composition using pure colors that shade and give general tones to the piece.
16m
image
14
Reservation Methods and Background Work
Finally, I'll show you how to apply different types of reserve masks and do the background work.
18m
image
15
Dark Highs and Final Details 1
In this lesson, we will introduce the final details of our work, running and adjusting any issues that may have arisen.
17m
image
16
Dark Highs and Final Details 2
We continue working on the final details of the painting.
12m
image
17
Unstapling, Preservation and Storage
Finally, I'll teach you how to unstaple your artwork, as well as how to protect and store it properly.
7m
image
3
Materials and Tools
I'll show you the materials and tools I use, the alchemy of painting, and the types of supports. I'll also show you how to prepare a surface for painting.
7m
image
4
Tonal Values
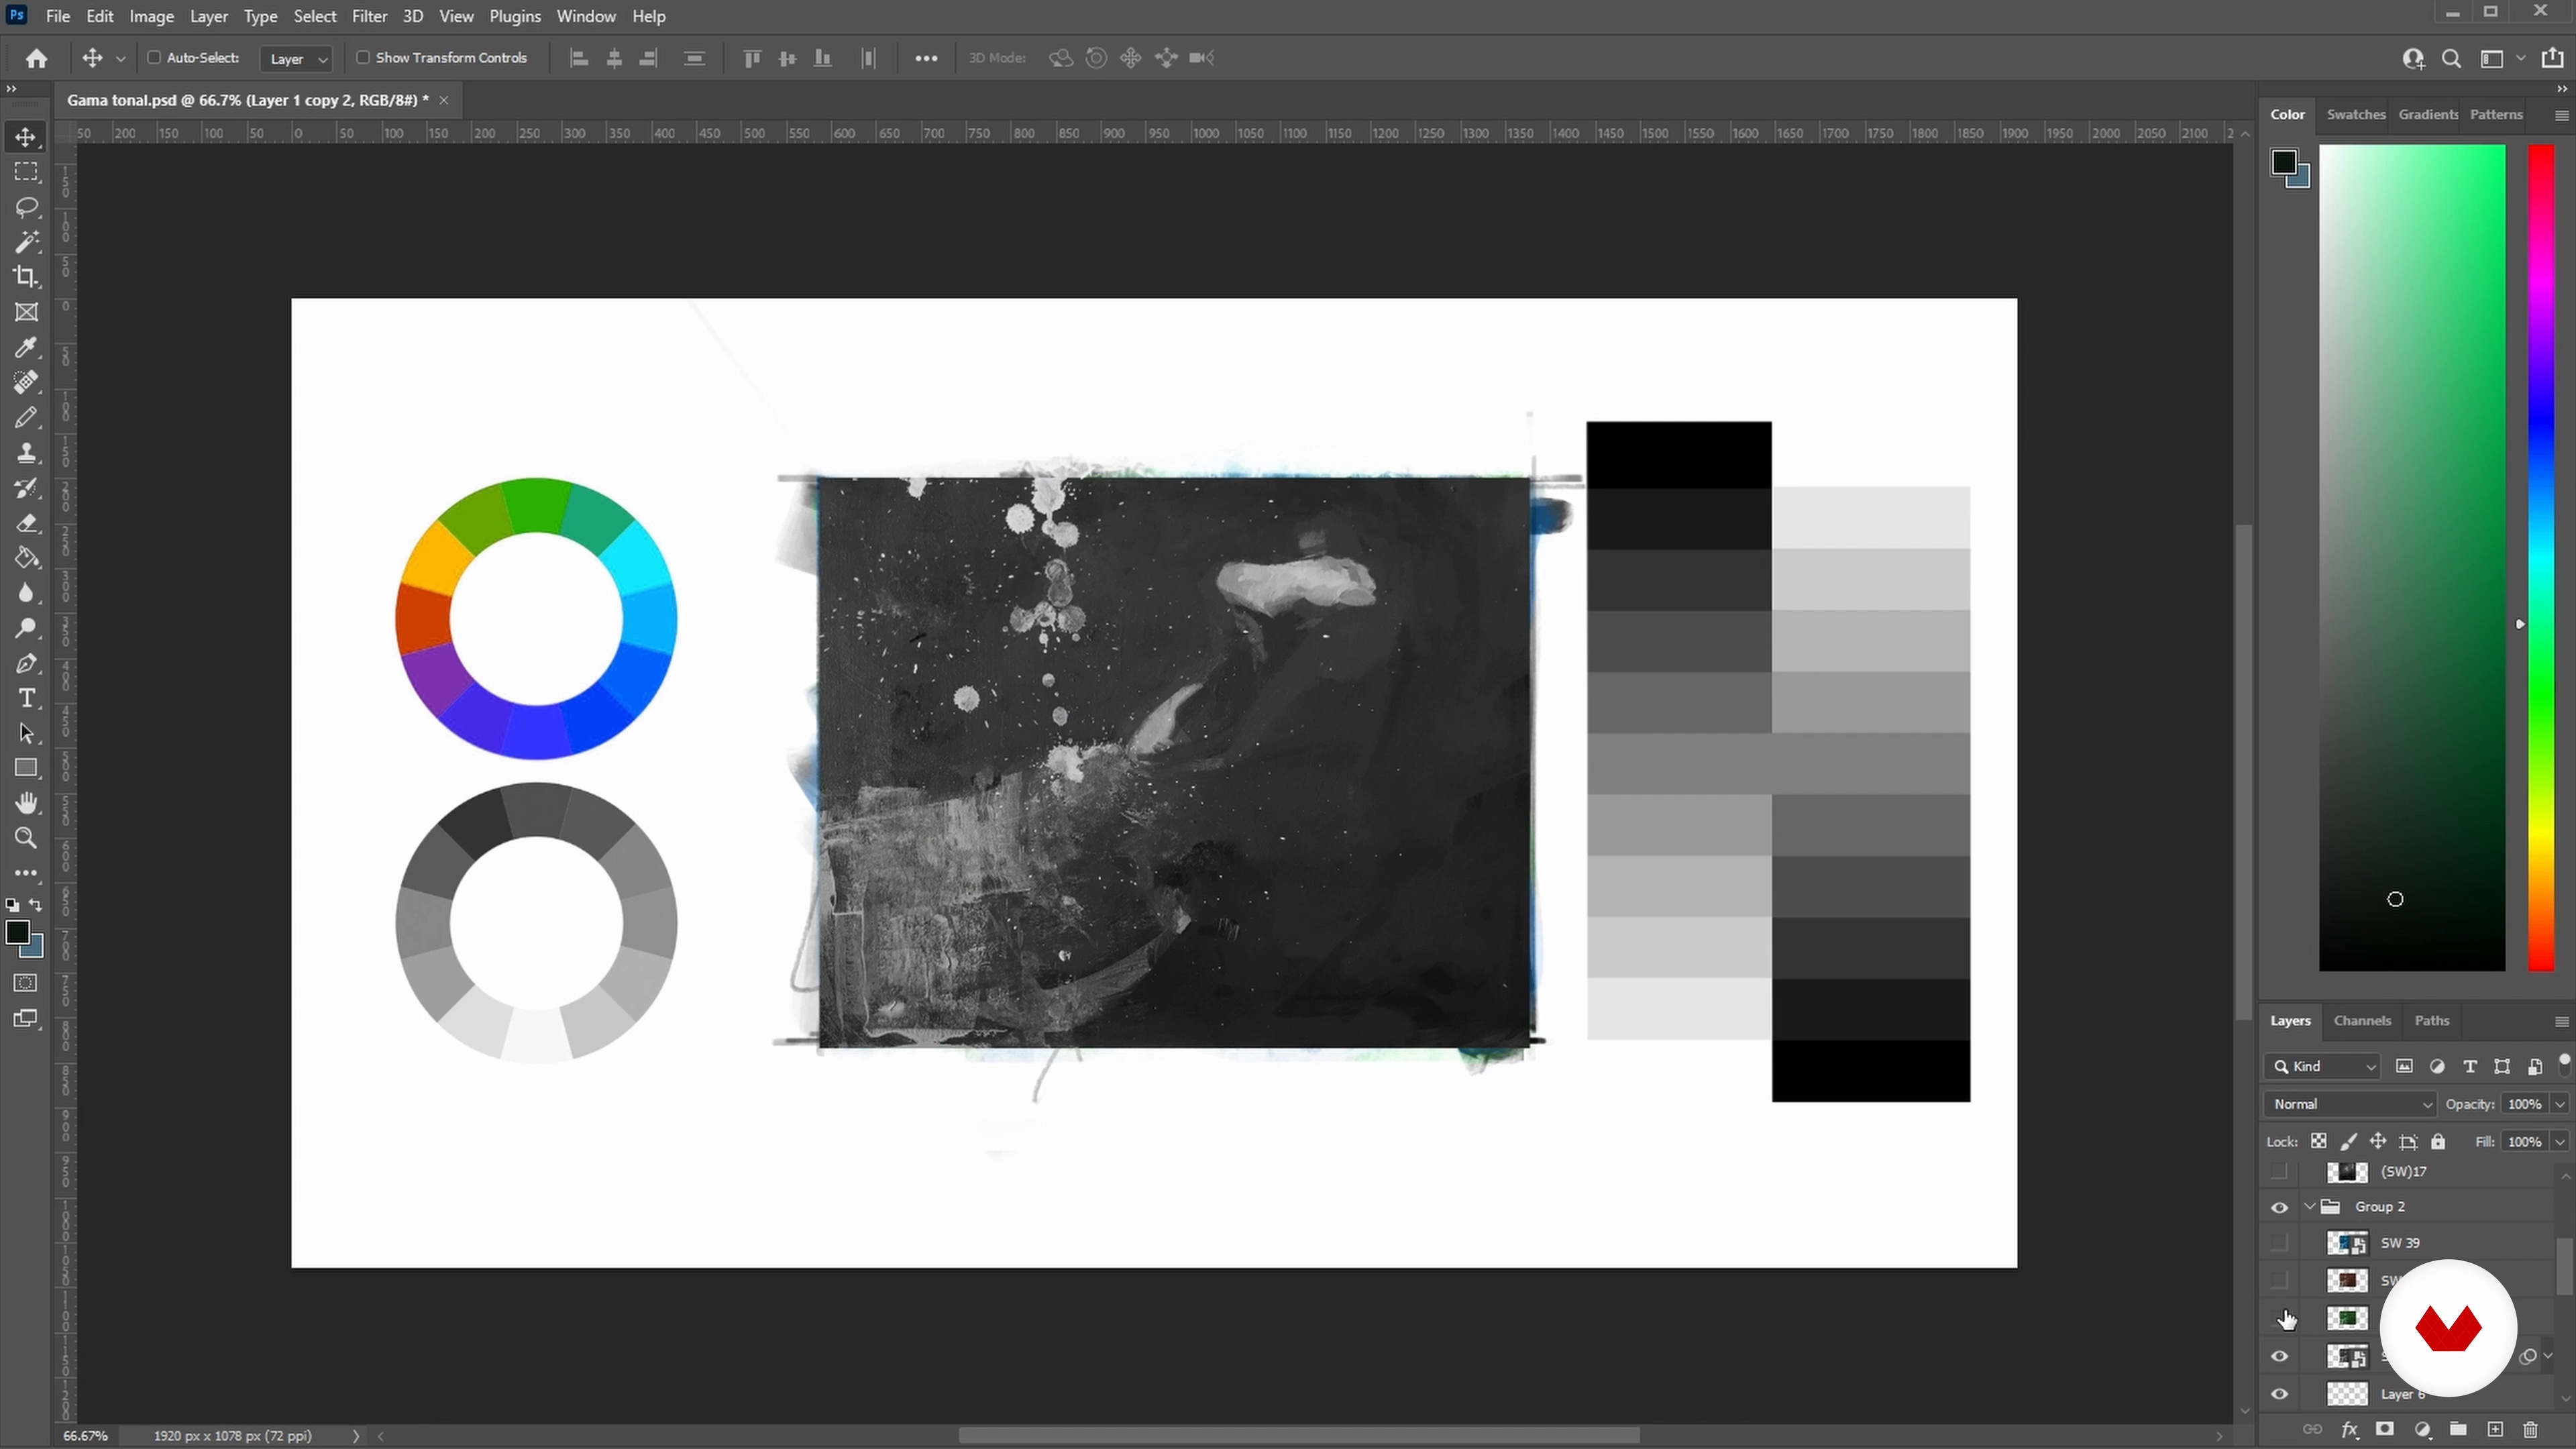
Color itself isn't real! In this lesson, I'll tell you what tonal value is and why it's more important than color in painting.
6m
image
5
Color and Opacity
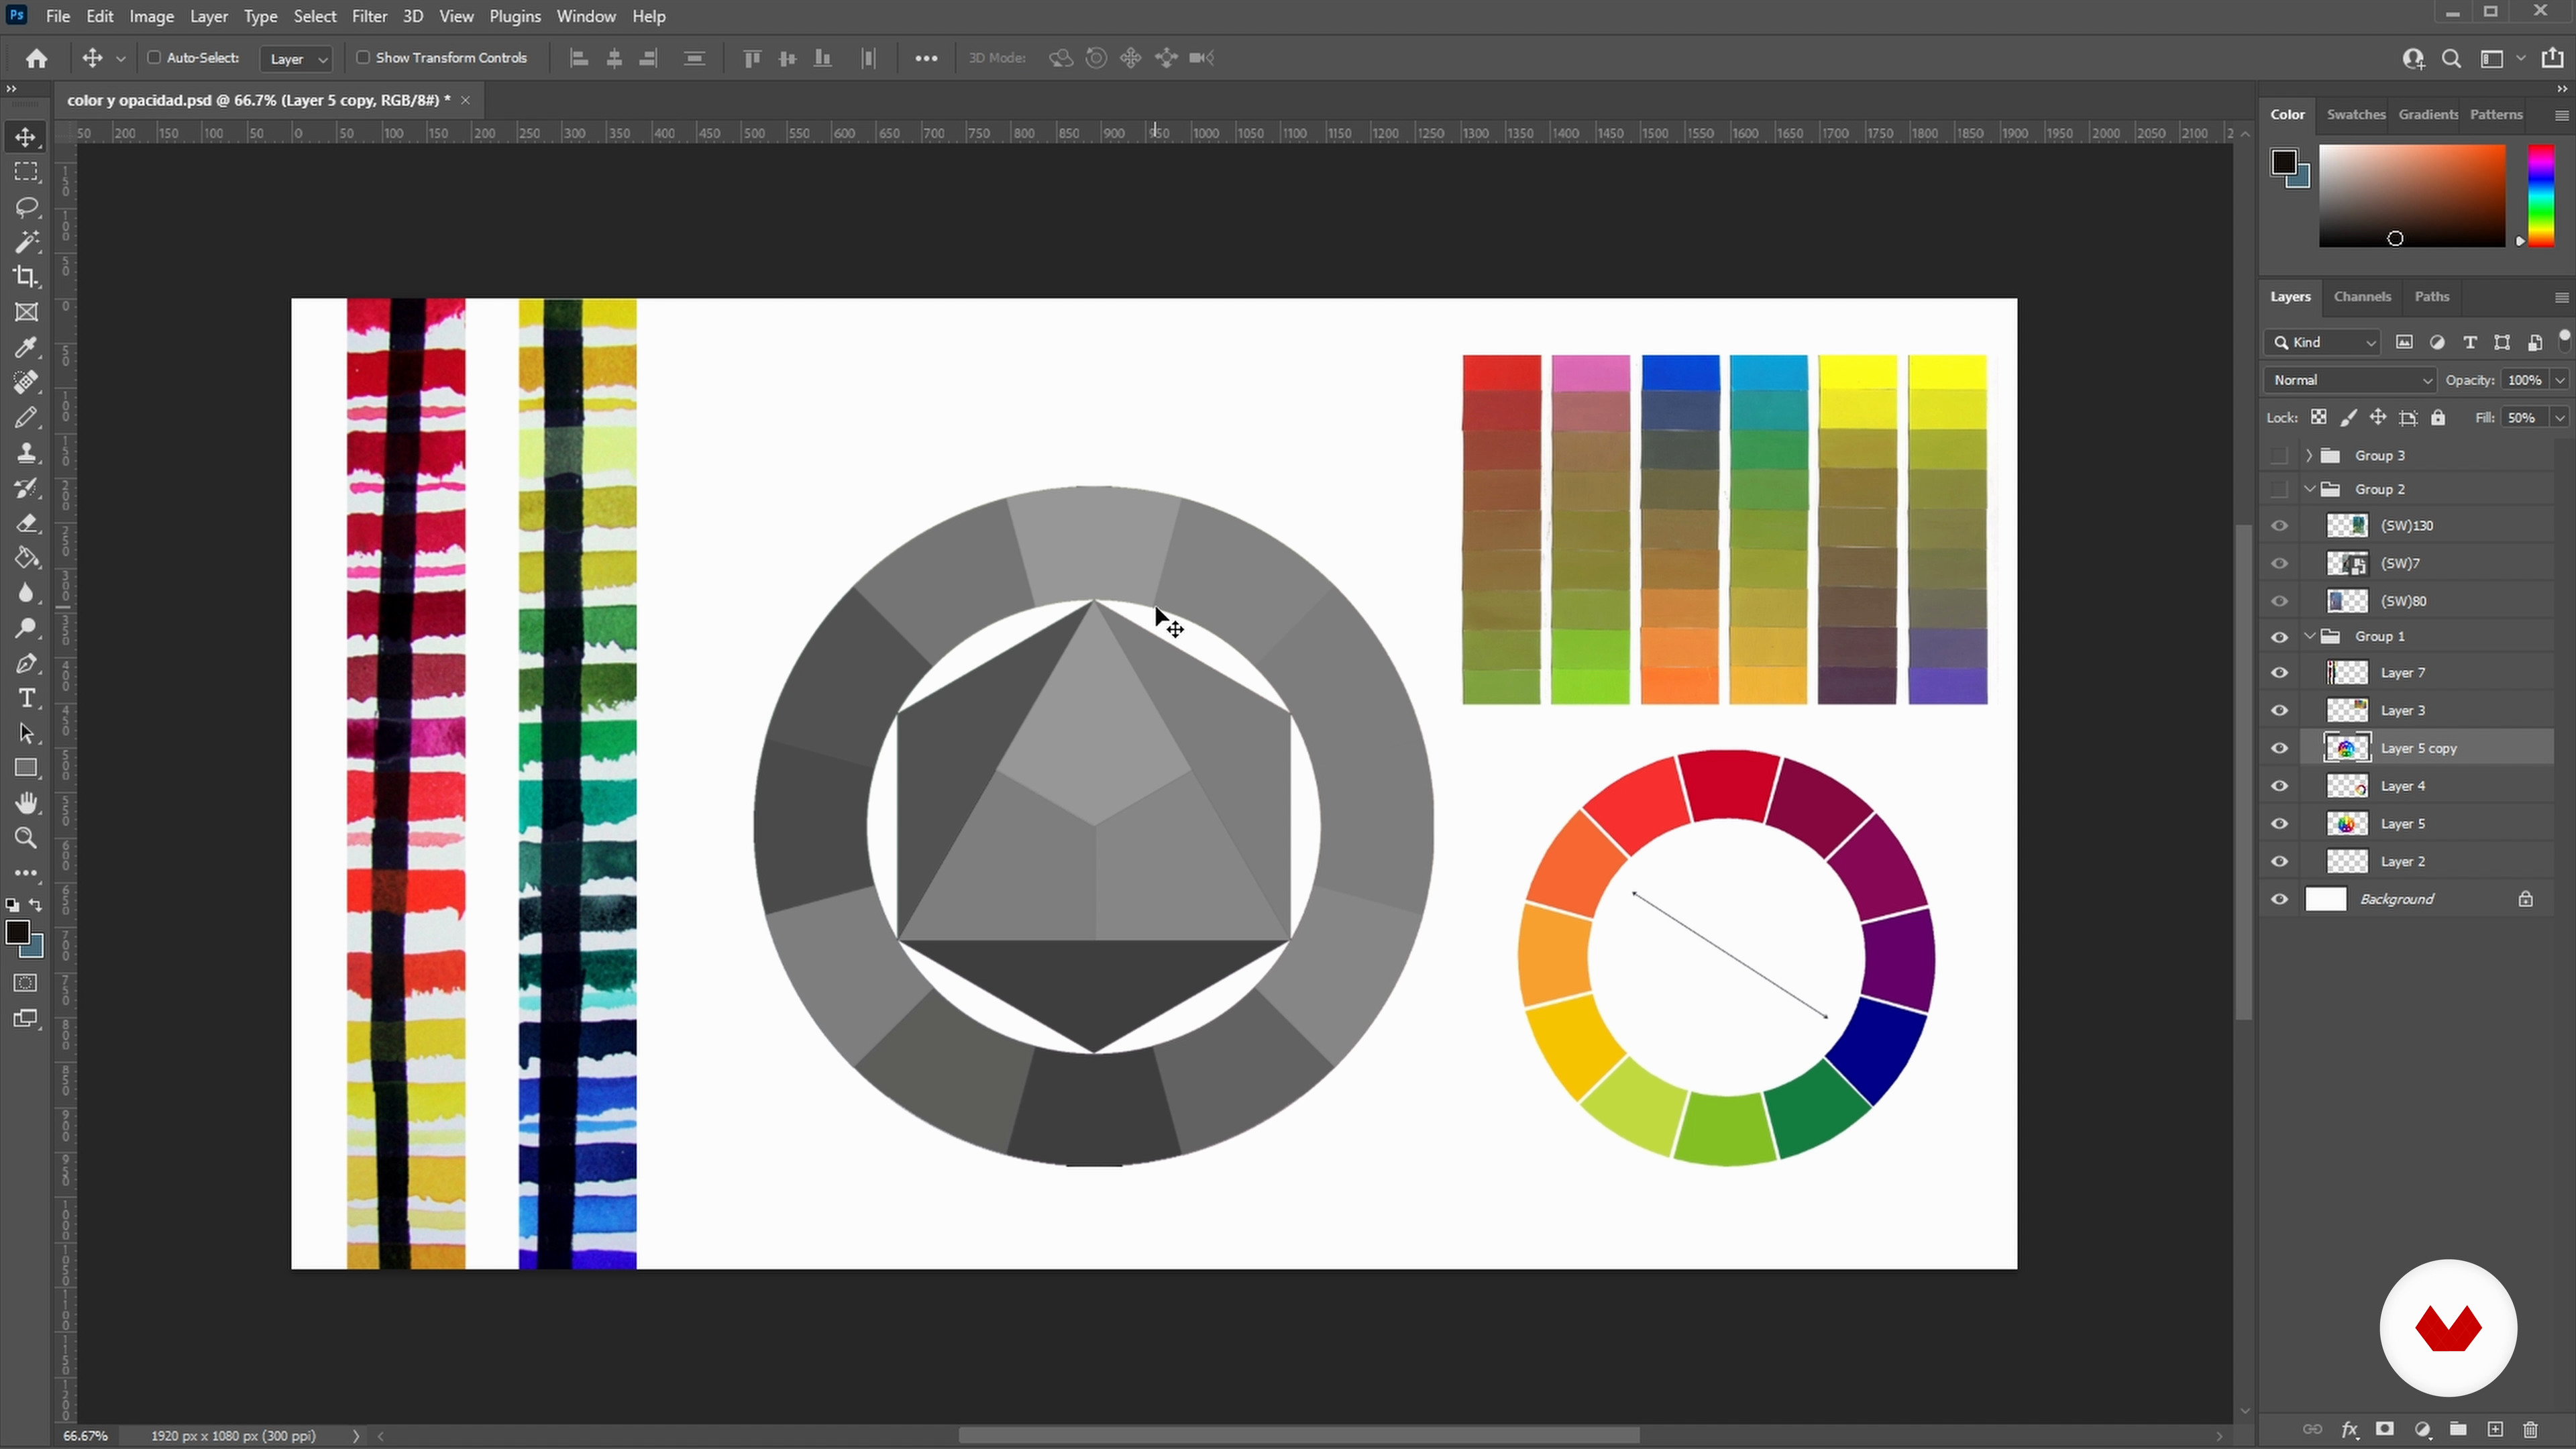
Next, I'll talk about color theory and explain how we can apply it to the palette we're using.
8m
image
6
Ideation and Initial Sketches
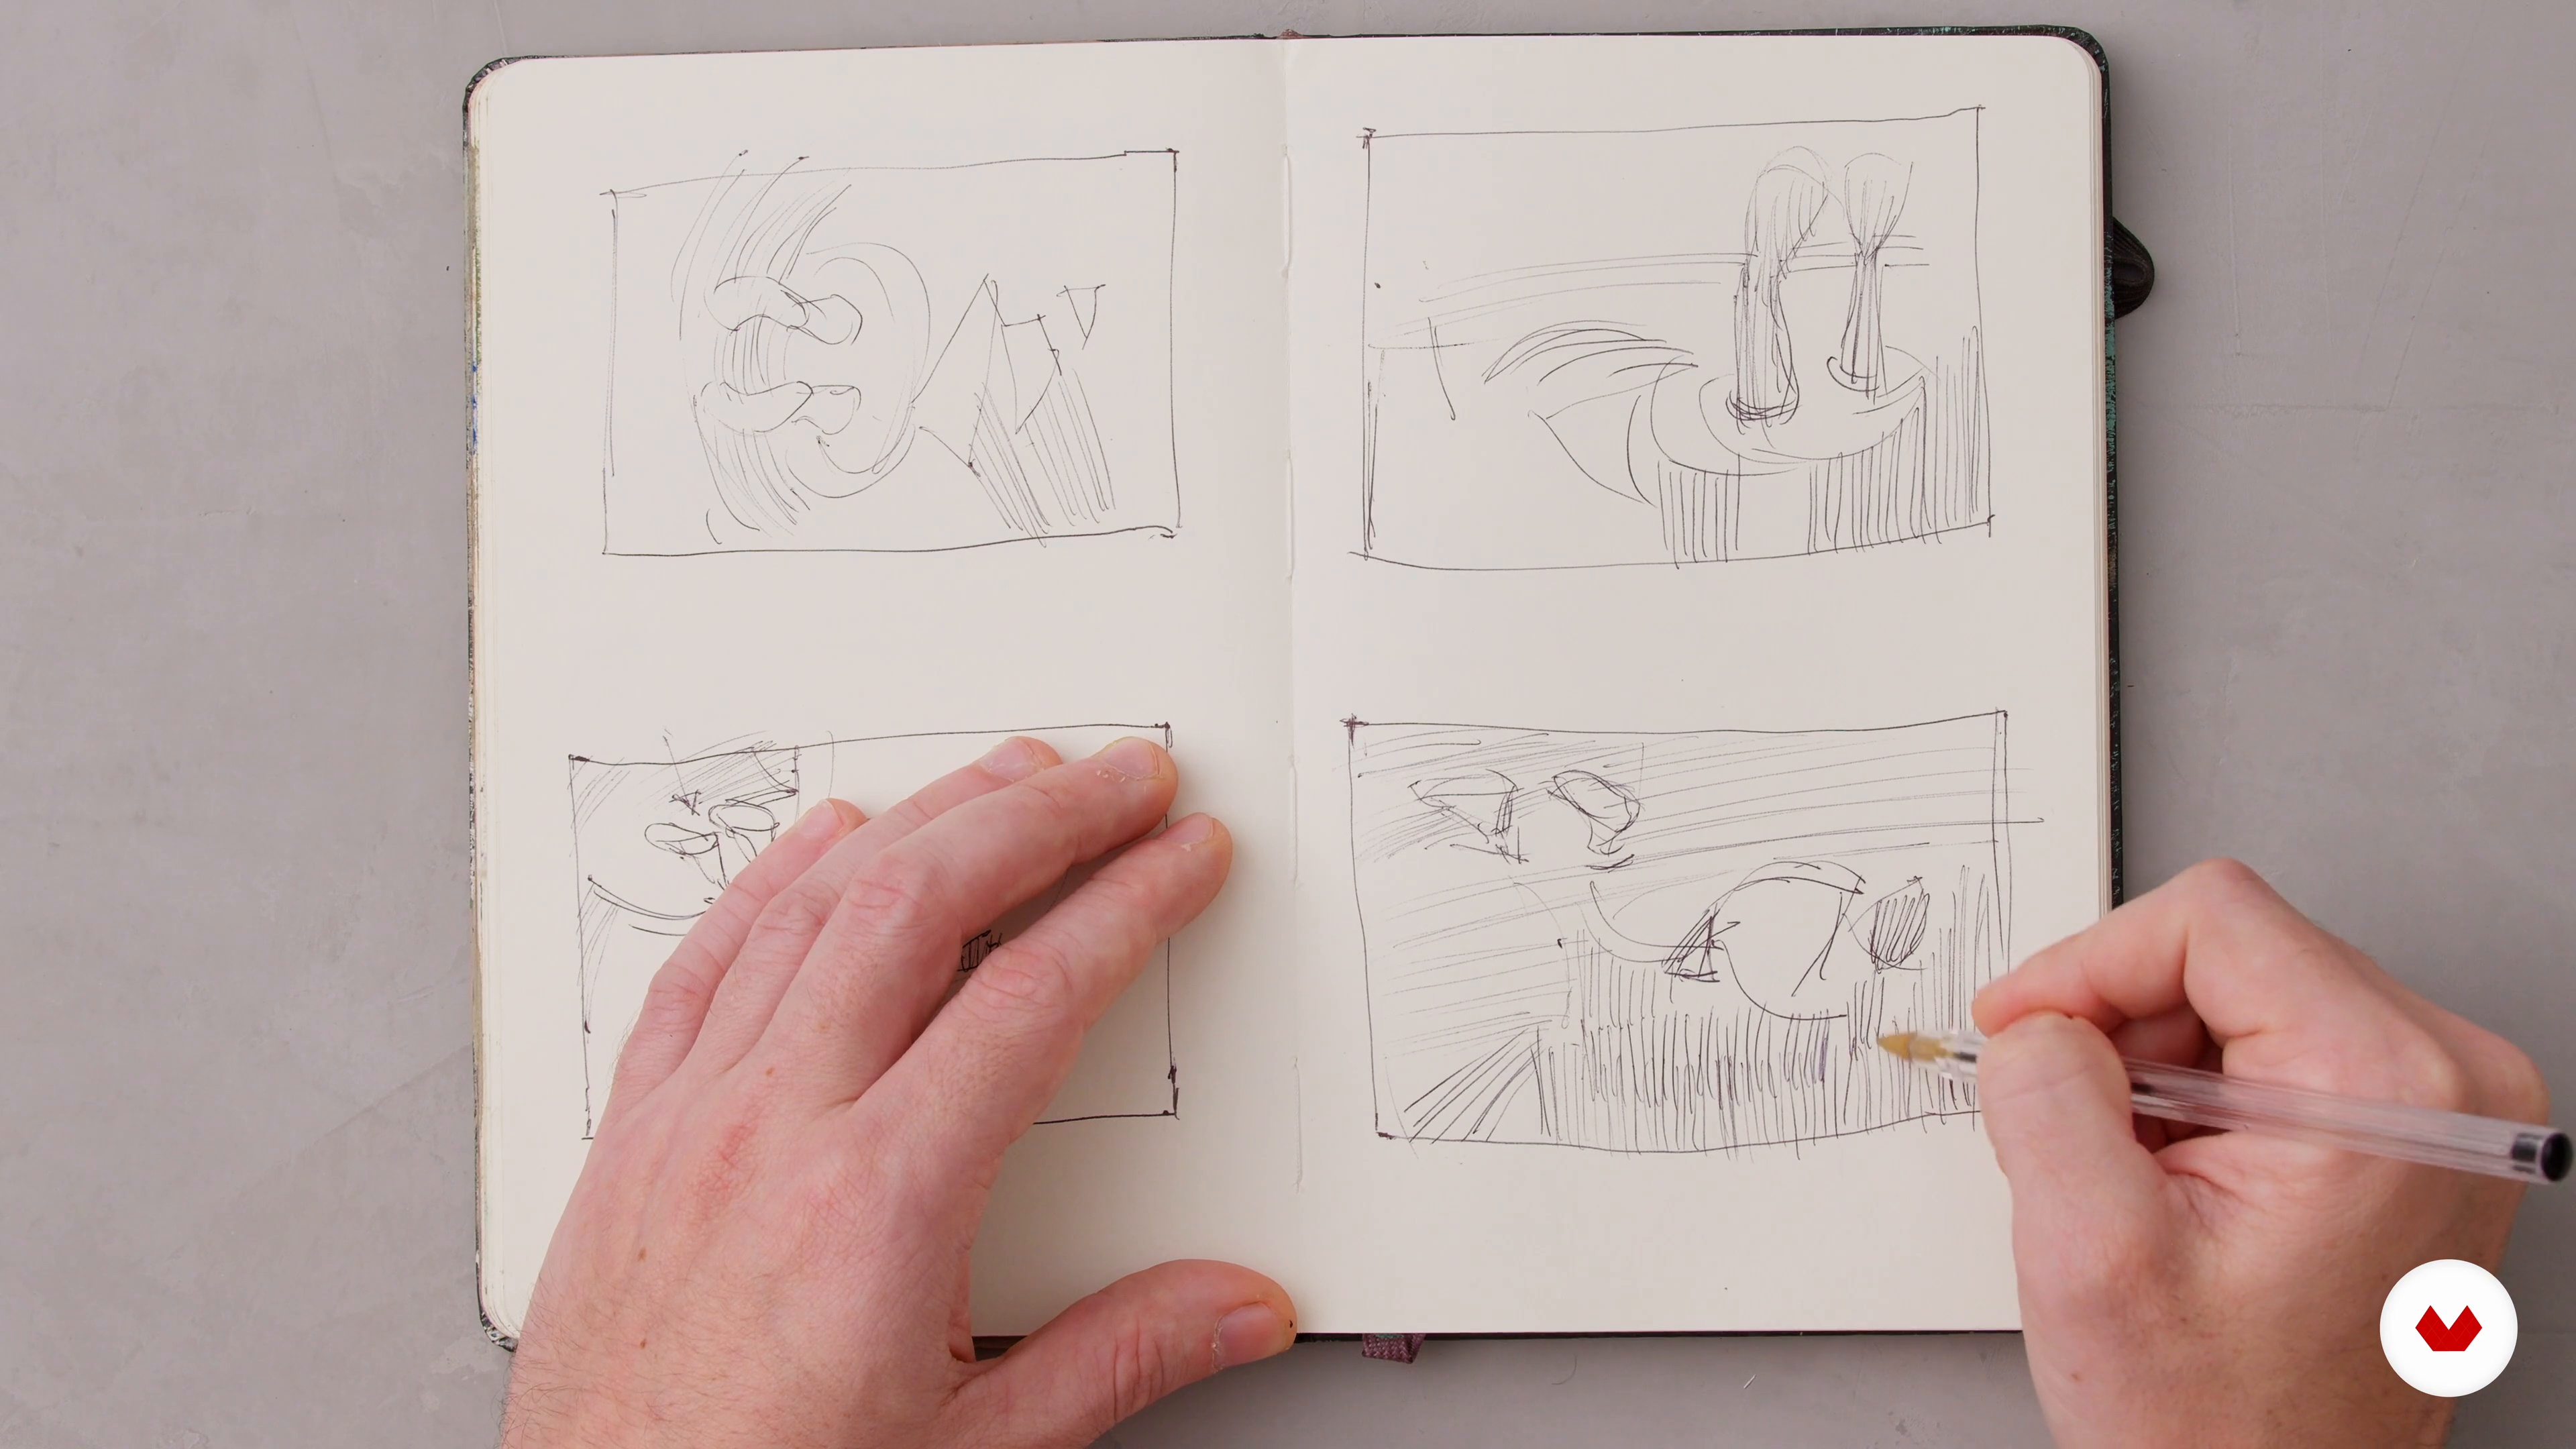
In this lesson I will talk about the ideation process, how to begin the initial sketches, and the intention of the work.
17m
image
7
Photographic References Based on the Drawing
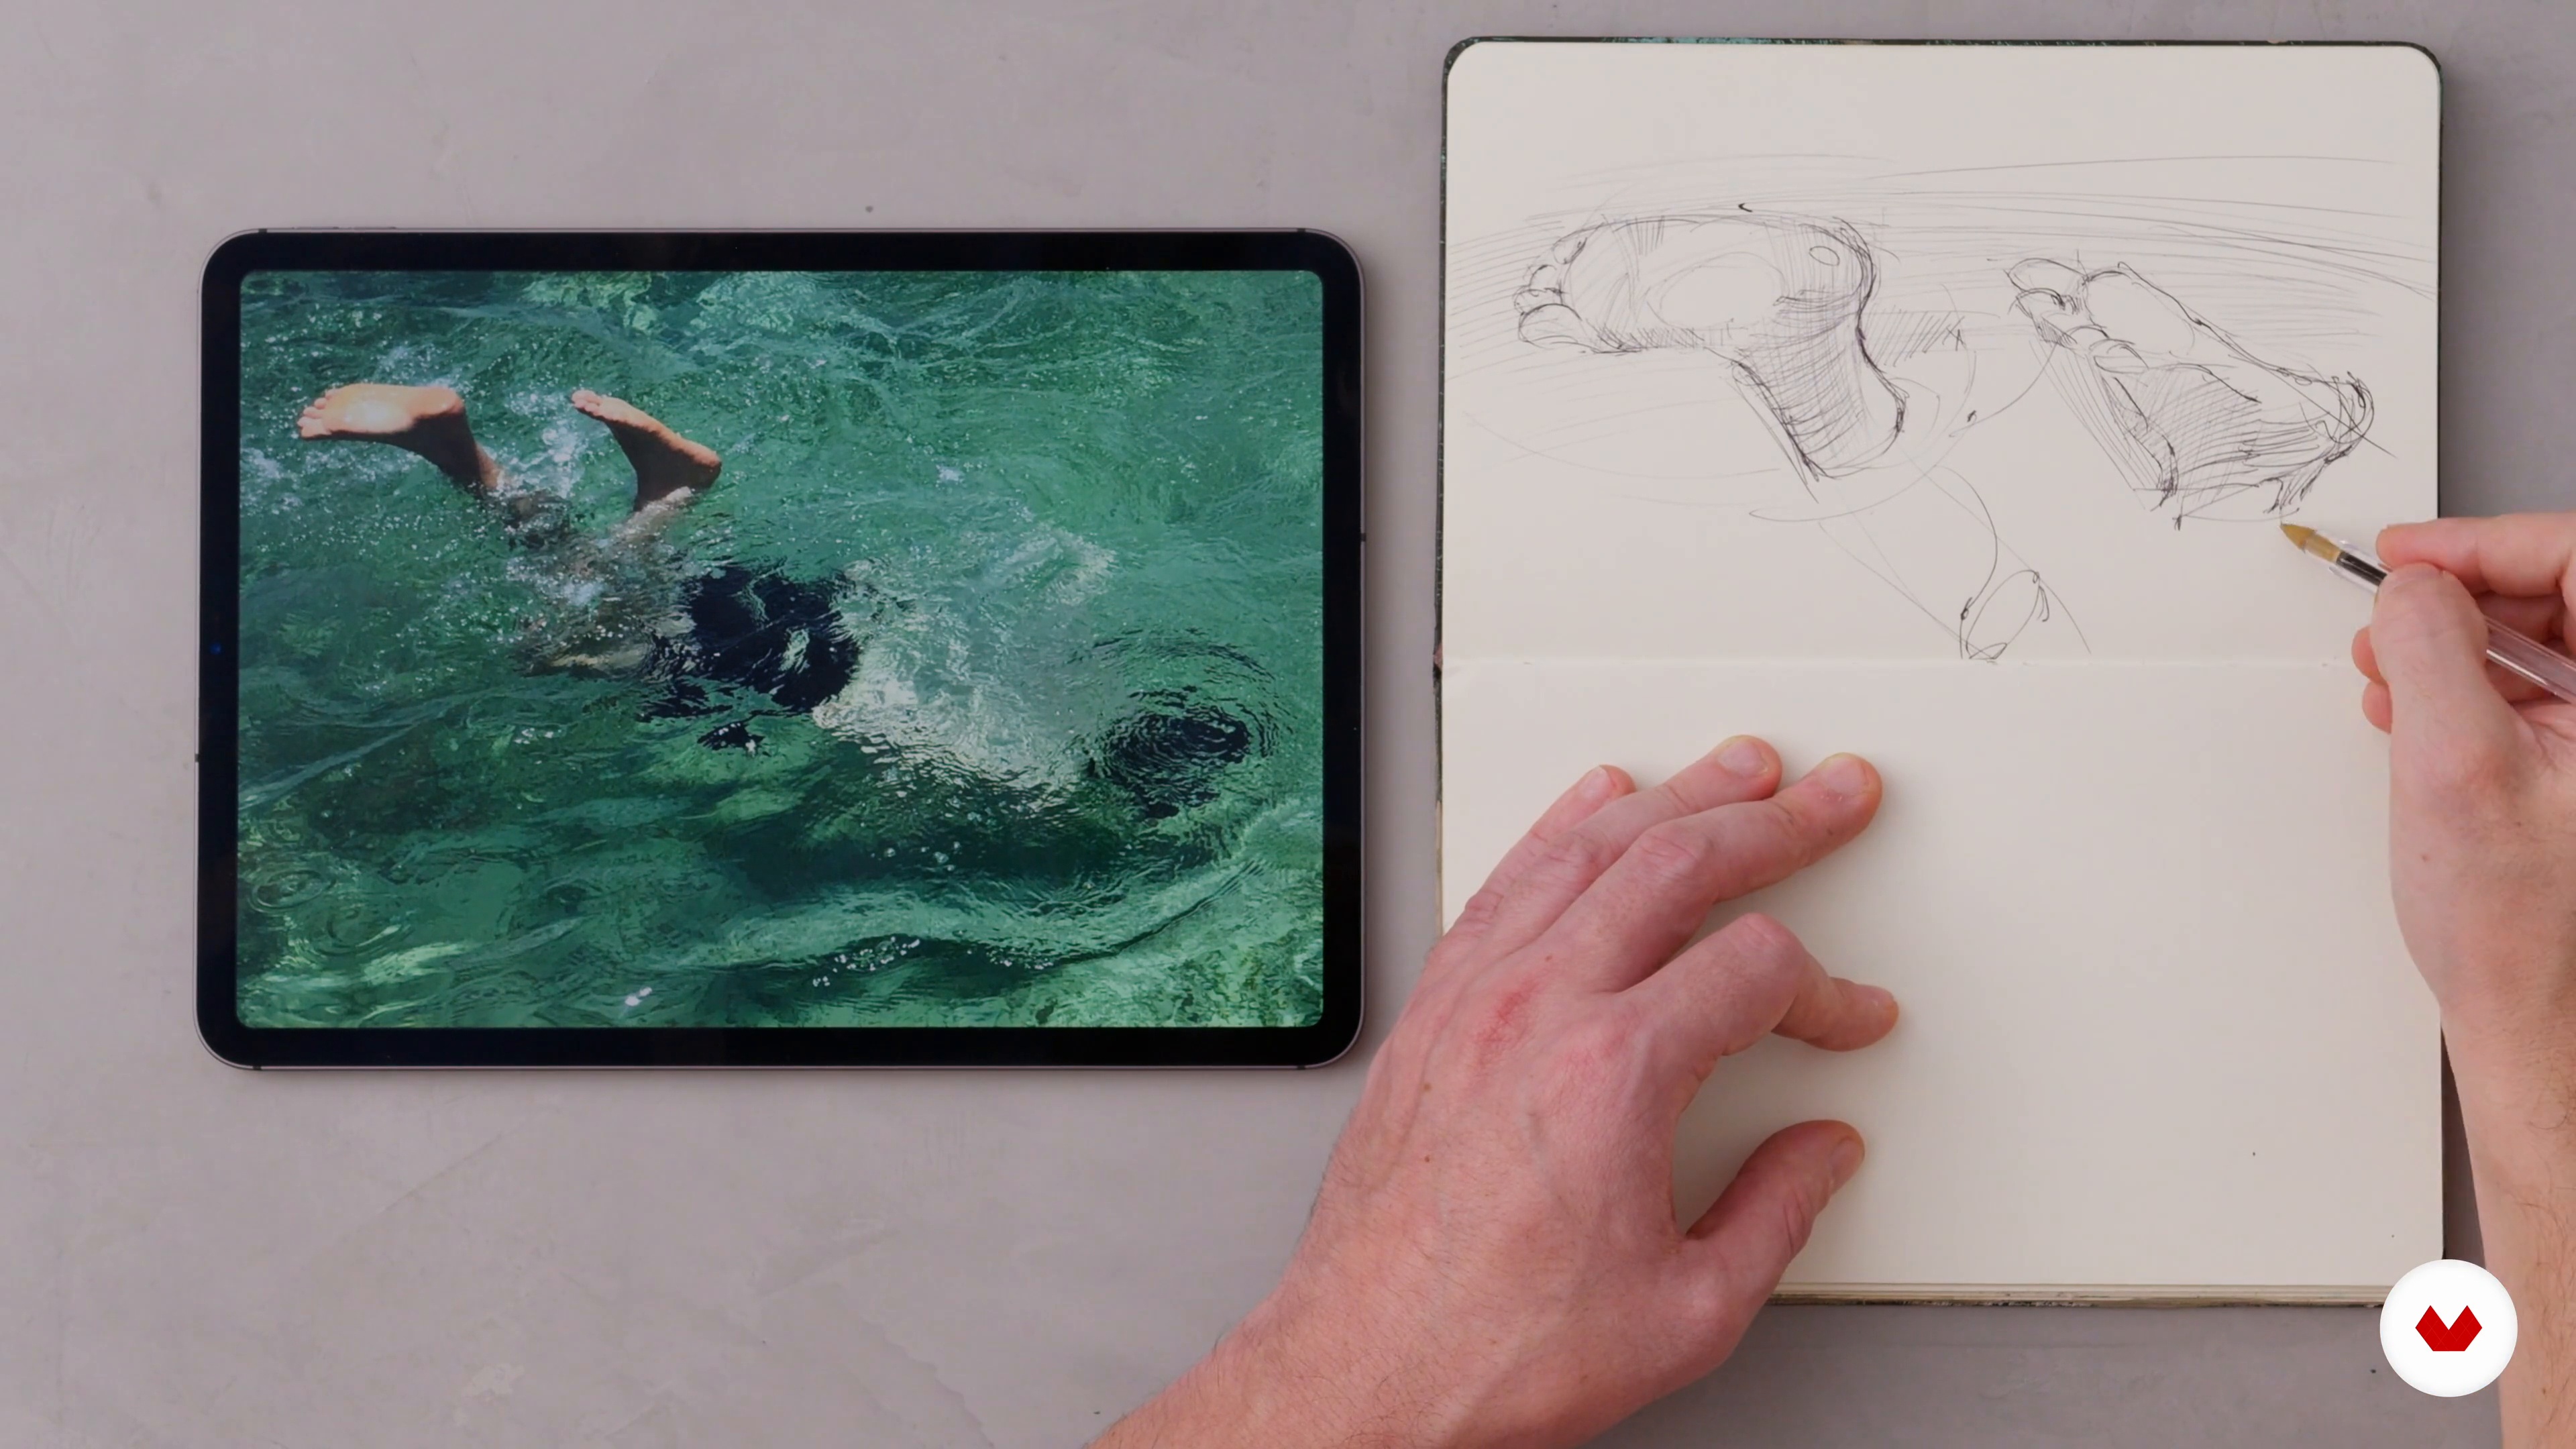
The next step is to choose the photographic references for the drawing and study the main subject of the work. I'll show you how.
14m
image
8
Color Study
Now I'll do several color studies of the sketch I chose for the final image and talk about photographic references based on color.
12m
image
9
Surface Preparation and Large Blocks of Color 1
In this lesson, I'll show you step-by-step how to apply the first coat of paint. I'll cover the initial drawing, how to block in the surface, and how I generally like to approach that first step.
18m
image
10
Surface Preparation and Large Blocks of Color 2
In my opinion, it's essential to step back from the work during the process and also after each stage. This way, we can analyze it, see what we like and don't like, and assess how we can make the necessary adjustments.
18m
image
11
Rediscovering Drawing, Dark and Medium Tones, and Textures 1
In this lesson, I will discuss how to approach the work you have started and the methodology to efficiently solve any problems that may arise during the development of an image.
12m
image
12
Rediscovering Drawing, Dark and Medium Tones, and Textures 2
Once the textures are applied and the painting is dry, it's time to start thinking about what's missing to complete the work. I'll analyze my painting to identify the missing details and continue developing it freely, without the reference image.
8m
image
13
Final Adjustments
As I mentioned, it's a good idea to return to the work after a while, look at it, and compare it to the initial drawings. In this lesson, I'll make final adjustments to the drawing and tone until I'm satisfied with the visual issues resolved.
5m
image
14
Signature and Varnish
Finally, I'd like to talk about how to sign and why. I'll also show you how to varnish the painting and discuss recommended care techniques.
5m
image
3
What Is Realism in Drawing?
Let's start with the basics! In this lesson, I want to tell you what I understand by realism and how to apply it to our drawings.
4m
image
4
How to Choose a Reference Photo?
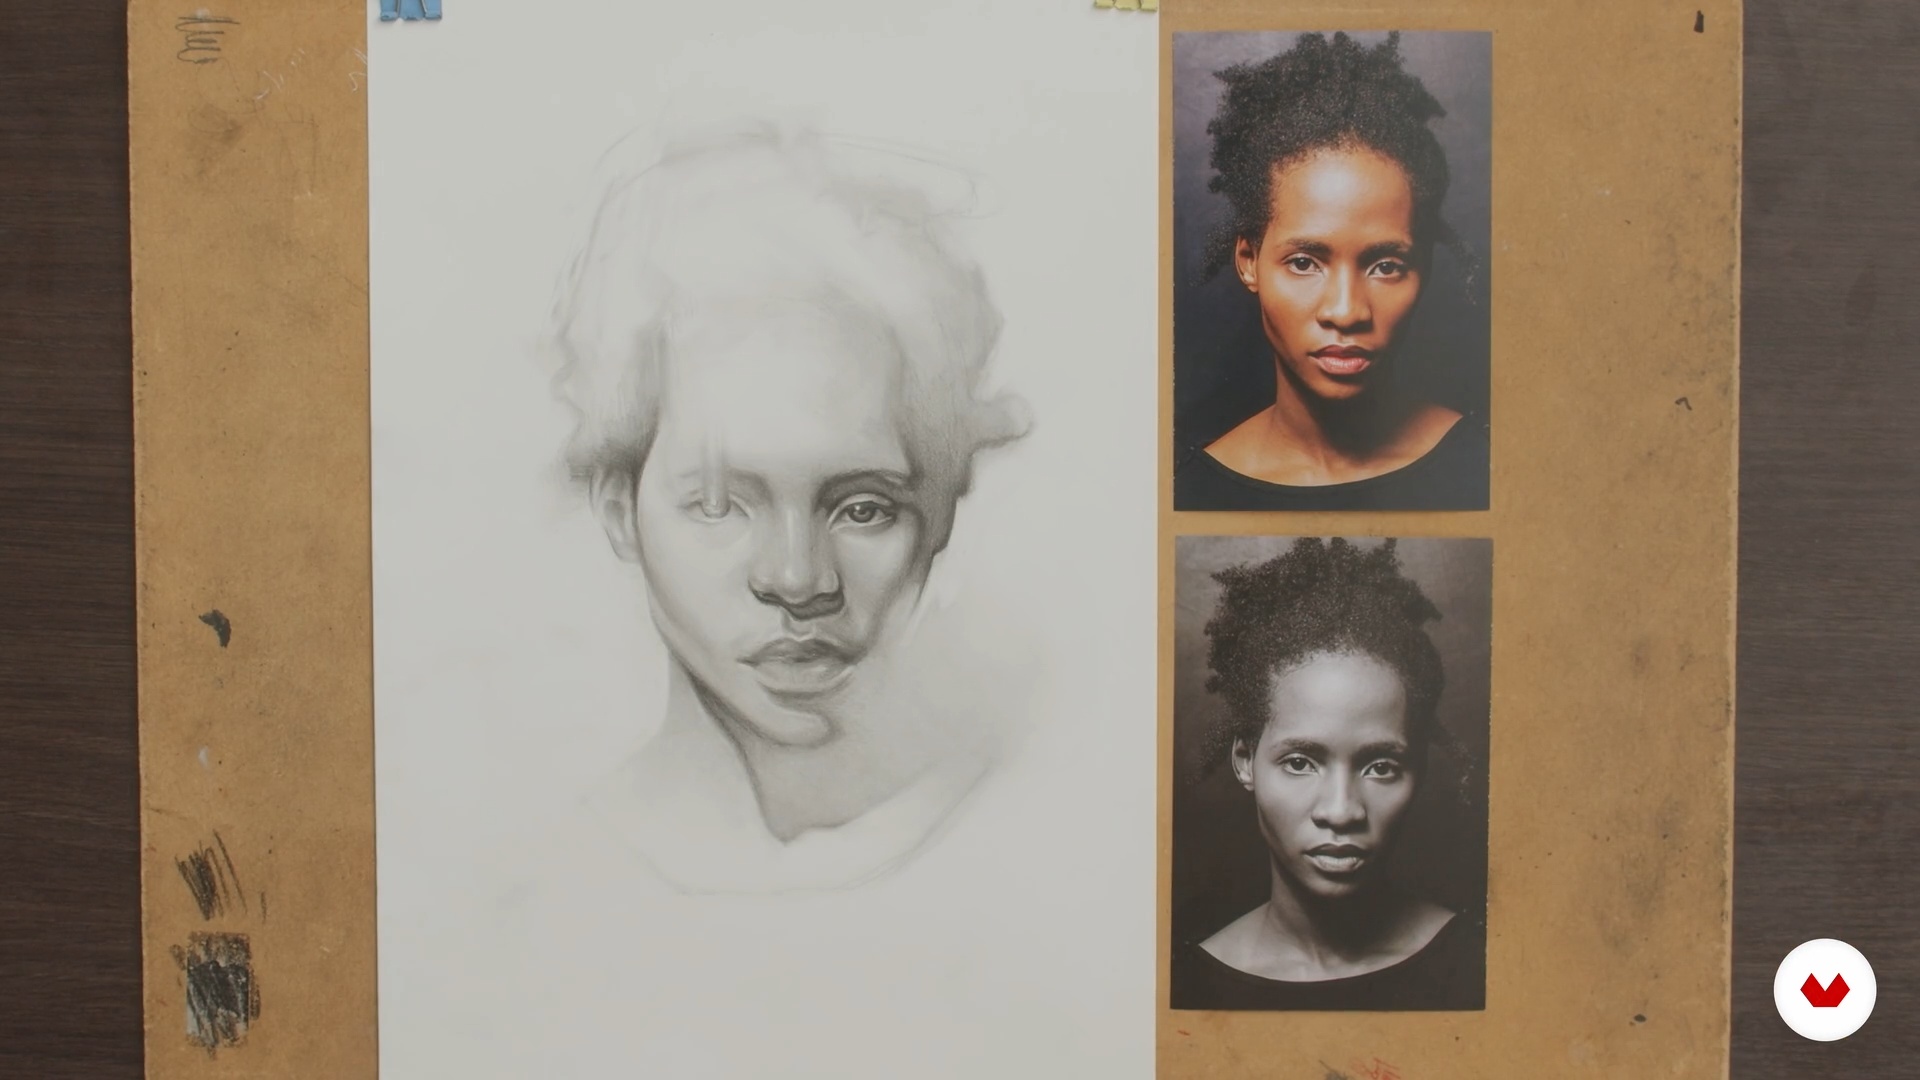
Now I'm going to tell you what the most important points are when choosing a reference photo, and I'll illustrate it with the photo I selected for the course project.
5m
image
5
The Materials
In this lesson, I will describe and recommend the materials you should use during the course.
9m
image
6
What Is the Abstract Structure and What Is It For?
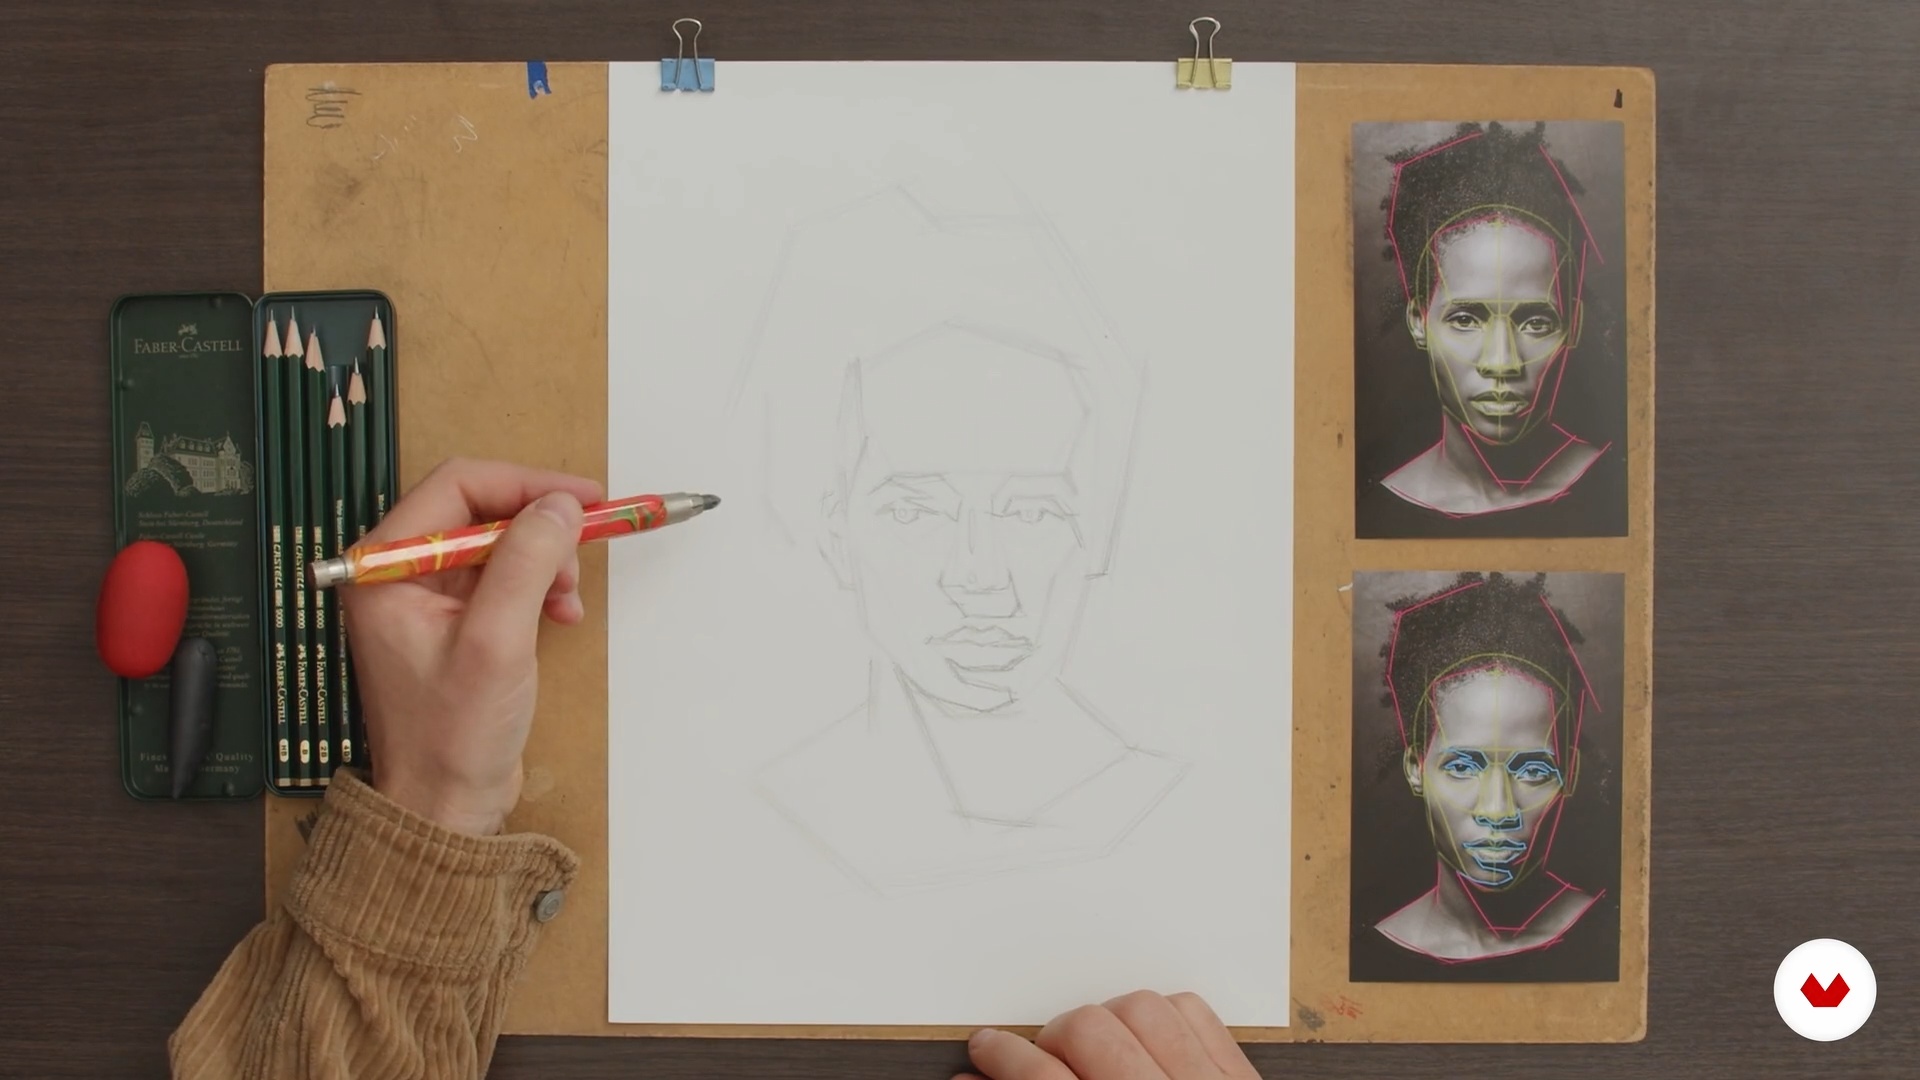
In this lesson, you'll learn how to construct the structure of a face from the front. First, I'll introduce abstract structure: lines, basic geometry, and how to go from simple to complex. Then, I'll give you examples of structures in photos, and finally, I'll show you a step-by-step construction sequence.
15m
image
7
Character Drawing
Once the abstract structure is complete, it's time to draw the character you want to portray on it. Let's get to work!
7m
image
8
How Light and Shadow Work 1
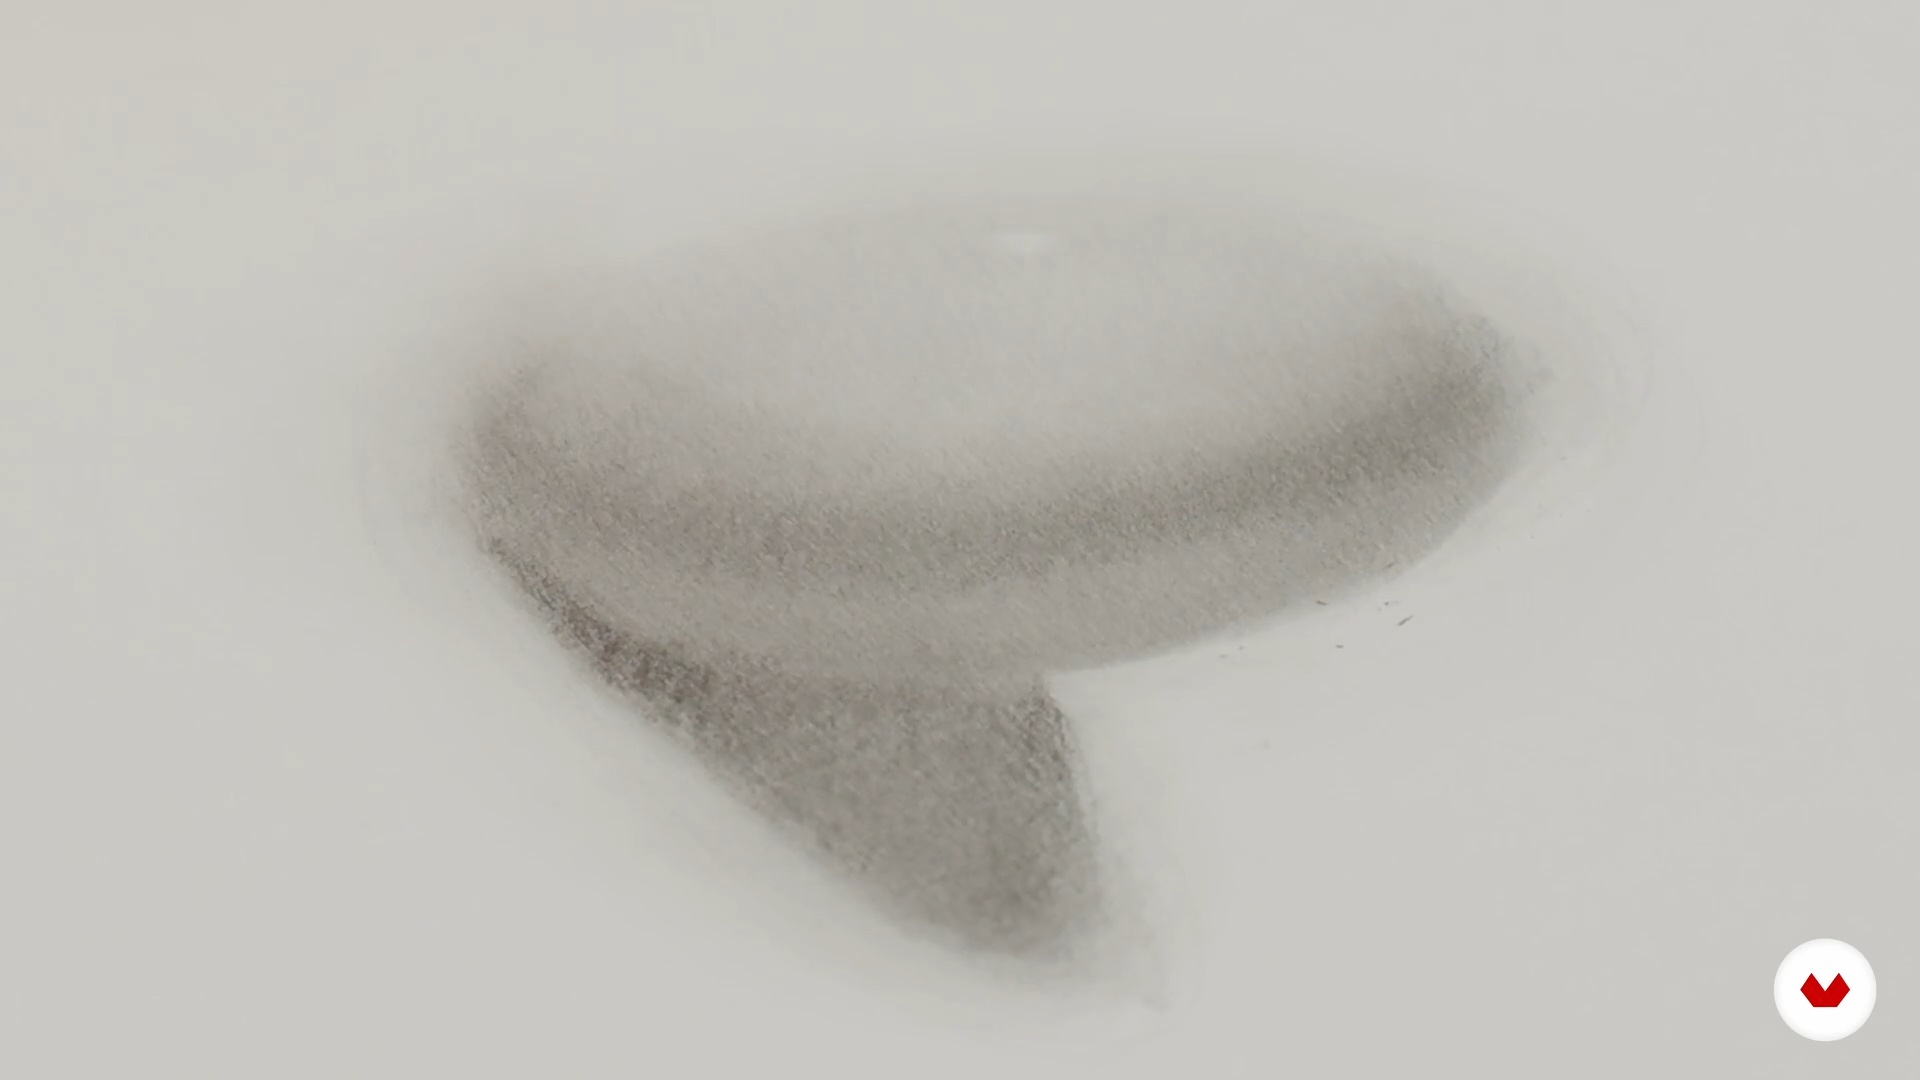
In this lesson, I'll show you some simple but important exercises to help you understand the concepts of light and shadow. I'll also teach you how to create a grayscale and a sphere with different types of shadows.
11m
image
9
How Light and Shadow Work 2
Now I'll debunk some myths and misconceptions about the face—eyes, nose, mouth—and show you how to translate all the light and shadow work you did in the first part of this lesson into a more complex, organic form.
11m
image
10
Thumbnail Sketches
You now have the necessary foundation to begin your project. In this part of the process, I'll show you how to create thumbnail sketches to find an aesthetic idea you like.
16m
image
11
First Layers of Shading of the Drawing
You've already created the abstract structure and drawn your character with straight lines. You've also decided on the aesthetic to give the drawing and created the grayscale. Now it's time to shade your drawing with values 1 and 3, with 1 being the white of the paper and 3 being the middle of the scale.
10m
image
12
Blending: Composition and Movement
You're now reaching the final stretch of your project! In this final stage, you'll smooth out some textures and add the final touches and details to your drawing.
14m
image
13
Retouching and Documentation of the Process
In this lesson, I'll show you how to edit a photo of your finished drawing so that the digital image is faithful to the work on paper. You'll also see how photographing each stage of your drawing will provide a record of its creation.
5m
image
14
Drawing Analysis
With the drawing finished and the chosen reference photo on the table, I'll do a brief analysis of my process. This is important to capture both what I liked and what I didn't, so I can apply it or not to future creations.
5m
  • 14 students
  • 102 lessons (18h 39m)
  • 142 additional resources (94 files)
  • Online and at your own pace
  • Audio: Spanish, English
  • English · Spanish · Portuguese · German · French · Italian · Polish · Dutch
  • Level: Beginner
  • Unlimited access forever

What is this course's project?

This project will allow you to create a series of drawings of the human figure using proportion and structure techniques. You'll complete this project with a catalog of poses, the basis for more detailed and realistic images.

Who is this specialization for?

Artists and drawing enthusiasts seeking to master the representation of the human figure, from beginners to advanced, interested in exploring anatomical techniques, expressing emotions, and experimenting with watercolor, oil, and pencil, developing their personal and creative style.

Requirements and materials

No extensive experience is required, but an interest in drawing and access to basic tools such as pencils, good-quality paper, and watercolors are. A stable internet connection is helpful to follow the content and recommended practices.

Select to get to know your teachers in this specialization course
Read more ↓

What to expect from this specialization course

  • Learn at your own pace

    Enjoy learning from home without a set schedule and with an easy-to-follow method. You set your own pace.

  • Learn from the best professionals

    Learn valuable methods and techniques explained by top experts in the creative sector.

  • Meet expert teachers

    Each expert teaches what they do best, with clear guidelines, true passion, and professional insight in every lesson.

  • Certificates
    Plus

    If you're a Plus member, get a custom certificate for every specialization course. Share it on your portfolio, social media, or wherever you like.

  • Get front-row seats

    Videos of the highest quality, so you don't miss a single detail. With unlimited access, you can watch them as many times as you need to perfect your technique.

  • Share knowledge and ideas

    Ask questions, request feedback, or offer solutions. Share your learning experience with other students in the community who are as passionate about creativity as you are.

  • Connect with a global creative community

    The community is home to millions of people from around the world who are curious and passionate about exploring and expressing their creativity.

  • Watch professionally produced courses

    Domestika curates its teacher roster and produces every course in-house to ensure a high-quality online learning experience.


FAQs

Domestika's specialization courses are online classes that provide you with the tools and skills you need to complete a specific project. Every step of the project combines video lessons with complementary instructional material, so you can learn by doing. Domestika's specializations also allow you to share your own projects with other students, creating a dynamic course community.

All specialization courses are 100% online, so once they're published, specialization courses start and finish whenever you want. You set the pace of the class. You can go back to review what interests you most and skip what you already know, ask questions, answer questions, share your projects, and more.

The specialization courses are divided into different modules. Each one includes lessons, informational text, tasks, and practice exercises to help you carry out your project step by step, with additional complementary resources and downloads. You'll also have access to an exclusive forum where you can interact with other students, as well as share your work and your final project, creating a community around the specialization course.

You can redeem the specialization course you received by accessing the redeeming page and entering your gift code.

If you're a Plus member, when you complete a course you've purchased, you'll instantly get your personalized certificate. You can see all your certificates in the Certificates section of your profile. You can download your certificates as PDFs and share the link online. Learn more about certificates.
Specialization in drawing and expression of the human figure. Illustration course by Domestika

Specialization in drawing and expression of the human figure

A specialization by multiple teachers
Berkeley, United States.
Joined April 2002
  • 14 students