Filming Still Life: Bring Objects to Life through Light
Course final project
A course by Sam Hofman , Photographer


About the final project for: Filming Still Life: Bring Objects to Life through Light
Filming Still Life: Bring Objects to Life through Light
“Thank you so much for taking part in this course and I hope you've enjoyed it. I hope you've learned about how powerful moving image is and how to incorporate this into your own work. It's now time to work on your project. This could mean finishing the interface you started by completing the course tasks or making a brand-new project! Either way, I strongly suggest you take the time to gather inspiration and make a unique project of your own. Make sure to keep track of your progress with different pictures of each step. It'd be great if you could also explain the choices you've made along the way and tell me if you have any doubts. This will help me guide you better if you need advice. Here are the main steps to follow: Inspiration Gather reference images into a mood board to define the concept of your piece. This process can take a while as you find the right materials, so don't feel that you have to rush. Enjoy taking time to collect different imagery and references. Then, bring your own ideas together into a storyboard to plan out what you want to shoot and how you will bring the shot together in an edit. This doesn't need to be final at this point, but it's good to have an overall vision.


Partial transcription of the video
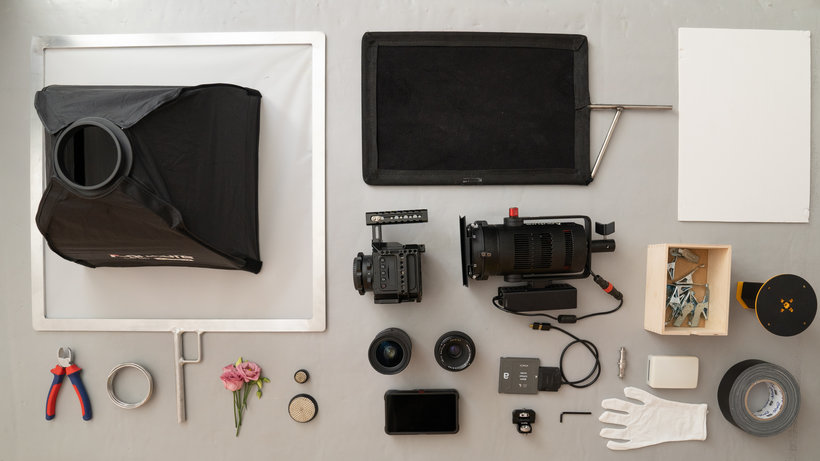
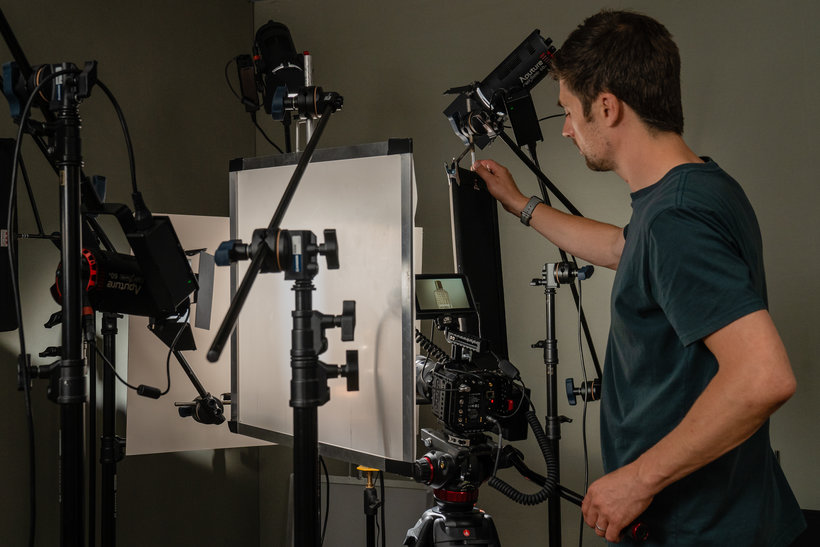
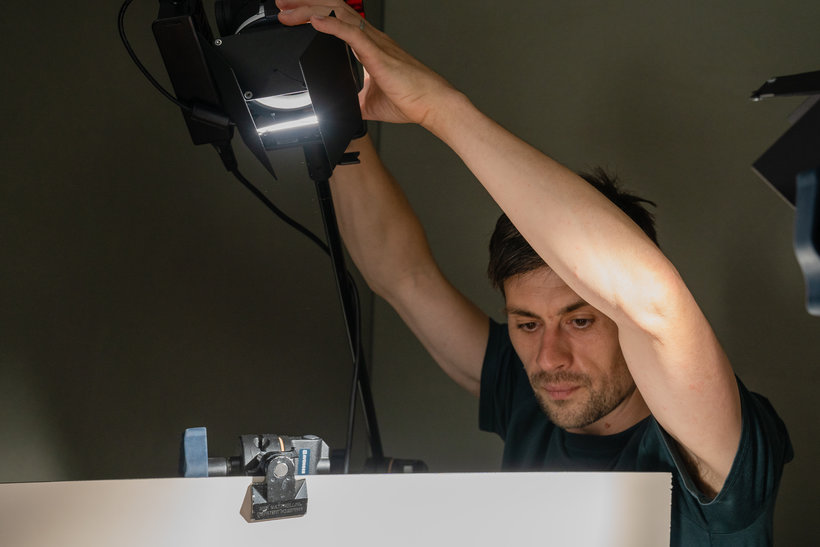
“Thanks for joining me on this course. I hope you've learned how powerful moving image is and how to integrate it into your work. So let's recap what we've learned. We started by talking about the evolution of moving image. We looked at the equipment we needed, and then we started to storyboard our project. We started by setting up our studio, and then we worked on our lighting, before shooting our heroes, and then moving on to our macro details. Finally, we edited our film together and graded our piece ready for formatting. One thing I'd like you to take away from this project is to really ...”
This transcript is automatically generated, so it may contain mistakes.
Course summary for: Filming Still Life: Bring Objects to Life through Light
-
Category
Photography & Video -
Areas
Commercial Photography, Product Photography, Studio Photography, Video

Sam Hofman
A course by Sam Hofman
Sam Hofman is a photographer working across still life, social media, and film mediums. His clients include Elemis, Molton Brown, Guinness, Glenlivet, Pantene, and many others. He was drawn to design and imagery as a young boy growing up in the sleepy Cotswolds region of the UK. He found inspiration around him, from his village’s yearly pantomime performance to his mother’s camera. He got his professional start in 2008 after graduating from university in London, starting as an assistant photographer. Through his experiences as a junior, he realized his true calling was still life, which continues to be his specialty. However, as the industry evolved and moving images became ever more important, it became an integral part of his practice as well.
- 100% positive reviews (9)
- 731 students
- 14 lessons (3h 8m)
- 19 additional resources (5 files)
- Online and at your own pace
- Available on the app
- Audio: English
- English · Spanish · Portuguese · German · French · Italian · Polish · Dutch · Turkish · Romanian · Indonesian
- Level: Beginner
- Unlimited access forever
Category
Areas

