
Set Design for Product Photography
A course by Mariam Palma SalazarPhotographer and set designer
A course by Mariam Palma Salazar, Photographer and set designer

Create a set with your hands to make original packshots
Showing a product in the most attractive way possible in a photograph is, in addition to a challenge, an art; one that dominates very well Mariam Palma - architect, photographer and set designer - who is dedicated every day to work with the concept of different products, to create conceptual and visually striking sets made by hand in Magicbus - photography studio and set design of Lima (Peru) - working for brands such as Mindot !, Mayka, Pilgrim Origin and Slaughterhouse.
In this course you will learn to conceptualize, sketch, compose and create with your own hands a set for original and striking product photography.
What will you learn in this online course?
14 lessons & 25 downloads
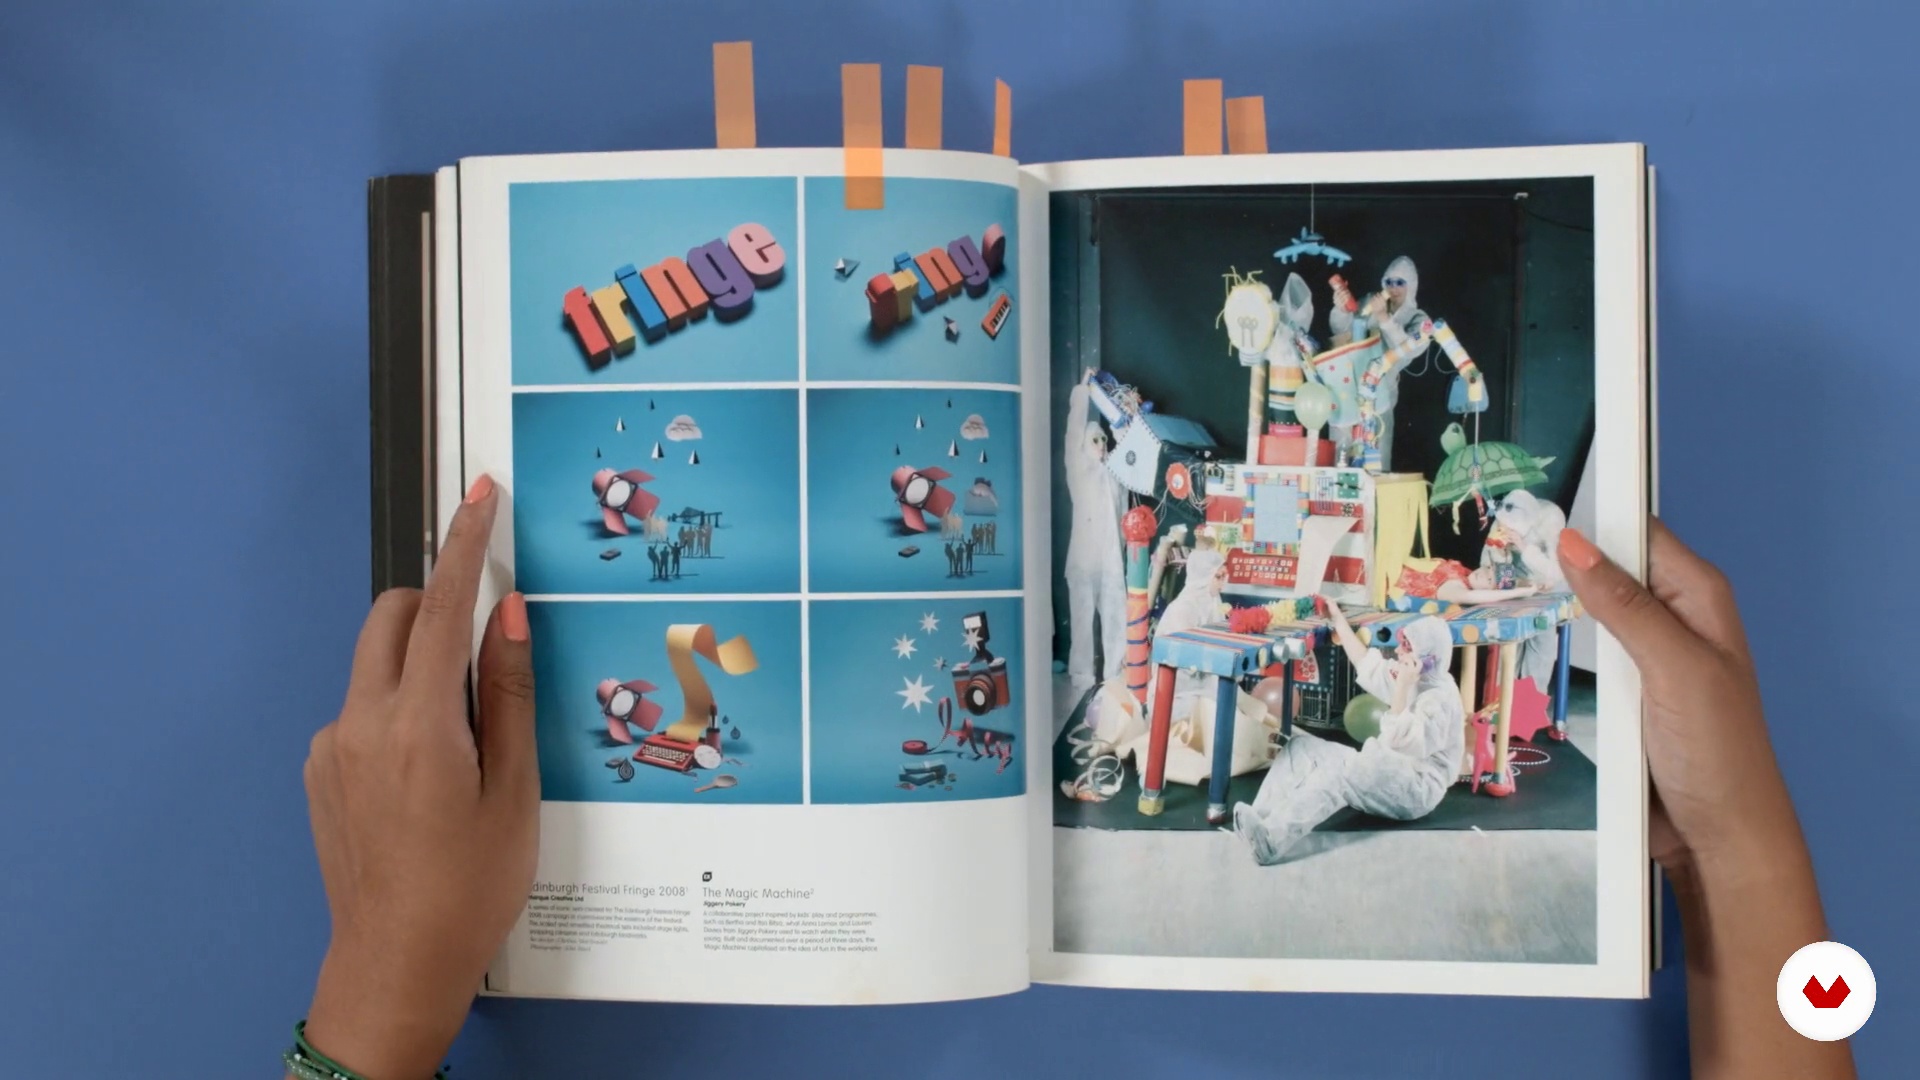
Search of references
3 minutes, 41 seconds
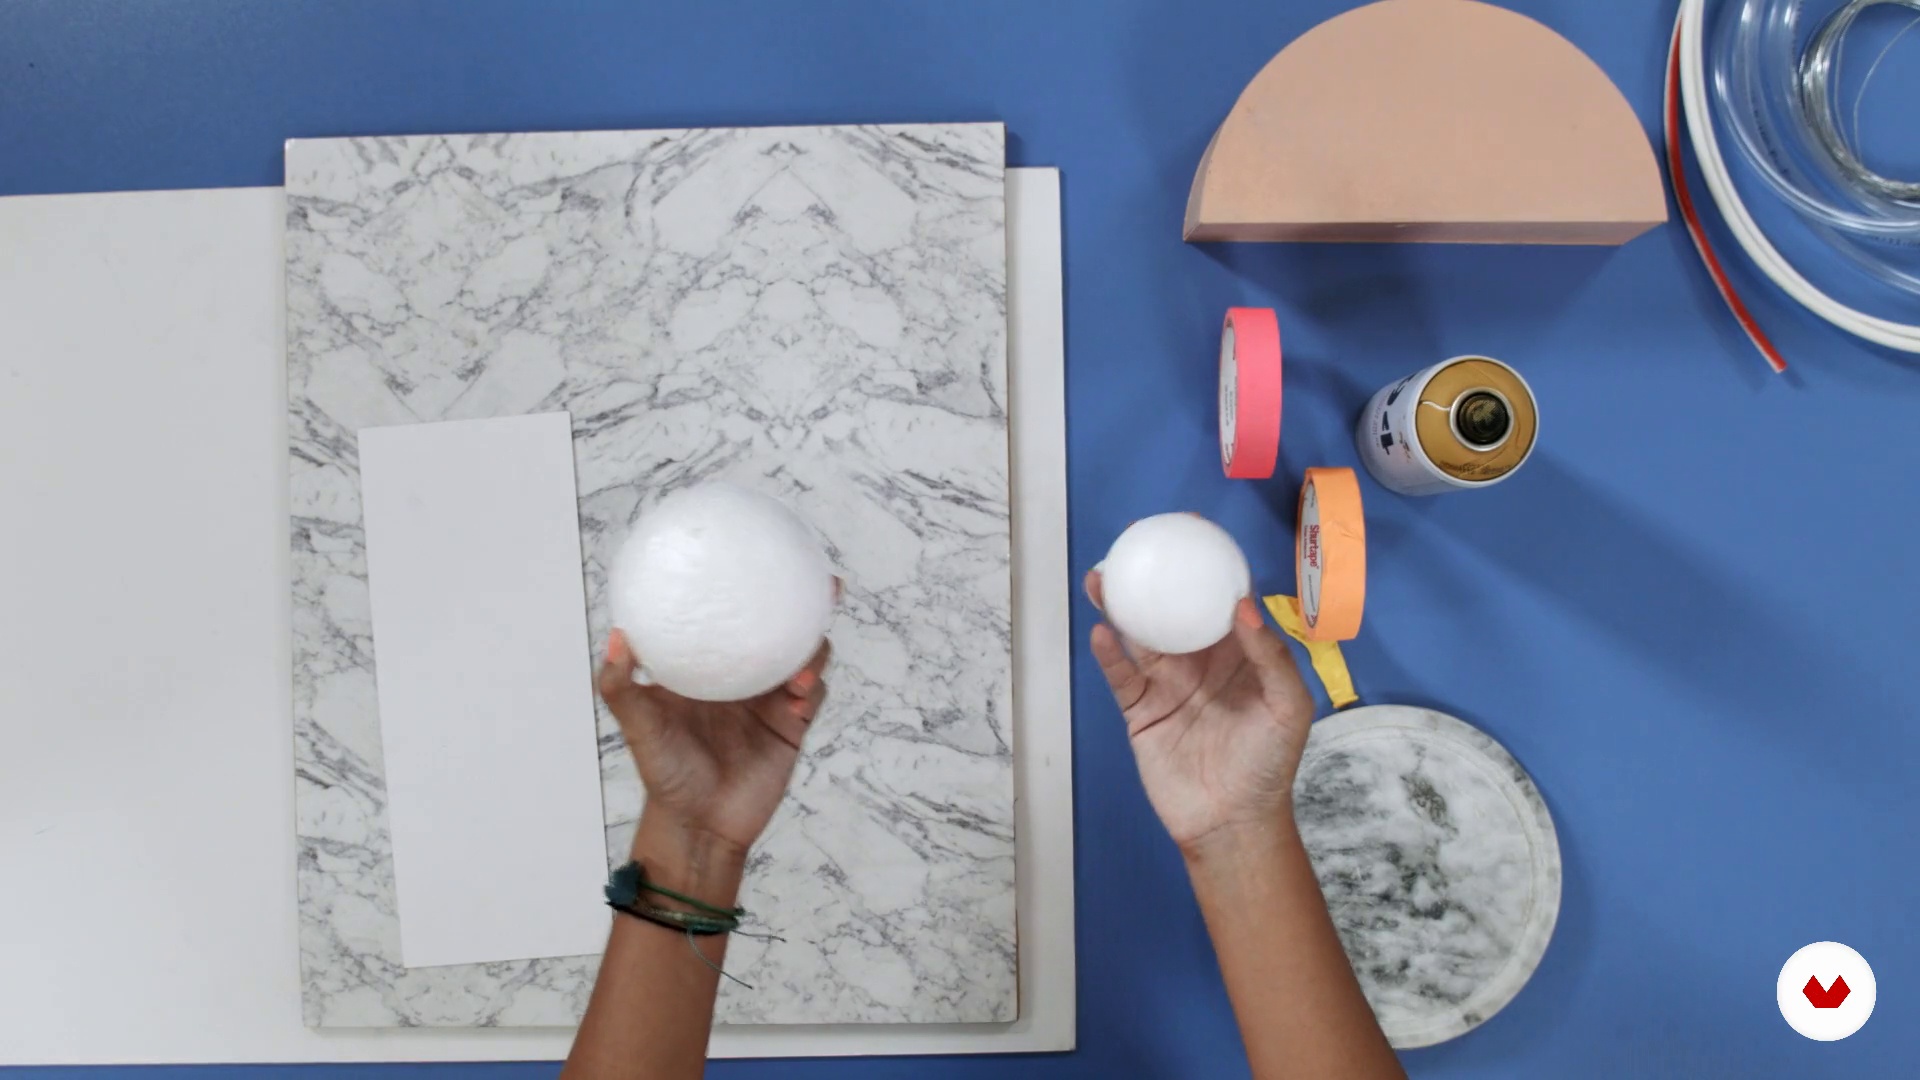
Explore materials
3 minutes, 52 seconds
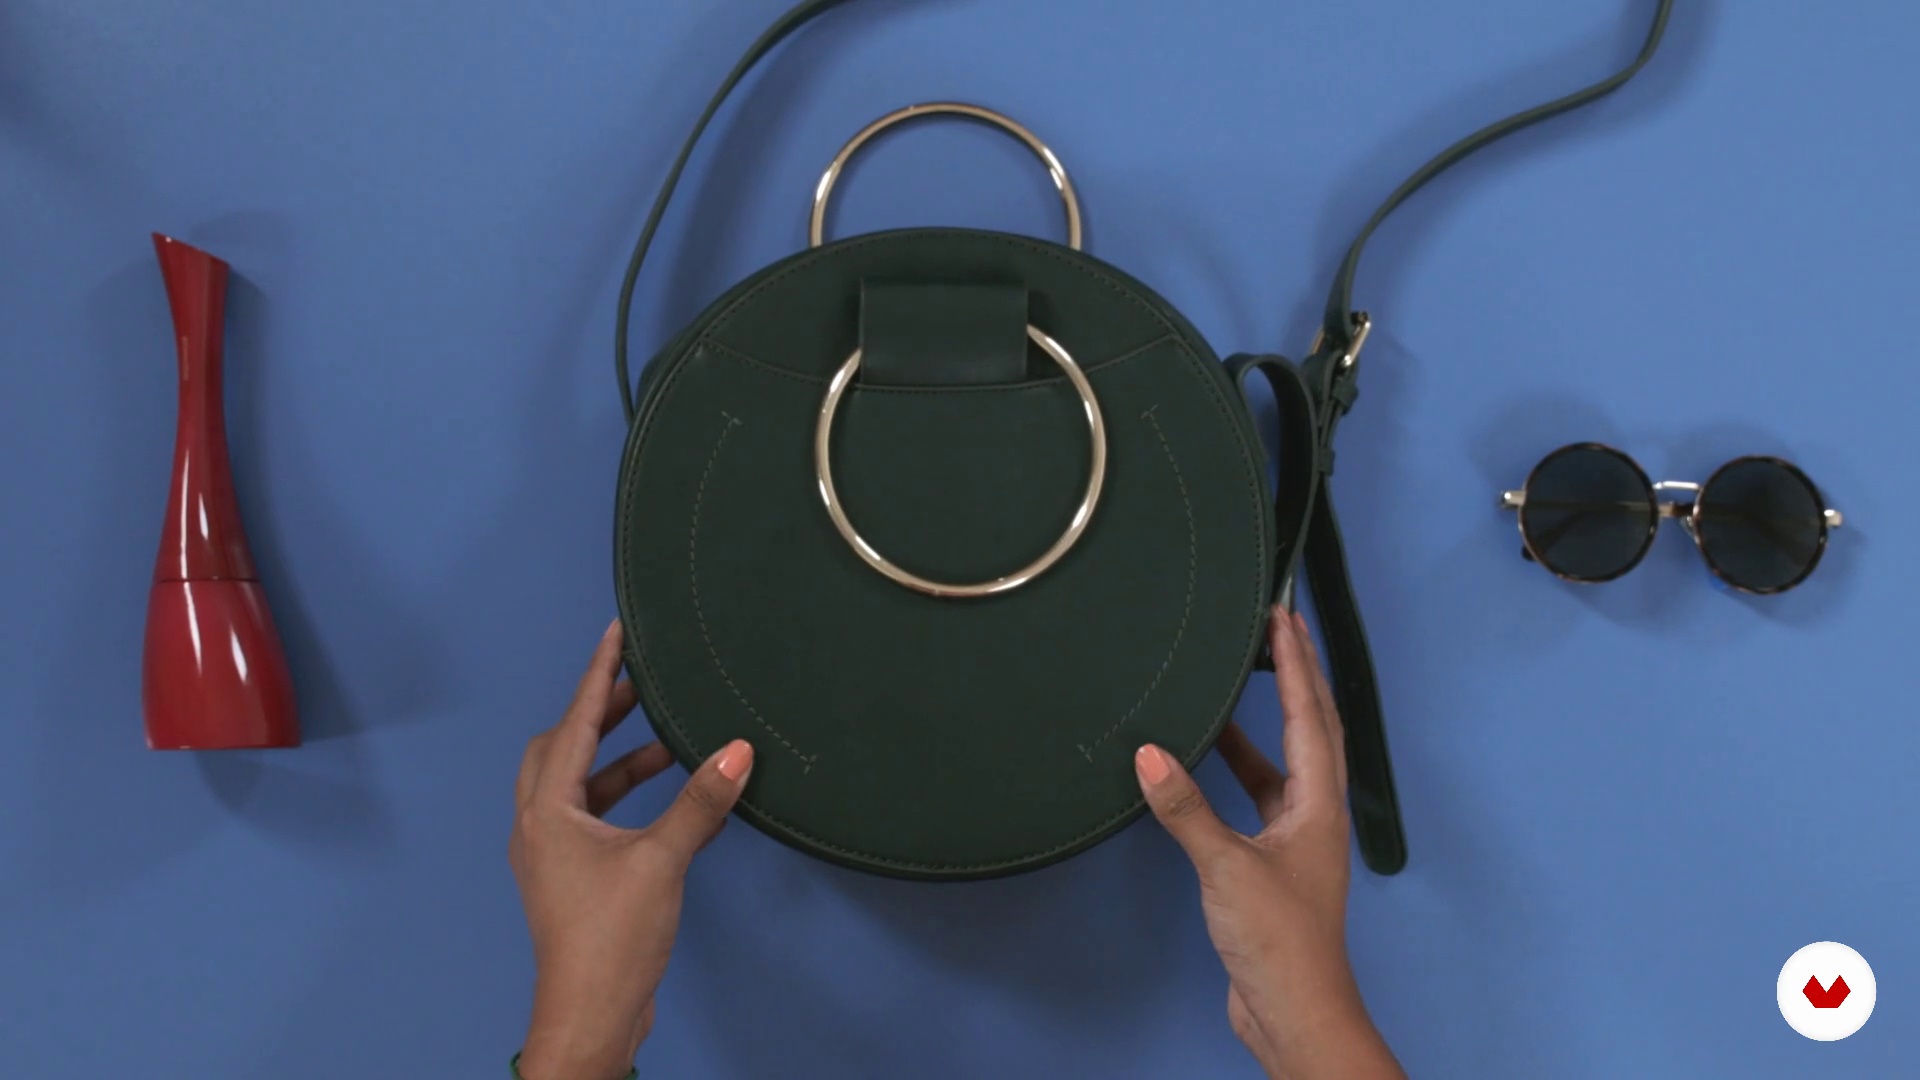
Choice of the product to be photographed
1 minute, 13 seconds
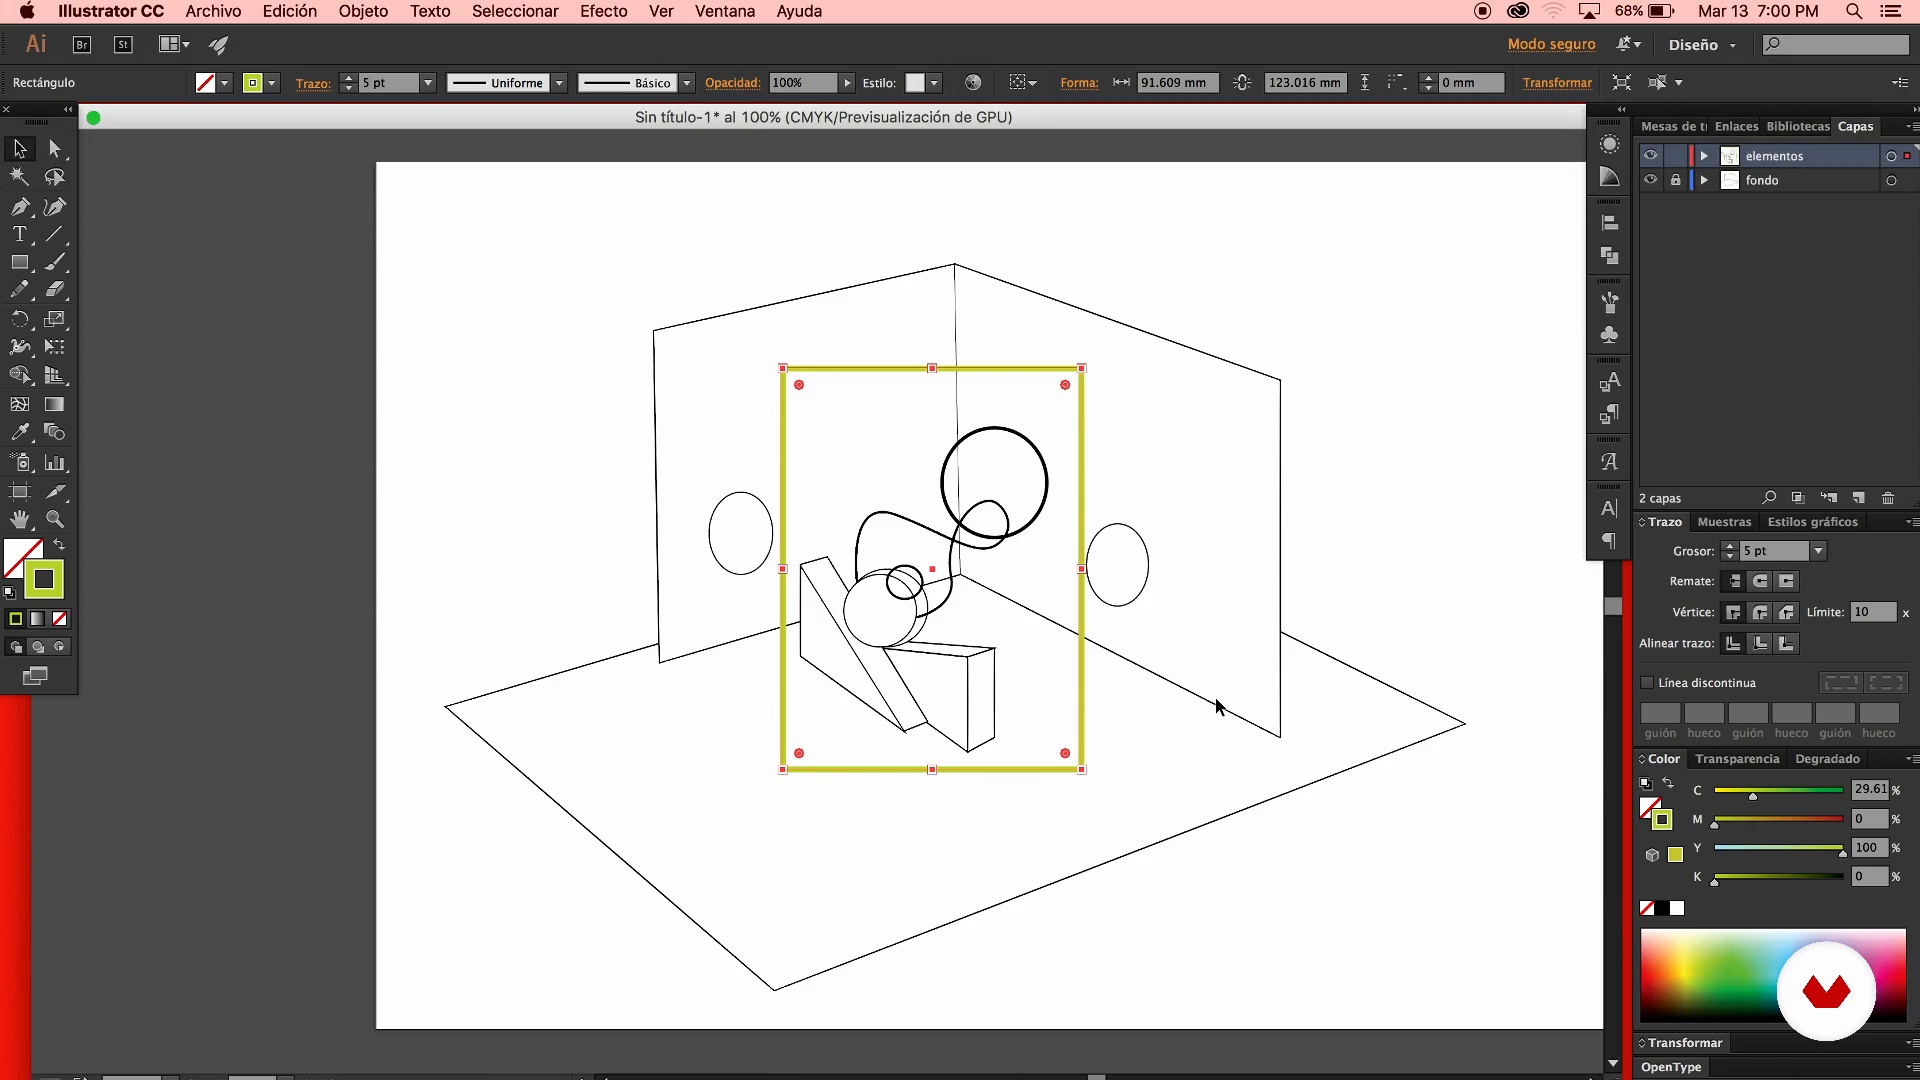
Conceptualization + sketch 1
14 minutes, 15 seconds
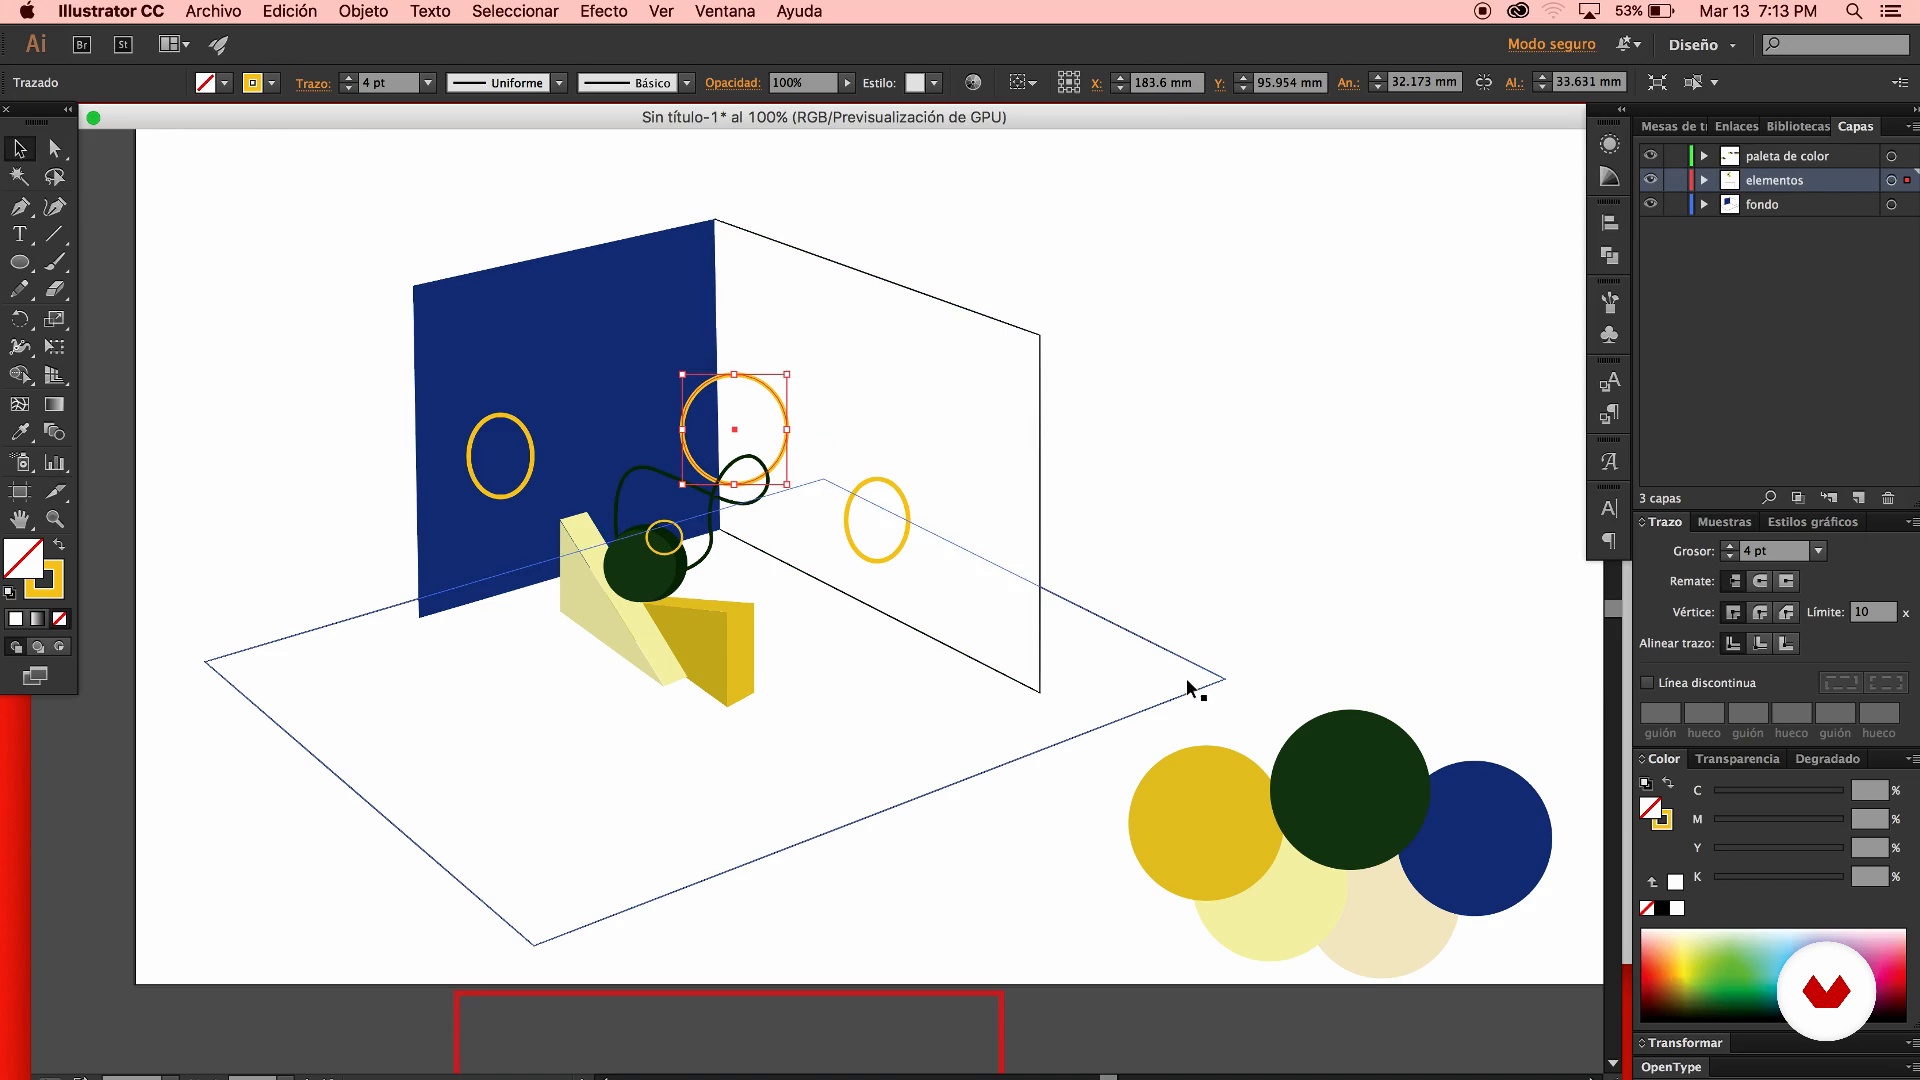
Conceptualization + sketch 2
8 minutes, 54 seconds
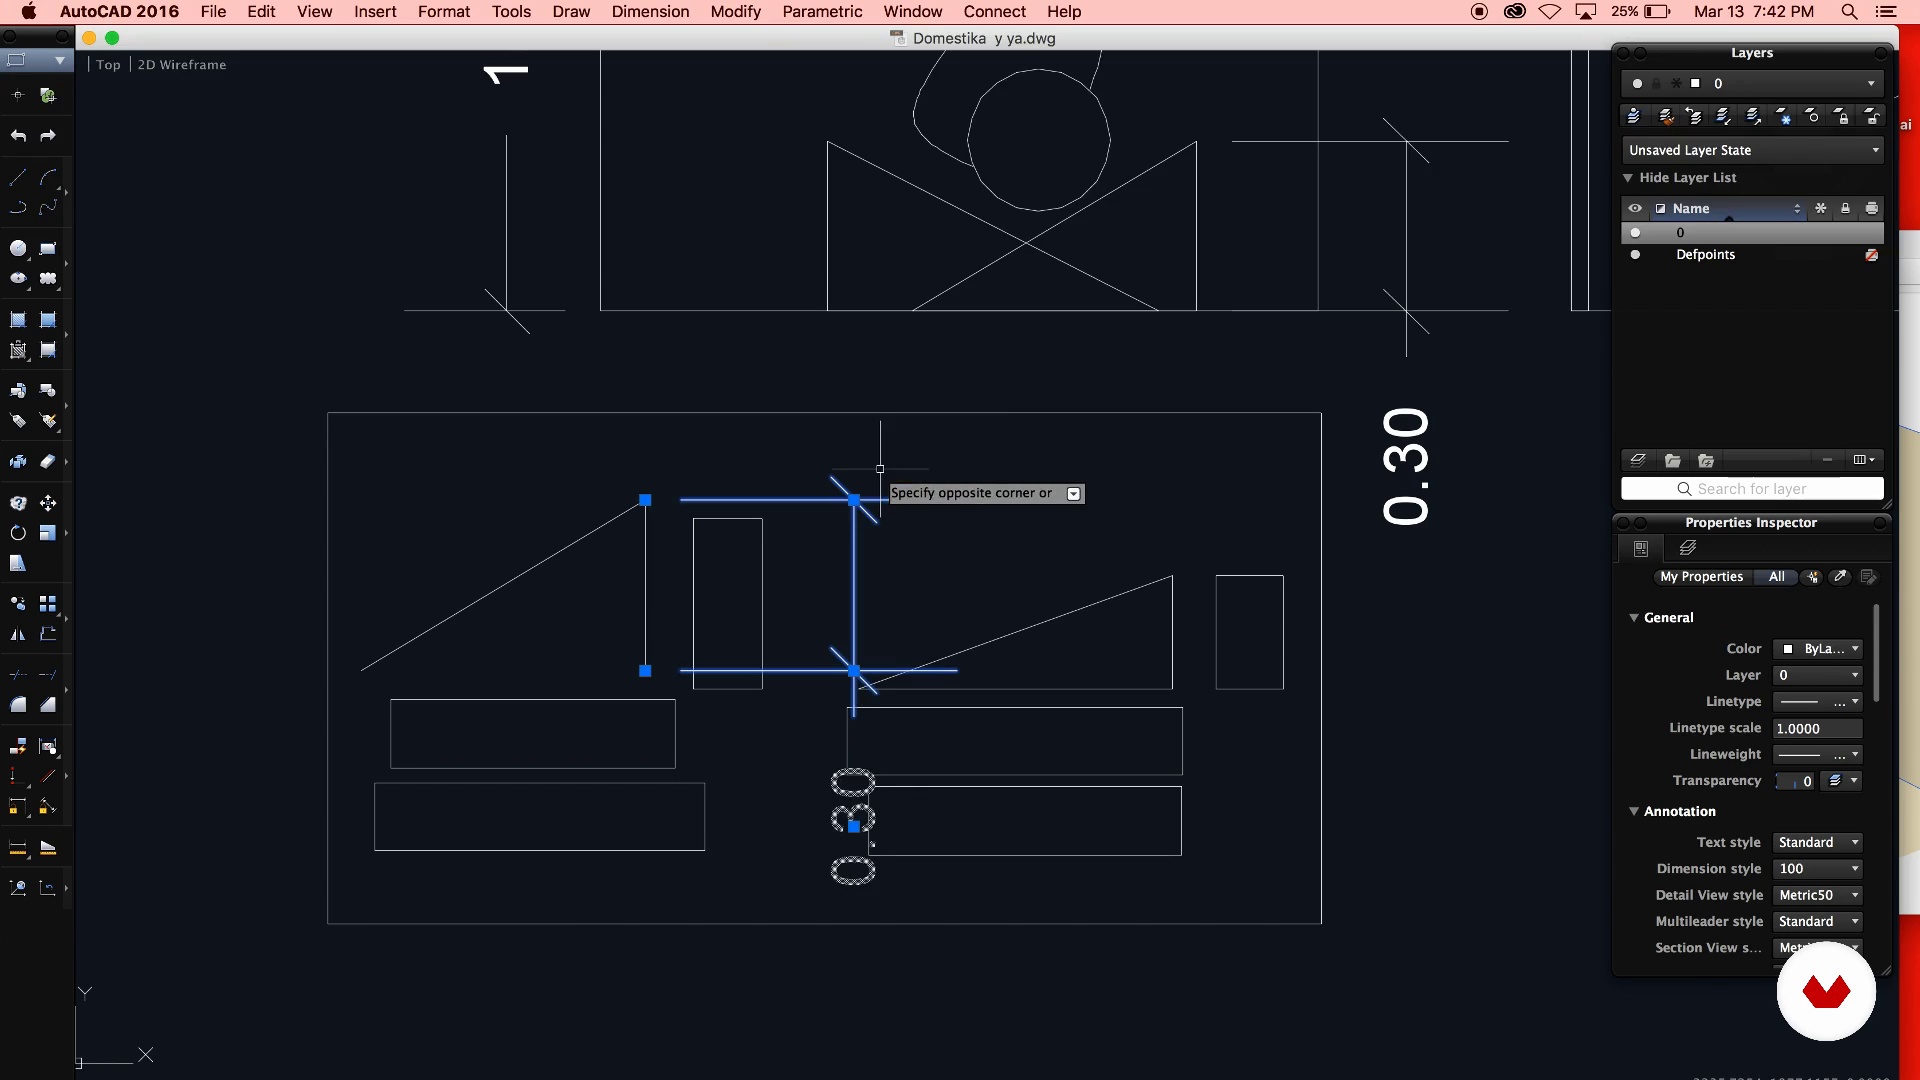
Dimensioning of the pieces
5 minutes, 55 seconds
What's included in this course?
You will start the course knowing Mariam Palma, who will tell you about her photographic work and her main influences, especially those related to art direction in different creative areas.
You will know the materials and the different techniques DIY (Do It Yourself ) with which you can work to make your set come true. You will see how you can create volumes, shapes, textures and how to modify some objects to communicate what you want.
You will choose the product you want to photograph, either because you like it, because of its shape or because of the concept it has. Mariam will choose a circular portfolio but you can choose another object for the course.
Conceptualize the chosen product and then make the illustrated sketch that will serve as a reference when photographing. In addition, you will propose a palette of colors and types of lighting that help reflect your concept and will dimension the pieces to give you a real size in AutoCAD, Adobe Illustrator or do it by hand, any tool that helps you to have the correct measurements of each piece.
You will apply all your creativity to select the necessary materials for your project, and then cut them, paint them and transform them into volumes, shapes and objects, according to your sketch.
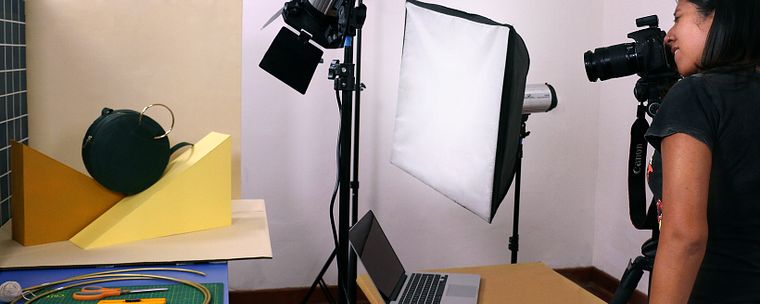
Once you have everything ready, you will start working in the photography studio, where you will assemble your set exactly like your sketch, following the advice of Mariam. You will take the photograph, edit it and export it in a professional way ready for printing or to publish on social networks.
What is this course's project?
You will create a still life to photograph a product. As a final result you will obtain a photograph where your set will highlight the characteristics that you consider important of the product.
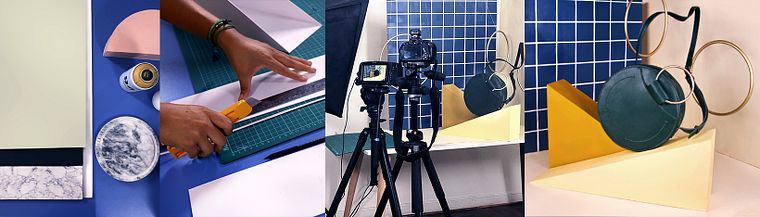
Projects by course students


Who is this online course for?
To all the people in the sector who want to give a concept and context to their product photographs using the set design as the main tool.
Requirements and materials
To complete this course you will need basic knowledge in photography, studio lighting and a lot of imagination. In addition, you must have a basic level of Adobe Photoshop.
In terms of materials, you will need a camera, studio lights, a lamp and a computer with Adobe Photoshop. You will also need materials such as cardboard, spray paints and the objects you consider necessary to make your proposal more interesting.
Reviews
- 3 years ago
I like that she is straight to the point but I feel like her work is a bit messy and I didn’t like the set she did. Either way, still good to watch.
- 3 years ago
Loved it!
- 3 years ago
Correcto y bien explicado, si bien no es de los mejores que he hecho en Domestika.
- 4 years ago
Muy lindo! y si recién arrancas a hacer este tipo de trabajos ayuda mucho
- 4 years ago
Excellent course! I learned how to create scenery for subjects. Now it's much easier for me to create a scene to get a modern look for my photos.

From there he begins to create pieces and elements that will later be used in the compositions that we put together within the studio. In Magicbus, study of visual production and art direction, they are based on work and hand-made processes where the final result approaches a digitally made one.
With Magicbus he has worked for brands such as Brio !, Mindot and for art toys , as well as graphics for events in Lima (Peru).
Content
- U1
Introduction
- Presentation
- All influences
- U2
Generating the idea
- Search of references
- Explore materials
- Choice of the product to be photographed
- Conceptualization + sketch 1
- Conceptualization + sketch 2
- Dimensioning of the pieces
- U3
Let's do it
- Choice of materials and cutting of pieces
- Armed with main pieces
- Painting and preparation of pieces
- U4
Final phase
- Shooting
- Retouching
- Different ways to save the final photo
- FP
Final project
- Design of sets for product photography
What to expect from a Domestika course
Learn at your own pace
Enjoy learning from home without a set schedule and with an easy-to-follow method. You set your own pace.
Learn from the best professionals
Learn valuable methods and techniques explained by top experts in the creative sector.
Meet expert teachers
Each expert teaches what they do best, with clear guidelines, true passion, and professional insight in every lesson.
Certificates
PLUSIf you're a Plus member, get a custom certificate signed by your teacher for every course. Share it on your portfolio, social media, or wherever you like.
Get front-row seats
Videos of the highest quality, so you don't miss a single detail. With unlimited access, you can watch them as many times as you need to perfect your technique.
Share knowledge and ideas
Ask questions, request feedback, or offer solutions. Share your learning experience with other students in the community who are as passionate about creativity as you are.
Connect with a global creative community
The community is home to millions of people from around the world who are curious and passionate about exploring and expressing their creativity.
Watch professionally produced courses
Domestika curates its teacher roster and produces every course in-house to ensure a high-quality online learning experience.
FAQs
Manual set design for product and advertising photography involves crafting physical, handmade scenes to showcase products, using materials like cardboard, foam, and colored paper, with a strong focus on composition, color, and lighting to create eye-catching, original images.
No prior experience in set design or photography is required, but having basic knowledge of visual composition and handling manual materials will help you get the most out of the course.
For the exercises, you’ll need cardstock, foam, cardboard, tape, acrylic paints, balsa wood sticks, adhesives, a craft knife, rulers, printed textures, and access to a camera (even a phone camera works) plus a computer with Illustrator and Photoshop.
You’ll learn how to conceptualize and build handmade sets, select materials, create sketches, choose color palettes, light products, and edit images for advertising, social media, and themed events.
The course teaches you to analyze the product, target audience, and brand to pick backgrounds and color schemes that highlight the product and create visual impact, using neutral bases or striking contrasts depending on the case.
Yes, the course covers manual lighting techniques and basic studio equipment, offering tips on object placement and experimenting with different light sources to achieve professional results.
Handmade sets offer unique pieces and authentic textures, allowing more hands-on experimentation with real materials, while digital 3D tools make editing and replication easier but can lose the handcrafted, physical feel of the set.