Weaving Techniques for Colorful Basketry
Course final project
A course by Adrianus Kundert , Product Designer


About the final project for: Weaving Techniques for Colorful Basketry
Weaving Techniques for Colorful Basketry
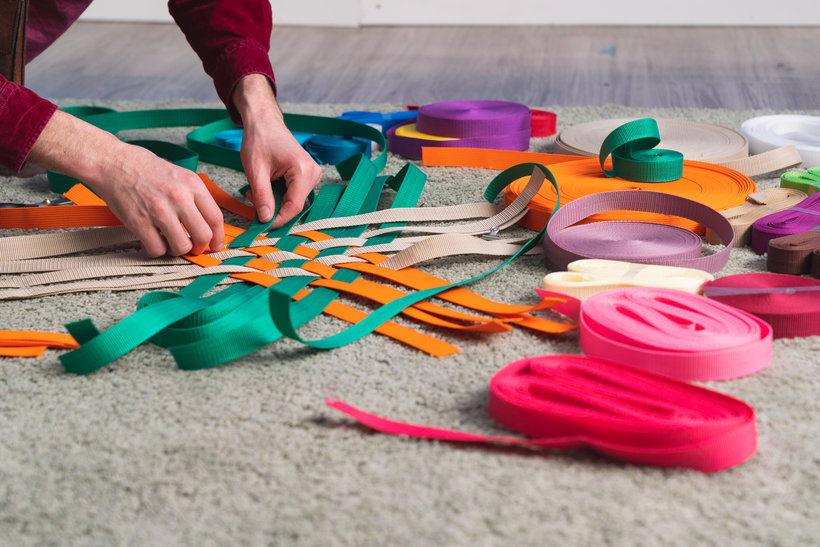
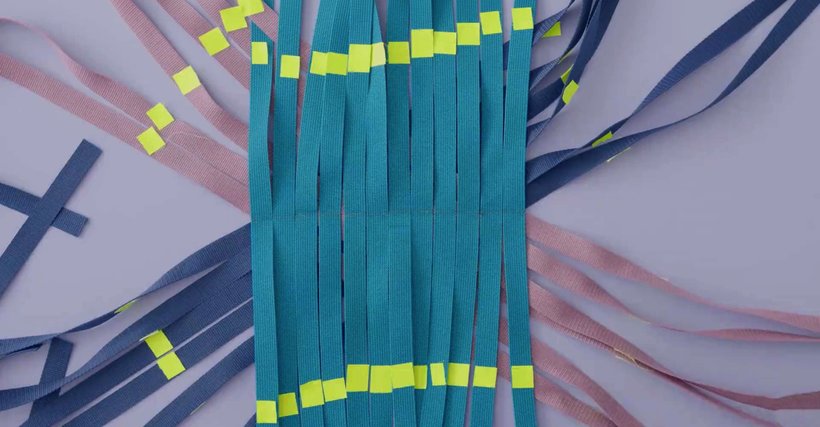
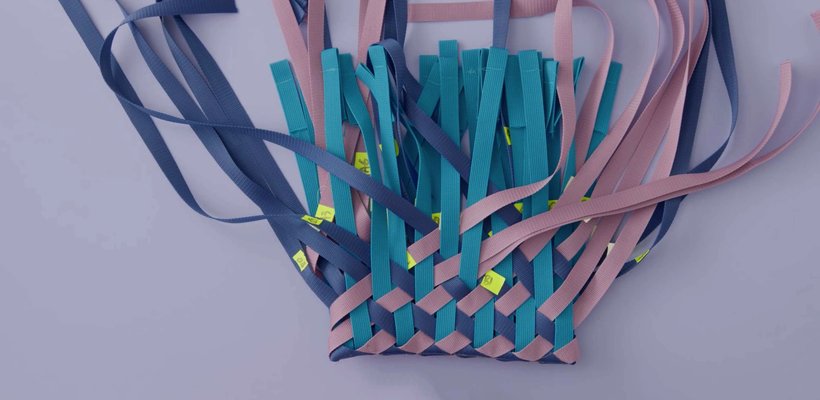
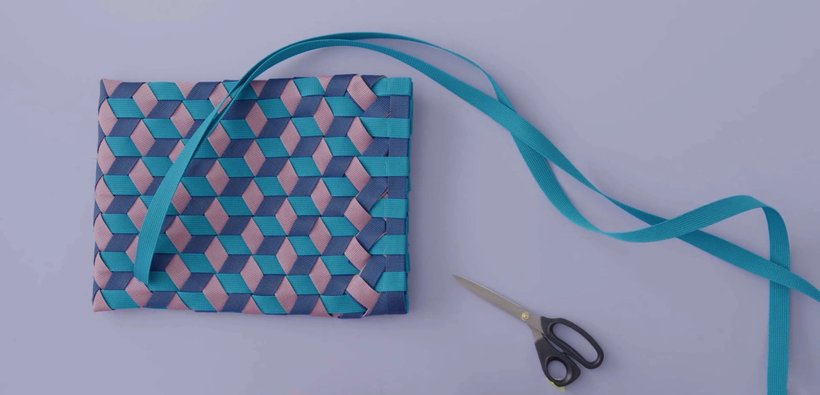
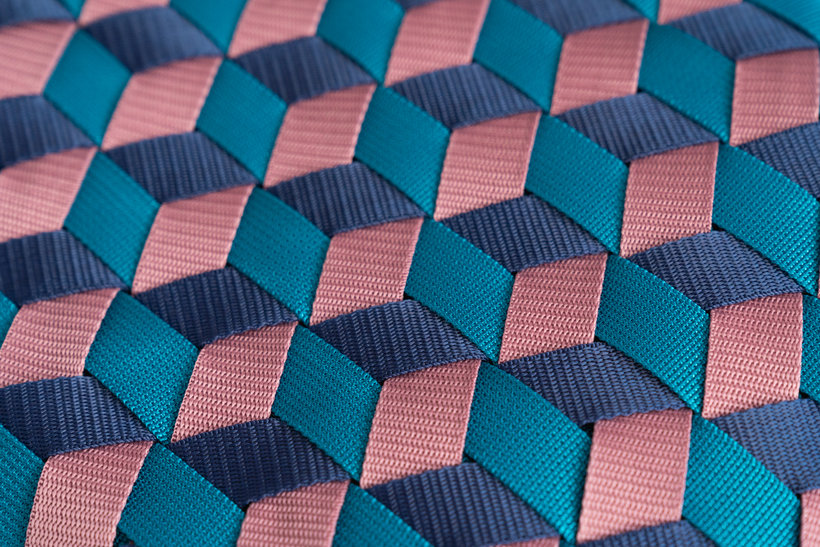
“You have now reached the end of this Domestika course. Thank you so much for enrolling! I hope you have enjoyed it and got inspired to weave your own artworks. Before saying goodbye, I would like to go over some tips that can help you during the process while reviewing the necessary steps you need to follow to complete your project. Practice and experimentation The best way to learn how to weave is by practicing. So, I recommend you practice a lot and don’t give up too easily. Cut some bands of papers and practice the 2D techniques that I shared with you. Start by practicing the biaxial weave and, once you get it, move to the triaxial weaving technique. Choose three contrasting colors, which will help you focus more on the pattern and will also help your hand and brain understand the principle of weaving in three directions. Once you get the hang of how the triaxial weave works in 2D, use the 3D technique to practice structuring the bag. Do it with paper samples until you are ready to move on to experiment with materials. Play with different materials and colors, and select the ones that you want to use in your project.


Partial transcription of the video
“ Final Project You've reached the end of this course. I hope you enjoyed learning about the world of basketry. Before I say goodbye, I'll give you some tips to work on your final project. Remember, the best way of learning this is by doing. I'd recommend you practice a lot and don't give up too easily. Cut some strands of paper and practice the 2D techniques I showed you. Start with the biaxial technique and then move to the triaxial or the hexagon technique. Pick three contrasting colors that will help you focus more on the pattern of the weave. This will help your hands and brain underst...”
This transcript is automatically generated, so it may contain mistakes.
Course summary for: Weaving Techniques for Colorful Basketry
-
Category
Craft -
Areas
Accessory Design, Arts & Crafts, Fashion Design, Fiber Arts, Textile Design

Adrianus Kundert
A course by Adrianus Kundert
Adrianus Kundert is a Dutch designer living and working in Berlin. He was creative from a young age, and worked in floristry for over 10 years, experimenting with colors, shapes, and textures to create unique bouquets. He later went on to study interiors but, frustrated by the limitations of the collections he worked with, turned his hand to product design. Adrianus studied at Design Academy in Eindhoven where he discovered a passion for artistic innovation.
Since then, he has worked on product and spatial designs for clients such as Jongeriuslab, Susan Bijl, Crafts Council, and Envisions. More recently, after discovering a paper weaving technique online which is rooted in Danish folklore, Adrianus has focused on the craft of basketry, creating his own Instagram initiative, Basketclub, which encourages creatives to weave baskets based on emojis.
- 97% positive reviews (39)
- 1,682 students
- 14 lessons (2h 23m)
- 16 additional resources (4 files)
- Online and at your own pace
- Available on the app
- Audio: English
- Spanish · English · Portuguese · German · French · Italian · Polish · Dutch · Turkish · Romanian · Indonesian
- Level: Beginner
- Unlimited access forever
Category
Areas