3D Printing for Jewelry and Accessories
A course by María Romero LaspiurArtist
A course by María Romero Laspiur, Artist

Turn your ideas into colorful, detailed fashion accessories using innovative 3D printing techniques
The beauty of 3D printing is that it requires little up-front investment and offers endless possibilities for creativity, as well as the opportunity to experiment with innovative tools and technology. This was exactly what attracted artist María Romero Laspiur to it, as she found a way to combine fashion and art with technology to create one-of-a-kind jewelry and accessories for her collections.
In this online course, learn how to apply 3D printing to jewelry making. Transform illustrations, prints, or any of your other designs into original accessories and produce your very own collection of printed jewelry. Ready to break your creative mold with 3D printing?
What will you learn in this online course?
15 lessons & 23 downloads
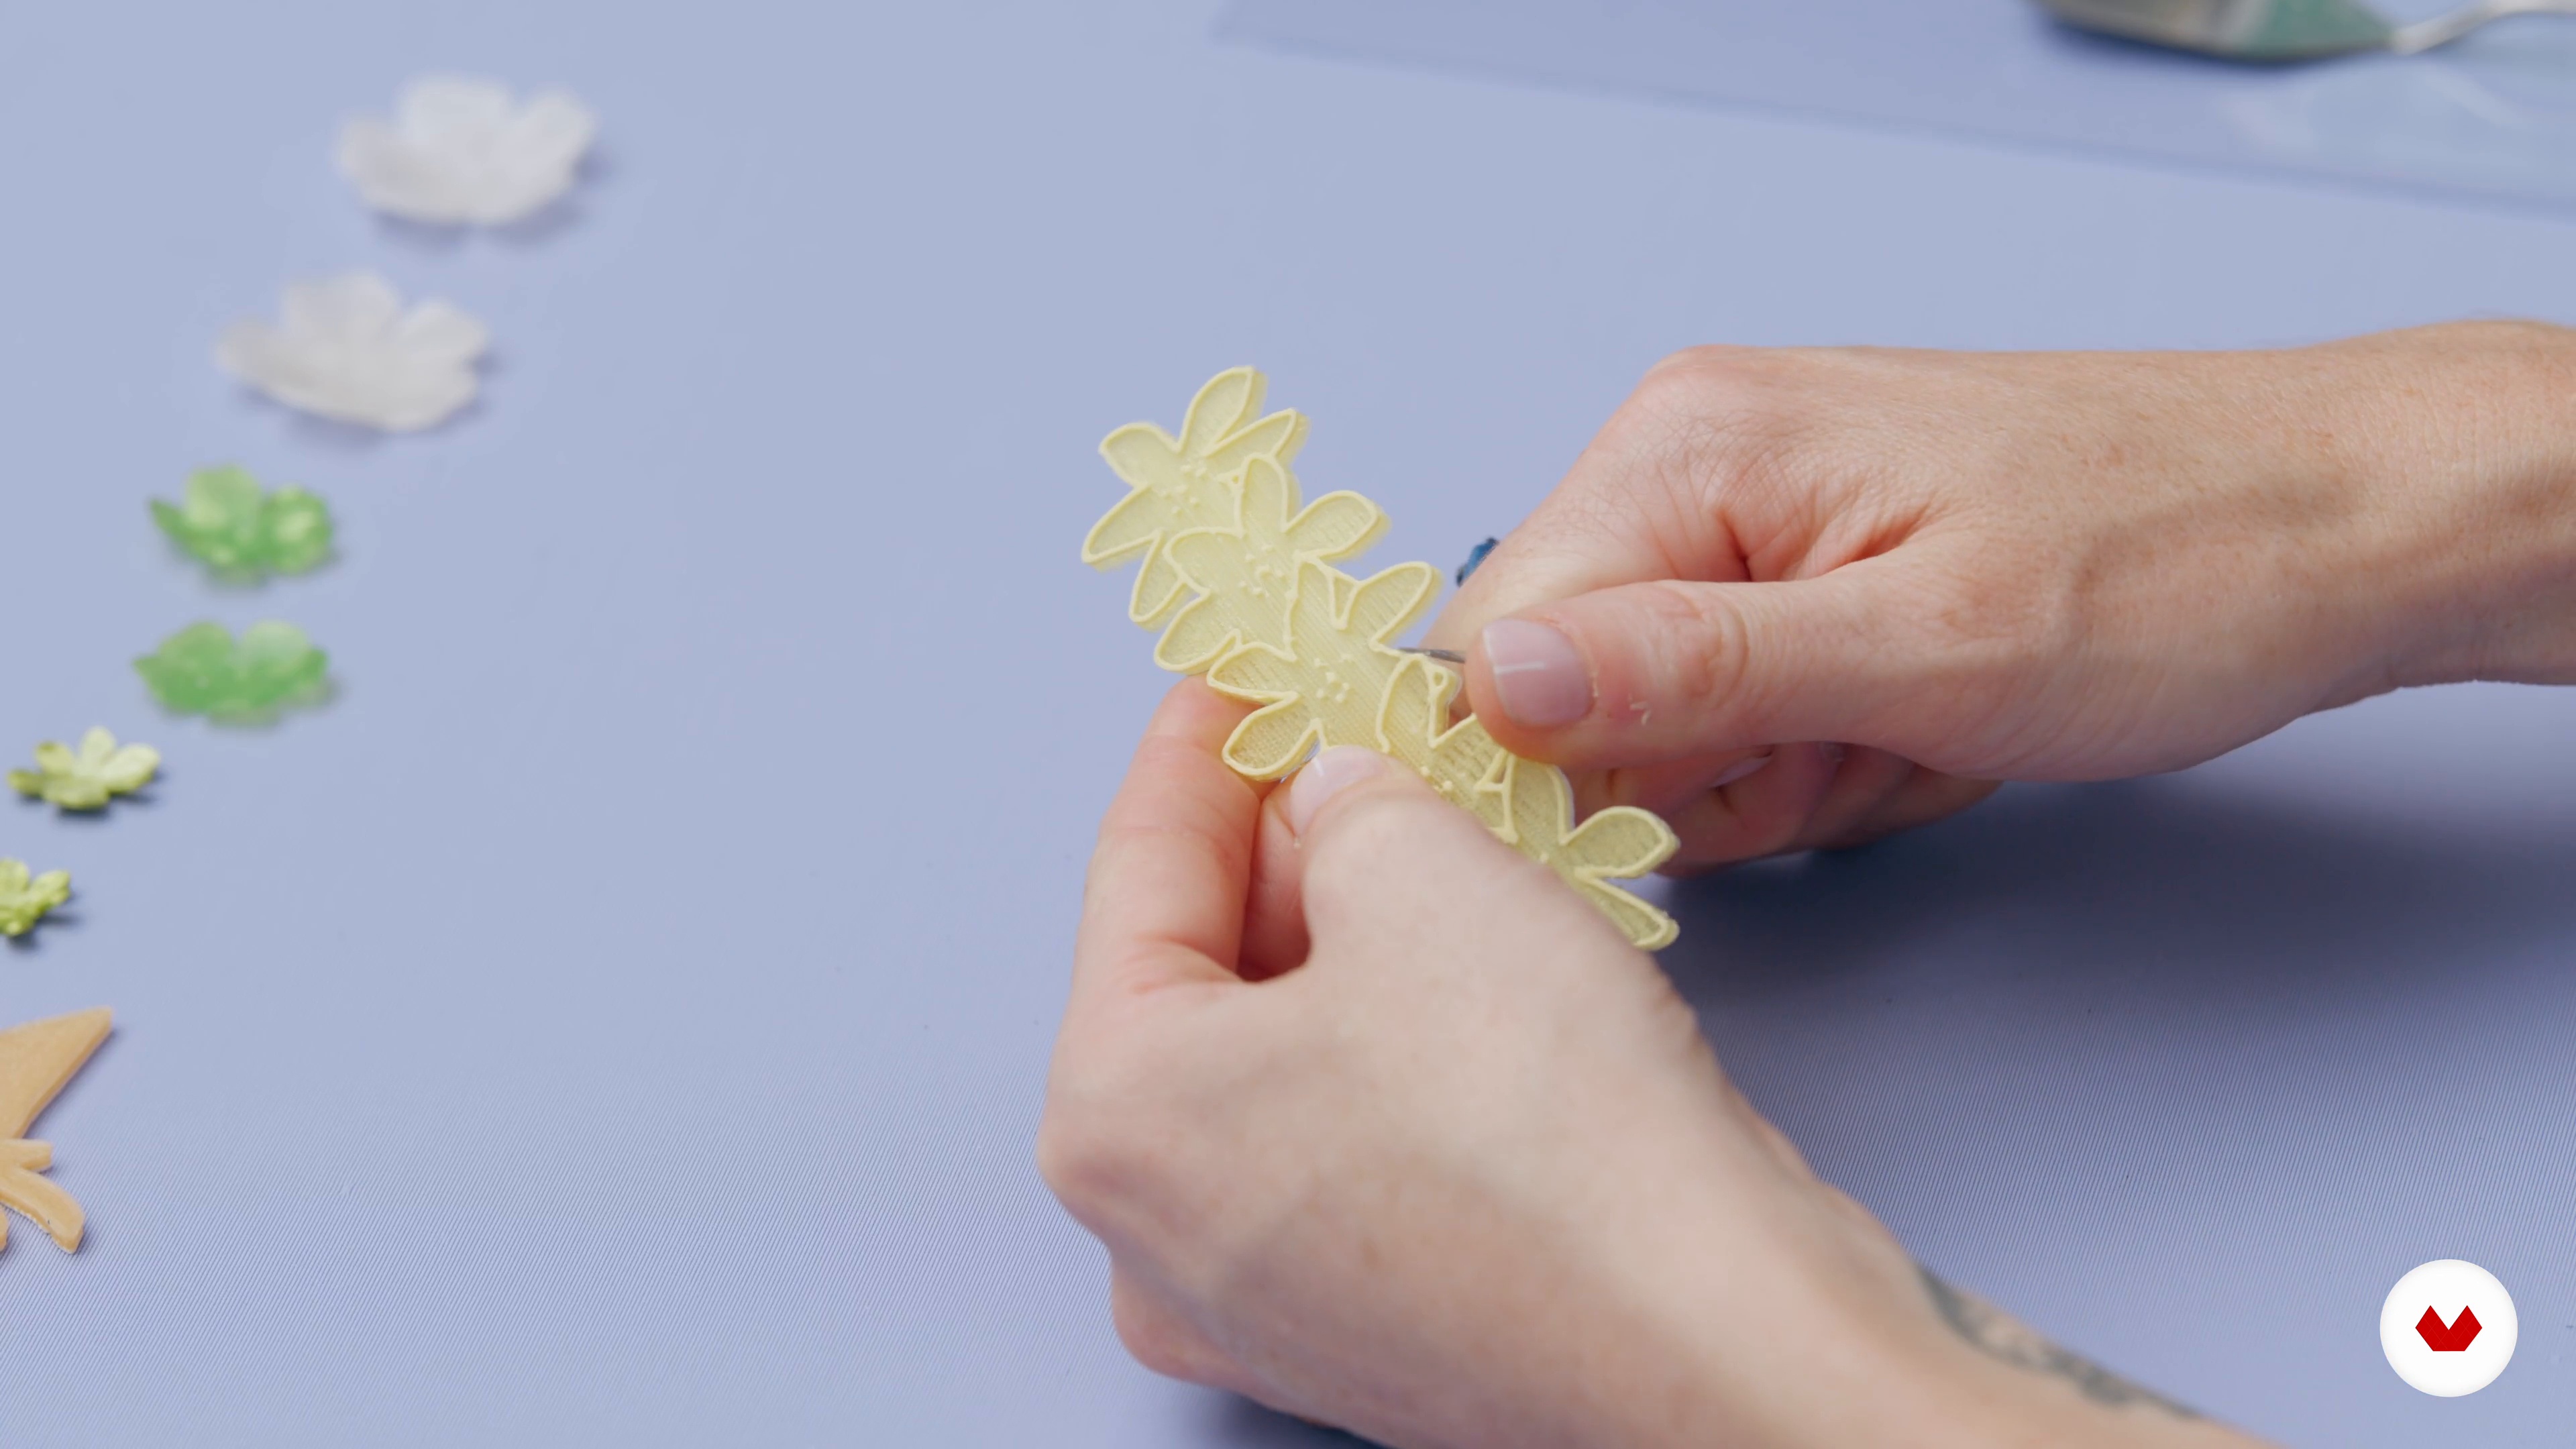
3D printing applied in jewelry
3 minutes, 25 seconds
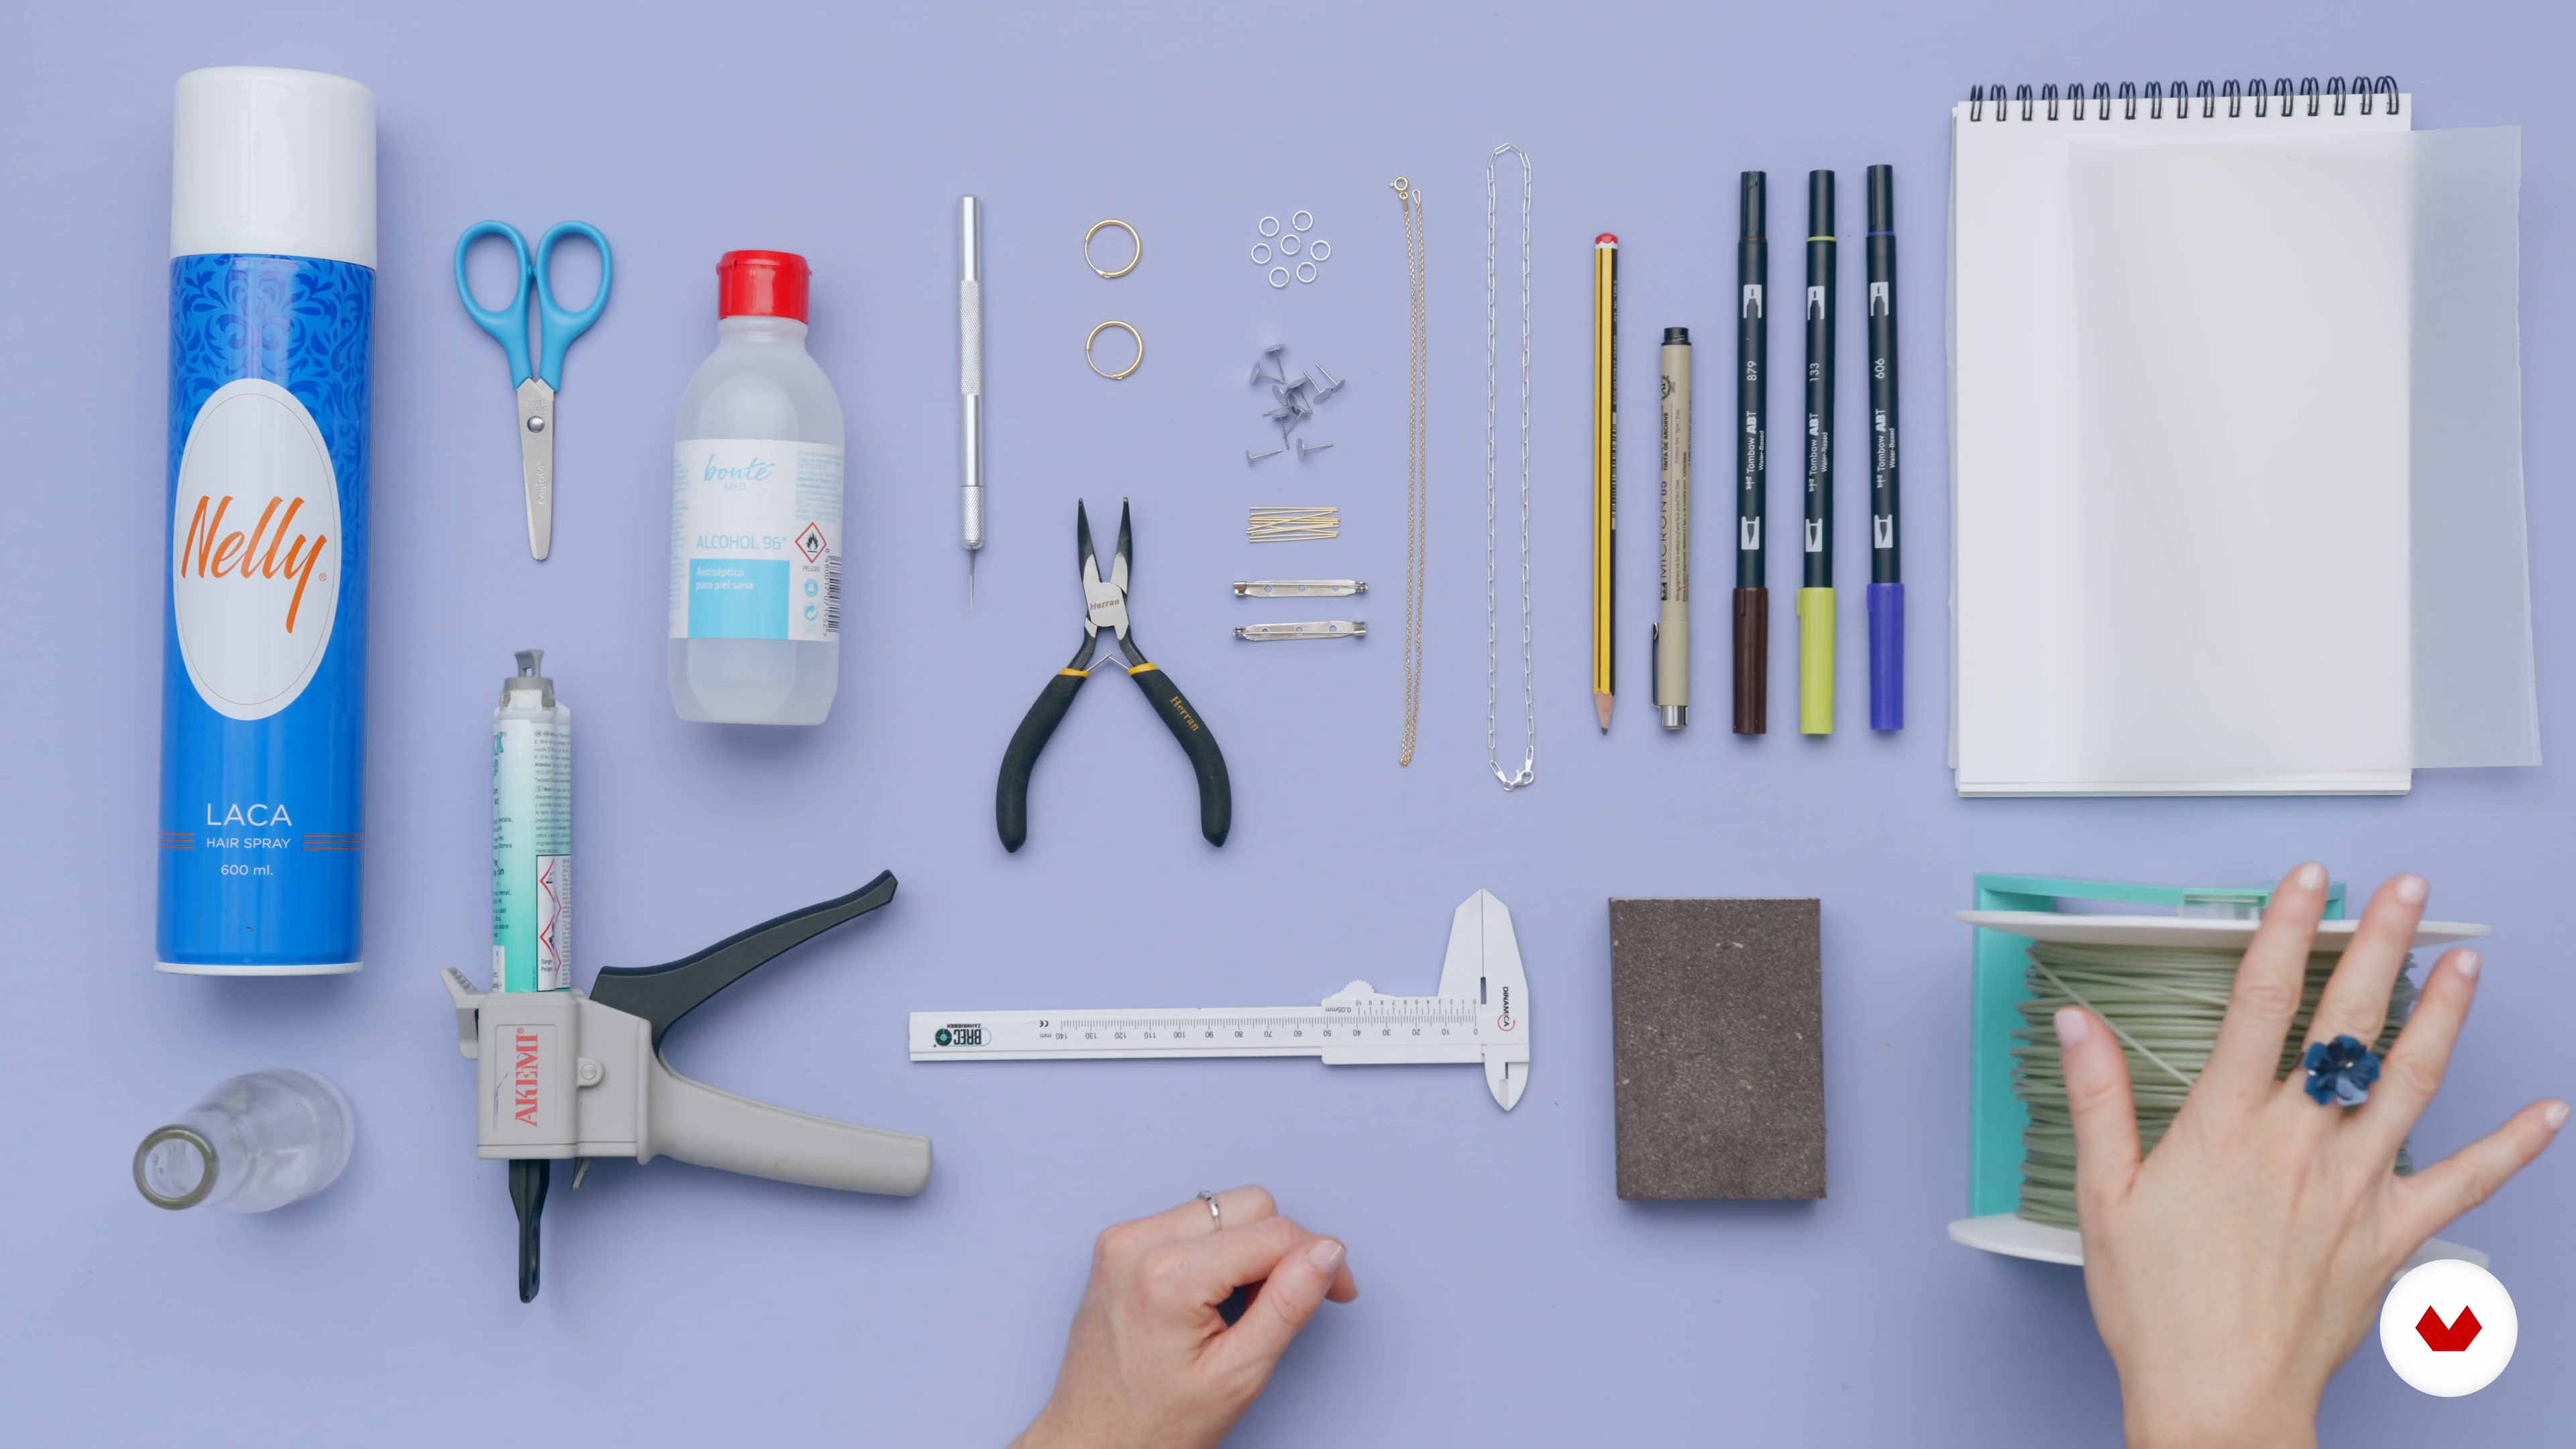
Materials and tools
5 minutes, 26 seconds
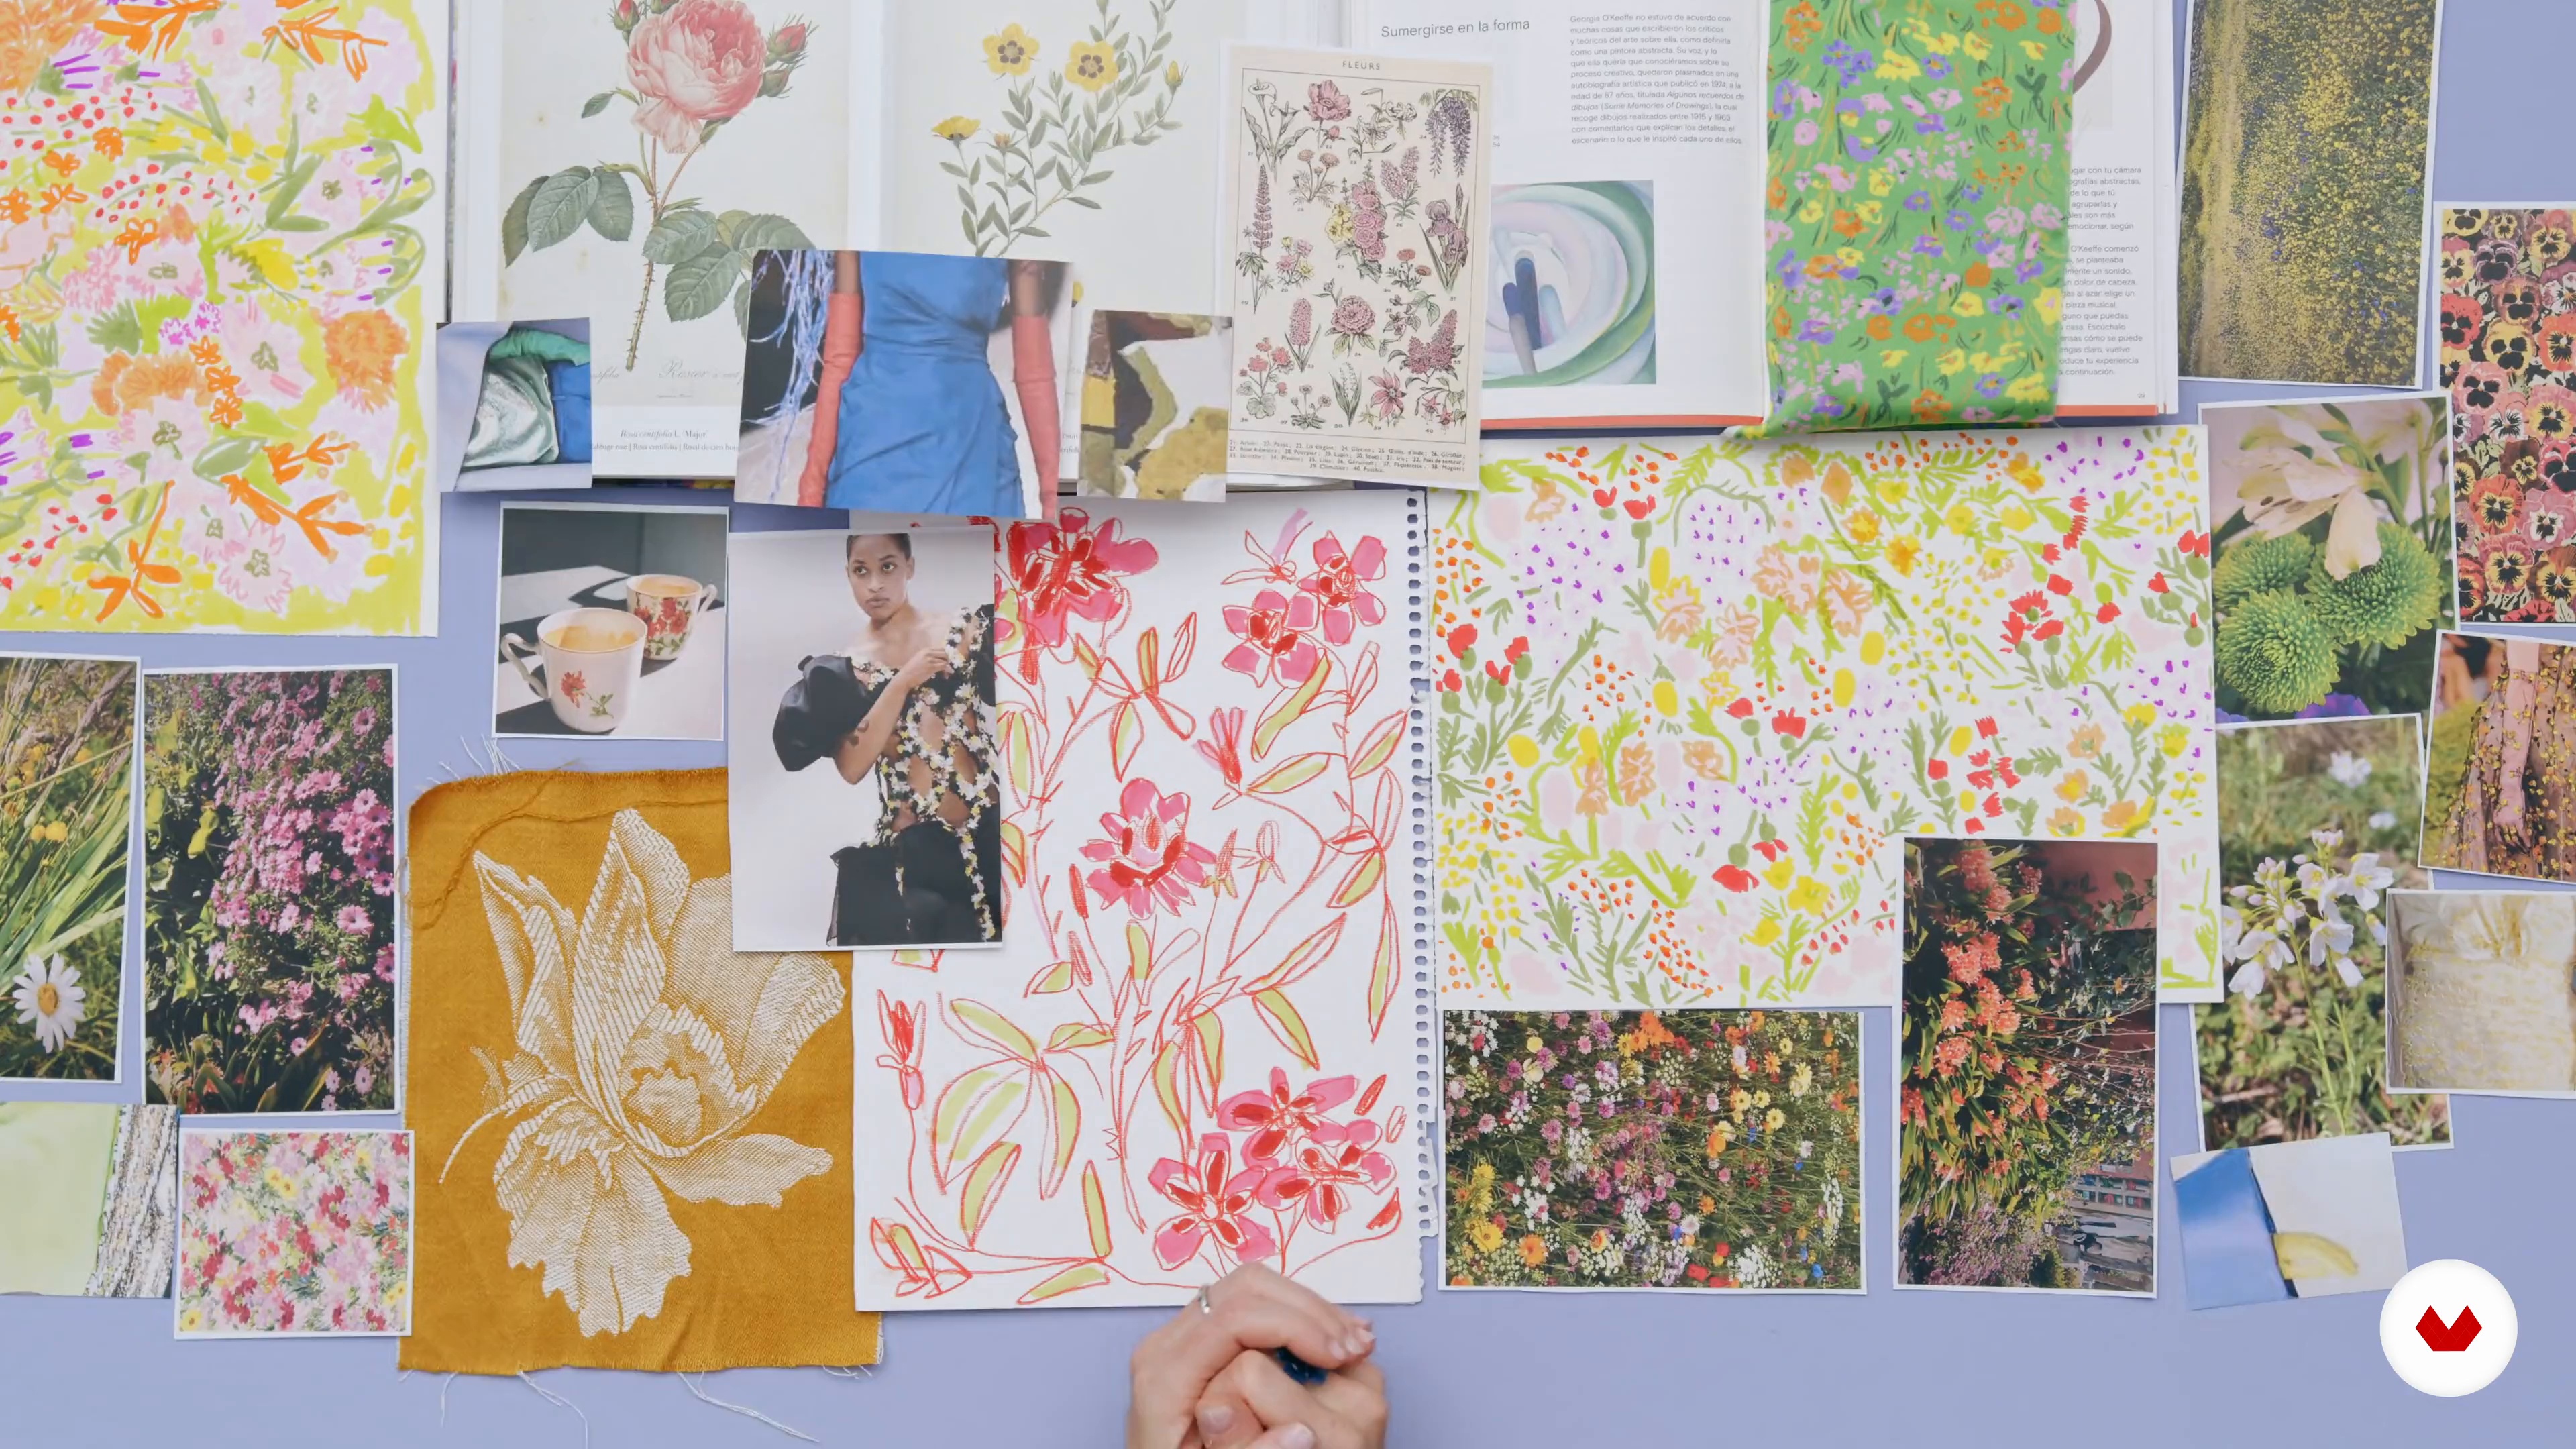
Mood board
5 minutes, 6 seconds
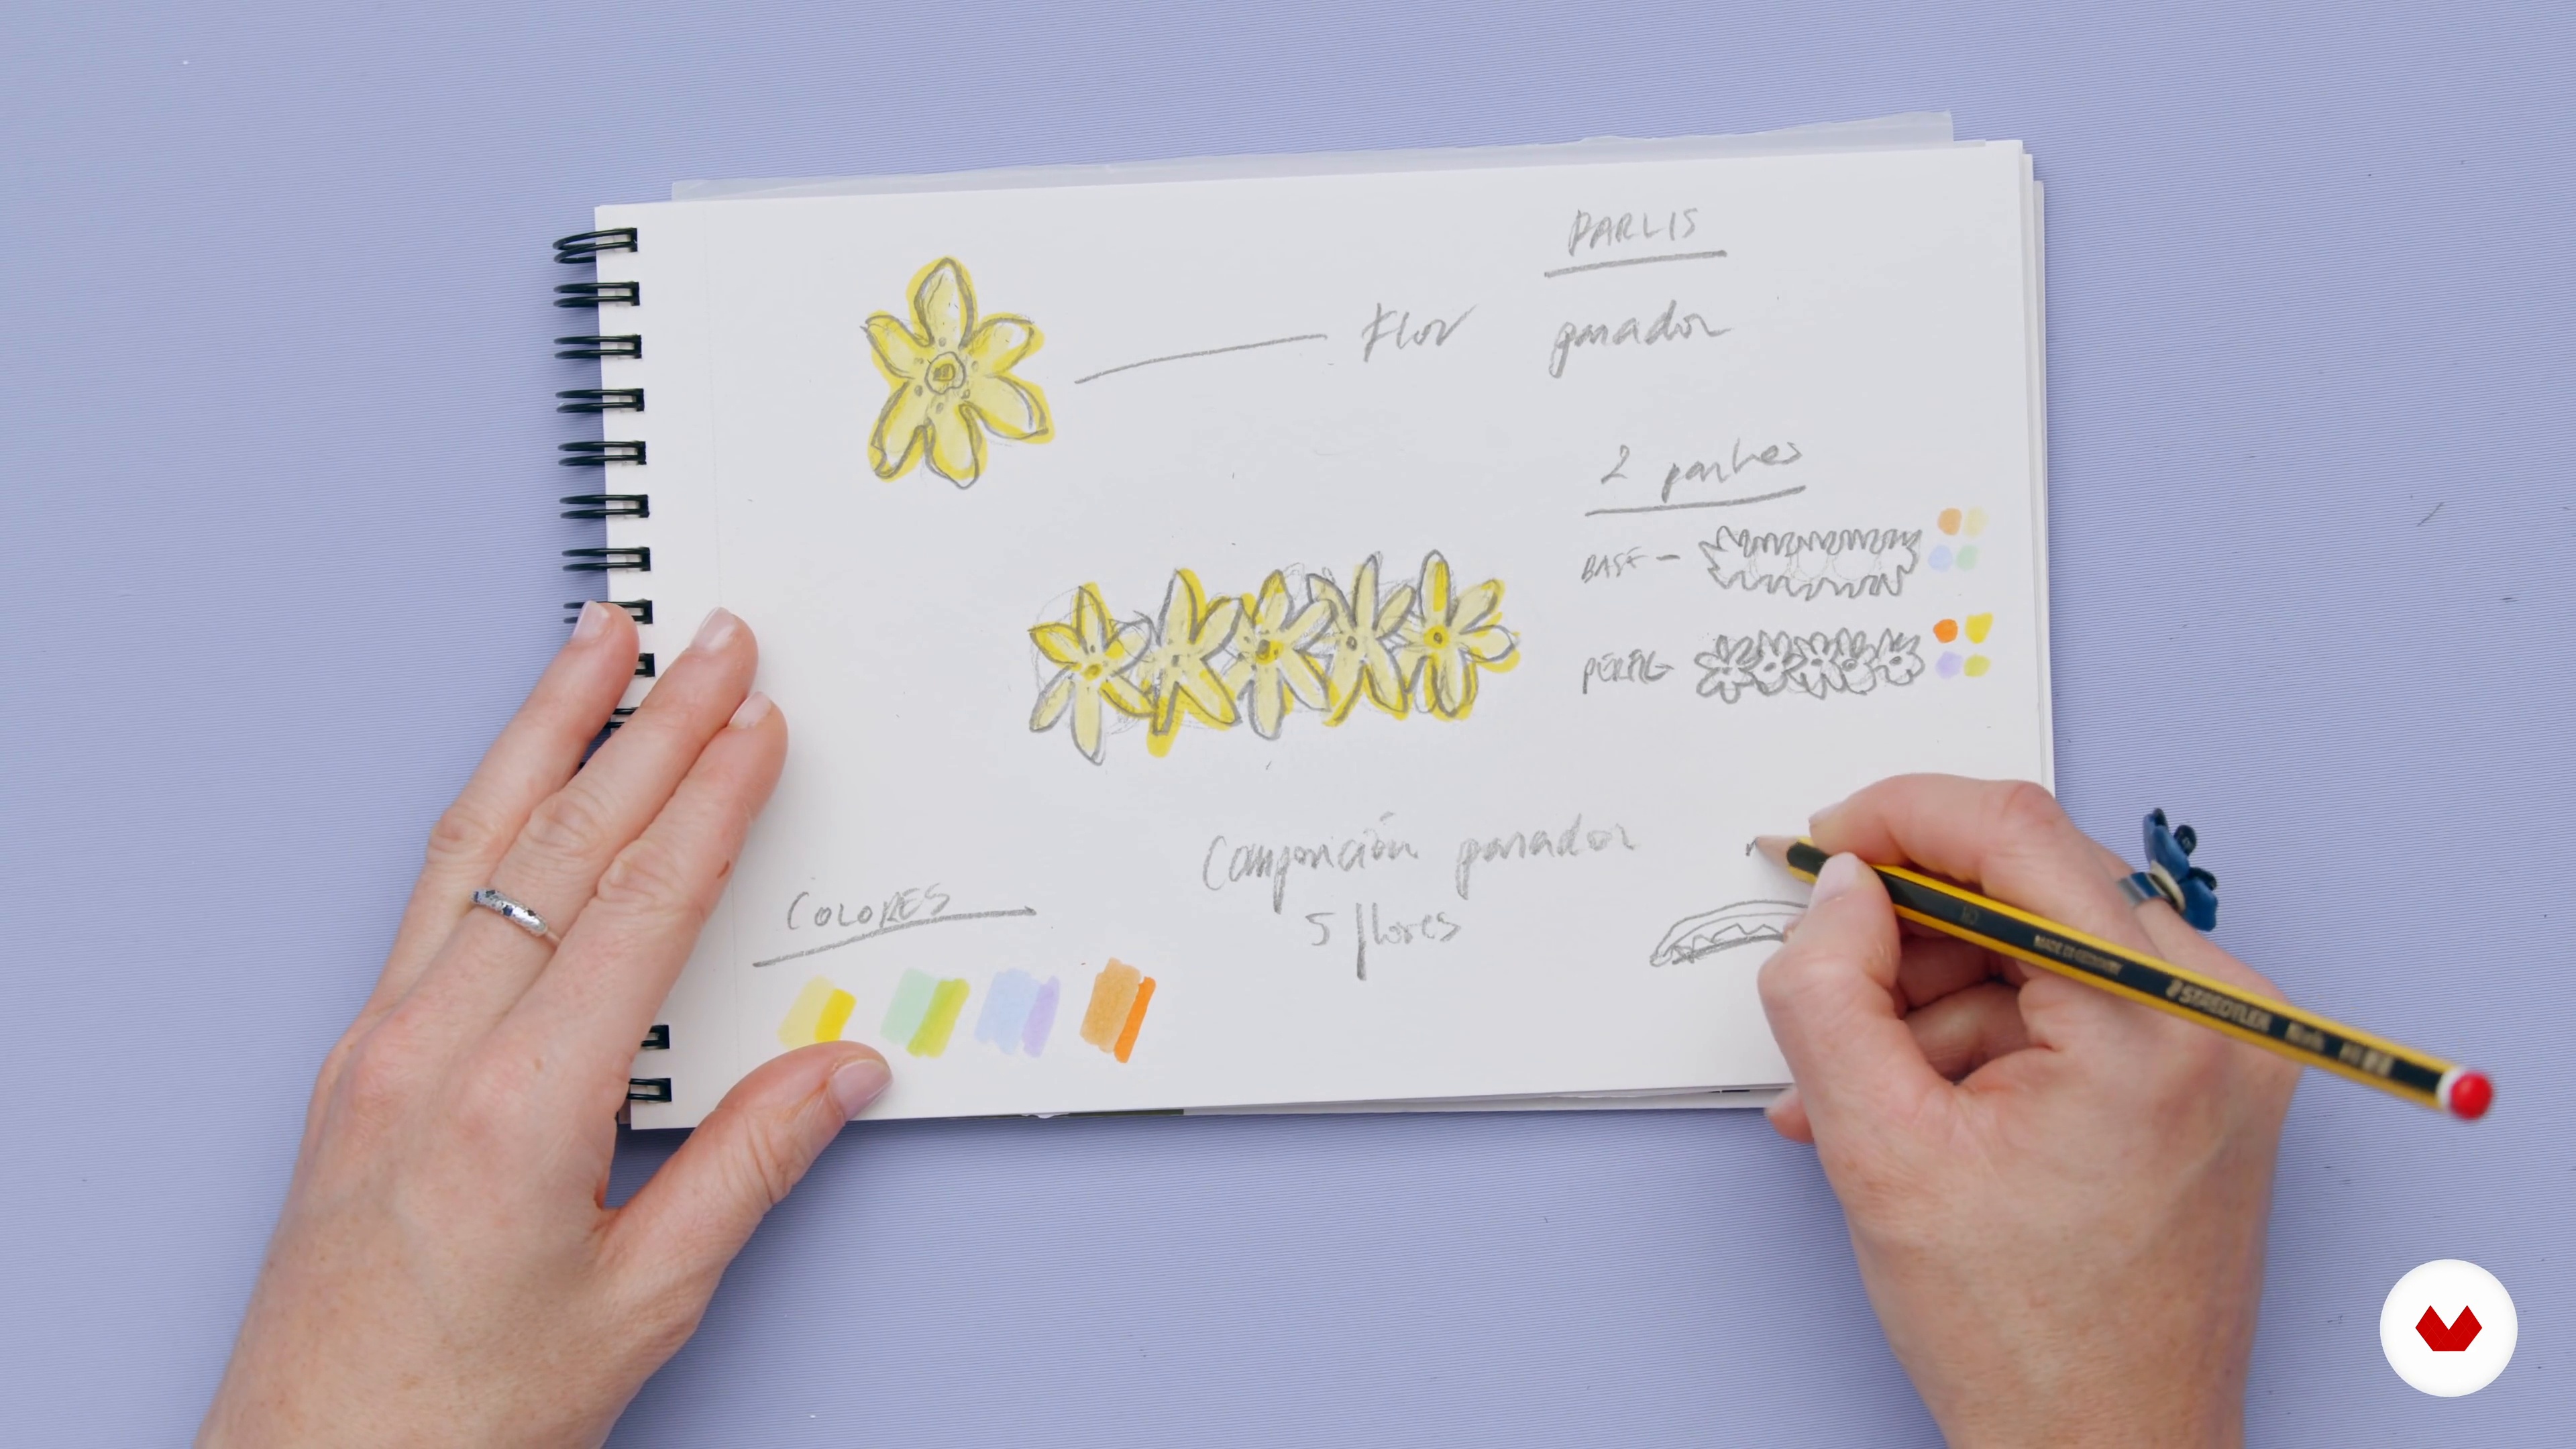
Collection Design 1
18 minutes, 29 seconds
Scales and textures
7 minutes, 55 seconds
Digitization of designs
18 minutes, 55 seconds
What's included in this course?
Get to know María Romero Laspiur as she talks through her creative career, from working as a textile designer to managing her own jewelry brand: MRLASPIUR. She also tells you about the artists and influences that have shaped her style along the way.
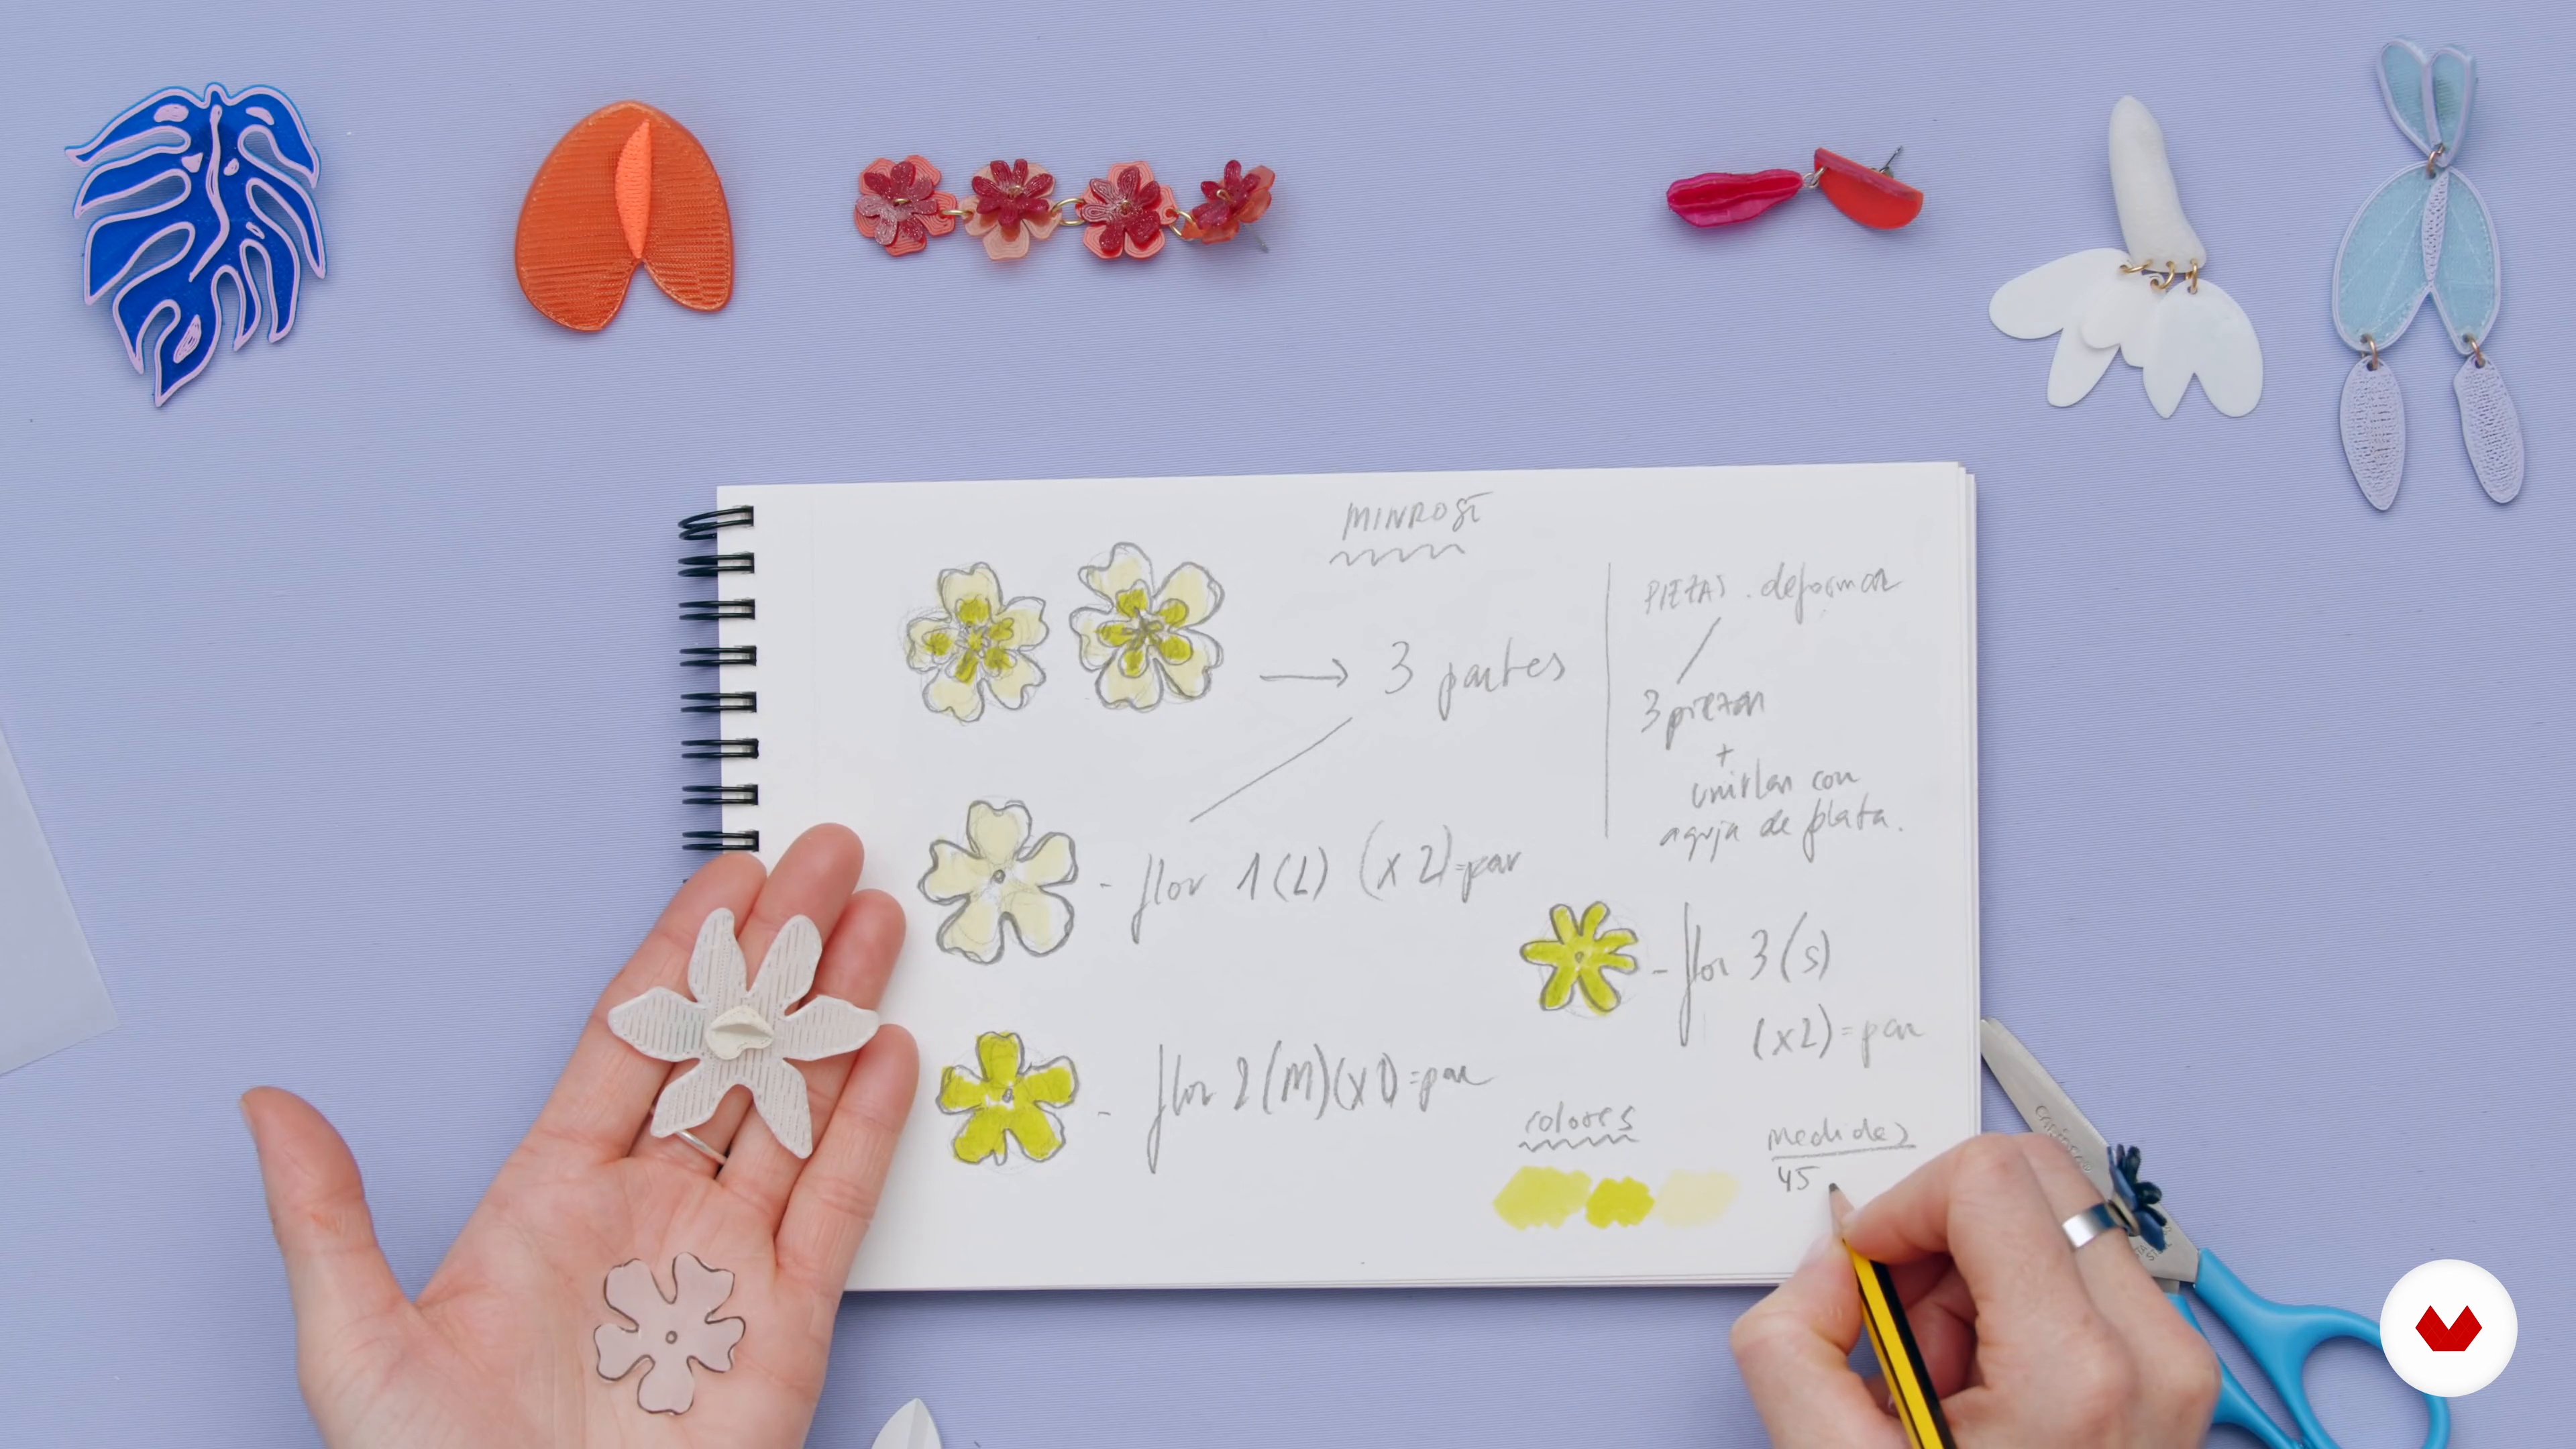
Dive into the world of 3D printing by learning about the basic materials involved and the creative capabilities of this technology. Then get to work on your own jewelry collection. Put together a mood board that captures your ideas and develop your designs for each model, specifying key features like scale and texture on the production sheet.
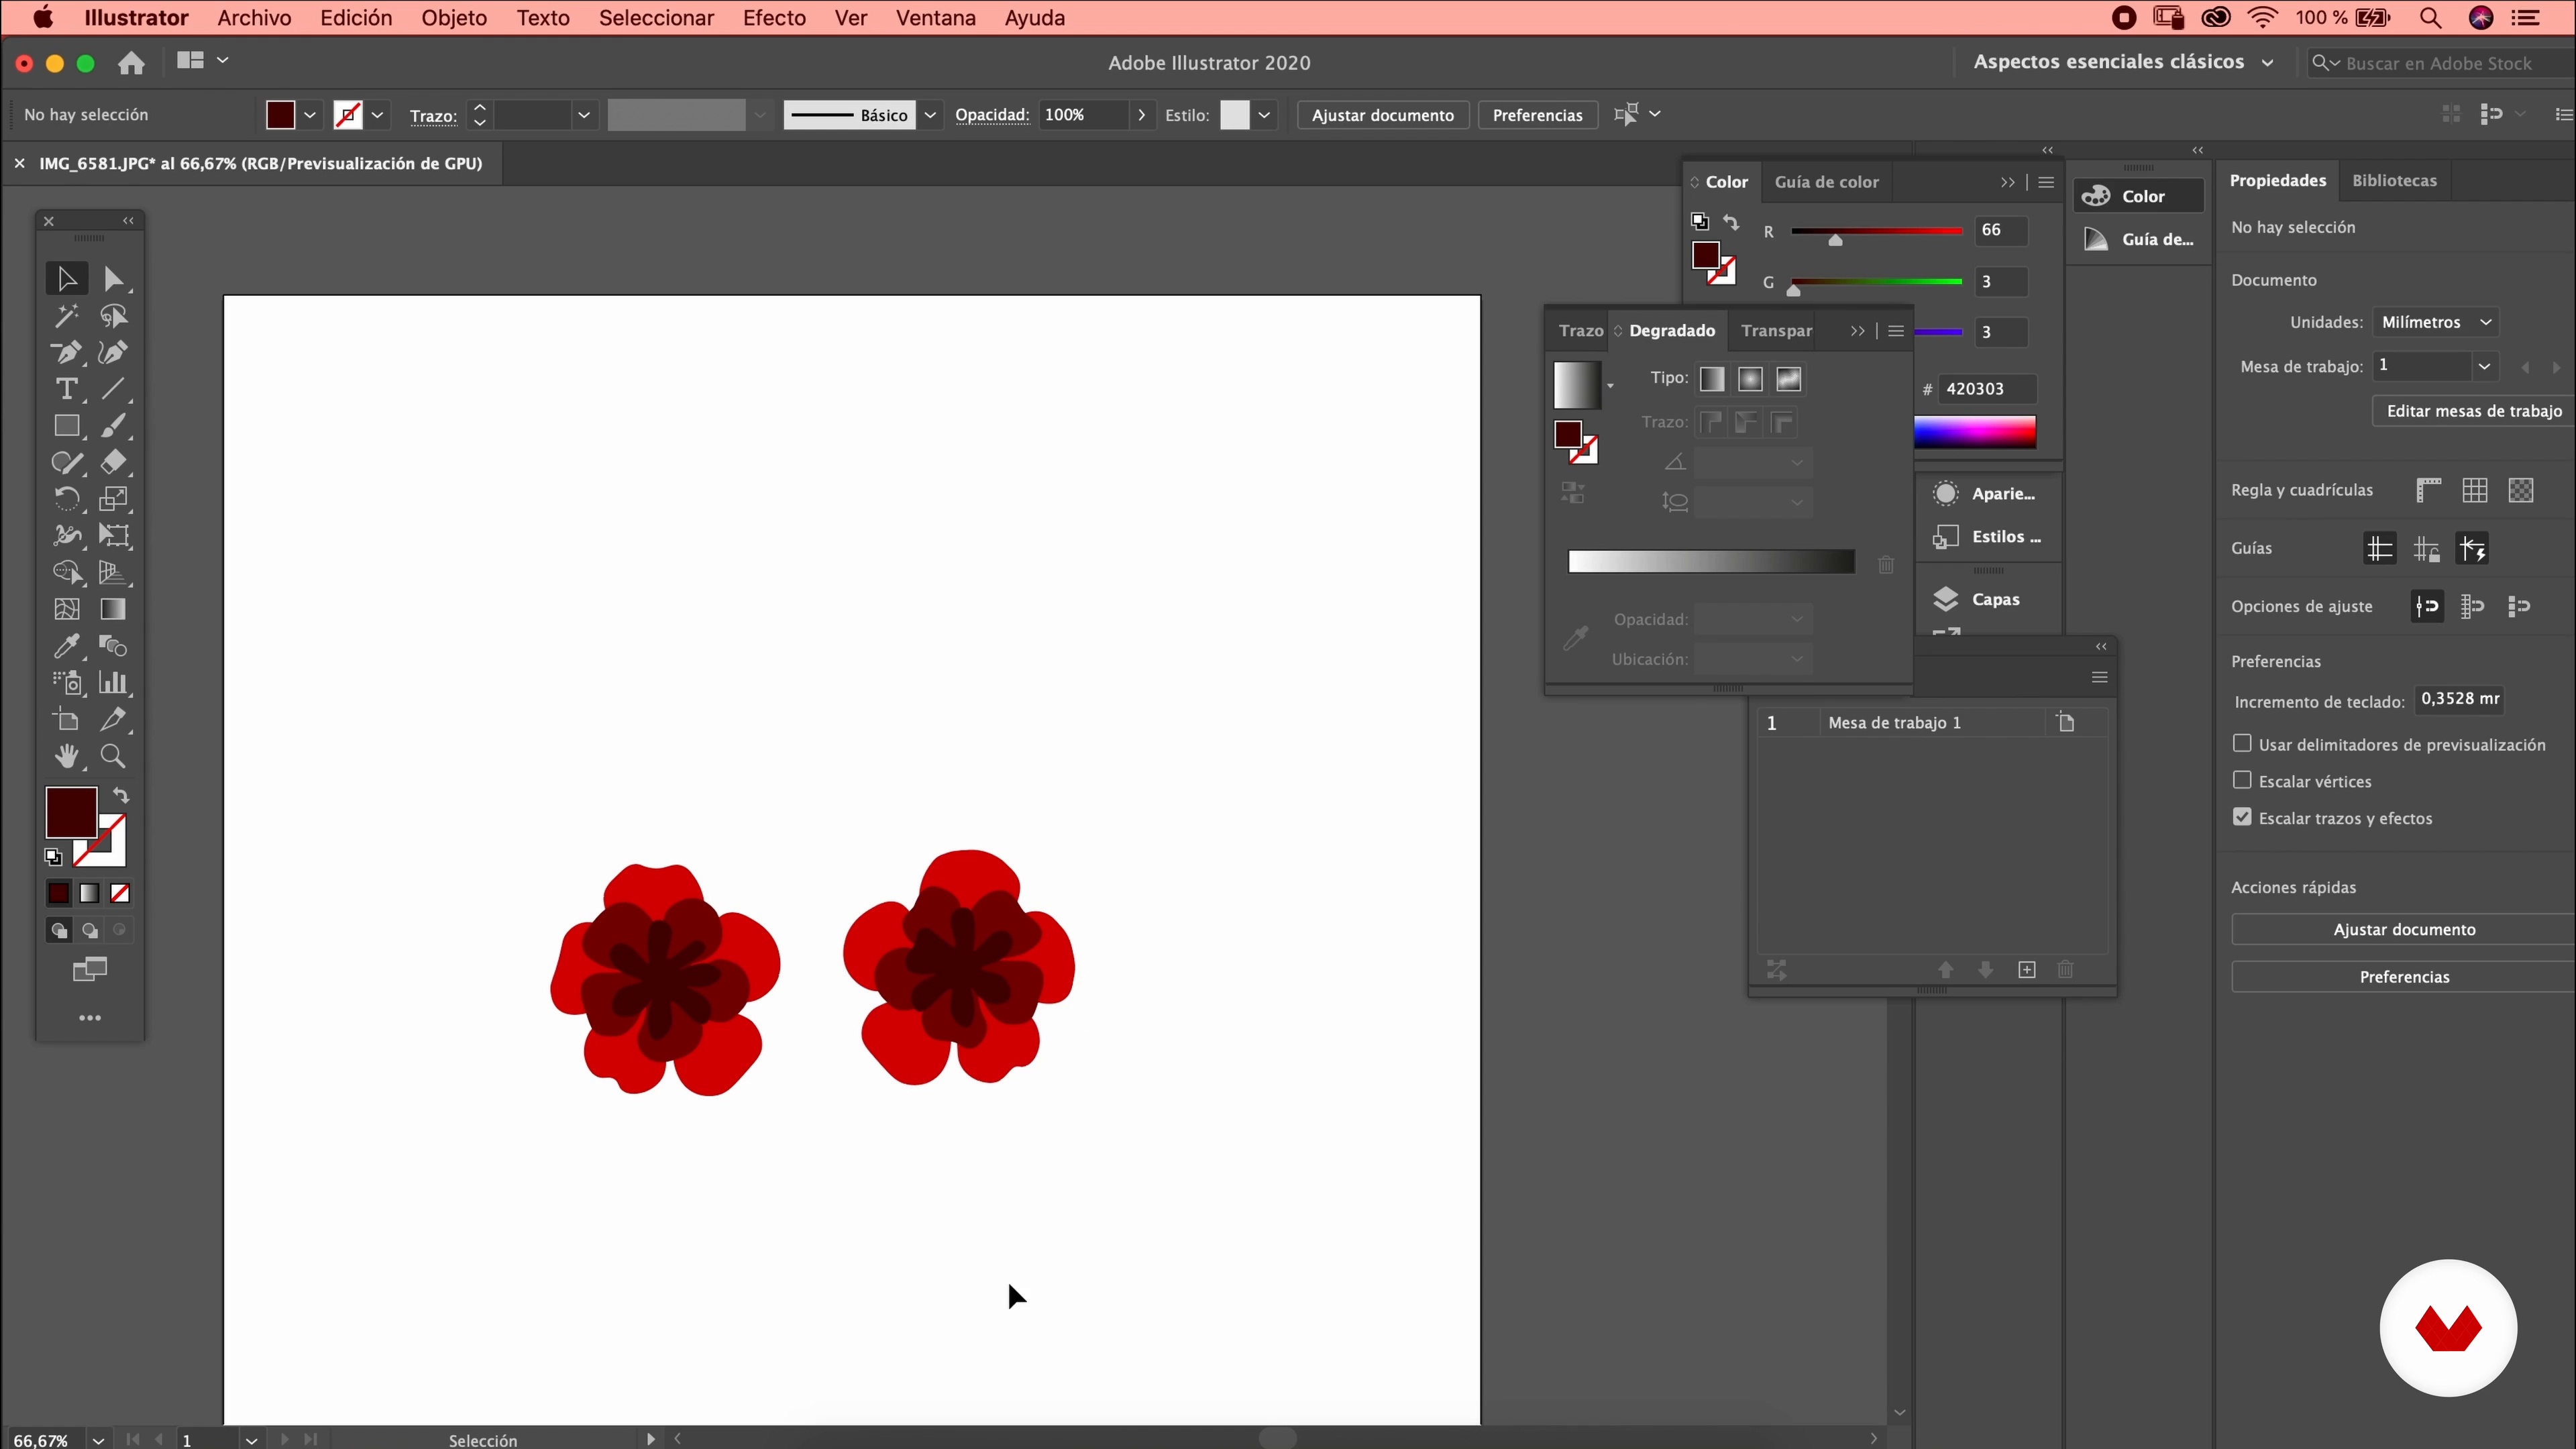
Scan and vectorize your designs in Illustrator before 3D modeling them in Tinkercad. Then, prepare your files for printing and start the production process, either with your own printer or at a shop that has one.
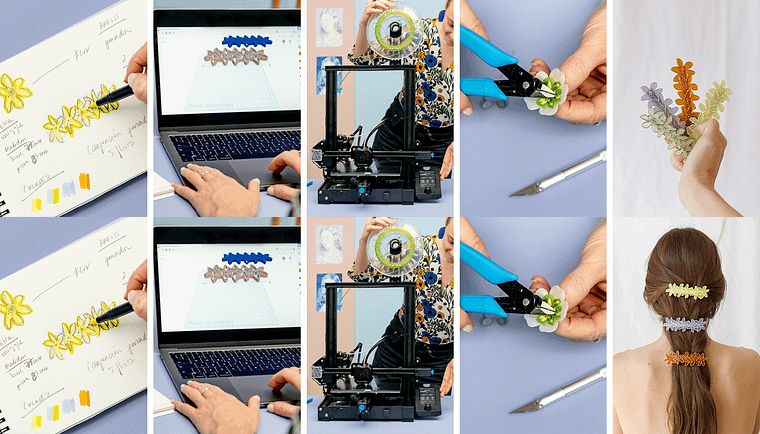
Once they're printed, assemble your pieces into a stunning 3D jewelry collection. María wraps up the course with some tips on how to photograph your work and share it on social media.
What is this course's project?
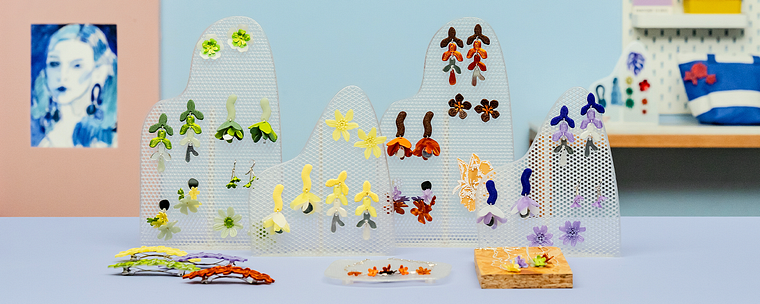
Create your own jewelry collection using 3D printing.
Projects by course students

Who is this online course for?
Anyone who's interested in learning the secrets to jewelry design with 3D printing.
Requirements and materials
No prior knowledge is needed to take this course, just a computer with Adobe Illustrator and access to a 3D printer.
Reviews
- 2 months ago
Very inspiring course <3
- deeia_beltranPLUS4 months ago
siento que no va con lo que prometía el curso ya que se decía que era diseño en tikercard y al final diseño en illustrator
- 6 months ago
Un curso completo y bien detallado, lo súper recomiendo!
- 6 months ago
me encanat este curso!!! y mira que he hecho muchos en Domestica. Mi chica lo explica muy bien para los que iniciamos ven este campo
- 8 months ago
ดีมาก ได้ทำของหลายรูปแบบ

From her studio, she experiments with this fusion of art, design, and technology to find the perfect balance between traditional techniques and modern innovation. She also highly values sustainability, working exclusively with local, eco-friendly raw materials. Her jewelry has been published in magazines such as Vogue España, Vanidad, Neo2, and Telva.
Content
- U1
Introduction
- About Me
- influences
- U2
Design
- 3D printing applied in jewelry
- Materials and tools
- Mood board
- Collection Design 1
- Collection Design 2
- Scales and textures
- U3
Scanning and printing
- Digitization of designs
- Vectorized
- 3D modeling
- Slicer 3D
- 3D print
- U4
Last steps
- Cleaning and assembly
- Photography and image of the collection
- FP
Final project
- 3D Printing for Jewelry and Accessories
What to expect from a Domestika course
Learn at your own pace
Enjoy learning from home without a set schedule and with an easy-to-follow method. You set your own pace.
Learn from the best professionals
Learn valuable methods and techniques explained by top experts in the creative sector.
Meet expert teachers
Each expert teaches what they do best, with clear guidelines, true passion, and professional insight in every lesson.
Certificates
PLUSIf you're a Plus member, get a custom certificate signed by your teacher for every course. Share it on your portfolio, social media, or wherever you like.
Get front-row seats
Videos of the highest quality, so you don't miss a single detail. With unlimited access, you can watch them as many times as you need to perfect your technique.
Share knowledge and ideas
Ask questions, request feedback, or offer solutions. Share your learning experience with other students in the community who are as passionate about creativity as you are.
Connect with a global creative community
The community is home to millions of people from around the world who are curious and passionate about exploring and expressing their creativity.
Watch professionally produced courses
Domestika curates its teacher roster and produces every course in-house to ensure a high-quality online learning experience.
FAQs
You’ll learn how to design, model, and produce unique jewelry and accessories by combining 3D printing, stamping, painting, and assembly techniques—from initial inspiration all the way through professional post-production and photography of your pieces.
The course is geared toward intermediate learners. Basic knowledge of design or 3D printing is recommended, but key processes are explained step-by-step to make learning easier.
You’ll need a 3D printer (preferably FDM), filaments, assembly tools, cardstock, paints, industrial adhesive, a computer with design software like Illustrator and Tinkercad, plus various materials for finishing touches.
You’ll be able to design and create earrings, illustrated buttons, floral pieces, two-tone accessories, asymmetrical jewelry, and full collections combining materials like glass, resin, or acrylic.
You’ll learn to create organic shapes inspired by nature through hand sketching, papercut cardstock, and digitizing those designs into 3D models applied to jewelry.
Programs like Adobe Illustrator are used to vectorize sketches, and Tinkercad is used to model and fine-tune 3D pieces, along with slicing software to prepare for printing.
This course blends artistic techniques, botanical inspiration, fashion design, and digital processes, covering everything from concept and moodboards to product photography and promotion.