Illustrated Deck of Cards Creation
Course final project
A course by Lari Arantes , Graphic Designer and Illustrator


About the final project for: Illustrated Deck of Cards Creation
Illustrated Deck of Cards Creation in Photoshop
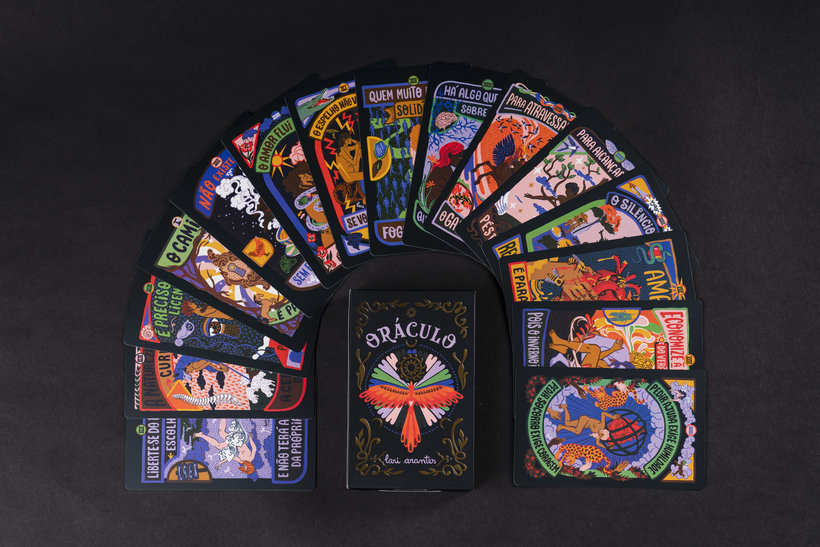
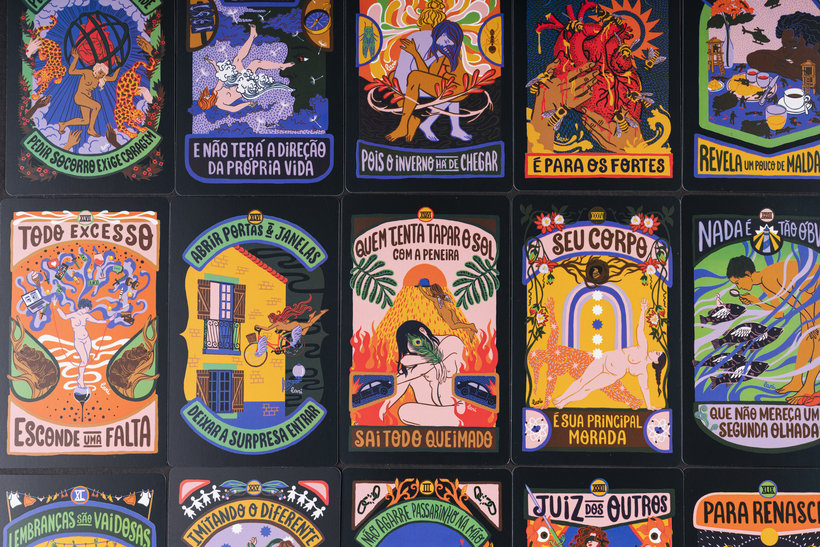
“We have reached the end of the course! It was a pleasure having you here. I hope you've fallen in love with the world of illustrated decks as much as I have! Before I say goodbye, here's a step-by-step guide on how to make your final project: • List the inspirations and references that will serve as a starting point for the creation of your illustrated cards. • Fill in the mapping of your deck's characteristics. • Complete the deck's graphic possibilities checklist. • Build a color palette that meets the needs of your illustrated deck. • Test possible compositions for your cards using quick sketches and drawings. If your deck has different card groups or hierarchies, select up to three different models for the exercise. Don't forget to consider the back side design as well. • Select one of the letter layouts from the previous exercise and make finer art, using whatever media you want: painting, digital drawing, collage, and so on. Use the color palette you set for the deck in the artwork. • Set chart vent margins, graphic element proportions, and text hierarchies (if any). Make the detailing of the art according to the final result you intend to have. If you can, test print the letter at full size to assess proportions and text readability. • Once the artwork of the first card has been defined, replicate the visual identity in the creation and completion of at least two other cards in your deck, following the same steps as in the previous item. • Choose the paper that will be used to print your letters. • Define the print run and type of printing you will use in the final project (at home or at a specialized print shop). Define the types of finishes you want to include on your cards. If possible, print the cards you created using the specifications you chose. You can present some of these steps in your final project, in addition to commenting on your process of creating the cards. Layout
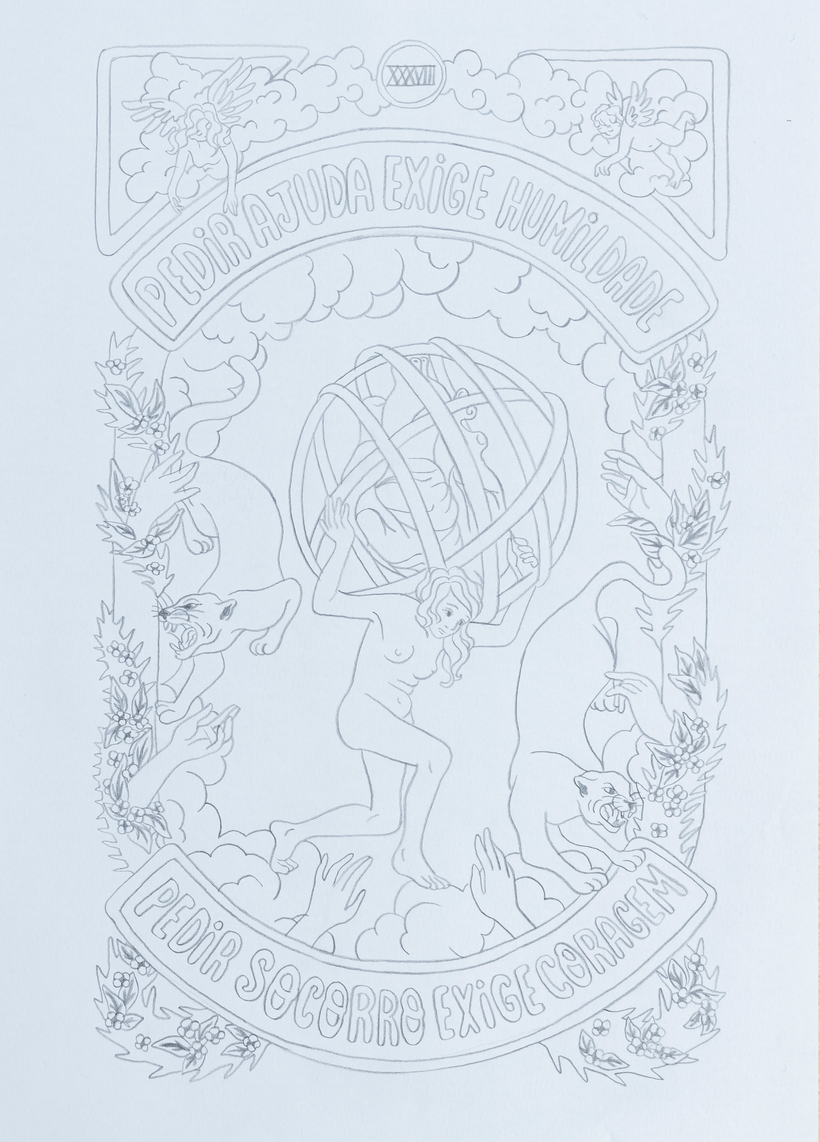

Partial transcription of the video
“Final Project It was a pleasure having you here in the course. I hope you've fallen in love with the world of illustrated cards. Let's quickly go over what we've looked at so far. I started by briefly introducing myself, and I showed you some of the main influences in my work. Then, I introduced you to the world of illustrated cards and demonstrated that it is divided into three large groups: playing cards, divination decks, and free-narrative decks. We analyzed the elements that make up the structure of an illustrated card. Then, we got to work. I showed you how to look for inspiration and...”
This transcript is automatically generated, so it may contain mistakes.
Course summary for: Illustrated Deck of Cards Creation
-
Category
Illustration -
Software
Adobe Photoshop -
Areas
Design, Digital Illustration, Graphic Design, Narrative, Traditional illustration

Lari Arantes
A course by Lari Arantes
Larissa Arantes holds a degree in graphic design and is a freelance illustrator. After working as a designer in various studios for ten years, in 2016 she decided to specialize in illustration. Since then, she has been producing signature pieces and creating products from her own designs.
She has collaborated with names like O Globo and GNT and currently sells her products on her online store and in some physical stores across Brazil. She also creates illustrations for SMEs as well as large corporations.
- 97% positive reviews (423)
- 16,920 students
- 16 lessons (2h 8m)
- 31 additional resources (14 files)
- Online and at your own pace
- Available on the app
- Audio: Portuguese
- Portuguese · Spanish · English · German · French · Italian · Polish · Dutch
- Level: Beginner
- Unlimited access forever

