Best seller

Traditional Woodworking with Hand Tools

Course final project

A course by Bibbings & Hensby , Furniture Workshop

Furniture Workshop. London, United Kingdom.
Joined April 2021
Best seller
100% positive reviews (159)
8,129 students
Audio: English, Spanish
Spanish · English · Portuguese · German · French · Italian · Polish · Dutch

About the final project for: Traditional Woodworking with Hand Tools

Contemporary Woodworking with Hand Tools

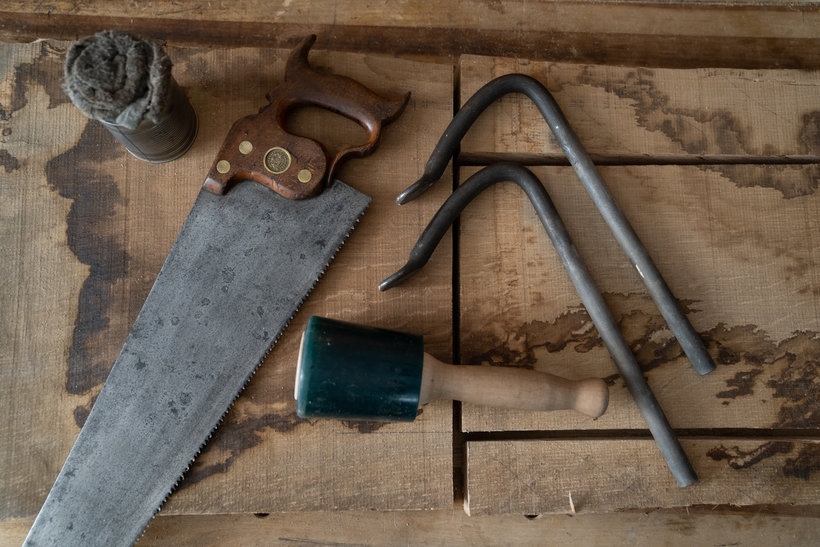
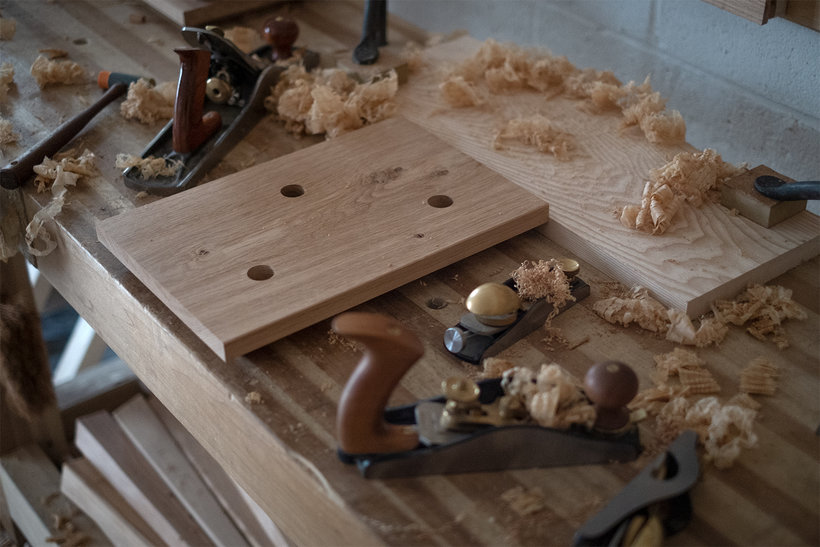
“Congratulations! We have now reached the end of our woodworking course. Thank you so much for choosing us as your teachers! We really hope that you had fun and were able to learn something new. From the right tools to understanding wood and how it moves to the creation process of your very own piece of solid wood furniture that will be used for generations to come, we have taken you on a journey of discovery. Choosing to make wooden furniture with your hands and hand tools is an incredibly rewarding, multifaceted craft to learn. The truth is that you will never stop learning about it; there is so much to know and this is actually one of the things that makes it so rewarding. Before we say goodbye, let us sum up the individual steps that are necessary to create your final project once more. First, you will need to understand the different tools―including how to select them, how to use them, and how to maintain them. A very important lesson to learn is how to sharpen your tools correctly, as no good woodwork is ever done with a blunt tool. This seemingly simple task is actually quite nuanced and can take time to learn, so don’t be discouraged at the beginning if you don’t get it quite right, it just takes a bit of practice. However, once you've mastered it and your tools are razor-sharp, you will be able to do some great woodwork.

The next step is to set up and get to know your work area or workbench. It's generally a good idea to set up a work area with all of your tools close to hand.
The tools you choose will likely be your trusted tools for many years to come, so it's worth spending a bit of time researching the ones you want to buy and looking after them well. Our motto is to buy once, but to buy well, as cheaper tools often don't last too long. Once you have an understanding of your tools and how to use and maintain them, you will move on to designing, planning, and selecting your timber for your staked piece of furniture: a stool. When selecting your timber, try and learn the terminology used to describe it and its defects. This will help you when it comes to selecting and buying the timber from your local timber yard and knowing what to look out for. When choosing the timber for this project, remember that the cleaner of defects and straighter grained the timber you choose is, the easier your job will be when it comes to planing it up. Knots tend to blunt blades and are often quite difficult to plane over without creating ‘tear out’.
We have provided you with a material list, however, please feel free to make your own. When designing your project, take a note of the final dimensions of each component and imagine where they would fit on the board when selecting it. Remember to add an extra five millimeters to the dimension of each component―we call this the nominal dimension. Once you have selected your timber, you are ready to start making your staked piece of furniture. All the components will now need to be rough sawn from the boards you have selected. As previously mentioned, remember to choose carefully from the board where your components are taken from, trying to avoid large defects. You will then use your tools to mark, dimension, bore, and shape the components ready for final assembly. This is when you put into action what you have previously learned about using and maintaining your tools.
We would advise you to practise before working on the real pieces. All you need is a scrap piece of timber to practise sawing, planing, and boring holes. It is also a good idea to work out the best and most sturdy way to clamp and hold pieces of wood to your bench for each different task. Remember: if you don’t have a very sturdy bench to place it against, a wall can provide extra support―especially when planing. Once all the pieces are cut, shaped, and ready for final assembly, test their fit before assembling the piece. Once you have wedged the piece together, carry out your final clean-up, including flushing the tenons and flat sawing the legs to the correct and level height. Now you are ready to apply any final finishes to the piece and stand back to admire and use what you have created.
Once you're happy with your work, upload it for the community to see by clicking on the button "Create your project". We will be waiting to give you feedback and advice! Don't worry if we don't reply immediately―we promise that we'll come back to you as soon as we can. Again, we want to thank you for choosing our course. Enjoy the process!”

Partial transcription of the video
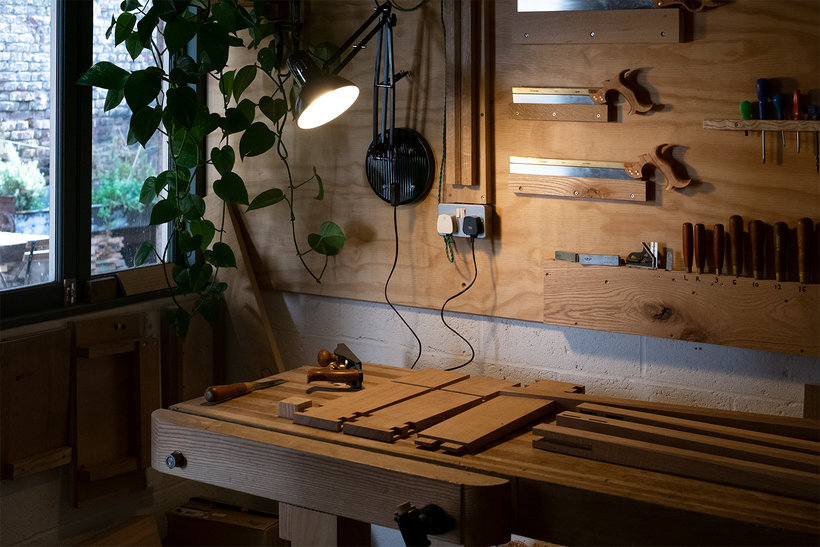
“Final Project Congratulations on reaching the end of this woodworking course. You've achieved so much. Matthew and I want to thank you for taking this journey with us and learning about what we truly love to create. The course began with learning about the tools that you need to start, as well as introducing you to the workbench, the plane, the chisel and the spokeshave, and how to choose the right timber and sharpen your tools. Remember, hands for woodworking is far more enjoyable and often a lot safer with sharp tools. Make sure to keep yours sharp. We then moved on to the exciting part o...”

This transcript is automatically generated, so it may contain mistakes.


Course summary for: Traditional Woodworking with Hand Tools

  • Level: Beginner
  • 100% positive reviews (159)
  • 8129 students
  • 4 units
  • 14 lessons (1h 58m)
  • 8 downloads
  • Category

    Craft
  • Areas

    Arts & Crafts, DIY, Furniture Design & Making, Woodworking

Bibbings & Hensby

Bibbings & Hensby
A course by Bibbings & Hensby

Teacher Plus
Furniture Workshop

Jack Bibbings and Matthew Hensby experienced the joy of making things with their hands from a young age, but when it came to starting their professional journey, both began in the corporate world. The duo met during their furniture-making training, and their common approach to the craft soon developed into a friendship, as well as a professional partnership with the launch of their joint workshop.

Bibbings and Hensby’s functional contemporary style seeks to reintegrate traditional skills into today’s world using hand tools and woodworking techniques. Their clients range from interior designers, architects, as well as private clients. Their latest work includes furniture-making plans, as well as furniture pieces like large slab-top desks and backed chairs that can be found on their online store.


  • 100% positive reviews (159)
  • 8,129 students
  • 14 lessons (1h 58m)
  • 21 additional resources (8 files)
  • Online and at your own pace
  • Available on the app
  • Audio: English, Spanish
  • Spanish · English · Portuguese · German · French · Italian · Polish · Dutch
  • Level: Beginner
  • Unlimited access forever

Category
Areas
Traditional Woodworking with Hand Tools. Craft course by Bibbings & Hensby Best seller

Traditional Woodworking with Hand Tools

A course by Bibbings & Hensby
Furniture Workshop. London, United Kingdom.
Joined April 2021
  • 100% positive reviews (159)
  • 8,129 students