Geometric Handmade Molds: Design 3D-faceted Objects
Course final project
A course by Phil Cuttance , Designer and Craftsperson


About the final project for: Geometric Handmade Molds: Design 3D-faceted Objects
Geometric Handmade Molds: Design 3D-faceted objects
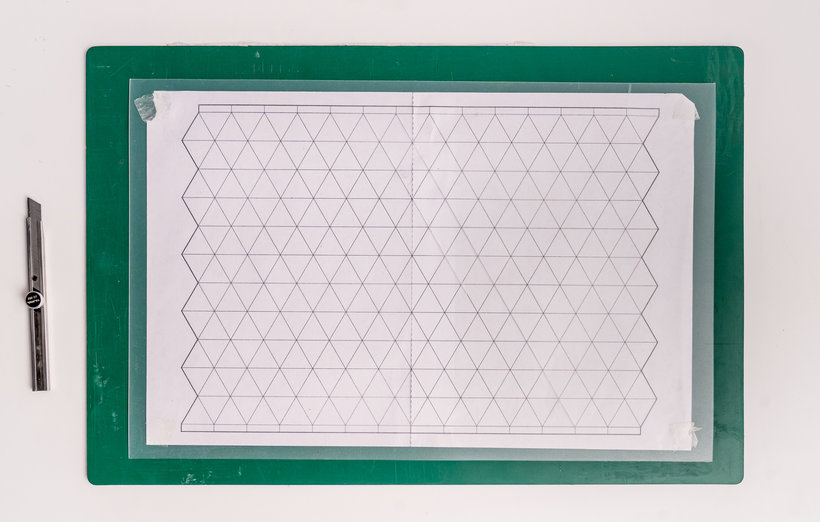
“Welcome to the final lesson of this course. By now, you should have all the necessary skills to create your own cast pieces. Before we move on, let's recap the main steps of the process: Create a pattern You will create a 2D pattern on paper and then score your polypropylene sheet according to the pattern beneath. Choose to create your pattern by hand, on the computer, or print one of the two patterns provided with the course. You’ll then copy this pattern onto the polypropylene sheet by scoring with your P-Cutter blade and finally cutting it out with your knife, ready to be folded.


Partial transcription of the video
“Okay, so you've completed the course. Congratulations. I really hope you enjoyed it. And I hope you now feel inspired to go now and take what you've learned and push it in new directions. You know the technique now. So hopefully you can go now and make your own shapes. make things at a bigger scale. And try different casting materials. So I know there are many steps in this process and some of the tasks feel a little bit fiddly. But. I wanted to show you guys exactly how I make my objects every day in my studio. The fact that the process is not so common or obvious, I think, is part of the ...”
This transcript is automatically generated, so it may contain mistakes.
Course summary for: Geometric Handmade Molds: Design 3D-faceted Objects
-
Category
Craft -
Areas
Accessory Design, Arts & Crafts, Decoration, Design, DIY, Fine Arts, Interior Decoration, Interior Design

Phil Cuttance
A course by Phil Cuttance
Phil Cuttance is a designer and maker from New Zealand. He was raised in a family who was constantly creating and making things by hand. In 2009, after graduating from design school, Phil moved to London, where he founded his studio and currently crafts his pieces. In 2012, Phil made the short film Faceture about his creative process, which received a Staff’s Pick title from Vimeo.
His work has been featured in publications such as Wallpaper*, ELLE Decoration, ICON, Crafts, and Dezeen, among others. One of his designs was nominated for London's annual Designs of the Year Awards at The Design Museum. Phil has been invited to participate in events such Milan Furniture Fair and Art Basel Miami to show his design process. Apart from making commissions from his studio, Phil also teaches workshops on design.
- 100% positive reviews (353)
- 13,625 students
- 17 lessons (3h 7m)
- 17 additional resources (6 files)
- Online and at your own pace
- Available on the app
- Audio: English, Spanish (Latam), French, Italian, Portuguese, Turkish
- Spanish · English · Portuguese · German · French · Italian · Polish · Dutch · Turkish · Romanian · Indonesian
- Level: Beginner
- Unlimited access forever
Category
Areas

