Basic Techniques in Decorative Ceramic Modeling

Course final project

A course by Kiara Hayashida , Ceramicist and Sculptor

Ceramicist and Sculptor . Lima, Peru.
Joined October 2020
100% positive reviews (26)
932 students
Audio: Spanish
Spanish · English · Portuguese · German · French · Italian · Polish · Dutch

About the final project for: Basic Techniques in Decorative Ceramic Modeling

Basic Techniques in Decorative Ceramic Modeling

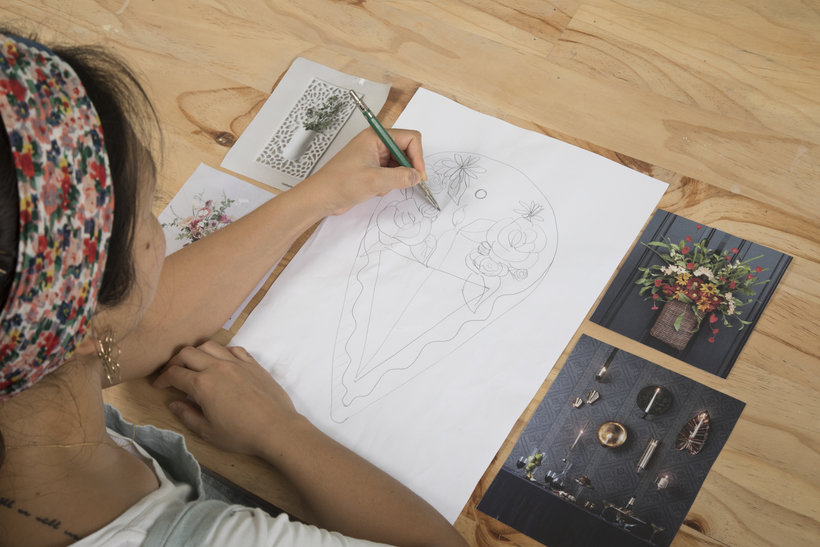
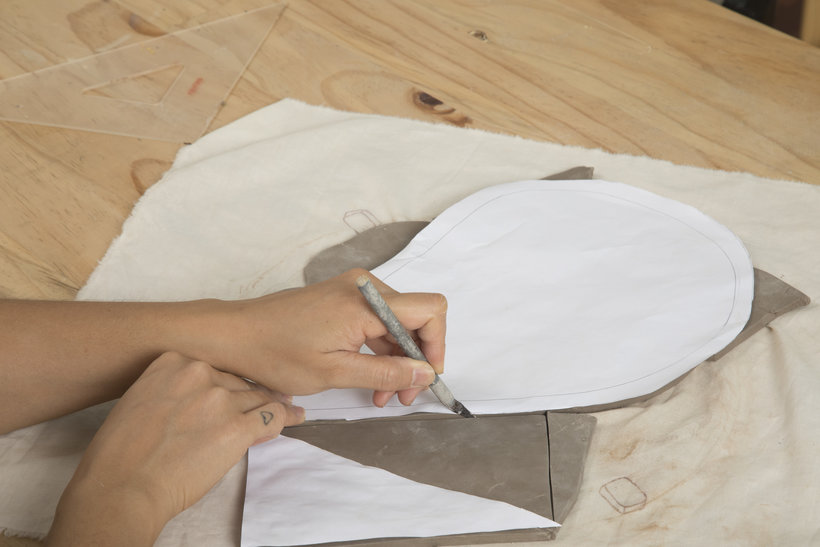
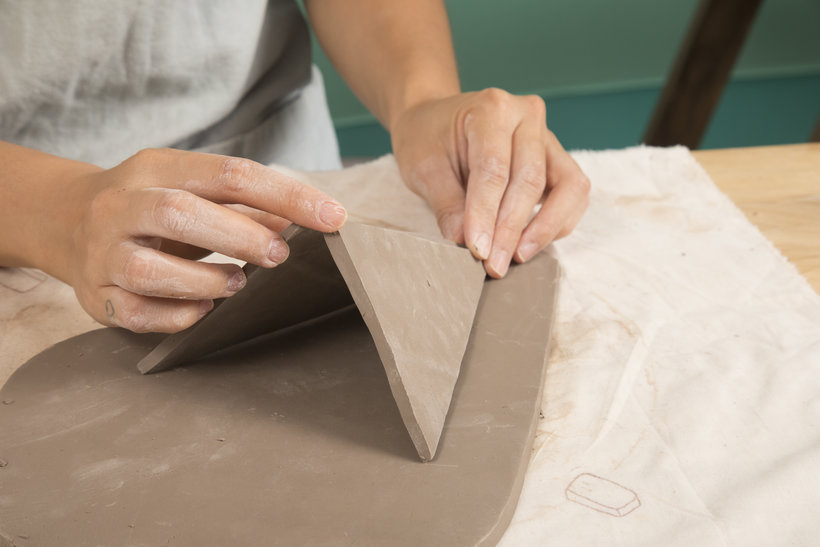
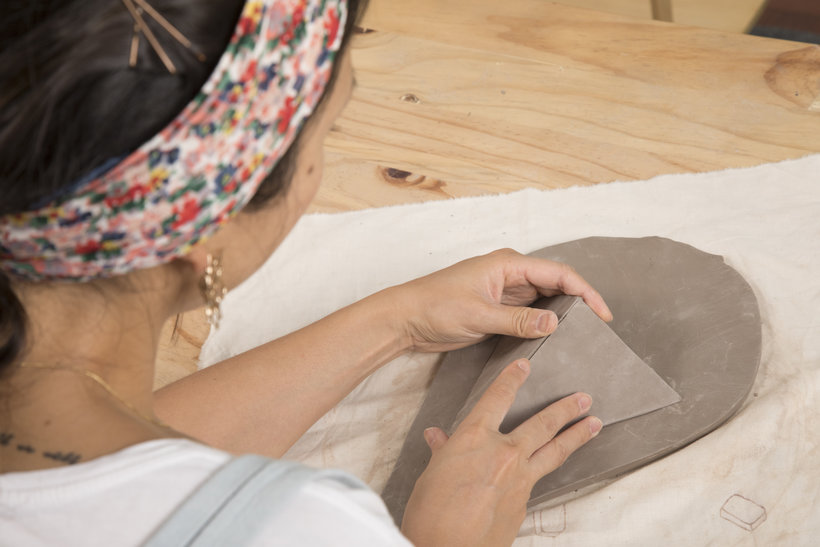
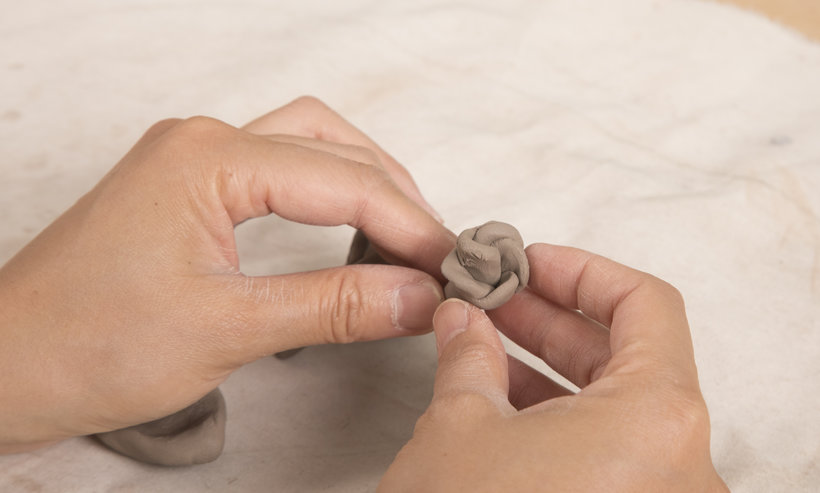
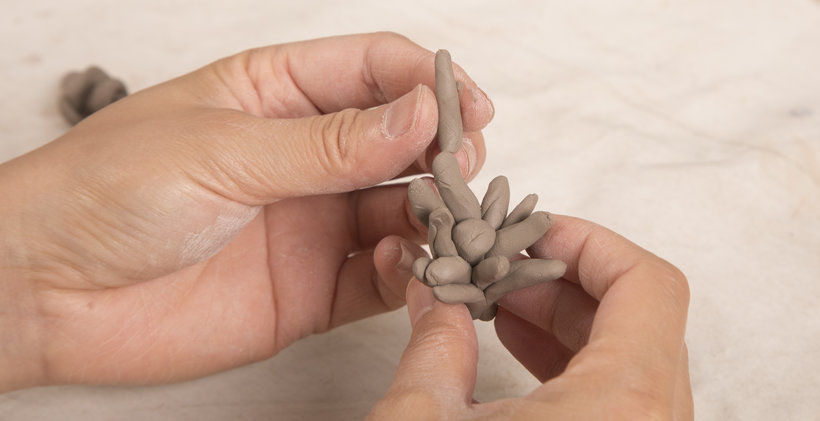
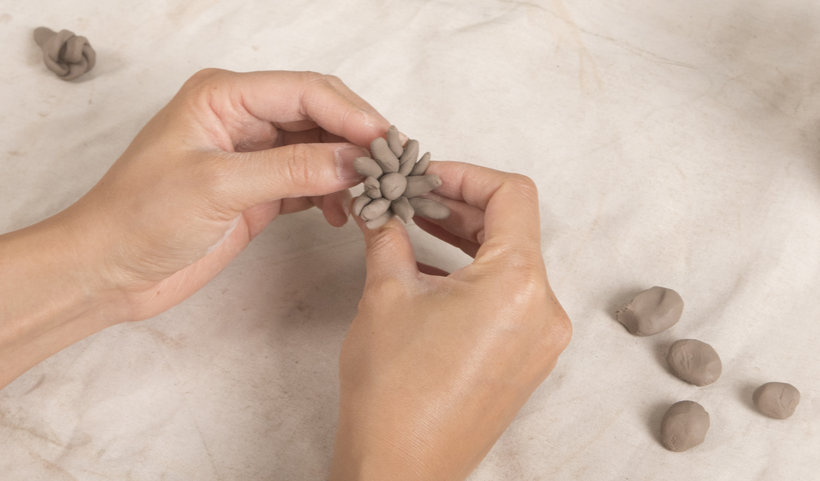
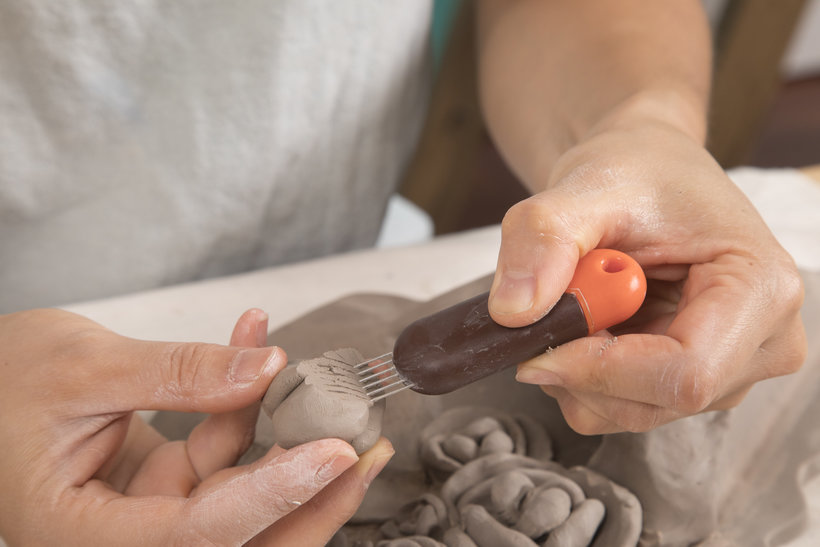
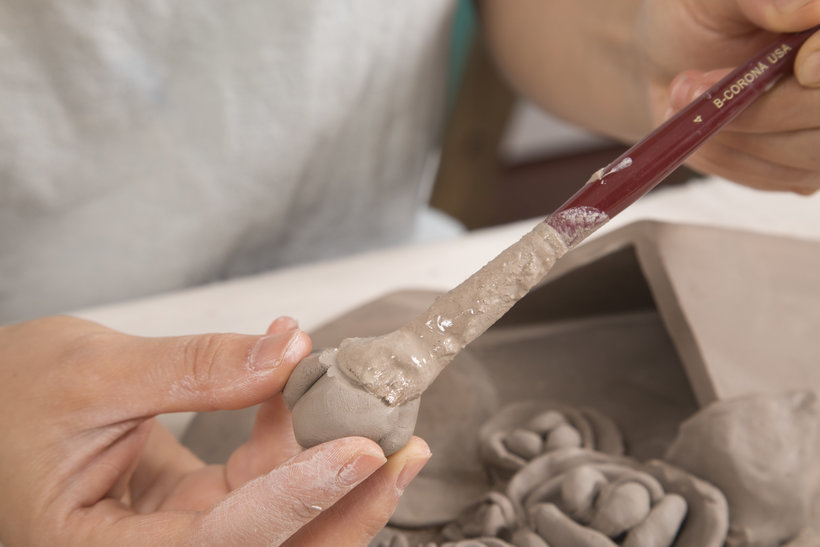
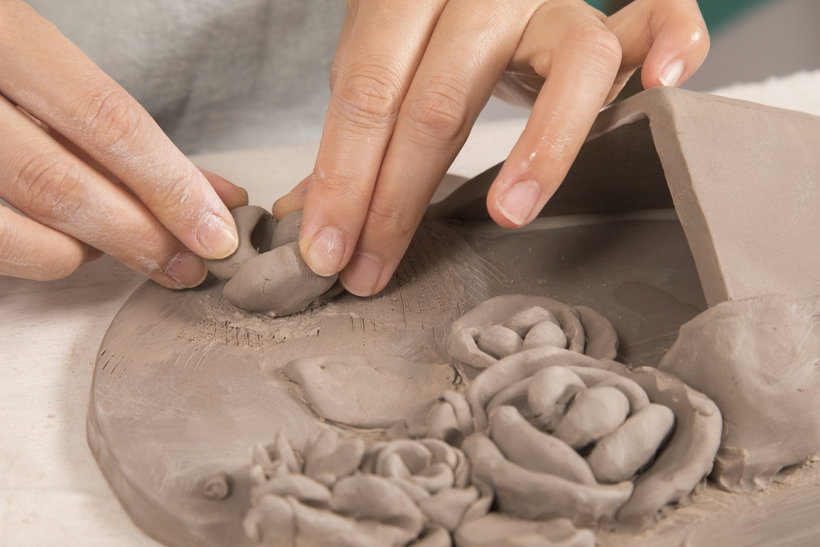
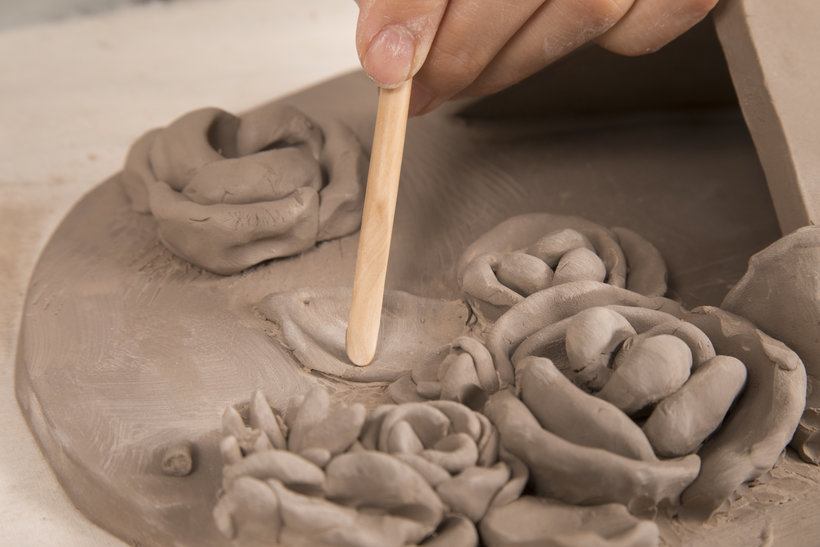
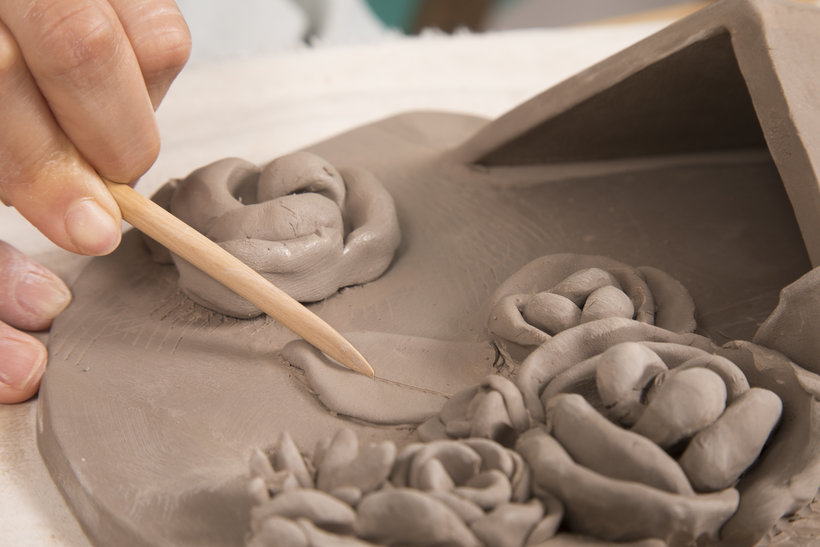
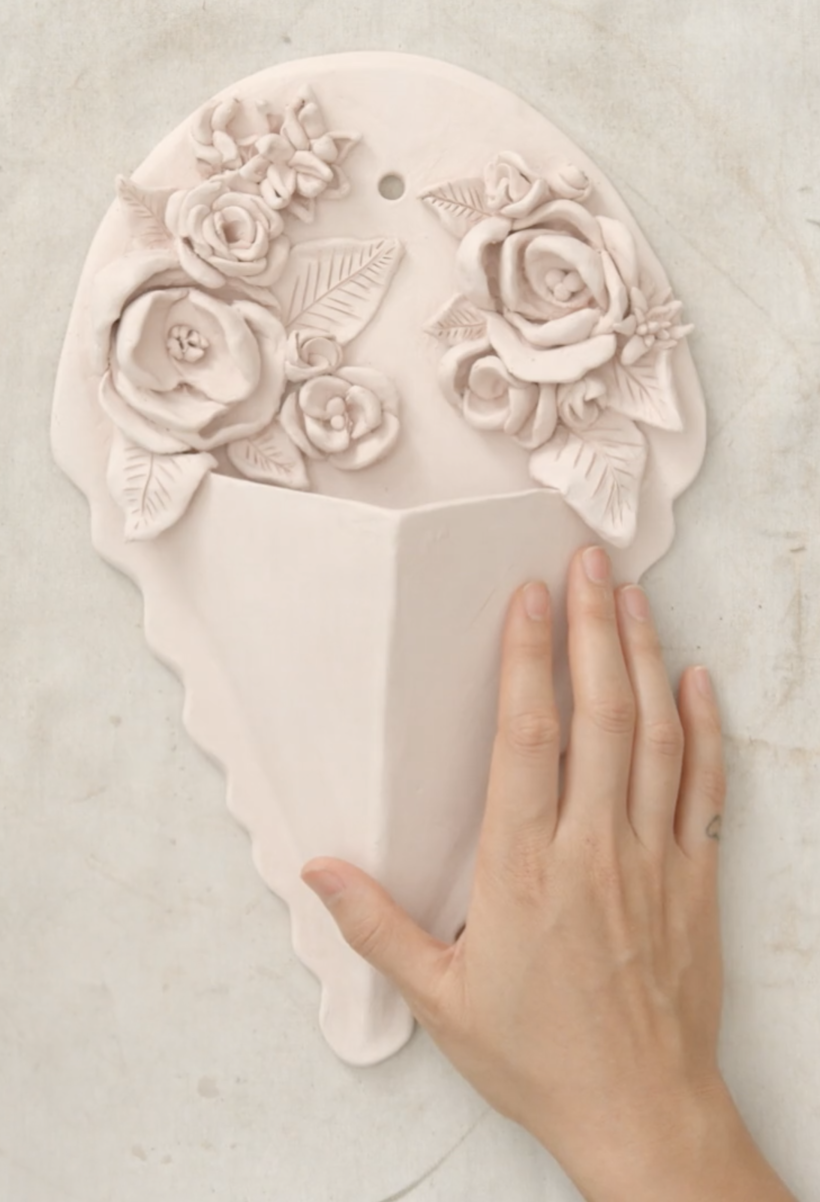
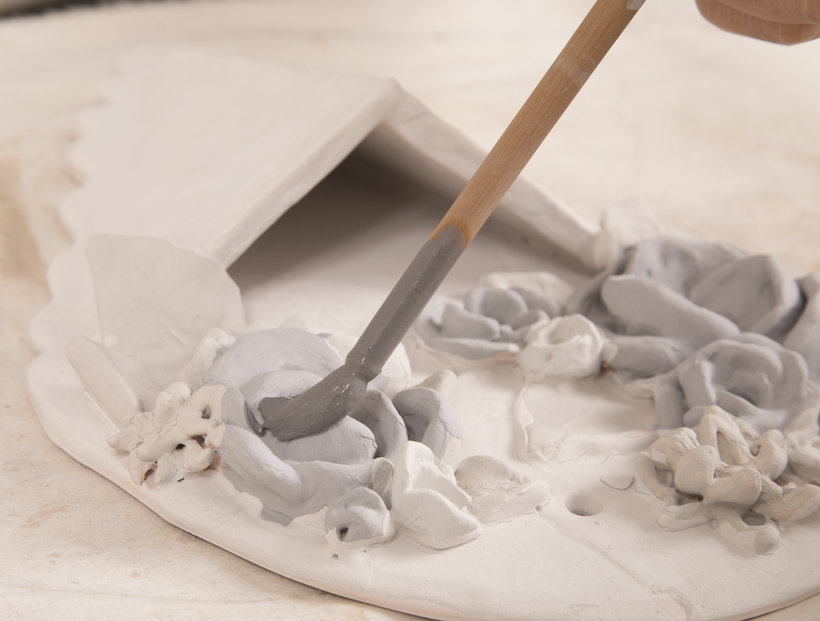
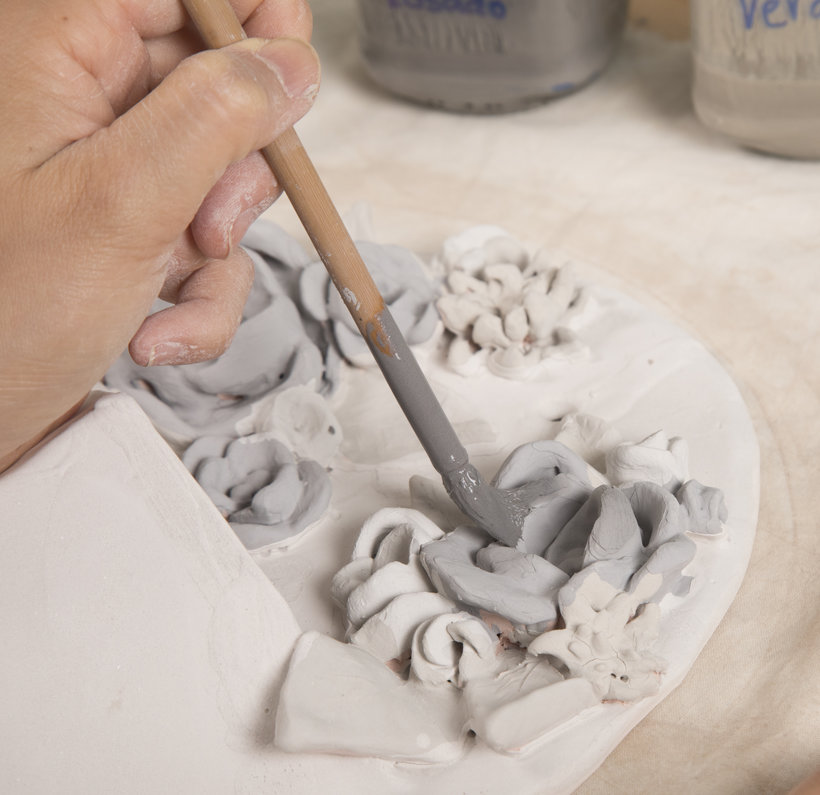
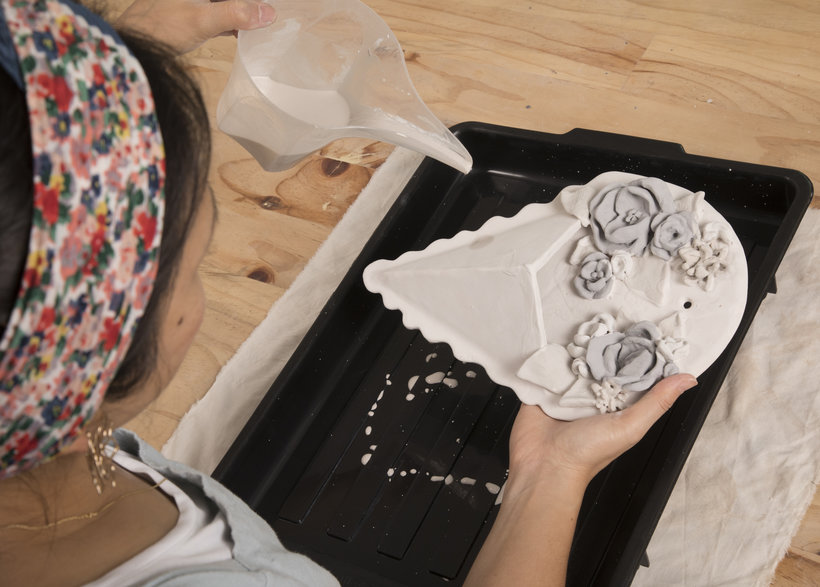
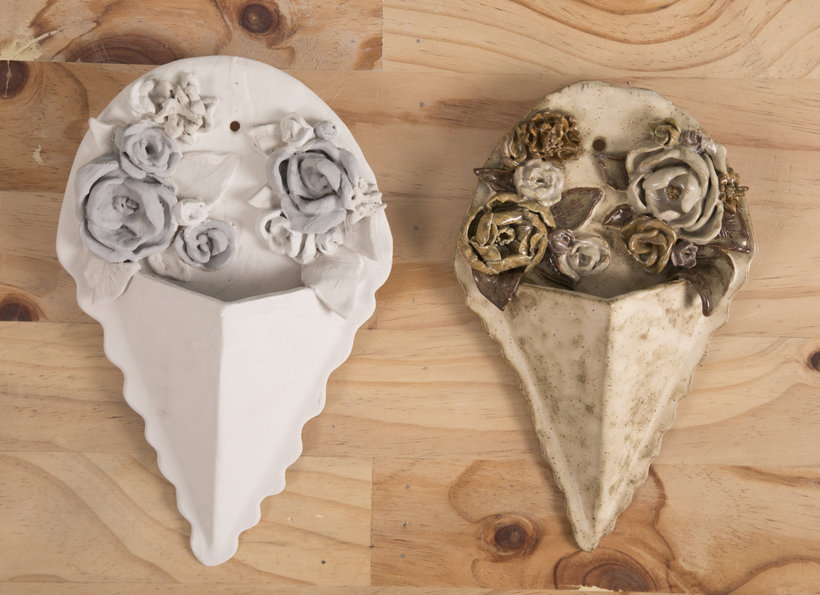
“We have reached the end of the course, I hope you had as much fun as I did. Now it's your turn to create a unique piece with inlays applying the techniques and tips learned throughout the course. Before starting to make your piece, do not forget to always take into account what type of clay you will be using. Whether low or high temperature or air drying, it is important to be able to use the materials (low or high temperature enamels or paints) and to be able to carry out the correct processes (burning or drying). Please do not stop sharing your final project and its process, I share an example of how I would like to see your final project: Looking for the idea Think about what you want to create, once you know the type of piece you want to make, then do a reference search. With your references in hand, draw up the sketch of your composition. Also, this will be a good time to think about what materials, tools and techniques you want to use.

The base To build it, I used the technique of plates in straight planes. Remember that to use this technique, once the clay has been stretched, it is ideal to let it dry for a few hours. Thus, when you manipulate it, it will not bend and it will not cause you to lose the straight planes you are looking for. Then, with the help of a stencil and a knife, I cut out the shapes to assemble the plans, I grated, muddled and glued. Here you must bear in mind that in order for each plate to fit well and not be dislodged, you must cut the sides to be joined at 45-degree angles to fit each other.
The modeling of ornaments Proceed with the assembly of the flowers. Keep in mind that in this part, the ideal is to build them on the production line, first ball by ball, then shaping each one by pinching to later assemble the flower. It is easier and faster to assemble them this way and to give it more volume, you must create half petals and glue them around the flower. Thus, you will gradually fill your room with flowers. You can also create the foliage with the same pinching technique, shaping it one by one. For the foliage I used the roll technique to create leaves without adding a lot of volume.
The inlaid with ornaments Remember, that before joining any piece you must grate and muddle the joints, in this way they will stick well and prevent them from falling off during drying. When you finish modeling your piece, you should cover it with a plastic bag and let it rest for a whole day so that the tempering of all the clay pieces is homogenized and you have a successful result.
Finishing and drying For finishes, remember that the ideal is to flatten the clay when drawing, tilting our tool to the side where we will draw and not draw with the tip at 90 degrees, otherwise, you will lift clay and create lumps. To dry the final piece, you should let it dry in an environment away from drafts and direct heat so that it dries evenly on all sides. Drying time should take a few days, but this will depend on the size of your piece and the environmental conditions.
Burning and enameling Finally, with the piece completely dry, take it to the oven for its first burn or sponge burn. Once it is biscuit and before its second burning, paint the piece with the help of a brush and enamels. Remember to clean the place of support of the piece before taking it to high burning so that it does not stick to the oven plate and thus avoid ruining the plate of your piece. The drying of the pieces is of utmost importance, as is the tempering of the pieces to be joined. The more uniform everything, the more successful your piece will be.
I am very happy that you joined me in this great experience. Don't forget that you have the forum open to ask me any question that comes your way. Keep in mind that I will not be able to answer you immediately, remember that I have other responsibilities apart from this course, but I will be very aware of it to be able to keep in touch. The possibilities of ceramics are endless! I invite you to explore them and make them so that only in this way you learn! I hope you fall in love with the process and get as hooked as I am. Please don't forget to share your final project. Greetings and a big hug. Long live ceramics!”

Partial transcription of the video

“Final project We reached the final part of the course. Now it's your turn to create an inlaid piece applying the techniques and tips learned in the course. Before saying goodbye I will give you some recommendations. Do not forget to take into account what type of paste you are using, whether low, high temperature or air drying, it is important to use the appropriate materials and do the correct processes. Keep in mind that you must use the slip to join your pieces and make sure with a stake that they are well joined. Remember that the drying of the pieces is vital as well as the tempering o...”

This transcript is automatically generated, so it may contain mistakes.


Course summary for: Basic Techniques in Decorative Ceramic Modeling

  • Level: Beginner
  • 100% positive reviews (26)
  • 932 students
  • 5 units
  • 14 lessons (1h 18m)
  • 9 downloads
  • Category

    Craft
  • Areas

    Accessory Design, Arts & Crafts, Ceramics, Fine Arts

Kiara Hayashida

Kiara Hayashida
A course by Kiara Hayashida

Teacher Plus
Ceramicist and Sculptor

Originally from Lima, Peru, Kiara Hayashida discovered ceramics while in search of new creative outlets. She began her fascinating journey with this artistic medium and in 2015 she founded Kiara Hayashida Ceramics (KHC).

Her pieces seek to enhance our perception of the day-to-day and provide an alternative to mass-produced objects. Perceiving volume, analyzing the texture of the glazes, and observing the imprints left by this creative process are unique experiences that you can only find with hand-made pieces.


  • 100% positive reviews (26)
  • 932 students
  • 14 lessons (1h 18m)
  • 25 additional resources (9 files)
  • Online and at your own pace
  • Available on the app
  • Audio: Spanish
  • Spanish · English · Portuguese · German · French · Italian · Polish · Dutch
  • Level: Beginner
  • Unlimited access forever

Category
Areas
Basic Techniques in Decorative Ceramic Modeling. Craft course by Kiara Hayashida

Basic Techniques in Decorative Ceramic Modeling

A course by Kiara Hayashida
Ceramicist and Sculptor . Lima, Peru.
Joined October 2020
  • 100% positive reviews (26)
  • 932 students