Digital Animation with Experimental Techniques
Course final project
A course by Danaé Gosset , Designer and Animator


About the final project for: Digital Animation with Experimental Techniques
Digital Animation with Experimental Techniques
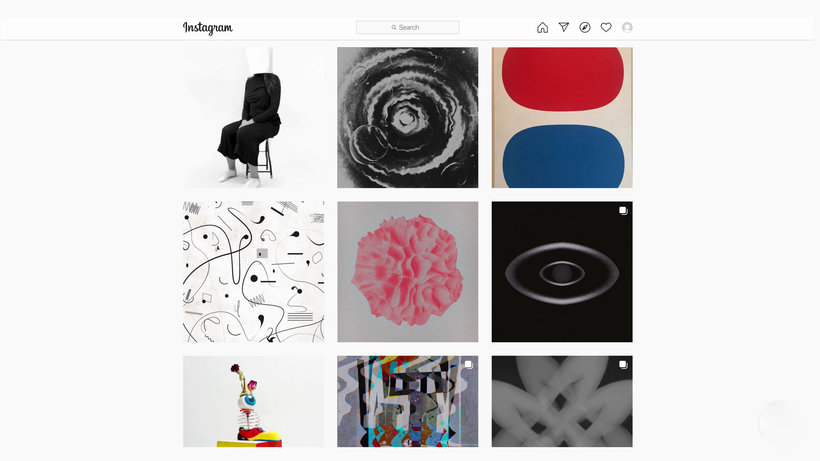
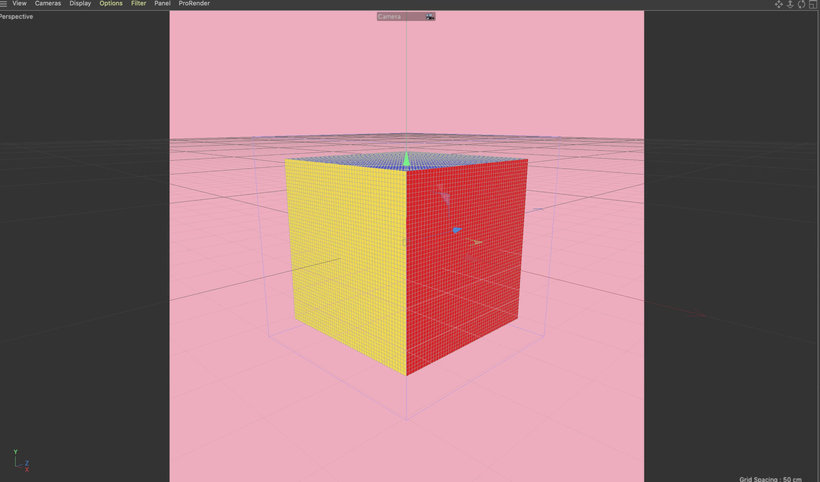
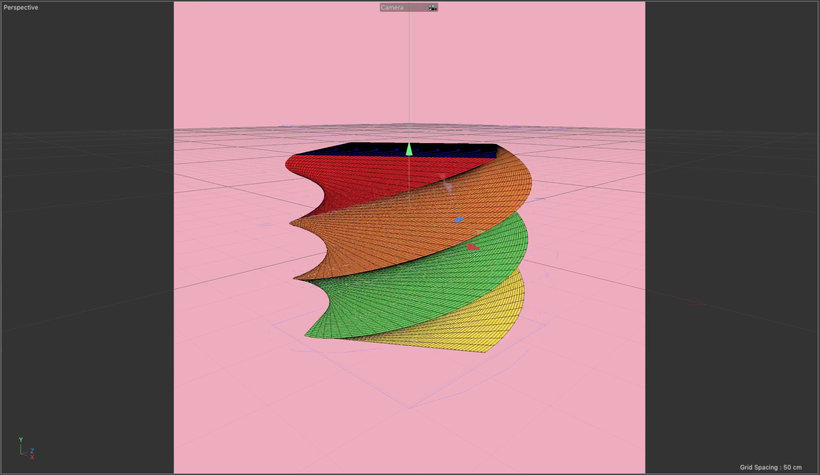
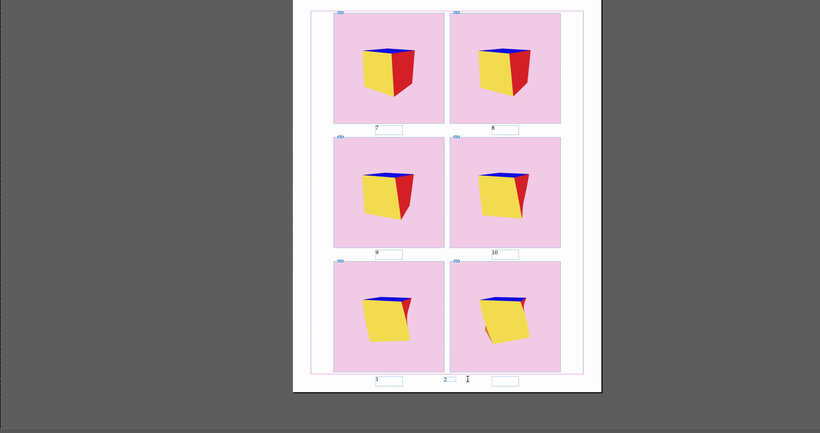
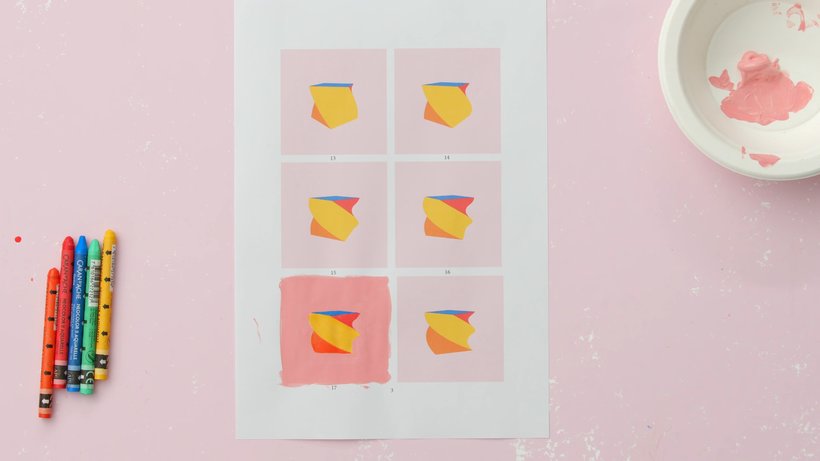
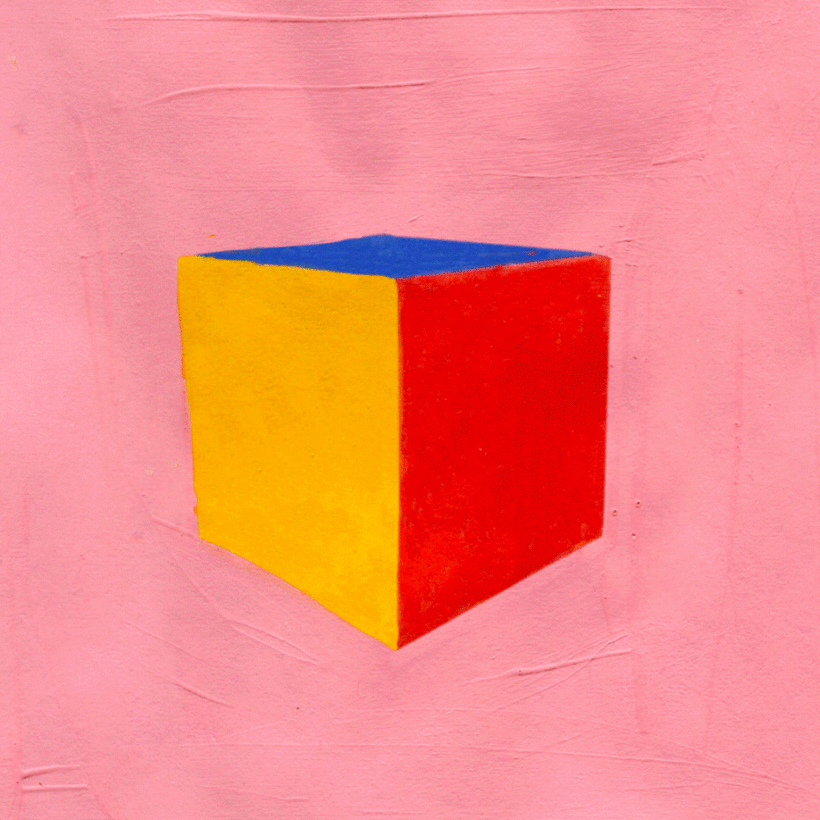
“Now that we have successfully made an experimental animation, and went through this long, tedious process, we now have a final render, so congrats! It was my pleasure being your teacher, and I hope you have enjoyed the course. Now that you know a little more about experimental animation, I am curious to see what your mind can imagine. I hope to see lots of textures, beautiful handmade mistakes, lights, shadows, flatness, volume, and colors that make you happy! For this project, I have decided to animate a cube because of a dream I once had, but feel free to animate anything you wish, no matter the source of inspiration! I find that dreams are a great source of inspiration, so you could dig in there. Remember that you can abstract your ideas as much as you want! You can make something busy, as well. It is up to you. So before saying goodbye, let me break down for you the benchmarks of my project. Use these as a reference of sorts, or even as a checklist of things you have to include in your final project. First, after getting familiar with the tools and materials, I went in the seek of references. Books are my main source of inspiration, but you can use whatever suits you best, or even combine different sources. Instagram, for example, has built-in functionalities that allow me to save lots of pictures. Consider as well sites like YouTube and Vimeo. Aim for references that are both dynamic and static. Once you have your idea set, you can take matters to Cinema 4D, which is what I do with my morphing cube.
Partial transcription of the video
“Congratulations, you've reached the end of this course. I hope you've enjoyed it. Let's look back at what we've done together. We started with talking about different experiences and inspirations. These are great materials to kickstart your creative process. so you can produce your own unique creations. I mentioned the differences between working for a client versus working independently. When working independently, you have more freedom to experiment and express yourself in your own unique way. Working for a client can also be a very satisfying and fulfilling experience. You can get better...”
This transcript is automatically generated, so it may contain mistakes.
Course summary for: Digital Animation with Experimental Techniques
-
Category
3D & Animation -
Software
Adobe After Effects, Adobe InDesign, Adobe Photoshop, Cinema 4D -
Areas
3D Animation, Animation

Danaé Gosset
A course by Danaé Gosset
Danaé Gosset is a multidisciplinary artist specialized in experimental animation. Originally from Paris (France), she studied at the School of Visual Arts in New York, where she lived for ten years. During her time in New York, she co-directed and animated singer-songwriter Mitski’s music video A Pearl.
Danaé has worked with companies such as Talmor & Talmor, Delcan & Co, Art Camp, and Sagmeister & Walsh. She has also collaborated with organizations including The Art Directors Club, D&AD, Graphis Annual, Indigo Awards, SXSW, Adobe, and the Type Directors Club.
- 97% positive reviews (118)
- 4,067 students
- 15 lessons (1h 57m)
- 13 additional resources (1 files)
- Online and at your own pace
- Available on the app
- Audio: English, Spanish (Latam), French, Italian, Portuguese, Turkish
- Spanish · English · Portuguese · German · French · Italian · Polish · Dutch · Turkish · Romanian · Indonesian
- Level: Beginner
- Unlimited access forever
Recommended software & tools for this course
Category
Areas

