Designing and Prototyping Your First Chair
Course final project
A course by Muka Design Lab , Industrial design studio


About the final project for: Designing and Prototyping Your First Chair
Design and prototyping of your first chair
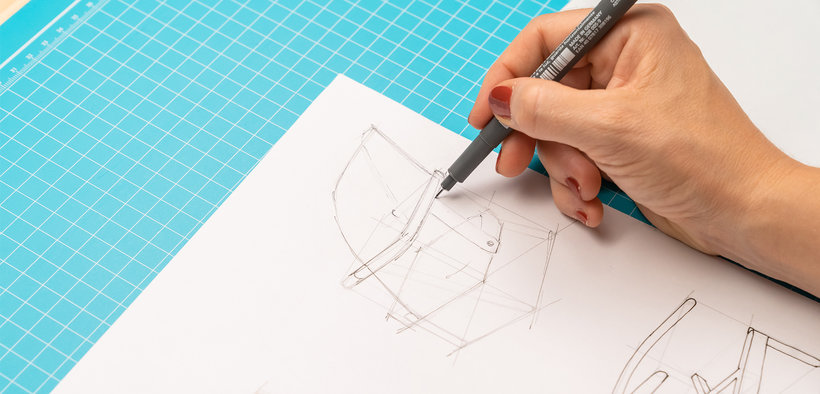
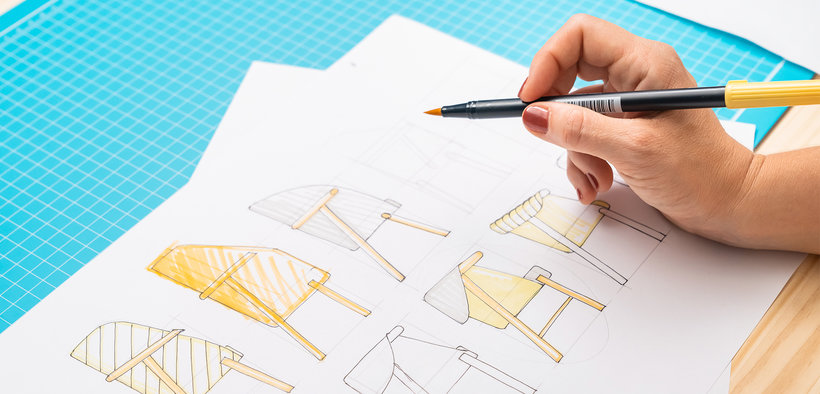
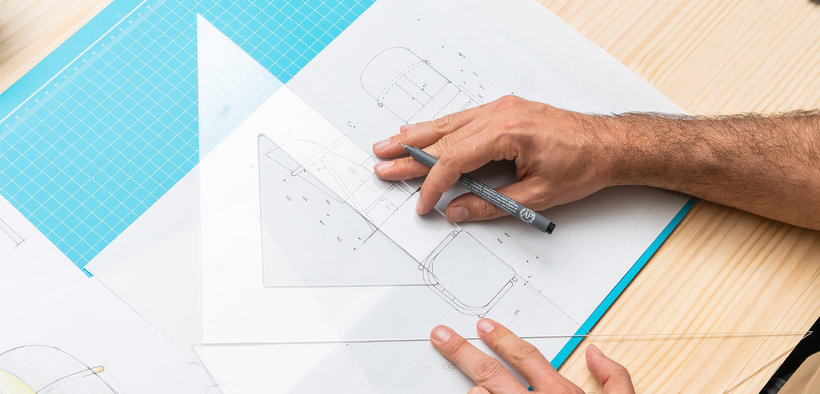
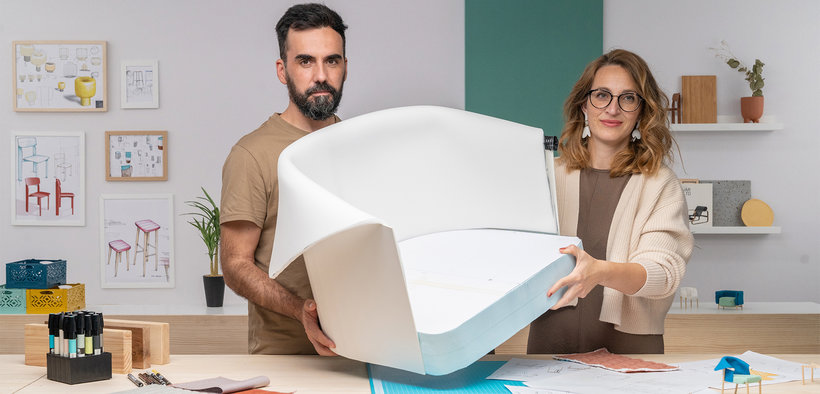
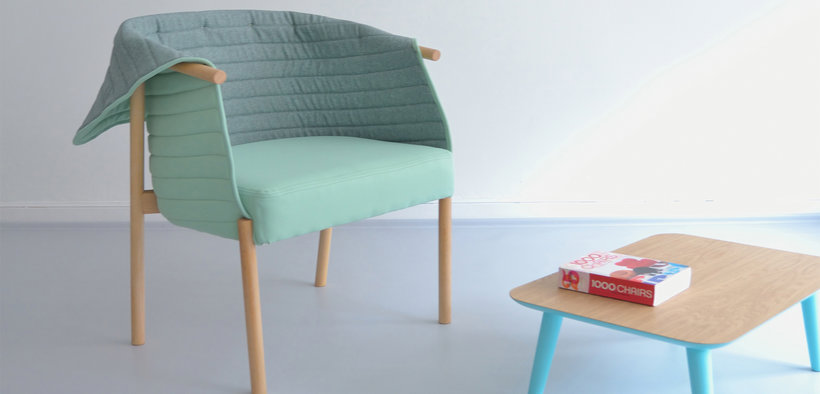
“Congratulations on reaching the end of the course! Thank you very much for taking this trip with us, we hope you have learned a lot and that you have enjoyed the experience as much as we did. Next, we are going to review the different phases to follow to develop the final project. In our case, we have chosen as the final project of the course the design of a wooden chair, whose functional prototype we have manufactured with the help of a craftsman. This will help us to promote our design. As we mentioned in Unit 5, nothing happens if you can't make the prototype with craftsmen. In this case, the final project will only consist of the design of your prototype and the models you build. Sketch First of all, you must choose what you want to prototype and with what materials. When you've decided, sketch the ideas freely. Let your creativity run wild and generate many sketches to have from which to choose.

Partial transcription of the video
“Final project Now we do come to the end of this Domestika course. Thank you very much for reaching the end. We chose as a final project the design of a wooden chair getting with our craftsman a functional prototype that will help us promote the design. You must choose what you want to prototype and with what materials. When you've decided, sketch the ideas freely. Then develop the ideas and select the best one. Next, size and make the plan. Then build your 1:10 scale model and when you have it ready, test the different parts of your chair by building your scale model. Once your prototype is...”
This transcript is automatically generated, so it may contain mistakes.
Course summary for: Designing and Prototyping Your First Chair
-
Category
Design -
Areas
Arts & Crafts, Furniture Design & Making, Industrial Design, Interior Design, Product Design

Muka Design Lab
A course by Muka Design Lab
Founded by Lucas and Laxmi, Muka Design Lab is an award-winning industrial design studio specializing in furniture and consumer product design. Under the premise of slow design, the studio creates furniture and spaces with unique identity and character, working with local workshops and artisans to design everyday objects that reach people.
Their work has been featured in AD Architectural Design, Fast Company, Archi Expo, Dezeen, and El País. The studio’s projects have won international awards at exhibitions in Milan and Los Angeles, as well as a German Design Award and a RedDot Award for Design Concept.
- 98% positive reviews (45)
- 1,429 students
- 15 lessons (1h 57m)
- 25 additional resources (12 files)
- Online and at your own pace
- Available on the app
- Audio: Spanish
- Spanish · English · Portuguese · German · French · Italian · Polish · Dutch · Turkish · Romanian · Indonesian
- Level: Beginner
- Unlimited access forever
Category
Areas

