Introduction to Illustrated Printmaking with Procreate
Course final project
A course by Pau Masiques , Illustrator and Engraver


About the final project for: Introduction to Illustrated Printmaking with Procreate
Introduction to Illustrated Printmaking with Procreate
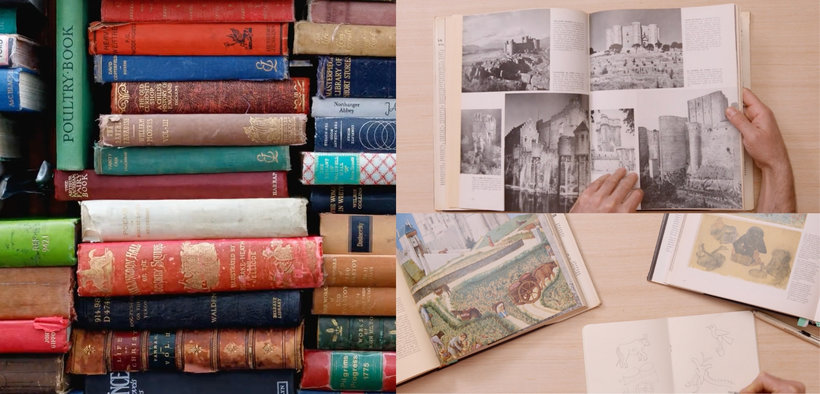
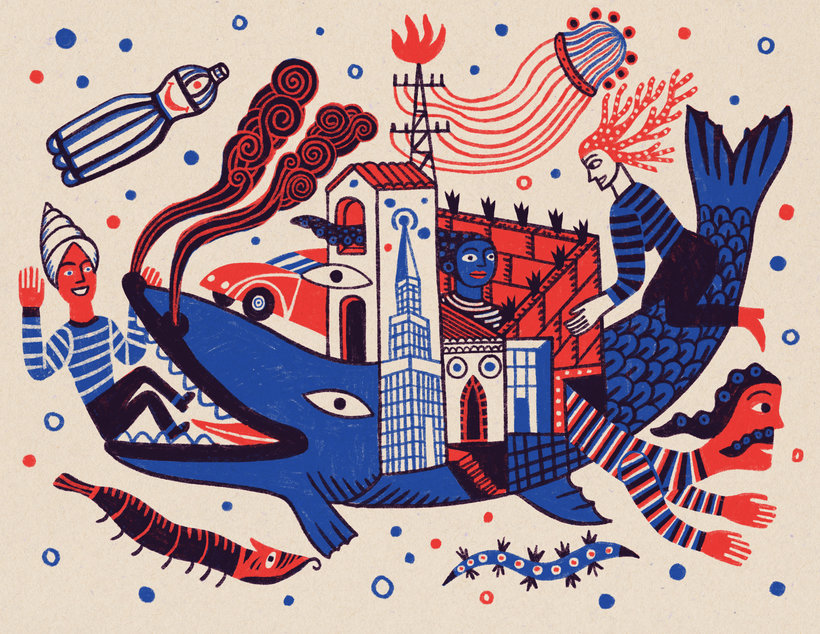
“Thanks for being part of this course! In it, I gave you a brief review of the process of creating an illustration, dealing with the conceptual part and the technical resolution of the image, dissecting the mechanisms that allow us to build a rich, complex and eloquent image. I invite you to look for your illustration to always have something to say. I hope this course allows you to venture into creating a unique illustration. It's your time to create your own final project! Remember that you will not do it alone, I will accompany you on the way. Here are a series of steps you can follow to create your illustration. Are you ready? Dive between books! Start by documenting yourself, remember that this will be essential to inspire you. Hit the streets, visit image-heavy websites, or do like me and browse through your books! Just let yourself go, flow, let the images catch you, but don't forget that you must give them your personal touch.
Partial transcription of the video
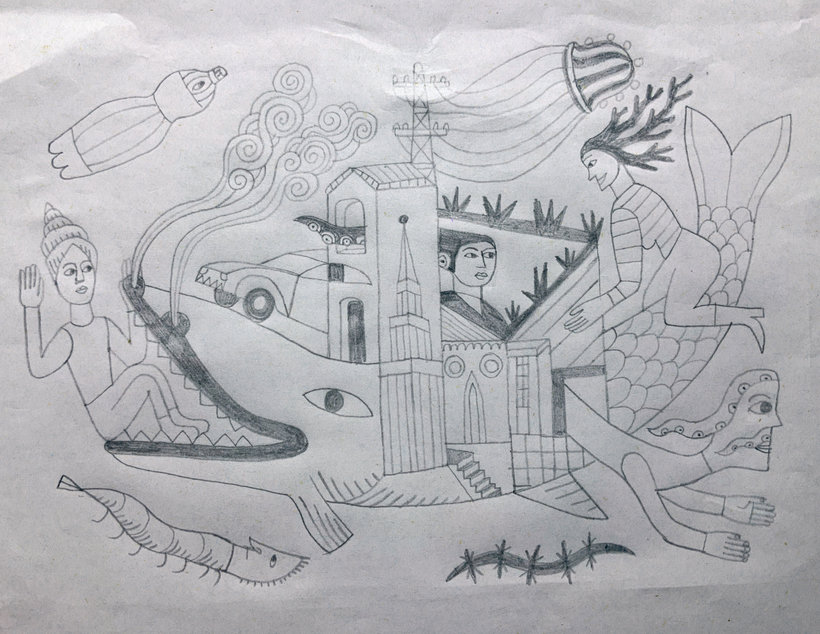
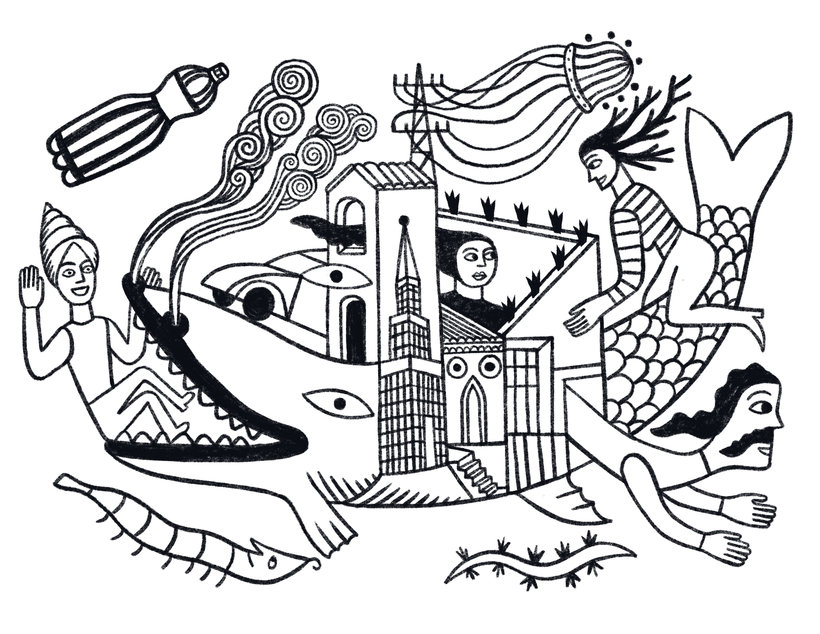
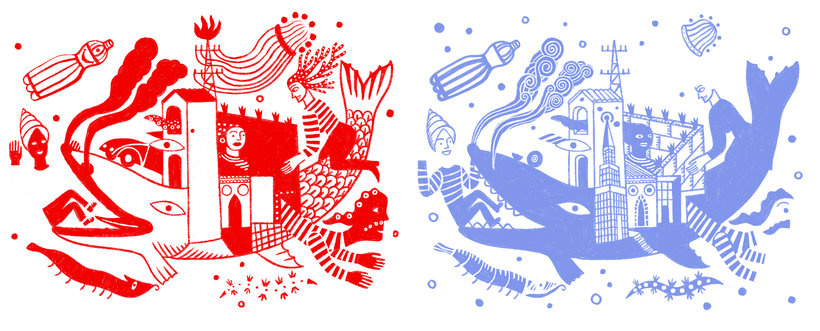
“Final Project Throughout the lessons, we addressed the technical aspect and the conceptual aspect of creating an illustration. In our case, limiting the use of color helped us get a clear, bold image and to take advantage of our limitations. Remember to let go while drawing. Enjoy what you do, have fun. Take a good look at the books or the notes that you took and try not to be too critical of yourself or censor yourself too much. It is very important to map out the composition on the paper before going digital. Upload images of your illustration’s creation process. It can be images in noteb...”
This transcript is automatically generated, so it may contain mistakes.
Course summary for: Introduction to Illustrated Printmaking with Procreate
-
Category
Illustration -
Software
Procreate -
Areas
Digital Drawing, Digital Illustration, Engraving, Traditional illustration

Pau Masiques
A course by Pau Masiques
Pau Masiques is an illustrator and printmaker. His interest in history, popular art, and culture has allowed him to create his own language in his illustrations. A language that is characterized by mixing the digital world with the traditional art of engraving, of which he is a true specialist.
Pau has illustrated books, articles, chocolate box packaging, walls, t-shirts, and book and record covers. He has also published children's books with major publishers such as Edelvives, Fondo Editorial de Nuevo León, and Tresnubes Ediciones.
- 99% positive reviews (119)
- 2,745 students
- 12 lessons (1h 17m)
- 25 additional resources (11 files)
- Online and at your own pace
- Available on the app
- Audio: Spanish
- Spanish · English · Portuguese · German · French · Italian · Polish · Dutch
- Level: Beginner
- Unlimited access forever

